Easter Rabbit Silhouette Craft
Hello my Creative Friends,
I hope you are all Well. In Today’s Tutorial I will show you how I made an Easter Rabbit Silhouette Craft. It is a Budget Project made out of Household Materials. I hope it proves that you don’t have to buy expensive Supplies to Craft with; you can get Creative with what you already have in your Home.
Printing the Easter Rabbit Silhouette
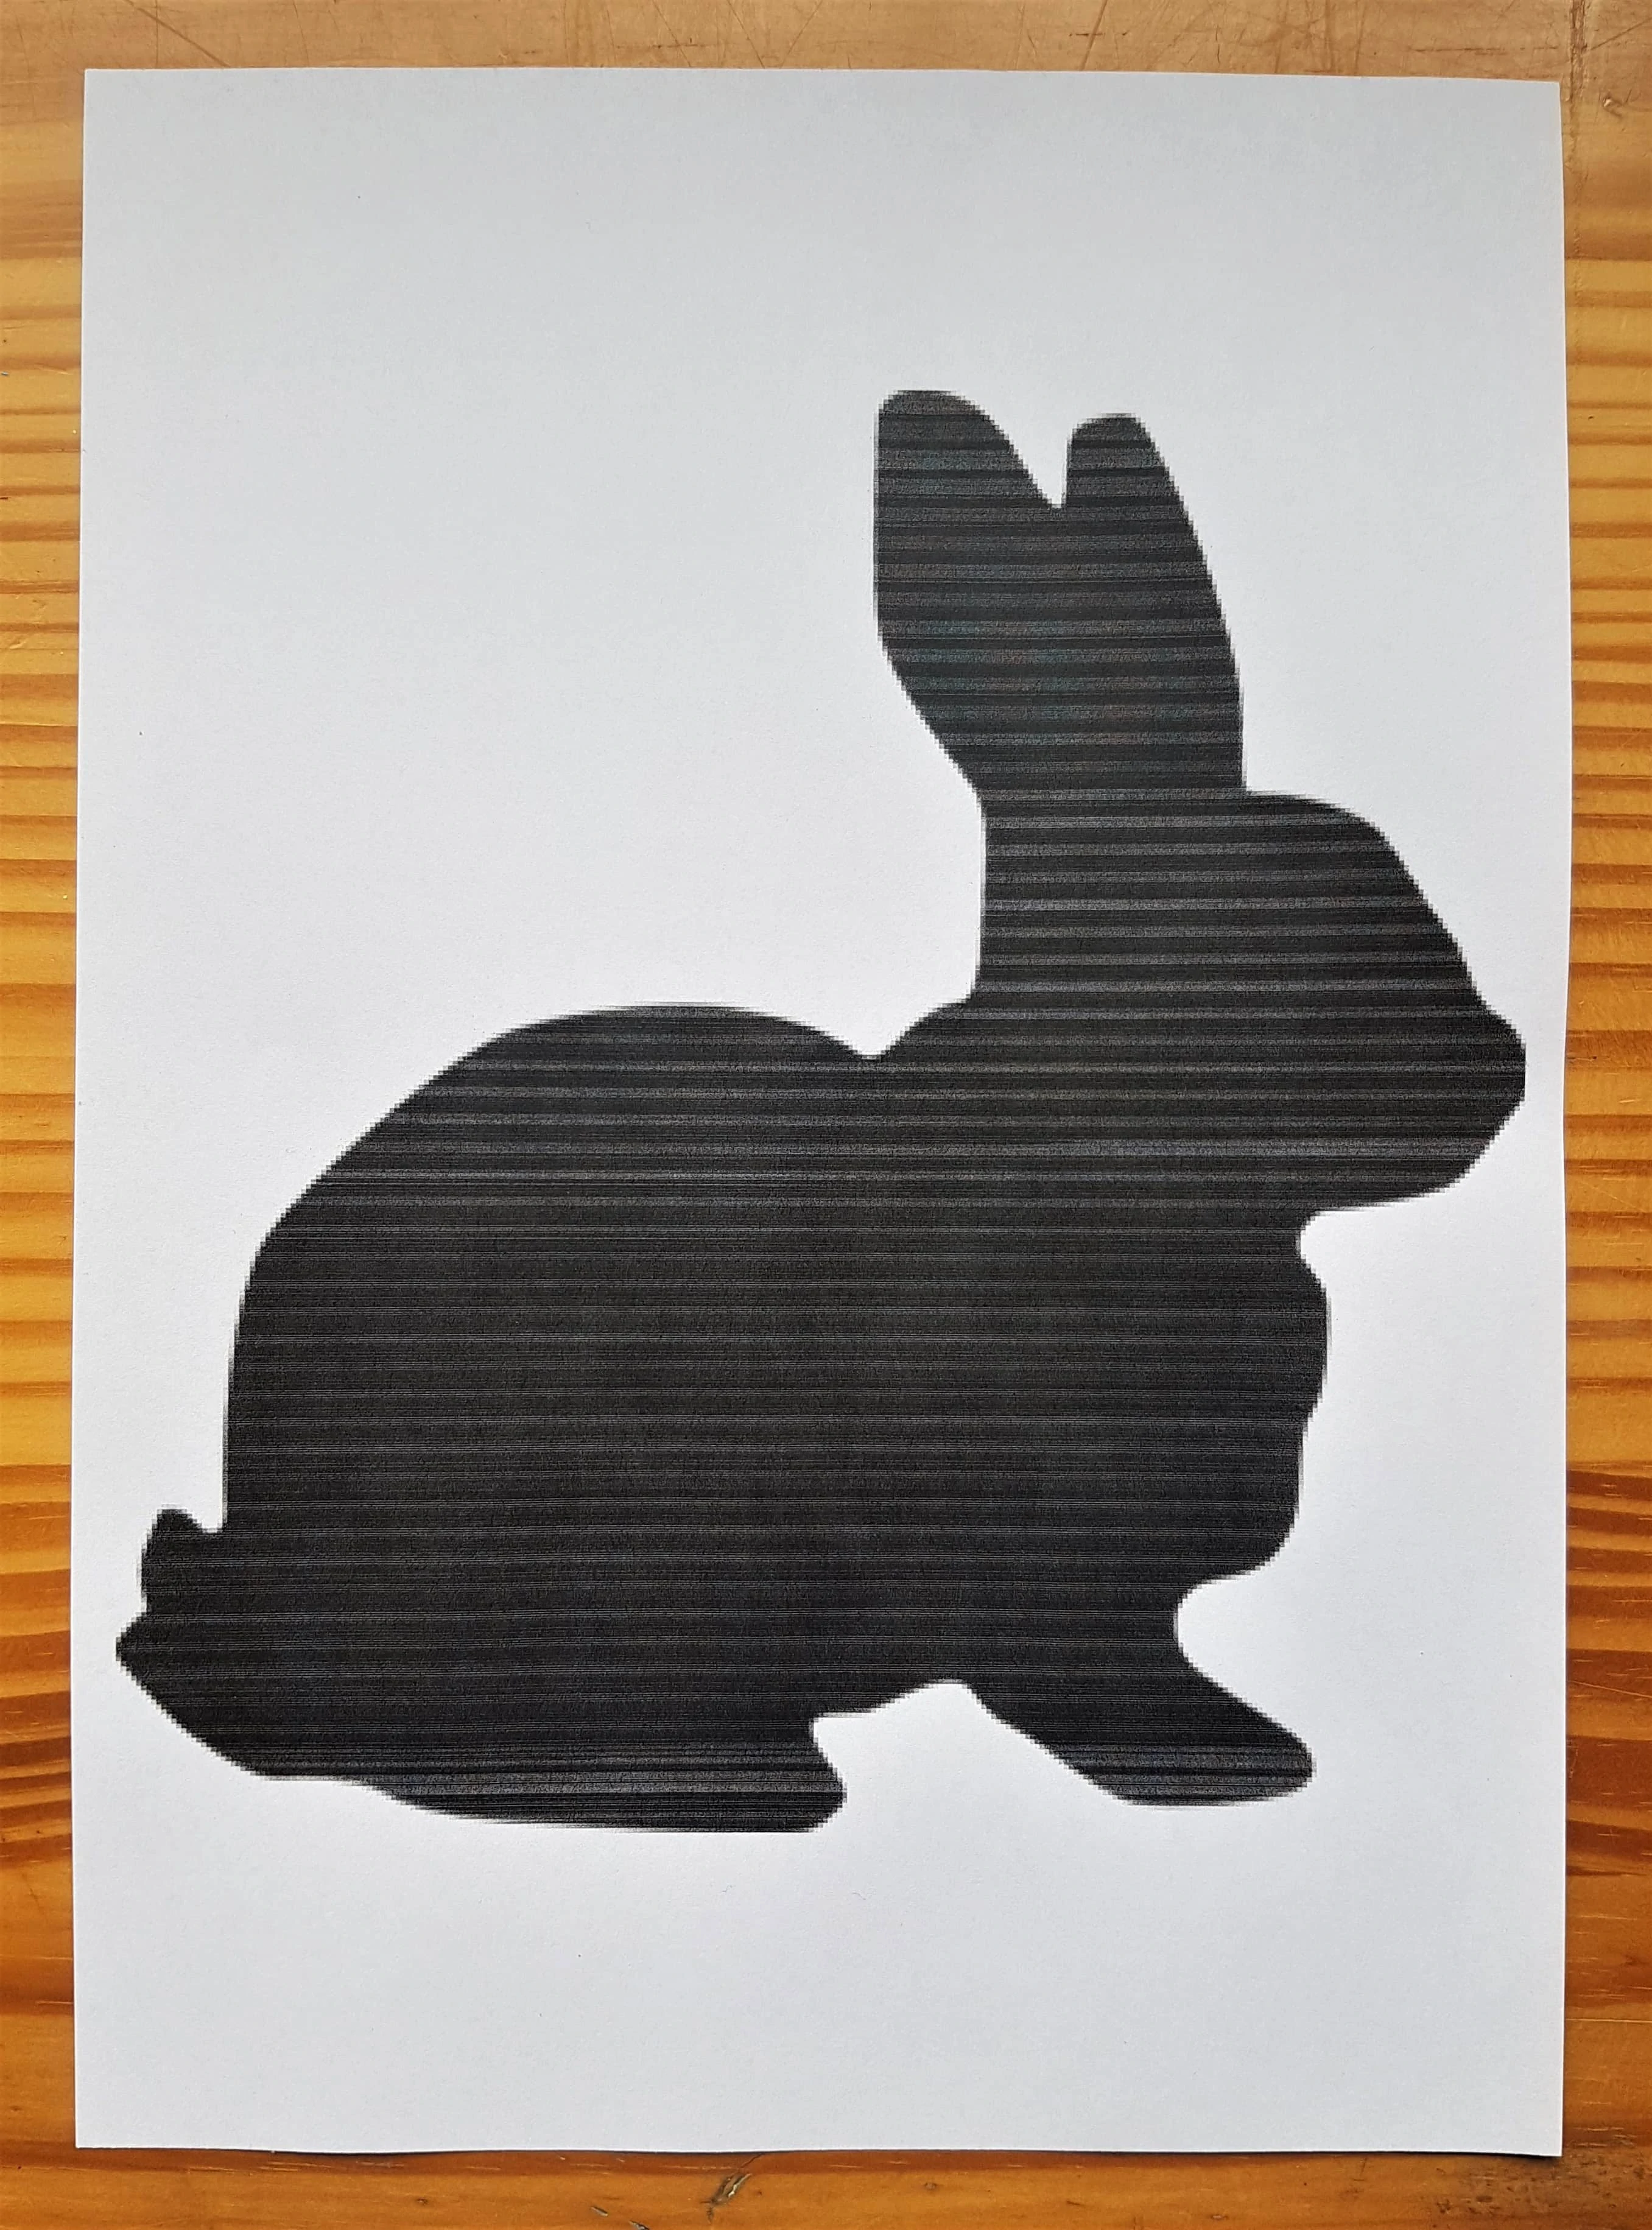
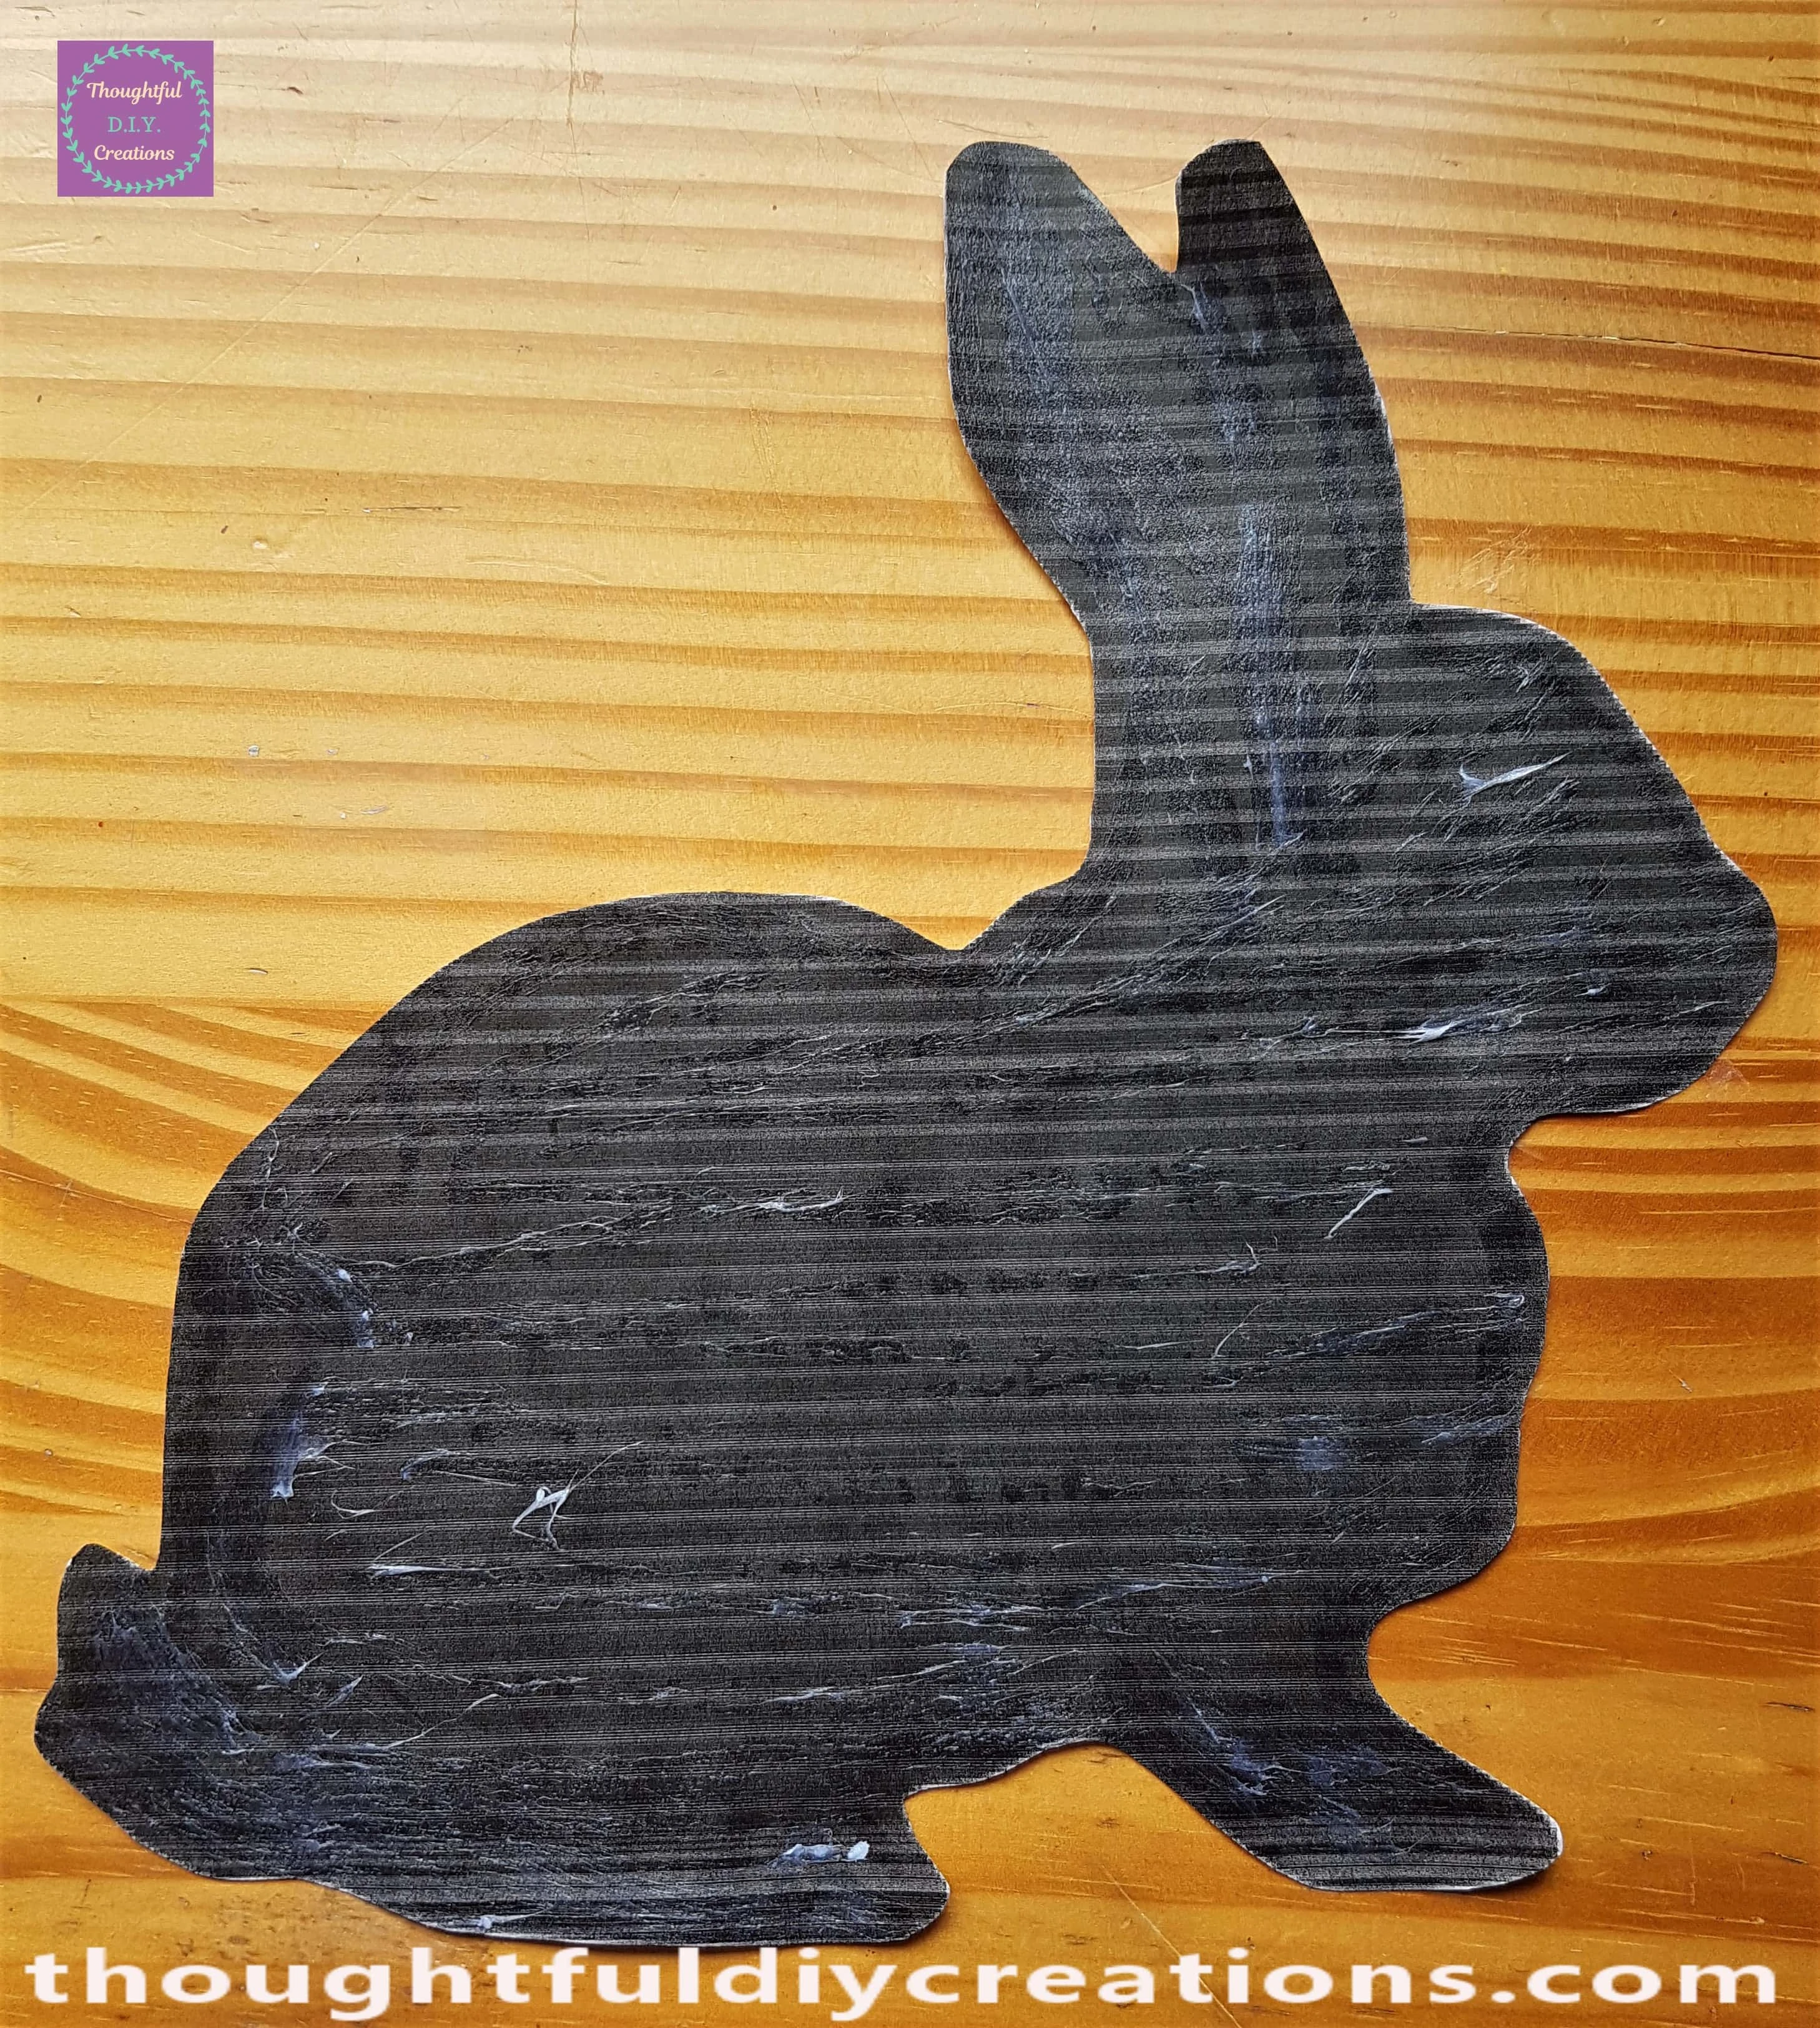
I typed ‘Free-To-Use Easter Rabbit Silhouette’ into Google Images. I found an Image I liked and Saved it to my Computer.
I Printed the Image on Normal Printer Paper and the Size Option I chose was 20 x 25 cm (1). I unticked the Box that says ‘Fit pictute to frame’ to ensure the Full Image would be seen on the Page.
I picked Greyscale in my Printer Options to Save on Ink as I just need the Template of the Rabbit, the black won’t be seen.
This is how the Easter Rabbit appeared after being Printed.
I Cut around the Easter Rabbit Template using a small sharp scissors.

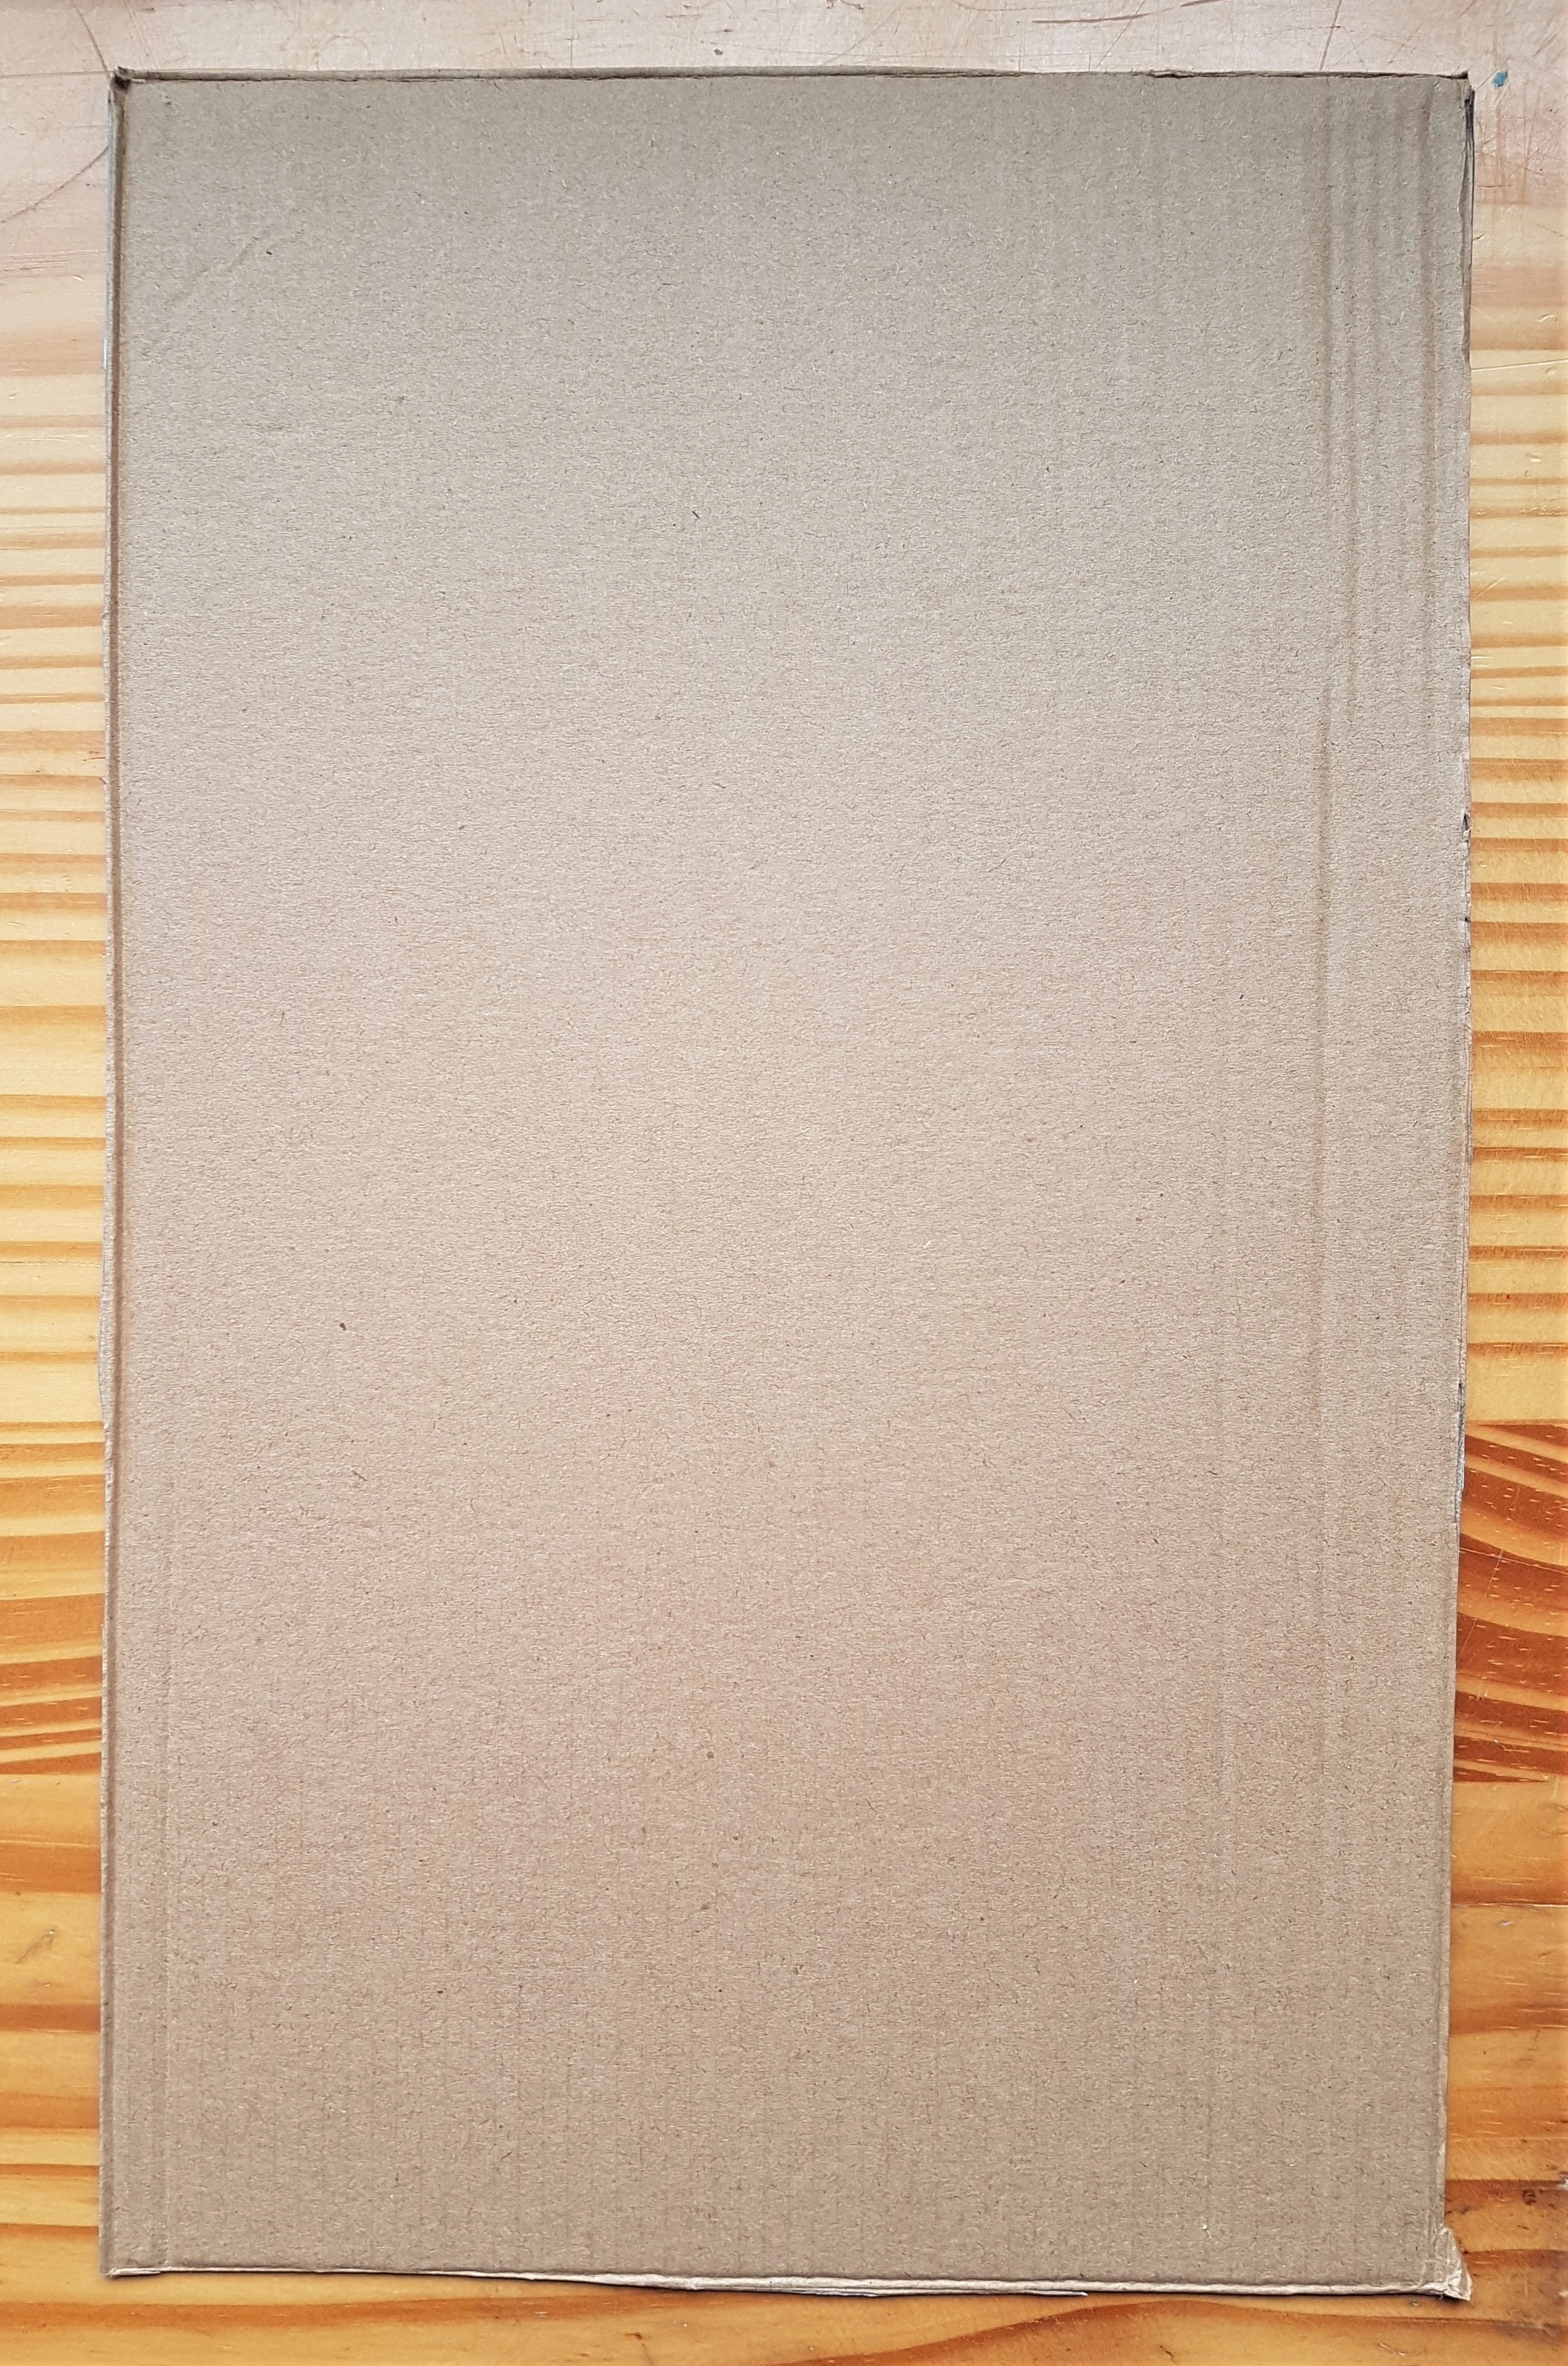
Cardboard for the Base of the Easter Rabbit
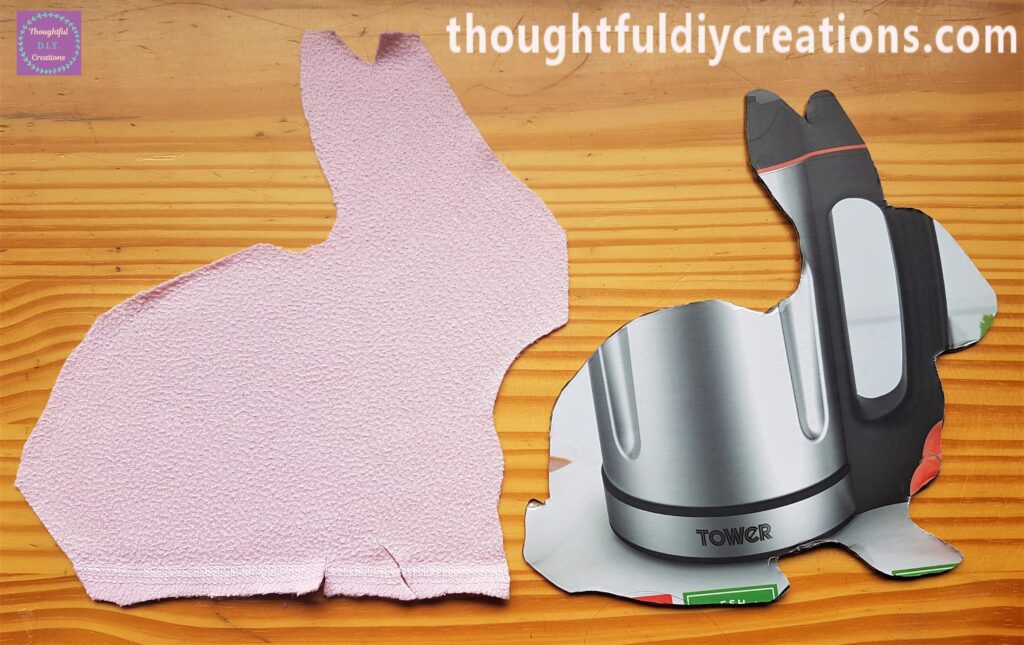
I Cut out a Piece of Cardboard from an old Box I had kept in my Supplies.
Attaching the Template to the Cardboard
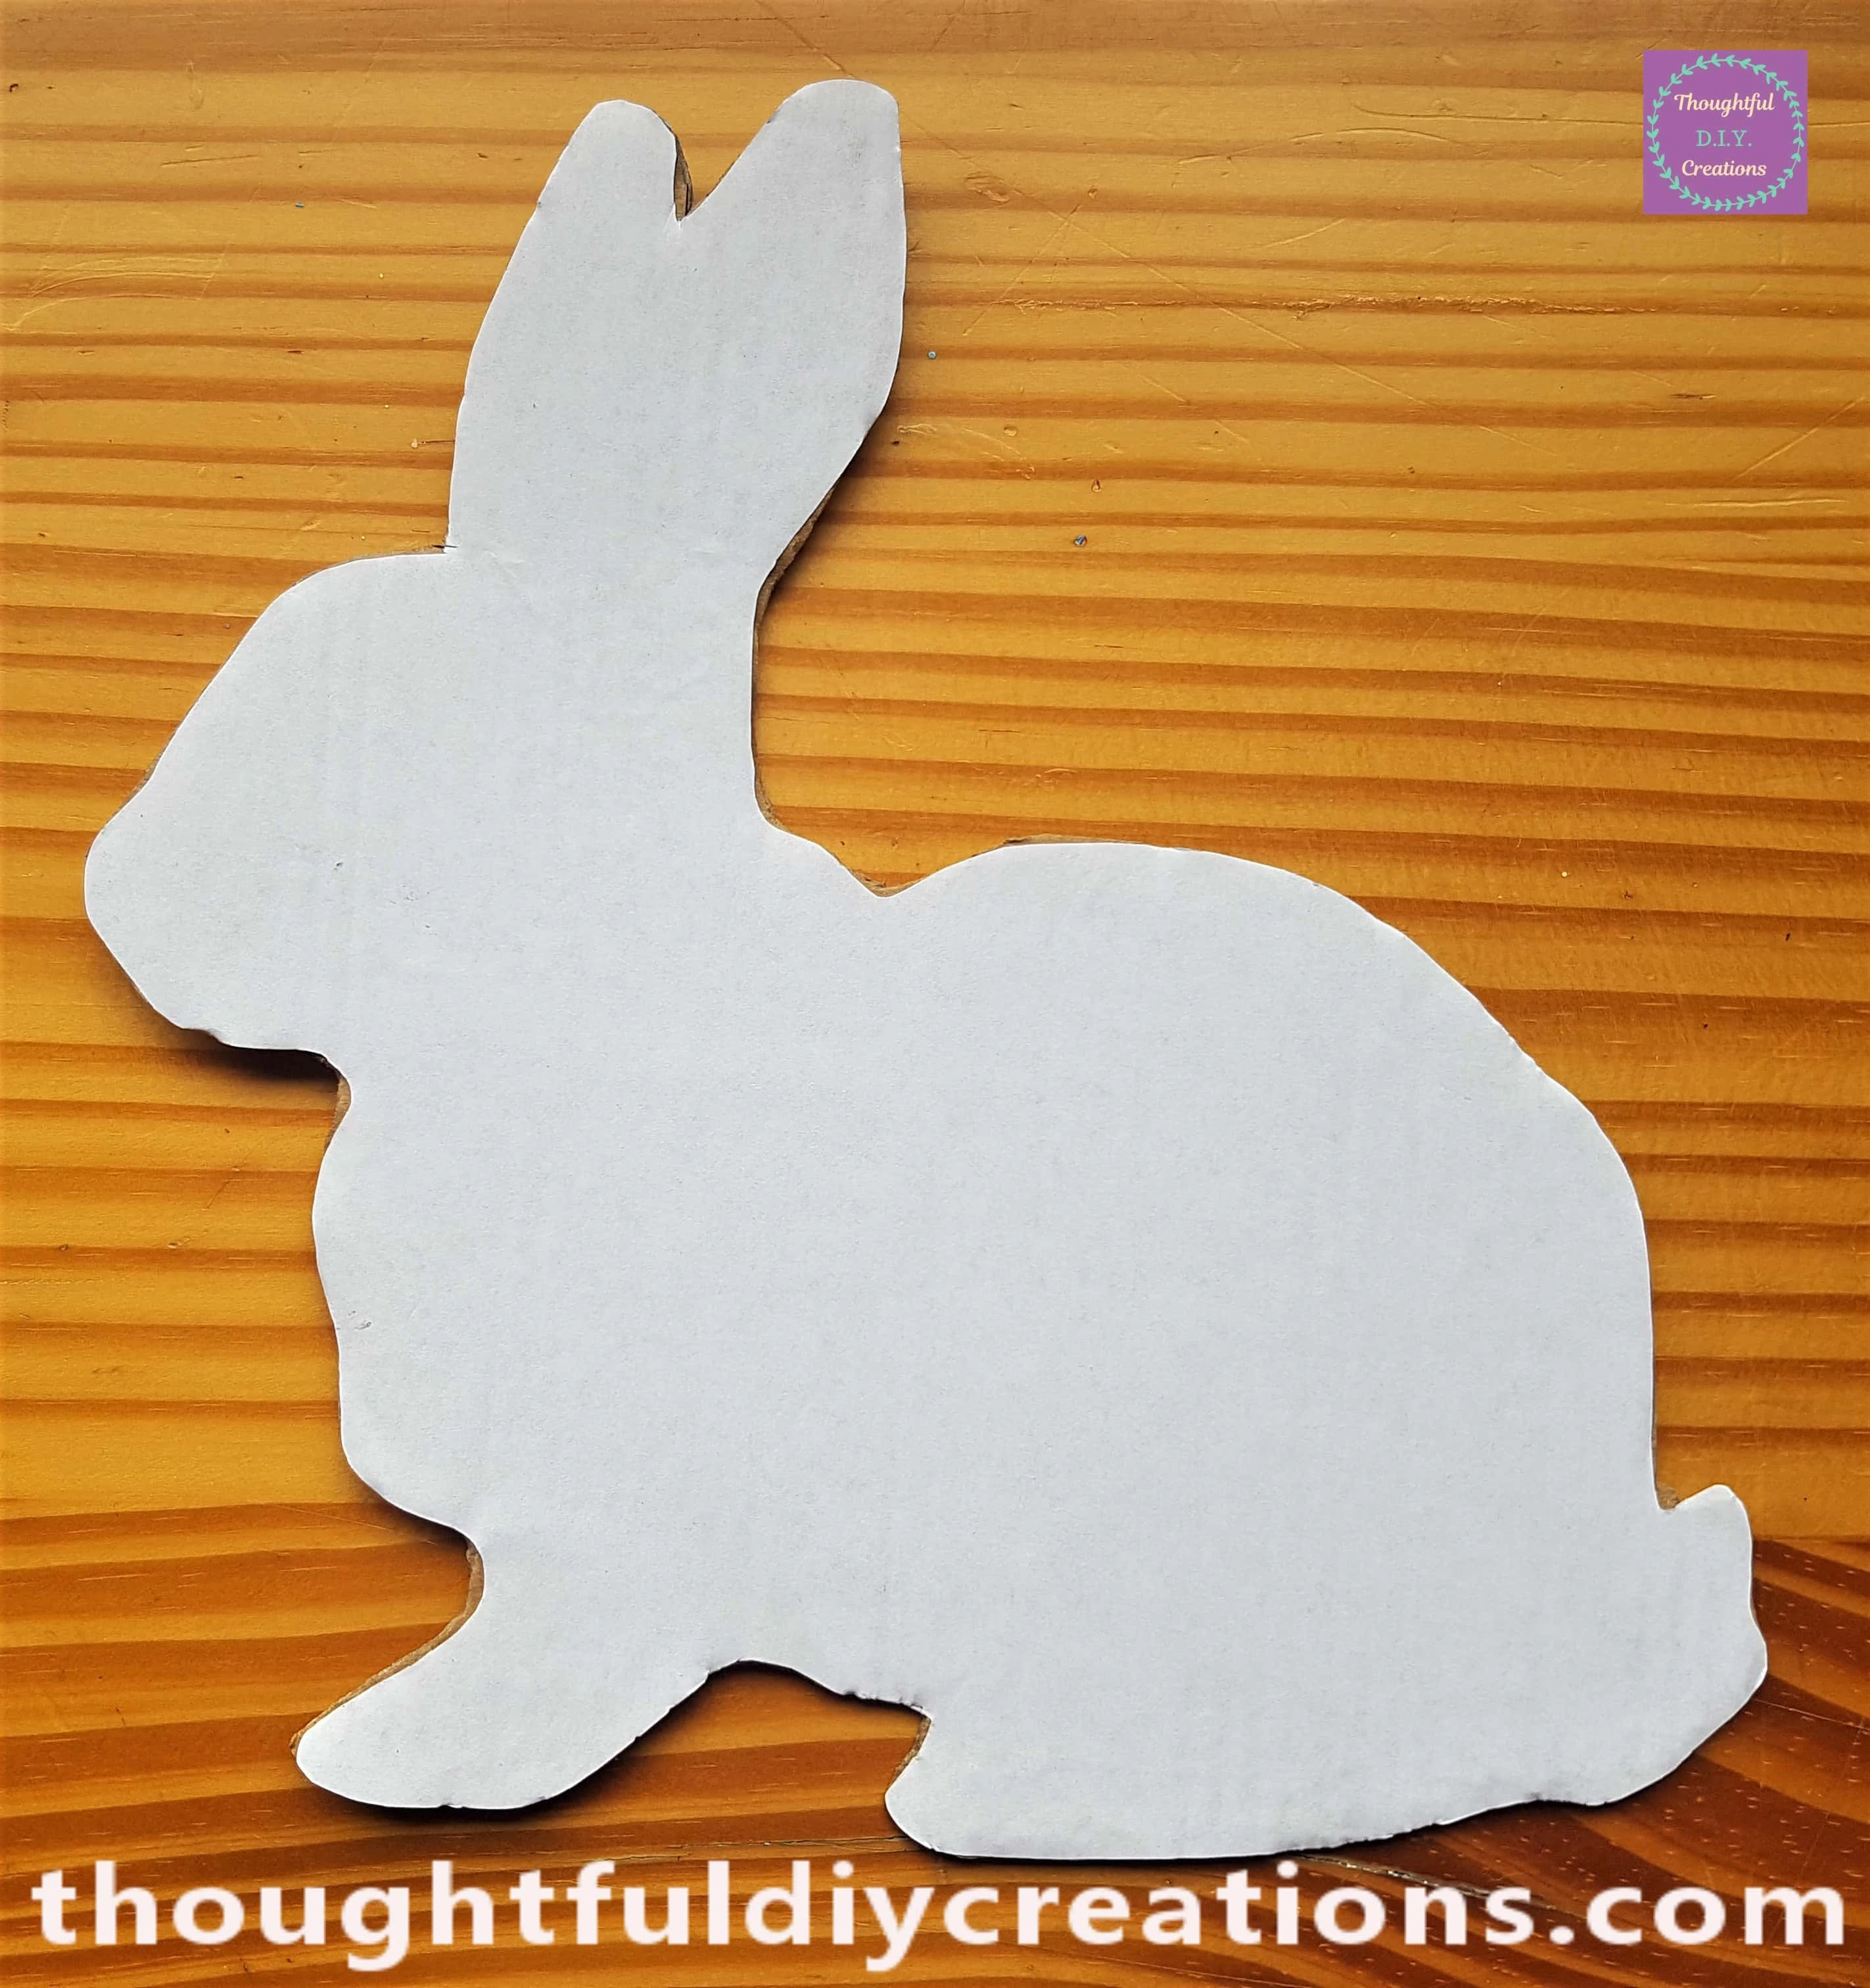
I wanted my Easter Rabbit to face the other direction so I put Pritt Stick all over the black side of the Silhouette.
I adhered the Rabbit to the Cardboard.

I Cut around the Rabbit Shape with a Strong Scissors. I now had the base for my Easter Rabbit Craft.
Material for the Easter Rabbit Craft
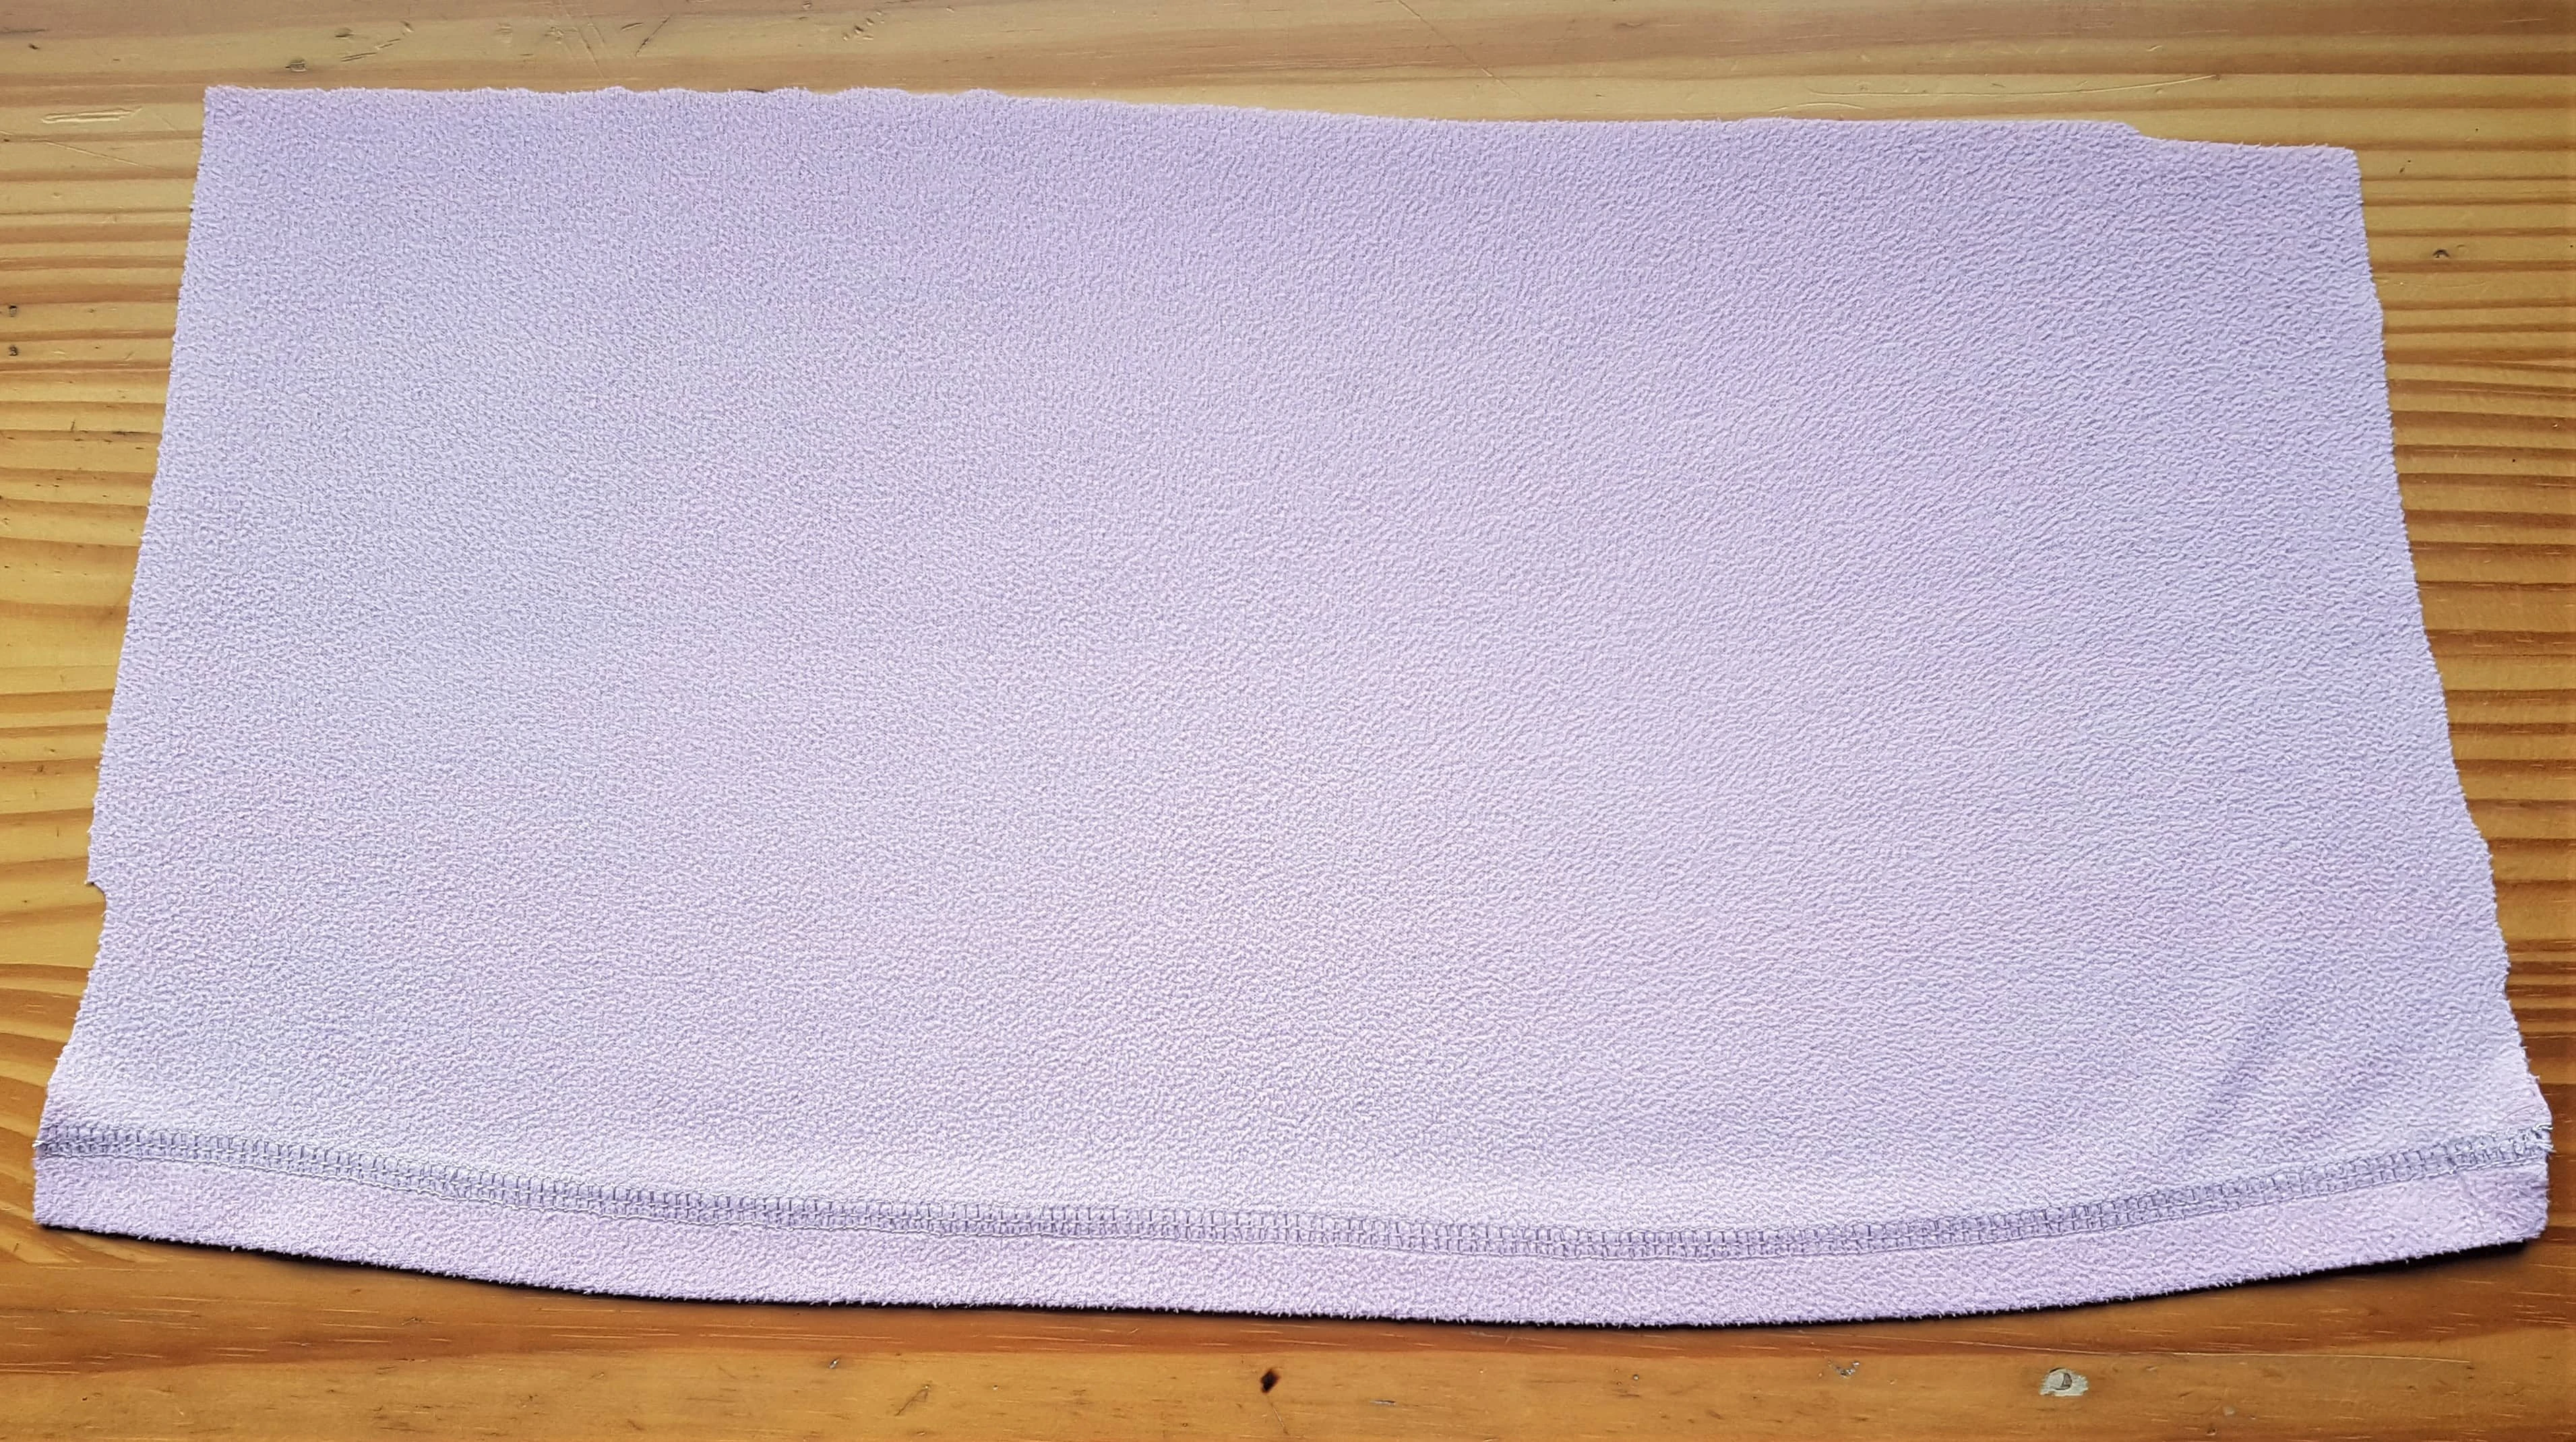
I had a light Pink fleece in my Supplies. It was from an old Pyjamas Top which no longer fit me. I also used this Top to make my Hot Air Balloon.
I Ironed the Fleece on the Cotton Setting with No Steam.
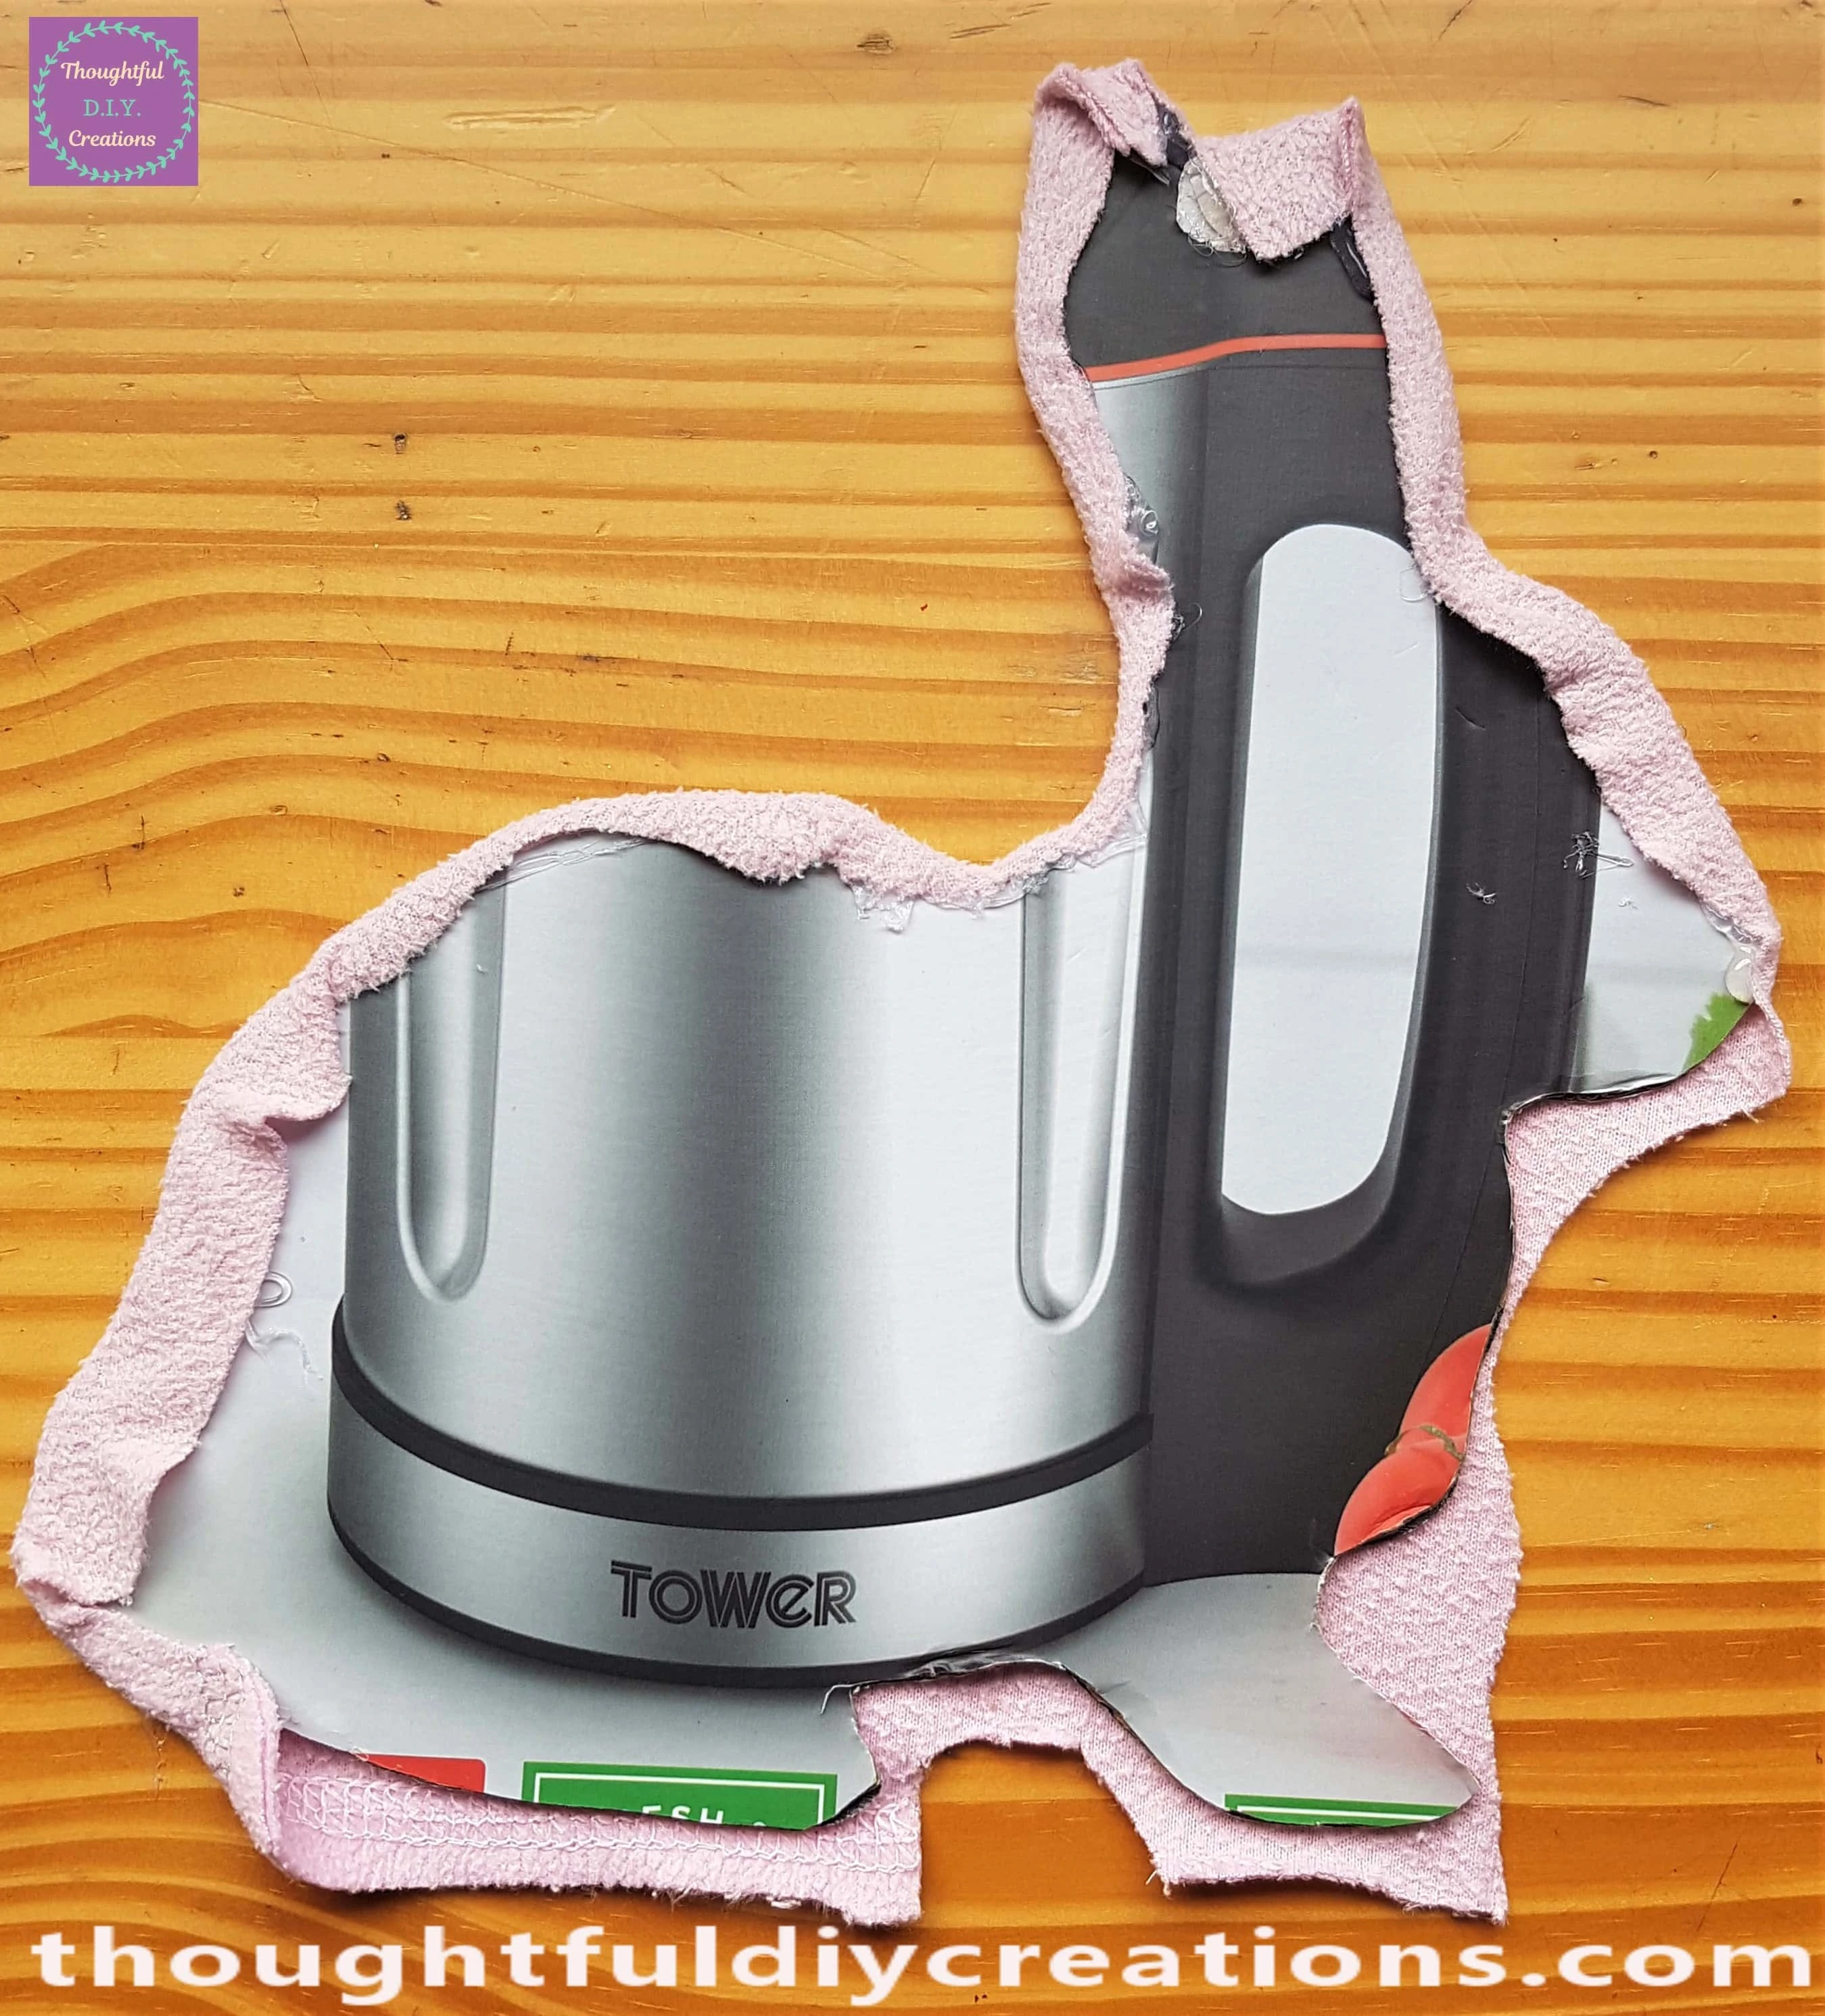
I put the Cardboard Rabbit on top of the Pink Fleece and Cut around it leaving a wider border all around.
This shows the back of the Pink Fleece after being Cut out beside the back of the Cardboard Rabbit.
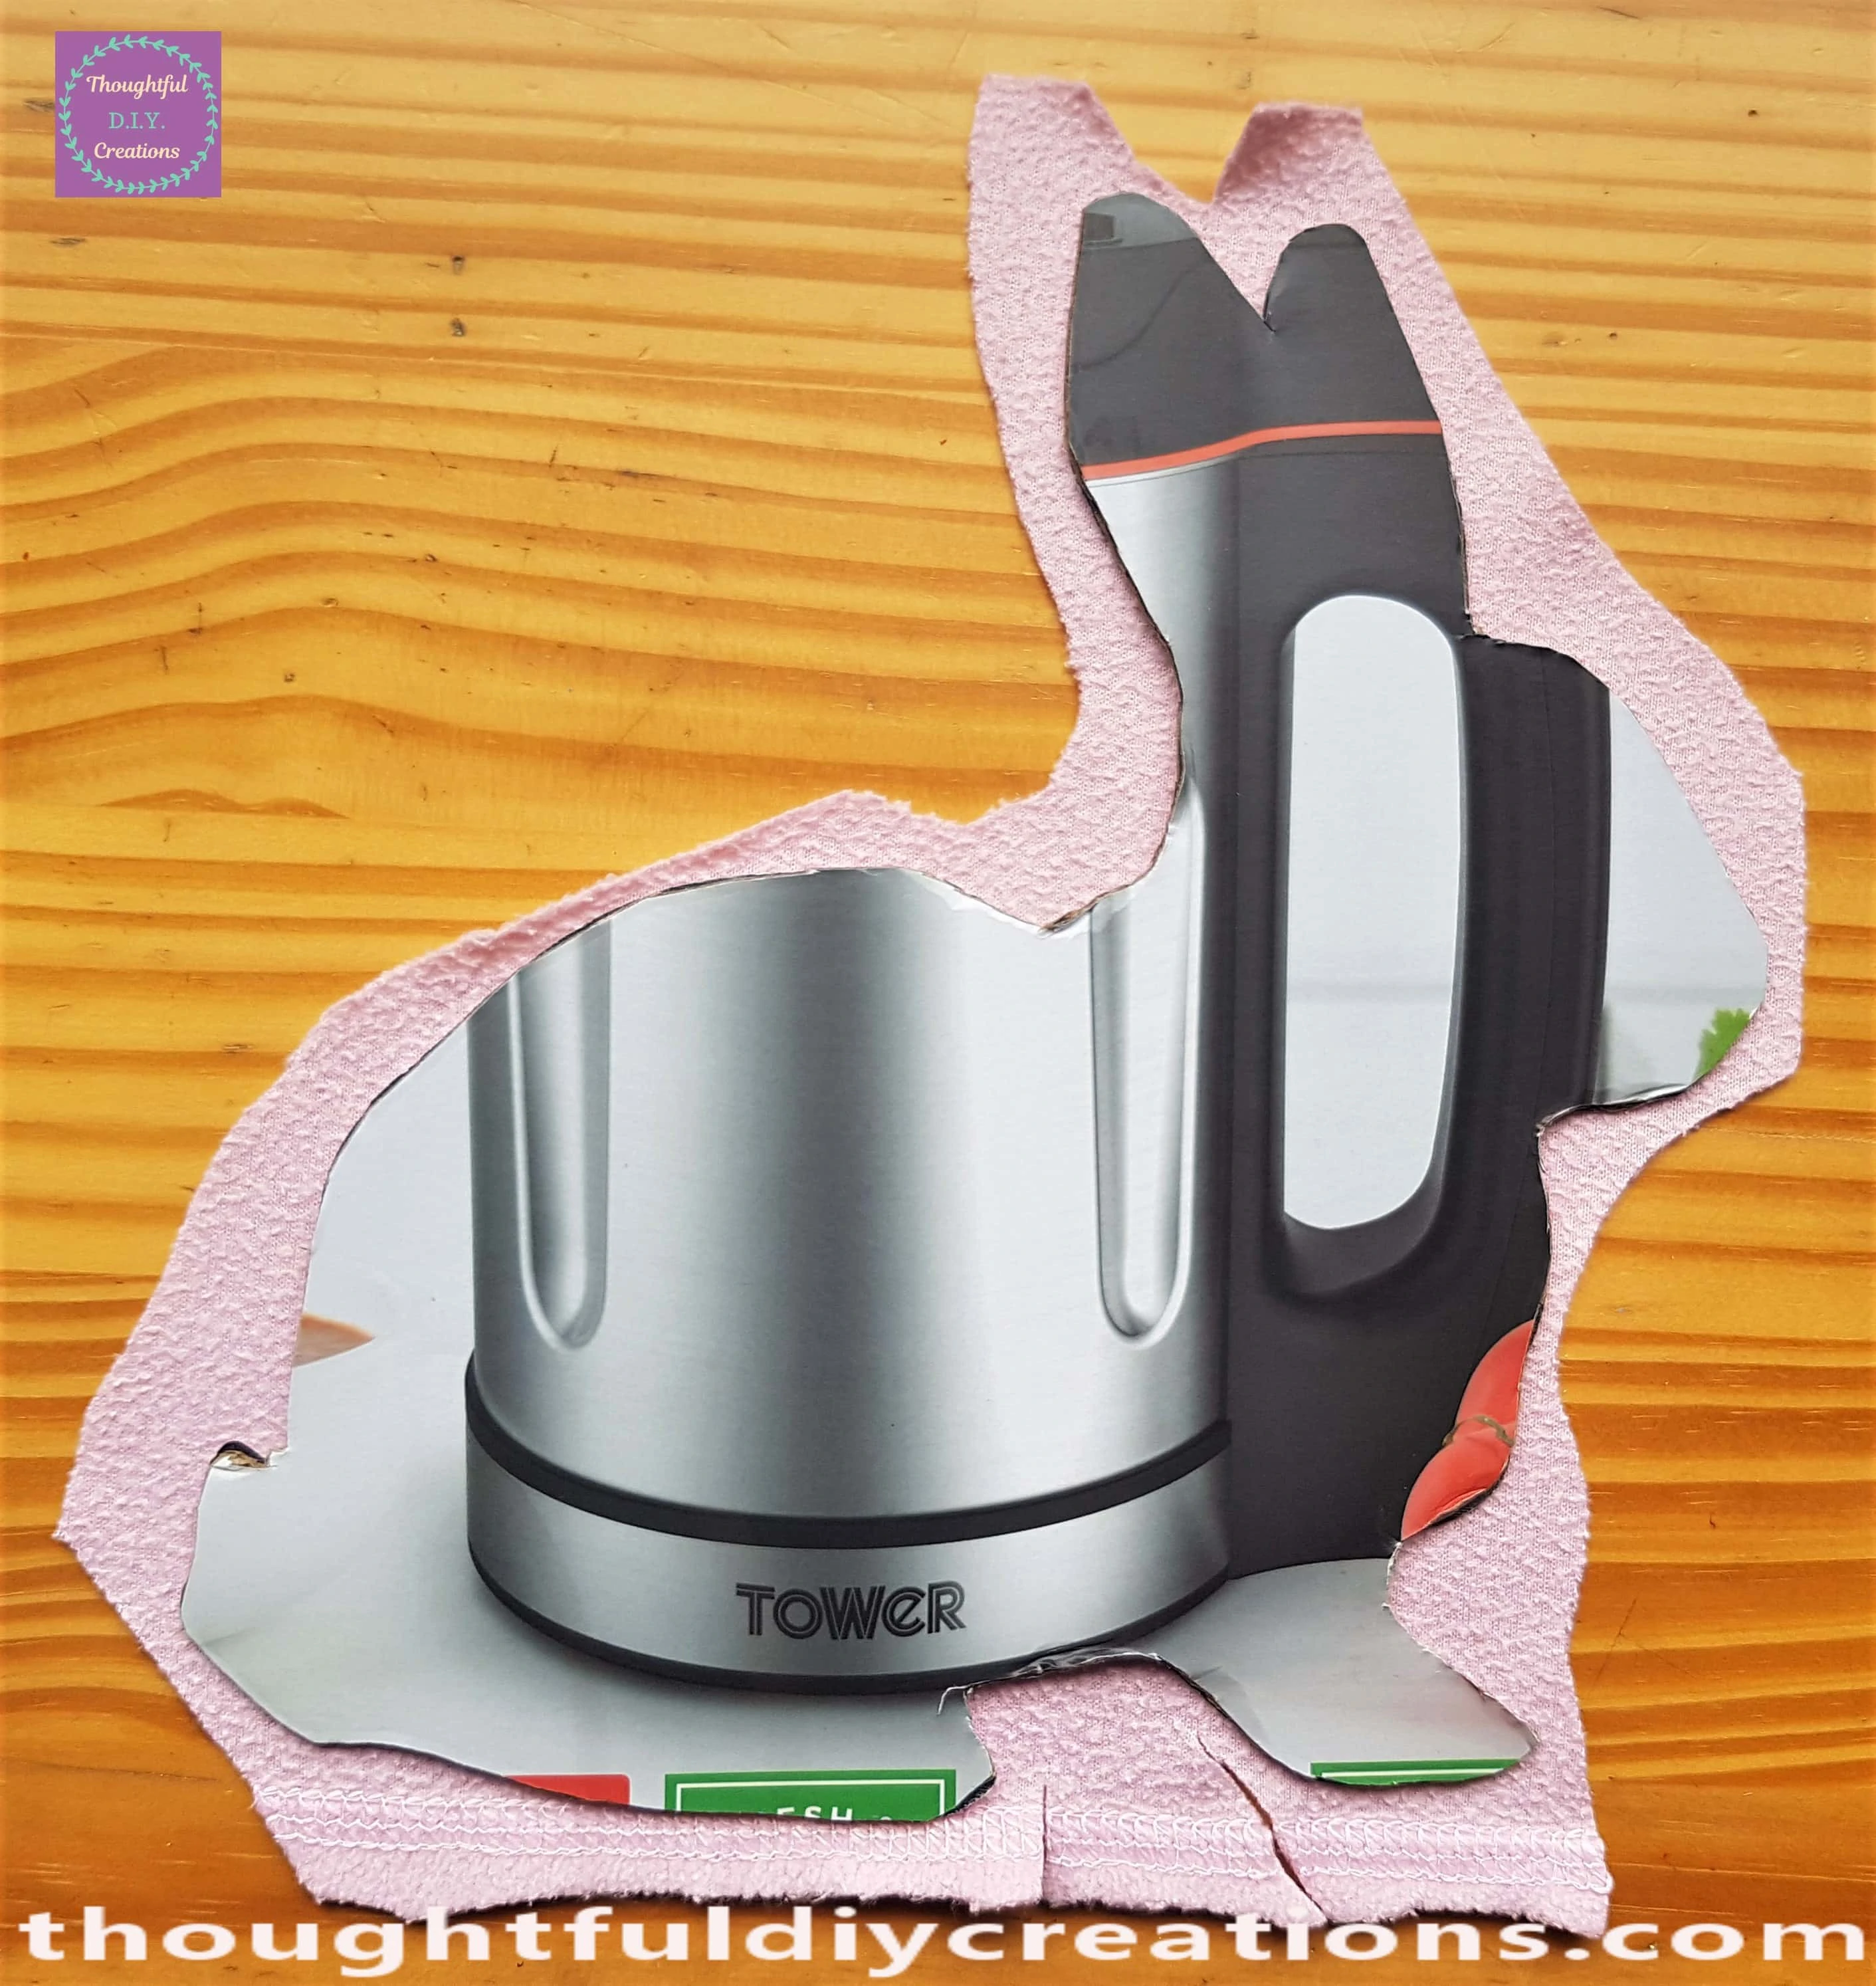
I put the Fleece face down on the Table. I put the Rabbit face down on top of the fleece leaving the border all around the outside of the Cardboard.
Gluing the Fleece to the Cardboard Rabbit
I Plugged in my Hot Glue Gun with Clear Glue Stick inside. I let it Heat Up for 5 minutes.
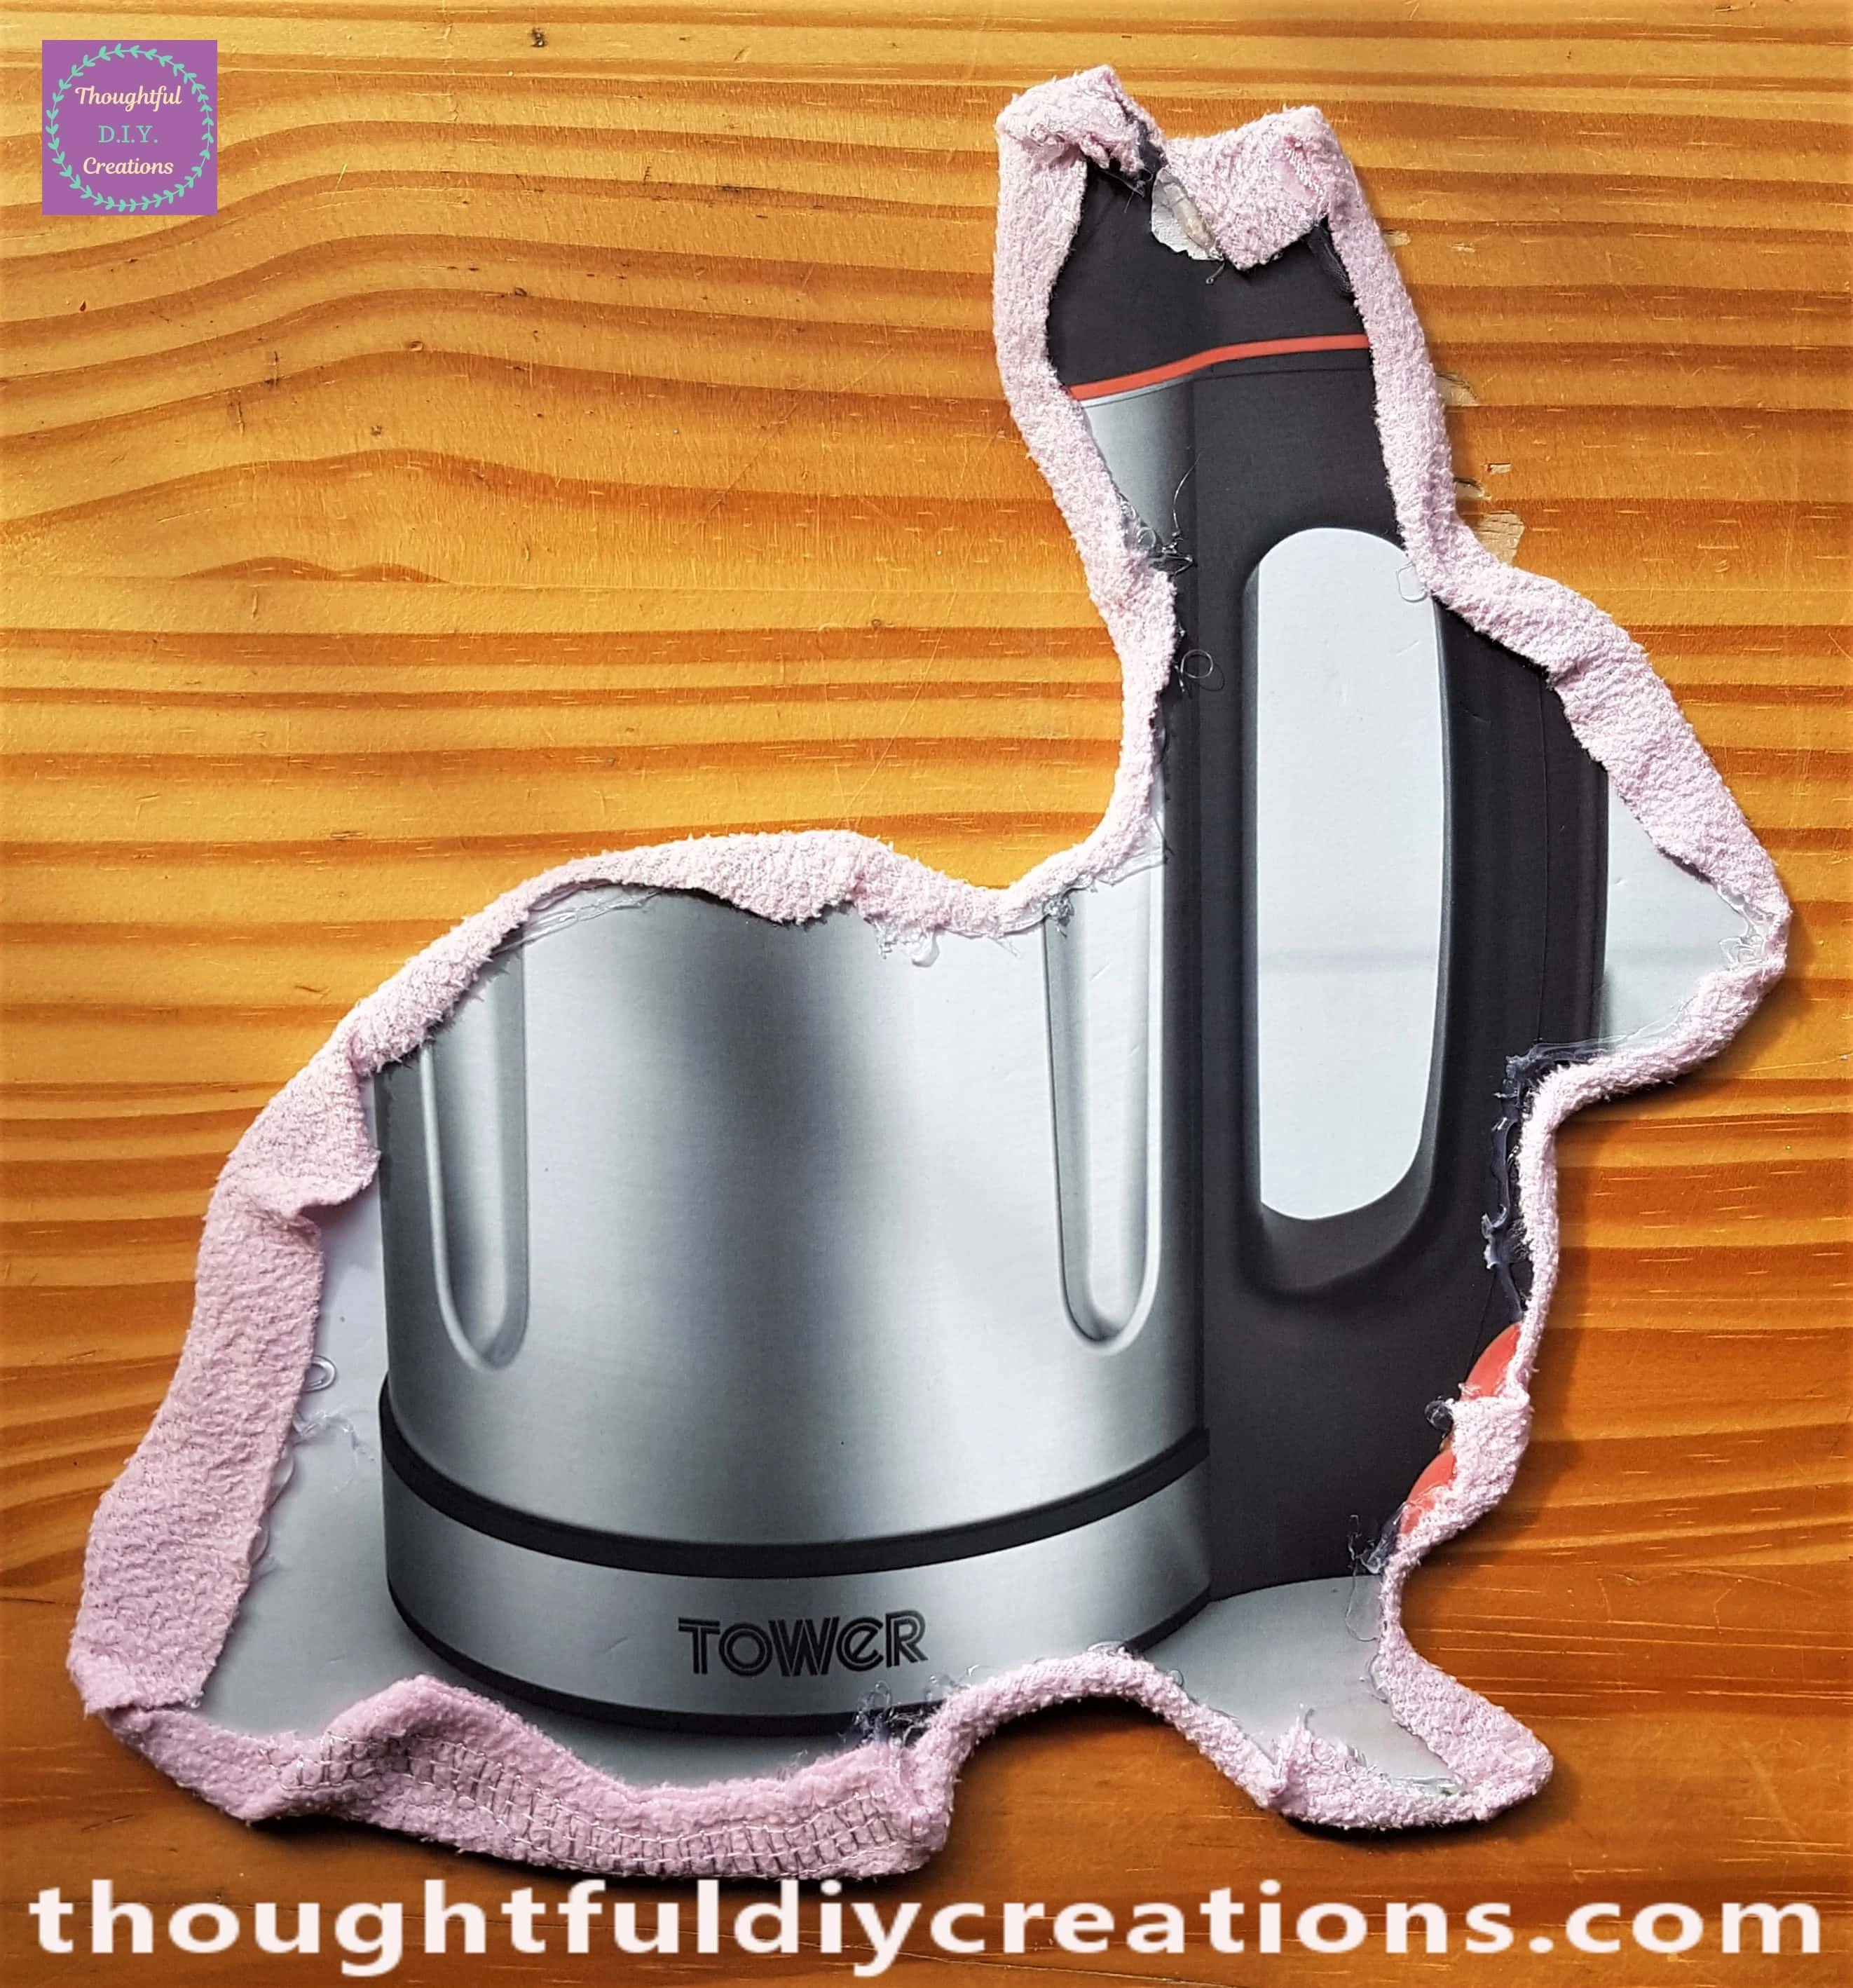
I put a strip of Hot Glue on the back of the Cardboard Rabbit and folded the fleece over the Glue to secure it in place.
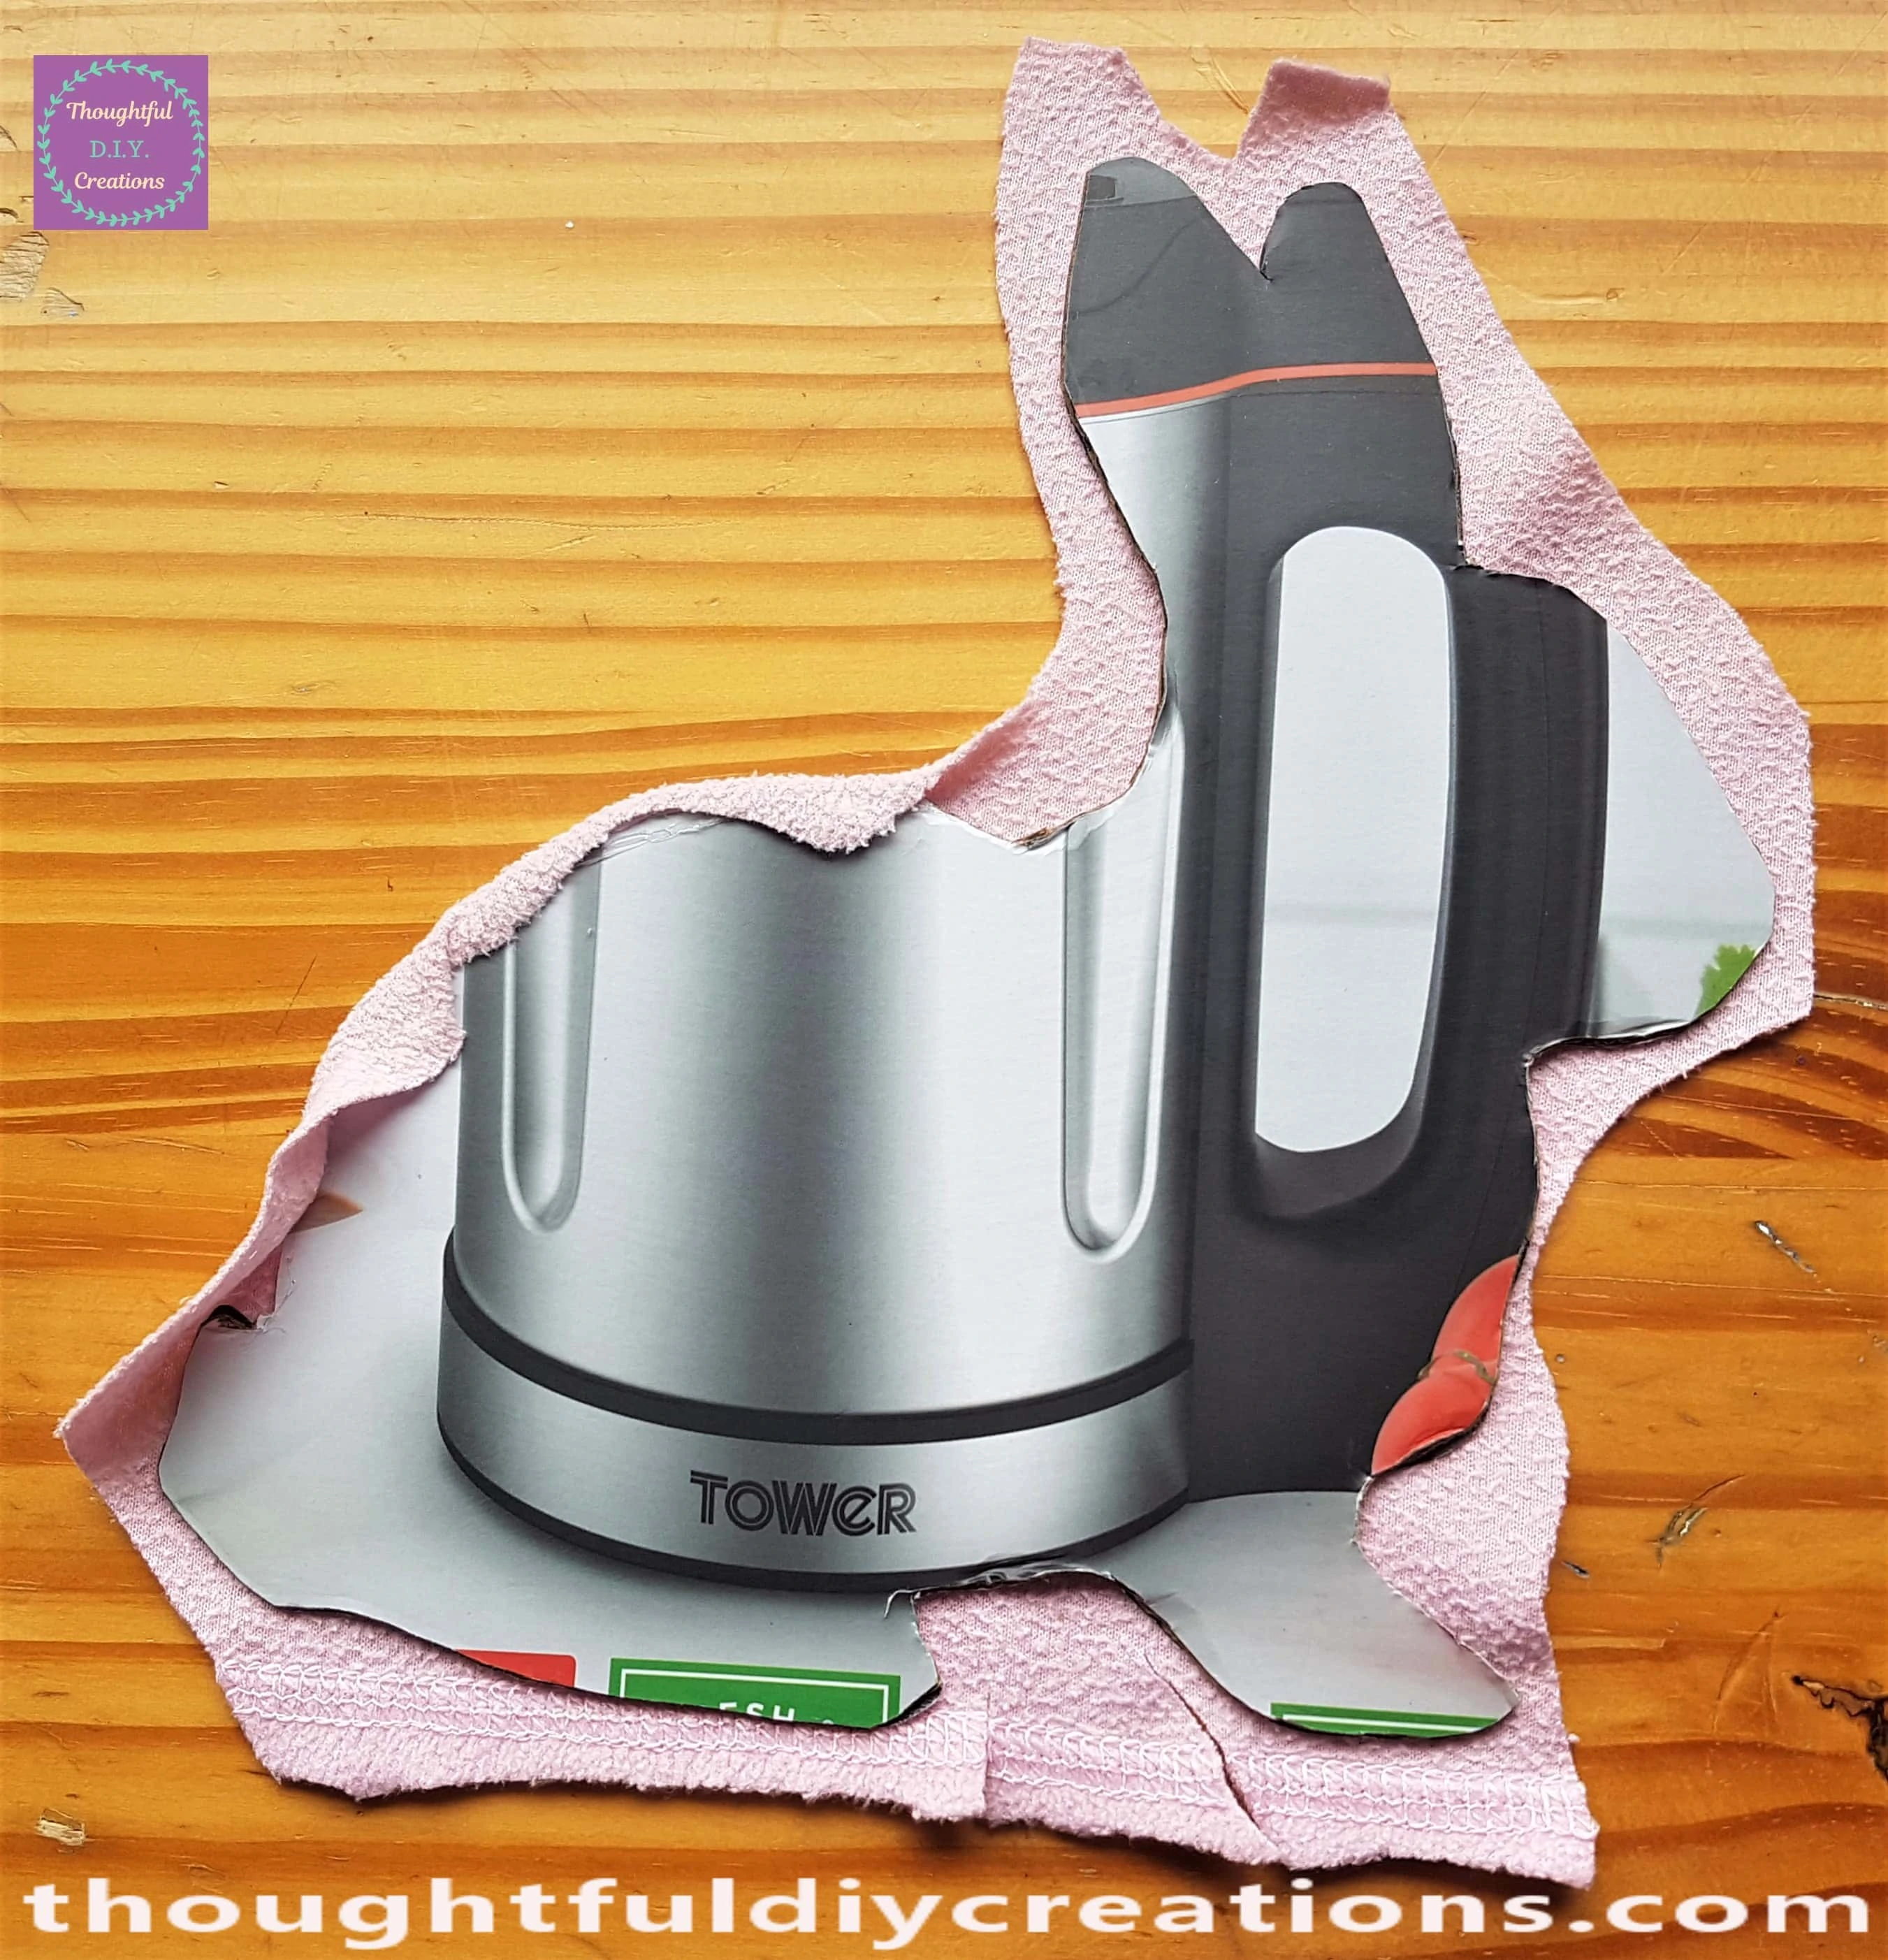
I then added more Hot Glue to the next section of the Cardboard and attached the material to it.
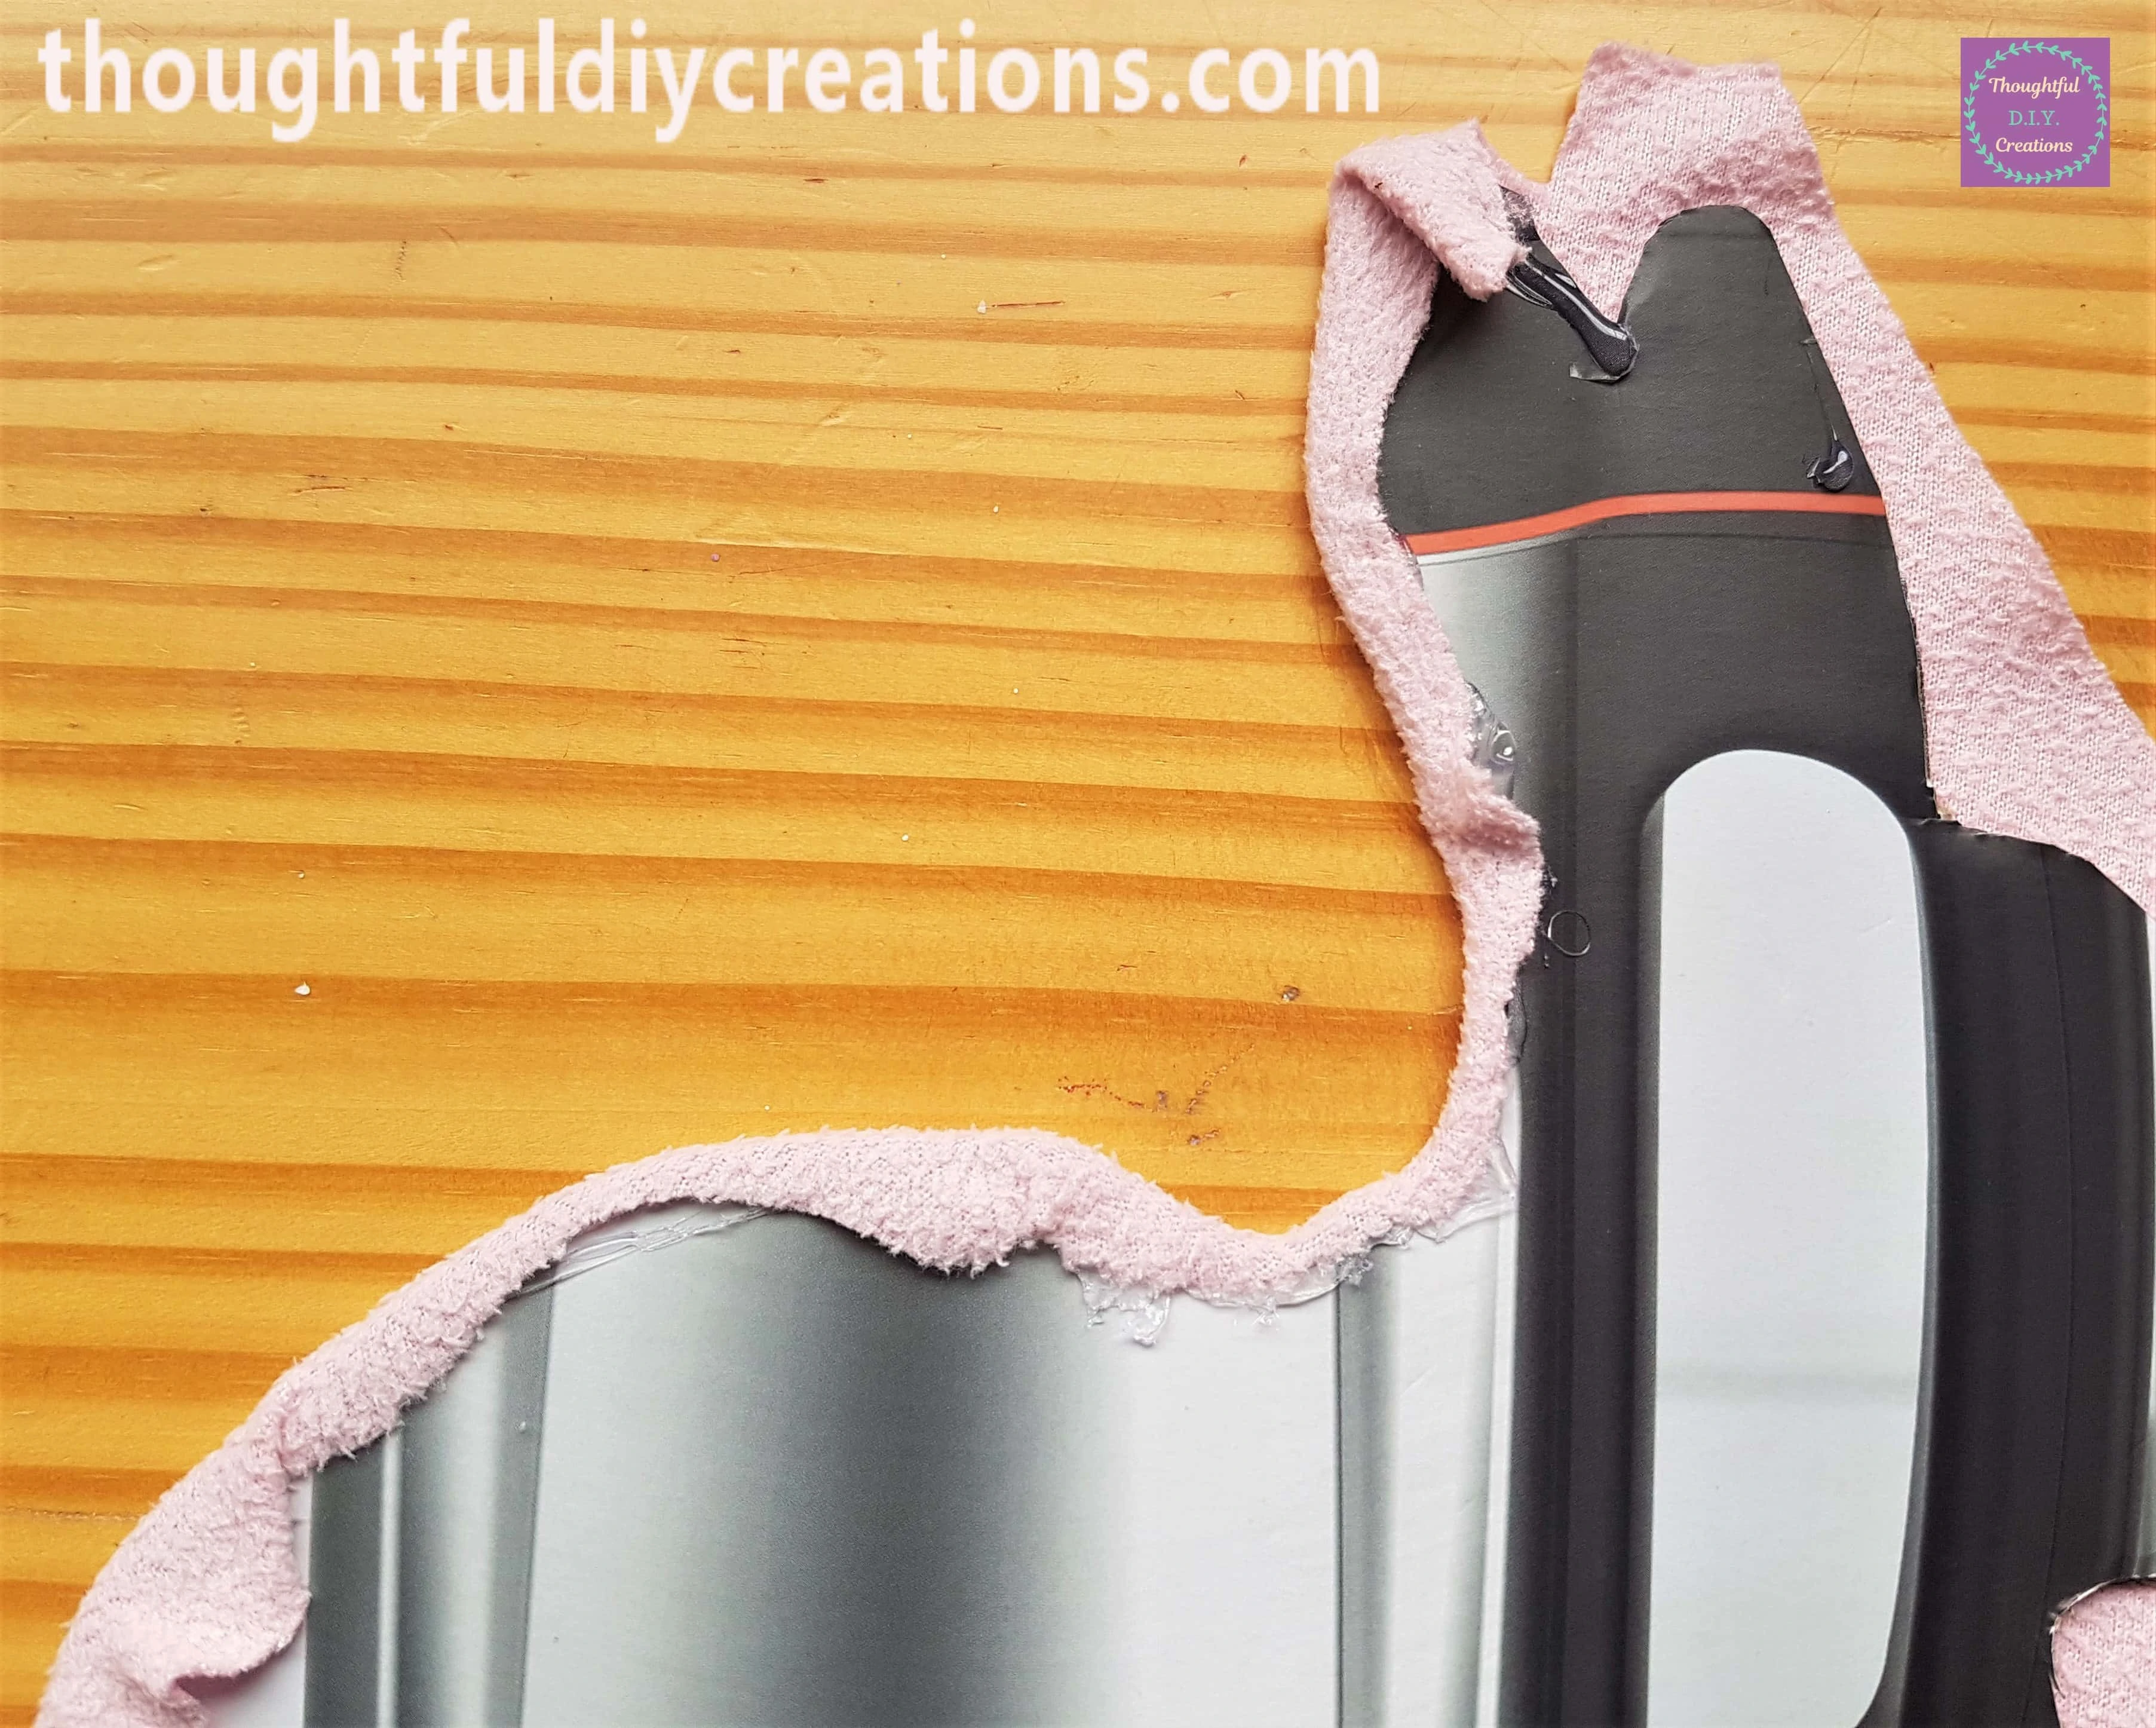
I worked on the Rabbit’s face next. I pulled the material tight to ensure it was being attached smoothly.
I continued working in sections until the Fleece was attached to every part of the Easter Rabbit.
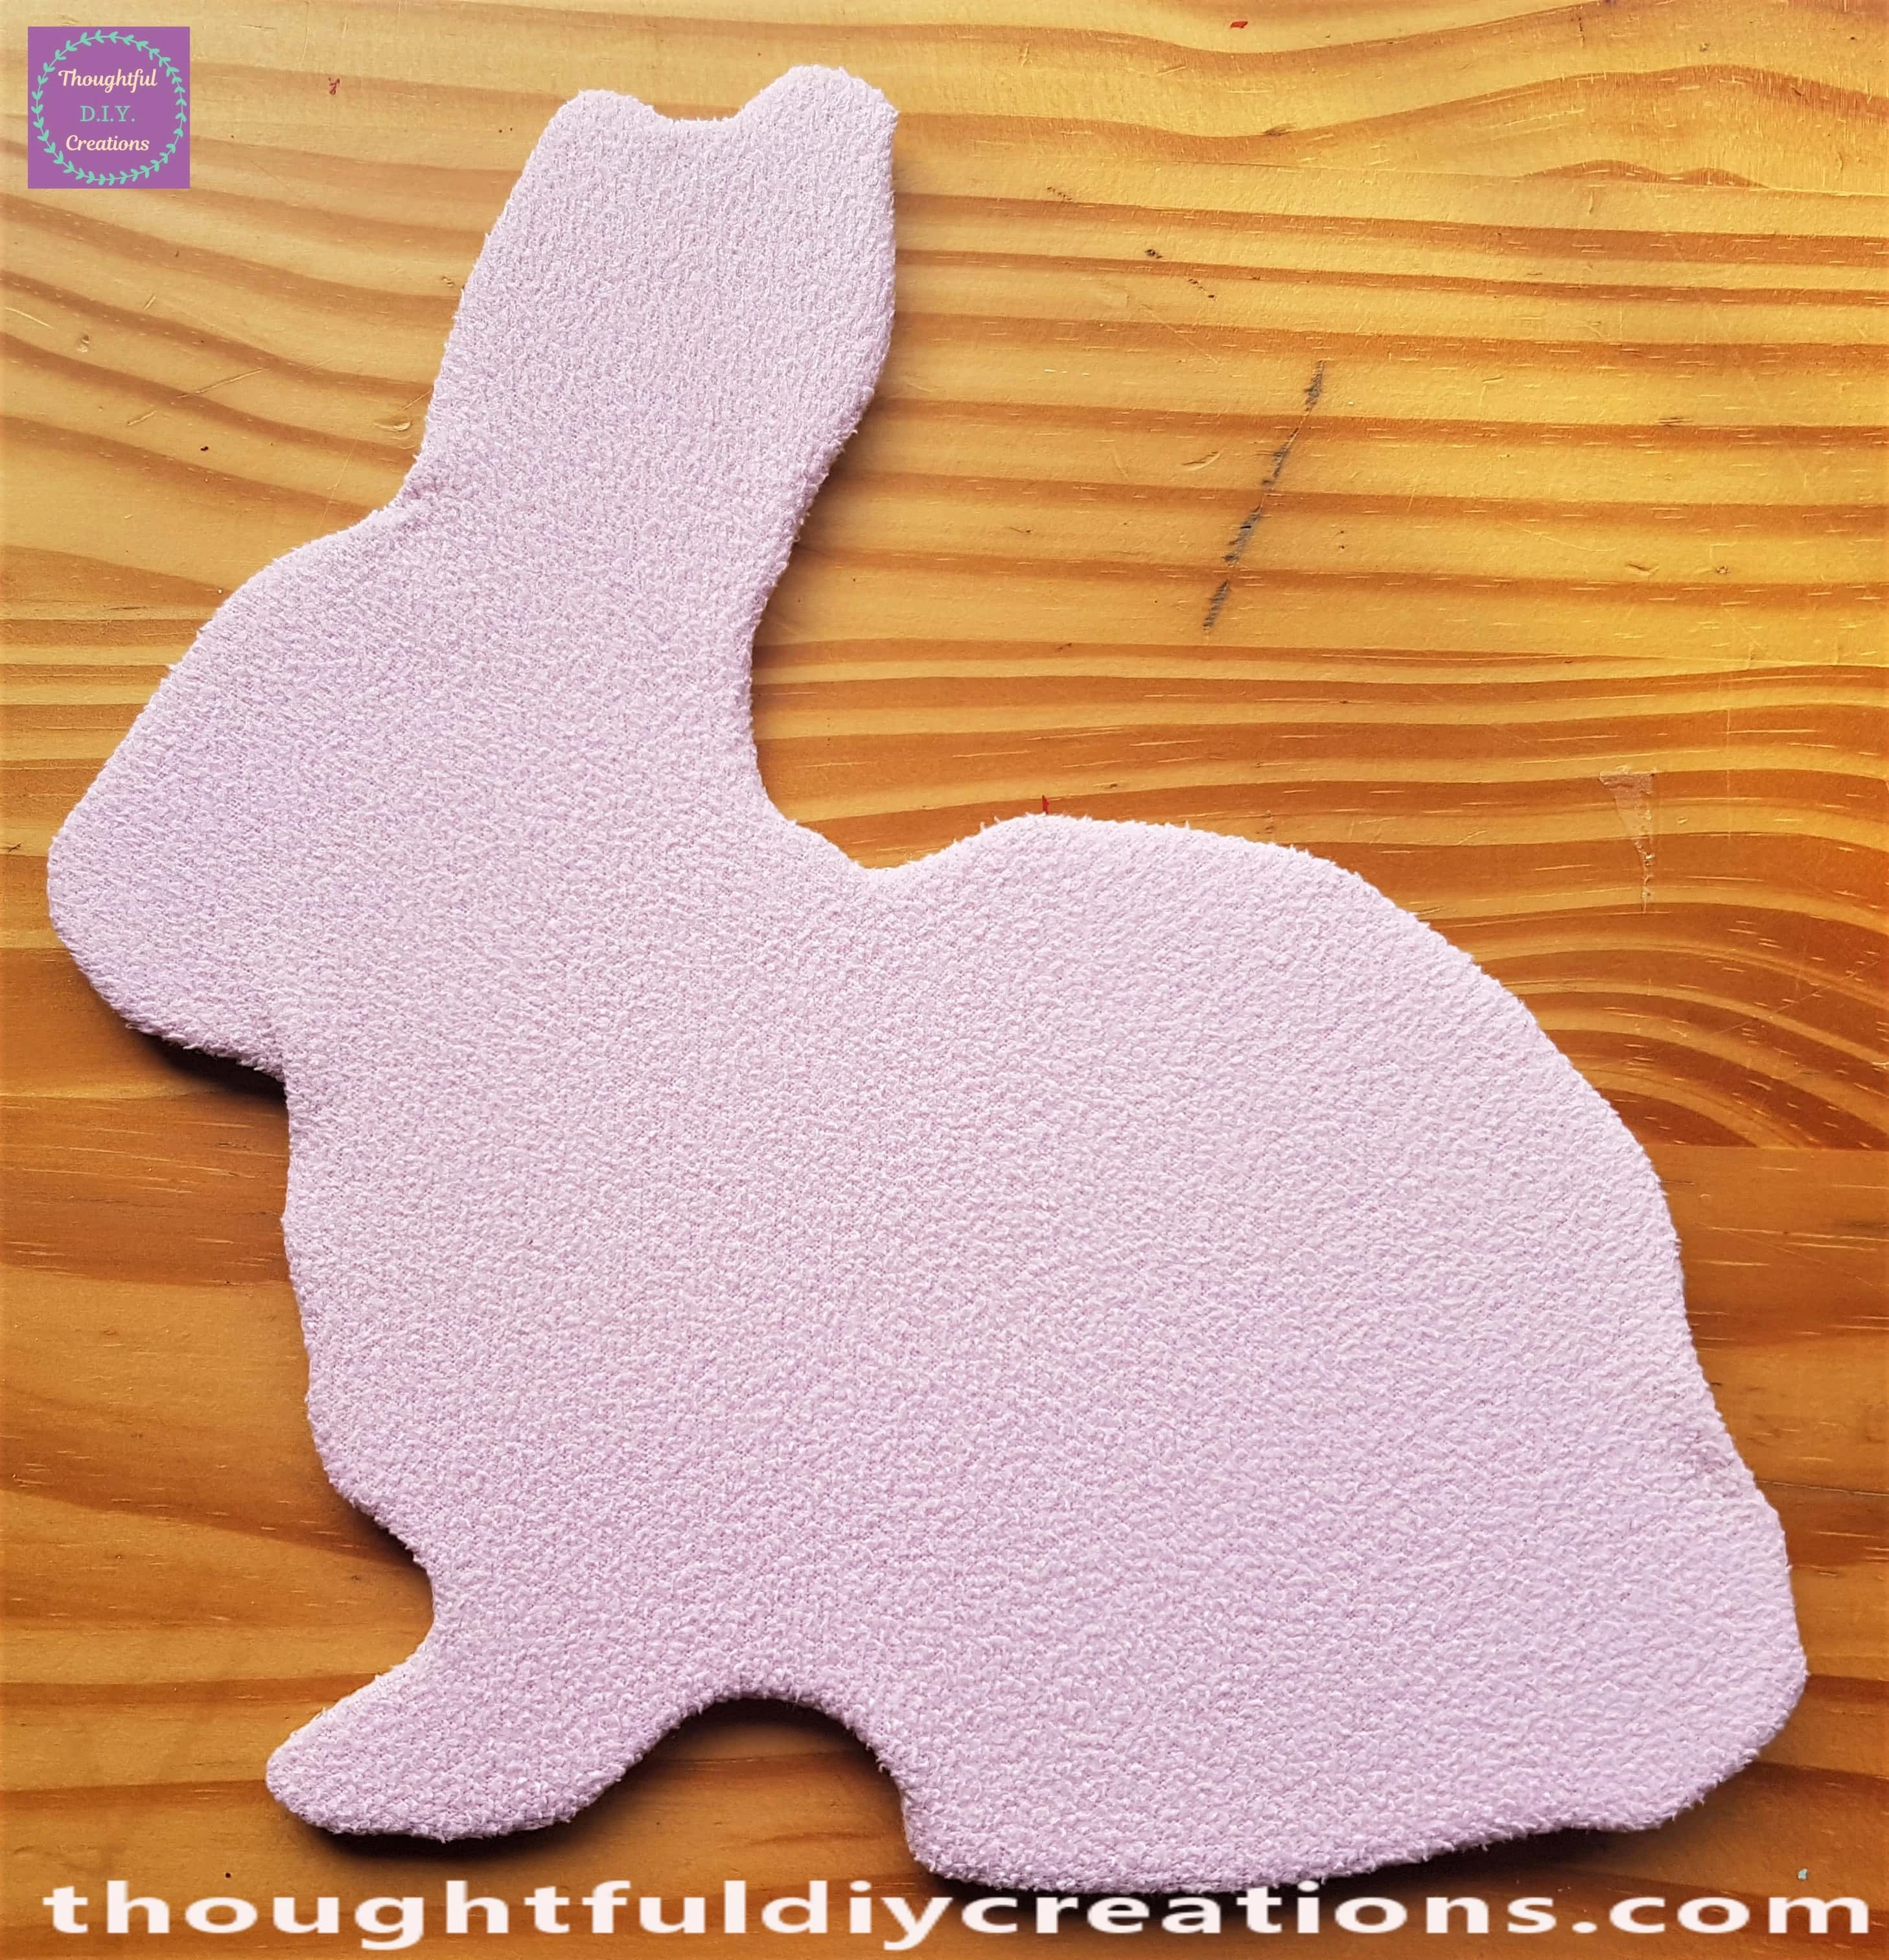
I turned the Easter Rabbit the right way around to see the results on how it turned out.
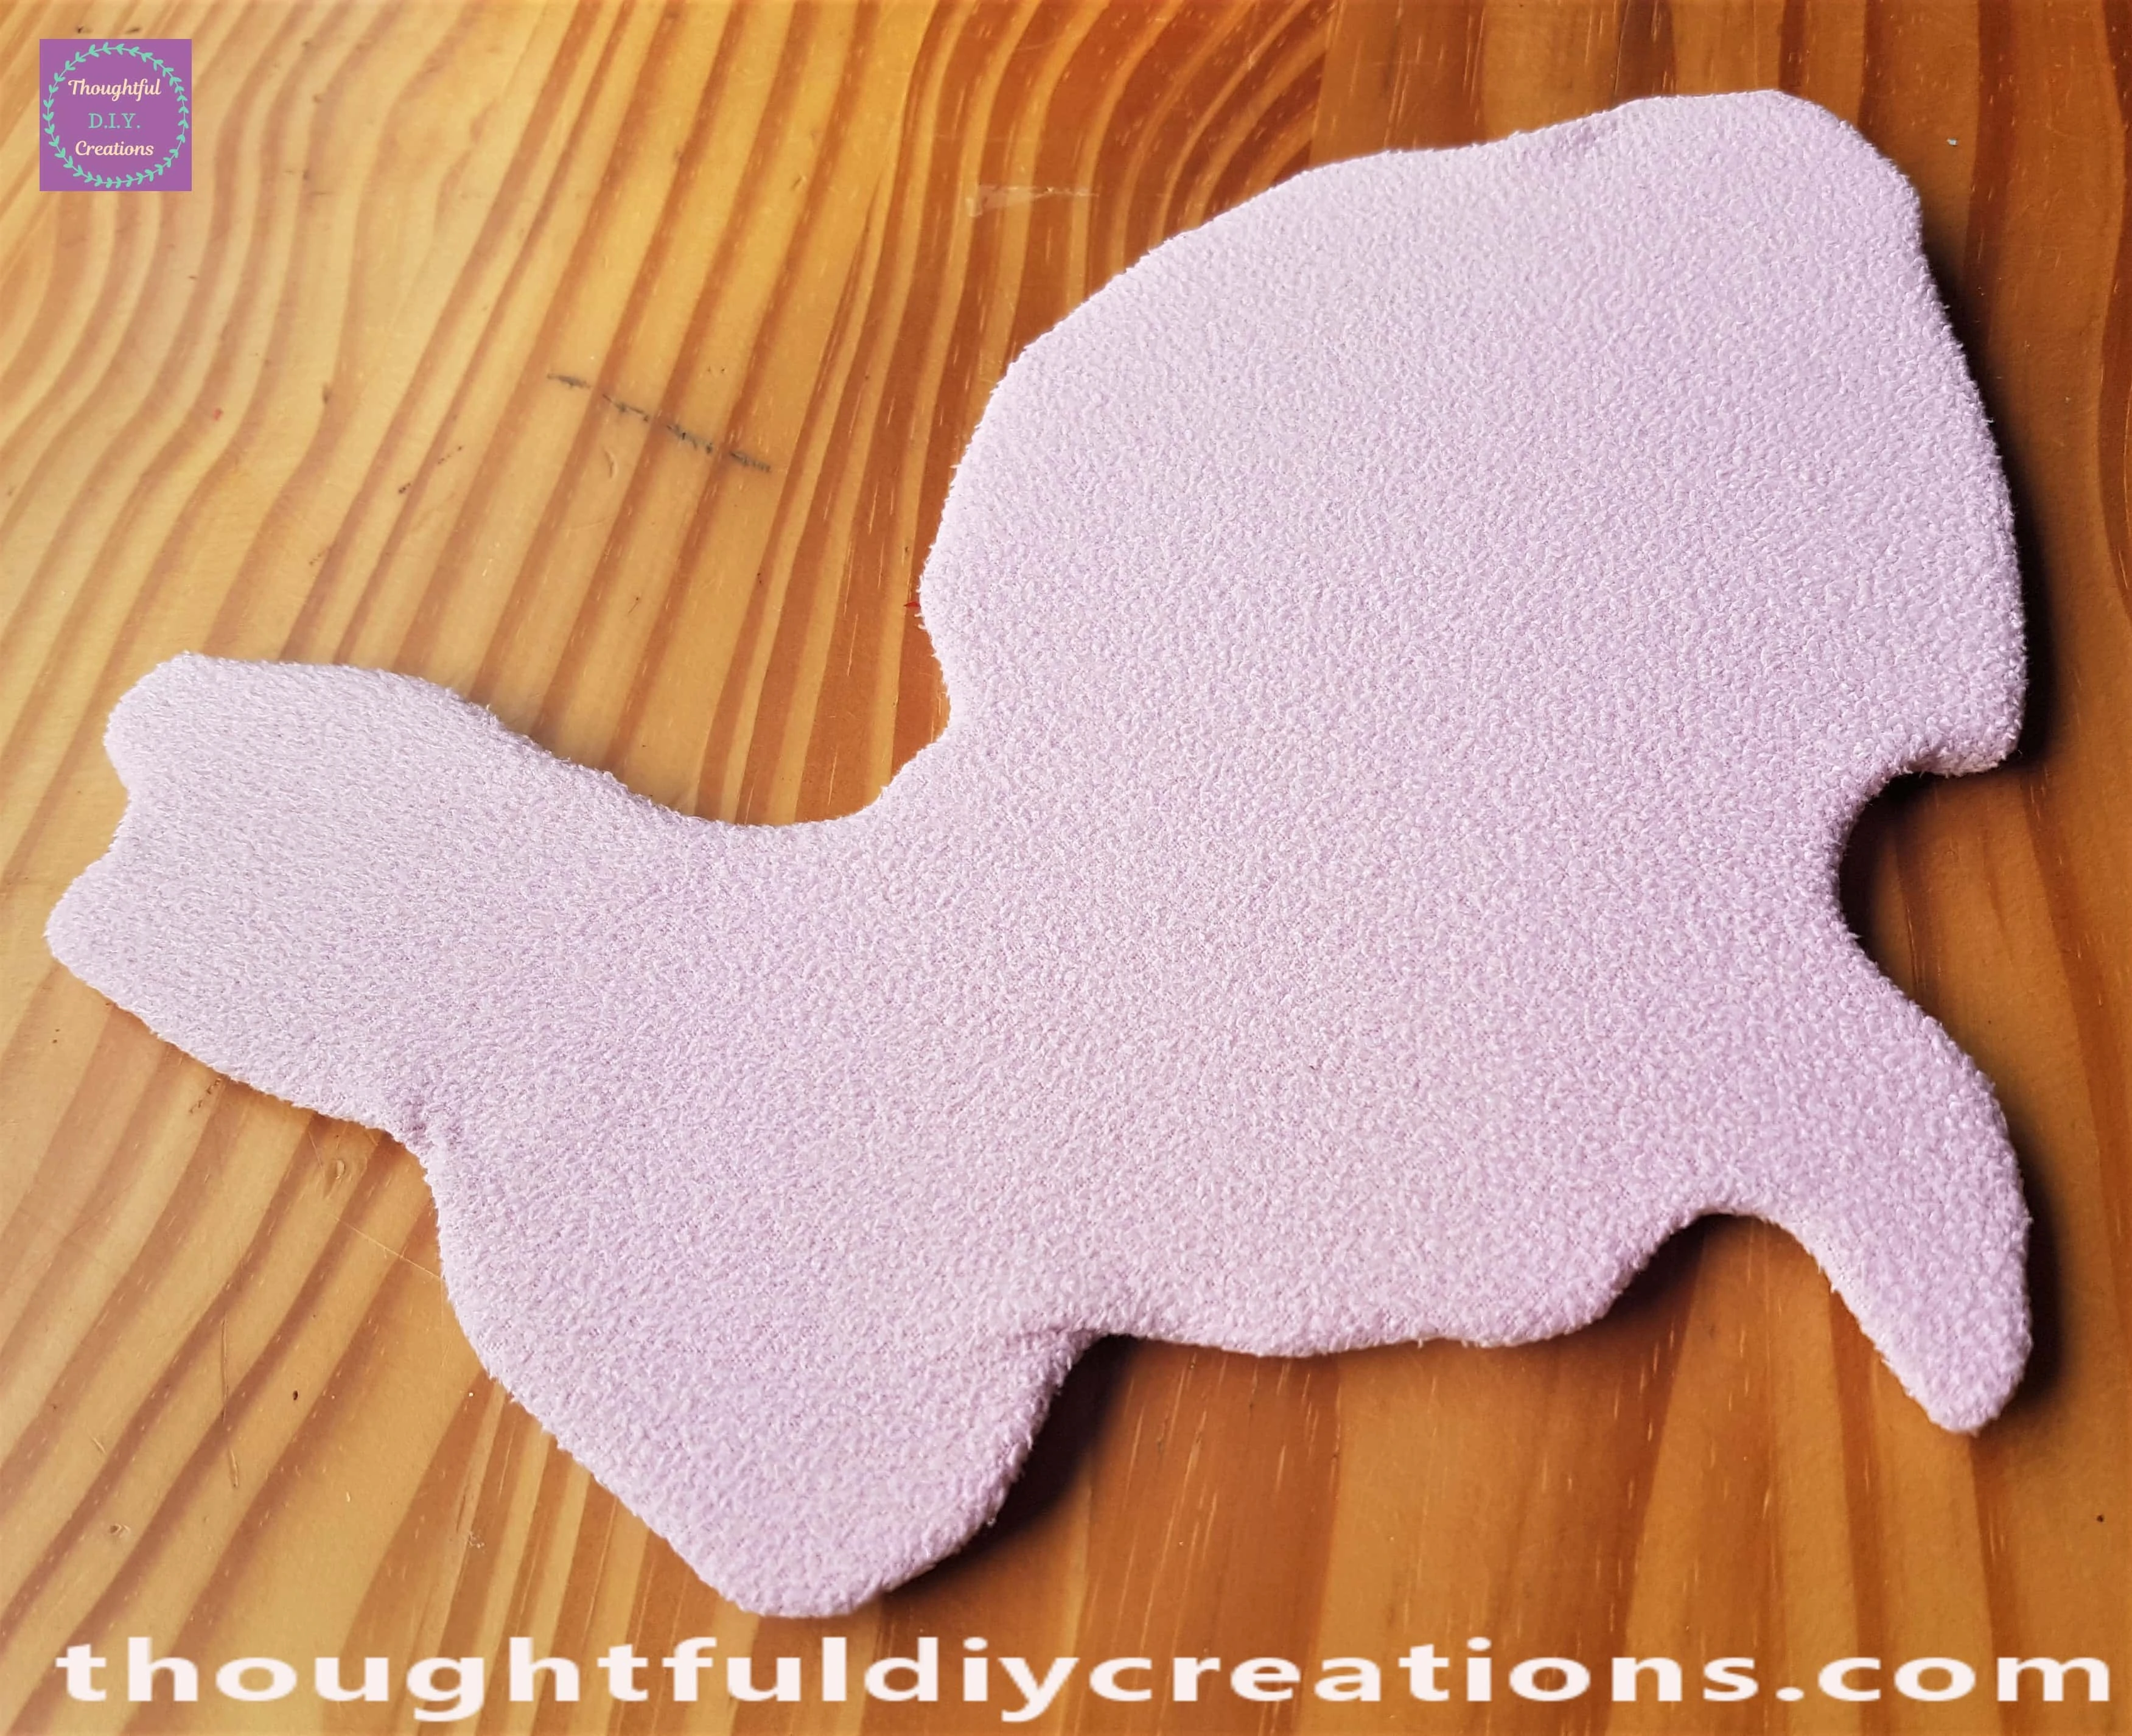
Here is a Side angle of the Rabbit with the material attached. I think it looks nice and flush.
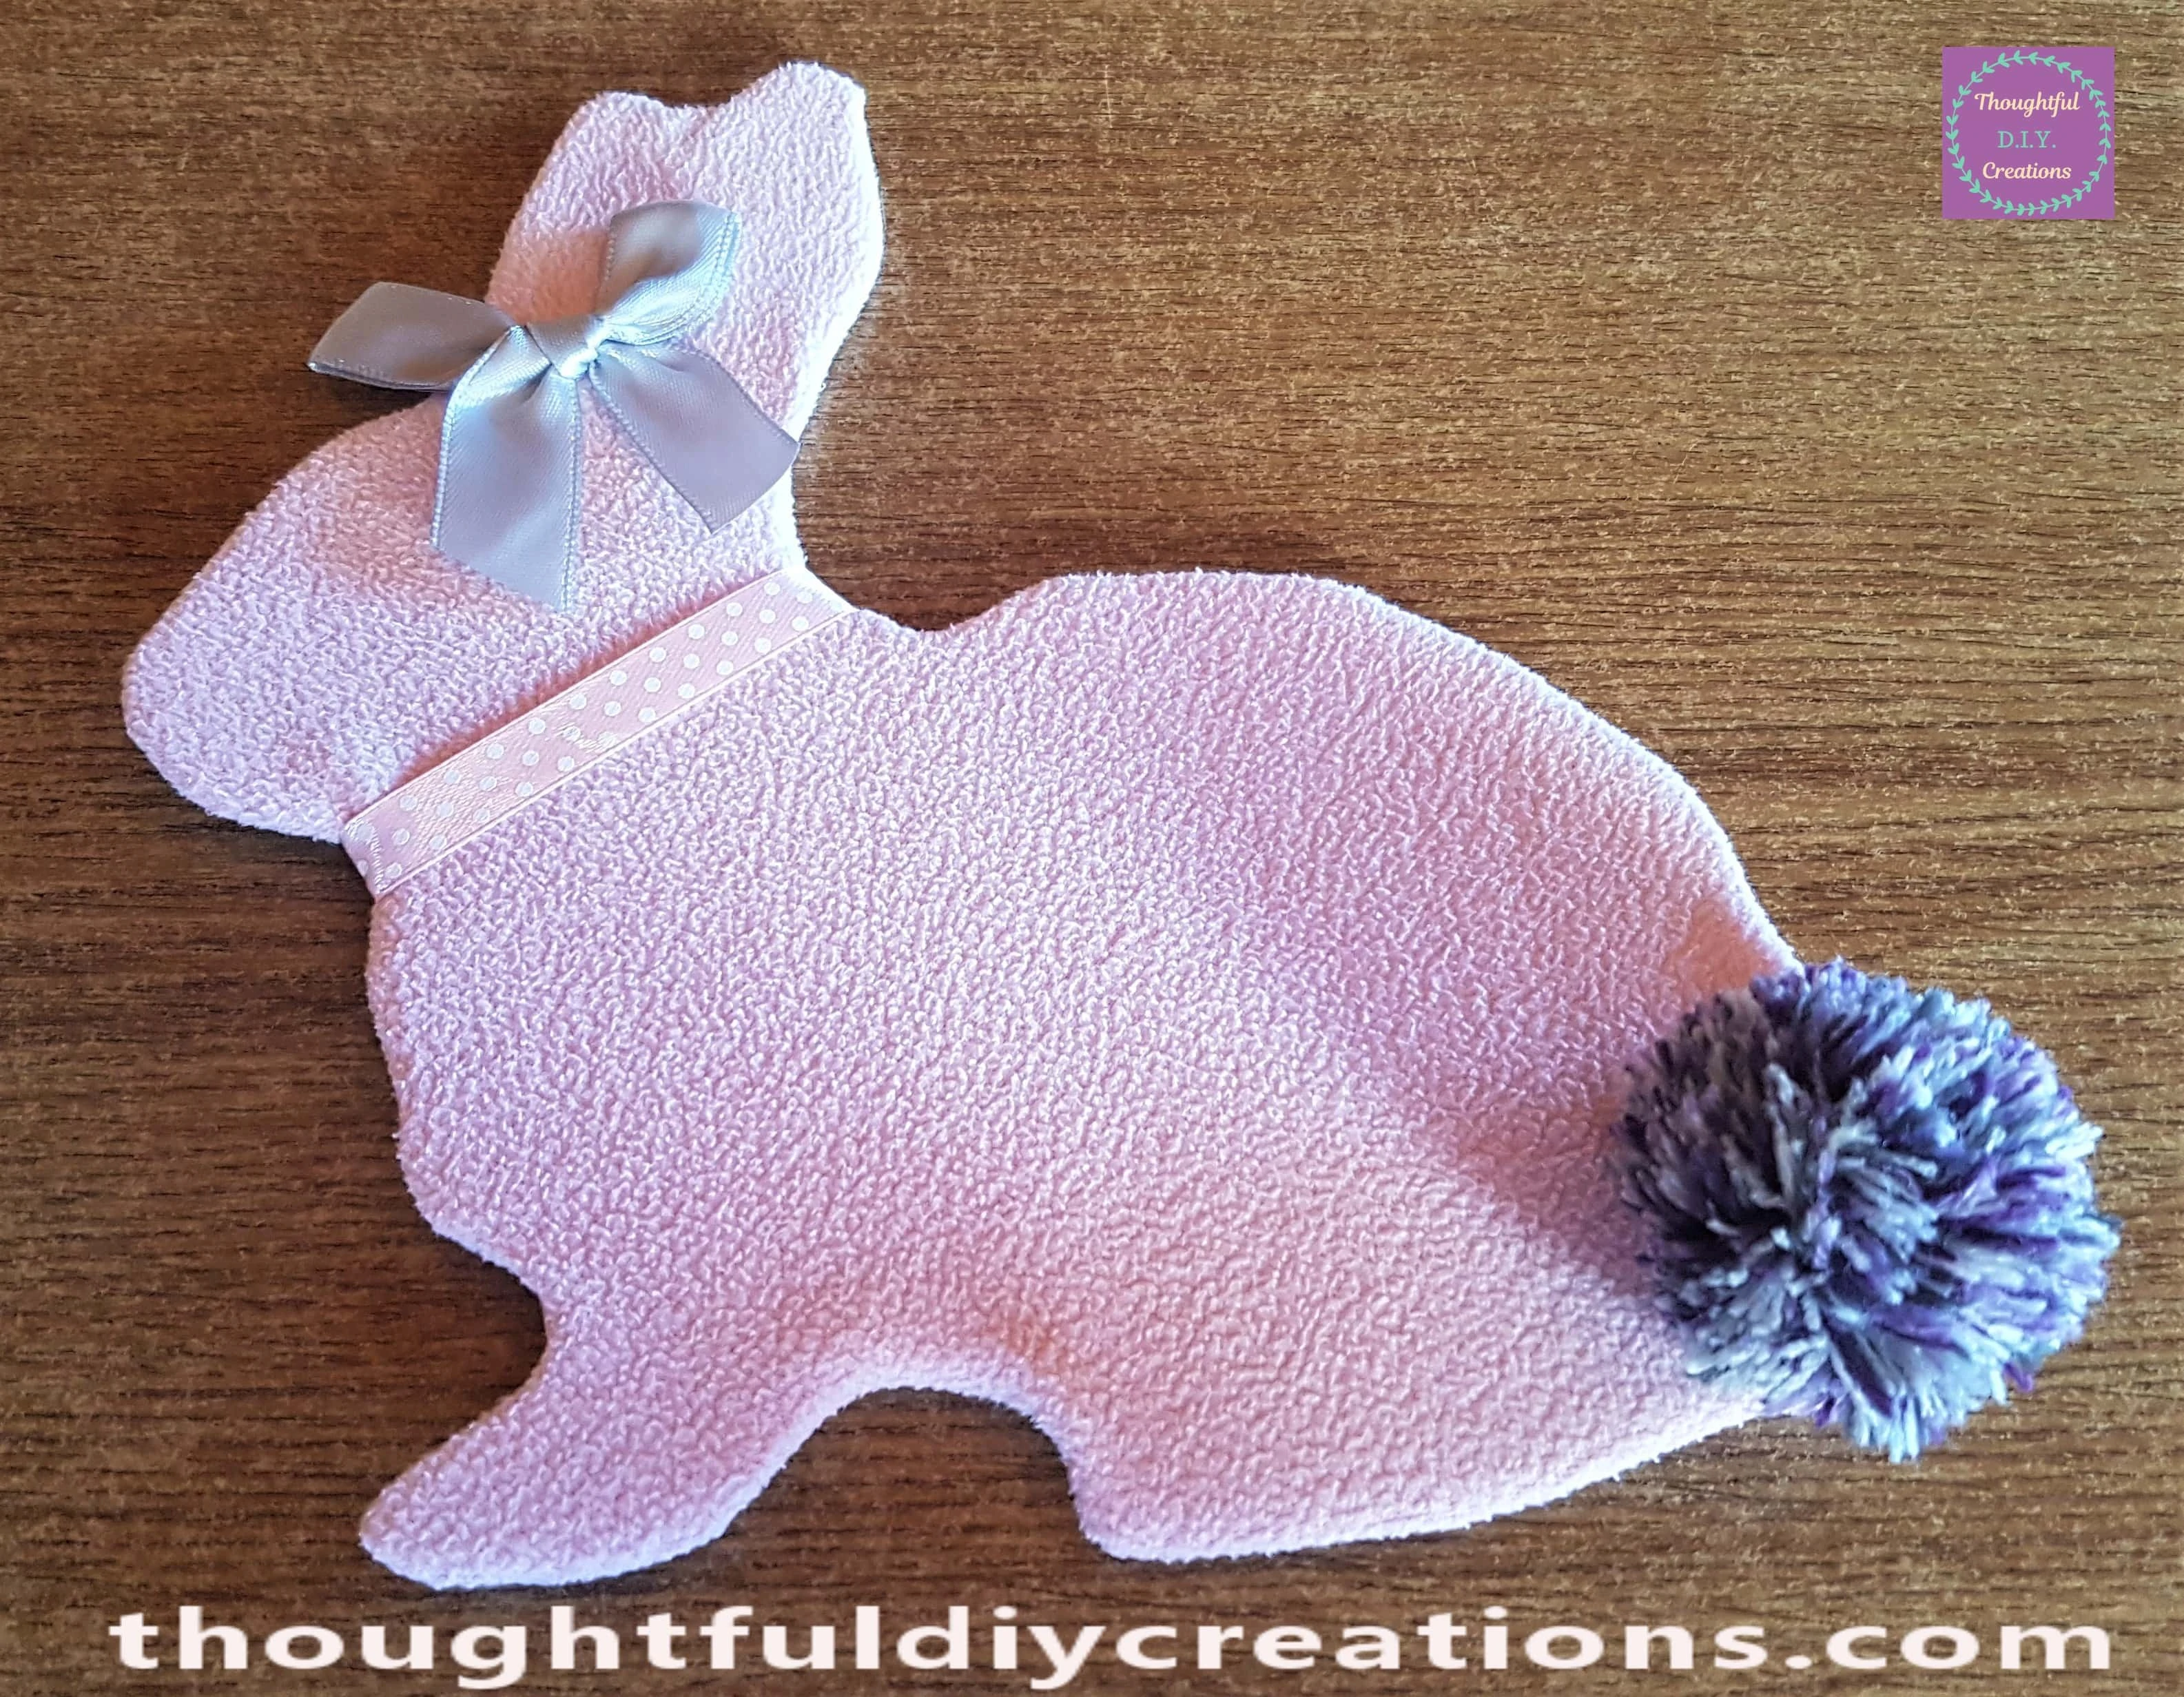
Adding a Tail to the Rabbit
I threw out an old pair of Slipper Boots when they had become worn. I Cut off the Four Pom Poms which were attached to the Slippers as I thought they were in great condition and could be Re-Purposed in my Crafts.
I washed the Pom Poms in the Sink with warm Water and some Washing Powder. I let them Air-Dry.
I will be using One of the Pom poms for this Craft.
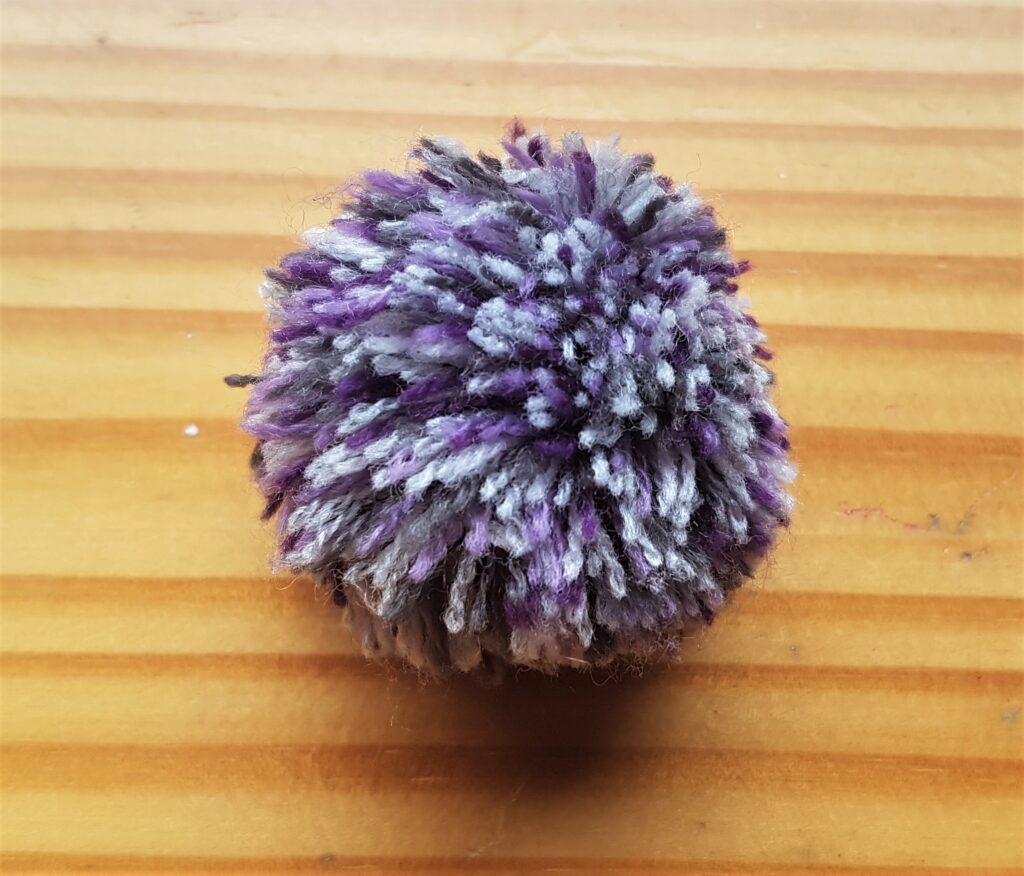
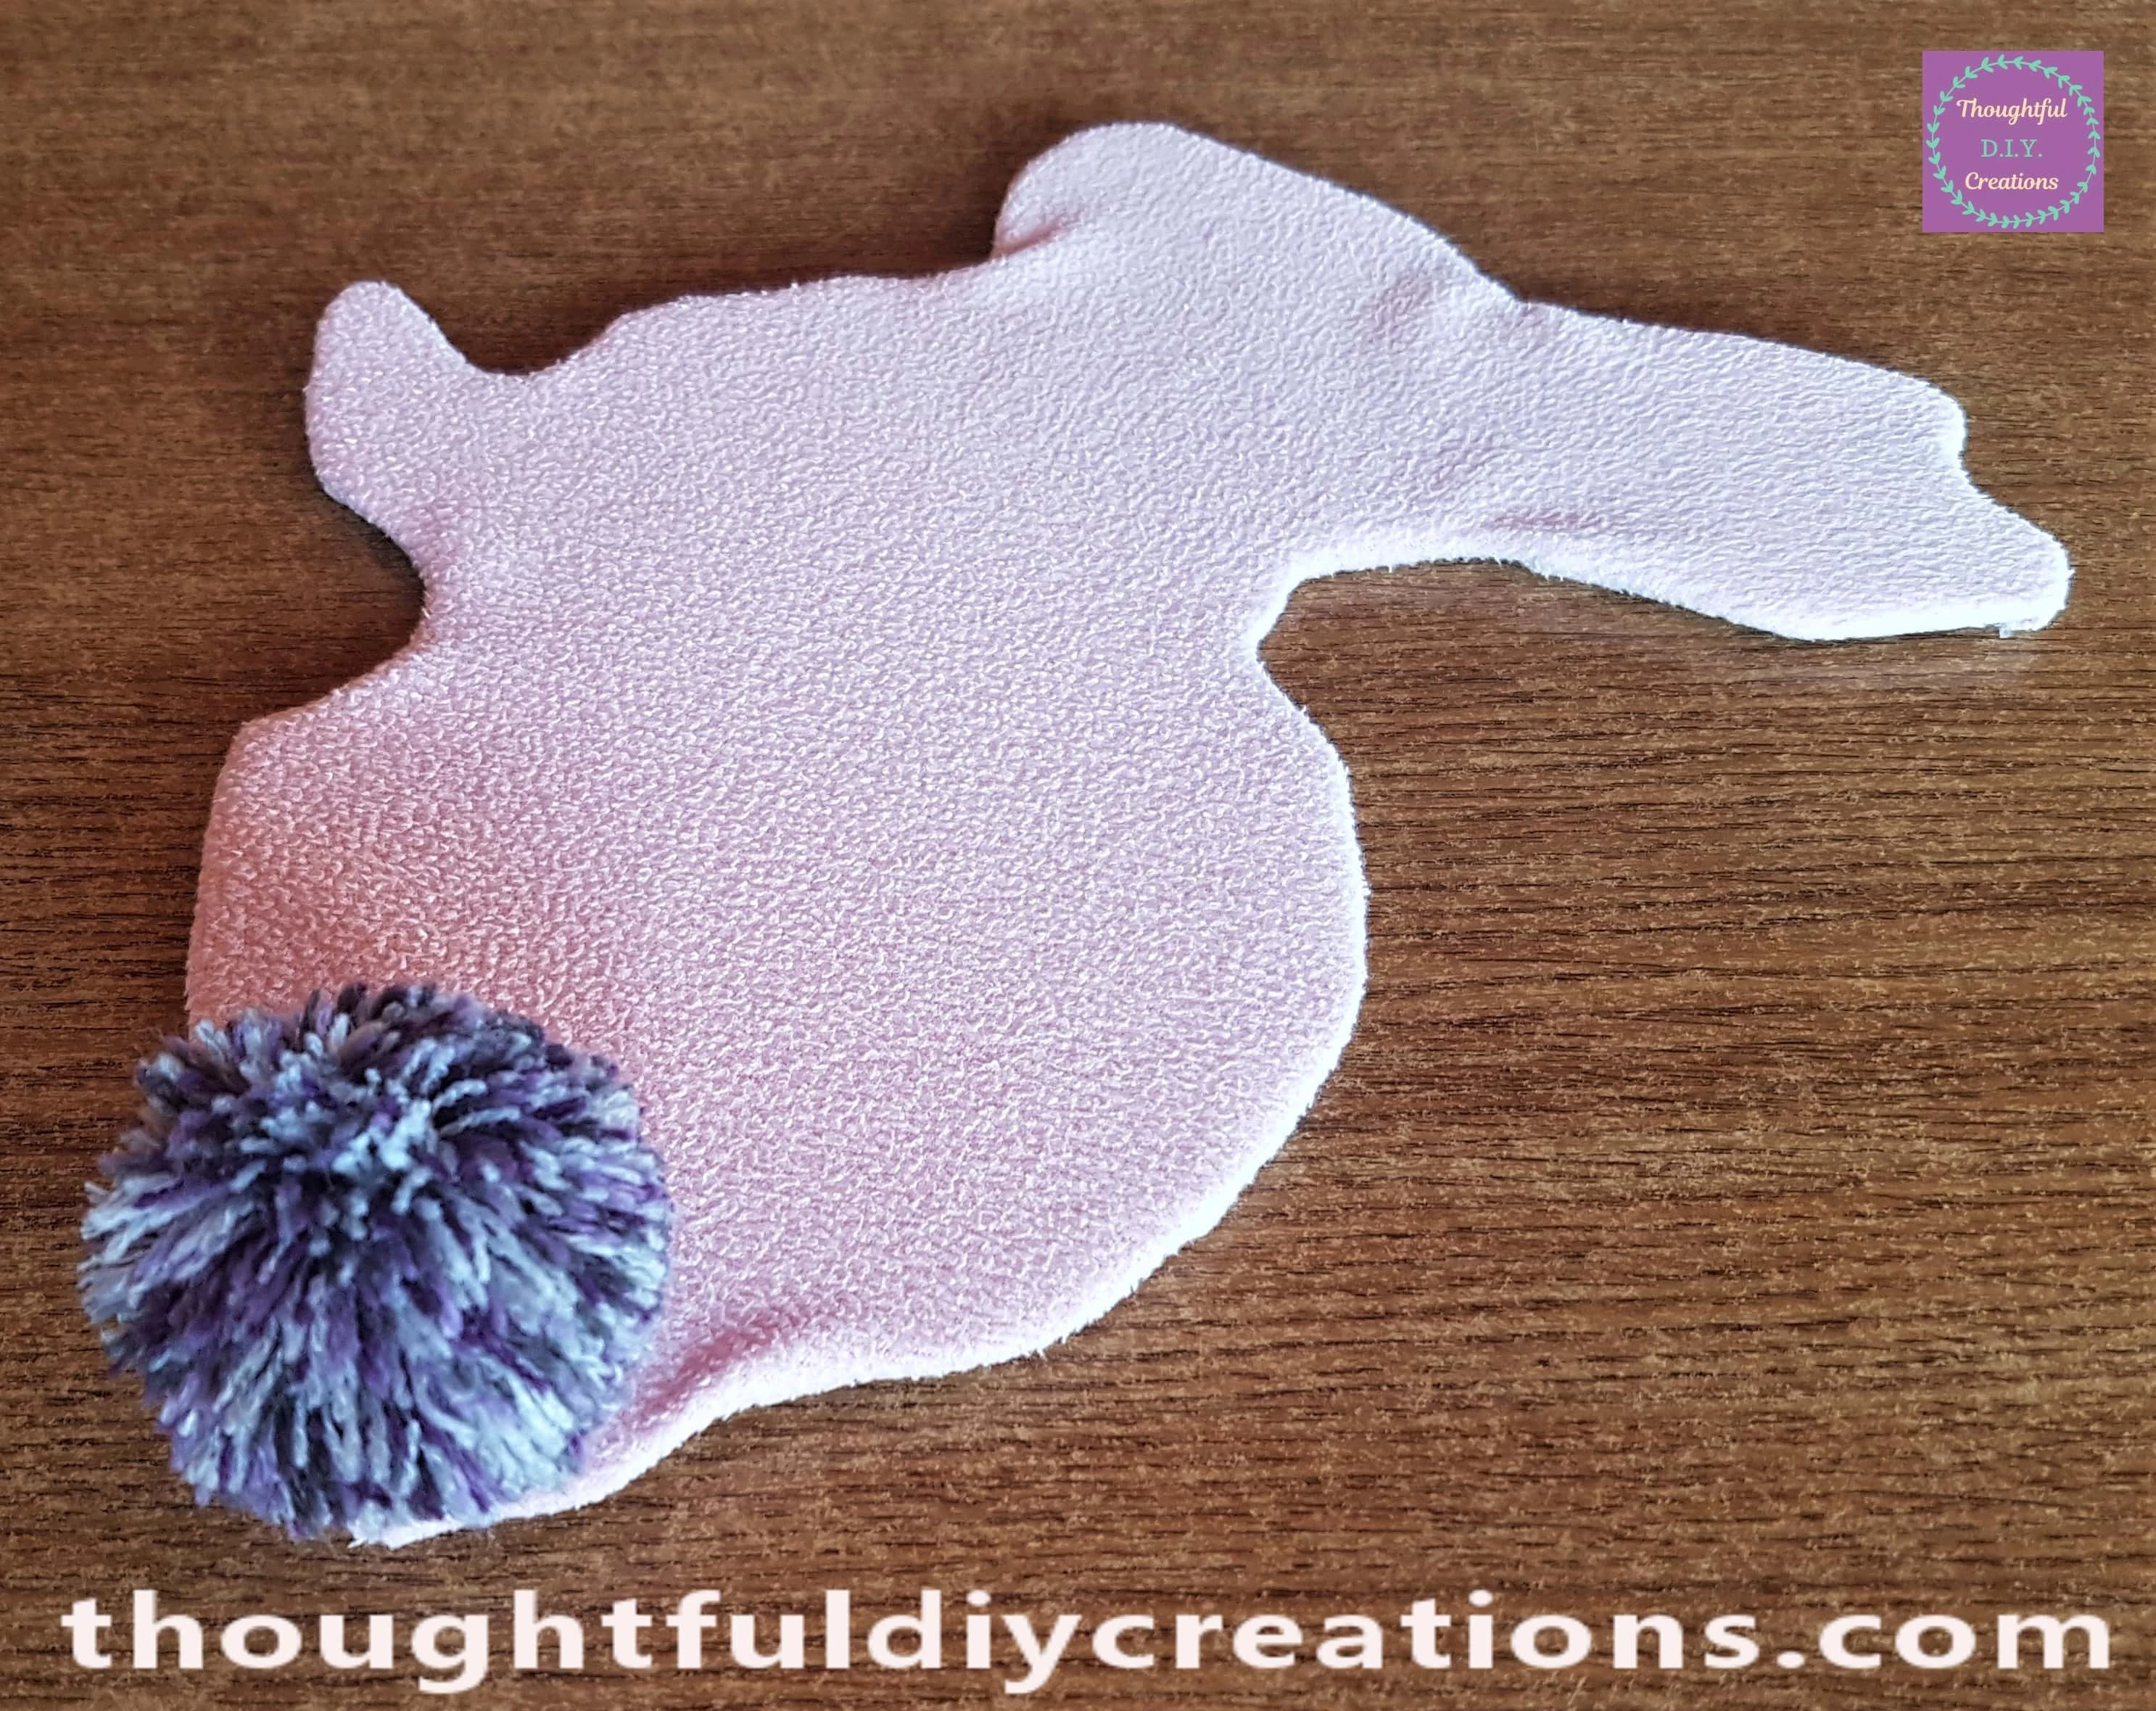
I put Hot Glue on the Pink Fleece and attached the Pom pom for the Easter Rabbit’s Tail.
Finishing Touches to the Easter Rabbit
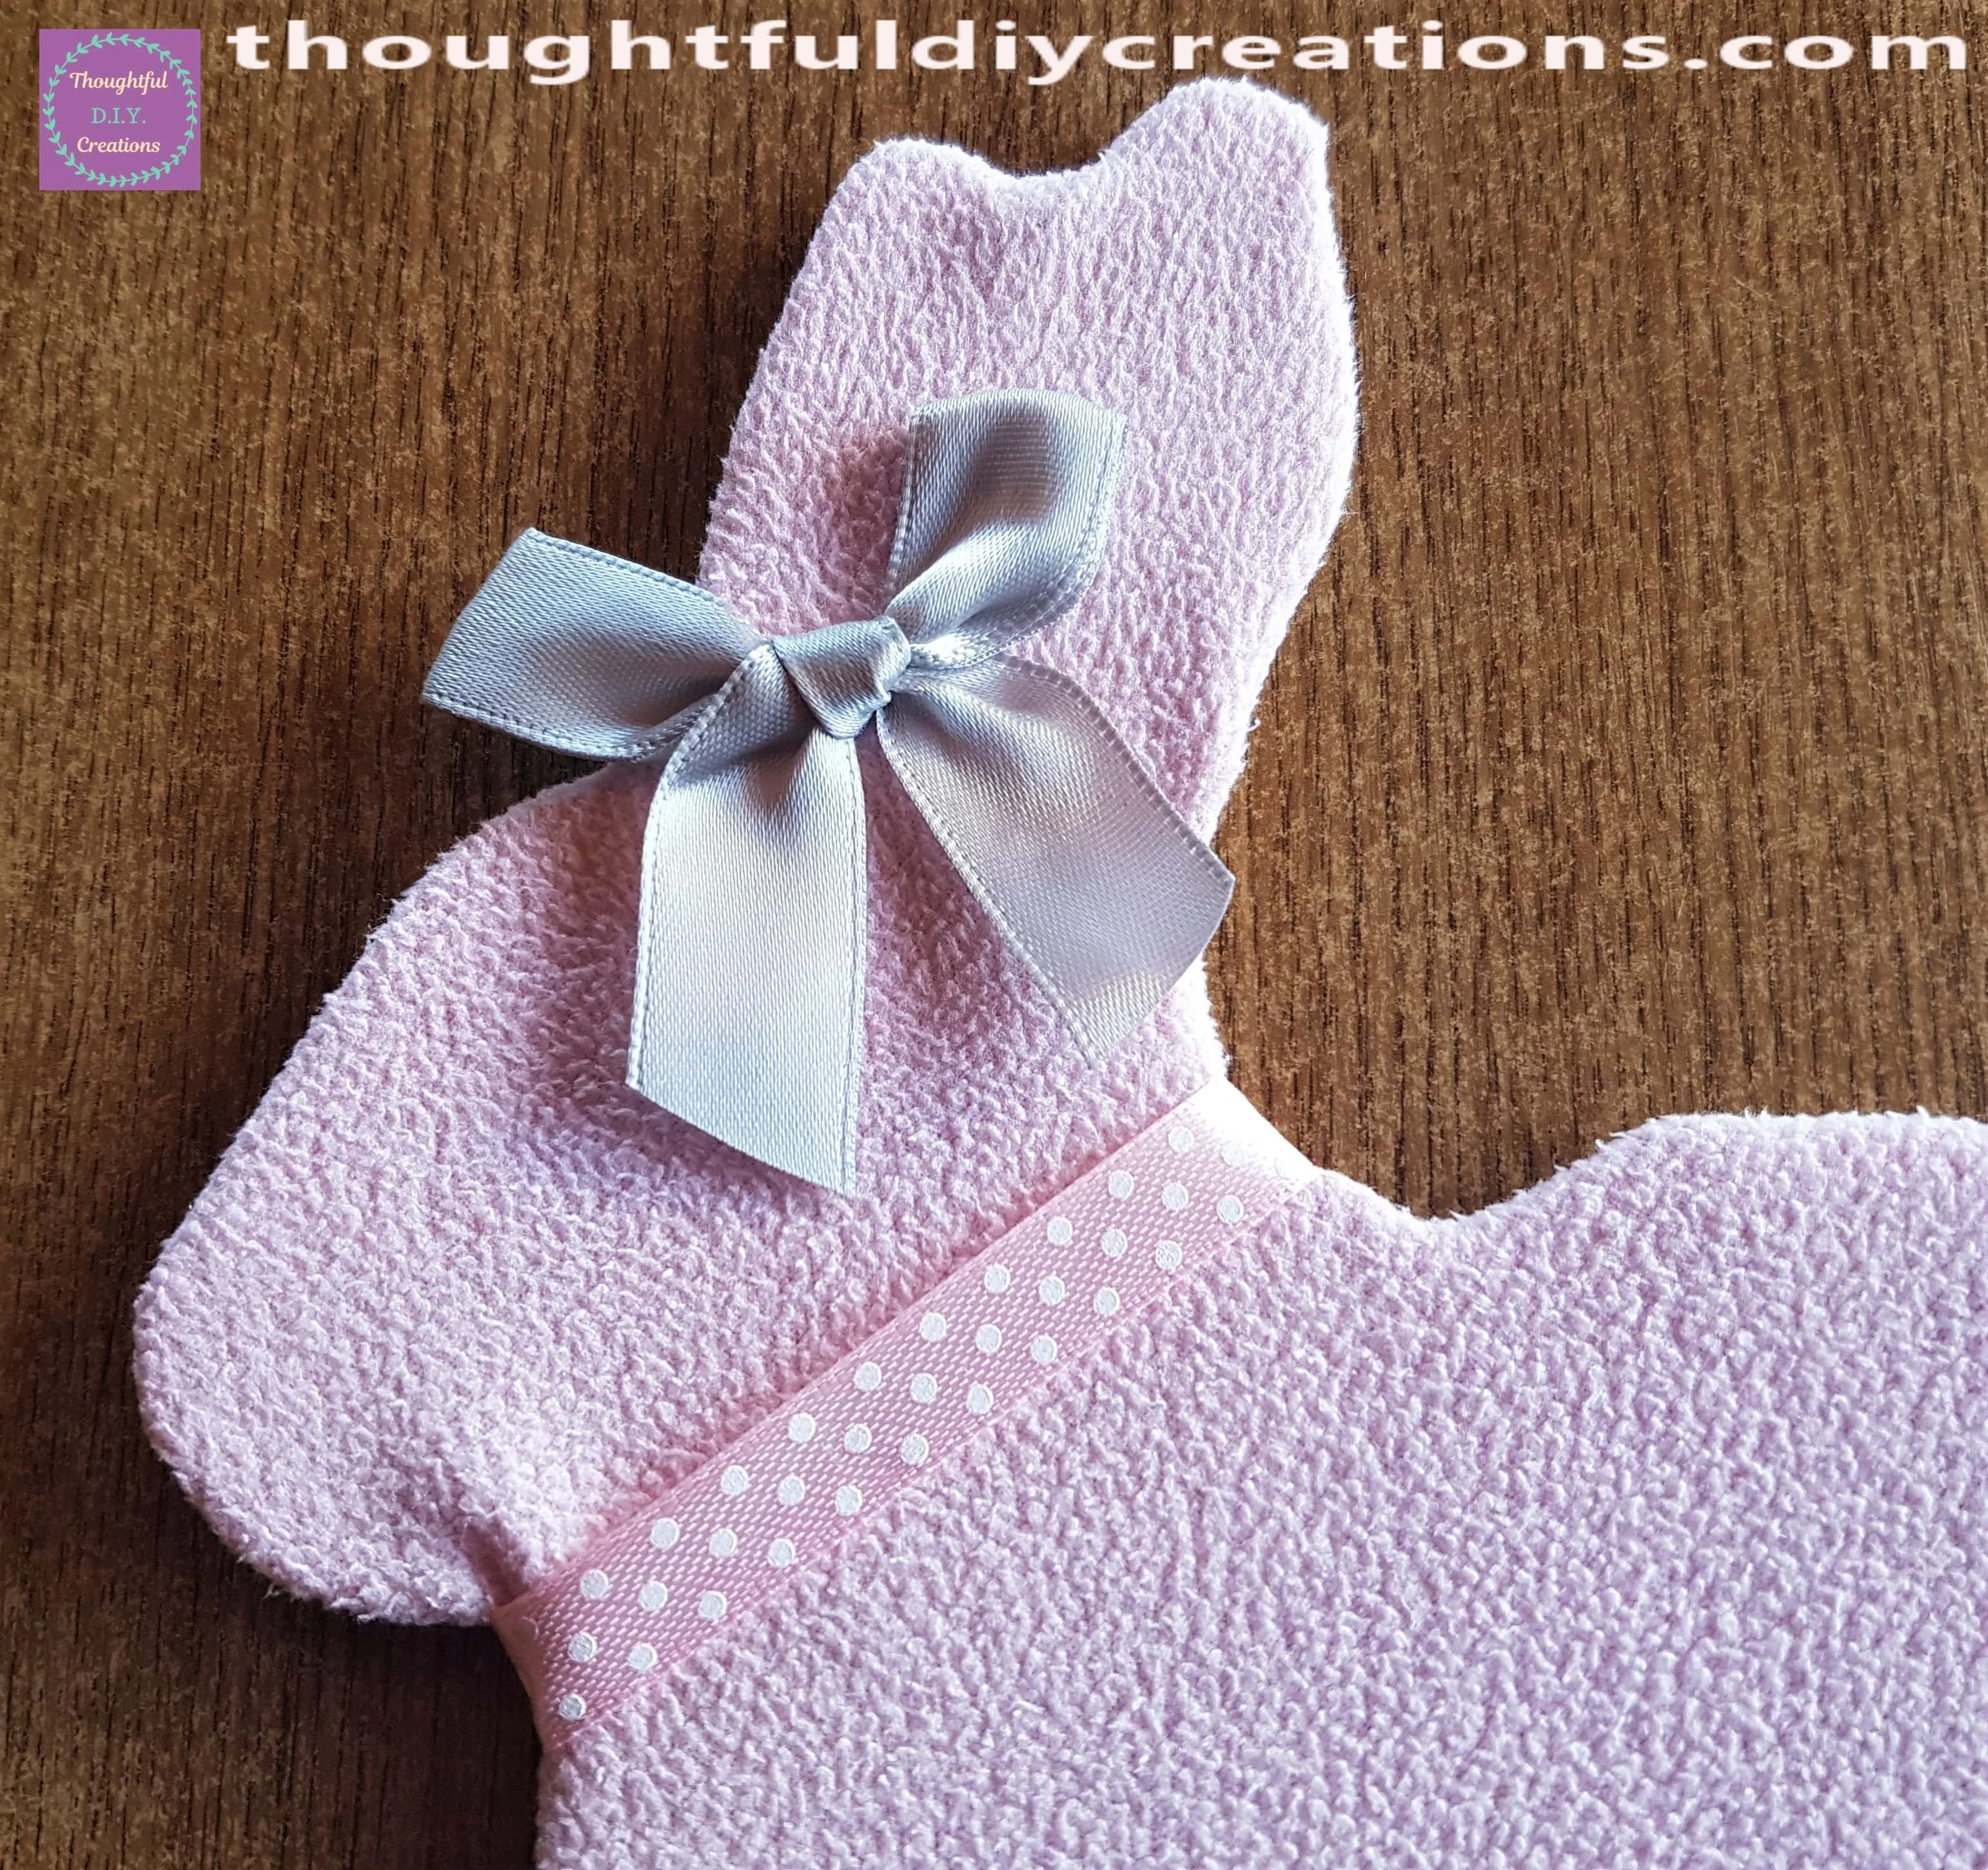
I Cut off a piece of Pink and White Polka Dot Ribbon.
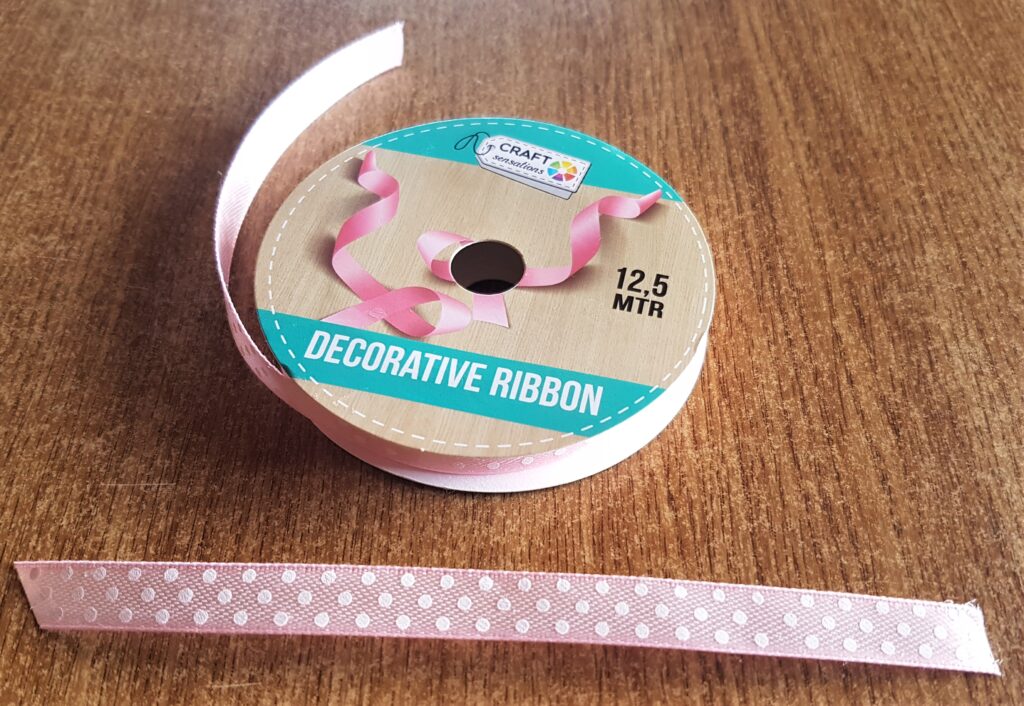
I put Hot Glue on the back of the Rabbit’s neck and attached the Ribbon to the Glue.

I had a Grey Bow in my Supplies; it had been part of the Packaging on a Gift Box.
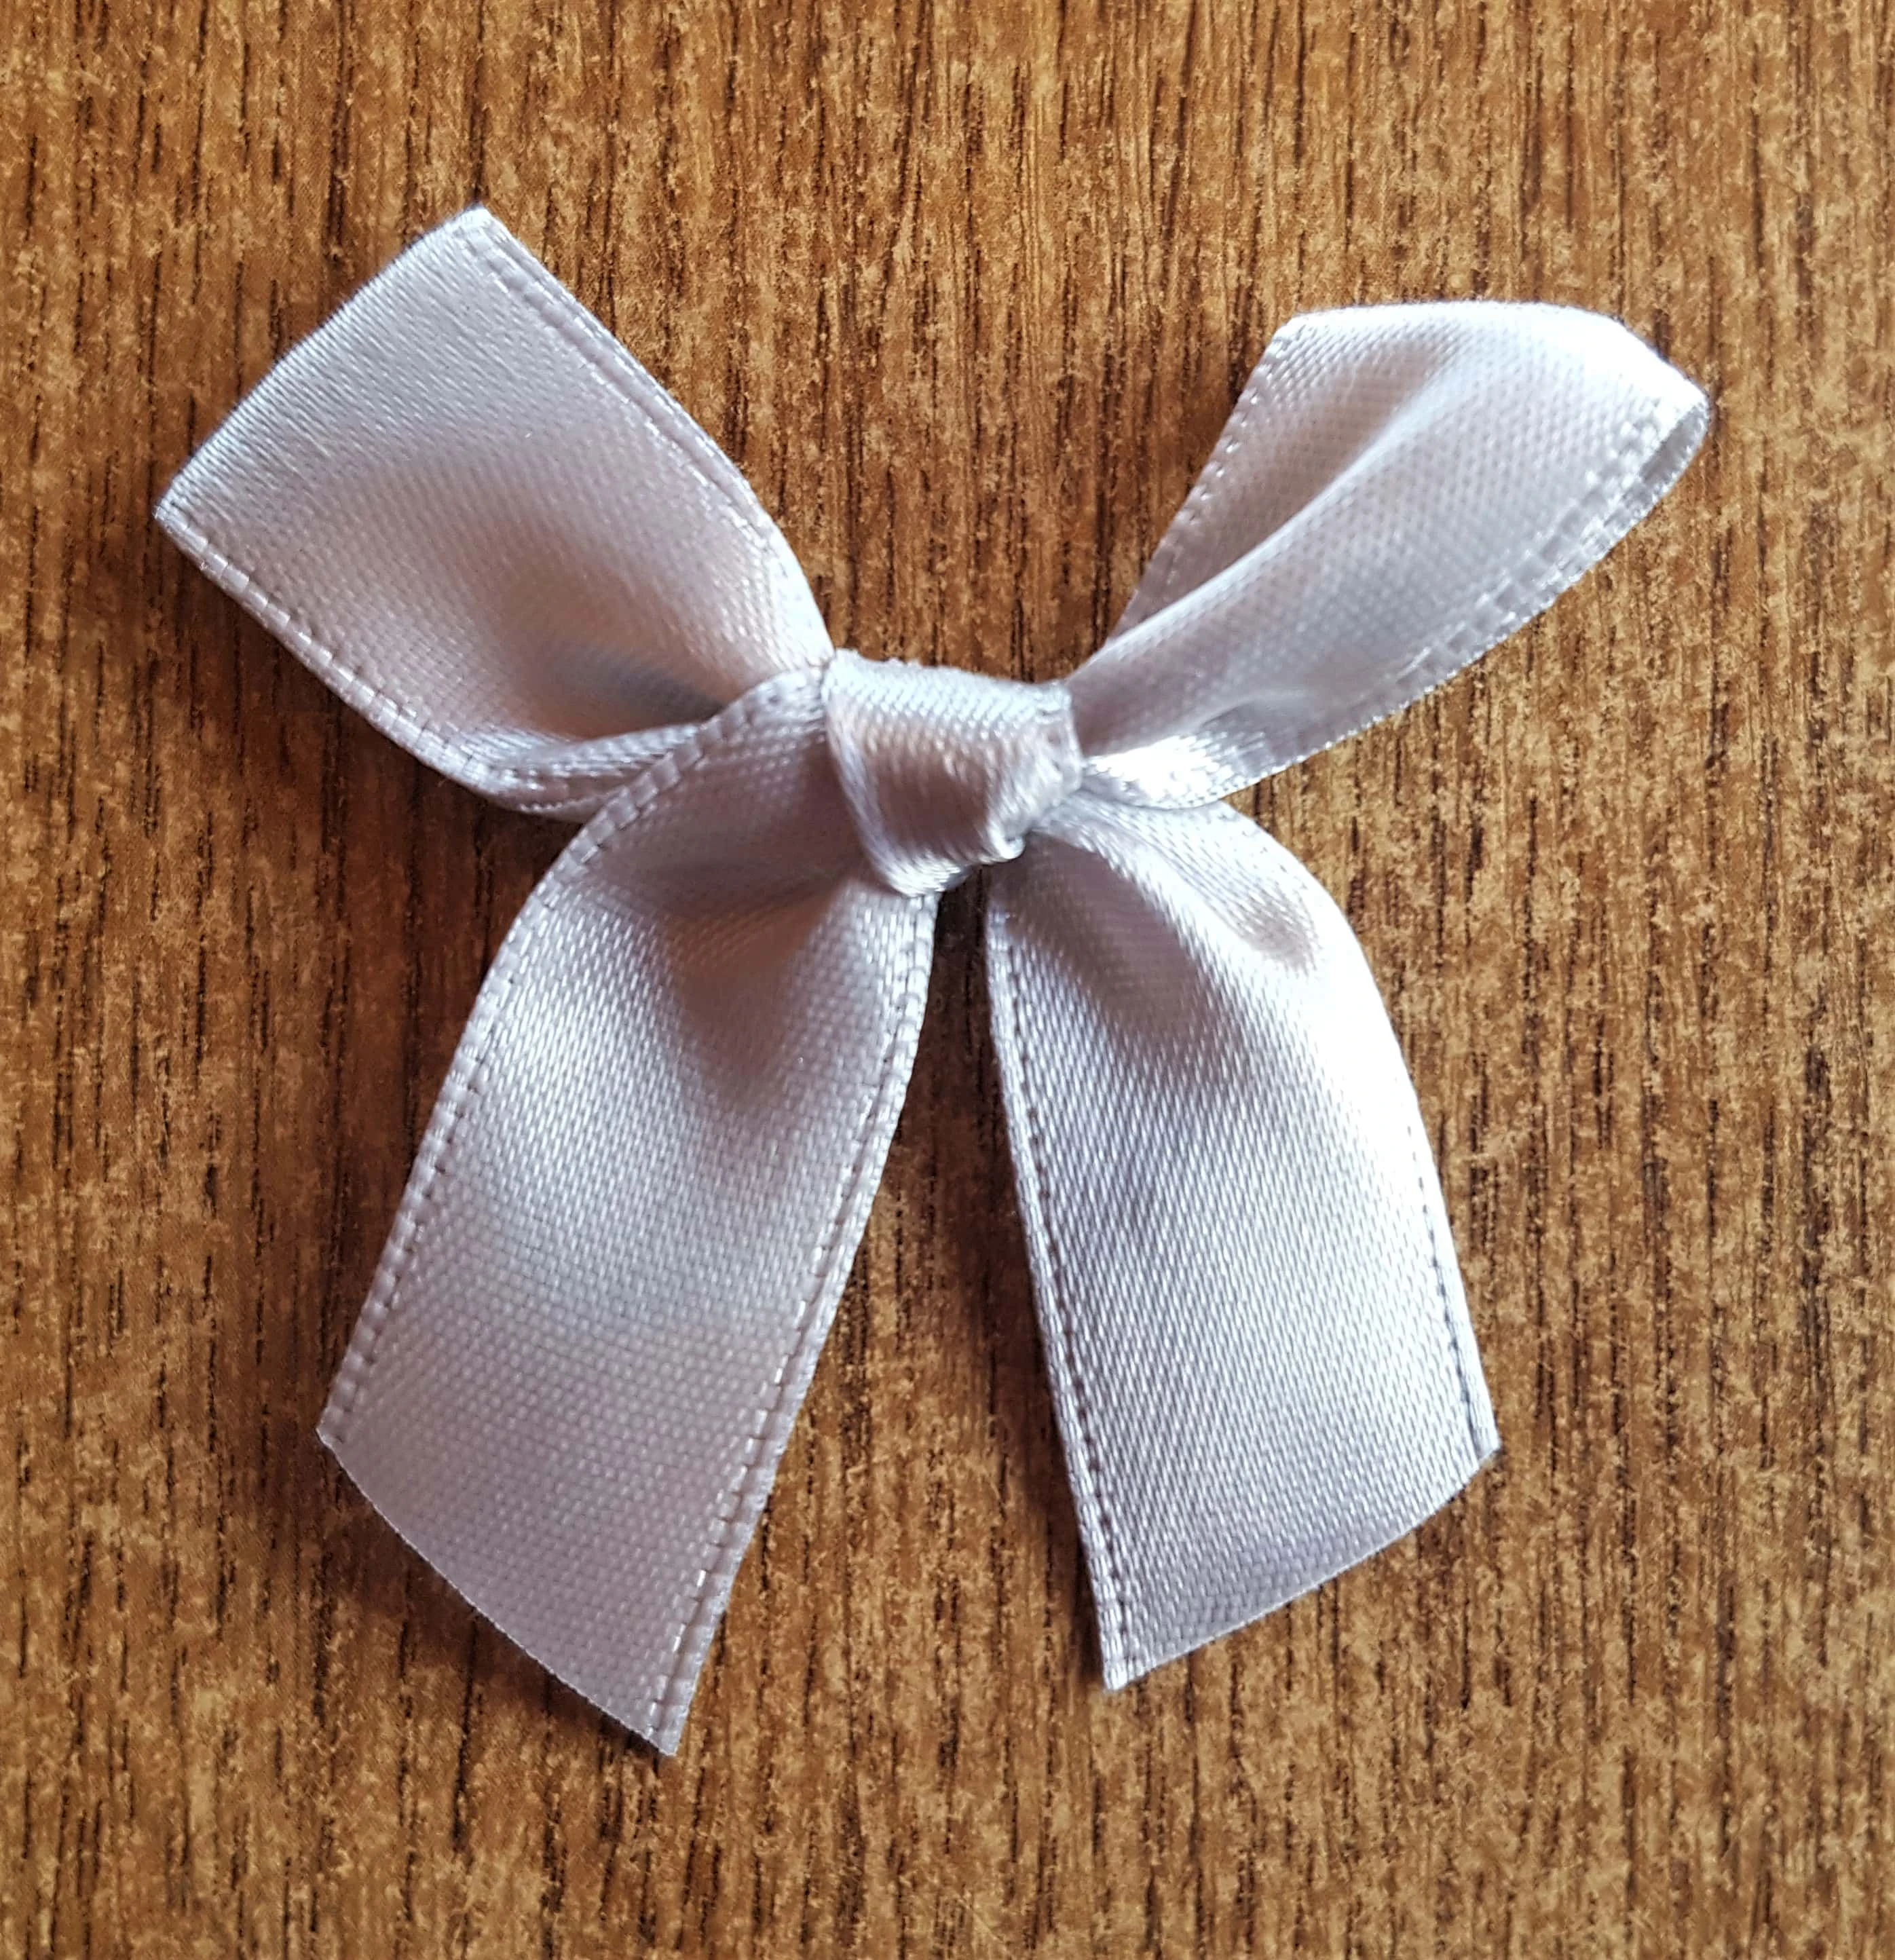
I attached it to the top of the Easter Rabbit with a dab of Hot Glue.
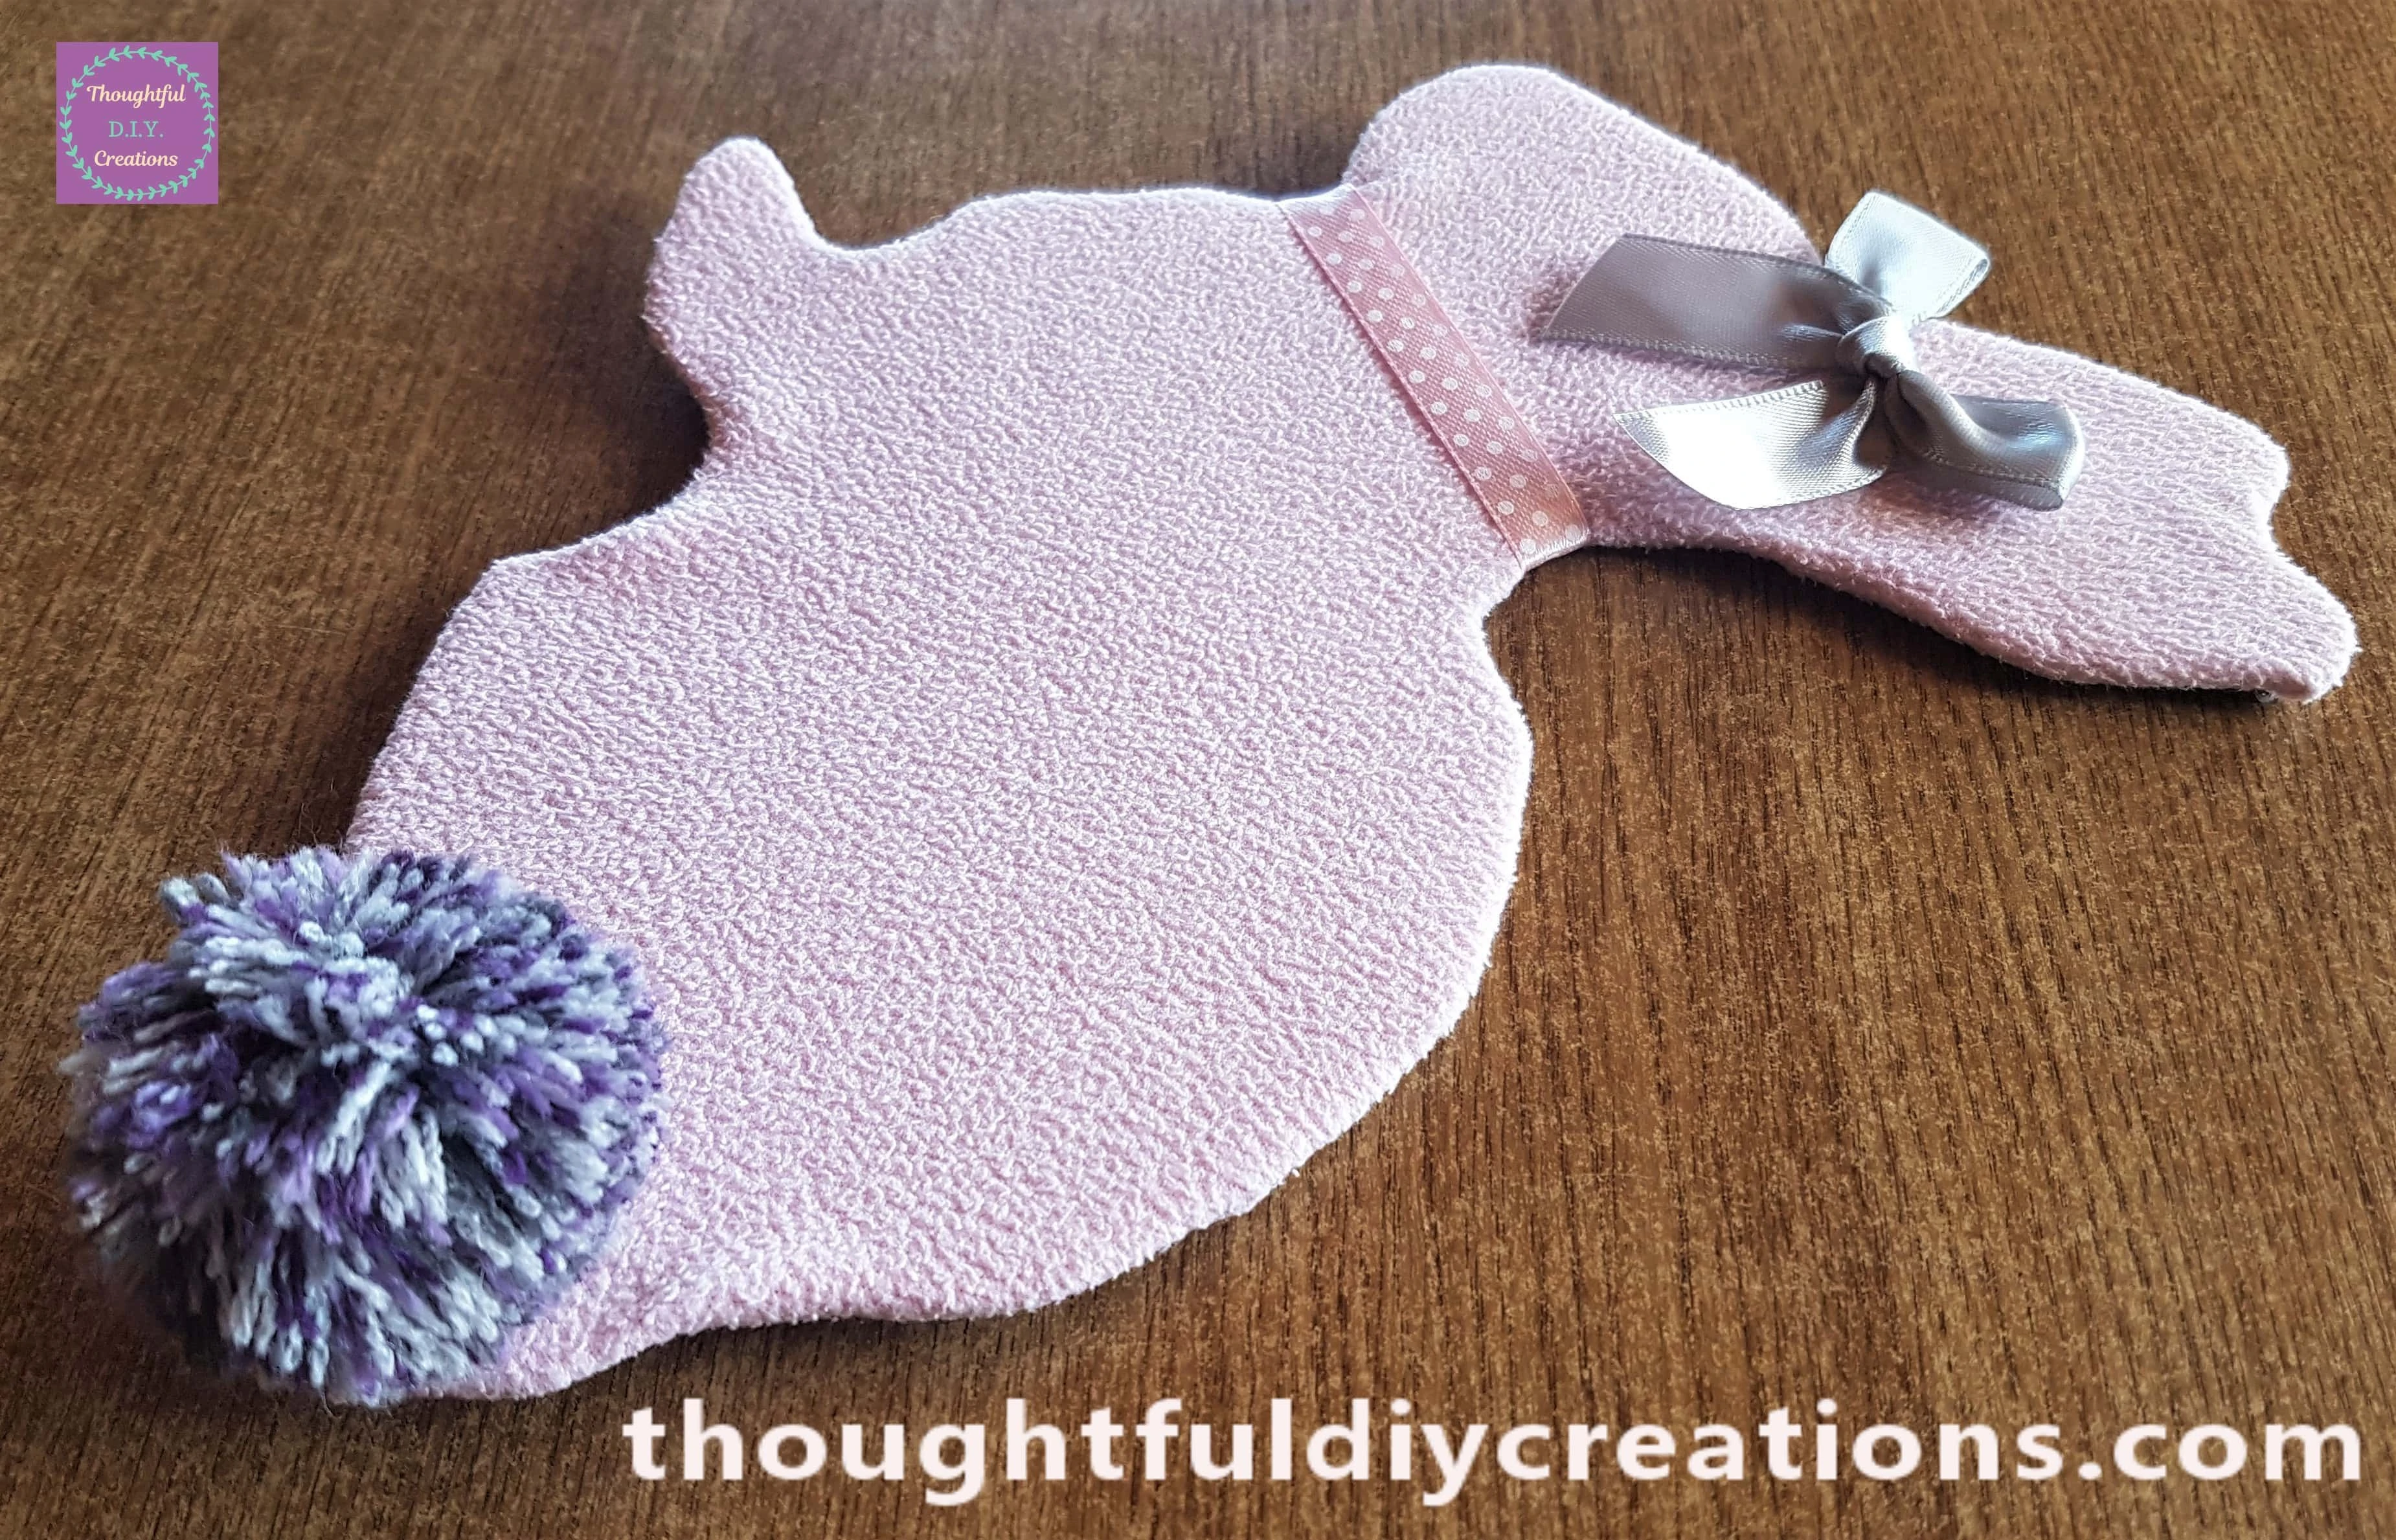
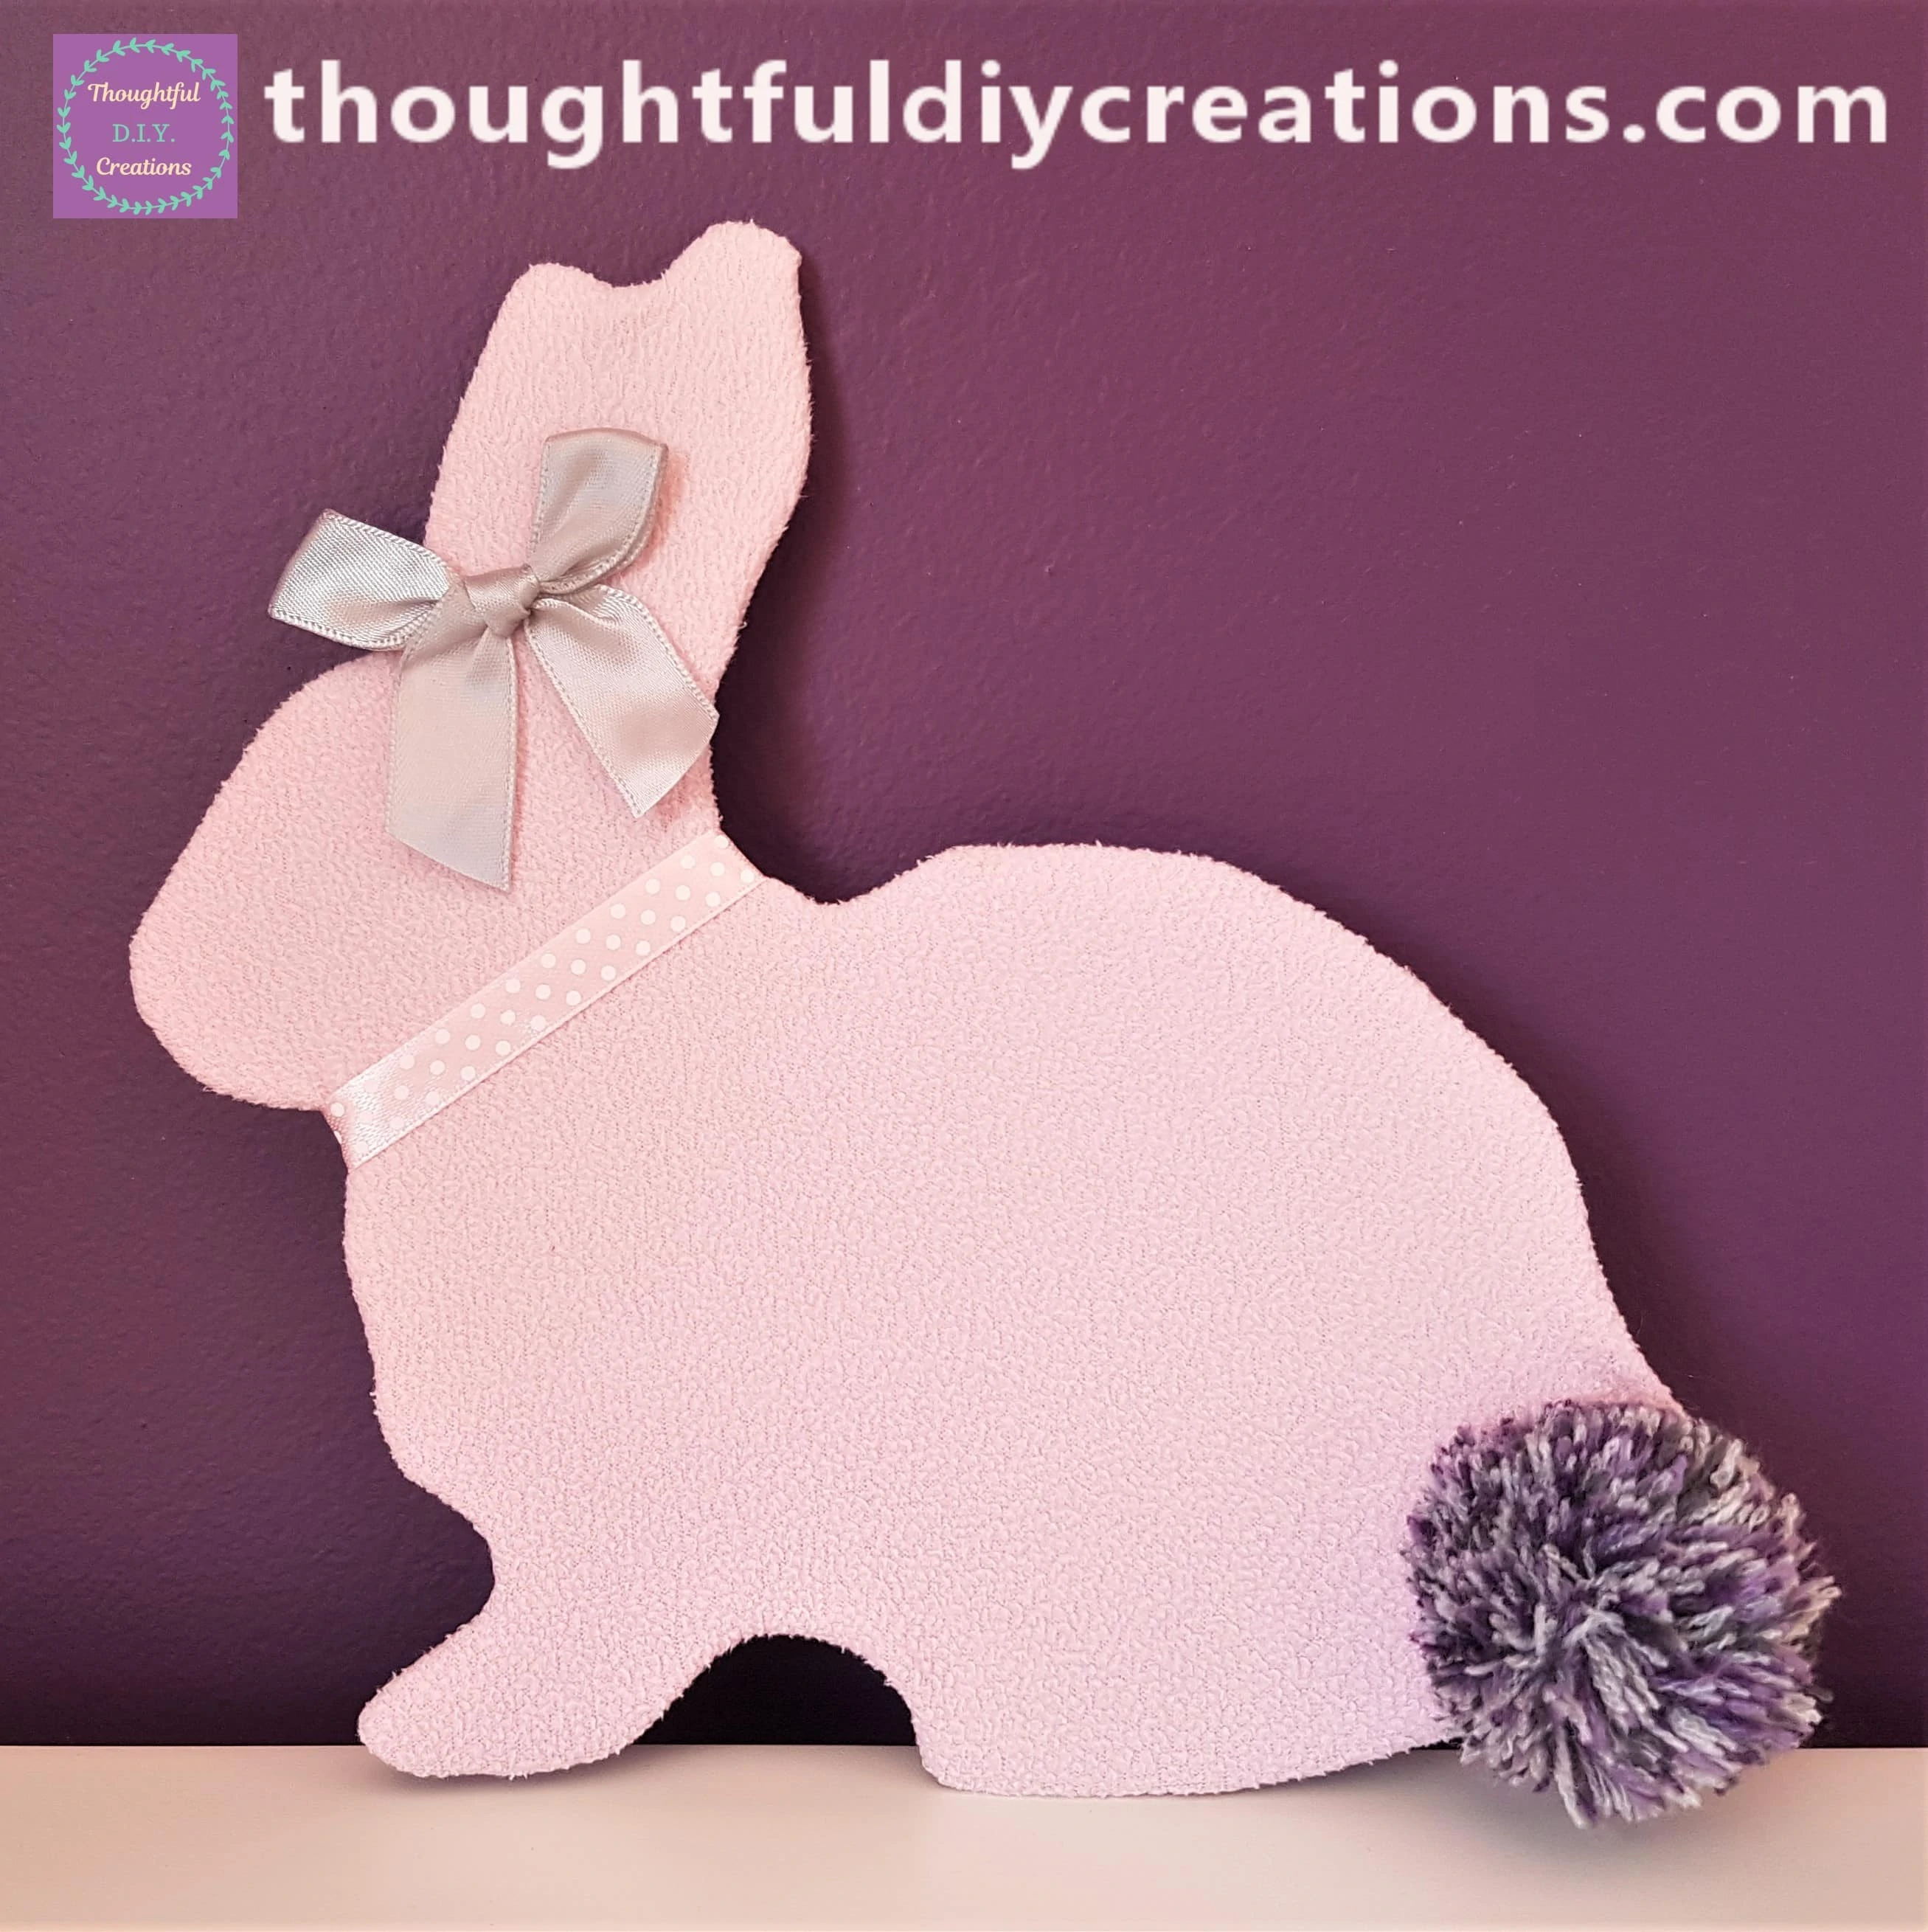
This Completed my Easter Rabbit Silhouette Craft.
A Side angle of the Bunny.

The Rabbit standing Up-Right on Display.
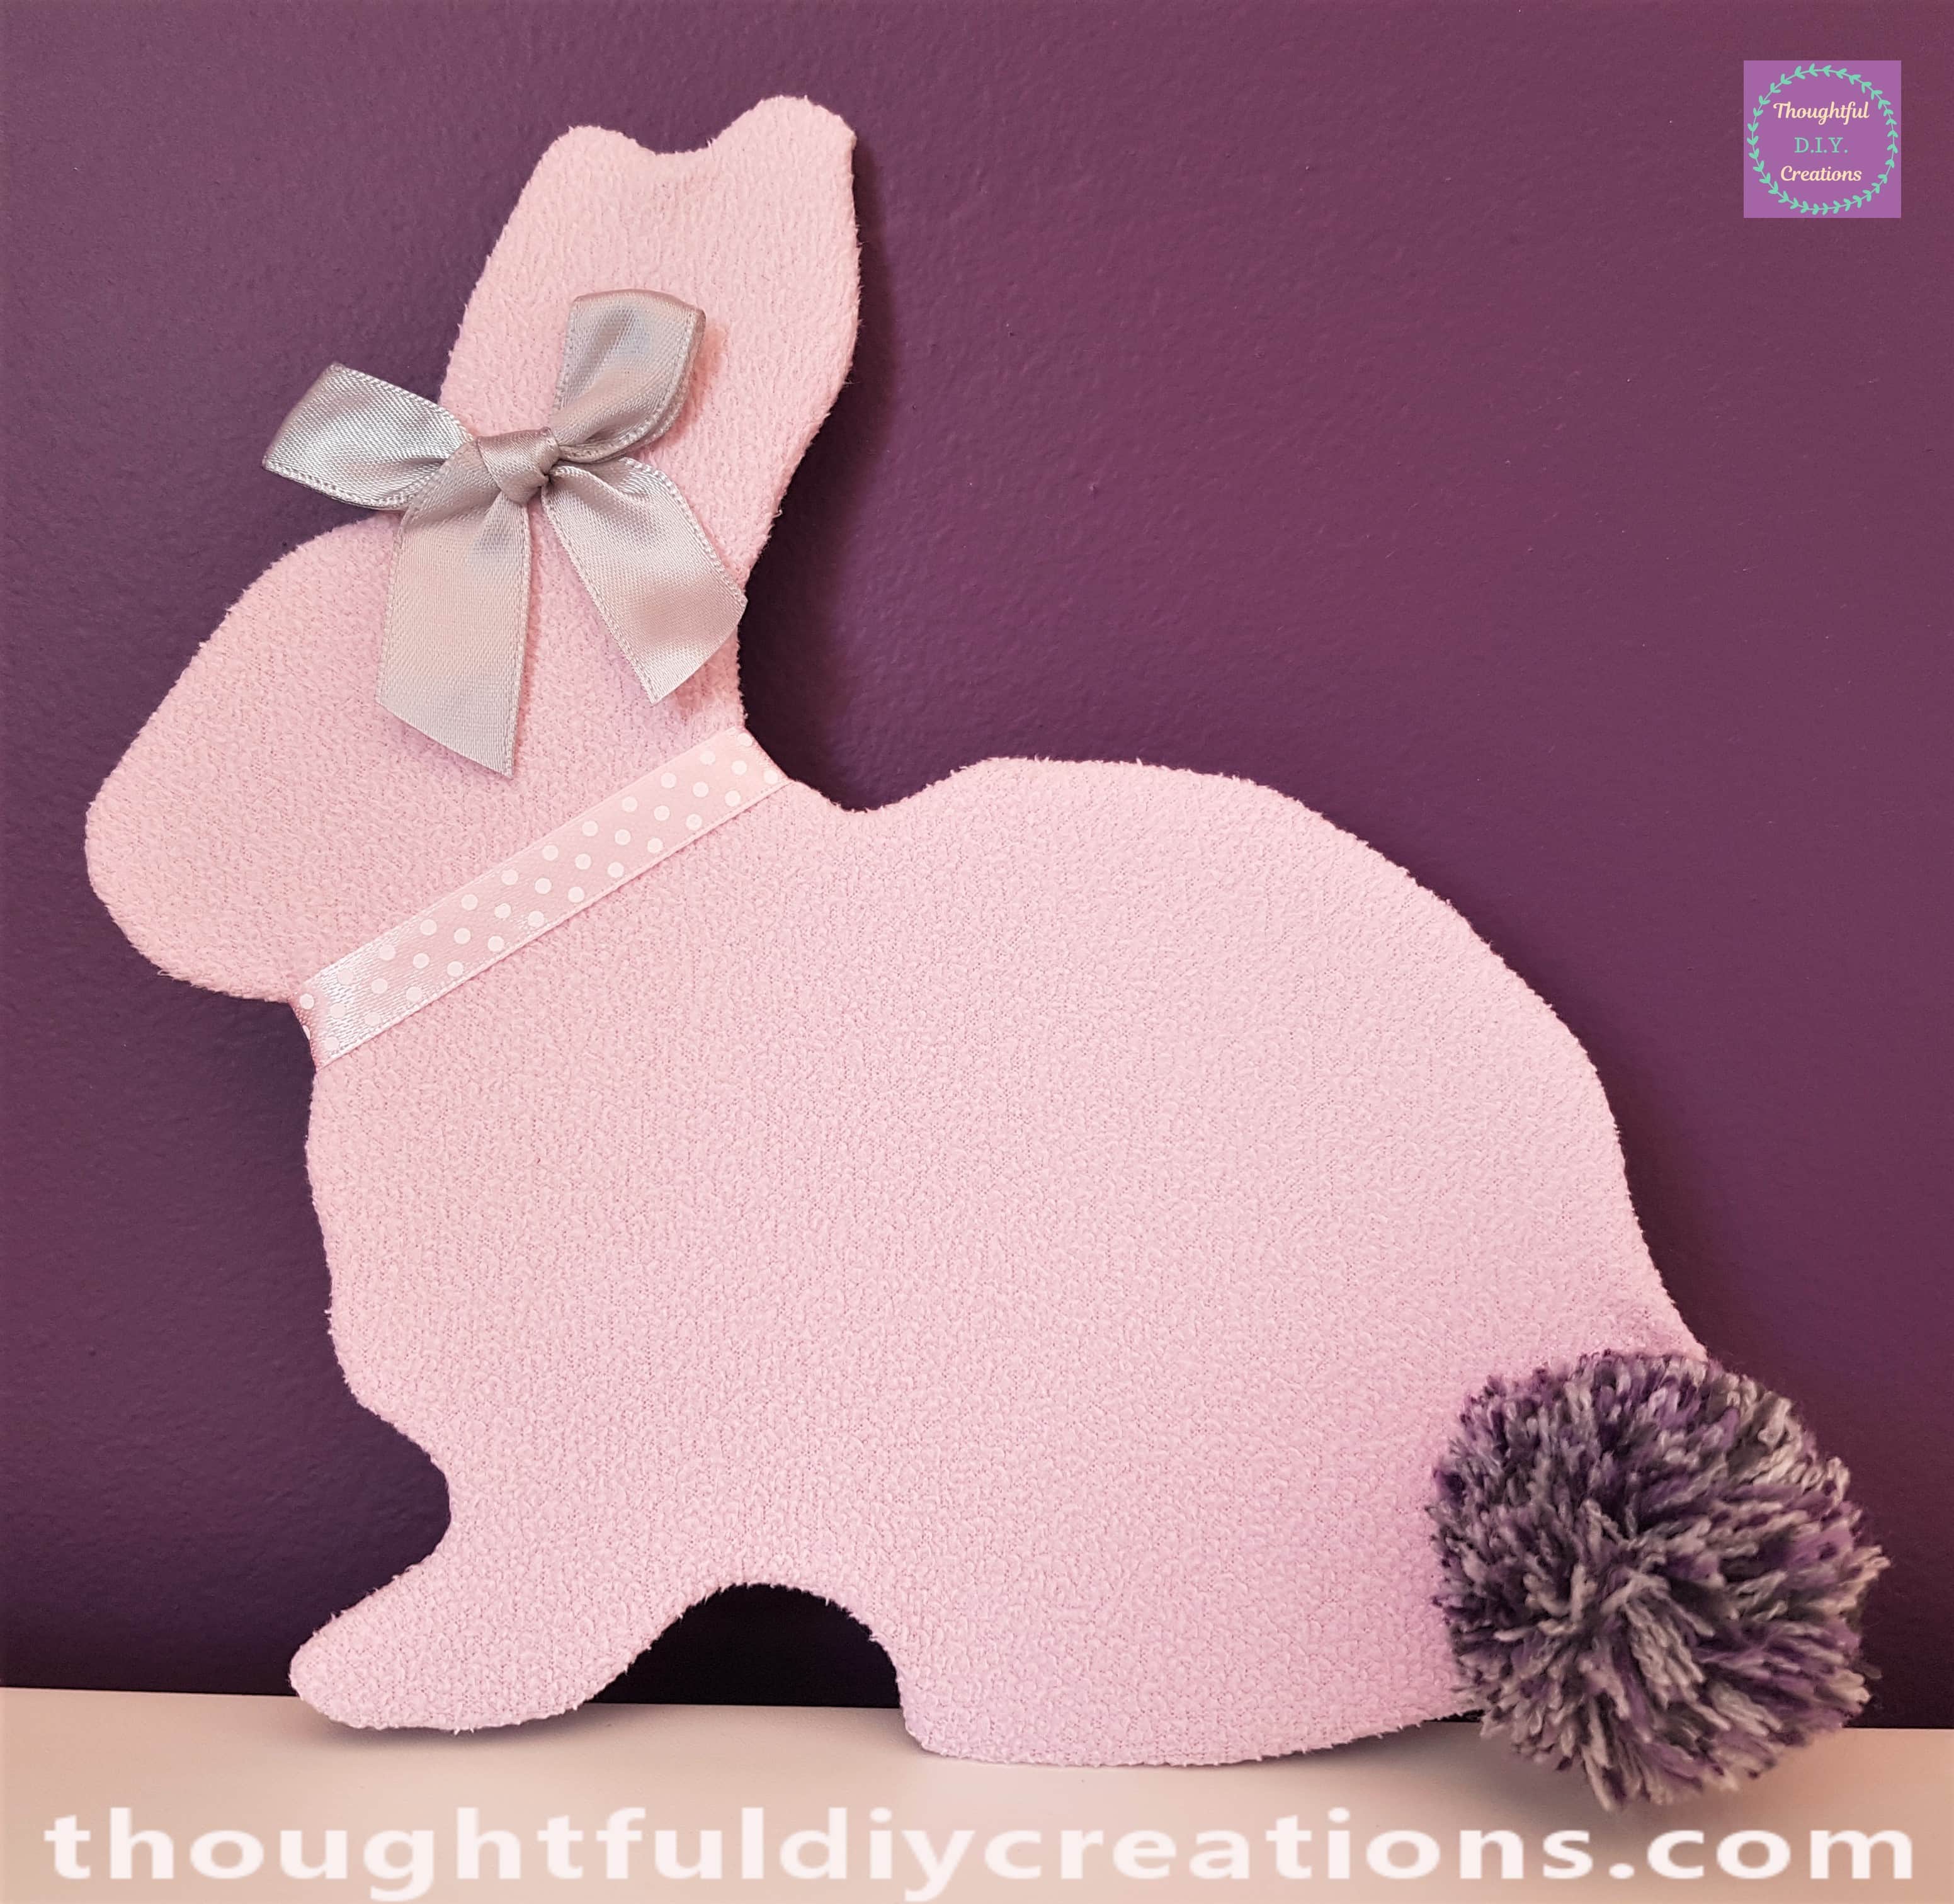
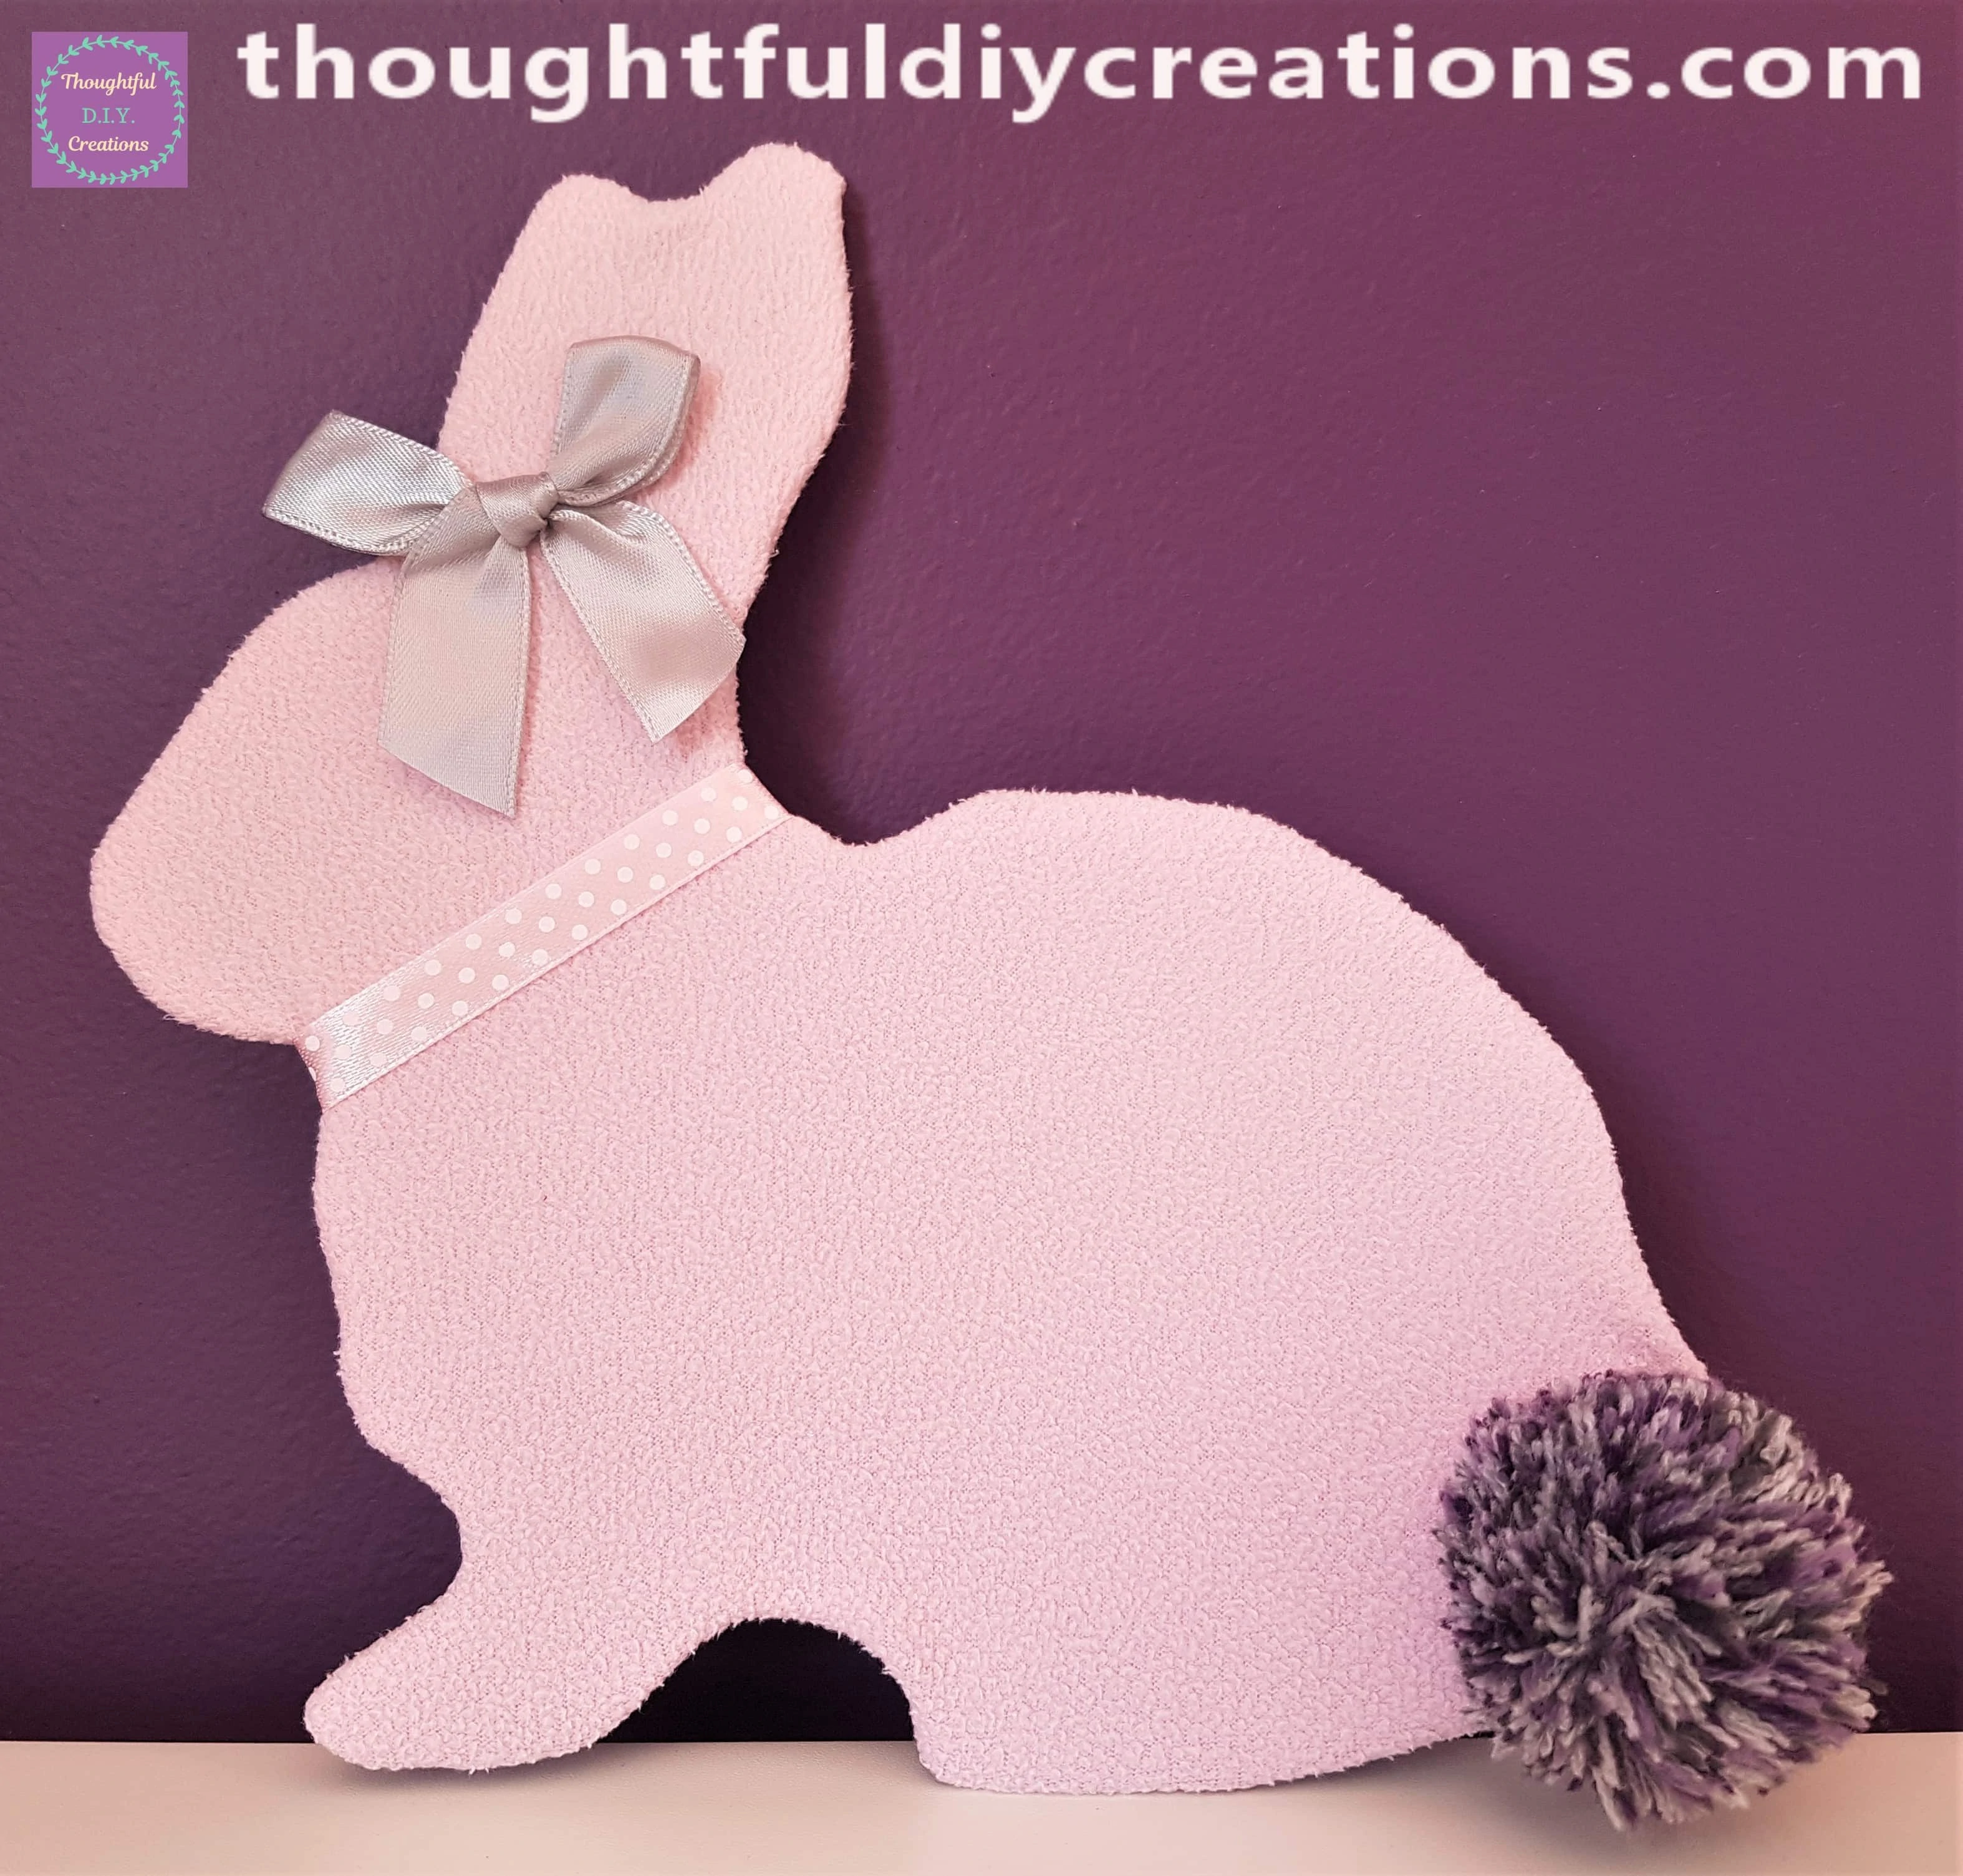
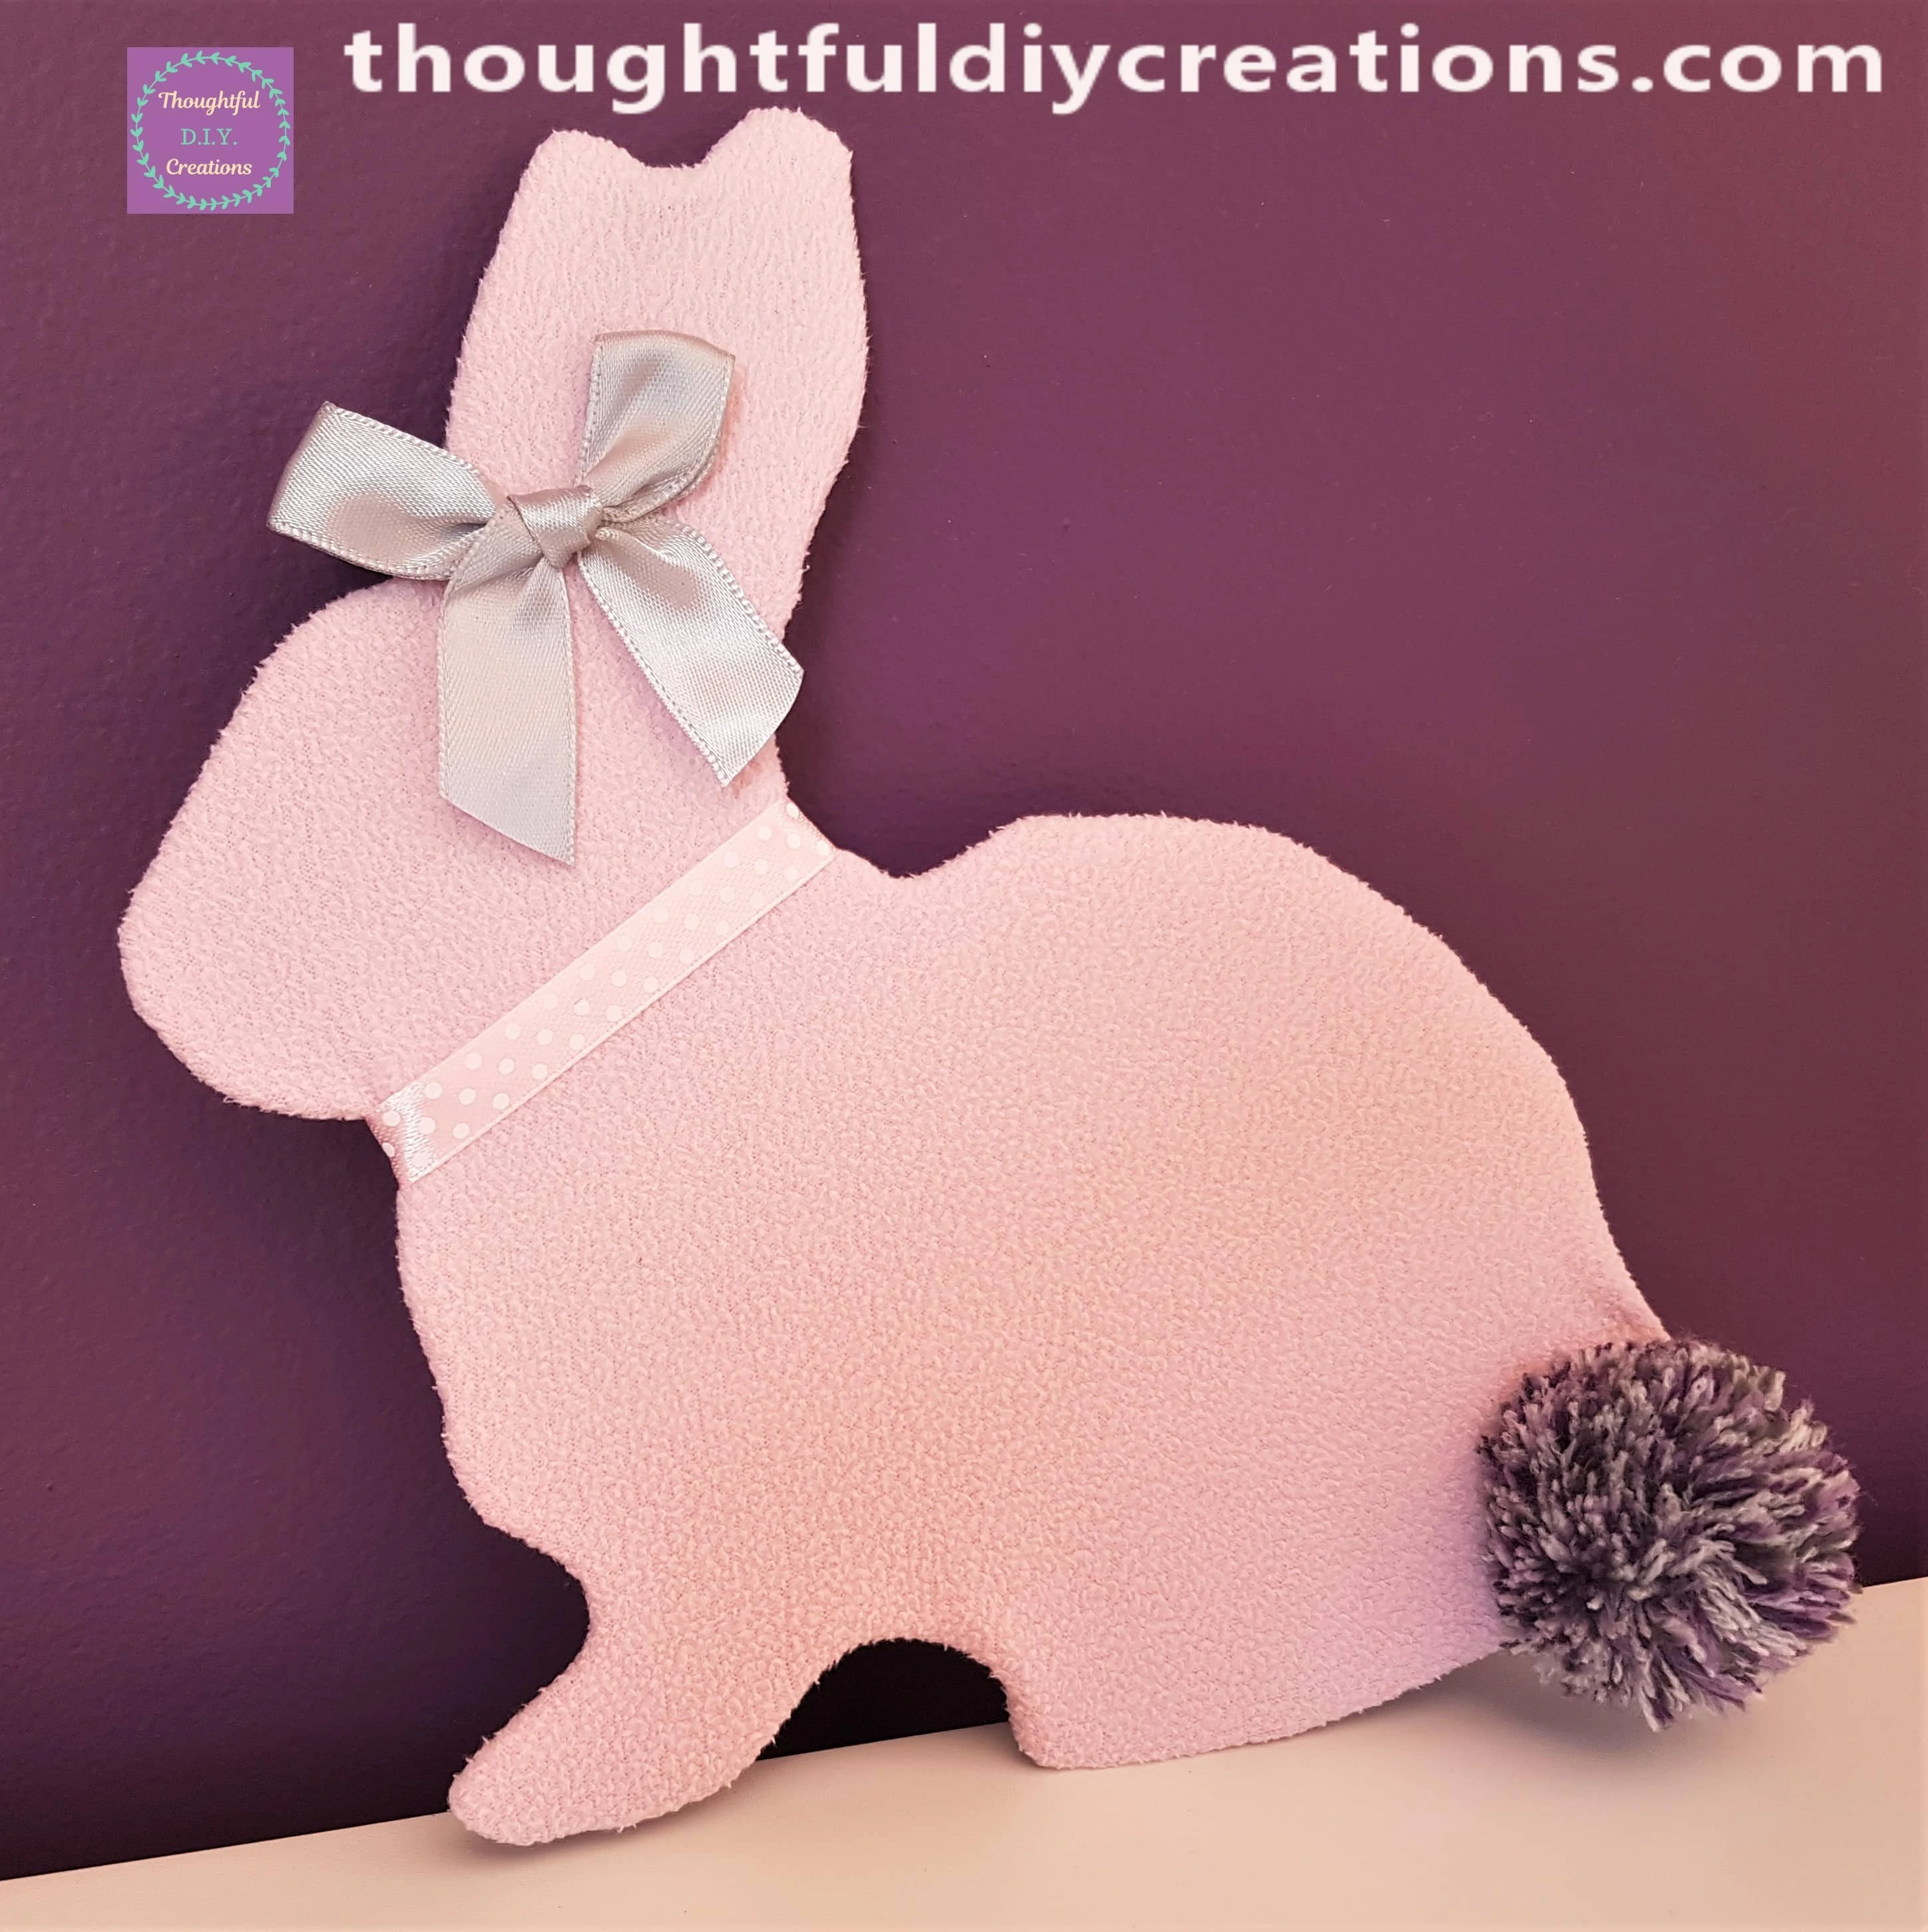
The Final Image of the Easter Craft.
Conclusion
I think the Easter Rabbit is really Cute. I love how it was made with Materials I already had at Home and would otherwise have ended up in the Bin. It’s amazing what you can make and transform from Cardboard and a few Accessories.
This Easter Craft can be Customised to your Favourite Colours and Requirements. It would be adorable made as Part of an Easter Rabbit Family. You could make a Mammy, Daddy, and Baby Rabbits depending on how many Children are in your Family.
Or you could just make Two Rabbits if you are in a Partnership with Someone. The second Rabbit Template could be Stuck to the Cardboard in the other direction; that way the Rabbits will be facing each other when they are finished which would look so pretty when on Display.
You could use different Colour Material / Lace or Patterned Paper / Paint to Decorate the Rabbits in your preferred Colours or Style.
I hope I provided some Inspiration for your Easter Crafting. Let me Know how your Project turns out if you give it a try for Yourself. I hope it goes Well and you enjoy the Process.
Thank You So Much for Taking the Time to Read my Blog.
Always Grateful,
T.D.C.
xoxox