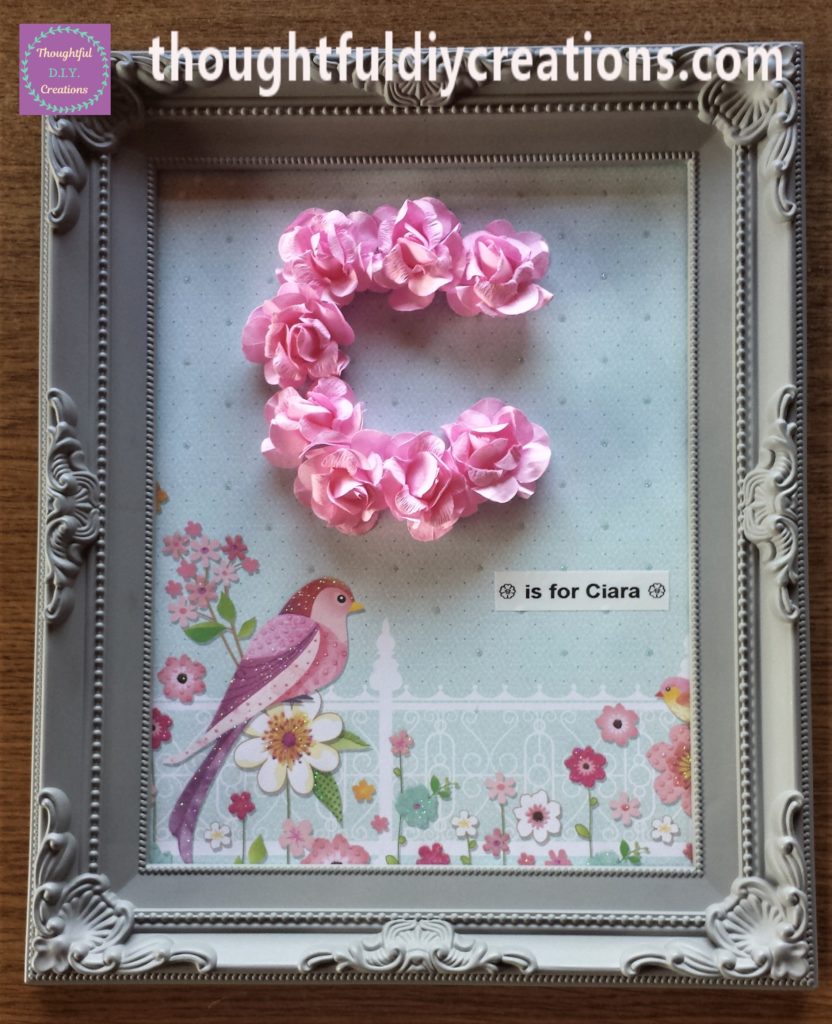
Easy Personalised Frame
Hello my Creative Friends,
I hope you are all well. In Today’s Tutorial I will show you how to make an Easy Personalised Frame. It can be changed to suit the colours and style you personally like. It would make a thoughtful D.I.Y. Gift for someone special in your life. I hope you enjoy the tutorial and get some ideas from it.
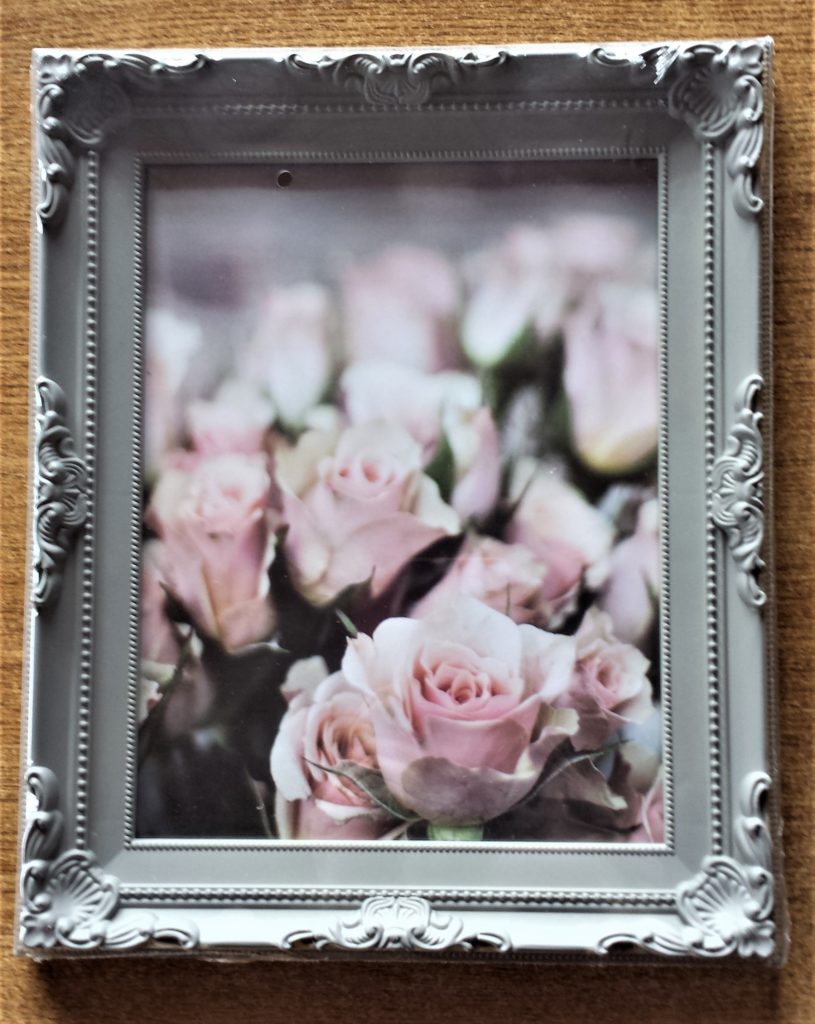
Frame for Crafting
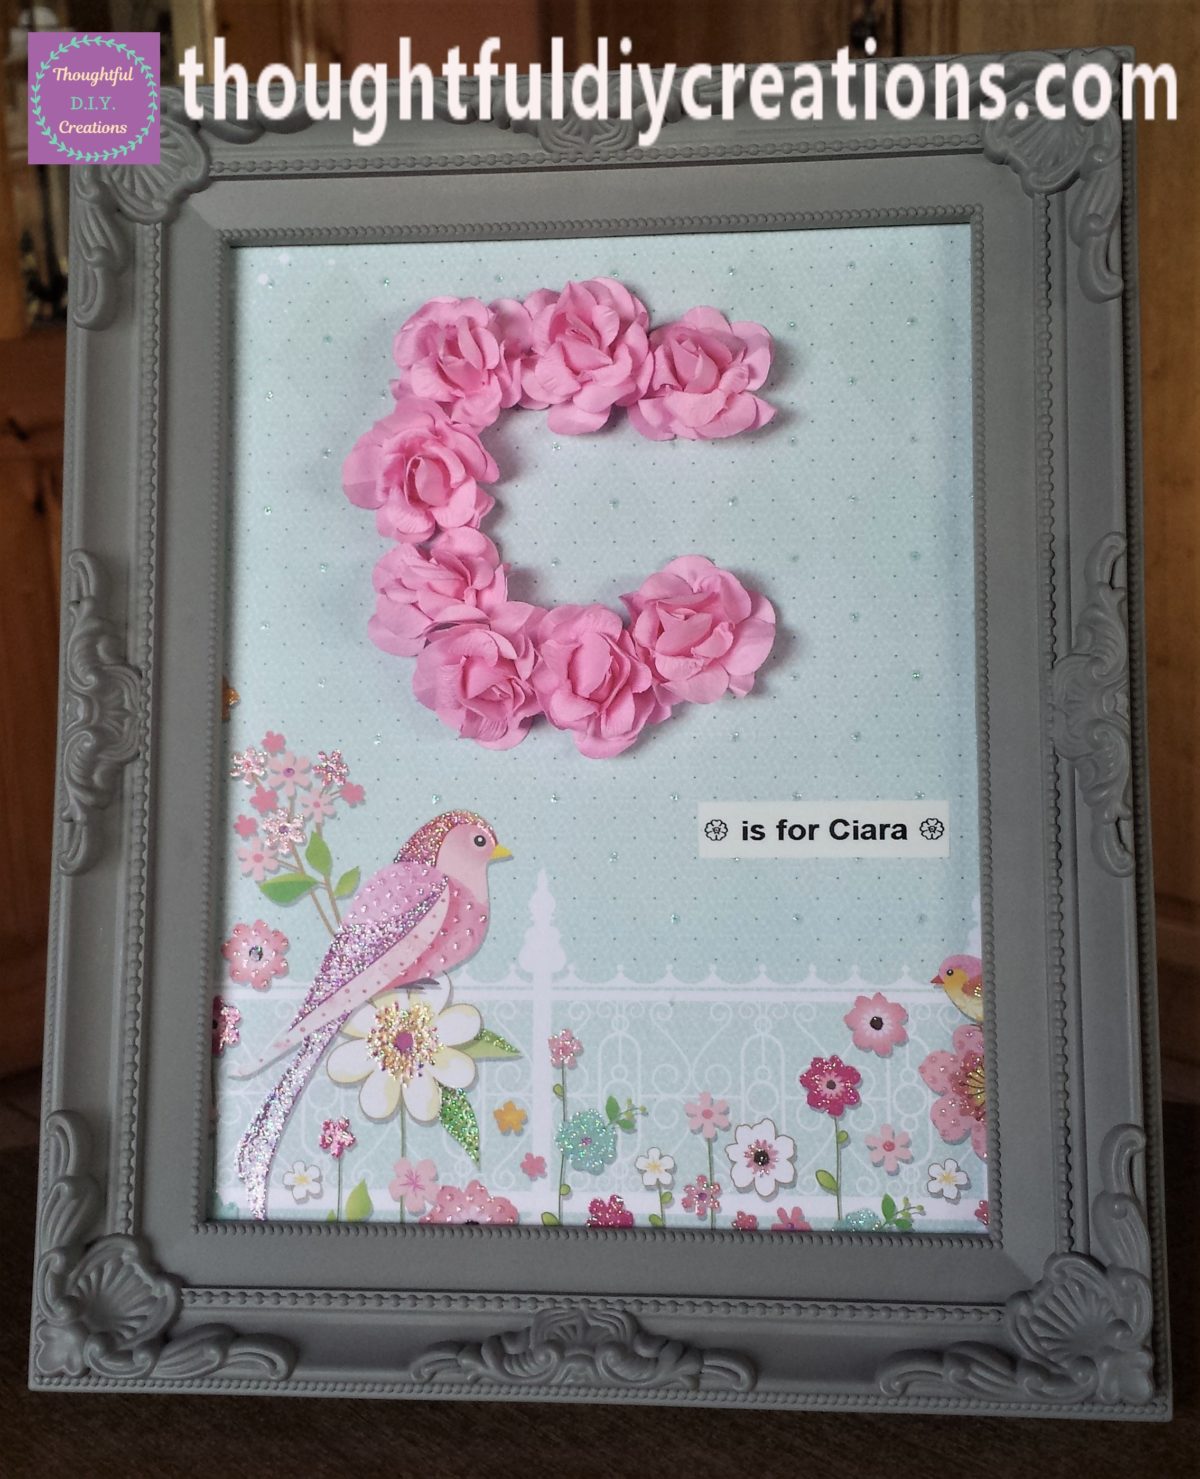
I bought a Grey Ornate 8 x 10 inch Frame. I loved the colour and style of the frame. I thought it would be even more beautiful if it was personalised instead of using it as a photo frame. Ornate Picture/Photo/Poster Frame.
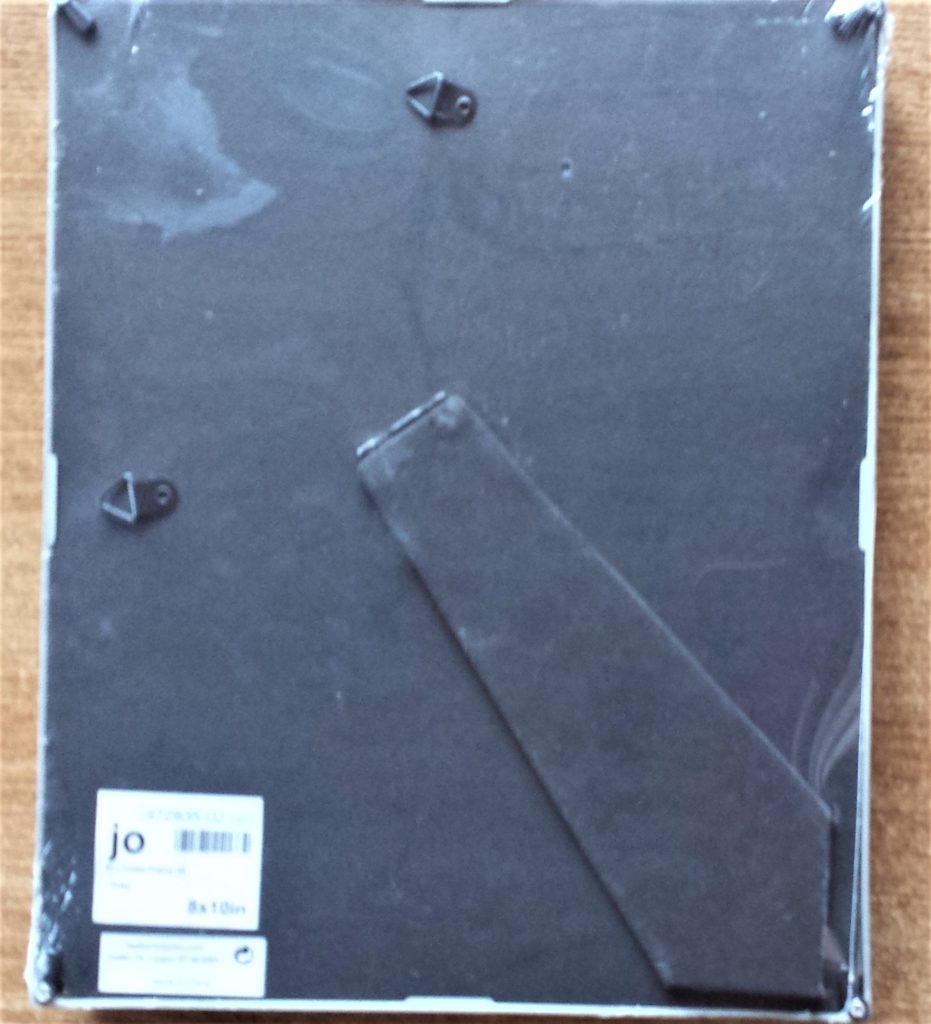
Opening up the Frame
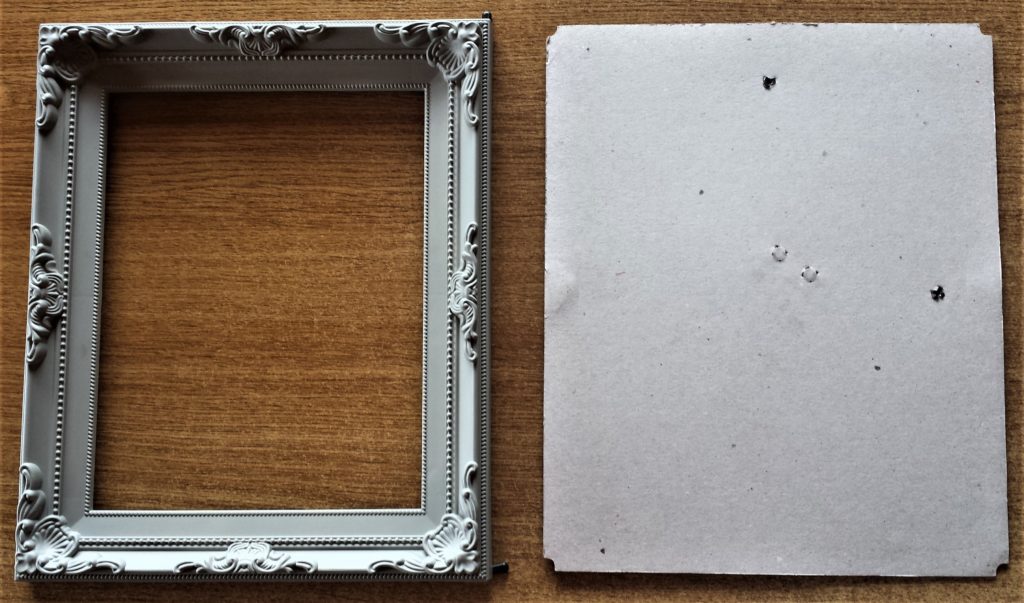
I took off the clear plastic packaging and opened up the frame. I won’t need the Pink Roses Paper that came with the frame so I put that into my paper stash.
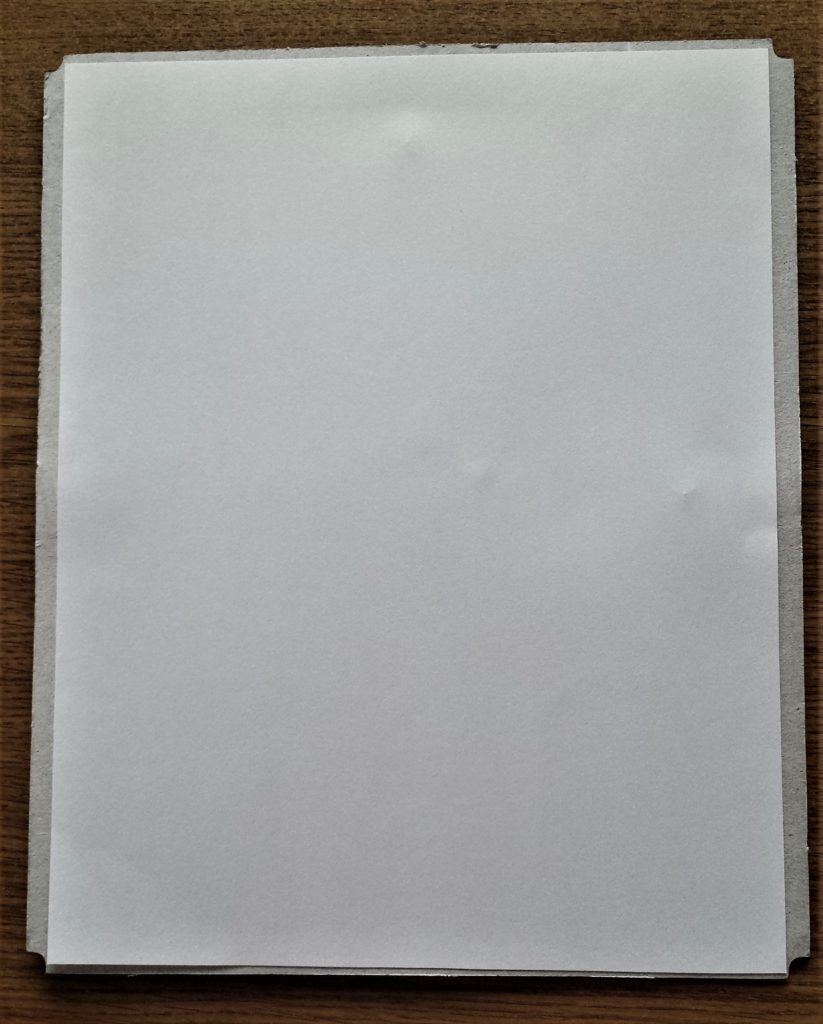
Adding Paper to the Backing of the Frame
To make the backing of the frame more flush and sturdy I measured and cut out a sheet of lace patterned paper. It has a lace pattern on one side and plain white paper on the other side. I put double-sided tape on each of the 4 sides of the lace paper. Double Sided Tape.
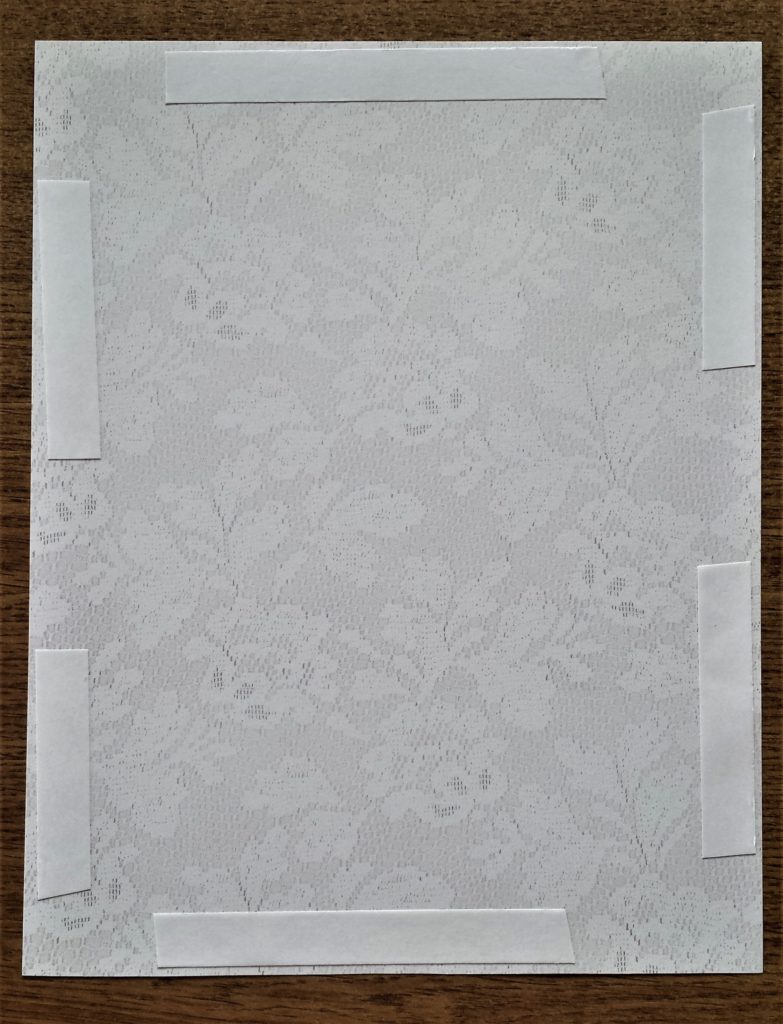
I removed the backing on the double-sided tape and attached the sheet to the backing board of the frame.
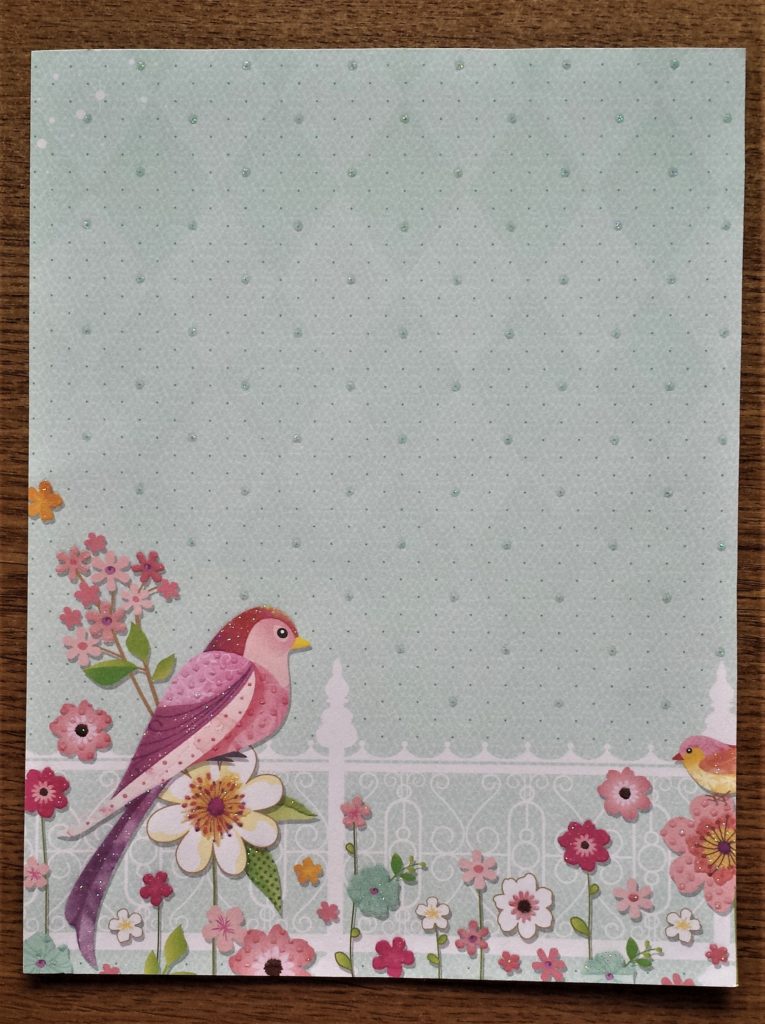
Patterned Paper for the Easy Personalised Frame
I had an A4 size 160gsm Paper Pad which had pretty double-sided patterned paper. The front side has a lovely raised glitter detail along the page. Scrapbook Paper Cardstock.
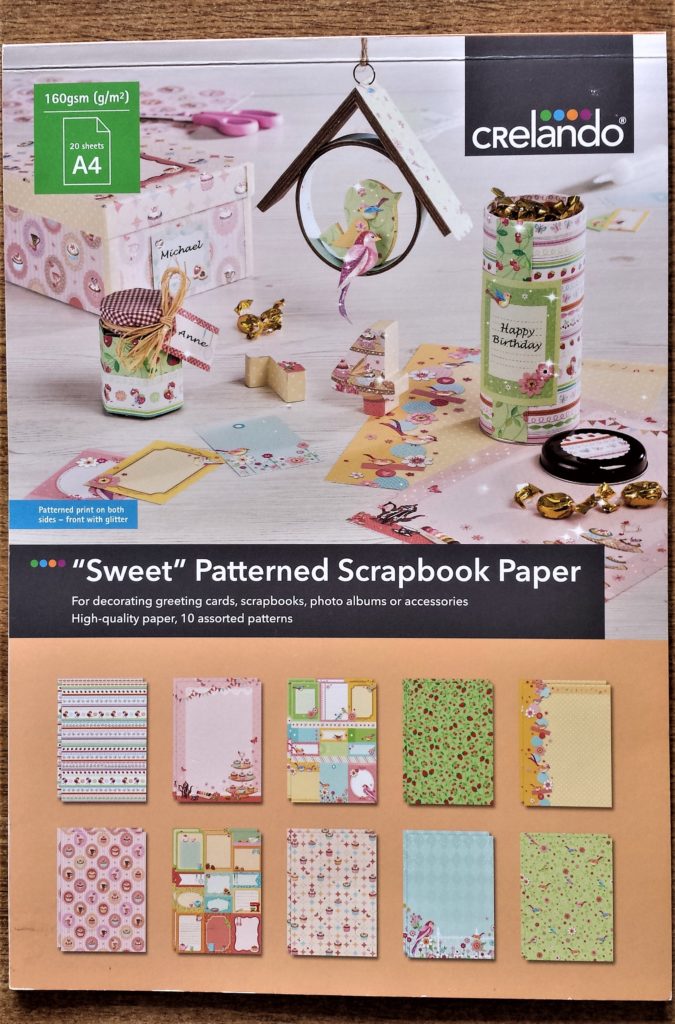
I chose an adorable blue page with 2 birds and flowers on it to use for the frame.
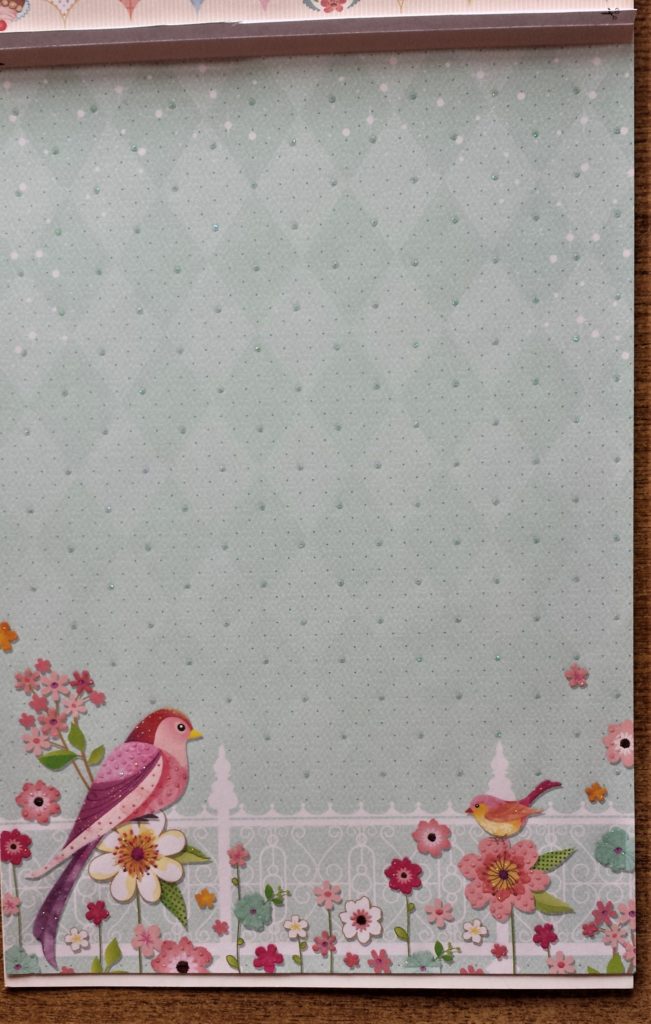
I put the grey frame over the back of the blue page and marked the measurements for the page to fit inside the frame. I then drew 2 lines at the measurements on the page with a pencil and ruler.
I cut out the marked lines on the blue patterned sheet with a small sharp scissors and turned the page over to reveal the front. Scrapbook Paper Cardstock.
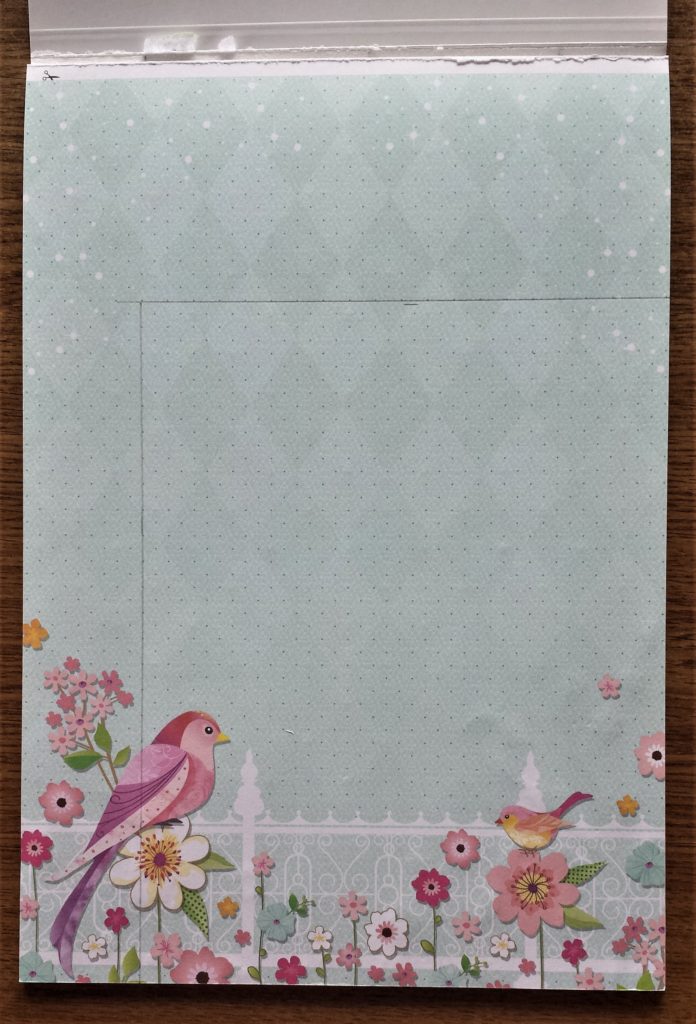
Attaching the Patterned Paper to the Frame
I put double-sided tape on the back of the blue patterned page. Double Sided Tape.
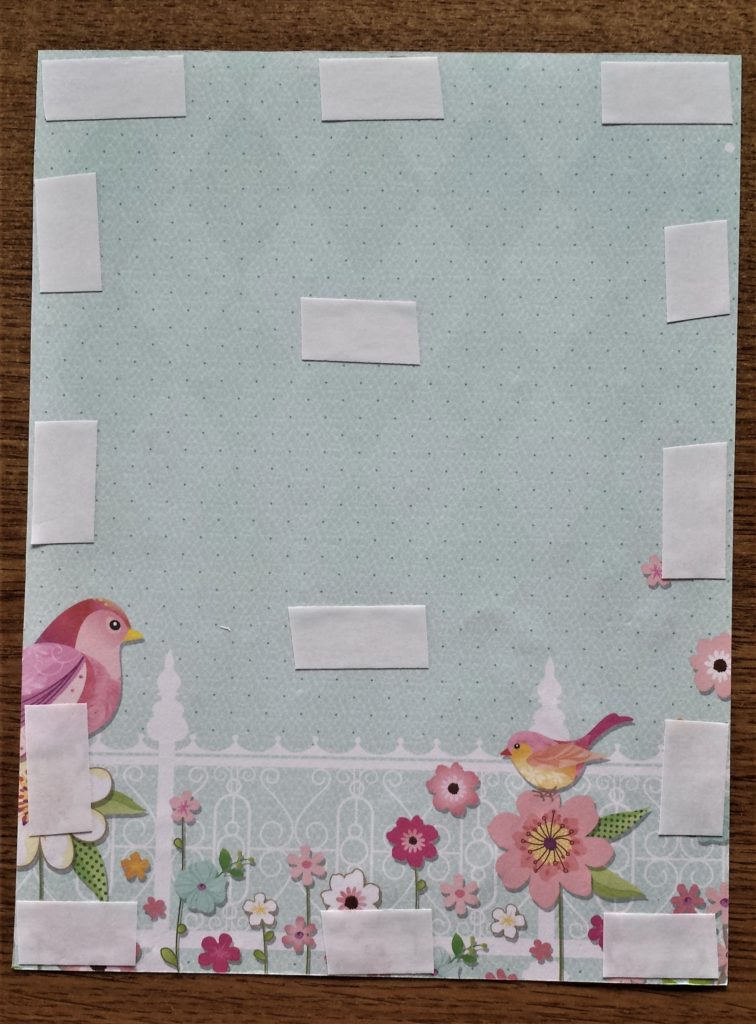
I put the grey frame over the white sheet attached to the backing of the frame. I marked the inside corners of the frame on the white sheet with a pencil. This is where I will place the blue sheet to know it’s positioned correctly in the frame.
I removed the backing of the double-sided tape on the blue sheet. I attached the blue patterned page to the backing of the frame on the measurements I had marked. Double Sided Tape.

I attached the backing of the frame to the grey frame and closed it back up. Ornate Picture/Photo/Poster Frame.
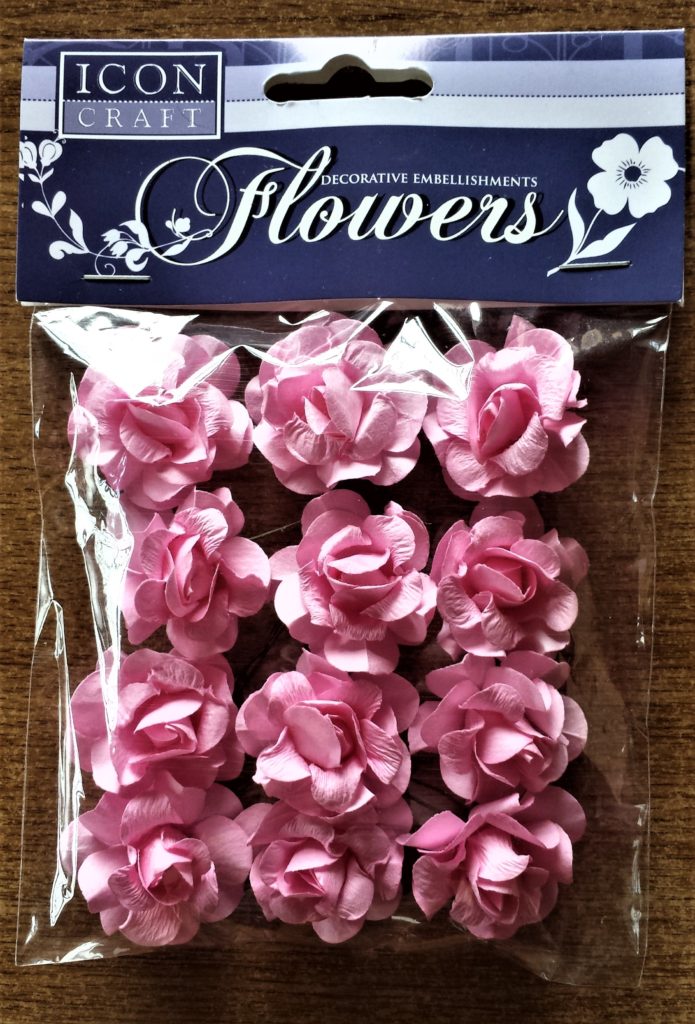
Flowers for the Easy Personalised Frame
I bought a pack of ‘Icon Craft Decorative Flowers’ in pink. White Pink Peony Paper Flower.
I squeezed some Wood Glue out onto an old lid. Beacon Craft Glue.
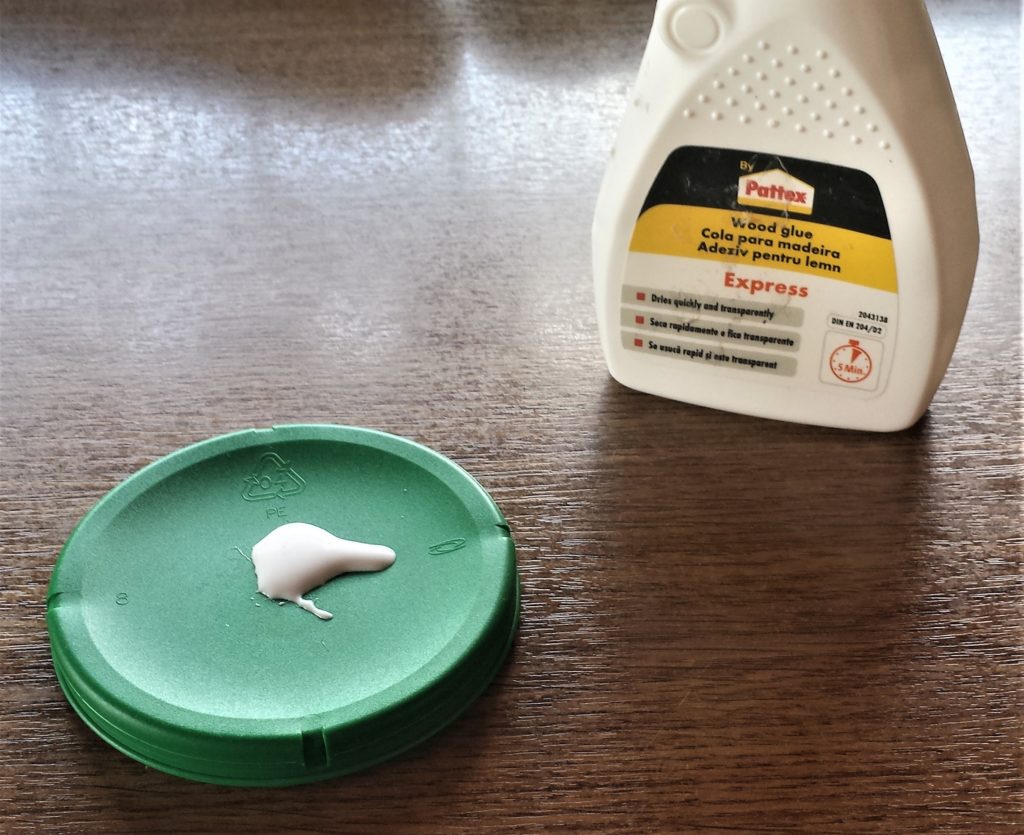
I put some Wood Glue onto the back of the flower with a paintbrush. I pressed the flower onto the blue page in the frame for a few seconds. I repeated this until I had the letter ‘C’ arranged in flowers on the blue page. White Pink Peony Paper Flower.

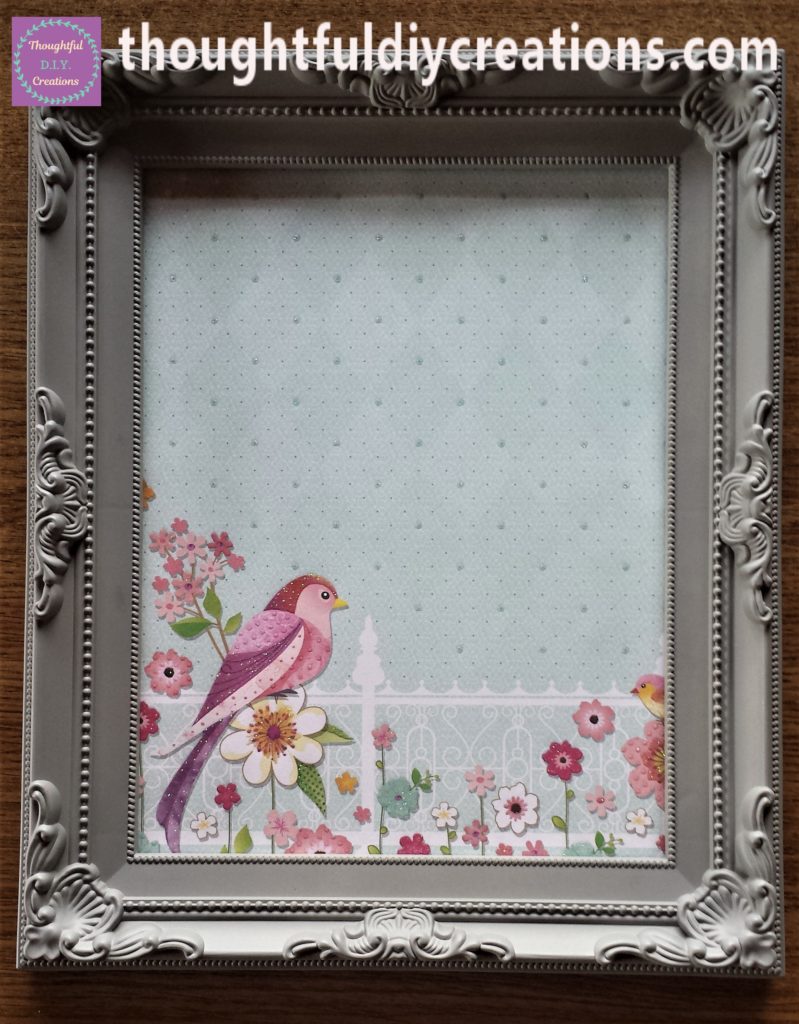
Completing the Easy Personalised Frame
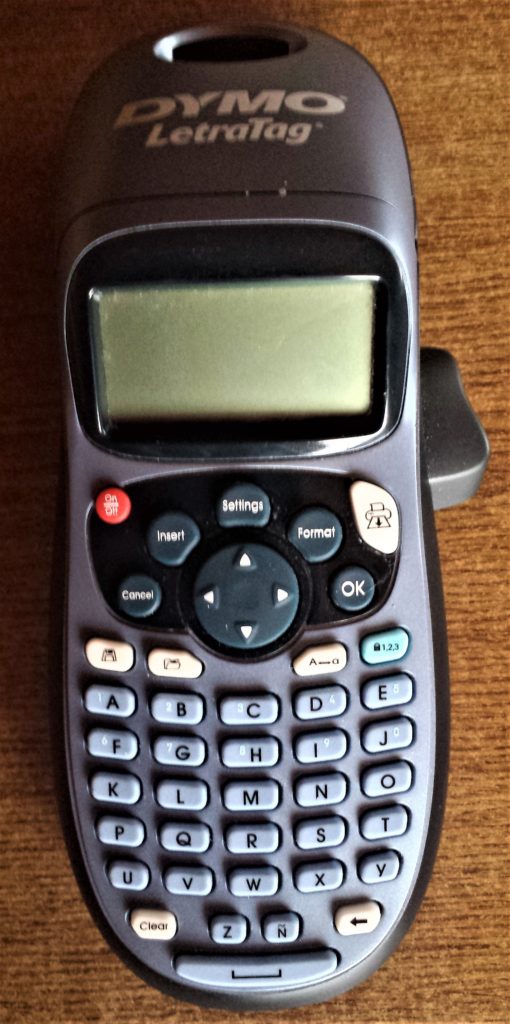
To finish off the frame I wrote ‘is for Ciara’ with my ‘DYMO LetraTag Label Maker’. I wrote the Text in Size Large. I added a flower each side of the text using the ‘Insert’ button and then selecting ‘Symbols’ and scrolling up and down until I found the flower. I pressed print and then pressed the button in on the side of the Label Maker to cut off the print-out. I removed the backing on the label and stuck the label to the frame. DYMO LetraTag Label Maker.
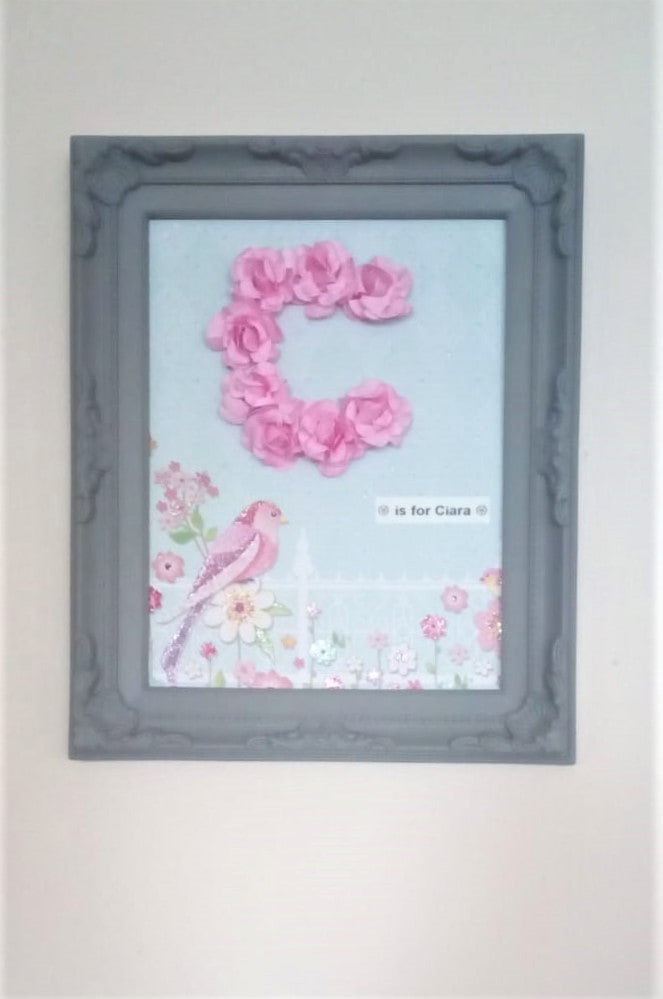
This completed the Easy Personalised Frame. The frame can stand up on a surface using the stand supplied with the frame. Here it is standing up-right on the table. You could put it on a dresser / bedside locker / display table / cabinet; wherever you want really.

You could also hang it up on the wall or a door as there is a hook attached to the back of the frame. Here it is hung up on the wall. Ornate Picture/Photo/Poster Frame.
Conclusion
I was really happy with the final result of the Easy Personalised Frame. I love how feminine and pretty it looks. The pink flowers complement the pink on the birds and on the flowers on the patterned paper. I adore personalised items, I think it gives a handmade gift even more meaning. It is something the recipient will have to cherish forever.
This craft is so versatile as you could pick a completely different colour and size frame. It could also be made for a male person in your life; just change the paper and colour of flowers. White or cream flowers could be used with a monochrome style paper. Paper Pad Black/White. You could add specks of brown / grey / or black ink or acrylic paint to the flowers for a more masculine appearance. Another idea would be to distress the frame, maybe paint it black and sand it around the details for a more rustic look. Tim Holtz Cardstock Papers in Brown, Beige.
The frame could also work for a Nursery. You could pick woodland / farm / zoo / disney / princess / pirate etc. themed paper and add it to a white or wooden frame.
This easy personalised frame could be transformed for any occasion. It could work for a D.I.Y. Wedding Gift, D.I.Y. Engagement Gift, D.I.Y. New Home Gift. You can buy little embellishments to go with your occasion and add them to your frame. If you have stencils or a Cricut or Silhouette Machine the options would be endless with how you could personalise it.
I hope you enjoyed this weeks Tutorial. If you have any questions on this craft or anything more to add on personalising frames just fill in the Comment Box below. If you make your own frame from reading this tutorial let me know how you get on.
Happy New Year Everyone. I hope 2020 is an amazing, blessed, peaceful, healthy, and creative year for everyone.
Thank you so much for taking the time to read my Blog.
Always Grateful,
T.D.C.
xxxxx