Easy Pumpkin Bottle Craft
Hello my Creative Friends,
I hope you are all well. In Today’s Blog Post I will show you how you can easily make a Pumpkin Bottle. It is extremely budget friendly as it only requires 3 products to make this craft. I hope you enjoy the tutorial and then make your very own Pumpkin Bottle this Halloween season.
Washing the Bottle and Lid
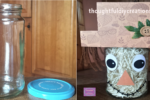
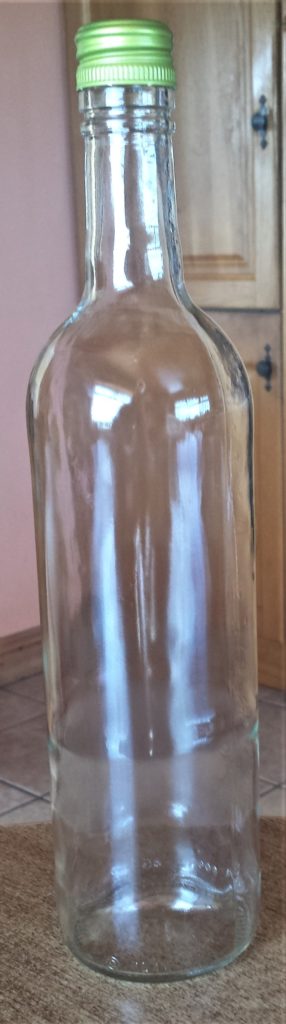
I started by soaking an empty wine bottle and lid in the sink with washing up liquid for an hour. This made it easy to peel off the label. I then dried the bottle and lid and allowed time for the inside of the bottle to dry.
Preparing the Bottle for Spray Painting
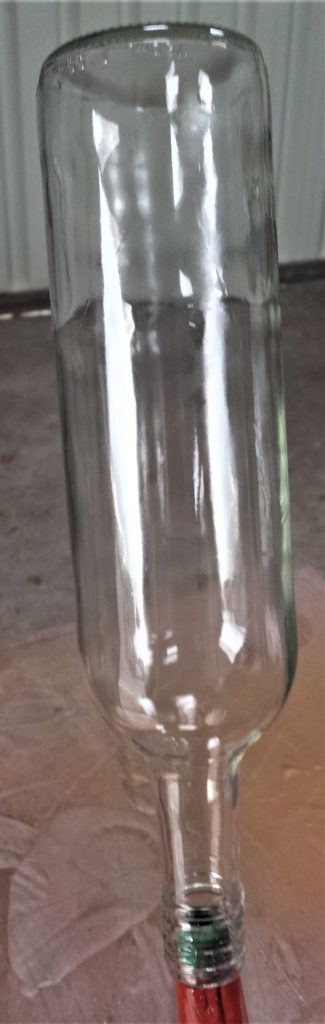
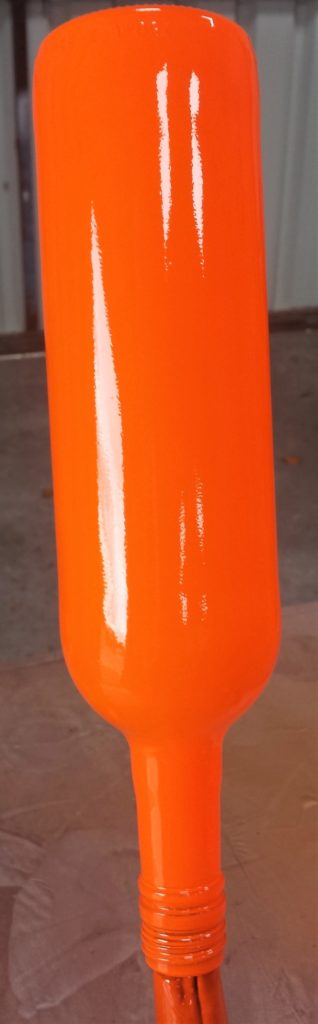
I brought the wine bottle and lid out to the shed. I balanced the bottle onto the spout of an old watering can. This was to ensure I could spray every angle of the bottle without having to move it. You can use whatever props you have handy; something you don’t mind getting spray paint on.
The Spray Paint I used was a Neon Orange Spray Paint. ORANGE Spray Paint.
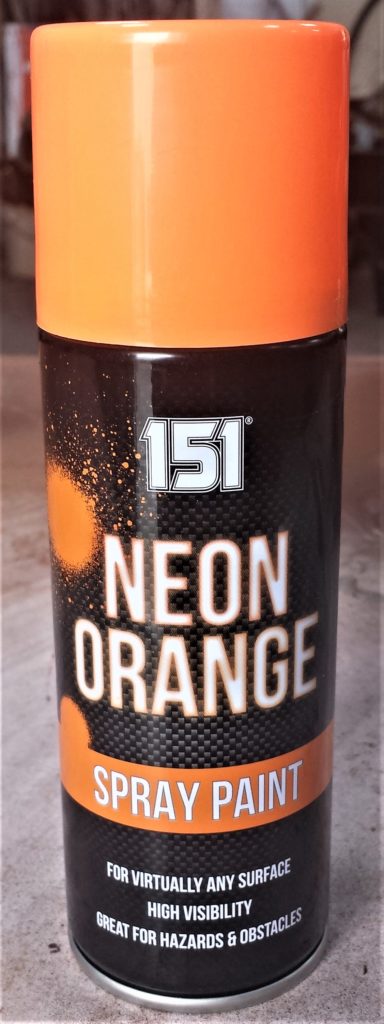
Make sure to spray paint in a well ventilated area. I done mine in a big open shed with the side door behind me open.
Spray Painting the Bottle and Lid
I sprayed the base of the bottle first. I then sprayed from the base to the top of the wine bottle. I sprayed in sections; I sprayed from the base to the top without stopping. I then gave the can a quick shake then proceeded on to the next section, until I had one layer of spray paint on the whole bottle.

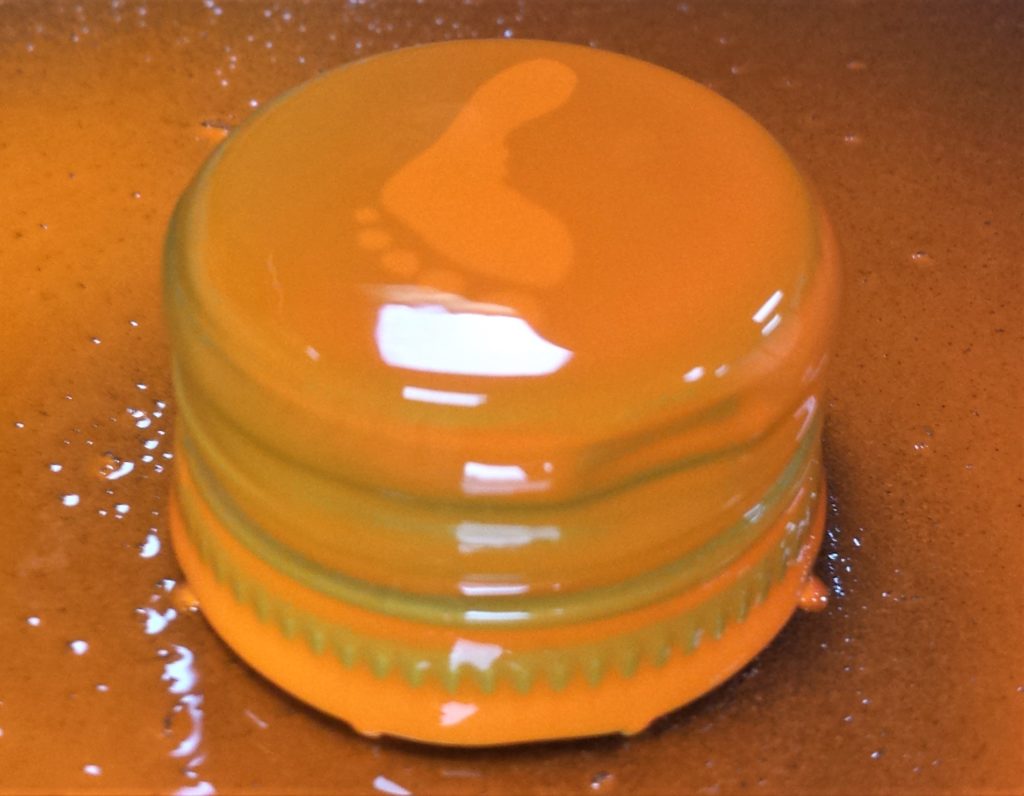
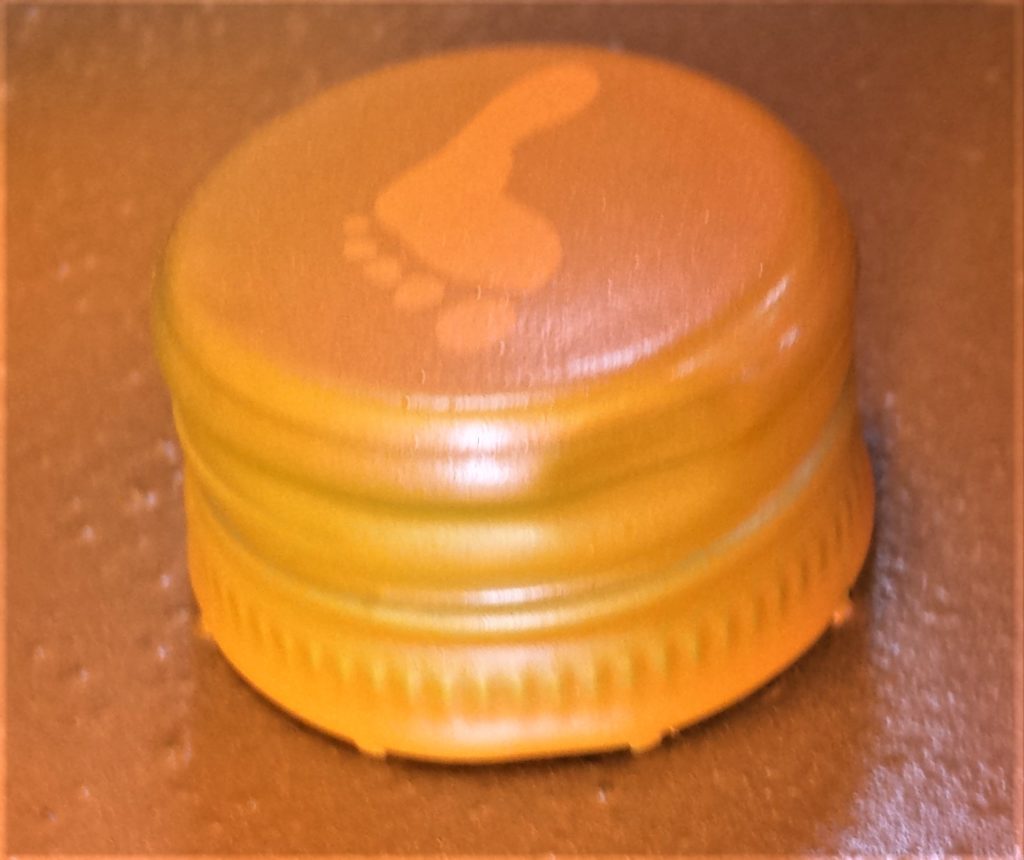
I spray painted the lid of the wine bottle. ORANGE Spray Paint.
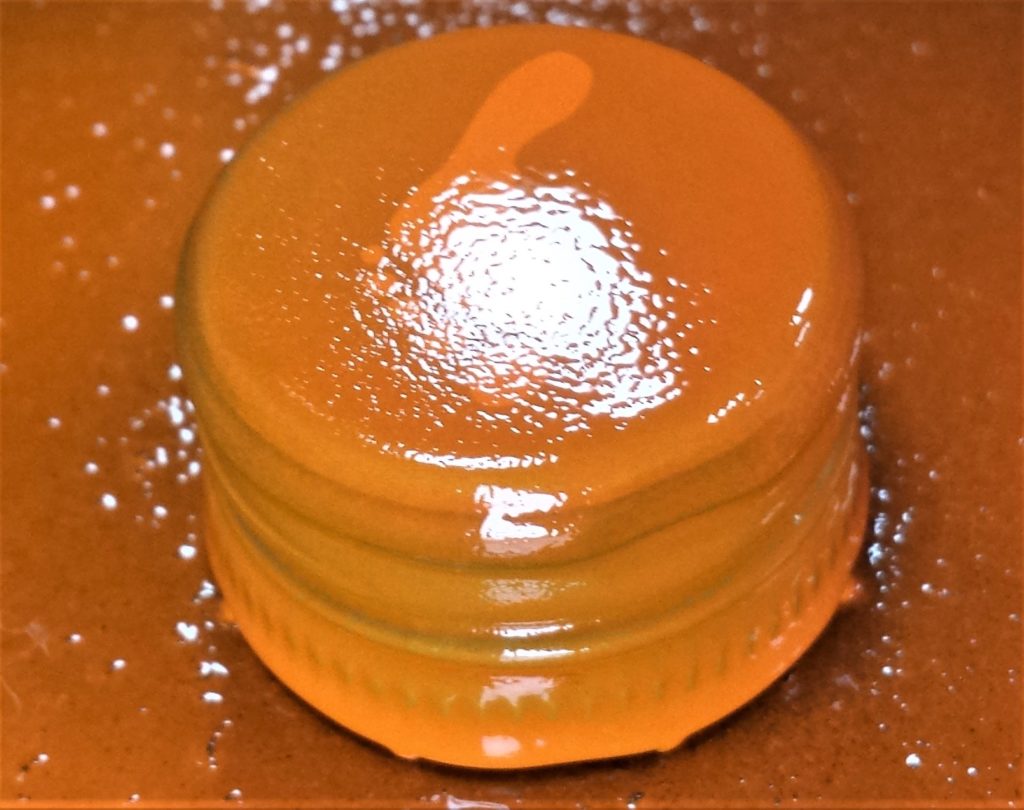
I gave an hour drying time between each layer. I spray painted the second layer onto the bottle. ORANGE Spray Paint.
I spray painted the top and sides of the lid for the second time.
I applied a third and final layer of spray paint to the bottle.

I applied a third and final layer of spray paint to the lid. ORANGE Spray Paint.
I left the bottle and lid to cure in the shed for 48 hours.
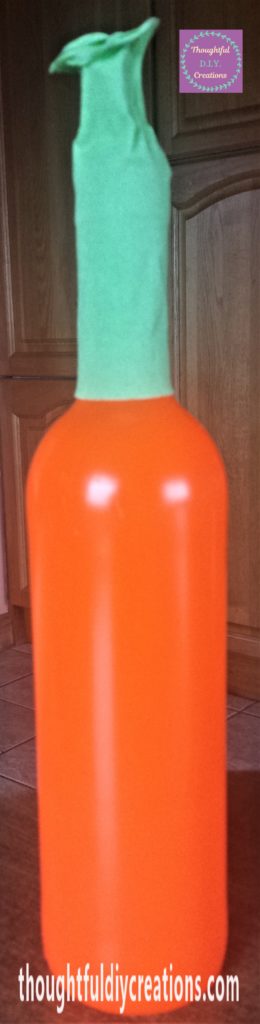
I then brought the bottle and lid back inside and put the lid back on the bottle. I was really pleased with the colour, it was luminous. I thought it was the perfect colour for a Pumpkin.

Making the Stalk for the Pumpkin
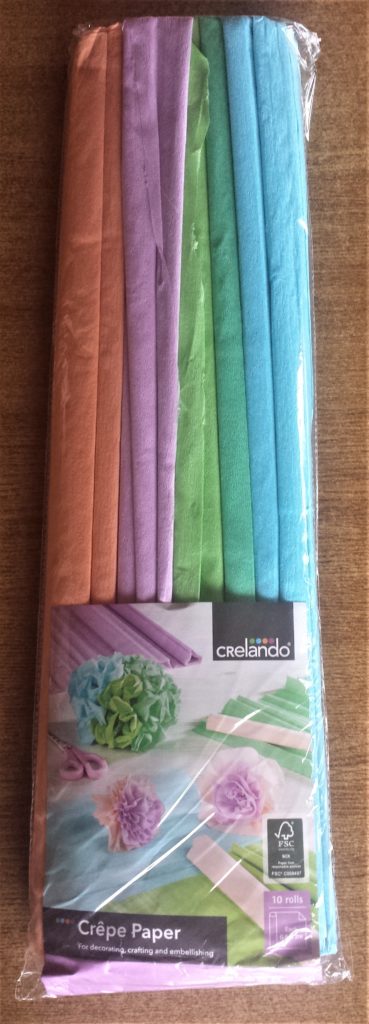
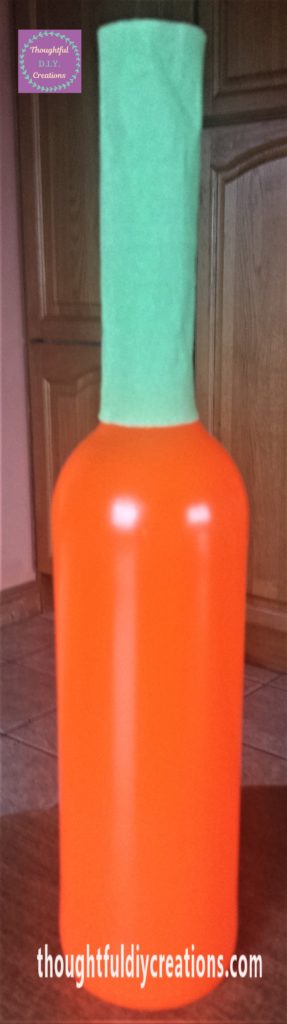
I had a crepe paper set and thought the light green colour would be perfect for the stalk of the Pumpkin. Crepe Paper Assorted Color.
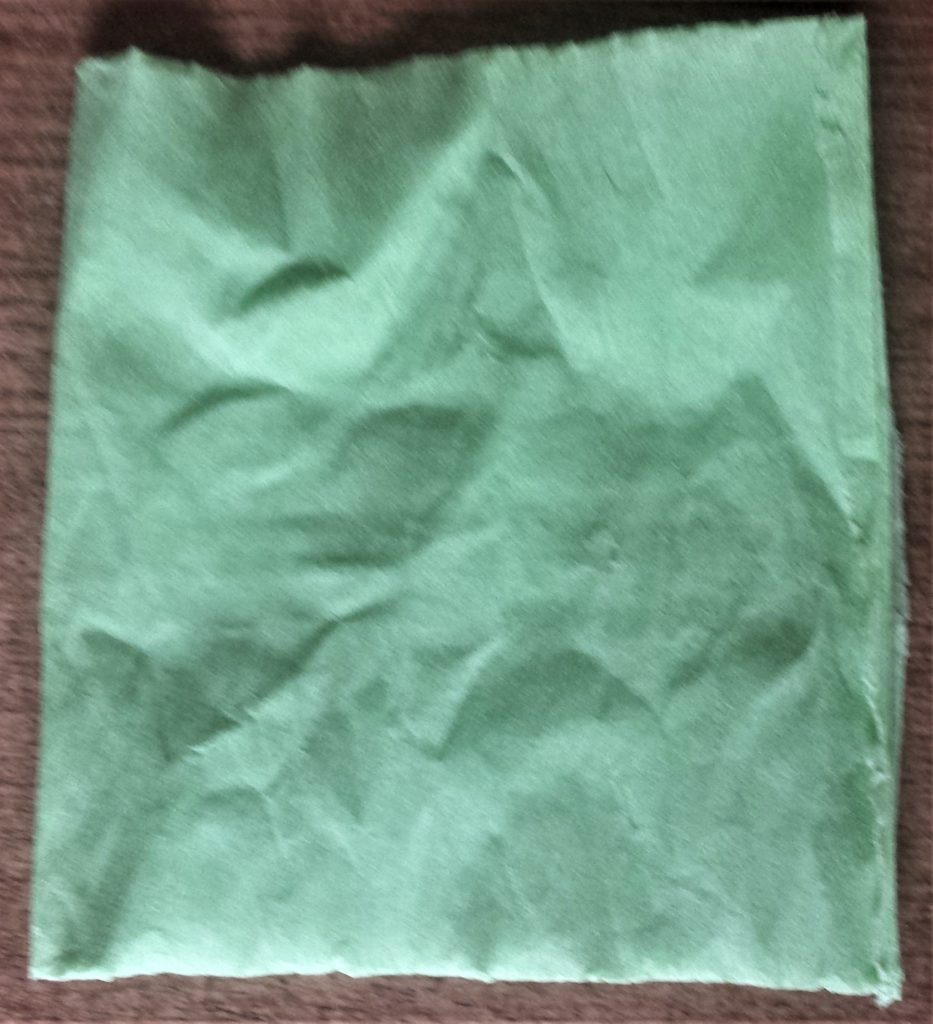
I cut a section of the green crepe paper and folded it over to make it stronger and to make the colour more vibrant.
The glue I used was Anita’s Tacky PVA Glue. Anita’s Tacky Glue.

I put some glue all around the crepe paper.
I folded it over the neck of the bottle and held the crepe paper in place for a few seconds.
I added some more glue around the top of the crepe paper. Anita’s Tacky Glue.
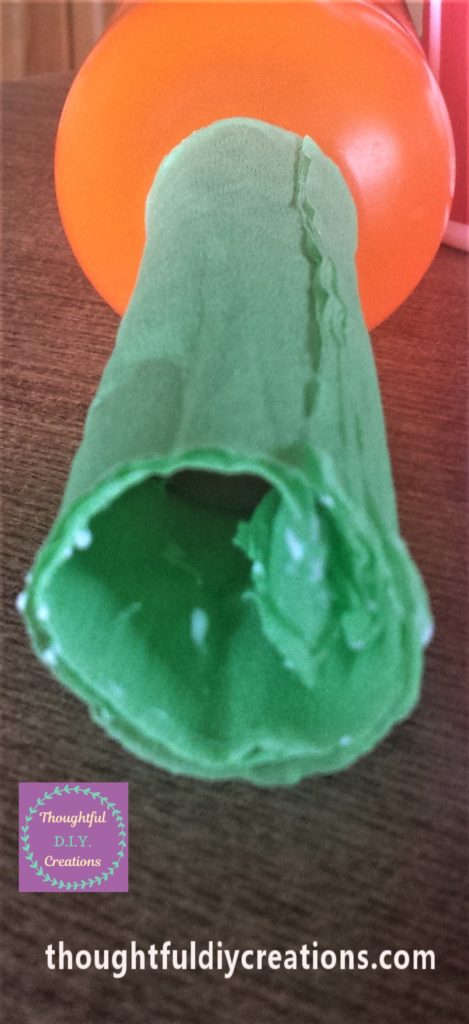
I also added glue to the outside of the crepe paper at the top. Anita’s Tacky Glue.

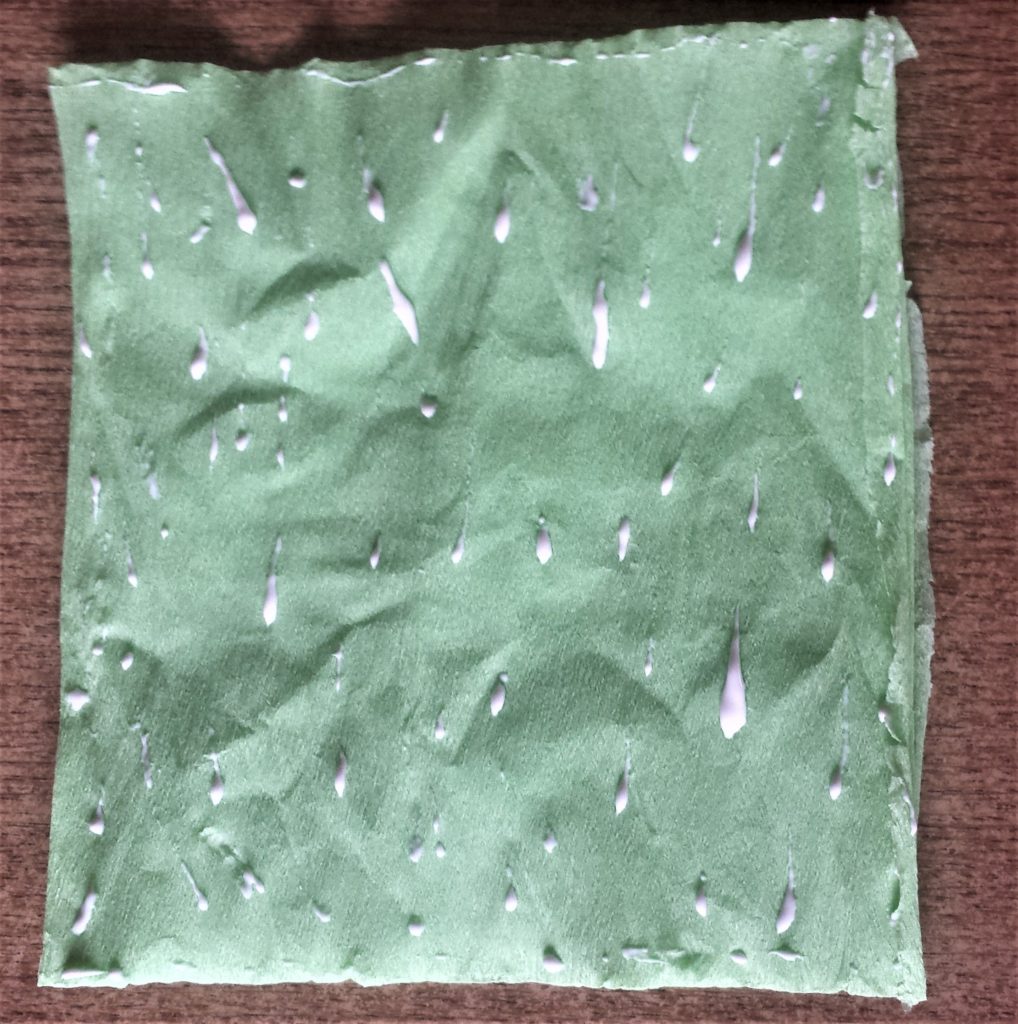
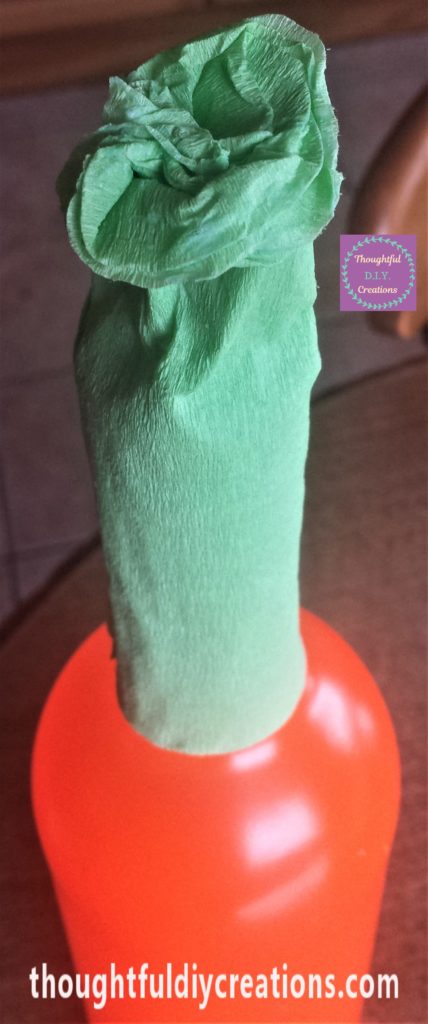
I held the paper in place for a few seconds until it was glued together. I then ruffled out the top few layers of crepe paper at the top to resemble a stalk.
Adding the Pumpkin’s Face
I used a black ‘Daler and Rowney’ Acrylic Paint Marker 2-3 mm to draw the Pumpkin’s face. Daler Rowney Acrylic Paint Markers.

I sketched out the Pumpkin’s face on the bottle. This doesn’t have to be perfect first time around as you can go over it later. Keep baby wipes handy to wipe off any mistakes as the paint marker can dry quickly.
I filled in the Pumpkin’s eyes using the paint marker. Daler Rowney Acrylic Paint Markers.
I coloured in the Pumpkin’s nose. Daler Rowney Acrylic Paint Markers.
I also painted the Pumpkin’s mouth. Daler Rowney Acrylic Paint Markers.
I gave the Eyes, Nose and Mouth another layer of paint using the Paint Marker. I made the eyes and nose a bit bigger to look more in proportion with the size of the bottle.
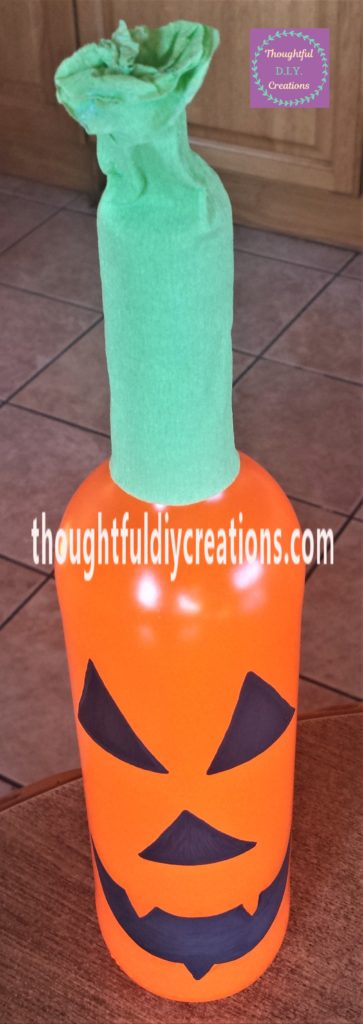
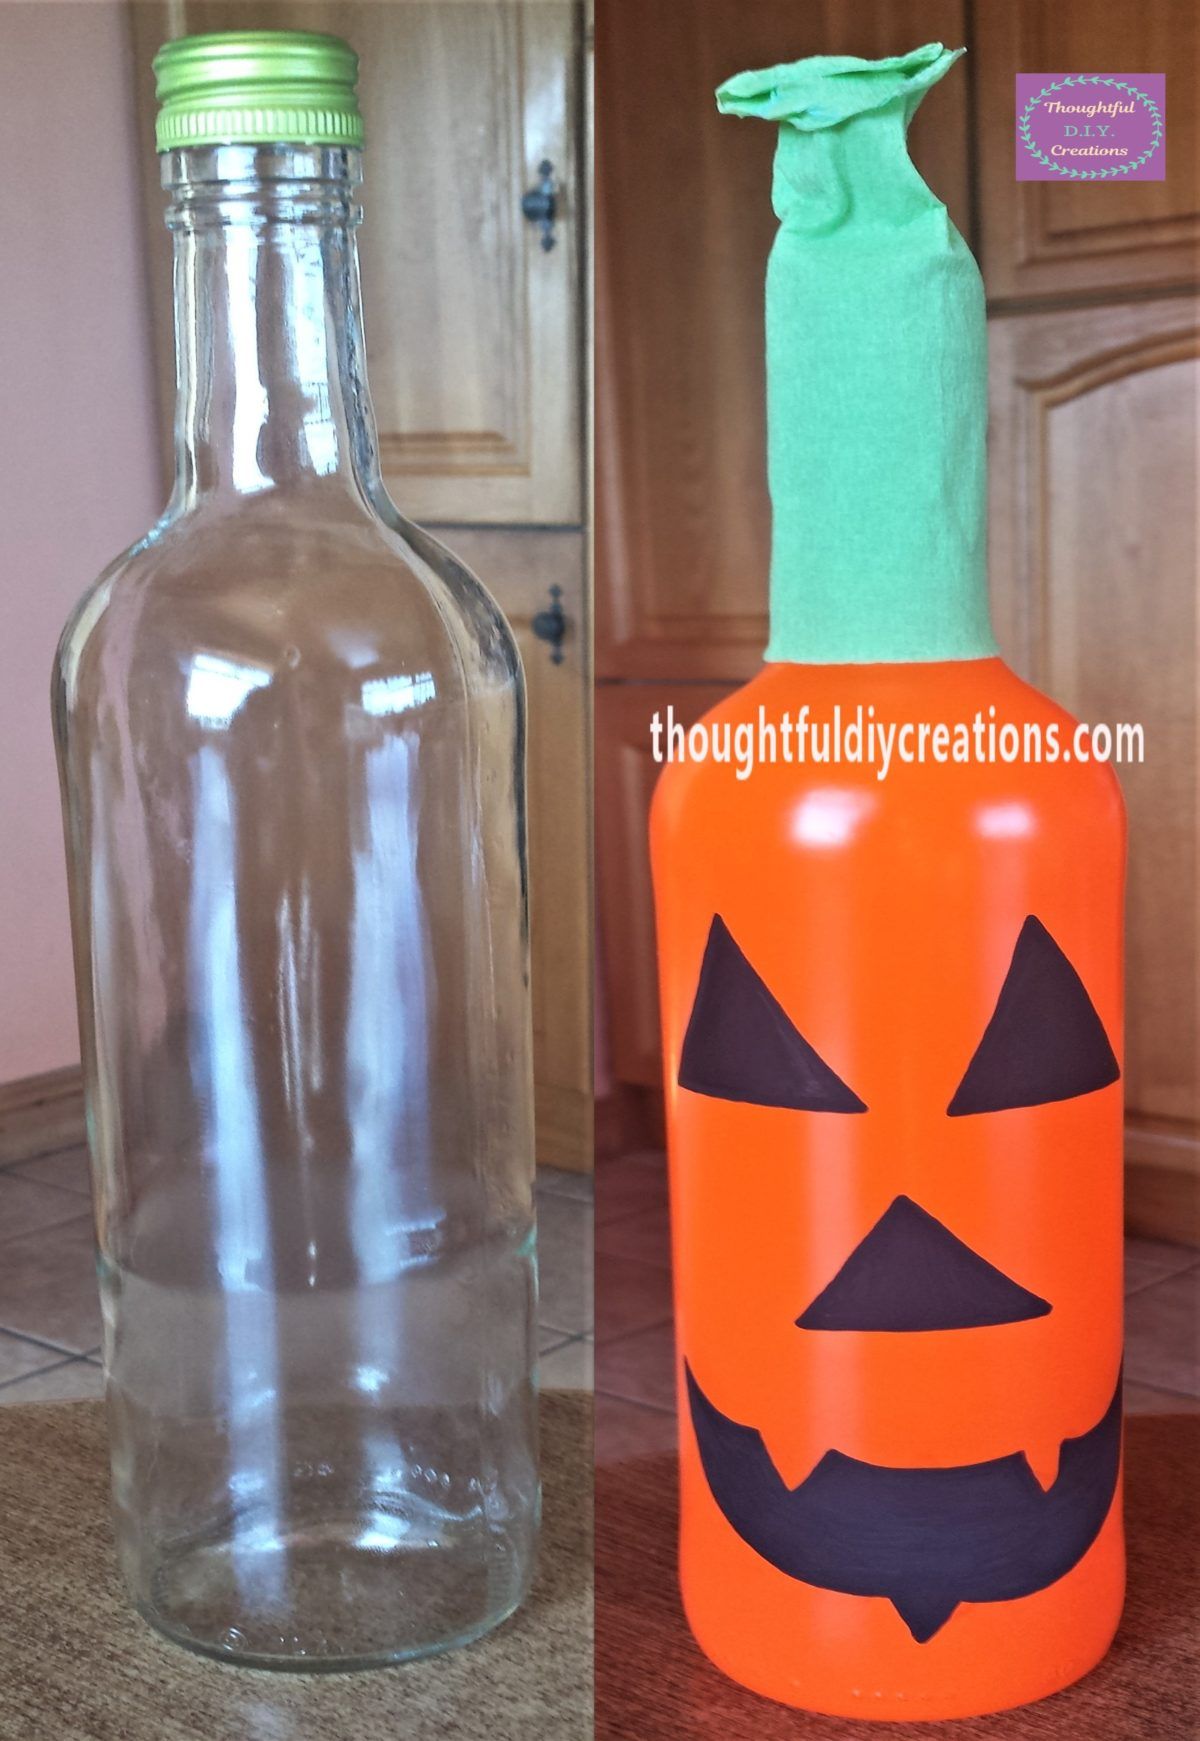
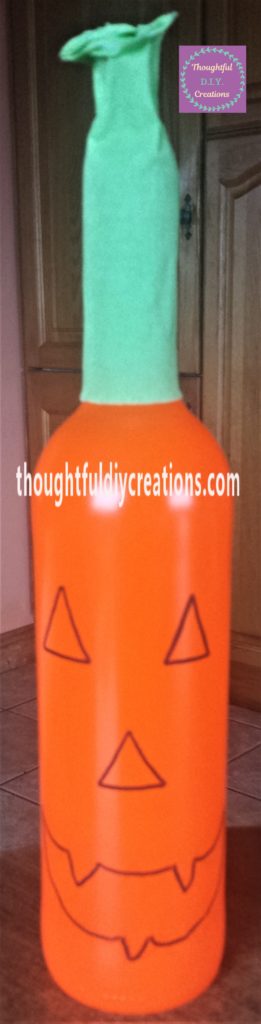
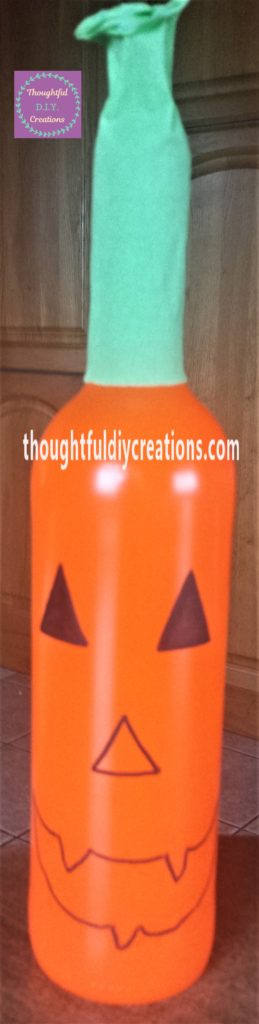
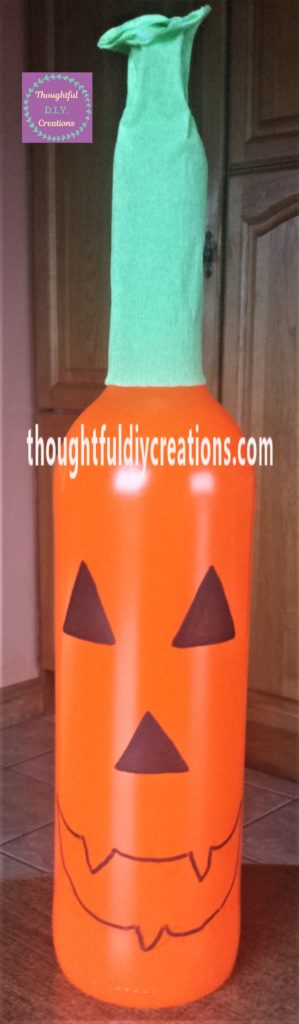
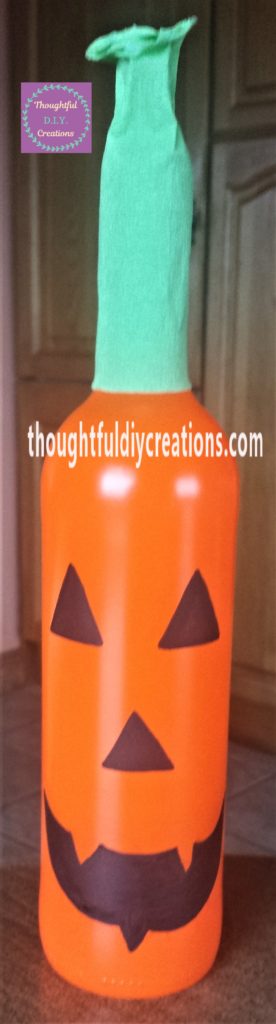
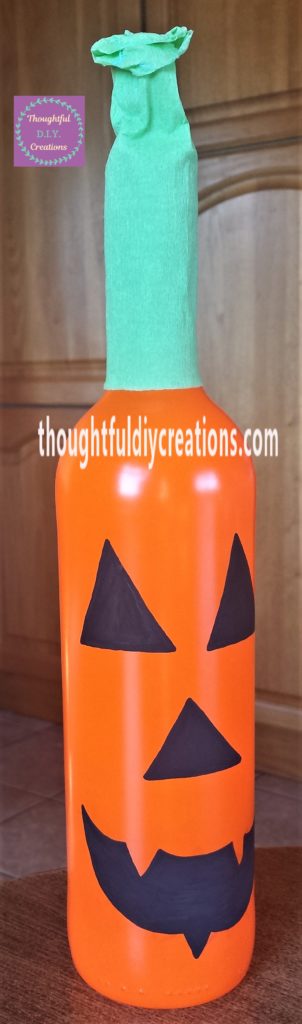
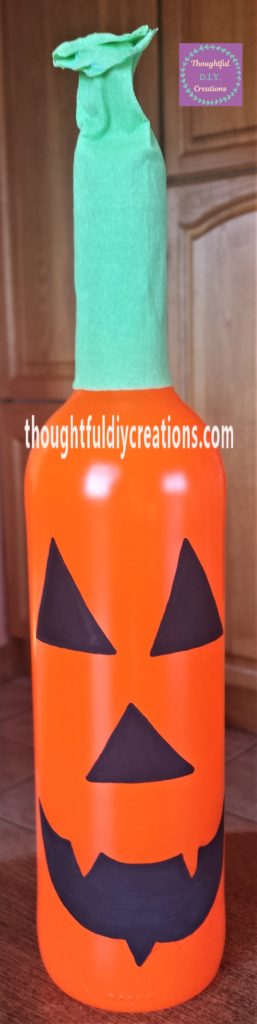
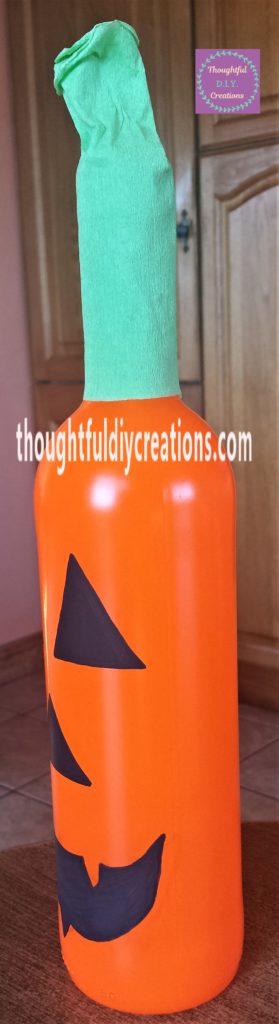
This completed the Pumpkin Bottle. This is the finished result from different angles.
Conclusion
I hope this Tutorial was beneficial. It is a quick and easy craft to complete. It is also a versatile craft as you can use different materials to the ones I’ve used.
If you are having trouble hand drawing the Pumpkin face, you could always Google ‘Pumpkin Templates’ to get ideas. It doesn’t have to be perfect at all, that’s the best about Halloween crafting, it often looks better the more imperfect it is.
If you have children I’m sure they would love to get involved with this craft. You could cut out black foam, black card or black glitter paper for the Pumpkin’s face. I’m sure they would adore making the Pumpkin in their own personal style. 10 Sheets A4 Glitter.
You could hand paint the bottle instead of spray paint, I love how quick the spray paint is to do and the appearance of it, but it’s a personal choice. Use whichever you prefer. Children might like to use orange poster paint, and use a sponge with a handle to apply it to add texture. Crayola Washable Paint Orange.Sargent Art Orange Paint.
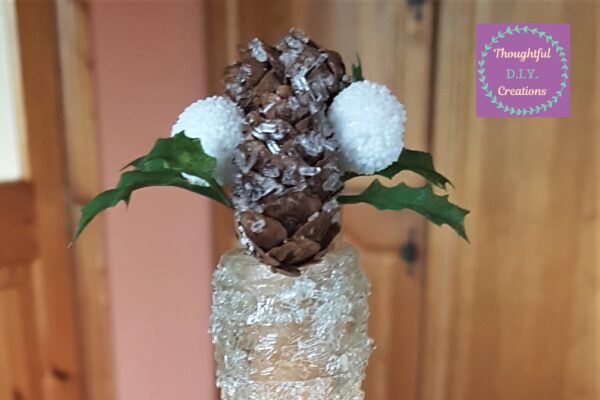
You could wrap green or brown pipe cleaners around the neck of the bottle for the stalk. Pipe Cleaners Assorted Colors. Another idea would be to glue mini pompoms to the neck of the bottle or even just around the lid. YazyCraft Assorted Pompoms.
I hope you have fun trying different materials and finding what works best for you.
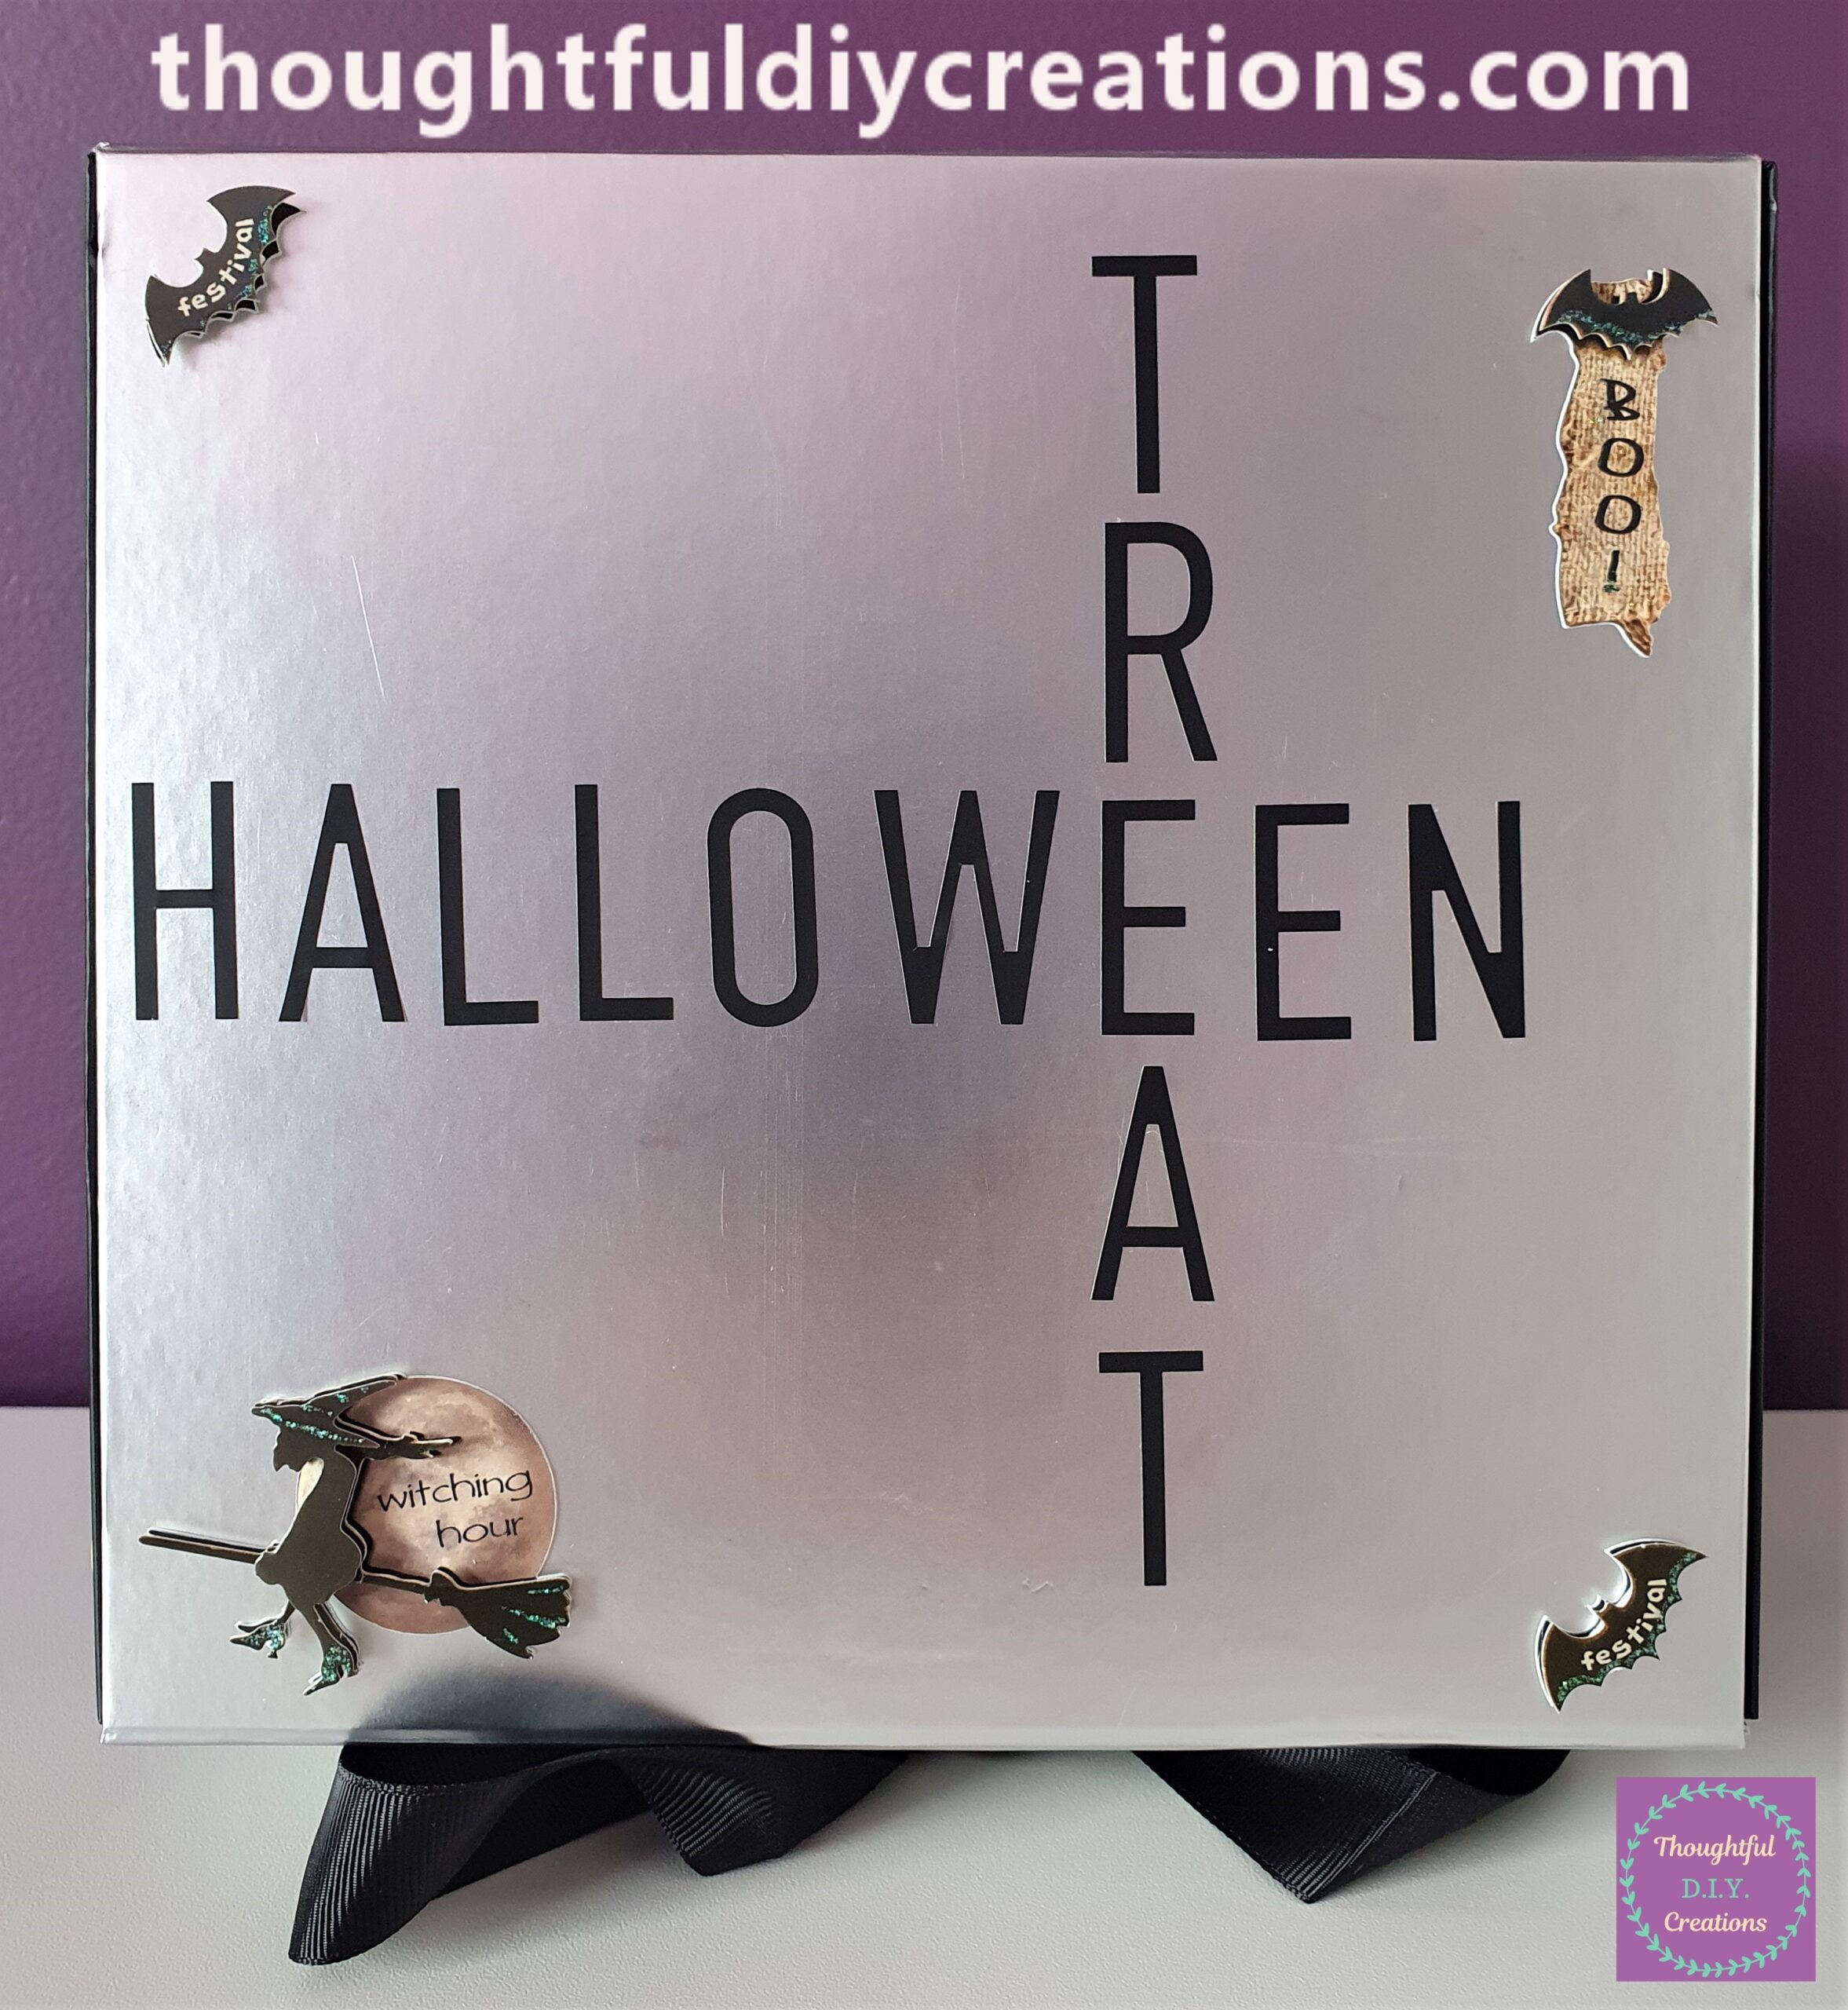
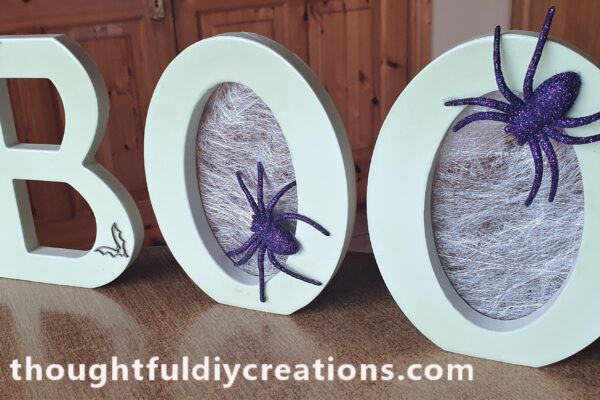
For more Halloween Inspiration check out my other Tutorials Halloween Jars or Halloween Stones.
If you have any questions or would like to add your opinion on this craft, please fill out the comment box below.
Thank you so much for taking the time to read my Blog.
Always Grateful,
T.D.C.
xoxox.