Fortune Teller Ball D.I.Y. Tutorial
Hello my Creative Friends,
I hope you are all Well. In Today’s Tutorial I will show you how I made a Fortune Teller Ball from an old Bathroom Light Bulb. It is an Easy and Budget Friendly Craft and can be displayed all year round. I will provide some more Ideas at the end of the Blog Post if you want to give the Fortune Teller Ball a more Halloween look. It can be completely Customised to your own Style and favourite Colours.
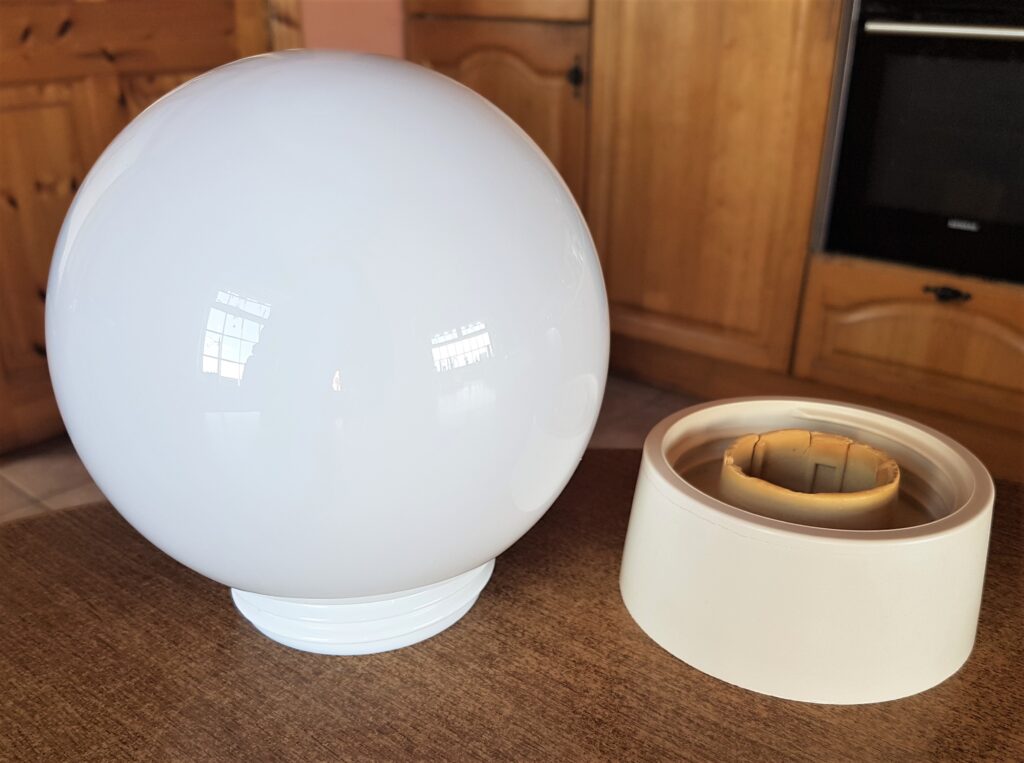
I had an old Light Bulb which I thought would be such a shame to throw away so I put it in the attic knowing it would be Re-Purposed one day. I was thinking of what to make for Halloween Crafts this year and I remembered the Light Bulb and thought it would be the perfect Shape and Size for a Fortune Teller Ball; it even has the stand underneath which is ideal.
Preparing the Bulb for Crafting
I brought the Light Bulb down from the attic and removed the bottom part of the bulb. I sprayed the Bulb and Stand all over with Disinfectant Spray and put them standing in the bath overnight to soak in. The next day I soaked them in the sink with Washing-Up-Liquid and warm water for an hour. I then rinsed and dried them.
Priming the Fortune Teller Ball
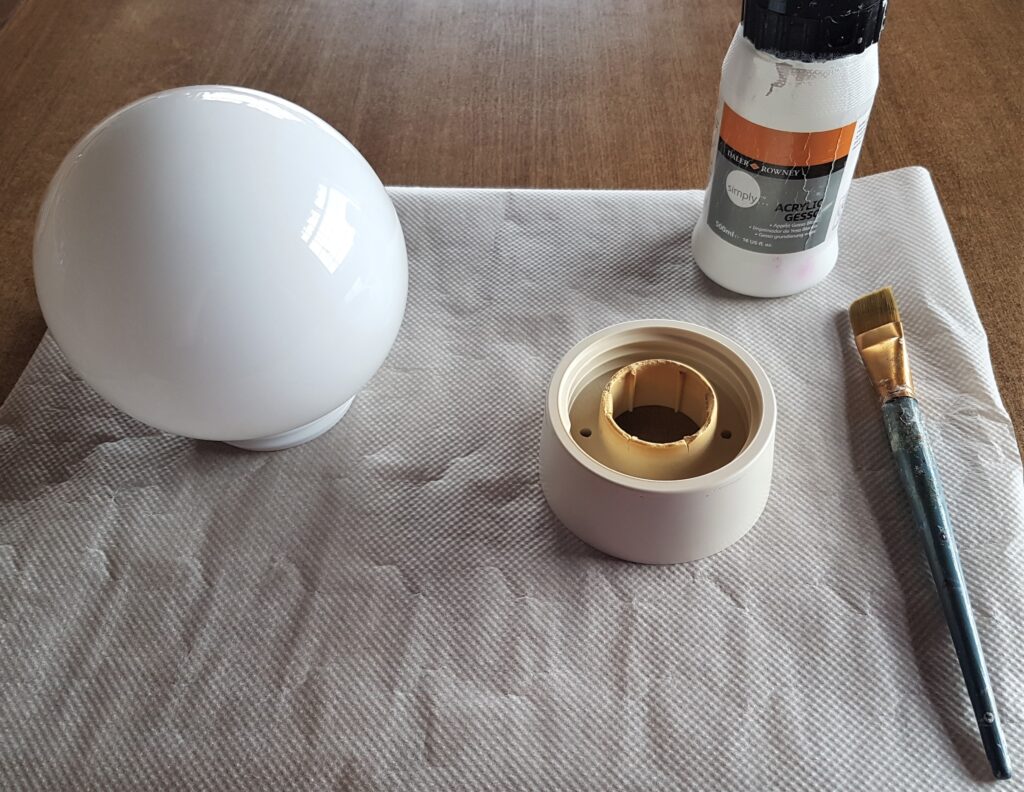
I cut some Baking Paper and put it on the Table to protect it while Painting. I got my ‘Acrylic White Gesso’ and a Flat Paintbrush ready to prime the Bulb and Stand.
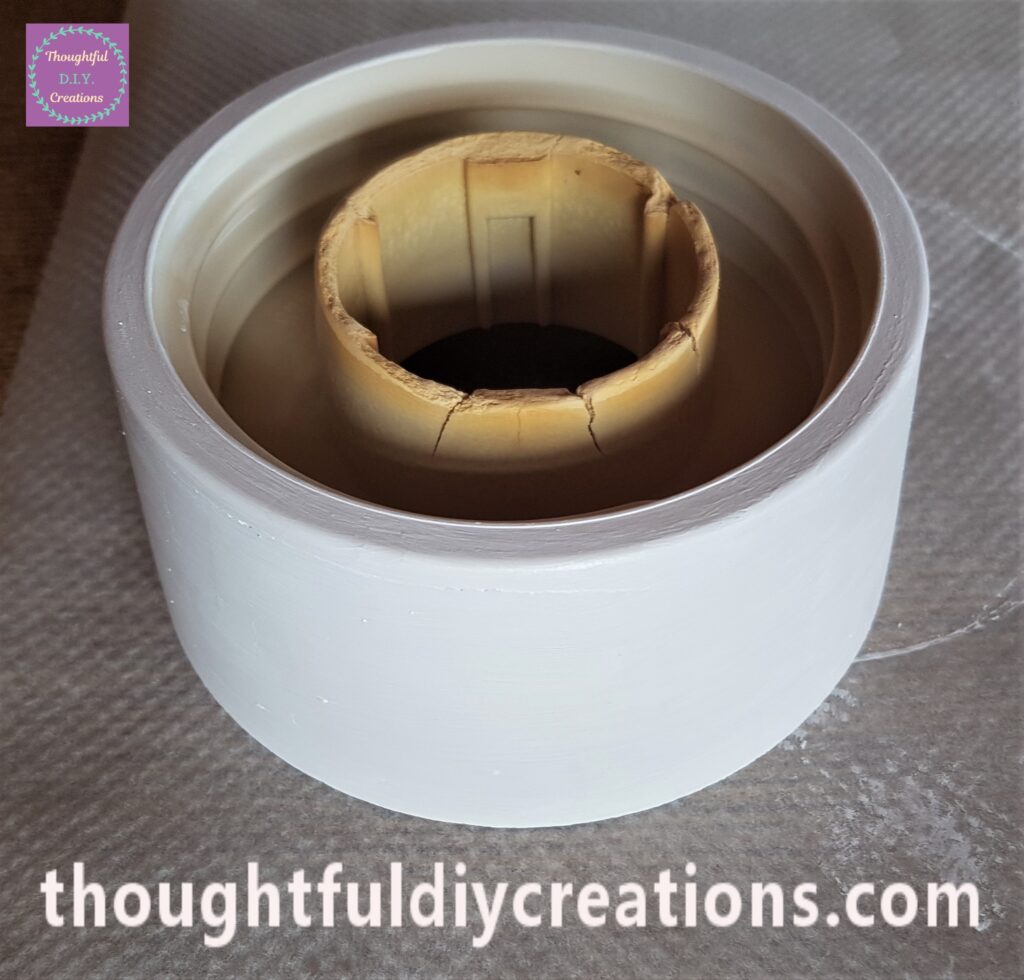
I applied 2 layers of Gesso to the outside and top of the Stand leaving about 30 minutes between each layer.
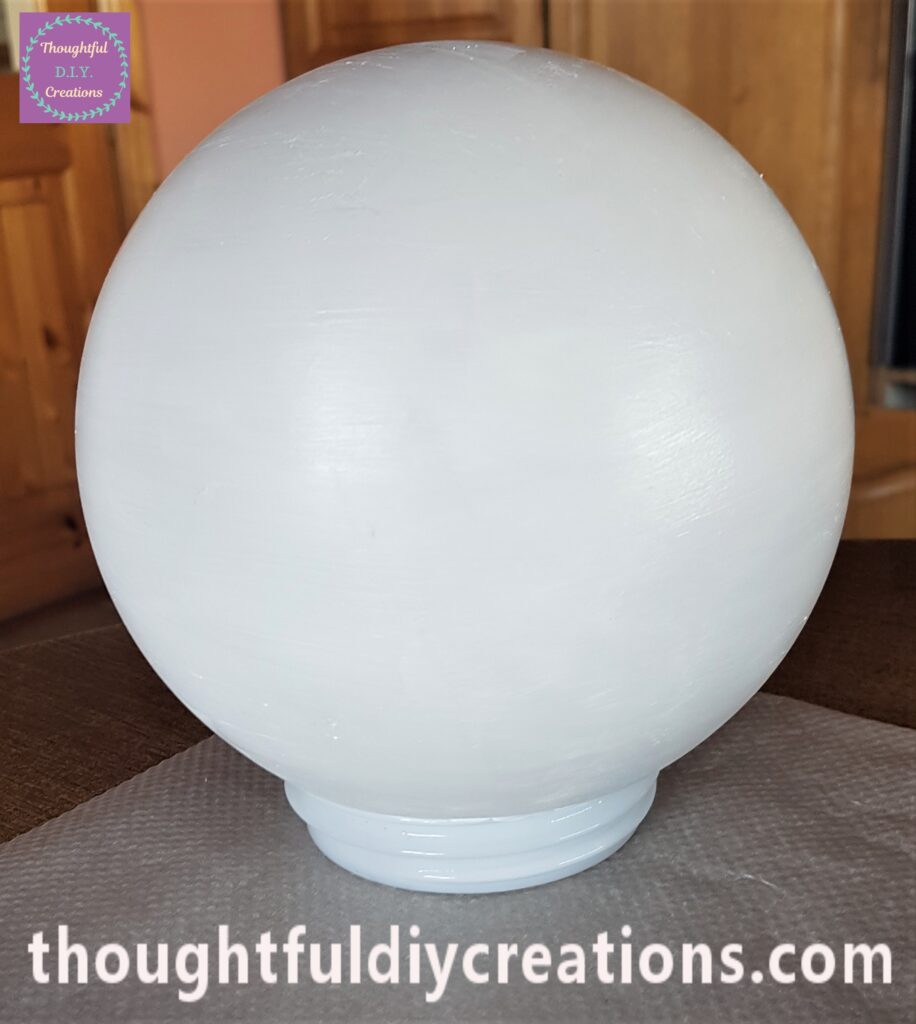
I also applied 2 Layers of Gesso to the Bulb waiting 30 minutes before doing the second layer. This Primes the Bulb and removes the shiny surface and makes it easier to apply Paint as it has something to hold on to as well as making it more permanent.
Painting the Stand of the Bulb
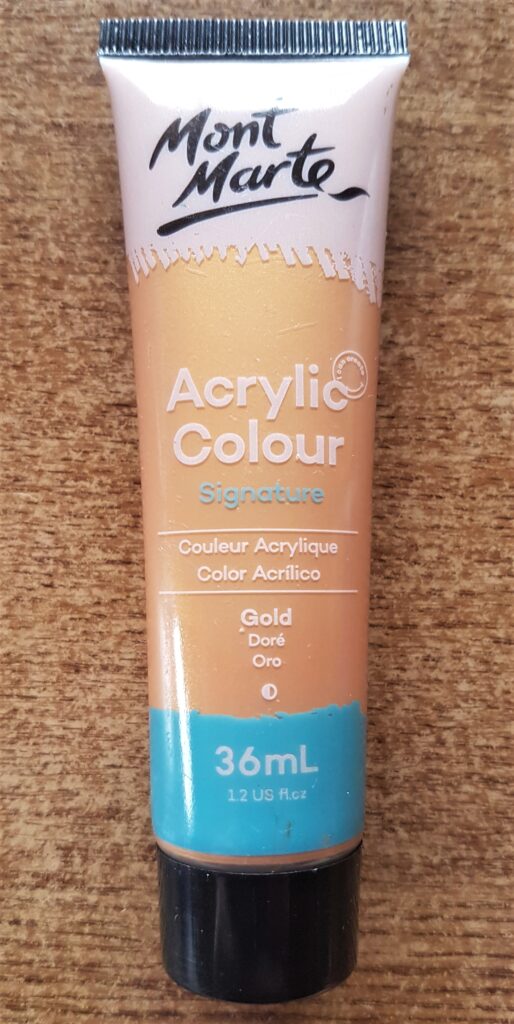
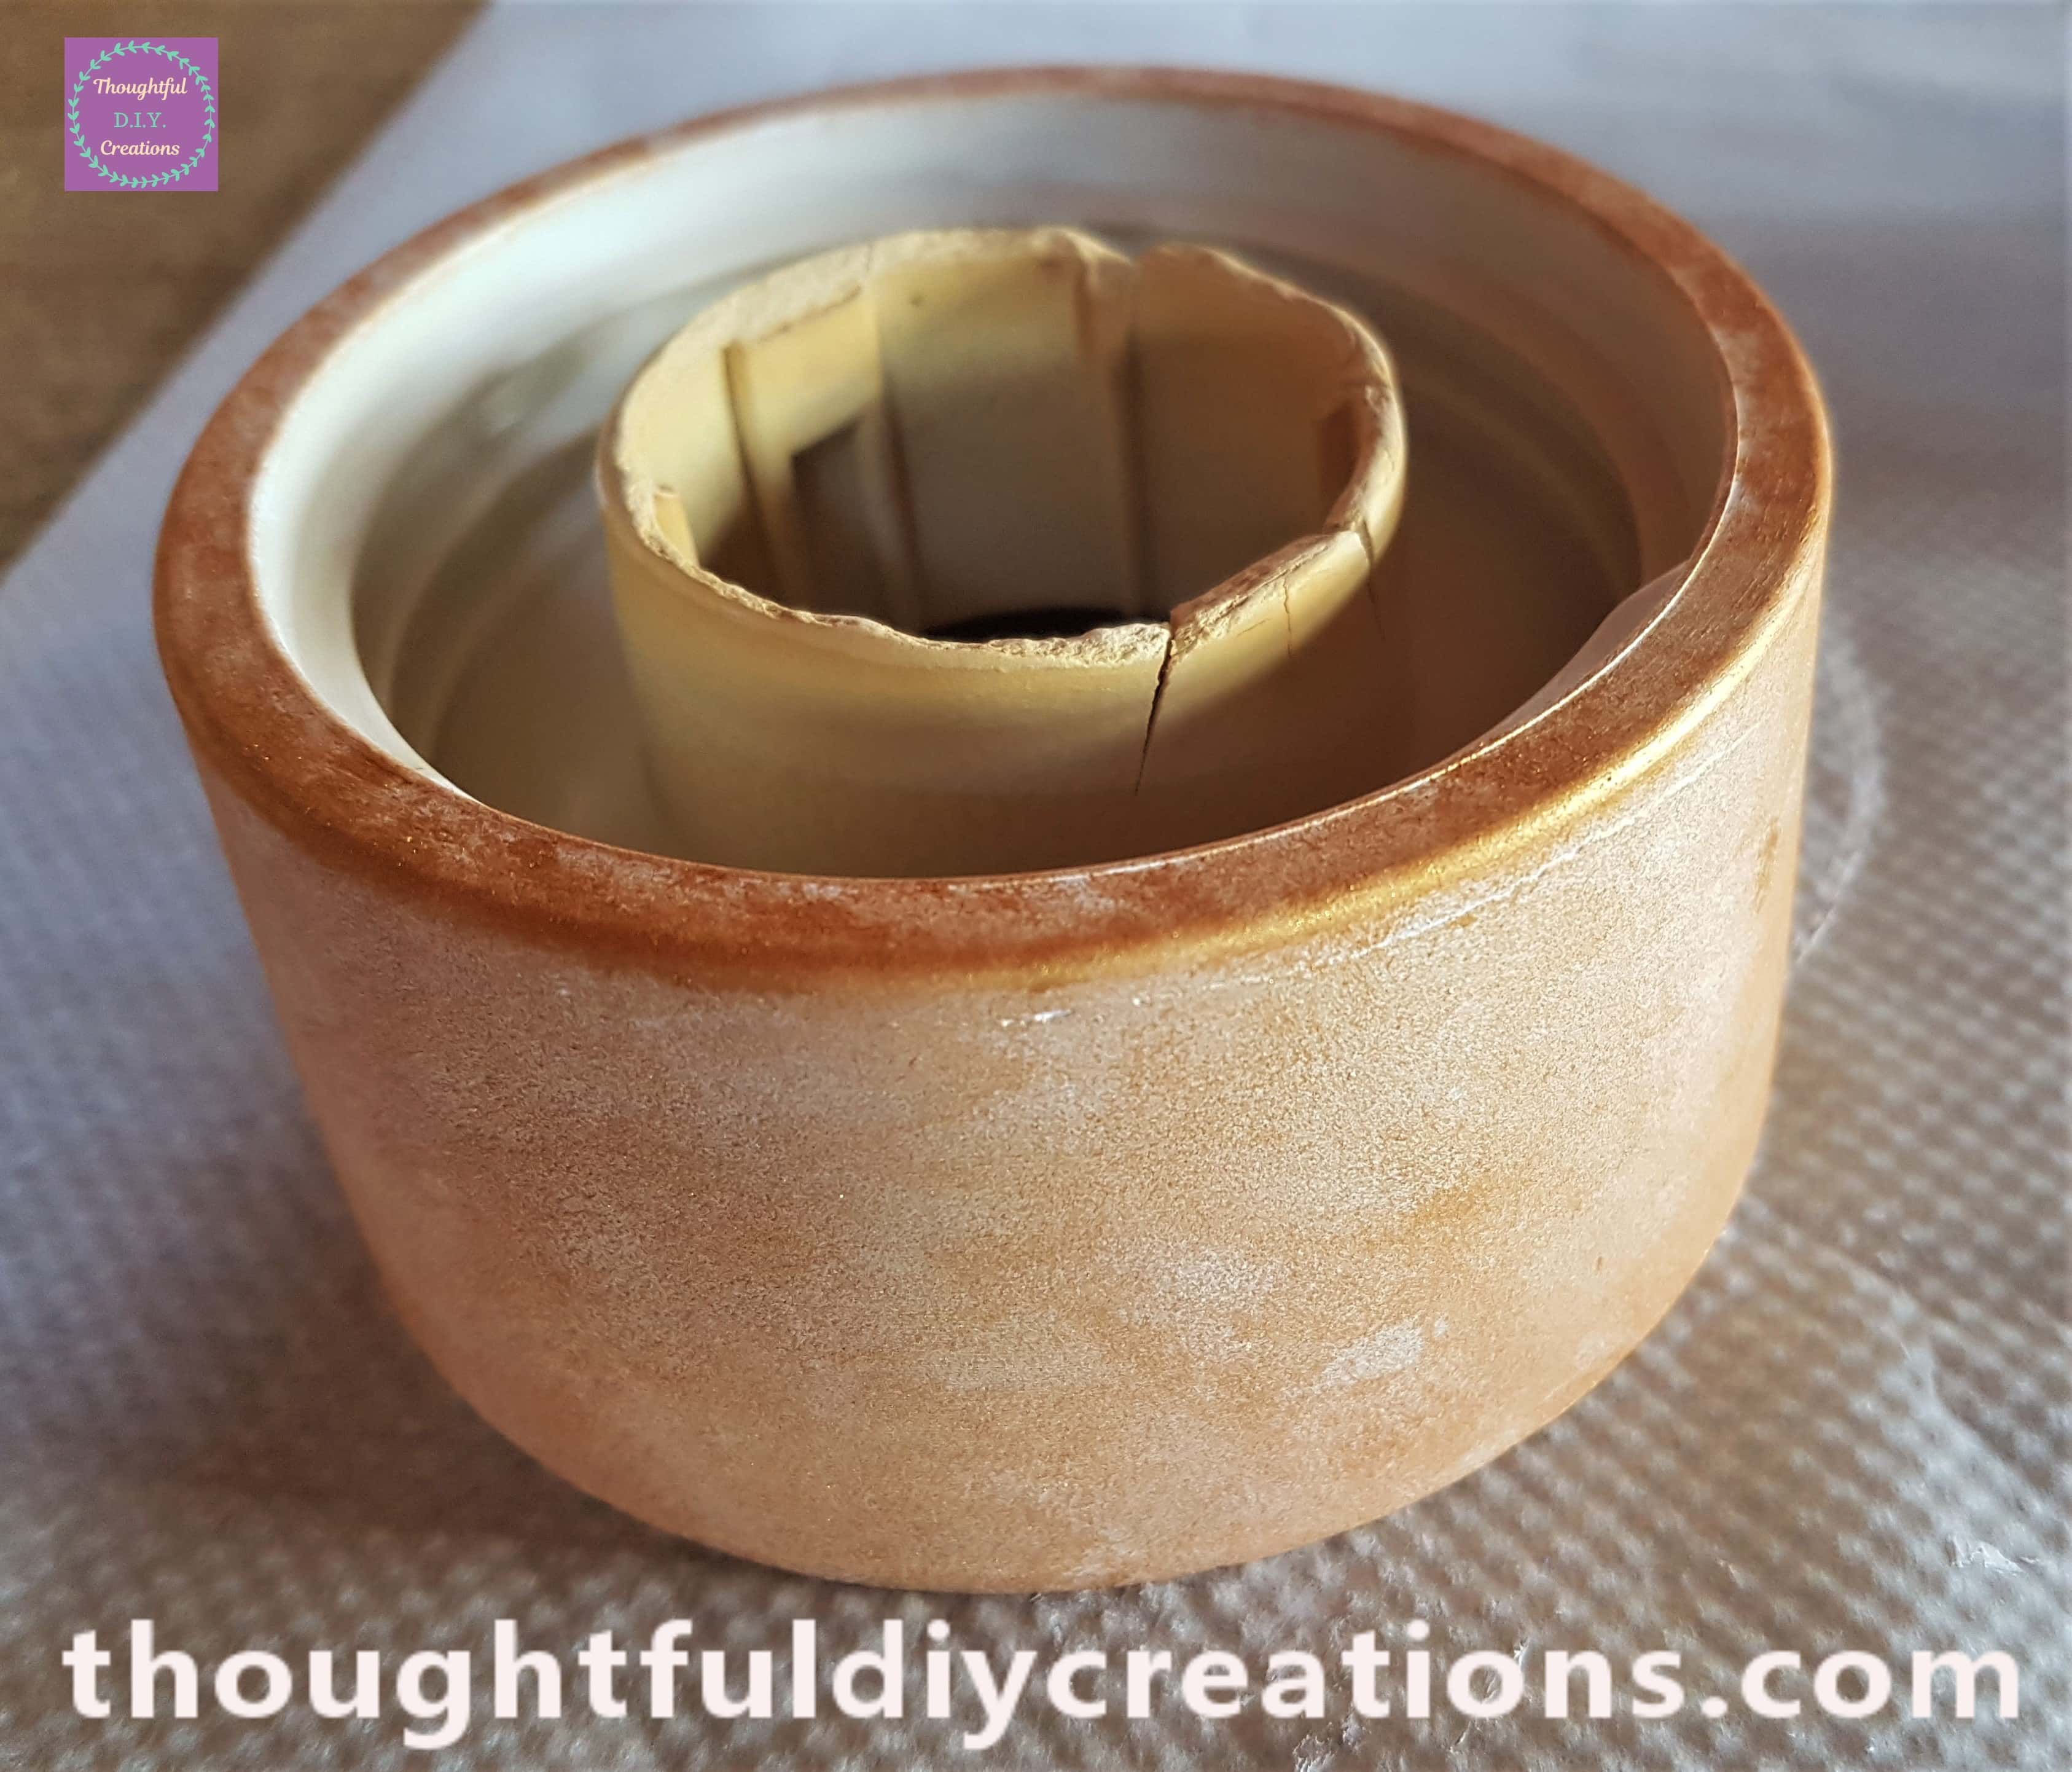
I am using ‘Gold Acrylic Paint’ for the Stand of the Fortune Teller Ball.
I am using a Sponge to apply the Paint.
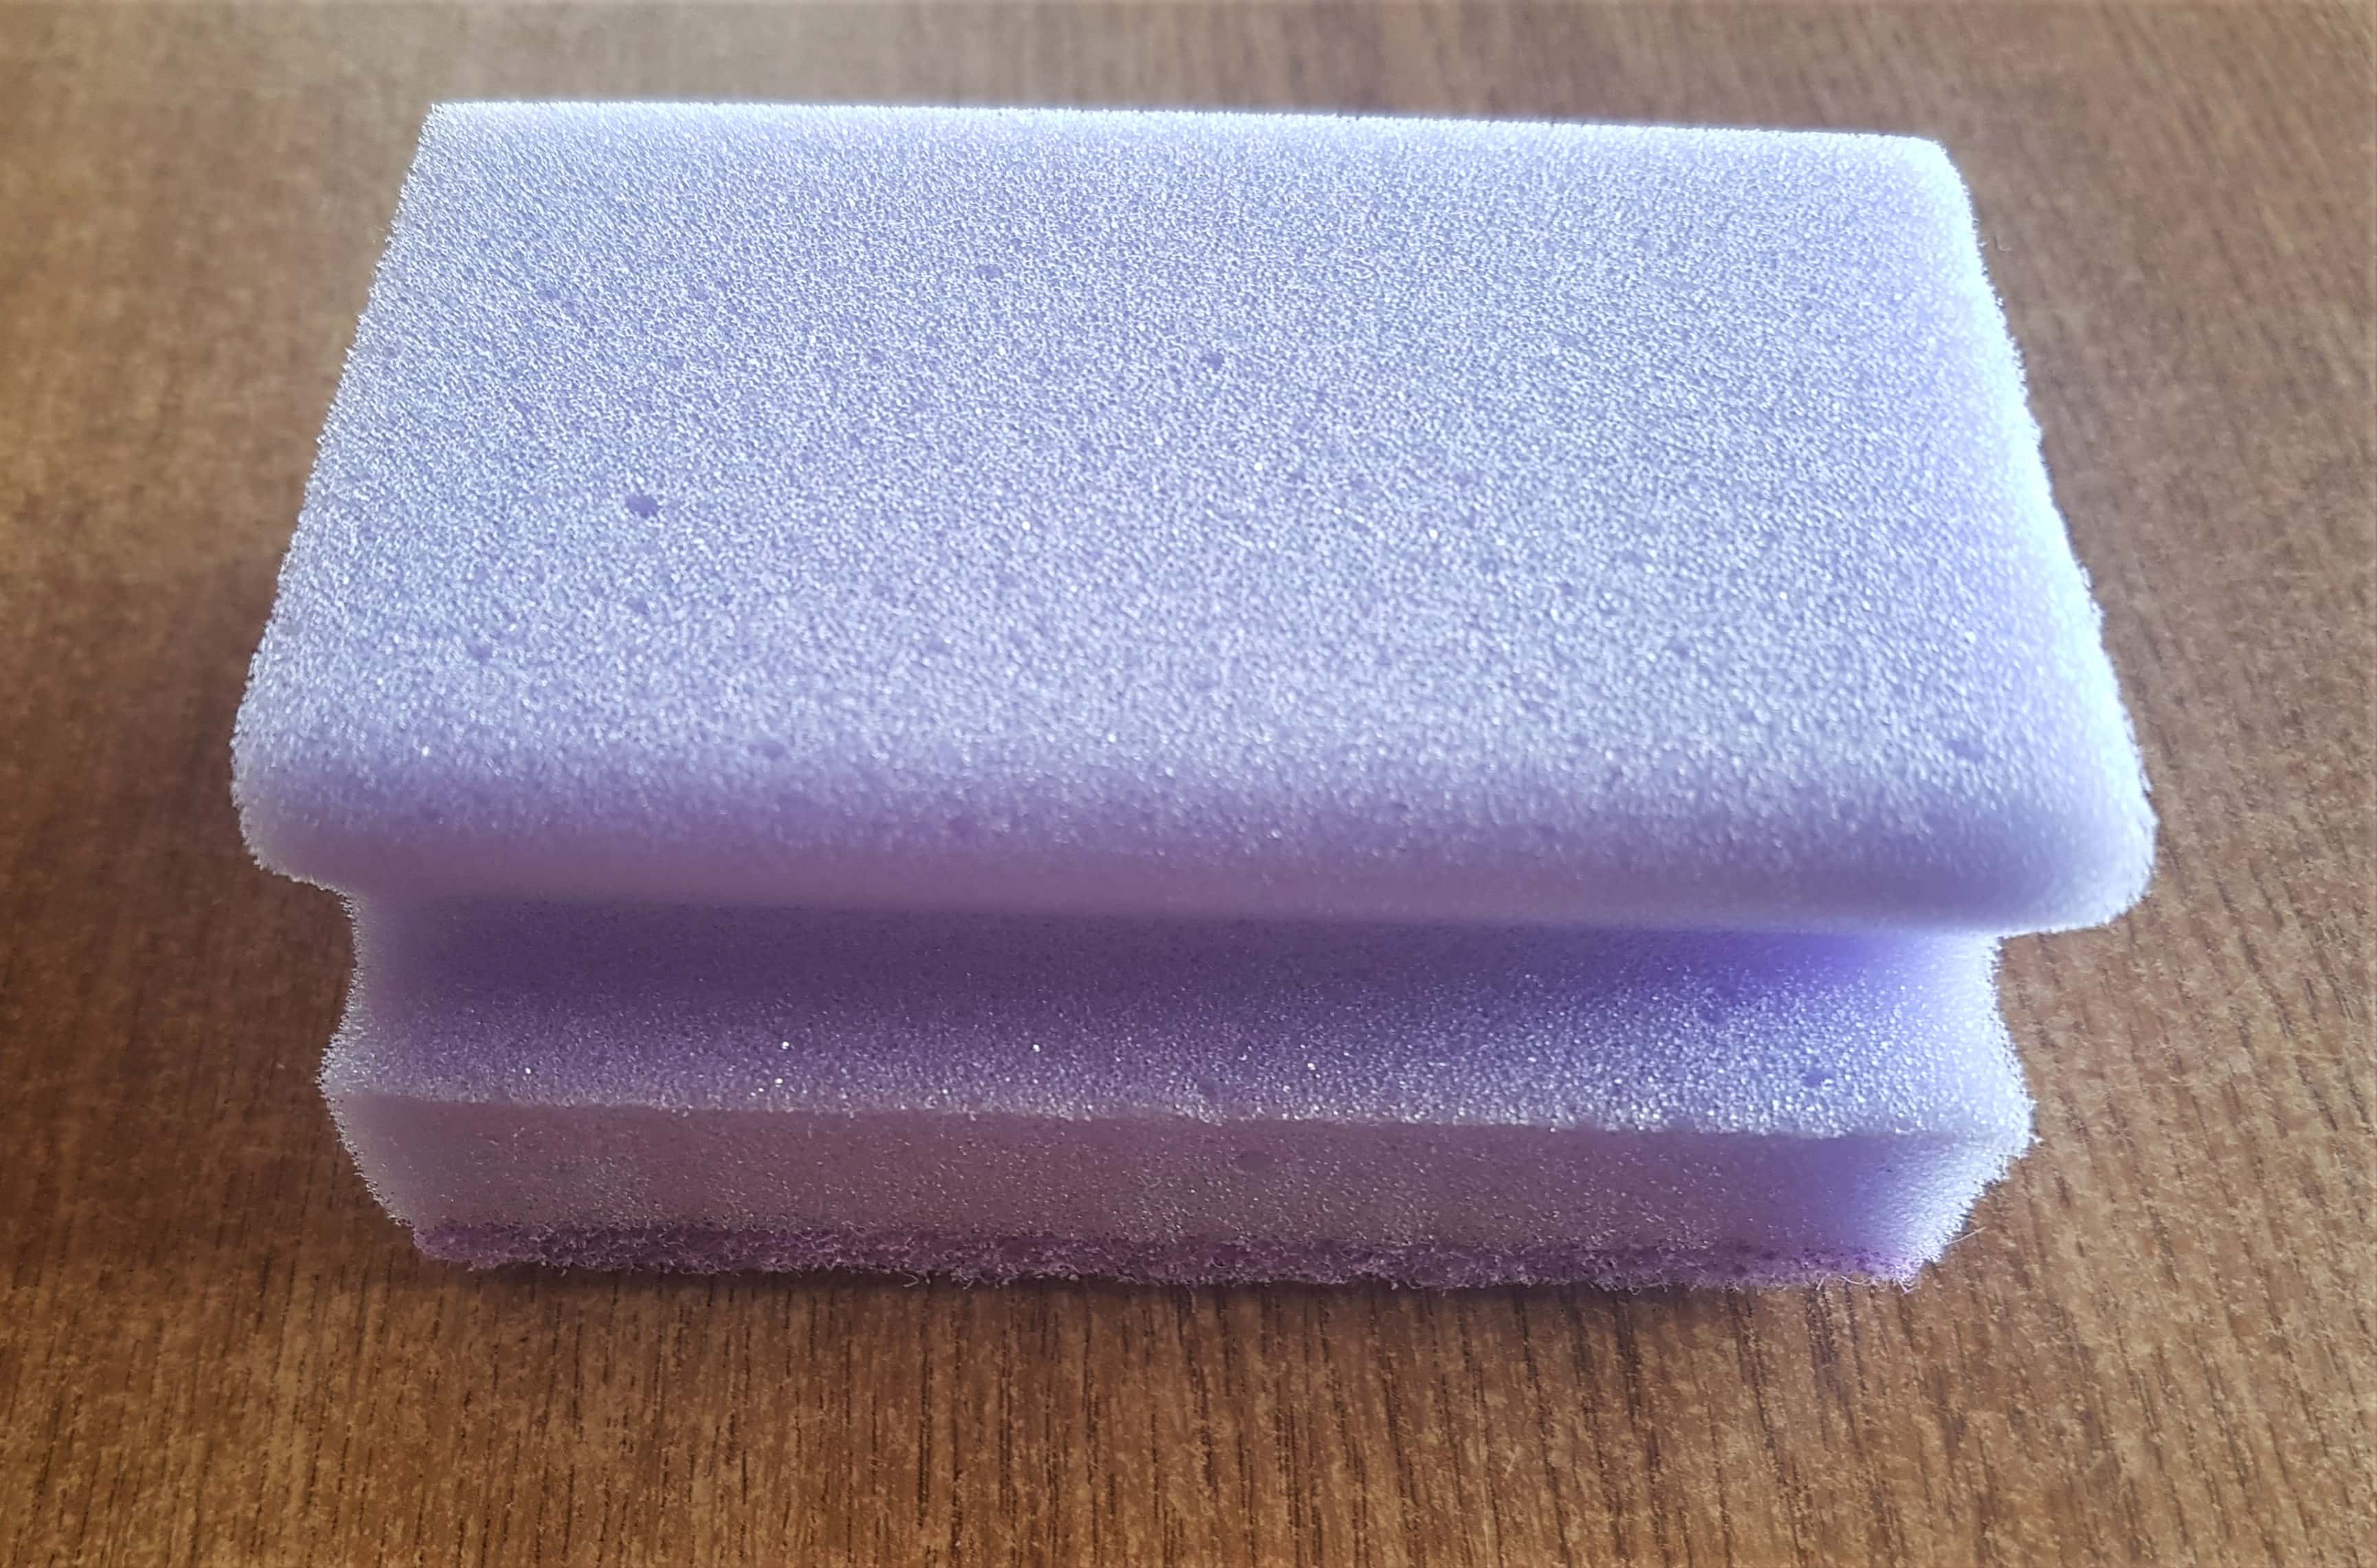
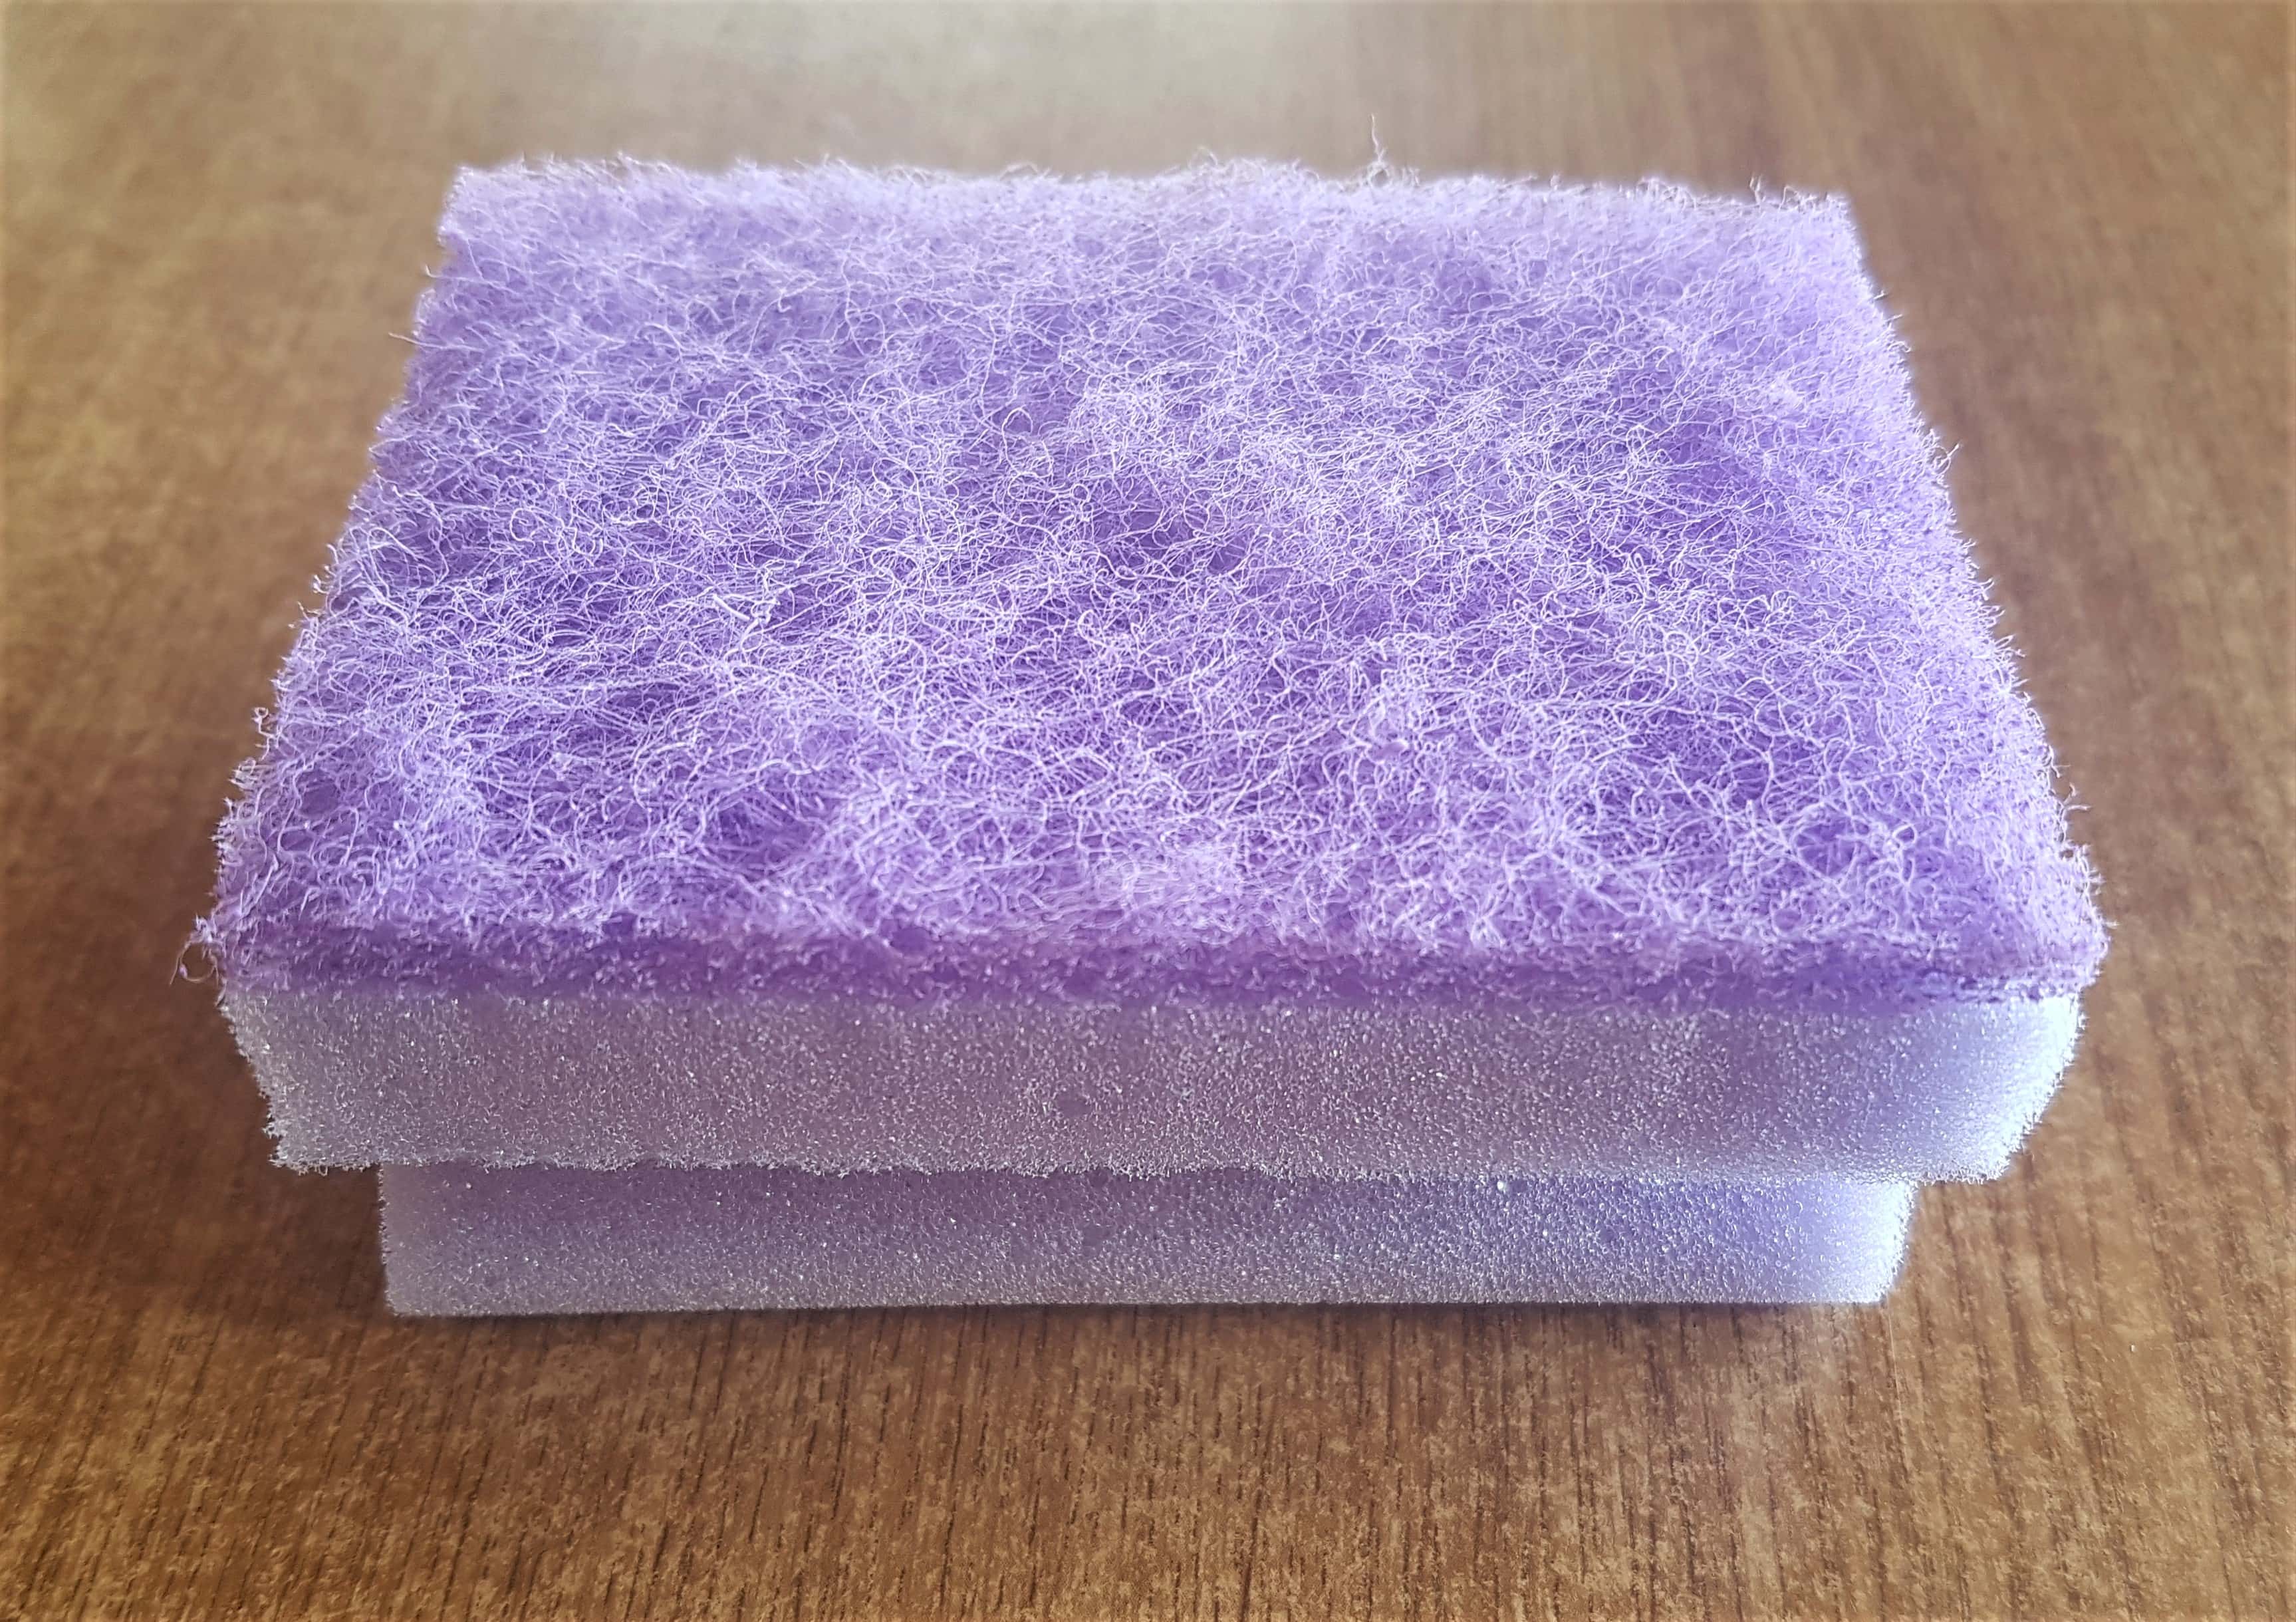
I used the softer lighter shade of purple part of the sponge and dabbed the Gold Paint onto the outside and top of the Stand until it had one even layer of Paint.
Painting the Fortune Teller Ball
I am using ‘Purple Acrylic Paint’ for the Fortune Teller Ball.
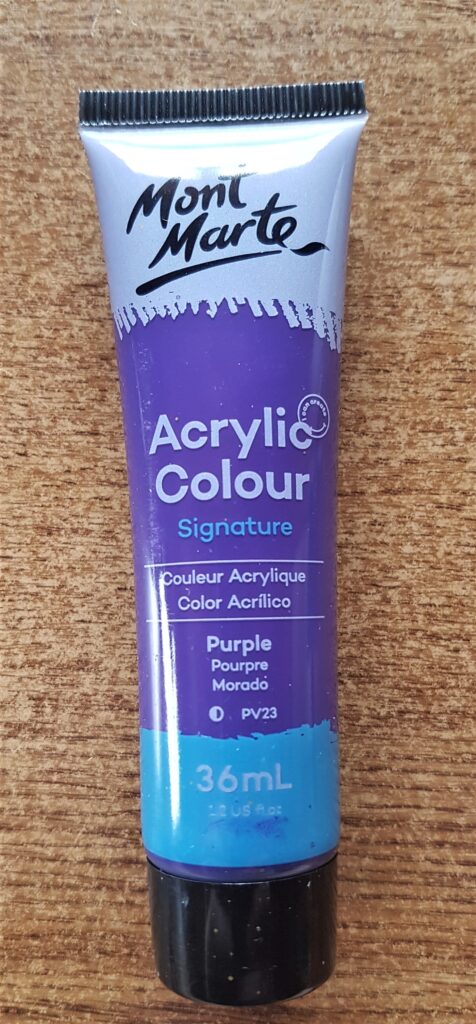
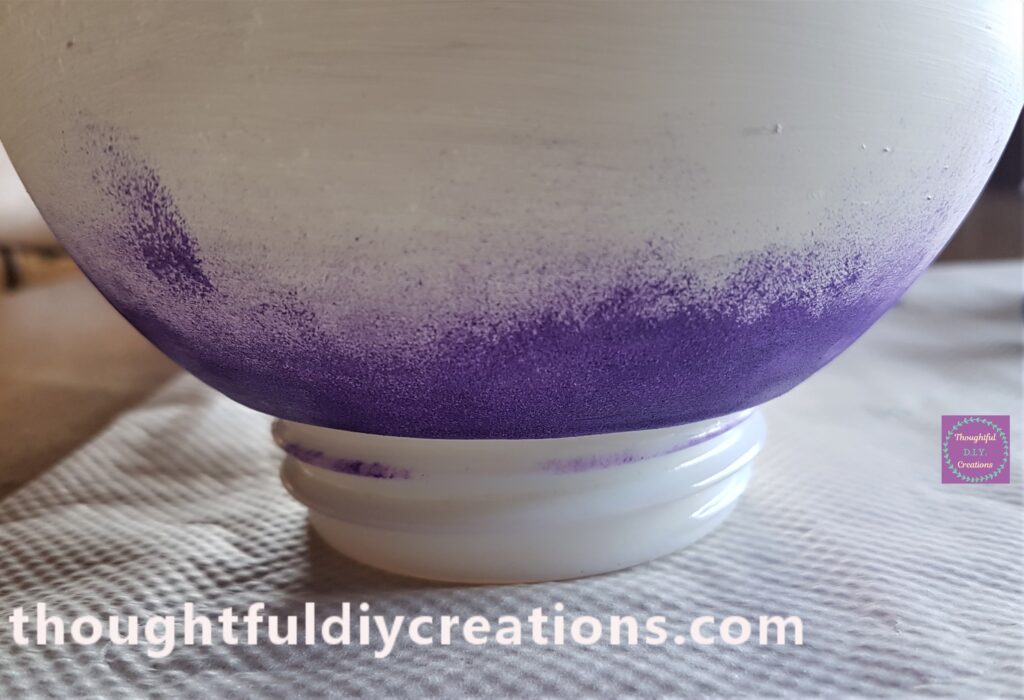
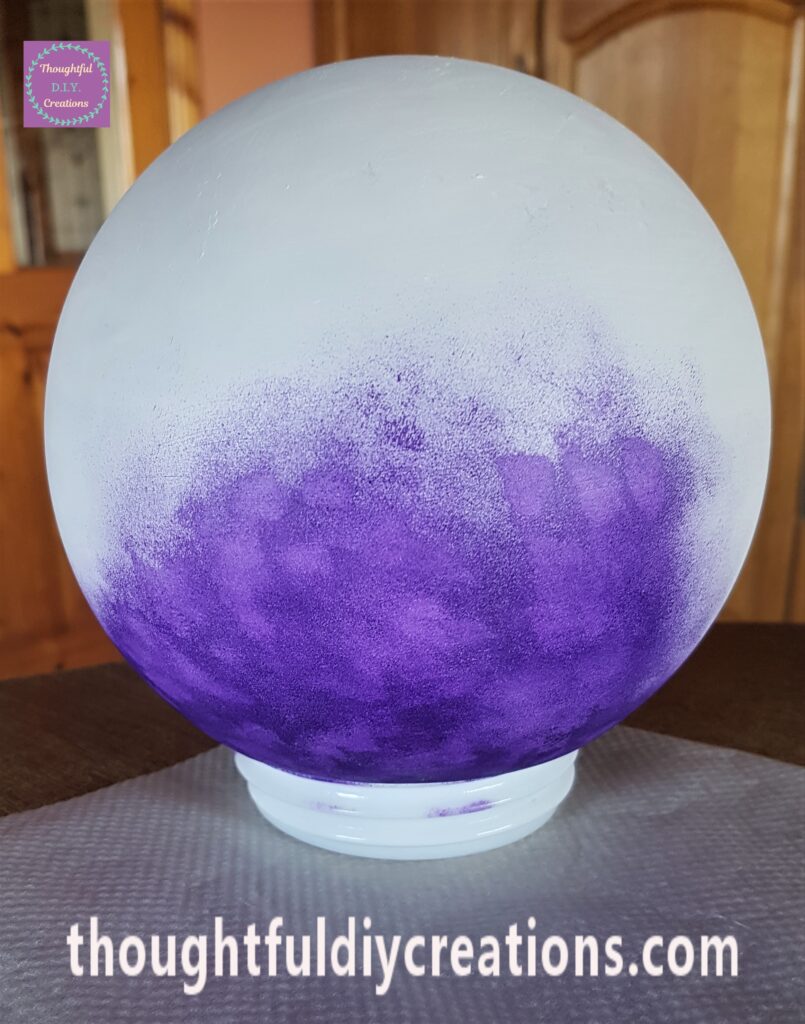
I used another sponge to Paint the Bulb again using the softer lighter side. I put some Paint on the Baking Sheet and dabbed the sponge into a small amount of Paint and dabbed it onto the Bulb. I then got some more Paint and dabbed it beside the first part and blended it together.
I repeated this process until the Bulb had one layer of Paint all over.
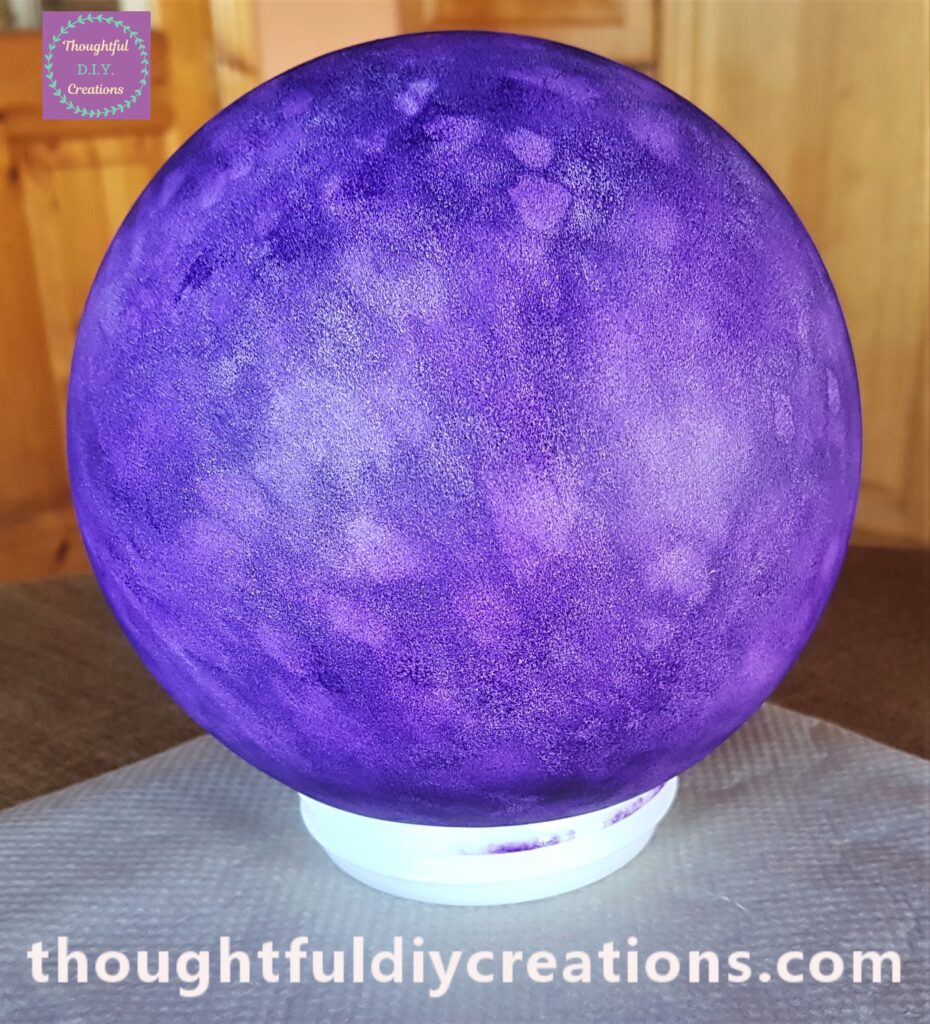
This is the Bulb and Stand after the first layers of Paint.

Adding More Gold Layers to the Stand
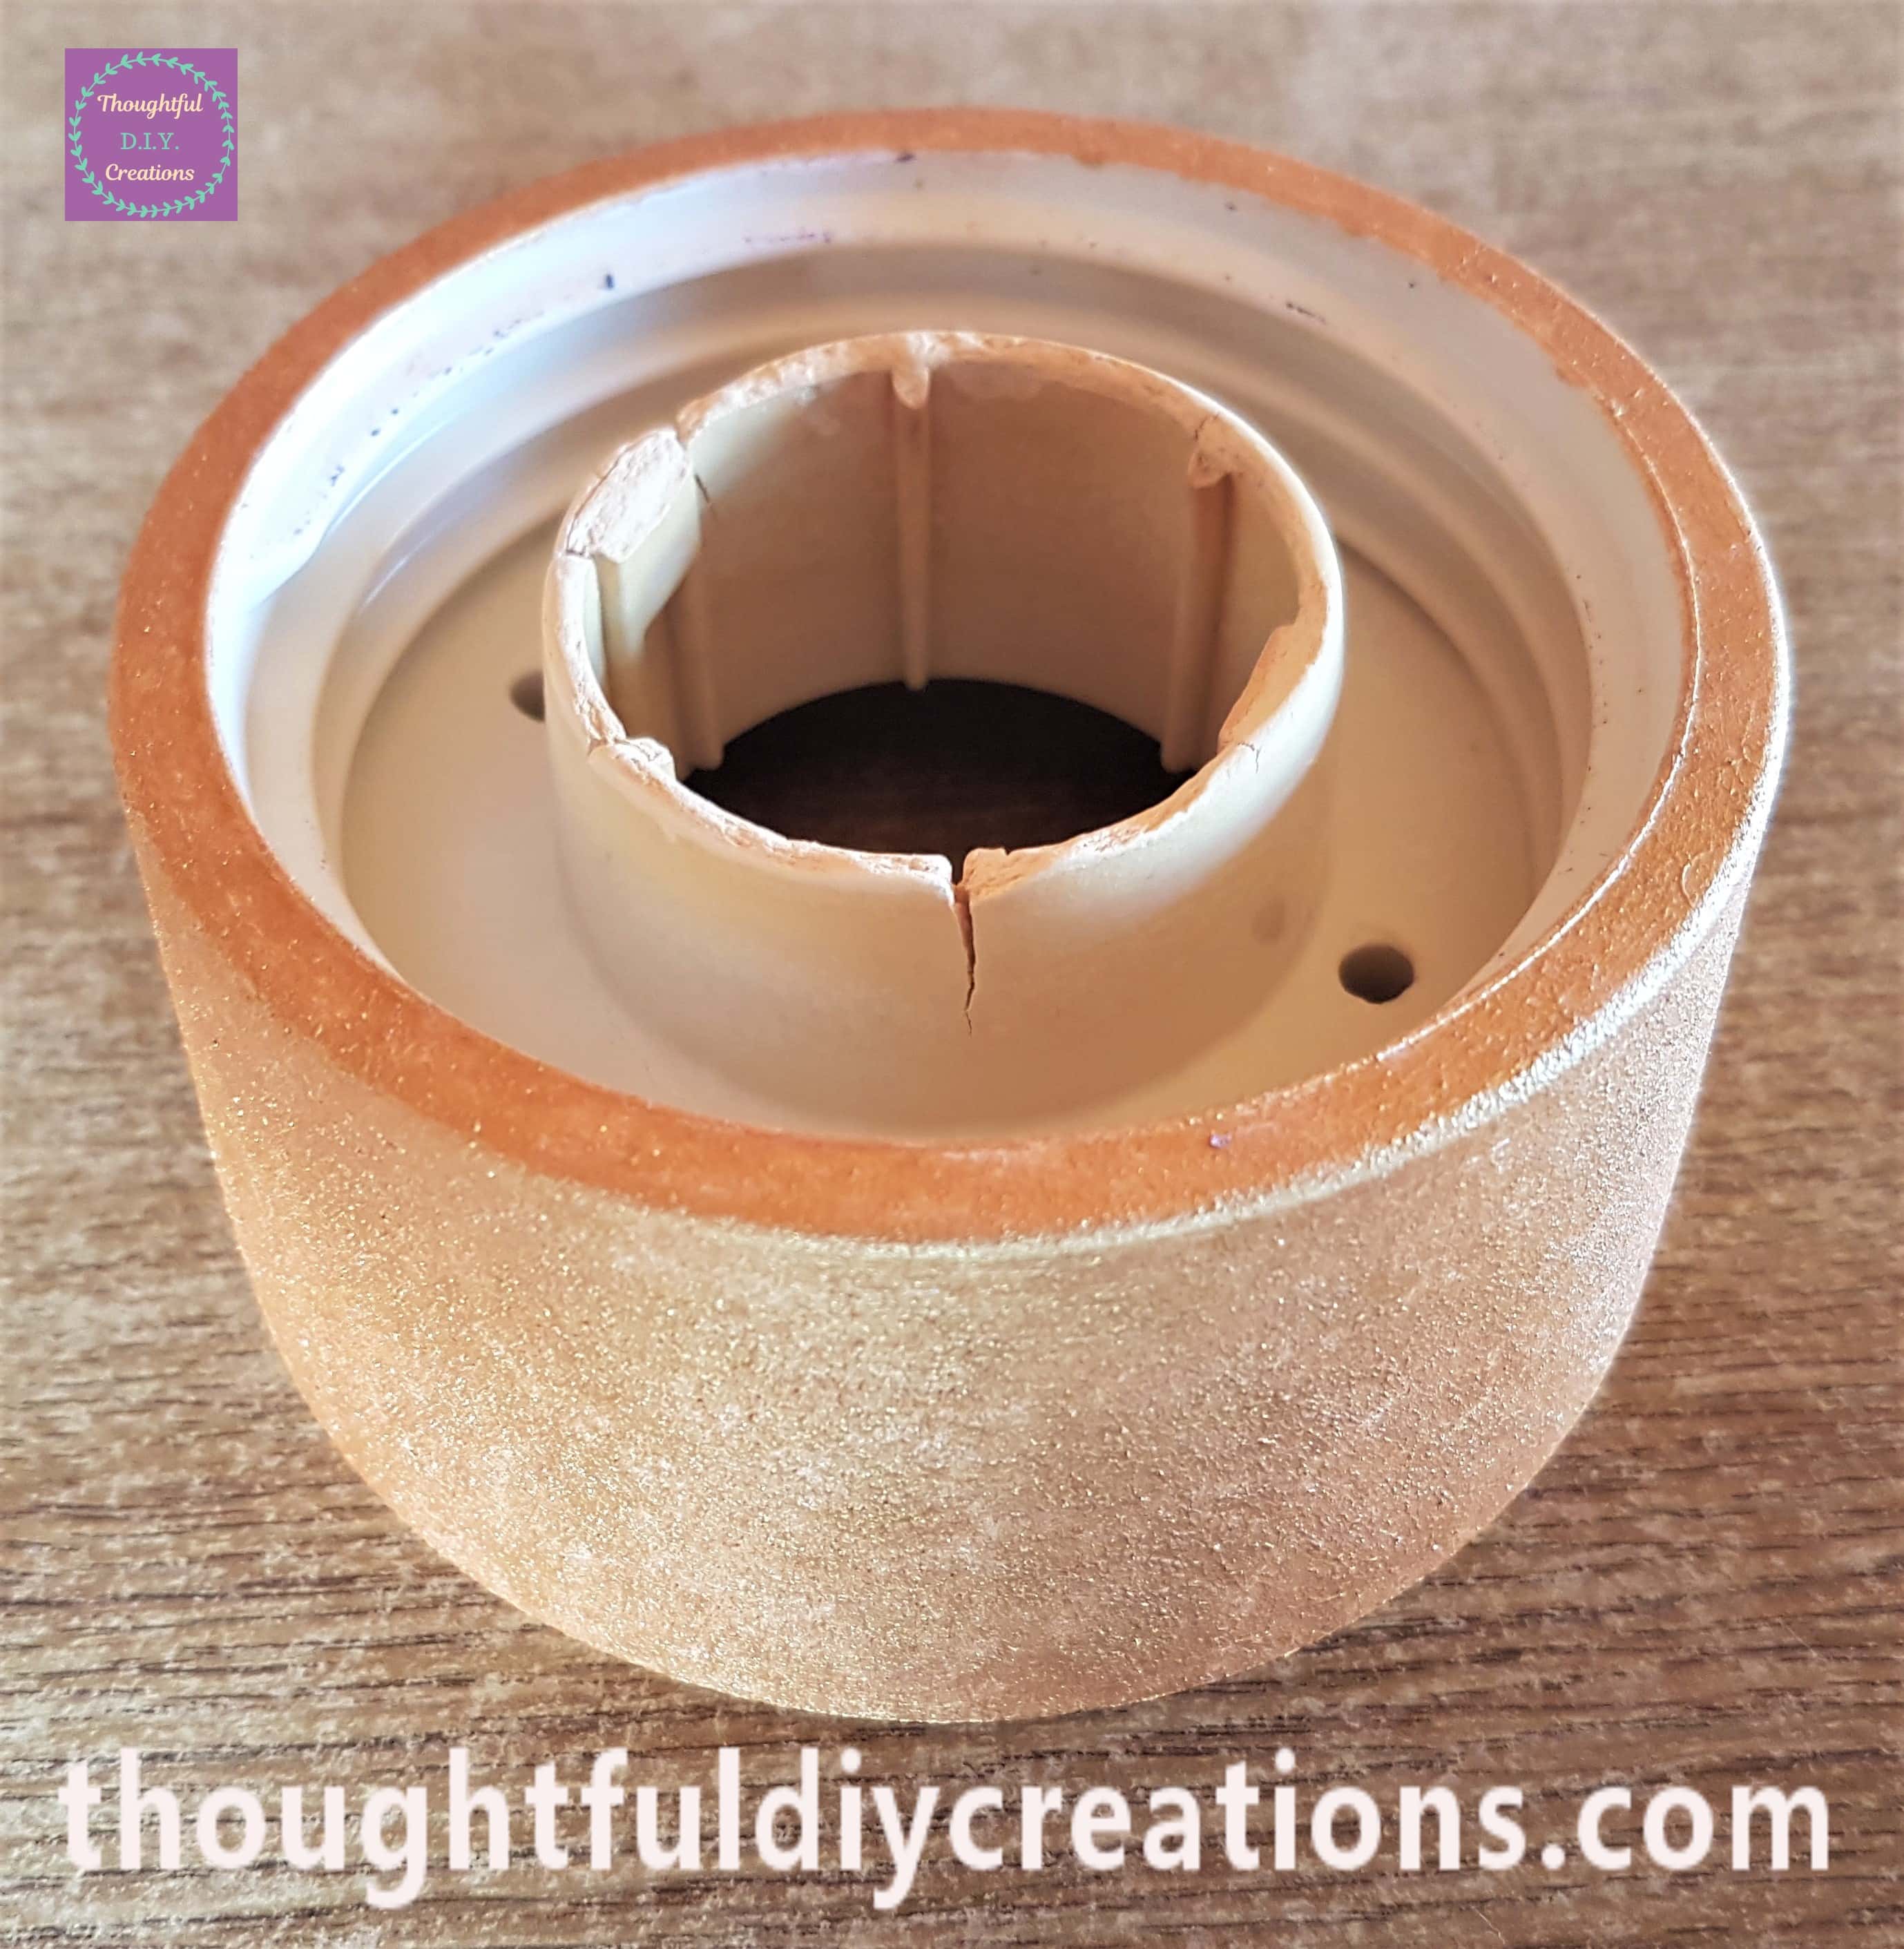
I used the rougher darker shade of purple part of the sponge to Paint the next layers of the Stand. It gave more texture and colour to the bottom of the Fortune Teller Ball.
I applied 3 more layers of the Gold Paint to the Stand with the rough part of the Sponge, waiting 30 minutes between each layer.
Finishing Touches to the Fortune Teller Ball
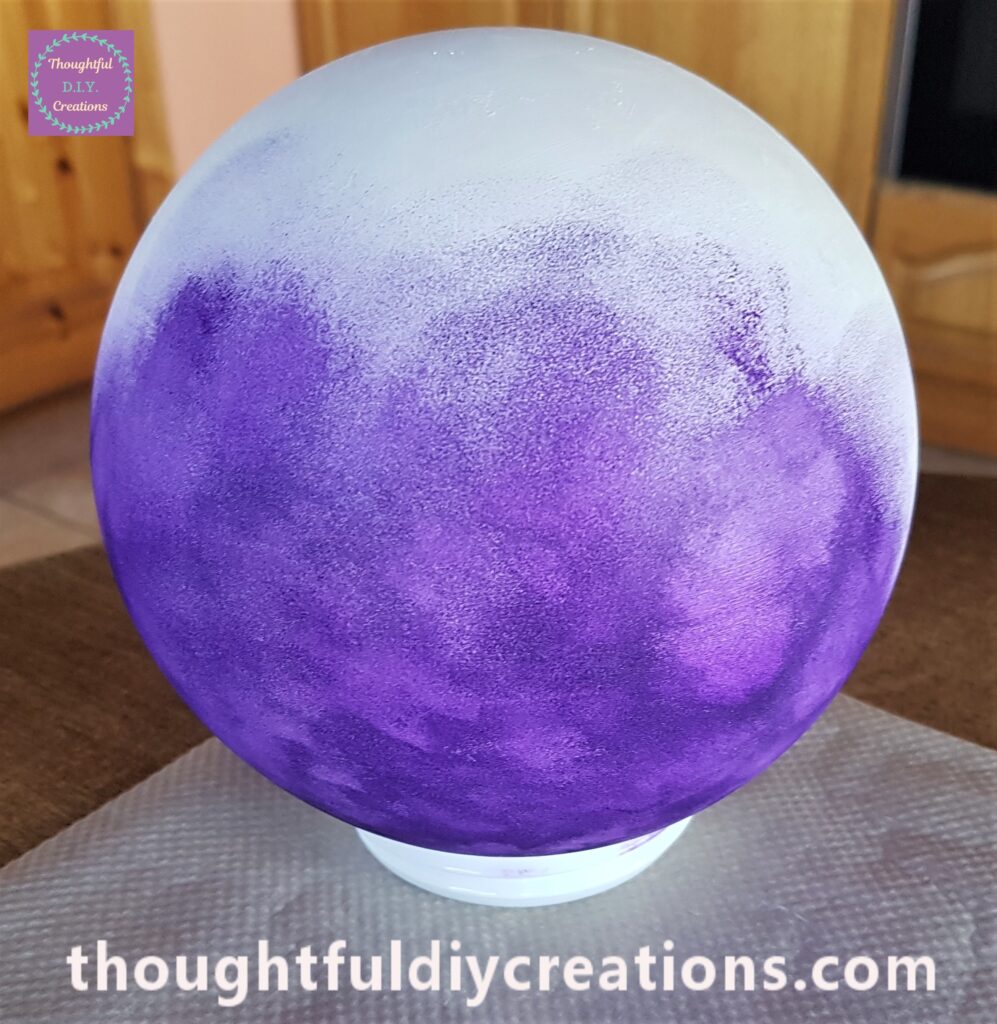
I applied one more layer of the Purple Paint to the Fortune Teller Ball. I again used the smooth part of the sponge.
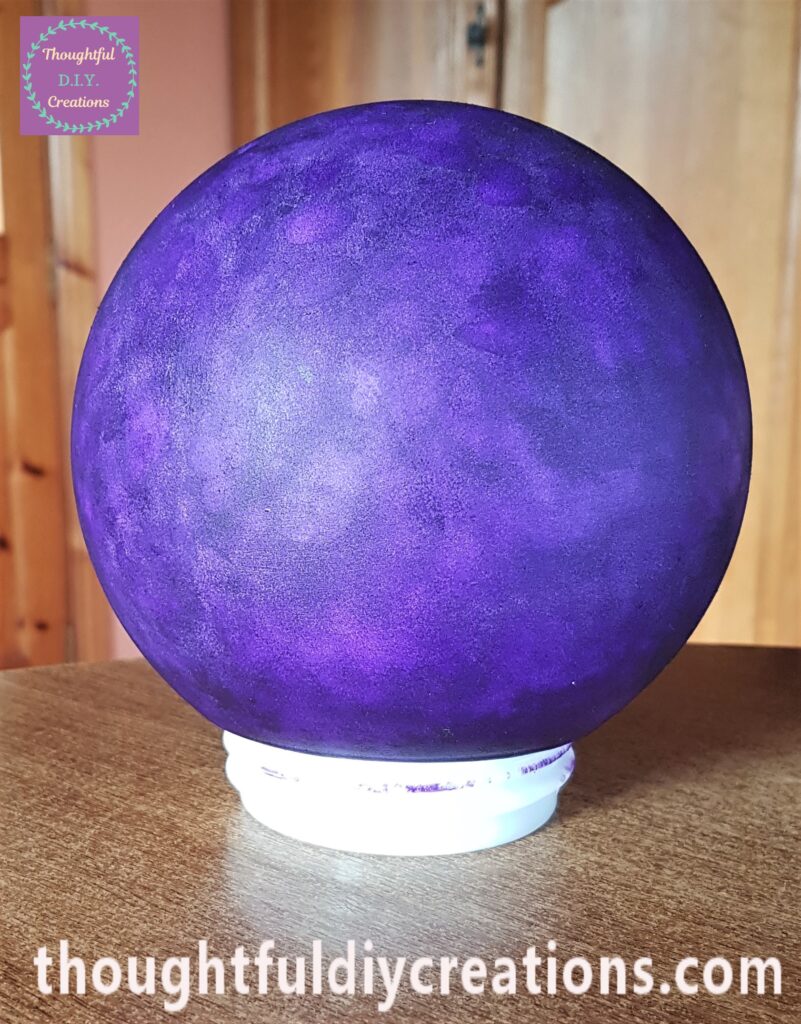
This is the Bulb and Stand after more layers of Paint.
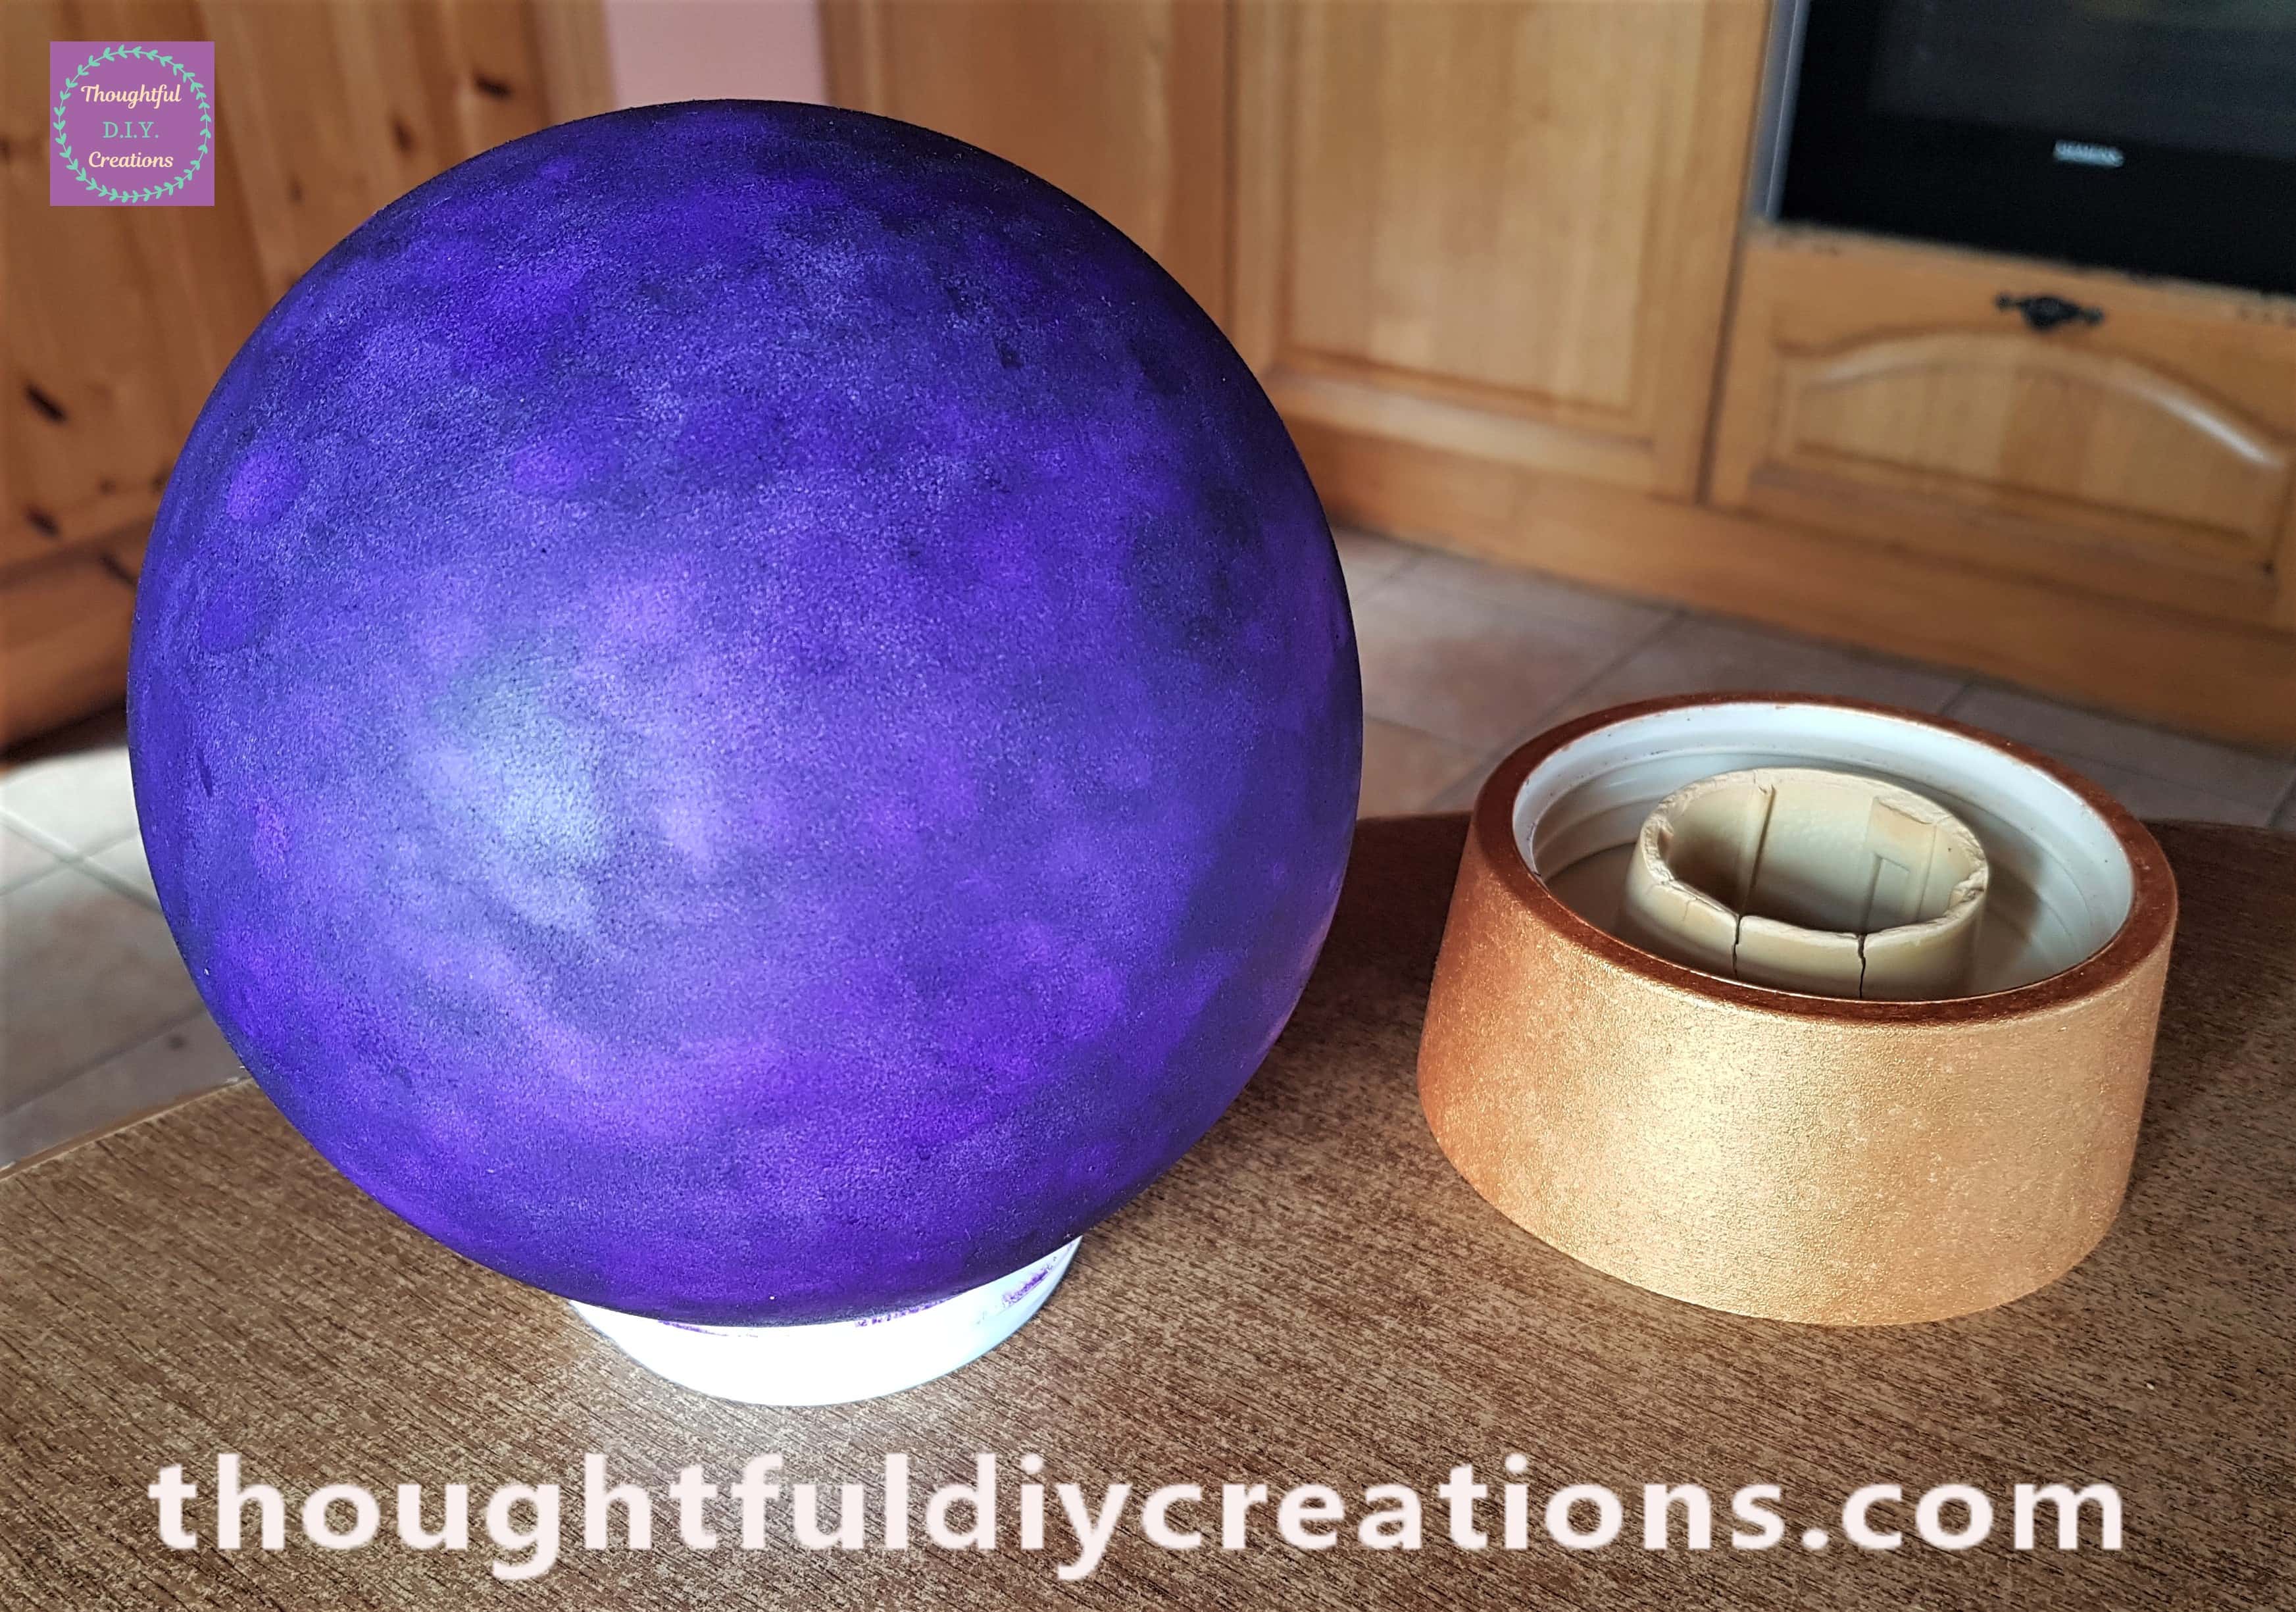
I twisted the Bulb back into the Stand when all the Paint was fully dry.

This Completed my Fortune Teller Ball Craft.


This is the Fortune Teller Ball on Display in a Room with the Light turned on. The Colours on the Bulb look slightly different.



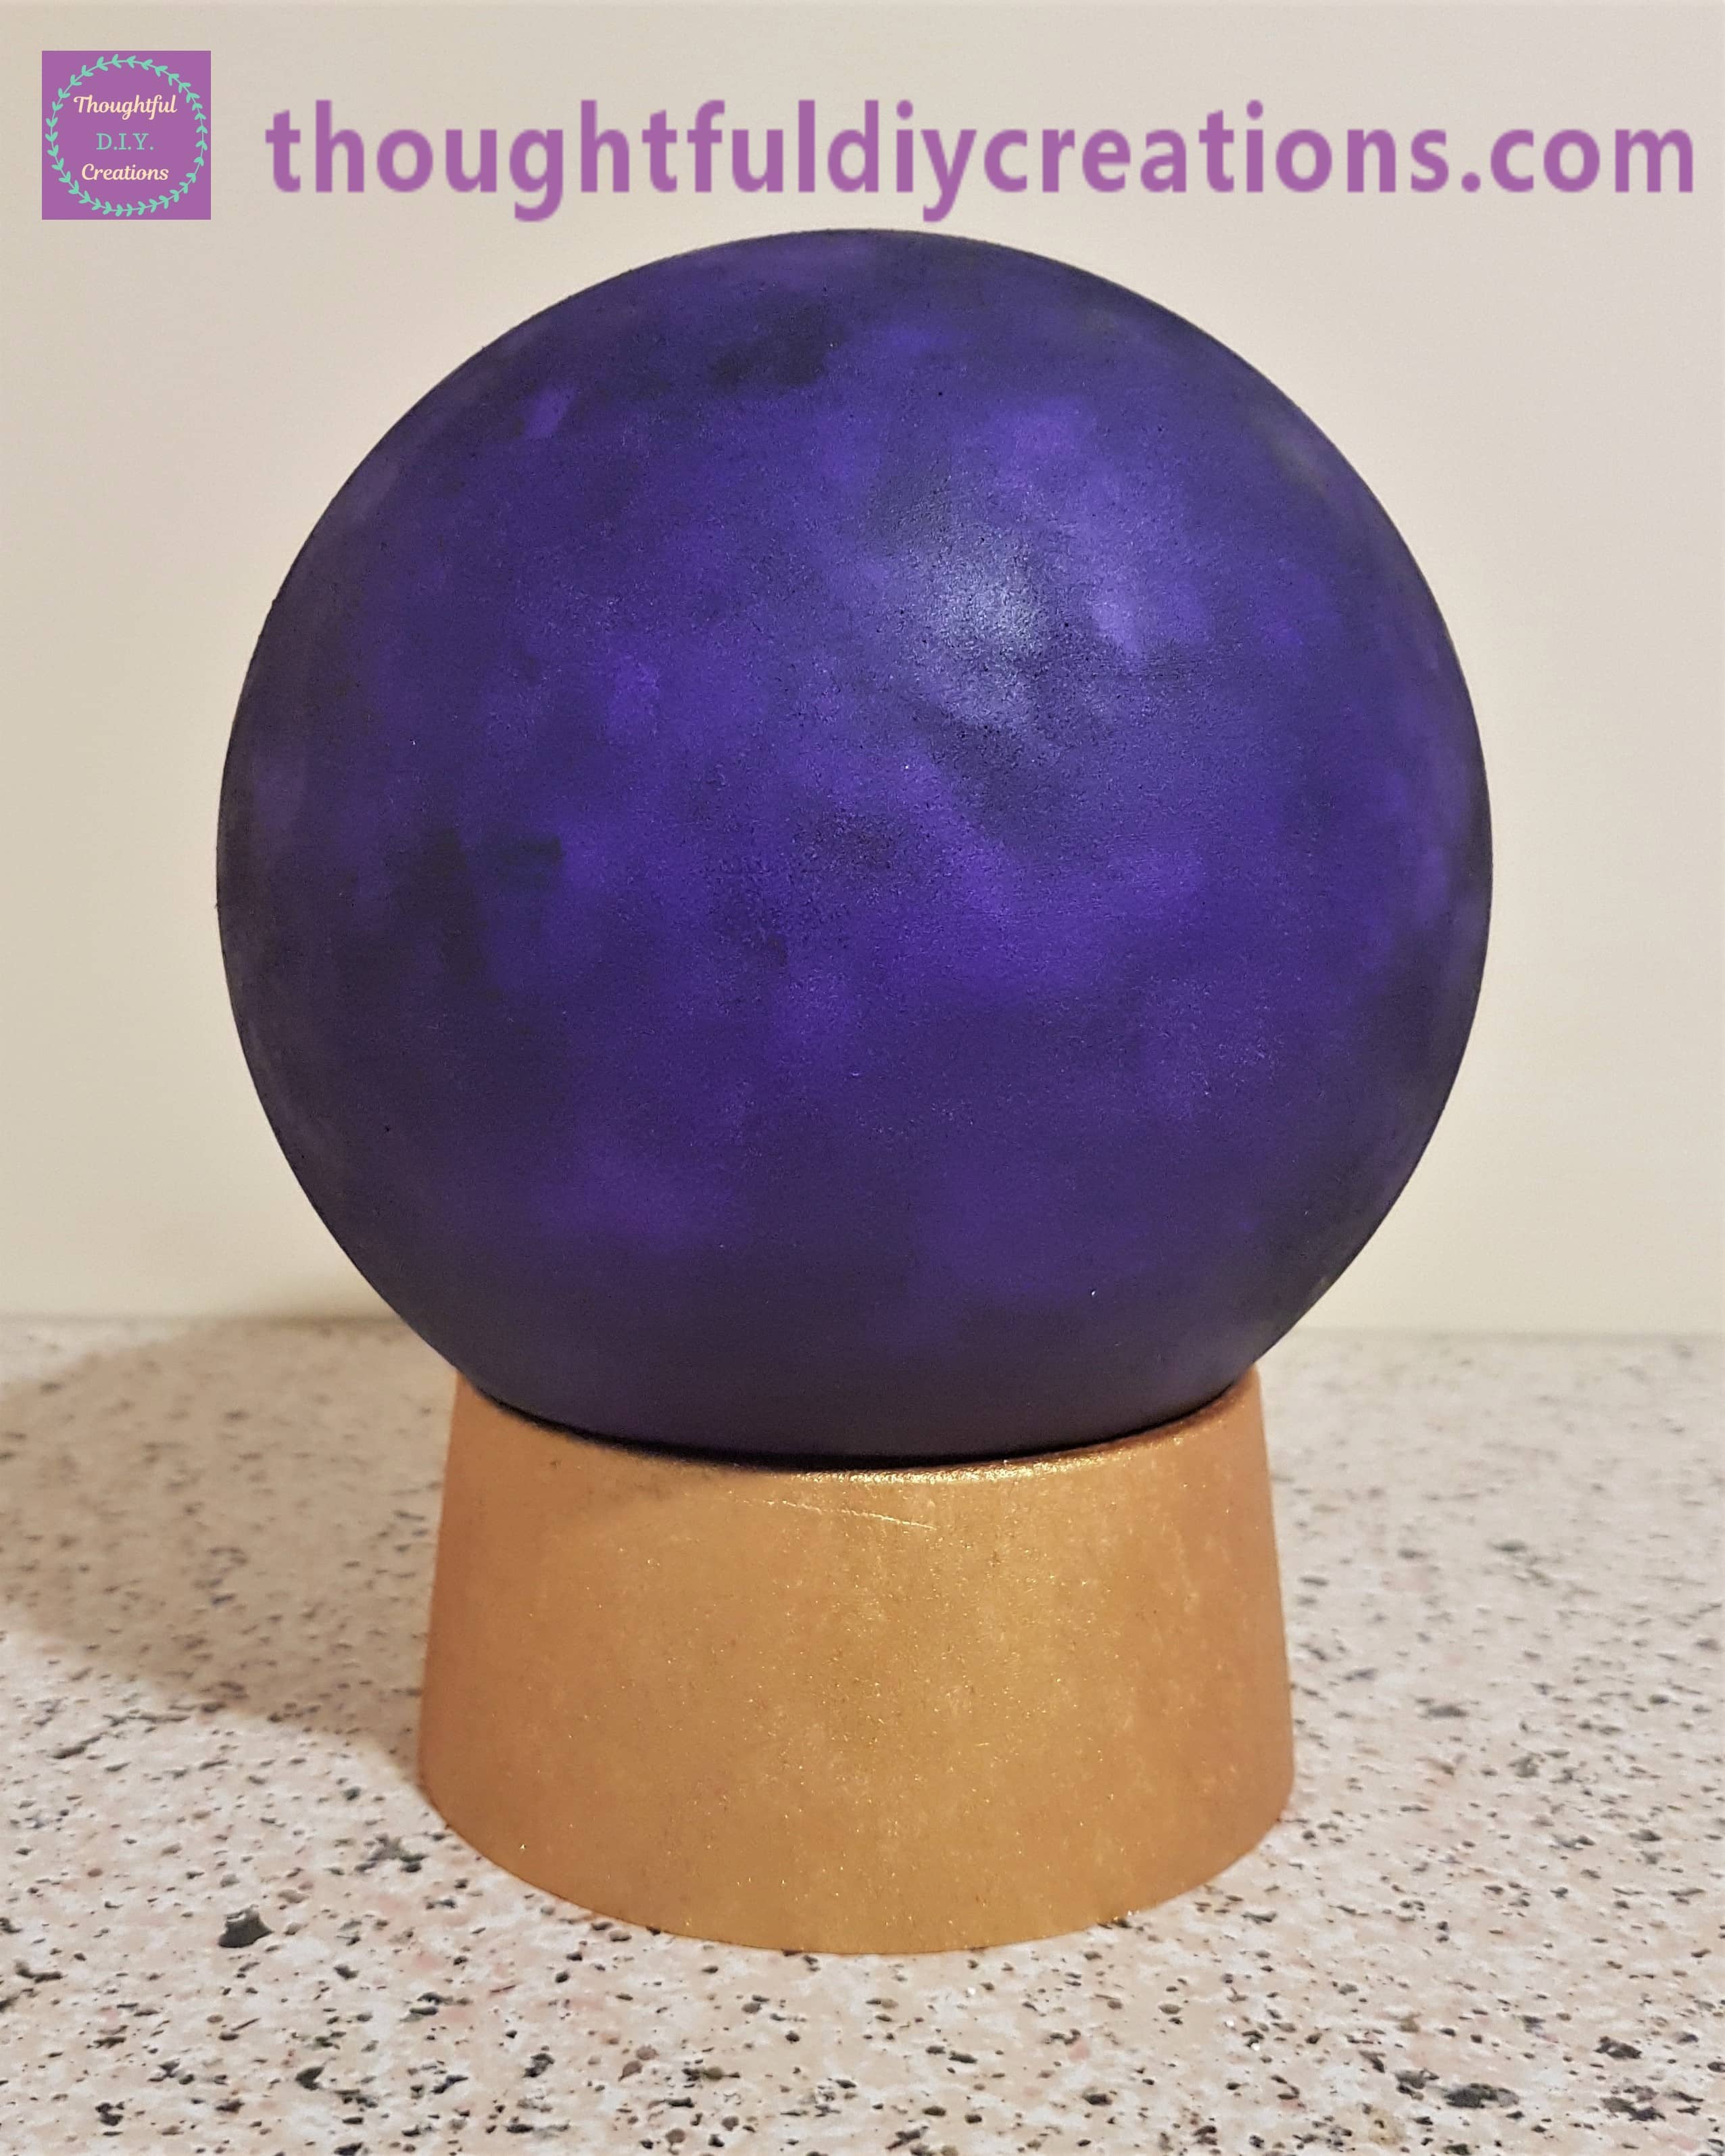
The Final Image of the Fortune Teller Ball.

Conclusion
I am thrilled with how the Fortune Teller Ball turned out. I love the shades of Purple on the Bulb it looks like there were more colours like Blues added but it was just 2 coats of Purple Paint. I adore the colours Purple and Gold together; I think they look really luxurious. I’m so glad that I got to make use of the Bulb instead of throwing it in the Bin.
I really like that I can display the Fortune Teller Ball all year round making it an even more practical Craft. I think I will display some Crystals around it after Halloween and place it beside the Spiritual Canvas and the Blue Re-Purposed Jar I made recently.
If you want your Fortune Teller Ball to look more Spooky you could Paint the Bulb Black and the Stand White or Silver. You could draw Spiderwebs with a White or Silver Paint Pen on the Bulb. Words associated with Halloween could be written on the Bulb or you could write BOO on the Stand with a Black Paint Pen. Another idea would be to glue a Fake Spider onto the Bulb. Drips of Red Paint could be added randomly for Blood. You can make it as cute or gruesome as you would like and work with the supplies you already have in your Home.
I hope you enjoyed this week’s Tutorial and you got some Creative Ideas from it. If you have any questions just fill out the Comment Box below this Blog Post and I’ll reply as soon as I can.
Thank you so much for taking the time to Read my Blog.
Always Grateful,
T.D.C.
xoxox

