Frosted Glass Effect Light-Up Christmas Bottle
Hello my Creative Friends,
I hope you are all Well. In Today’s Tutorial I will show you how I made a Frosted Glass Effect Light-Up Christmas Bottle. It is easy to create, as well as being budget friendly which is so important this time of year. This is the perfect D.I.Y. Christmas Craft; it can be displayed in your own home each Christmas or gifted to someone special in your life.
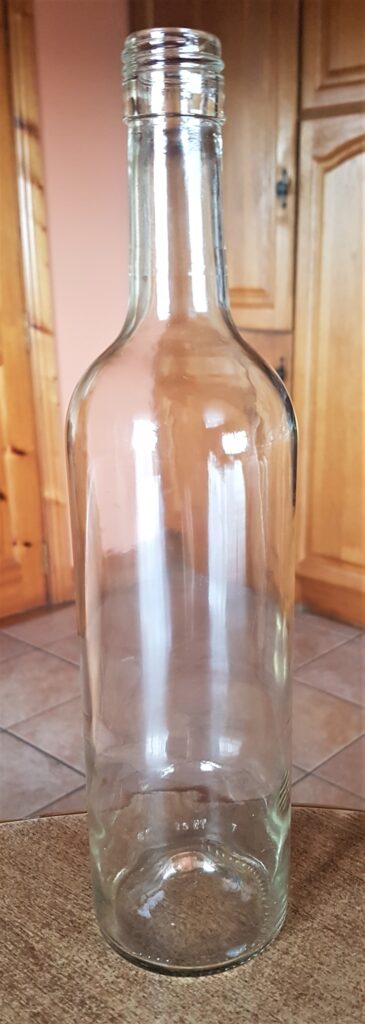
Preparing the Bottle for Crafting
I soaked an empty Wine Bottle in the Sink with warm water and Washing-Up-Liquid for an hour. This softens the label and makes it easier to peel off. I then removed the label, rinsed and dried the Bottle.
Applying Mod Podge to the Bottle
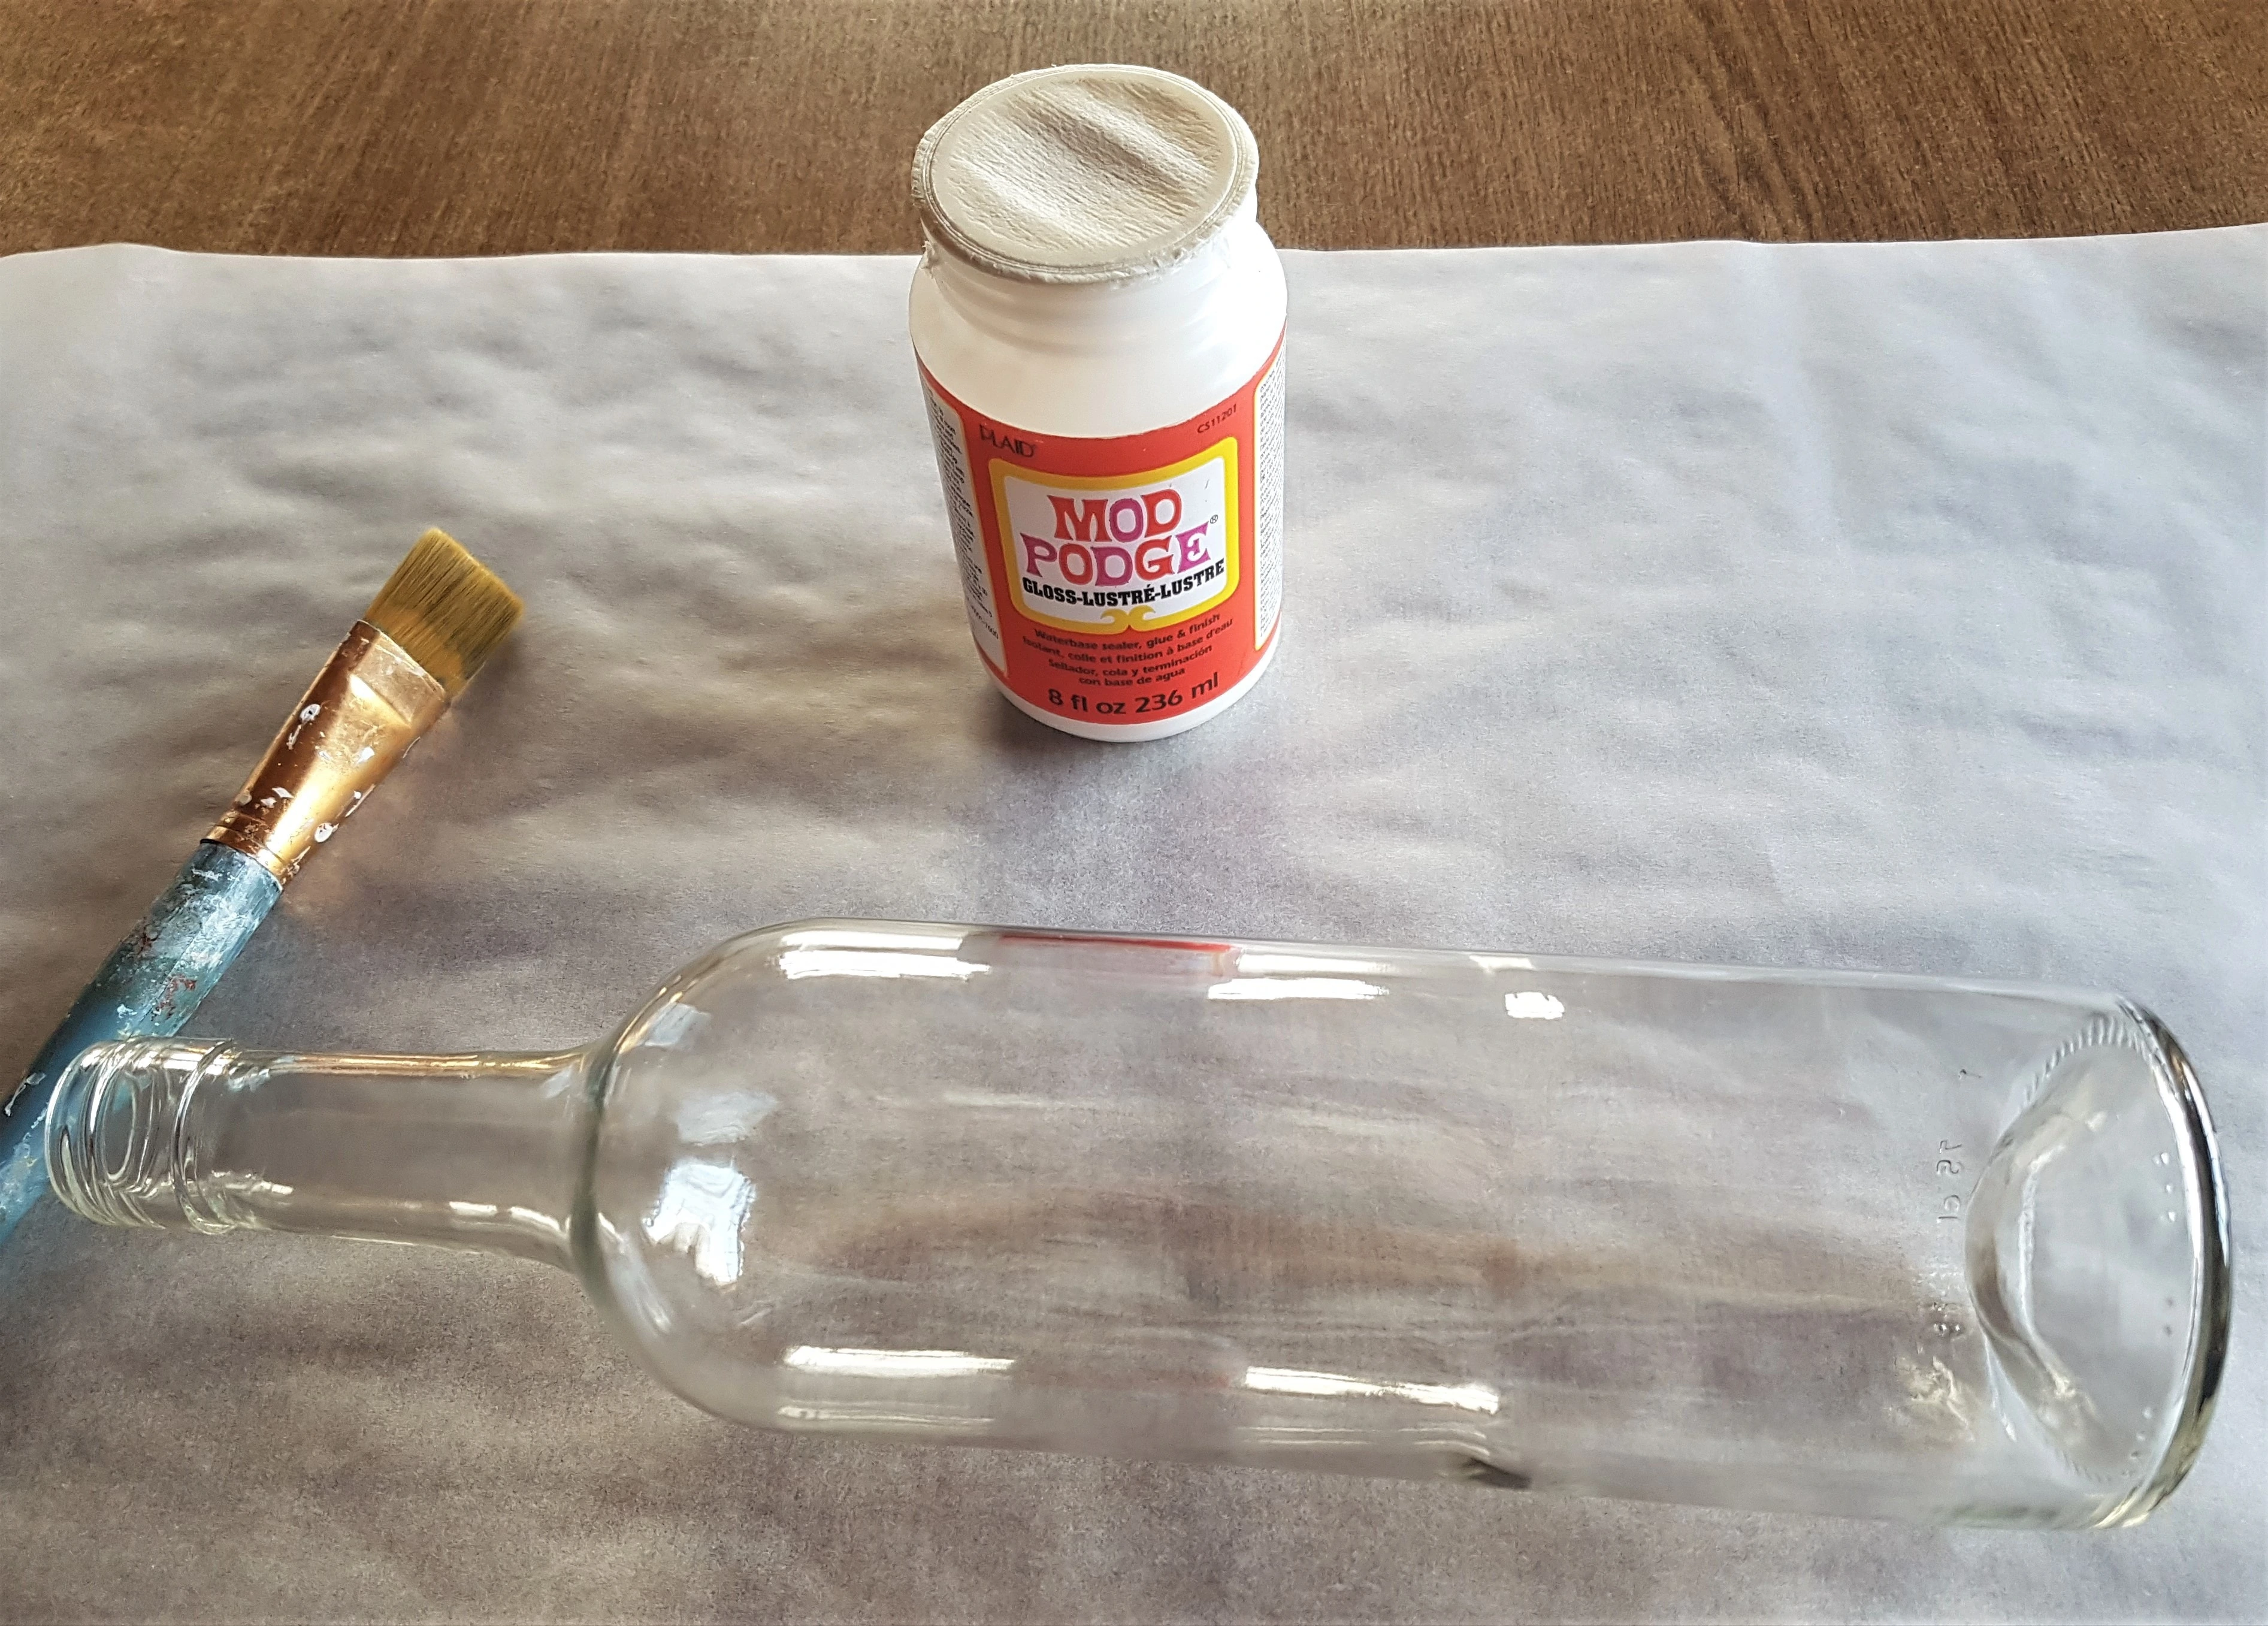
I cut some Baking Parchment Paper and put it on the Table to protect it when Crafting. I got my ‘Mod Podge Gloss’ and a Flat 1 inch Paintbrush. I put the Wine Bottle lying down on the Baking Paper.
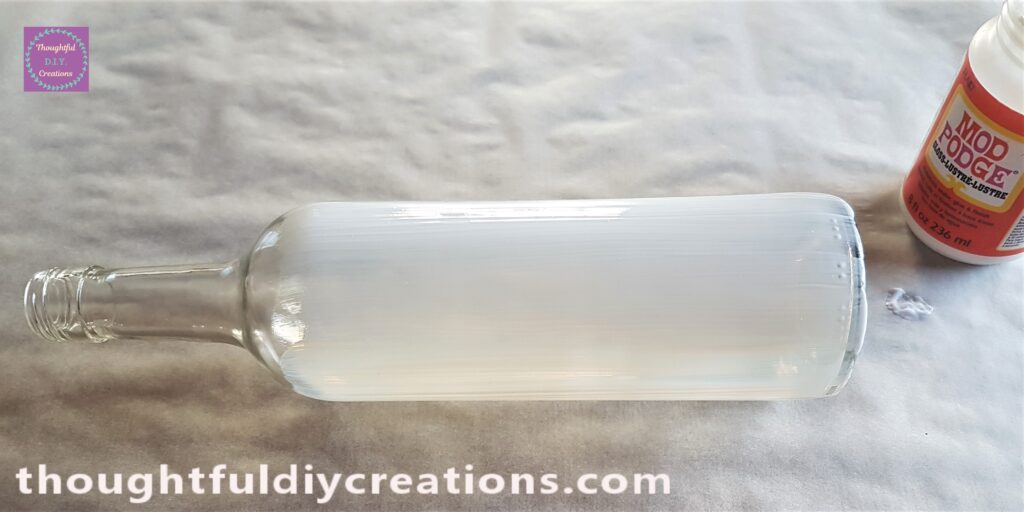
I put the ‘Mod Podge Gloss’ onto the front body of the Wine Bottle with the Paintbrush.
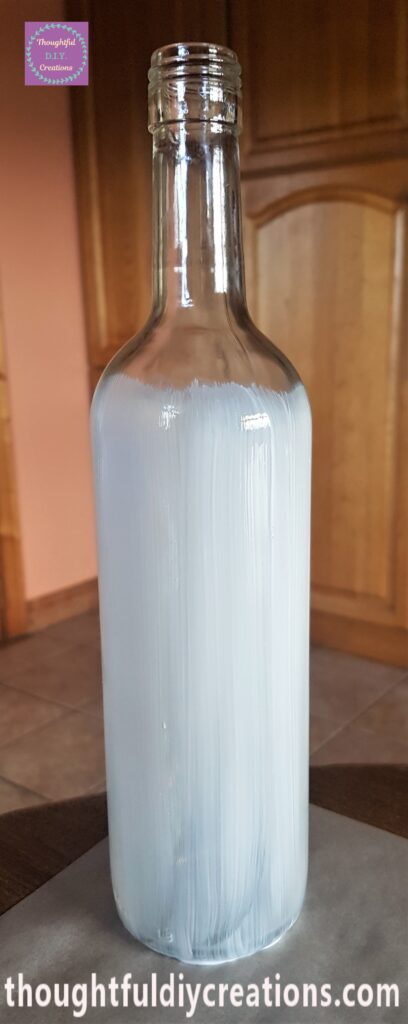
I then put the Wine Bottle standing upright and put the Mod Podge onto the back of the Bottle.
Making the Frosted Glass Effect on the Bottle
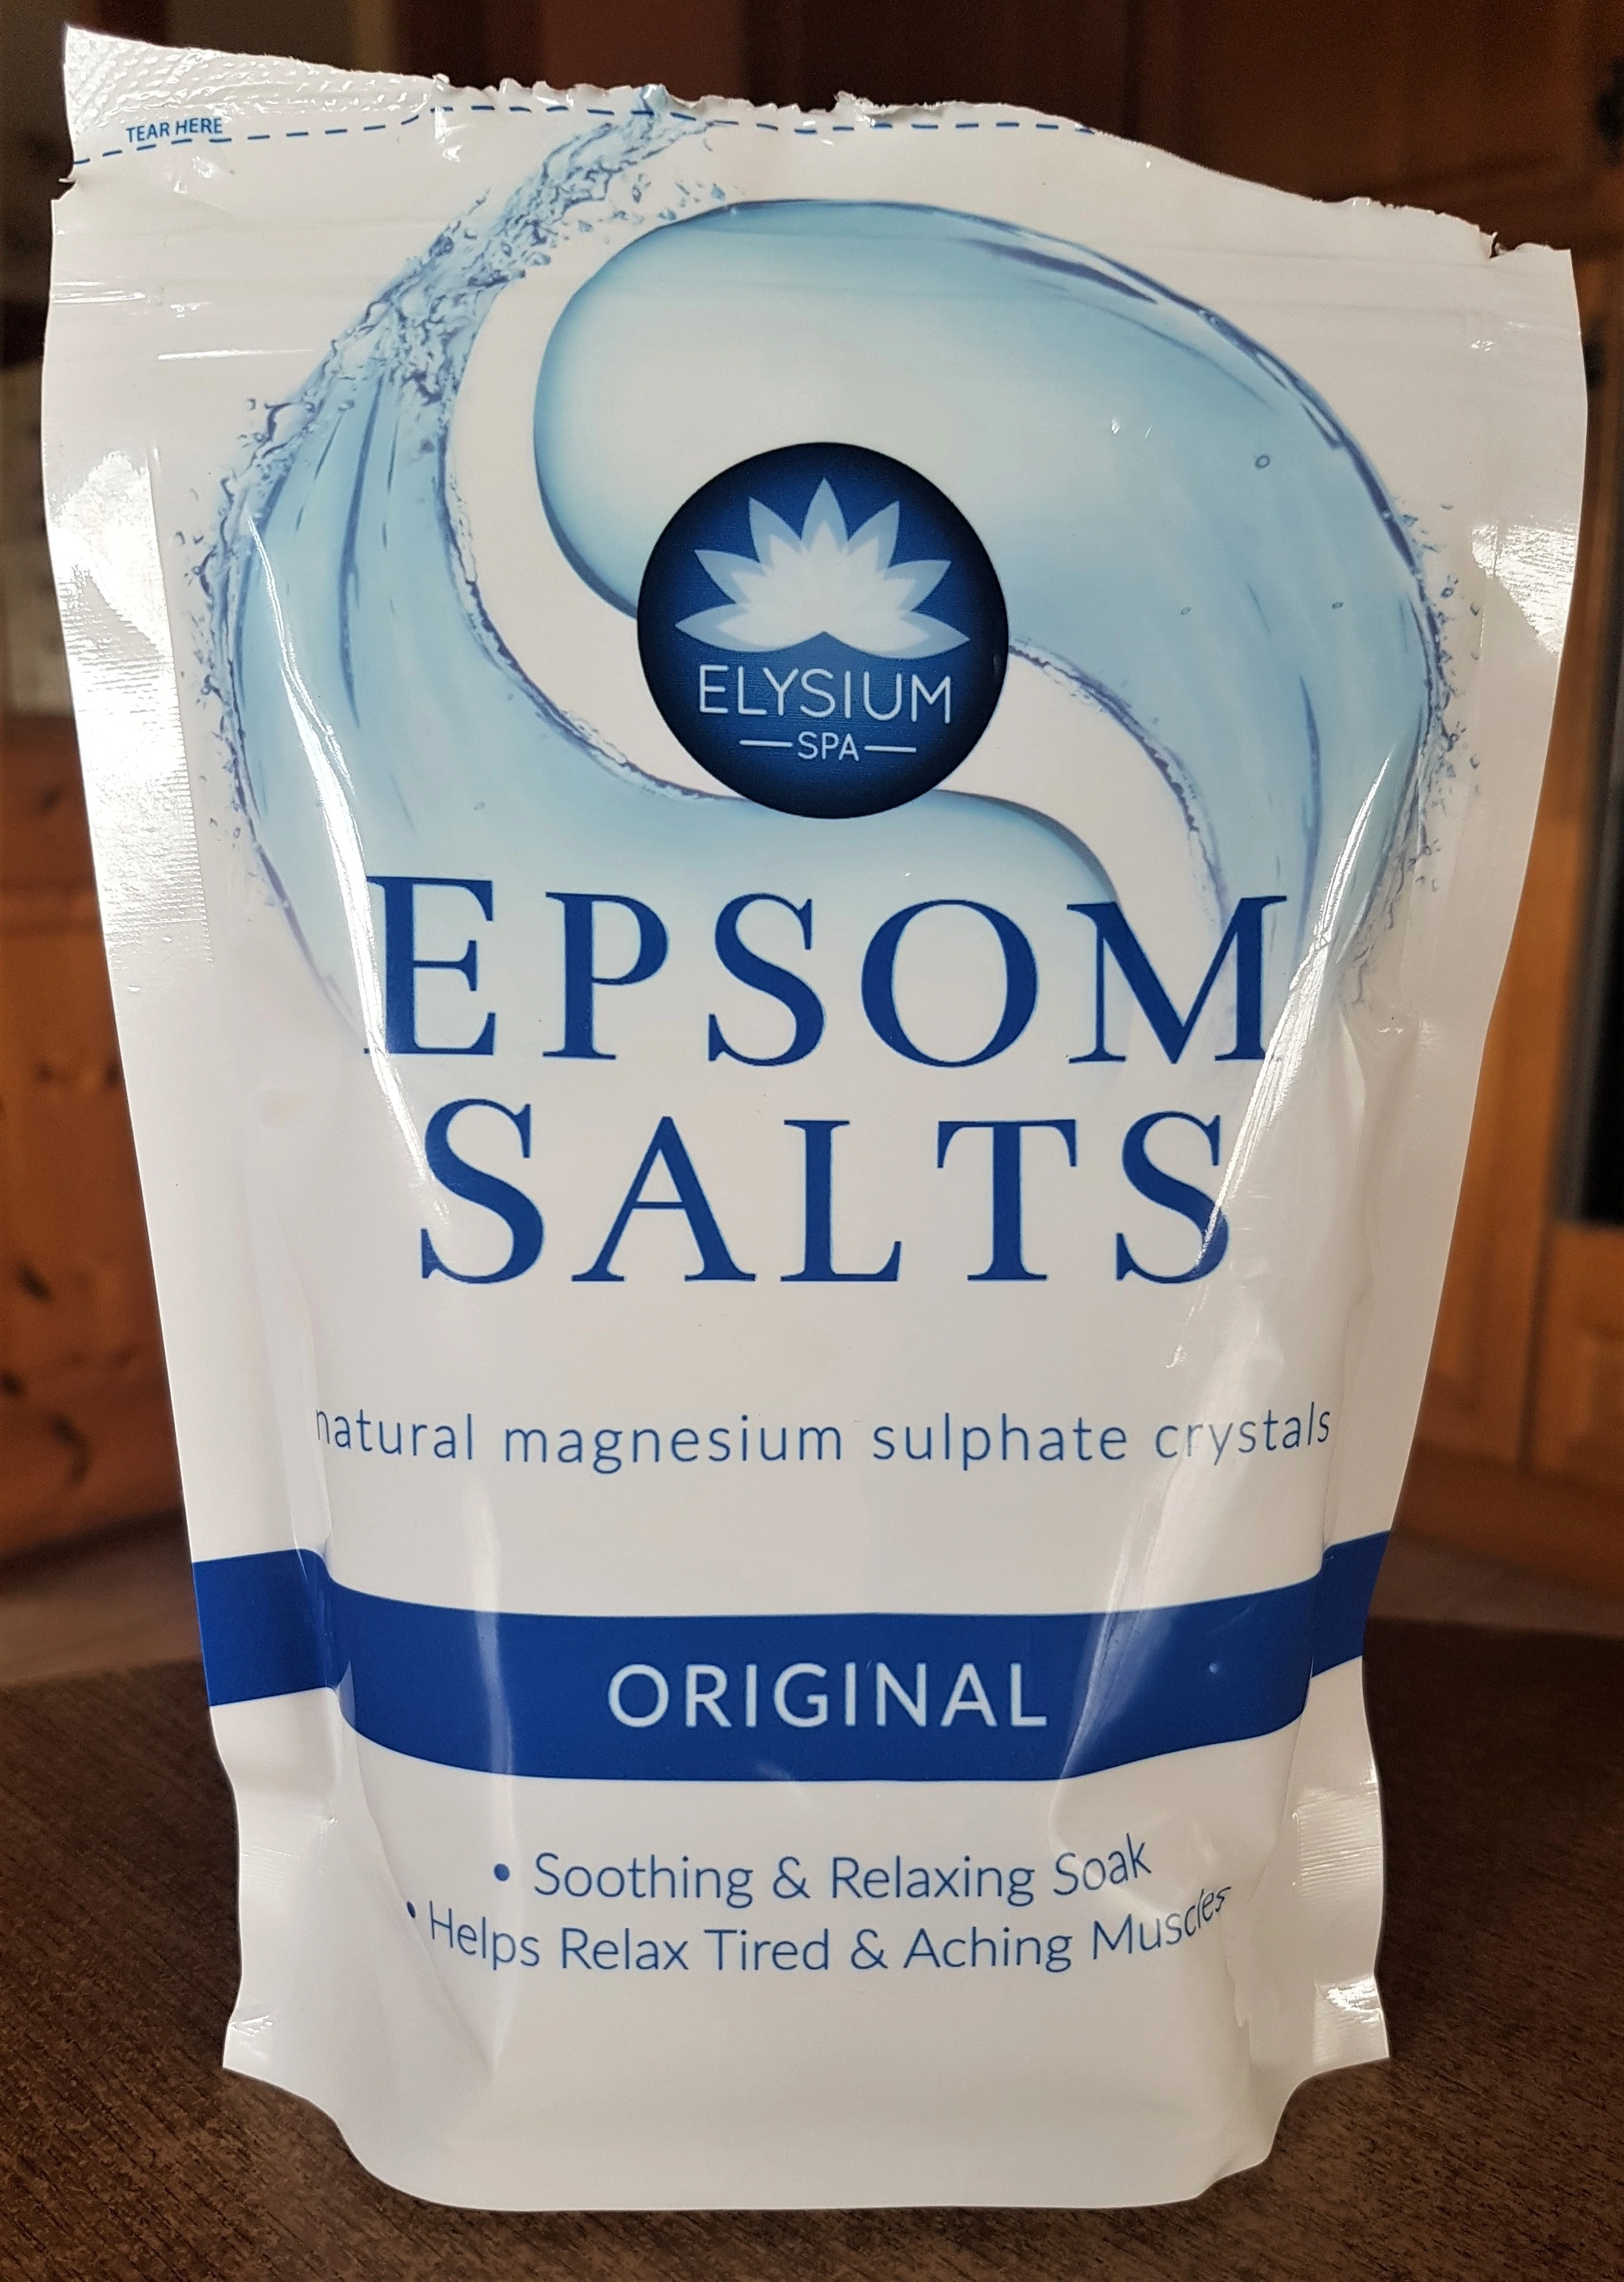
I got my Pack of ‘Epsom Salts’.
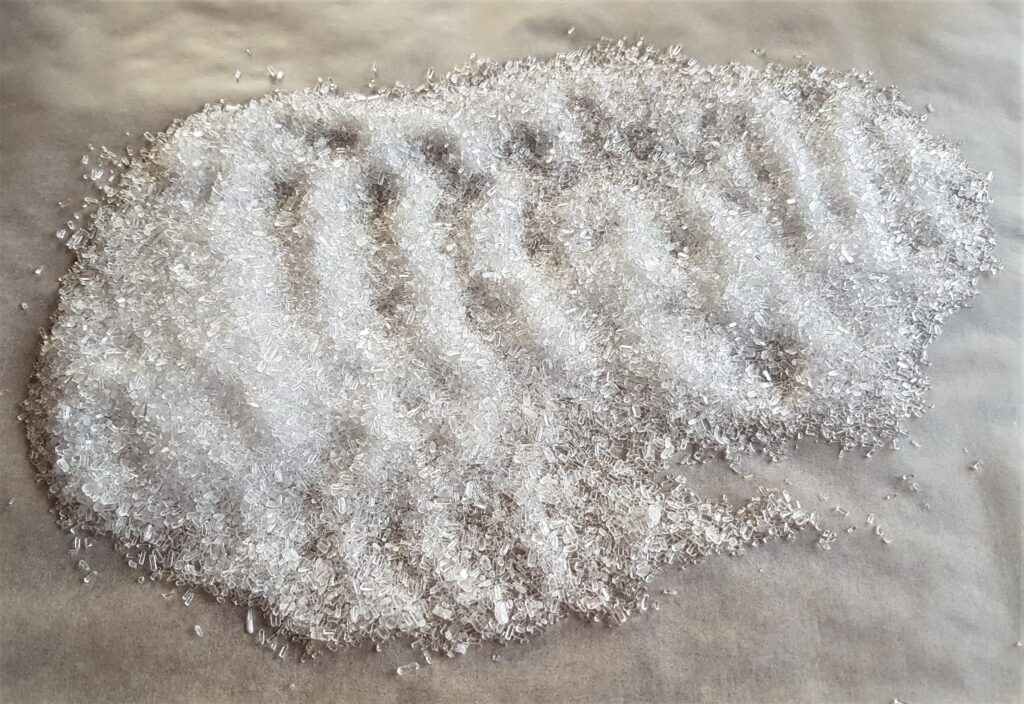
I poured some Epsom Salts into the center of the Baking Parchment Paper on the Table.
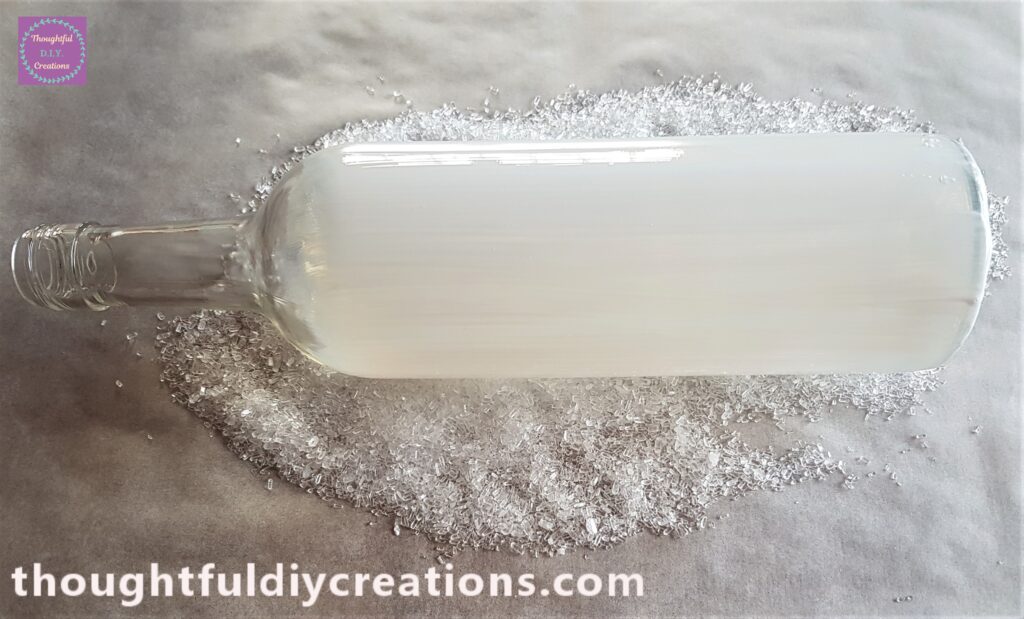
I put the Wine Bottle lying down on top of the epsom salts and gently rolled the bottle over the epsom salts by holding the top and bottom of the bottle.
I rolled the bottle over on it’s back to continue attaching the epsom salts to the mod podge. If there were gaps on the bottle where epsom salts didn’t stick; I picked up a small handful of the epsom salts on the baking paper and sprinkled them over the glue.
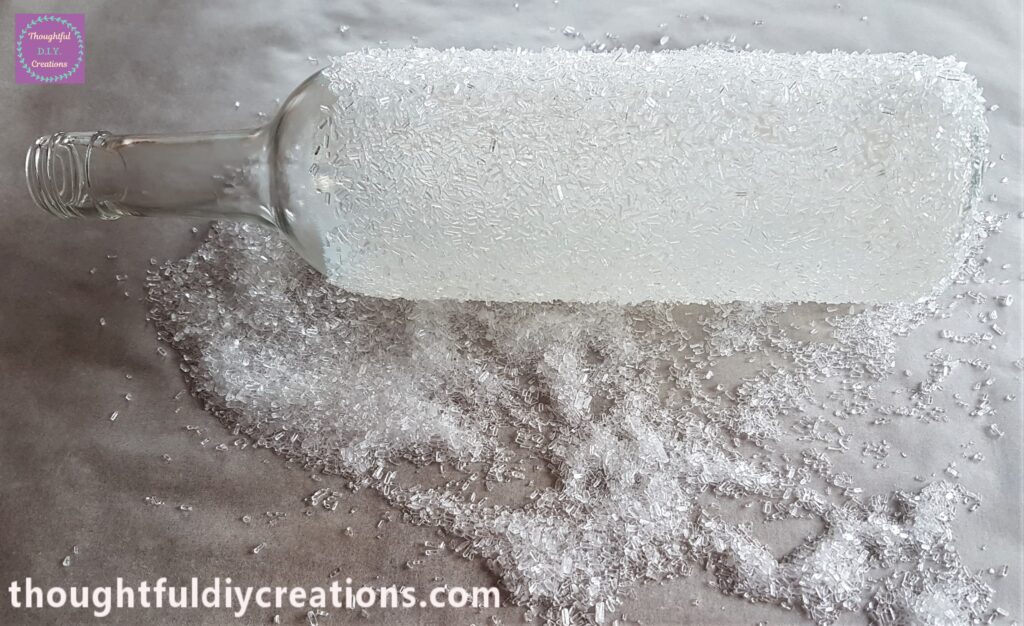
When I was happy with the coverage of epsom salts I stood the Bottle upright.
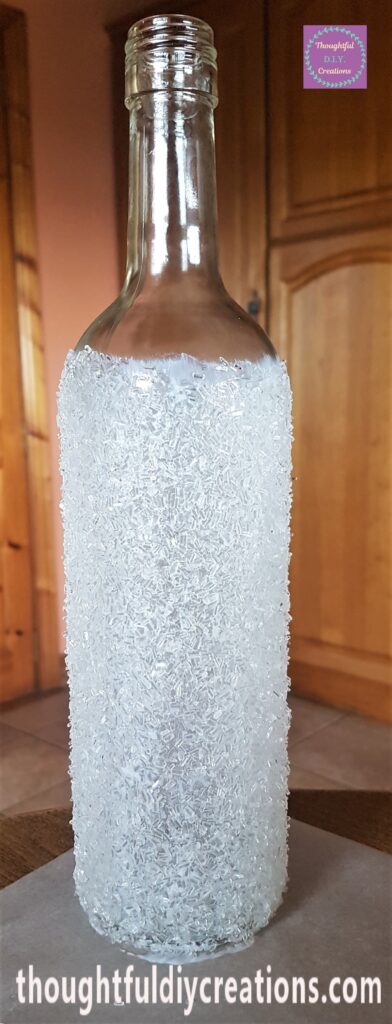
I put Mod Podge on the top part of the Wine Bottle with the Paintbrush.
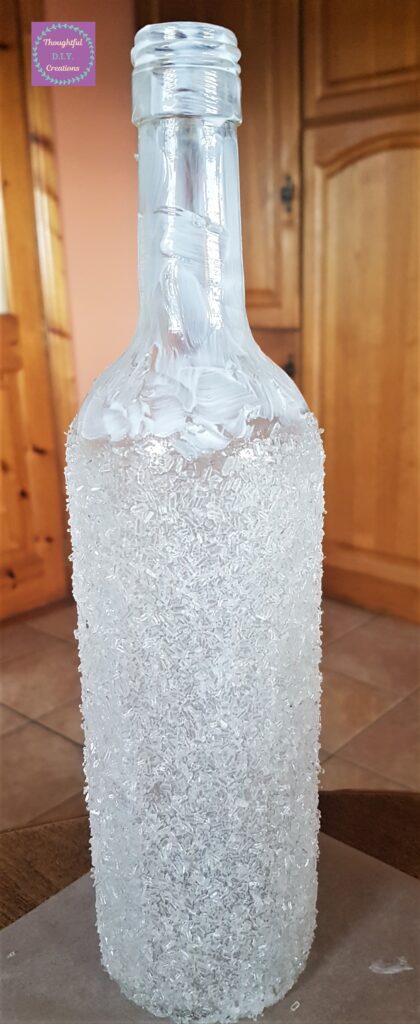
I put the Bottle lying down on the baking paper and picked up small handfulls of Epsom salts and pressed them into the top part of the bottle. I turned the bottle over and continued until I had an even layer of epsom salts all over the bottle.
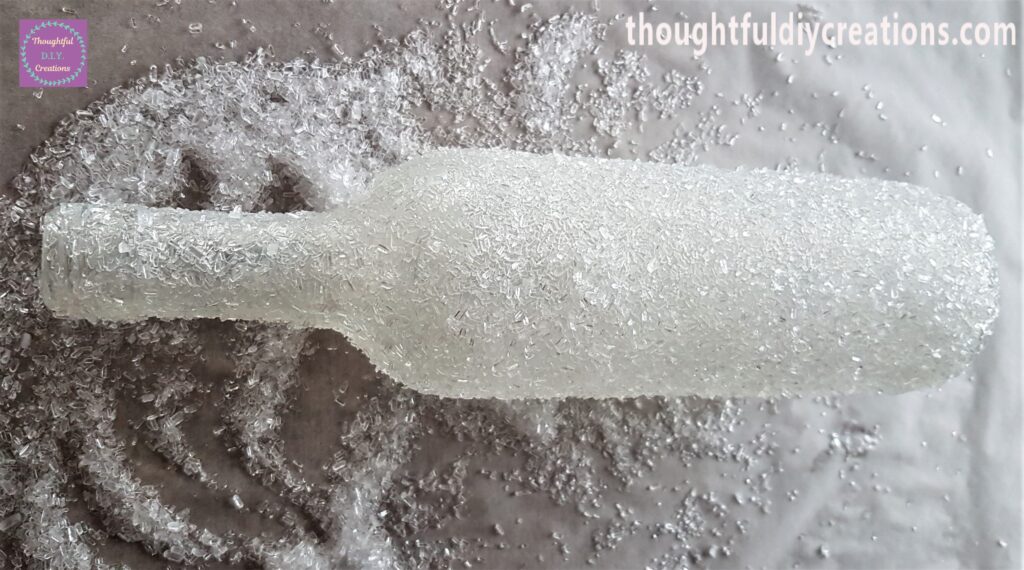
I then stood the bottle upright and allowed 2 hours for the epsom salts to fully dry into the glue.
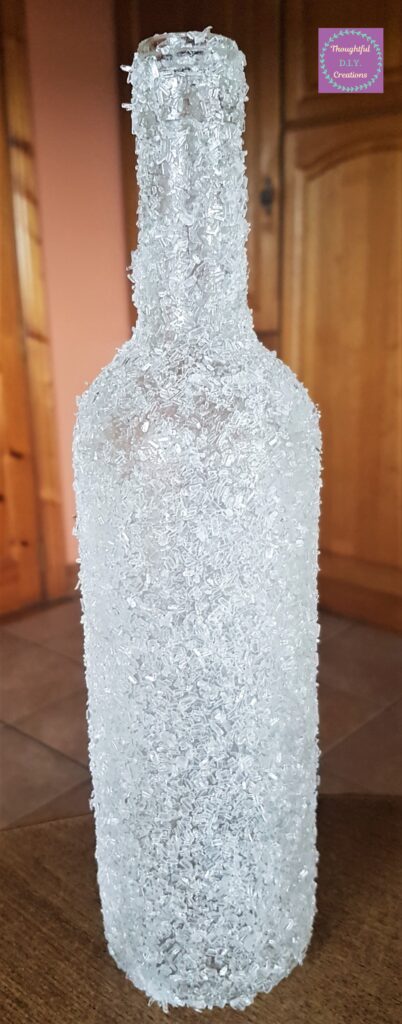
Sealing the Frosted Glass
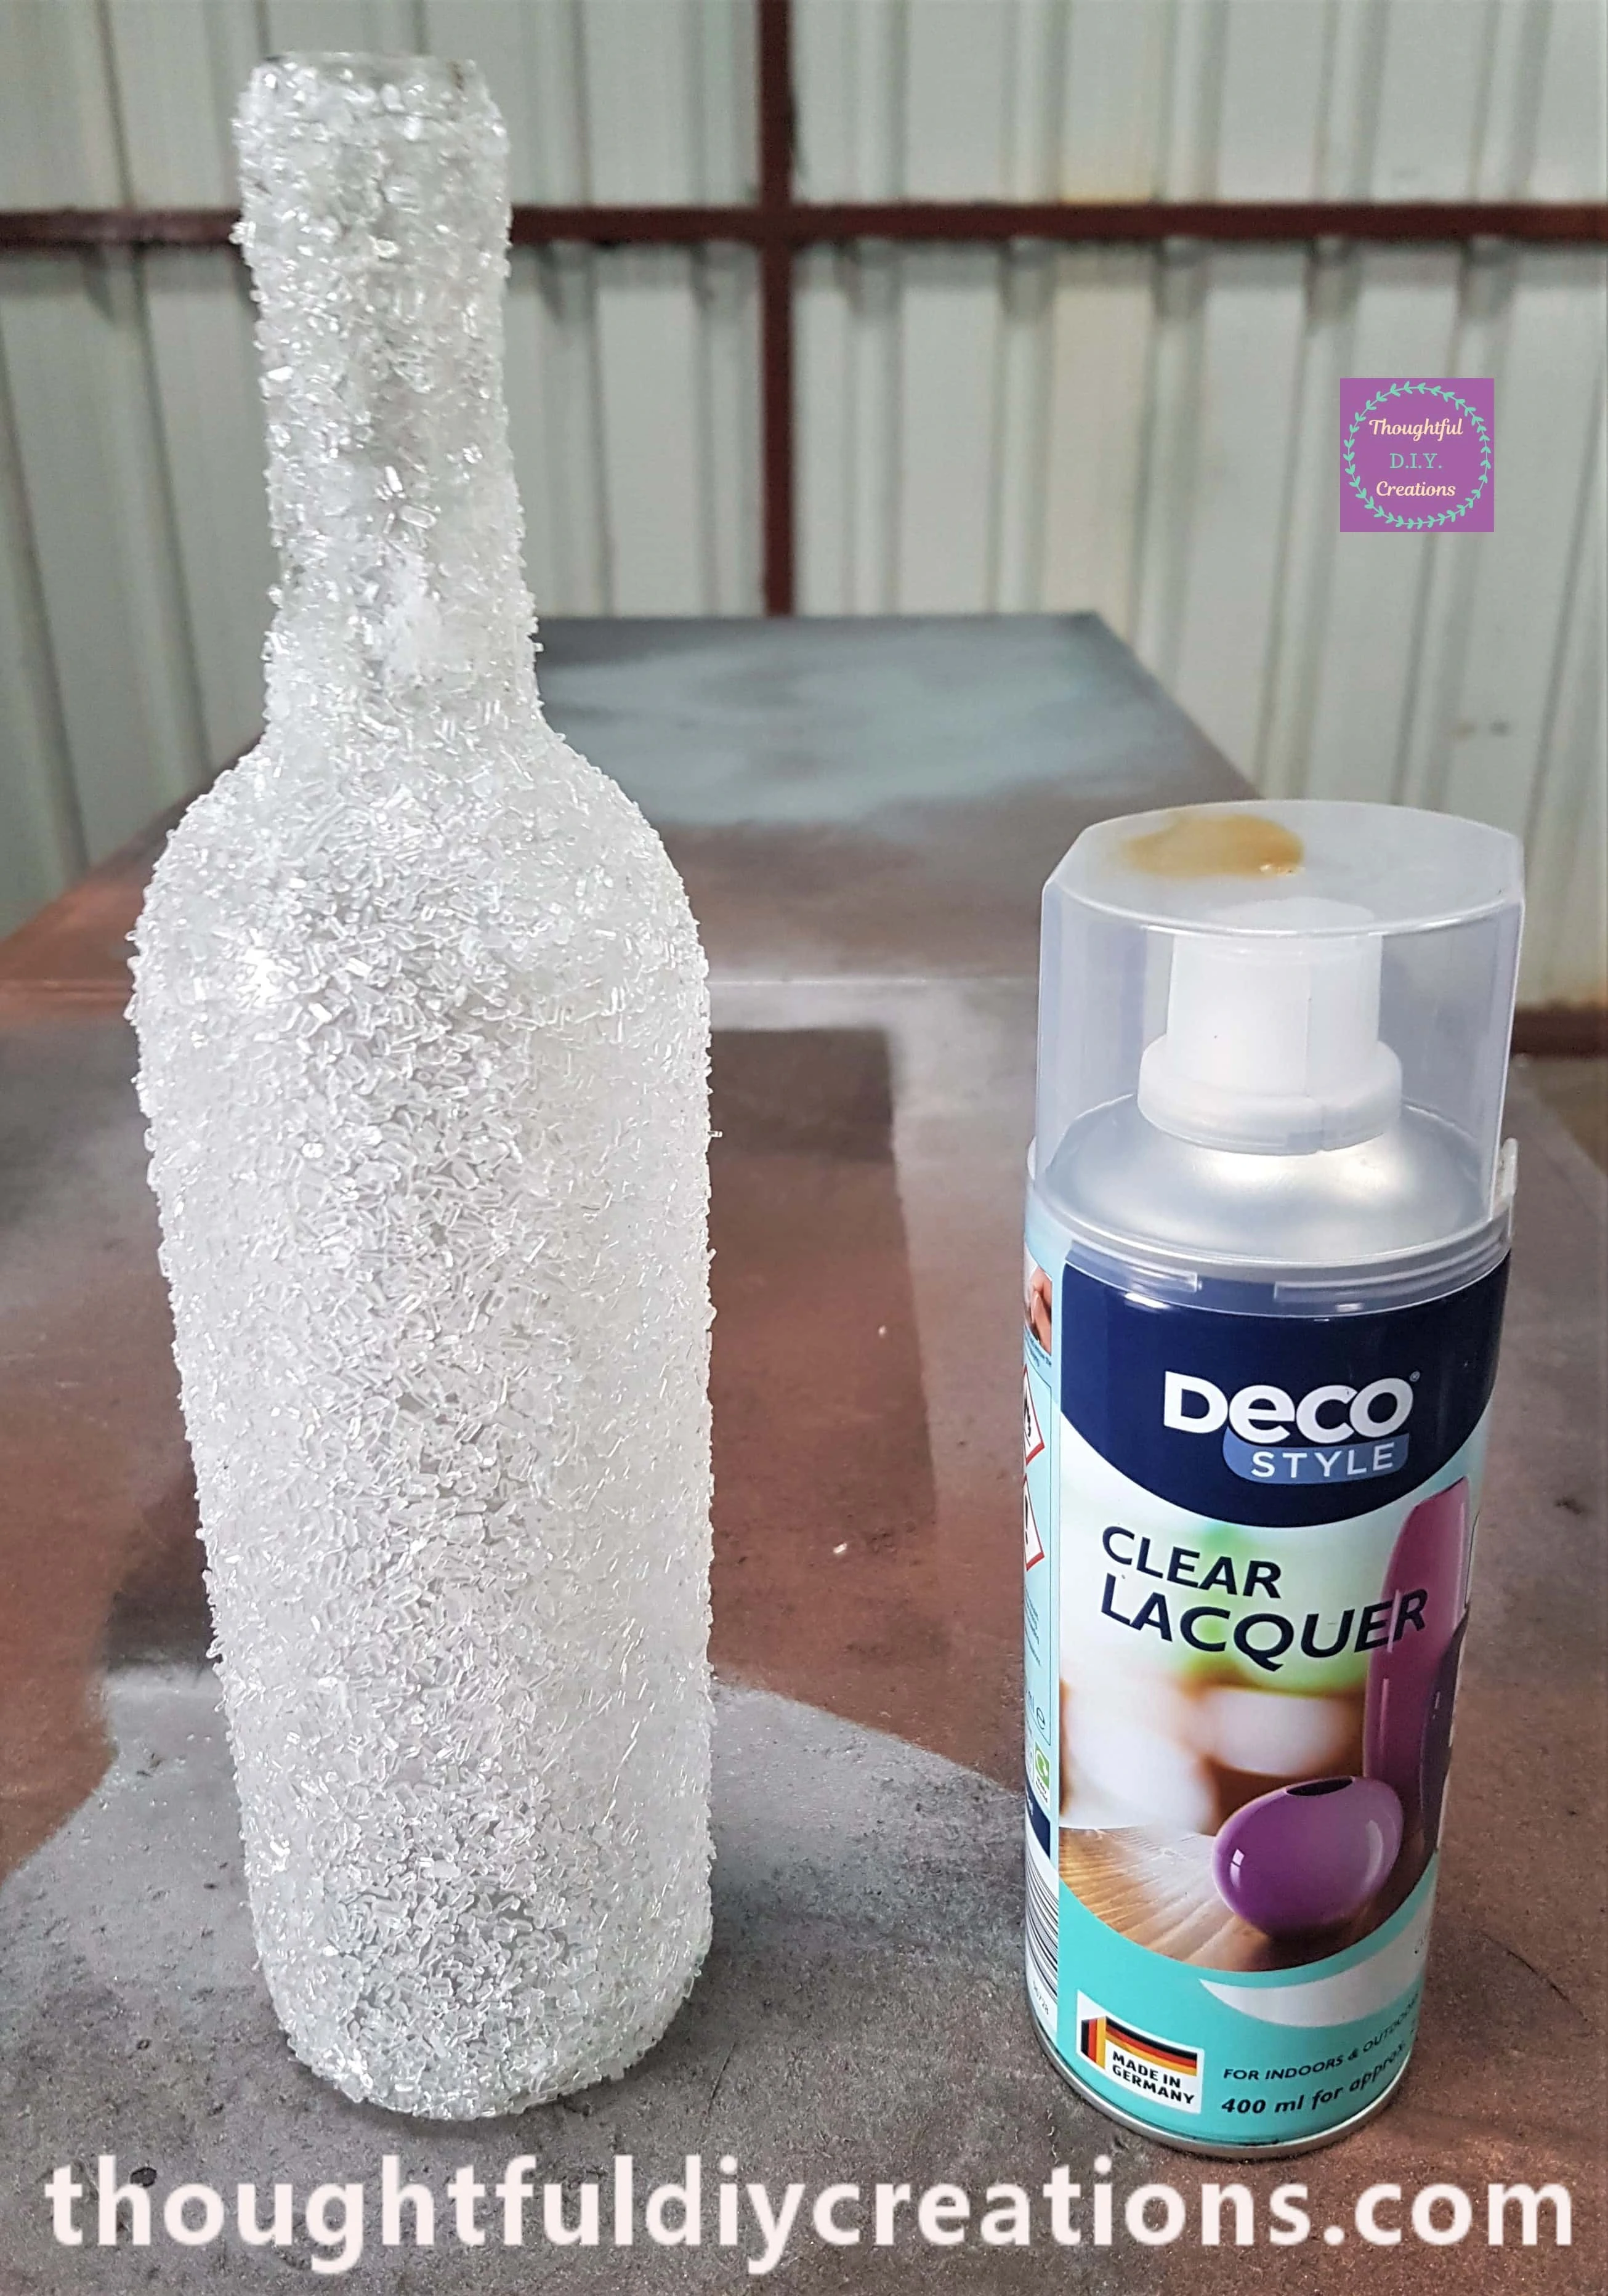
I brought the Frosted Glass Bottle out to the Shed and placed it standing upright on a table. I got my Can of ‘Clear Lacquer Gloss Top Coat’ Spray Paint.
Spray Paint Recommendations
Always Spray Paint in a well ventilated area. Open Windows or Doors and wear a mask if you need to. Leave the area as soon as you can after spray painting to avoid inhaling any fumes. Read instructions on the Spray Can and take any necessary precautions.
I removed the Lid and plastic protective cover from the Spray Can. I shook the Spray Can from side-to-side for over a minute. I then Sprayed from the top to the bottom of the Bottle; one straight line down.
I then moved onto the next section and the next doing the same thing, until it had one even layer of the Clear Top Coat. I gave the Can a quick shake after every 2 lines sprayed on the bottle.
Frosted Glass Bottle after Curing Time
I left the Frosted Glass Bottle in the Shed for a full 24 hours after Spray Painting to Cure. This is the Bottle back inside after being Sealed.
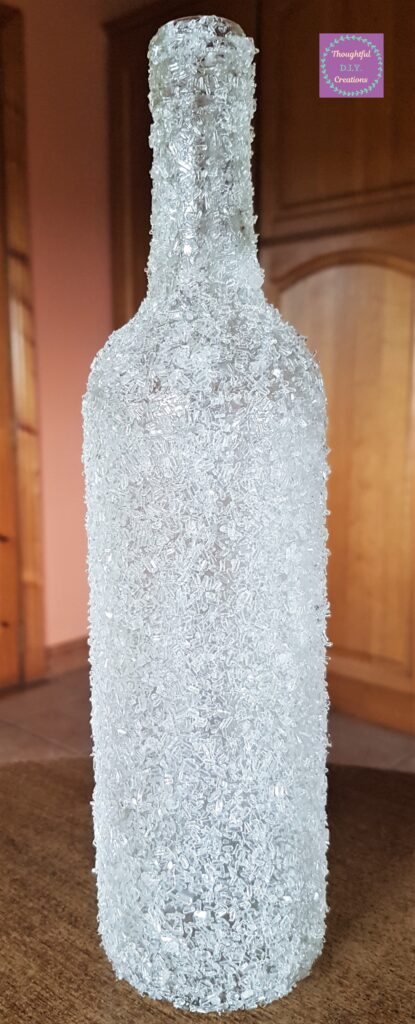
Here is a closer look at the epsom salts on the bottle which give the frosted glass appearance.
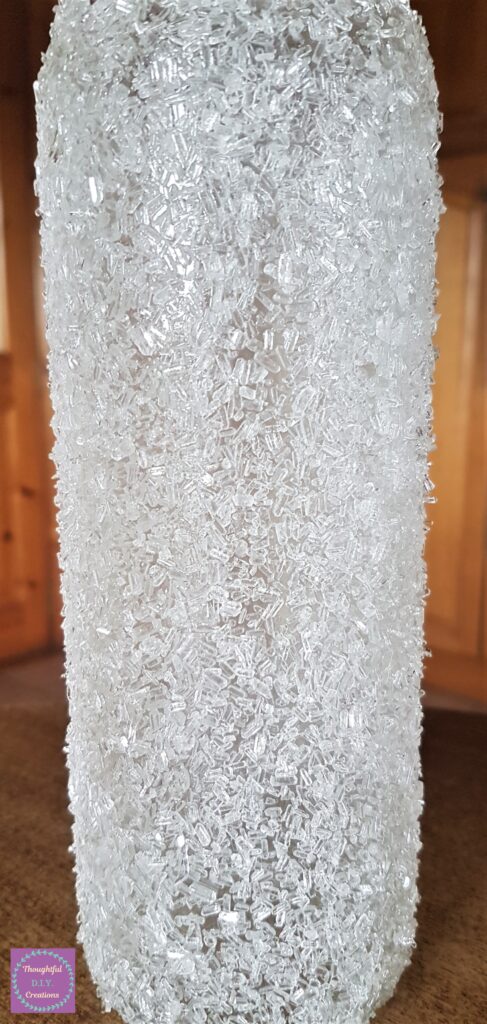
The top part of the Bottle.
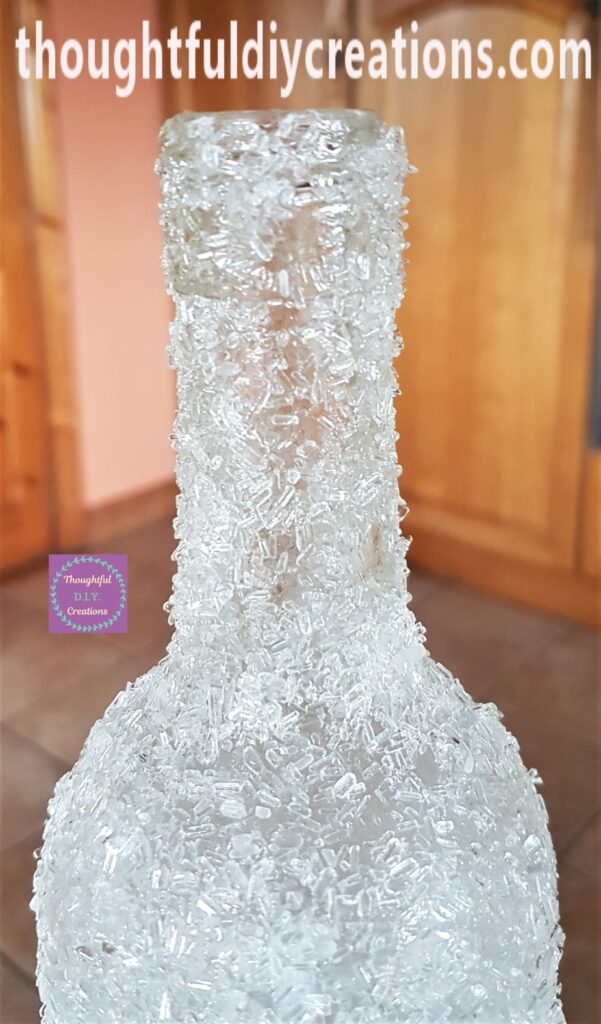
Adding Holly to the Bottle
I had a bunch of Artificial Holly in my Craft supplies.
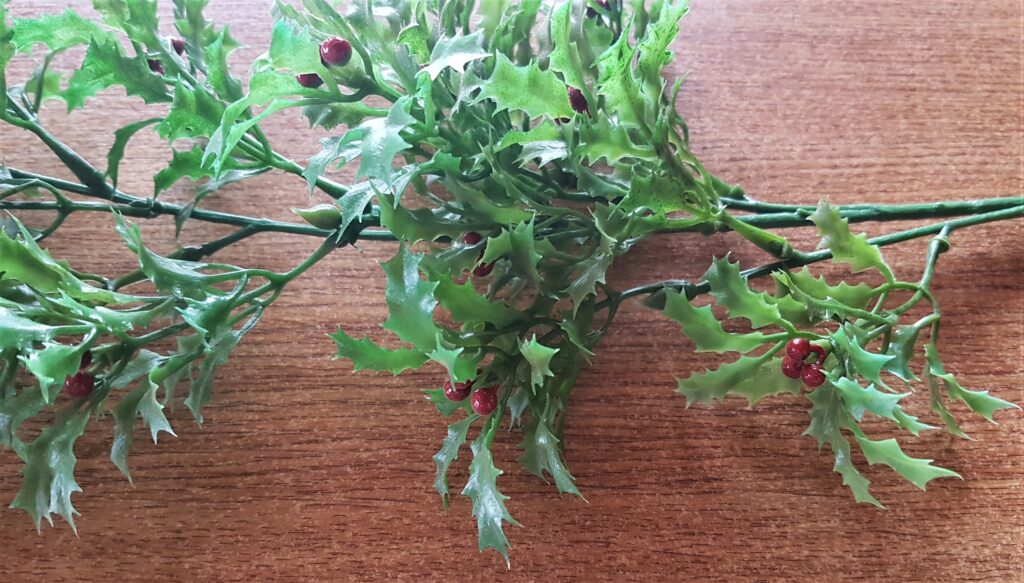
I cut a section of Holly to decorate the Frosted Glass Bottle.
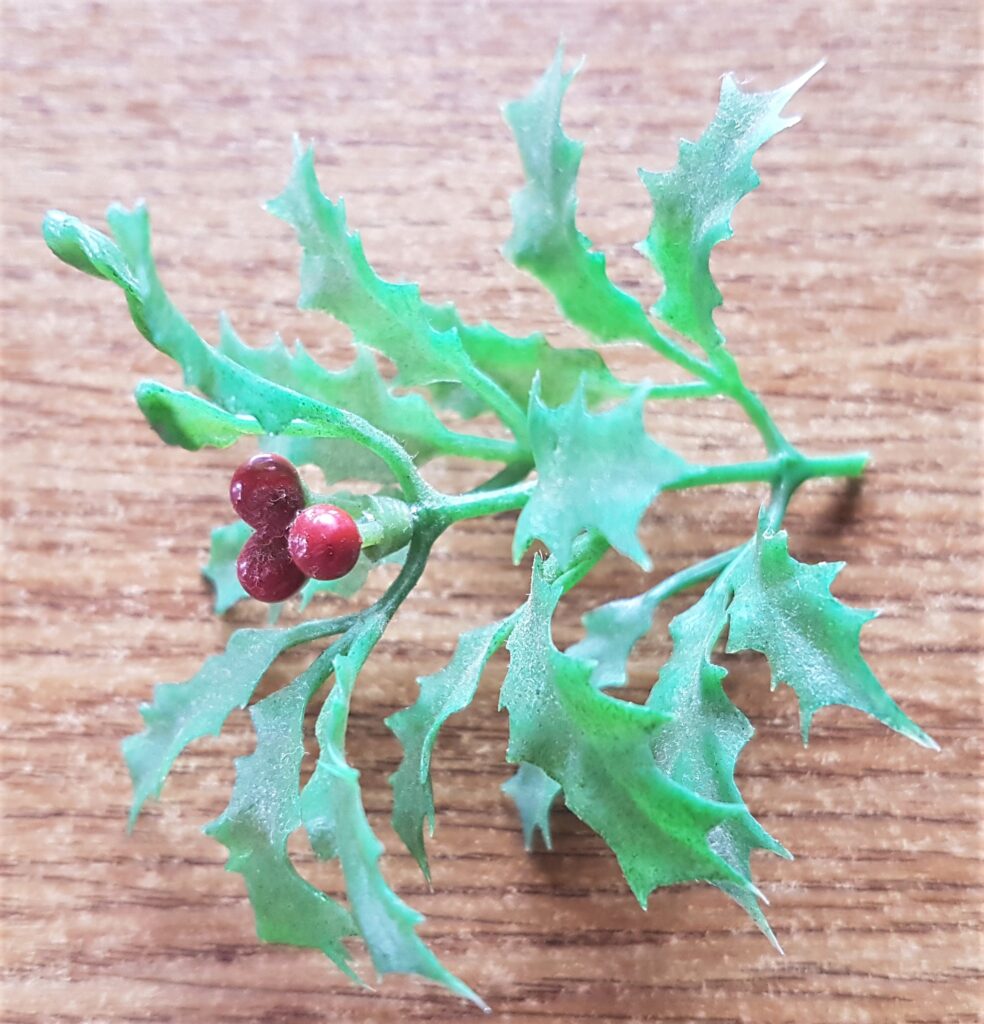
I cut the last part of the Holly leaves off as I thought they were too full. I plugged in my Hot Glue Gun with Clear Glue Stick inside and let it heat up for 5 minutes. I put a dab of Hot Glue on the end of the Holly and attached it to the neck of the Bottle.
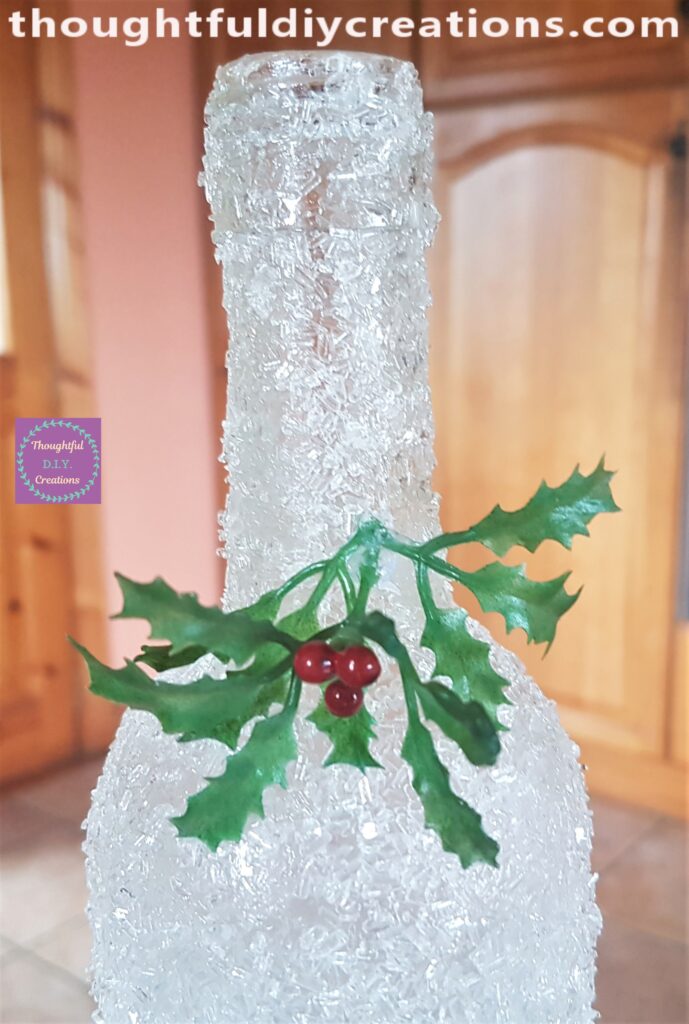
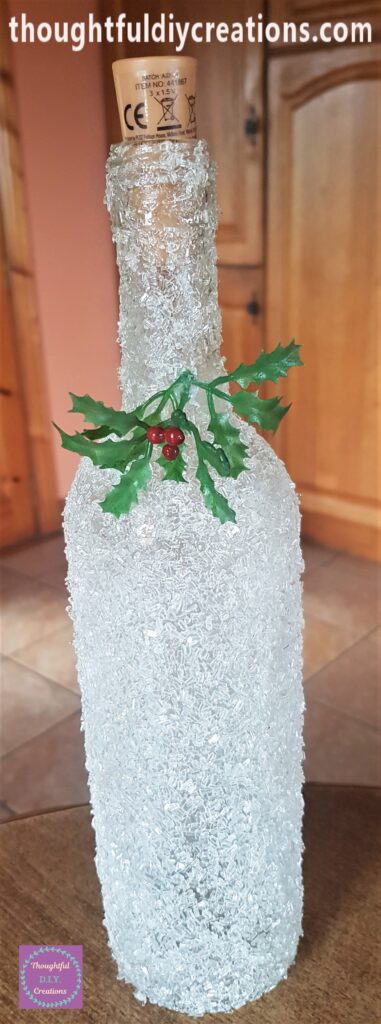
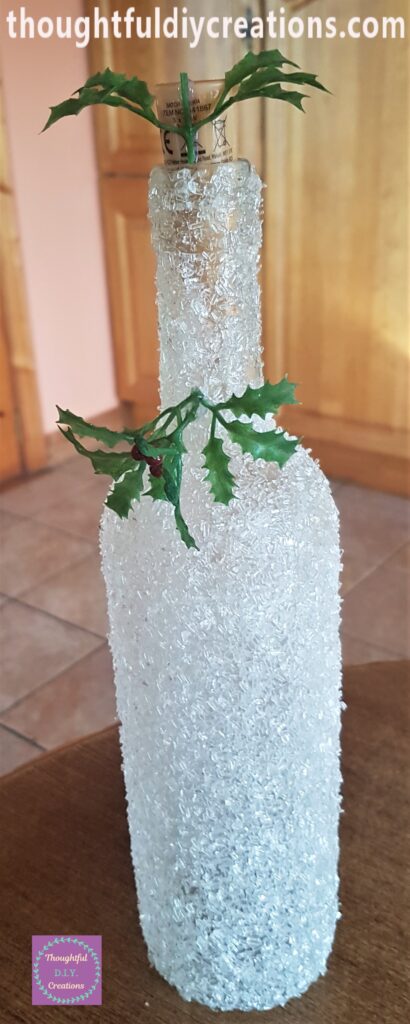
A full view of the Frosted Glass Bottle with Holly attached.
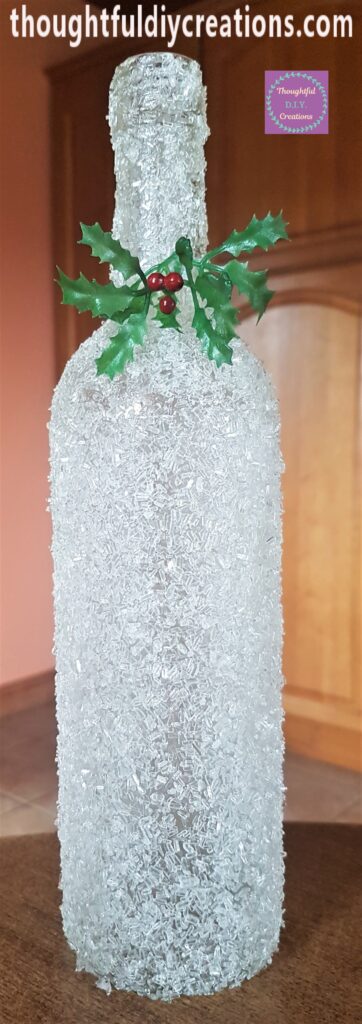
Putting Lights into the Bottle
I bought a ‘Light Up Bottle Stopper Pack’.
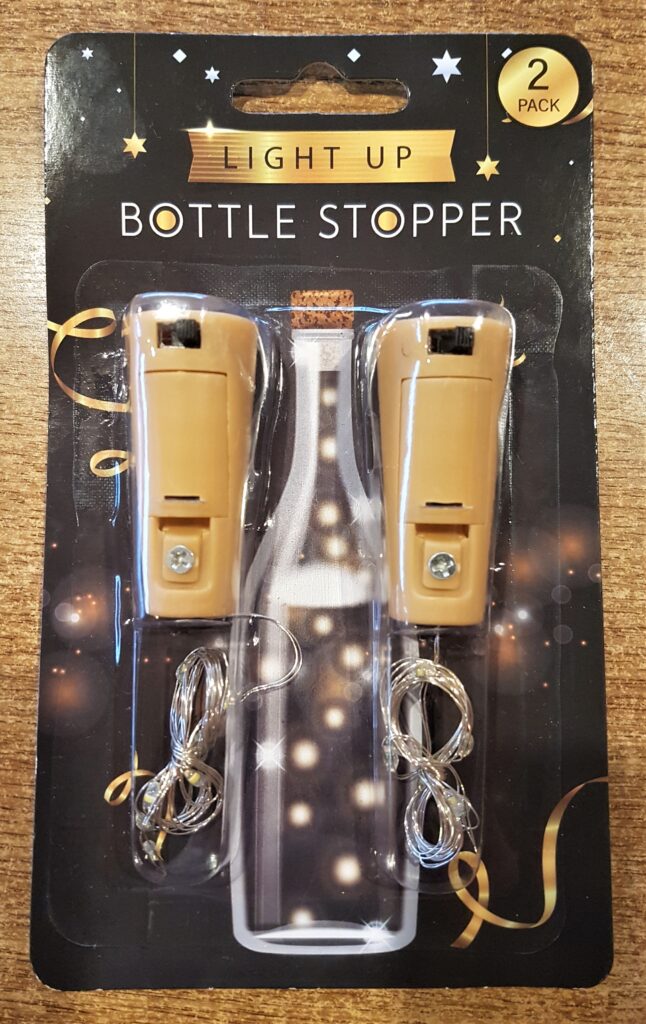
I removed one of the Lights from the Pack.
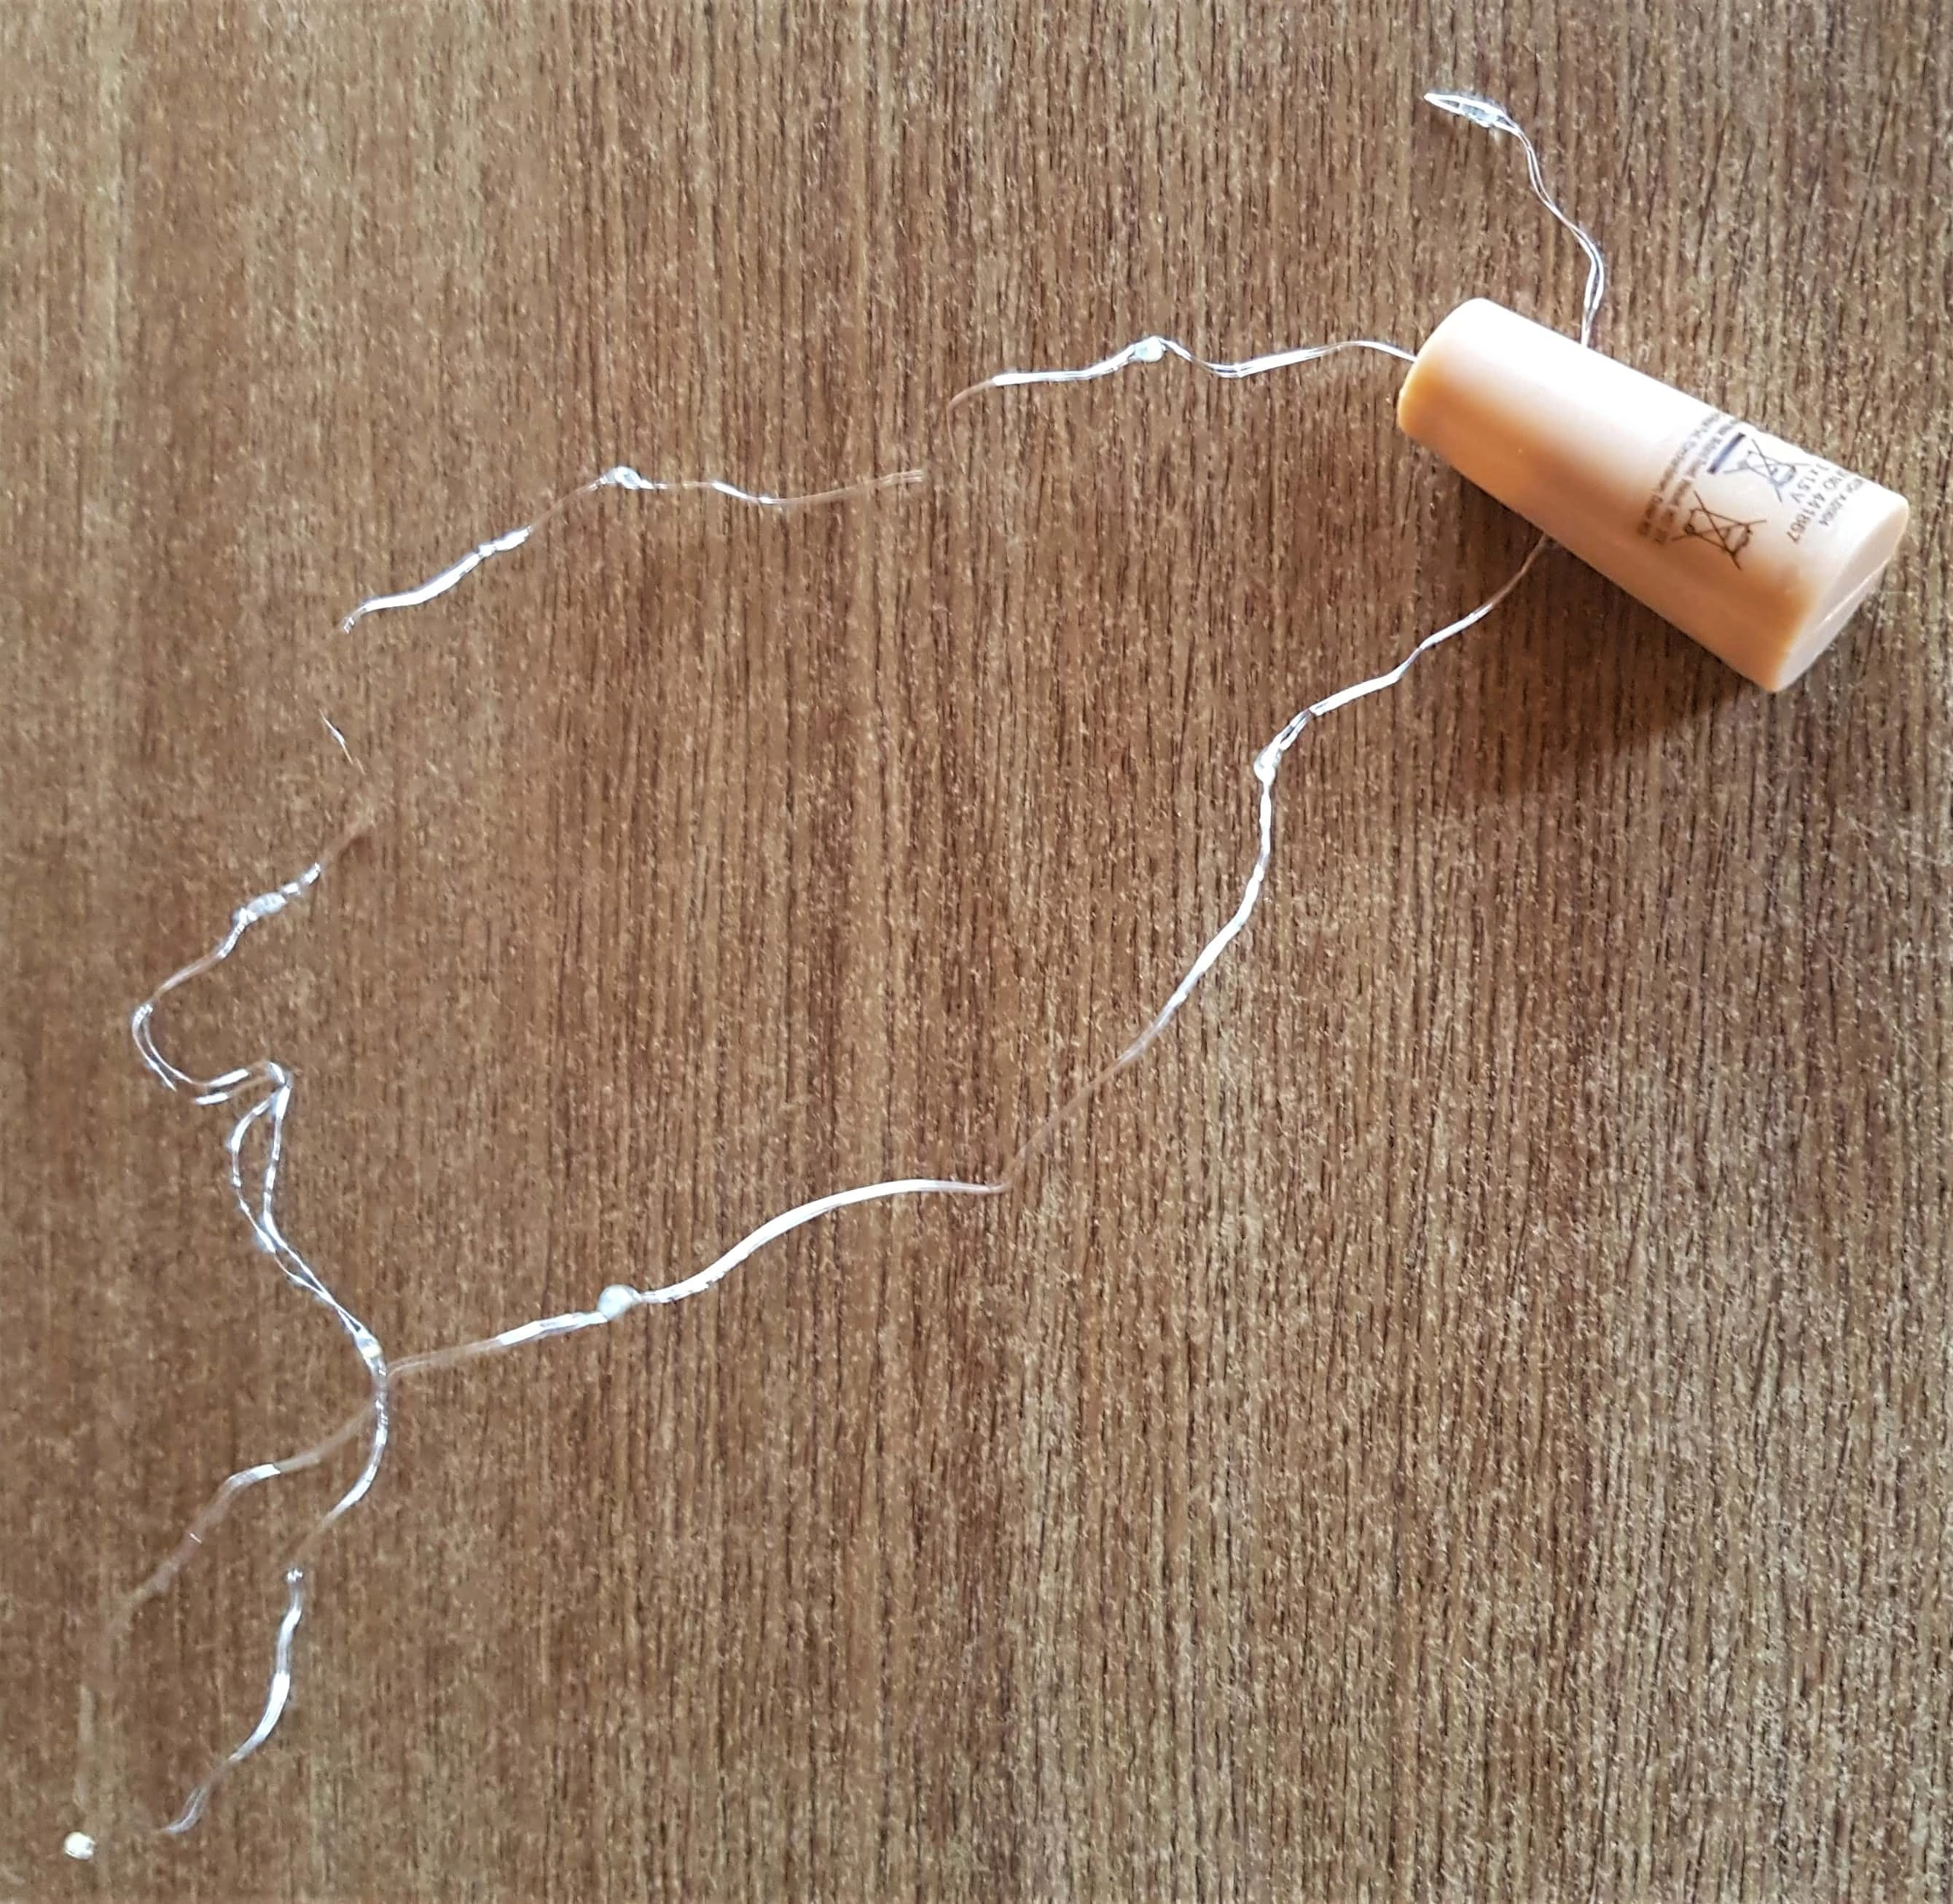
I placed the Light into the Frosted Glass Bottle.
Adding Accessories to the top of the Bottle
I got the part of the Holly leaves that I cut off before I attached it to the neck of the bottle.
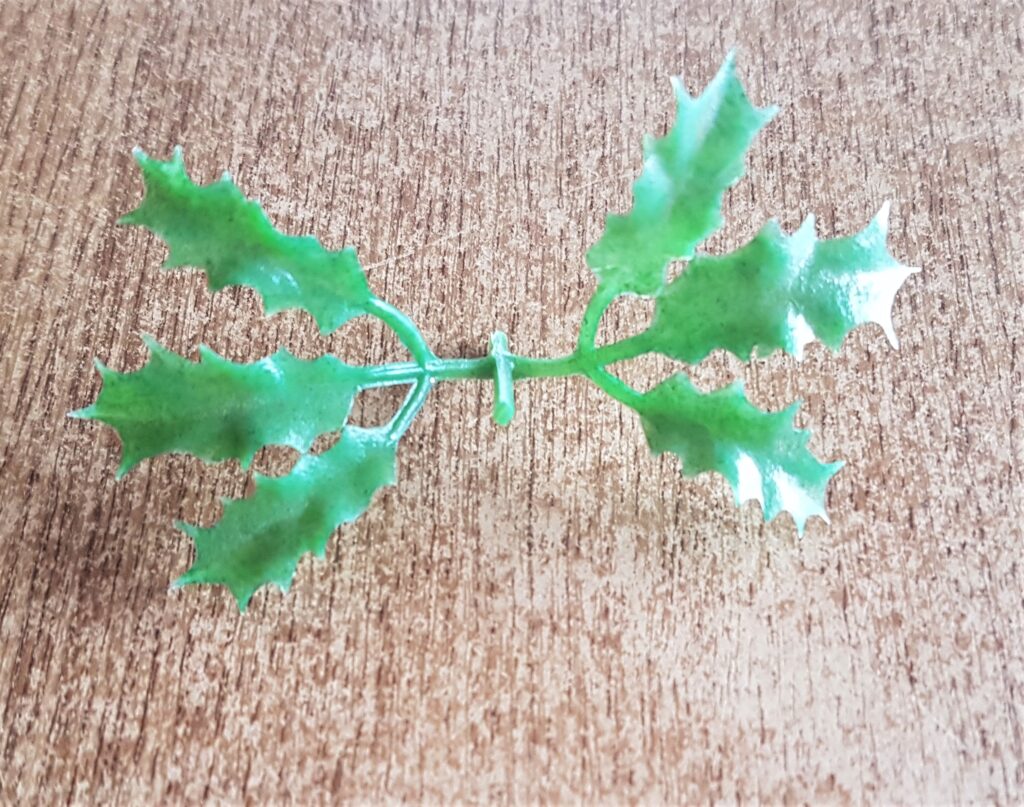
I put a strip of Hot Glue along the middle stem and attached it to the top of the lights.
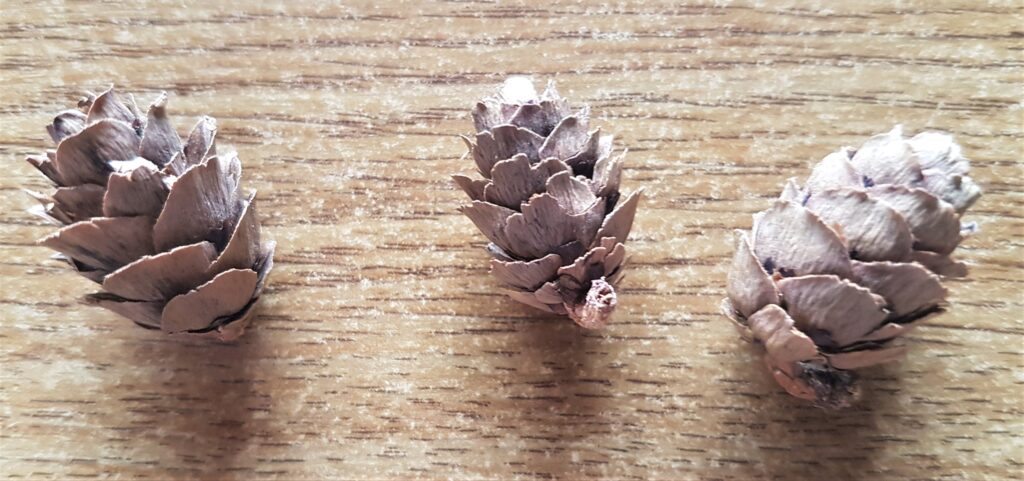
I got 3 mini Pine Cones from the Pack.
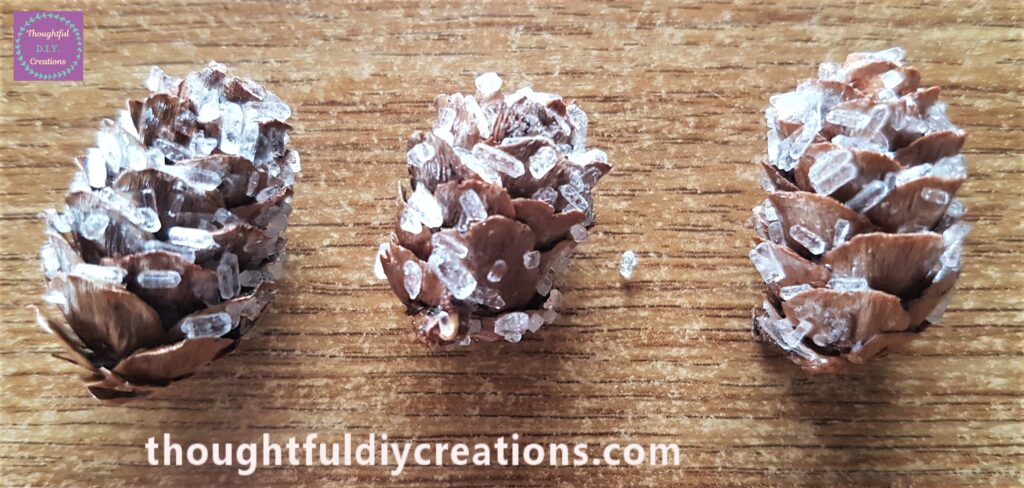
I put Mod Podge Gloss on the Pine Cones and rolled them in Epsom Salts to complement the Frosted Glass Bottle. I did this the night the Bottle was curing in the Shed to ensure the epsom salts would be attached to the glue.
I put Hot Glue on the back of one pine cone and attached it to the flat top part of the lights.
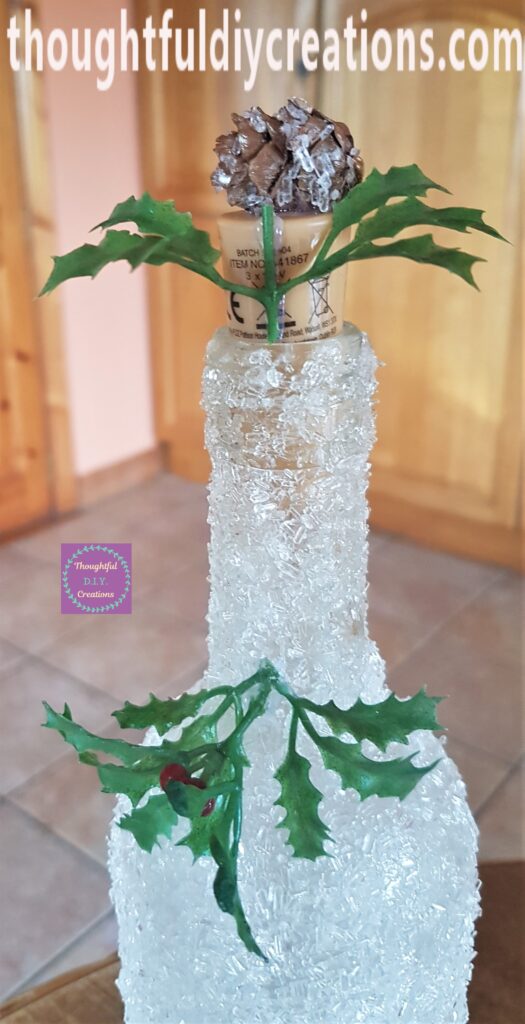
I attached another pine cone to the mid-section of the lights in between the leaves.
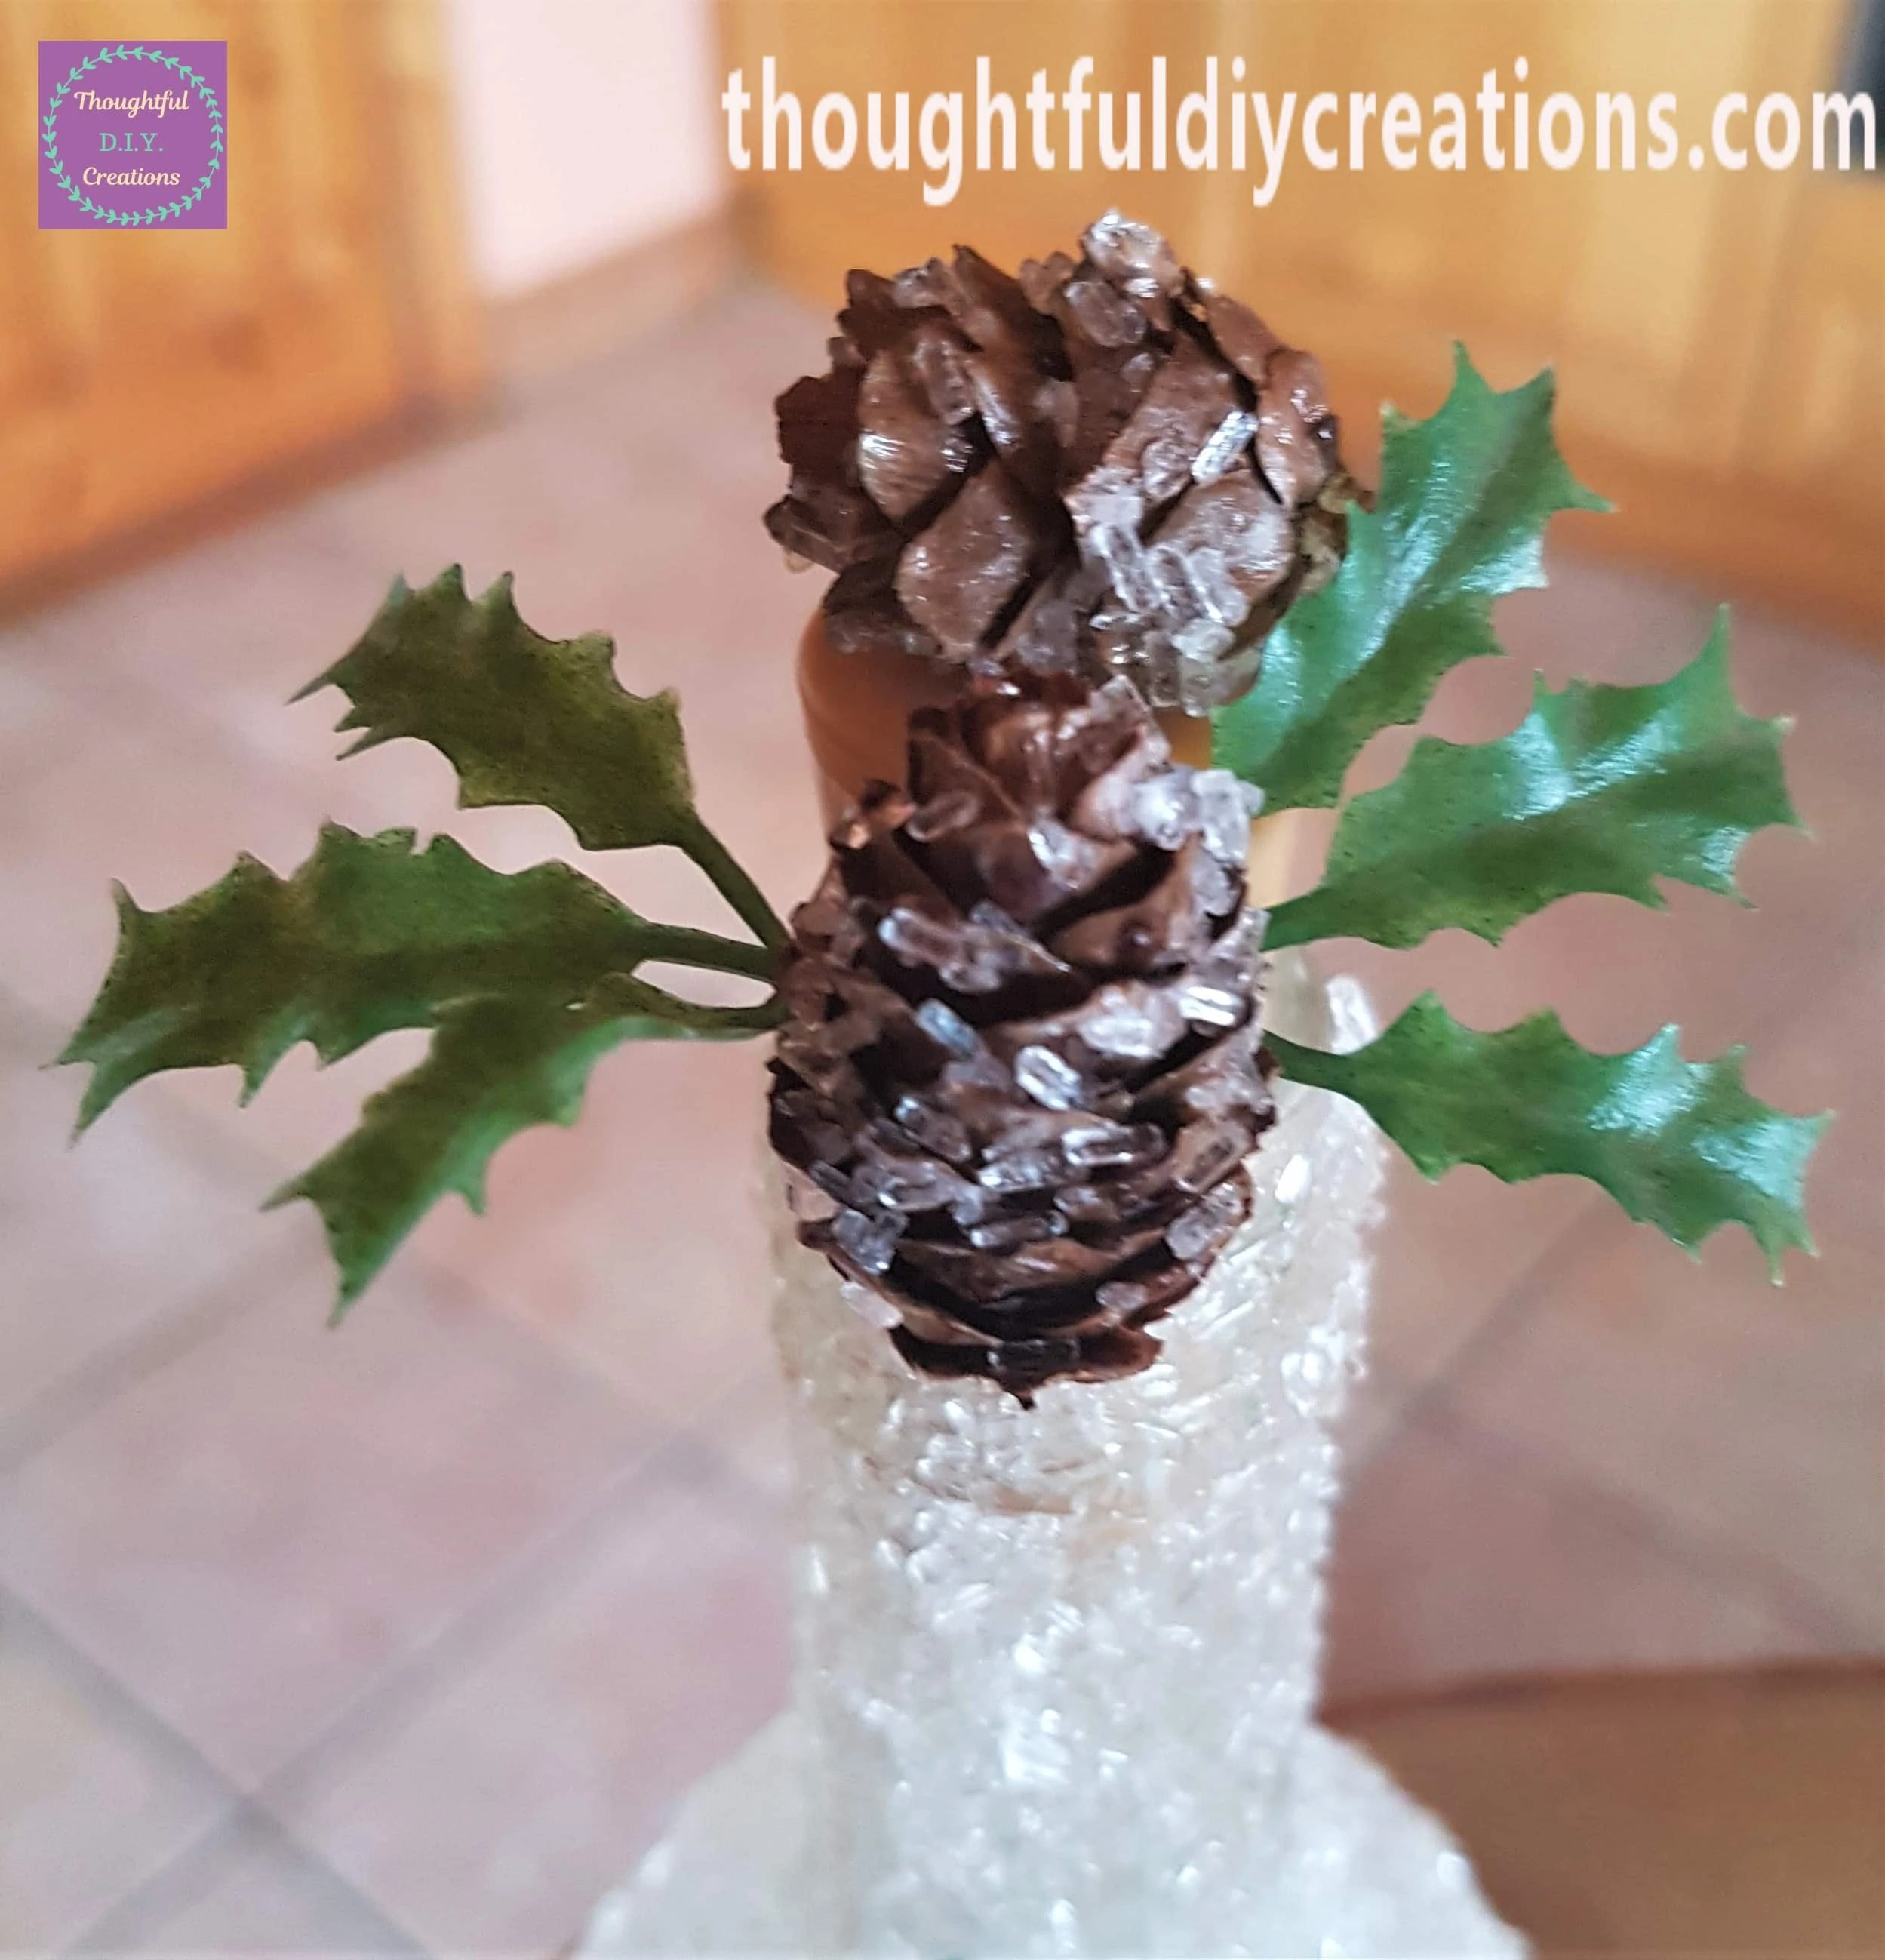
The last pine cone was attached to the neck of the bottle on top of the holly.
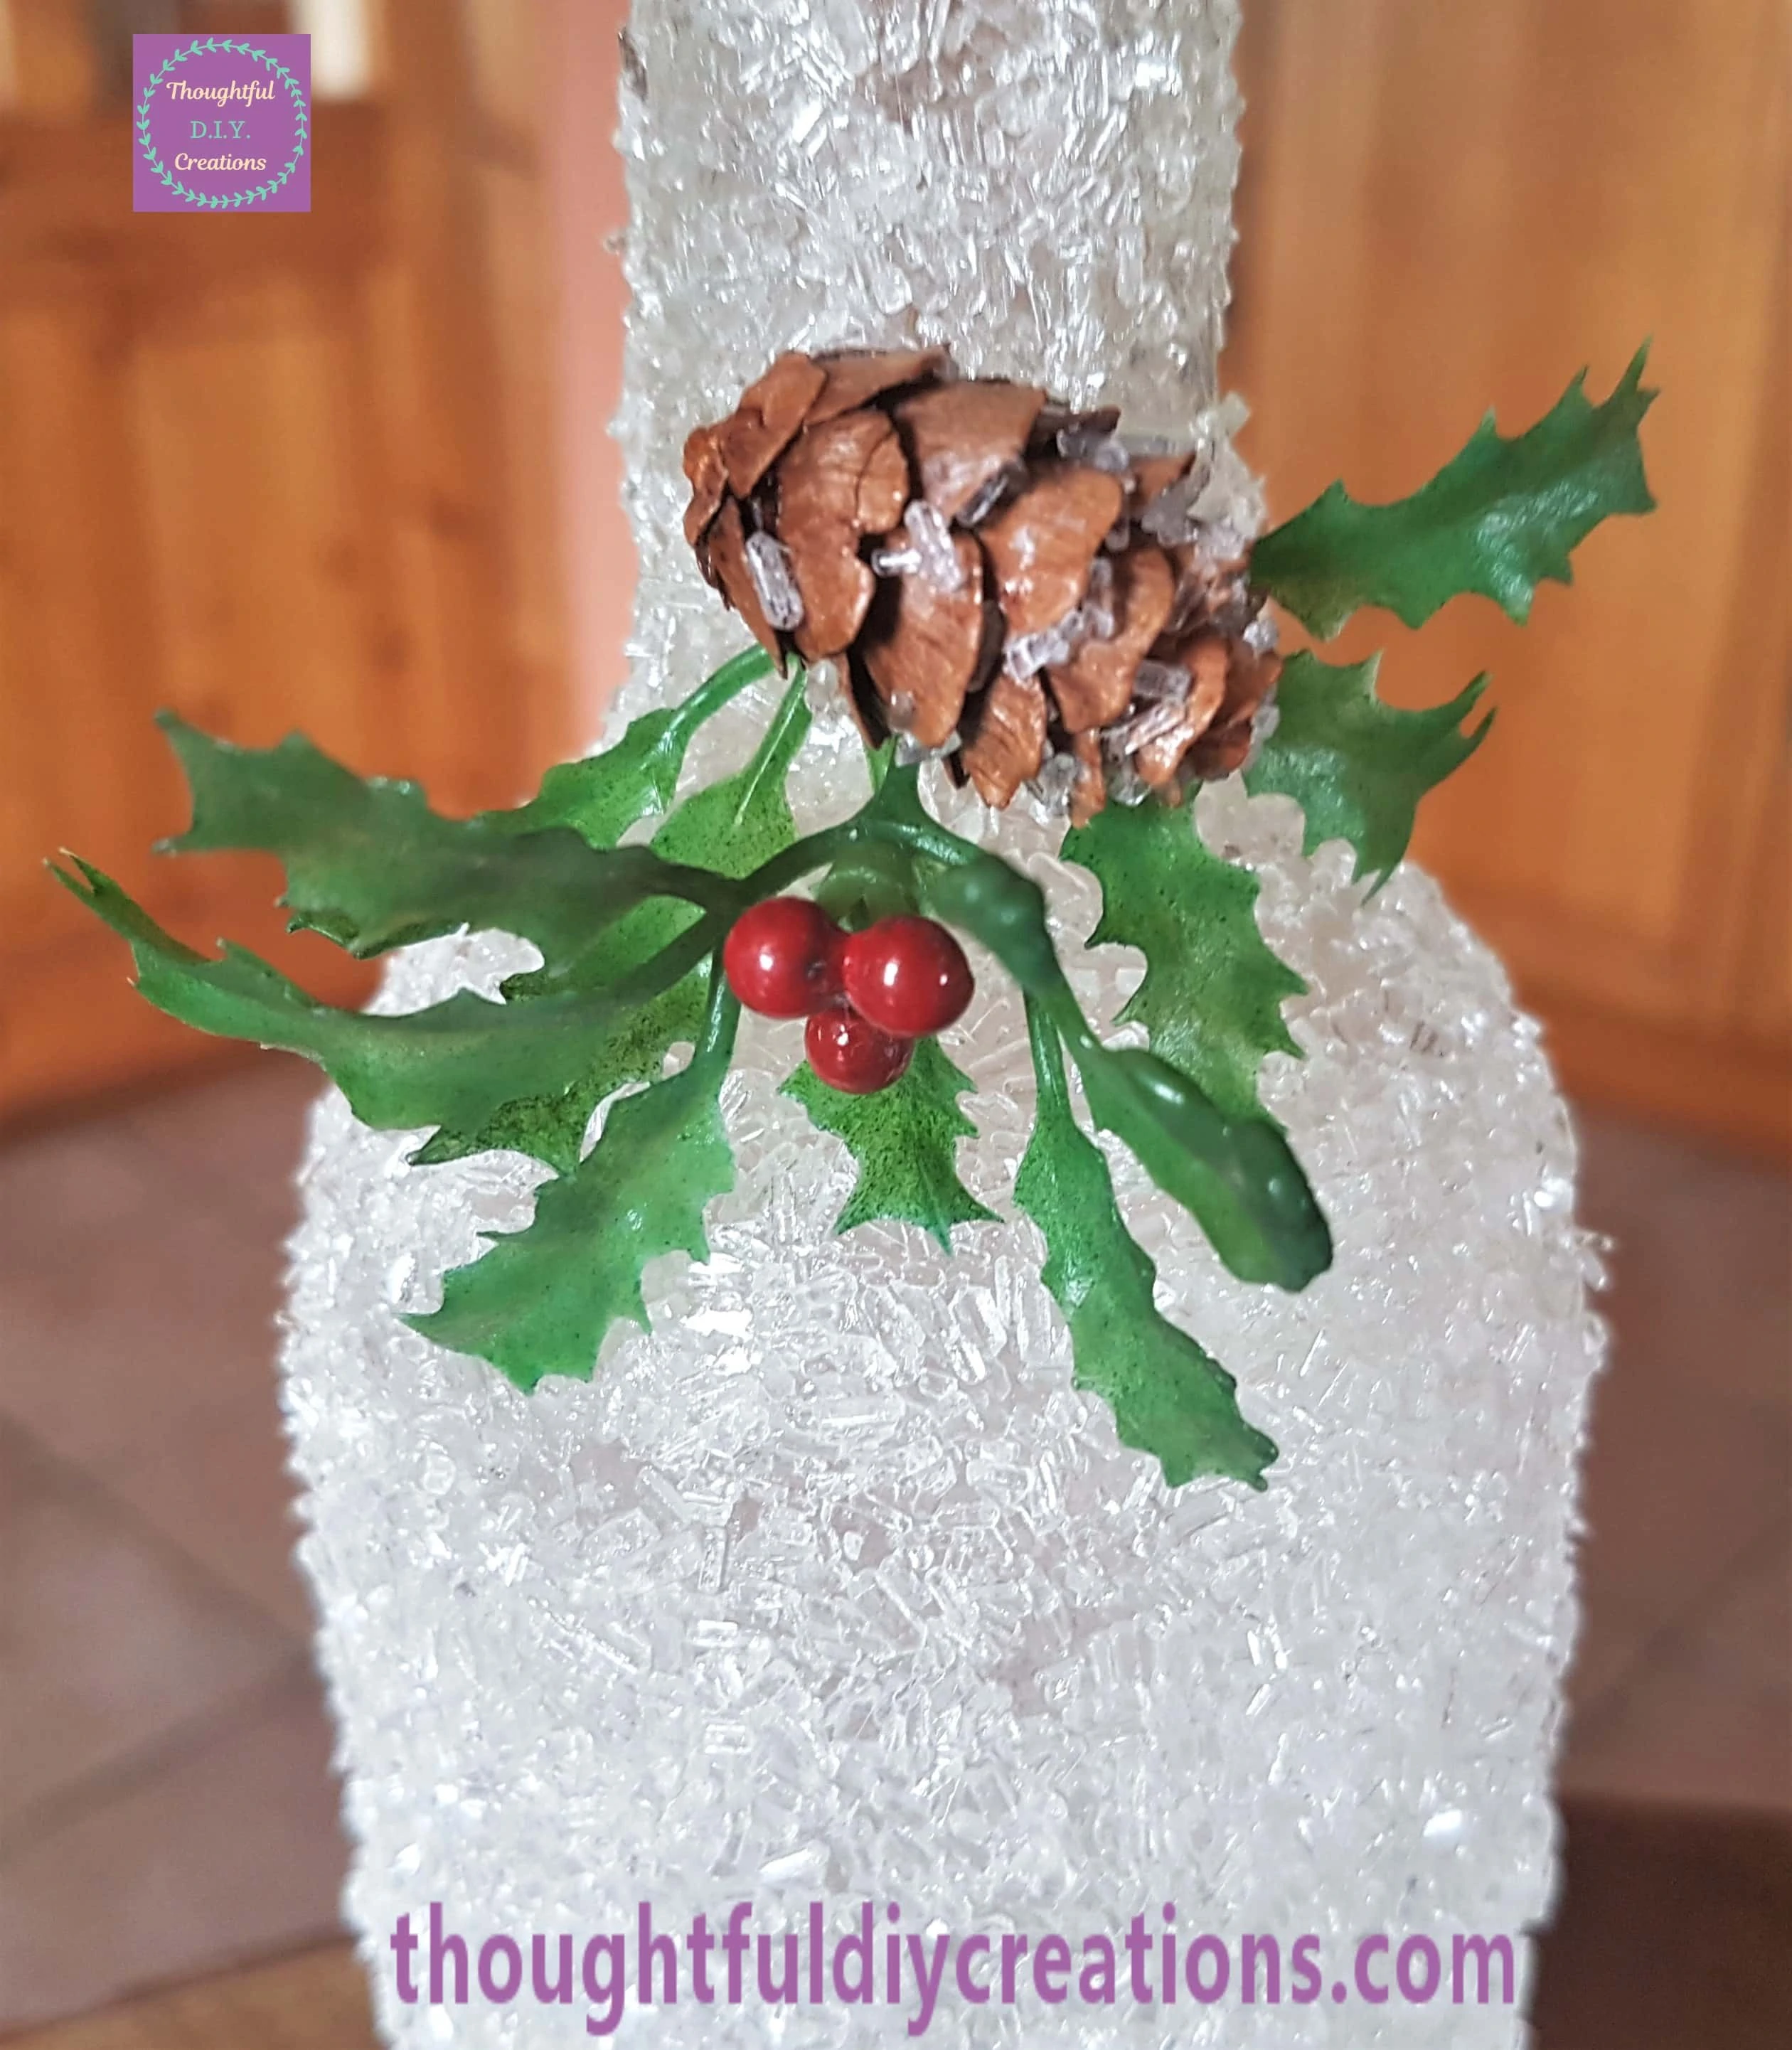
Finishing Touches to the Frosted Glass Bottle
I got a bunch of Snow Berries from the Pack.
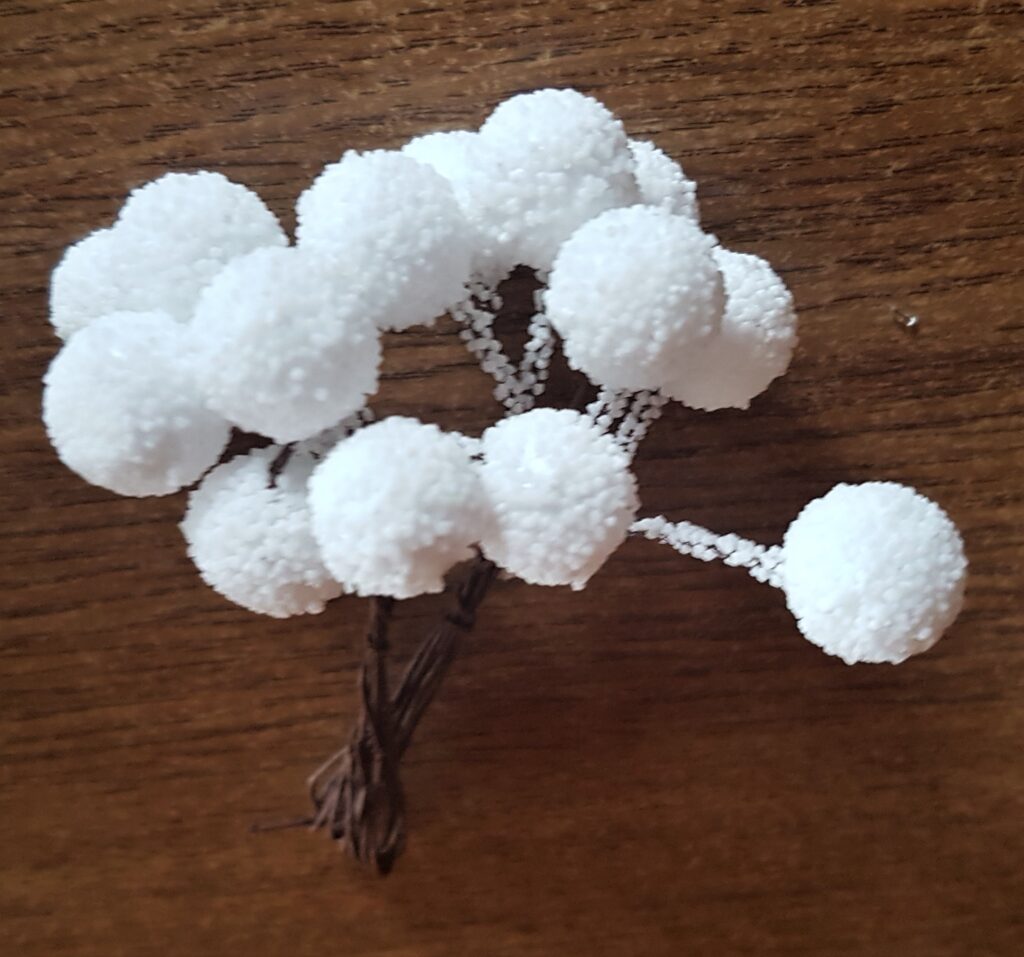
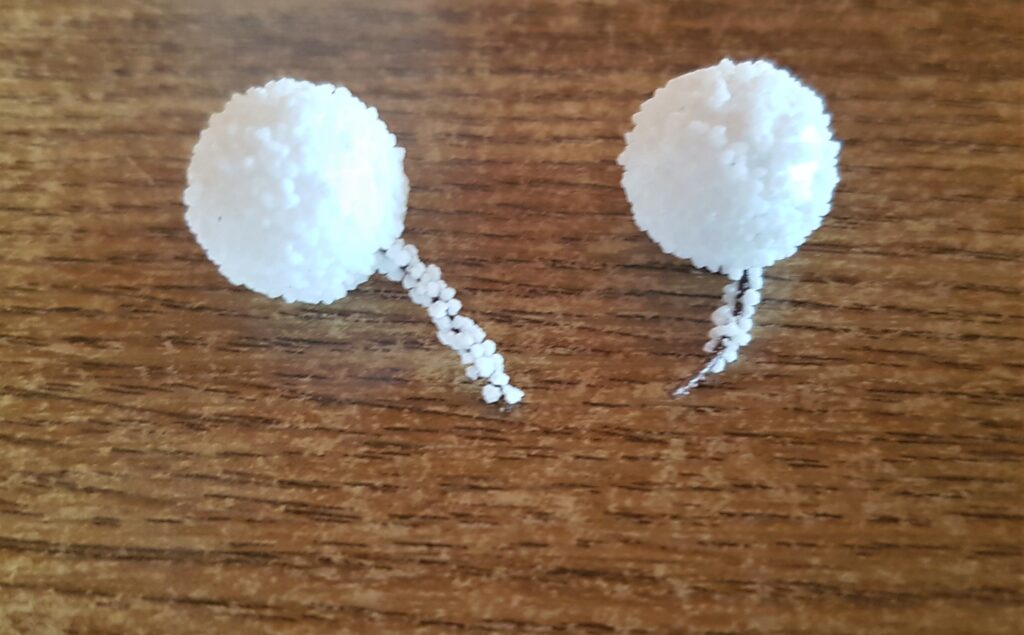
I cut off 2 Snow Berries leaving about 1 cm of the wire underneath.
I put Hot Glue on the wire and attached a snow berry each side of the Lights.
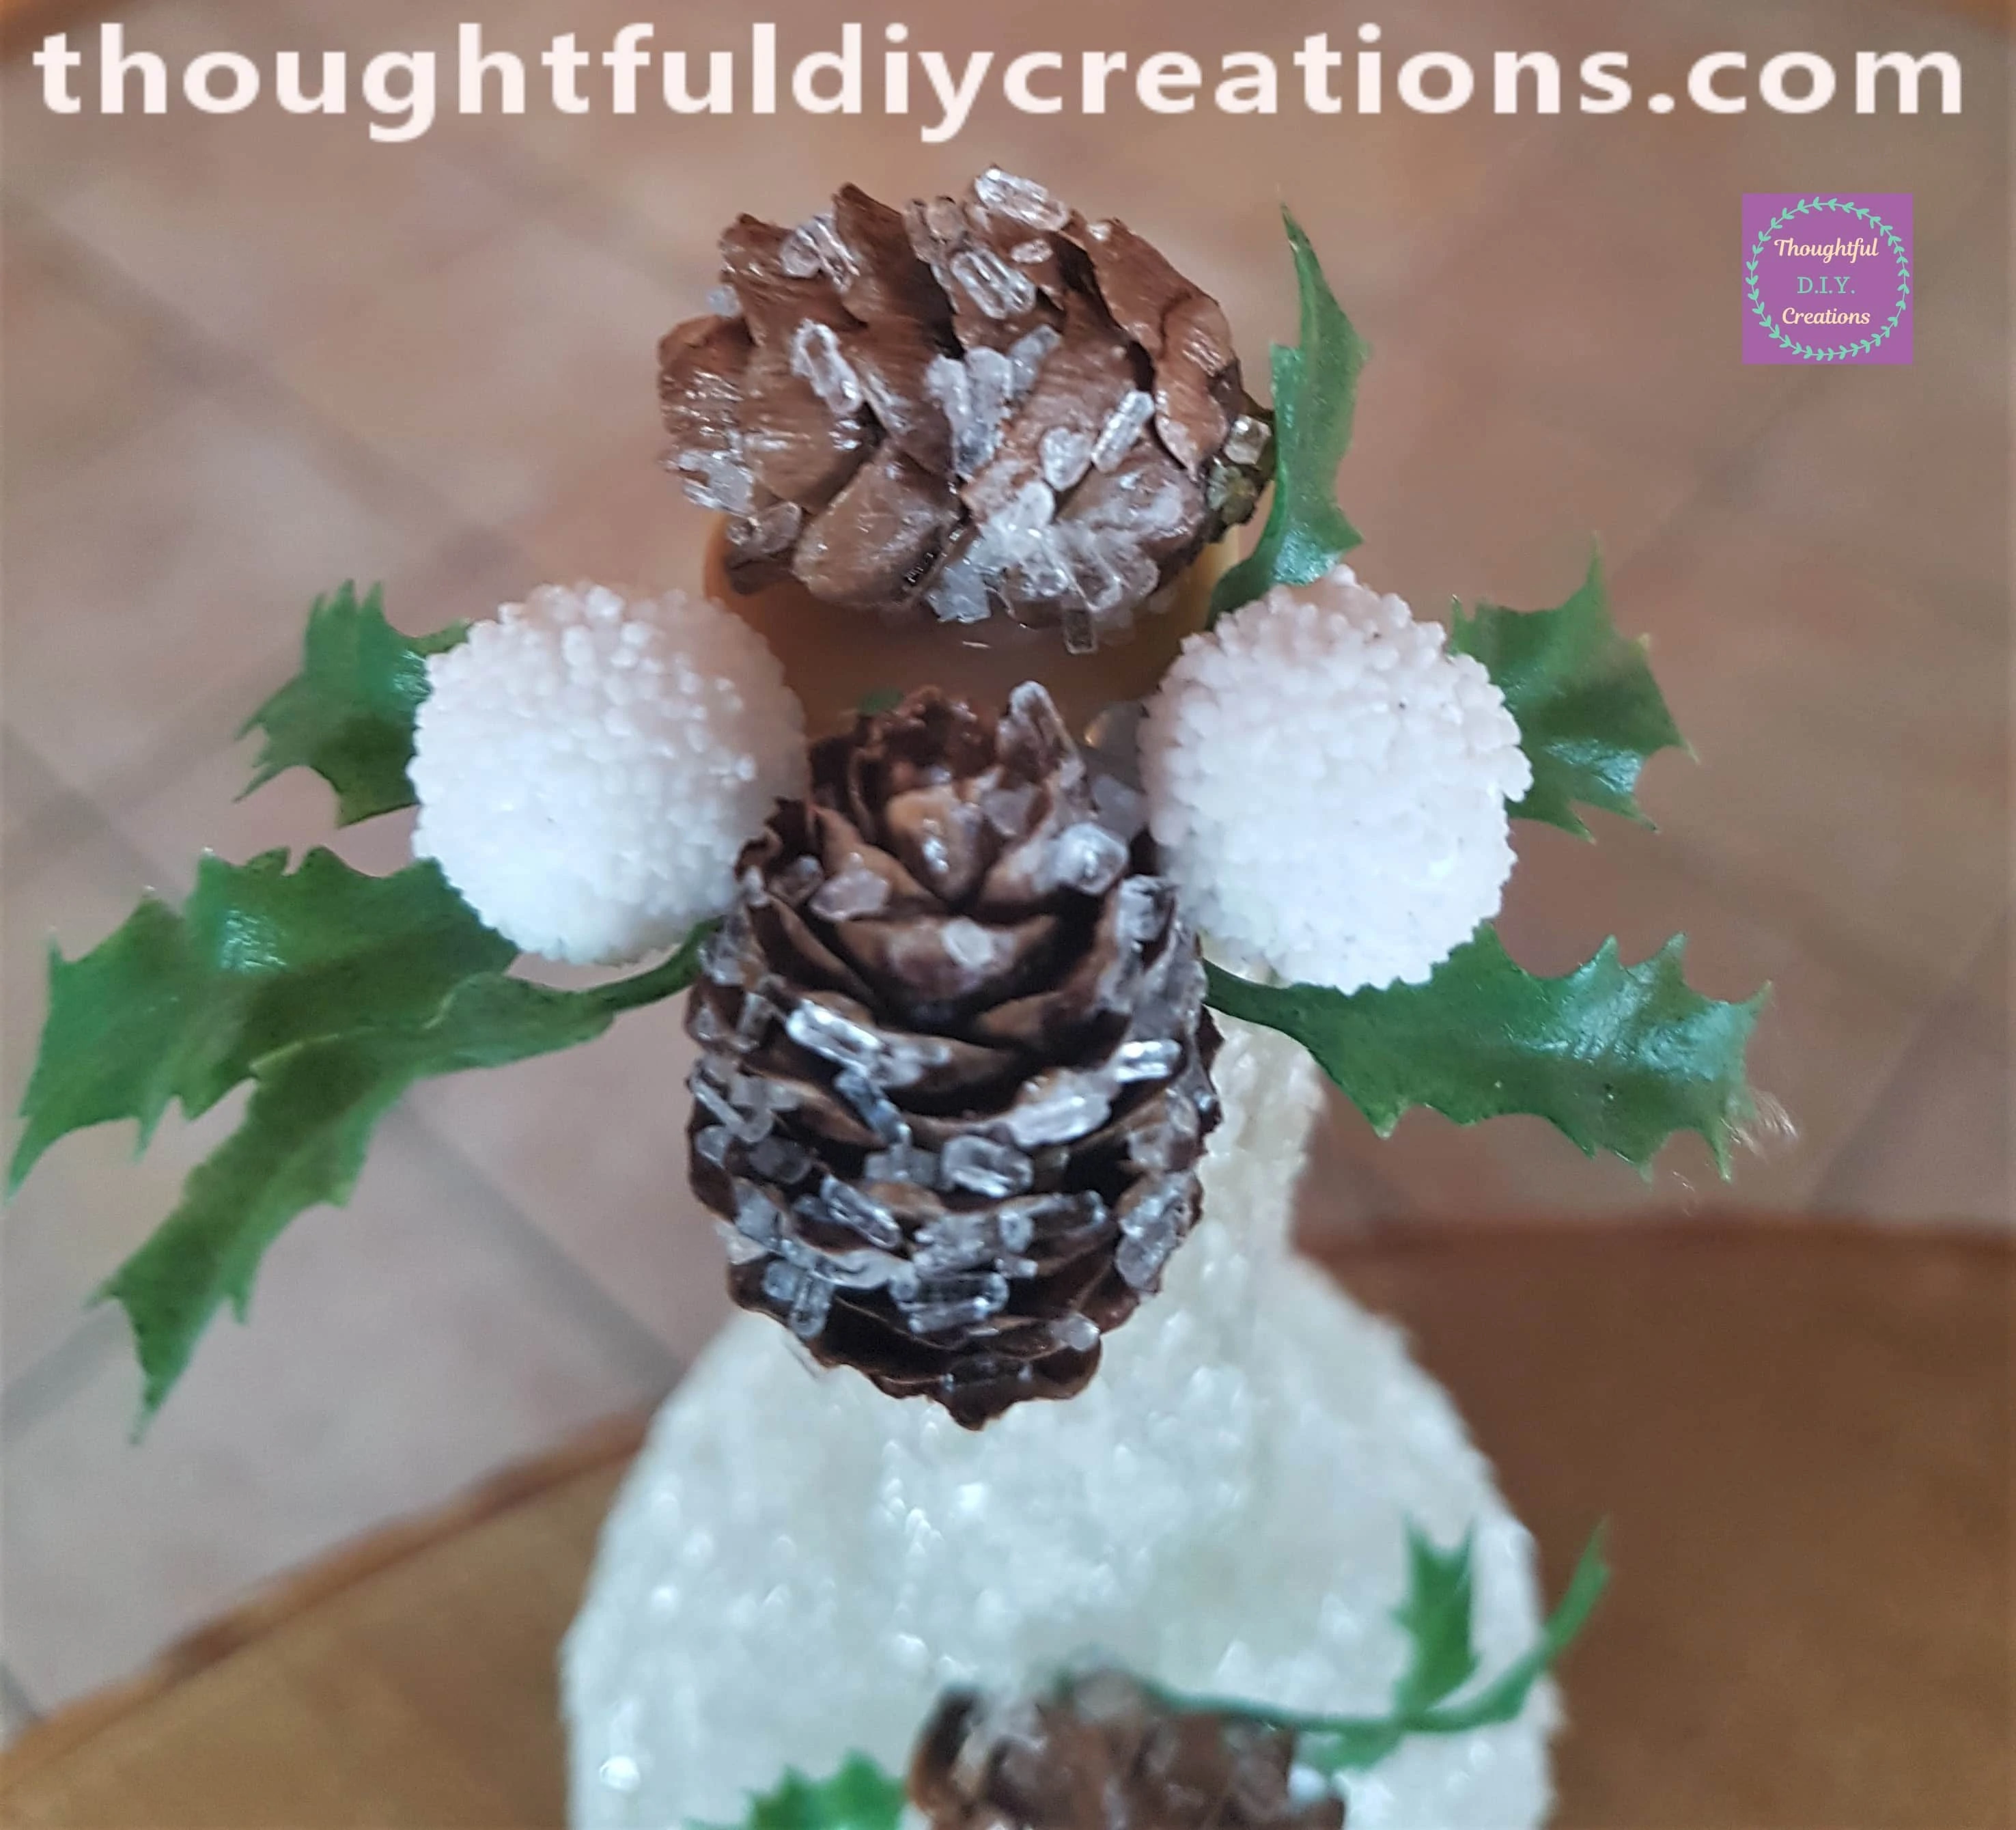
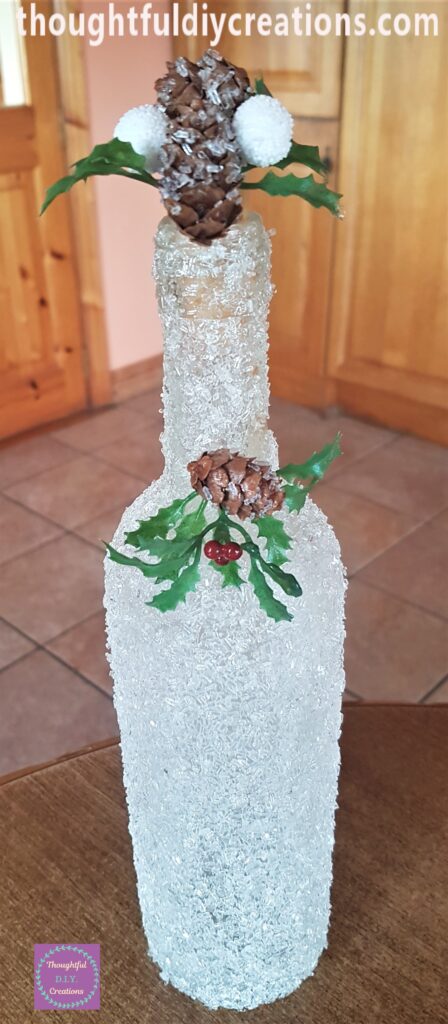
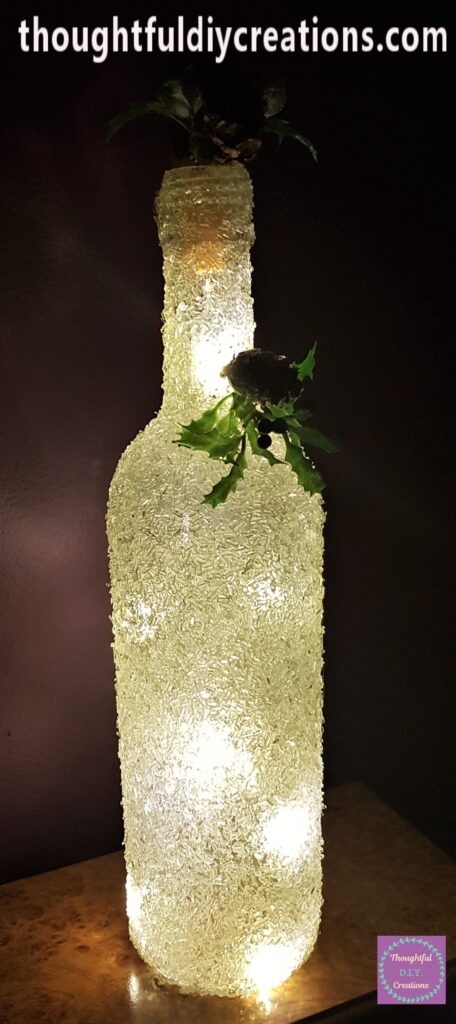
This Completed my Frosted Glass Effect Light-Up Bottle.
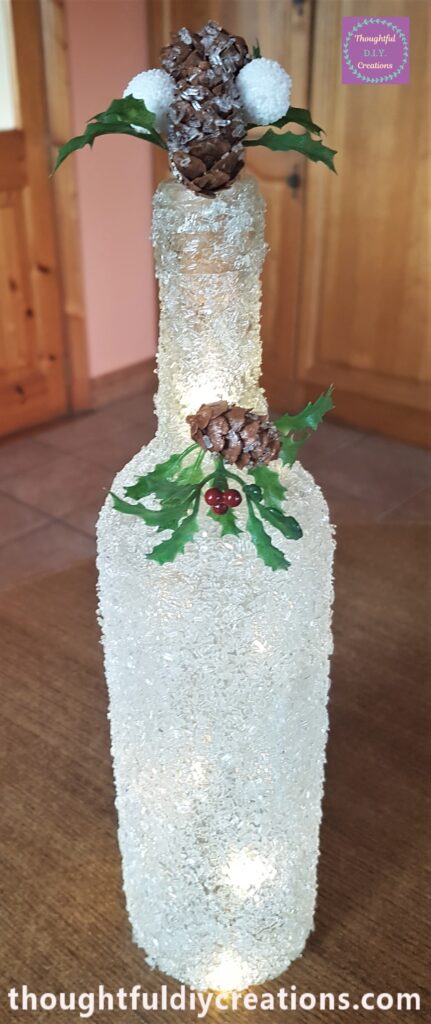
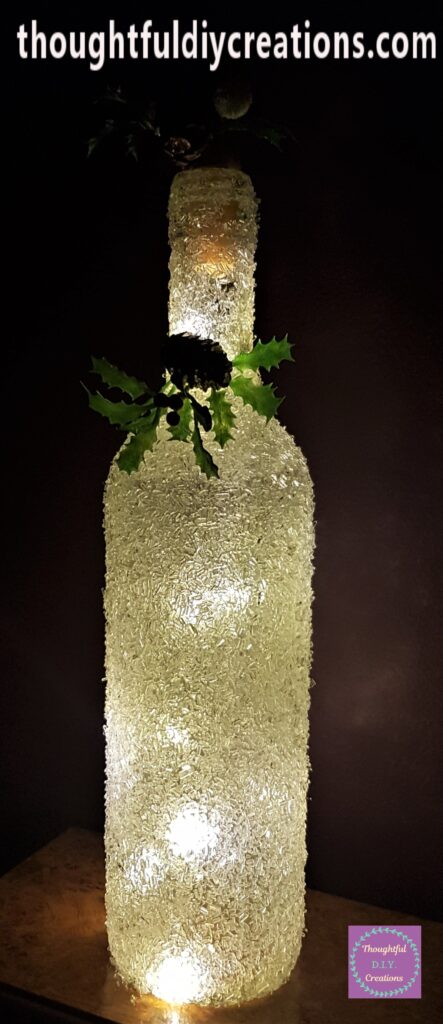
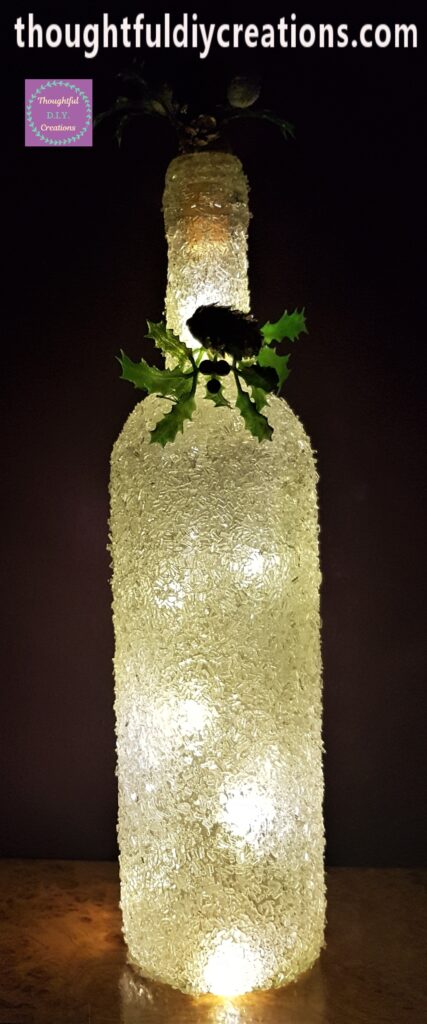
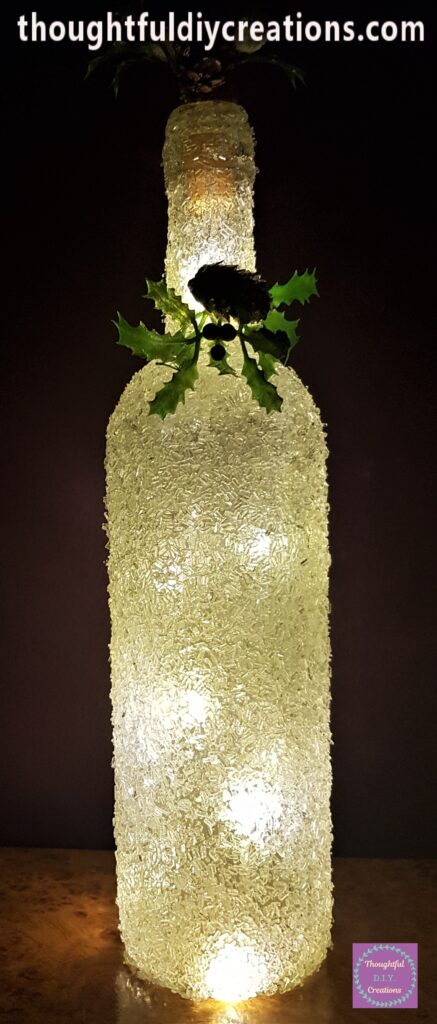
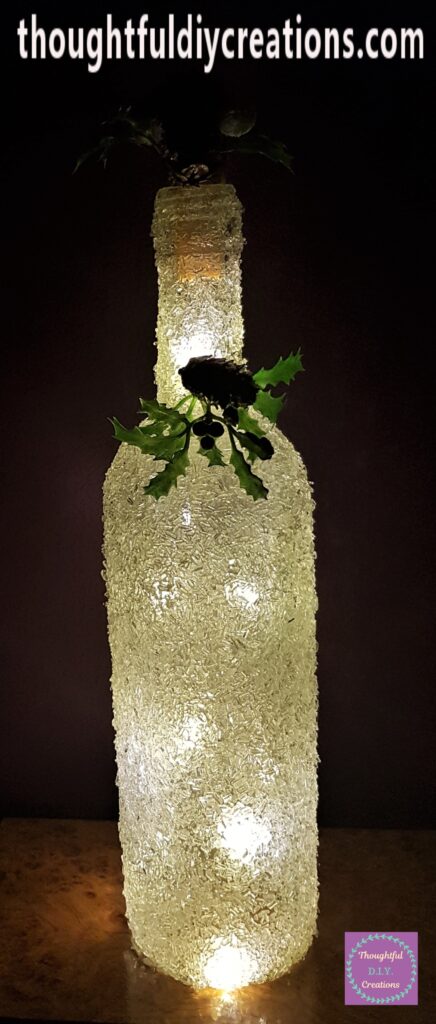
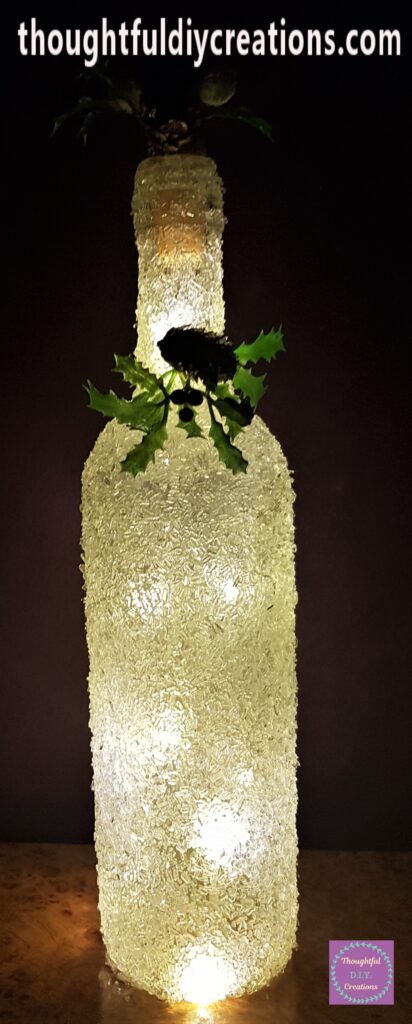
Here is the Bottle with the lights turned on.
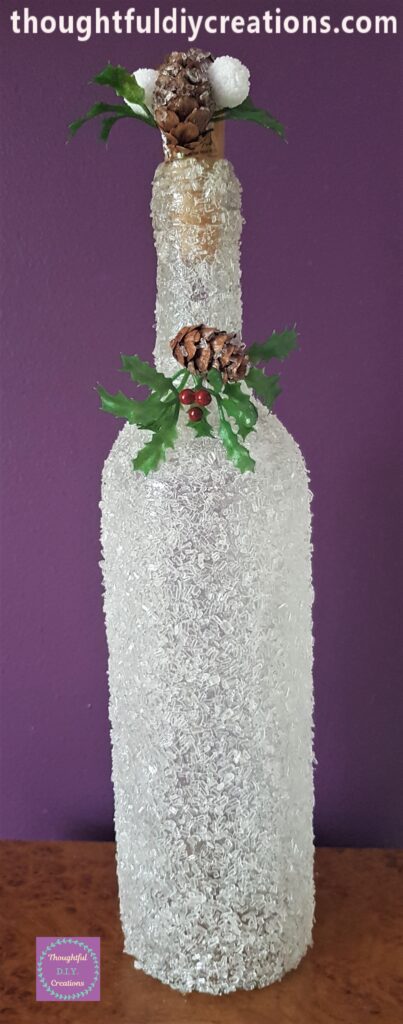
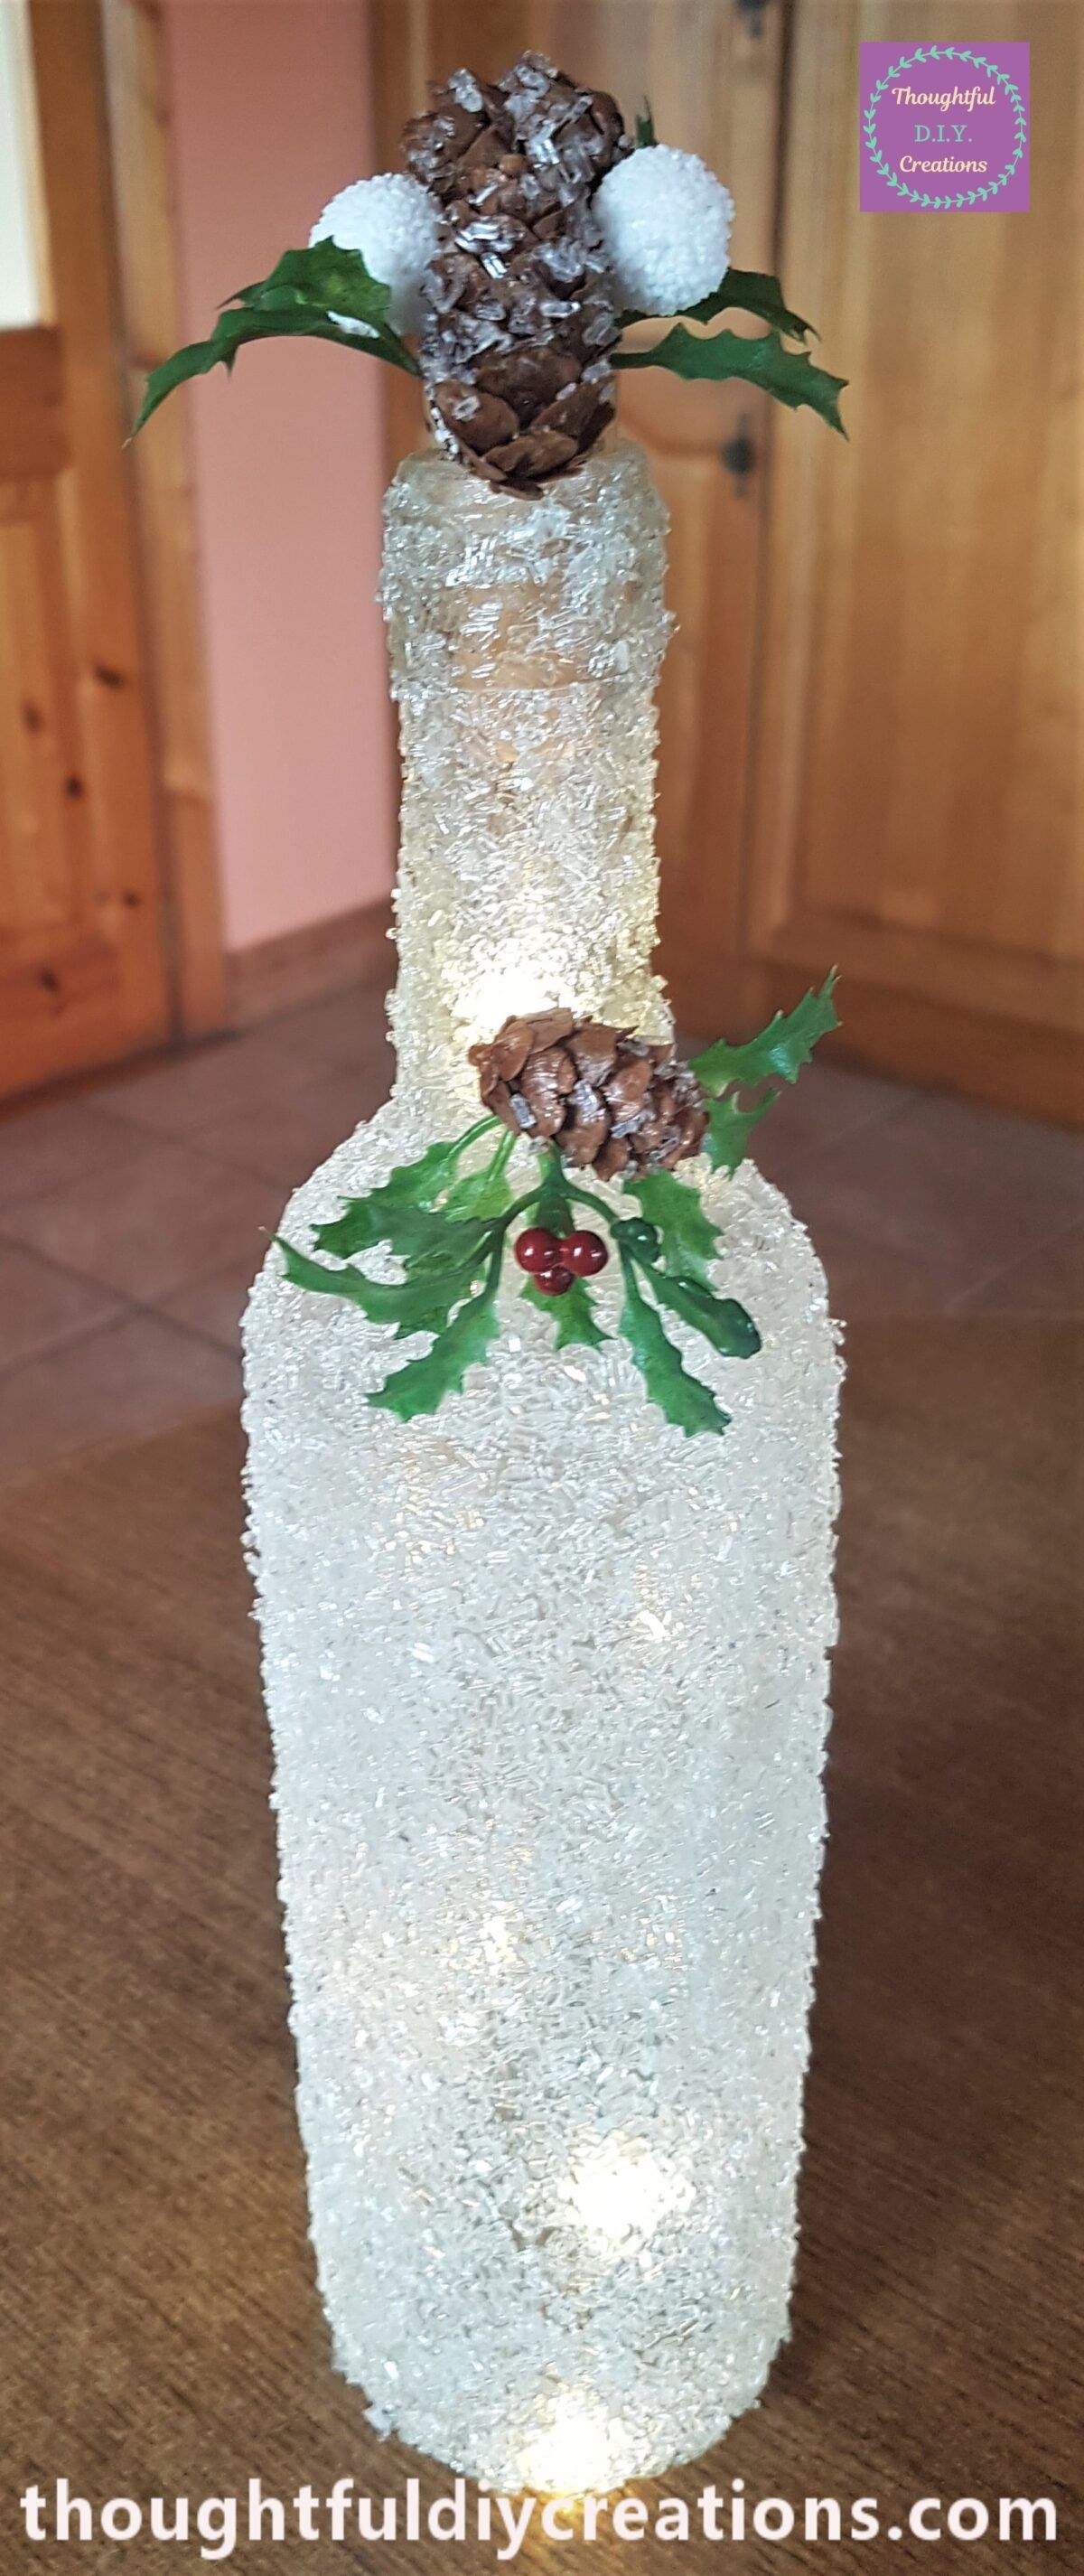
The Christmas Bottle on Display.
The Bottle with the lights turned on during the day.
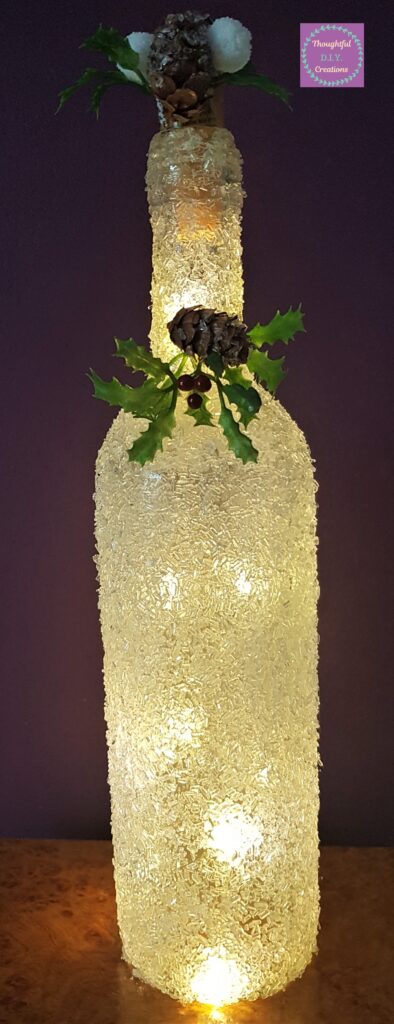
The lights in the Frosted Glass Bottle turned on and the room lights turned off at night time.
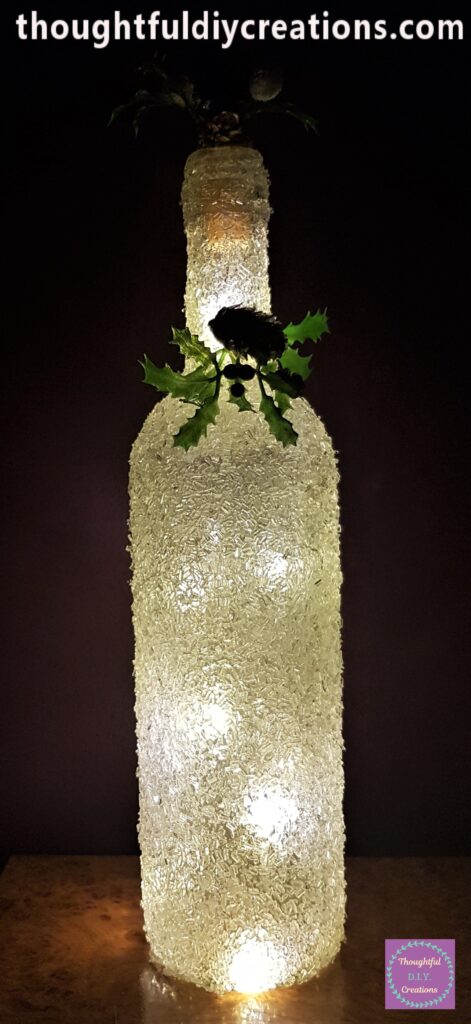
The mid to bottom section of the decorated Bottle.
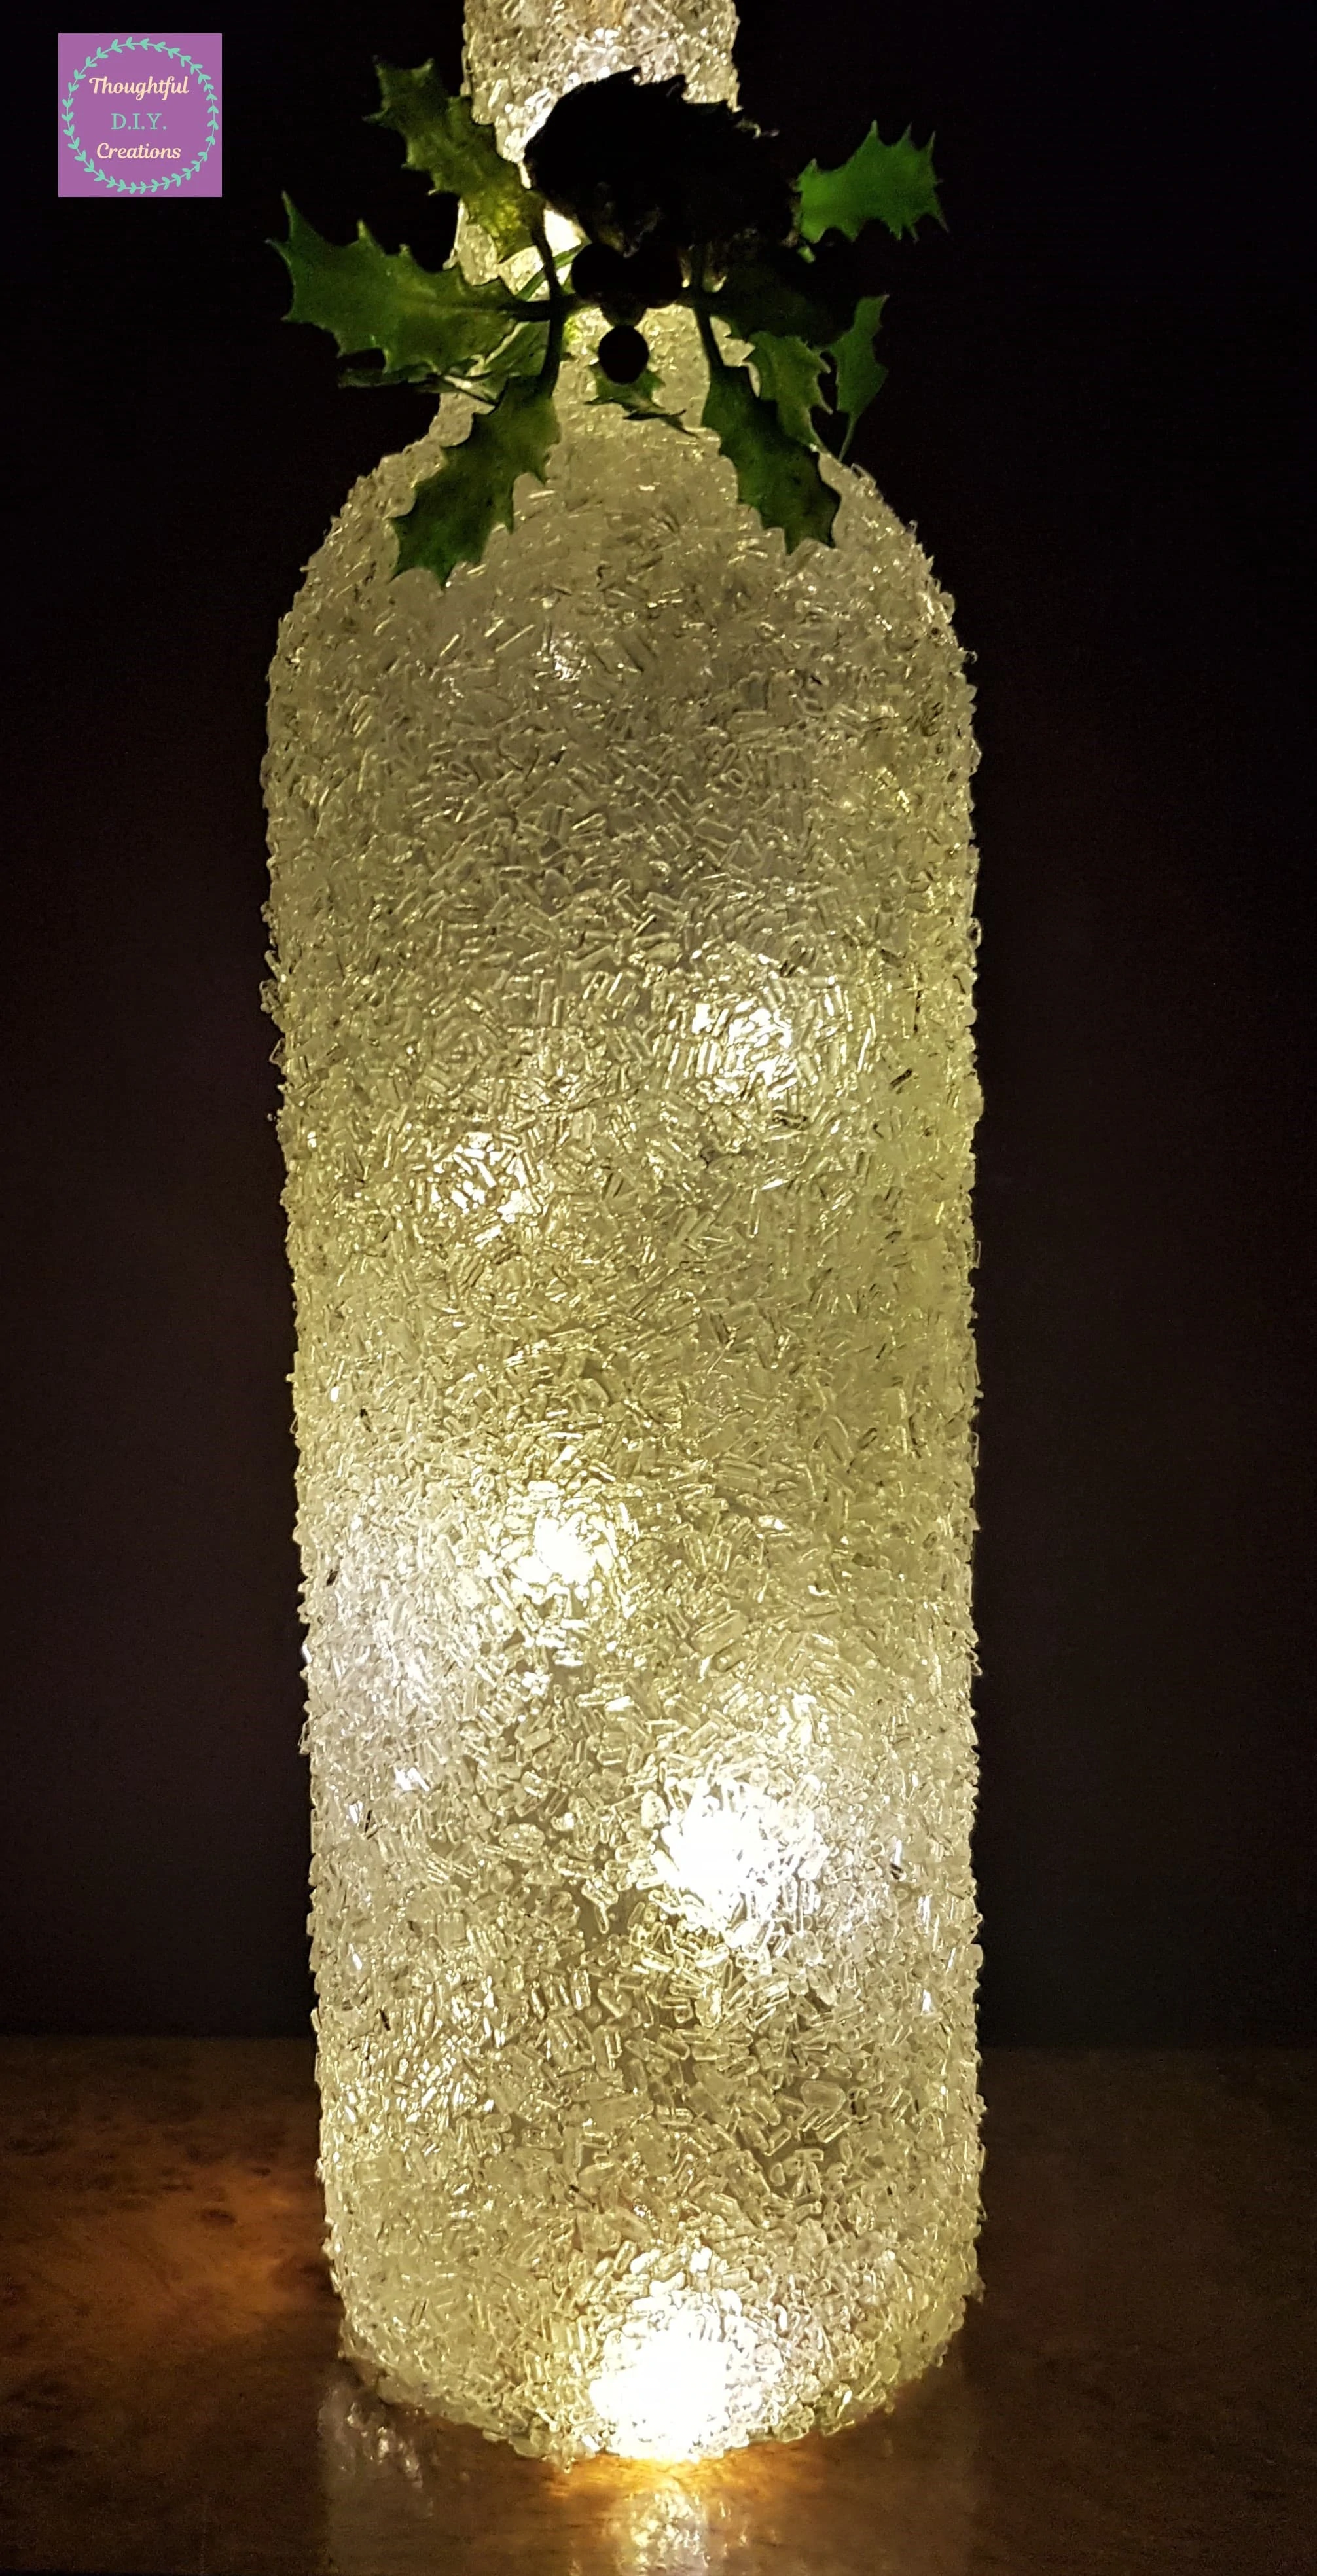
Below are some Final Images of the D.I.Y. Christmas Bottle.
Conclusion
I am delighted with how the Frosted Glass Bottle turned out. I love the realistic icicle appearance of the epsom salts. I like how the Bottle looks great during the day and night. The lights provide a lovely magical, cosy atmosphere in the evening and shows the texture from the epsom salts.
The epsom salts were so easy to work with, they didn’t stick to my fingers or feel tacky like glitter. They were easy to clean up afterwards and scoop back into the Pack for more Crafts in the future.
The Bottle would be beautiful as a Table Center-Piece. You could add Pine Cones and Berries around it. It can be moved throughout the Home to Display in different areas and won’t take up too much space.
I love the Frosted Glass Bottle on it’s own but it could also work as part of a Display. You could do the very same creative process on Jars and have one displayed each side of the Bottle. Fairy Lights or LED Candles could be put into the Jars to complement the Bottle.
I hope you enjoyed this Weeks Tutorial and gained some inspiration from it. If you give this Craft a go, let me know how it turned out for you and where you hope to display it.
If you would like more Christmas Craft Tutorials Click here: Grinch Bottle, Christmas Jars, Christmas Wreaths. or Click ‘Christmas Crafts’ under the ‘Categories’ Section on the Sidebar to see All my Christmas Tutorials.
Thank you so much for taking the time to Read my Blog.
Always Grateful,
T.D.C.
xoxox


-0 Comment-