Galaxy Painted Box Tutorial
Hello my Creative Friends,
I hope you are all Well. In Today’s Tutorial I will show you how I Painted a Gift Box to look like a Galaxy and also Personalised it which gave it a whole new lease of life. I hope it inspires you to keep good quality Boxes you receive and transform them into whatever colour and style you prefer.
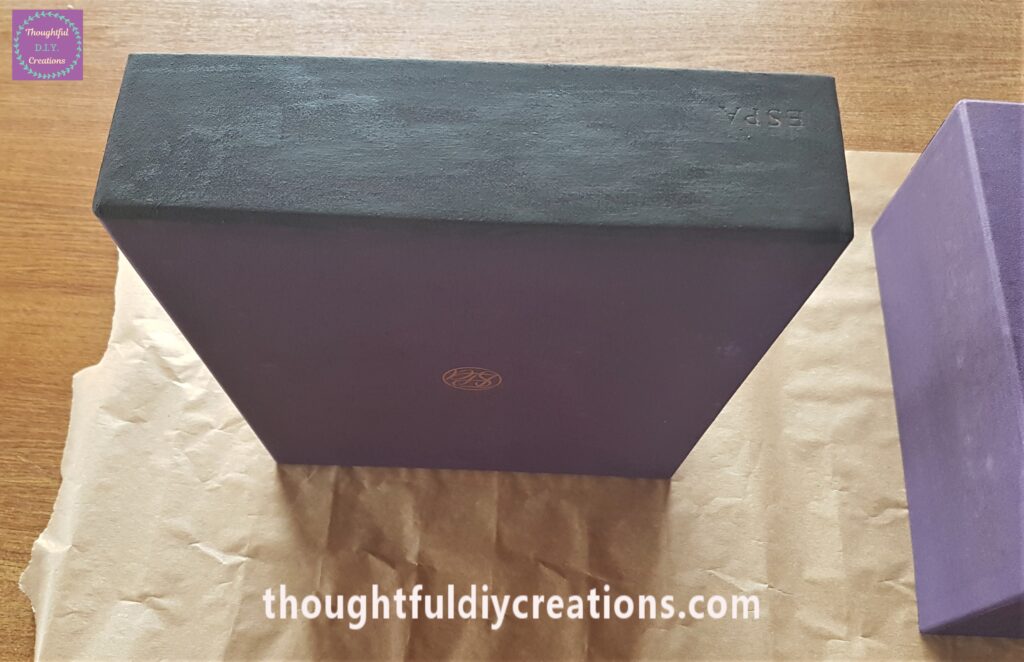
Gift Box before Crafting
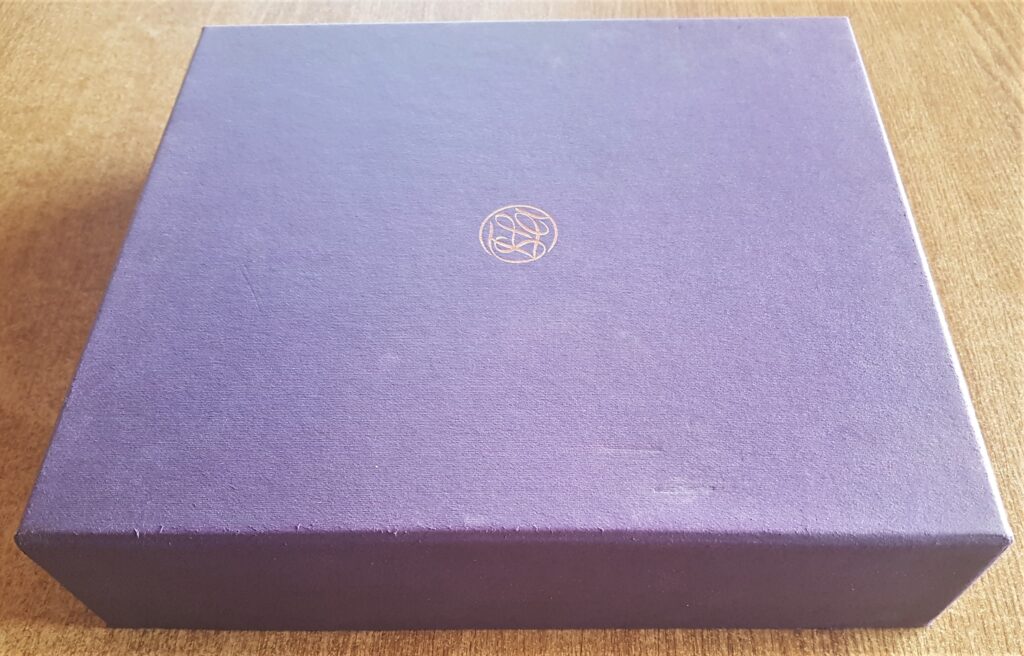
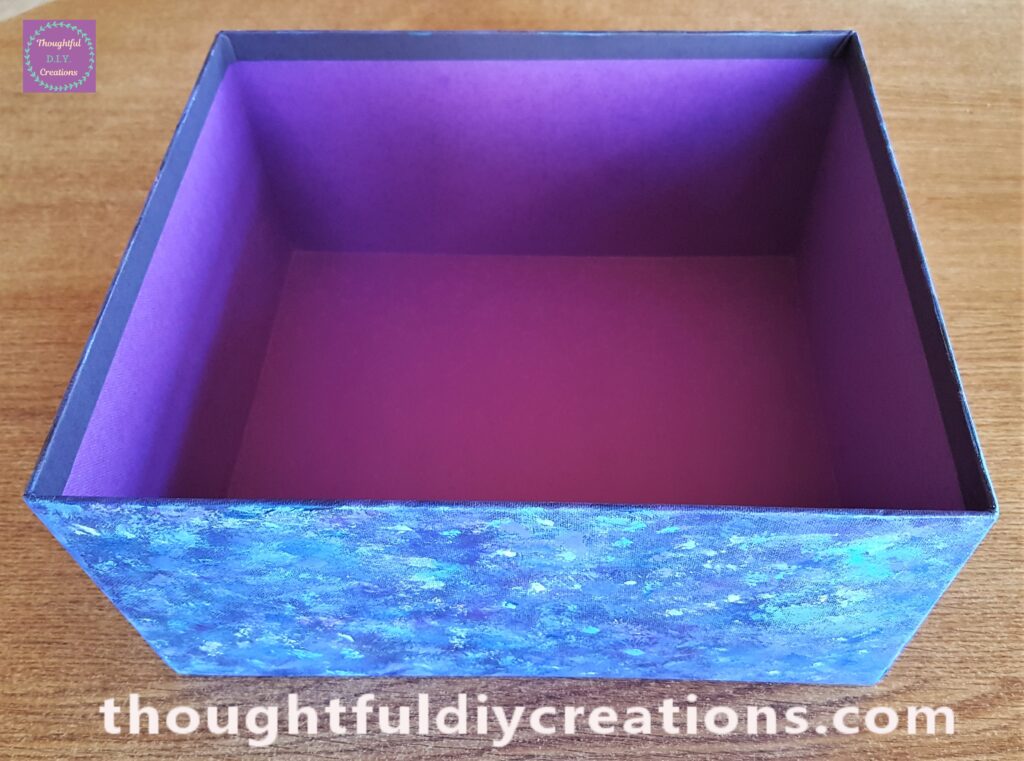
I had a Purple Gift Box in my supplies. It is a lovely, strong, sturdy and spacious box. This is the bottom of the box and the inside of the lid.
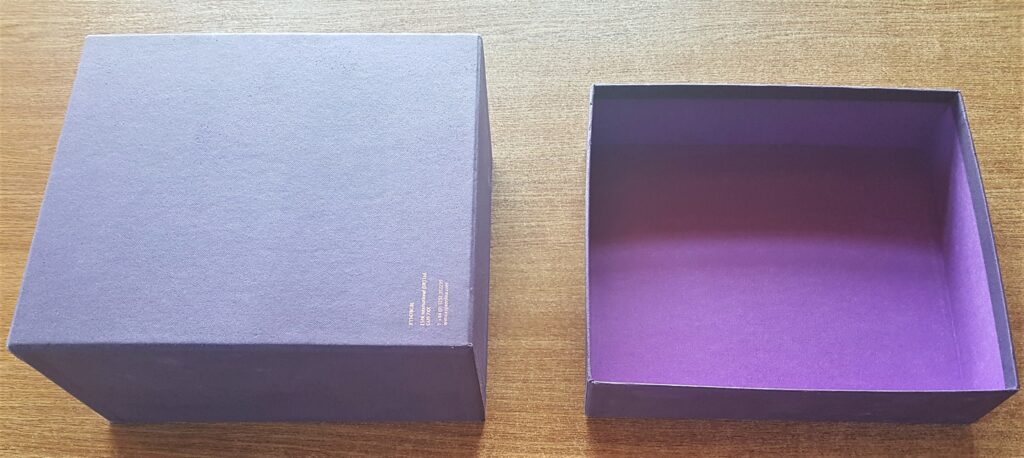
This is a side angle of the lid.
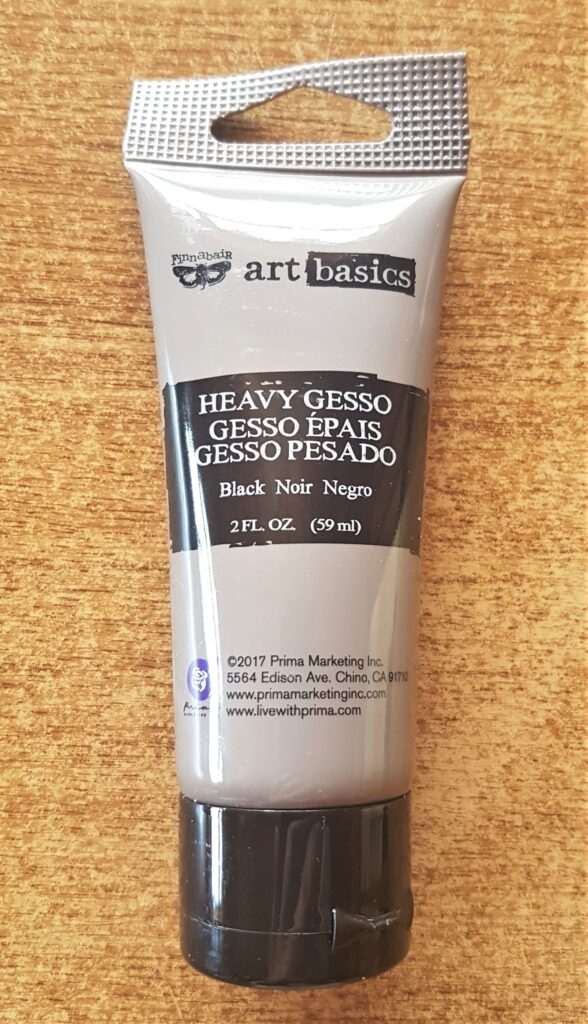
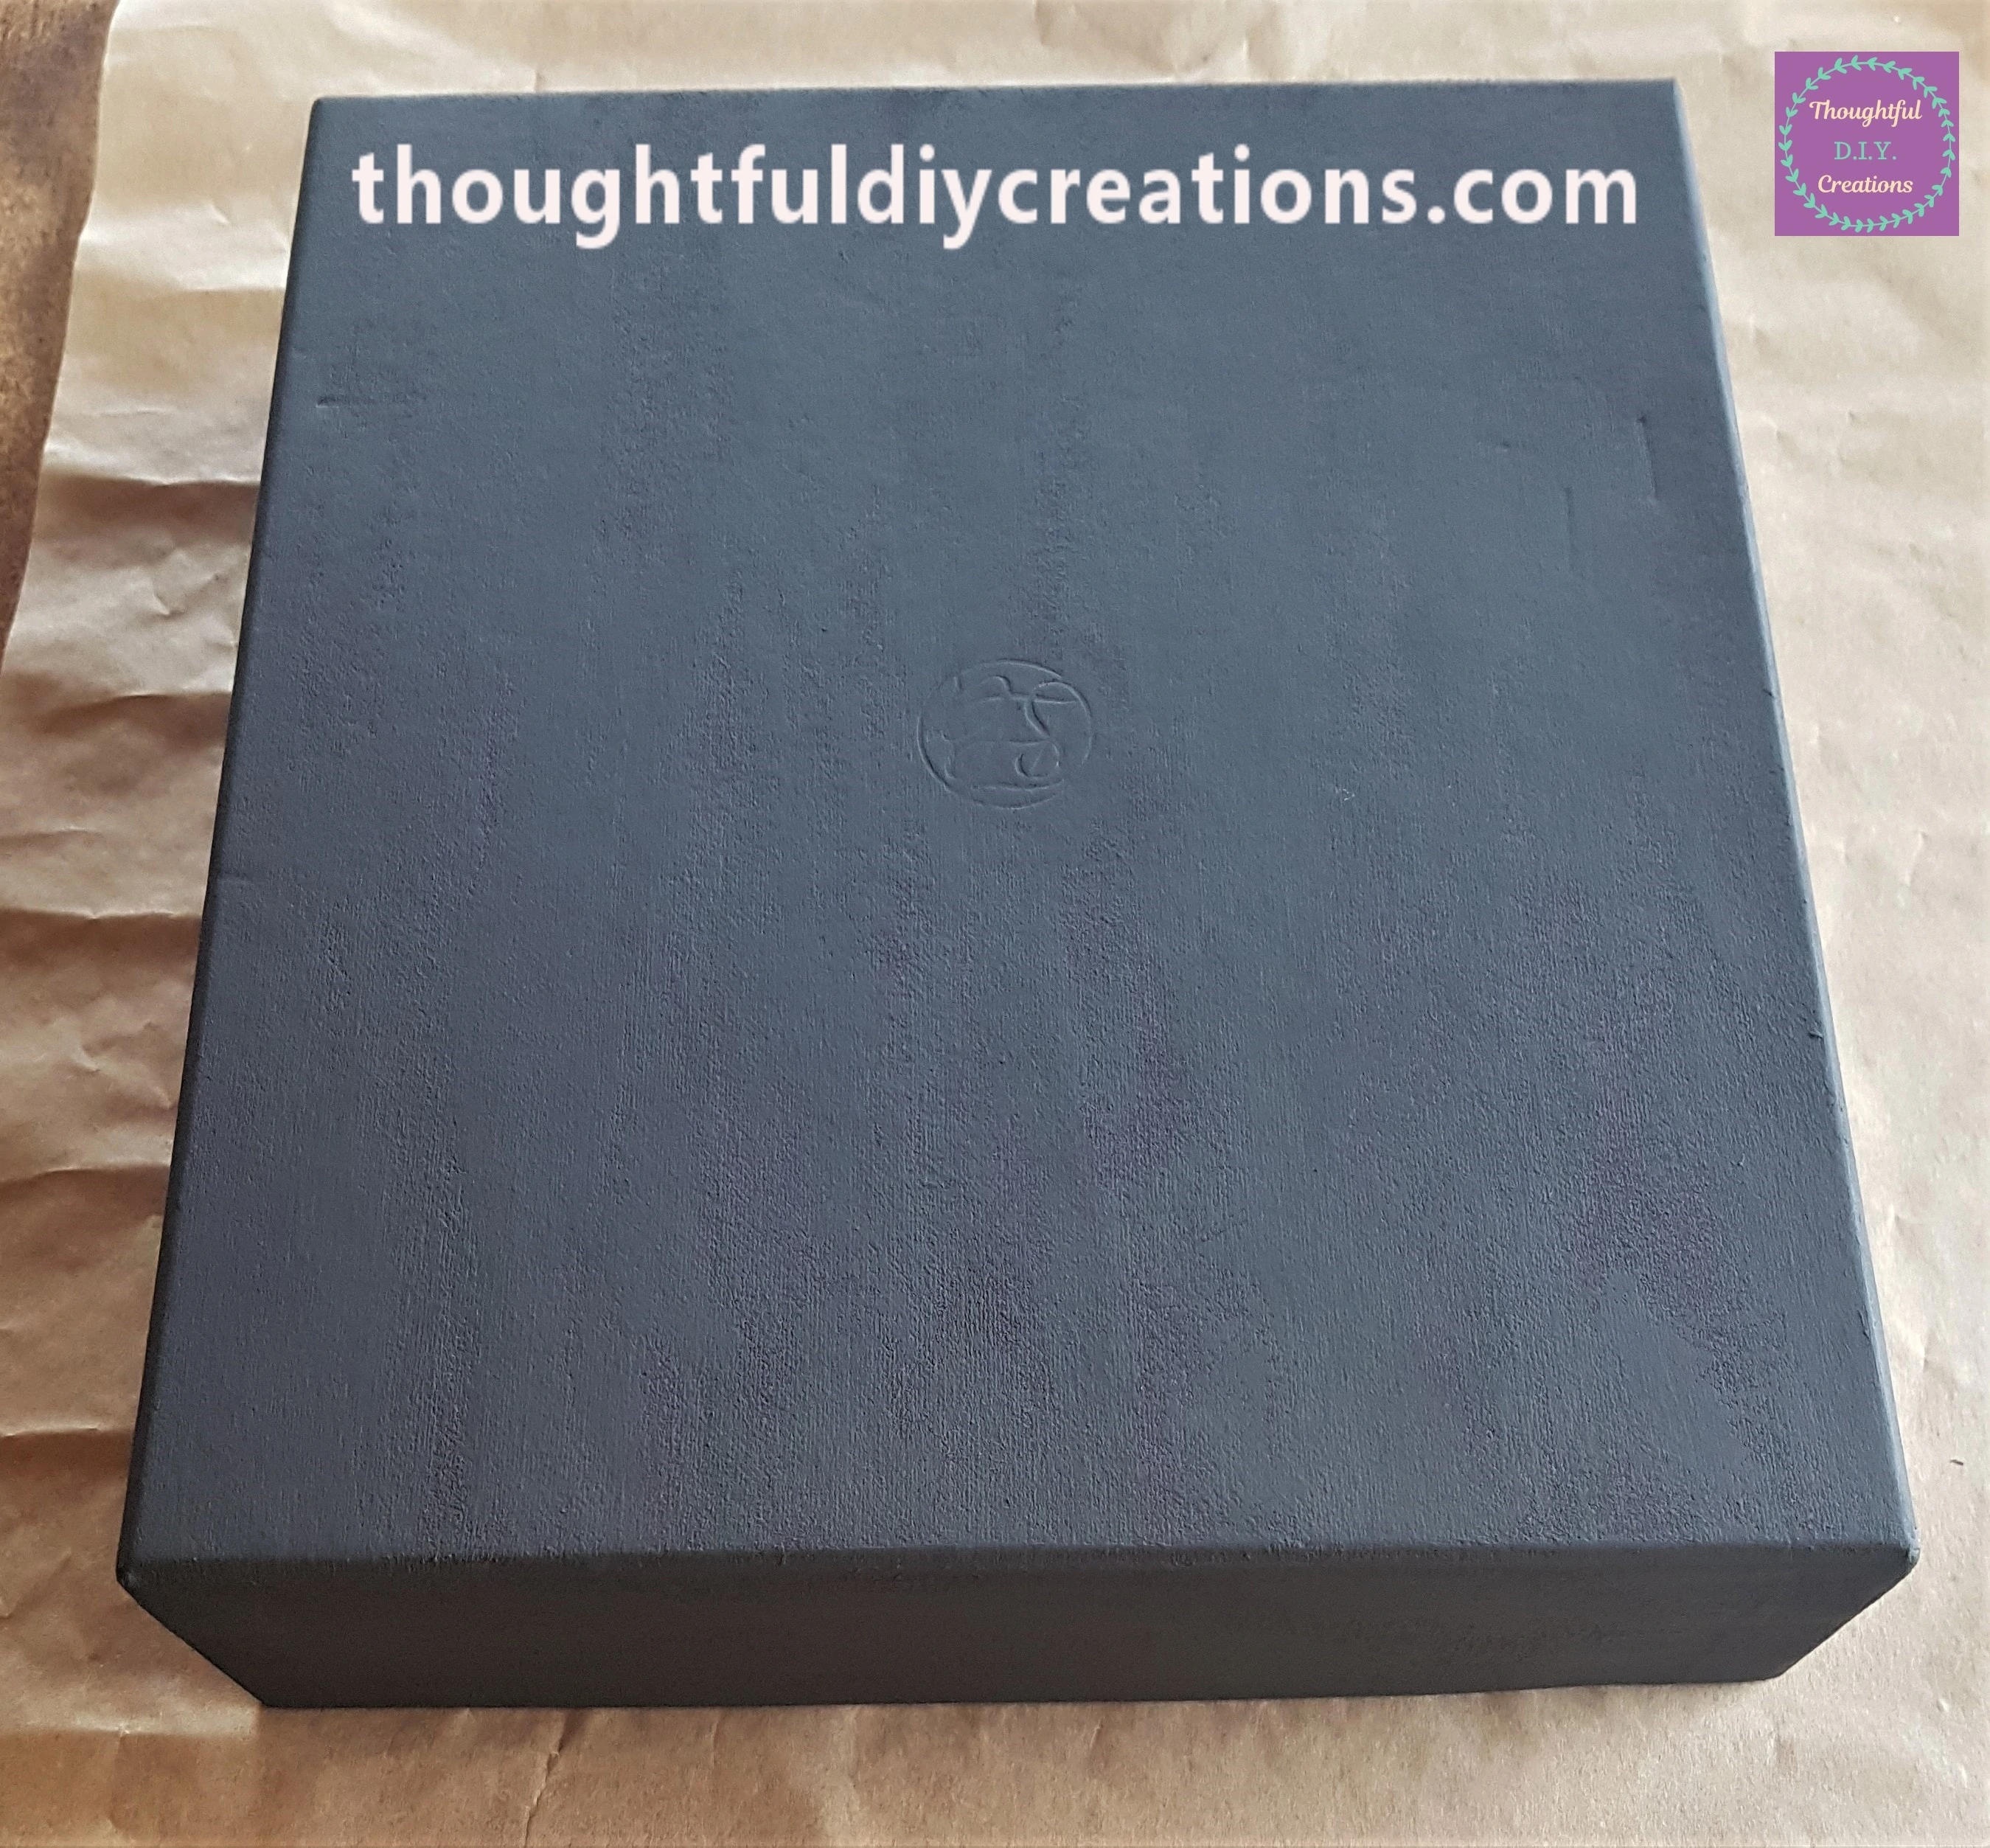
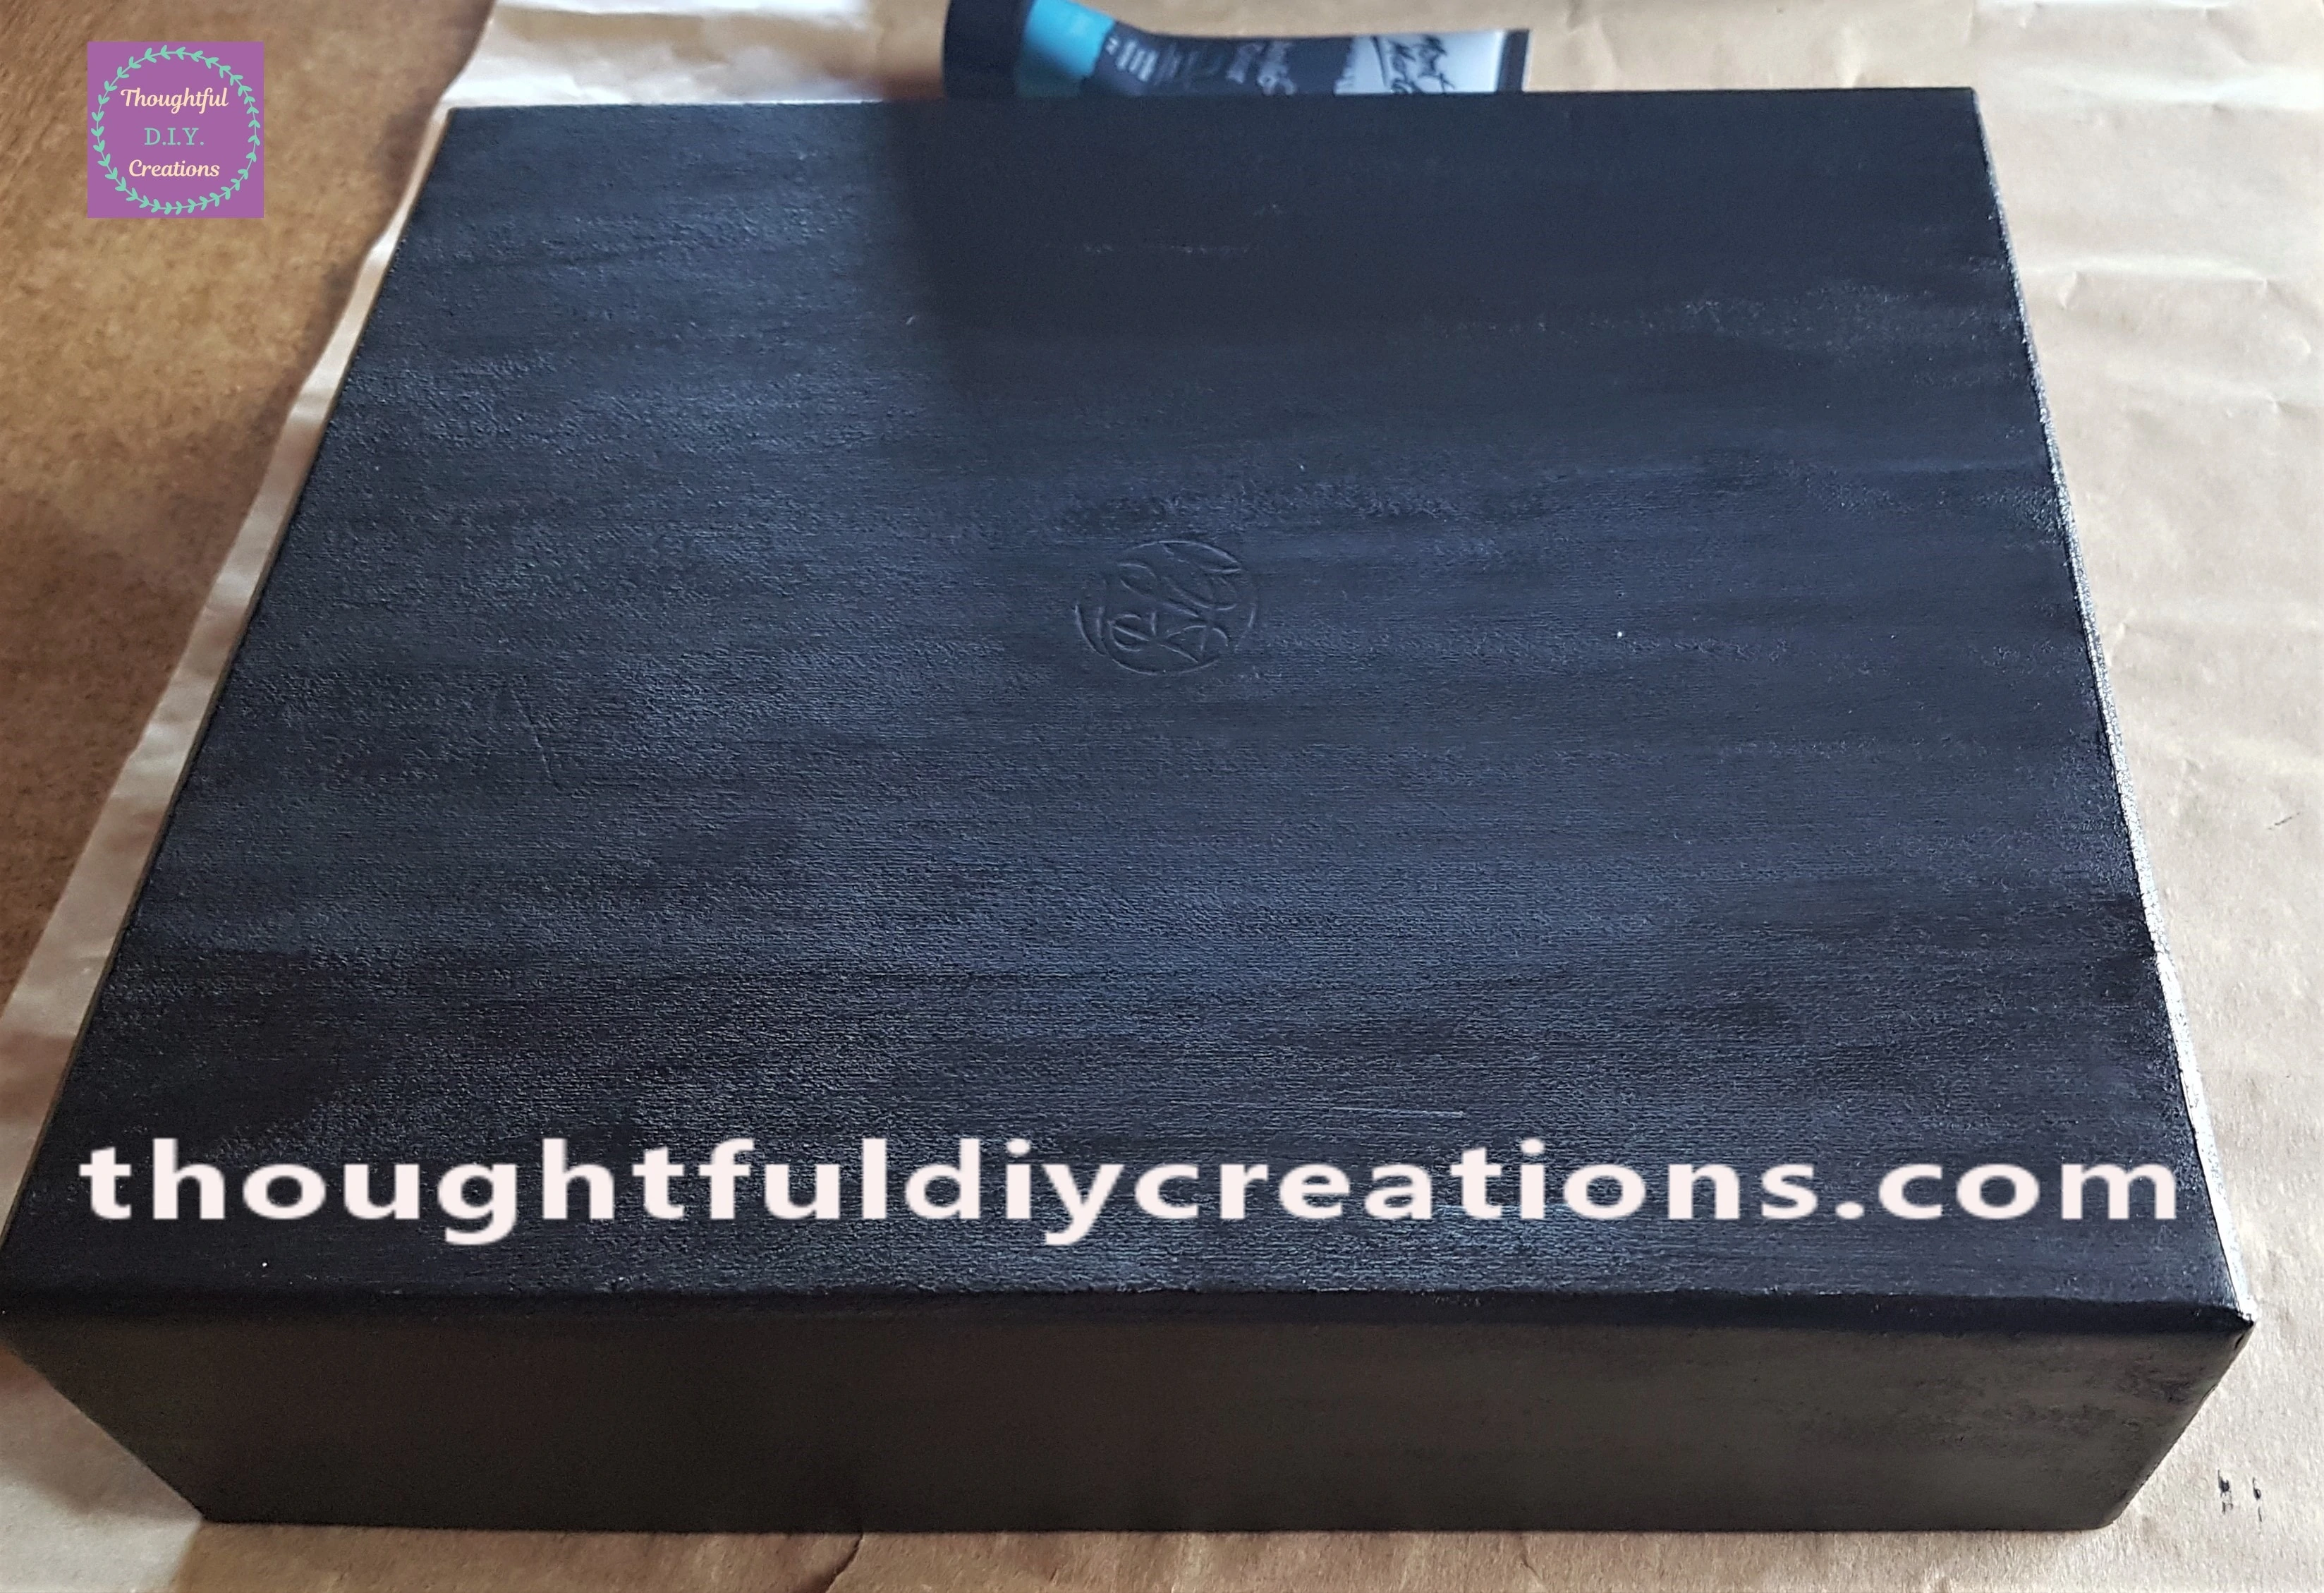
I got my ‘Black Heavy Gesso’. This has a thick consistency and 1 layer is usually plenty for good coverage.
I put some Baking Paper on the Table to protect it. I put the Box and lid on the Baking Paper.
Priming the Lid and Box
I started with the side of the lid. I applied the Gesso with a flat 1 inch Paintbrush.
I applied the Gesso to all 4 sides of the Lid and finally to the front of the lid. This Primes the surface, covers the Purple Colour, gives a nice texture and makes it easier to apply Paint or other mediums and ensures they last longer.
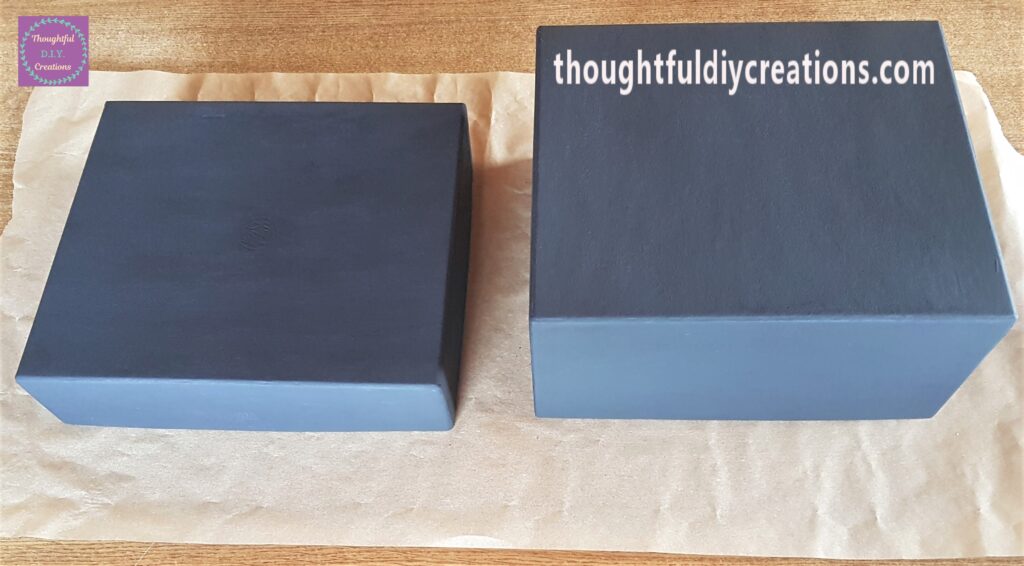
I then applied the Black Gesso to all 4 sides and the bottom of the Box. The box and lid were now primed. It took quite a while to apply the Gesso to the lid and Box. The gesso is thick but I didn’t want to water it down and have a watery consistency; I took my time and applied 1 full even layer. That was all I done that day.
Acrylic Paints for the Galaxy
The next day I applied a layer of Black Acrylic Paint to the Box with a flat 1 inch Paintbrush.
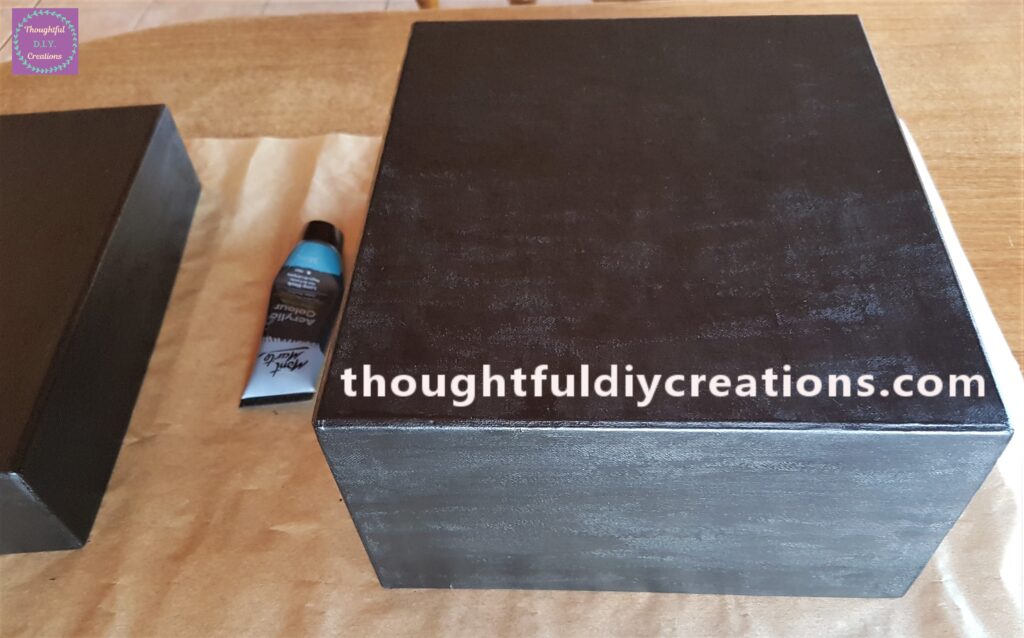
I also applied a layer of the Black Paint to the Lid.
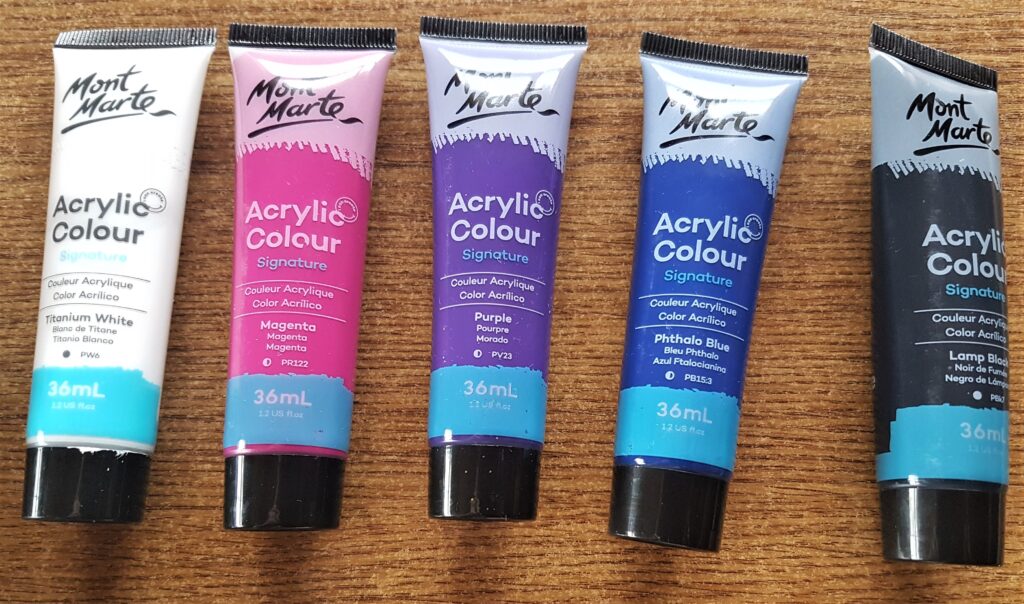
The Colours of the Acrylic Paints I used to Paint the Galaxy were; ‘Titanium White’, ‘Magenta’, ‘Purple’, and ‘Phthalo Blue’. The ‘Lamp Black’ was used as a base layer in the previous step.
Starting the Galaxy Painting
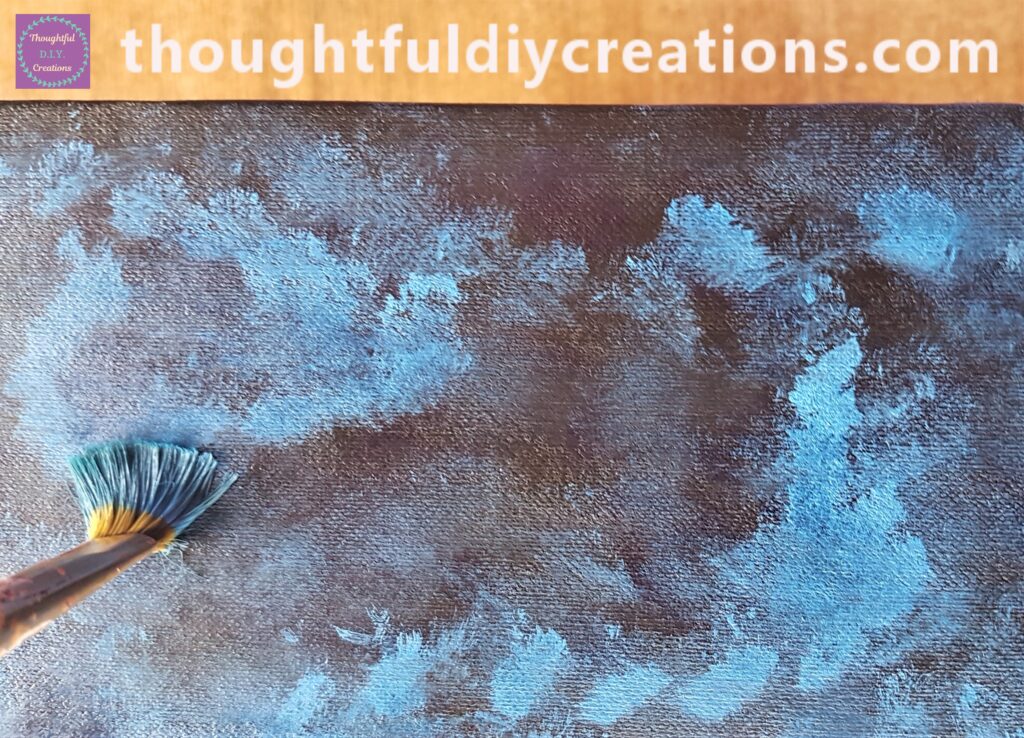
I got a Plate and poured some of each of the Coloured Paints onto different parts of the Plate. I put the Box standing up on the Table. I started with the top side of the Box. I put blobs of the Blue Paint in random areas with a small, flat Paintbrush.
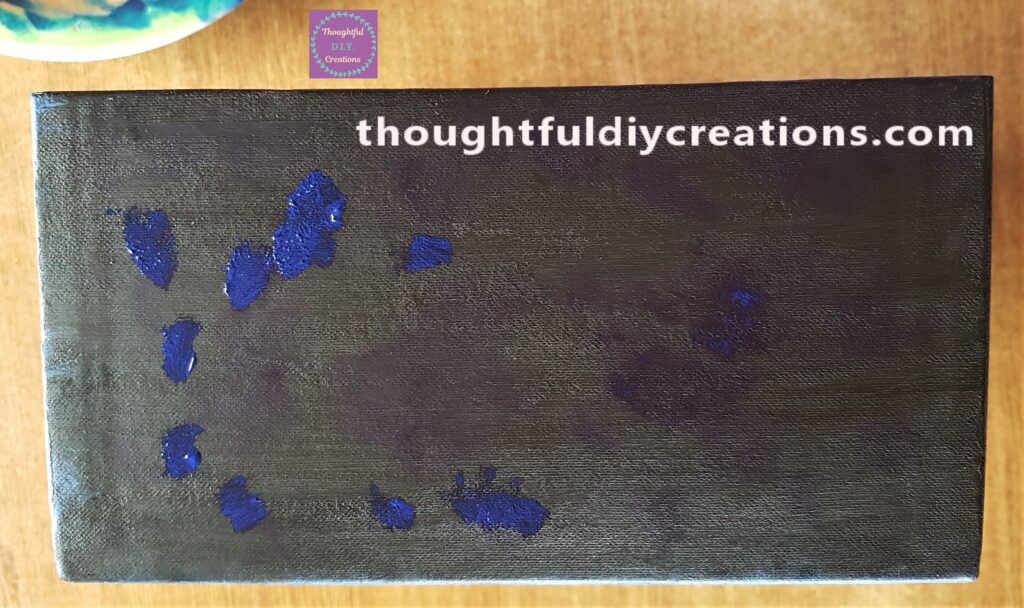
I pressed the bristles of the paintbrush down into the paint on the box in a smushing motion and blended the paint into the background. I then added some white paint to some of the dark blue paint on the Plate and mixed them together. I put blobs of the light blue paint onto the Box.
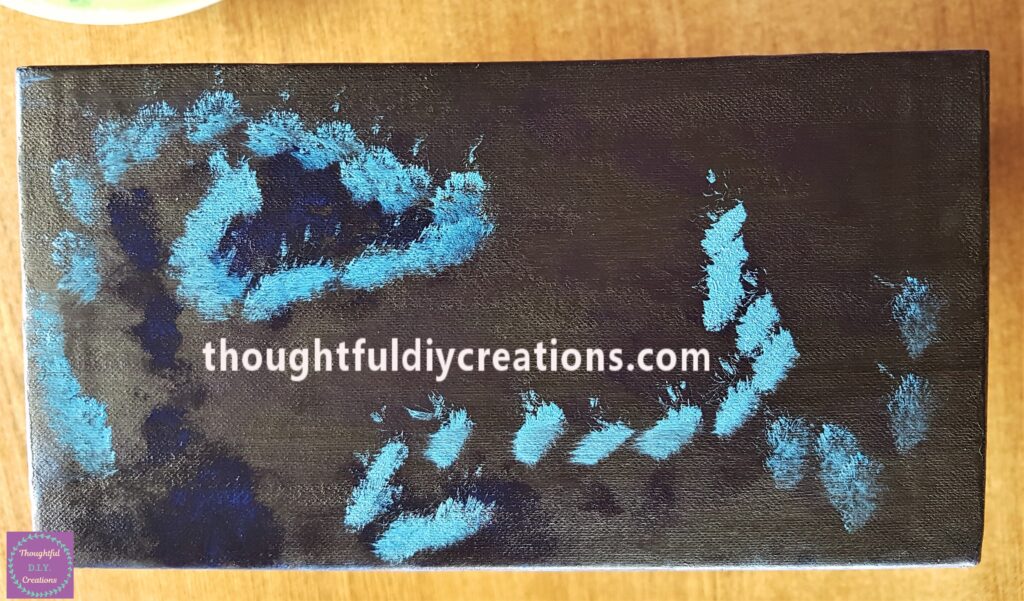
I again pressed the bristles of the paintbrush down into the paint and blended it into the box.
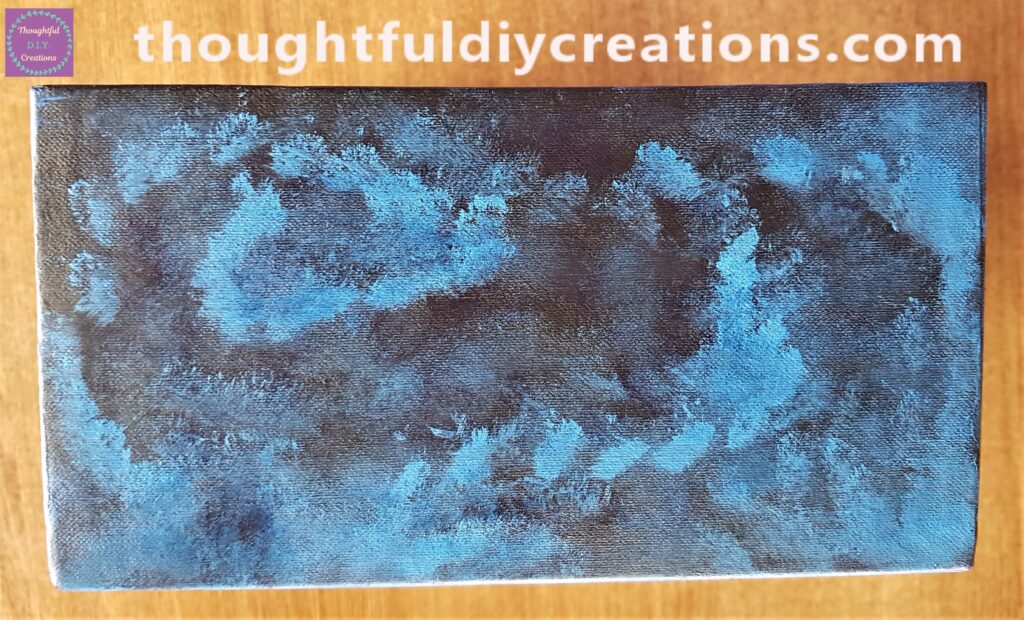
Here is a closer look at the Paintbrush being pressed down onto the box. It is best to use a small, old Paintbrush or one that you don’t mind being rough with as this is how the whole box and lid will be painted; by continually pressing down with the paintbrush to blend in the paint.
I added some Magenta Paint to the Box.
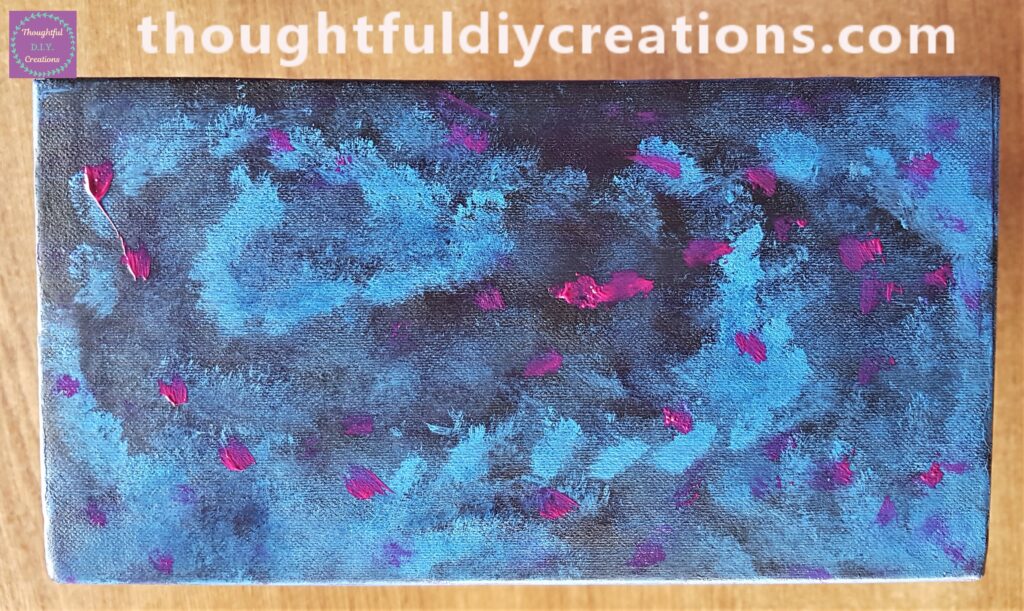
I blended it into the other Colours.

I mixed some white Paint into a small amount of the Purple on the Plate to make a light purple shade. I put some of the light purple paint onto different parts of the box.
I blended the light purple paint into the box and then added blobs of white paint and also blended them into the box.
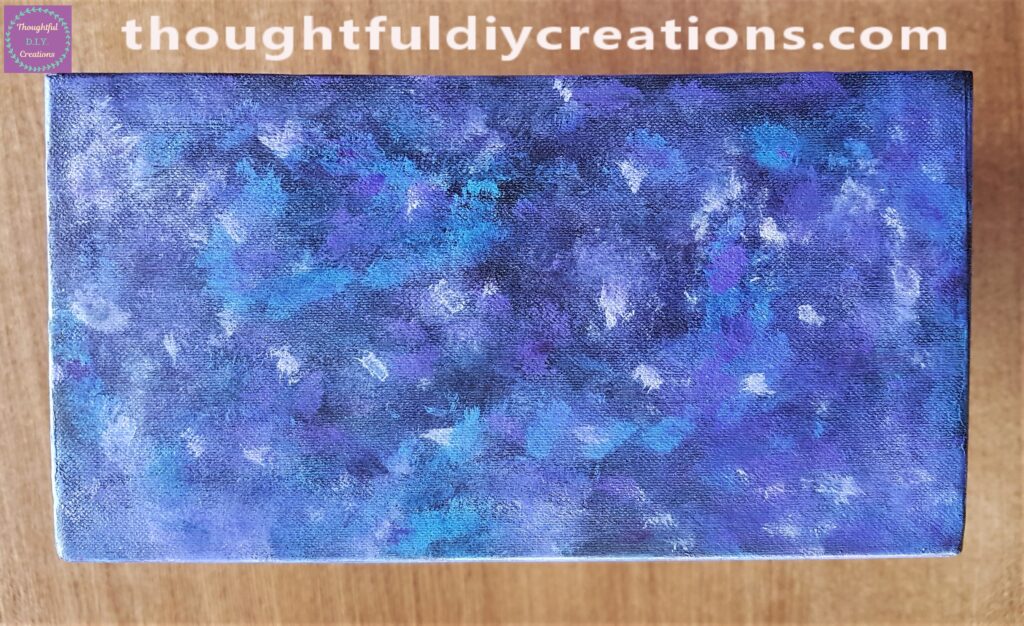
I put some dark Purple Paint onto the Box.
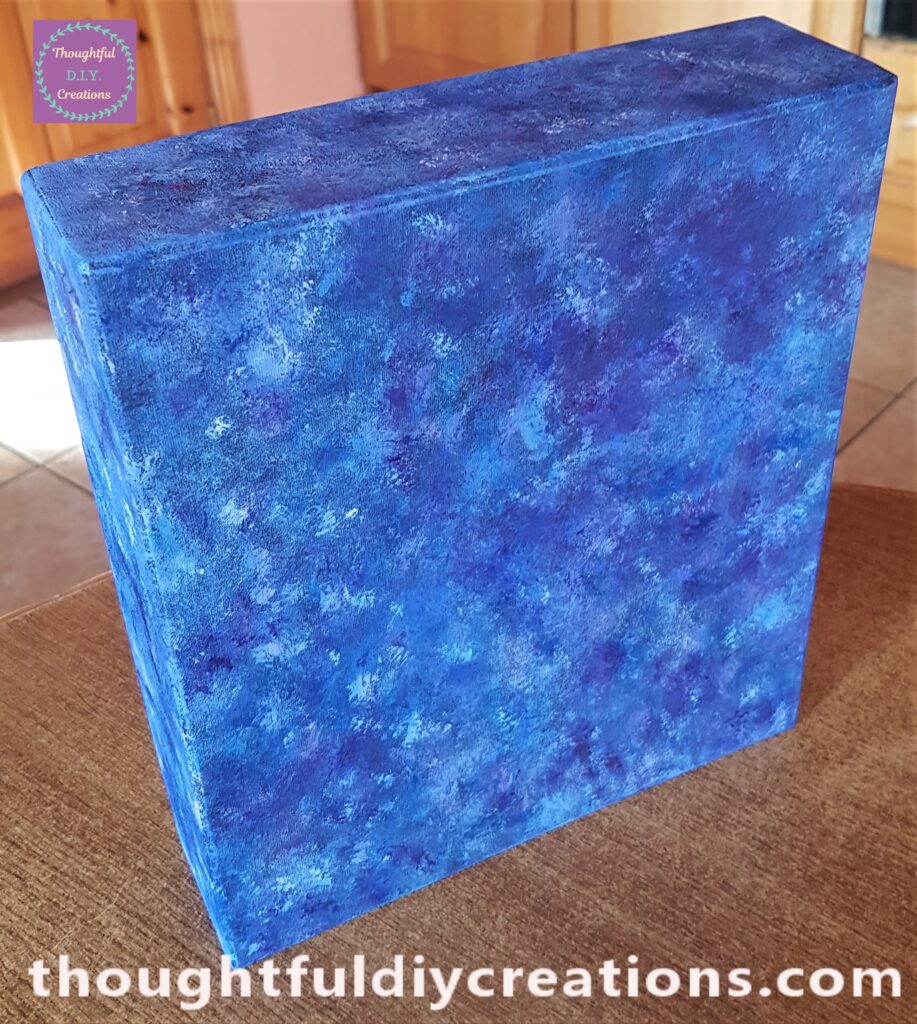
I blended in the dark purple paint and then added another layer of each of the colours until I was happy with the overall look. This completed the first side of the Box.
More Paint added to the Box
I painted the bottom of the box next in the exact same way.
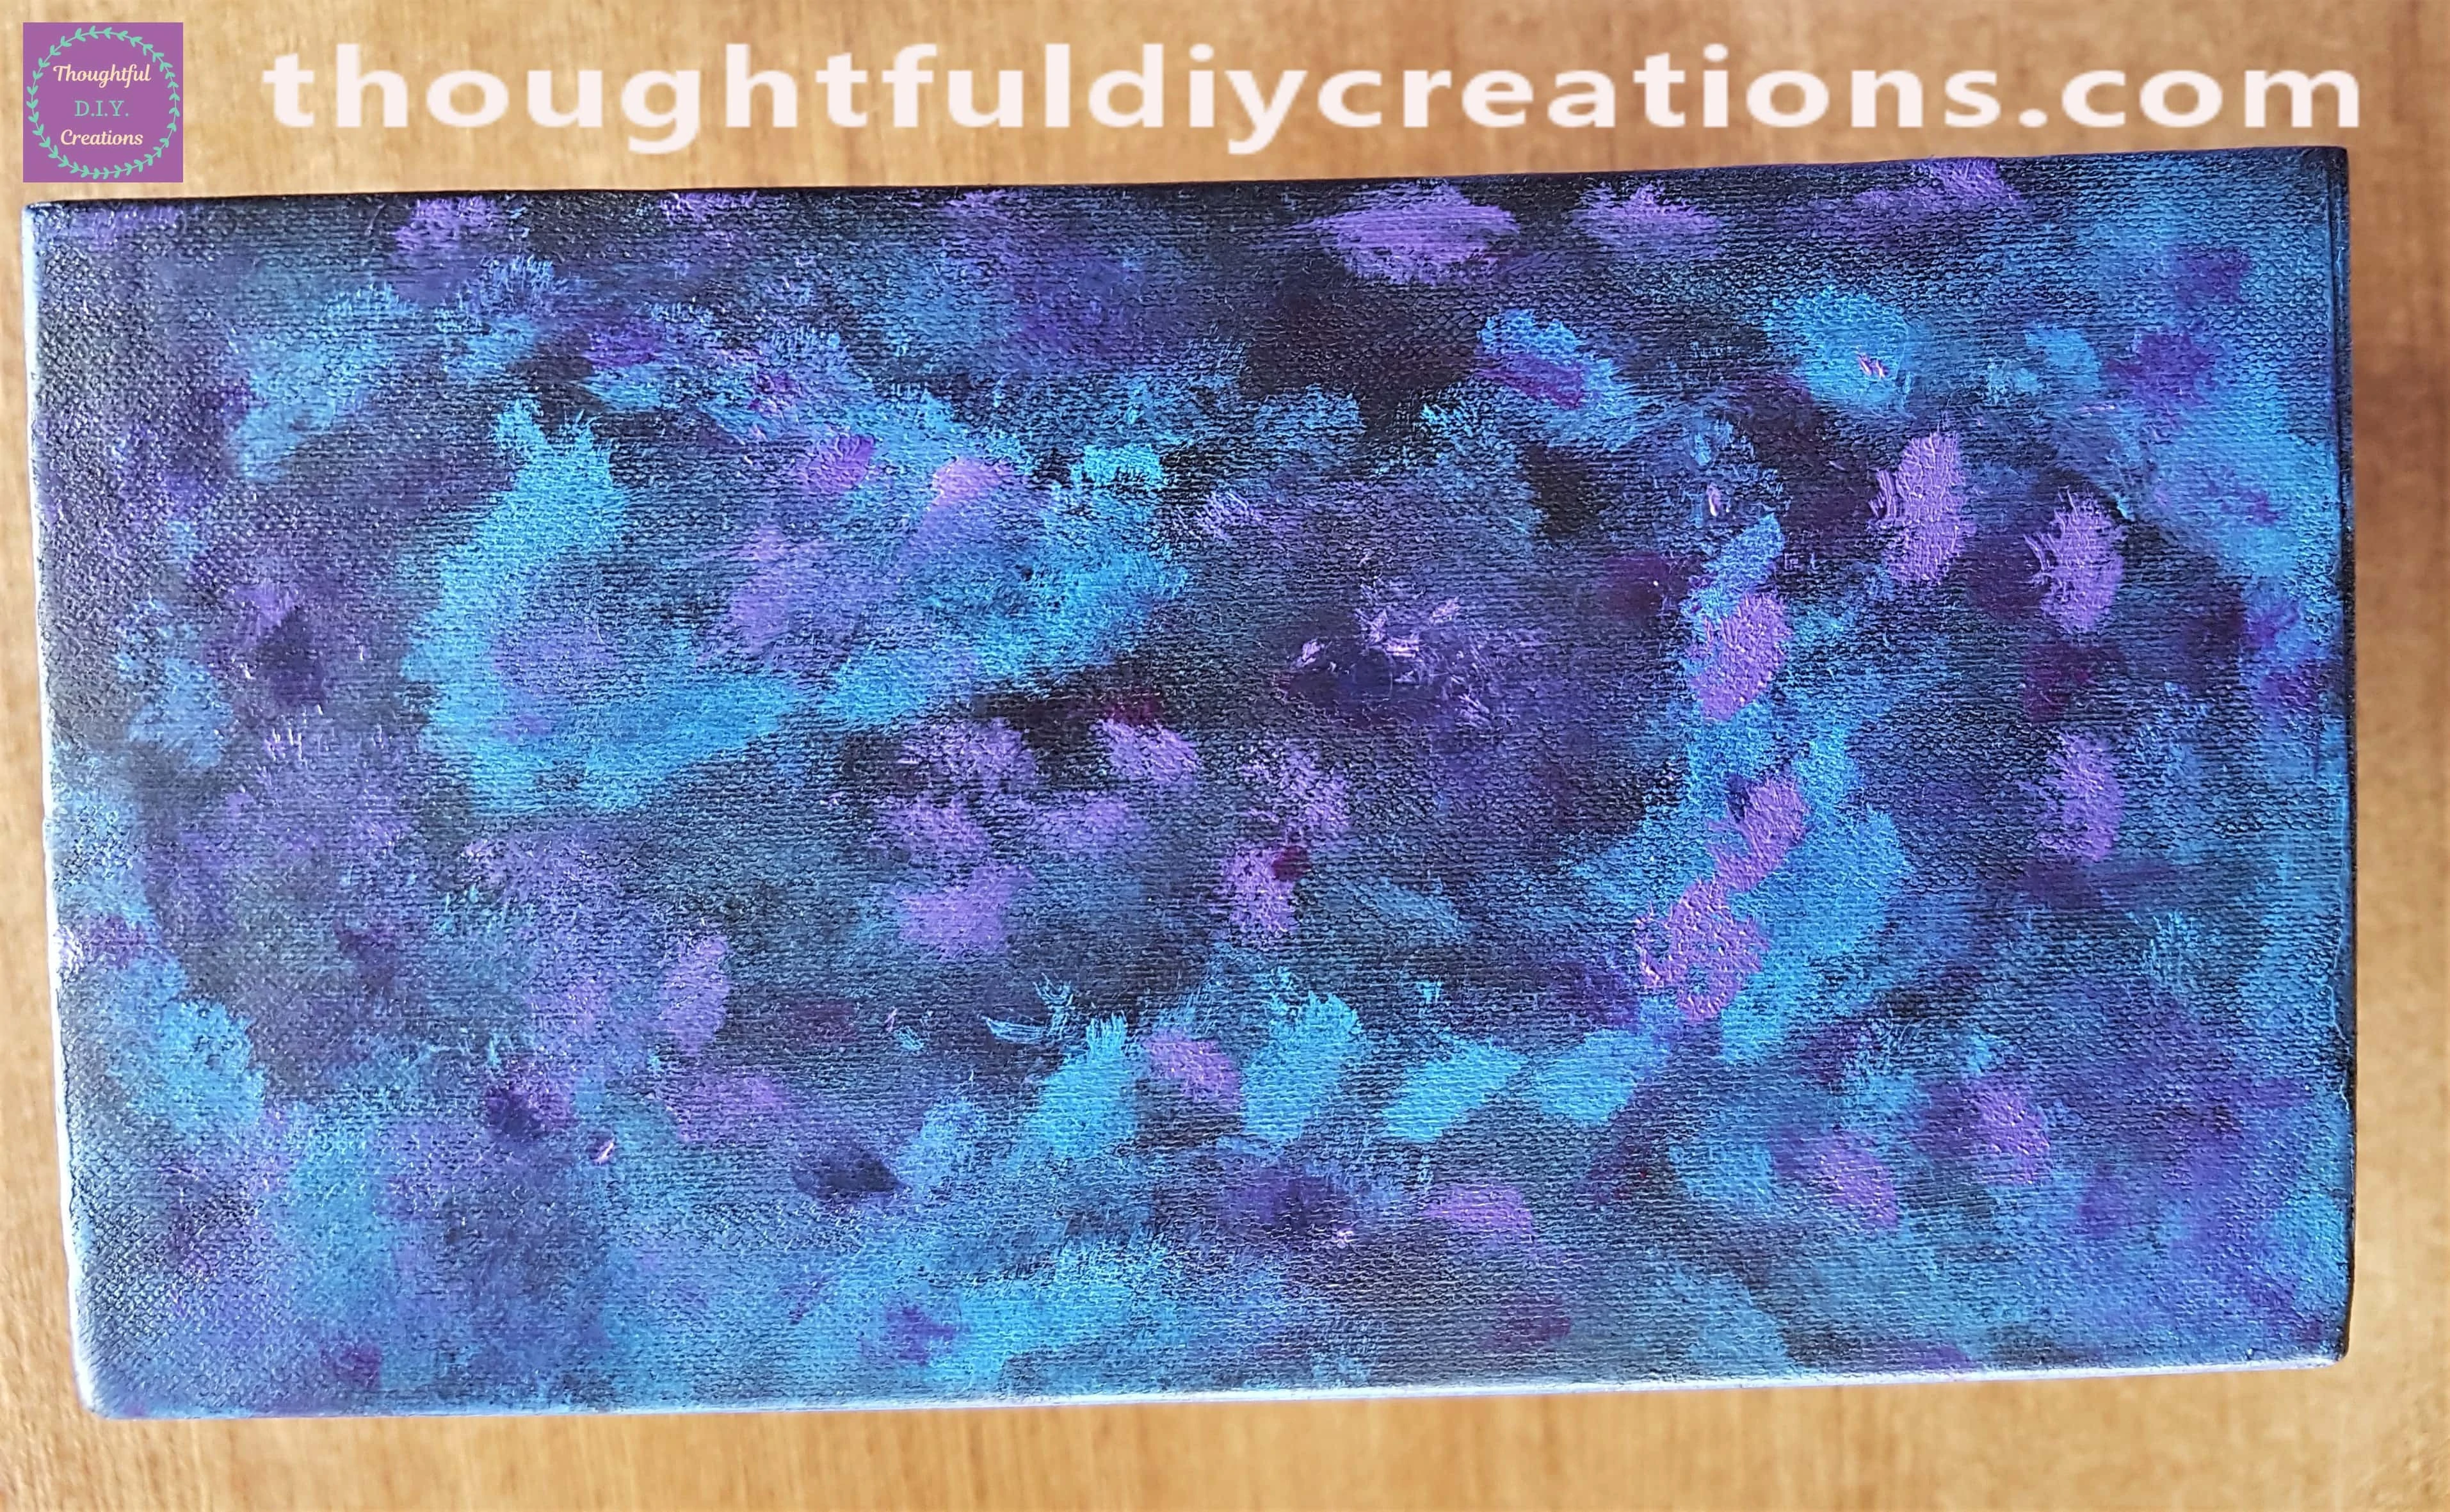
I then Painted the Galaxy on the other 3 sides of the Box. Each section is slightly different which I like; there is no right or wrong way of doing it. I stopped when I was happy with the appearance and moved on to the next section. If you want your Galaxy to be more Purple or to have more Pink just add more of your preferred shades. It really is trial and error; if you’re not happy with a section just add more Paint on top to cover it.
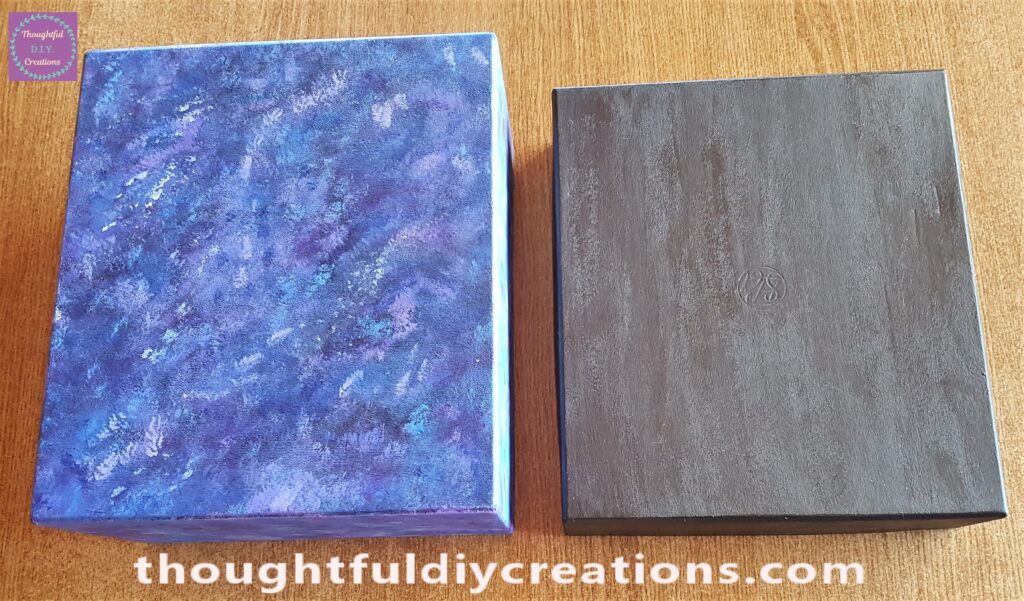
This is the Box up-right after being Painted.
Below is the Galaxy Painted Box beside the Black Painted Lid.
The following Day I painted the Lid in the Galaxy Colours.
Making Stars for the Galaxy
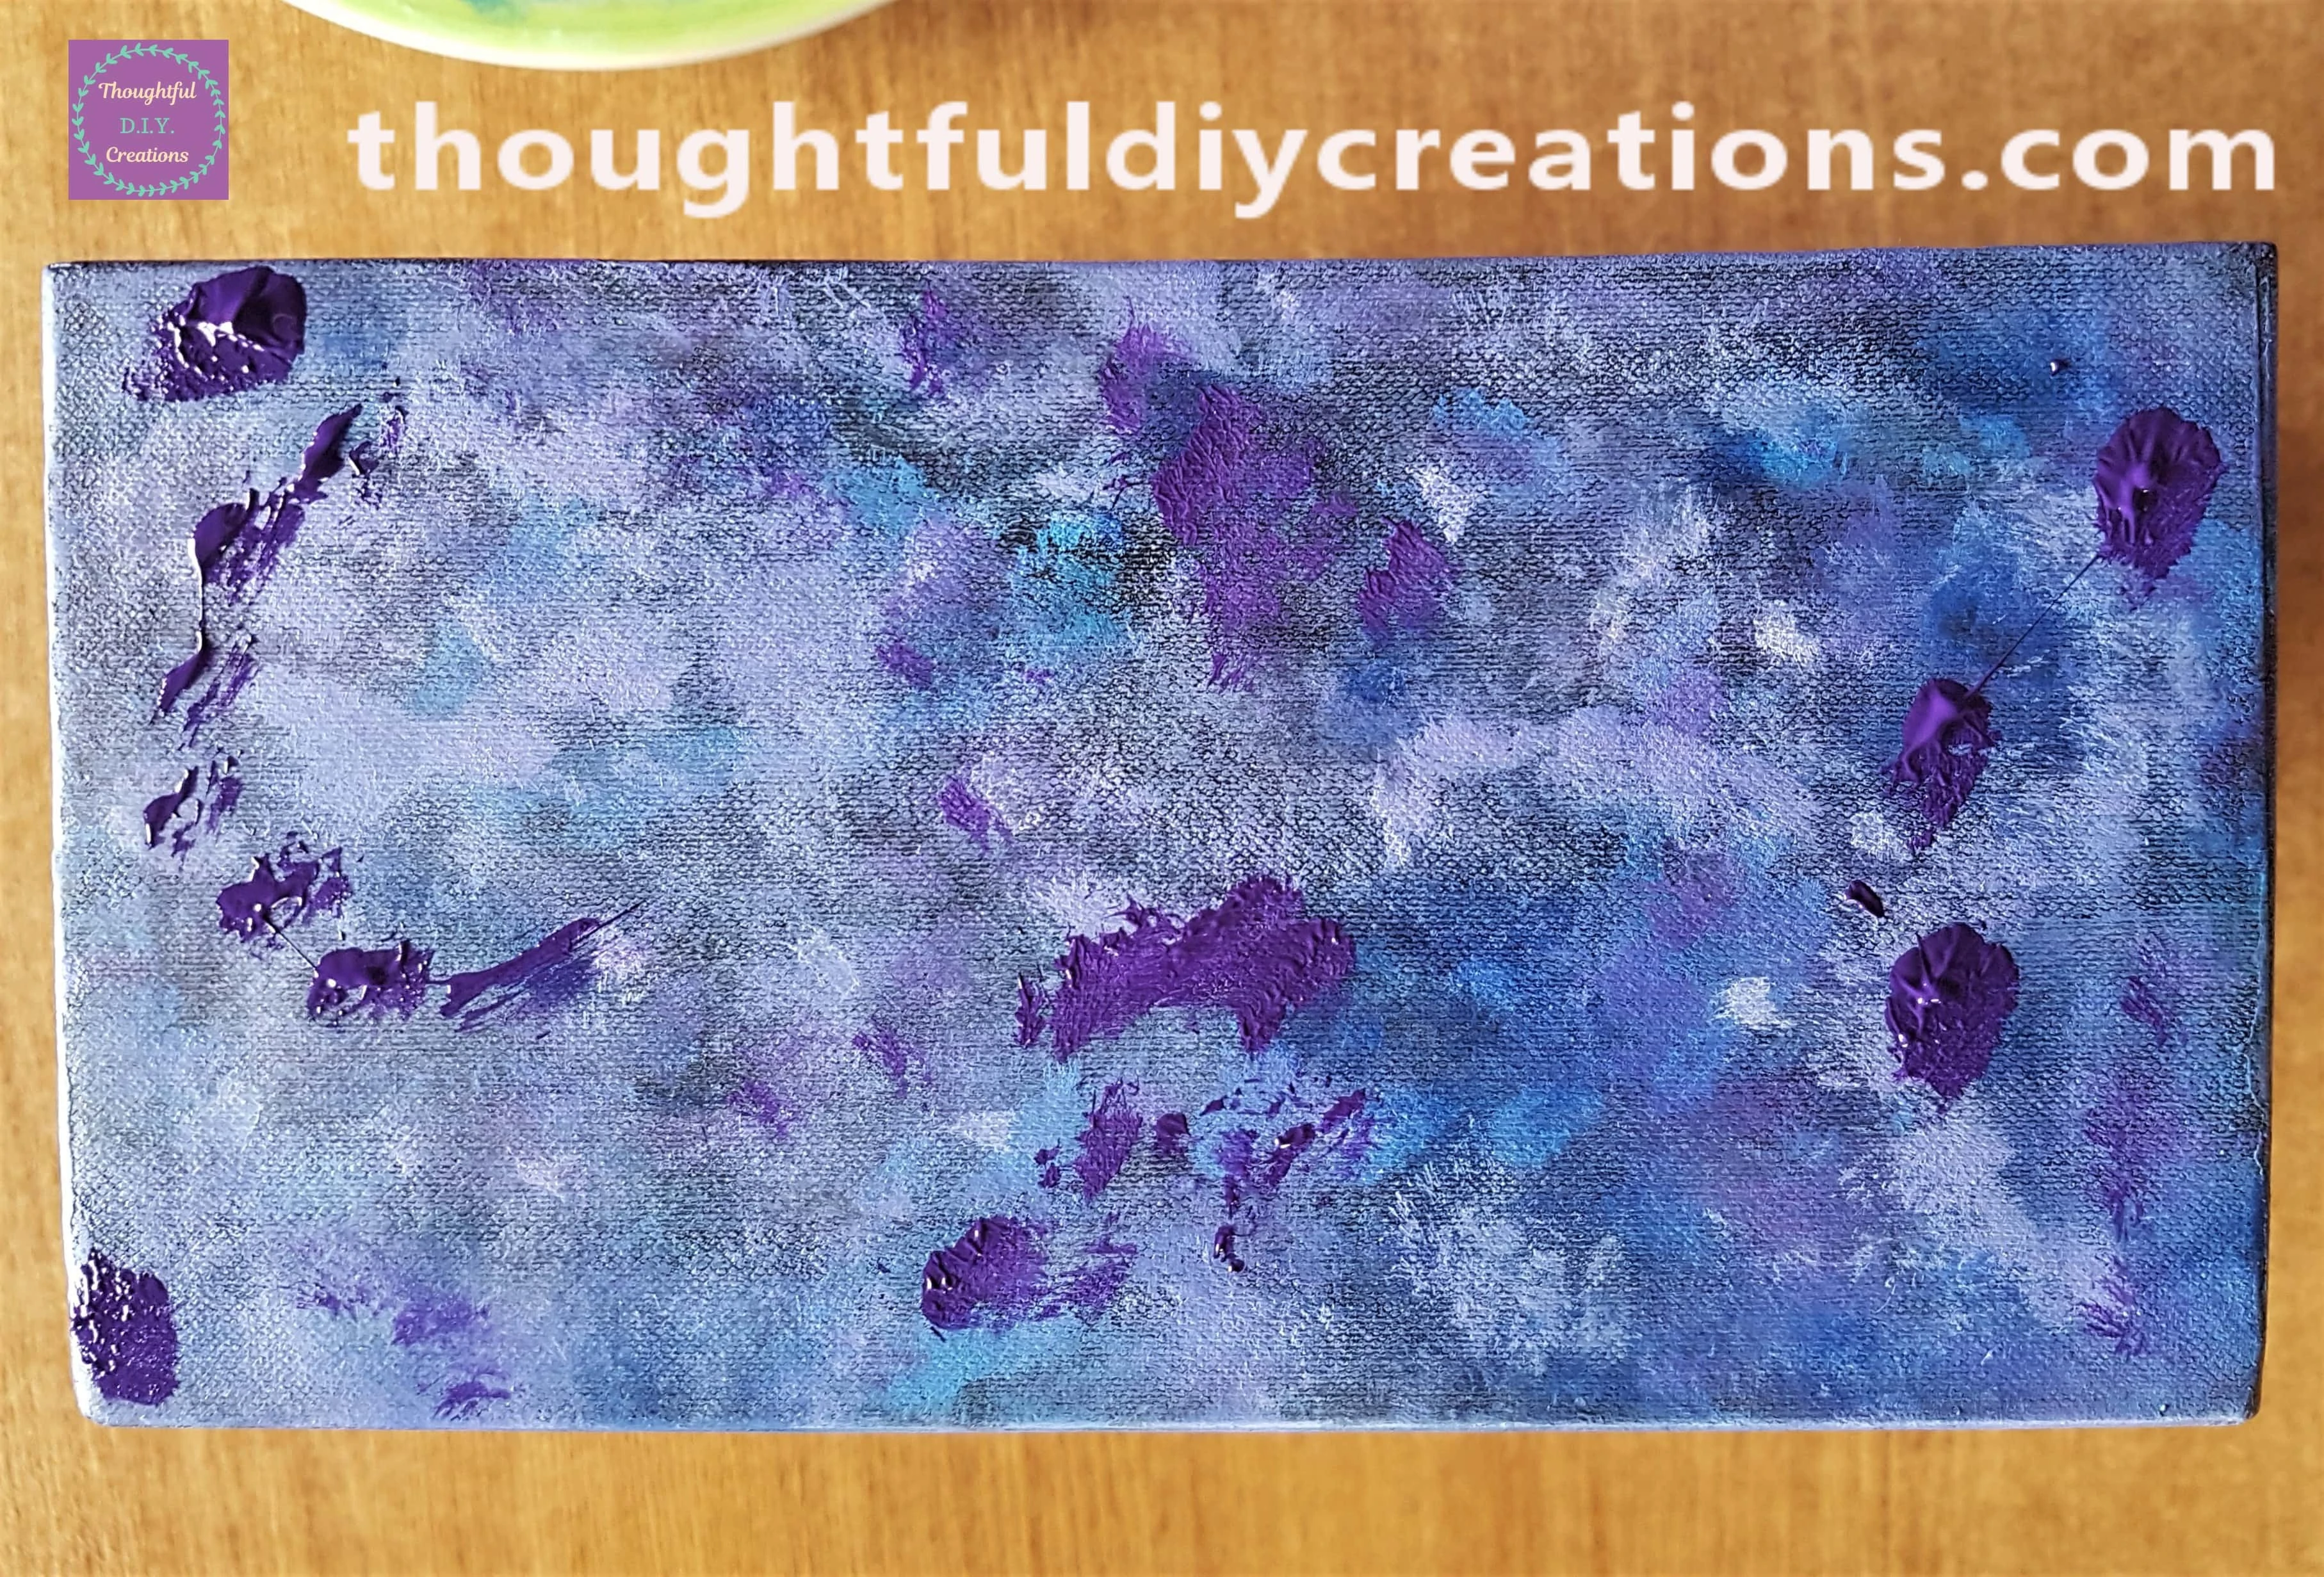
I put a blob of White Acrylic Paint into a lid.
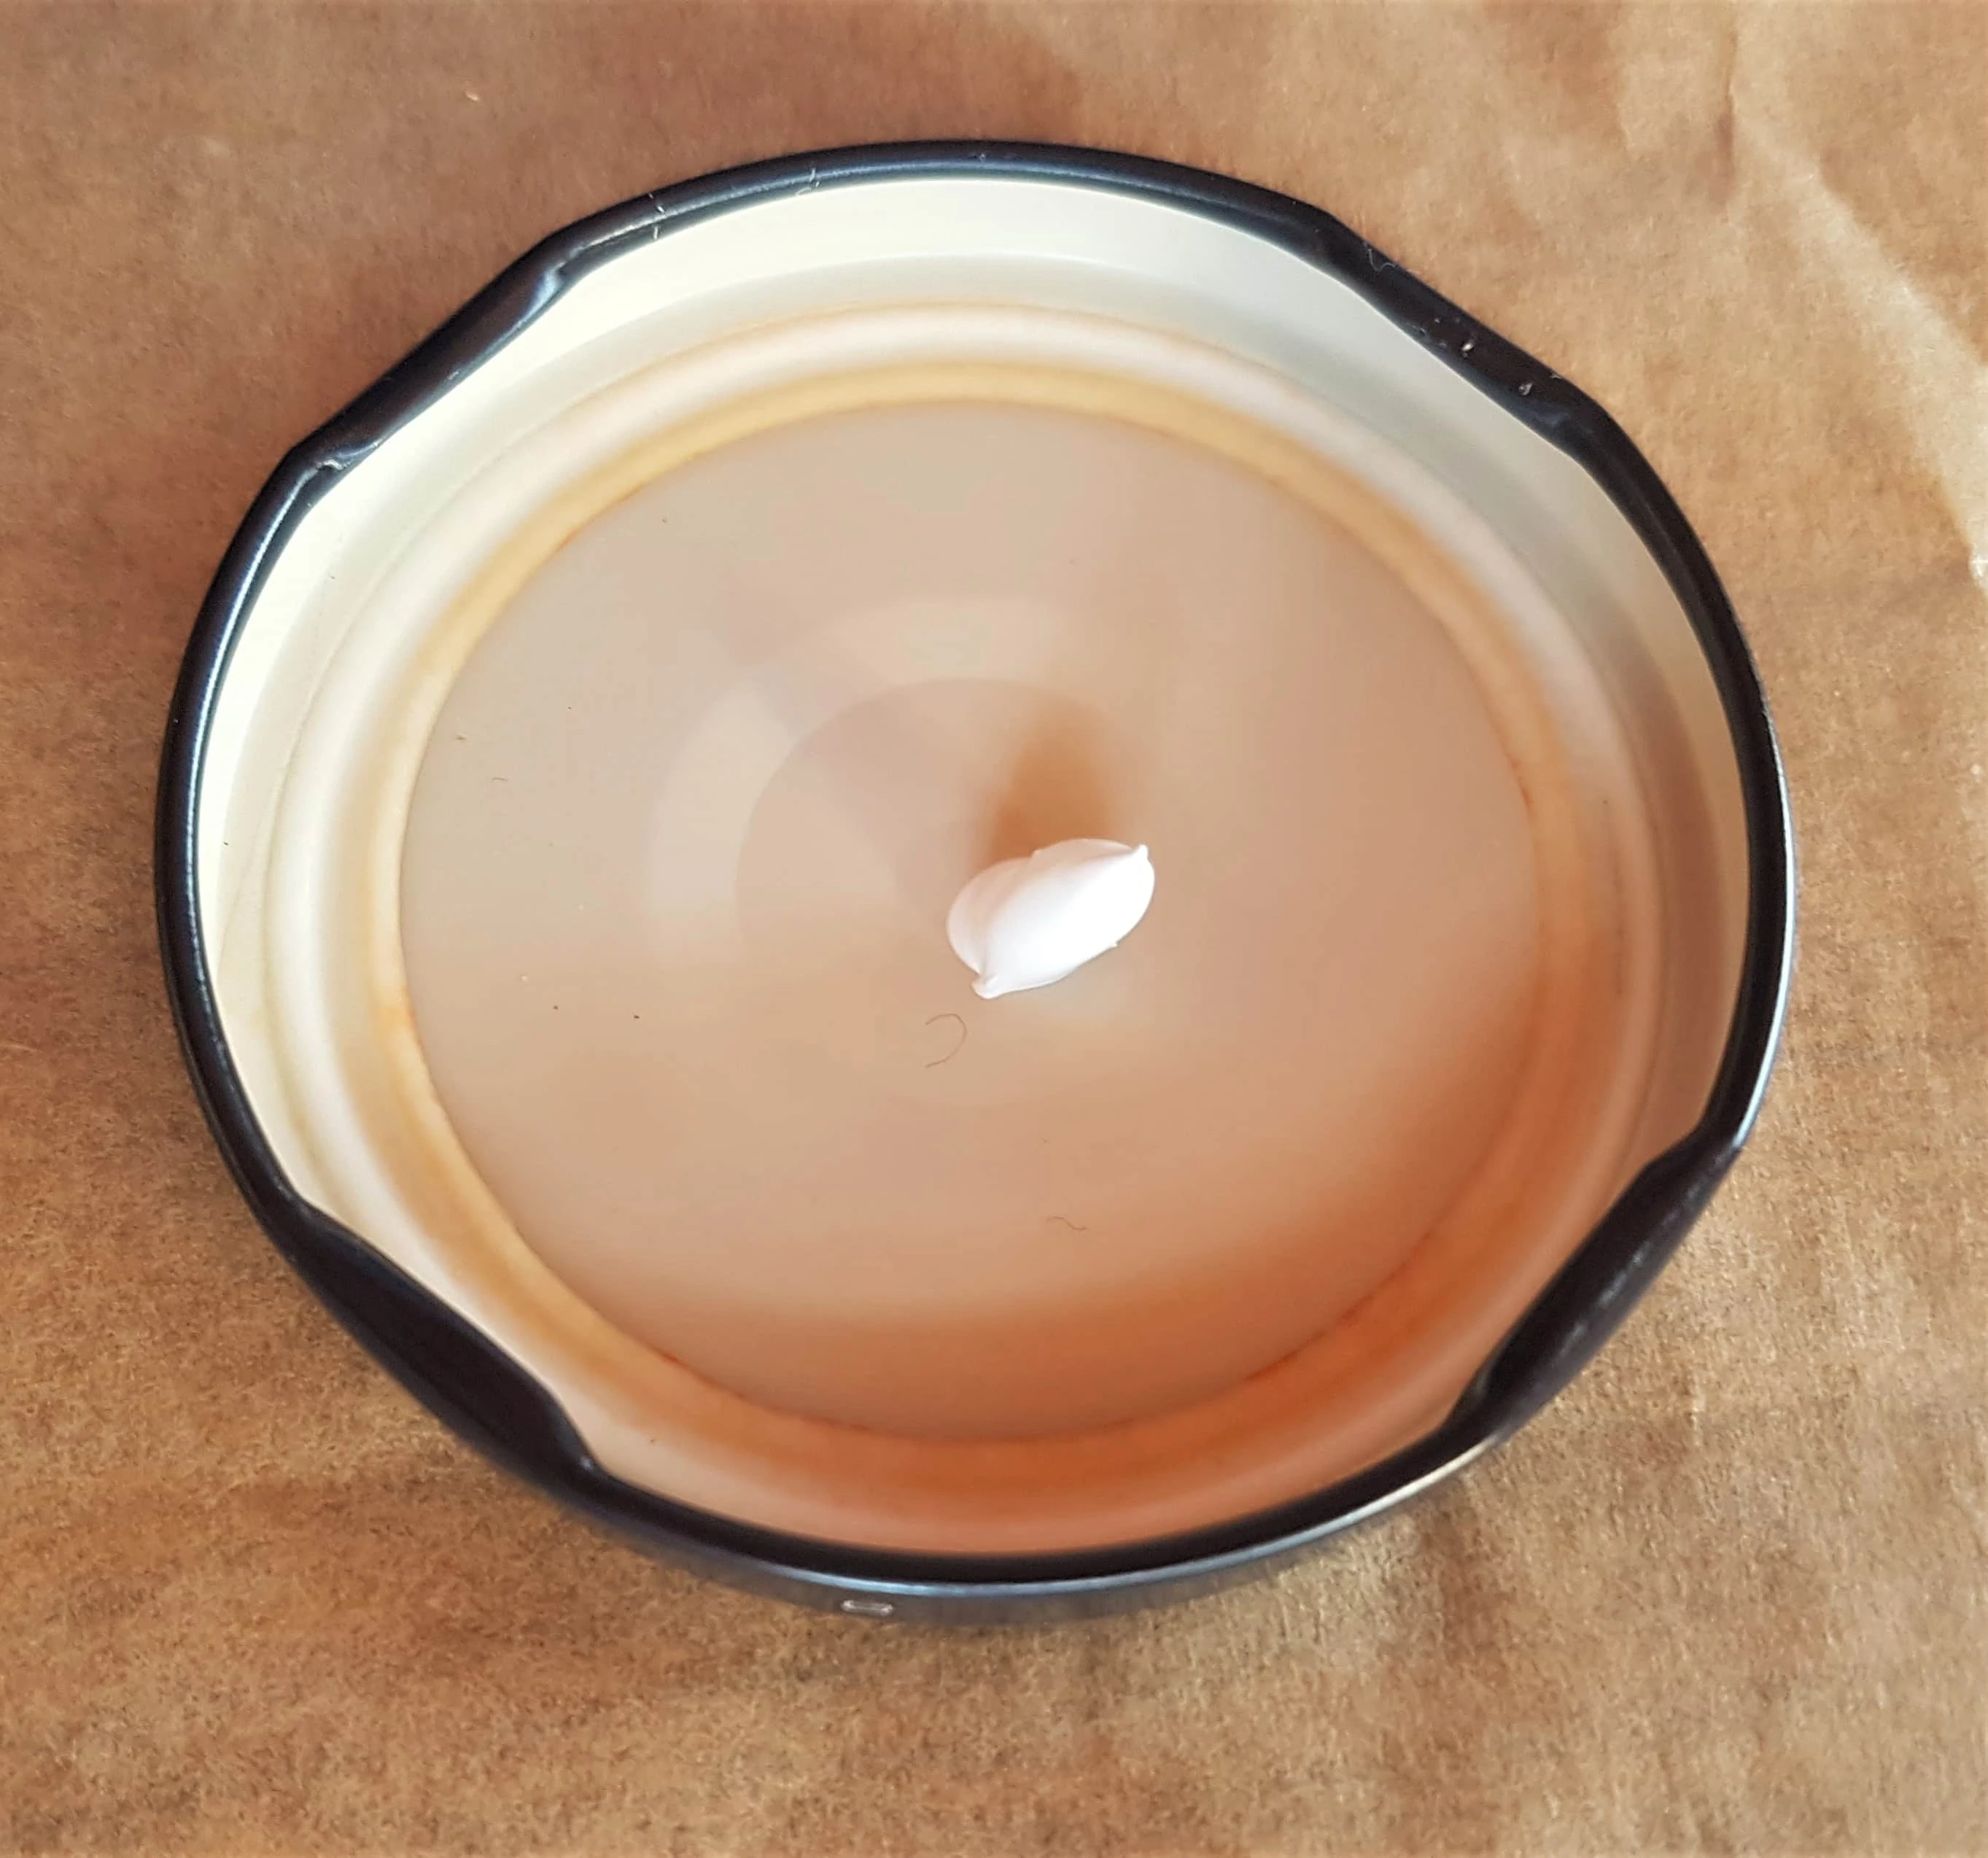
I added a couple drops of water and mixed it with the Paint using a Paintbrush.
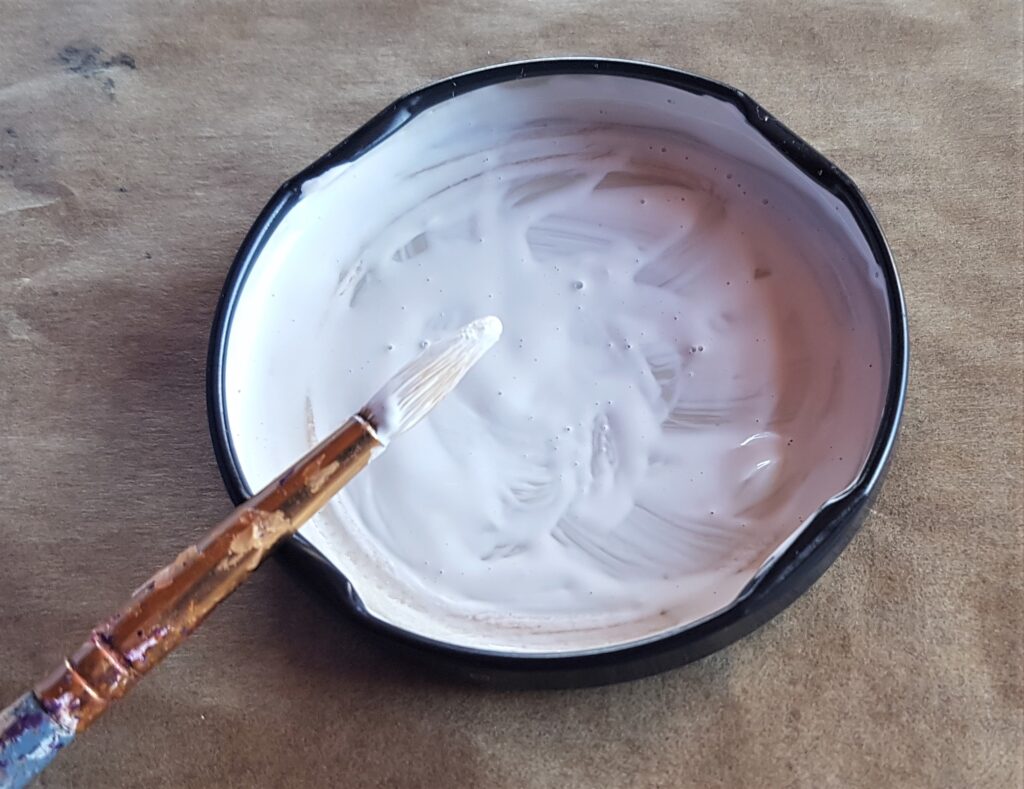
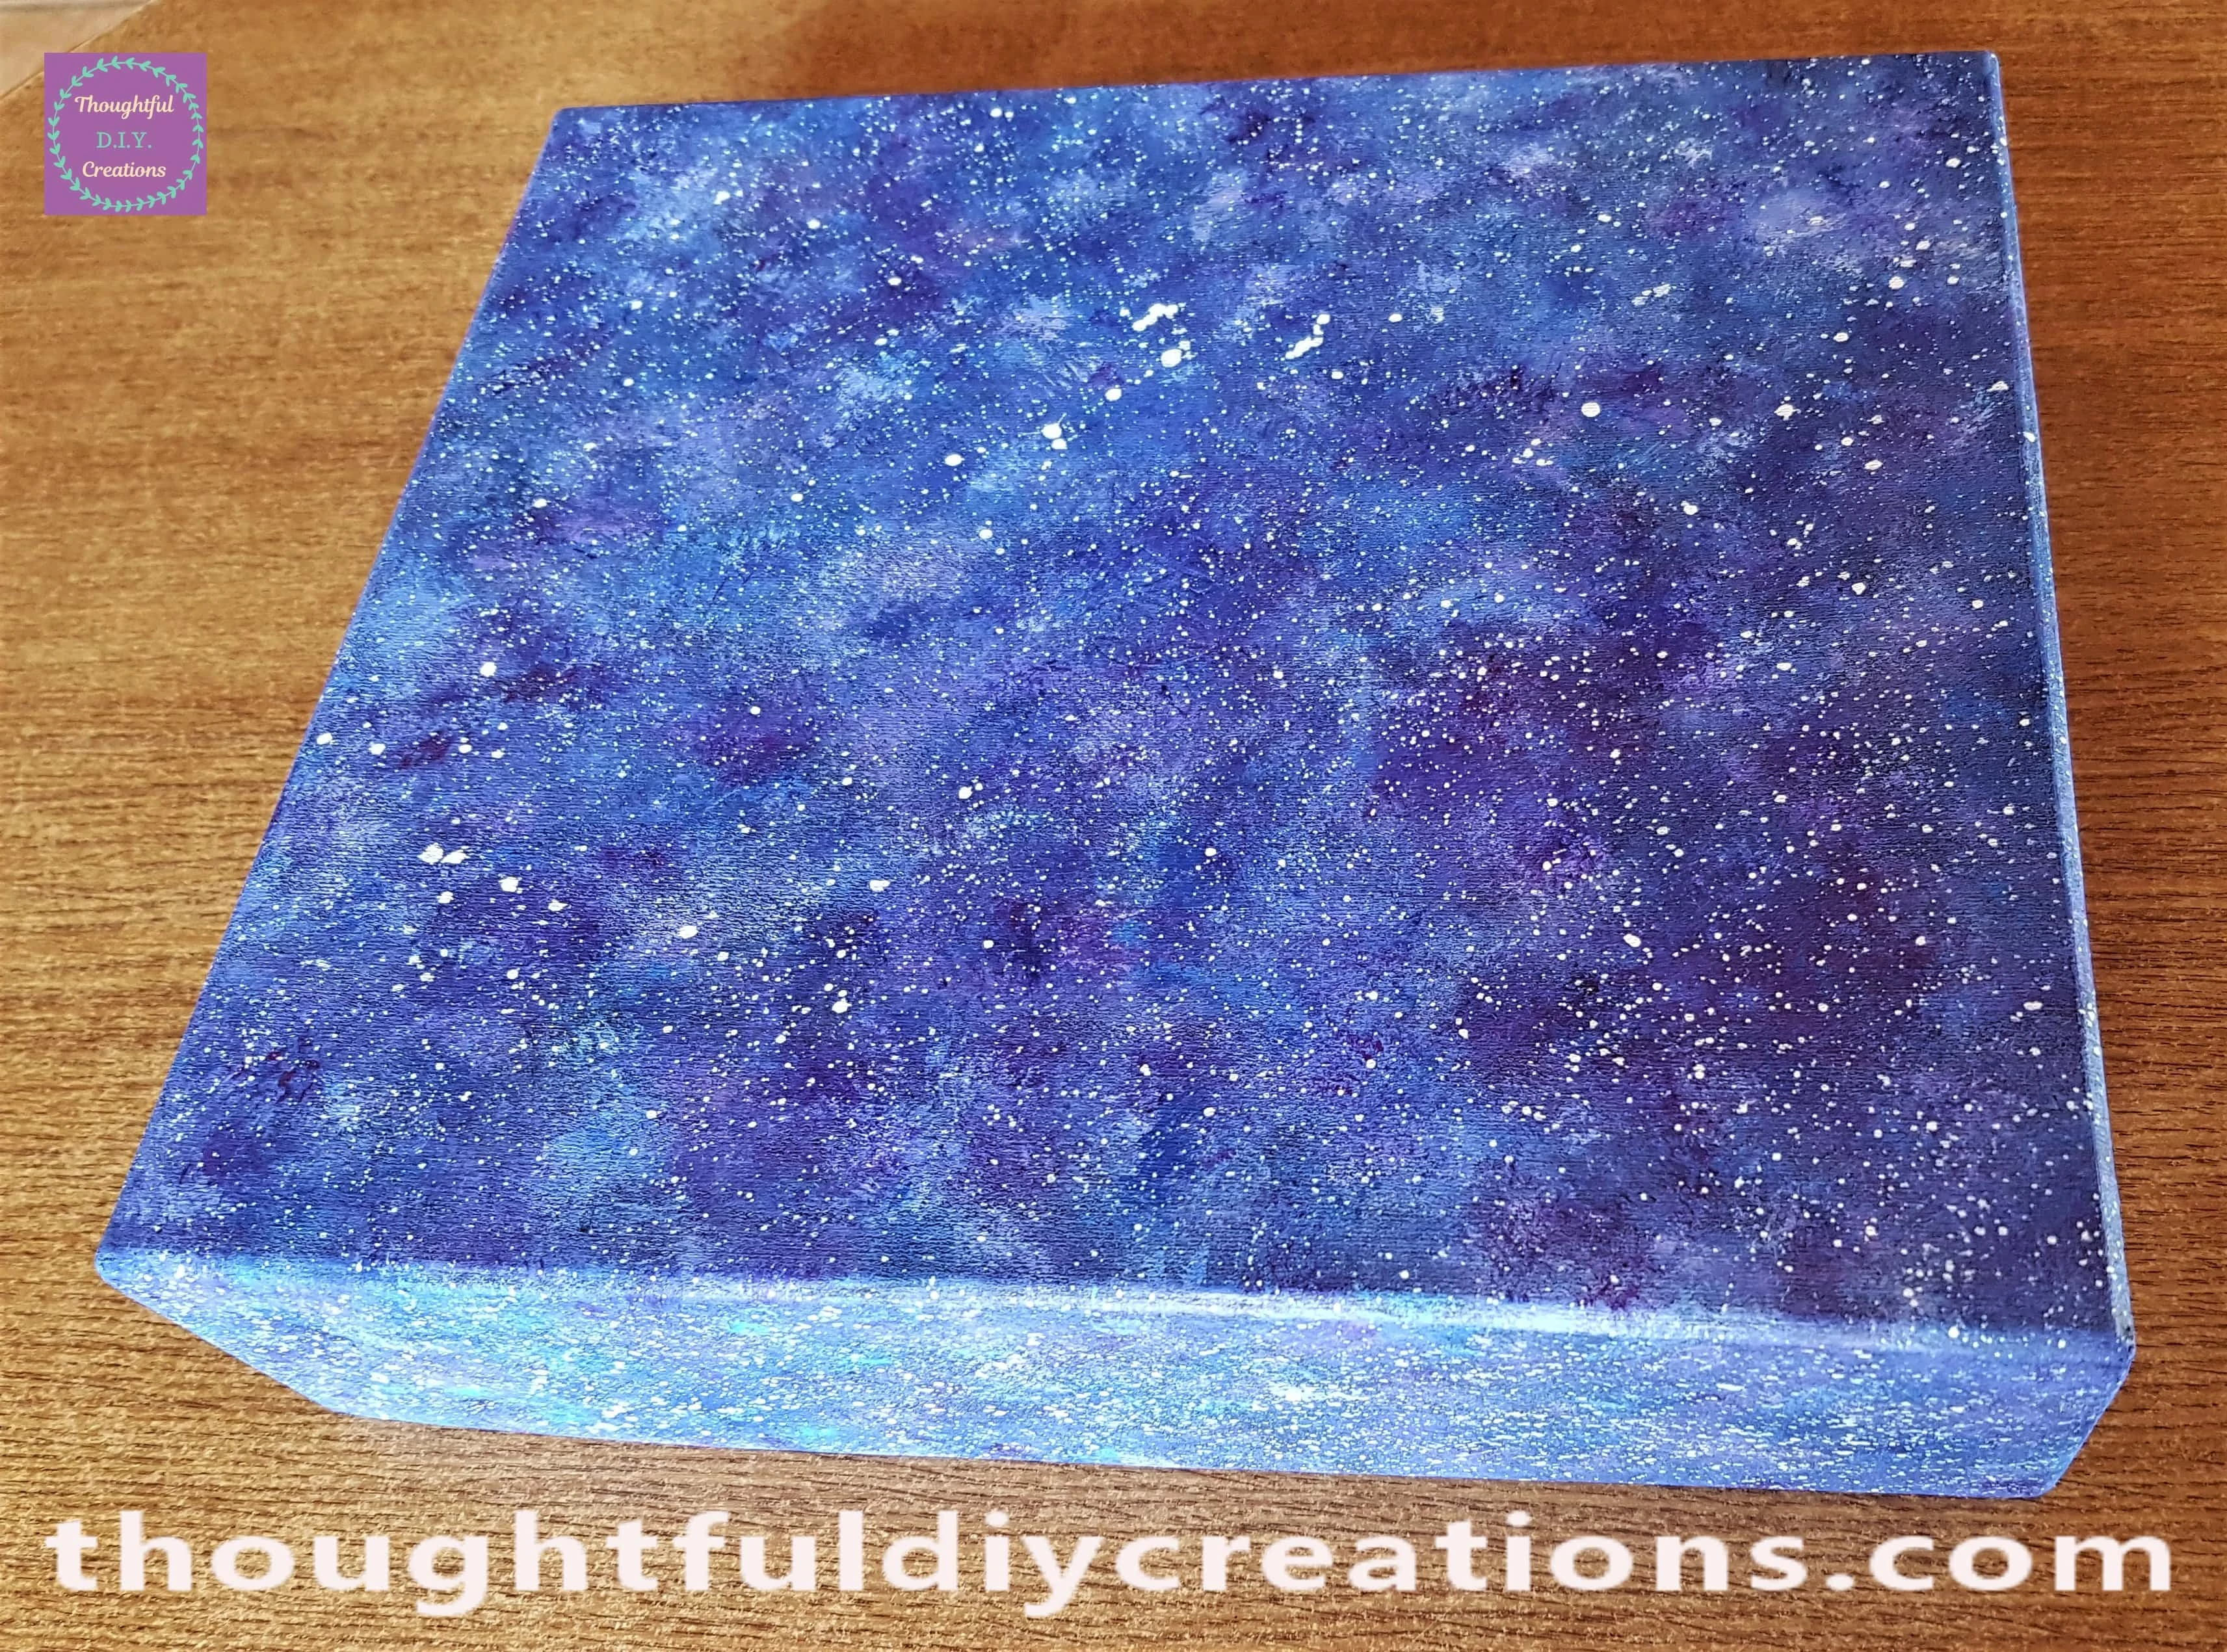
I held the end of the Paintbrush about 20 cm above the Galaxy Painted Box. I used the handle of another Paintbrush and tapped the top section of the Paintbrush with the Paint and Water mixture and let the white splatters land randomly on the Box.
I moved my arm around in the air above the box and tapped the paintbrush with the other one continuously to cover the Box with the Splatters making it appear like Stars. I covered the 4 sides and the bottom of the Box with the Paint Water mixture.
I worked in stages doing the bottom and then 2 sides at a time, allowing time to Air-Dry and then moving the Box and doing the other 2 sides.
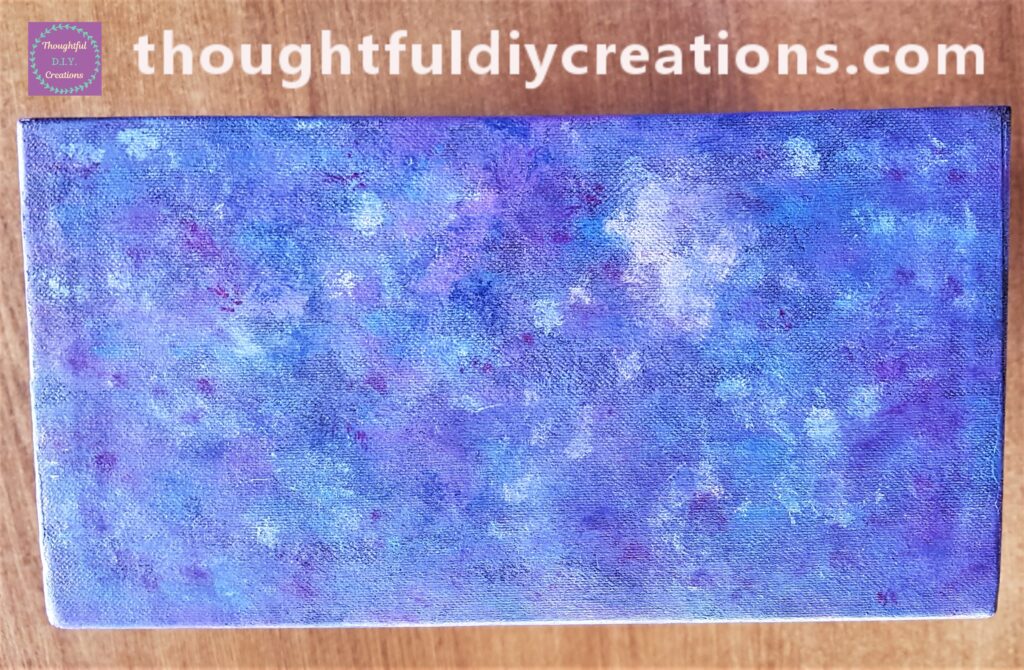
This is a close-up of one Side and the Bottom of the Box with Stars added.
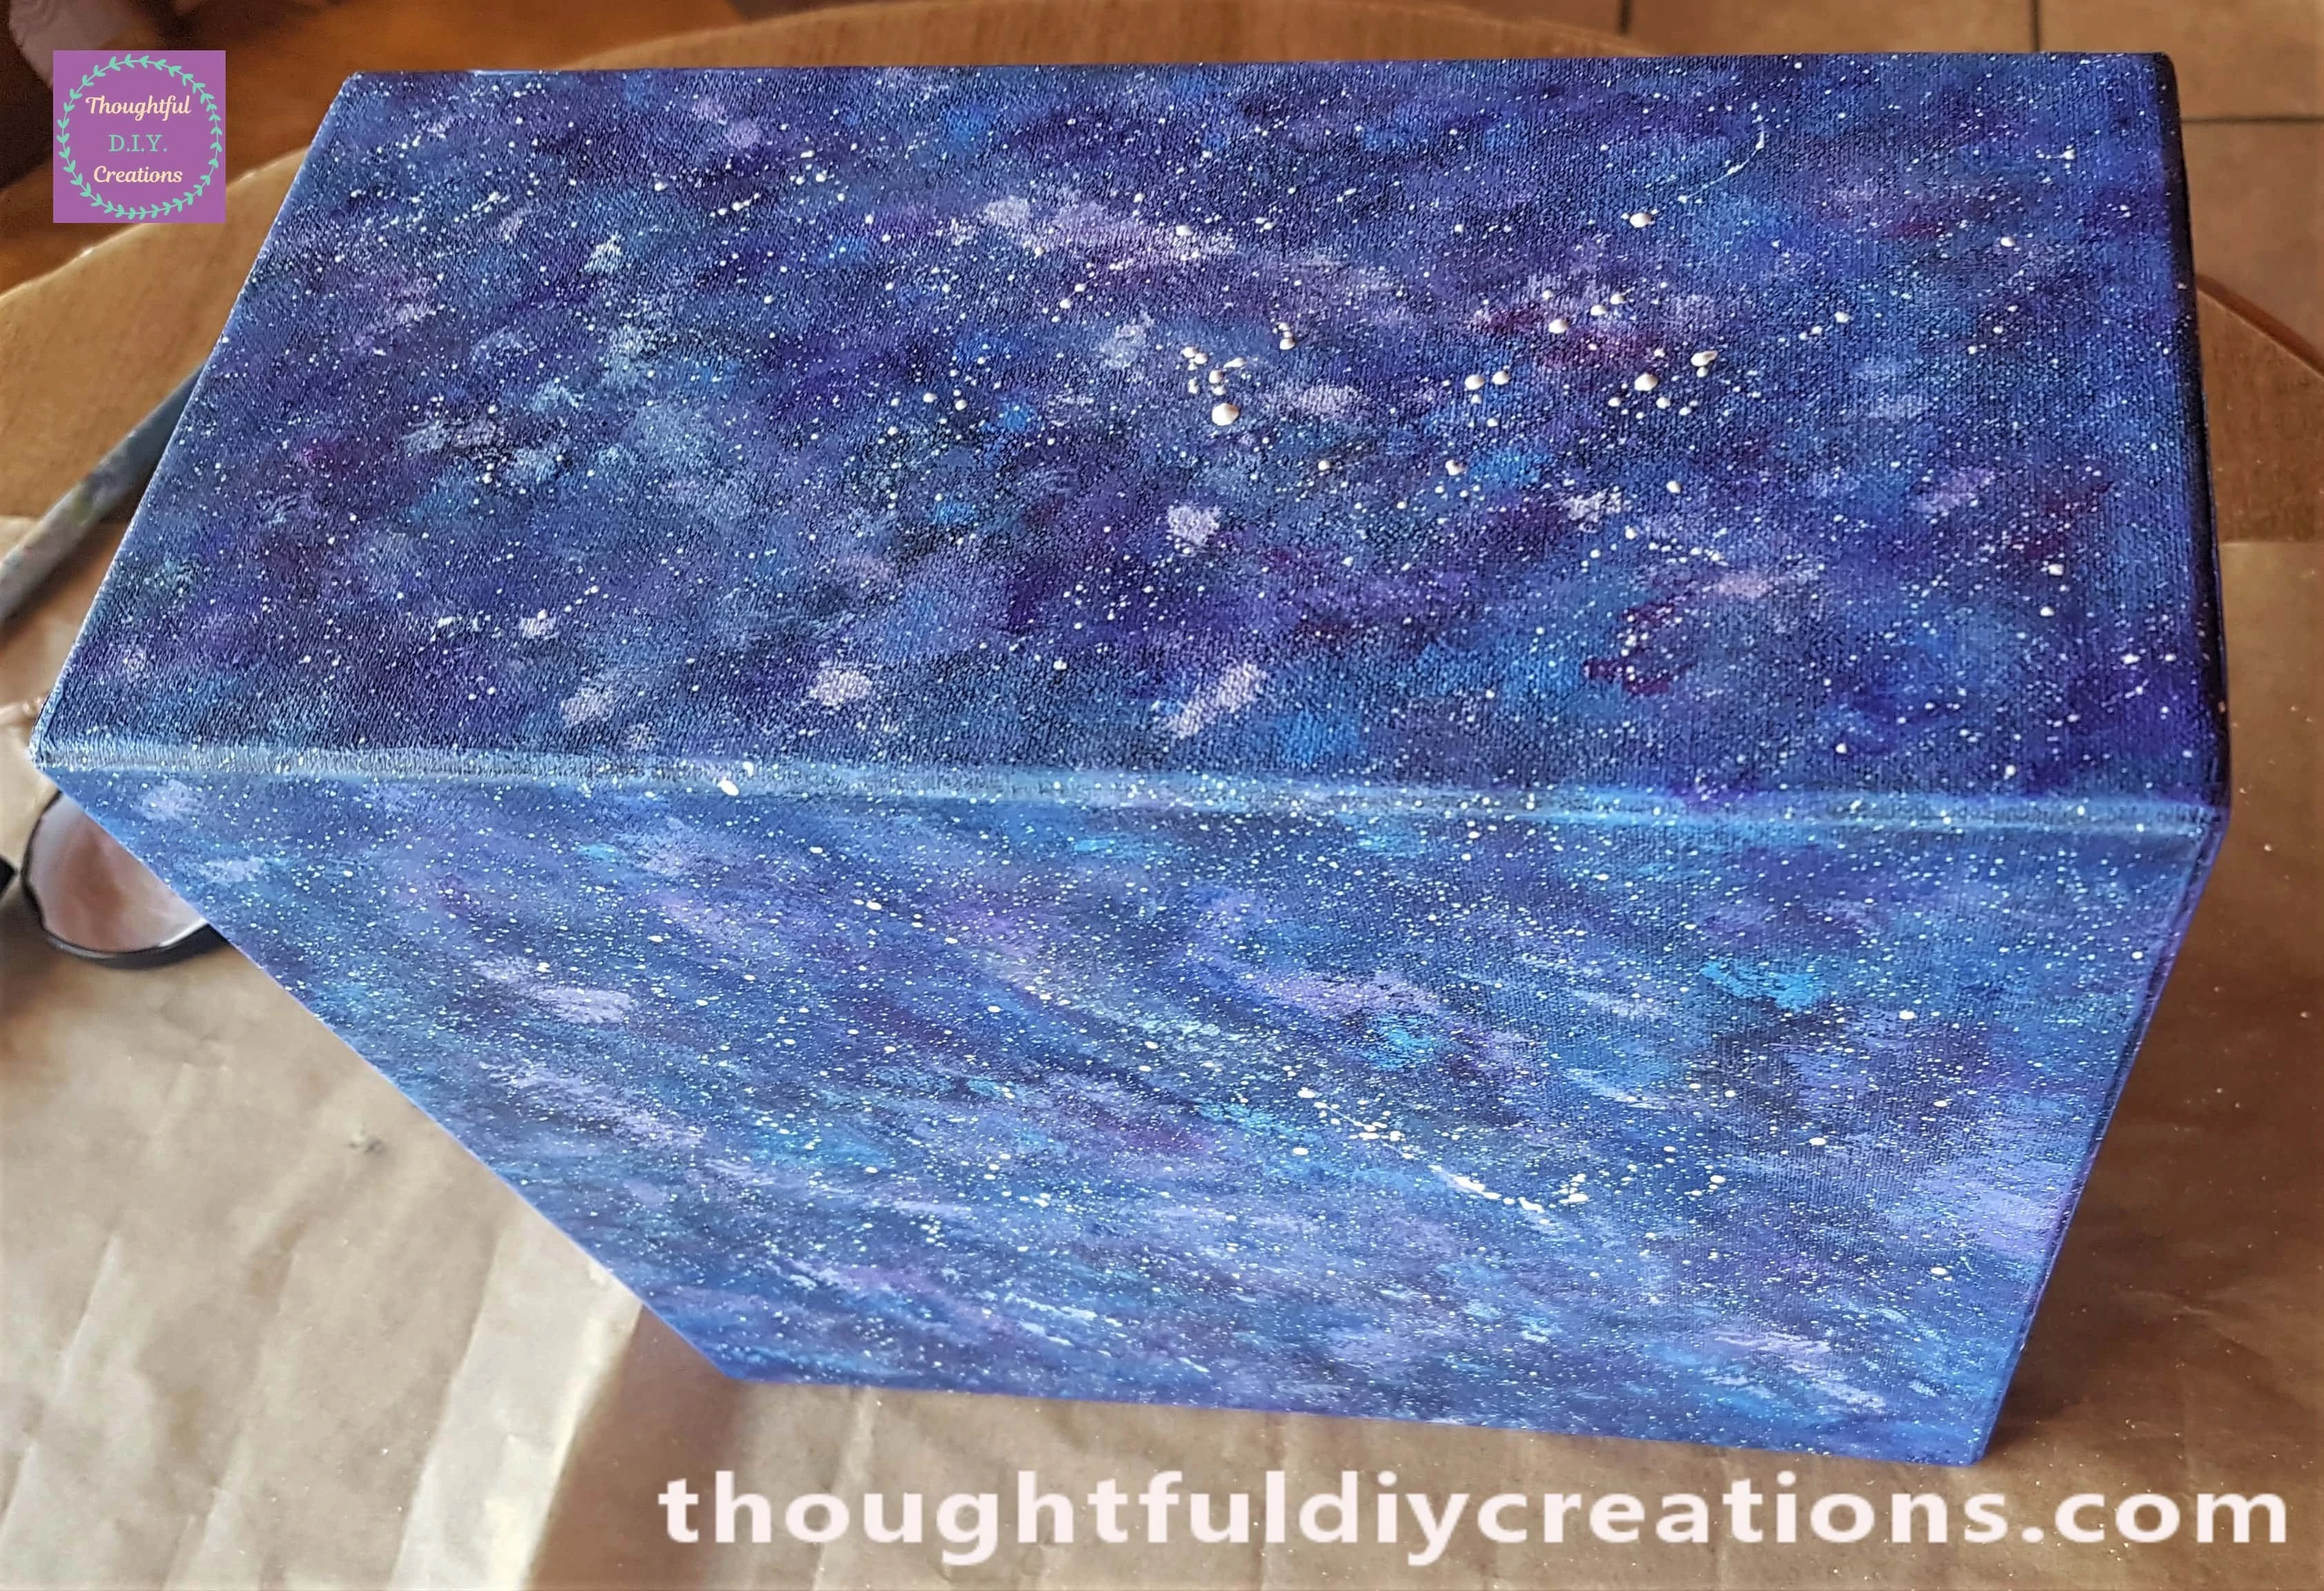
The White Splatters on the Bottom of the Box.
I added the Stars to the Lid in the same way.

A closer look at the top of the Lid.
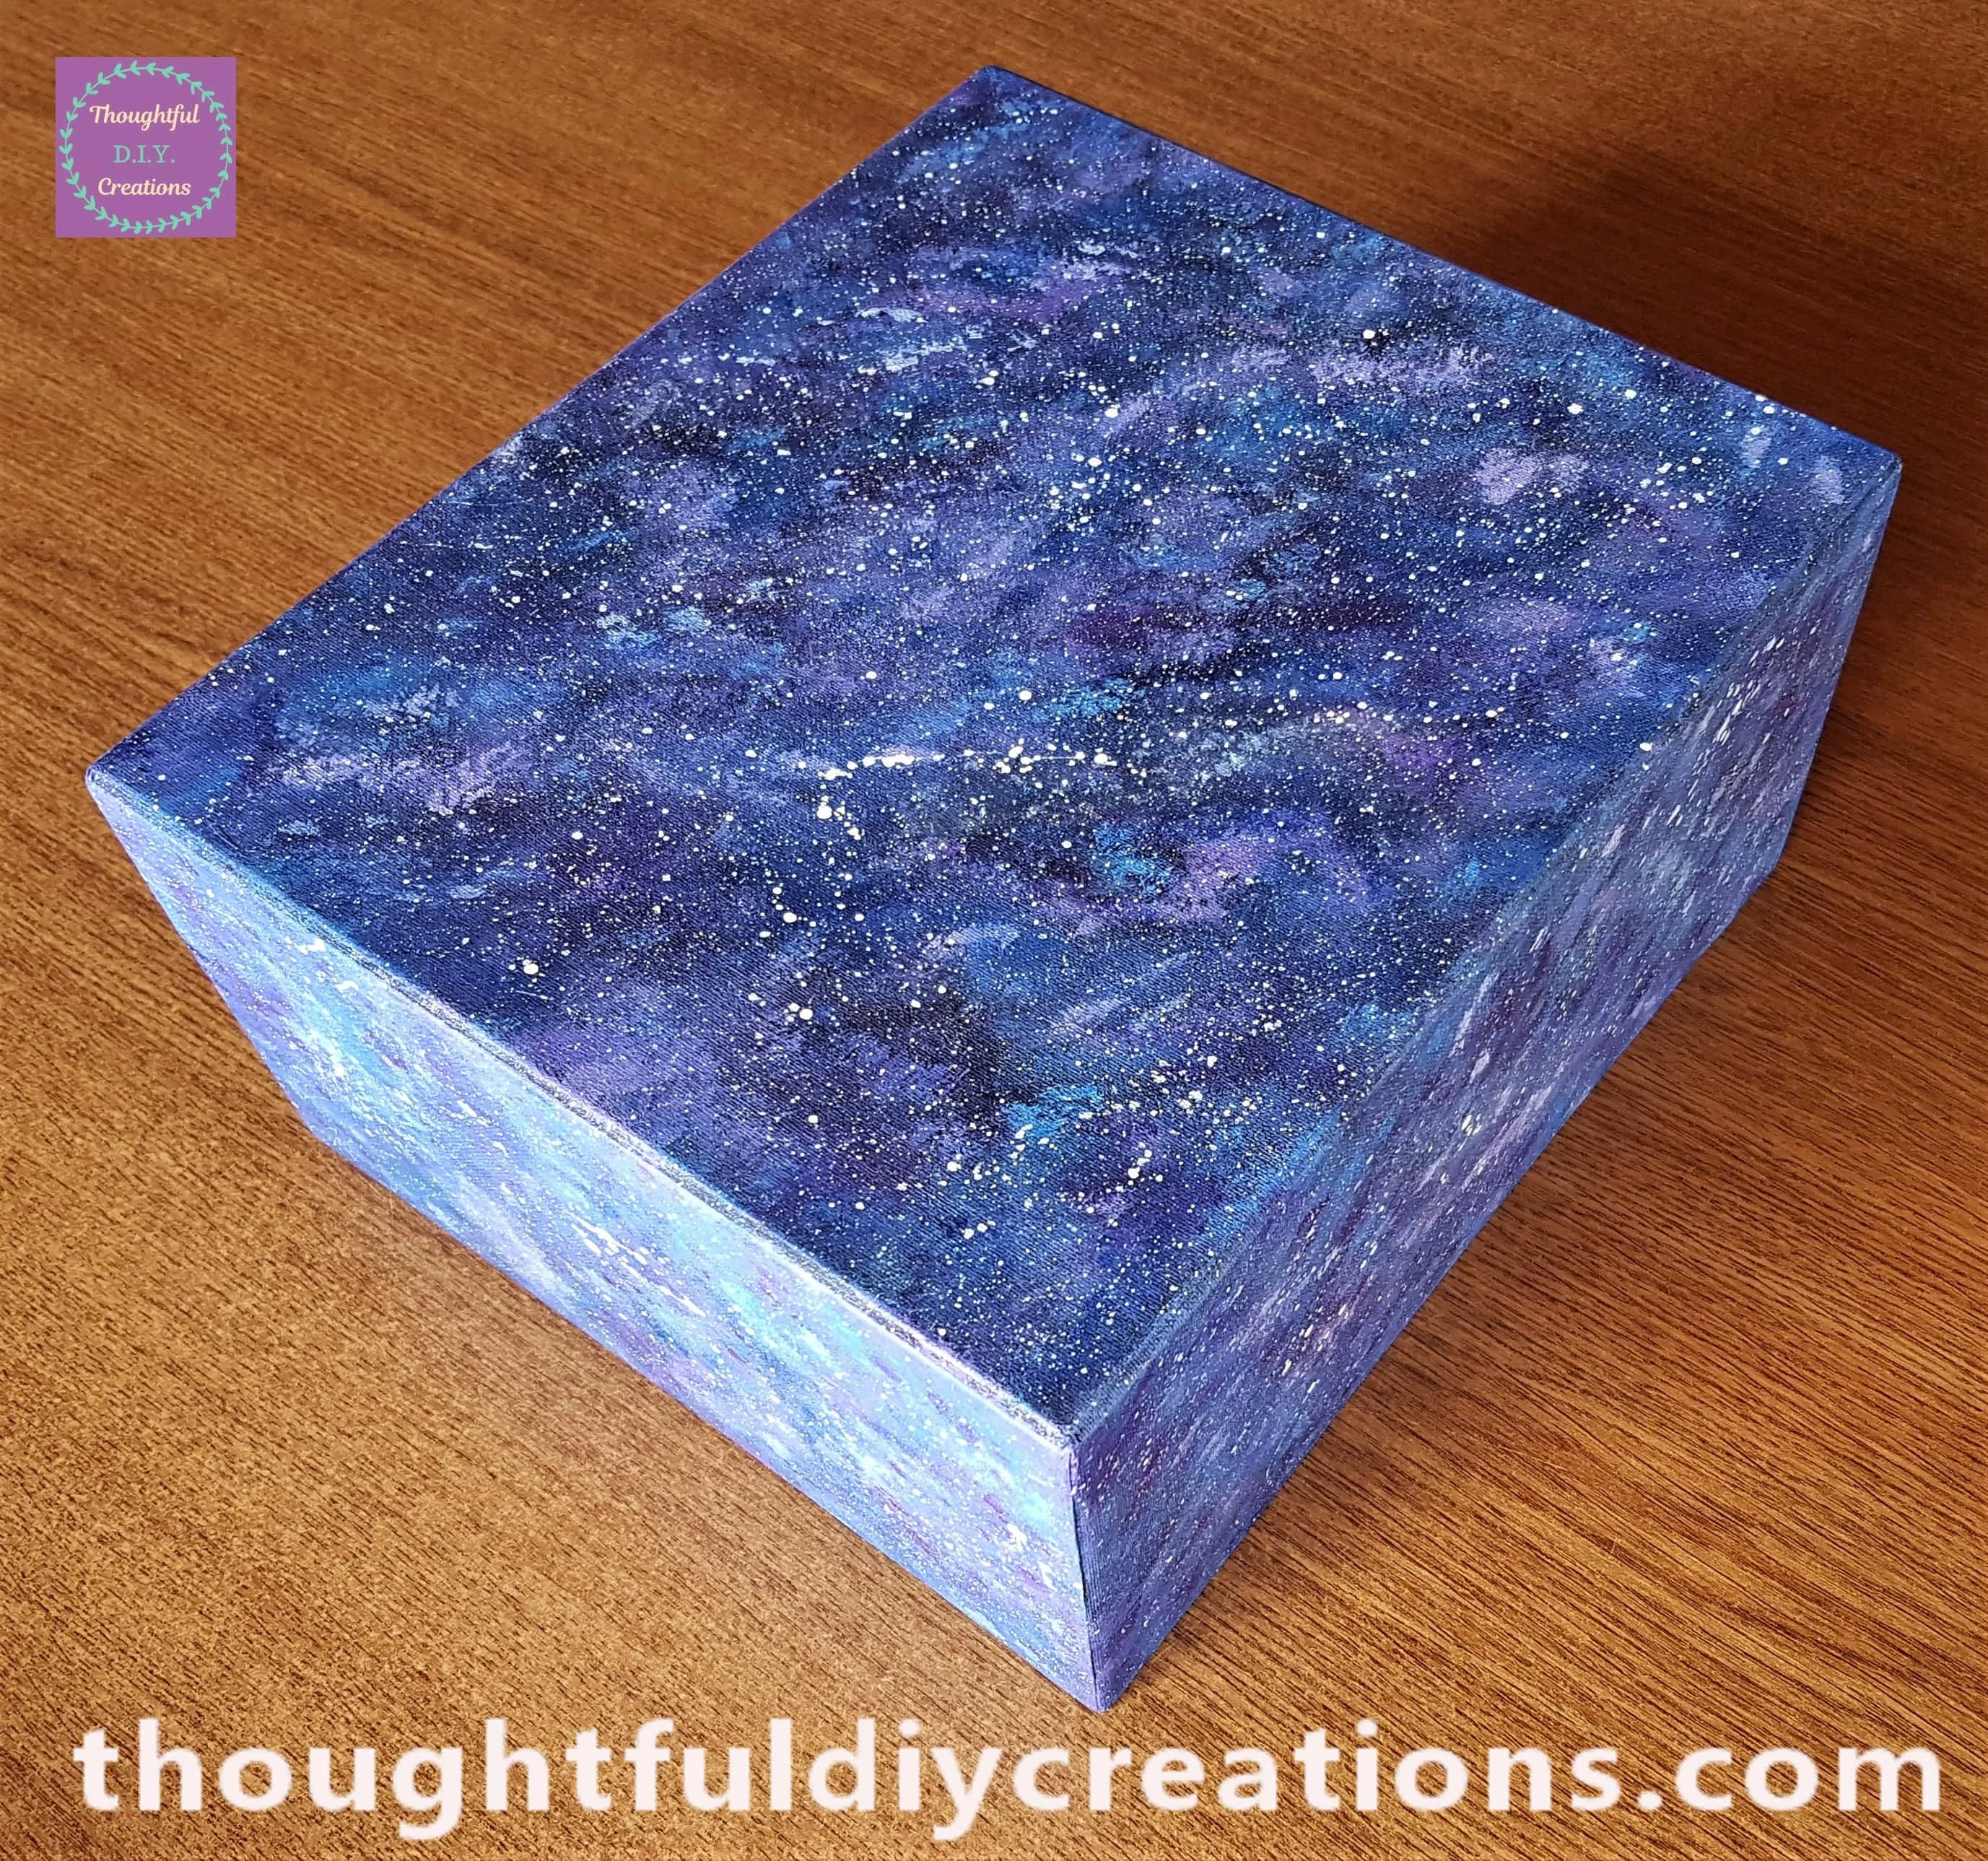
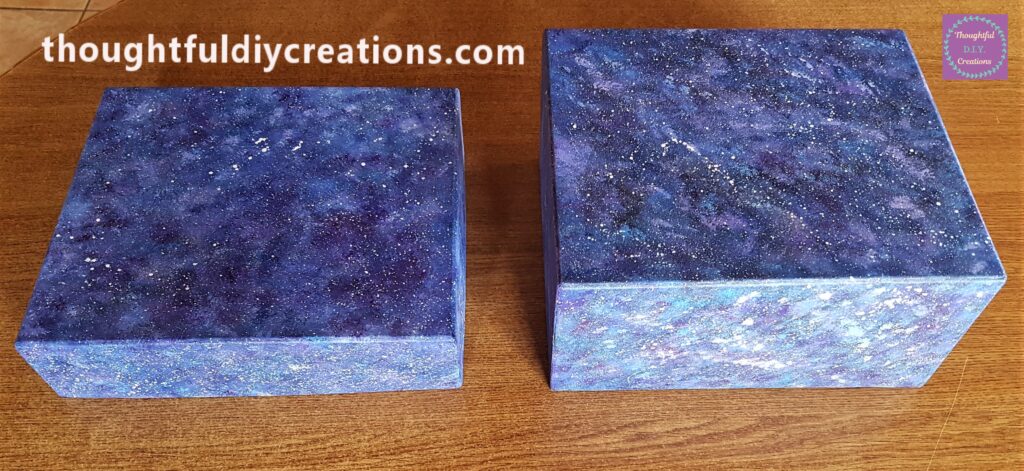
The Lid beside the Box with White Splatters added to every side of each piece.
Finishing Touches to the Galaxy Box
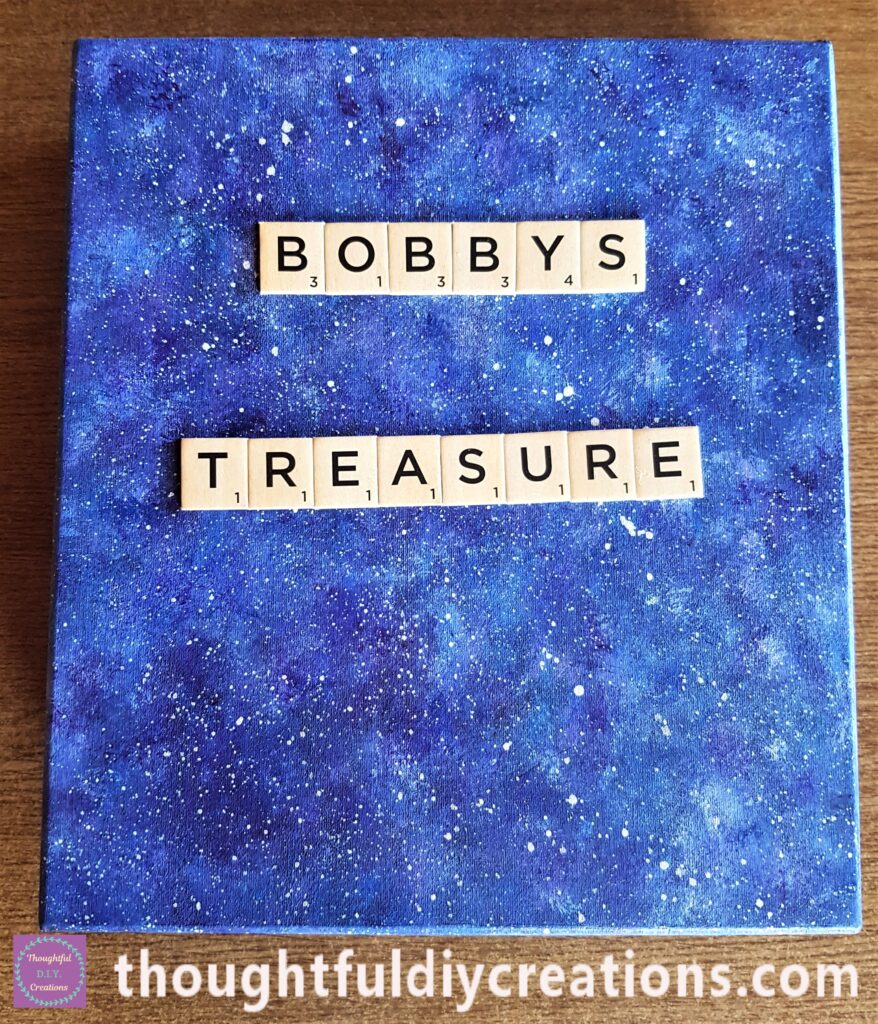
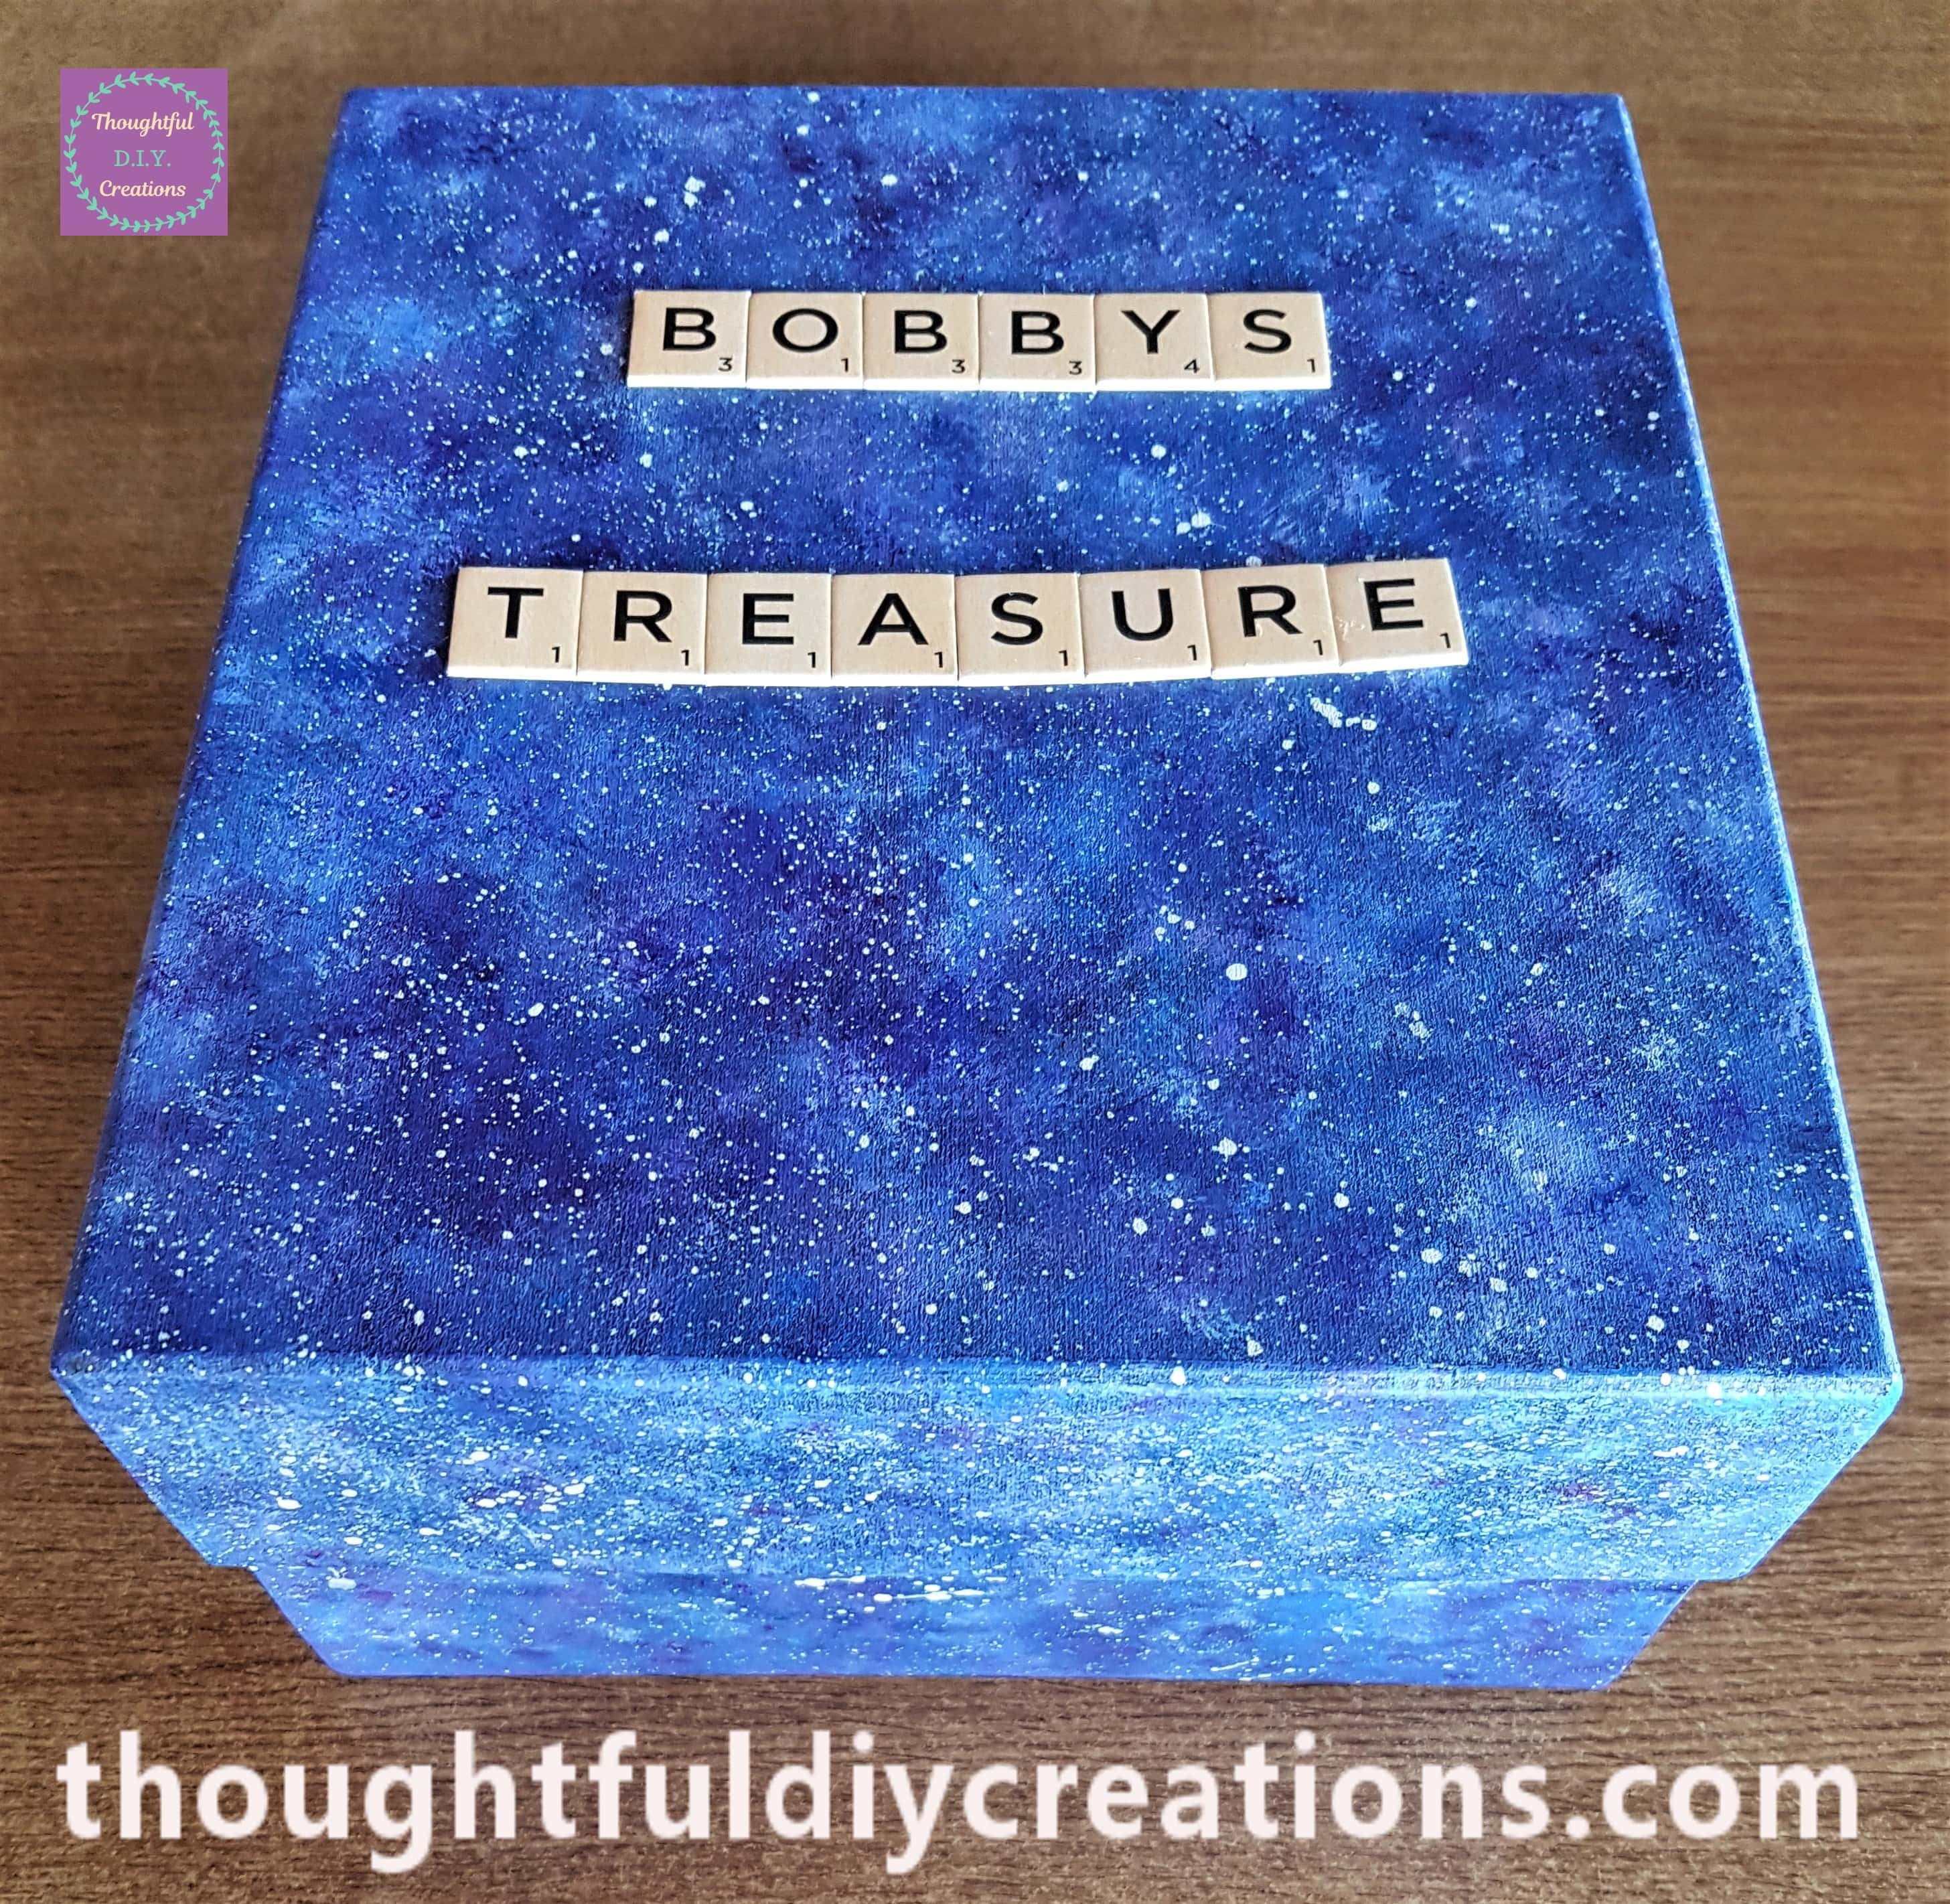
I got my Pack of ‘Scrabble Tile Letters’ and spelled out the words ‘Bobby’s Treasure’.

I attached each Tile Letter onto the front of the Galaxy Lid. I used ‘Matte Super Heavy Gel’ Glue and a Paintbrush to attach each letter.
A side angle of the Lid after the Scrabble Letters were attached.
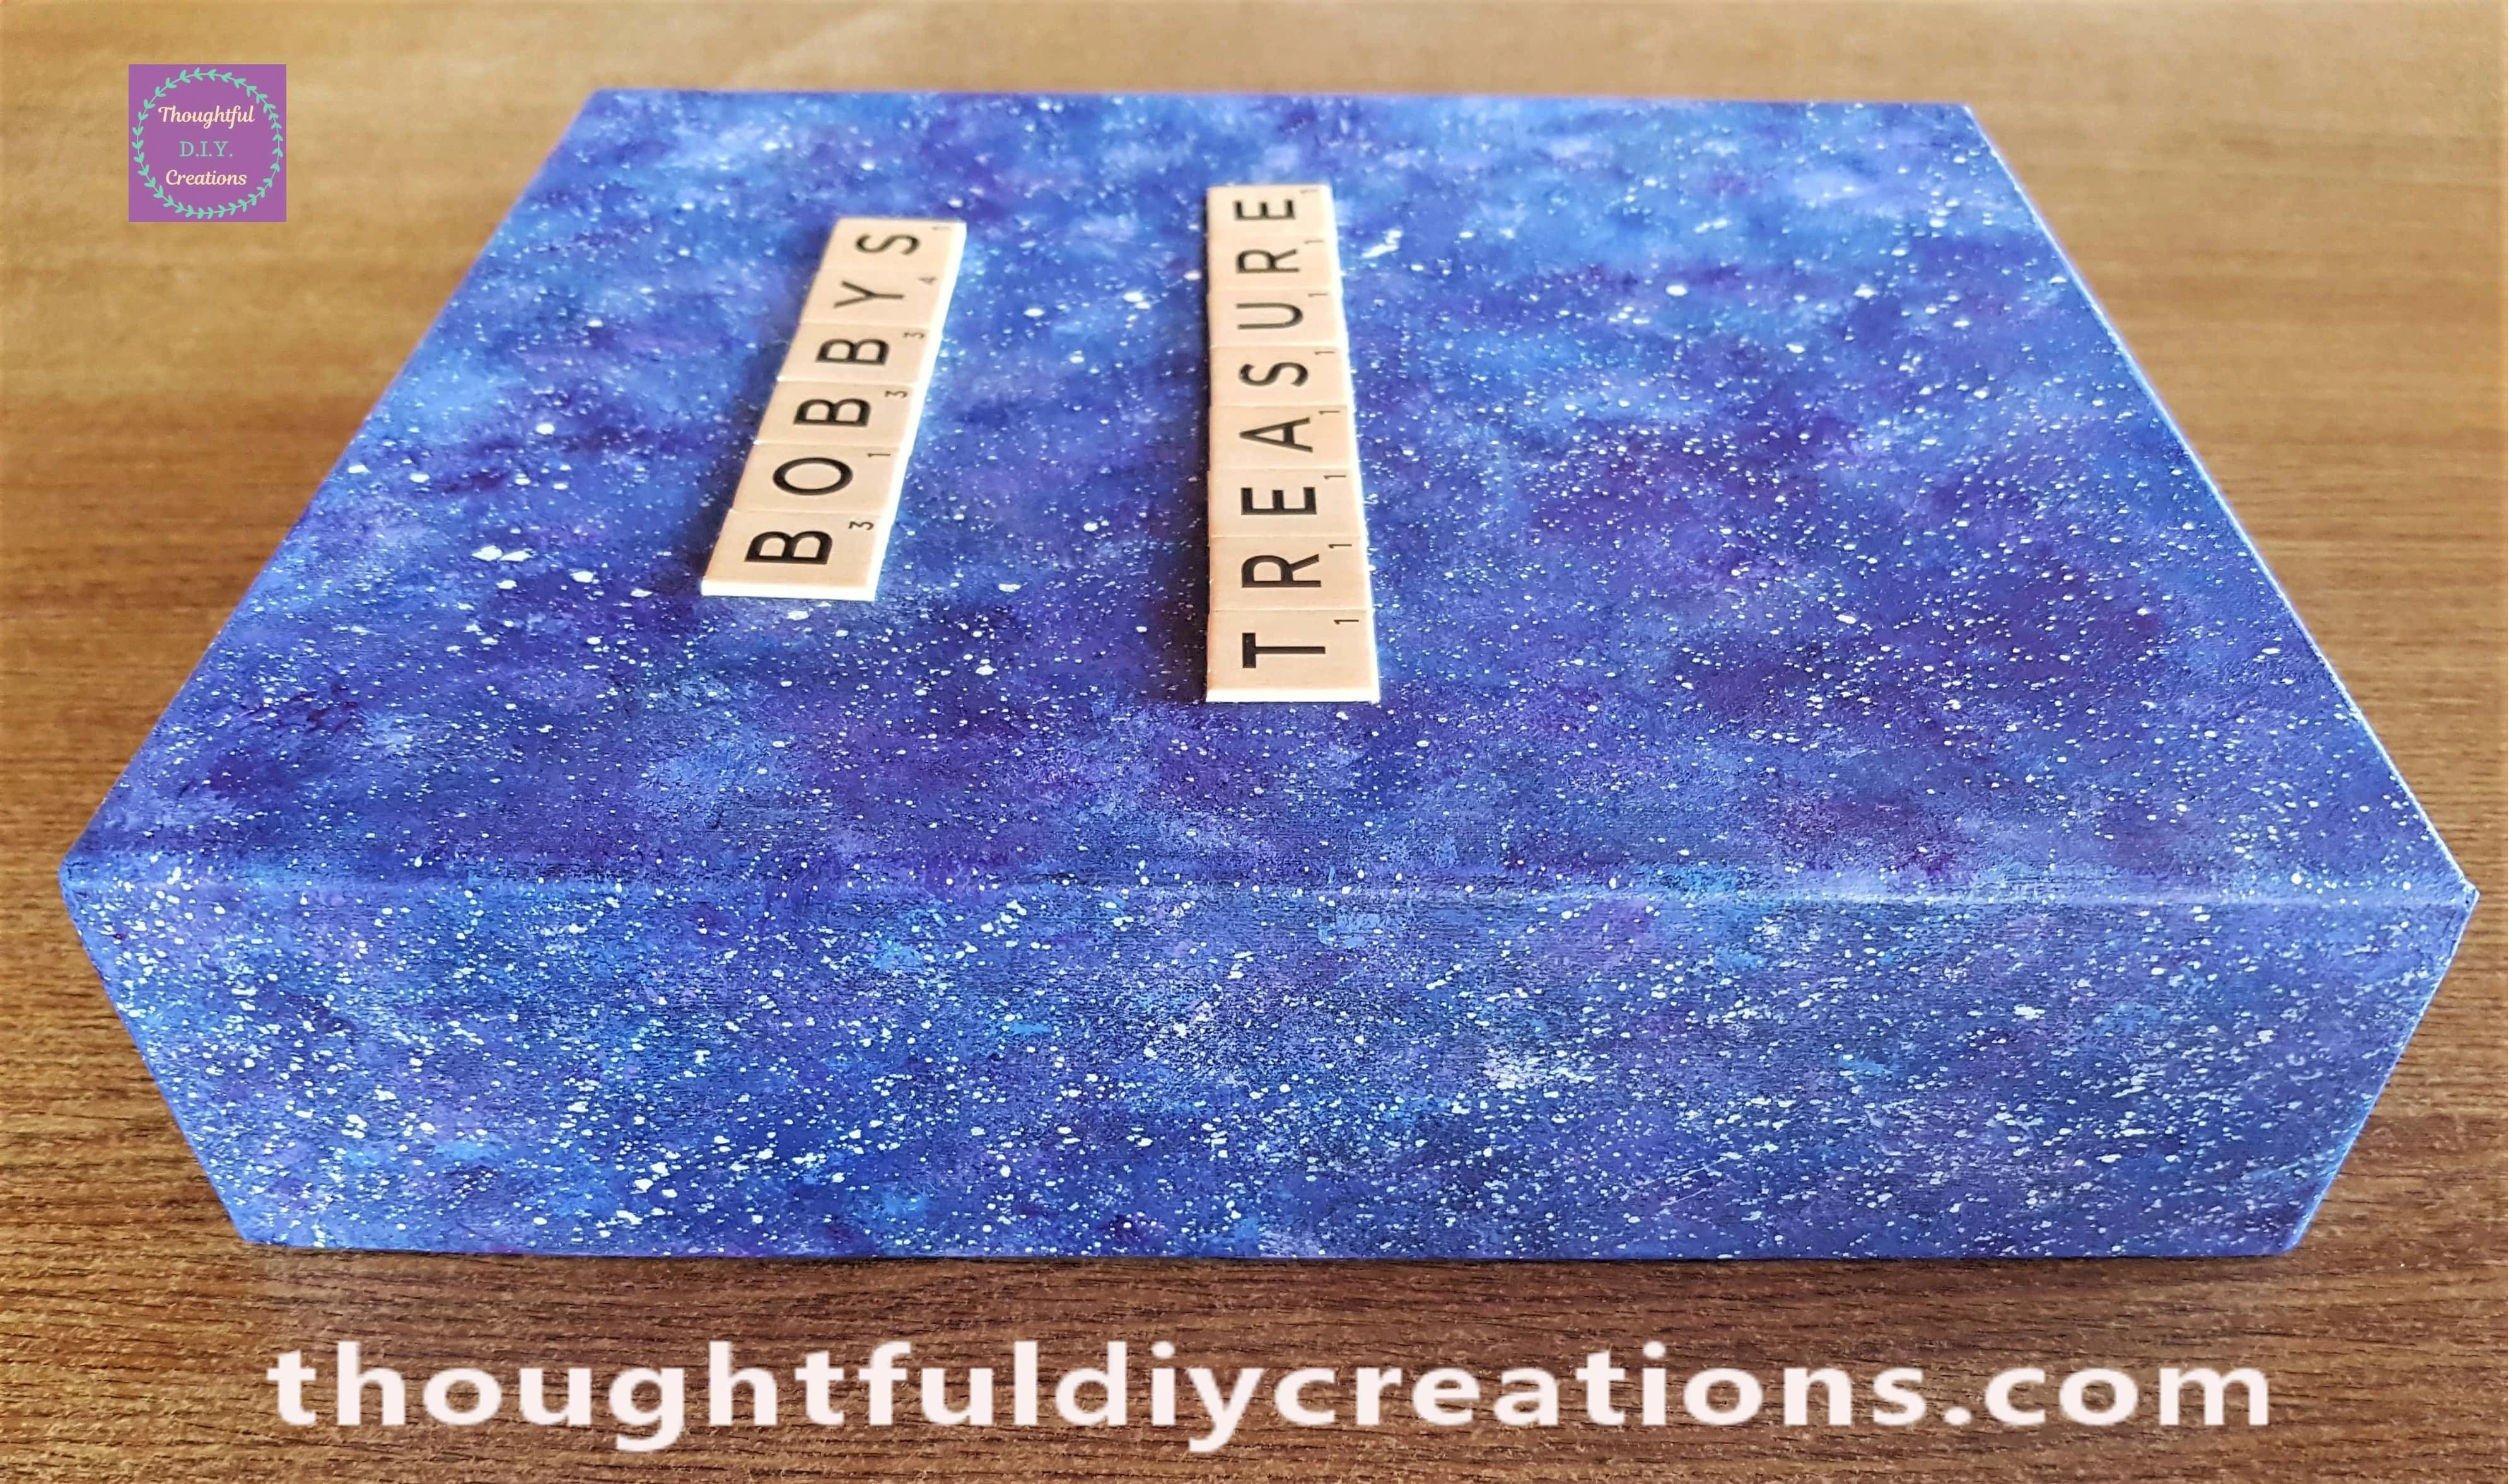
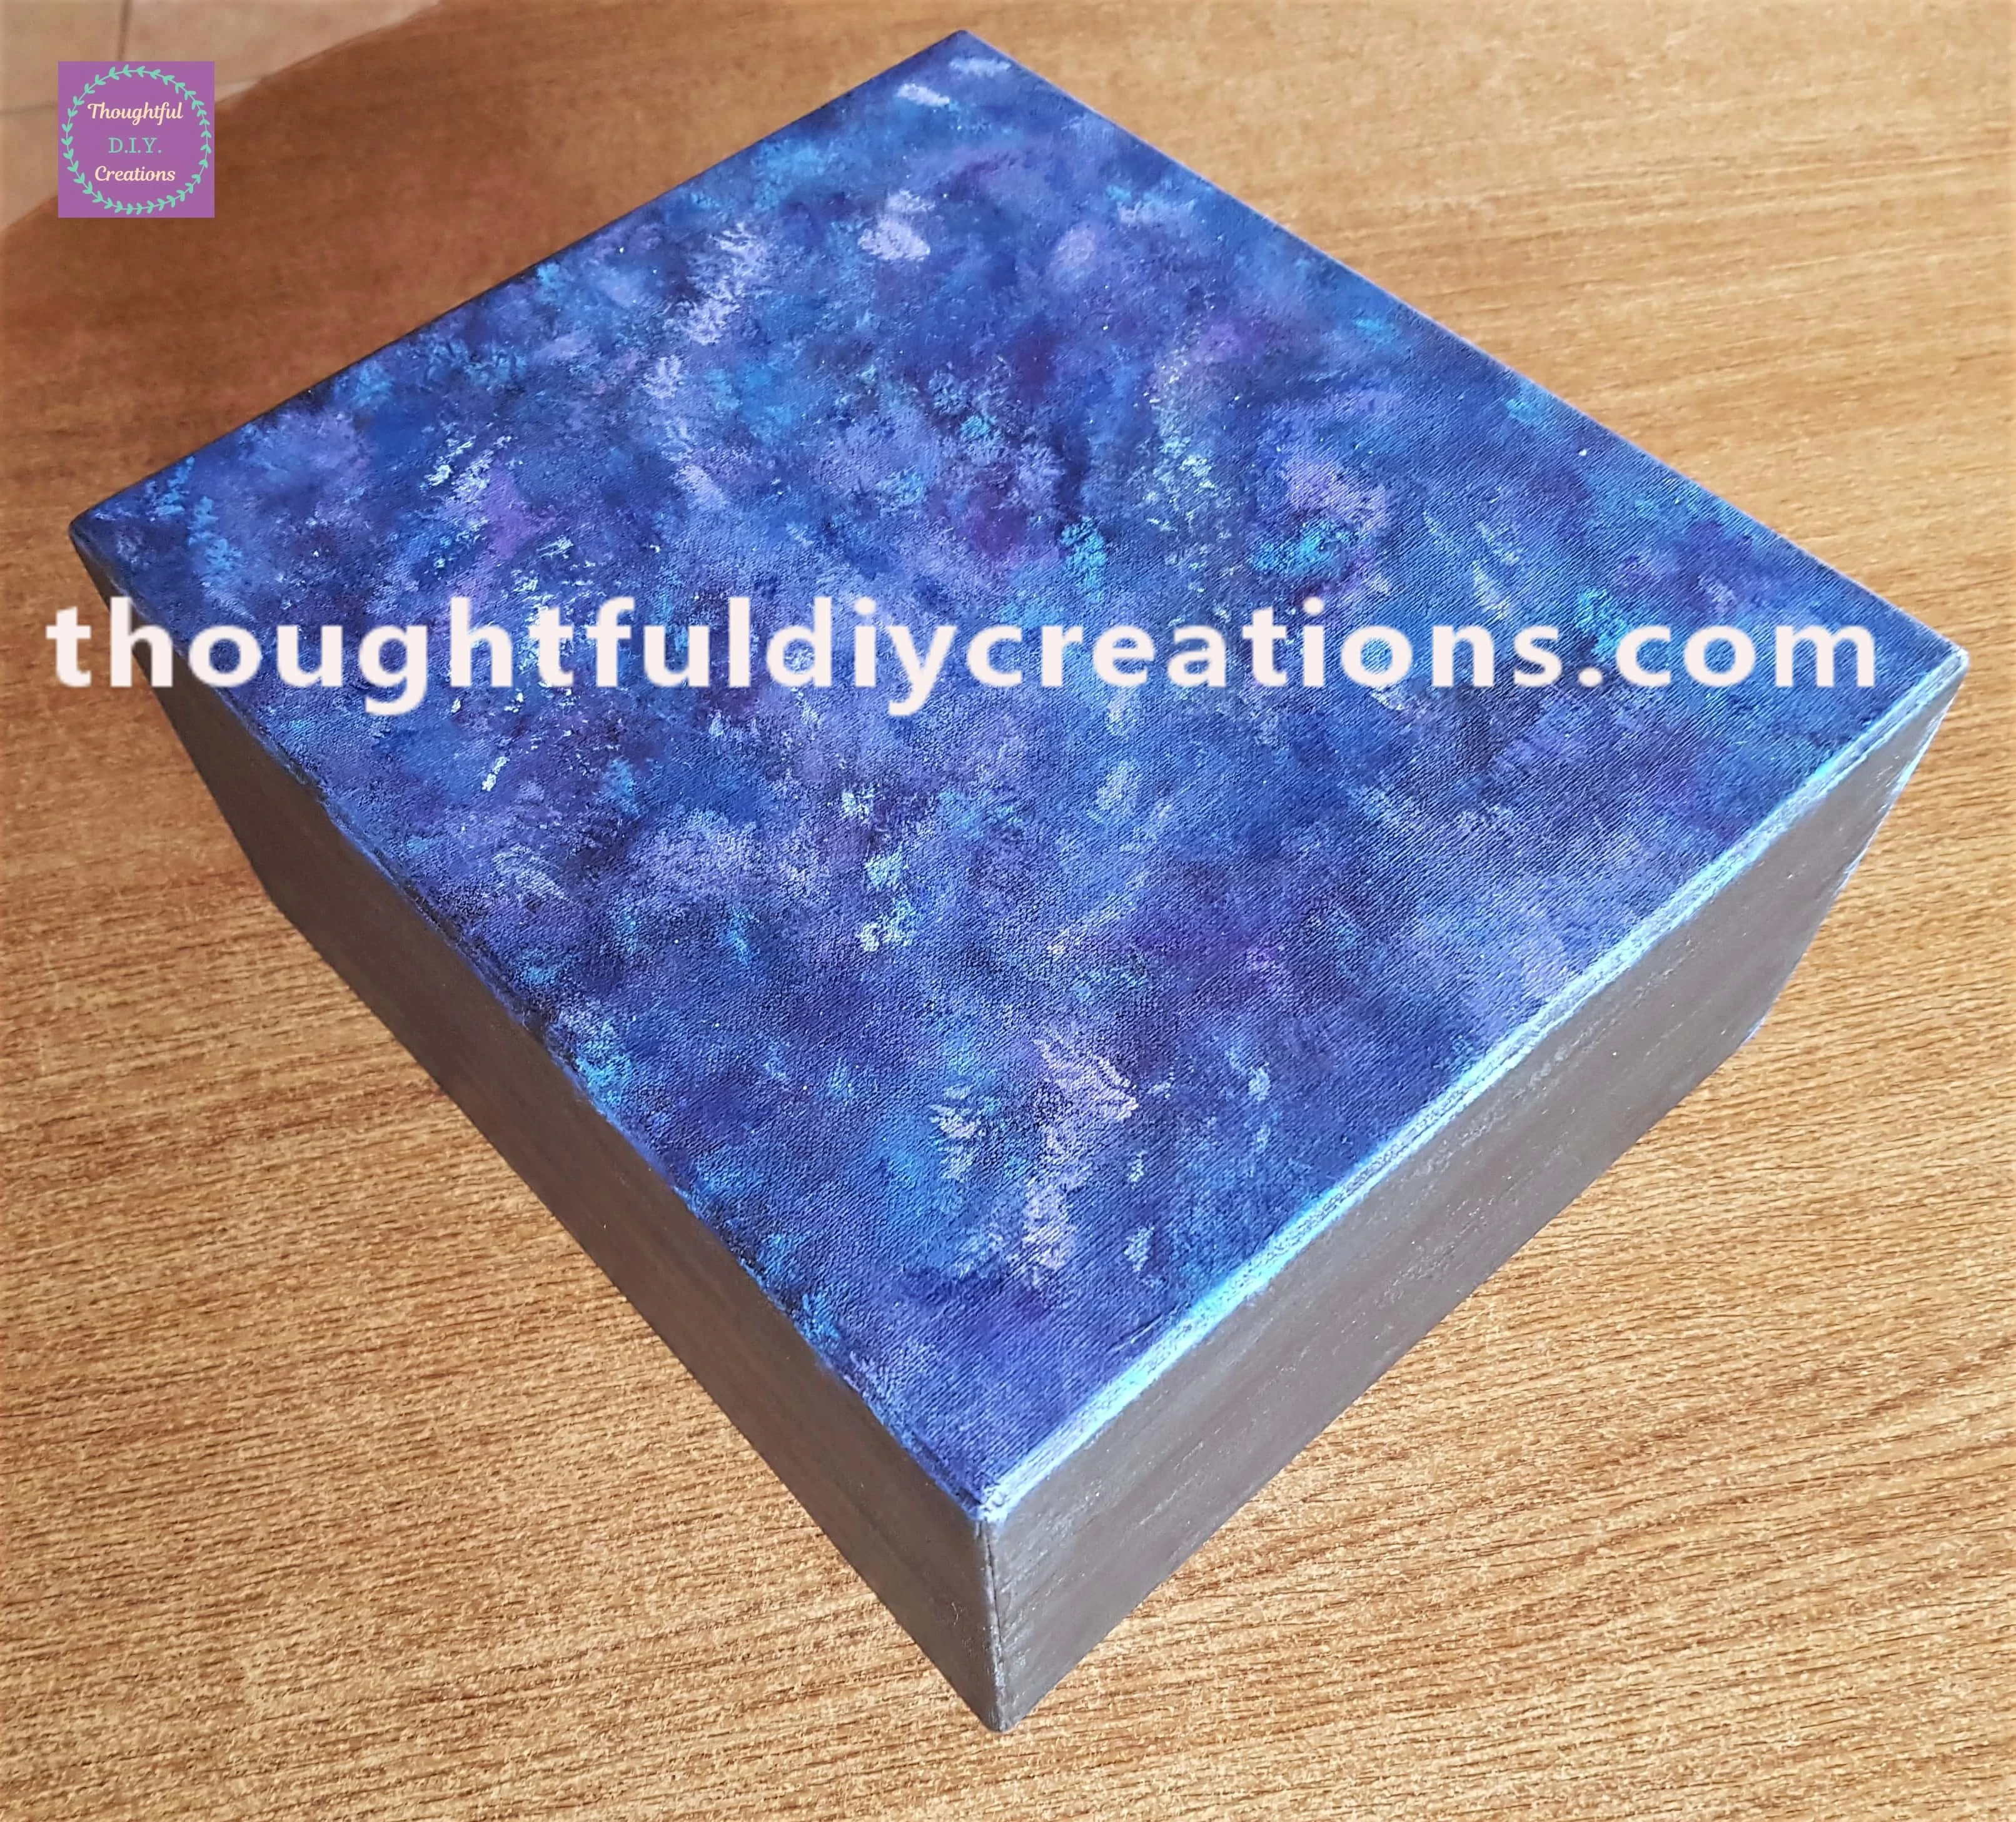
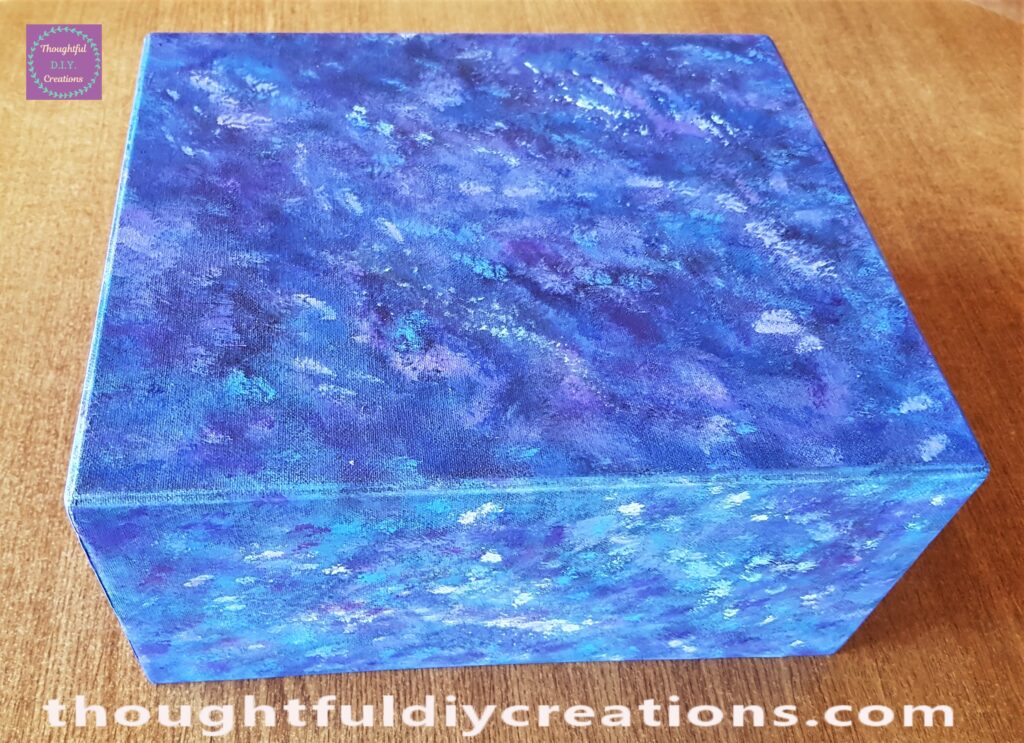
This Completed the Galaxy Painted Box.
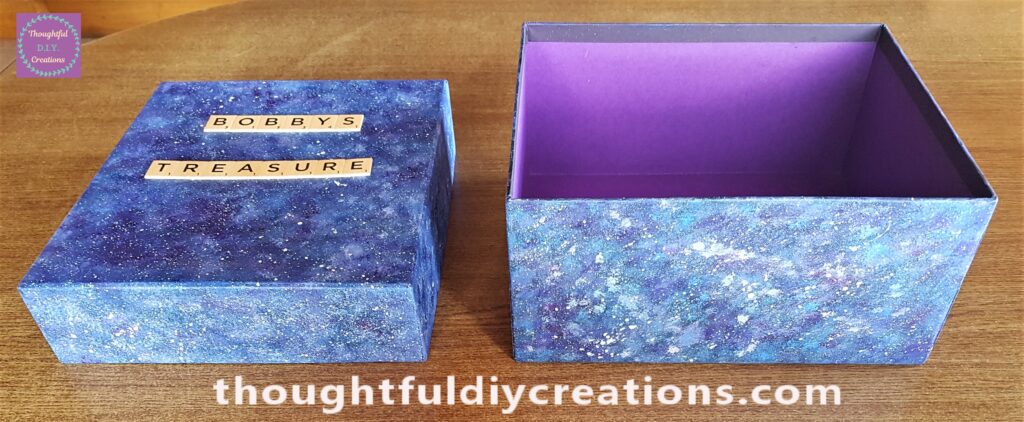
The front of the lid and the bottom of the box.

The Lid placed onto the Box.

A closer view of the side of the Lid and Box.

Conclusion
I was delighted with how the Galaxy Box turned out. I never Painted a Galaxy before and I’m really happy with my effort. I wasn’t sure at first if it resembled a Galaxy but I persevered and the more sides I completed the more it came together. I think the white splatters really finished it off and was the perfect final touch.
It took a few days to complete as each side needed to be finished before moving on to the next side. I think the final outcome was worth it though especially as the Box can be used to Collect or Hold Personal Items or Mementos. It can be put on Display and used for years to come.
I hope this Tutorial was helpful if you were curious on how to Paint a Galaxy. I love how Magical a Galaxy looks with all the beautiful colours. This Tutorial can be done on a Canvas, Wooden Box, or a Hardback Journal. I hope it inspires you to try it out on whichever base is right for you.
Here are some more Tutorials if you want more inspiration on Personalised Gifts: Personalised Frame, Personalised Bottle, Personalised Canvas.
Thank You so much for taking the time to Read my Blog.
Always Grateful,
T.D.C.
xoxox