Gift Box Tutorial
Hello my Creative Friends,
I hope you are all Well. In Today’s Tutorial I will show you How I made a Gift Box. It is a Quick, Easy Craft and only requires a Couple of Materials. I hope it Inspires you to Make one for Yourself or to Gift to your Family, Friends, Neighbours or a Teacher. I have Images below of Examples of what can Fit Inside this Handmade Box.
Paper Pad for my Gift Box
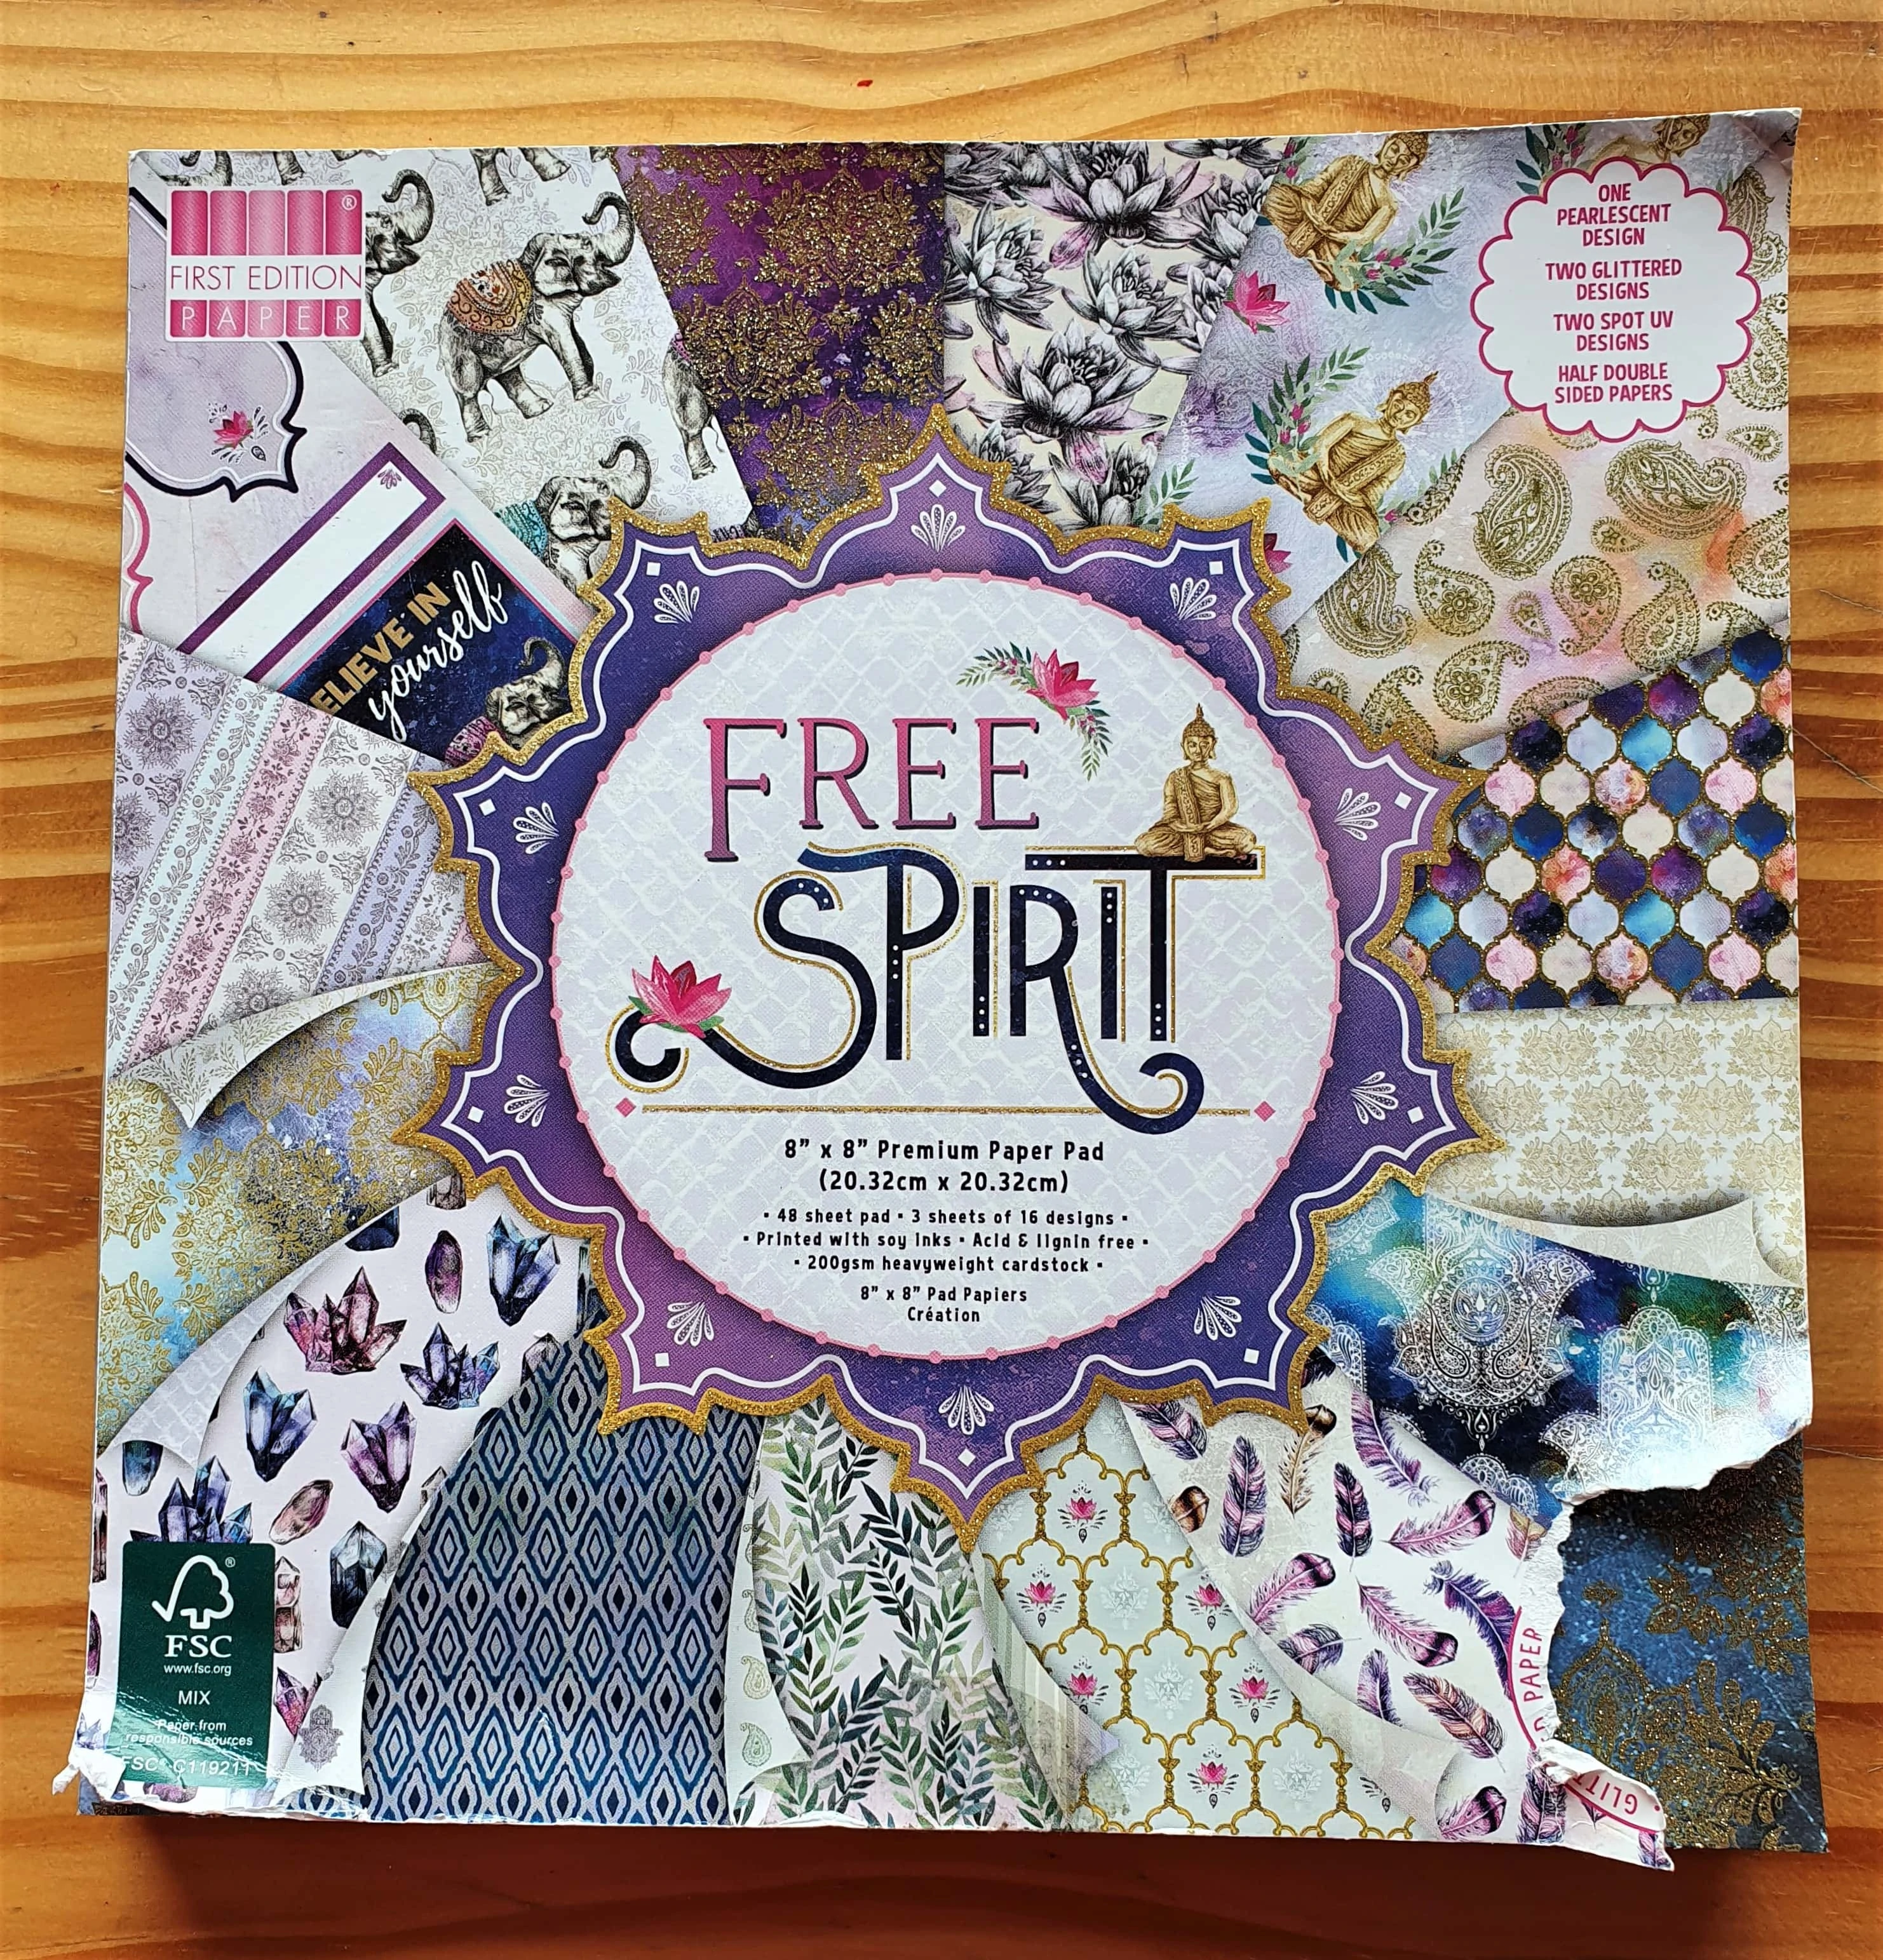
I got my ‘Free Spirit’ 8″ x 8″ 200gsm Paper Pad.
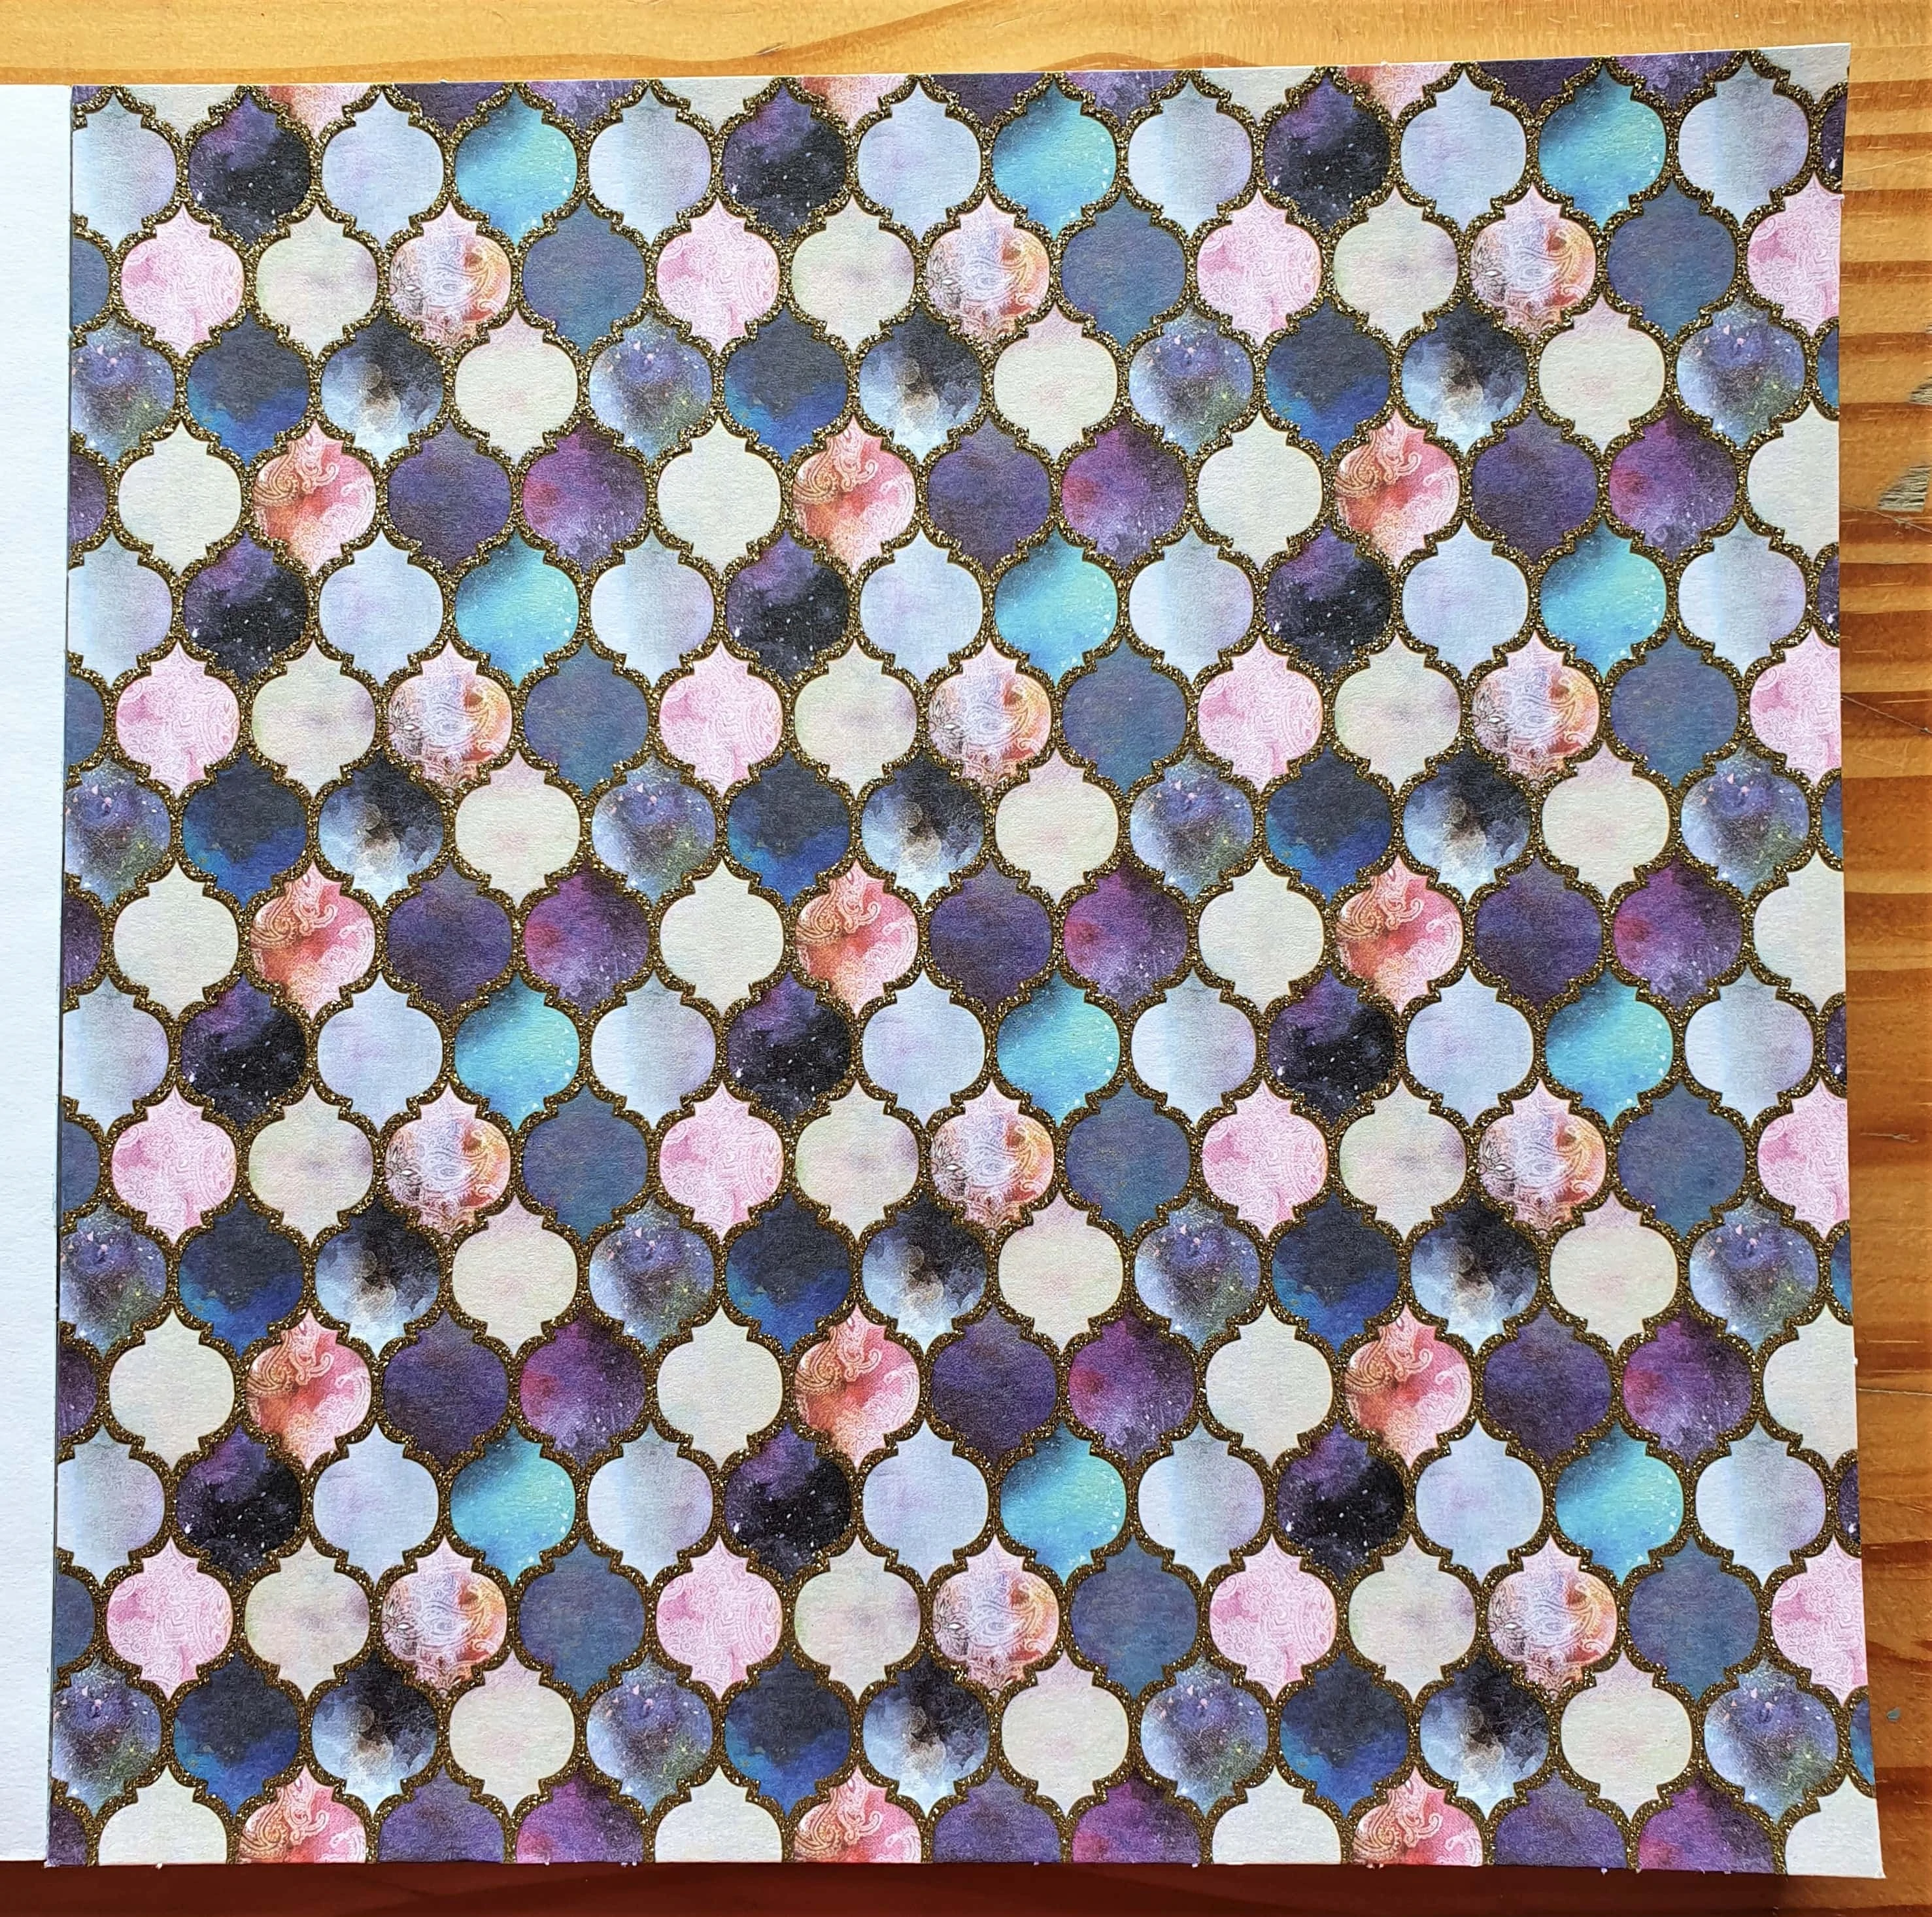
I Chose this beautiful Page to Make my Gift Box.
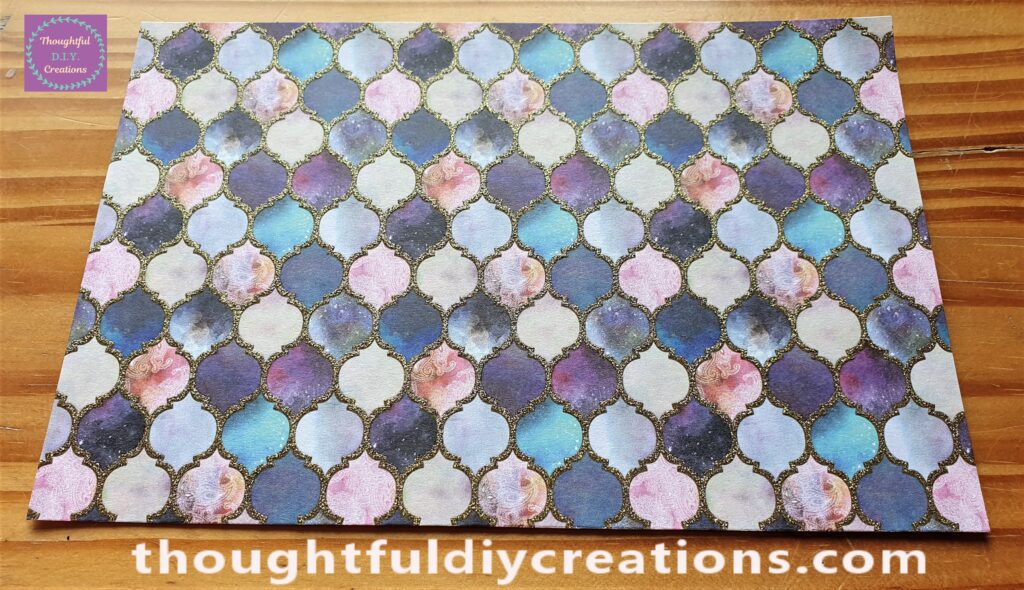
I Cut the Paper at 7 and 3/4″ in Length and 5 and 1/4″ in Width. Here is a Side angle of the Page Cut from the Pad.
Adding Score Lines to the Paper
I put the Paper with the Long Side Width on my Score Board. I Scored down the Paper at 3/4″ and at 7″ with my Pink Bone Folder.
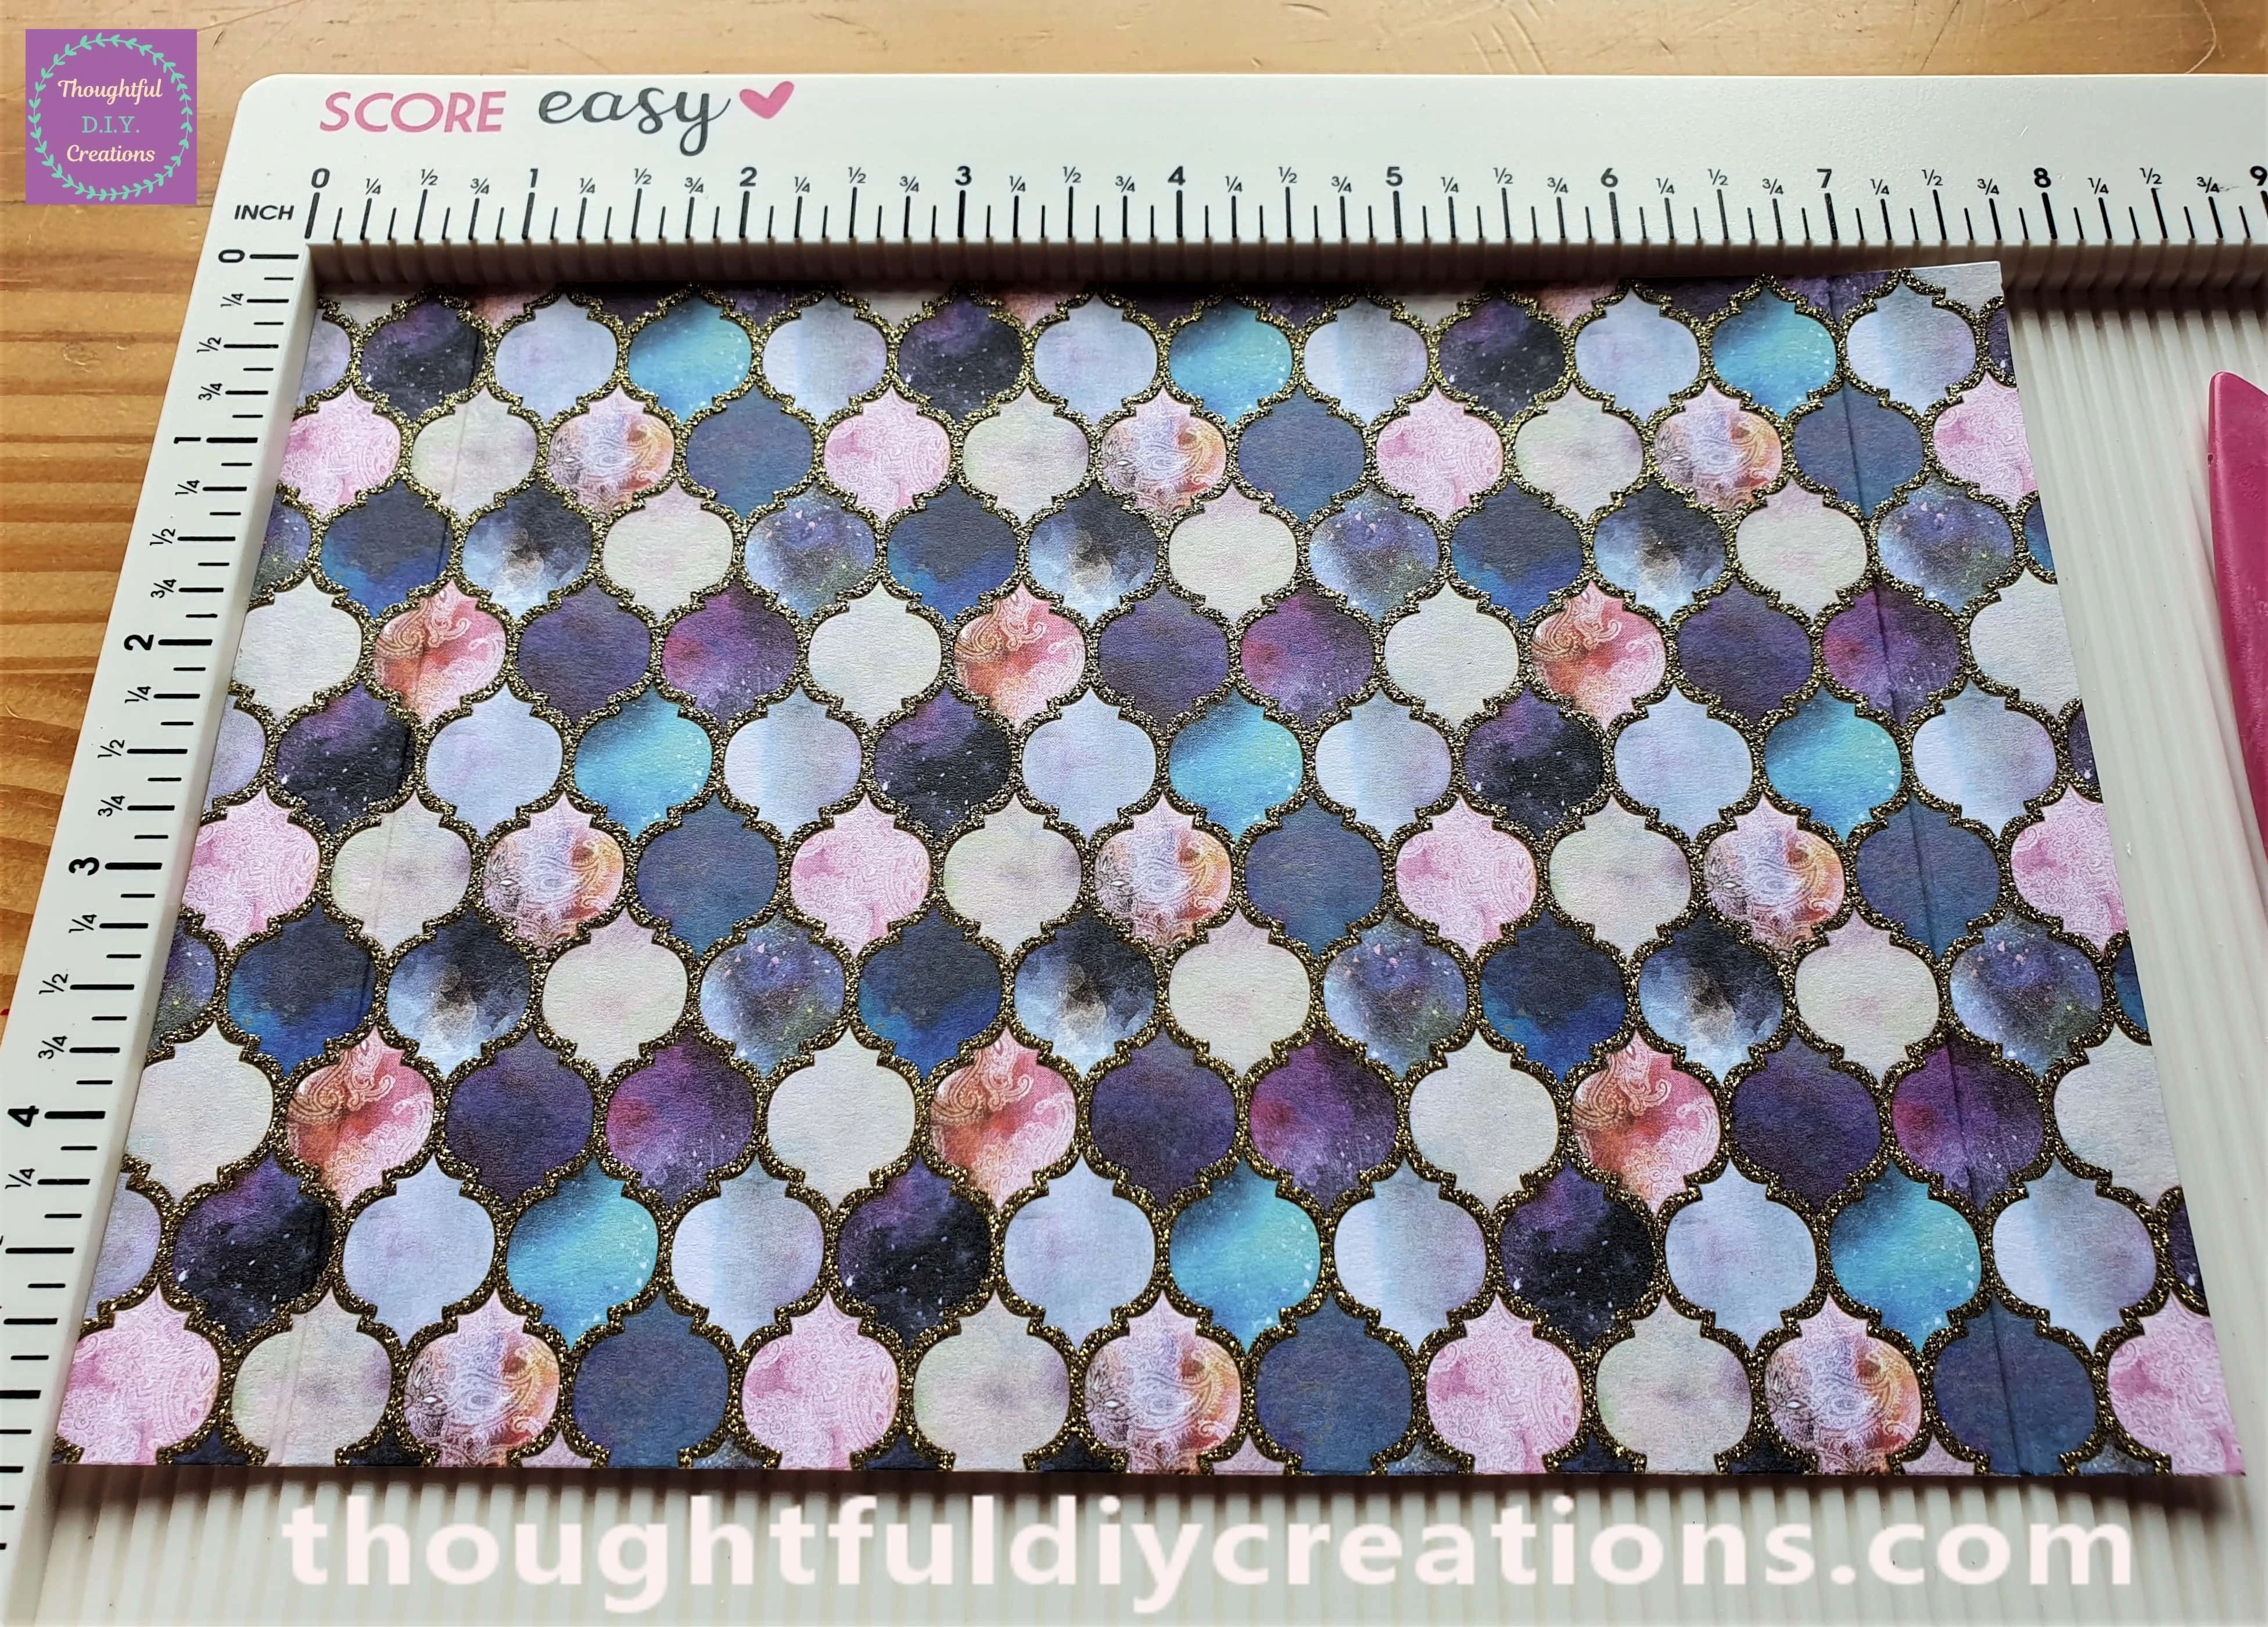
I moved the Sheet on the Score Board to have the Short Side as the Width. I Scored down the Paper at 3/4″, 2 and 1/4″, 3″, 4 and 1/2″.
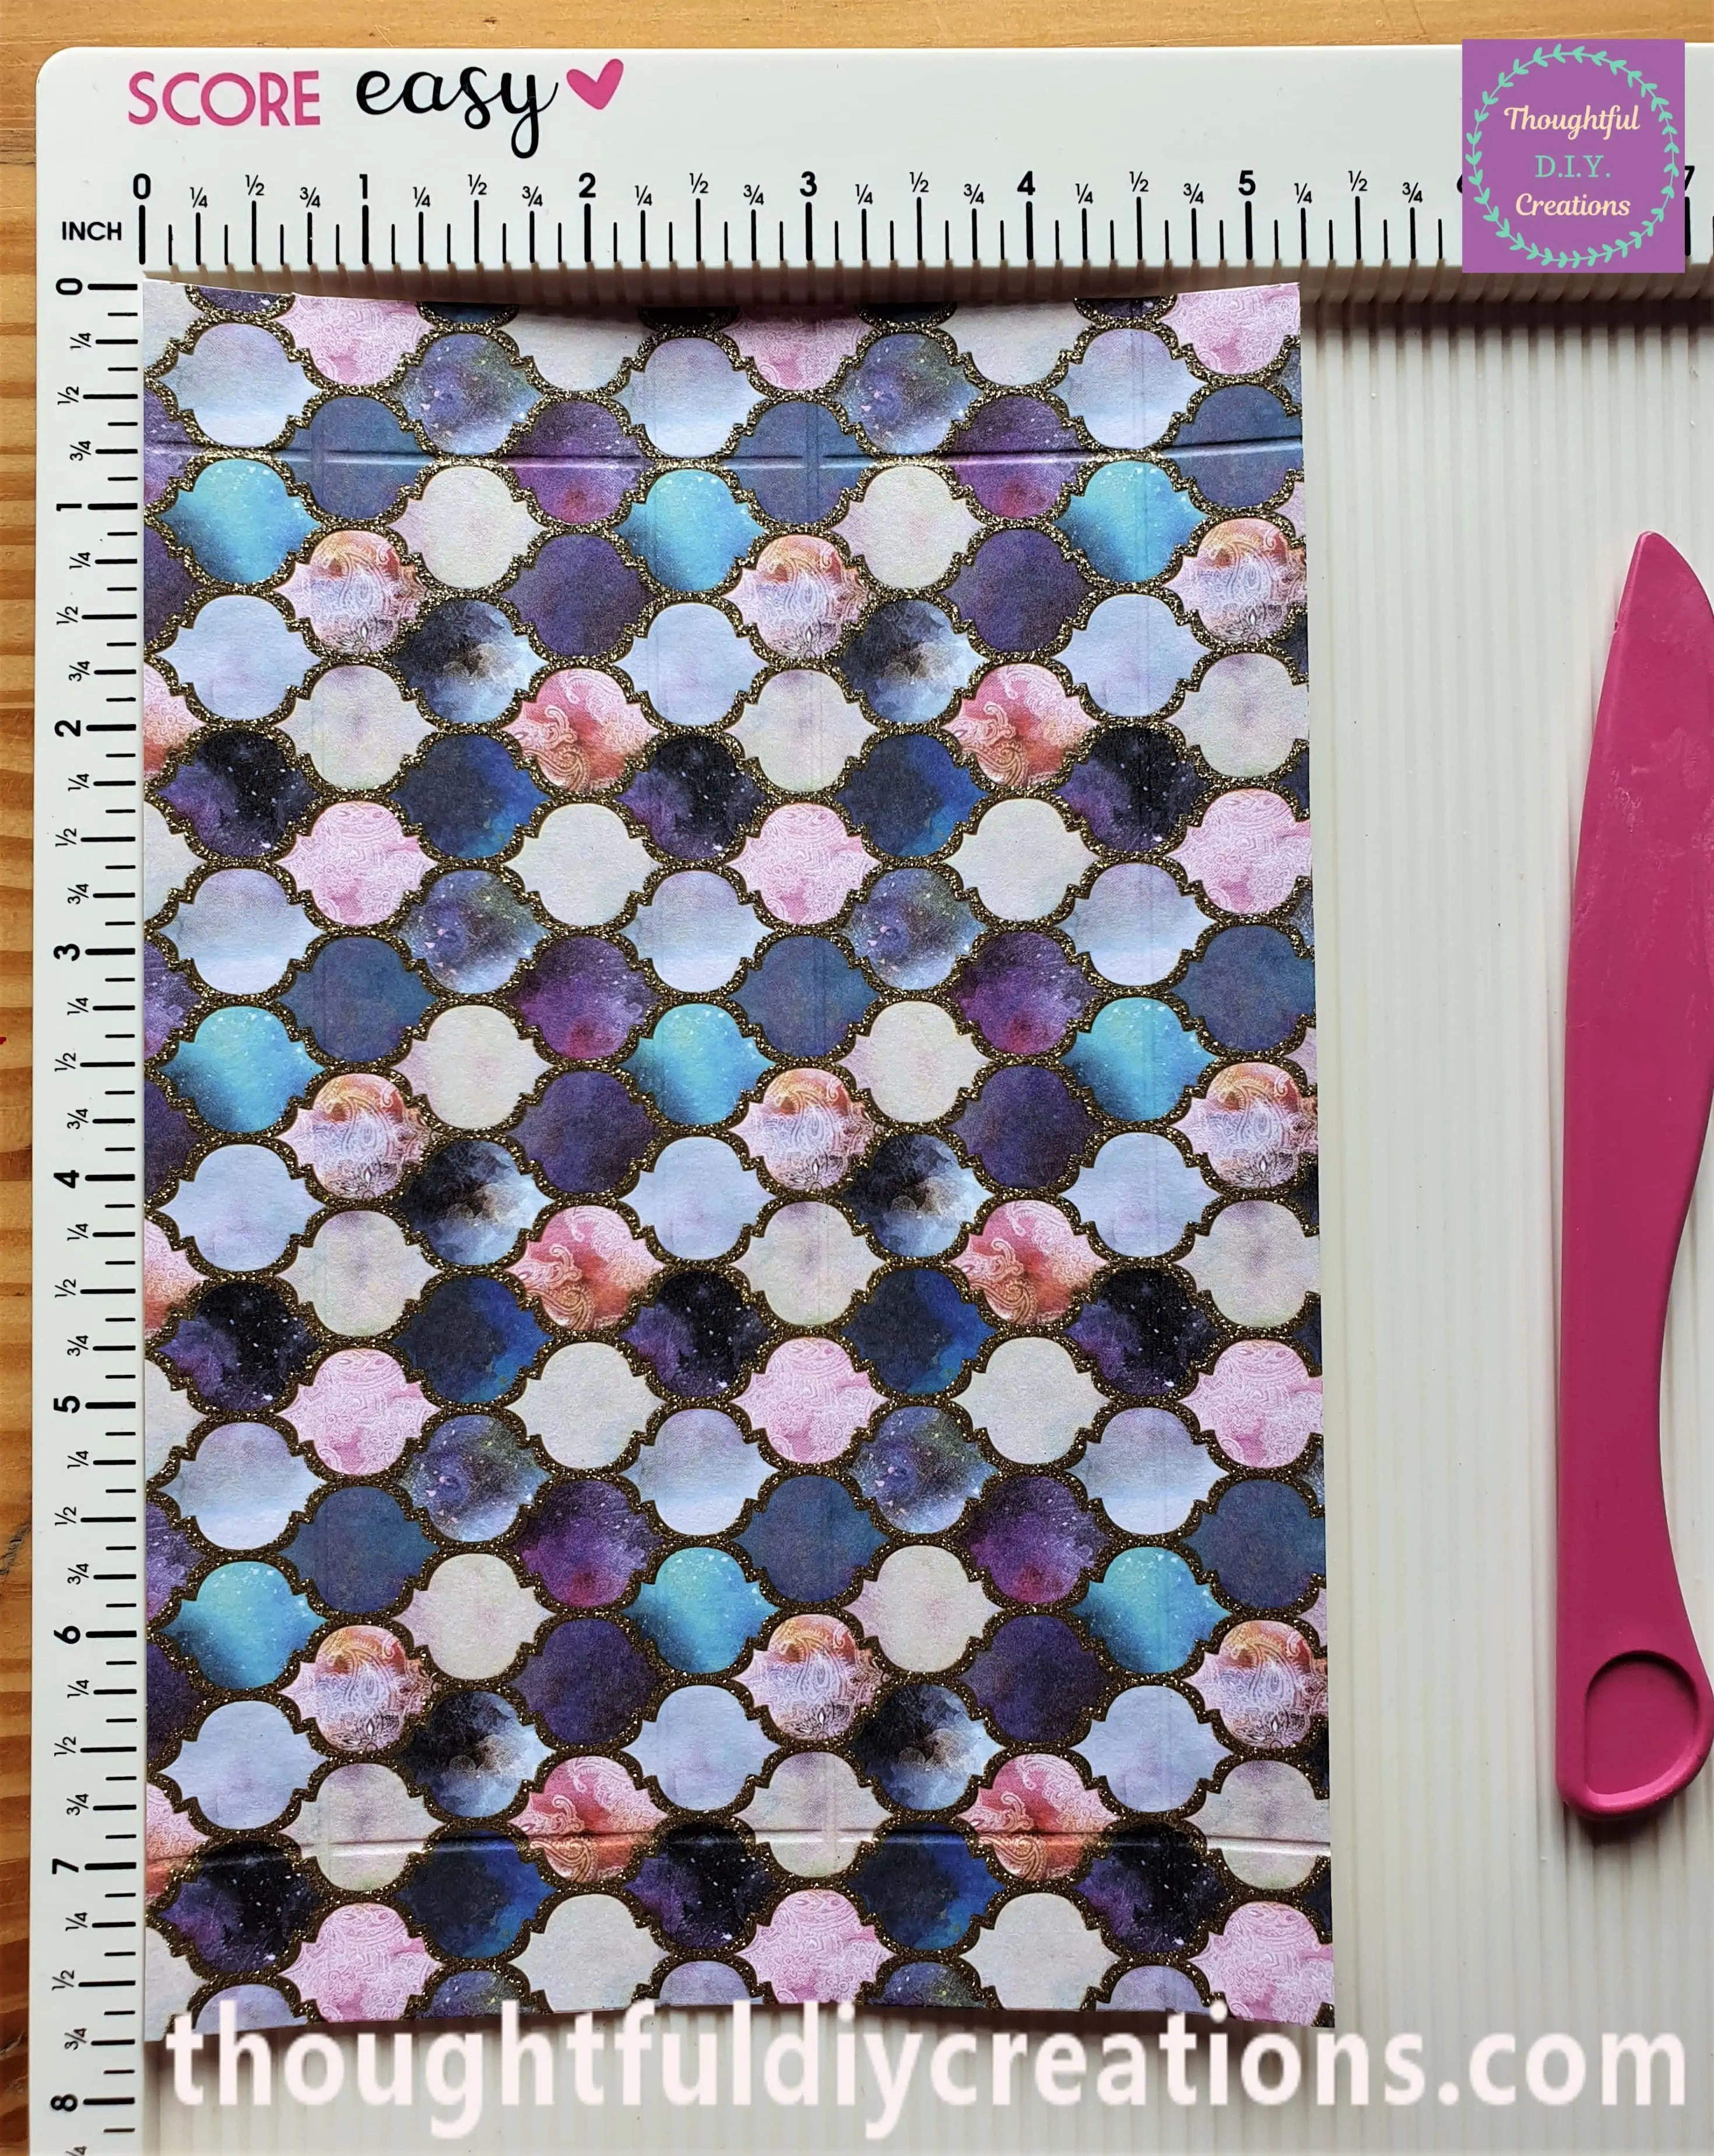
This is the Paper with all the Score Lines added to it.
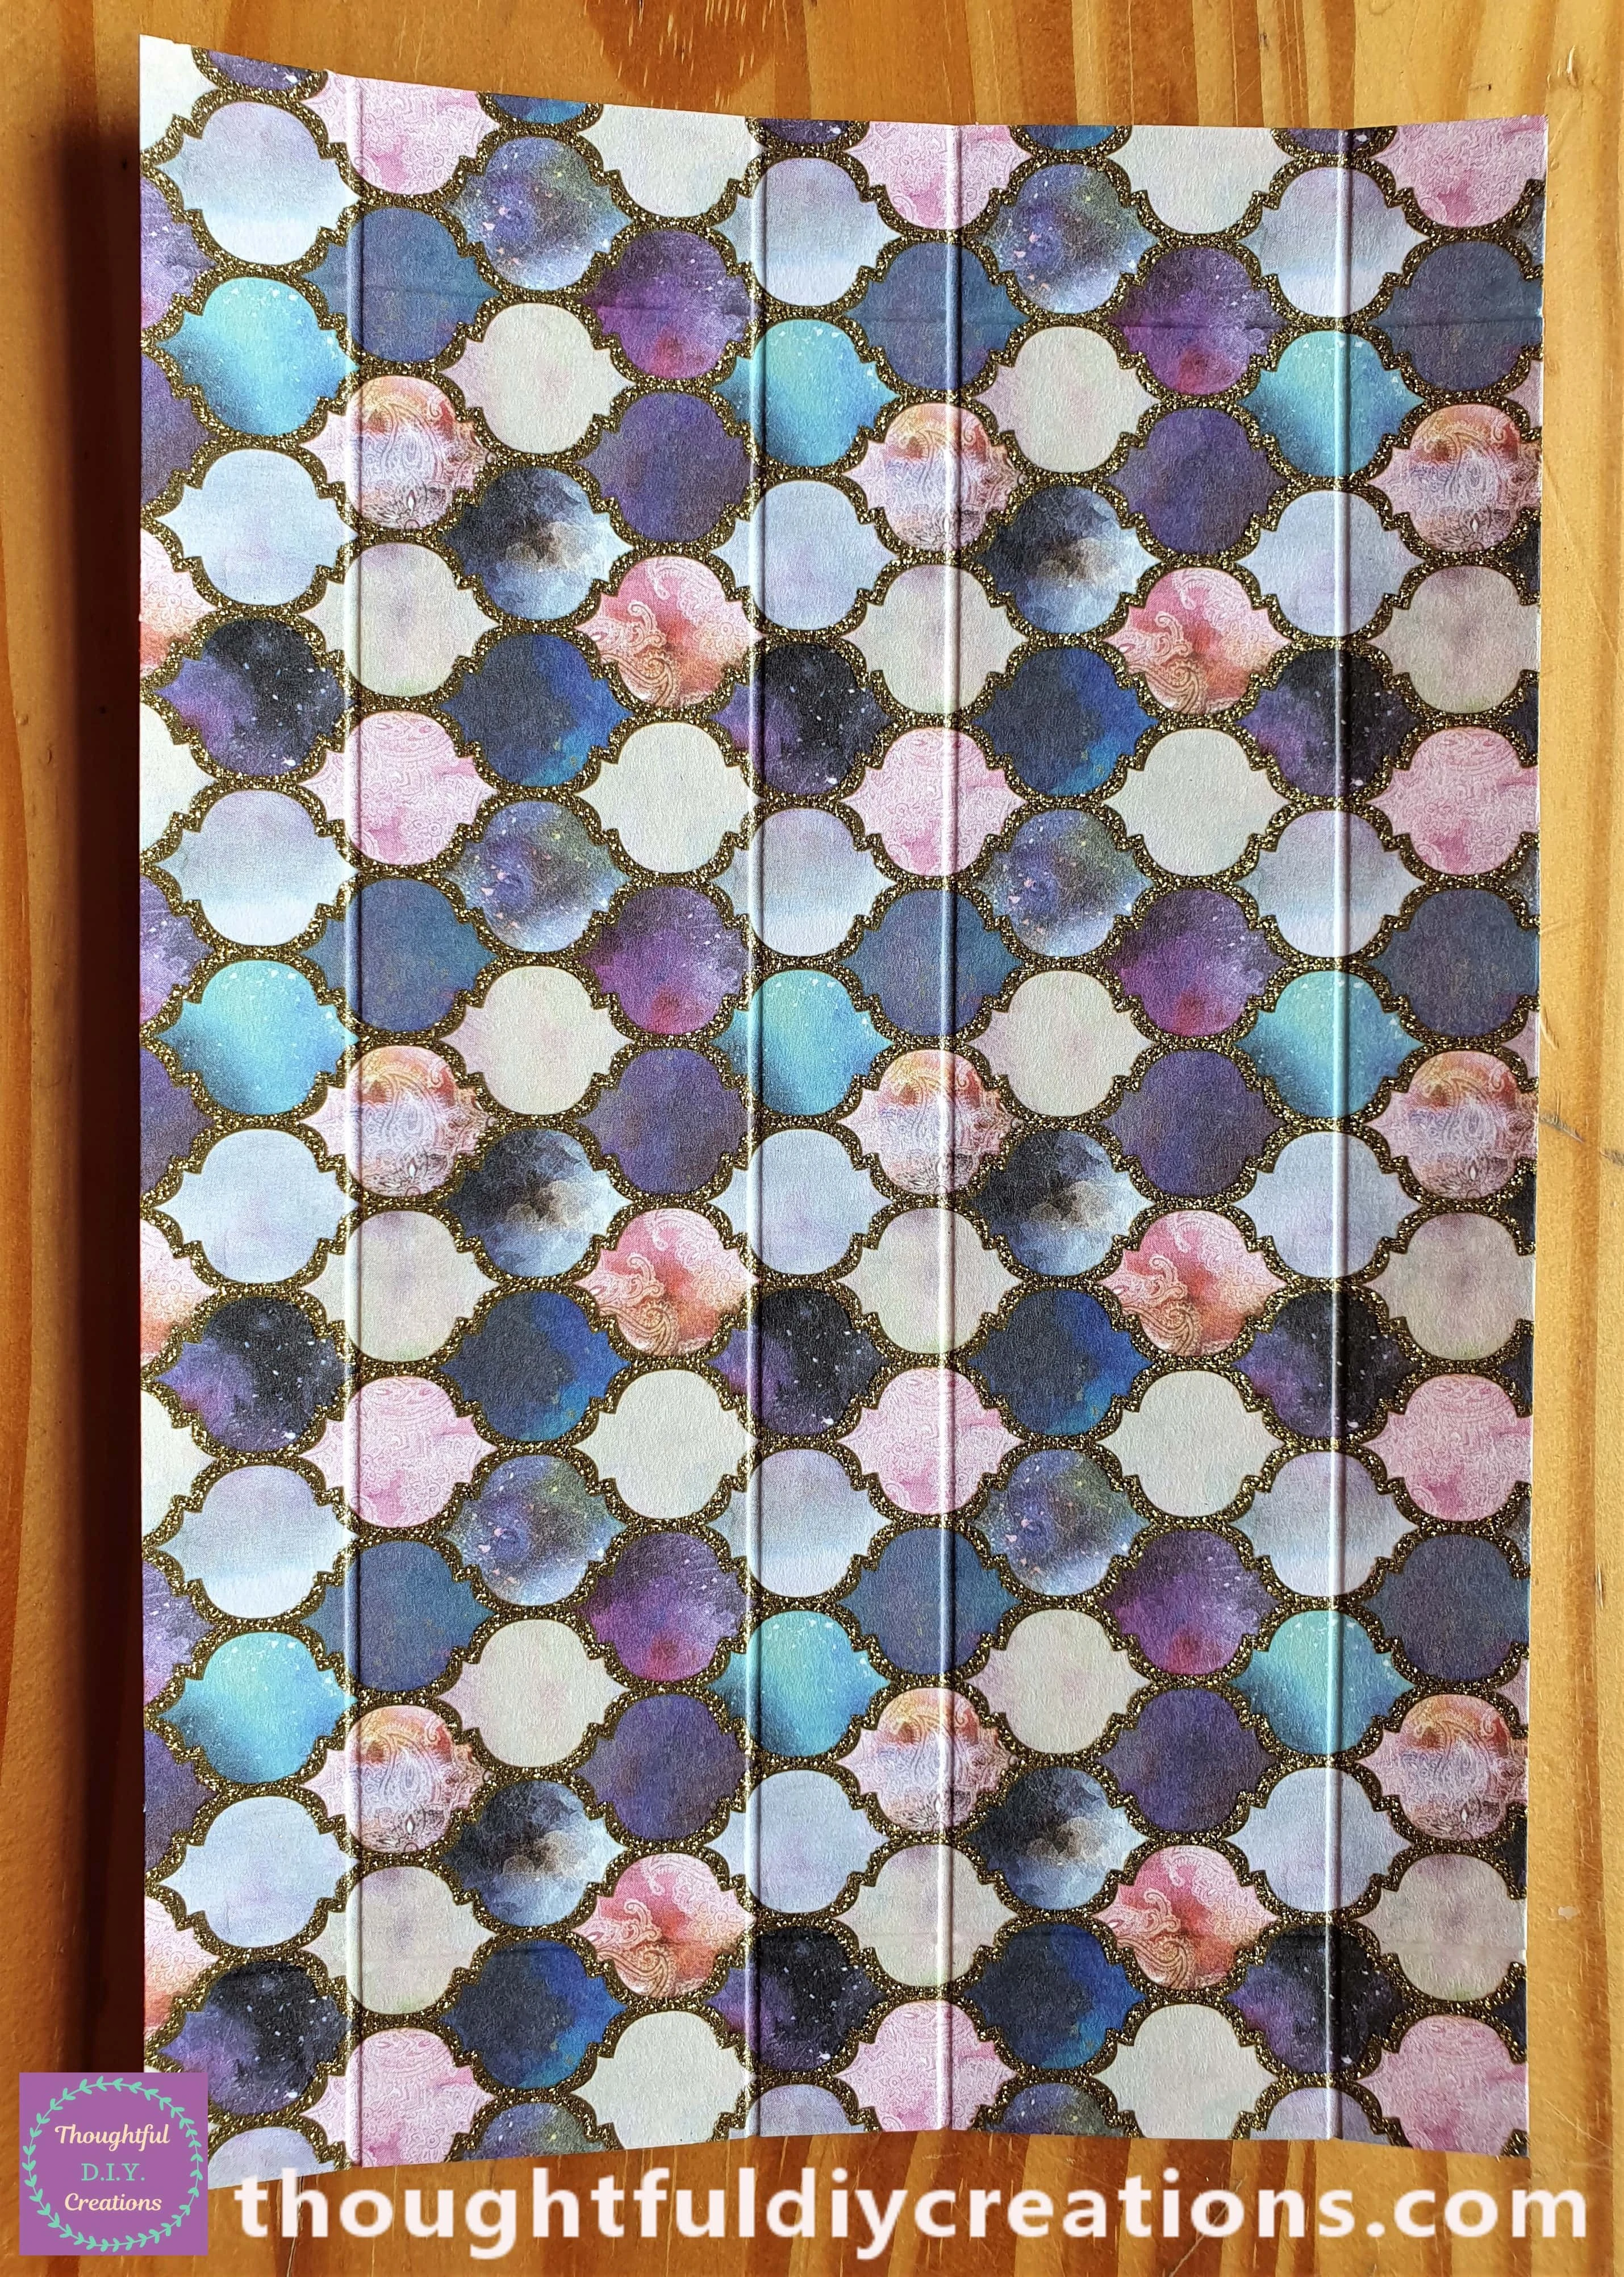
I Smoothed over each Score Line with the Bone Folder.
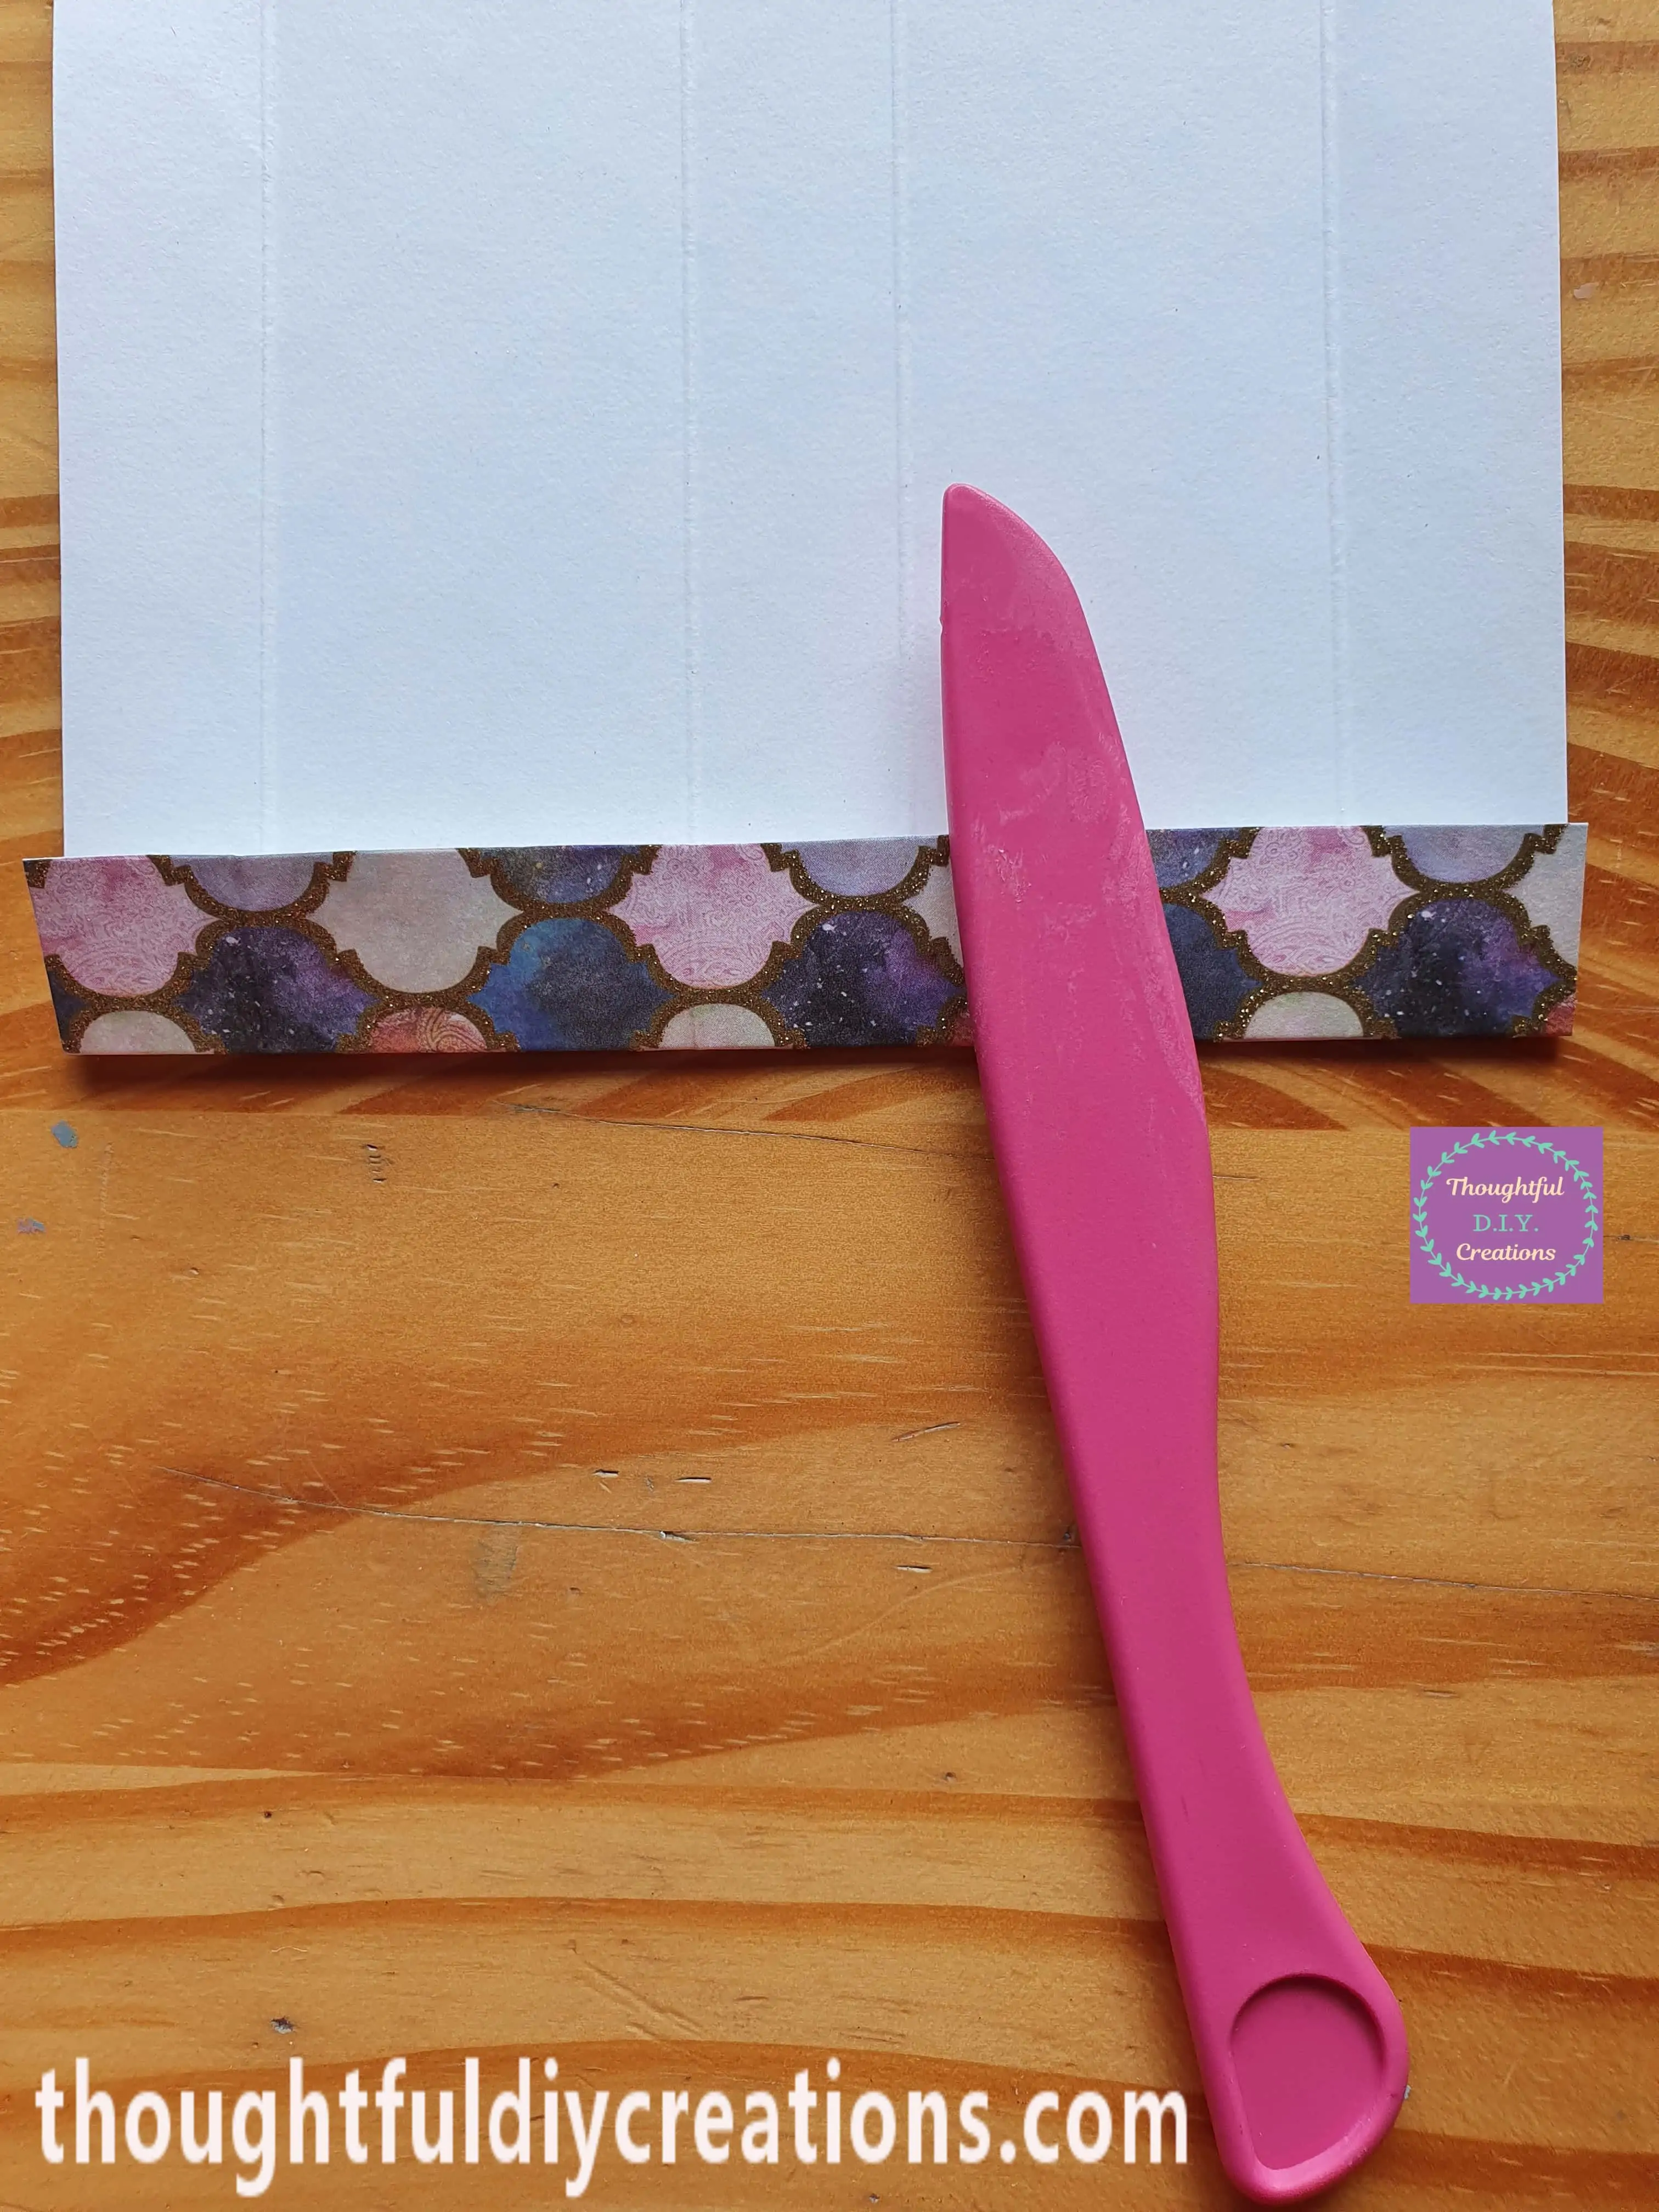
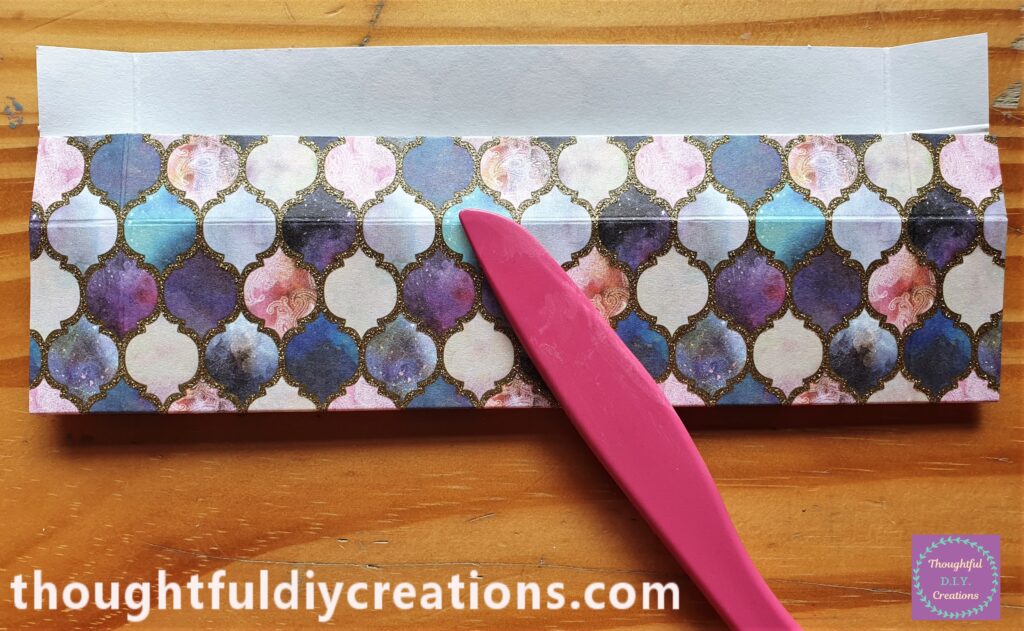
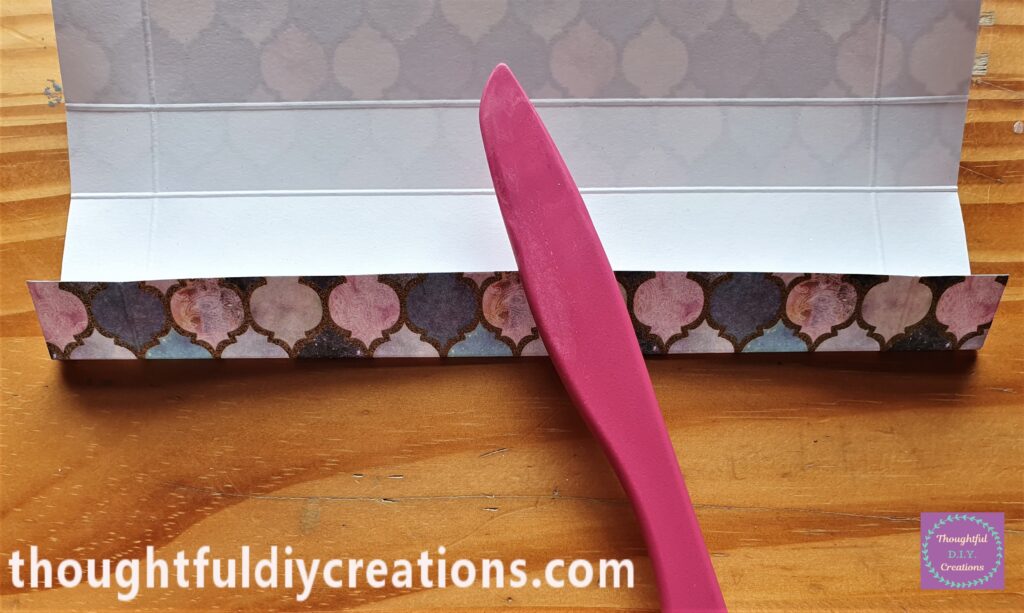
Here is the Back of the Paper with all the Score Lines after being folded over.
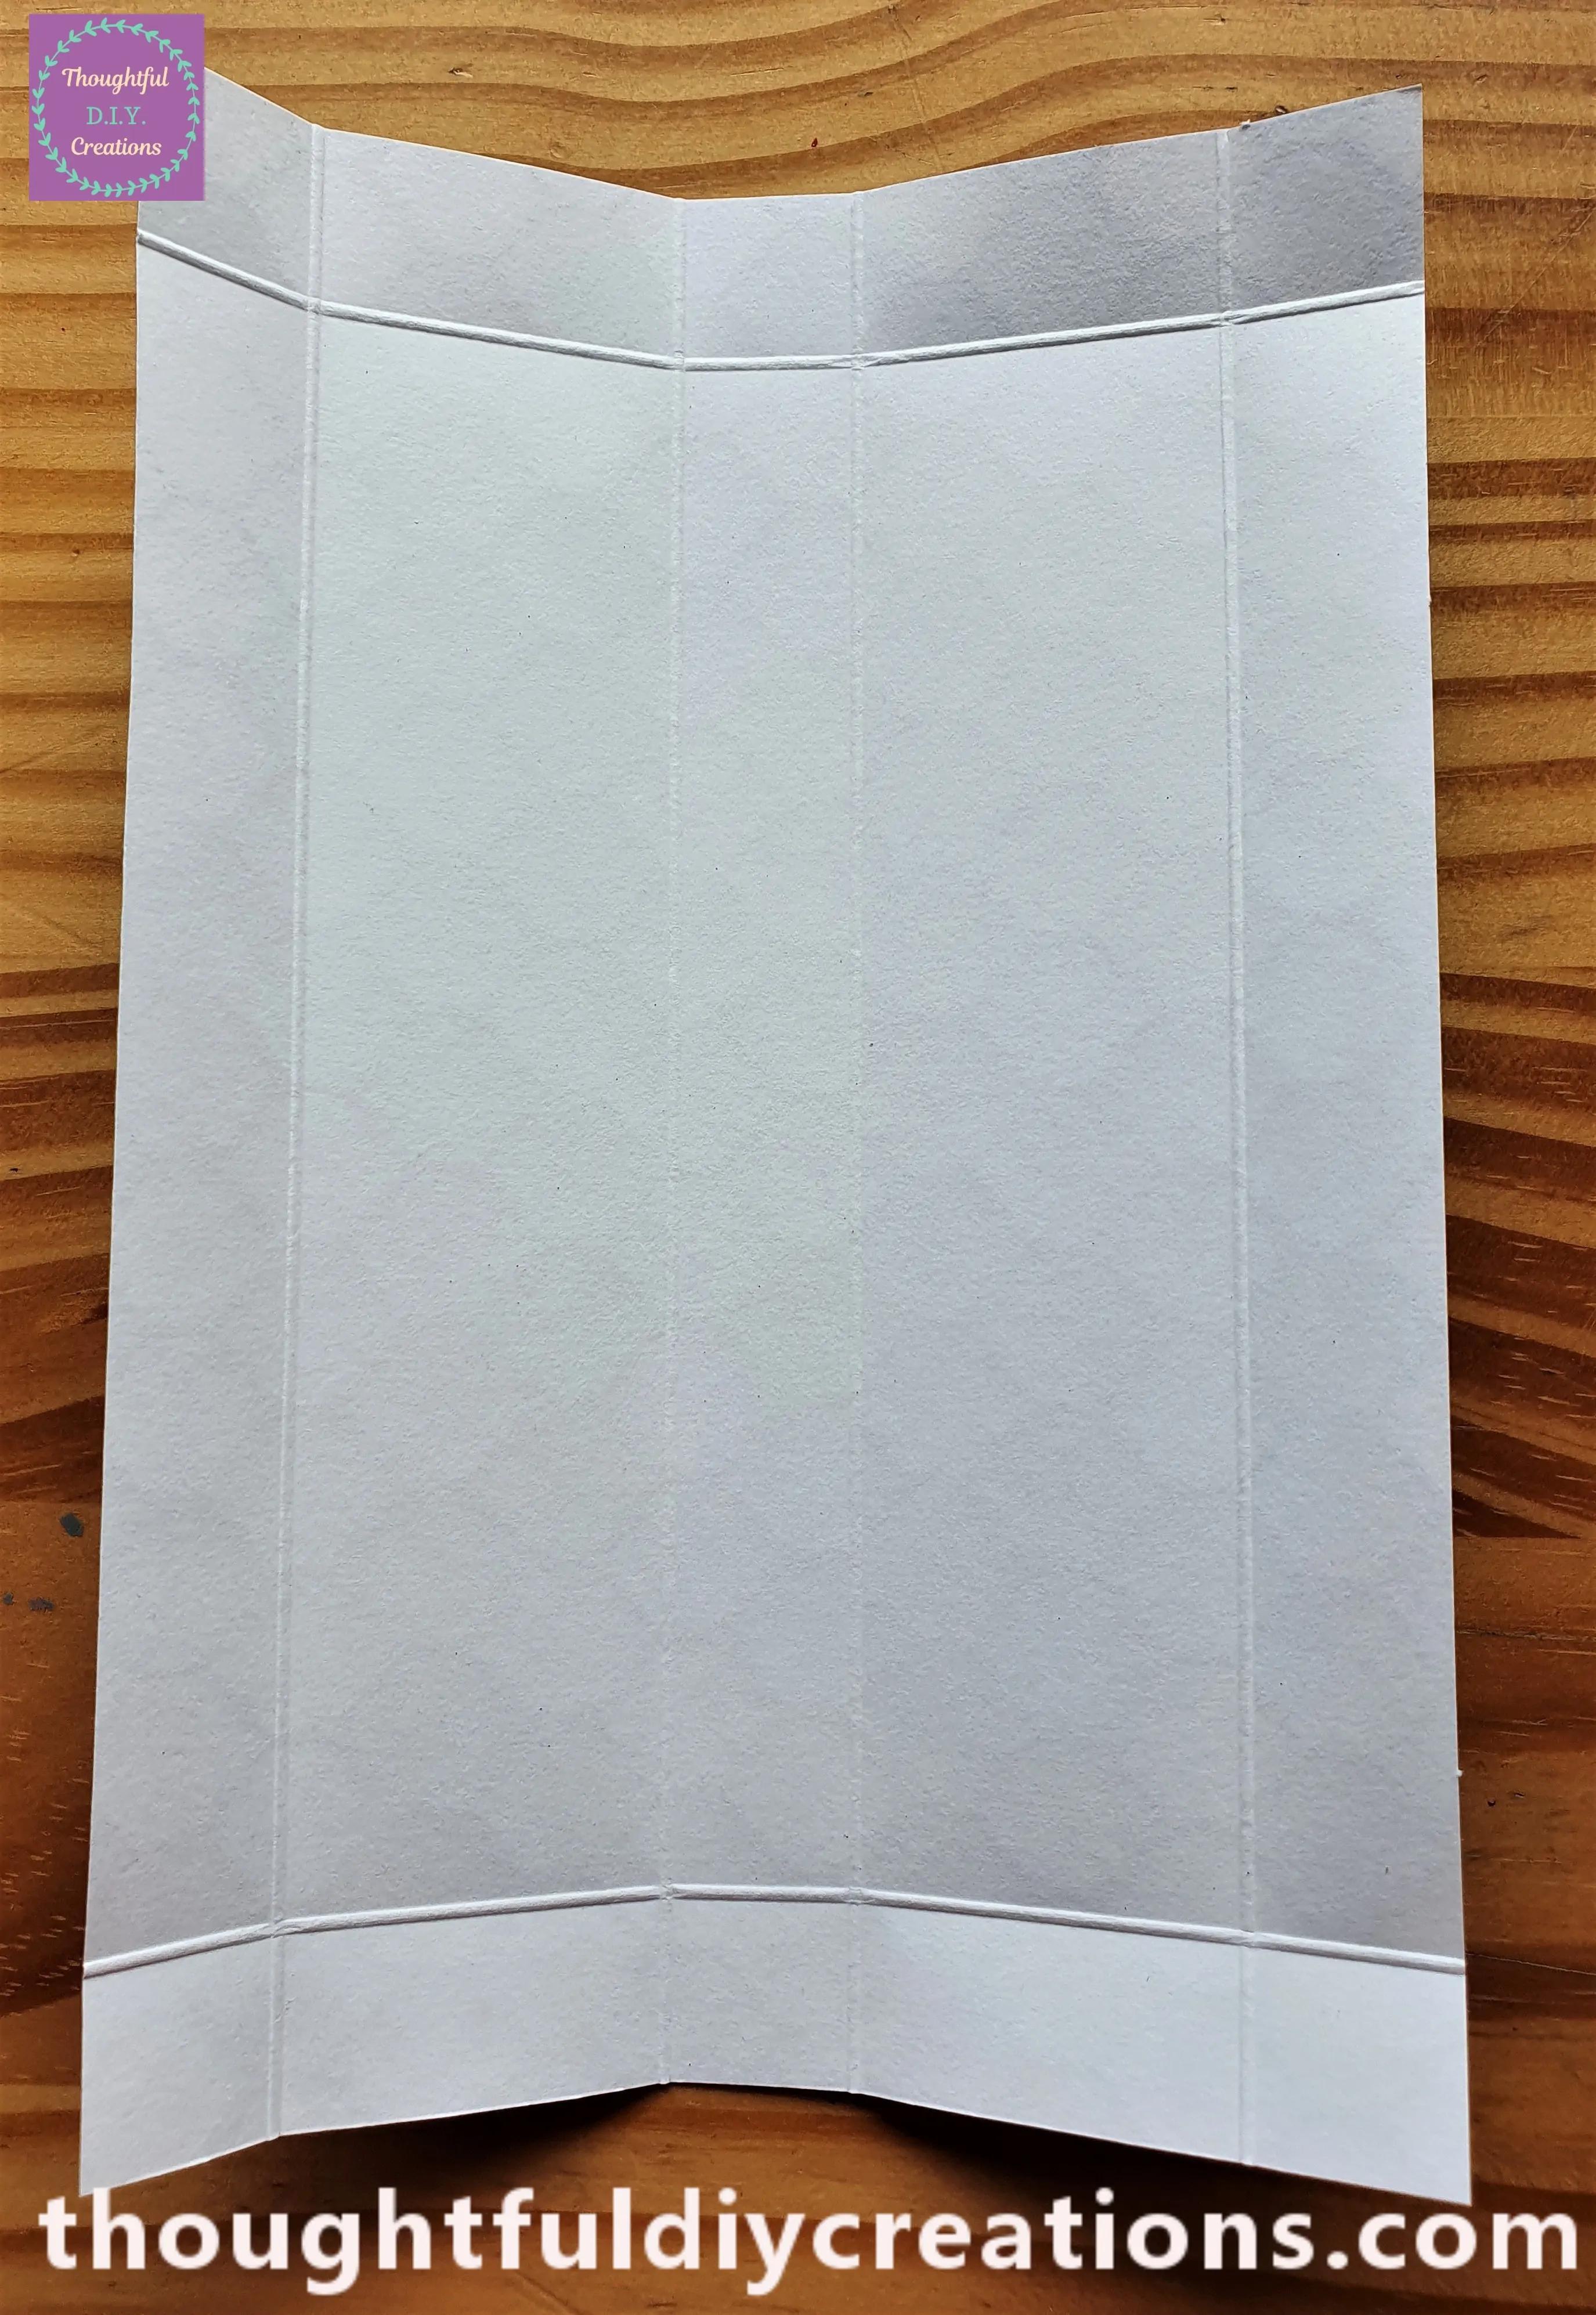
Cutting an Angle into each Square for the Gift Box
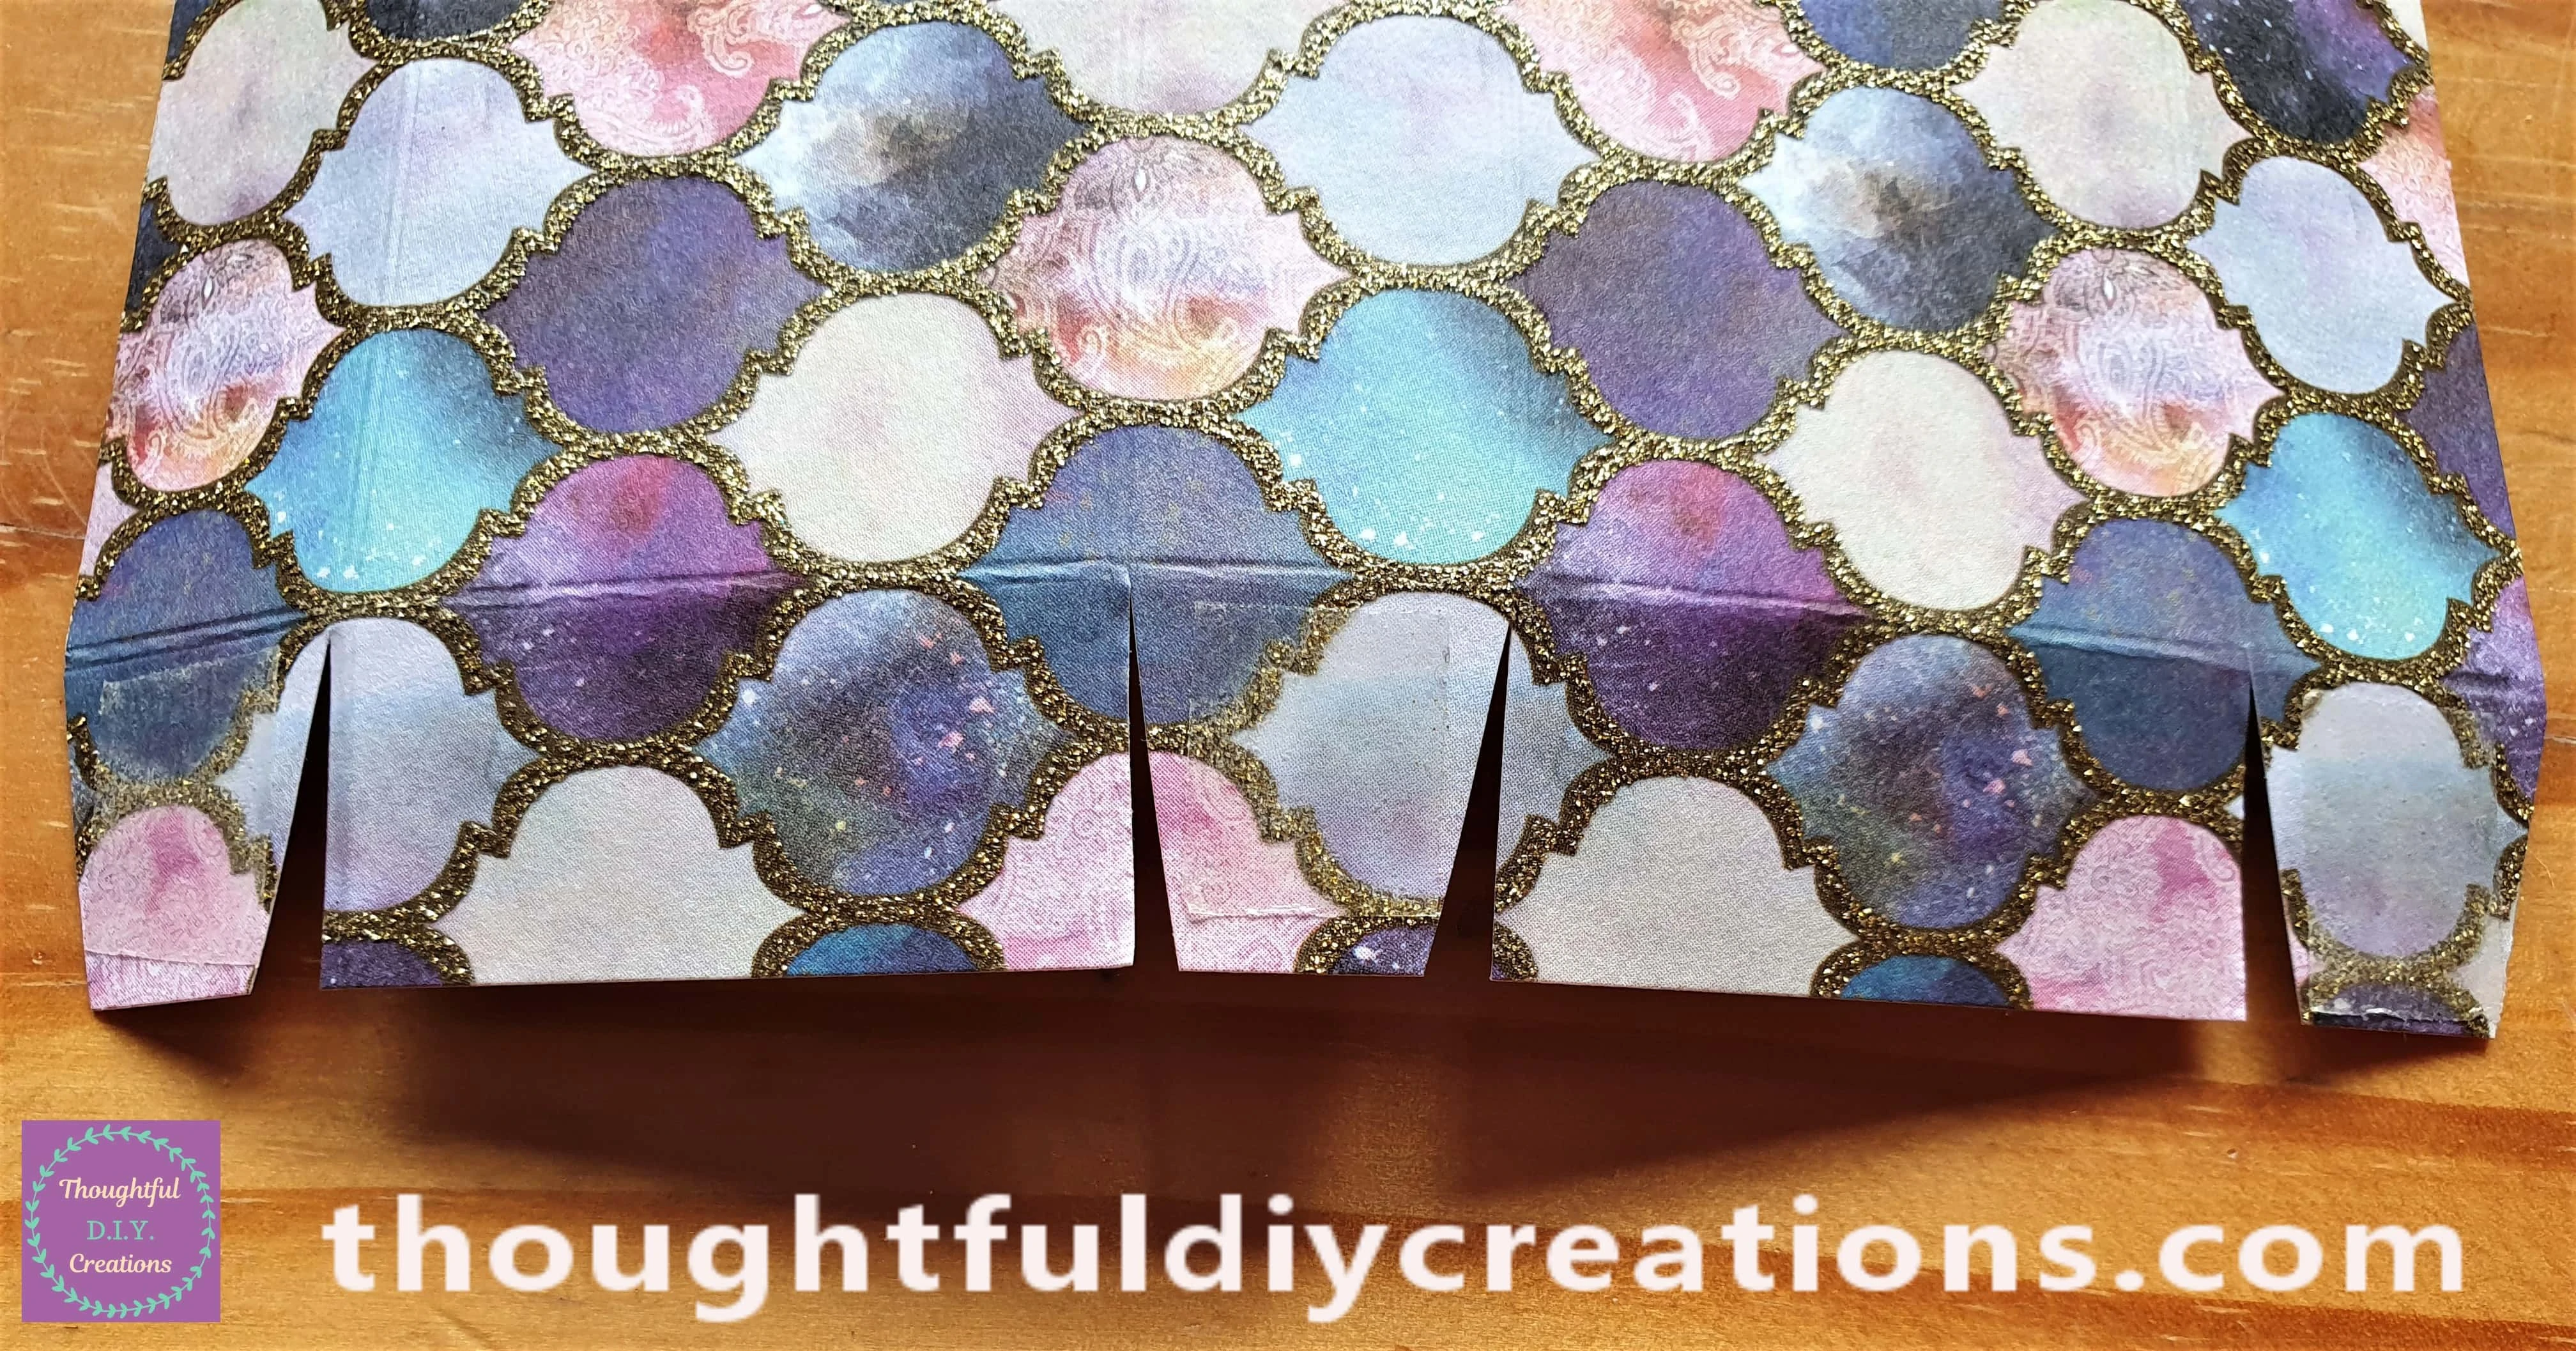
There are 3 Squares on the Top and Bottom of the Paper. One each Side and One in the Middle. This Image Shows the Bottom of the Paper with the 3 Squares.
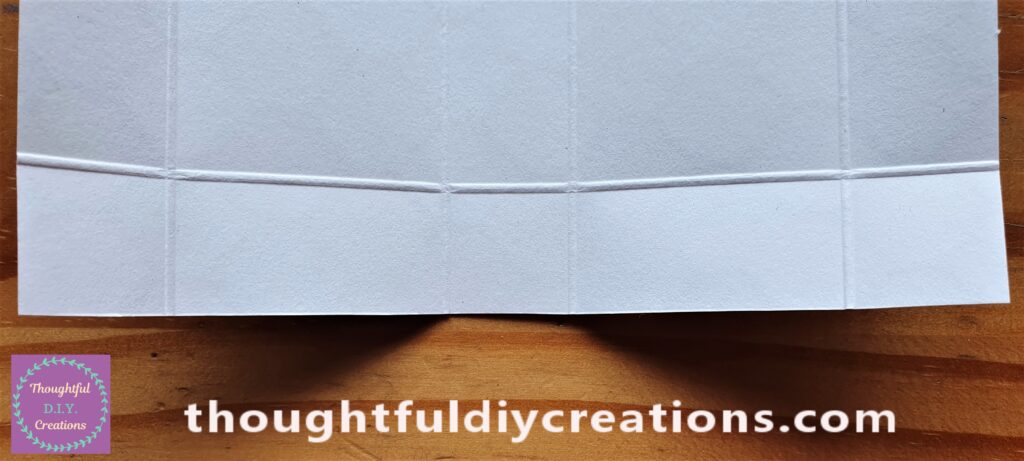
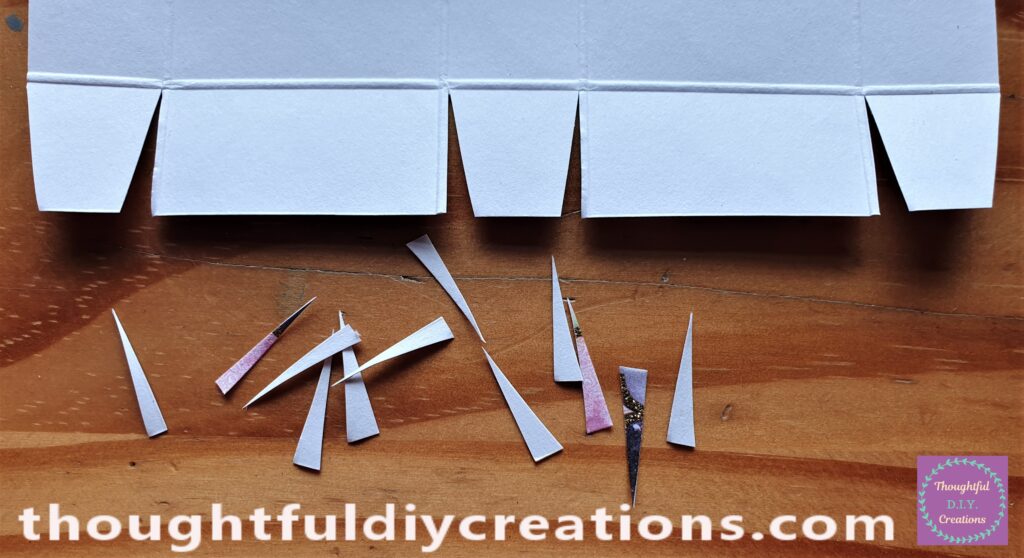
I Cut a Straight Line at the Edge of the Square and then Cut at an Angle into the Edge. I Cut a Slight Angle into the Outer Edge Squares.
Adding Double-Sided Tape to each Square
I got my Roll of Double-Sided Tape.
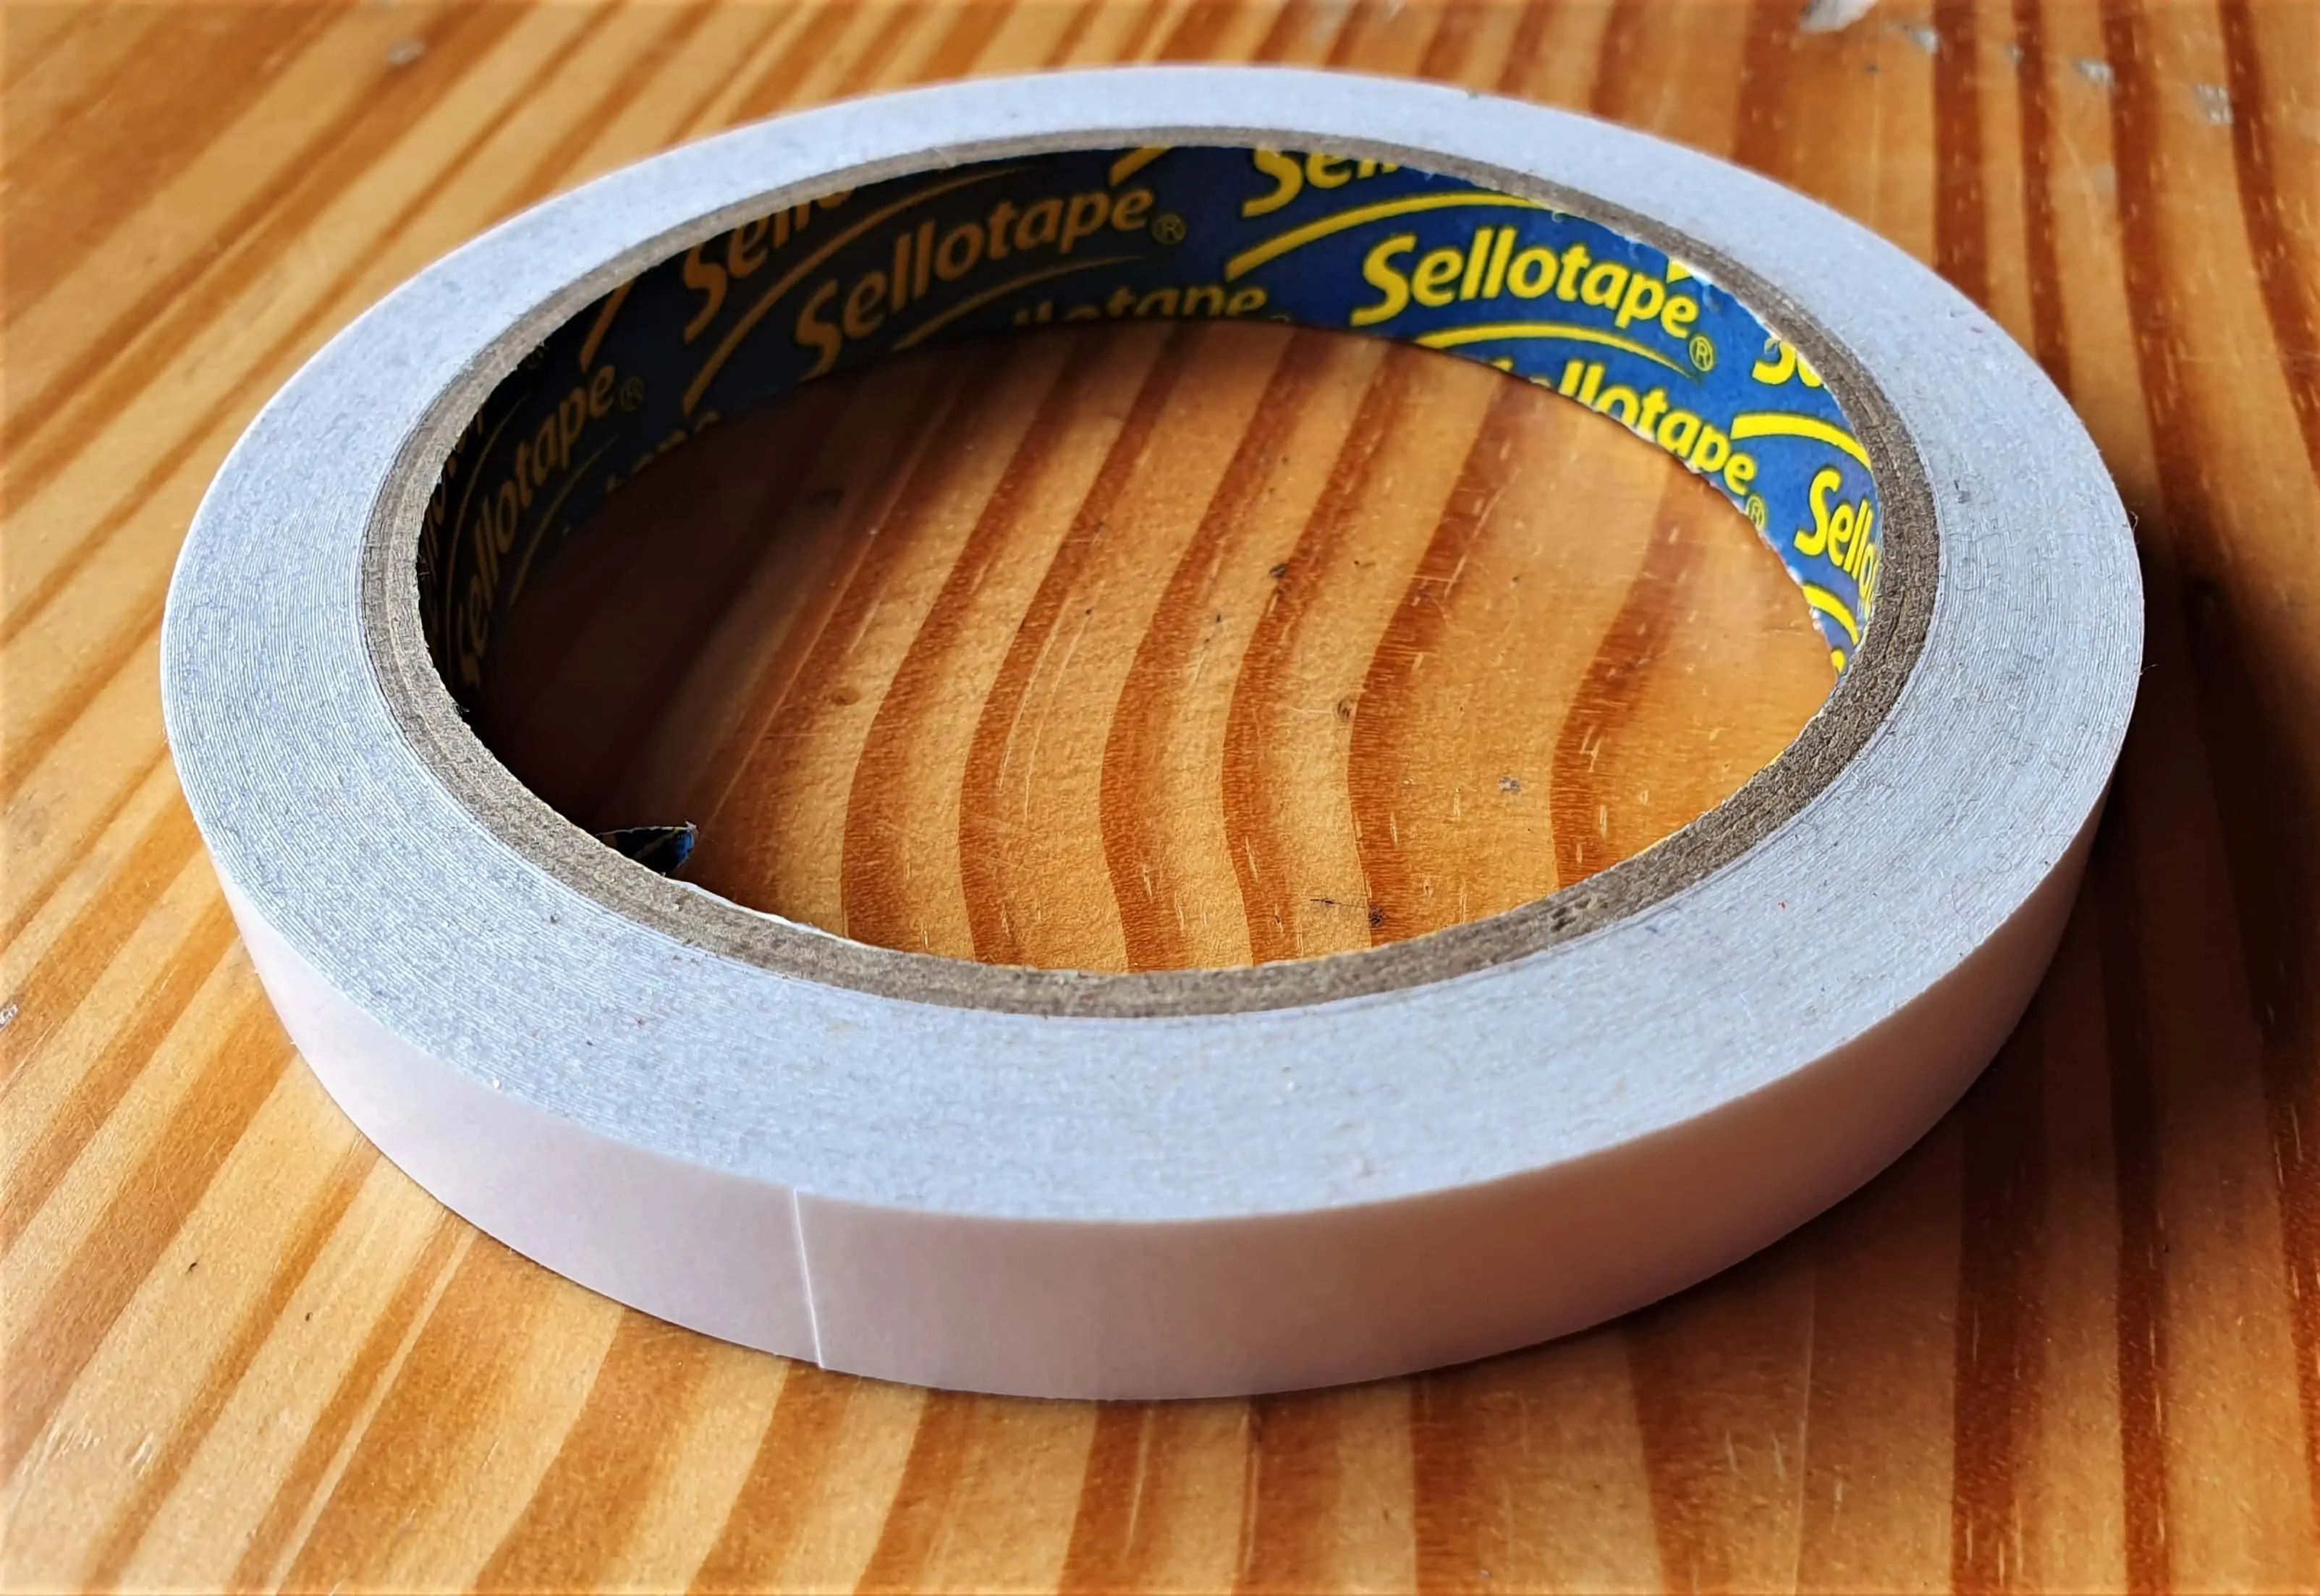
I Cut off 6 small Sections of the Tape.

I attached them one-by-one to each of the 6 Squares on the Patterned Side of Paper.
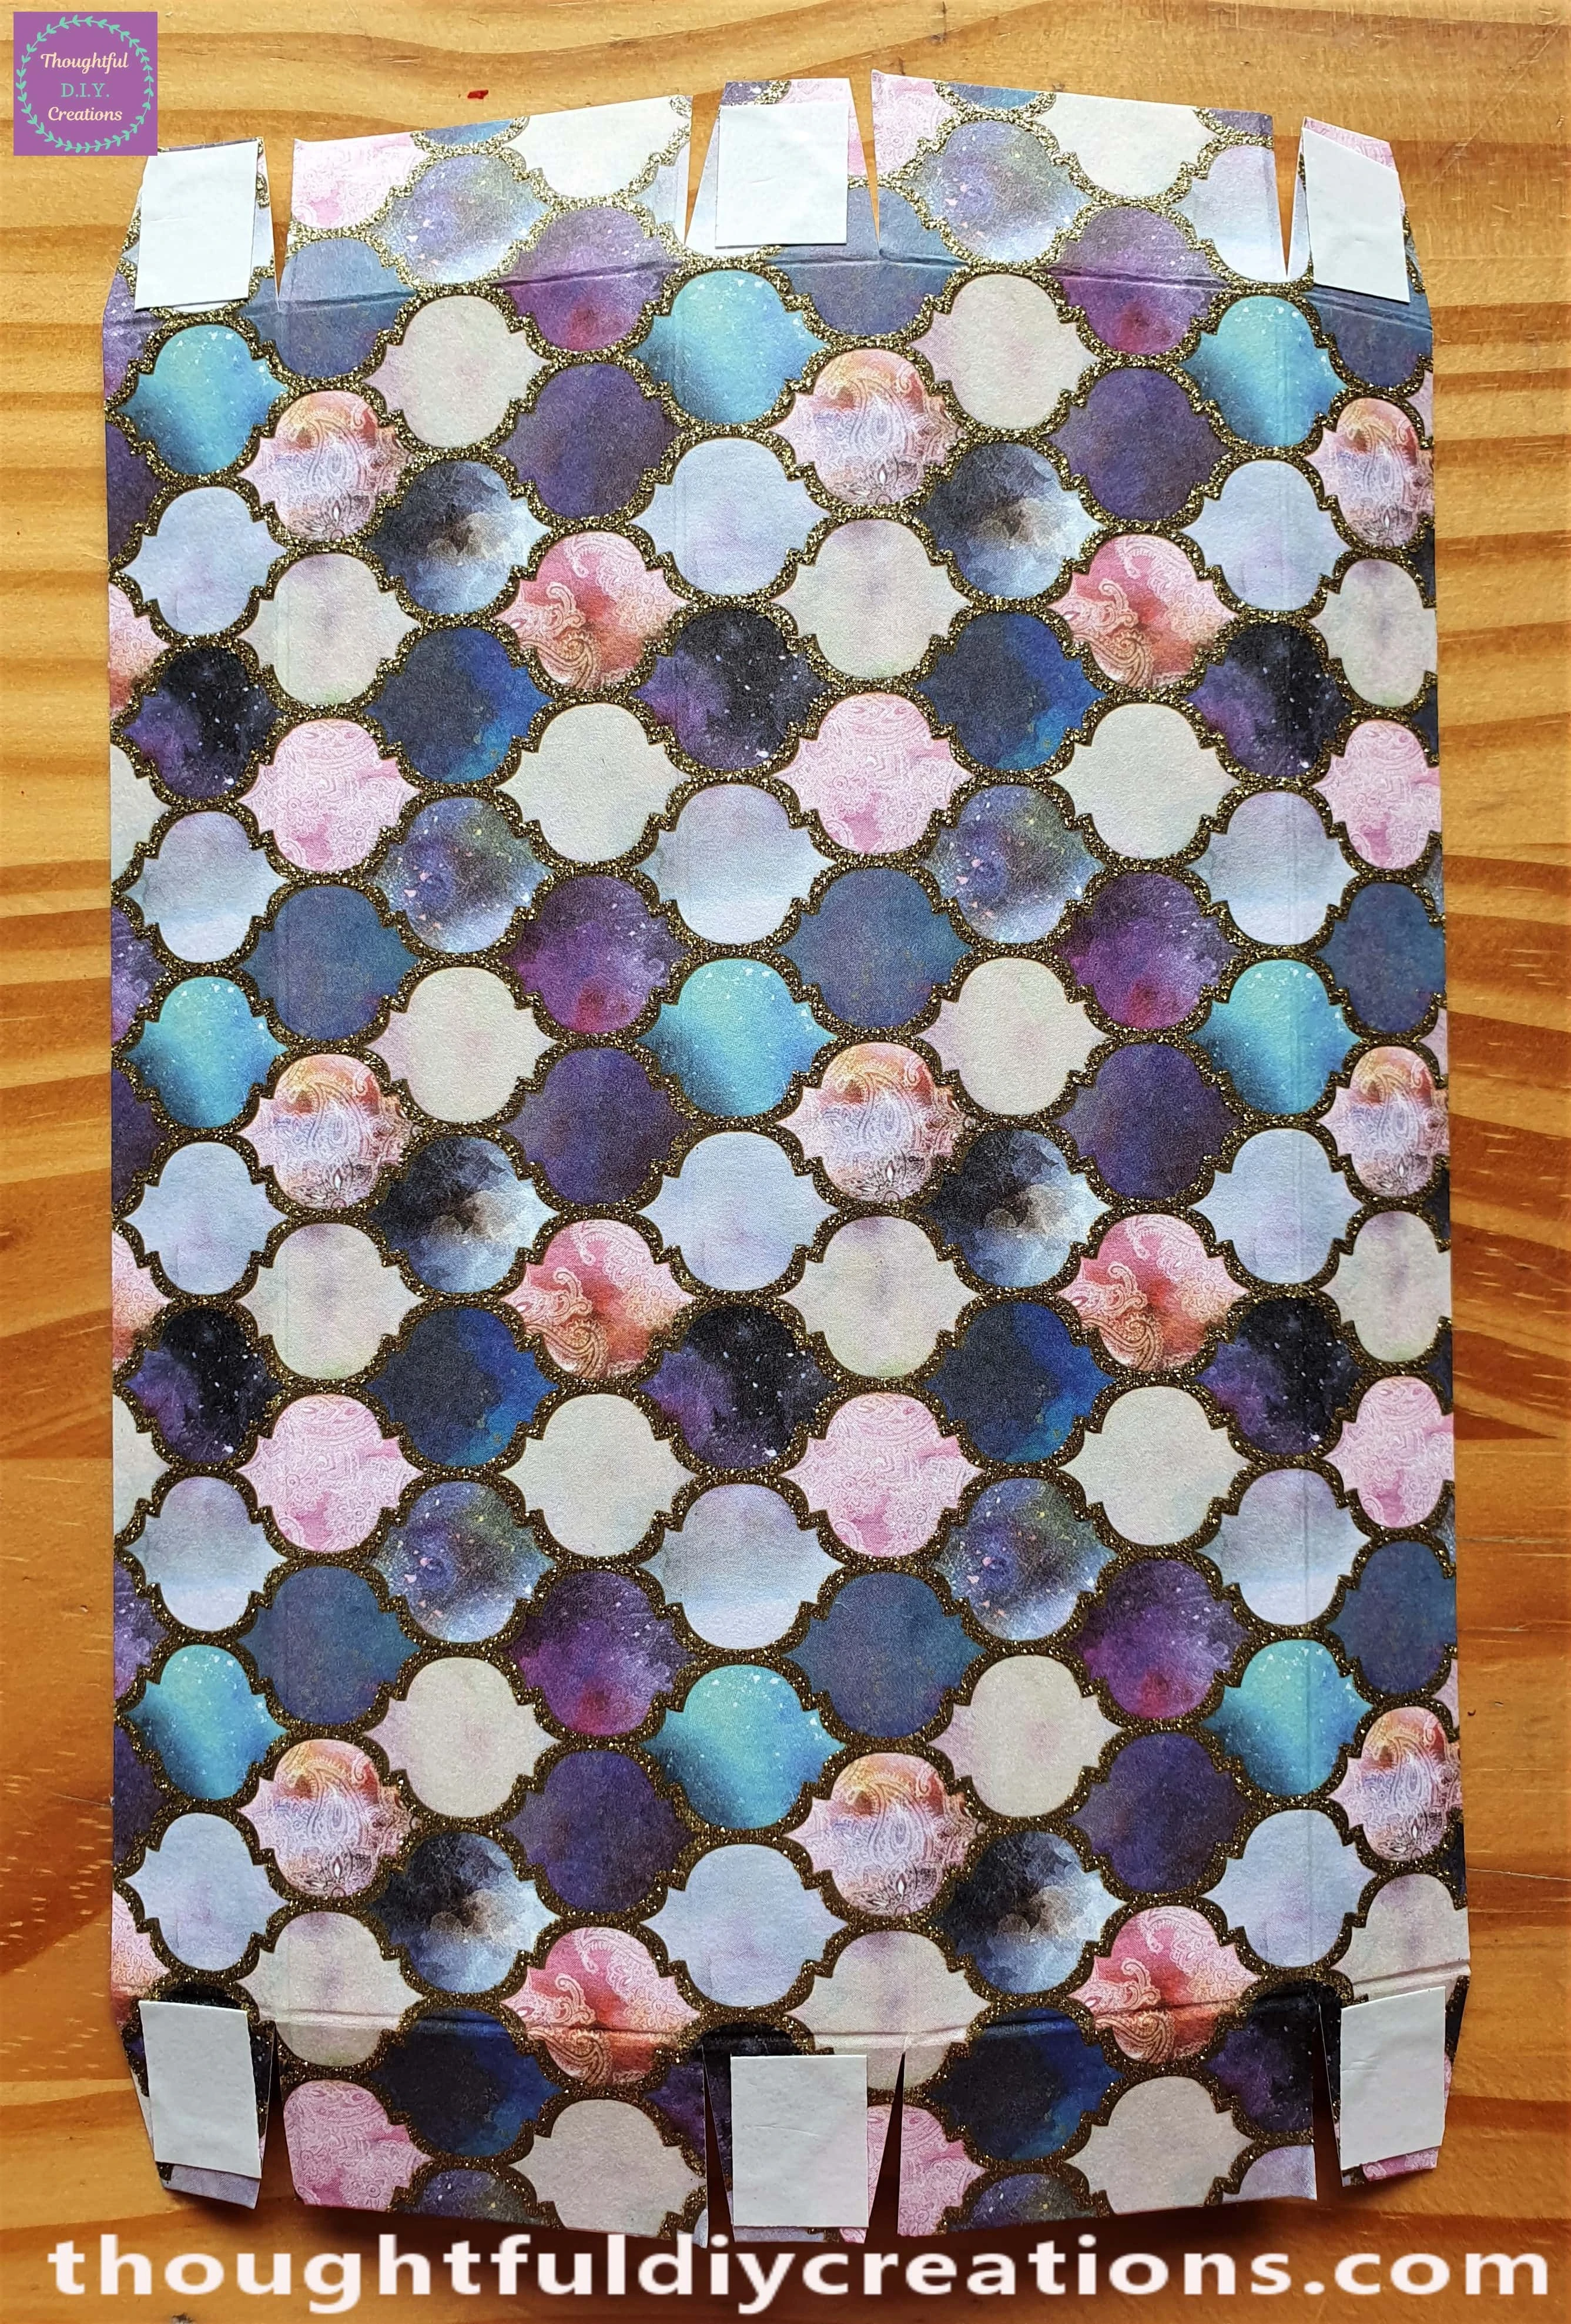
I removed the White Backing from the Double-Sided Tape.
Starting to Assemble the Gift Box
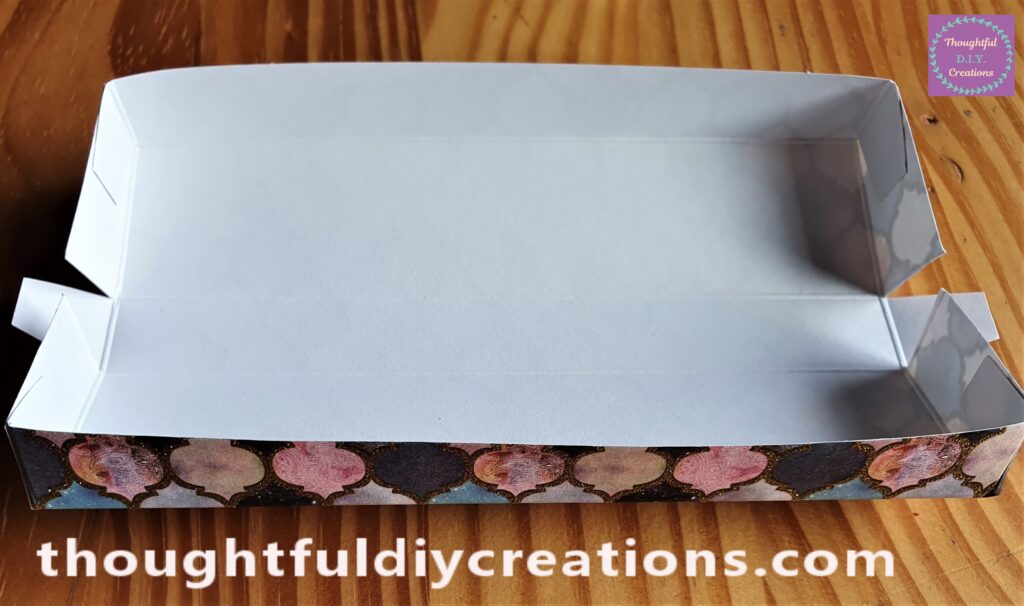
I turned the Paper over and attached the First Square to the Inside White Rectangle Edge.

I attached the Square on the same Length to the other White Inside Rectangle. This is the Bottom of the Gift Box.

I then attached the 2 Squares on the other Side, one-by-one to the Top Inside Rectangles.
Finishing the Assembly of the Gift Box
Finally, I attached the final 2 Squares to the other Side of the Inside Rectangle on the Bottom of the Gift Box.
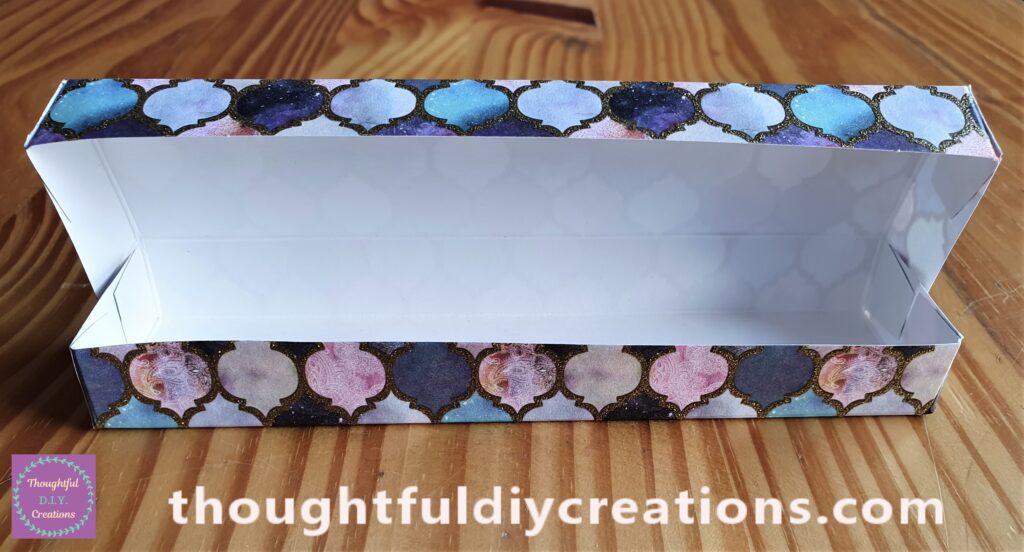
I Closed the Lid on the Gift Box.
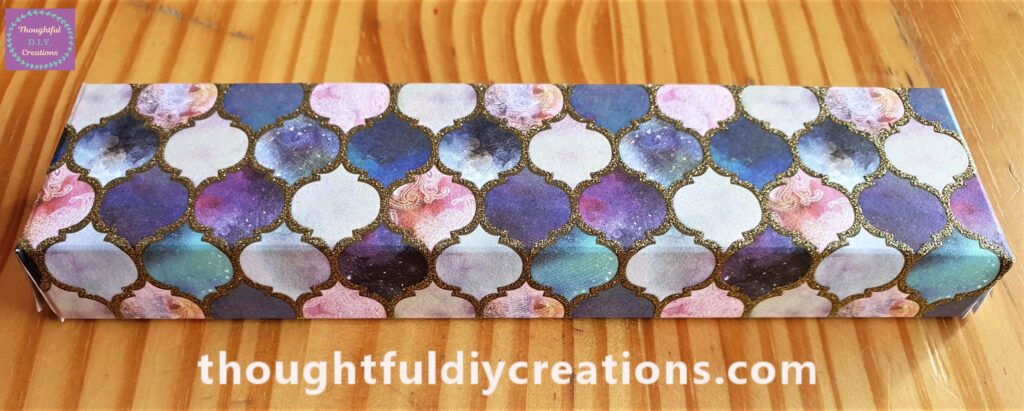
Here is the Back of the Gift Box with the Lid Open.
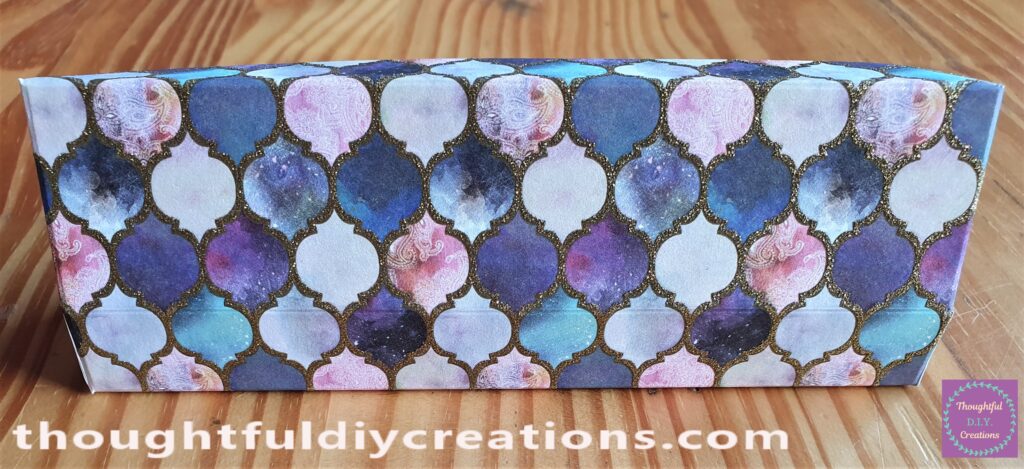
A Closer look at the Detail on the Paper.

Decorating the Gift Box
I got a Ribbon from my Supplies. This had been on the Chocolate Rabbit that I made for my Easter Hamper.
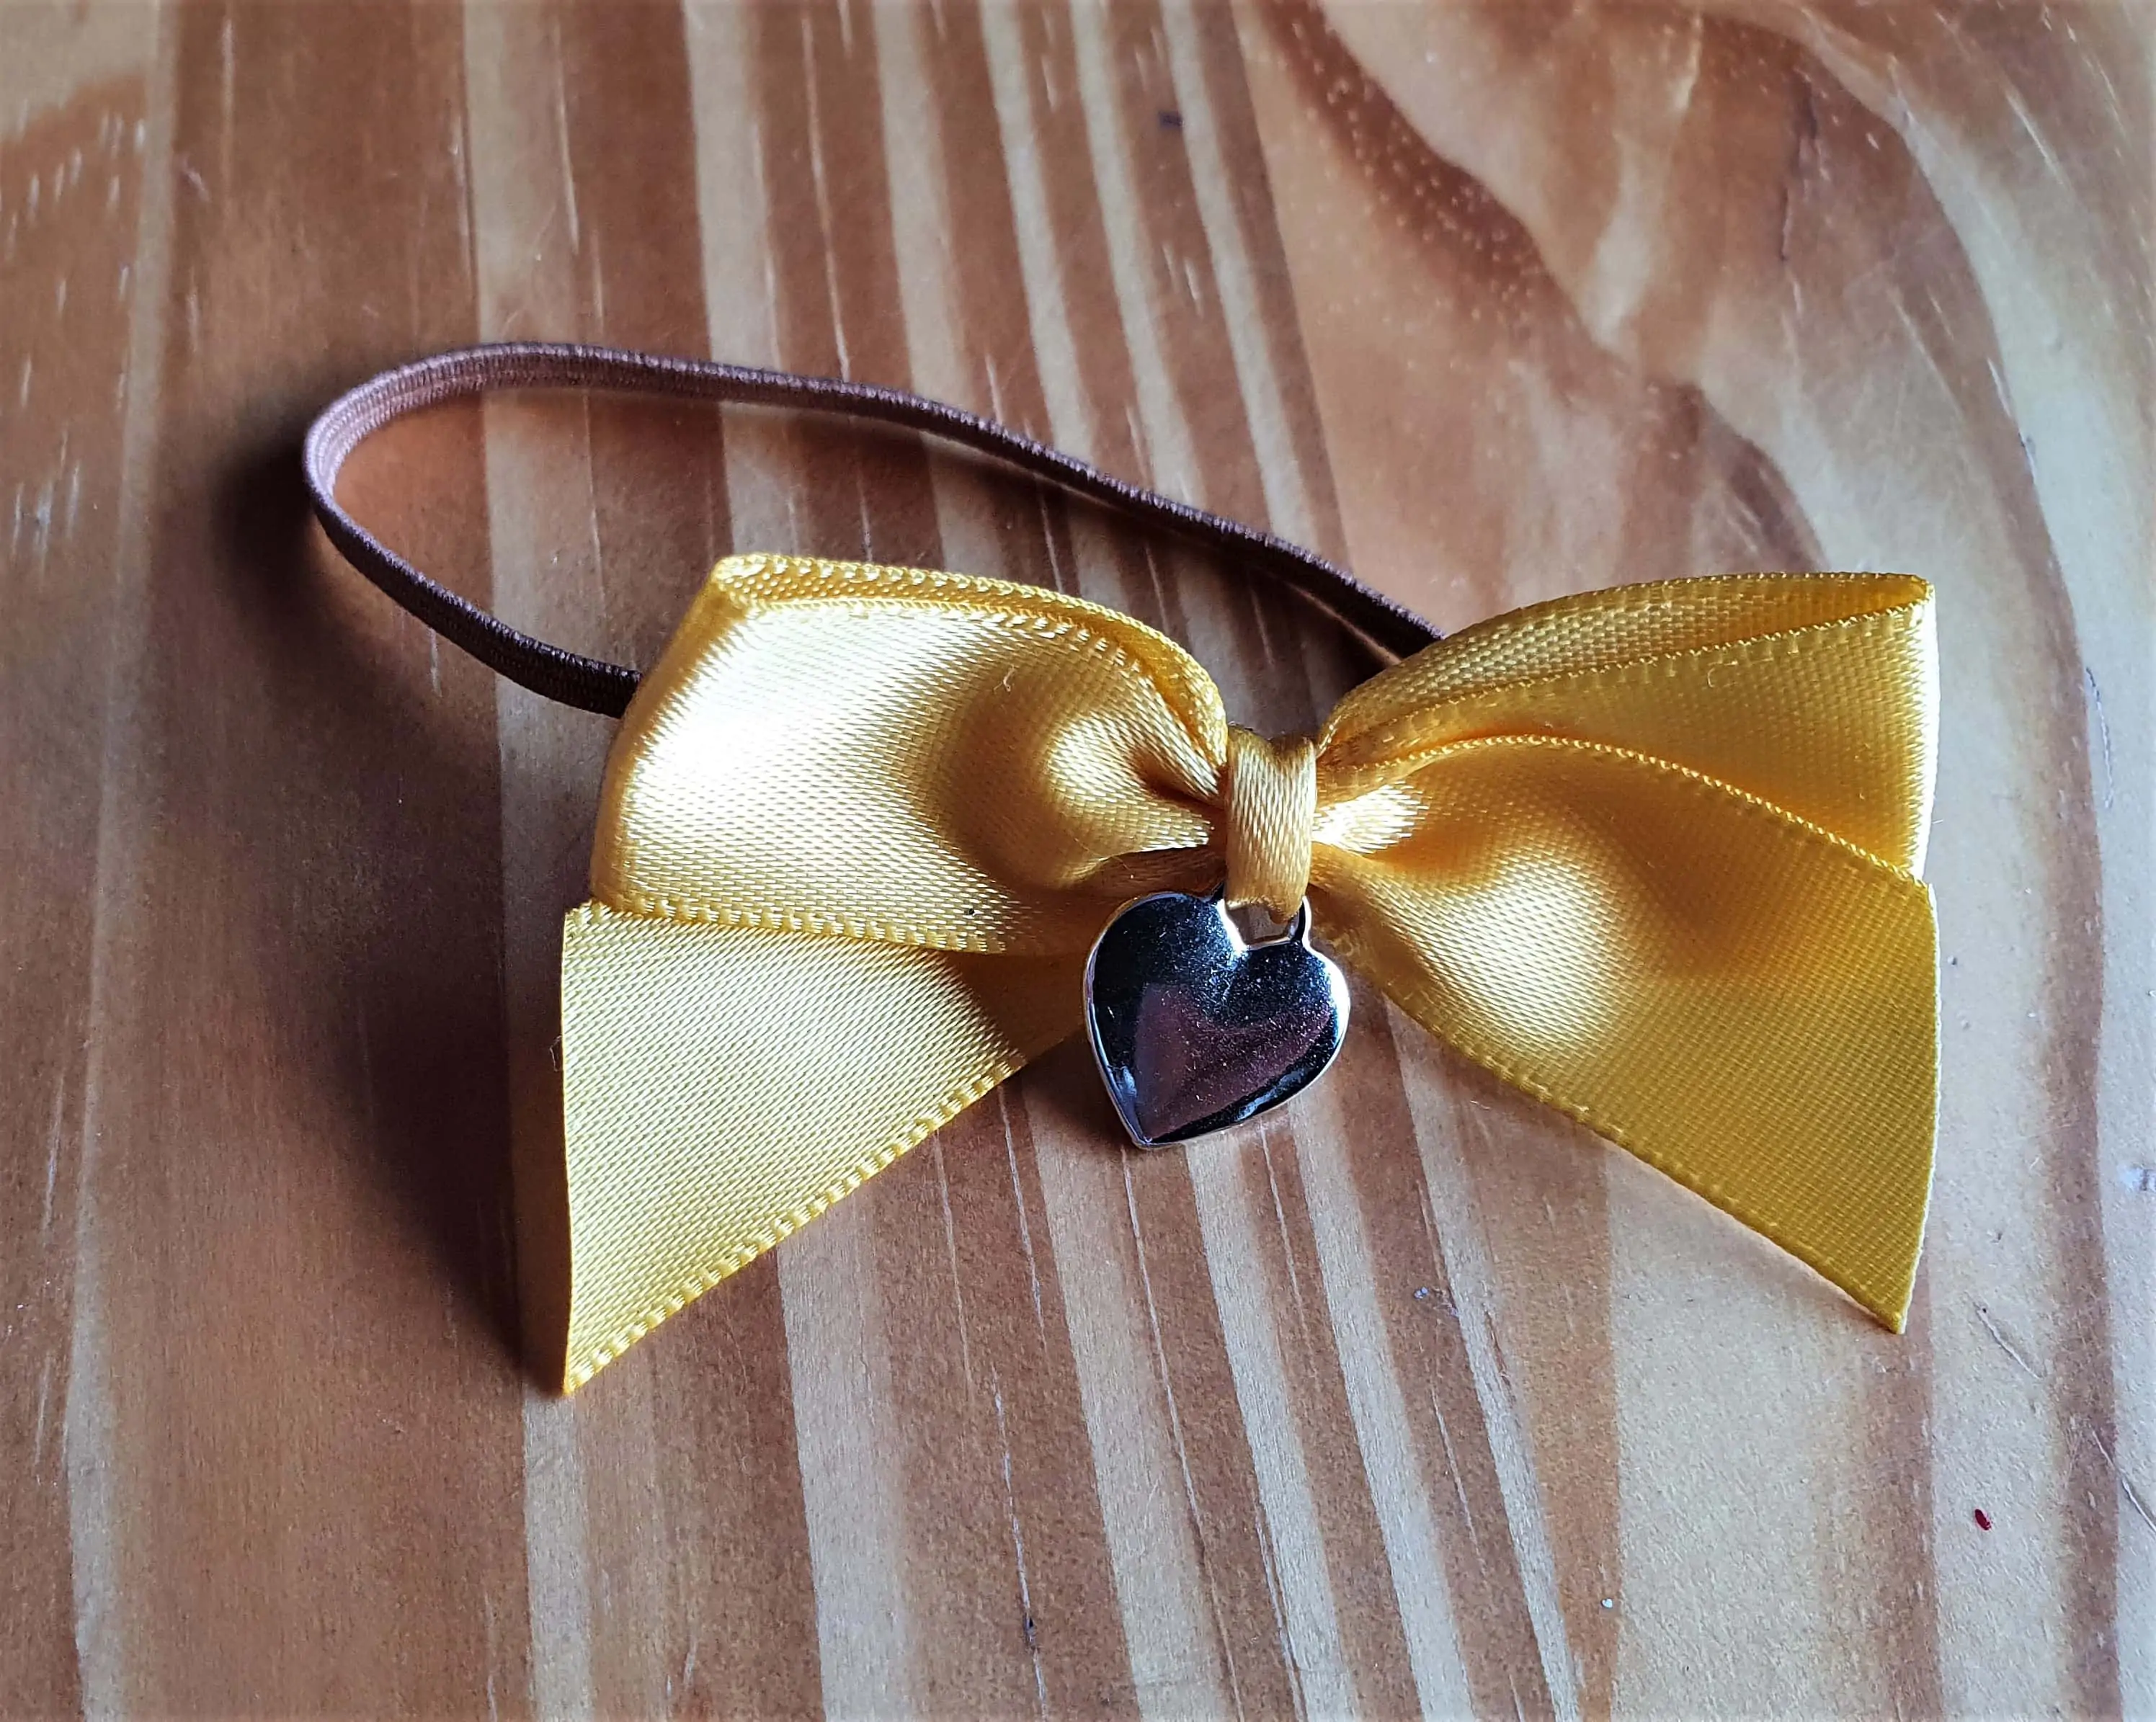
I Cut the Elastic Band from the Ribbon.
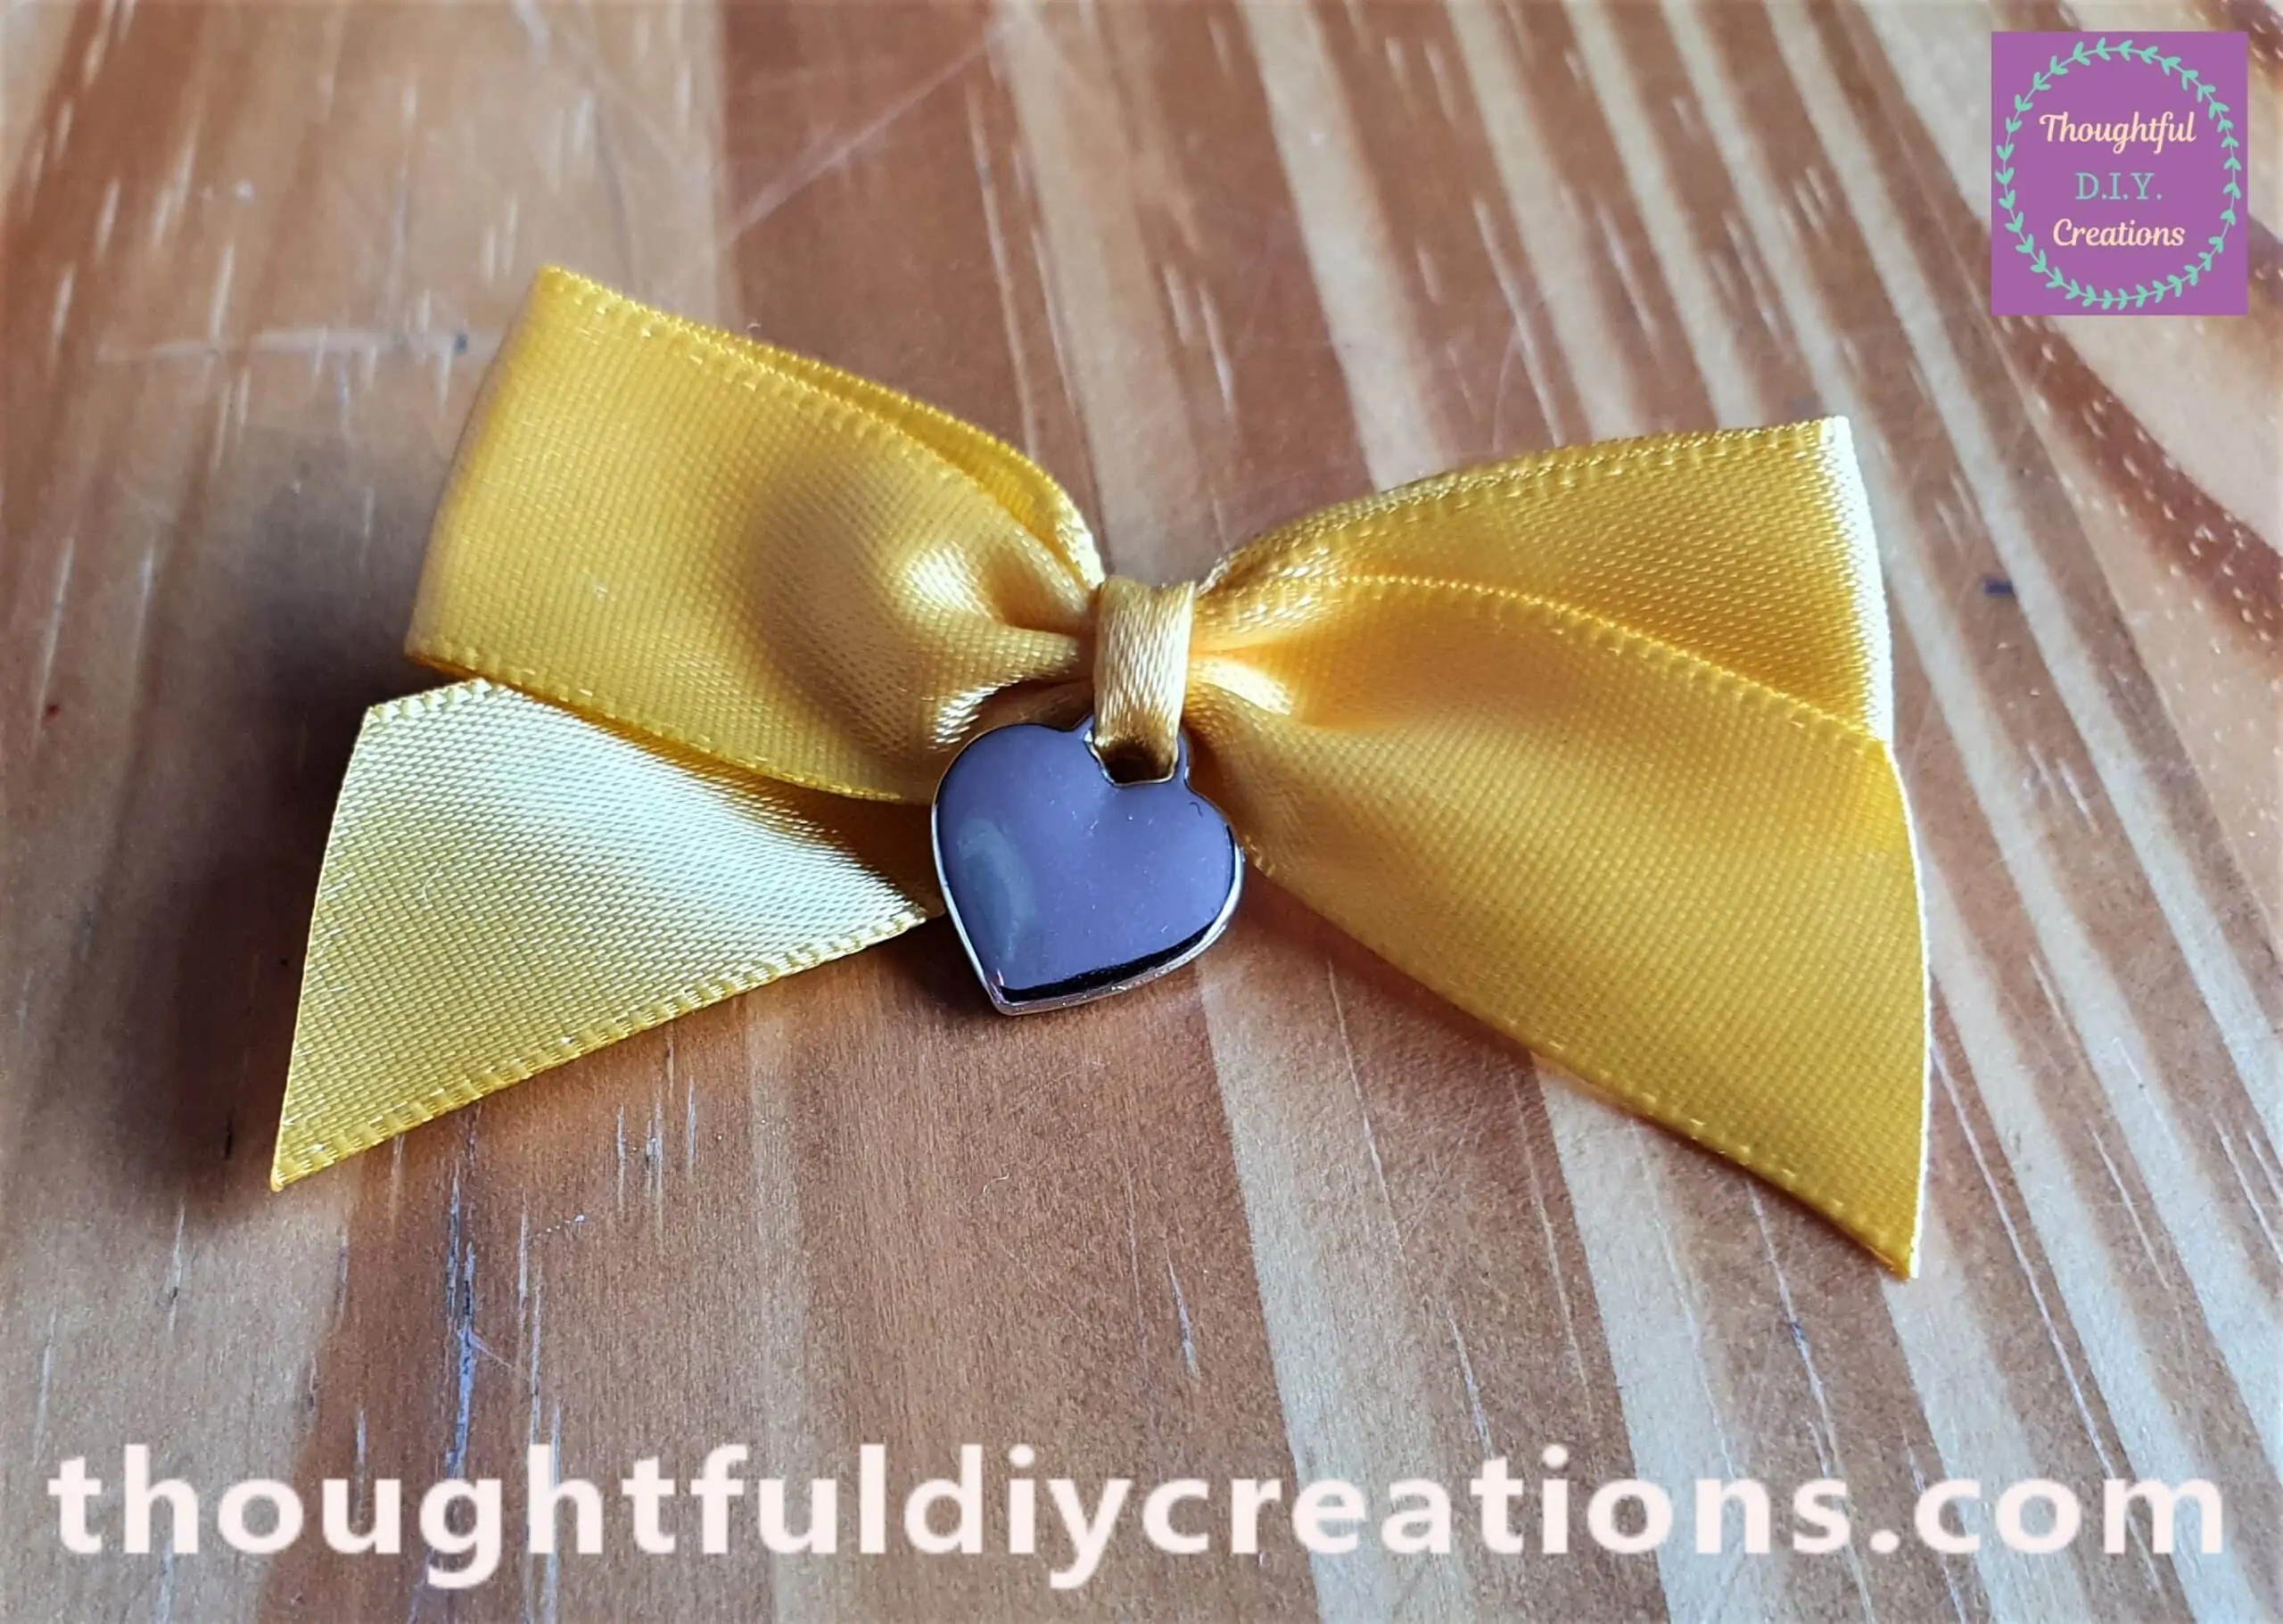
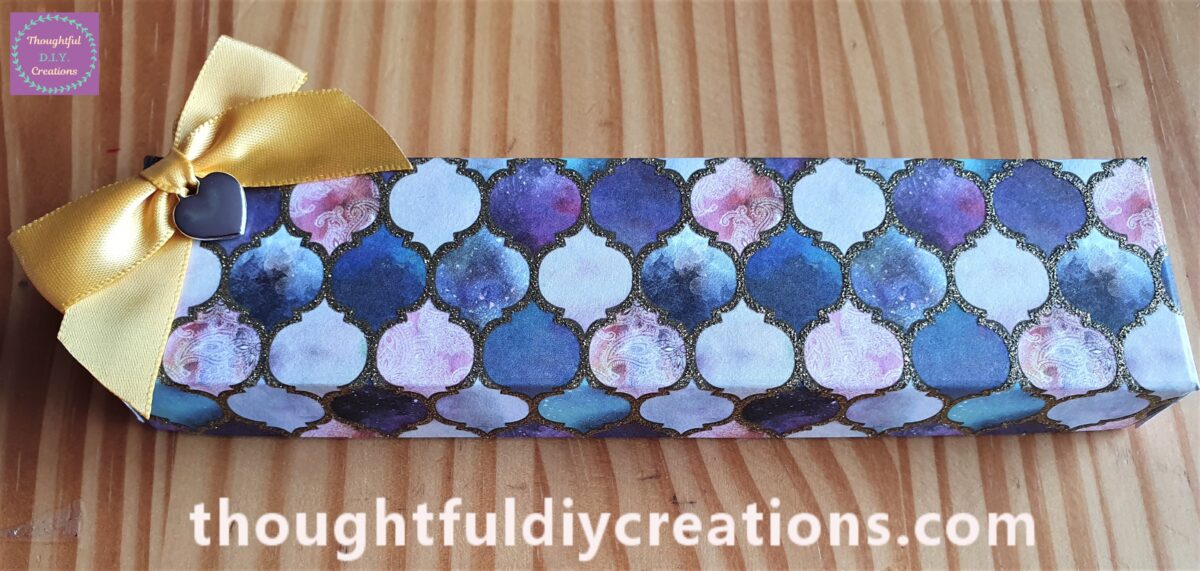
I attached the Bow to the edge of the Gift Box with a dab of Hot Glue.


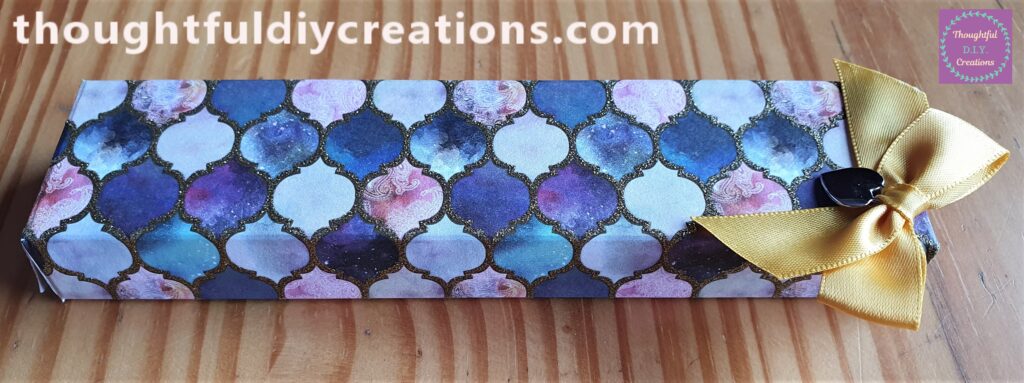
The Back of the Handmade Box.
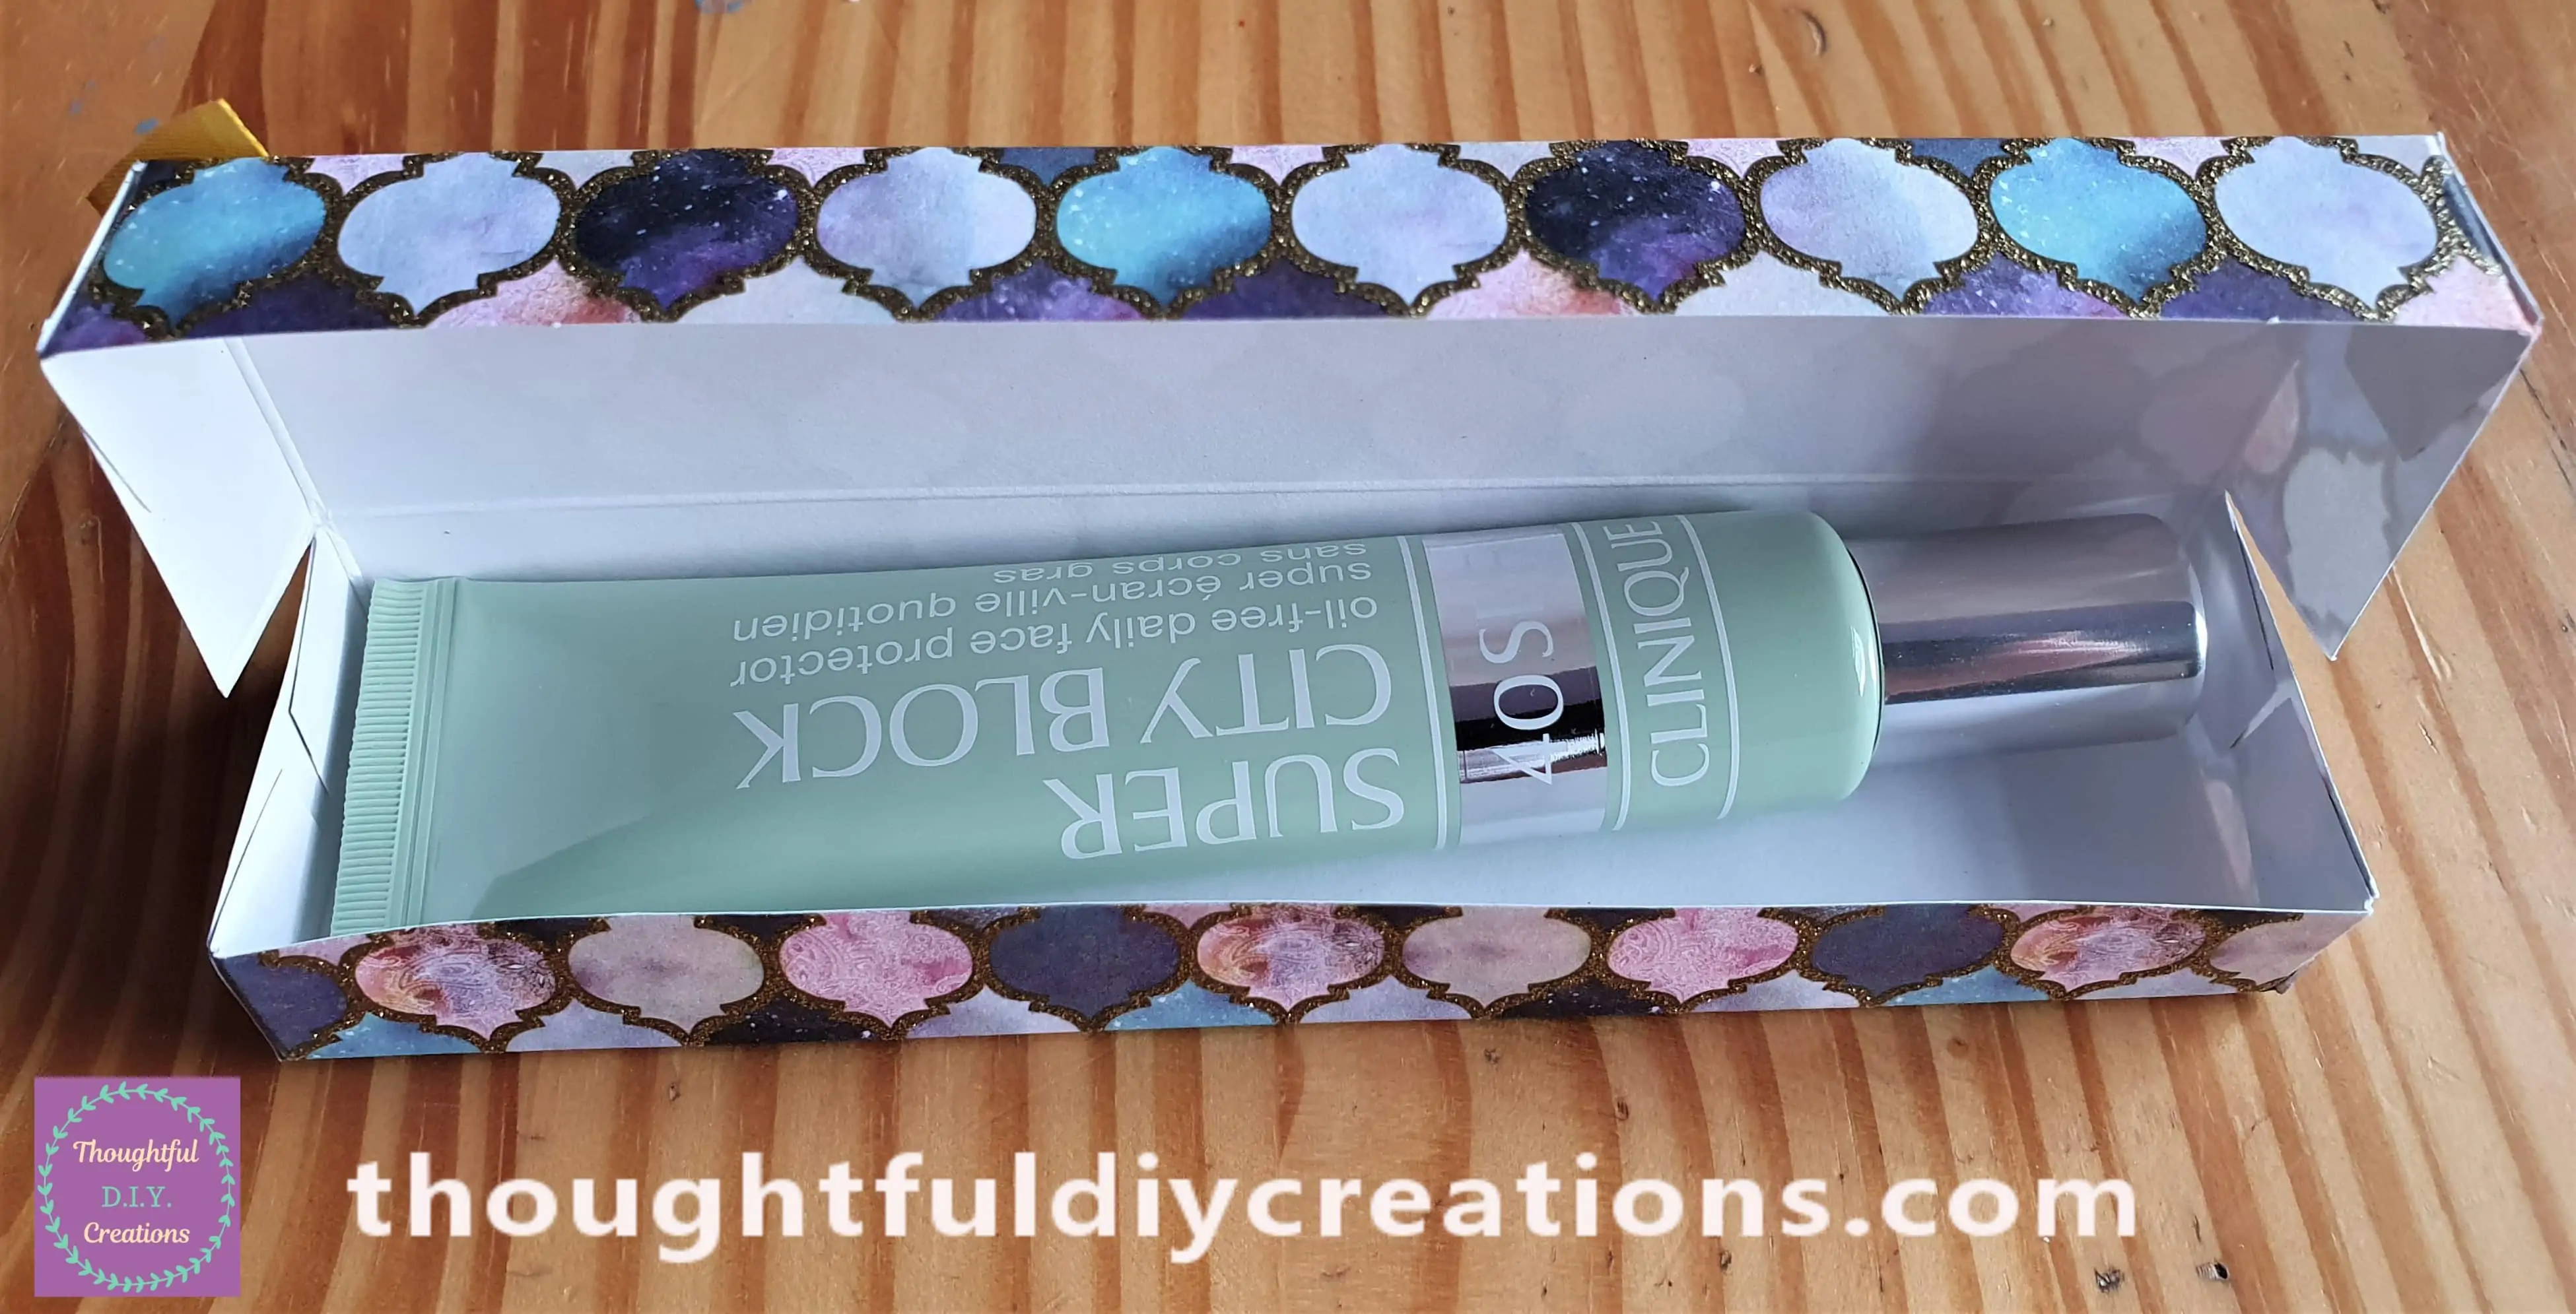
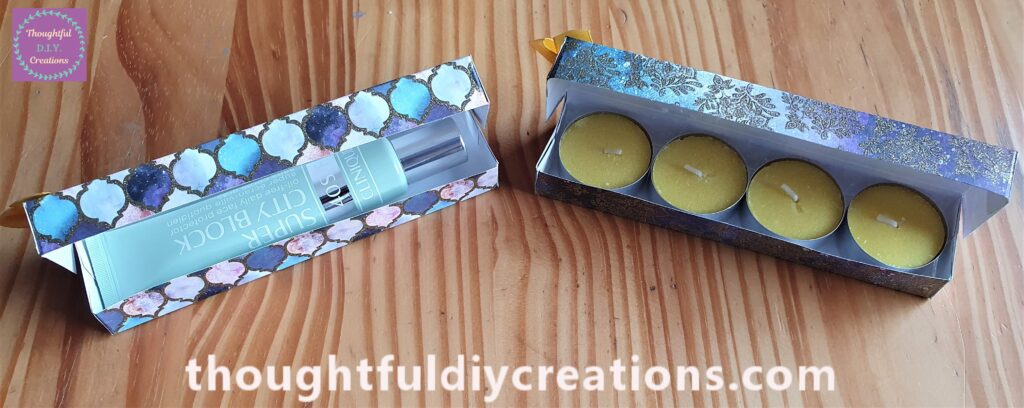
I put my Clinique SPF into the Box and it Fit perfectly.
Another Handmade Box & Ideas of What to Put Inside
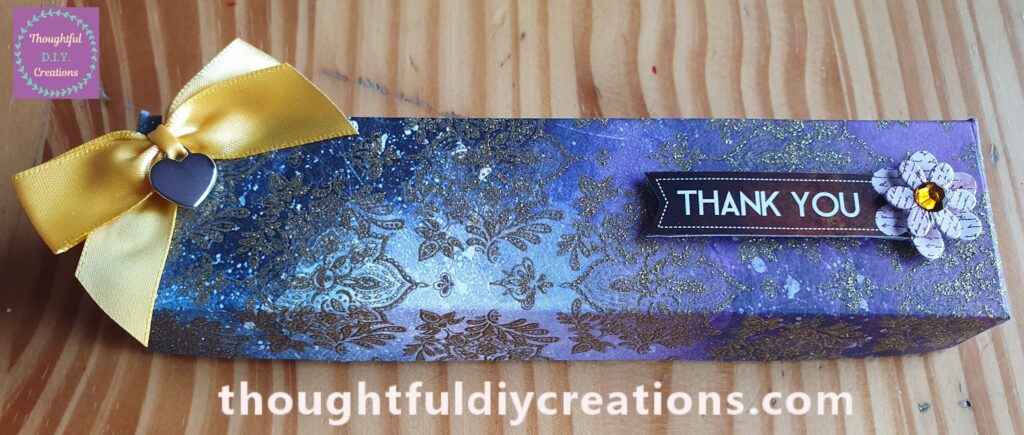
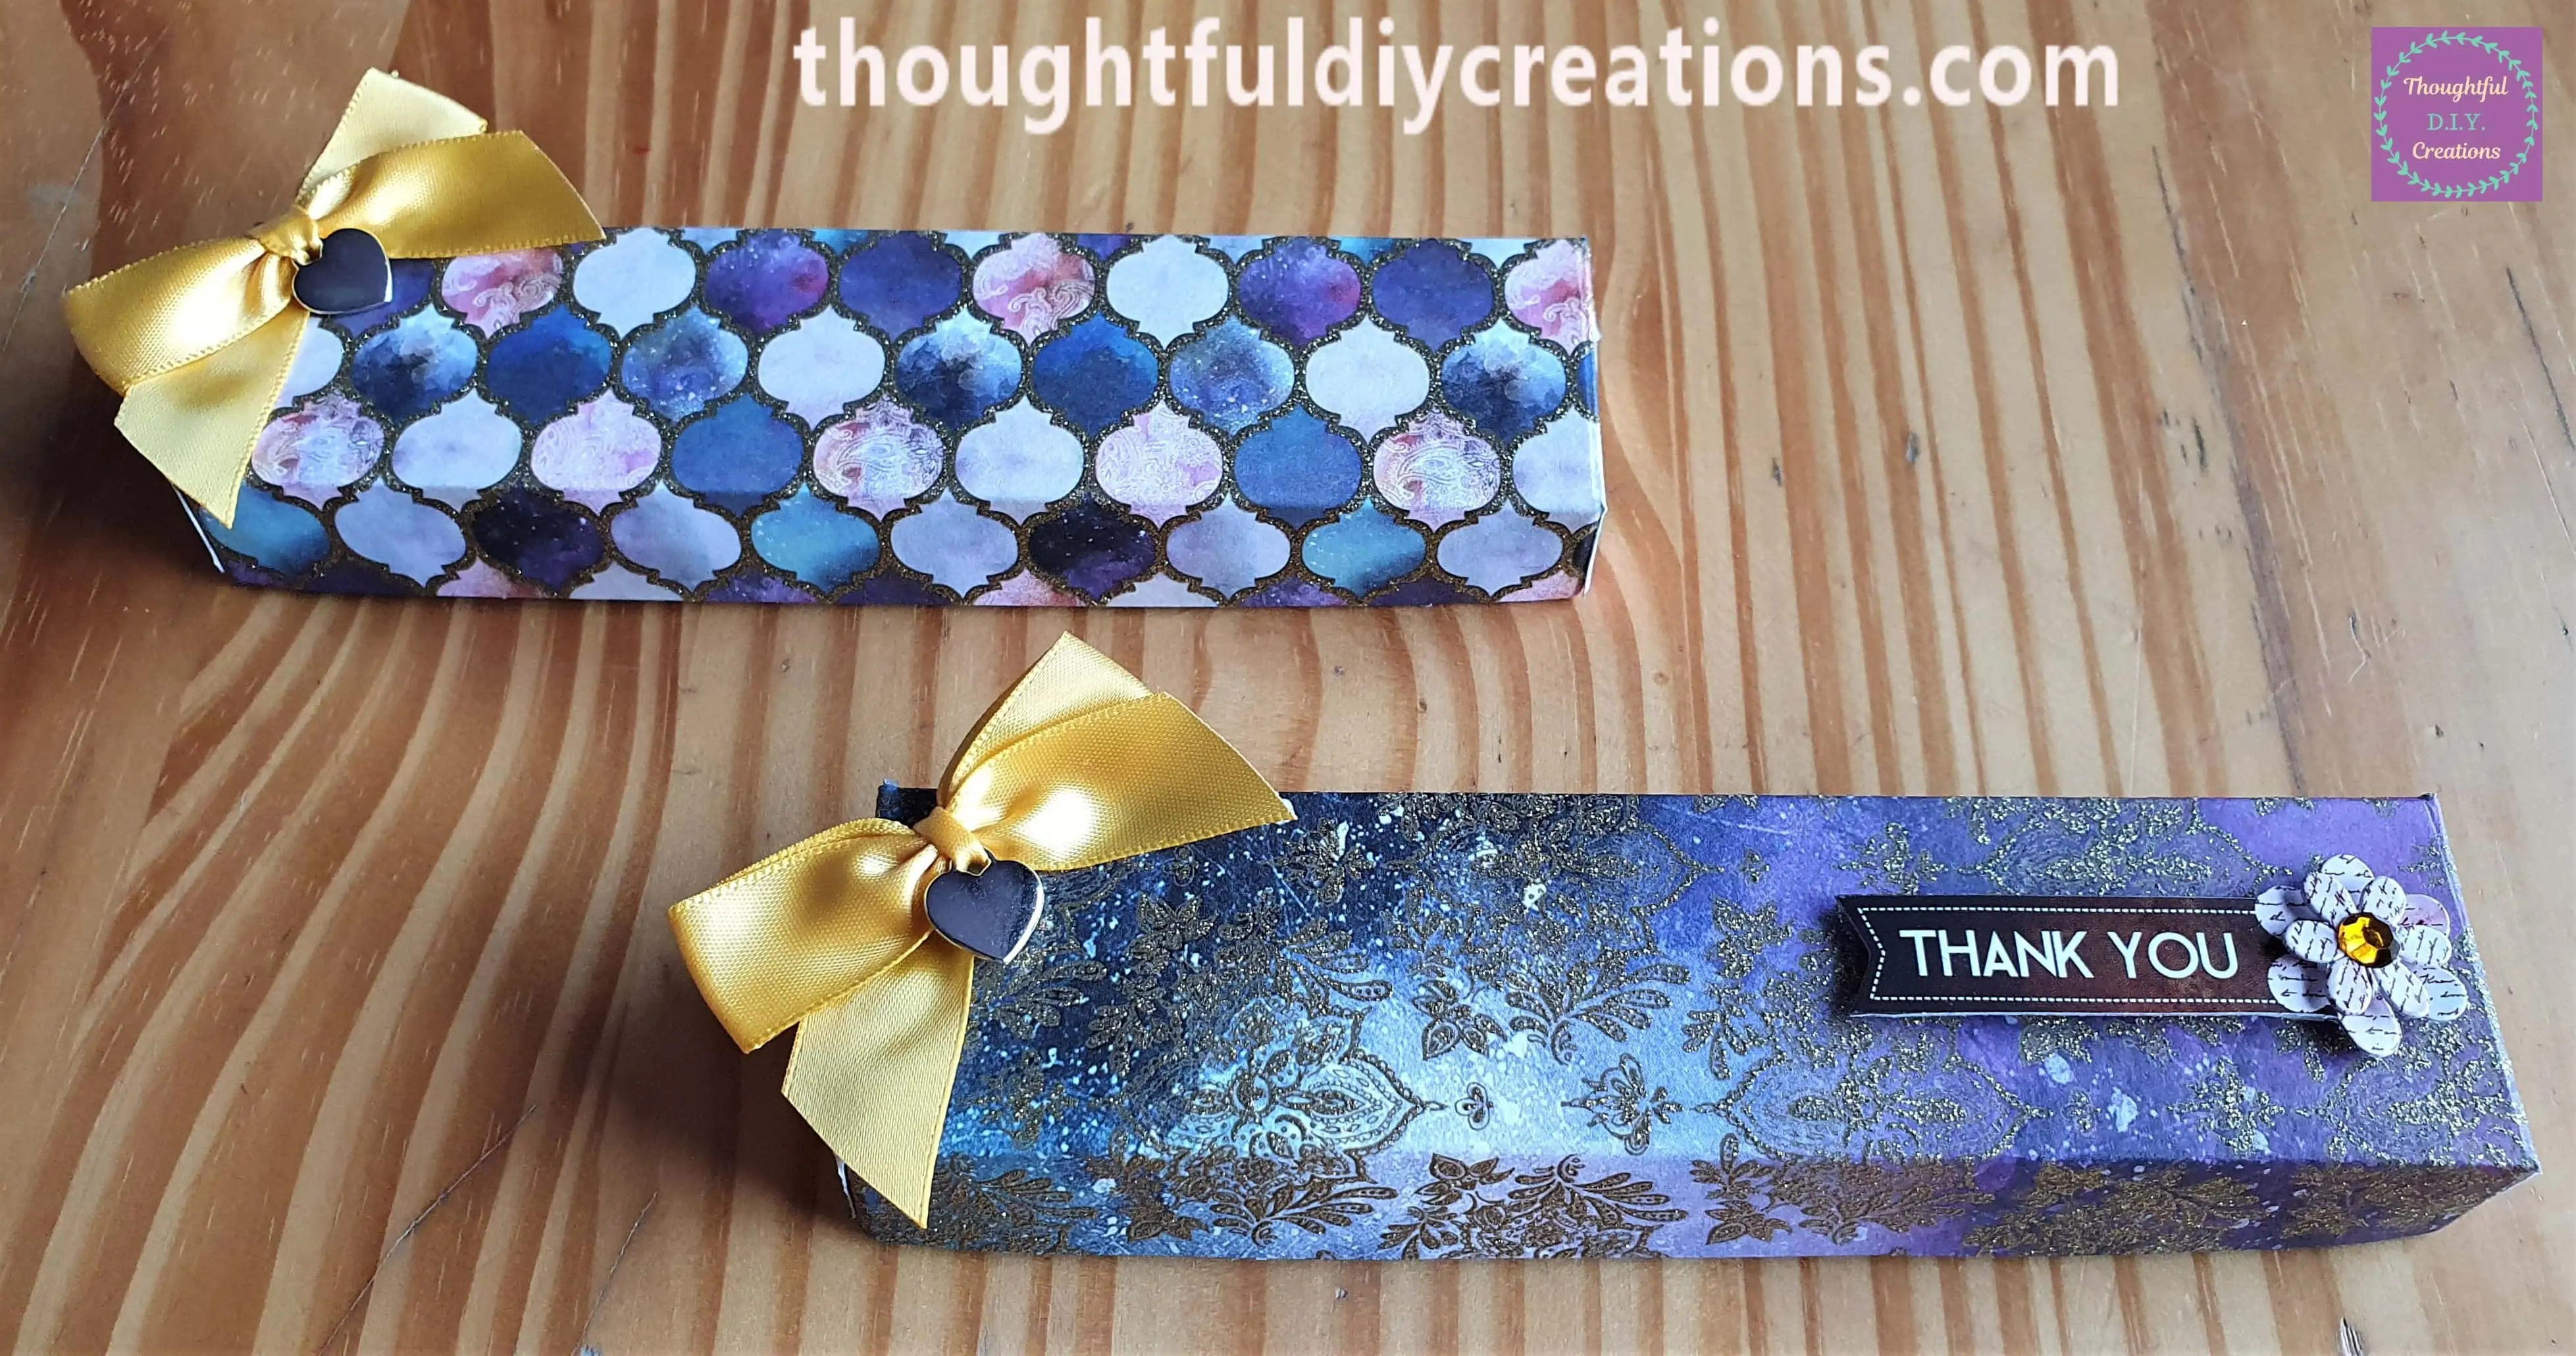
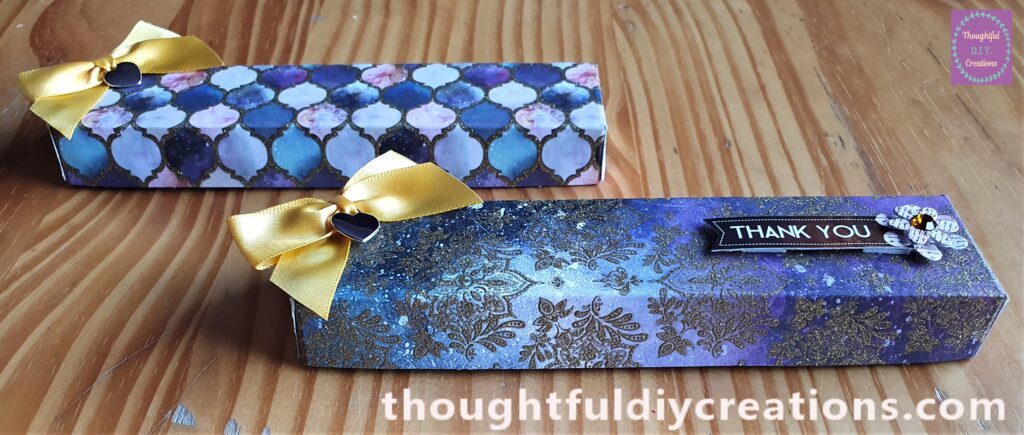
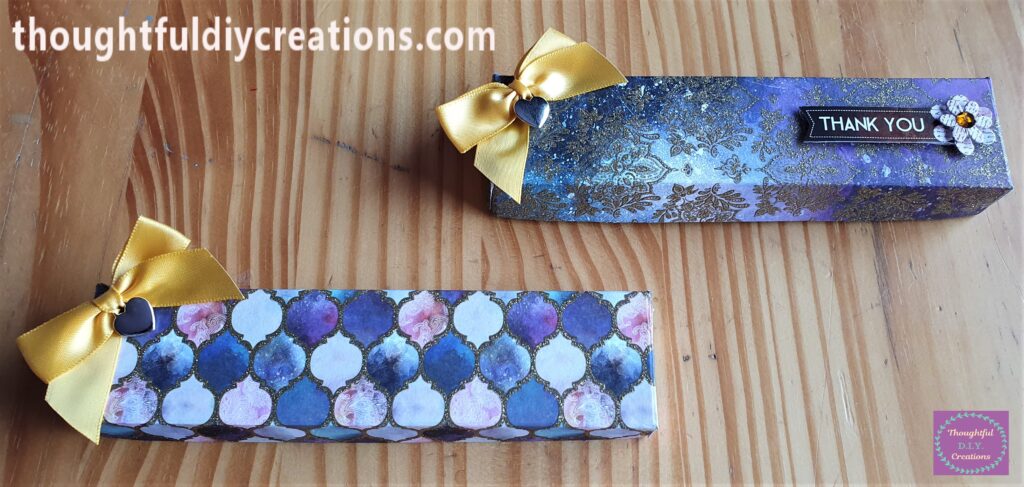
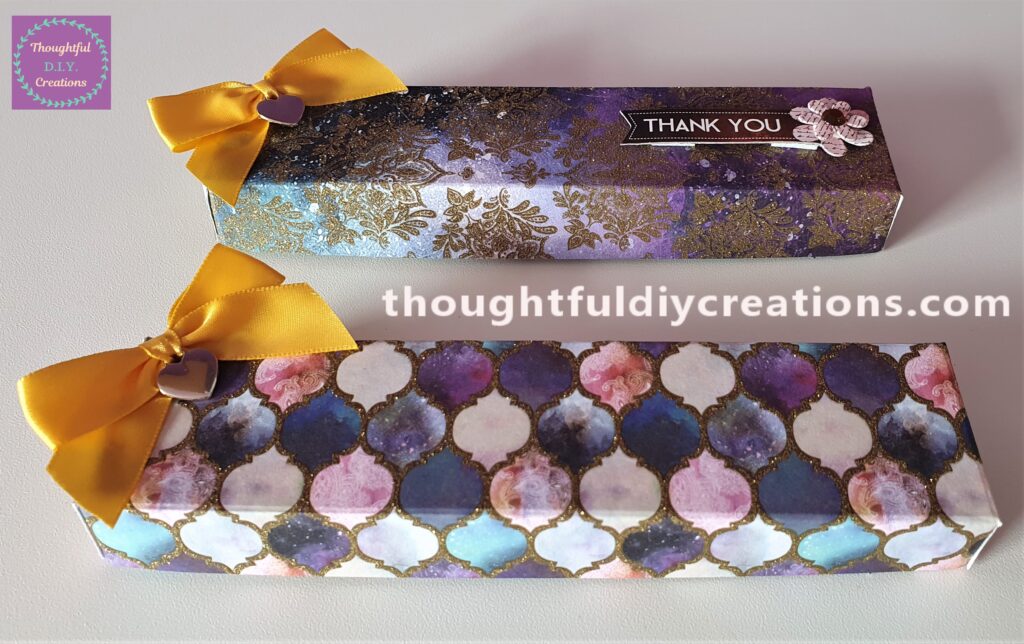
I made another Gift Box with a different Sheet of Paper from the same Paper Pad. This time I added a ‘Thank You’ 3-Dimensional Sticker.
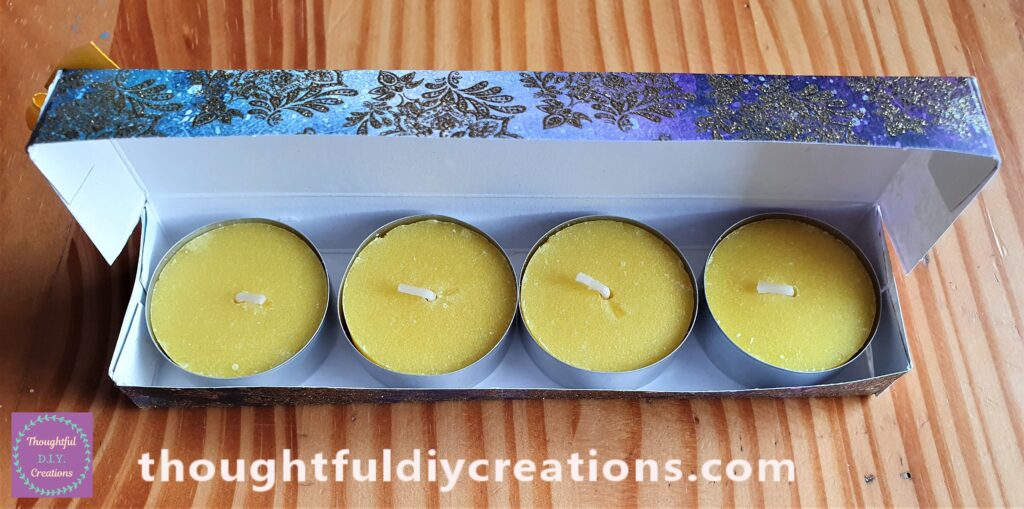
I put 4 Citronella Tealight Candles into this Gift Box. This would make a Great Gift to Bring if you were invited to an Outdoor Event or Barbecue to ward off Flies and Bugs.
The 2 Gift Boxes Side by Side.
The Boxes with their Lids Closed.
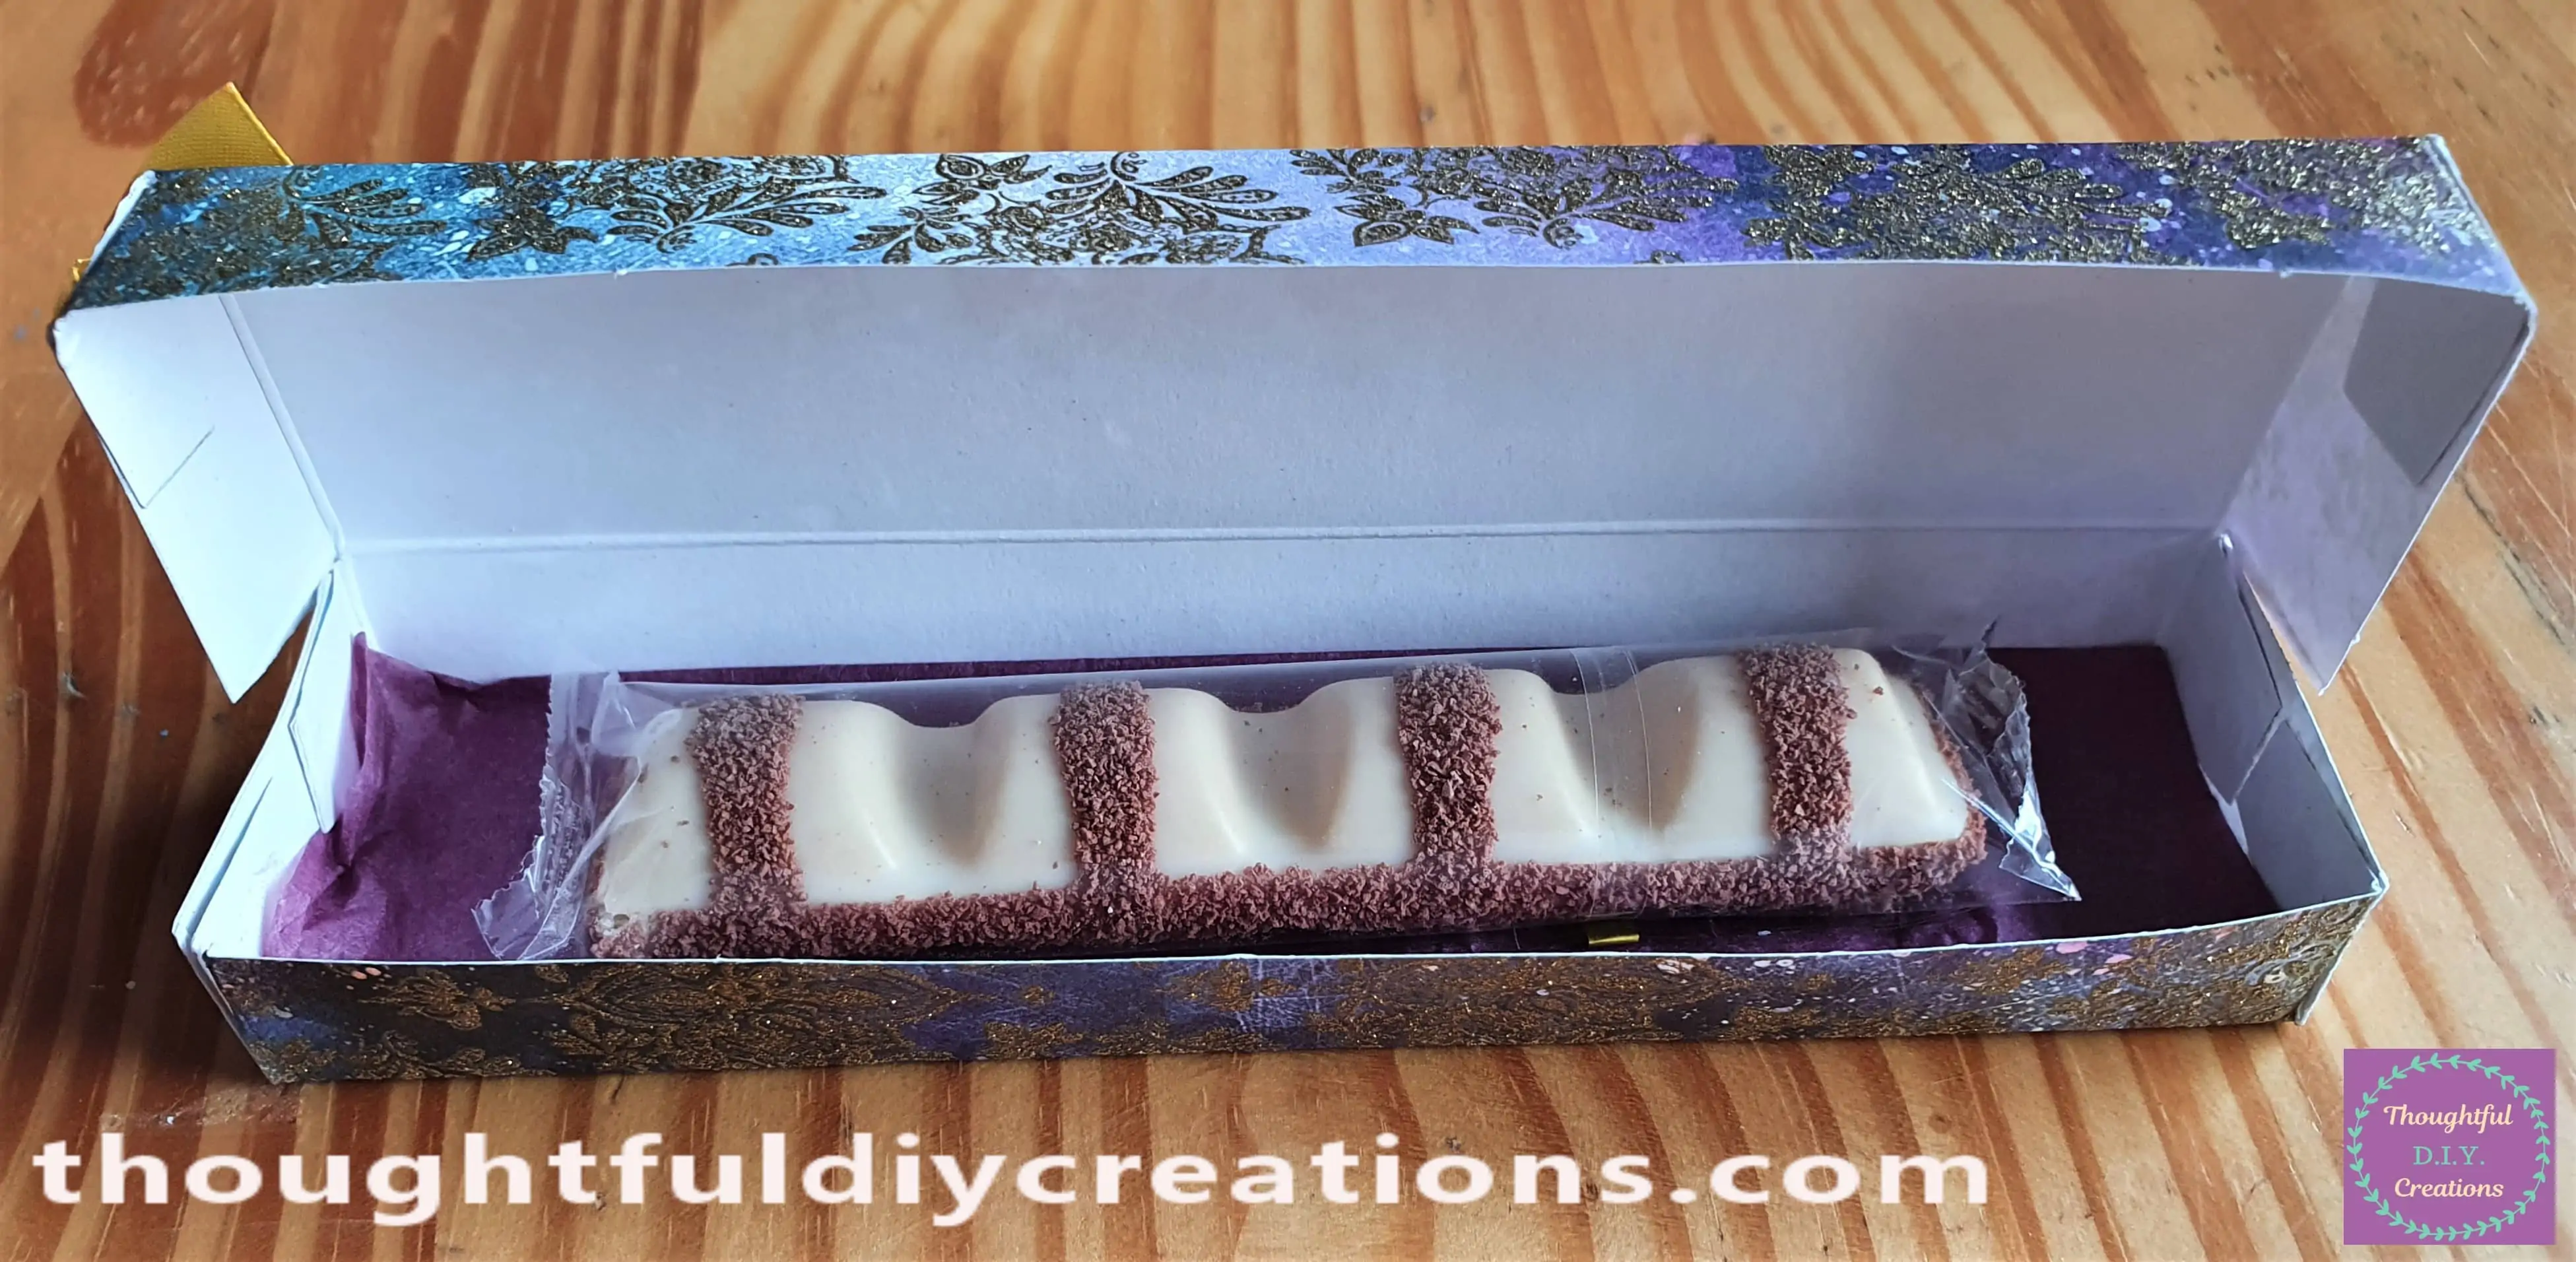
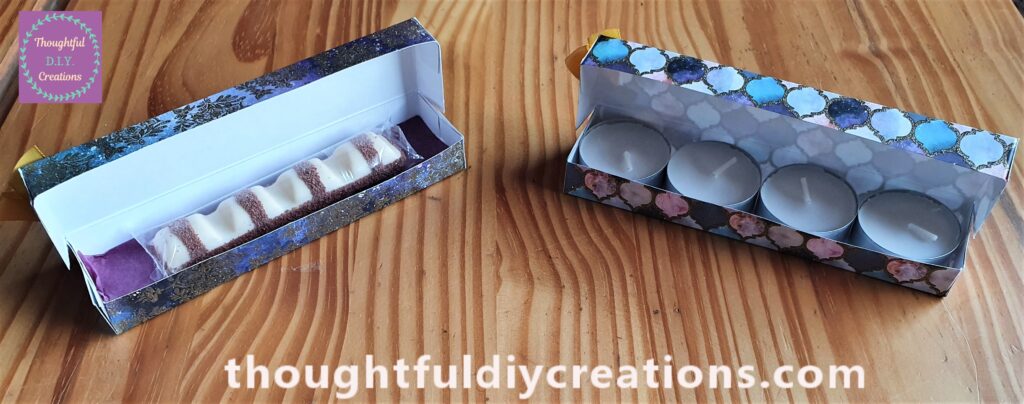
I put a Sheet of Tissue Paper and half of a White Kinder Bueno into one of the Gift Boxes. This would make a Good Party Favour for your Guests if your Hosting a Birthday or Occasion. It’s simple but thoughtful and effective.
I put 4 White Tealight Candles into the other Gift Box. This could be Gifted at any Time of the Year.
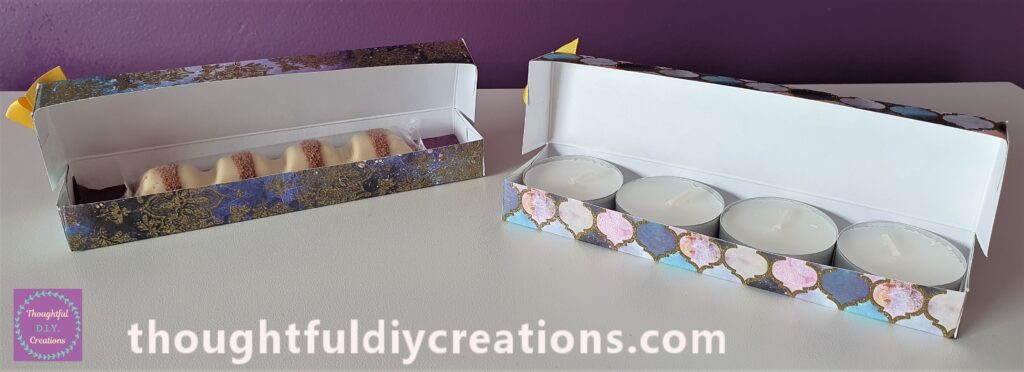
The Final Image of my 2 Handmade Gift Boxes.
Conclusion
I am Delighted with the Outcome of my Gift Boxes. I love the Paper with the Gold Embossed details and gorgeous Colours. I love the Simplicity of this Craft, it’s also Budget Friendly which is always Good.
It’s another way to use Scrapbook Paper as sometimes I just associate them with making Cards; but they are multi-functional and worth Buying for so many uses.
The Gift Boxes could be made in Bulk in a Day or over a Weekend and if you ever Forget to Buy someone a Gift, they can be your Saving Grace in times of Need.
More examples of what could be added to the Gift Box would be a Pen, Lip Balm / Small Handcream (depends on the Size), Eye Cream, and Small Chocolates.
I hope you Give this Craft a Try for Yourself. Let me Know How you Get On and What you Decide to Put in Yours.
Thank You So Much for Taking the Time to Read my Blog.
Always Grateful,
T.D.C.
xoxox


-0 Comment-