Halloween Gift Box Tutorial
Hello my Creative Friends,
I hope you are all Well. In Today’s Tutorial I will show you How I made a Halloween Gift Box. It is suitable for Adults, Teenagers or Children. It can be changed to suit your preferences but I hope it provides some Inspiration for putting together a Halloween Gift Box / Hamper for someone special in your Life.
Gift Box
I bought a Silver Gift Box Set in my local Homesavers Store (B&M in the U.K).
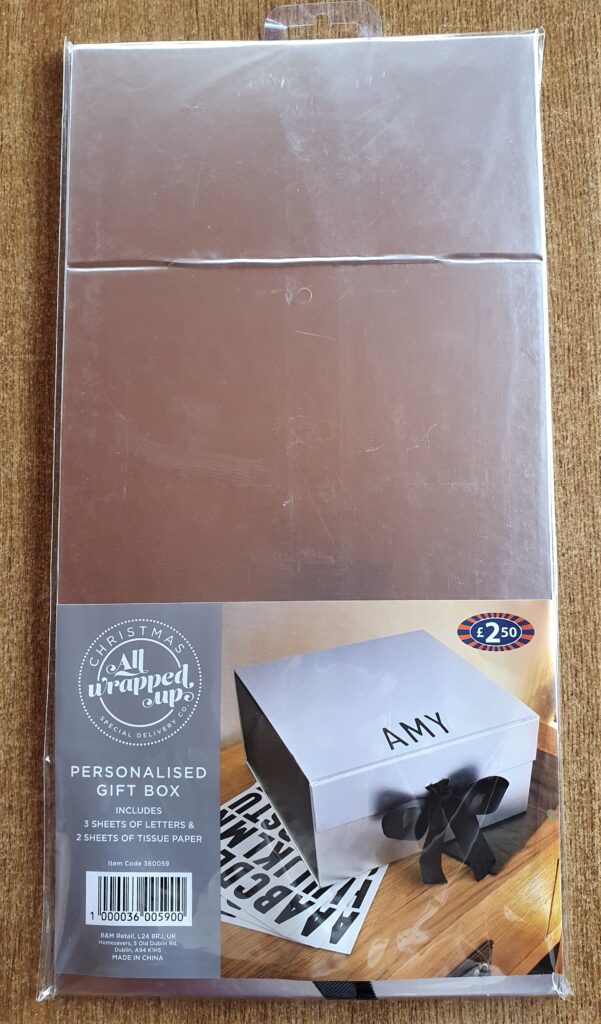
Here it is out of the Pack; it comes with 3 Sheets of Alphabet Stickers.
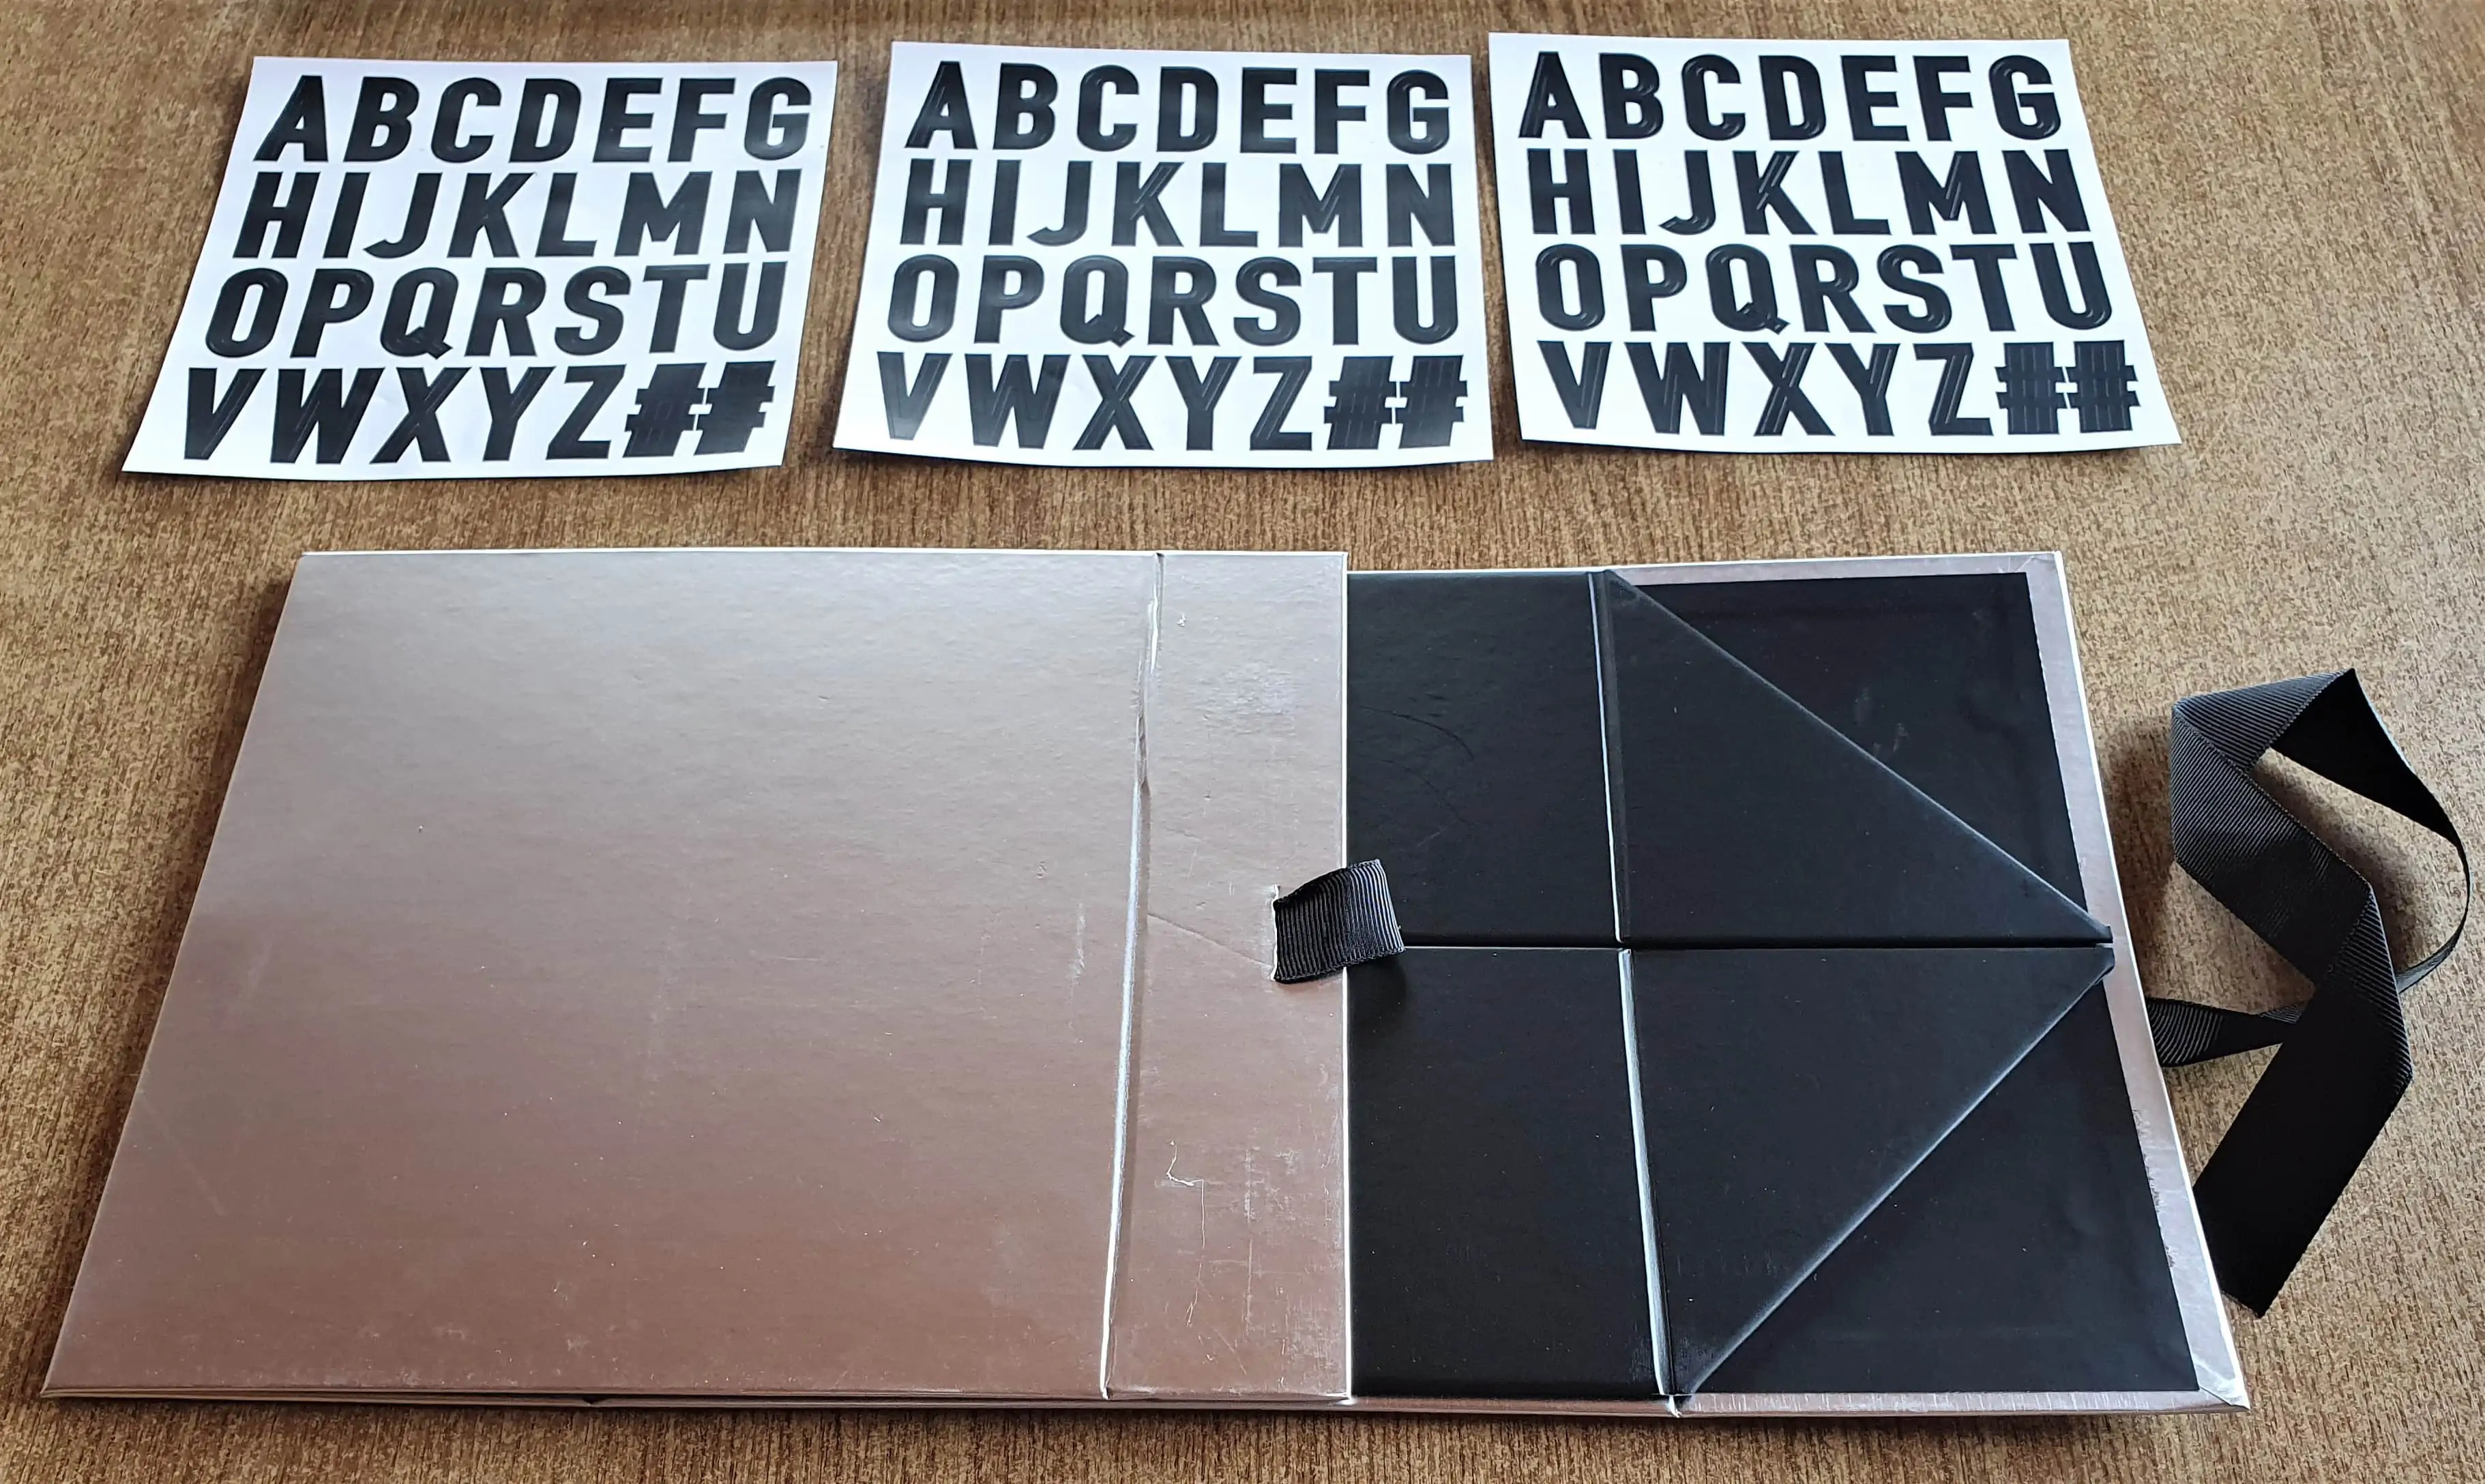
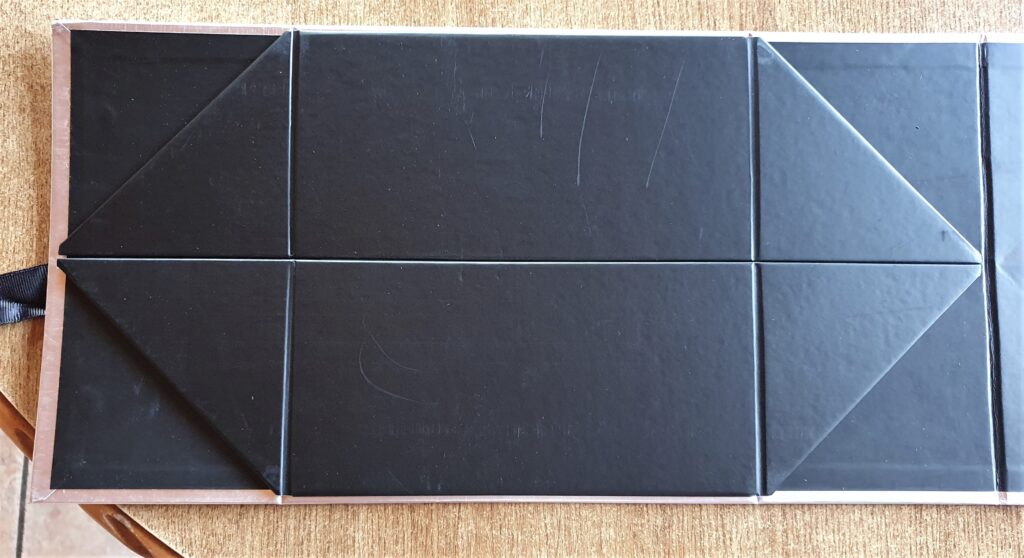
The Inside of the Box in a flat pack style.
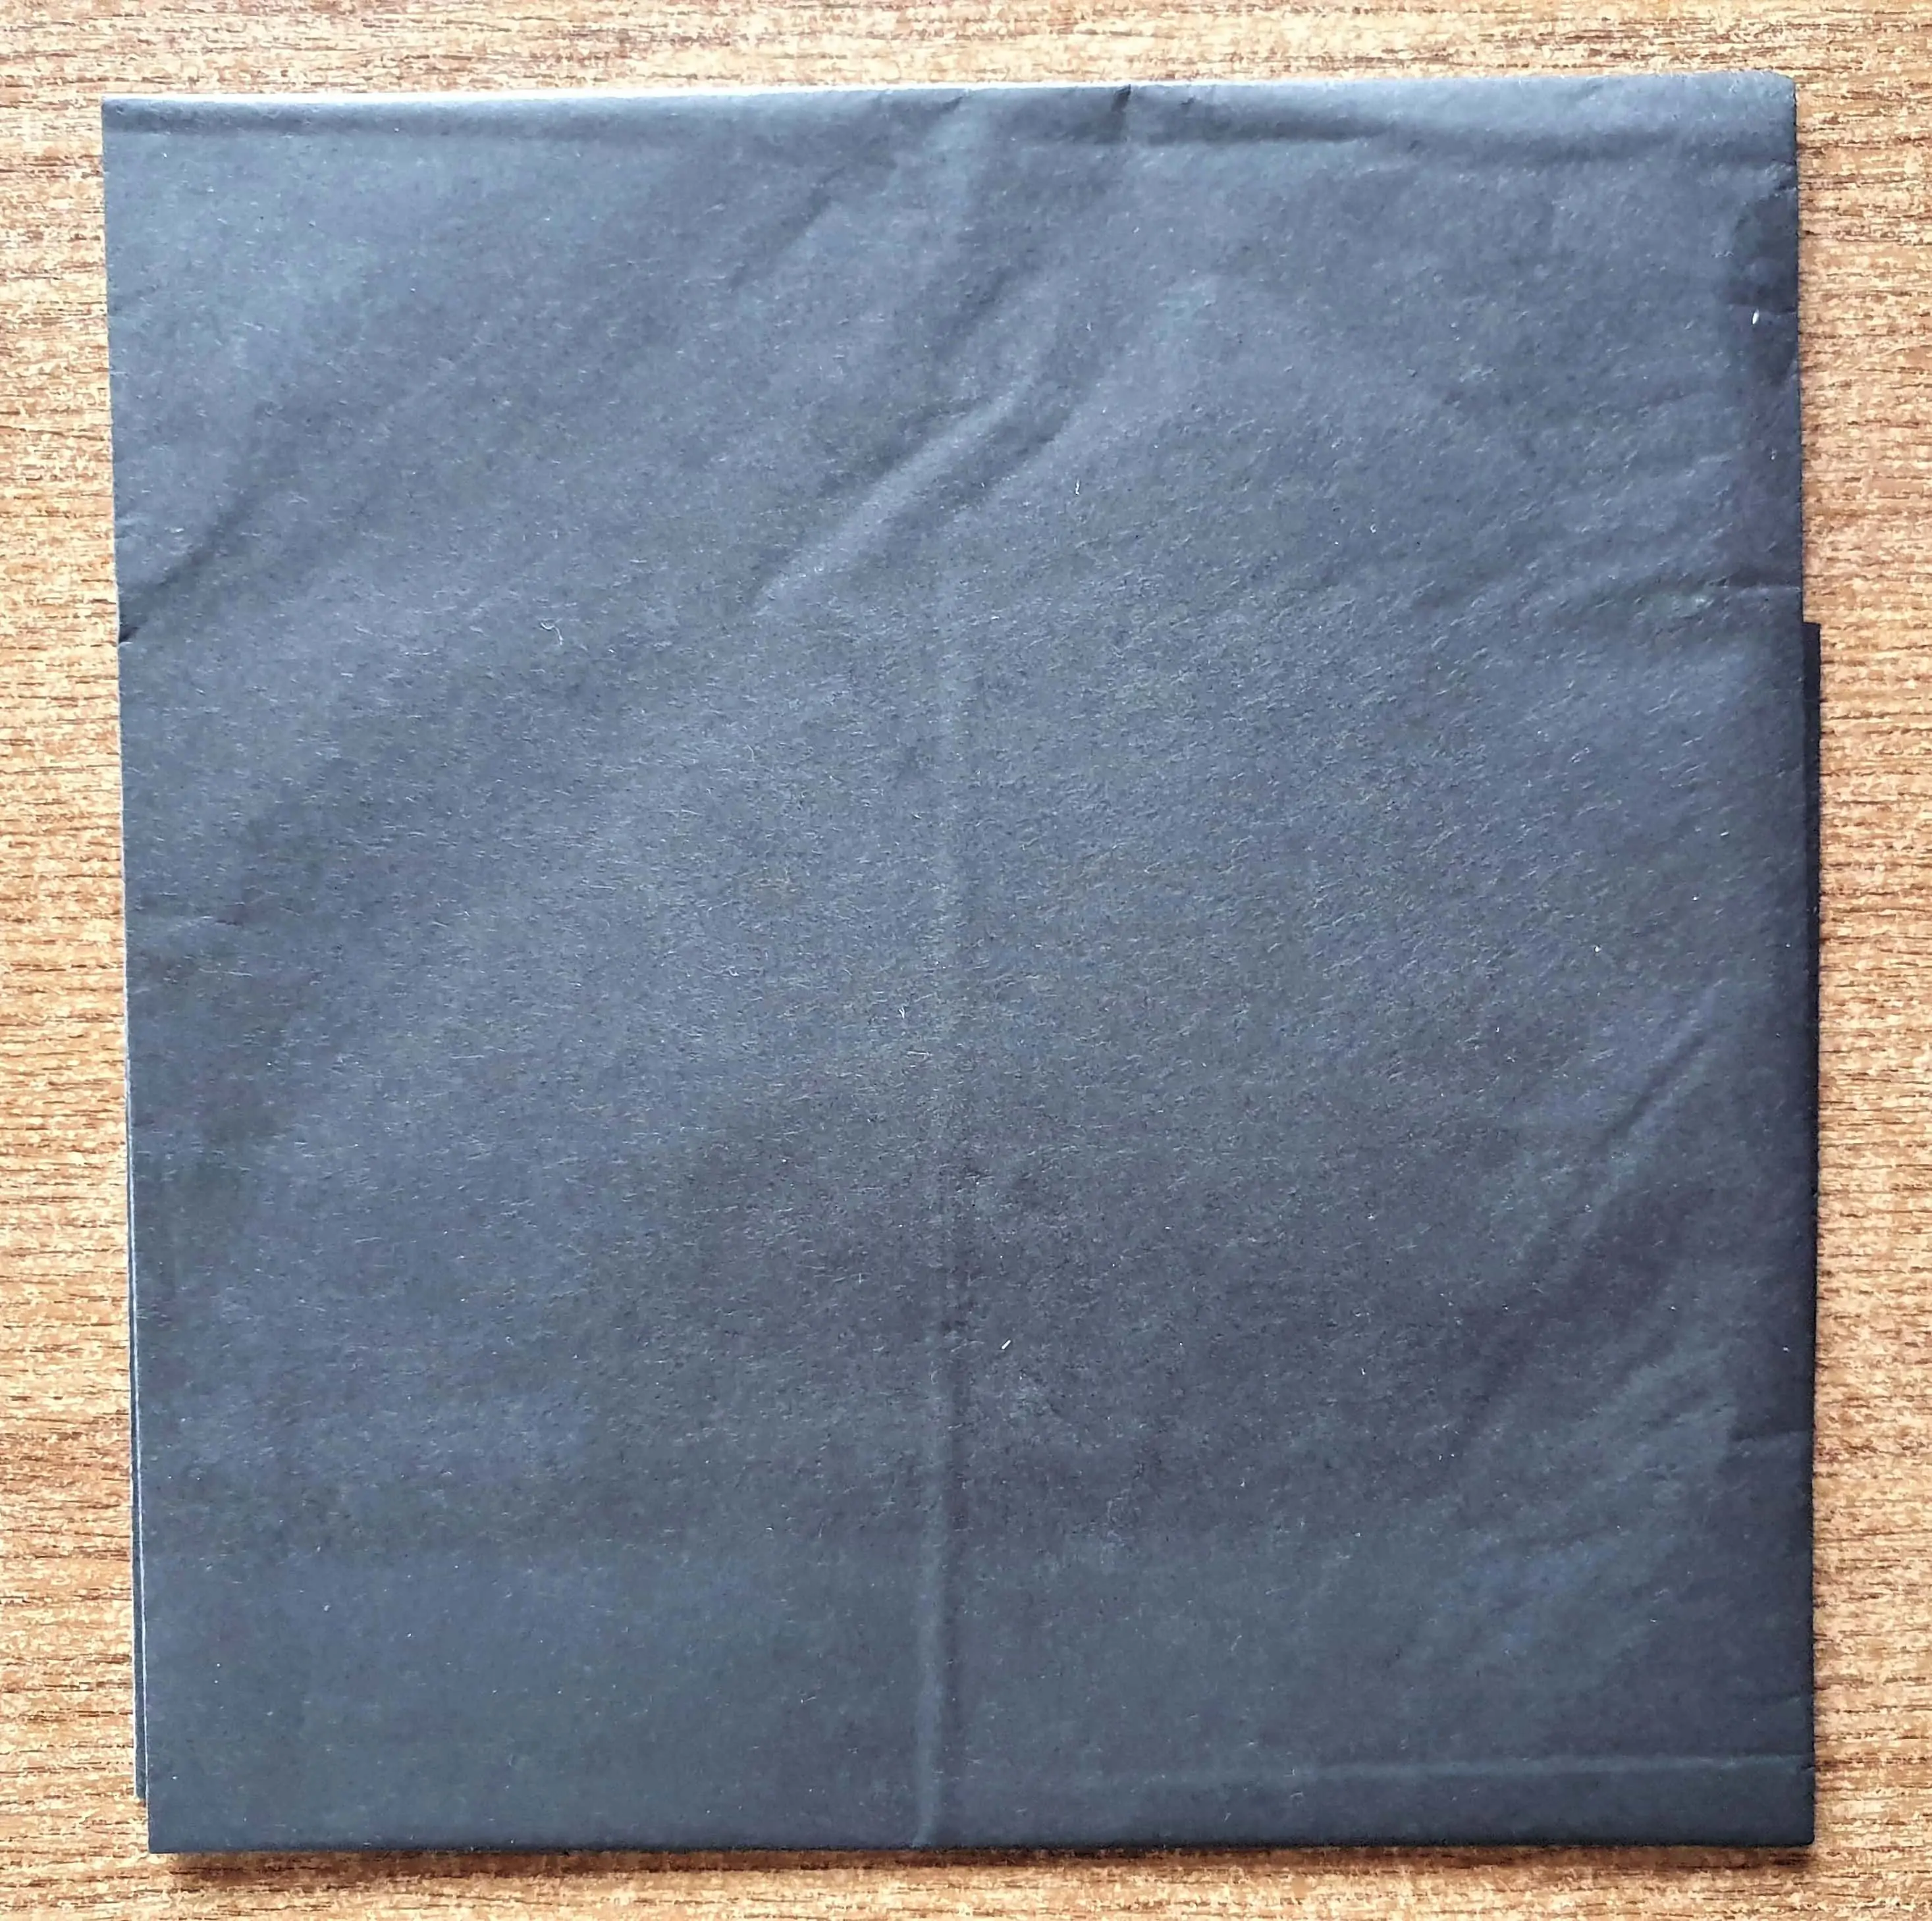
When I Opened up the Inside of the Box; there were 2 Sheets of Black Tissue Paper folded up Inside.
The Outer Part of the Gift Box.
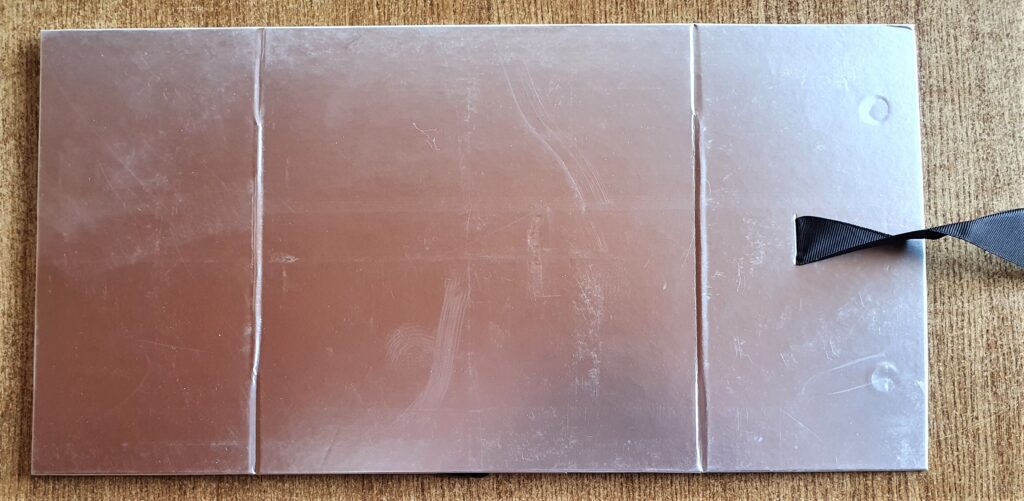
Assembling the Halloween Gift Box
I got my Bottle of ‘Anita’s Tacky PVA Glue’ and a Paintbrush.
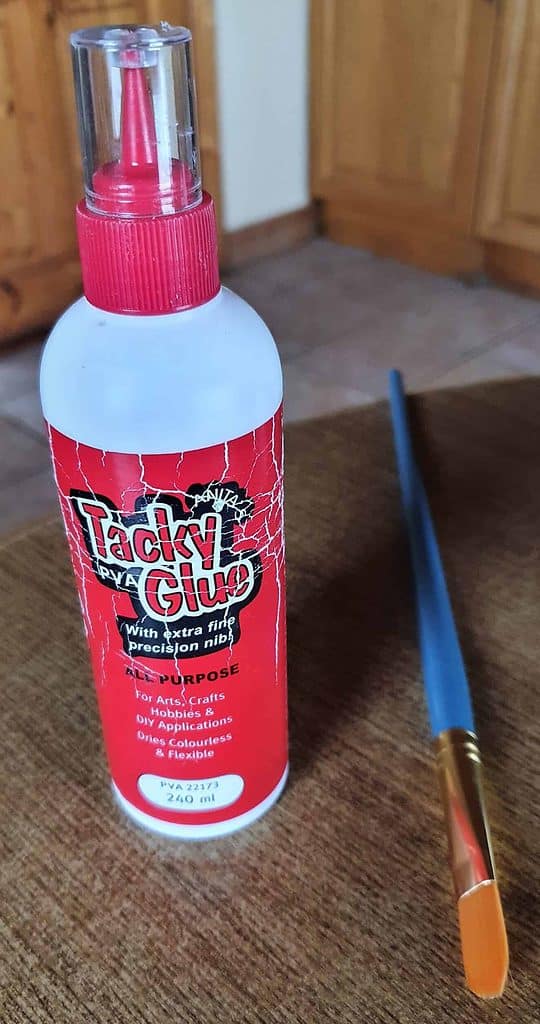
I unfolded the Inside of the Gift Box and Spread the Glue all over the 4 Sides with the Paintbrush.
I then held each Side in place with Pegs and put 2 Tubs of Glue against both Sides to hold them in place and allow the Glue to dry.
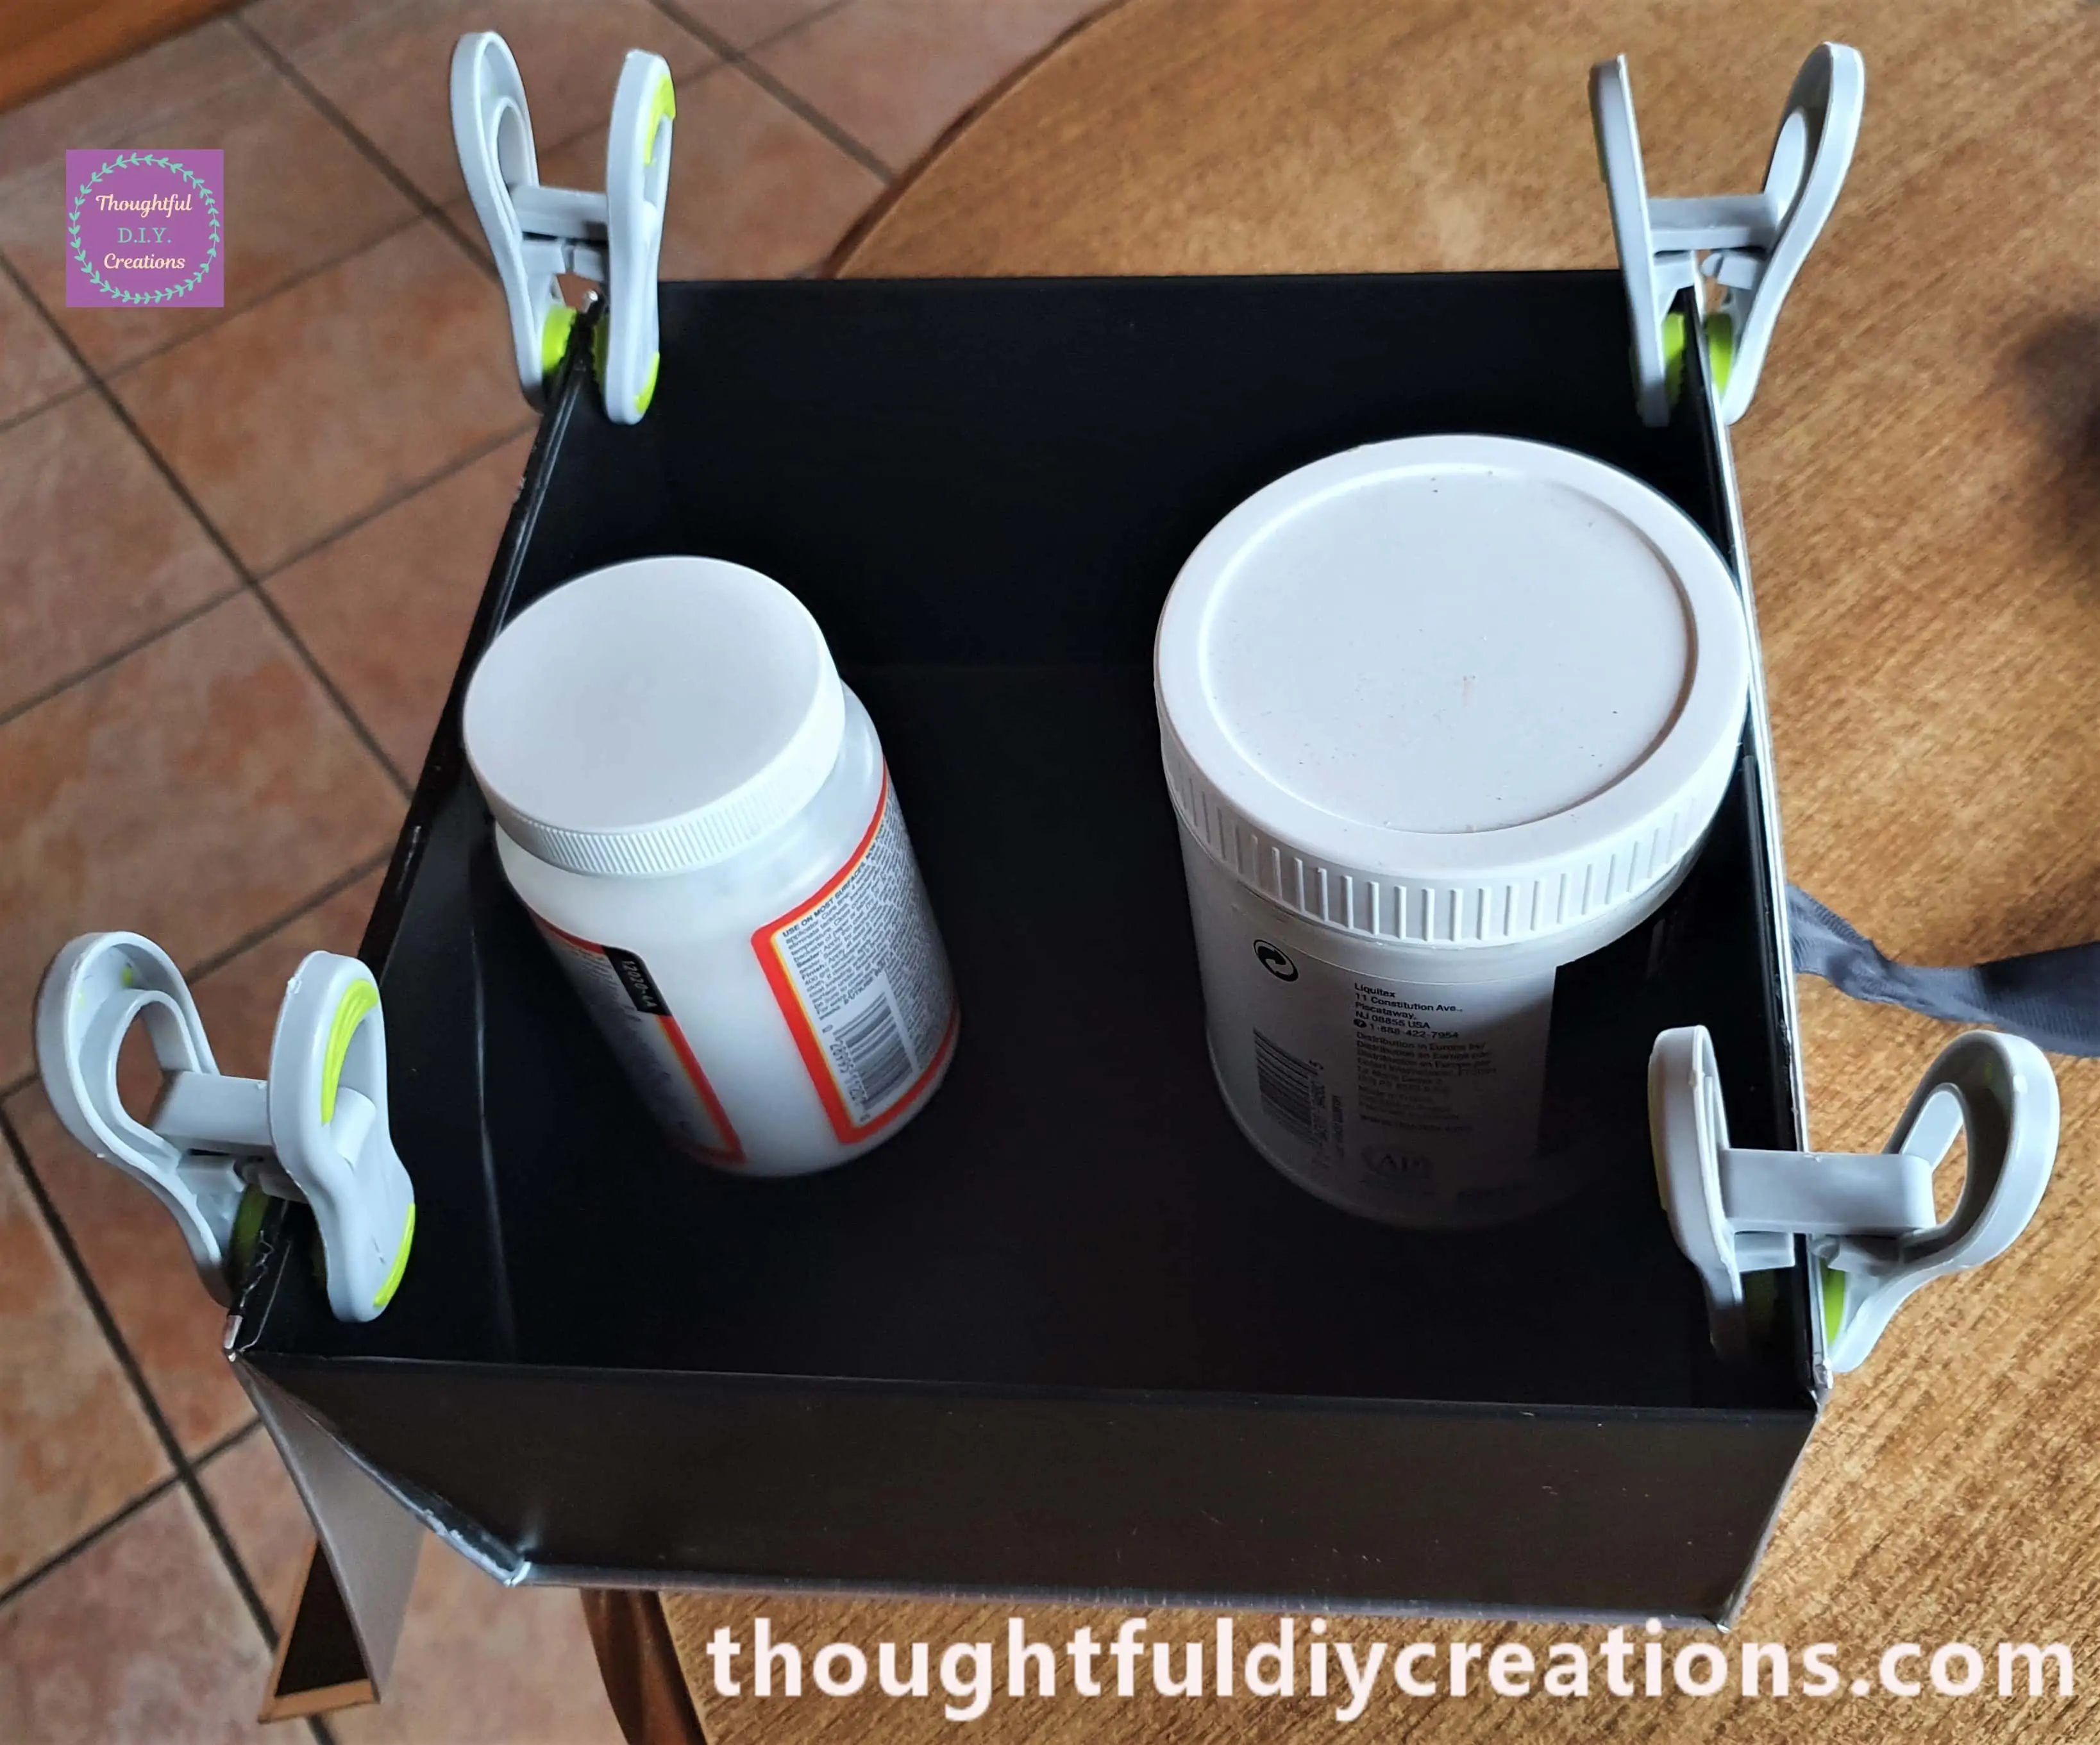
I left the Pegs and Tubs of Glue in place Overnight to ensure the Glue was fully dry and the Box was secure. This is how it looked the next day with everything taken off the Box.
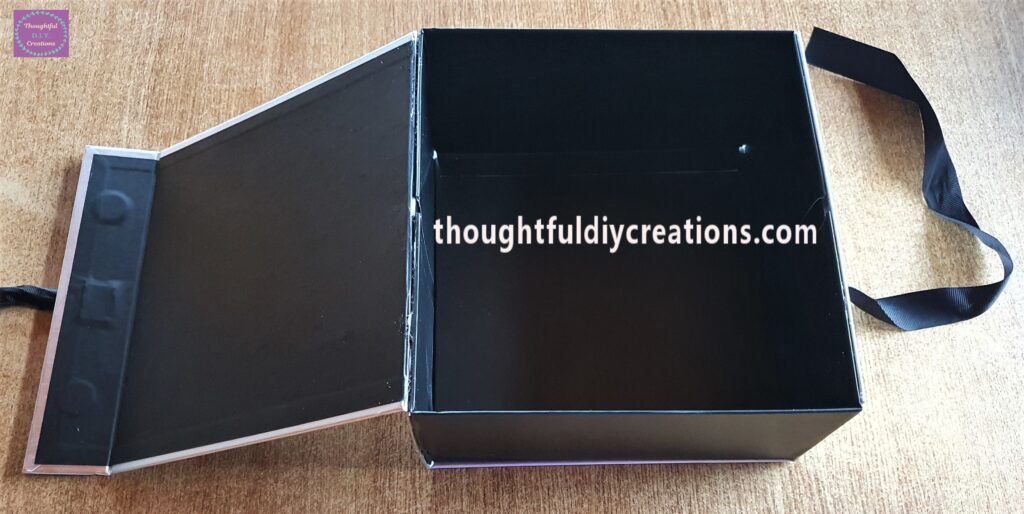
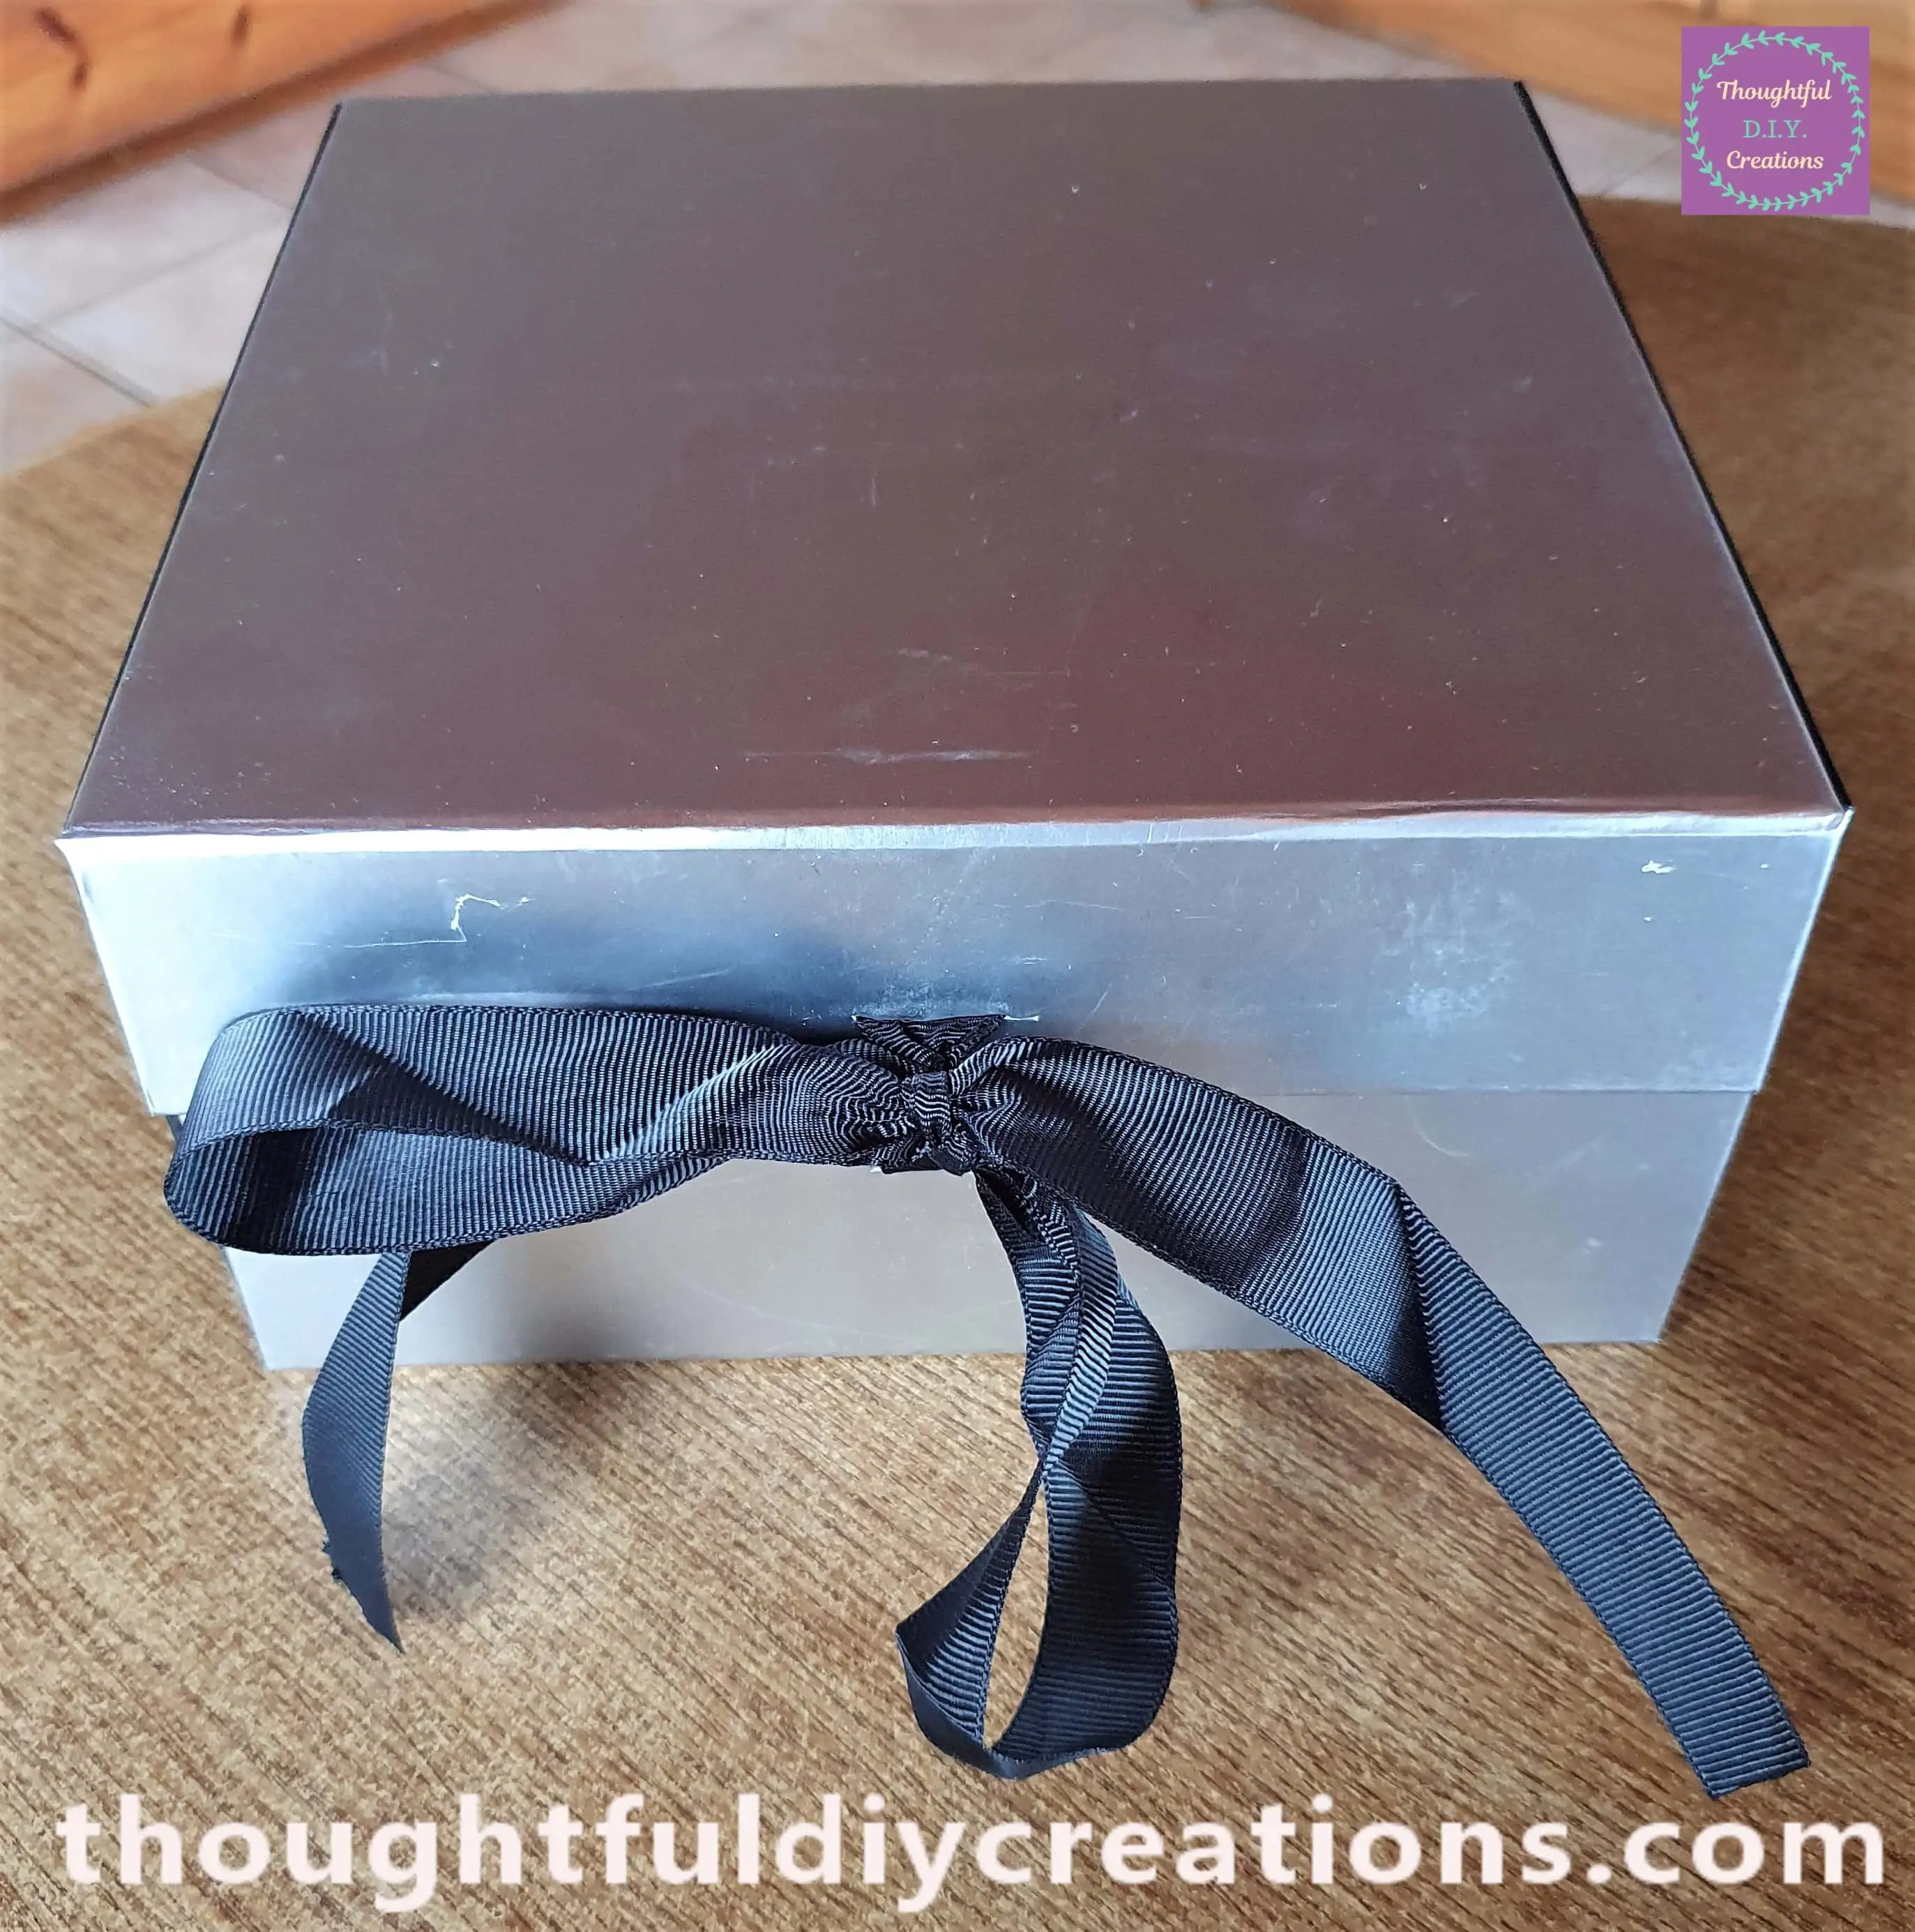
This is a Front View of the Gift Box with the Lid Closed and the Ribbon tied in a Bow.
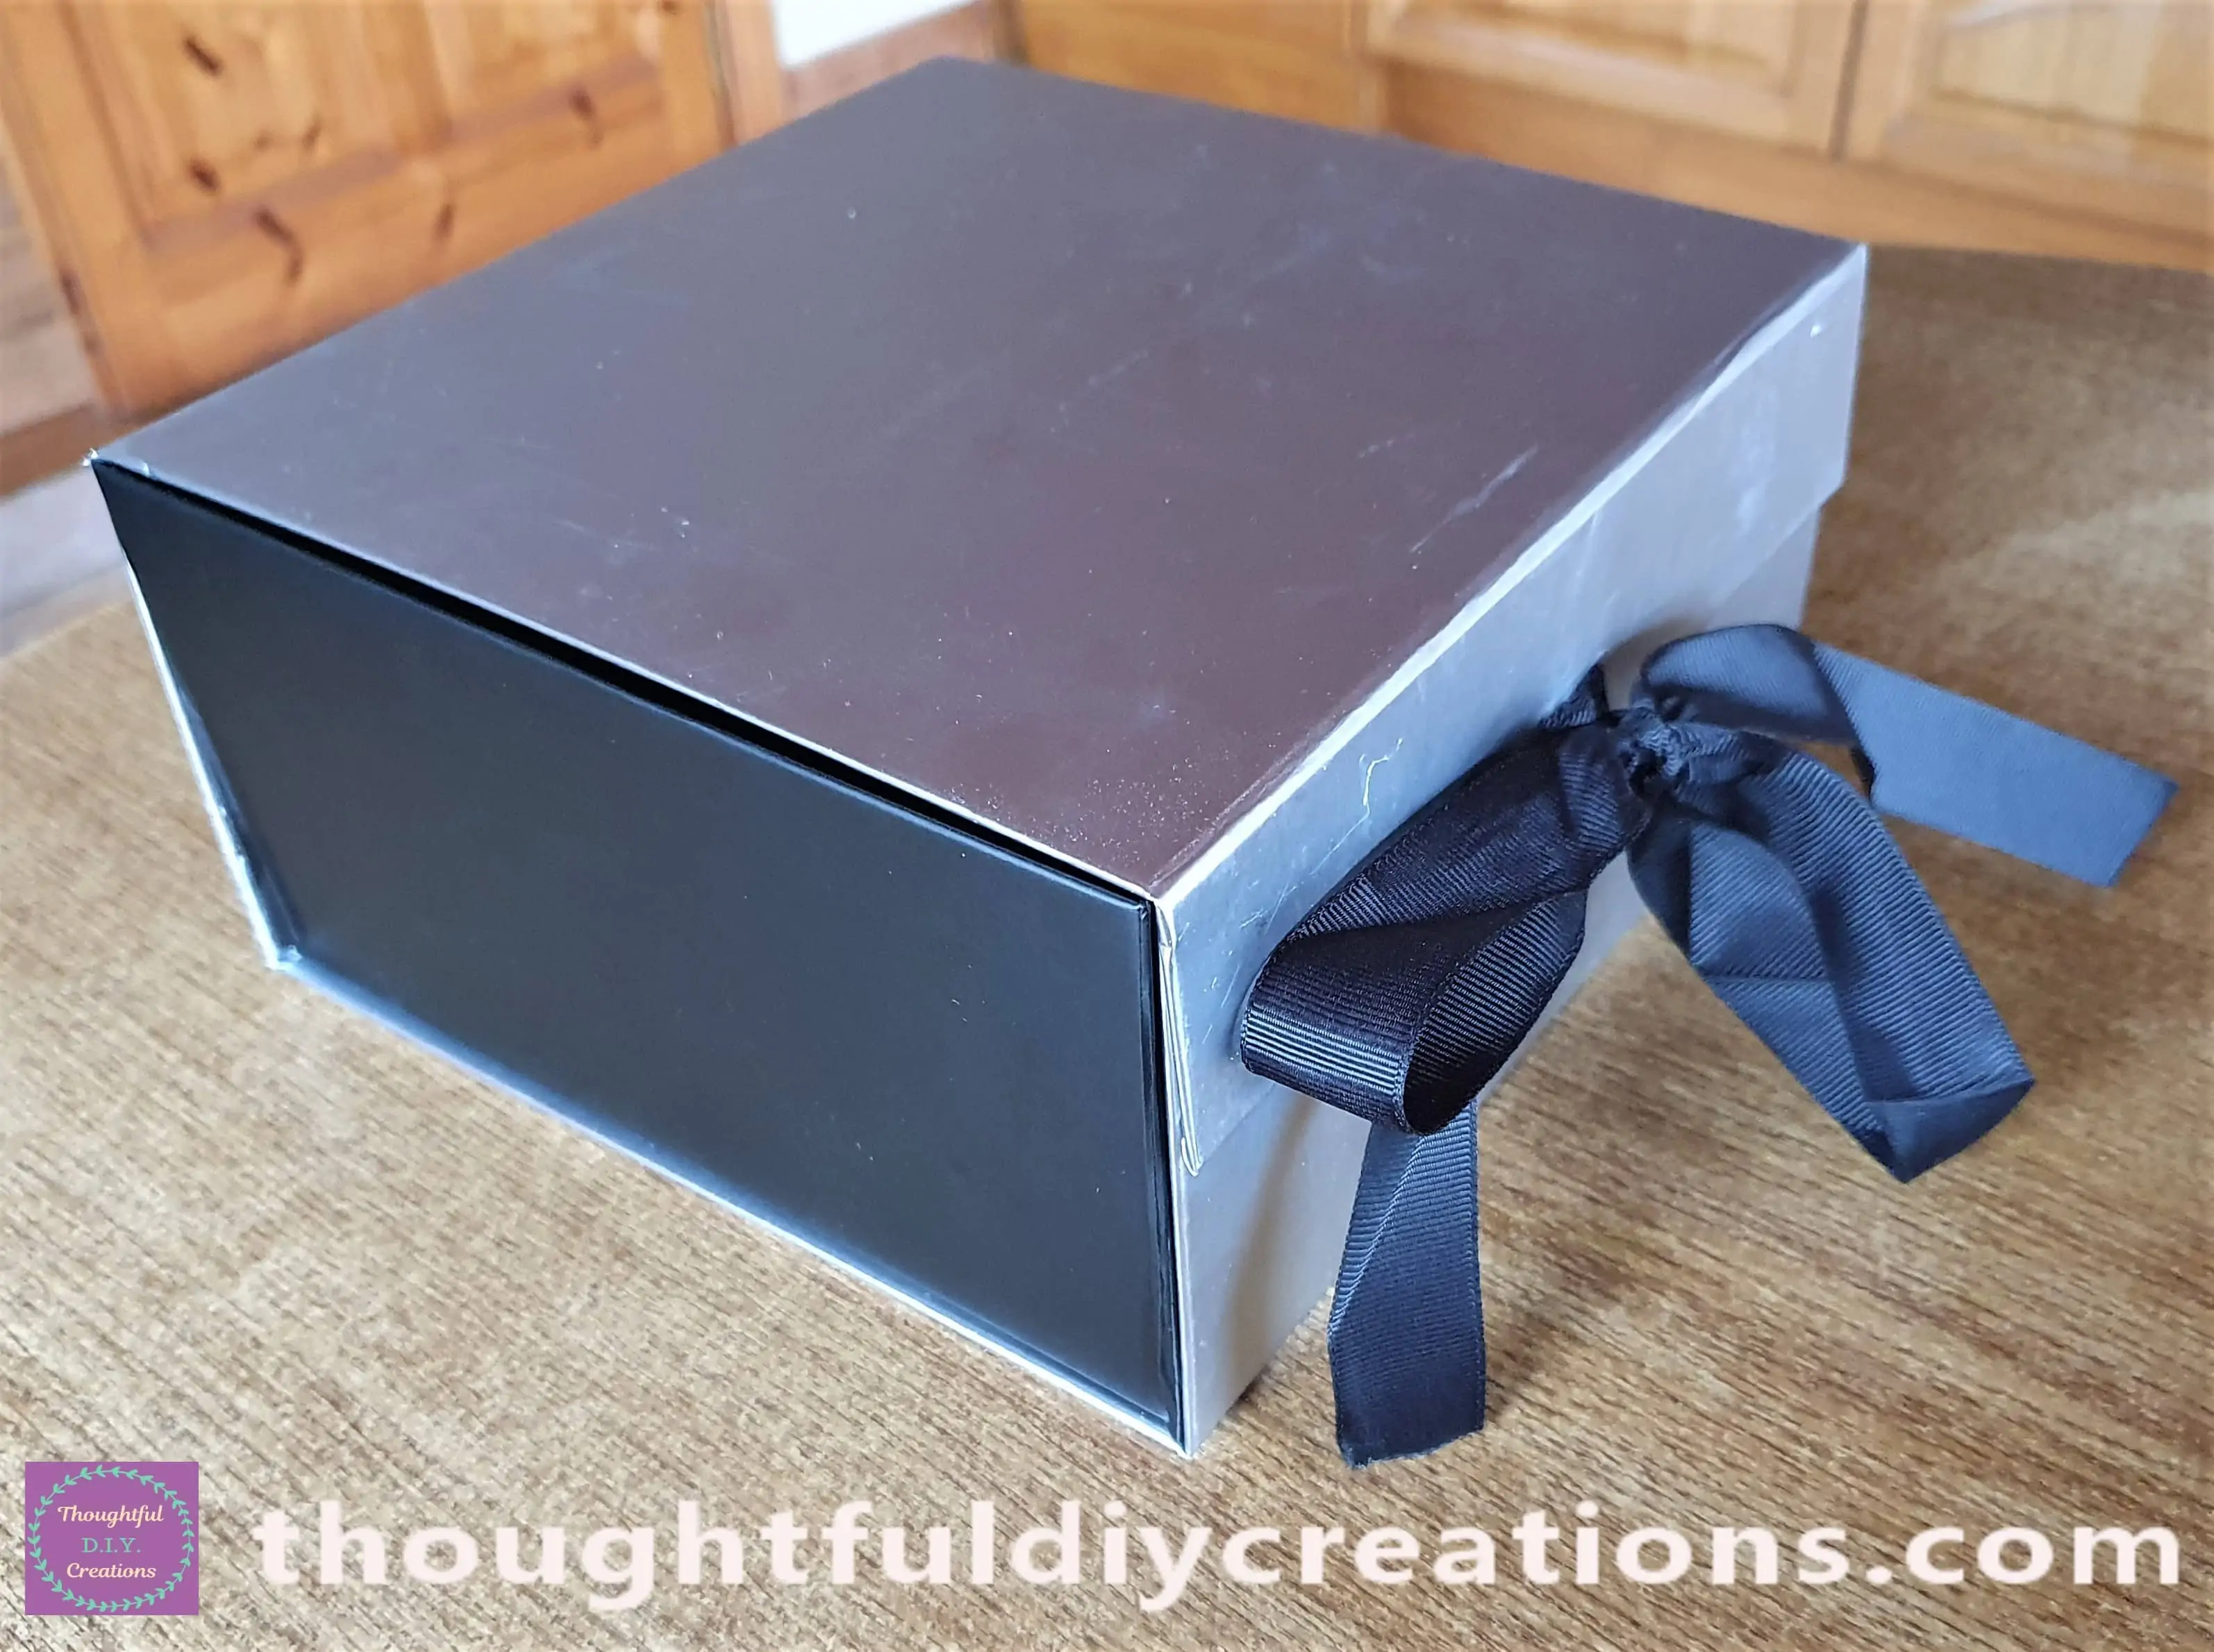
A Side Angle of the Gift Box fully assembled.
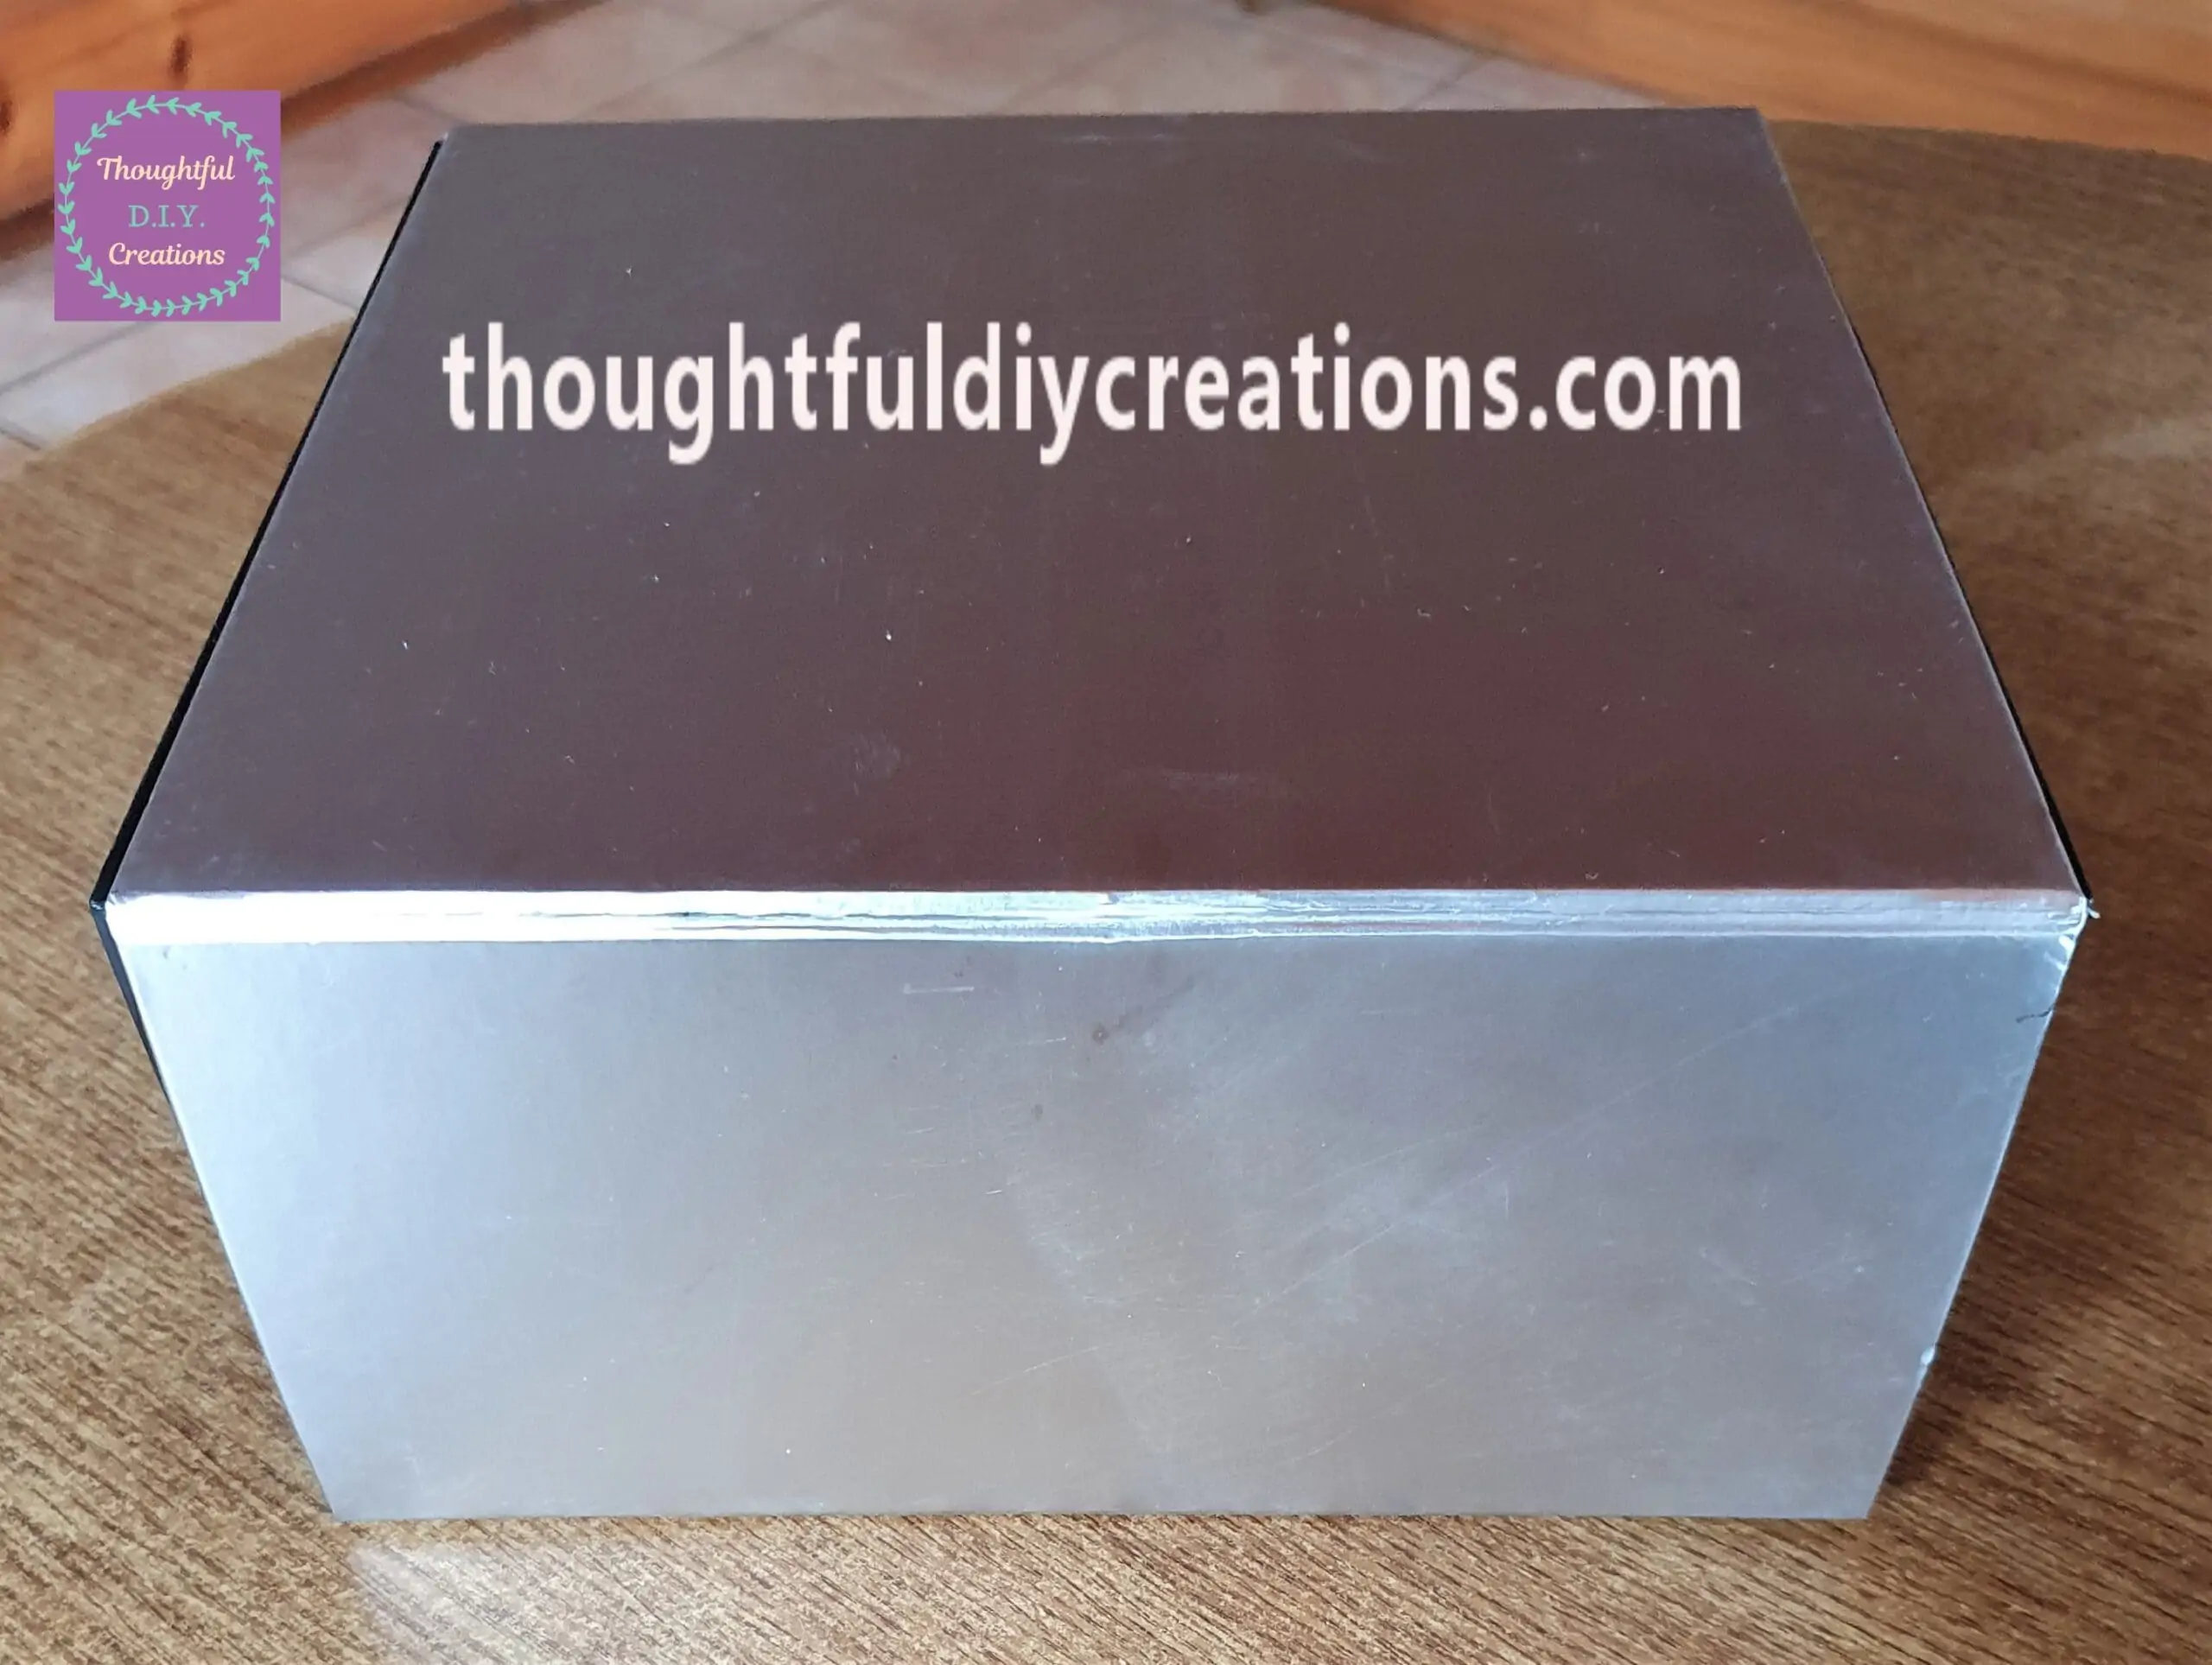
Here is the Back of the Box.
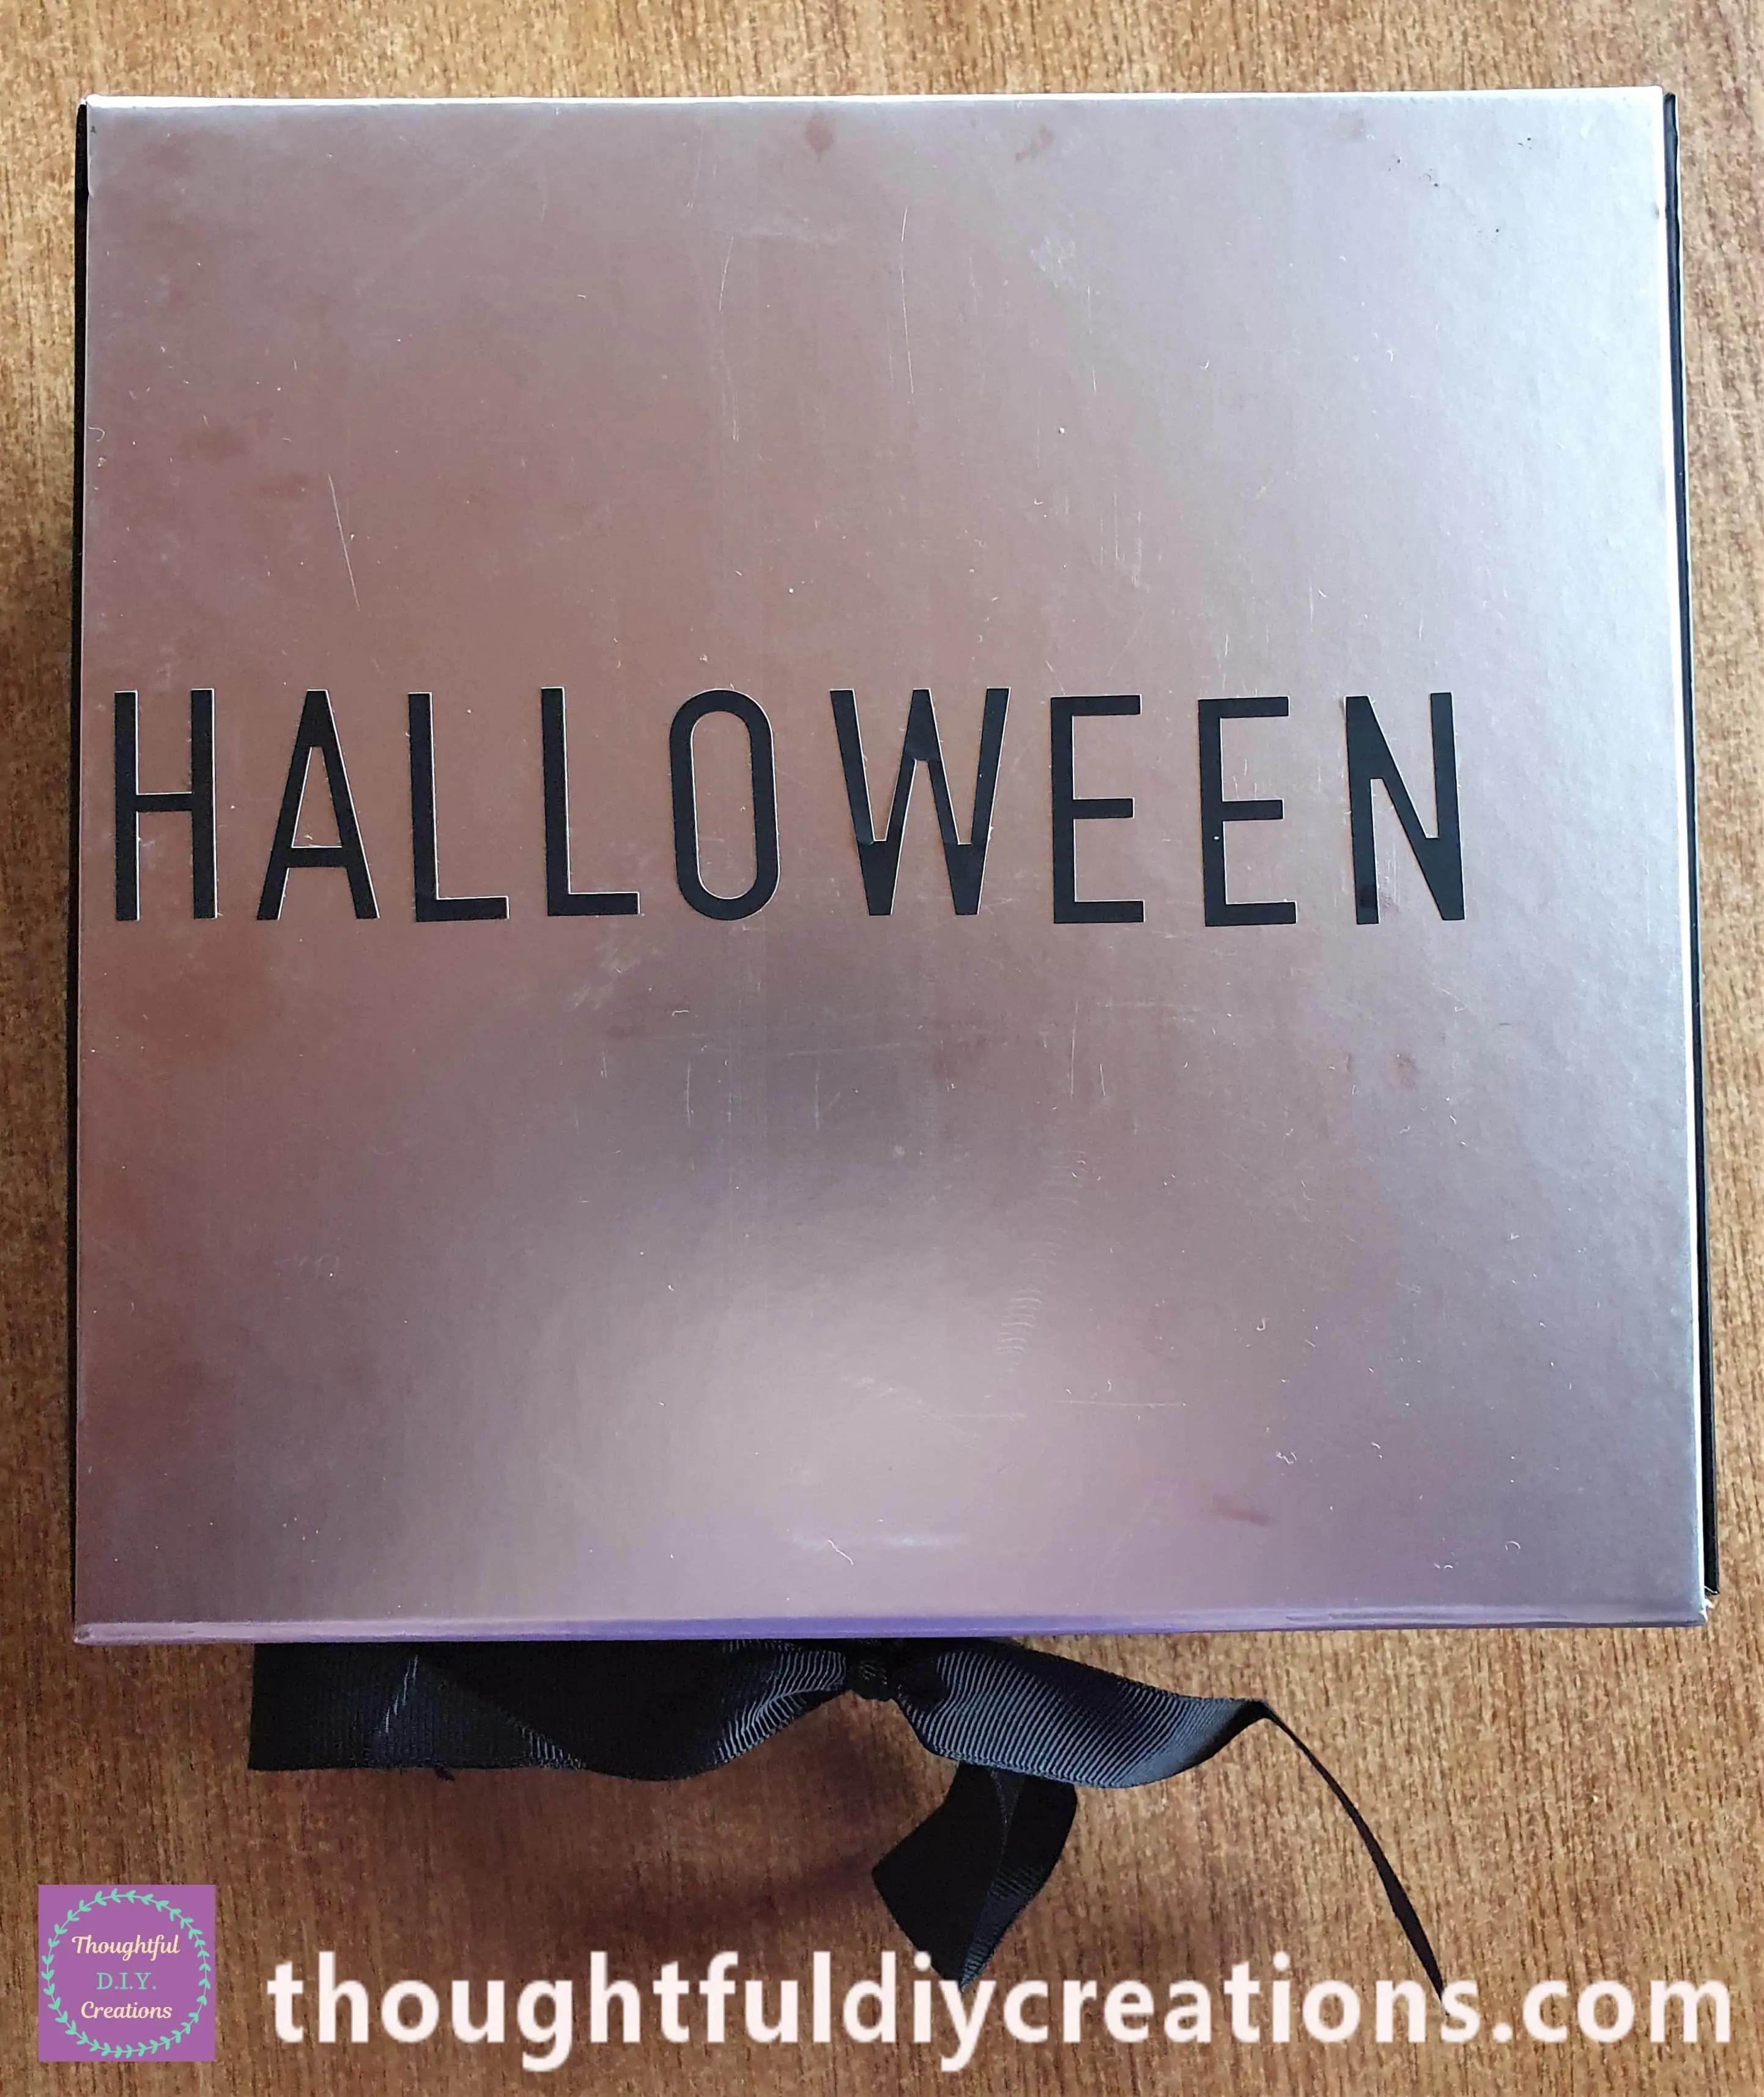
Making a Sentiment for the Halloween Gift Box
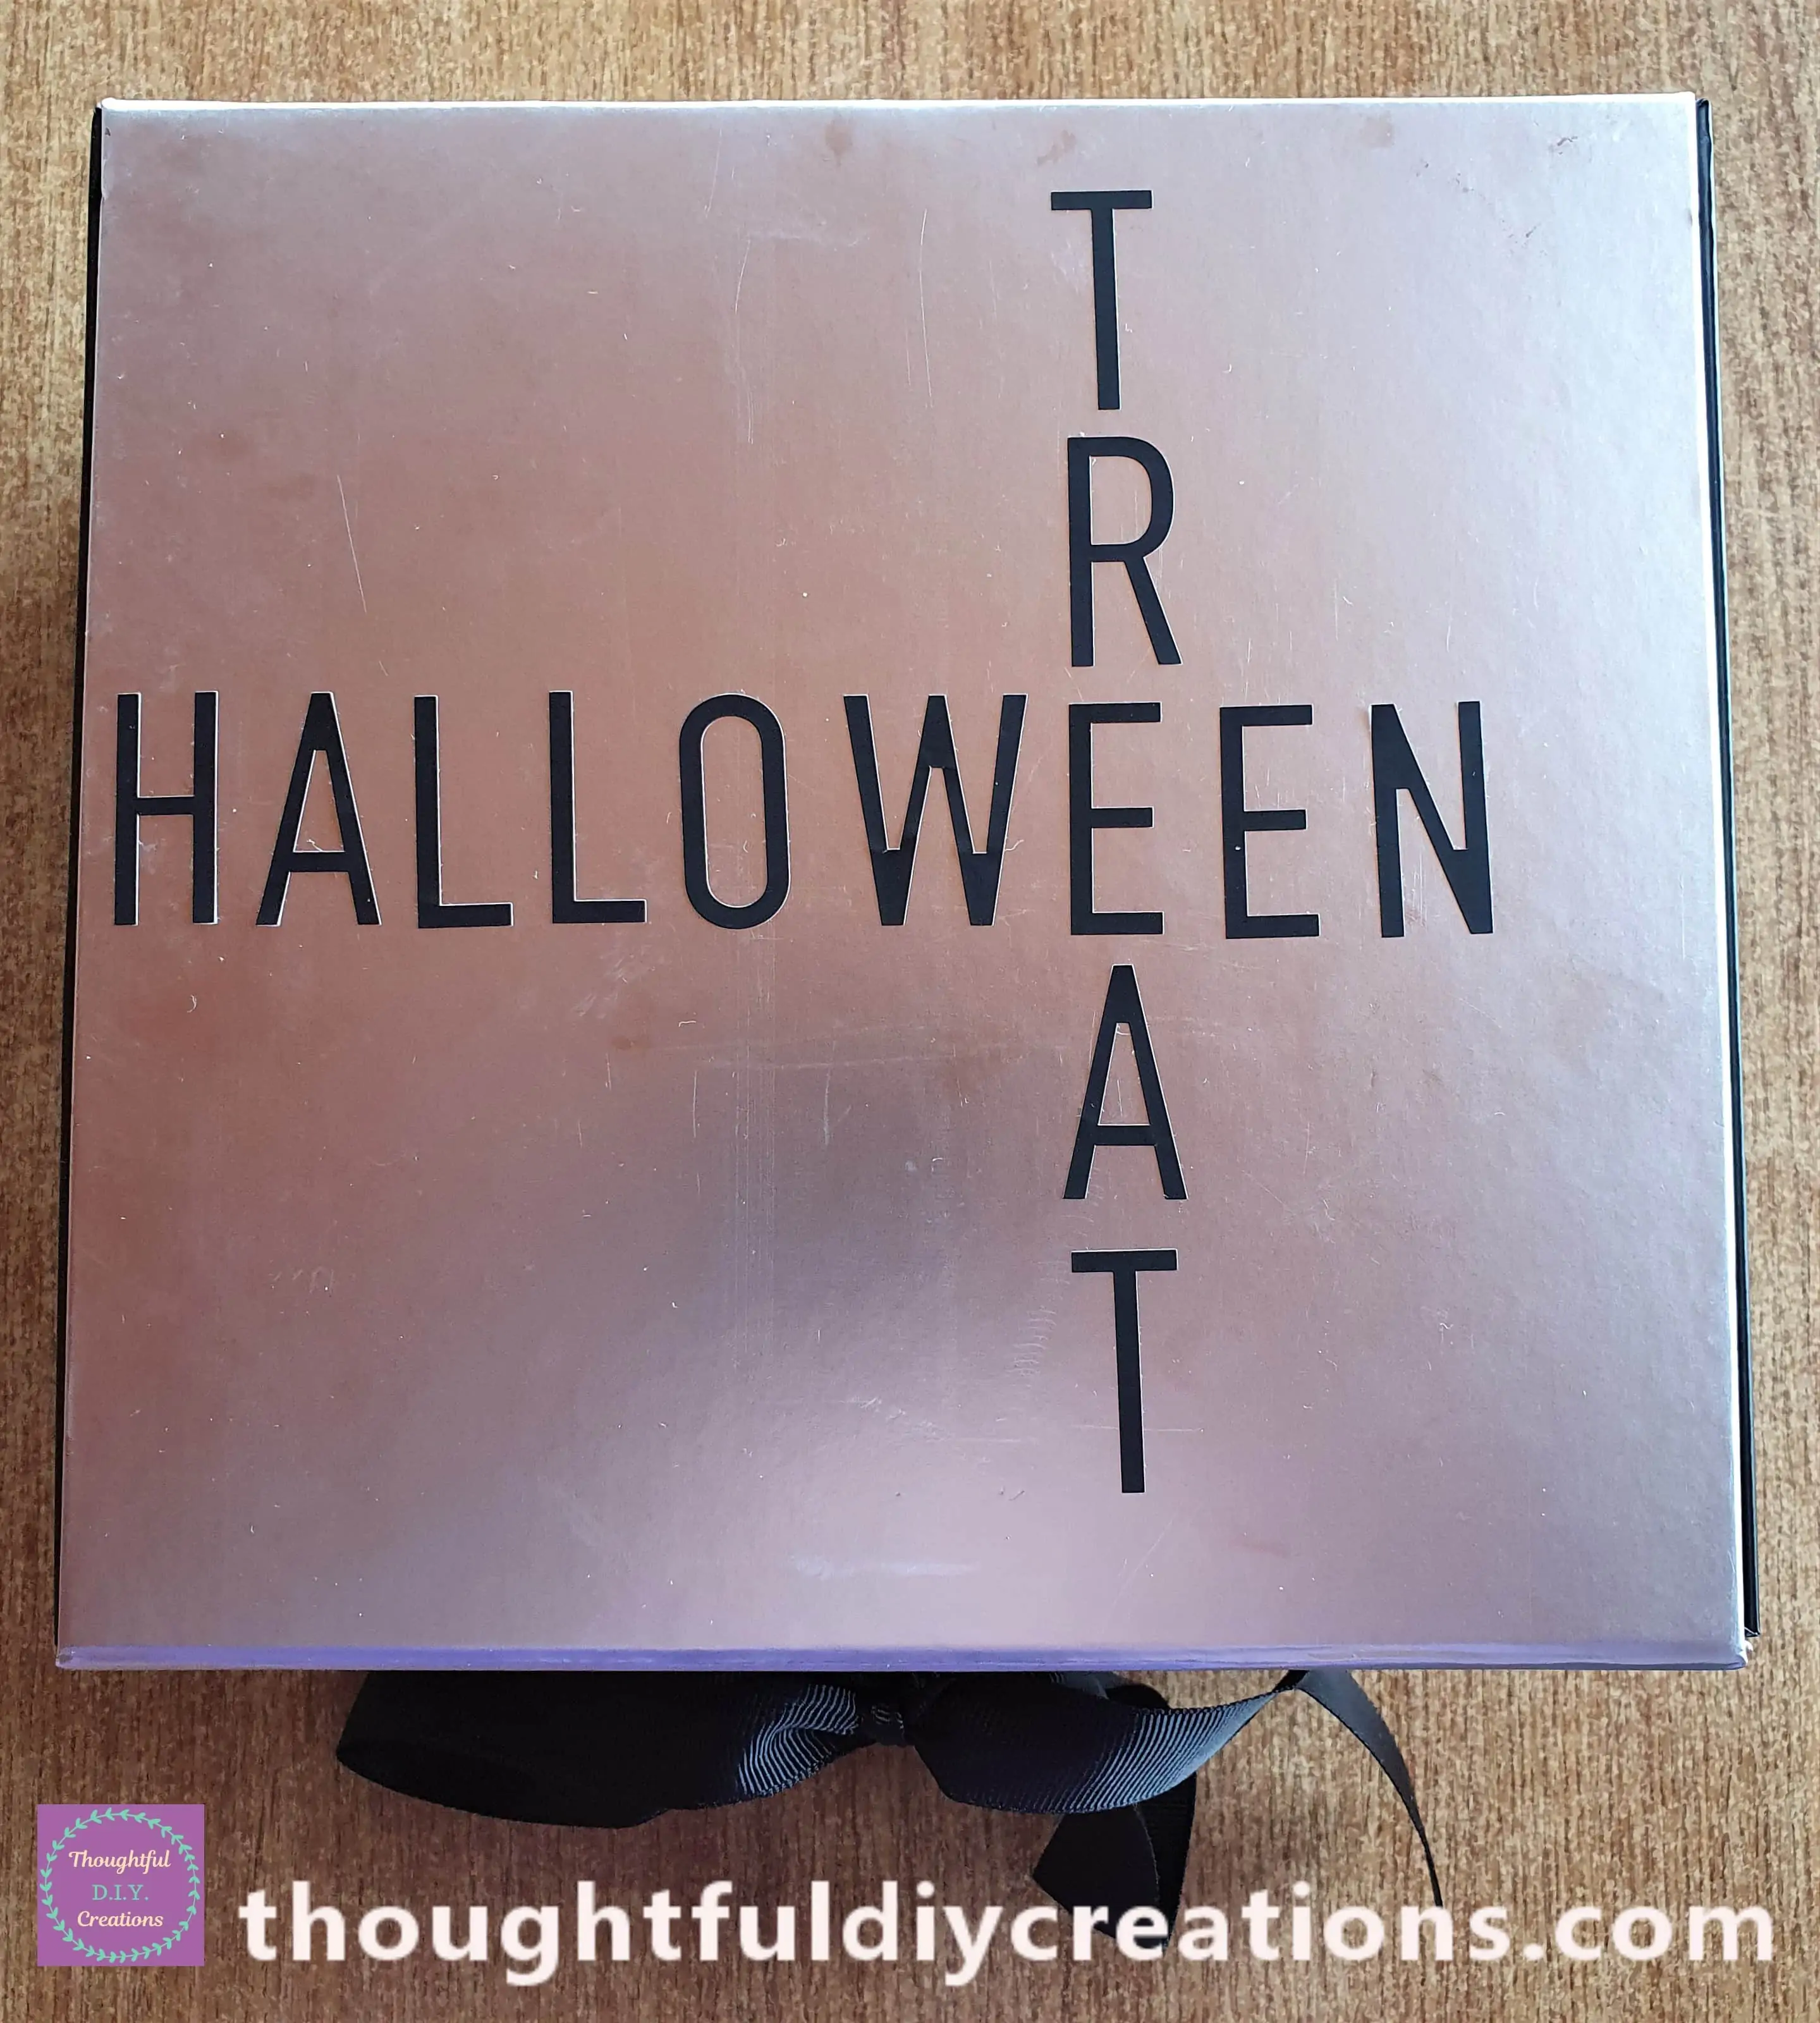
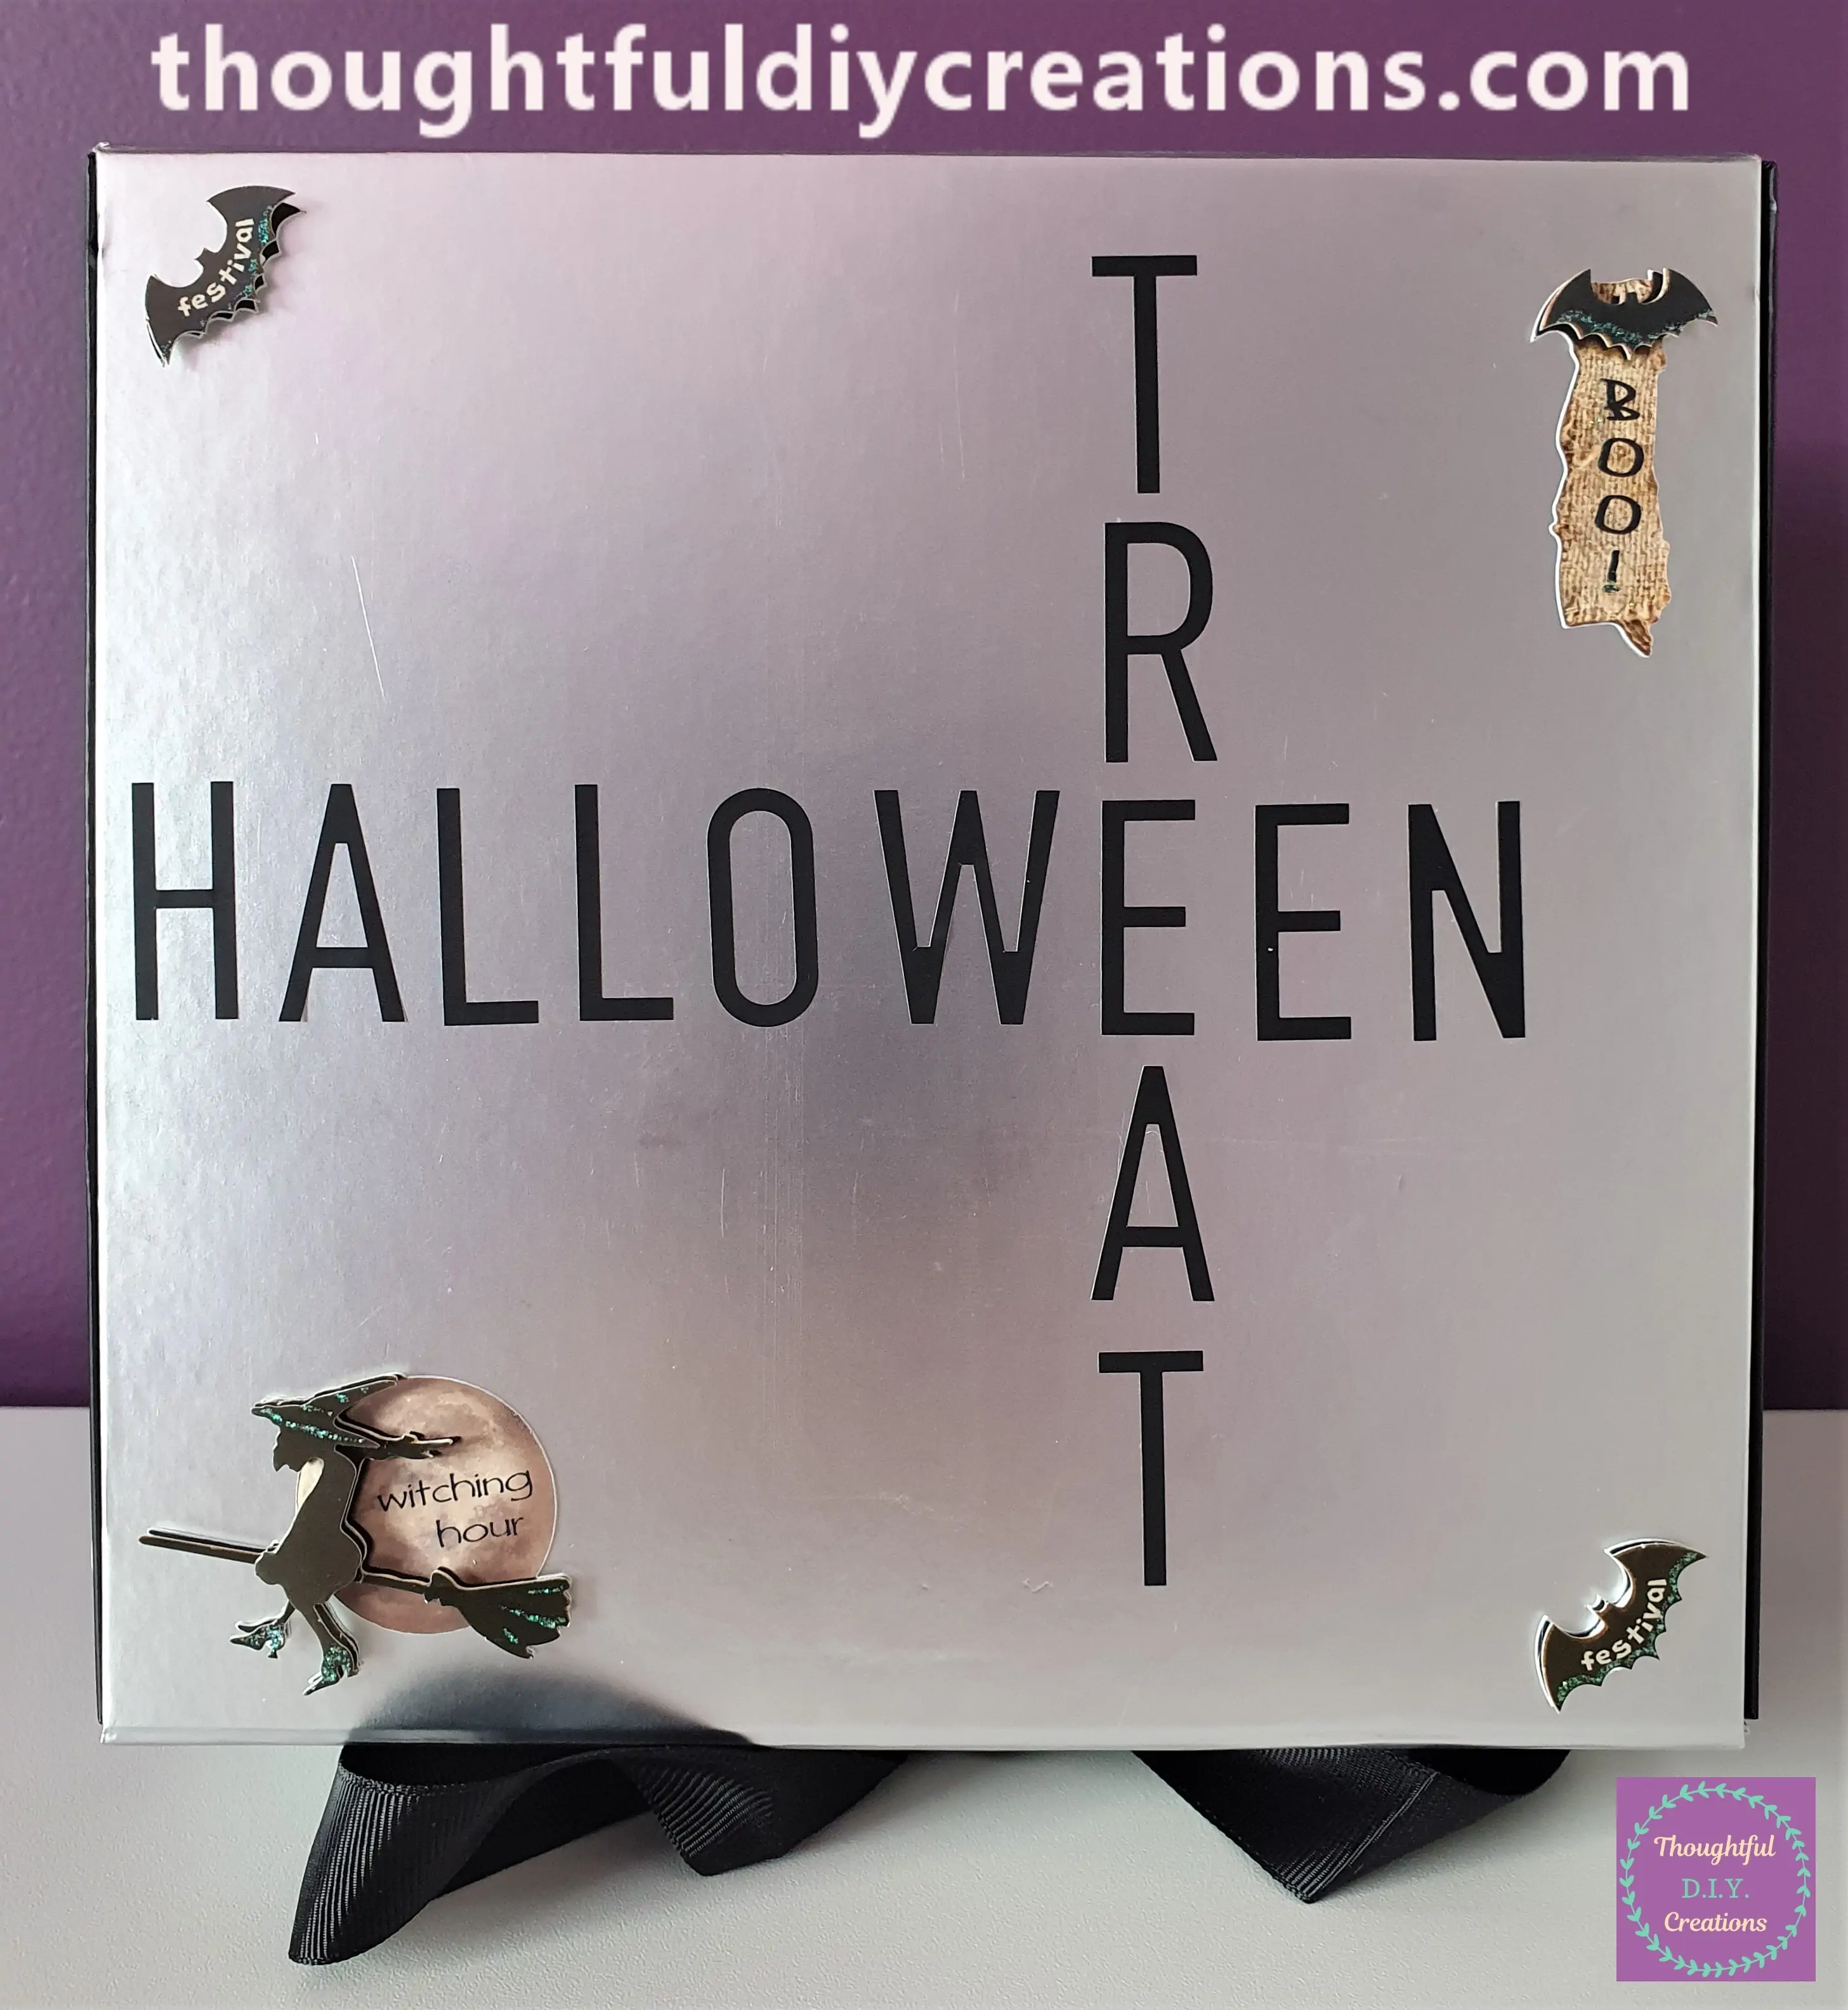
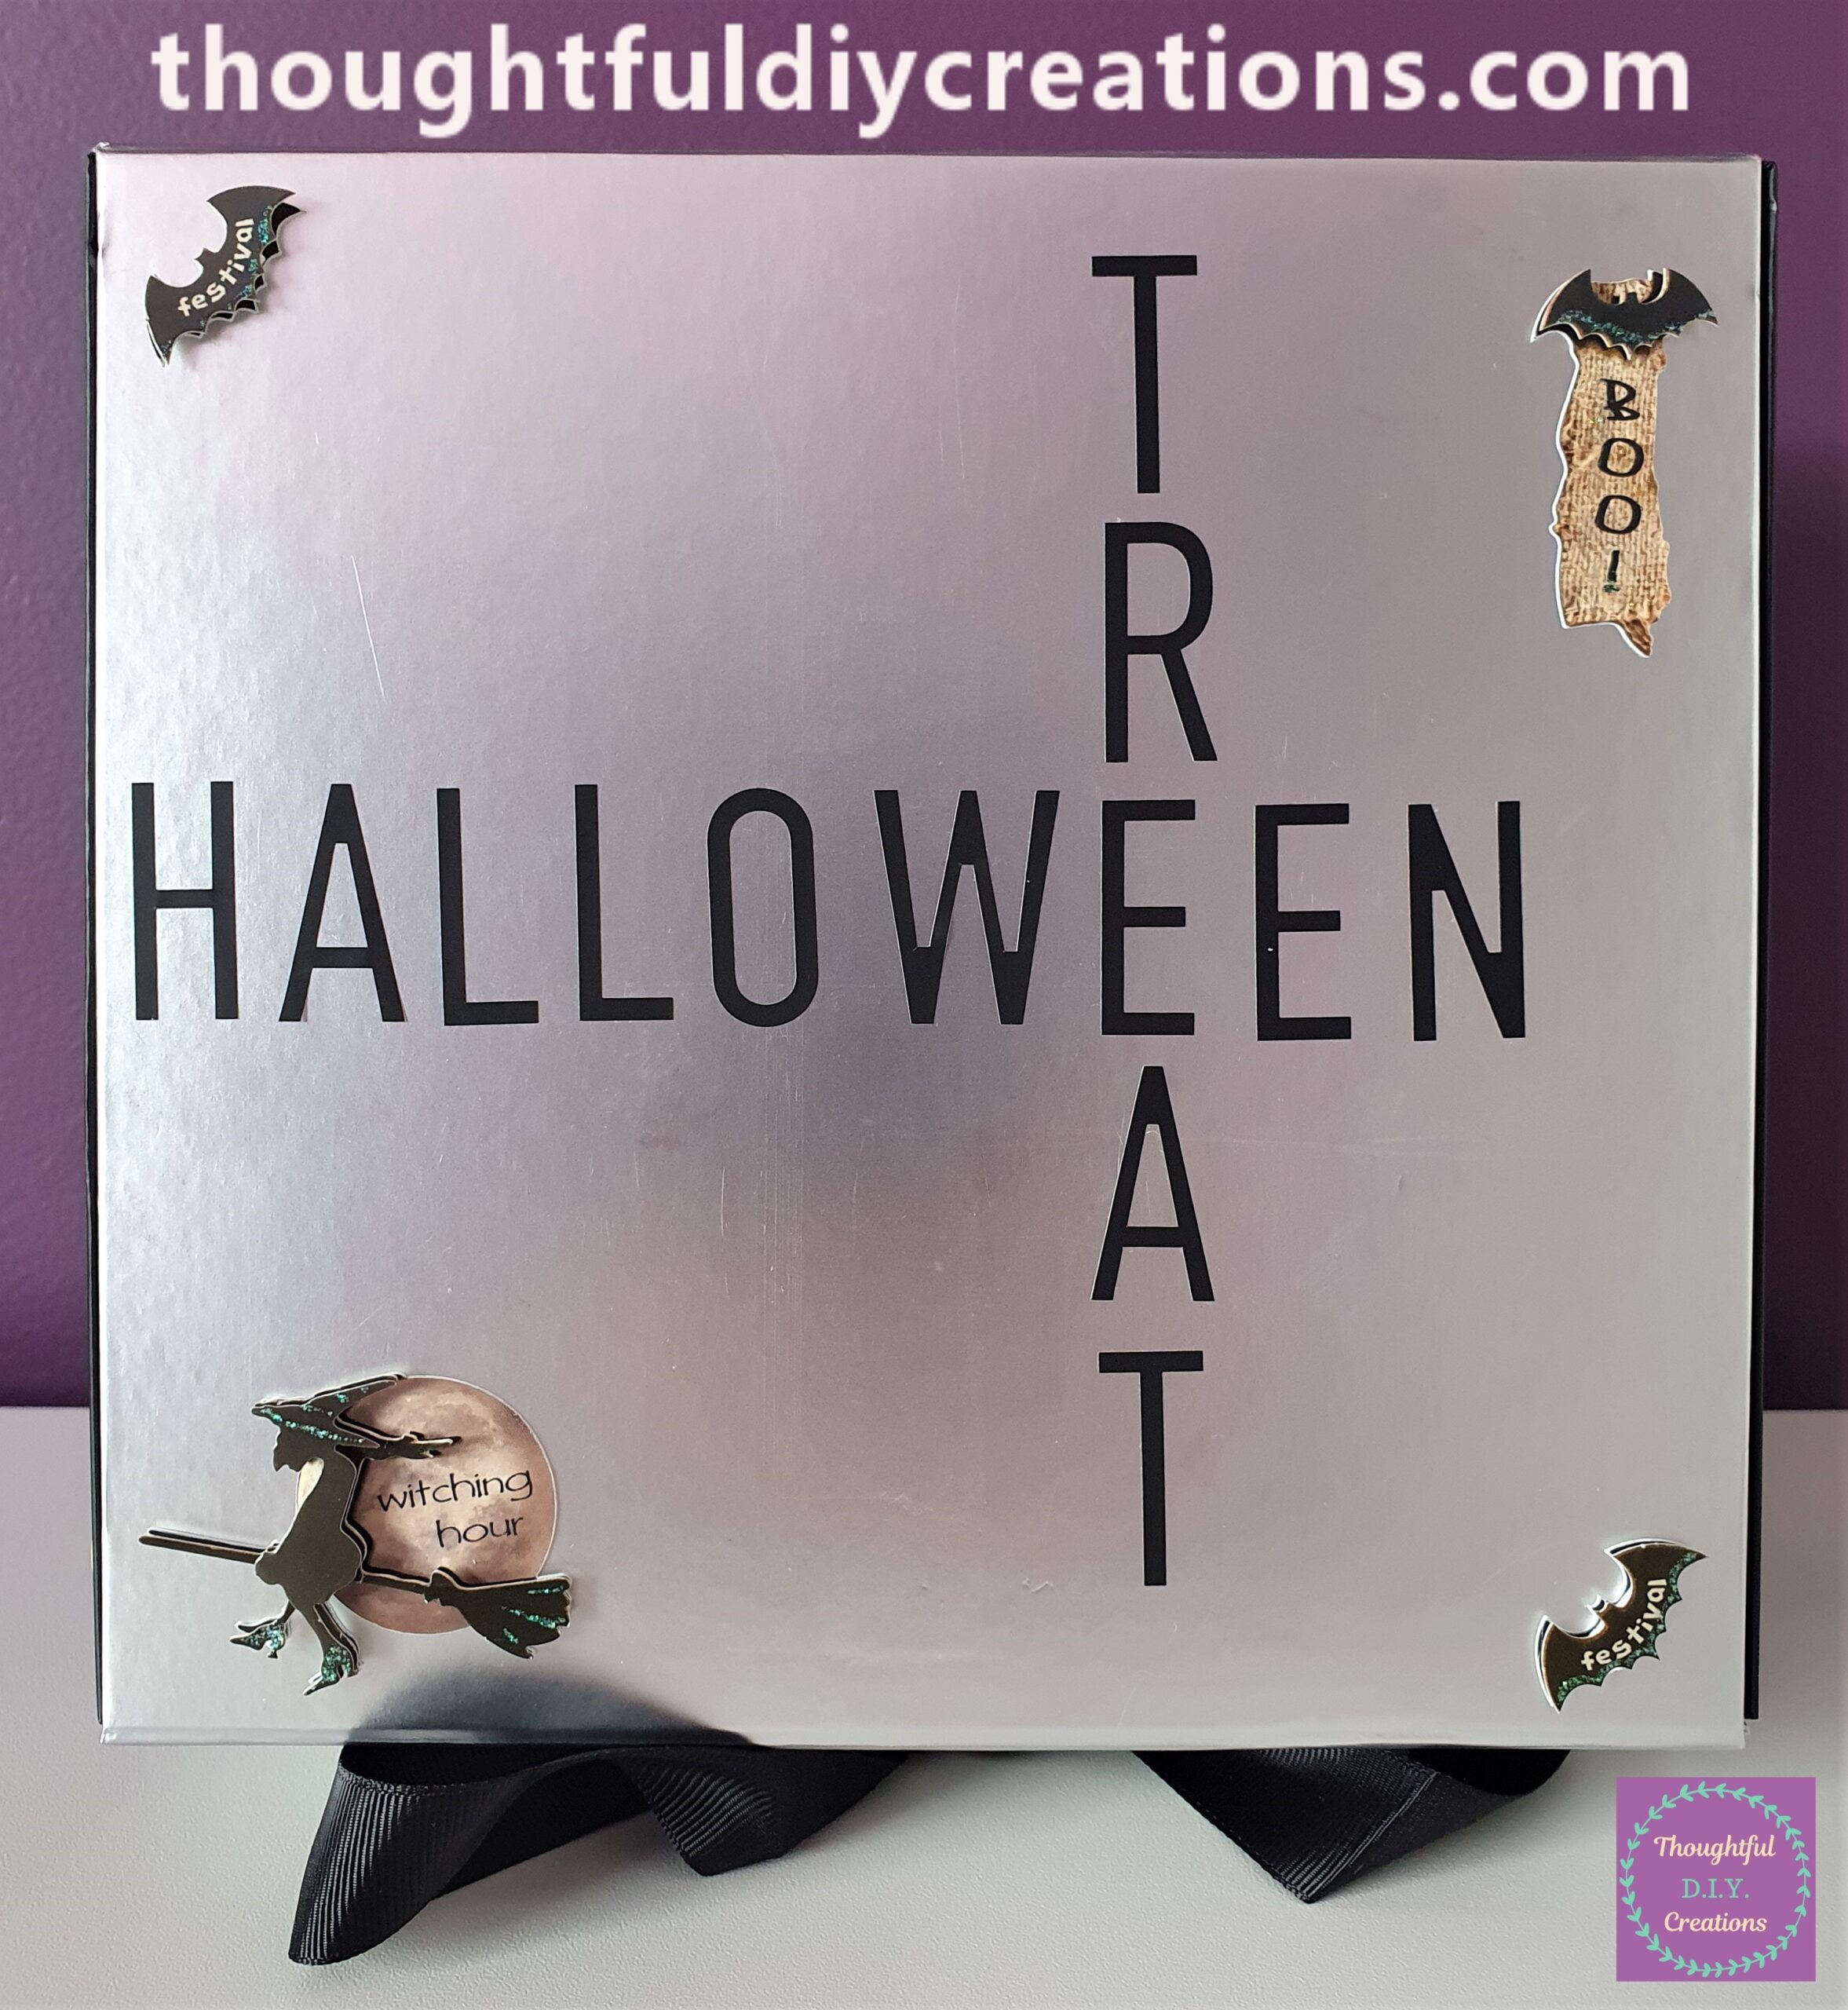
I got the Alphabet Stickers and stuck down each Letter to Spell the word ‘HALLOWEEN’ across the center of the Box.
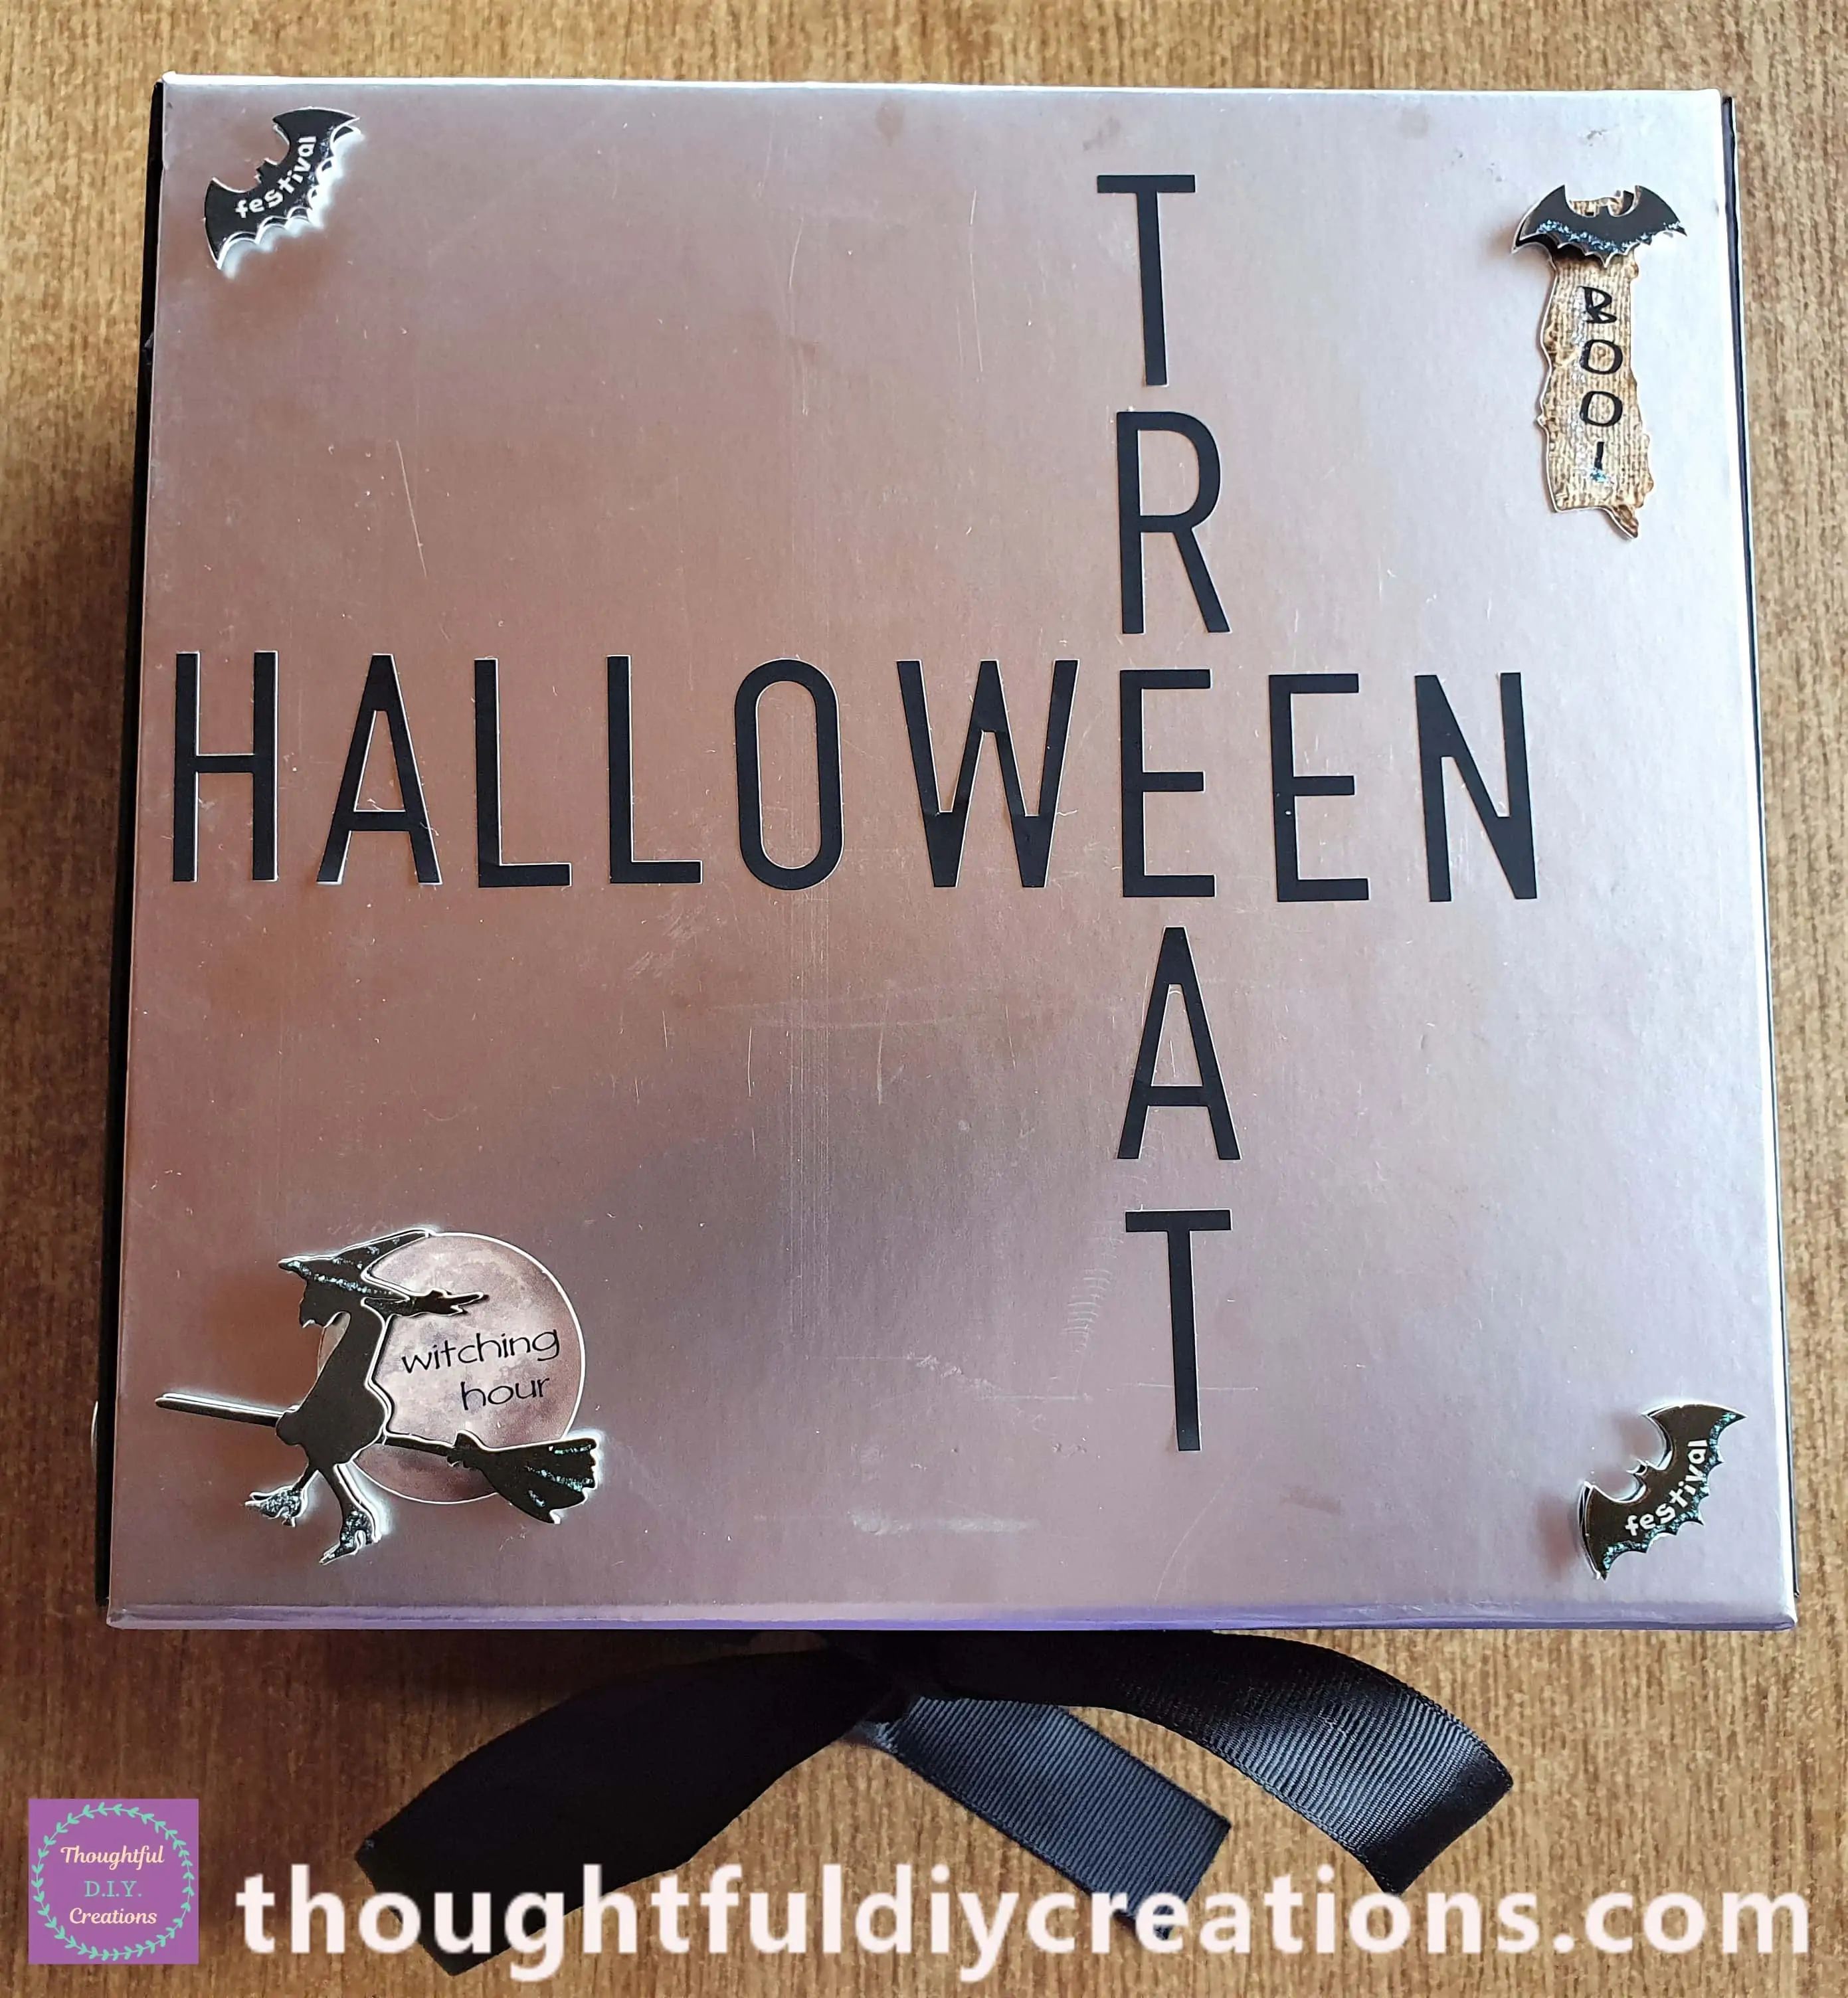
I added the word ‘TREAT’ to the Lid of the Box.
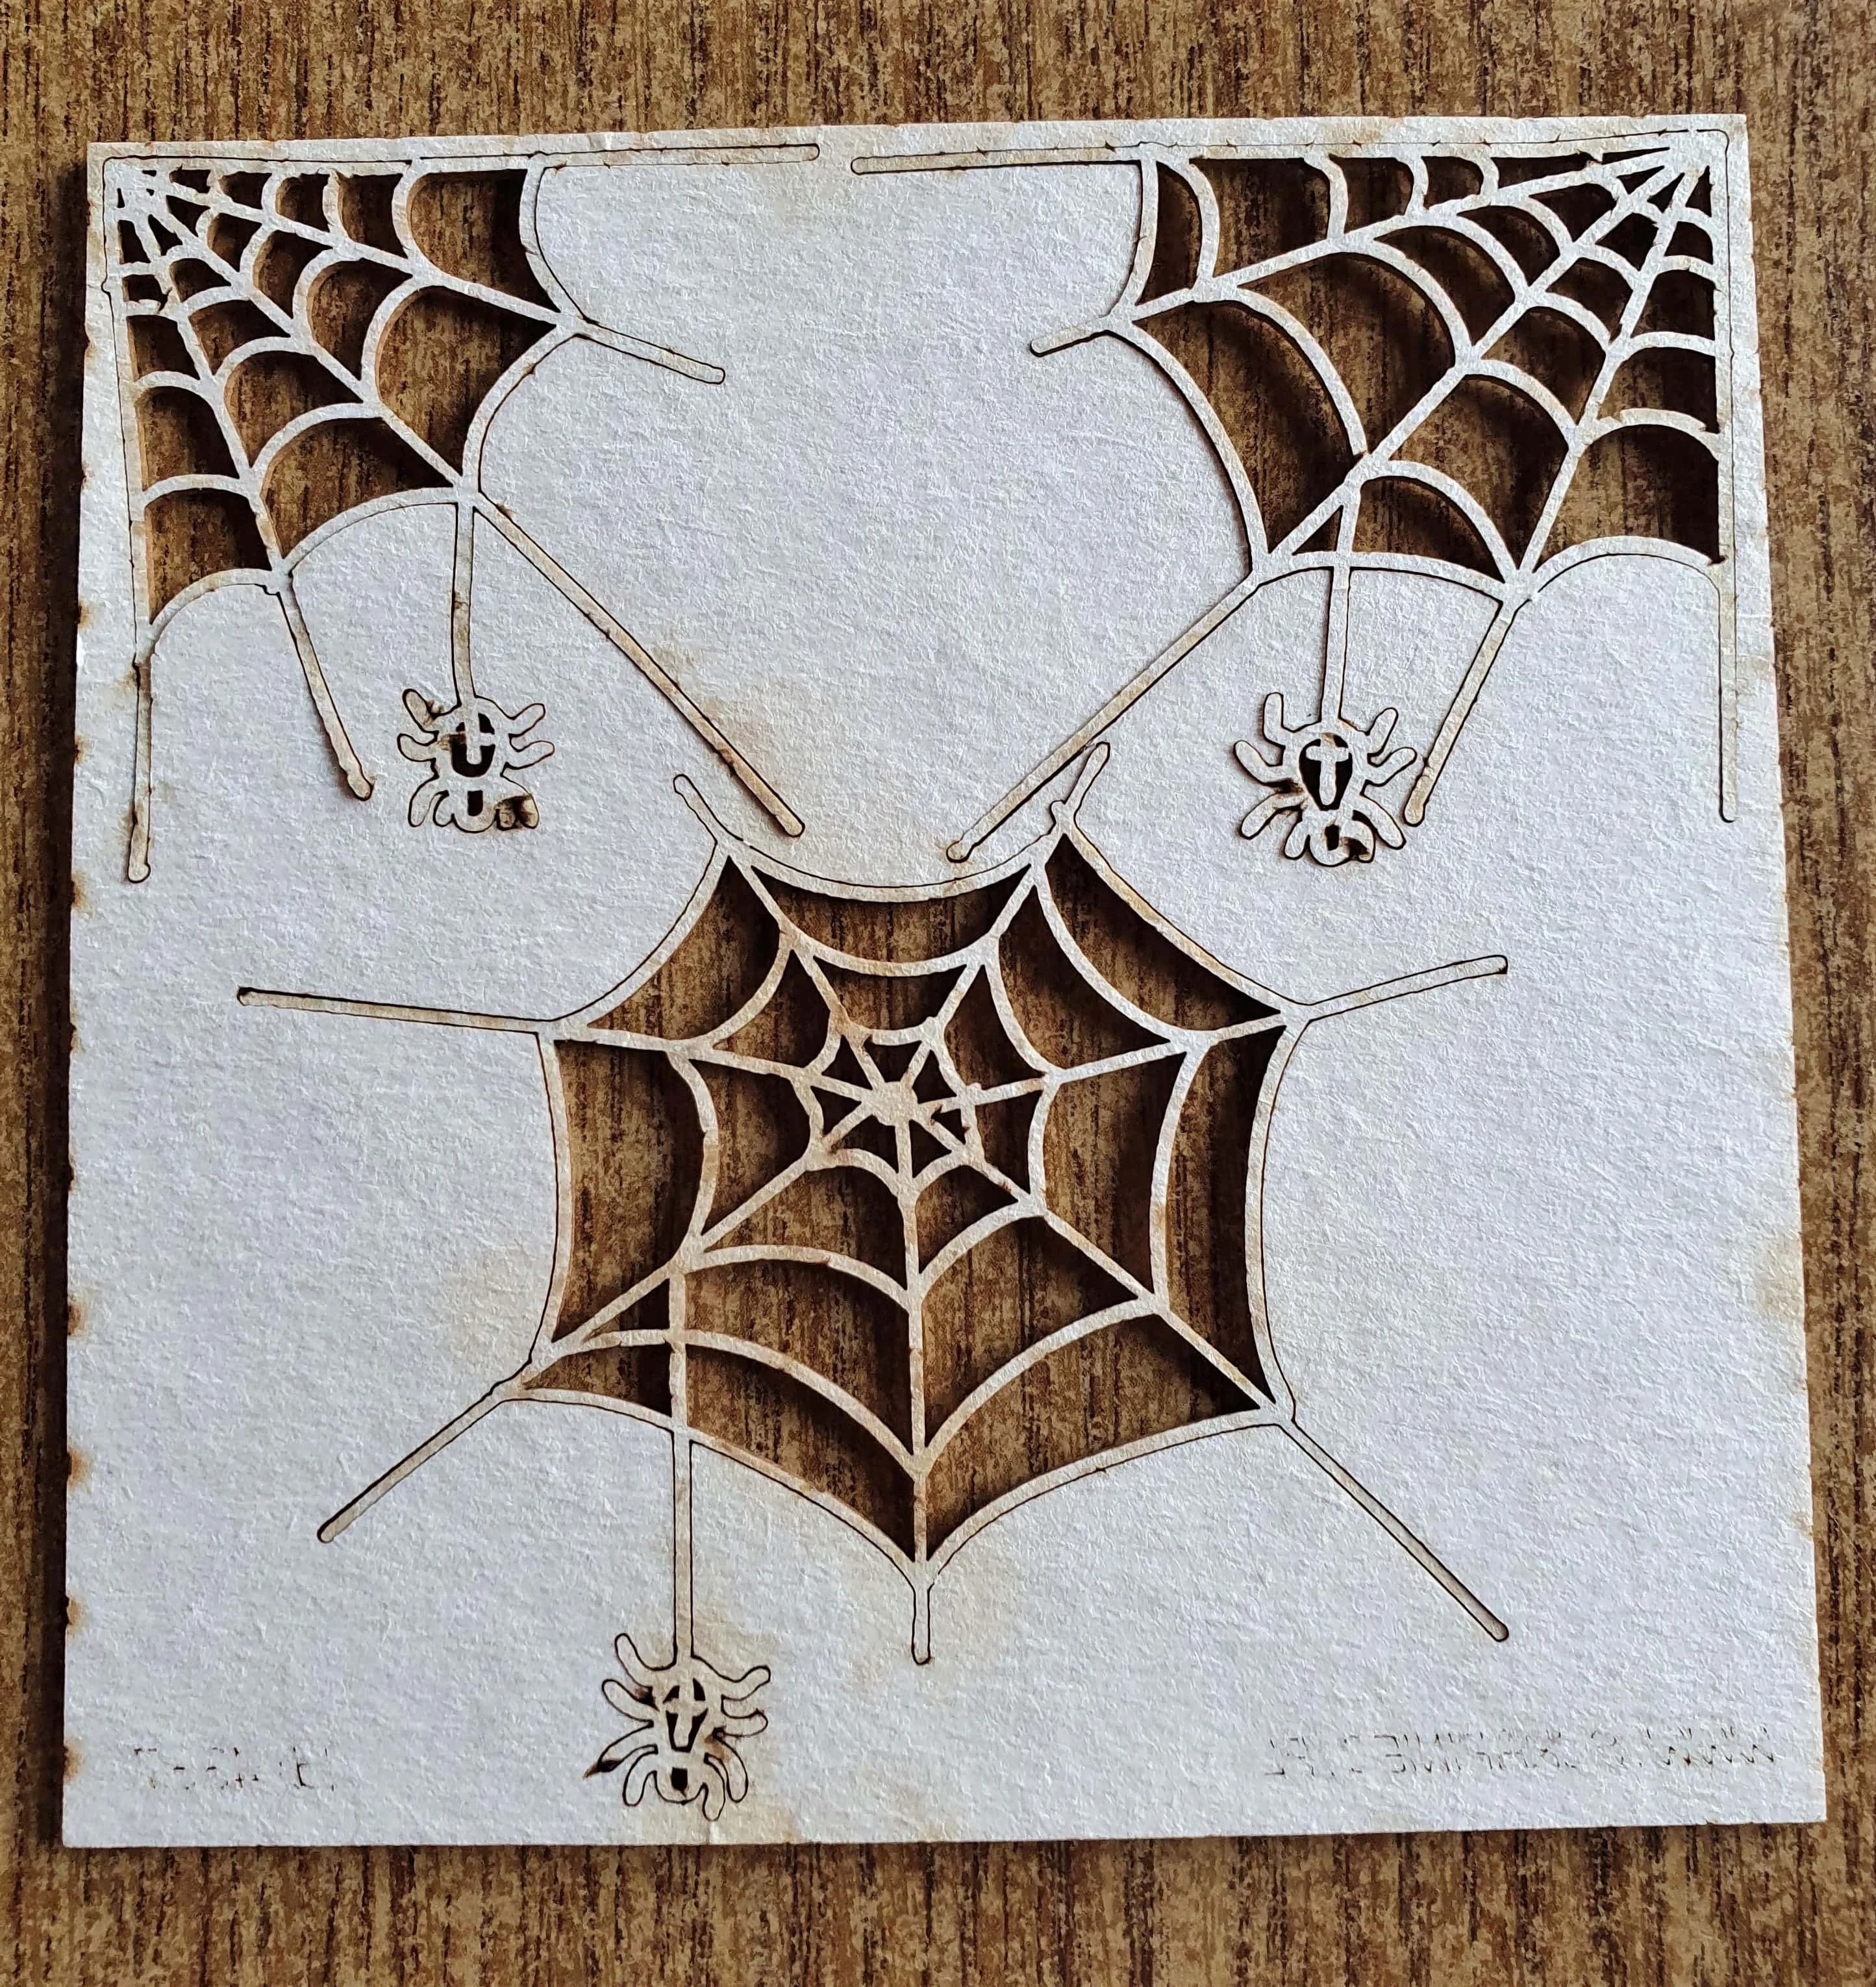
Embossing Spiderweb Chipboards
I got my Spiderweb Chipboard that I bought recently.
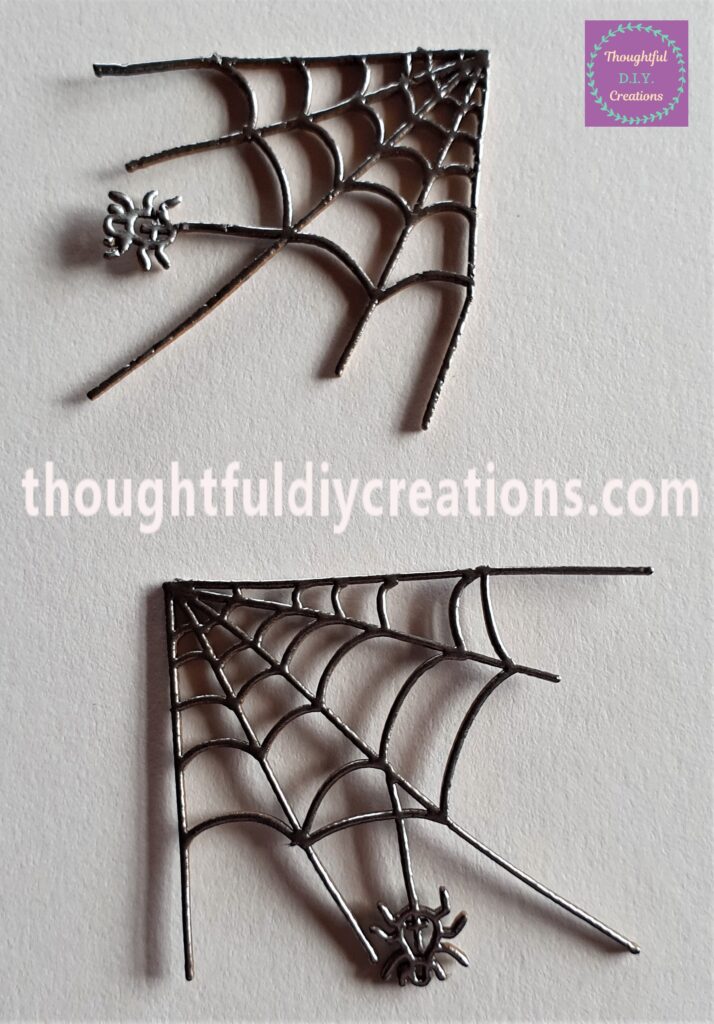
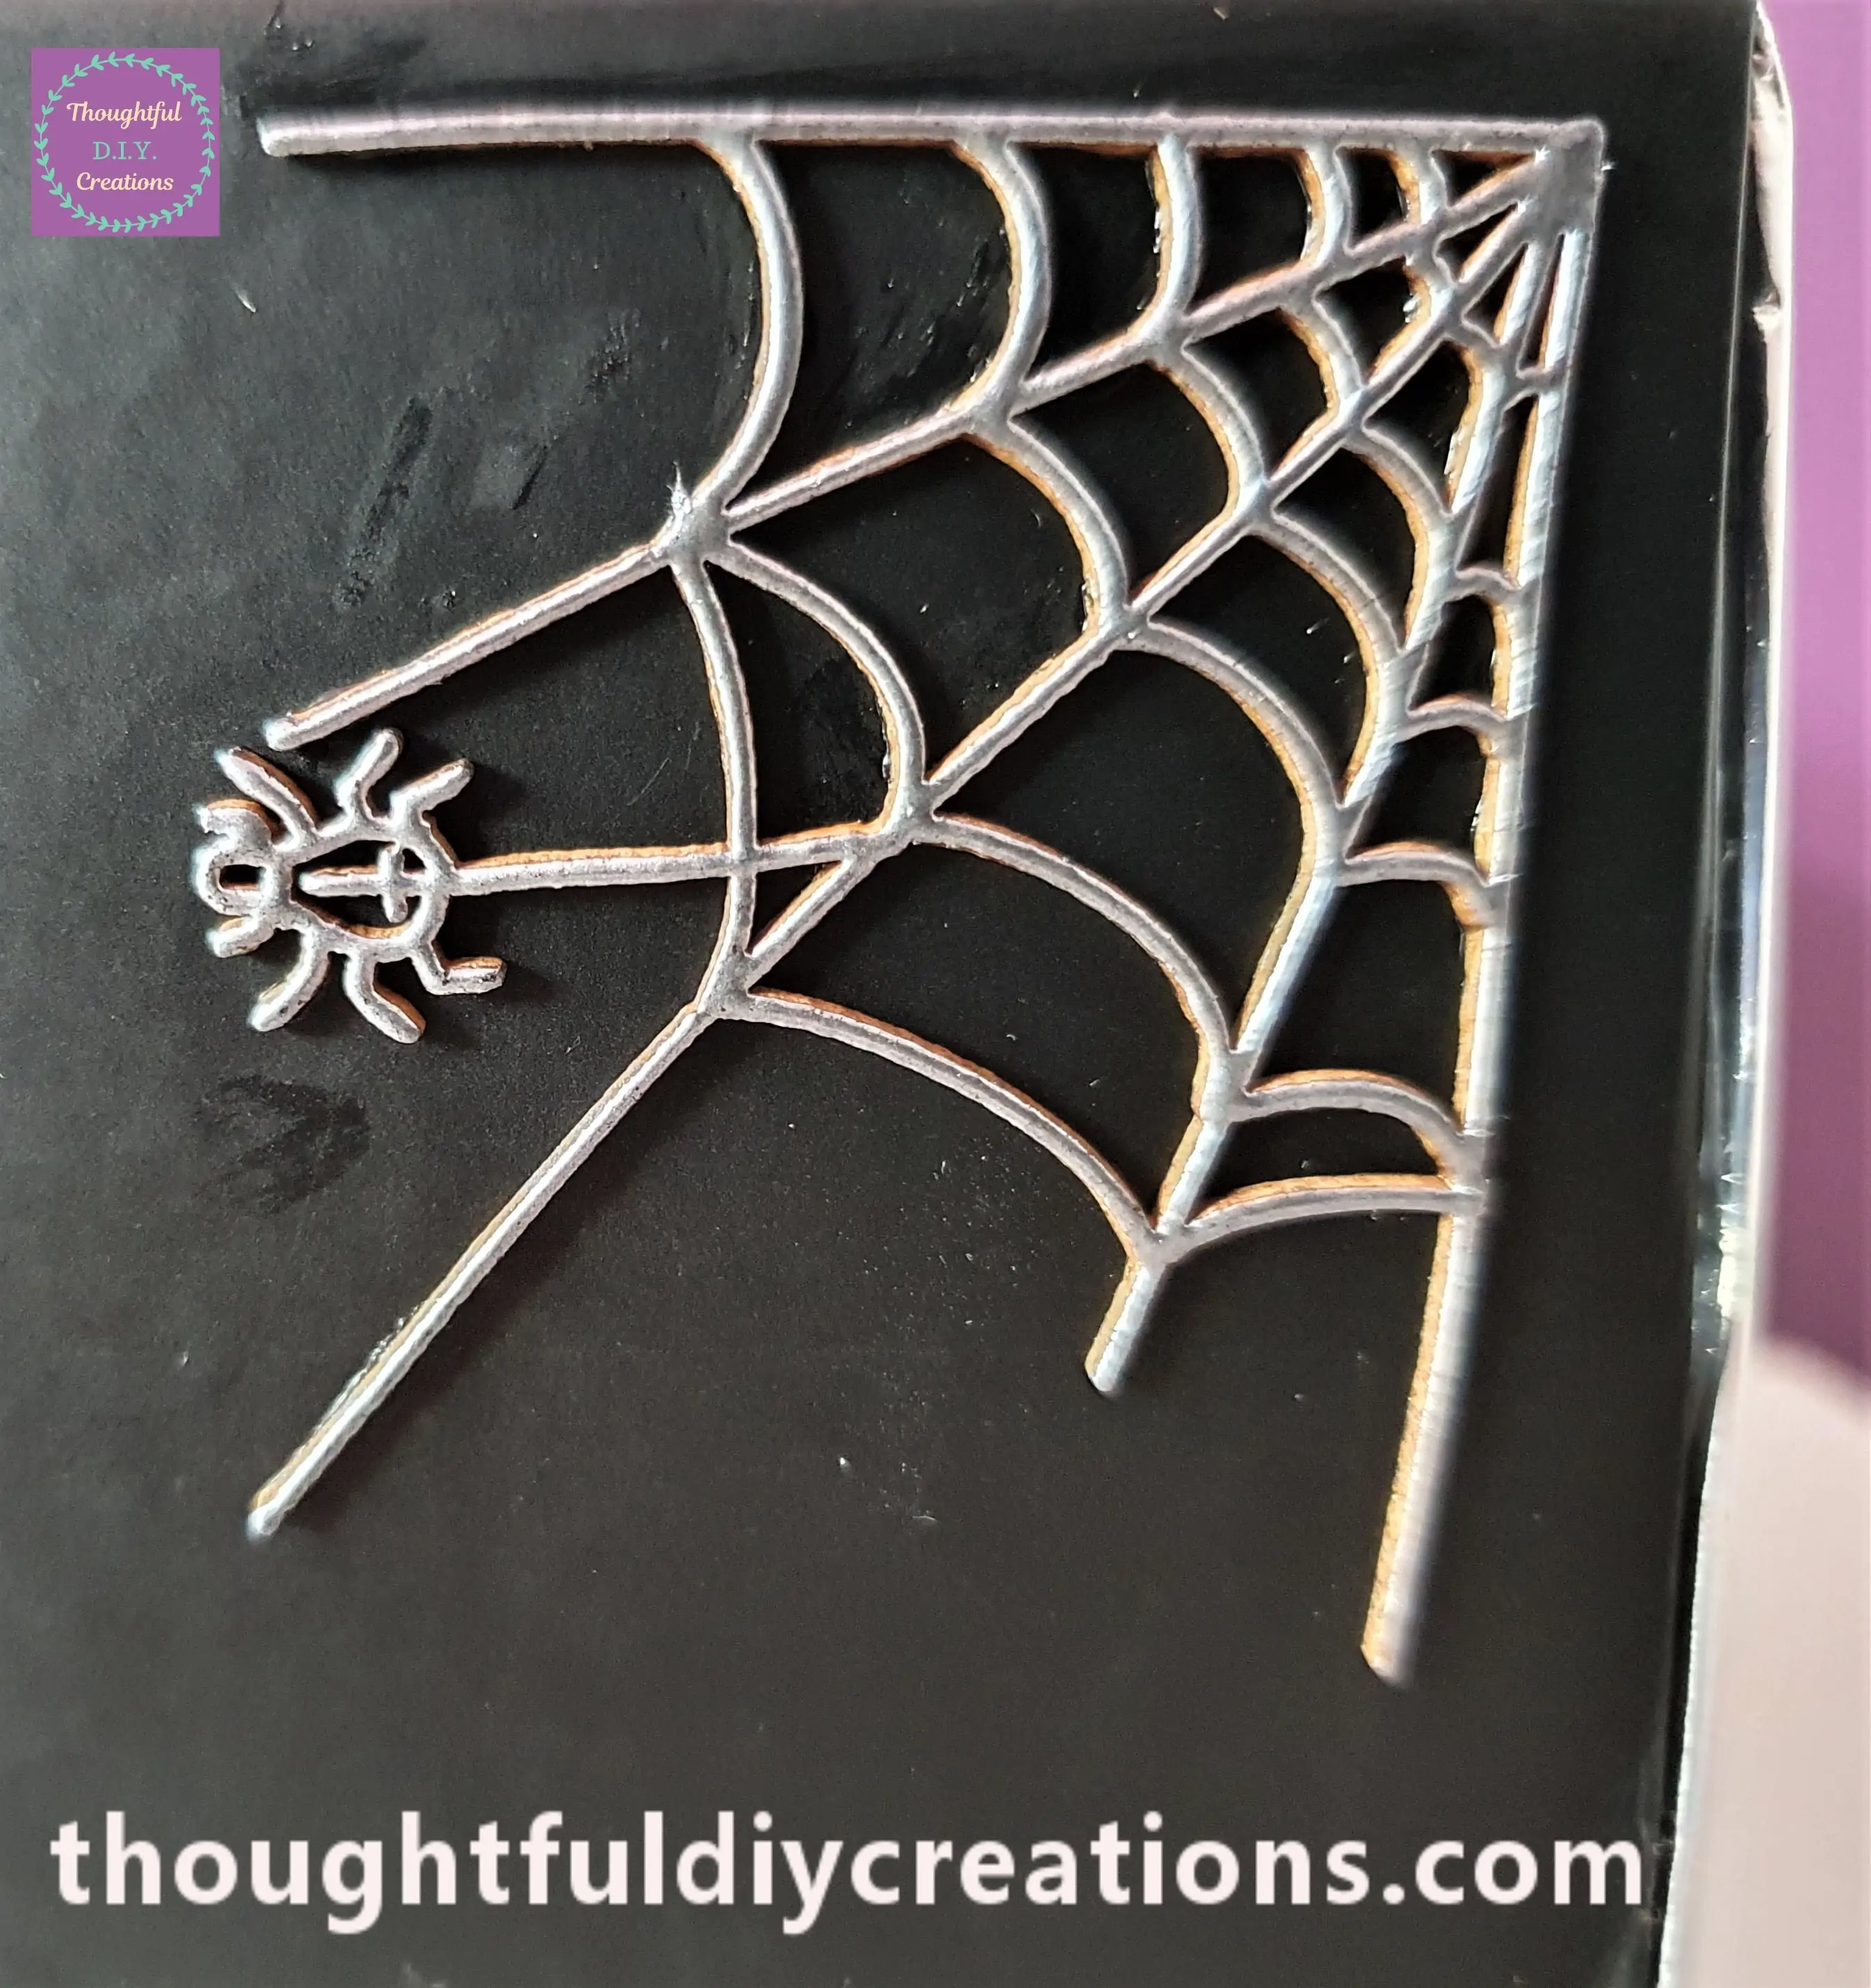
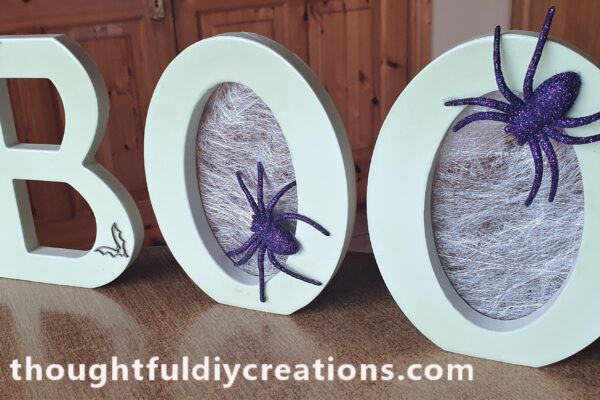
I Embossed the 2 Top Spiderwebs with Vintage Silver Embossing Powder. If you would Like to Know How to Emboss; check out my Tutoial from last Week where I explain each Step: BOO Letters Tutorial.
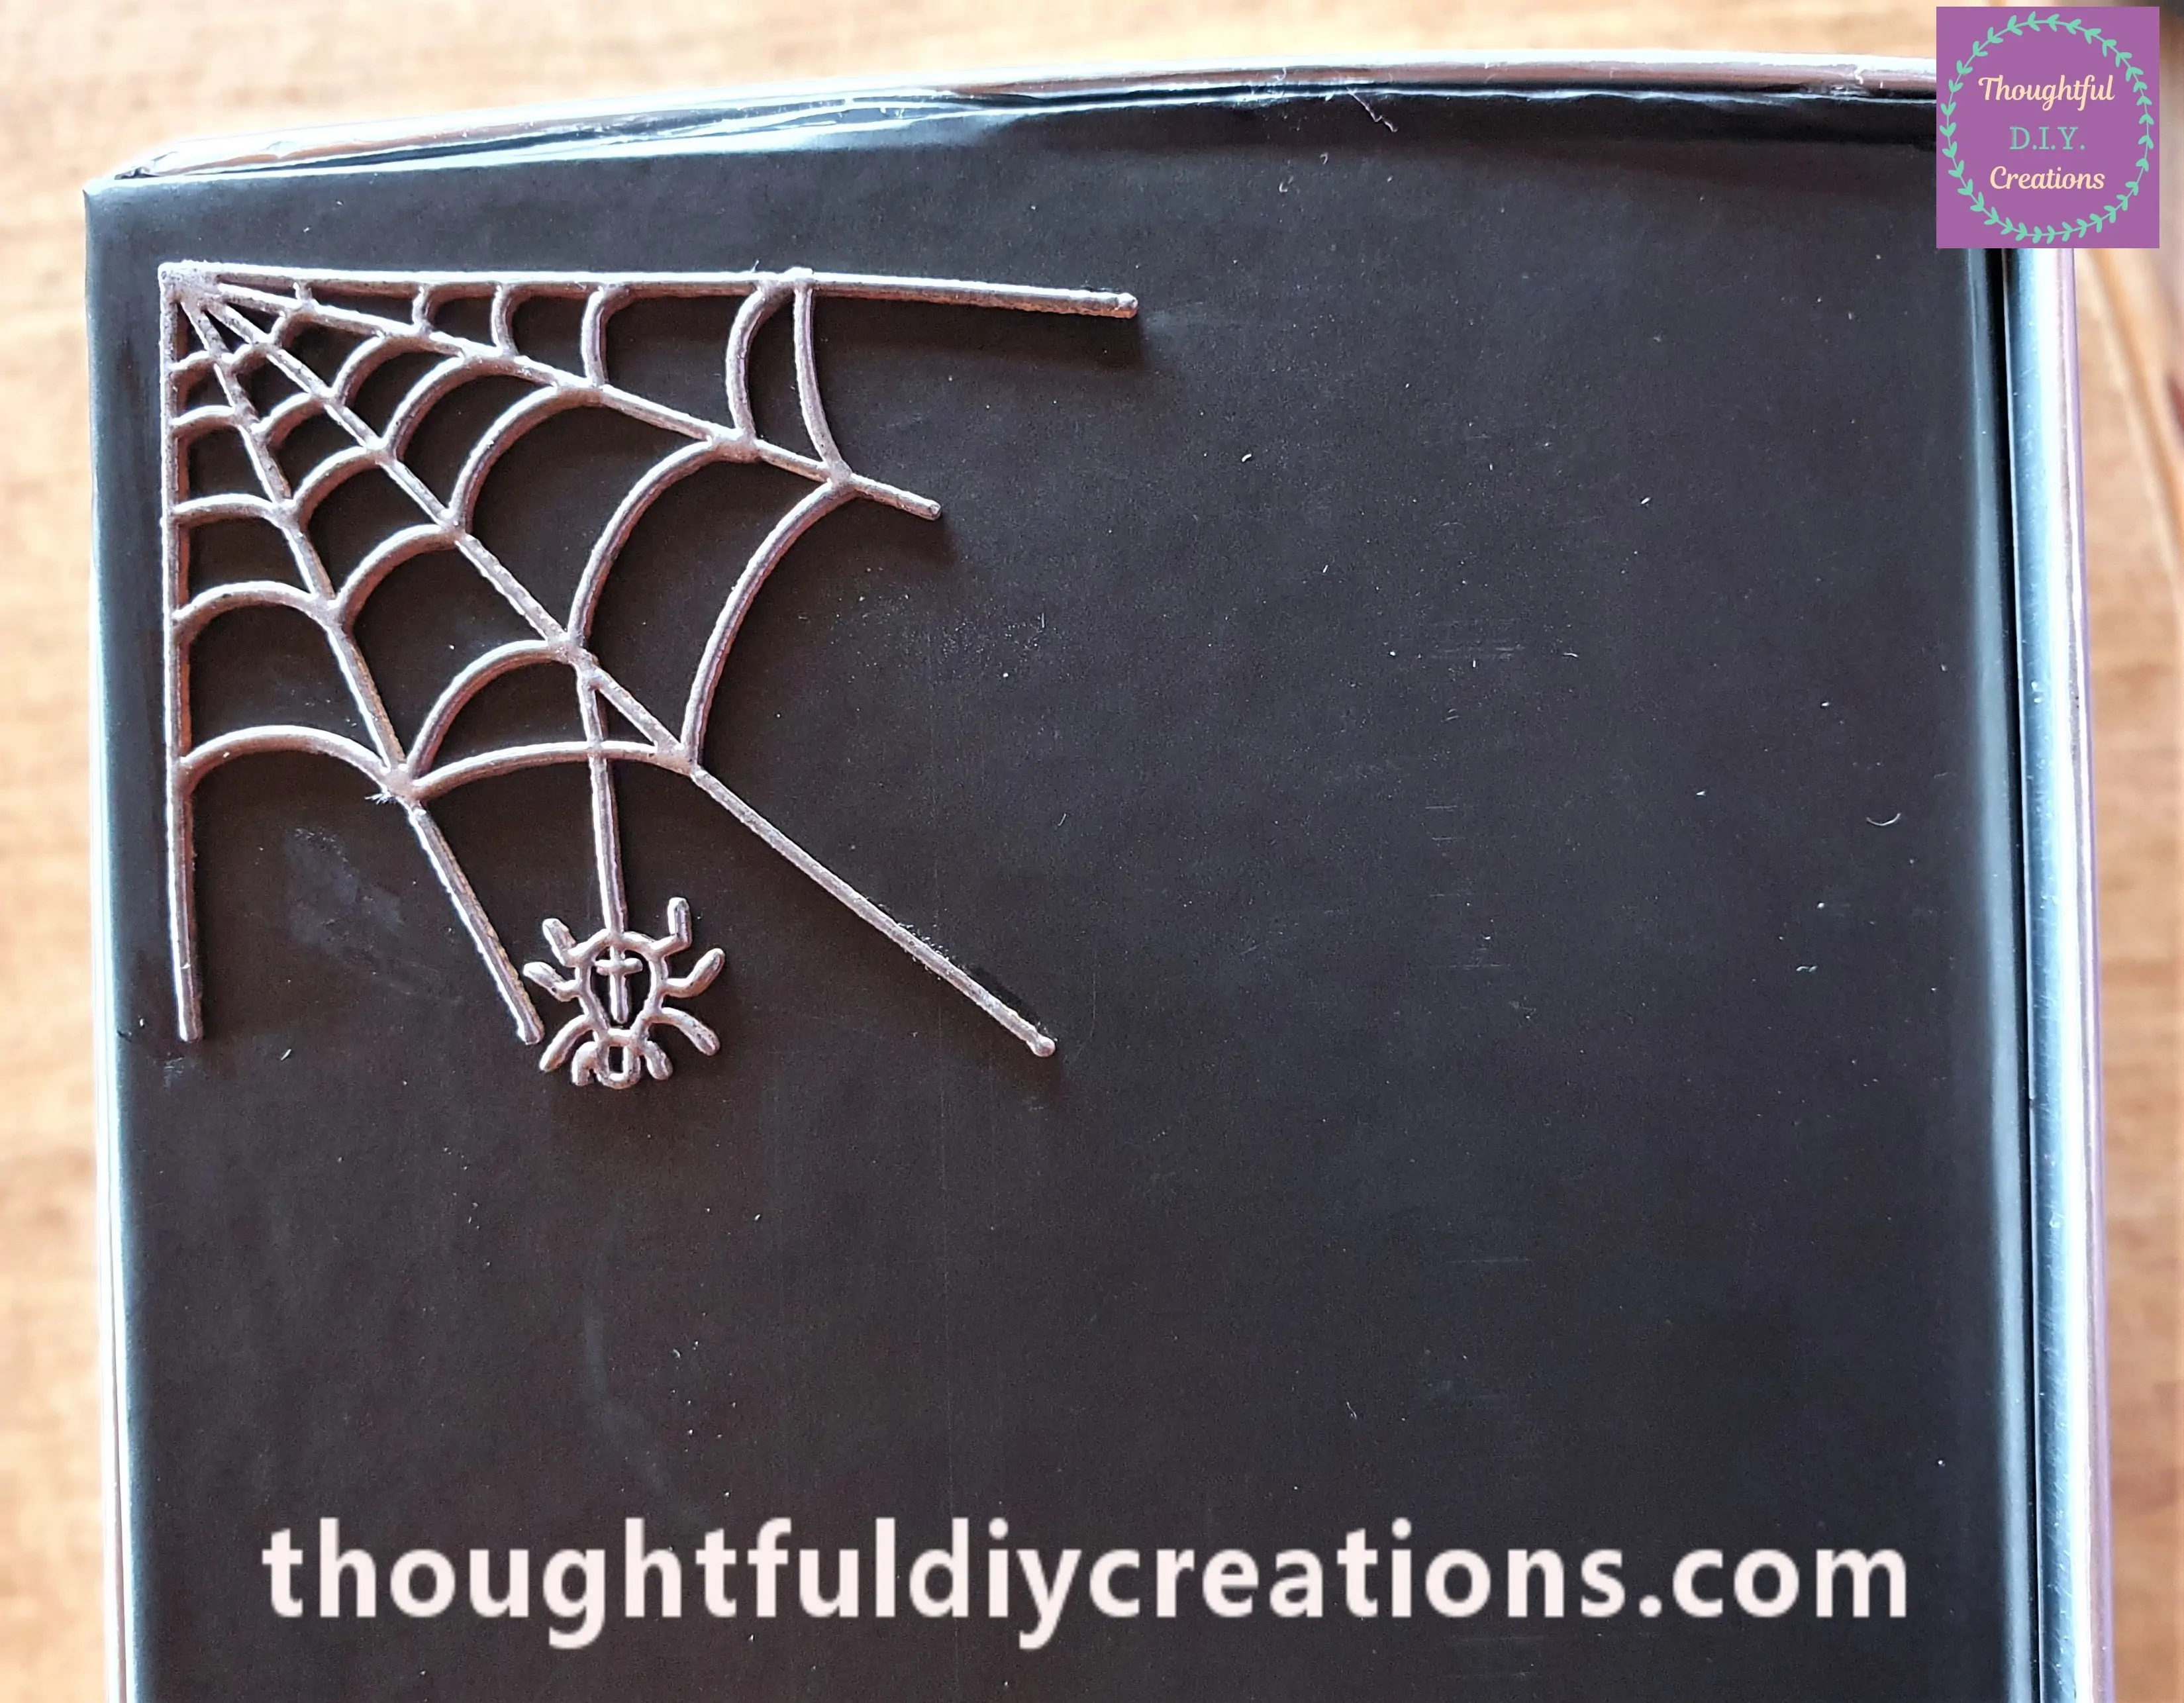
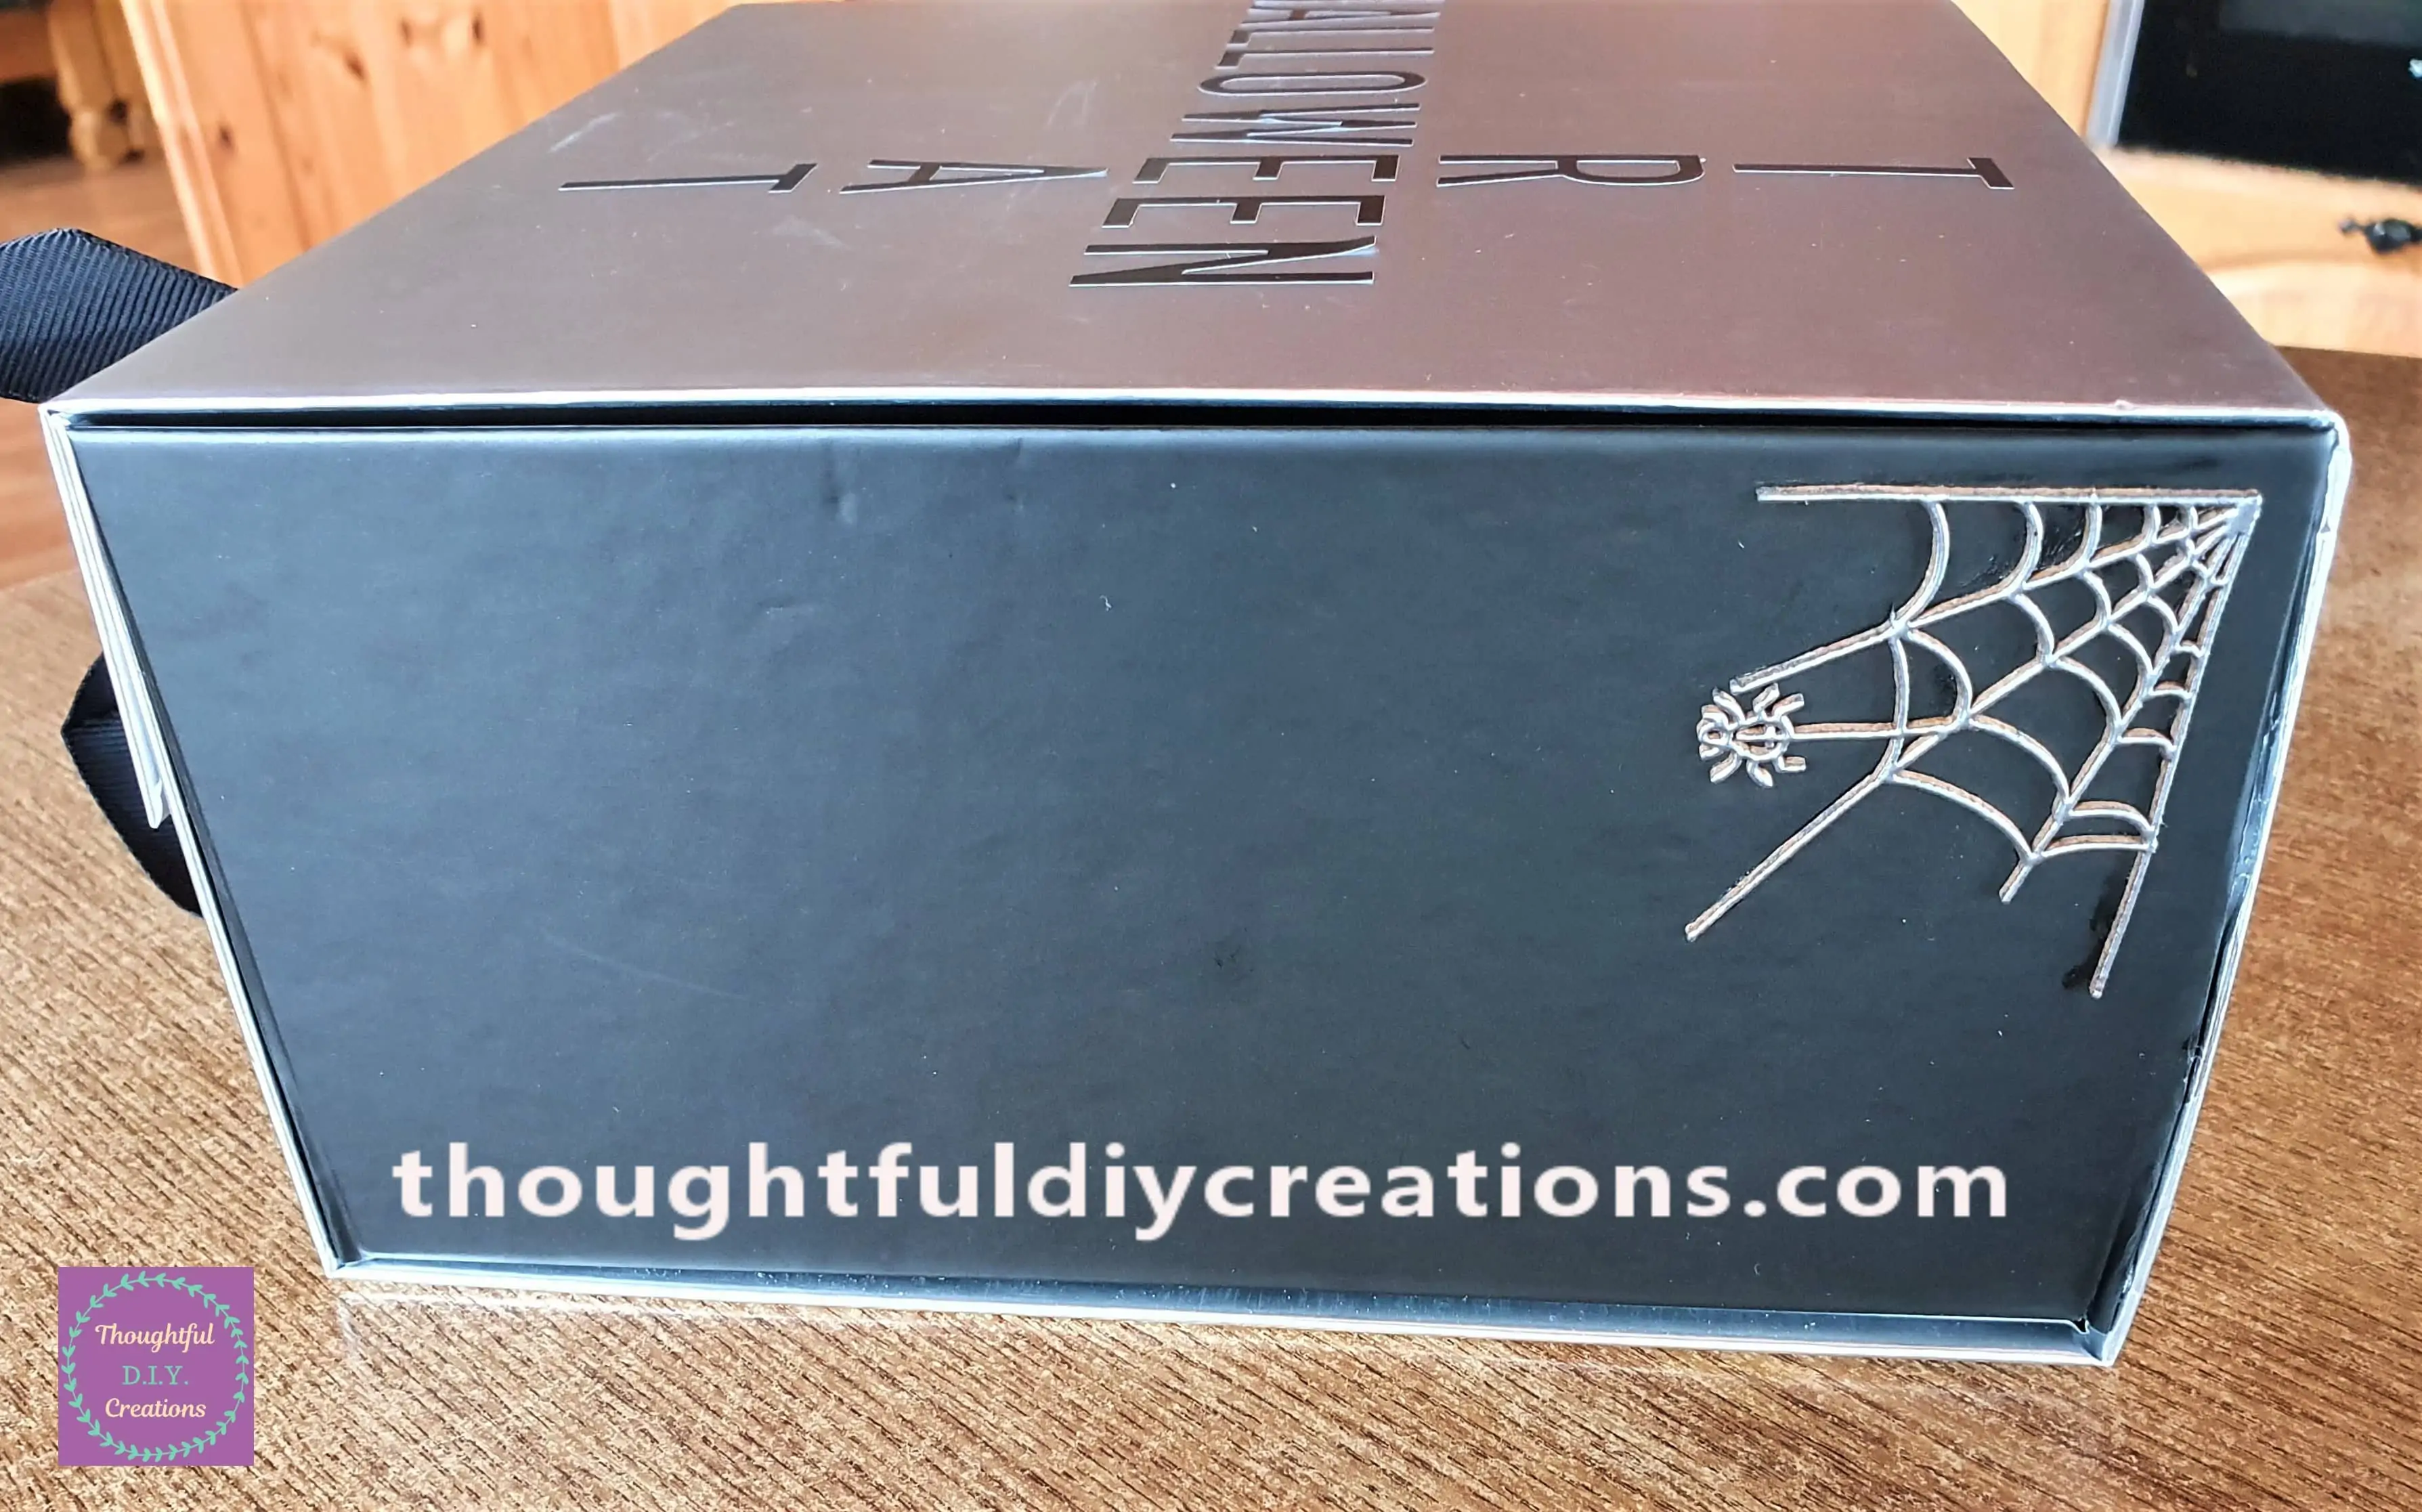
I attached one of the Spiderwebs to the Side of the Halloween Gift Box using Anita’s Tacky PVA Glue and a small Paintbrush.
I attached the other Spiderweb to the other Side of the Gift Box.
Decorating the Halloween Gift Box
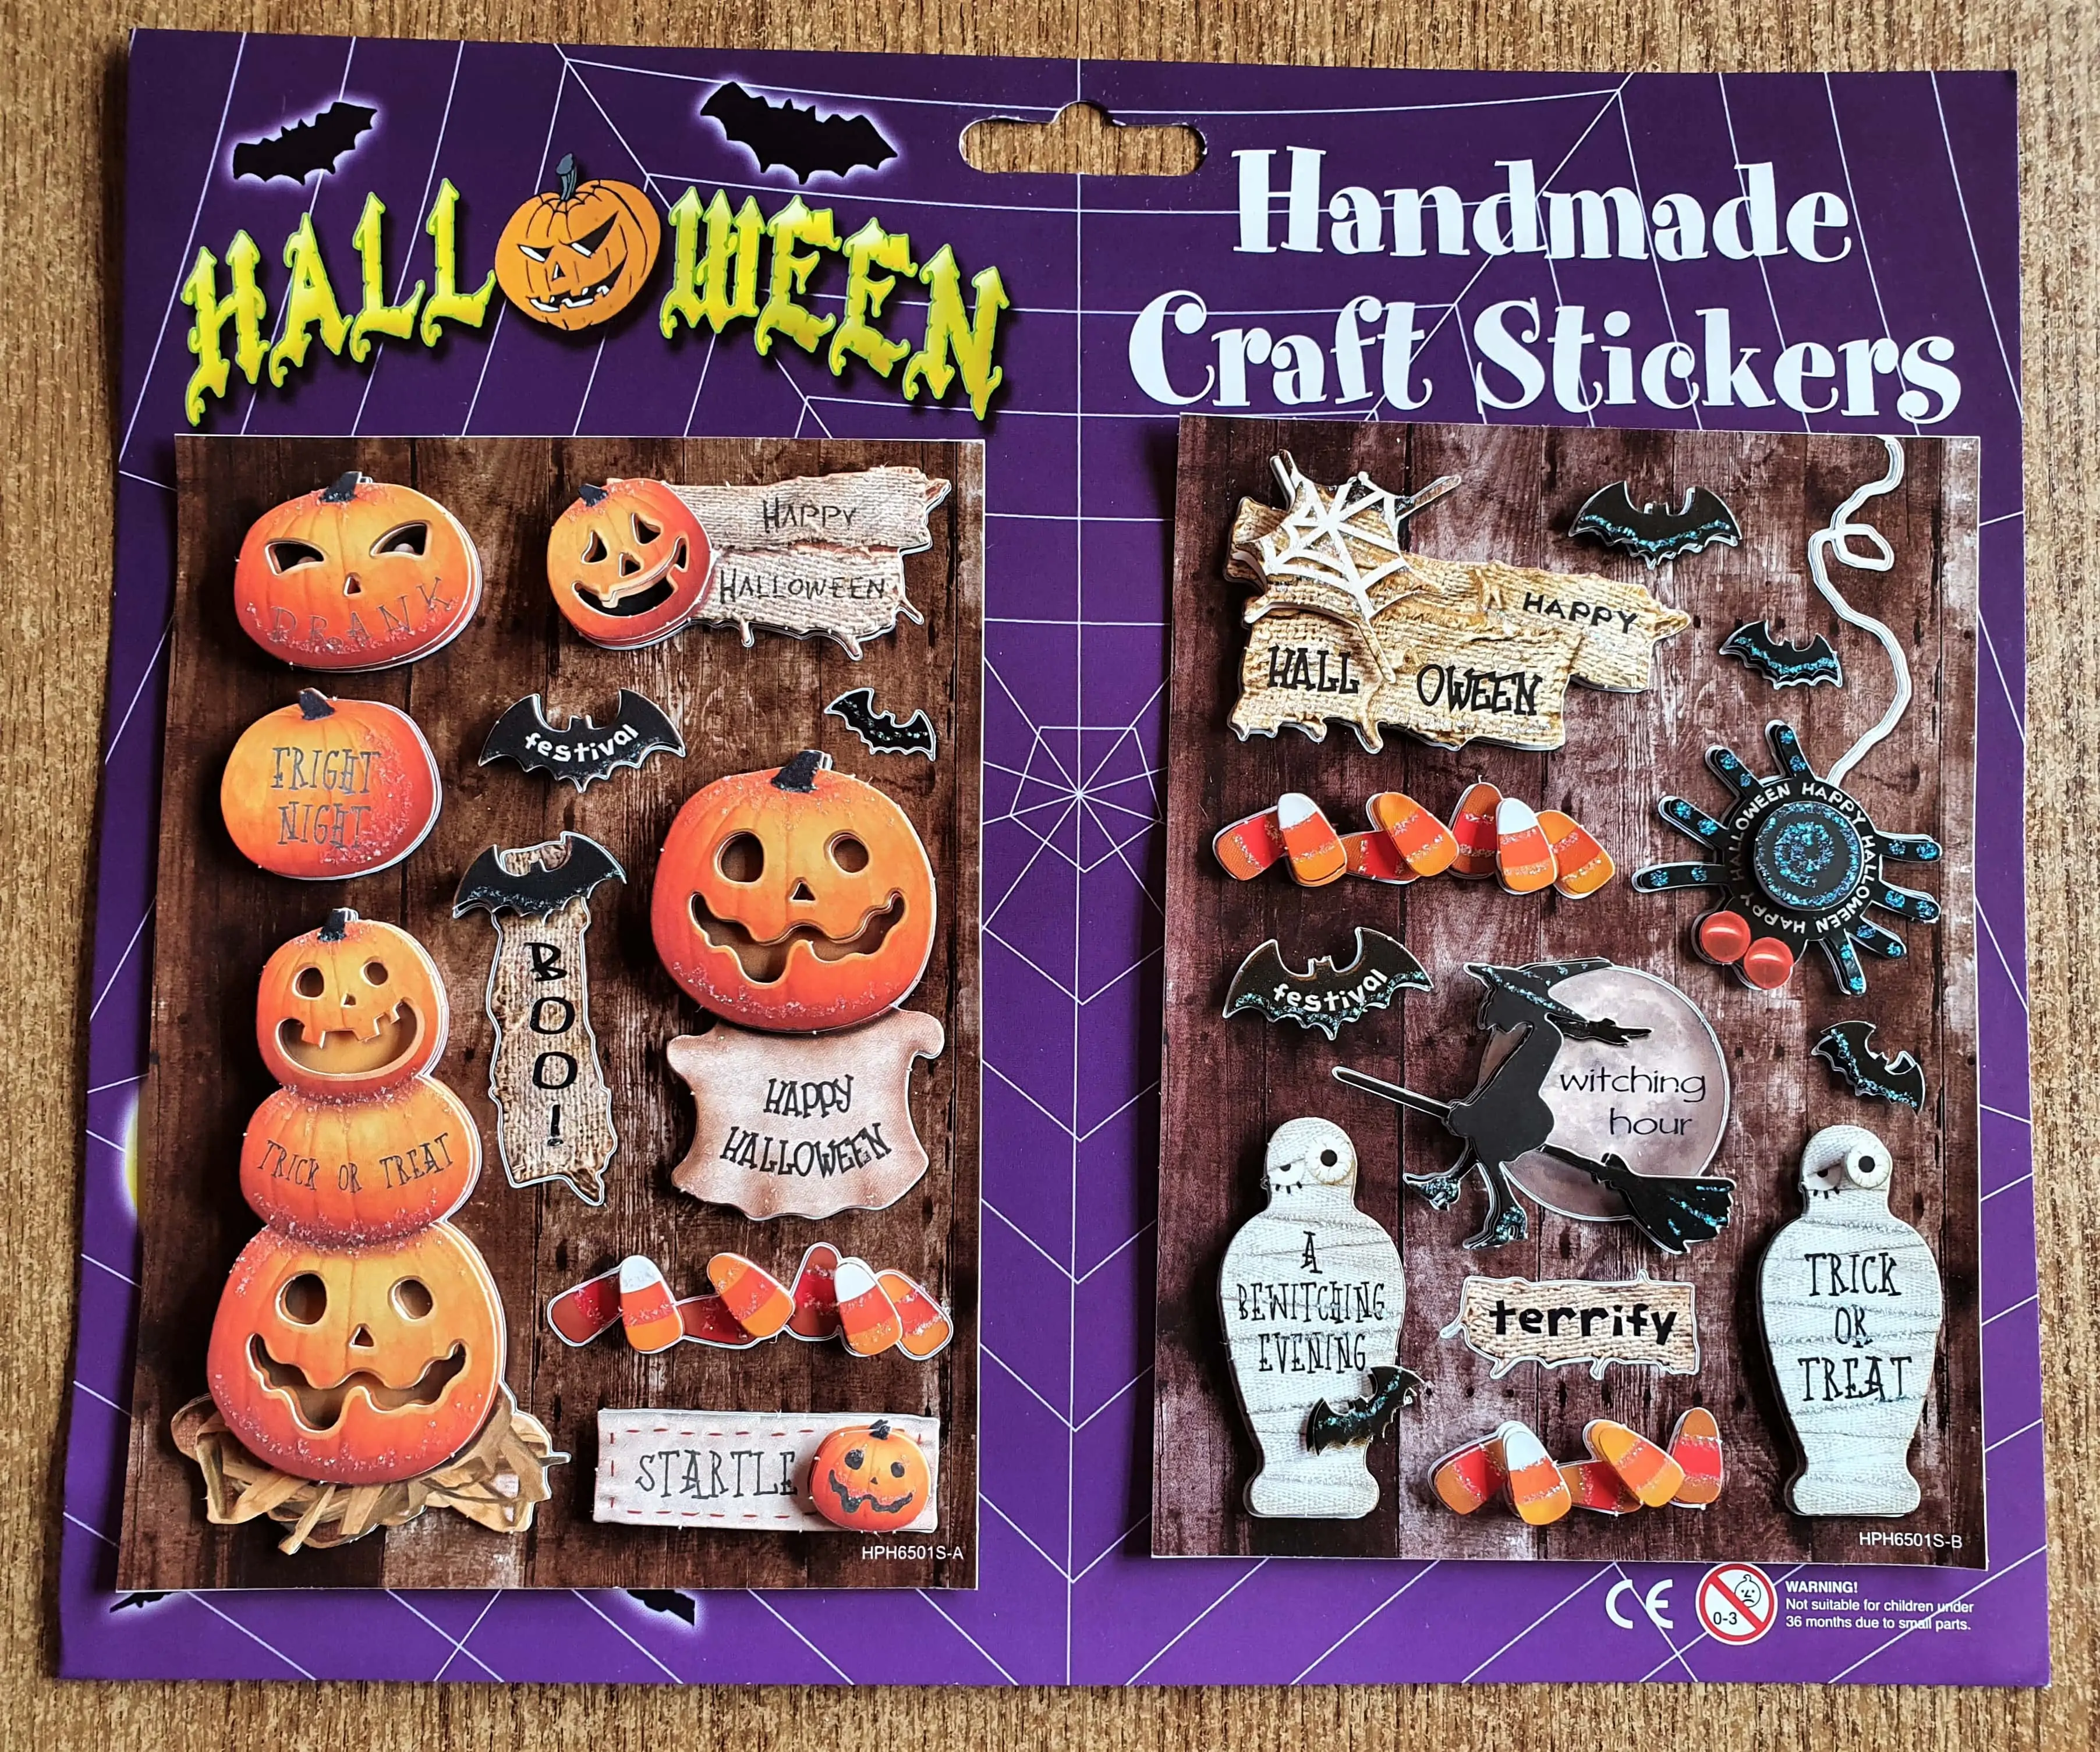
I got my Pack of 3-D Halloween Stickers.
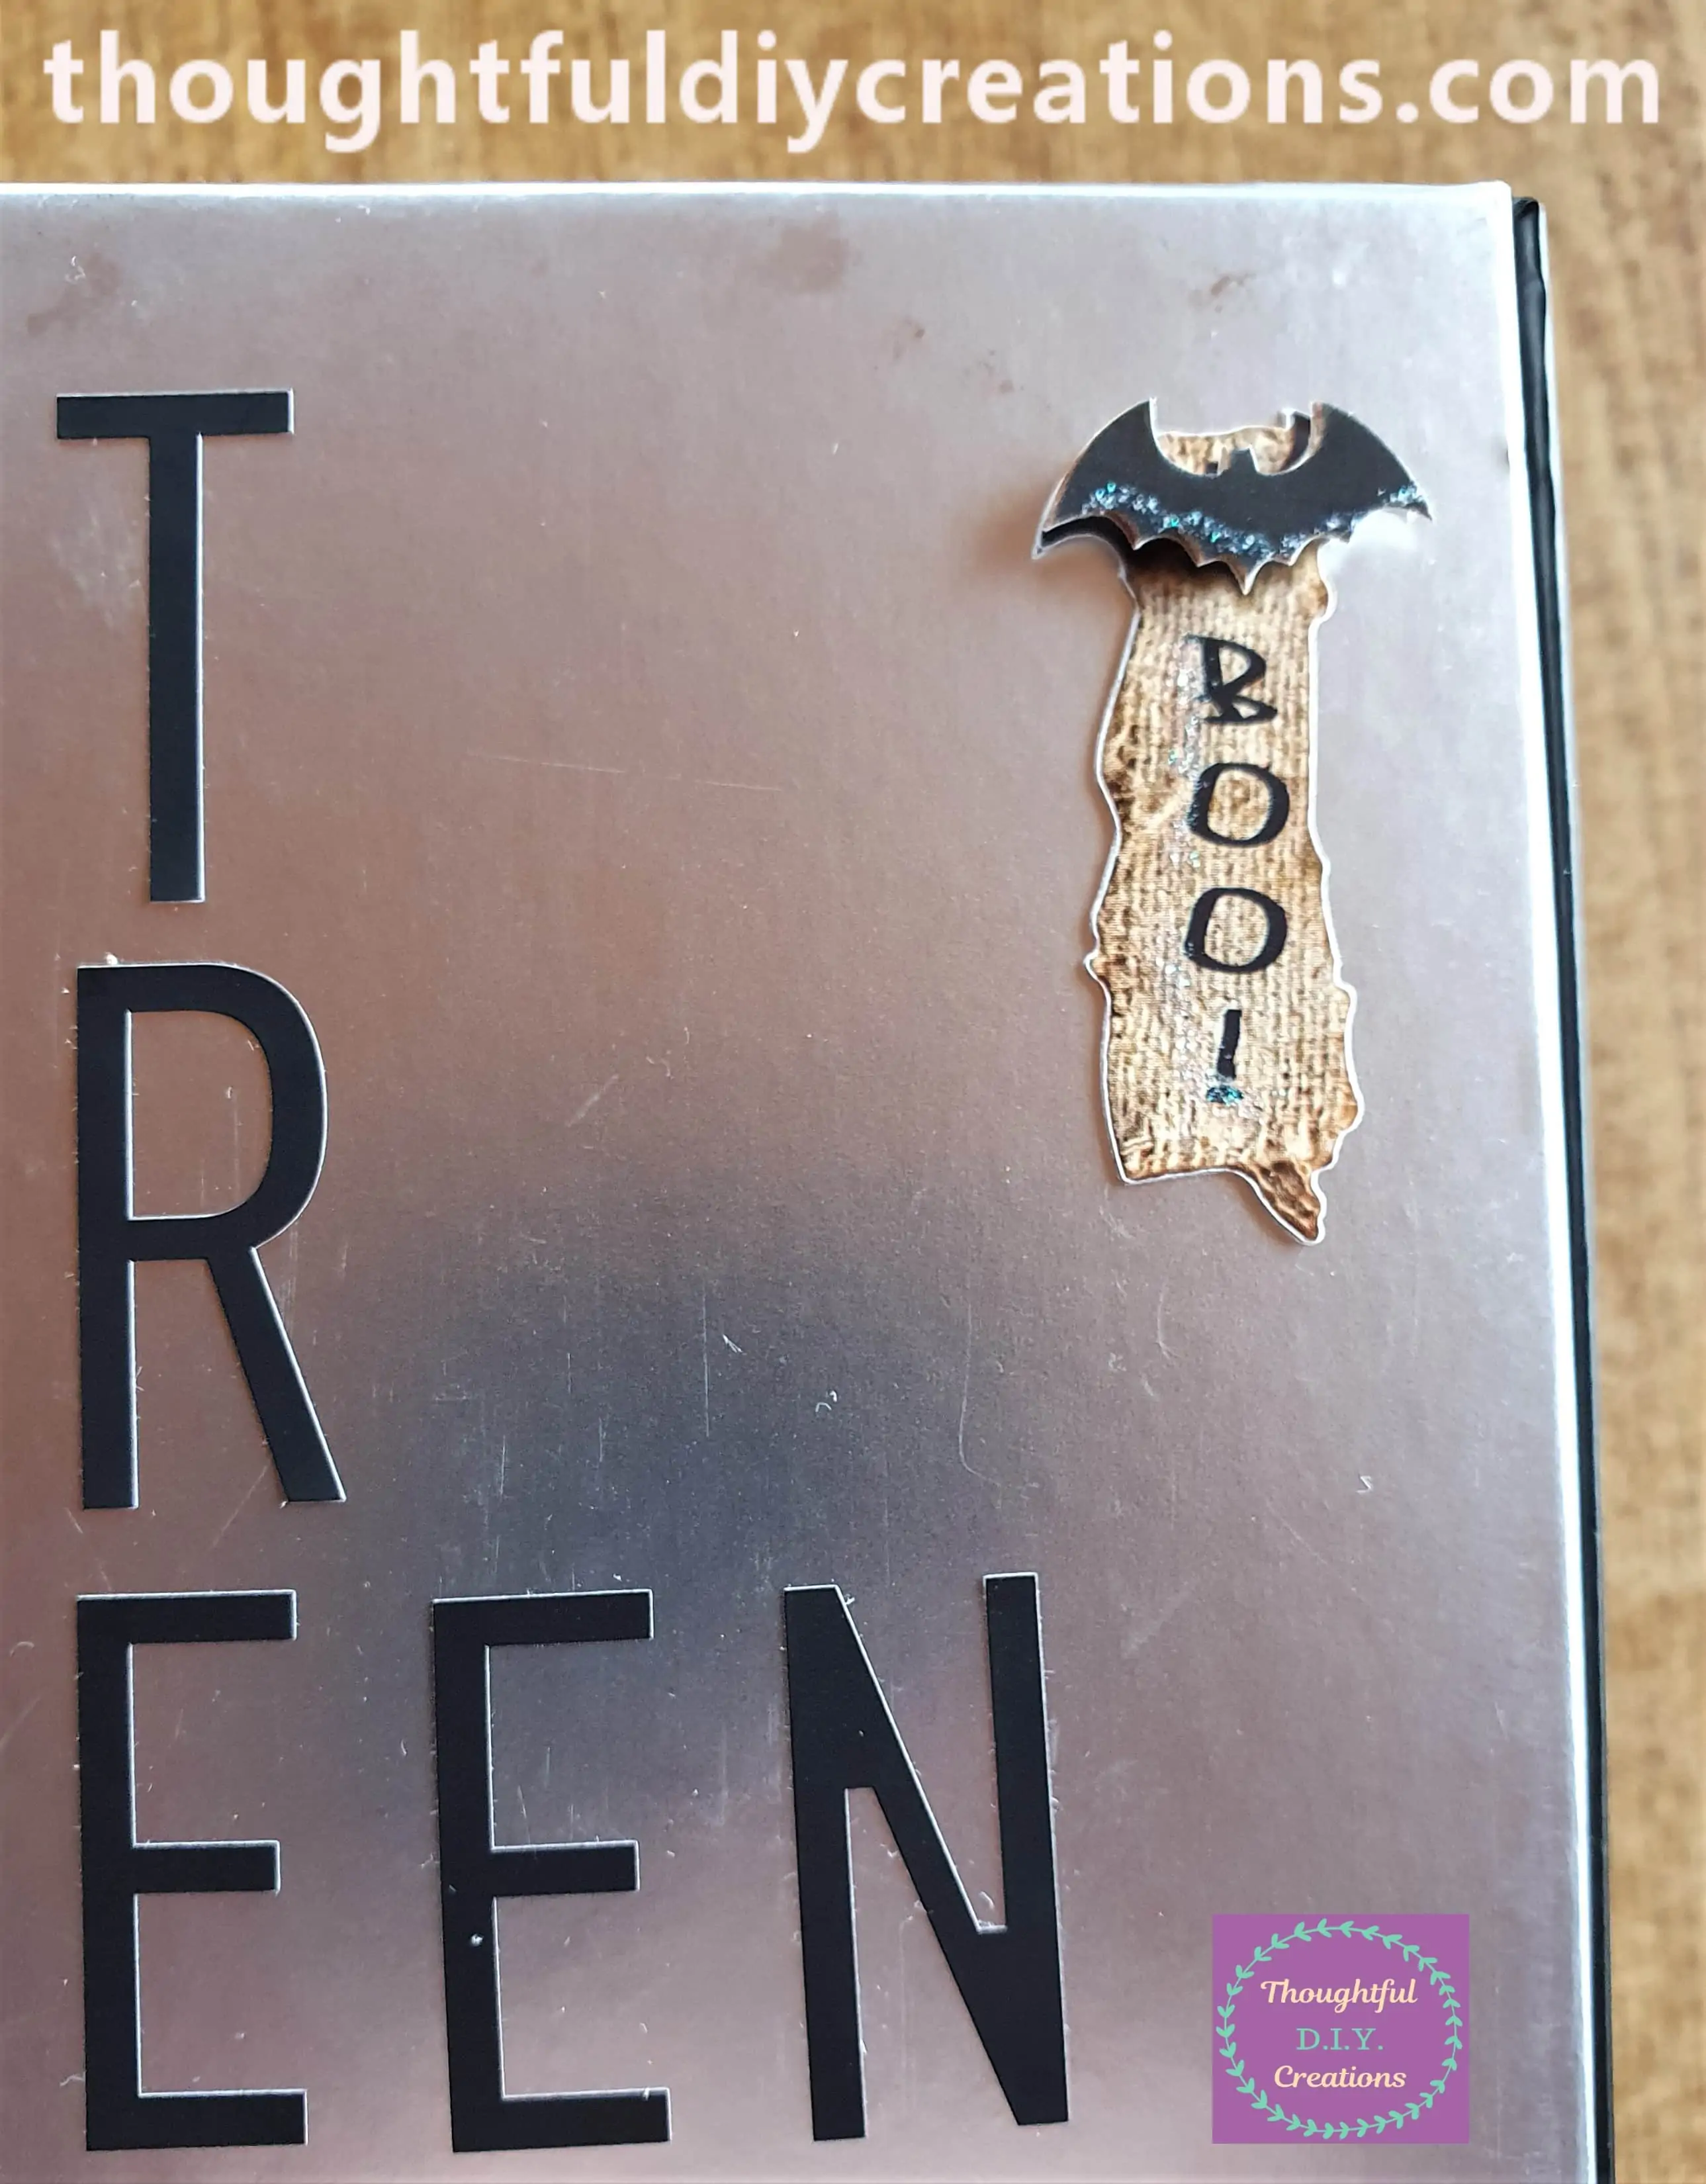
I attached one Sticker to the Top Right-Hand Side of the Box.
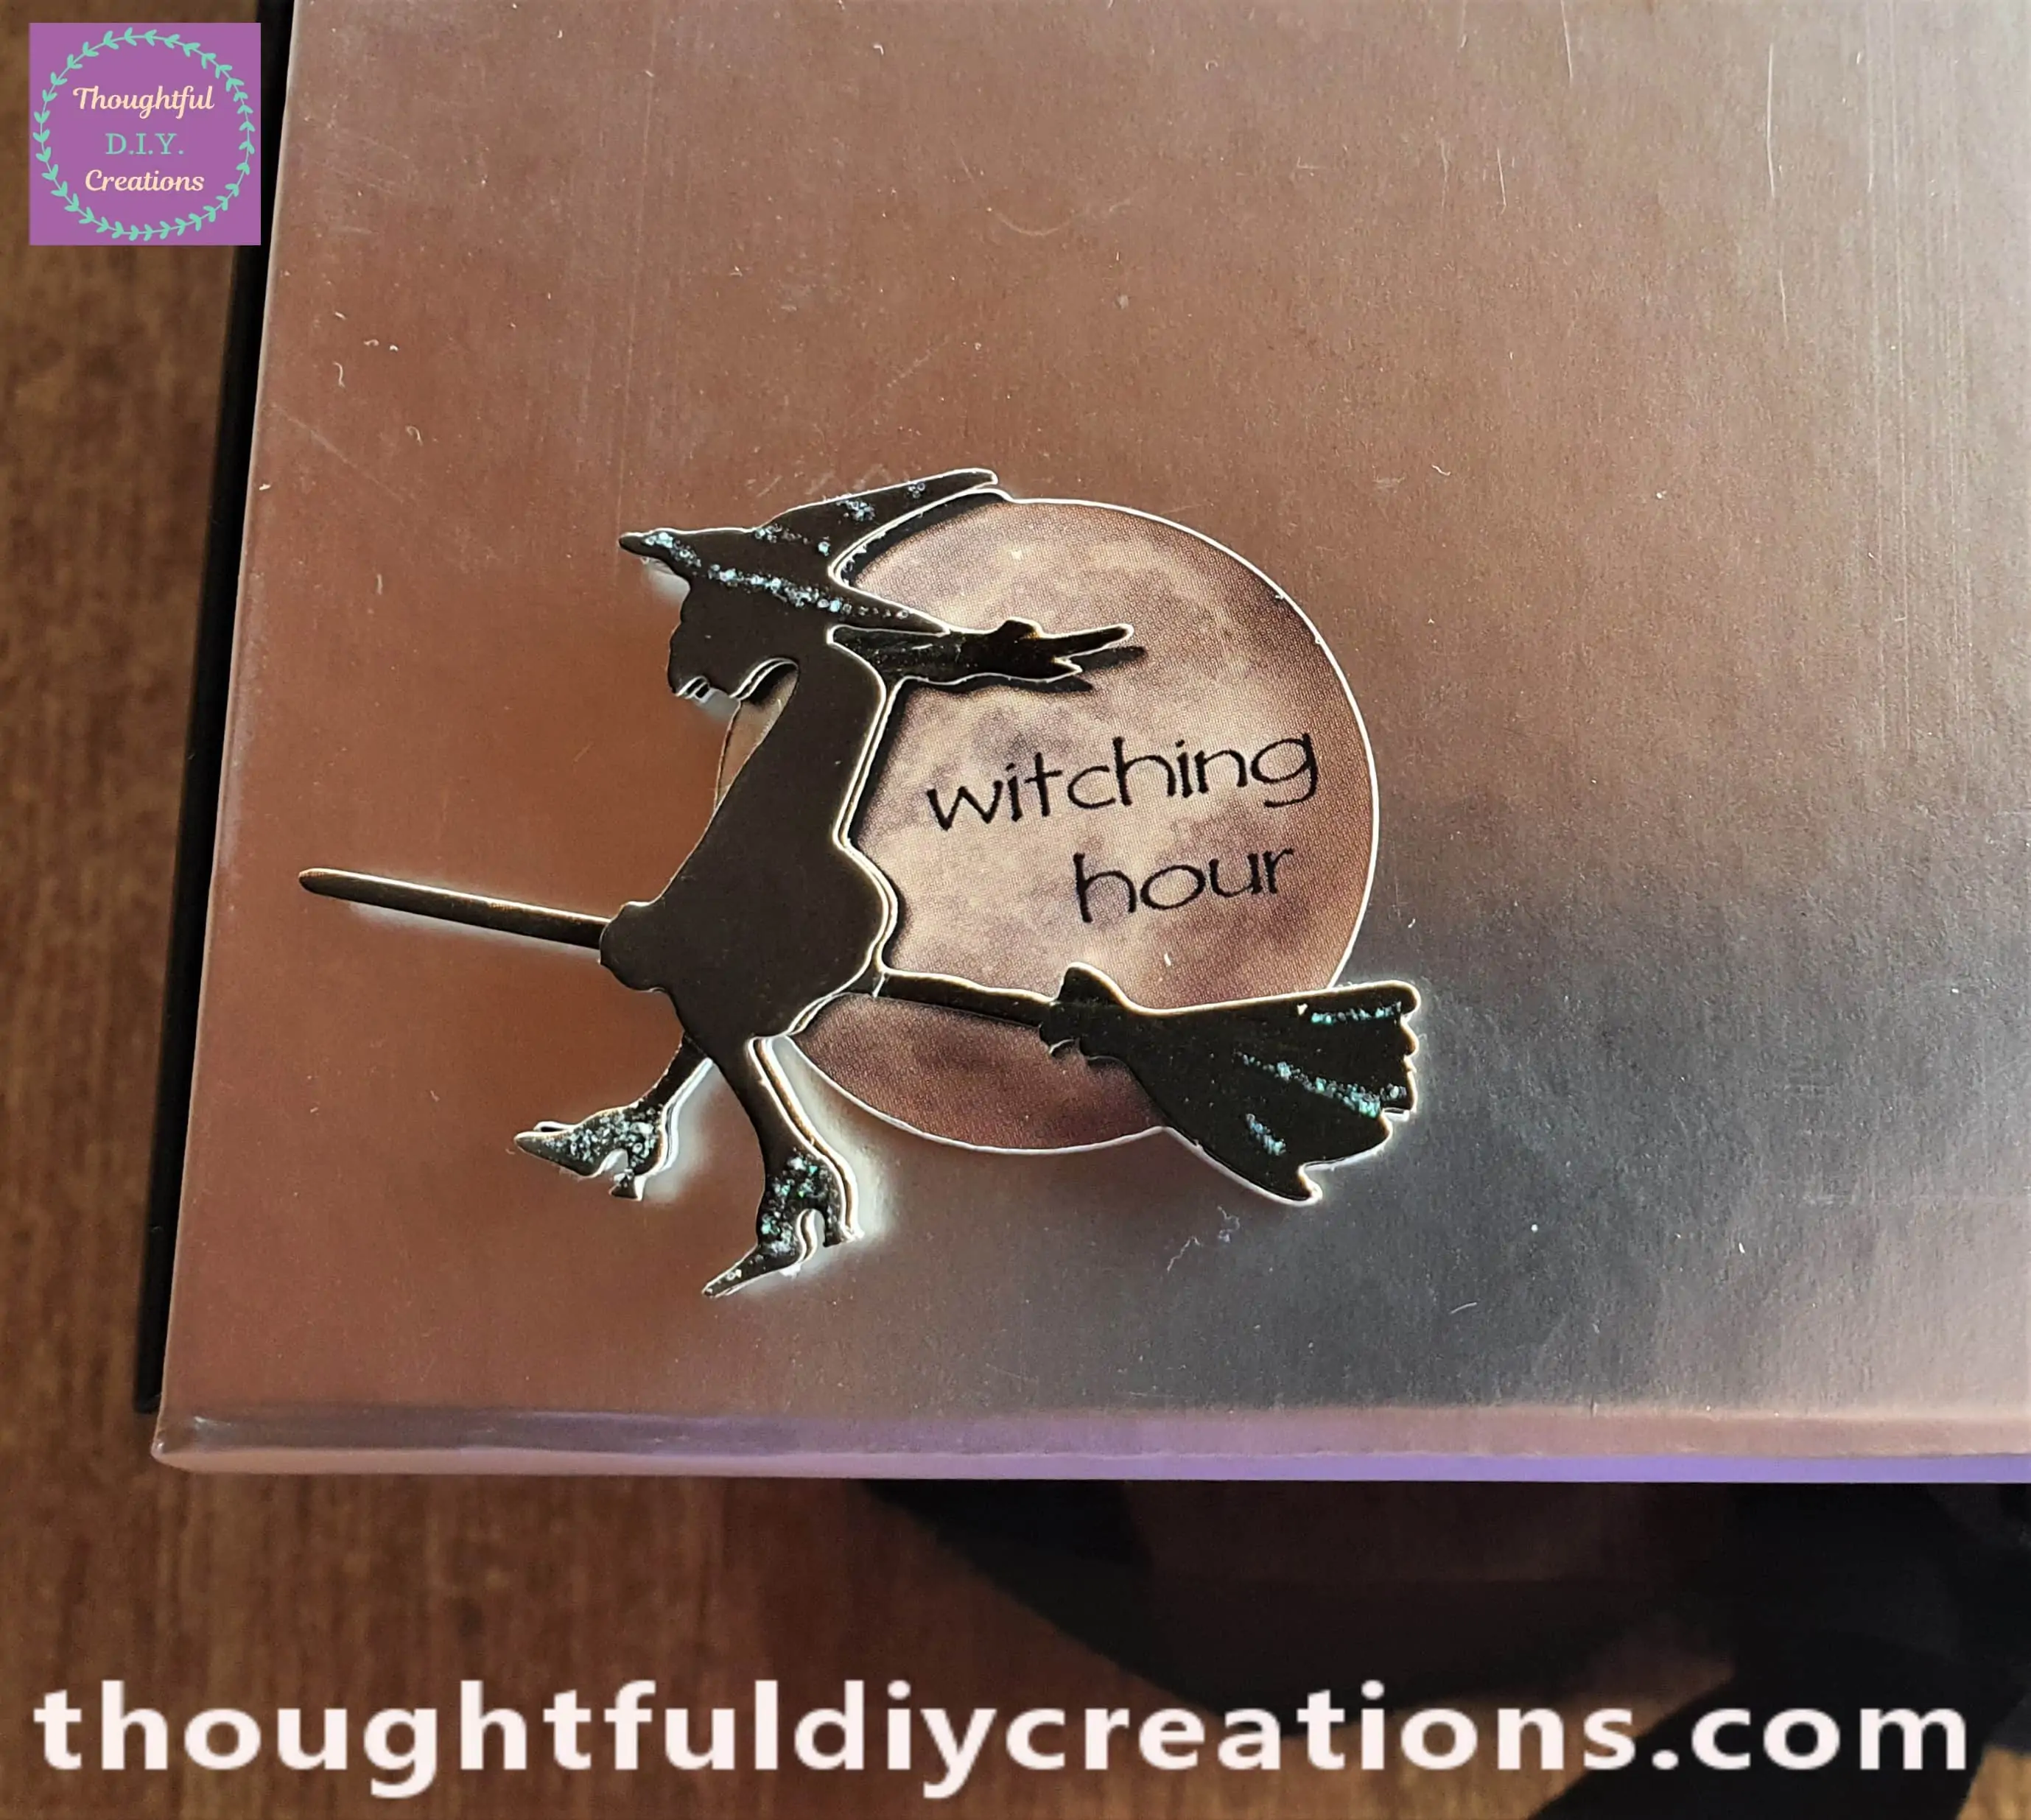
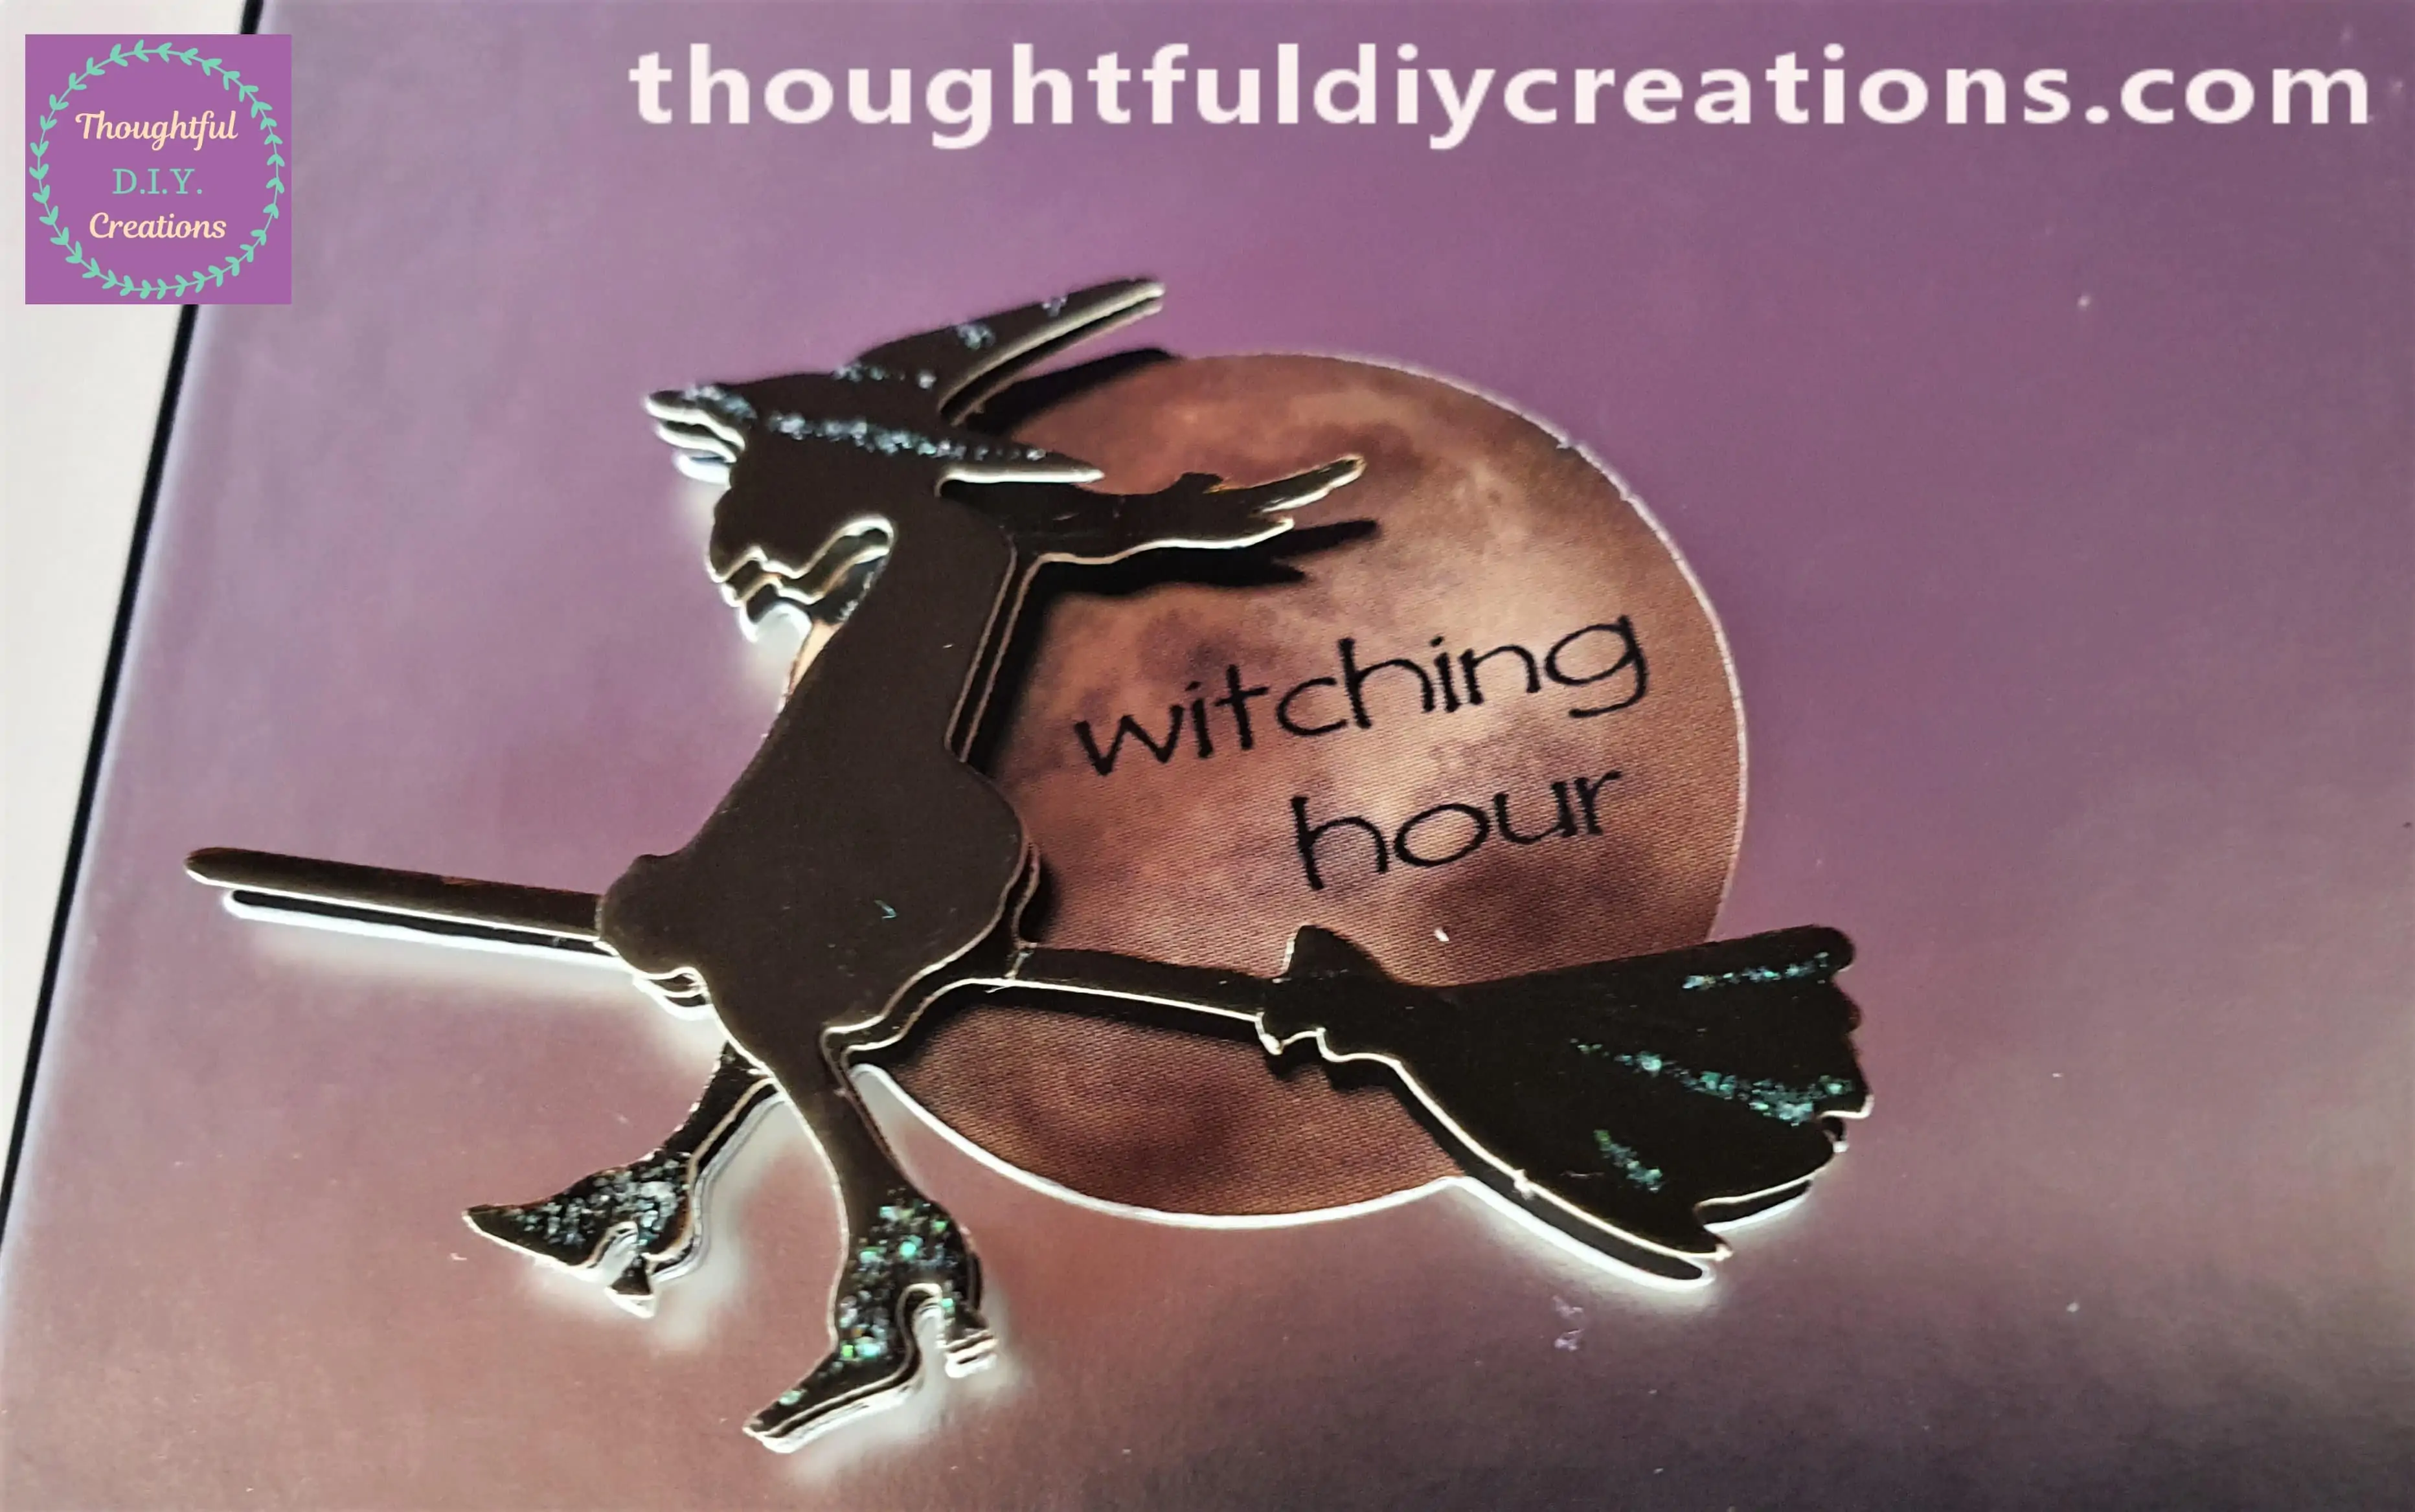
I added another Sticker to the Bottom Left-Hand Side of the Halloween Gift Box.
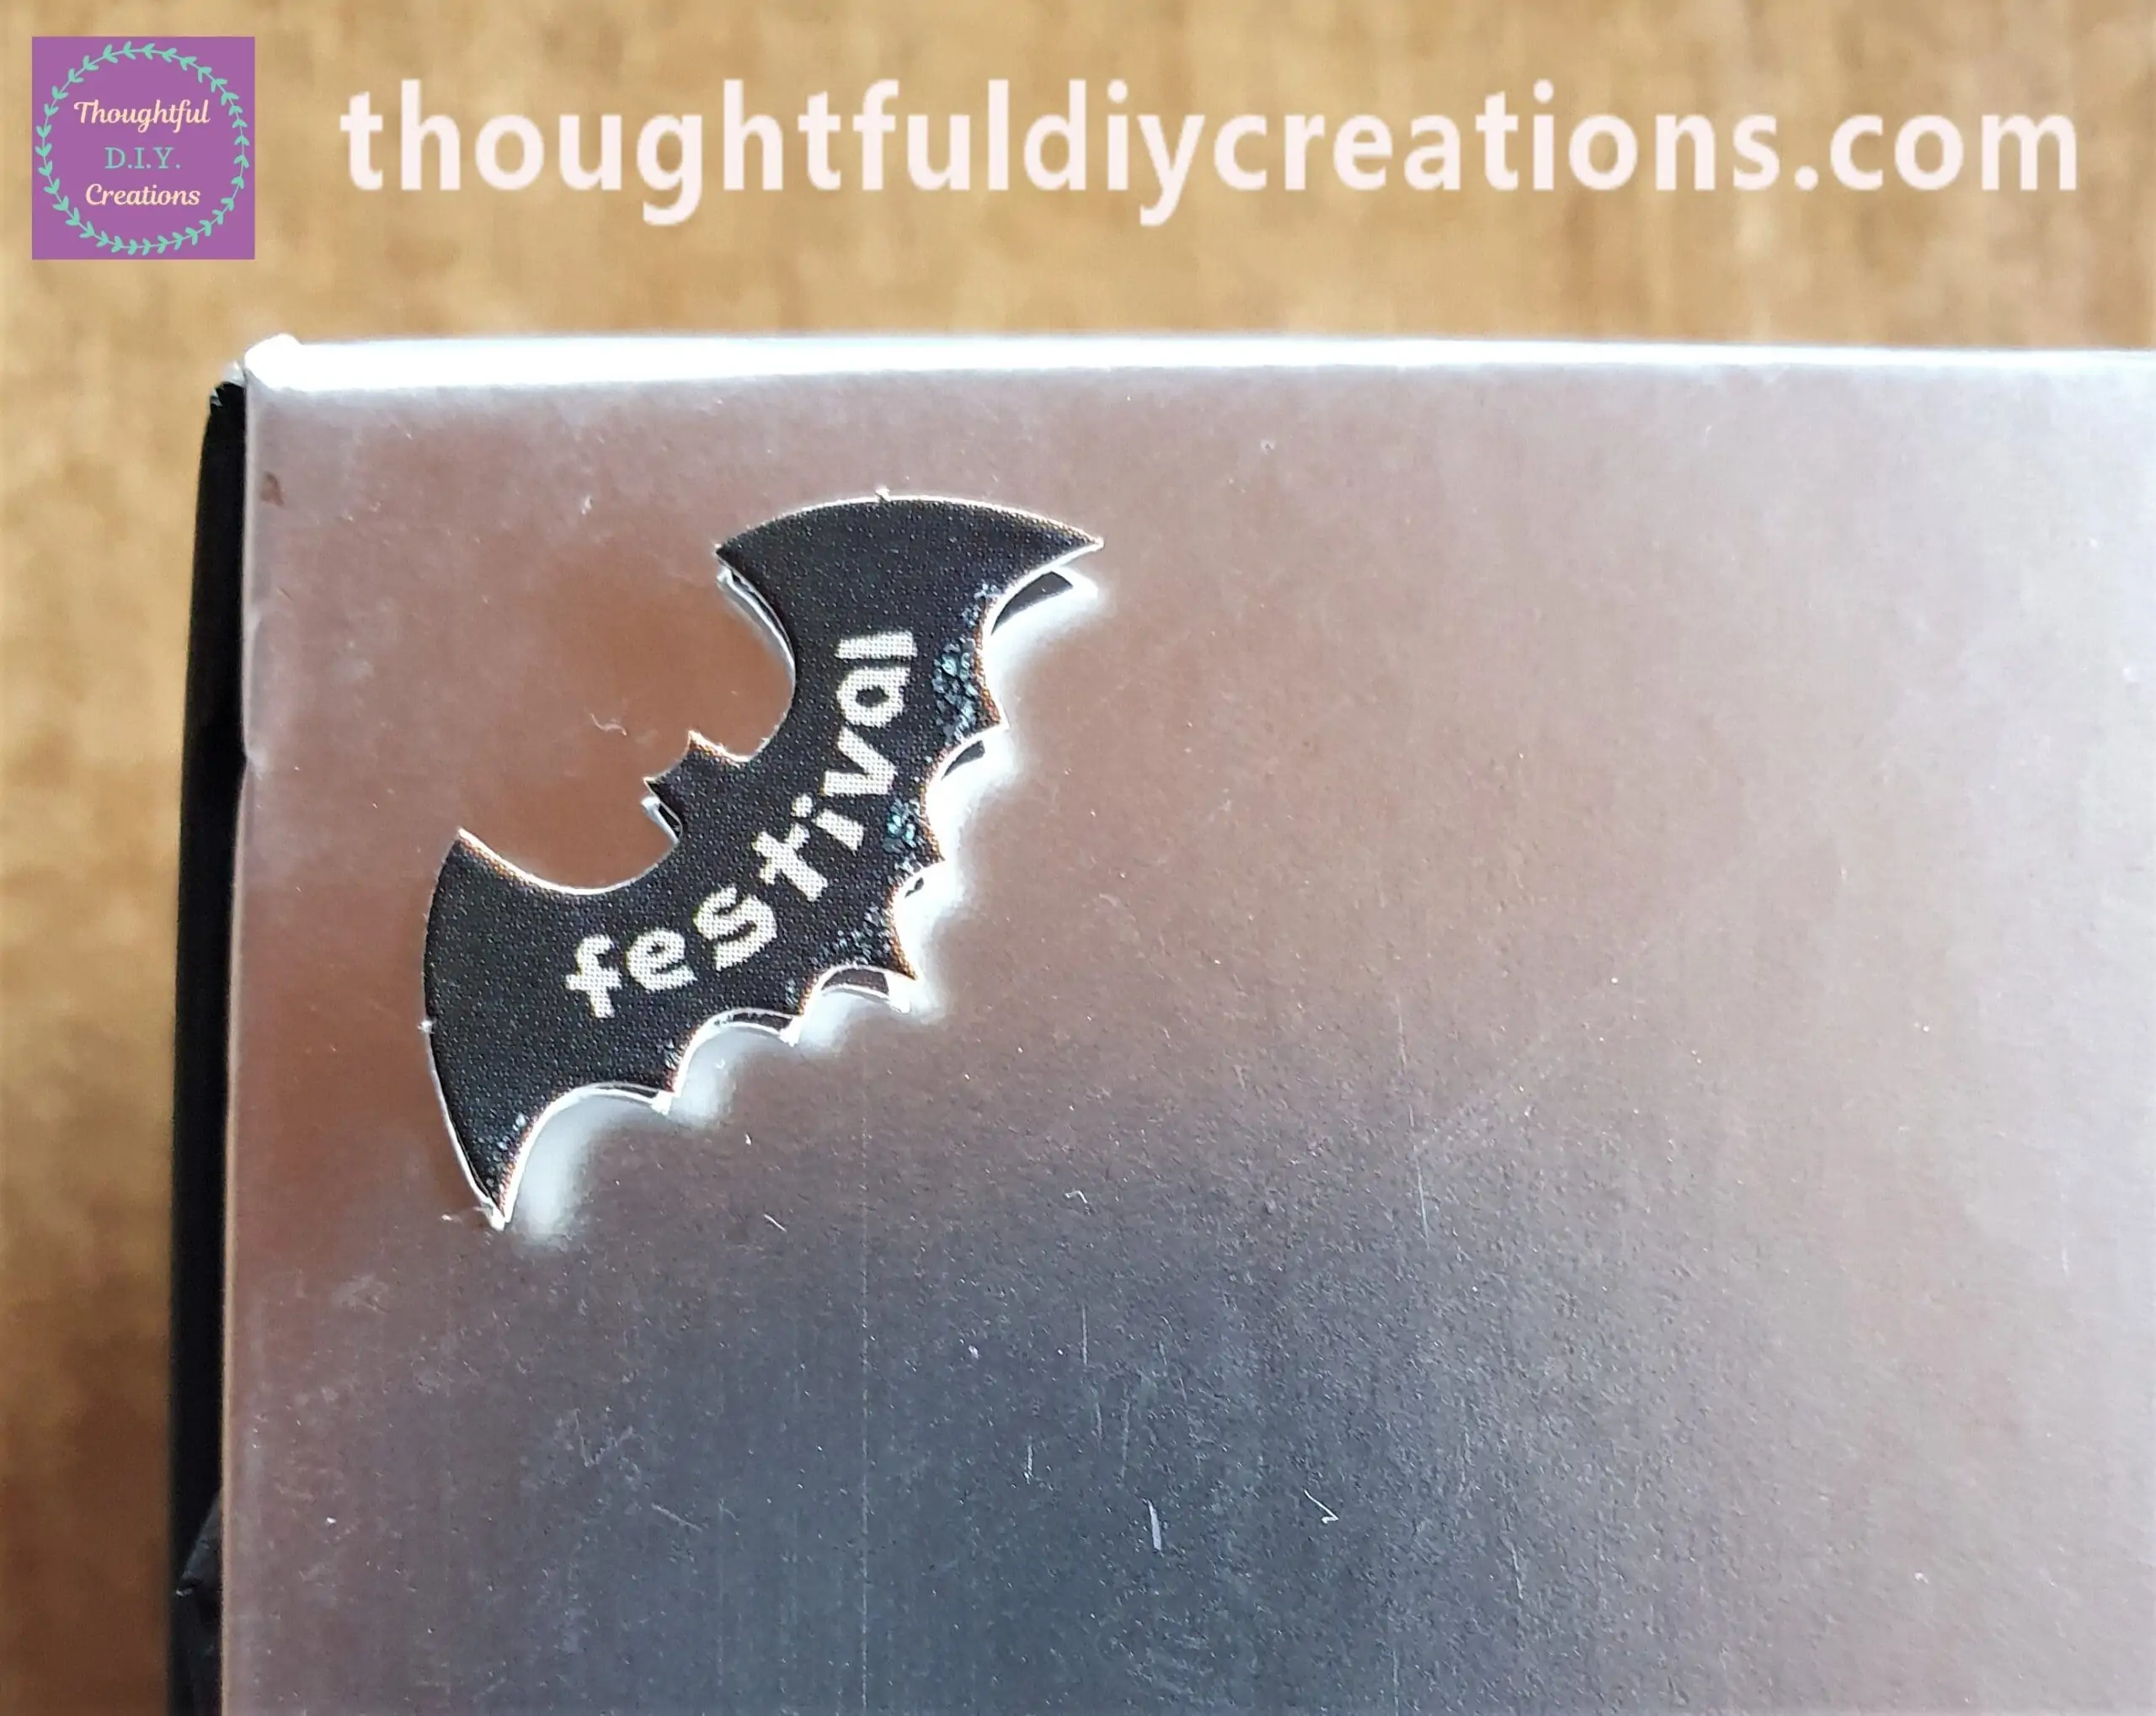
Two Bat Stickers were added to finish the Lid of the Gift Box.
A Closer look at the Bat Sticker.
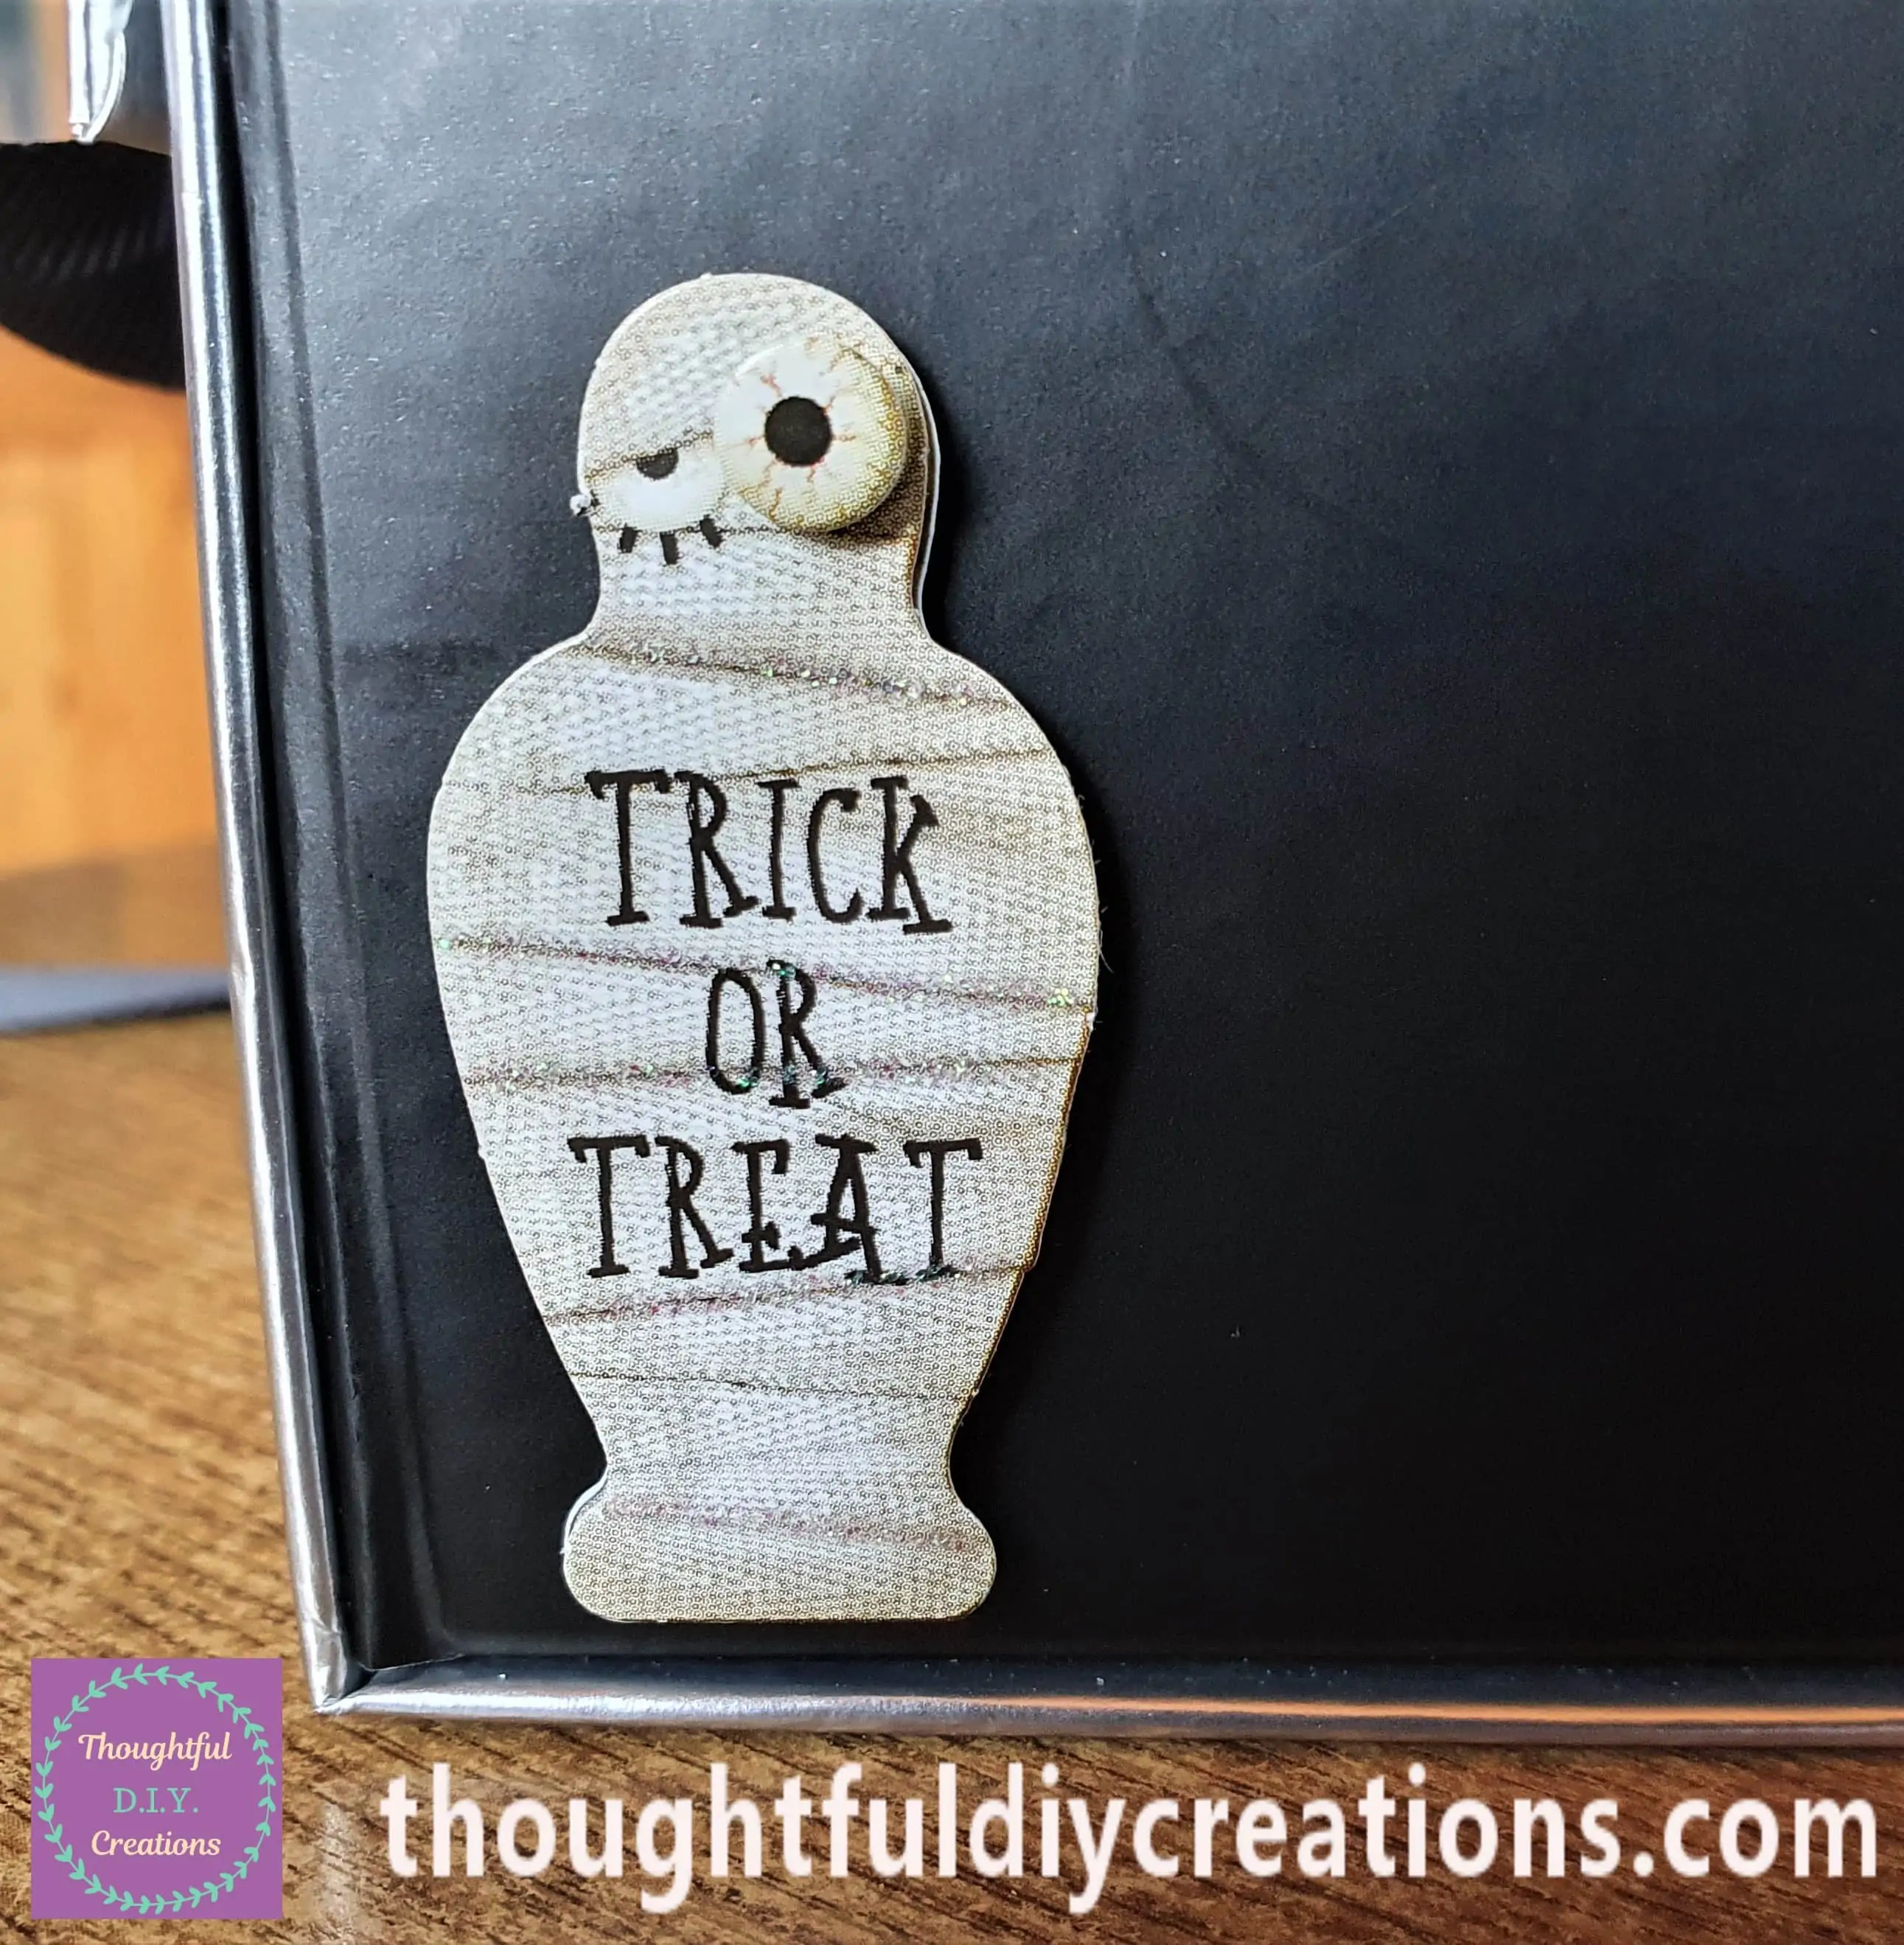
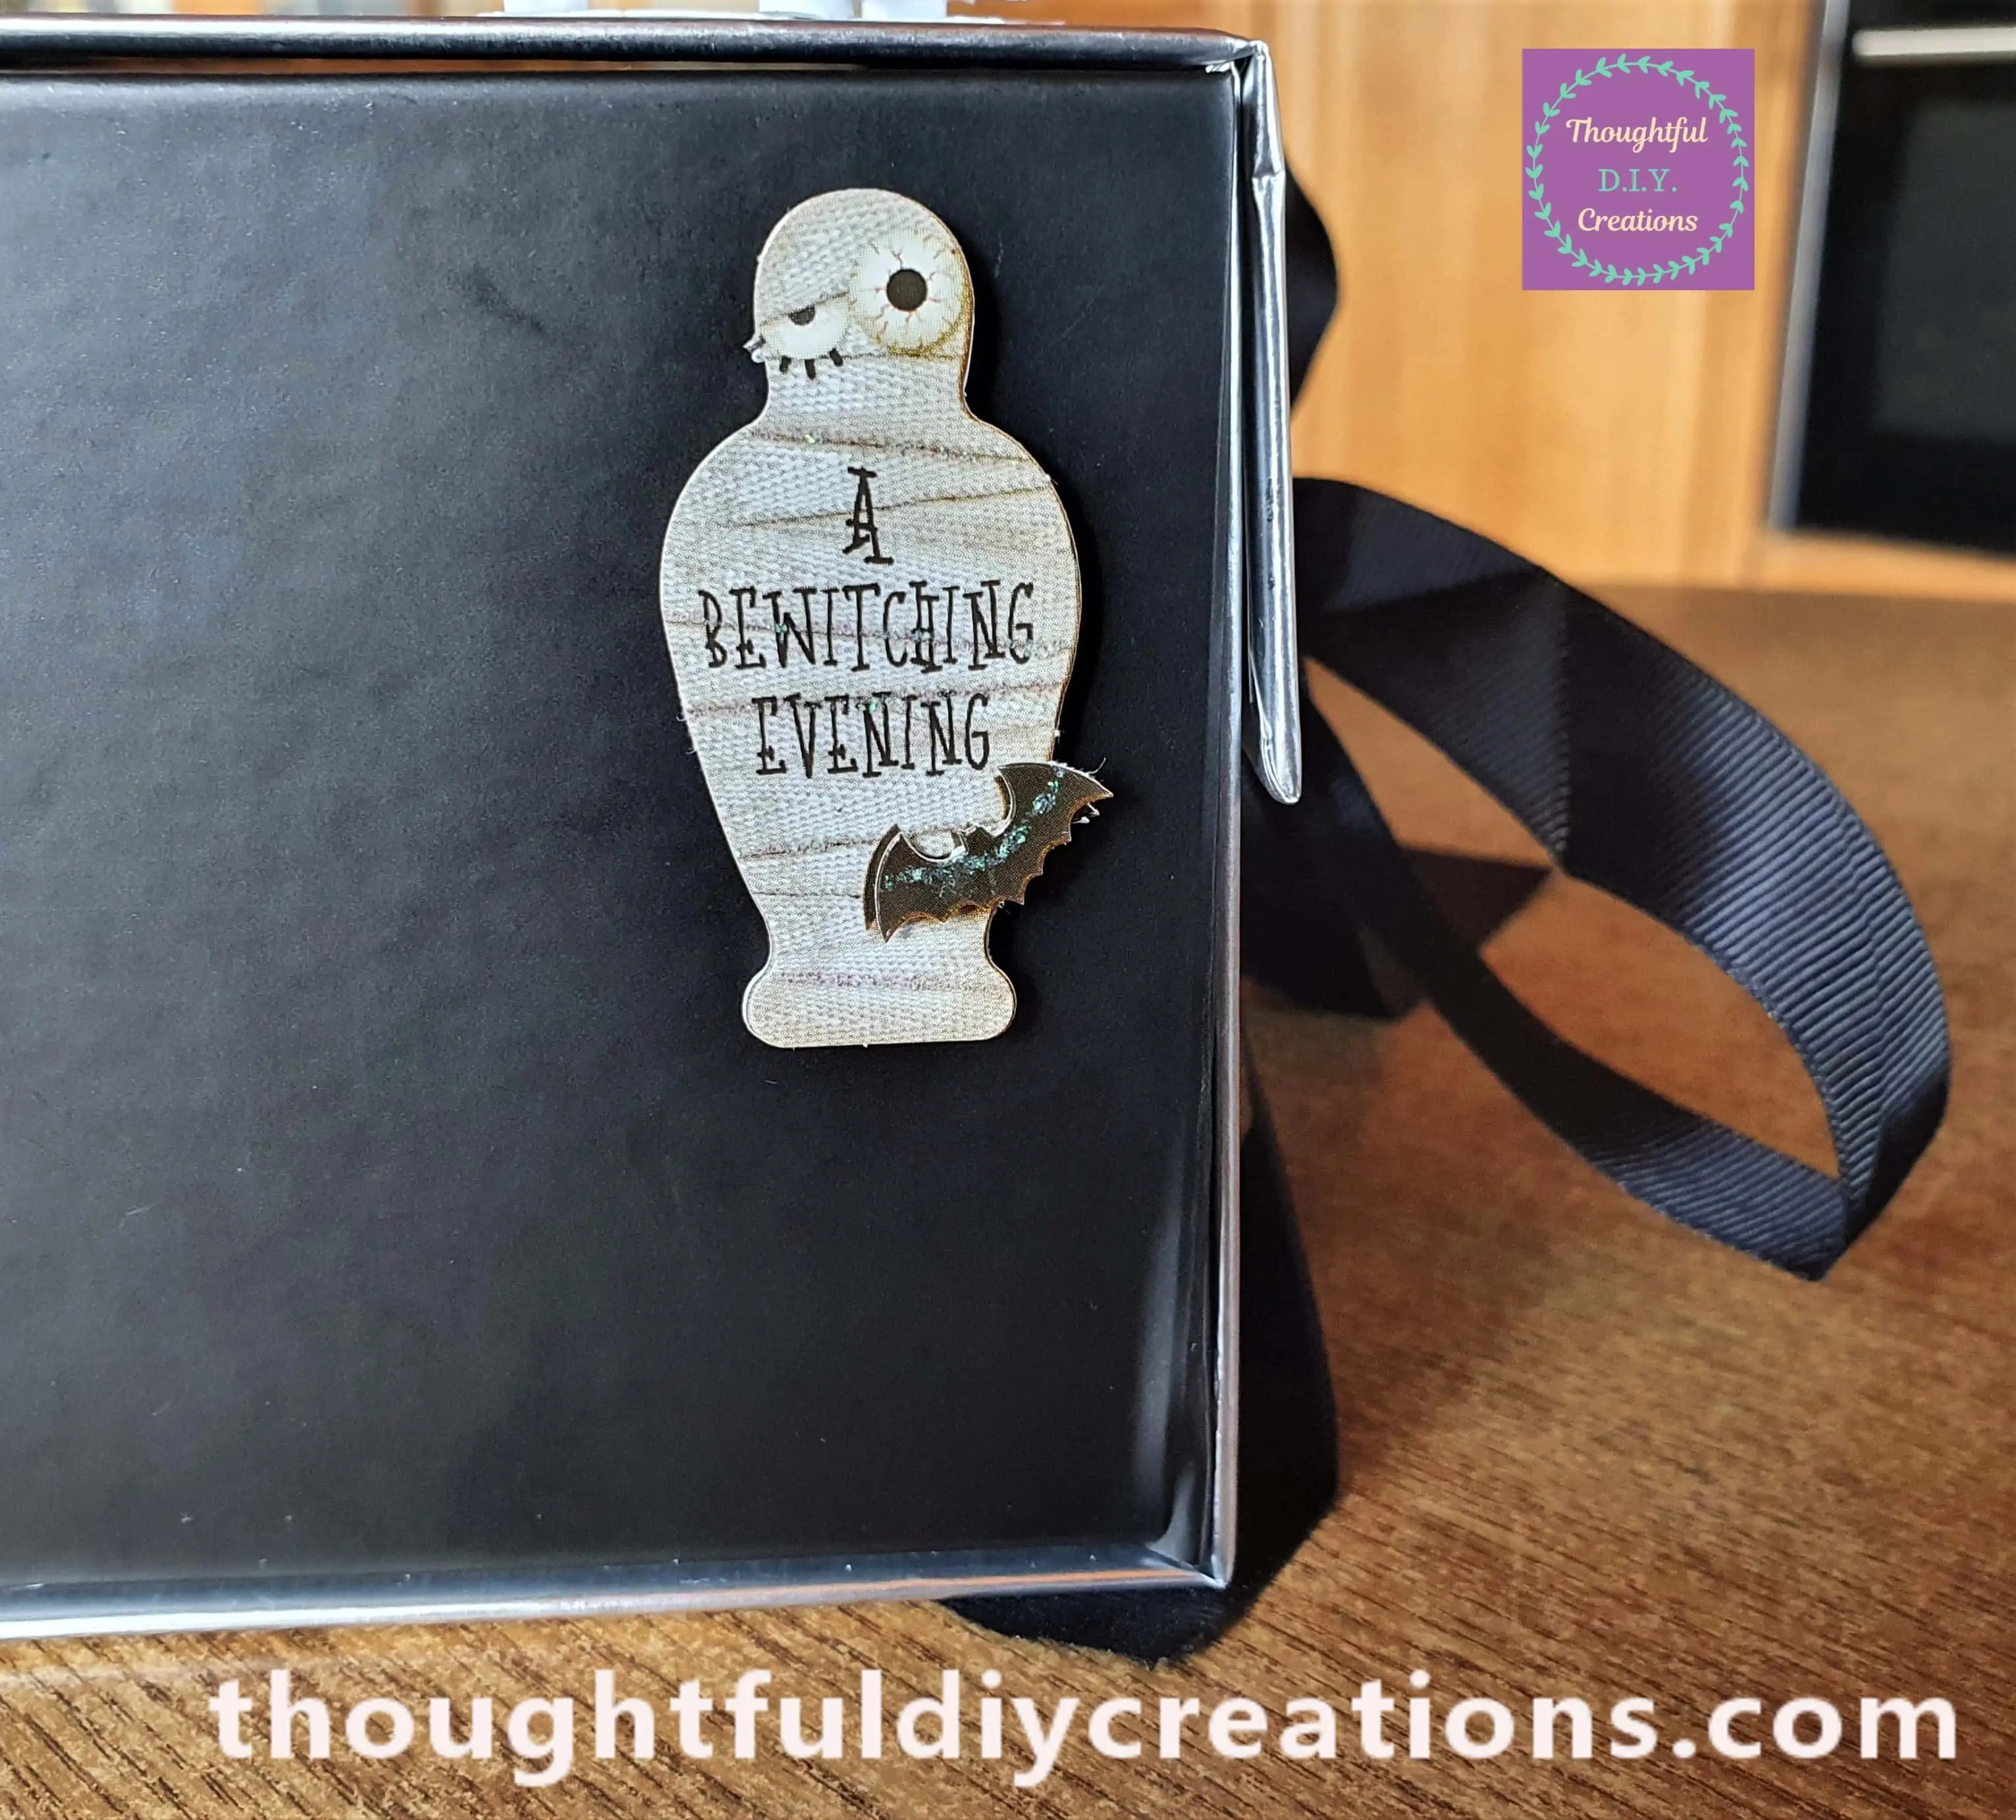
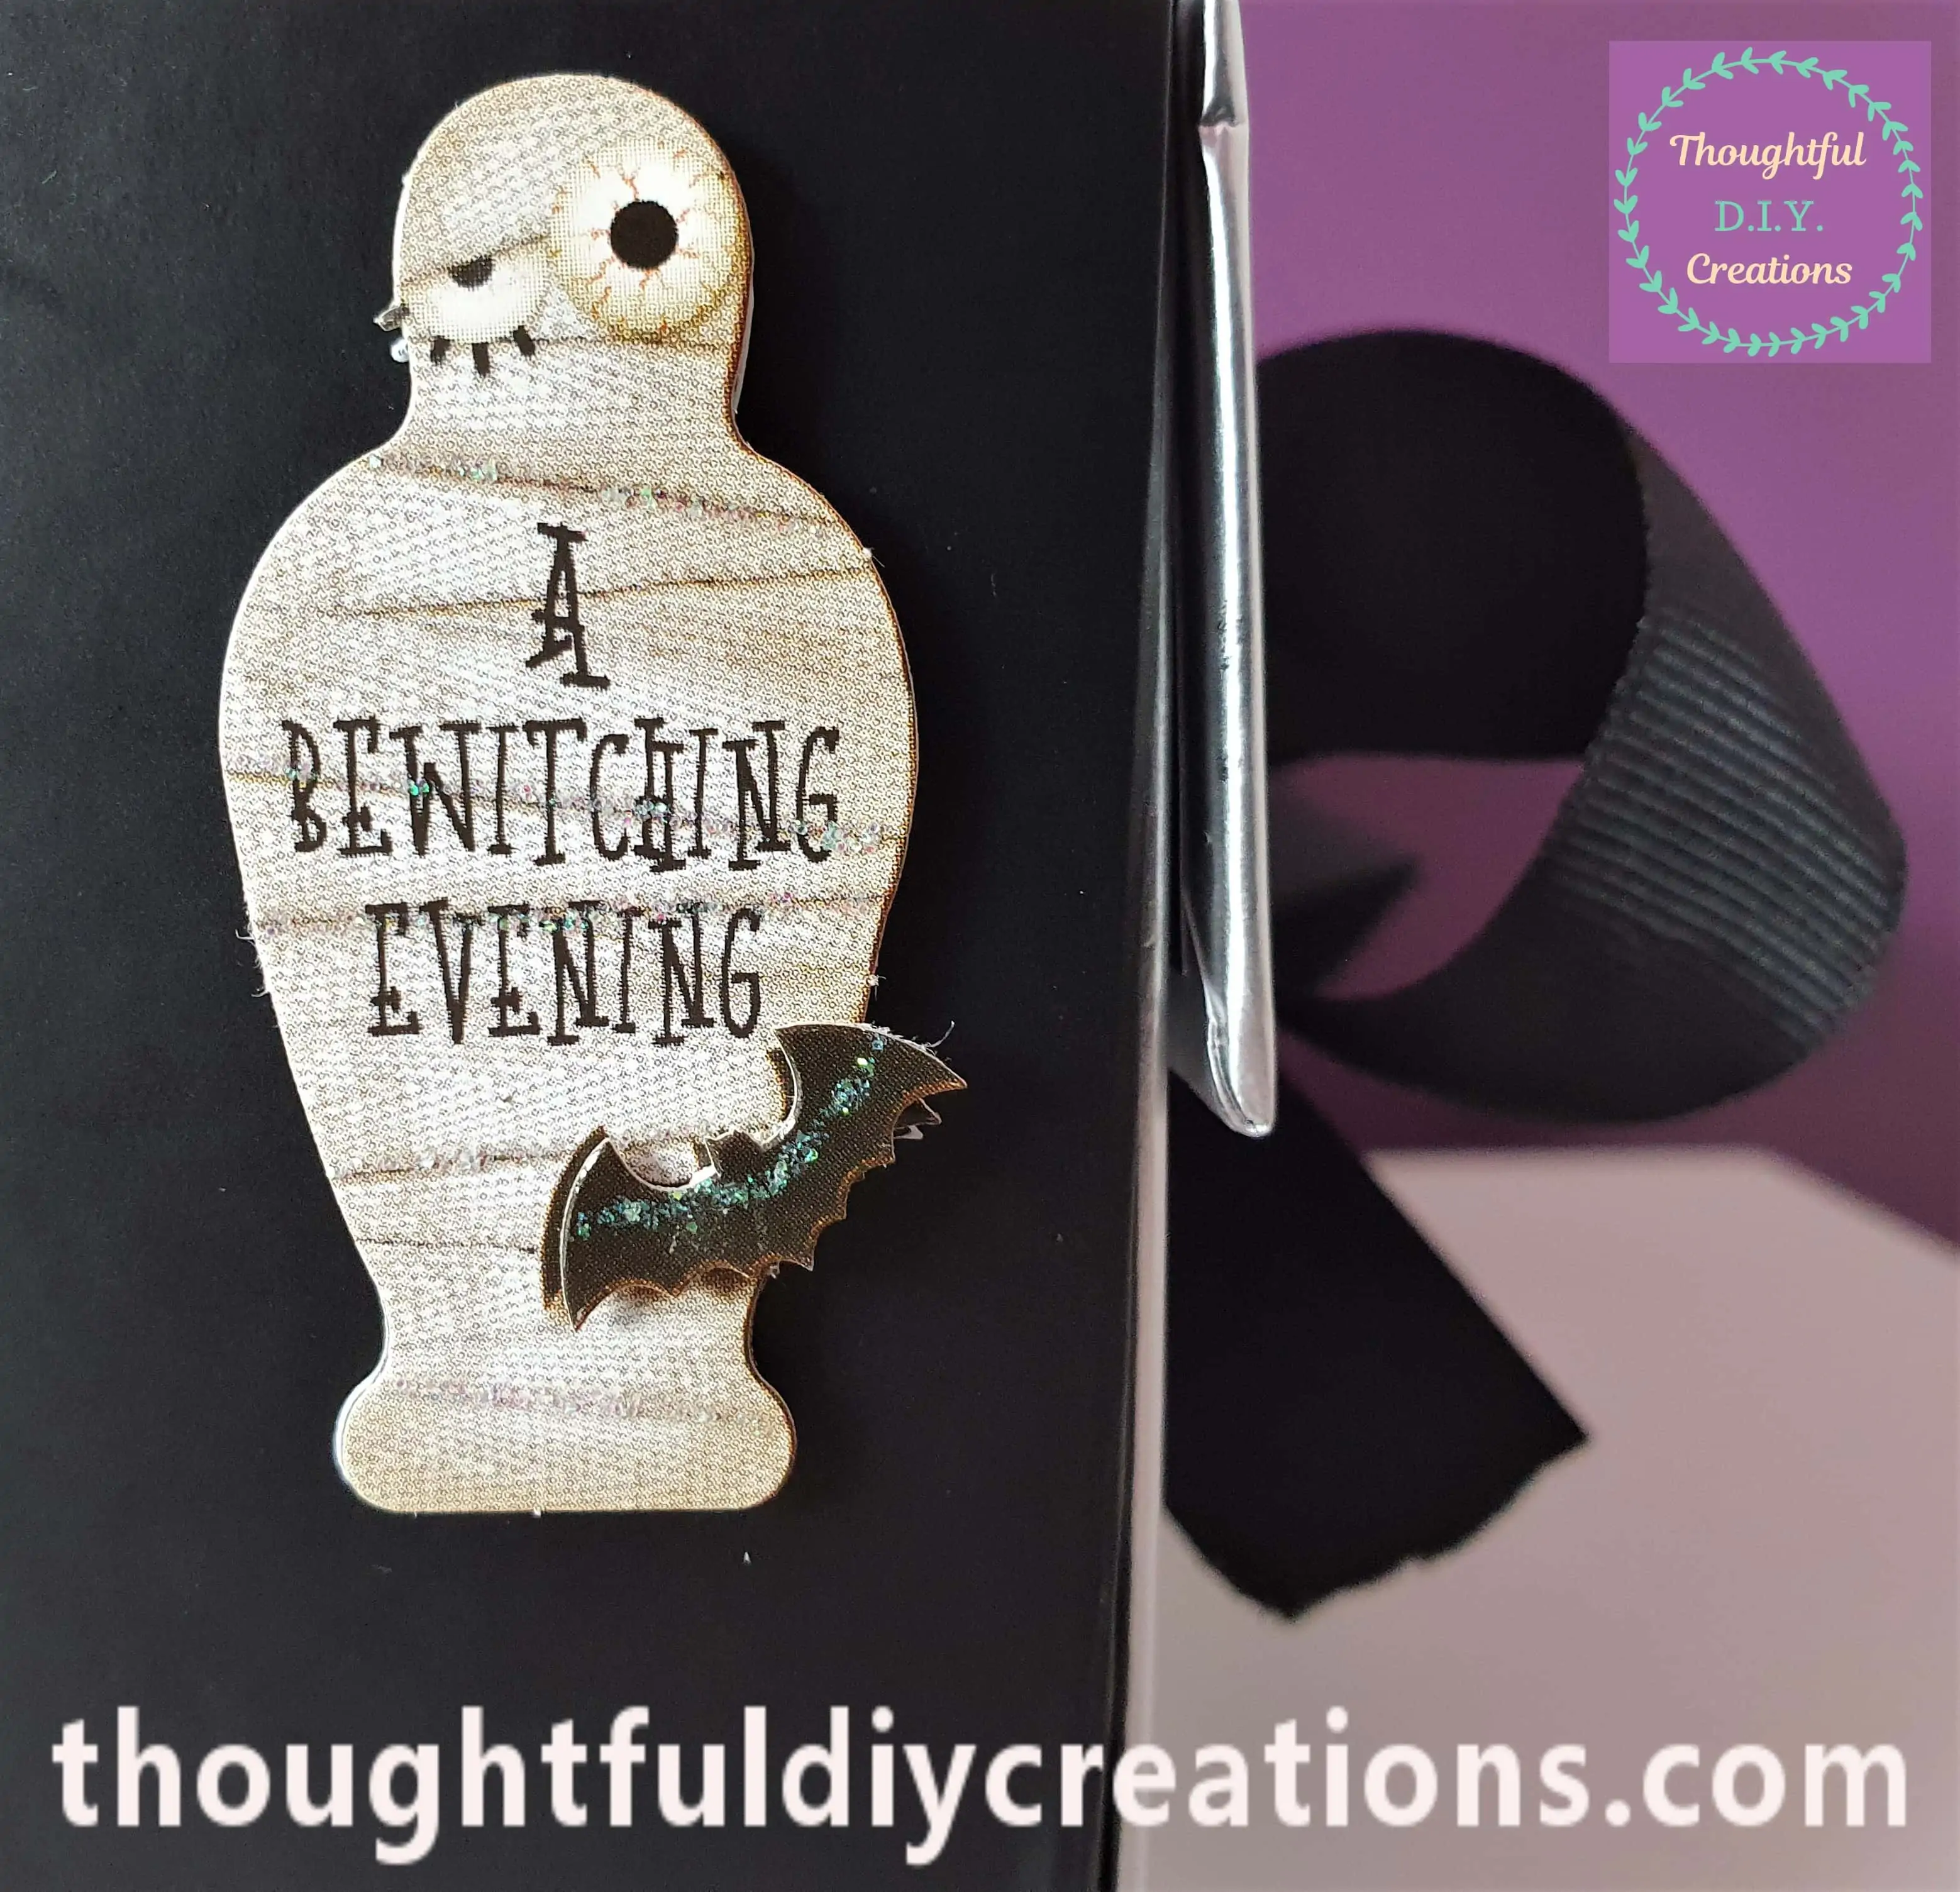
A Mummy Sticker was placed on the Side of the Gift Box.
A Full View of the Side of the Box.
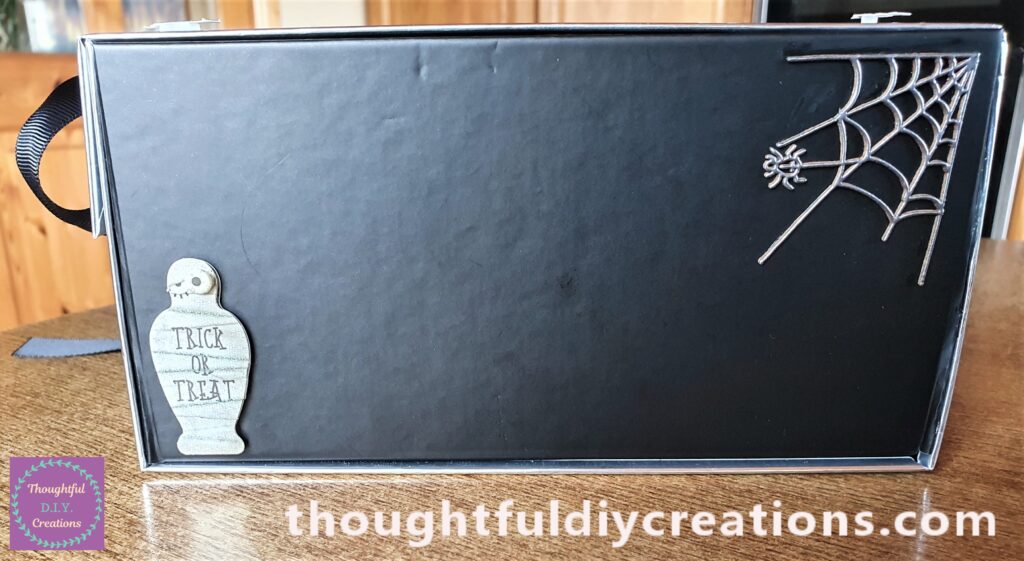
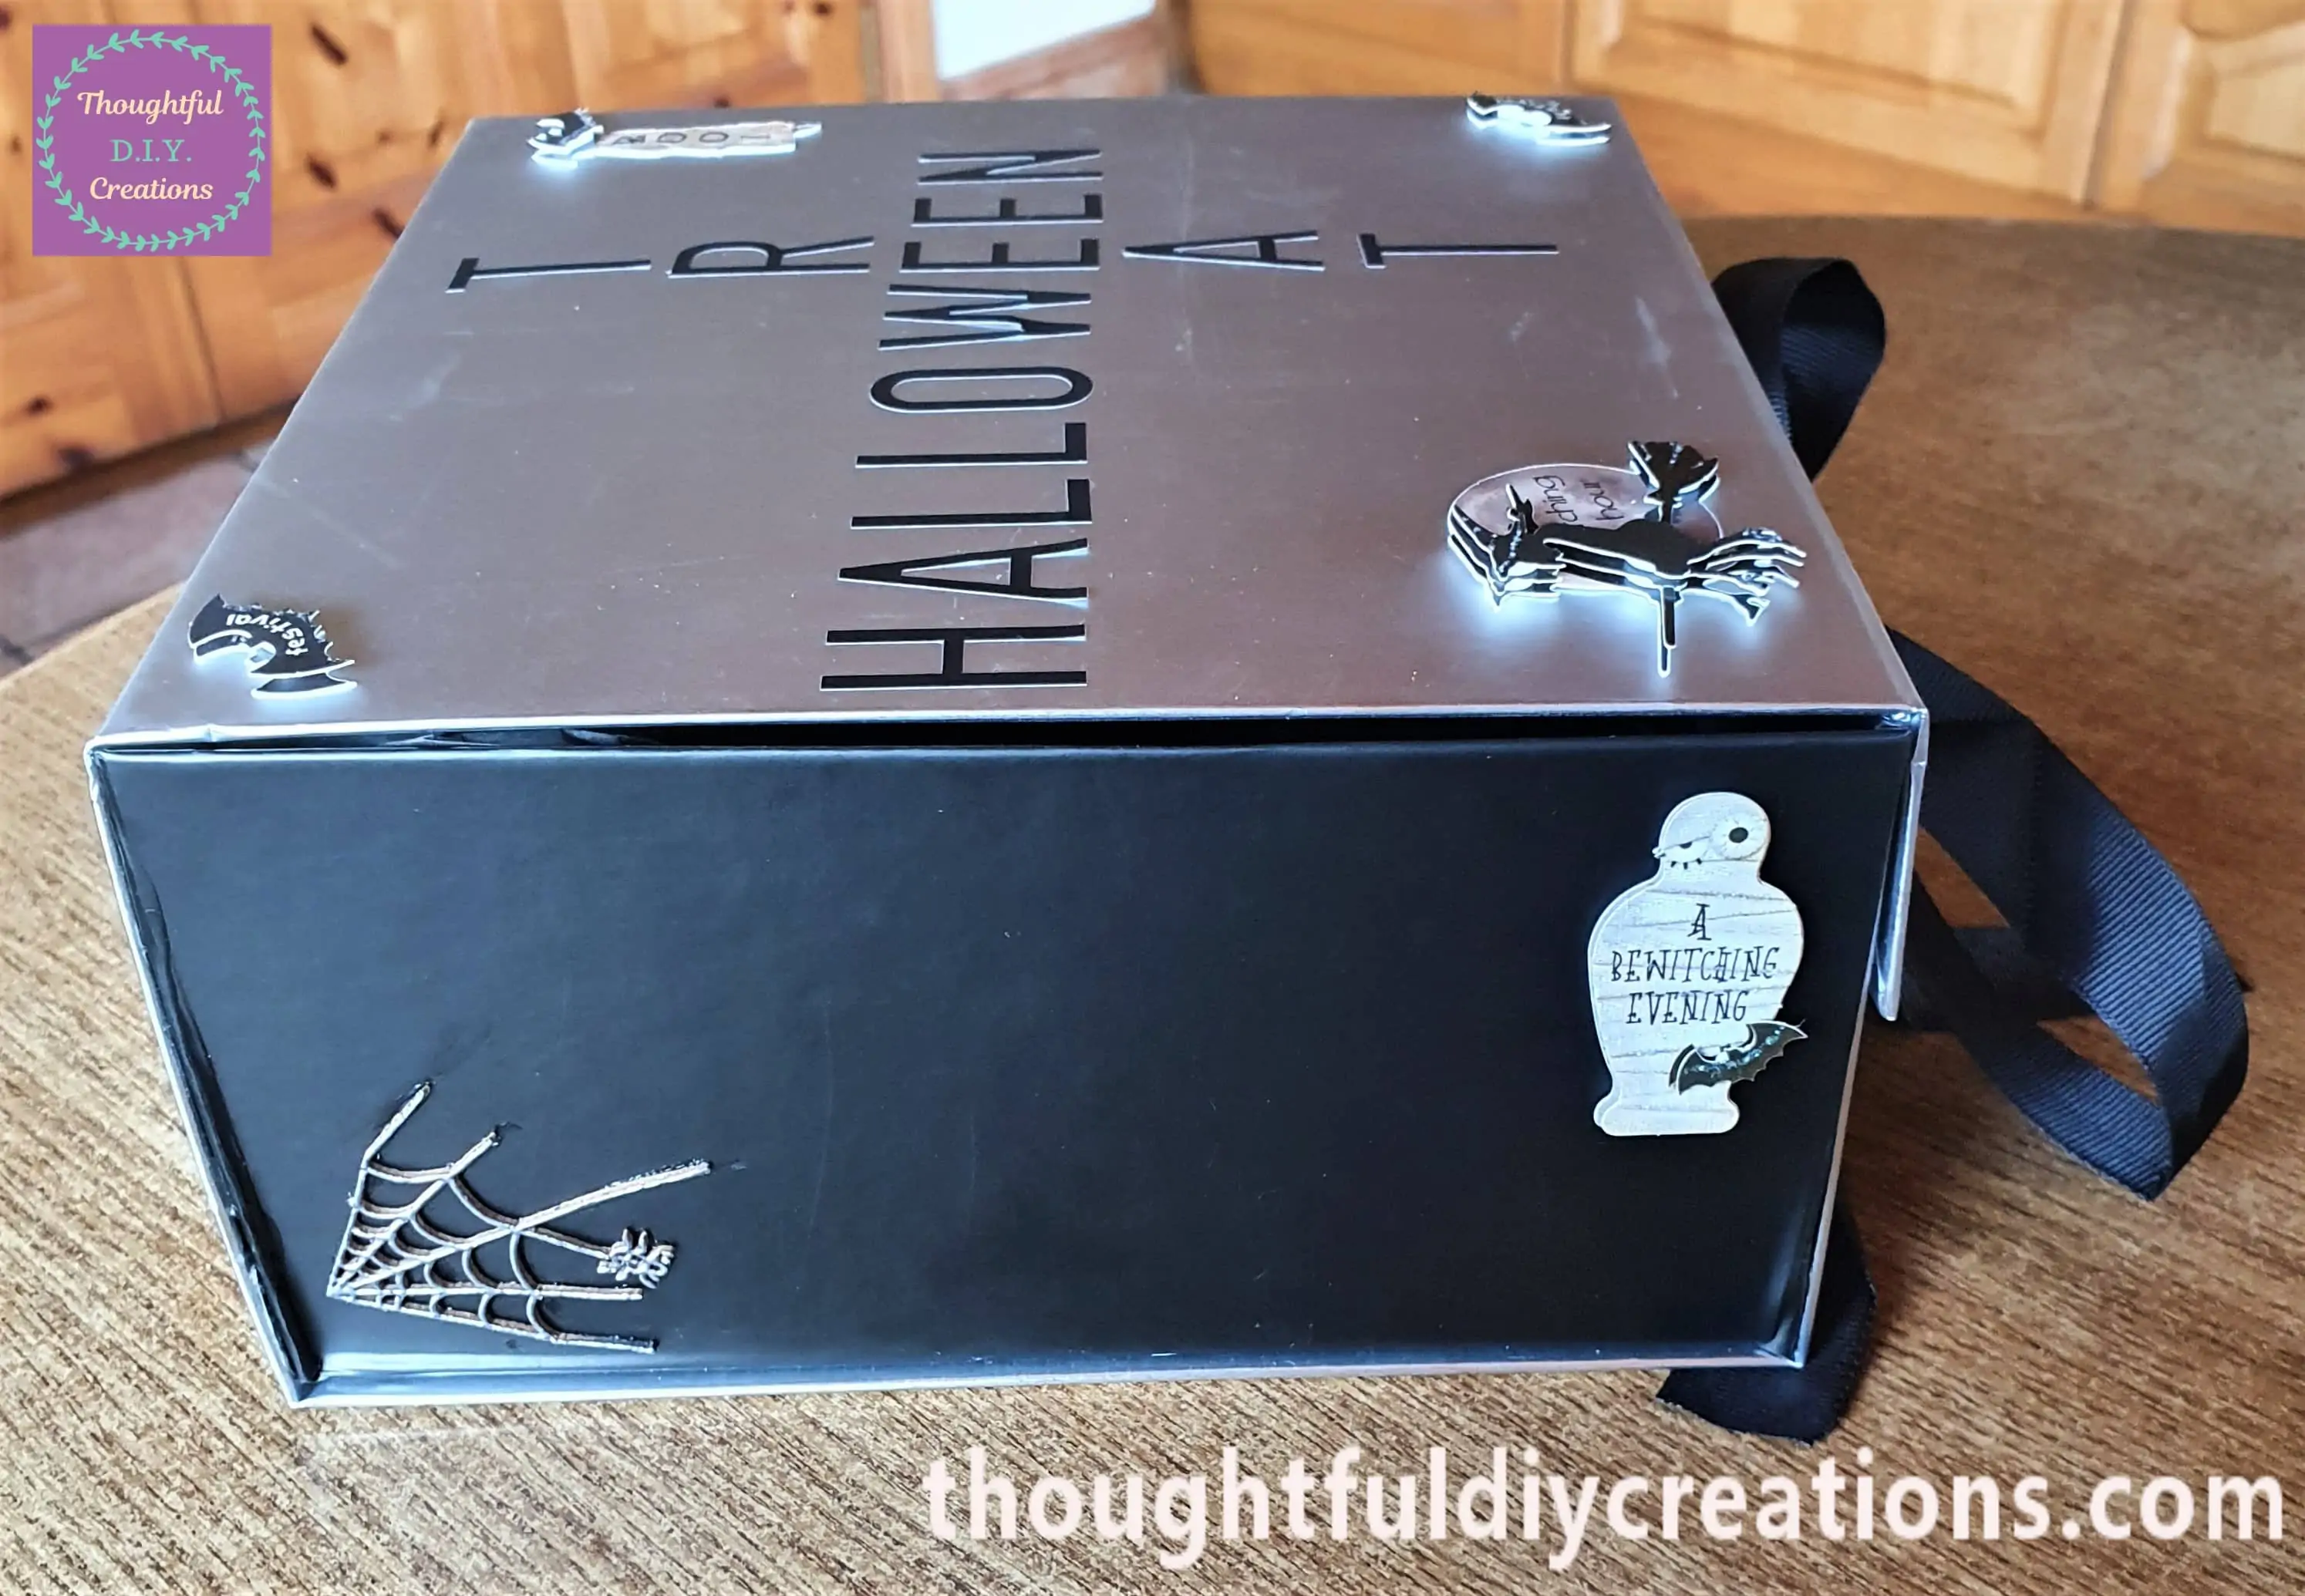
Another Mummy Sticker was placed on the second Side of the Halloween Gift Box.
The Gift Box with all the Stickers attached.
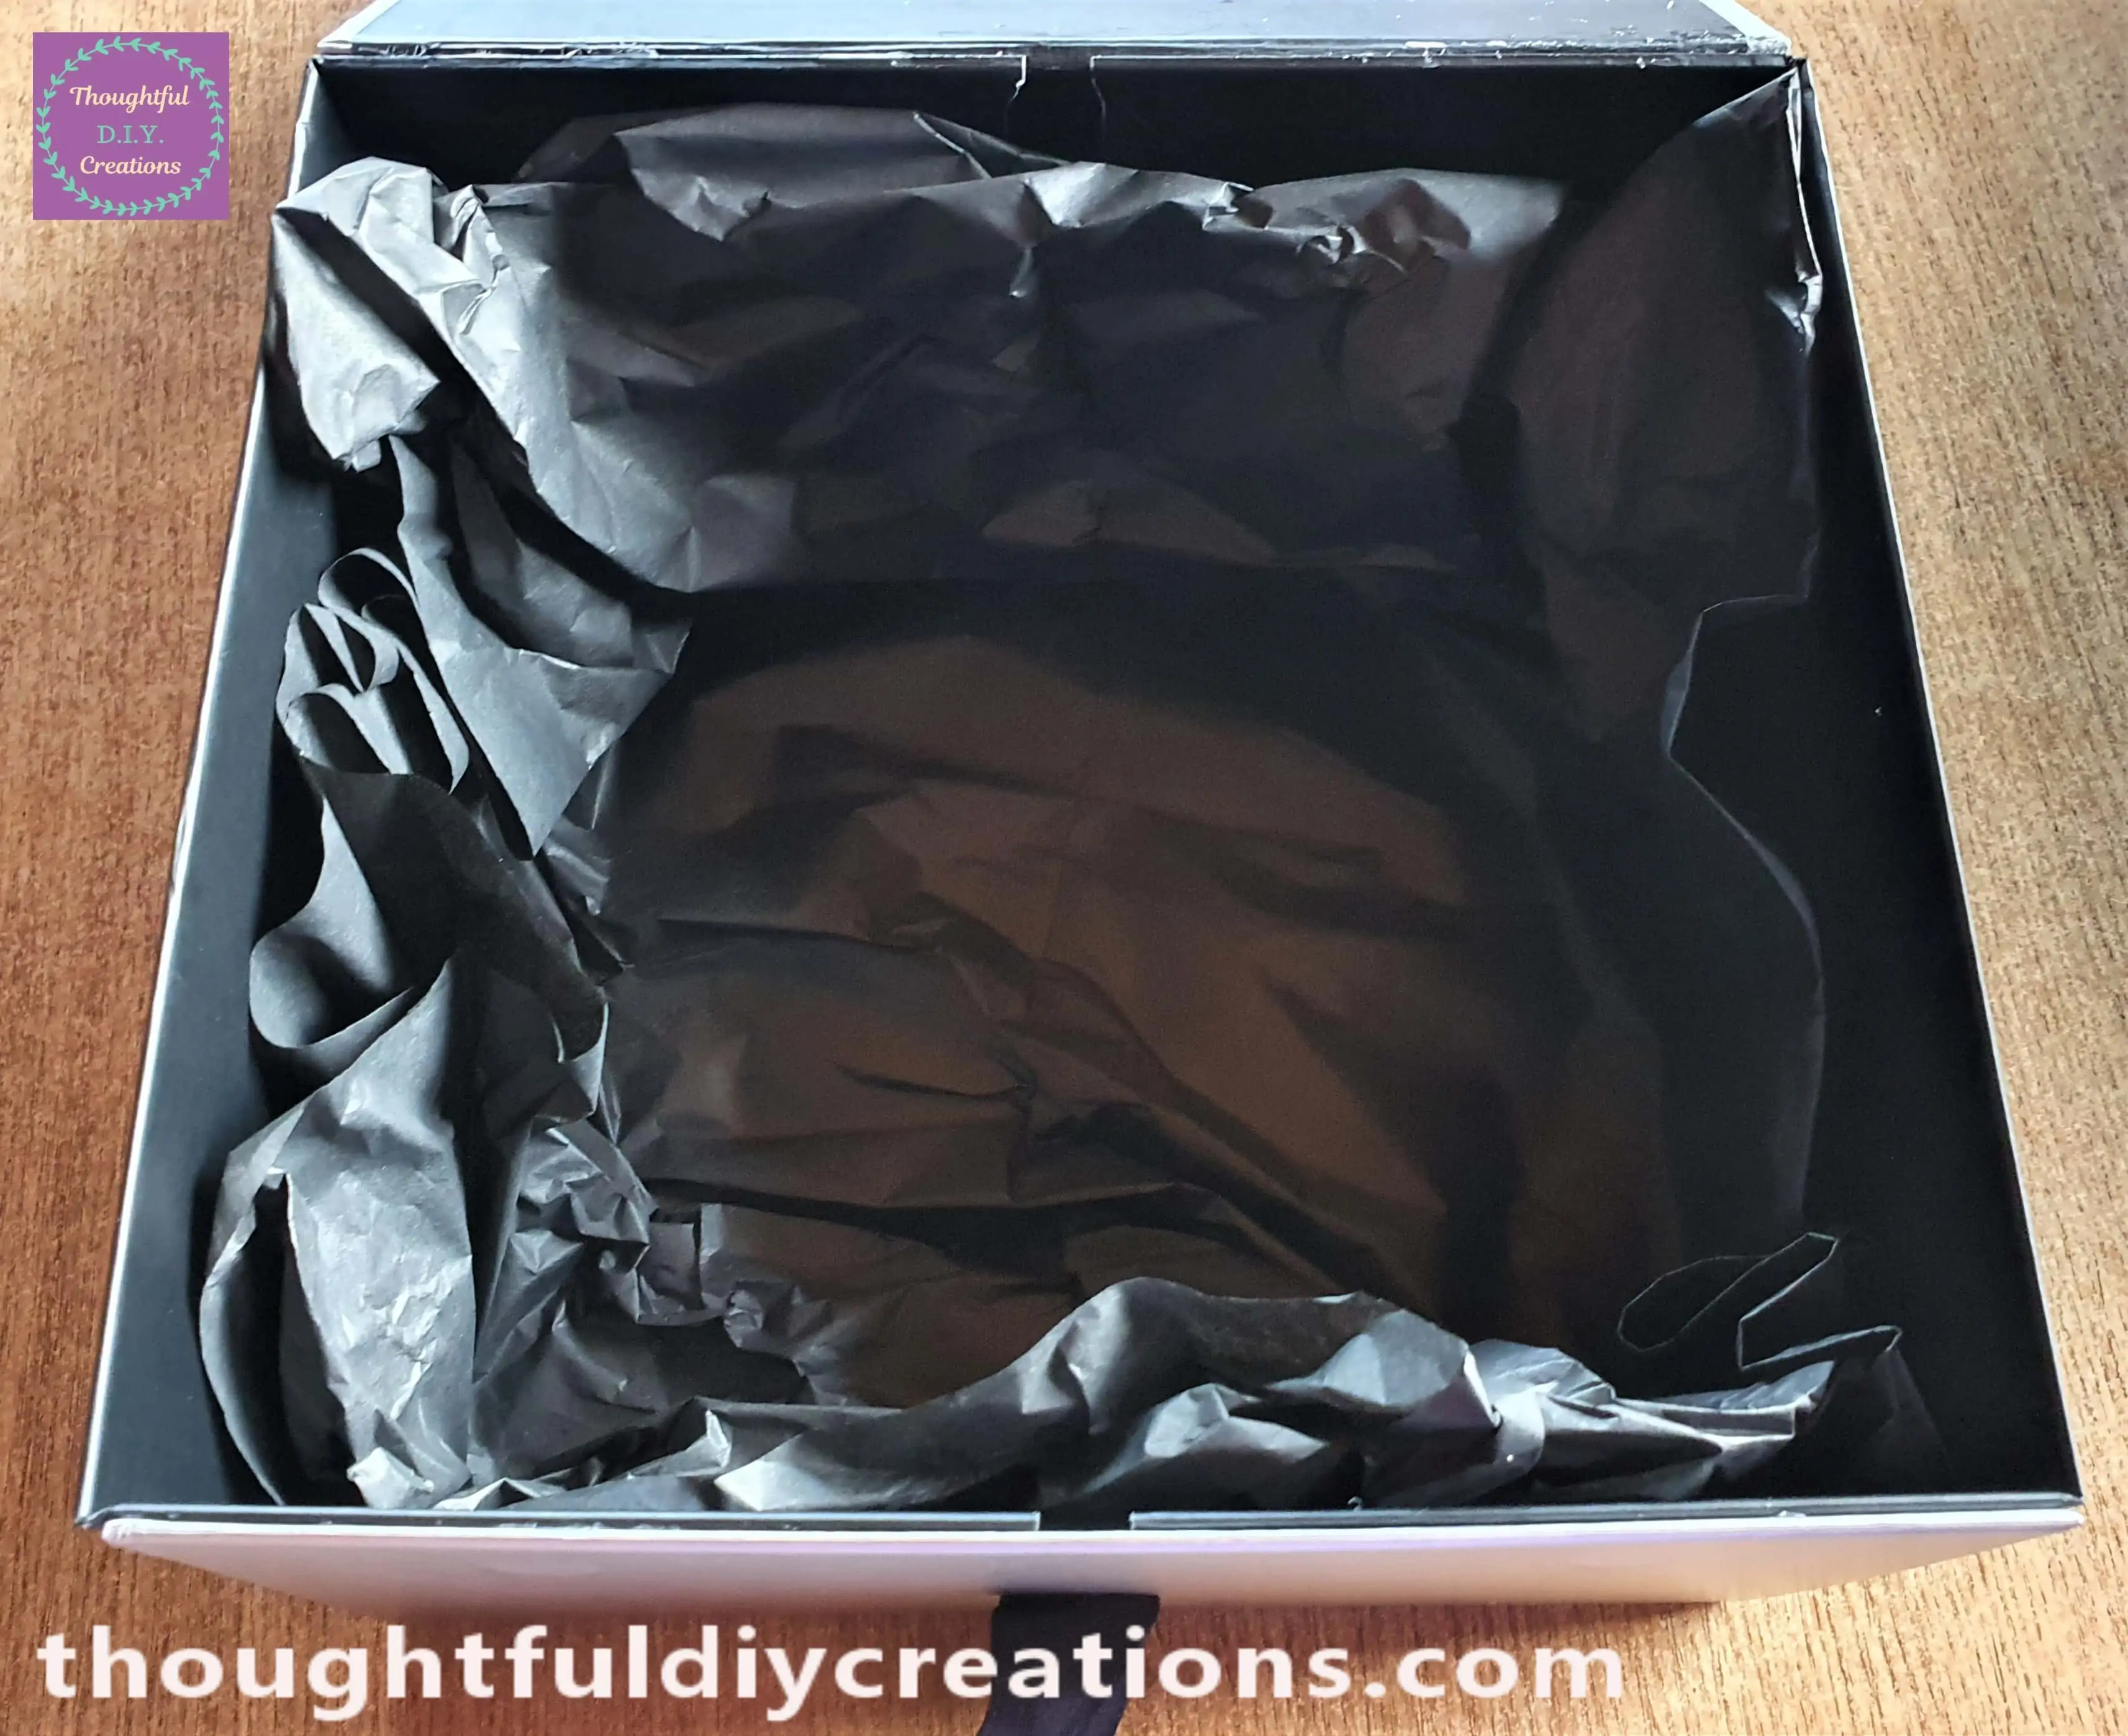
I put one Sheet of the Tissue Paper Inside the Gift Box and scrunched it into place.
Placing Treats into the Halloween Gift Box
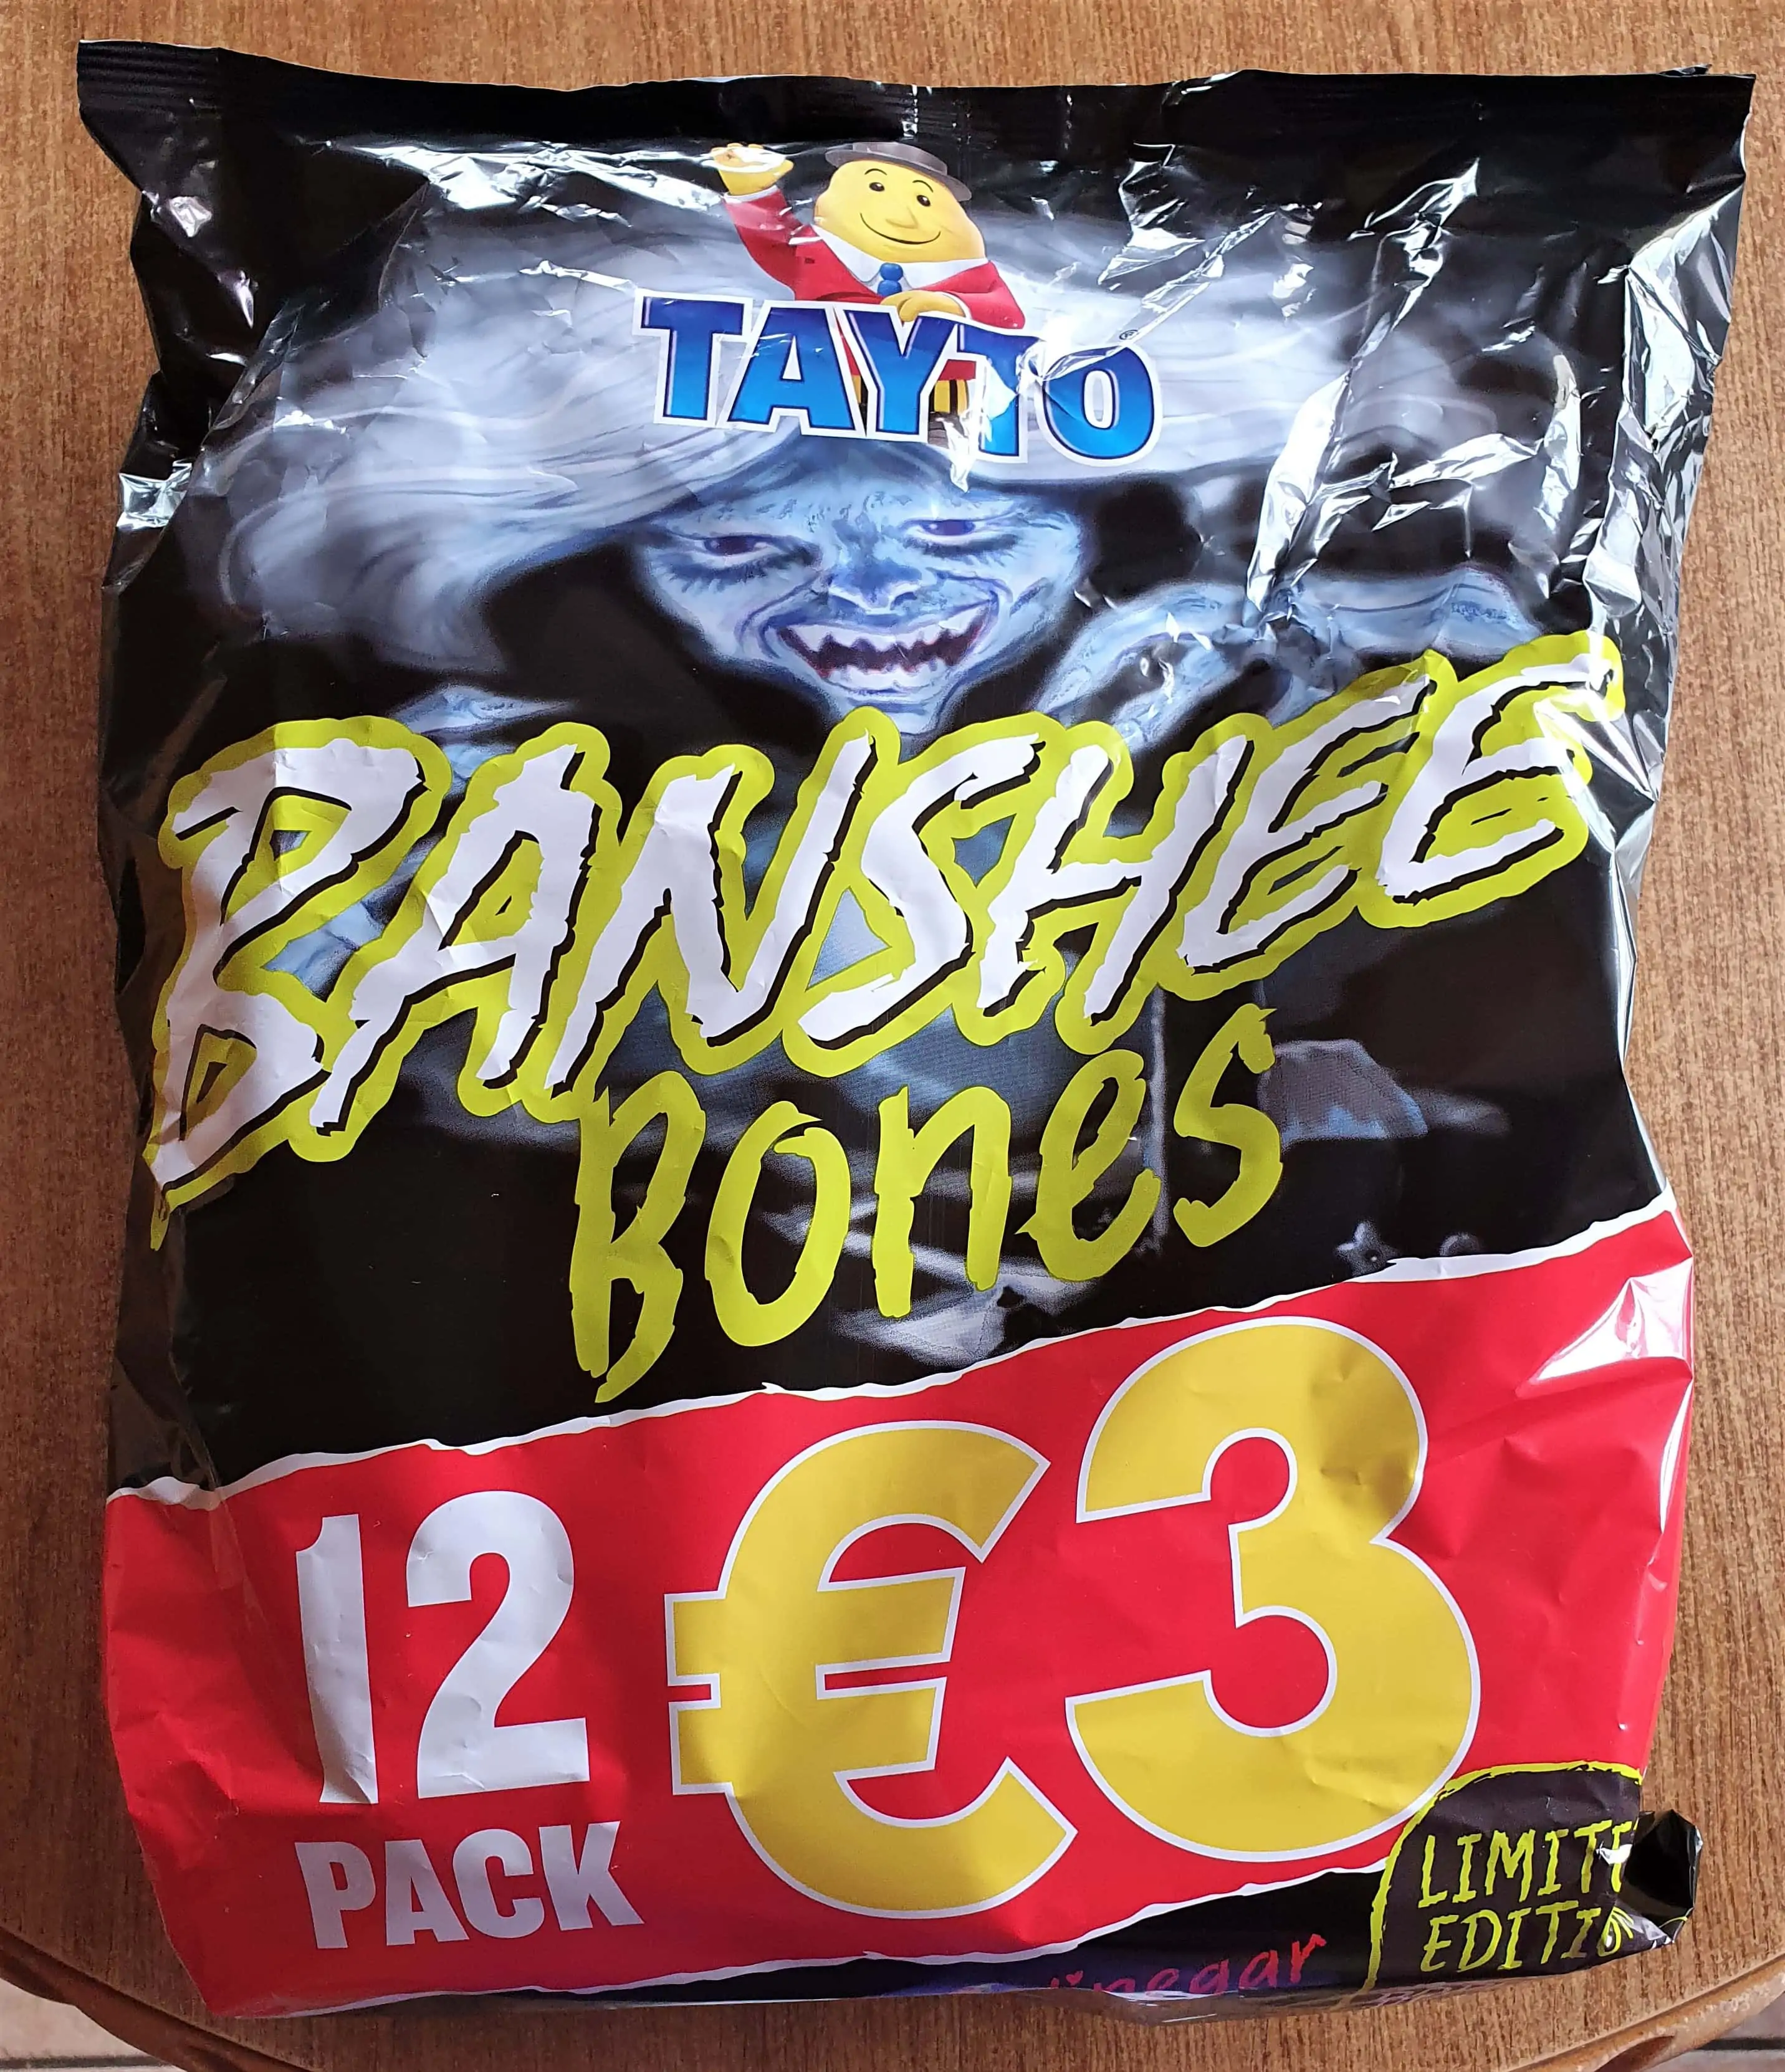
I bought a Multi-Pack of ‘Banshee Bones’ Crisps / Taytos.
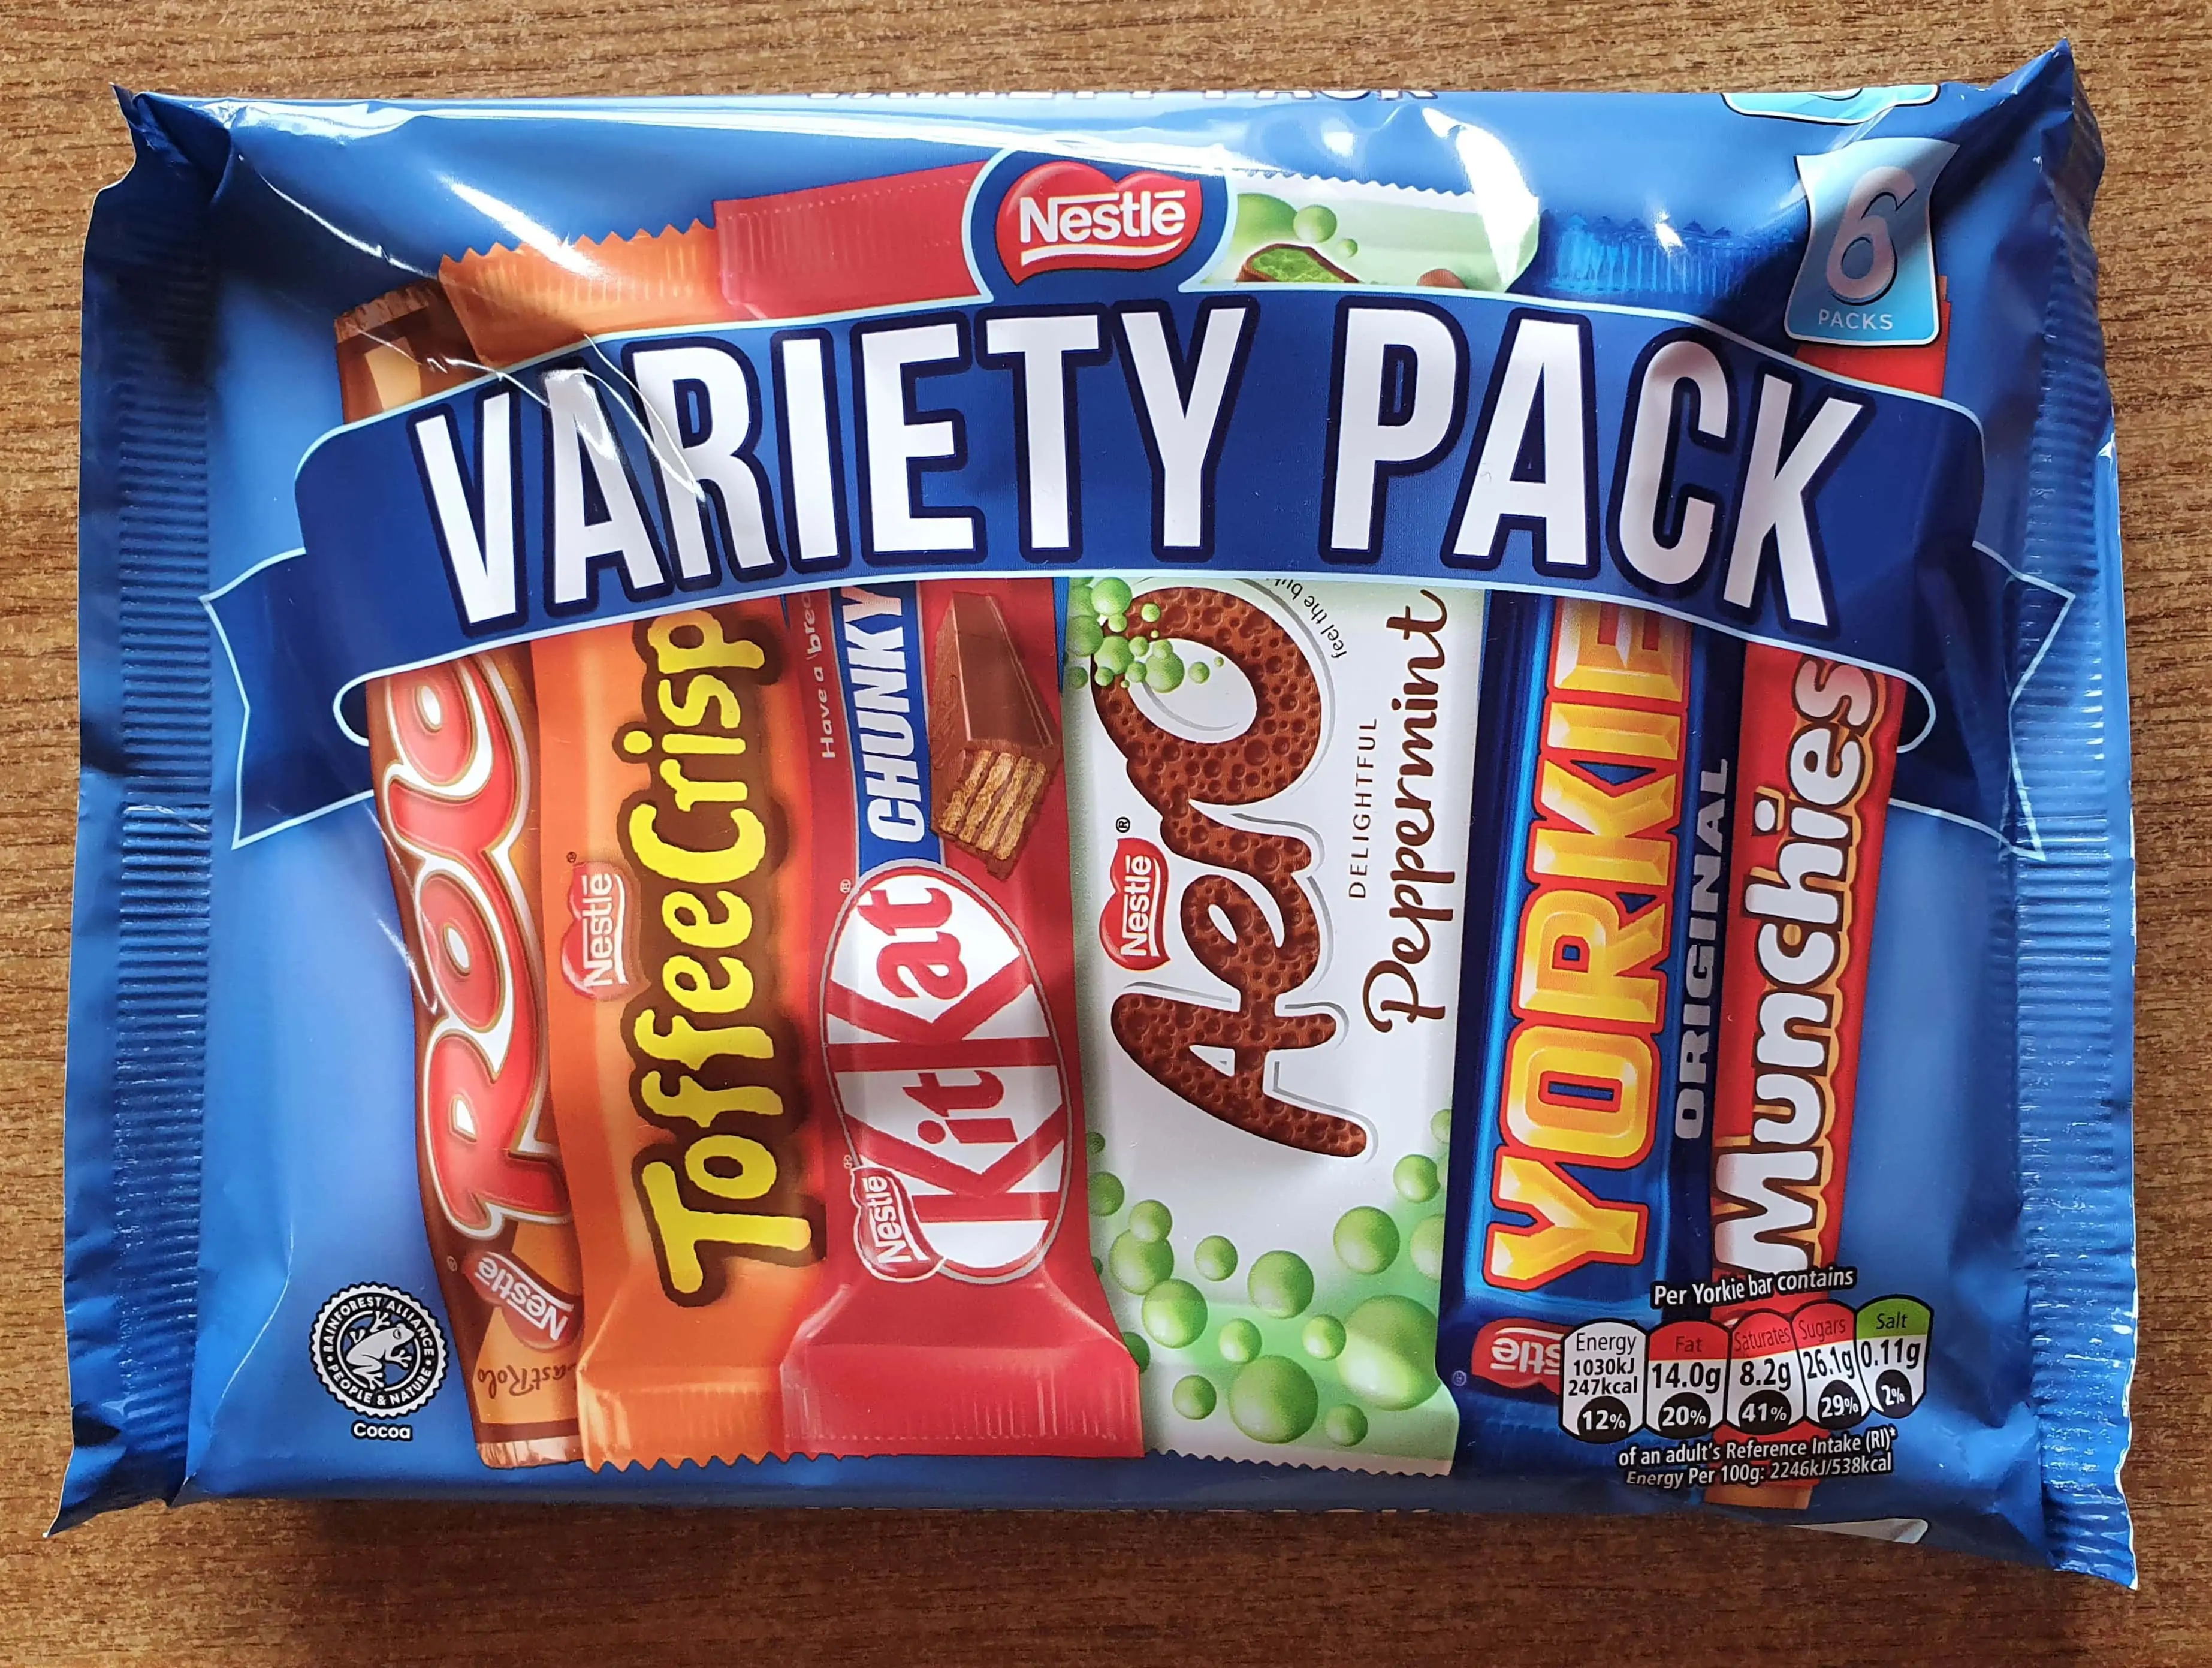
I also Picked up a ‘Variety Pack’ of Chocolate Bars and Sweets.
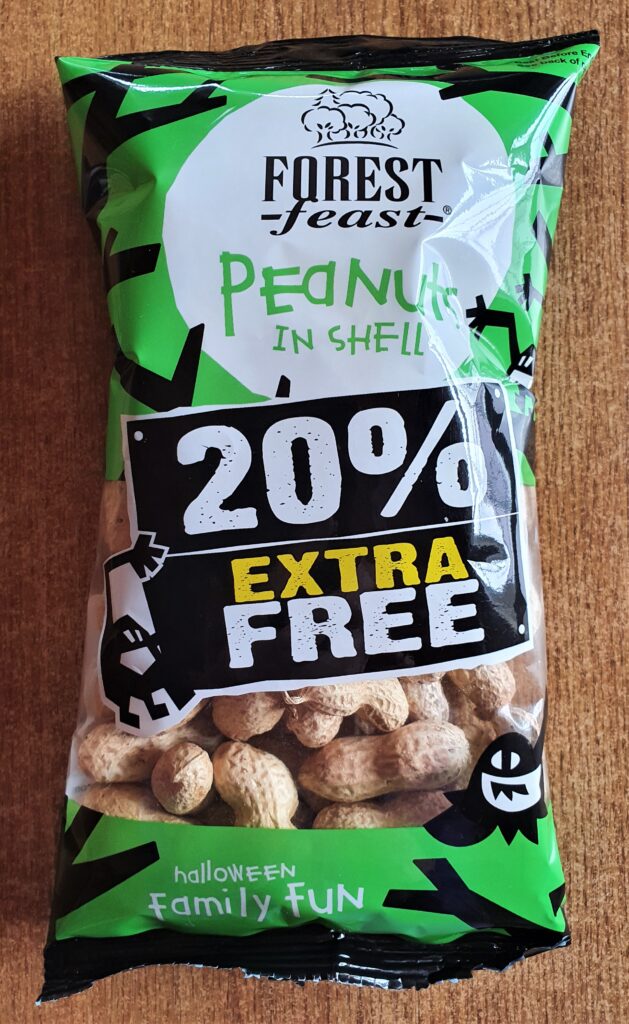
A Bag of Monkey Nuts Completed my Treats.
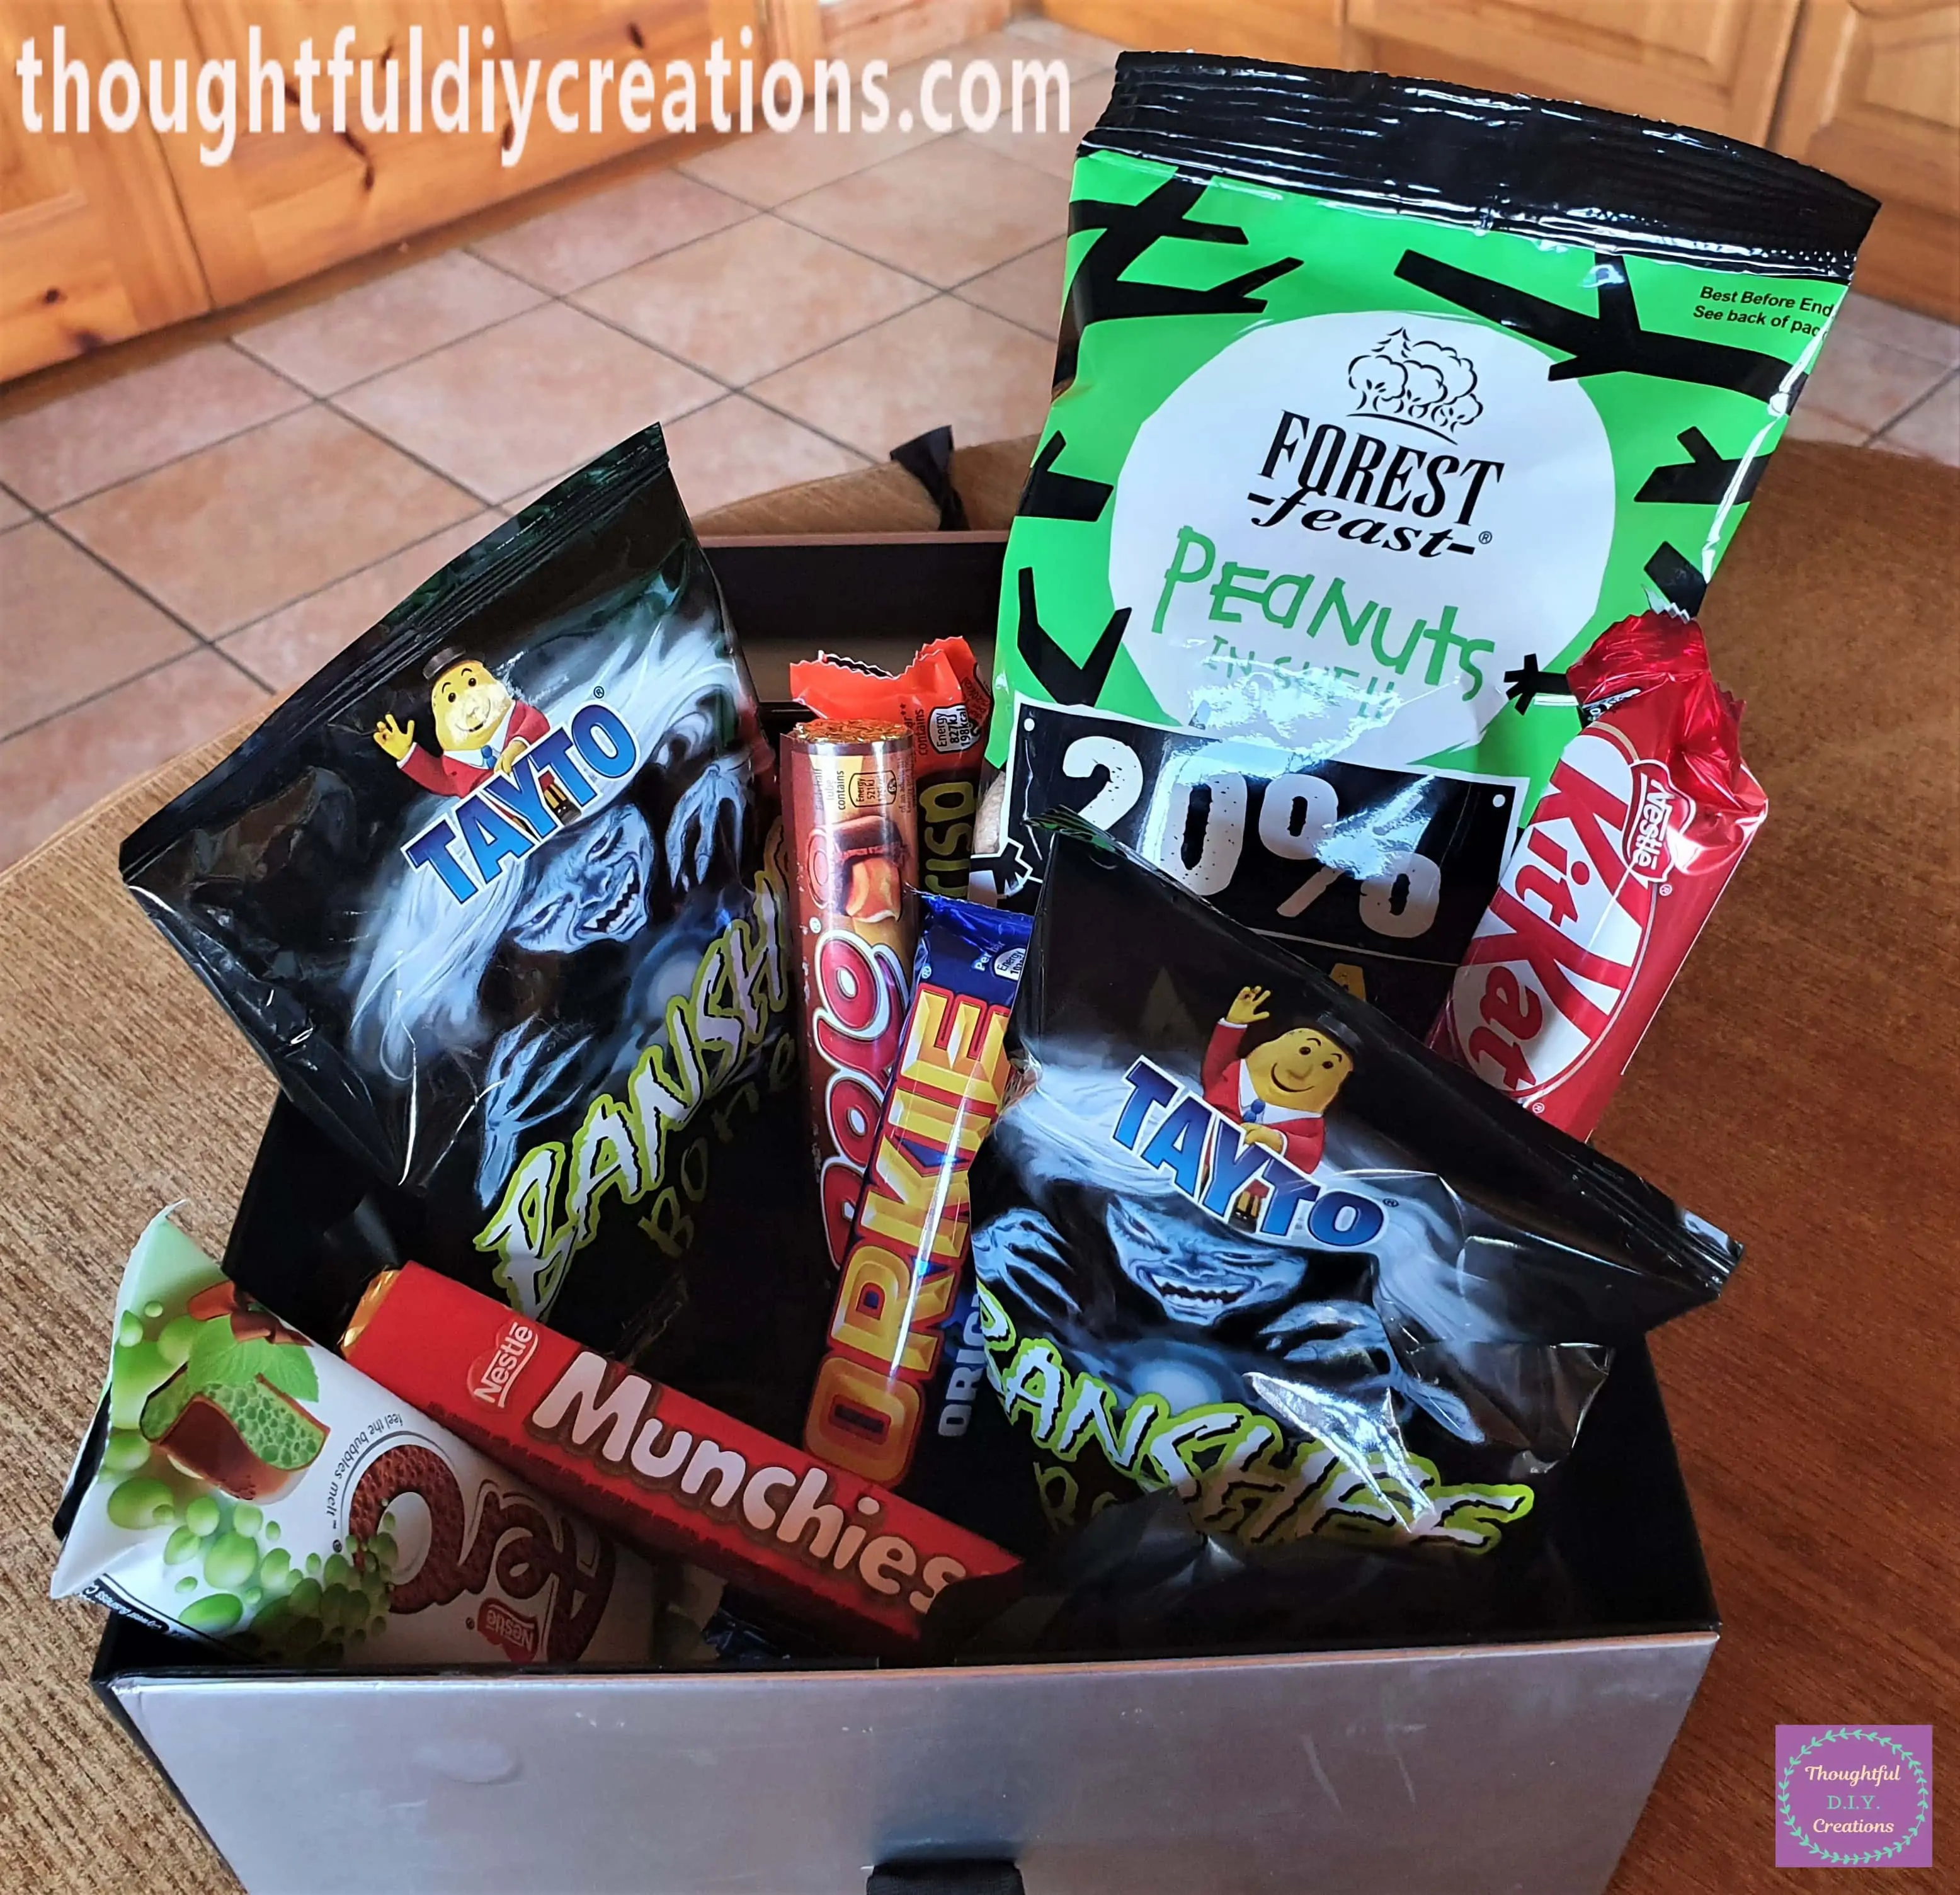
I put 2 Packs of Banshee Bones, the Monkey Nuts and all the Chocolate Individually into the Halloween Gift Box.
In Order to be able to Close the Lid of the Box; I put all the Treats into the Box Sideways.
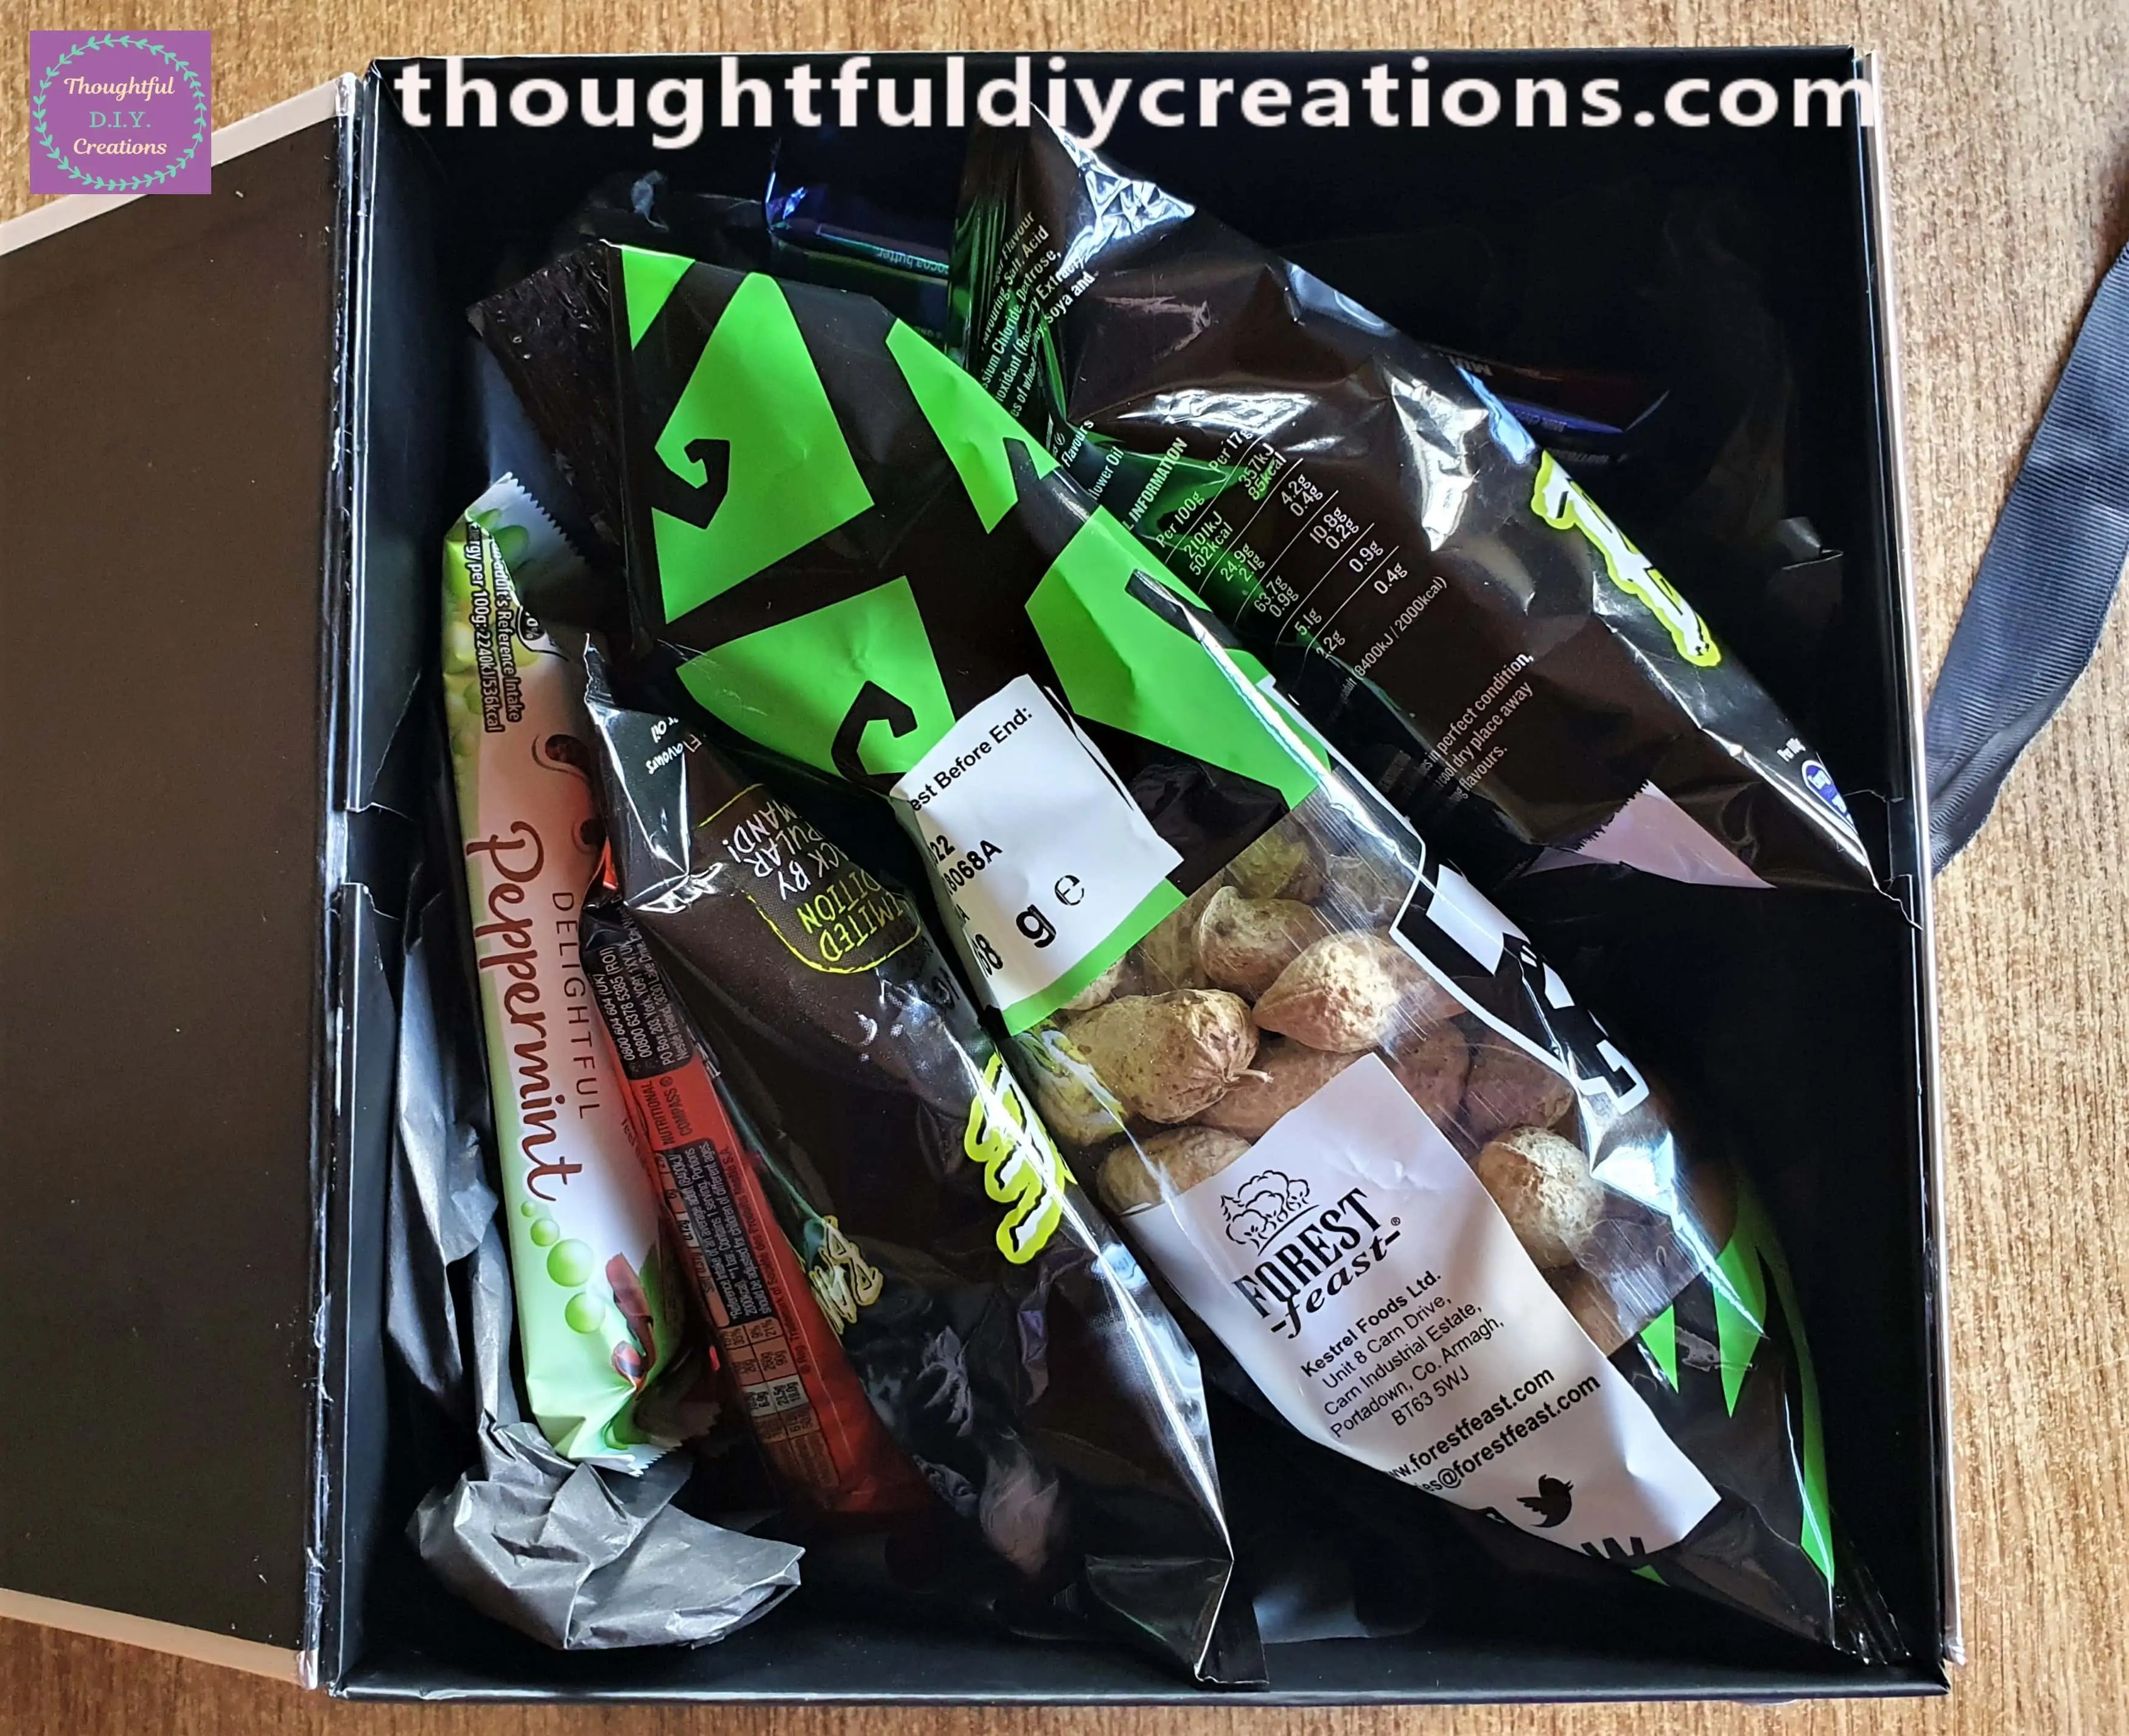
A Side View of the Gift Box with the Goodies placed on their Side.
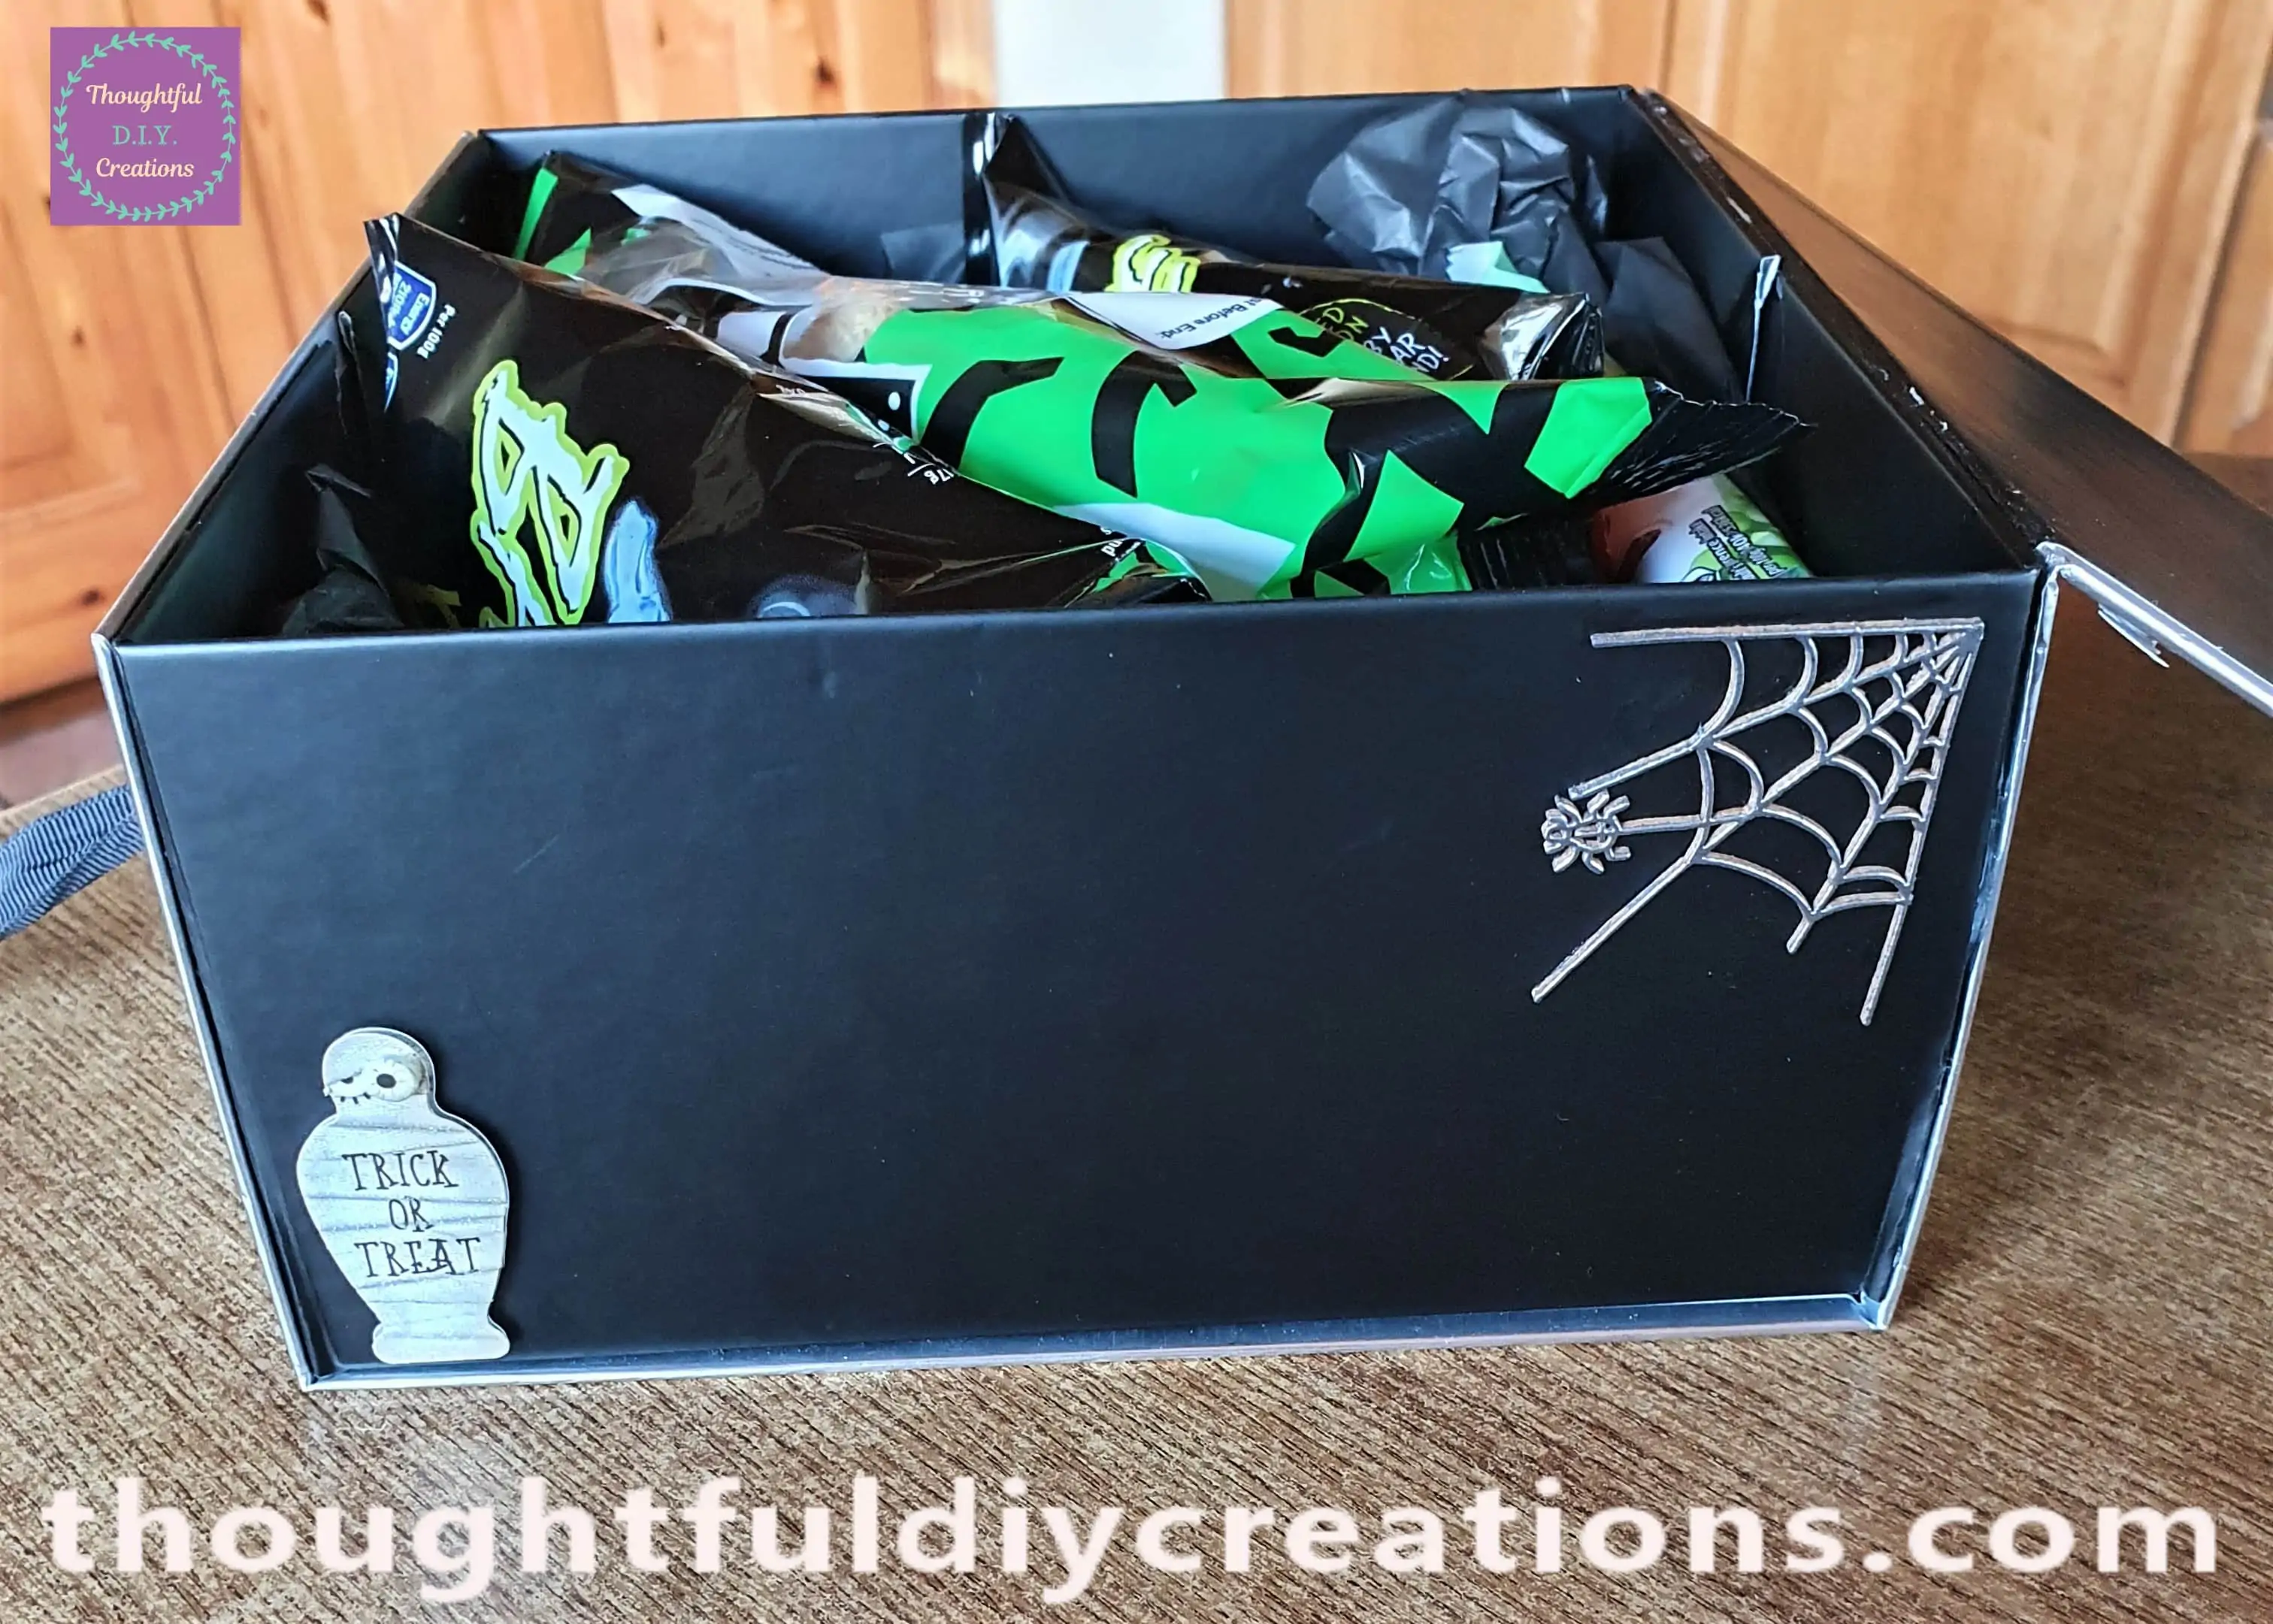
I Closed the Lid and Tied the Bow and this Completed my Halloween Gift Box.
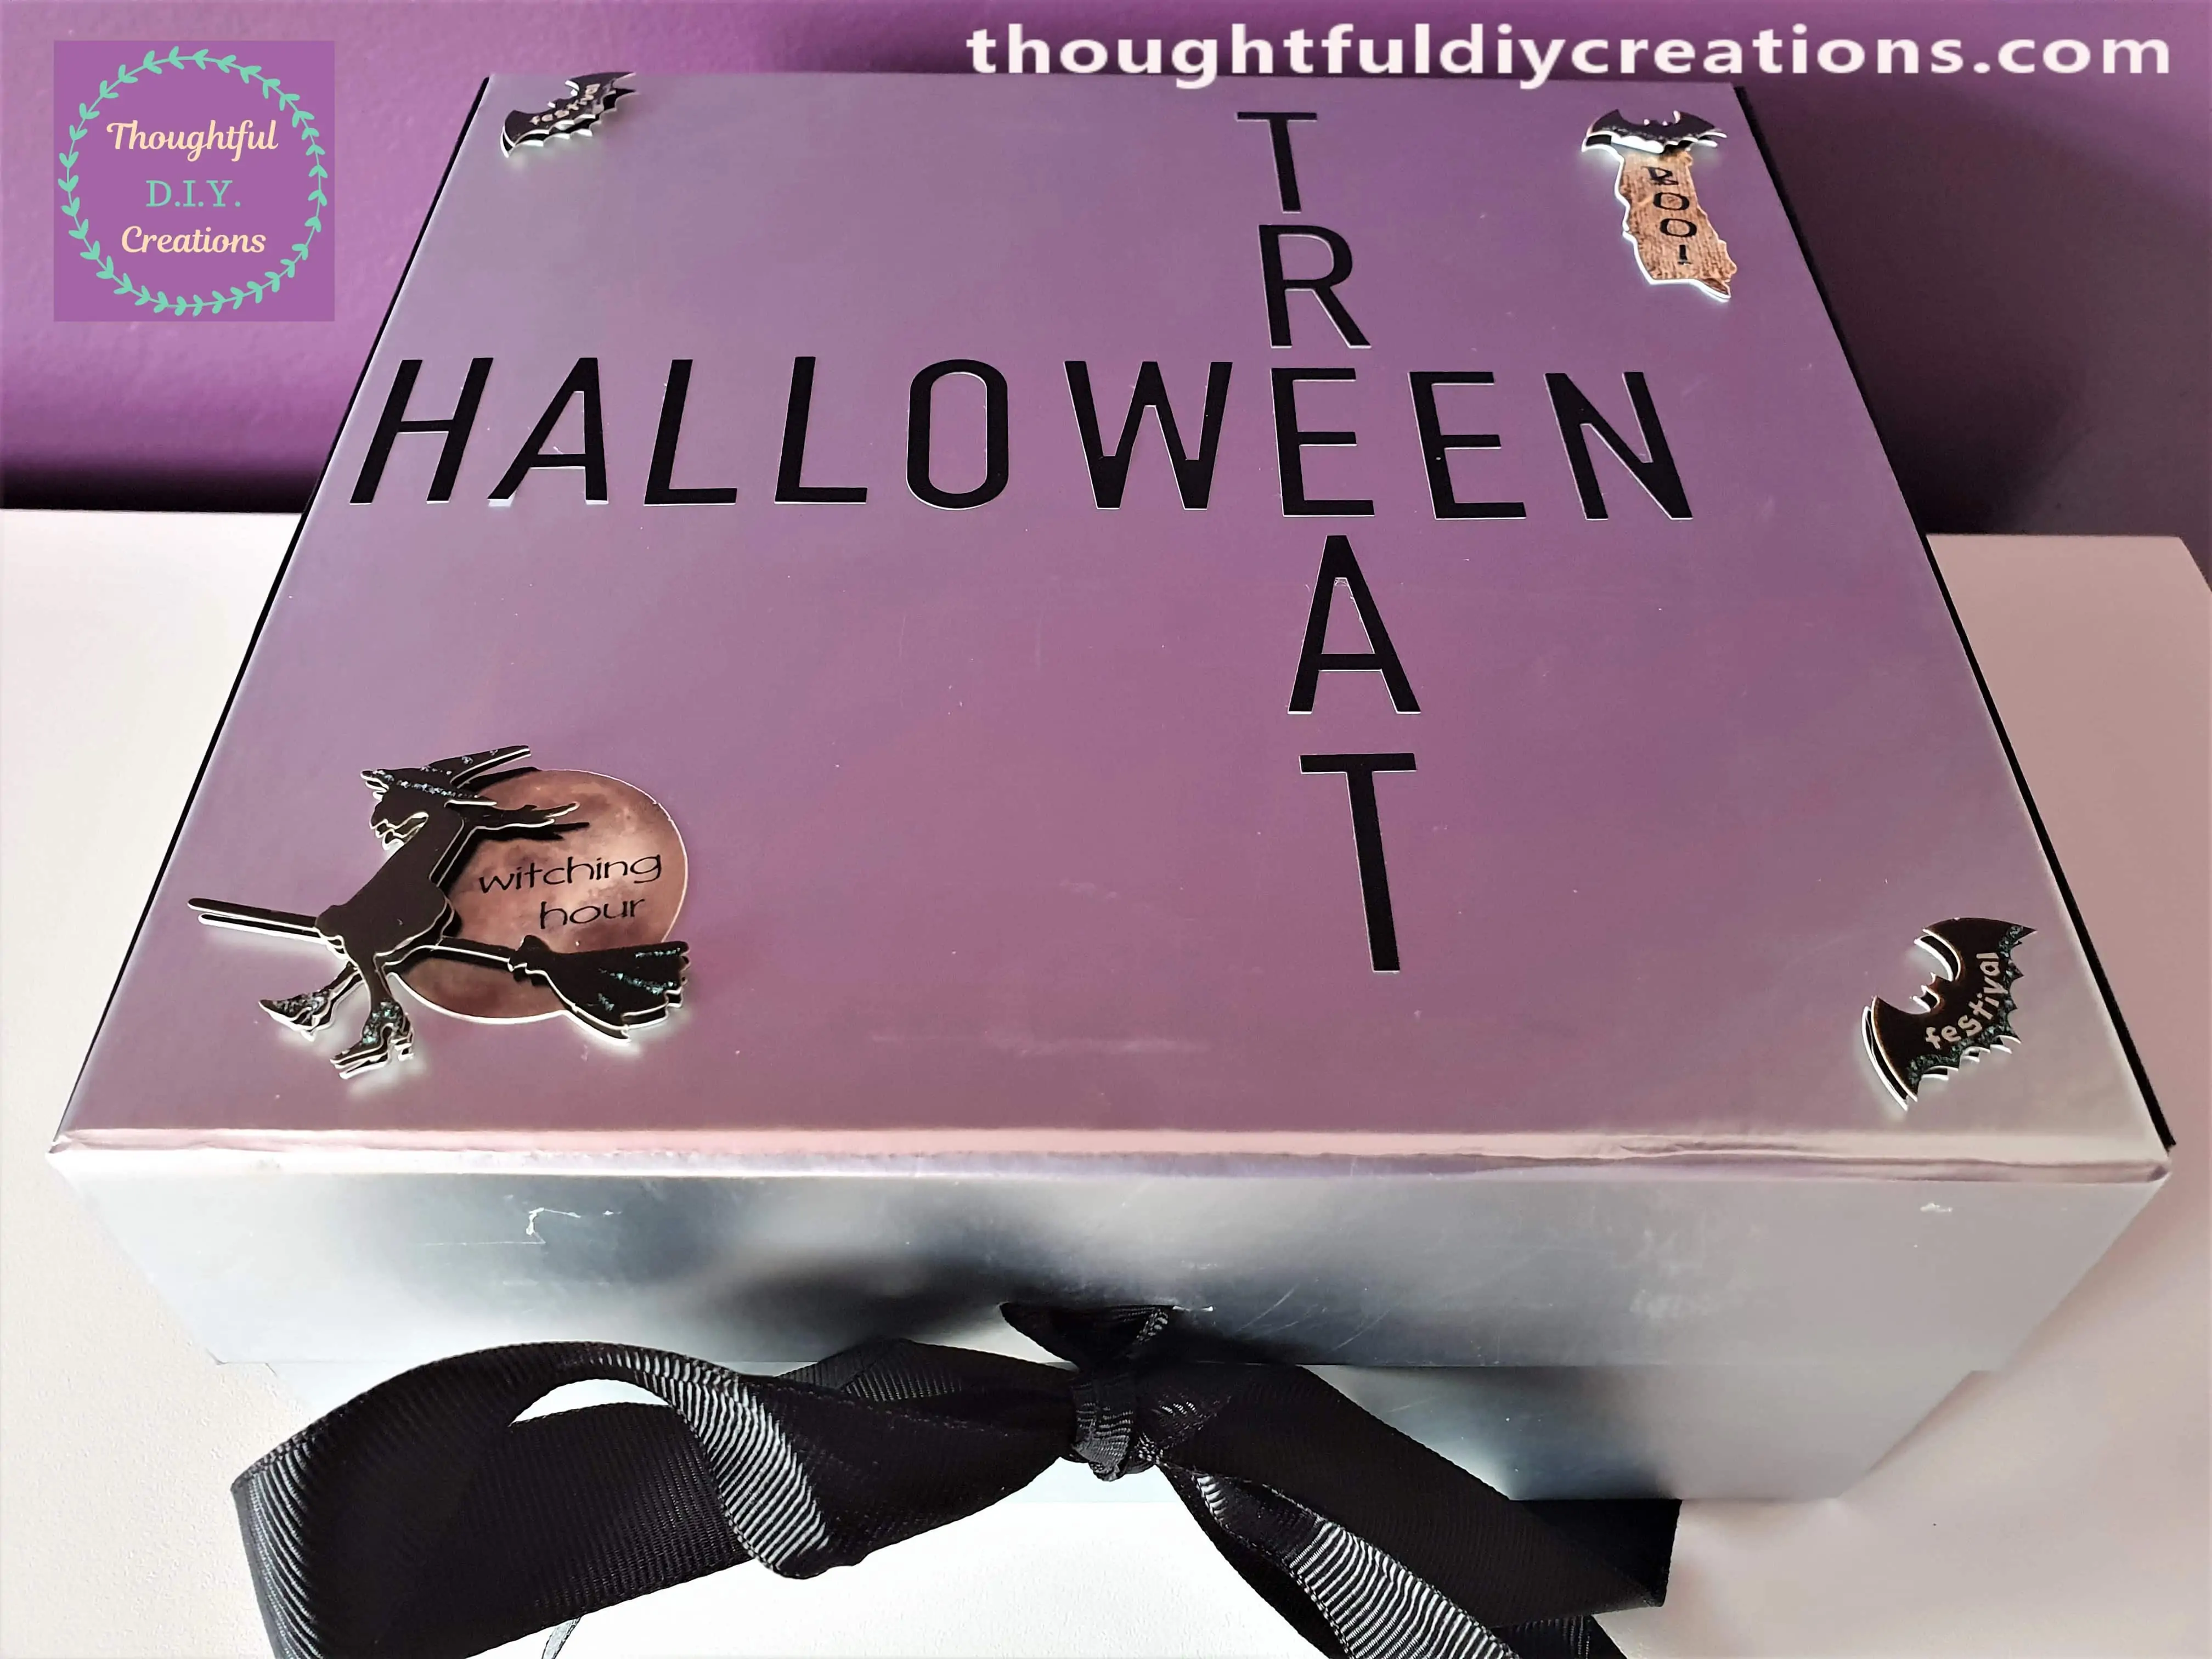
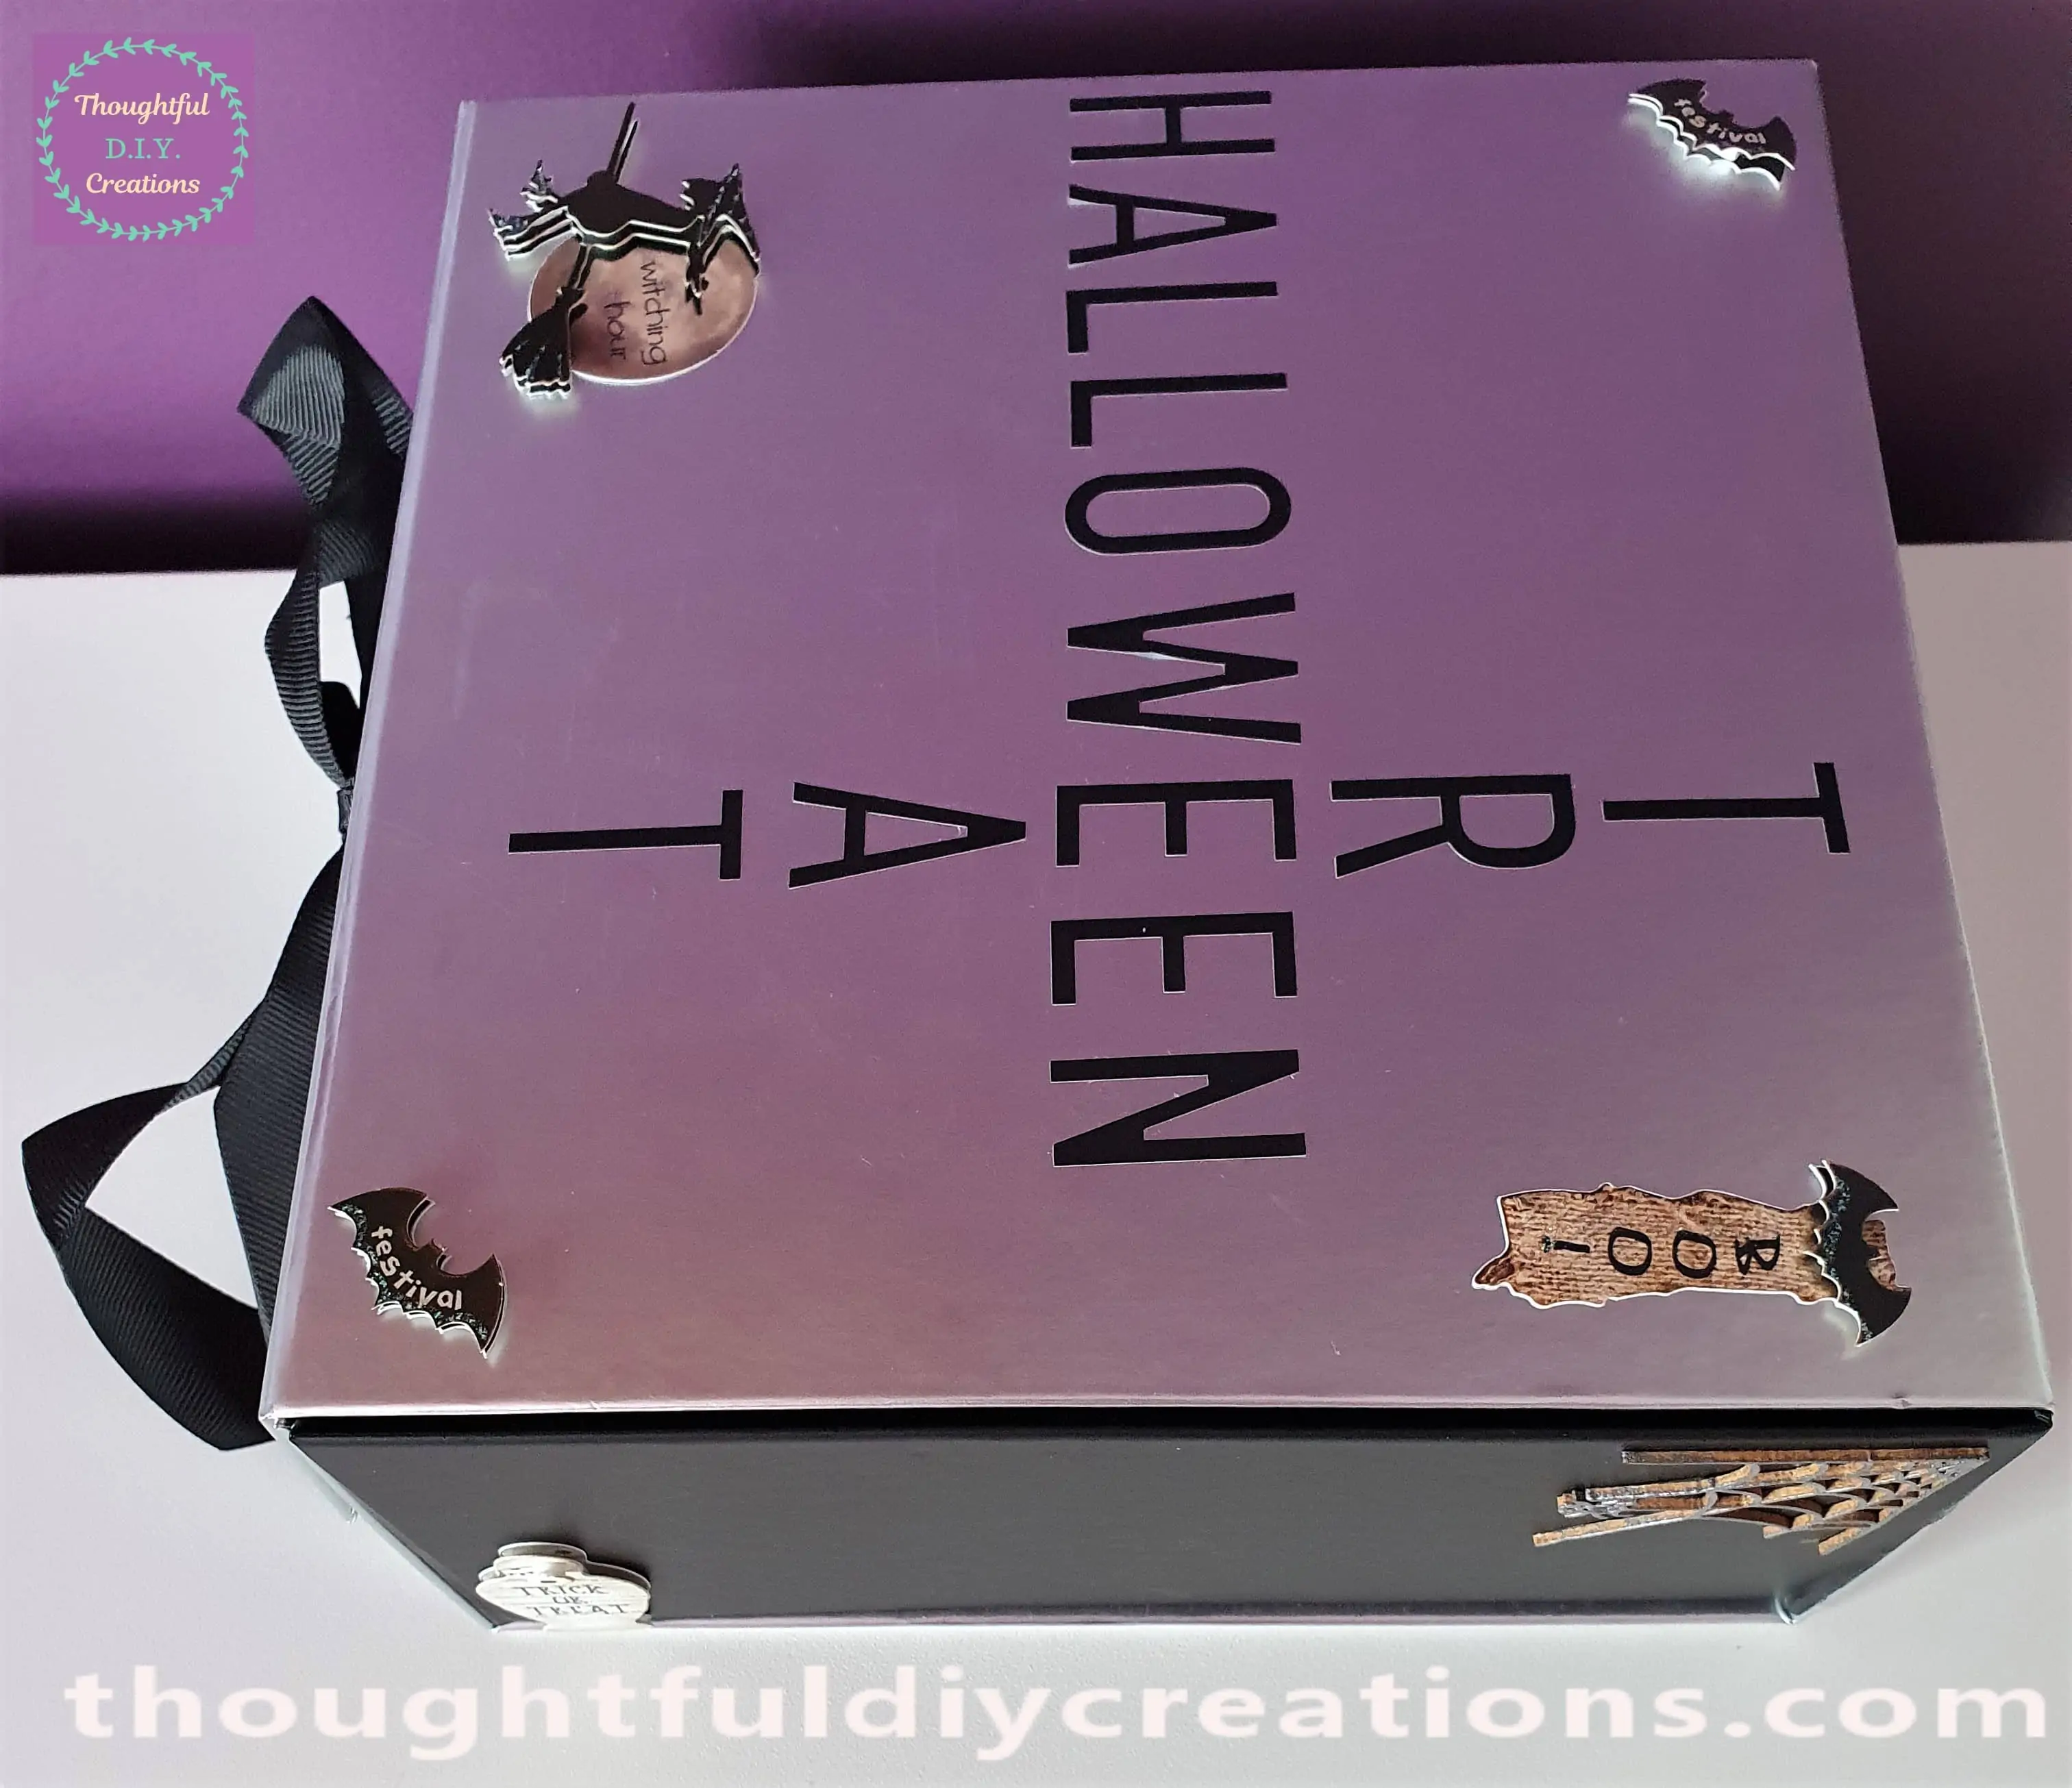
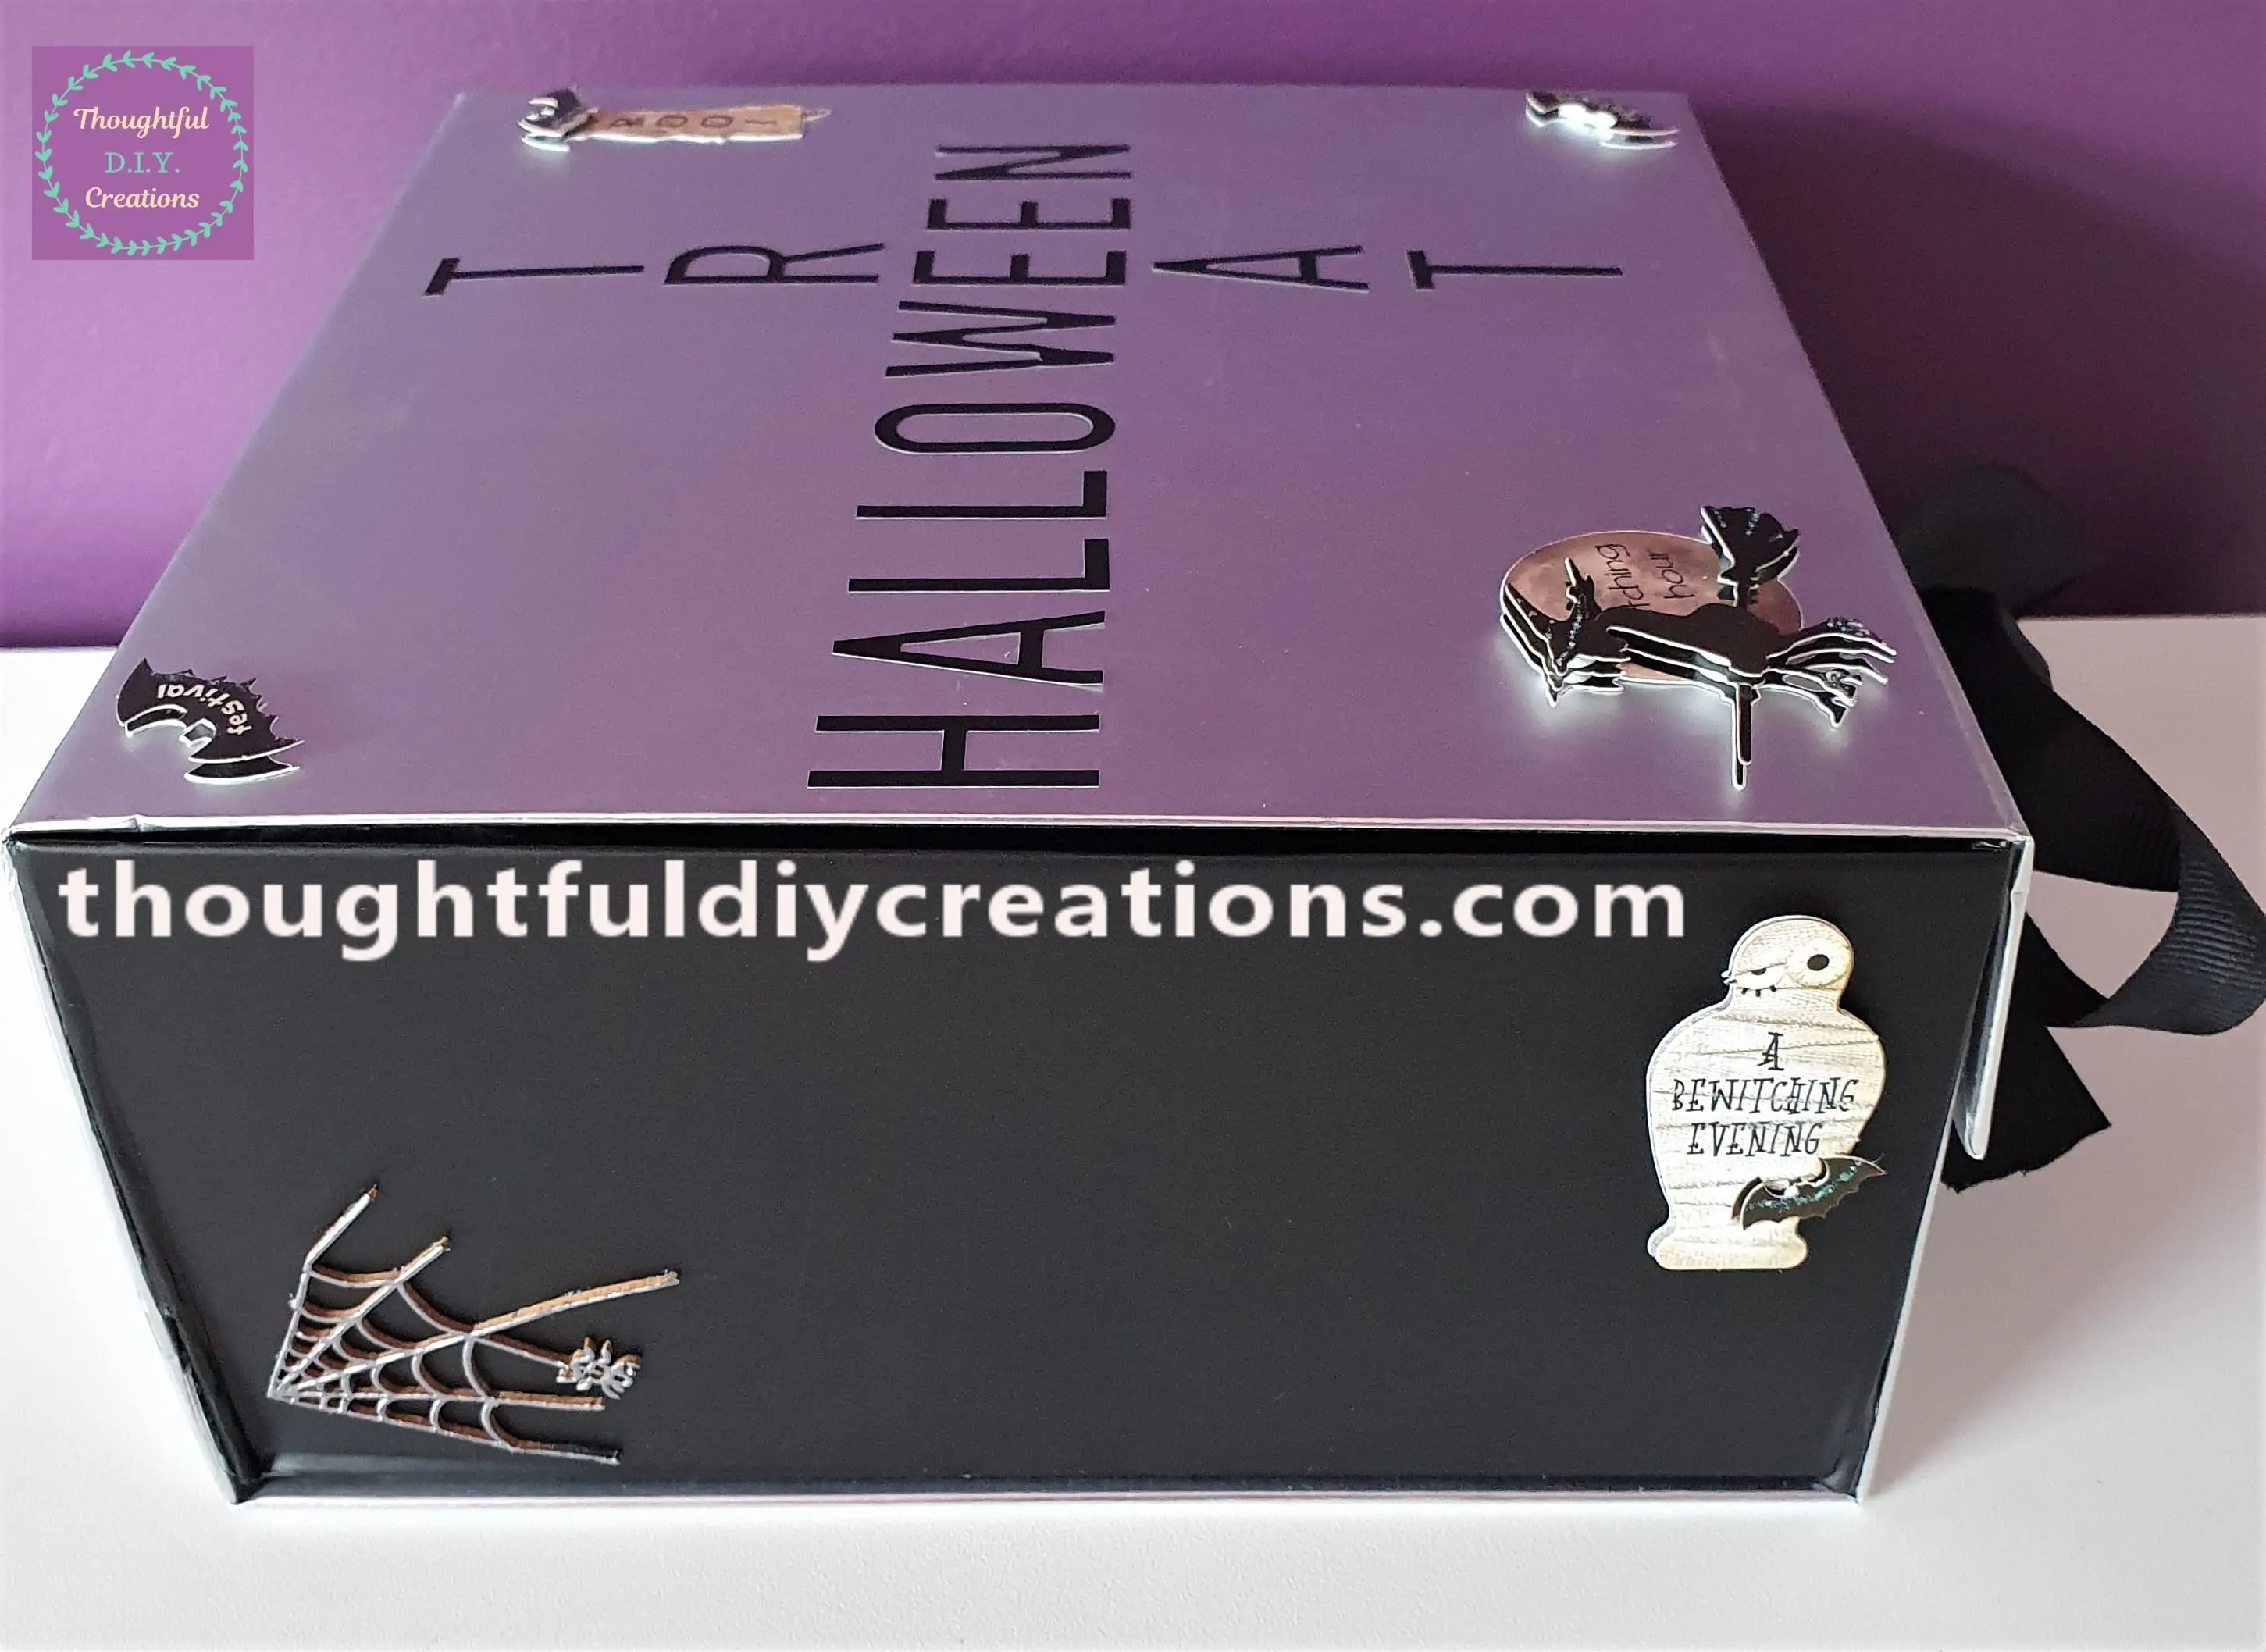
The Gift Box Standing Up-Right.
A few Close-Up Images of the Embellishments.
Conclusion
I’m really Happy with the Outcome of the Halloween Gift Box. I like that it can be given to a Male or Female and isn’t Childish but equally could be given to a Child to Celebrate Halloween.
I thought the Box was a little scratched looking which is Dissapointing as it’s brand New, it could be covered up with Paper but you shouldn’t really have to when you Buy a Gift Box to give to Someone. The Box itself is good Quality and Sturdy, the Stickers, Tissue Paper and Bow were Perfect, so all in all I was happy with it.
I love the Combination of the Black and Silver. I think the Embossed Chipboards really added to the Overall Appearance of the Gift Box. The Stickers were such good Quality and amazing Value. They would be ideal for so many Halloween Cards and Crafts.
I hope you enjoyed this Week’s Tutorial and learned something New. It’s a Thoughtful Idea to give Someone a Handmade Hamper or Gift Box. It doesn’t have to be excessive or extravagent just a Simple way of Celebrating an Occasion.
Happy Halloween Everyone, I hope you have a Safe, Enjoyable Weekend.
Thank You So Much for Taking the Time to Read my Blog.
Always Grateful,
T.D.C.
xoxox



-0 Comment-