Halloween Window Craft Tutorial
Hello my Creative Friends,
I hope you are all Well. In Today’s Tutorial I will show you how I made a Halloween Window out of an old CD Rack. It is an Easy, Budget, Up-Cycled Craft using materials I already had at home. I hope it inspires you to re-consider throwing old things away and instead see the potential in them to Re-Purpose into a Home Decor piece or a Gift for a loved one.
Preparing the CD Frame for Crafting
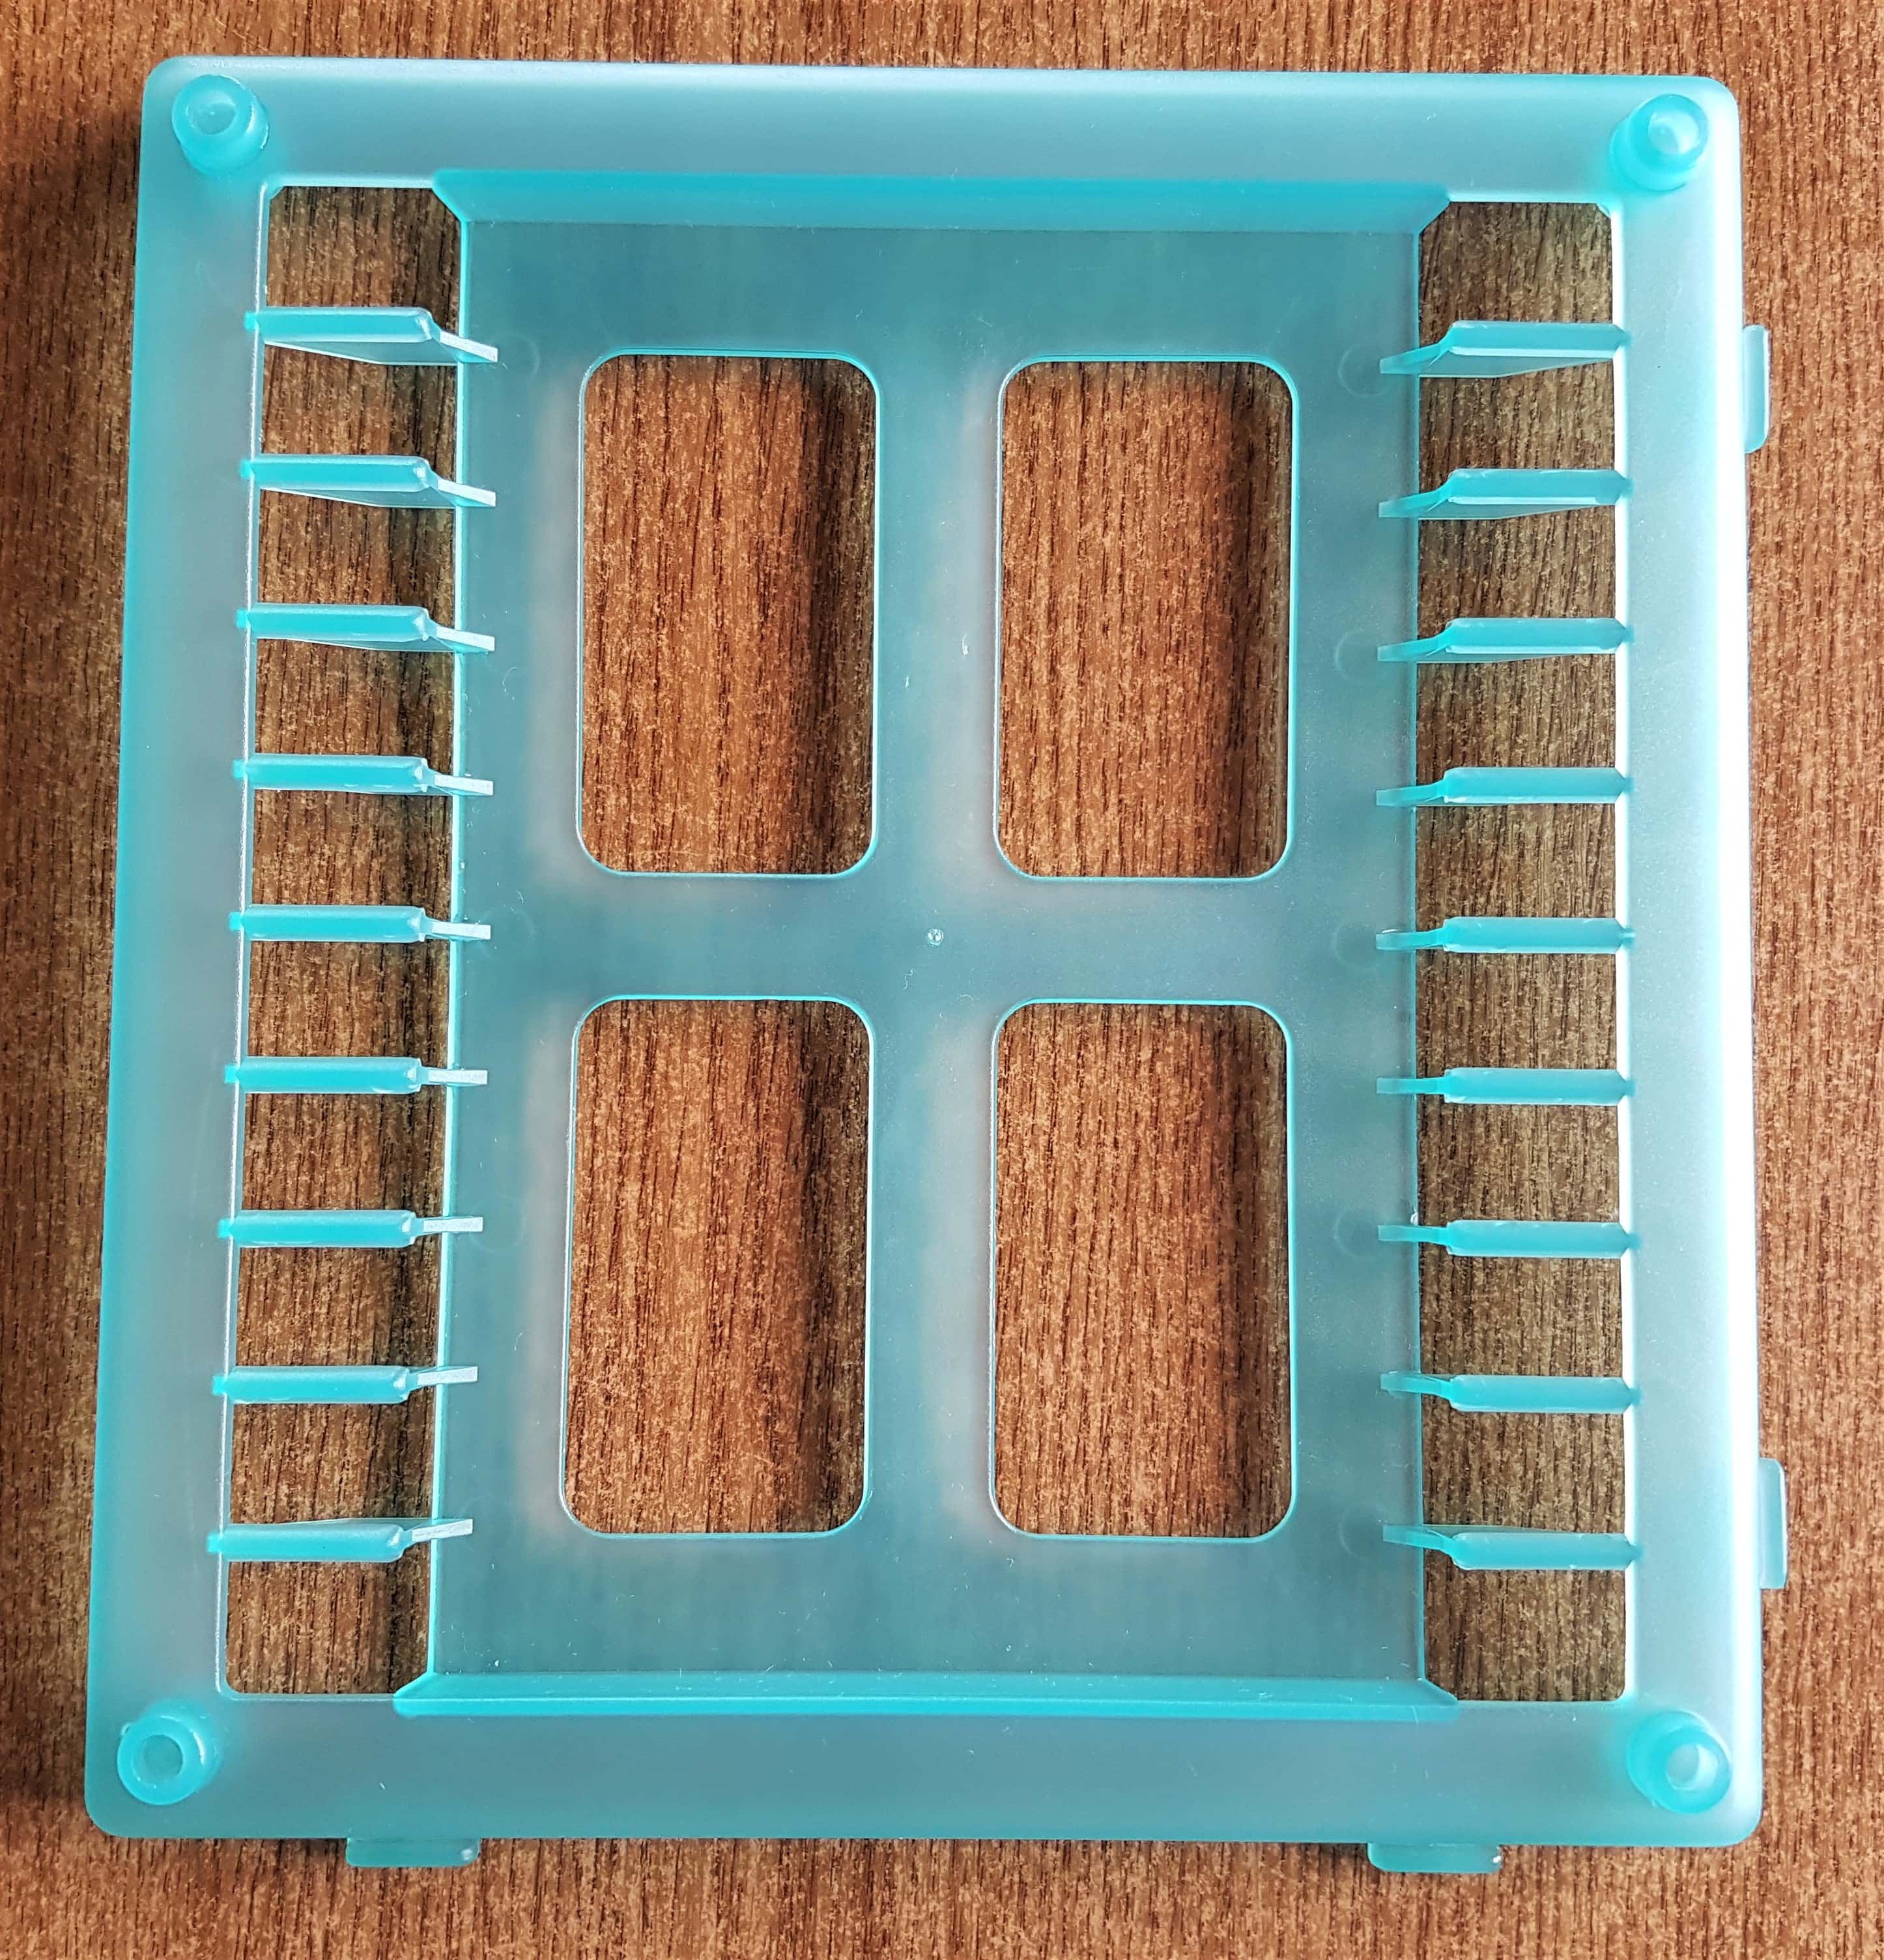
My Brother had an old CD Rack that he didn’t need anymore so he took it apart and gave me all the pieces. I thought the frames looked like Windows and knew they would be perfect for Crafting; I couldn’t wait to completely change their appearance.
I washed and dried 1 frame to use for the Halloween Window.
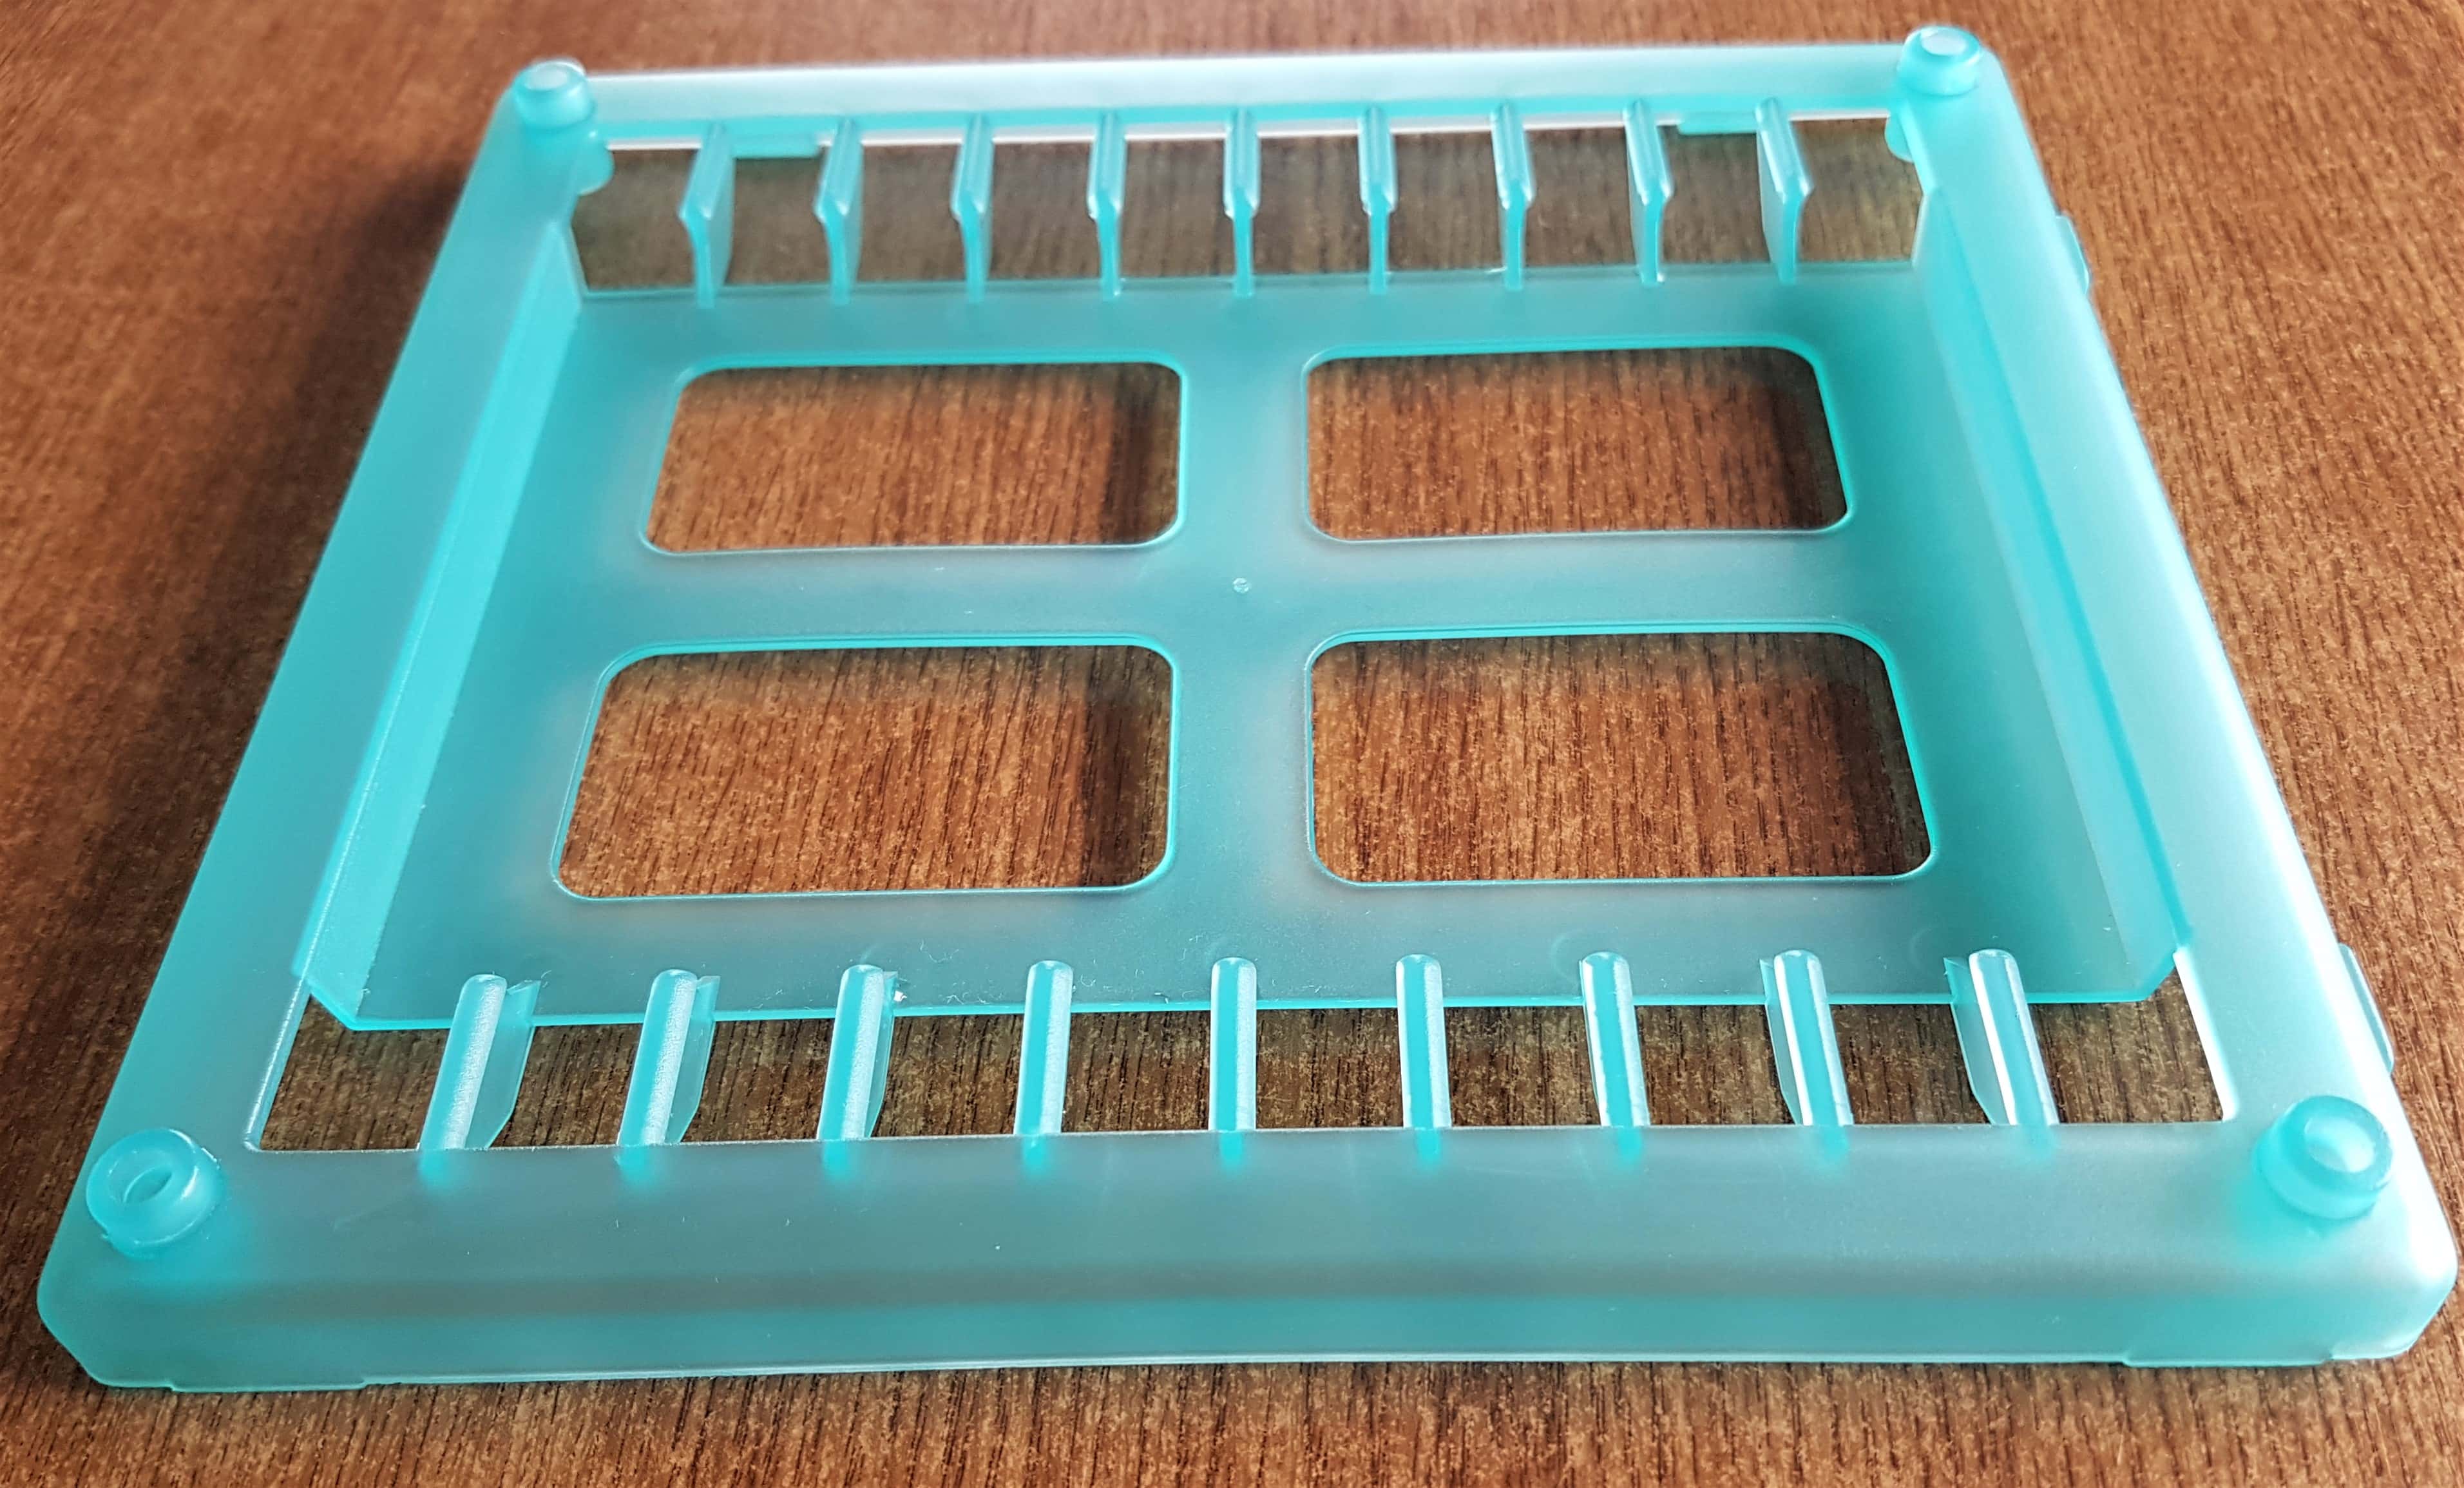
This is how the CD Rack frame looks from a side angle.
Priming the Frame
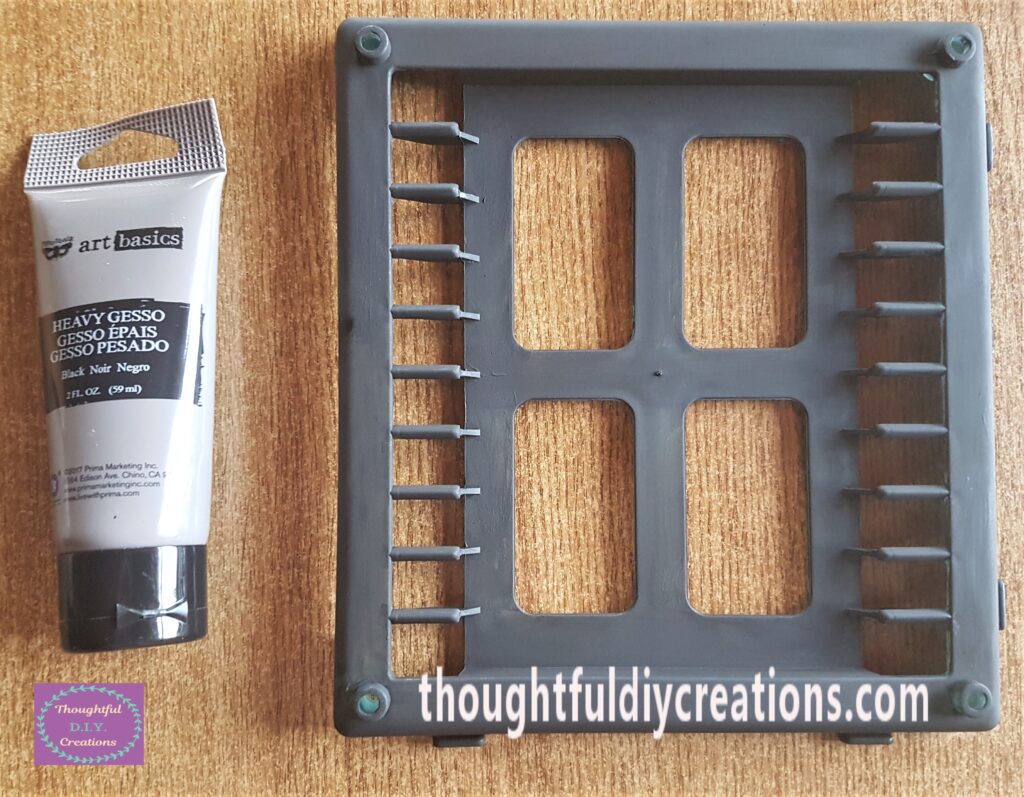
I applied 1 Coat of ‘Black Heavy Gesso’ to the frame using a medium sized flat Paintbrush. This Primes the surface, gets rid of the plastic look and feel of the frame, and provides a matte grit which helps other mediums like Paint to adhere better and last longer.
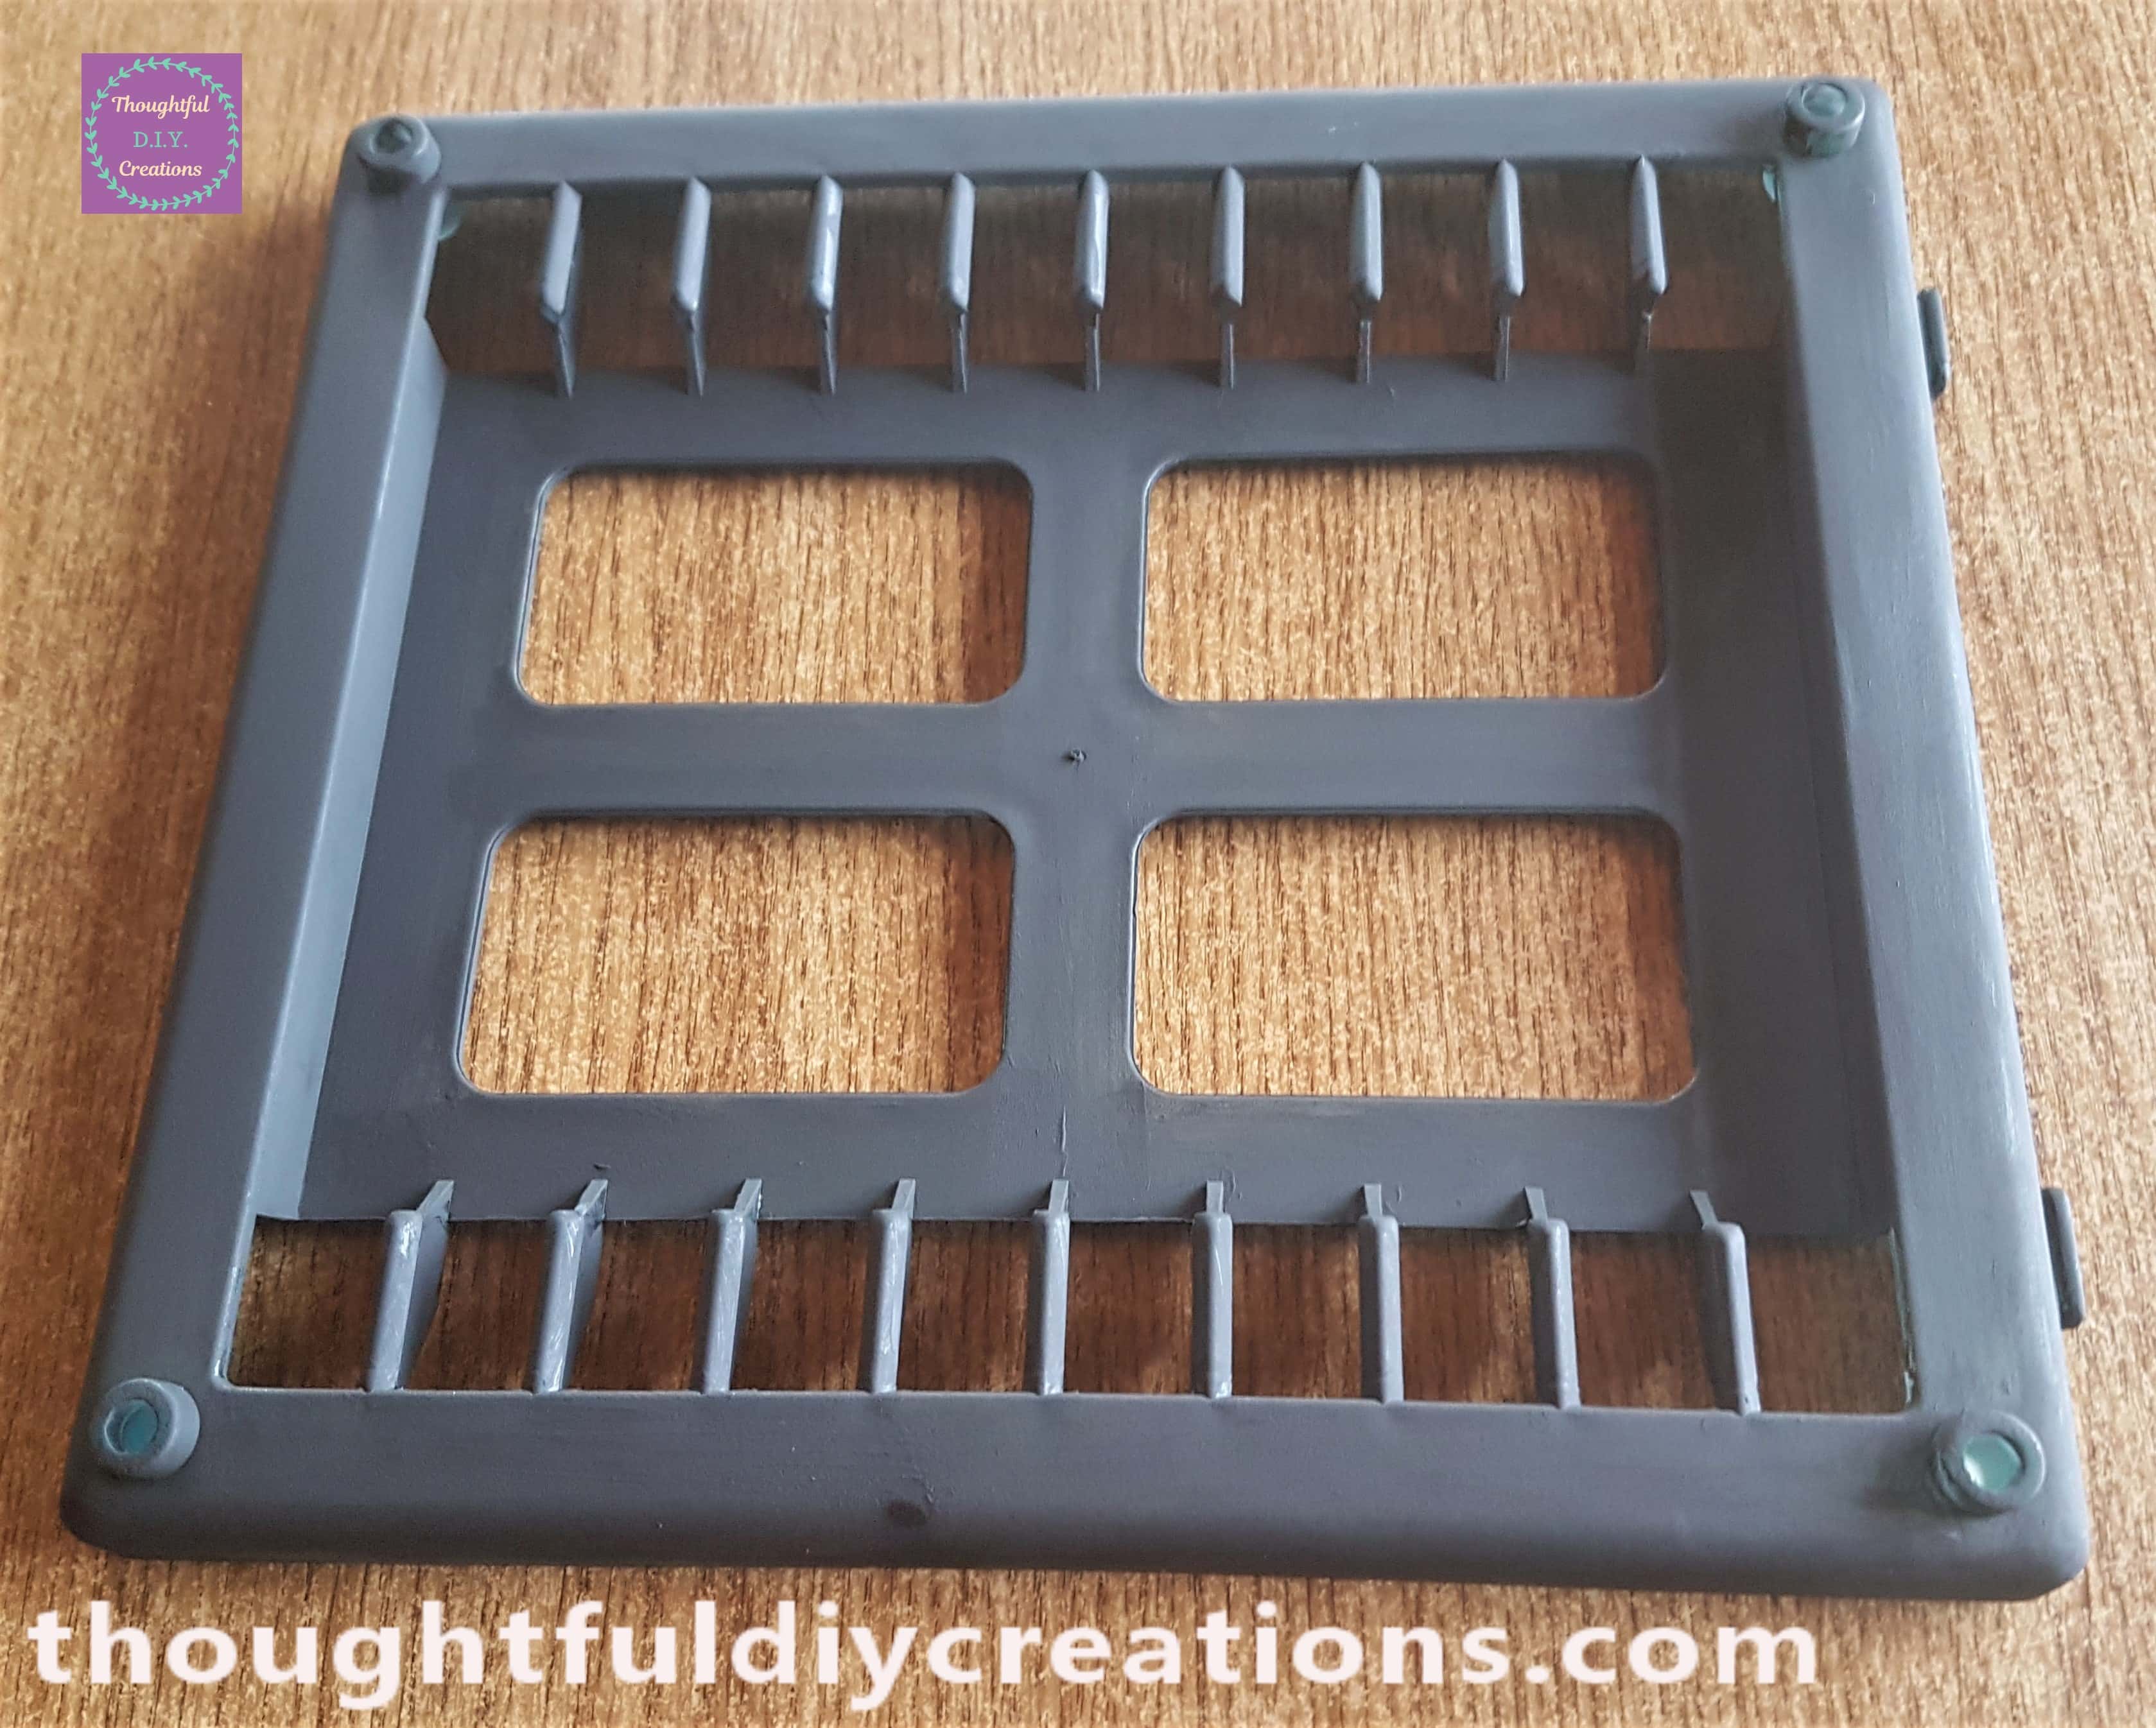
This is a side angle of the Window after the Gesso had dried.
Painting the Halloween Window
An Hour later I applied 1 Coat of ‘Black Acrylic Paint’ to the Window, again using a medium sized flat Paintbrush.
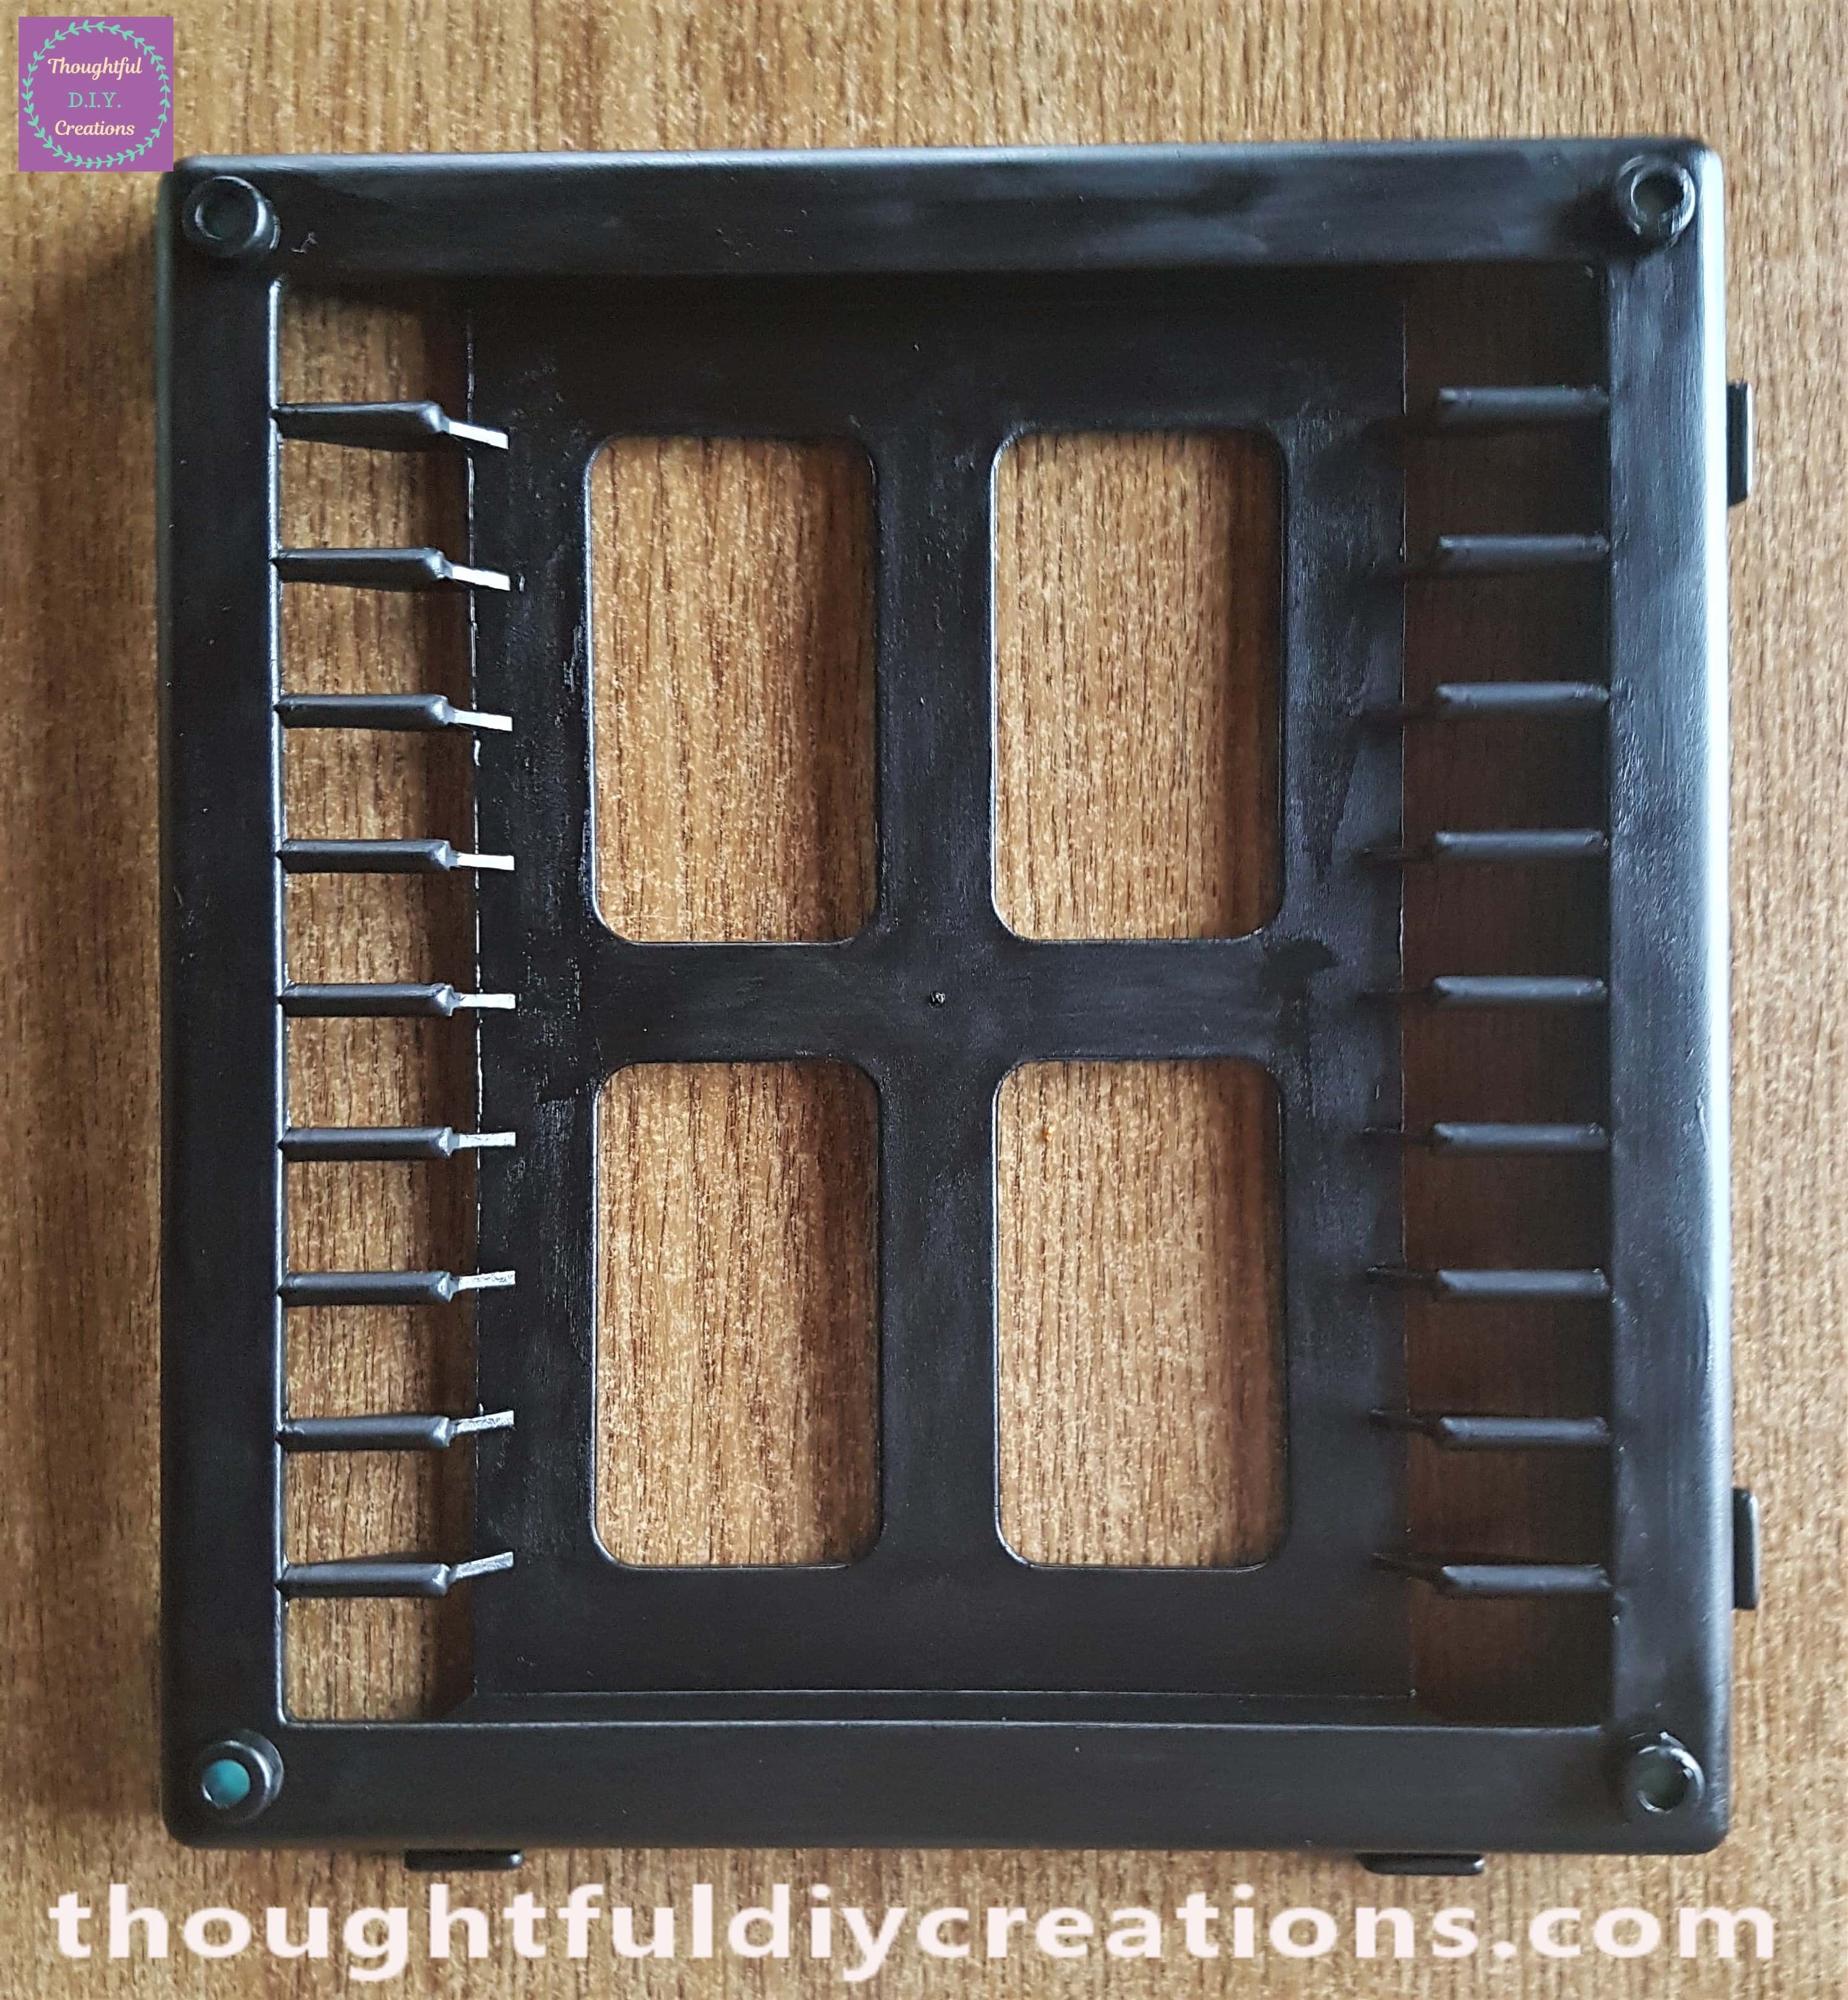
Adding Glitter to the Window
After about another hour, I spread ‘Mod Podge Gloss’ all over the Halloween Window with the flat Paintbrush and then Sprinkled Black Glitter all over the Glue. I had put a Sheet of Paper underneath the Window to collect the excess Glitter and then poured as much of it as I could back into the Glitter Jar. I allowed the Glitter to dry overnight and tapped the Window gently on the table to remove the excess glitter the following day.
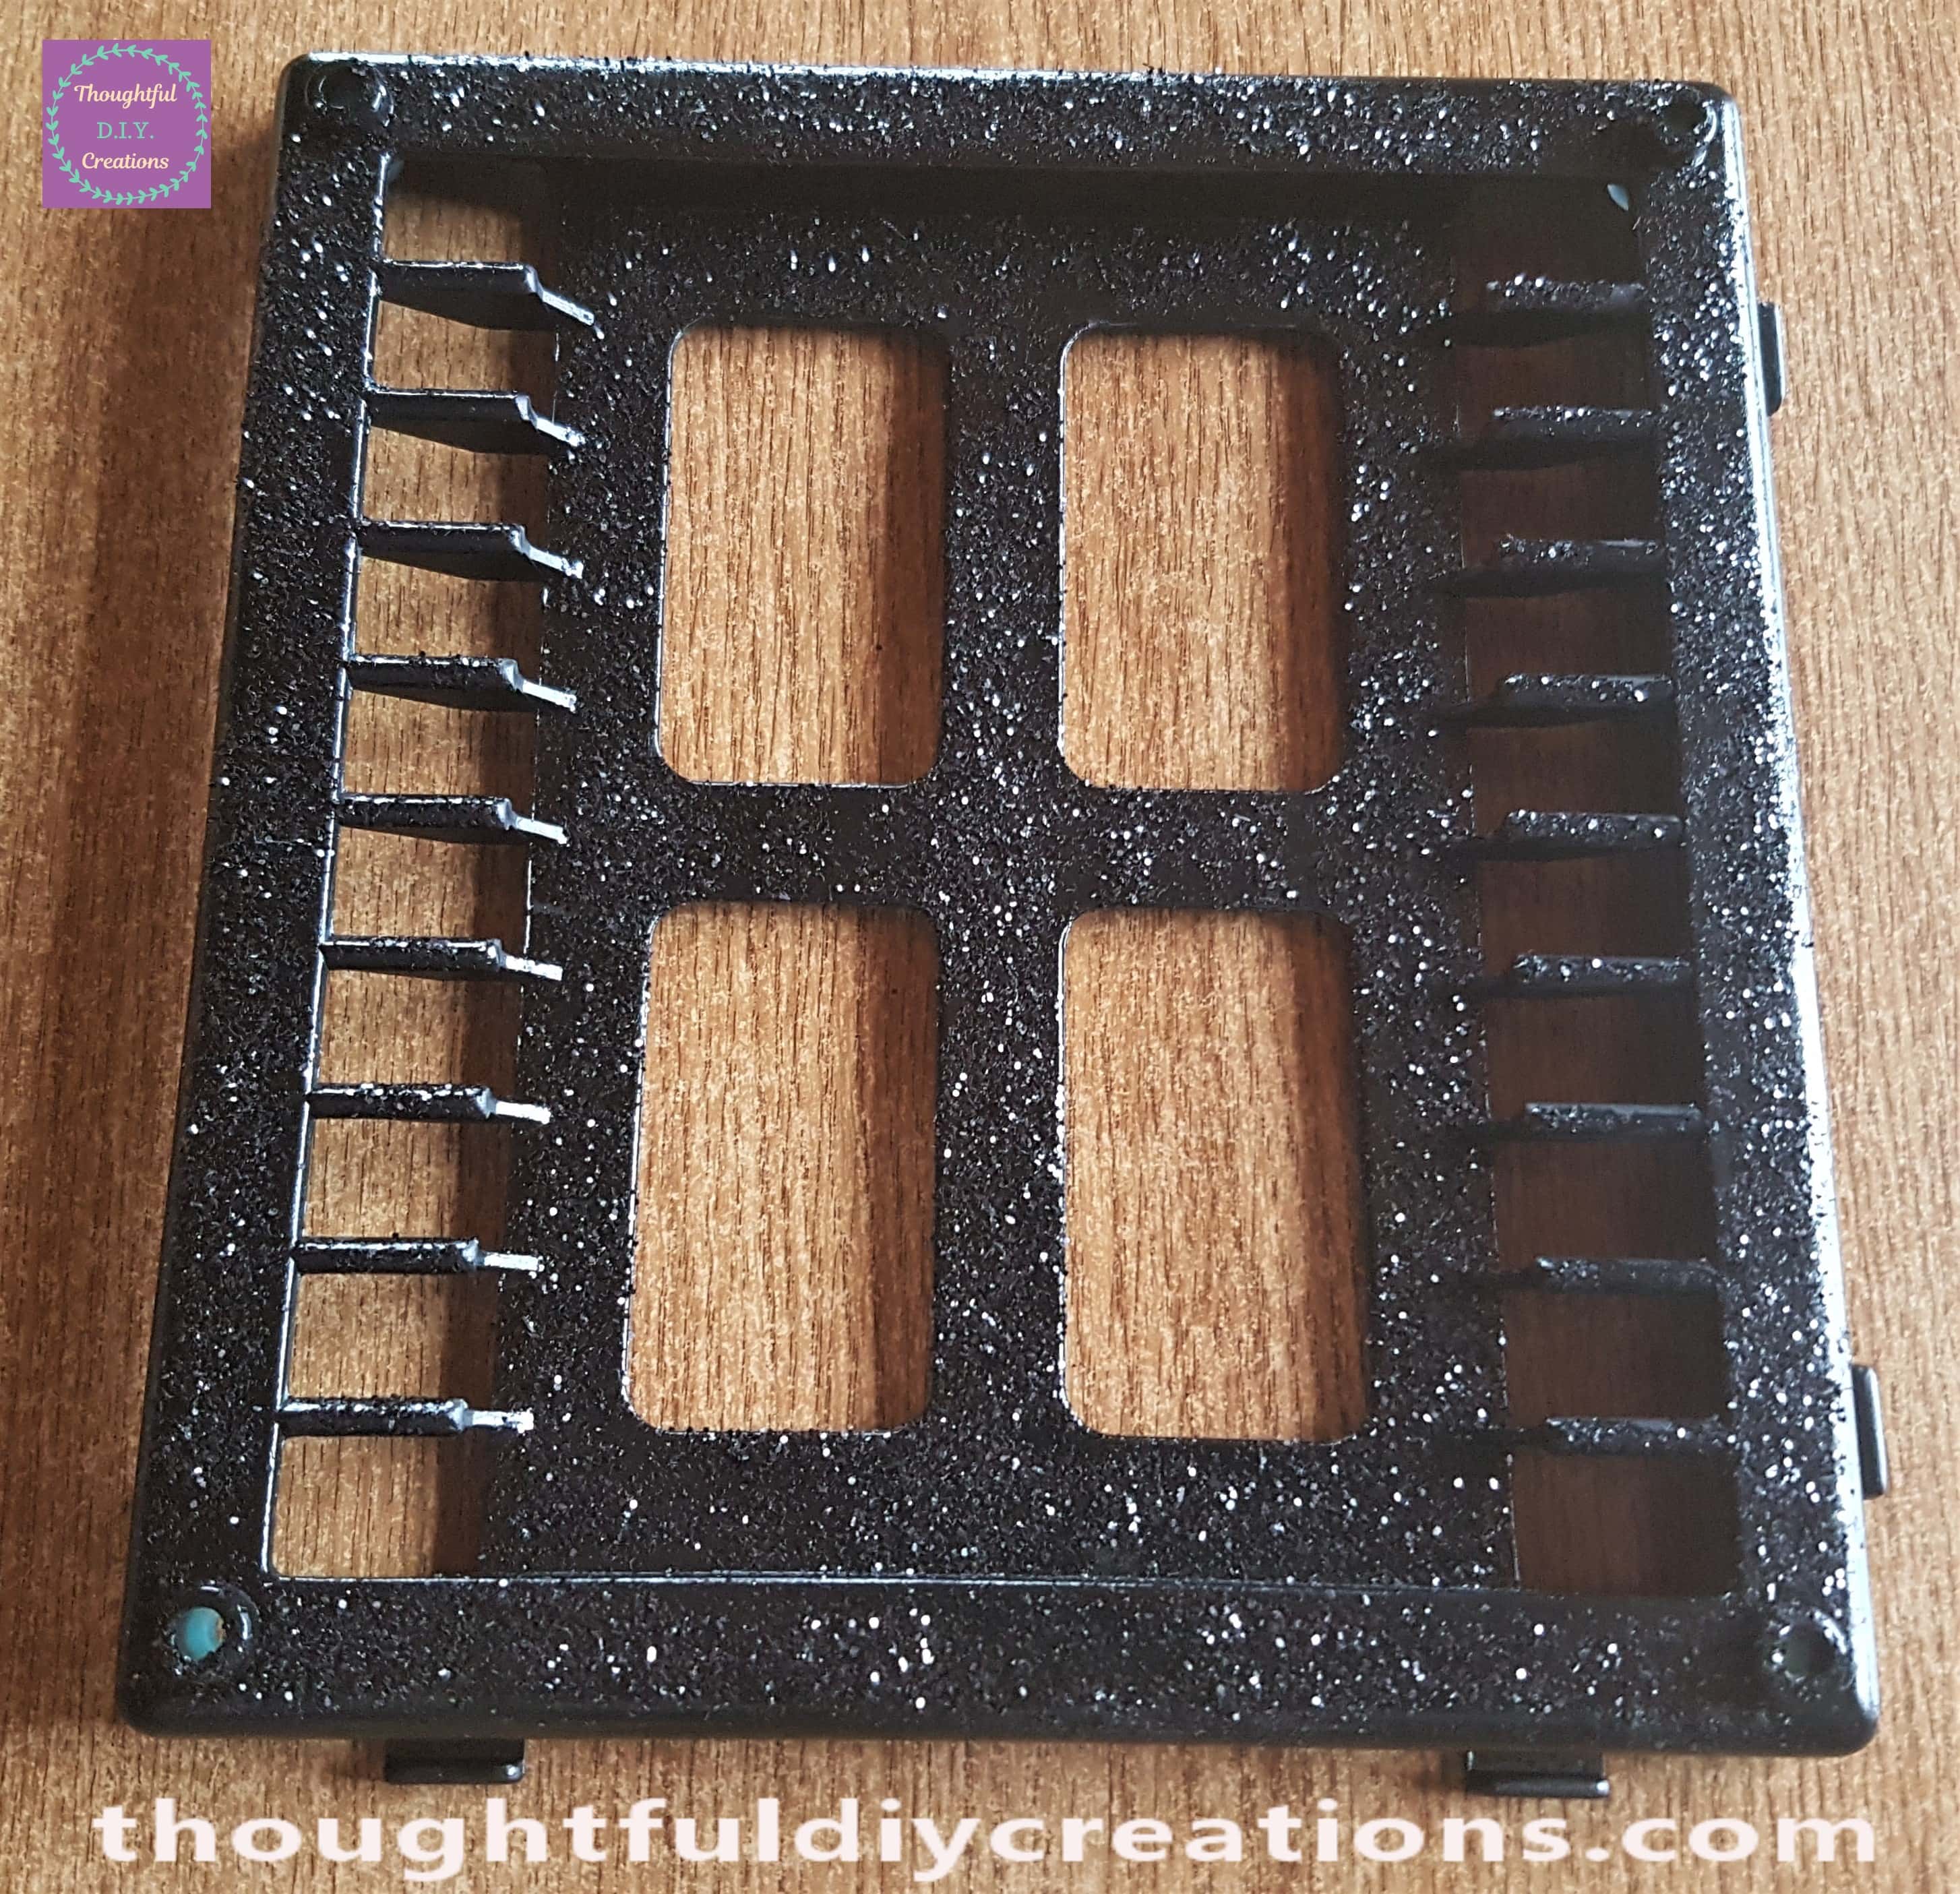
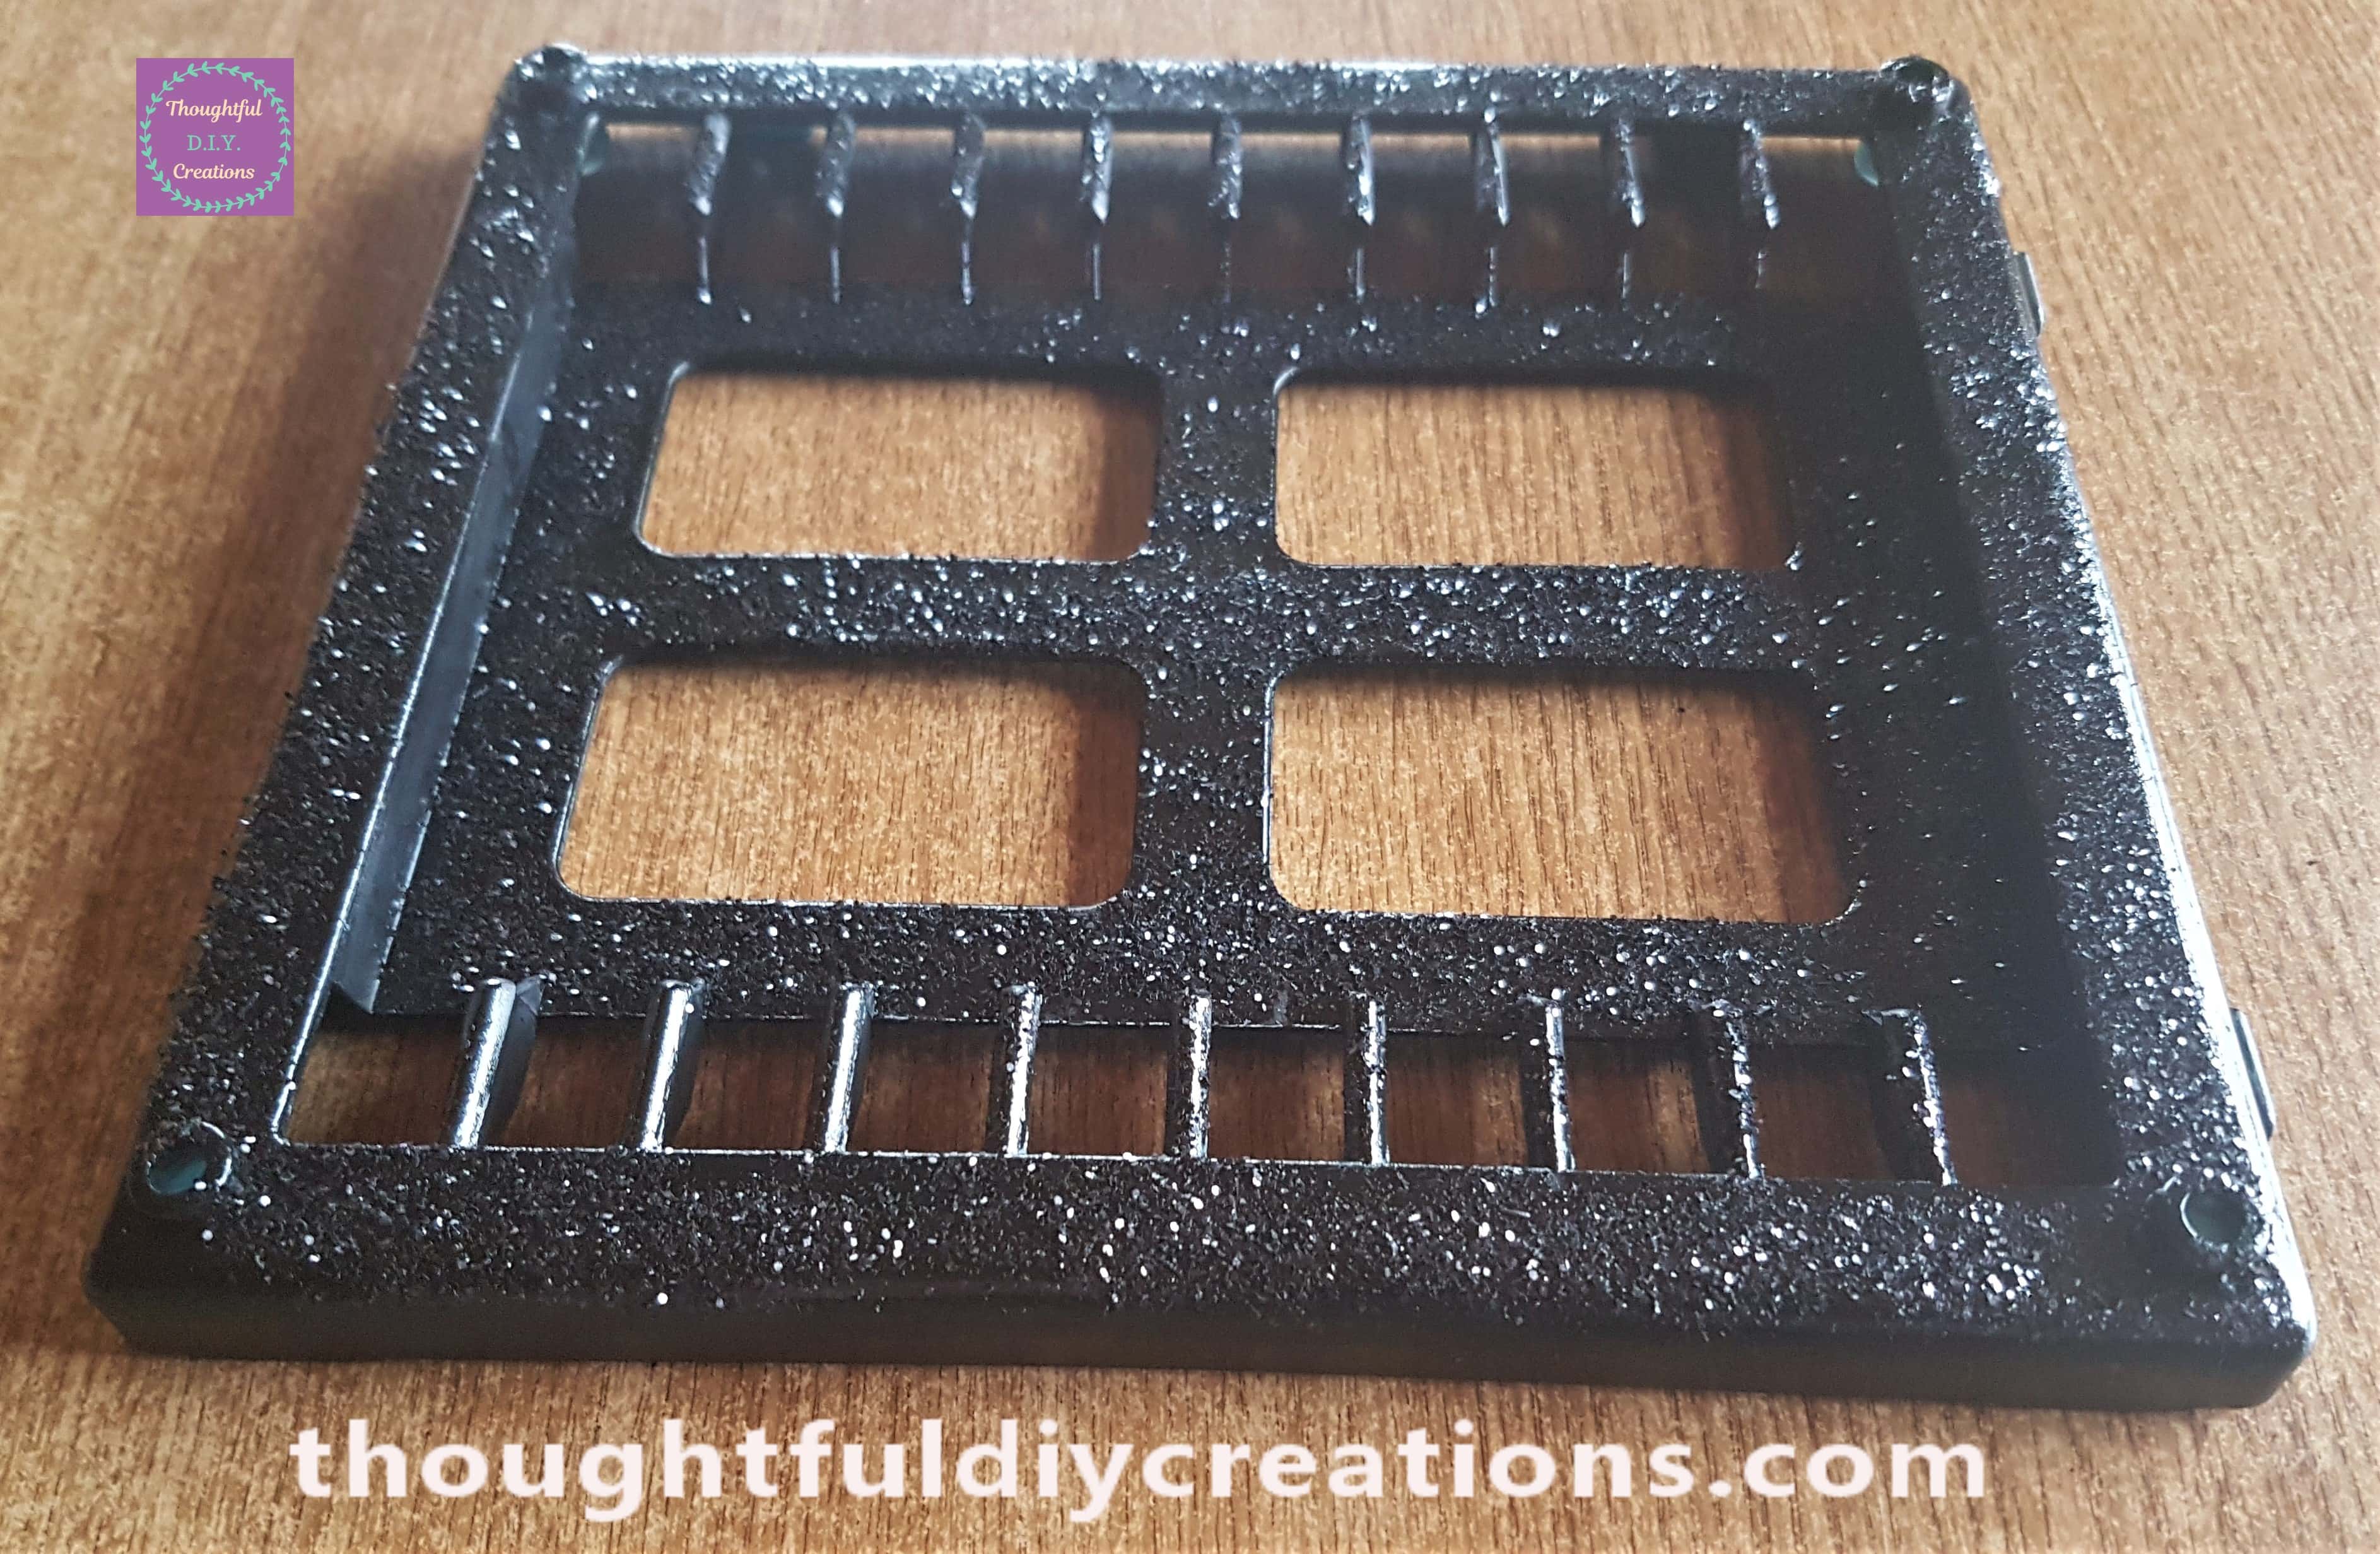
This is a side angle of the Halloween Window after the Glitter was fully dry.
Finding an Image for the Halloween Window
I liked how the Window looked like it had Shutters on the outside; I thought it would be cool to have a ‘Halloween Scene’ inside a House and have it like your peering in the window at a Party or a Decorated Room.
Note: I am providing Ideas for Budget Arts and Crafts for ‘At Home Use Only’. If you want to Sell anything you make; you need to ensure you are not breaking any Copyright Laws / Rules with any Images you choose. I didn’t see any website or Signature / Logo on the Image I chose and I’m not selling it or claiming it as my own.
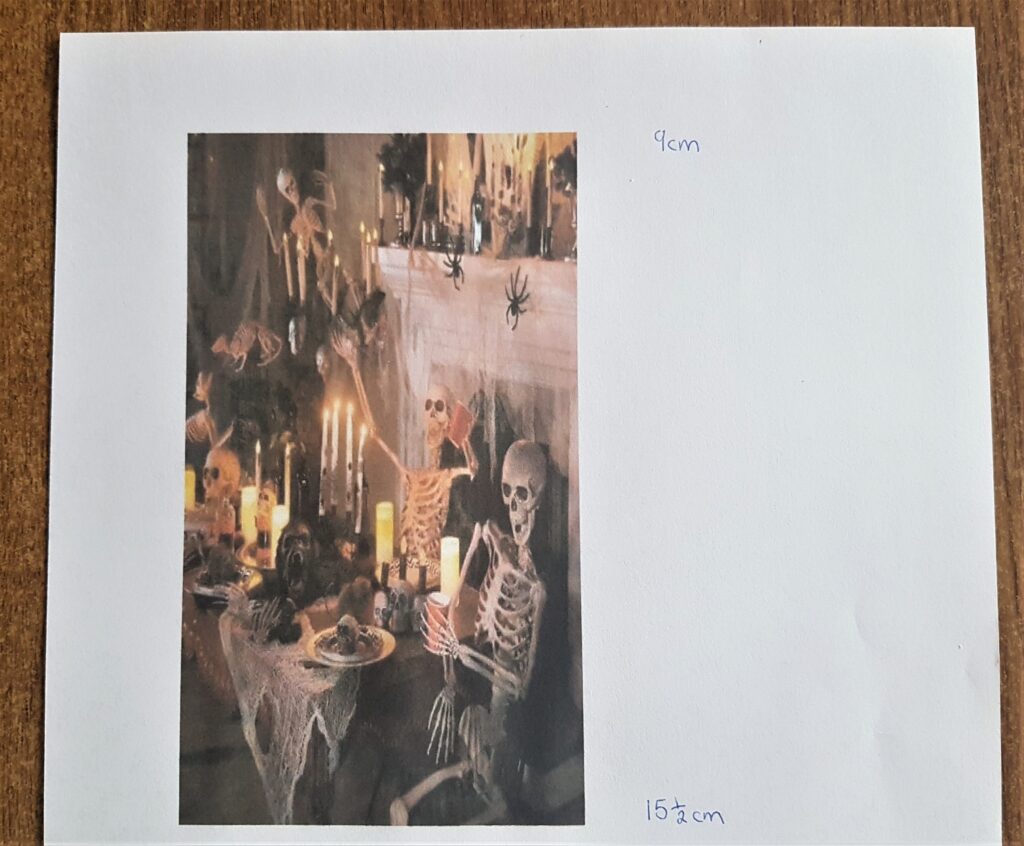
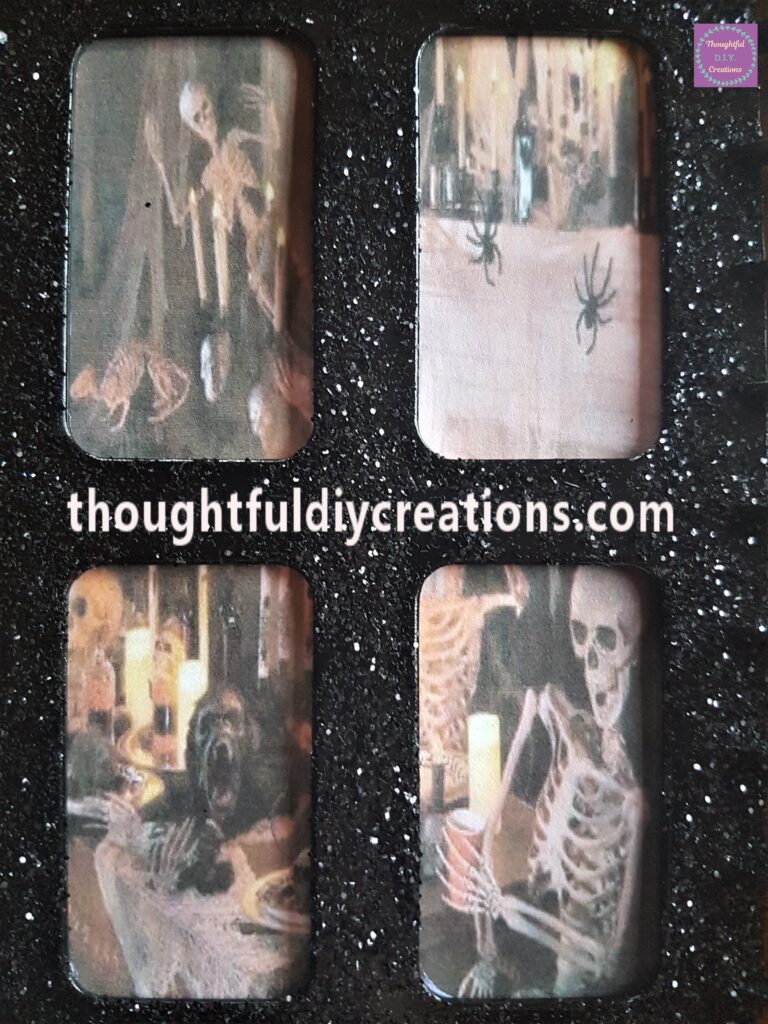
I looked up ‘Halloween Scene Images’ on ‘Google Images’ and found one I thought would be perfect. It consists of Skeletons having a Party around a Table in a living Room with Candles lit and other Halloween Decorations around the Room. I saved it to my Computer.
I then found it and opened it up in ‘Microsoft Word’ to Re-Size the Image to suit my Halloween Window. The measurements I needed were 9cm in width and 15 and a half cm in height. I adjusted the Size of the Image using the arrows and the Ruler on the top and Side of the Word Document for accuracy. I printed the Image on Normal Printer Paper.
Attaching the Image to the Window
I put Pritt Stick on the back of the Halloween Window.
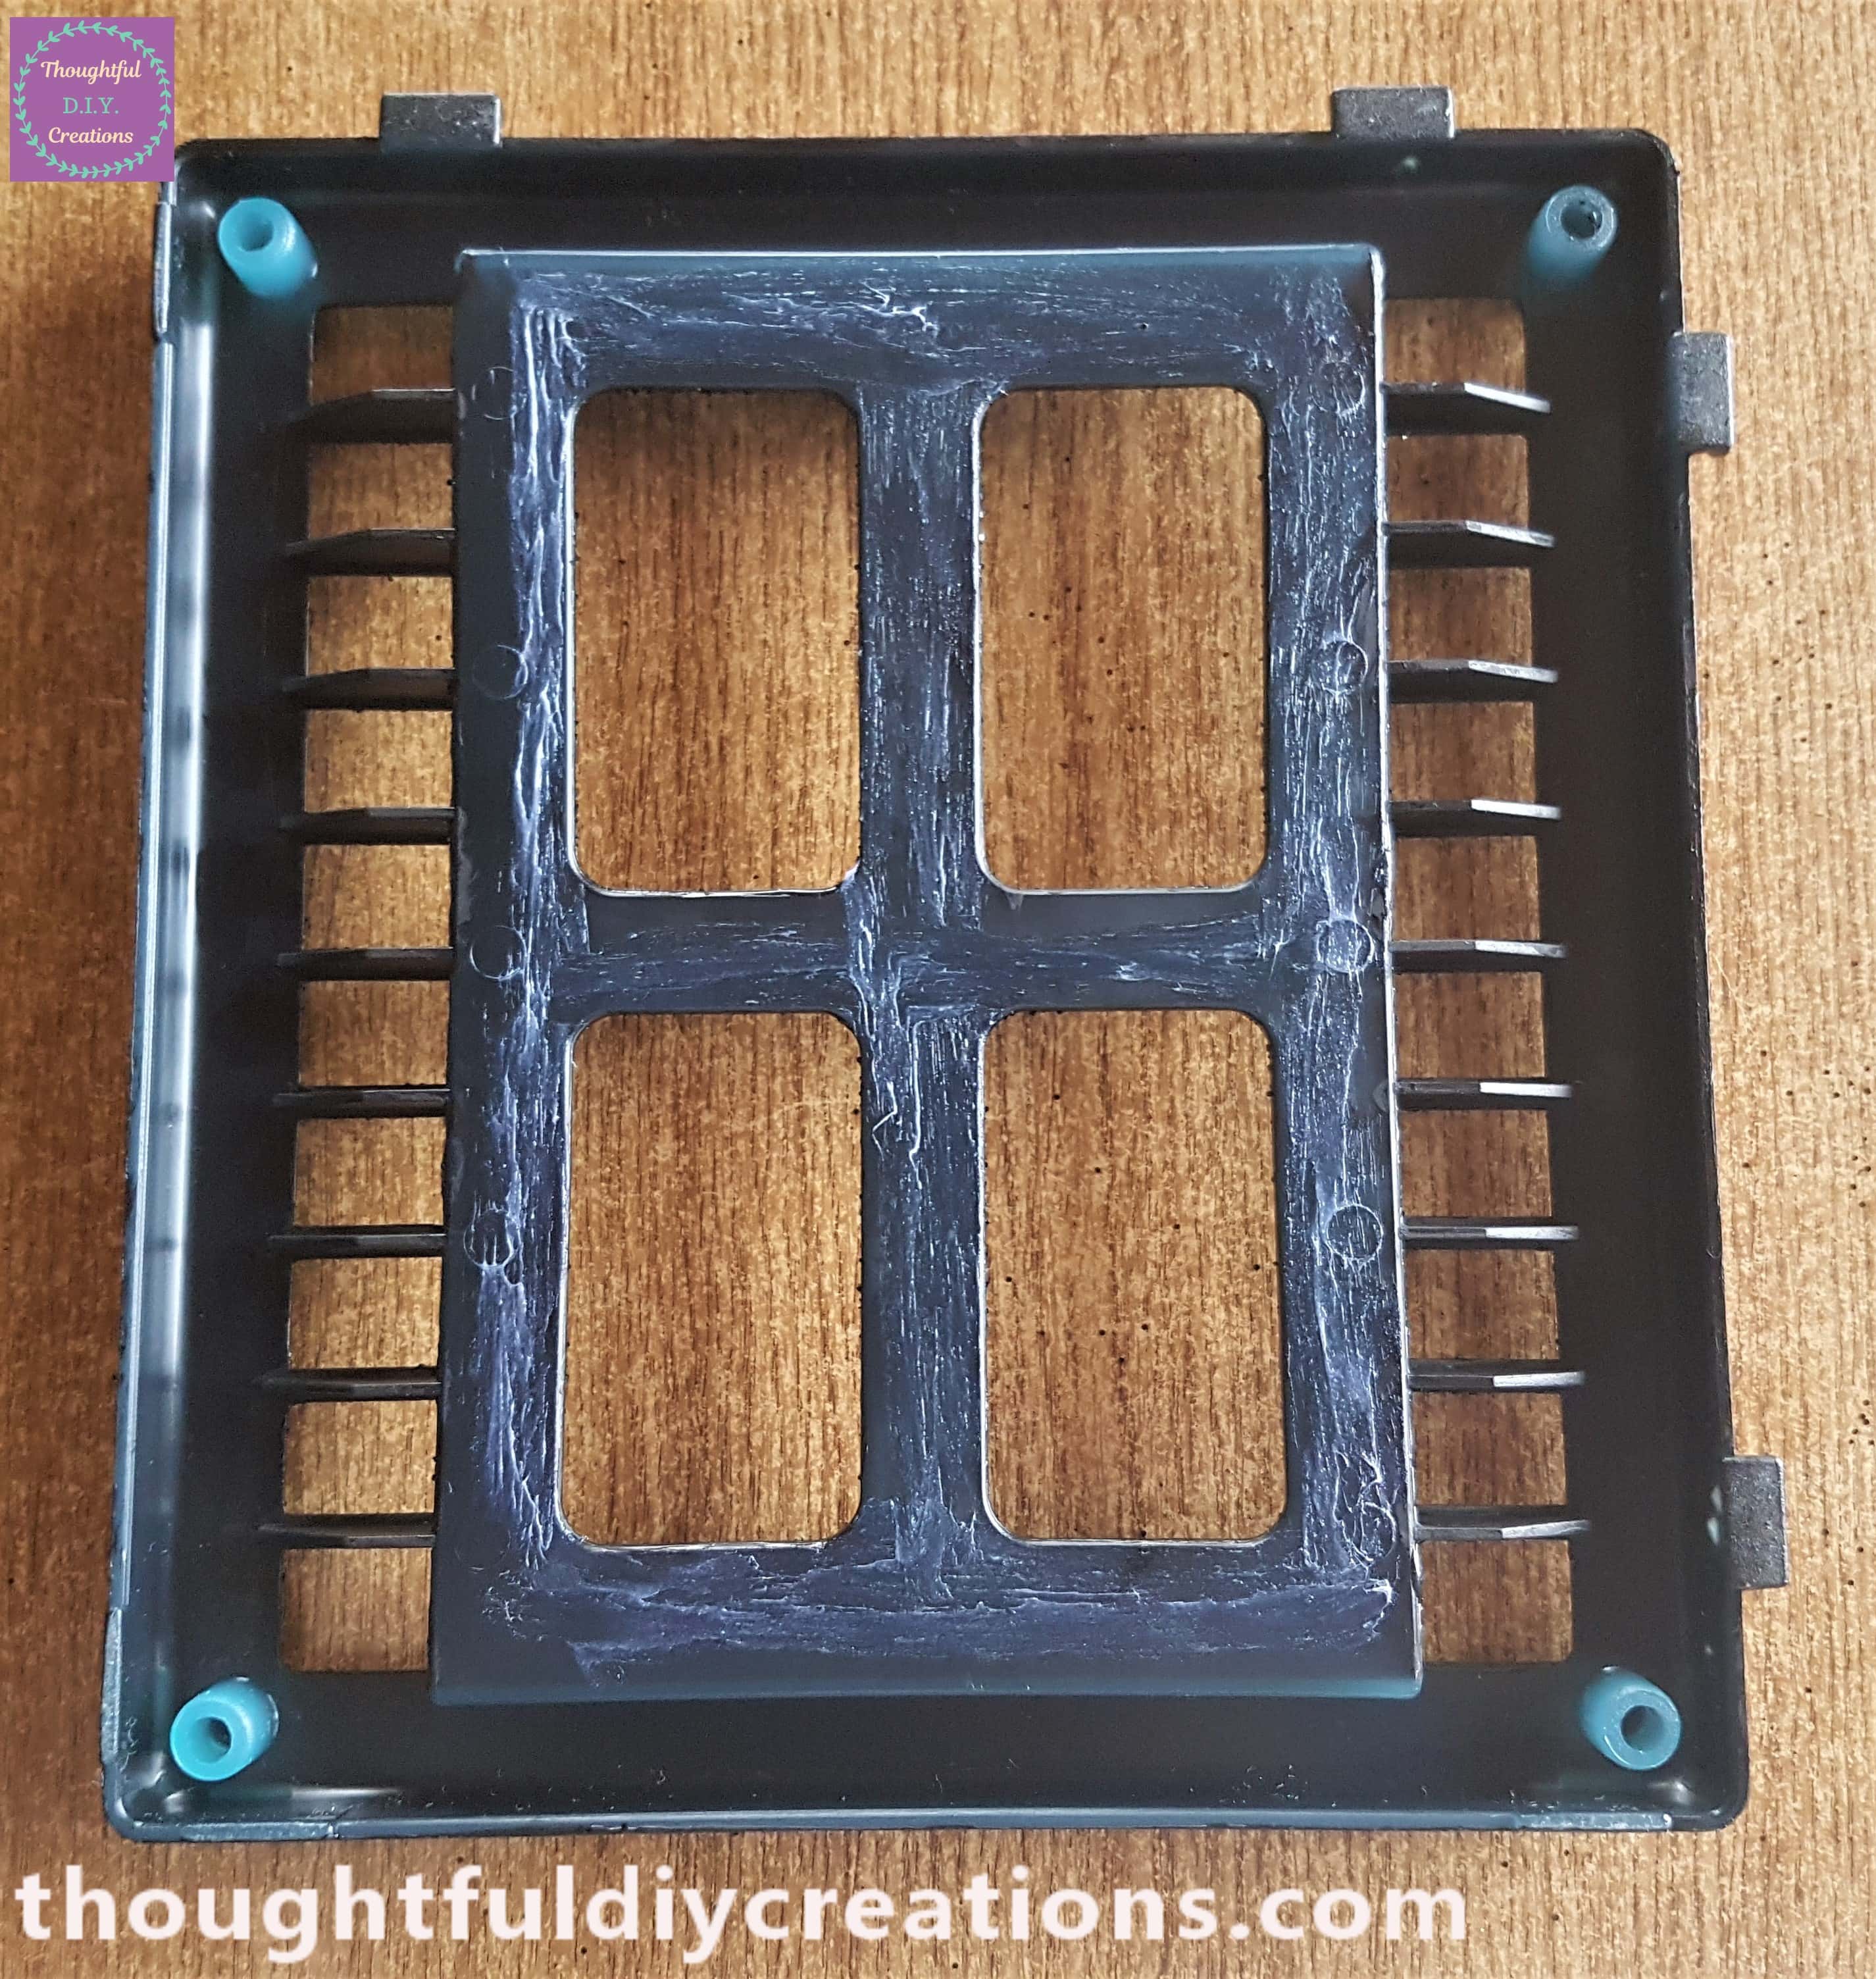
I cut out the printed Halloween Scene Image and attached it to the Pritt Stick.
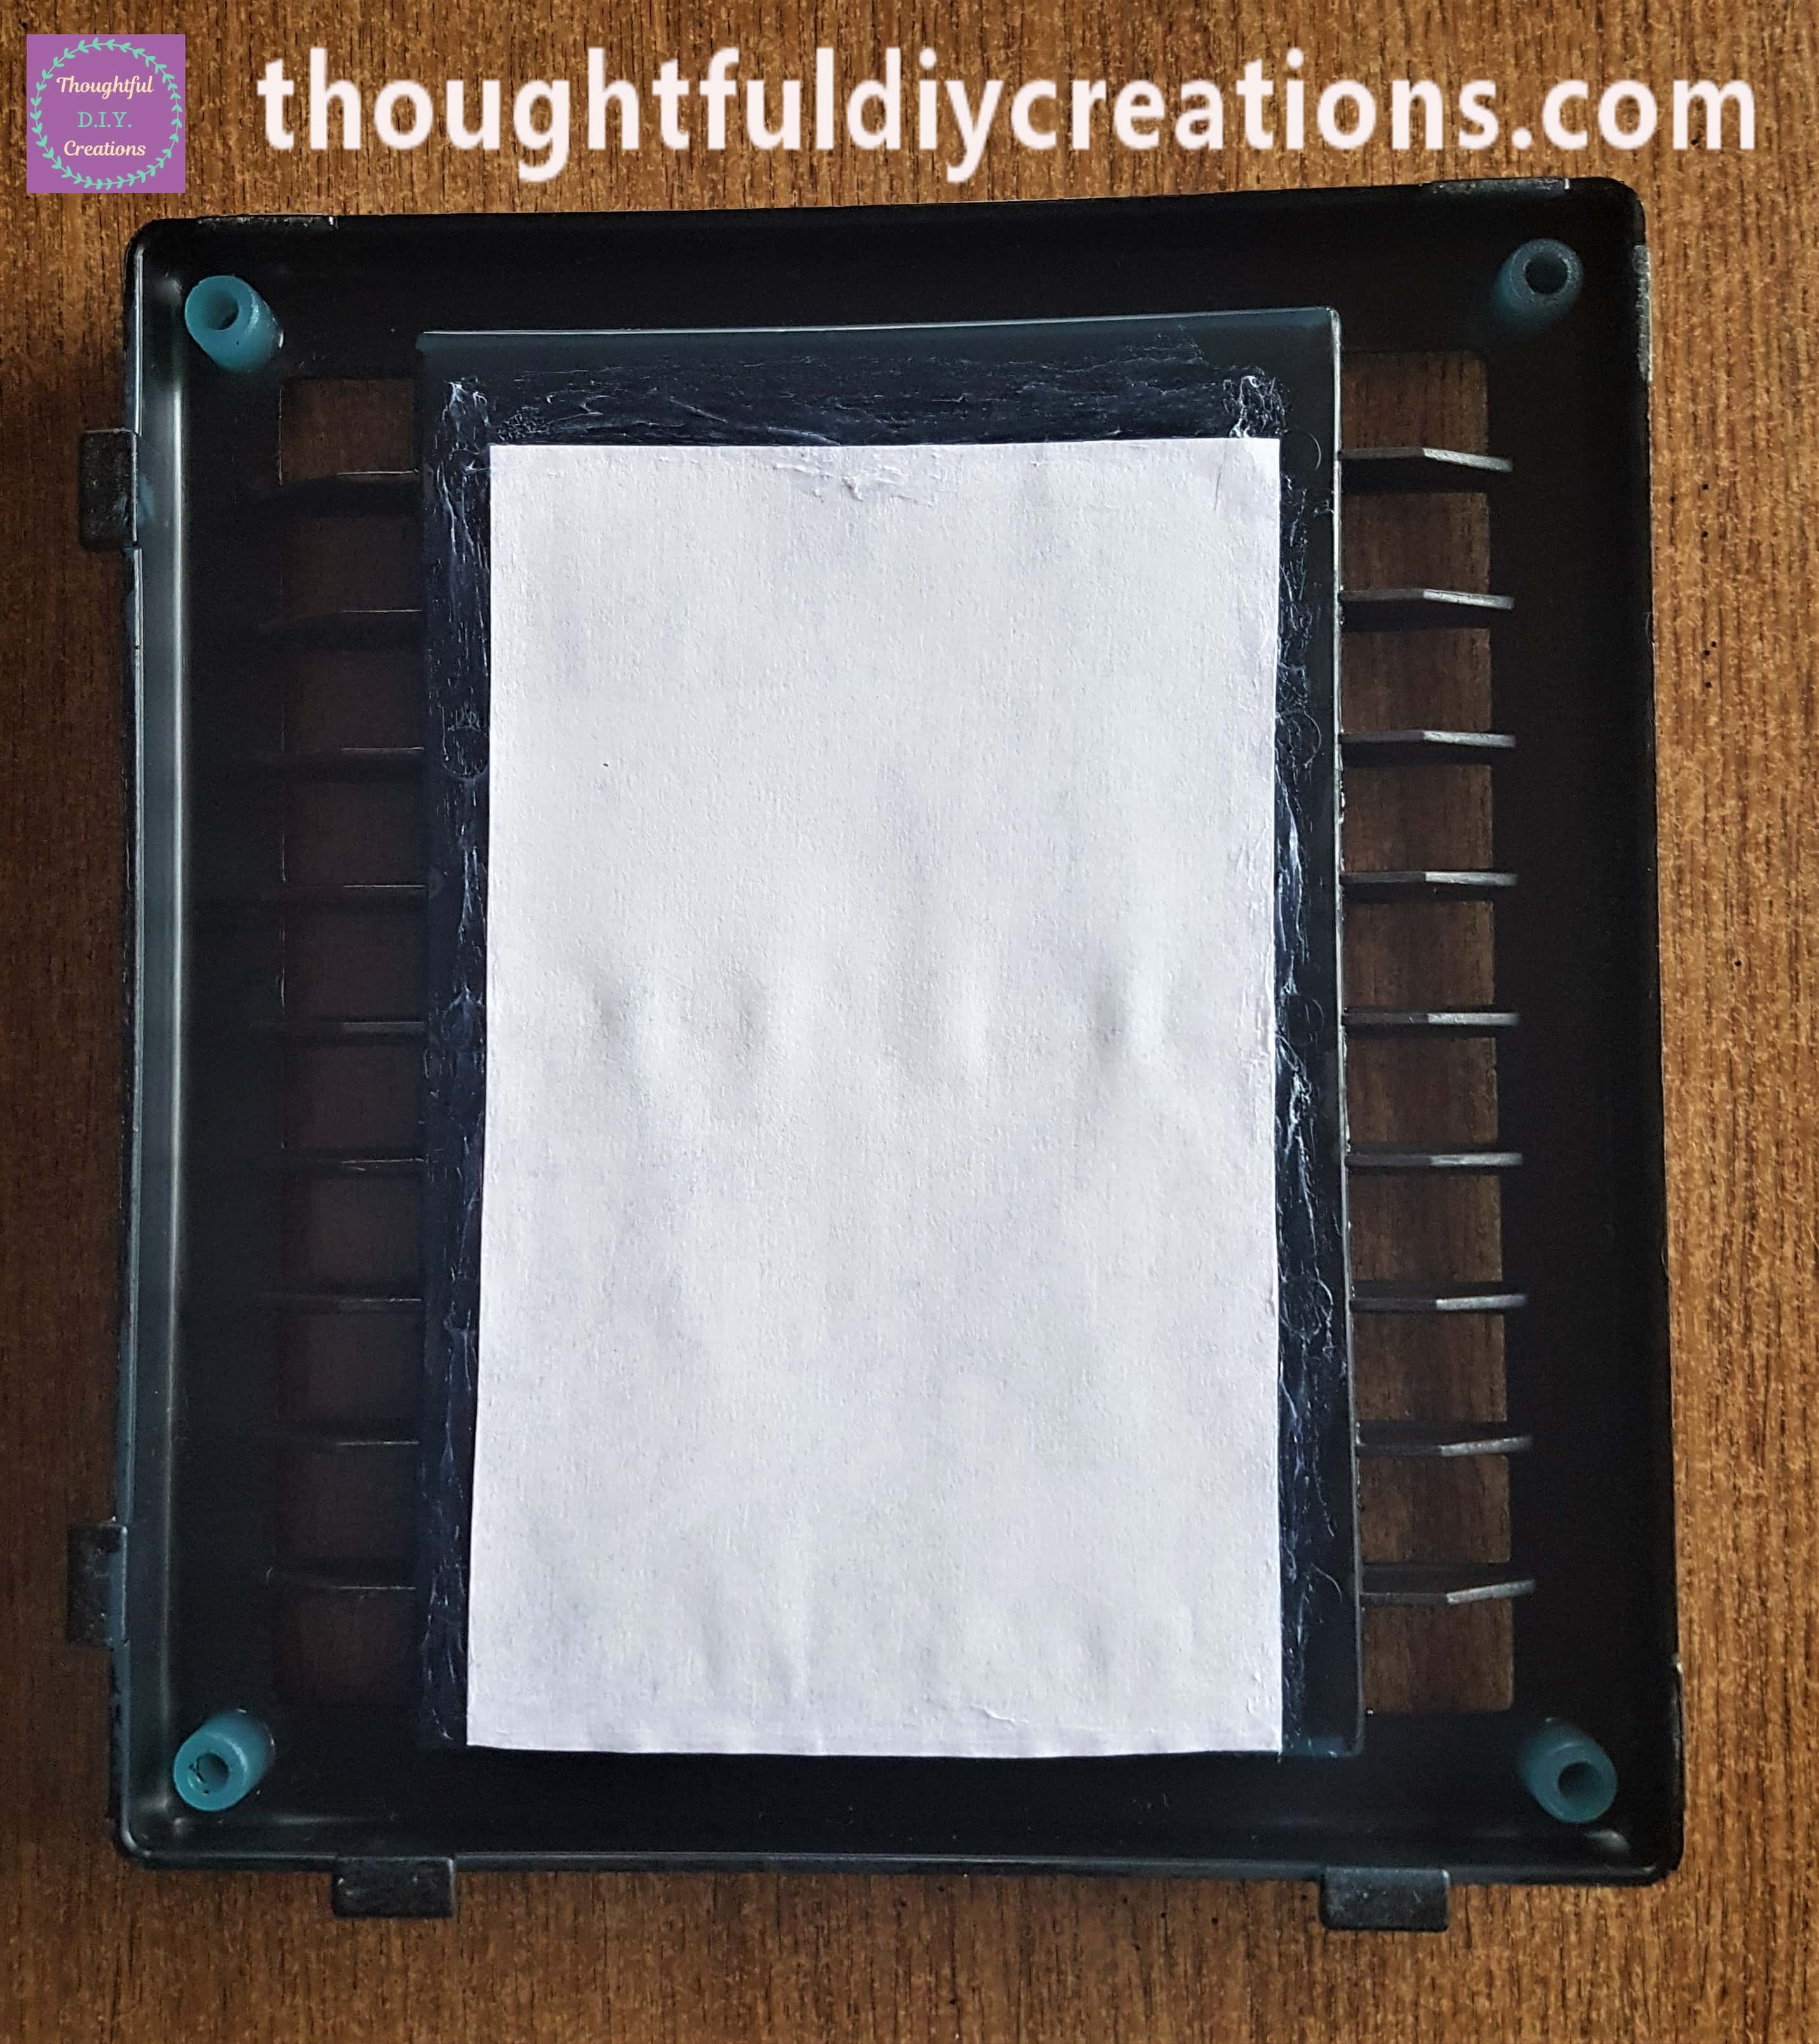
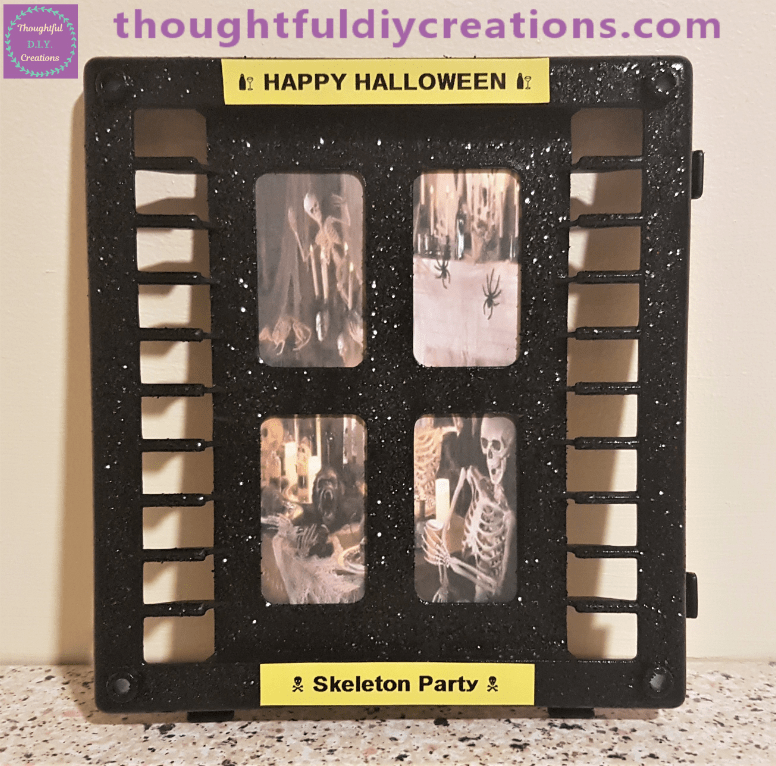
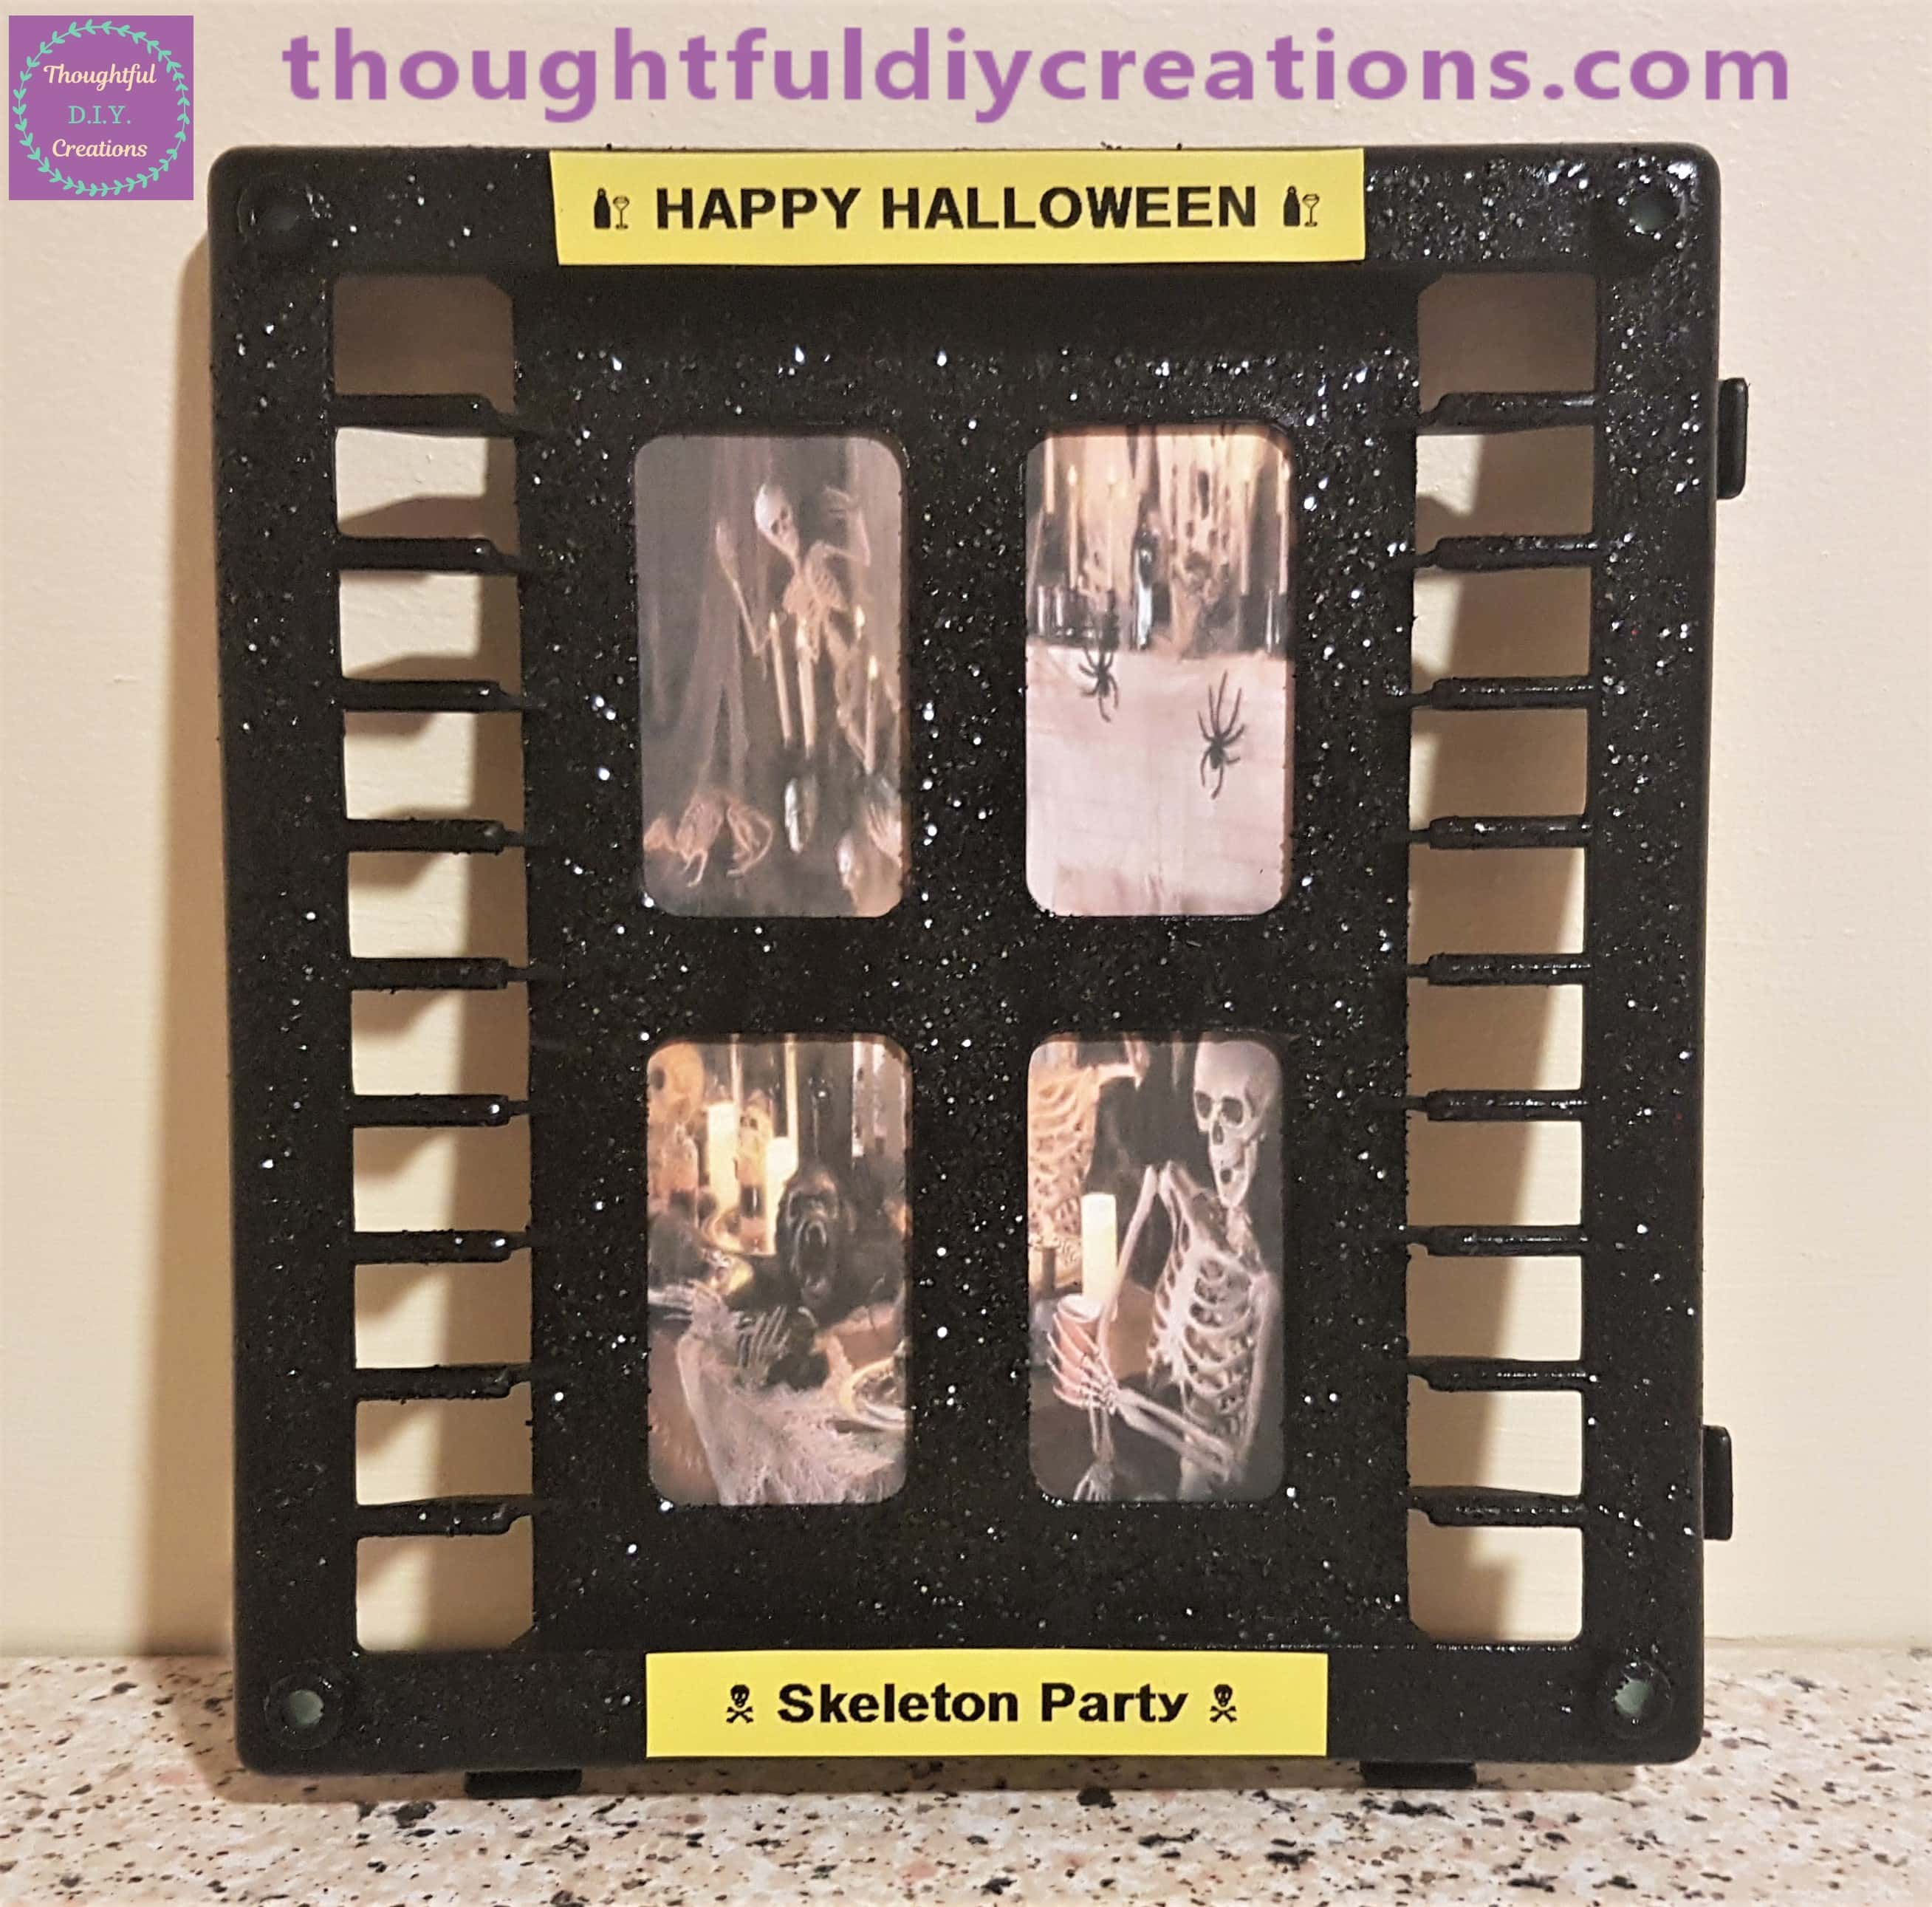
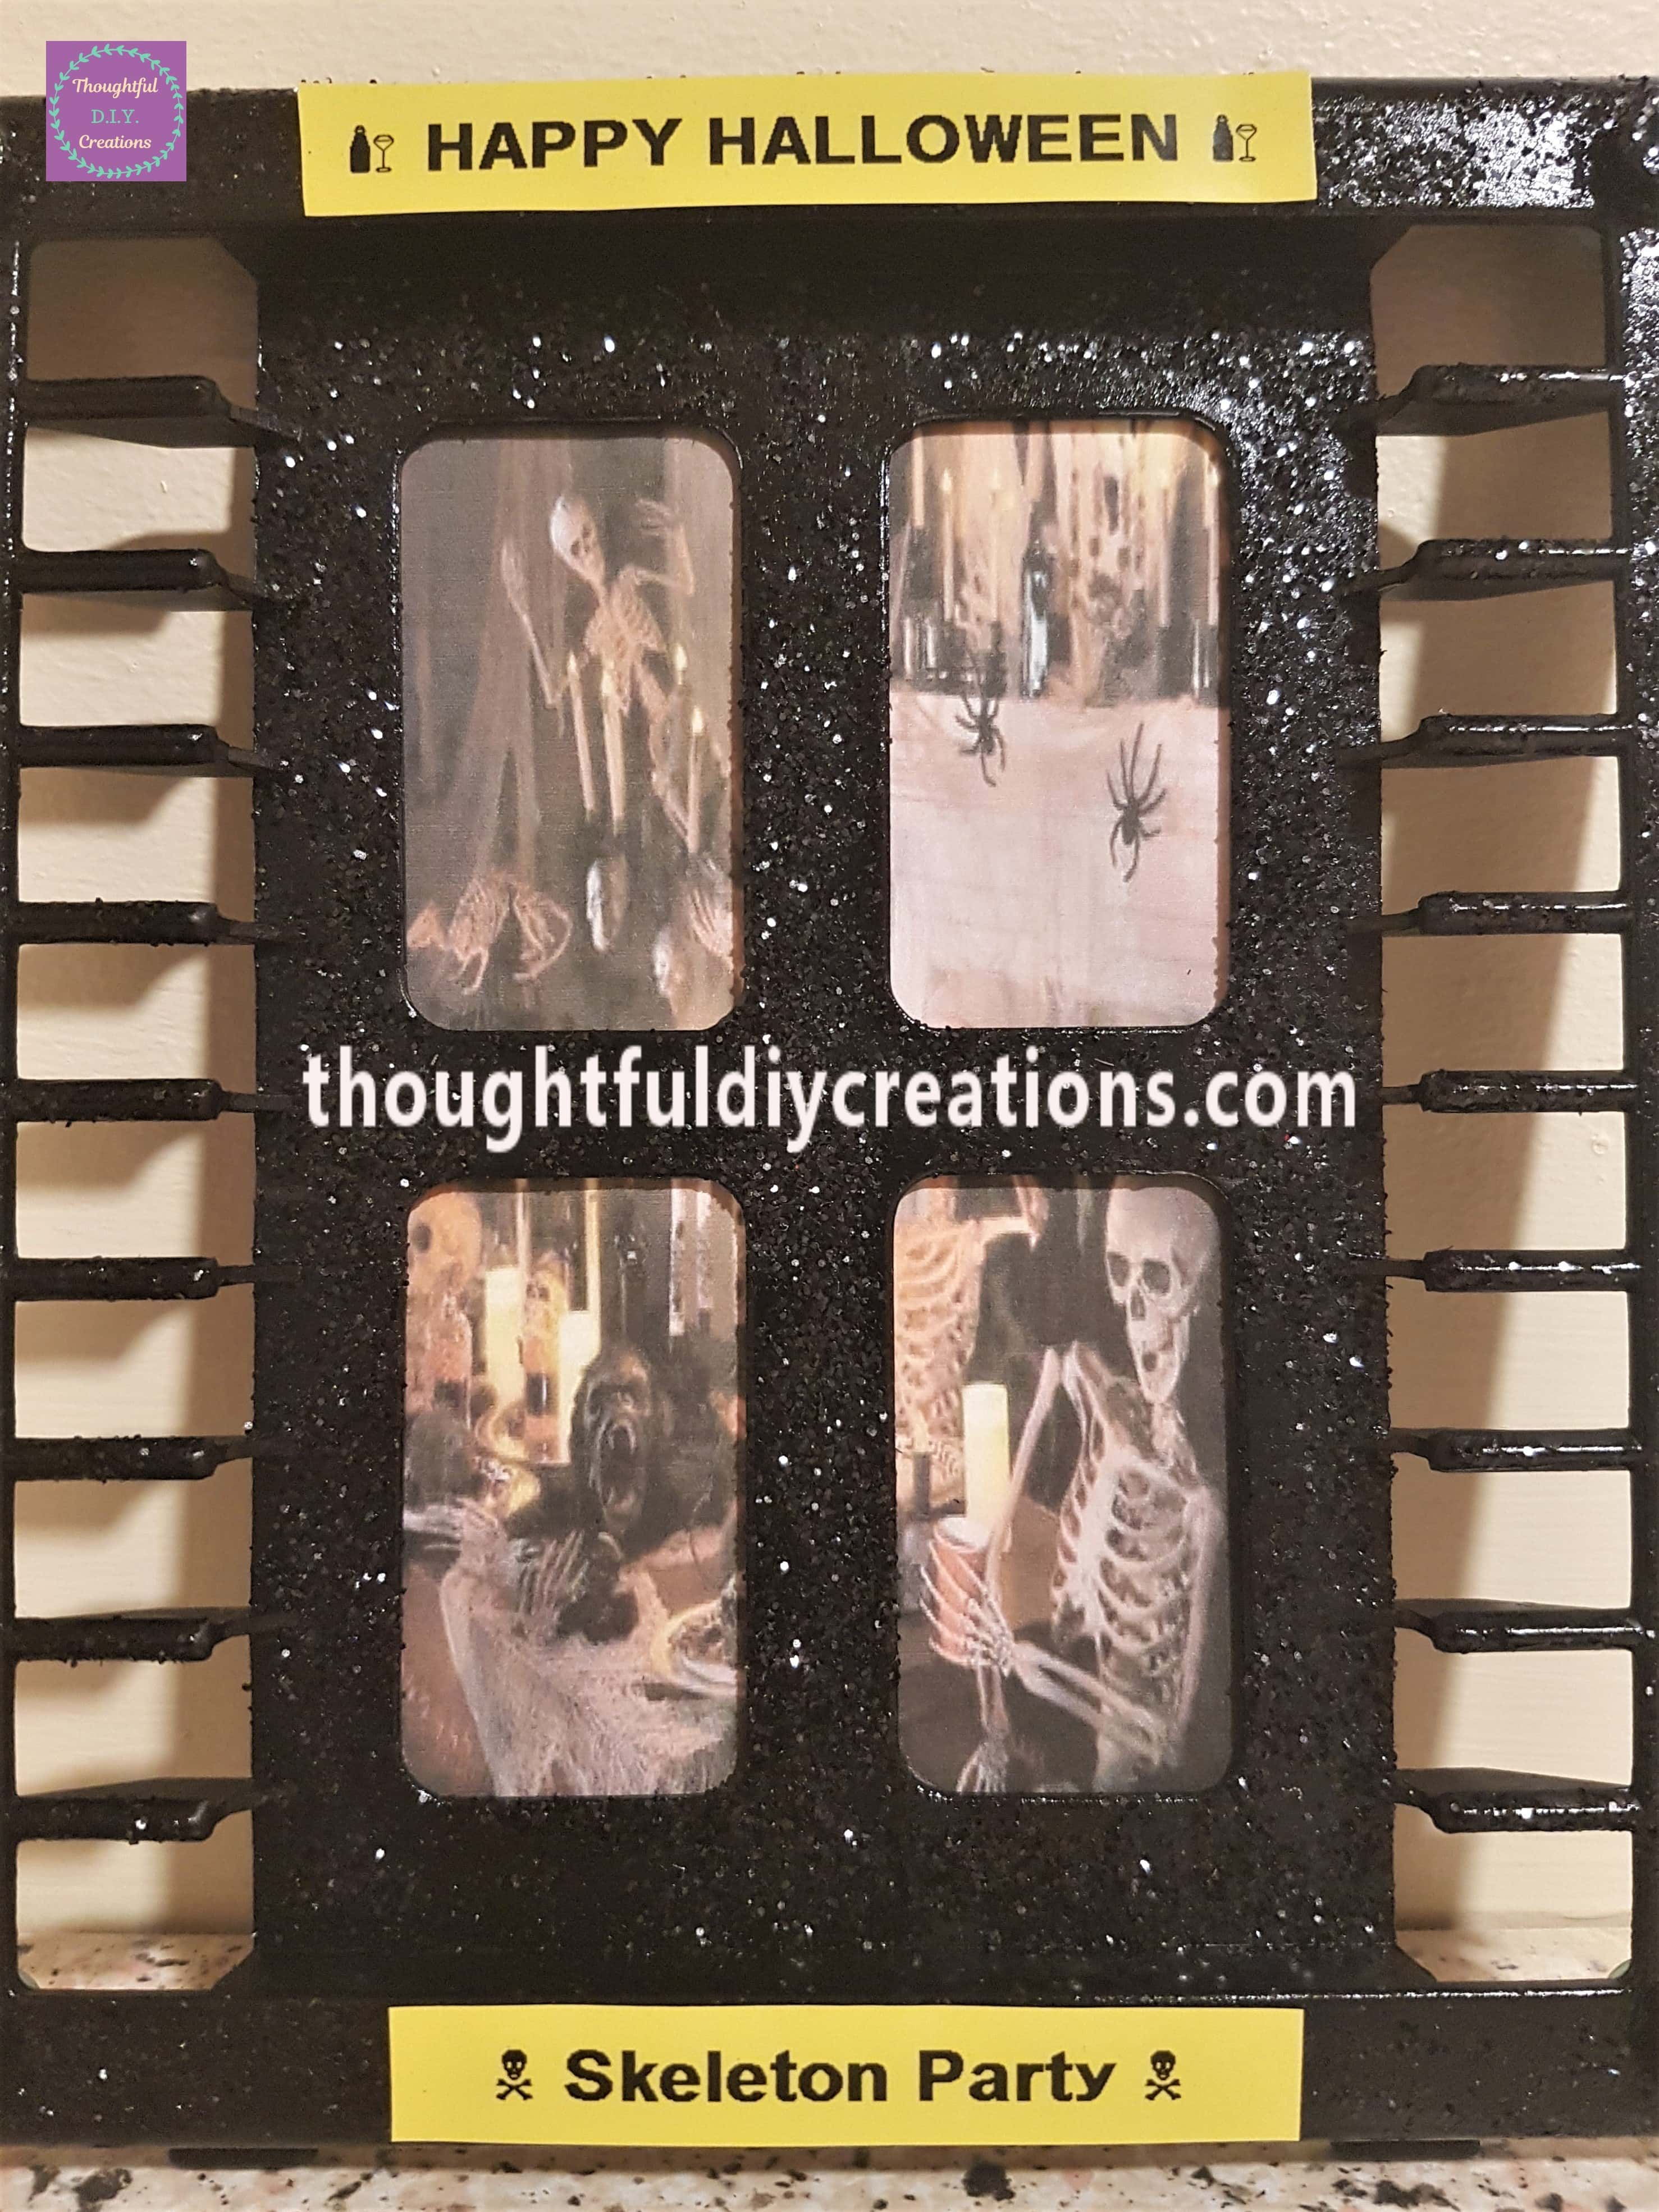
This is the front of the Window with the Picture attached.
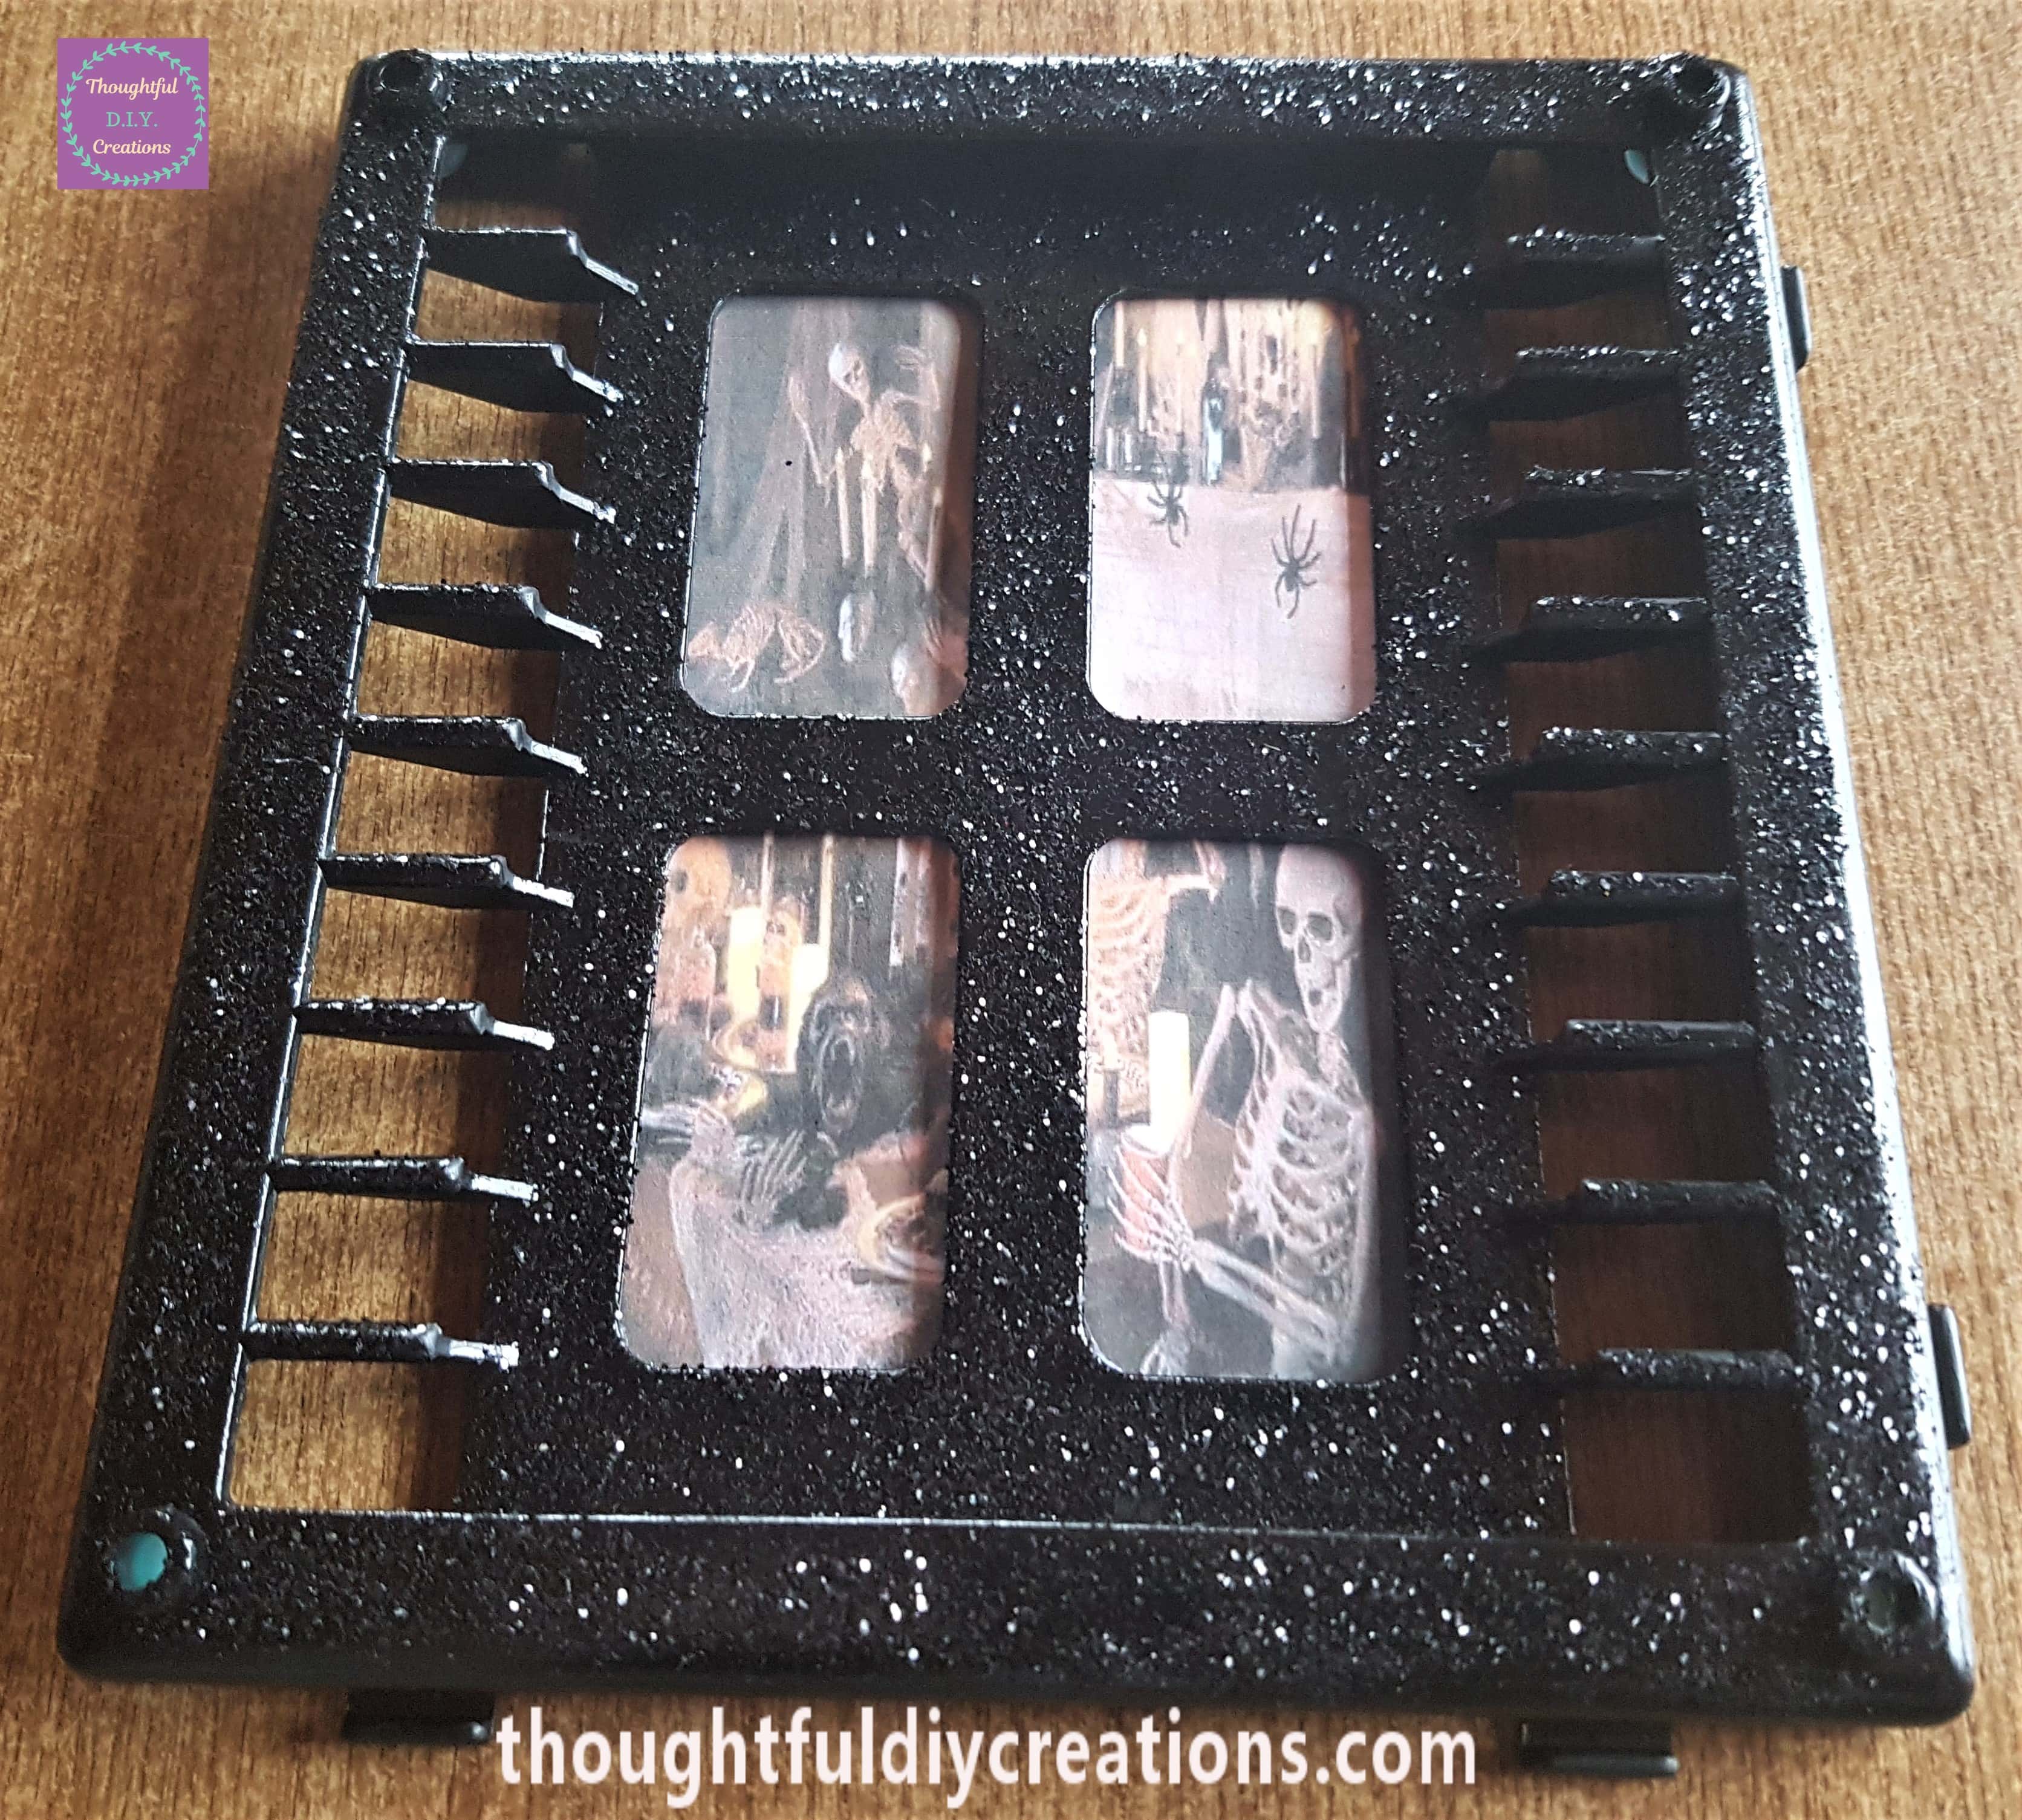
Below is a close-up of the Halloween Window.
Finishing Touches to the Halloween Window
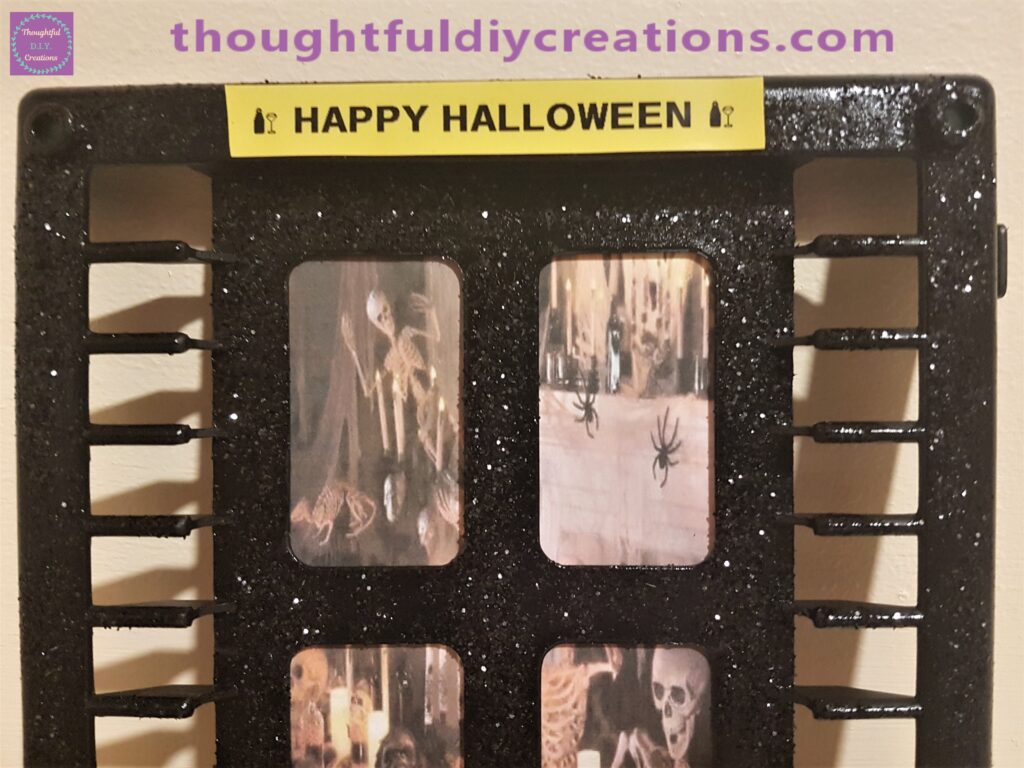
I got my ‘DYMO LetraTag Label Maker’ with Yellow Plastic Tape inserted and wrote ‘HAPPY HALLOWEEN’ in Uppercase Size Large Font. I added a symbol of a Wine Bottle and Glass at each side of the Font. I chose the Font to be ‘Bold’ for it to stand out more. I printed the label, removed the backing and attached the Sticker to the top of the Halloween Window.
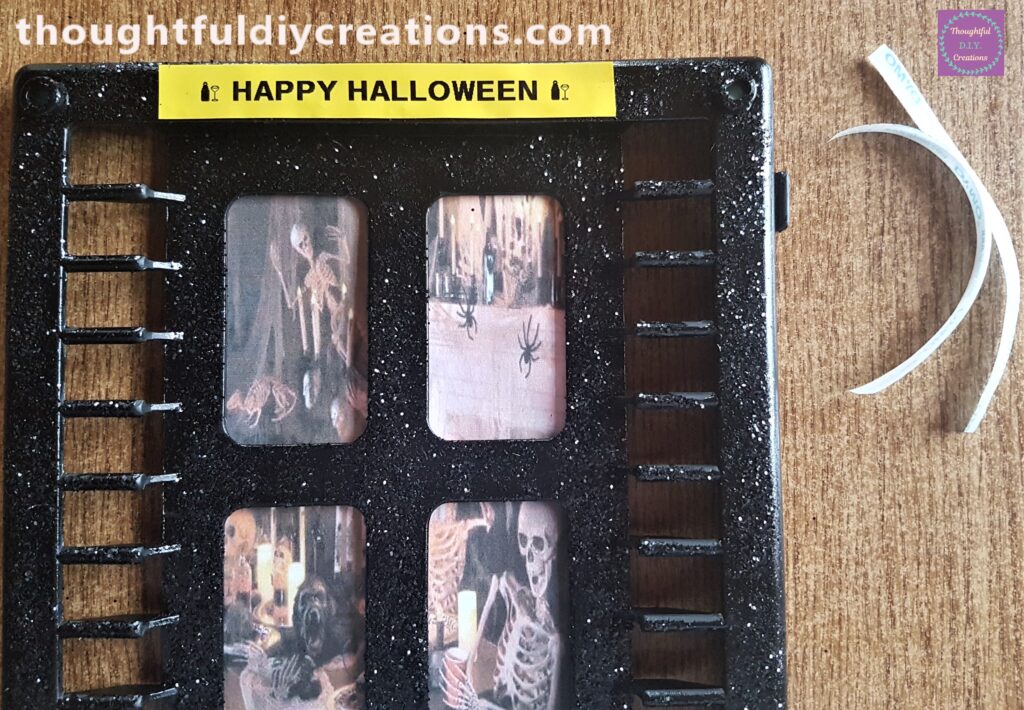
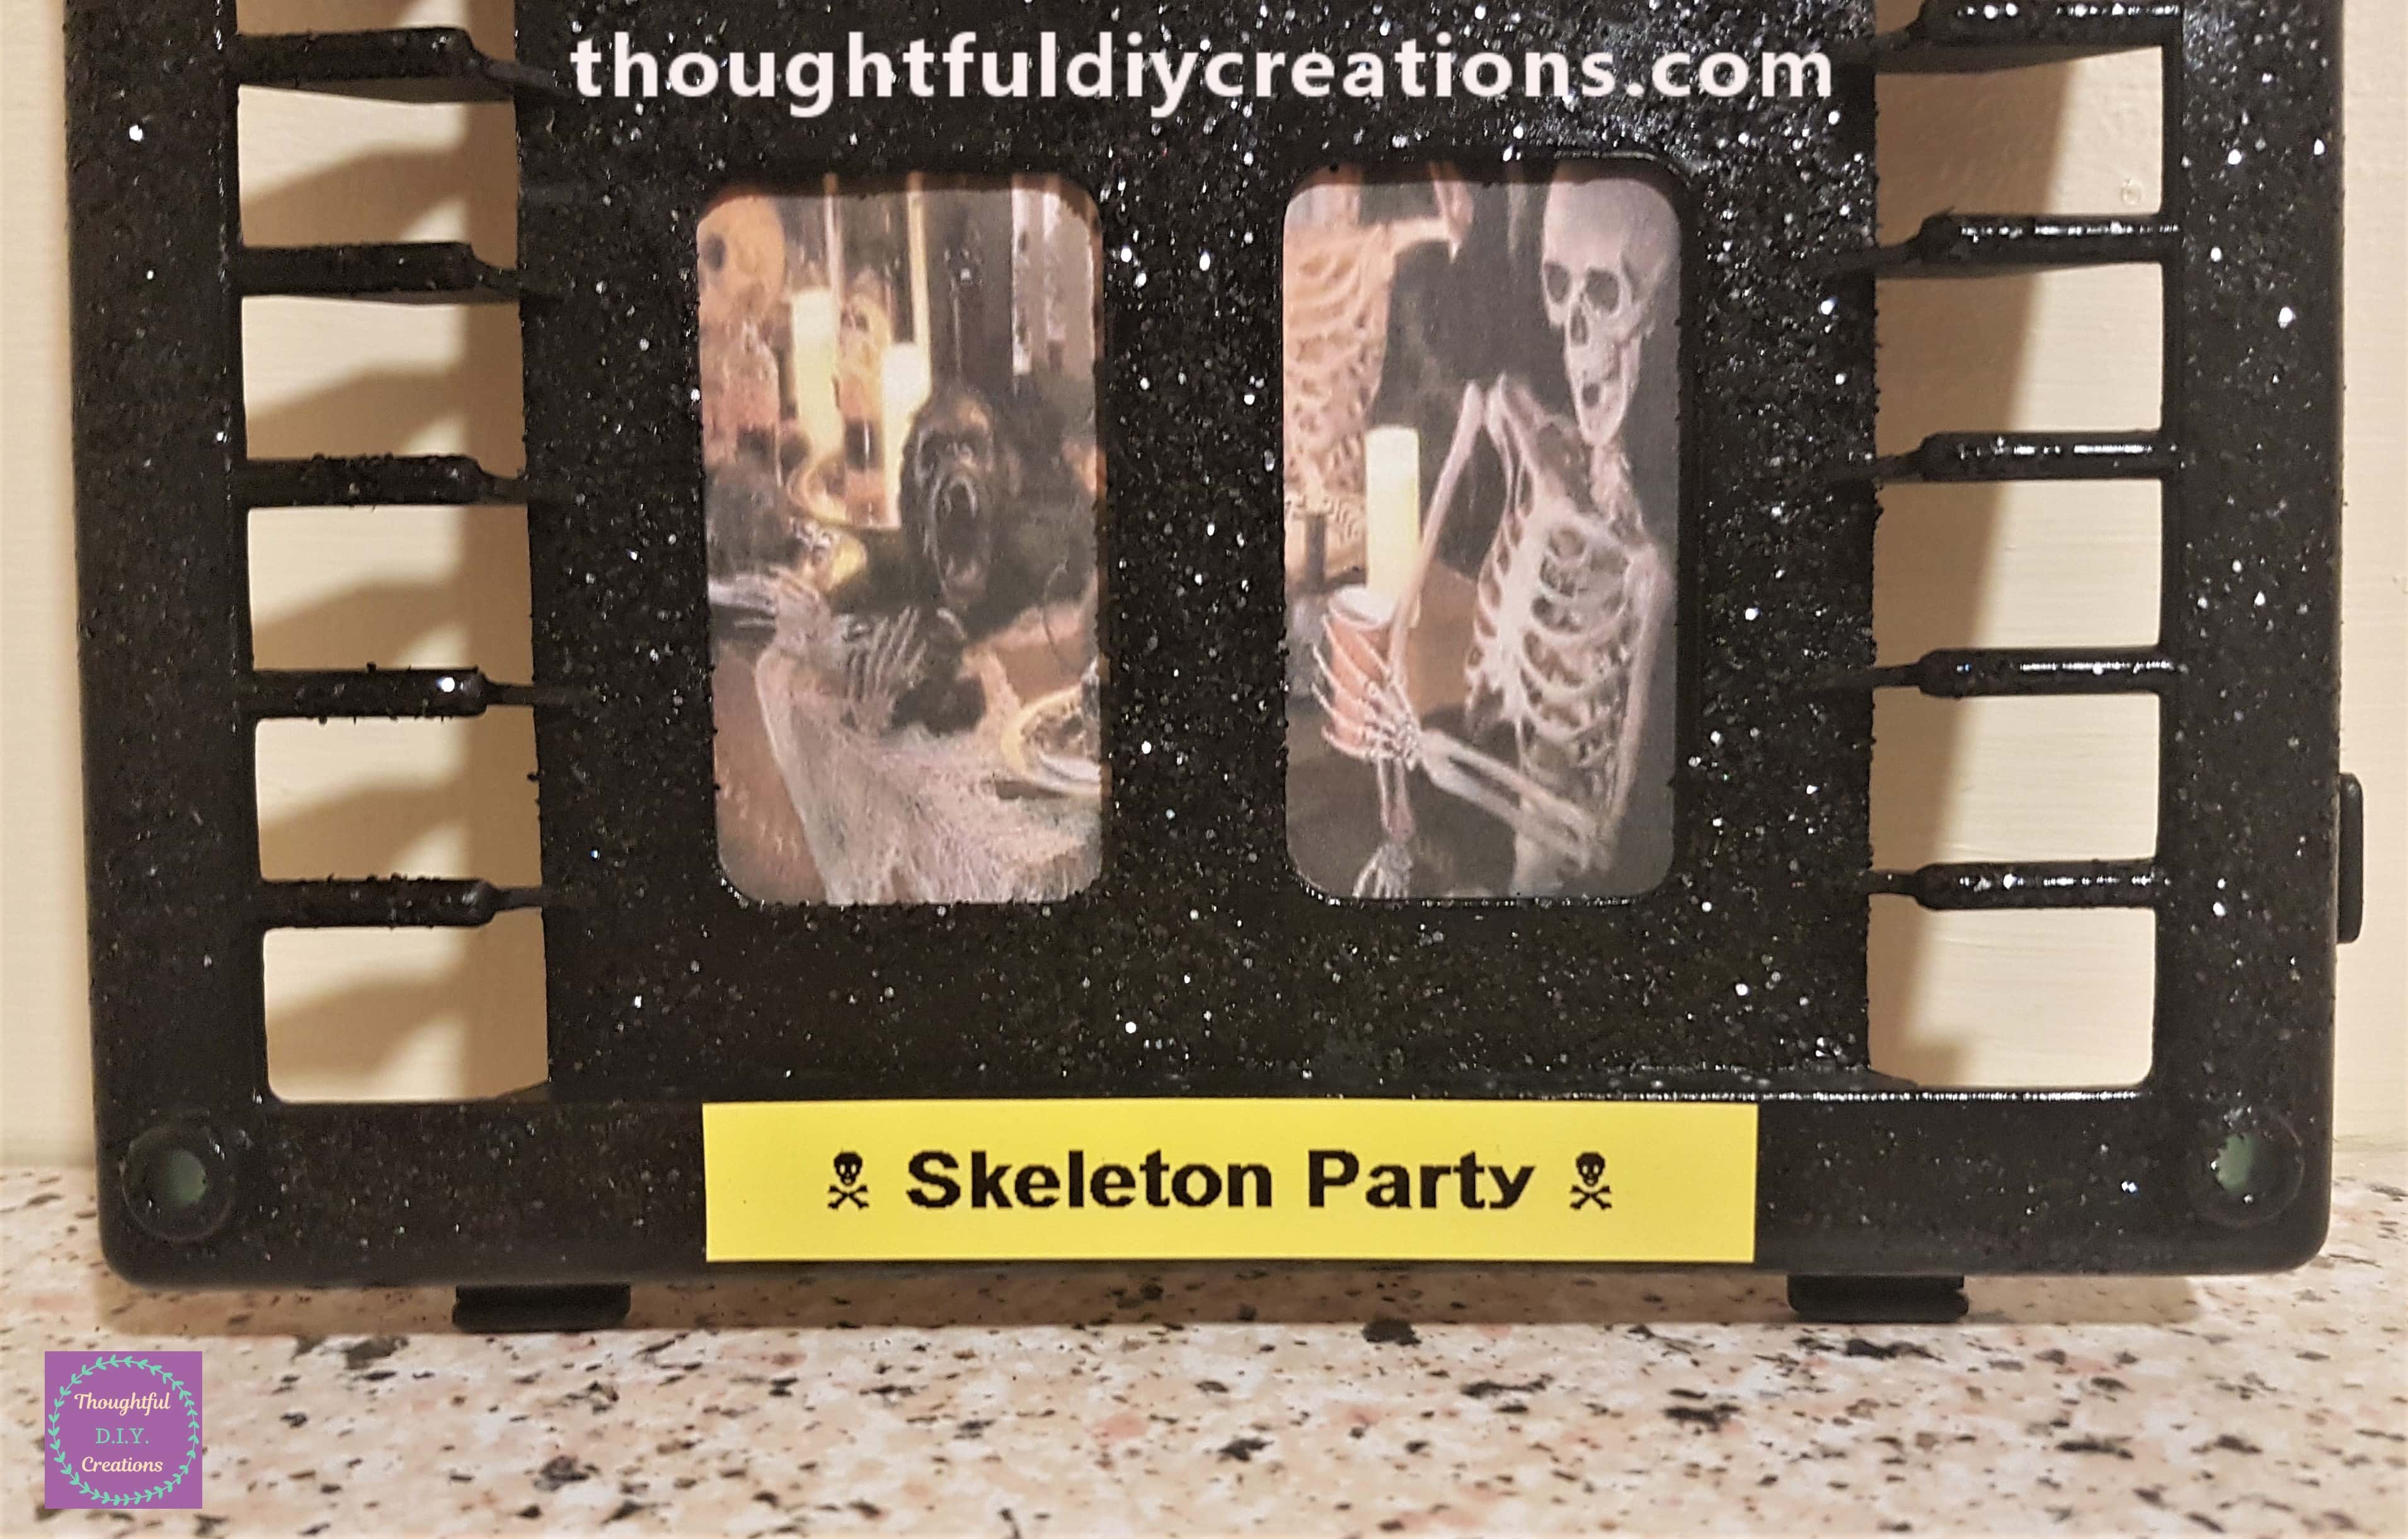
I then wrote ‘Skeleton Party’ using the Label Maker and added the symbol of a ‘Skull and Bones’ each side of the Font. I added the Sticker to the bottom of the Window.
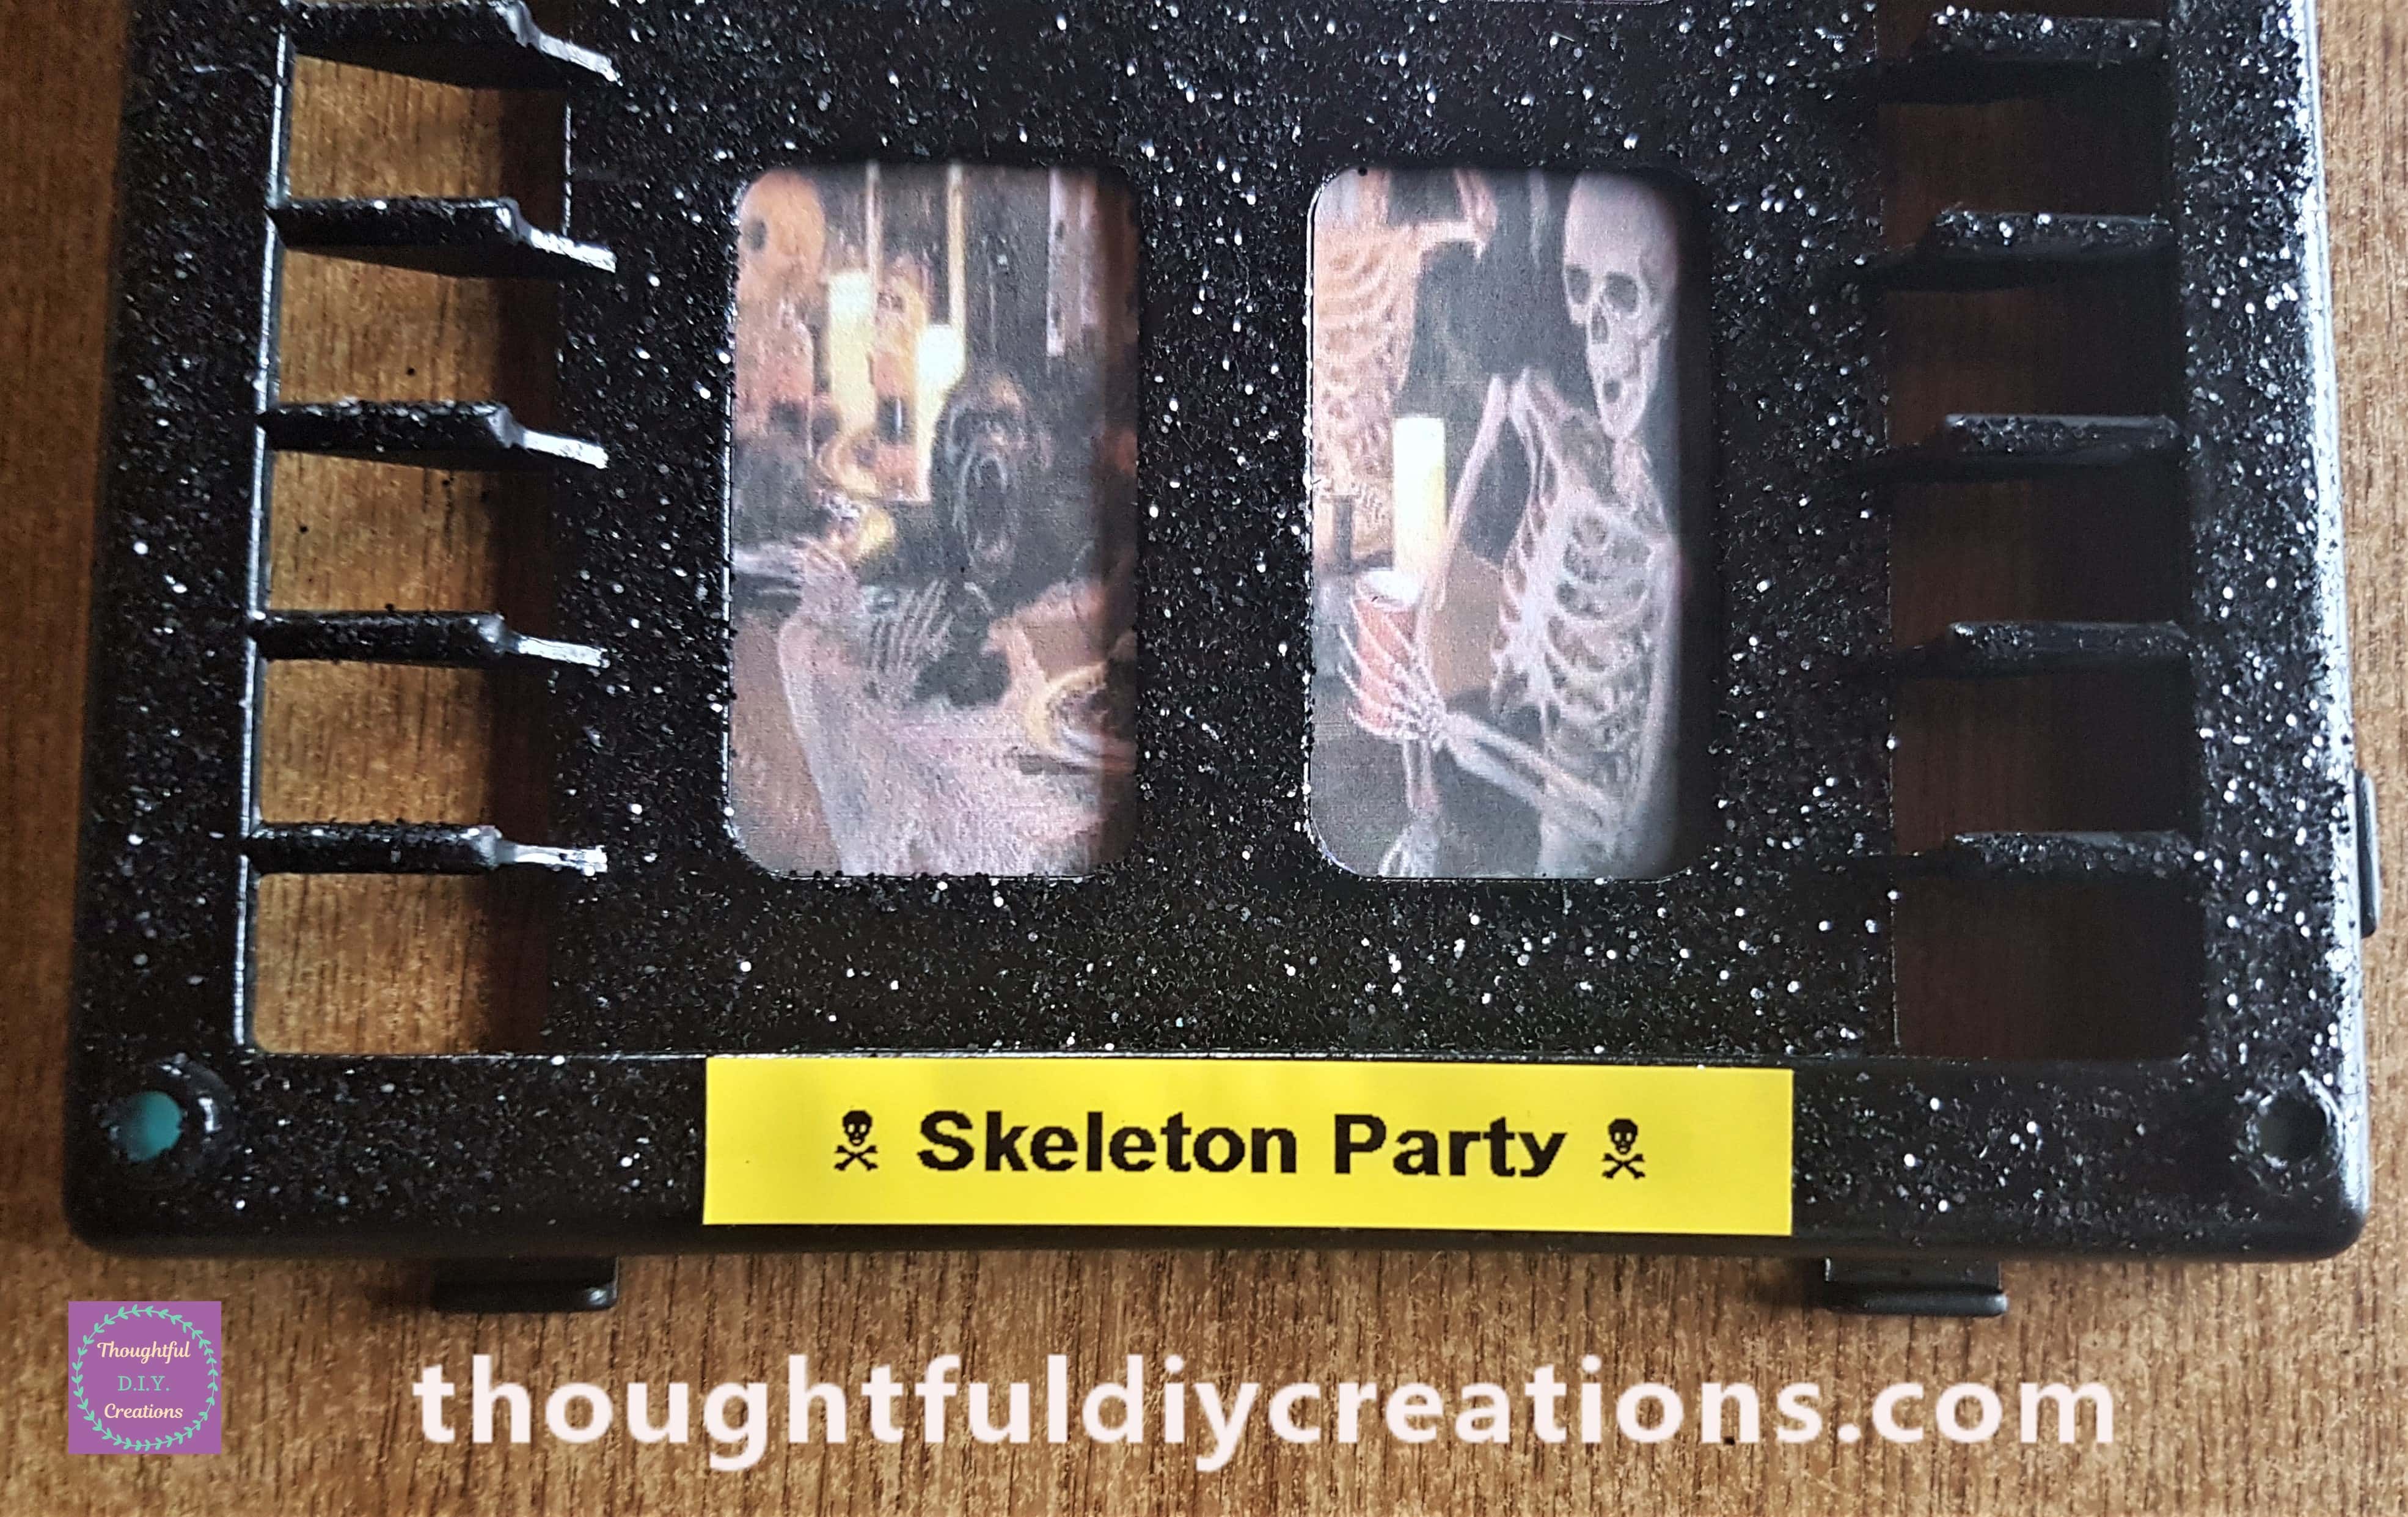
This Completed my Halloween Window Craft.
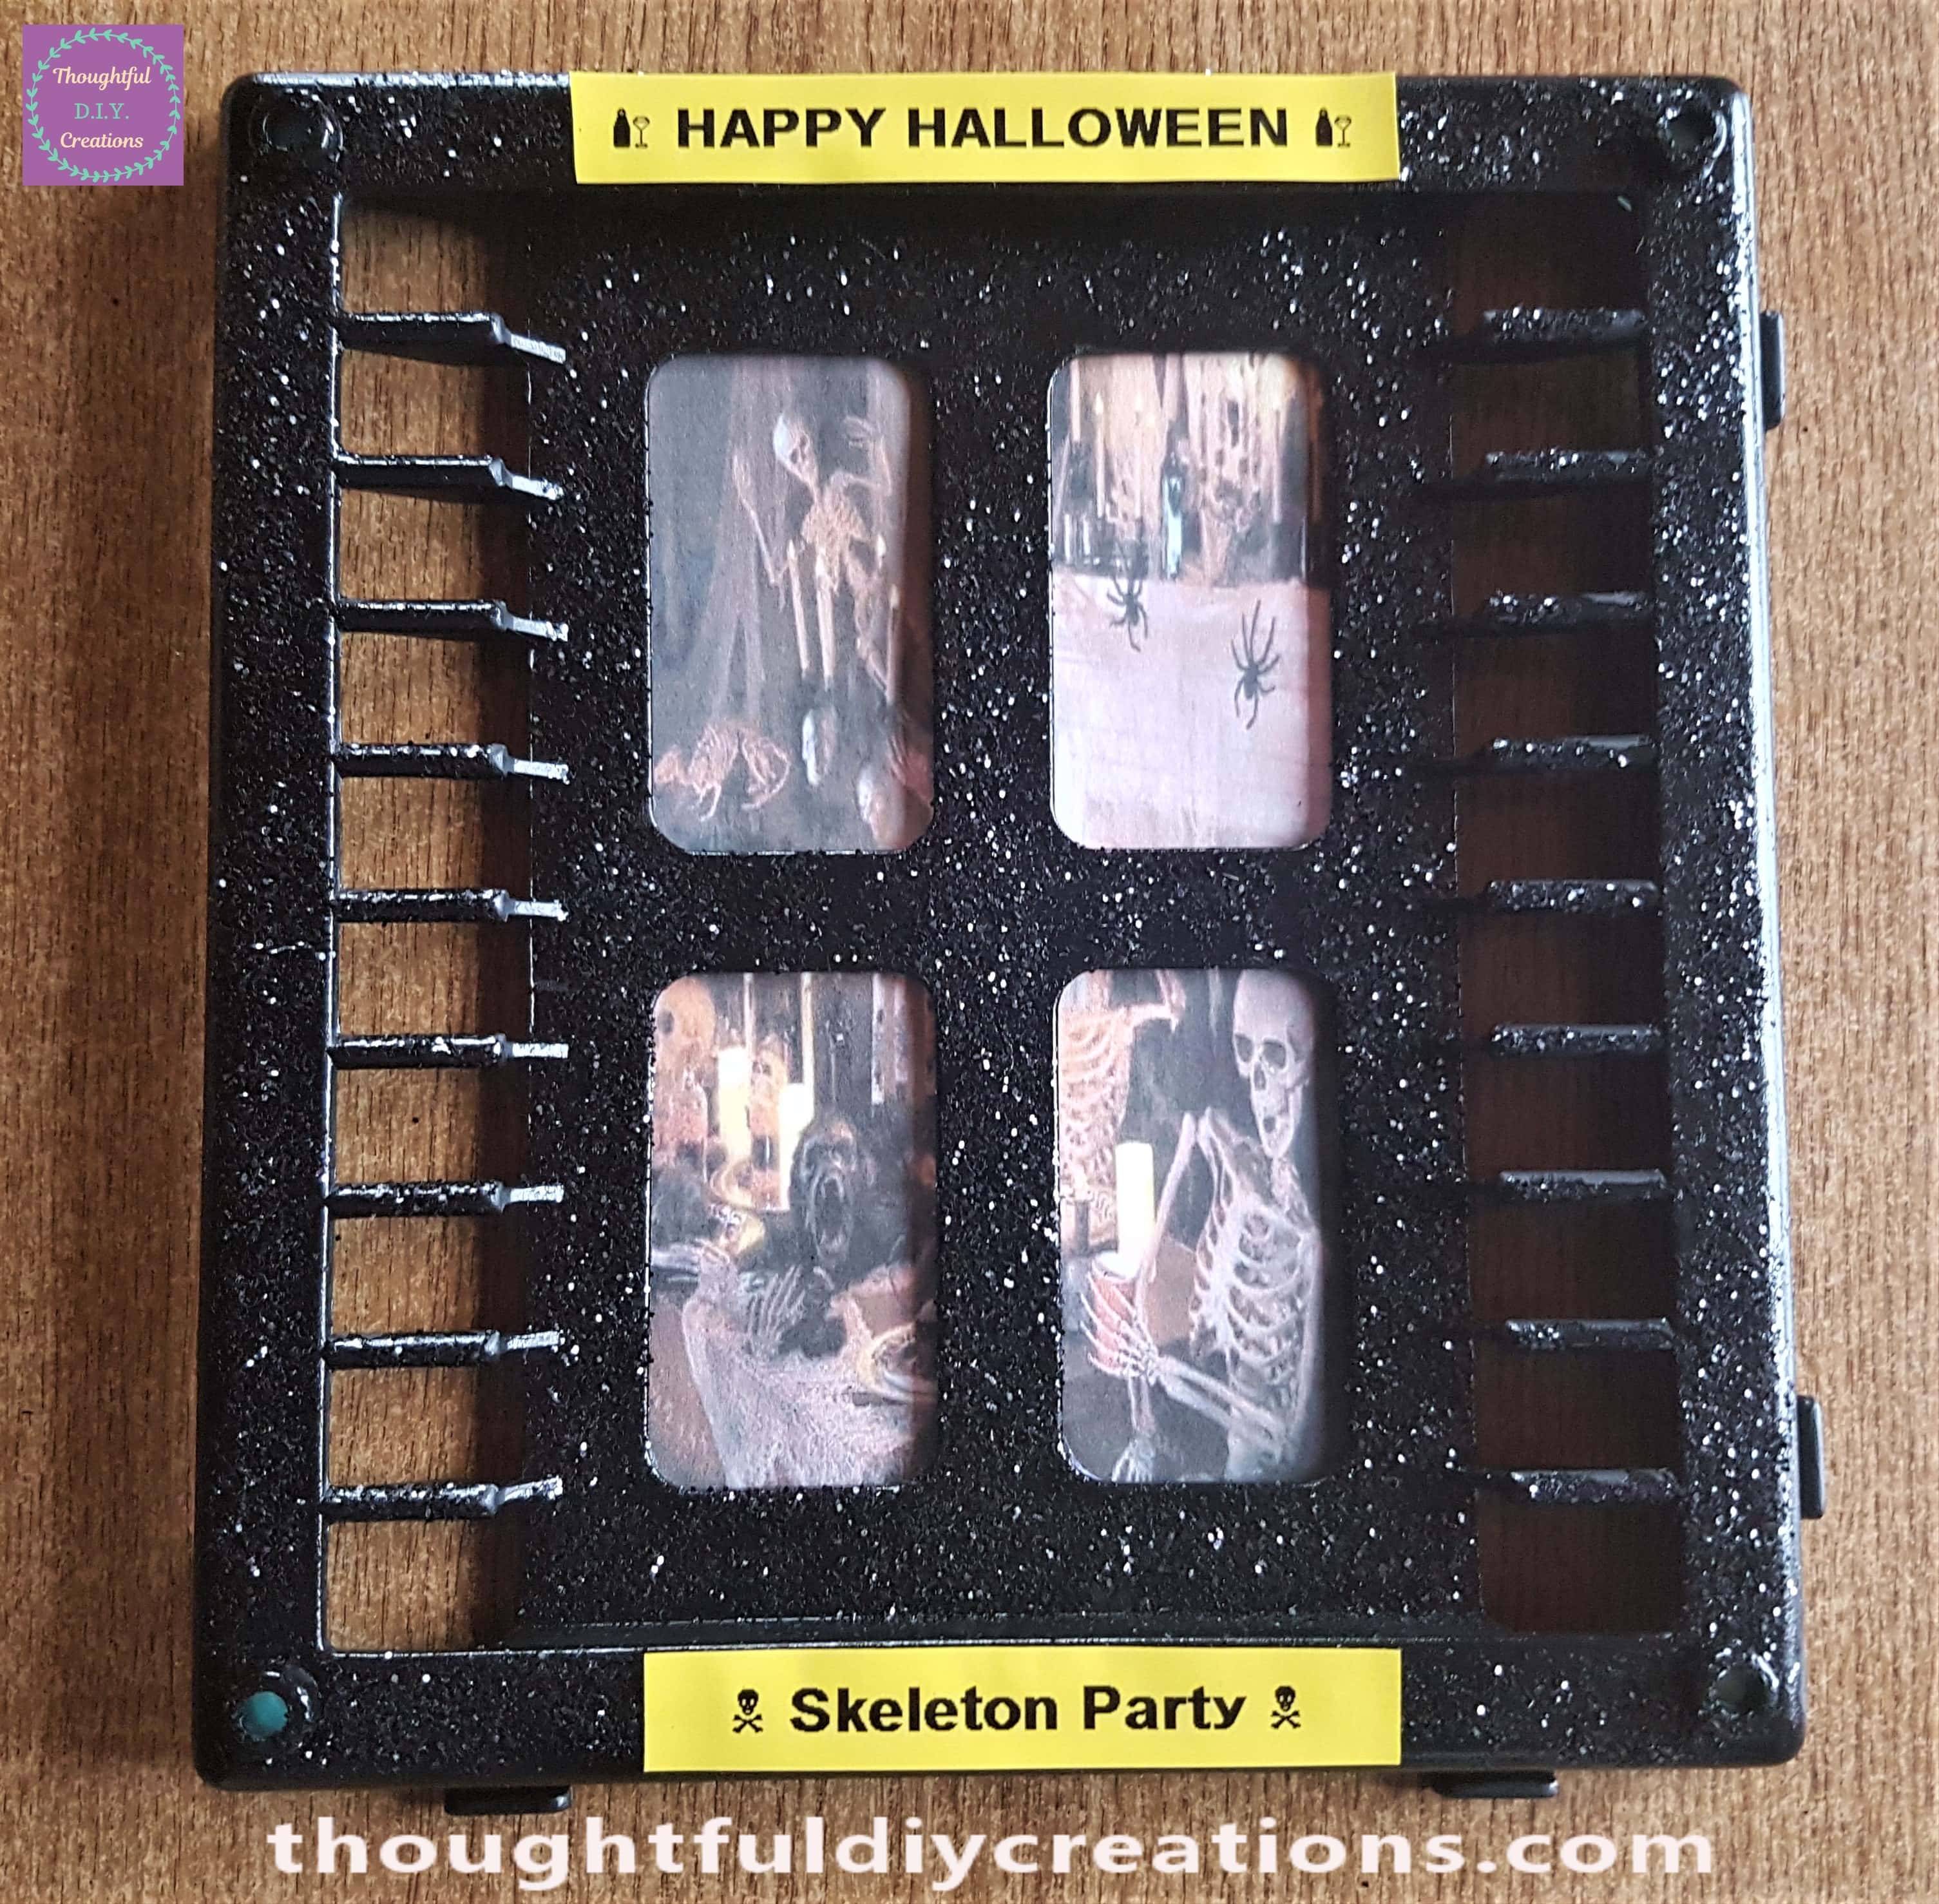
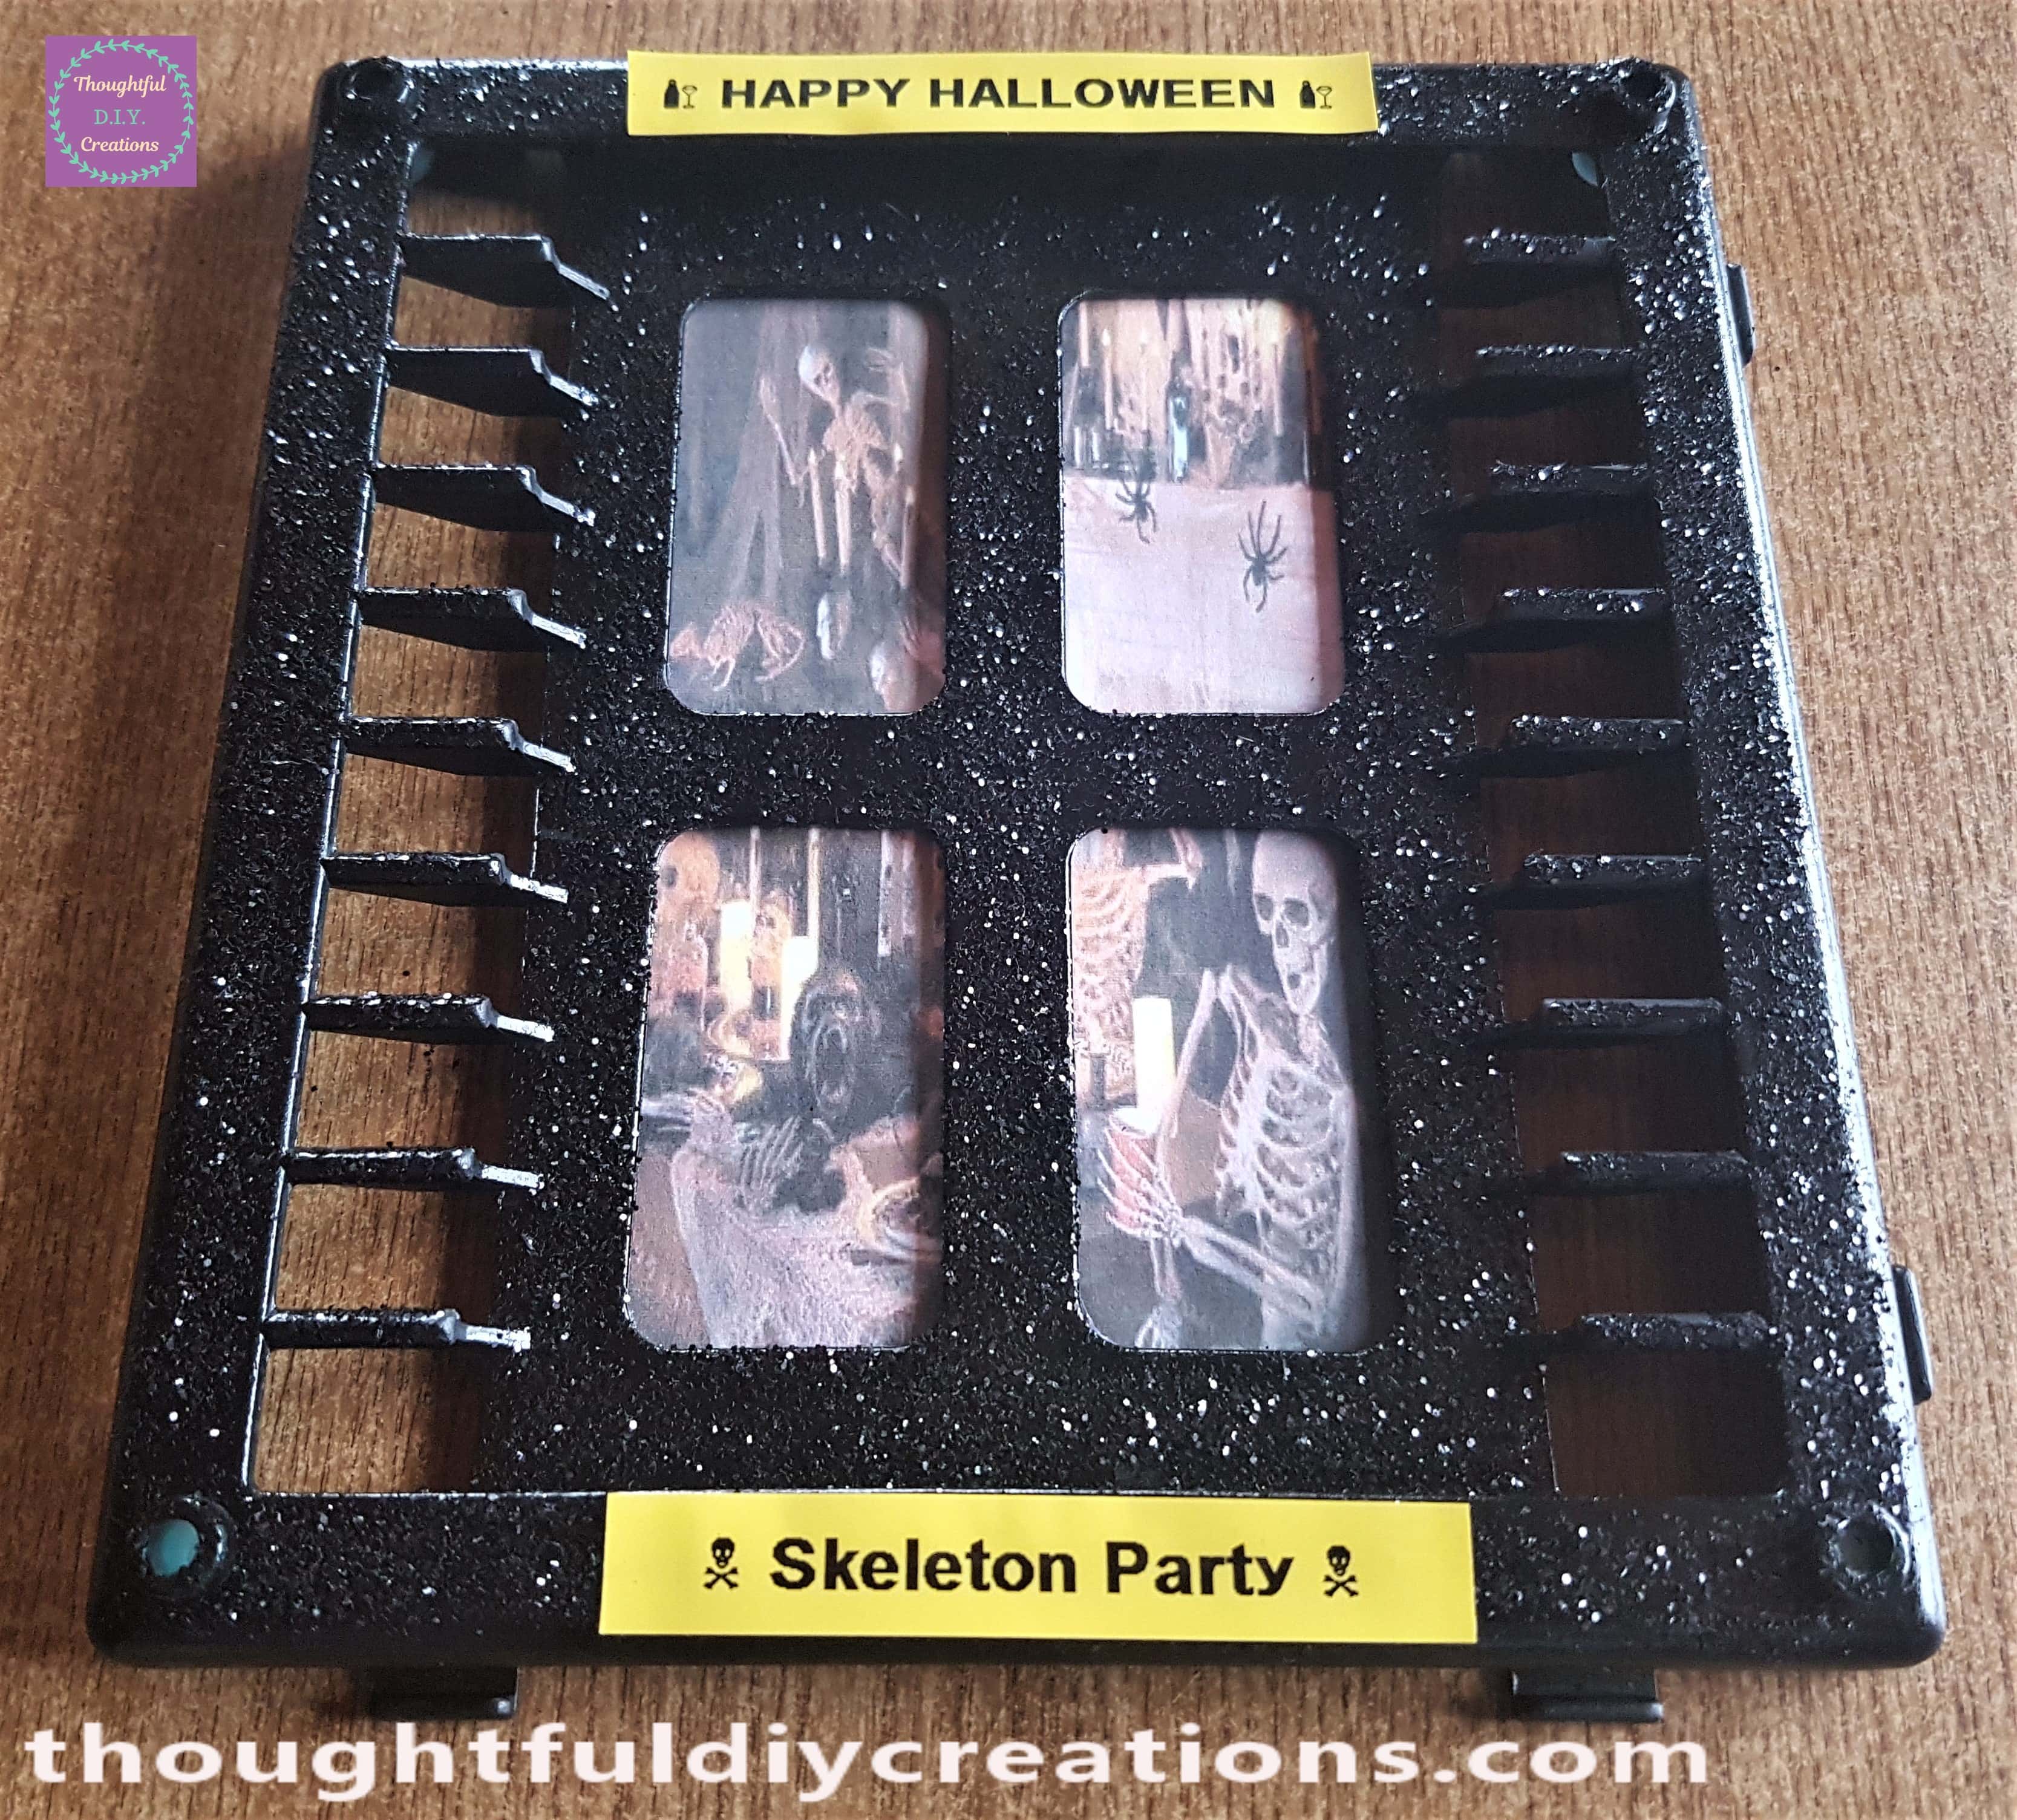
Here it is on Display.
The top part of the Window.
The Lower half of the Halloween Window.
Conclusion
I am really pleased with the outcome of the Halloween Window. I love the Glitter for this Craft, it really complements the black and Halloween theme. I really like the chosen image; I think it’s fun and not too scary so can appeal to all ages.
I love transforming everyday objects into Seasonal or All Year Round Decorative Pieces. It’s amazing what a few supplies can do to change the appearance of household items.
I thought it was the perfect Budget Halloween Craft as everyone is at home and money can be tight. You don’t have to spend money on new decorations or feel pressured to have fancy supplies for each Occasion. If you don’t have an old CD Rack but want to make a similar Craft to mine; you can easily make a Window out of Cardboard and Paint it with Black Paint.
Some of my other Halloween Crafts might also be helpful. Halloween Stones, Halloween Jars, Halloween Sign.
You can have a Fun Day Crafting with your Children making basic decorations. Toilet Roll Holders can be Painted or covered with Paper to make Ghosts, Vampires, Witches etc. You could make a Witch’s / Skeleton Door out of Lollipop Sticks. The only limit is your imagination.
If you have any questions or anything to add on this Topic, just fill out the Comment Box below this Blog Post and I’ll reply as soon as I can.
Thank you so much for taking the time to Read my Blog.
Always Grateful,
T.D.C.
xoxox

