Hot Air Balloon Craft Tutorial
Hello my Creative Friends,
I hope you are all well. In Today’s Tutorial I will show you how I made a Hot Air Balloon. It is a cute, fun craft and it can be customised to your own colour scheme and preferences. I have ideas at the end of this Blog Post on how this Tutorial can be completely changed and used for a variety of Ages and Occasions as well as for Home Decor.
Hot Air Balloon Template
I looked up ‘Free Hot Air Balloon Template’ on Google Images. I found one I liked and saved it to my Computer. I found the saved image and right-clicked on it and Clicked Print. I Printed it on the ‘Full page photo’ option, and unticked the Box that says ‘Fit picture to frame’ to ensure the full Image would be seen. I printed it on normal Printer Paper.
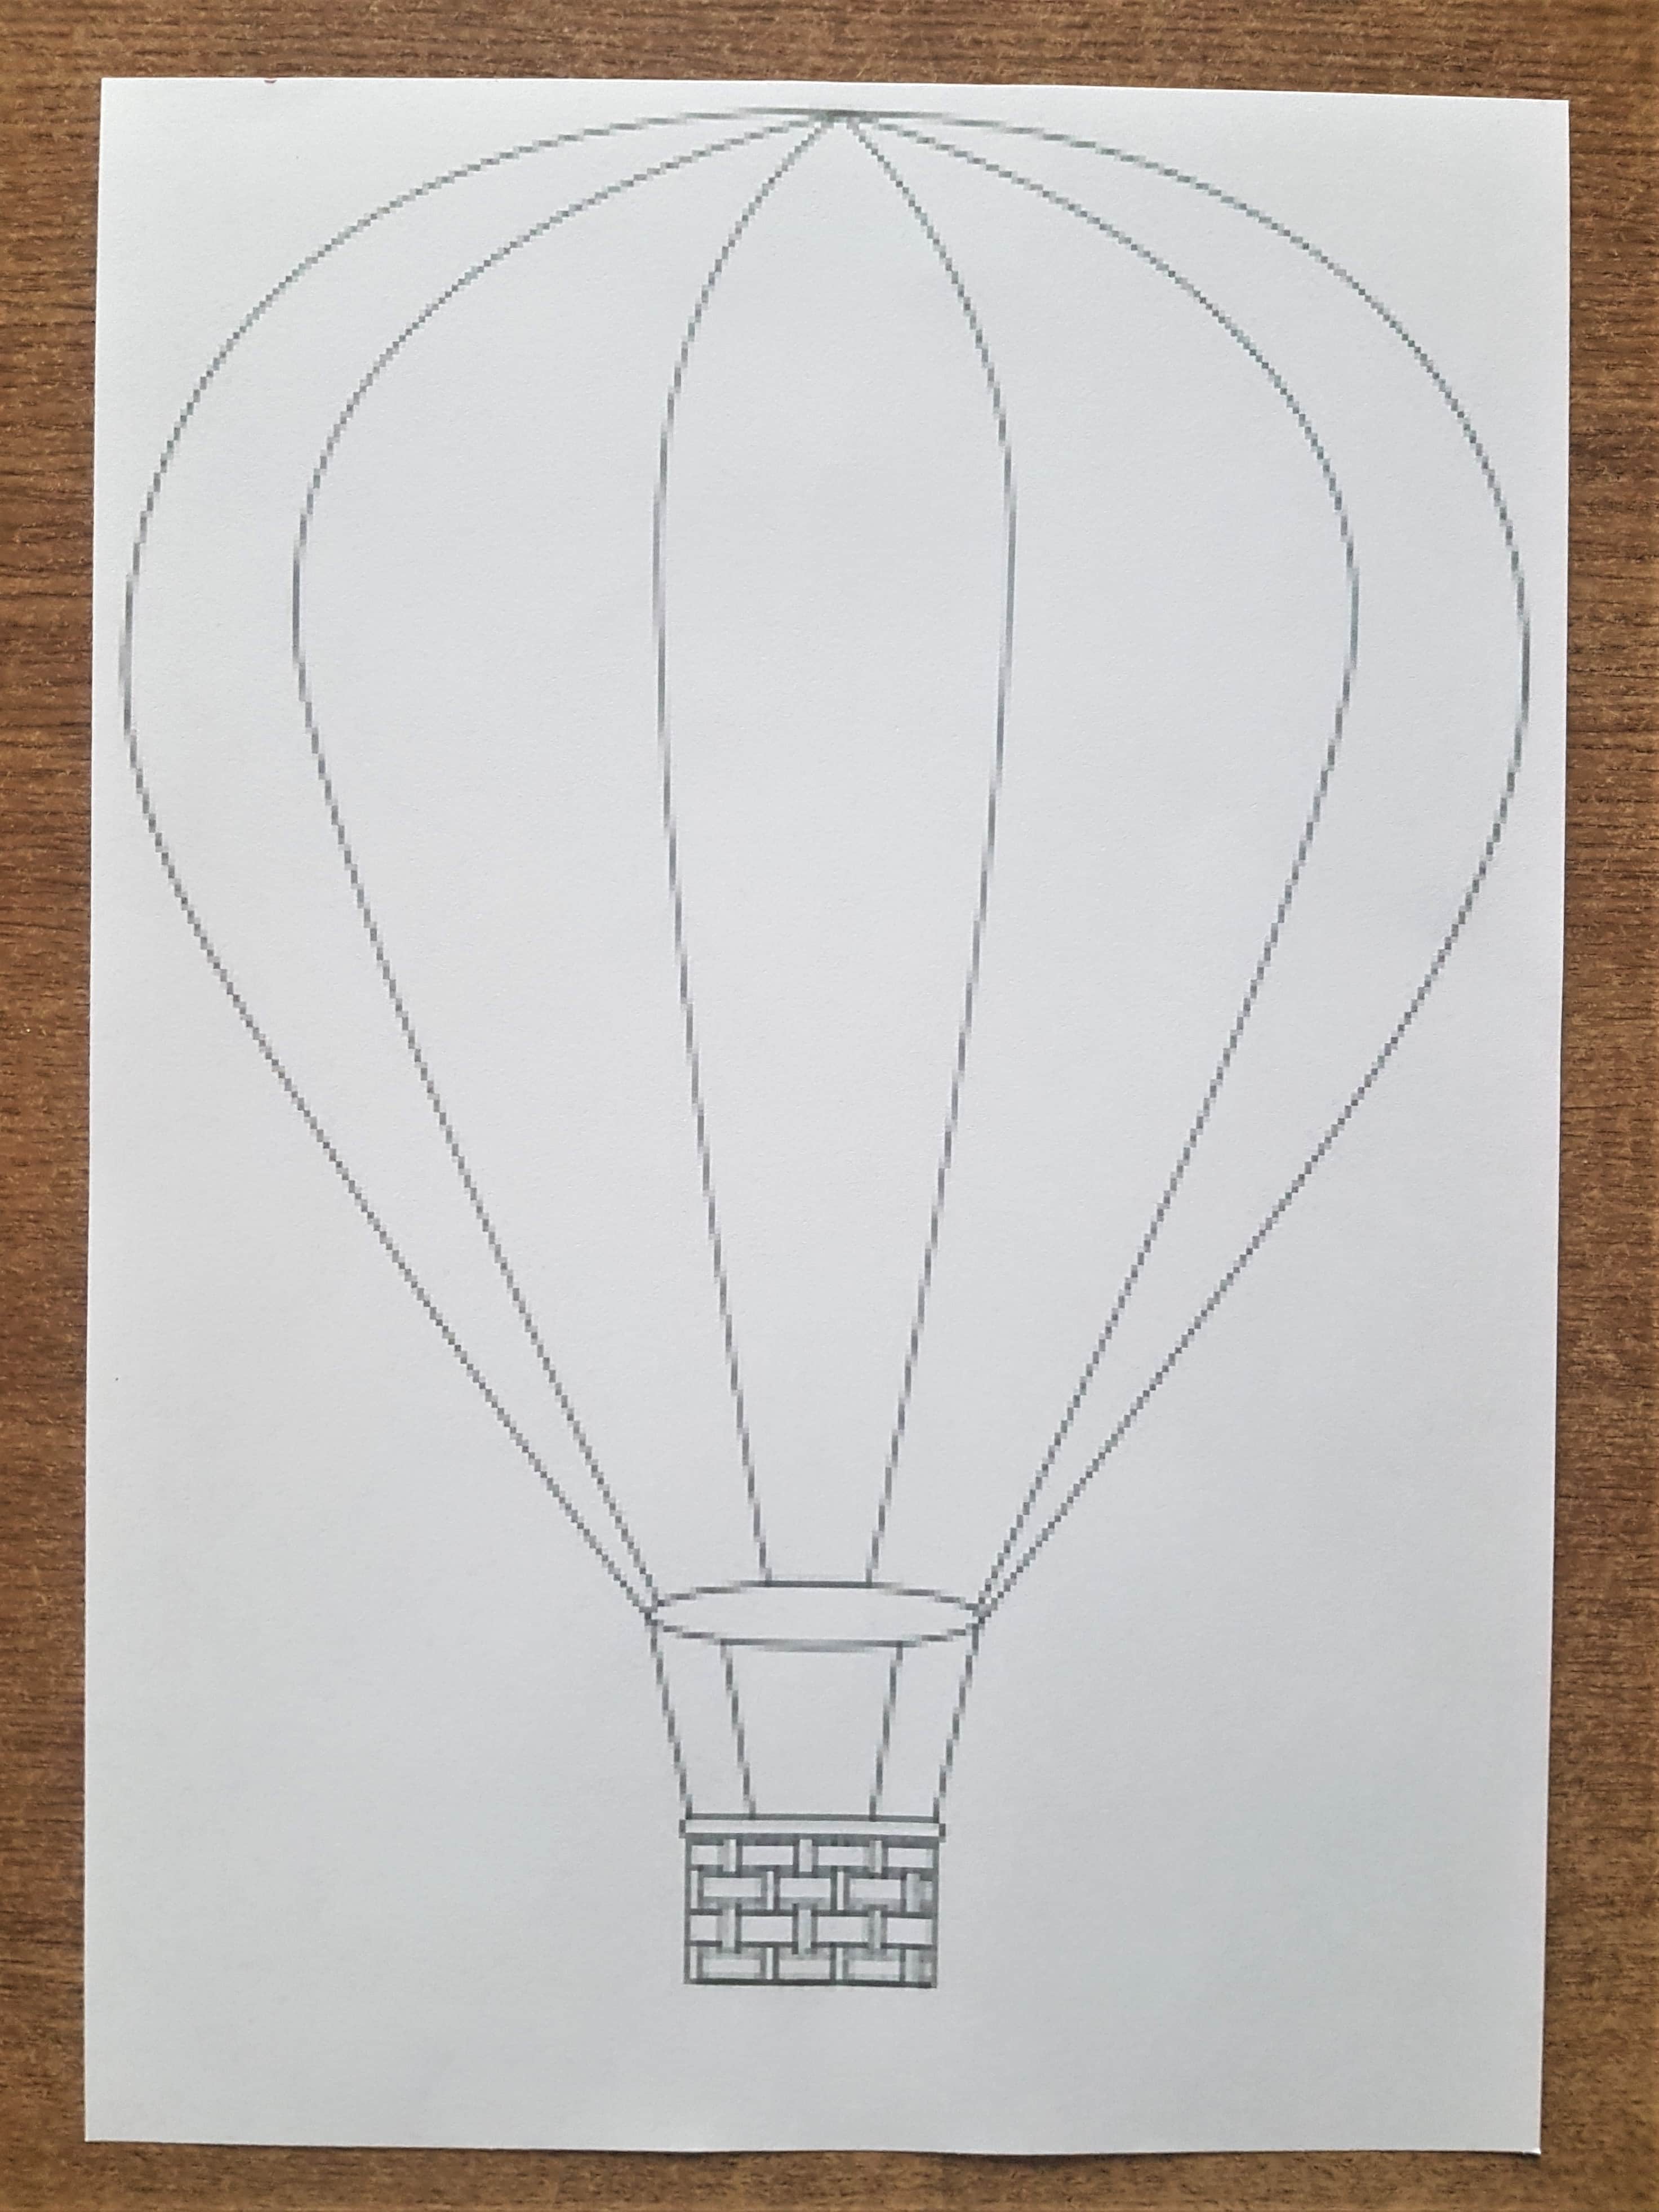
I cut out the Balloon and the basket.
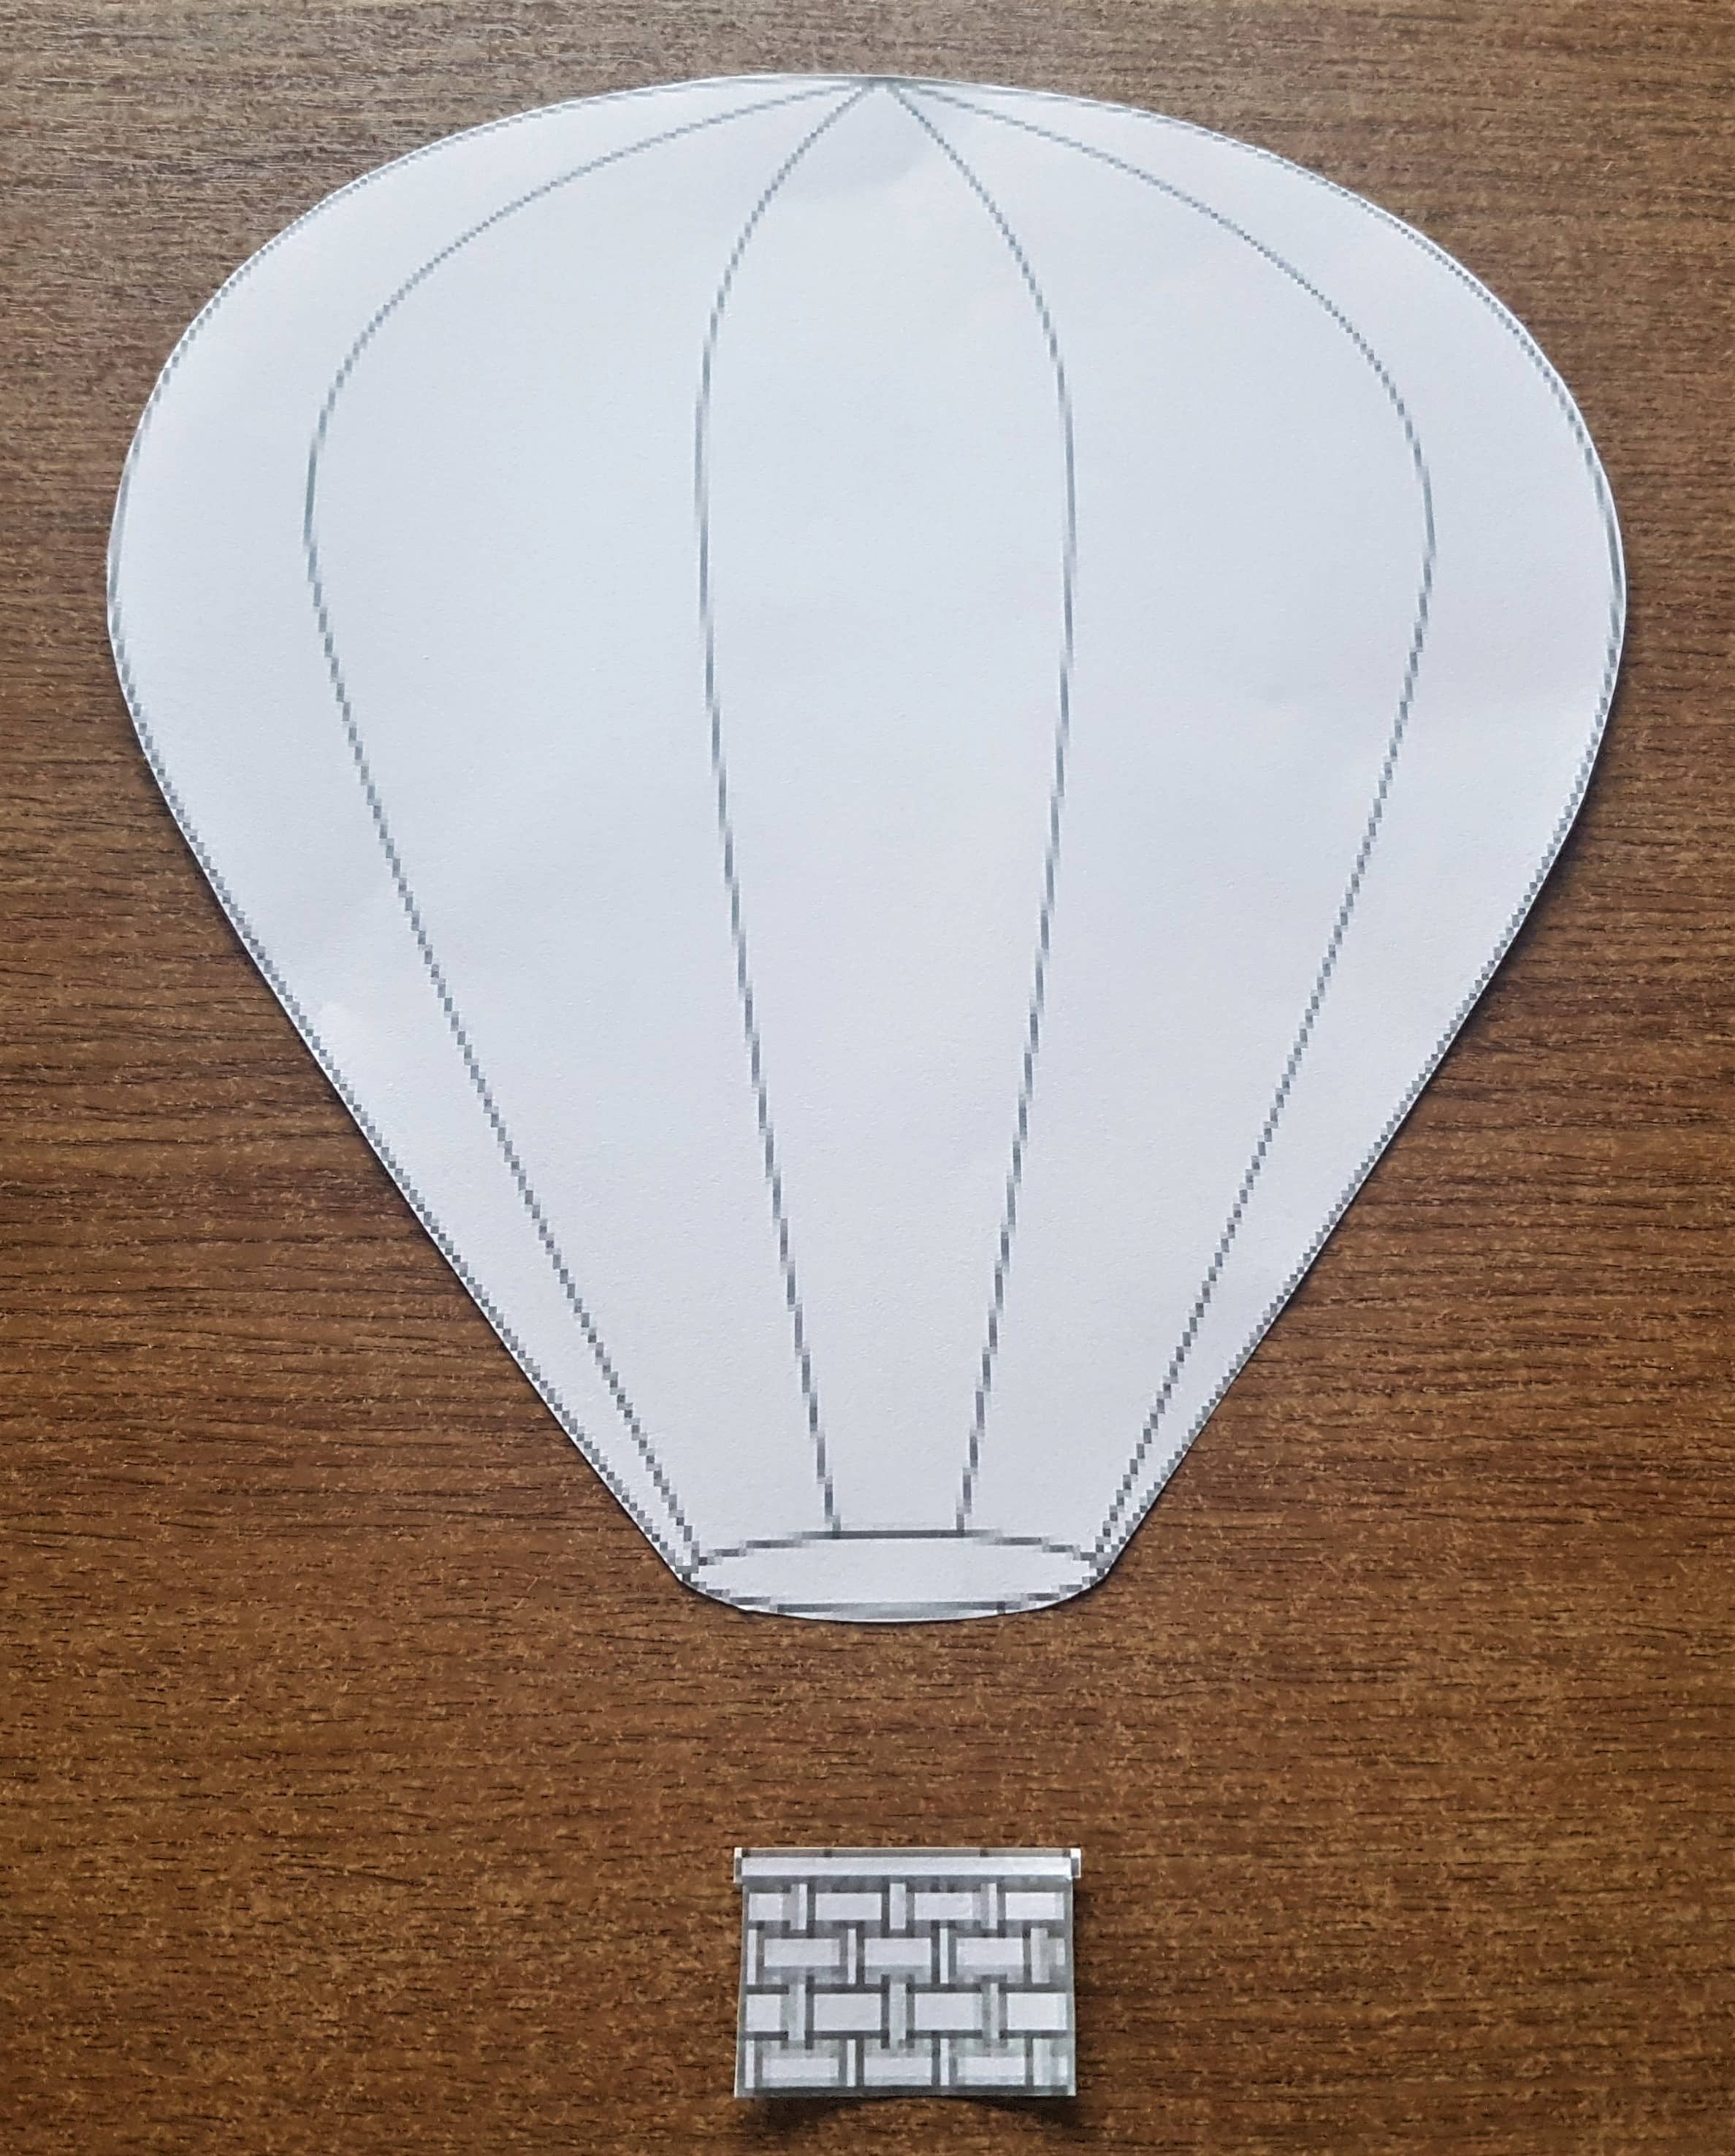
Cardboard for the Base of the Hot Air Balloon
I cut out the side of a Cardboard Box I had using a strong scissors.
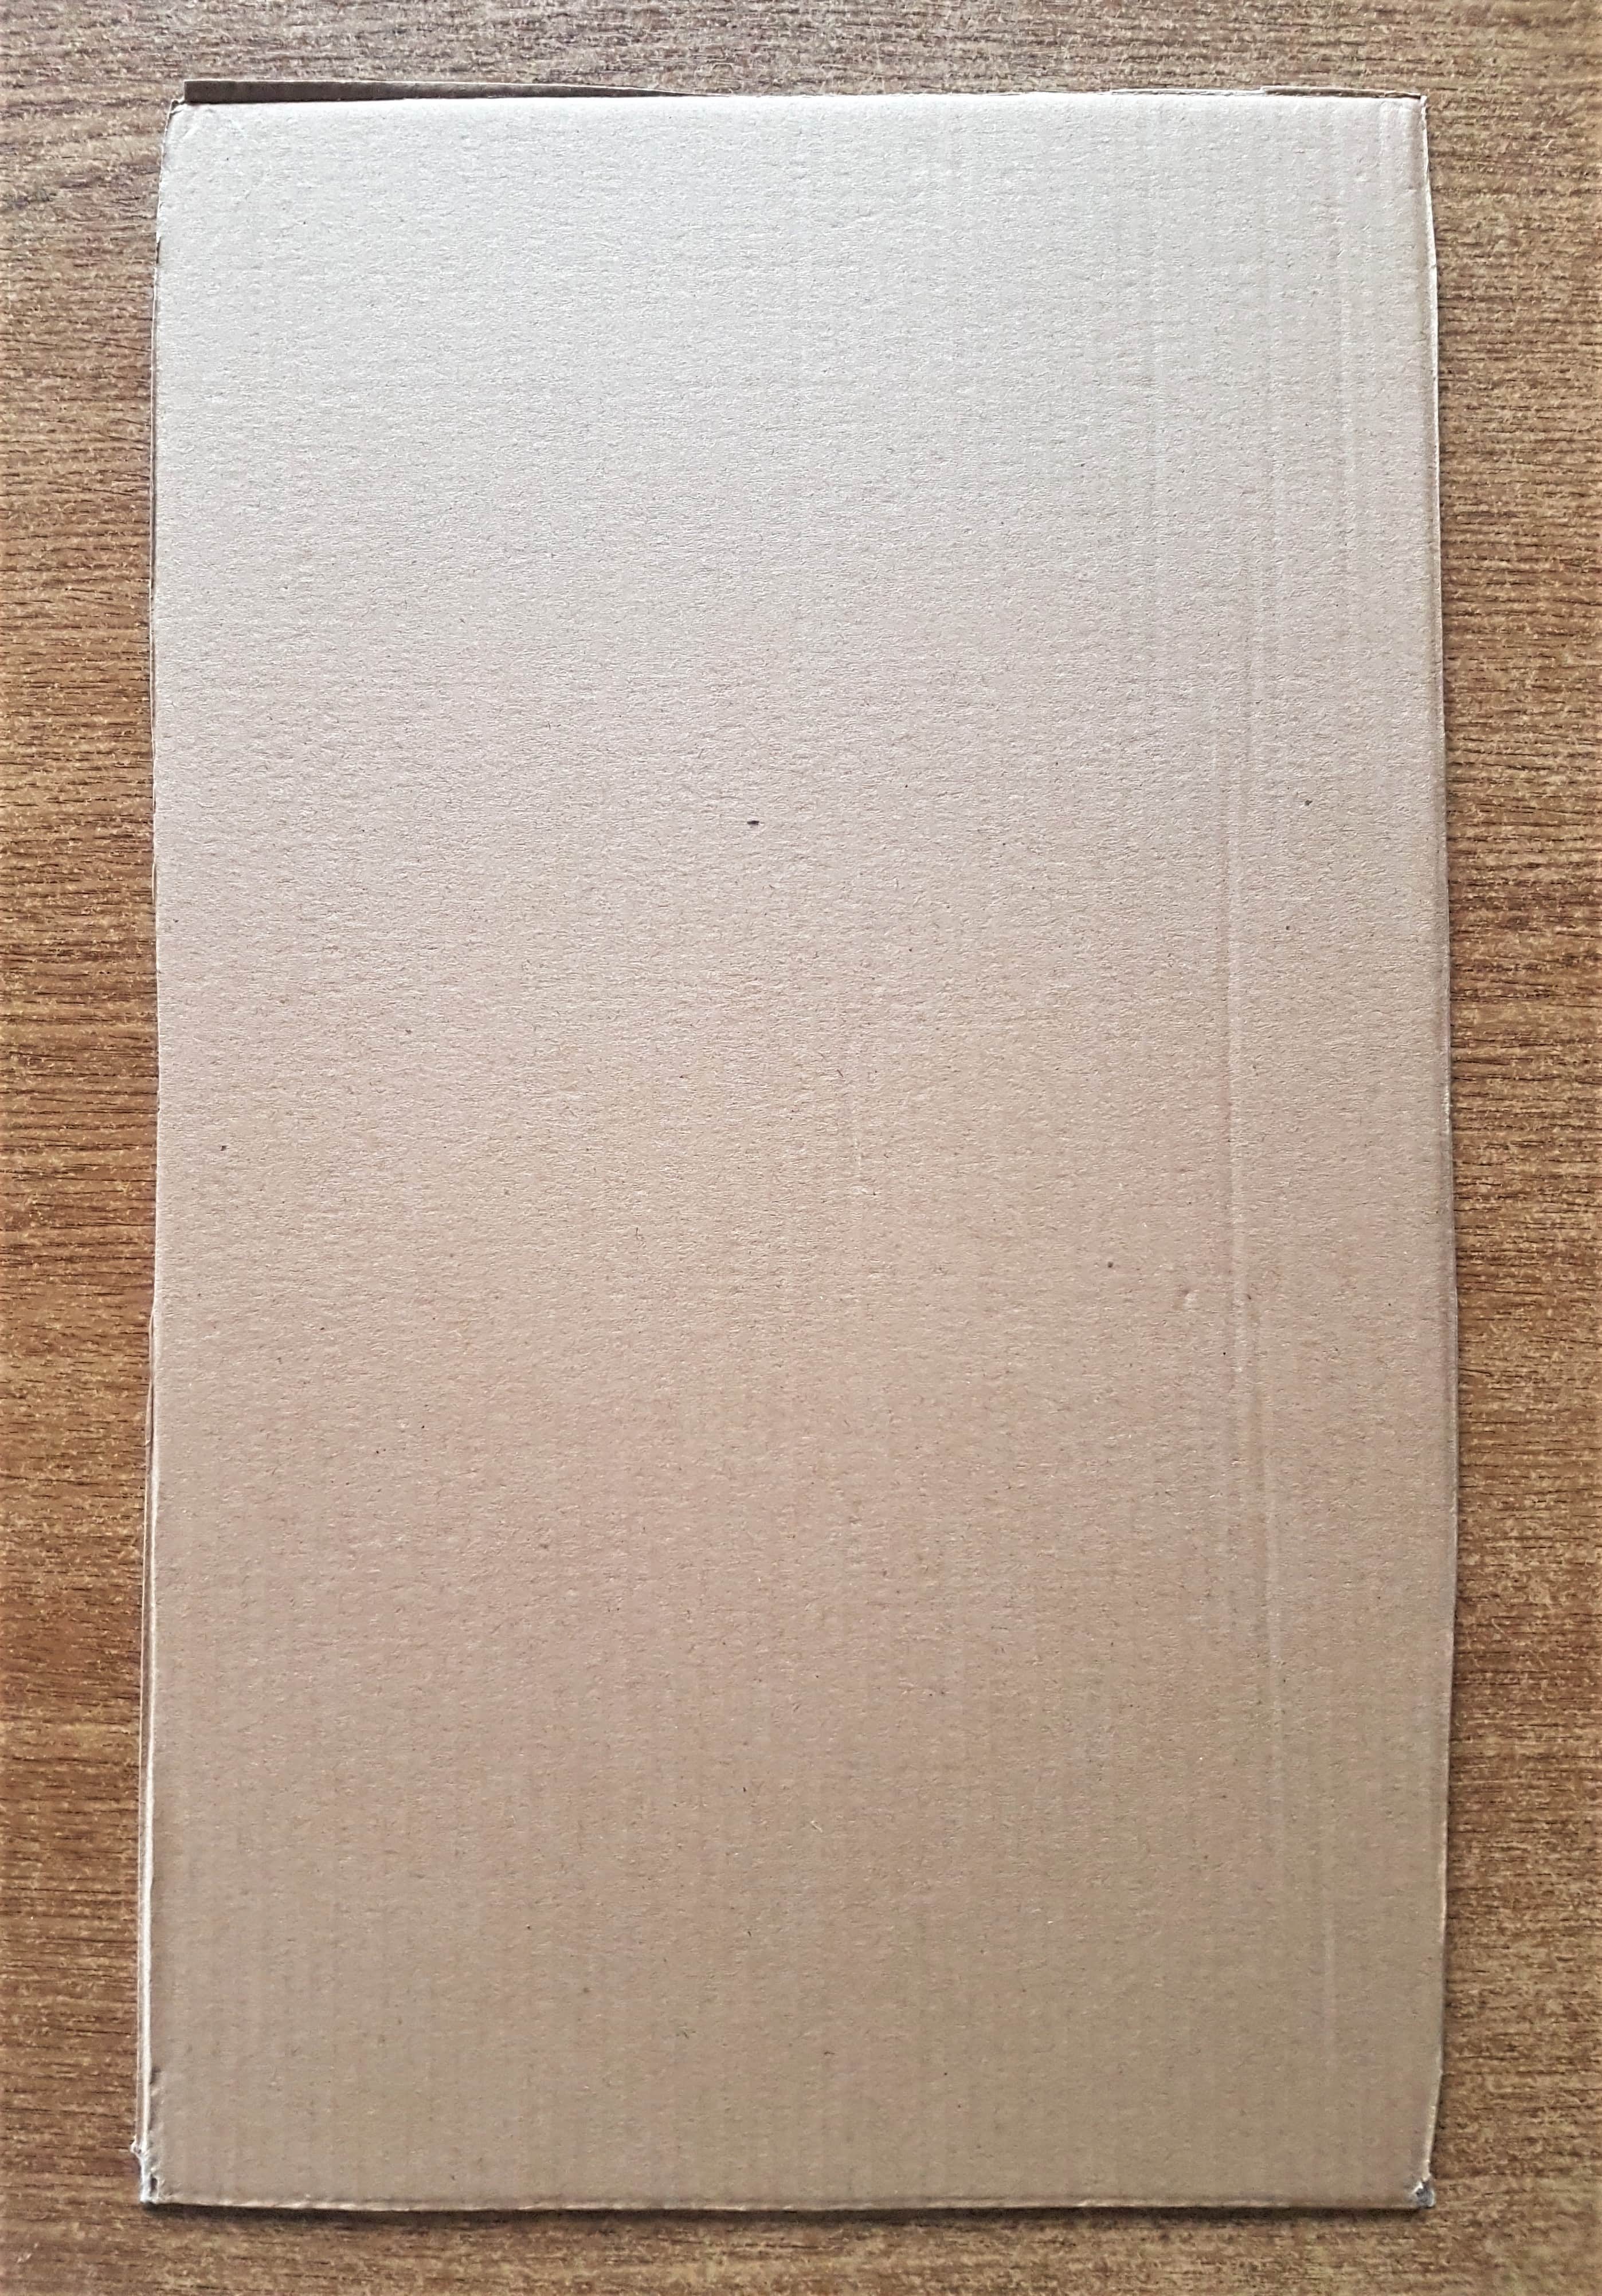
I attached the Hot Air Balloon Template to the Cardboard using Pritt Stick.
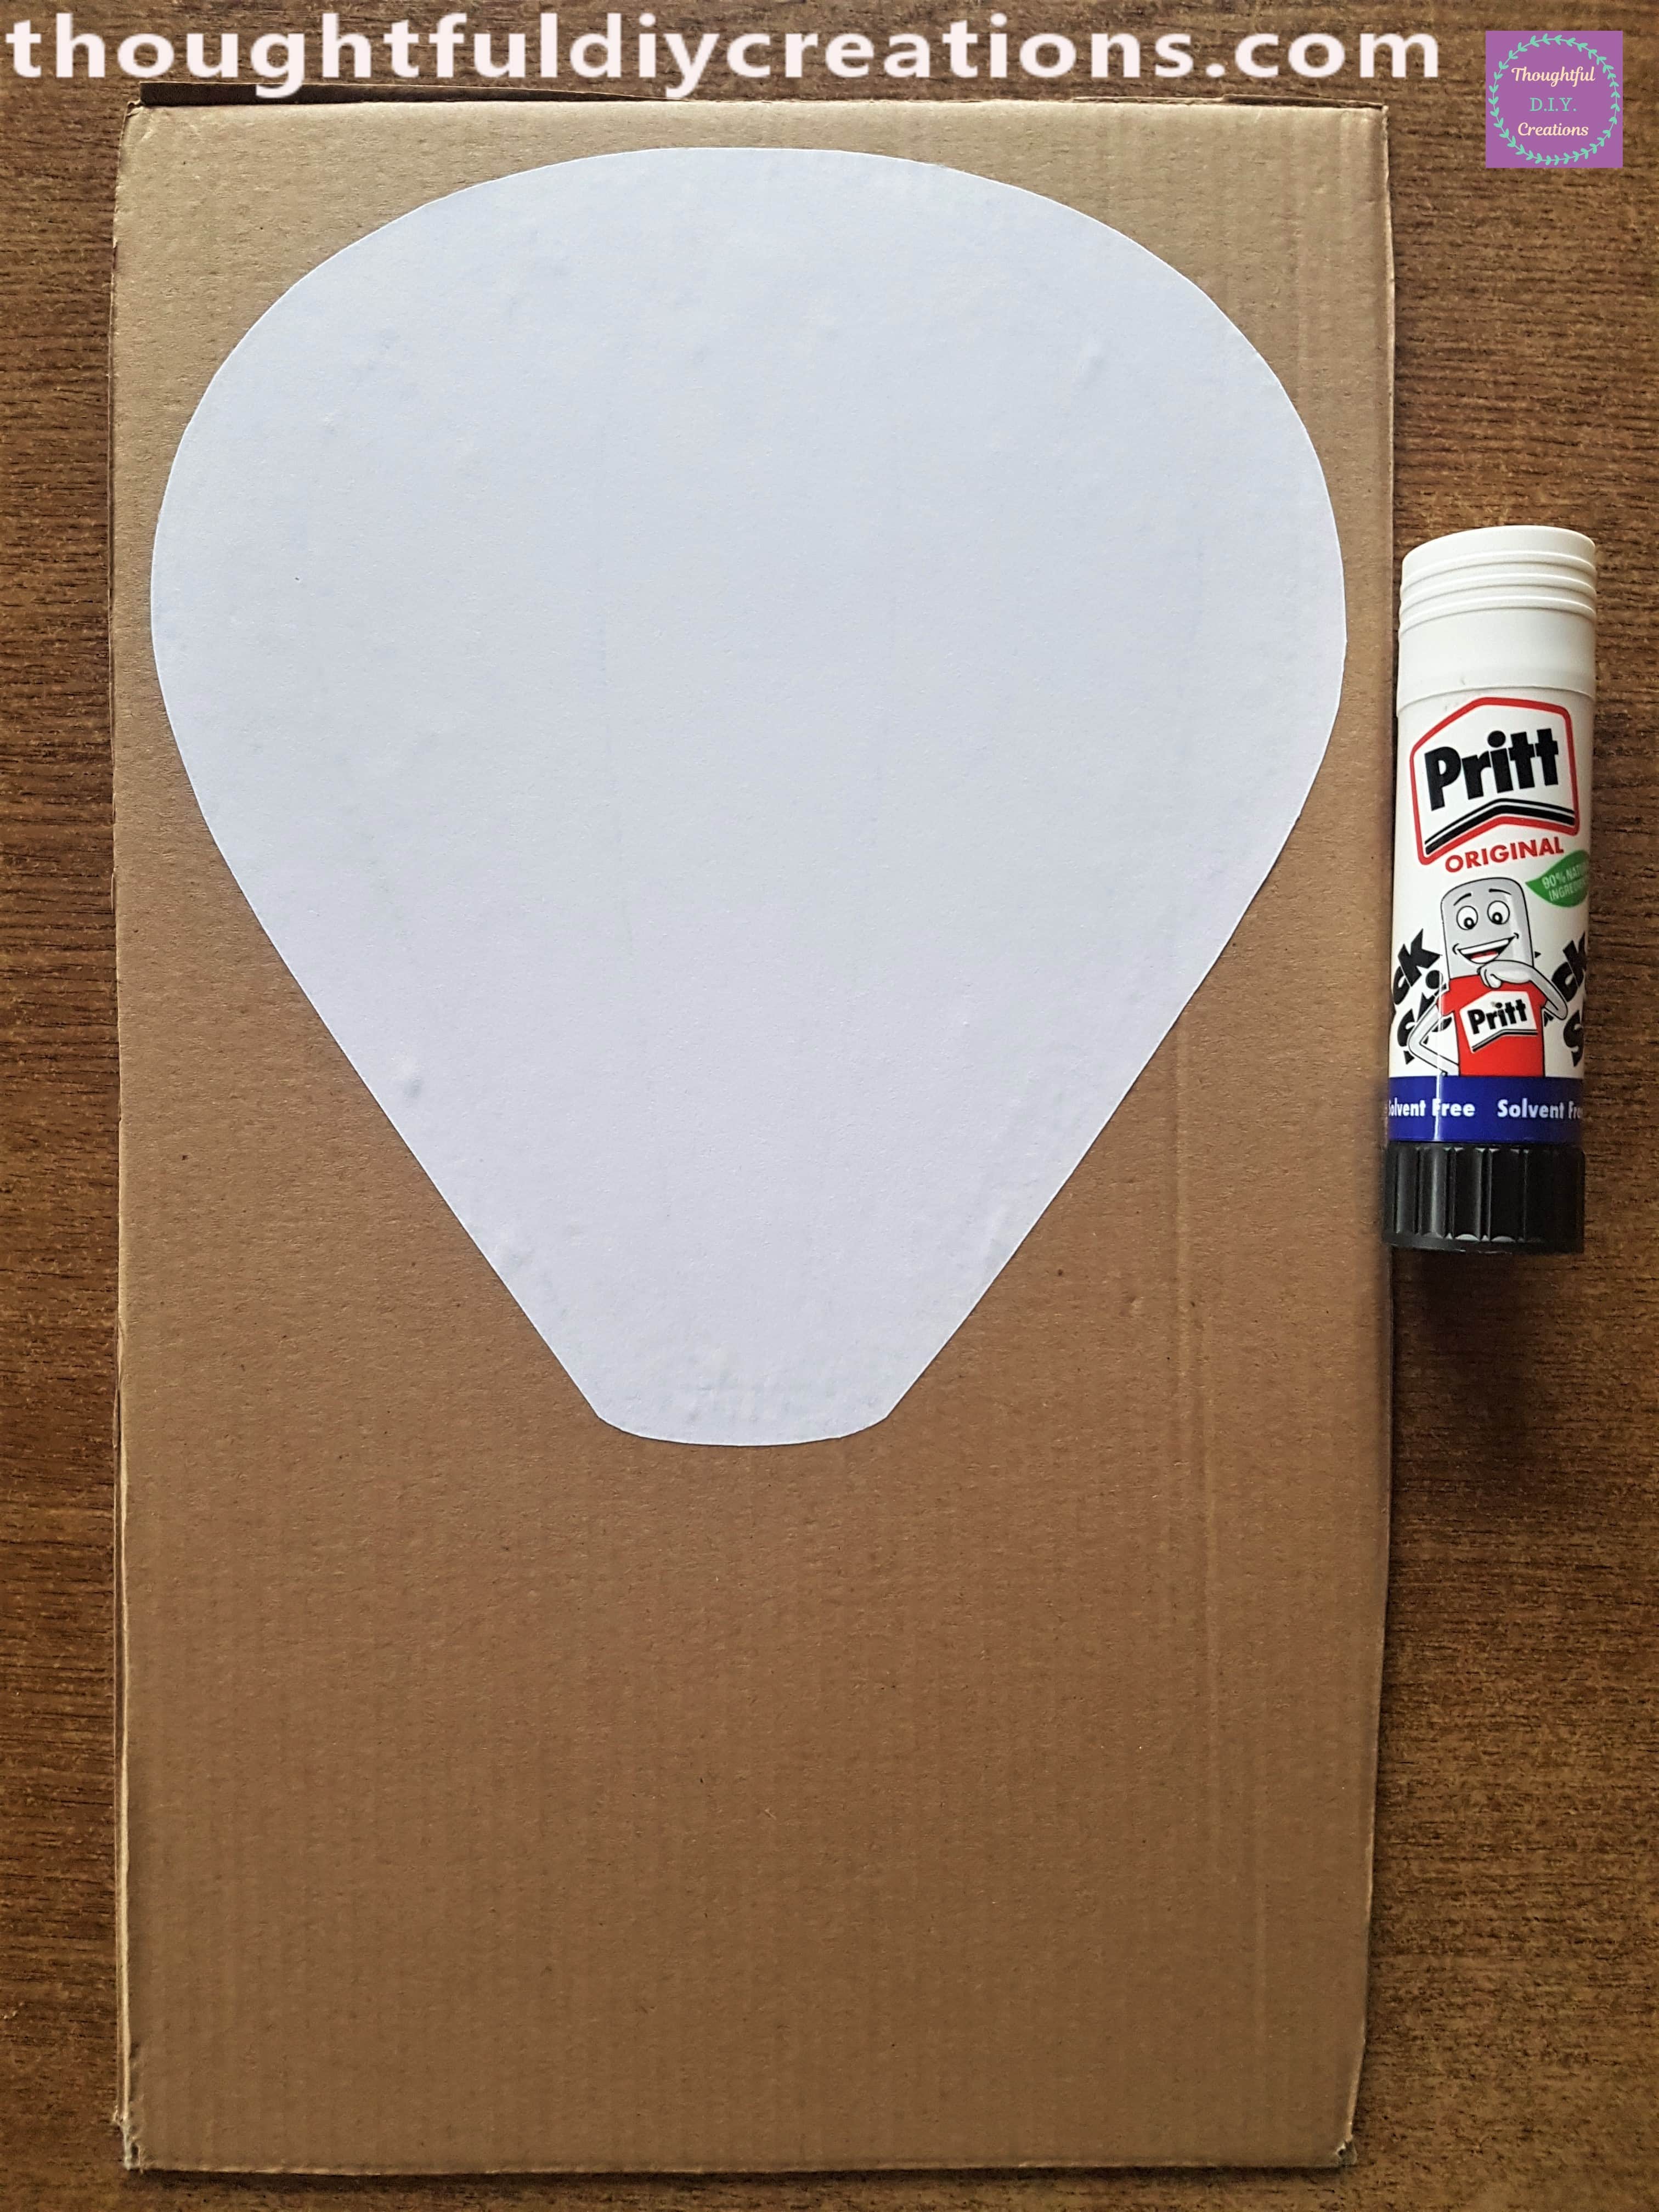
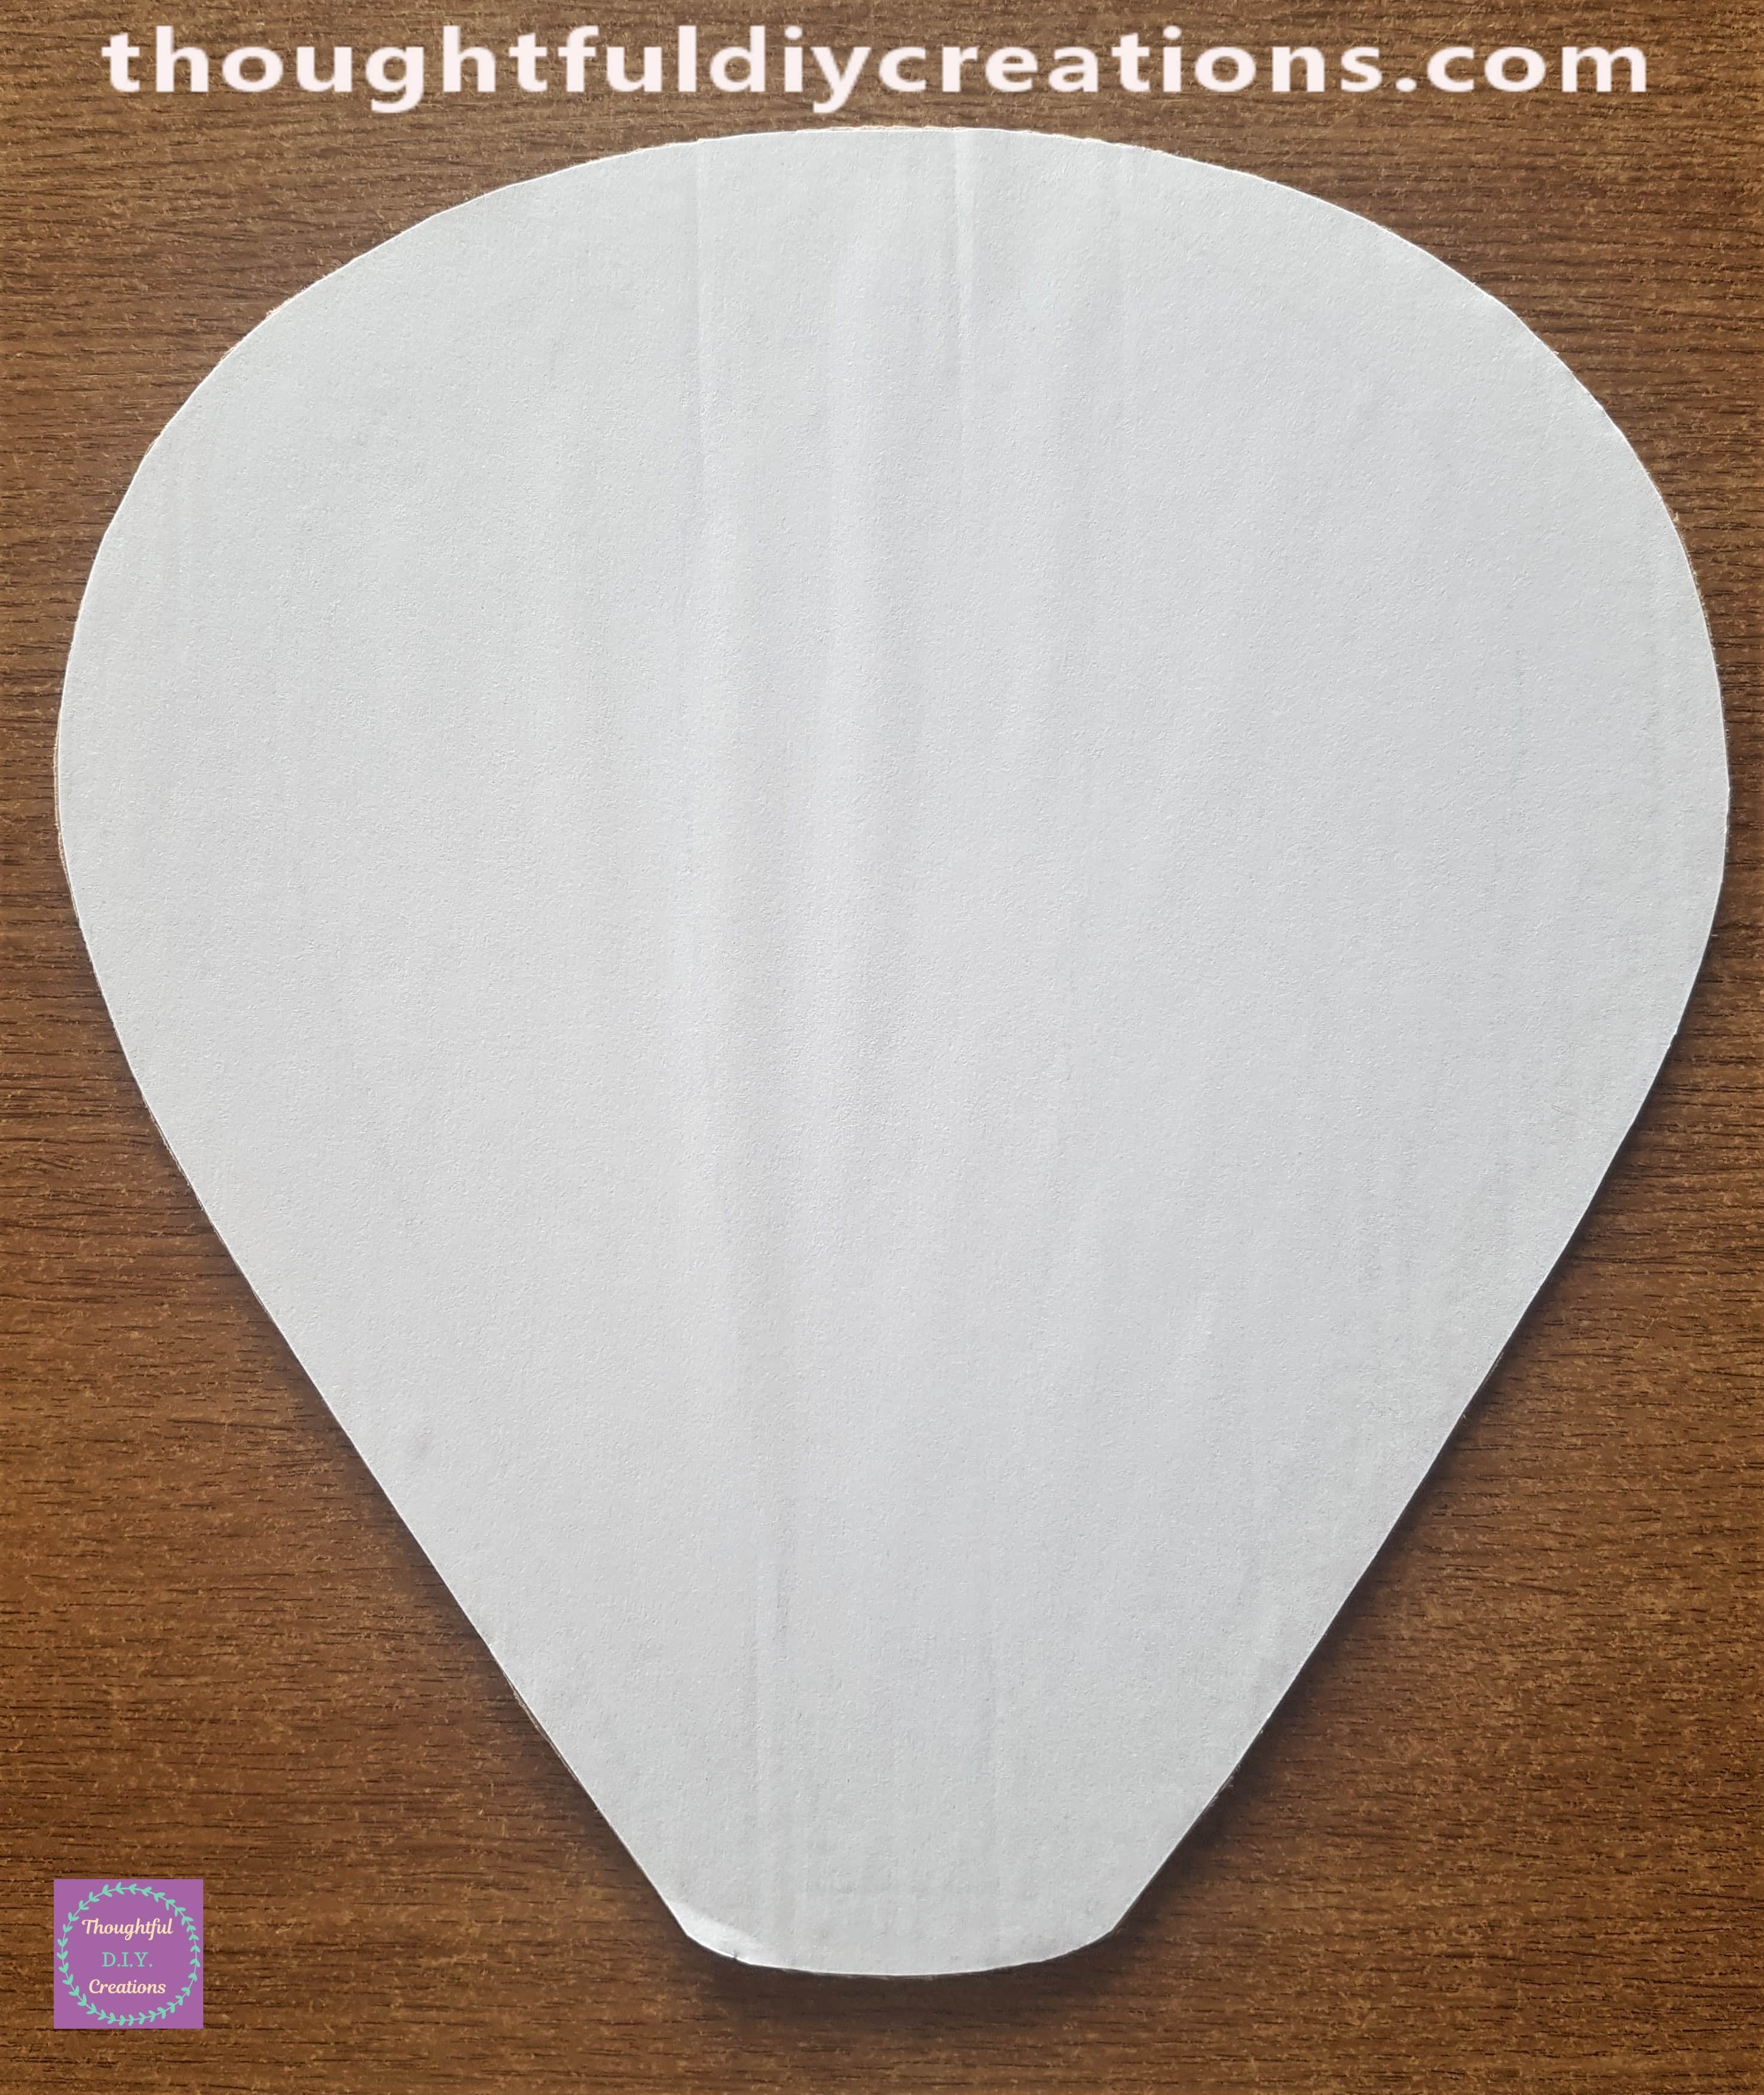
I cut around the Hot Air Balloon on the Cardboard. I now have a base for the Hot Air Balloon Craft, the cardboard is the perfect budget option.
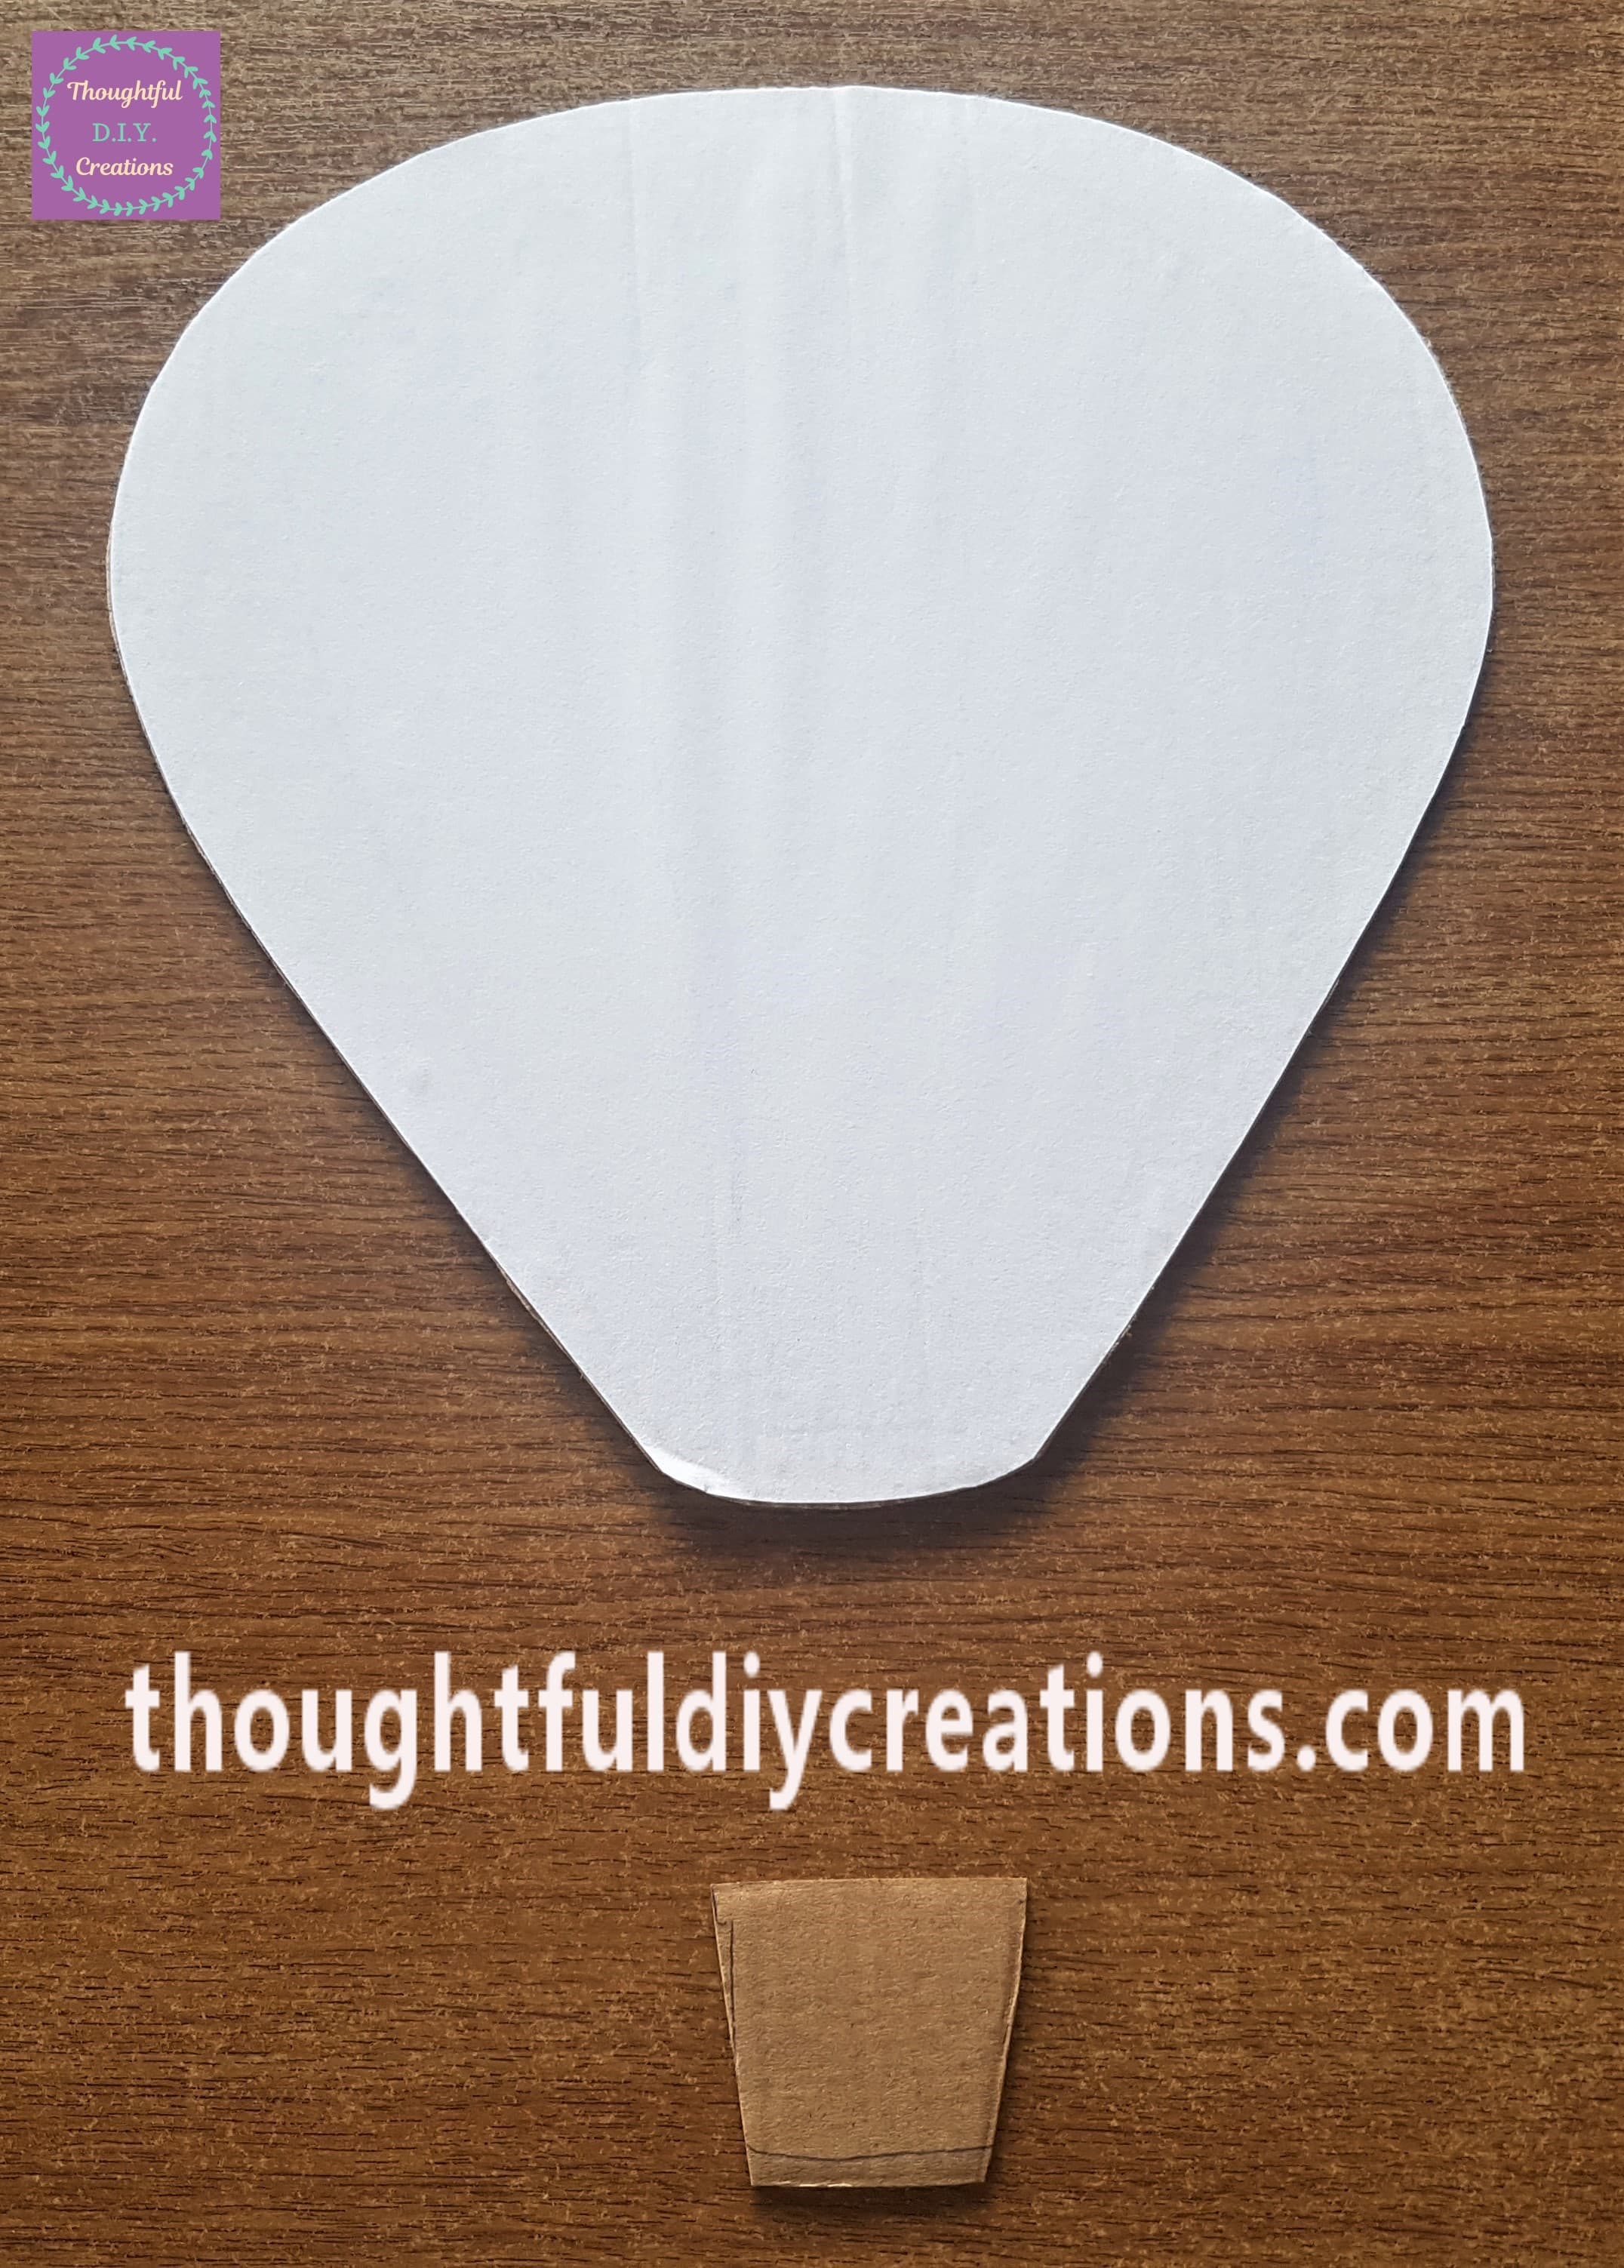
I cut out a basket from the leftover cardboard that I used for the Hot Air Balloon. I didn’t use the basket template I printed, I made mine longer in height but kept the width similar to be in proportion to the bottom of the Hot Air Balloon.
Pink Fleece for Decoration
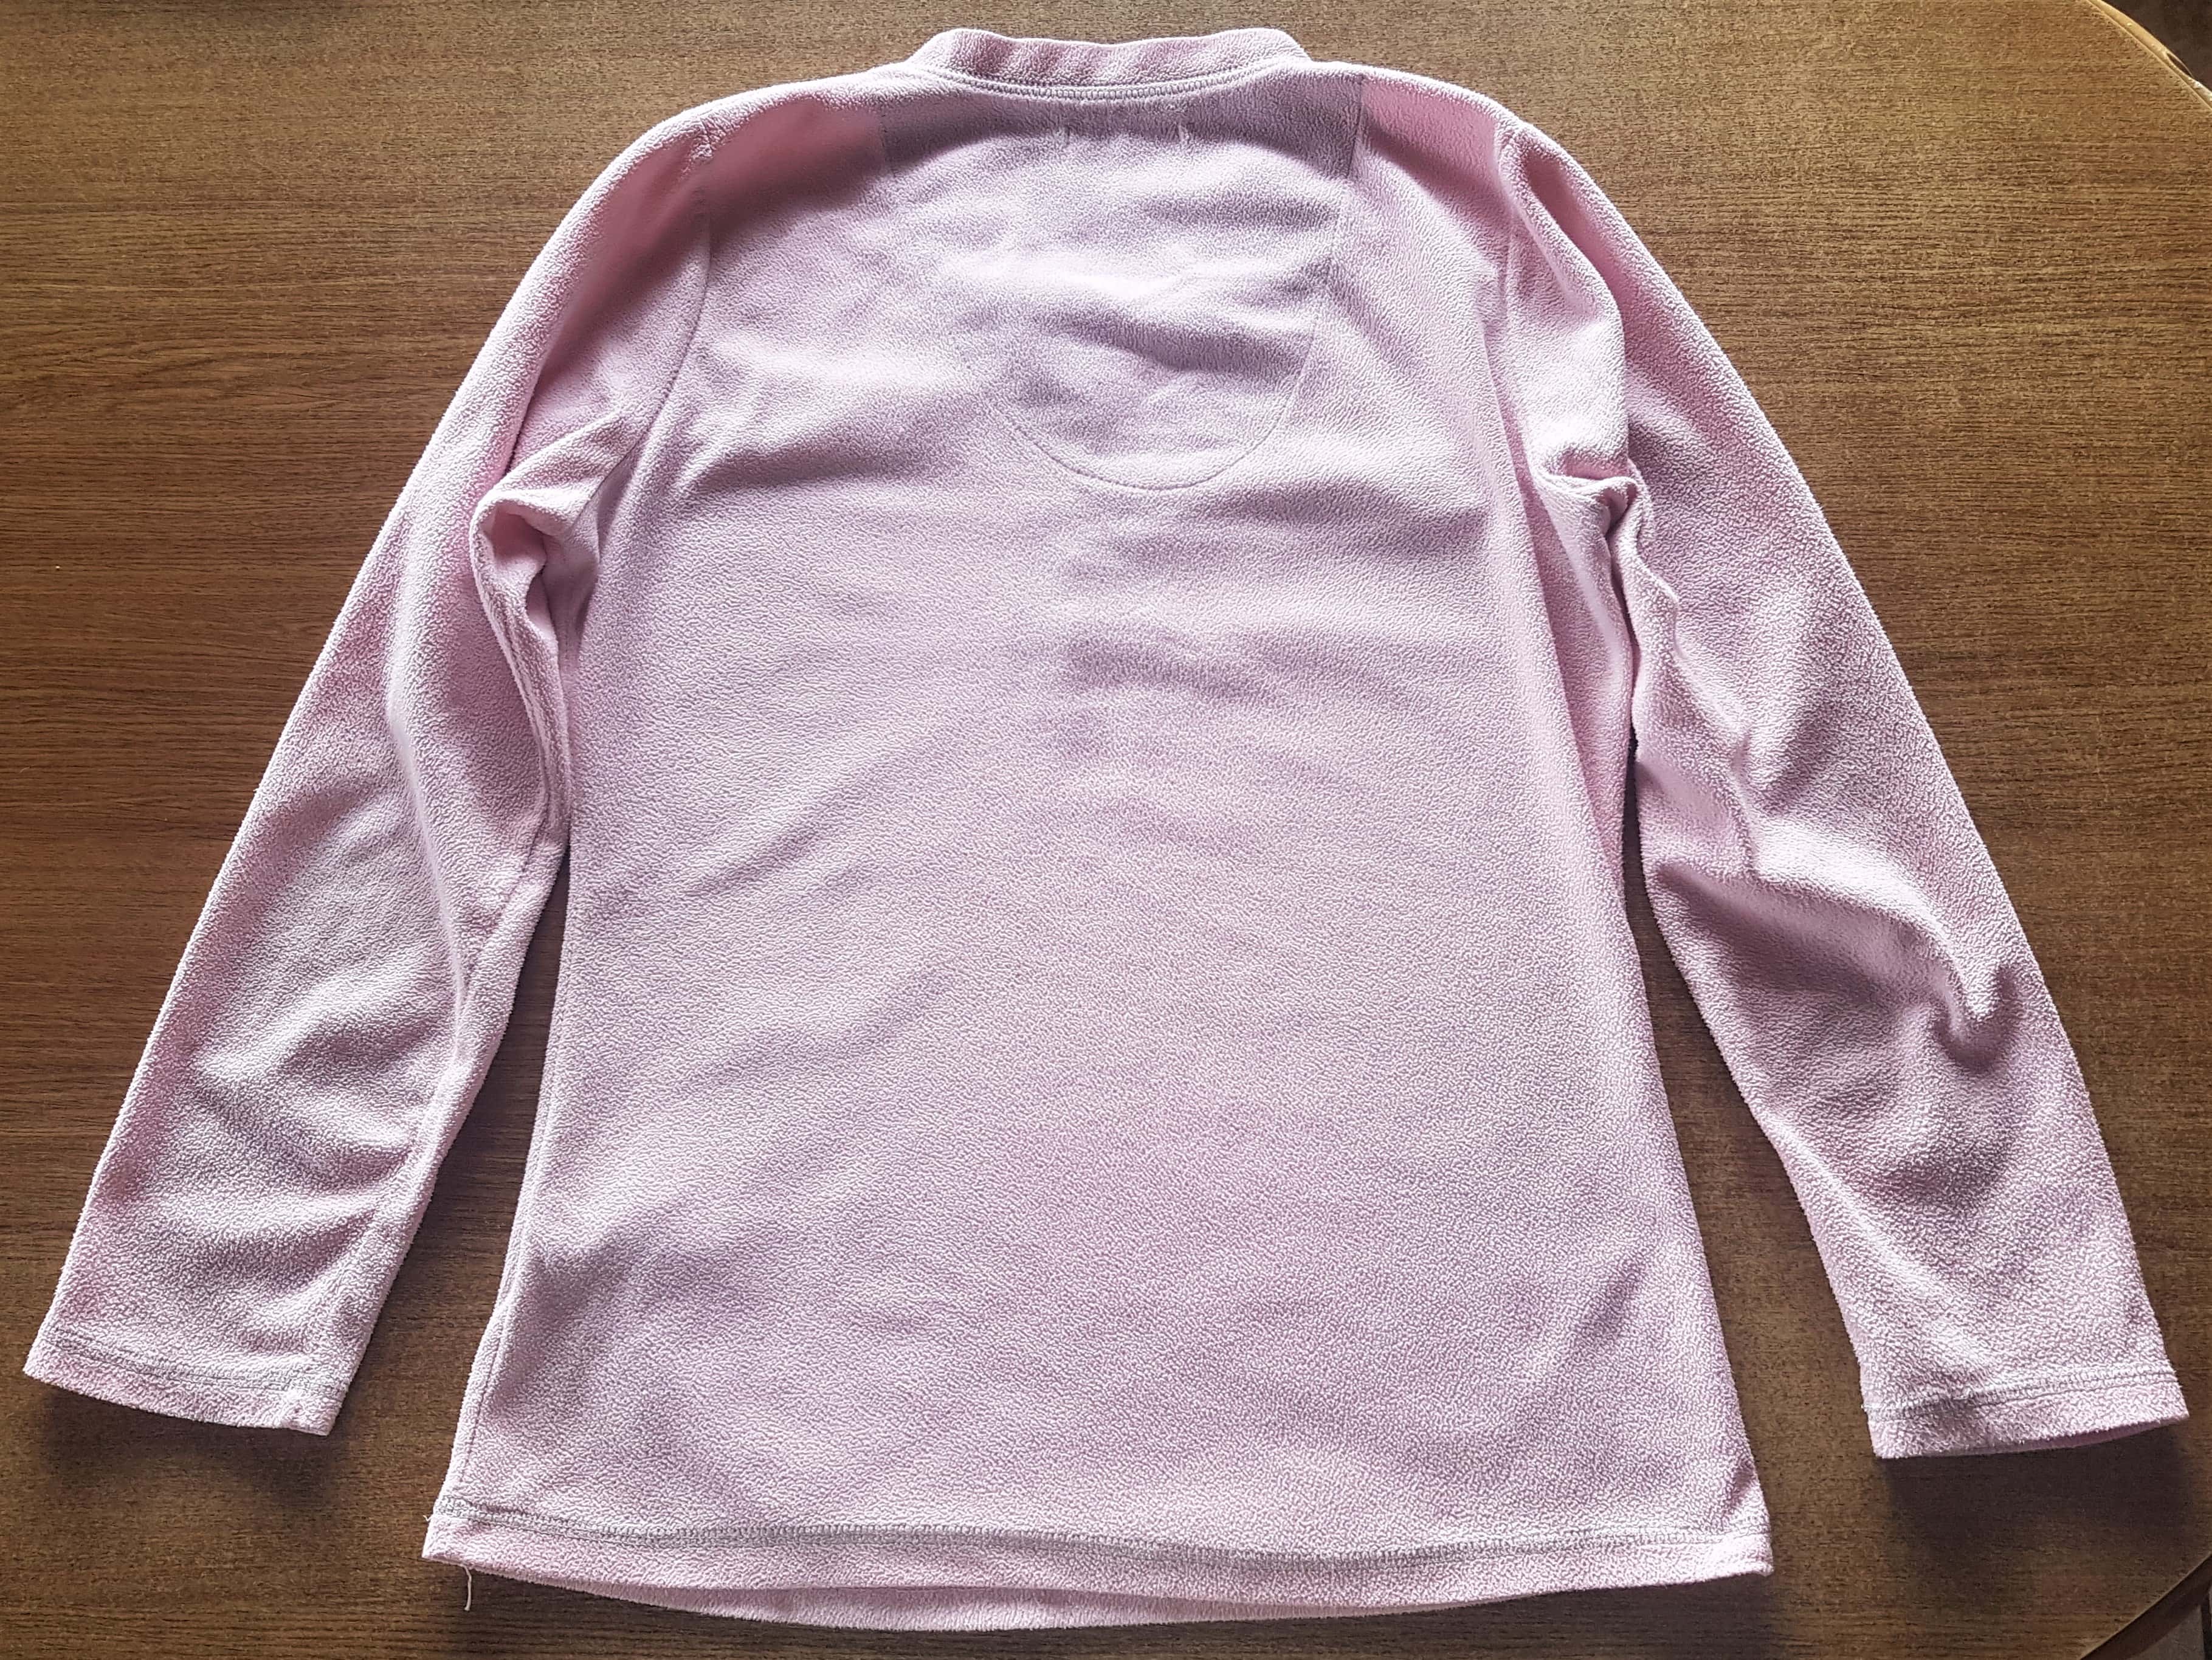
I had an old Pink Fleece Pyjamas top in my Fabric Stash.
I put the Cardboard Hot Air Balloon on top of the fleece and cut around it leaving a border of roughly 1cm all around.
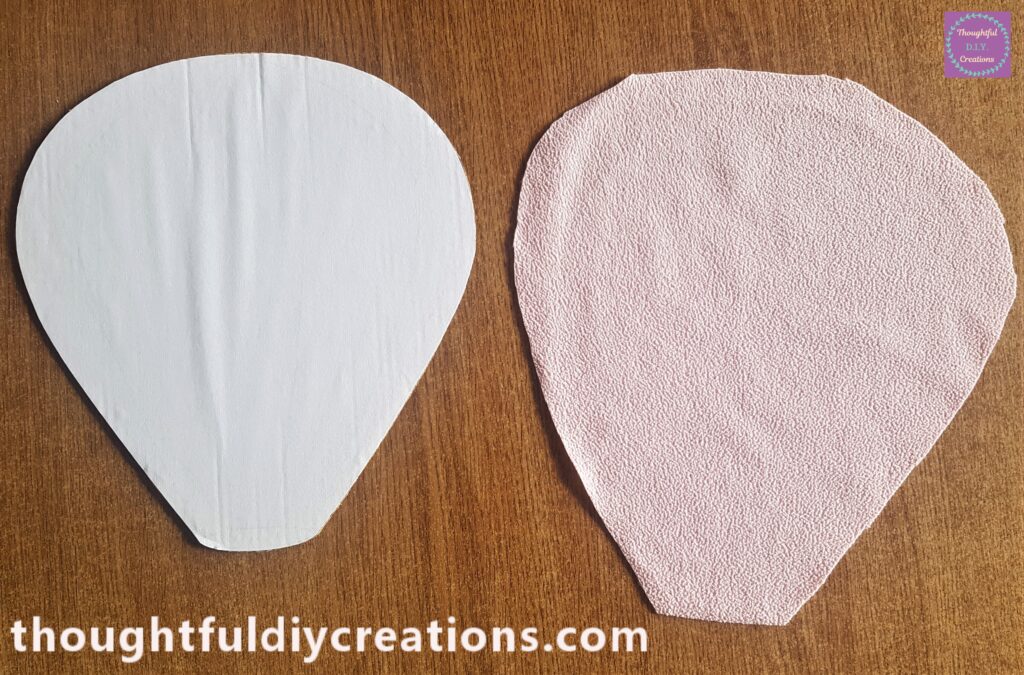
I put the cut-out fleece face down on the table and put the cardboard hot air balloon face down on top of it leaving an even border all around.
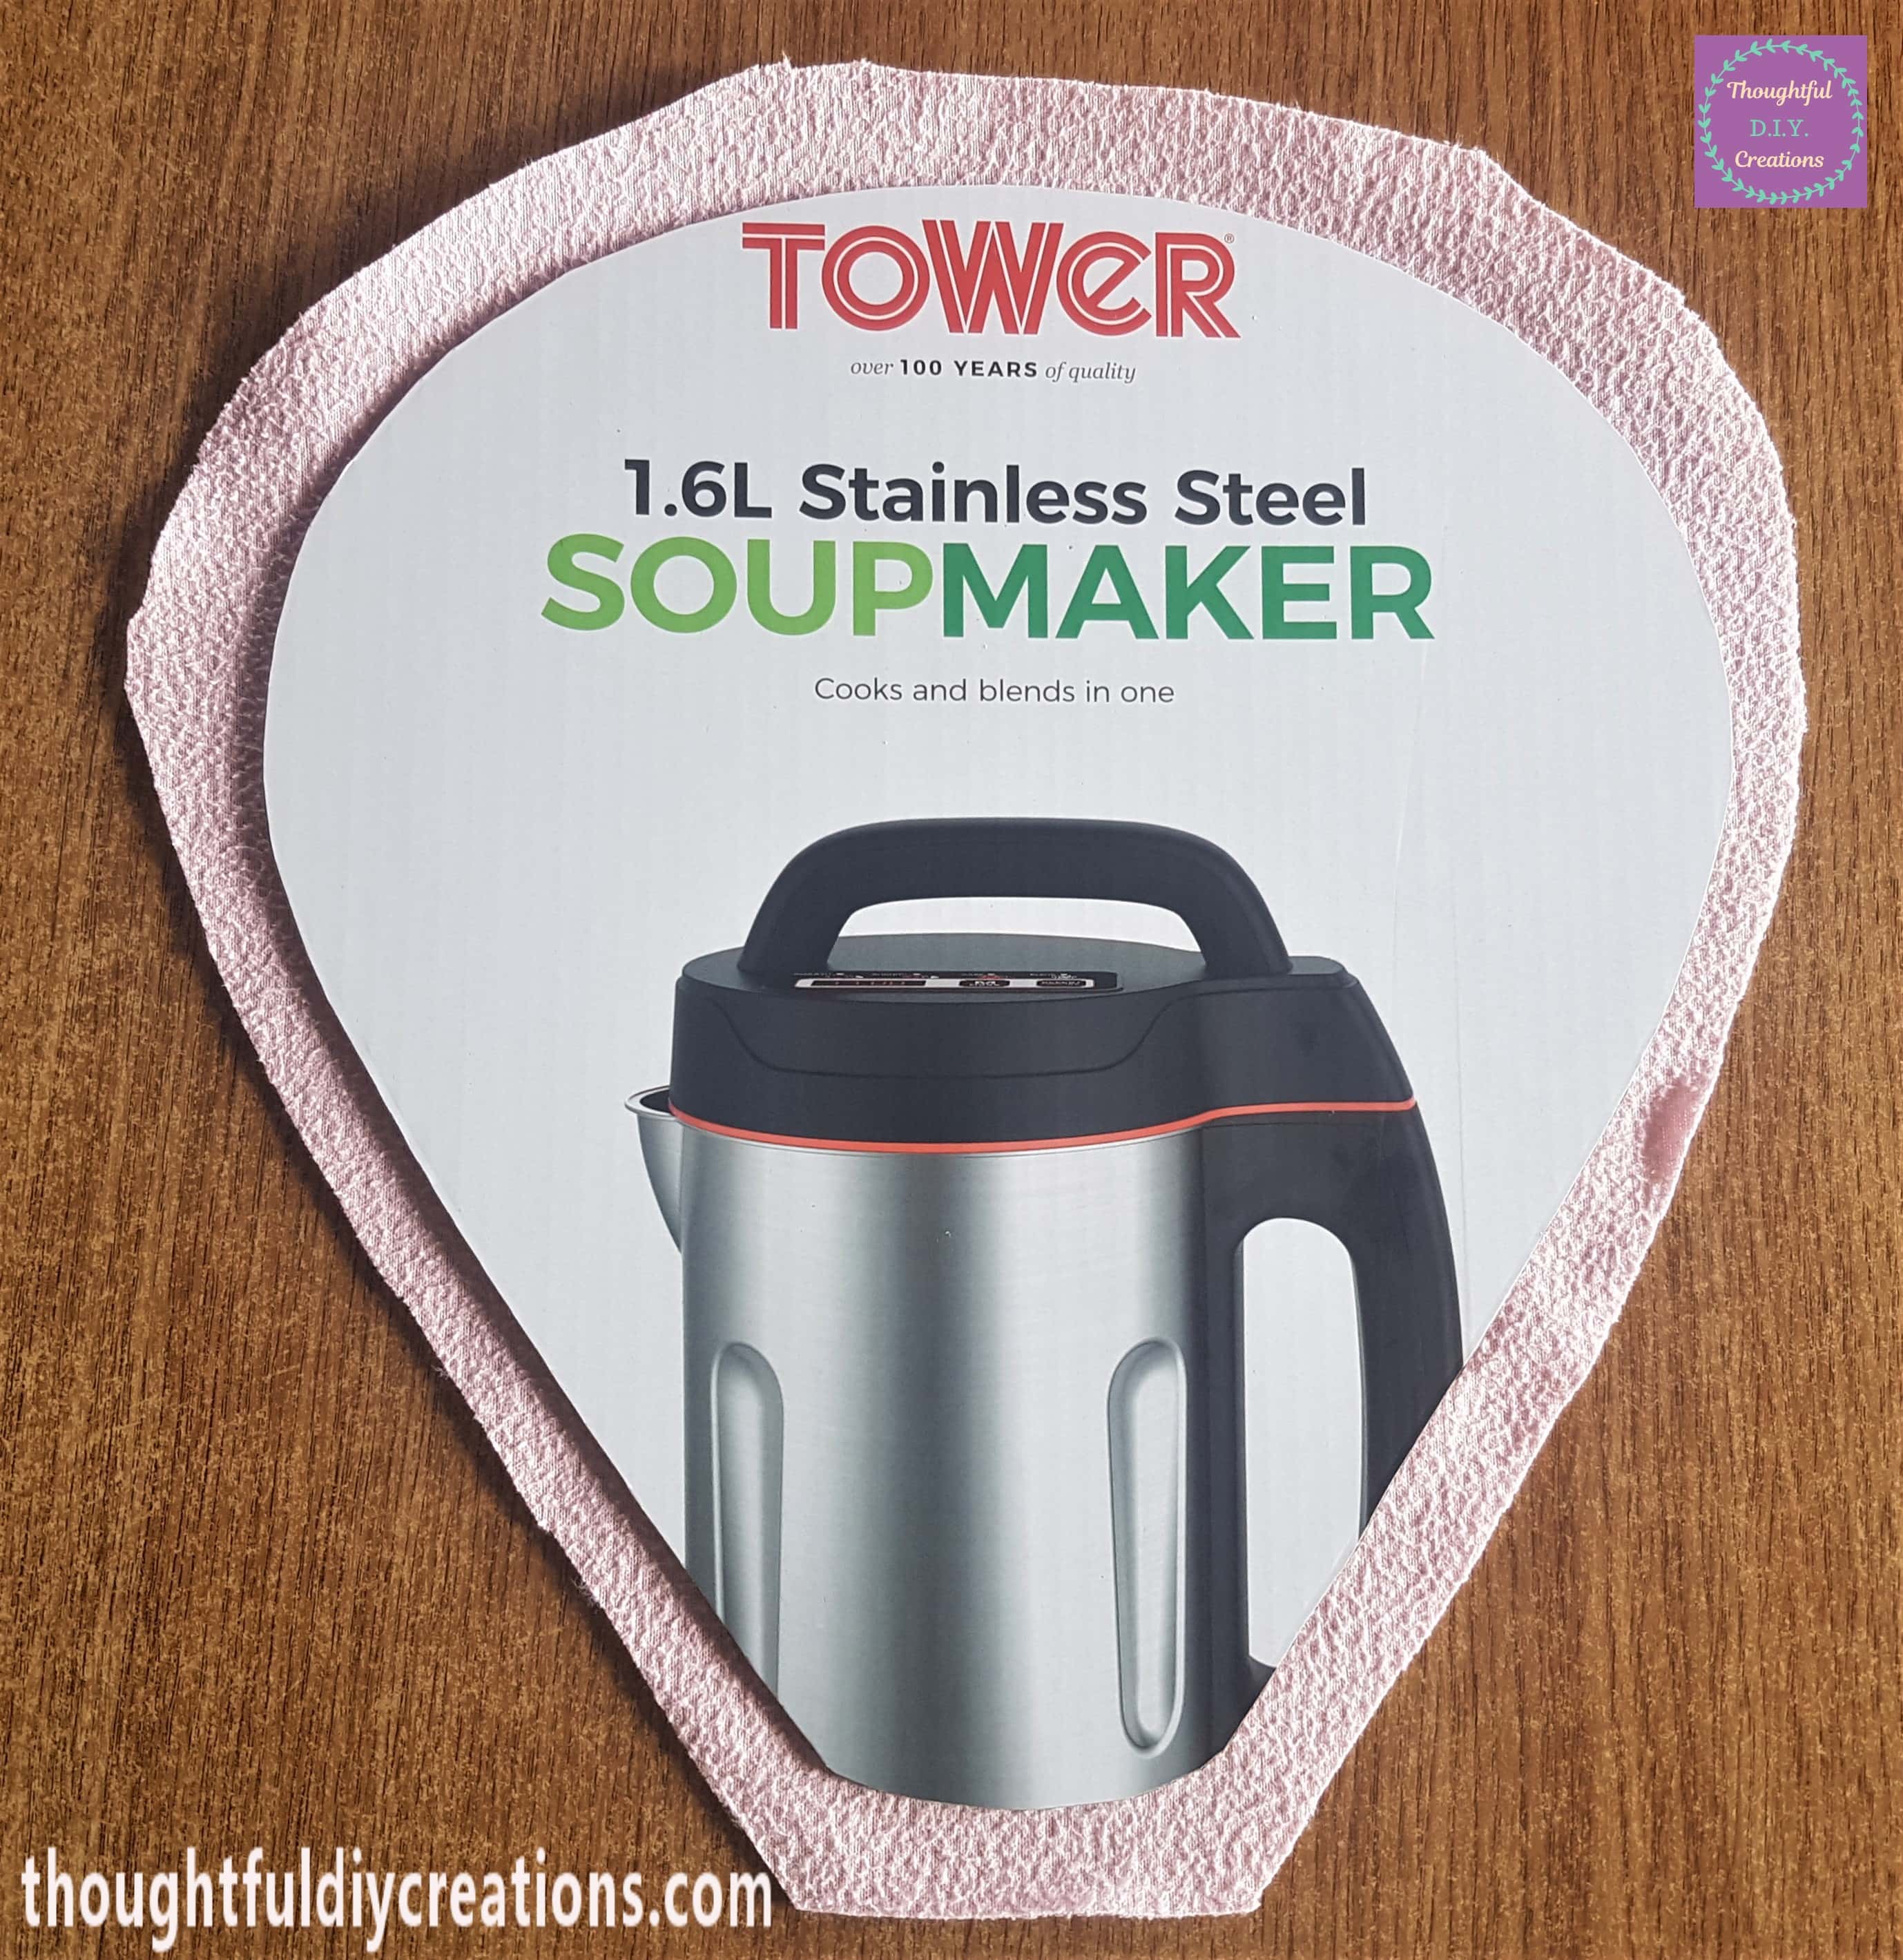
Attaching the Fleece to the Cardboard
I plugged in my Hot Glue Gun with Clear Glue Stick inside and let it heat up for 5 minutes. I then put some clear glue along the top of the cardboard and held the fleece to it using the end of a pen. You can use whatever you have handy to hold it in place. The Glue can squeeze under the fleece and will burn so it’s best to use something to hold the fleece down for a few seconds.
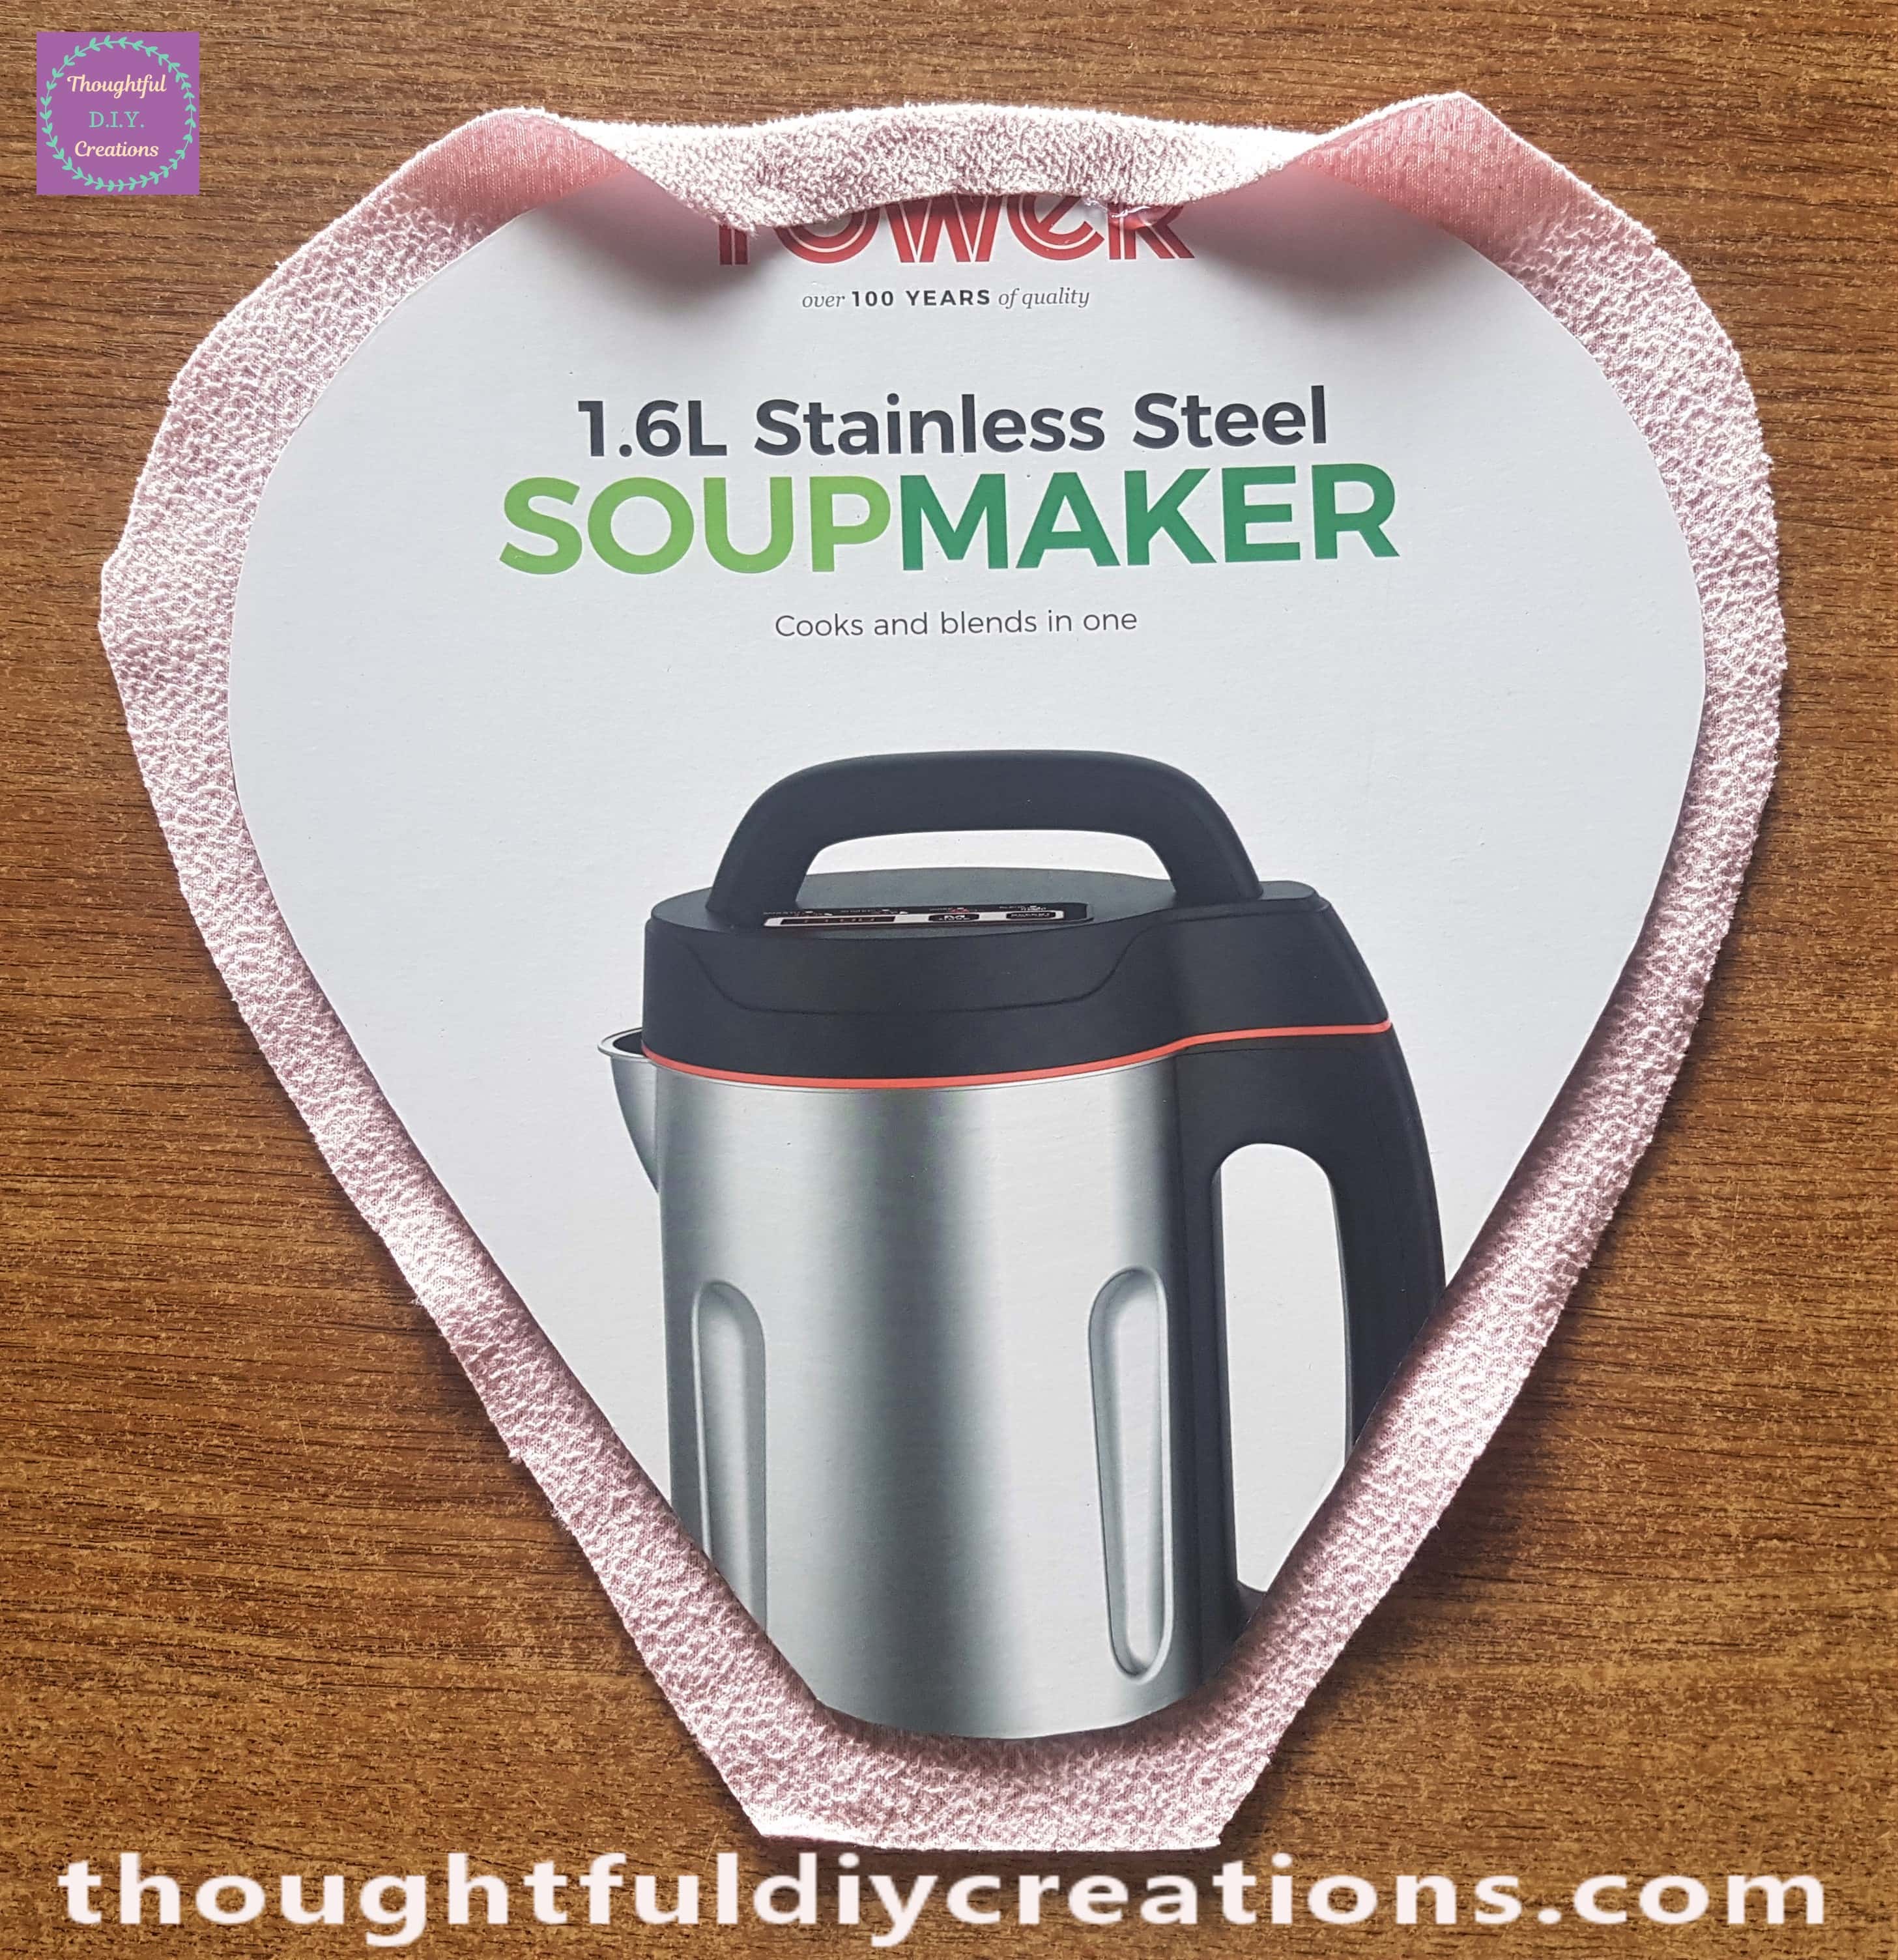
I worked in sections so that the glue wouldn’t dry too quickly. I added more hot glue to the top right hand side of the cardboard and attached the fleece to it. I then done the same to the top left hand side of the Hot Air Balloon.
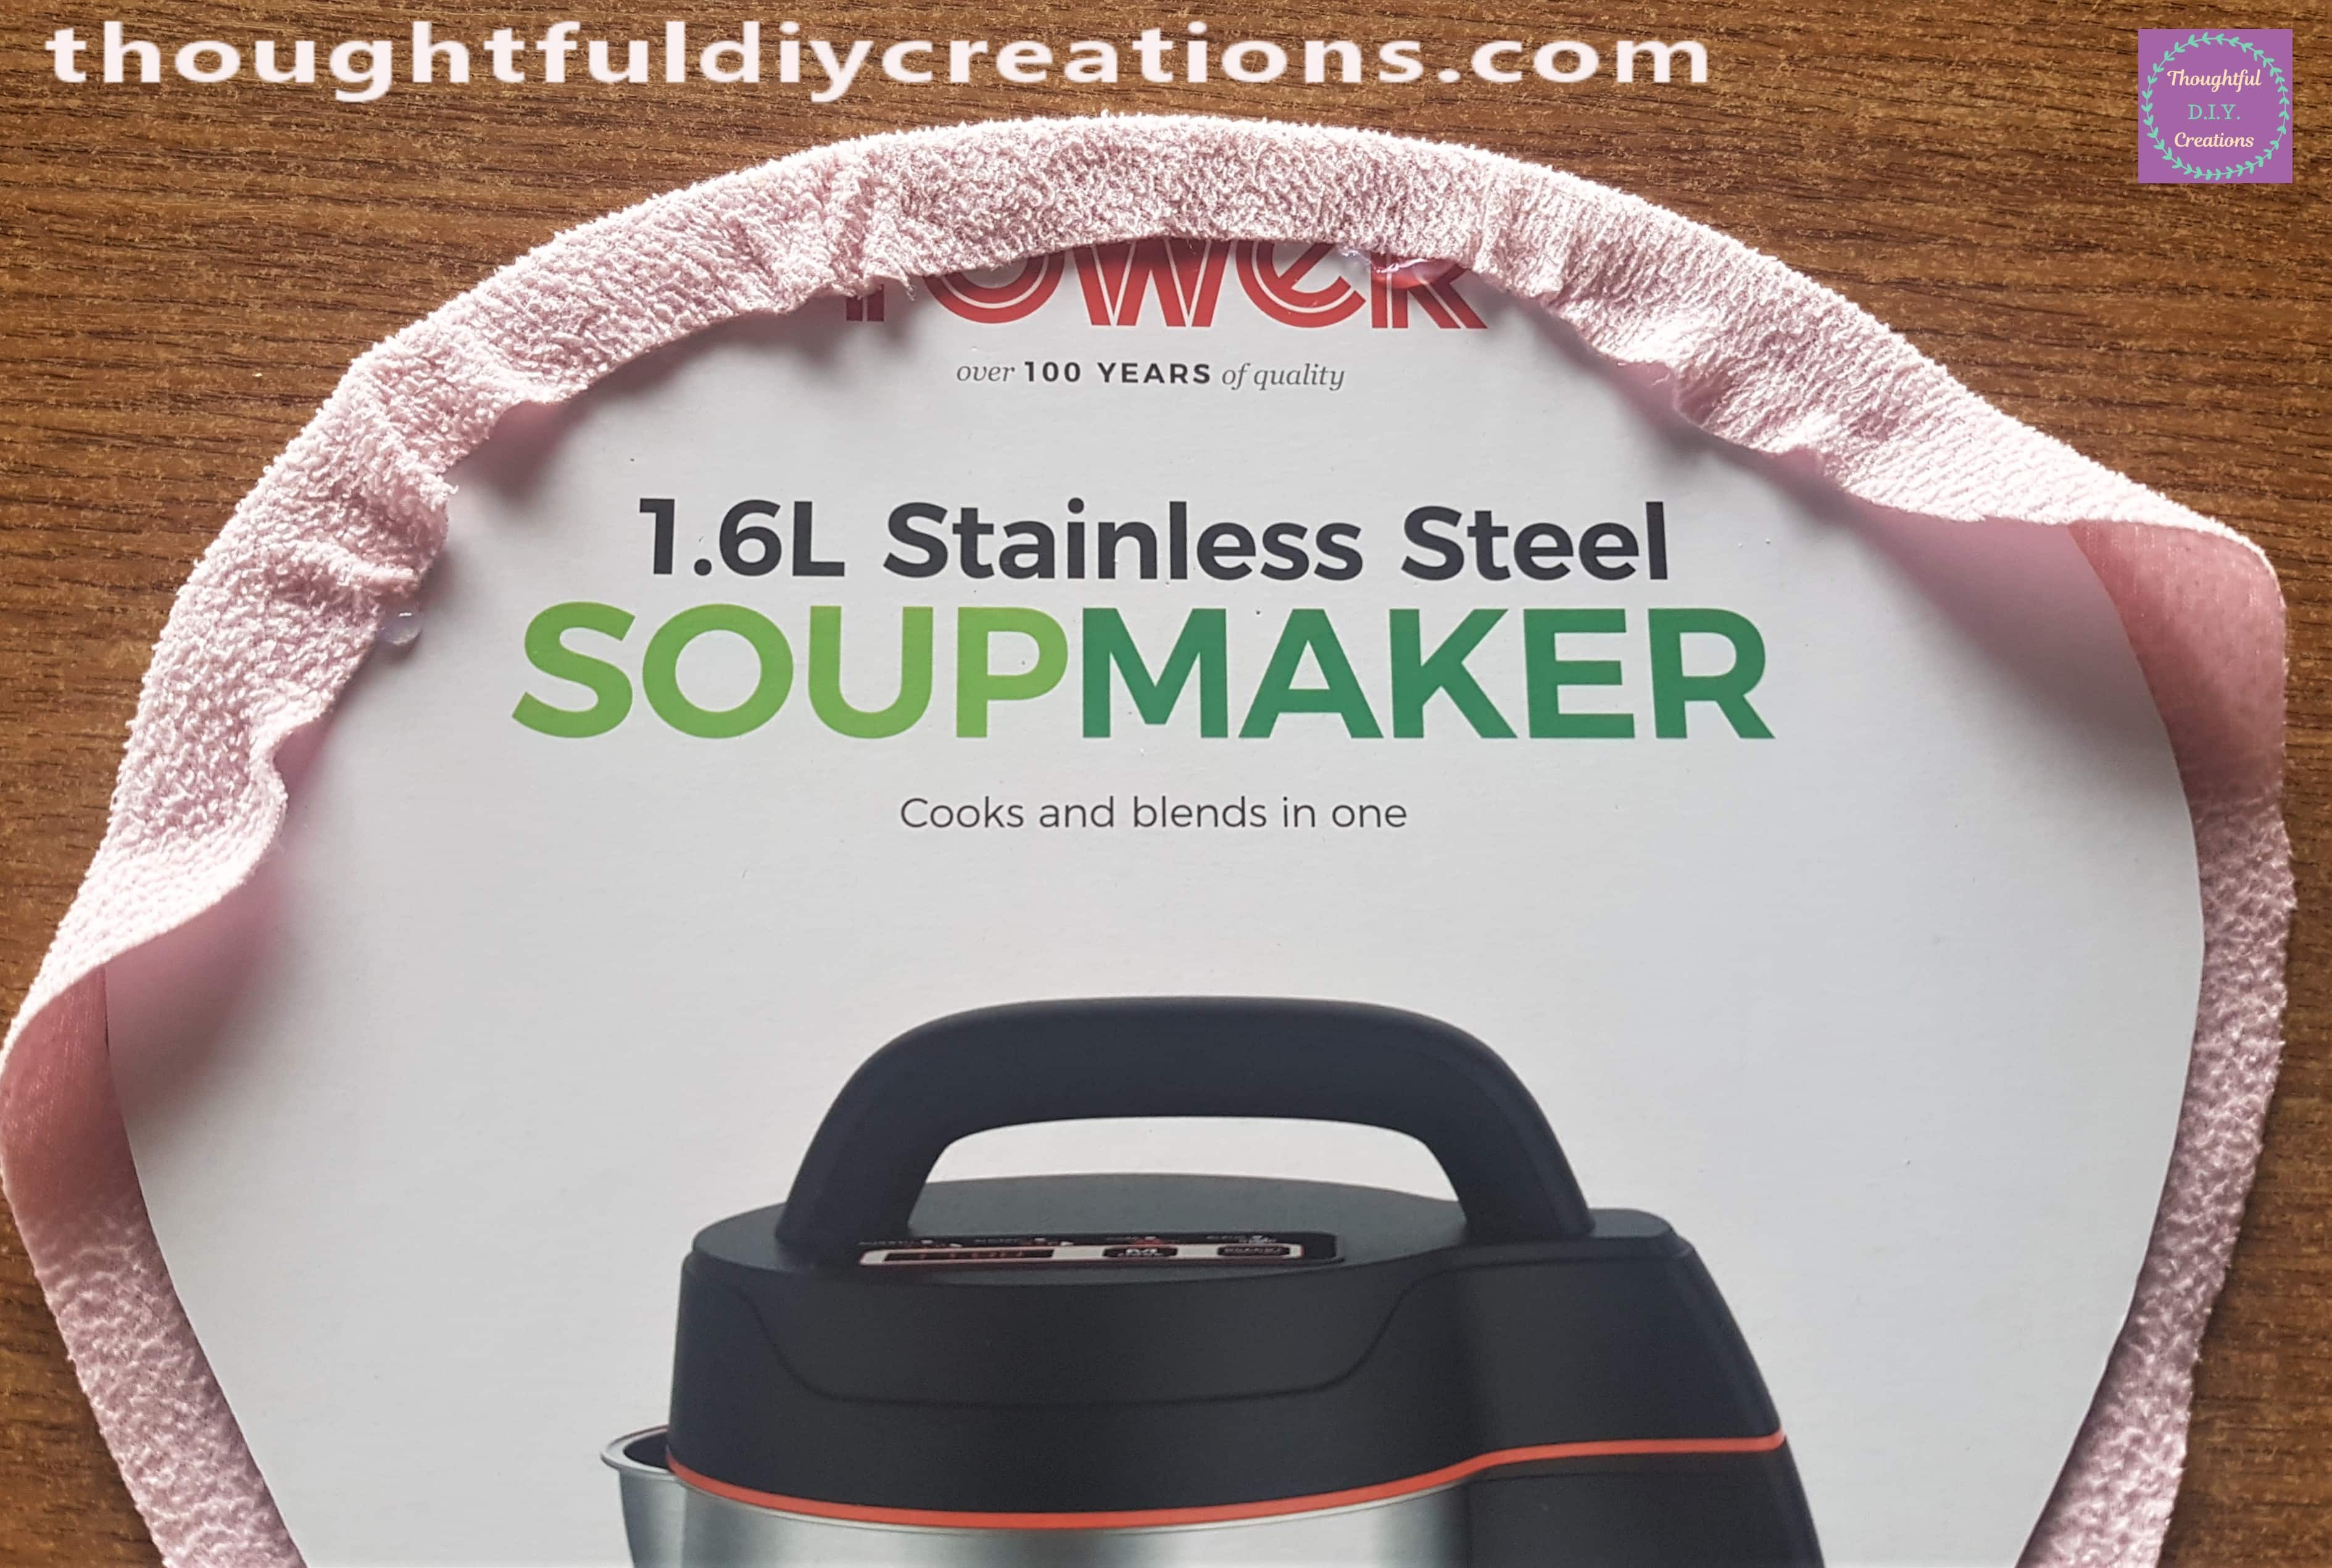
I continued with this process until all of the fleece was hot glued to the Cardboard.
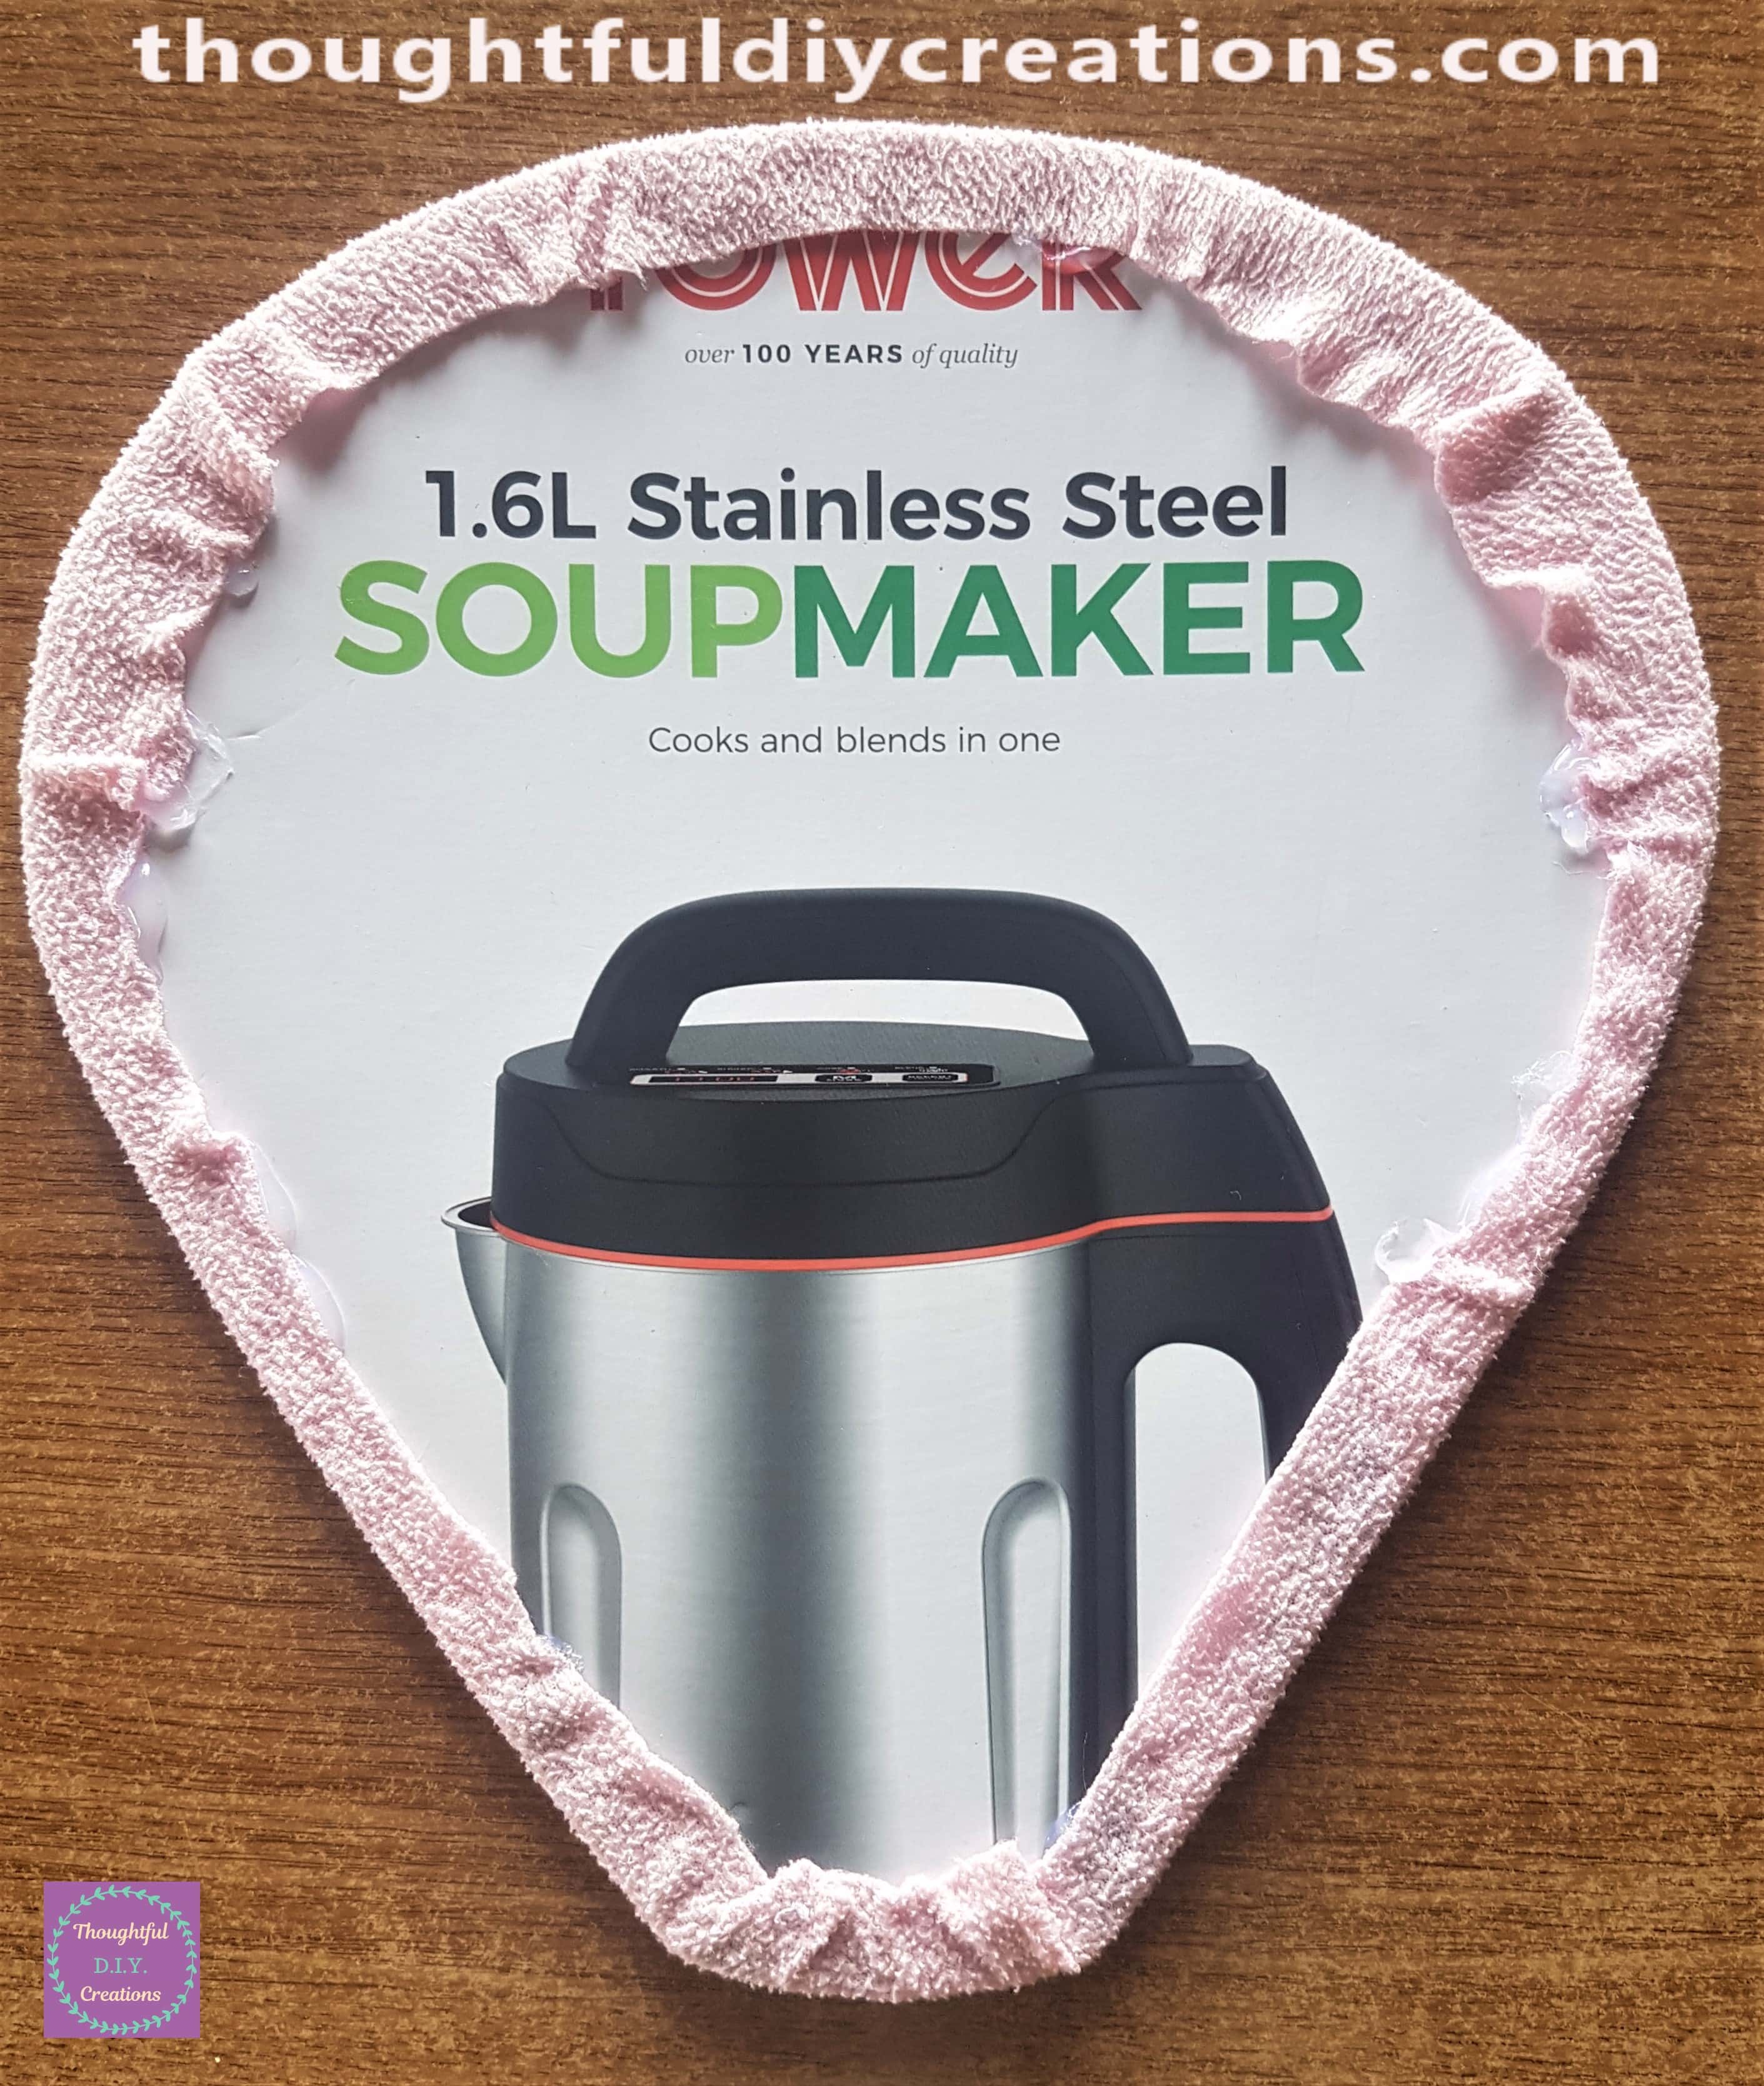
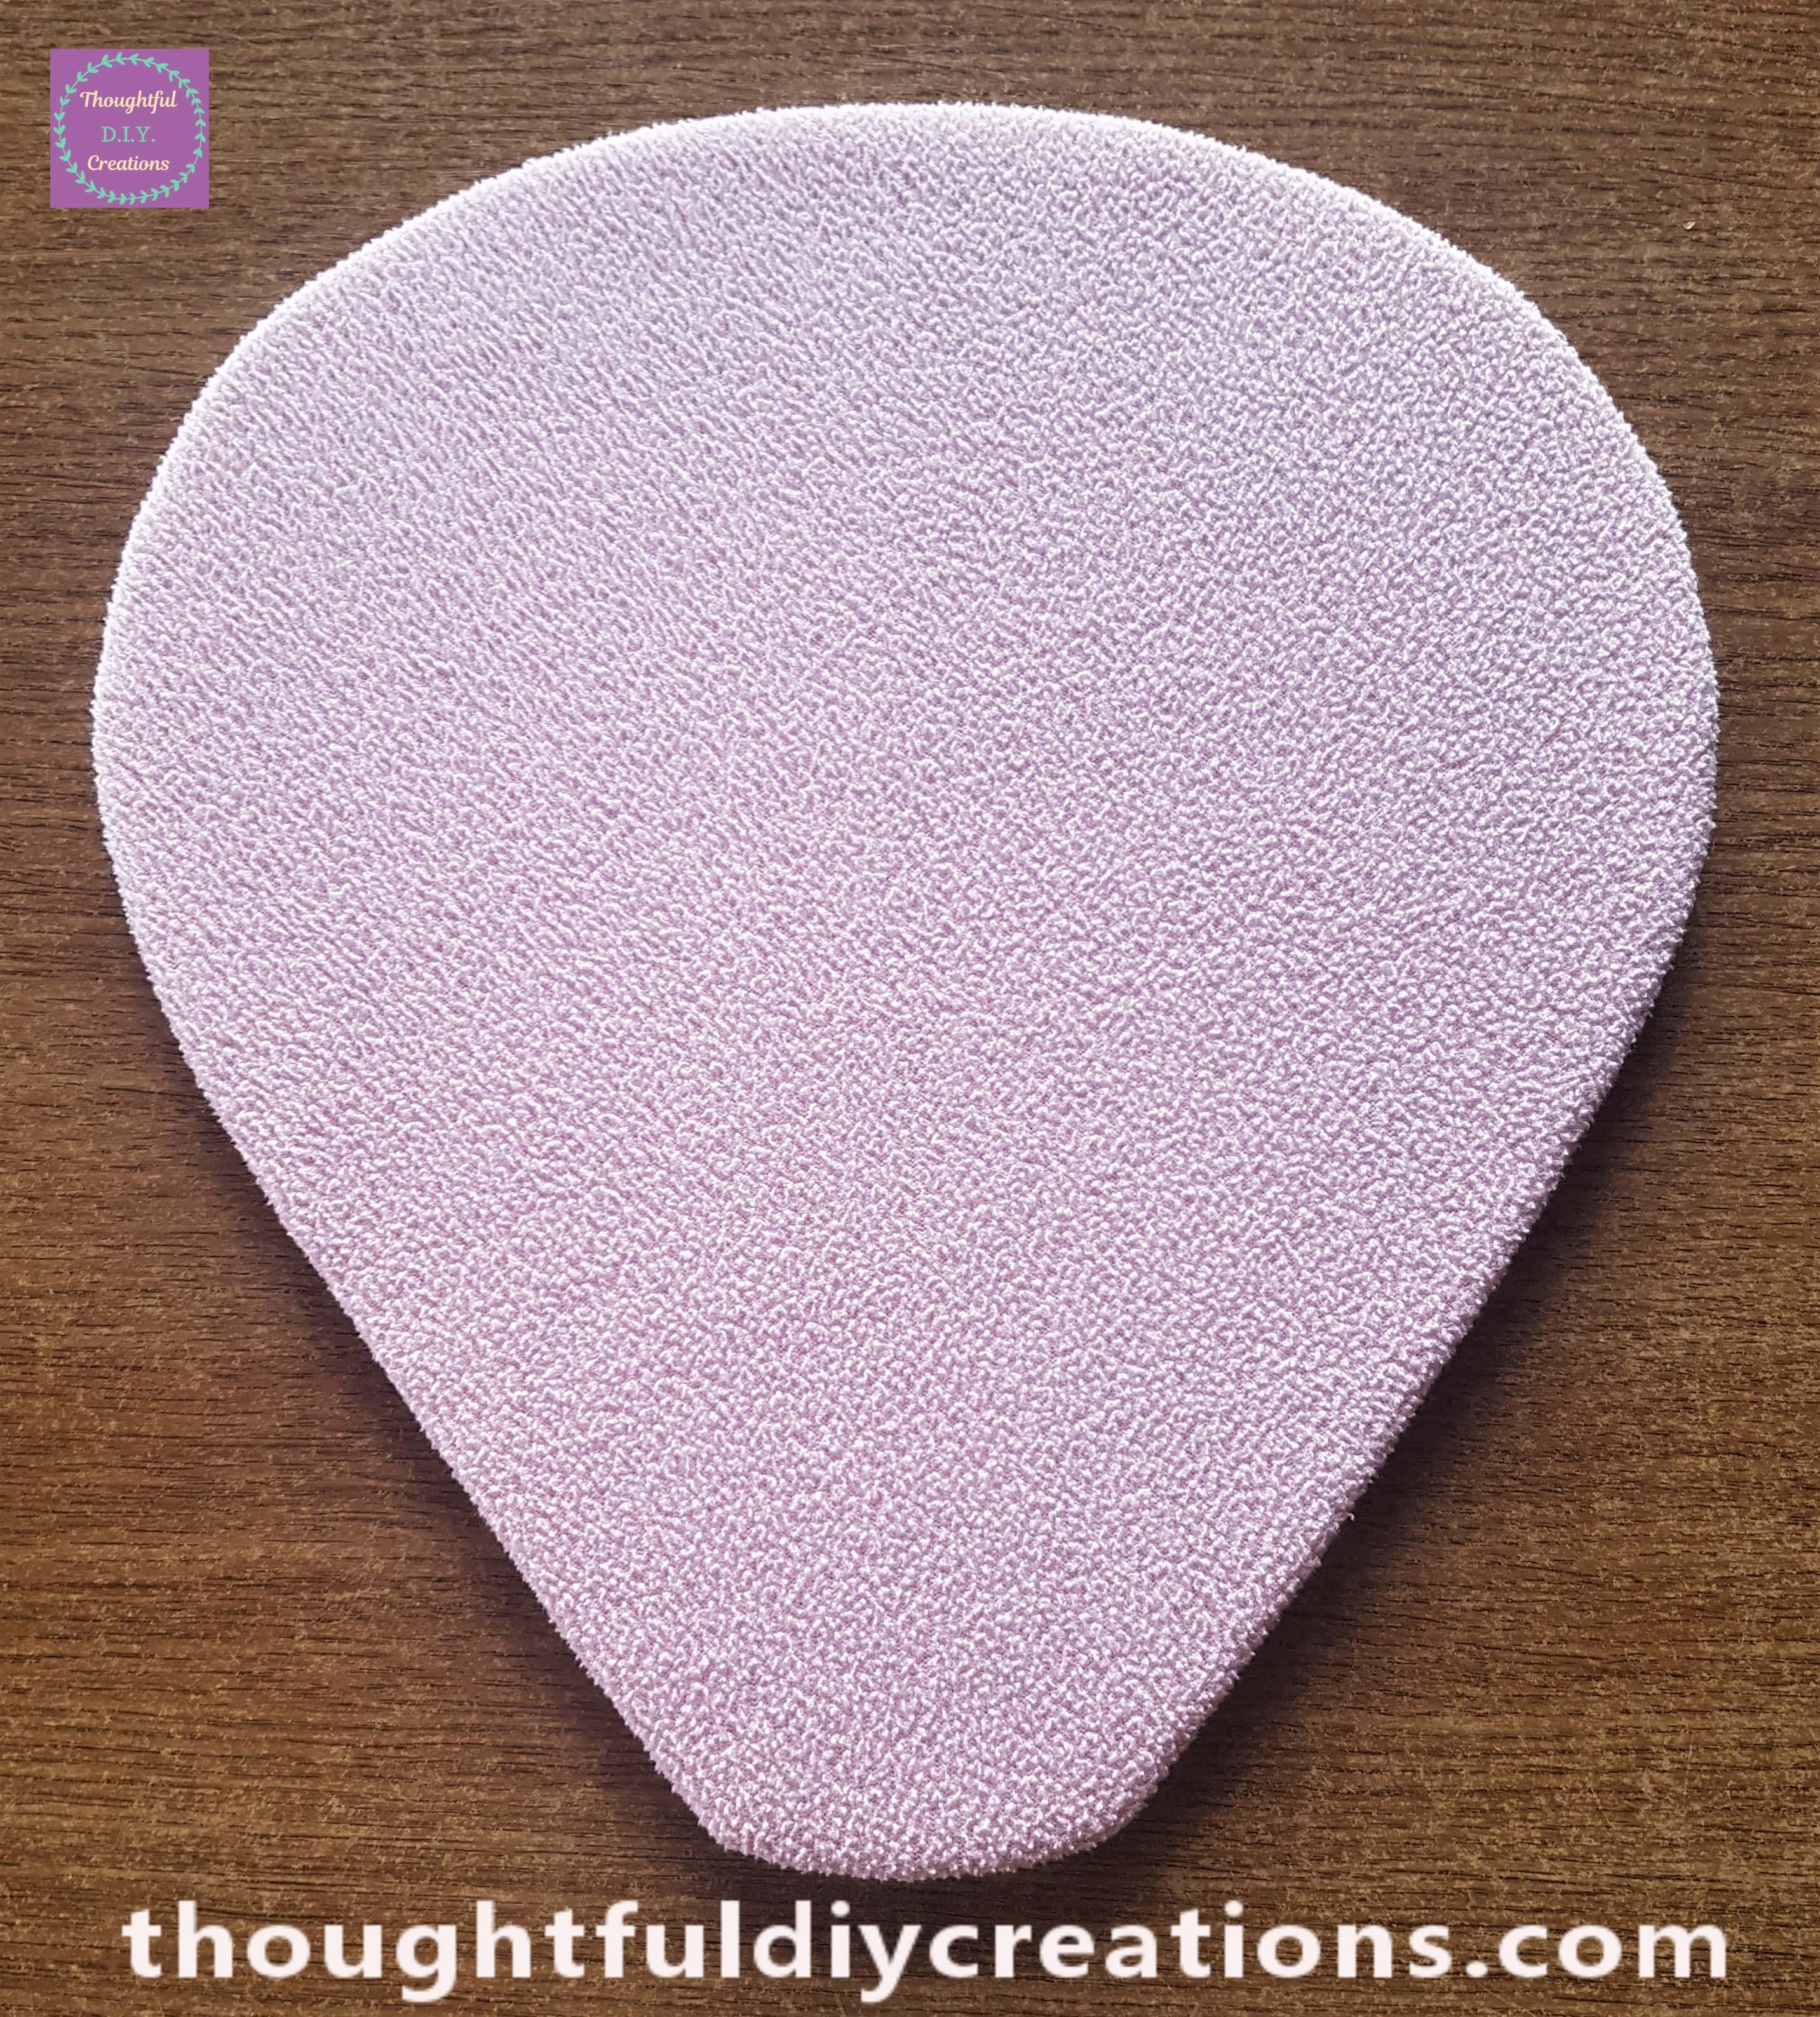
This is the front of the Hot Air Balloon with Pink Fleece attached.
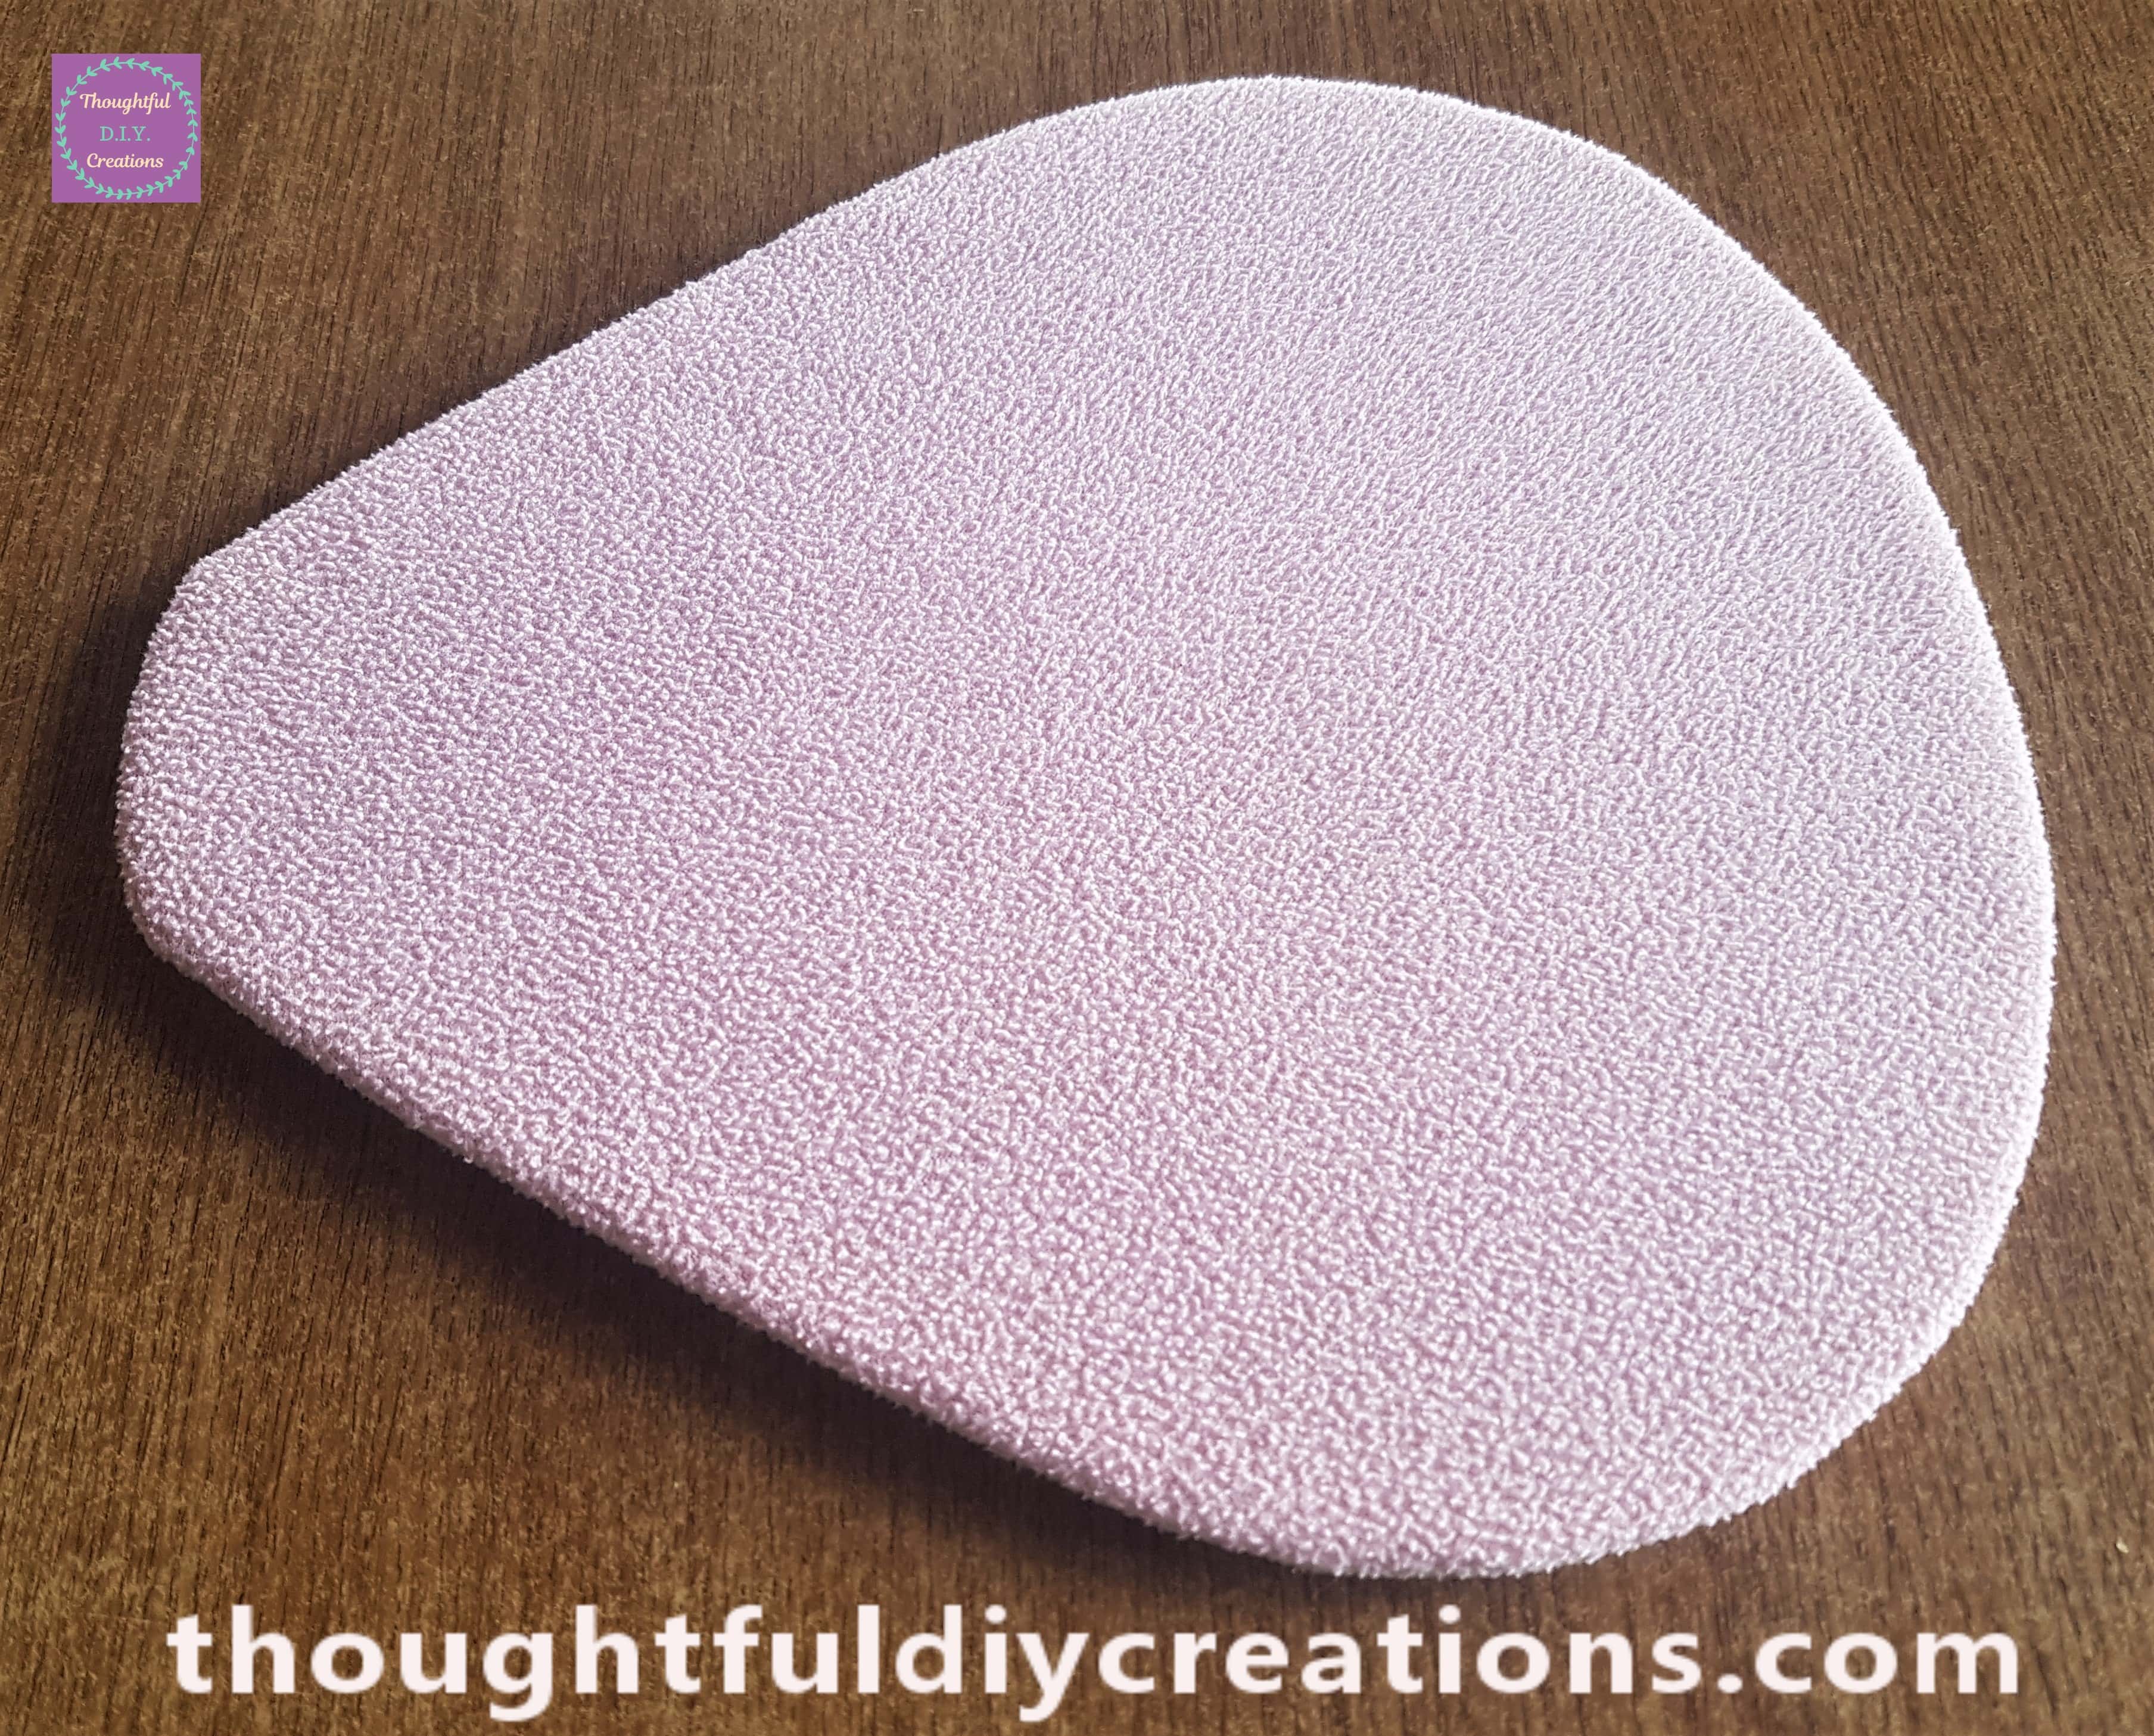
Here is a side angle view of the craft so far.
Adding Pom Poms to the Hot Air Balloon
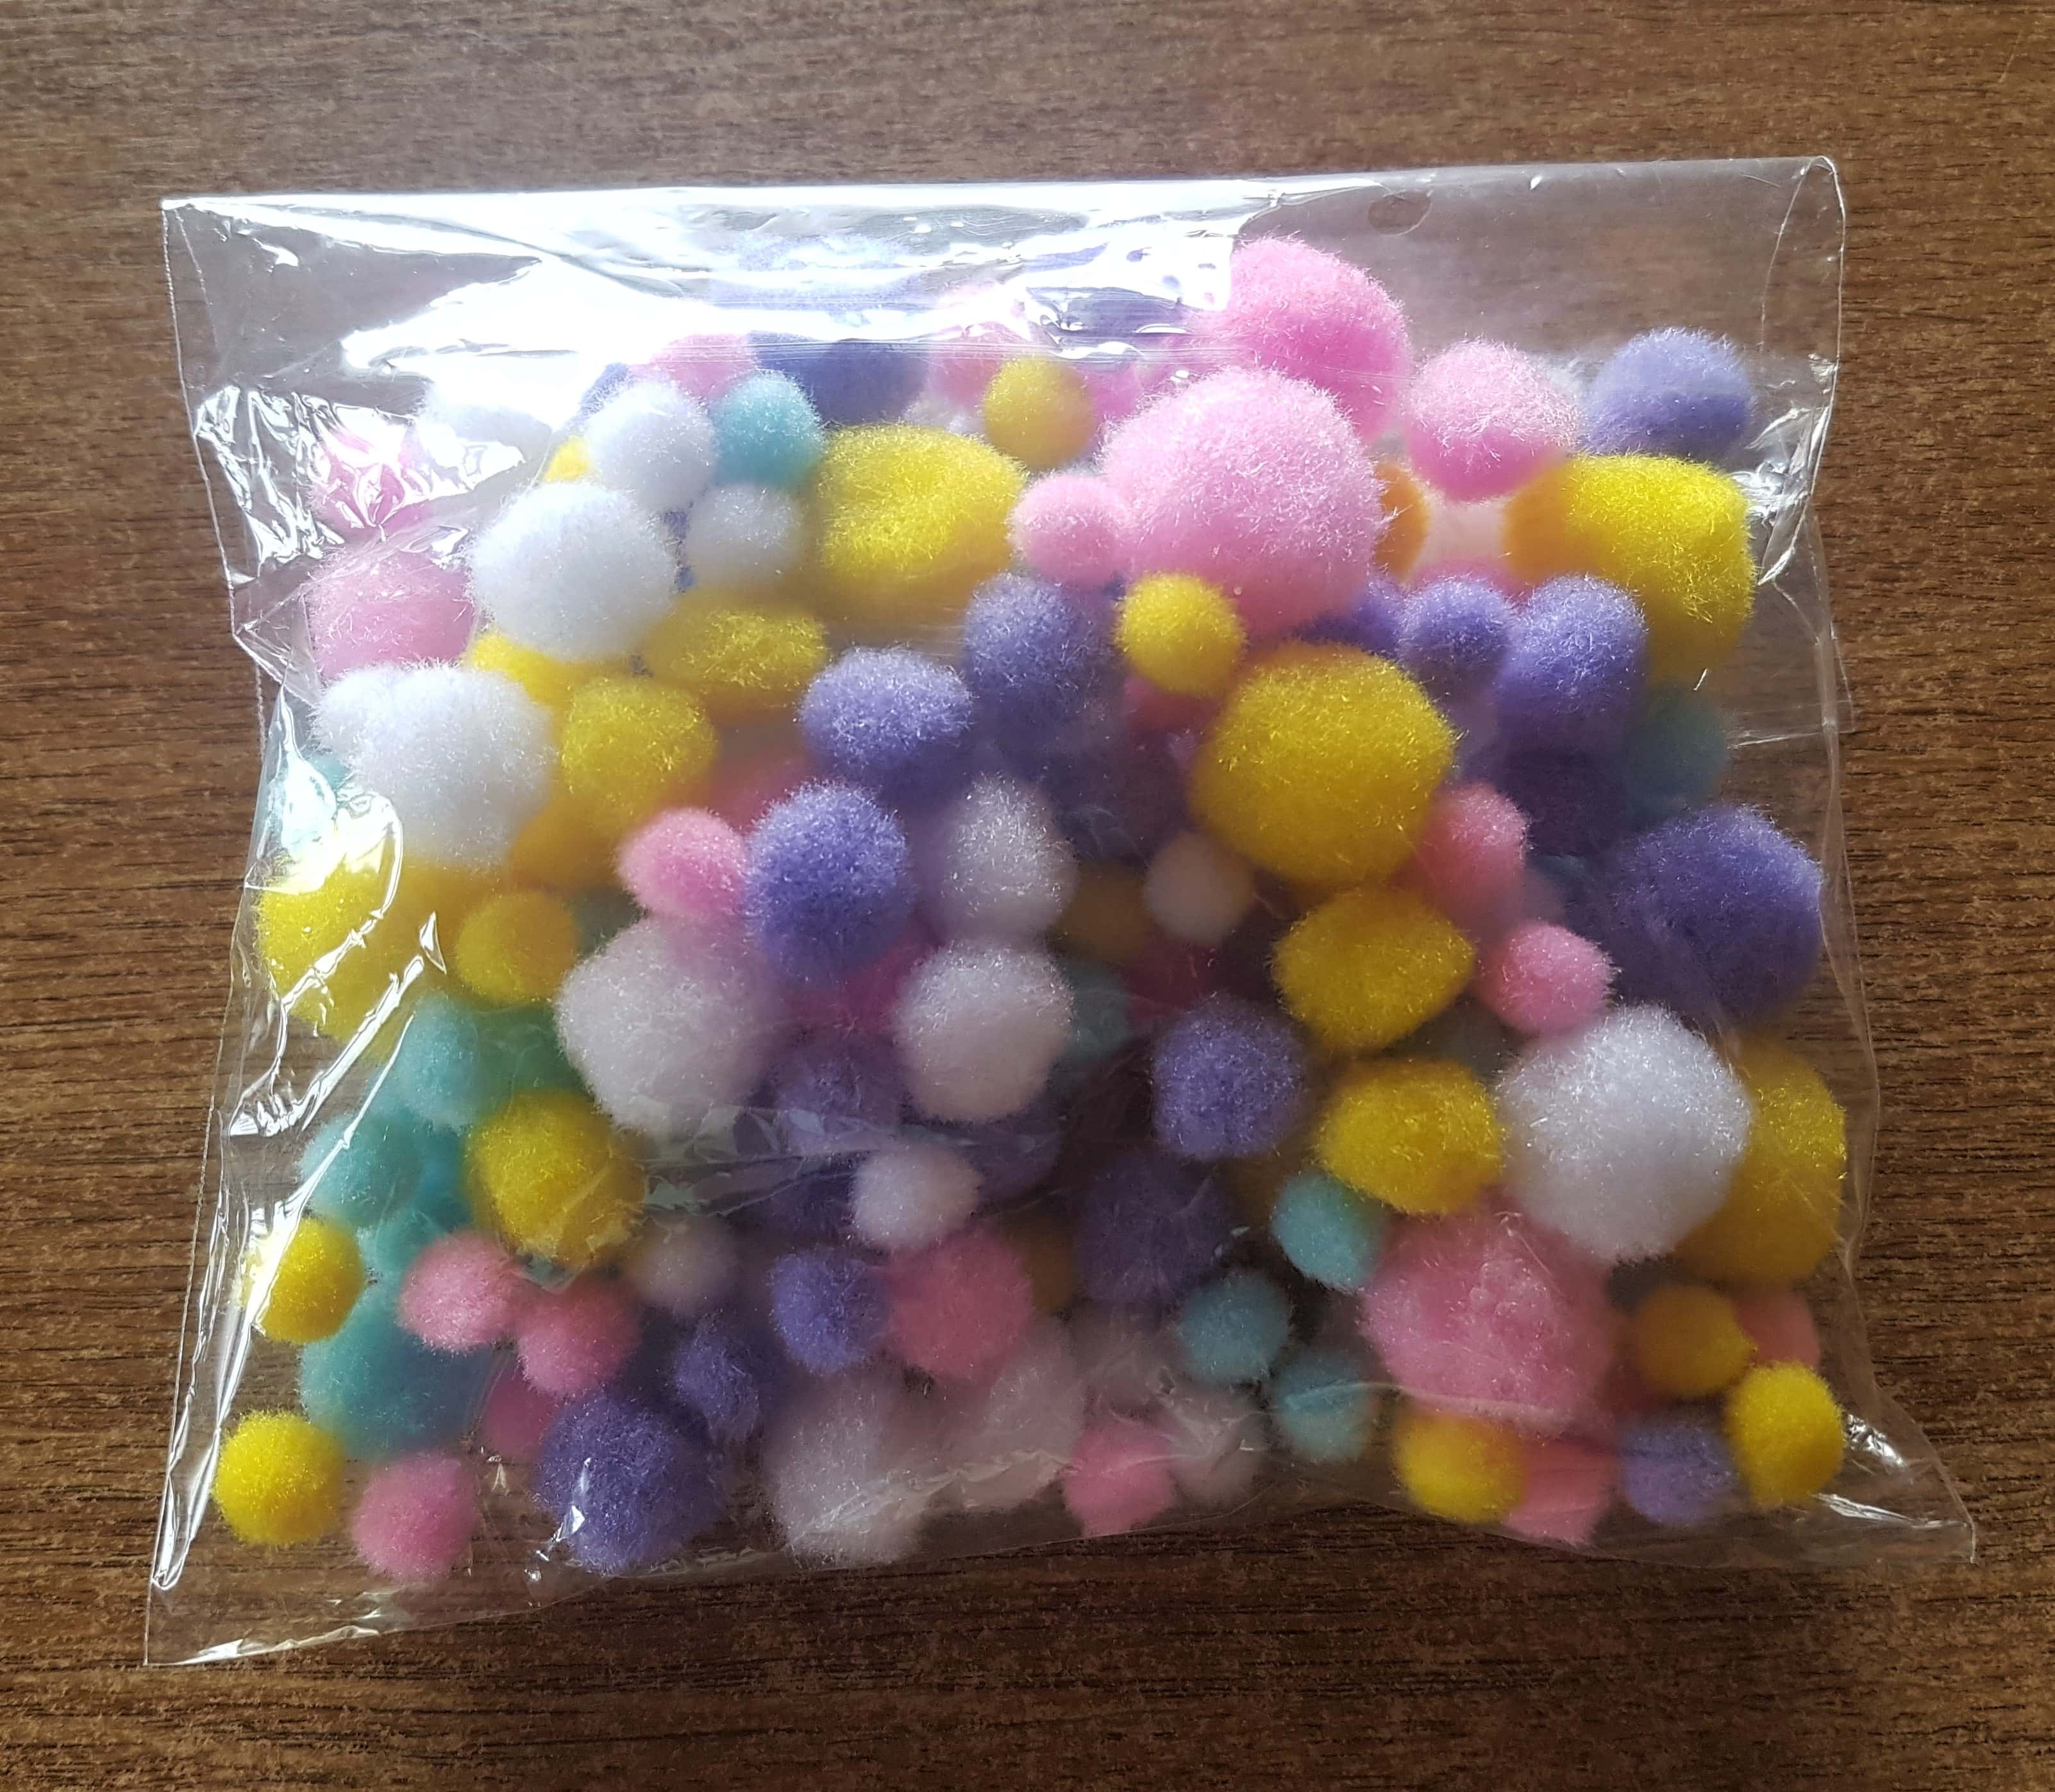
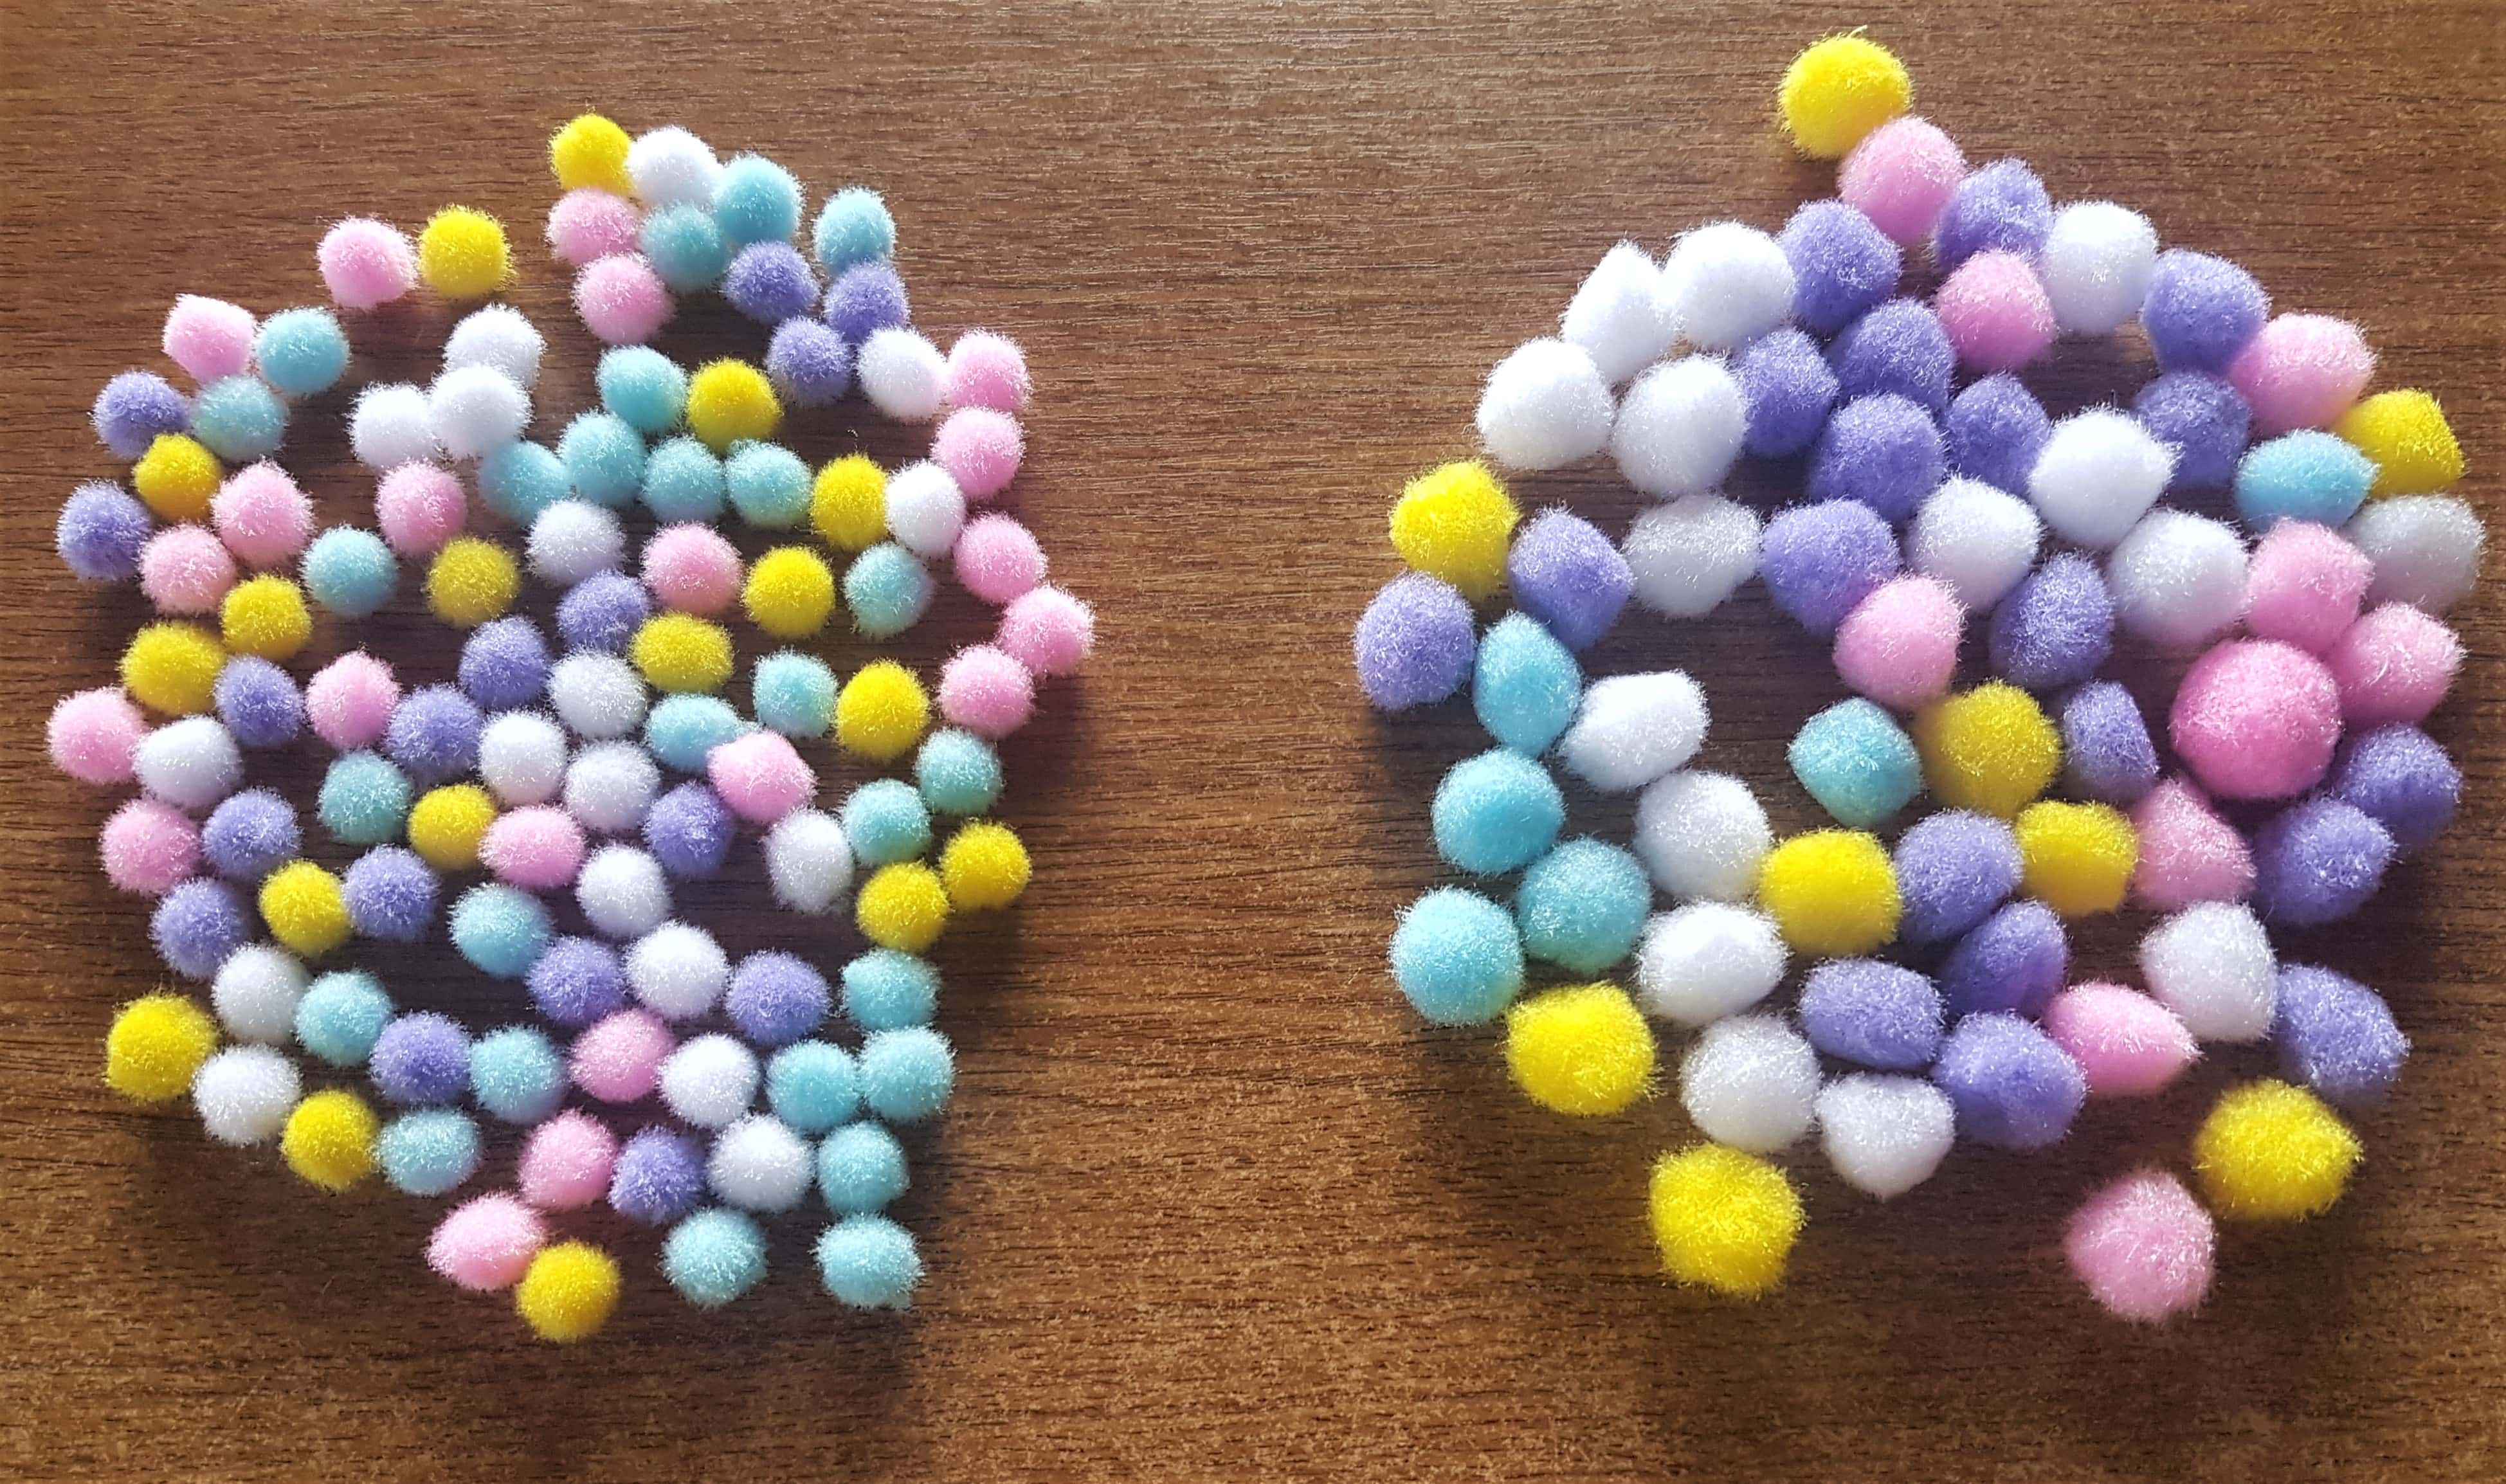
I had a Pack of Pom Poms in my craft supplies.
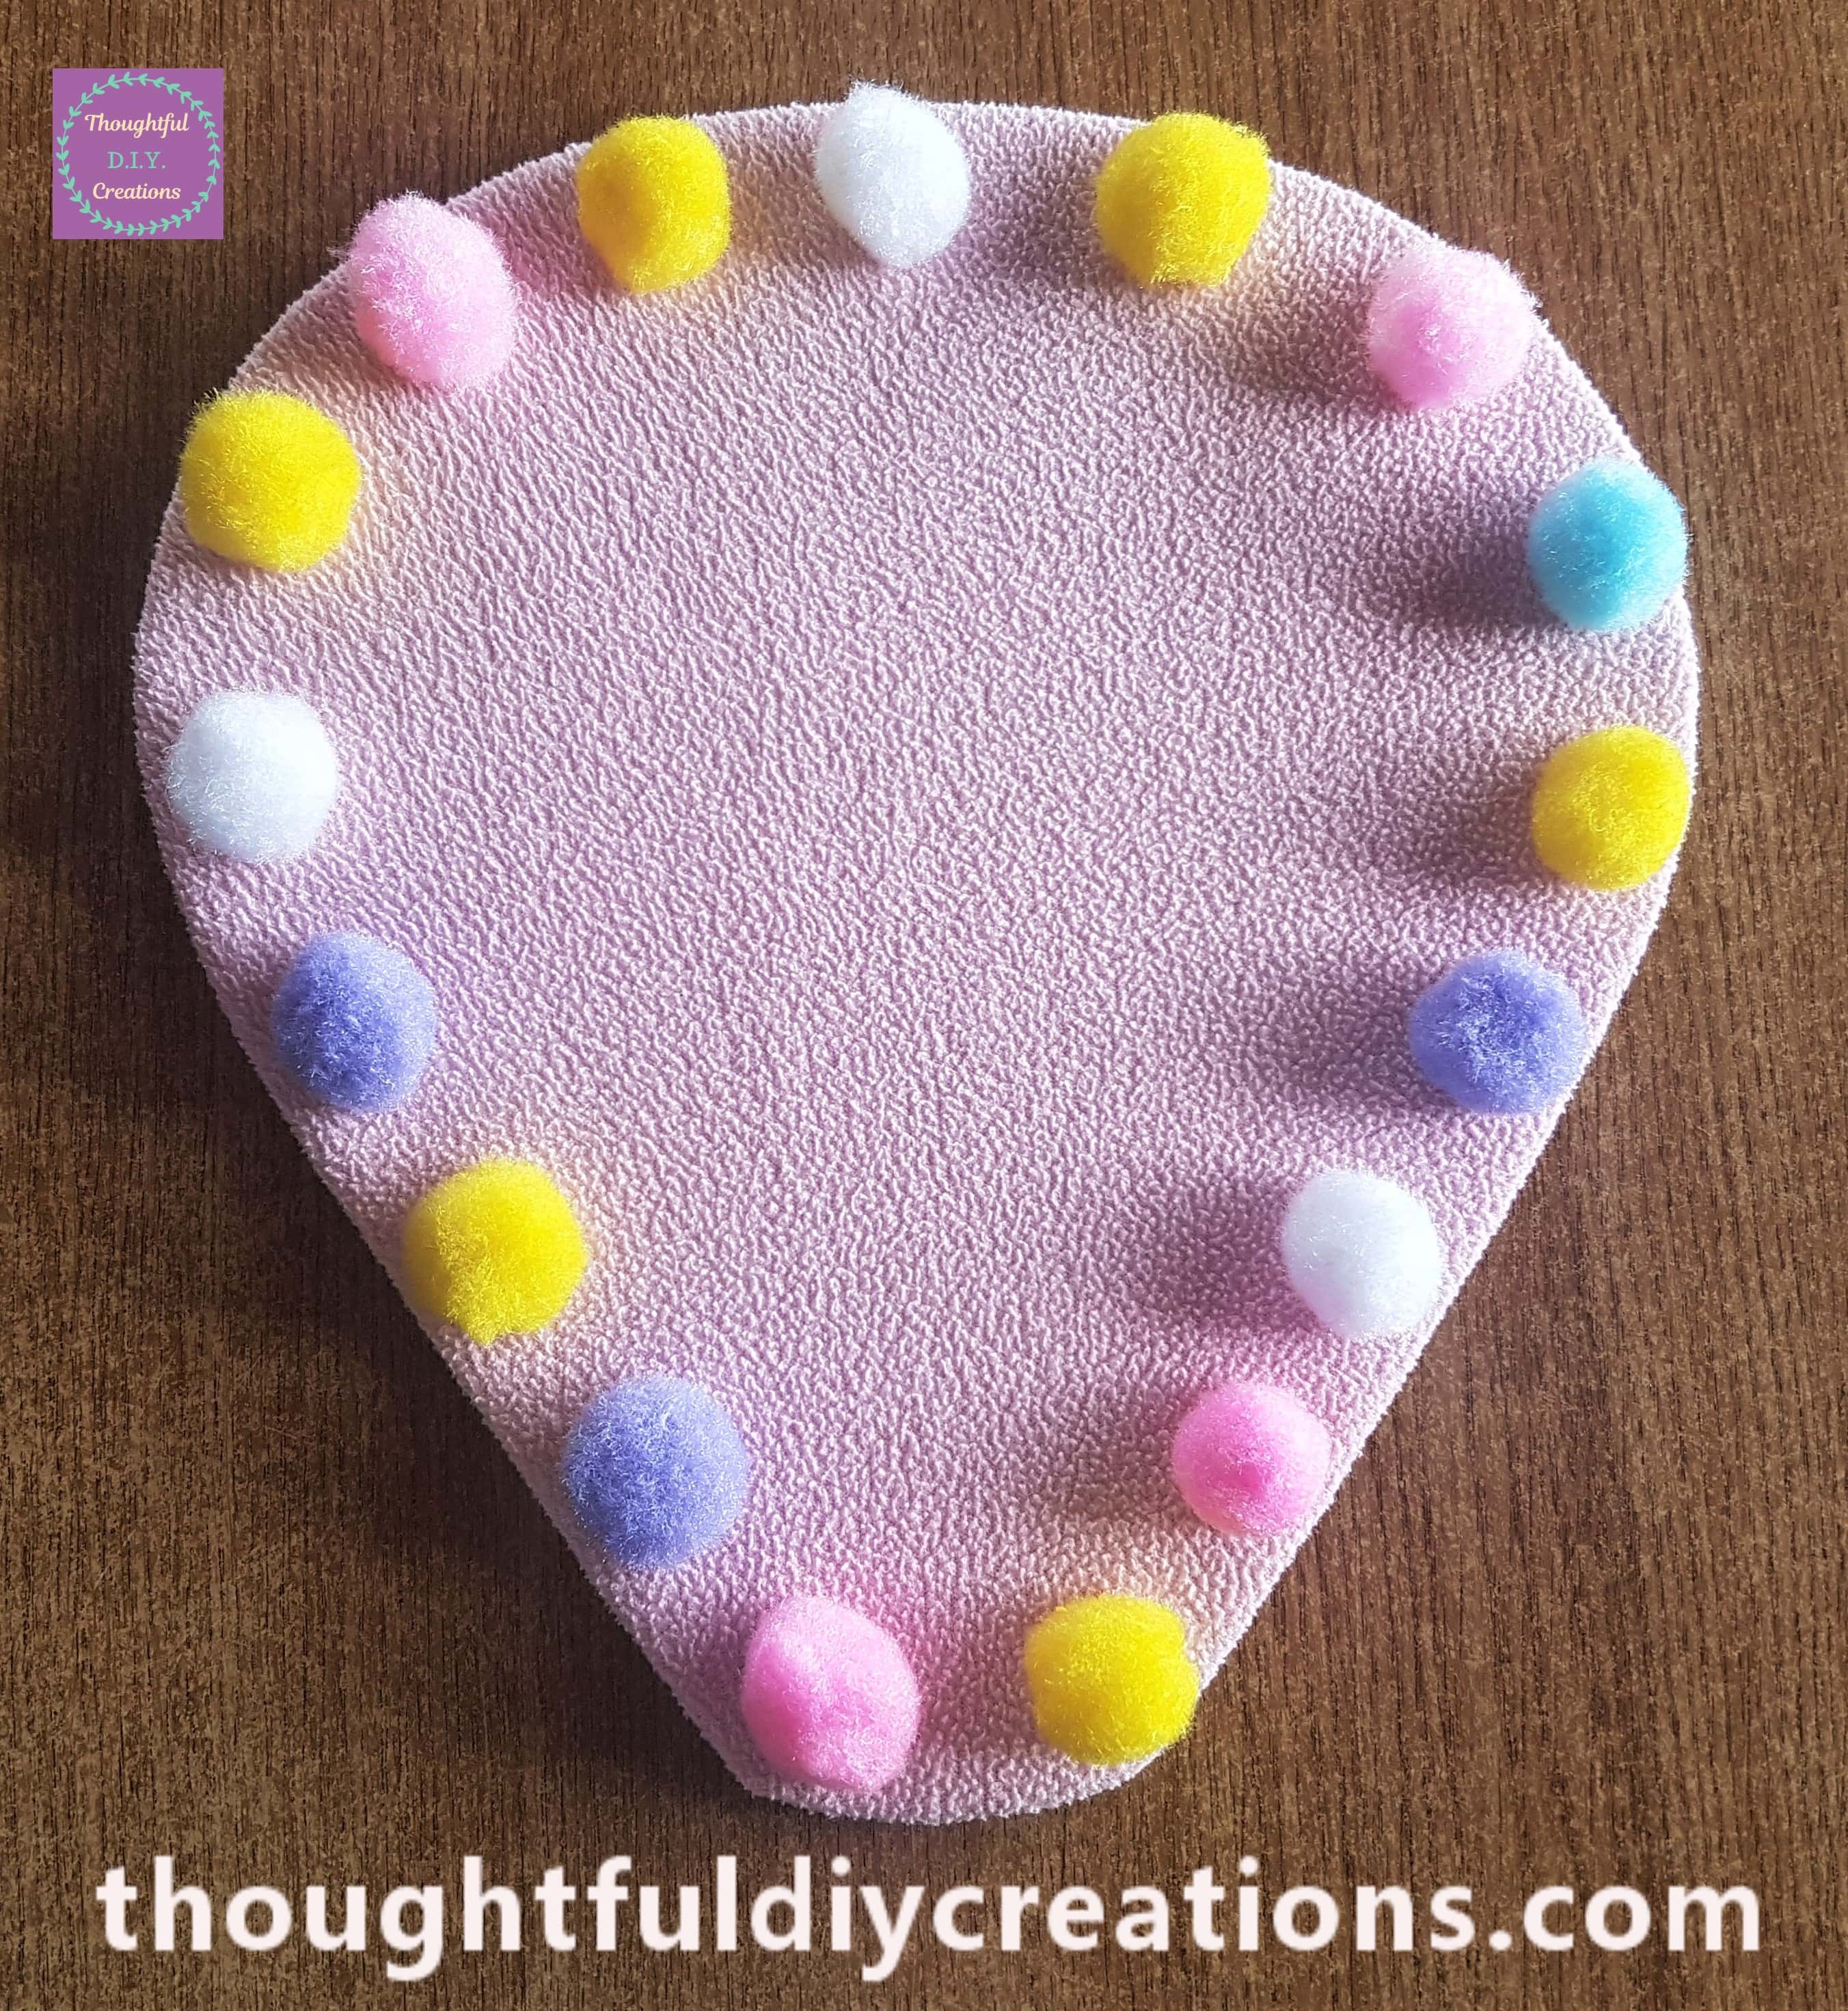
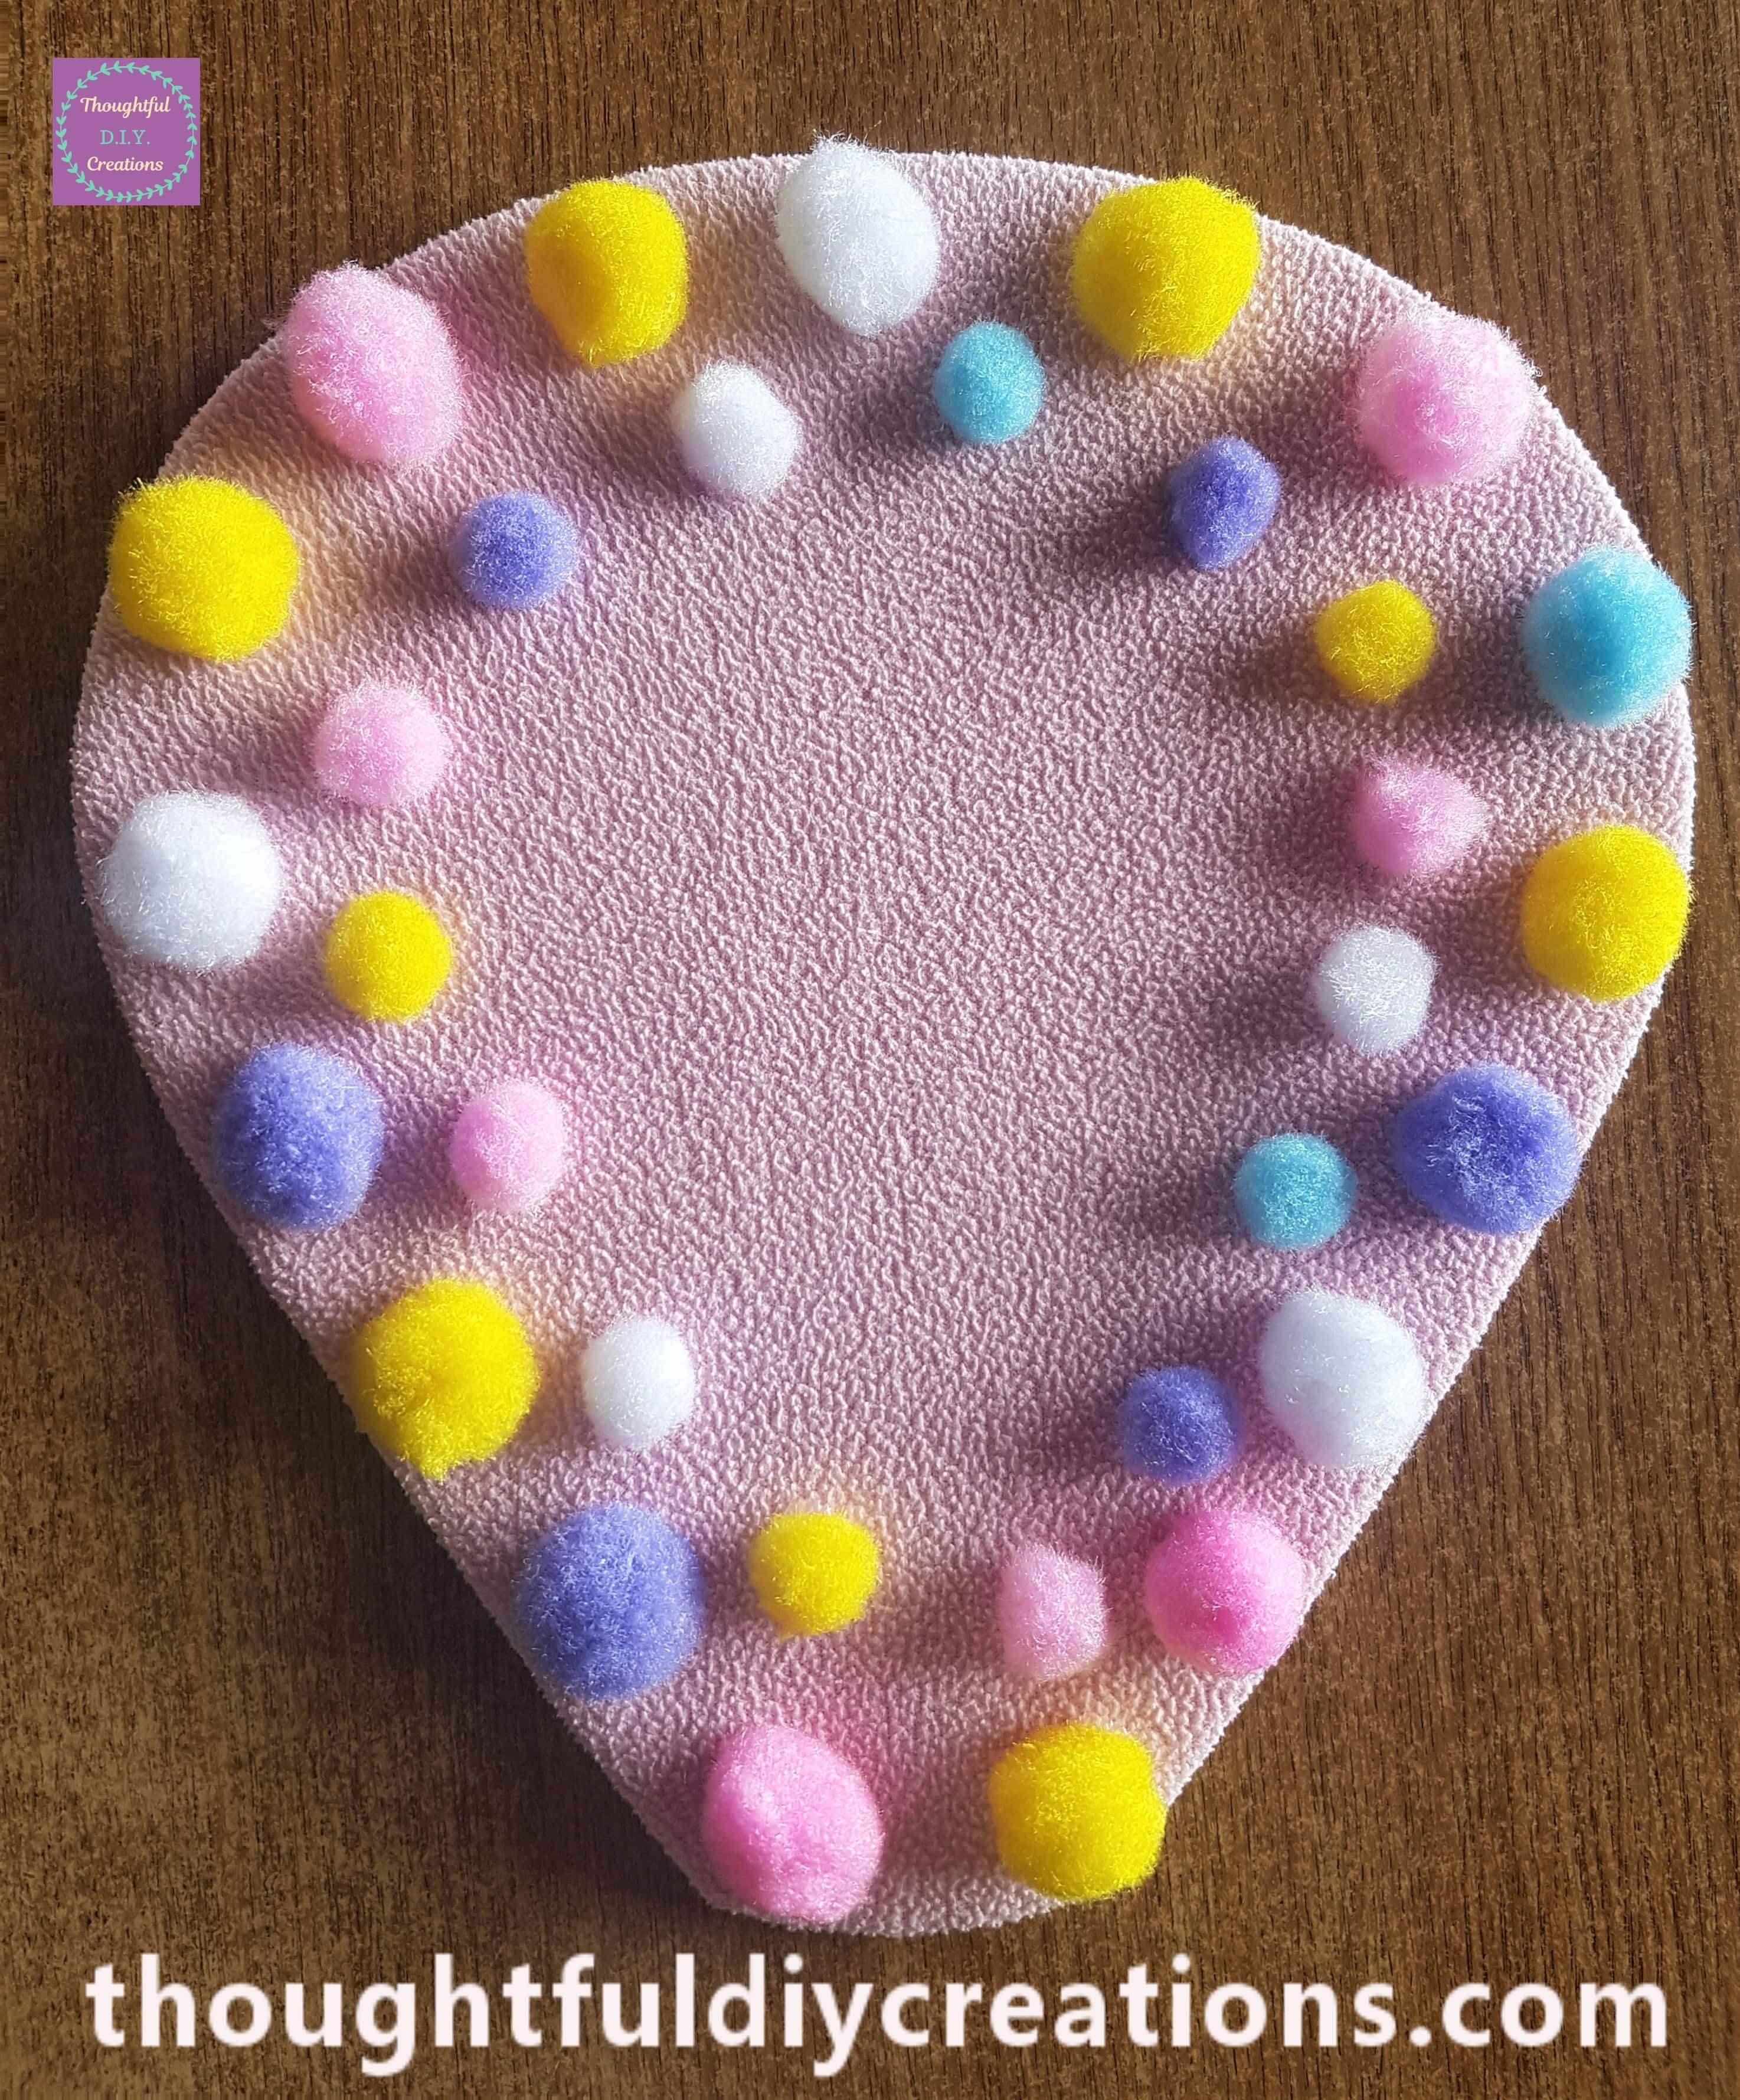
I got the biggest Pom Poms from the Pack and separated them evenly around the edge of the fleece. I put a blob of Hot Glue on the bottom of each Pom pom and held them in place for a couple of seconds before moving on to the next one.
I separated the other two sizes of Pom poms into two sections.
I got the second biggest size pom poms and arranged them onto the Hot Air Balloon in another row in between the gaps from the first layer of pom poms. When I was happy with how they looked I attached them with a dab of hot glue.
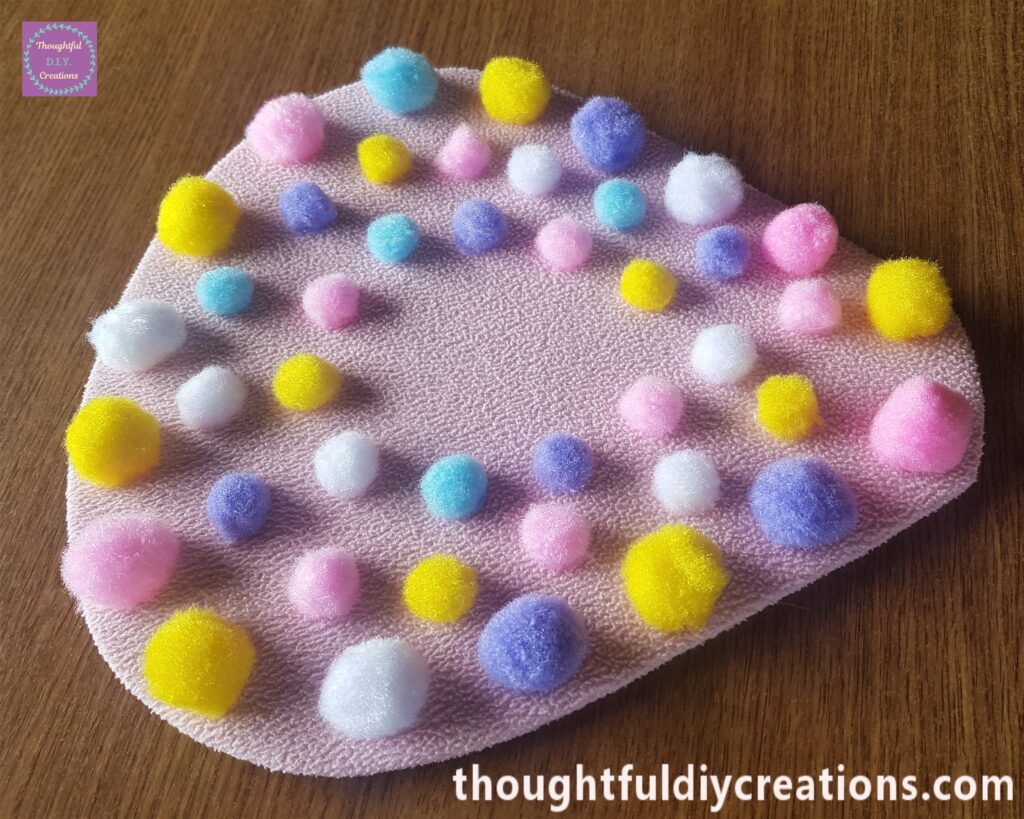
I added another layer of medium size pom poms.
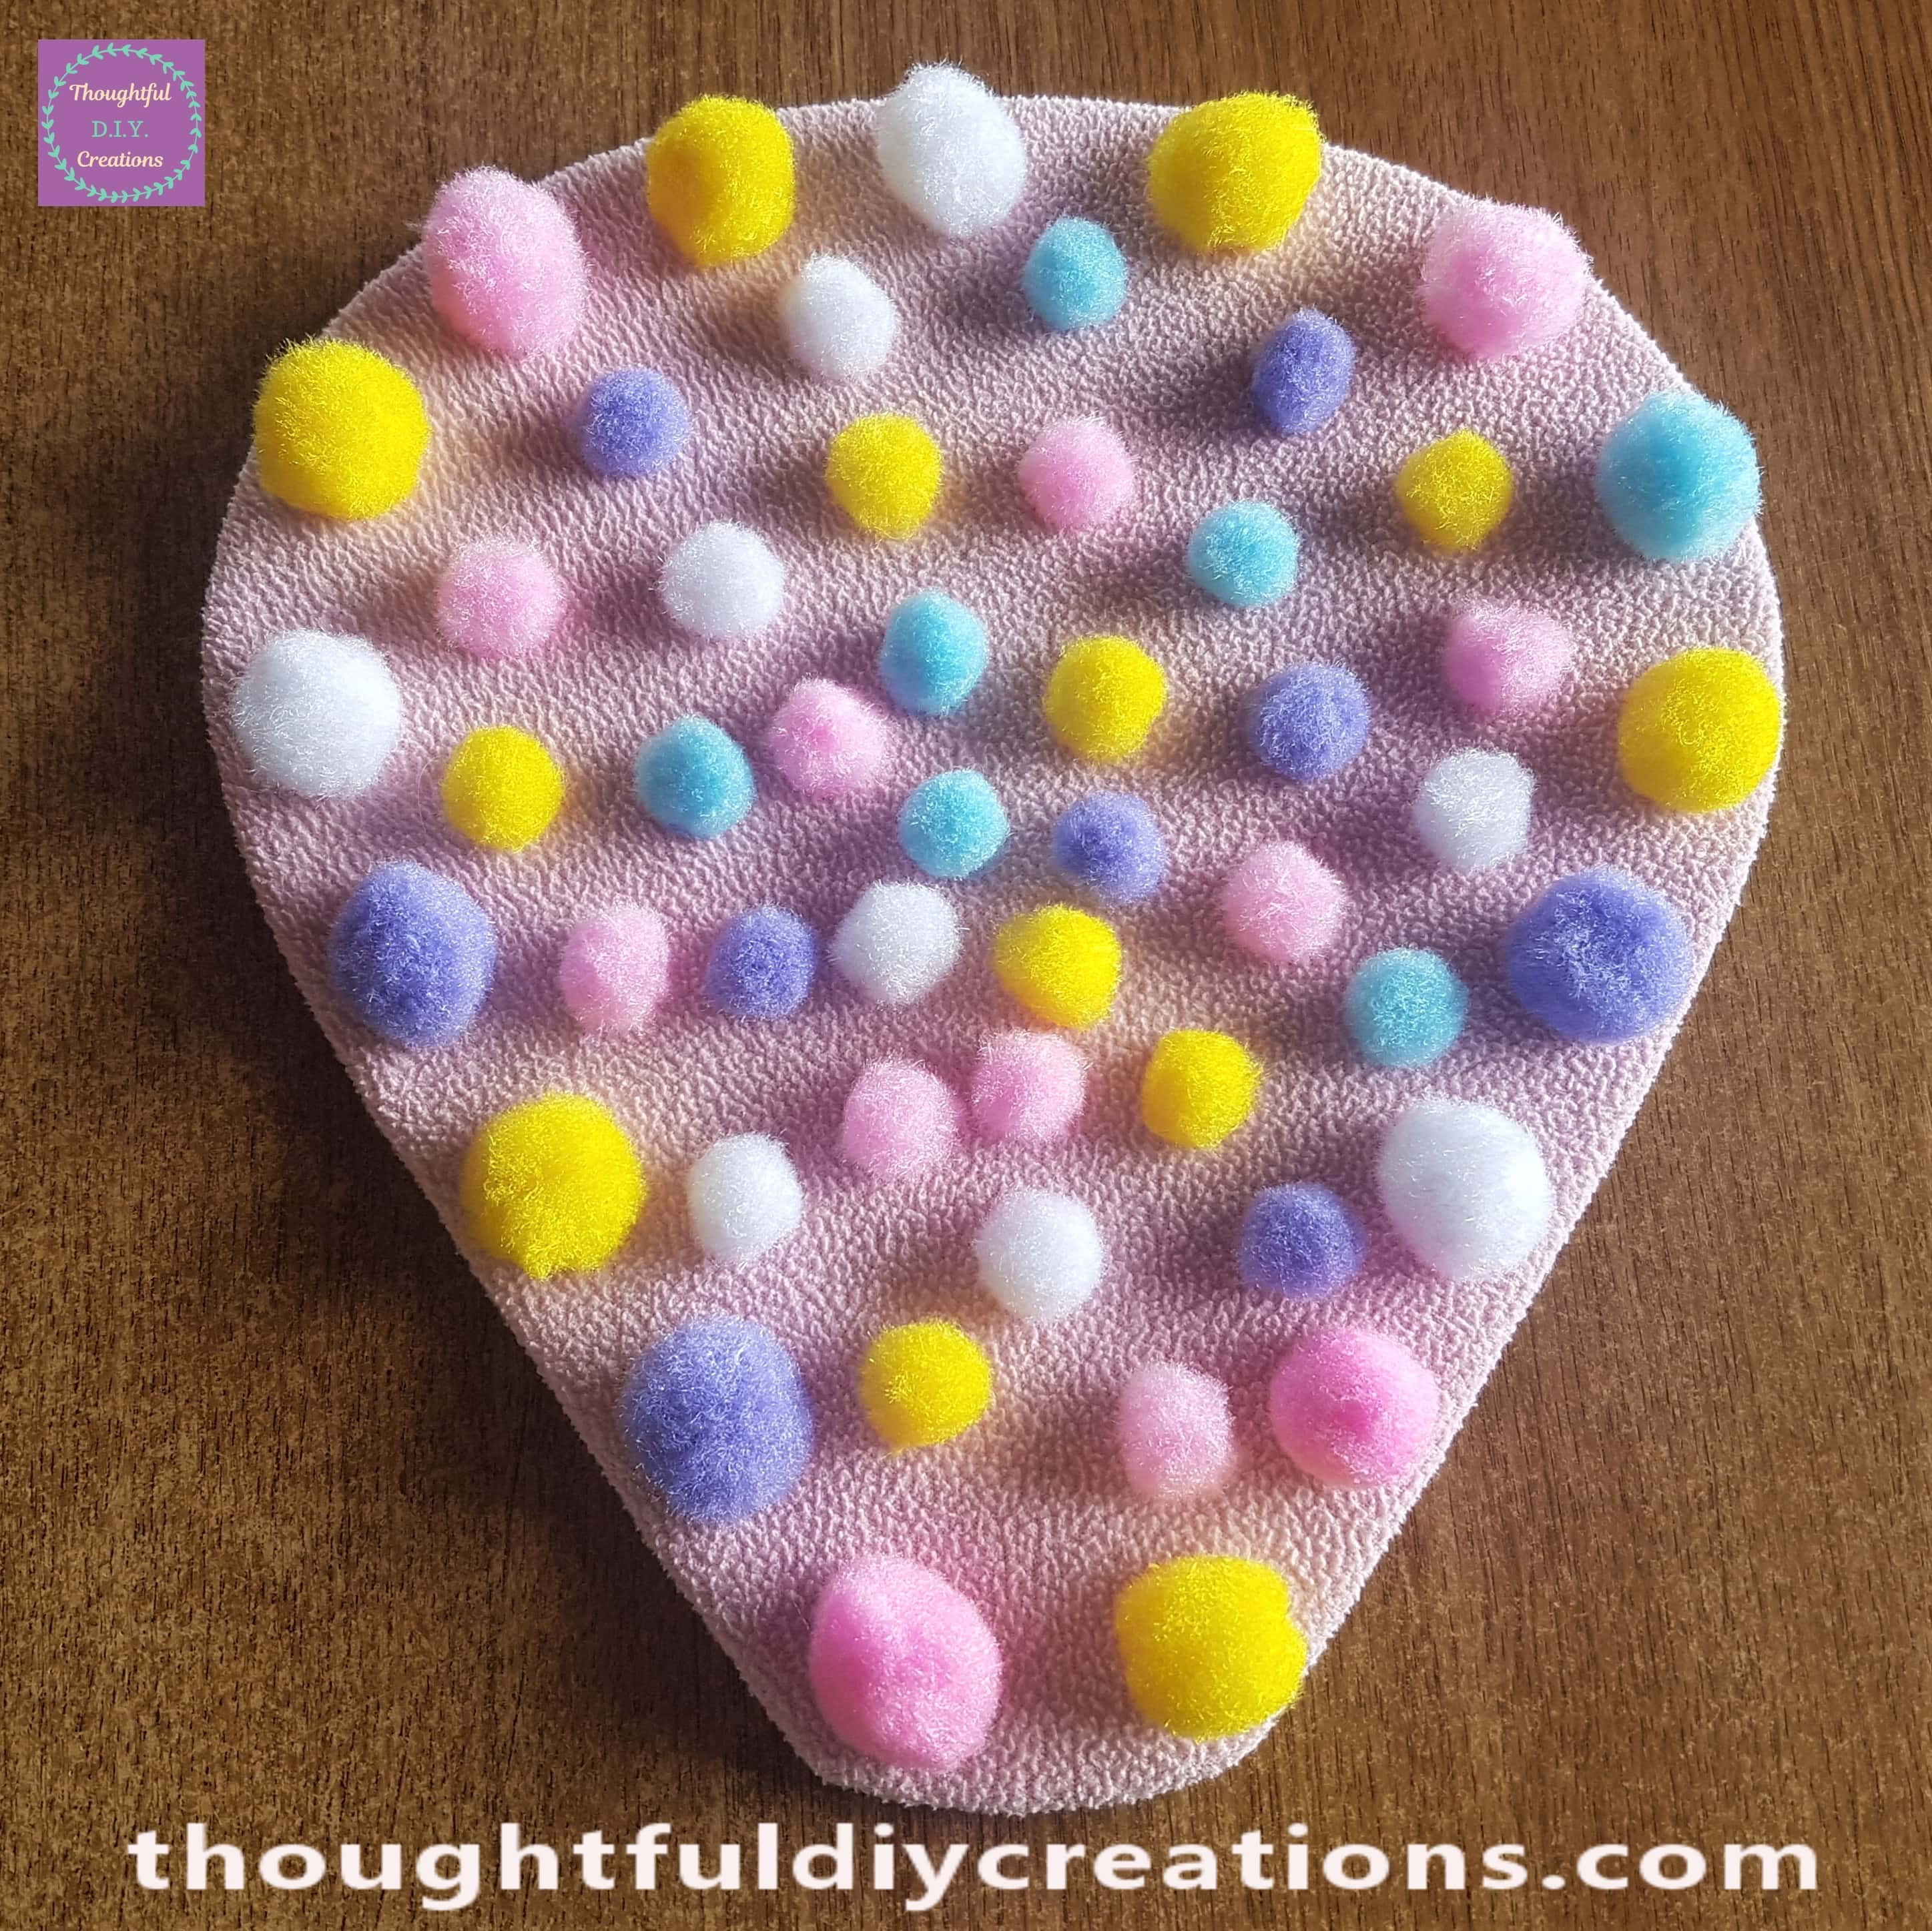
More pom poms were added with hot glue in the center of the pink fleece.
I glued a medium size pom pom in between each large pom pom all around the edge of the Balloon.
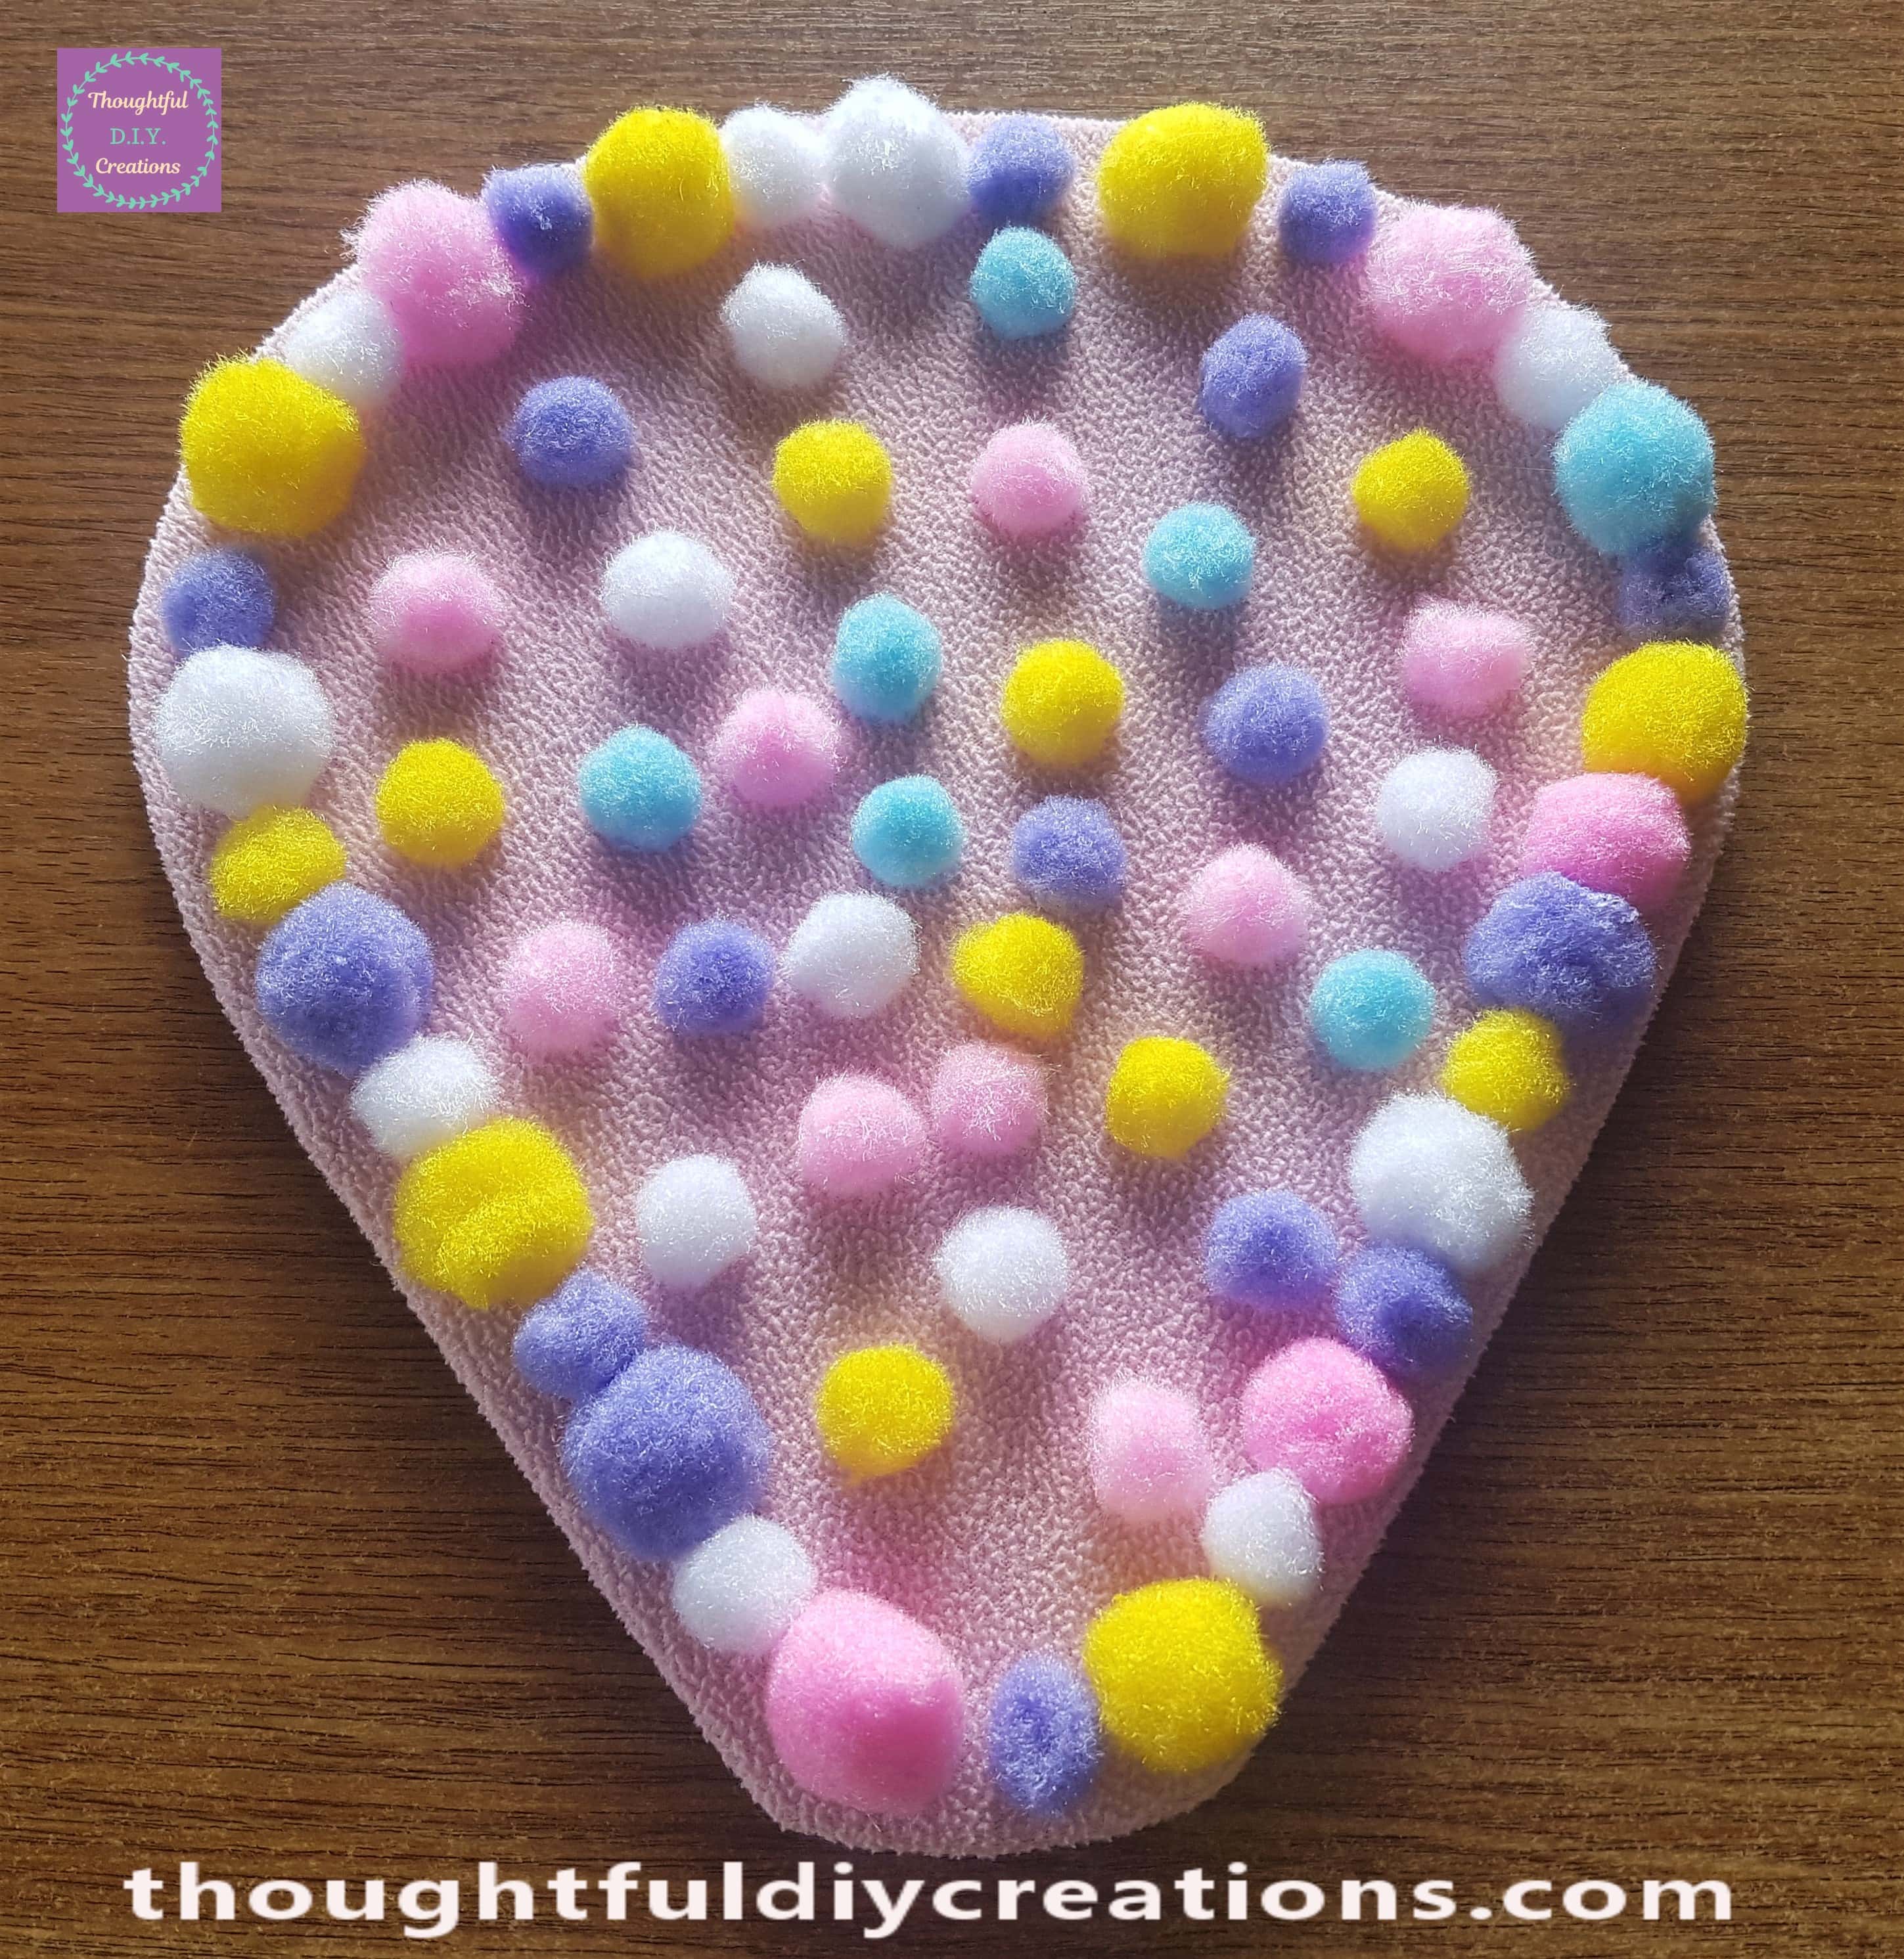
I added the rest of the medium pom poms to different areas of the Balloon.
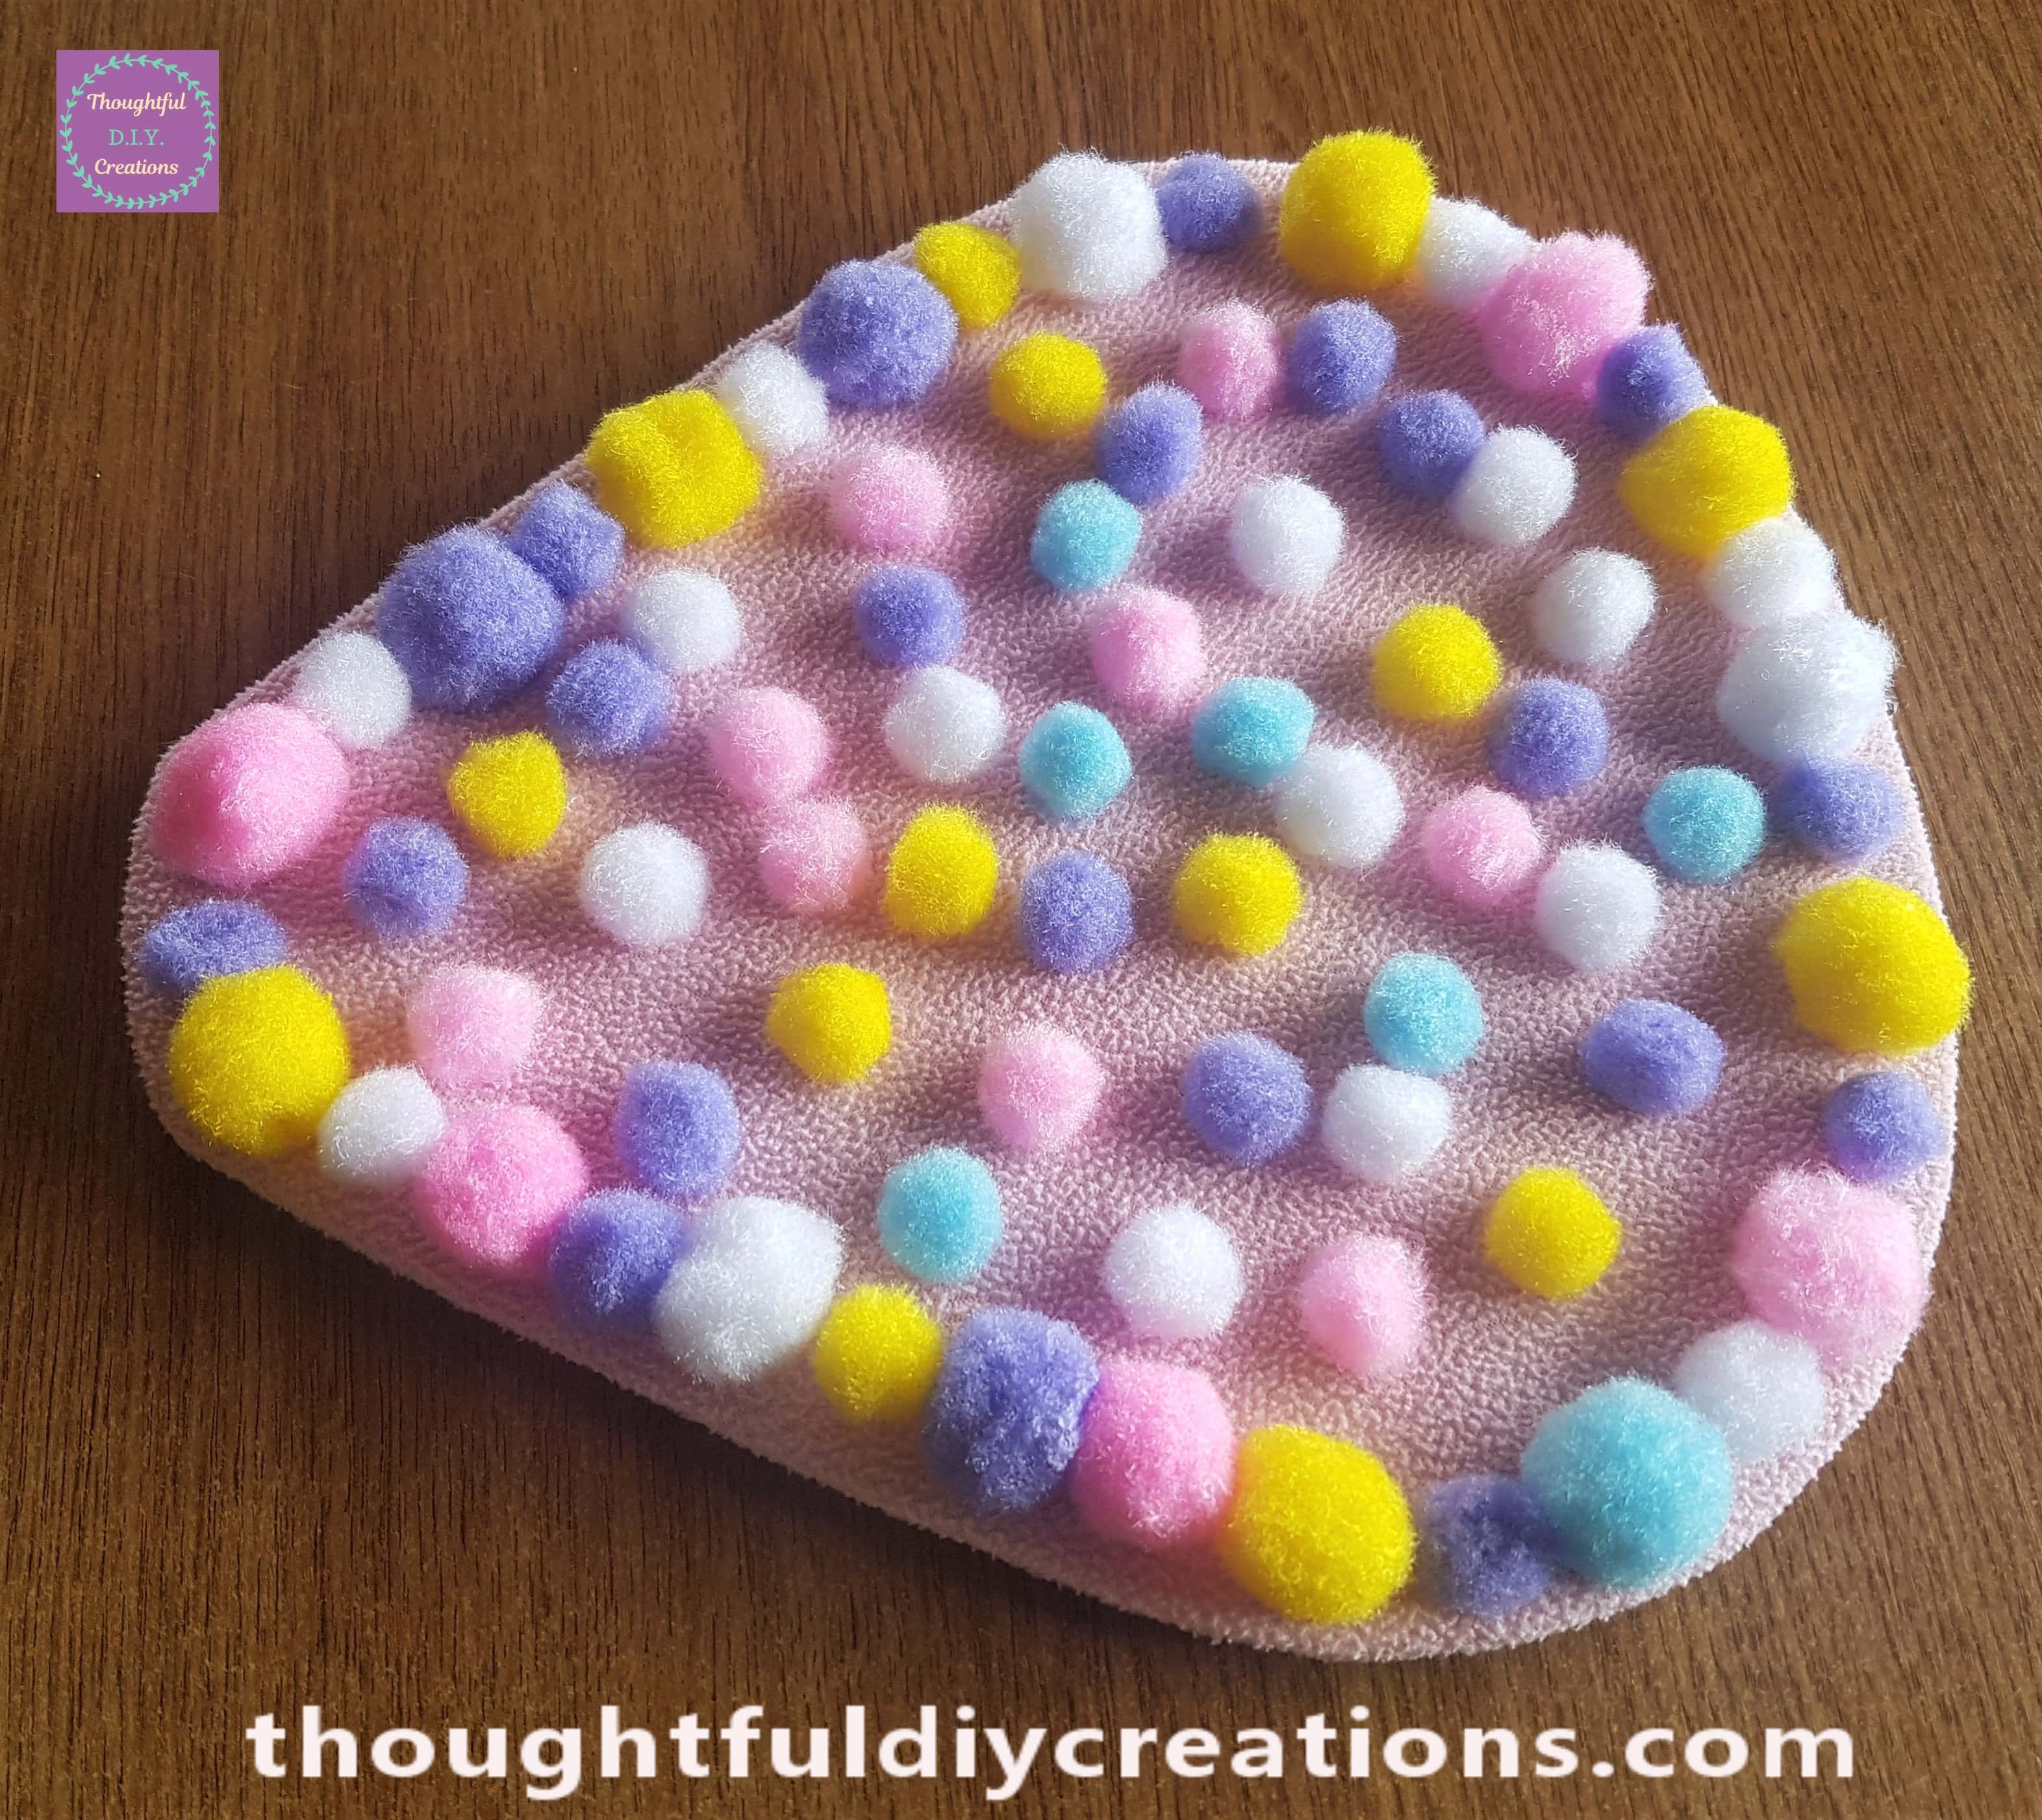
I put some hot glue on the smallest pom poms and scattered them around the Balloon.
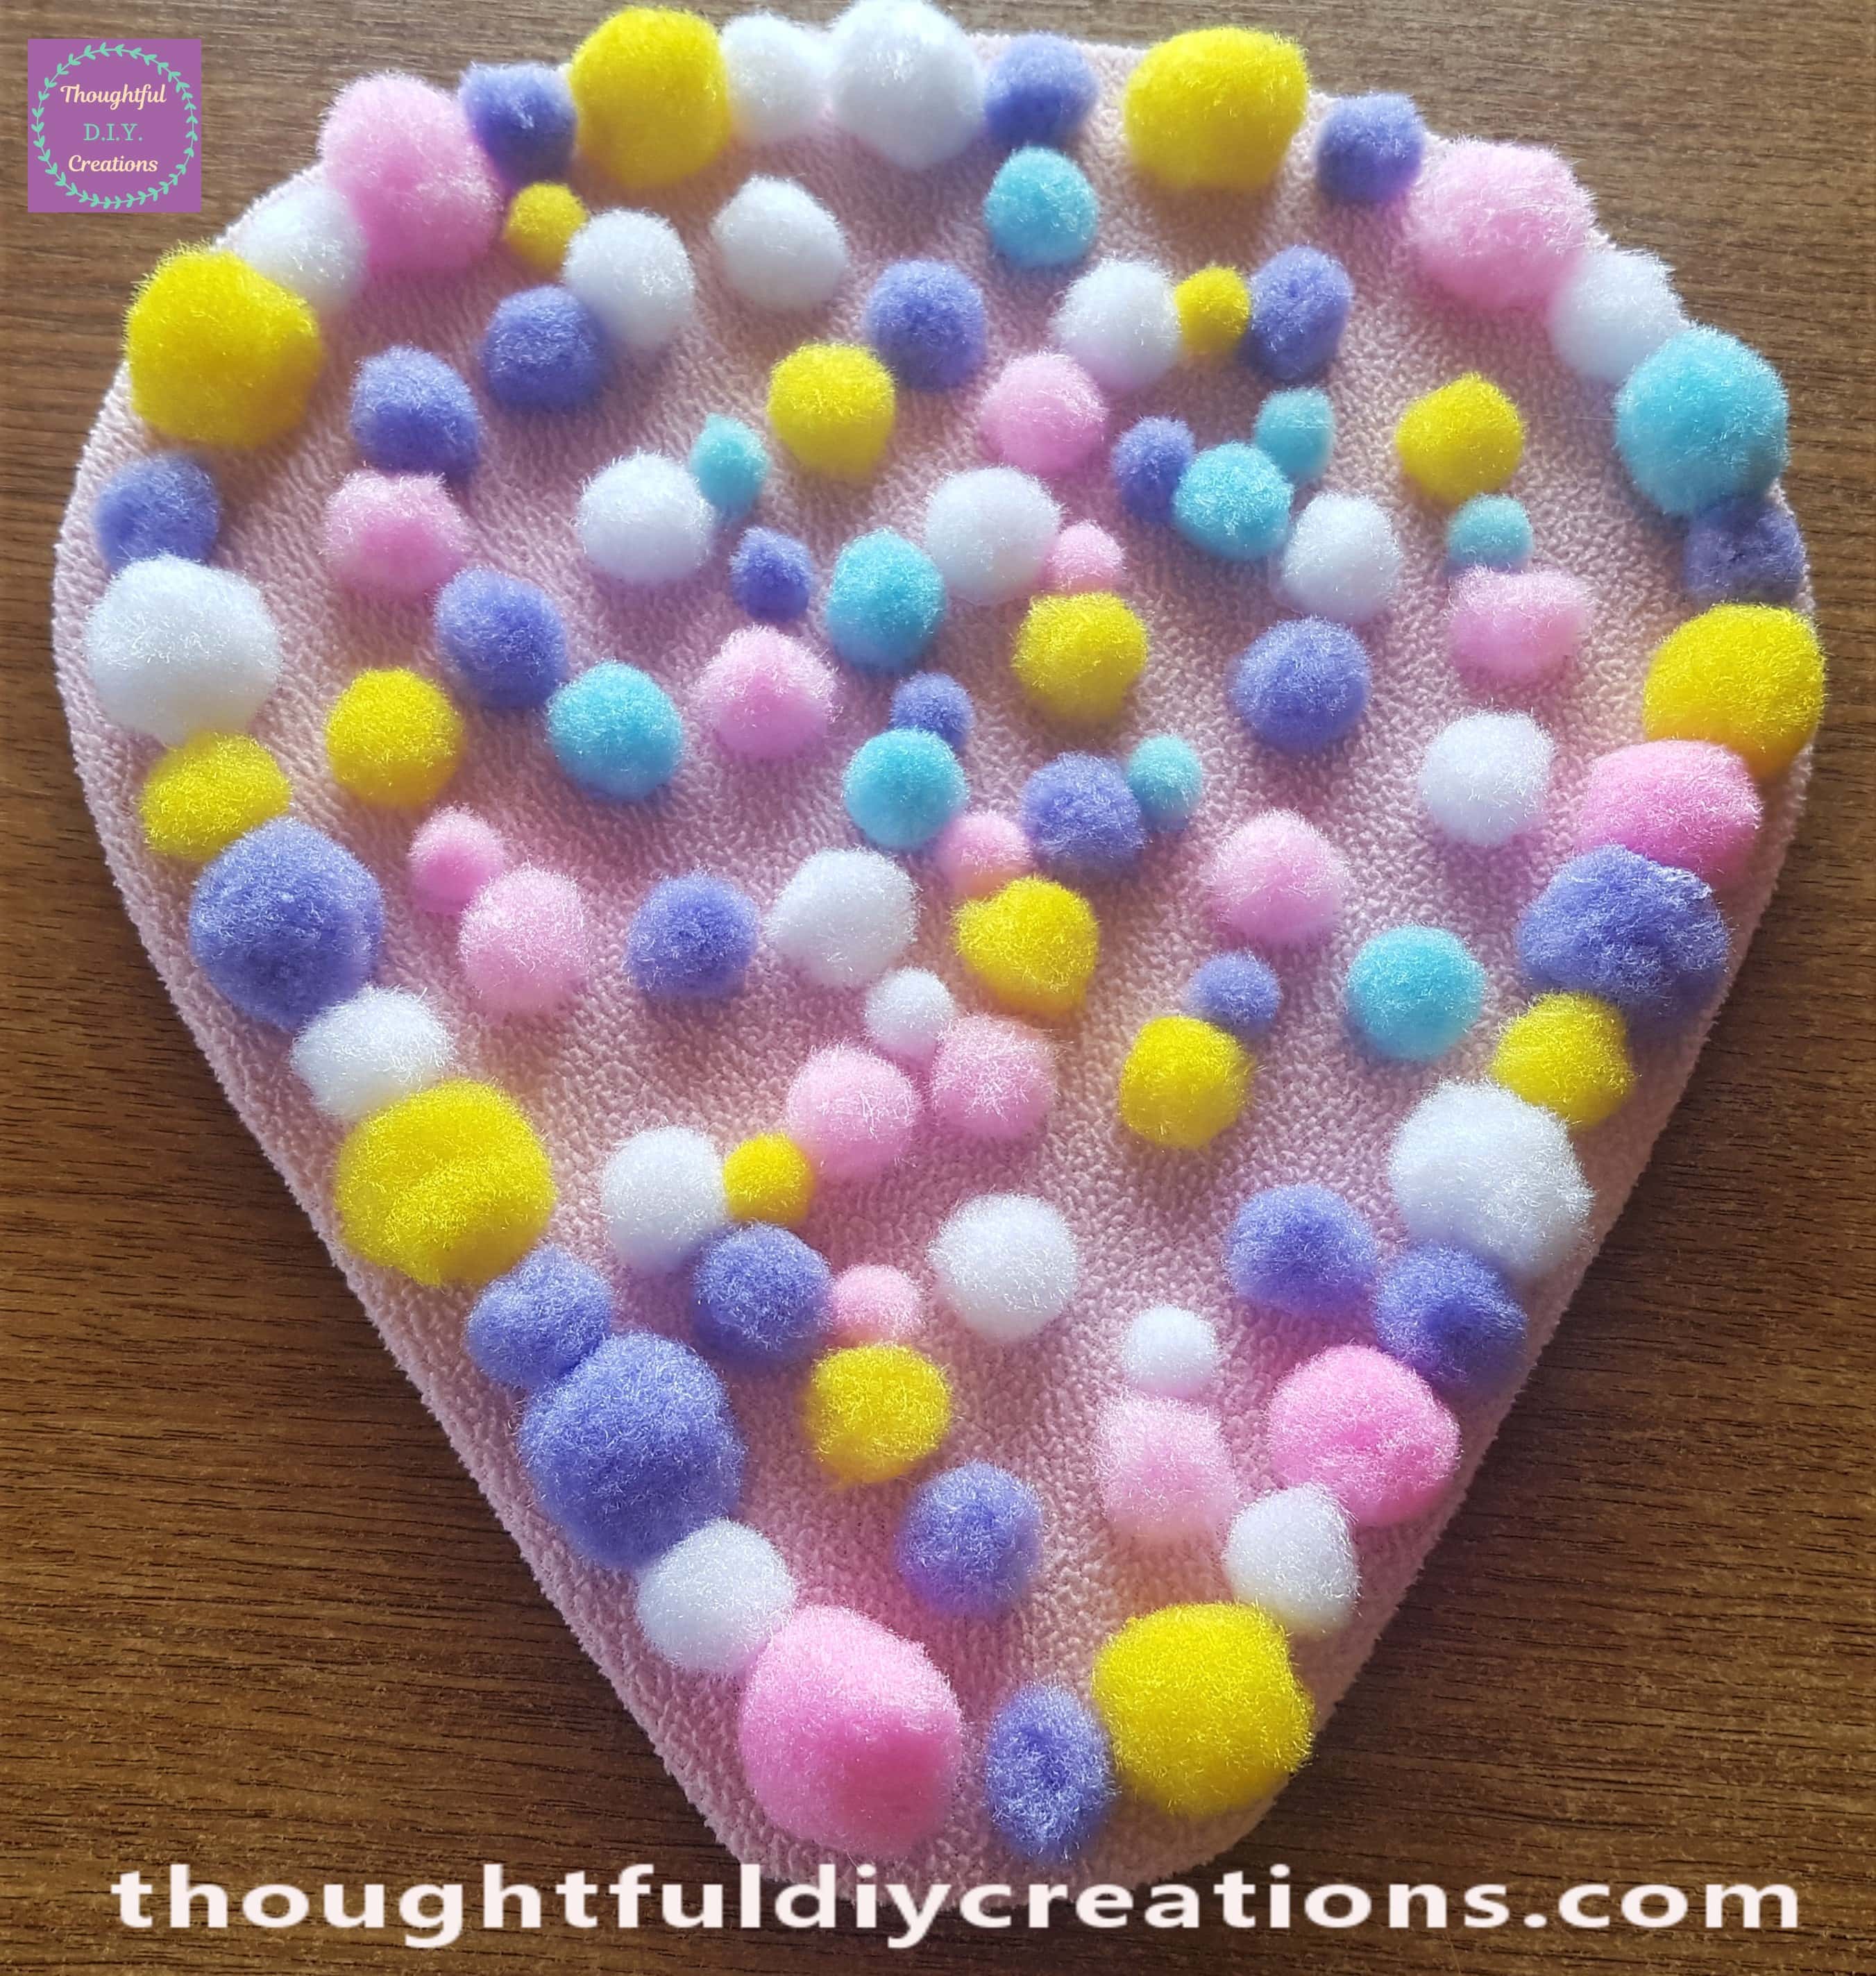
I added more pom poms to the gaps in the Hot Air Balloon.
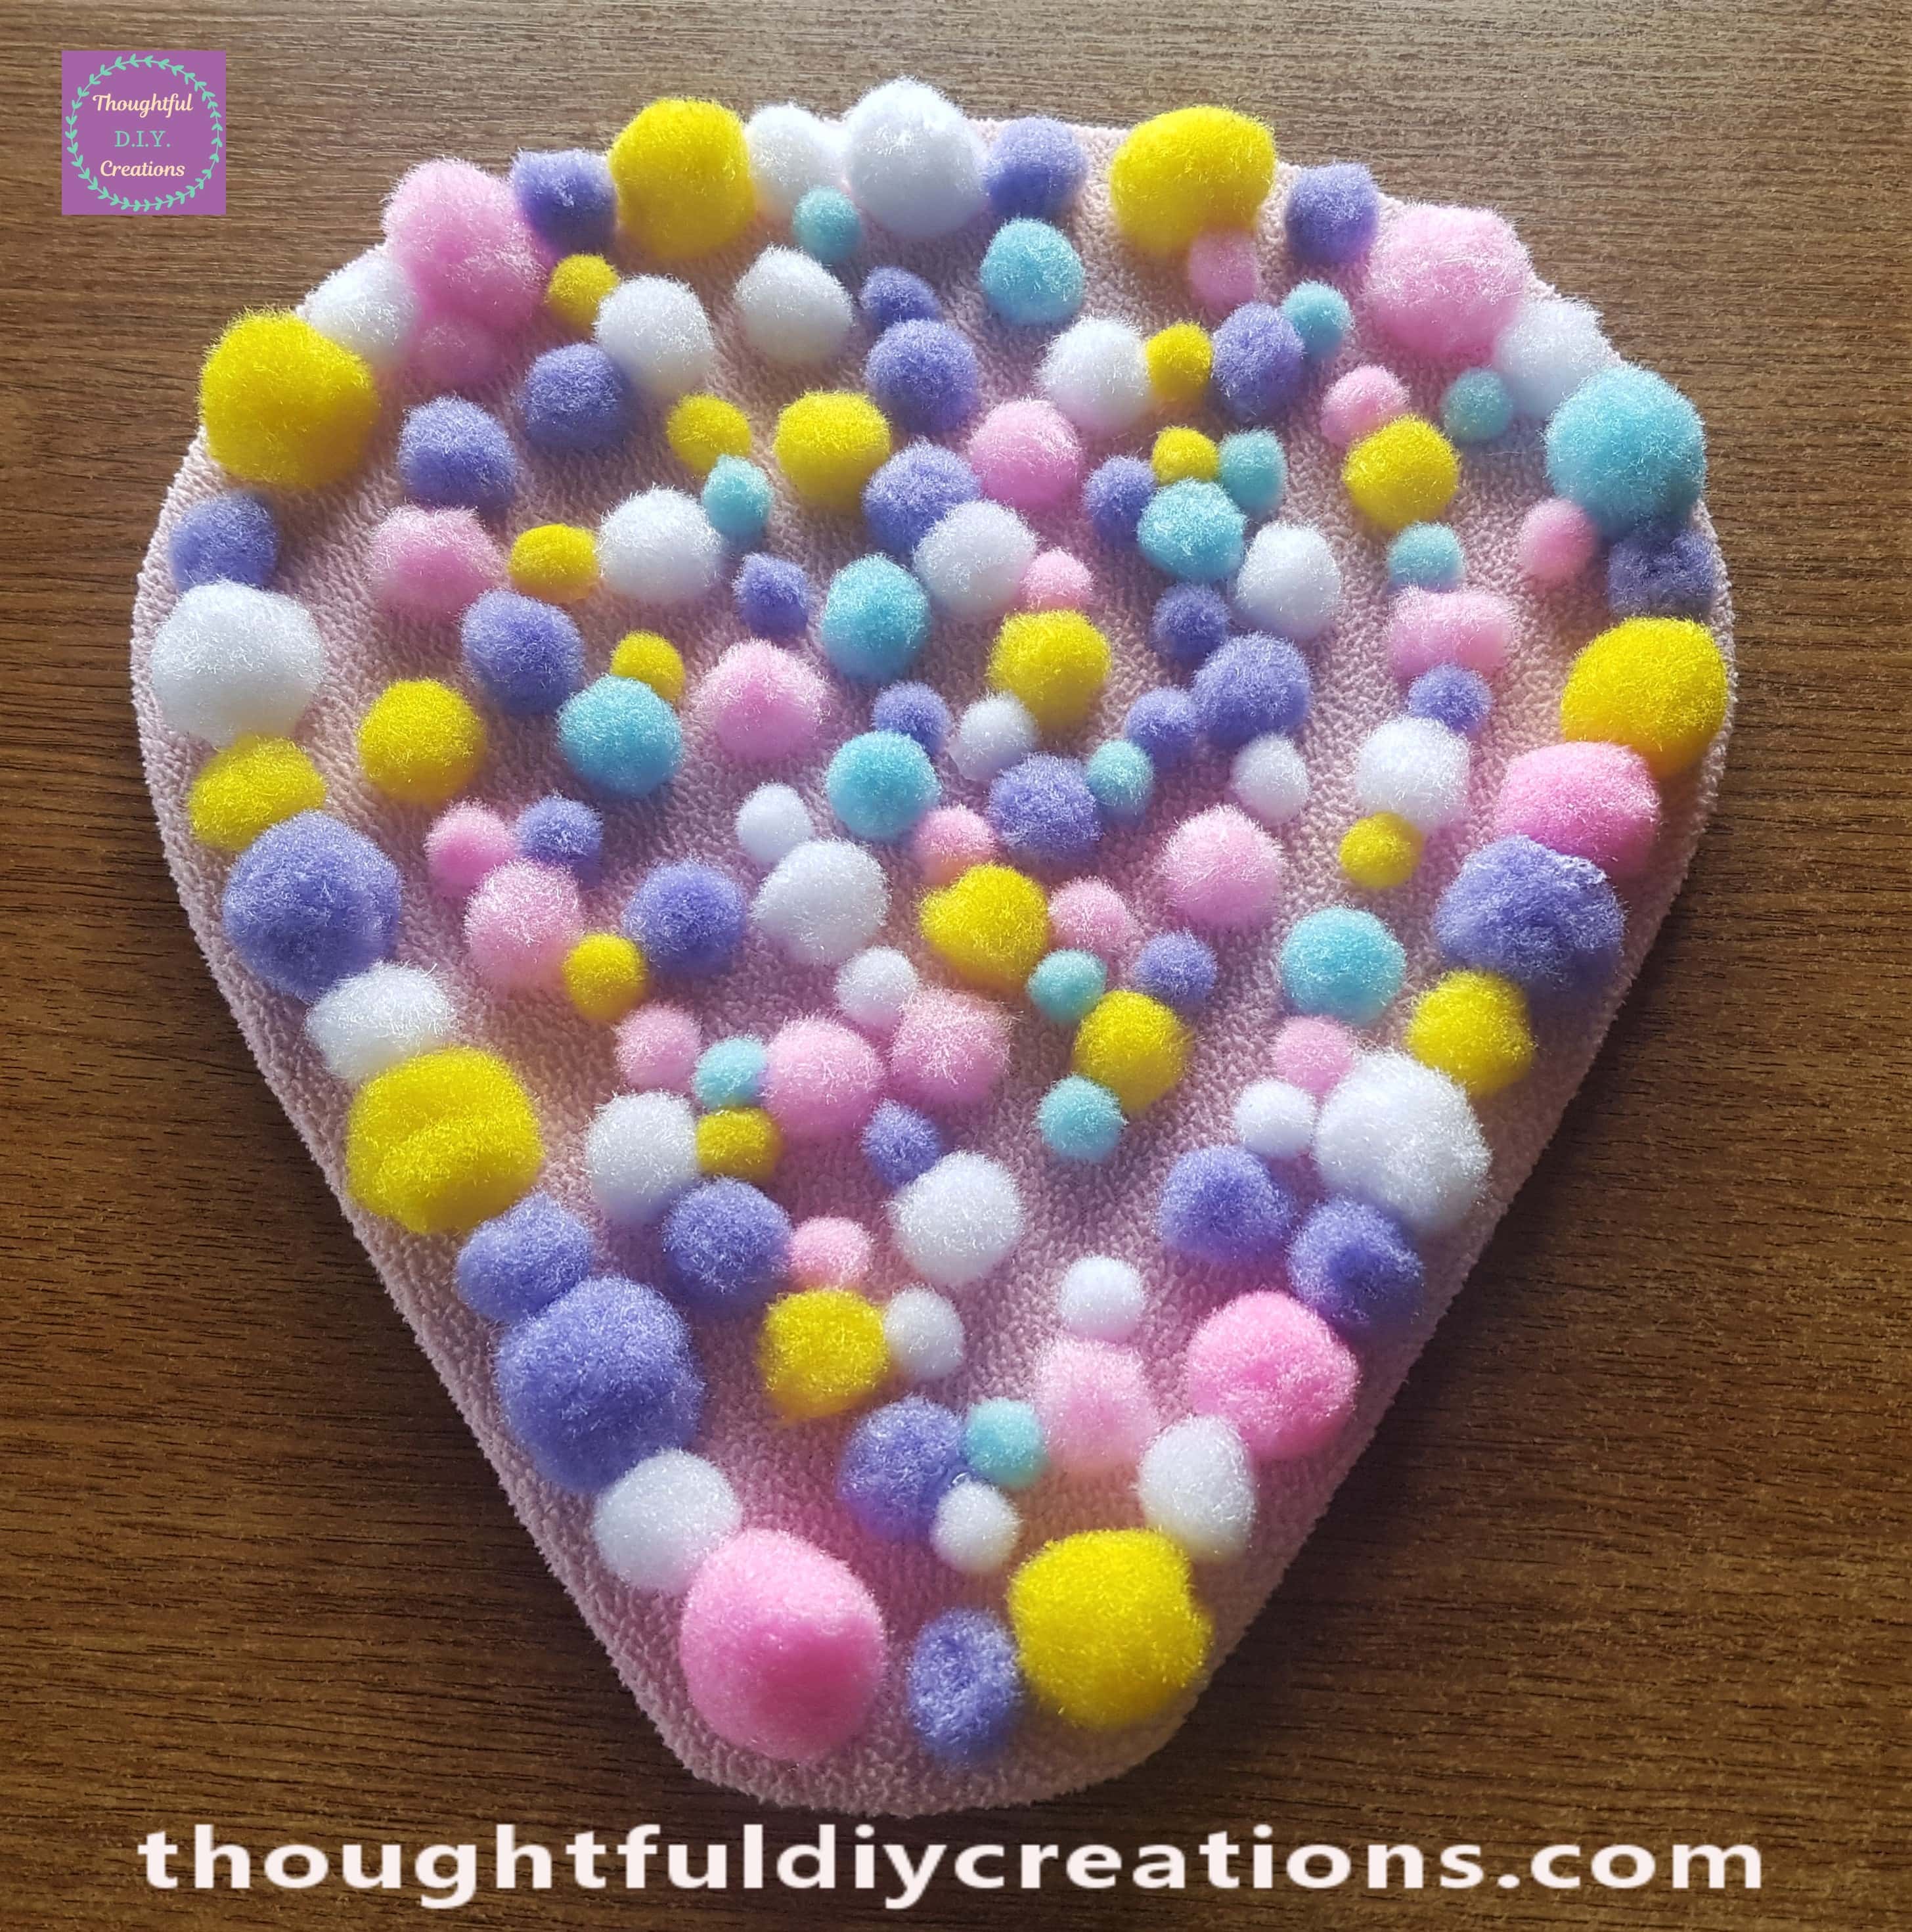
The last of the smallest pom poms were hot glued to fill any spaces.
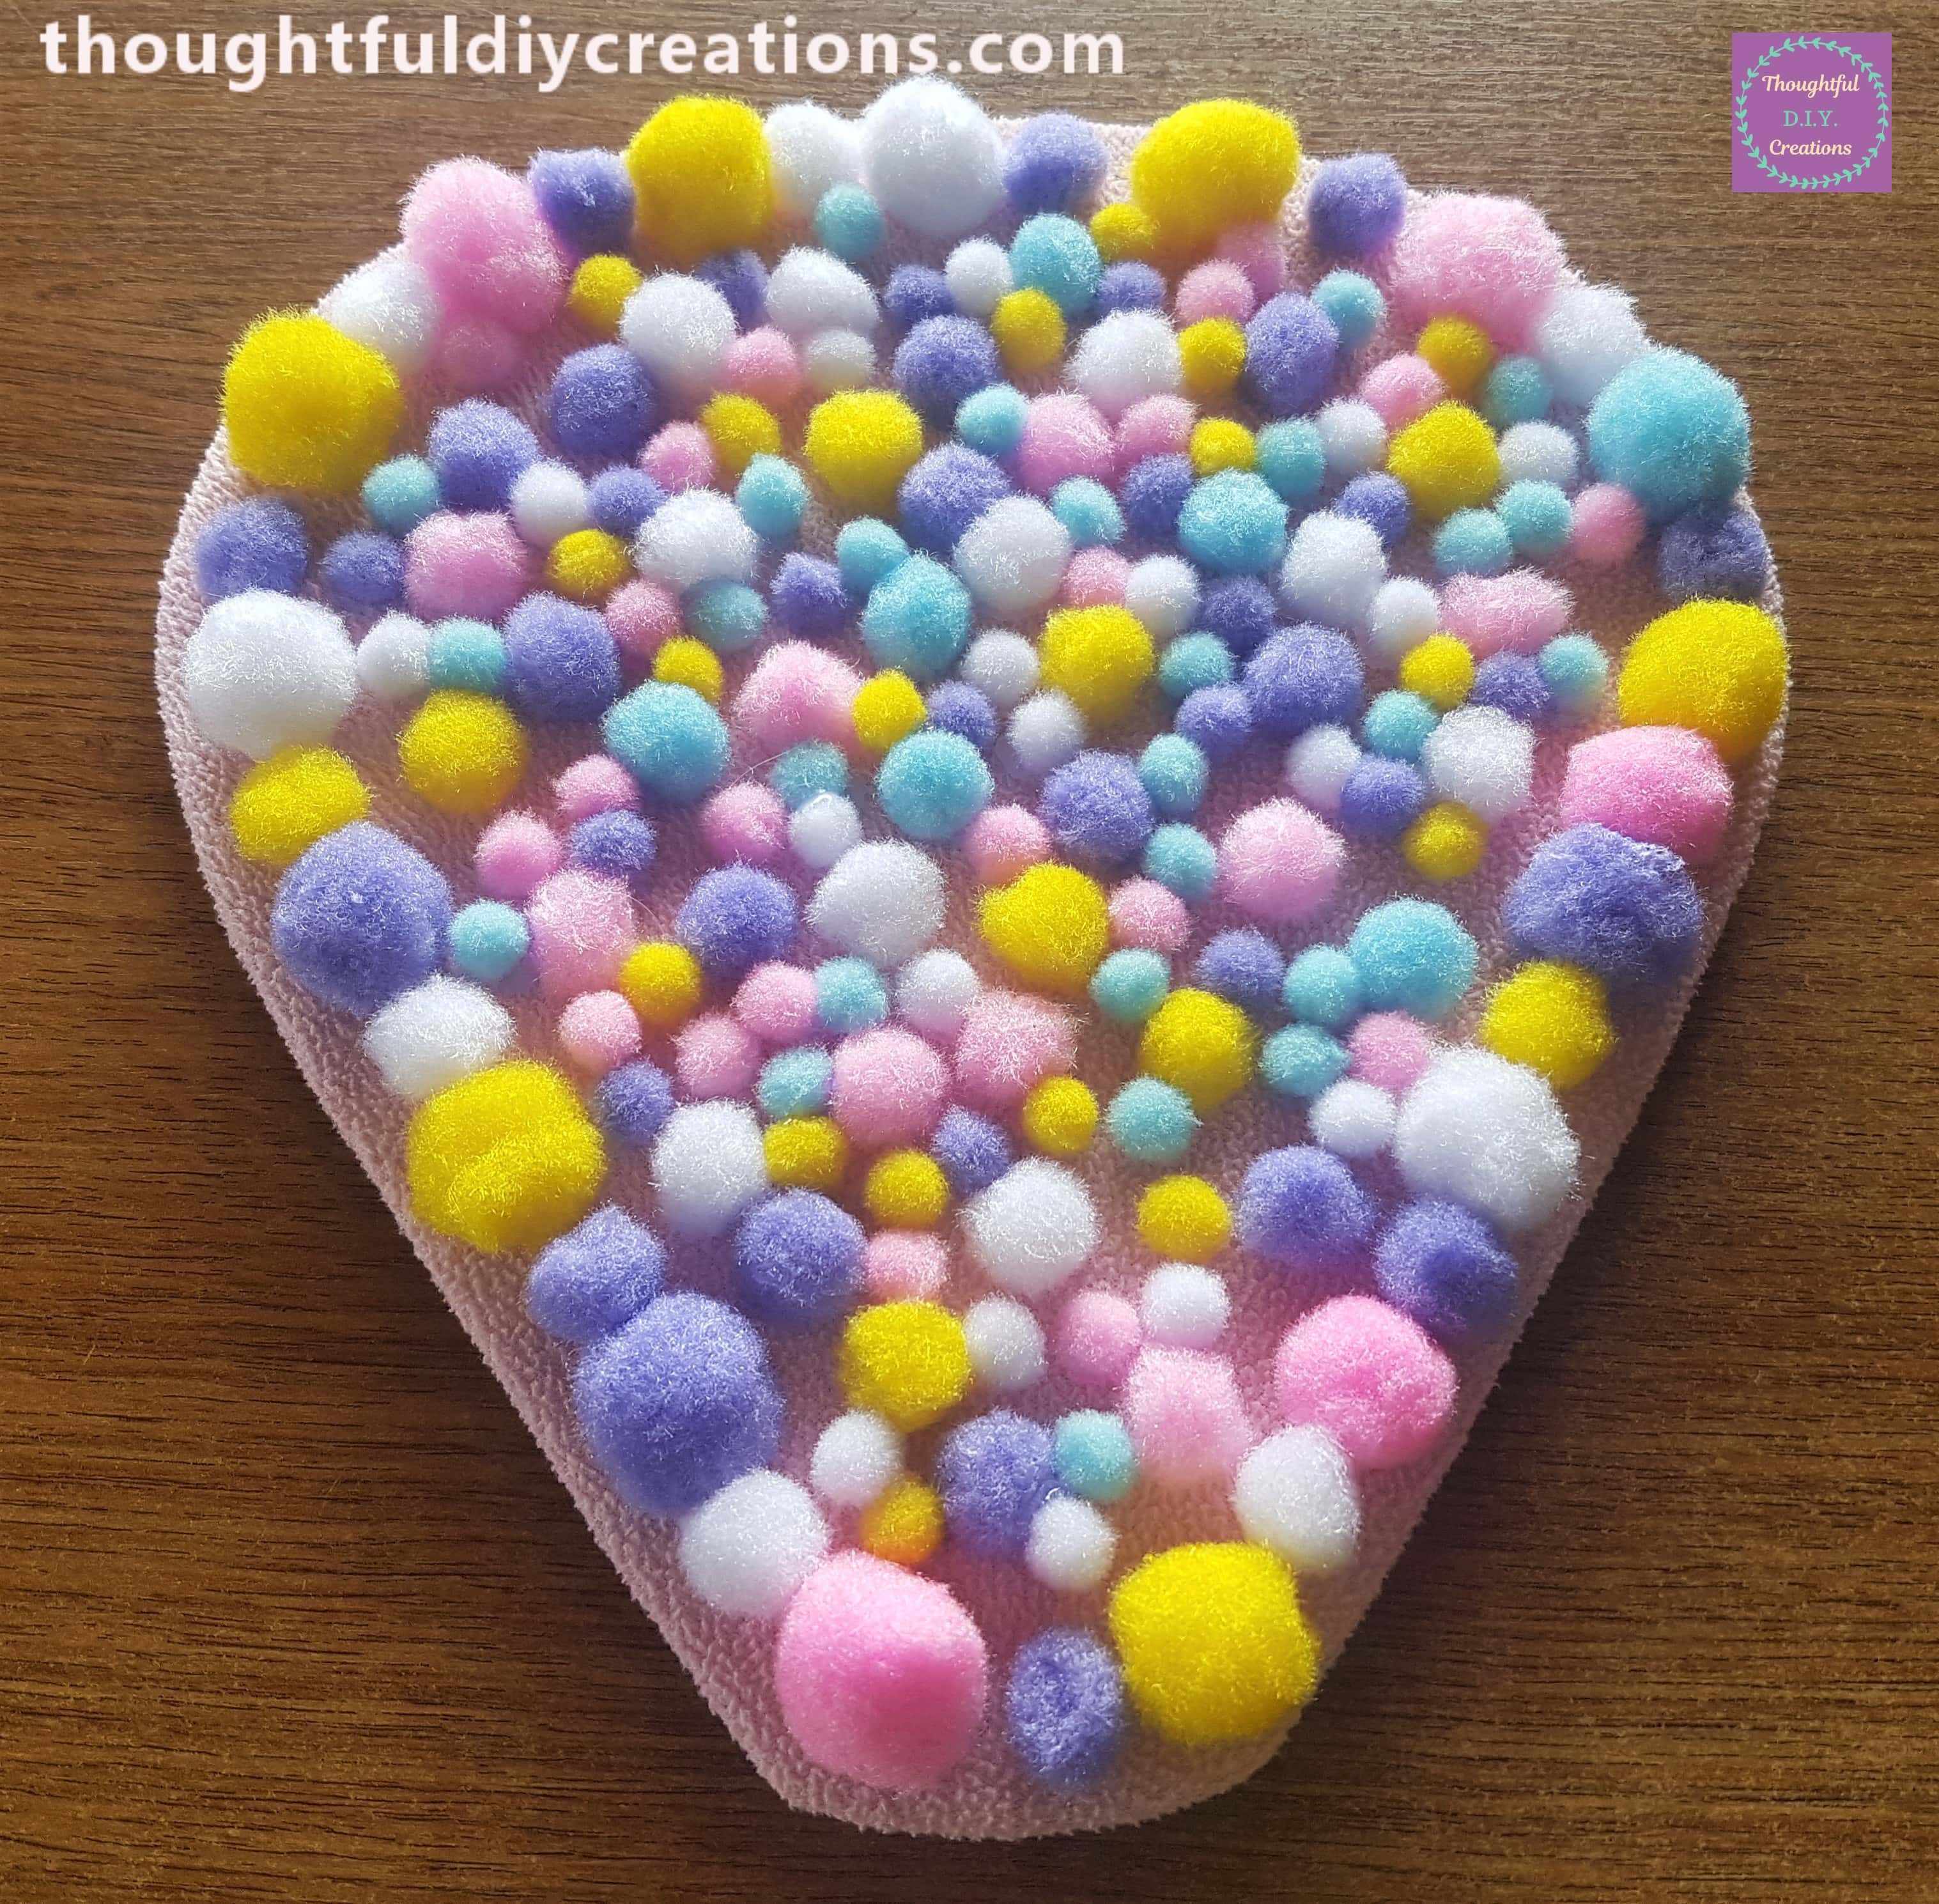
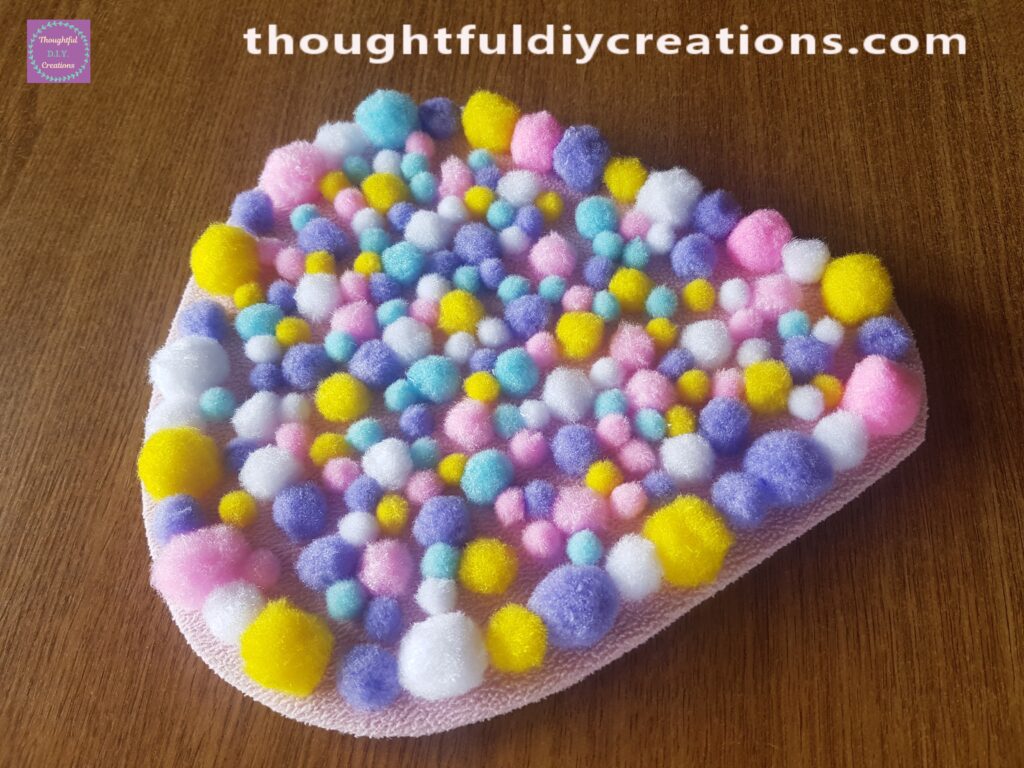
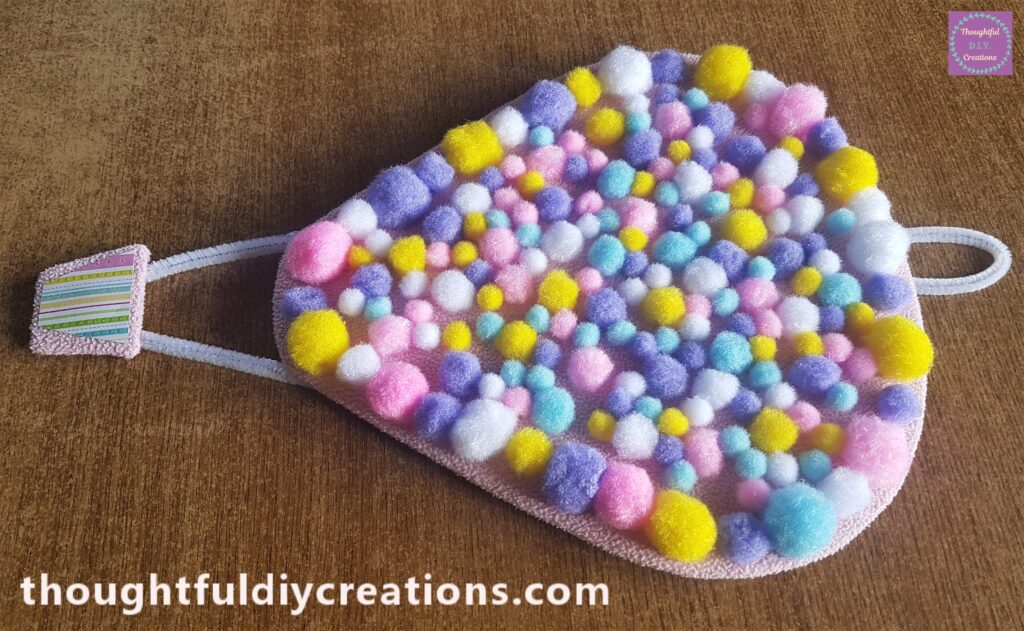
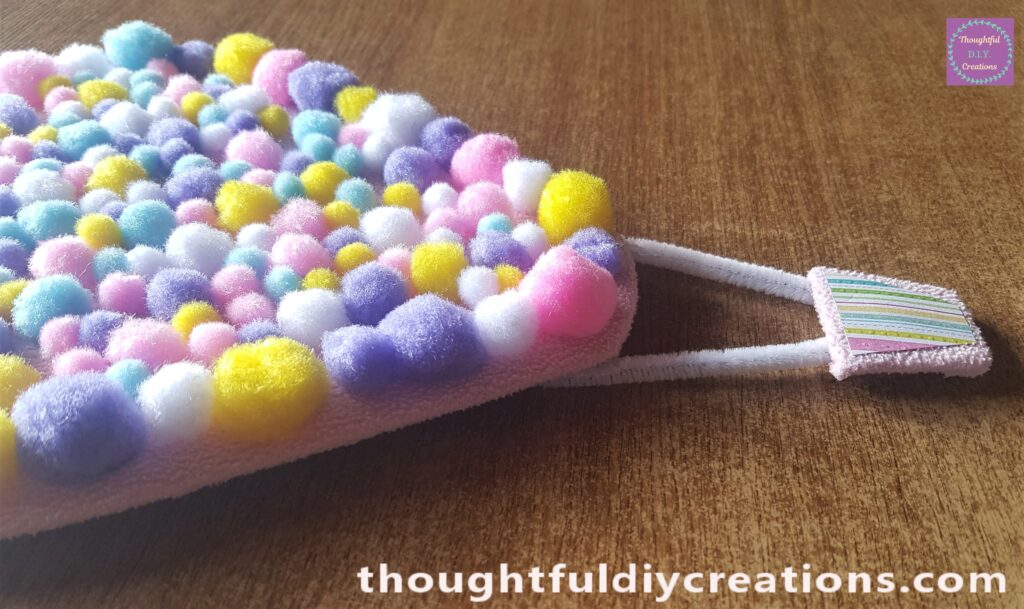
This is a side angle of the Hot Air Balloon filled with Pom poms.
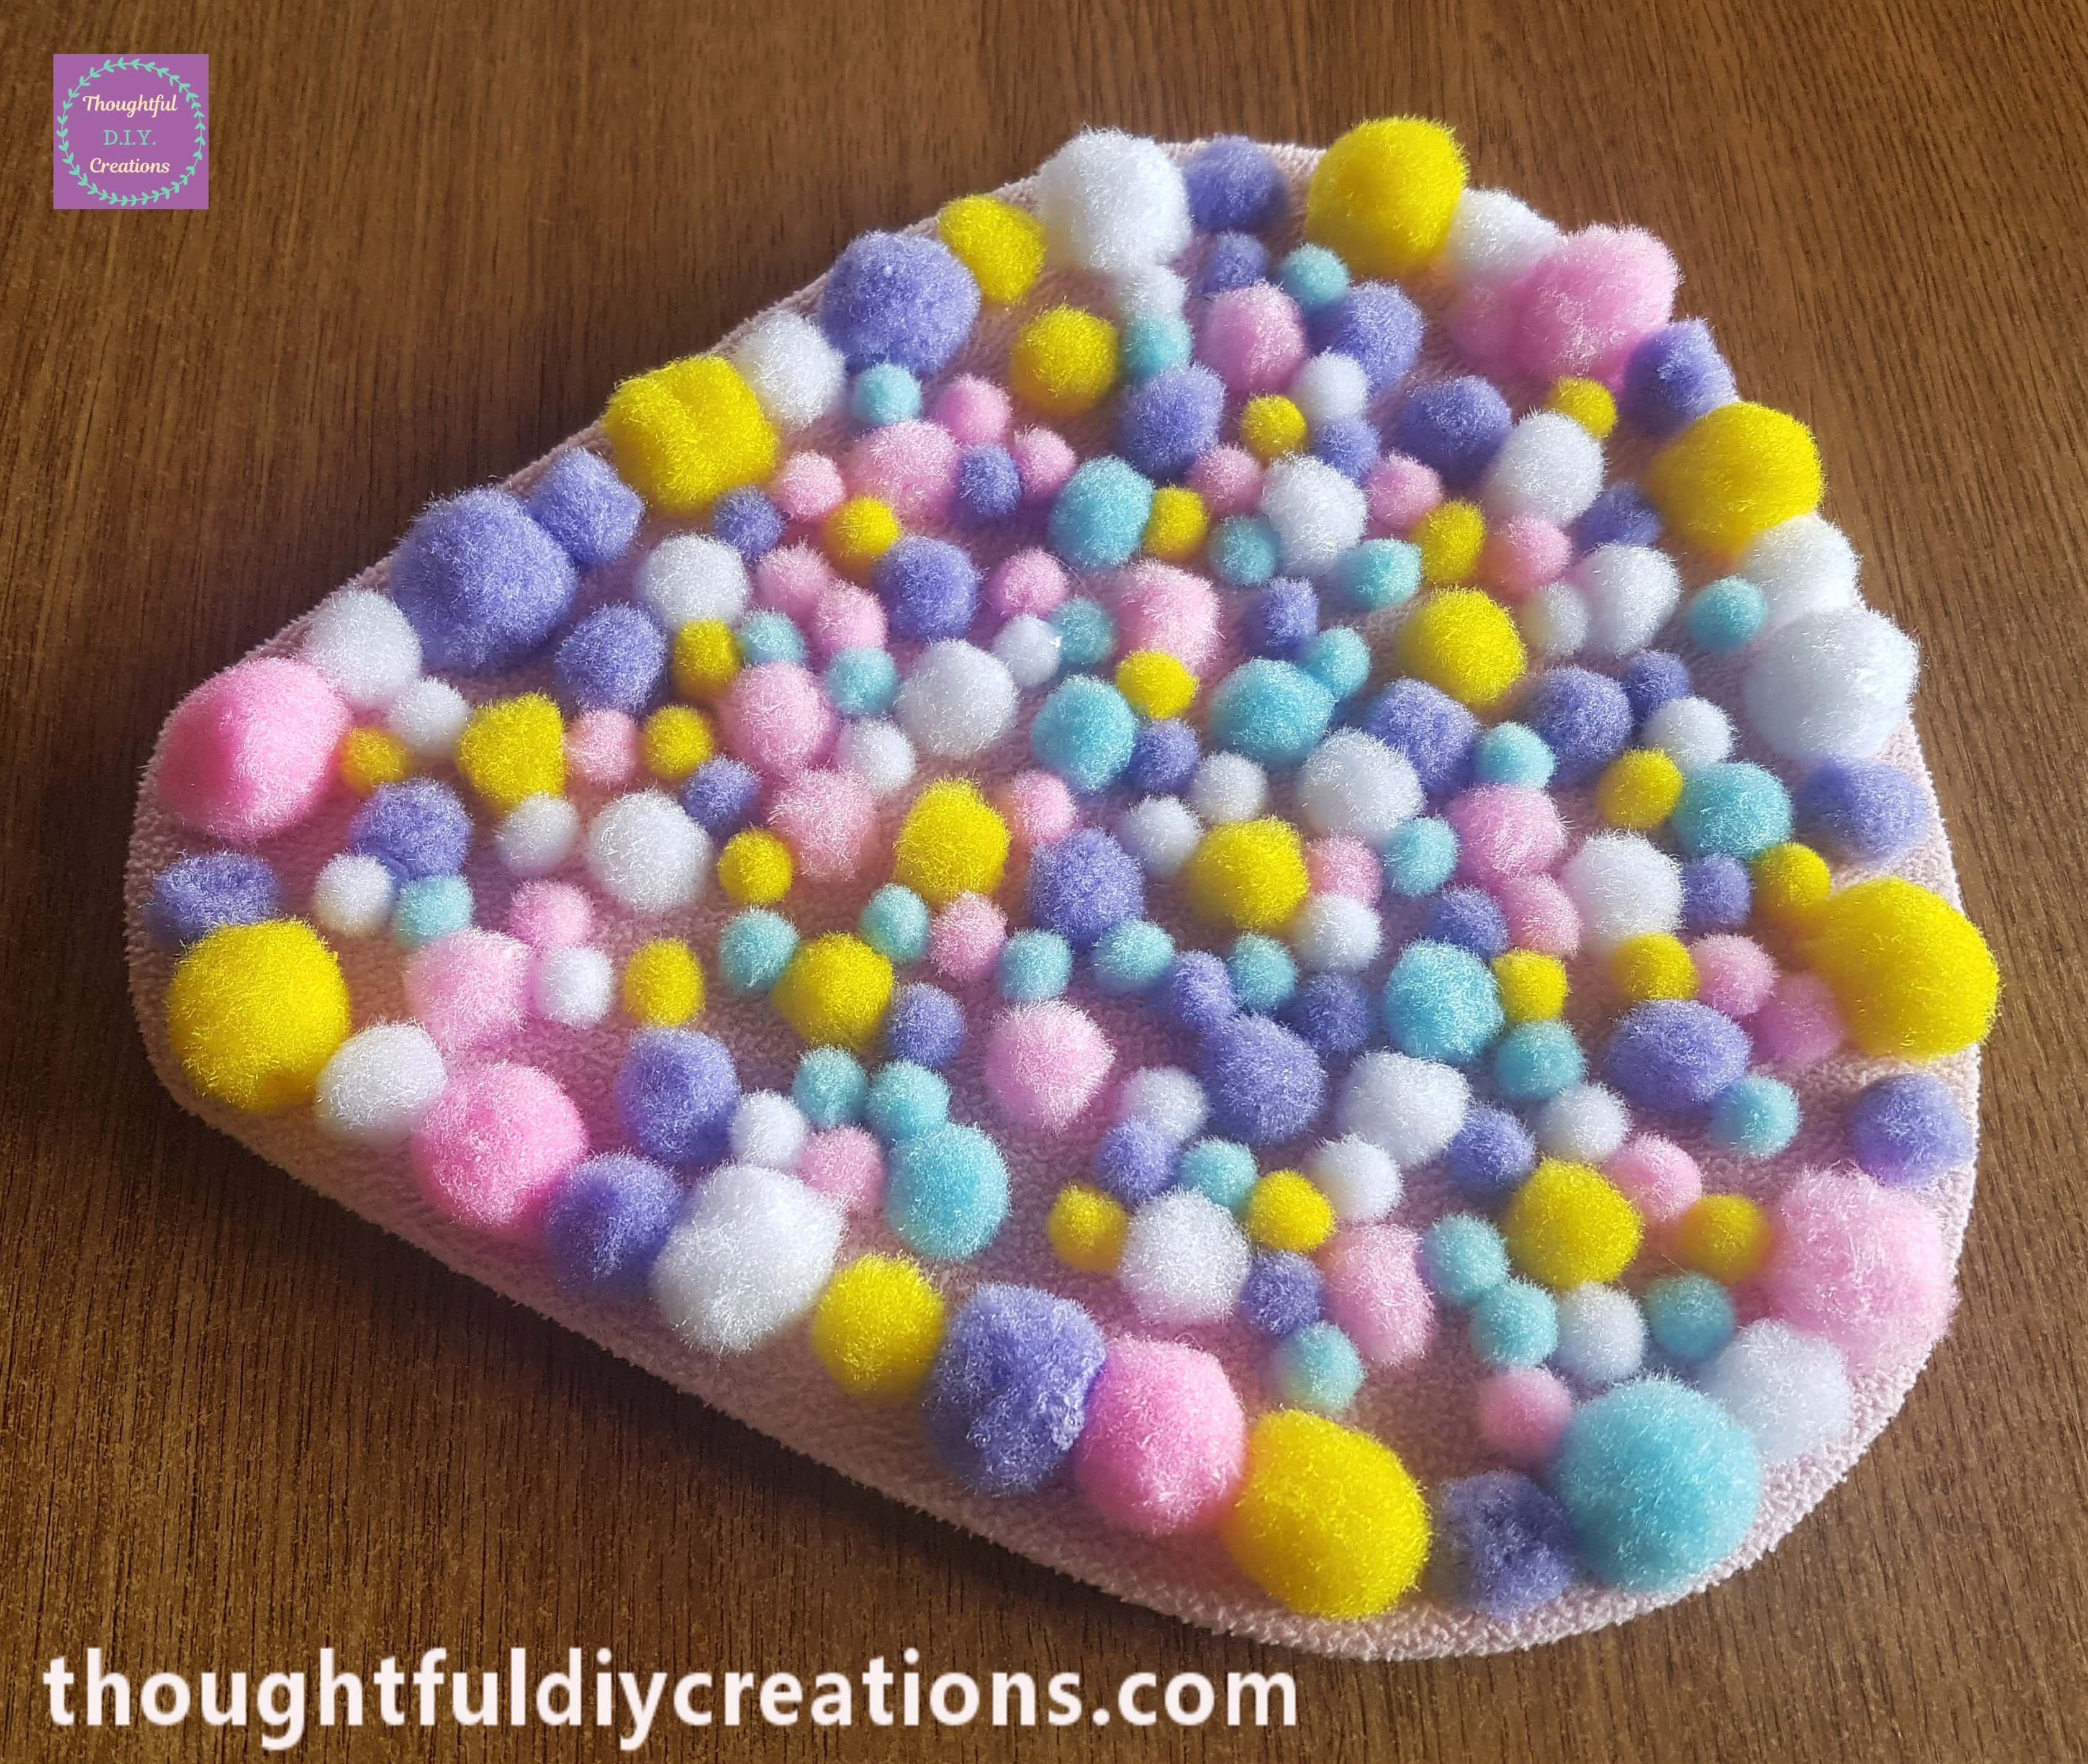
Here it is from the other side.
Making Decorations for the Basket
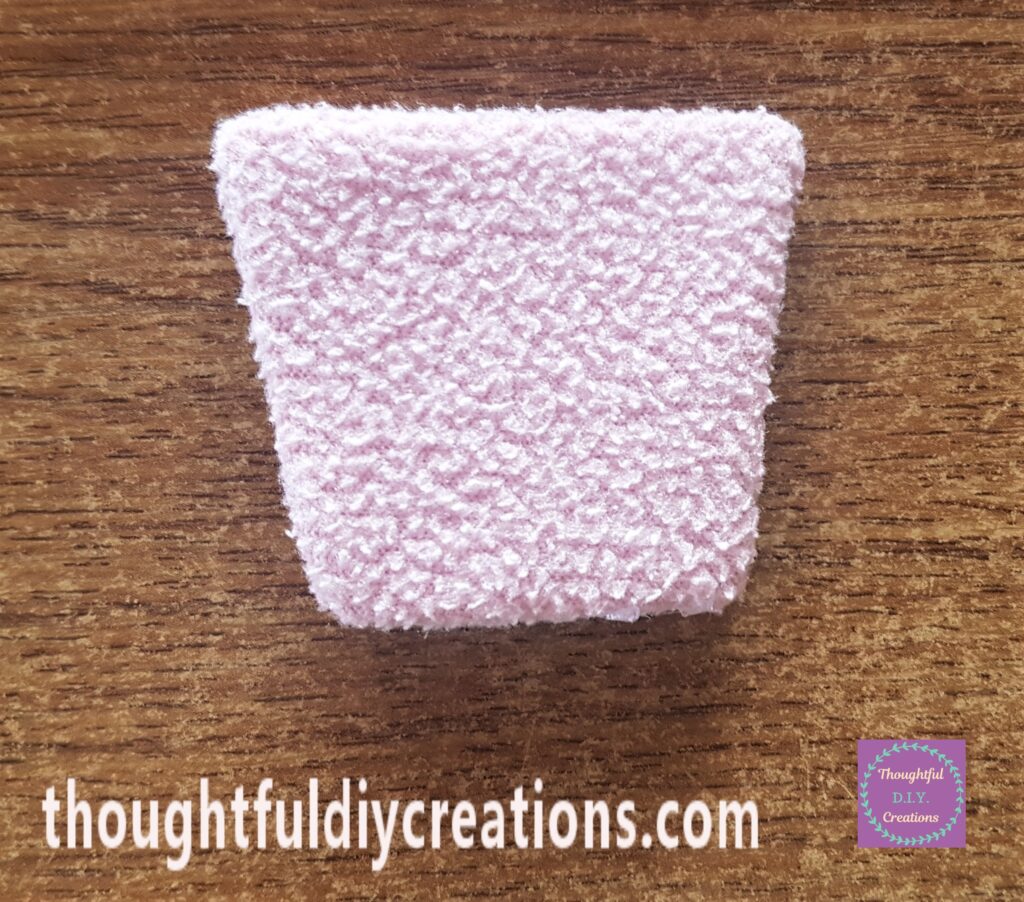
I cut out a square of Pink fleece bigger than the Cardboard basket I made earlier.
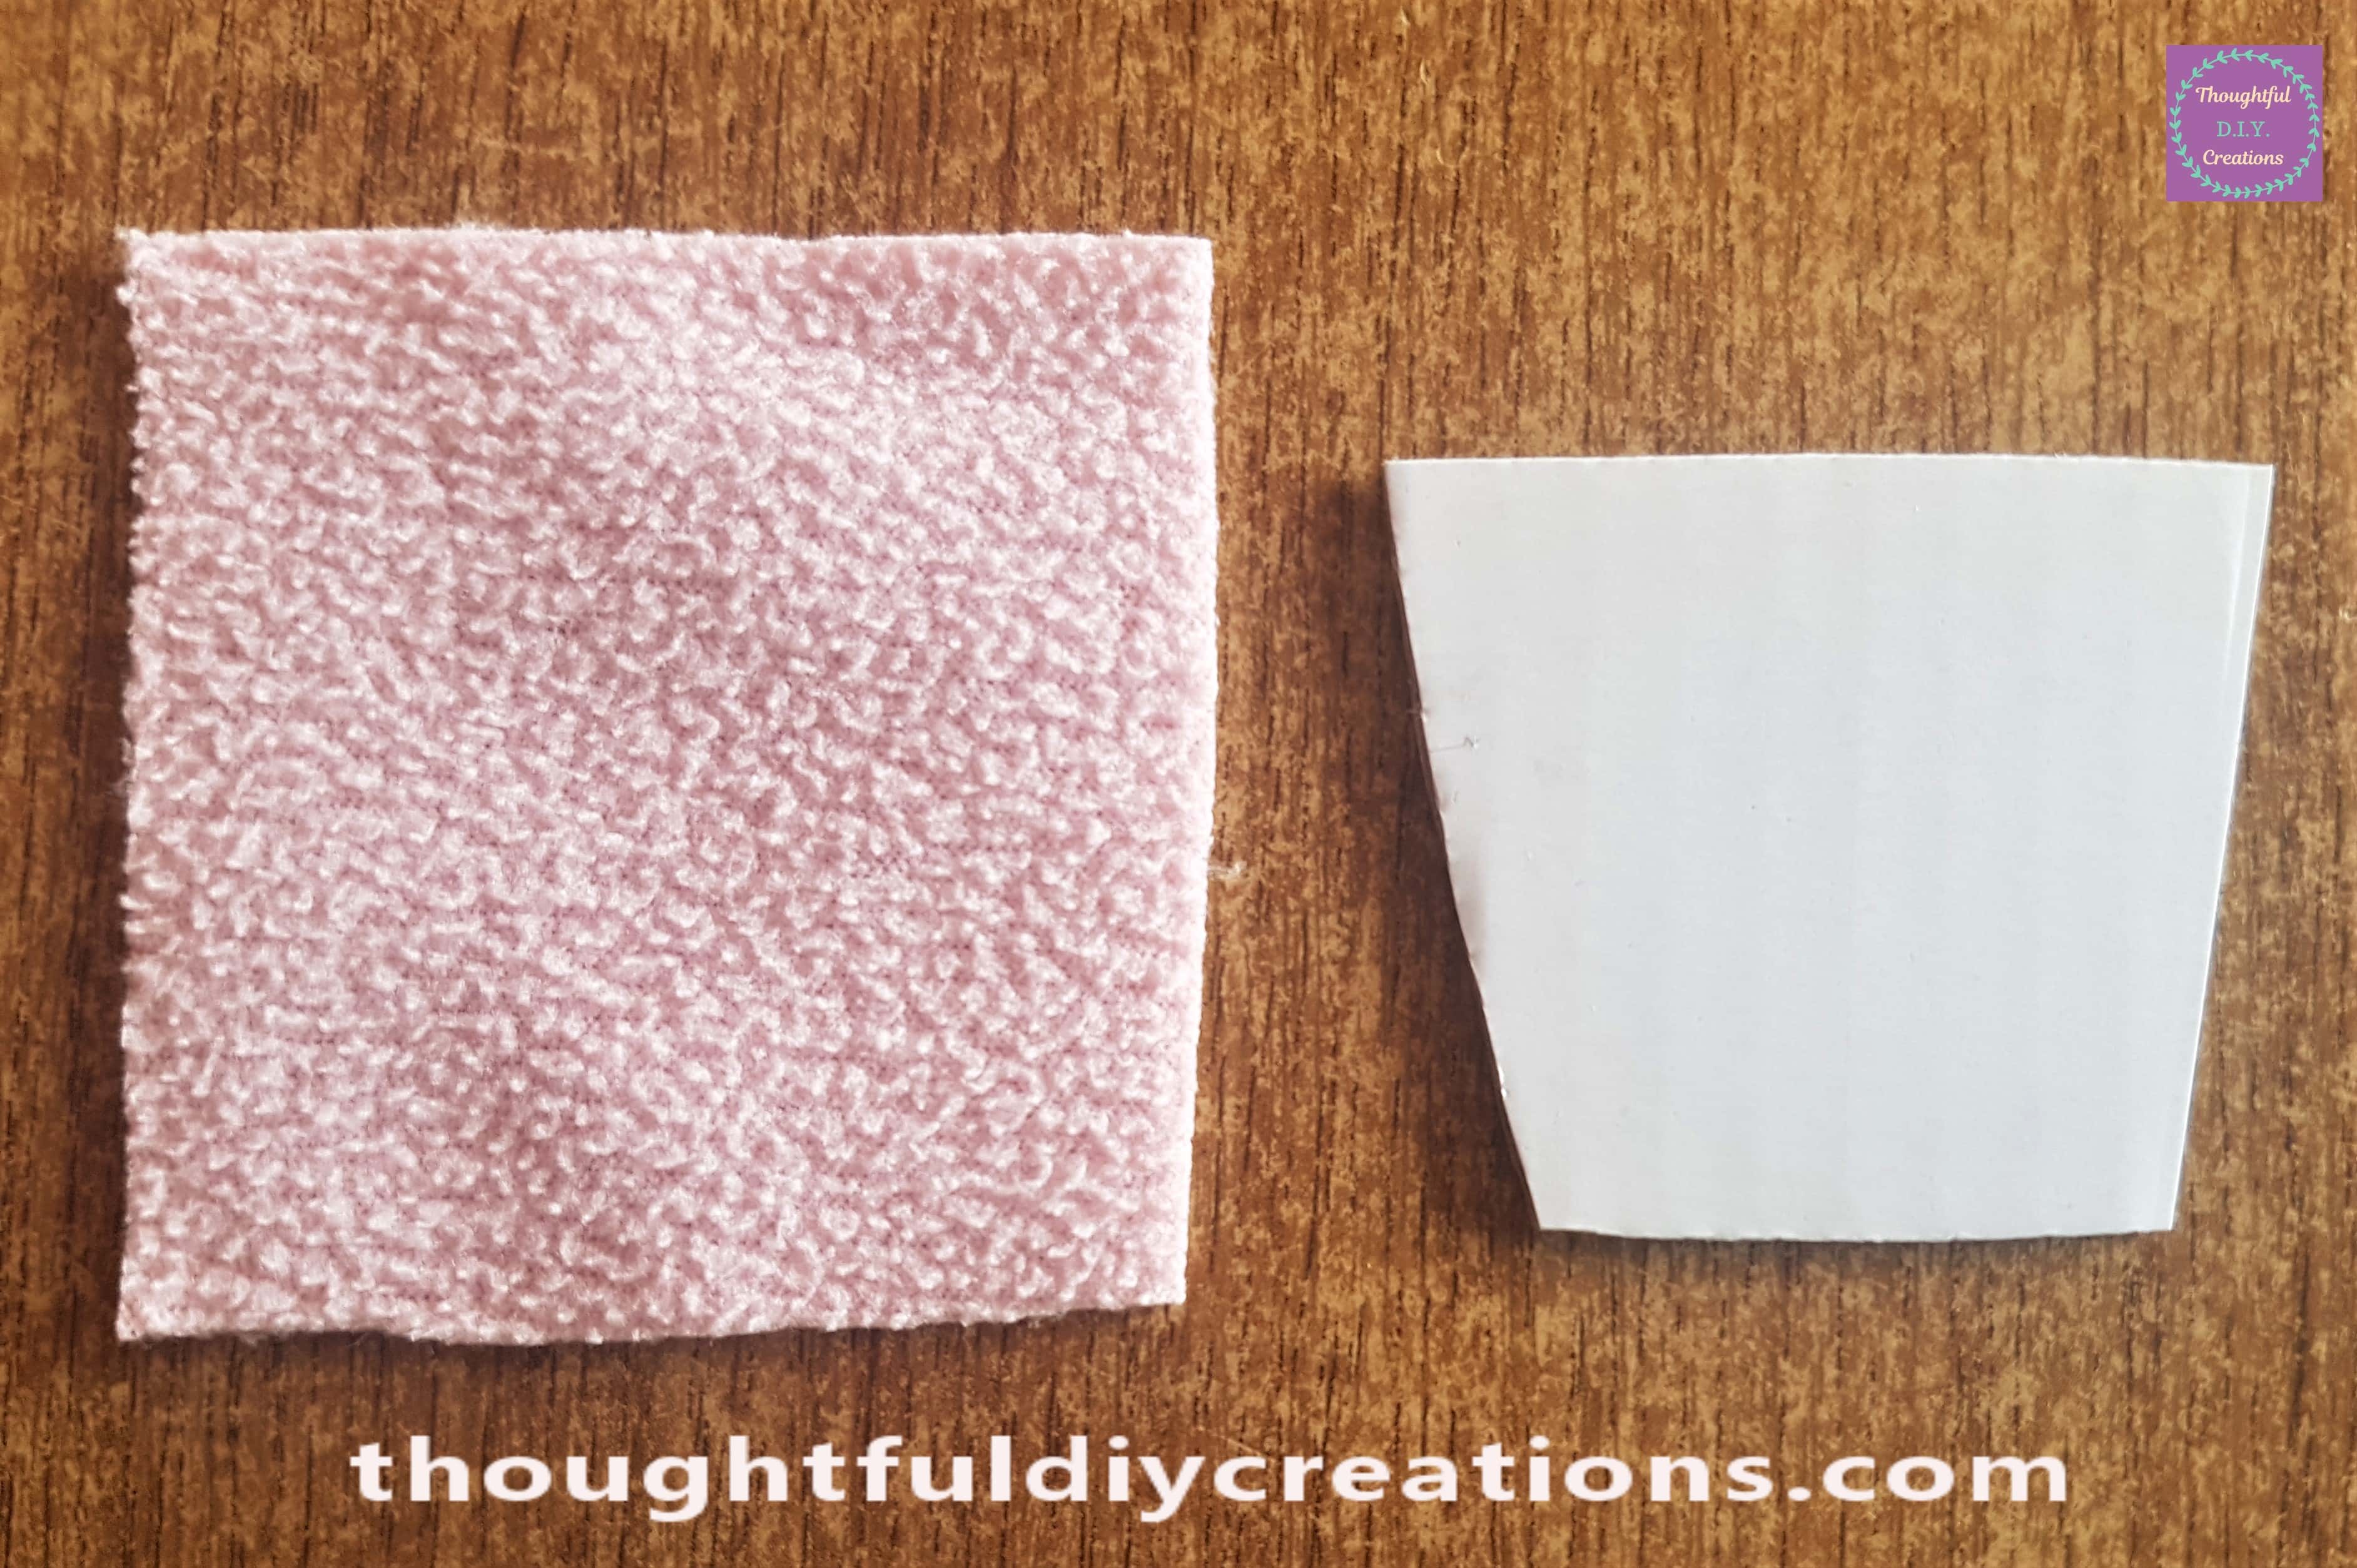
I put Hot Glue along each side of the cardboard and attached the fleece.
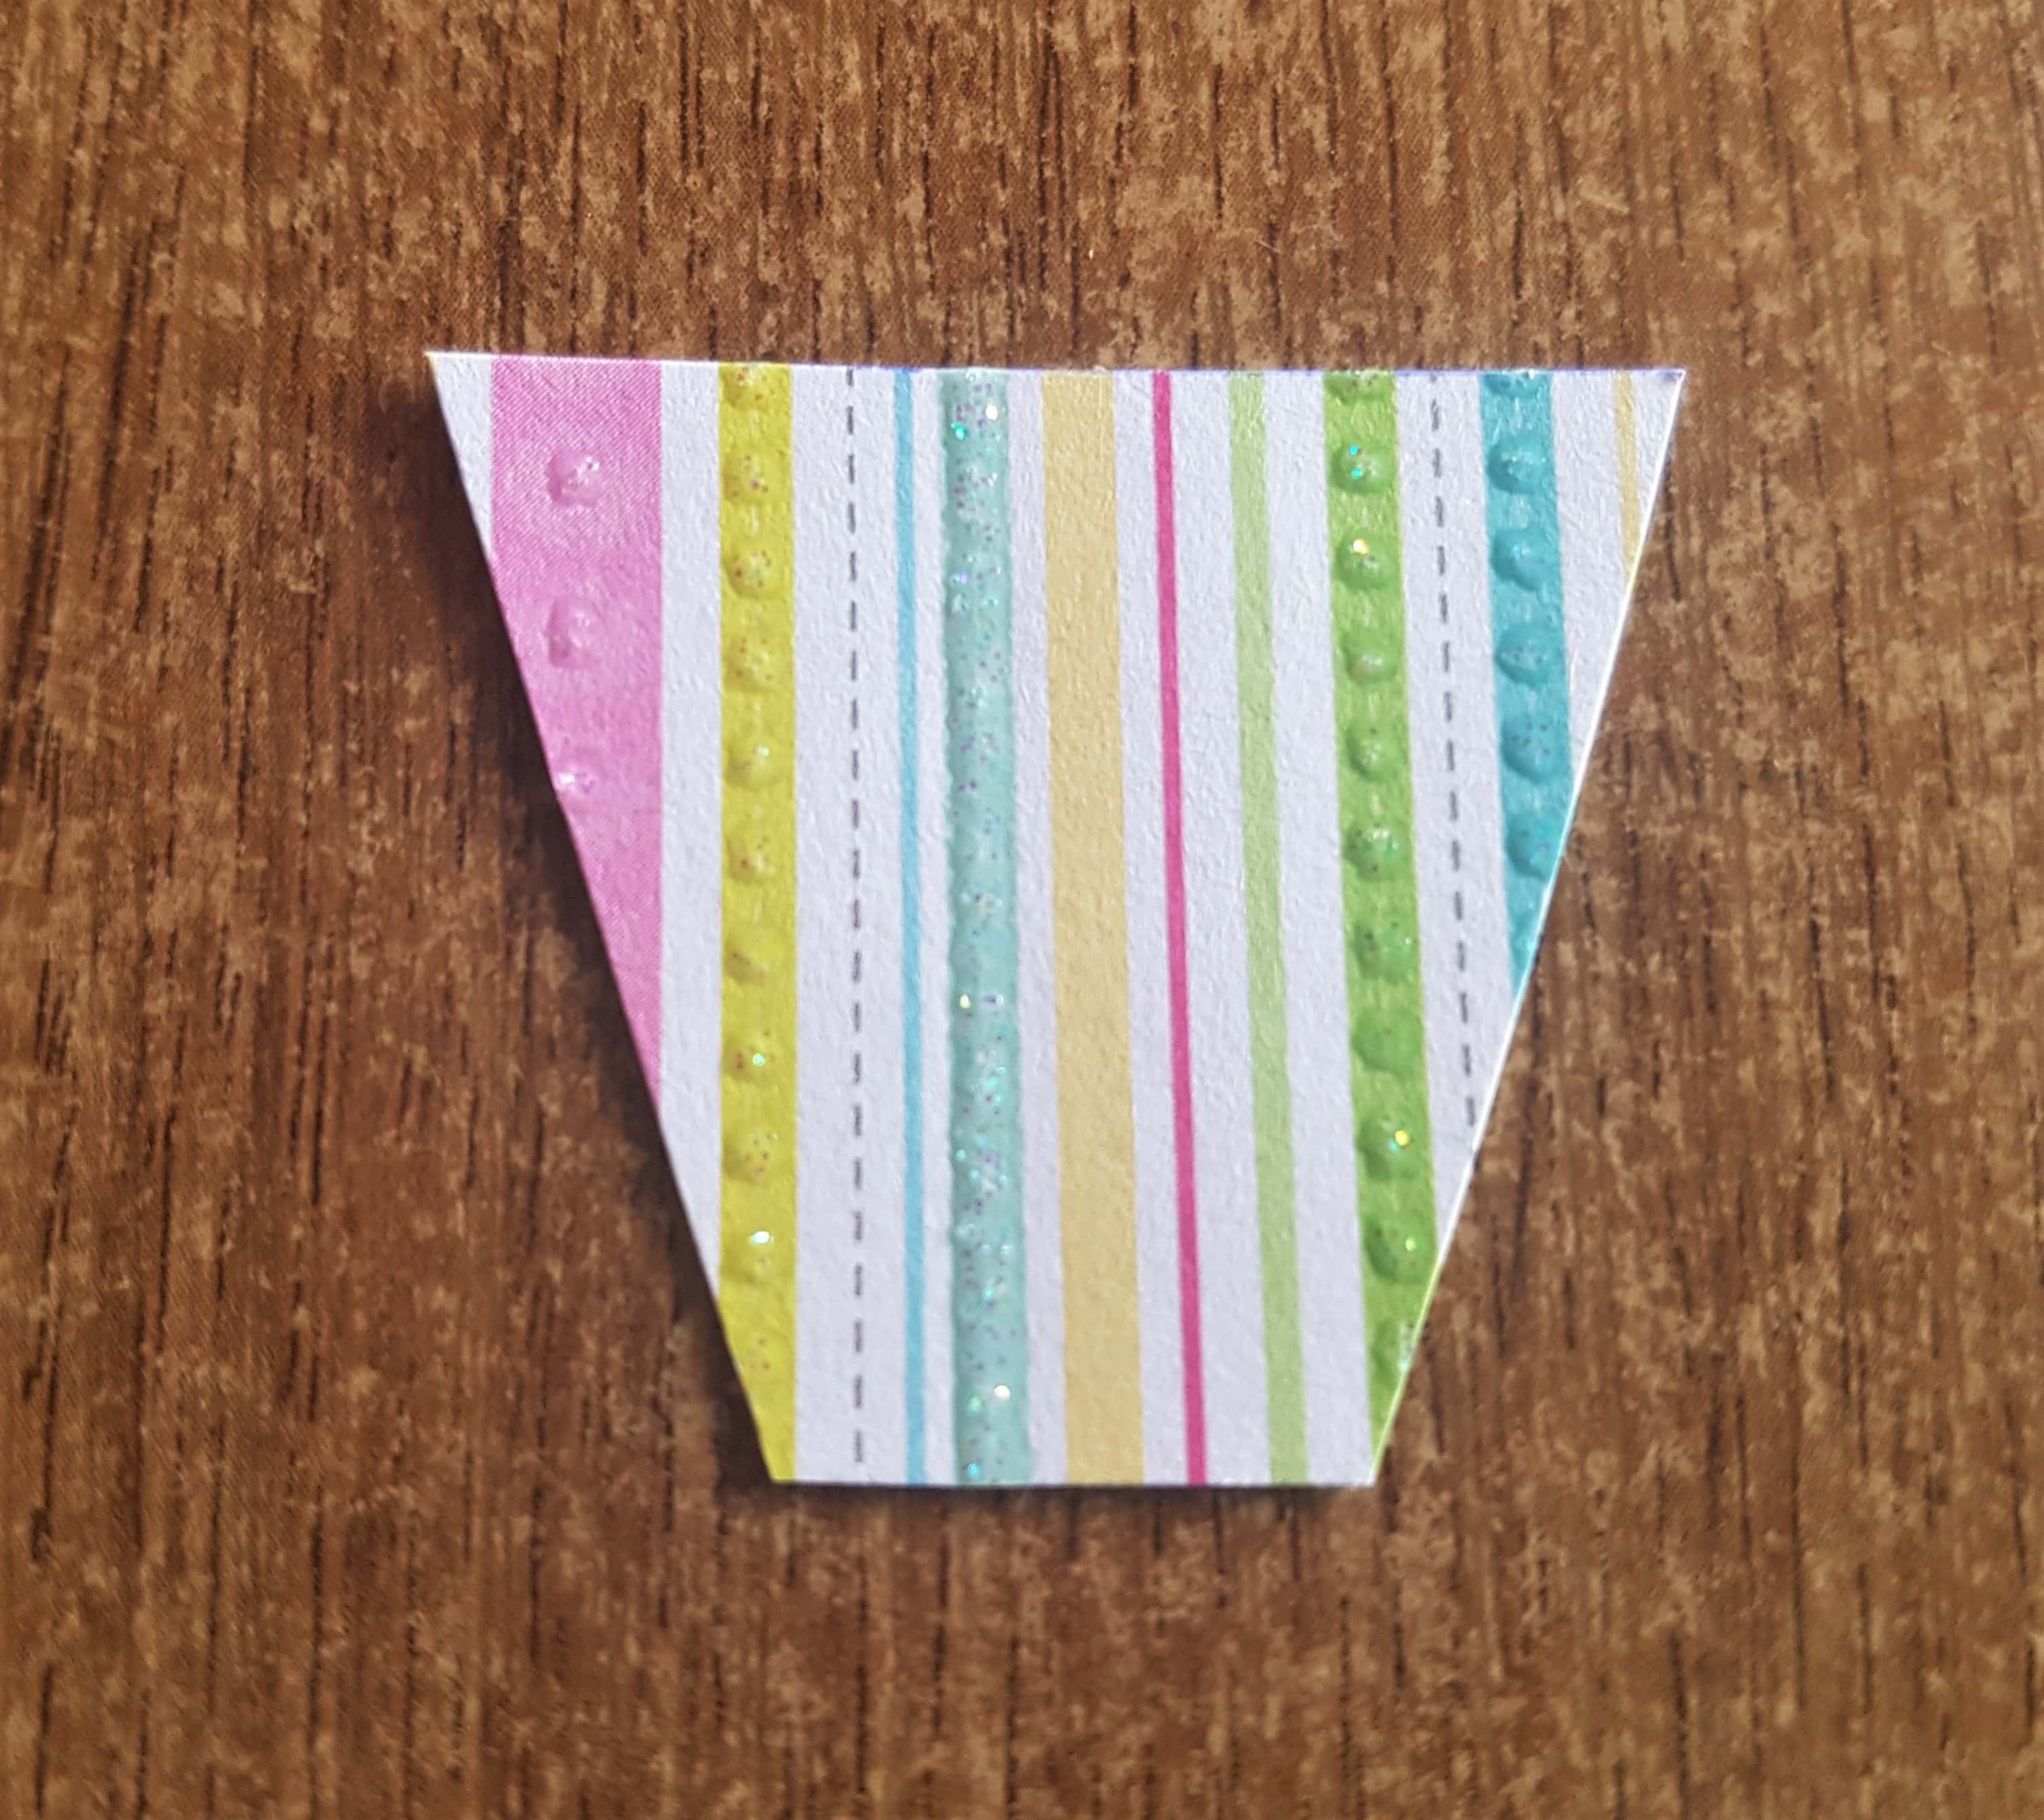
I cut a section of Multi-Coloured striped Cardstock smaller than the basket.
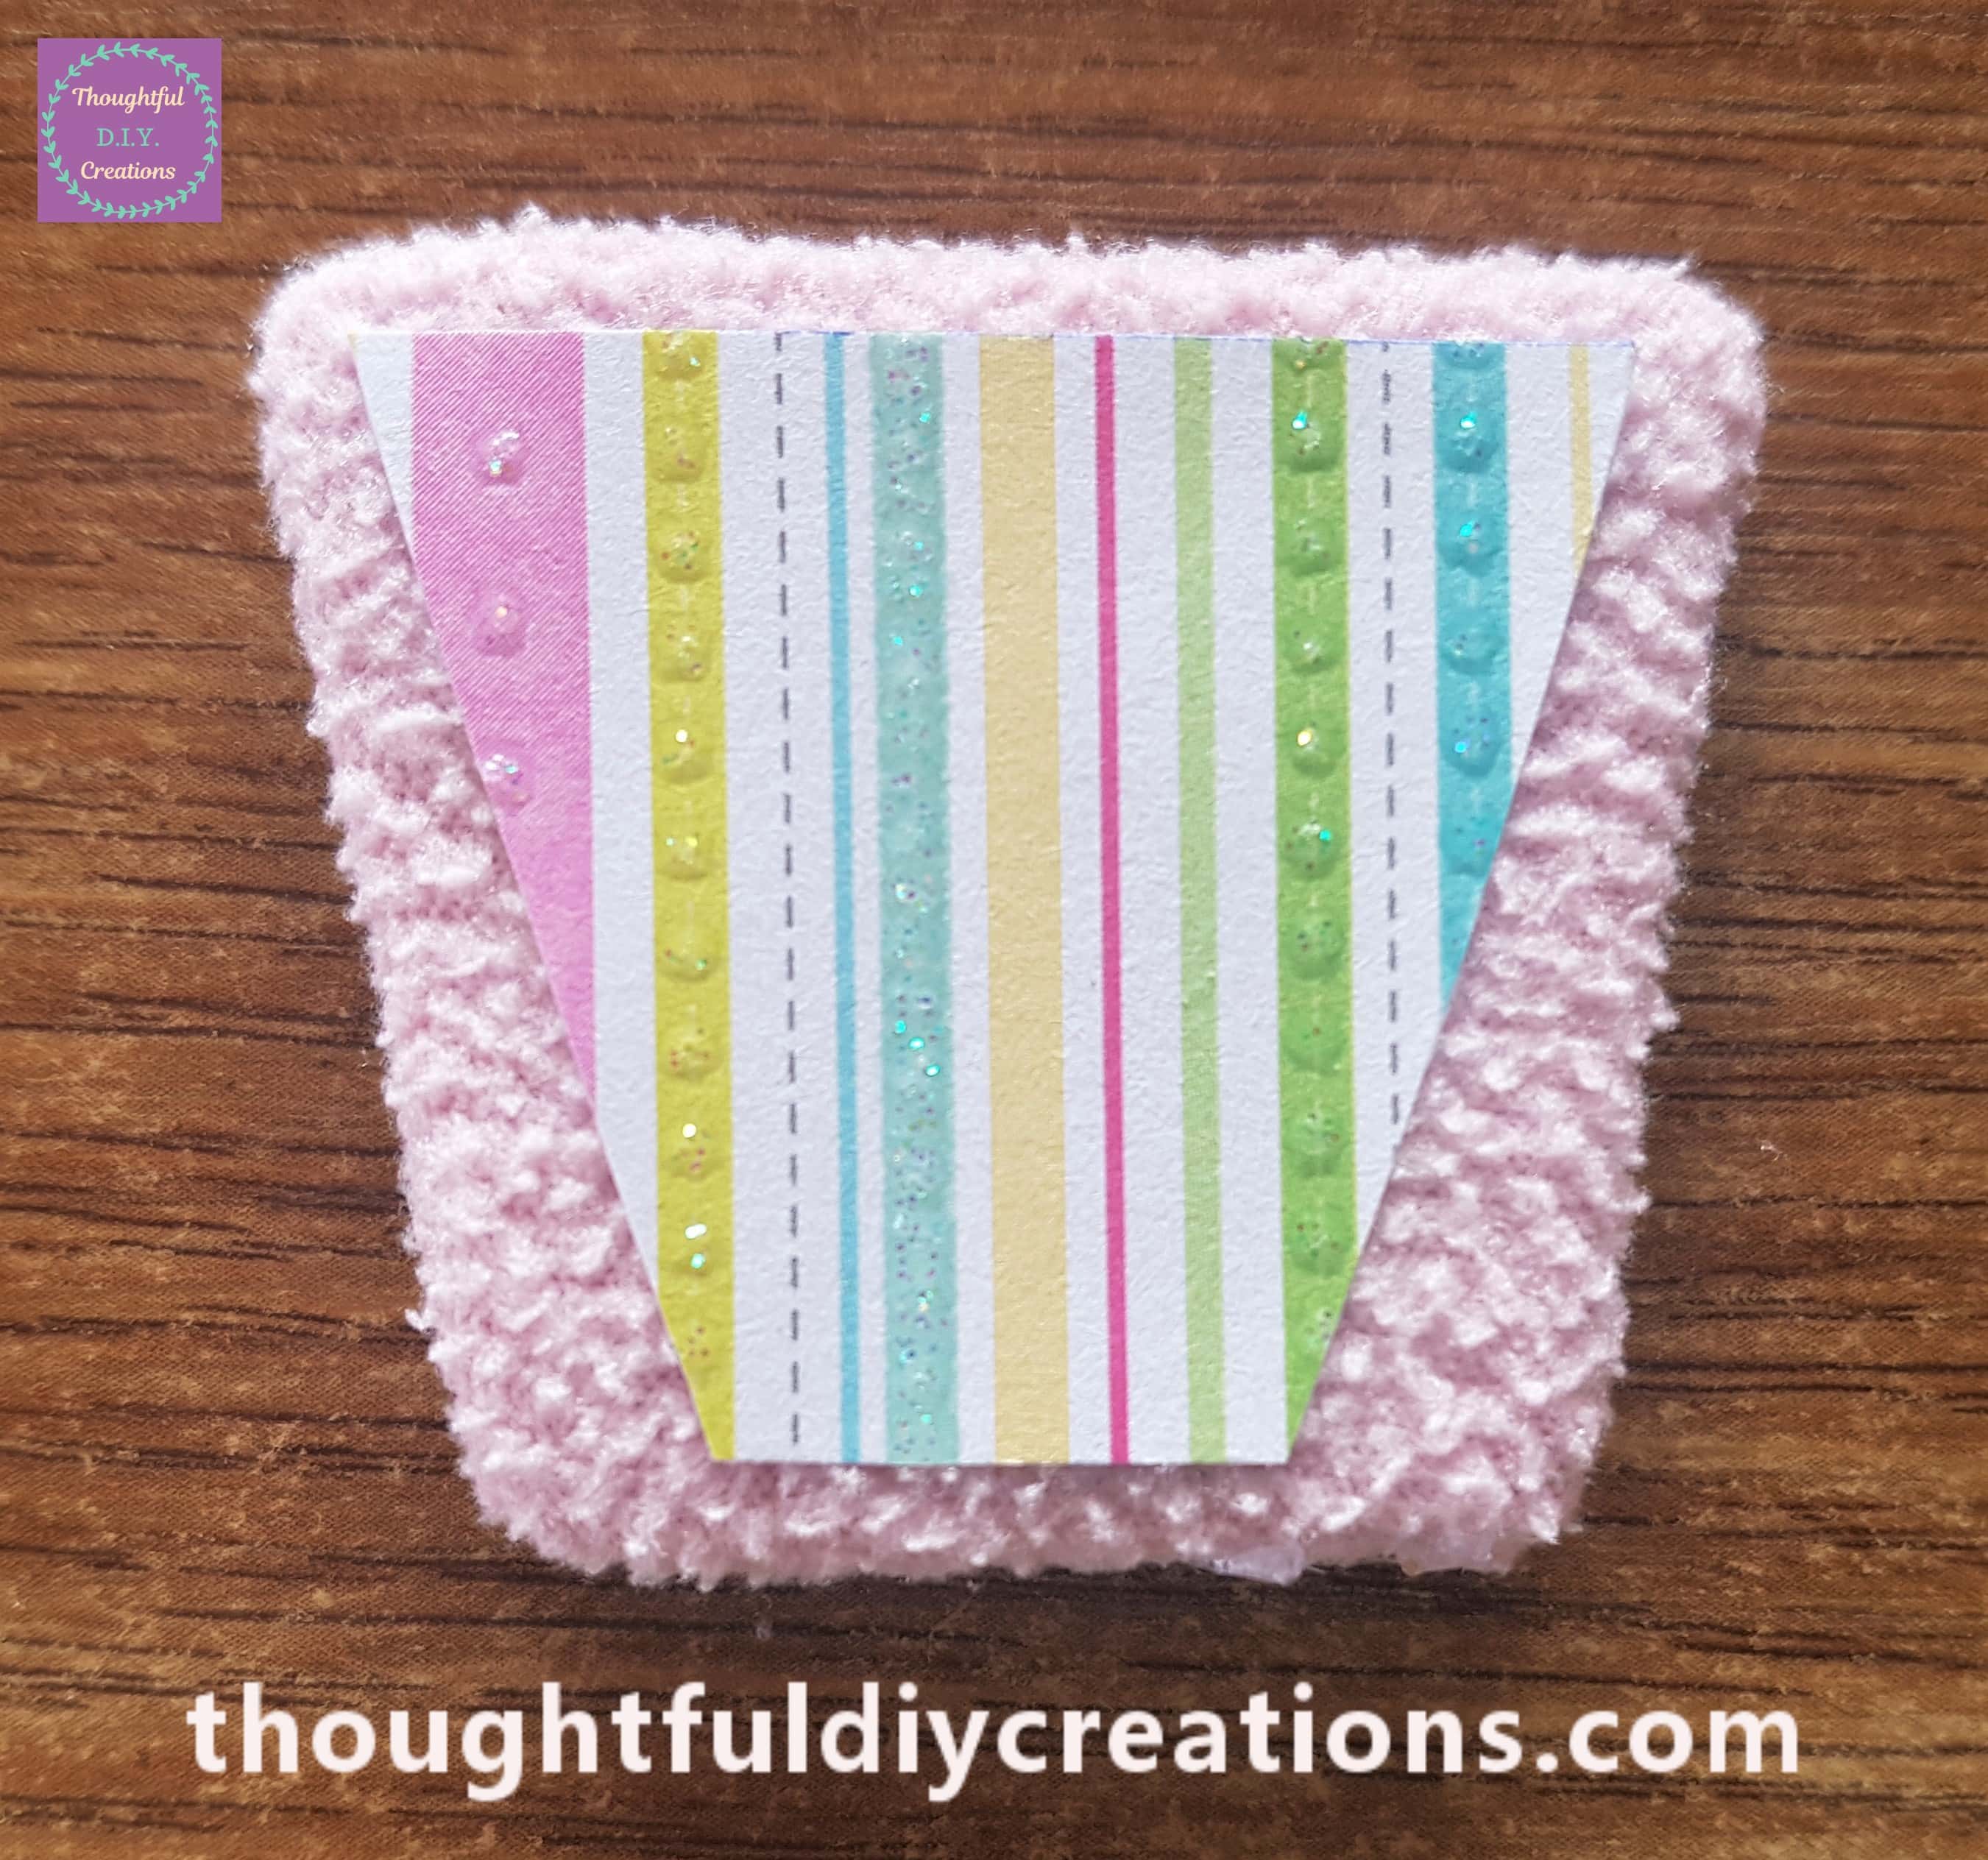
I attached it to the fleece basket using ‘Anita’s Tacky PVA Glue’ and a paintbrush.
Attaching the Basket to the Balloon
I got a White Pipe Cleaner from the Pack.
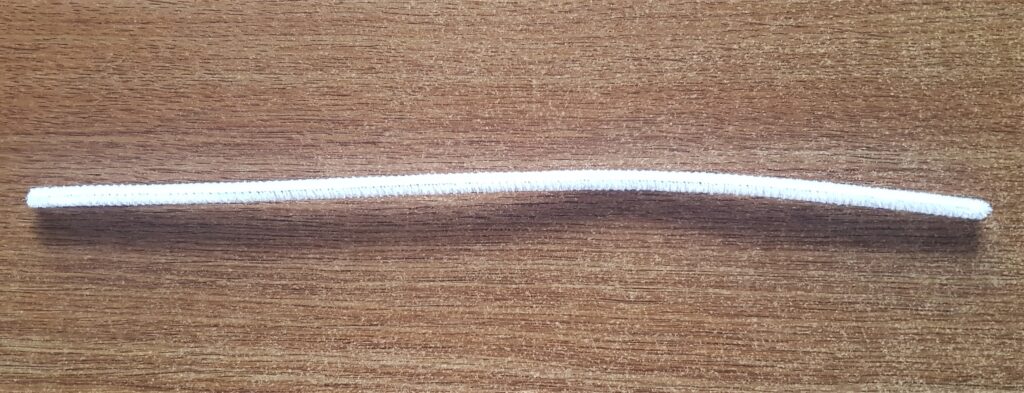
I cut the Pipe Cleaner in half and hot glued each one to the basket.
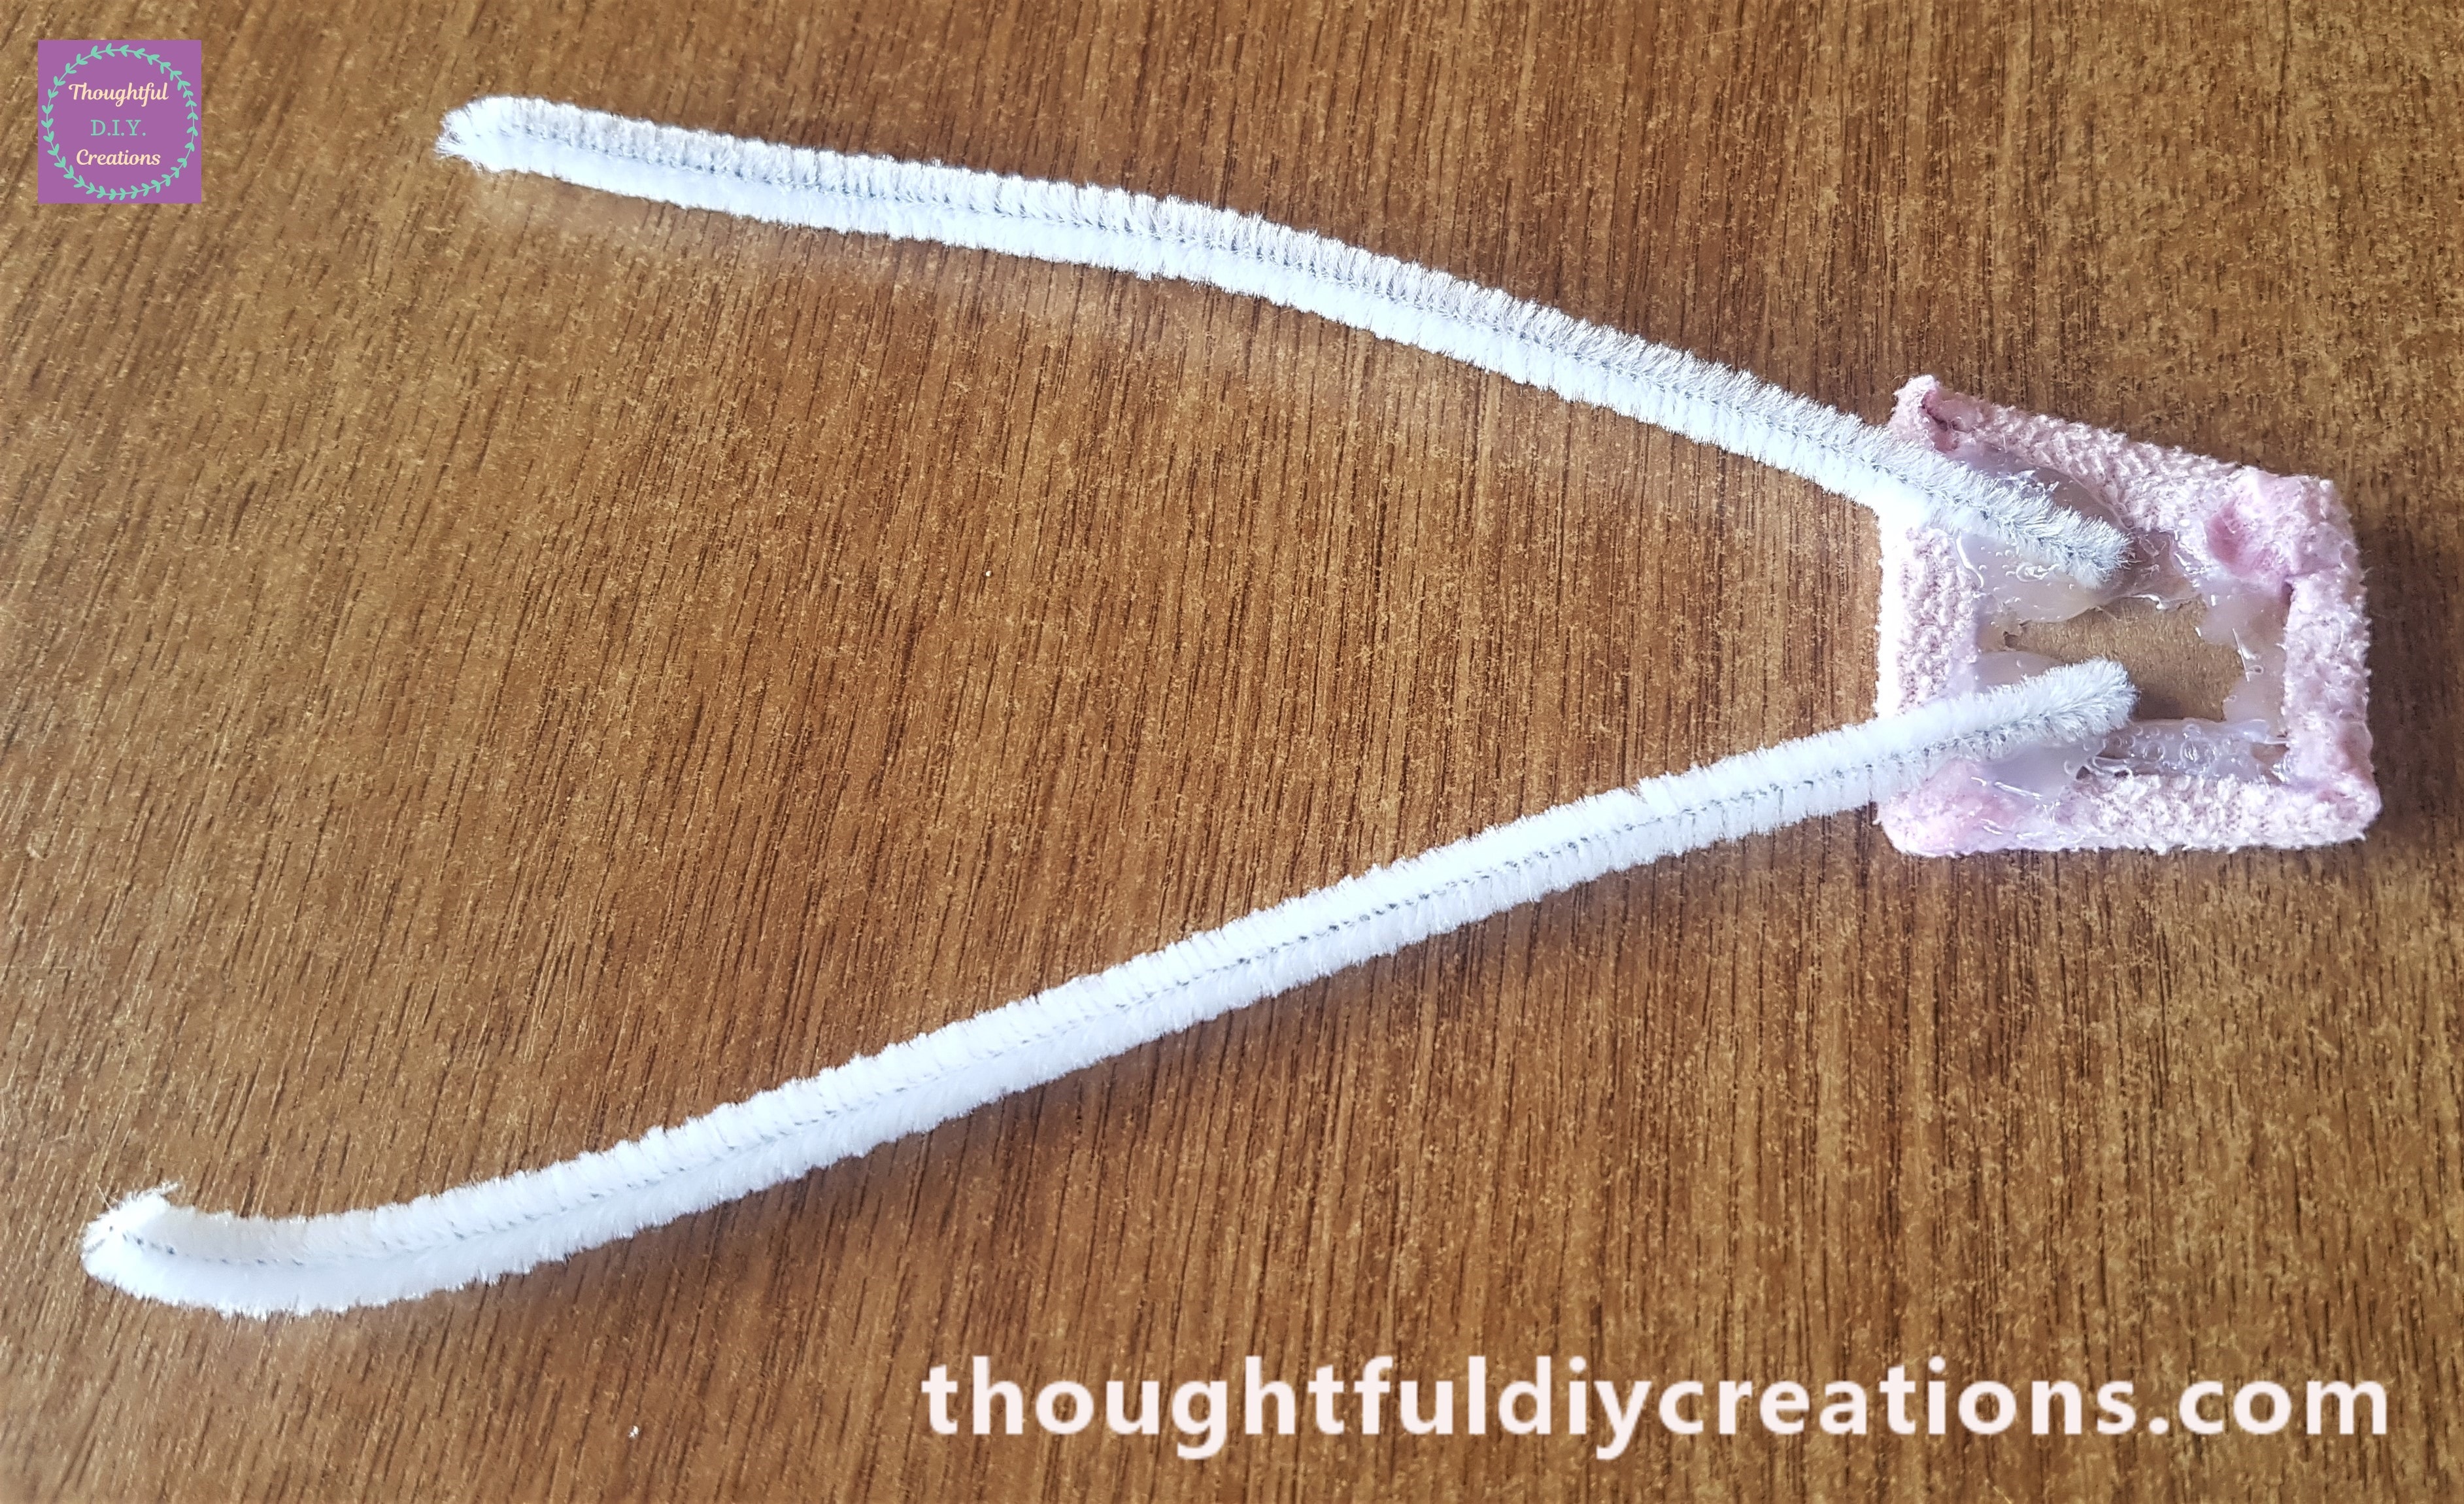
I added Hot Glue to the tops of the Pipe Cleaners and attached them to the back of the Hot Air Balloon.
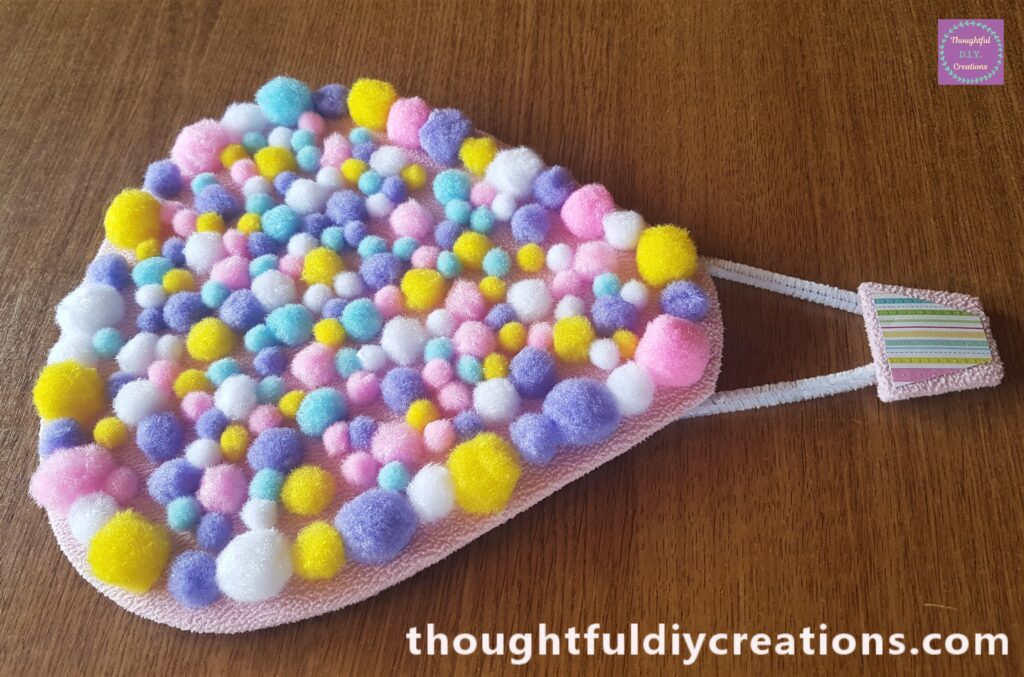
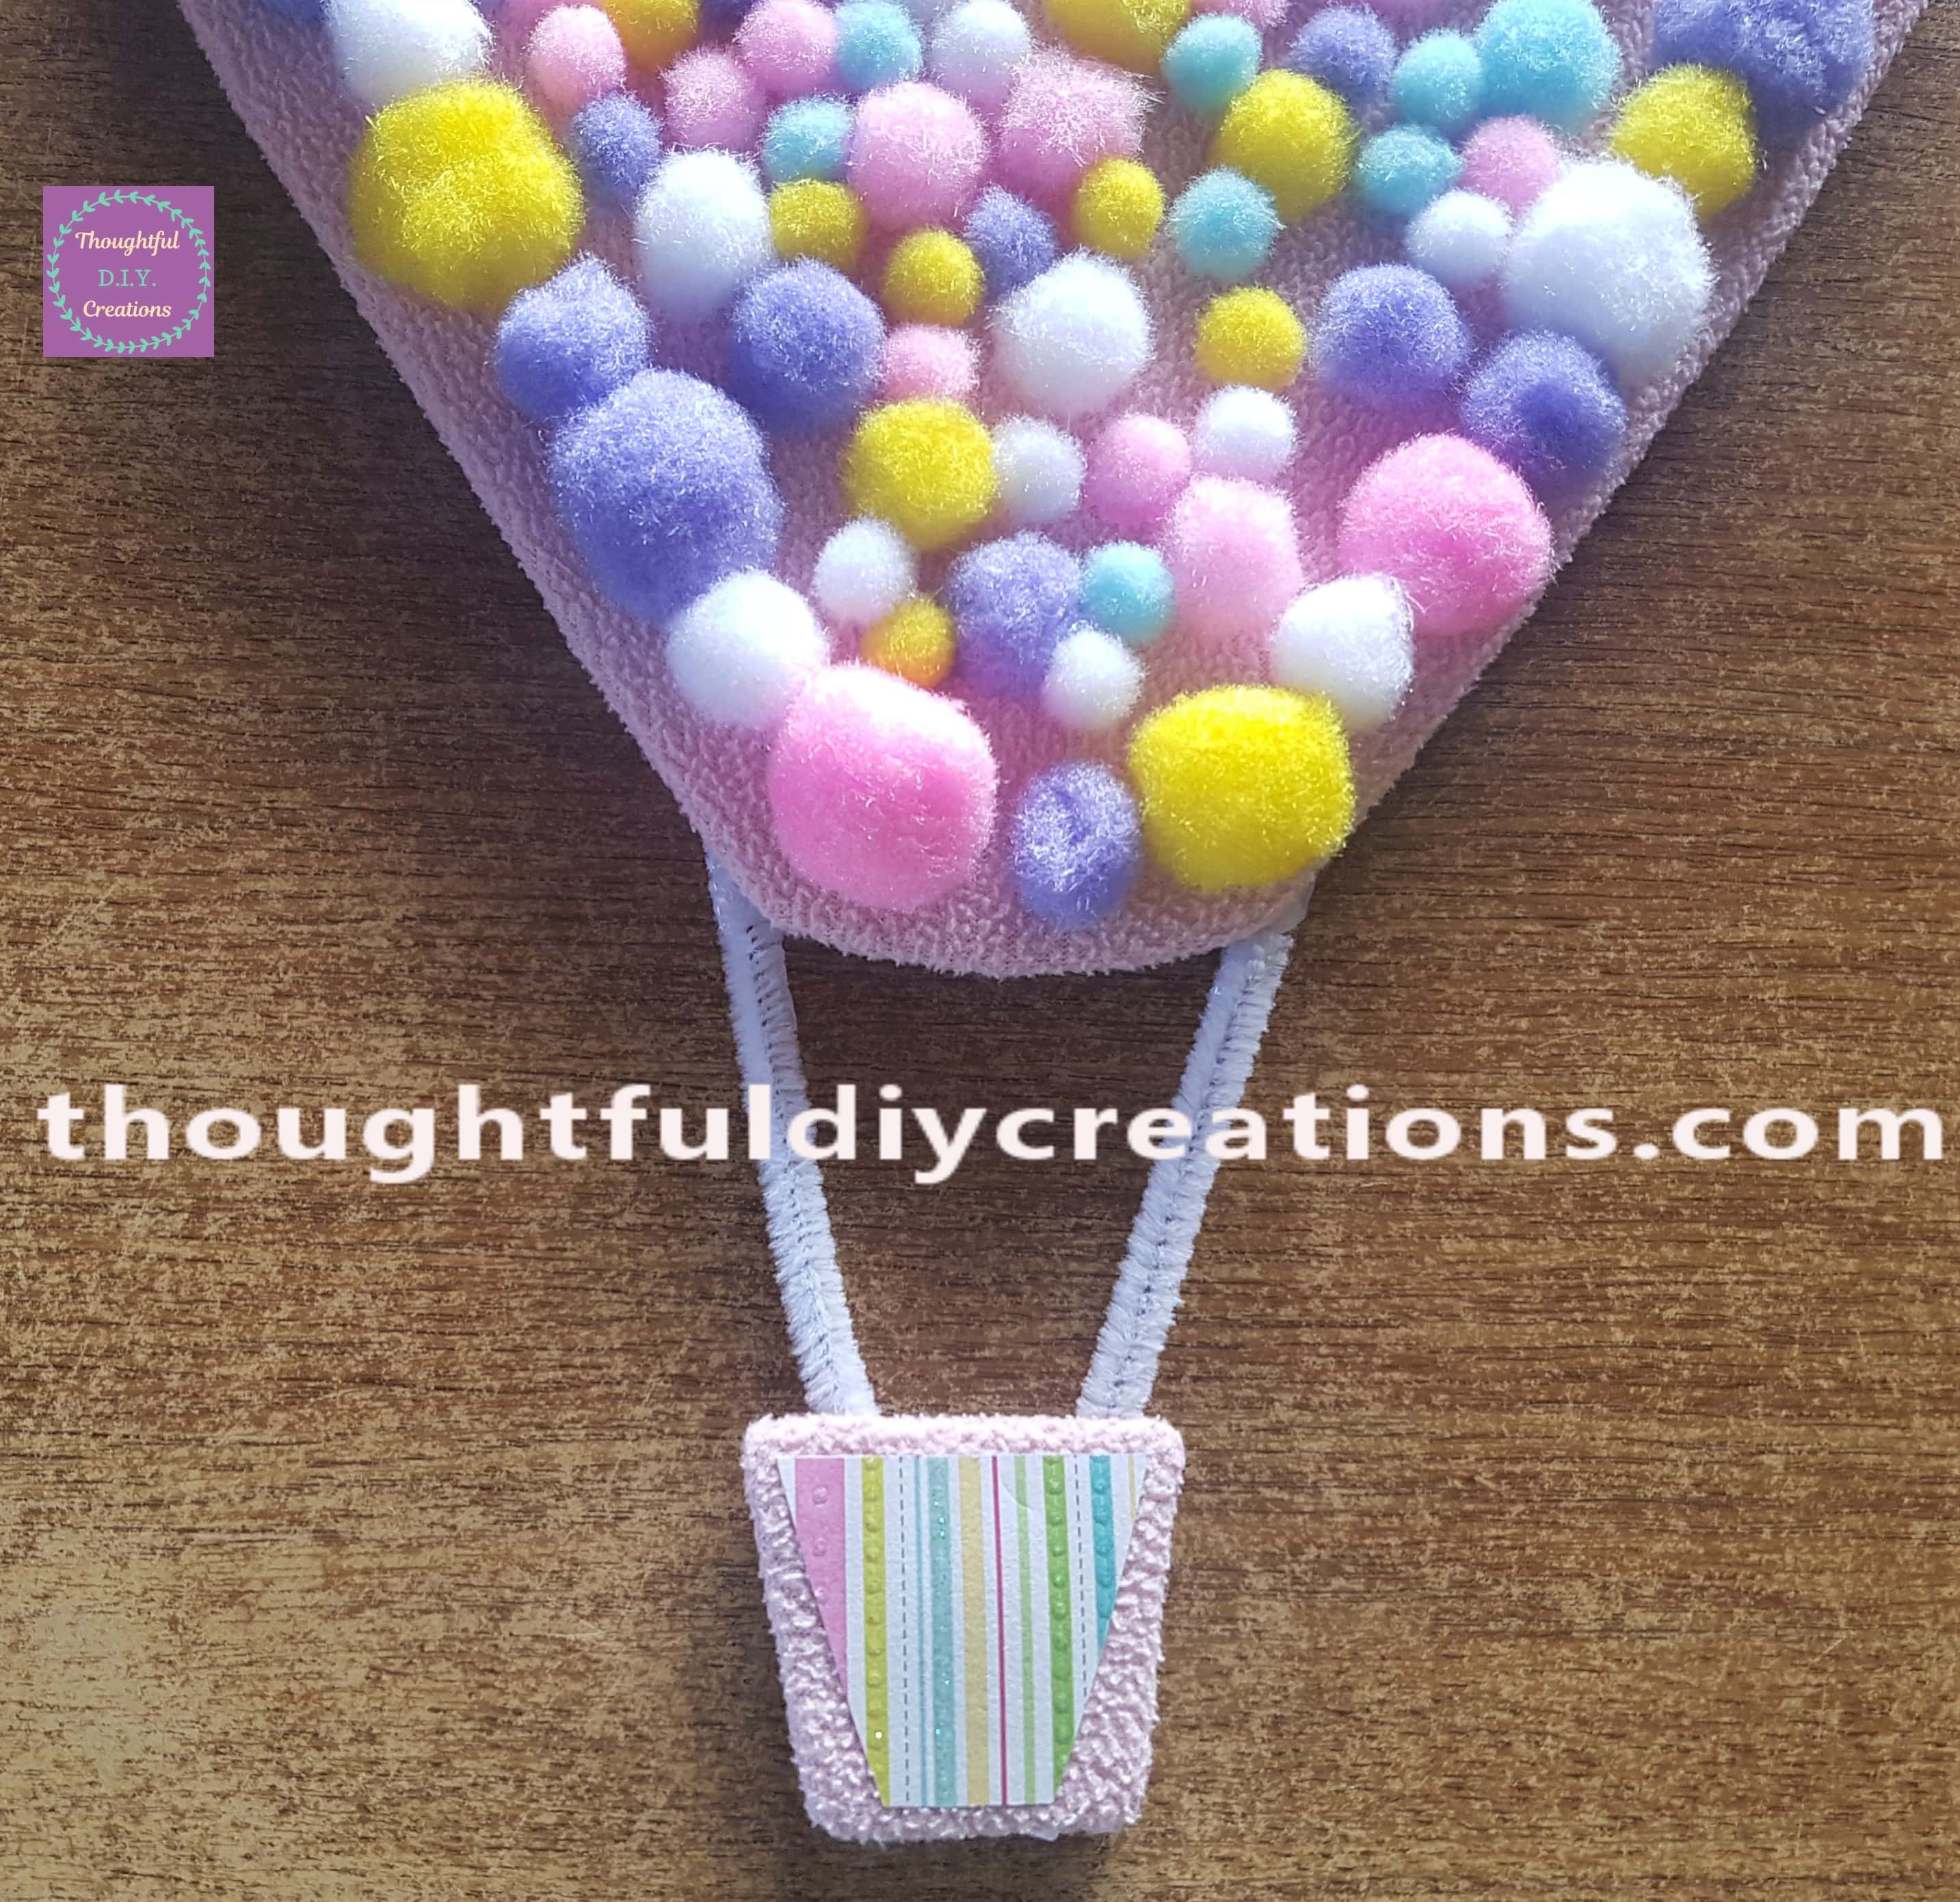
Below is a side angle of the Basket attached to the Hot Air Balloon.
Finishing Touches to the Hot Air Balloon
I got another white Pipe Cleaner and folded it over.
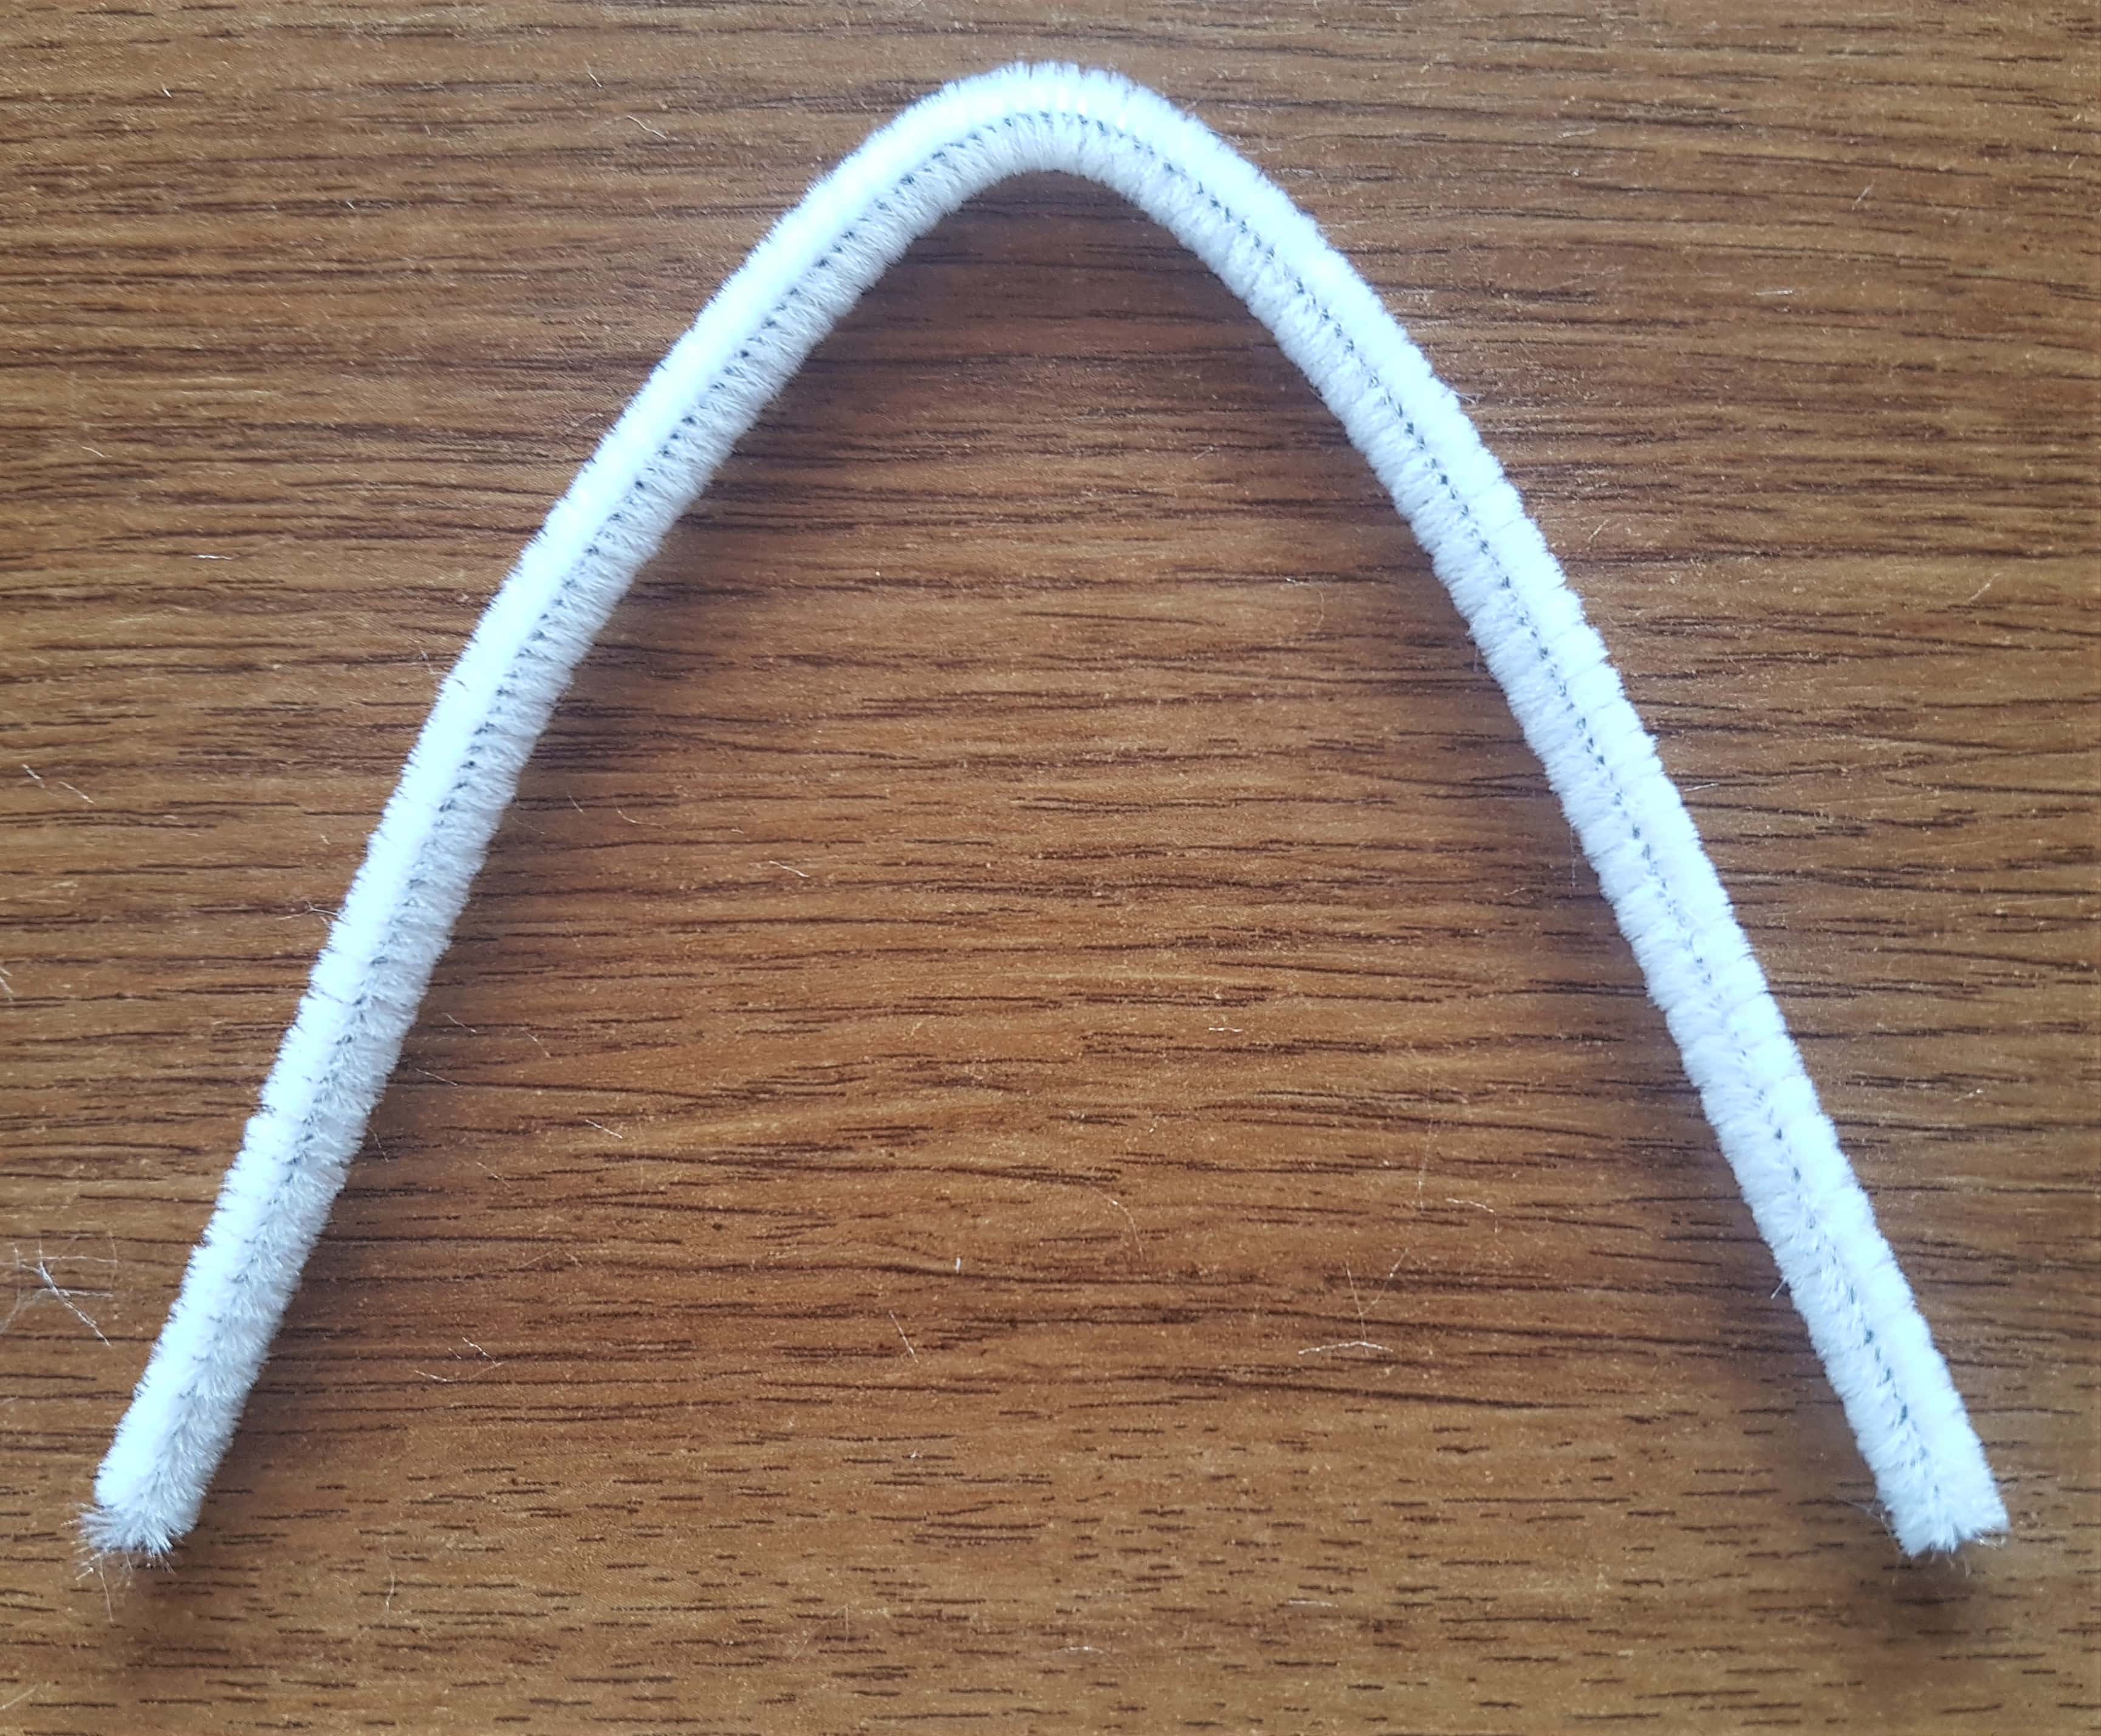
I hot glued the 2 ends together and then attached the Pipe Cleaner to the back of the fleece and cardboard. I added a generous amount of Hot Glue around the pipe cleaner and cardboard to give it enough stability.
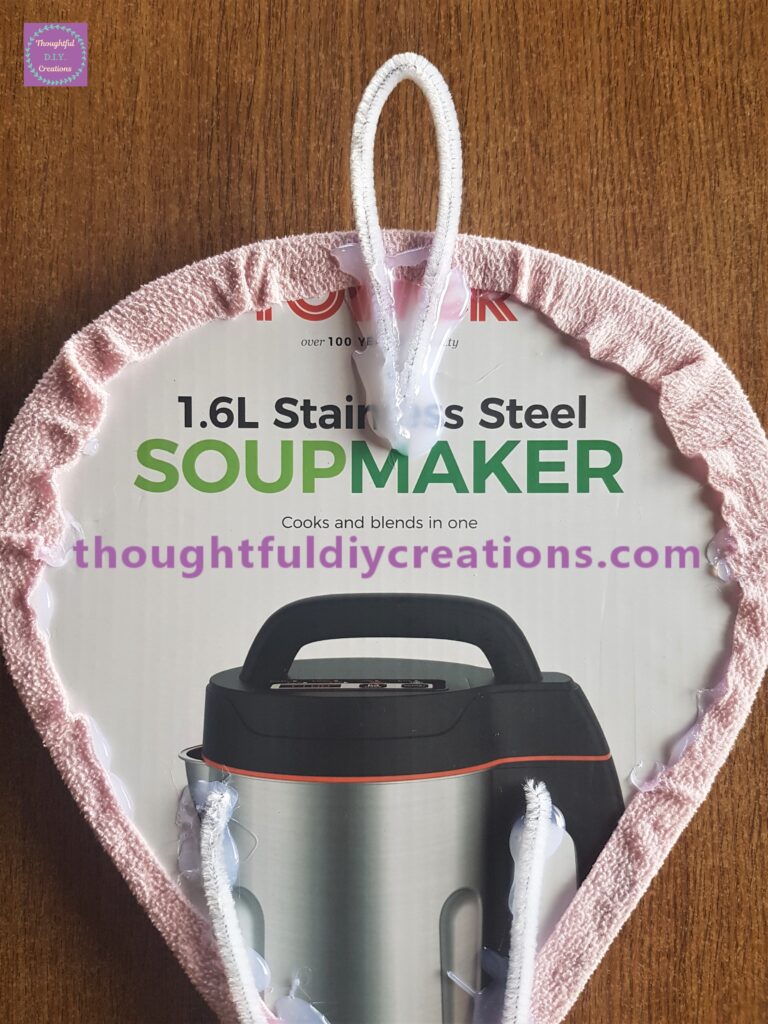
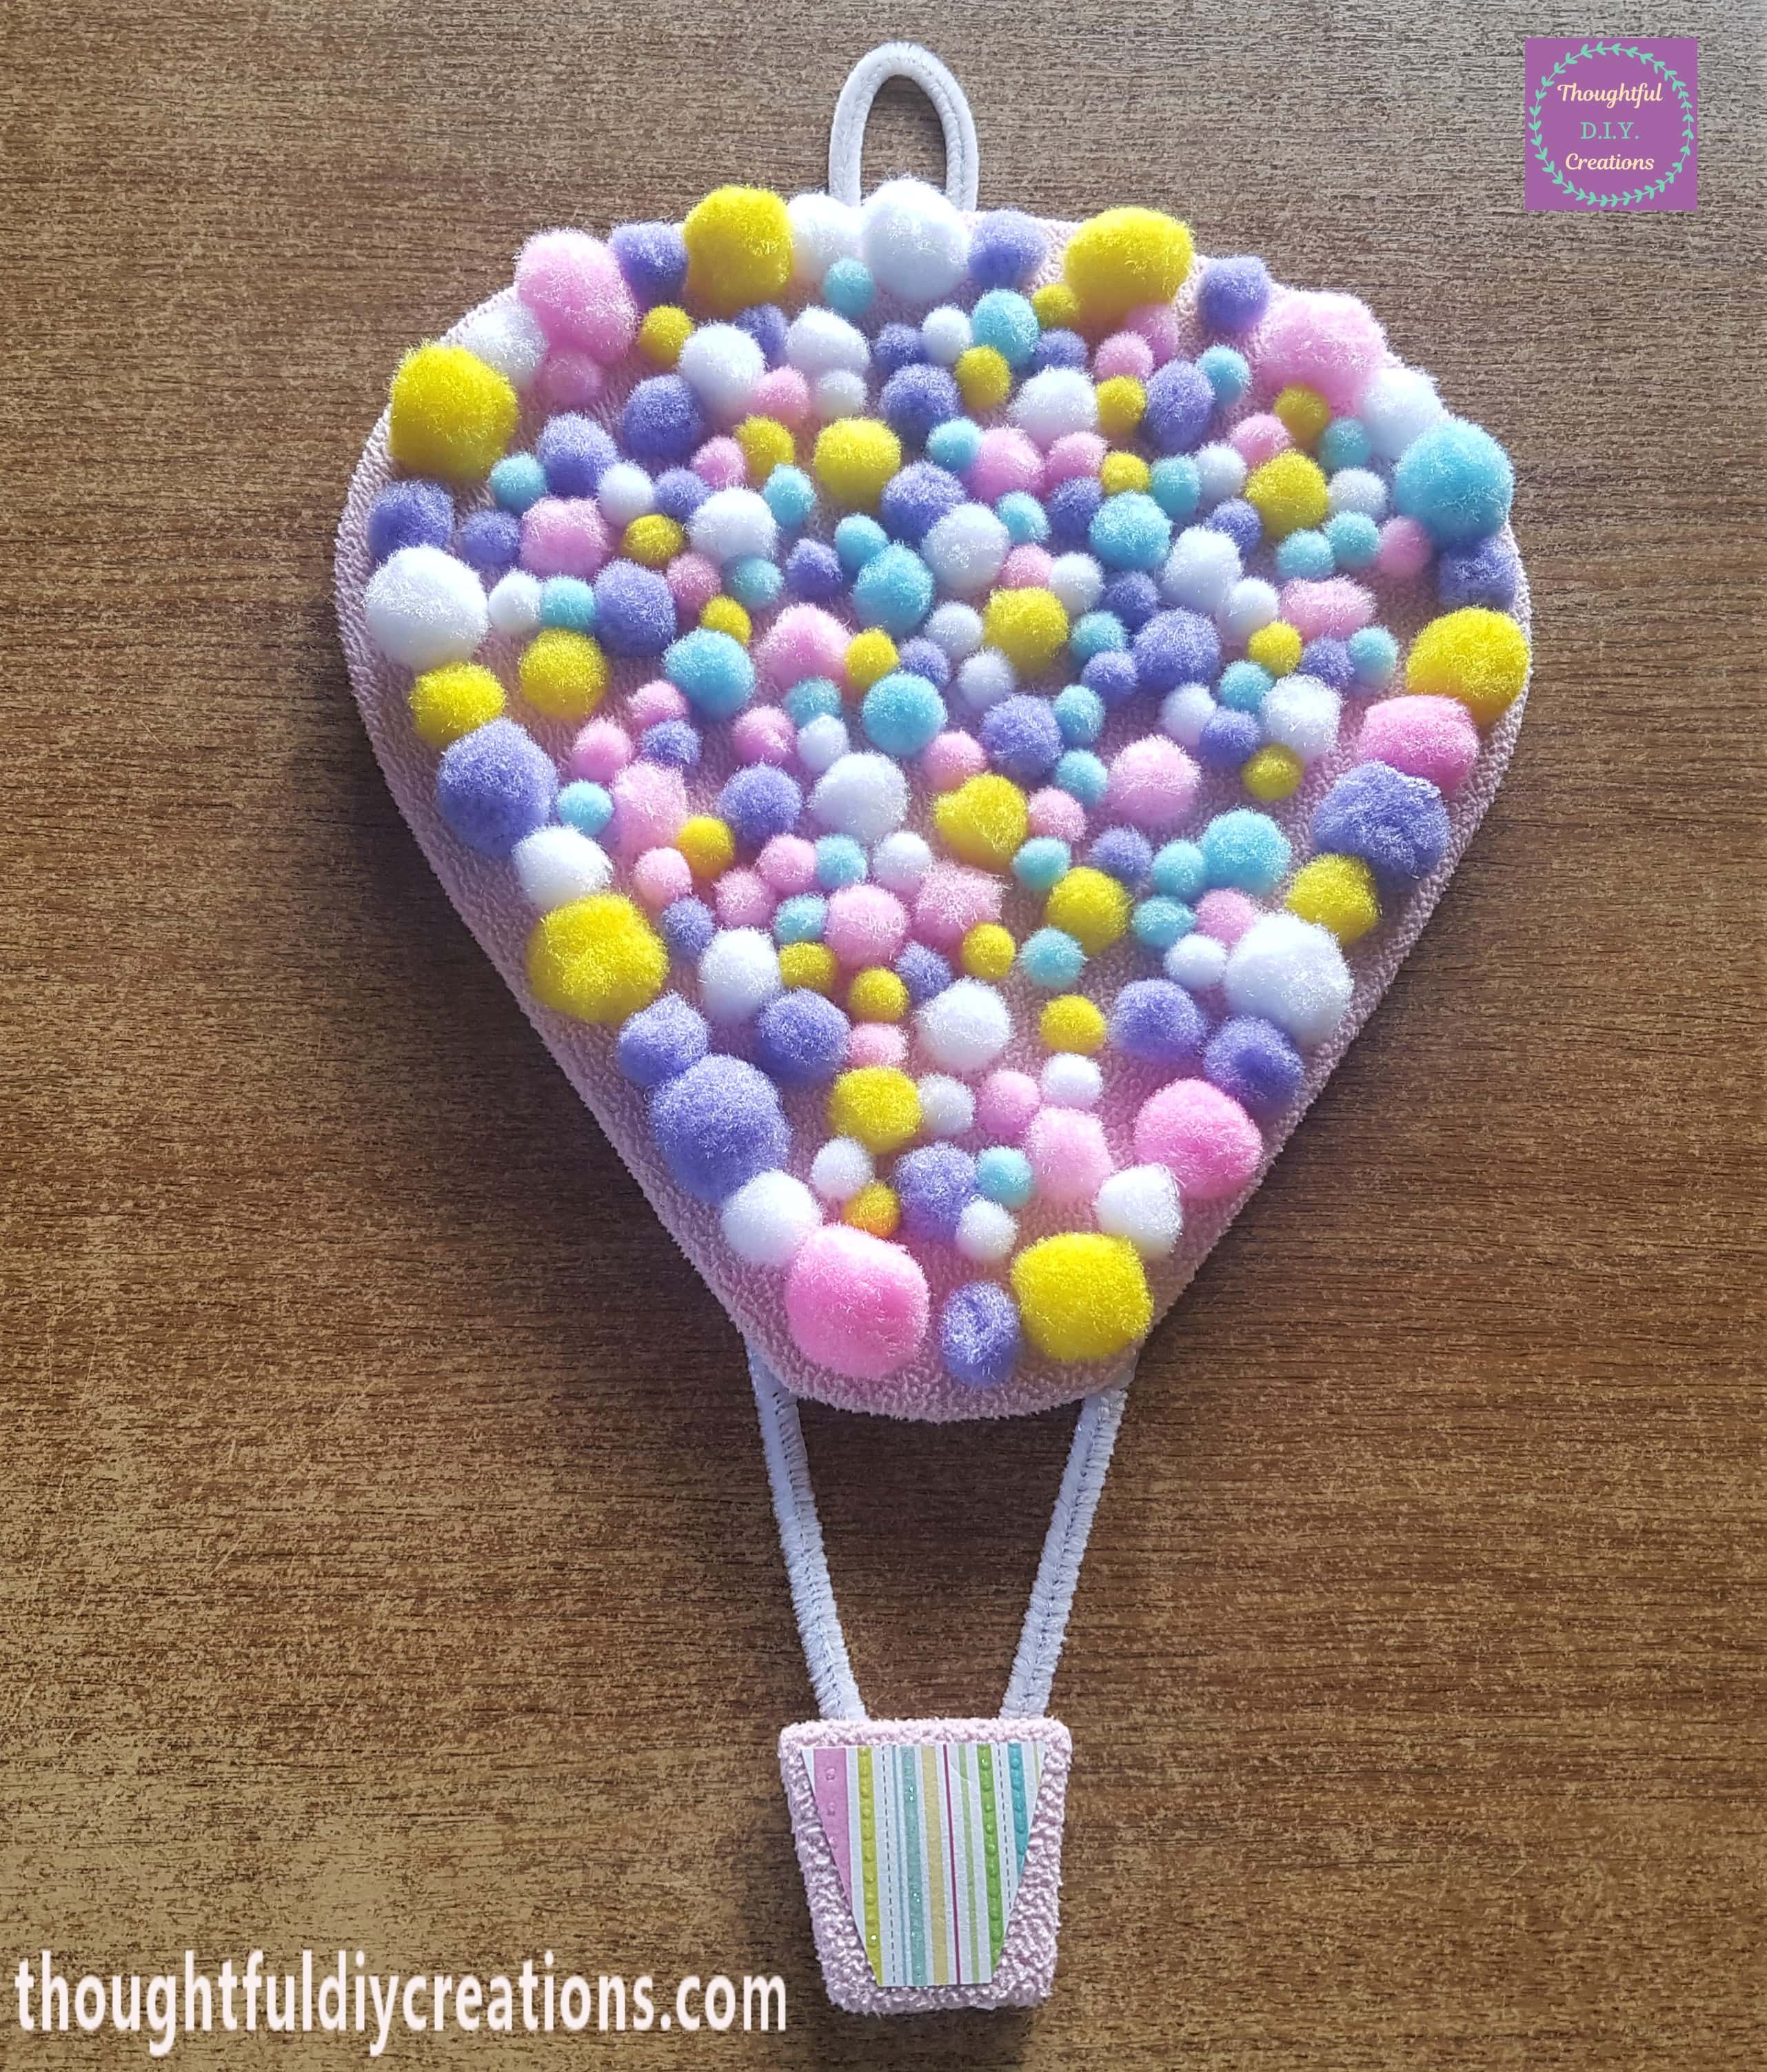
This is a front view with the loop attached.
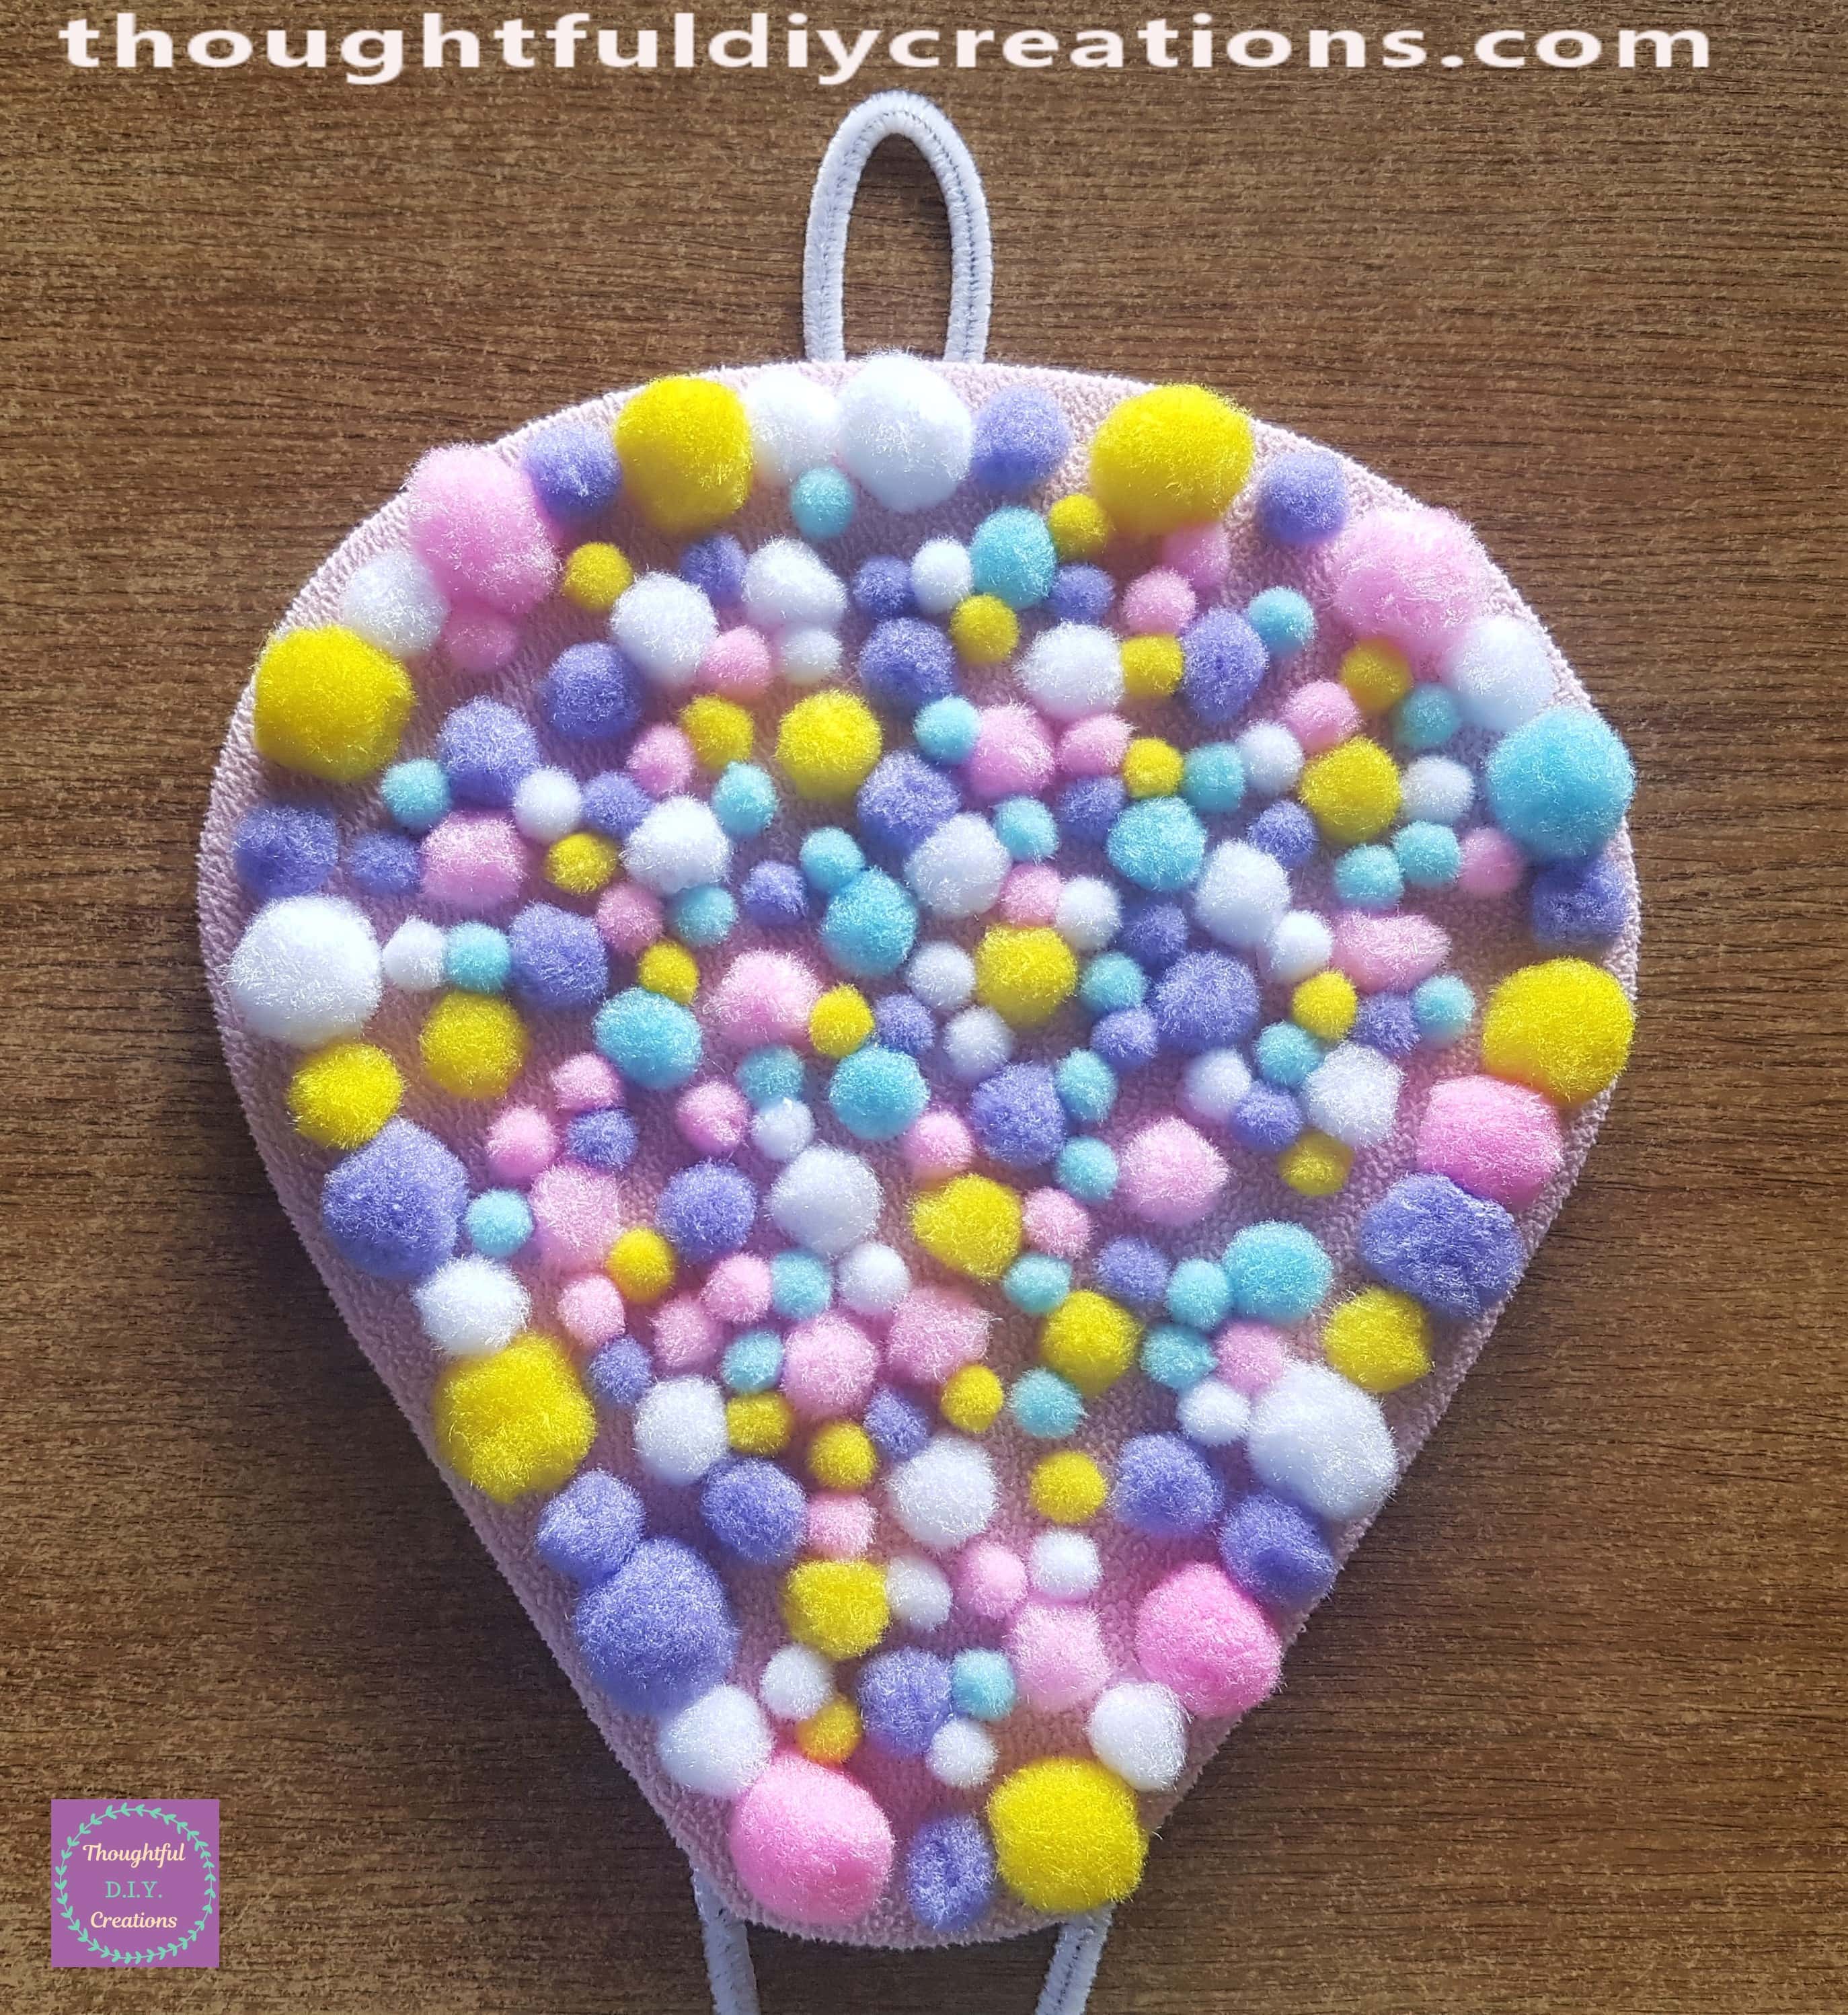
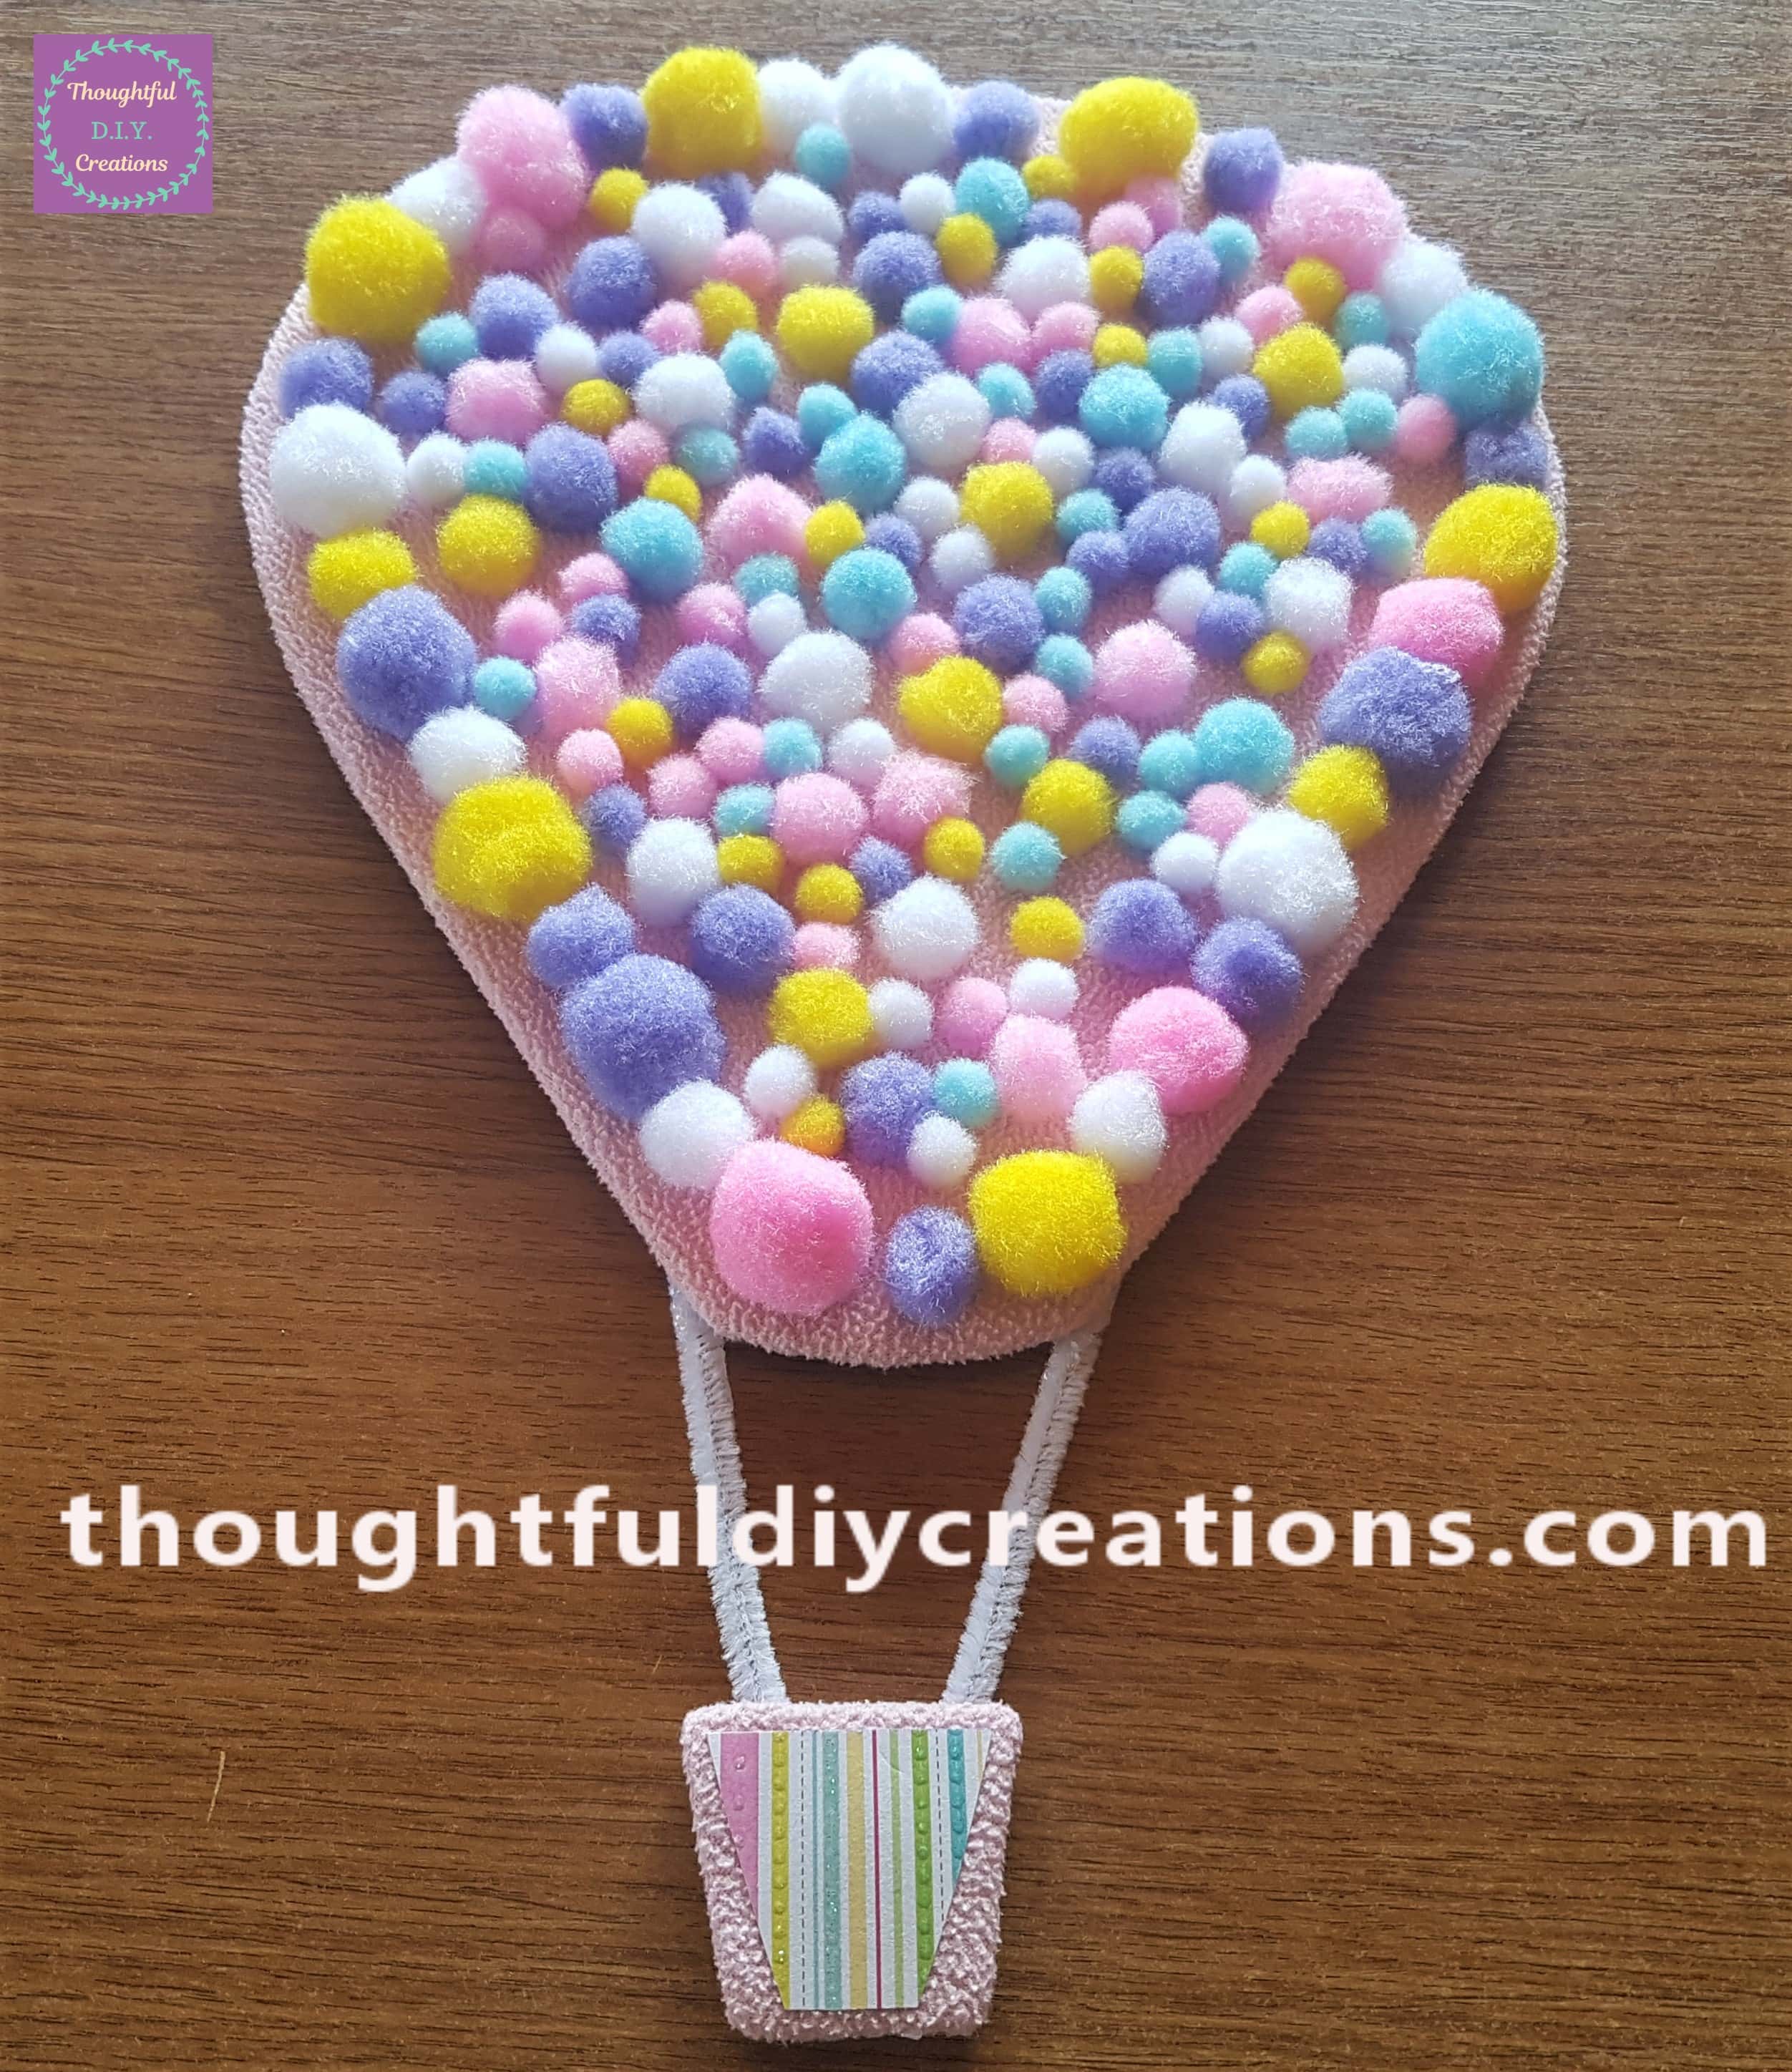
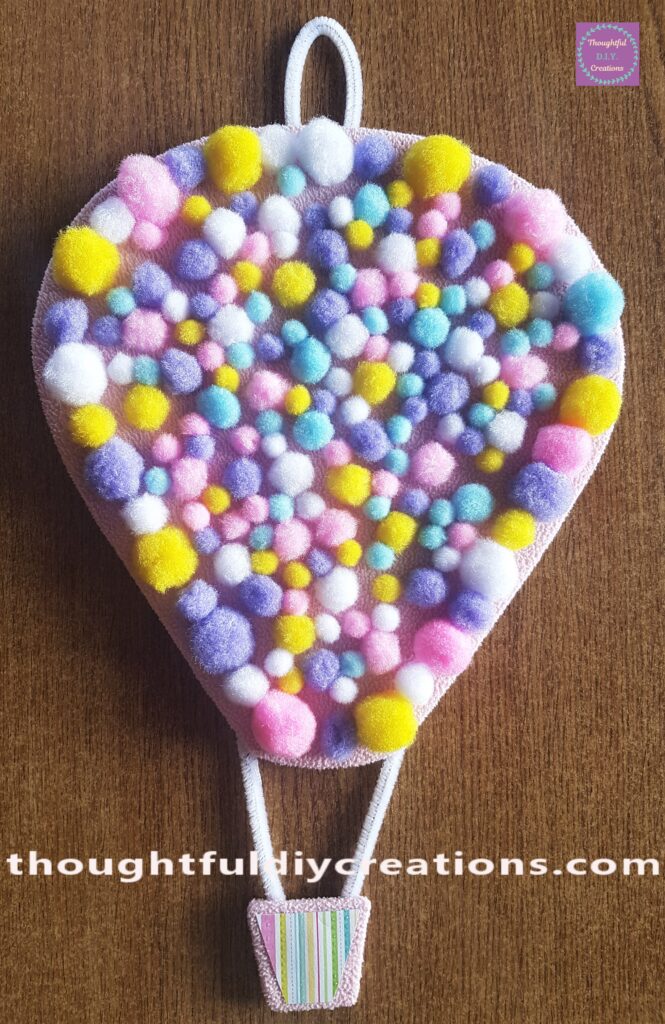
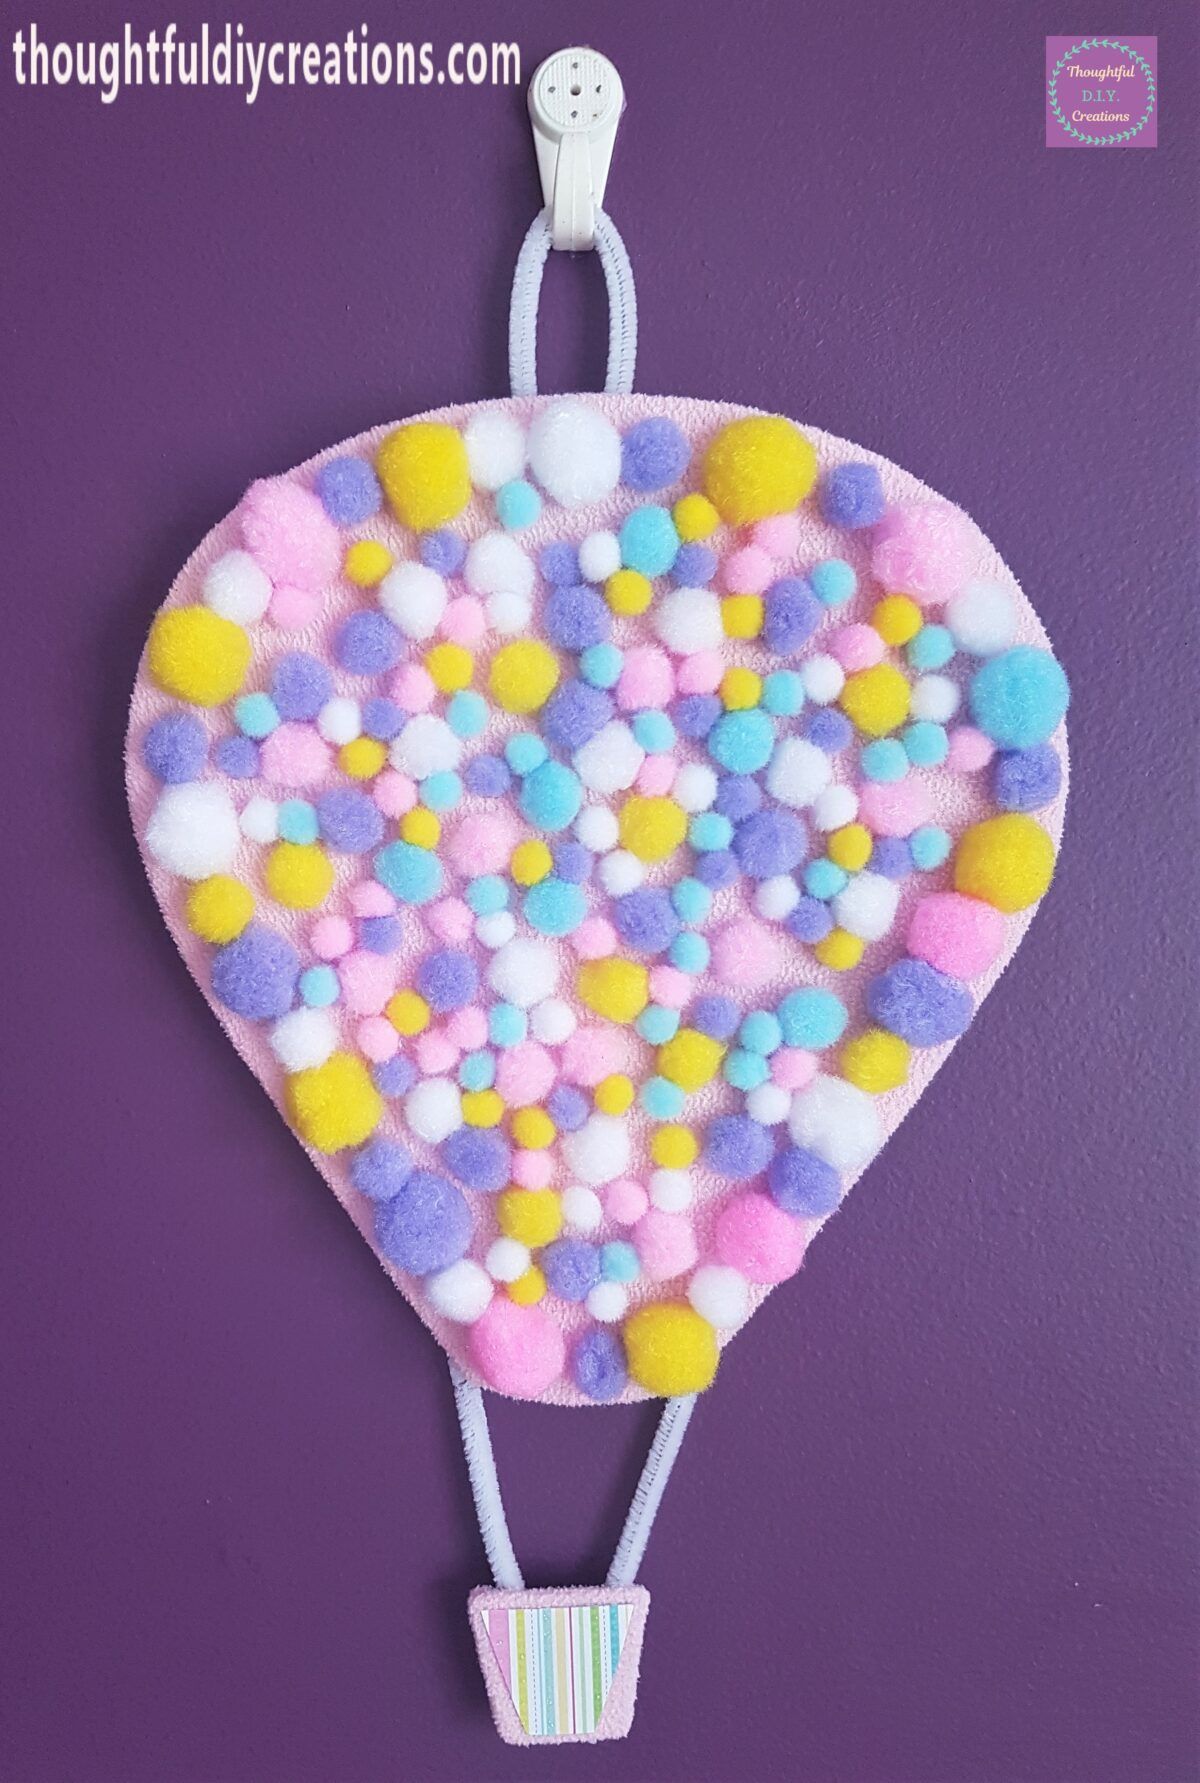
This Completed the Hot Air Balloon Craft.
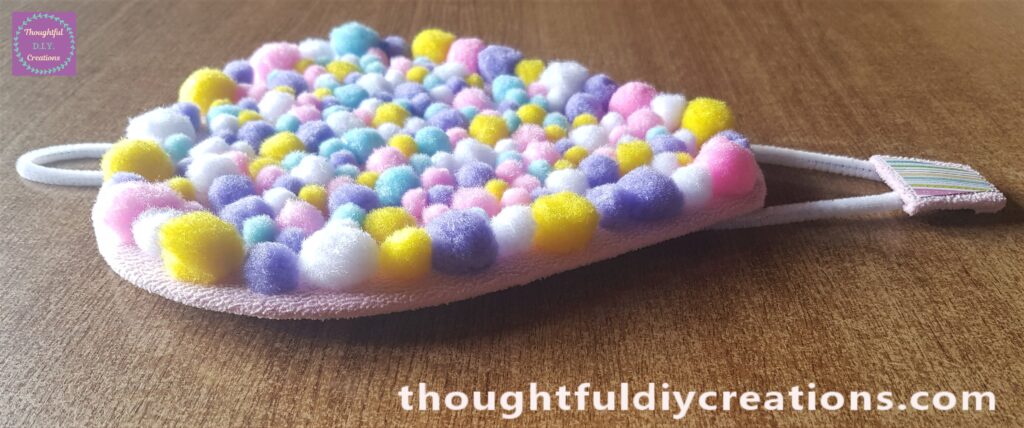
A side view of the finished piece.
Another angle of the Craft.
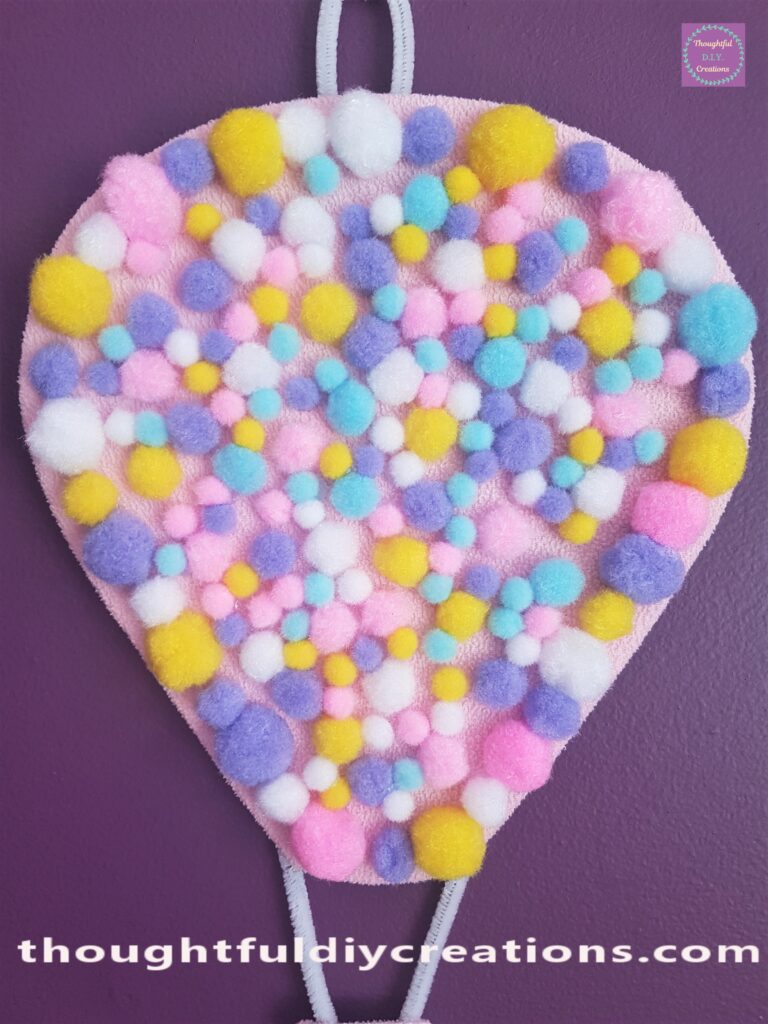
The front of the Hot Air Balloon.
A closer look at the pom poms.
The basket and bottom part of the Balloon.
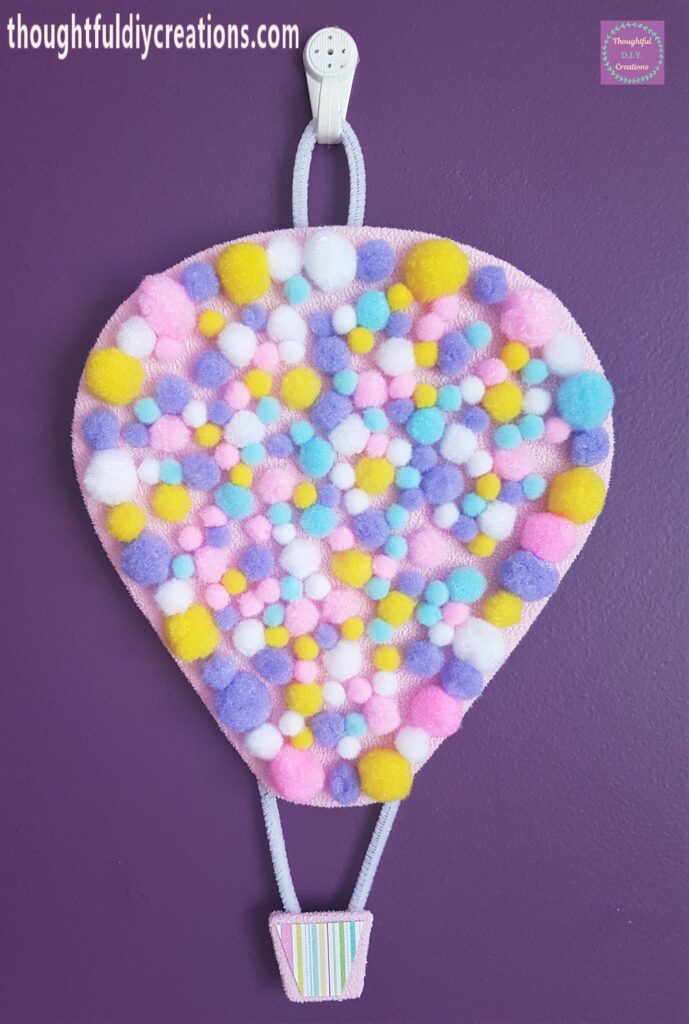
The Hot Air Balloon hanging up on the Wall.
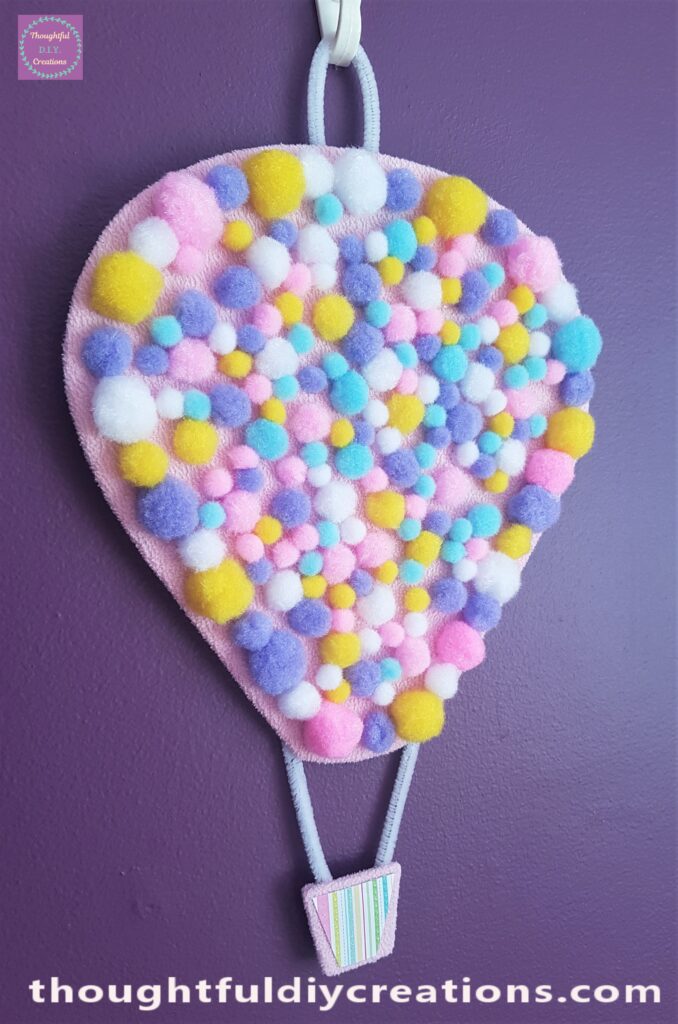
The Balloon from the side.
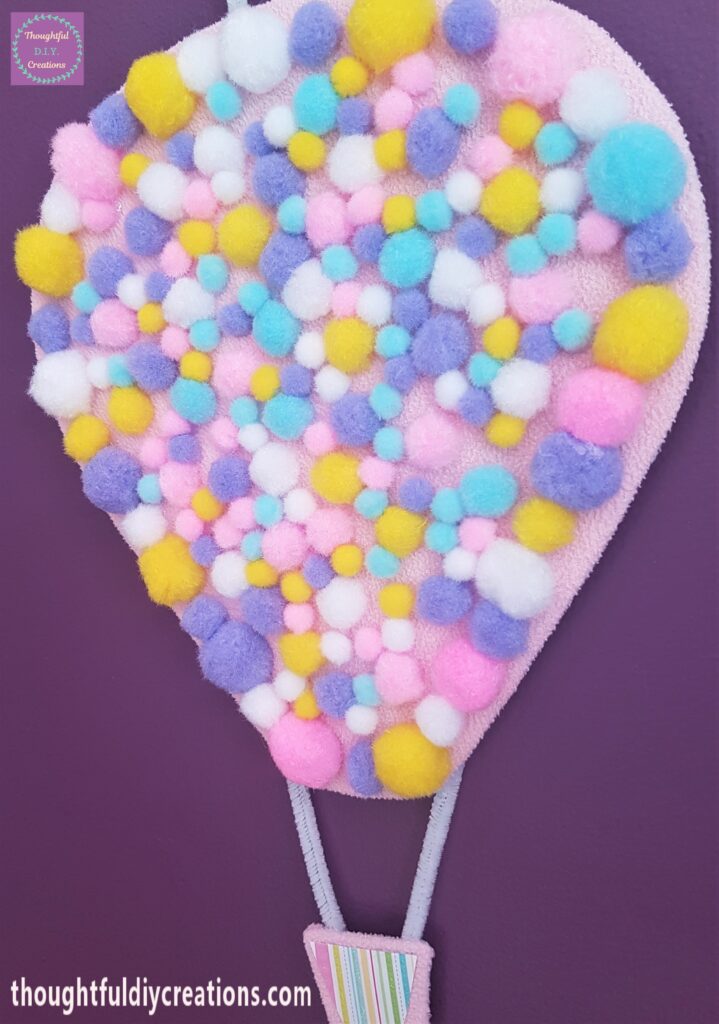
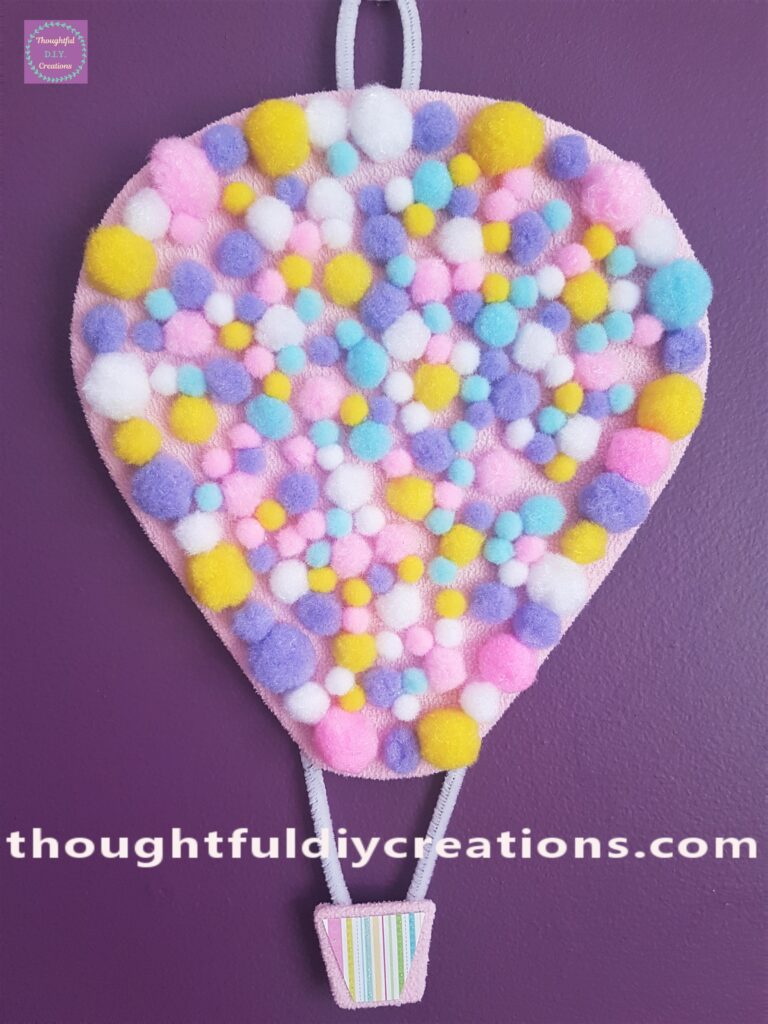
The top part of the Balloon.
Conclusion
I was thrilled with how the Hot Air Balloon came together. I think it’s cute and colourful. It’s amazing what can be made out of Cardboard and old clothes. This craft is a nice way to use pom poms and have them on display. It is such a versatile D.I.Y. activity as it can be decorated in numerous different ways.
This would be the perfect Craft for Children as it would keep them entertained for a few hours and they can use their imagination in how they want to accessorise their Balloon. The only thing that could be changed is the Glue; I would give them PVA Craft Glue and a paintbrush to attach things instead of Hot Glue.
Children could add buttons, ribbons, glitter or stickers to their Balloon. They could add Paper instead of the Fleece and draw clouds on the Balloon or whatever else they want to draw or colour instead. They could make a basket out of lollipop sticks. They could hang their drawing up in their bedroom when they’re finished and be proud of their artwork on display. They could also Personalise their own Frame for their Room or Door with this Craft Easy Frame Tutorial.
A Hot Air Balloon could be made for a Nursery Decor. The colours can be changed to co-ordinate with the rest of the Room. The Baby’s Name could be added to the center of the Balloon in a contrasting Colour to stand out. This Craft could also be made for a Nursery Wool Moon and Stars.
This would also make a fun craft activity for a Baby Shower, the Hot Air Balloons could be made on a smaller scale to save time and then made into Bunting to add to the Nursery. It would be so meaningful to have handmade decor from your Family and Friends in your baby’s room. Another idea is it could be made on a bigger scale and used as part of a Backdrop for taking photographs with your guests.
It would also be beautiful for a First Birthday or made for a Centerpiece on a Table. You could make as many as you want and hang them at various lengths with Fishing Wire around the room.
This Craft would also work for a Wedding or for a Travel Theme for a Party, or a Going Away Party. It can be made using Patterned or Plain Paper, Flowers, Chipboard pieces, Bamboo Skewers for the Ropes. It can be customised to whatever your Style is whether it’s Steampunk or Gothic or Pastel or Shabby Chic you can make it your own by using embellishments you adore.
I hope I inspired you to get Creative and make your very own Hot Air Balloon. Let me know if you decide to make one, I’d love to know how it went for you.
Thank you so much for taking the time to read my Blog.
Always Grateful,
T.D.C.
xoxox

-0 Comment-