‘Joy, Peace & Love’ Fabric Canvas
Hello my Creative Friends,
I hope you are all well. In Today’s Blog Post I will show you how to make a fabric canvas using mostly up-cycled materials from your home. It is a budget-friendly craft, as well as a fun way to re-use your materials.
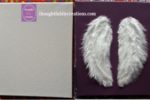
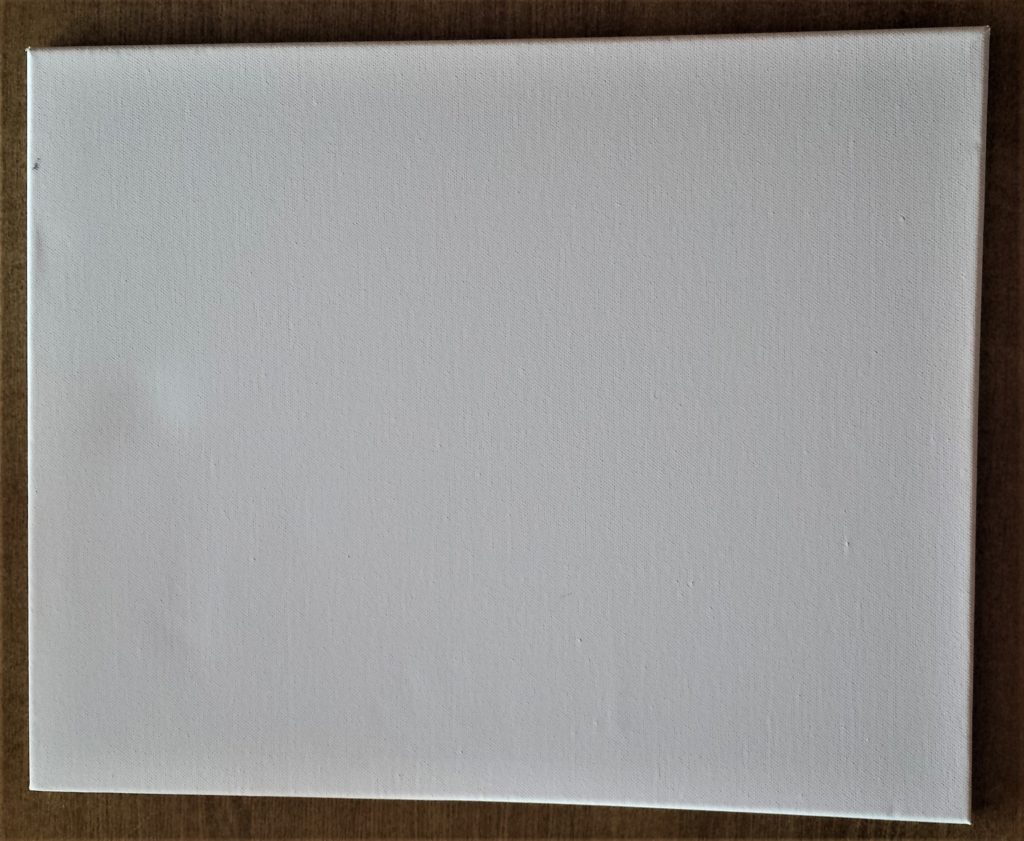
The Canvas I used was 40 x 50 x 1.6 cm. It is a 3-fold white primed 100% cotton fabric 380gsm canvas. Canvas.
Attaching the Fabric to the Canvas
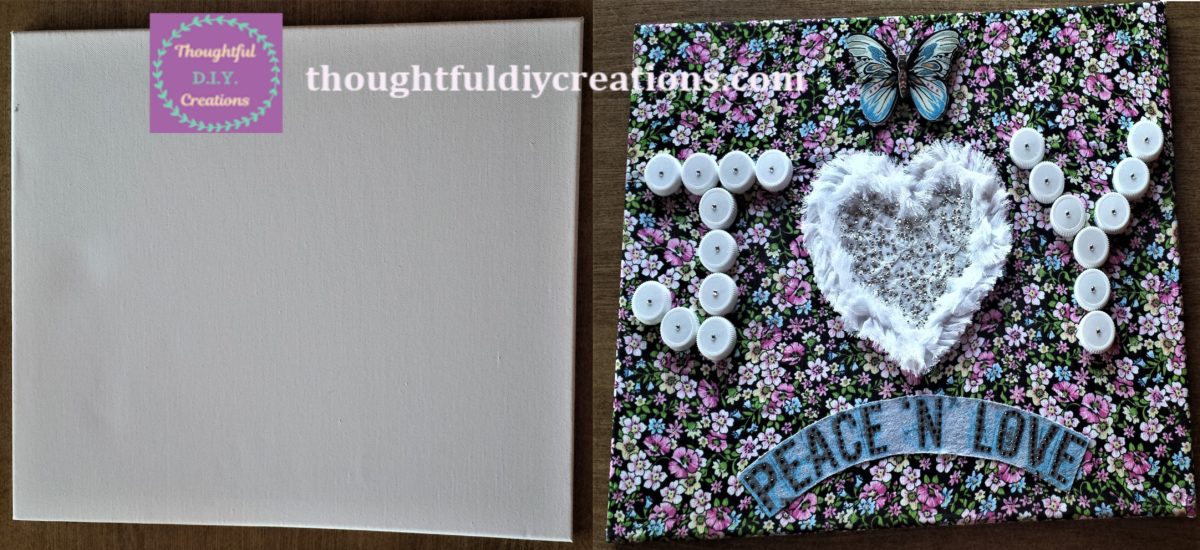
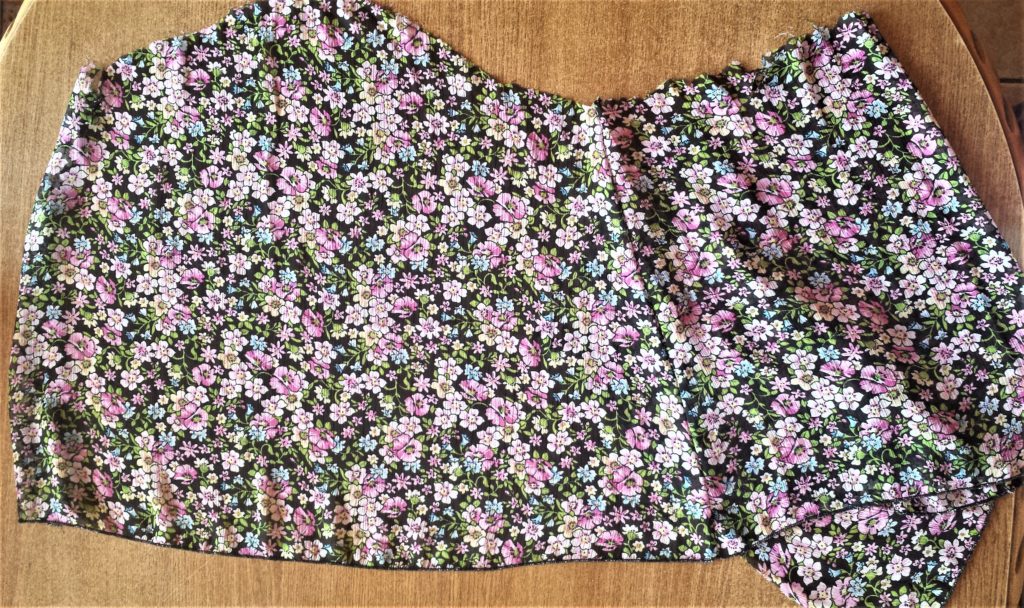
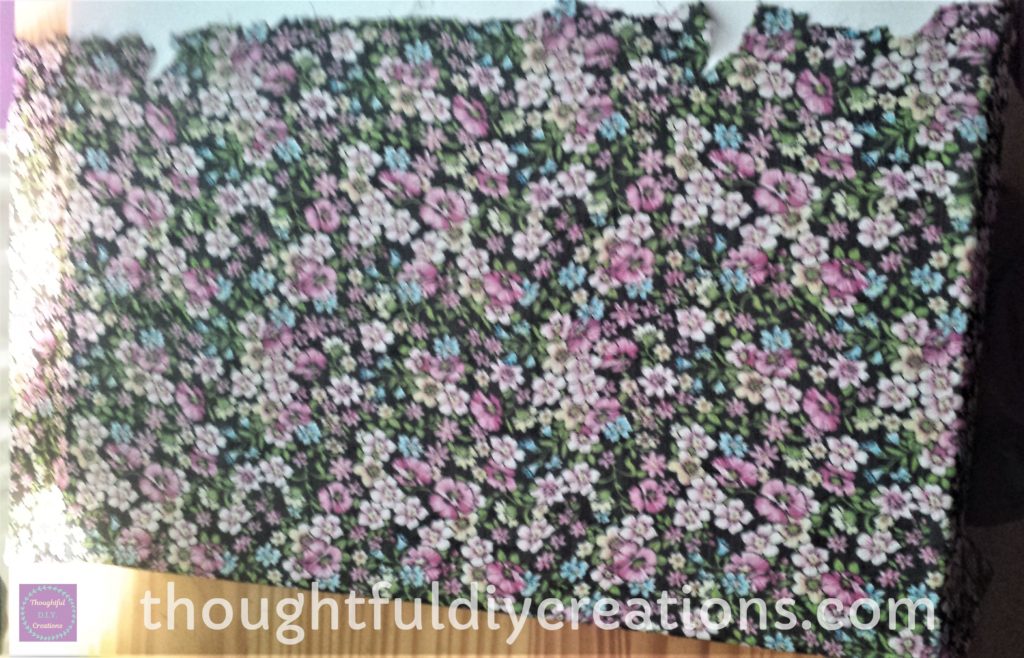
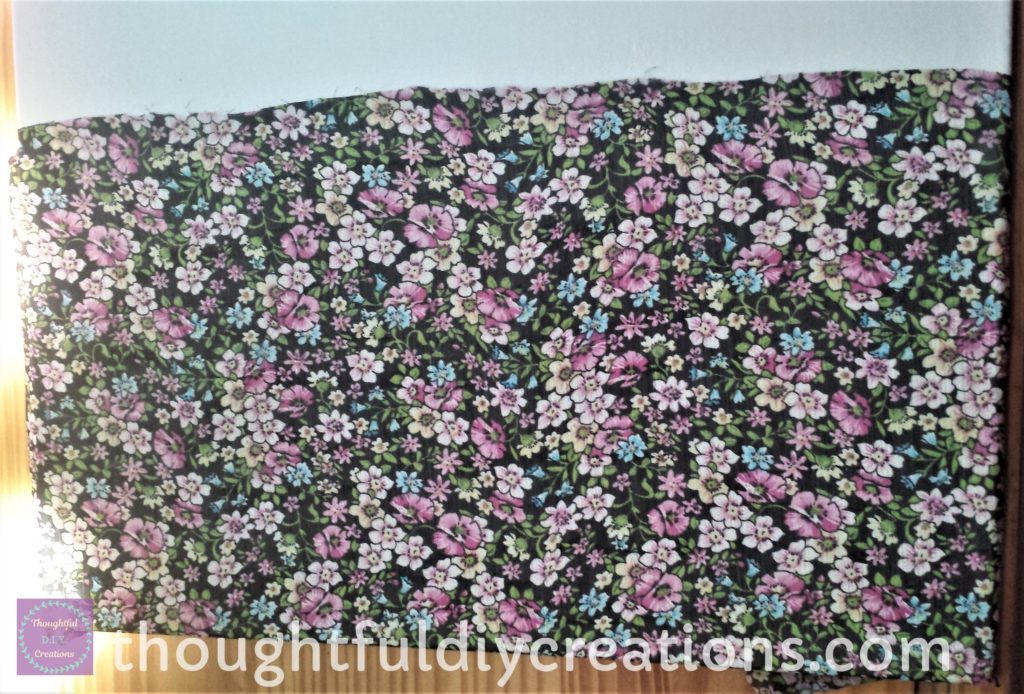
The fabric I used was the skirt part of an old dress I had. I thought it was too pretty to throw out, so I cut out the flower pattern. The fabric is quite thin as there had been a separate black cotton fabric underneath the flower patterned fabric. I discarded the black fabric as well as the top of the dress because they were faded. Fabric Bundles.Grey Fabric Bundles.
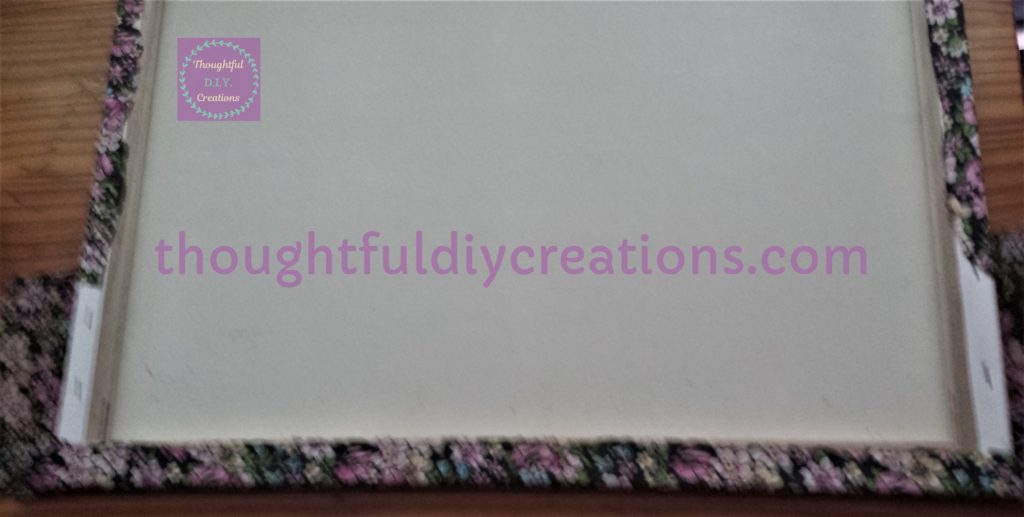
I started by placing the fabric facing down on the table. I put the canvas face down on the fabric.
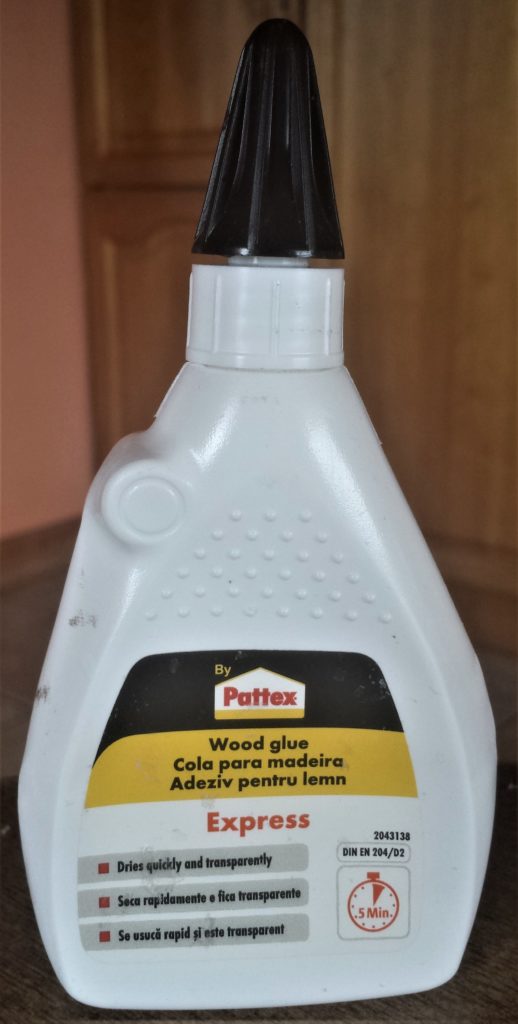
The glue I used was ‘Pattex Wood Glue’ which dries transparently. Aleene’s Quick Dry Tacky Glue. You could also use ‘Matte Gel Medium’, as I only had a small amount of that glue left I went with the wood glue. It smells a little bit stronger but it worked perfectly. Liquitex Ultra Matte Gel.
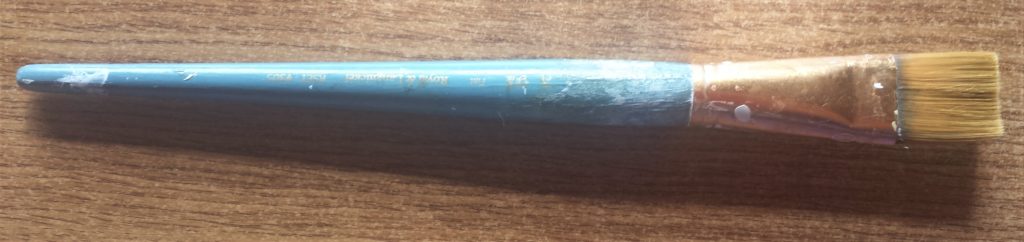
I squirted the glue all over the edge and top of the raised canvas. Aleene’s Quick Dry Tacky Glue. I spread it around using a small paintbrush. Paint Brush Set.

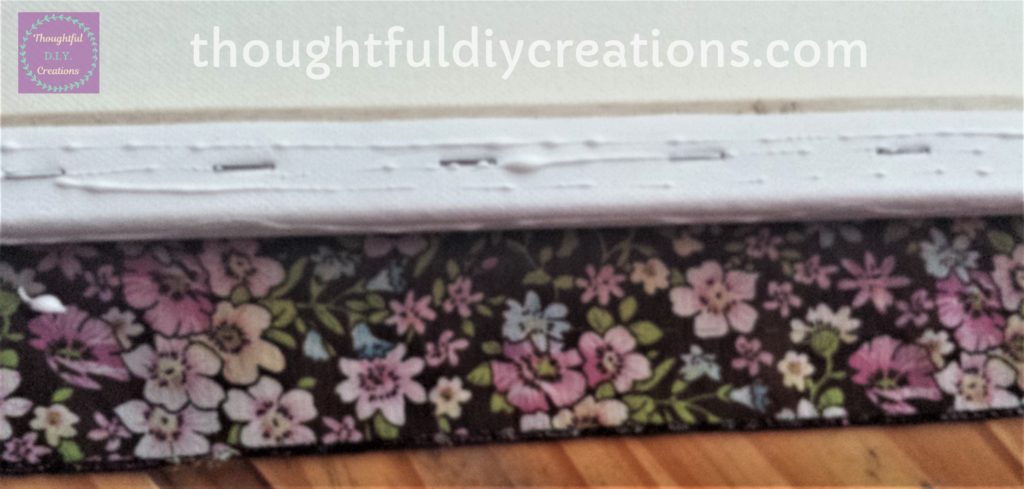
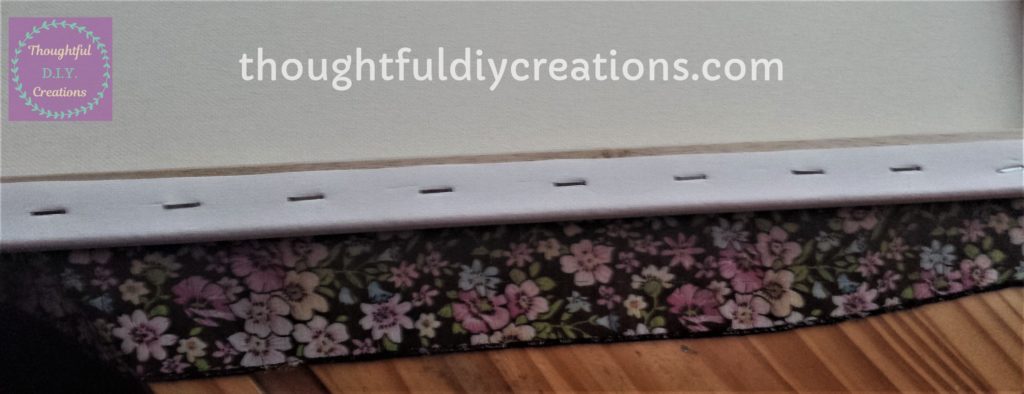
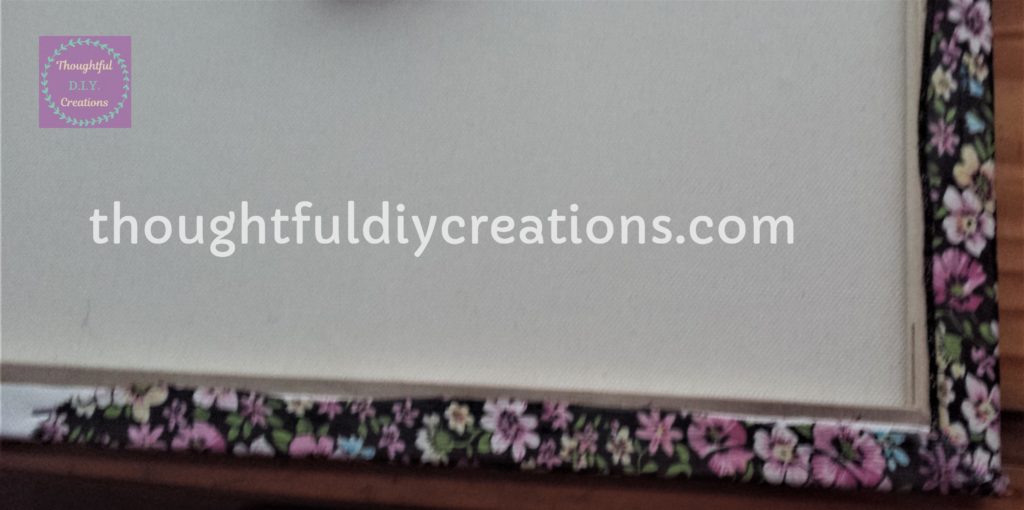
I folded the fabric over the glue and held it in place for a few seconds. The first edge of the canvas is now complete.
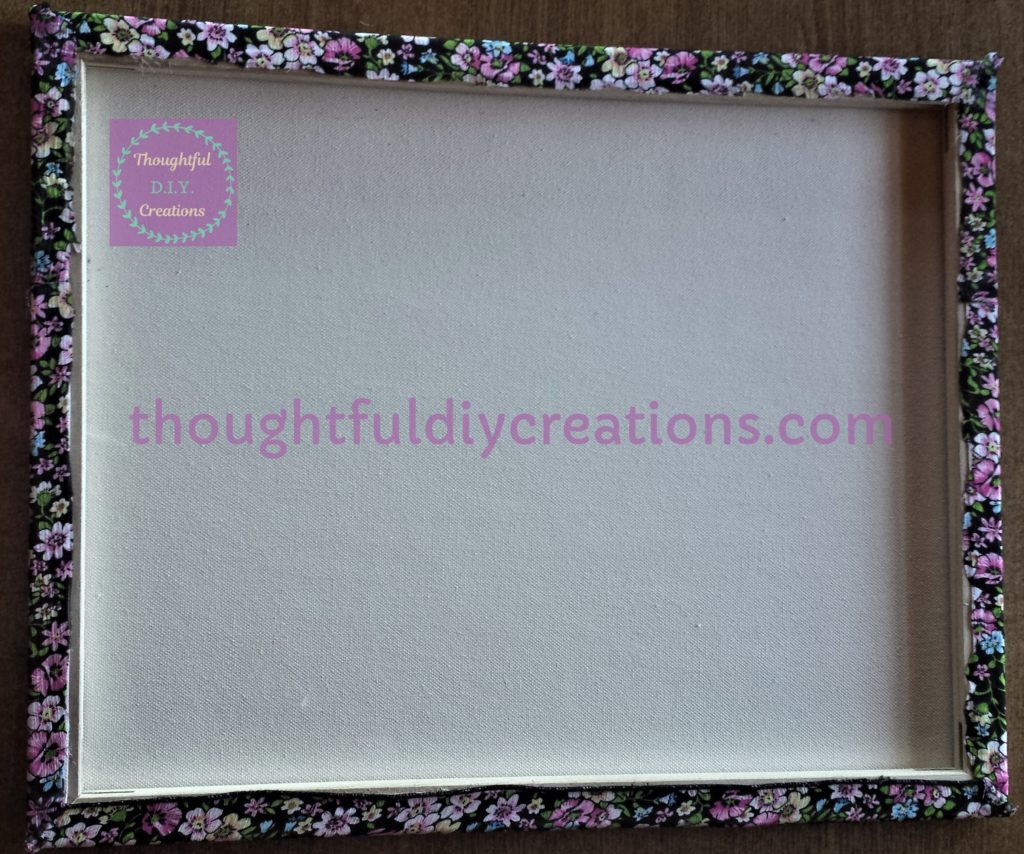
I turned the canvas over to reveal the front. I moved the fabric to the side so that I could put glue on the canvas. The fabric is glued to one side on the back and hanging freely to the side.
I squirted glue all over the canvas and spread it out evenly using a flat paintbrush. Aleene’s Quick Dry Tacky Glue. Paint Brush Set.
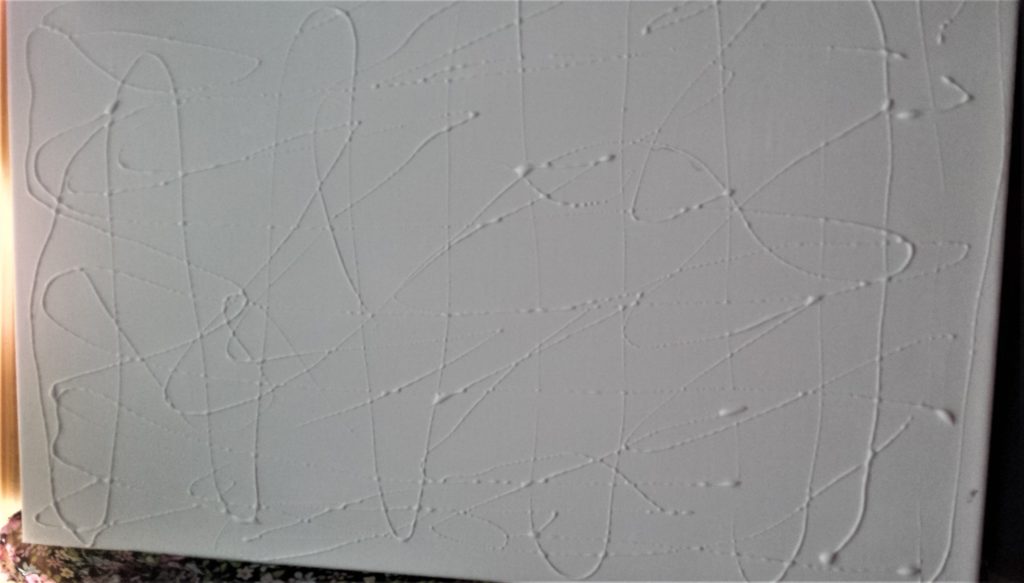
I carefully placed the fabric over the glue smoothing it out with my hands. I didn’t smooth the very top part as it is uneven and will be cut. Fabric Bundles.Grey Fabric Bundles.
I didn’t have fabric long enough to cover the front of the canvas in one application. This doesn’t matter as the lines joining both pieces of fabric will be covered with accessories later. Fabric Bundles.Grey Fabric Bundles.
I cut the top of the fabric on the canvas to make it look more even. I applied a little bit more glue to the edges and smoothed it out with my fingers.
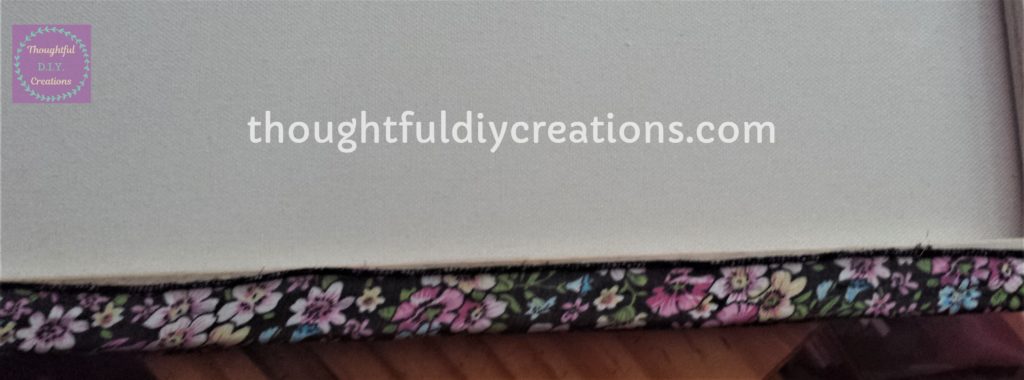
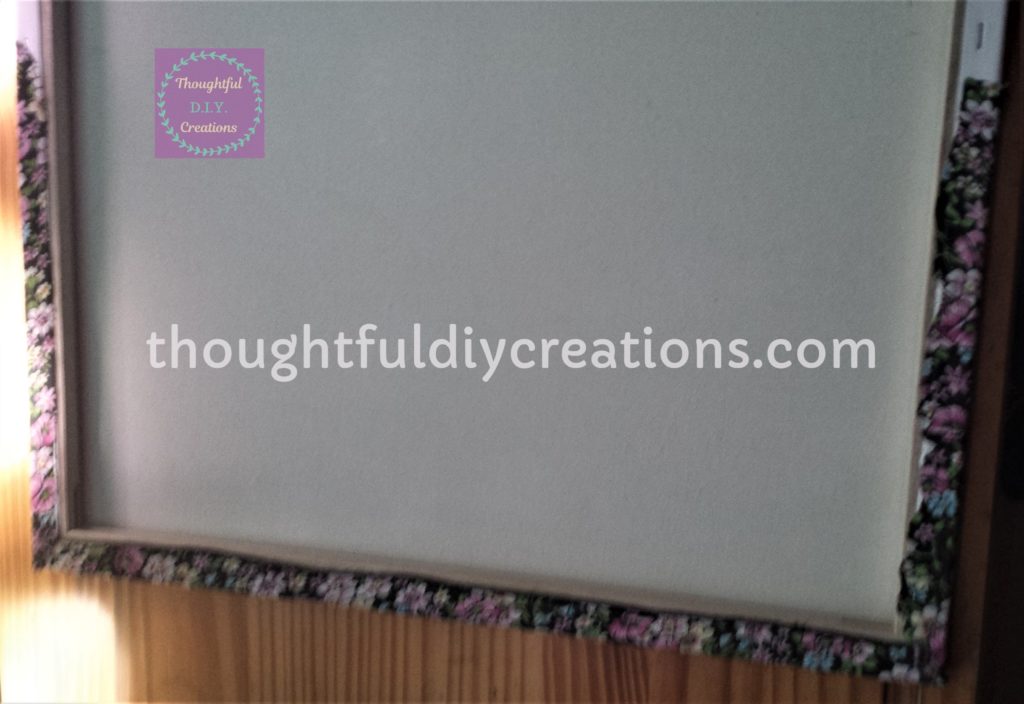
I turned the canvas over and glued the fabric to the back. Aleene’s Quick Dry Tacky Glue.
I repeated this on the other side on the back of the canvas.
I cut out more fabric to cover the gap at the top of the canvas. Fabric Bundles.Grey Fabric Bundles.
I added glue to the canvas and spread it out using a paintbrush. I smoothed the fabric to the canvas using my hands.

I then glued the top half of the two sides at the back of the canvas. Aleene’s Quick Dry Tacky Glue.
This completed attaching the fabric to the canvas. Fabric Bundles. Grey Fabric Bundles.
Making the Word ‘JOY’ for the Fabric Canvas
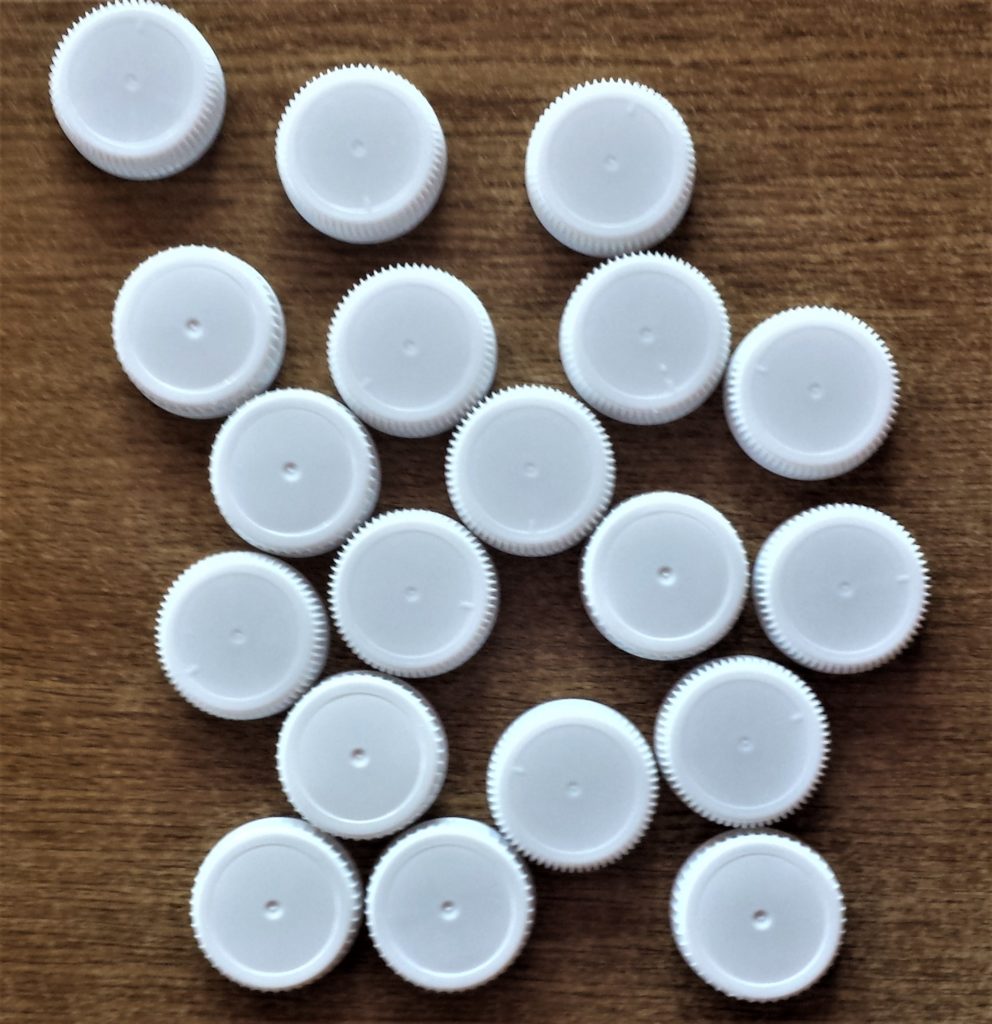
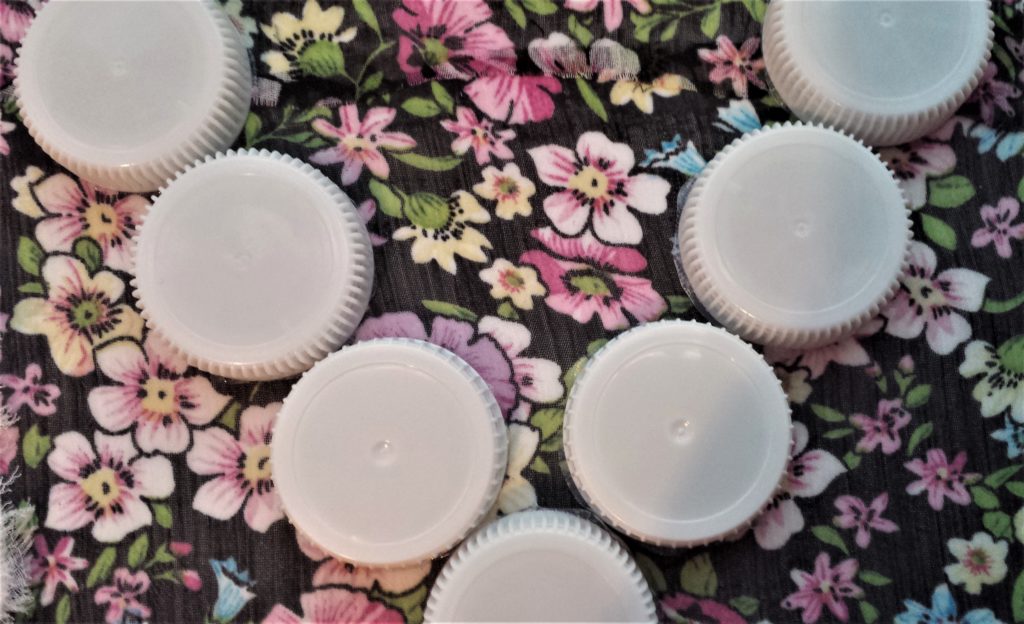
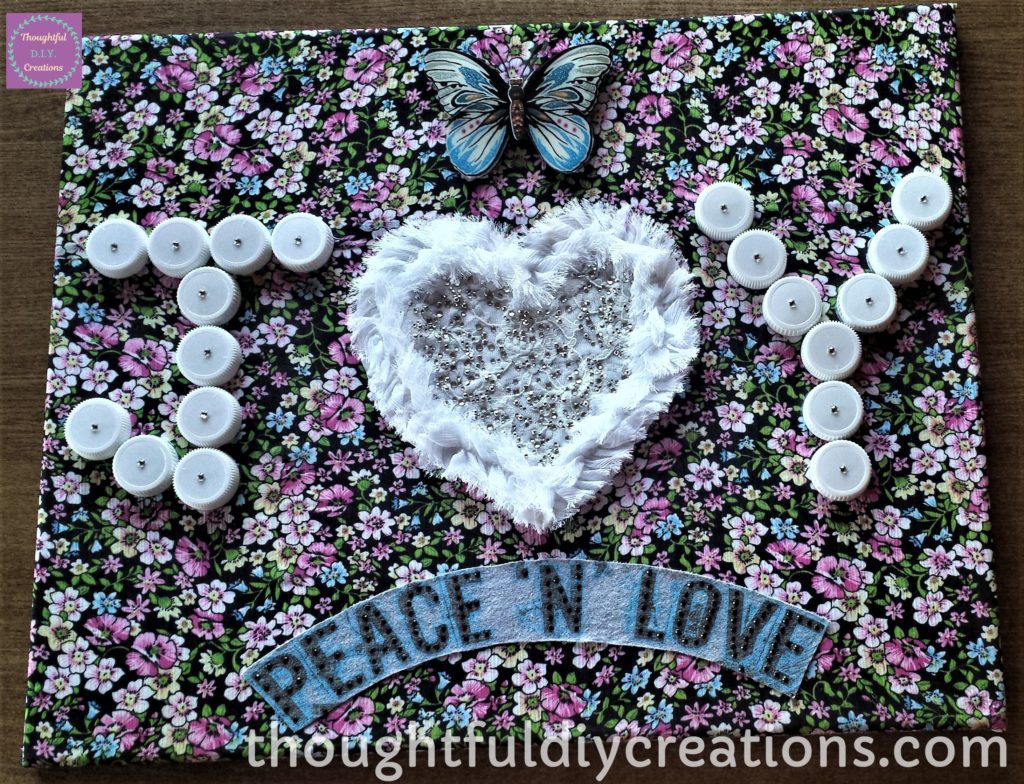
I have been collecting milk carton lids for a while now. I have a nice collection built up and wanted to incorporate them into a craft. I thought the white colour would complement the floral fabric.
I washed the milk carton lids in the sink with hot water and washing up liquid. I dried them with a teacloth, they were now ready to use.
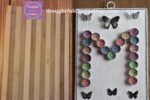
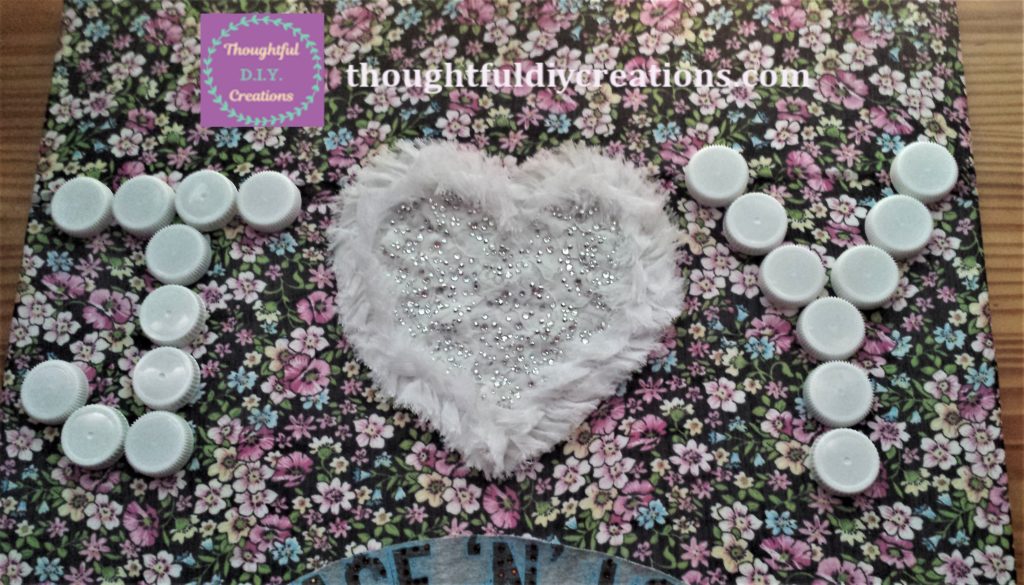
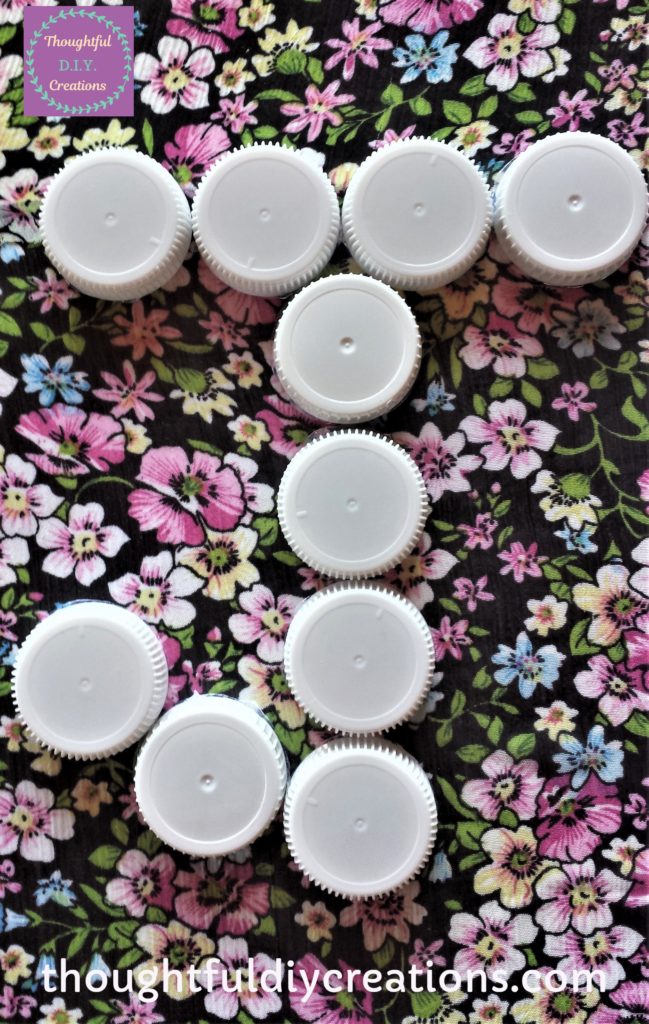
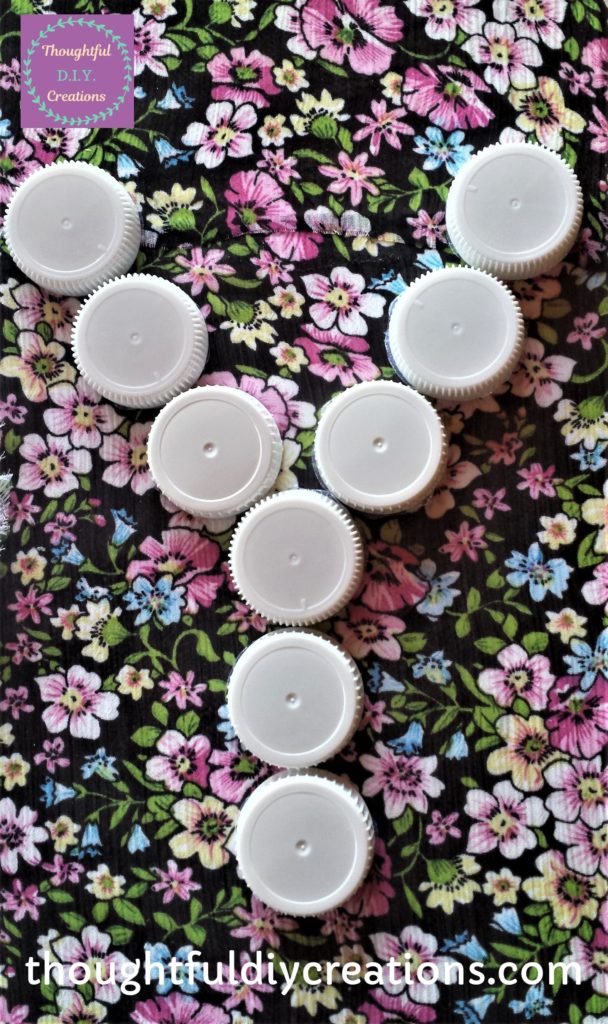
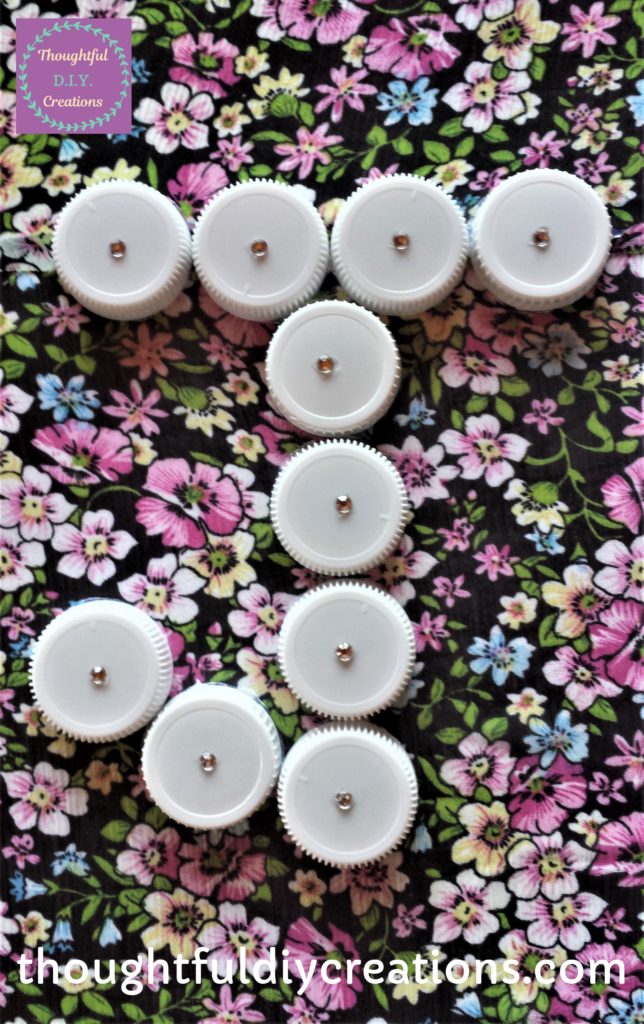
I am using the milk carton lids to spell out the letters ‘J’ and ‘Y’.
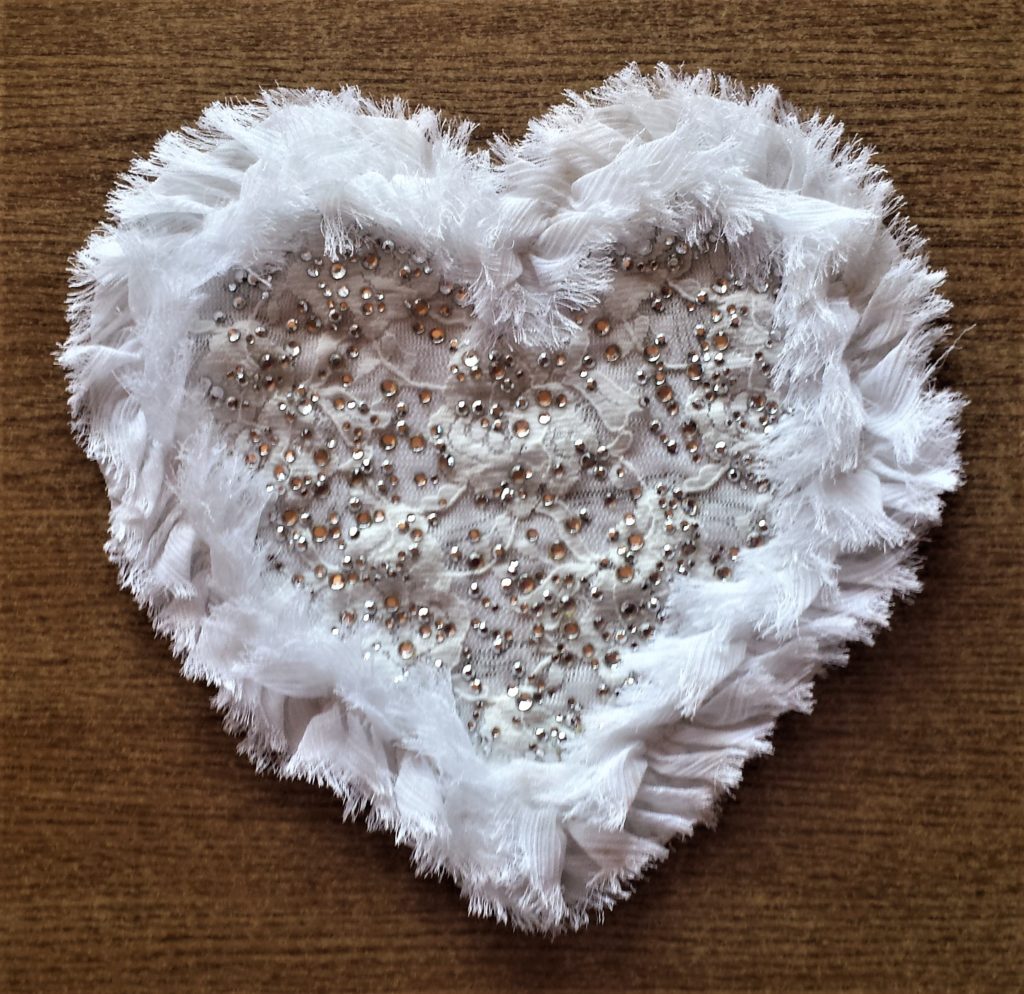
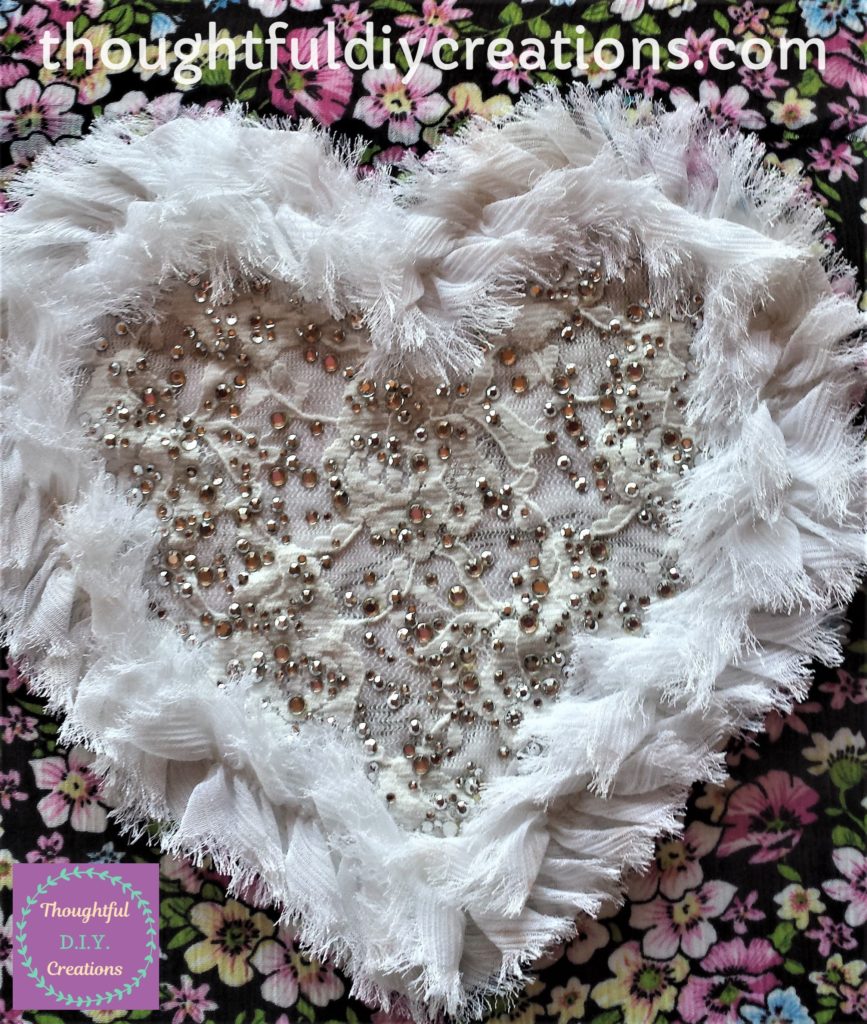
I am using a fabric heart to spell the ‘O’ in JOY. The fabric heart was on an old t-shirt of mine. The t-shirt became shapeless, so I cut out the heart shape and discarded the rest of the t-shirt. Dressmaker’s Shears.
I placed the milk carton lids and fabric heart on the canvas to see how they looked before I attached them.
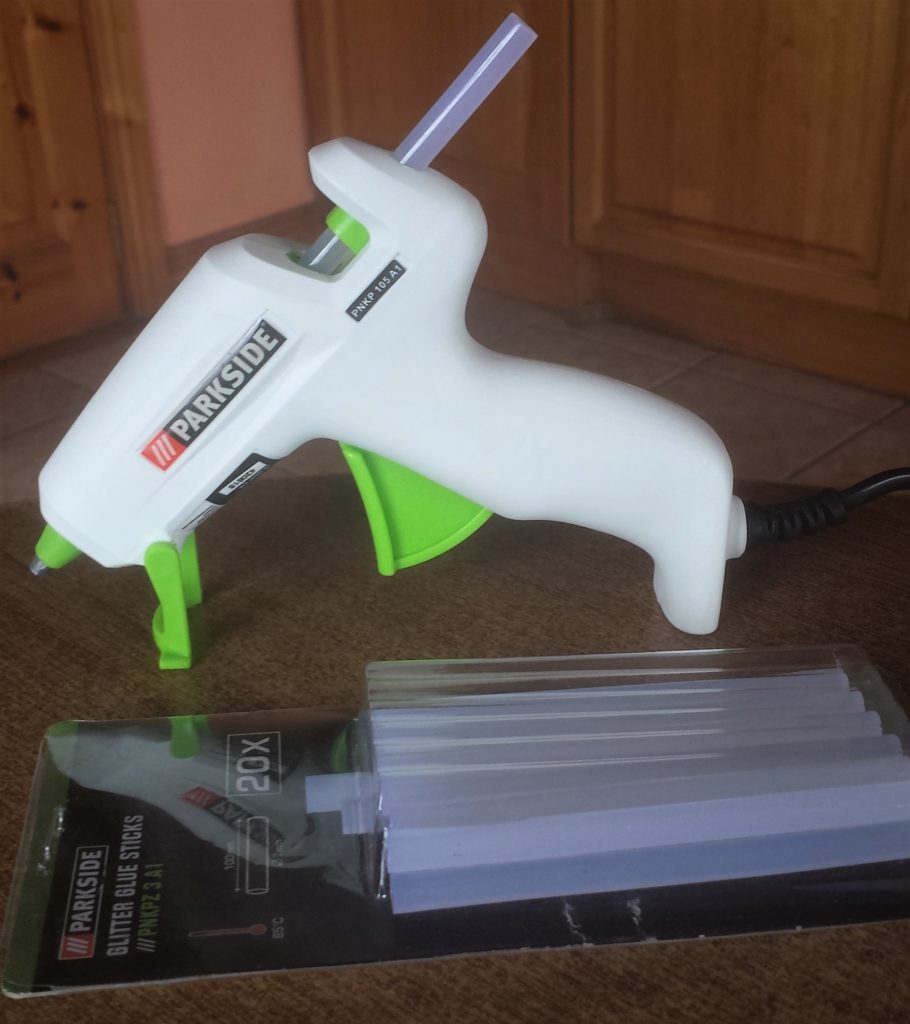
I attached the milk carton lids with a glue gun and clear glue sticks. I let my glue gun heat up for 5 minutes. I put glue all around the edge on the back of the lid and held it firmly down on the canvas for about 10 seconds. I repeated this process until I had all the milk carton lids attached to the canvas. Be careful when using the glue gun as it does get quite hot, mind your fingers. Hot Glue Gun.
I squirted wood glue on the back of the fabric heart and spread it out using a paintbrush. I turned it around and glued it to the canvas. Aleene’s Quick Dry Tacky Glue. Paint Brush Set.
Adding the ‘PEACE ‘N’ LOVE’ quote to the Canvas
I had an old jacket which no longer fit me. I loved the design on the back of it so I cut out the pattern and threw out the rest of it. Dressmaker’s Shears.
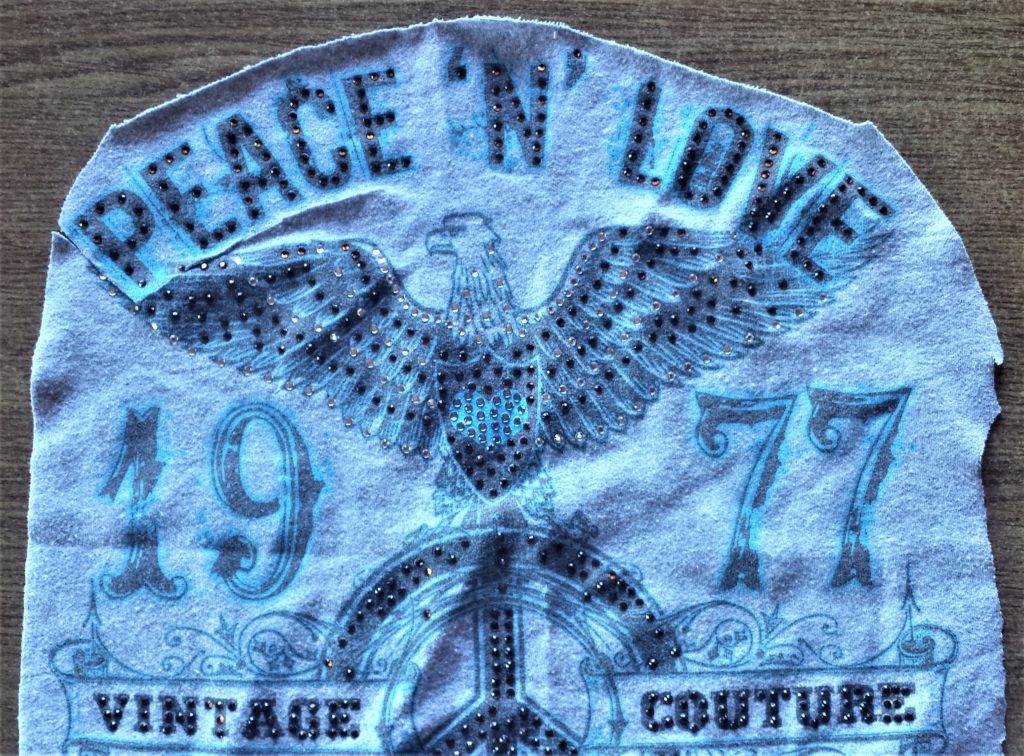
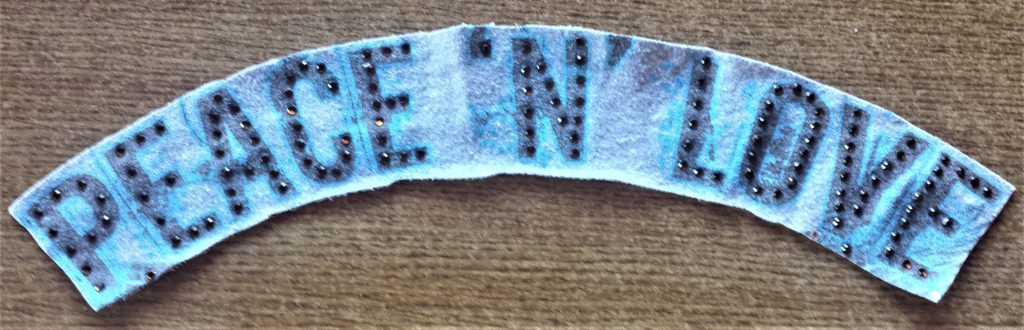
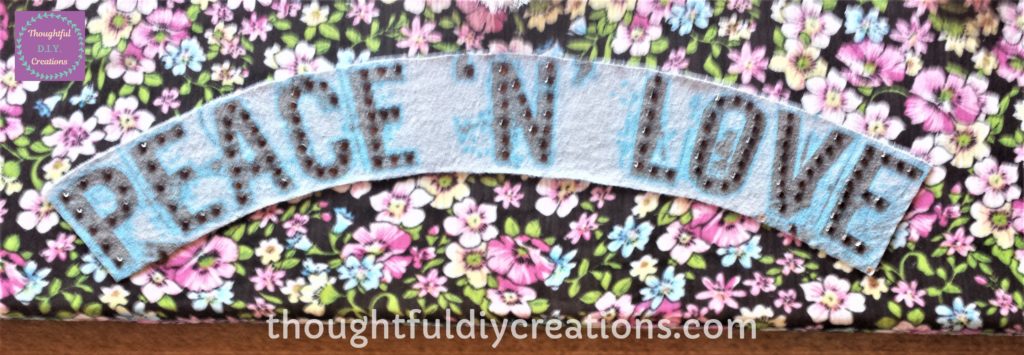
For this project I am using the words ‘PEACE ‘N’ LOVE’ from the fabric. I cut it out using a fabric scissors. I put the rest of the design back into my material stash to use on a future project. Dressmaker’s Shears.
I attached this to the canvas under the word ‘JOY’ using wood glue. Aleene’s Quick Dry Tacky Glue. Paint Brush Set.
Embellishing the Canvas
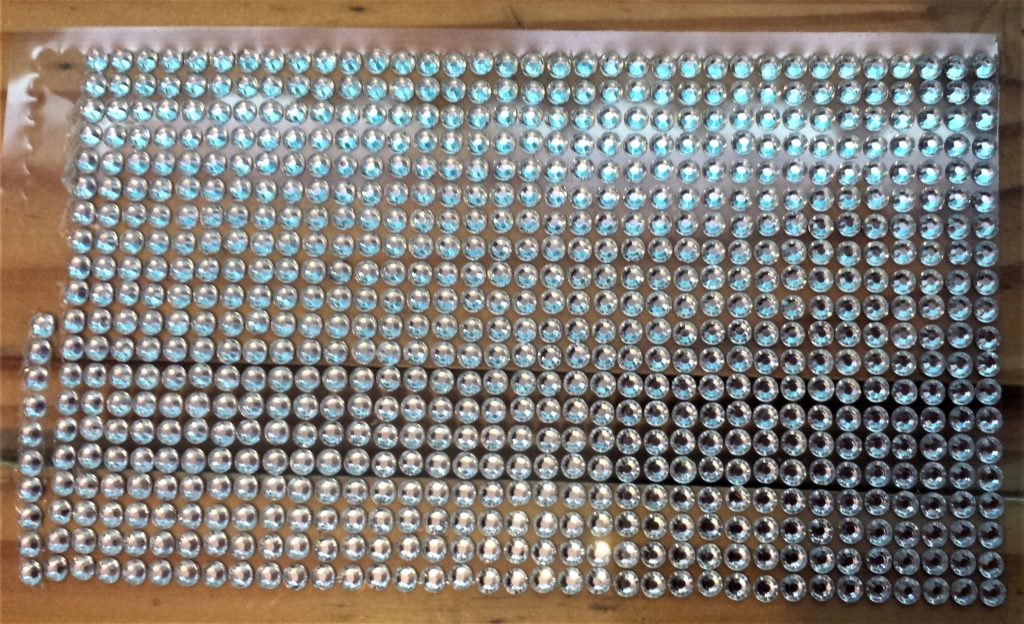
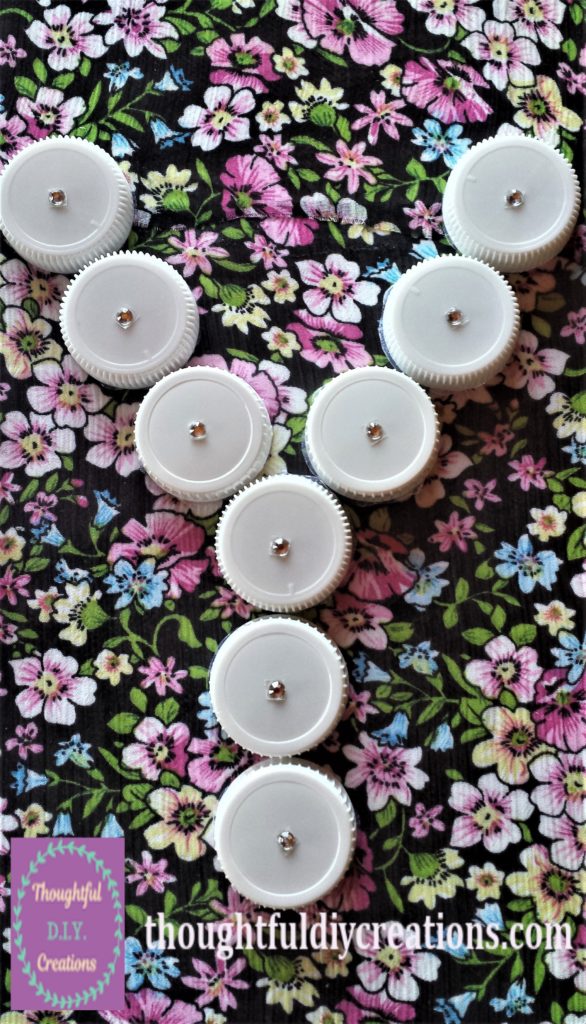
I thought the milk carton lids were looking a little plain so I decided to jazz them up by adding clear diamante rhinestone stickers to the centre of each lid. Colorful Bling Rhinestone Sticker Sheet.
This would cover up the small indent circle in the middle of the lid. I thought they would also complement the rhinestones which were already attached to the fabric heart.
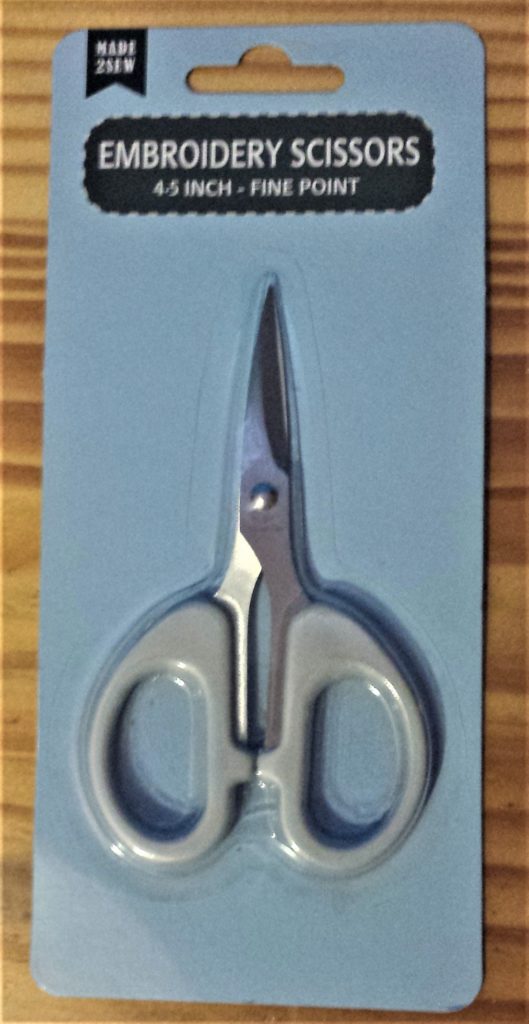
I cut each rhinestone one-by-one from the strip of stickers using a small scissors. Titanium Bonded Scissors. I stuck it in the centre of each lid by pressing it down using my finger. I repeated this process until every lid had a rhinestone sticker attached. Colorful Bling Rhinestone Sticker Sheet.
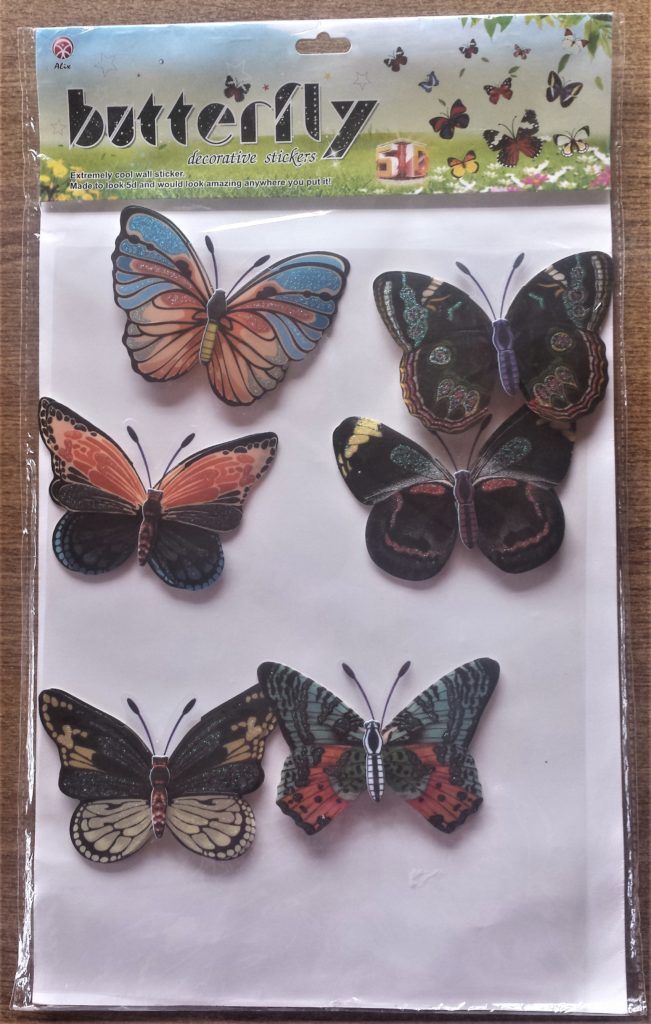
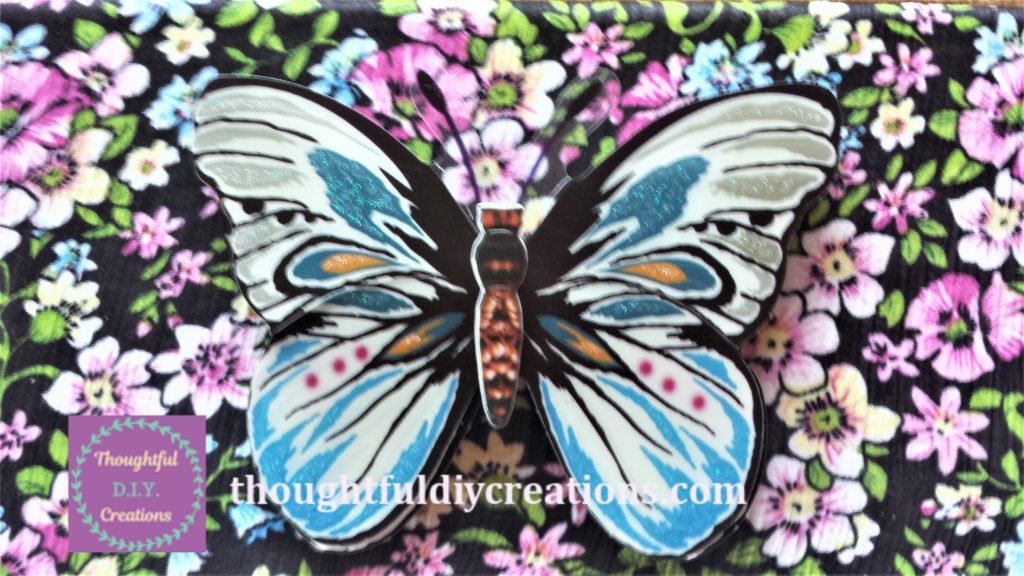
I thought the top of the canvas was missing a little something so I added a ‘Butterfly Decorative 5-D Sticker’. Butterfly Stickers. This came with a foam sticker to the back of it. I added wood glue to the sticker and held it in place on the canvas for about 10 seconds to ensure it would stay in place. Aleene’s Quick Dry Tacky Glue.
Conclusion
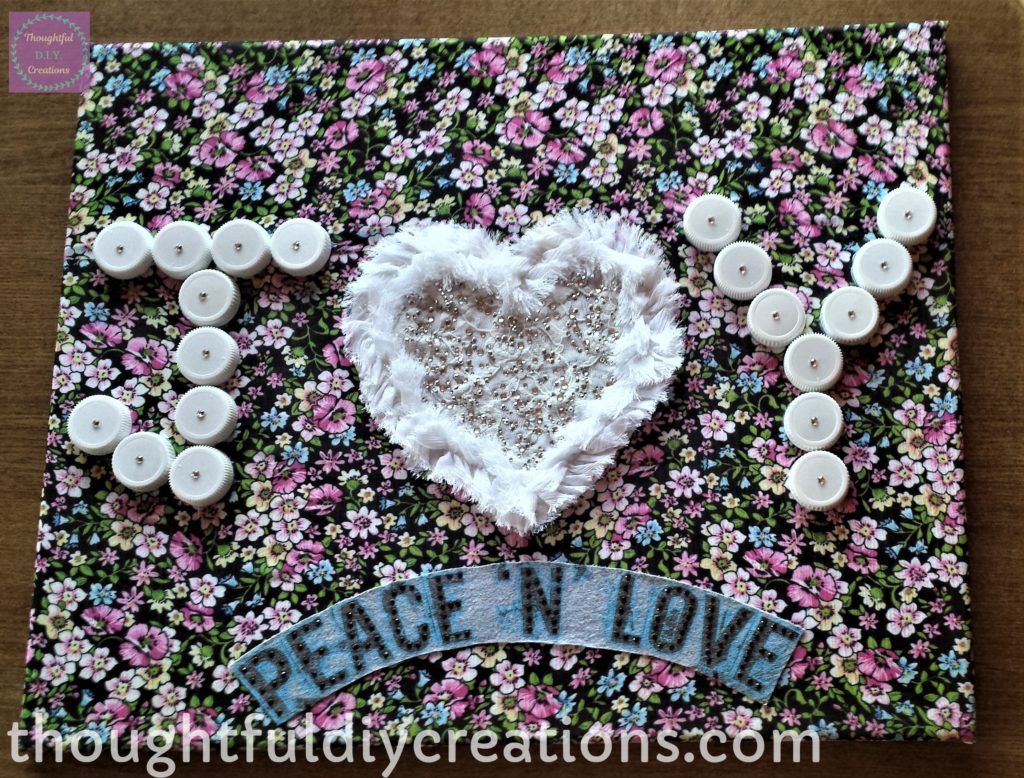
This completed the Fabric Canvas made using mainly old clothes and milk carton lids. I wasn’t sure whether my idea would work or if the materials would complement one another but I was pleasantly surprised. I now think it would have been such a shame if I had thrown the clothes in the bin, as they were given a new lease of life in this project.
I hope I provided you with inspiration for your art and craft projects, as well as being mindful of what you throw out as they make a wonderful addition to one of your creations.
Here is another Positive Quote on a smaller Canvas; Live, Love, Laugh Canvas.
Let me know what you will use in your next d.i.y. project. Have you been collecting any random items I need to know about? If so please let me know, sharing is caring. Happy Creating everyone.
Thank you so much for taking the time to read my blog.
Always Grateful,
T.D.C.
xoxox