Leprechaun Door & Accessories
Hello my Creative Friends,
I hope you are all Well. In Today’s Tutorial I will show you how to make your very own Leprechaun Door and Accessories. It is the perfect D.I.Y. St. Patrick’s Day Craft to make with children or for anyone who wants to add a fun lucky charm to their home.
Lollipop Sticks for the Leprechaun Door
I had a bunch of Lollipop / Popsicle Sticks in my craft supplies. Popsicle Craft Sticks.
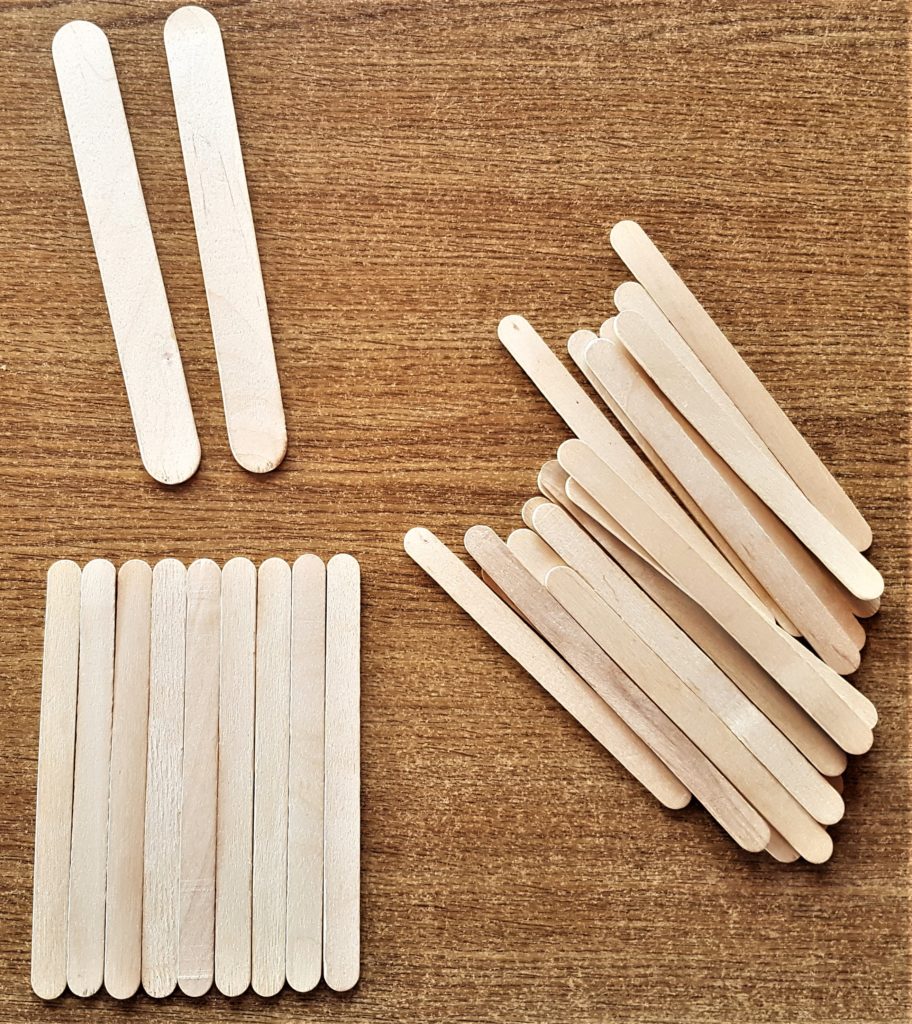
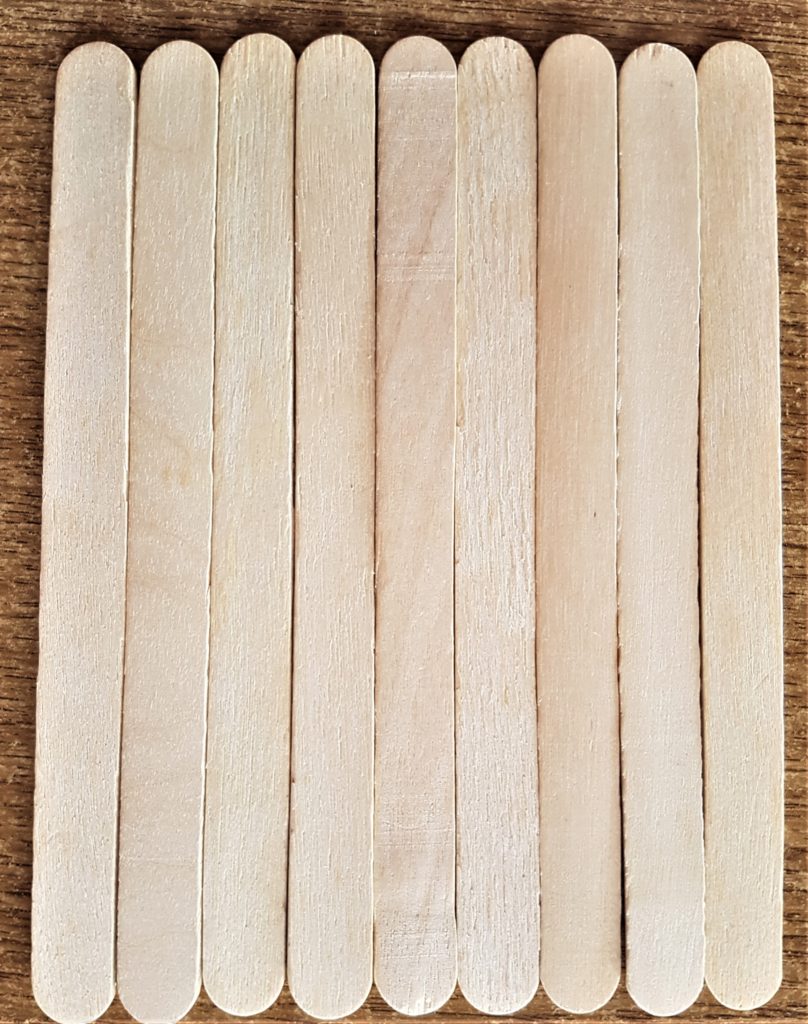
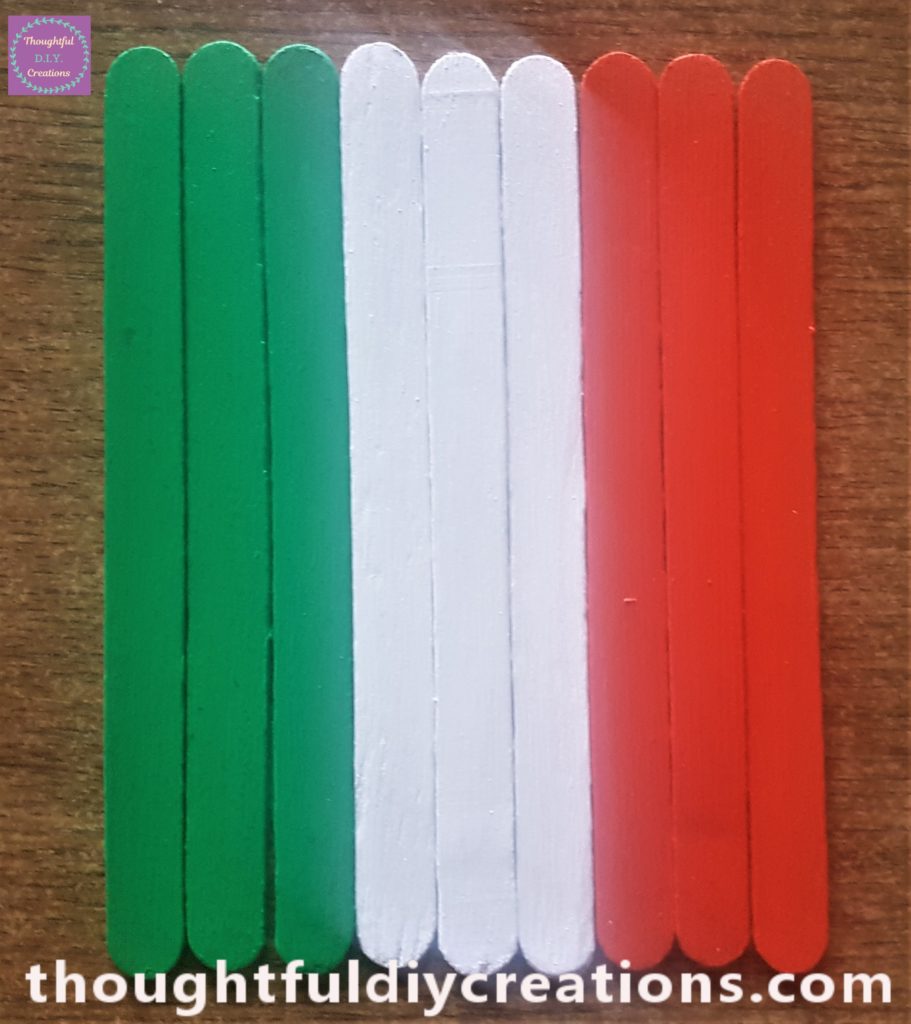
I picked out 9 Lollipop Sticks which were the same size to make the Leprechaun Door.
Preparing the Paint for the Leprechaun Door
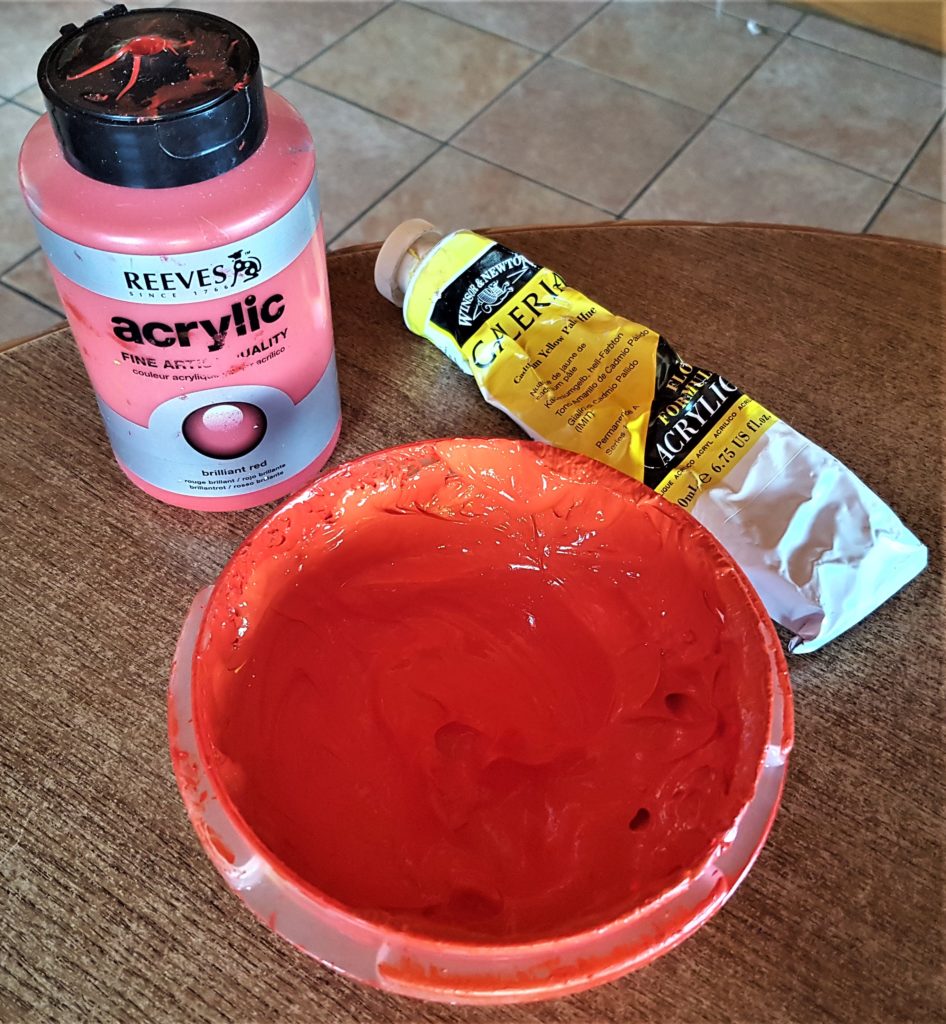
I mixed Red and Yellow Acrylic Paint together in a plastic bowl to get the colour Orange. Acrylic Paint Assorted Colors.
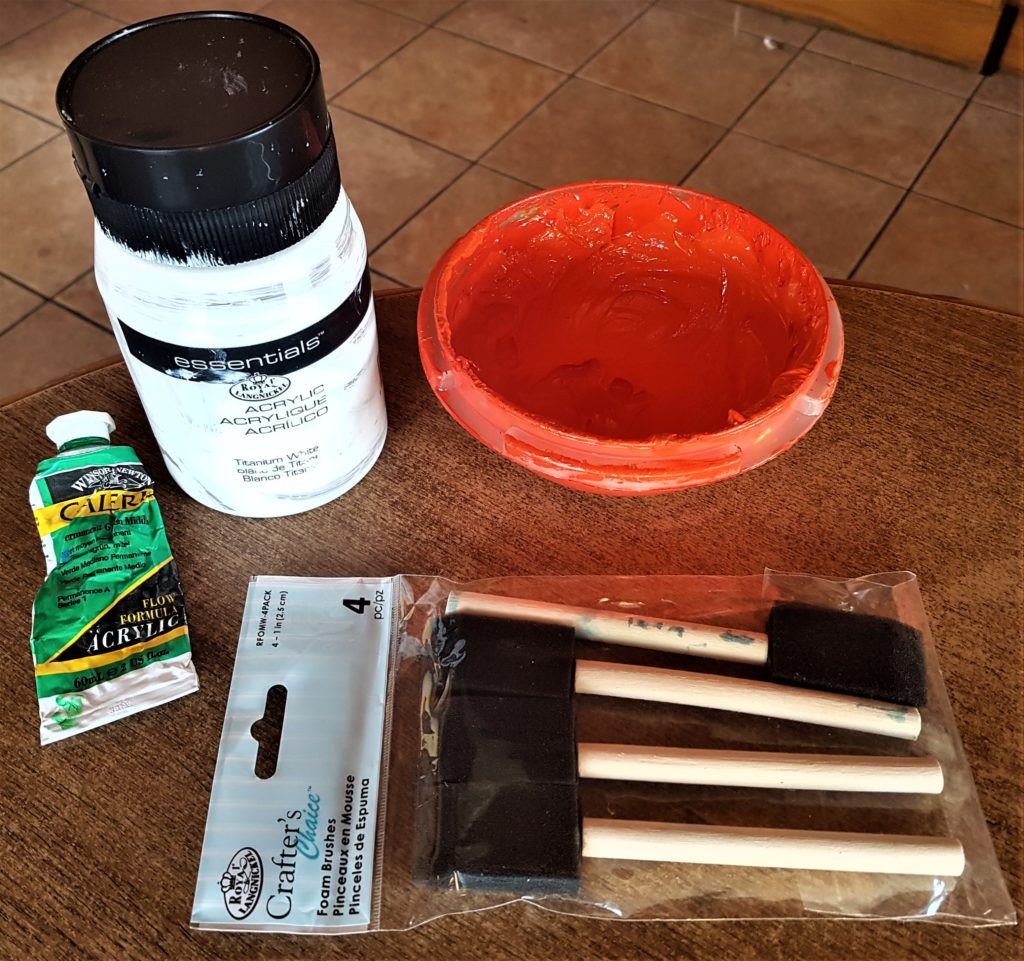
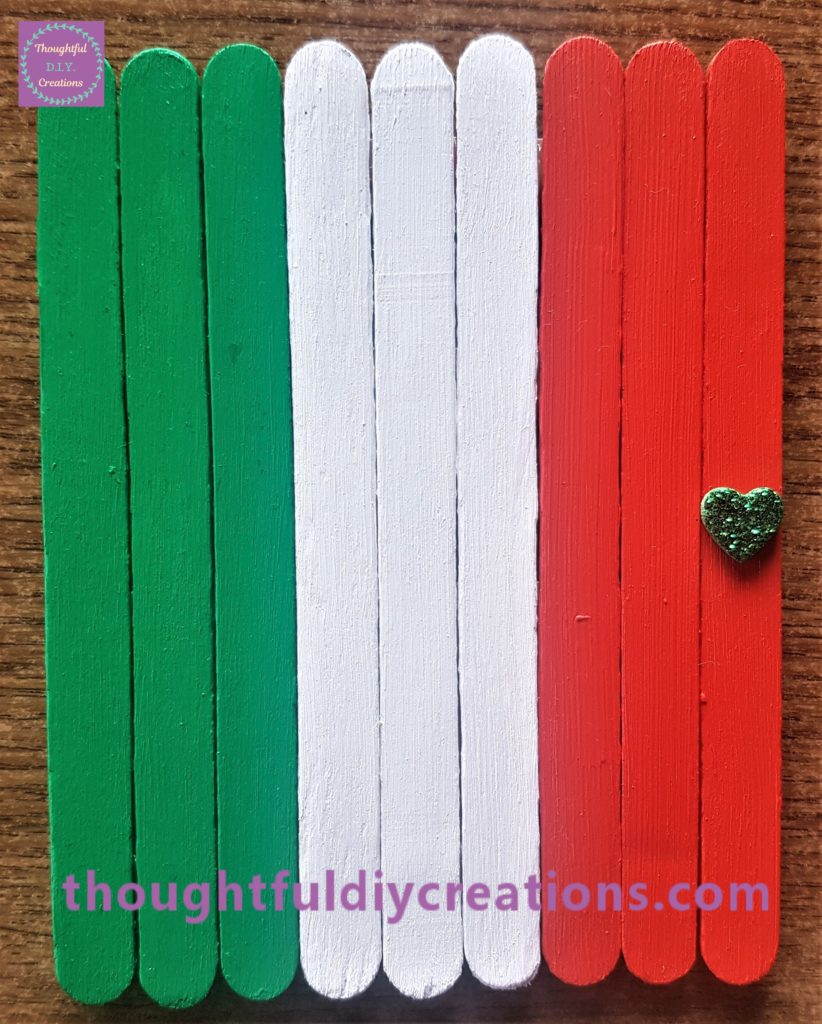
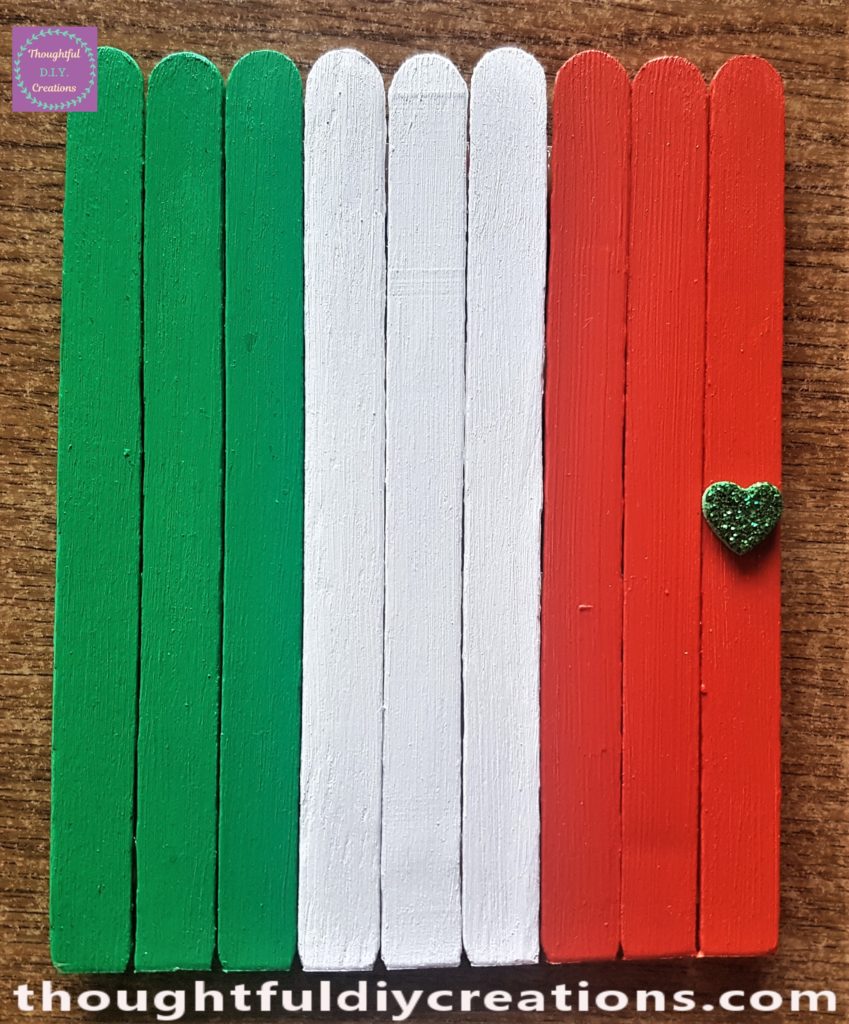
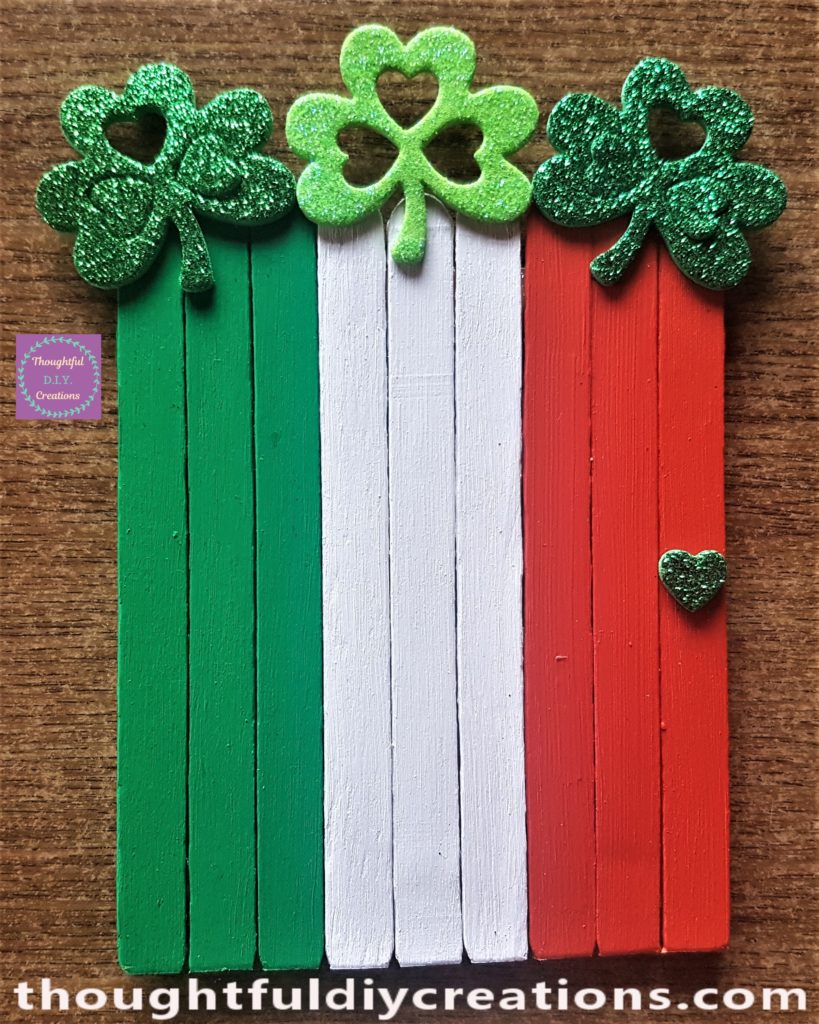
I am Painting the Leprechaun Door the colours of the Irish Flag; Green, White and Orange. The Green I used was called ‘Permanent Green Middle’, and the White was ‘Titanium White’. I used a Foam Brush for each colour. Acrylic Paint Assorted Colors.
The Painting Process
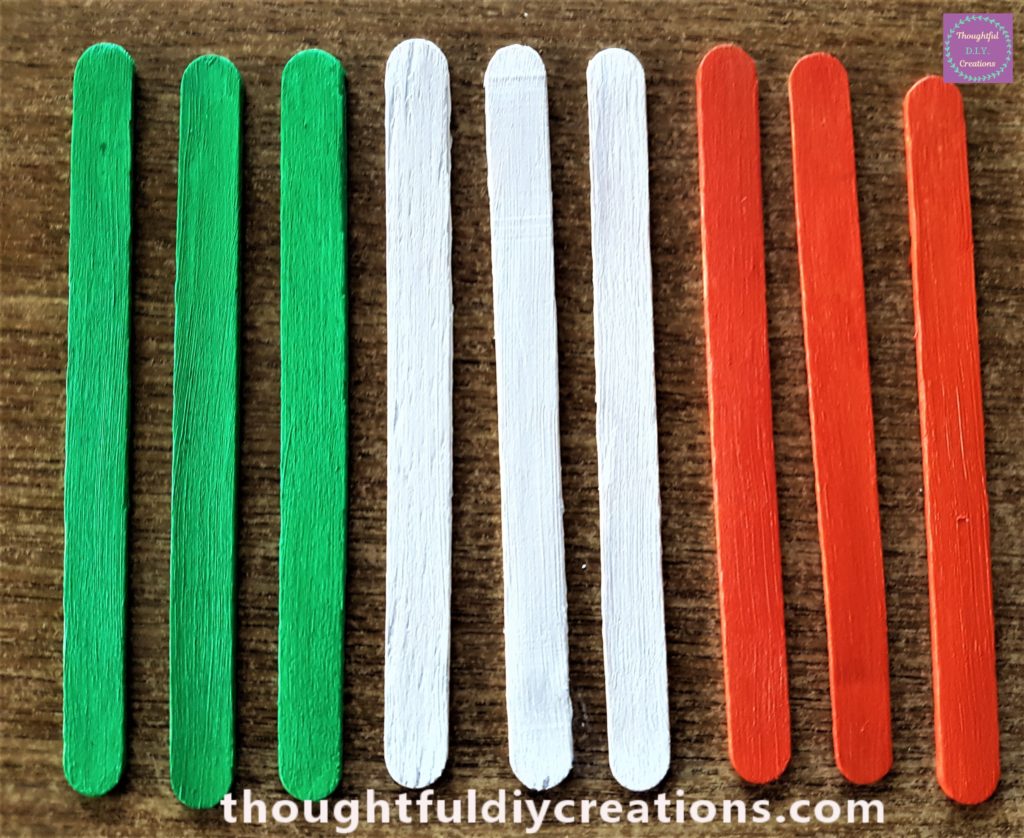
I put the lollipop sticks on a plastic sandwich bag cut open and a plastic sticker wrapper to prevent the lollipop sticks from sticking to the table. I had them spaced out and I then painted three lollipop sticks green, three white and three orange. Foam Paint Brush Value Pack.

Here is a close-up image of the lollipop sticks after the first layer of paint. Popsicle Craft Sticks.
I applied the second layer of paint after about 3o minutes. Foam Paint Brush Value Pack.
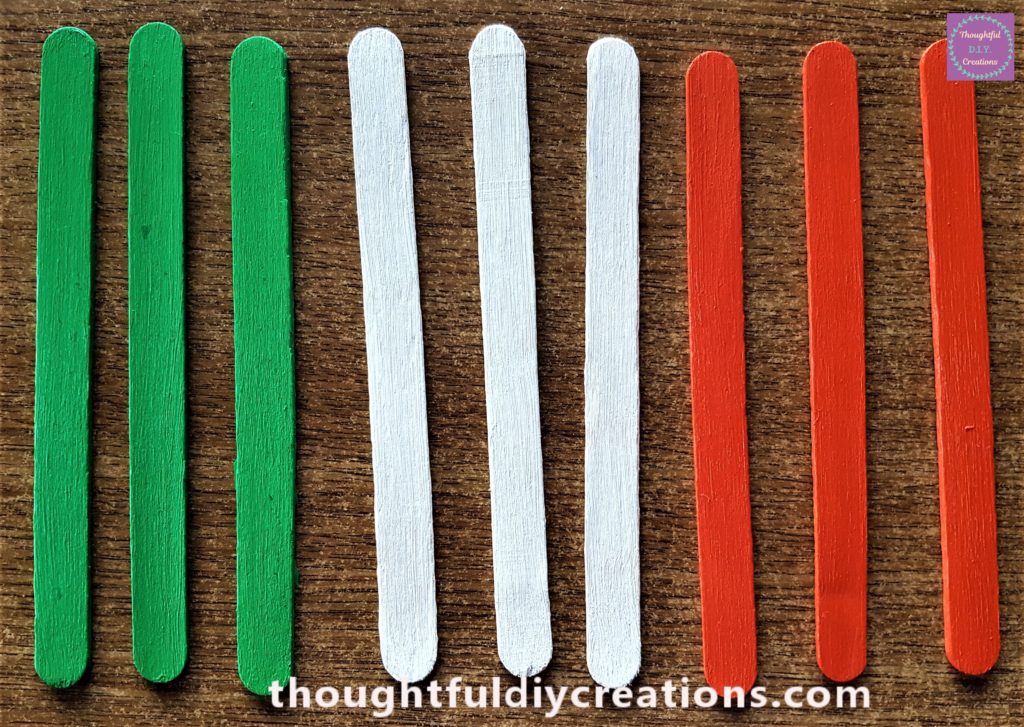
The third and final layer was applied after another half hour. Acrylic Paint Assorted Colors.
Making the Rainbow Path
I had a few packets of small wooden pieces that each came with a Canvas. I decided to use 1 of the packets and make a stepping stone path for the Leprechaun Door.
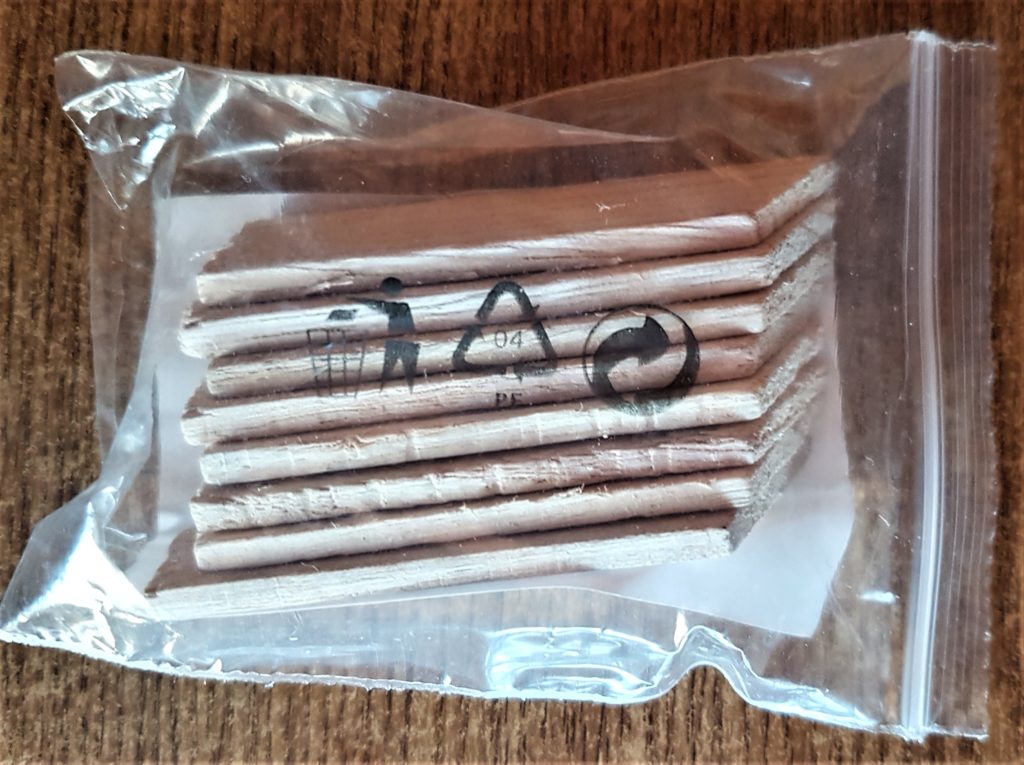
Here are the wooden pieces out of the plastic packet.
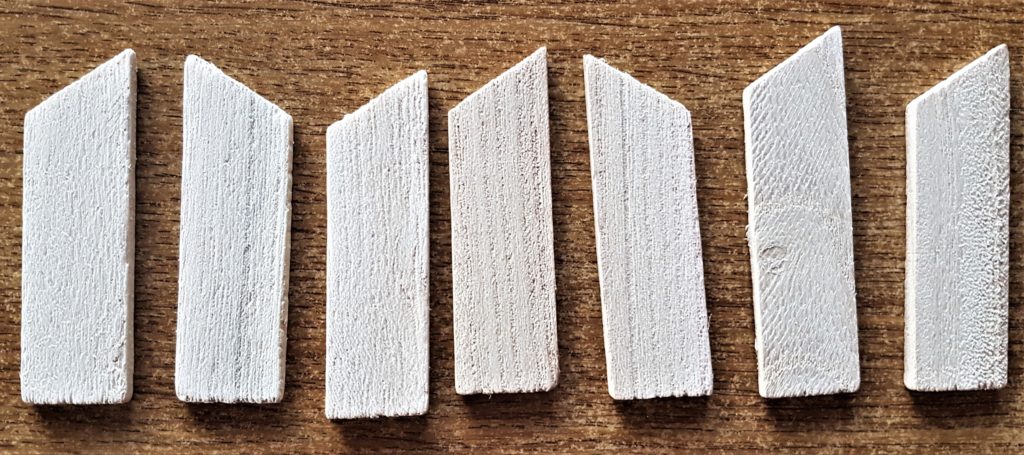
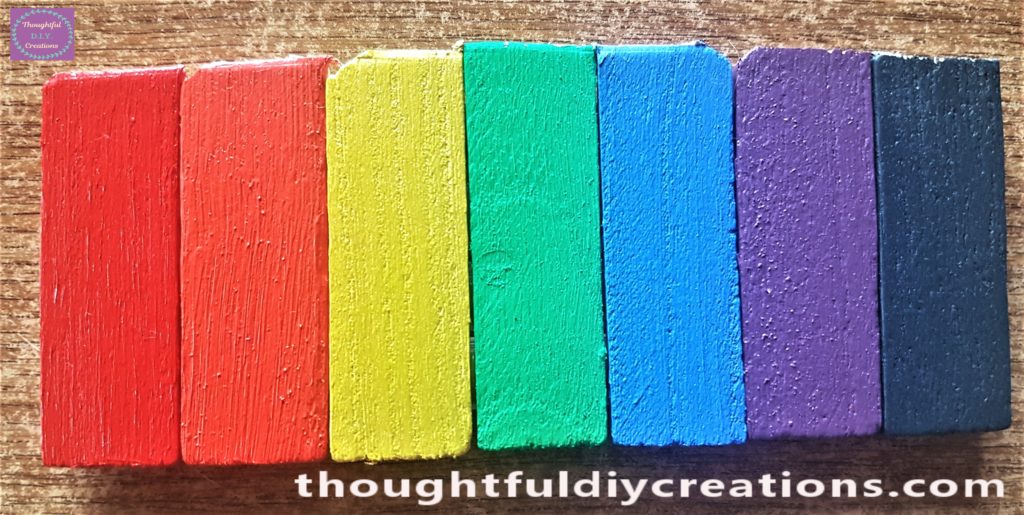
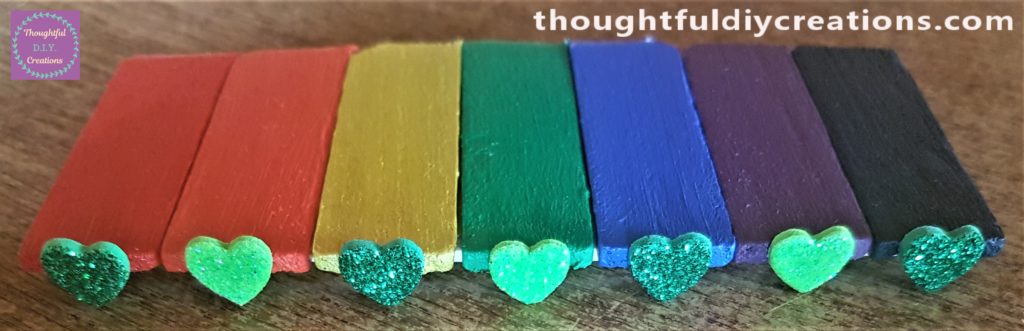
I chose 7 wooden pieces as I will paint them the colours of the rainbow. I picked 5 paintbrushes; 1 for each colour and used the green and orange foam brushes that I used for the door. This makes it easier as your not wetting the paintbrushes between each colour. I painted the wooden pieces with acrylic paint. Foam Paint Brush Value Pack.
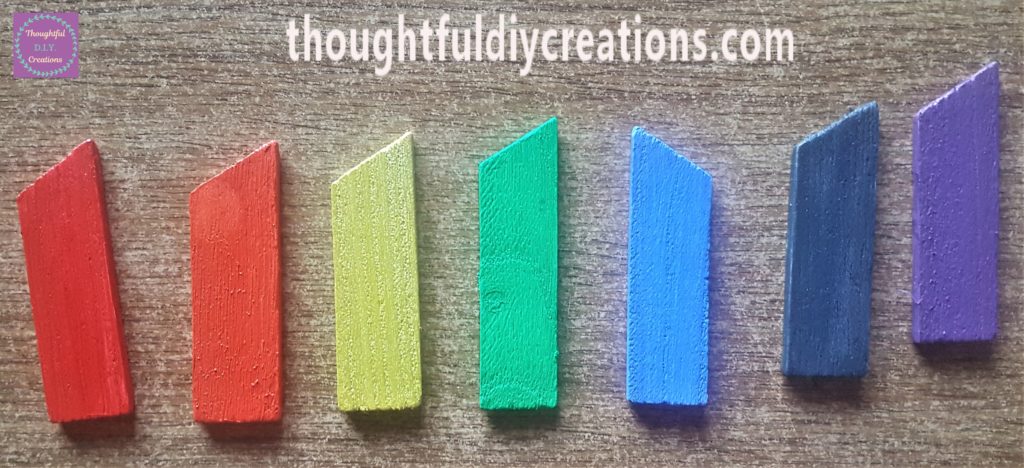
I mixed black paint with blue to make the navy / indigo colour. I had a ‘Twilight Purple’ Tester Pot that I used for the purple / violet colour. I used the same orange I mixed for the leprechaun door and I had the red, yellow, green and blue acrylic paints already. Acrylic Paint Assorted Colors.
After about half an hour I applied the second layer of paint to the wooden pieces. Foam Paint Brush Value Pack.
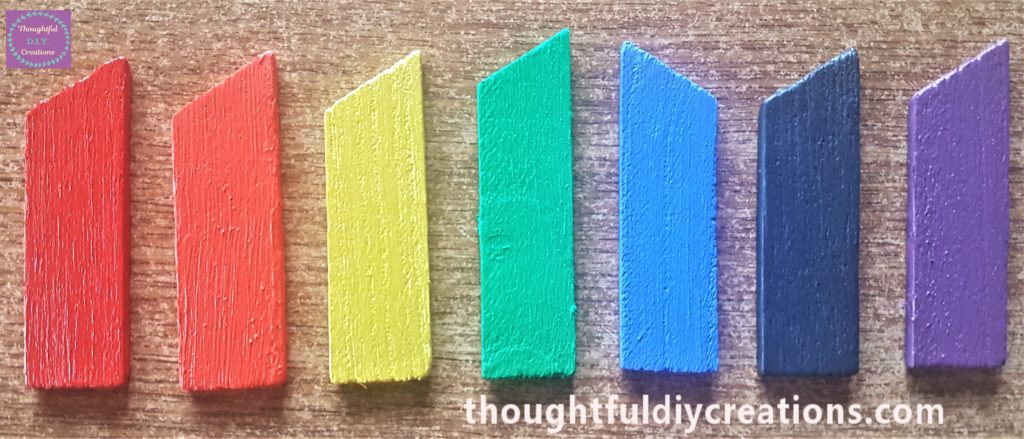
I waited another 30 minutes and then I added the third and final layer of paint to the wooden pieces. Acrylic Paint Assorted Colors.

Putting the Leprechaun Door Together
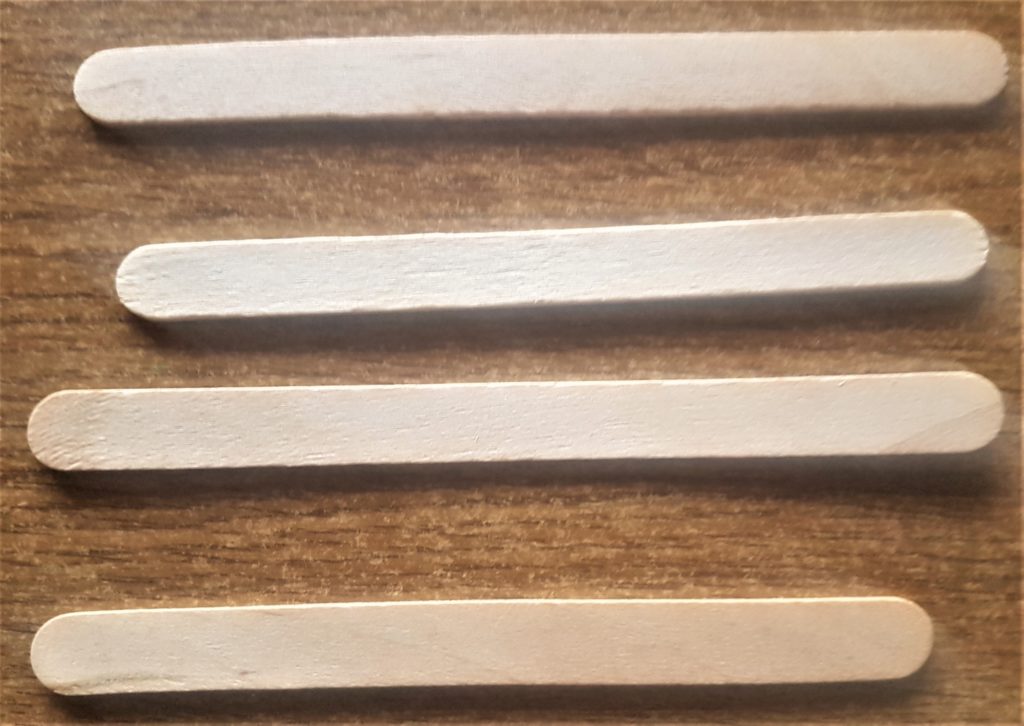
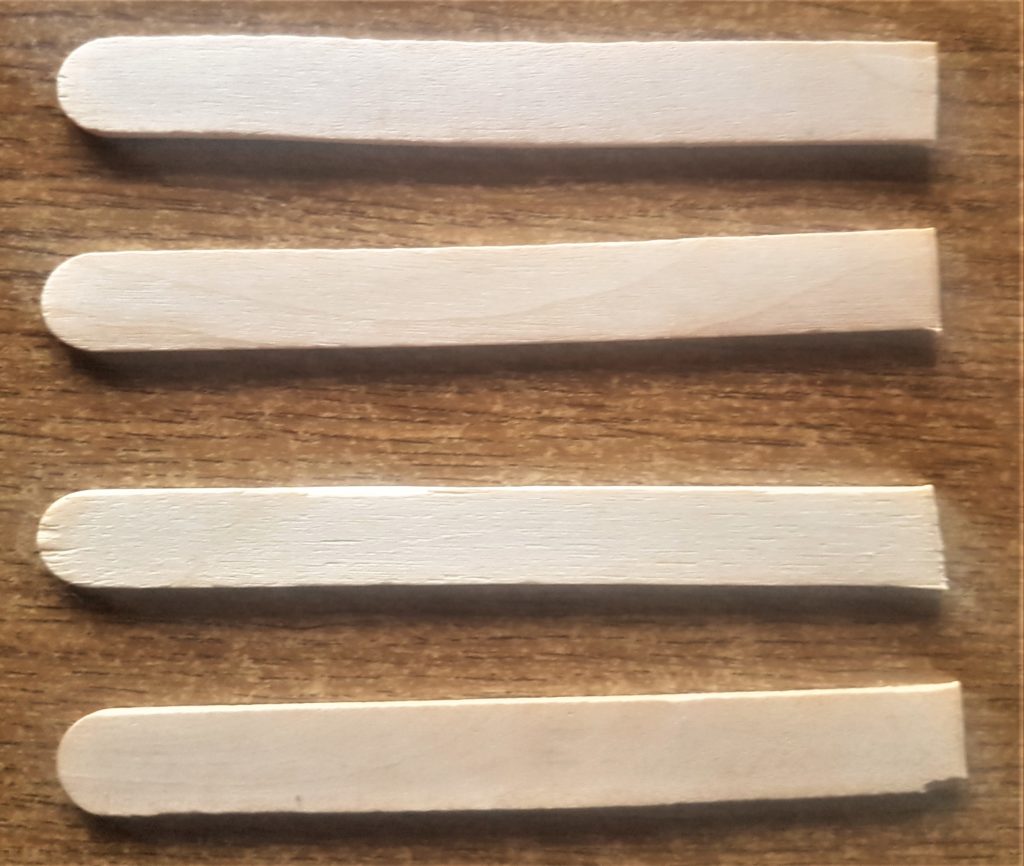
I plugged in my hot glue gun and let it heat up for 5 minutes. I got 4 plain lollipop sticks. Popsicle Craft Sticks.
I measured 1 of the lollipop sticks across the width of the leprechaun door and cut the plain lollipop stick a bit shorter than the door. I used the cut lollipop stick as a guide and cut the other 3 lollipop sticks one-by-one the same size.
I put hot glue along one side of the cut lollipop stick and attached it to the back of the leprechaun door. I repeated this process with all 4 of the lollipop sticks spacing them out on the back of the door. Hot Glue Gun.
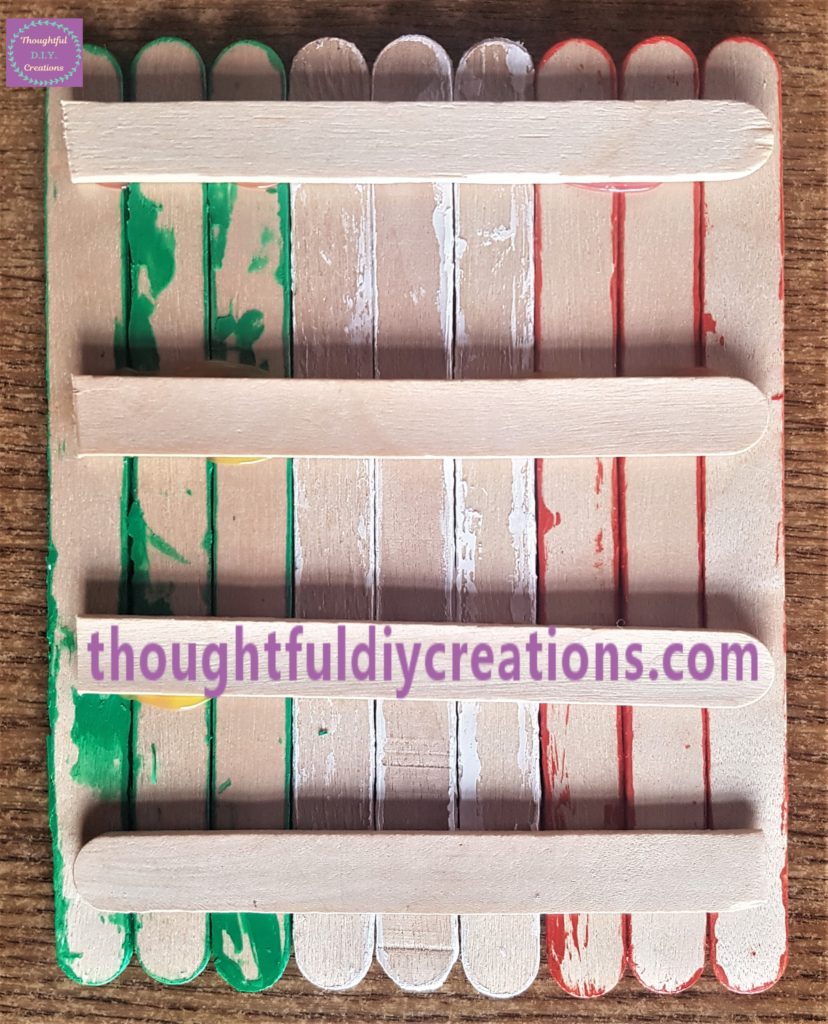
This is a good way to put the leprechaun door together as its quick and there won’t be any glue seeping through the sides of the painted lollipop sticks like there would be if you glued the painted lollipop sticks together by their sides one-by-one.
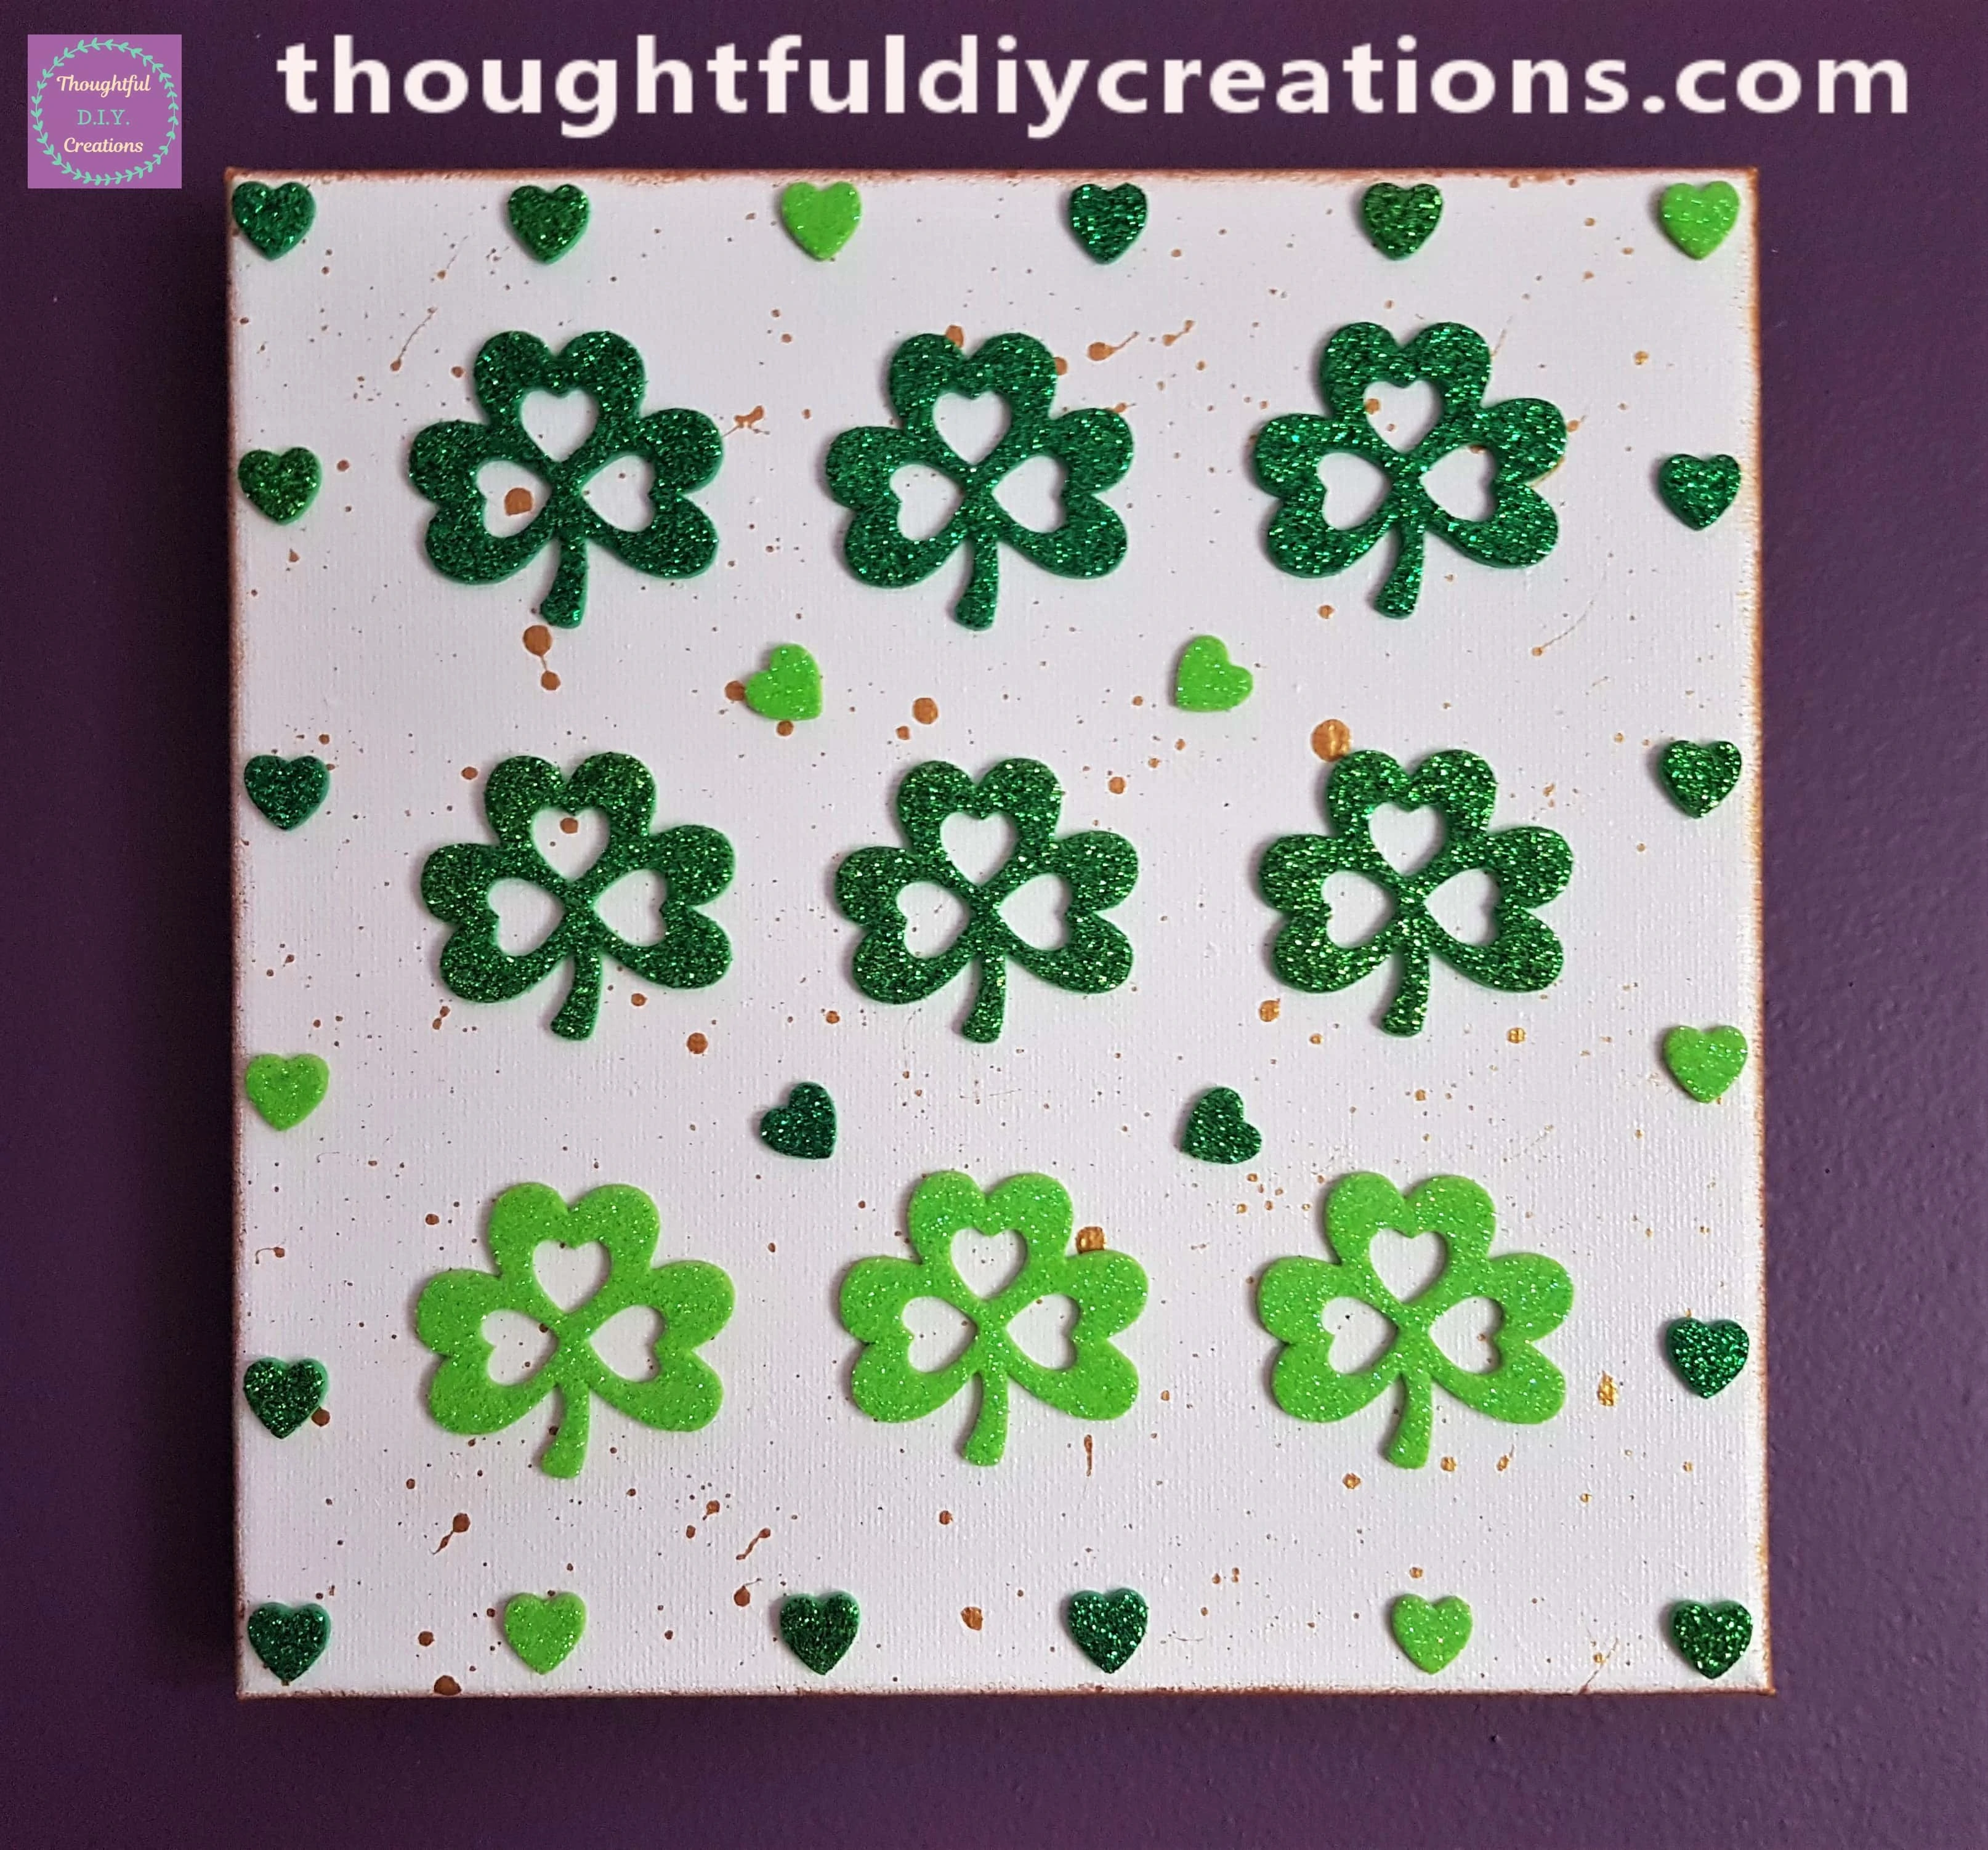
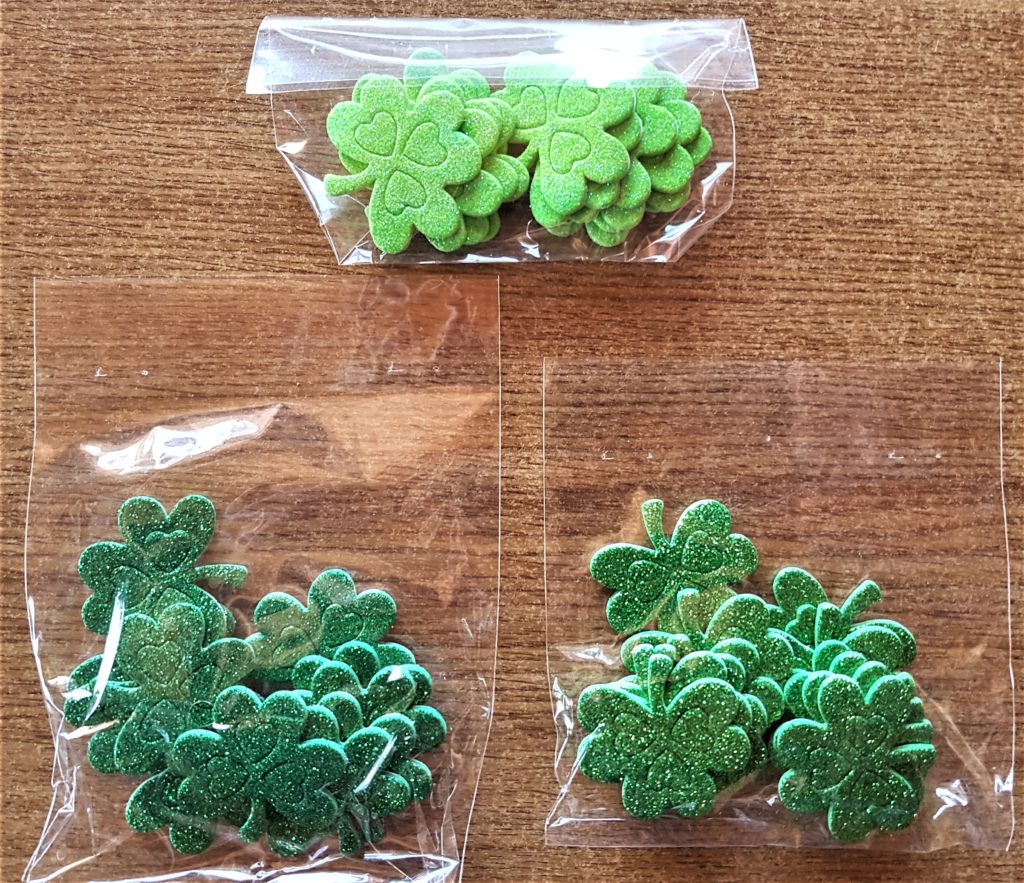
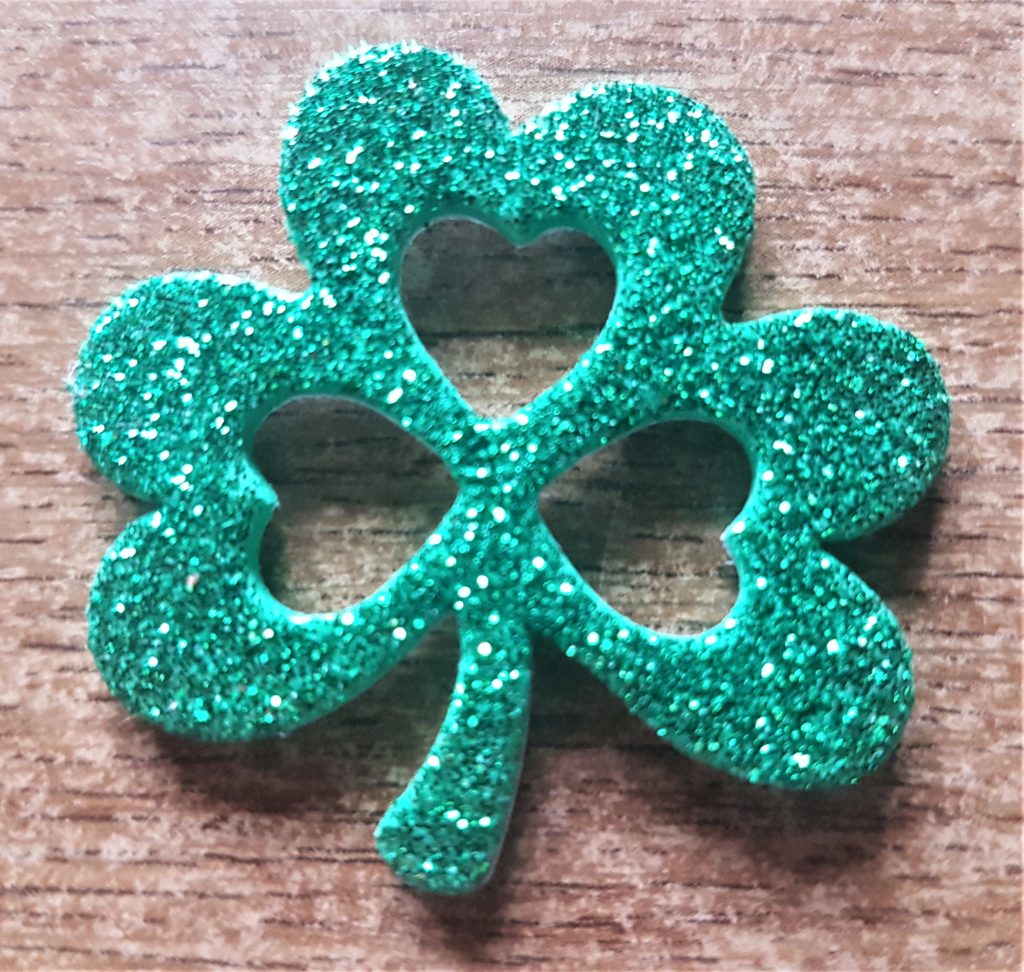
I had Foam Shamrock Stickers in 3 different shades of green in my craft supplies. Shamrock Foam Stickers.
I removed a heart shaped sticker from the darkest shade of green shamrock. Shamrock Foam Stickers.
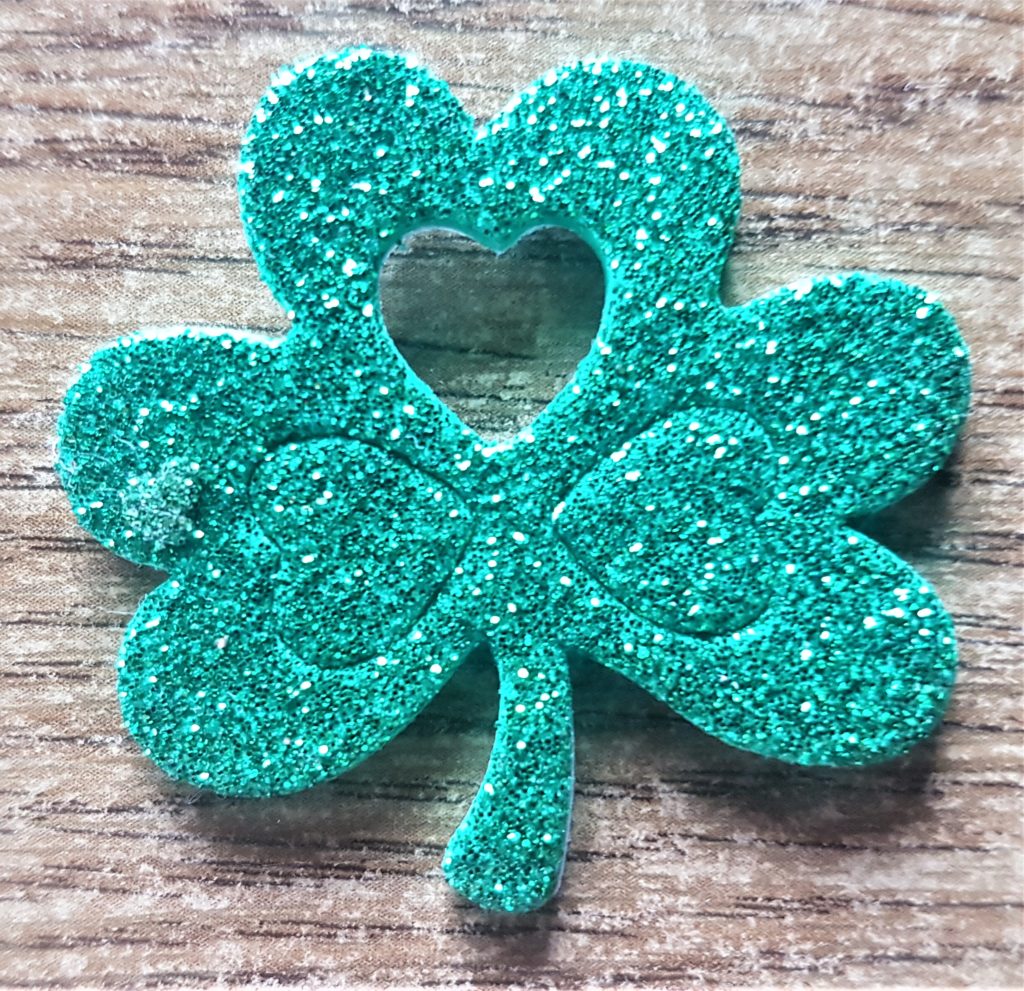
I attached it to the leprechaun door for a door knob.
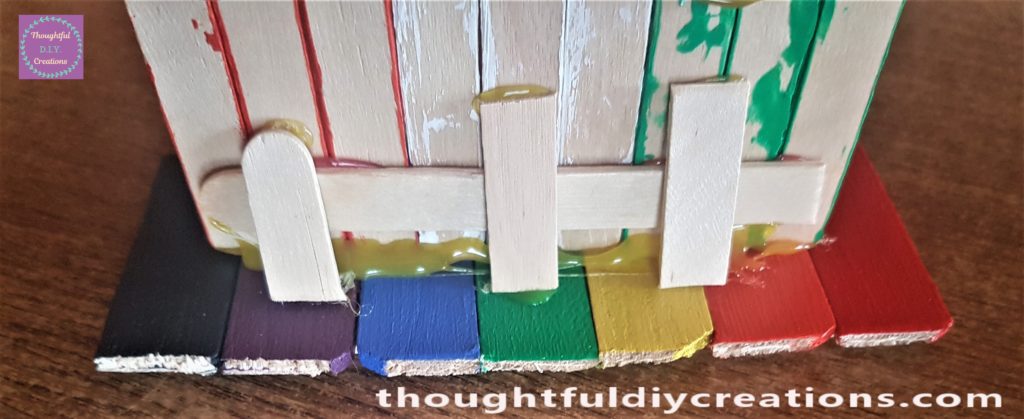
Adding Stability to the Rainbow Path
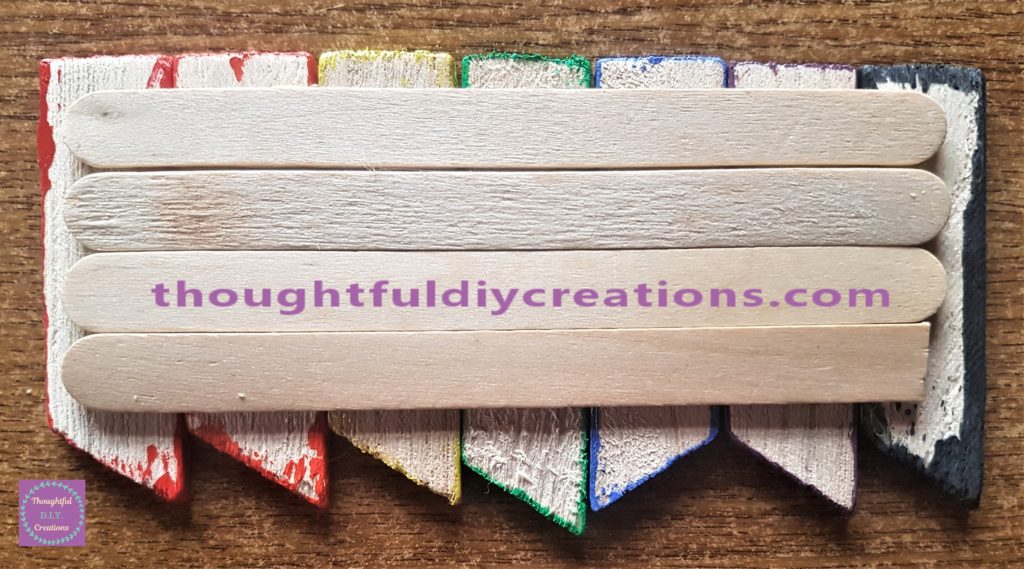
I got 4 plain lollipop sticks and hot glued them one-by-one to the back of the rainbow path. I had to cut 1 of the lollipop sticks as it was too long, the other 3 were the perfect size as they were. I glued them beside each other as I wanted the rainbow path to be level when standing upright. Popsicle Craft Sticks.

Preparing the Door & Path for Assembly
I cut along the bottom edge of the leprechaun door with a strong scissors to make it straight and easier to attach to the rainbow path.
I also cut along the back of the rainbow path to make it straight.
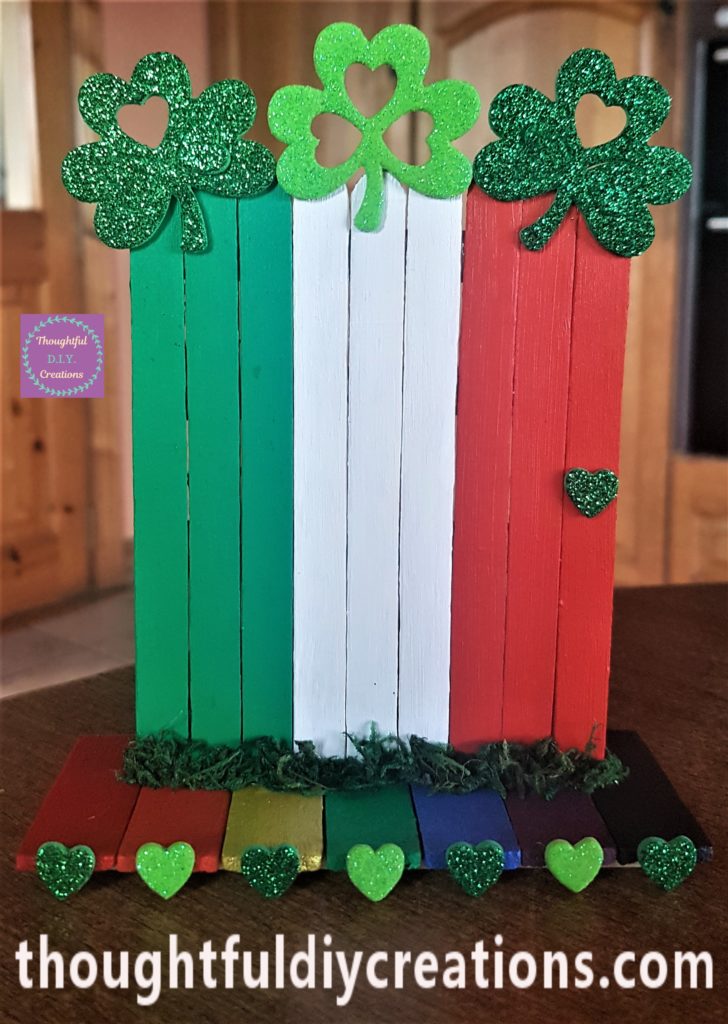
Adding Shamrocks to the Leprechaun Door
I got one of each of the 3 shades of green foam shamrock stickers and attached them to the top of the leprechaun door. I used the darkest shade shamrock that I used for the door knob and attached it on top of the orange painted lollipop sticks. I attached the lightest shade of green shamrock in the center and the darker green shade on the green painted lollipop sticks. I removed the heart stickers that were showing above the door and left the ones that were on the door. Shamrock Foam Stickers.
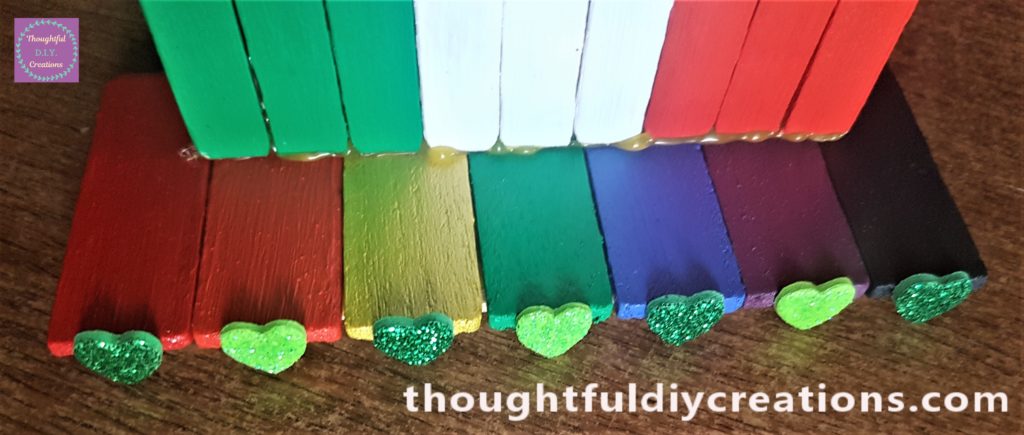
Decorating the Rainbow Path
I put the heart stickers on the mid-section on the edge of each rainbow wooden piece. I needed 3 more heart shapes so I removed 3 heart stickers from another shamrock. Shamrock Foam Stickers.
Attaching the Leprechaun Door to the Rainbow Path
I put hot glue on the bottom edge of the leprechaun door and held it on top of the rainbow path for about 5 seconds. Hot Glue Gun.

I added more hot glue to the back of the door and path. Hot Glue Gun.
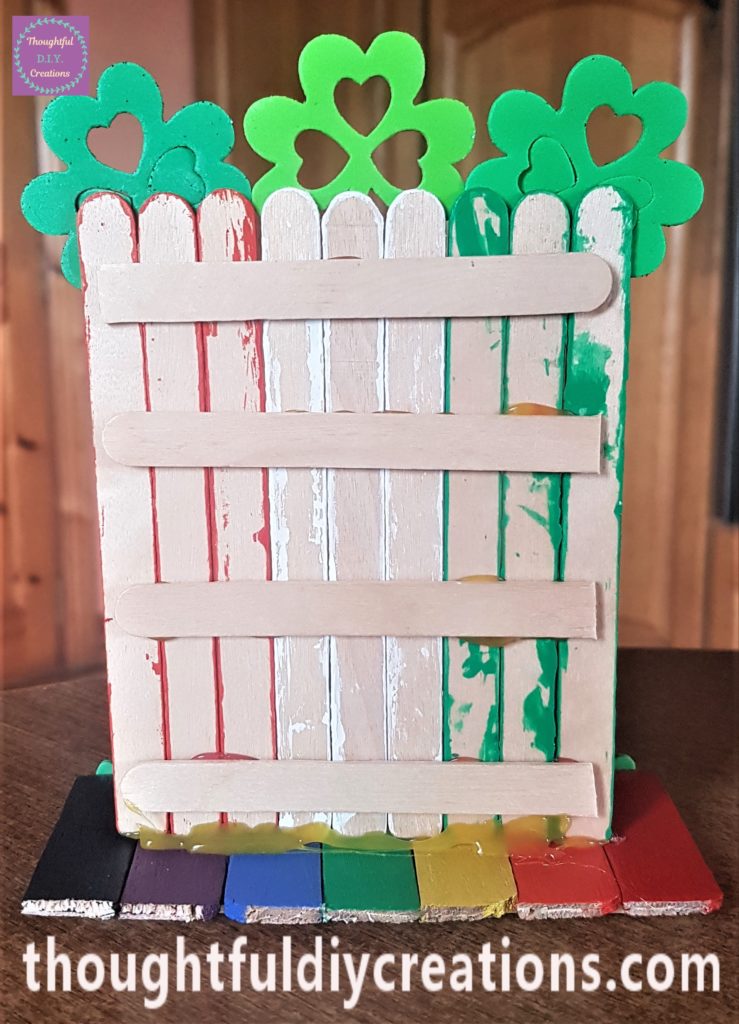
I hot glued 3 of the cut lollipop sticks from earlier to the back of the door and the path to keep it more secure. Hot Glue Gun.
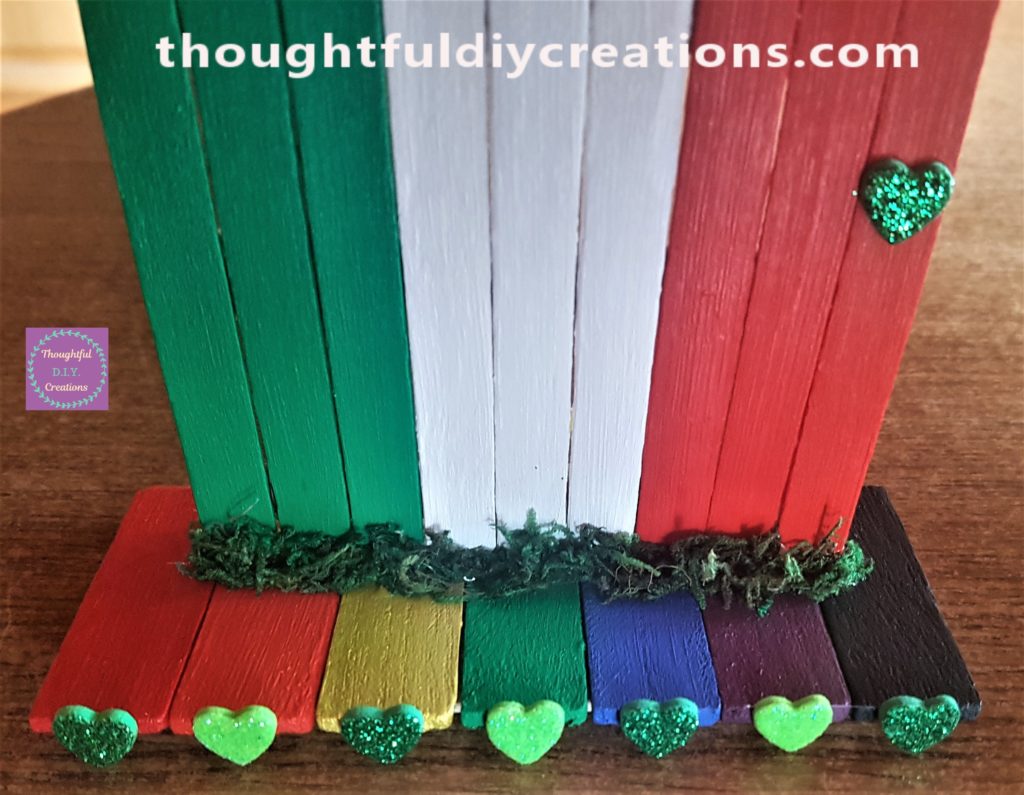
Adding Moss to the Door & Path
I had run out of clear glue sticks so used yellow for this craft. I wanted to cover up the glue that was visible on the front of the door.
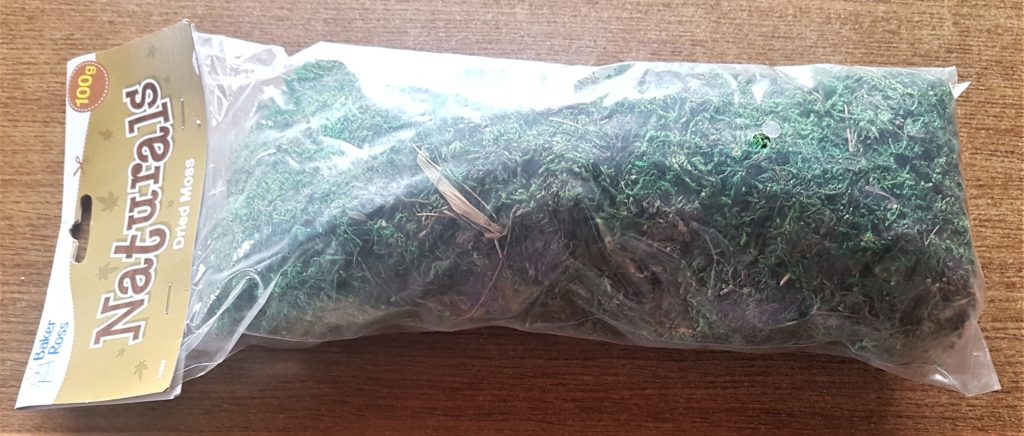
I had a bag of Dried Moss which I didn’t use yet so I thought this would be the perfect craft to include it. Forest Moss Dried.
I put hot glue on the back of a small section of dried moss and attached it to the bottom of the front door. I repeated this process along the front and sides of the door until the hot glue was covered up. Forest Moss Dried.
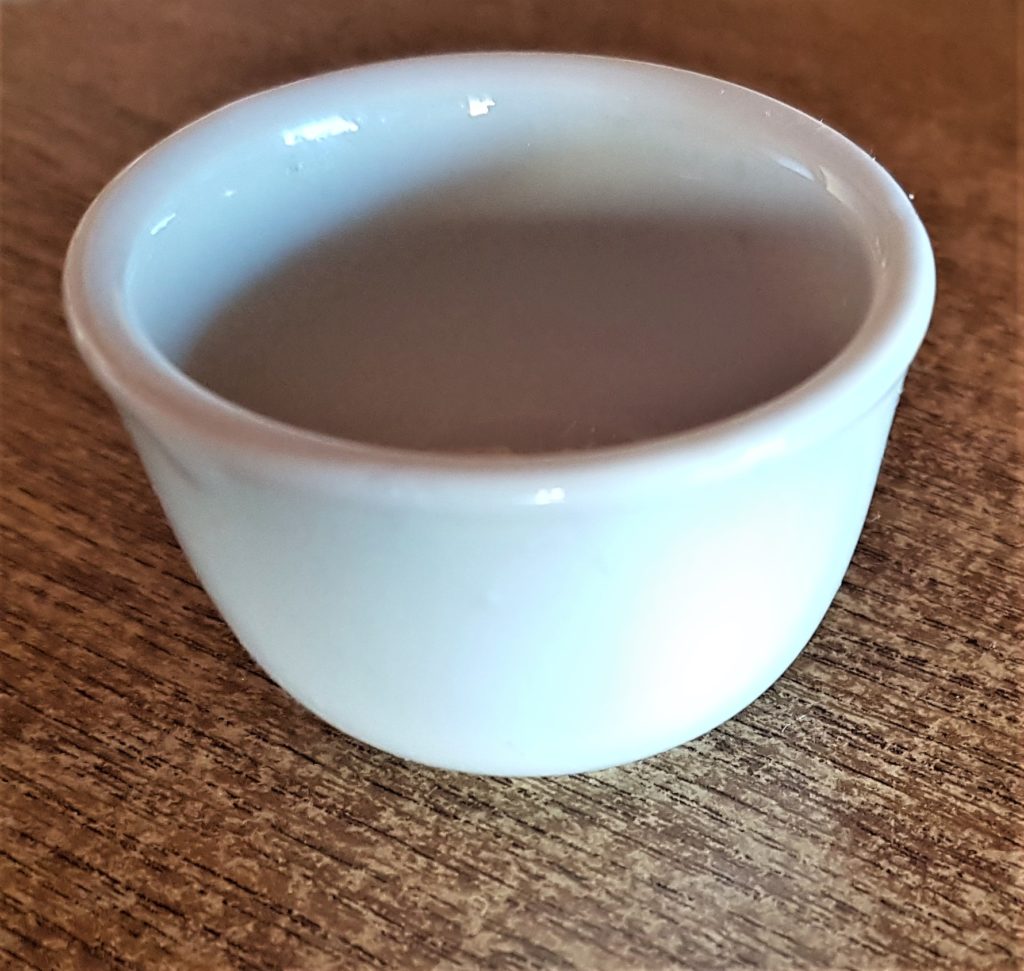
Making the Crock of Gold
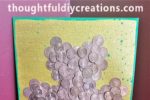
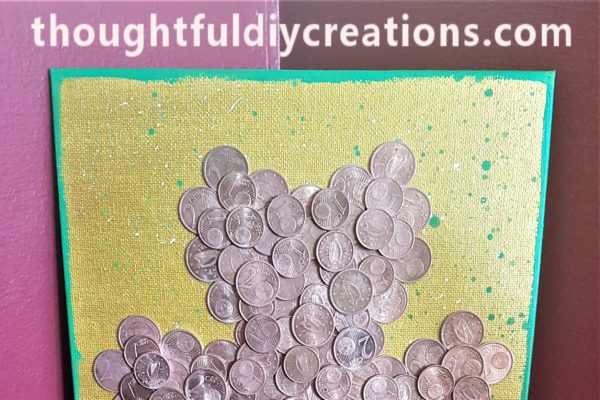
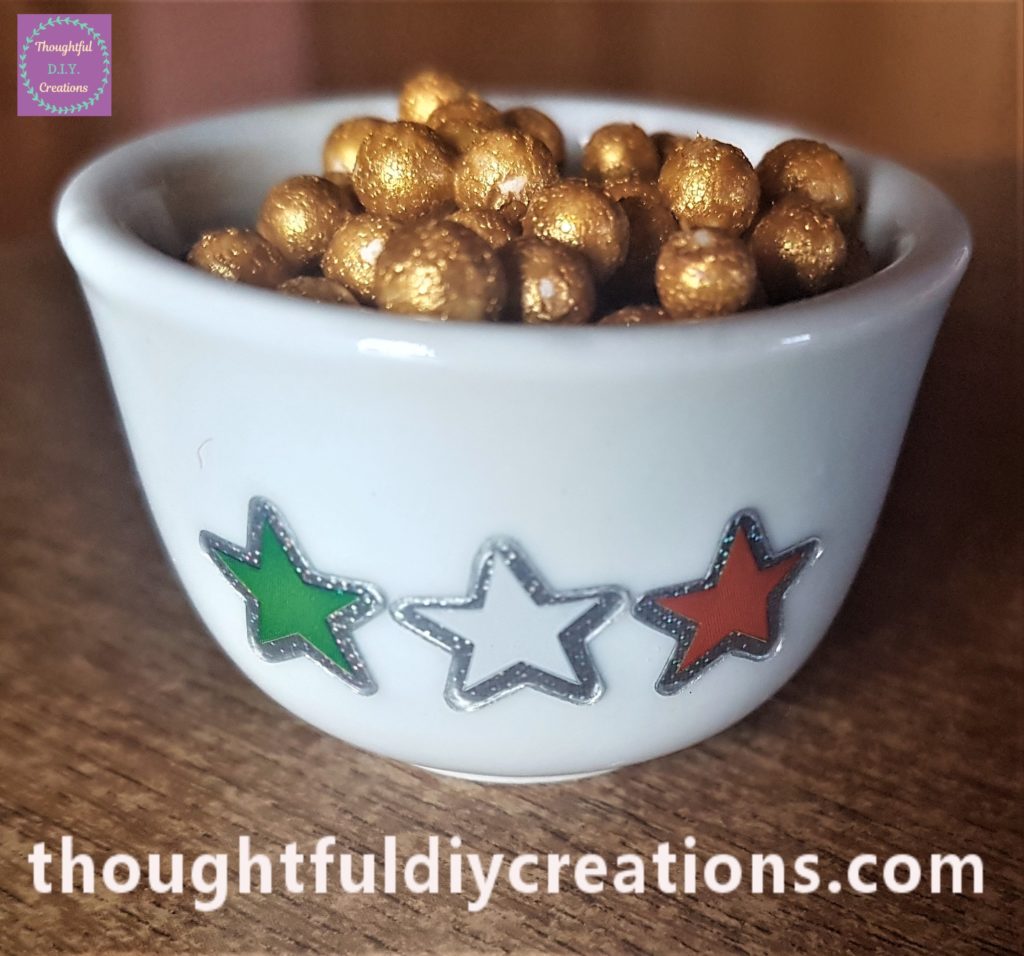
Now that I had the Leprechaun Door completed and the rainbow theme included I started to make the Crock of Gold. I had a small white glass candle holder which I thought would be perfect to hold the treasure.
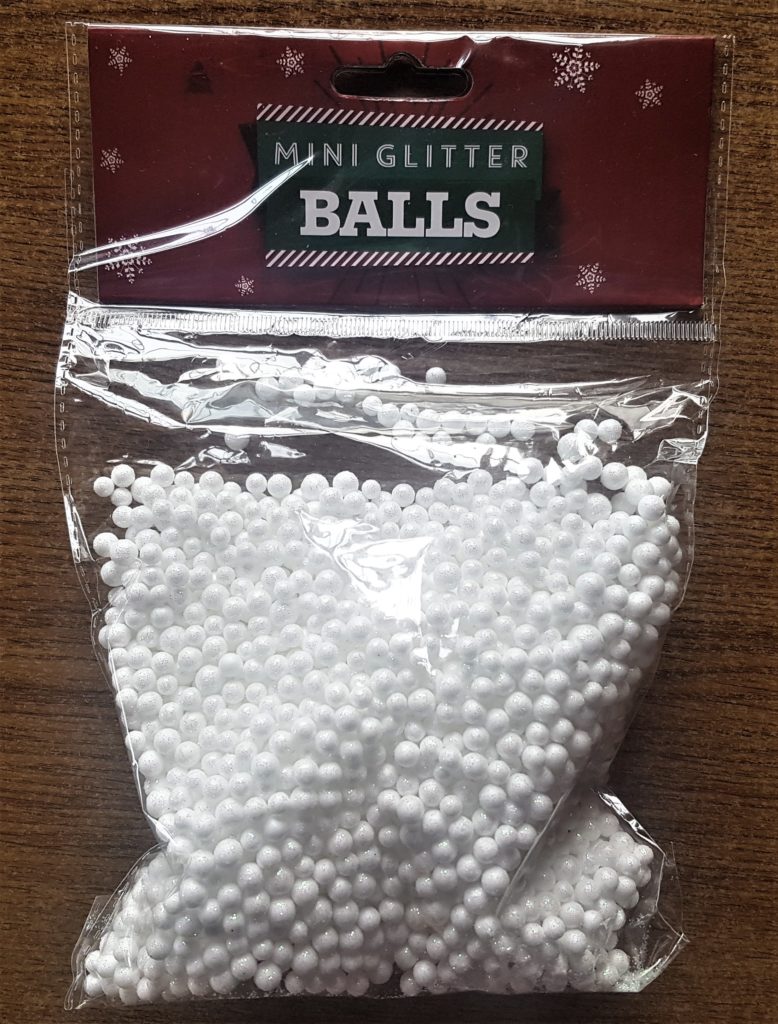
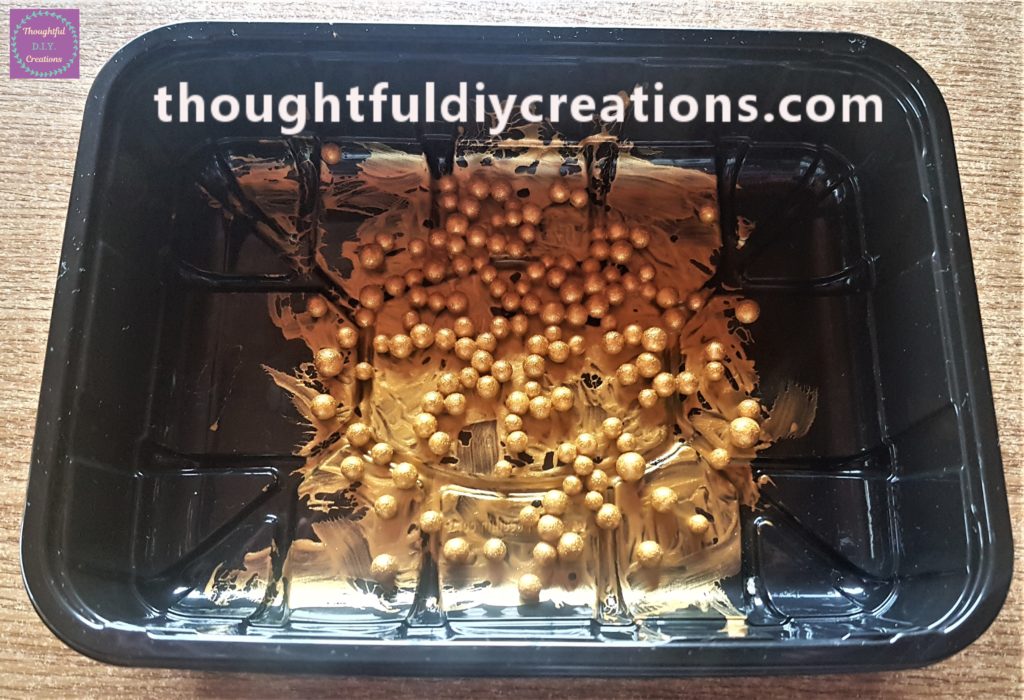
I had a Pack of Mini Glitter Balls which I had purchased for Christmas Crafting. I still had most of the bag left so it was great to make use of it again. Foam Balls Polystyrene Beads.
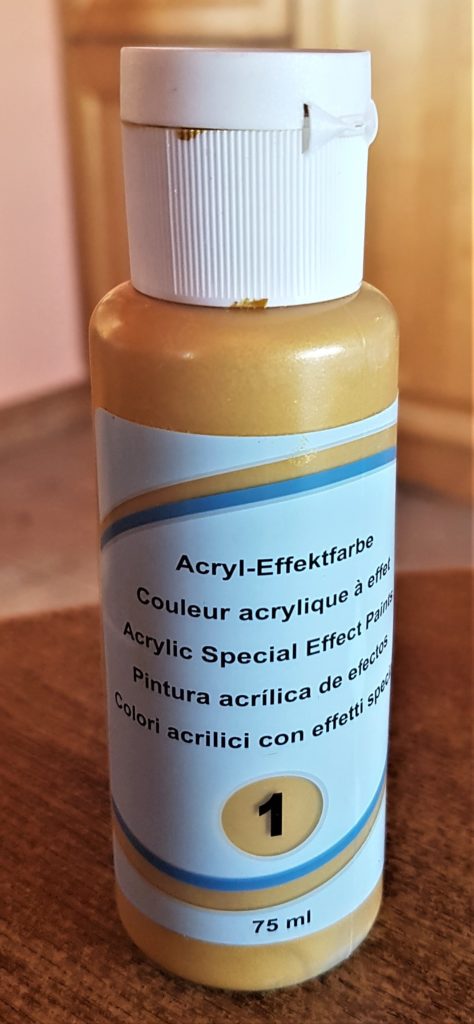
I had a tube of Gold Acrylic Paint which has a lovely subtle glimmer to it. Acrylic Paint Gold.
I poured some of the mini glitter balls into a plastic container. I poured some gold acrylic paint into the container and rolled the balls all around the paint with a paintbrush until they were covered in gold paint. Foam Balls Polystyrene Beads.
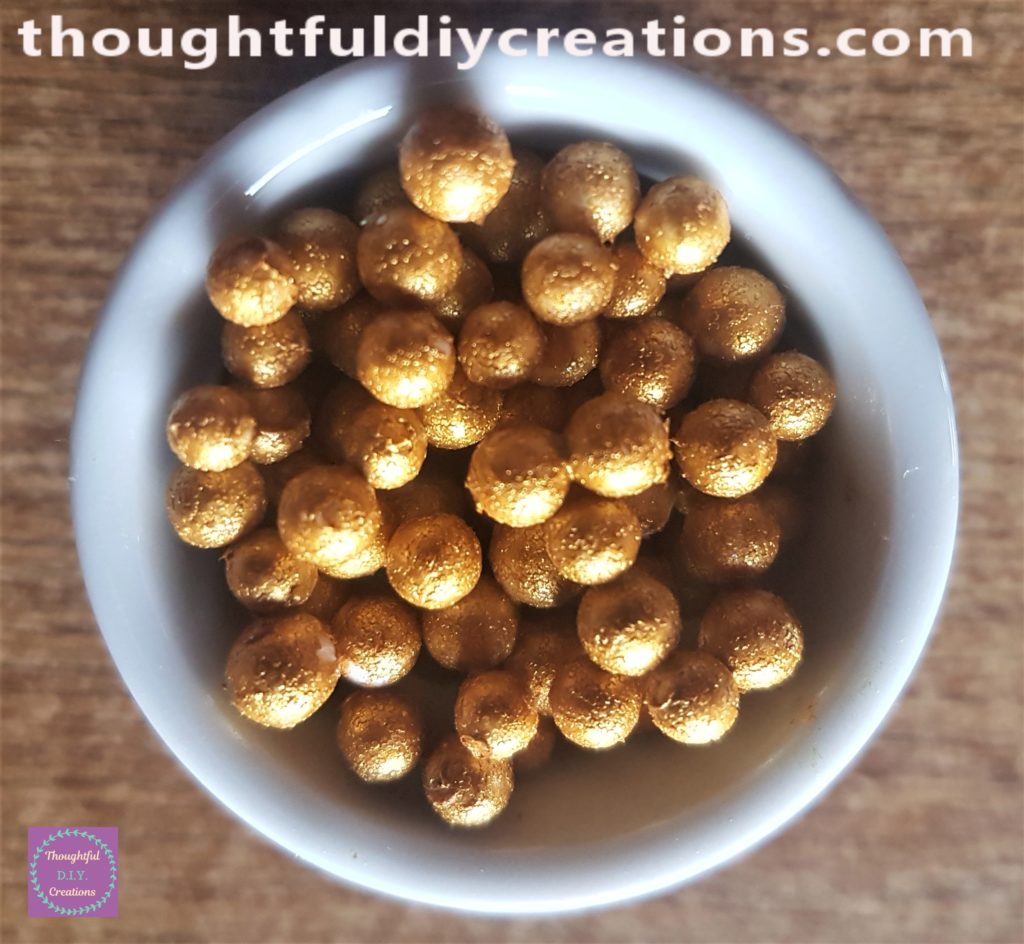
I left the mini balls in the container overnight to fully dry. The next day I put the gold mini balls into the candle holder. Acrylic Paint Gold.

I had a Pack of Multi Coloured Star Stickers. Colorful Star Stickers.
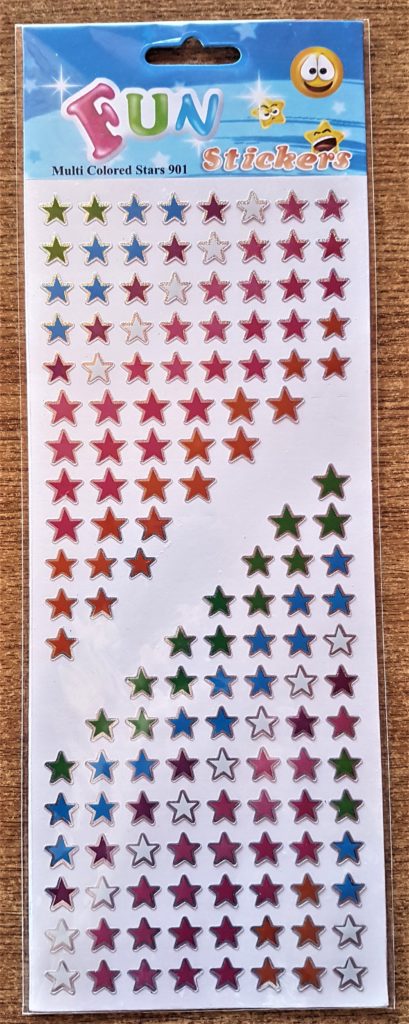
To finish off the Crock of Gold I added a Green, White and Orange Star Sticker to the front of the Candle holder. Colorful Star Stickers.
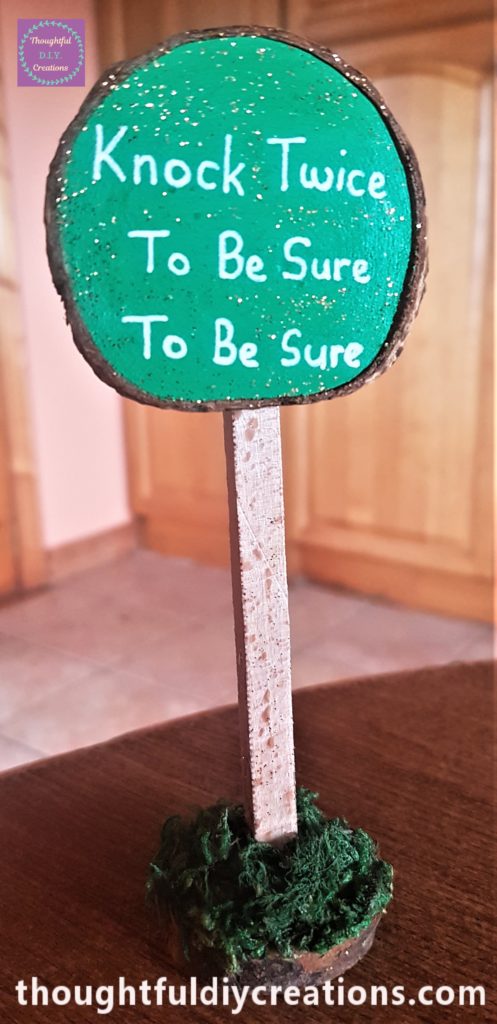
Making the Sign for the Leprechaun Door
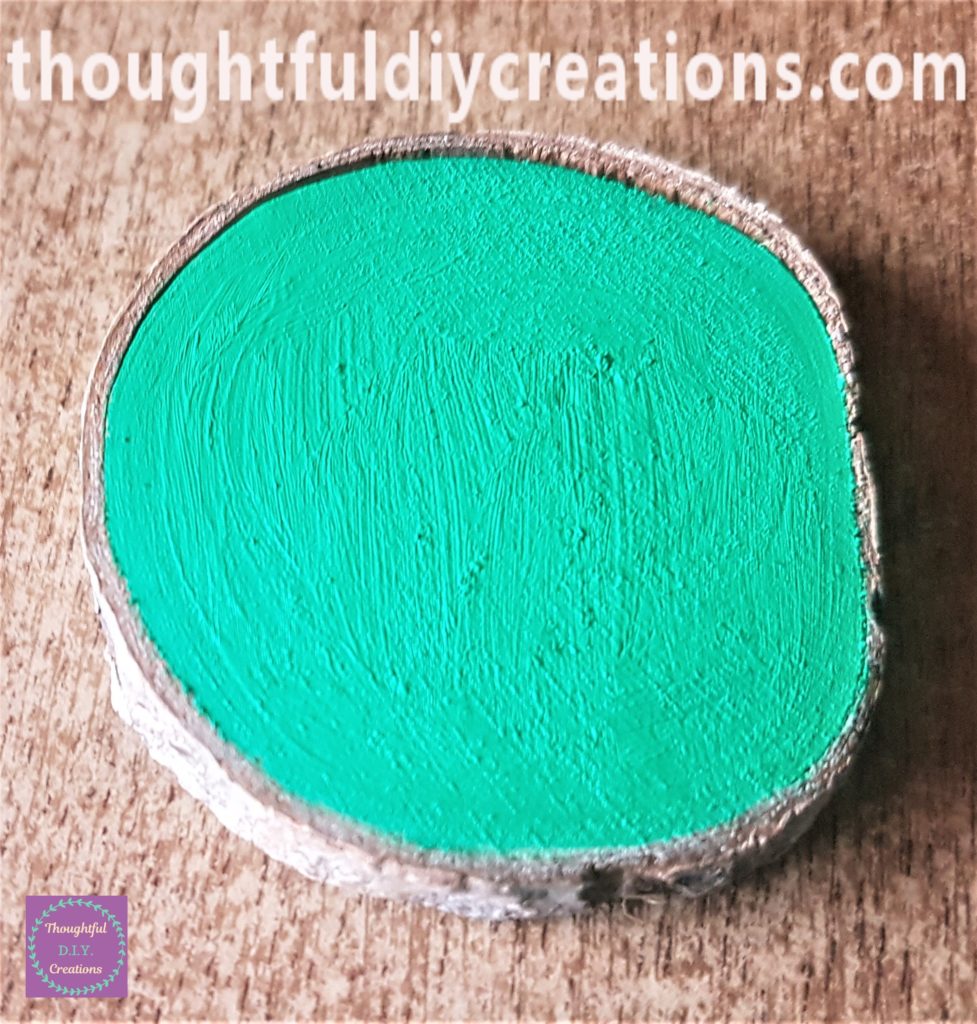
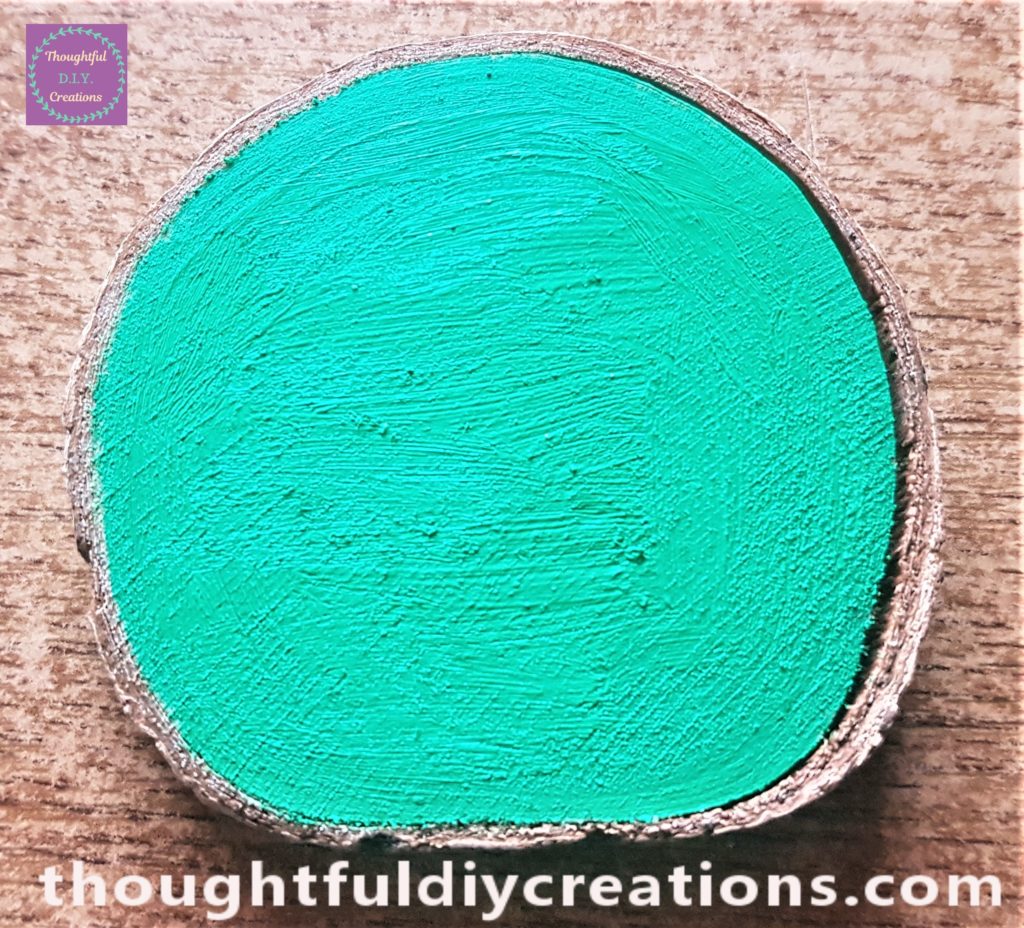
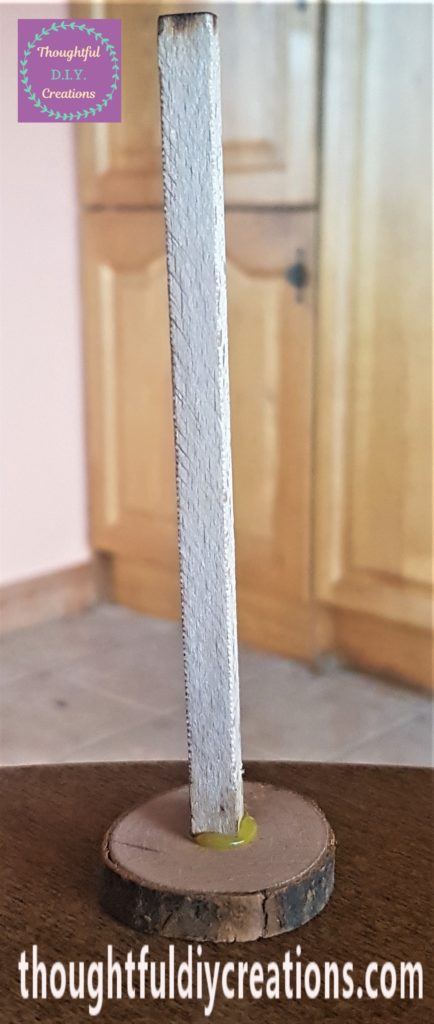
I thought it would be cute to add a Sign for the Leprechaun Door. I made it from a wooden rectangle shaped stick / holder which had silver wire wrapped around it, I kept it in my craft supplies after I used all the wire. I also chose a big wood slice for the Sign and a smaller wood slice for the base. Natural Wood Slices.

I painted the bigger wood slice the same green as the leprechaun door. I gave it 2 coats of paint waiting about 30 minutes between the layers. Acrylic Paint Assorted Colors.
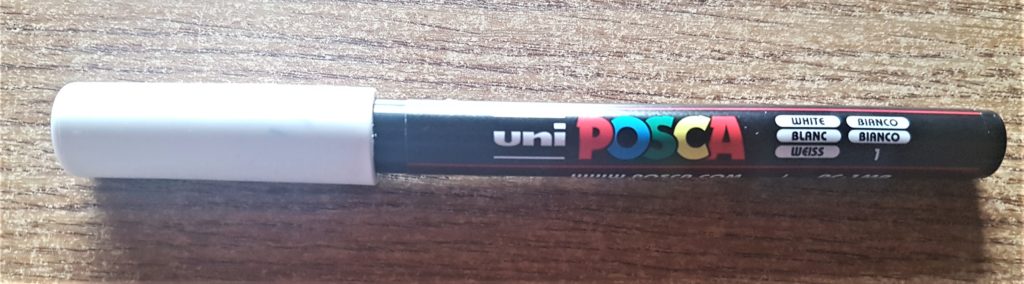
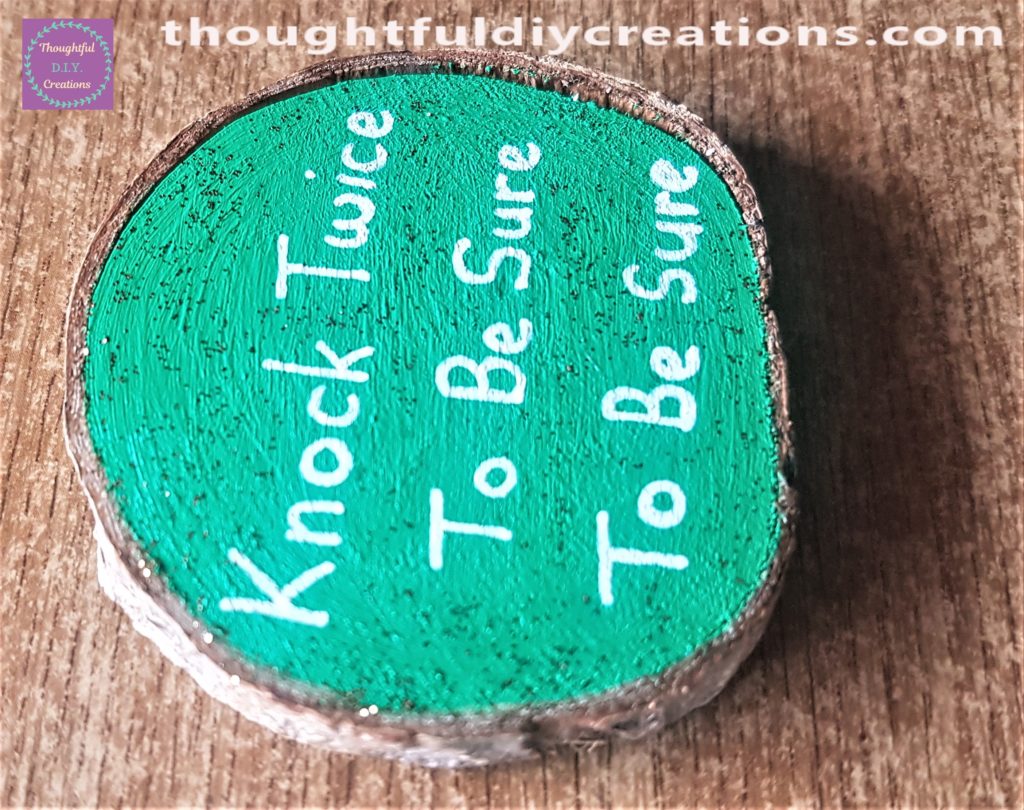
When the green paint was completely dry I added the Sentiment ‘Knock Twice To Be Sure To Be Sure’ with a ‘uni POSCA Acrylic Paint Pen in white 0.7 mm’. uni Posca Paint Pen.
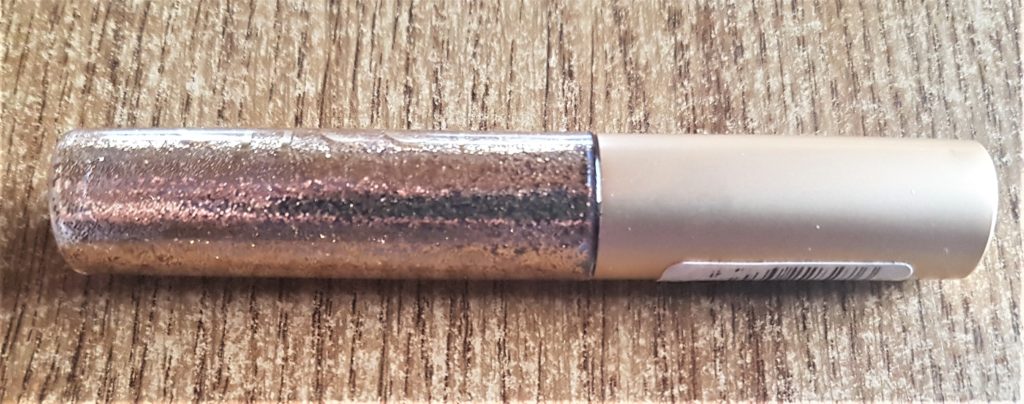
When the writing was dry I added gold glitter all around the Wood Slice with an old Gold Glitter Eye Liner I keep in my craft supplies. 10 color Eyeliner Glitter.
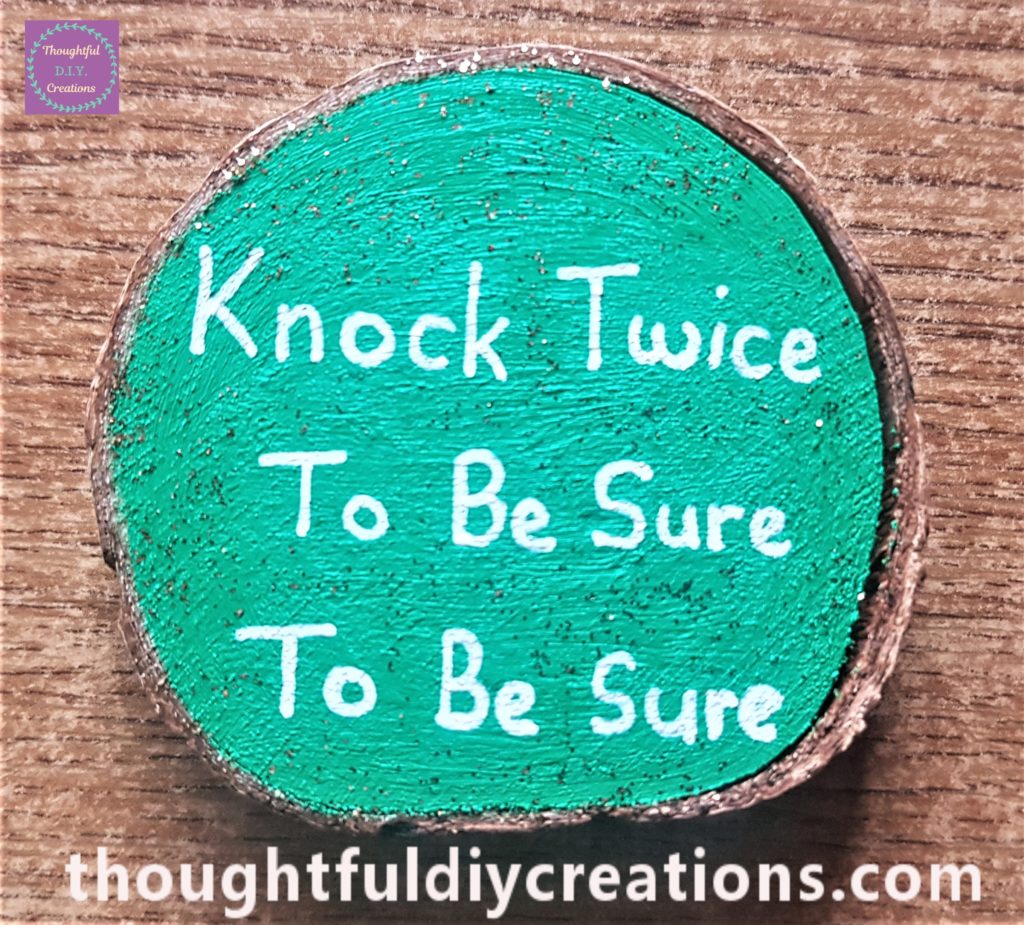
I added 2 layers of the writing to be sure to be sure. ? Sorry I couldn’t resist. ?
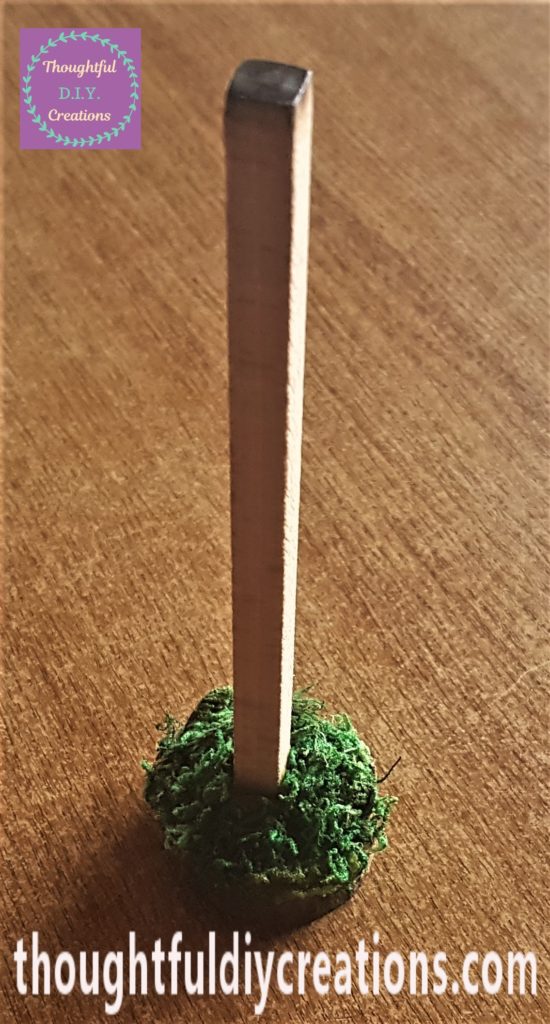
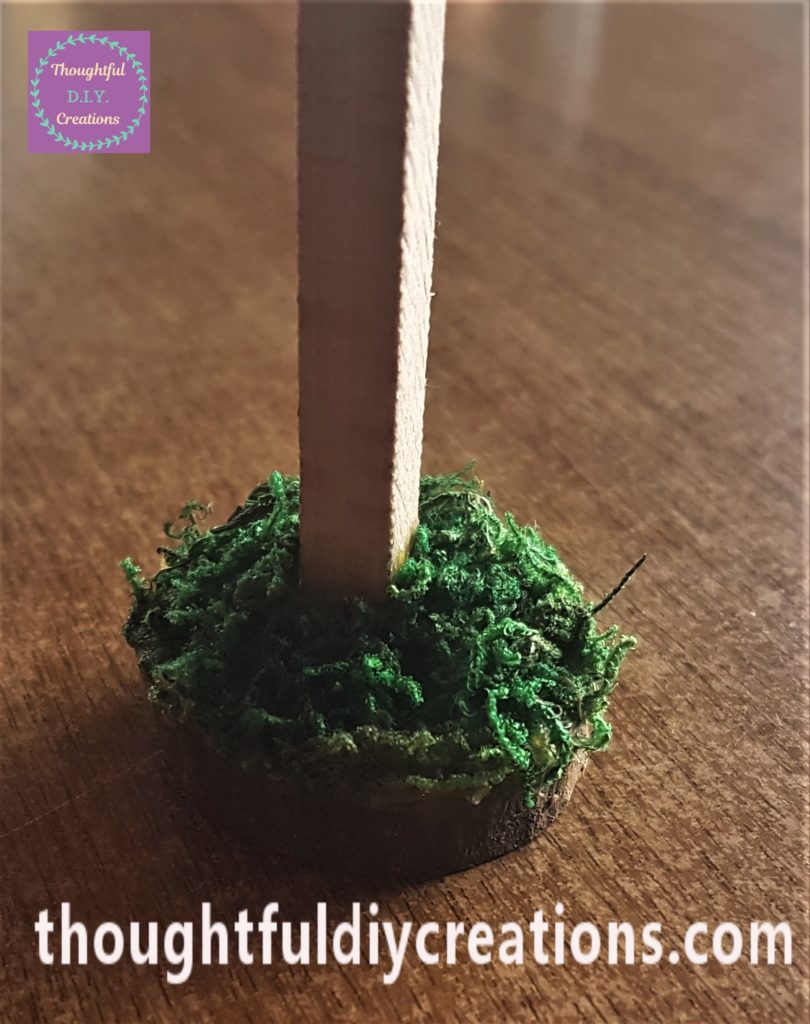
I put hot glue on the bottom of the wooden stick and held it in place in the center of the wood slice for about 5 seconds. Hot Glue Gun.
I hot glued dried moss to the wood slice to cover up the glue and add interest. Forest Moss Dried.
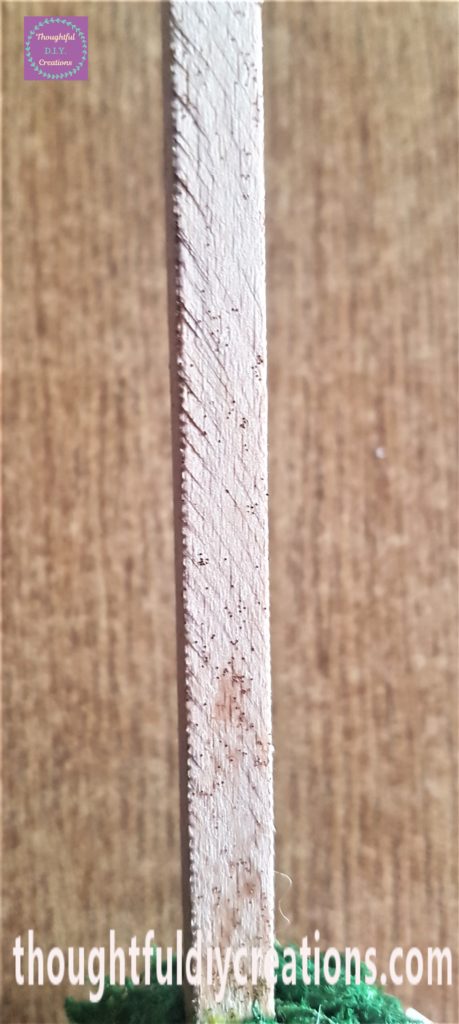
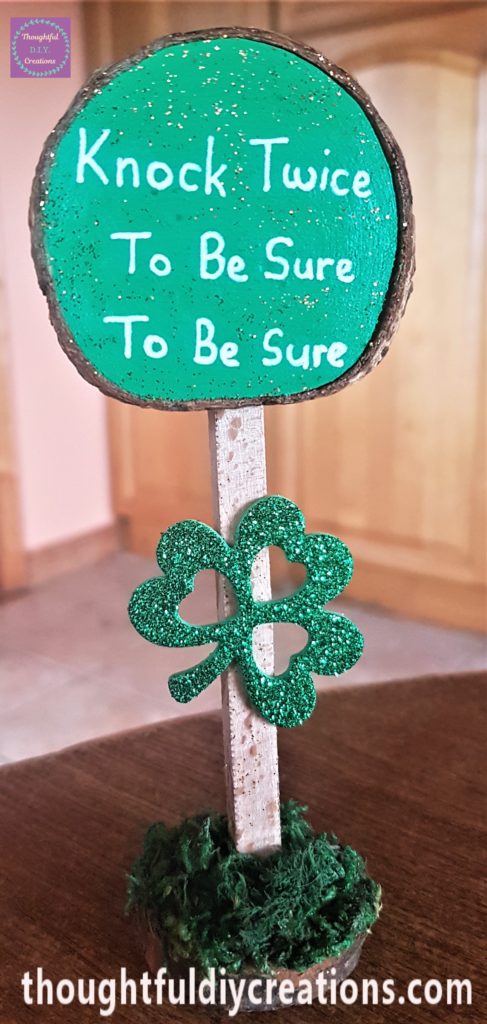
I added the Gold Glitter Eye Liner on all 4 sides of the wooden stick. 10 color Eyeliner Glitter.
I put hot glue on the top front part of the wooden stick and in the mid-section on the back of the green wood slice and attached them together. Hot Glue Gun.
To finish the sign I attached the spare green foam shamrock sticker that I had removed the hearts from for the rainbow path, onto the wooden stick. Shamrock Foam Stickers.
Leprechaun for the Door and Accessories
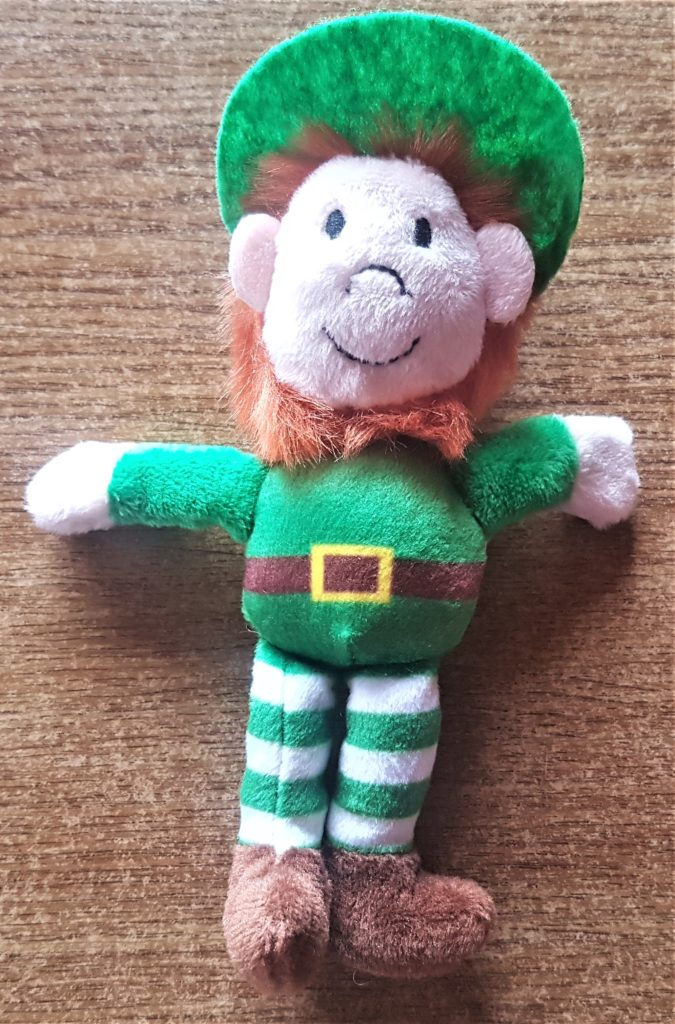
I bought an adorable little leprechaun to go with the Leprechaun Door, Sign and Crock of Gold. Lucky Leprechaun.

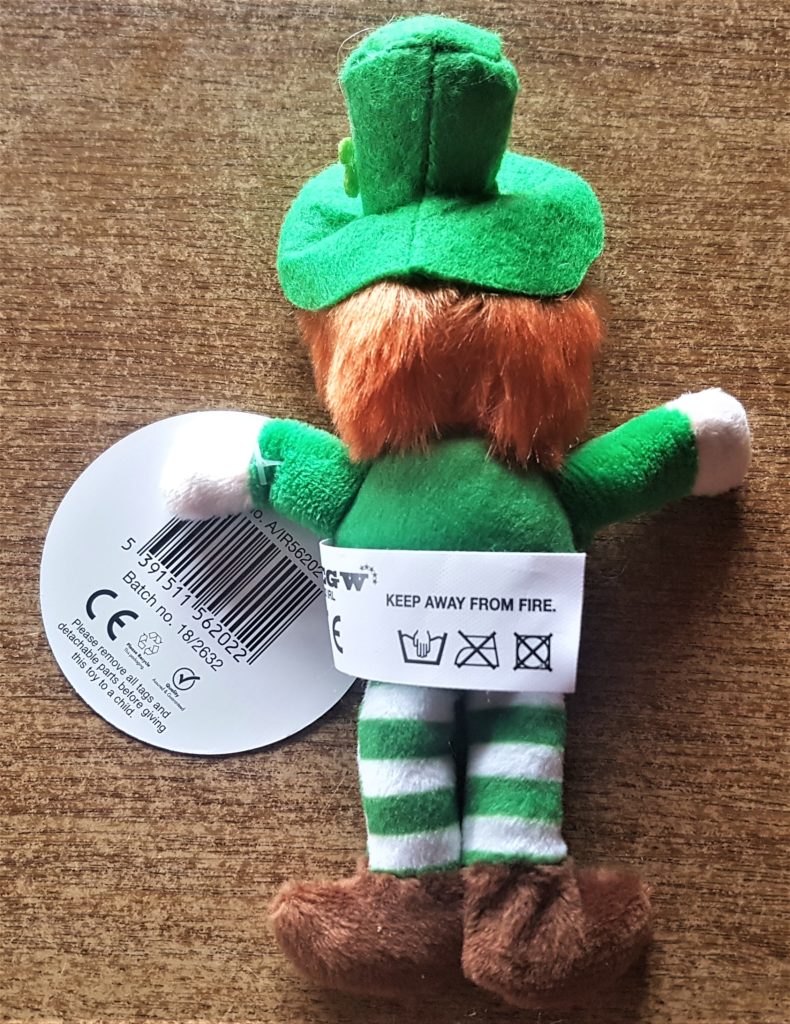
I cut the label and tag off the leprechaun. Lucky Leprechaun.
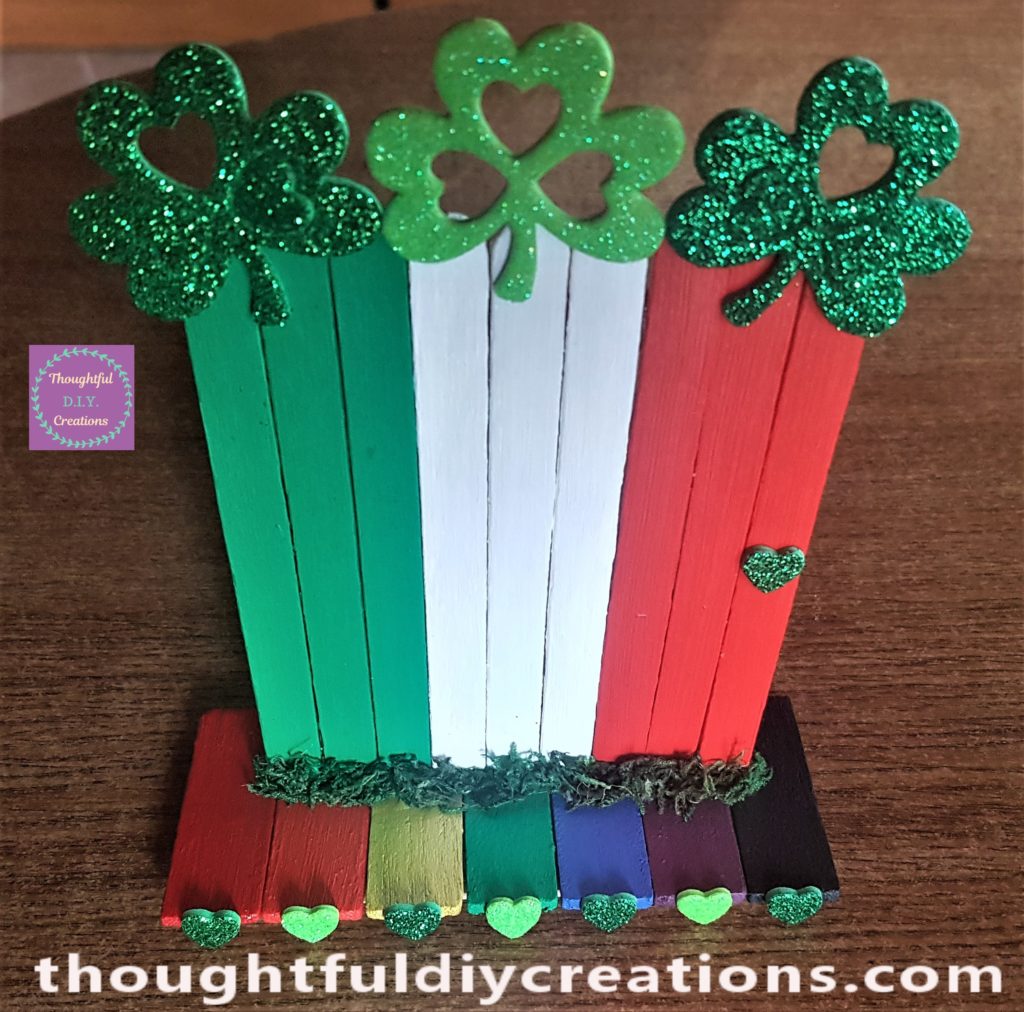
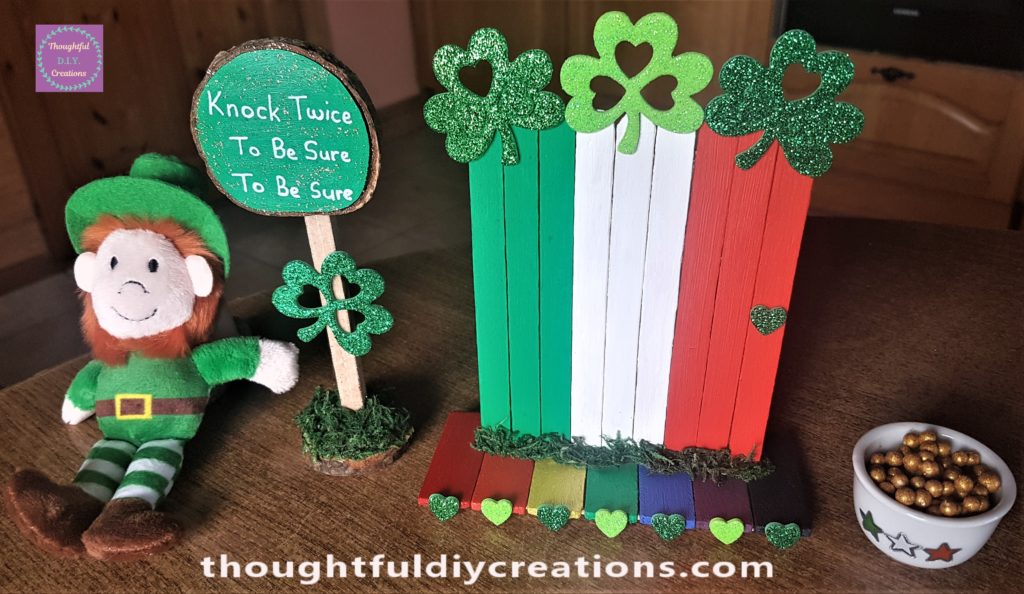
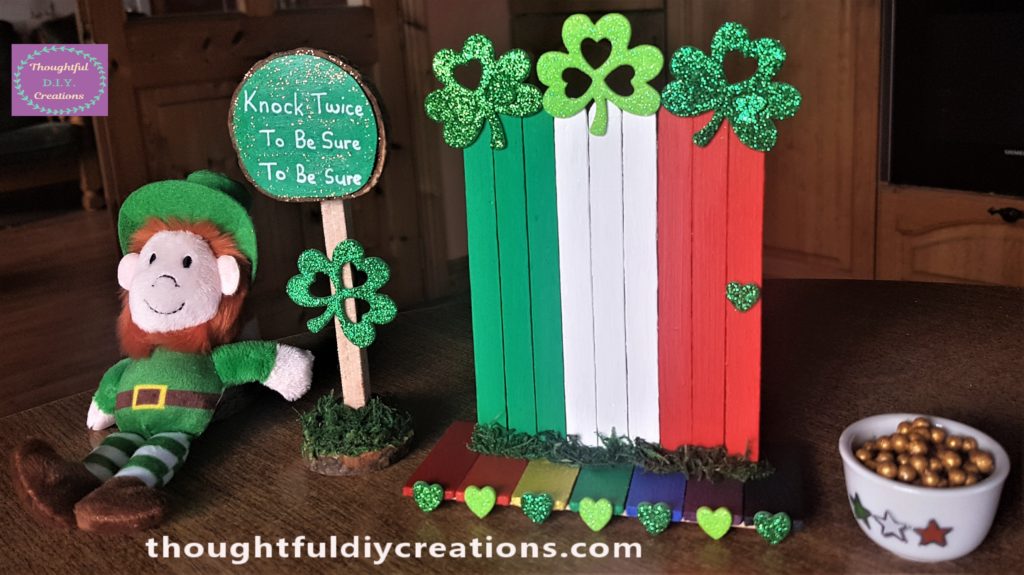
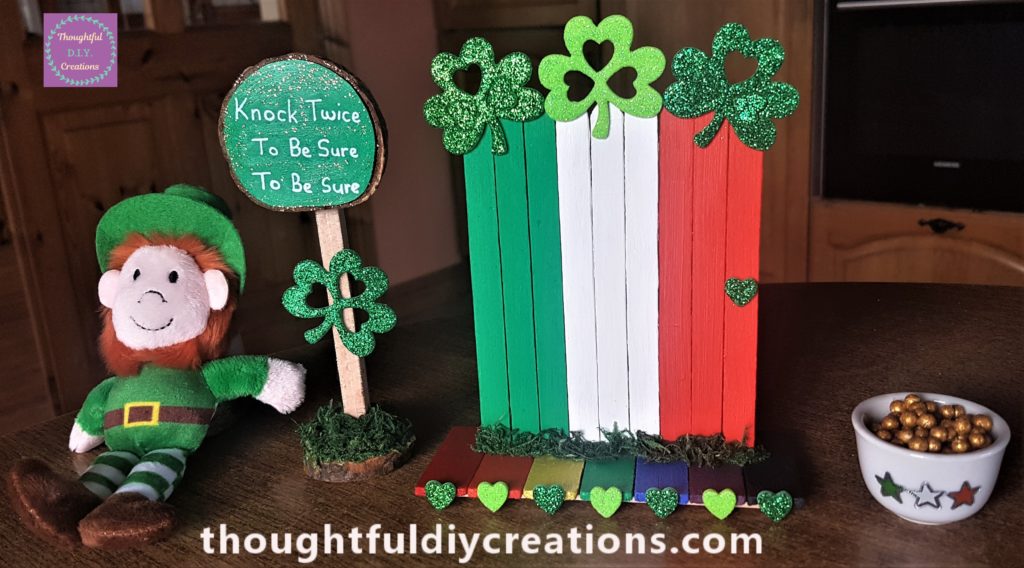
Arranging the completed Leprechaun Door & Accessories
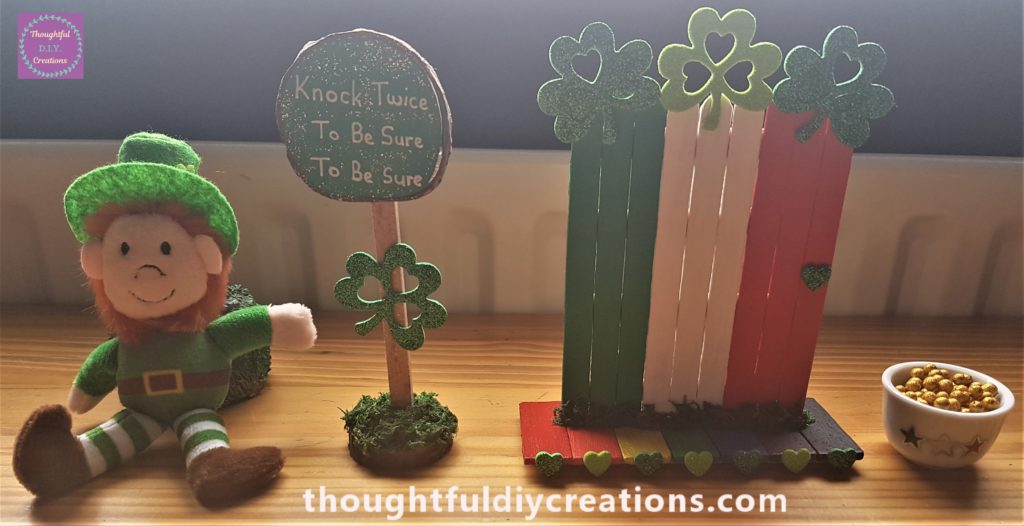
I arranged the leprechaun beside the sign, door and crock of gold.
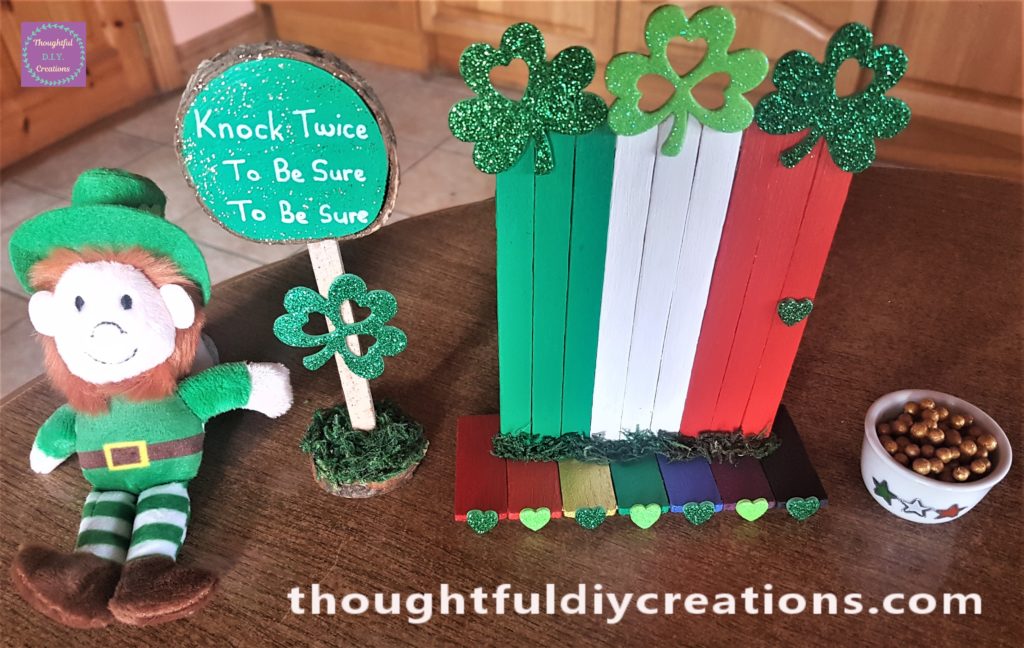
This completed the Leprechaun Door and Accessories. Here are a few more images of the final result.
Conclusion
I was really pleased with the outcome of the Leprechaun Door, Sign and Crock of Gold. It adds a little bit of magic to the home. It’s something that can be displayed each year and they will all fit in a shoebox to be stored away so they won’t take up too much room when not being used.
It’s the perfect St. Patrick’s Day Craft for children to complete. It’s a great way to use lollipop sticks and is a budget craft. The only thing they will need help with is the hot gluing; that should be done by an adult as it can get quite hot.
I hope I provided some inspiration for Paddys Day Crafting if you were looking for ideas.
I know Fairy Doors are so popular so I thought a Leprechaun Door would be just as cute as leprechauns are small and fit in with the magical, whimsical theme. It’s all a bit of fun and I hope it provides some joy and innocence and imagination into your childs life.
Let me know if you give this craft a try, I’d love to know how it turns out for you. If you have any questions on this Tutorial or anything to add on the topic just fill out the Comment Box below this Blog Post and I’ll get back to you as soon as I can.
Thank you so much for taking the time to visit and read my Blog.
Always Grateful,
T.D.C.
xoxox