Light-Up Flower Heart Canvas Tutorial
Hello my Creative Friends,
I hope you are all Well. In Today’s Tutorial I will show you how I made a Light-Up Flower Heart Canvas. It is the perfect Craft for Valentines Day but can also be displayed in the Home all Year round.
Canvas for Crafting
I bought a 12″ x 12″ 100% Natural Cotton Canvas.

Preparing to Paint the Canvas
I put some Baking Parchment Paper on the Table to protect it while Painting the Canvas.

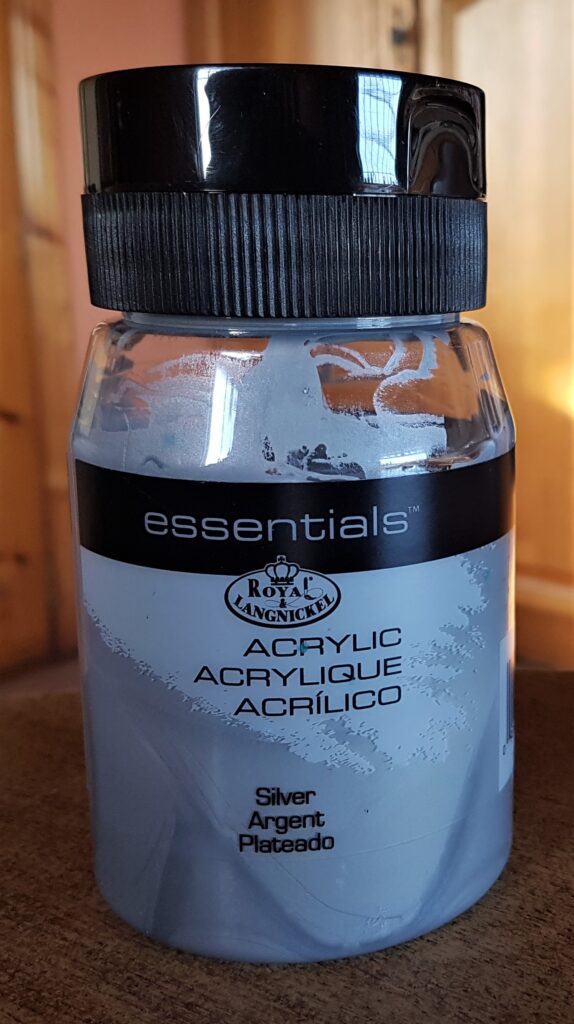
I got my Tub of Silver Acrylic Paint.
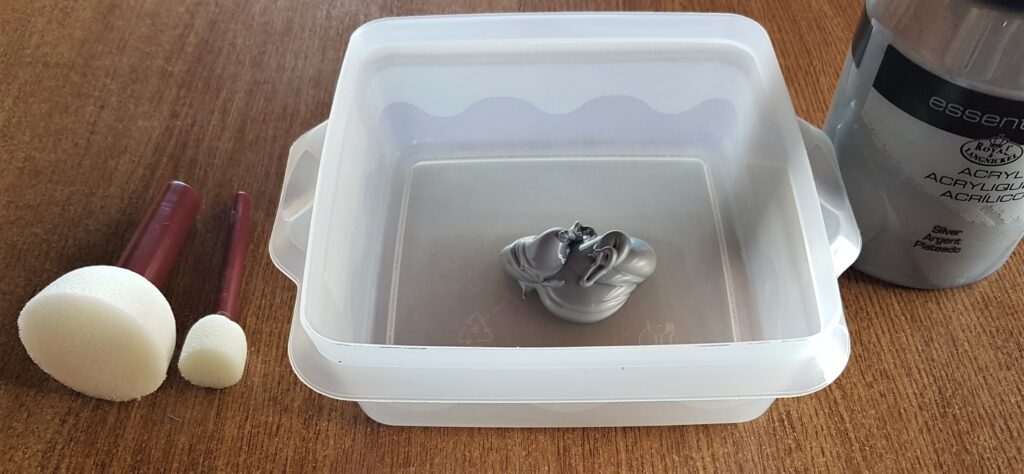
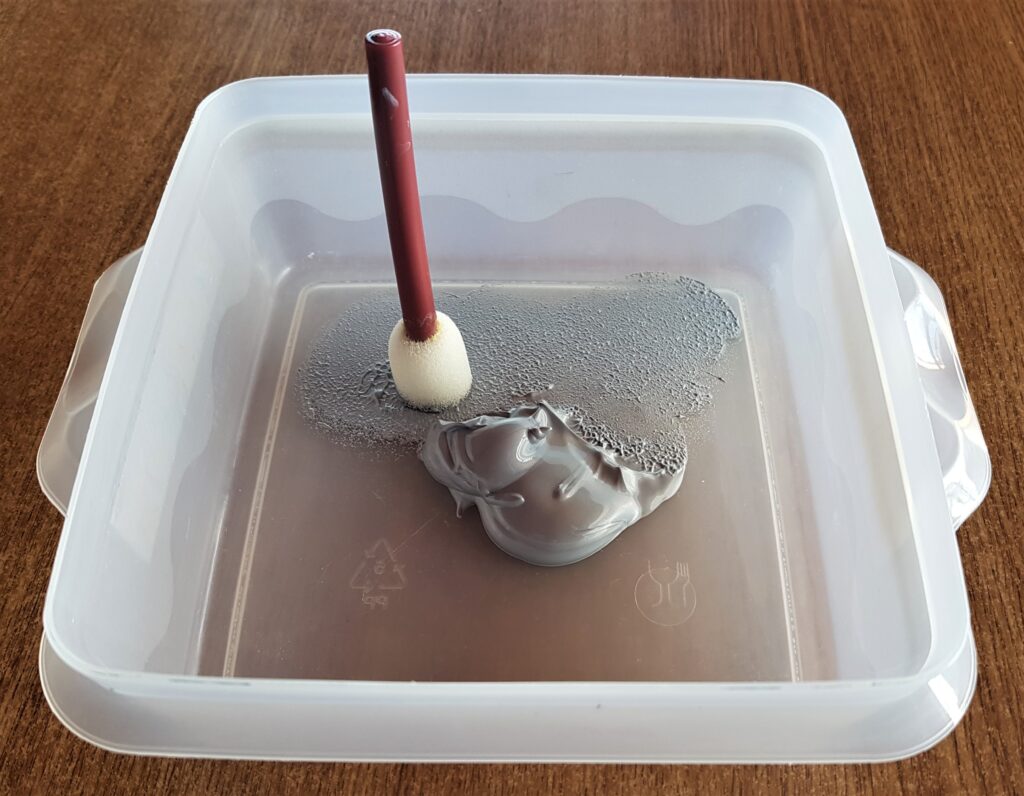
I poured some Paint into an old Plastic Tub and got a large and small Sponge with handlle.
Painting the Canvas
I dabbed the big sponge with handle into the Paint and dabbed the excess into another part of the tub to ensure the sponge wasn’t coated with Paint. I then dabbed the Sponge onto the Canvas; I tapped it onto the Canvas to blend the Paint.
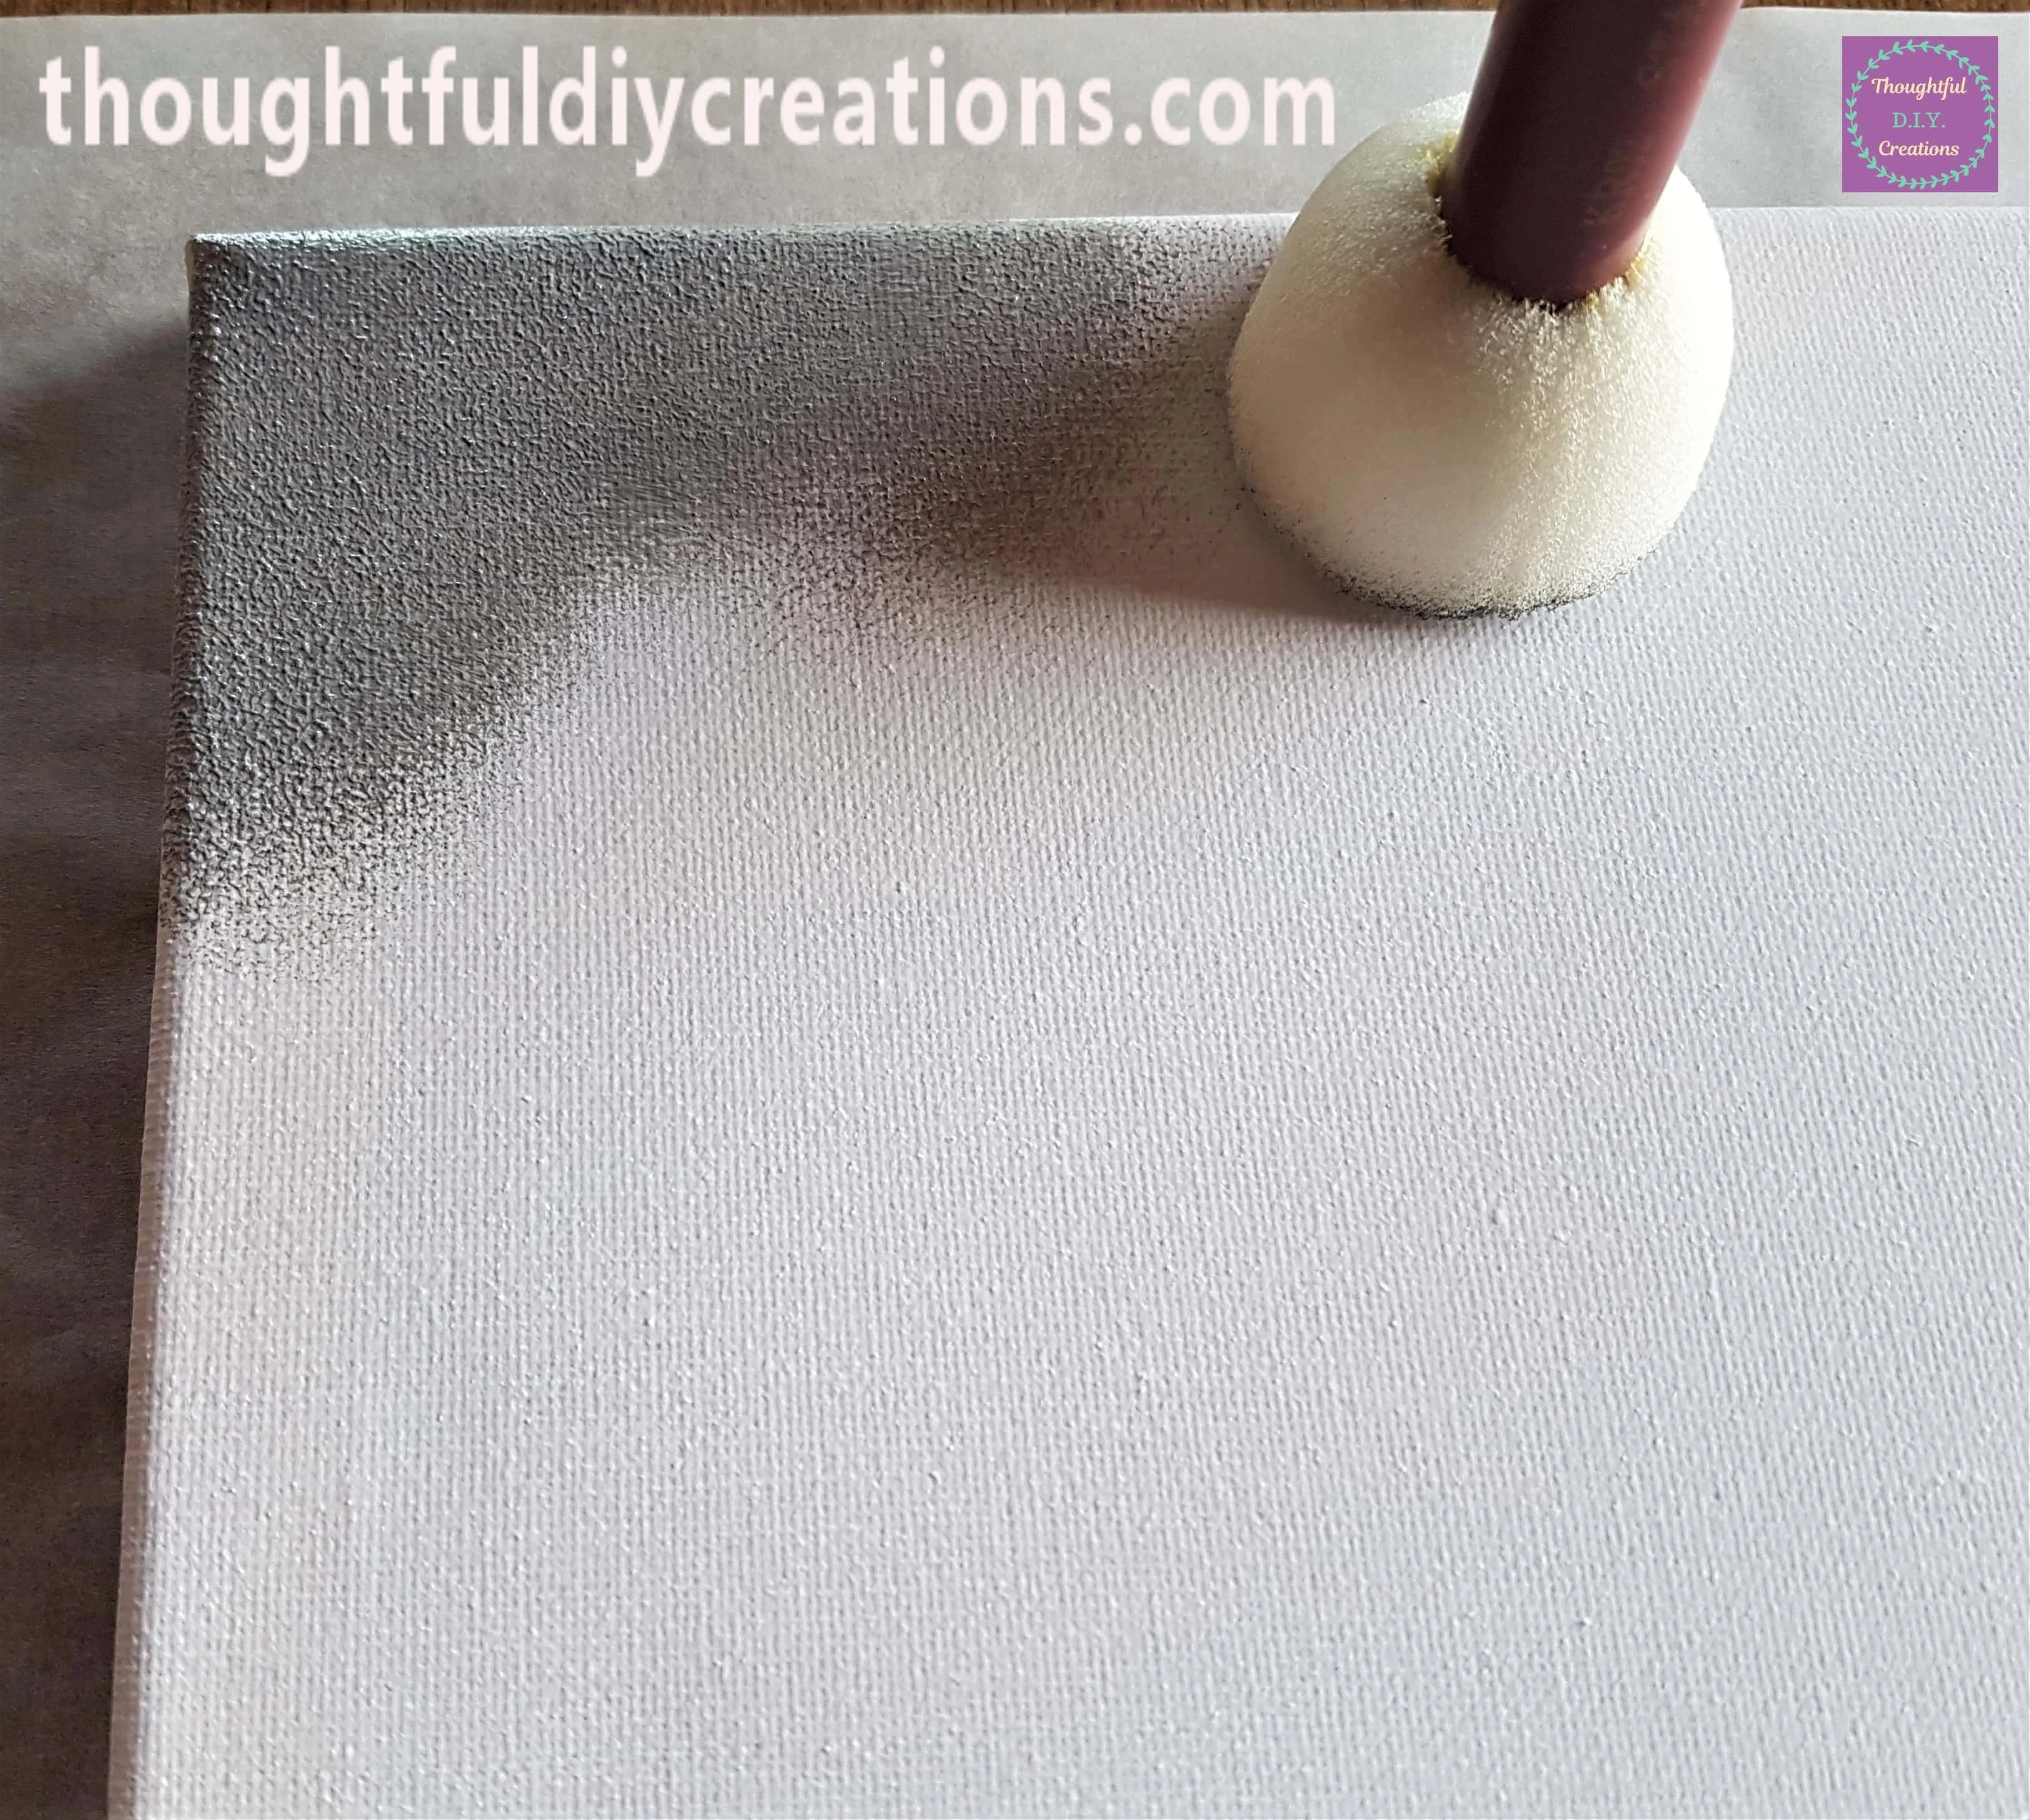
I added more Paint to the Sponge and dabbed it onto the Top part of the Canvas.
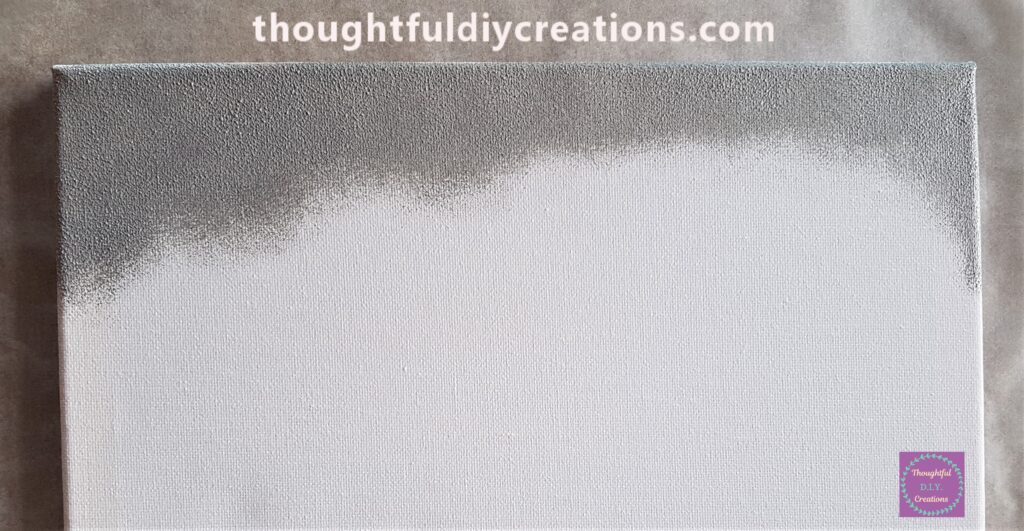
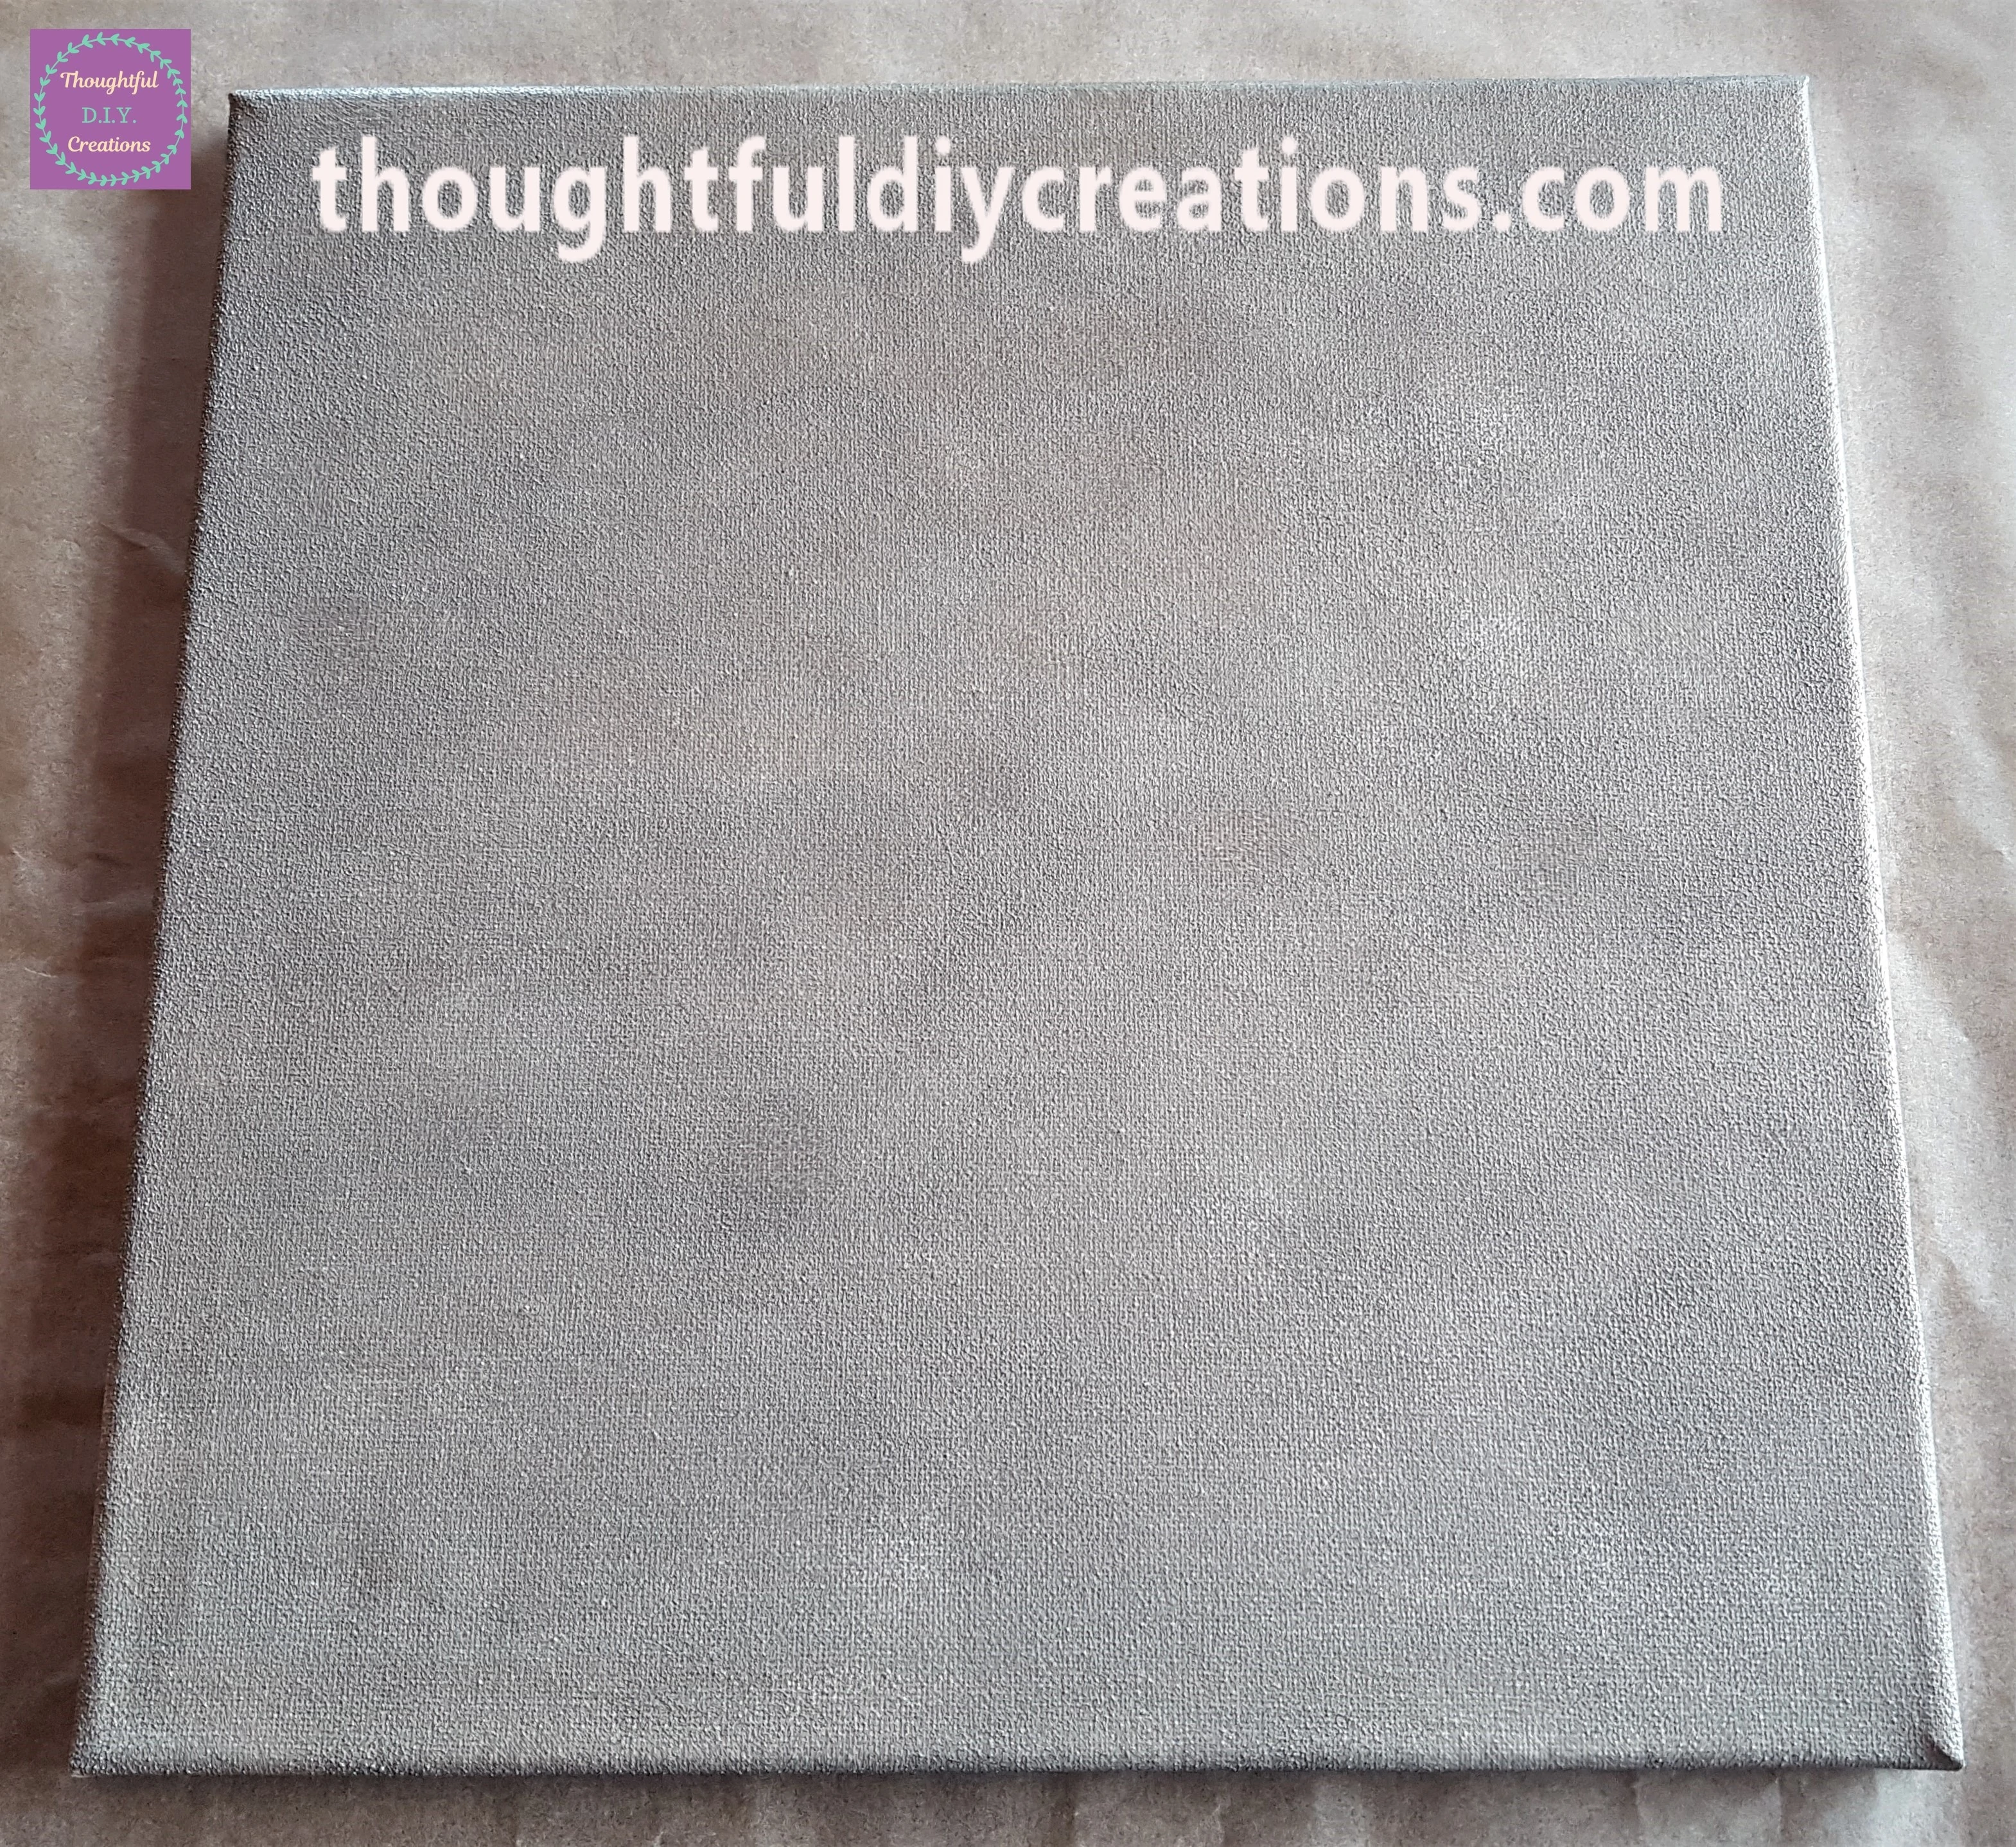
I continued with the process of adding Paint where I had left off with the Sponge and blending it into the Canvas until the front of the Canvas had an even layer of Paint.
I dabbed the smaller Sponge into the Paint and tapped the excess Paint into the Container.
I Painted the 4 Sides of the Canvas with the smaller Sponge.
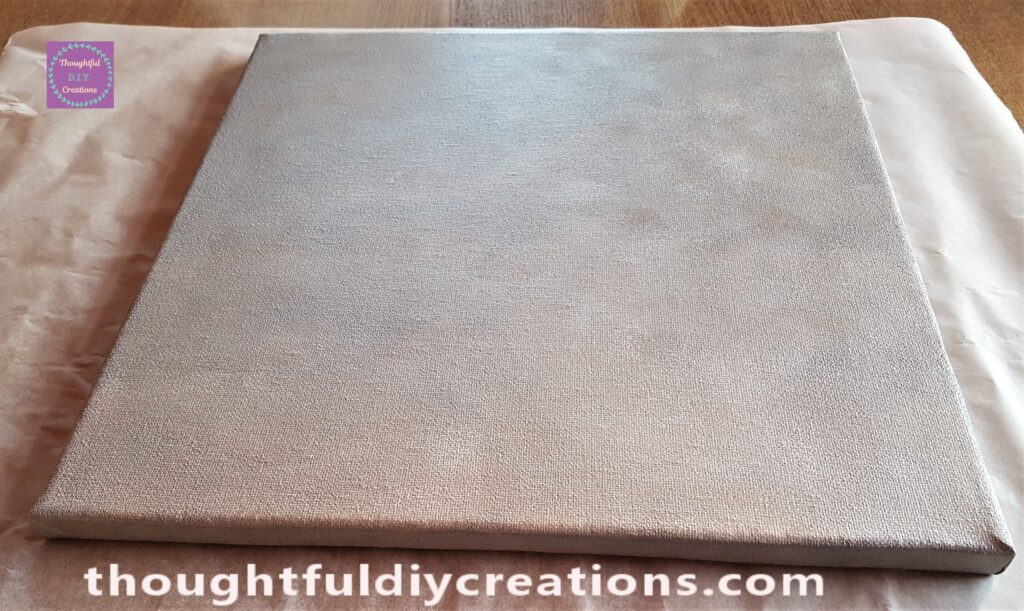
When the Paint was dry, there were round marks on different parts of the Canvas from the shape of the Sponge. I love Painting with a Sponge on Glass Jars as it doesn’t leave brush strokes and can be a quicker method of Painting, but it didn’t provide a nice effect on the Canvas.
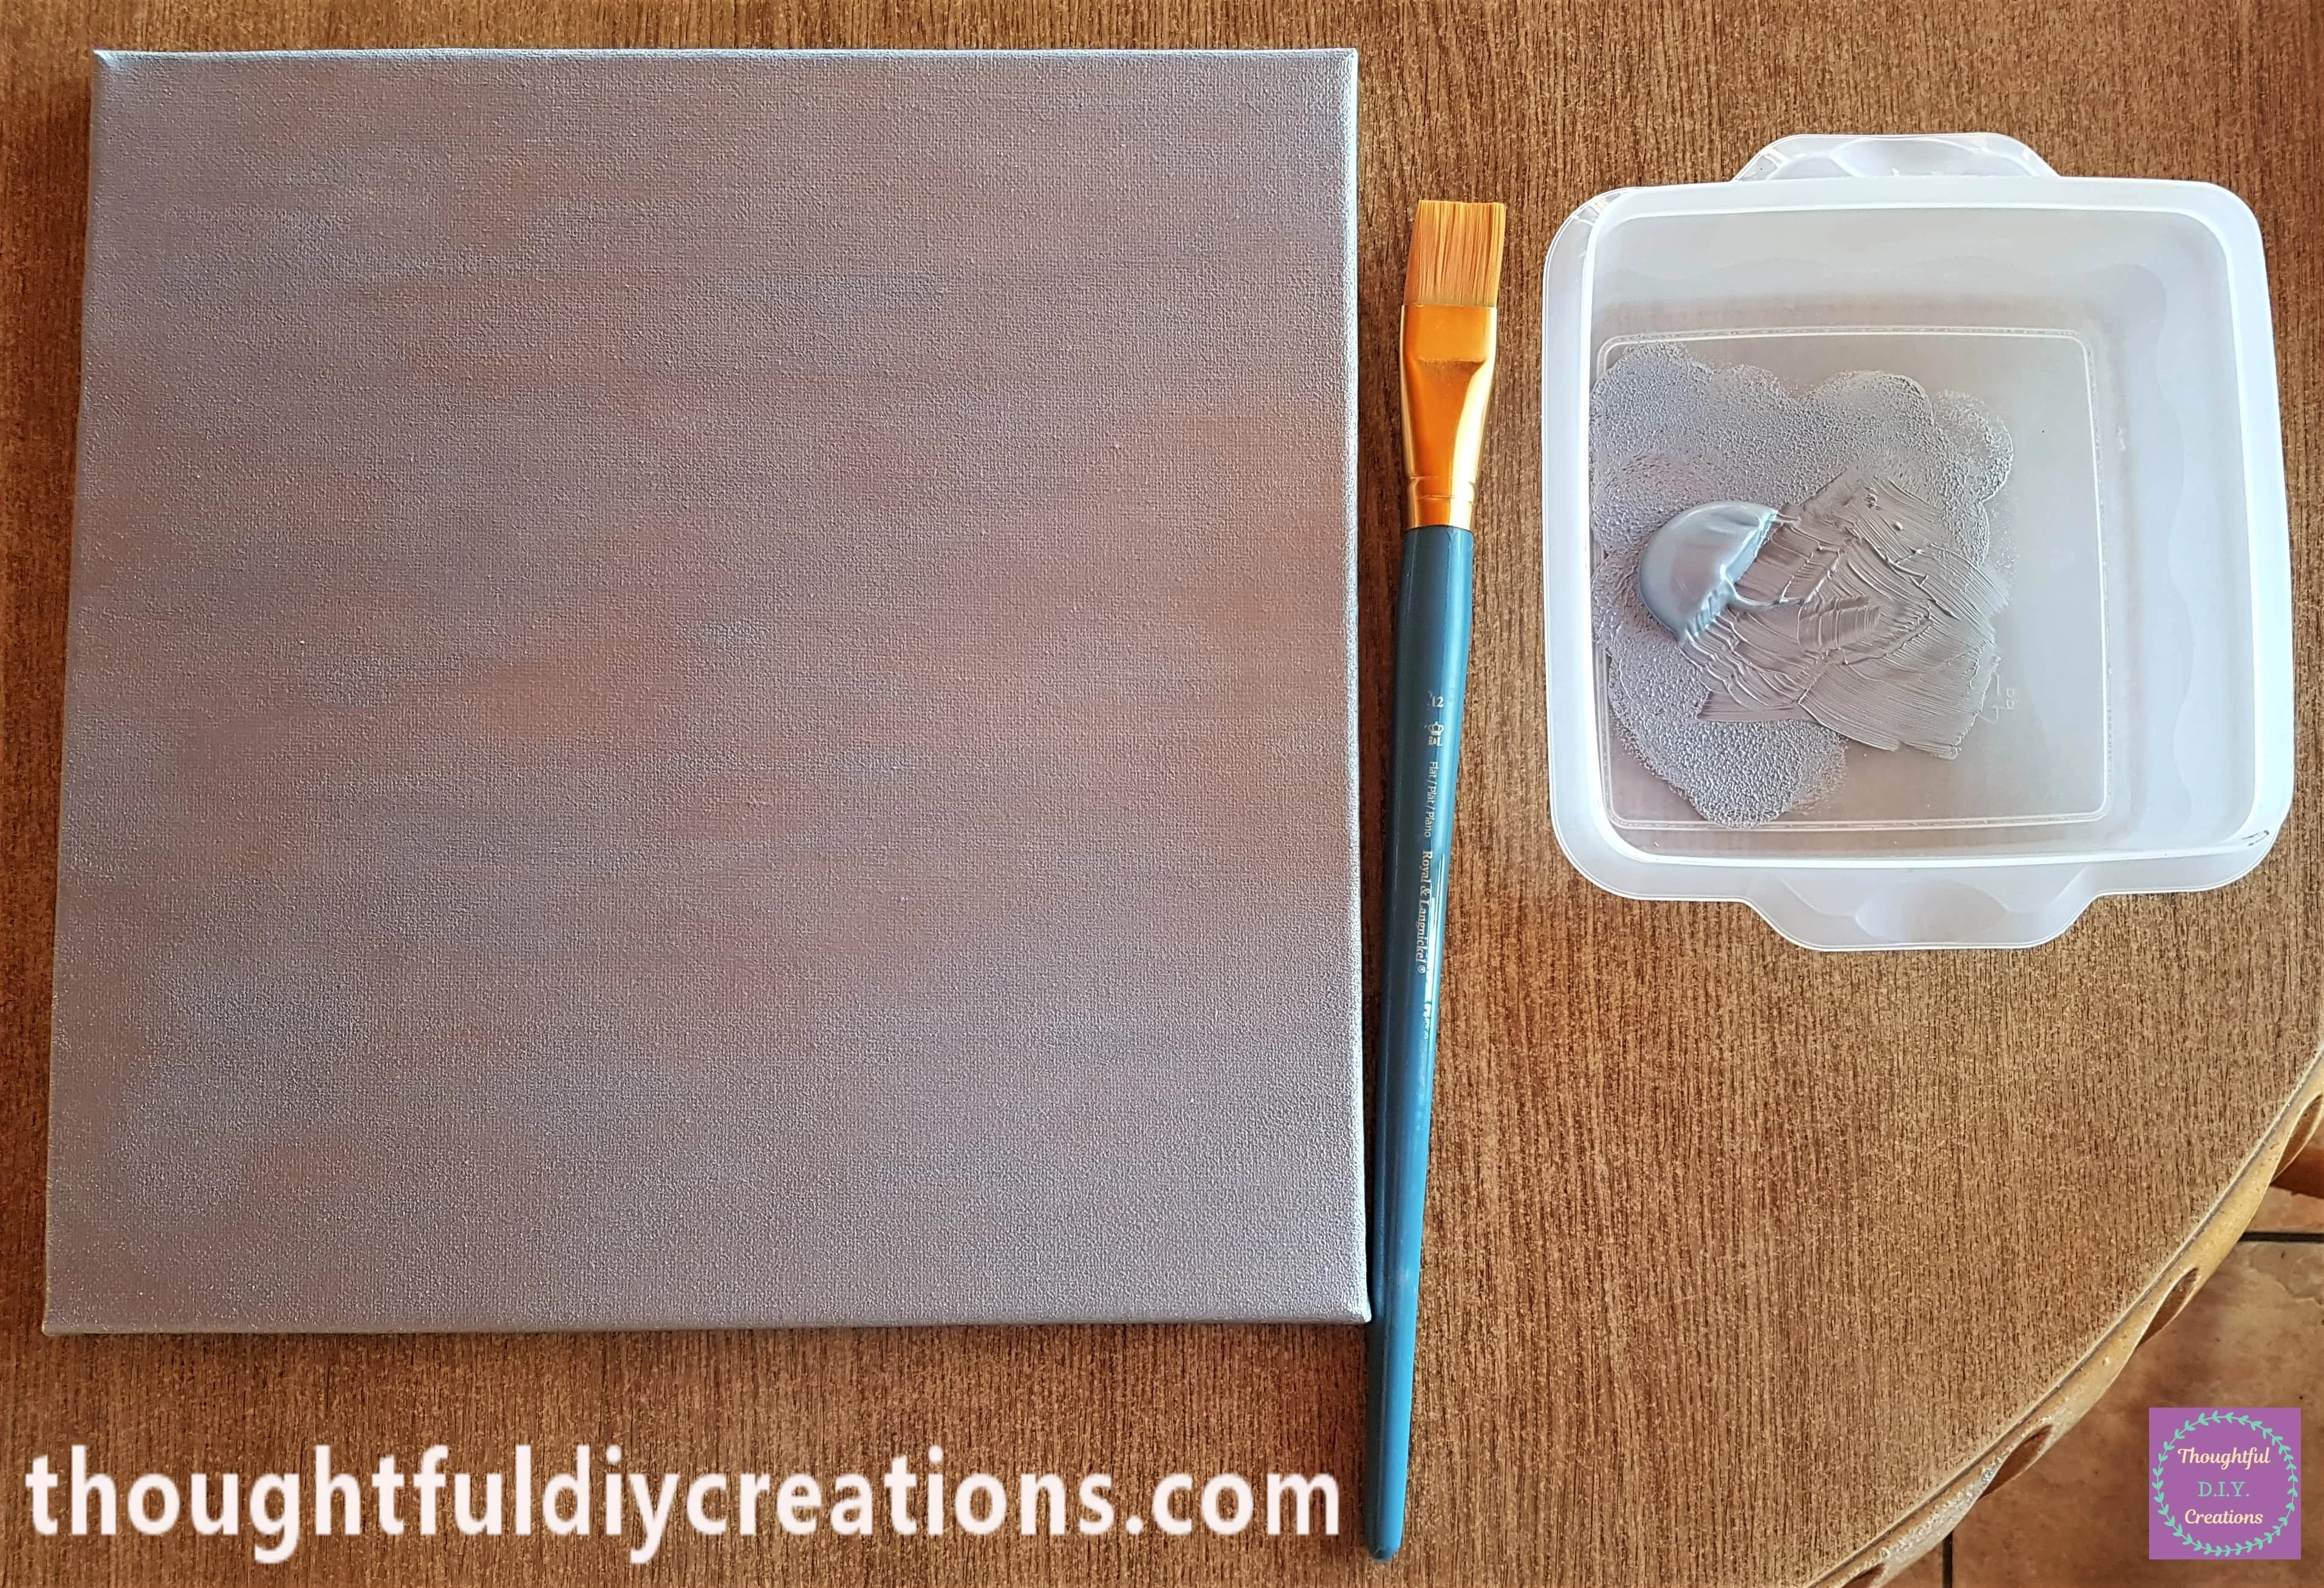
I Painted the second layer of Silver Paint onto the Canvas with a Flat 1 Inch Paintbrush. It was now nice and smooth.
Light-Up Flowers
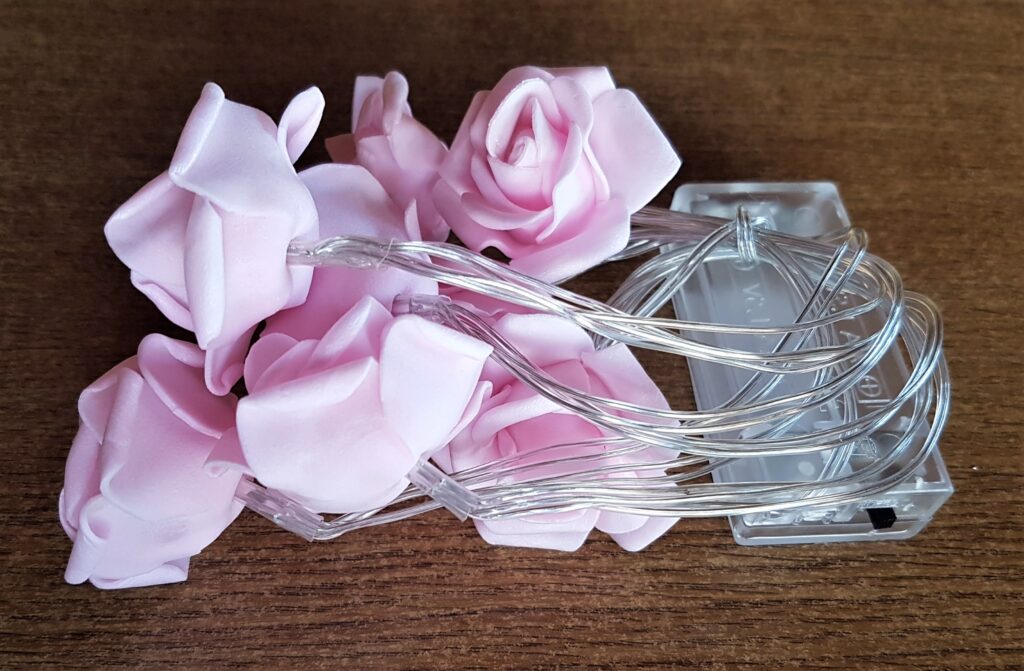
I got my Set of ‘Pink Light-Up Roses, Battery Pack, String Lights’.
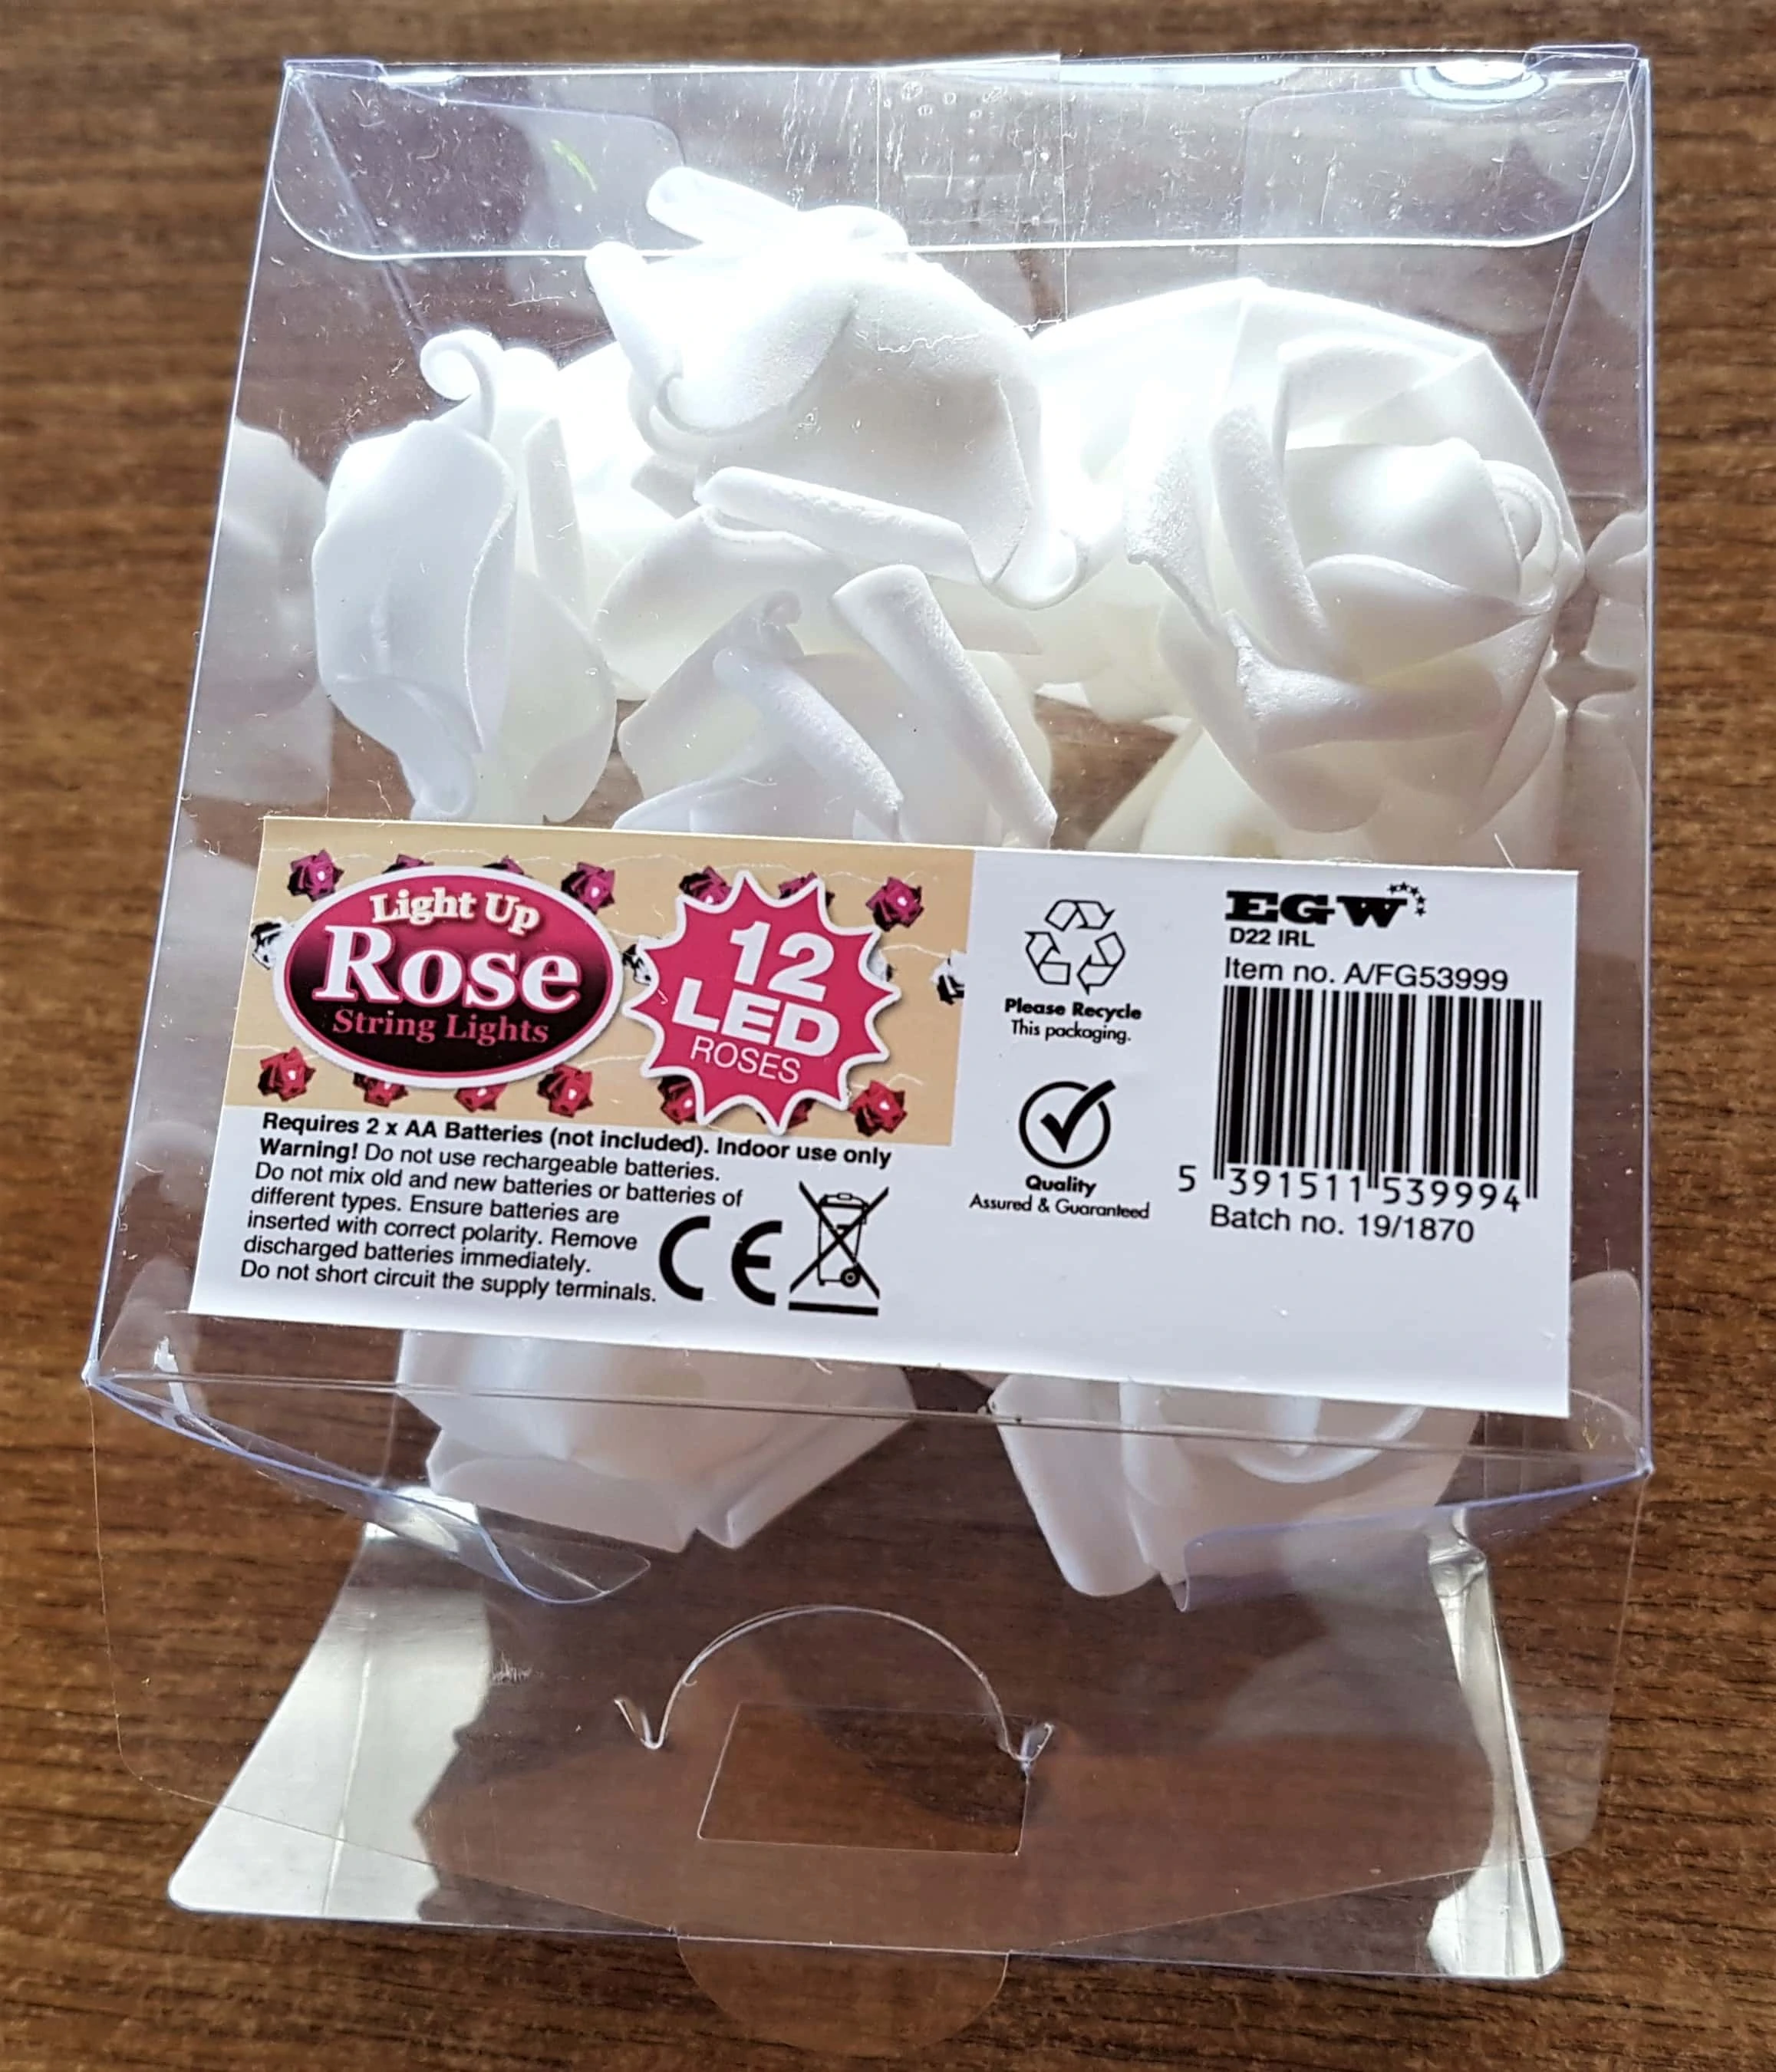
I also got my ‘White Light-Up Roses, String Lights’.
Separating the Flowers from the Lights
I removed the Pink Foam Roses from the Lights. I also removed the White Foam Roses from the Lights. They just pop off. I am using 10 of each Colour. The Pink Flowers came in a Pack of 8, I used 1 full Pack and removed 2 more Flowers from another Pack. The White Flowers came in a Pack of 12 so I had 2 left over from the one Pack.
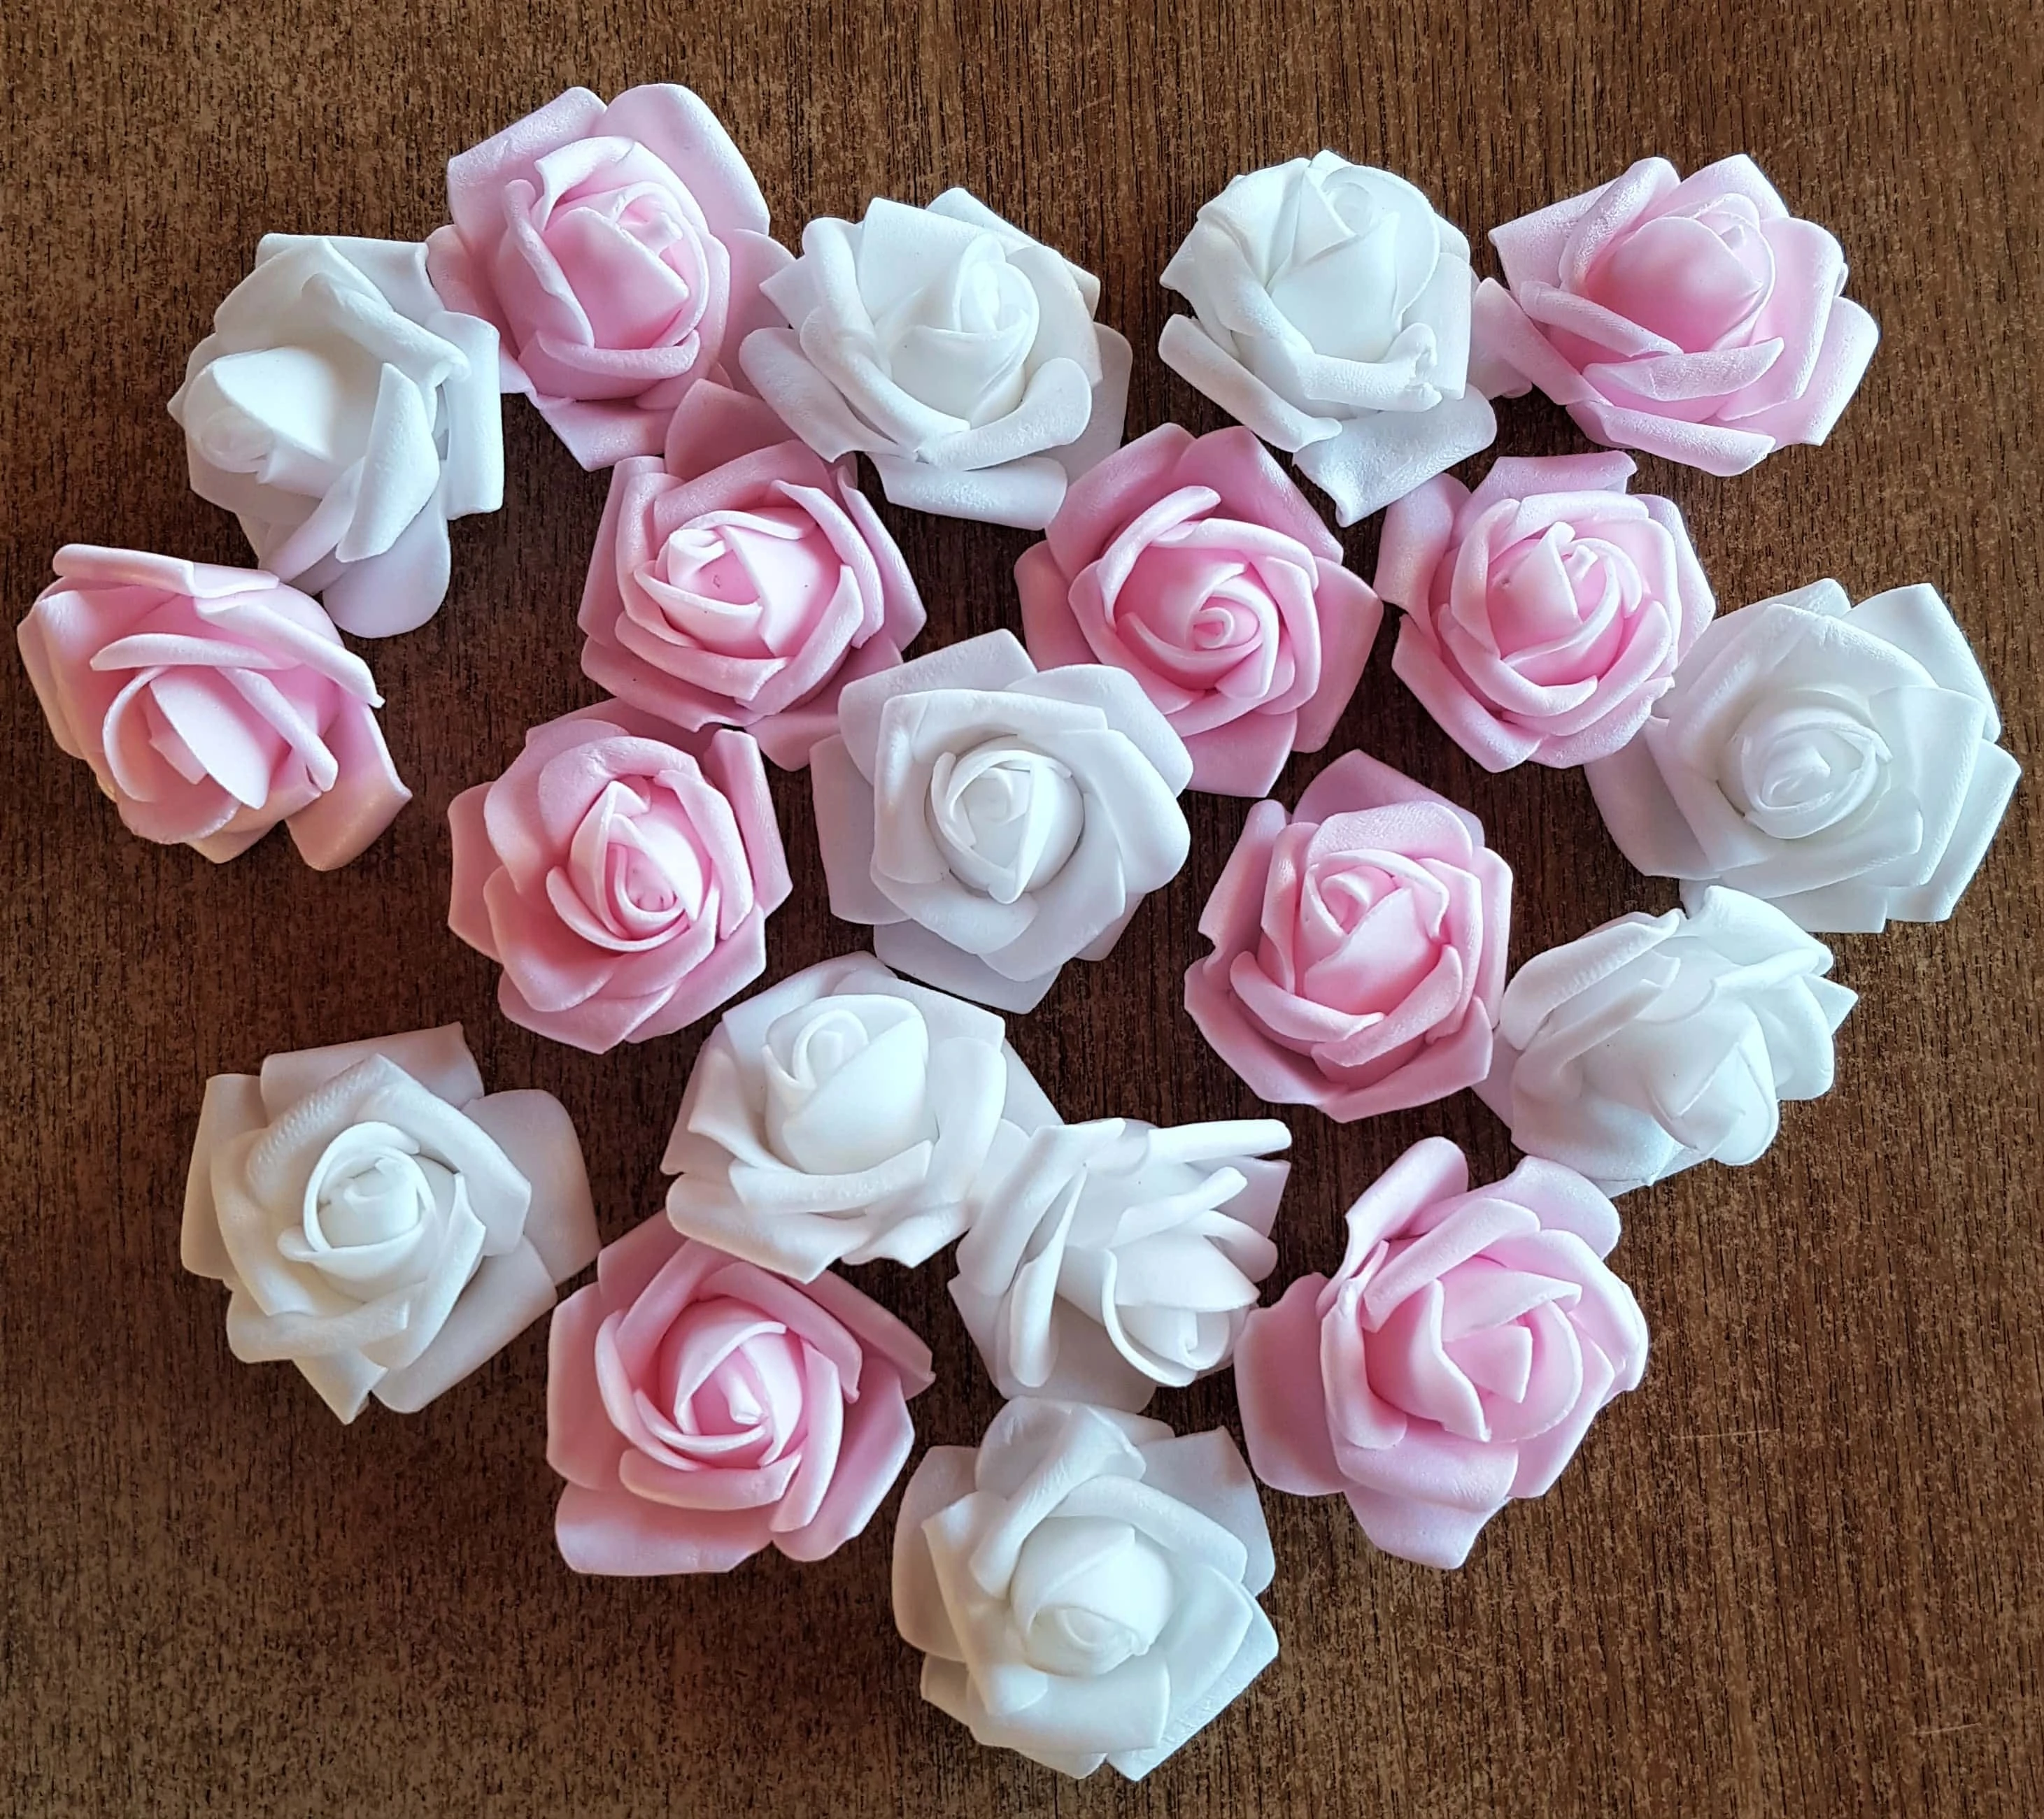
Making the Heart with the Flowers
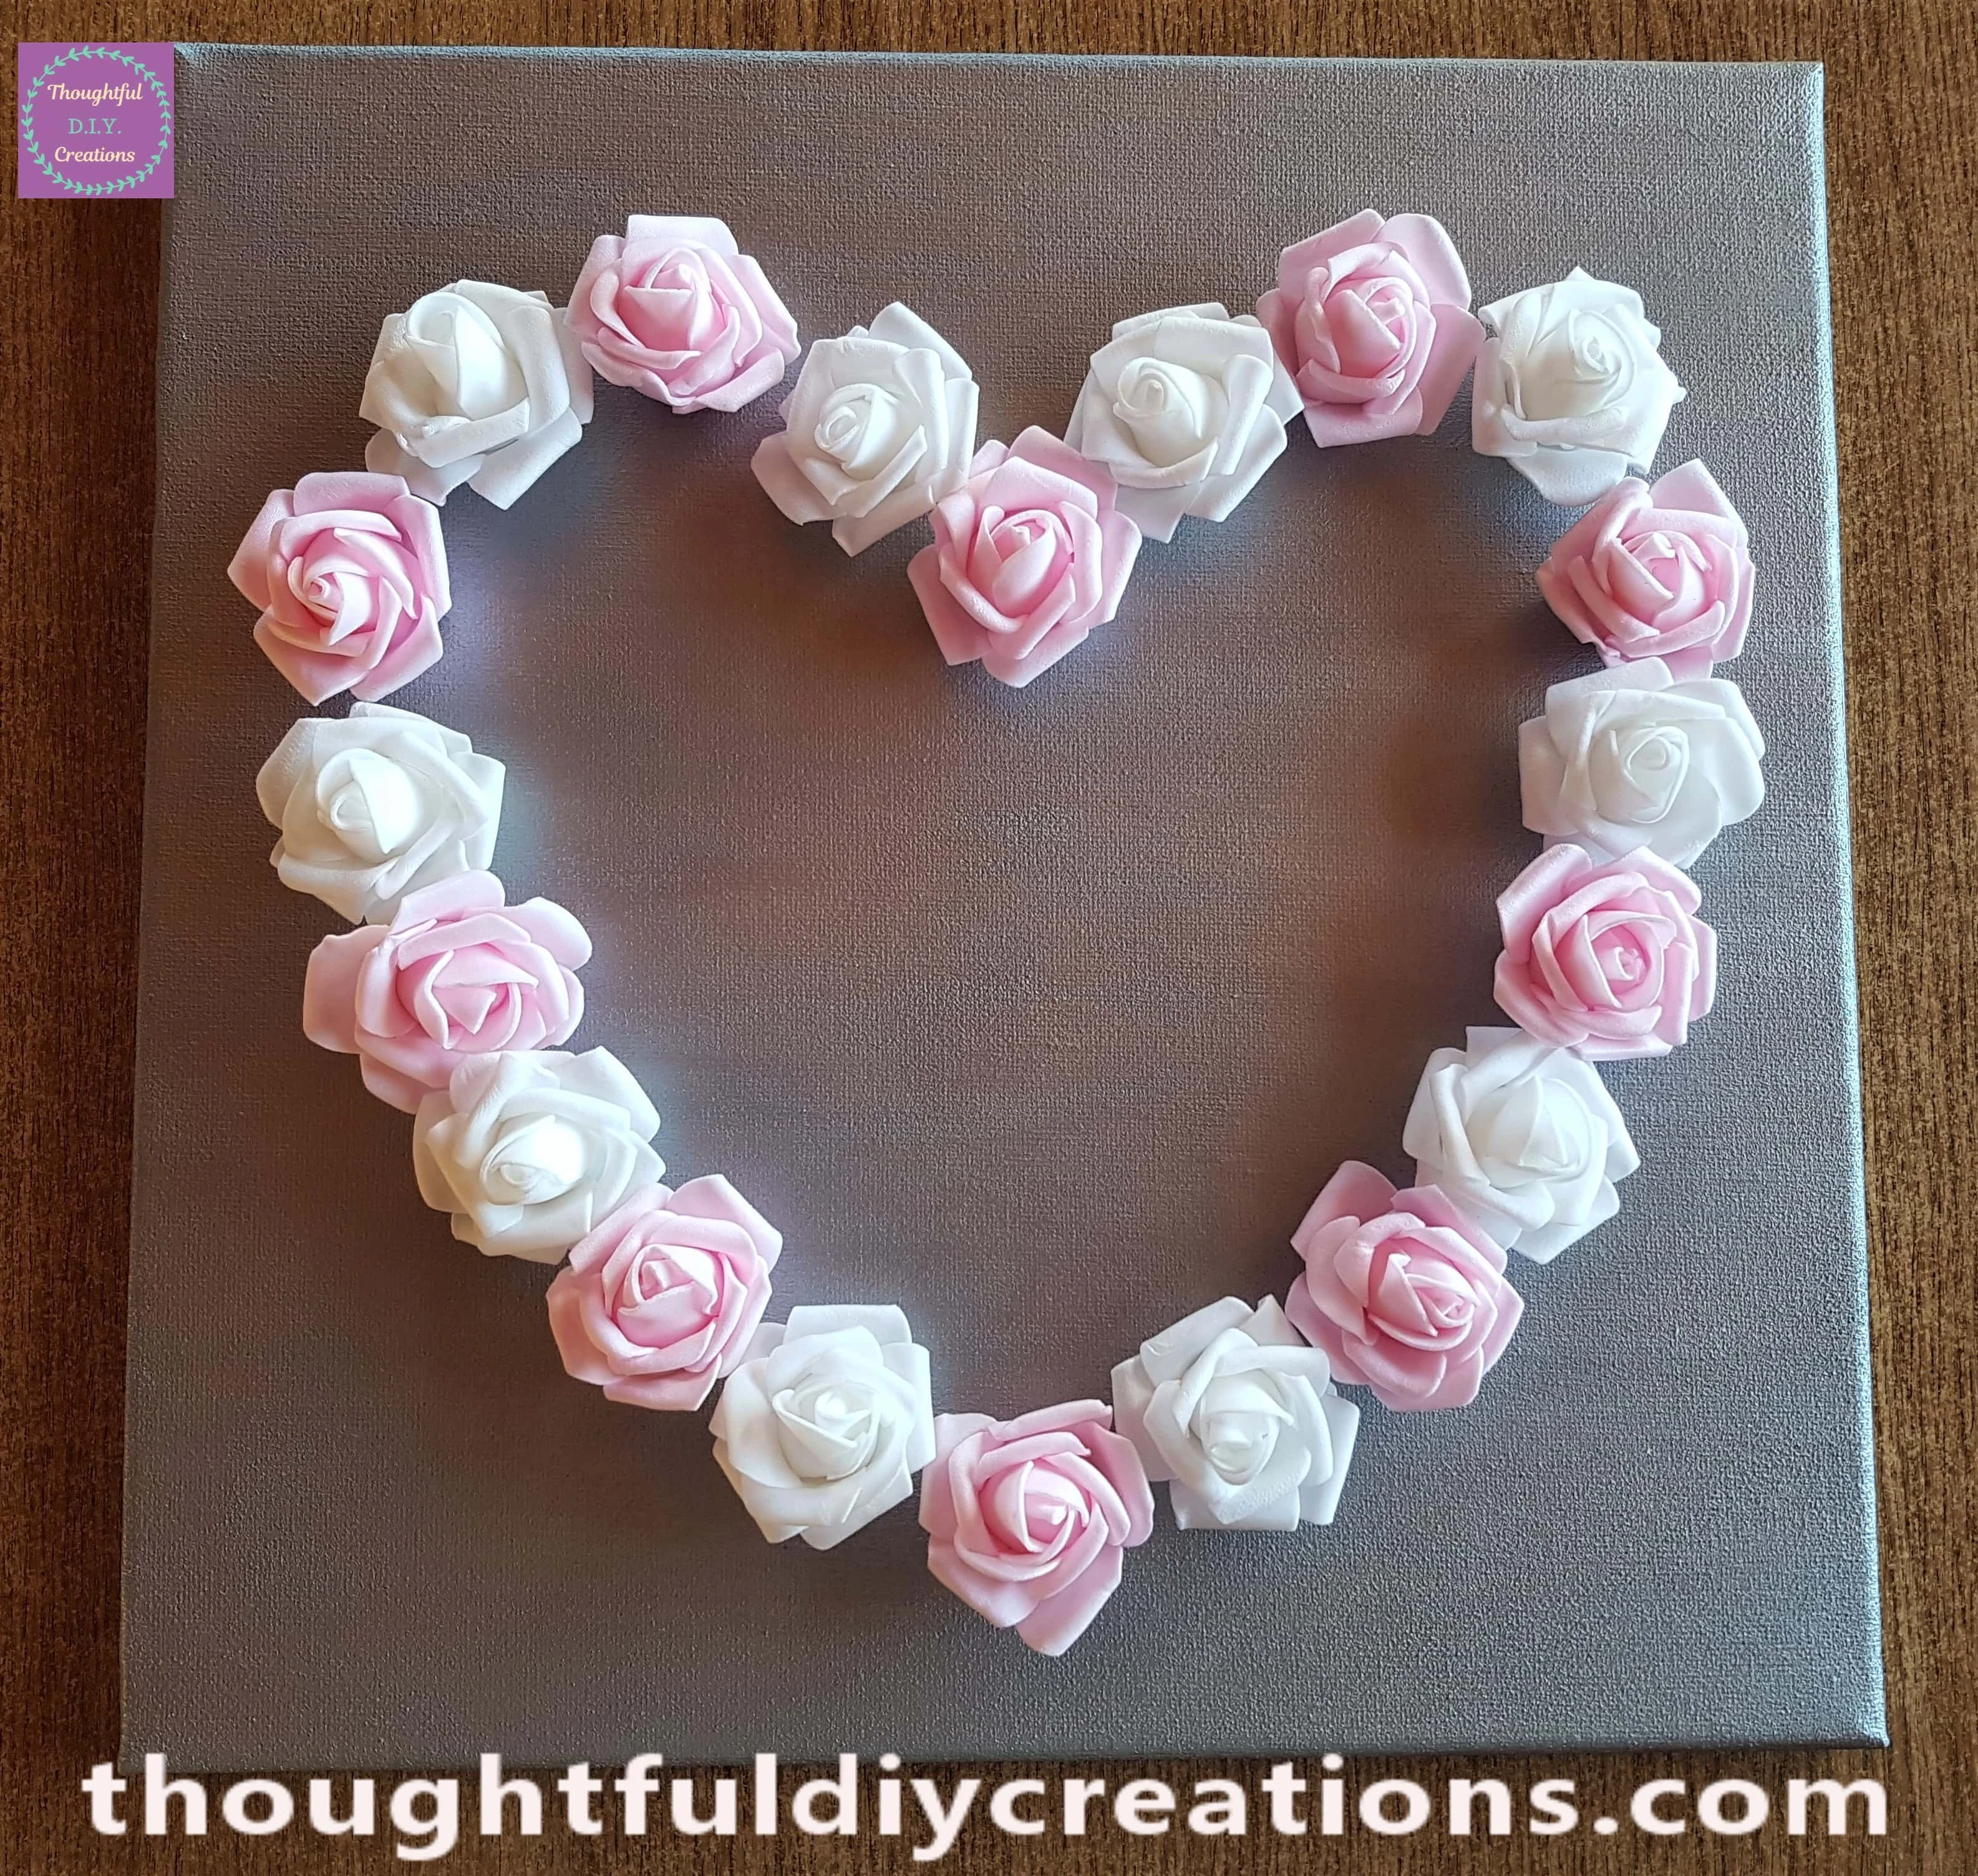
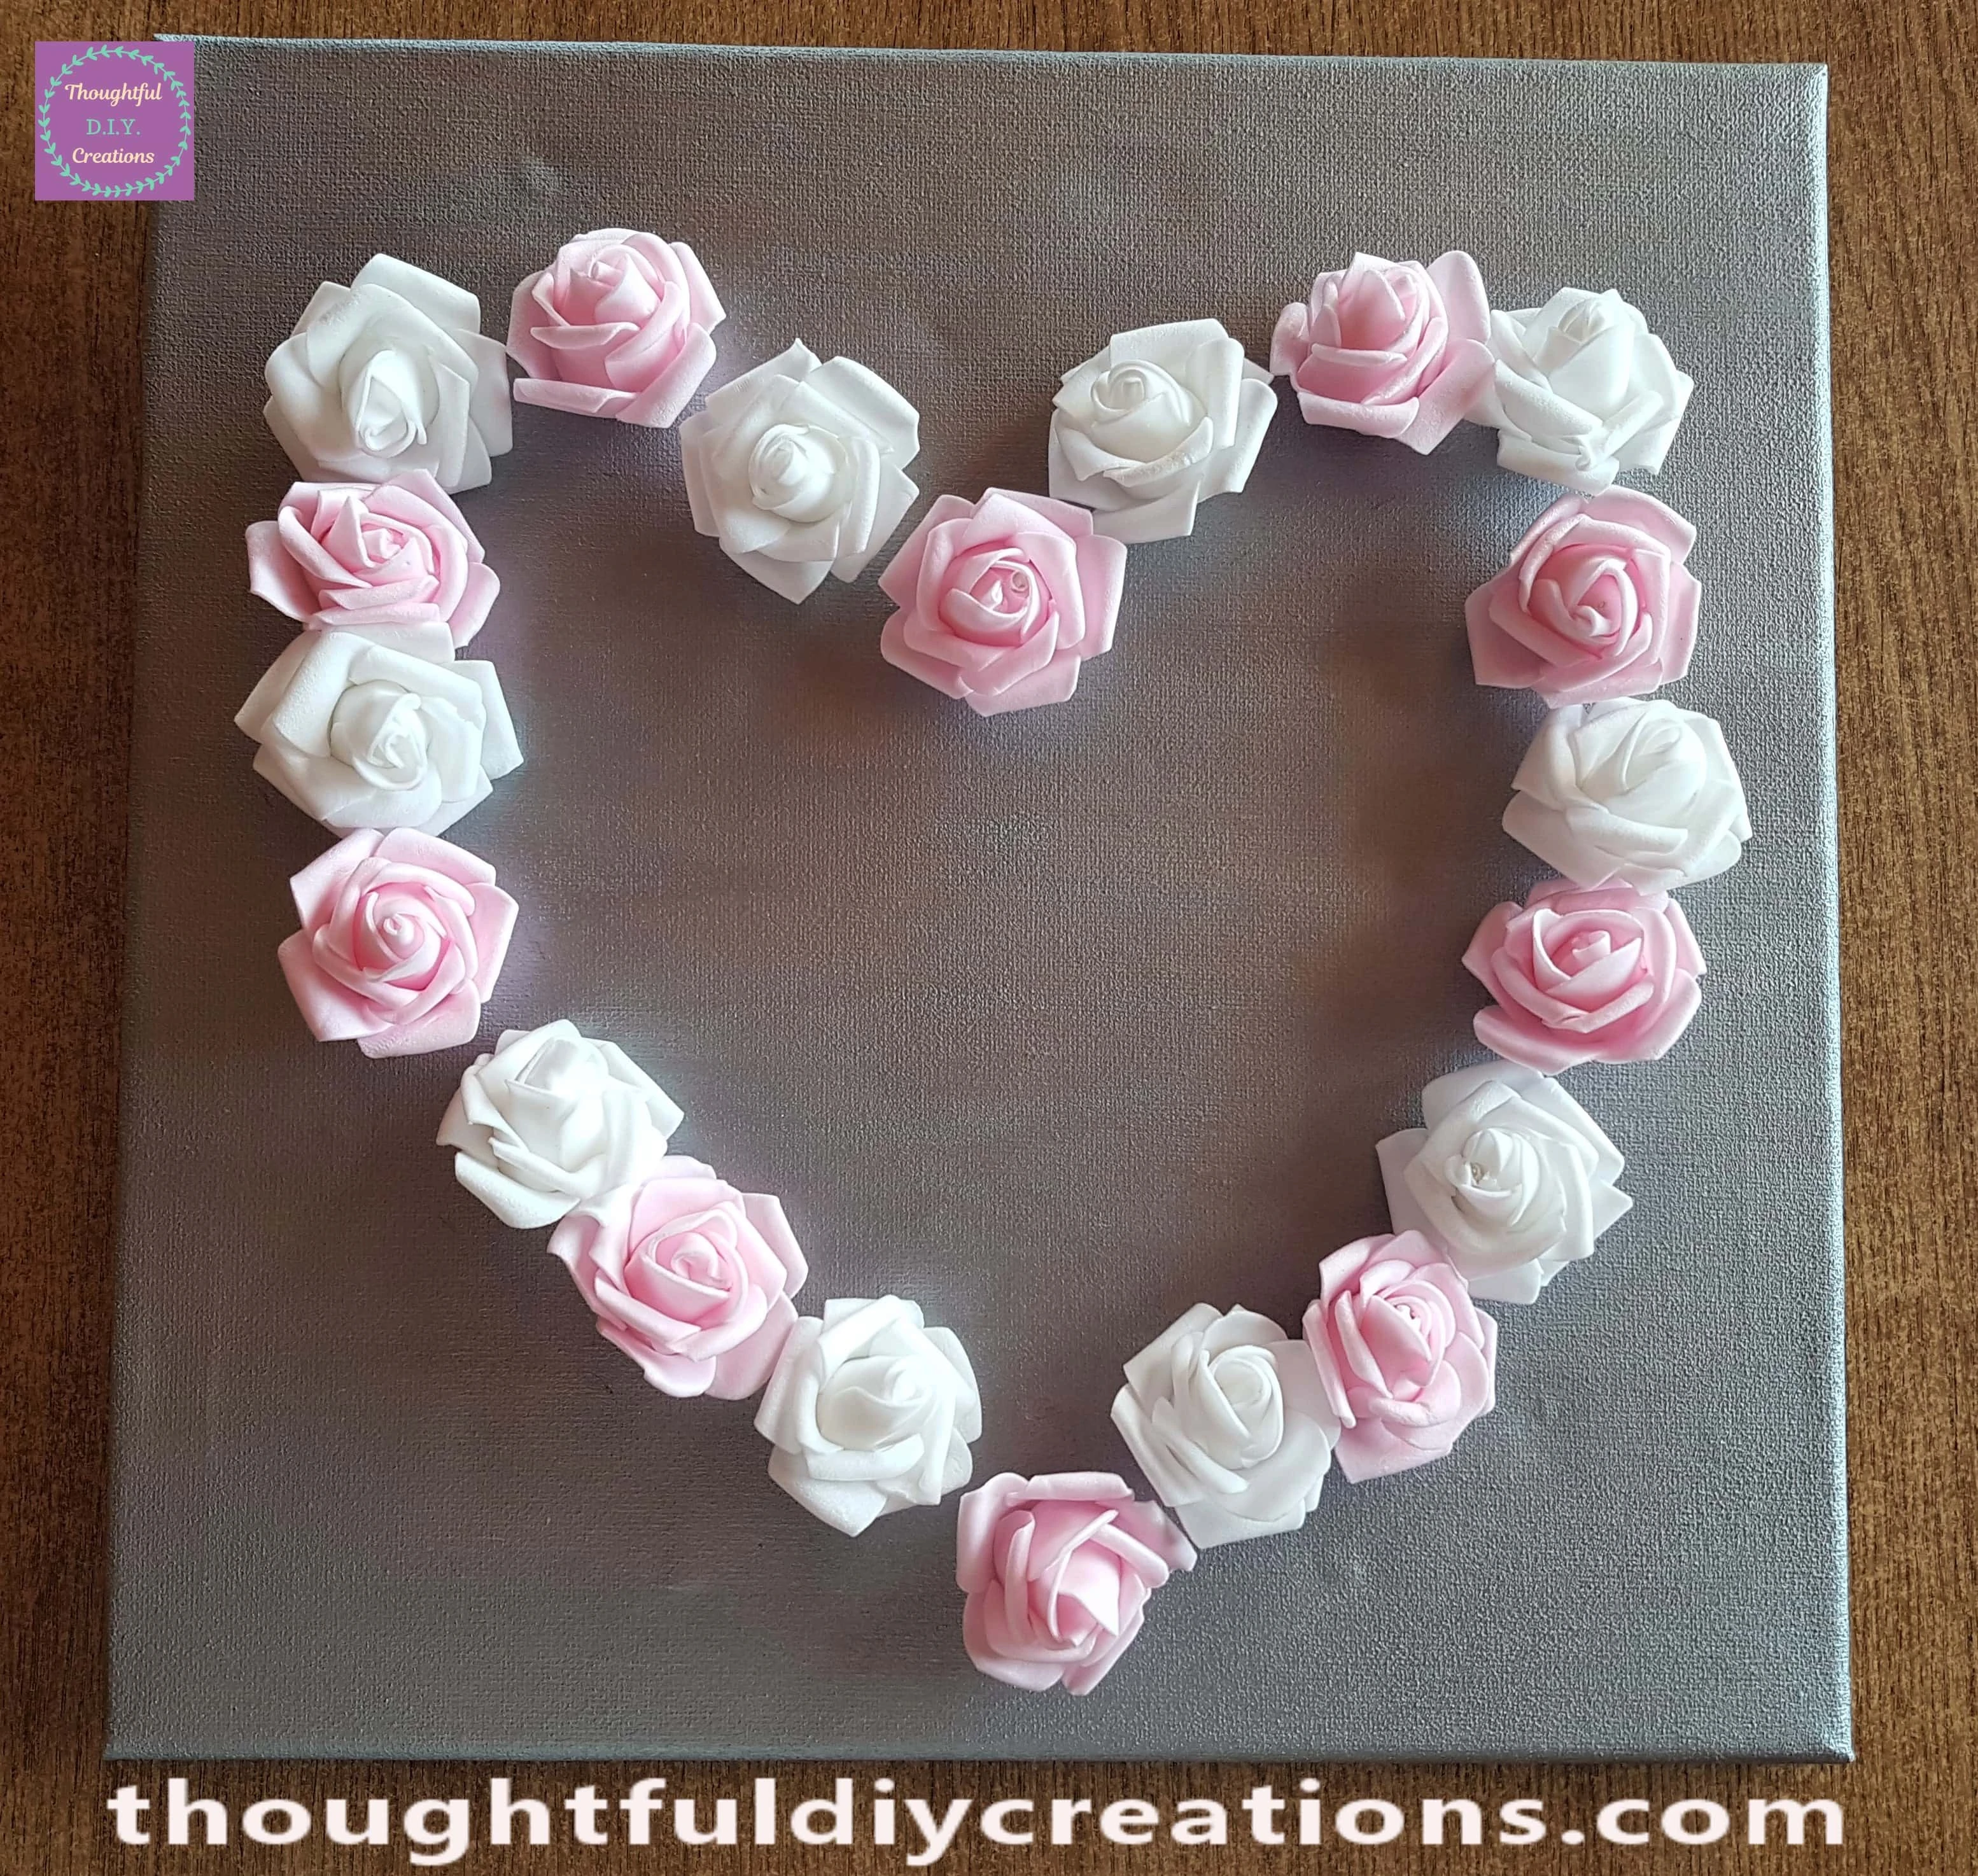
I arranged the Pink and White Roses into the Shape of a Heart on the Canvas alternating each colour.
Preparing the Canvas for the Light-Up Flowers
I started with the Pink Rose in the center of the Canvas. I got a Pencil and made a mark on the Canvas at the Top and Bottom of the Rose.
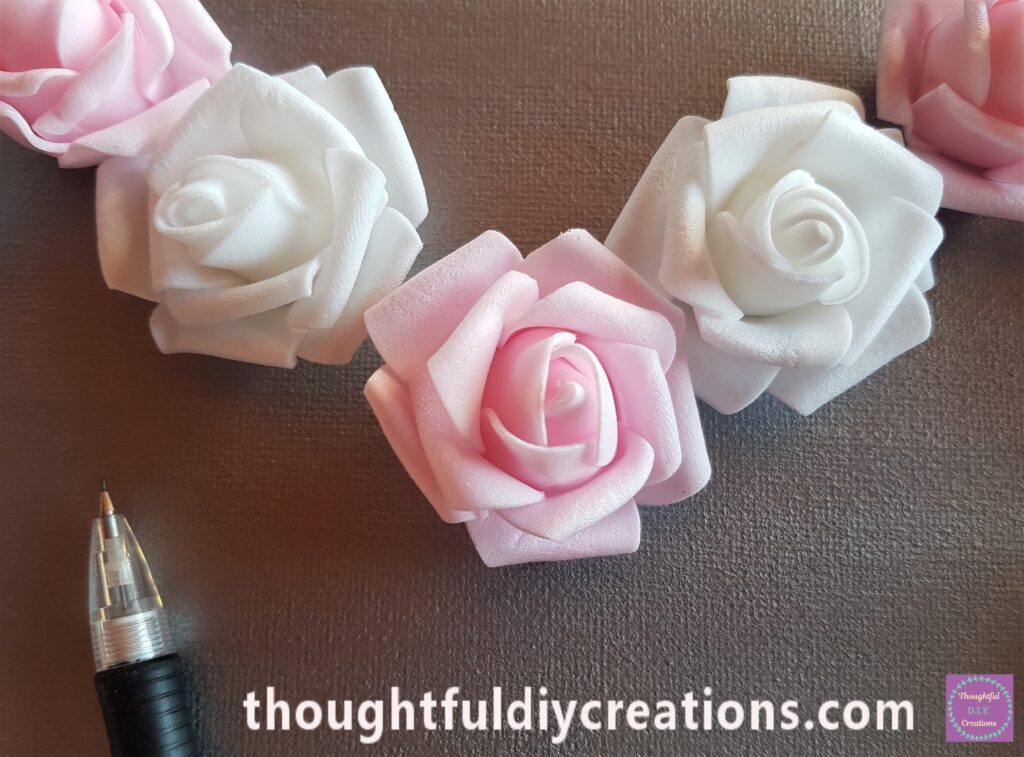
I then removed the Rose and made a Hole in the center of the 2 lines I had marked for the Top and Bottom of the Flower. I used a Blade to make the Hole in the Canvas.
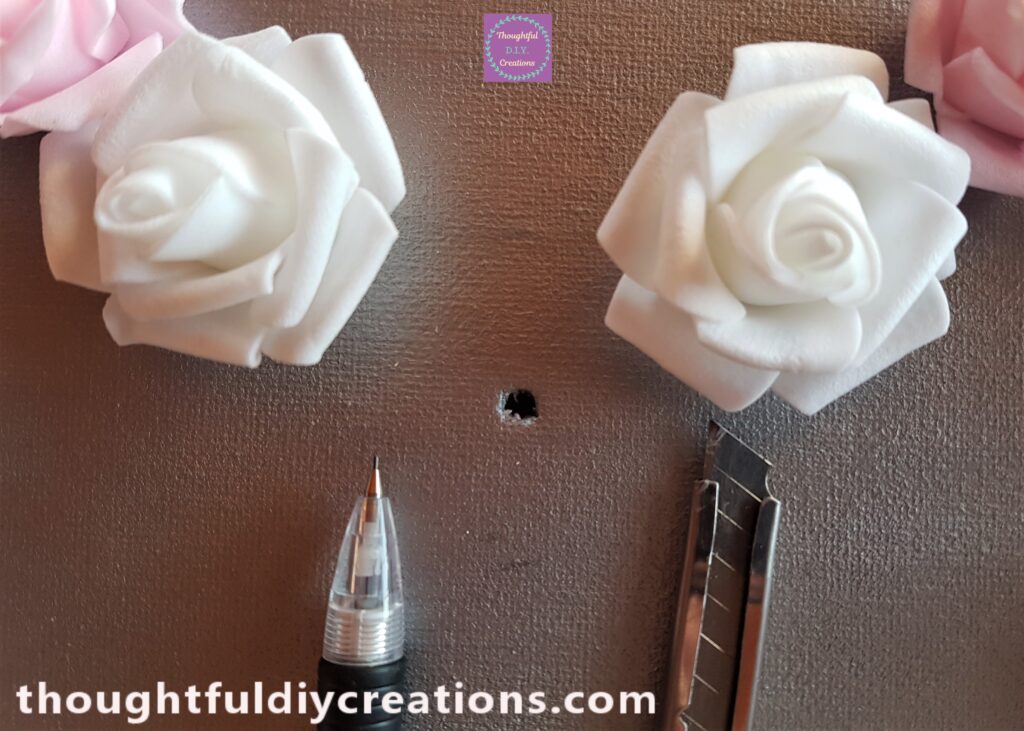
I repeated this process with every Flower on the Canvas. I left all the Roses on the Canvas, made the Mark for the Top and Bottom of each Rose with the Pencil, then removed the Rose and made a Hole with the Blade, then put the Rose back on the Canvas and moved onto the next one.
This is How the Canvas looks with all the markings and the Holes in the Shape of the Heart.
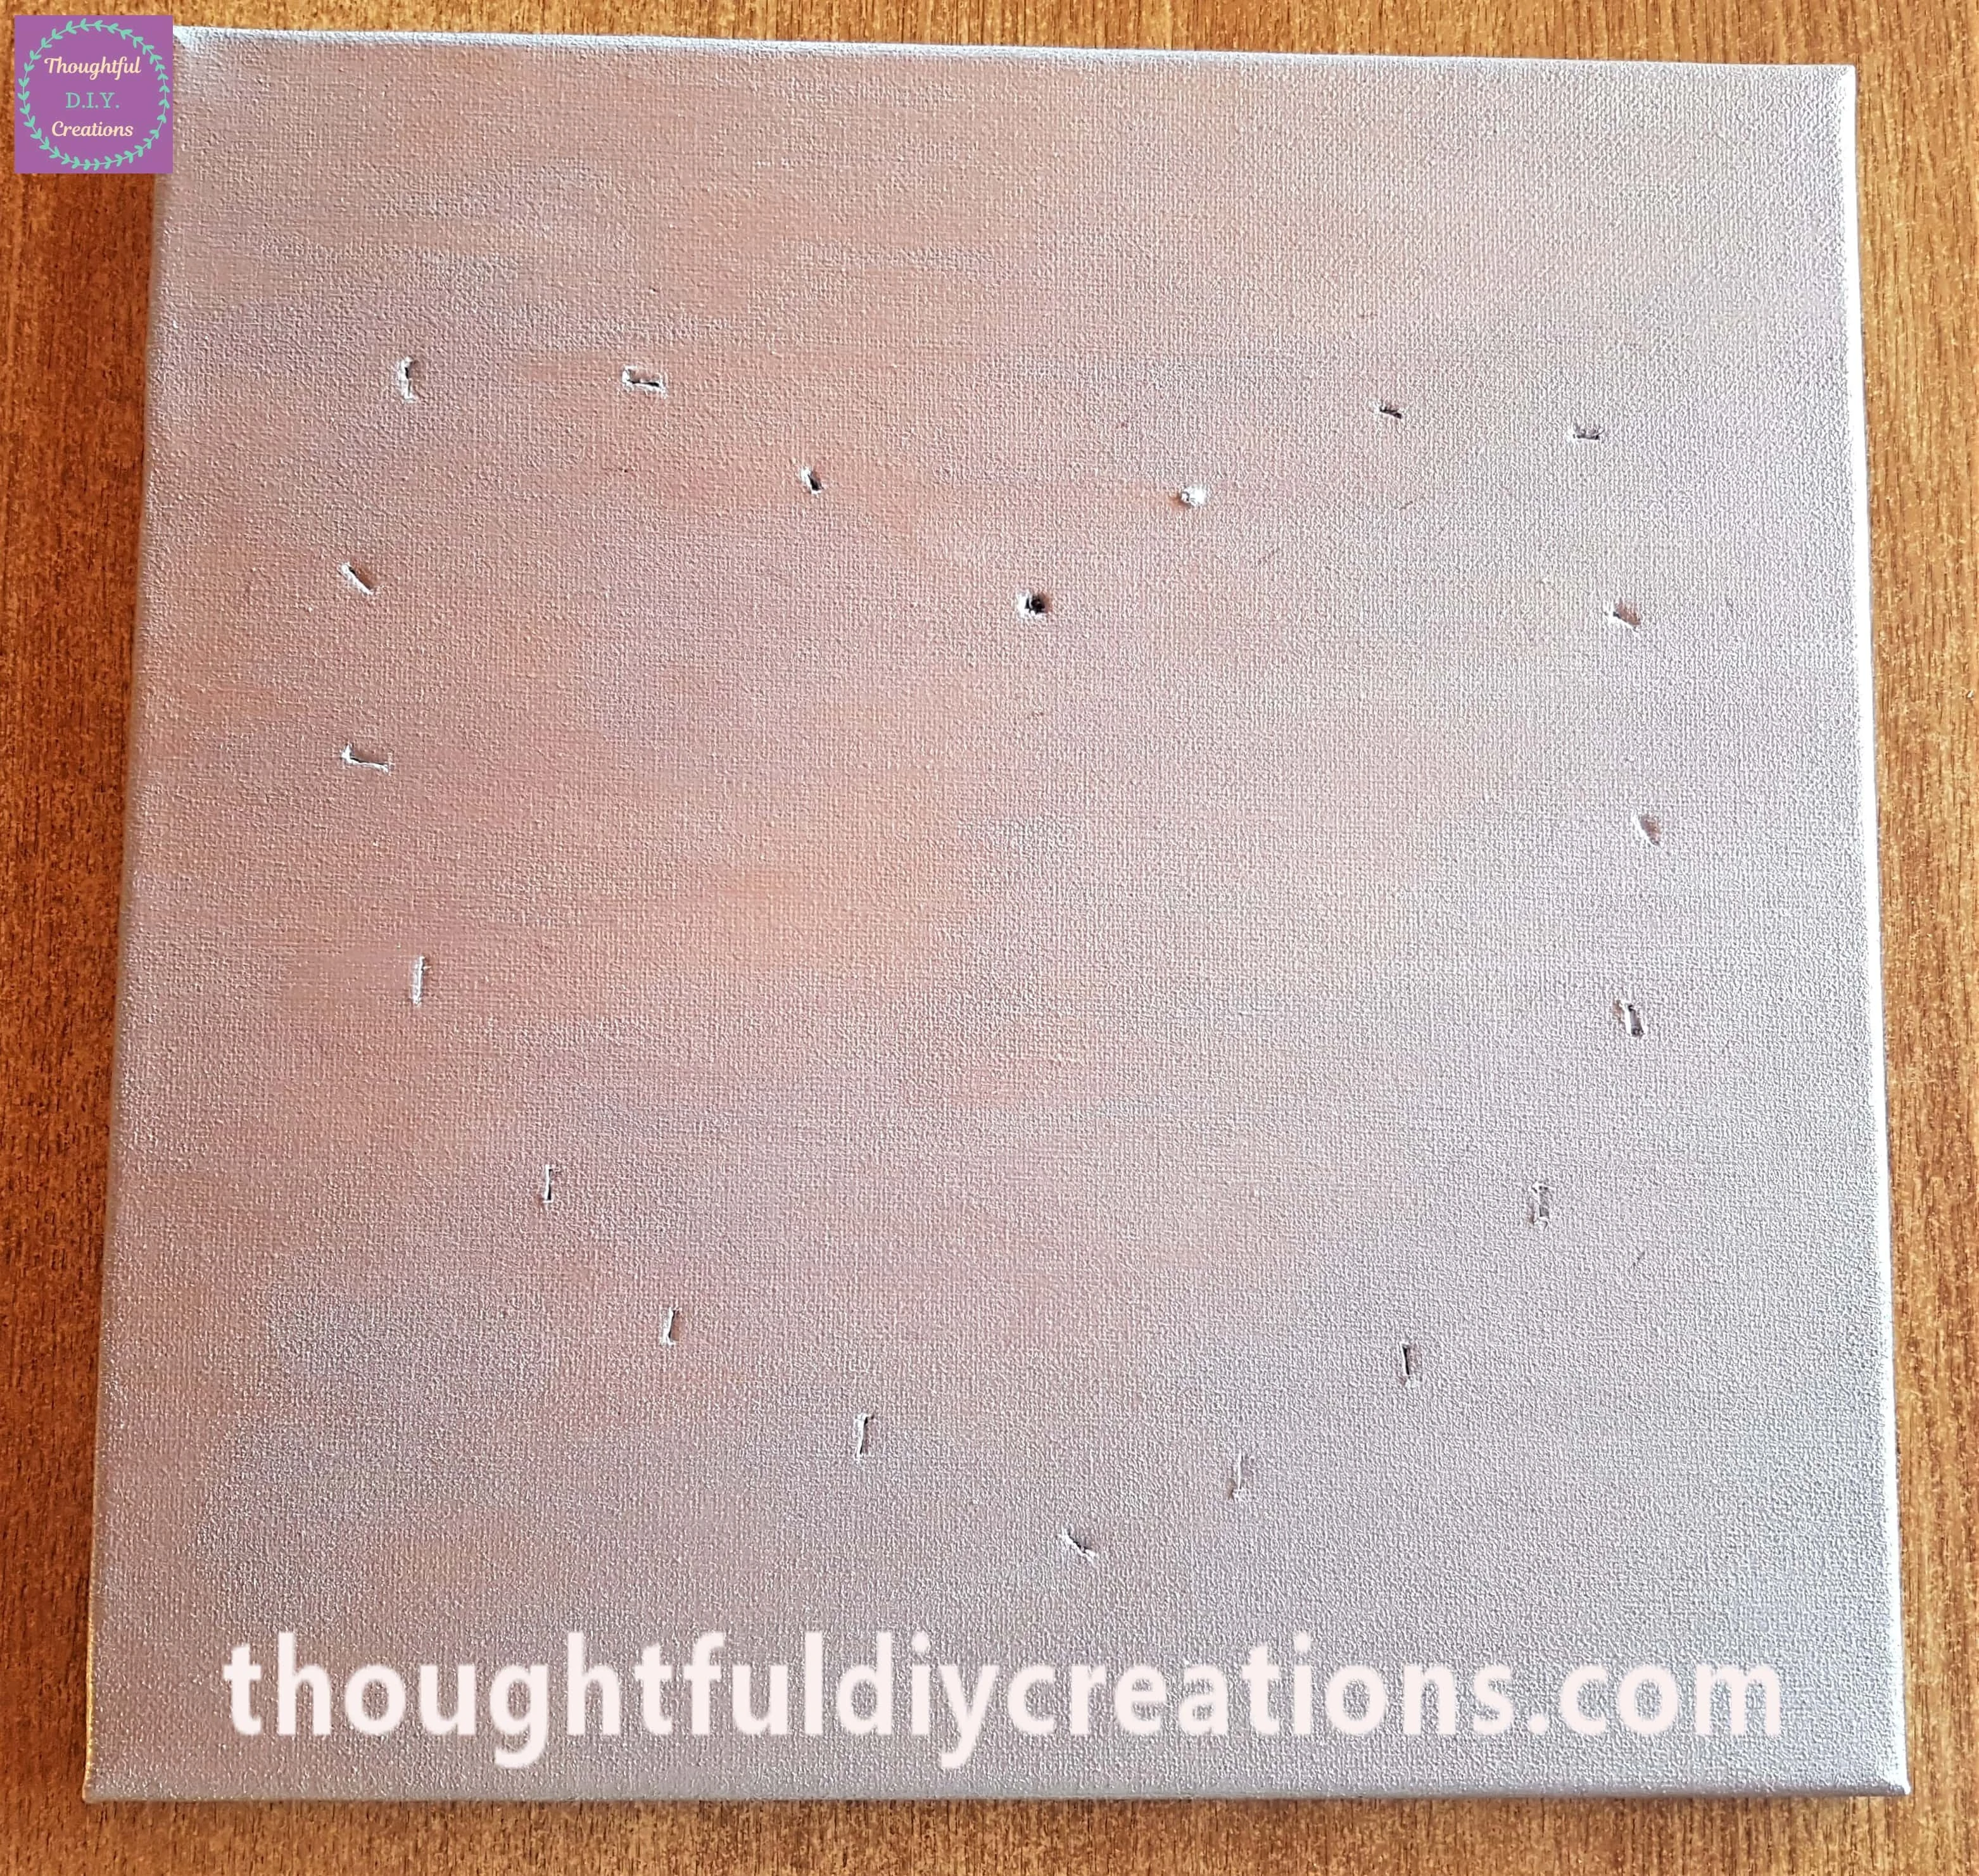
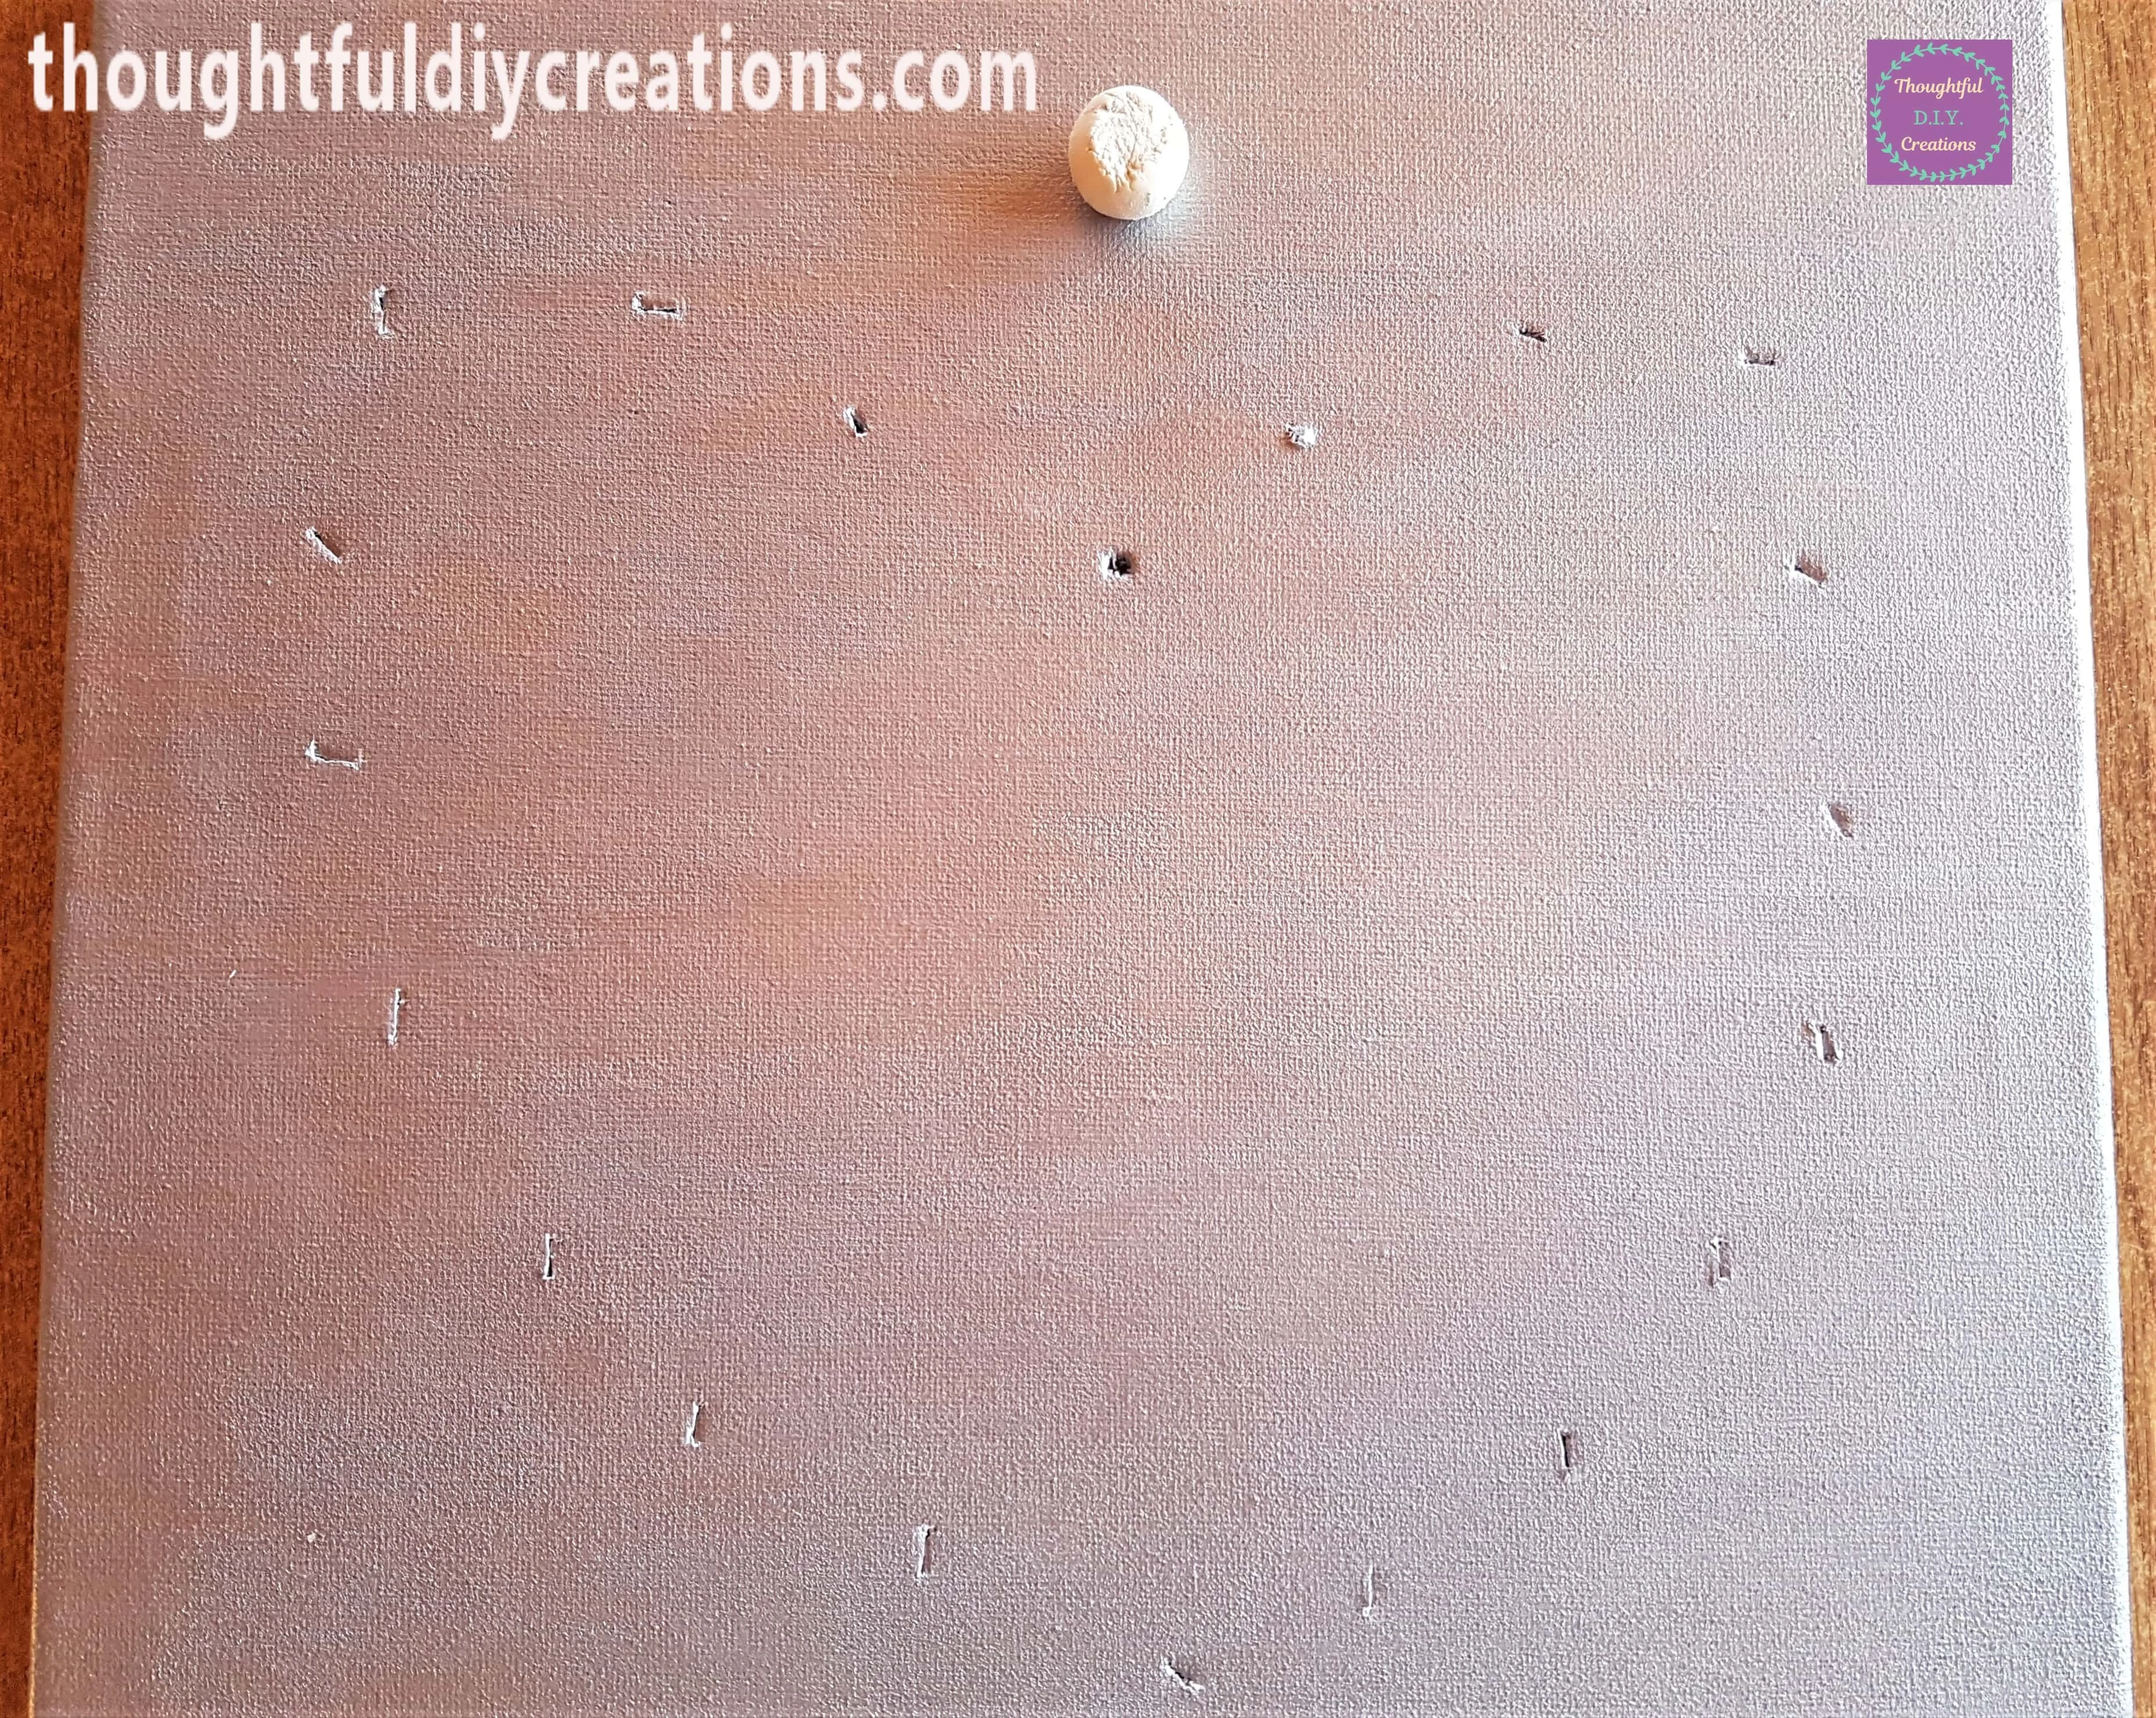
I got my Rubber / Eraser and rubbed out all the markings of the Pencil on the Canvas.
Light-Up Battery Pack for the Canvas
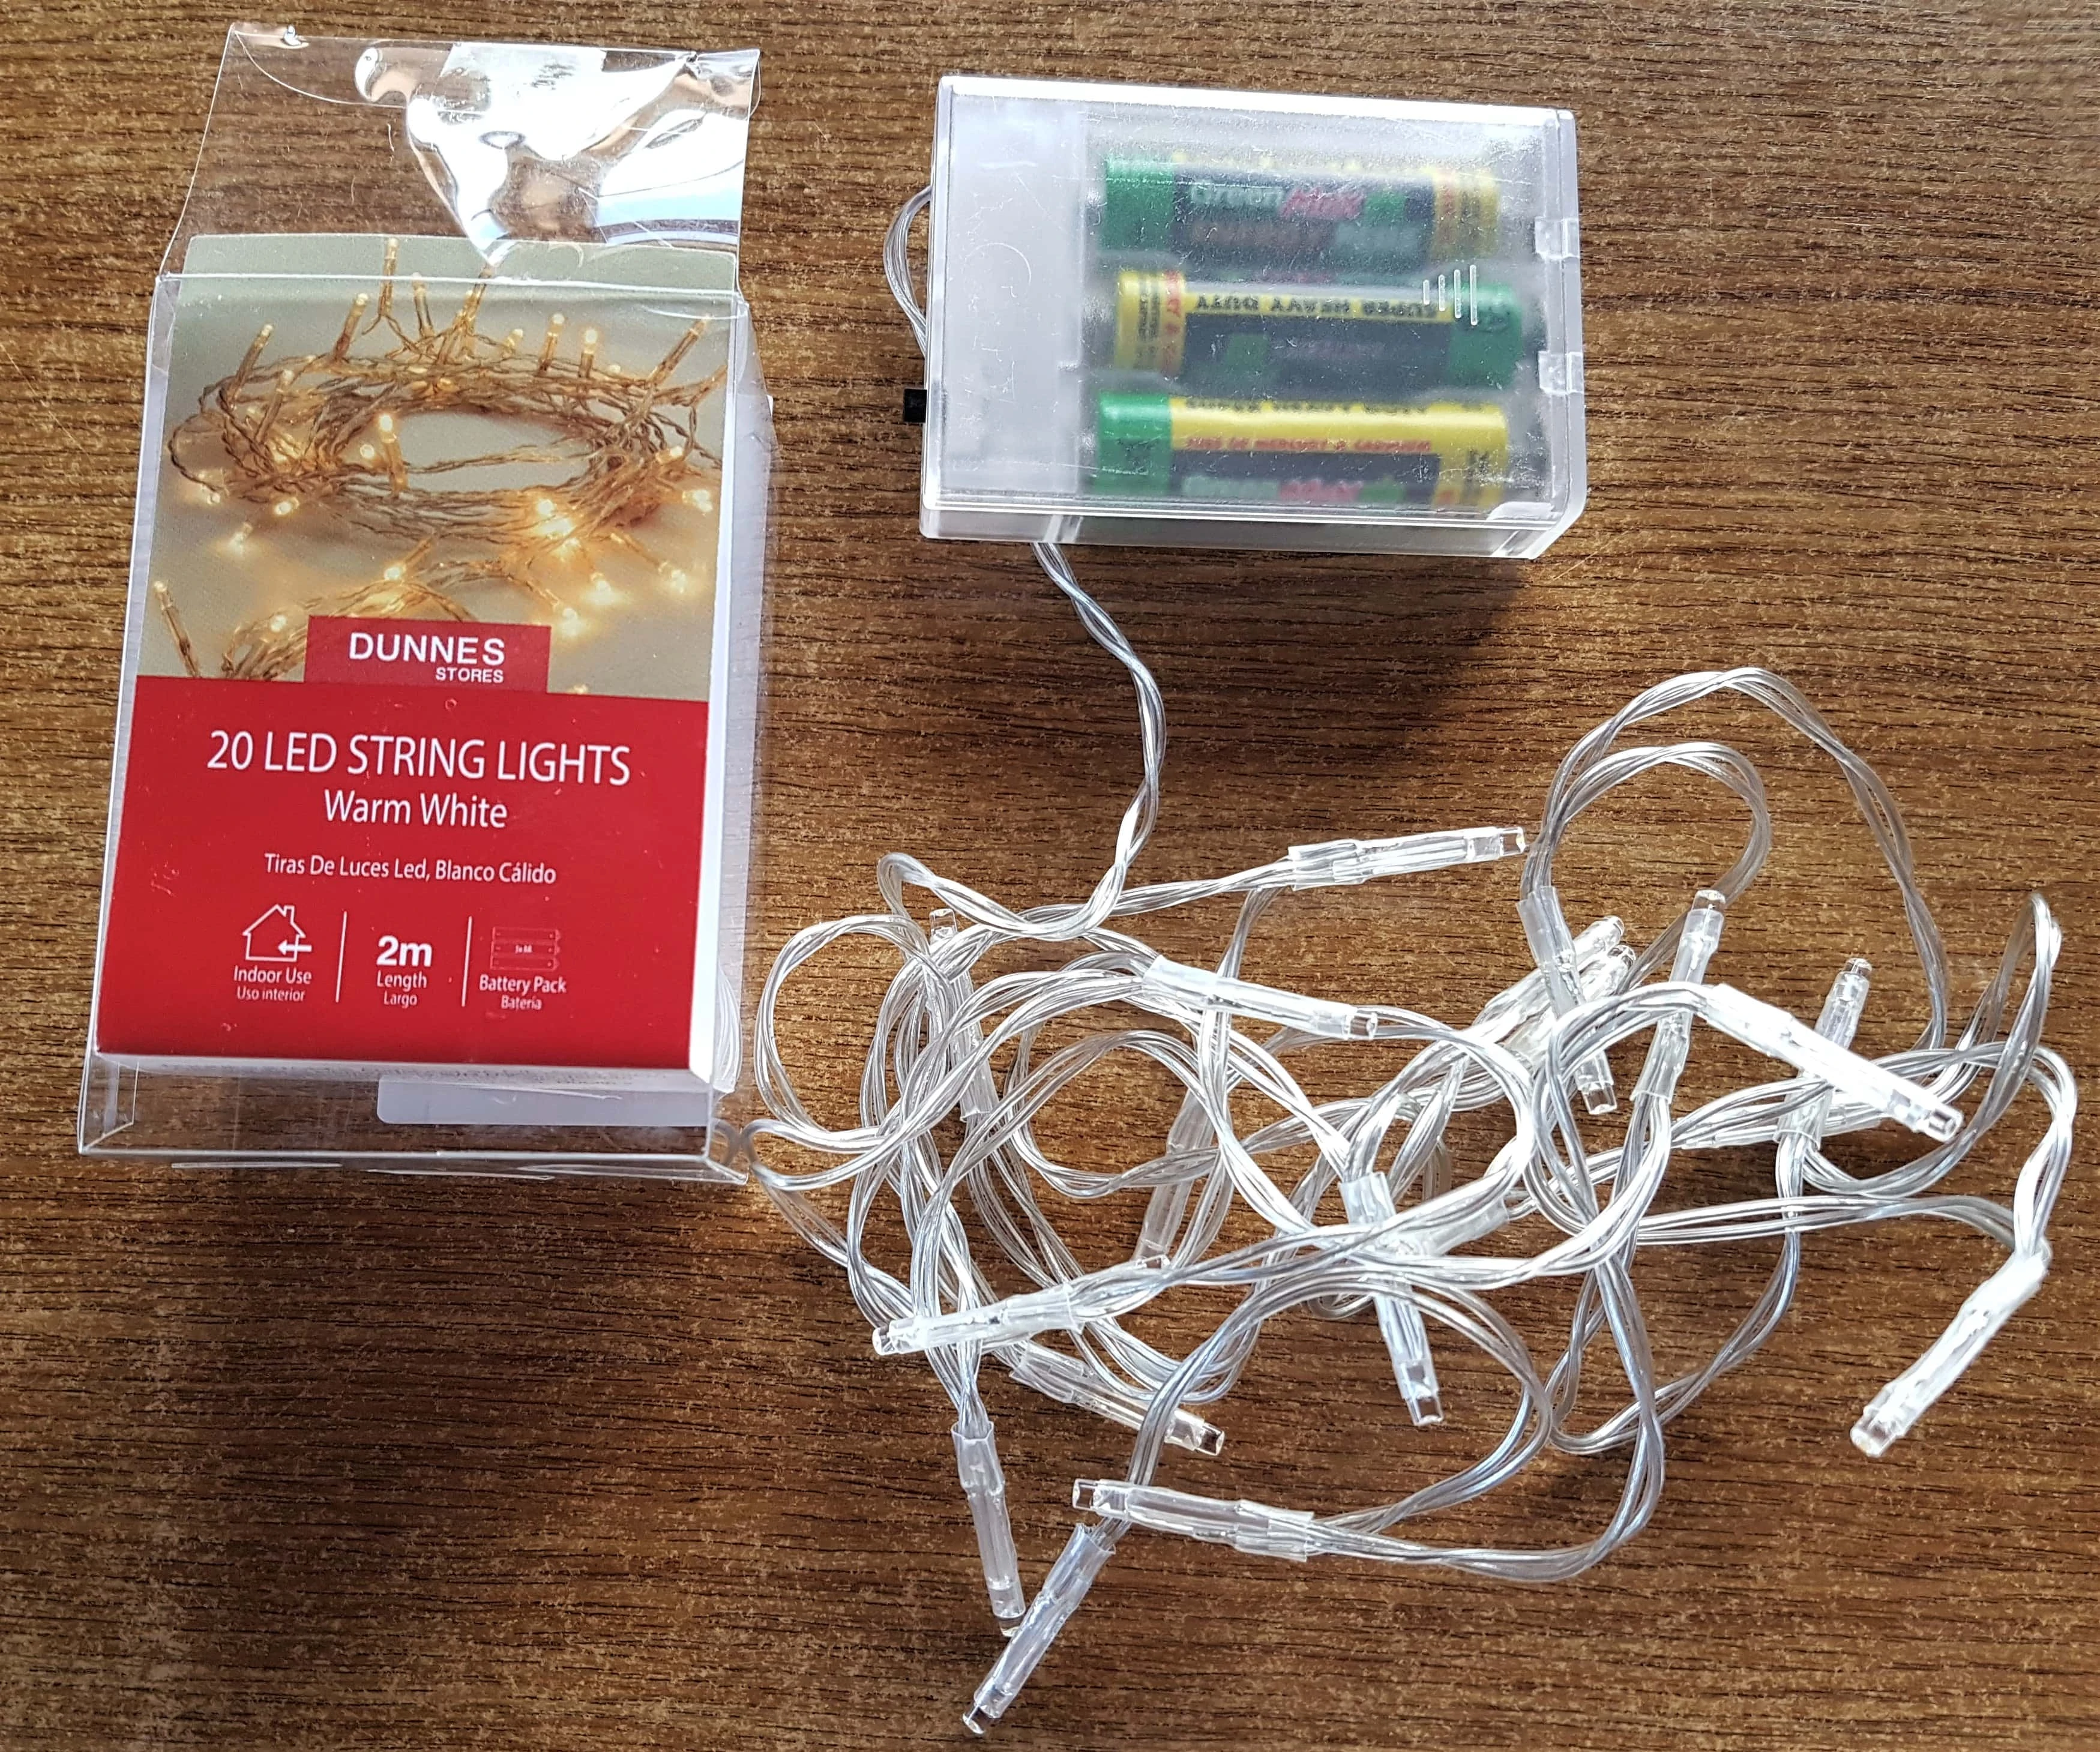
I got a Pack of ’20 Warm White String Lights’. I didn’t use the Lights that came with the Roses as the Pink Roses only had 8 Lights and the White Roses only had 12 Lights so I would have to use 2 different Light Sets. I decided to use 1 Pack which I already had with 20 lights.
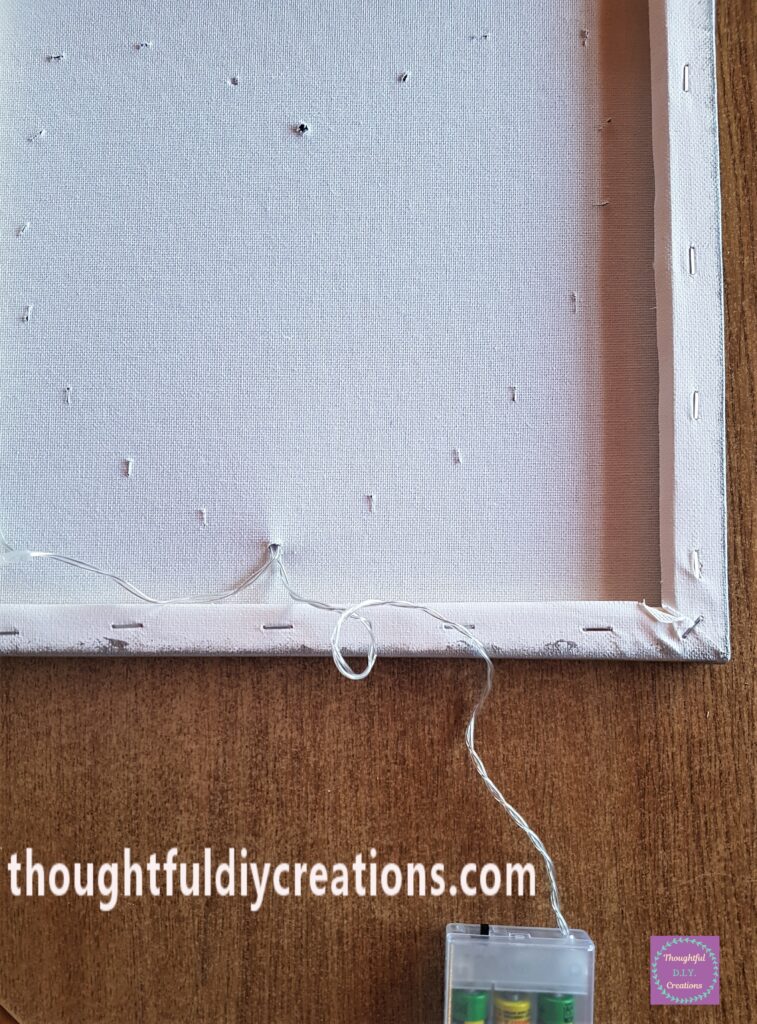
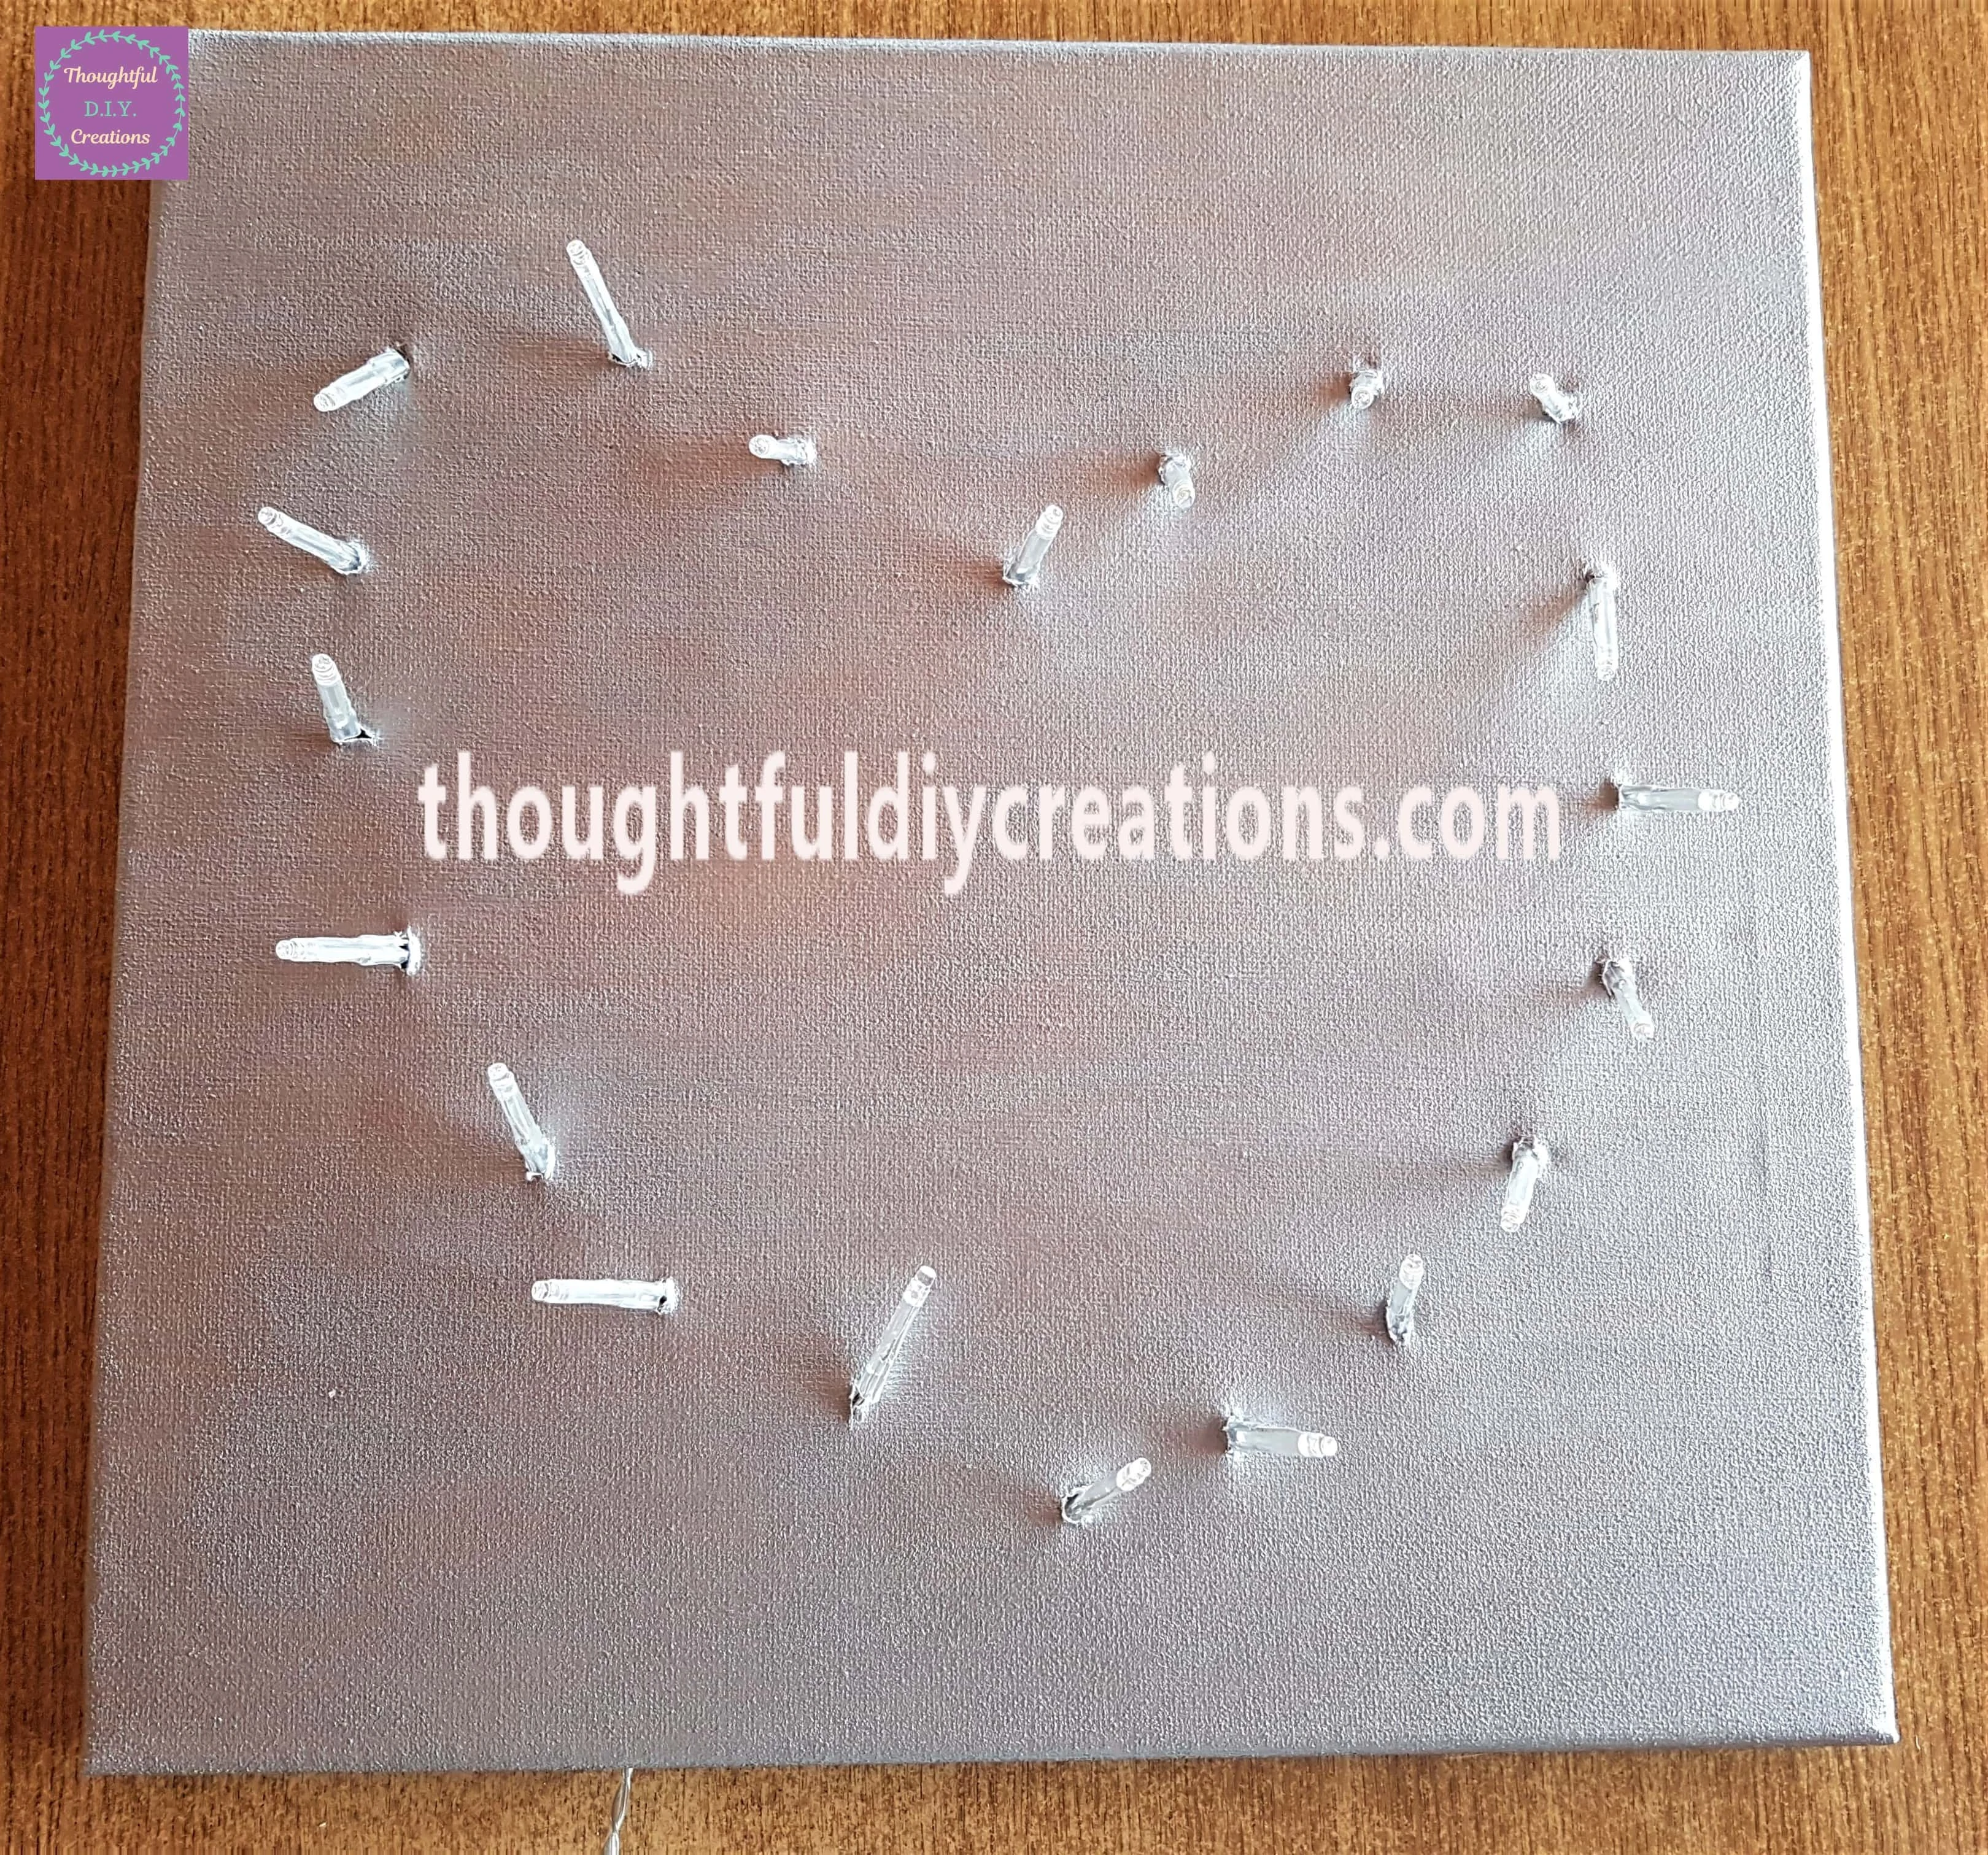
I started with the Light closest to the Battery Pack and poked it through the Hole in the Bottom of the Heart. This will ensure I can work my way around the Heart with the Lights and the Battery Pack will be at the bottom of the Canvas.
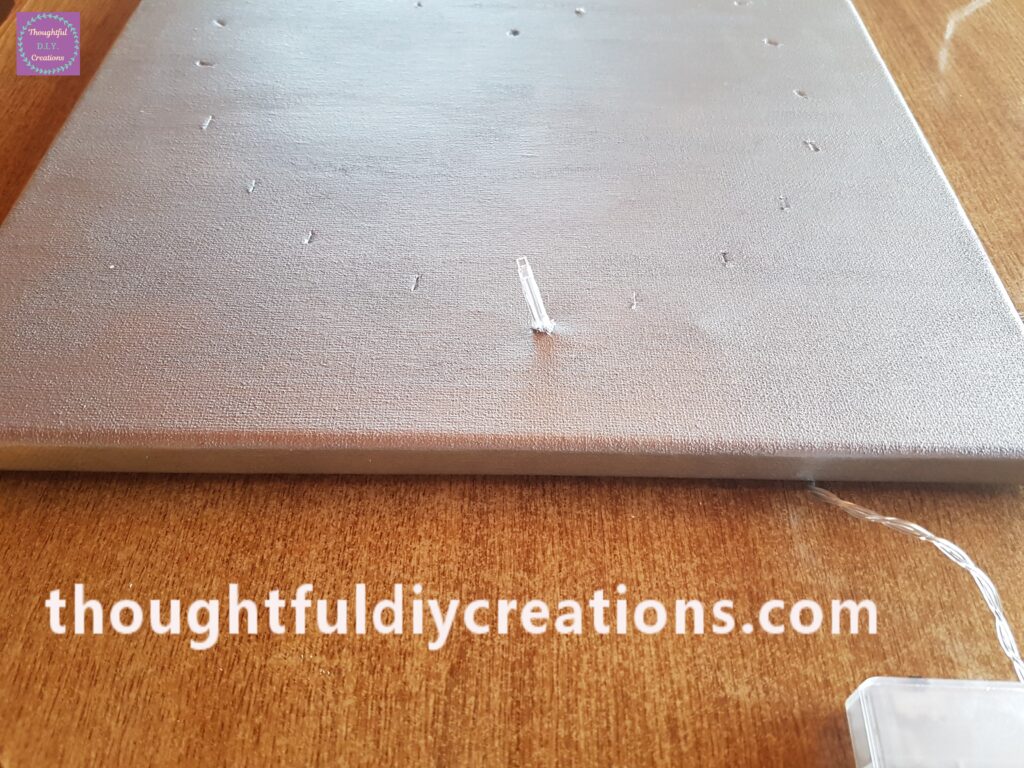
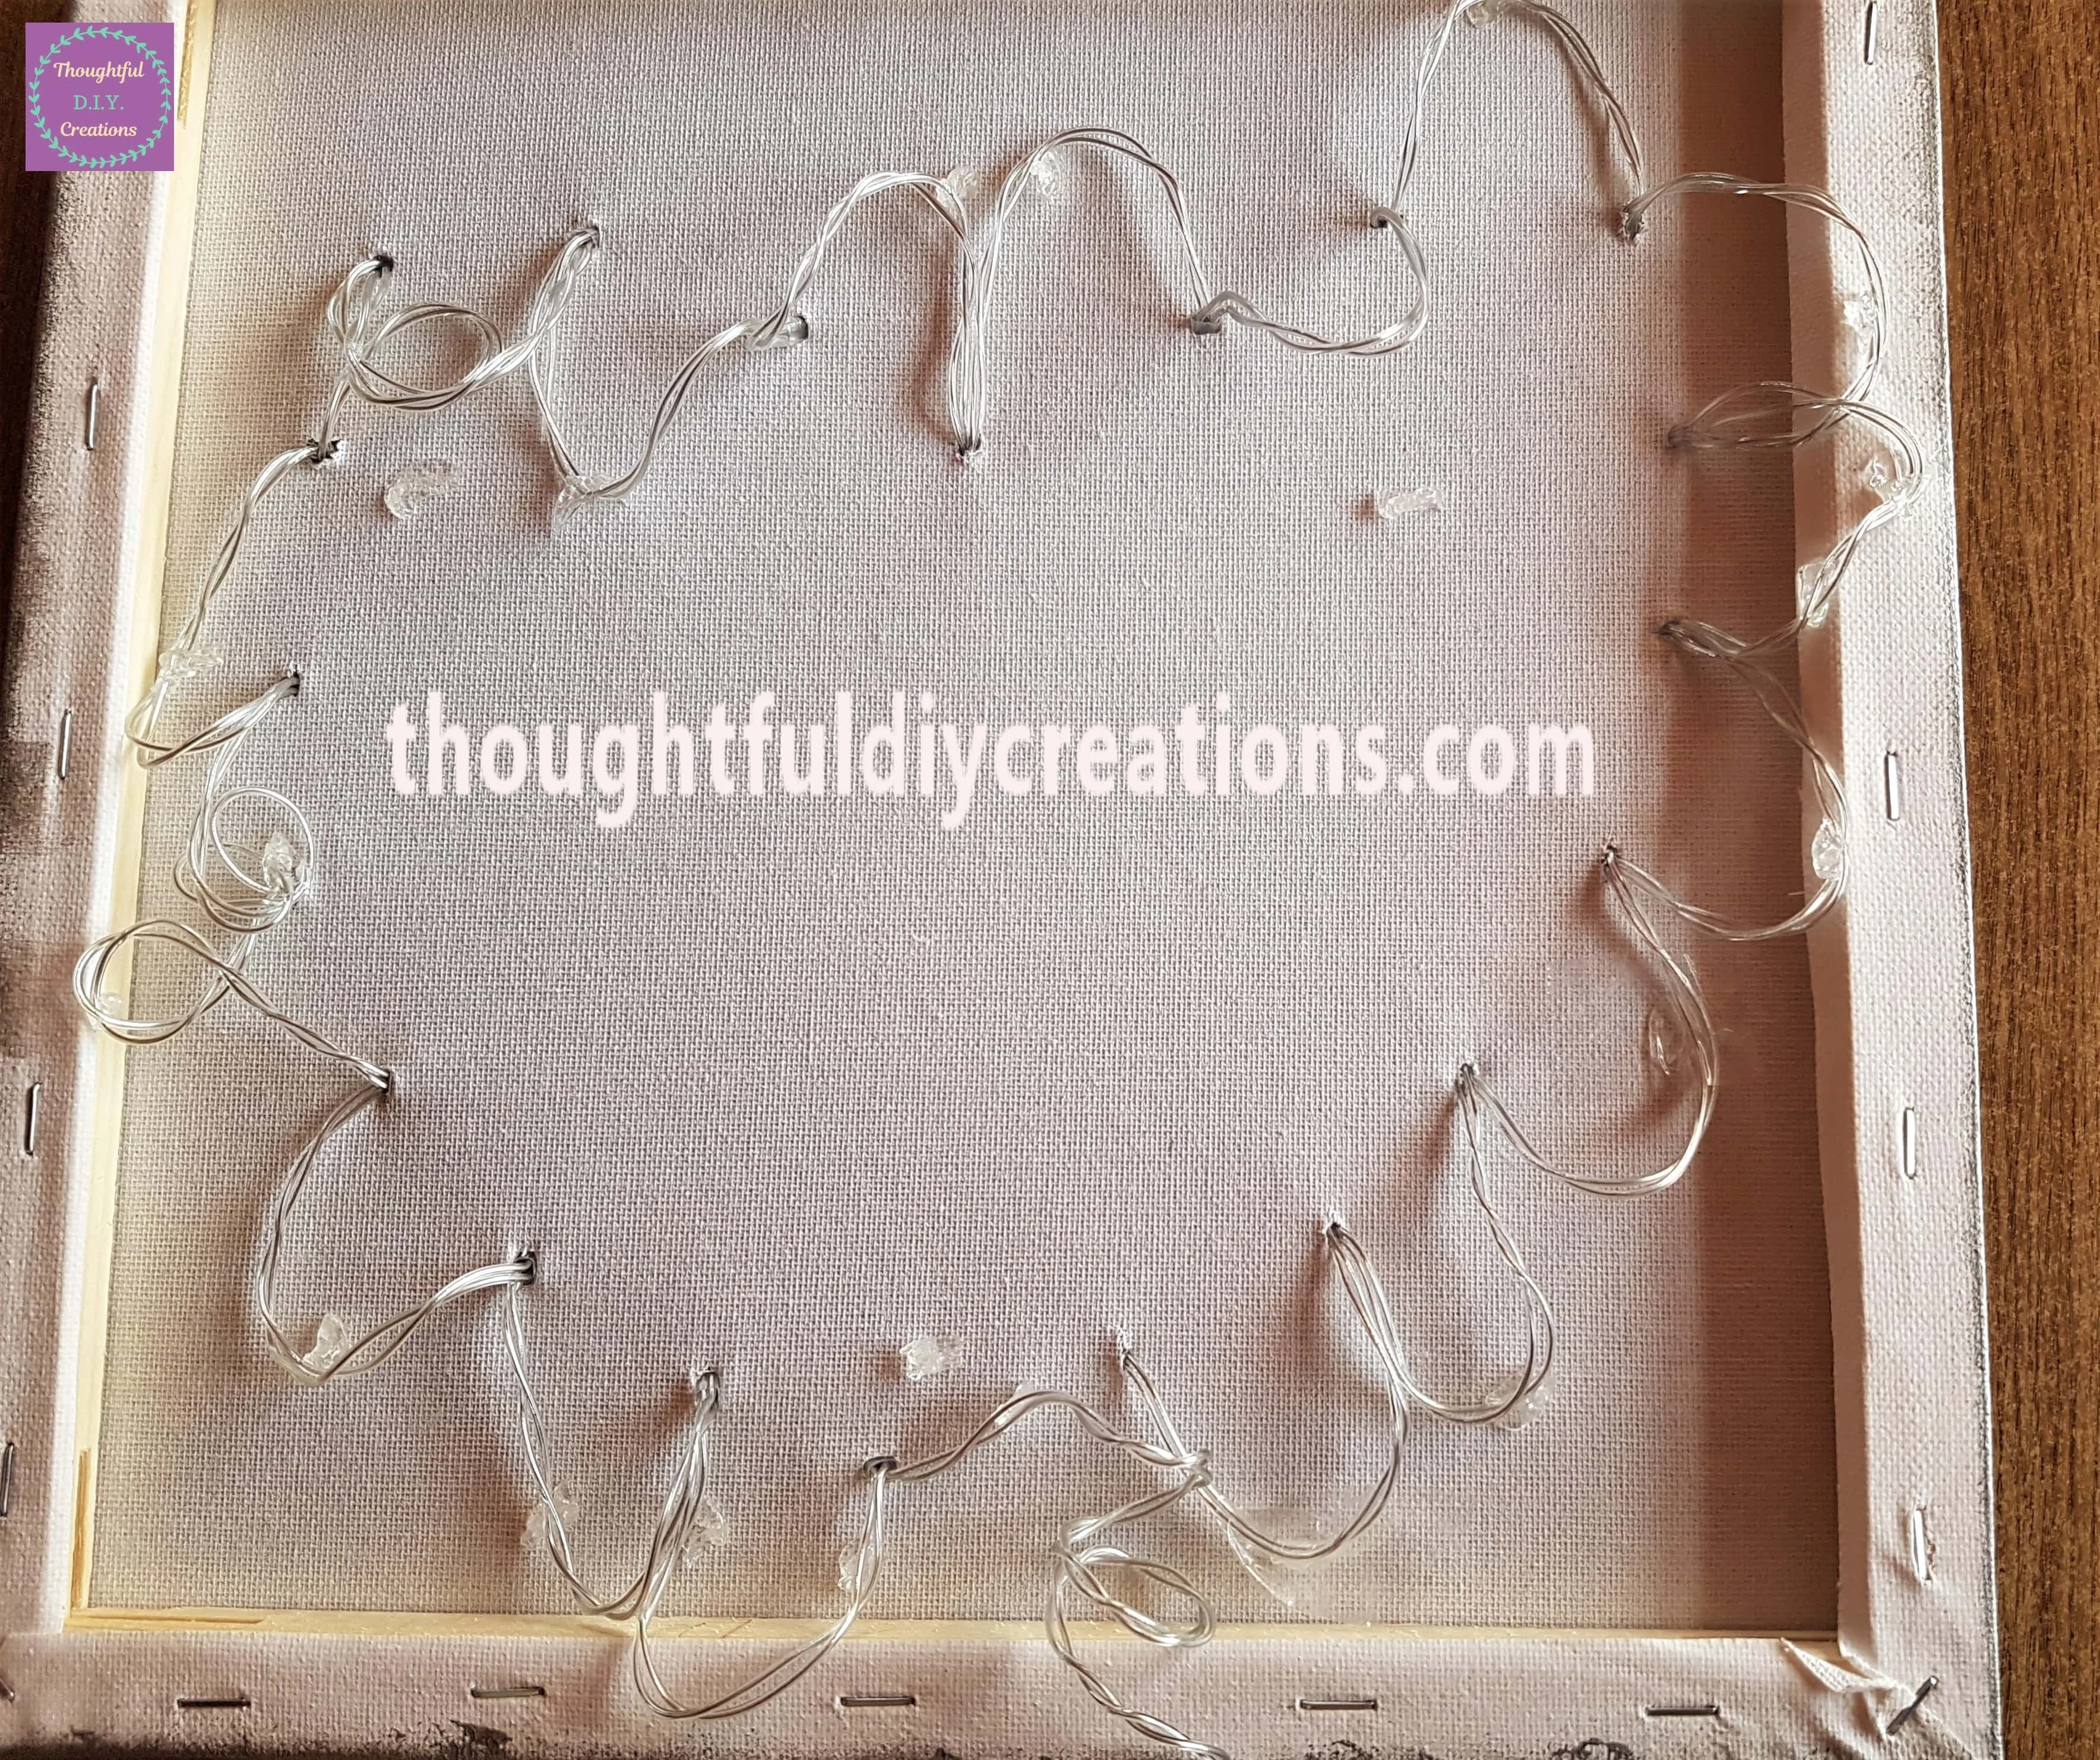
This is how the Light looks once poked through the Canvas.
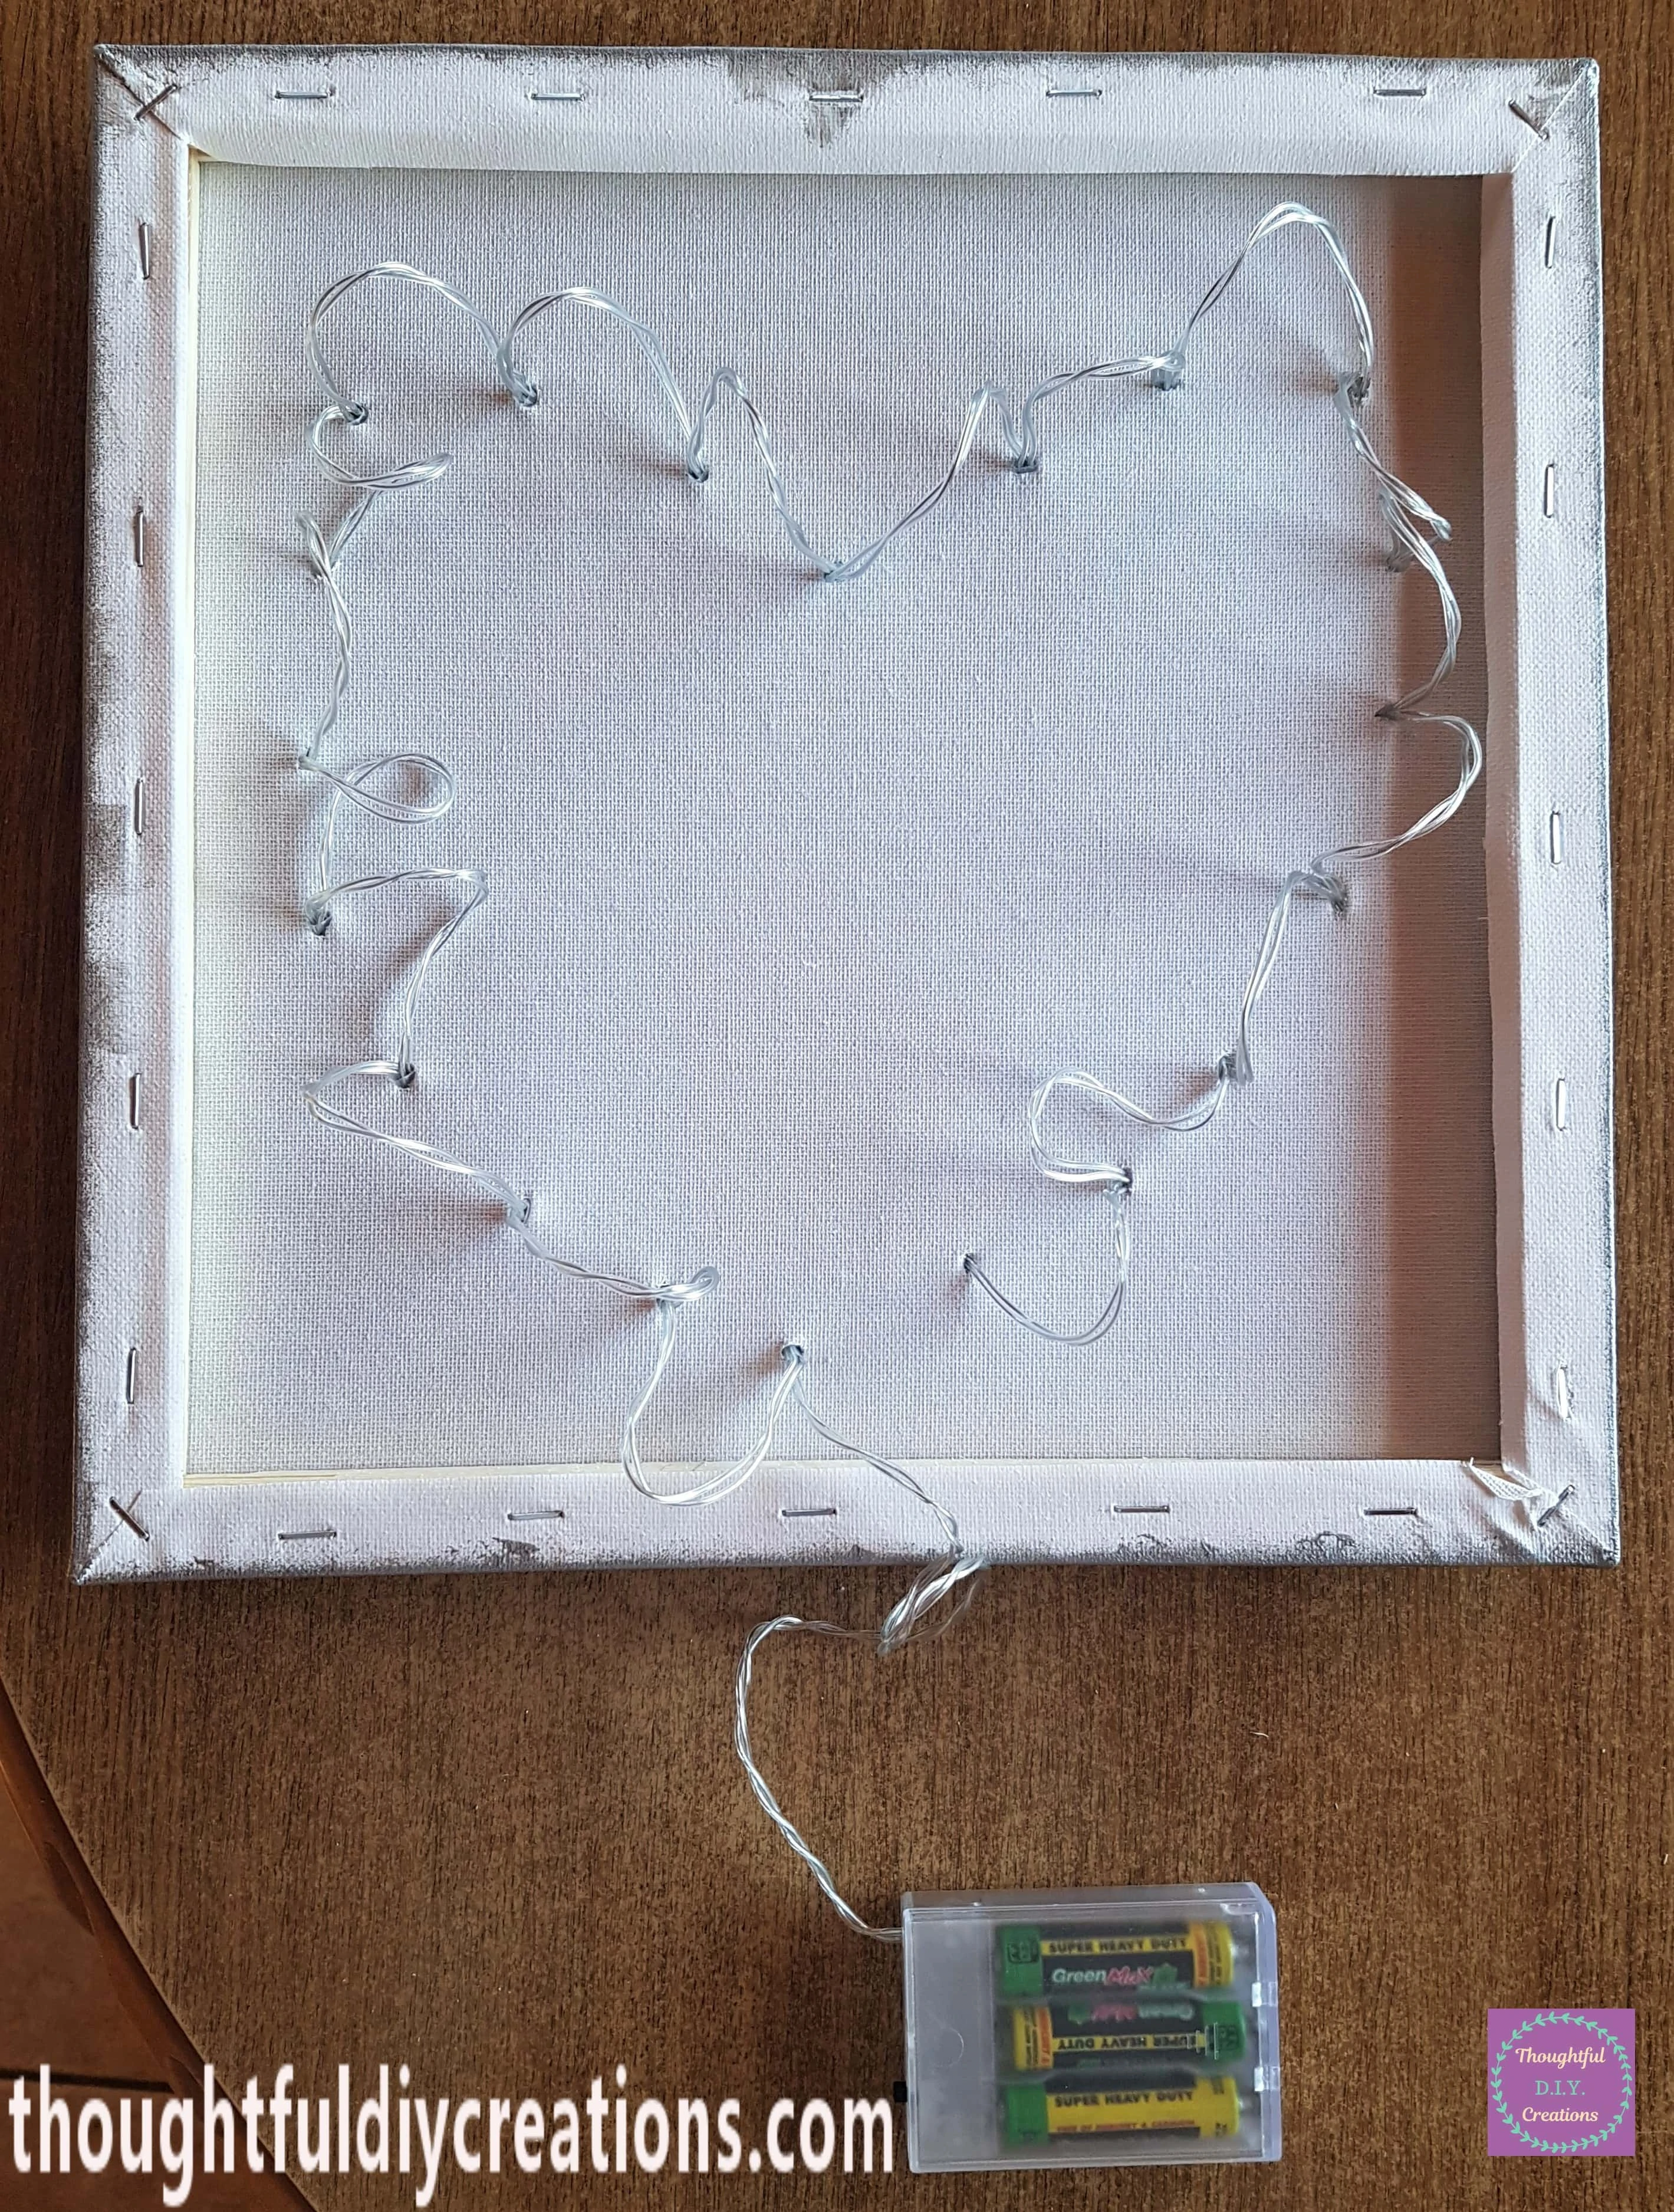
I added all the Lights through each Hole on the Canvas.
The Front of the Canvas with all the Lights poked through.
Arranging the Roses onto the Lights
I put the Pink Rose back through the Light in the center of the Canvas.
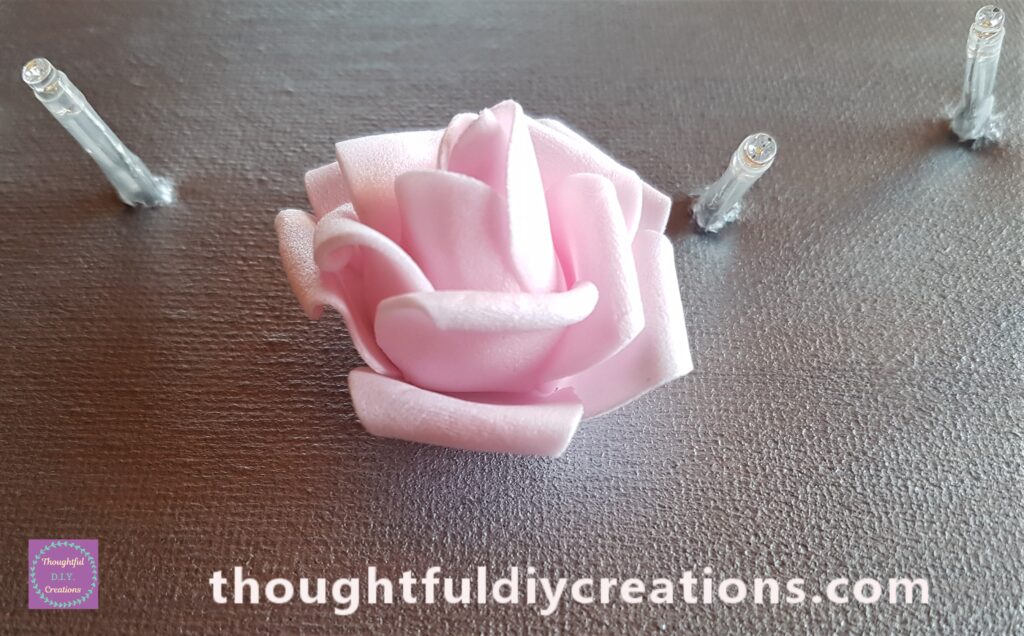
I added more of the Flowers over the Lights alternating between Pink and White.
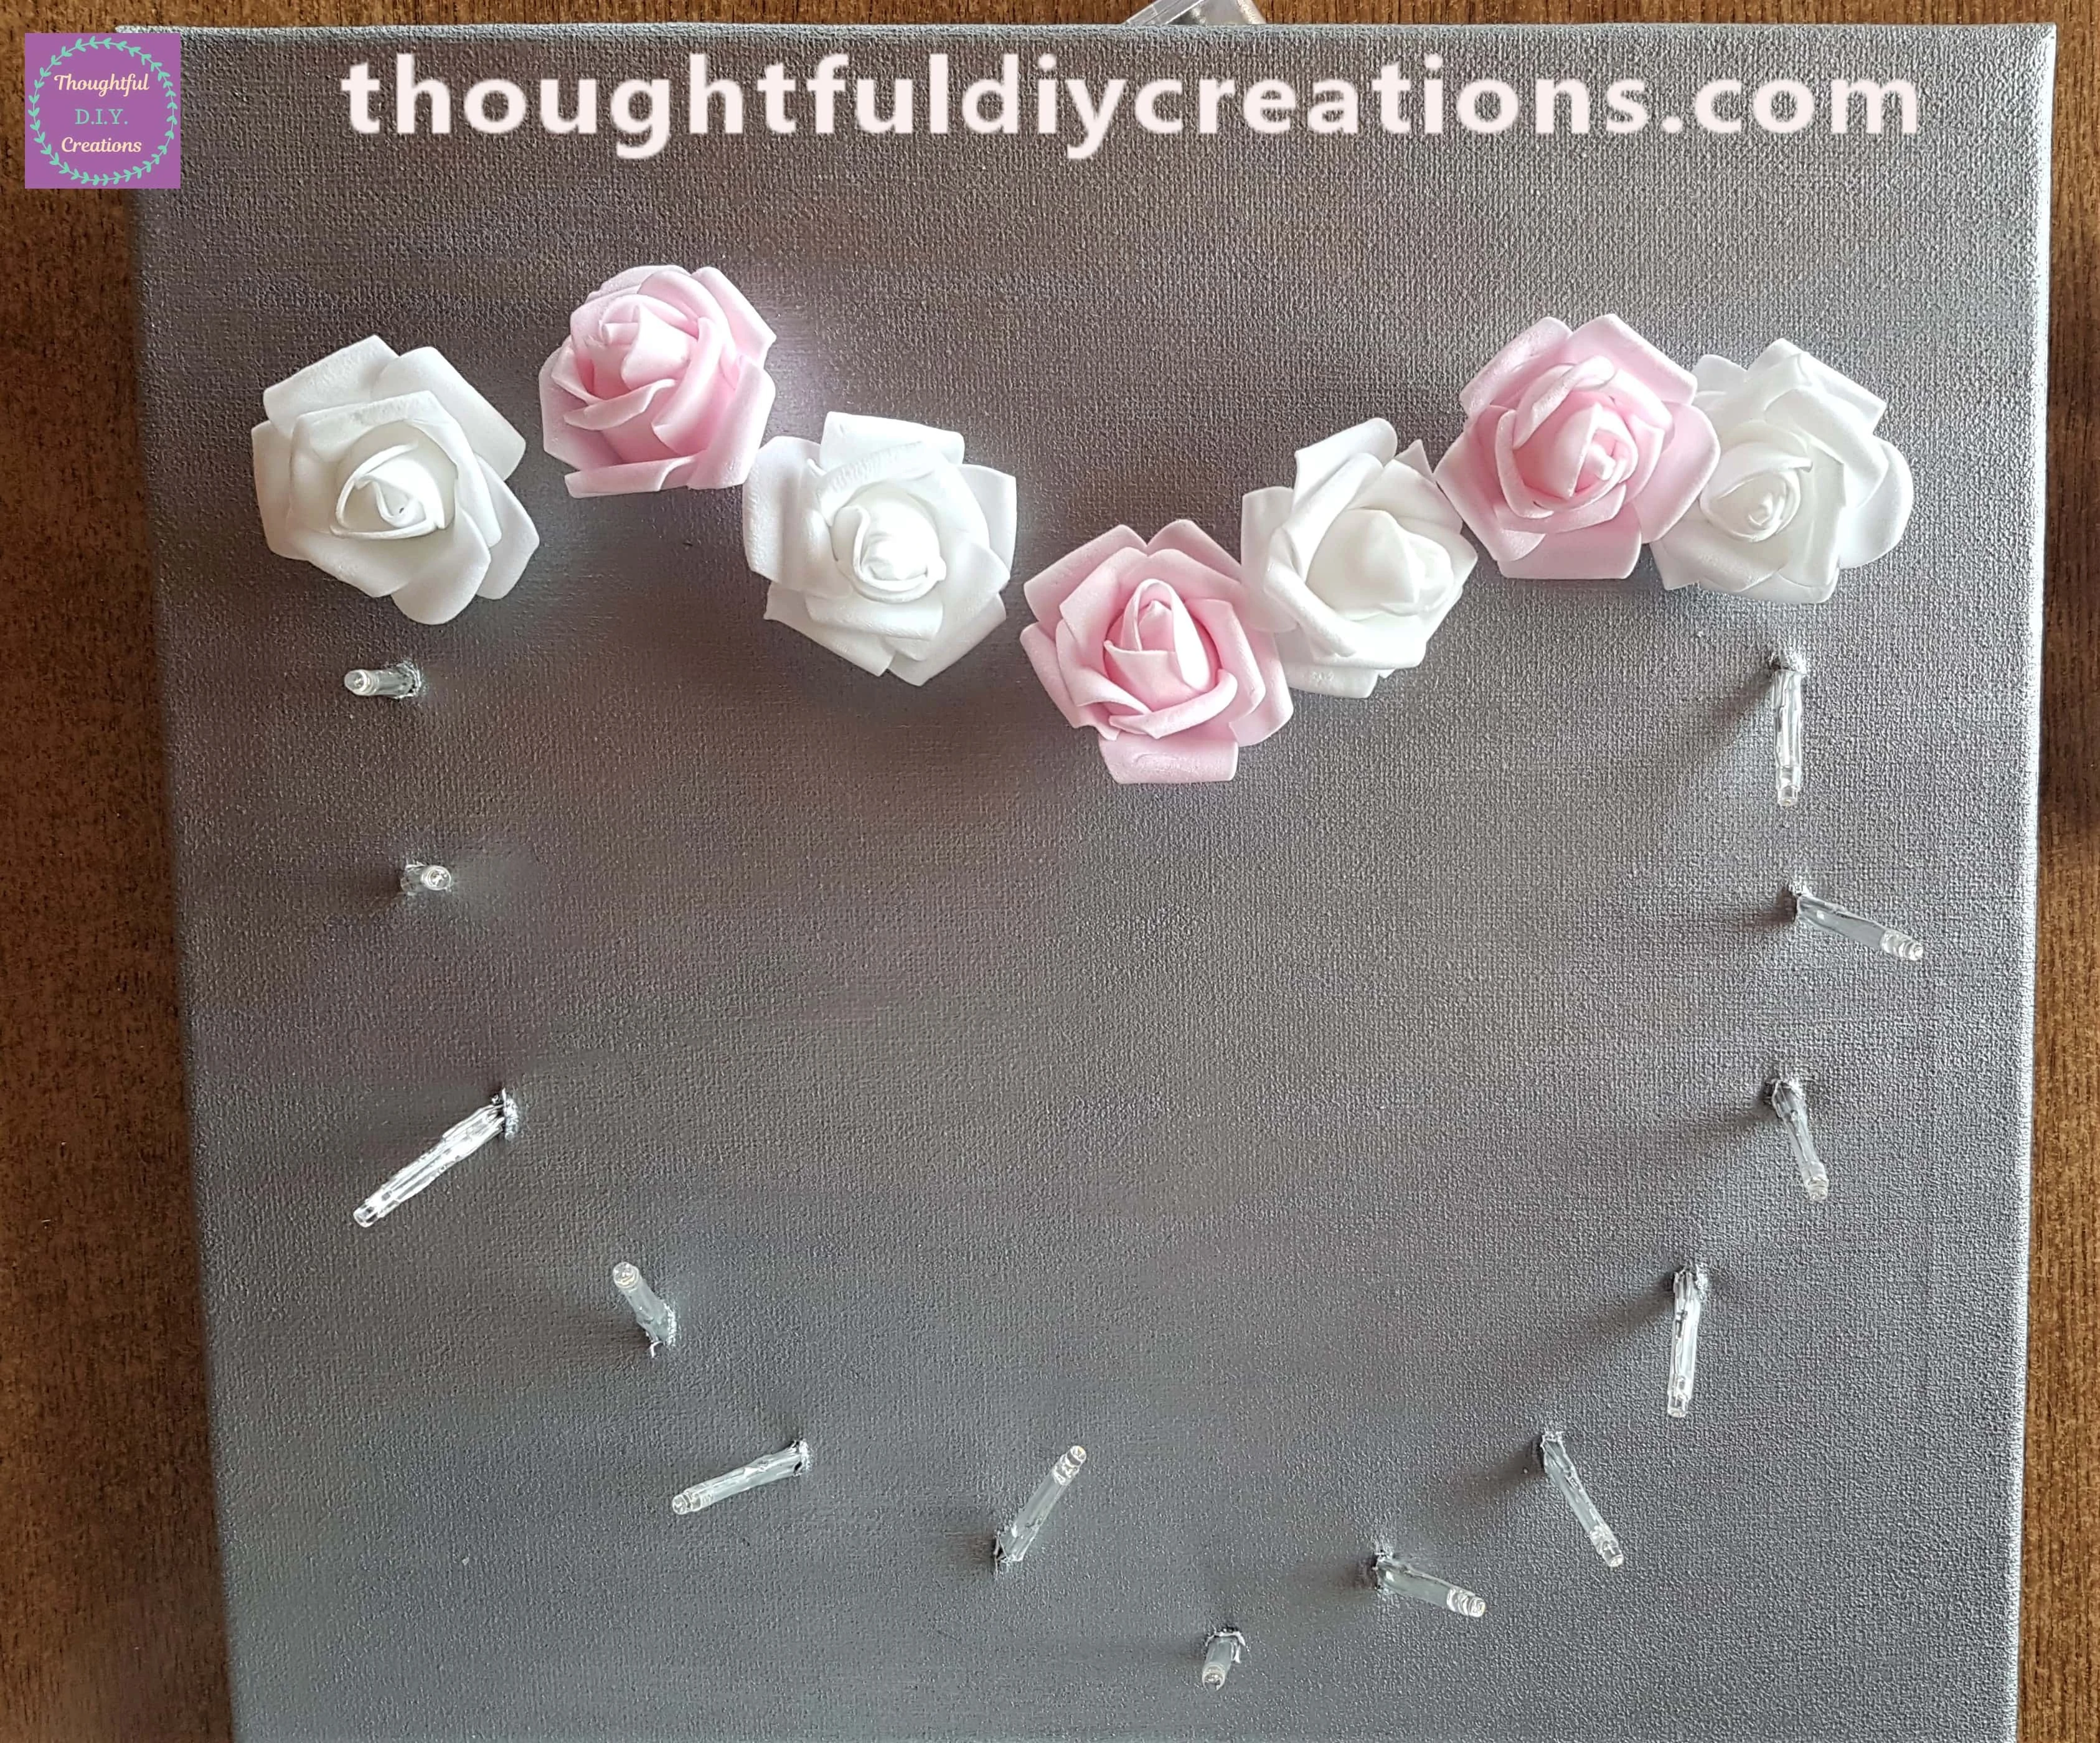
Finishing Touches to the Light-Up Canvas
I got my Pack of Glue Dots.
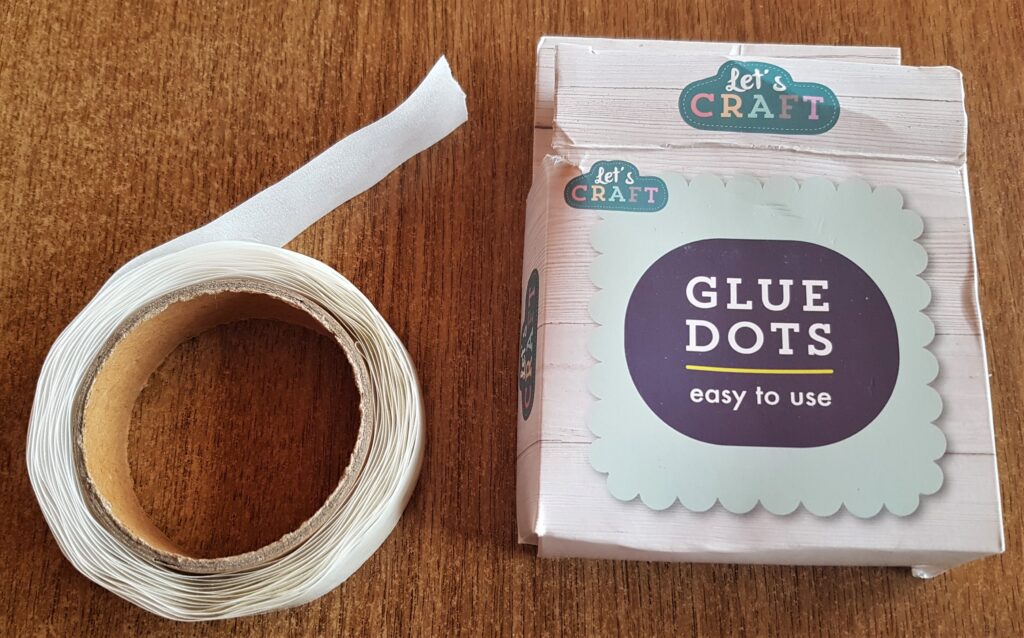
I attached the String from the Lights to the Glue Dots to hold them down and keep them in place. You could also use Double-Sided Tape.
The rest of the Roses were put over the Lights.
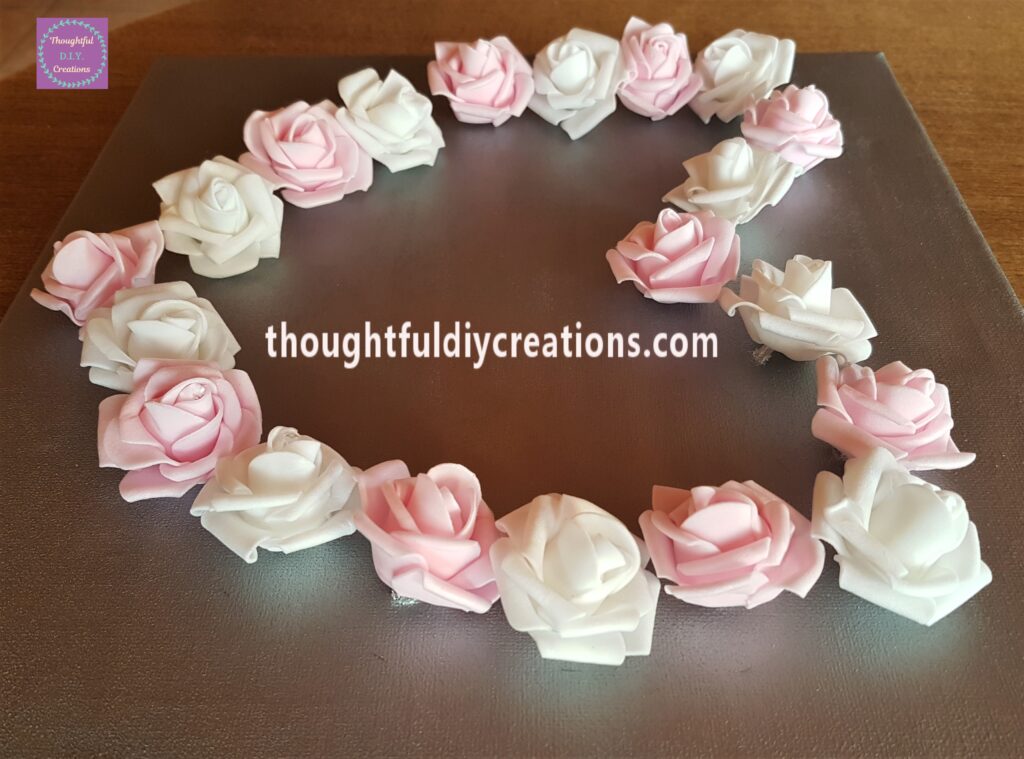
A Side angle of the Roses on the Canvas.
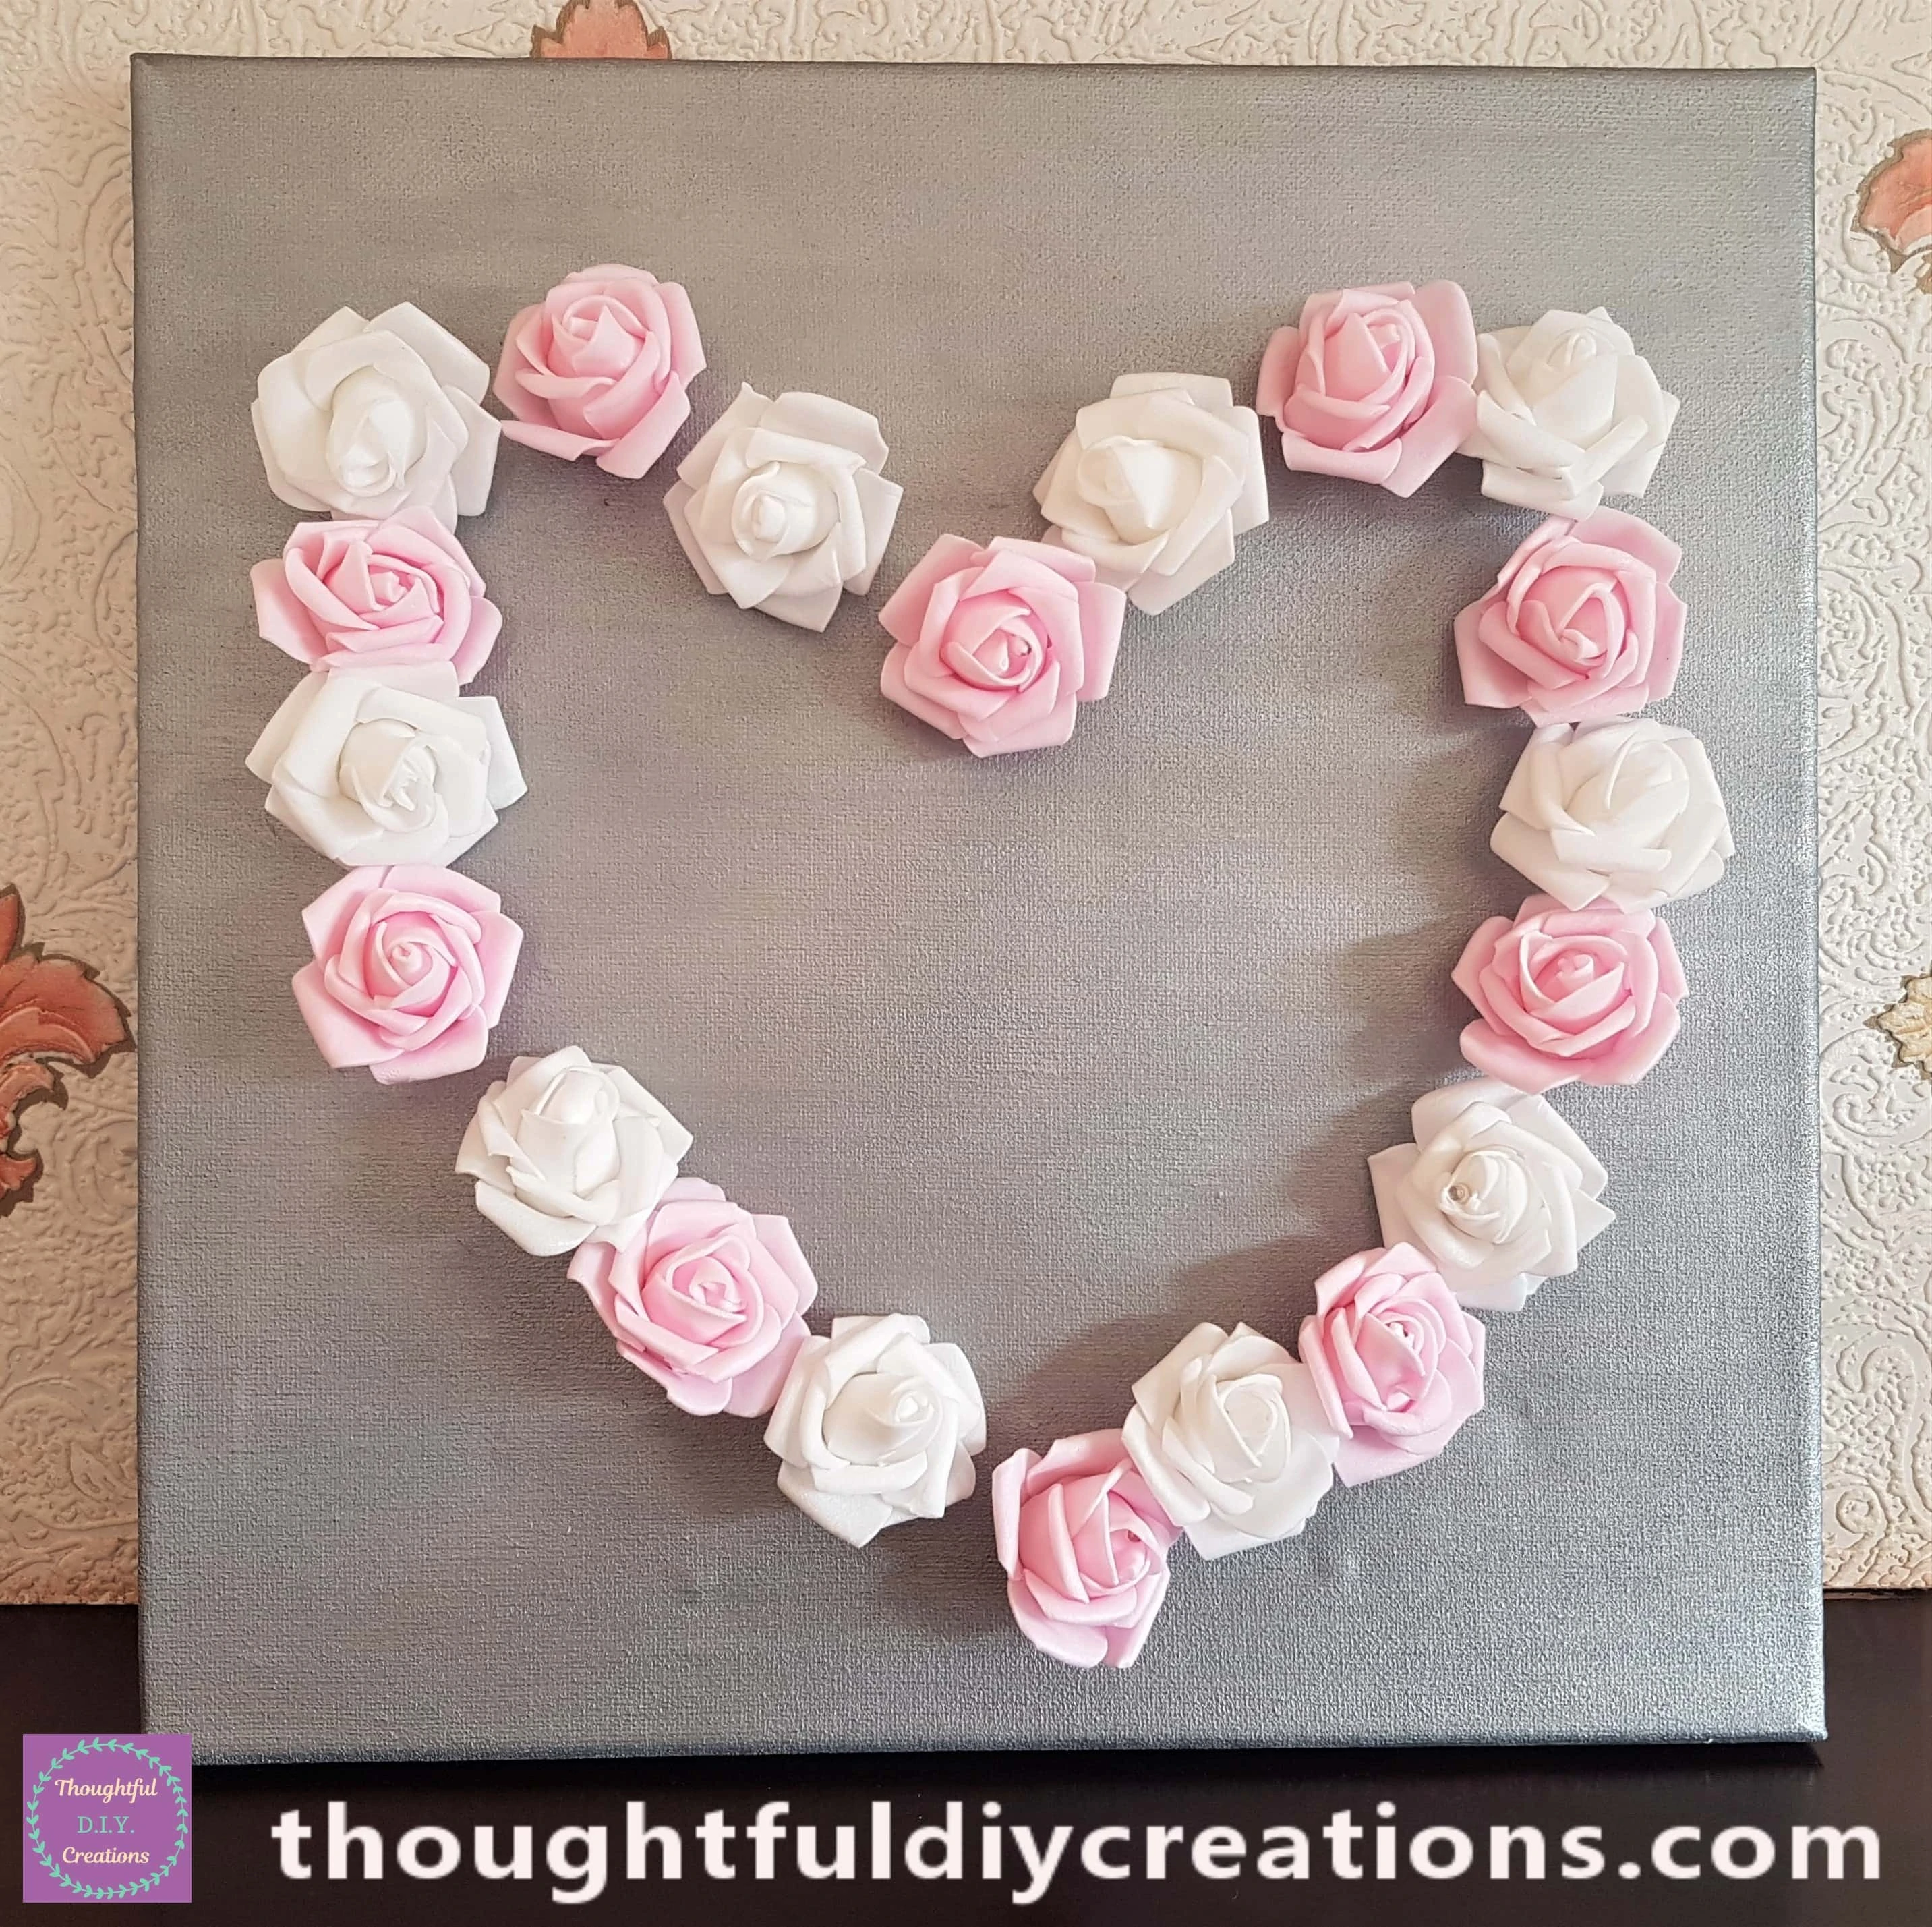
This Completed my Light-Up Flower Heart Canvas.
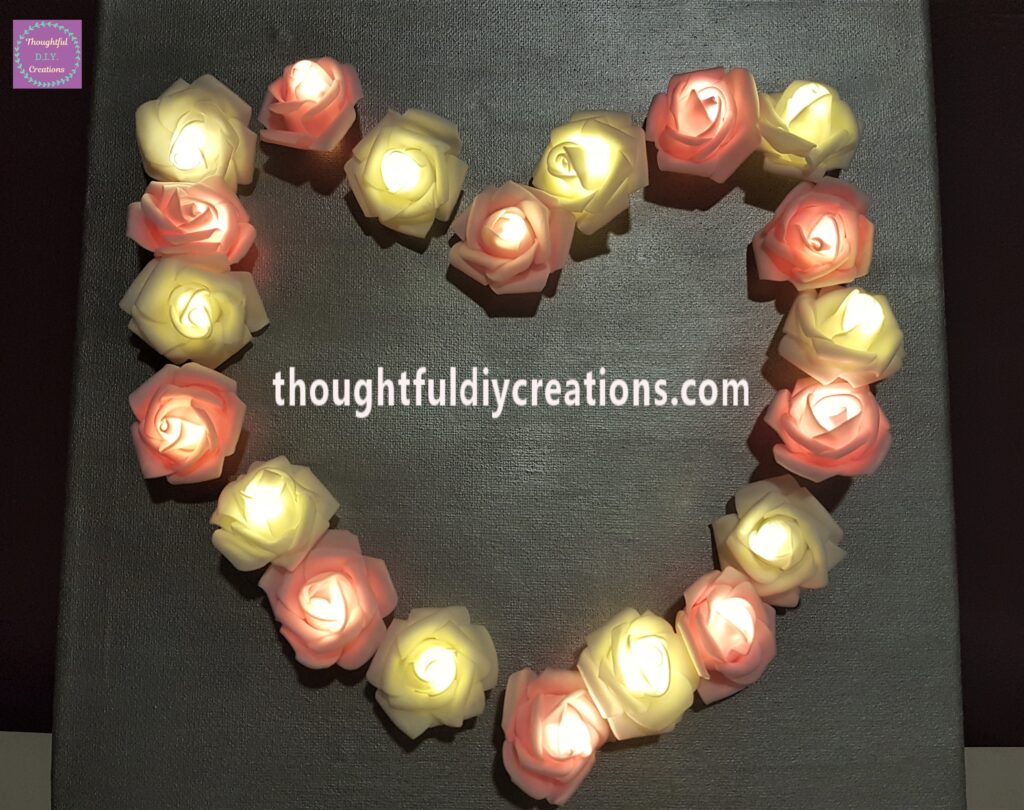
The Flower Heart lit up.
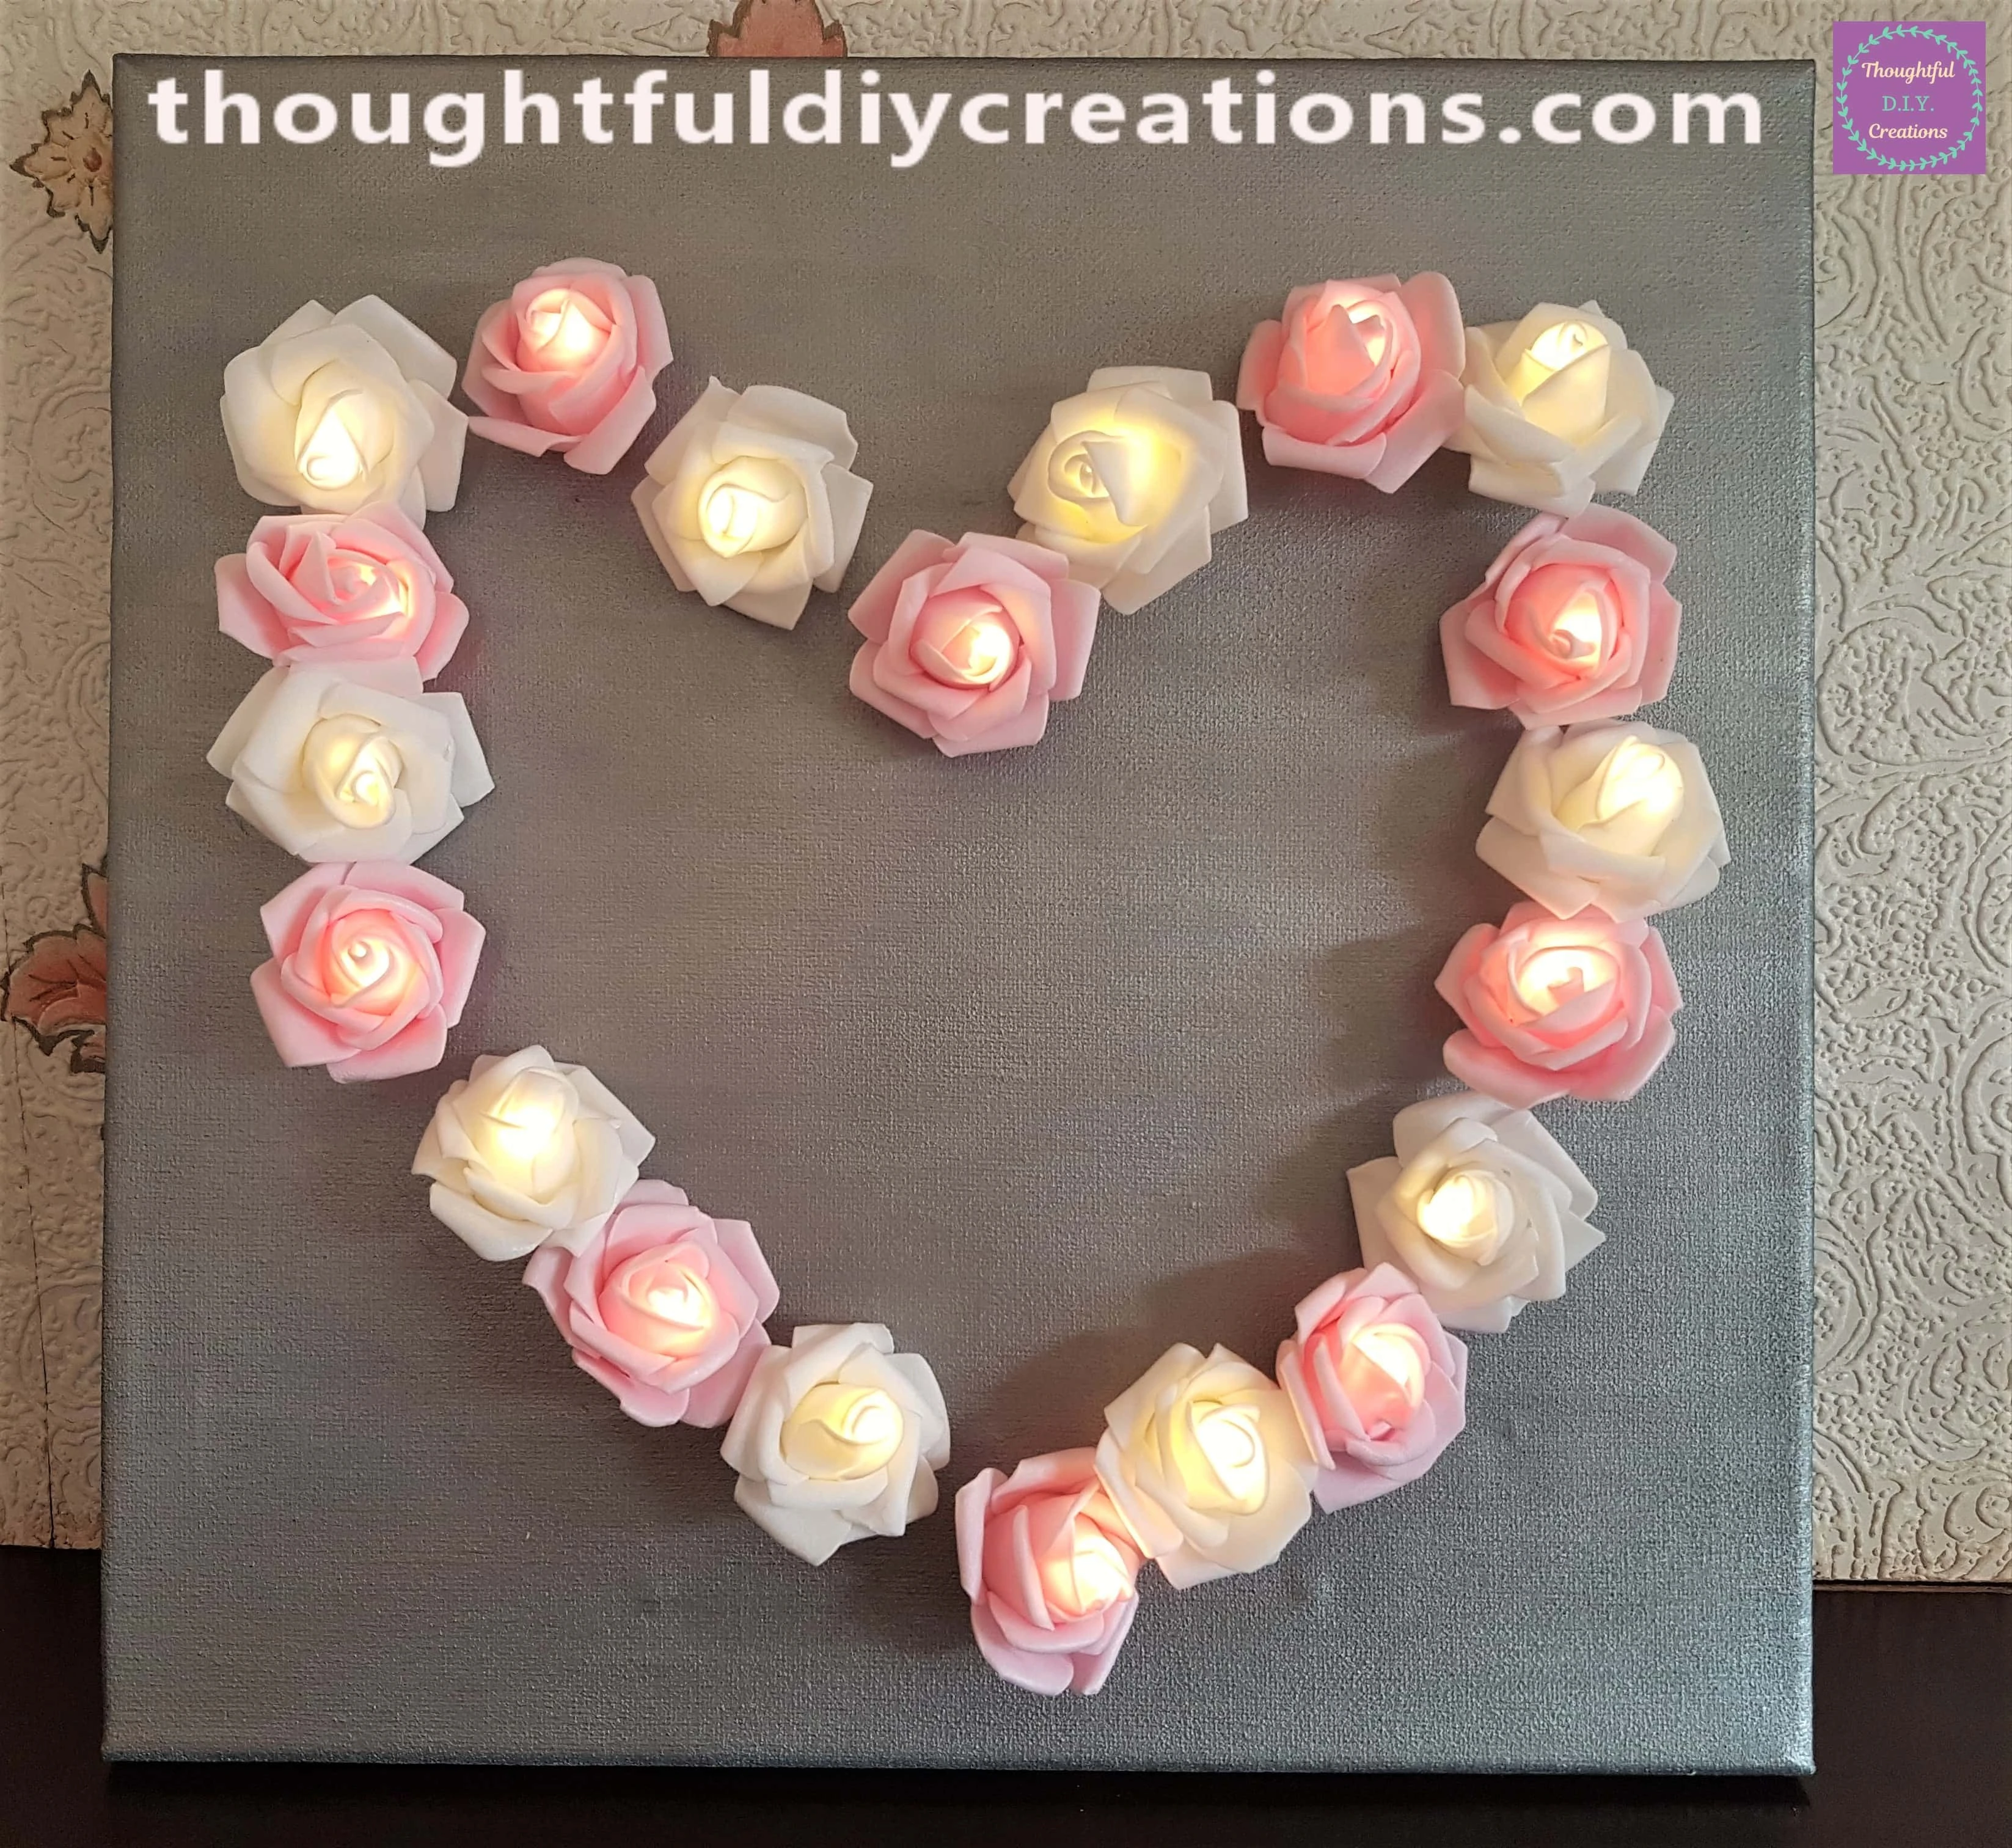
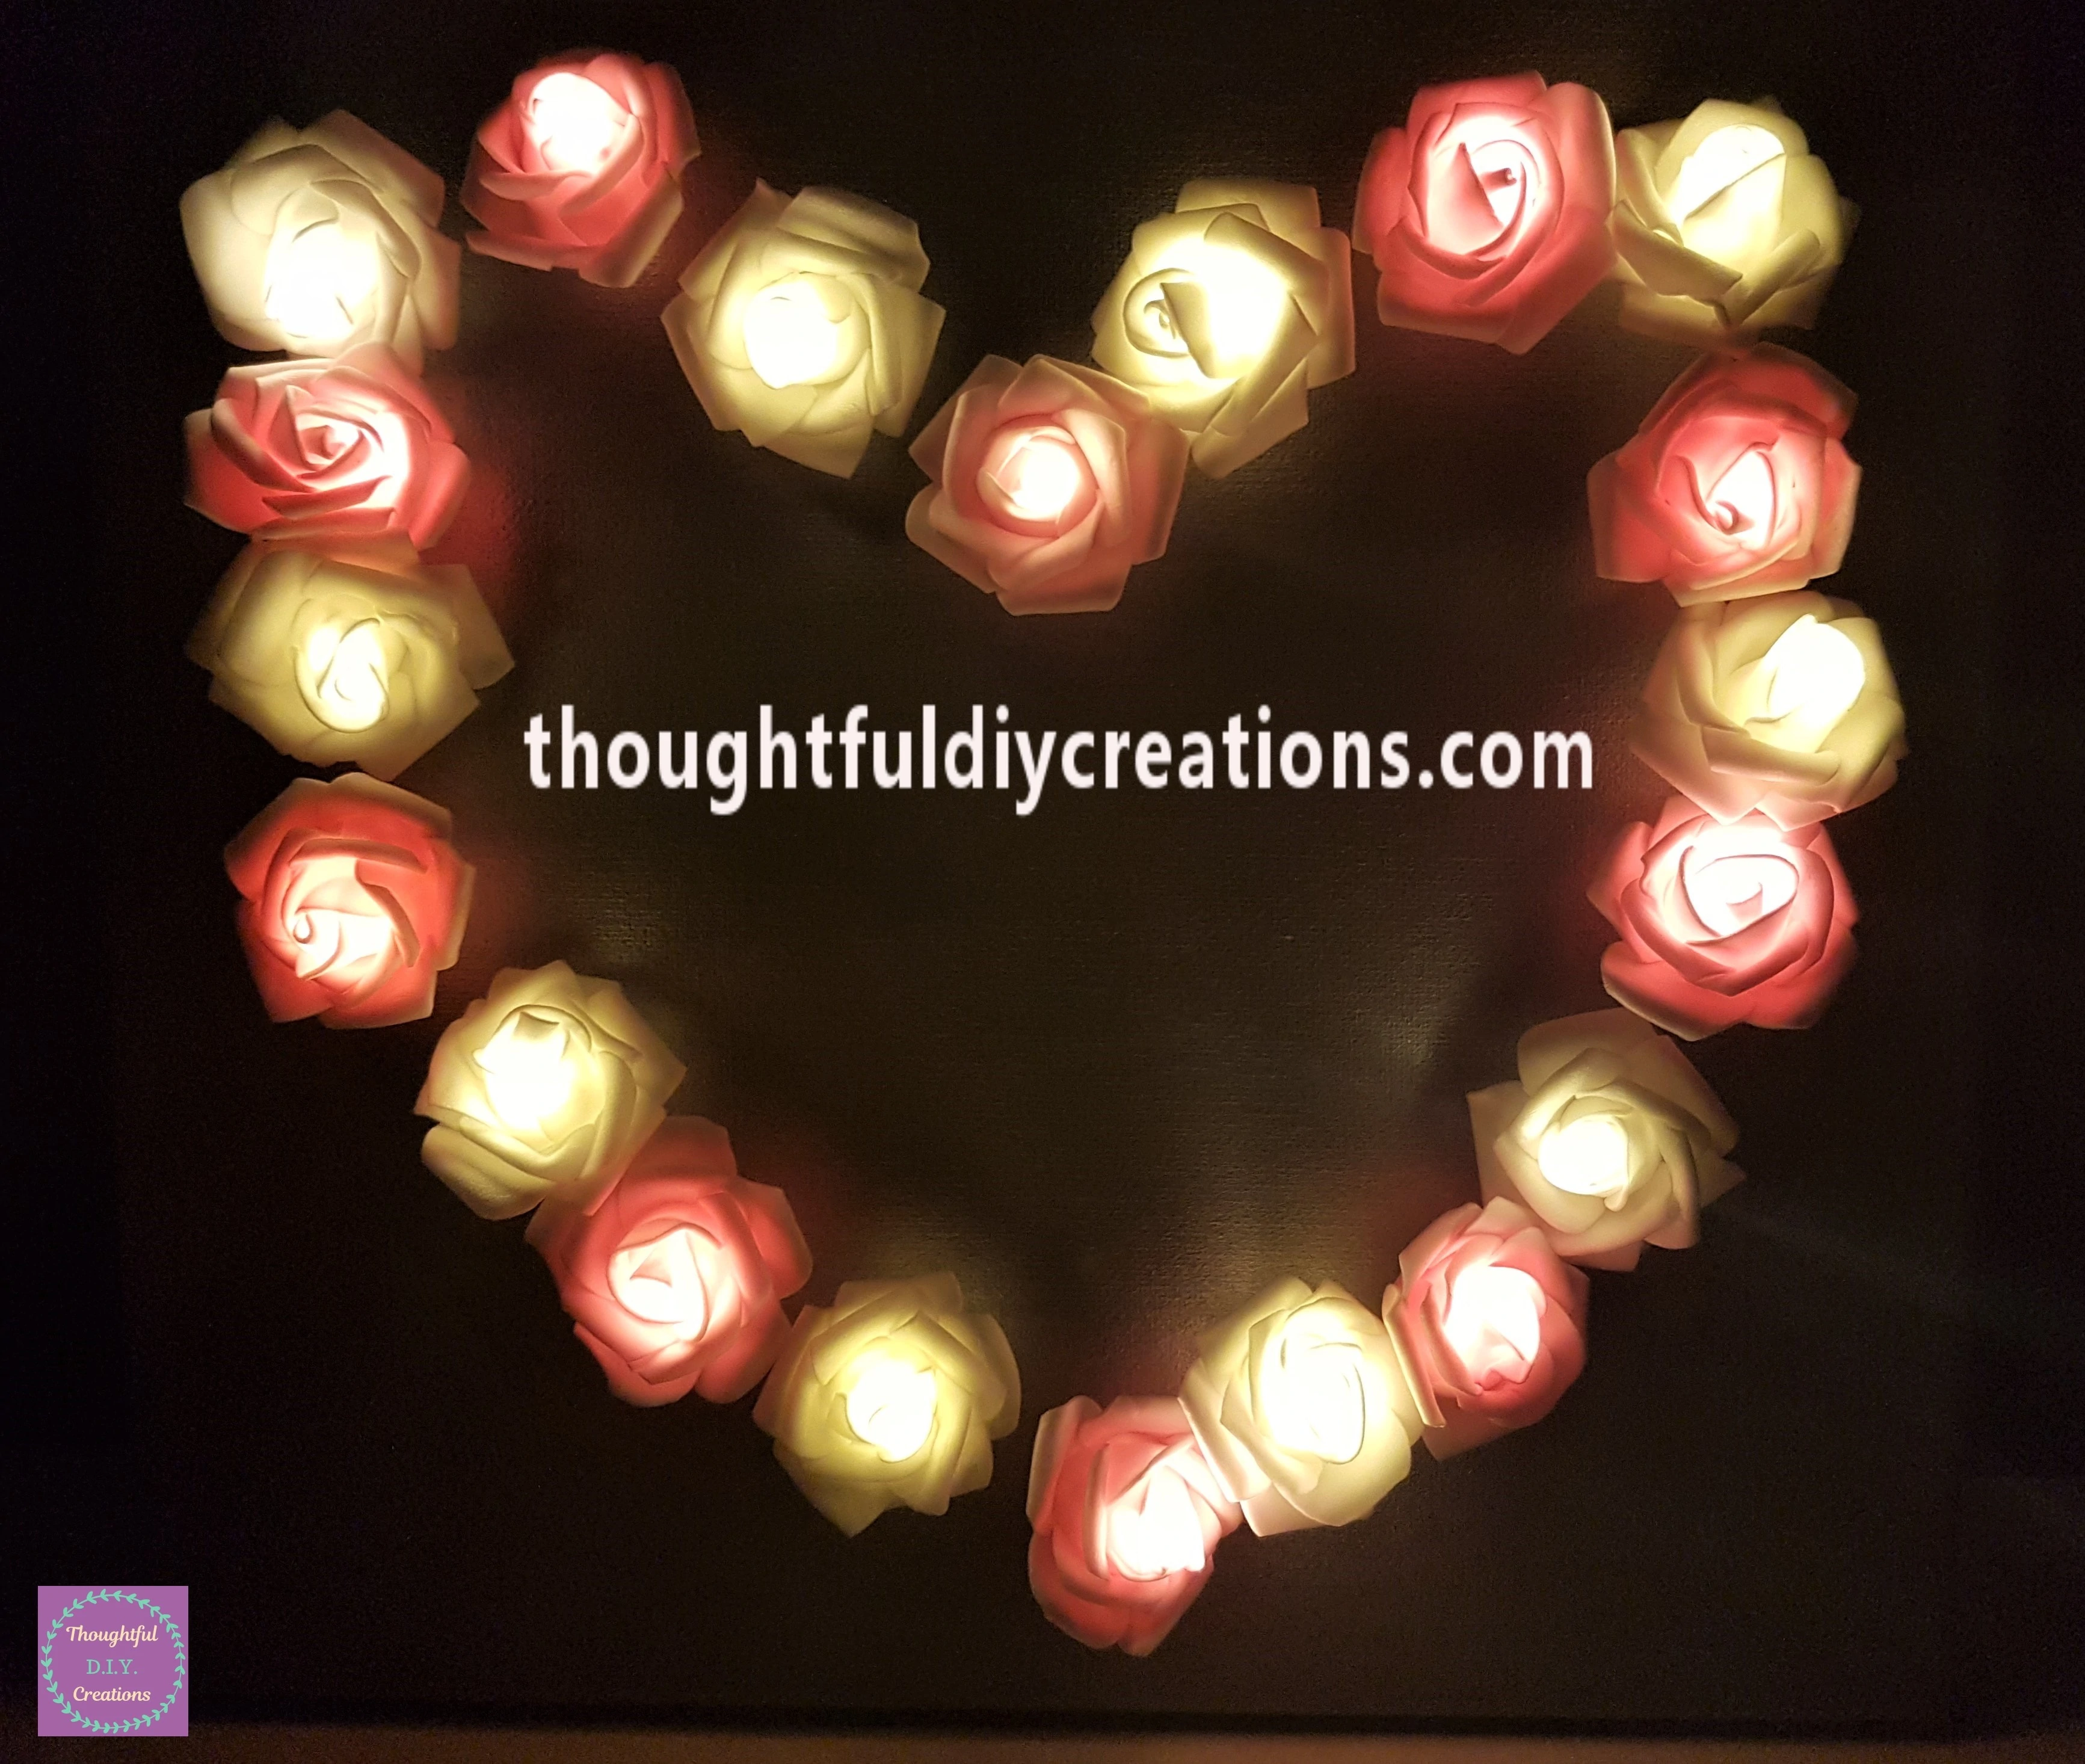
A closer look at the Light-Up Roses.
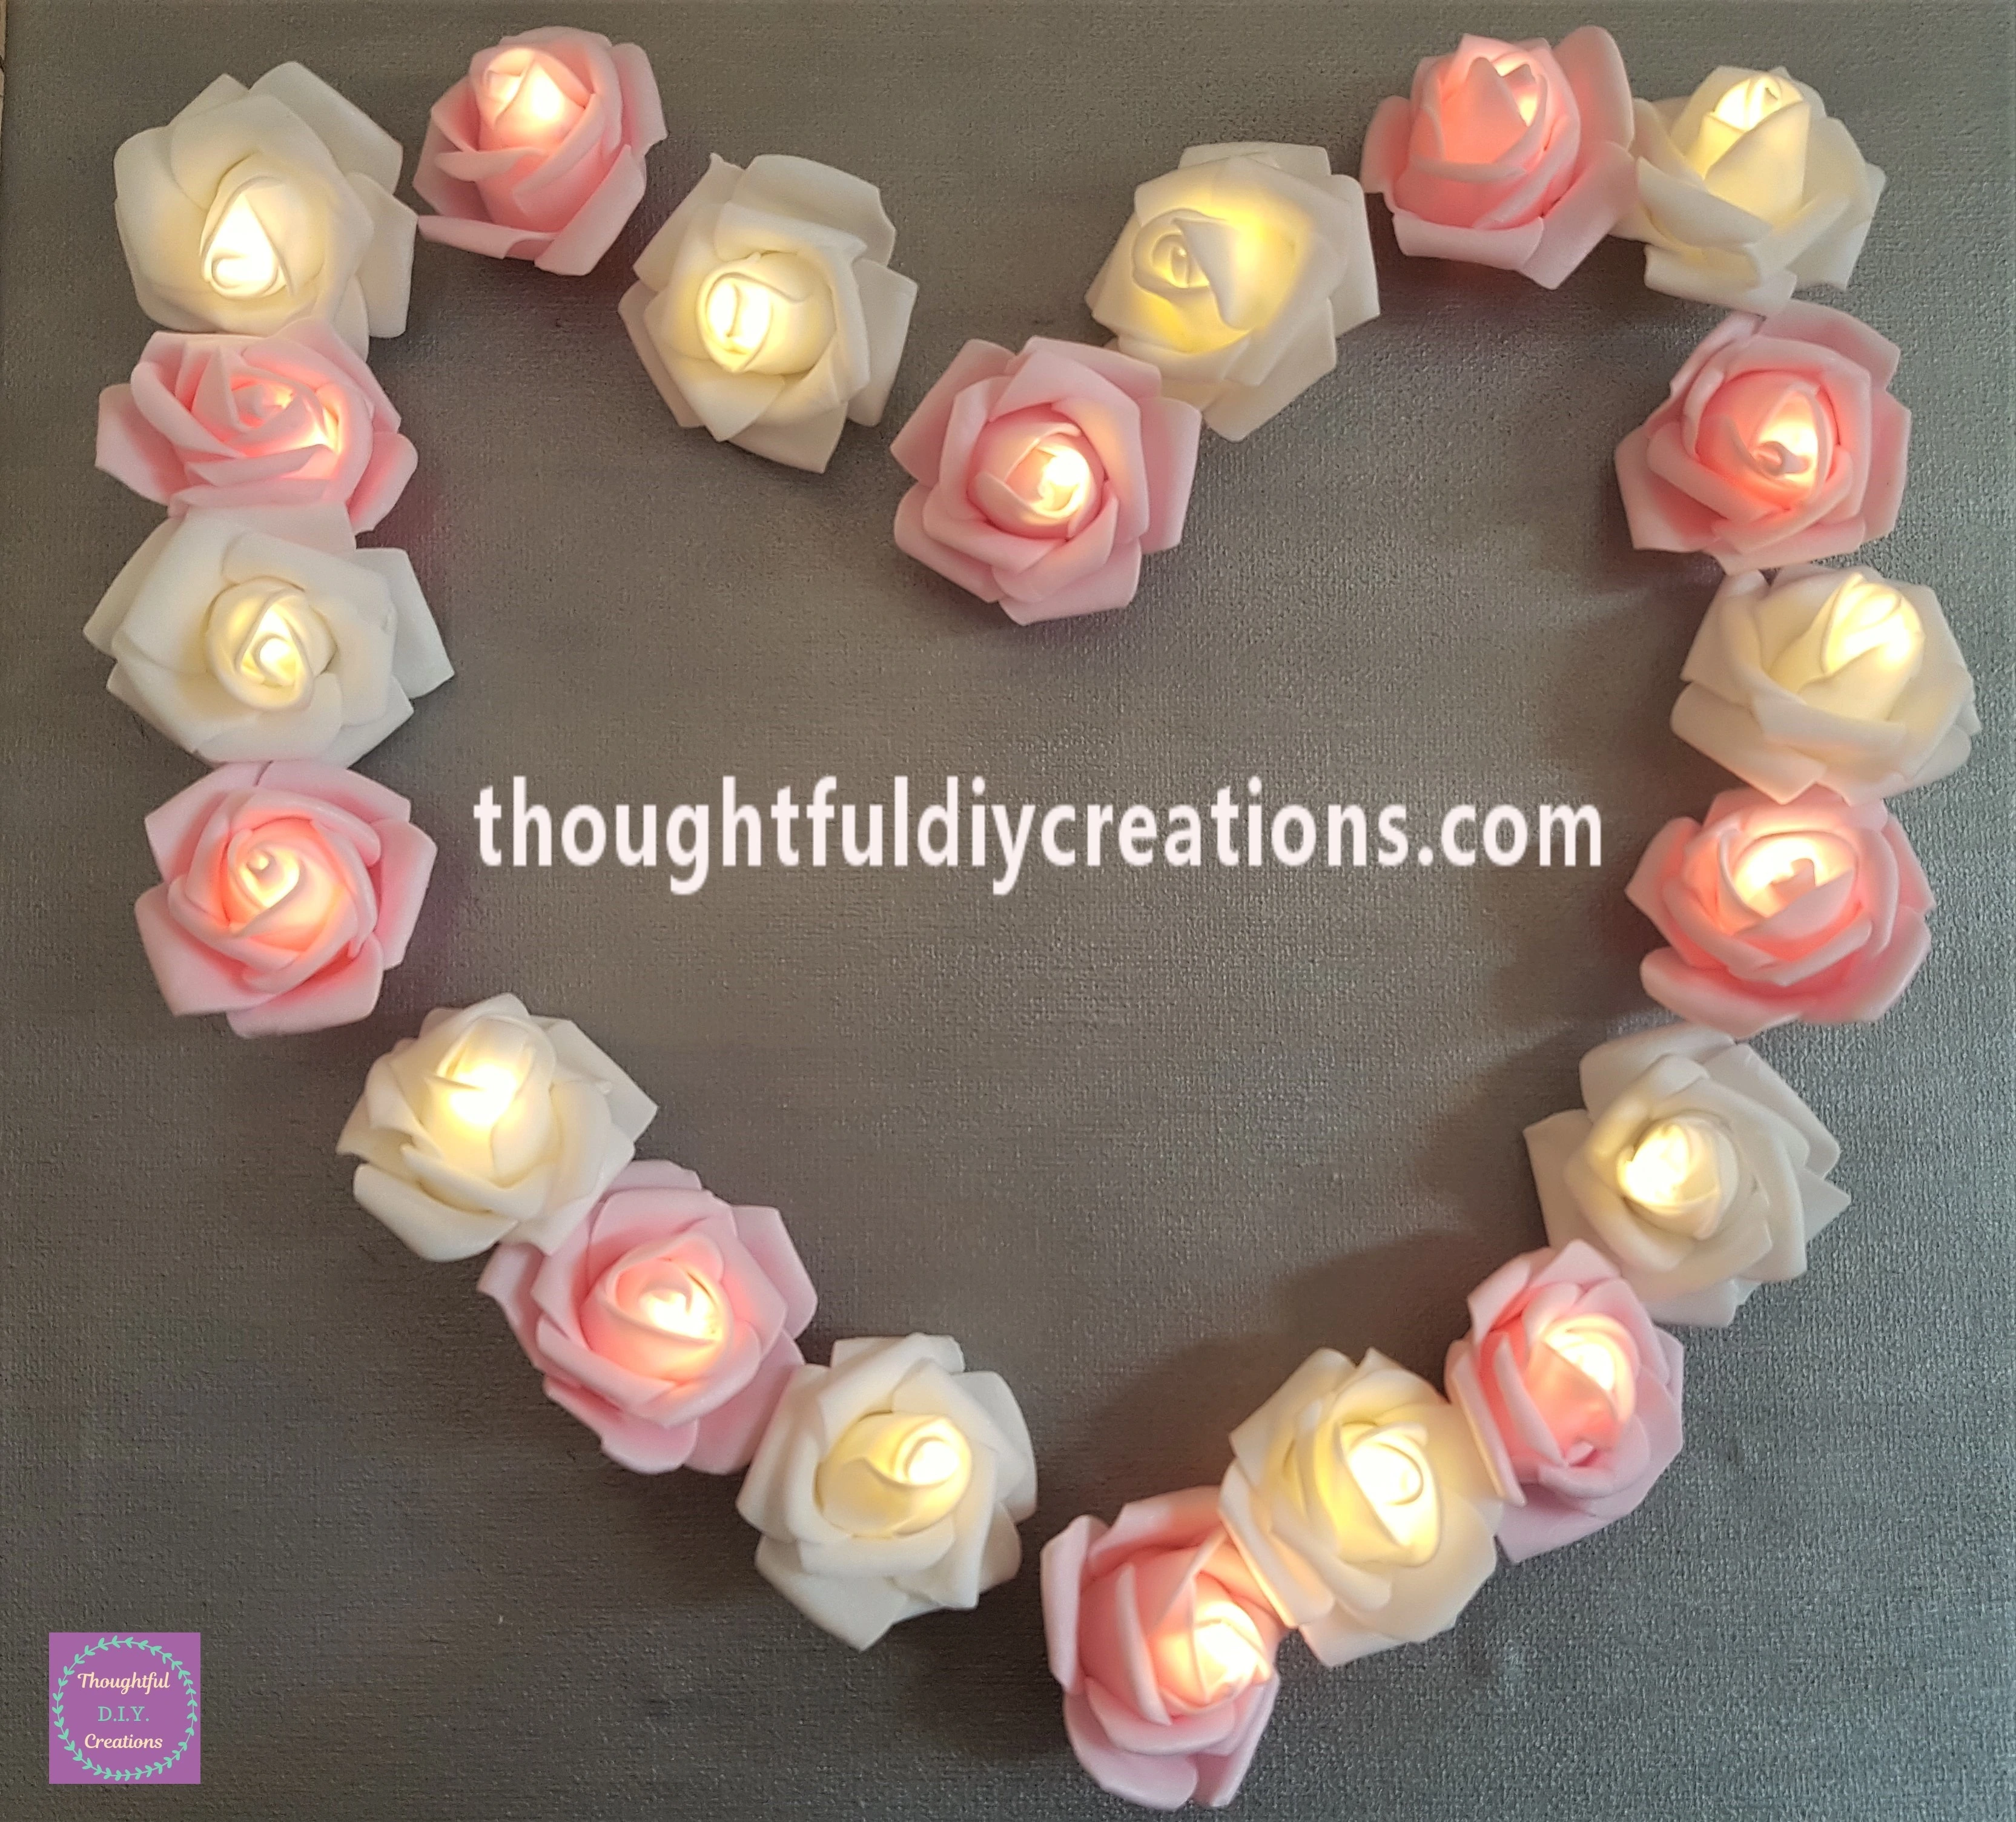
The Heart Canvas on Display.
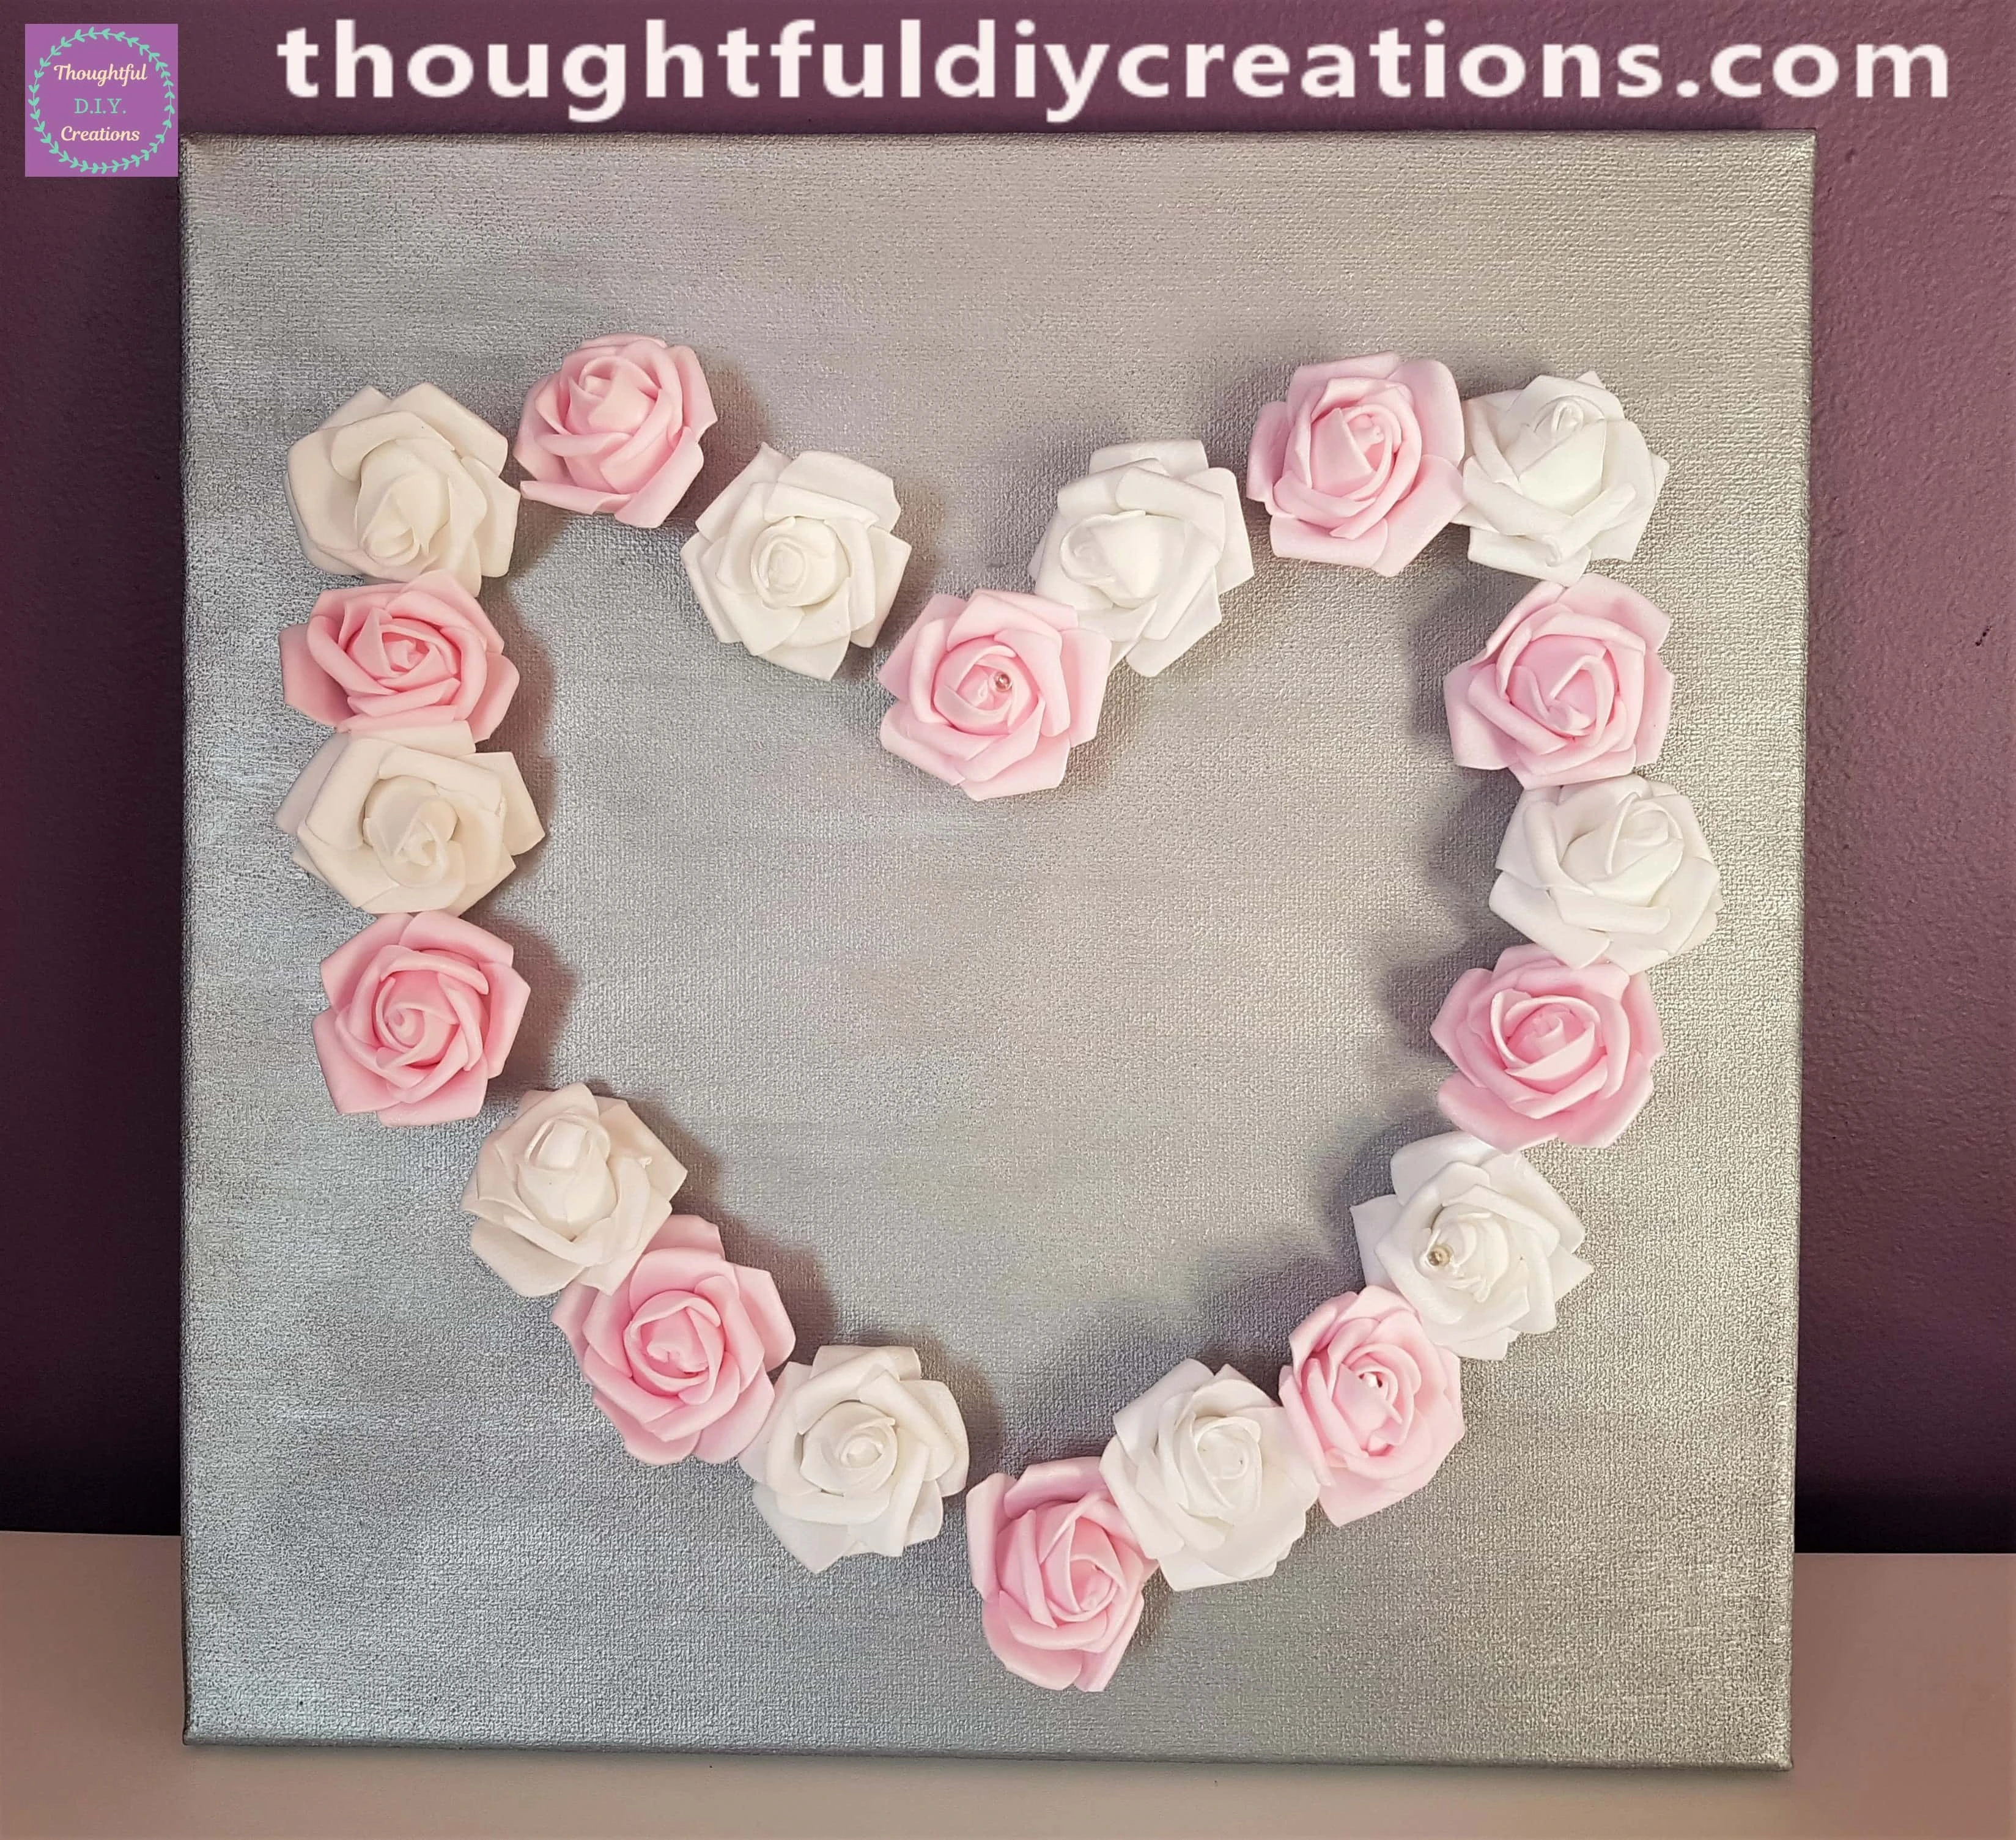
The Roses lighting up during the Day.
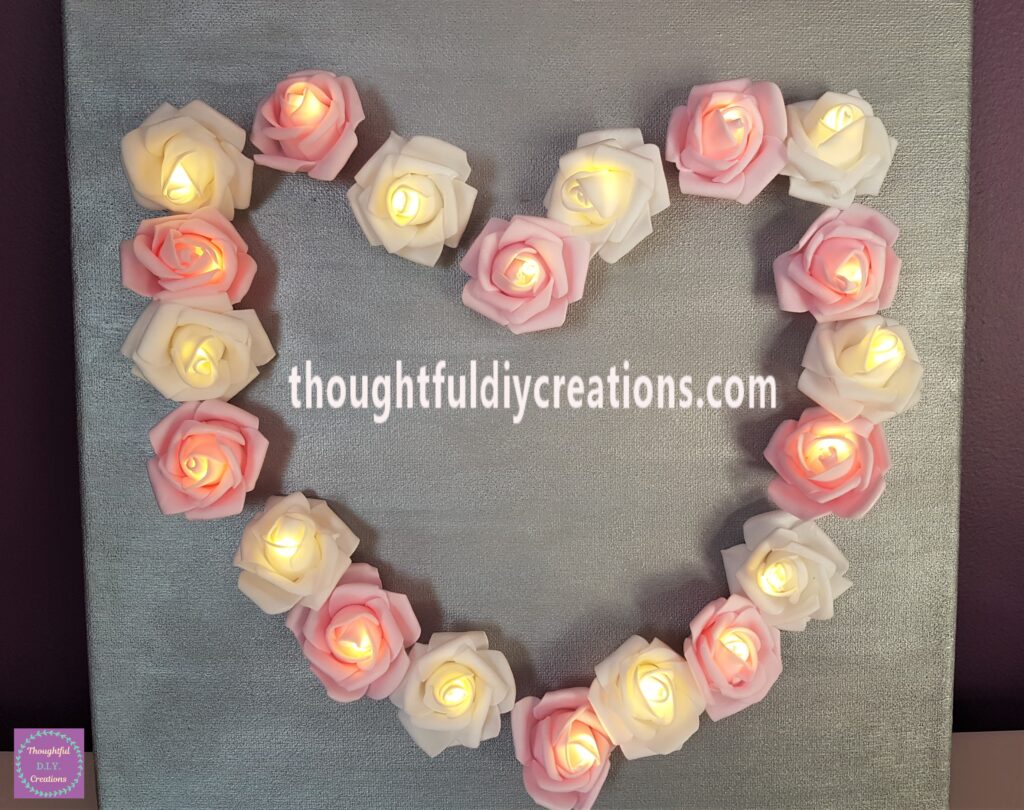
The Heart lit up at Night Time with the Room Light turned on.
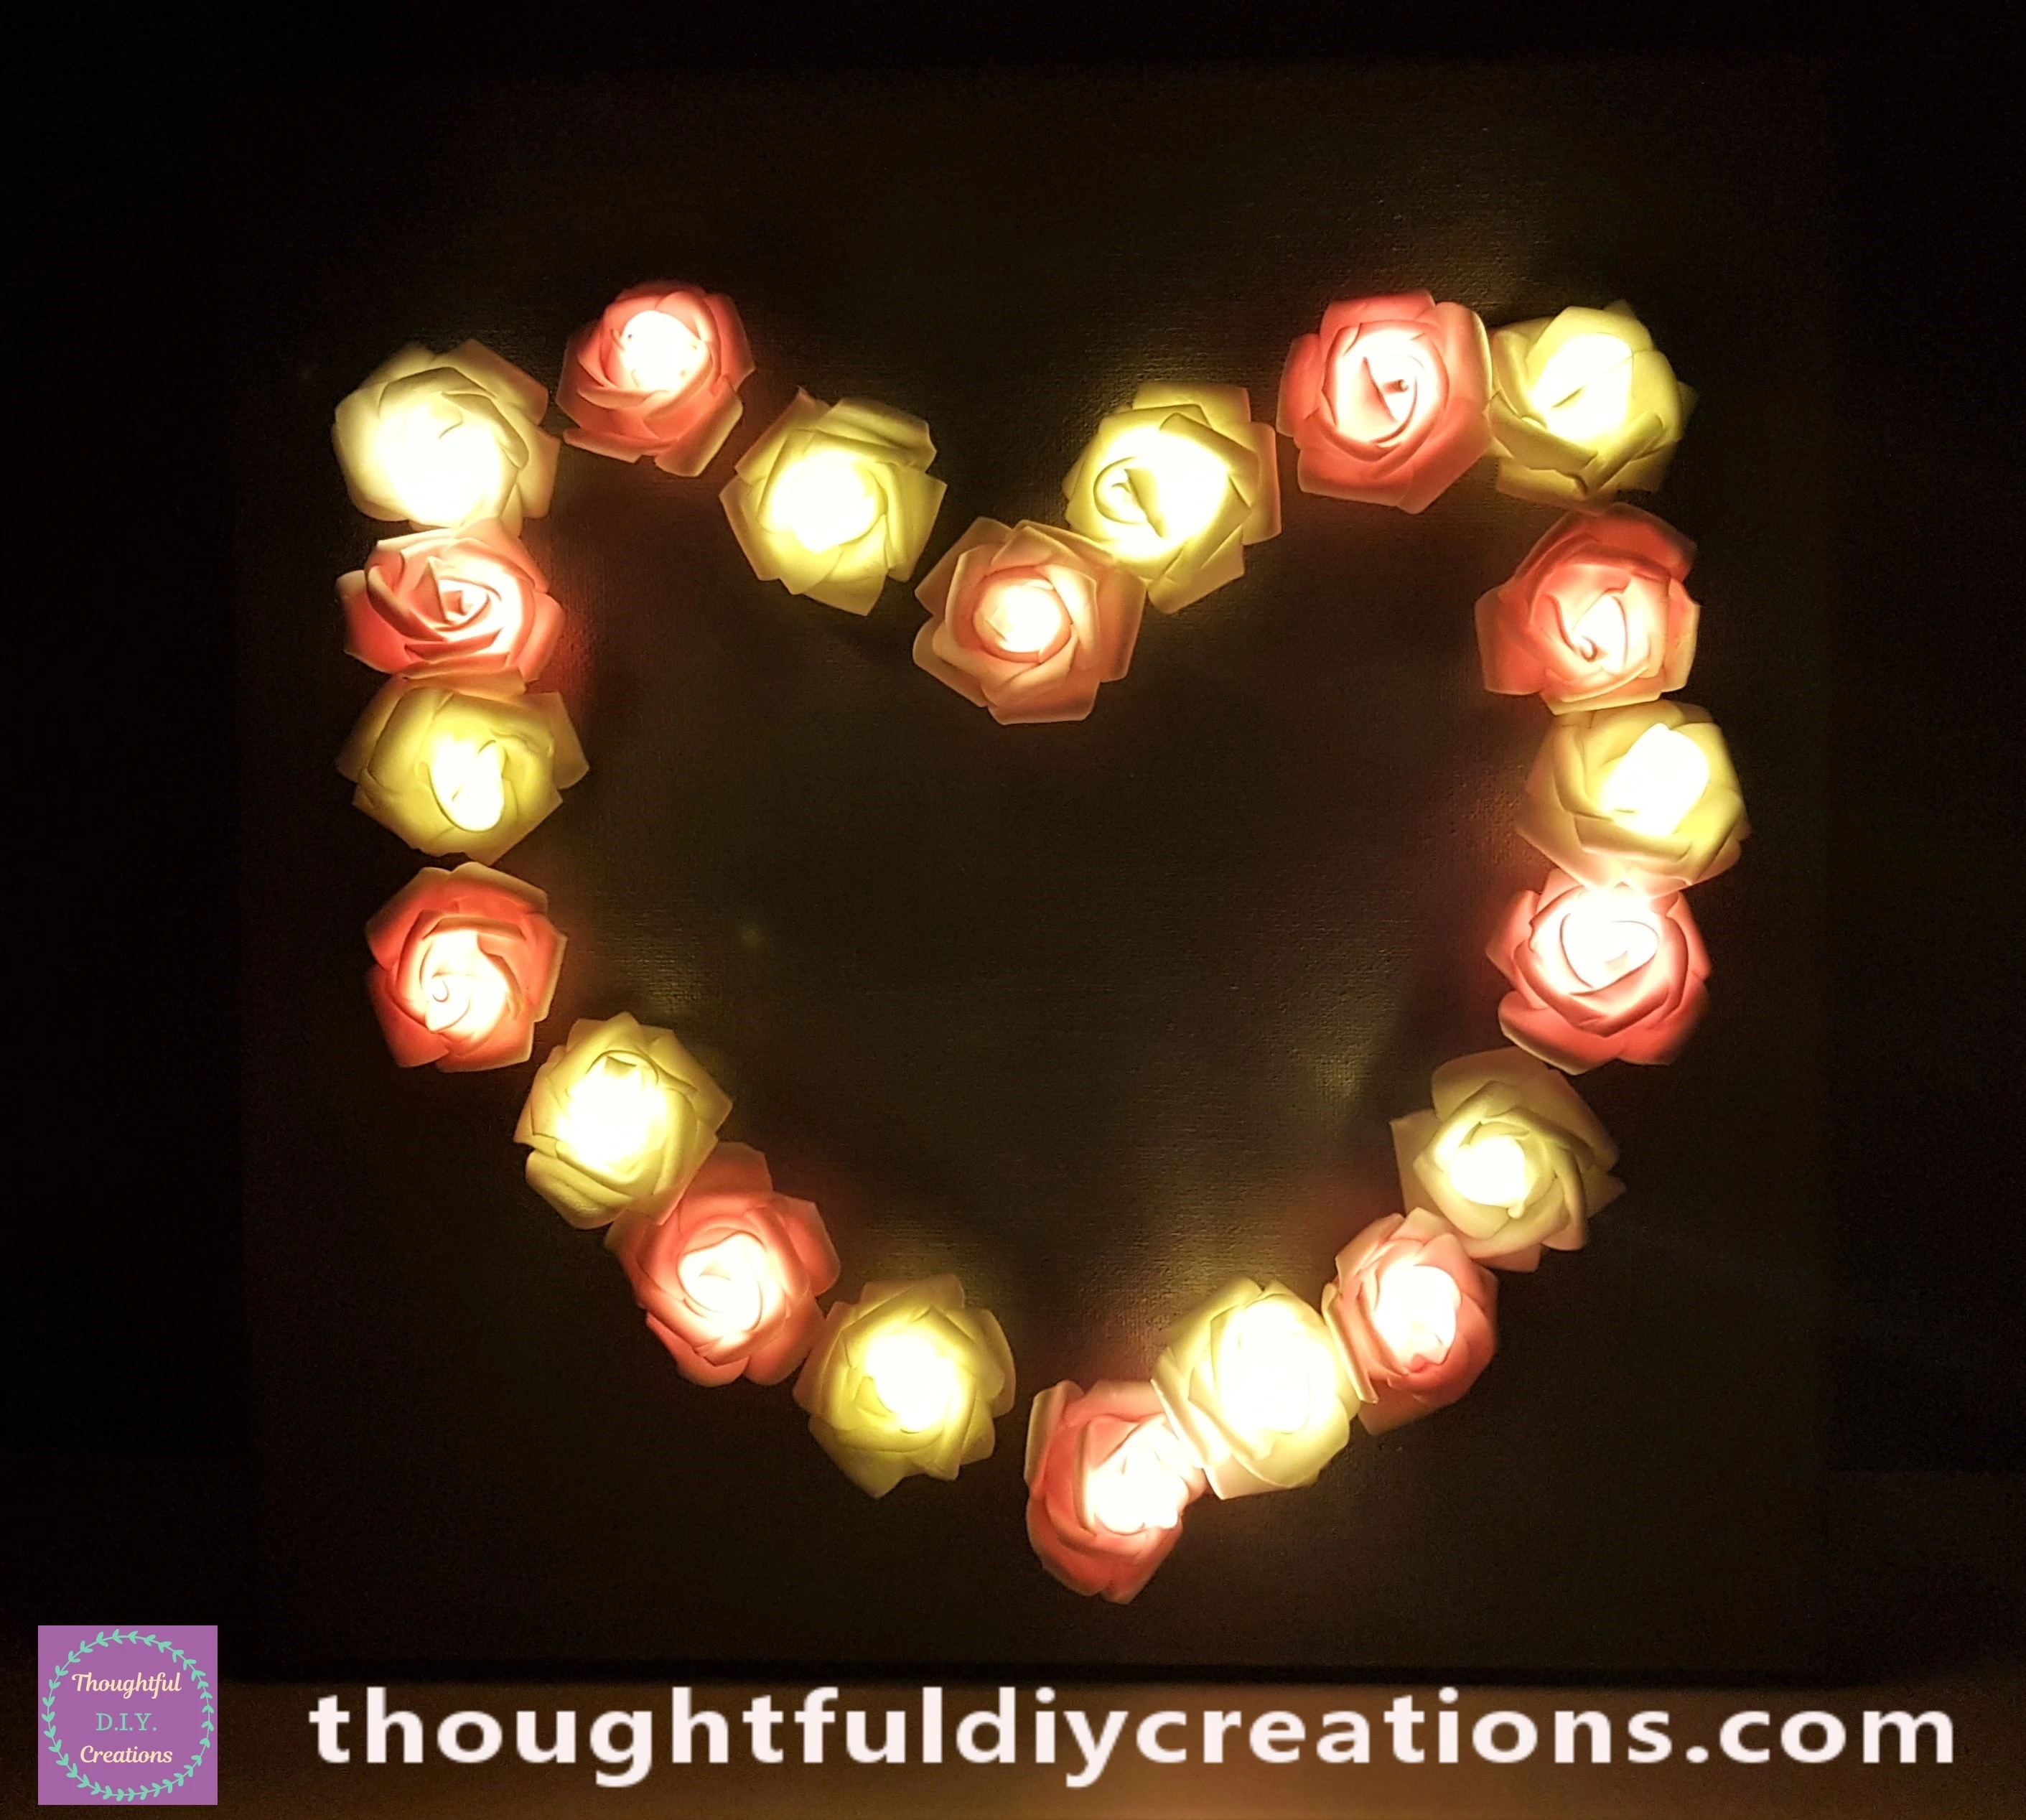
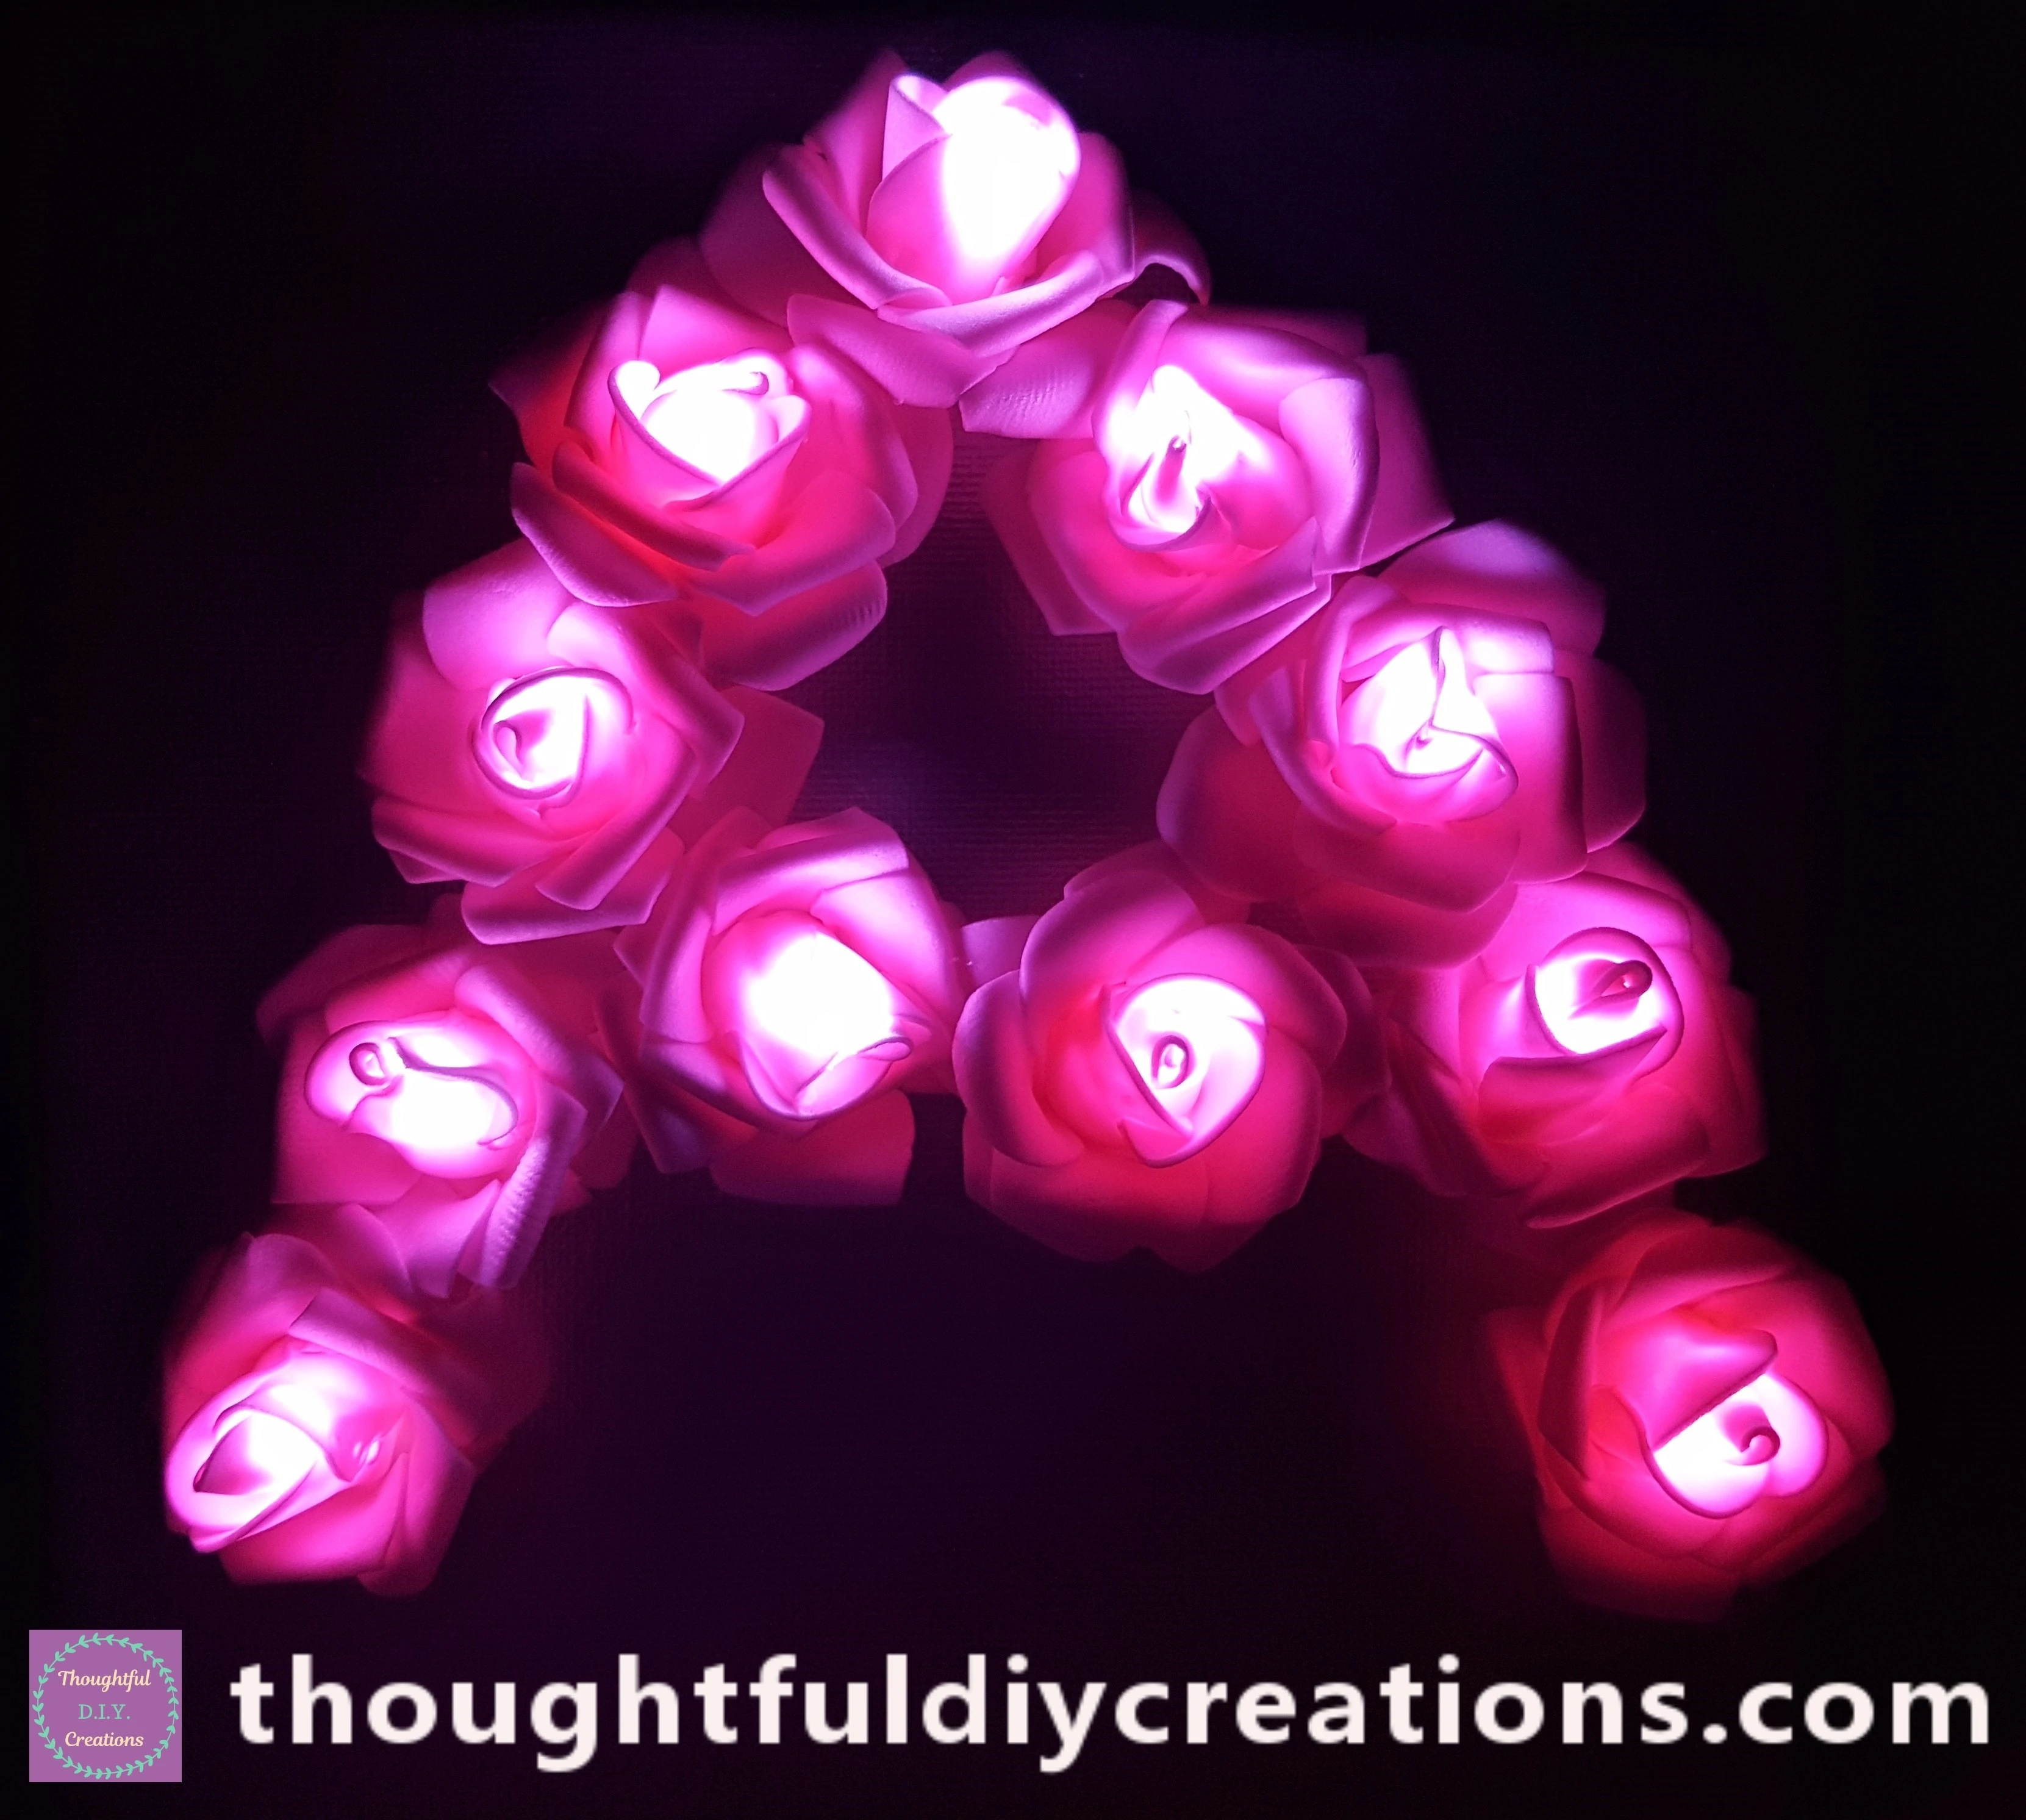
The Light-Up Canvas at Night Time with the Room Light turned off.
A Closer look at the Light-Up Roses.
Conclusion
I am delighted with how the Light-Up Canvas turned out. I think it looks pretty both Day and Night. I love the Colour Combination, the Quality of the Flowers and the Lights just add that extra Wow factor.
The Canvas would be lovely in any Room in the Home. It would provide the perfect Cosy, Romantic touch to a Master Bedroom. It would also work as Feminine Decor in a Teen or Adult Bedroom. It would equally be beautiful in a Living Room or Hallway. The Lights would add a magical glow in the evening.
You can make your Canvas unique to you by Painting it your favourite Colour and adding Flowers in a different Colour to mine if you prefer something different. An example would be to Paint the Canvas Red and use White Flowers in the Shape of the Heart.
This Canvas would make a Thoughtful D.I.Y. Gift for so many Occasions. Examples include Weddings, Anniversaries, Valentines Day, New Home, or Nursery Decor. You could also add Names to the Canvas to Personalise it.
If you love Light-Up Crafts you might be interested in a Jar I made recently; Moon & Back Tutorial.
If you give this Craft or any of my other Tutorials a try for yourself, let me know how it went for you and if you did anything different. I’d love to know how it turned out.
Thank You so much for Taking the Time to Read my Blog.
Always Grateful,
T.D.C.
xoxox



-0 Comment-