Light-Up Unicorn Beaker Tutorial
Hello my Creative Friends,
I hope you are all Well. In Today’s Tutorial I will show you How I Up-Cycled an old Beaker into a Decorative, Light-Up Ornament to Display as Home Decor and Use as a Night Light. I hope you gain some Inspiration from the Tutorial and attempt something similar for Yourself, or for Someone Special in your life.
Beaker for Crafting
My Sister gave me an old Plastic Beaker a couple of Years ago for my Crafts. I wasn’t sure what to do with it for a long time but I took it out this Week and set to Work transforming it with a few Supplies I already had at Home.
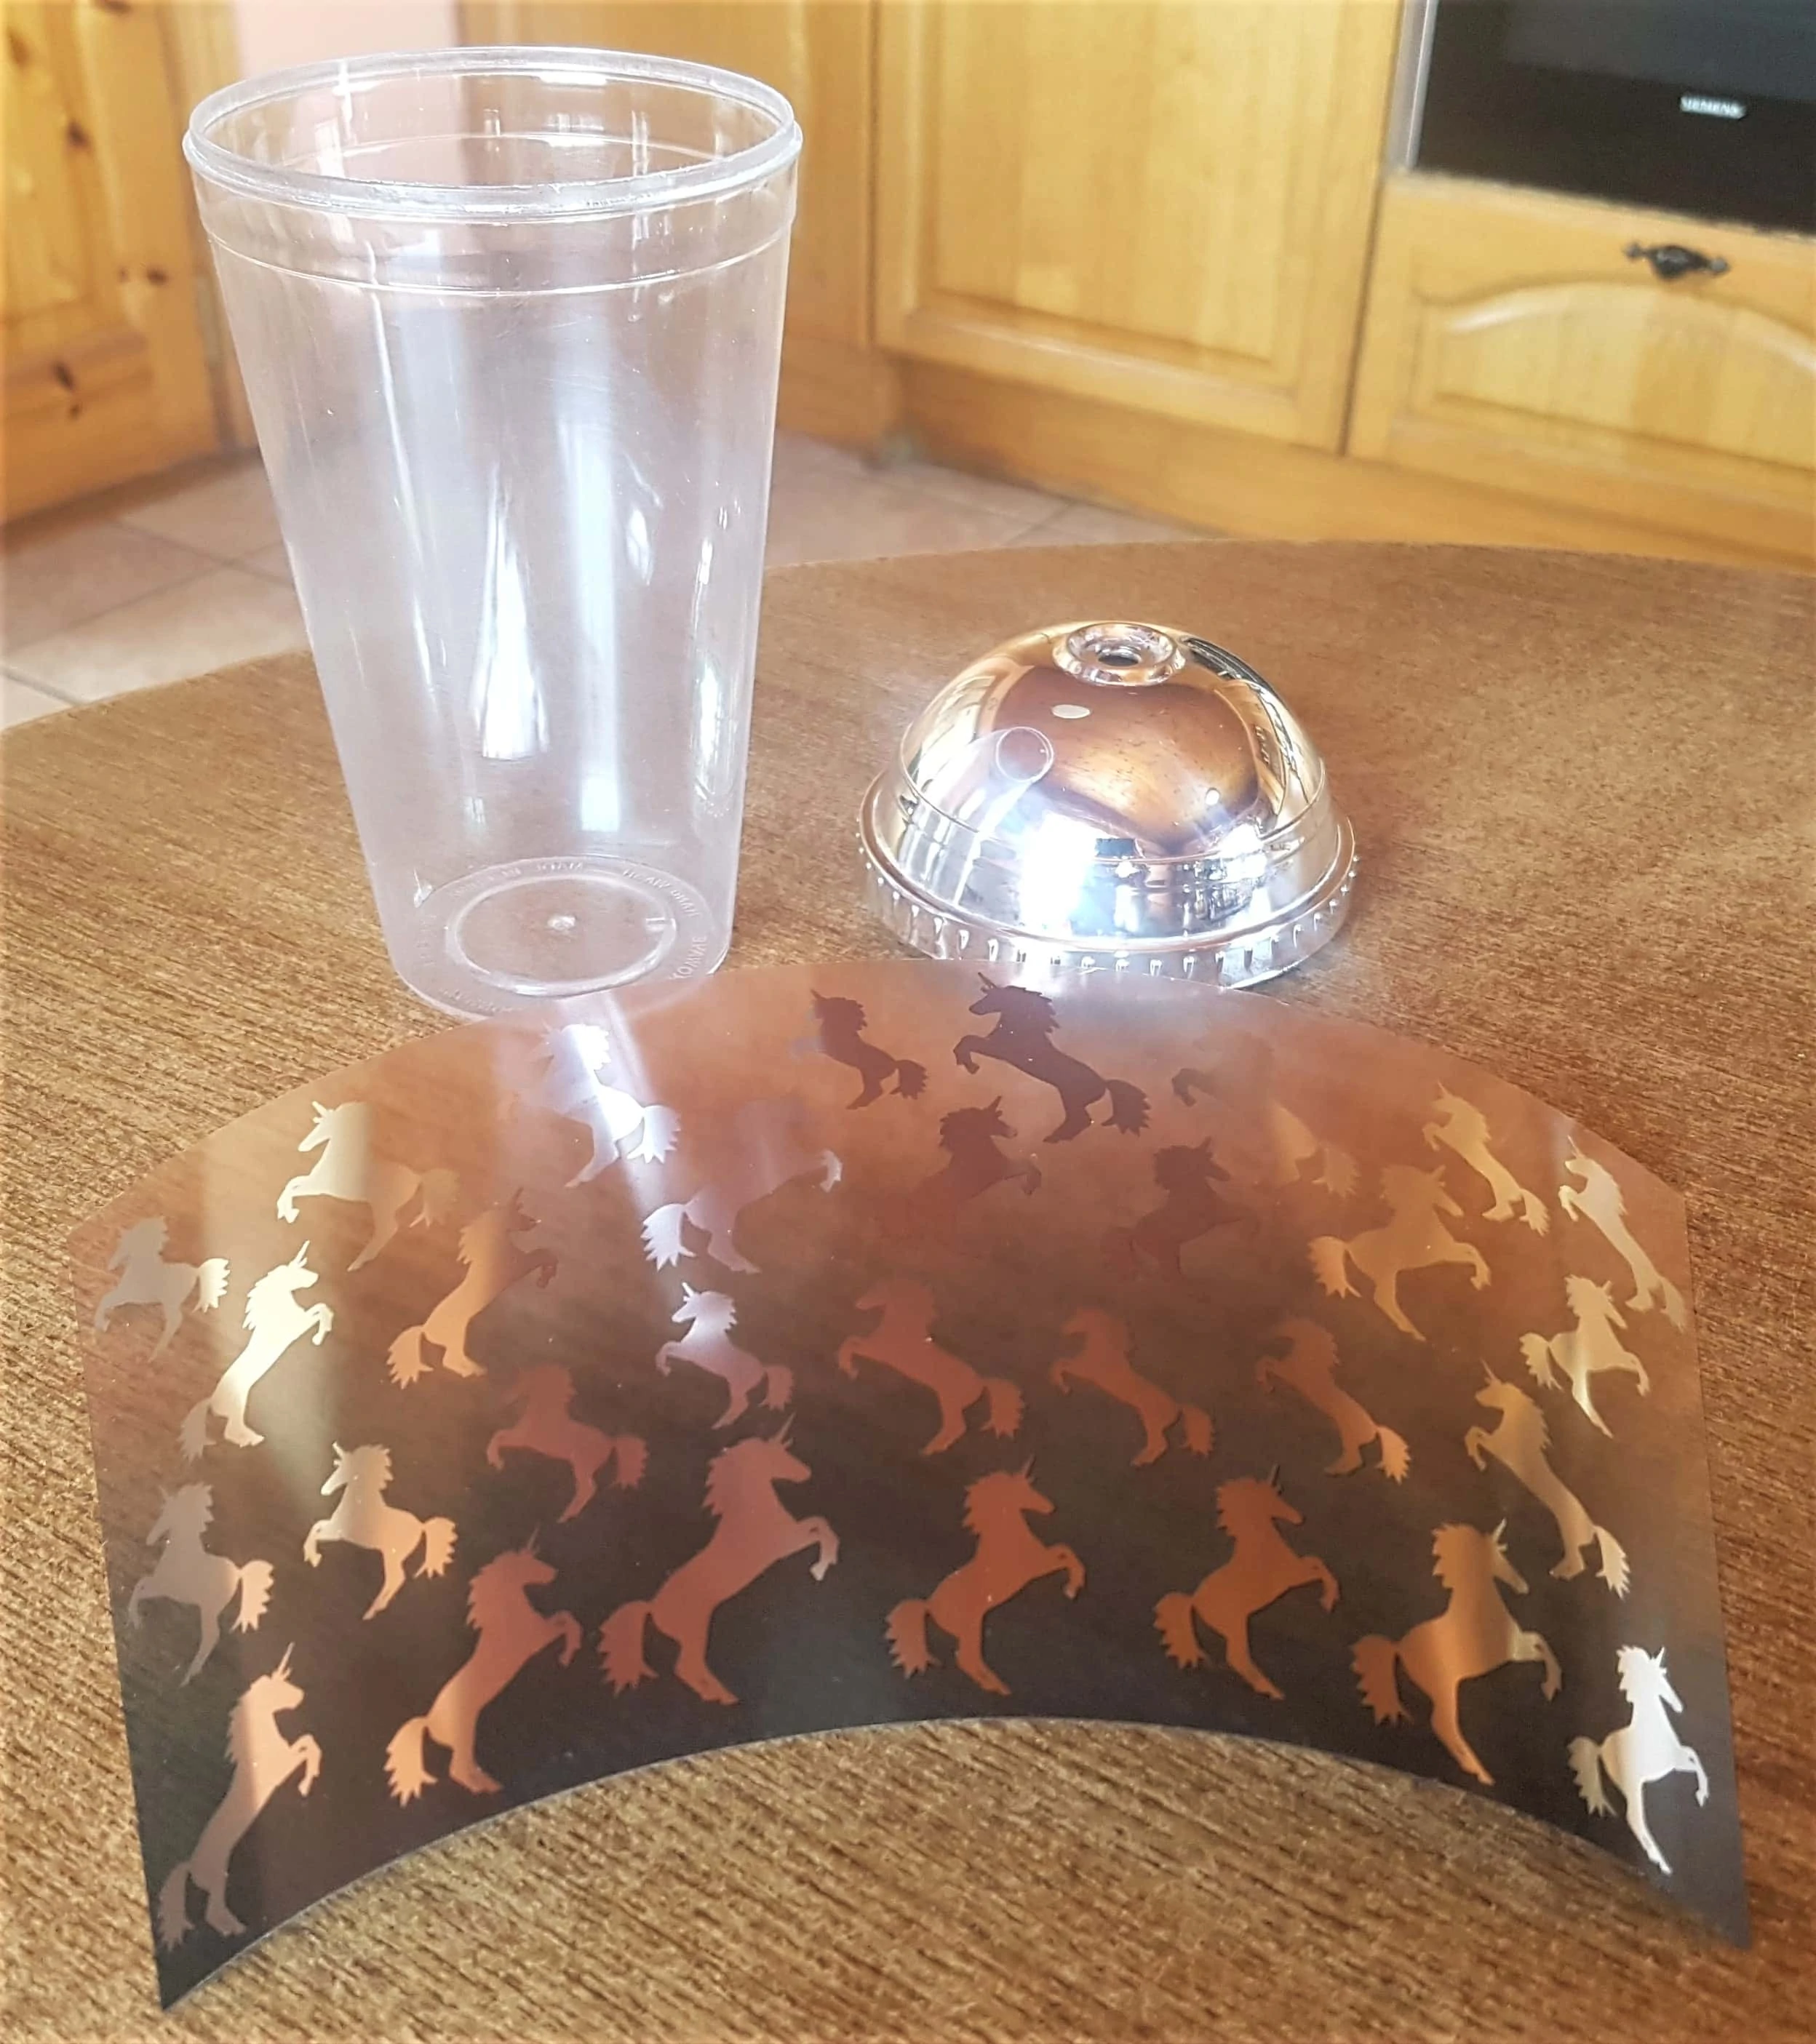
This is the Plastic Beaker with Chrome Lid. It has a removable Vellum style Paper inside with Unicorns on it.
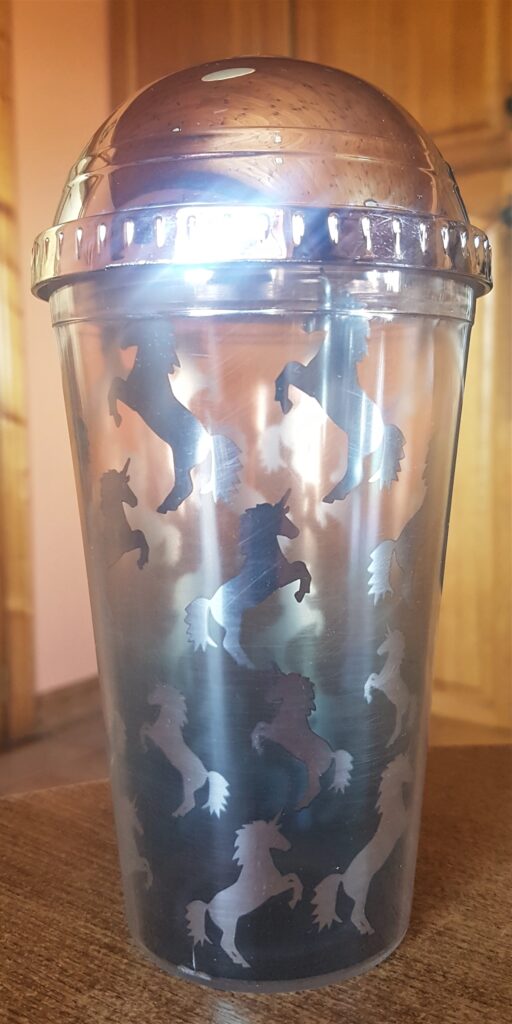
I took off the lid and removed the Unicorn Sheet from inside the Beaker.
Attaching the Unicorn Sheet to the Beaker
I put a Strip of Double-Sided Tape on the 2 ends on the back of the Unicorn Sheet.
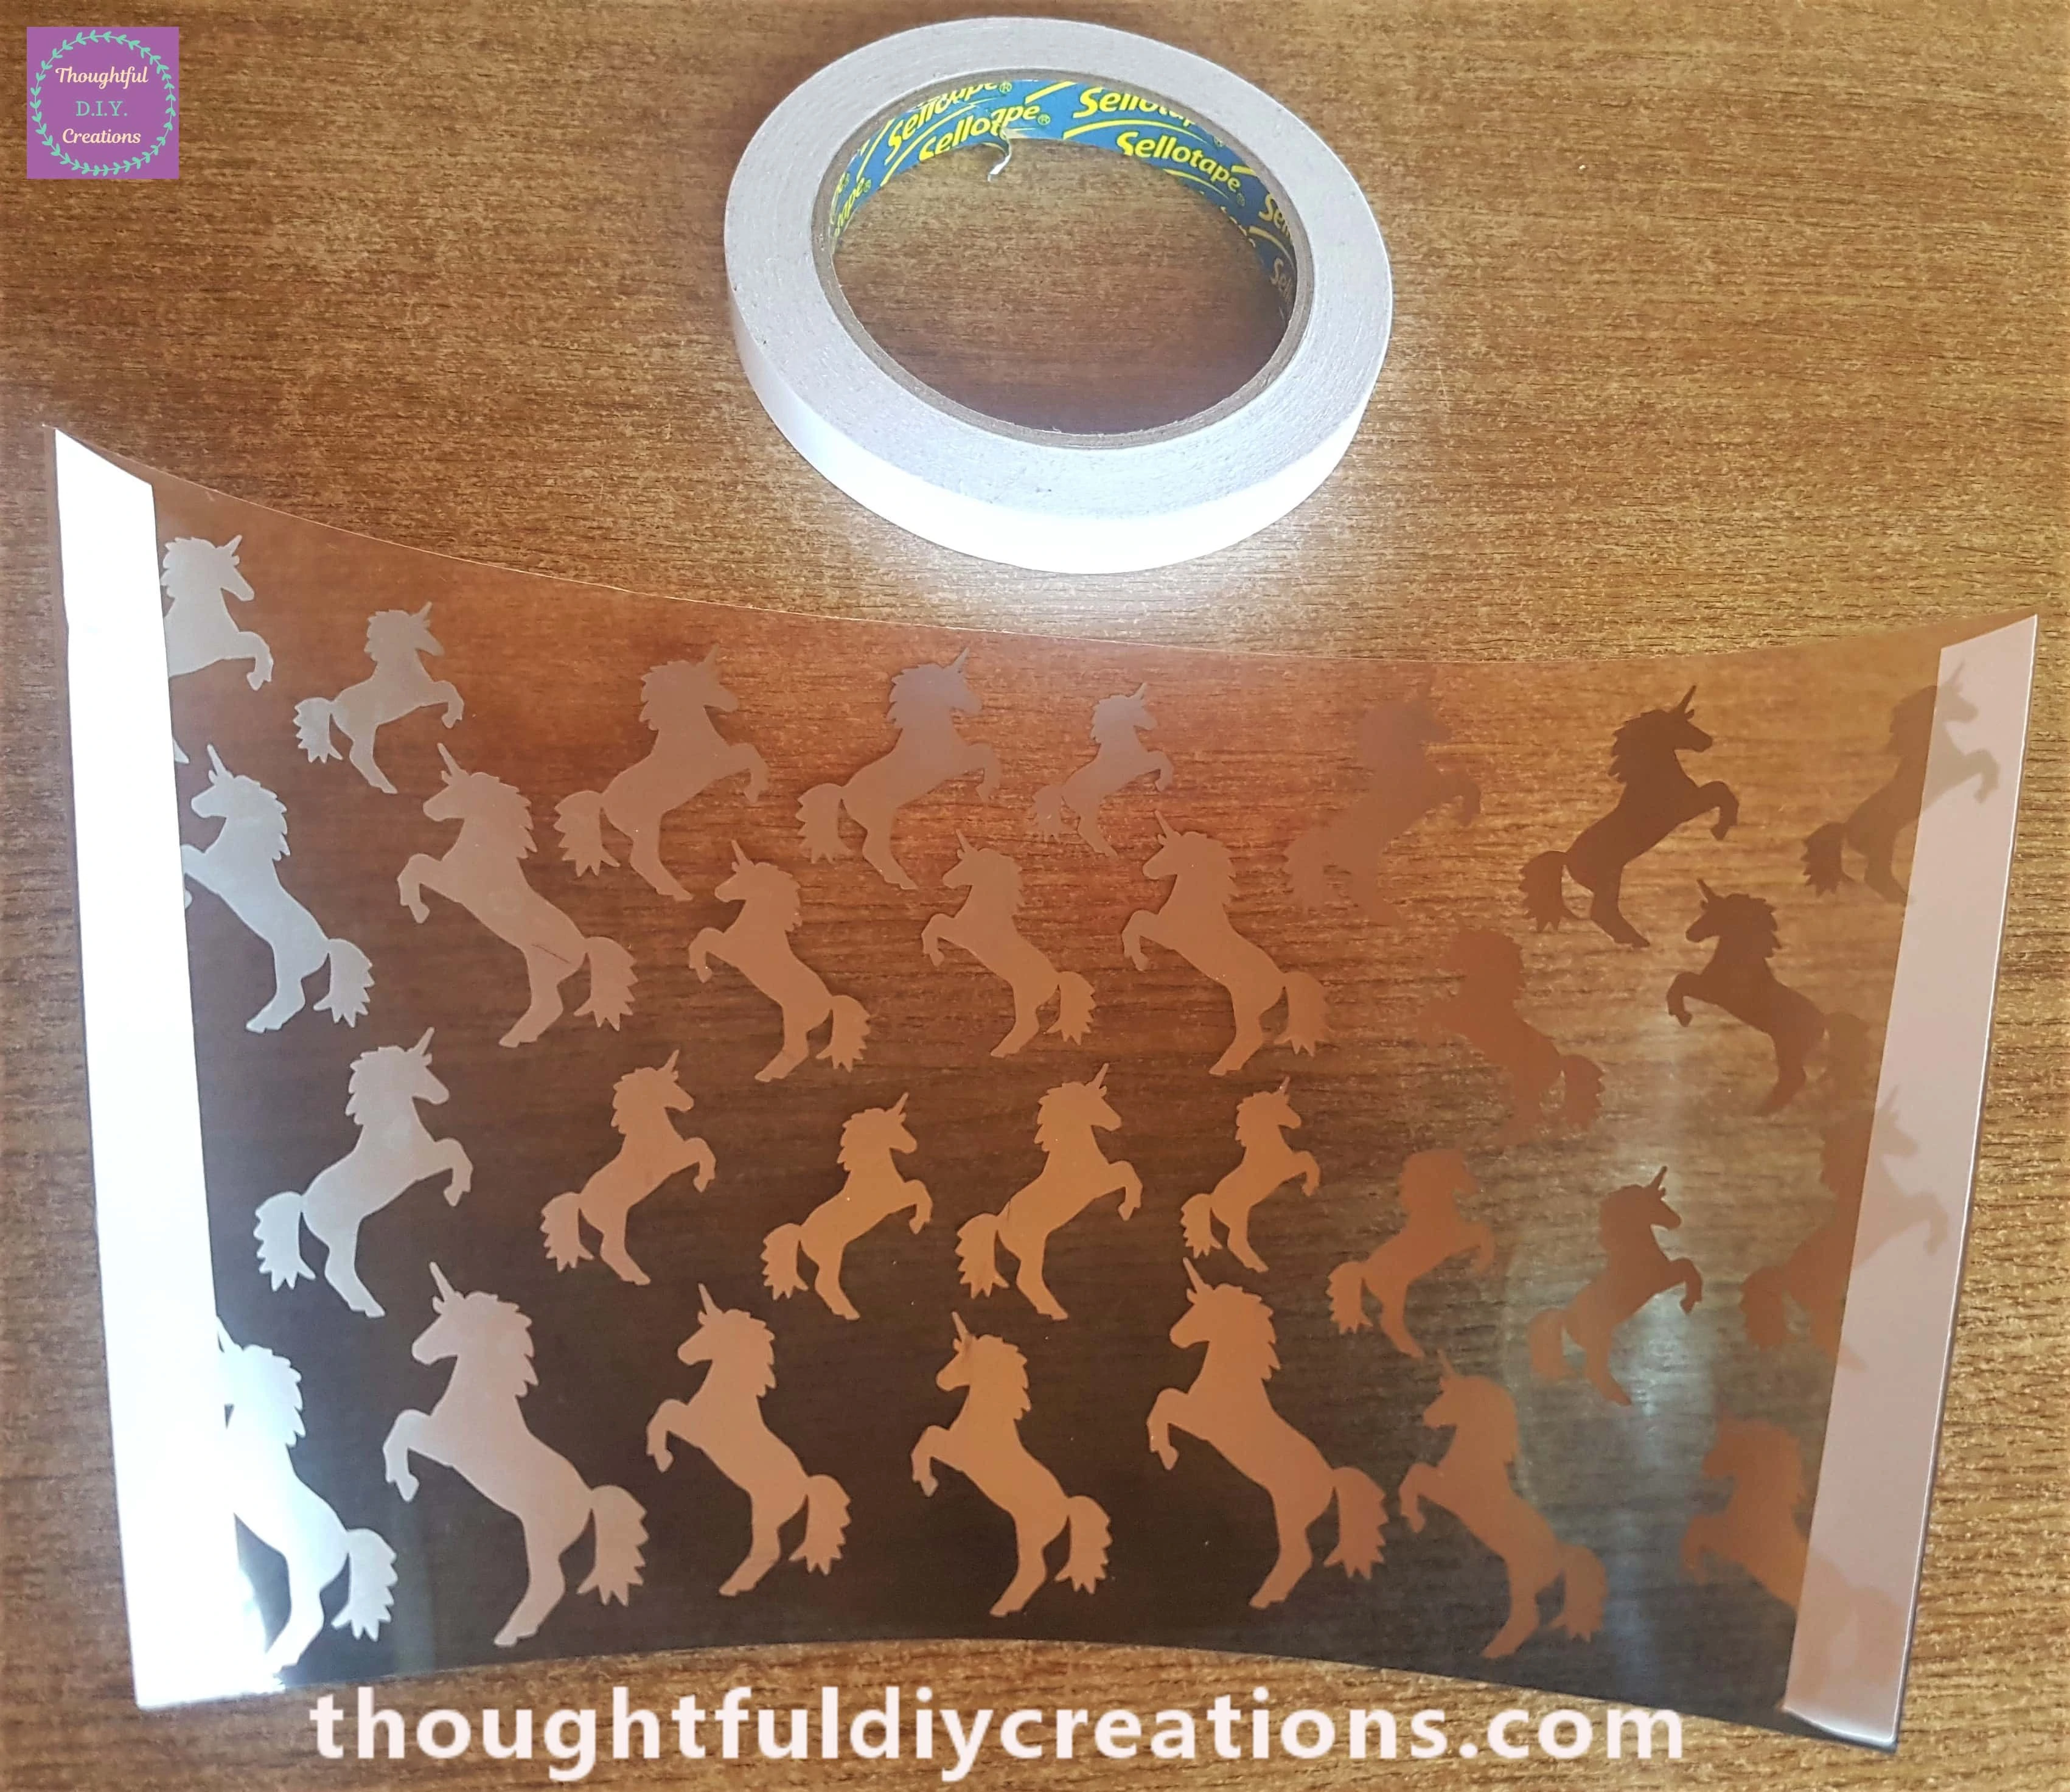
I removed the White Plastic Backing from the Double-Sided Tape.
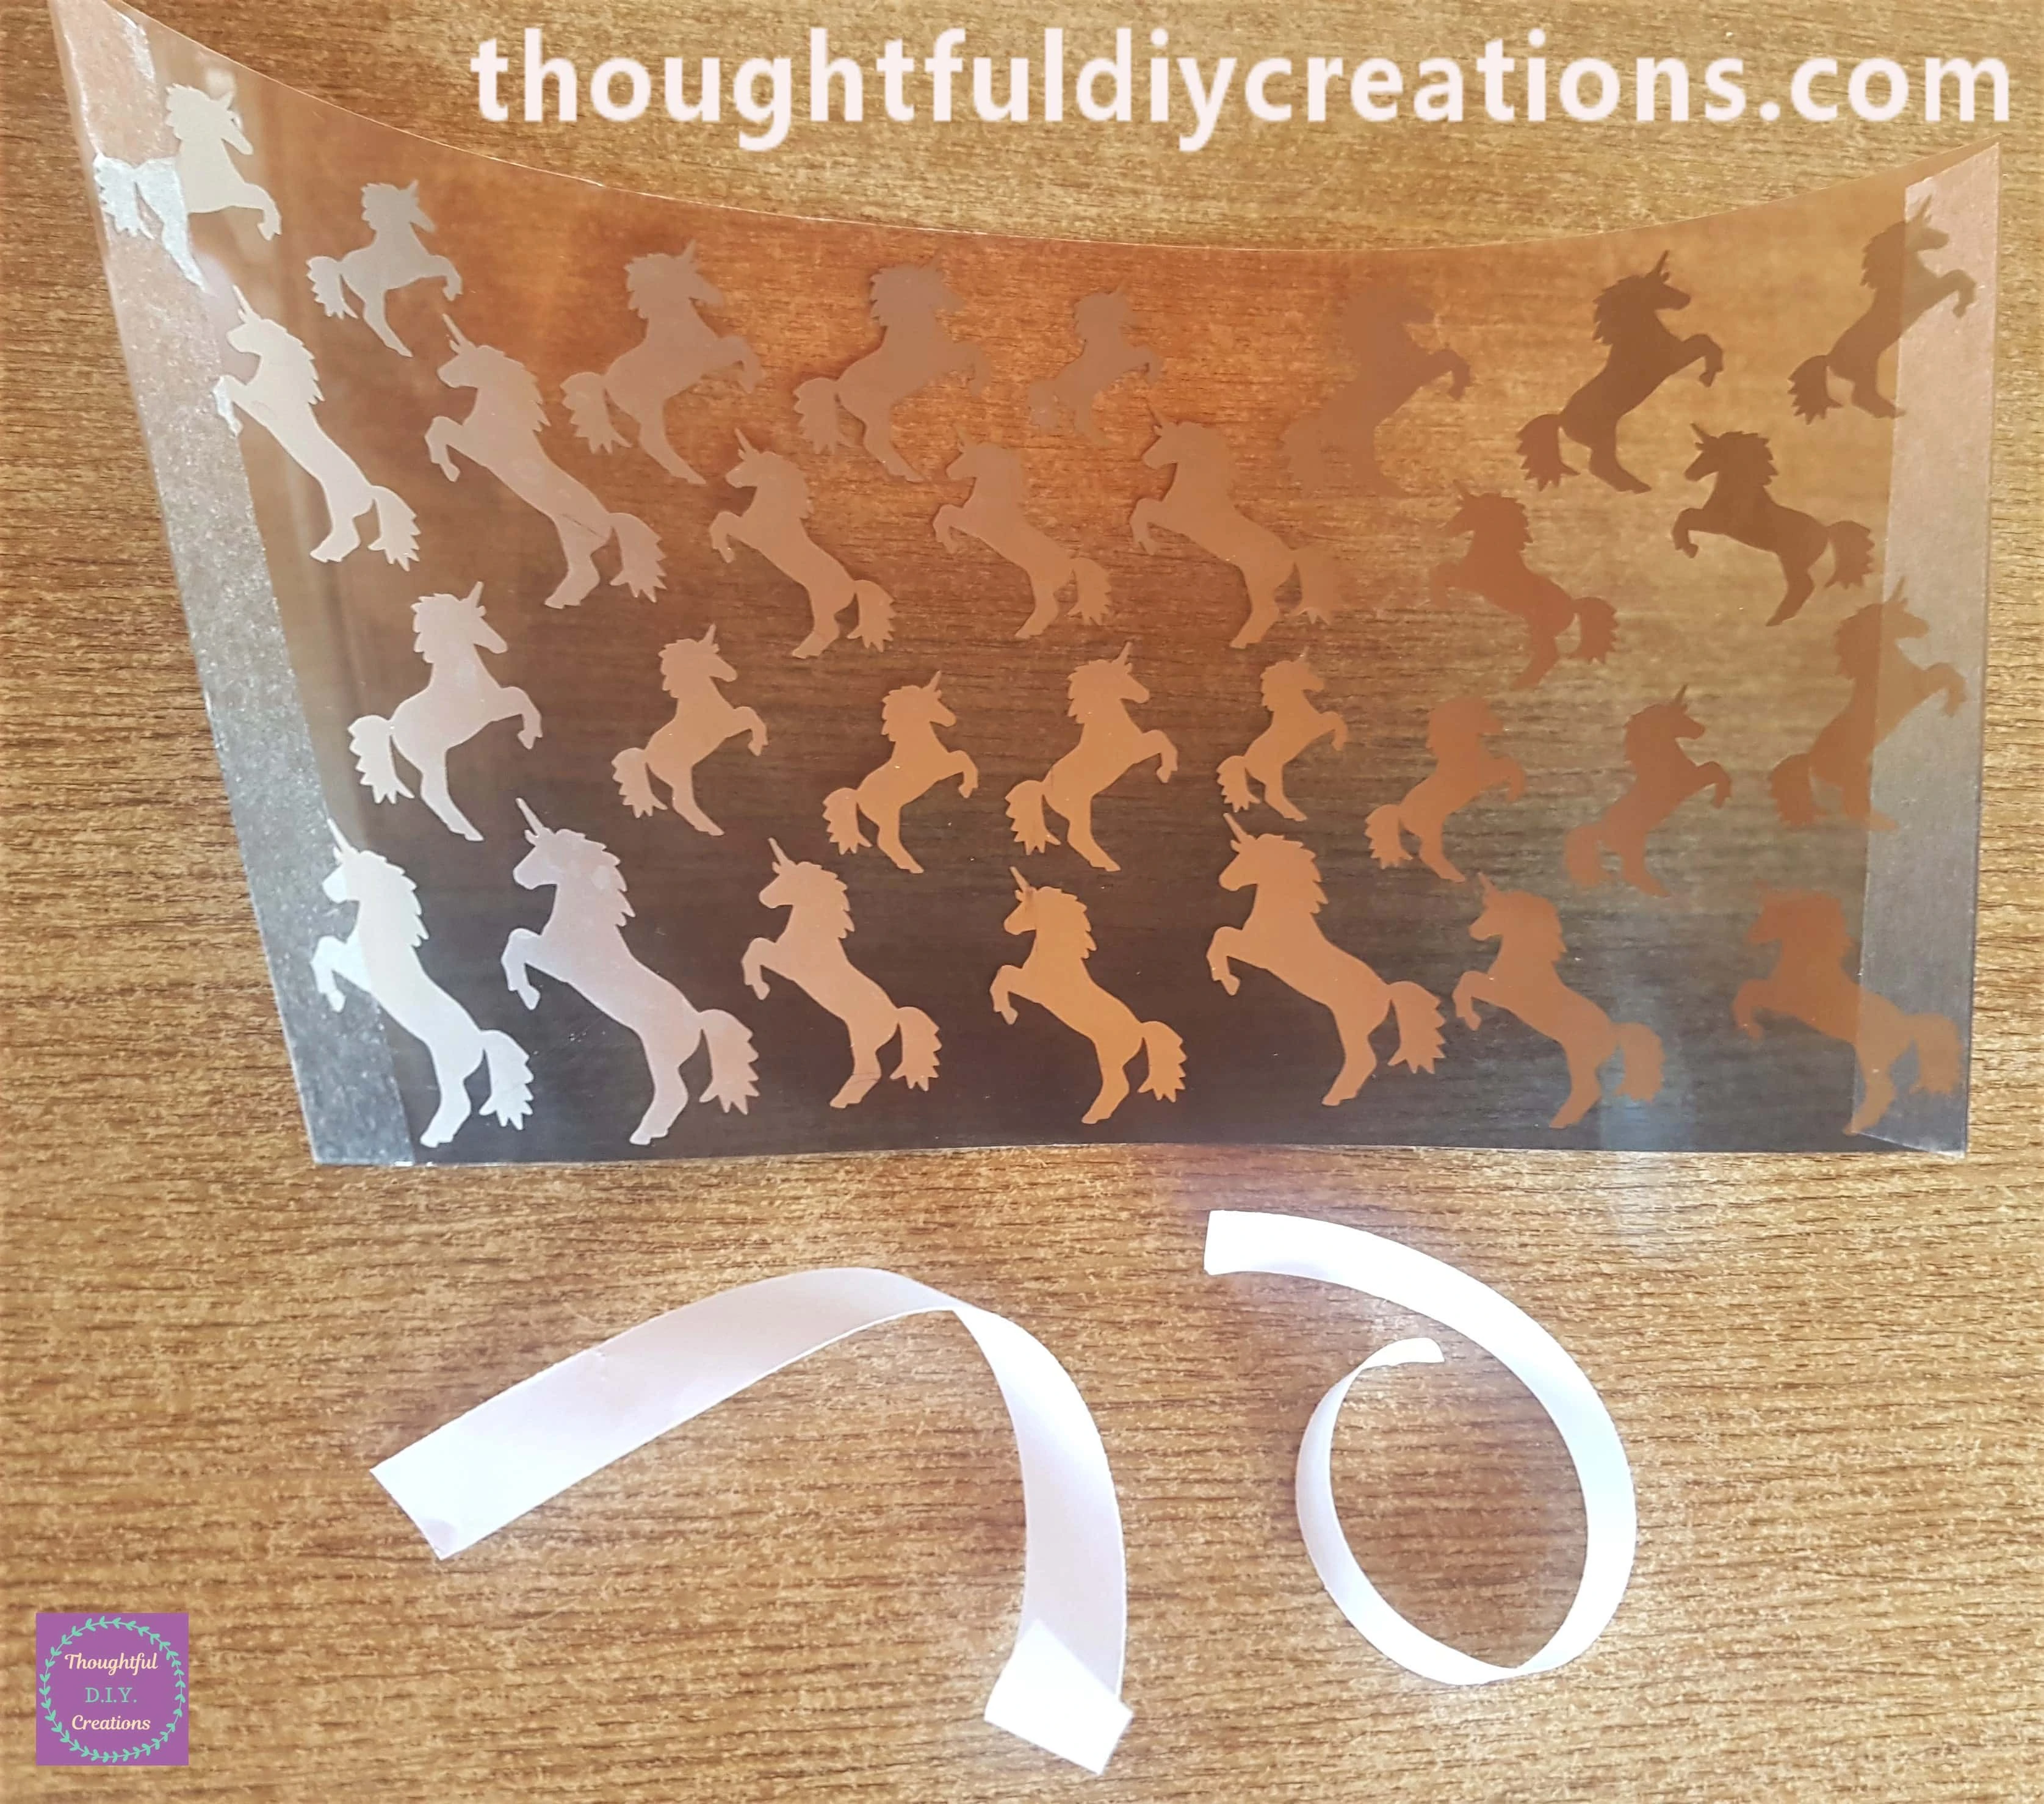
To make the Unicorns more Vibrant and stand out more; I decided to put the Unicorn Sheet on the outside of the Beaker.
I put the Sheet up to the Beaker and pressed the 2 Double-Sided Taped parts to the back of the Beaker. There is a little gap with no Paper as the outer part of the Beaker is bigger than the inside but this won’t be seen in the end.
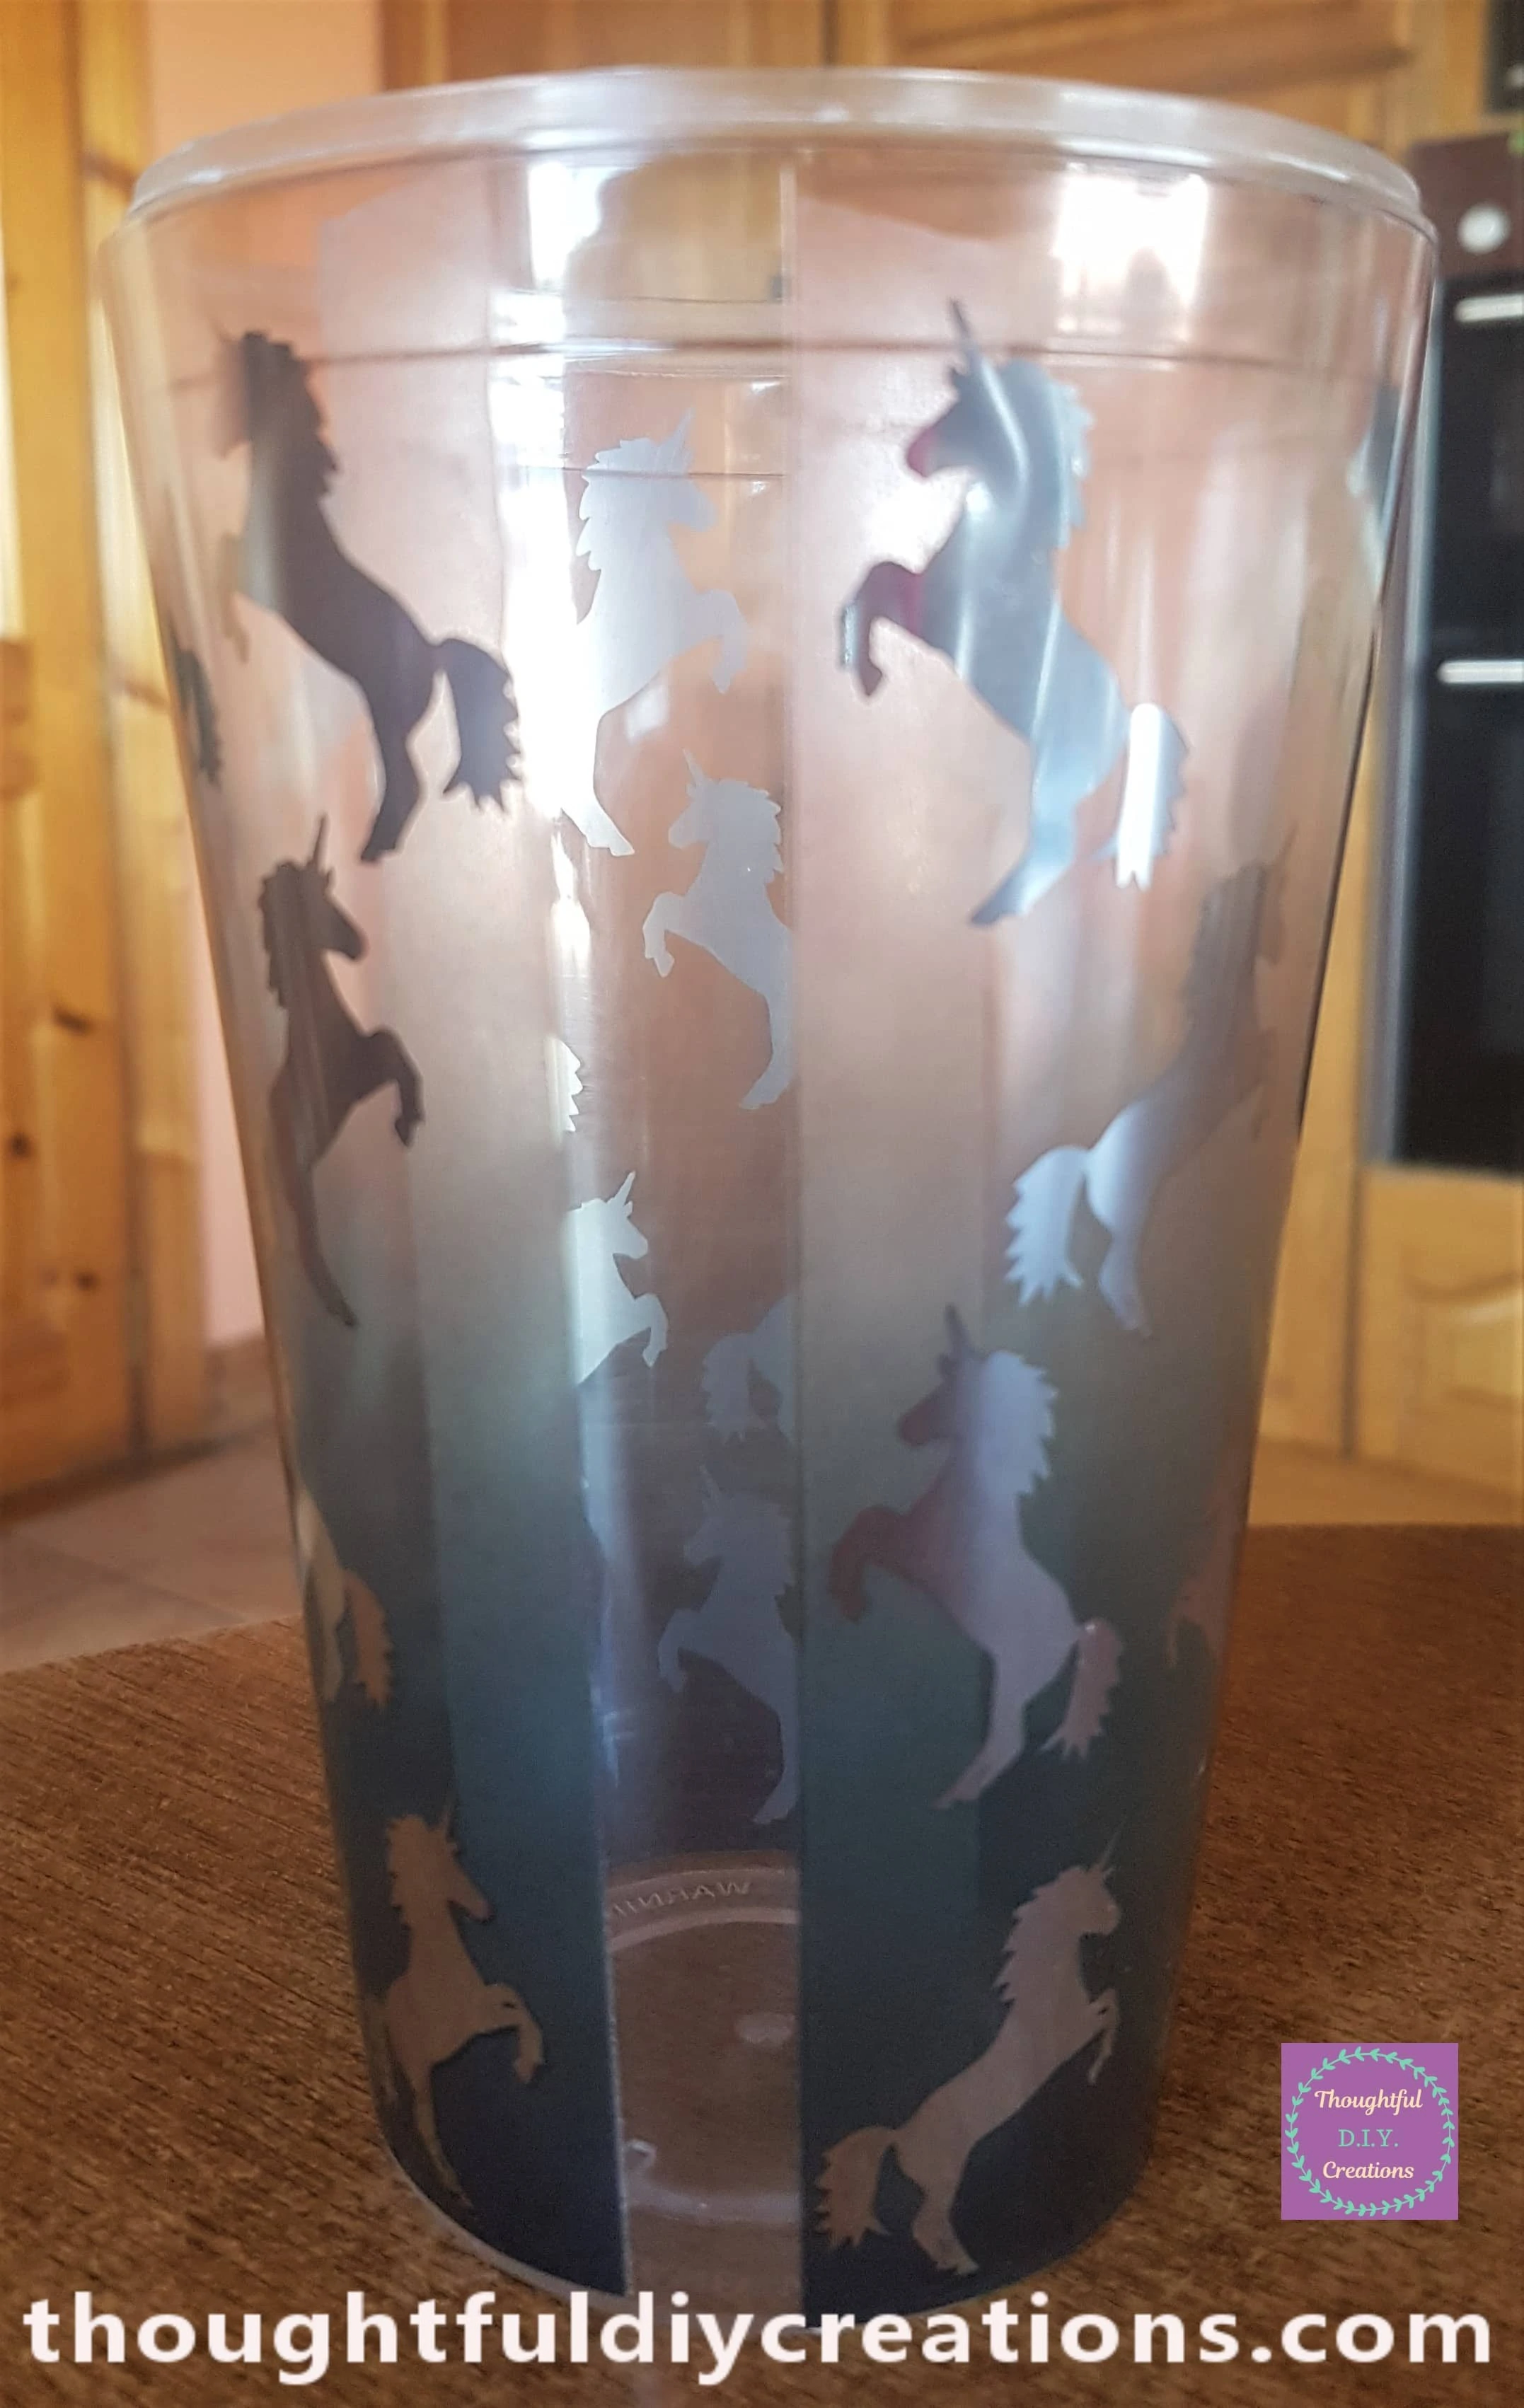
This is the front of the Beaker with the Unicorn Sheet attached.
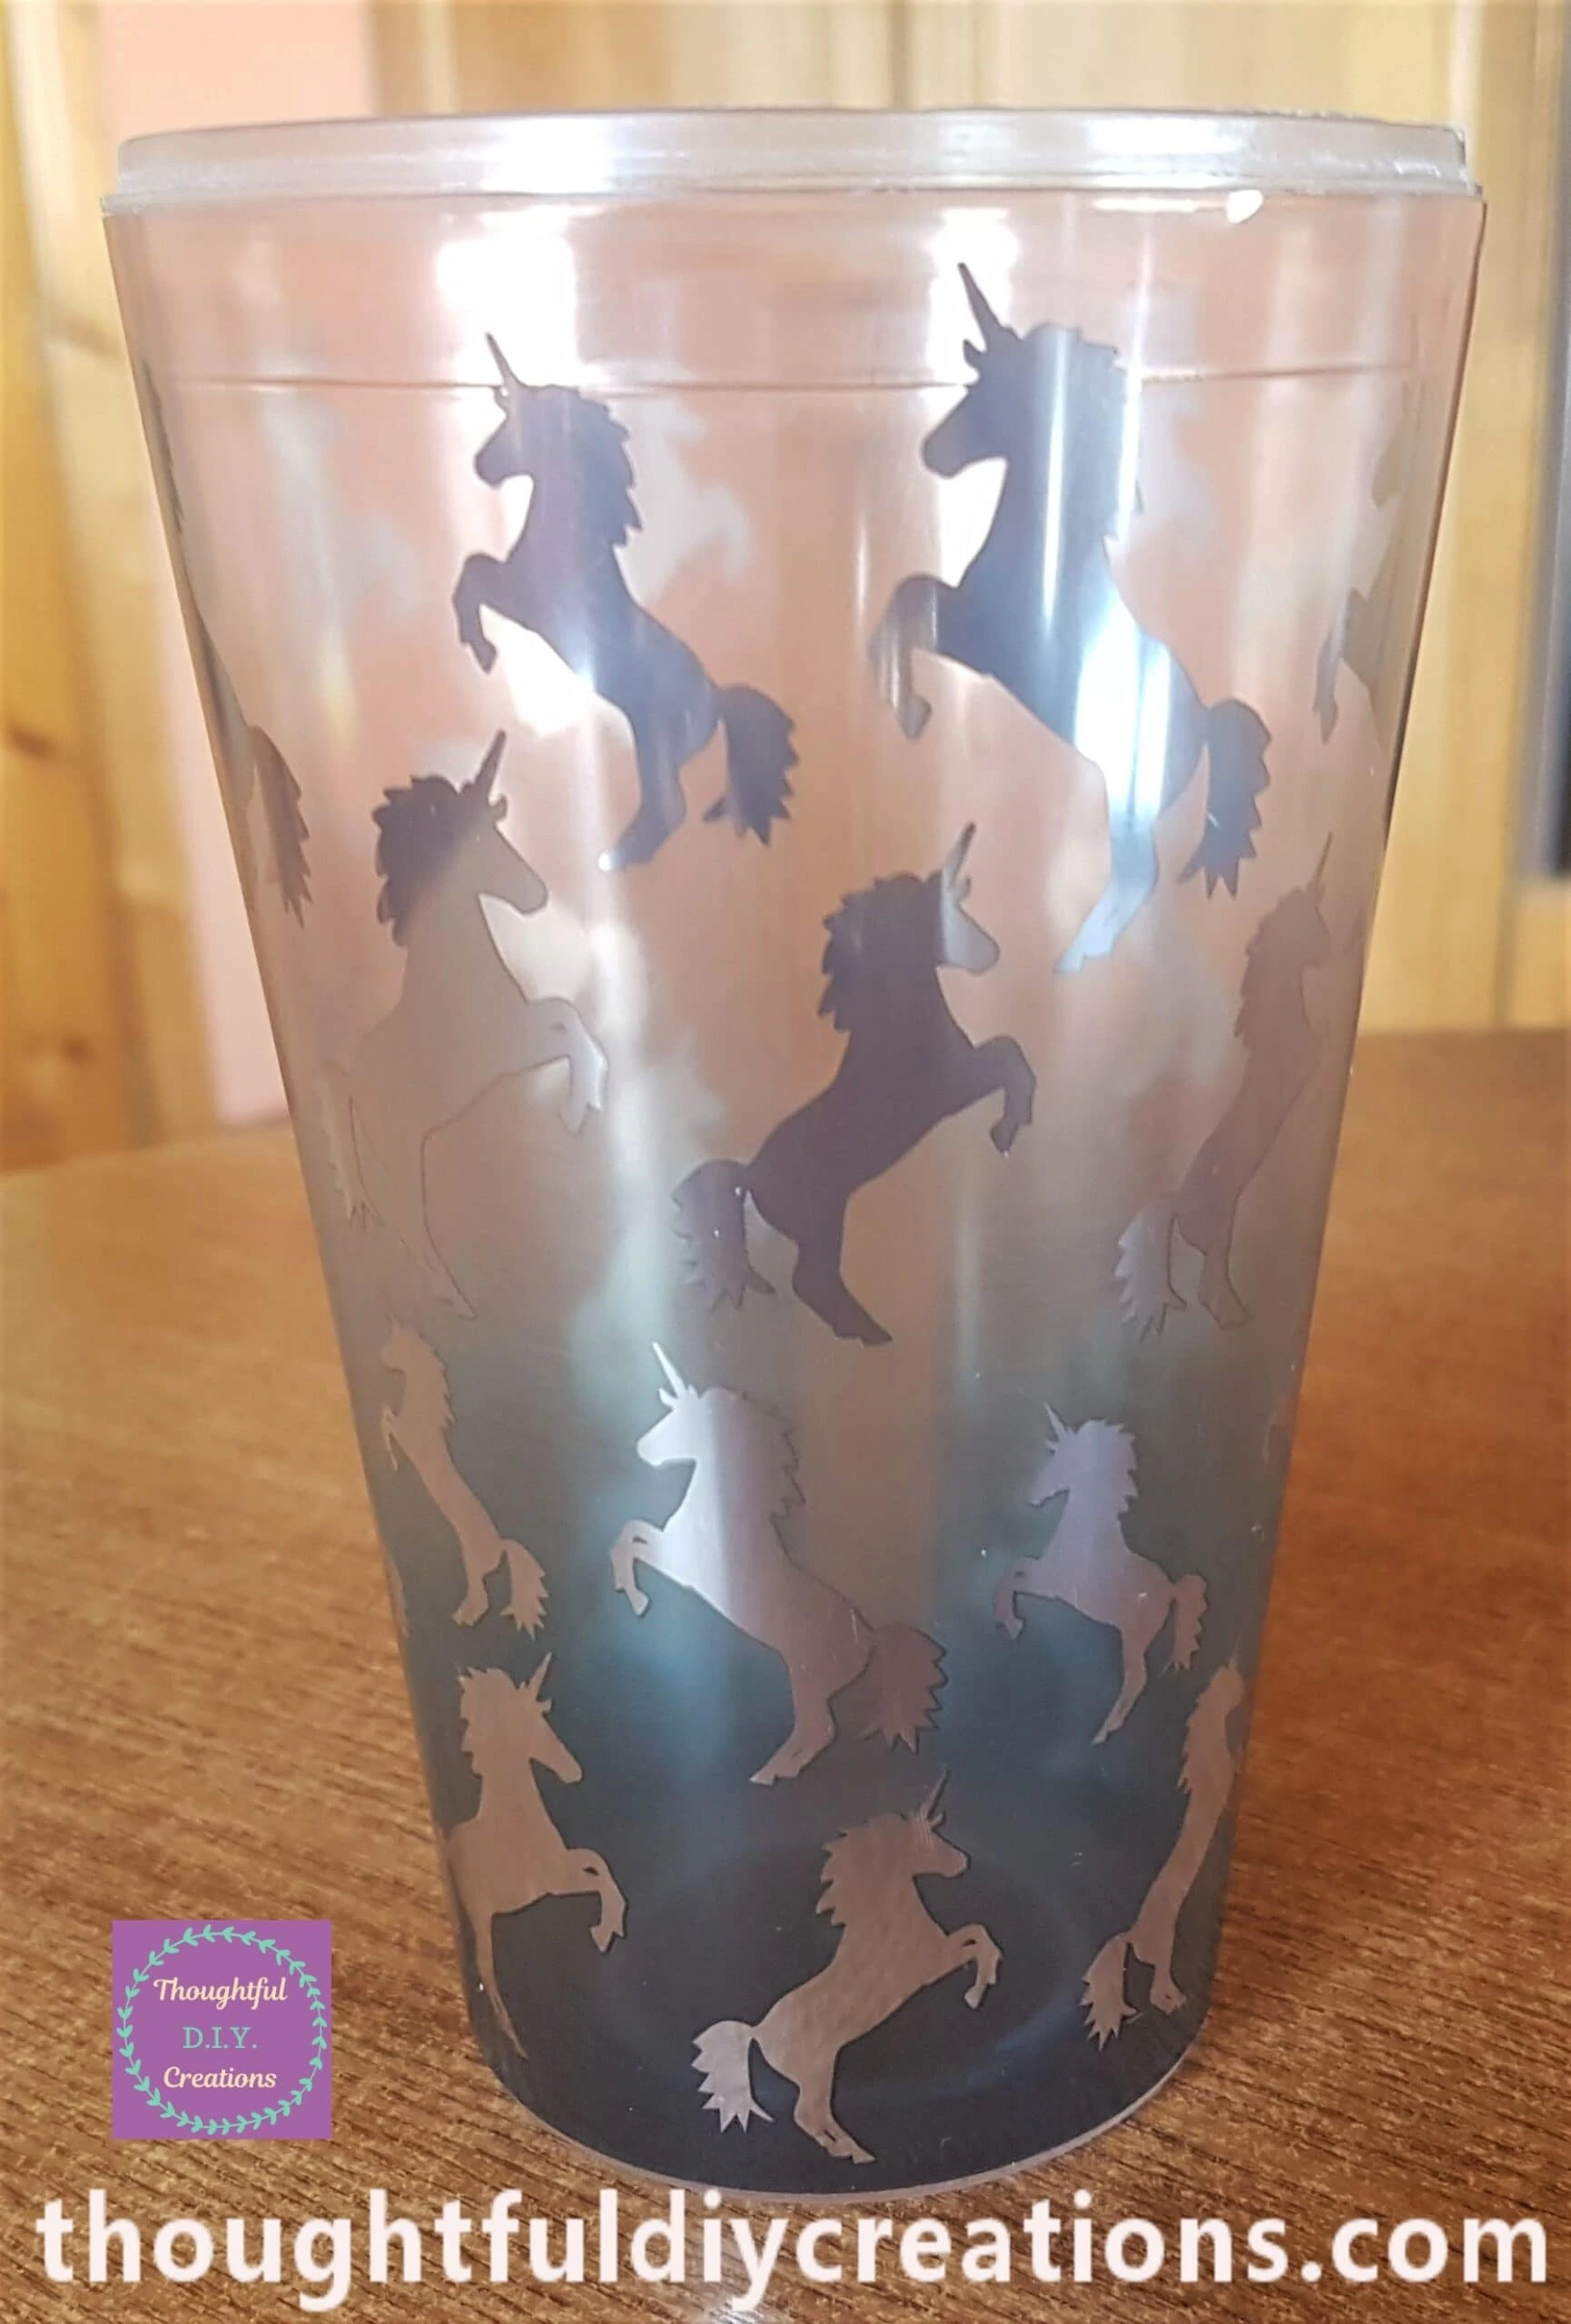
Putting Lights inside the Beaker
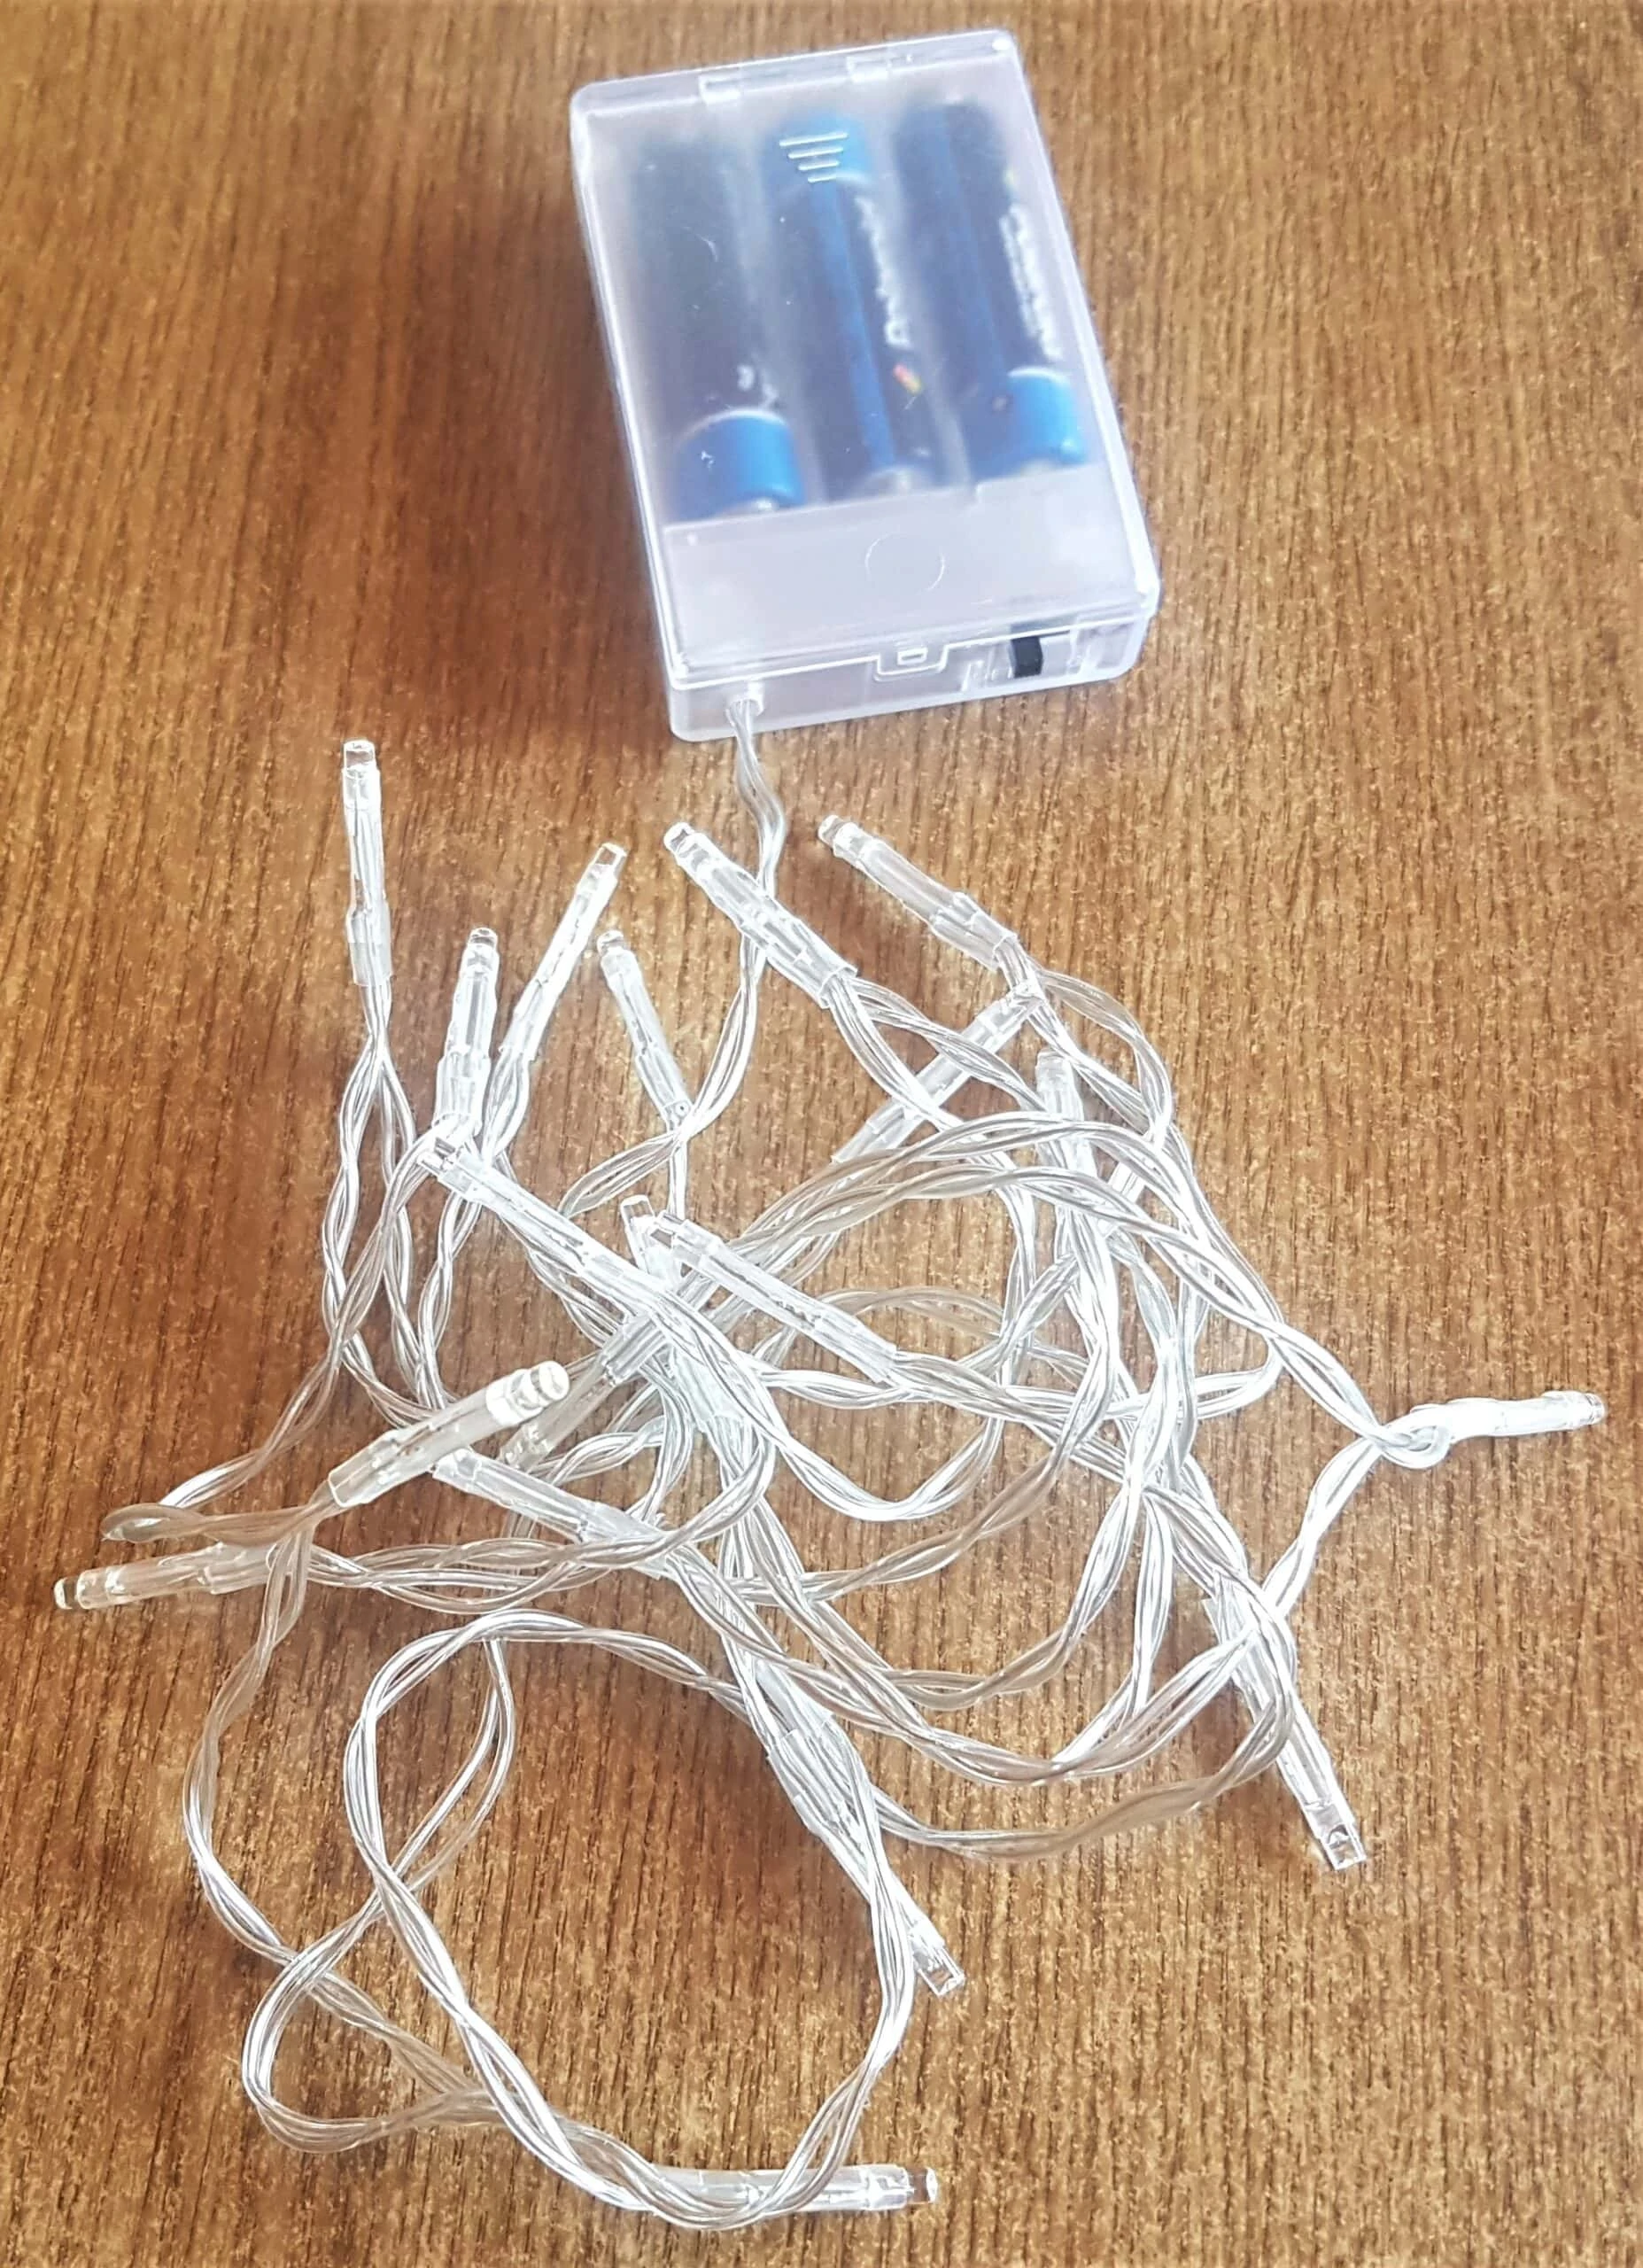
I got a Pack of ‘Battery Operated, 20 LED String Lights, Warm White’ from my supplies. This was an extra Pack I had bought before Christmas.
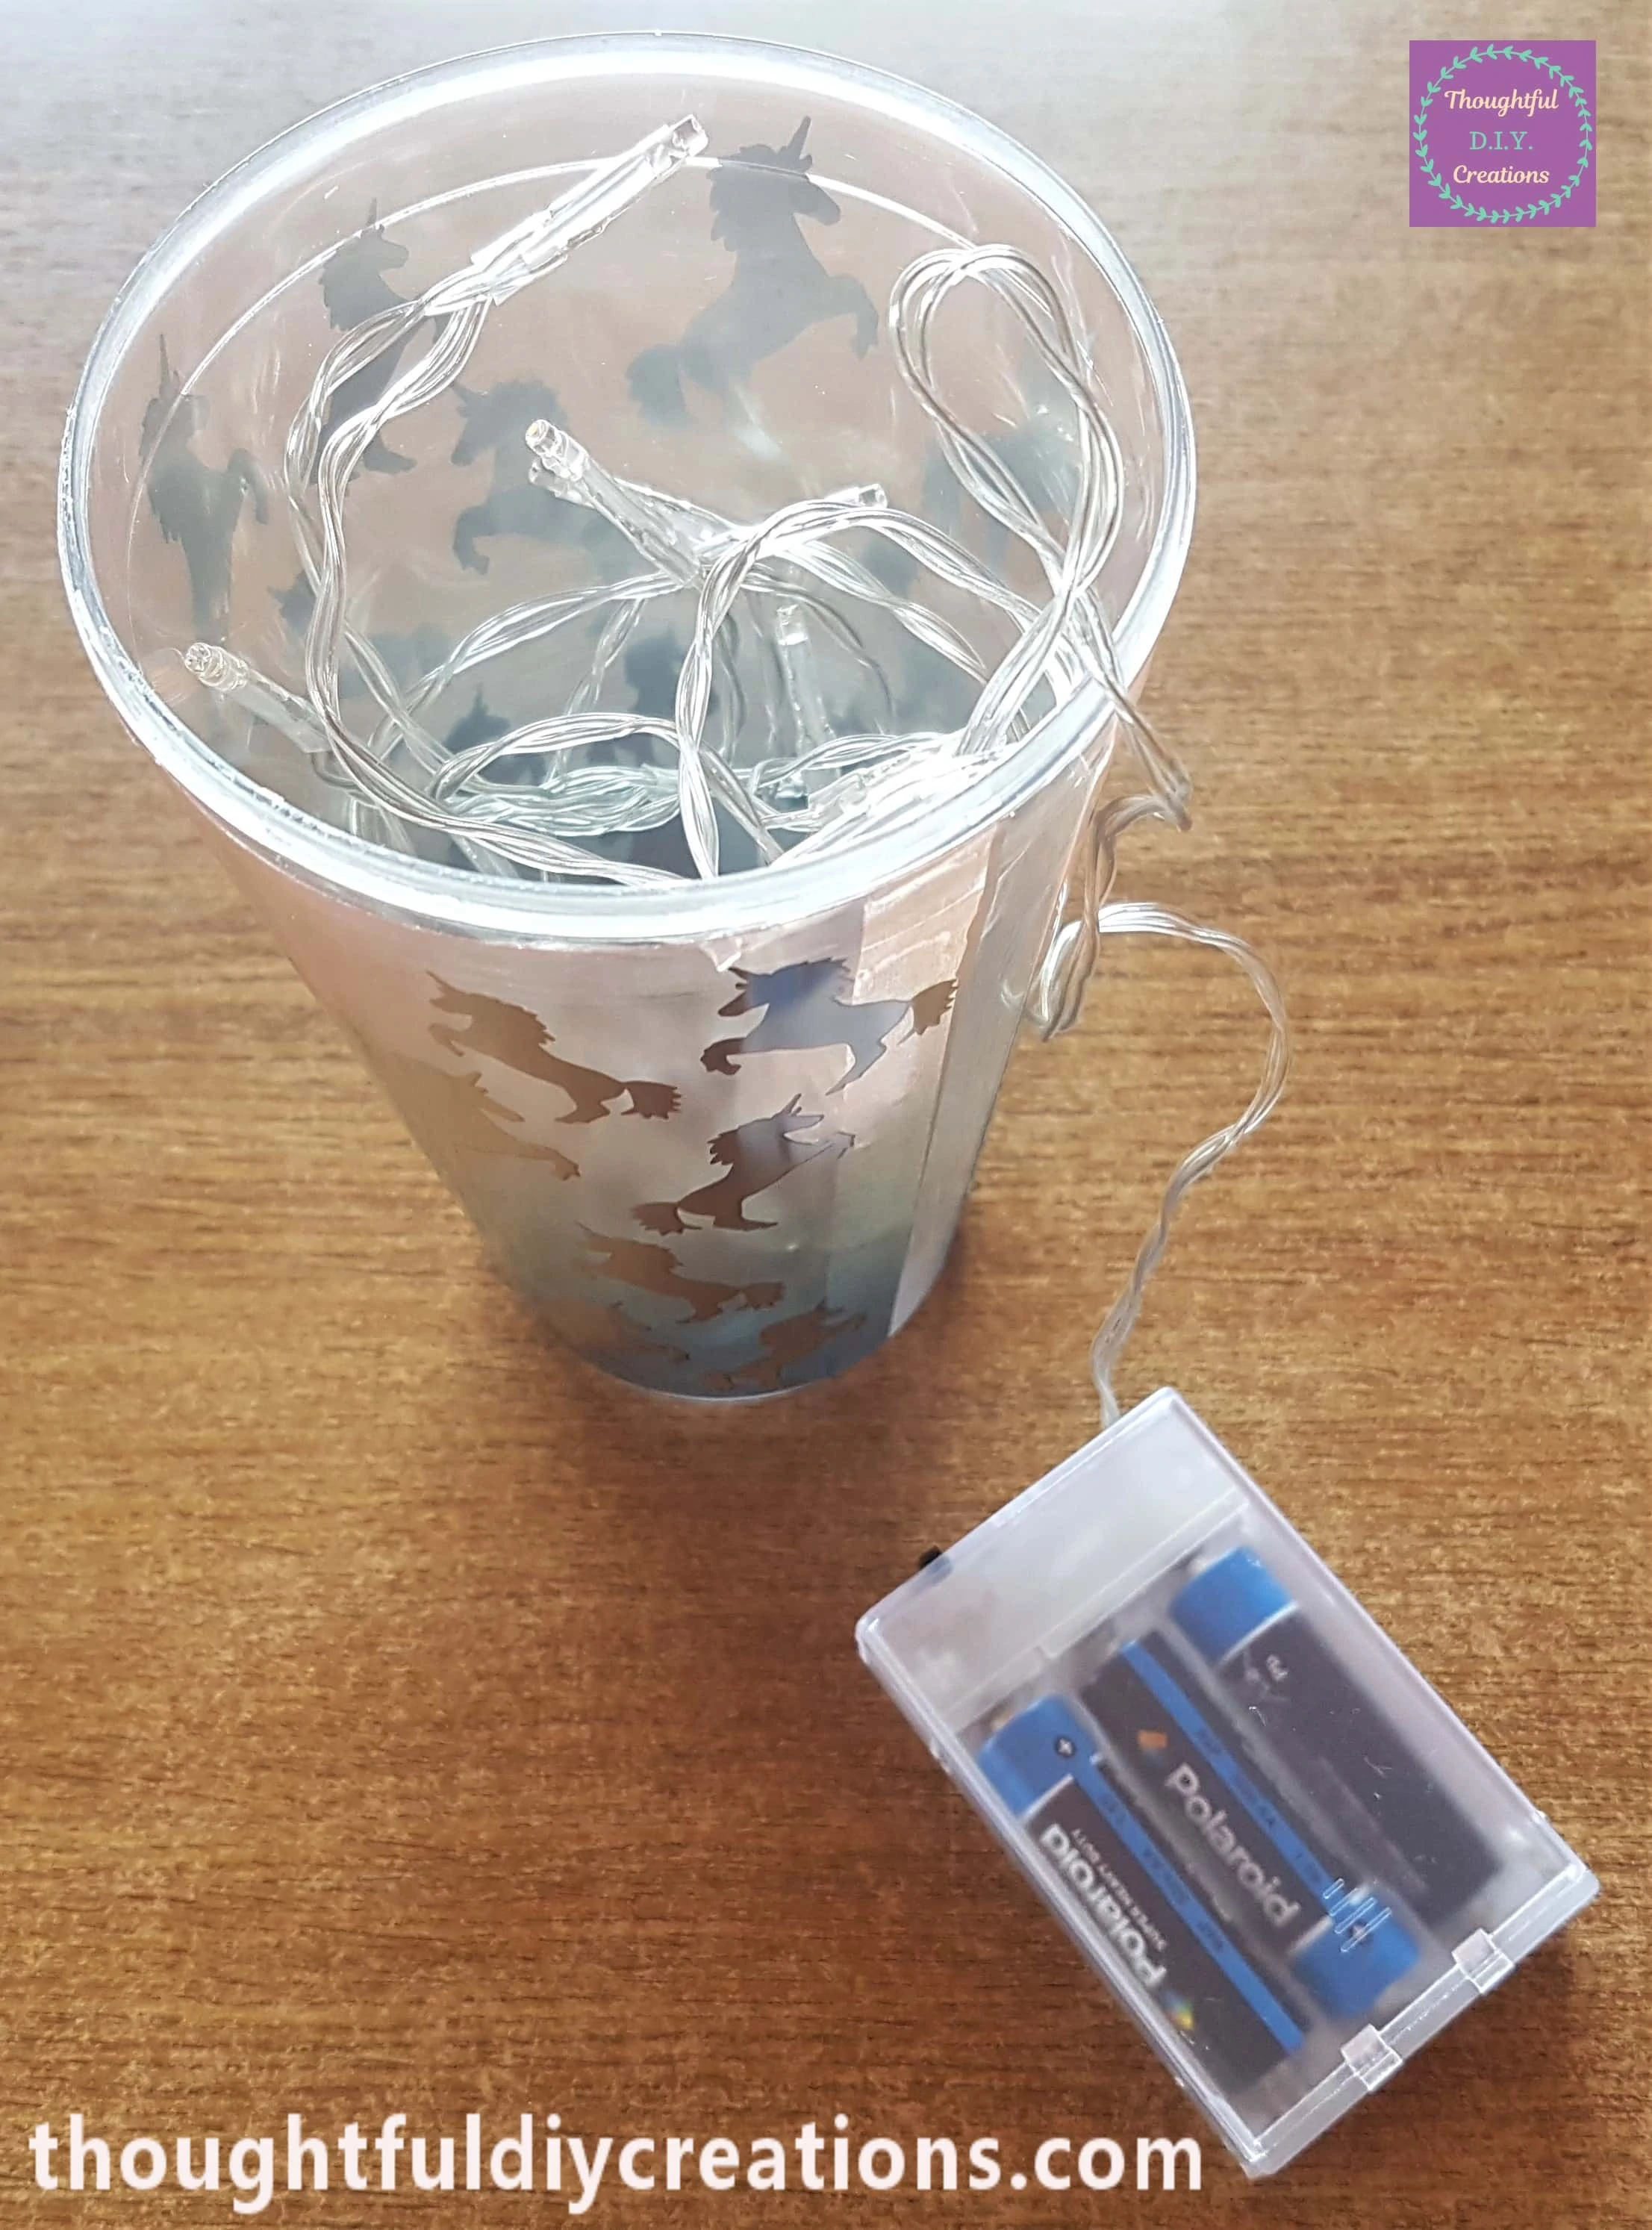
I spread them evenly into the Beaker and kept the Battery Pack outside the Beaker, to make it easier to Switch On and Off the Lights. It can’t be seen when placed to the back of the Beaker.
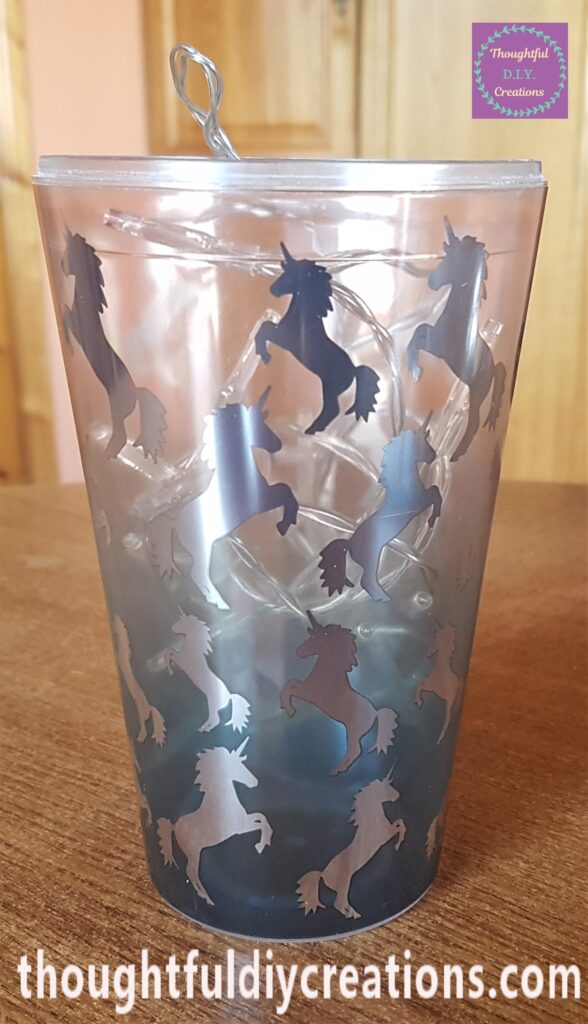
The View from the front with the addition of the Lights.
Progress on the Light-Up Unicorn Beaker
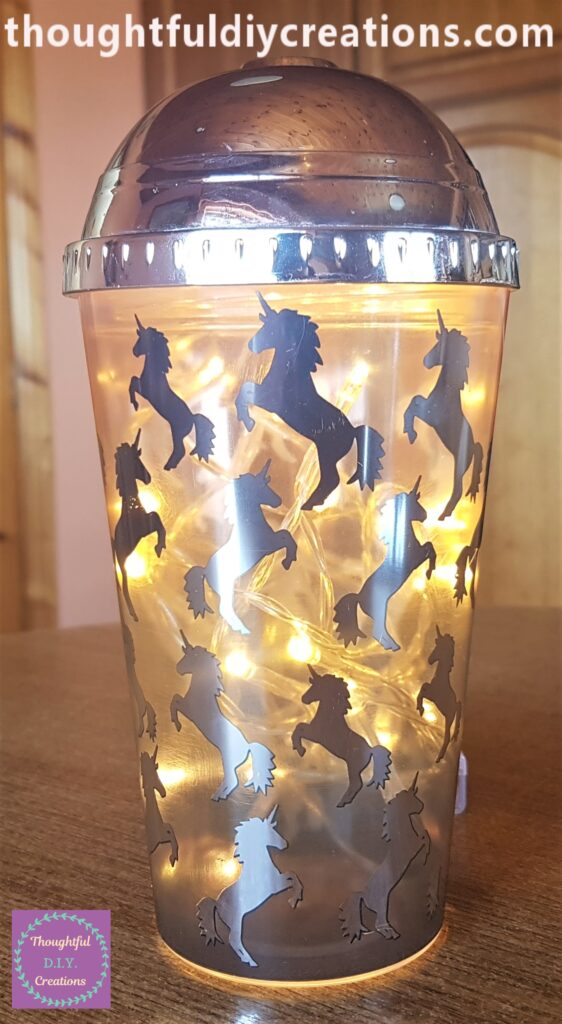
I put the Lid back on the Beaker and turned On the Lights to see how they were looking.
Preparing to Prime the Lid
I wanted to Change the Chrome look of the Lid as I didn’t like the effect it provided. I got my Tub of ‘White Acrylic Gesso’ a Sponge with Handle, and some Baking Parchment Paper to protect the Table.
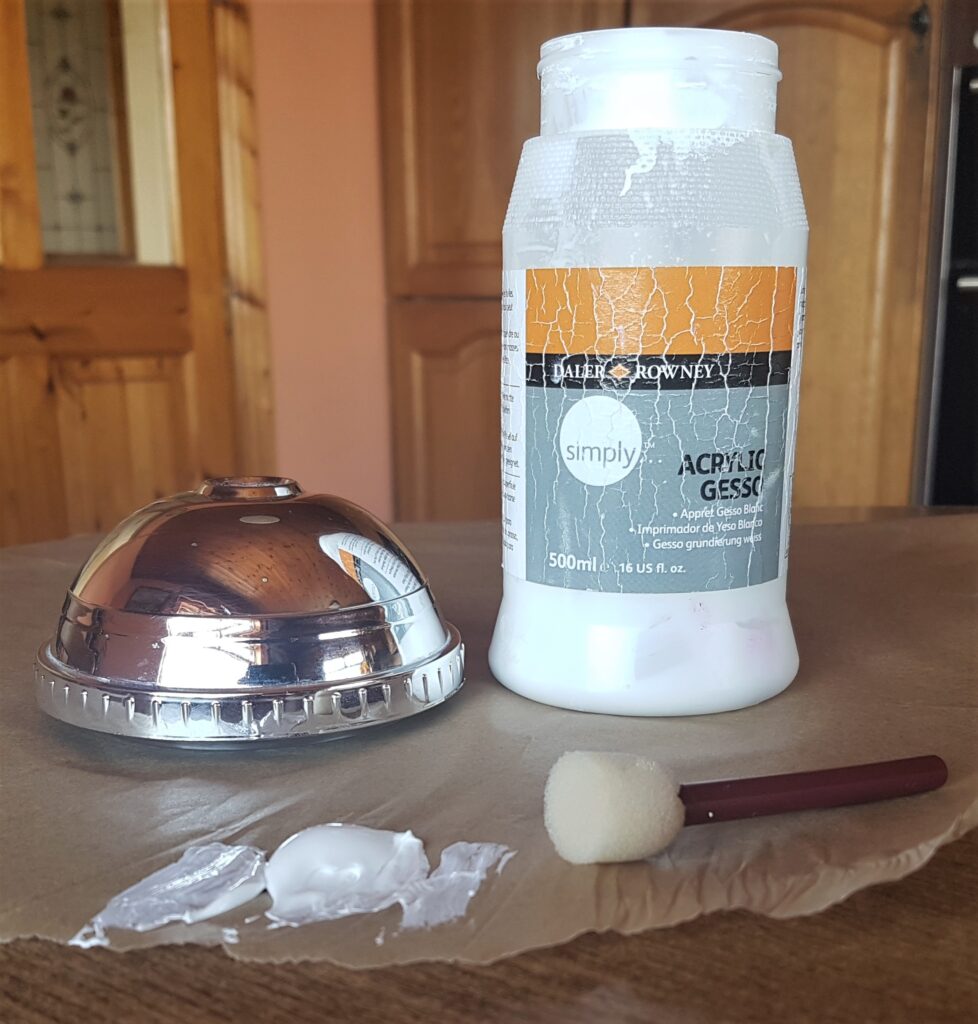
Priming the Lid of the Light-Up Unicorn Beaker
I poured some Gesso onto the Baking Paper to use as a Palette. I dipped the Sponge into the Gesso and dabbed the excess Gesso onto another part of the Paper to prevent having too much on the Sponge.
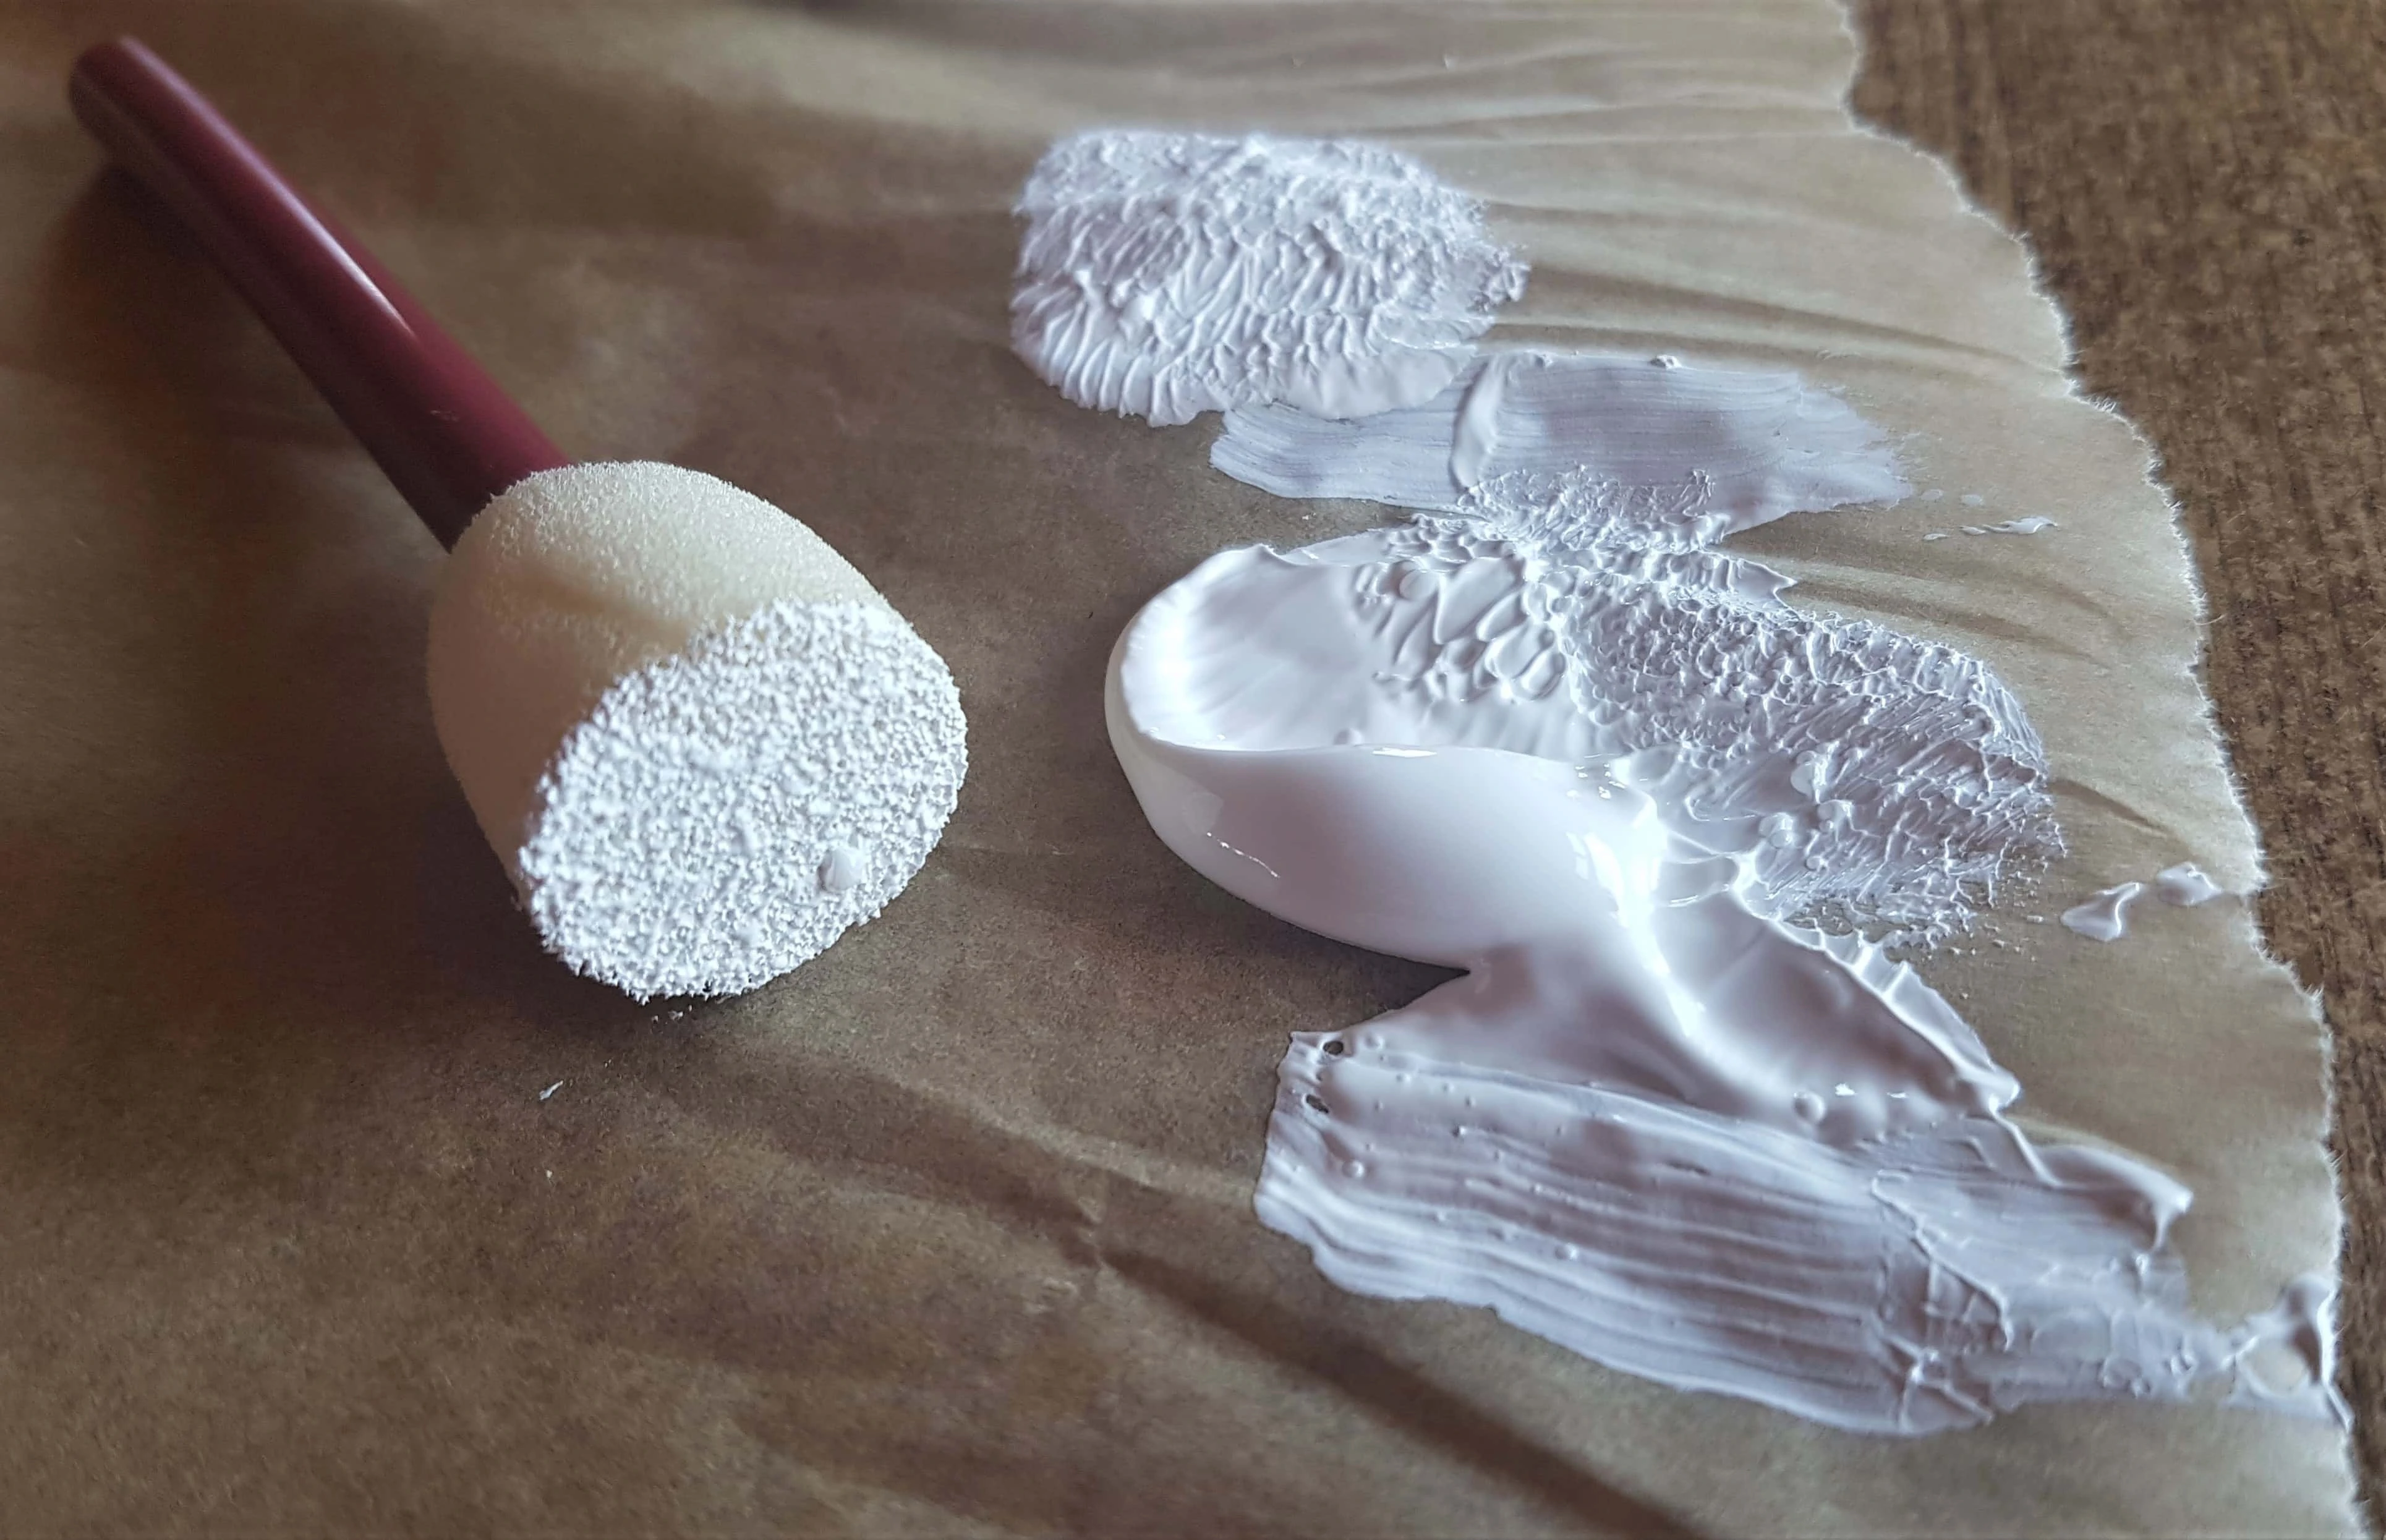
I dabbed the Sponge onto the Lid. I then added more Gesso to the Sponge and continued dabbing it onto the Lid where I had left off until I had One even layer of Gesso applied to the Lid.
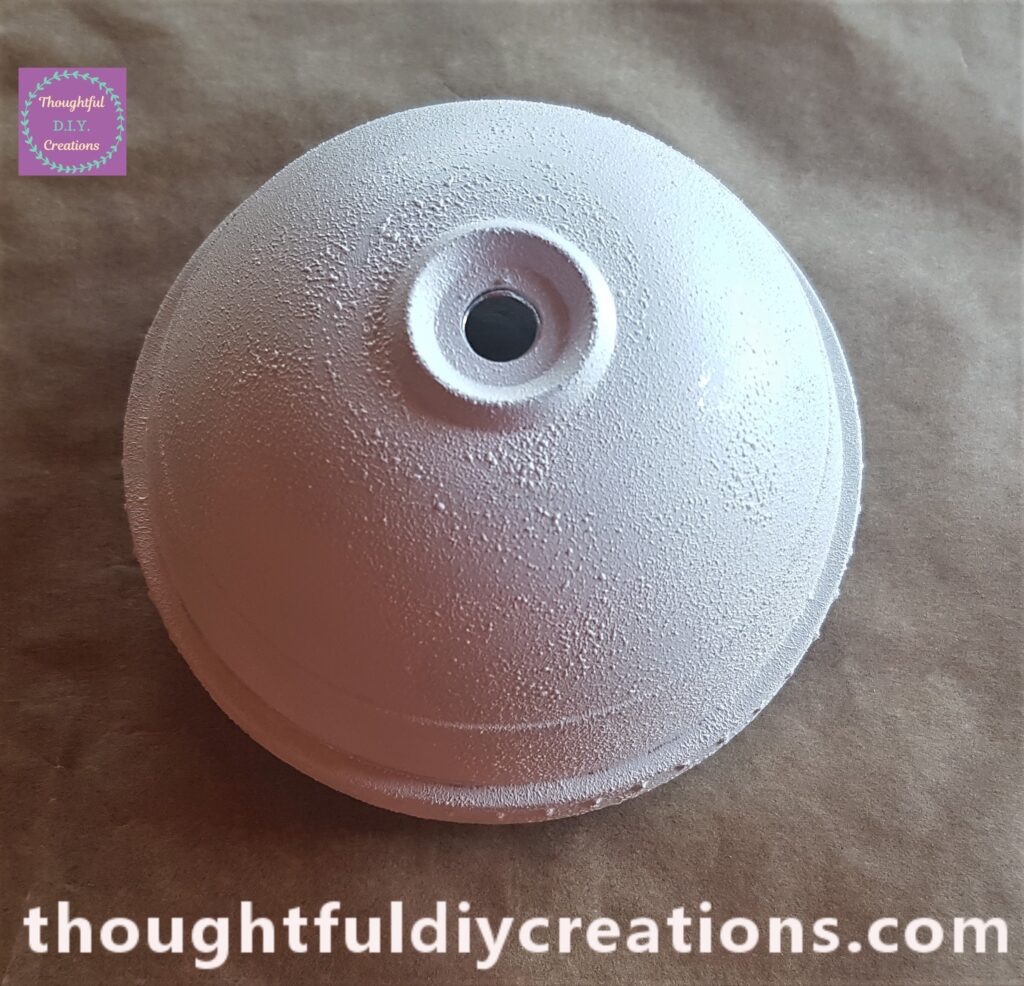
The Lid was now Primed; the Shiny Chrome effect was gone and the Lid was now ready for Paint.
Painting the Lid White
I got my ‘Titanium White’ Acrylic Paint from the Pack.
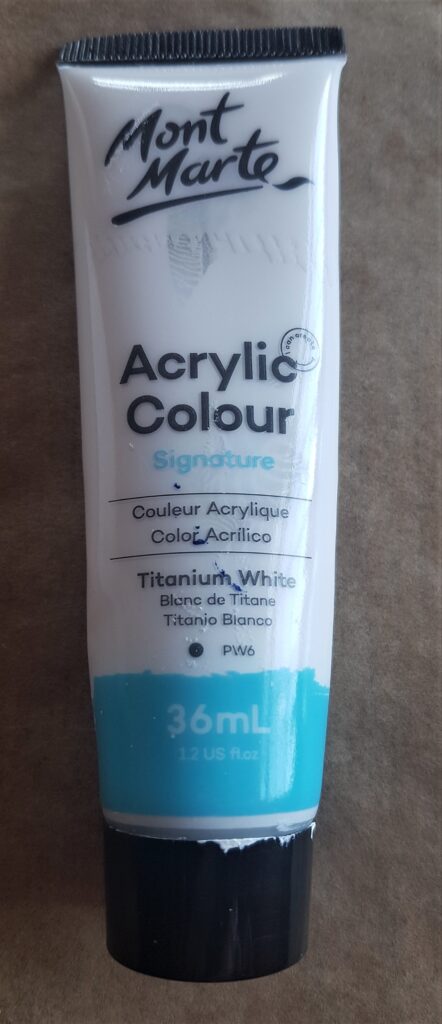
An Hour after I applied the Primer, I Painted 2 layers of White Paint onto the Lid using the Sponge. I left an Hour drying time between each Layer.
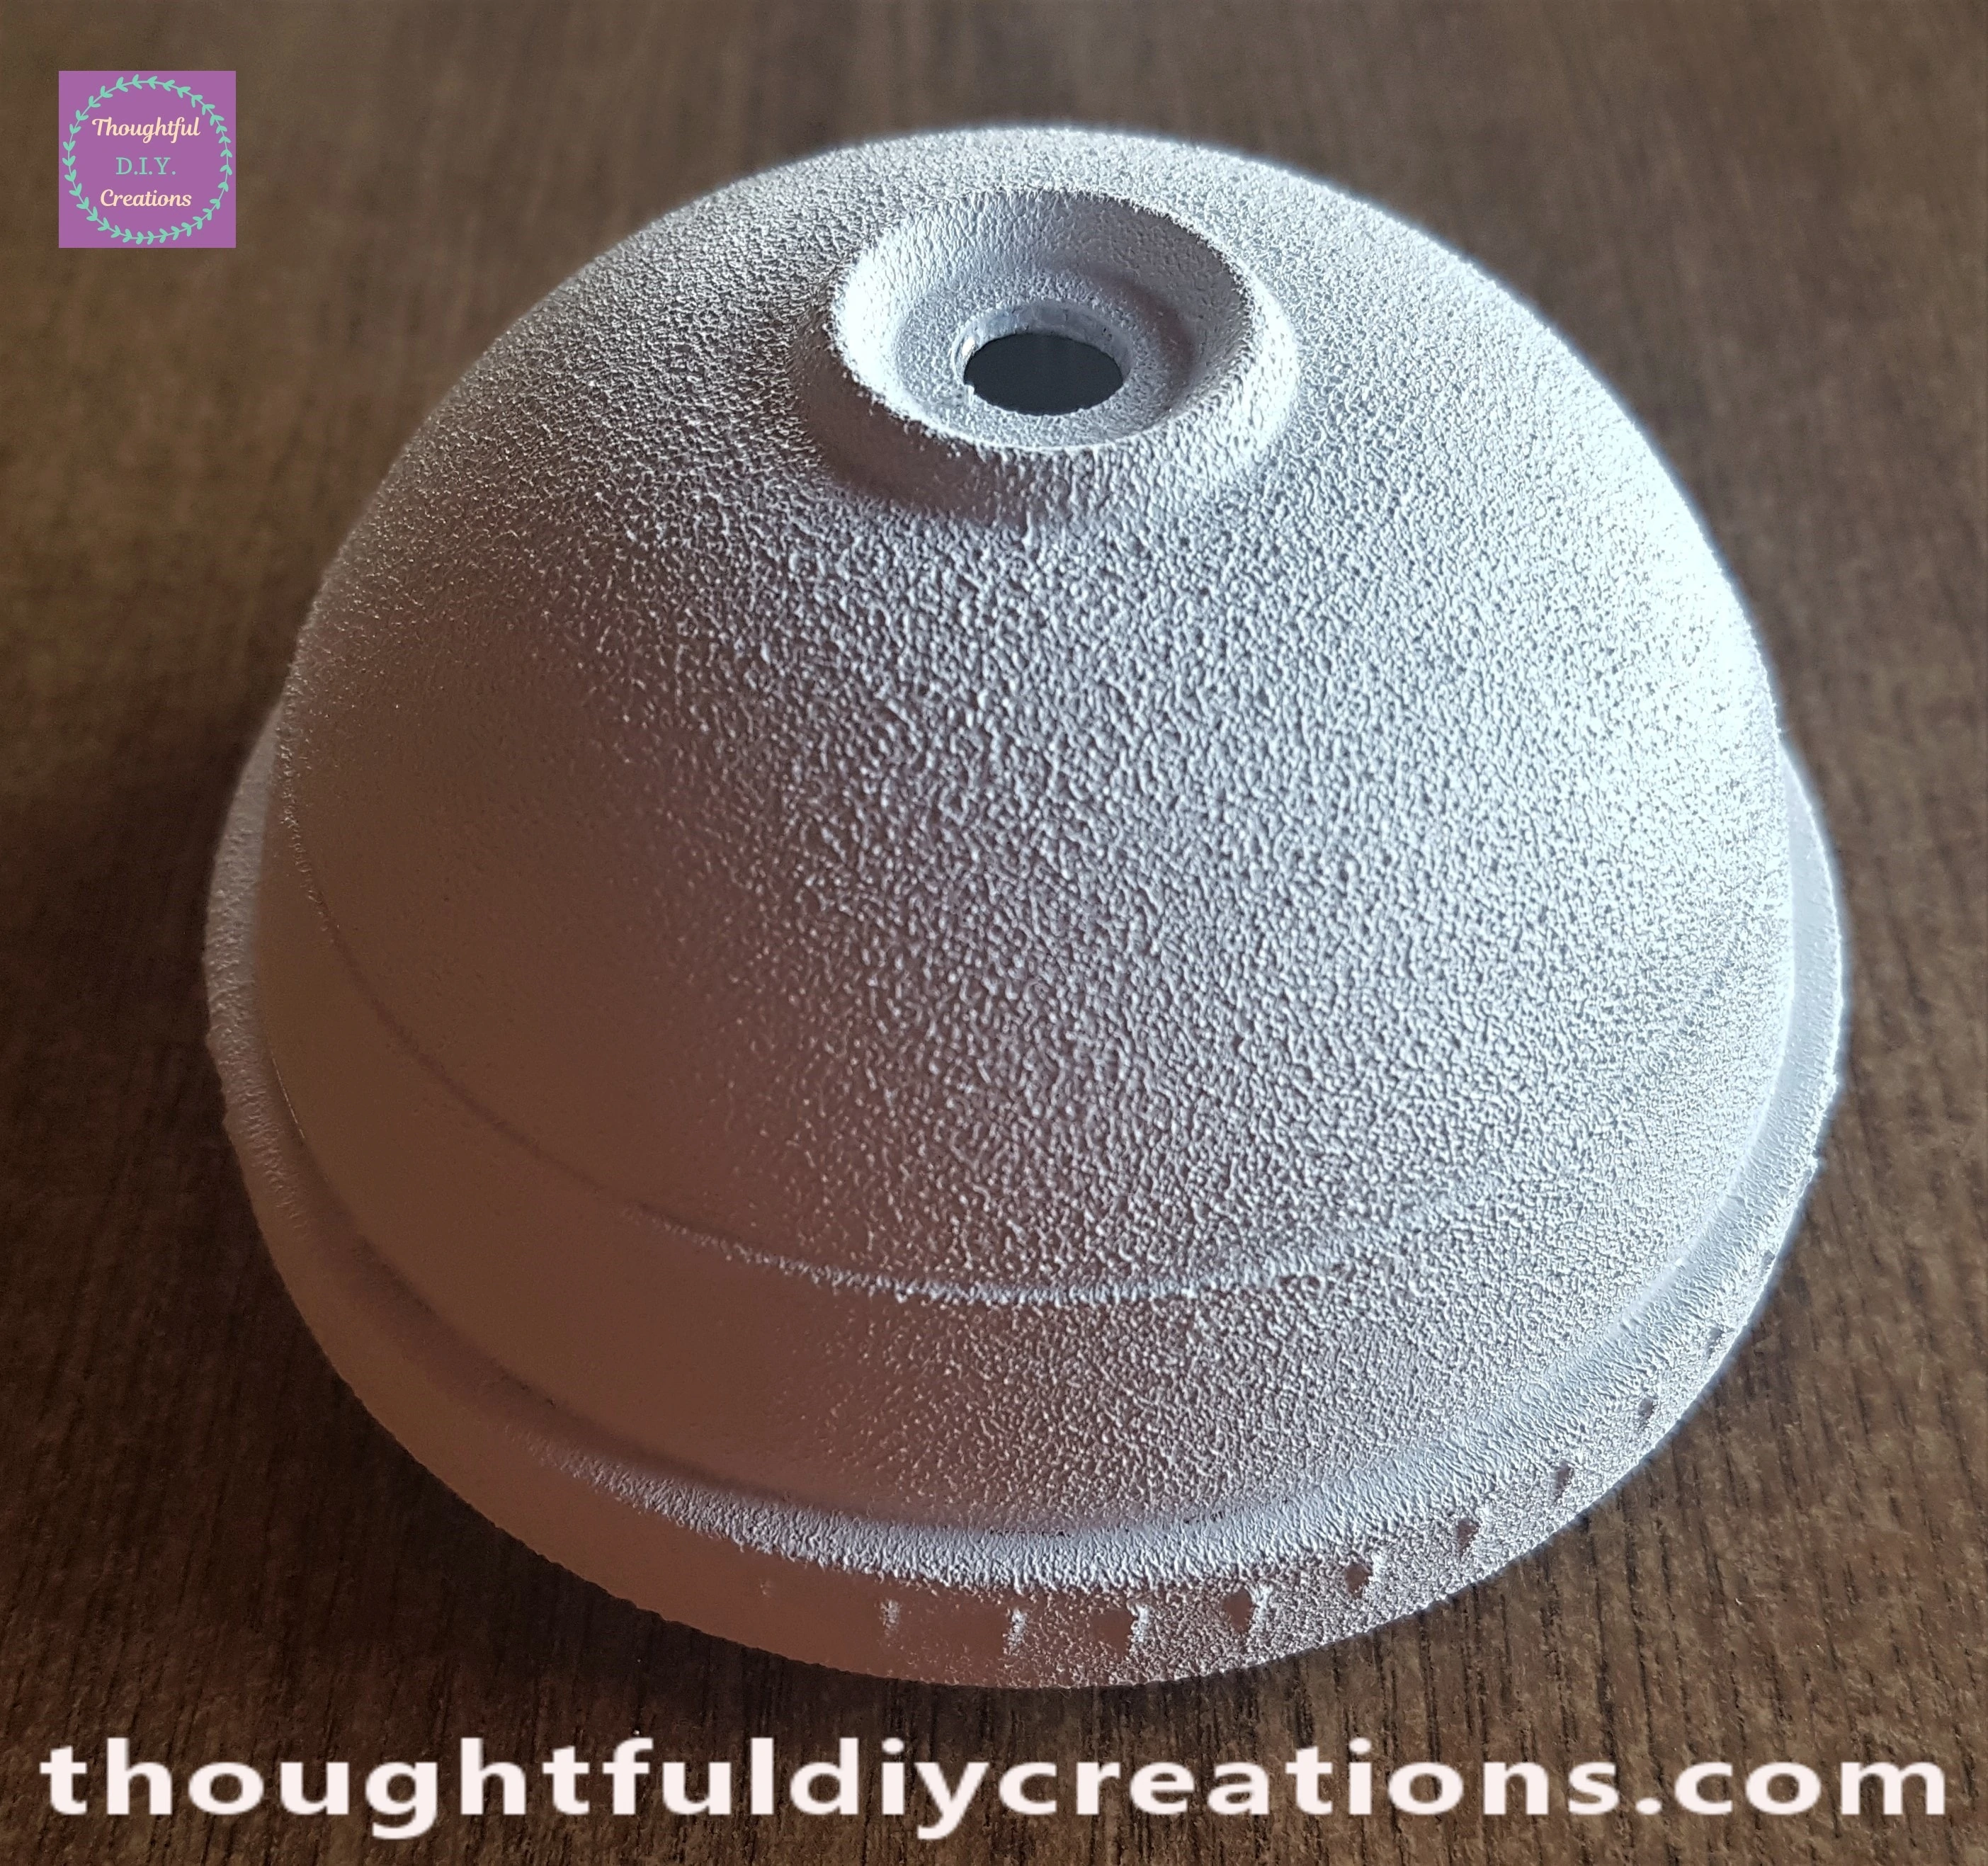
I like the Soft, Textured effect the Sponge provides. If you want more of a Cleaner, Crisp appearance; you could use White Spray Paint instead.
Putting the Lid On the Light-Up Unicorn Beaker
A couple of hours later I put the Lid back on the Beaker.
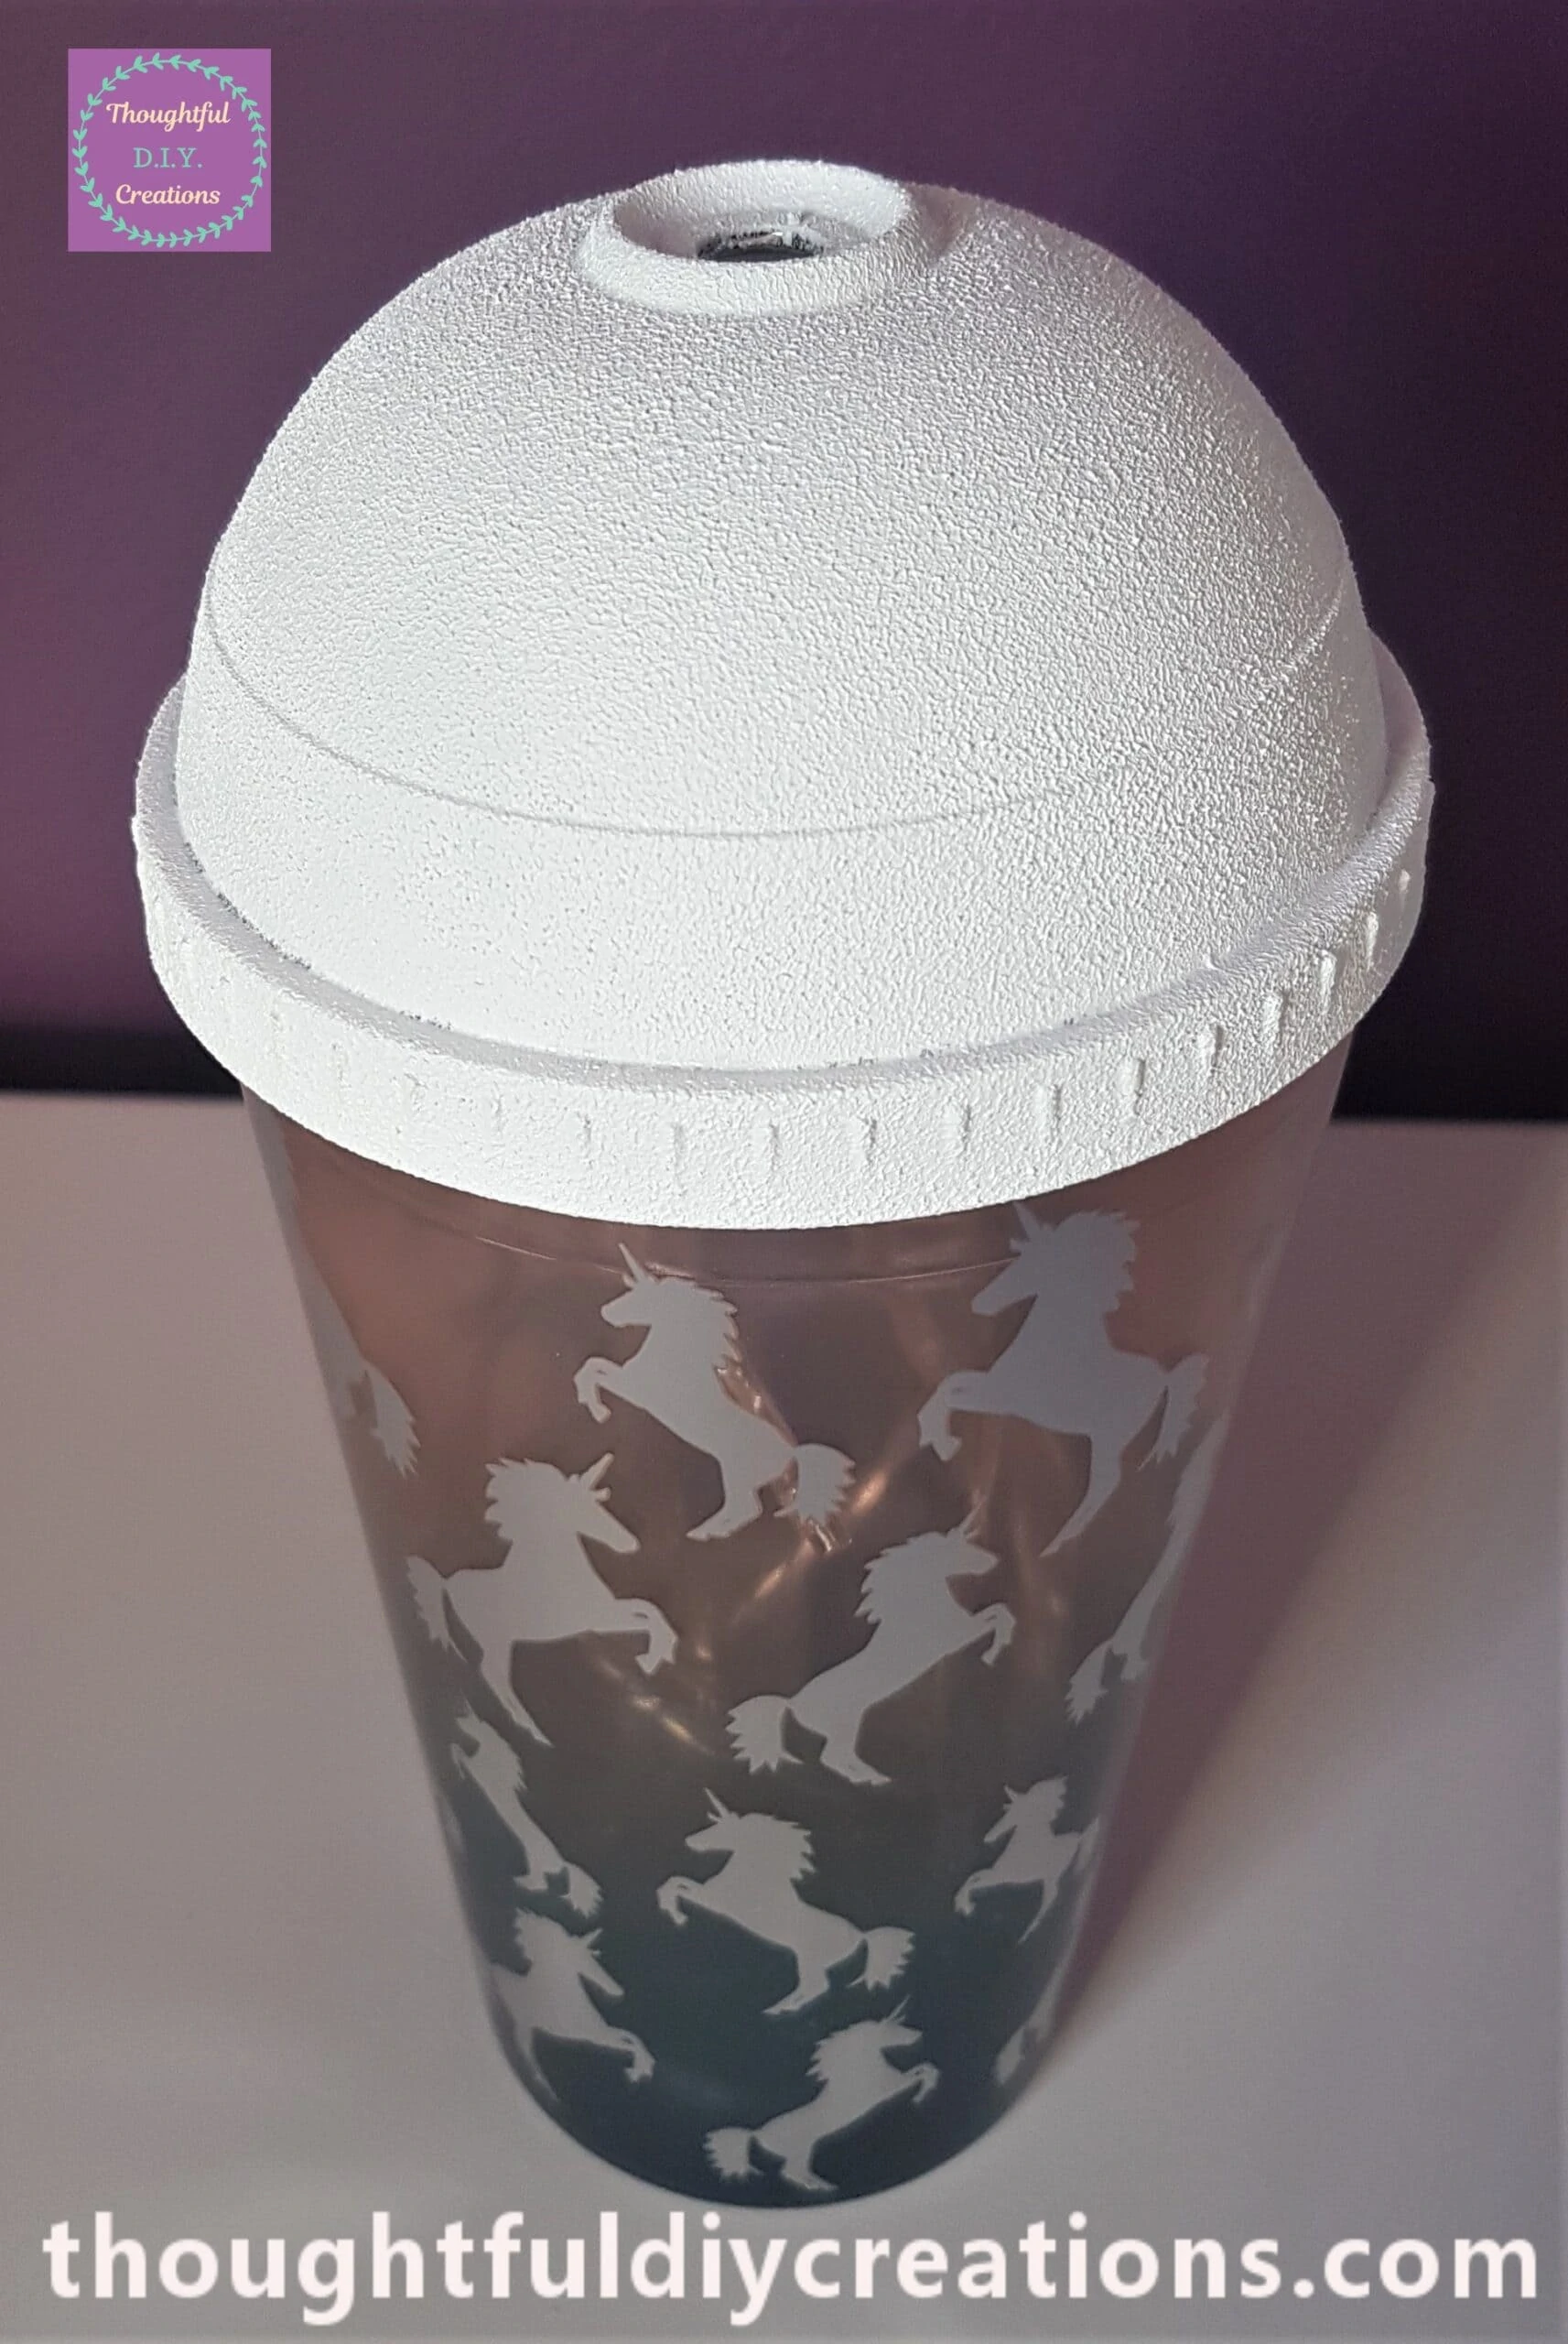
I turned on the Lights to see how the project was coming along.
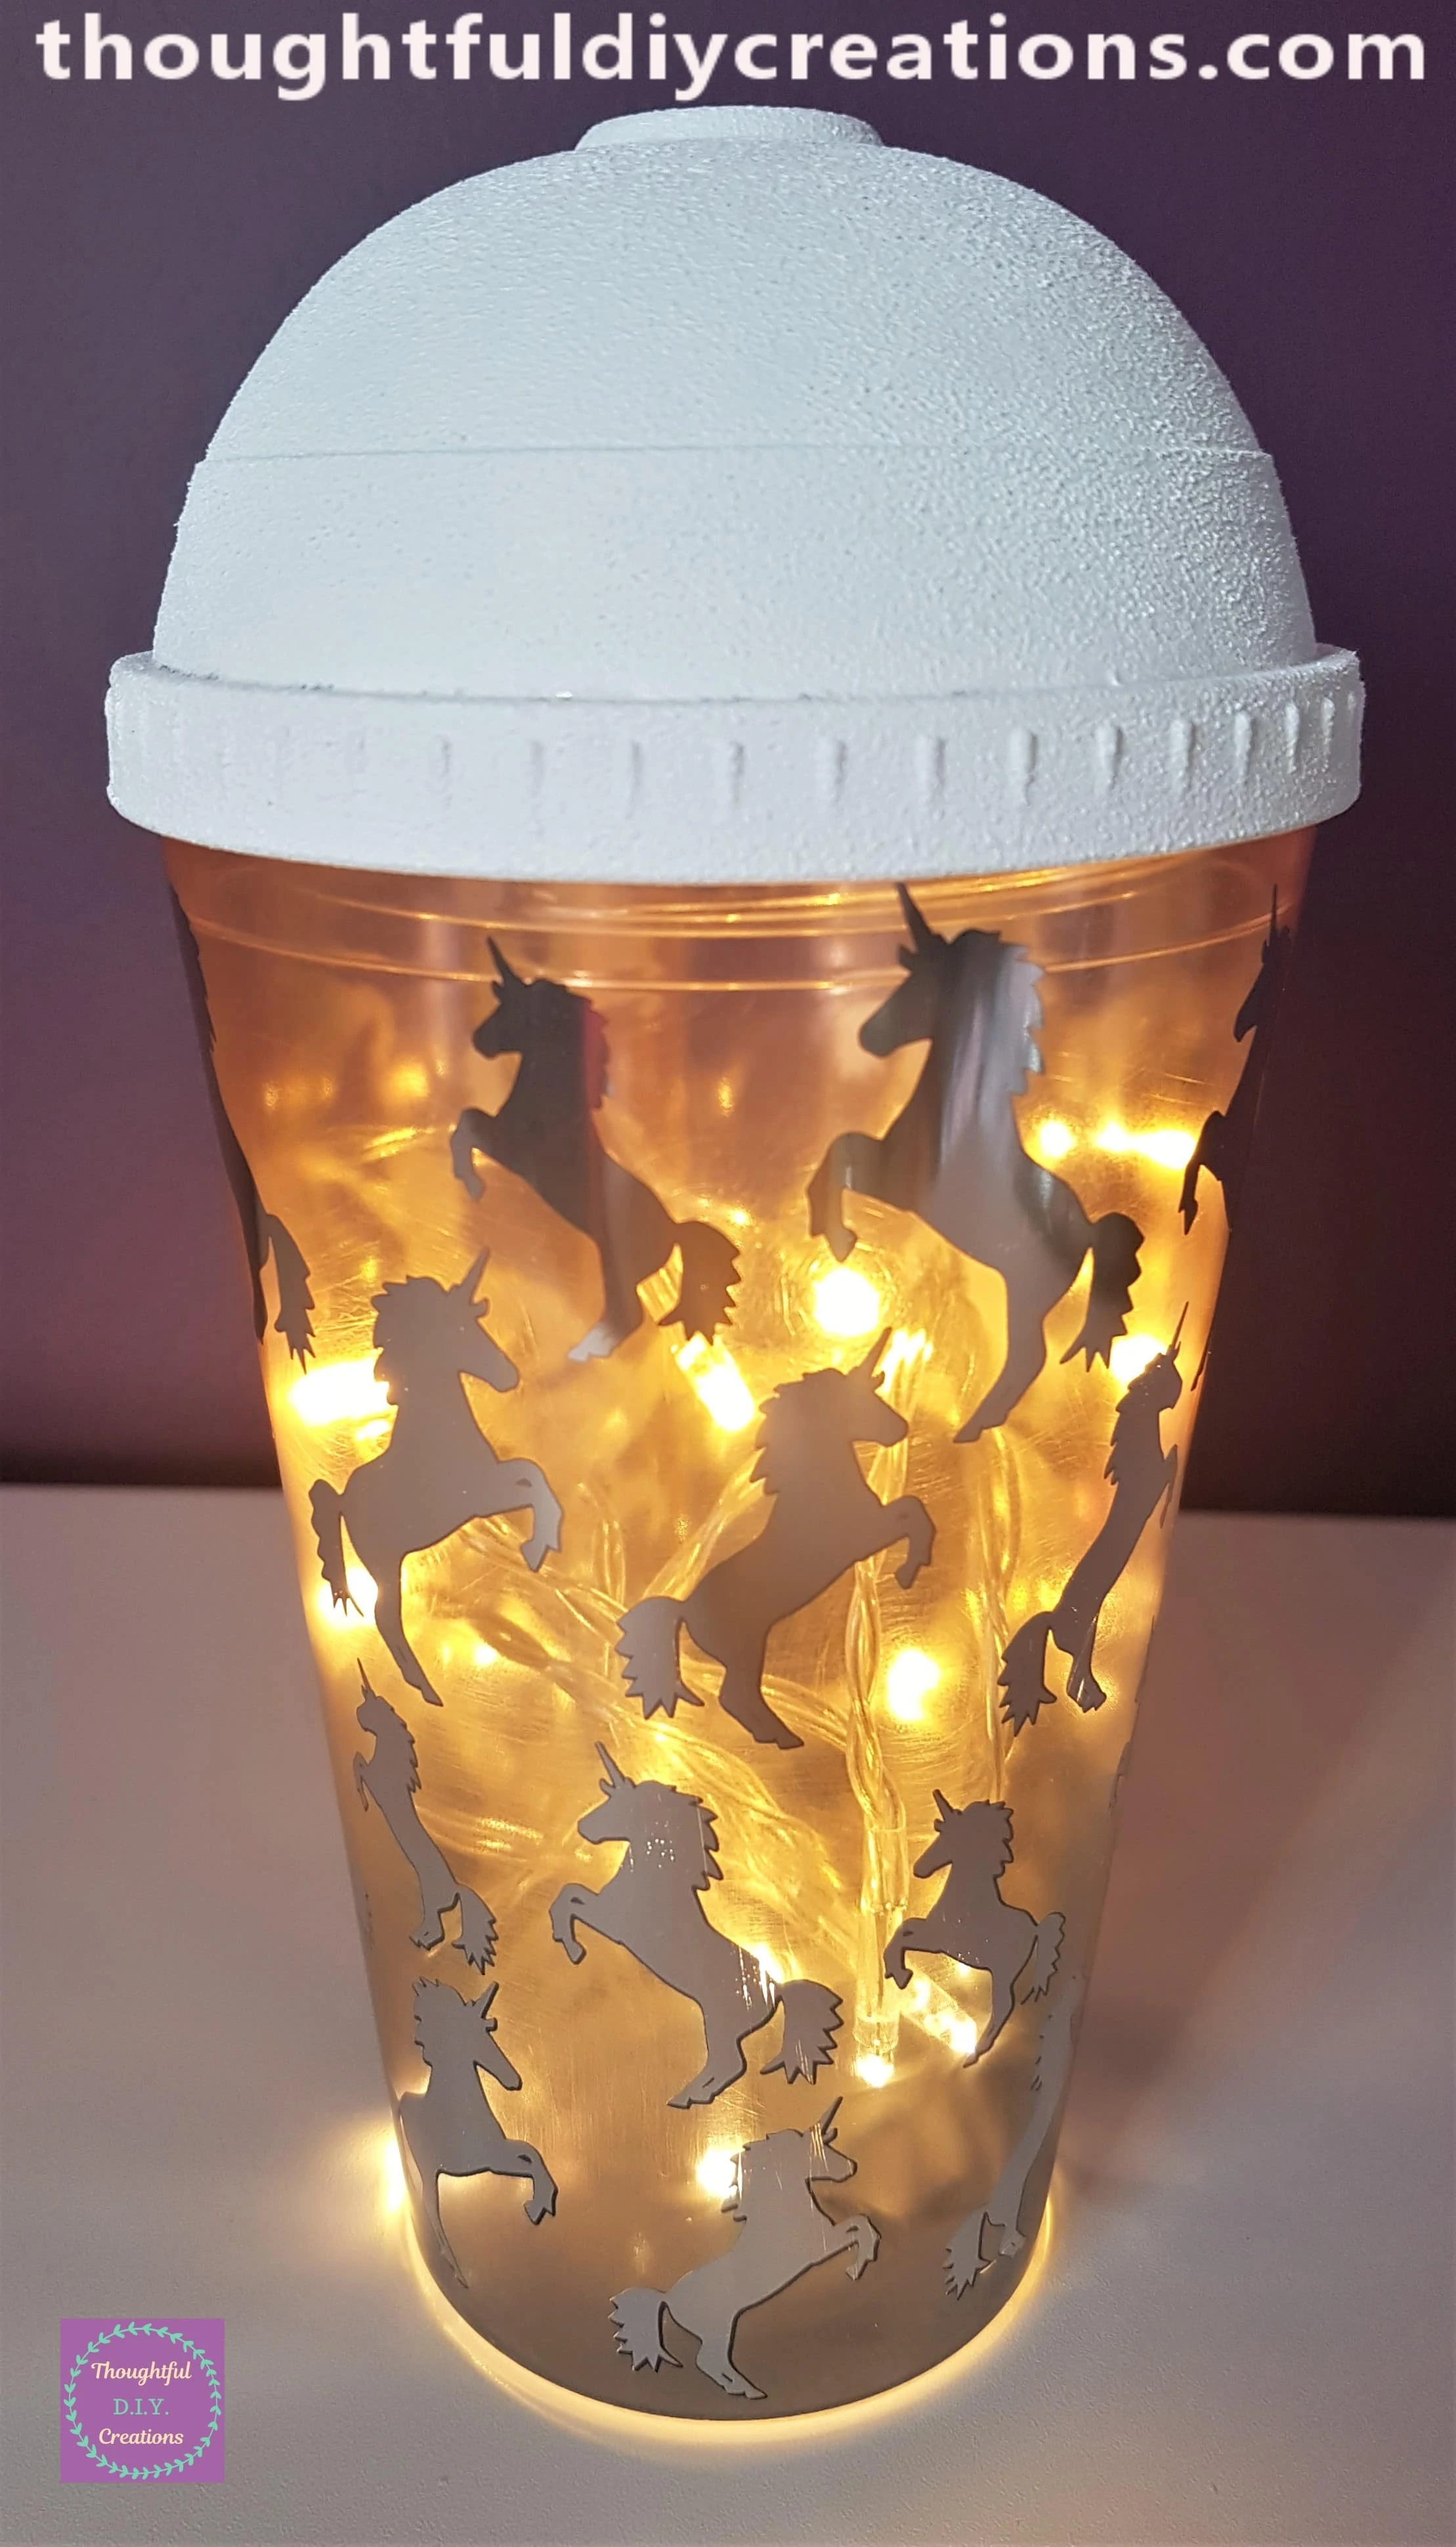
I loved the Outcome of the White added to the Lid; I think it Complements the brightness of the Lights.
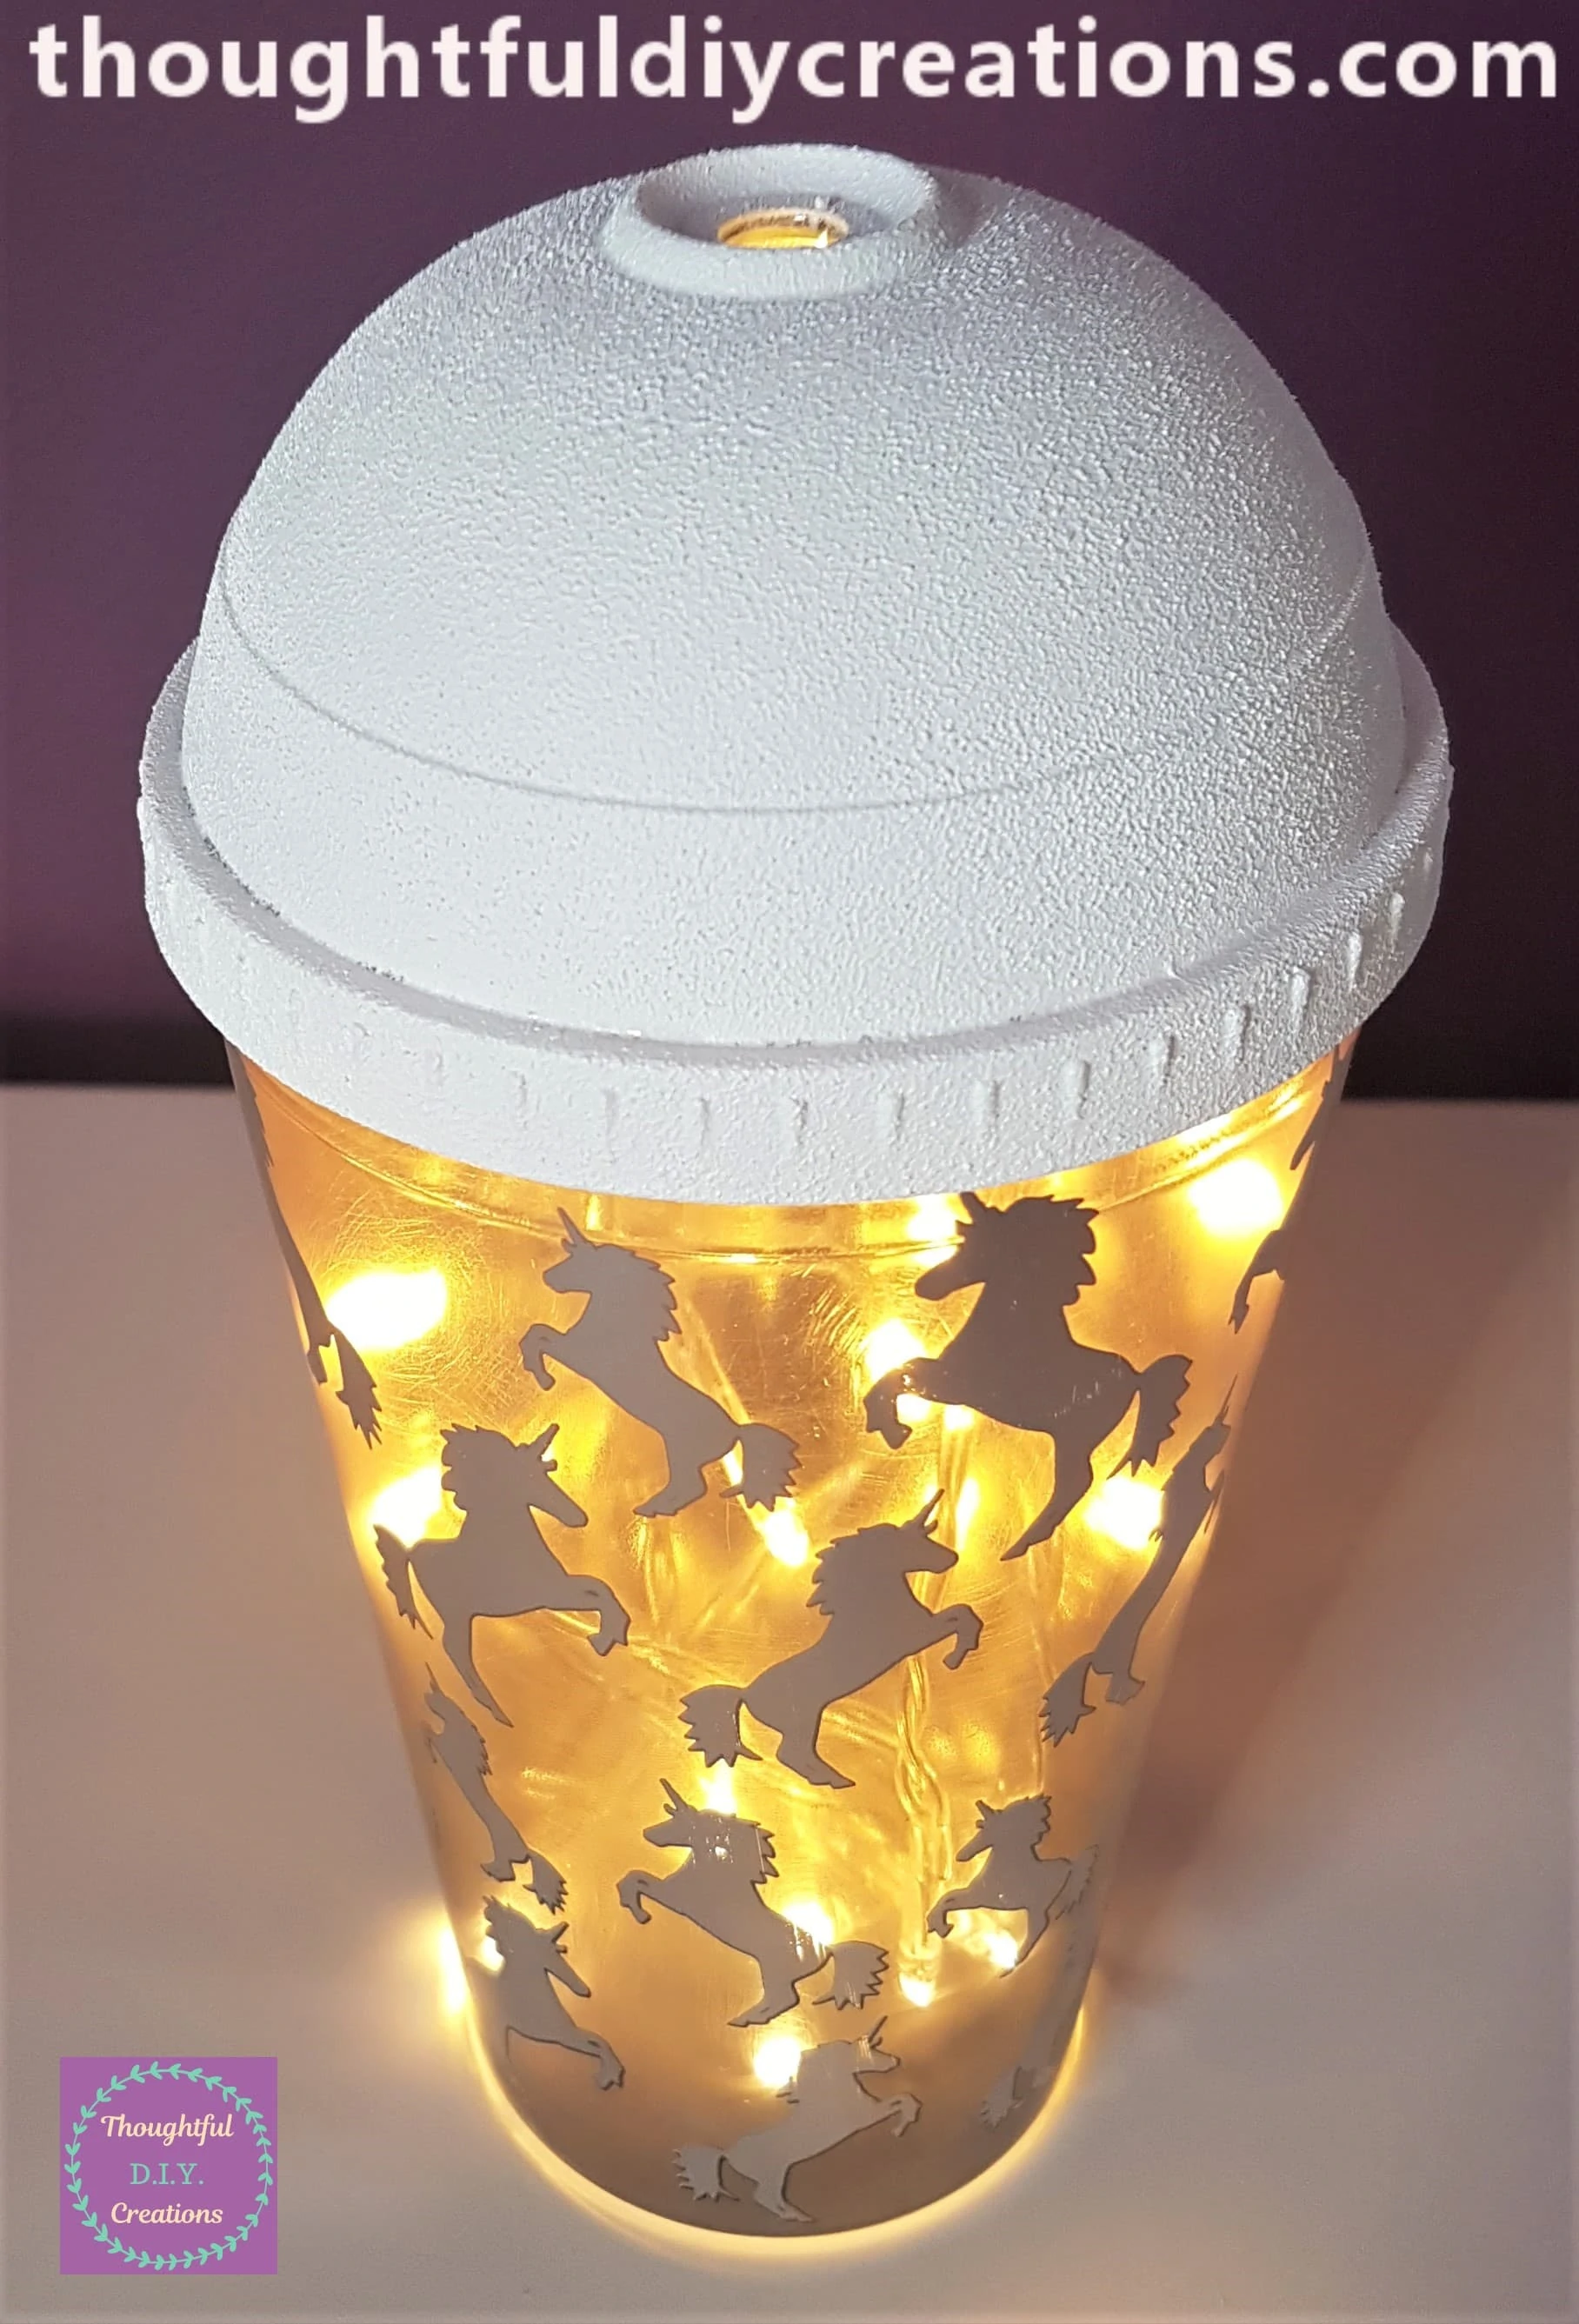
Accessorising the Lid with a Pom Pom
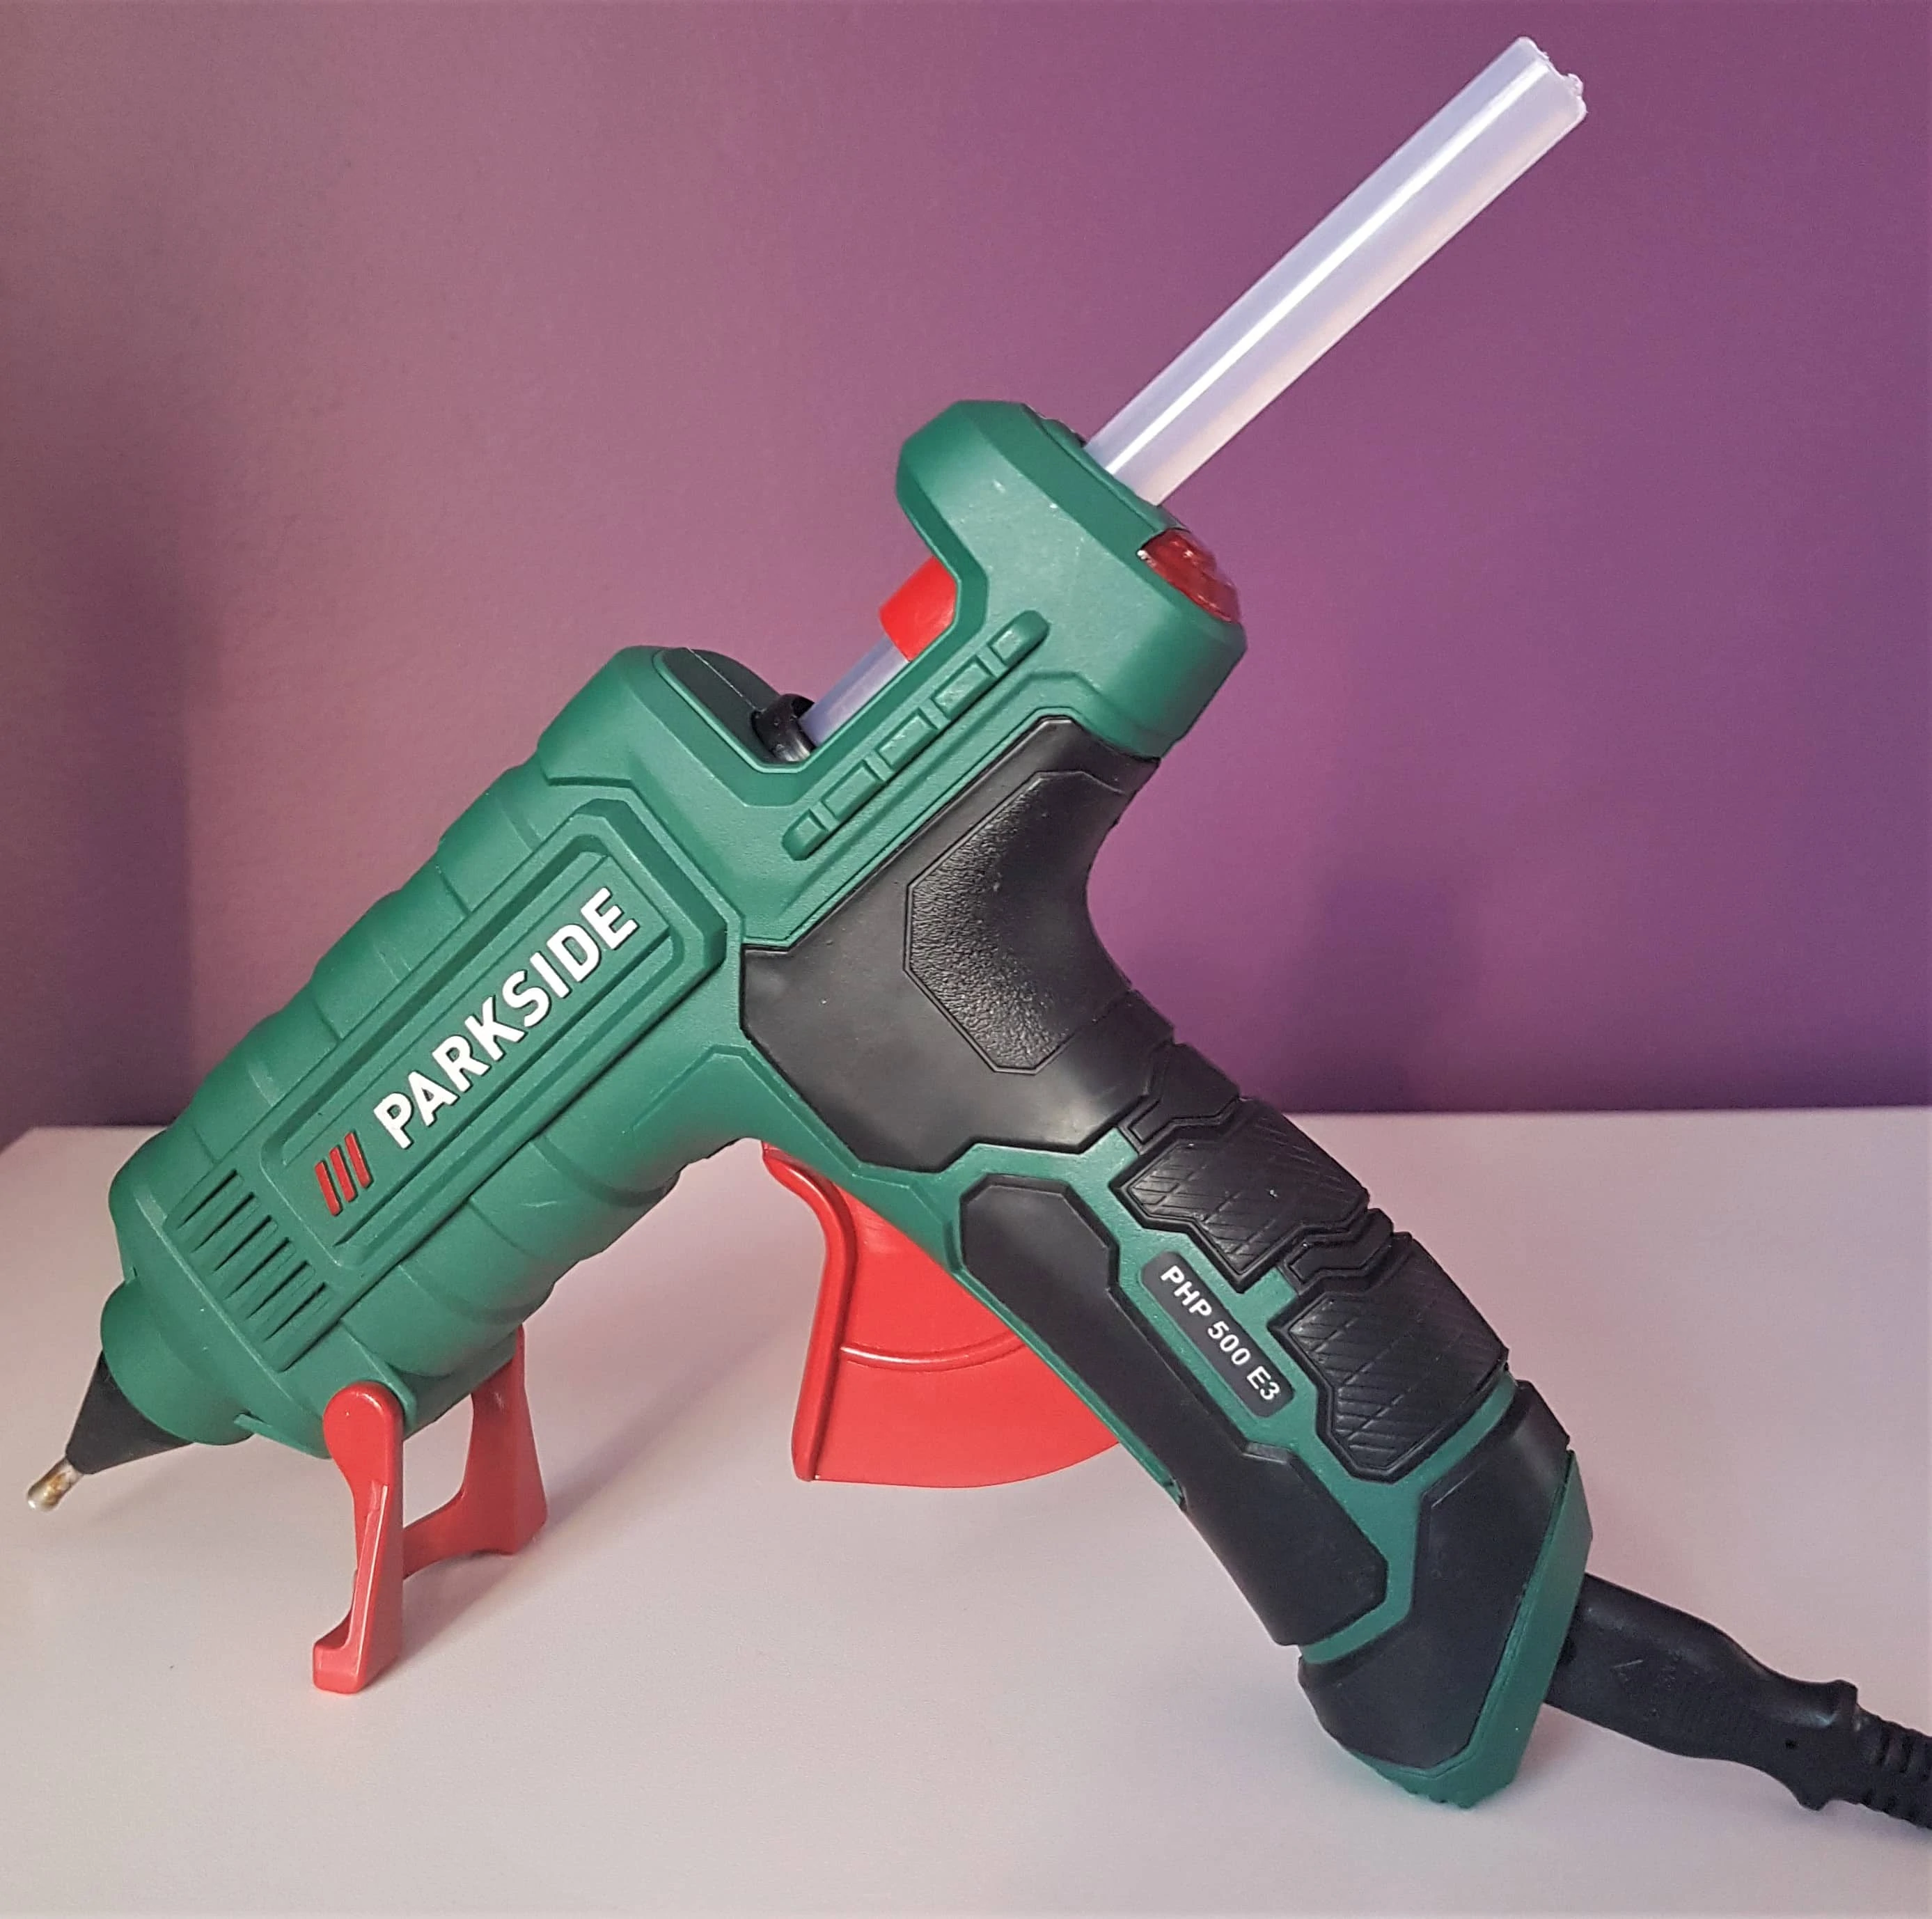
I Plugged in my ‘Hot Glue Gun’ with Clear Glue Stick inside and let it Heat up for 5 minutes.
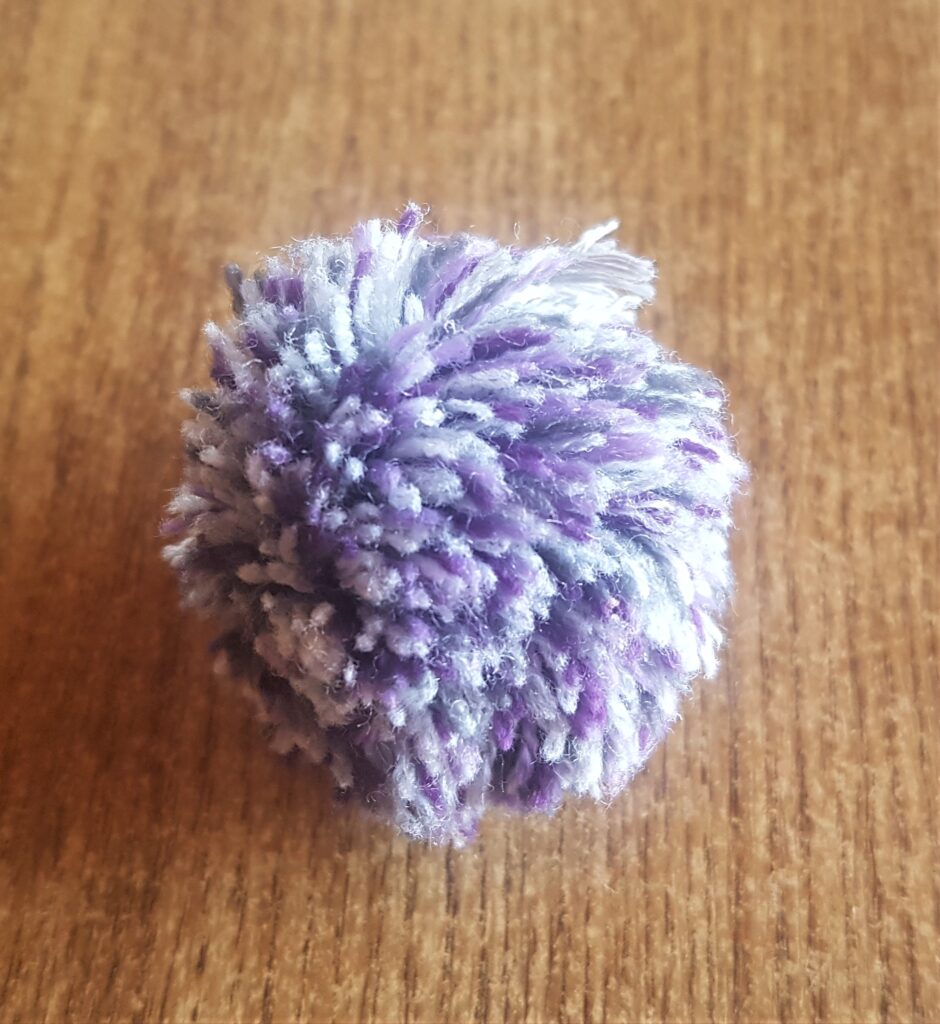
I got a Purple and Grey Pom Pom from my Supplies. This was actually from a Pair of old Slipper Boots. I discarded the Slippers when they were worn and hand washed the Pom Poms to Use for my Crafts.
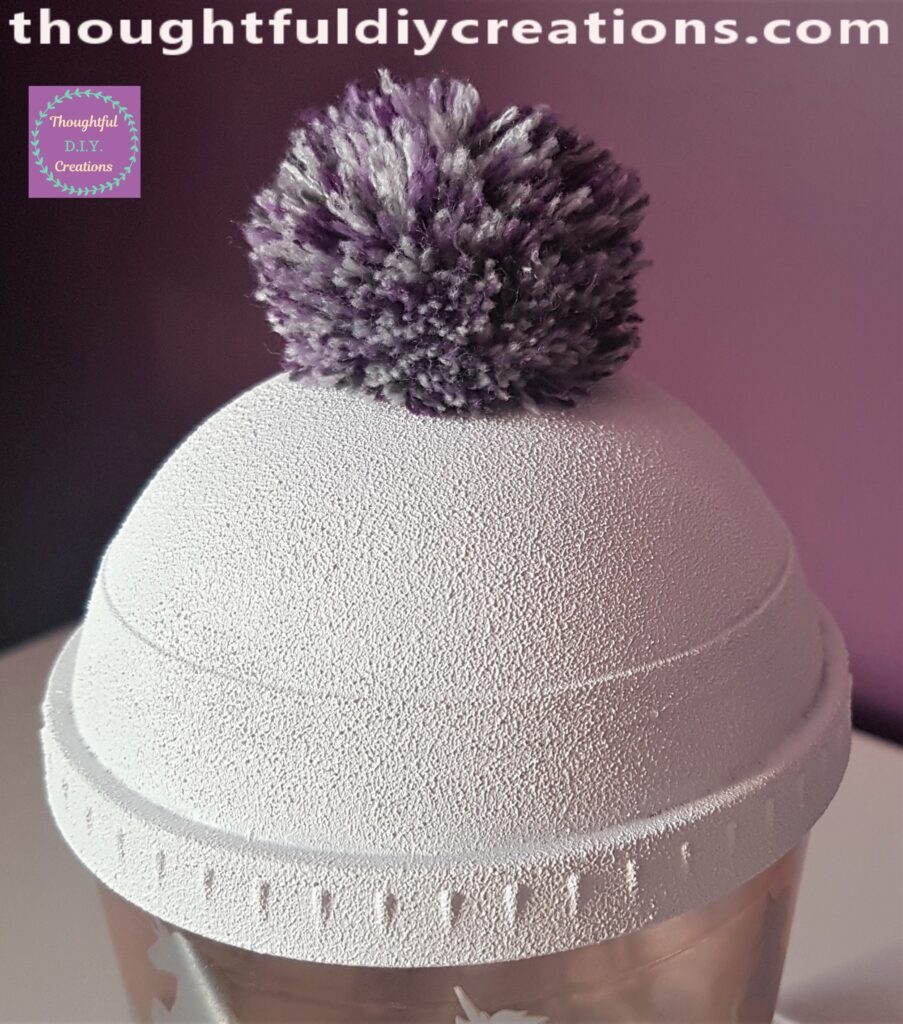
I put some Hot Glue all around the outer Circle on the Beaker and held the Pom Pom in place for a few seconds until it was secure.
A Full View of the Light-Up Unicorn Beaker.
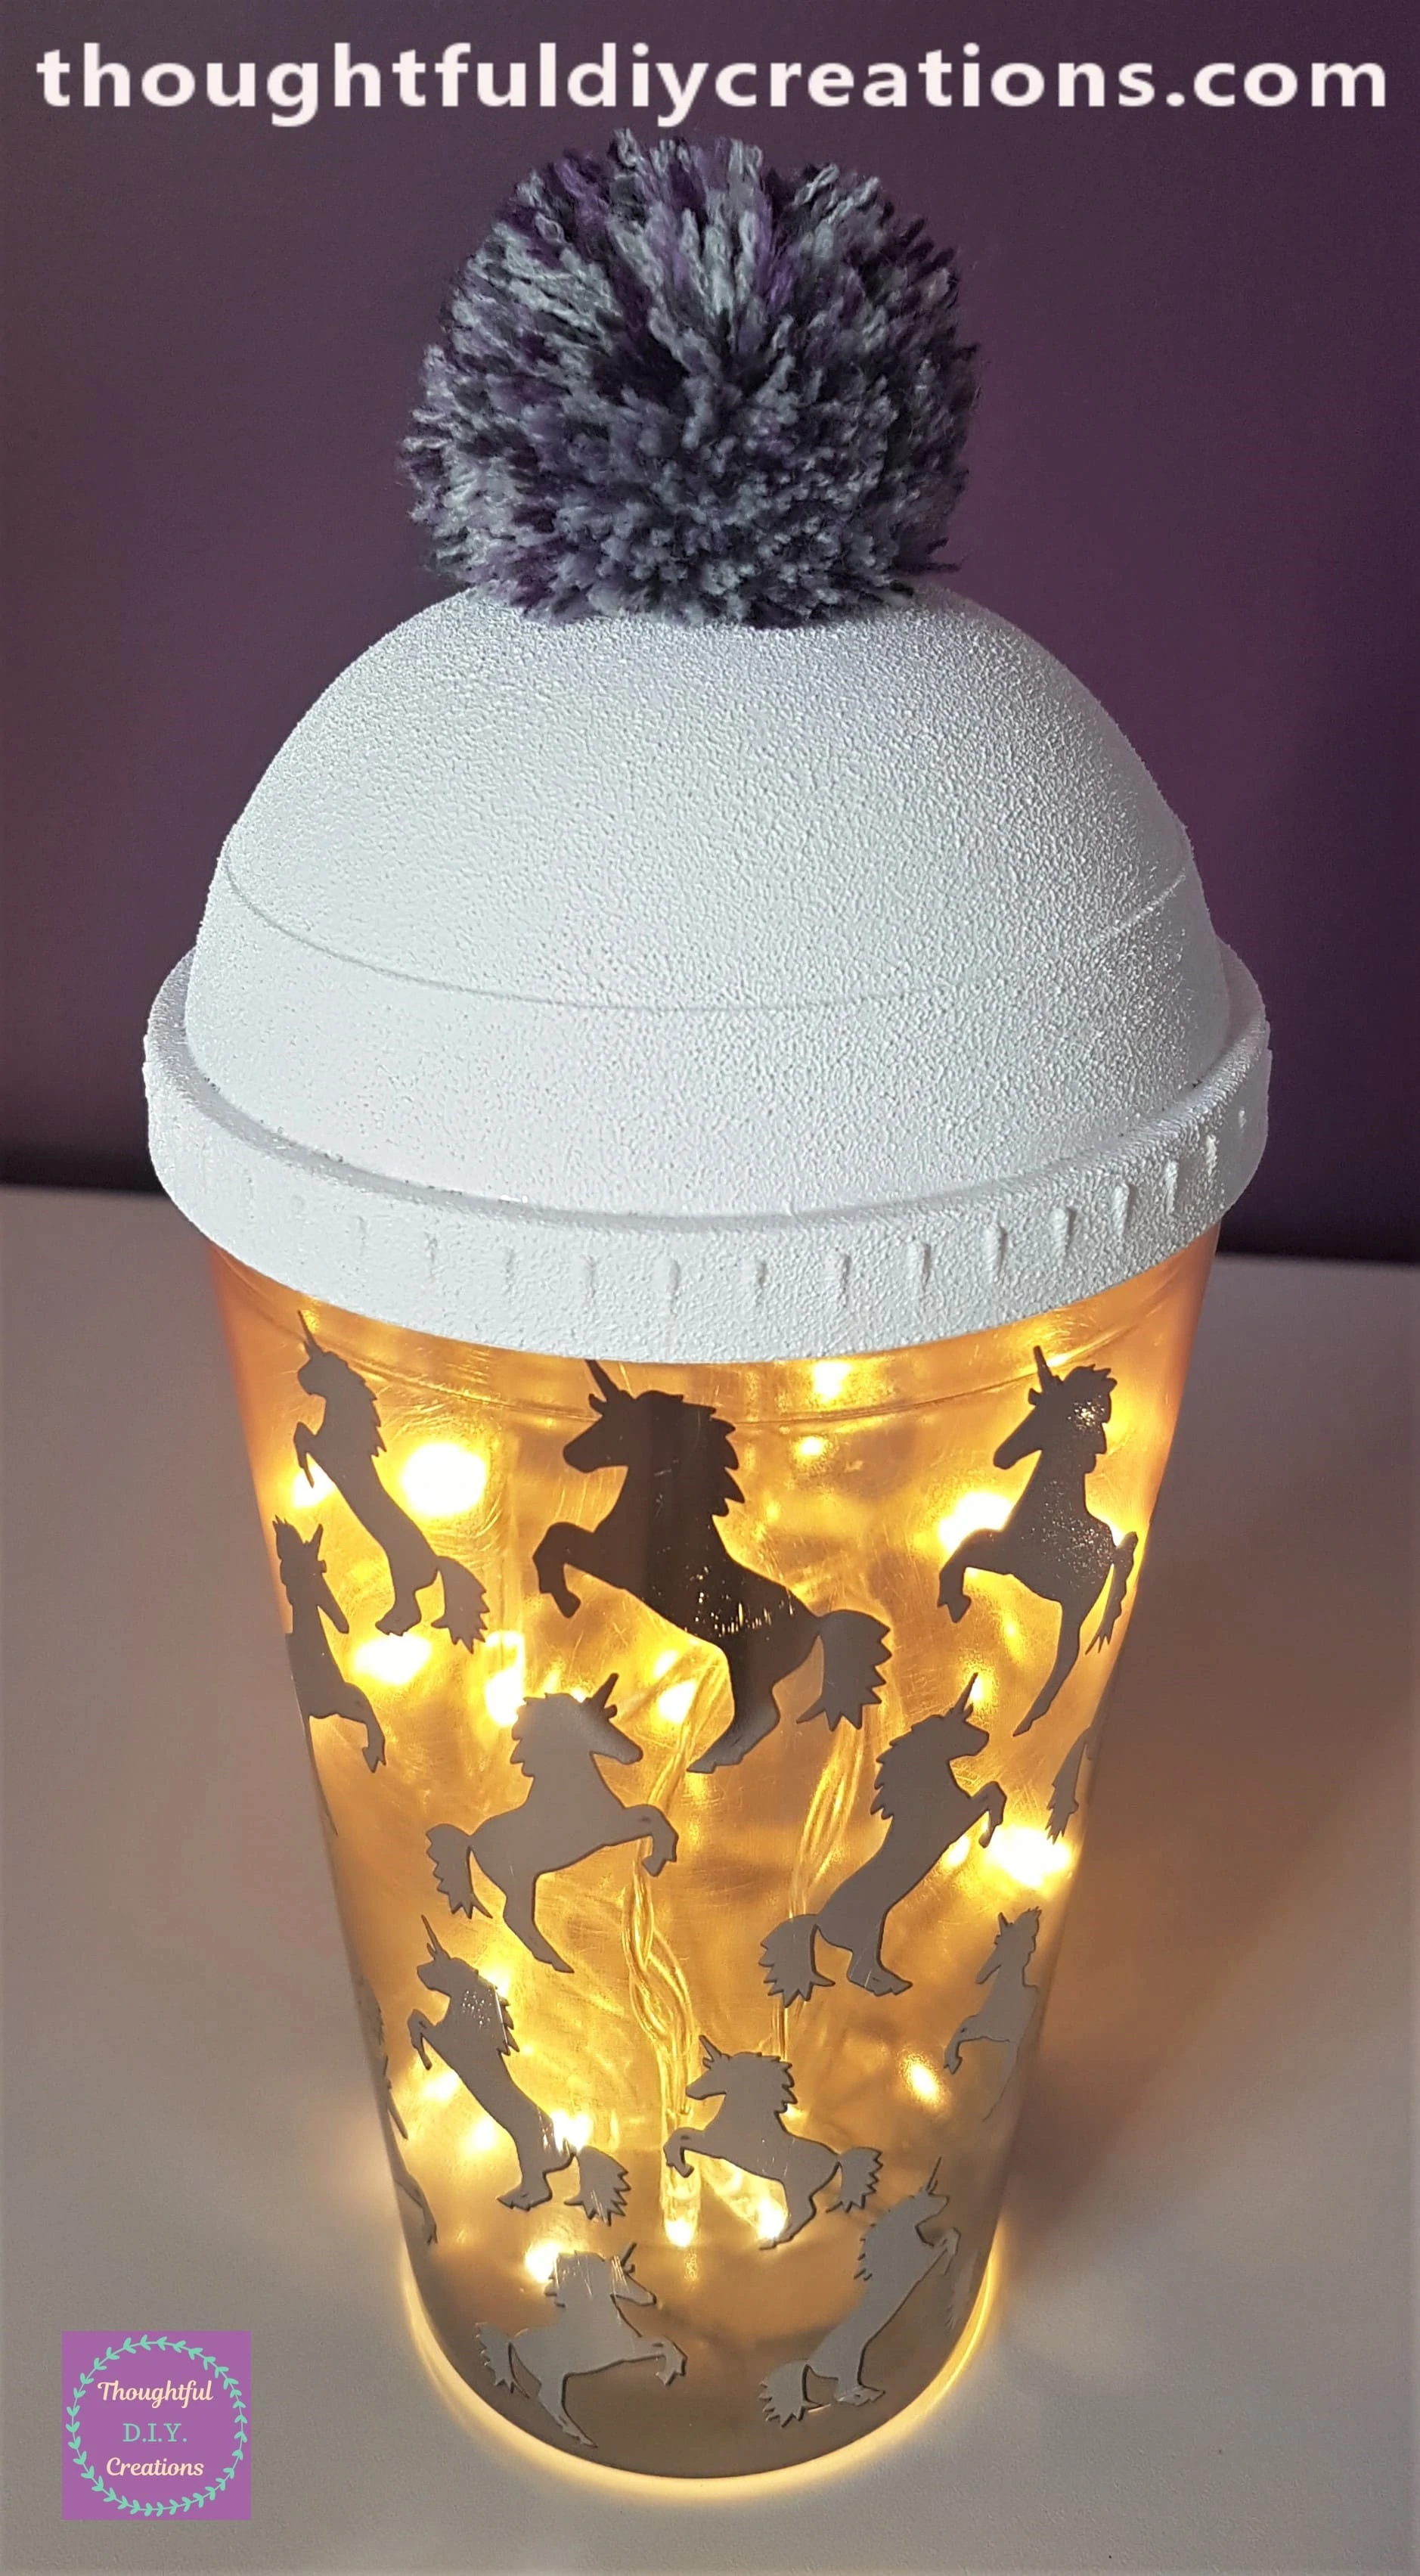
Finishing Touches to the Light-Up Unicorn Beaker
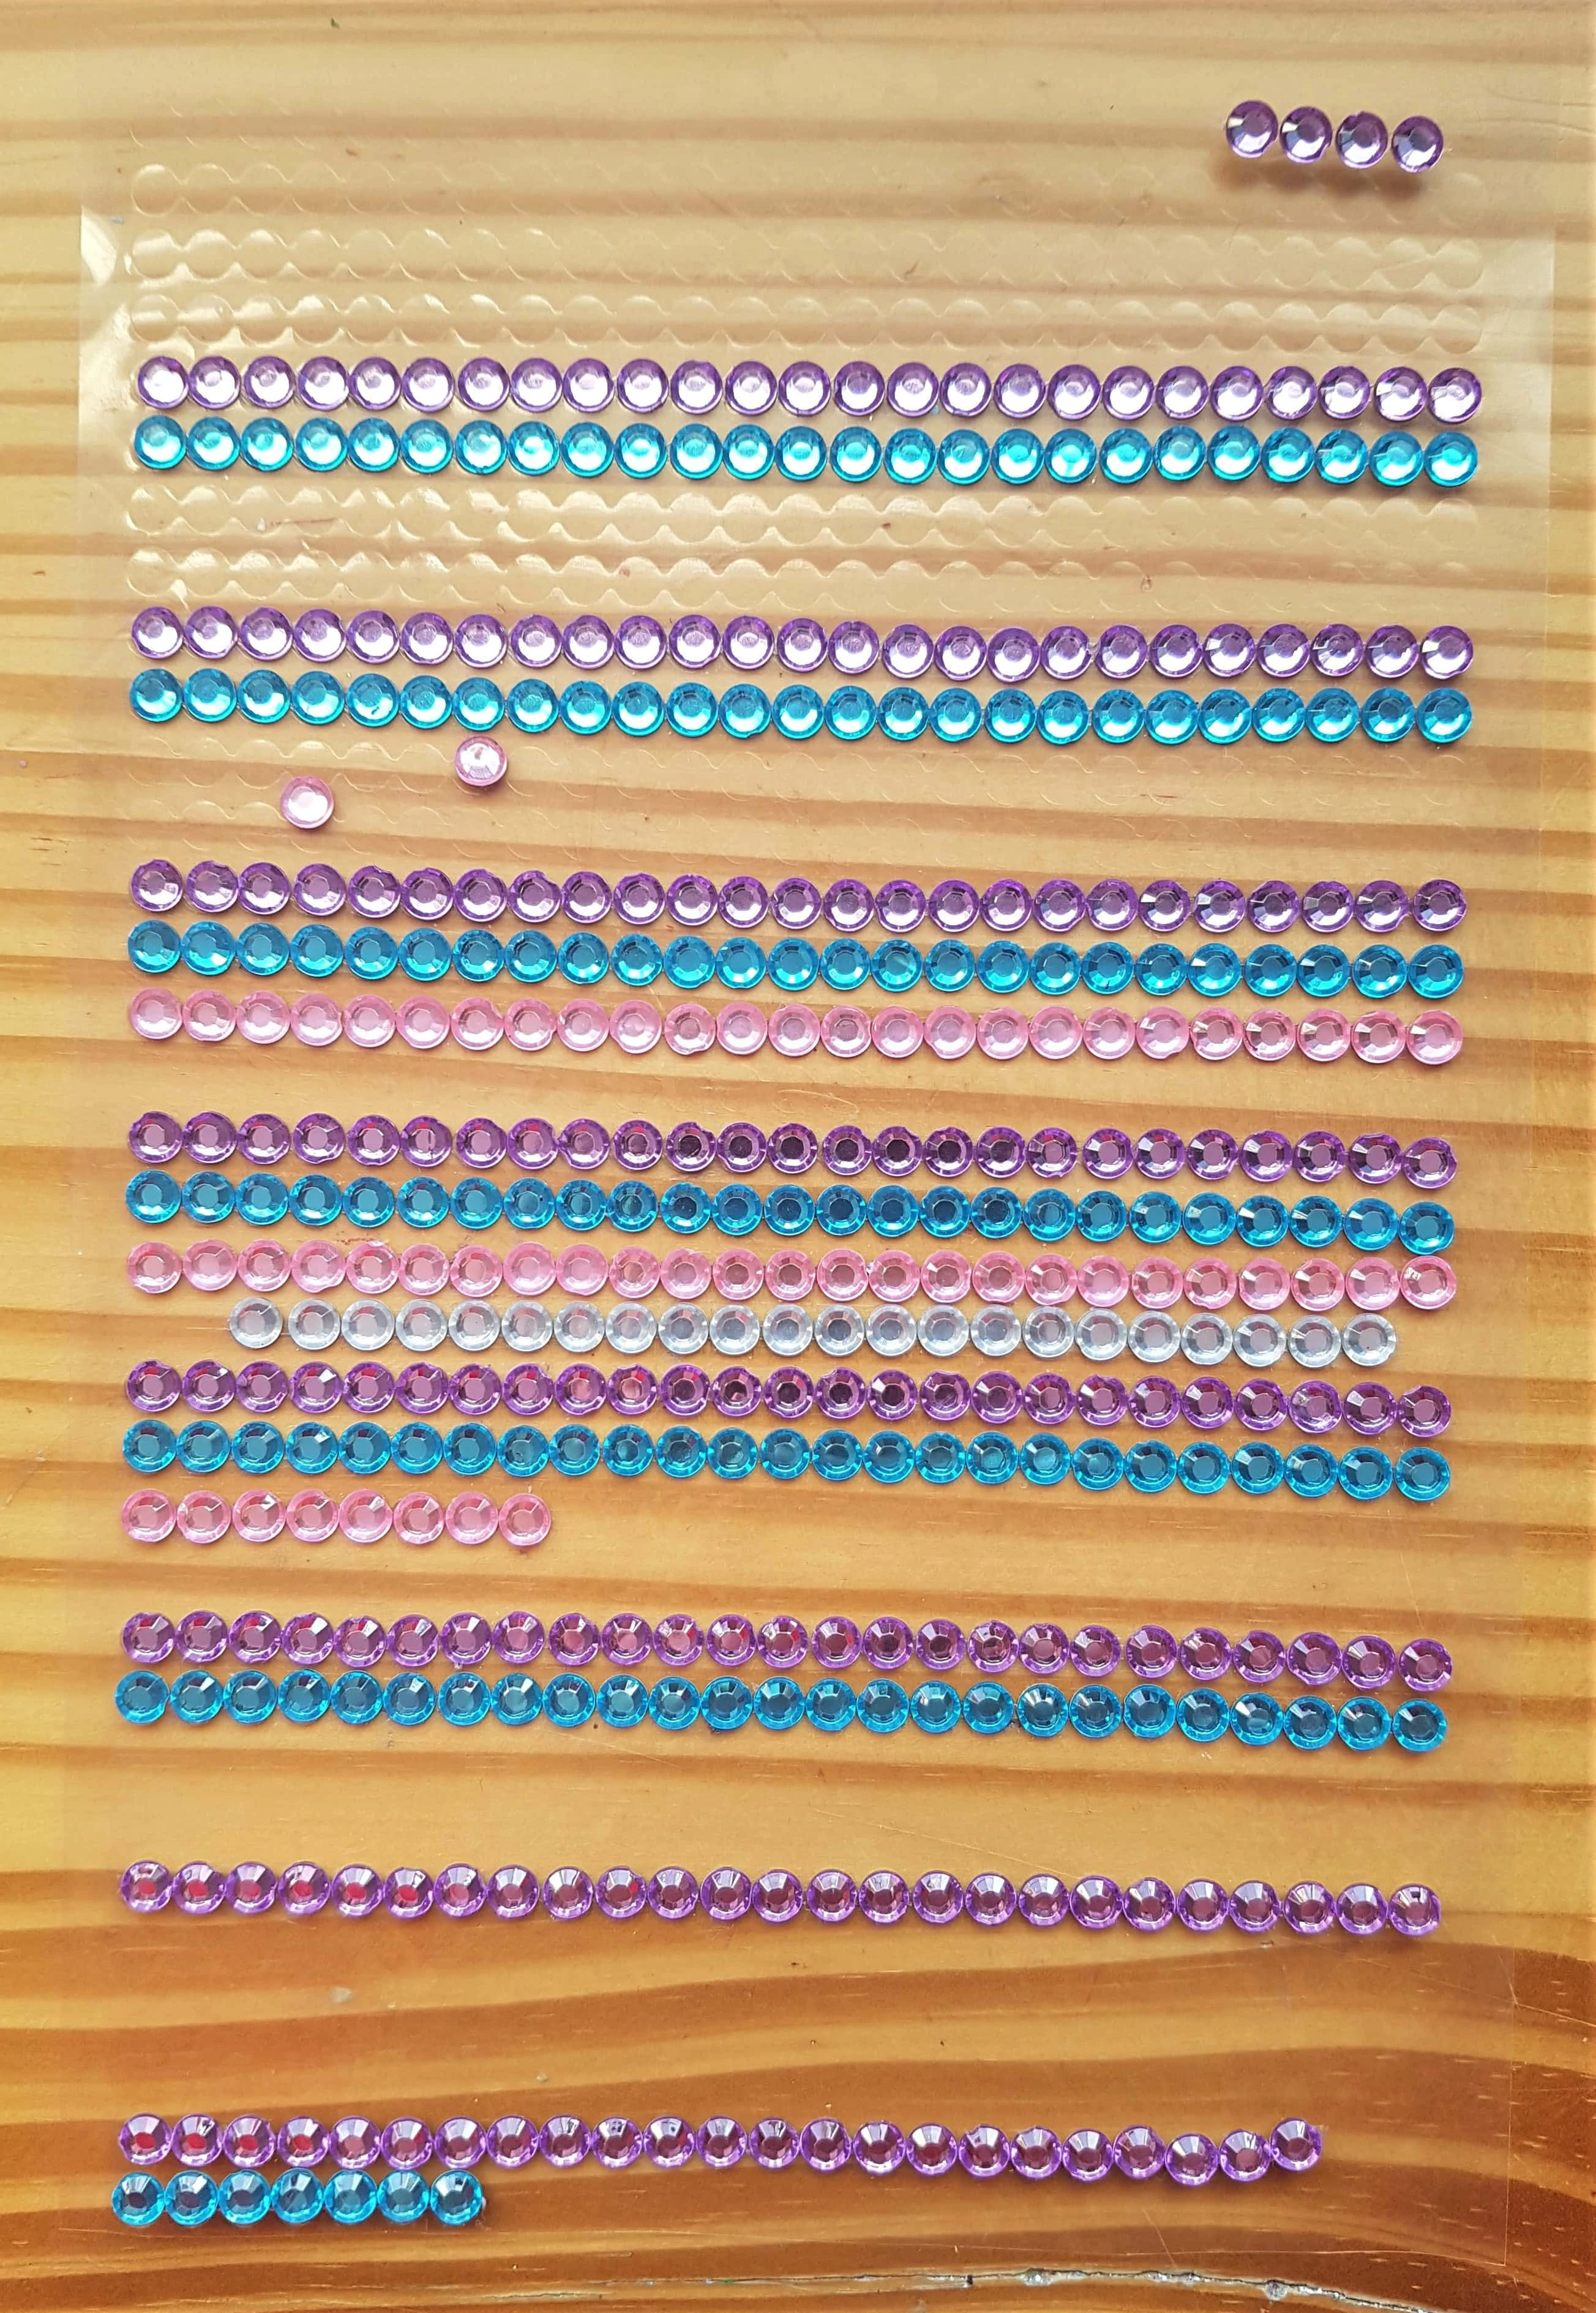
I got my Sheet of Gemstone Stickers.
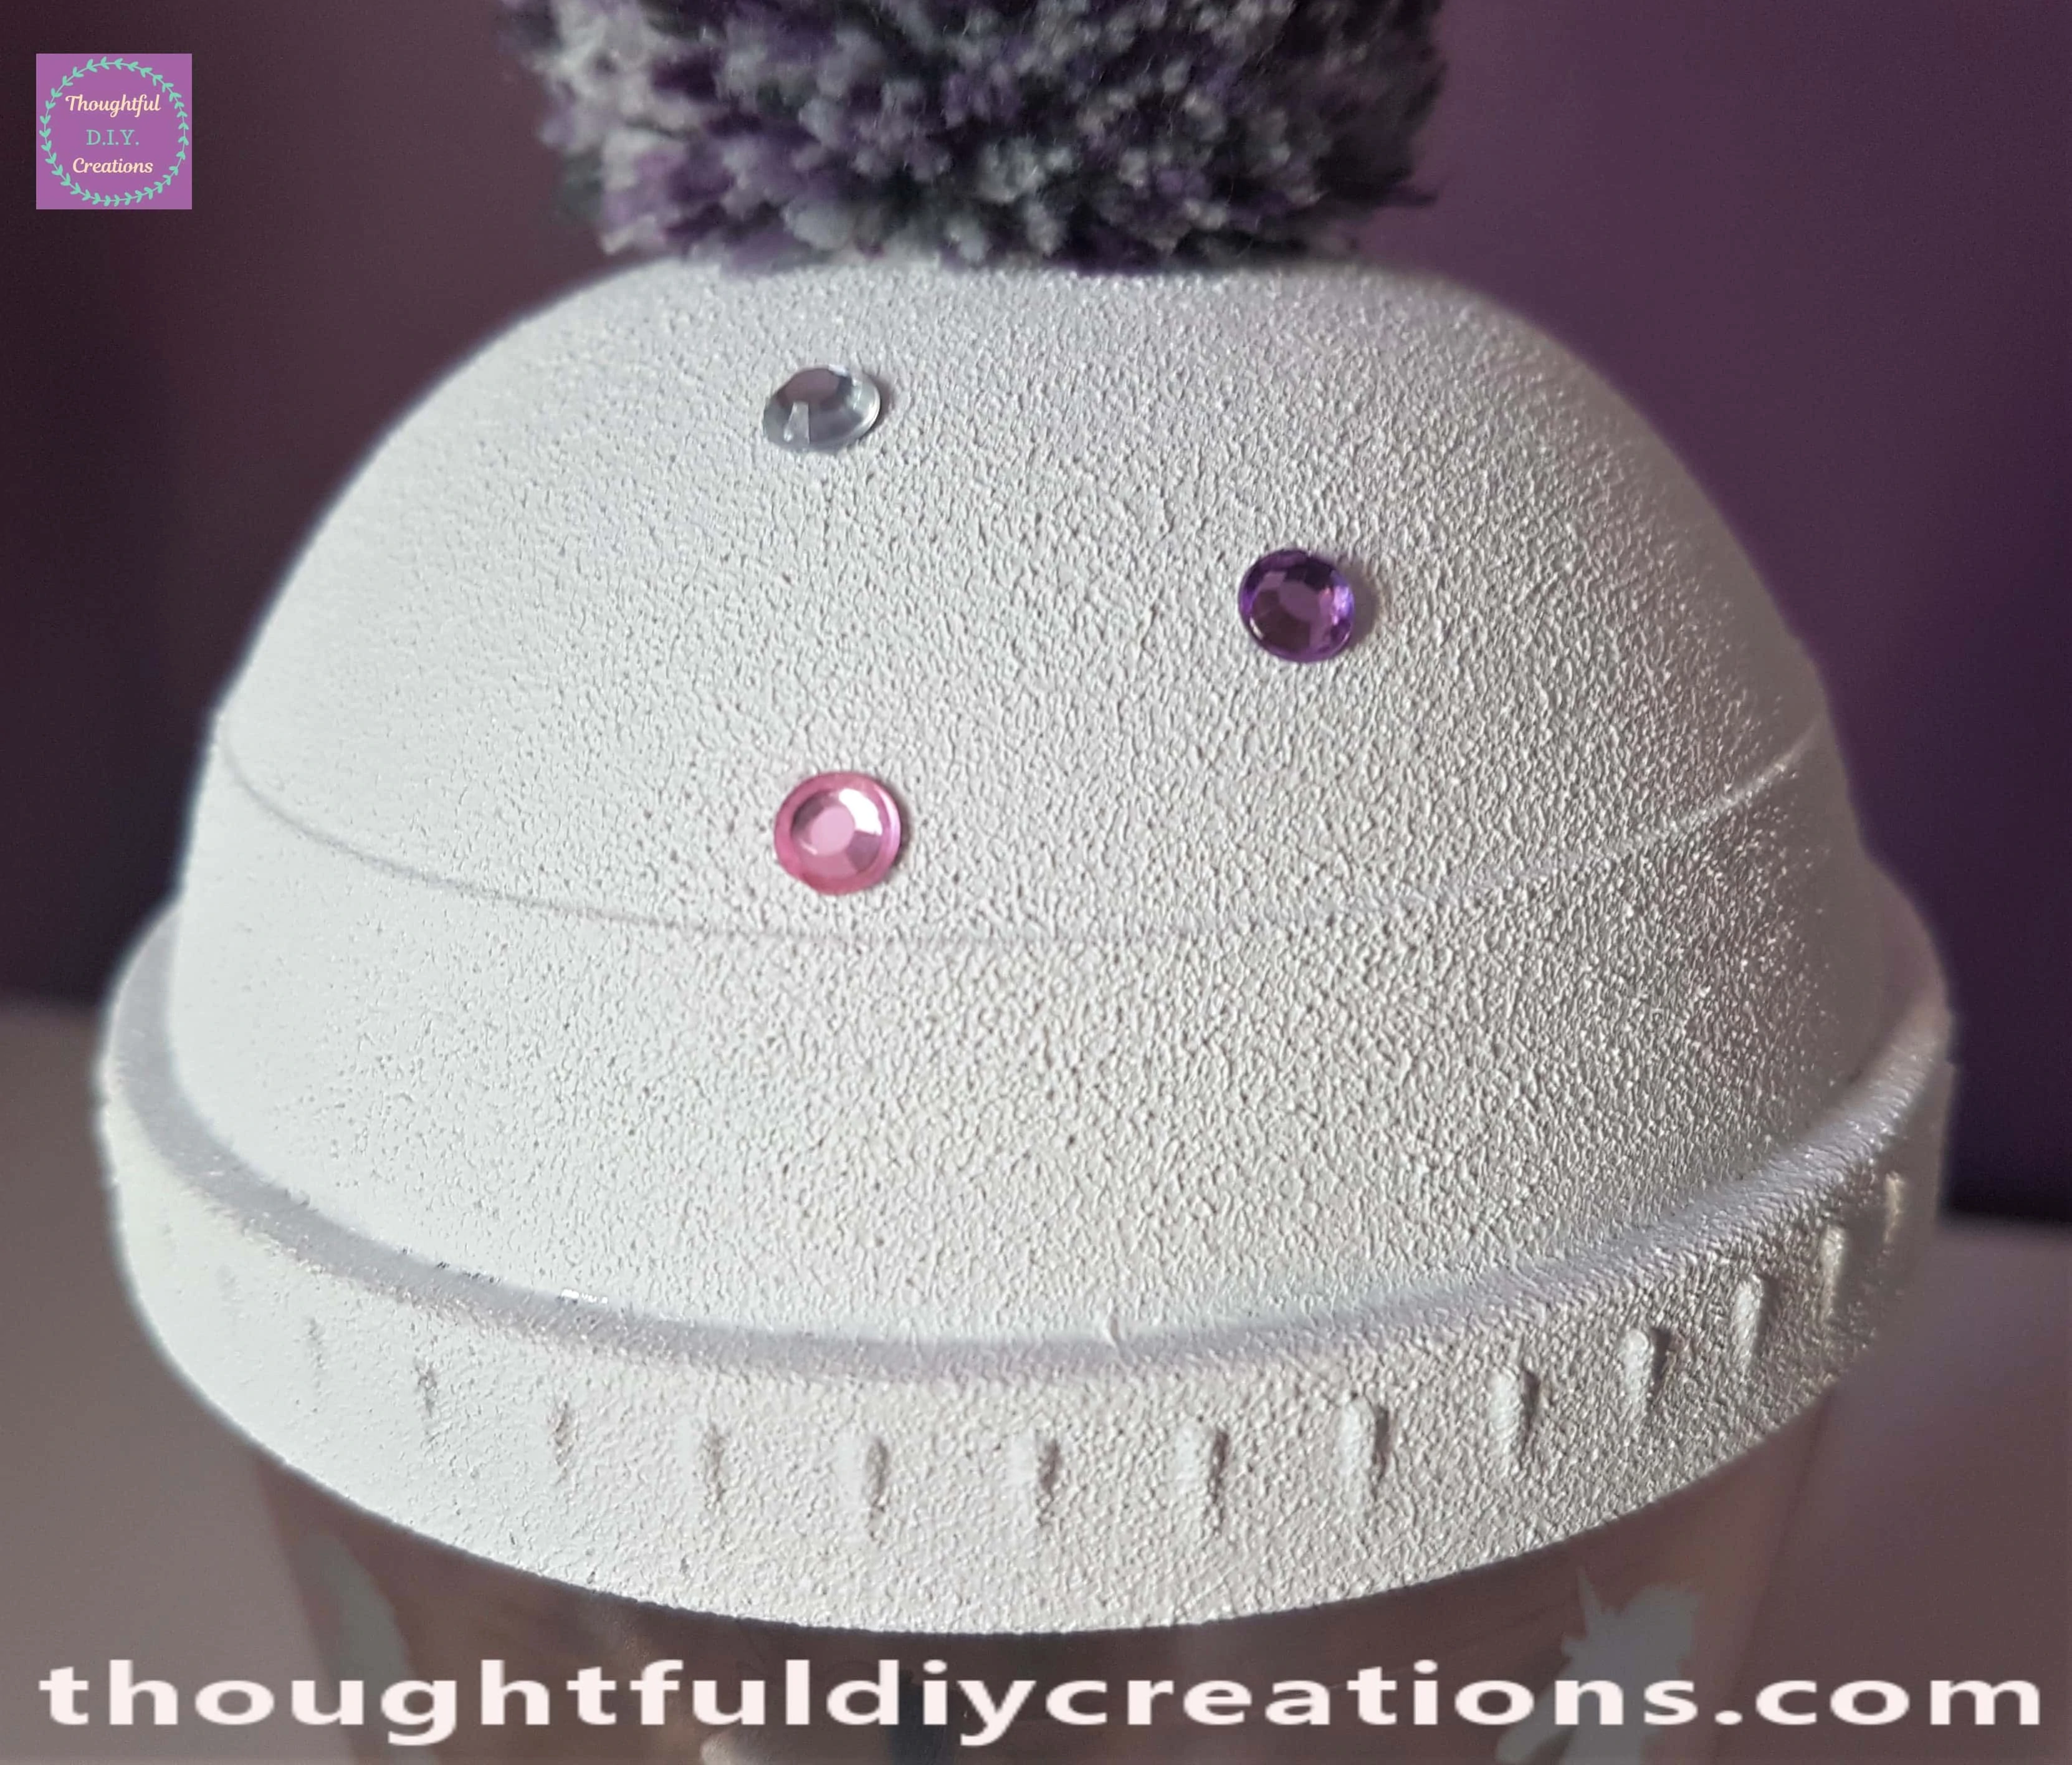
I removed One Gemstone Sticker at a time and stuck them to the Lid of the Beaker.
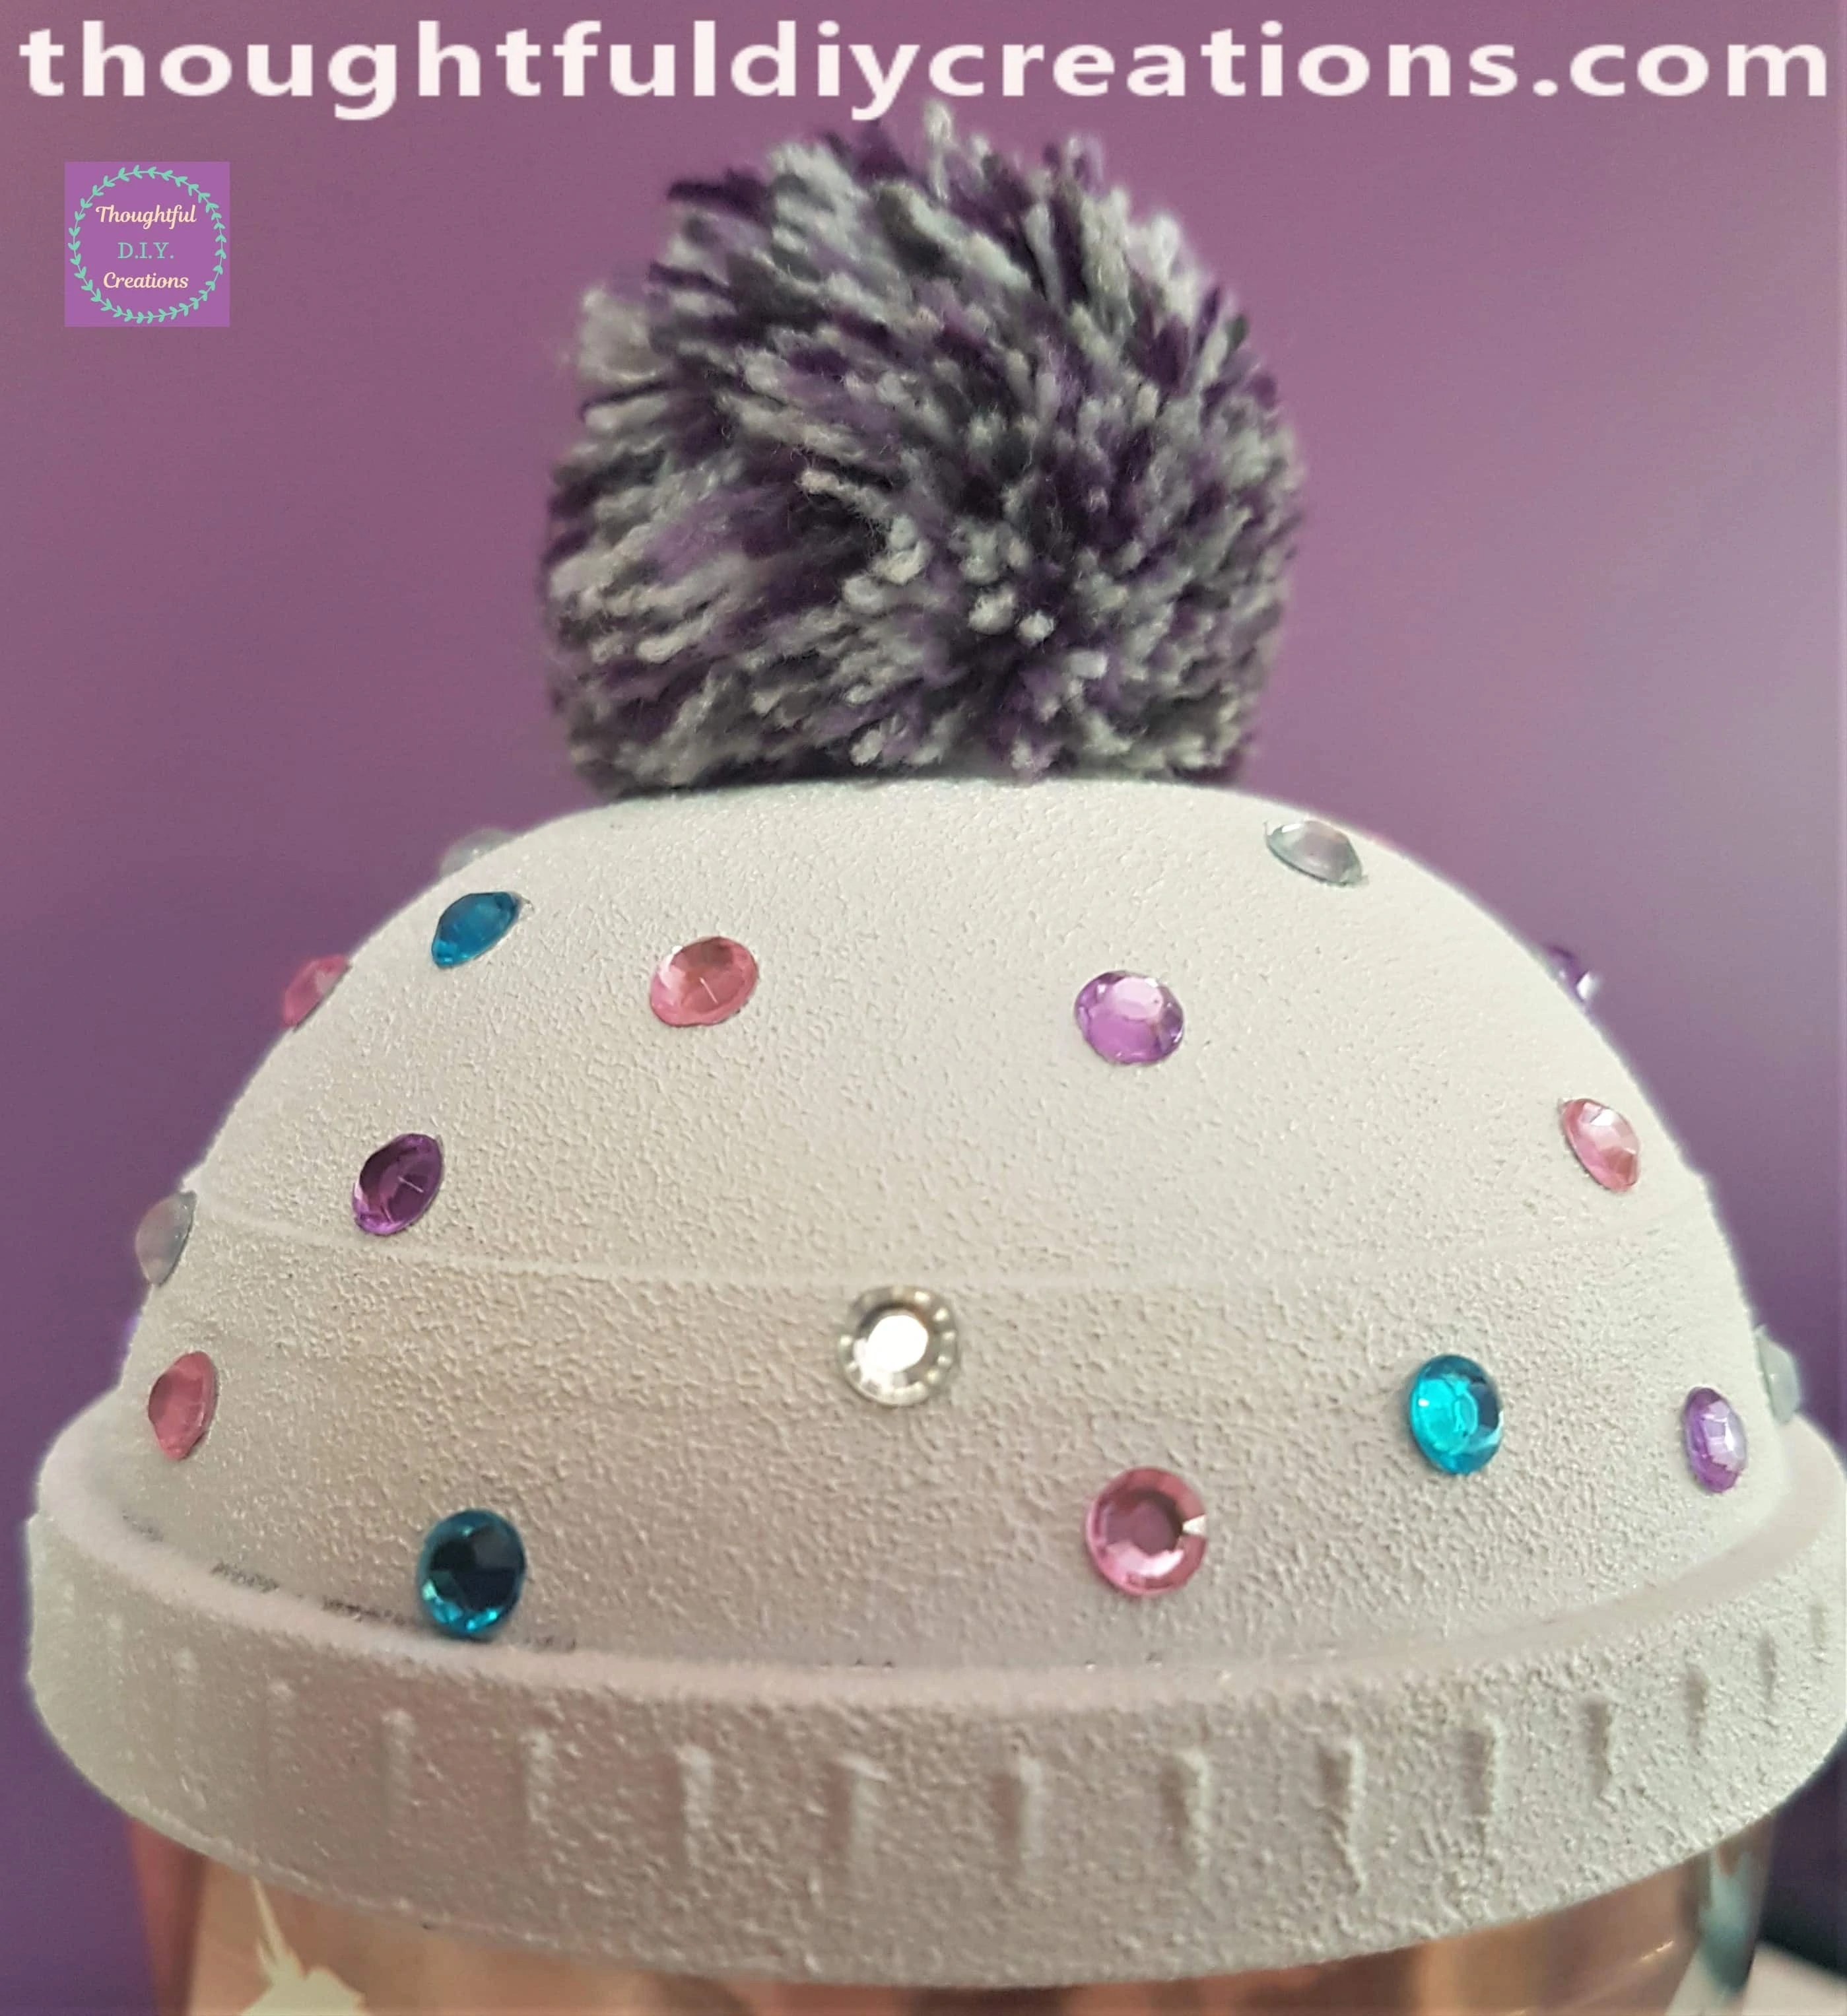
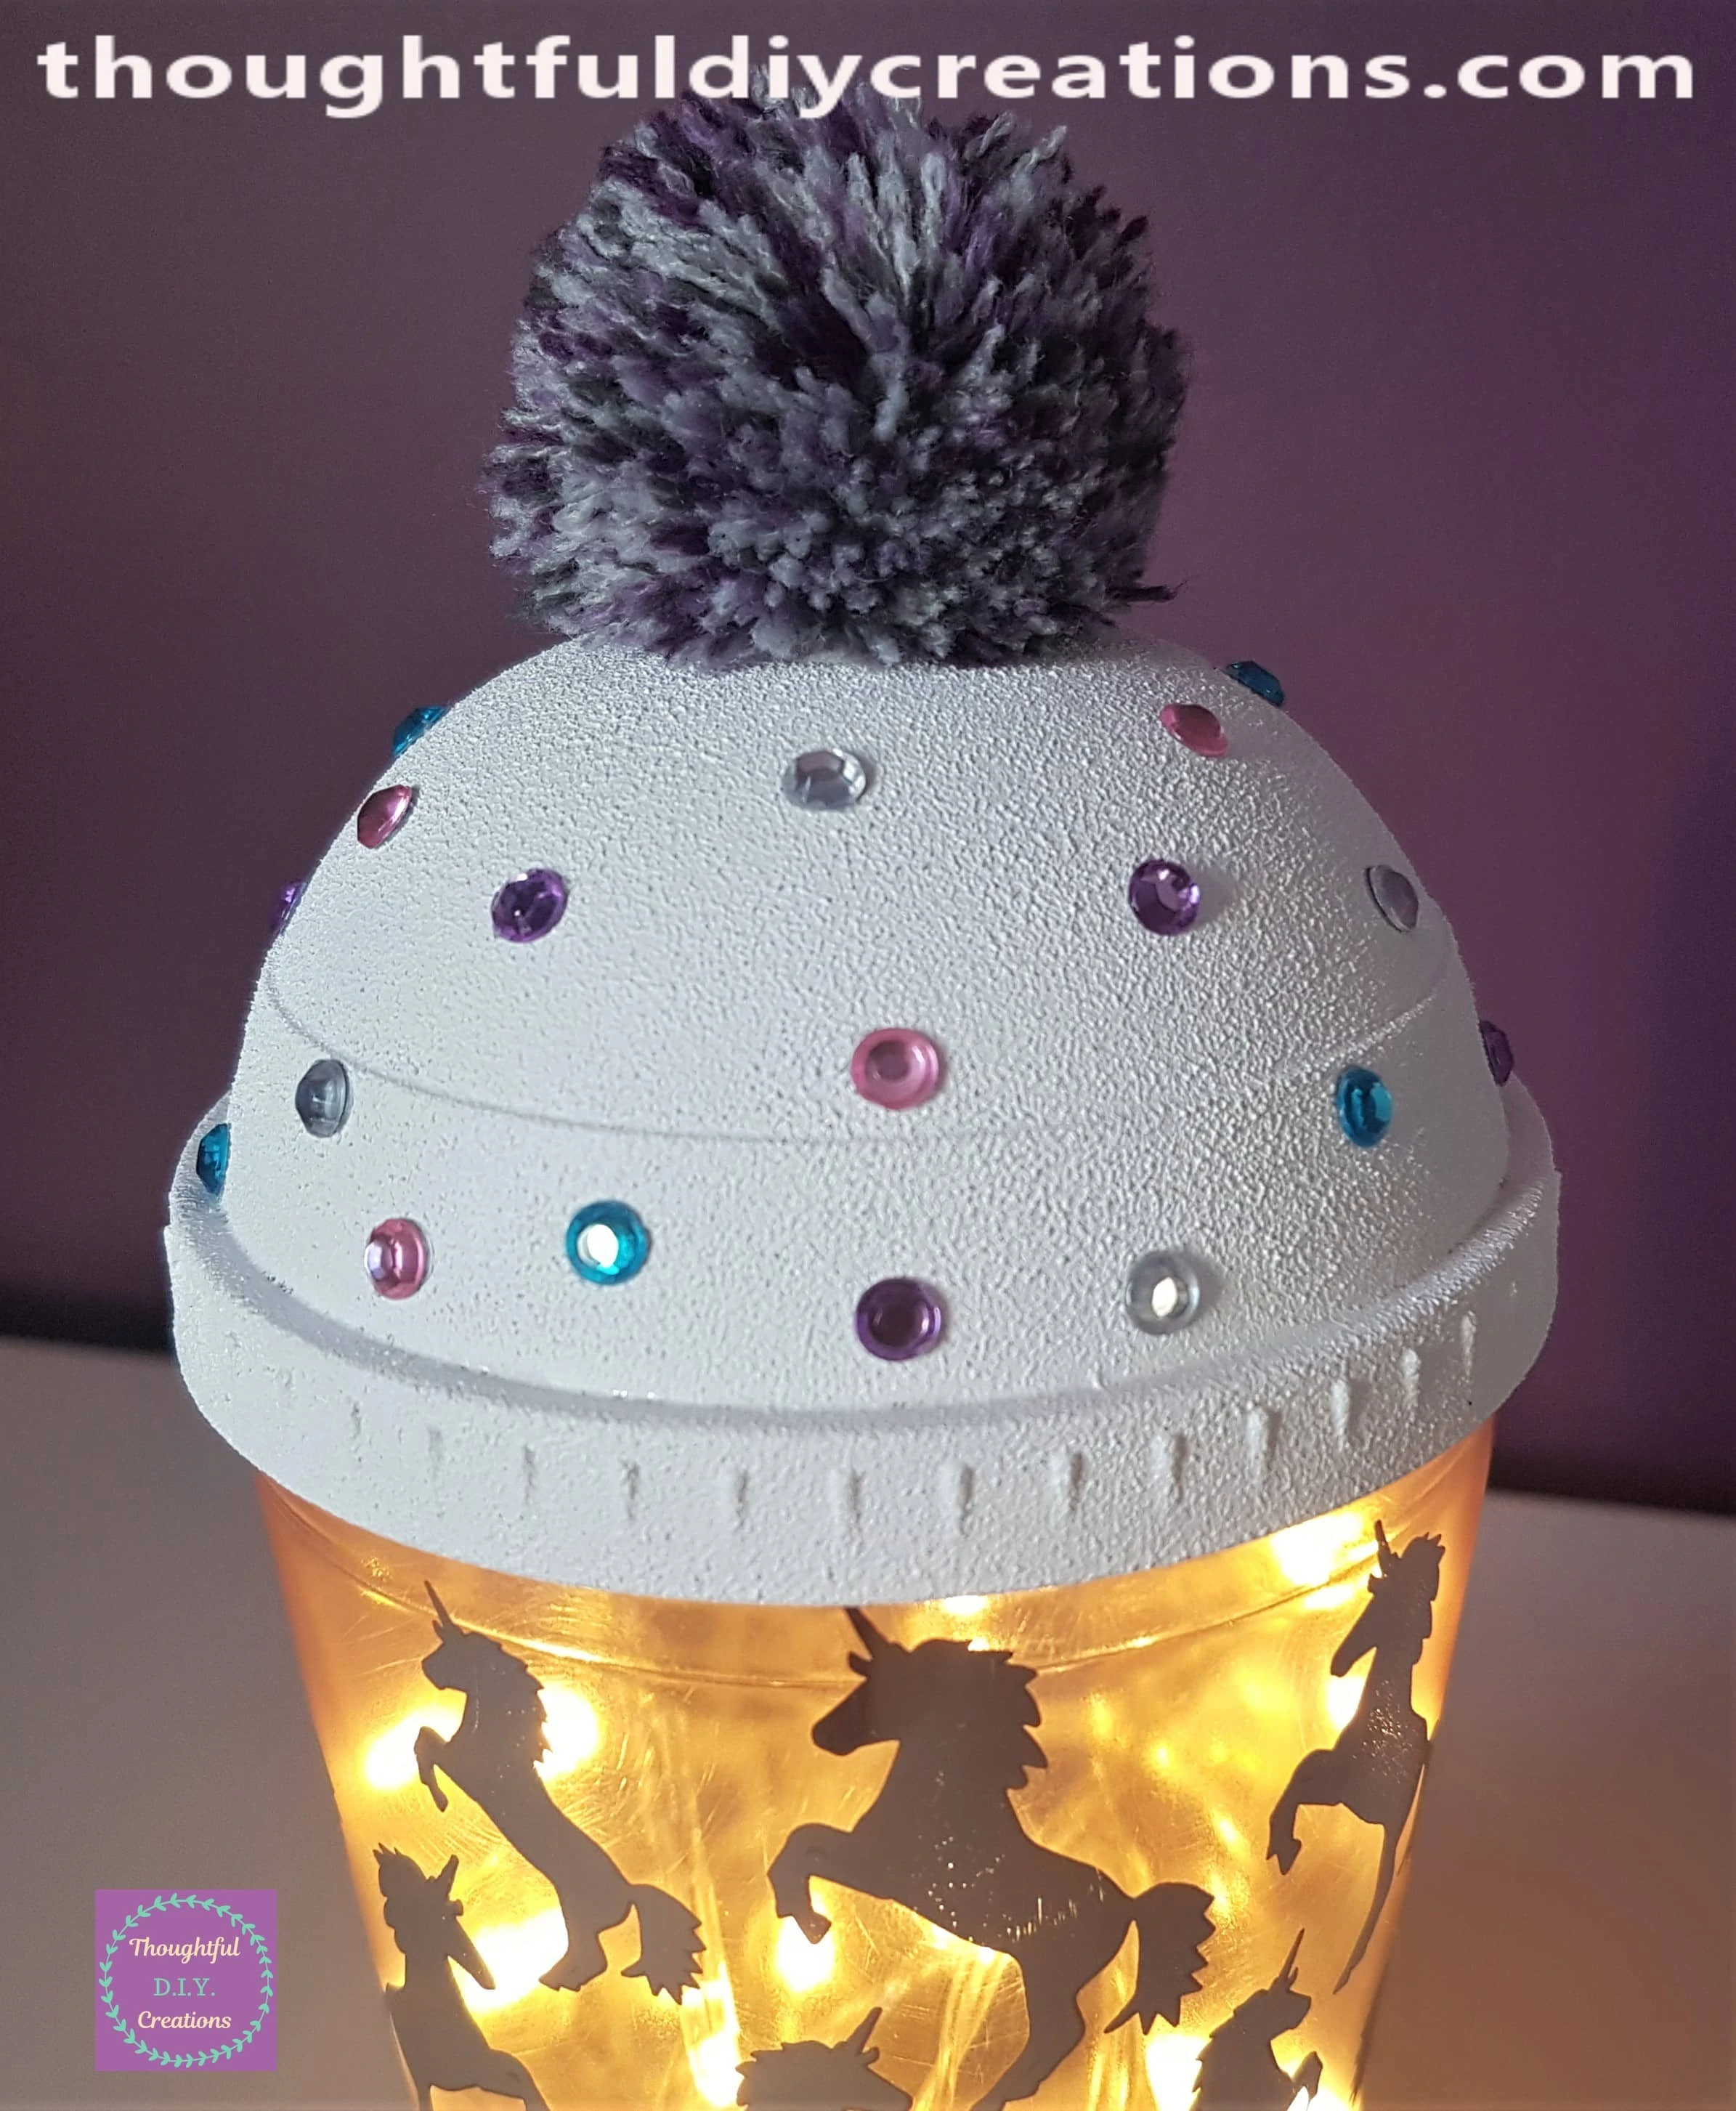
I continued all around the Lid until I was satisfied with the amount of Gemstones I had attached.
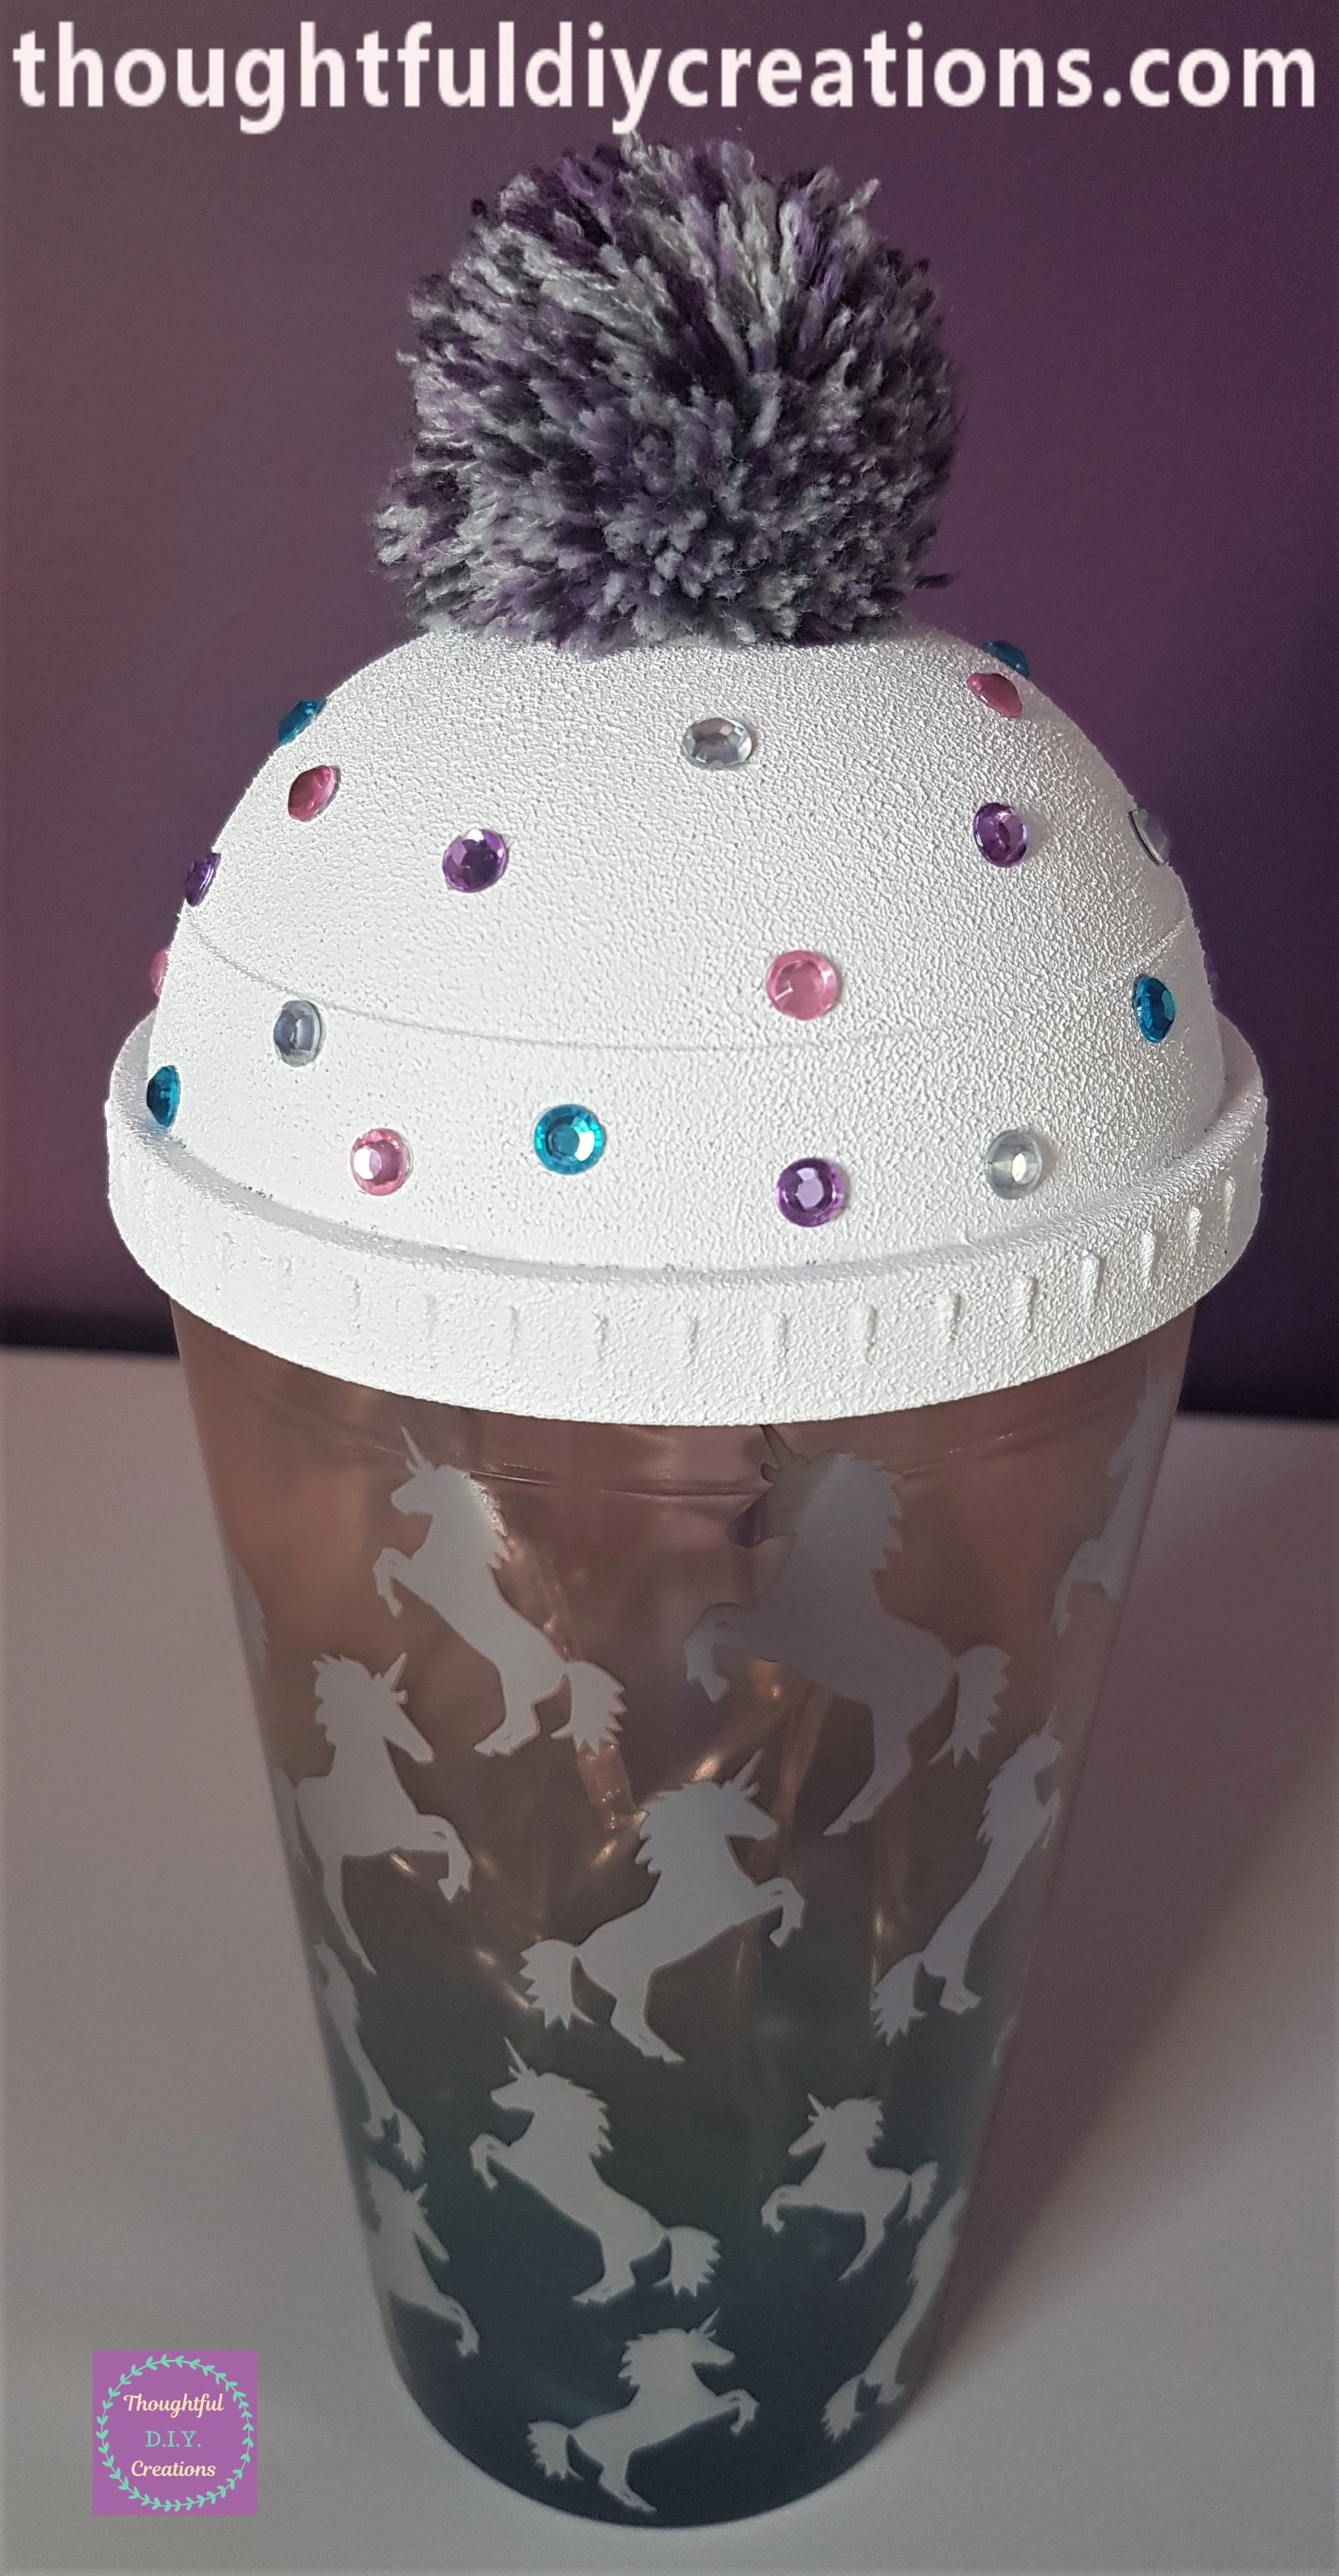
A Full View of the Decorated Lid on the Beaker.
I turned on the Lights to See the Results.
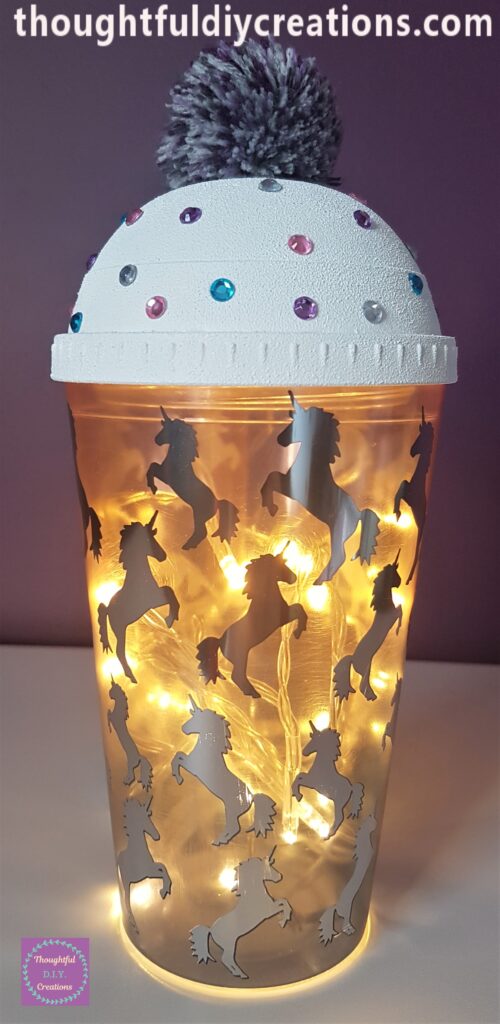
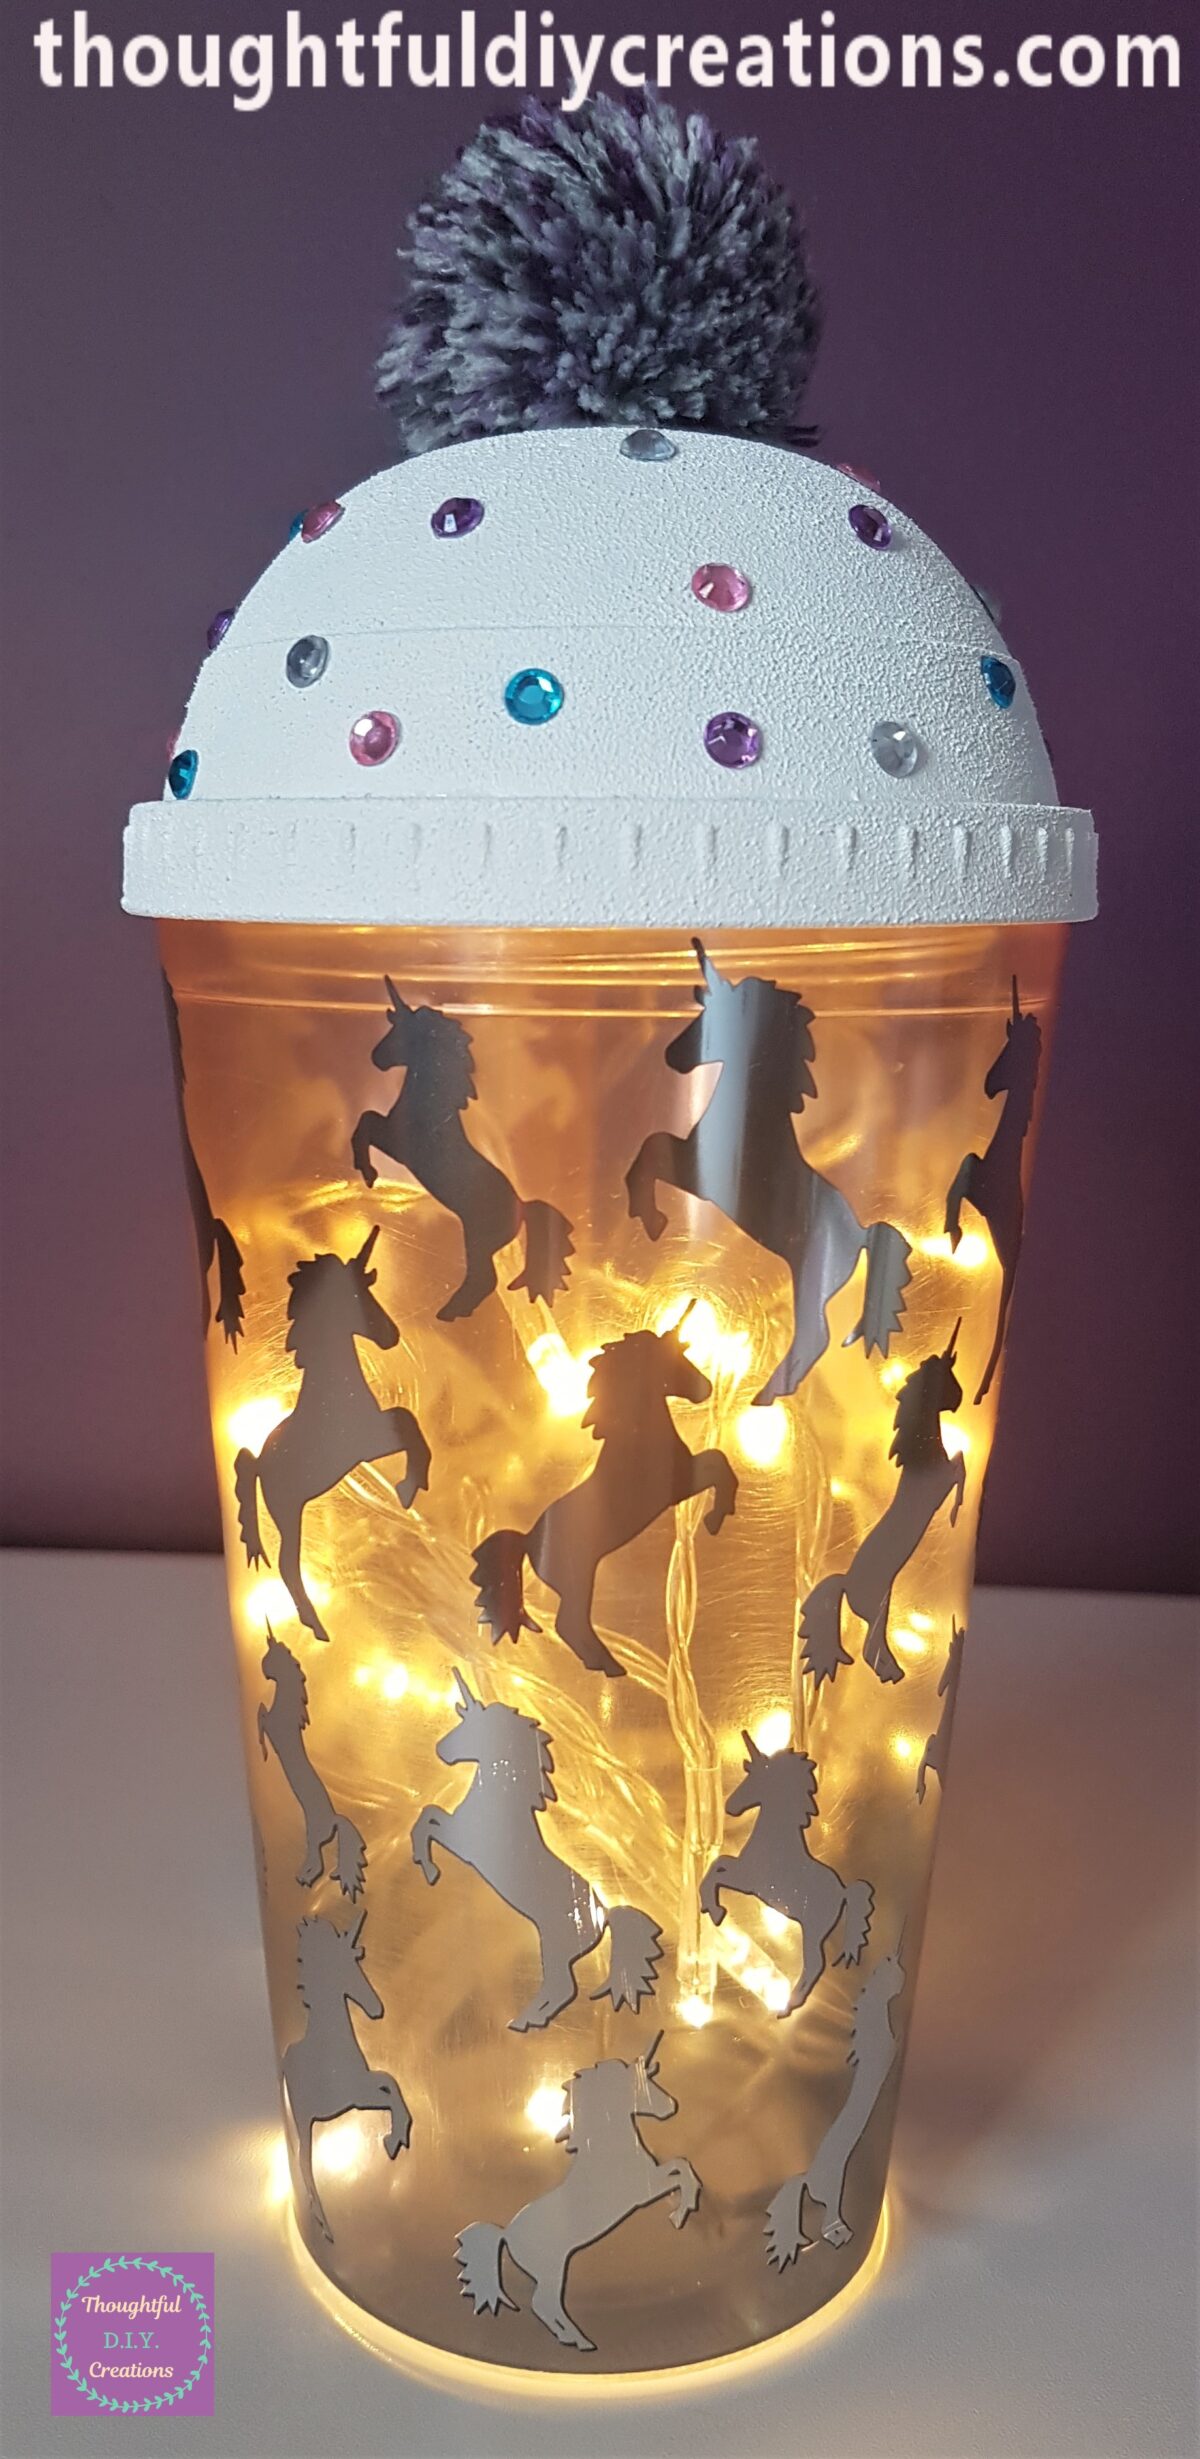
This Completed my Light-Up Unicorn Beaker.
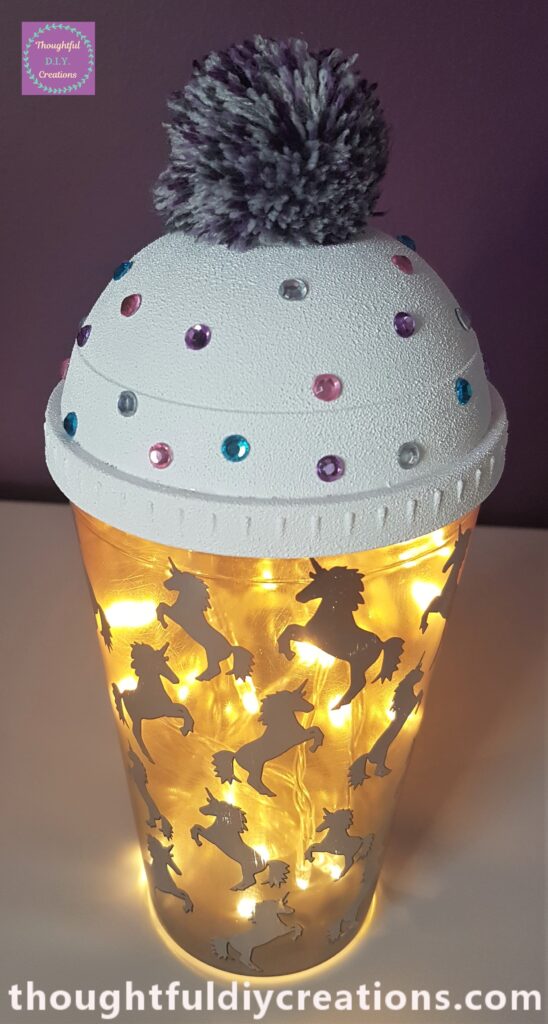
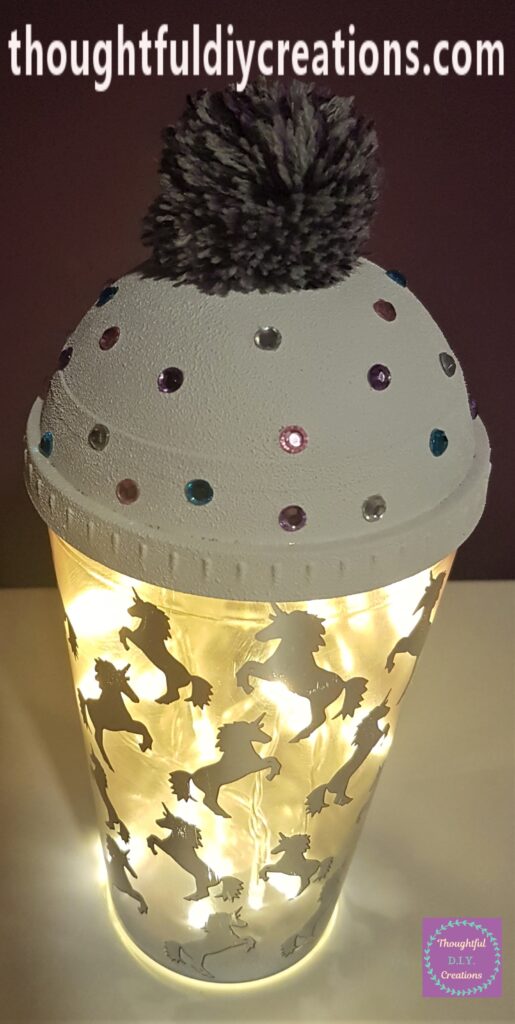
A Closer look at the Top Half of the Display.
The Image Below is in the Evening Time with the Room Light turned On.
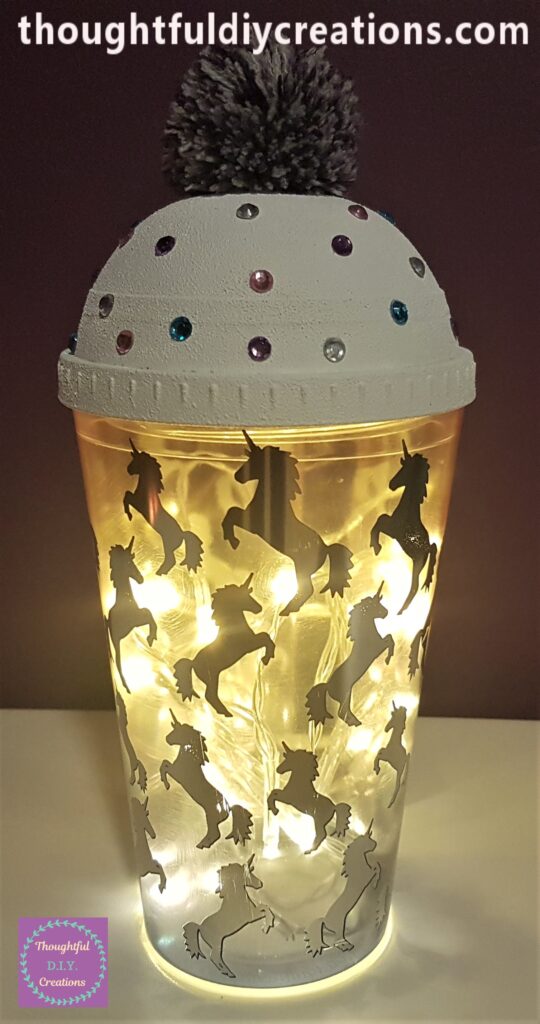
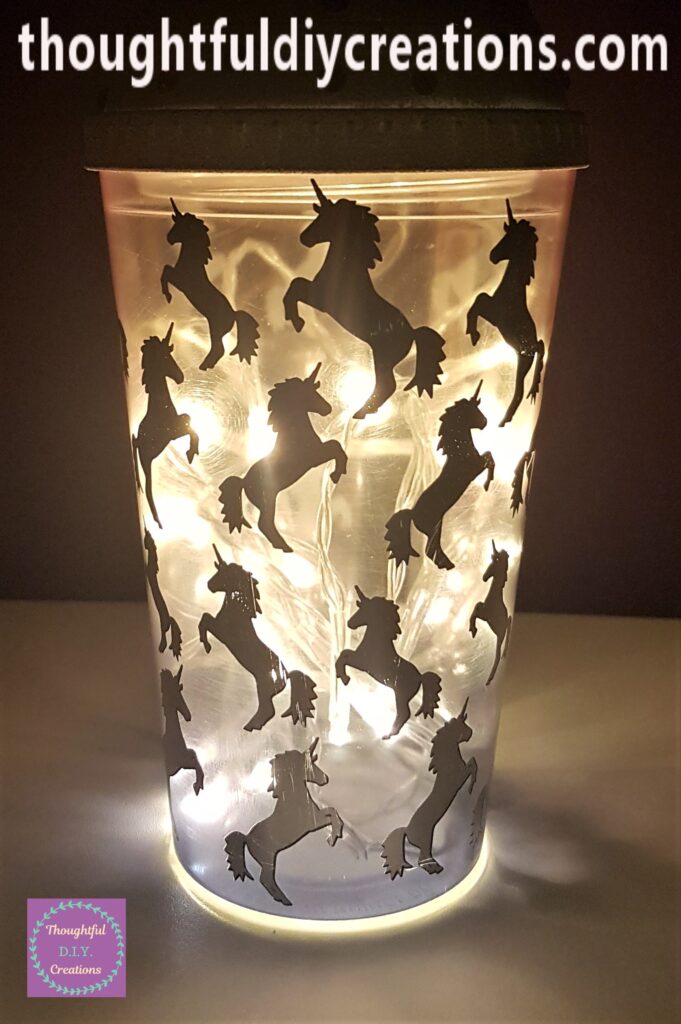
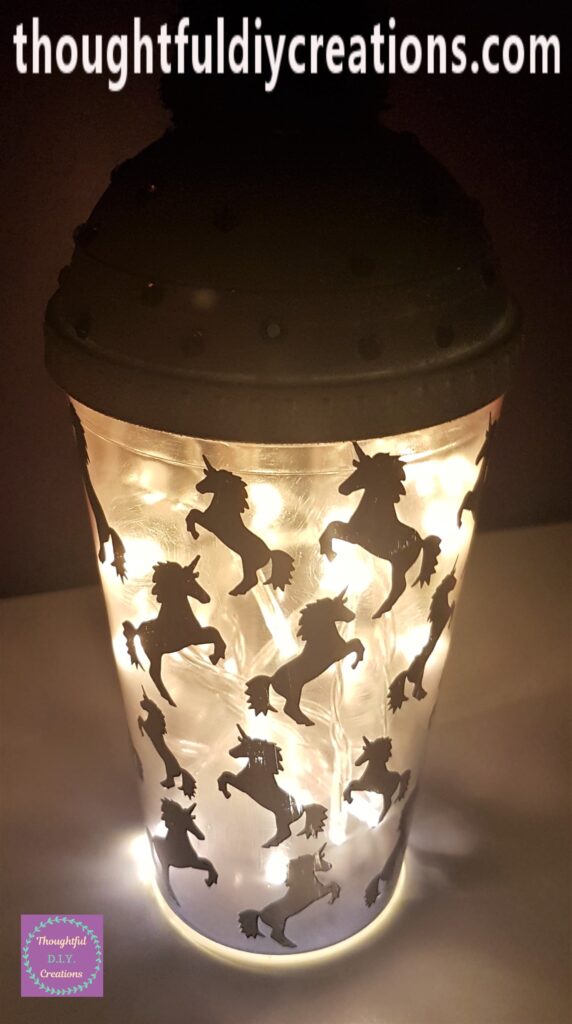
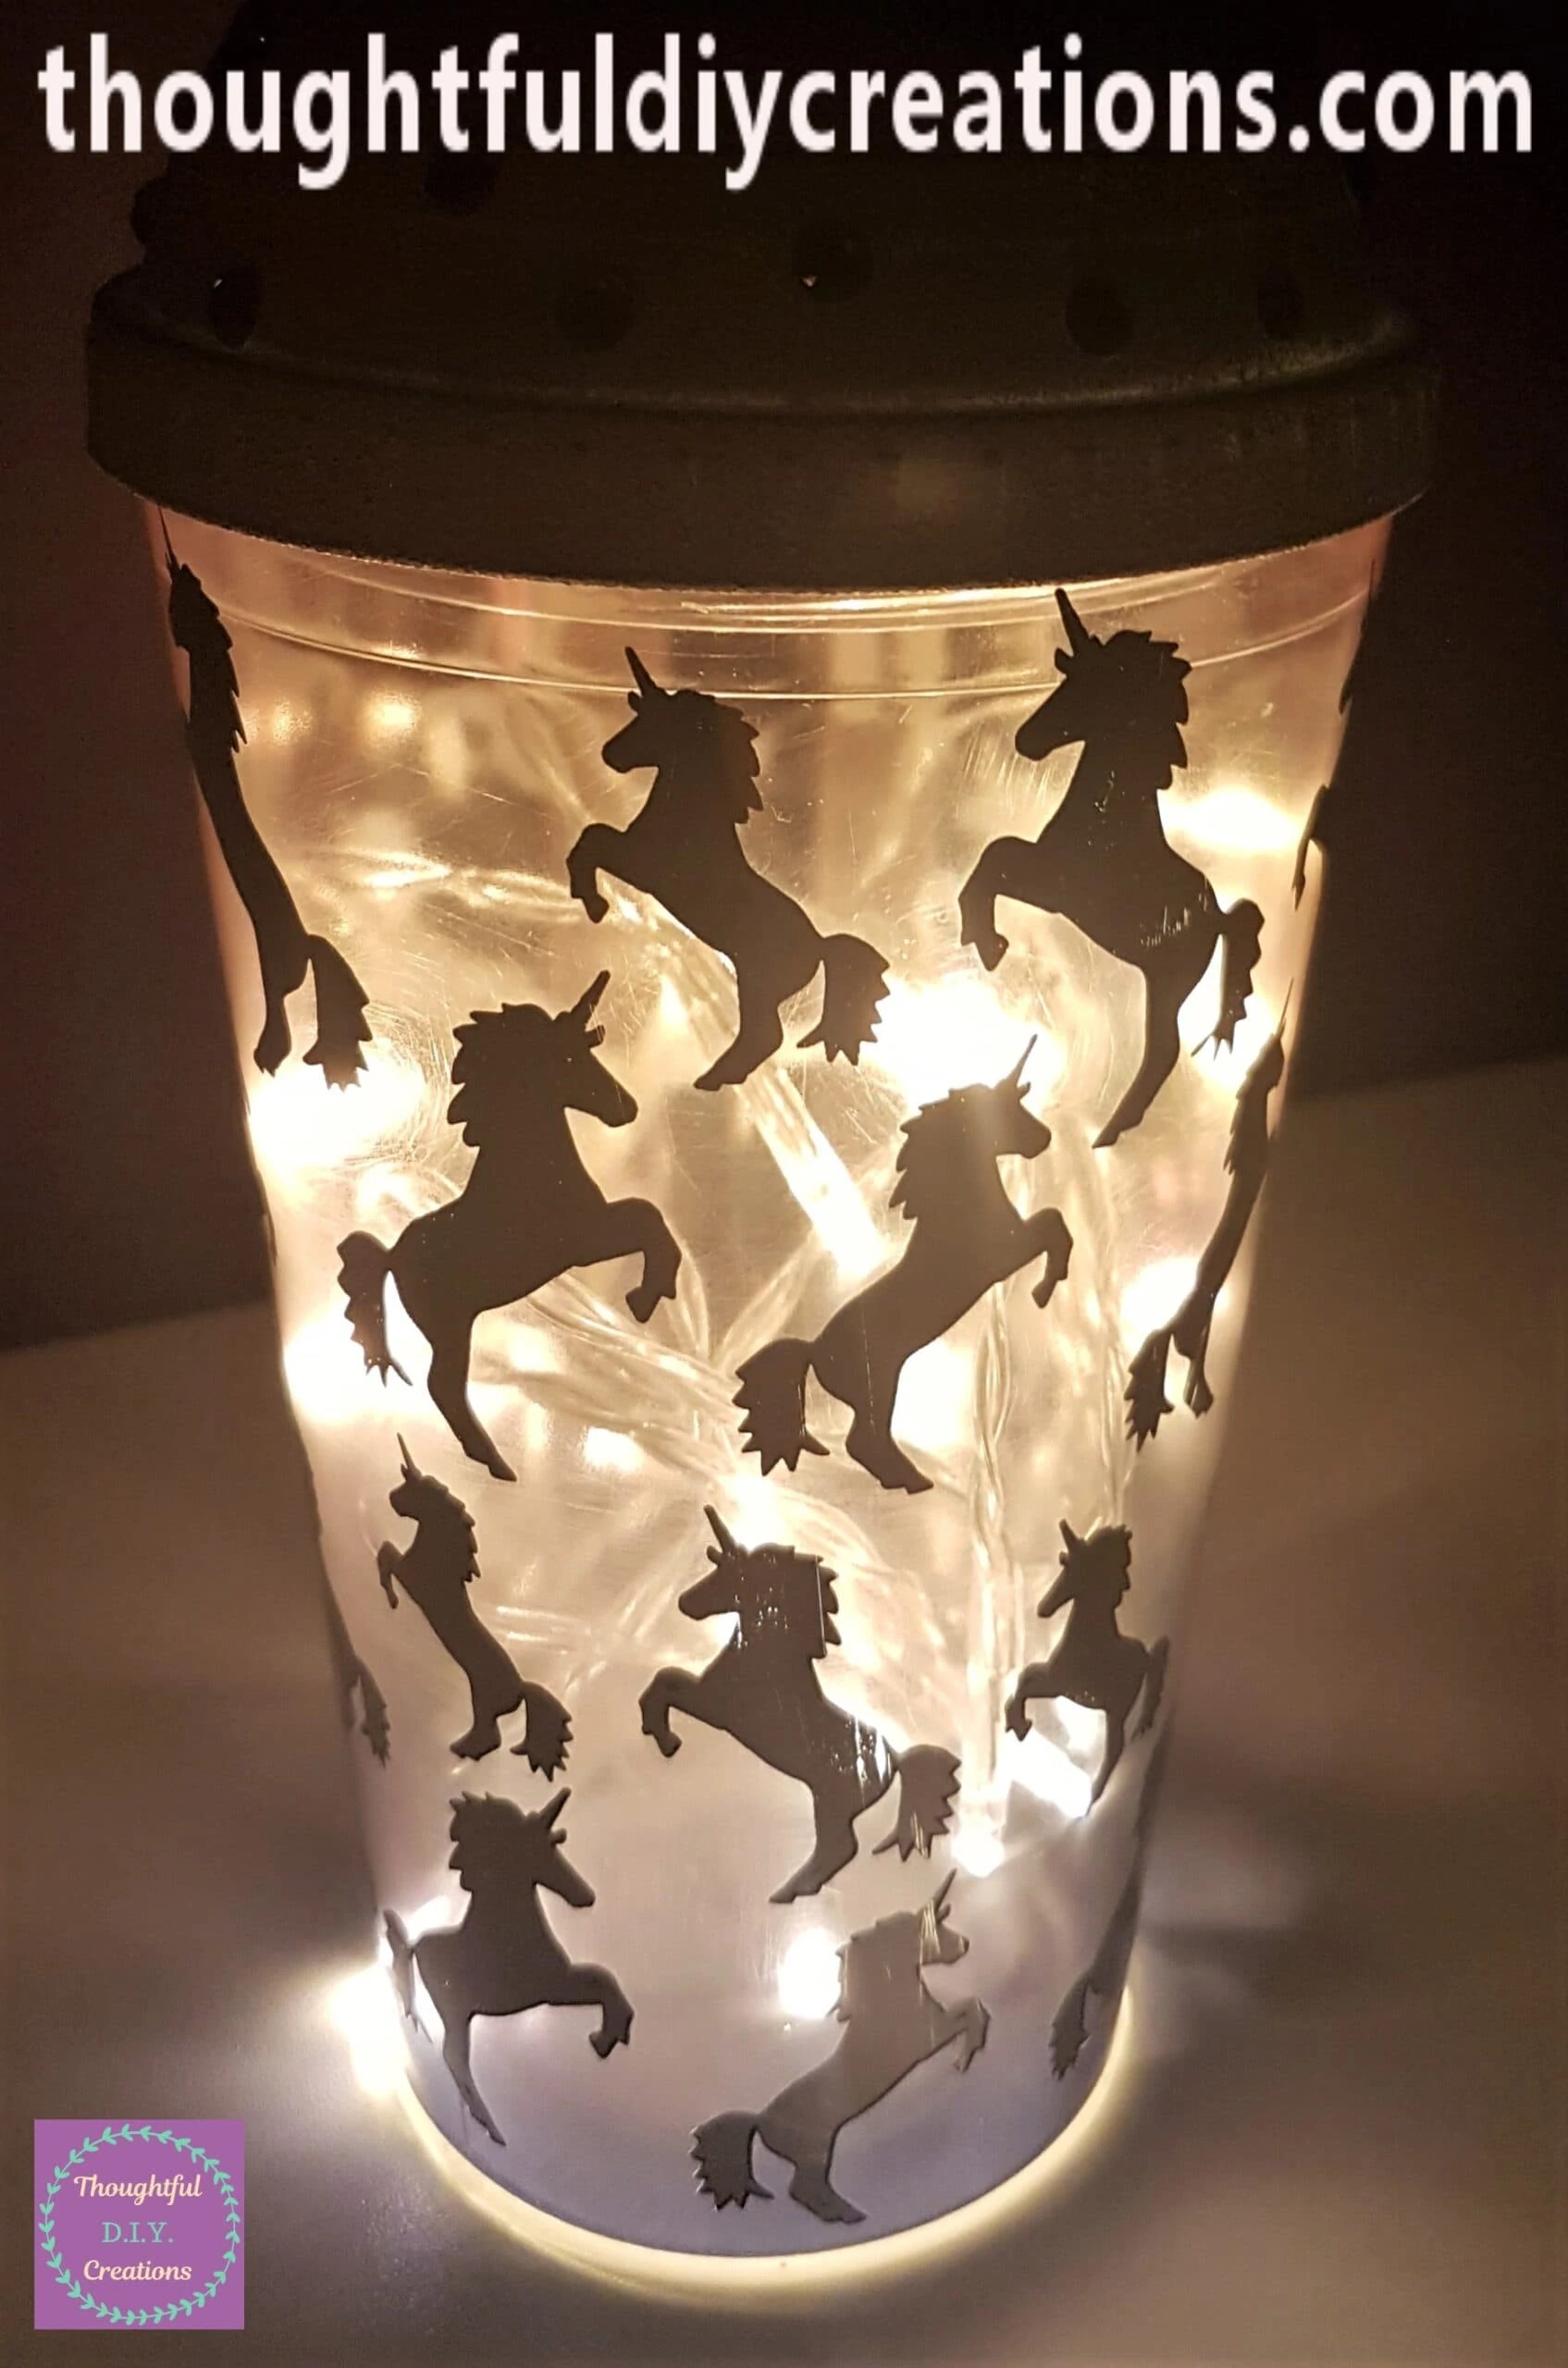
These Images show the Light-Up Unicorn Beaker at Night with the Room Light turned Off.
Conclusion
I’m thrilled with how the Beaker was transformed with just a few materials. I love How the Lid was completely Changed, it reminds me of a Cupcake or even a Hat; I think it looks so Cute. I adore the Lights and how cosy it looks in the evening.
If You Love Light-Up Crafts; check out my other Tutorial: Love You to the Moon and Back Jar.
I love a Budget, Up-Cycled Craft and saving as much as possible from the Landfill especially Plastic.
I hope it Inspires you to look at things differently; If part of an Object You Own and Love is missing / broken, it can still be Re-Purposed into a different Item and you can get enjoyment out of it for years to come.
If You have any Questions or Opinion to Add on this Tutorial; just Fill out the Comment Box below this Post and I’ll get back to You as soon as I can.
Thank You So Much for taking the Time to Read my Blog.
Always Grateful,
T.D.C.
xoxox

