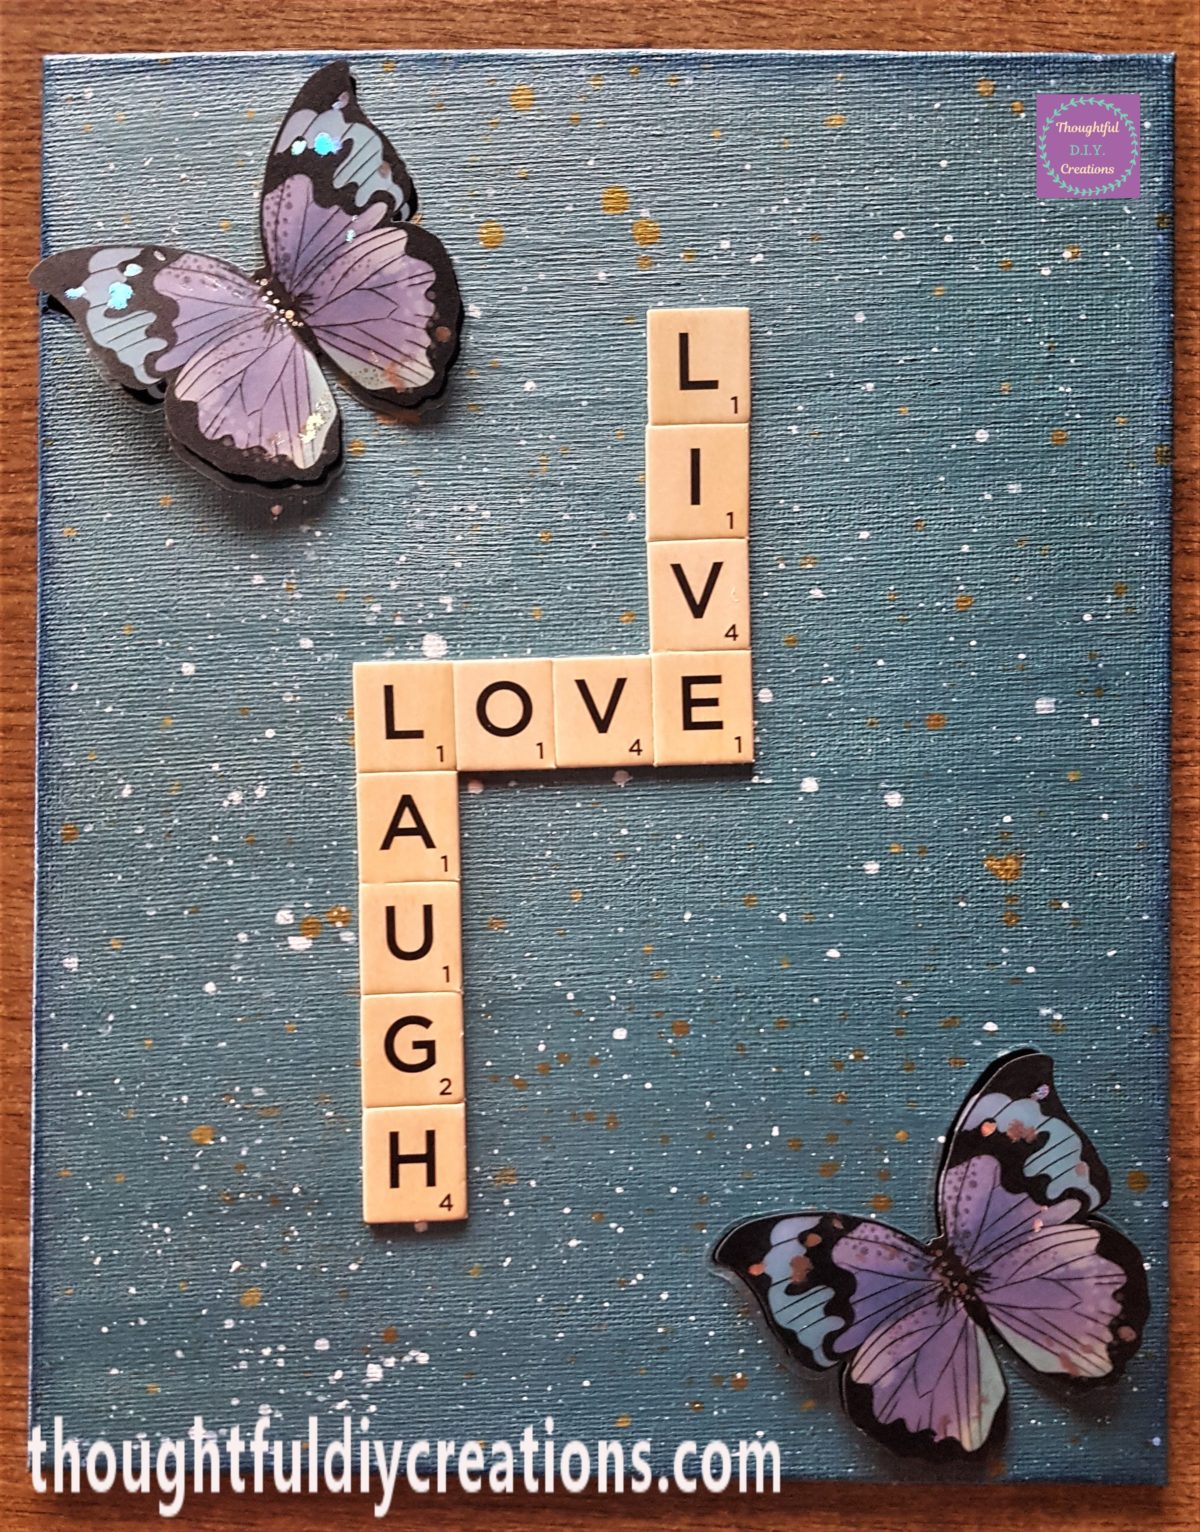
‘Live, Love, Laugh’ D.I.Y. Canvas Board
Hello my Creative Friends,
I hope you are all well. In Today’s Tutorial I will show you how to make your own ‘Live, Love, Laugh’ D.I.Y. Canvas Board. It is a beginner friendly craft and only requires a few materials. I really hope you like it and it inspires you to give it a try yourself.
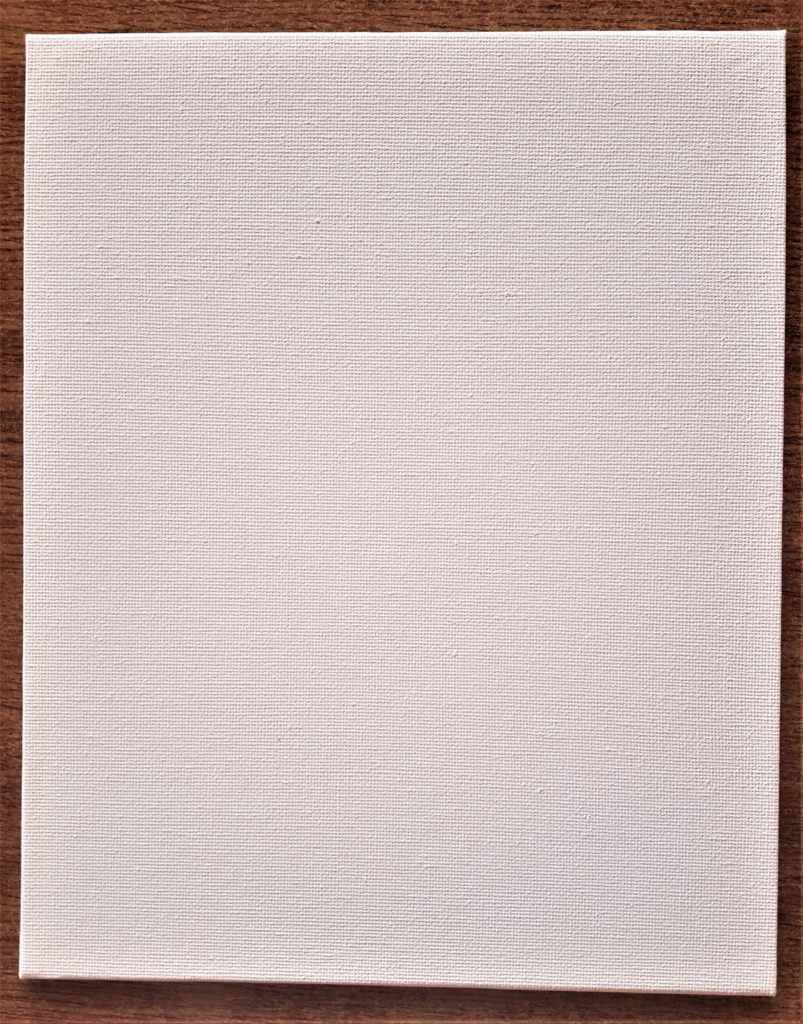
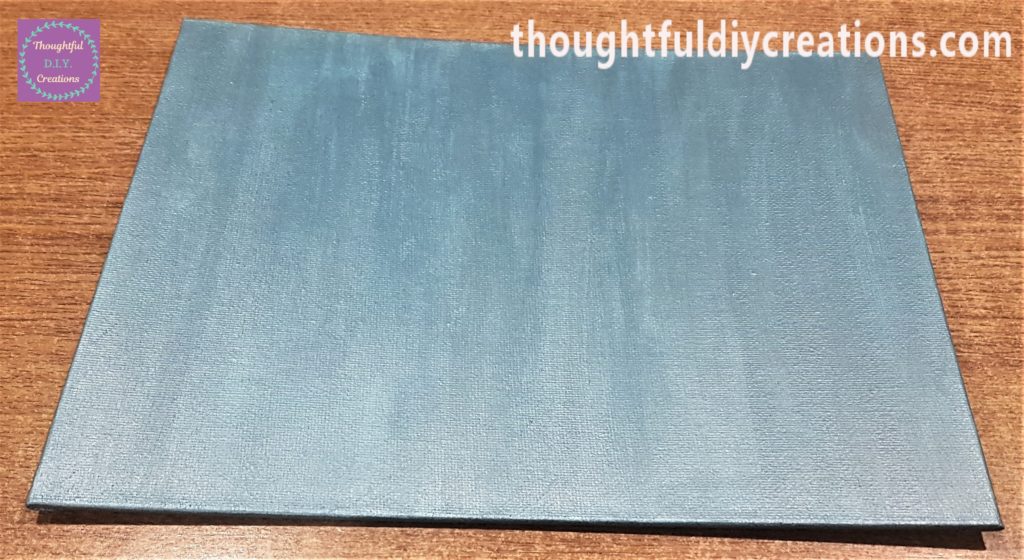
Canvas Board Set
I bought a 2 Pack of ‘8 x 10 inch 100 % Natural Cotton Canvas Boards’. 8×10” Canvas Board.
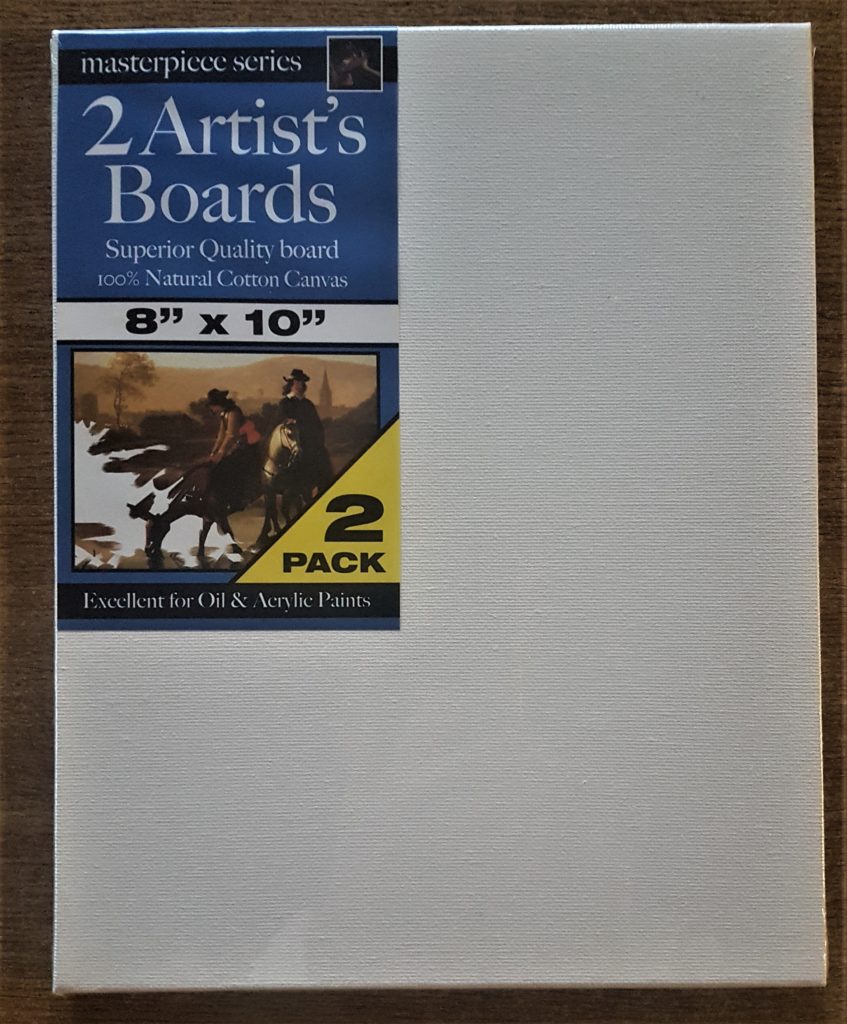
Here is the Canvas Board I will be using out of the Pack.
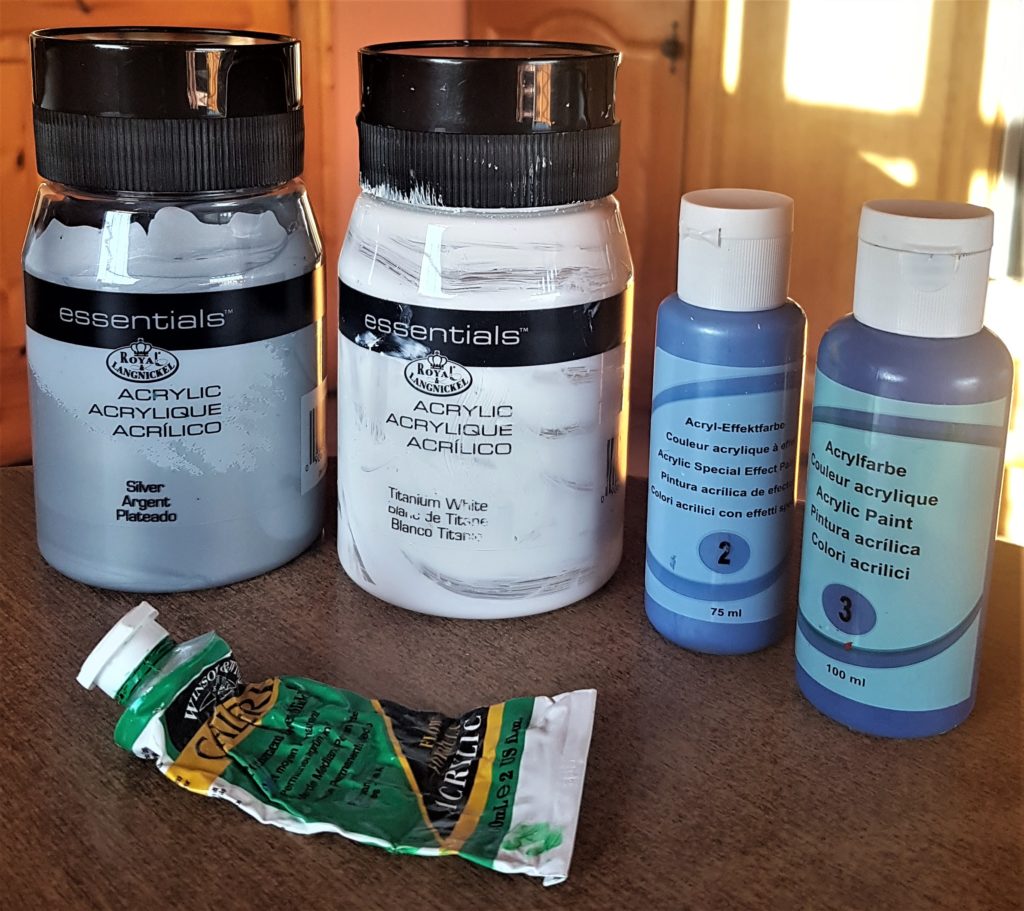
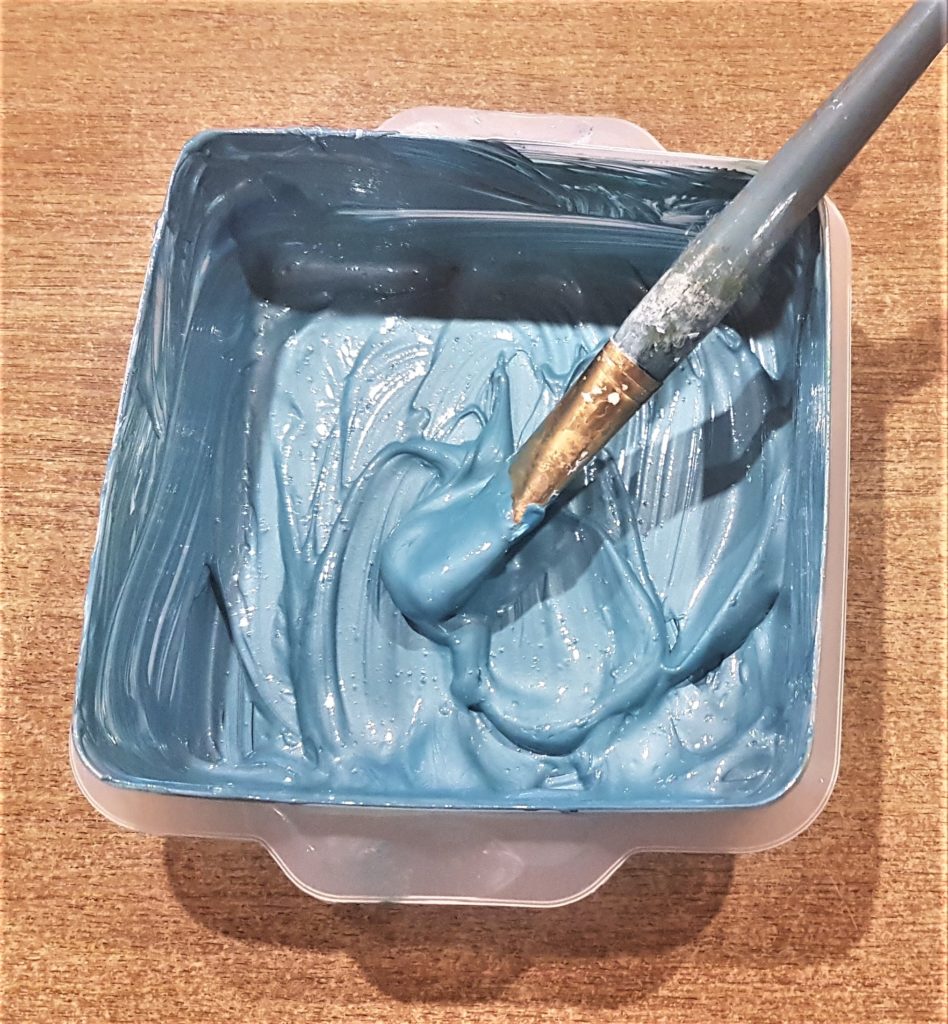
Mixing Acrylic Paints for the D.I.Y. Canvas Board
I wanted a nice teal colour to paint onto the Canvas. I mixed random amounts of a few of my paints together until I was happy with the colour I achieved. The colours of the acrylic paints were Silver, Titanium White, Light Blue, Dark Blue, and Permanent Green Middle. Acrylic Paint Set.
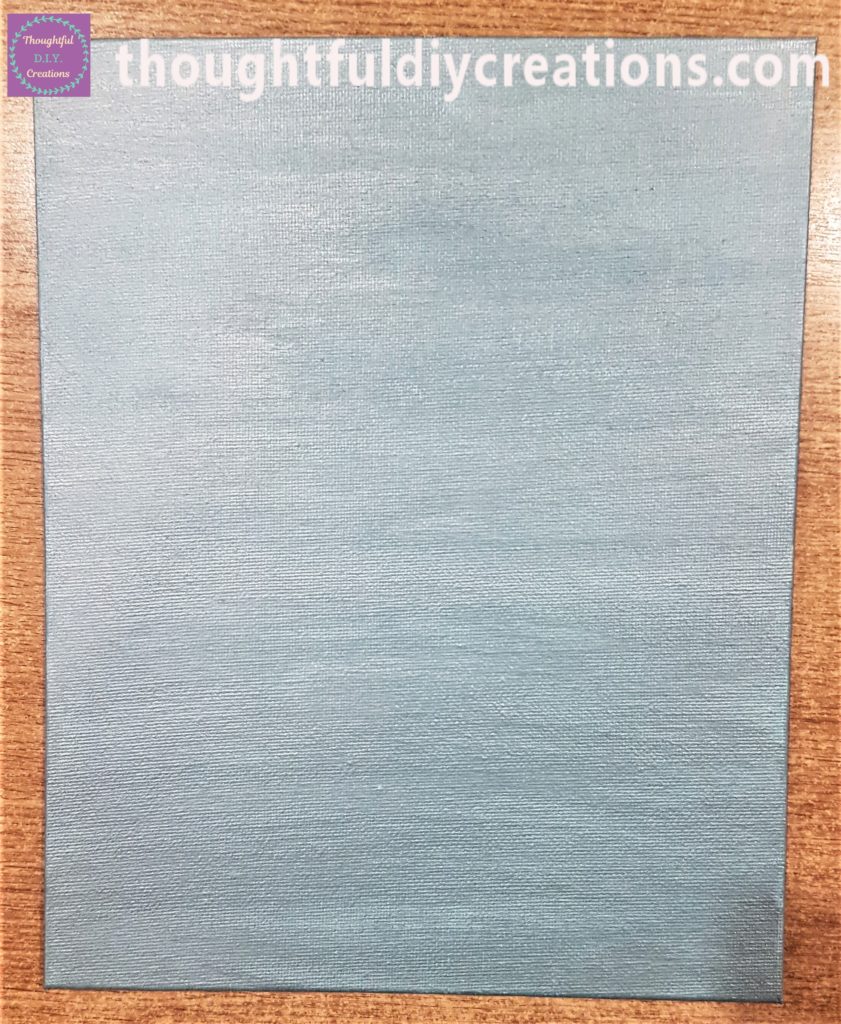
Applying Paint to the D.I.Y. Canvas Board
I applied 3 thin layers of the teal paint to the Canvas Board using a flat paintbrush. I left an hour drying time between applications. Acrylic Paint Set.
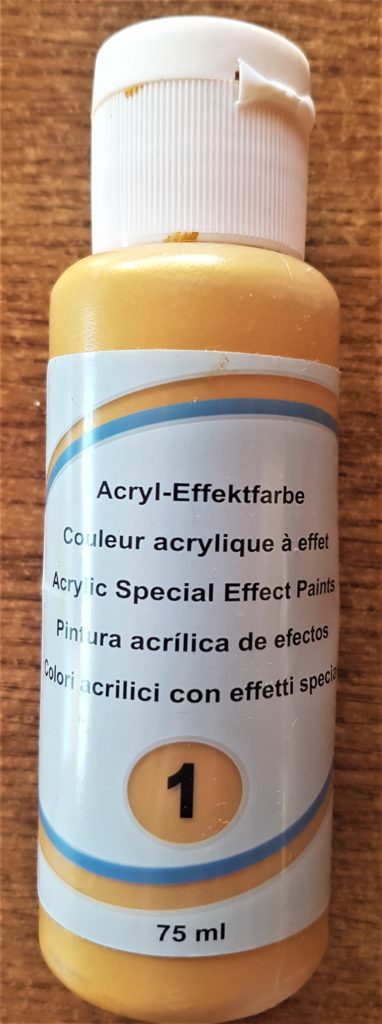
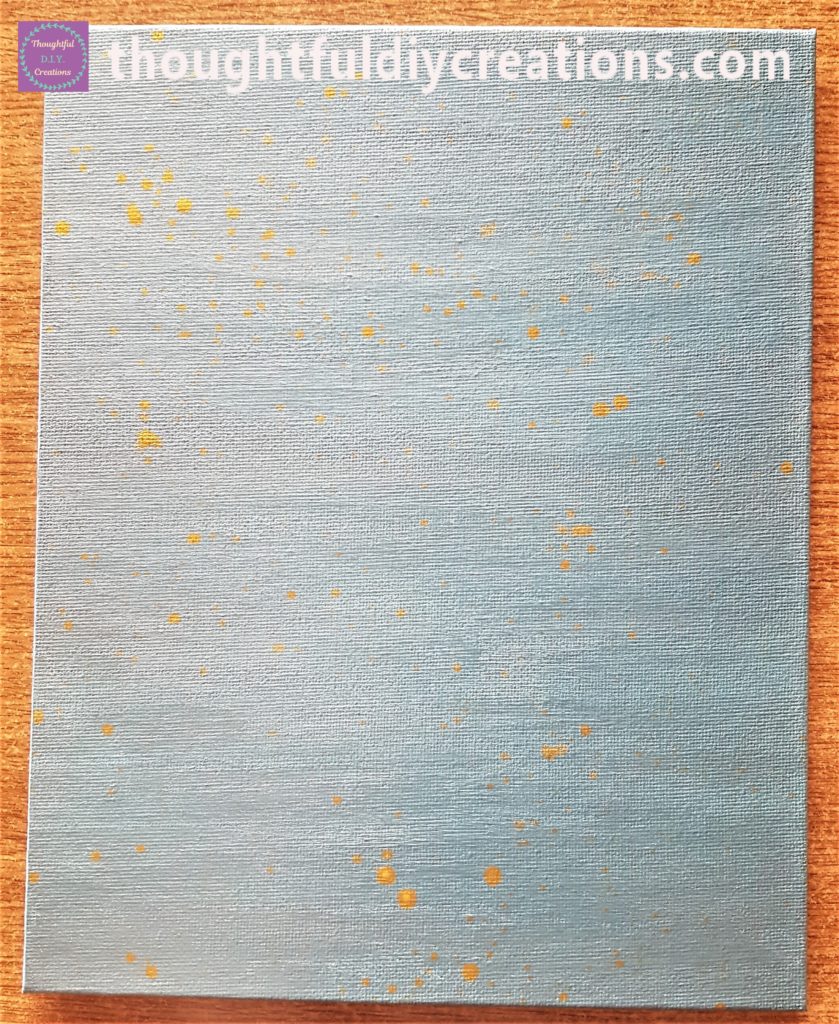
Adding Gold Splatters to the Canvas
I wanted to add gold splatters to the Canvas Board to add some colour and interest. I put a small amount of gold acrylic paint into a plastic lid I had and added some water to it and mixed it together. Acrylic Paint Gold.
I put a small paintbrush into the paint and water mixture and held the paintbrush about 10 cm over the canvas. I tapped on the top of the handle of the paintbrush with a pen and moved my arm all over the canvas for splatters of paint to land on random parts of the canvas. Acrylic Paint Gold.
White Splatters added to the Canvas
I gave 2 hours for the gold splatters to completely dry and then added white splatters in the same way. If you add the white too soon it will react with the gold and turn both colours a murky, off colour.
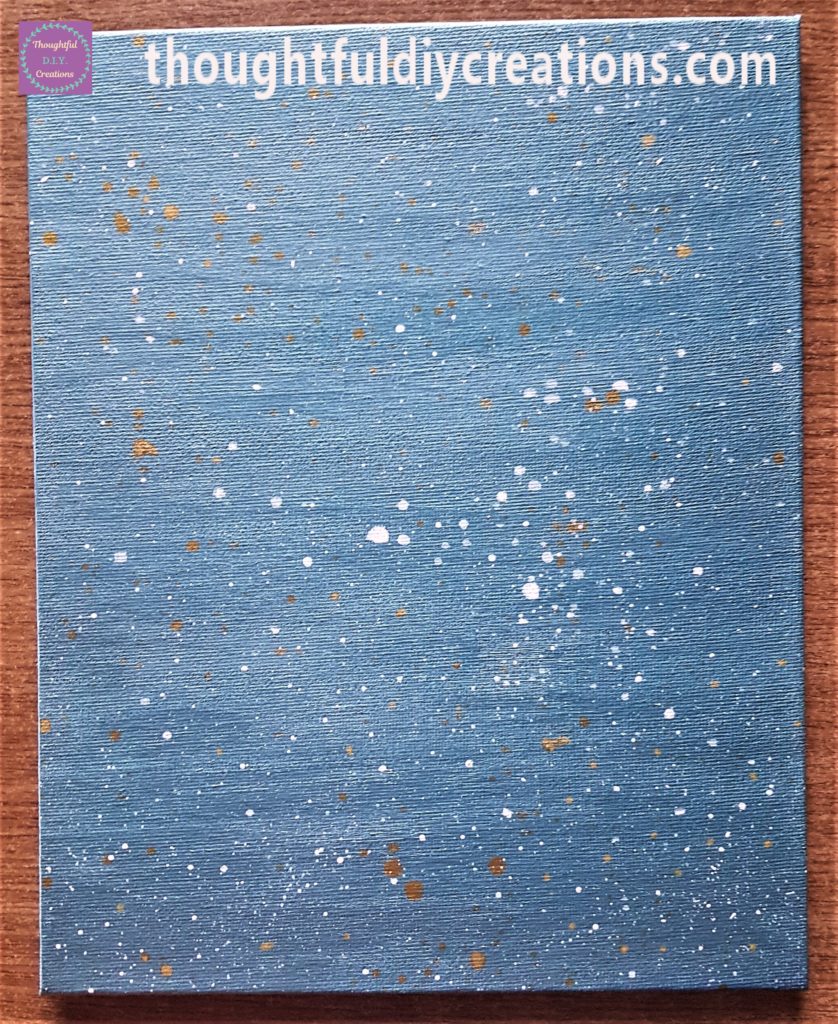
I was now happy with the background of the D.I.Y. Canvas Board and was ready to incorporate some ephemera to complete the craft.
Embellishments for the D.I.Y. Canvas Board
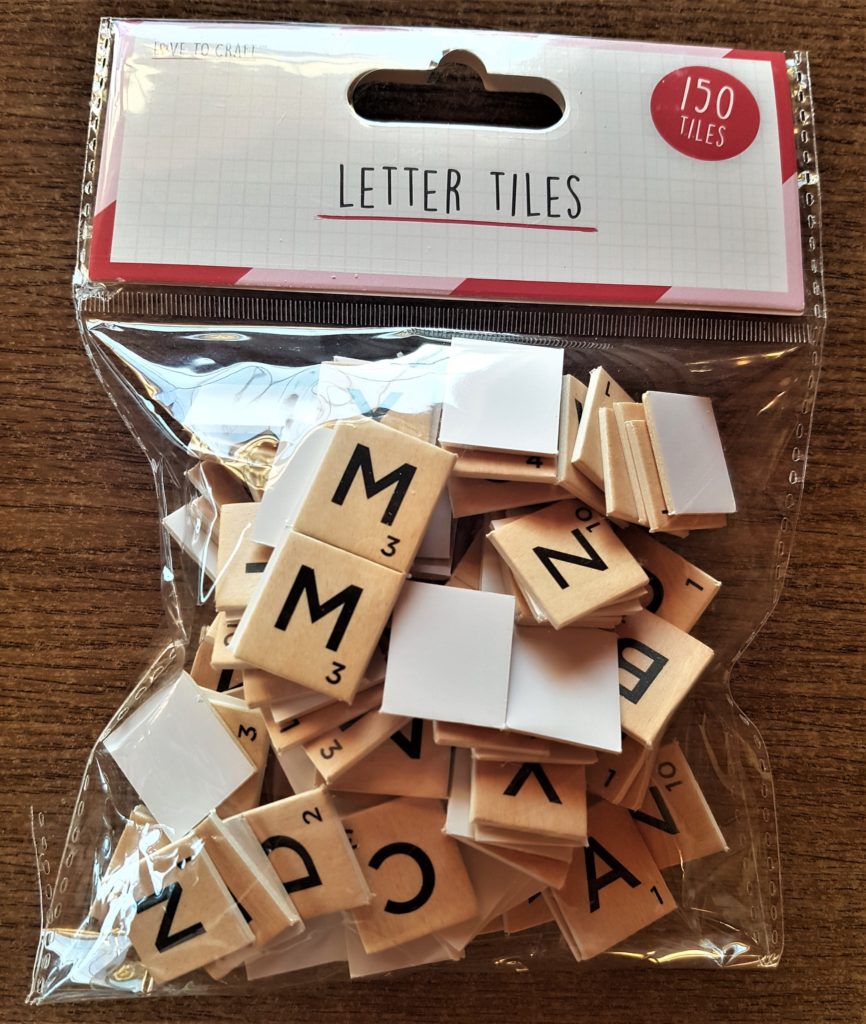
The next day I added the embellishments. I had a pack of Letter Tiles that I thought would complement the Canvas Board. Wooden Scrabble Tiles.
Letter Tile Sentiment
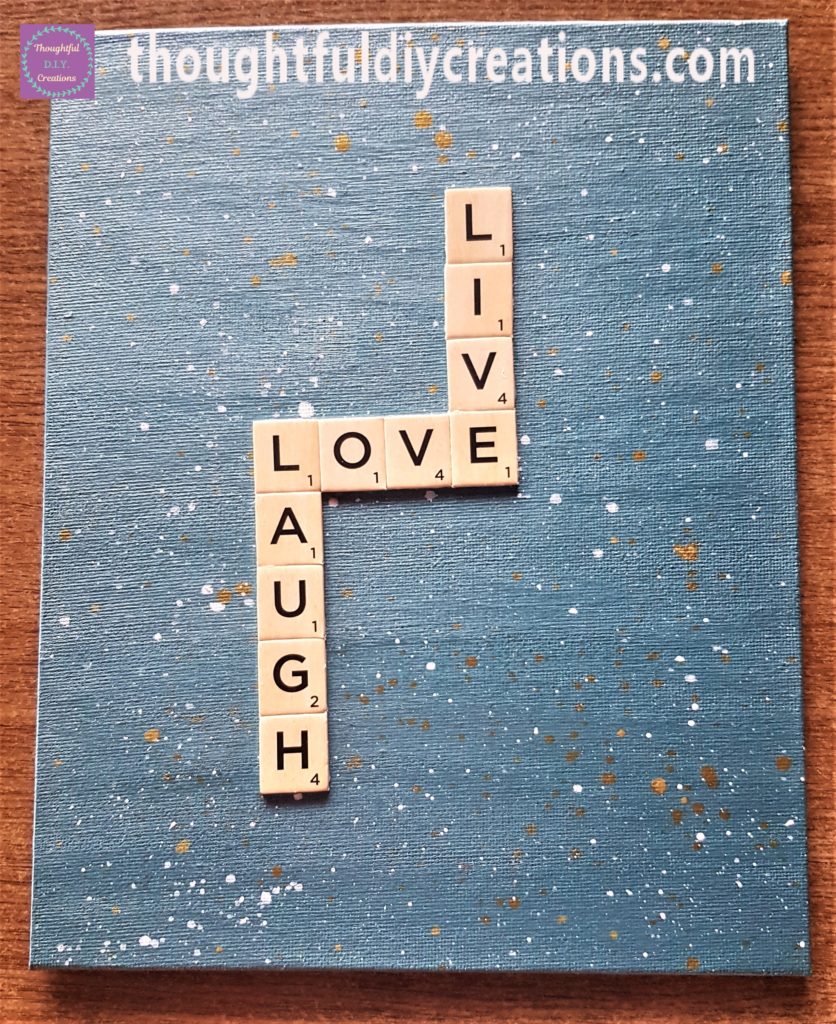
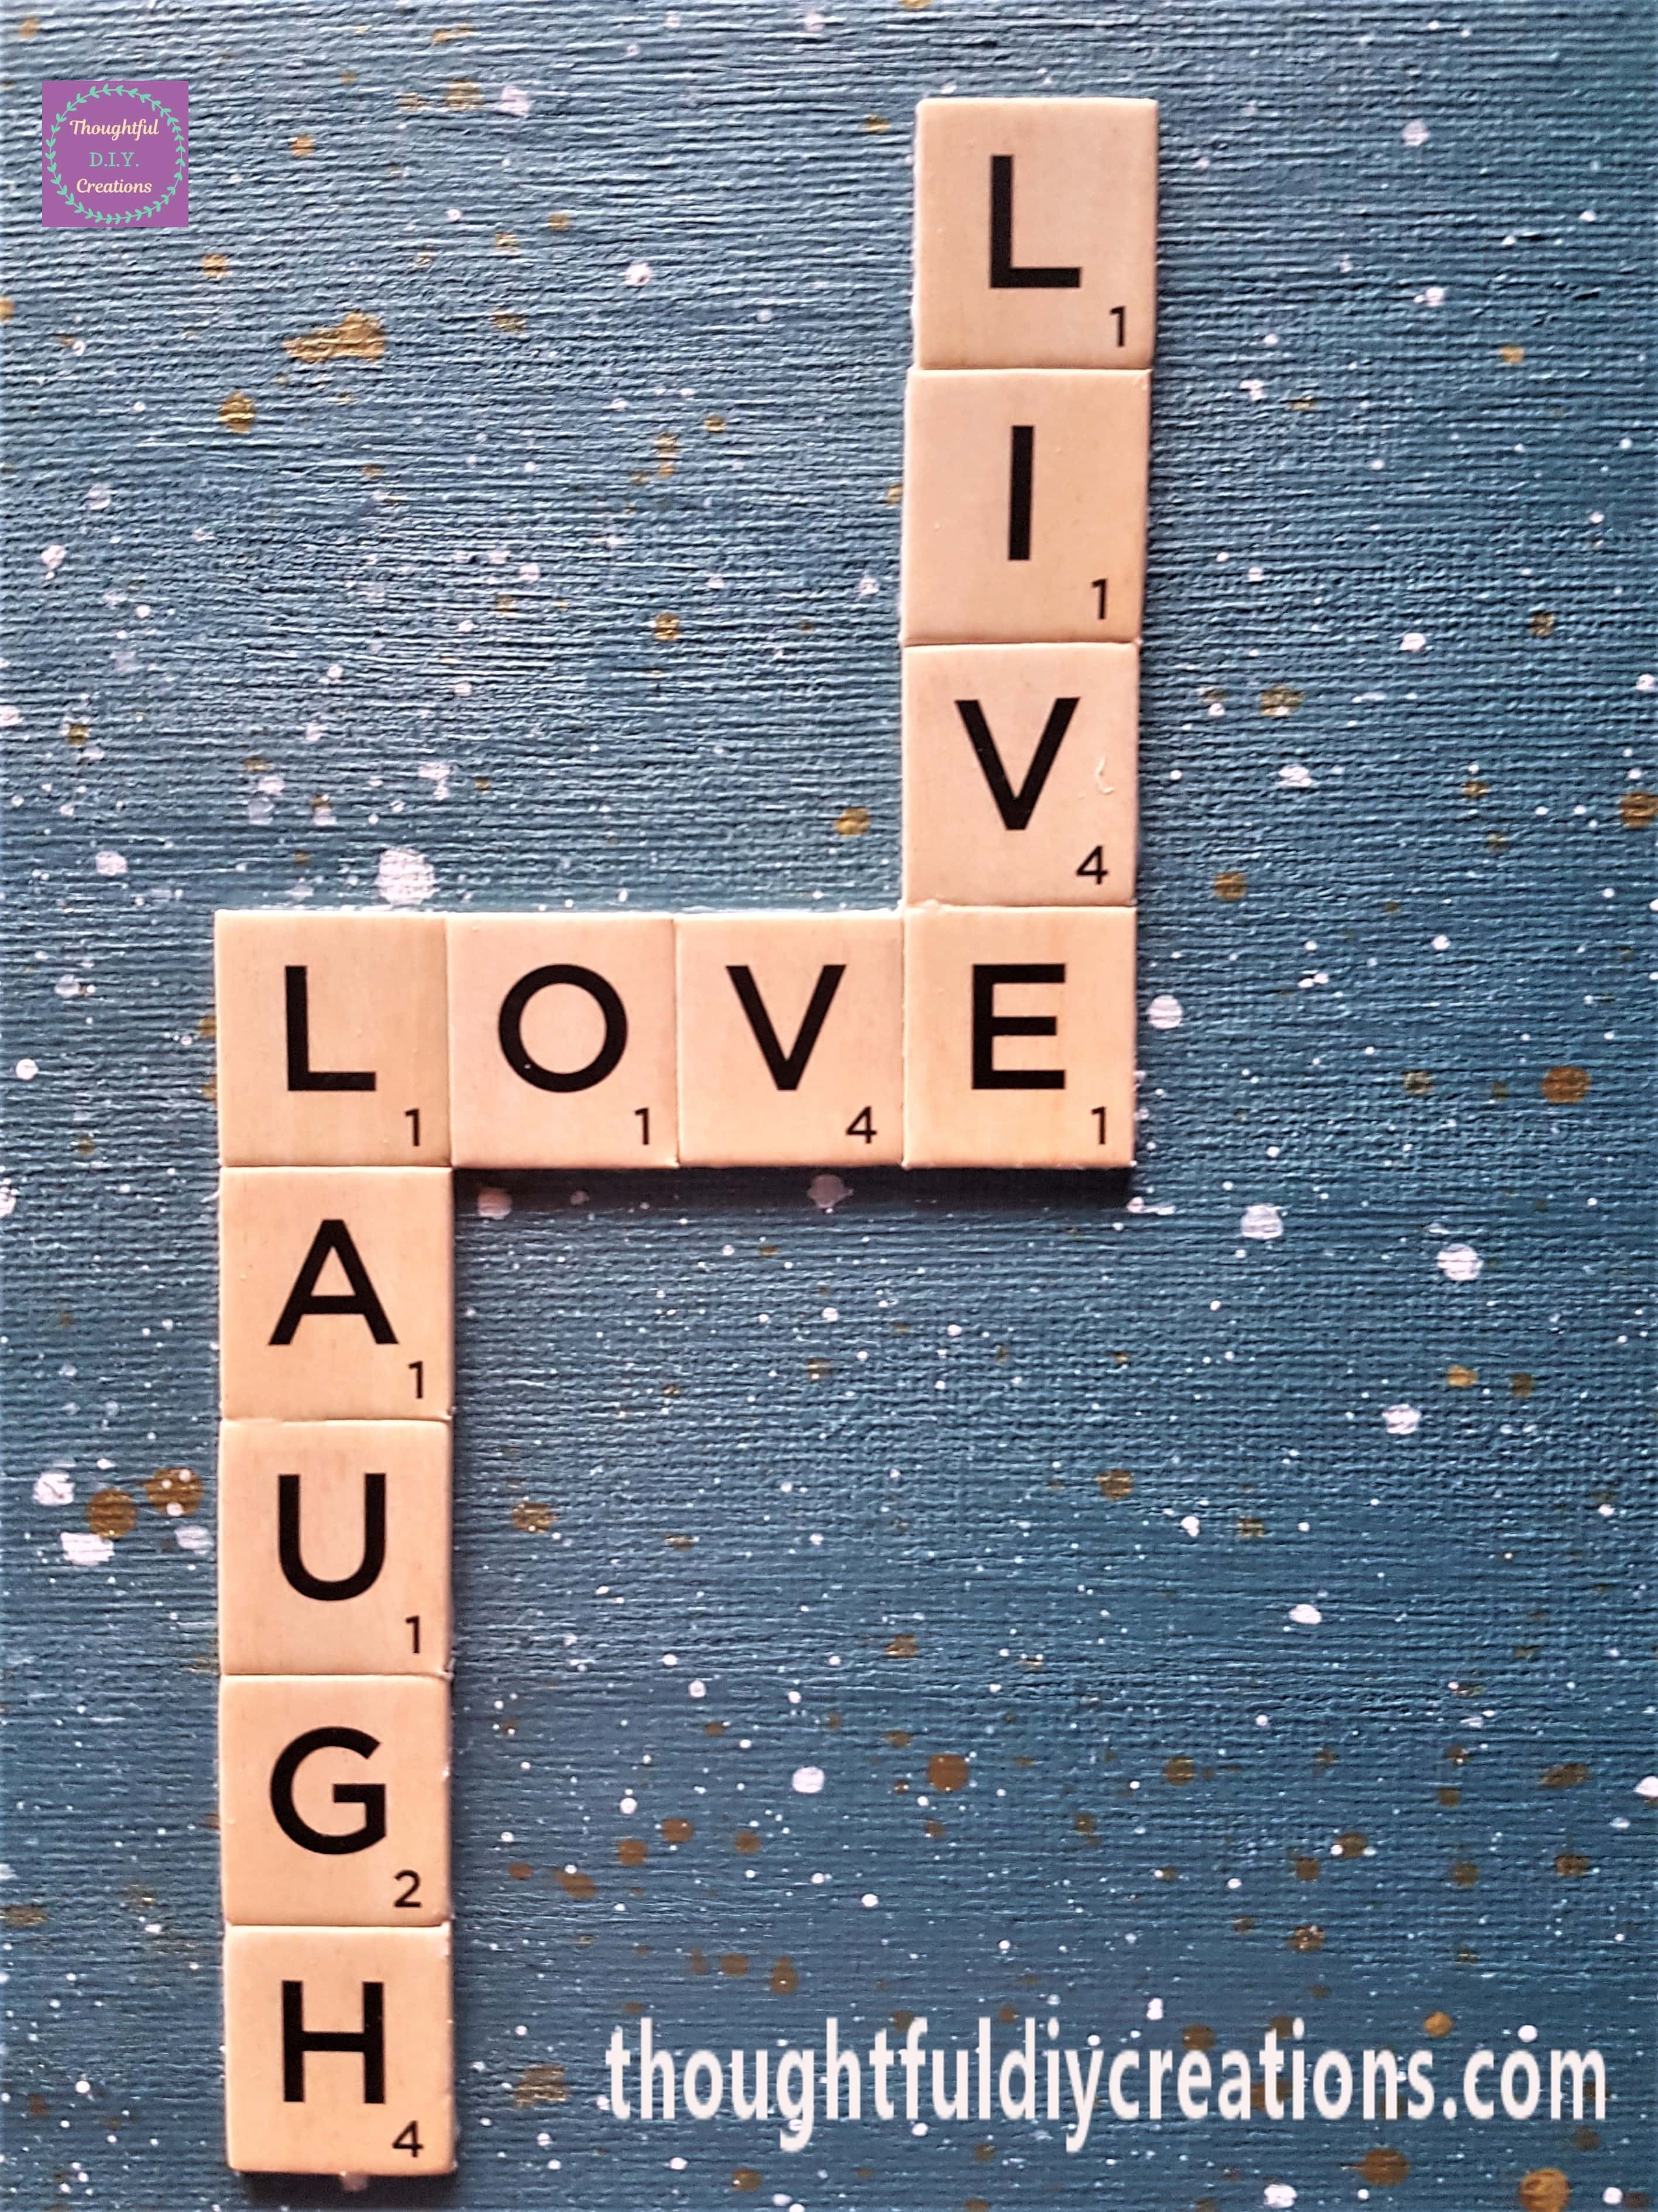
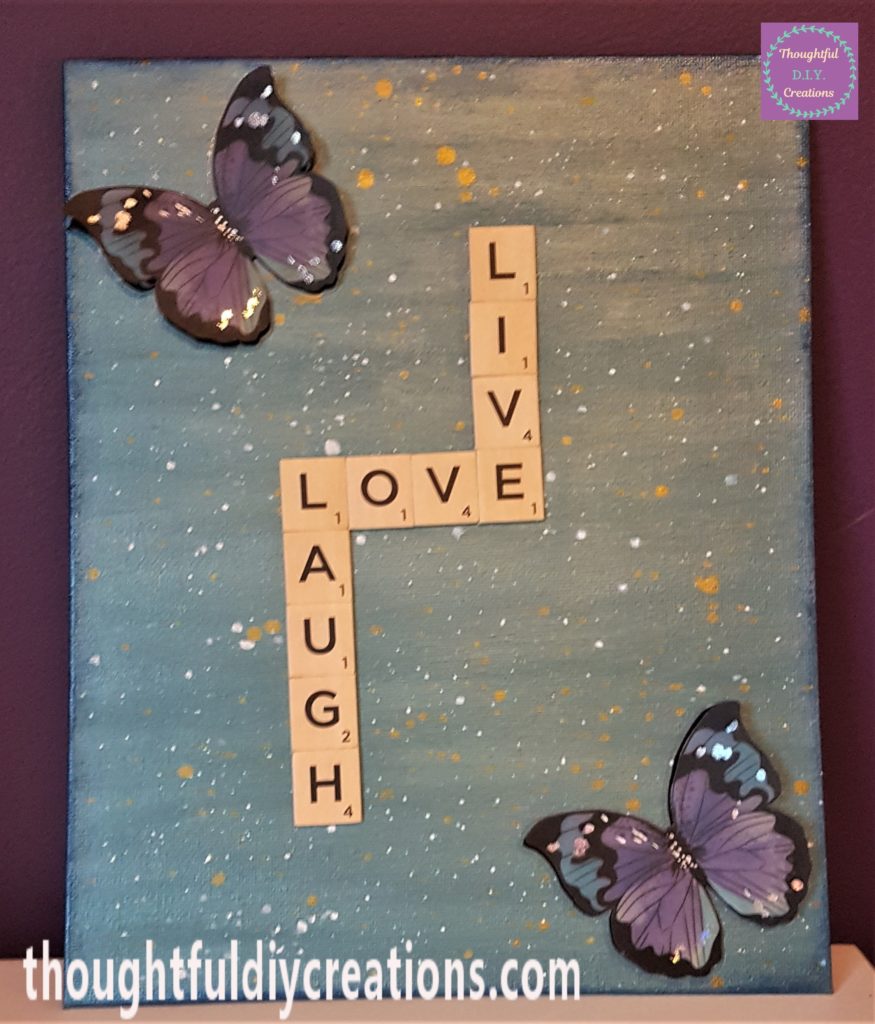
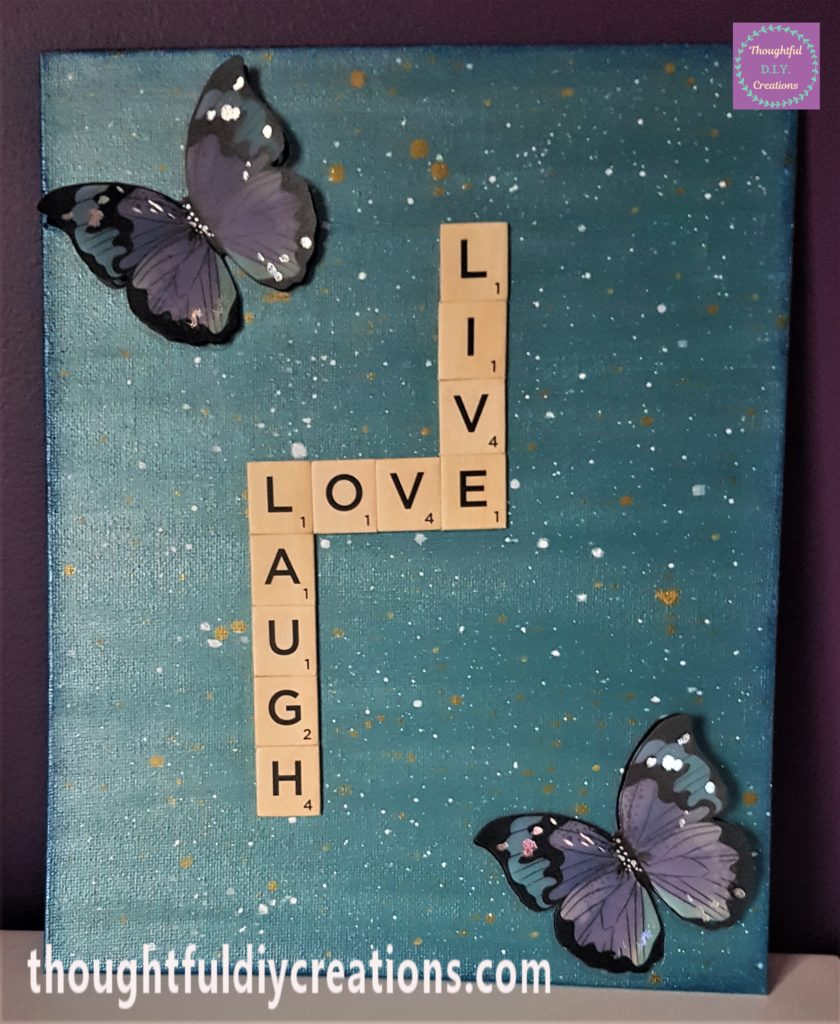
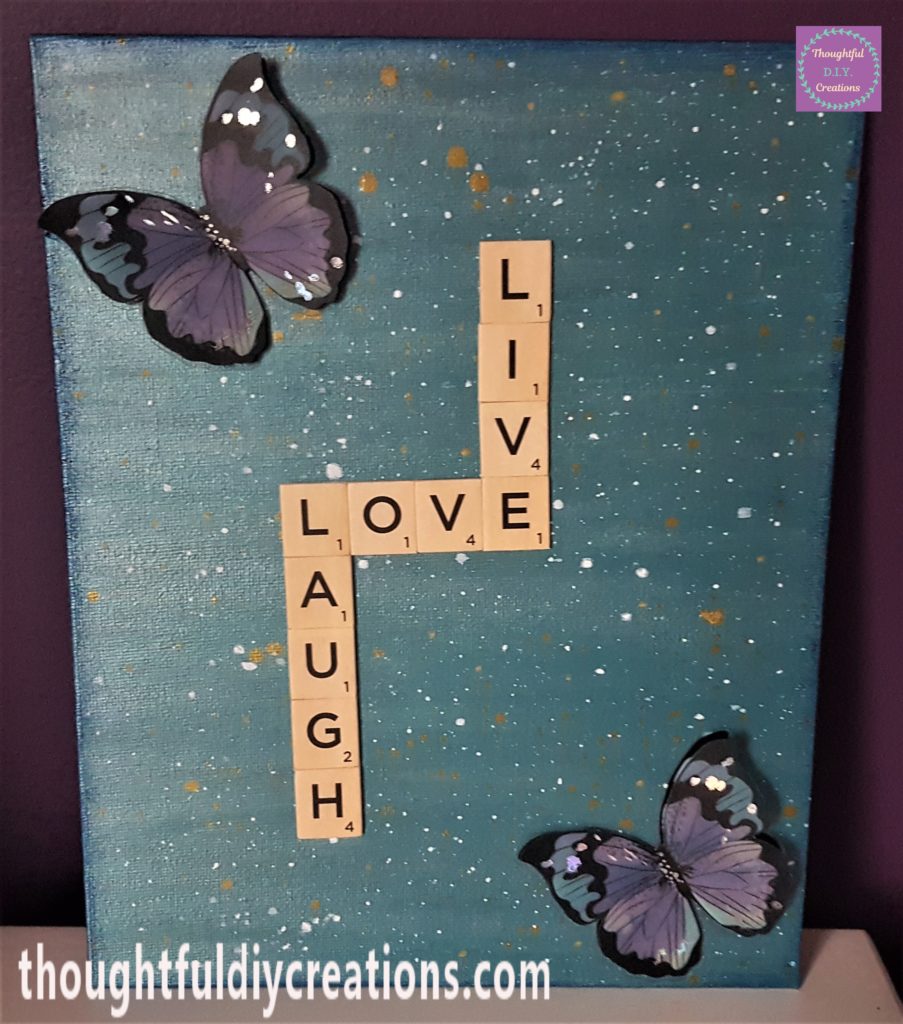
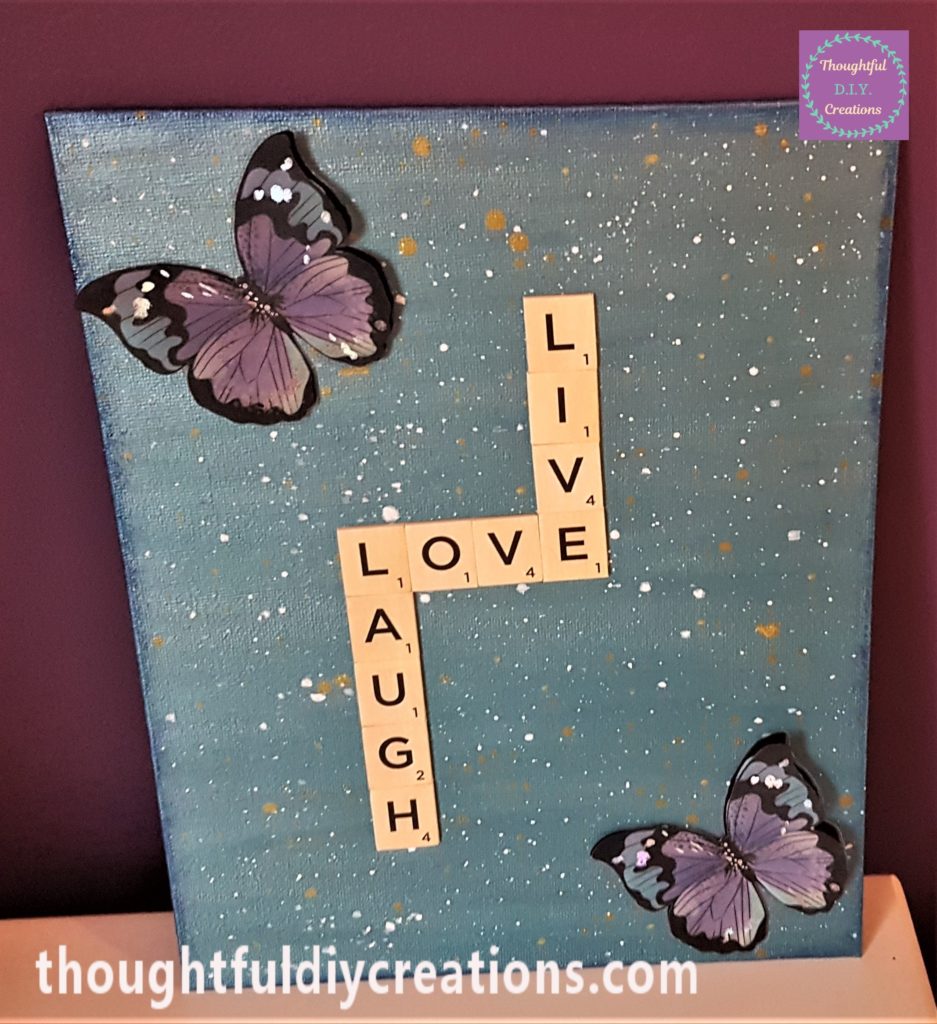
I played around with different phrases and arrangements of the tiles. I decided to add the Sentiment ‘Live, Love, Laugh’ out of the letter tiles to the canvas. Wooden Scrabble Tiles.

I put some of ‘Anita’s Tacky PVA Glue’ on the back of each letter tile with a small paintbrush. I held each letter tile in place on the D.I.Y. Canvas Board for about 5 seconds and then moved onto the next tile. Anita’s Tacky PVA Glue.
3D Butterfly Stickers
I had a Pack of 3D Butterfly Wall Stickers that I thought would go perfect with the Sentiment and Teal Painted D.I.Y. Canvas Board. 3D Butterfly Wall Decals.
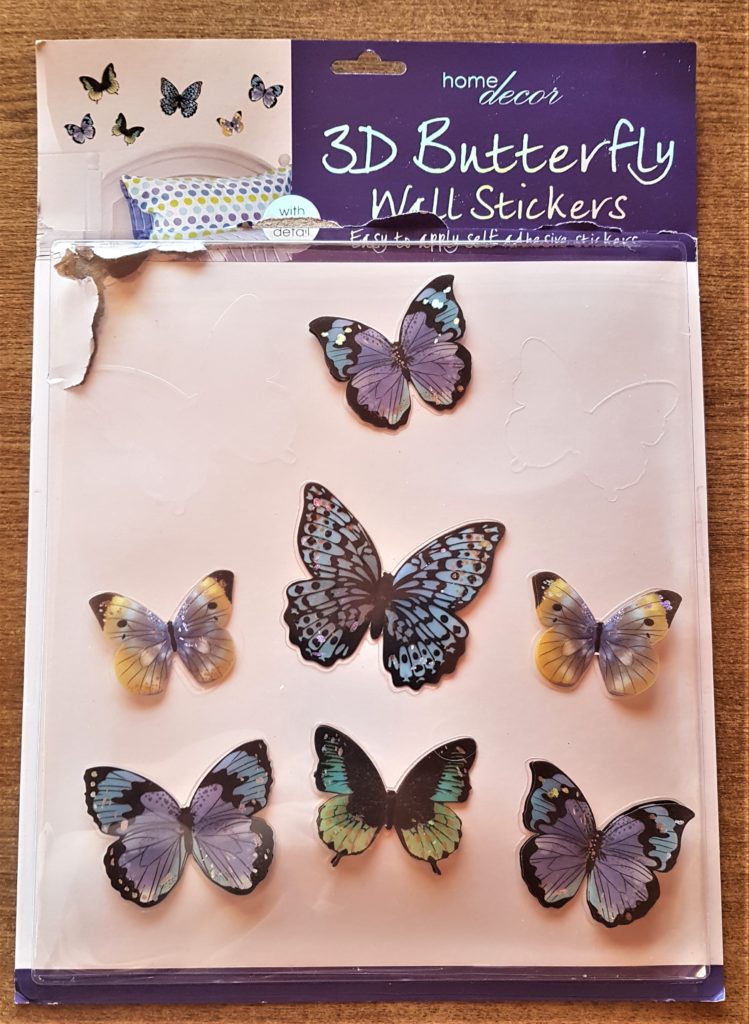
I picked the 2 Purple, Teal and Black Butterfly Stickers and attached them to the top left and bottom right corners of the canvas. 3D Butterfly Wall Decals.

Adding Finishing Touches to the D.I.Y. Canvas Board
To finish off the Canvas I added some Blue / Purple Ink to the edges. Archival Ink Pads.
I pressed my finger into the ink pad and rubbed the ink around each side and edge of the canvas board. This adds some definition to the board and pieces it together. Archival Ink Pad.
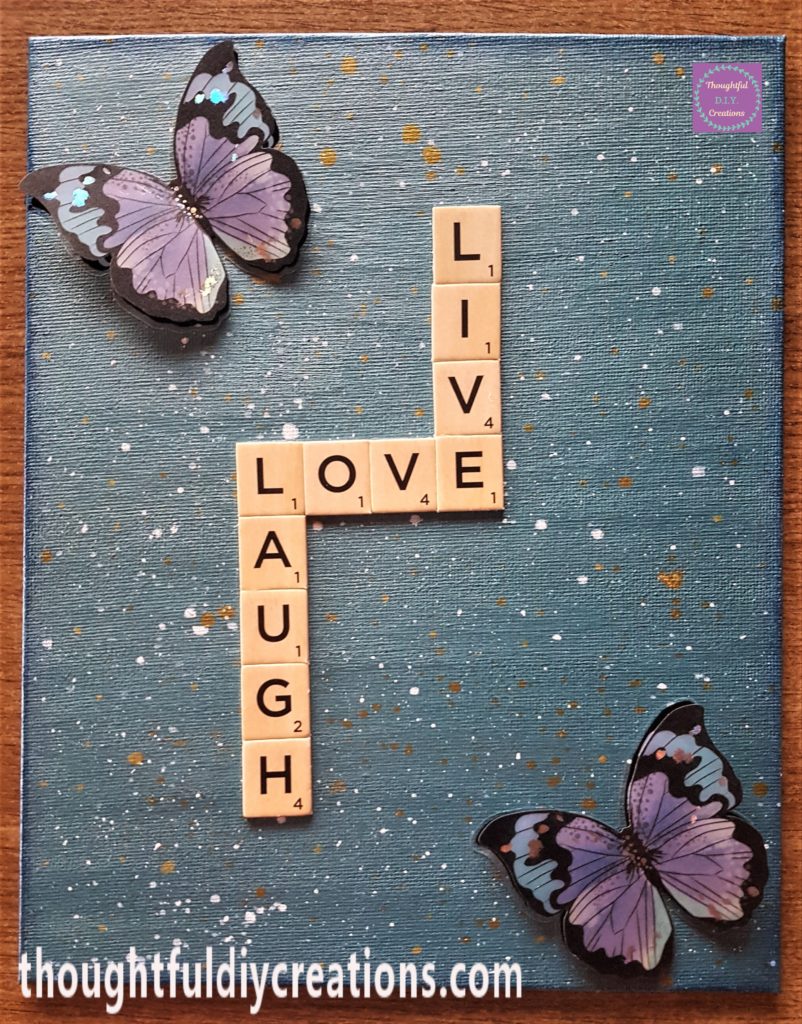
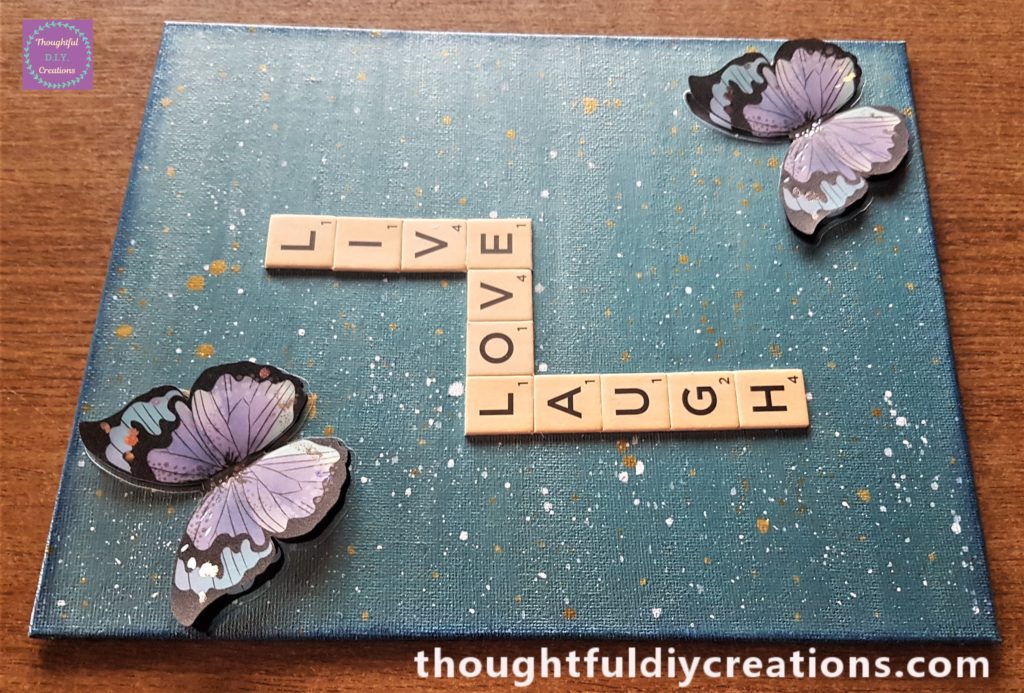
This completed the ‘Live, Love, Laugh’ D.I.Y. Canvas Board. Here are some more images of the finished piece.
Conclusion
I was really pleased with the outcome of my D.I.Y. Canvas Board. I think it is a pretty home decor piece and it blends in with my bedroom colours perfectly. I adore the teal and purple colours in general and I also love butterflies.
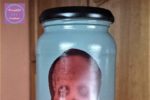
Another Butterfly Craft I have made is my Butterfly Decorated Bottle
It is a quick, easy craft to complete with minimal materials. I think it ticks all the boxes. There is no big, bulky equipment to use, no big clean-up, no strong smell, and paint drying time is fast. It would make the perfect thoughtful D.I.Y. last minute gift for someone in your life. It is also a fun, craft day to make something for yourself or your own home.
I hope you enjoyed this week’s Tutorial and got something from it. As always it is a versatile craft as you can paint your D.I.Y. Canvas Board whatever colour you prefer. You could add different embellishments such as flowers, chipboard pieces, decorative metal embellishments or scrapbook paper cut-outs.
The Sentiment could be anything you want it to be, you could add each Family members Name in an arrangement. If you have any Family Phrases you say a lot or is meaningful to you, that could be added to the canvas board making it personal and unique. I hope you have fun with it and enjoy the Creative process.
If you have any questions, opinions or anything to add on this topic, feel free to fill in the Comment Box below this Blog Post.
Thank you so much for taking the time to read my Blog.
Always Grateful,
T.D.C.
xxxxx