Marbled Cup & Plate Tutorial
Hello my Creative Friends,
I hope you are all Well. In Today’s Tutorial I will Show you How I Marbled a Cup and Plate. It is a Beginner Friendly and Budget Friendly Craft using Minimal Materials and hopefully it gives you Tips and Ideas on the Marbling Technique.
Cup & Plate
I bought a White Cup and Plate in my local EuroGiant Store.

I removed the Sticker from the Cup and Plate and then washed and dried them to remove all the residue.

Marble Kit
I bought an ‘Easy Marble’ Kit by ‘Marabu’ in Pastel Shades from my local Arts and Crafts Shop. I’ve never seen a Set like this before; I was intrigued and wanted to give it a try to see how it goes.
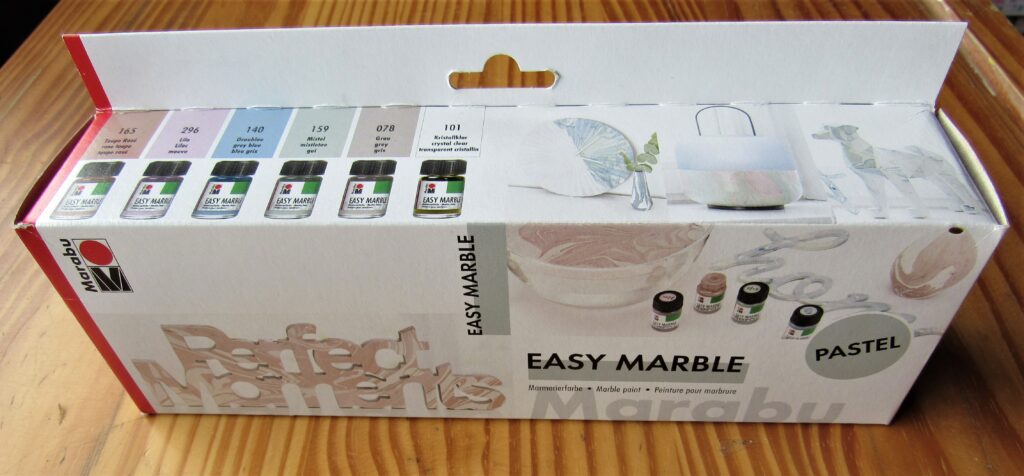
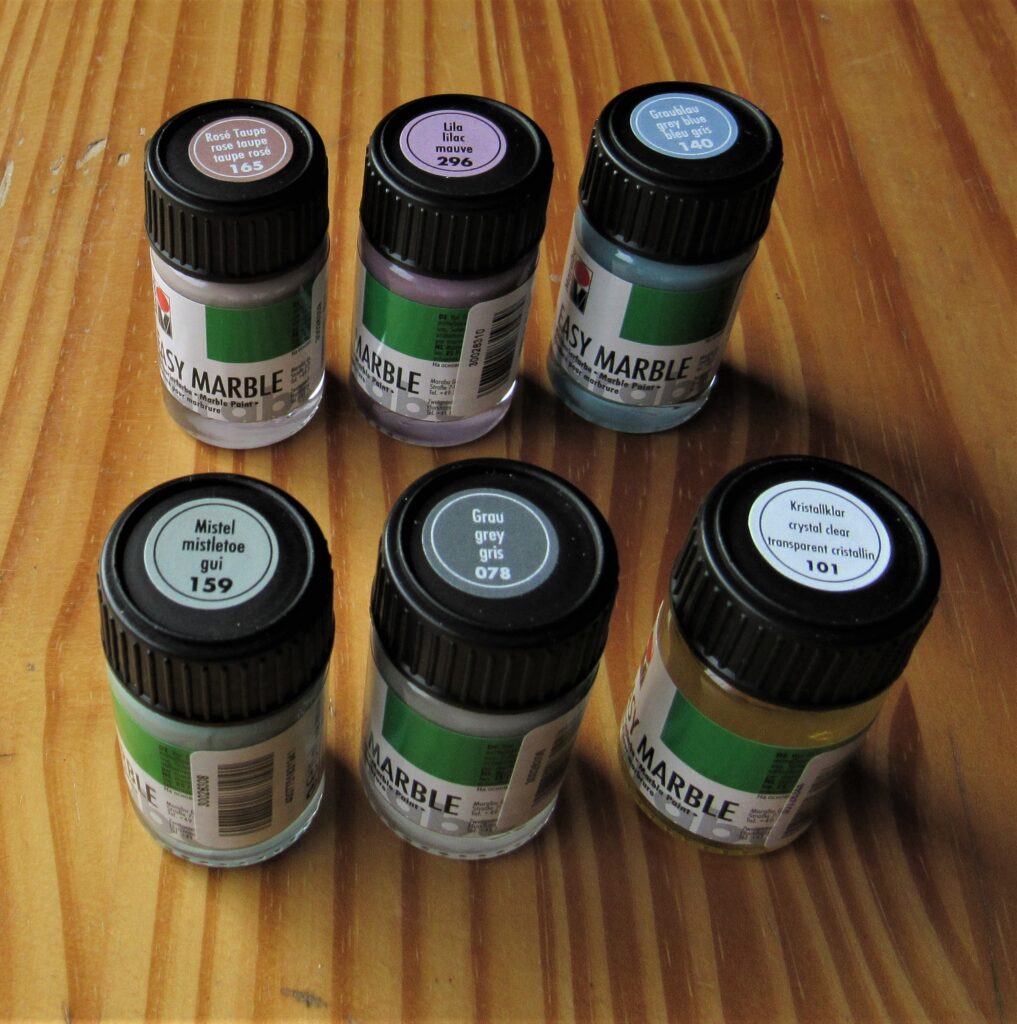
Here are the 6 Pastel Marbled Bottles out of the Box.
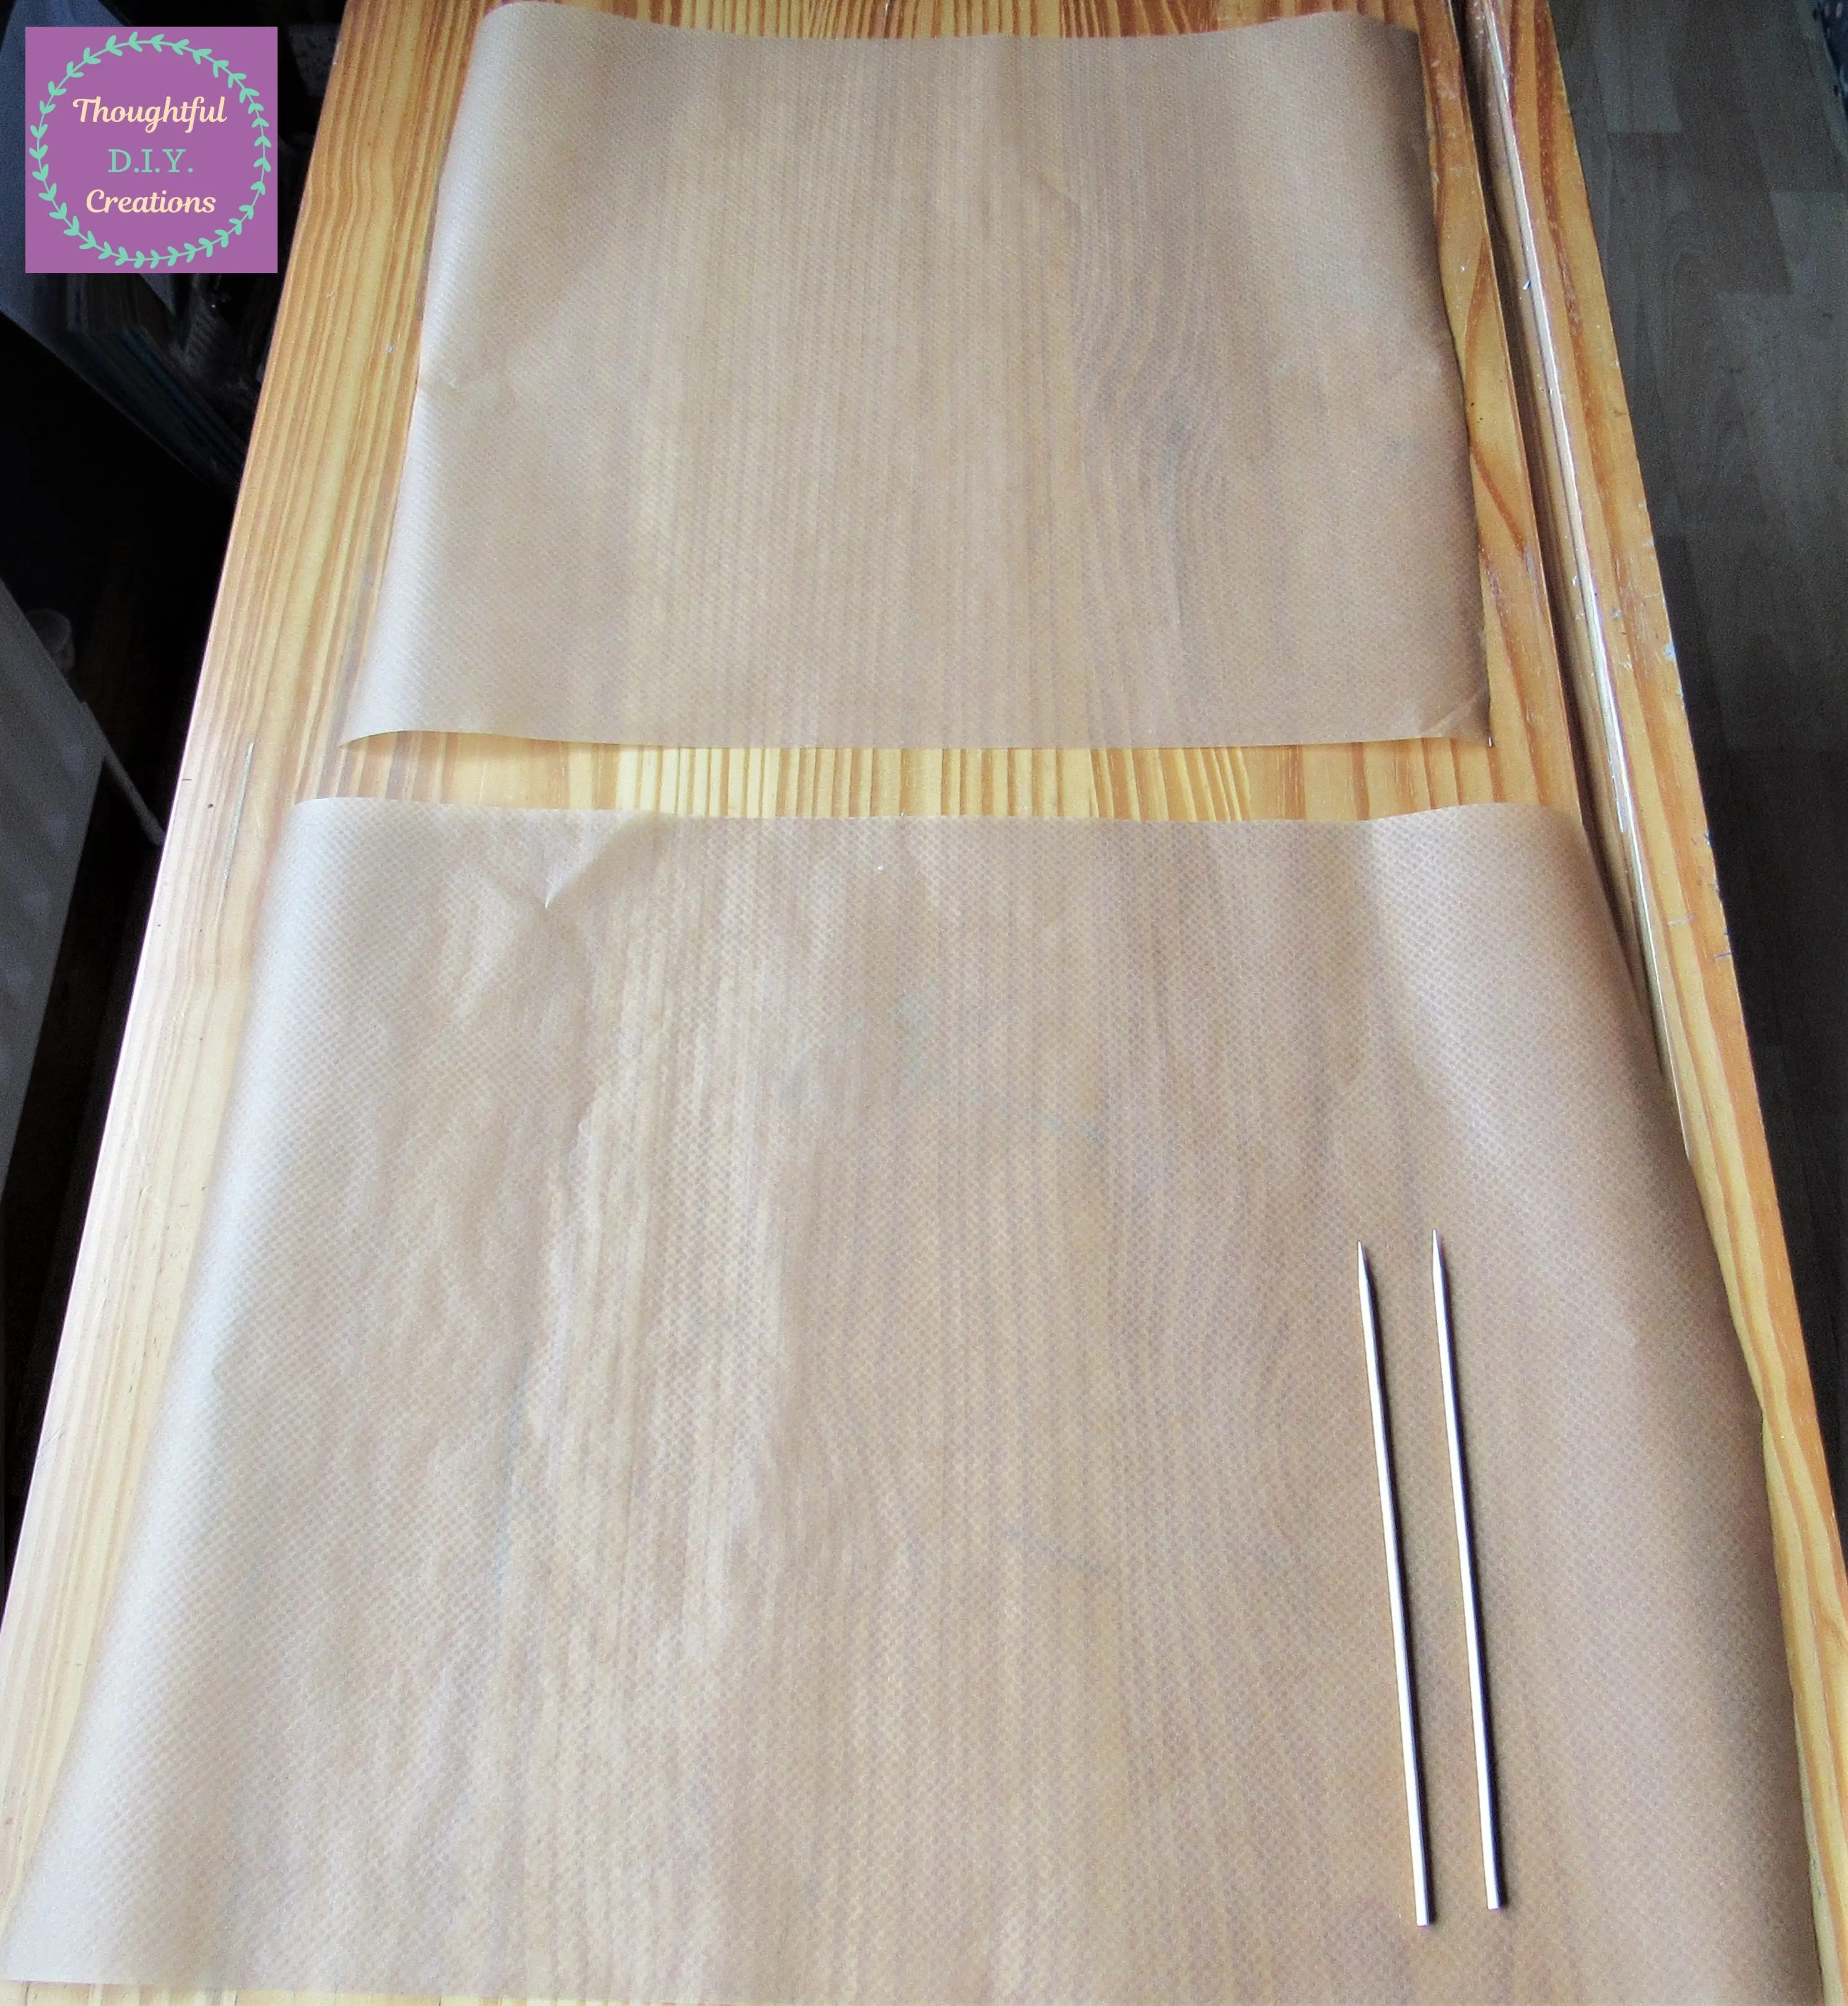
Setting Up for the Marbling Technique
I put 2 Sheets of Baking Paper and 2 Wooden Skewers on the Table.
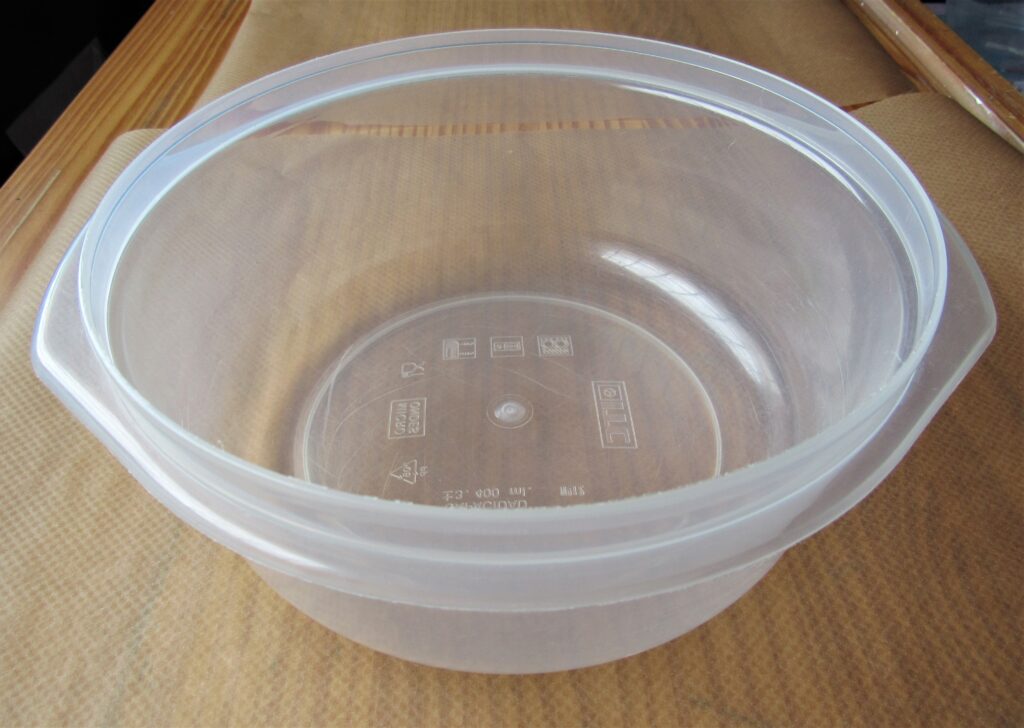
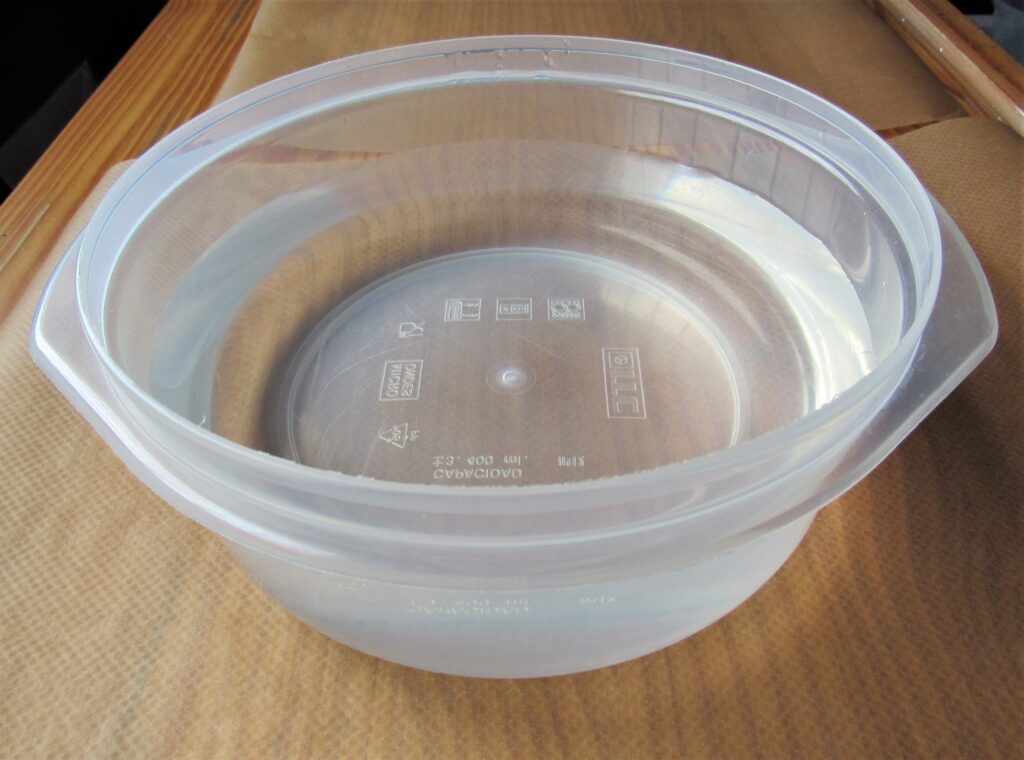
I got a large Plastic Bowl and put it on the first Sheet of Baking Paper. Your Bowl or Dish needs to be Wide and Deep enough to be able to Dip the Object that you are Marbling, In and Out easily.
I filled my Bowl 3/4 way up with Warm Water. (The Instructions in the Box says to Use Cold Water but I got better Results from using Warm Water.)
Adding the Marbled Colours to the Water
I put on a Pair of Disposable Gloves, and Opened the Windows in front of my Desk.
I got my ‘Rose Taupe’ Marbled Colour and shook it for a few seconds with the Lid on to spread the Colour evenly throughout the Bottle.
I removed the Lid and held the Bottle close to the water and Dripped about 5 Droplets of the Colour into the Bowl.
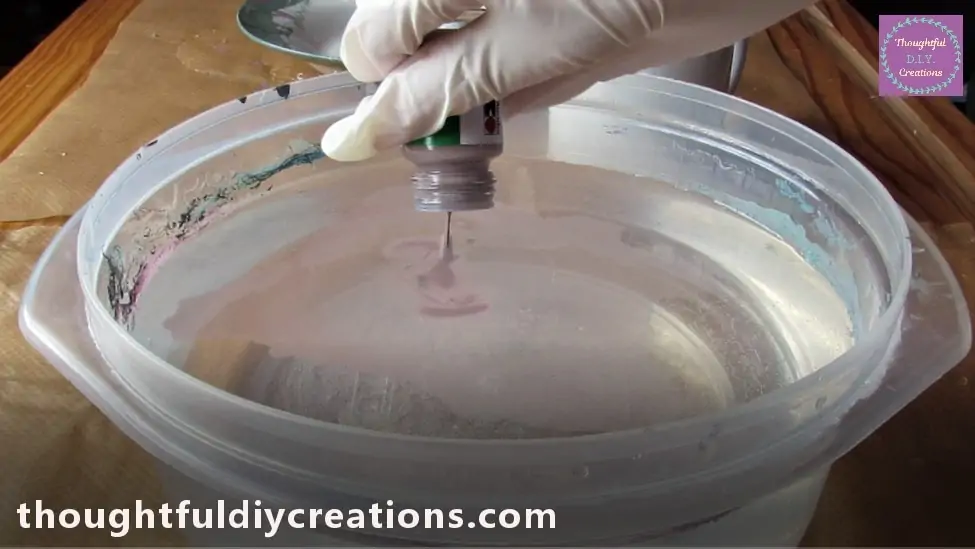
The Colour Spreads out; a Paint Film forms on Top of the Water.
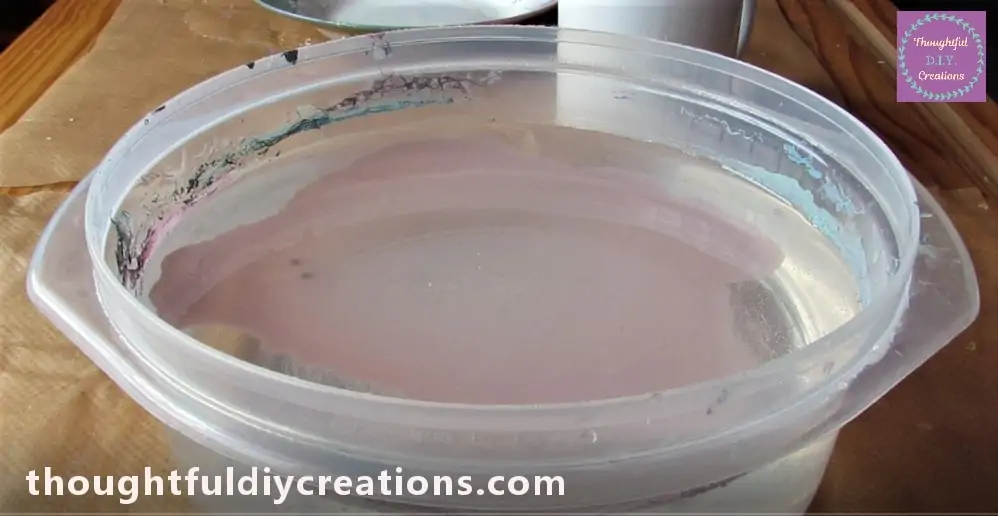
I got my ‘Grey Blue’ Marbled Colour. I had shook this Colour the same time as the first Colour, using my other Hand and had the Lid removed and ready to go.
I held the Bottle Close to the water and Dripped a few Drops of Colour into the Bowl.
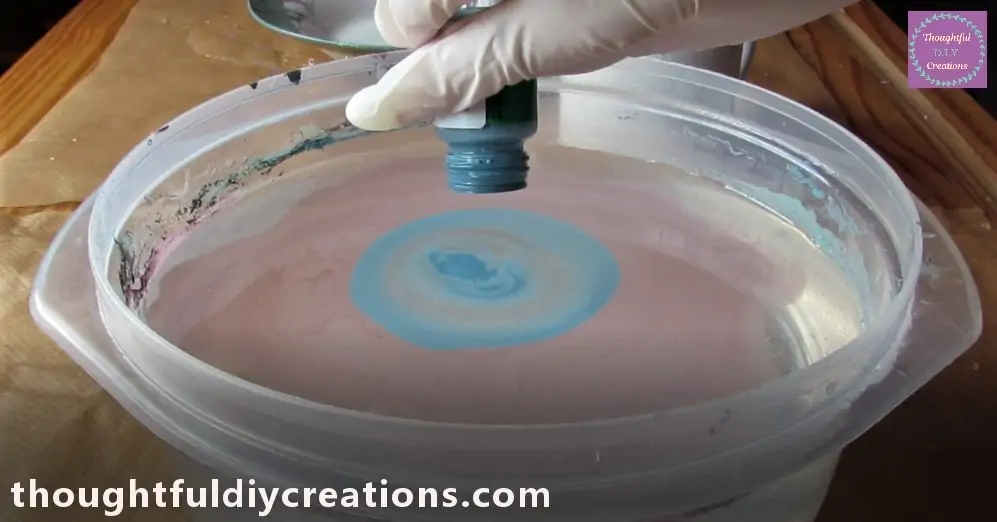
The Grey Blue and Rose Taupe Colours in the Water.
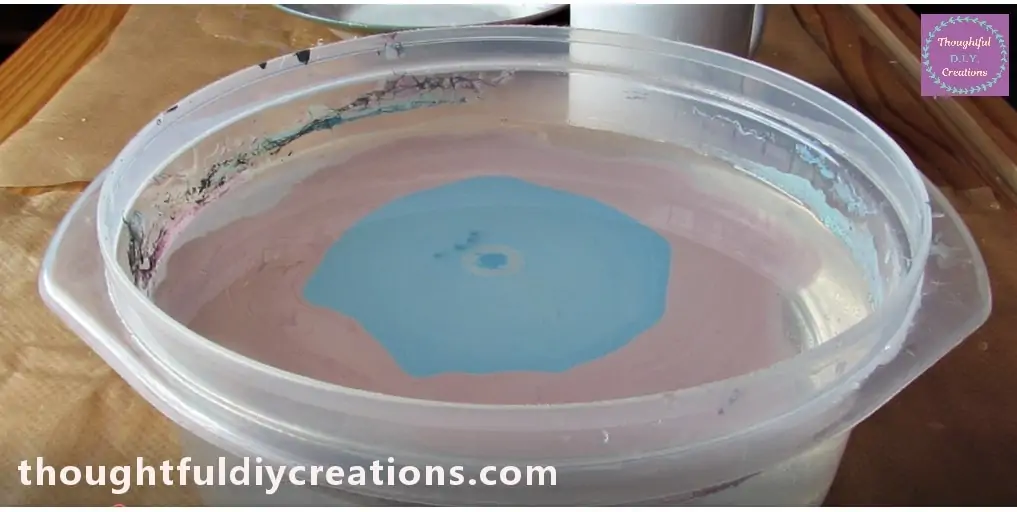
I added a Couple more Drops of the Rose Taupe over the Grey Blue.
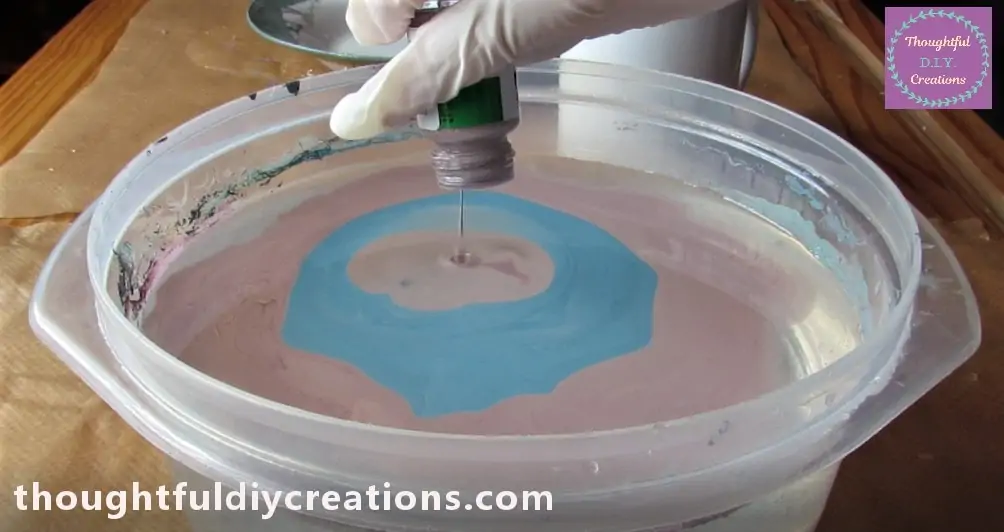
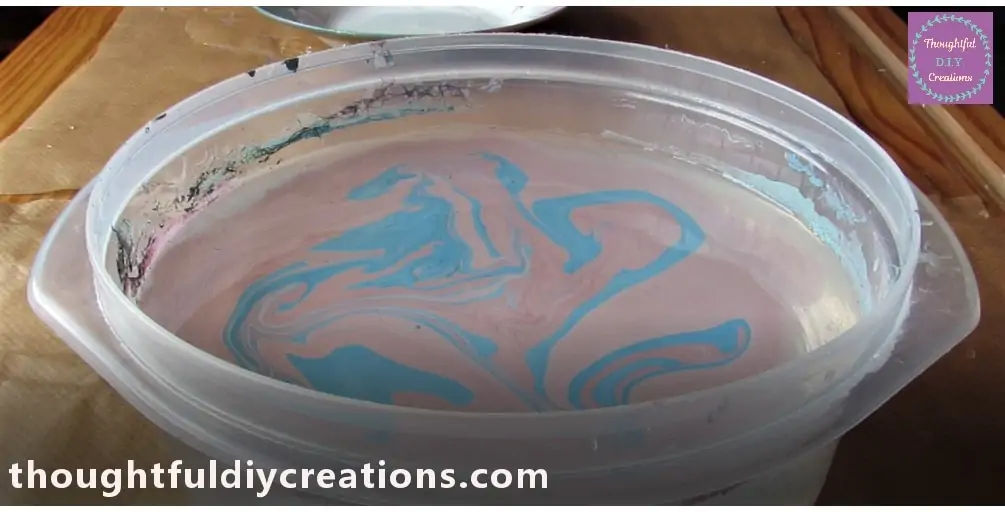
The Marbled Colours in the Bowl of Water.
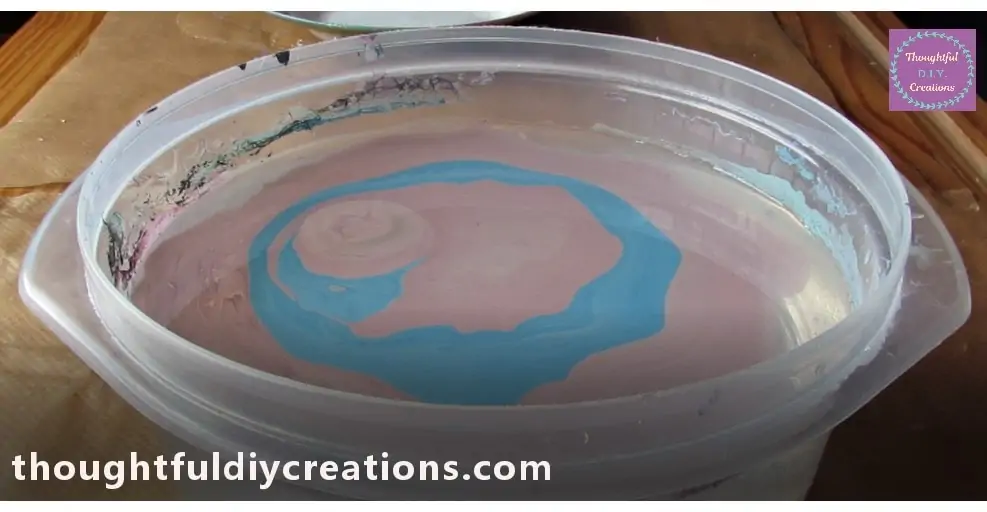
Swirling the Marbled Colours
I Instantly got One of the Wooden Skewers and moved it around randomly in the Water making a Design from the Marbled Colours.
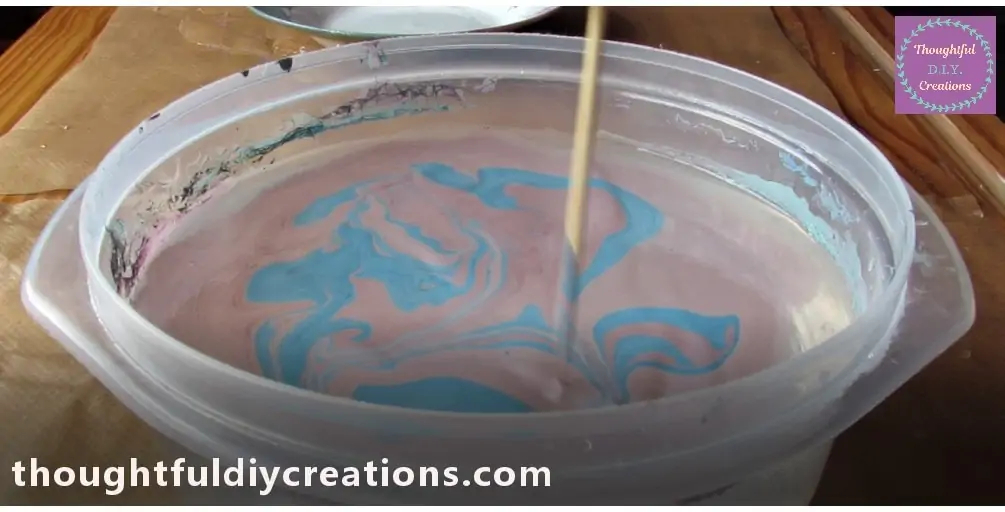
The Marbling Effect from mixing the Colours.
Dipping the Cup into the Marbled Water
I got my Cup and held it over the Marbled Water.
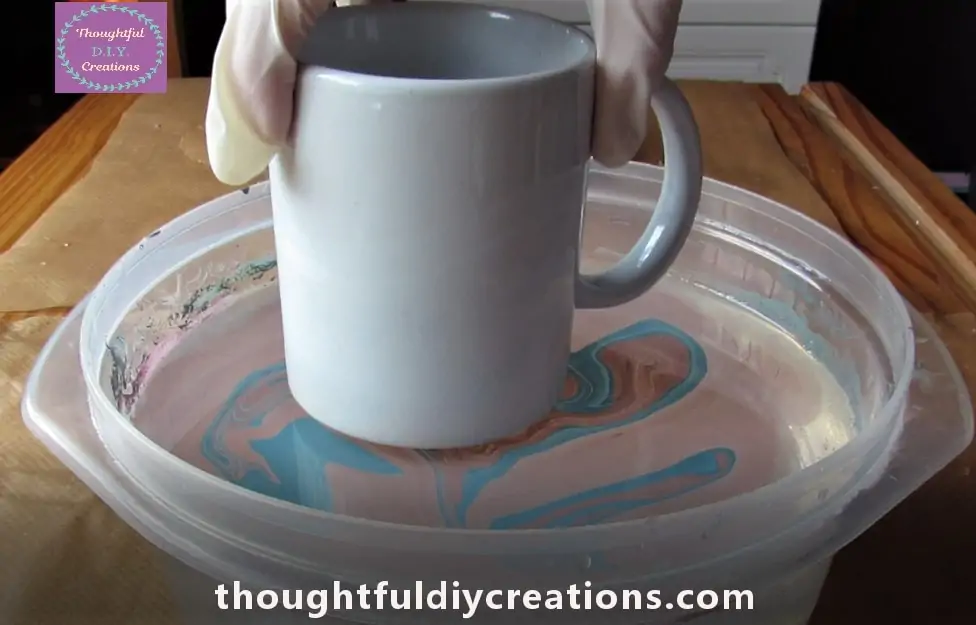
I carefully Dipped it down into the Bowl.
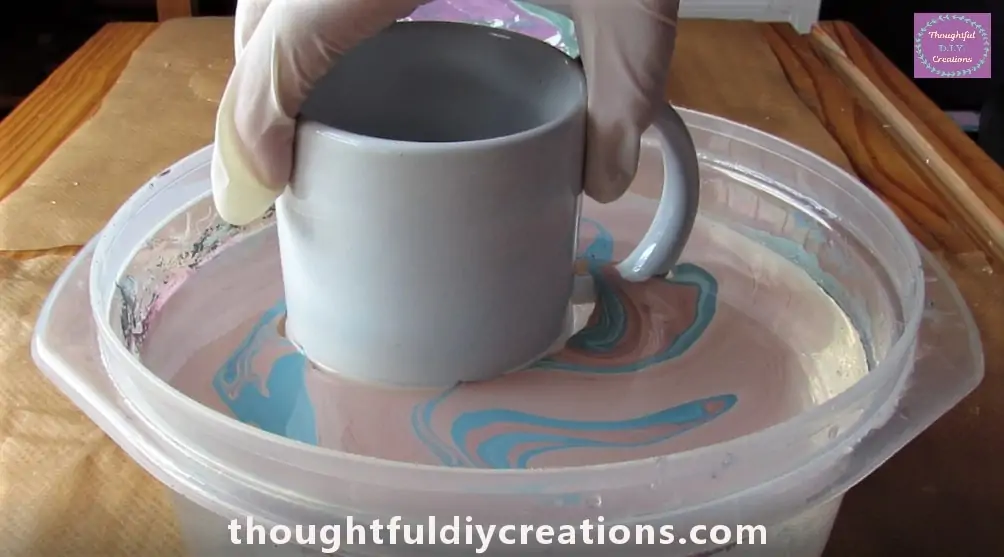
Removing the Cup
I moved the excess Colours away from the Cup in the Water with my left Hand and a couple of seconds later, I slowly removed the Cup from the Bowl with my Right Hand.
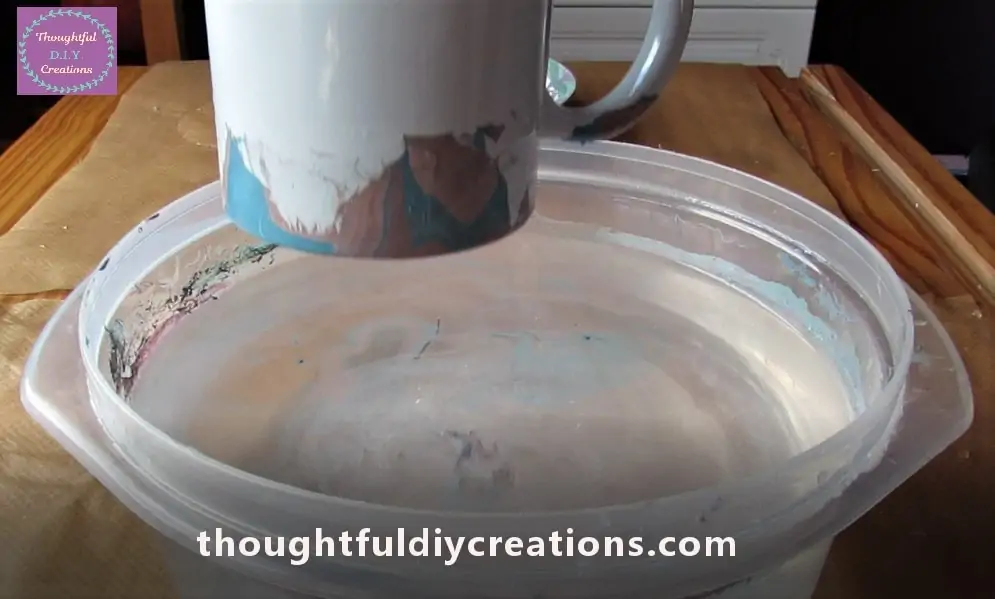
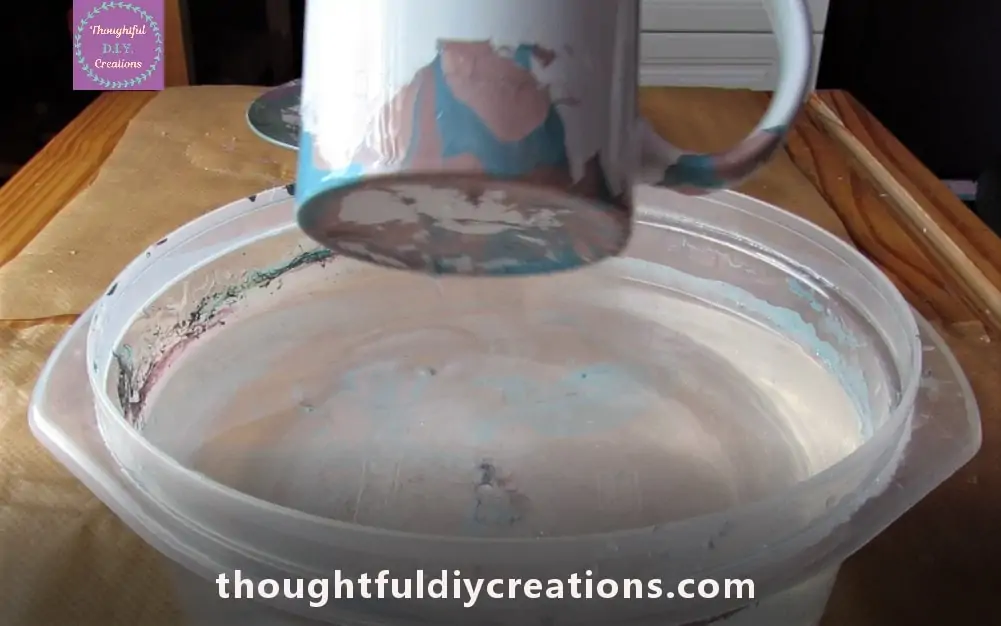
The Bottom of the Cup being removed from the Water.
Removing the Marbled Film from the Water
I Placed the Cup upside down on the other Sheet of Baking Paper.
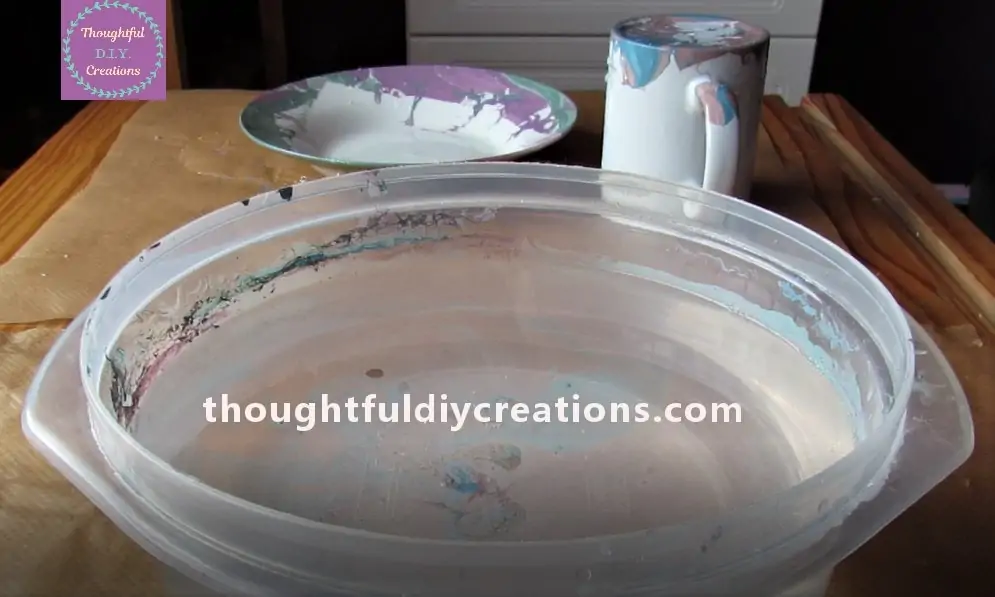
I removed all the Marbled Film from the Top of the Water with the other Wooden Skewer. It sticks to it easily in a big blob and is quick to remove.
Repeating the Process
I then repeated the process of adding the same Colours to the Bowl one-by-one again and mixing it around with a new Skewer to form a design.
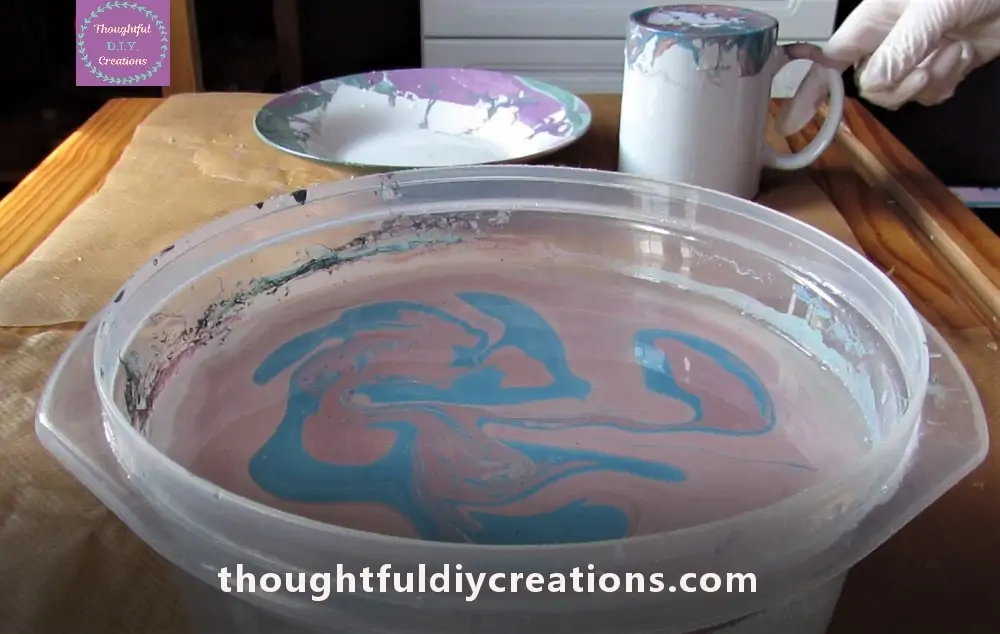
I then Dipped the Top of the Cup into the Water.
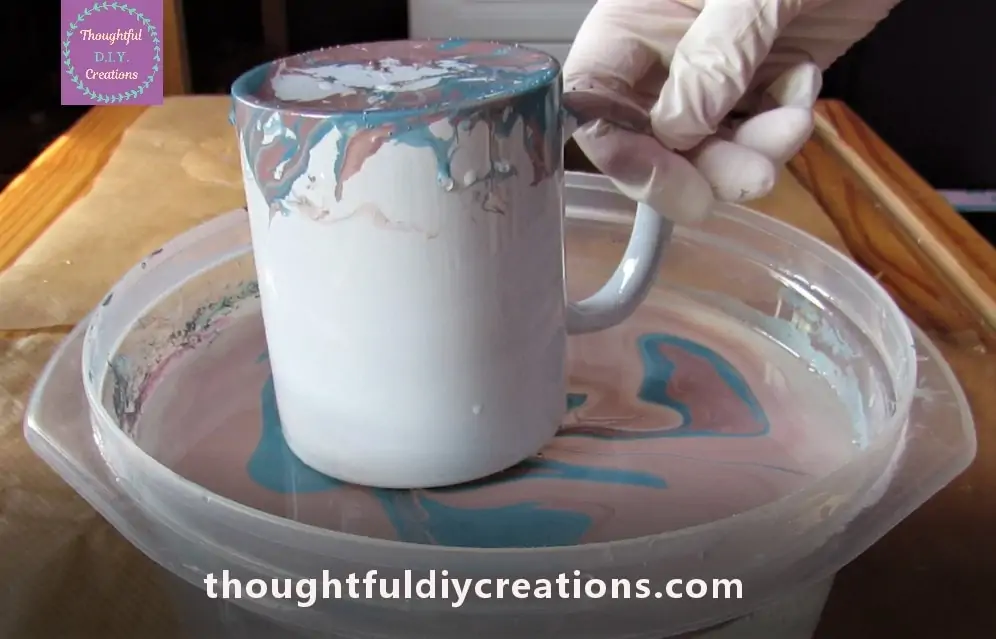
I held it under the Water for a Couple of Seconds.
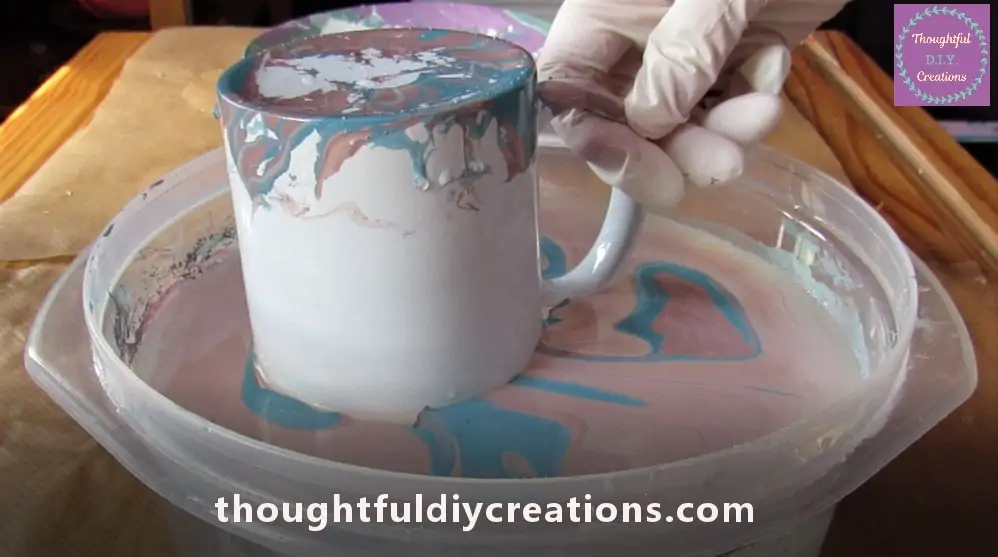
This time I got my Brother to try and remove the Marbled film of Colours around the Cup in the Water with his Hands with Gloves On, while the Cup was still under the Water; to Prevent the Colours Overlapping when pulling the Cup out. The Instructions had said to move the remaining Paint to the edges of the Container before removing the Object.
This method didn’t work at all; he tried to remove the film with both Hands but the water and Colours just swayed around. It wasn’t really going anywhere so I removed the Cup from the Water and not much of the Colours had attached to the Cup.
The film of Colours is too hard to remove with the Object still in the Water but instantly comes out all together with a Skewer or your Gloves when there is nothing in the Water. It also delays the Time of the Object being Dipped under the Water; it should be removed pretty Instantly.
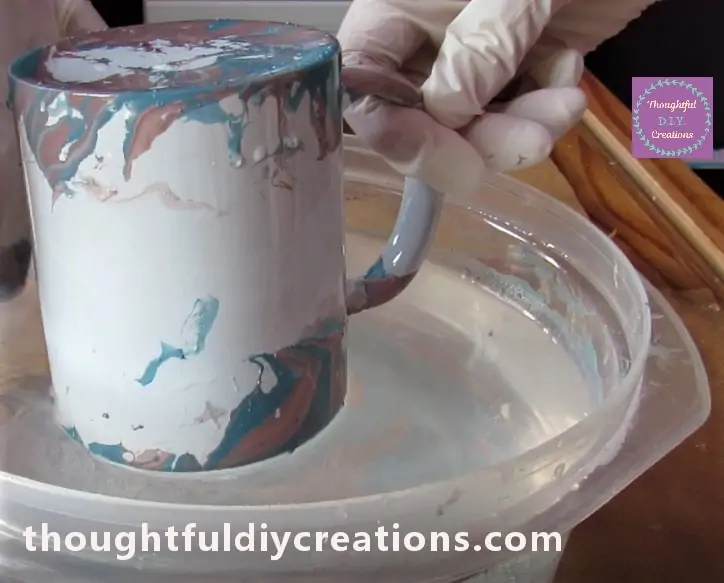
Again I removed the Film of Colours from the Water with a fresh Skewer Stick; I use both ends of the Skewer to ensure every bit of the Colour is removed from the Water.
Marbling the Side of the Cup
I added the same Colours to the Water and used another Skewer to make a design. I then got the Cup and put it Sideways under the Water.
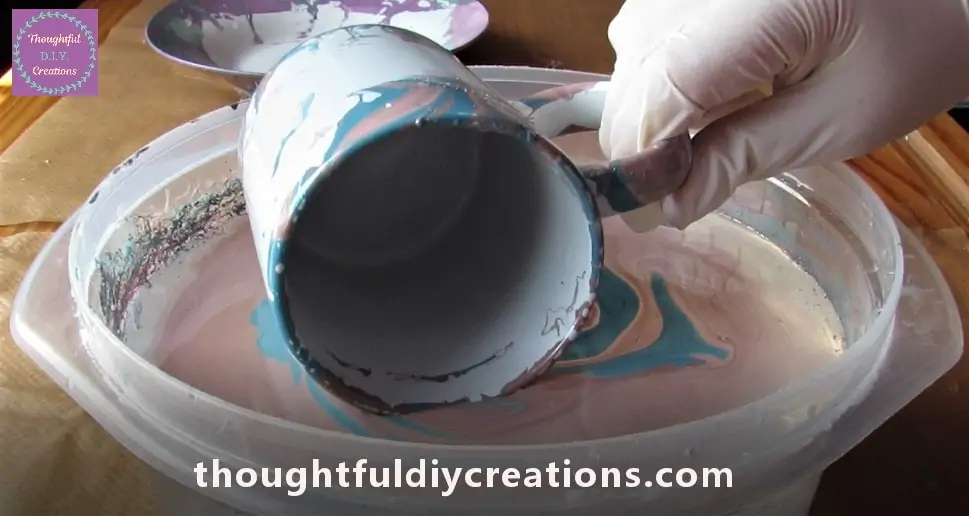
I moved the Cup on it’s Side under the Water.
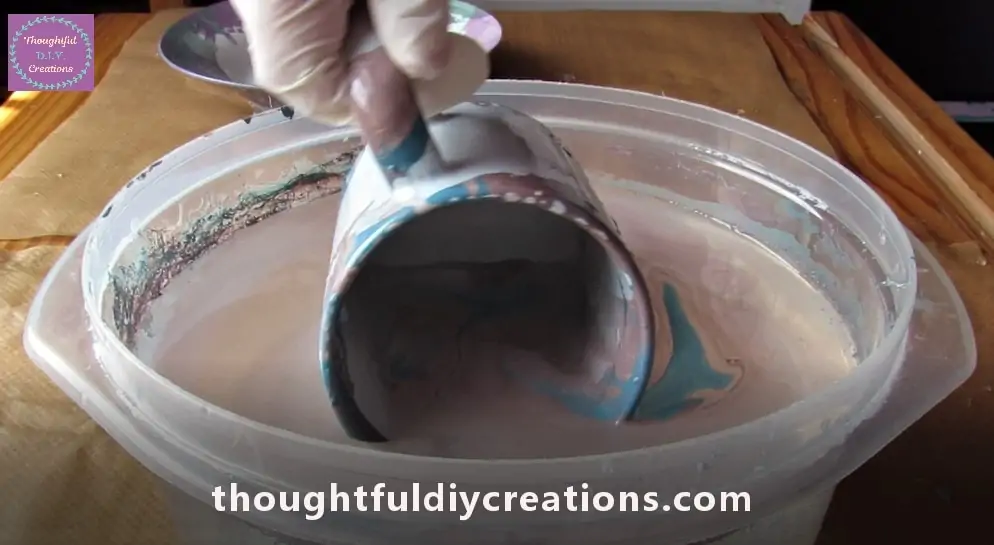
I Rolled the Cup over to it’s other Side under the Water.
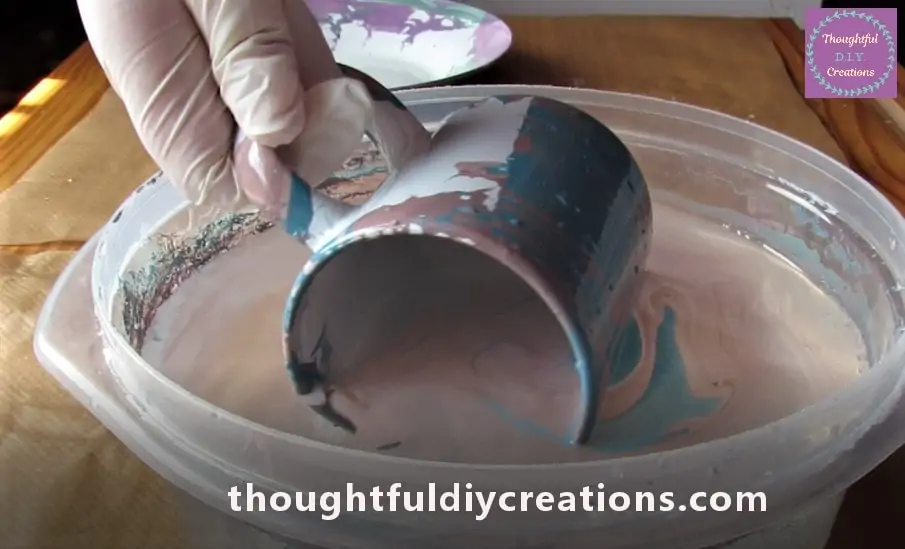
I lifted up the Cup from the Water and quickly turned it over emptying the Water from the Inside of the Cup in the process.
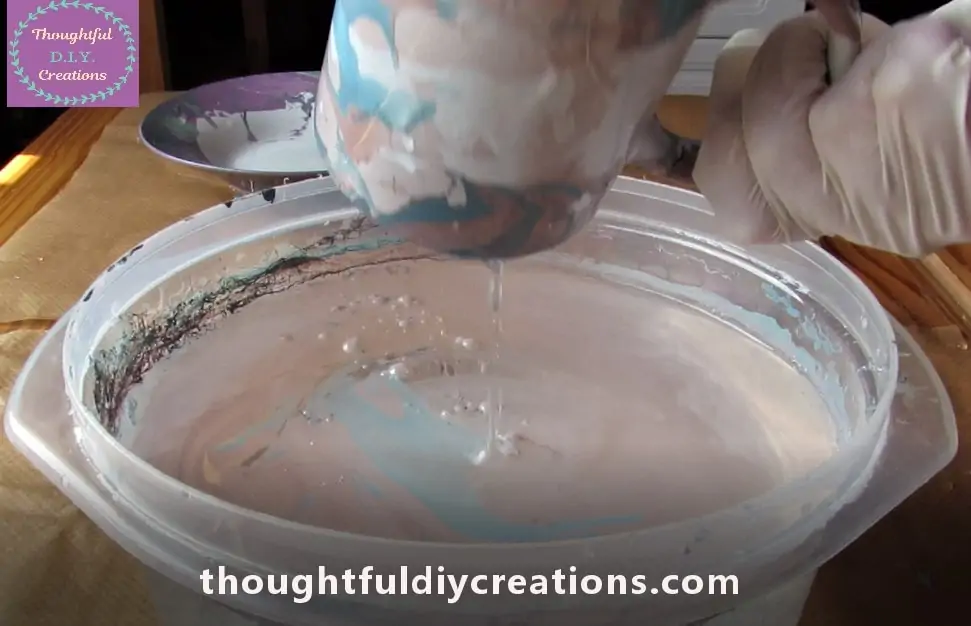
I put the Cup upside down on the Baking Sheet.
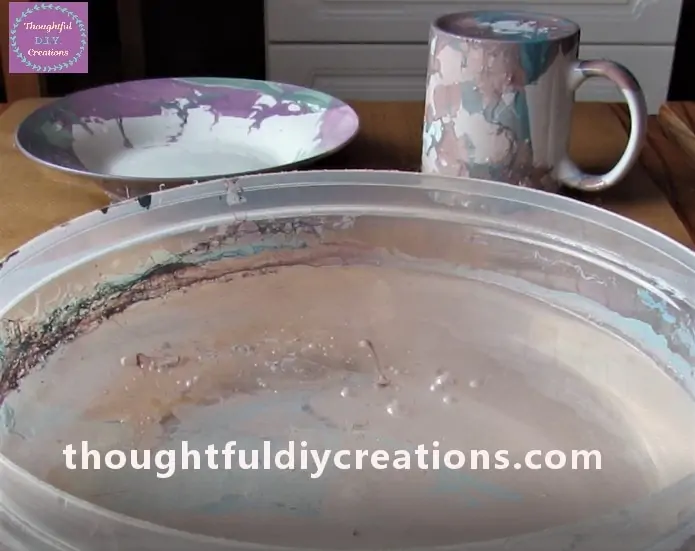
I repeated the Process One more Time of removing the Colours and adding them again to the Bowl of Water.
This Time I dipped the Handle Side of the Cup down into the Water for a Second then I removed it. I put it on the Baking Sheet to Dry.
Marbled Cup
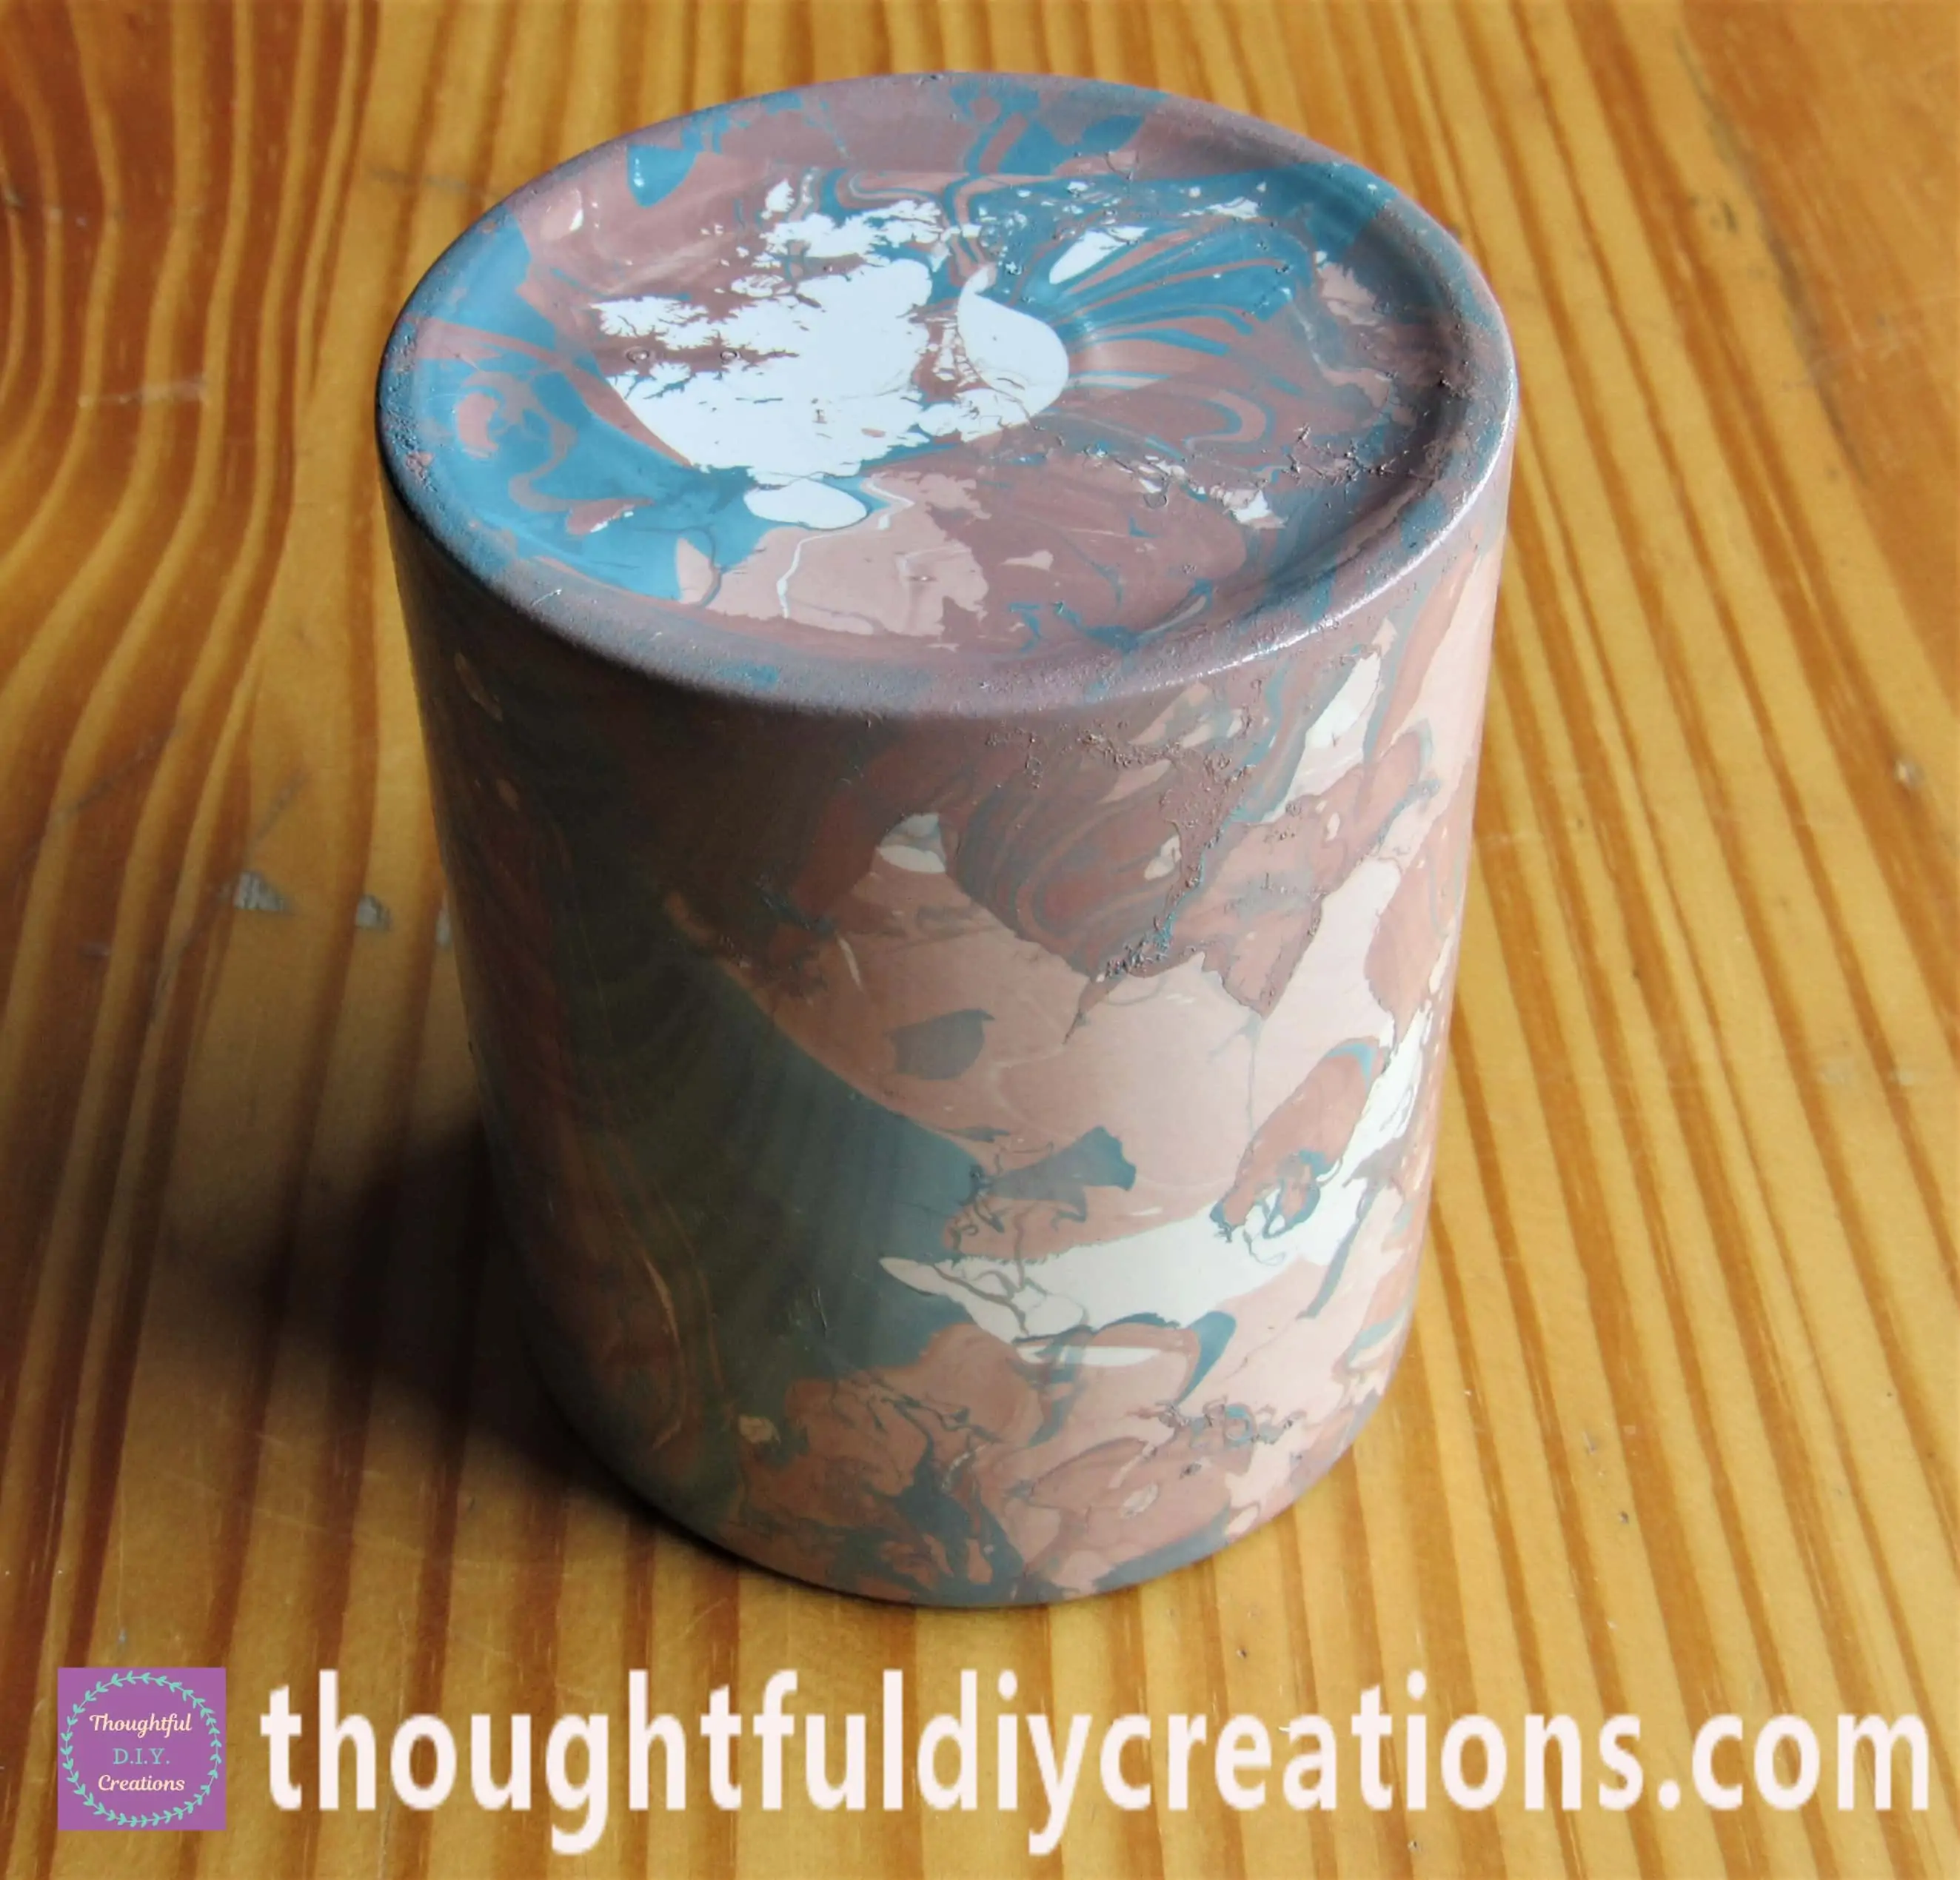
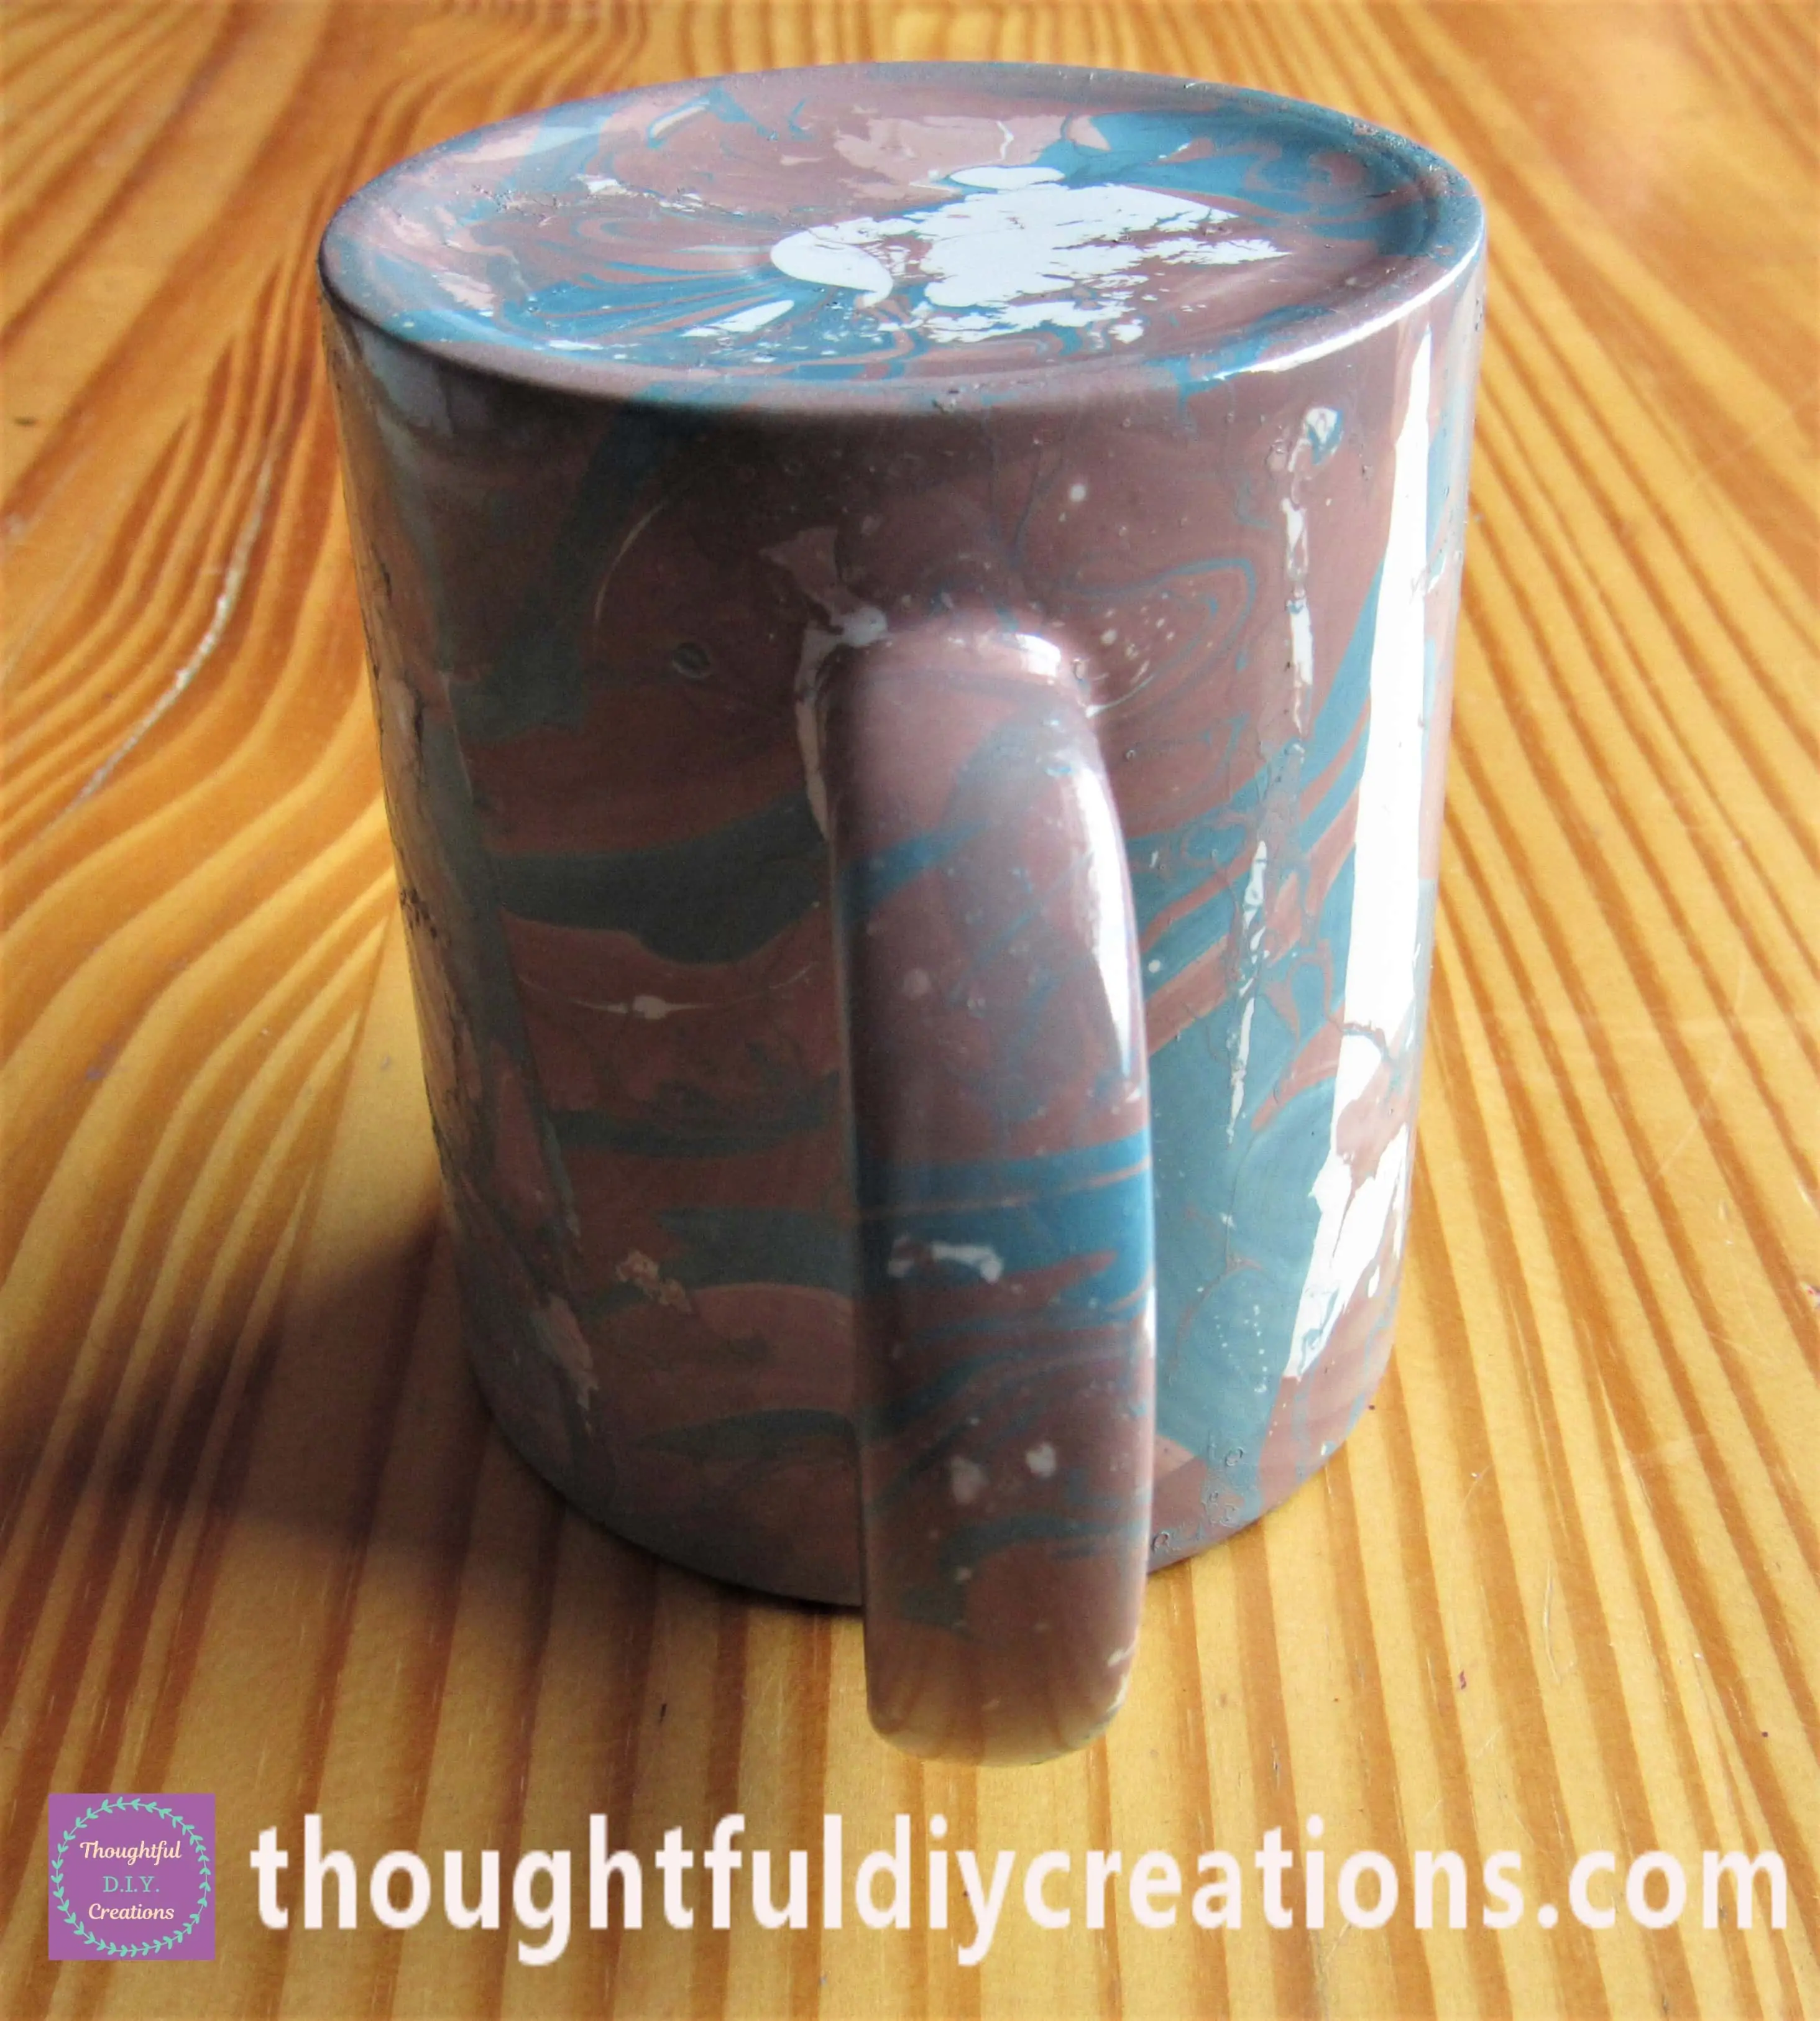
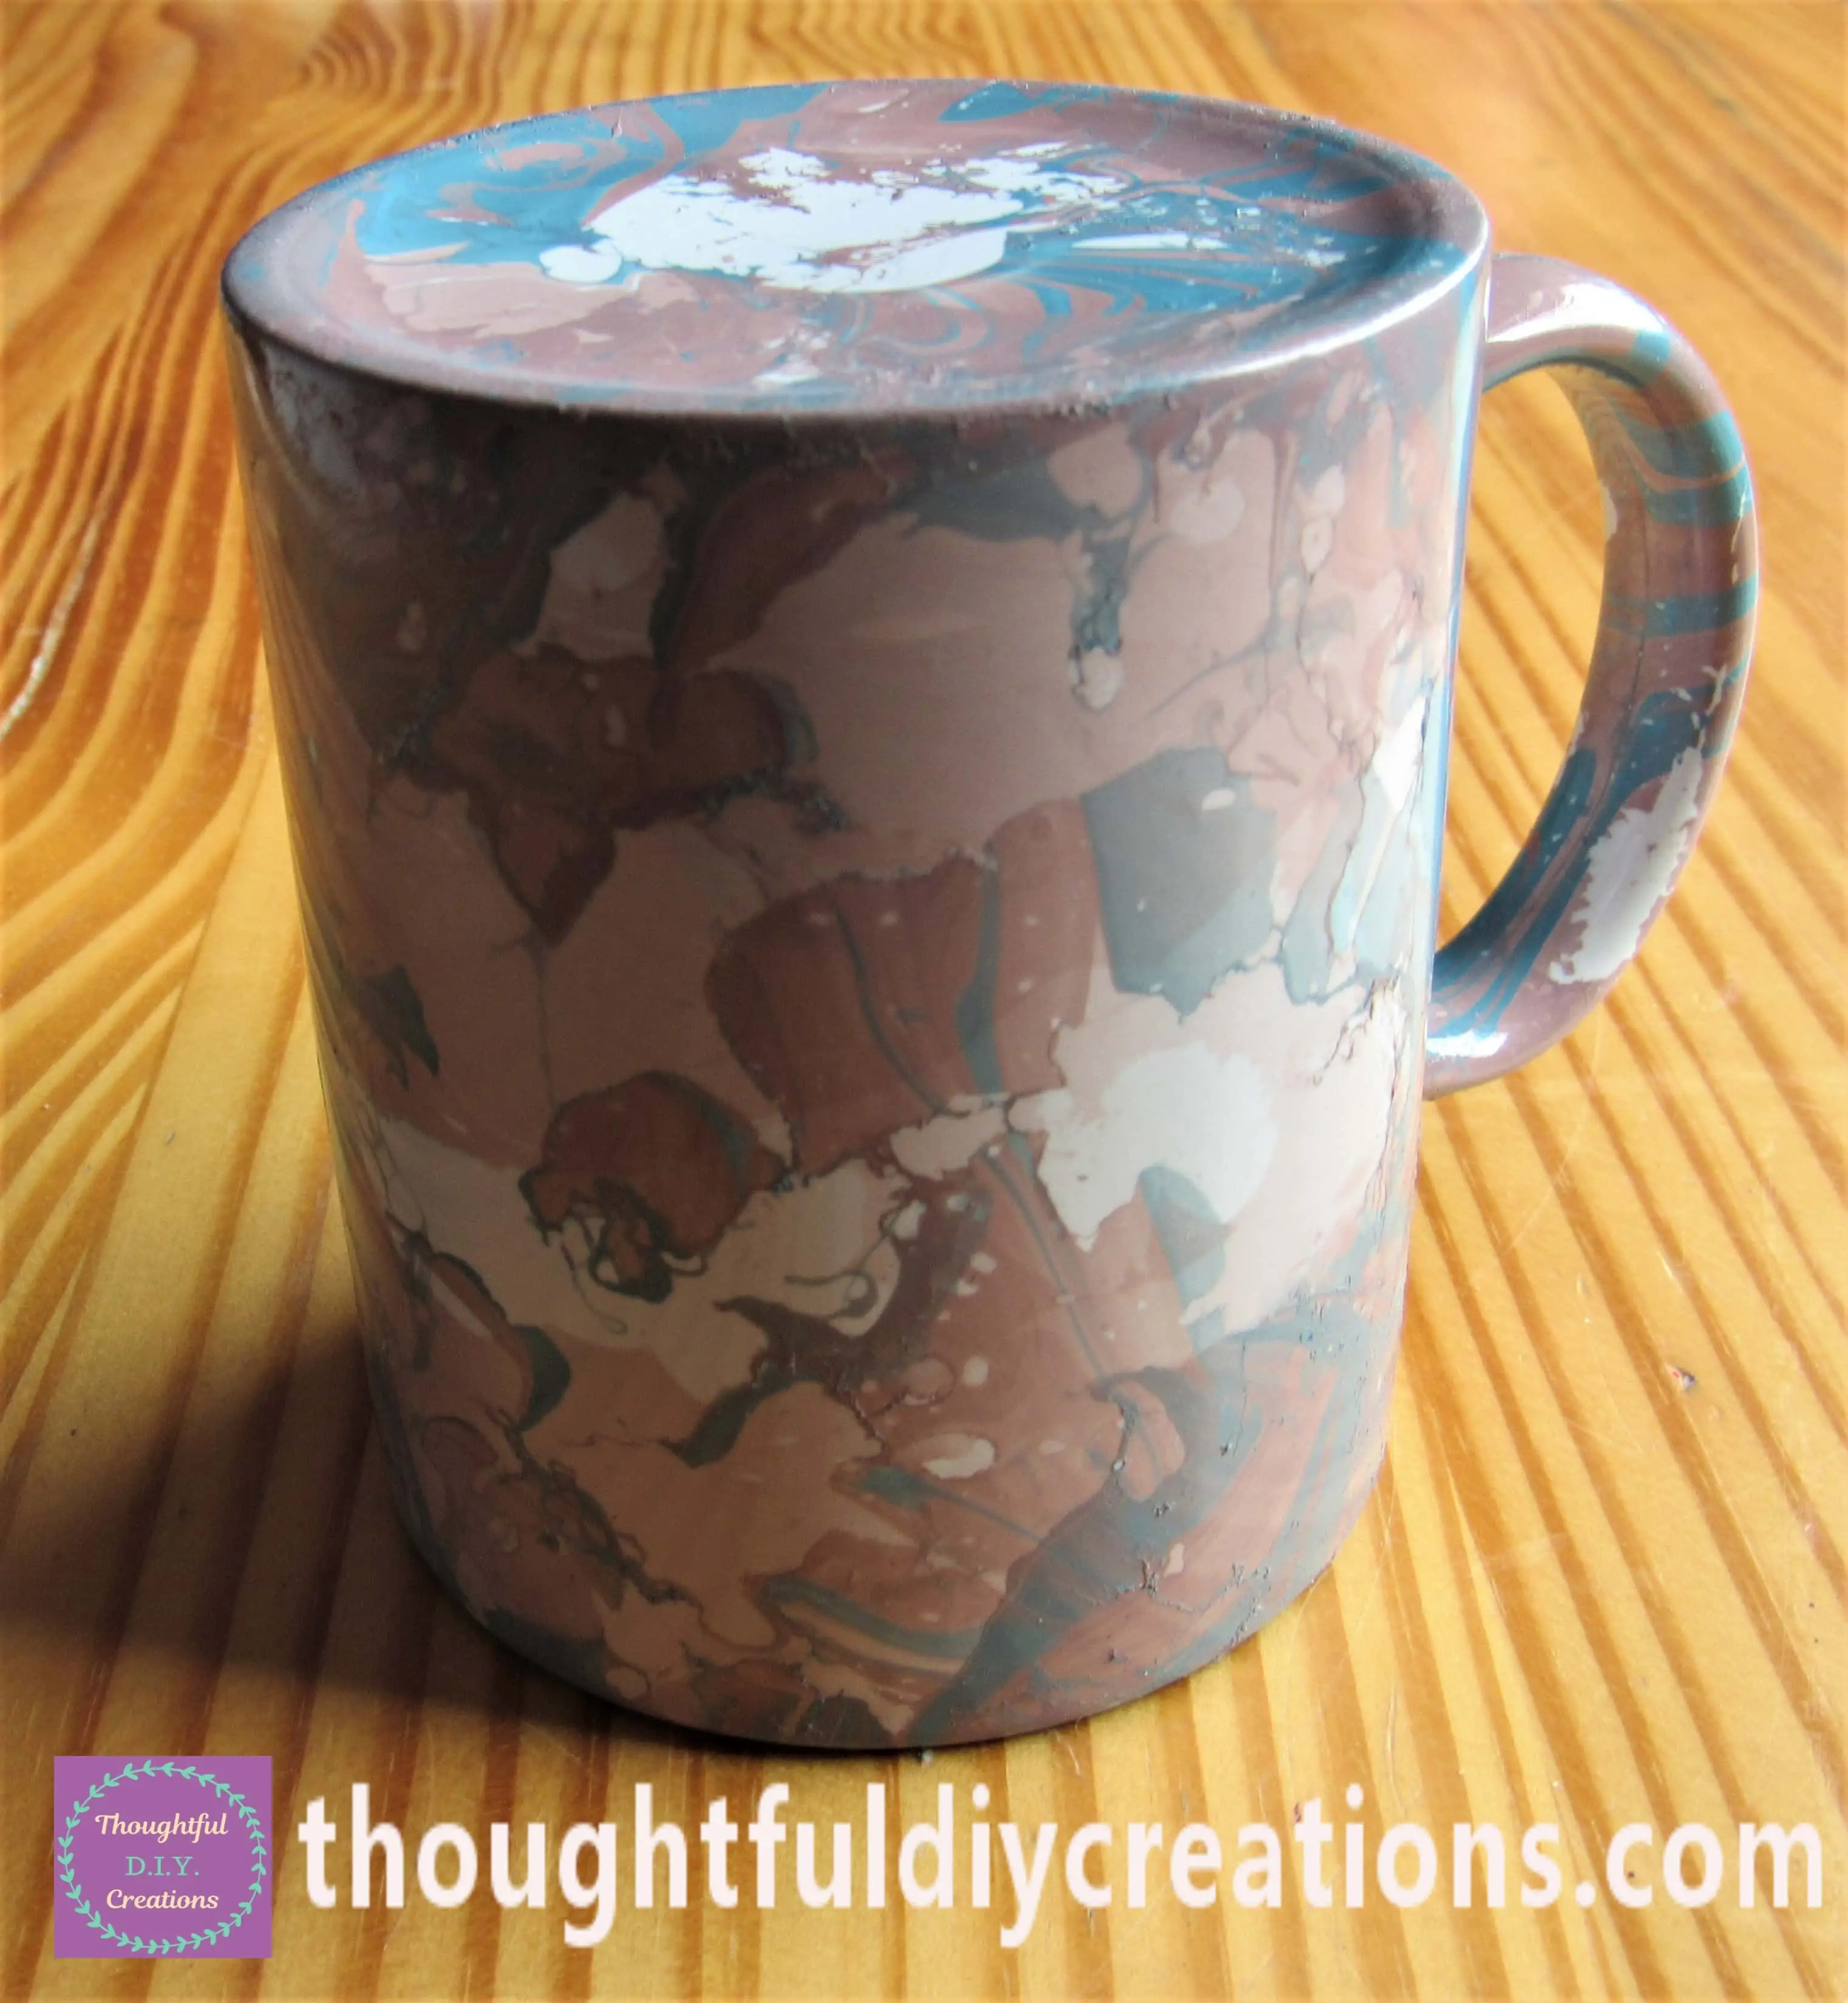
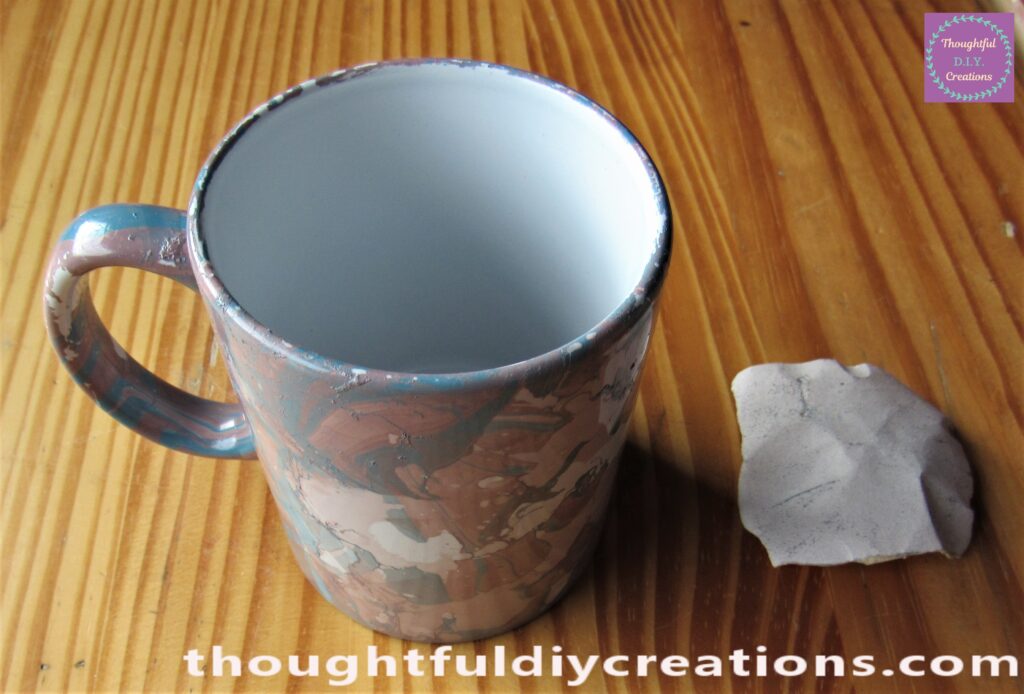
This is the Result of the Cup after all the Marbling attempts and drying time of a few Hours.
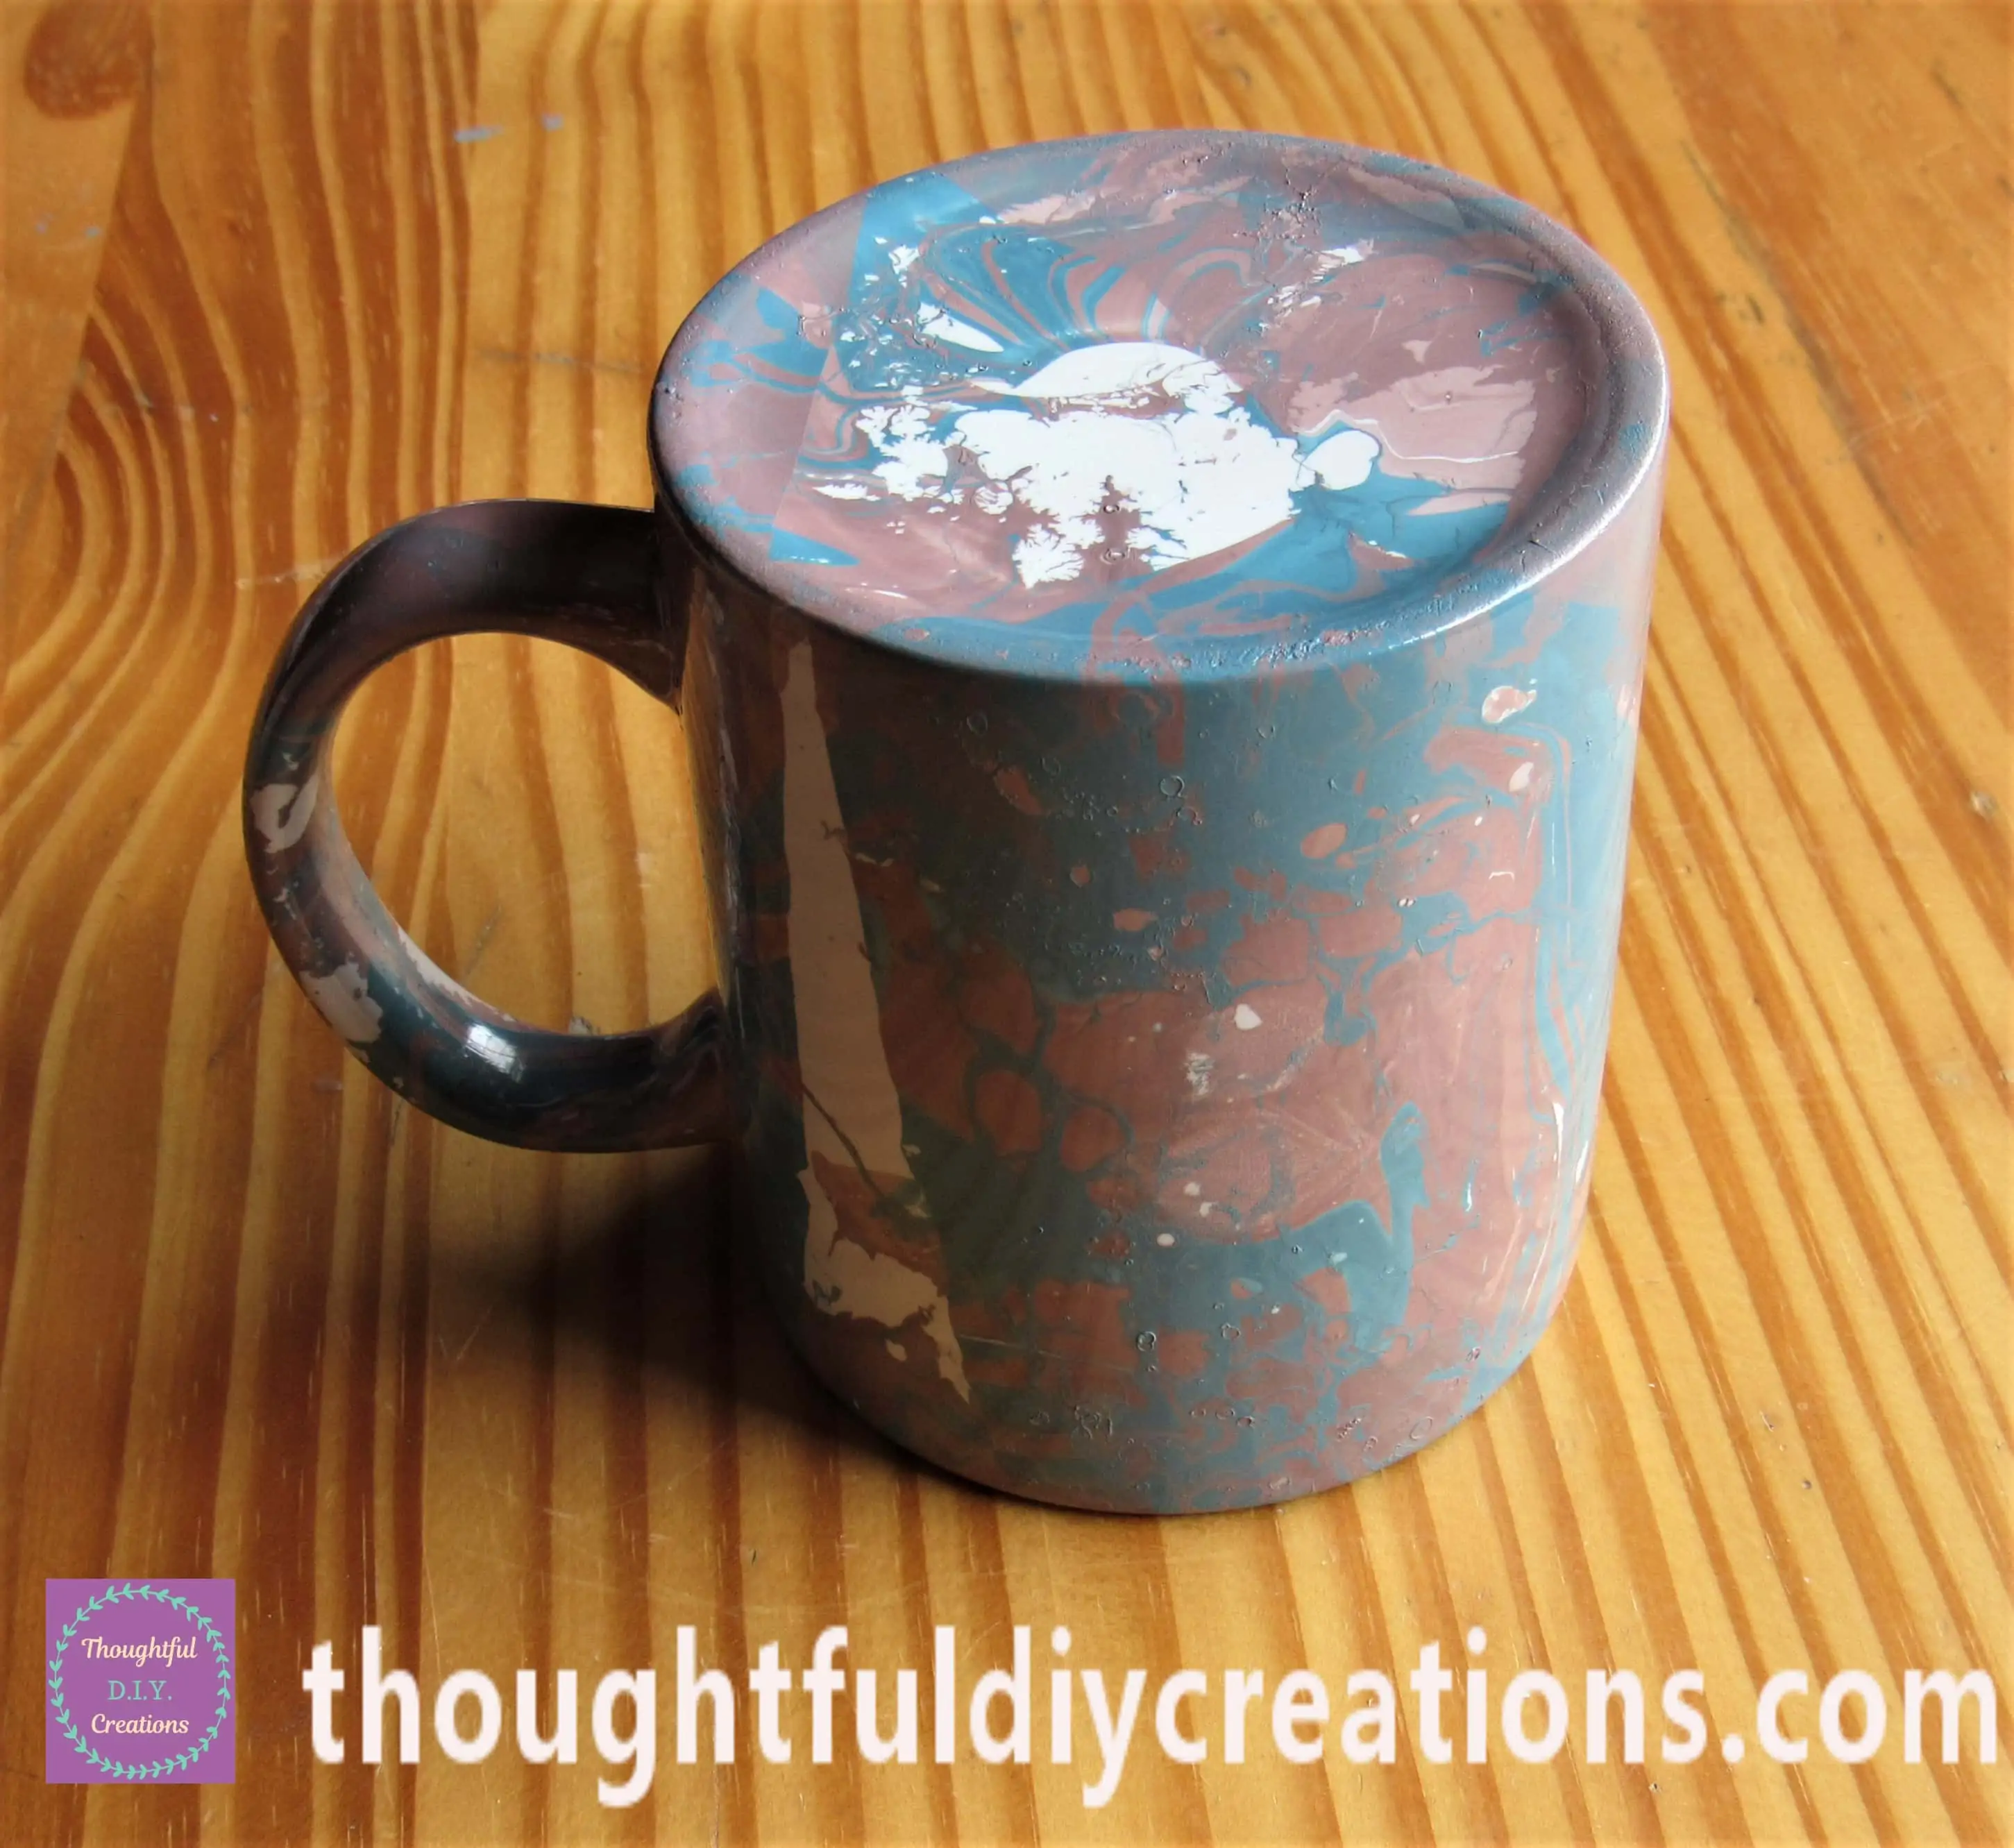
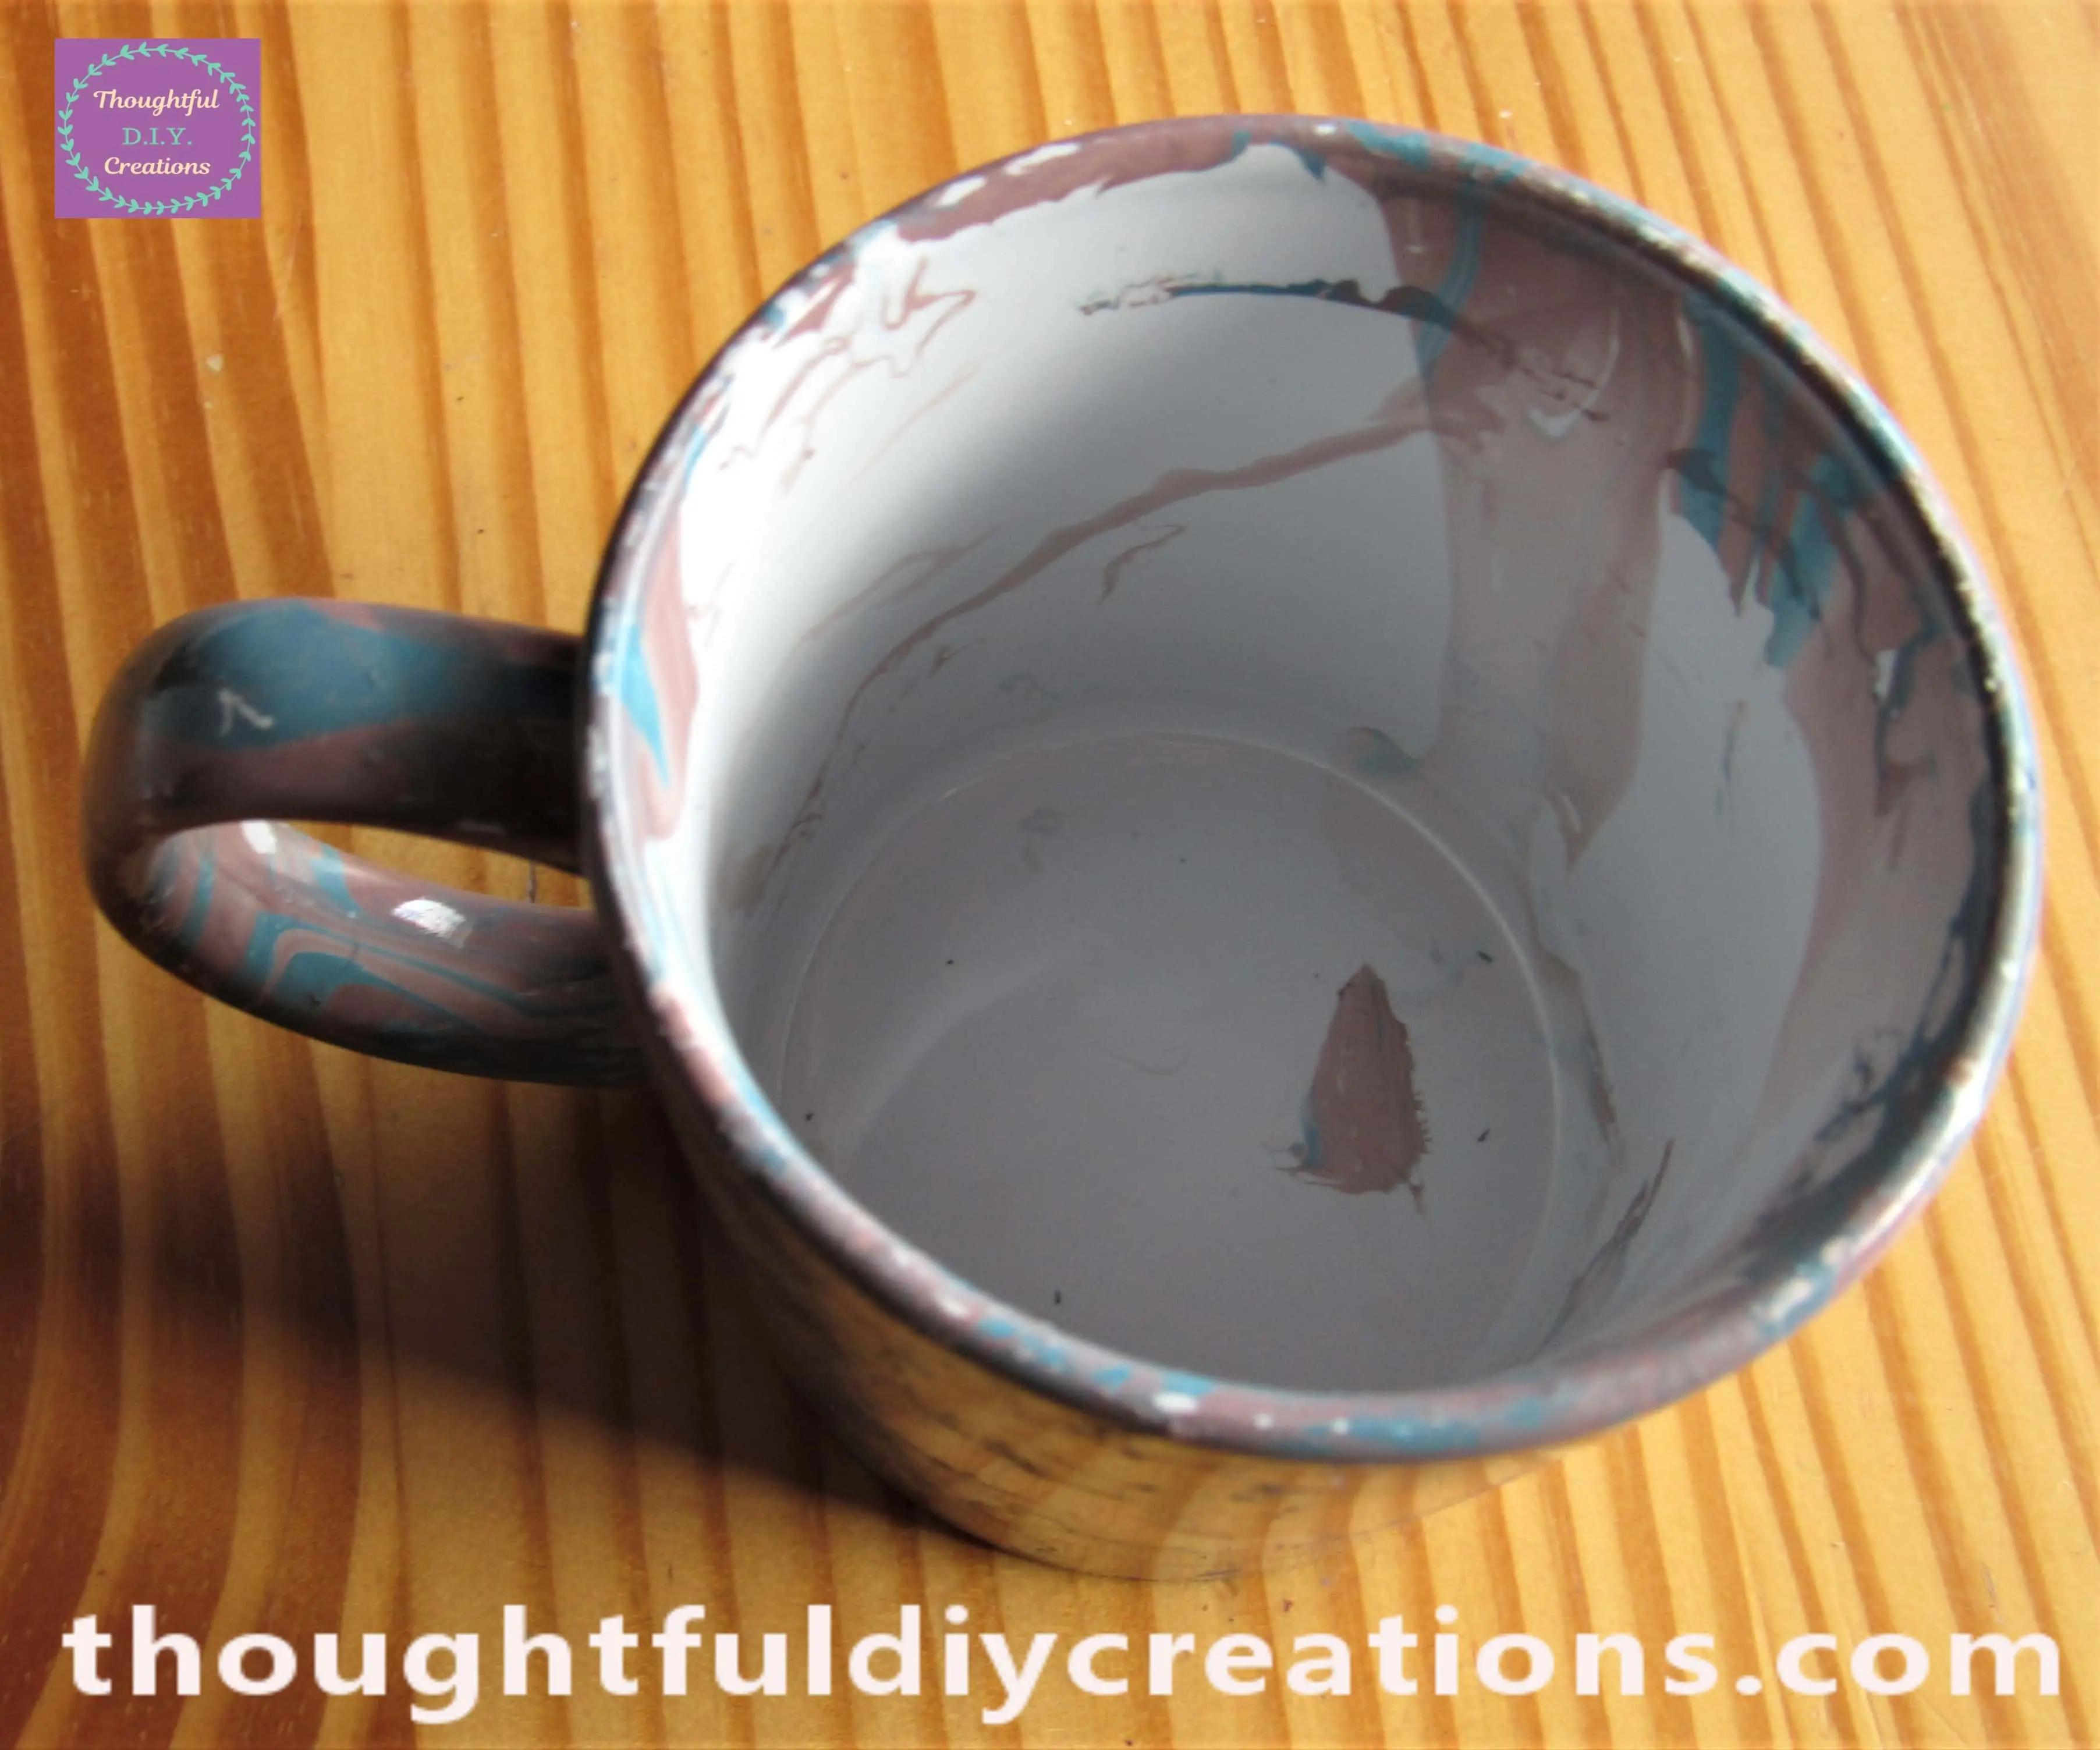
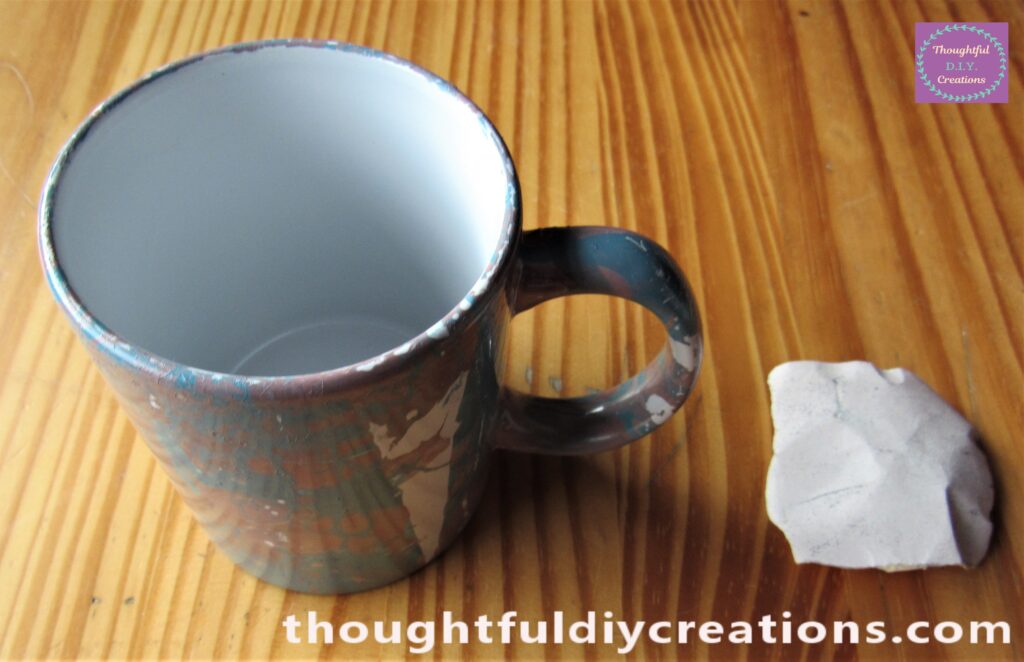
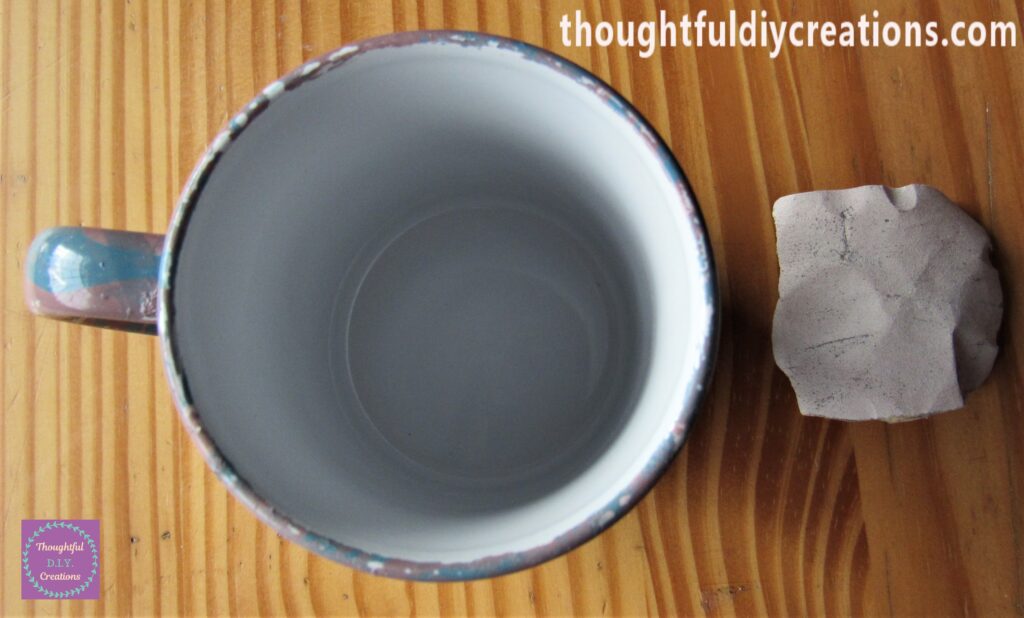
The Inside of the Cup with some Marbled Splatters.
Marbled Plate
I repeated the same Marbling Process on the Plate. This time I used the Colours ‘Lilac’ and ‘Mistletoe’.
I Dipped the Plate into fresh Colours of Water about 4 times to achieve the Marbled effect on each Side of the Plate.
As you can see from a couple of the Images of the Marbling Process on the Cup; the Plate is Included in some Images which had some Marbling added to it as well.
I thought it would be easier to describe the Process for One of the Objects instead of going between the Two as I just repeated the same Technique.
When I Dipped the Cup and put it on the Baking Sheet to Dry for a few minutes; I then Cleared the Colours from the Water and added the Colours for the Plate into the Bowl of Water.
I then Dipped the Plate into the Bowl, Cleaned out the Marbled Film from the Water, then added the fresh Colours for the Cup and Re-Dipped the Cup.
I did this back and forth between the Cup and Plate until they were both Completed. I didn’t need to Change the Water in the Bowl. I just removed every trace of Colour with the Skewer each time.
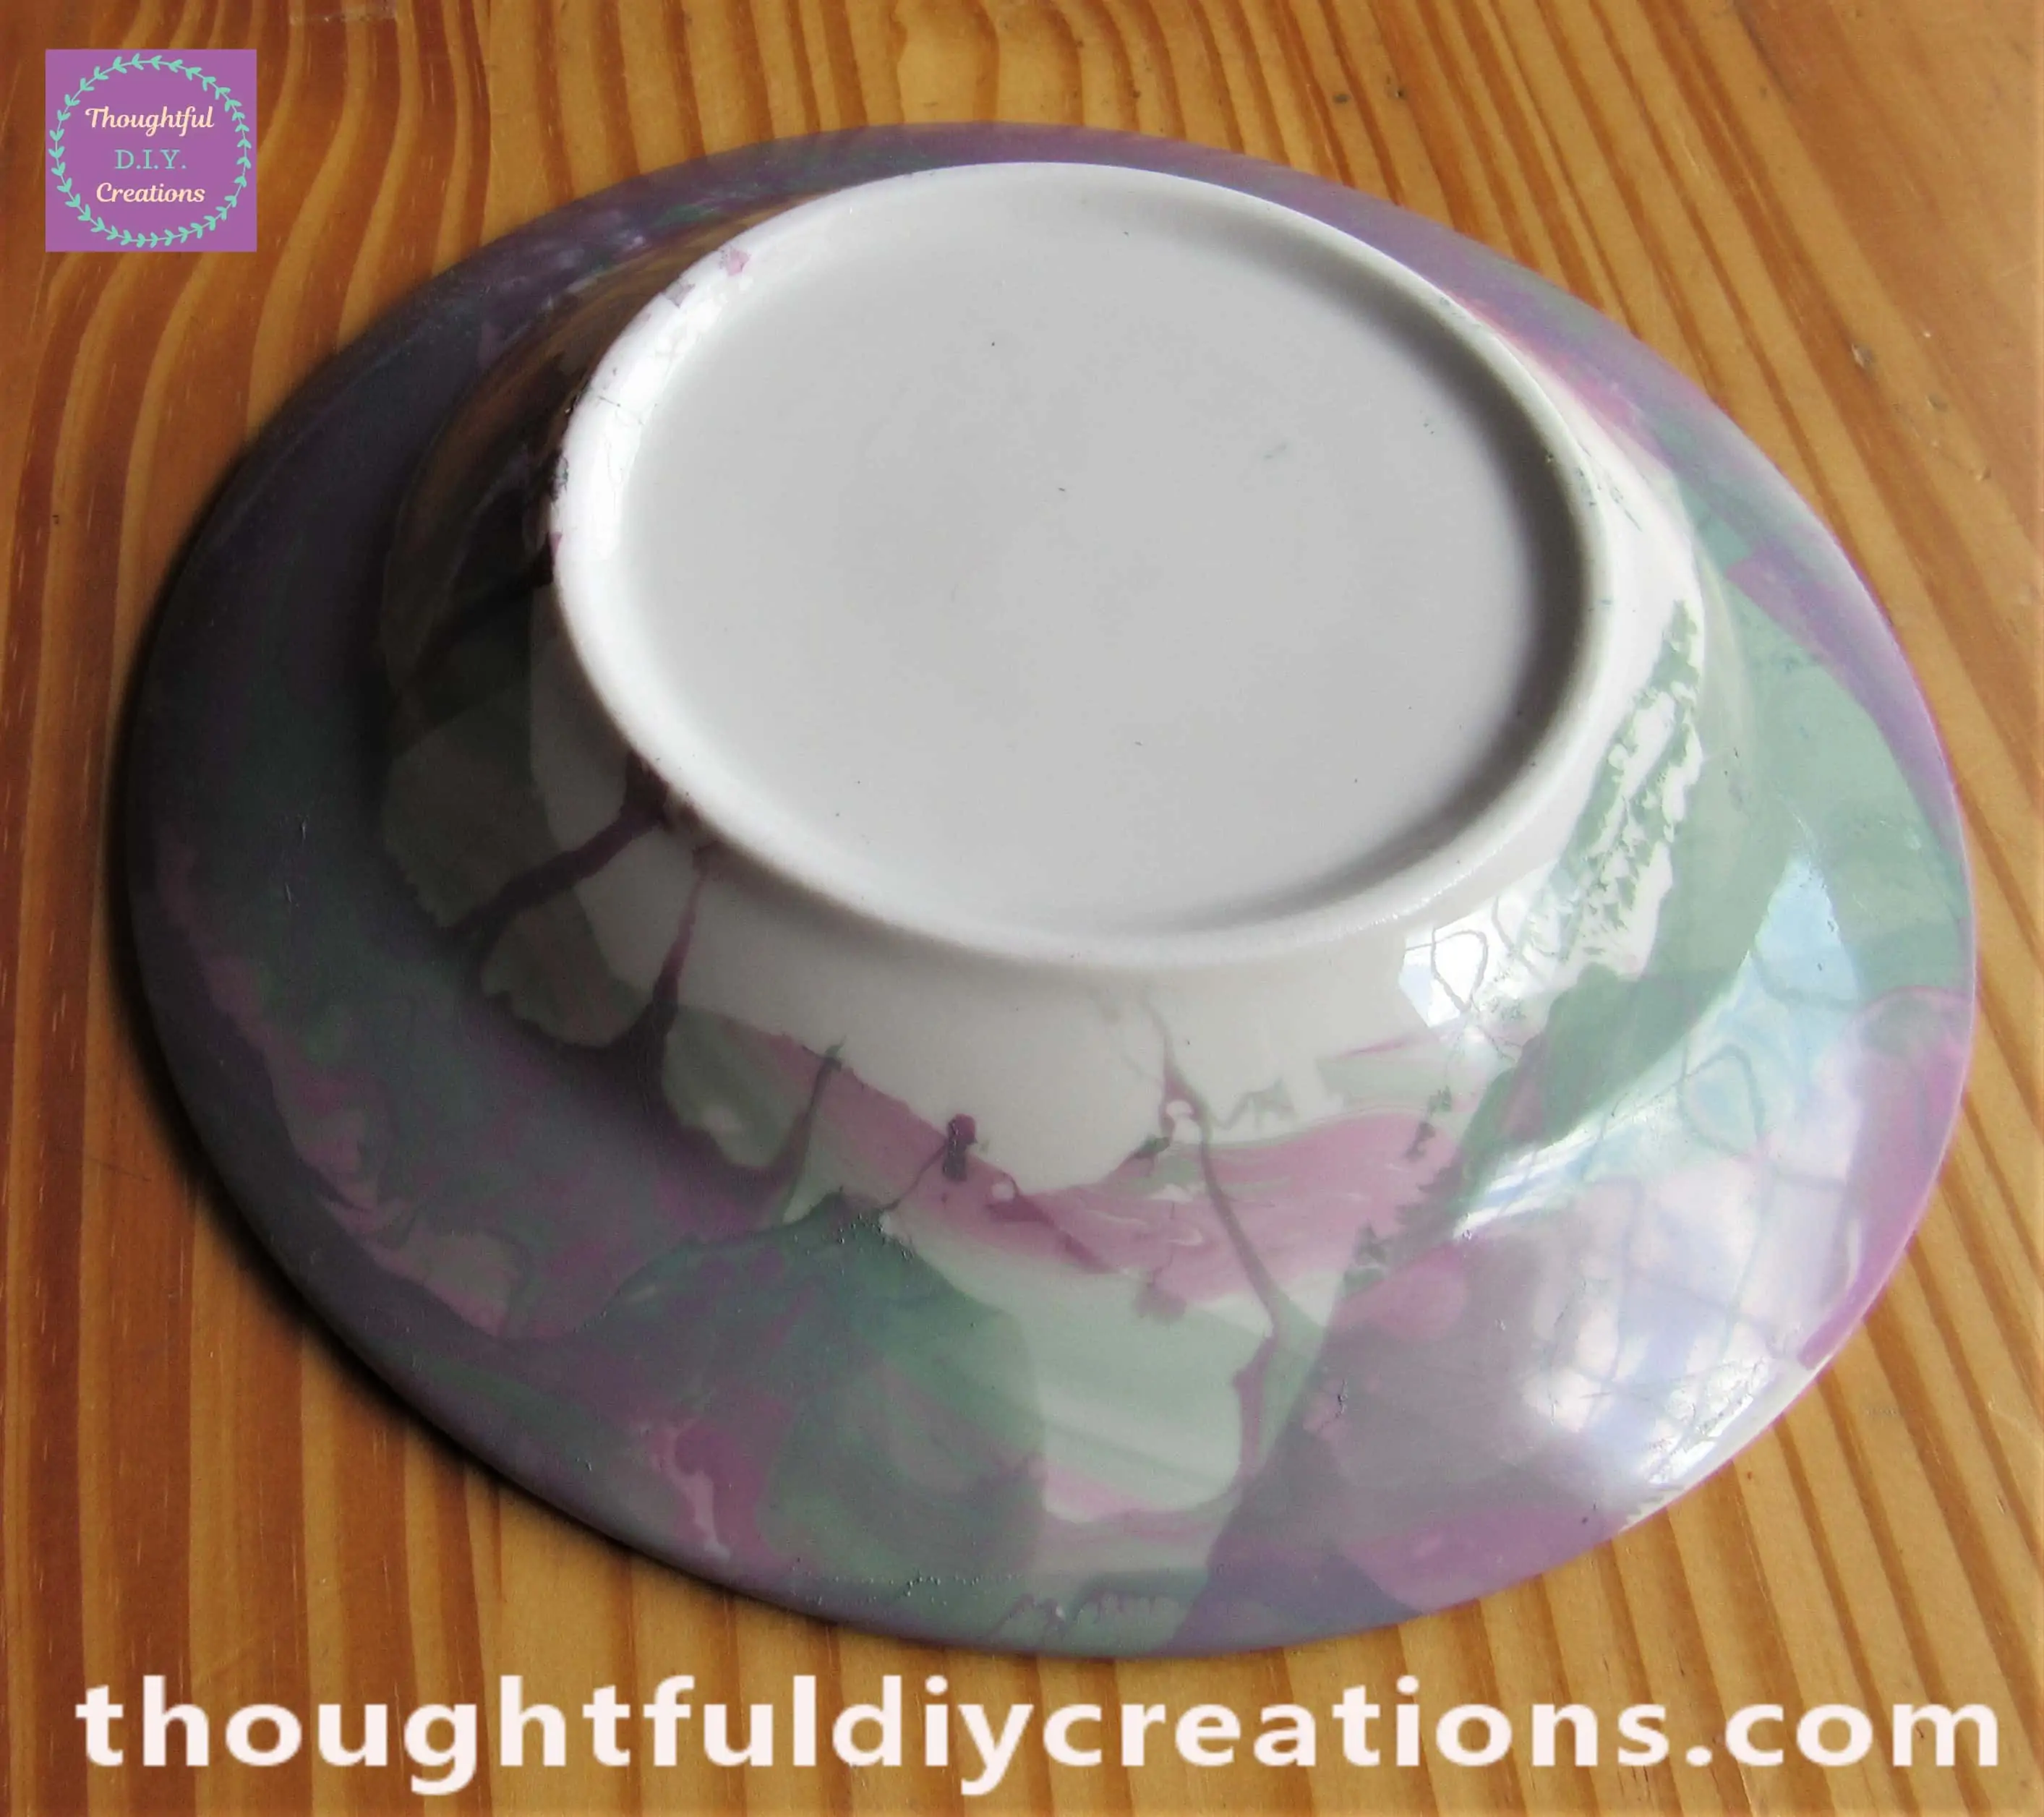
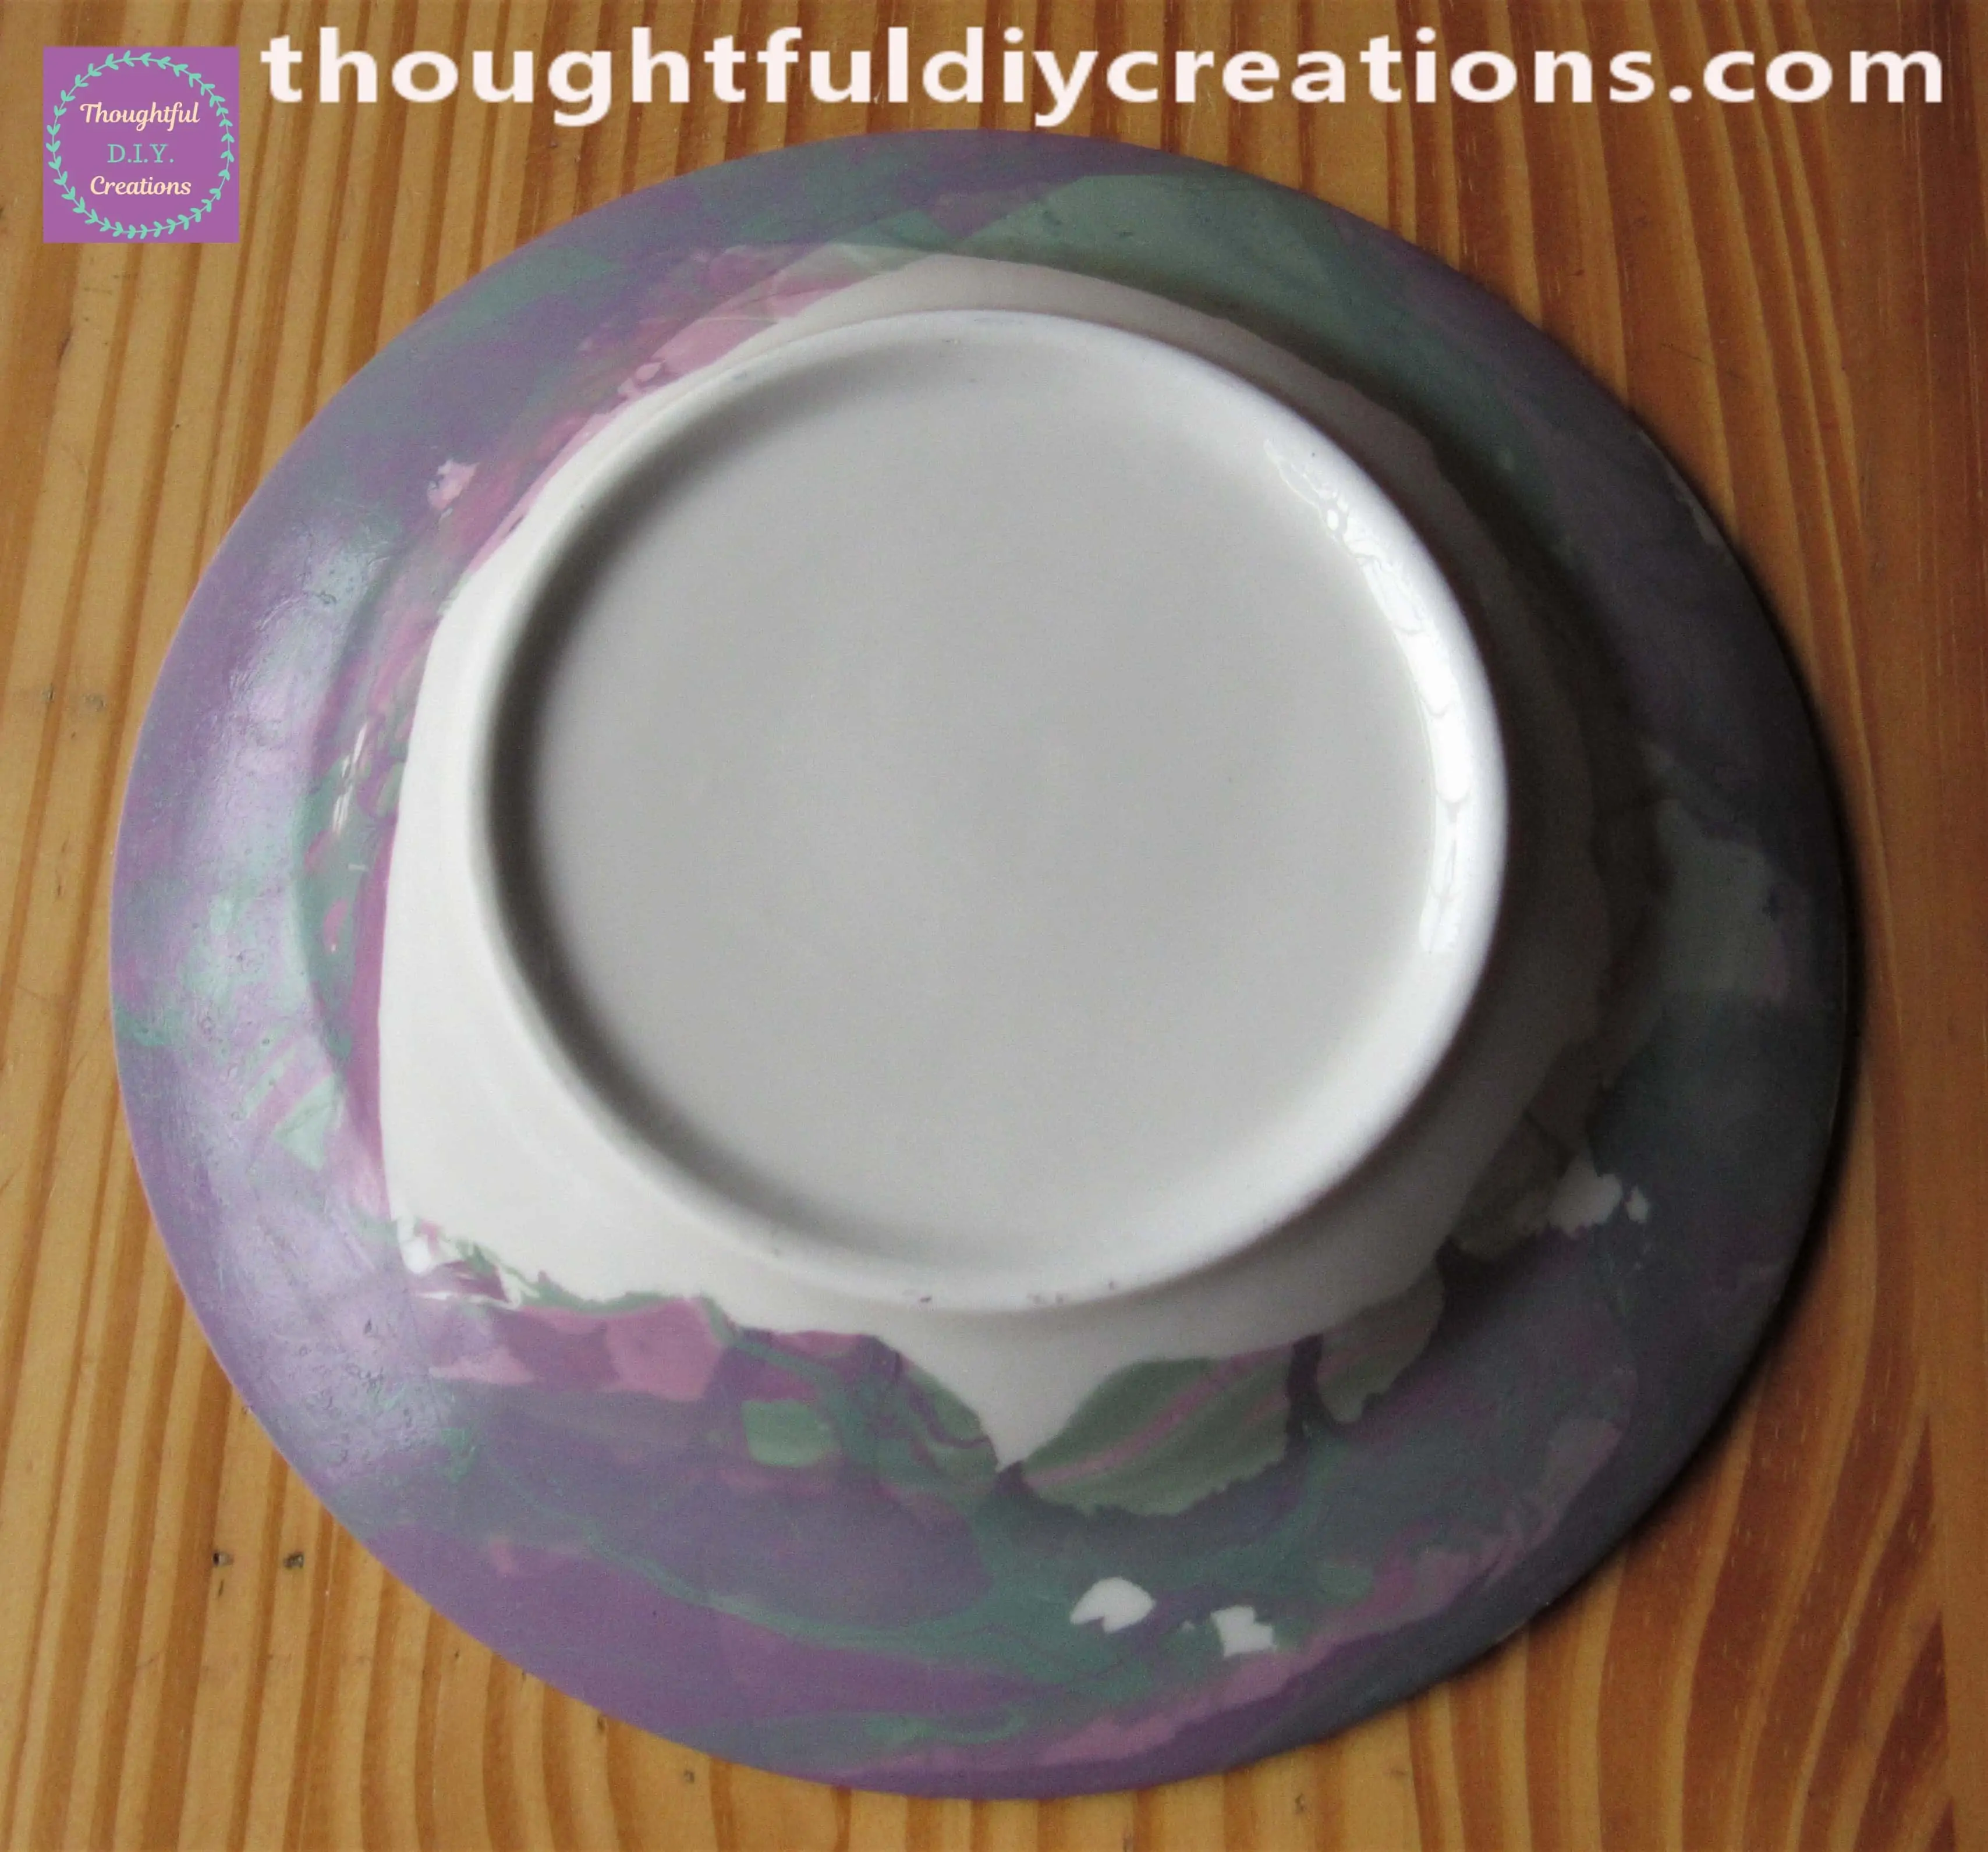
This is the Back of the Plate after being Marbled.
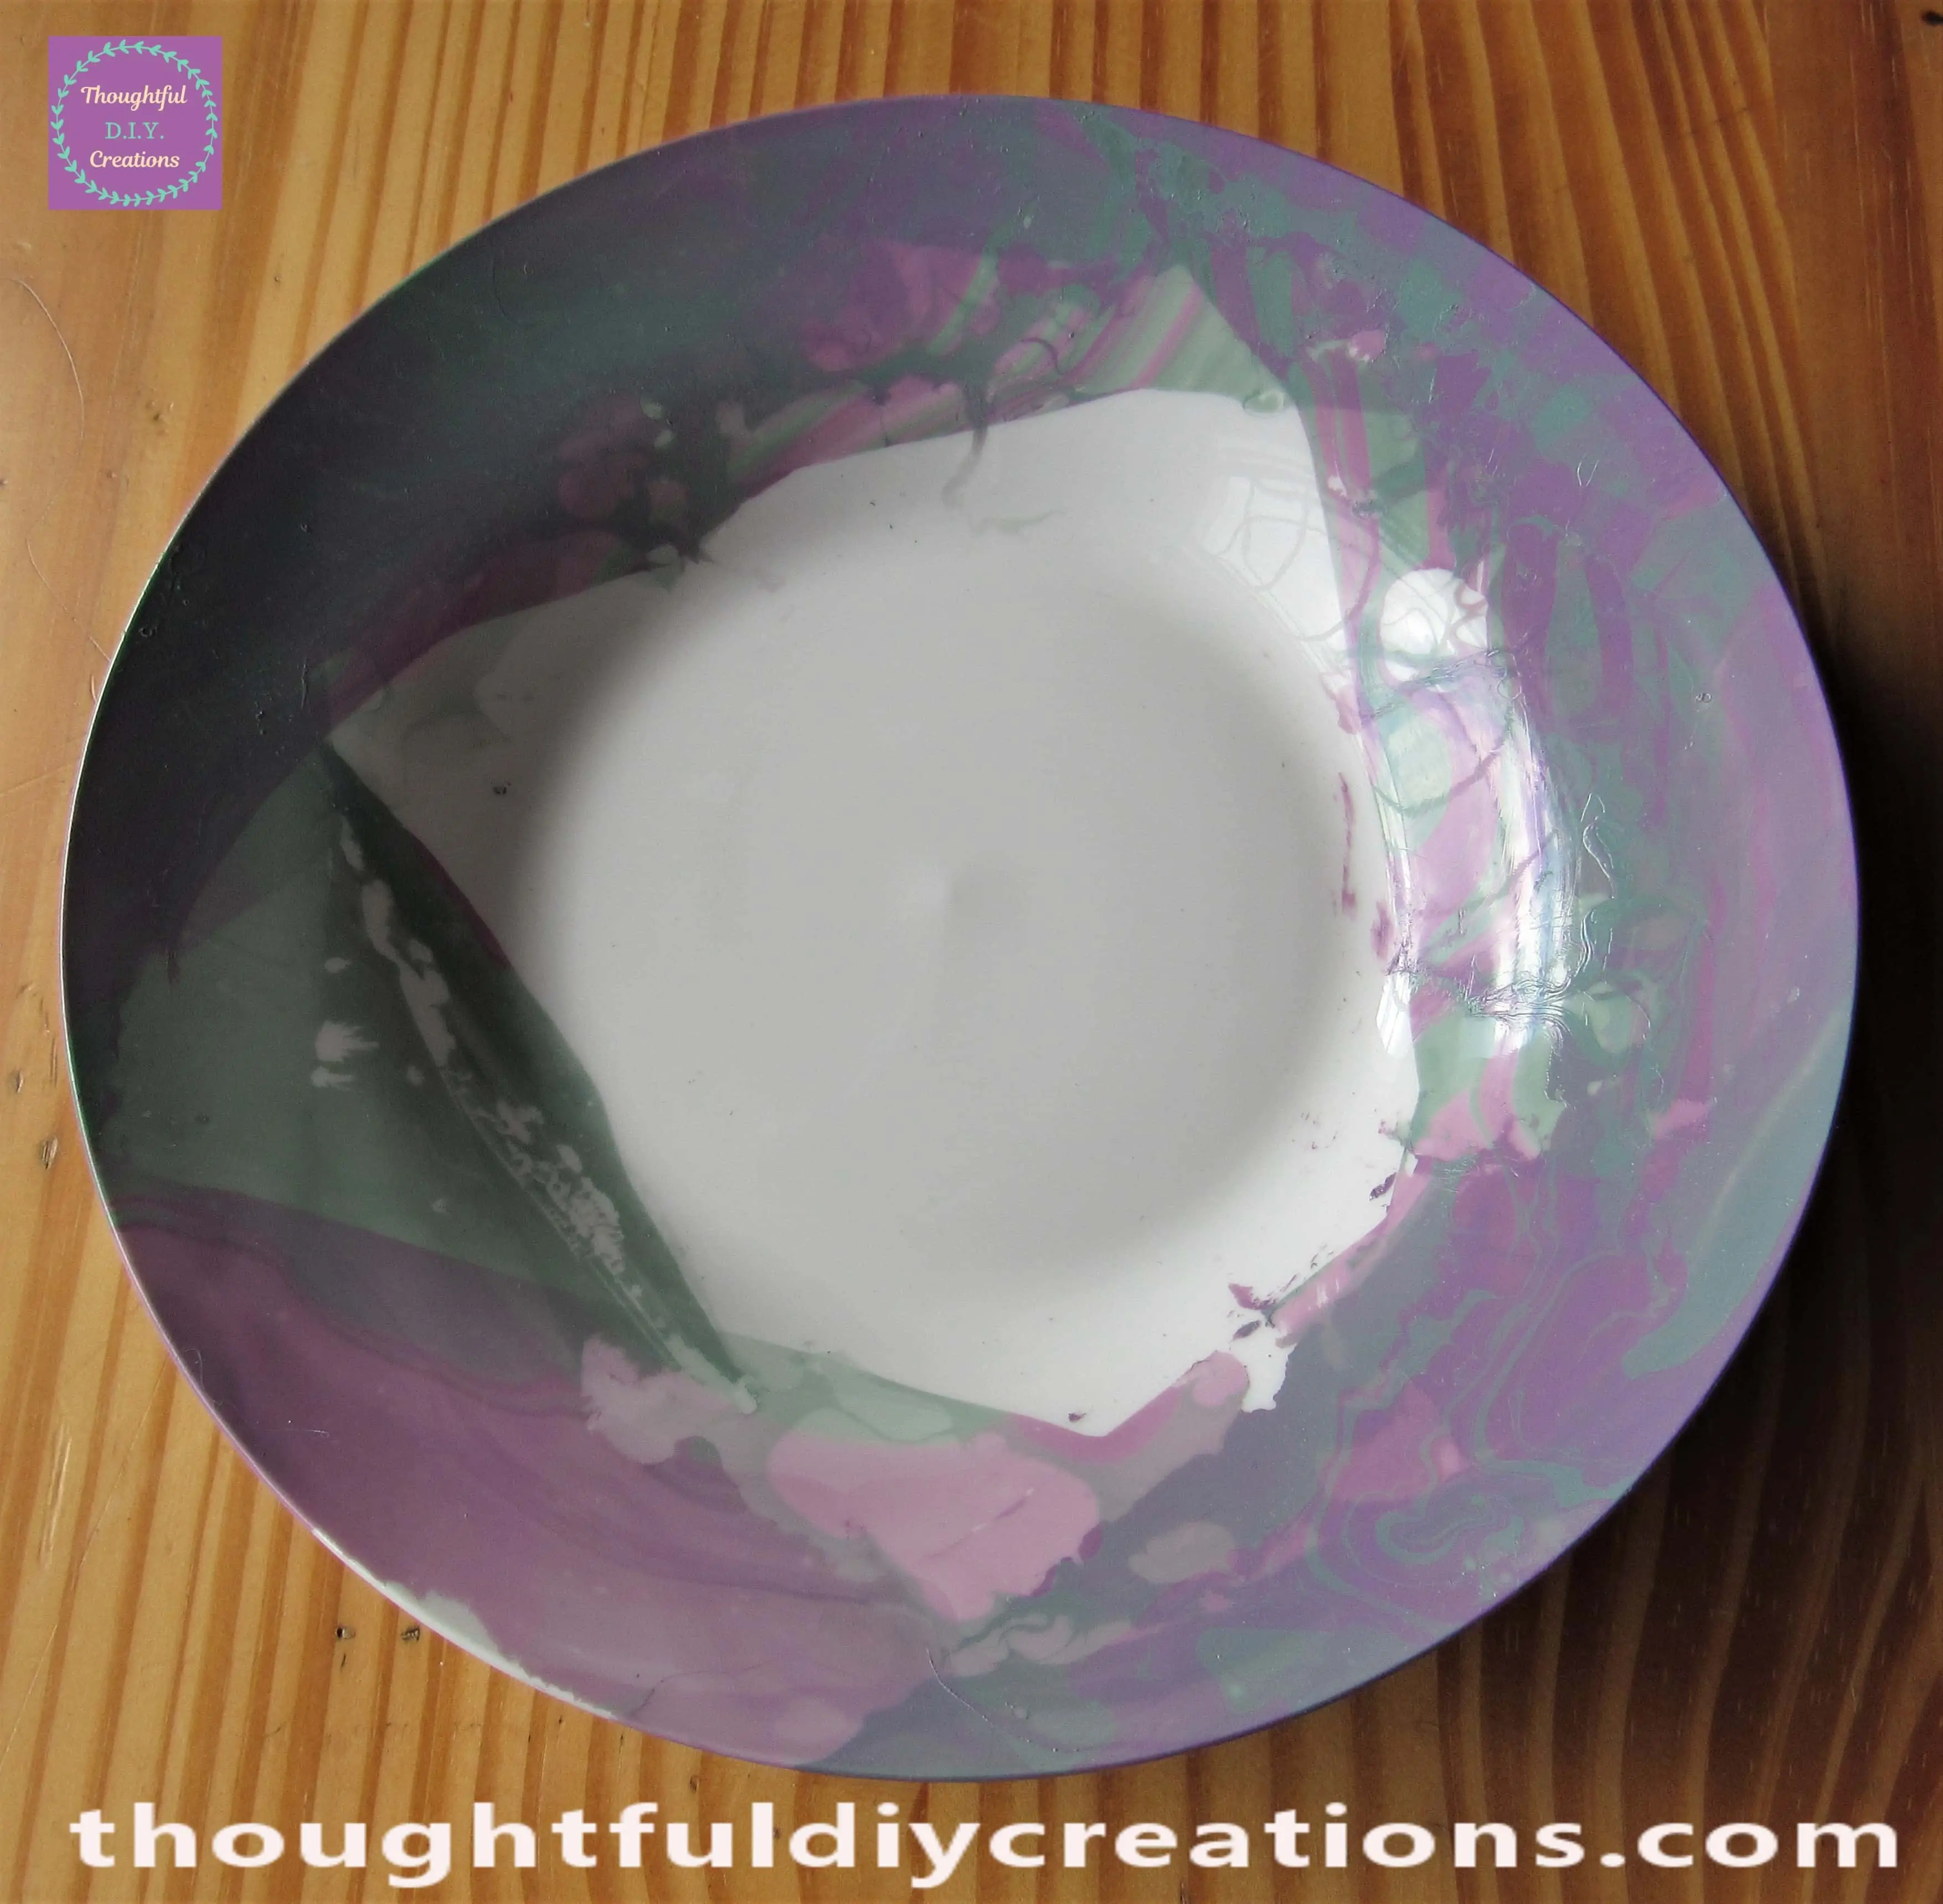
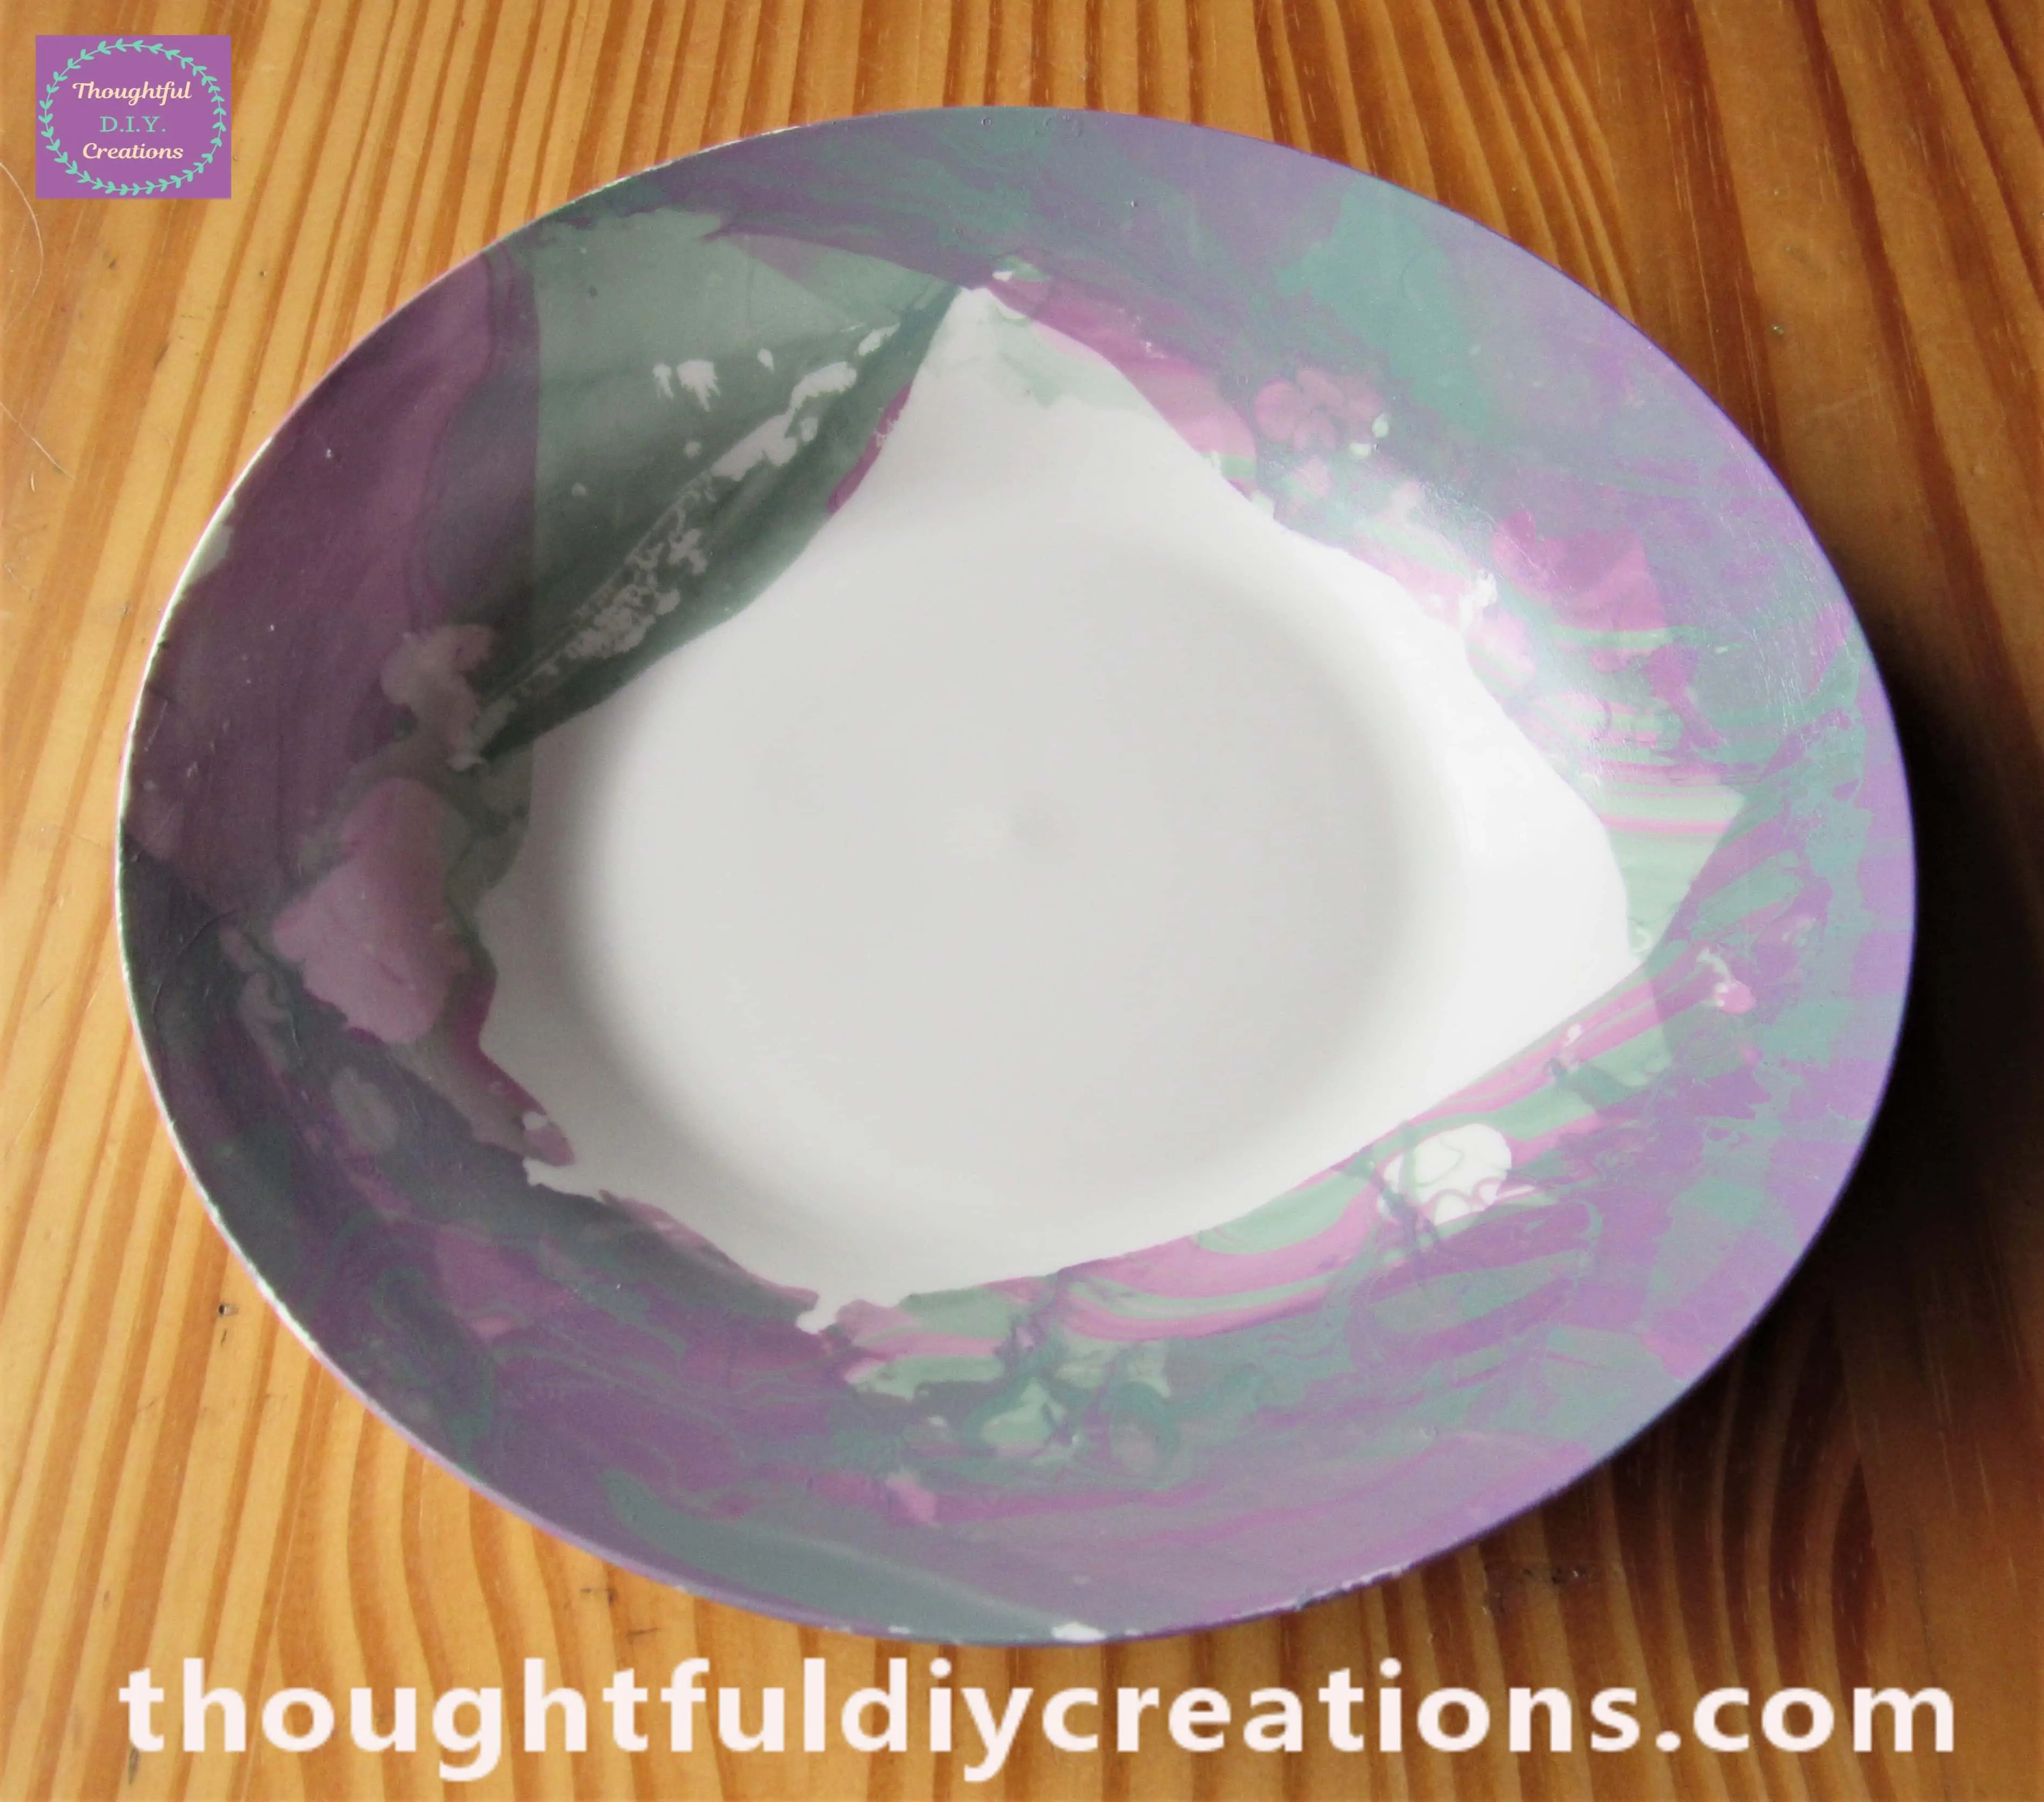
The Front of the Plate.
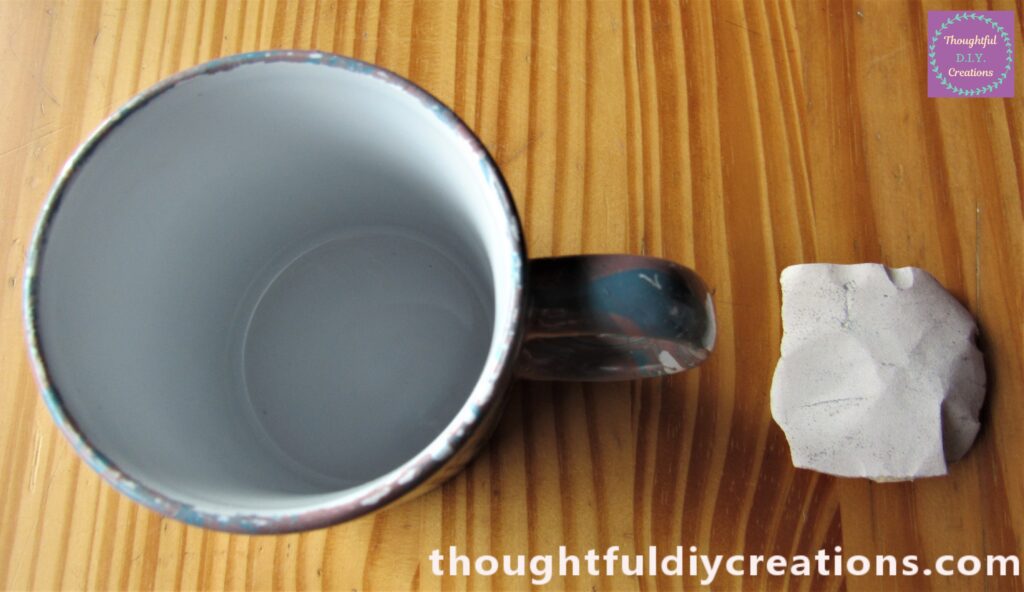
Sanding the Excess Marbling from the Cup
I tore a piece of Fine Sandpaper and Sanded off the Marbled Splatters from the Inside of the Cup about 4 Hours after it was Marbled.
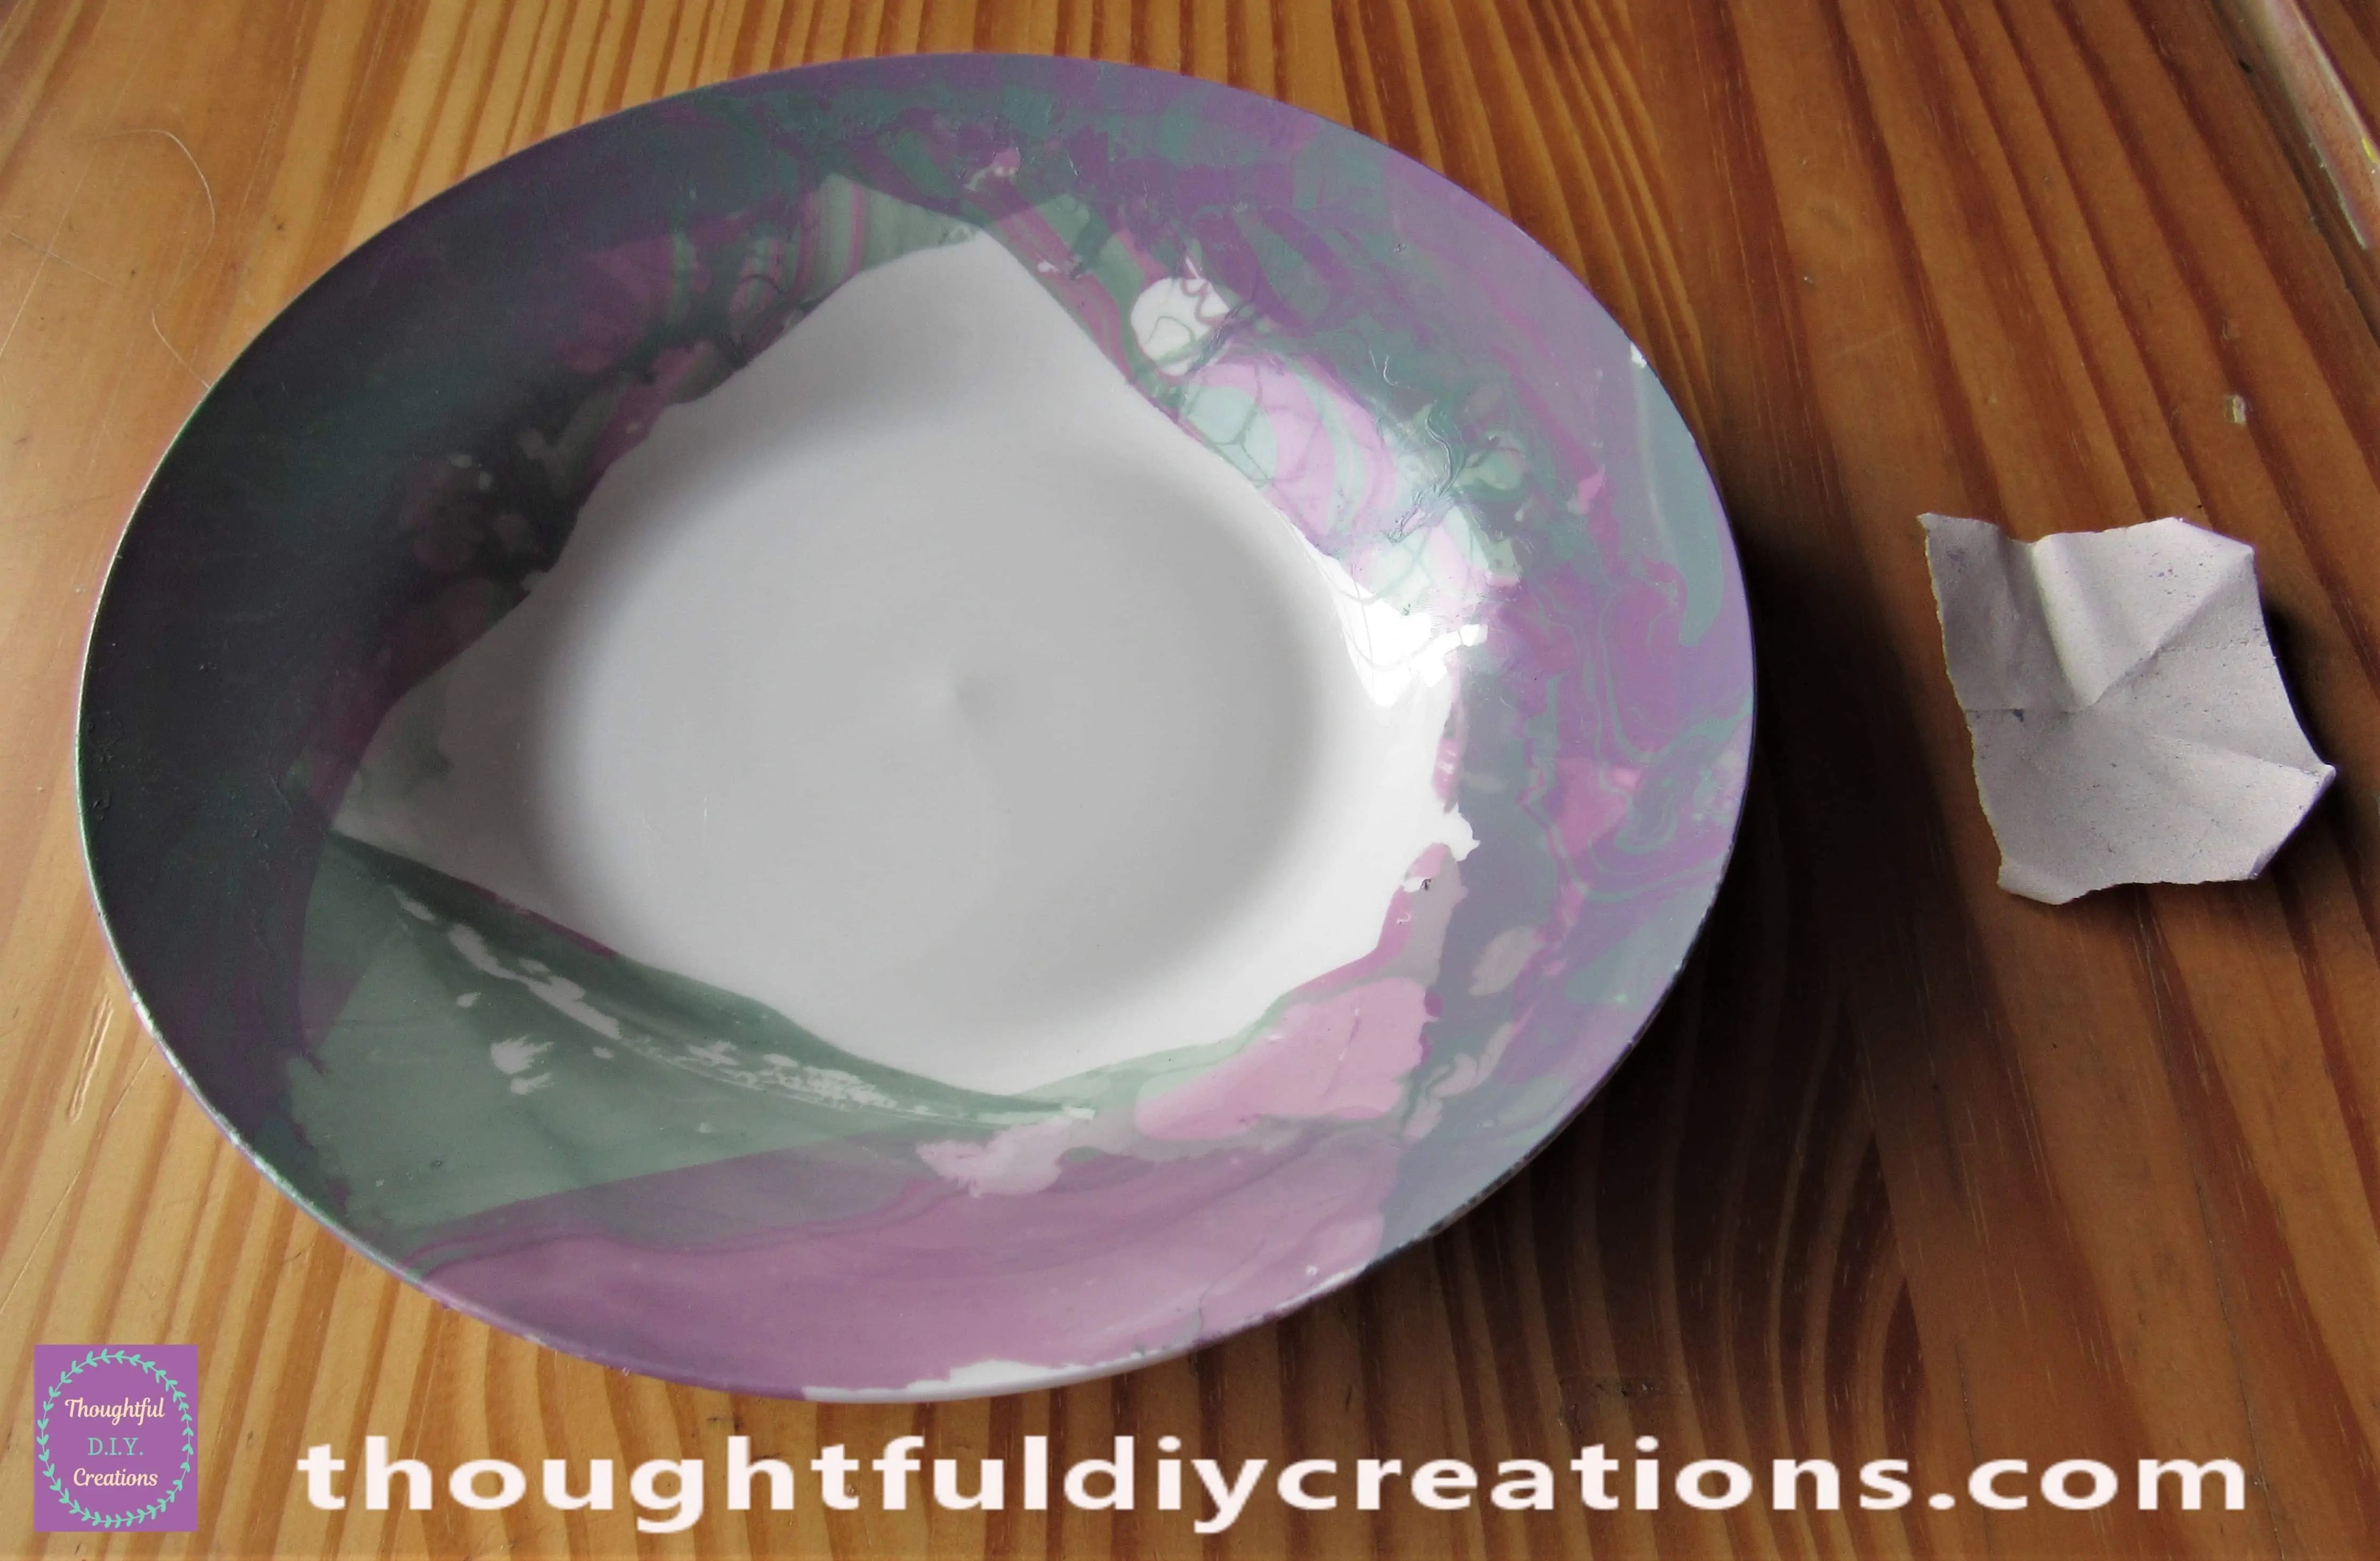
Sanding the Plate
Another piece of Sandpaper was used to Sand away any Splatters in the Center of the Plate.
Sealing the Marbled Cup & Plate
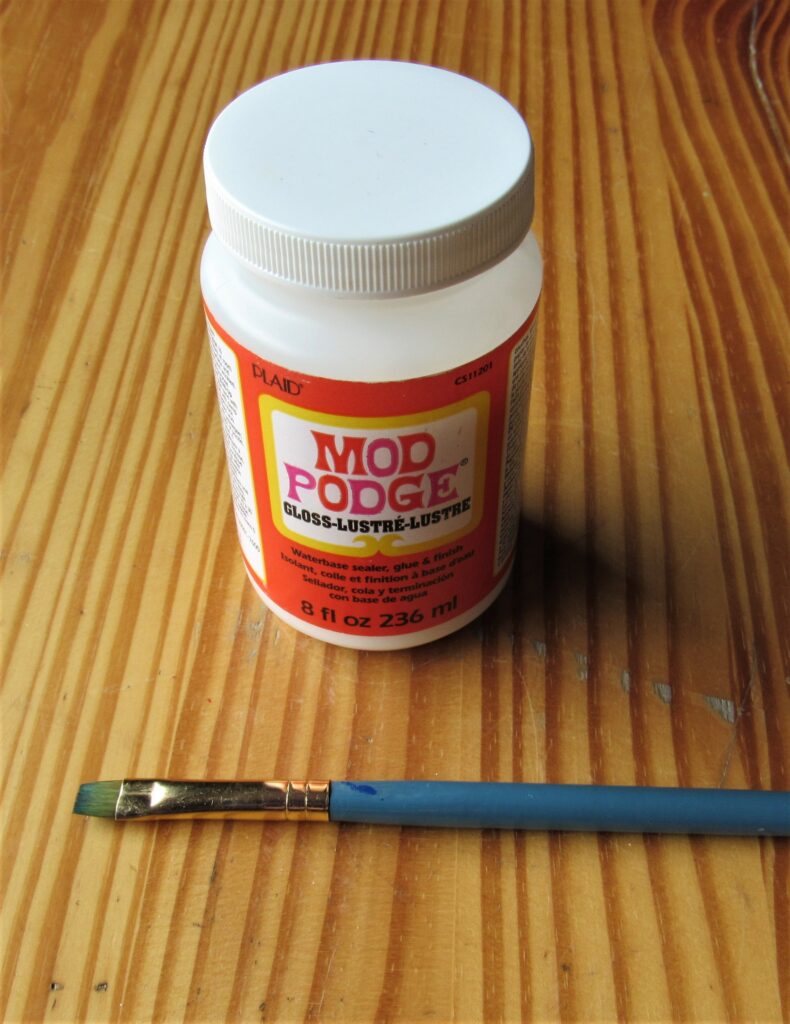
The next Day I got my ‘Mod Podge Gloss’ and a small flat Paintbrush.
I added One layer of the Mod Podge to the back of the Plate.
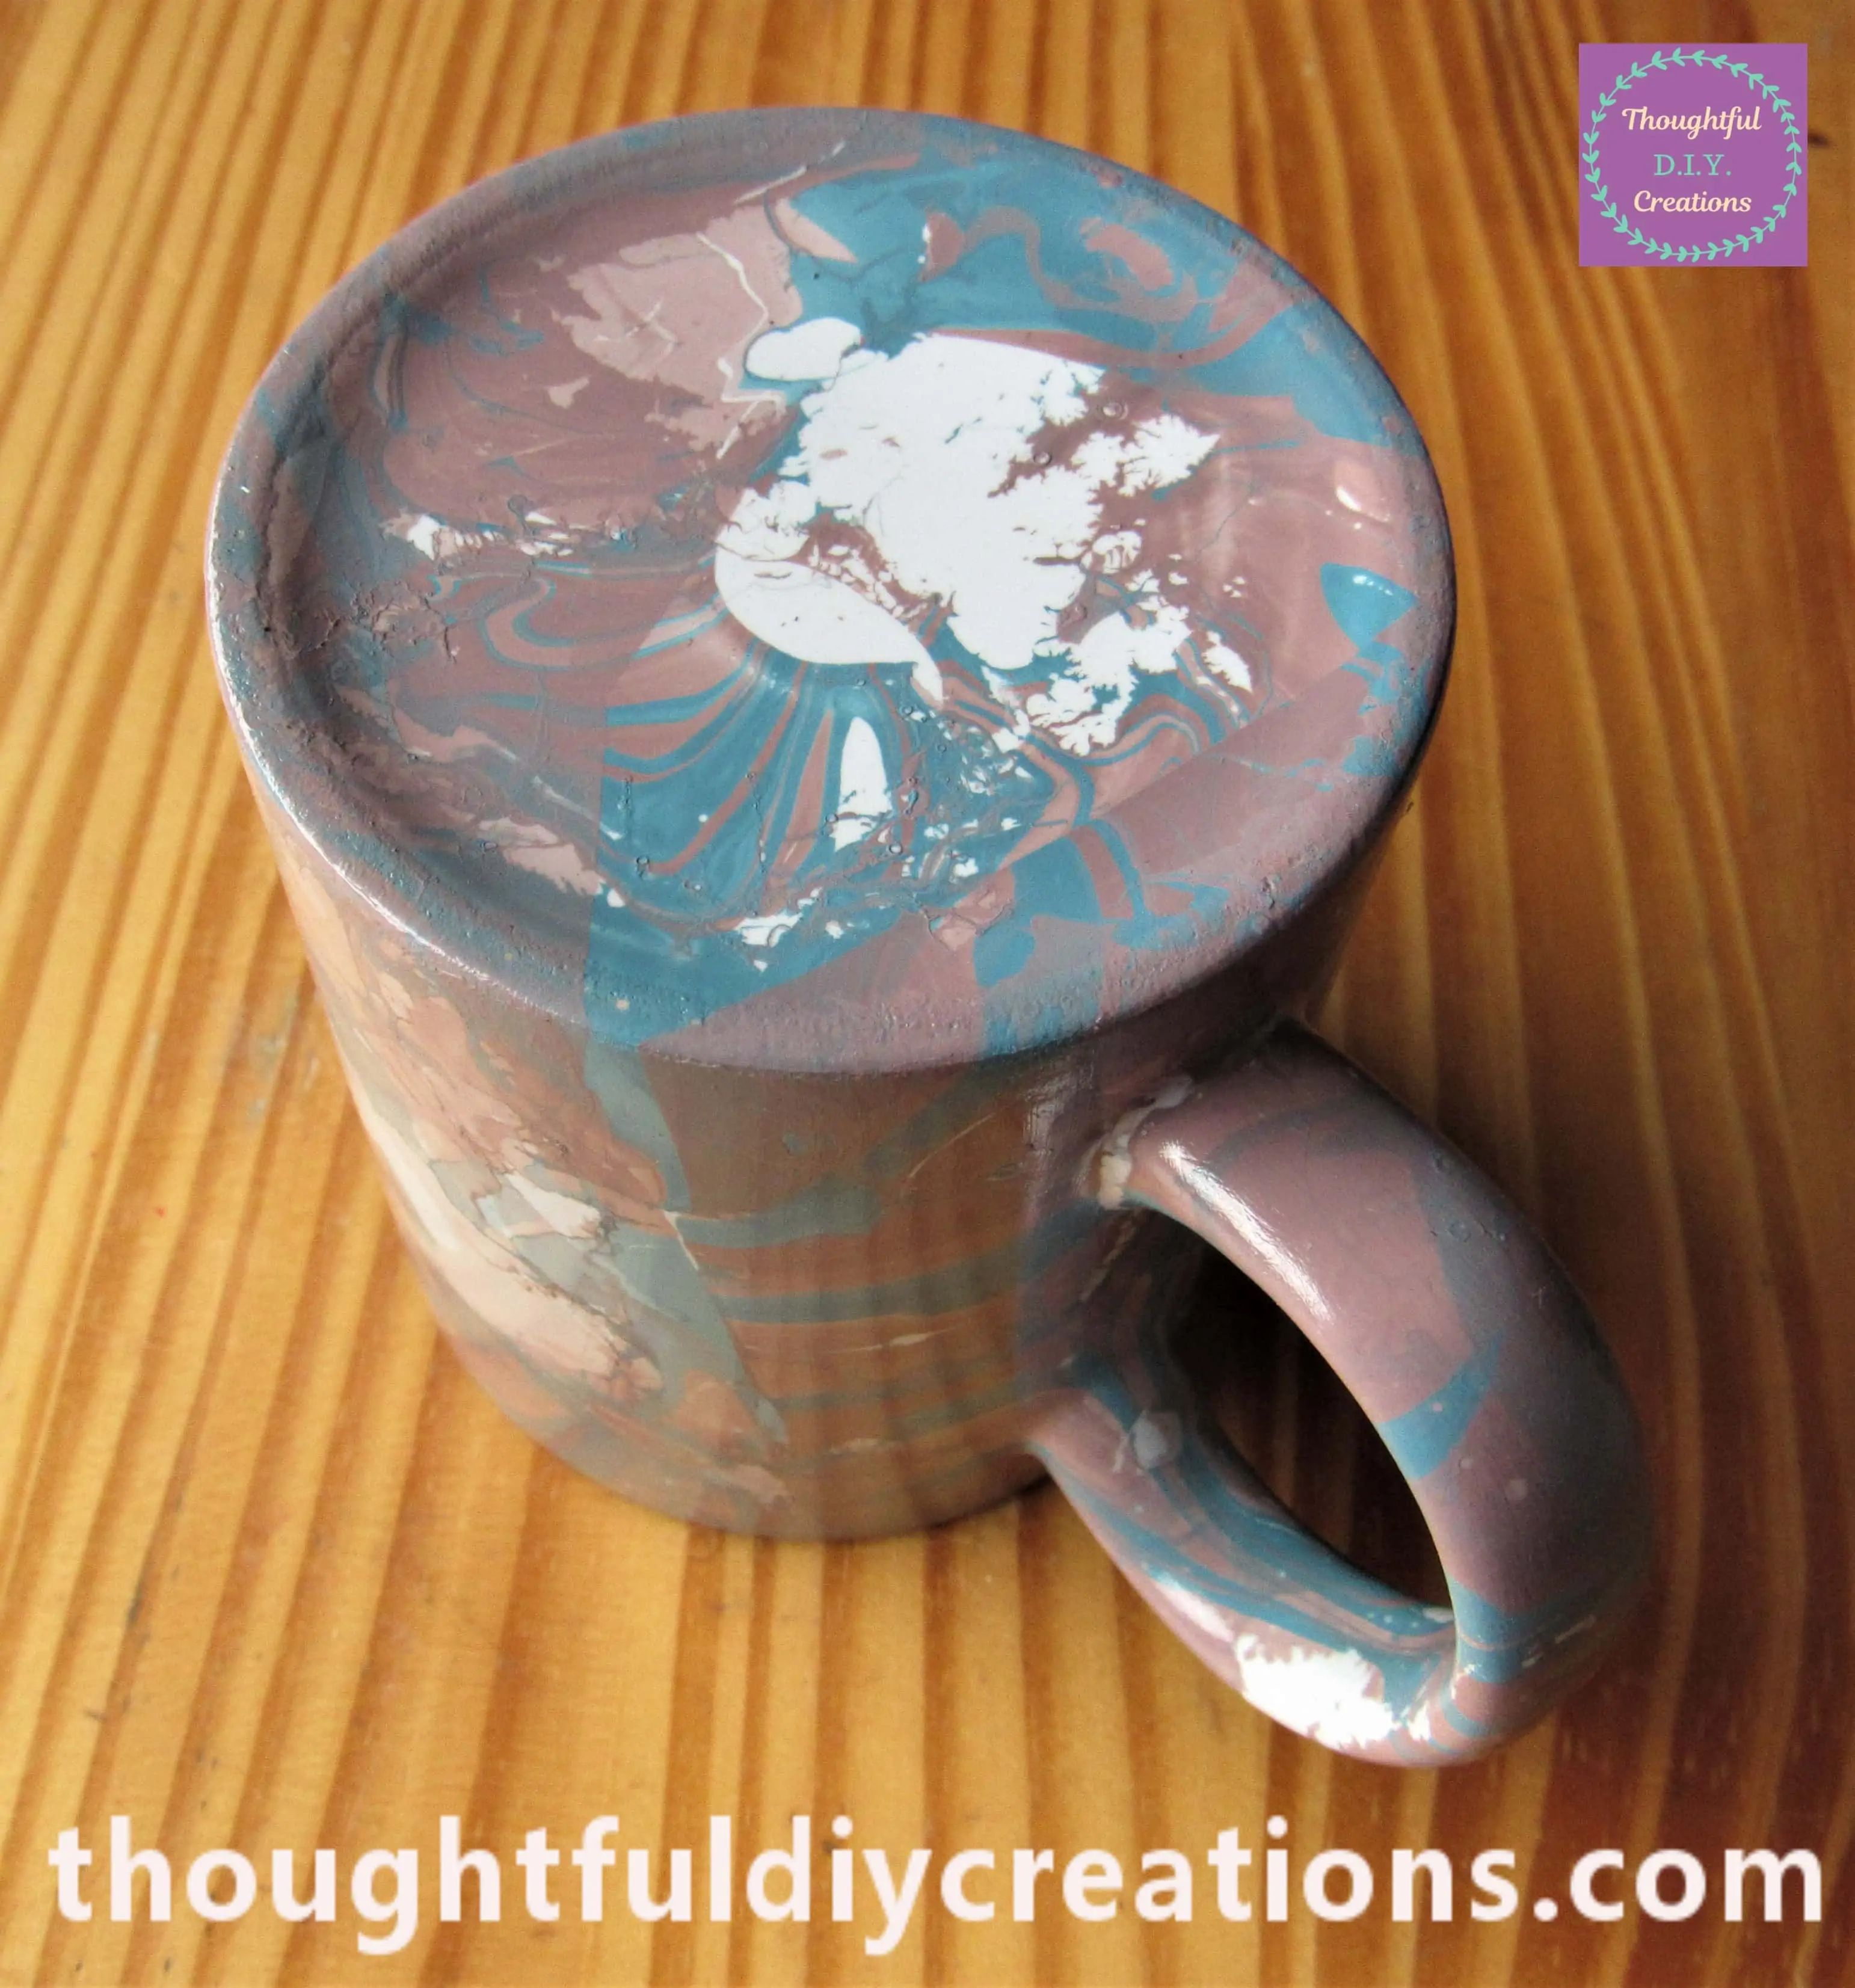
I also added a layer to the Bottom of the Cup and the Handle.
About 4 Hours later I added a layer of Mod Podge to the Front of the Plate using a bigger Paintbrush.
I also added a layer to the rest of the Cup.
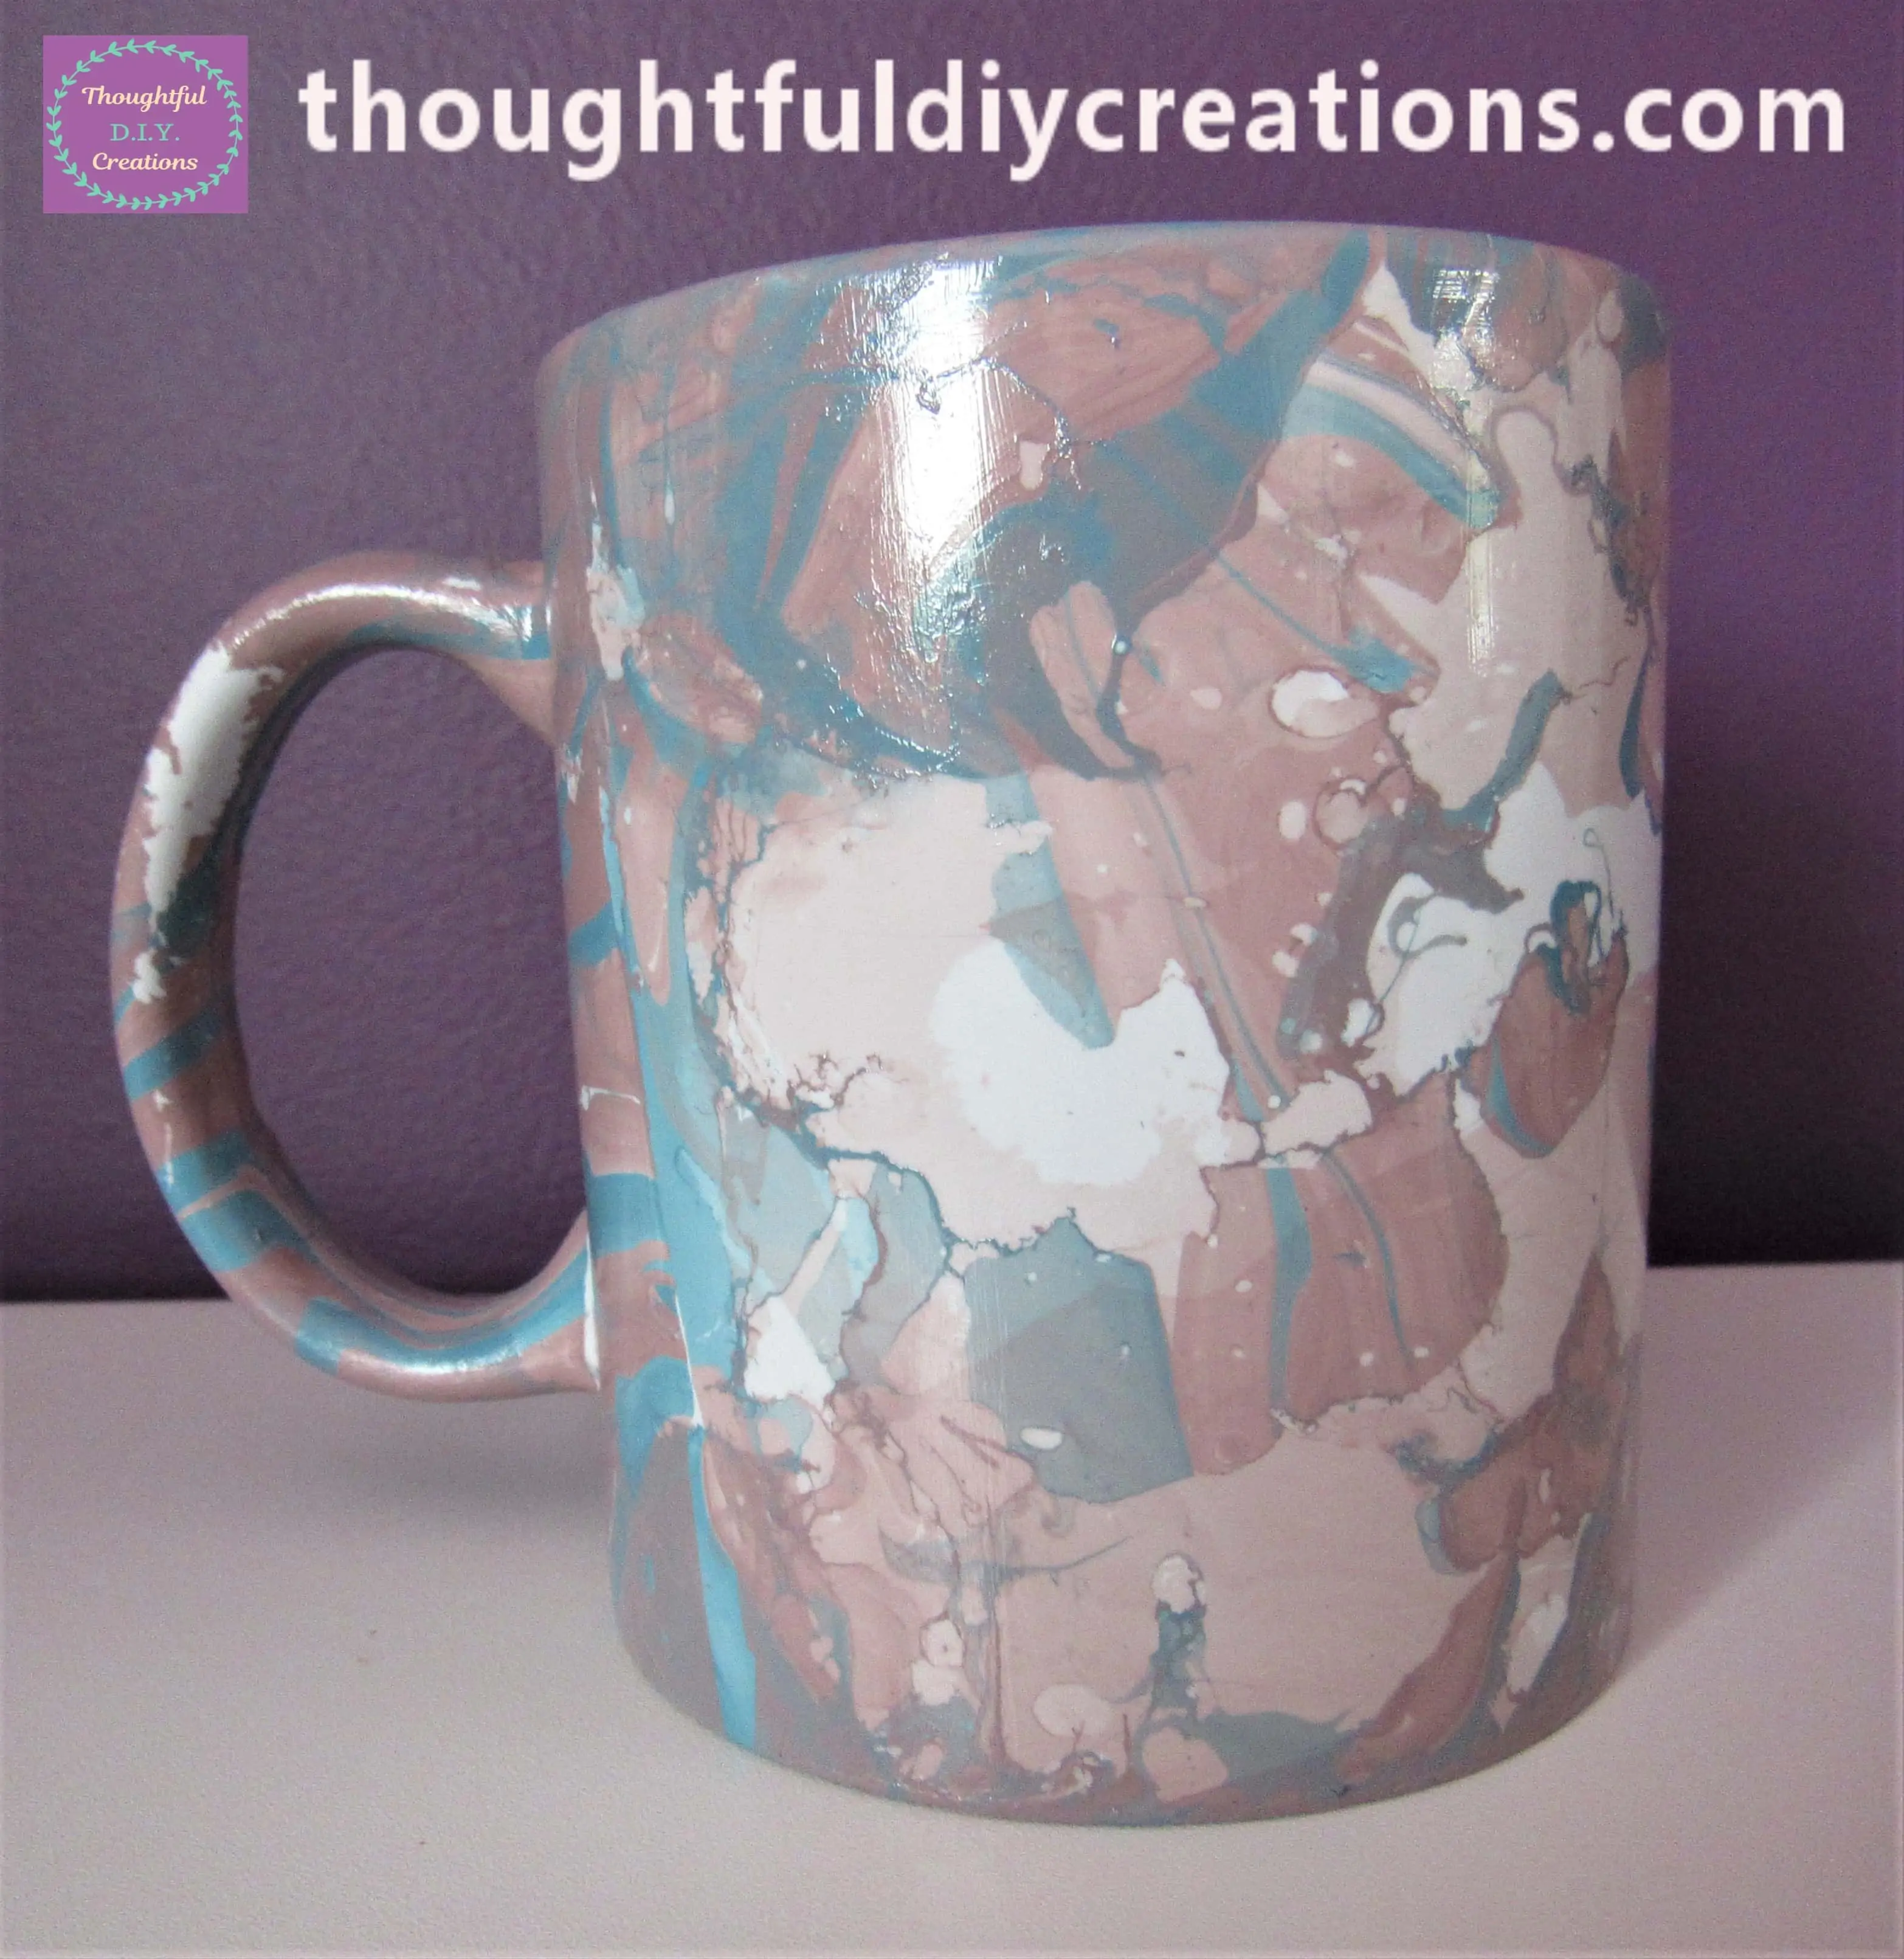
The other Side of the Cup with Mod Podge added to Seal it.
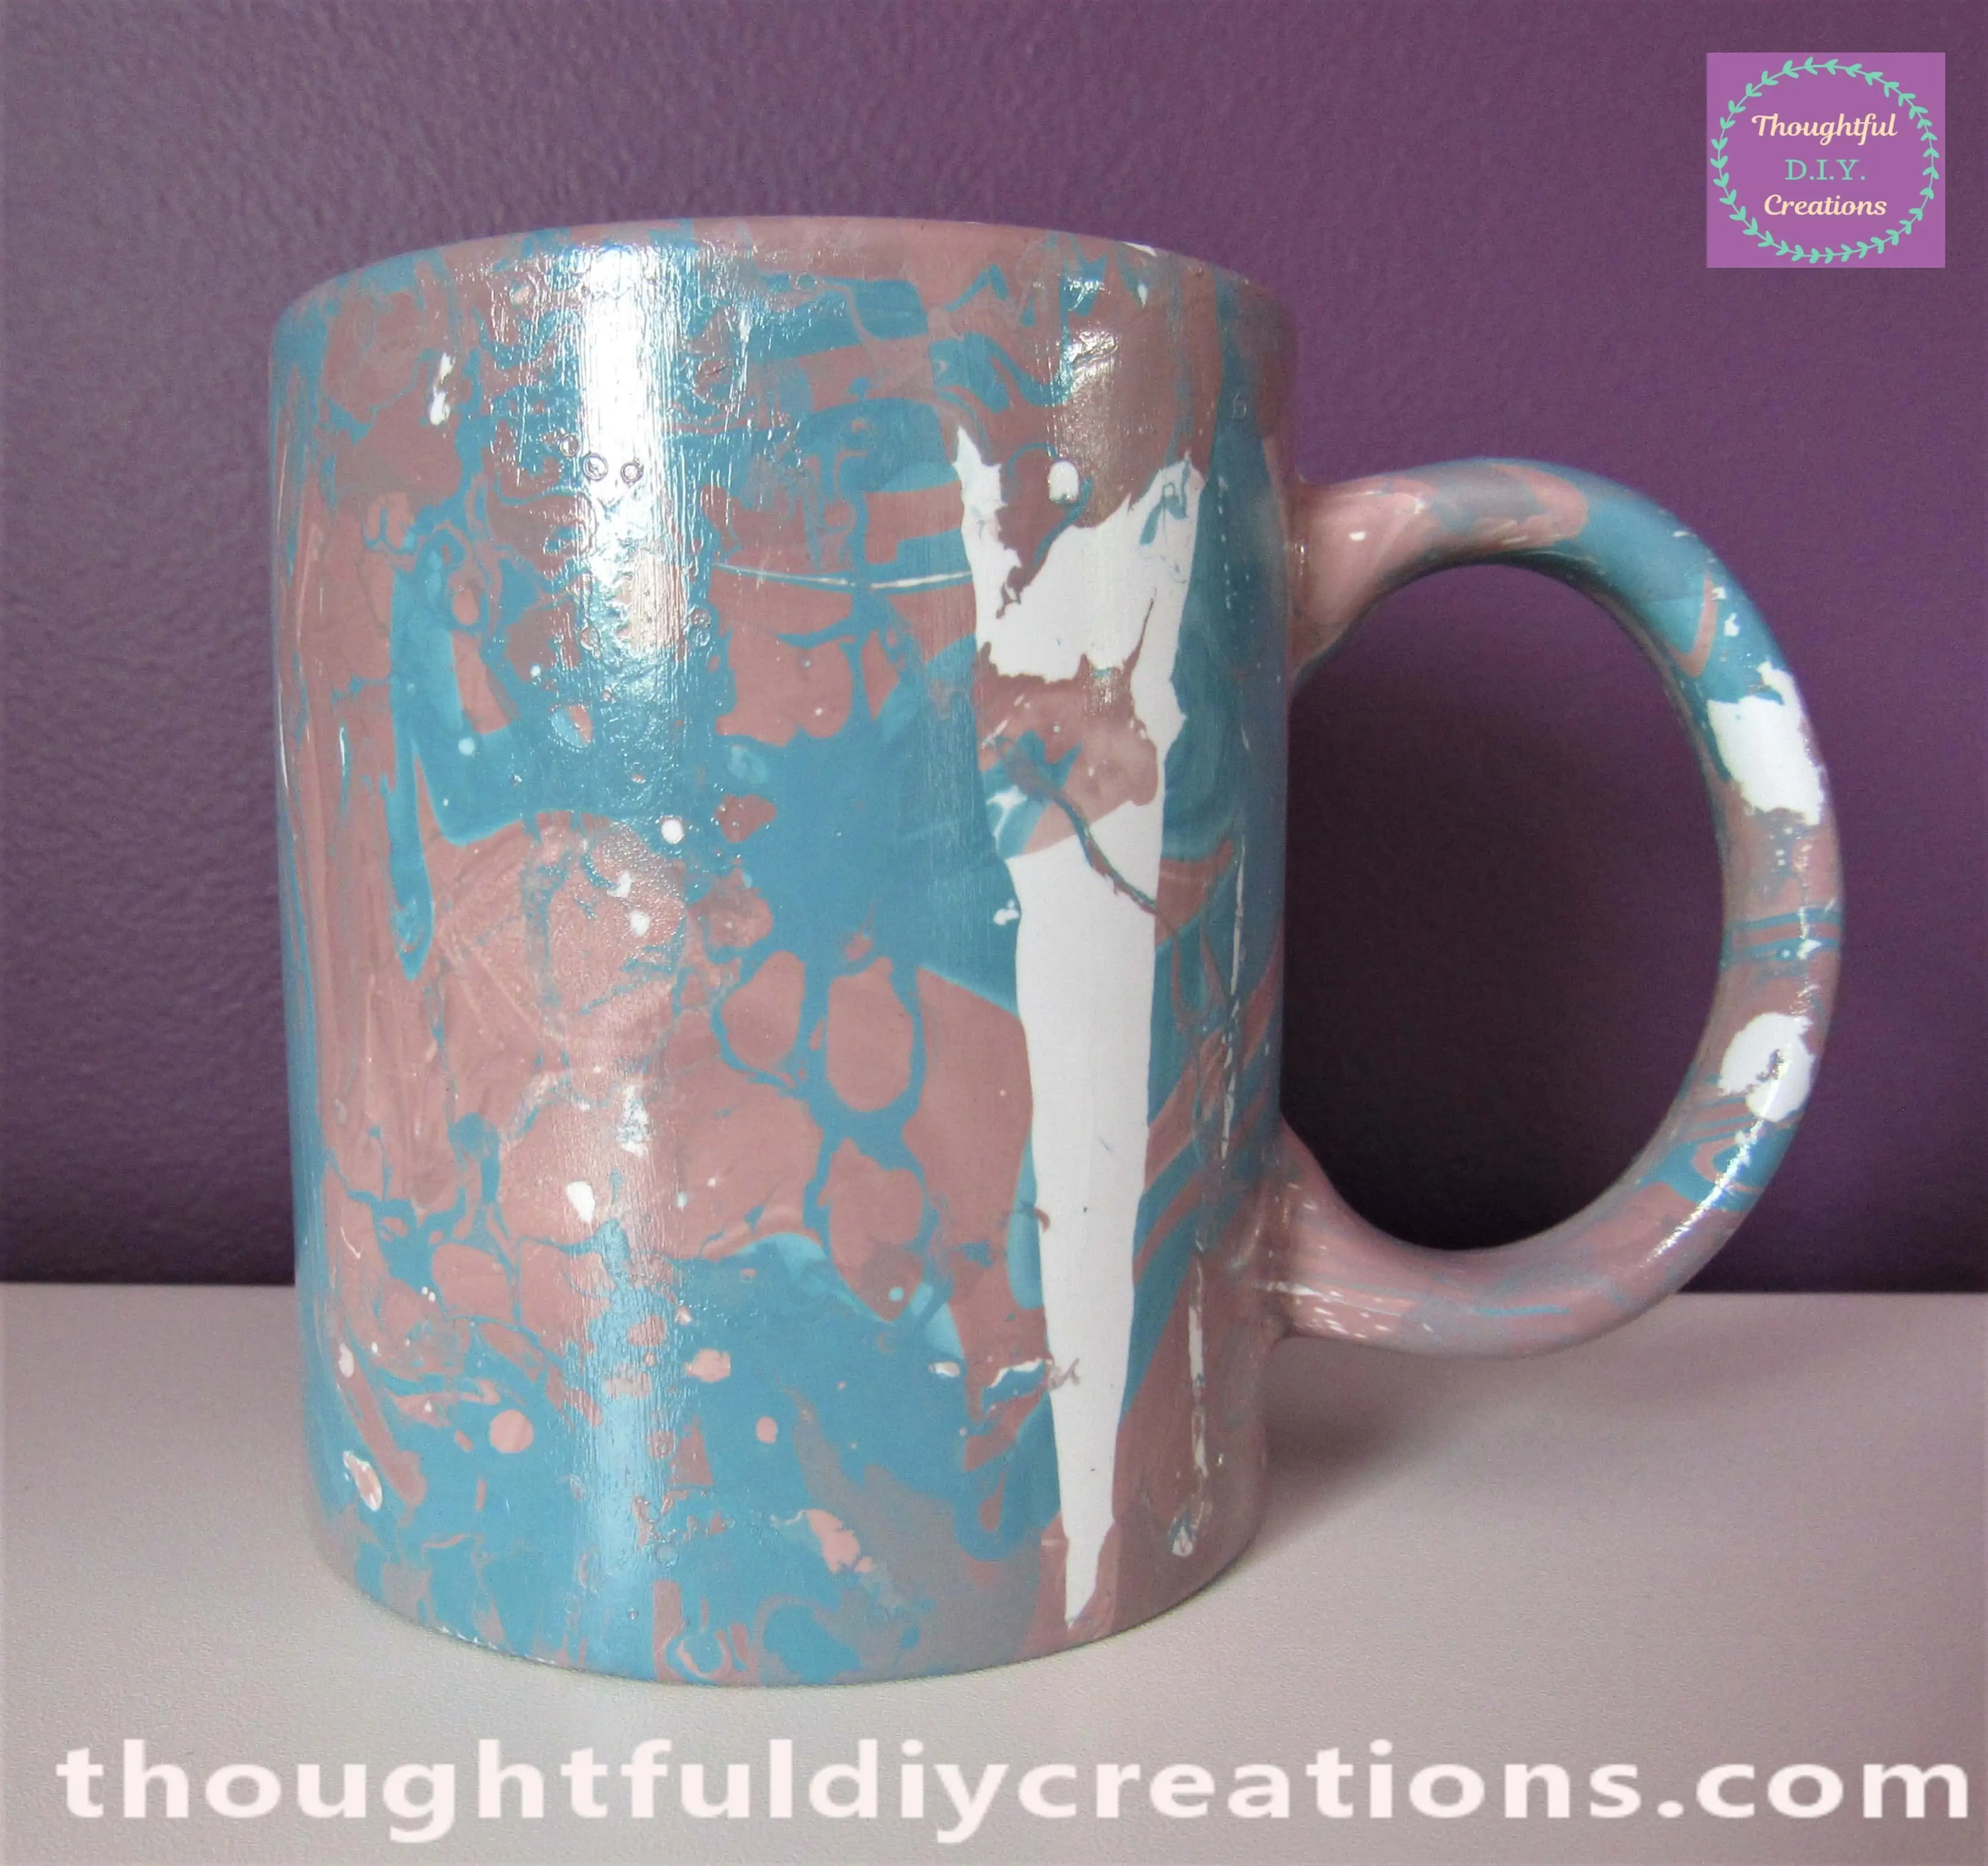
This Completed my Marbling Technique.
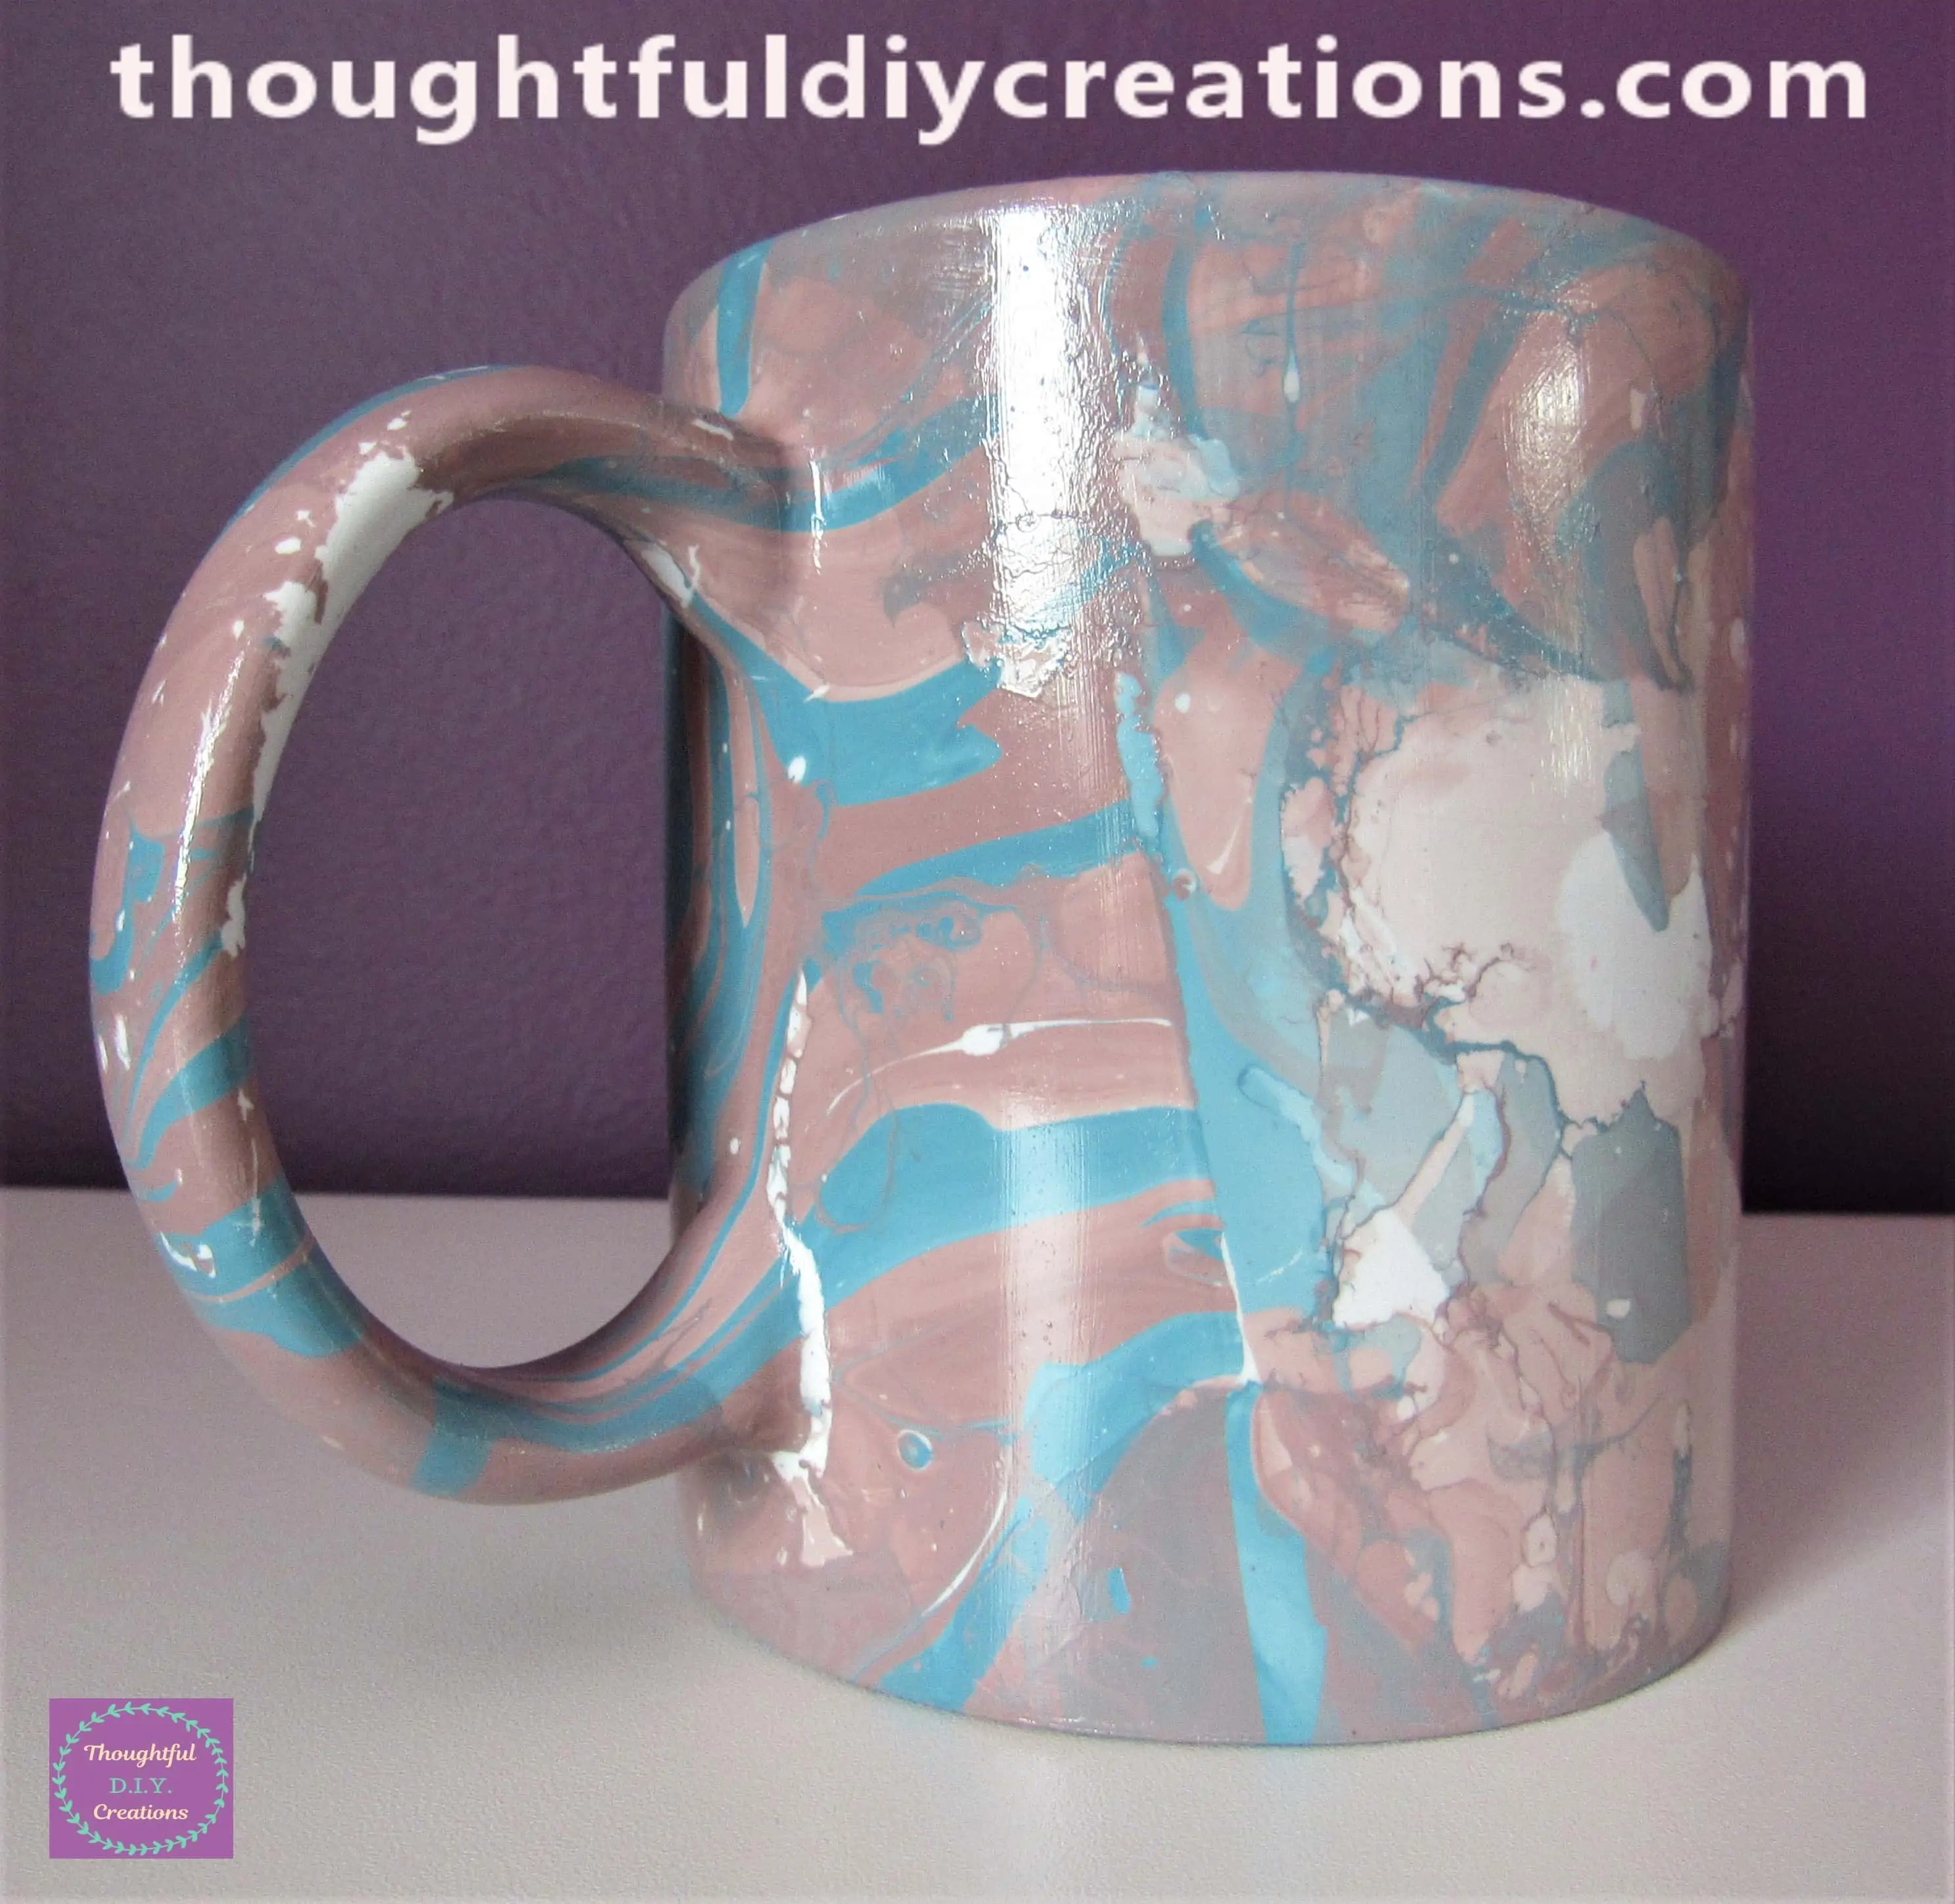
A Closer look at the Cup.
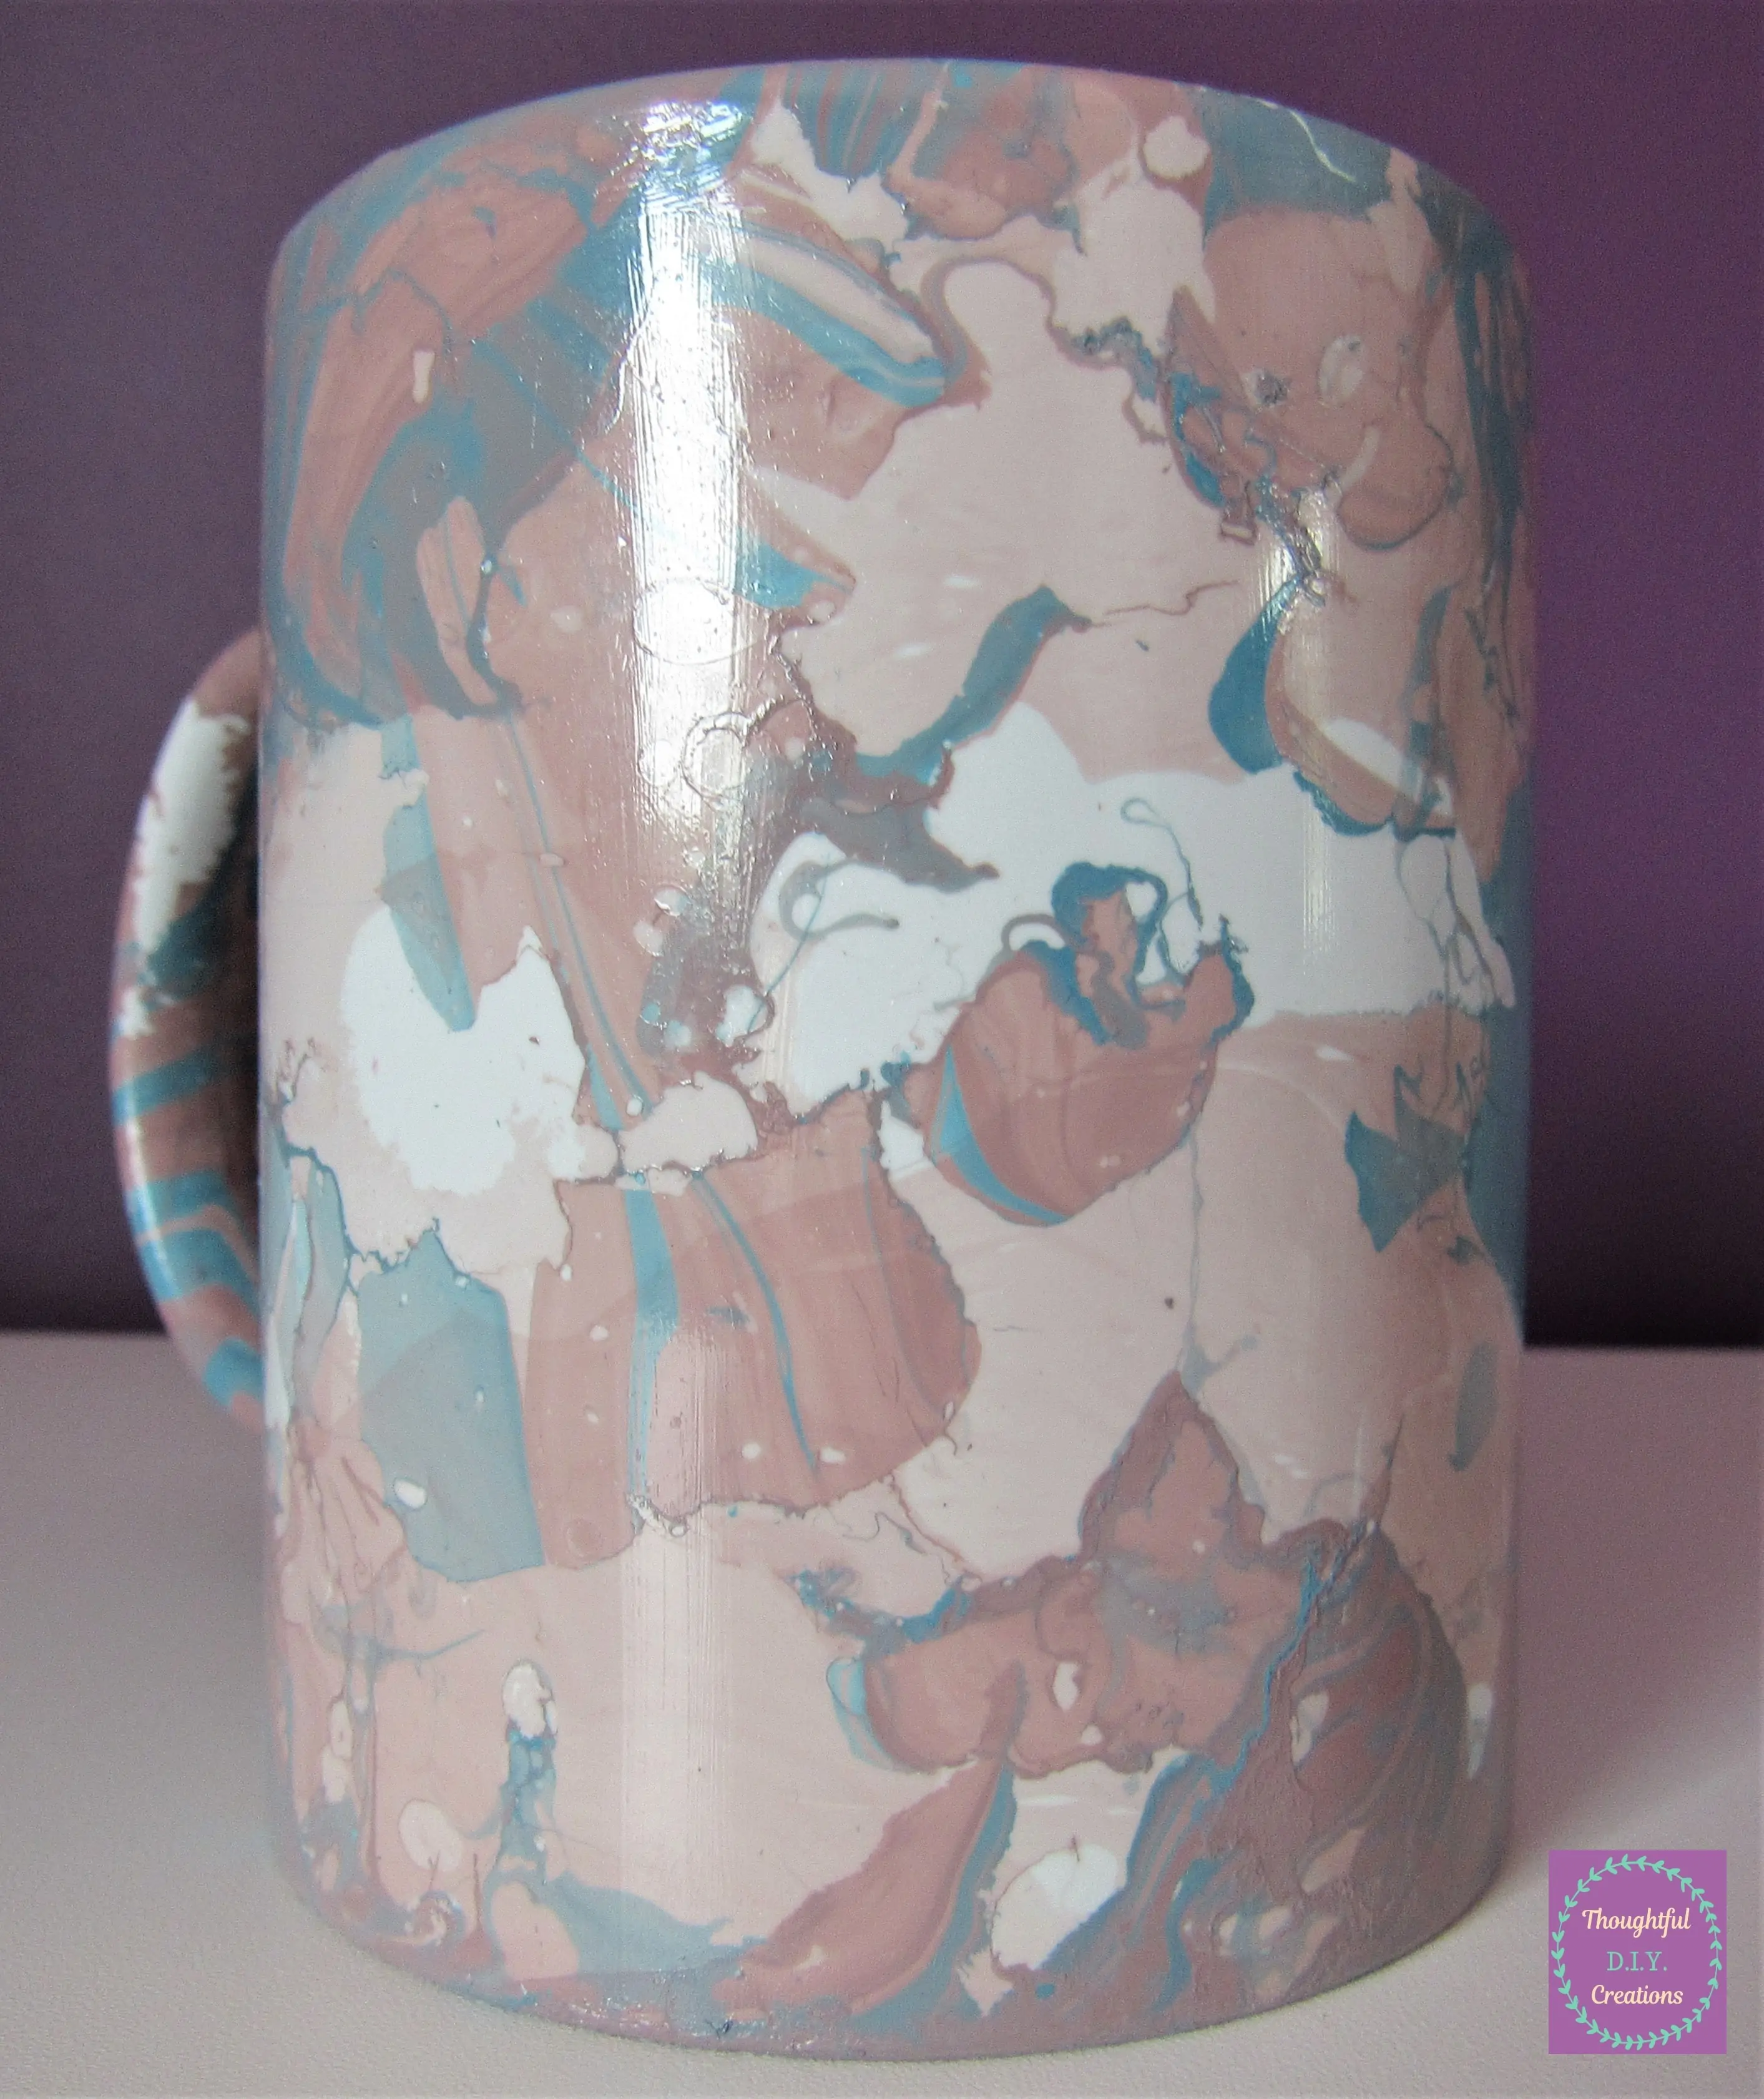
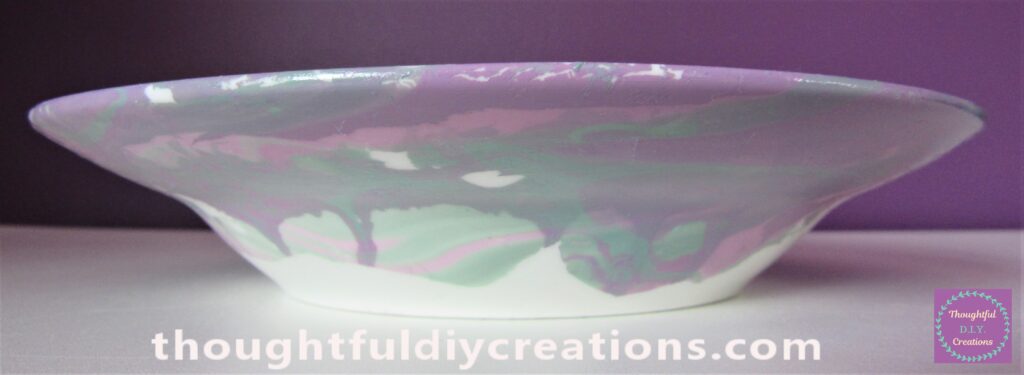
The Bottom of the Completed Plate.

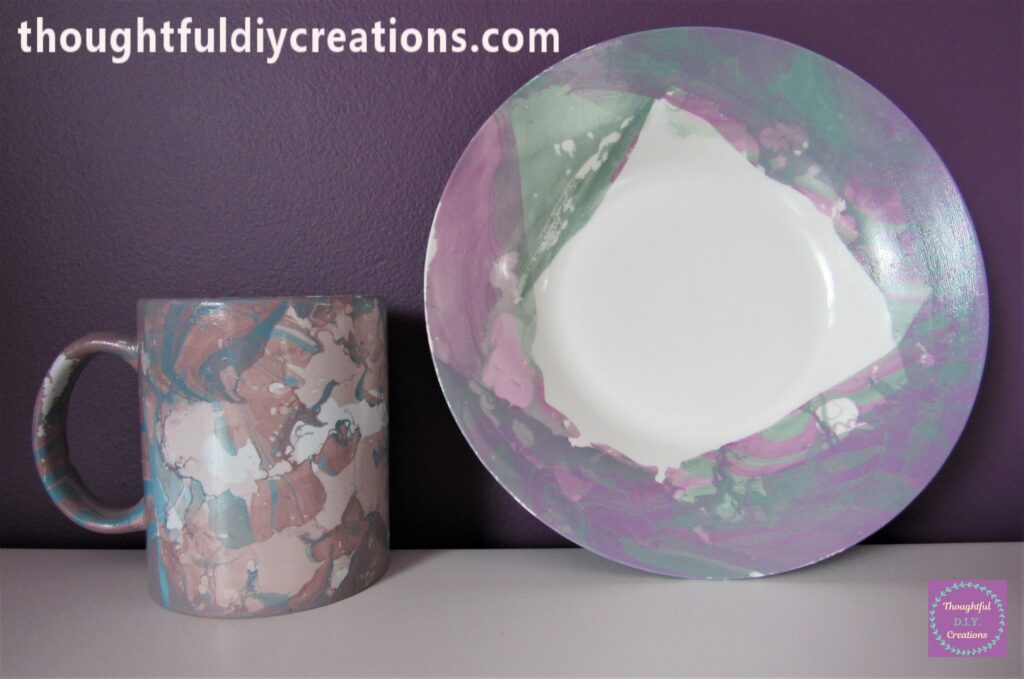
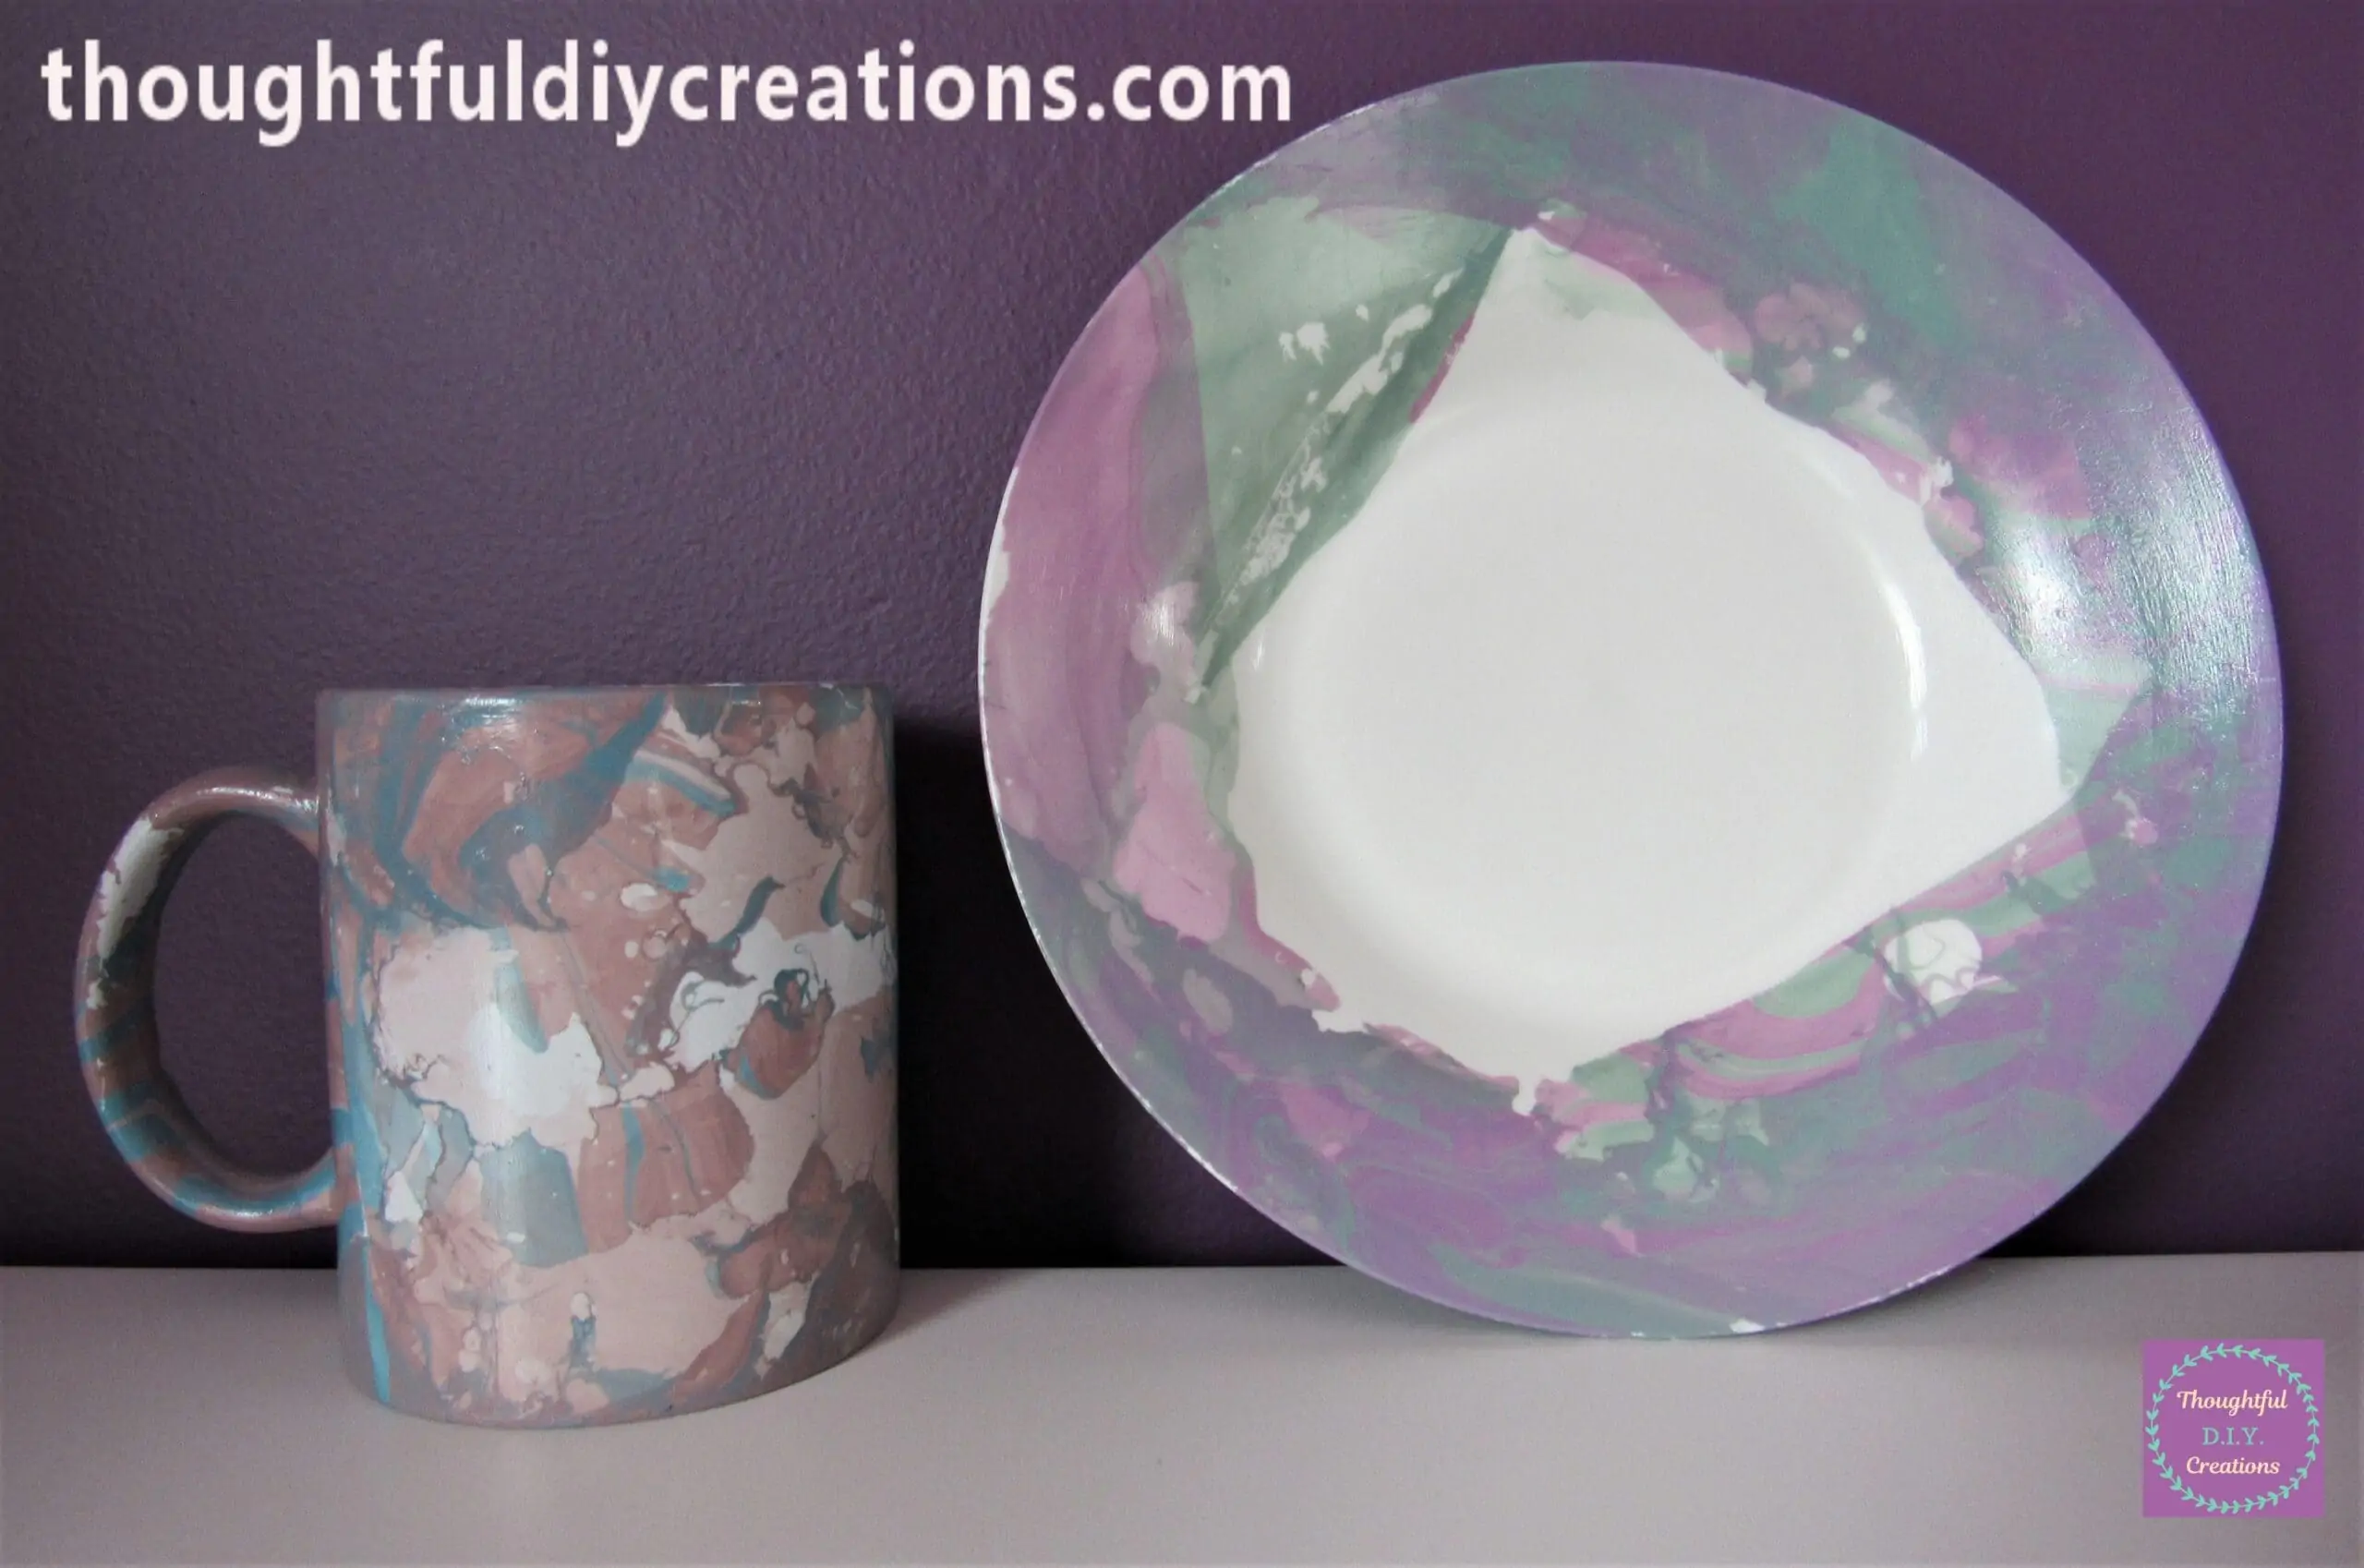
The Finished Cup and Plate together.

Conclusion
I love the Marbled Effect; it’s so Pretty and I’m glad I tried a new Technique. It definitely took a few practise attempts to get the hang of it but it’s worth it as the end Result is Beautiful.
I found the Opposite of what the Instructions stated worked better for Me. The Colours spread out better in Warm Water compared to Cold, and trying to remove the excess Paint with the Object still inside, definitely didn’t Work in my Opinion as you were moving the Cup under Water while trying to remove the film with your other Hand, and even with Someone Helping to Remove the excess it still wasn’t effective. It ends up removing the Colour from the Object.
The Trick is to Add each Colour to the Water, Swirl, Dip and Remove the Object as Quickly as Possible for best Results. From Start to Finish the Process should take 10-12 Seconds. Have everything laid out and good to go.
I Marbled the Cup to the Top as I’m Keeping the Cup & Plate for Decor Purposes. I won’t be Drinking out of the Cup or Adding Food to the Plate. The Kit Instructions State that it’s not Food Safe or Washable.
That’s also why I added only One layer of Sealant as I won’t be using them, it was to add a Subtle Sheen and to prevent them from Chipping.
I would like to experiment more with differennt Colours and Objects in the Future. I think a Marbled Jewellery Dish would be so pretty and even a Marbled Flower Pot would be unique.
I Sincerely Hope my Tutorial was beneficial and you are more Prepared to Try the Technique for Yourself. I’ve seen a few Tutorials using Nail Varnish instead of the Kit. You could give that a try before Buying the Set or if it’s not in your Budget at the moment; use what you have at Home already.
Have you ever tried Marbling or Would you Give this type of Craft a go Now? I think it’s the perfect Craft for Teenagers and Adults. It’s a great way of expressing your Creativity and Choosing Colours that you Love or match your Home Style / Decor. It would also make a Thoughtful D.I.Y. Gift for Someone.
For more Budget Household Material Tutorials check out these; Re-Purposed Chopping Board, and Mixed Media from Household Items.
Thank You So Much for Taking the Time to Read my Blog.
Always Grateful,
T.D.C.
xoxox



-0 Comment-