Money Shamrock Canvas Board
Hello my Creative Friends,
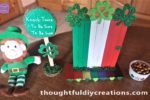
I hope you are all well. In Today’s Tutorial I will show you how to make a Money Shamrock Canvas Board. It is the perfect D.I.Y. Home Decor Craft for St. Patrick’s Day but it can easily be kept up all year long for Good Luck, or for anyone who is Irish or has Irish heritage / ancestors.
Canvas Board for the Money Shamrock
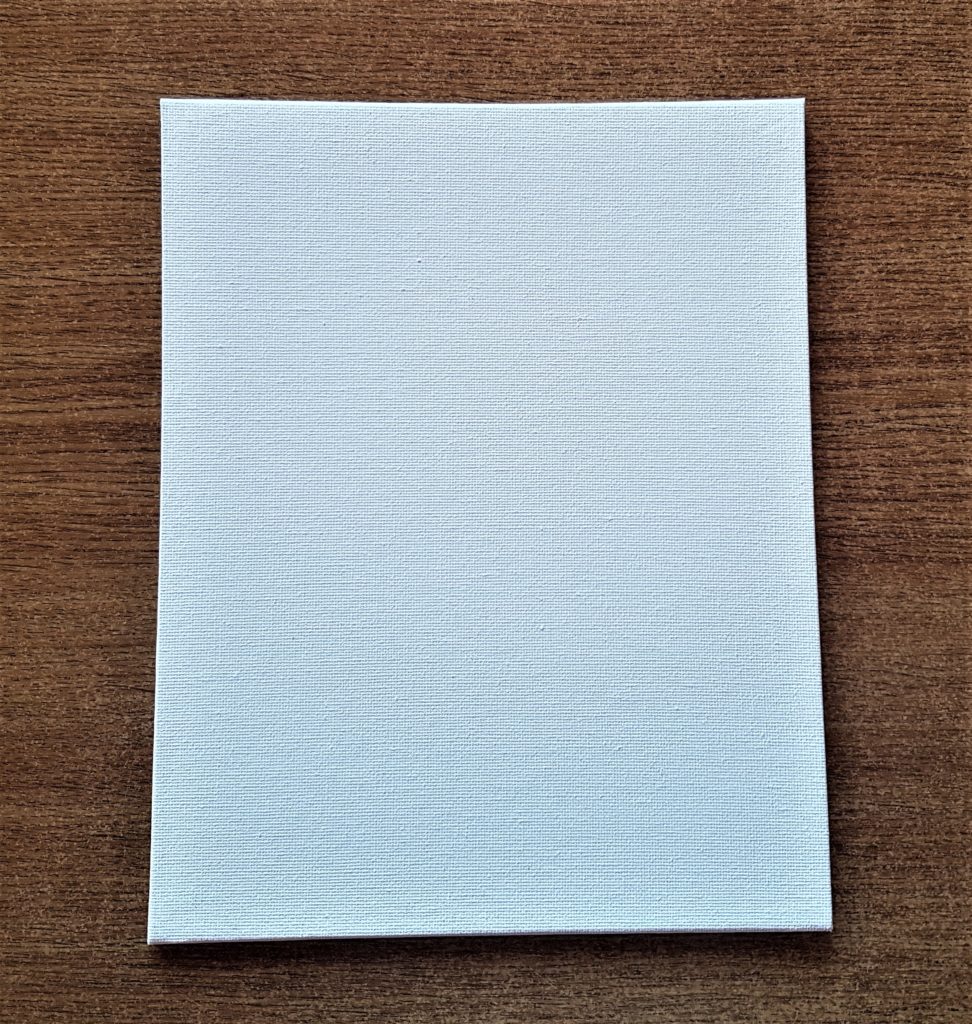
The Canvas Board I used is 8 inches in width and 10 inches in height. You can use whatever size Canvas you like for your craft. Artist Canvas Boards.
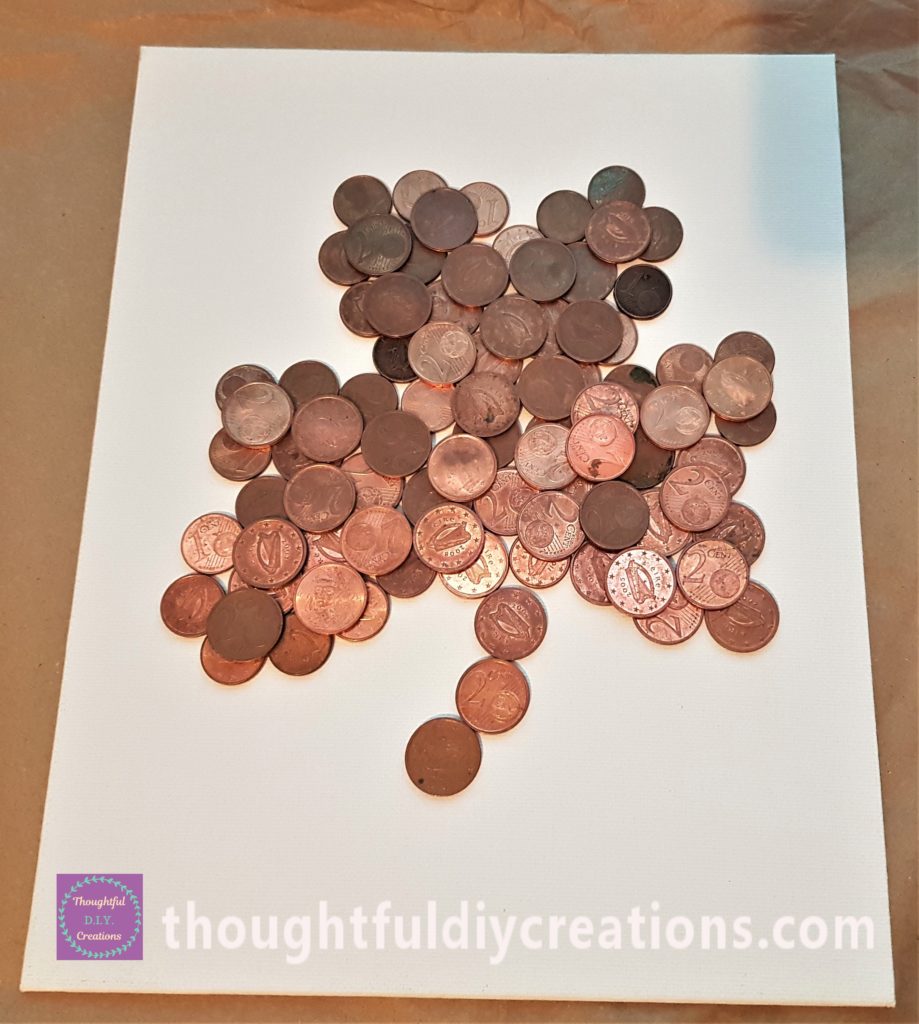
I put 1 Cent and 2 Cent coins on the Canvas Board in the shape of a Shamrock to ensure I had enough coins and to see if I was happy with how it looked. I really liked the appearance so decided to go ahead with the craft.
Collection of Coins
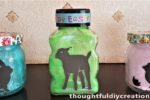
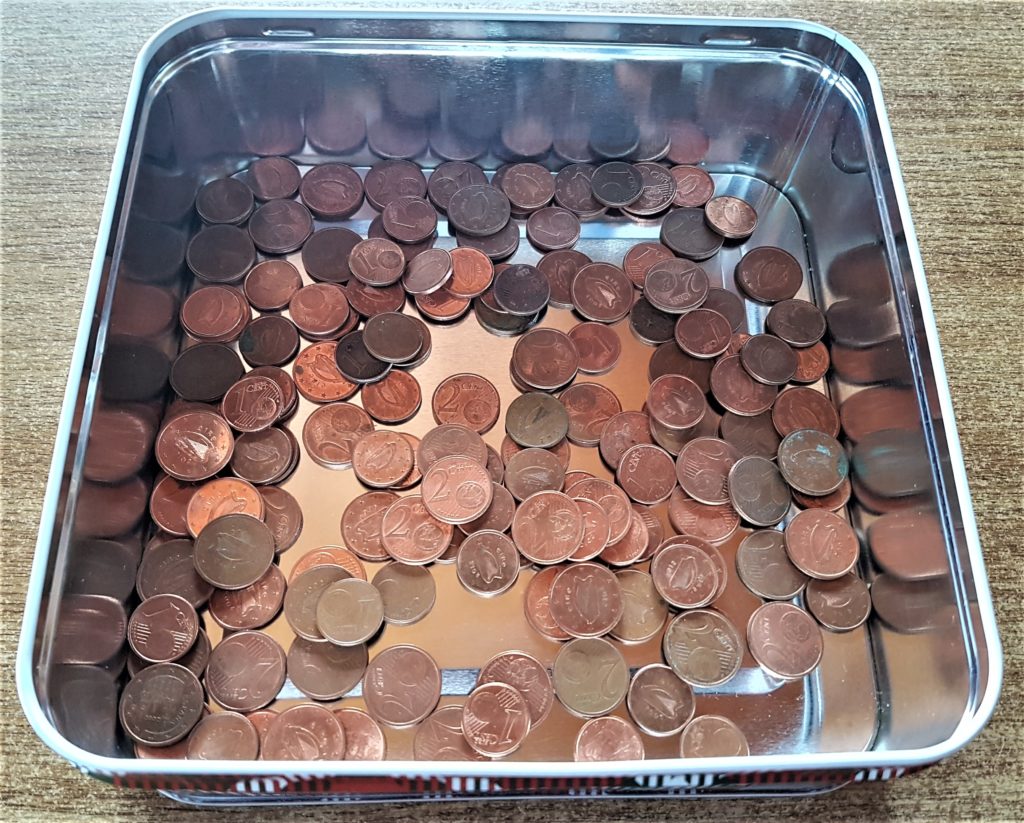
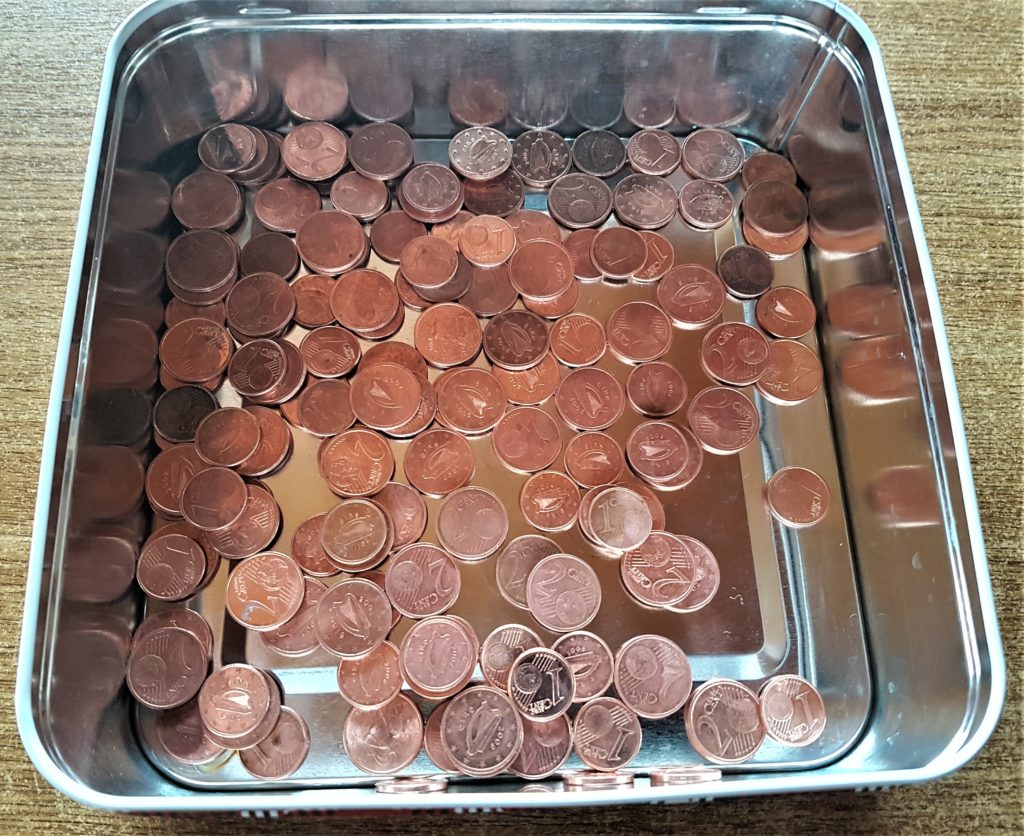
I had a container with 1 and 2 Cent coins. We don’t use 1 or 2 Cent coins anymore in Ireland, 5 Cent is the least amount of money we use now. I wanted to use the coins in some way instead of keeping them stored in a box.
With St. Patrick’s Day coming up I thought it would be perfect to incorporate the coins into an Art piece to have on display.
This is the 1 and 2 Cent coins in a metal container.
Cleaning the Coins
I wanted to clean the coins before adding them to the Canvas. I squeezed the juice from almost 1 full lemon into a container. You could use vinegar instead of the lemon juice but I prefer the smell of lemon so went with that.
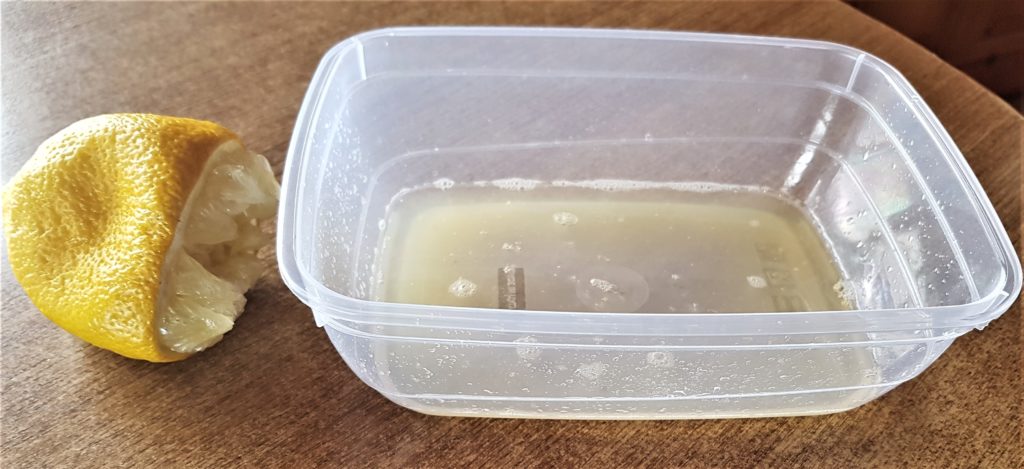
I added warm to hot water to the lemon juice.
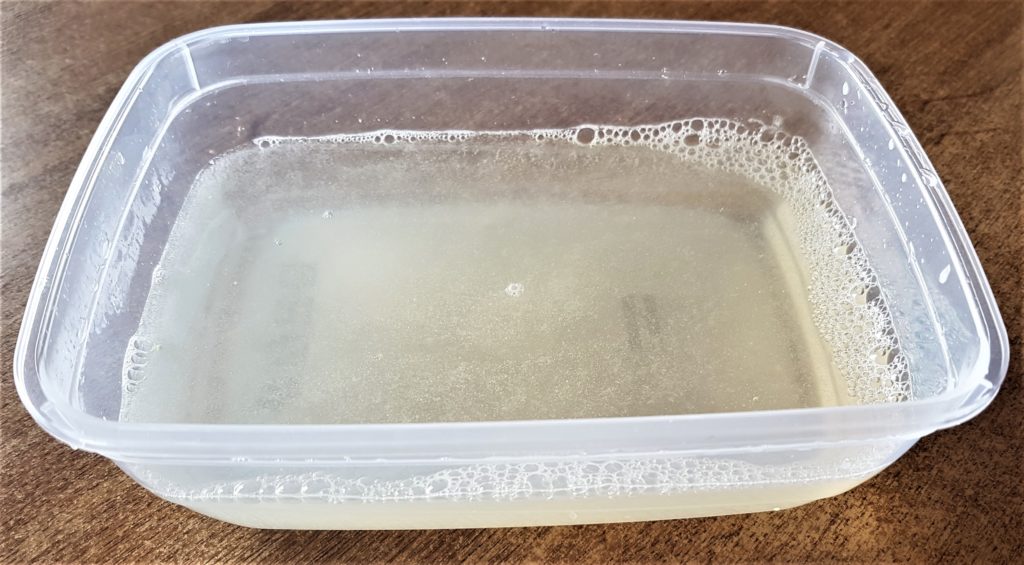
I added the coins to the lemon juice and water mixture.
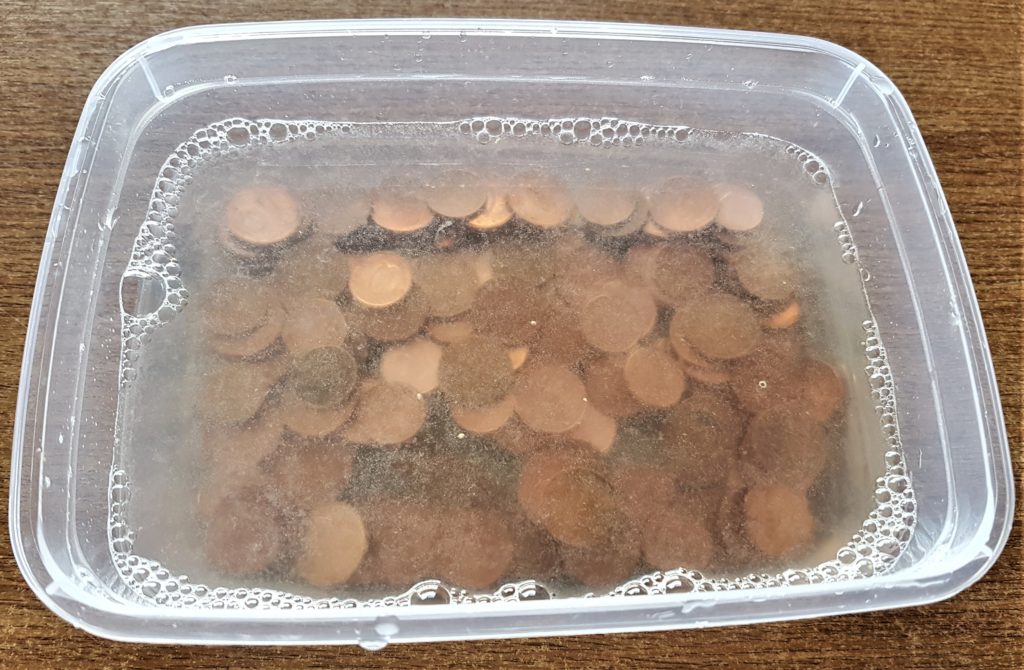
I let the coins soak in the mixture for 2 hours.
Painting the Canvas Board
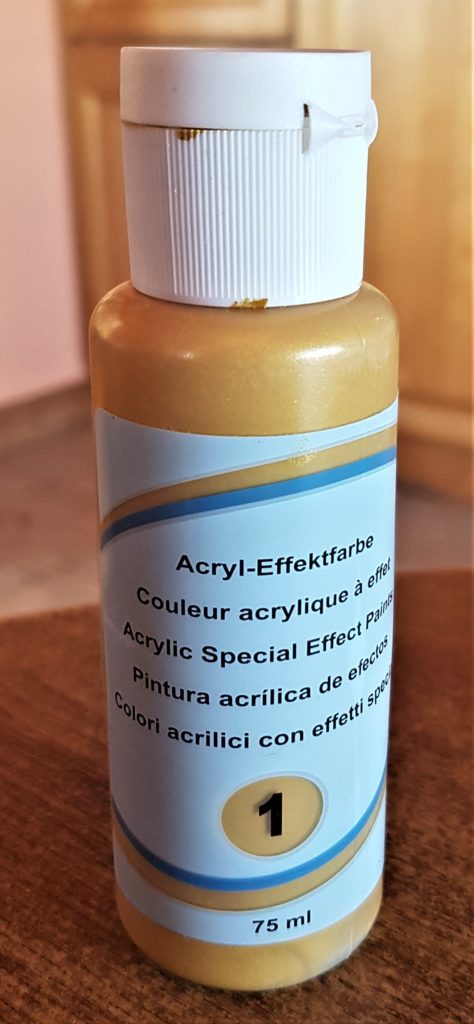
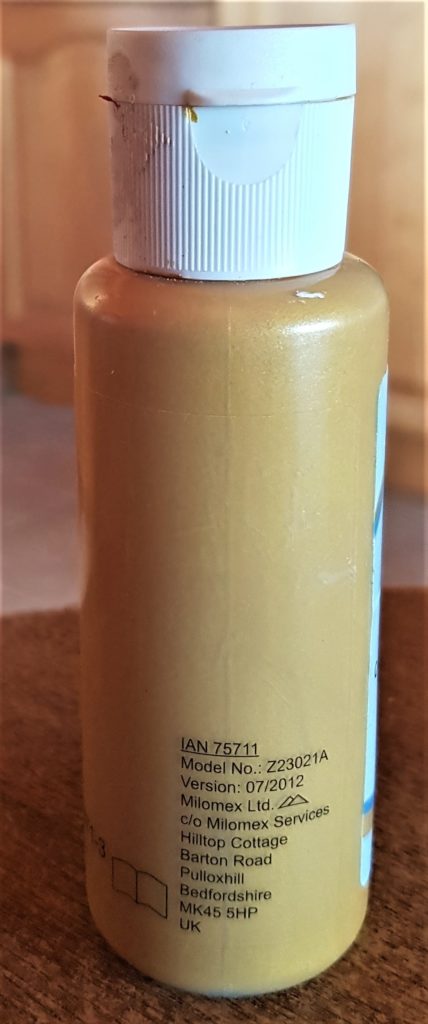
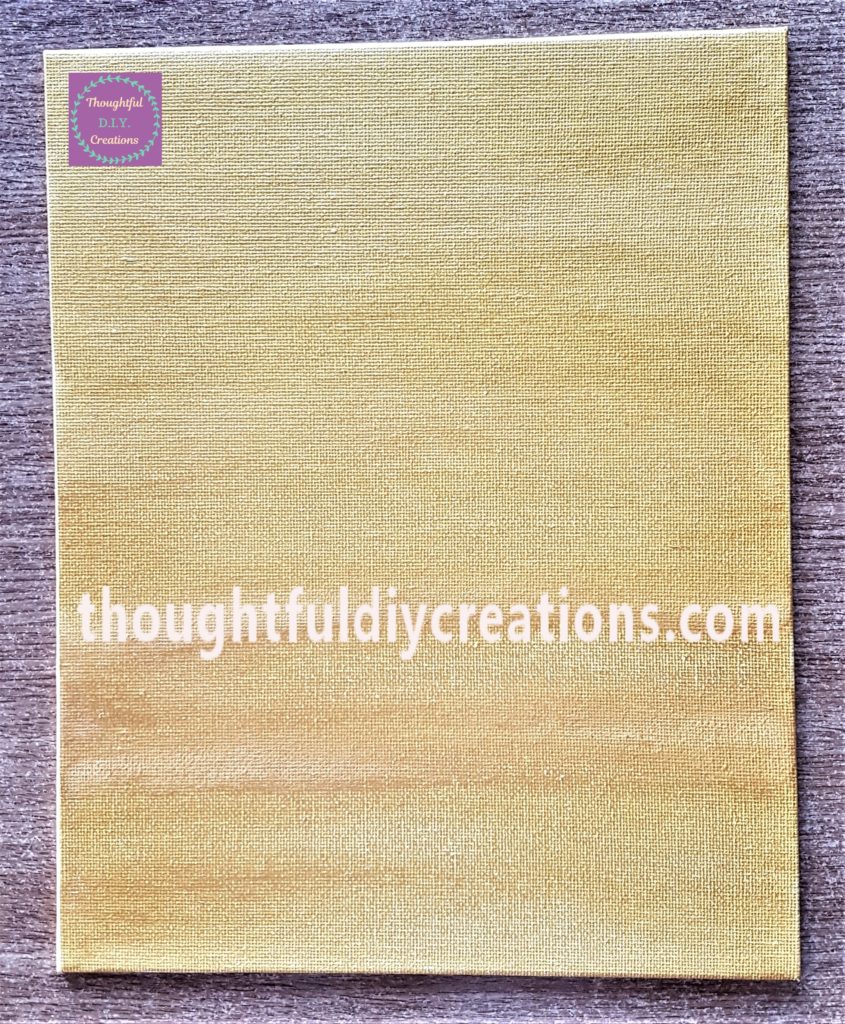
While I was waiting I started to paint the Canvas. I thought Gold would be appropriate and complement the coins. I used a Gold Acrylic Paint that I had in my supplies. Acrylic Paint Gold.
I used a flat paintbrush and painted the first layer of gold paint onto the canvas board. Paint Brush Set.
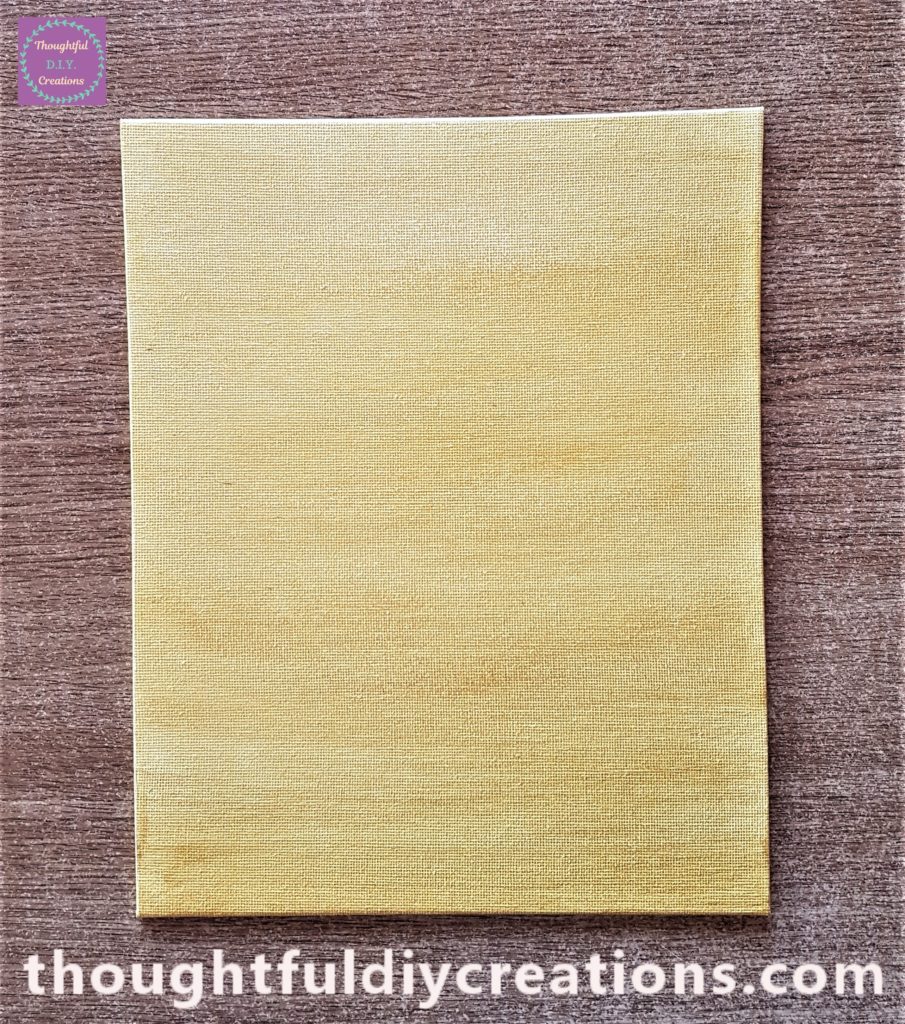
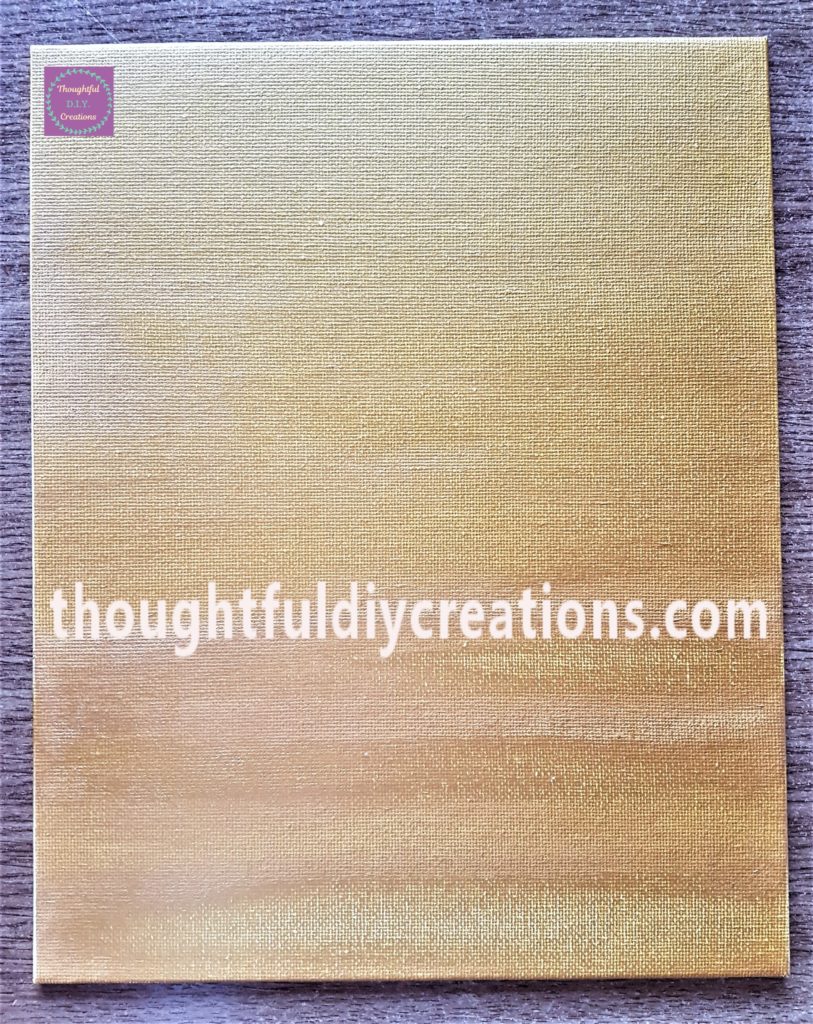
I waited an hour and then applied the second layer of paint to the canvas. I find it easier to apply thin layers of paint, it goes on cleaner and smoother. Acrylic Paint Gold.
The third and final layer of paint was applied to the canvas after another hour. I allowed it to dry fully before moving on to the next step.
Adding Splashes to the Canvas
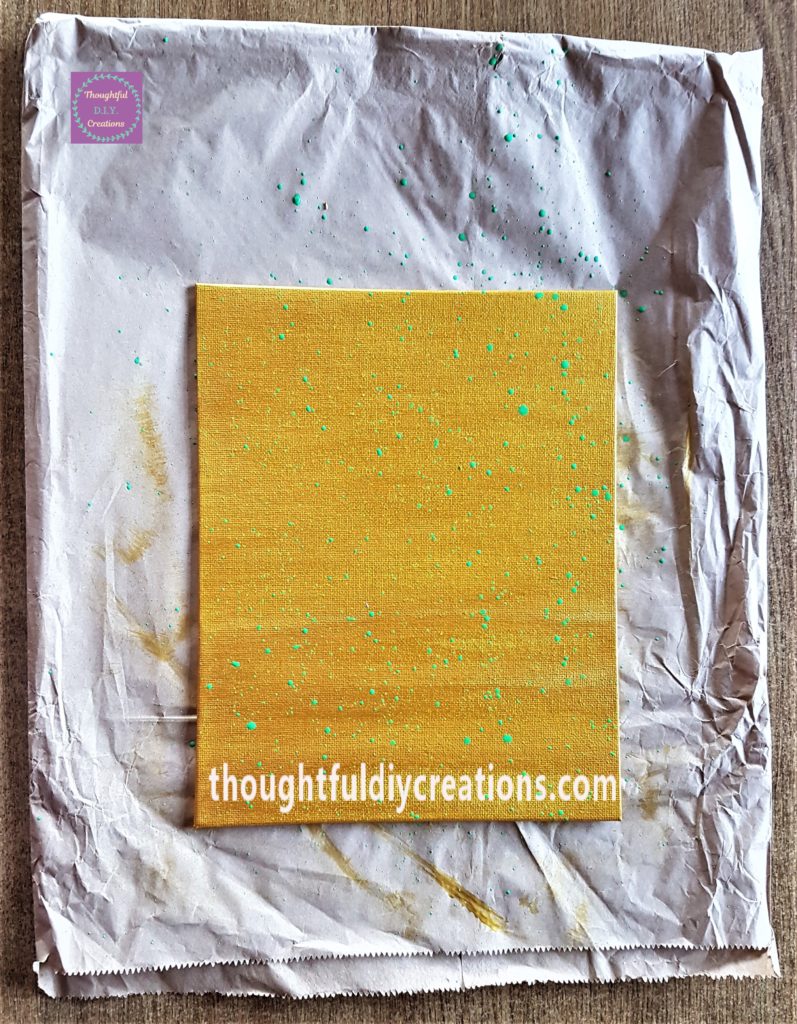
I put a small bit of green acrylic paint into an old lid I had and added some water to it. I mixed it together with a paintbrush. Acrylic Paint Assorted Colors.

I put a brown paper bag on the table to protect it. I then added green splashes to the Canvas by tapping the handle of the paintbrush with paint on it with another paintbrush, I held it about 20 cm over the canvas and moved my arm all over the canvas to ensure it was all getting some green colour. Acrylic Paint Assorted Colors.
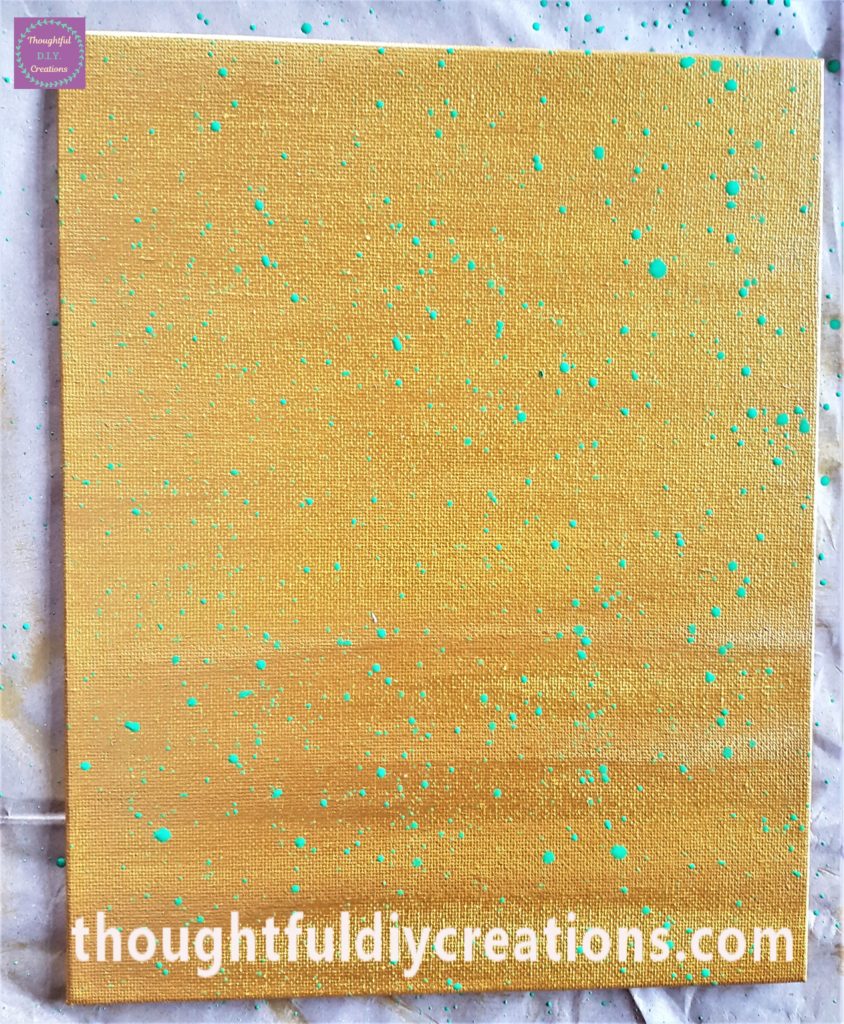
This is a close-up image of the green splashes on the canvas. Paint Brush Set.
I allowed a couple of hours for the green splashes to completely dry. I then mixed a small amount of gesso with water and added white splashes to the canvas board in the same way as the green splashes. You can use white acrylic paint if you want instead of gesso or even white watercolour paint; whatever you have really. Acrylic Paint Assorted Colors.
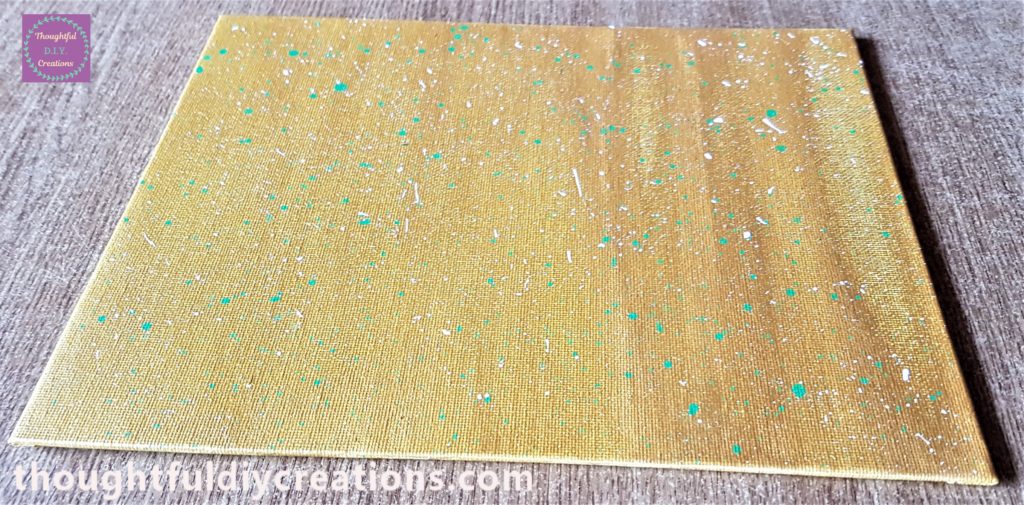
I let the white splashes dry overnight. I was happy with the Canvas board; the green, white and gold represent the Irish colours.
Rinsing and drying the Coins
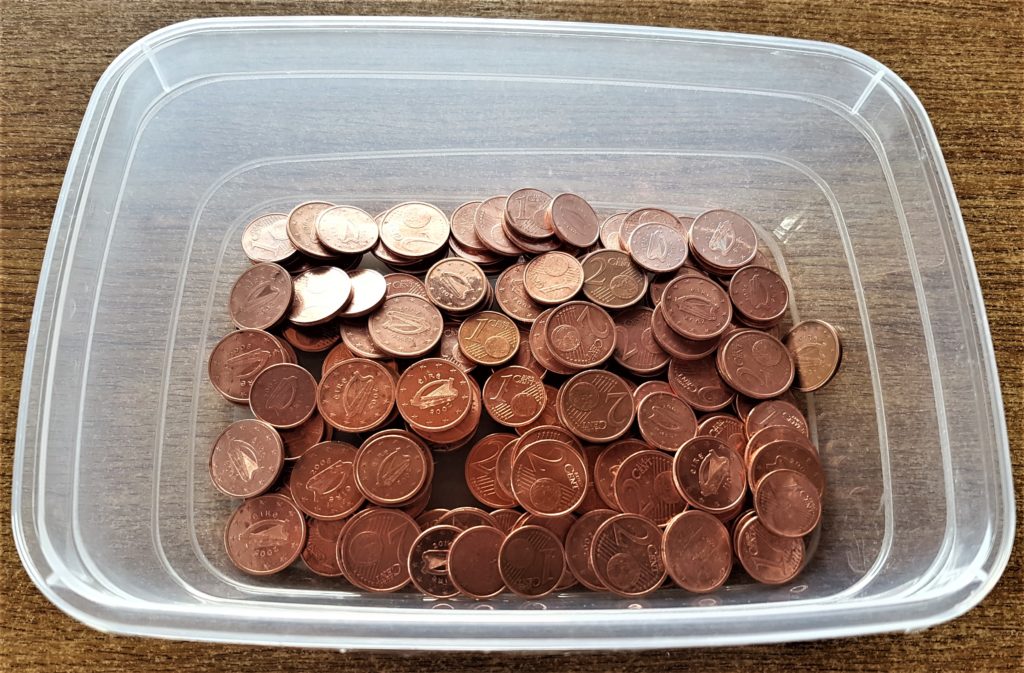
After the 2 hours of soaking the coins I put warm water in the sink and added the coins. I put on a pair of disposable gloves and got a dish-cloth. I wiped each side of each coin with the cloth, then rinsed them under the tap and put them into a container.
When I had them all washed and in the container I washed out the sink and took off my gloves. I put on a fresh pair of gloves, got a teacloth and dried each coin and put them into a different container.
Glue I used for the Money Shamrock
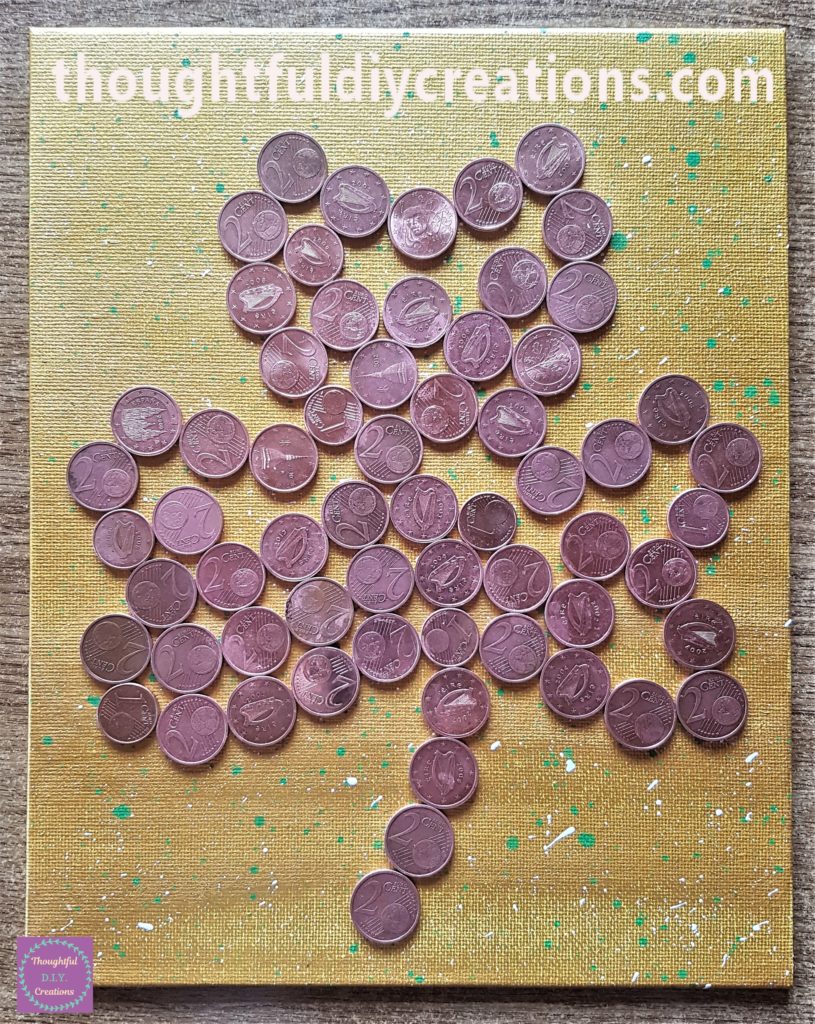
I practiced the outline of the shamrock with the coins on the canvas board.
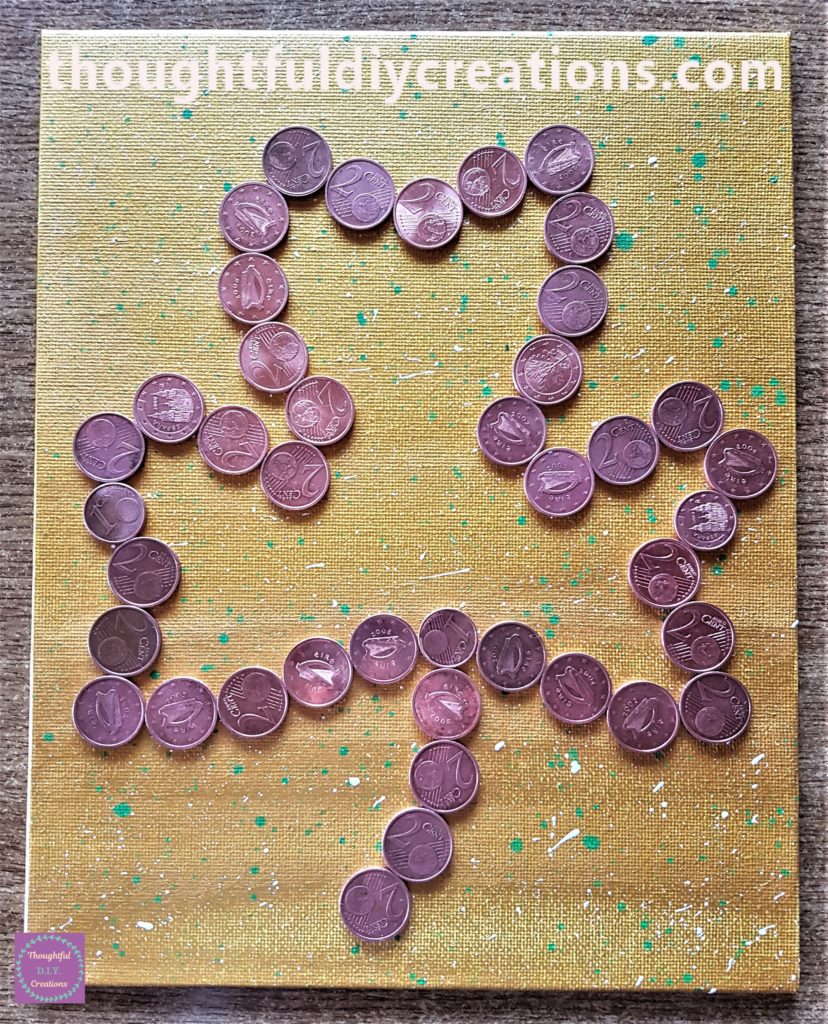
I was happy with the layout so I got some Gorilla Wood Glue and poured some into a lid. I got a small paintbrush and put the glue all around the back of the coin except the edges. Gorilla Wood Glue.
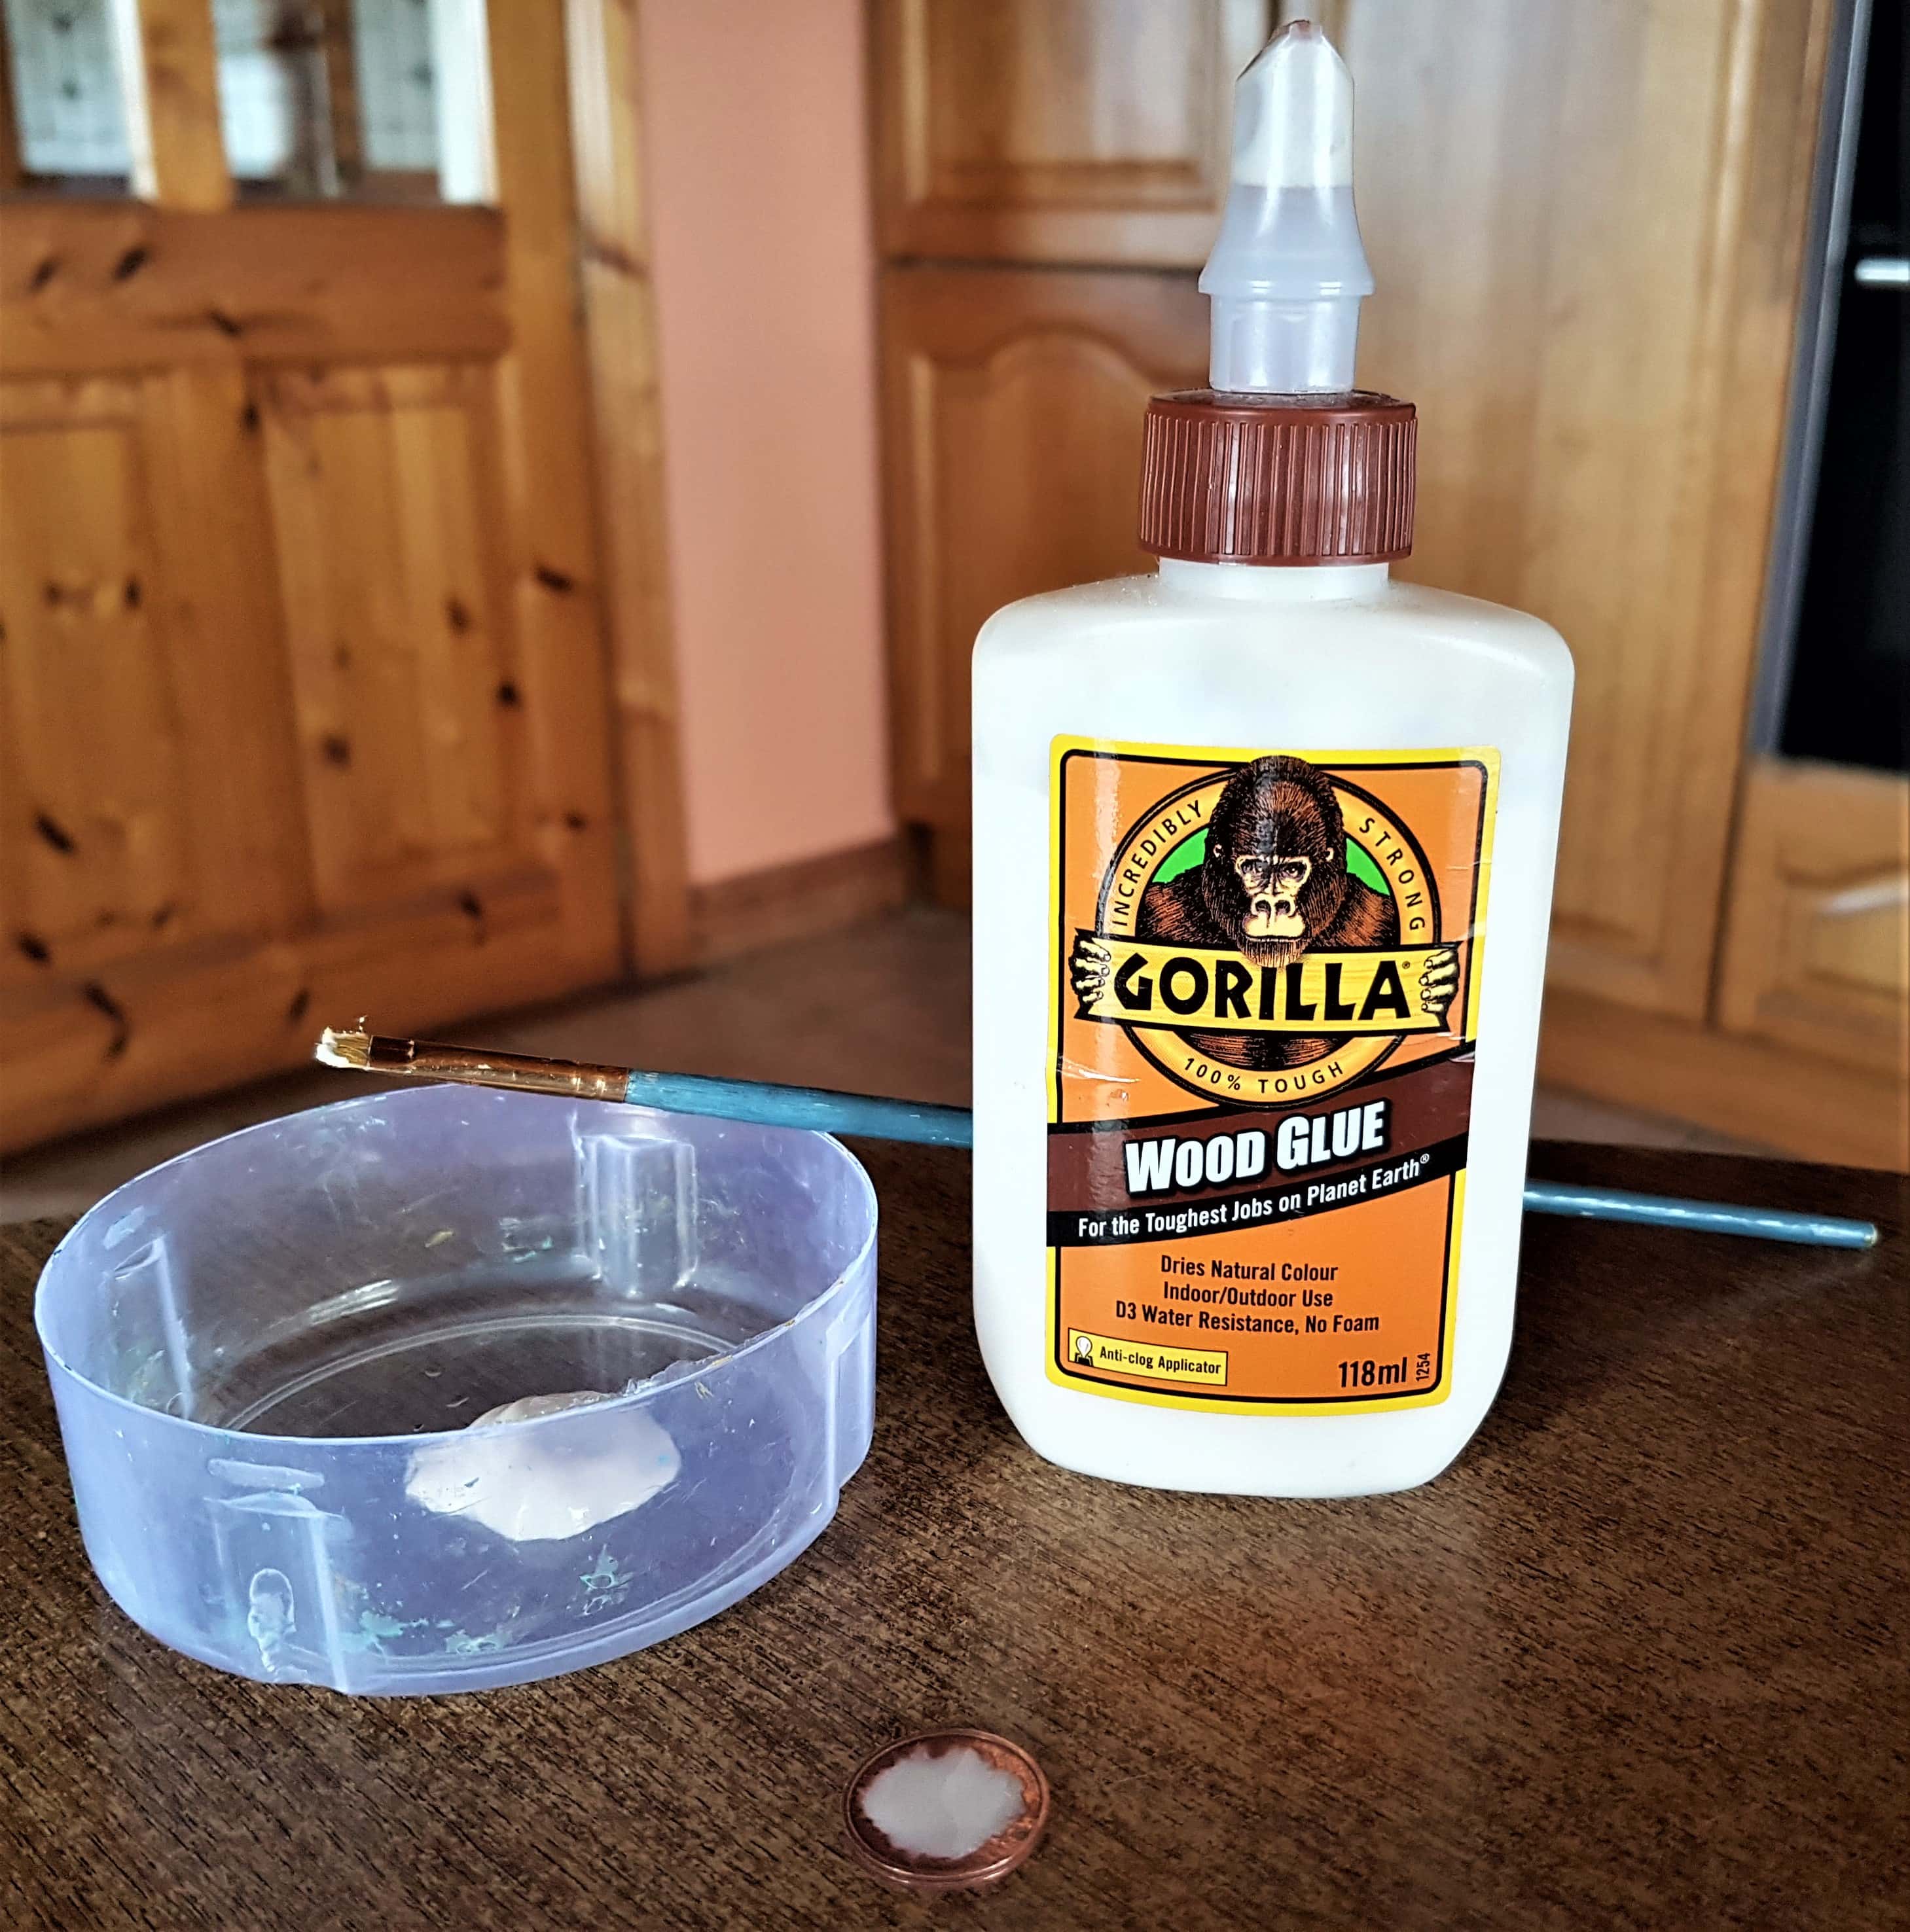
Gluing the outline of the Money Shamrock
I pressed the coin down onto the canvas for a few seconds. I then moved onto the next coin and repeated the process until the outline of coins were attached to the canvas. Paint Brush Set.
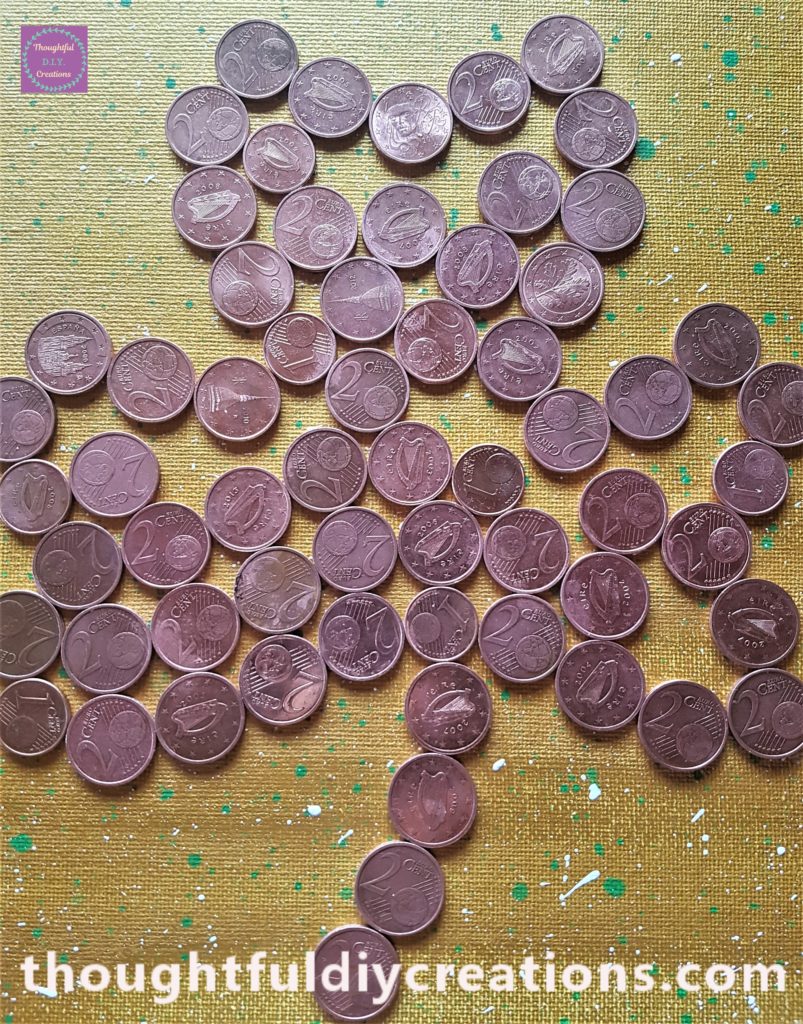
Here is a close-up image of the coins on the canvas.
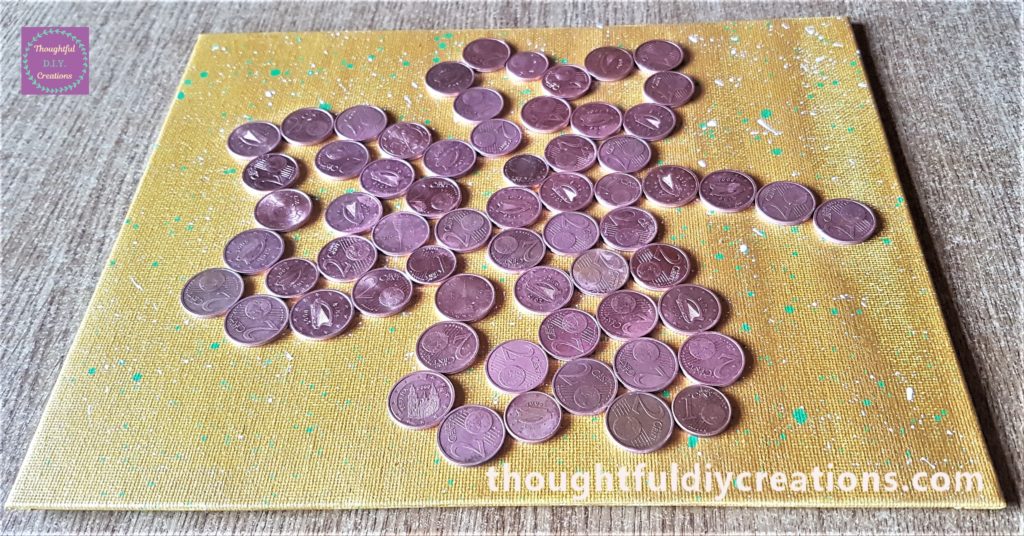
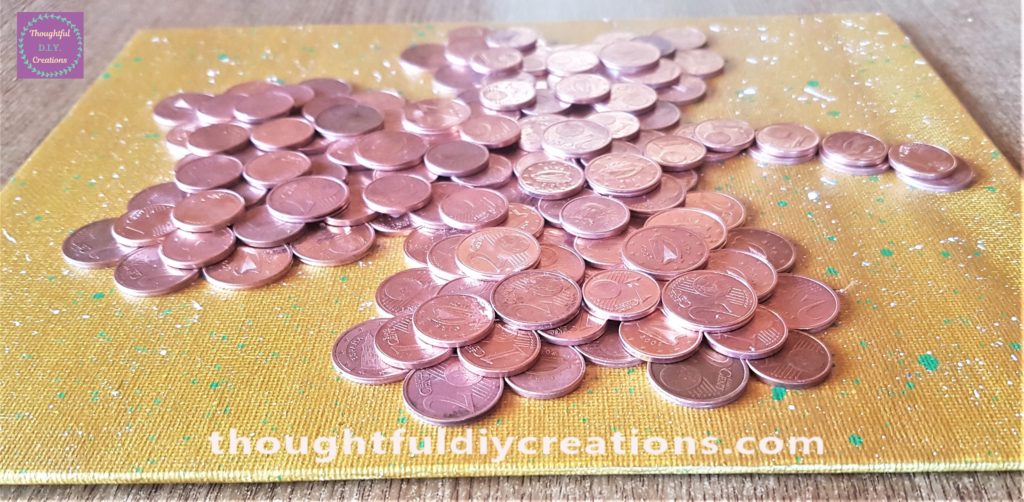
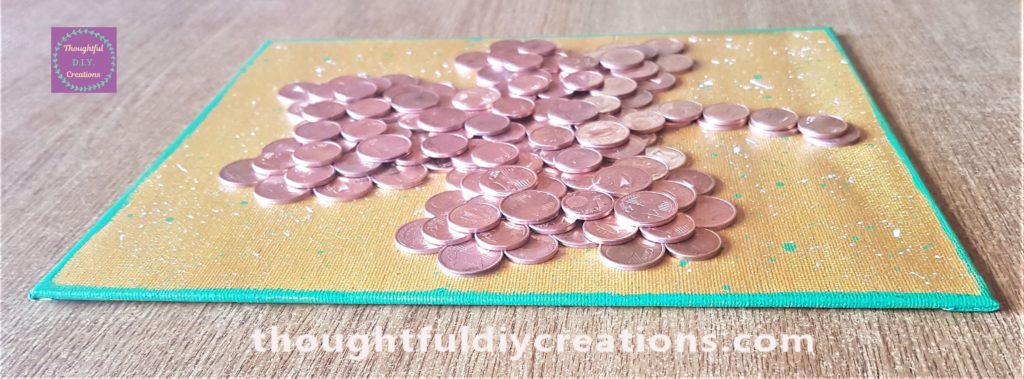
Below is a side view of the canvas with the outline of the shamrock glued to the canvas. Gorilla Wood Glue.
Filling in the inside of the Money Shamrock
I left the Canvas laying flat on the table for the coins to dry for about 5 hours. I then filled in the inside of the shamrock with the glue and coins in the same way. Paint Brush Set.
I used both the front and back of the coins on the canvas to add interest. The images of the Harp are the back of the Irish coins and some of the other images are from other European Countries who also use Euro and Cents.
Adding the next and final layer of Coins
It was the evening time so I let the coins dry to the canvas overnight. The next morning I added more coins to the canvas filling in the next layer of gaps on the canvas. Gorilla Wood Glue.
I again let the coins dry fully for about 4-5 hours. I then filled in any remaining gaps on the canvas with the rest of the 1 and 2 Cent coins.
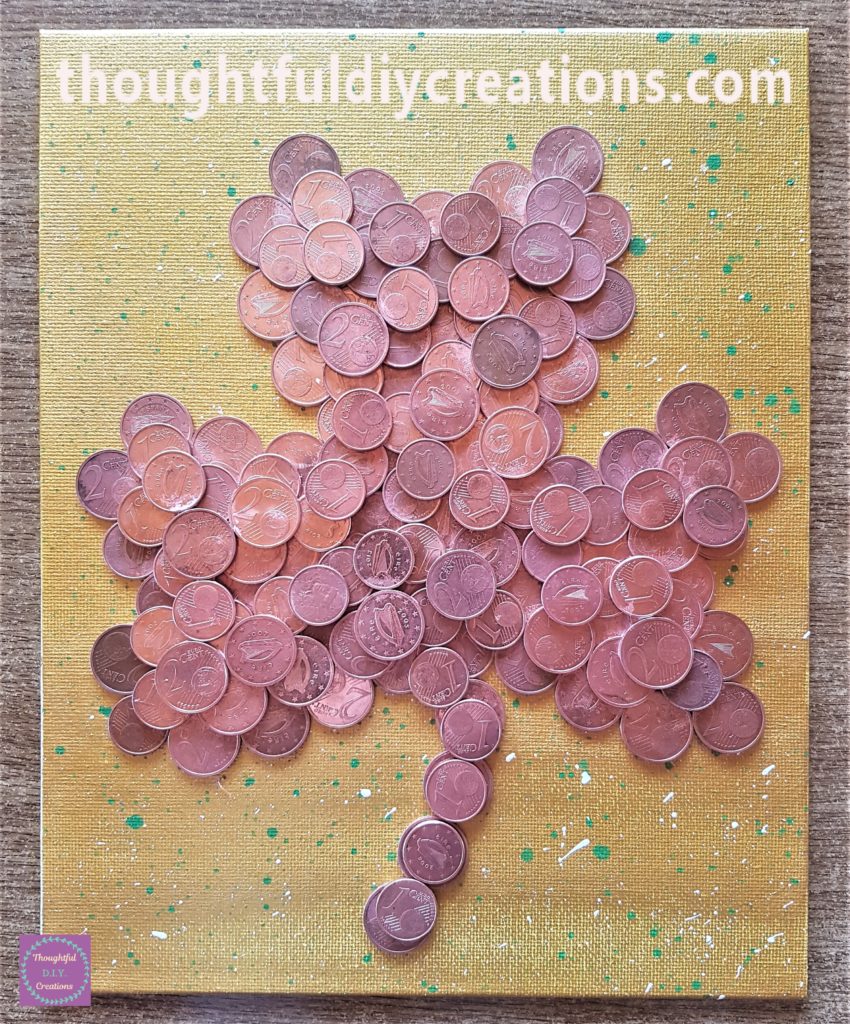
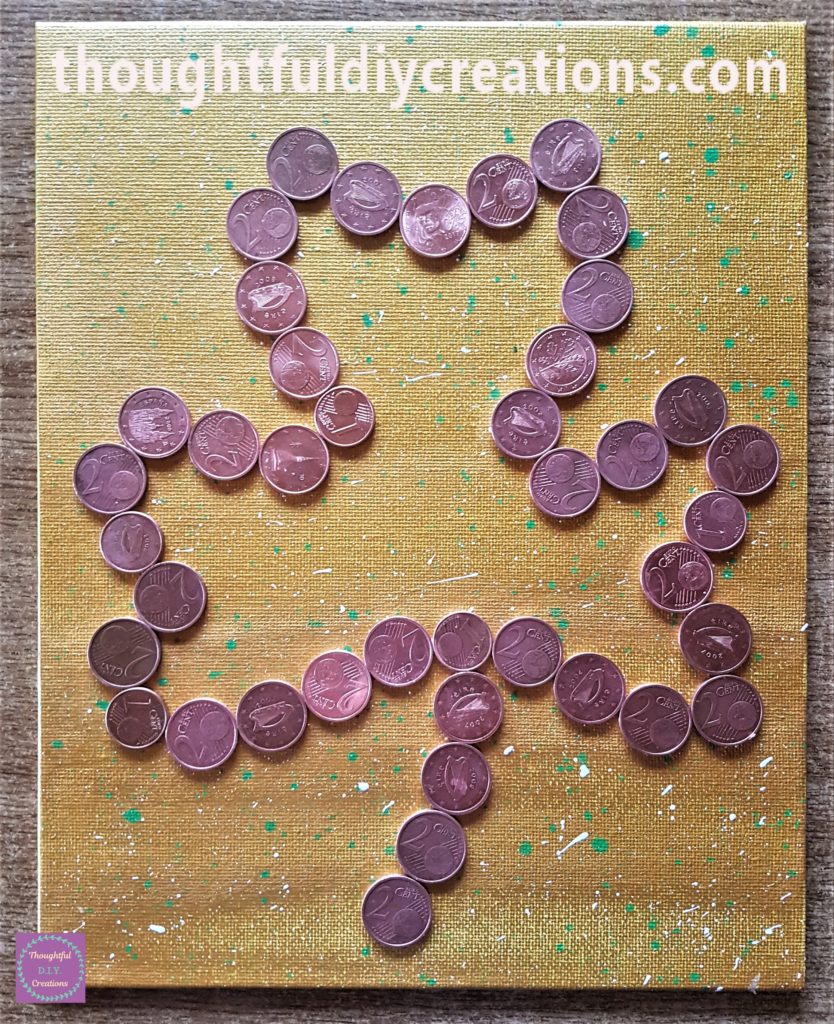
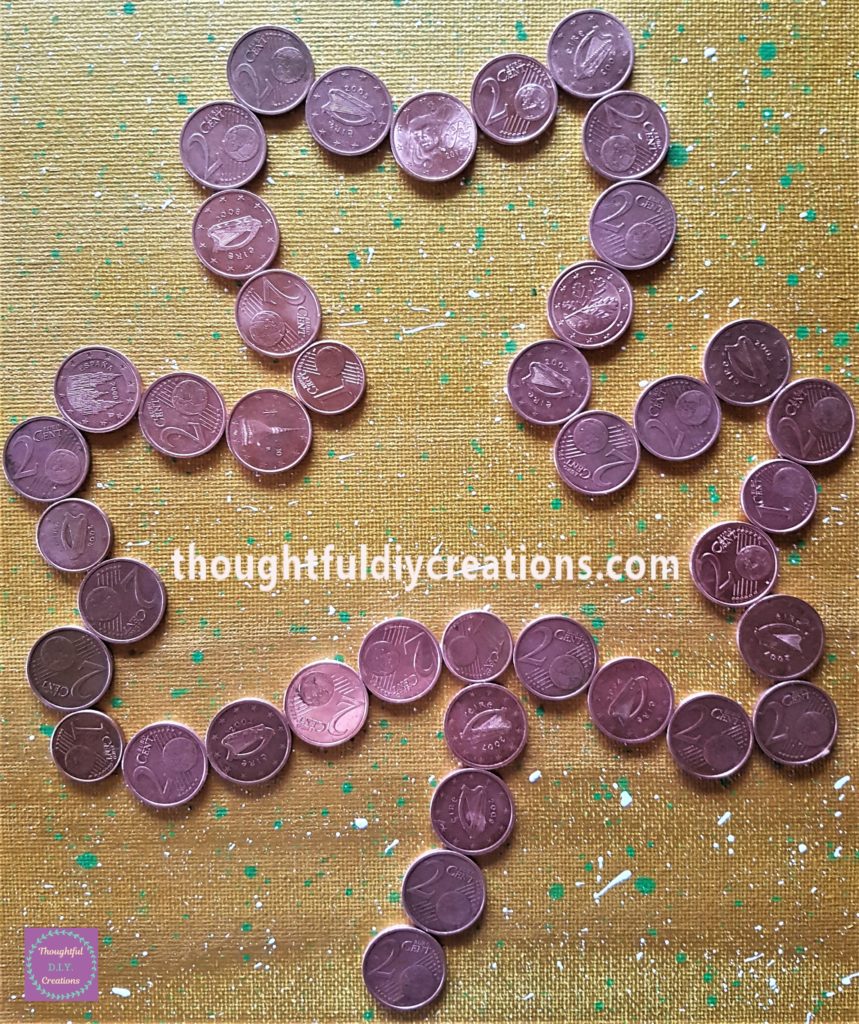
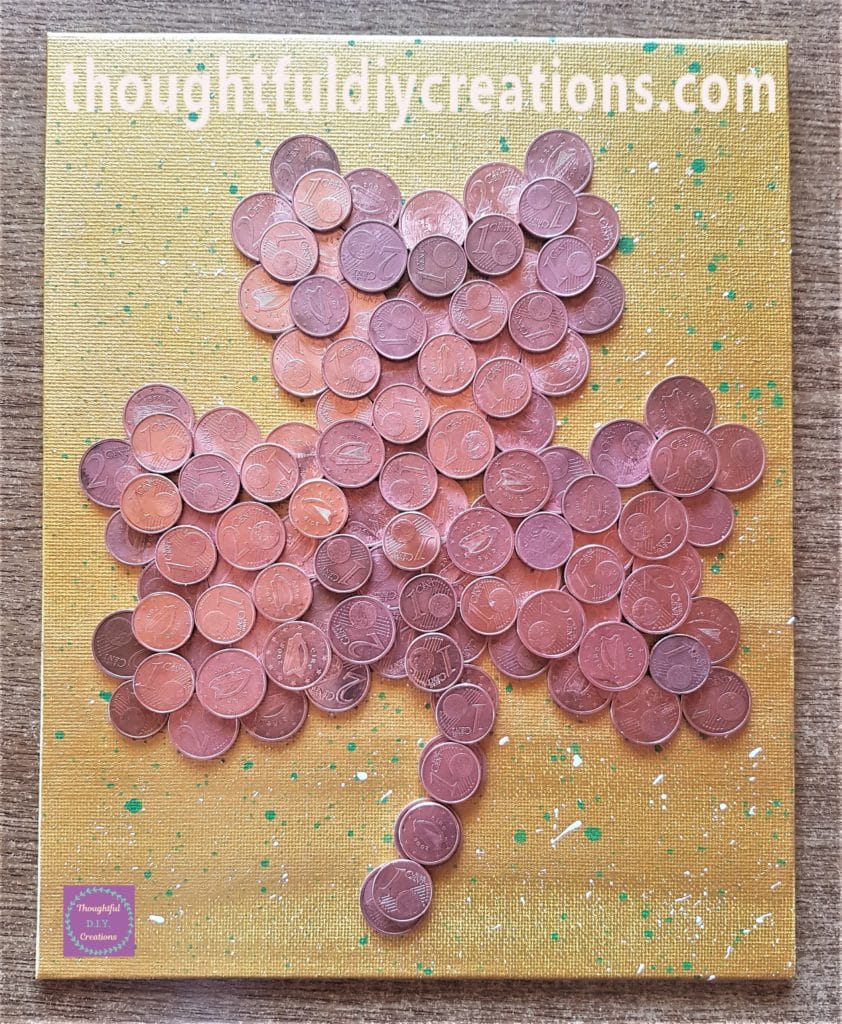
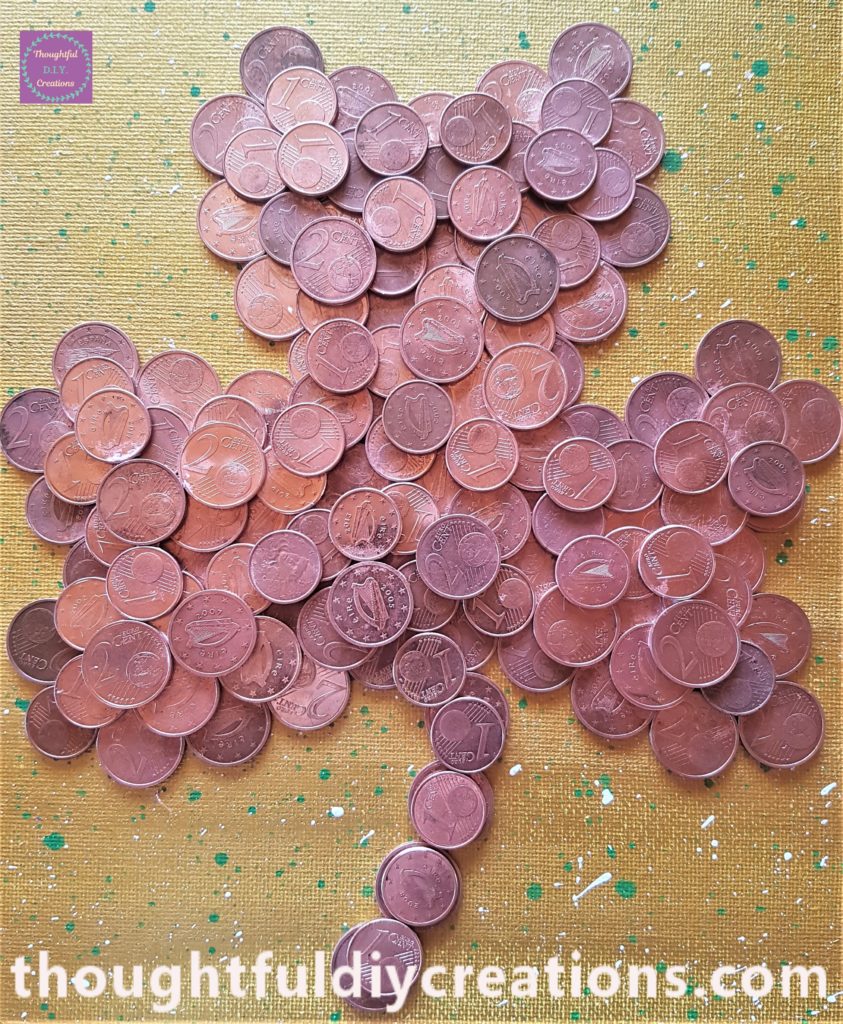
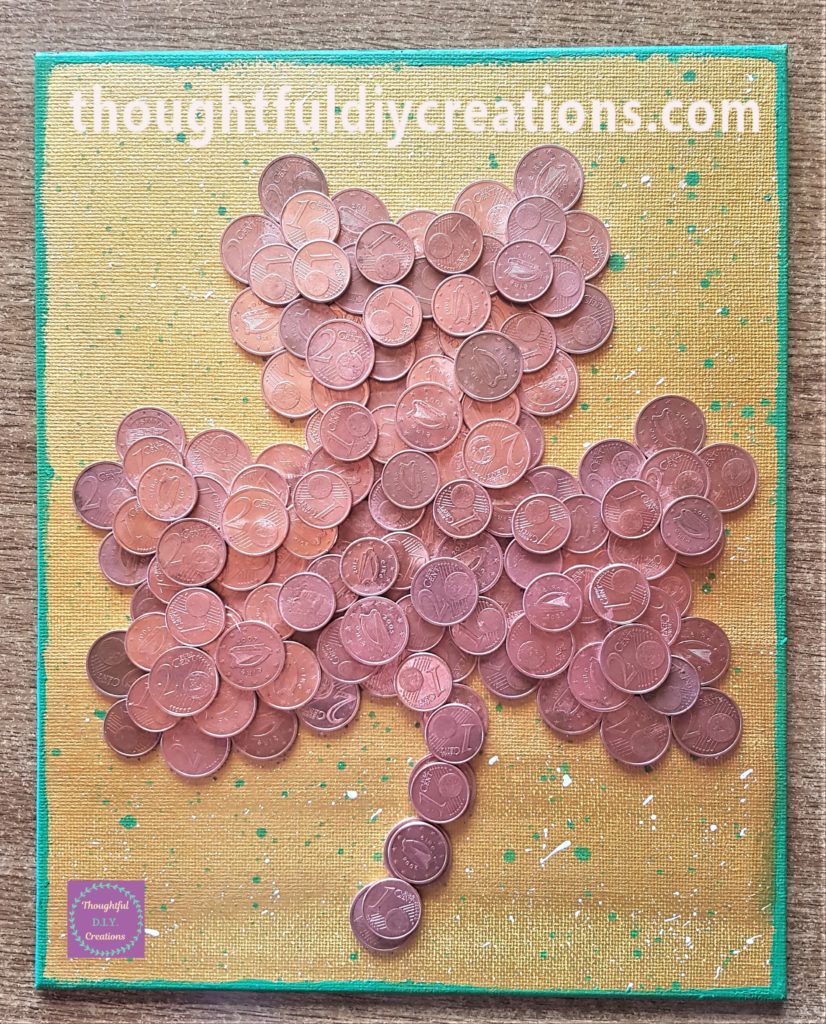
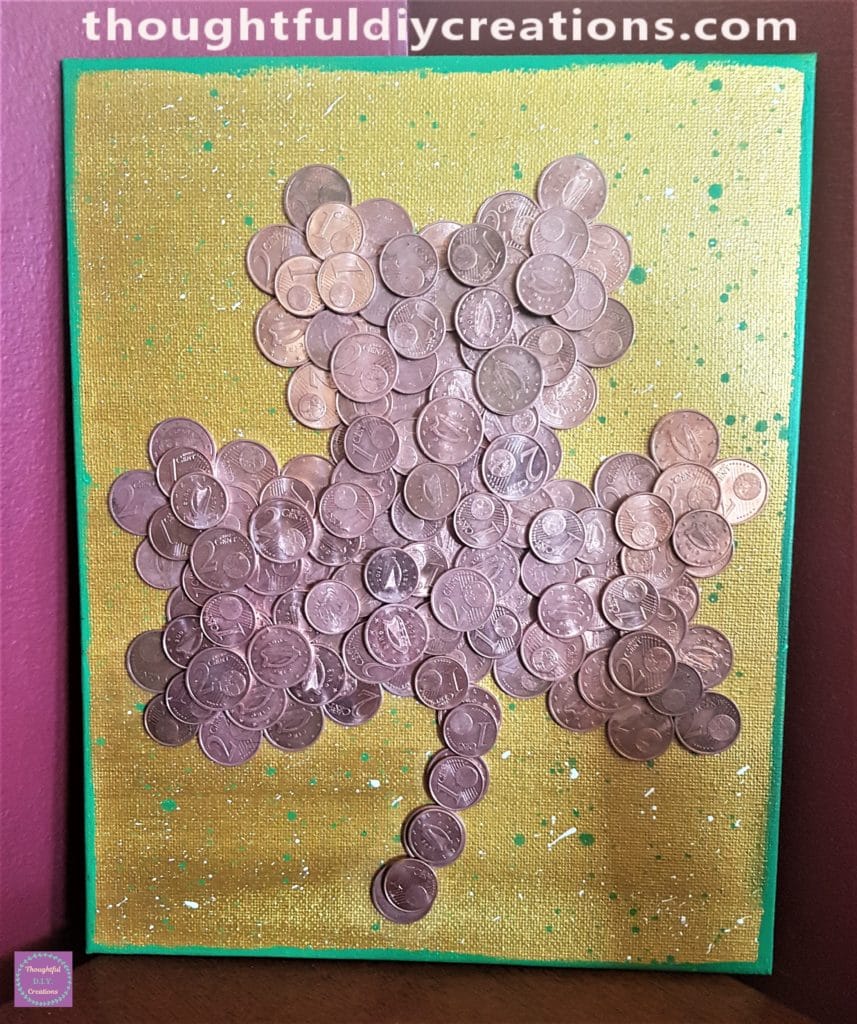
This is a close-up image of the shamrock with all the coins attached to the canvas.
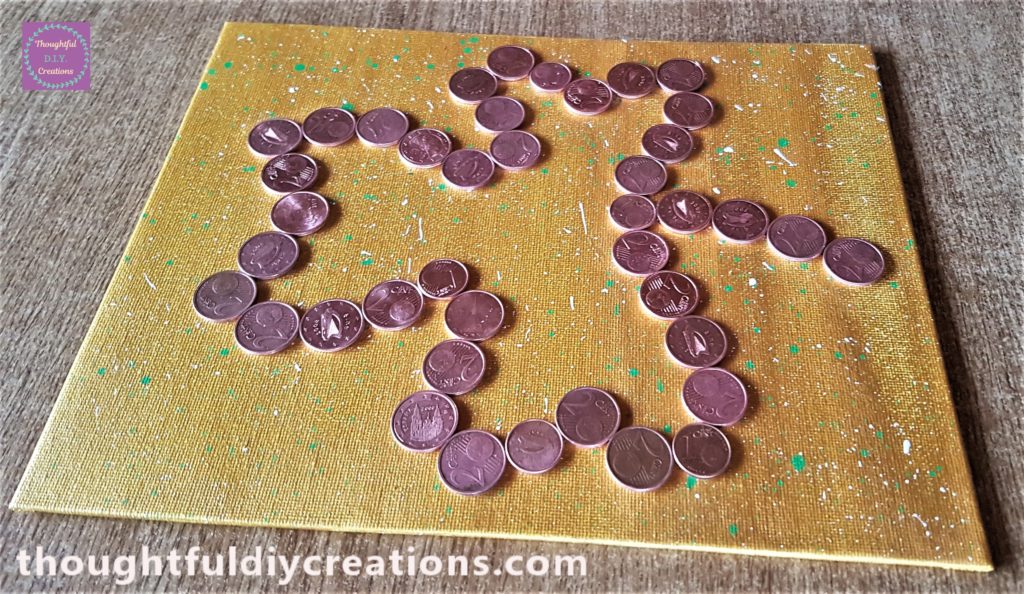
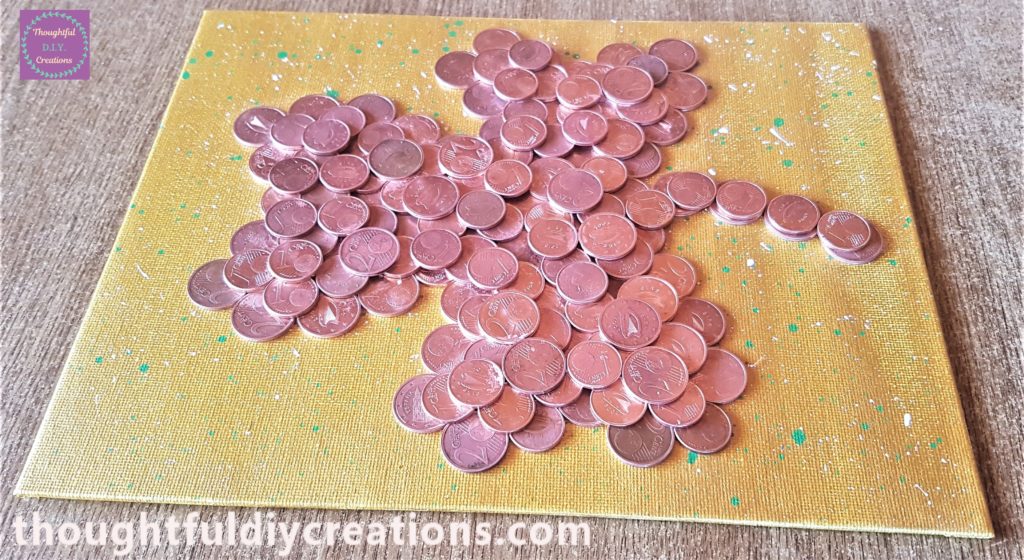
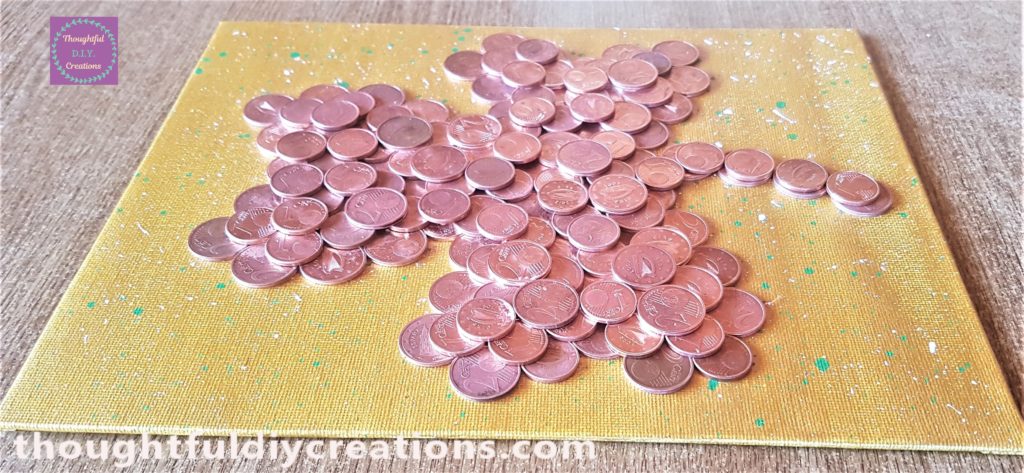
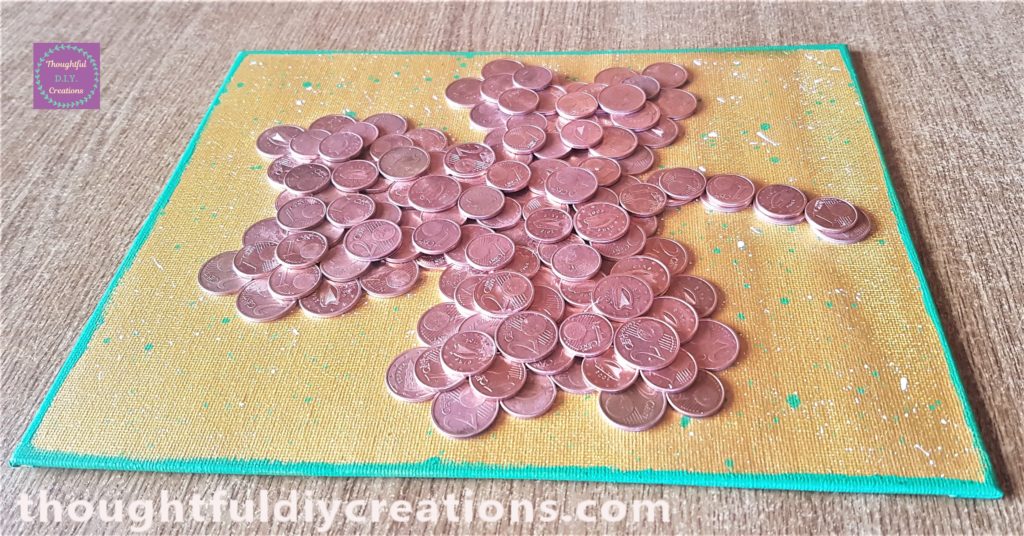
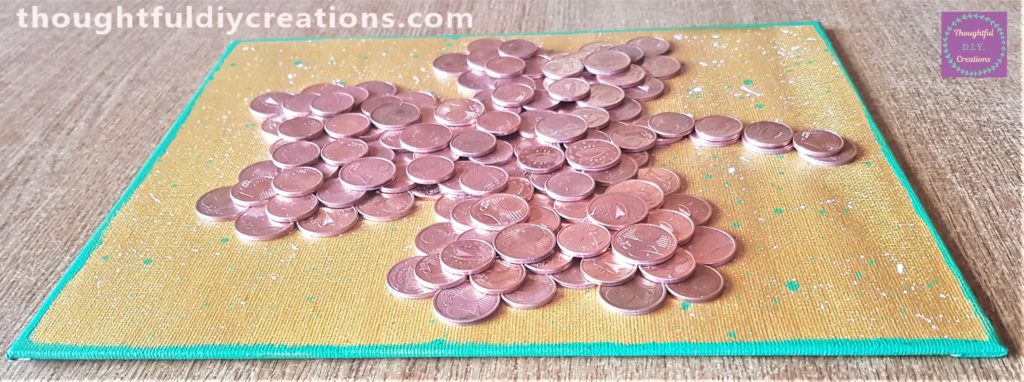
Below are 3 side angles of the canvas showing the different layers of coins.
Finishing Touches to the Money Shamrock Canvas
When the final layer of coins were completely dry I added green acrylic paint on the edges and side of the canvas with my finger.
I think it was needed to frame the piece together and bring out the coins. I added the green with my finger for a more natural, rustic effect. I think it goes with the splashes and complements the whole piece. The next 3 images show the finished look from a side angle.
Final Images of the Money Shamrock
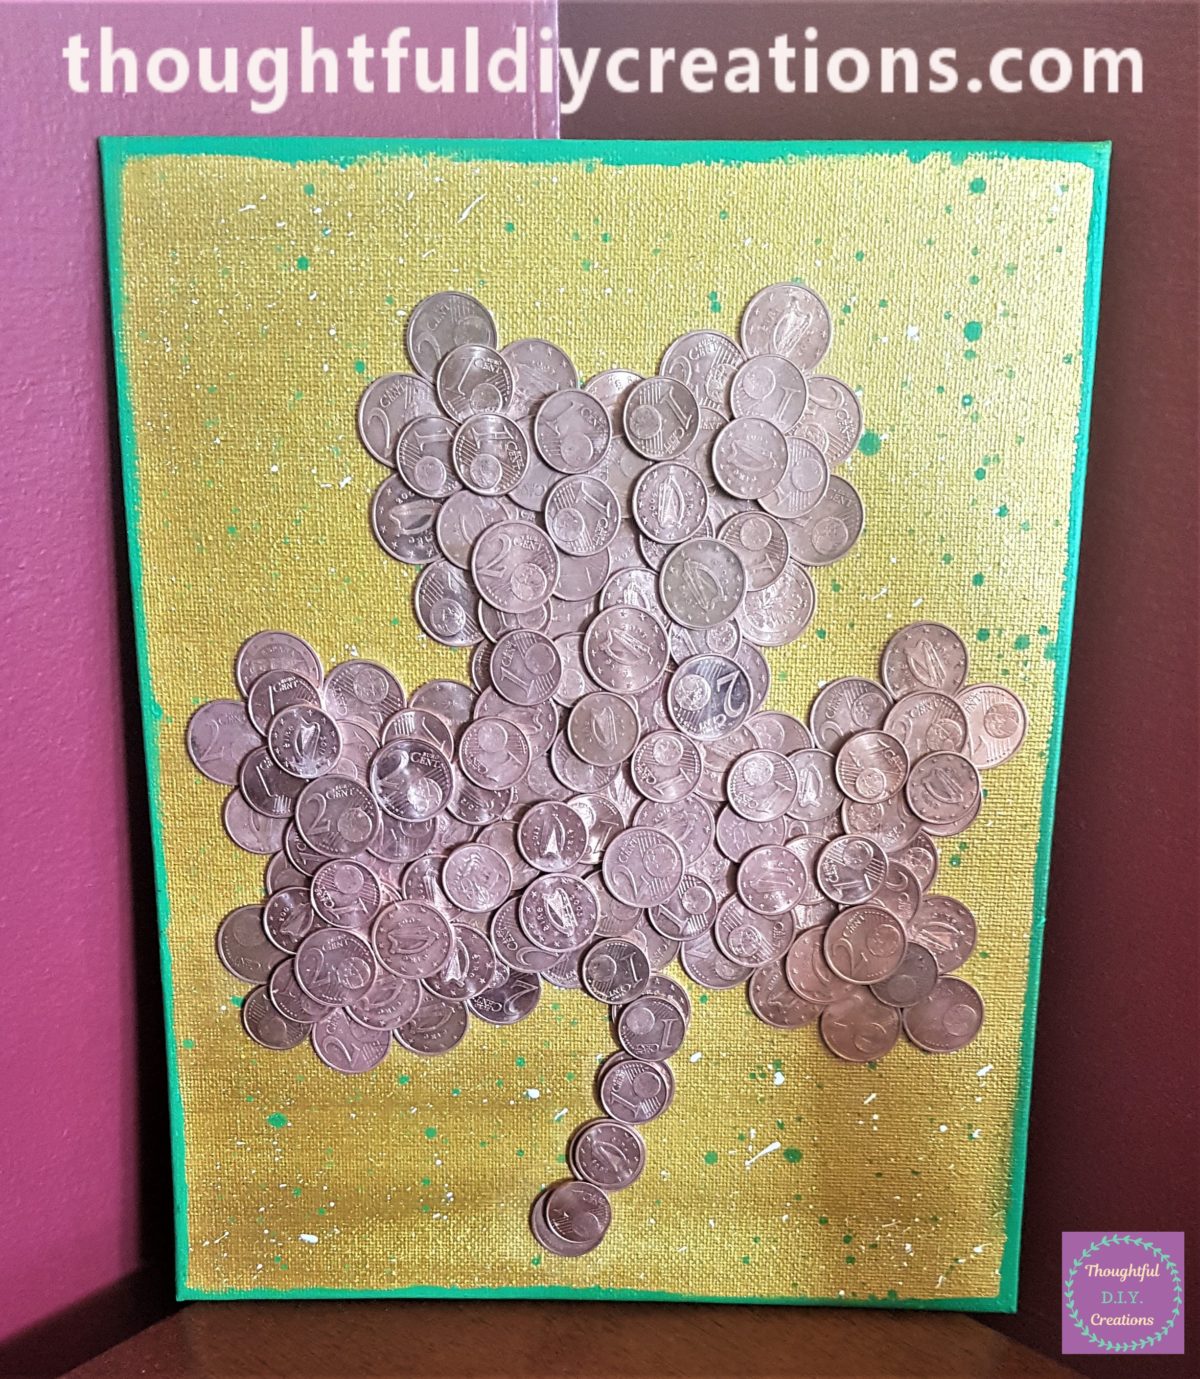
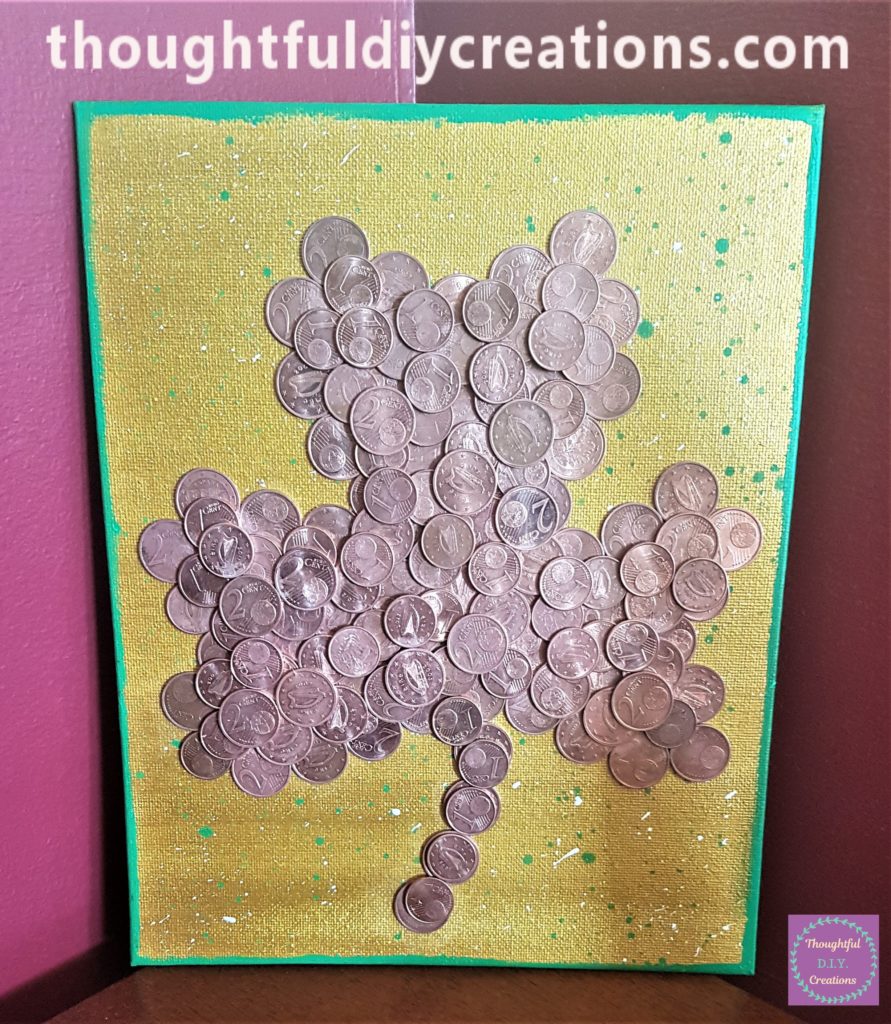
Here is the finished Money Shamrock Canvas Board propped up against the wall.

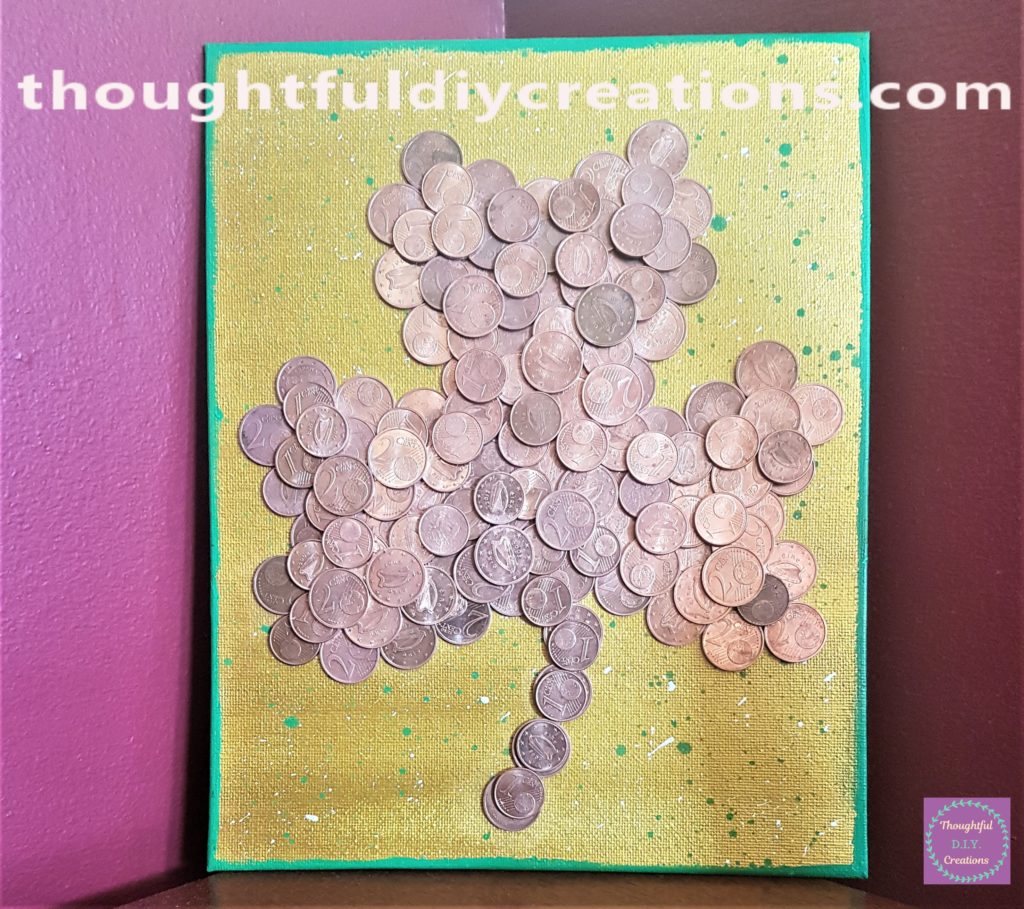
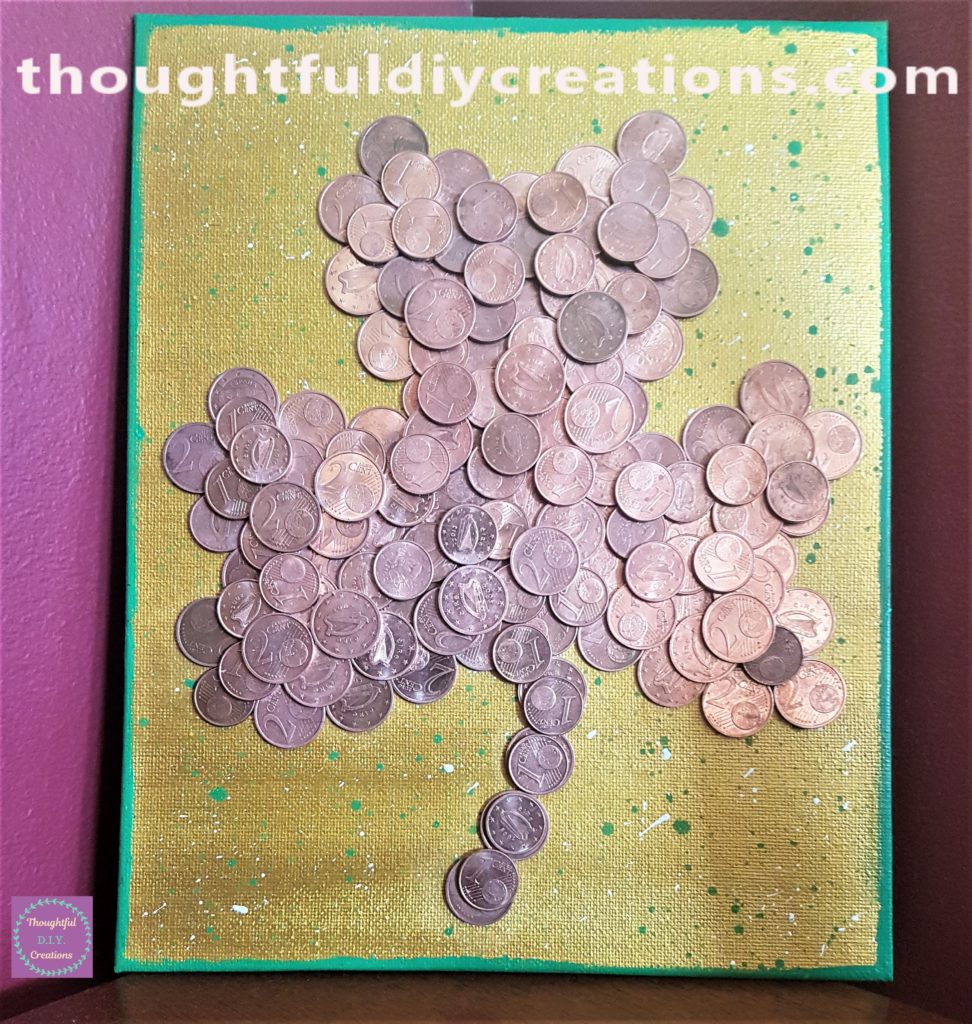
Below are some final images of the finished Money Shamrock from slightly different angles.
Conclusion
I am really pleased with how the Money Shamrock Canvas turned out. I love that I got to make use of the 1 and 2 cent coins I had. It is nice that it can be put up and displayed all year or for around March for St. Patricks Day. As I’m Irish and live in Ireland I think I will keep it up all year. It can be a lucky sentiment to have in the home.
Some of the coins could have been cleaner but I was happy I spent the time washing them to clear them from any energy and dirt and grime they can pick up from people and places. The Wood Glue worked really well for this craft, just give enough time for each layer to dry efficiently and you won’t have any problems.
I hope you give this Craft a try, it’s a fun piece of Home Decor to create for St. Patricks Day. May the Luck of the Irish be with you all.
You could change the image of the Shamrock to a Tree and make a Money Tree Canvas instead if you want. It could also be made on a bigger Wood Panel instead of the Canvas. I hope you got some ideas from my tutorial and incorporate them into your own style and requirements.
If you have any questions or anything to add on this topic just fill out the Comment Box below this Blog Post and I’ll reply as soon as I can. Happy Crafting Everyone.
Thank you so much for taking the time to read my Blog Post.
Always Grateful,
T.D.C.
xoxox