Mother’s Day Card Tutorial
Hello my Creative Friends,
I hope you are all Well. In Today’s Tutorial I will show you How I made a Mother’s Day Card. It can be adapted for a Birthday or another Celebration. I hope it provides you with some Ideas / Tips and the Steps to take on How to make a Handmade Card from beginning to end.
It is Mother’s Day this Sunday the 14th of March in Ireland and the U.K. I think America and Canada Celebrate it in May, and I’m not too sure about the rest of the World.
As we are Celebrating it this Weekend, I decided to Show you the Card I made for my Own Amazing Mama.
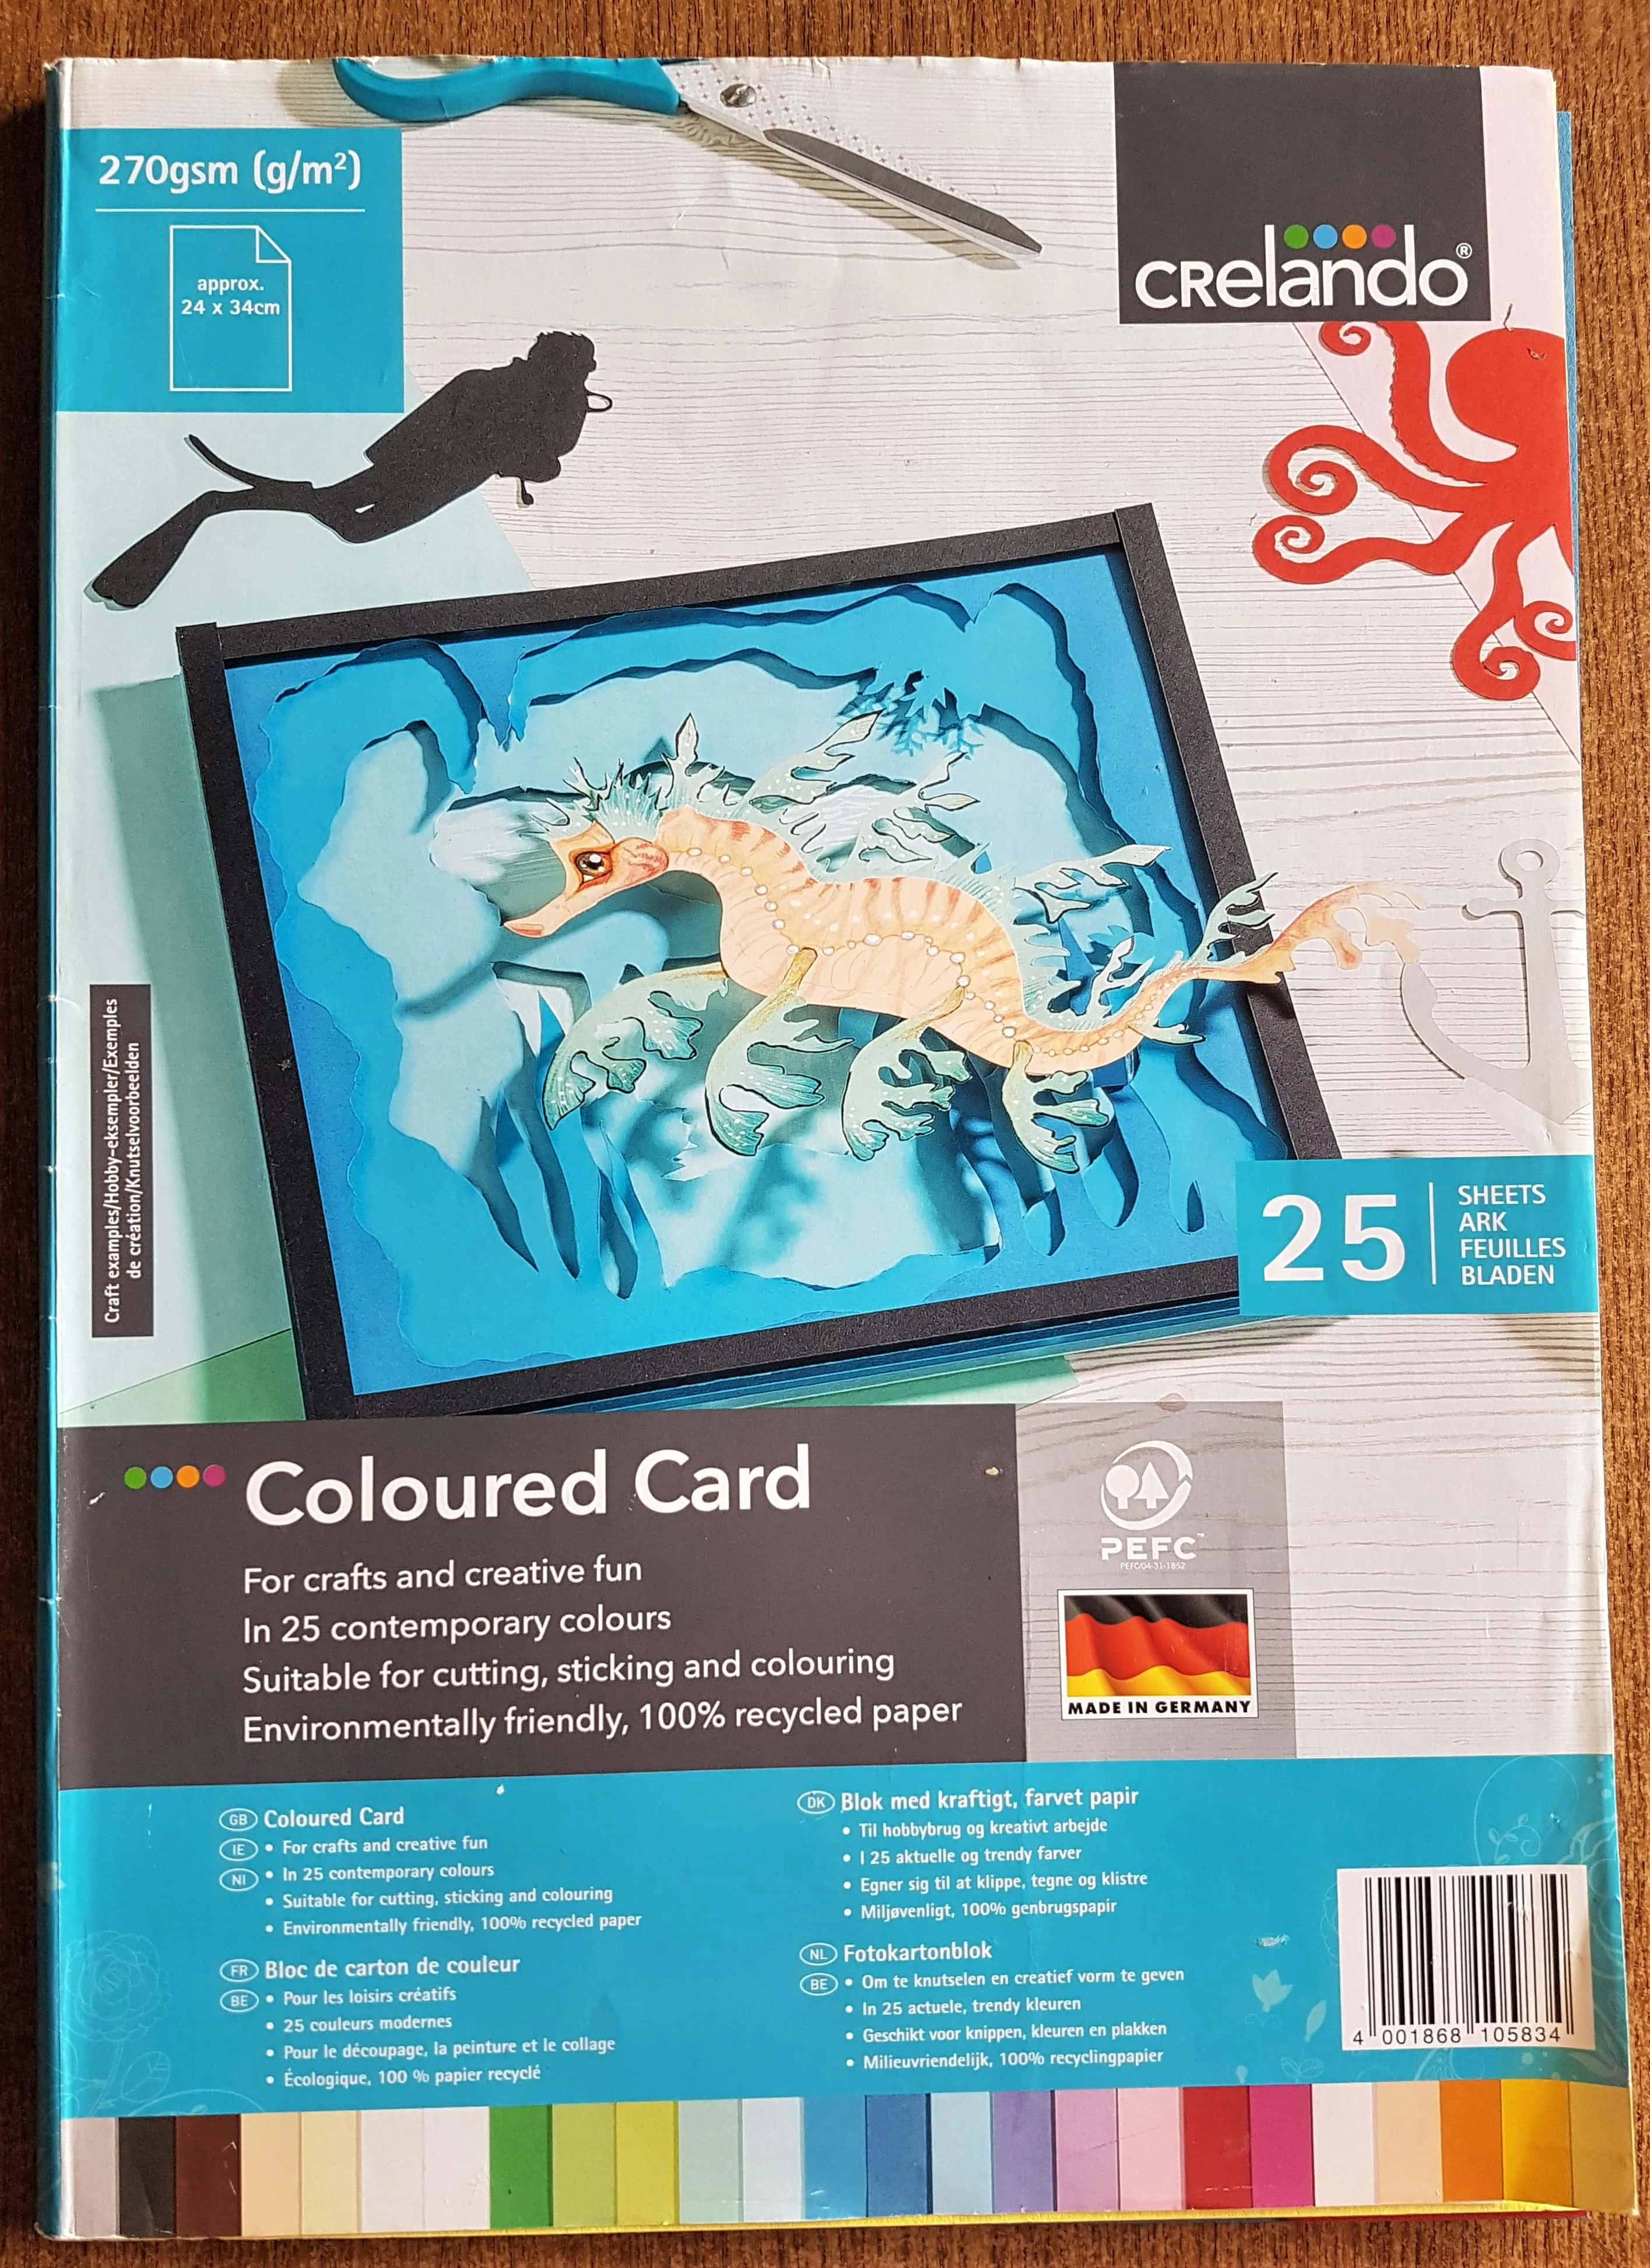
Coloured Cardstock Pad
I got my Coloured Cardstock Pad which weighs 270gsm.
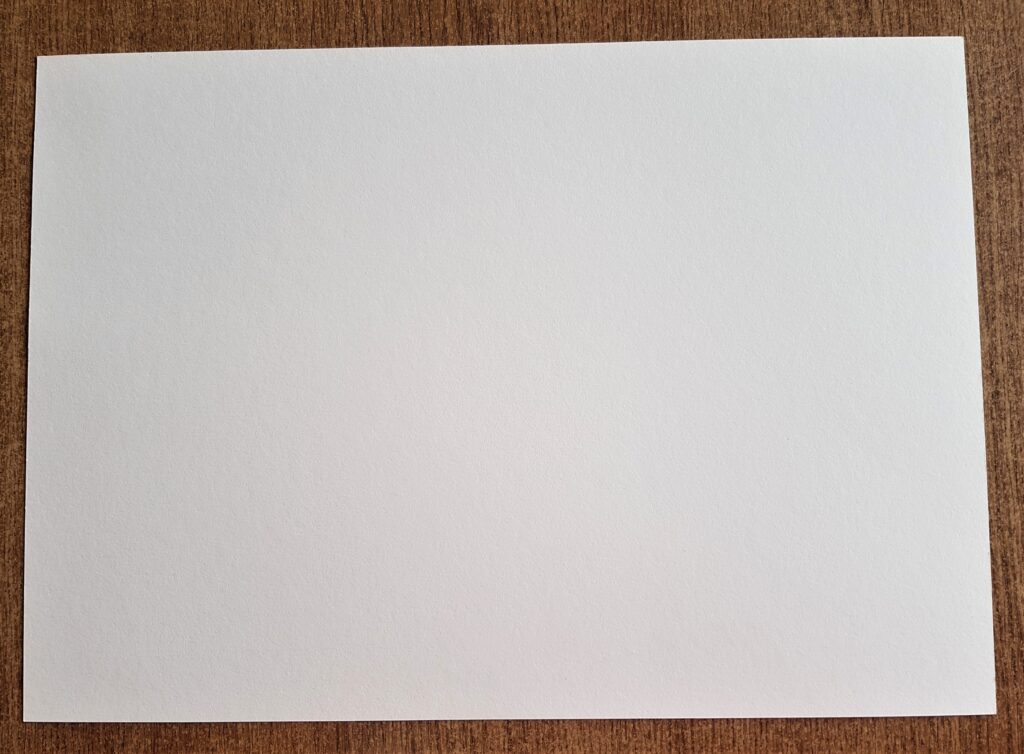
I removed a Cream Sheet from the Pad and turned it sideways.
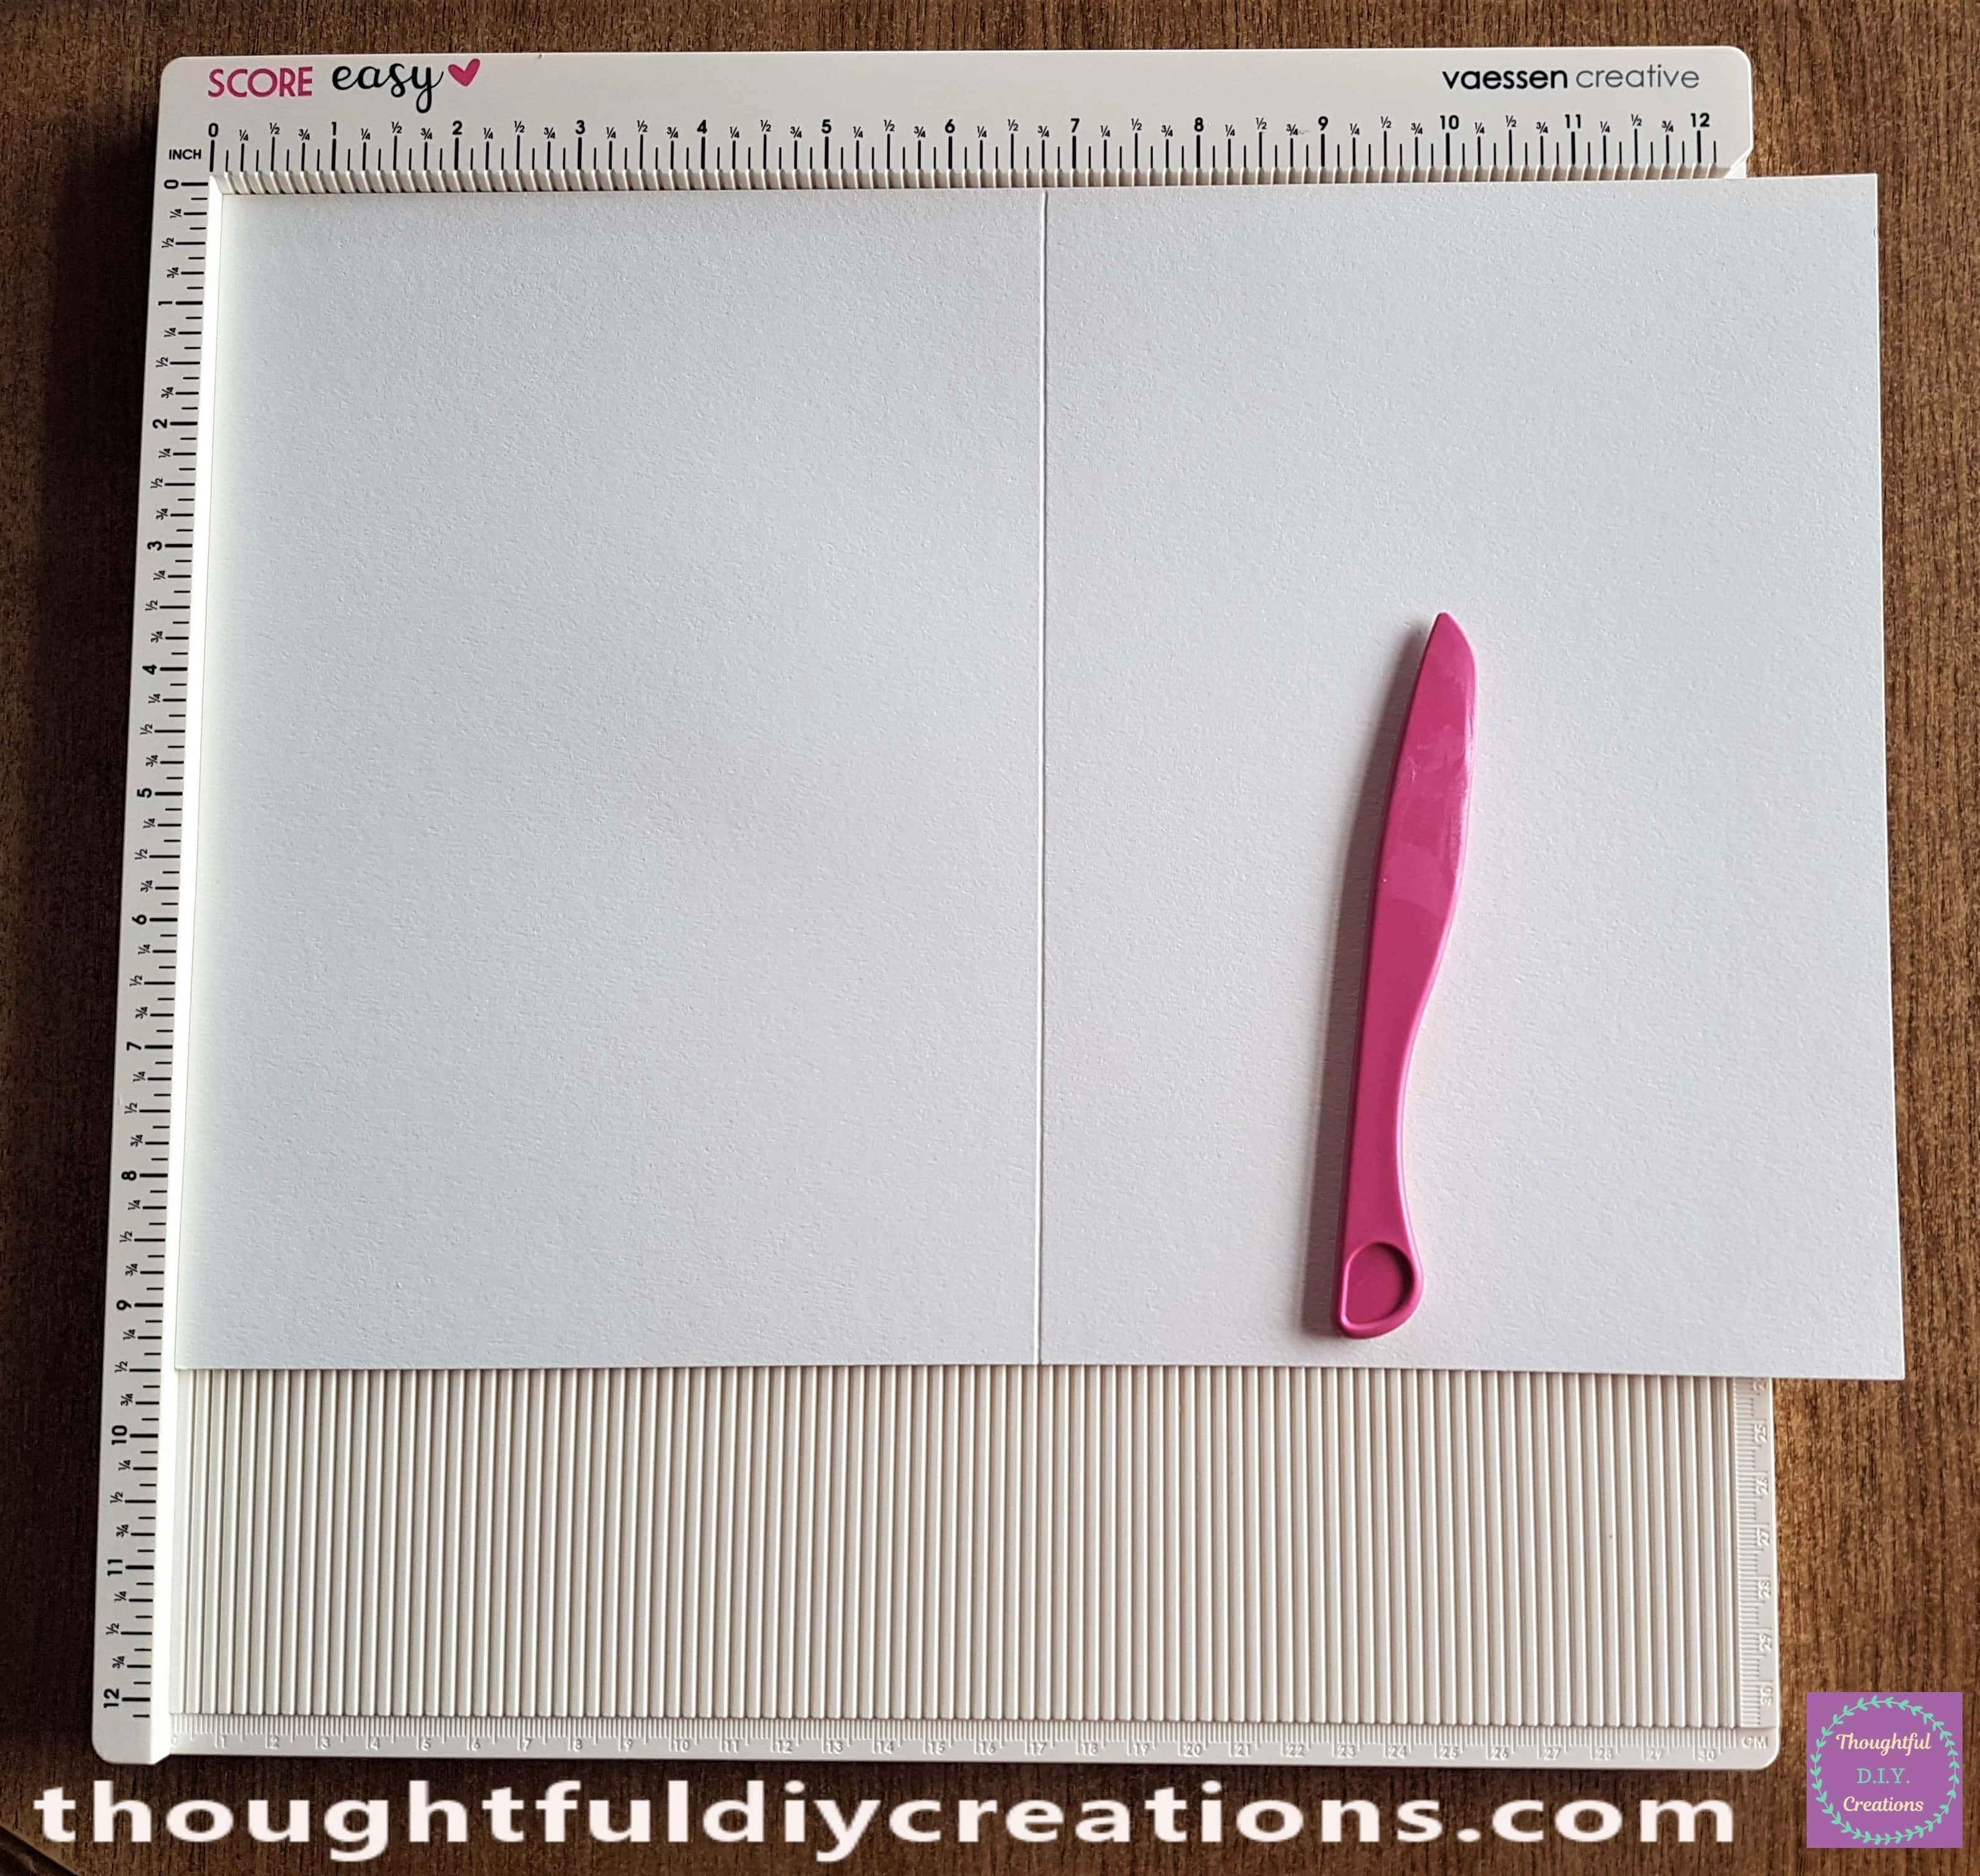
Scoring the Mother’s Day Card
I got my 12″ x 12″ Score Board and Bone Folder that came with it. I Scored a Line down the Center of the Cardstock.
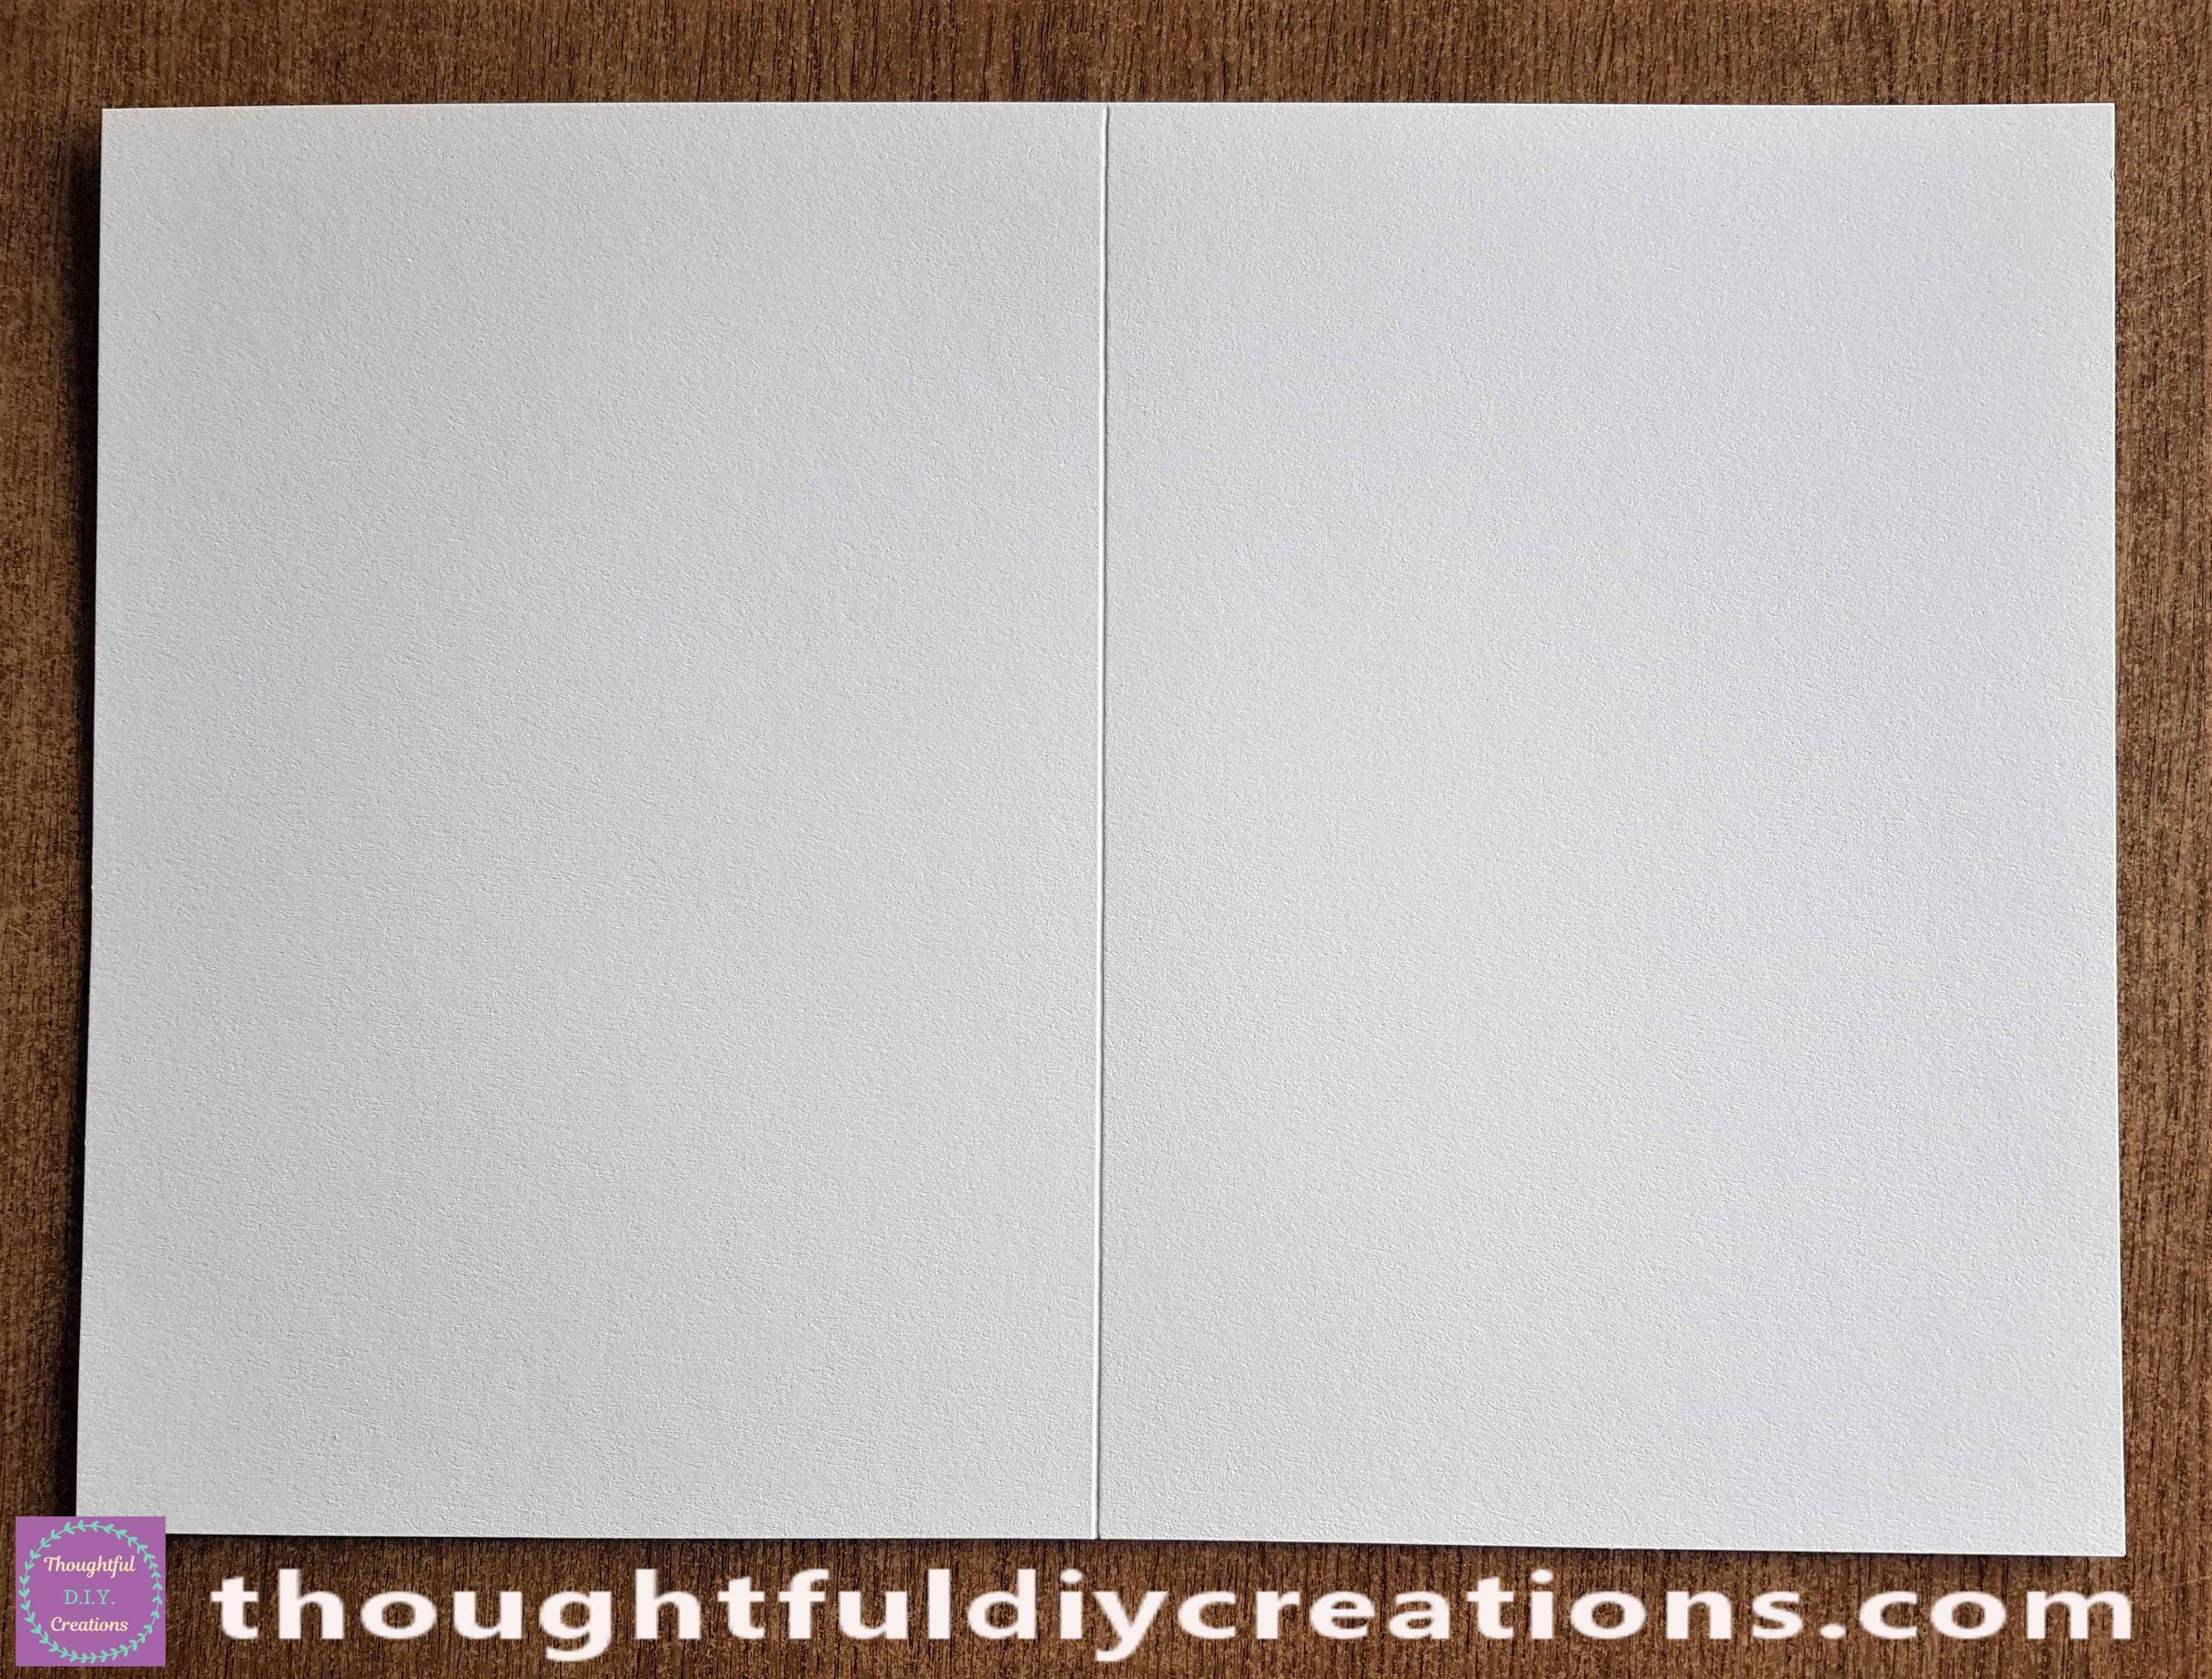
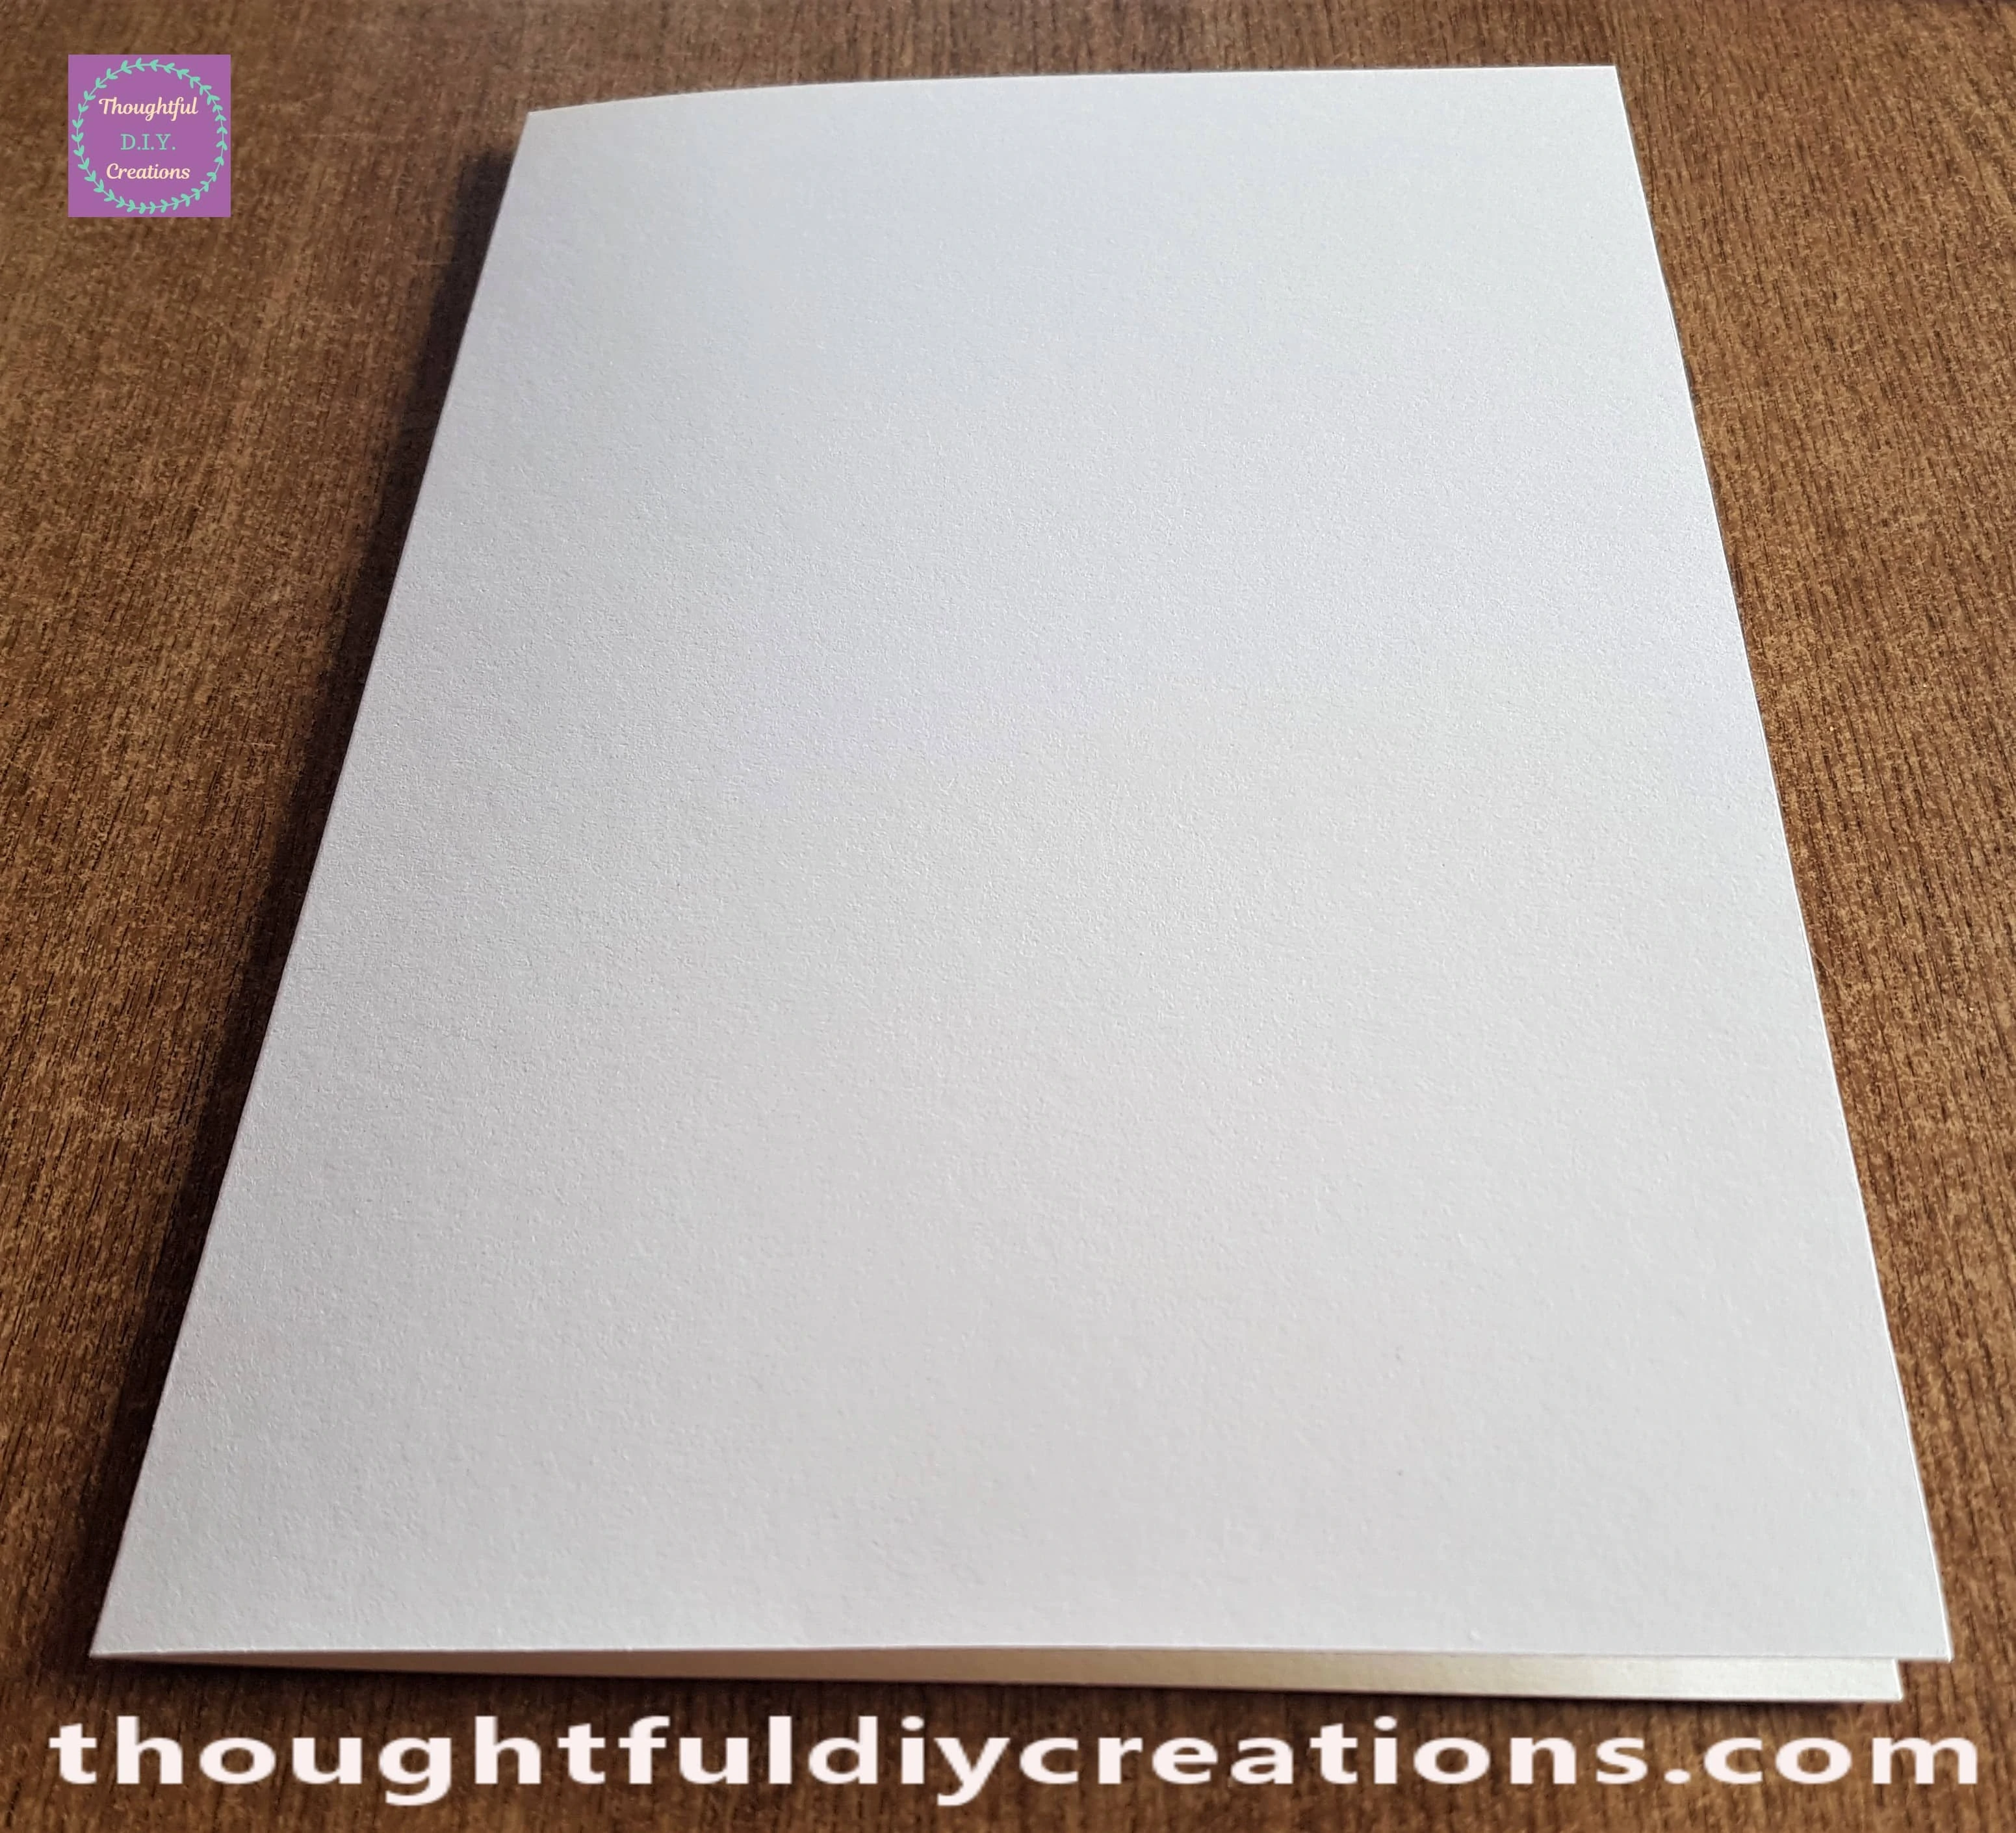
This is How the Card looks with the Line Scored down the middle. It provides a clean, crisp fold to the Card.
I folded the Card in half and pressed the folded line across with the Bone Folder.
Adding another Layer to the Card
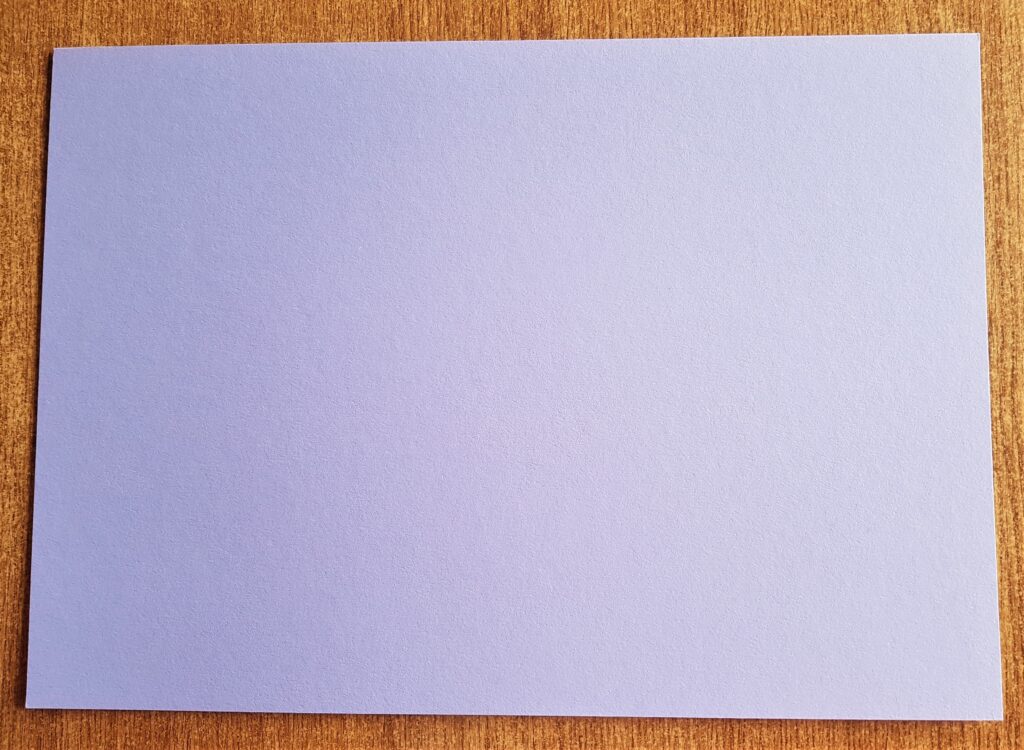
I removed a Purple Sheet from the same Cardstock Pad.
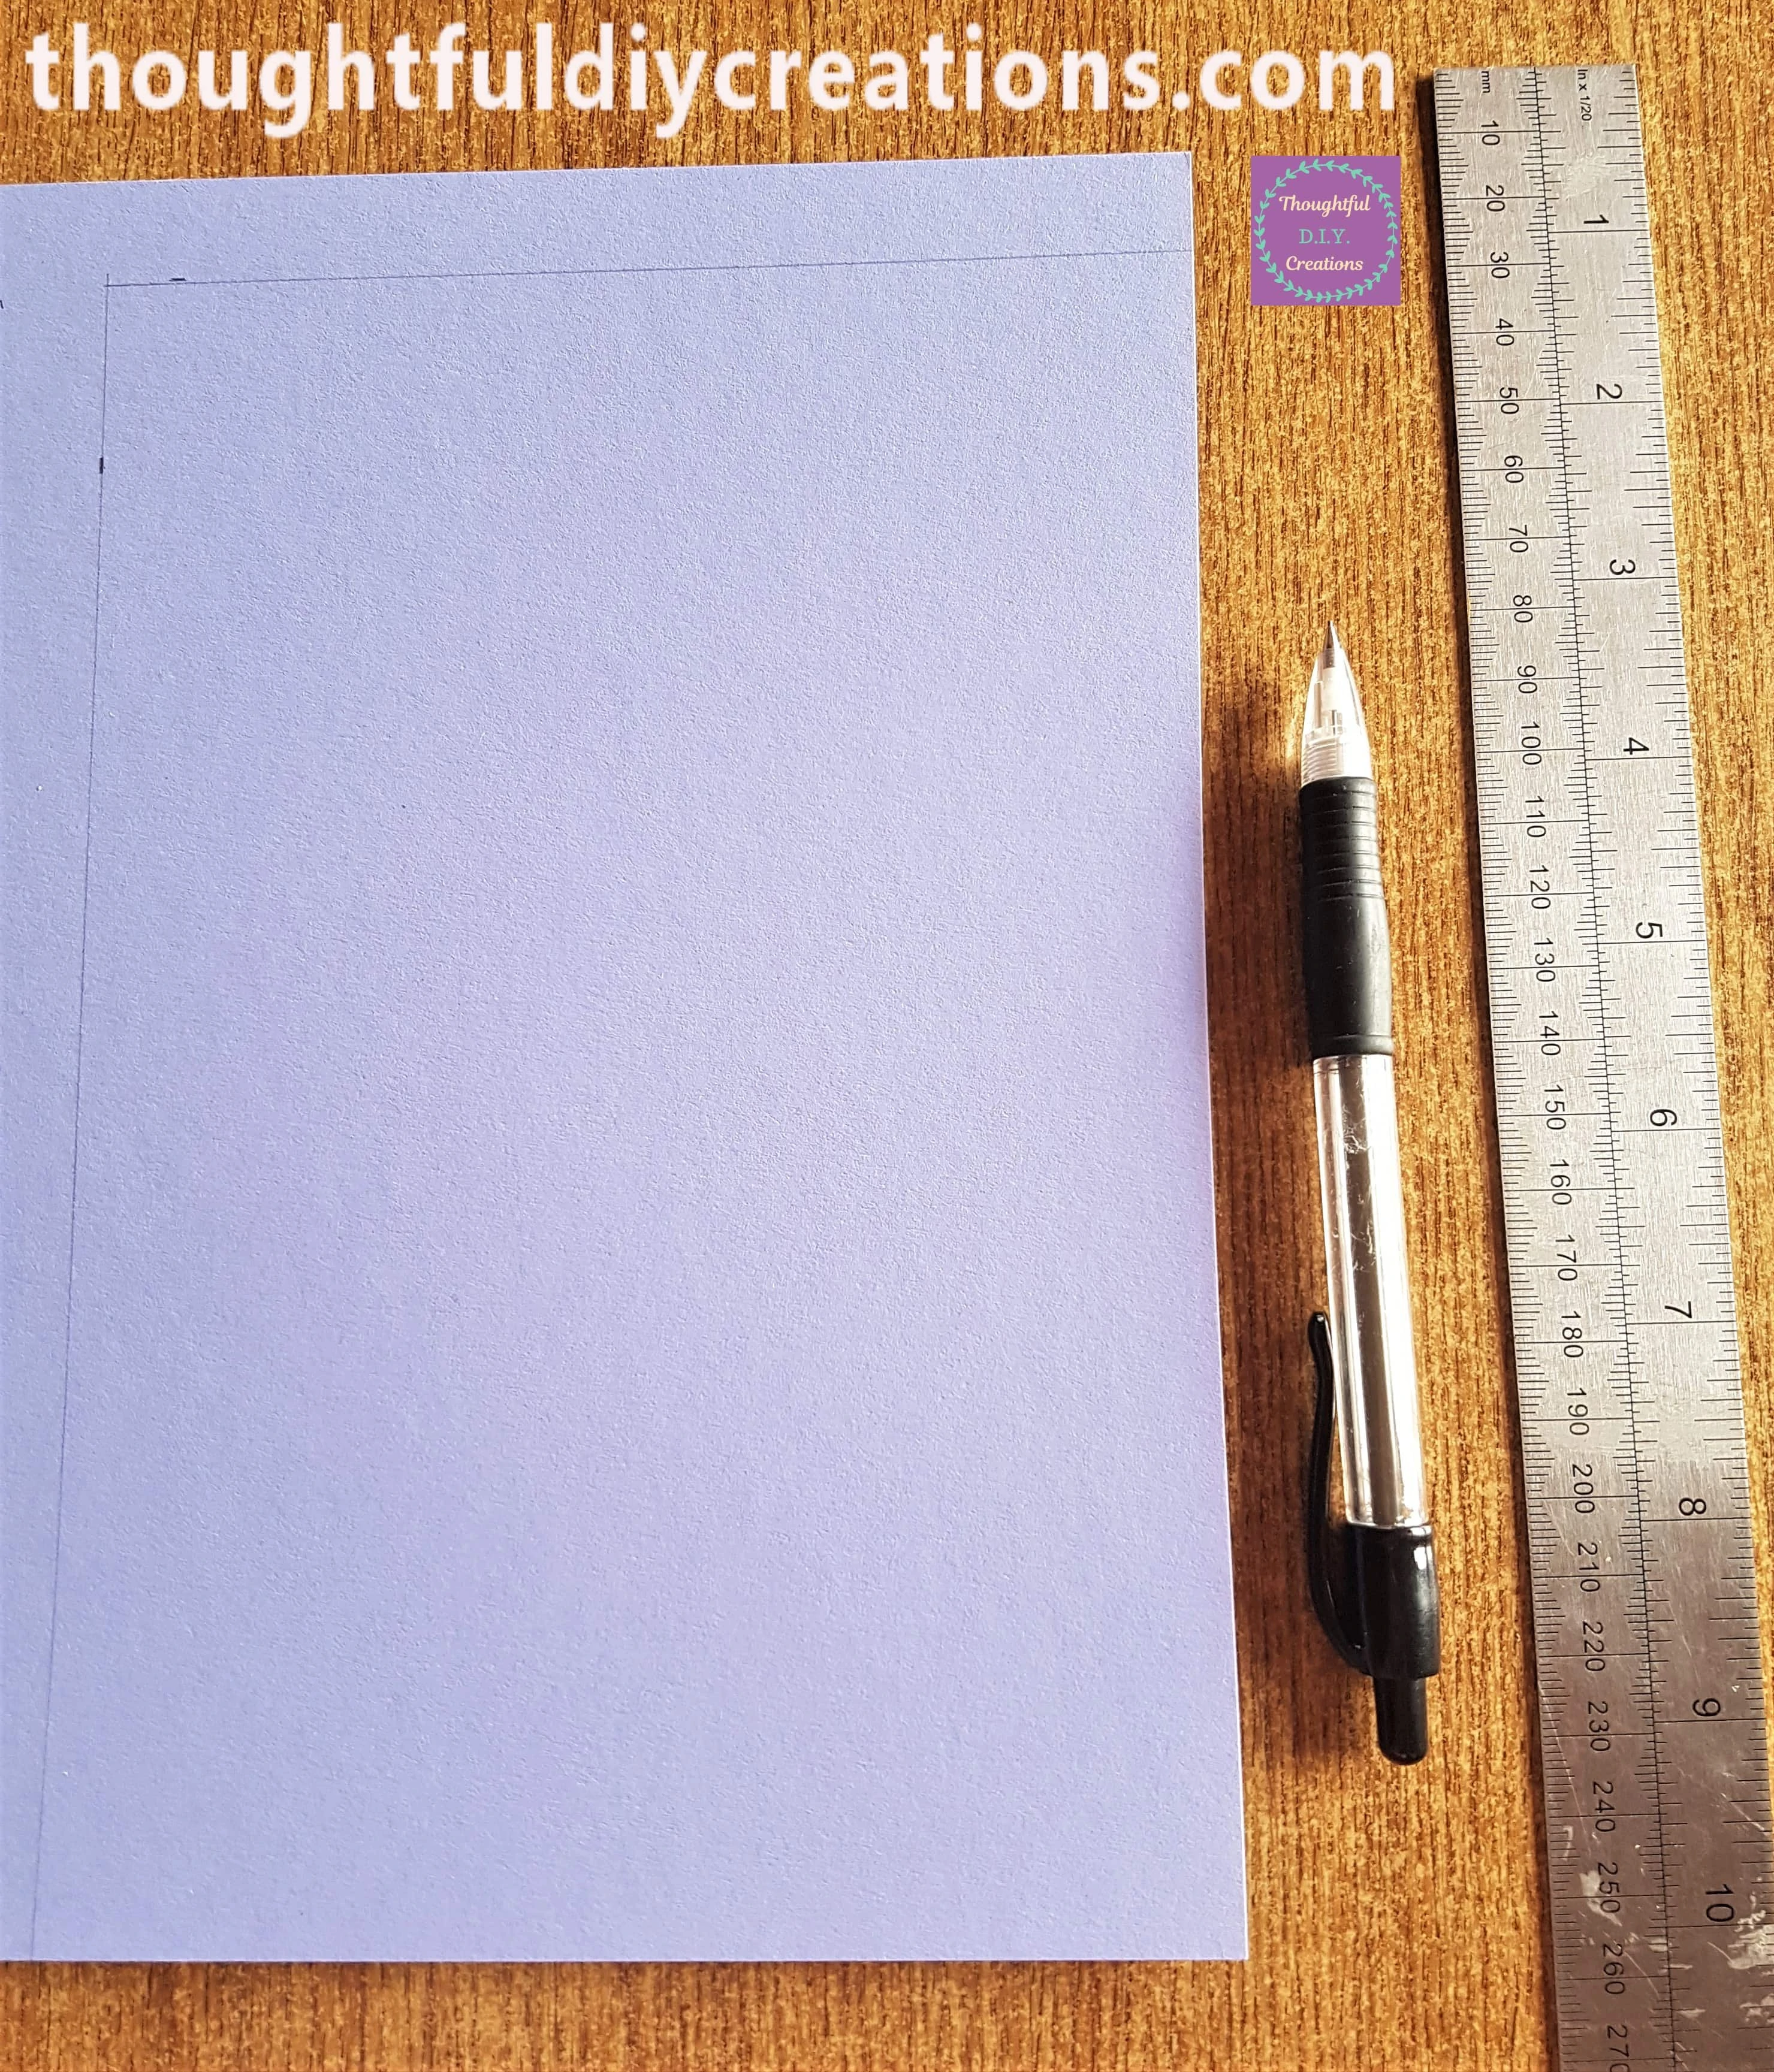
I drew lines on the Sheet with my Pencil and Ruler to Cut out.
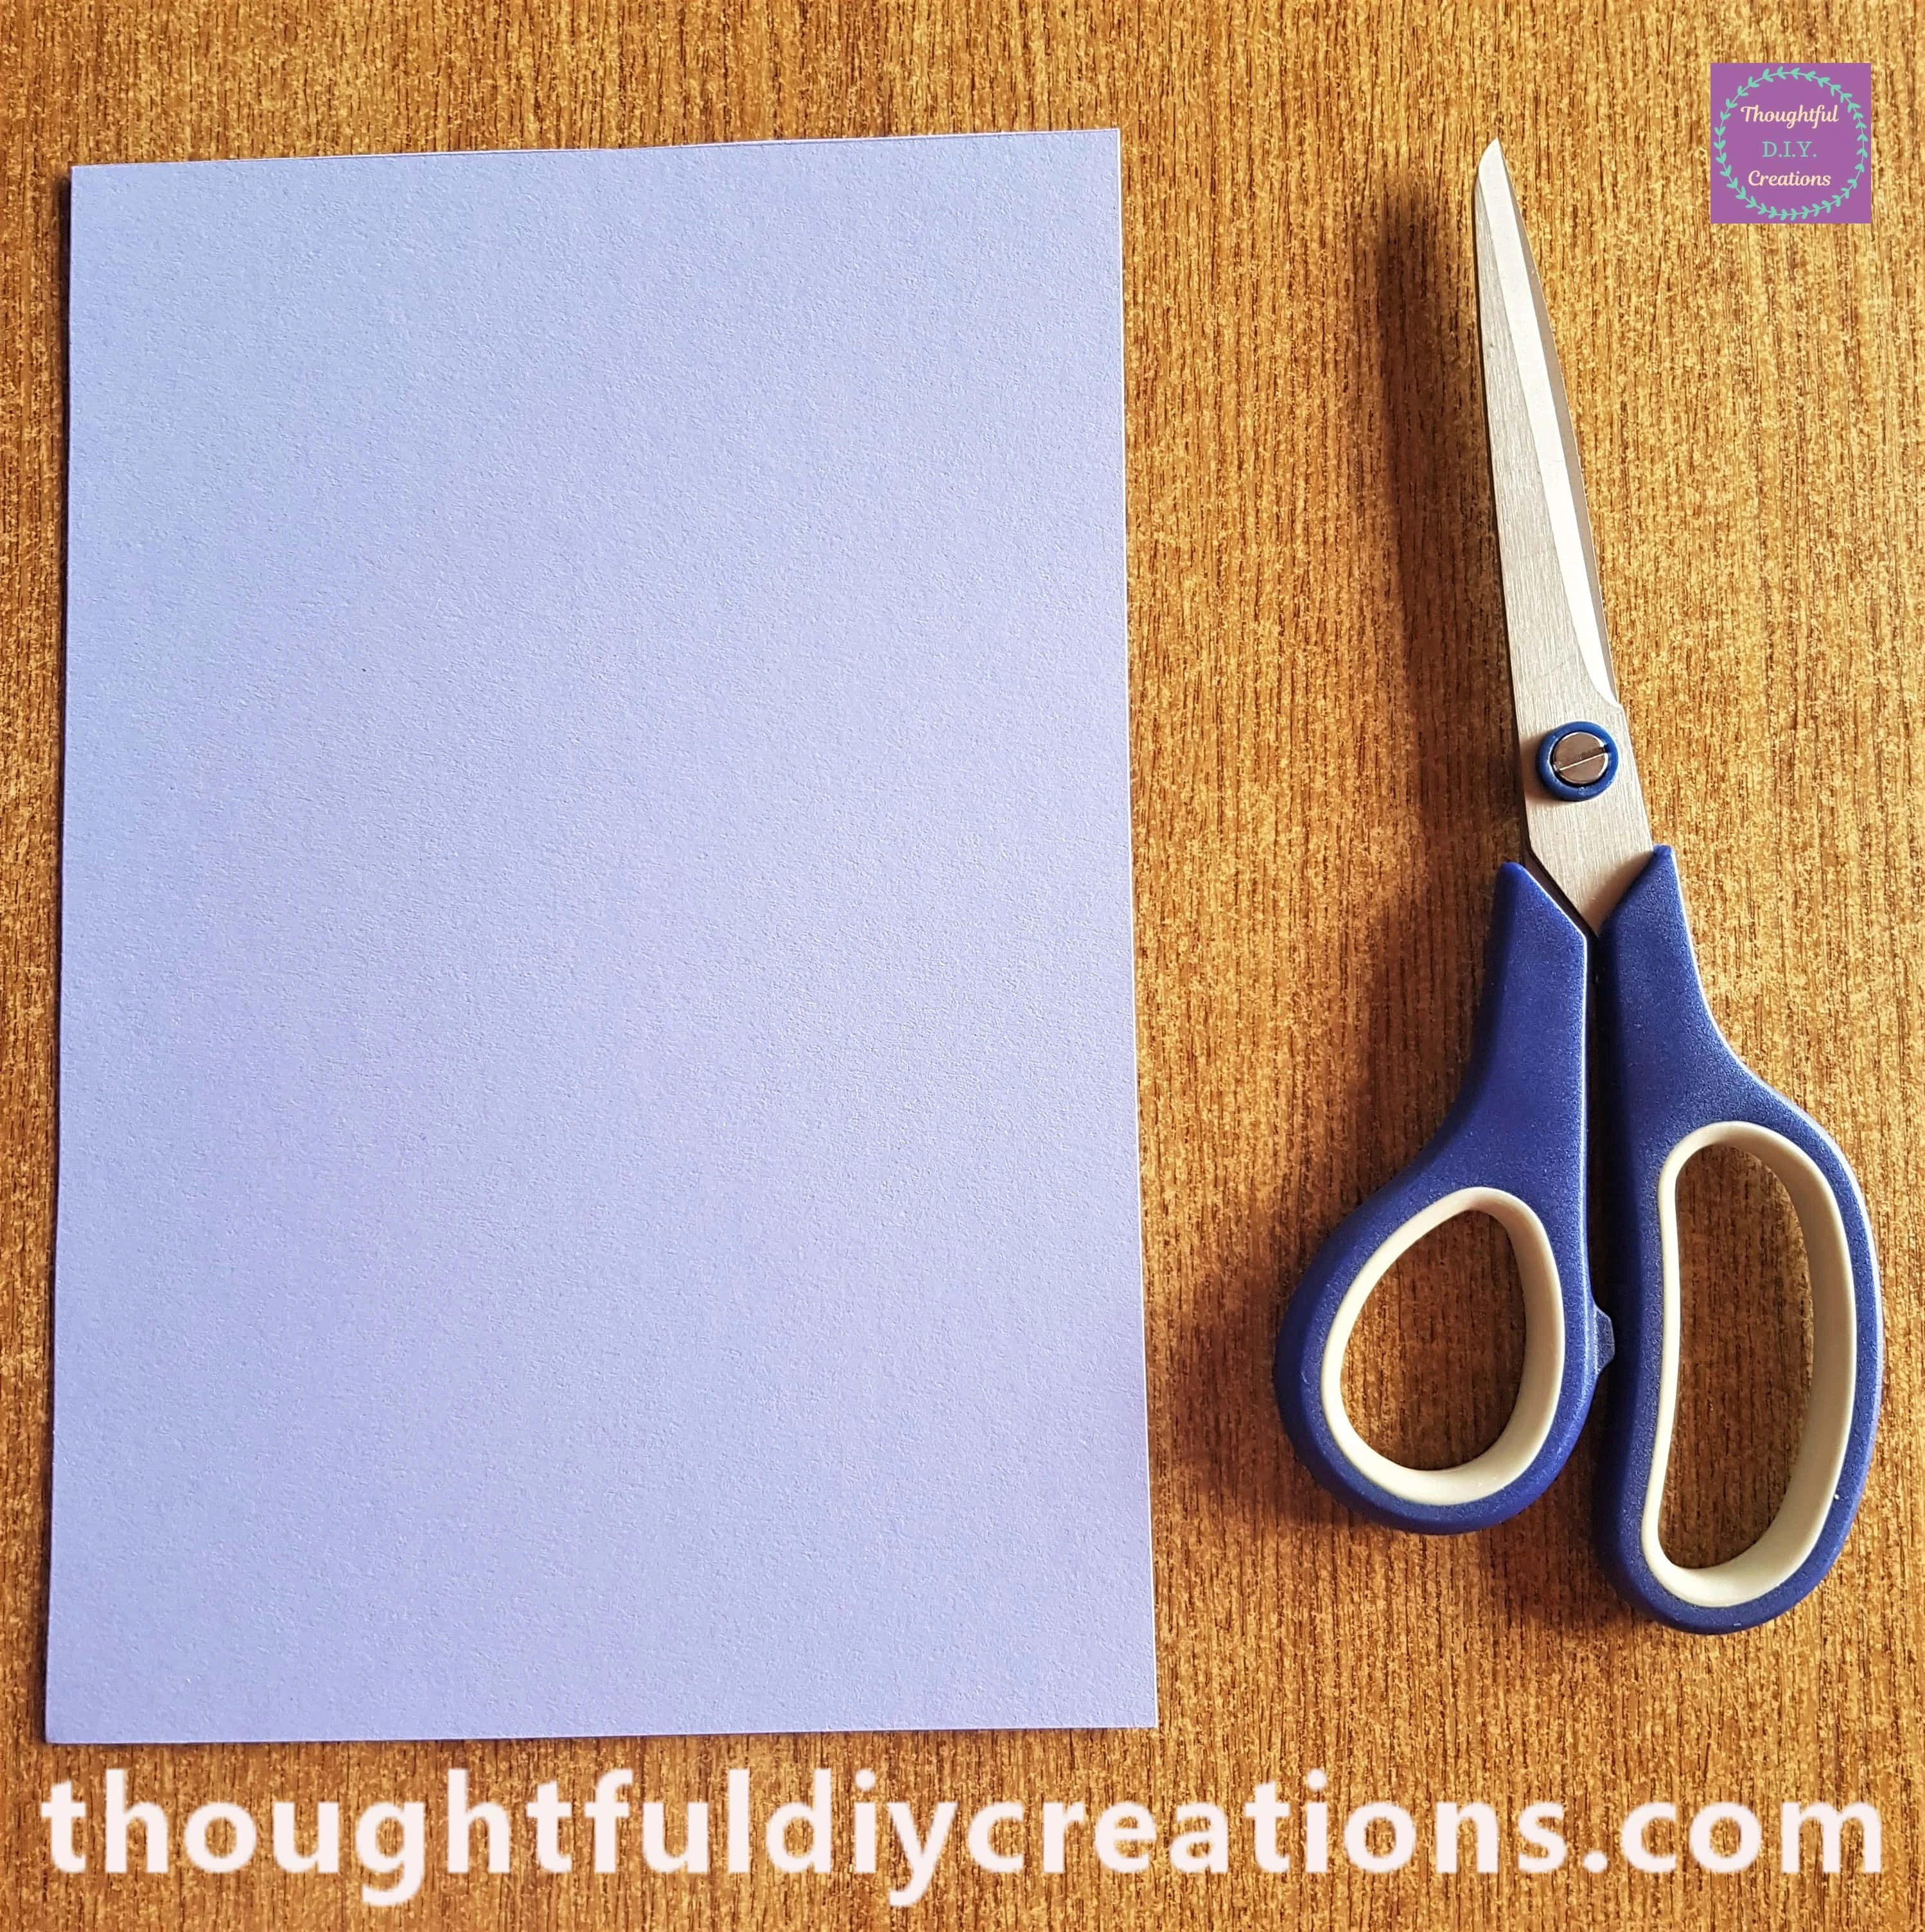
I cut out the measurements with a Scissors.
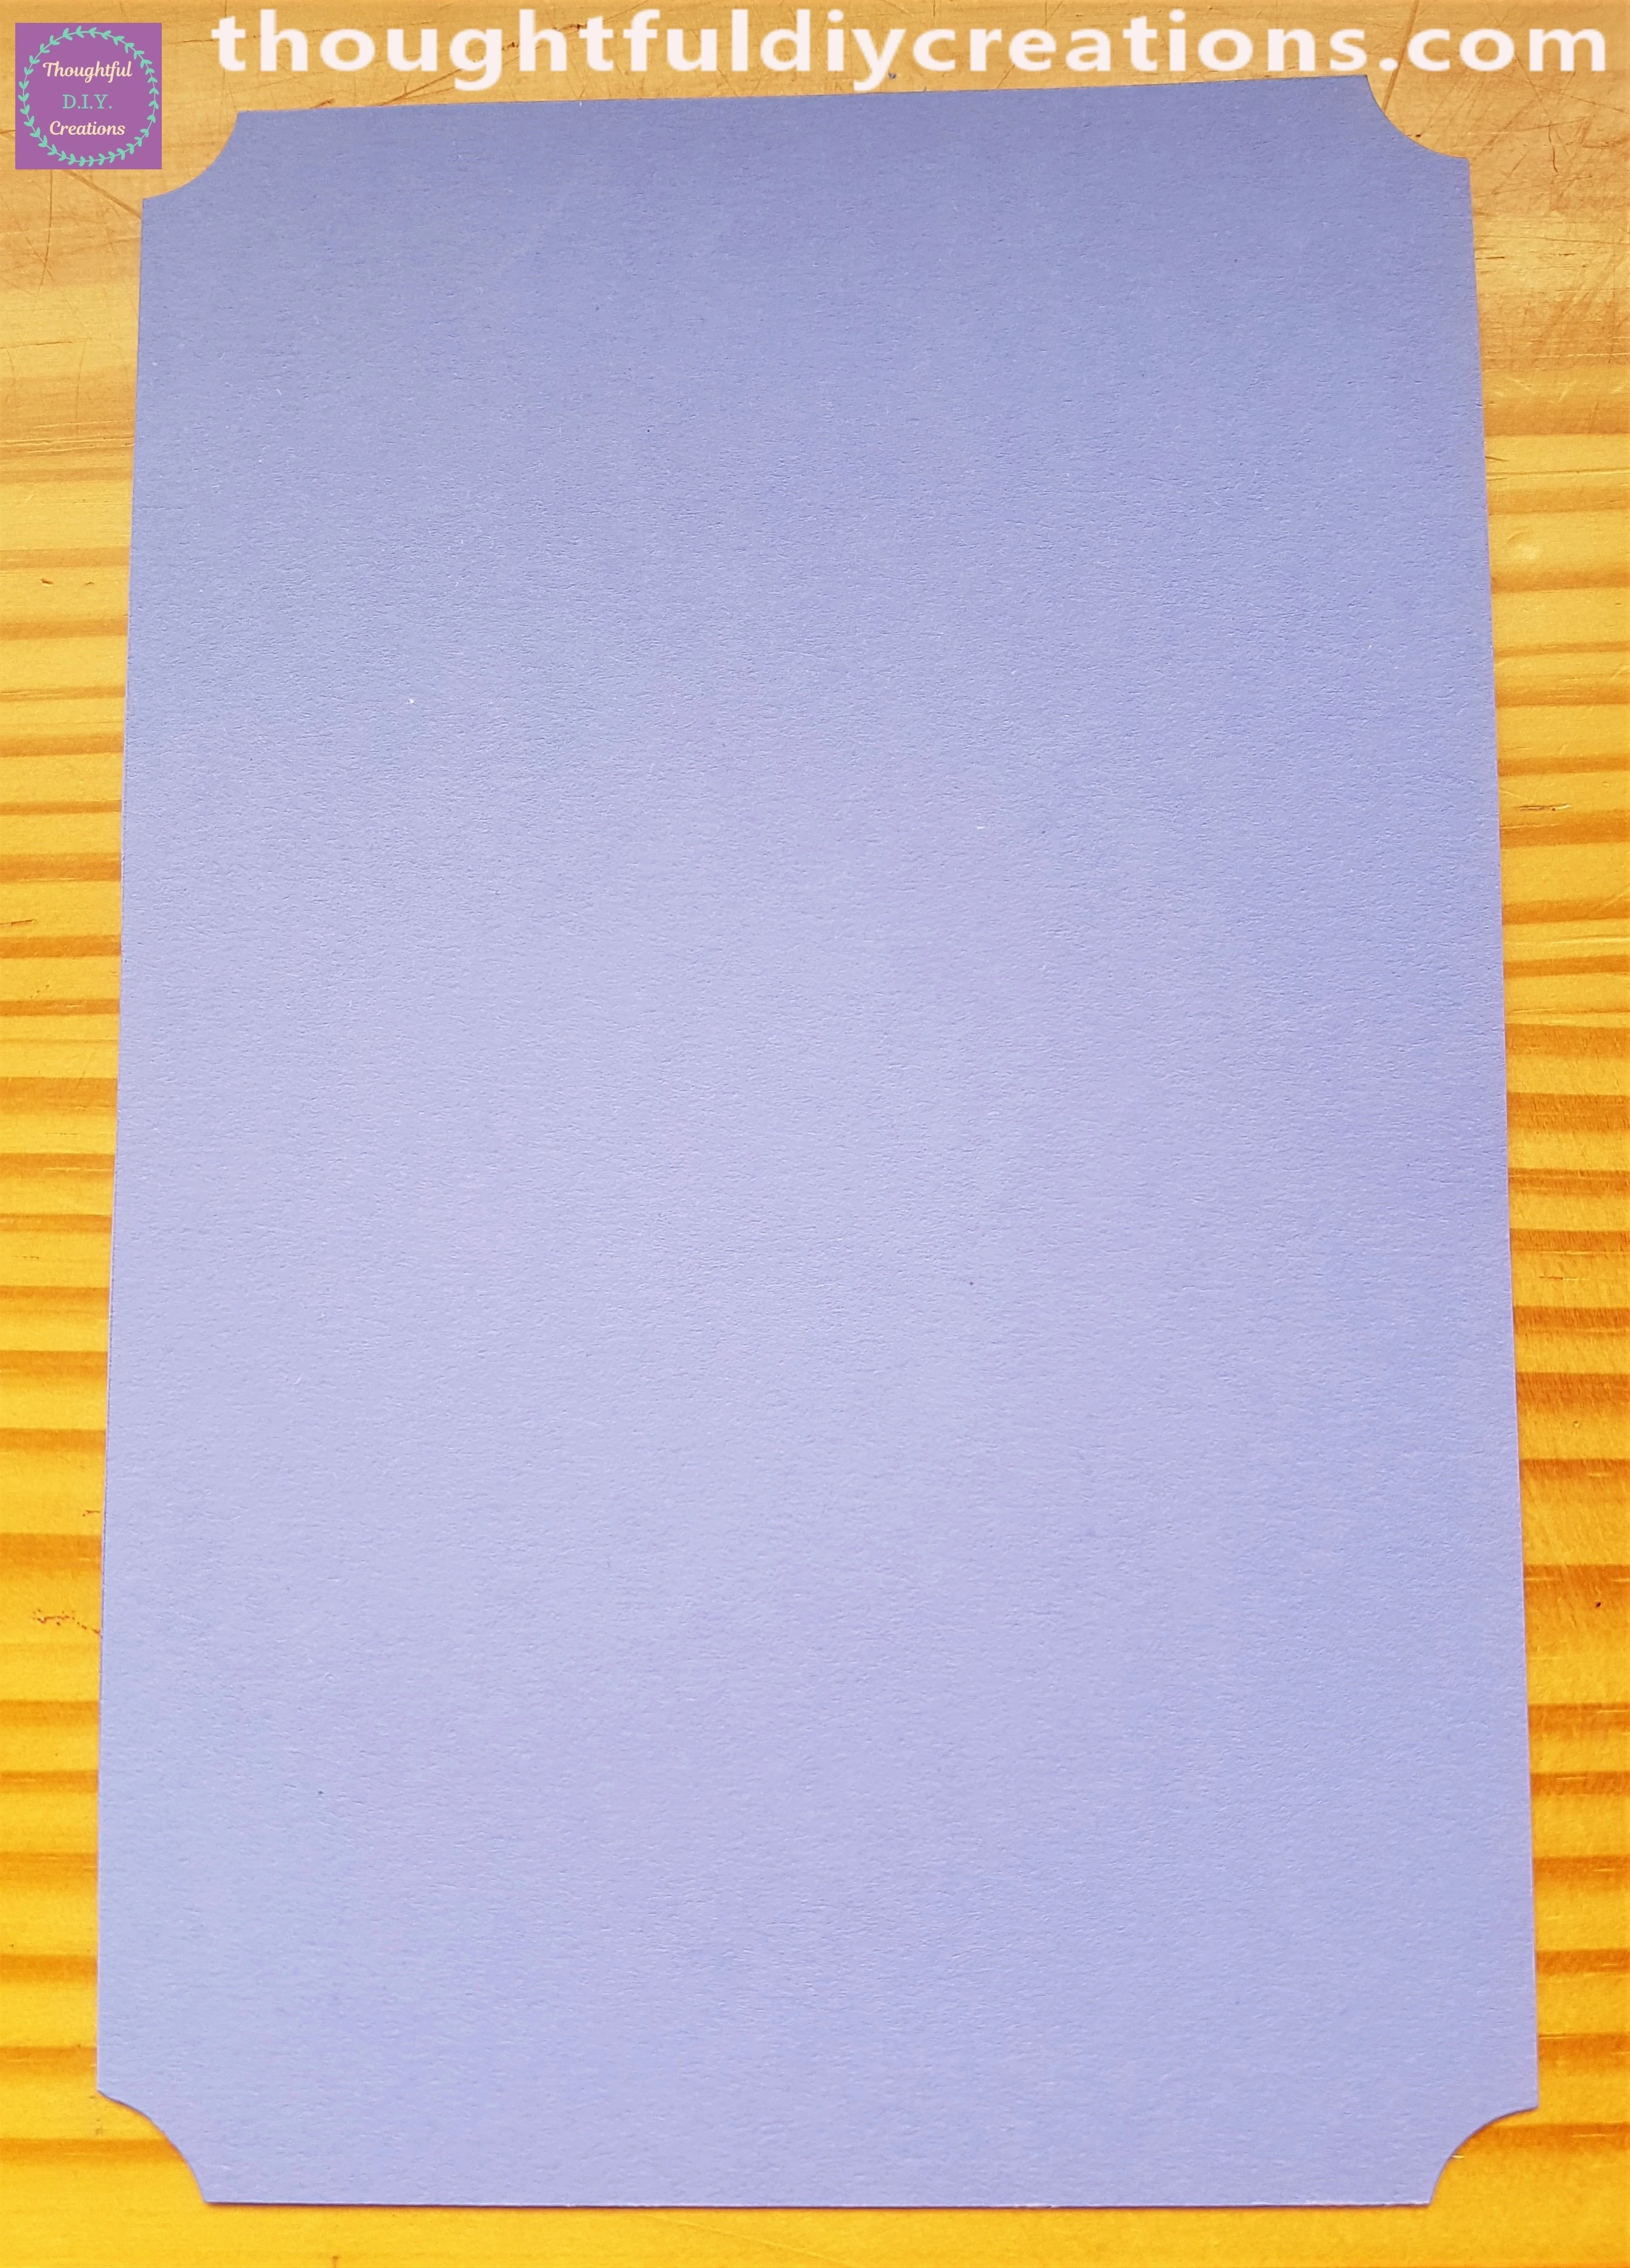
Removing the Corners from the Purple Card
I got my 2-in-1 Corner Punch by ‘X-Cut’.
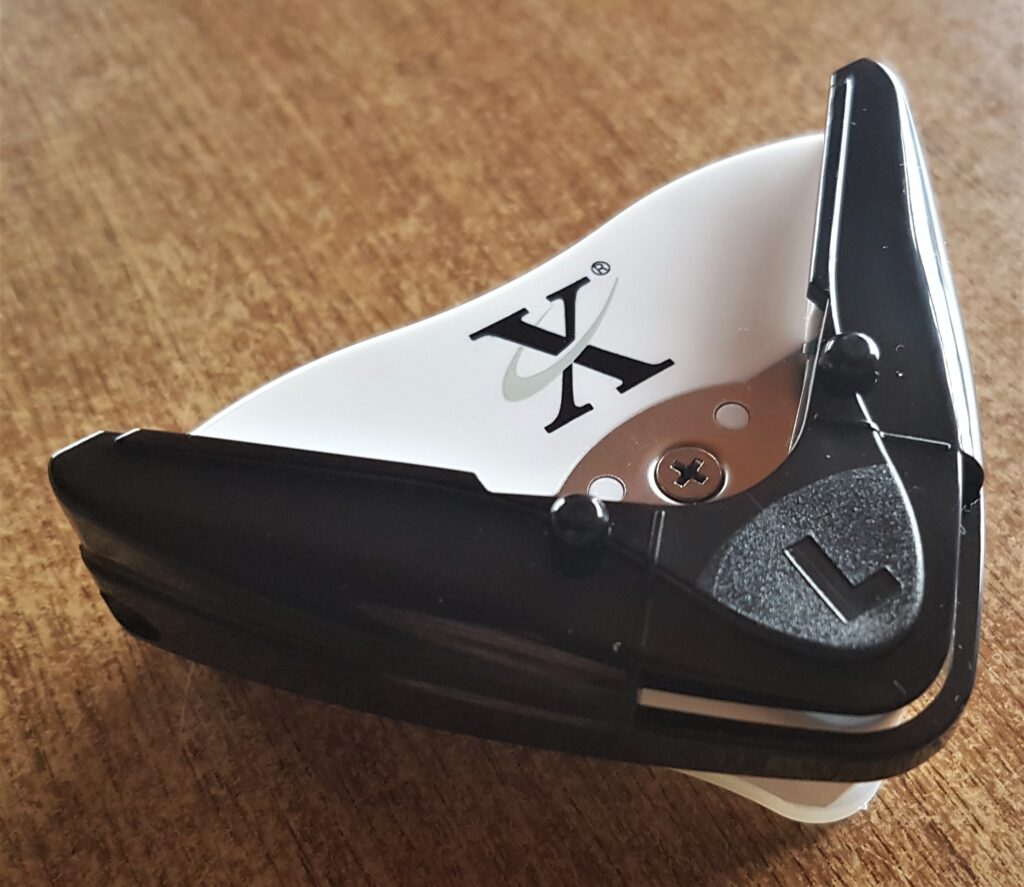
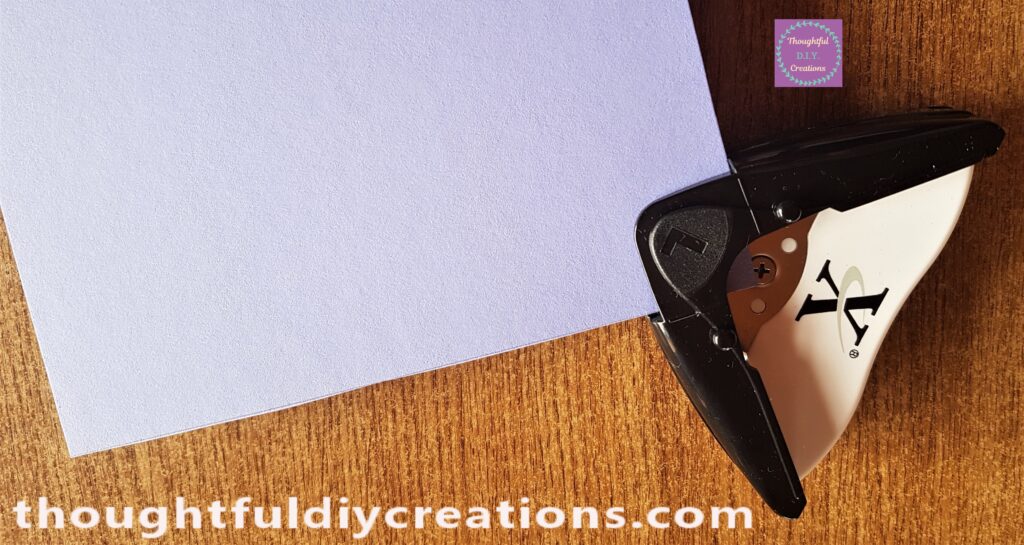
I put the Corner of the Purple Card into the Outer Part of the Corner Punch and pressed the Punch down on the ‘L’ Symbol to remove the Corner of the Card.
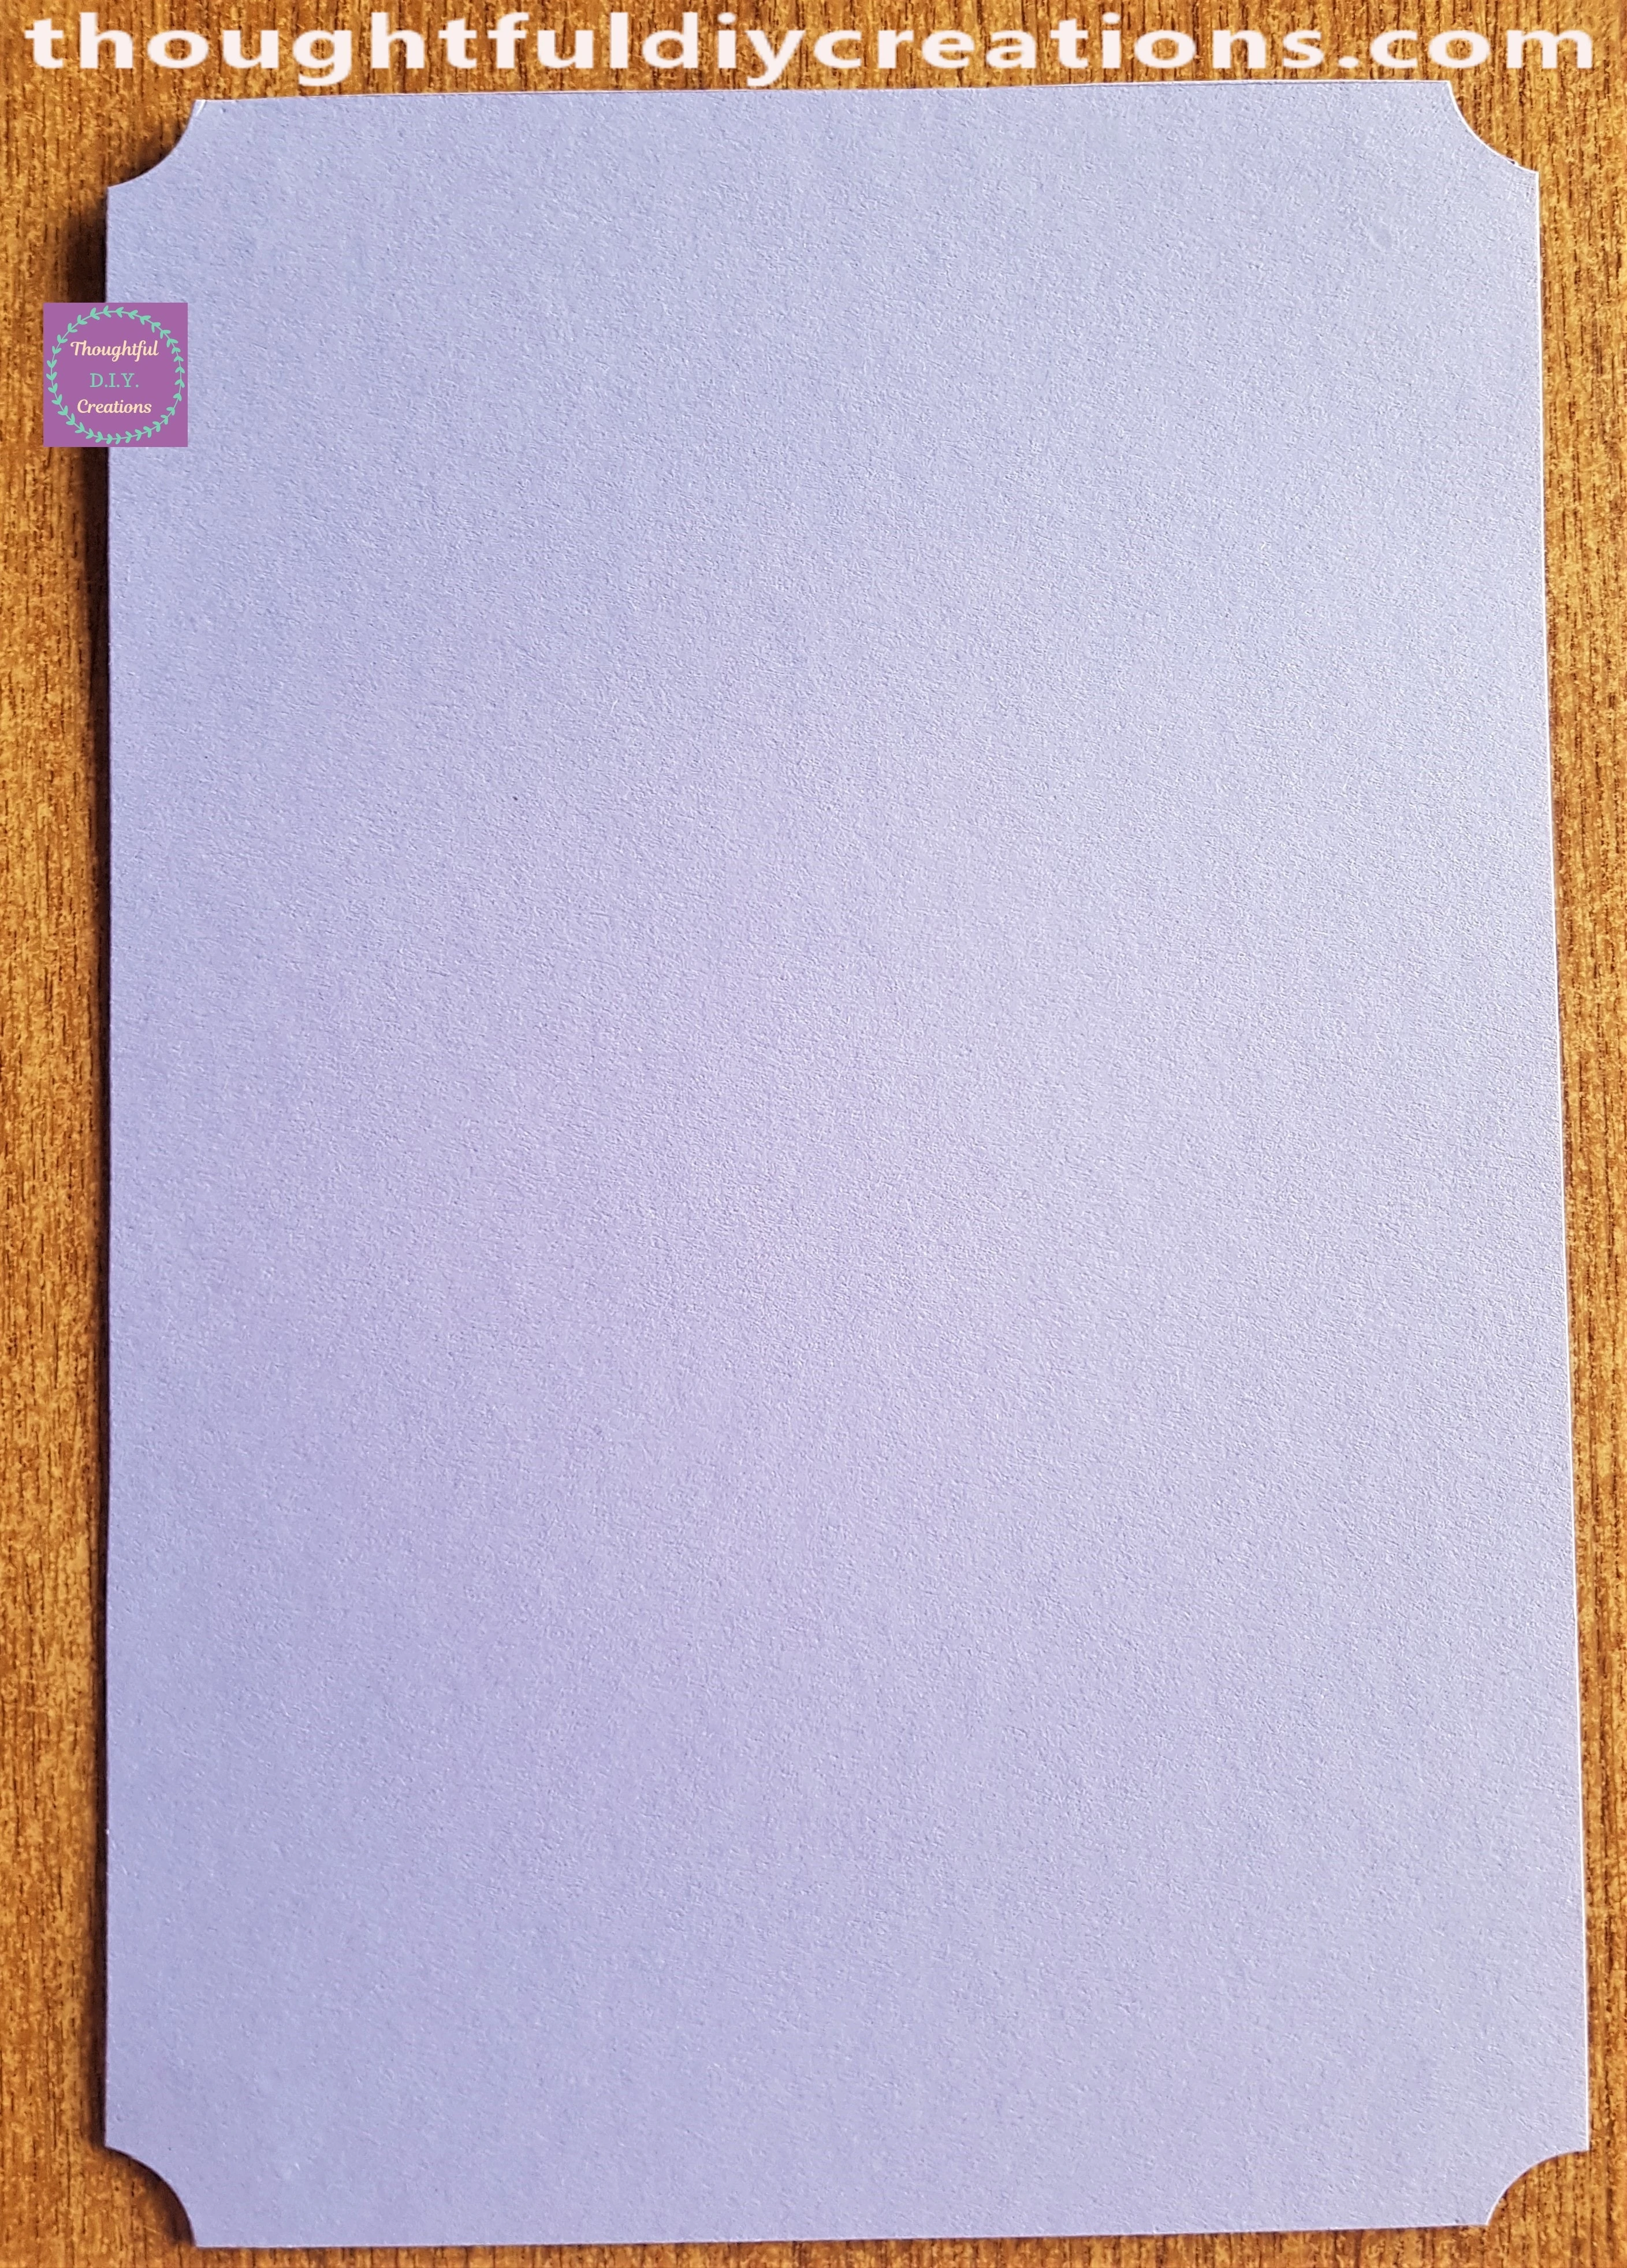
This is How the Purple Card looks with the 4 Outer Corners removed.
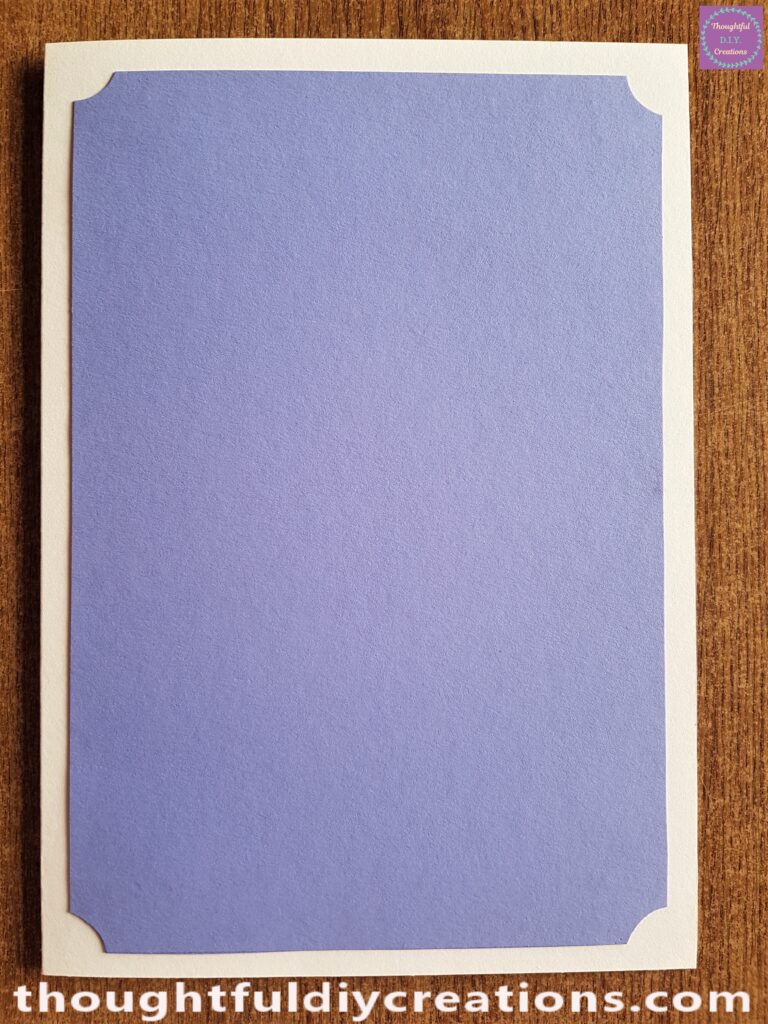
I put Pritt Stick all over the back of the Purple Sheet and attached it to the Cream Card.
Accessories for the Mother’s Day Card
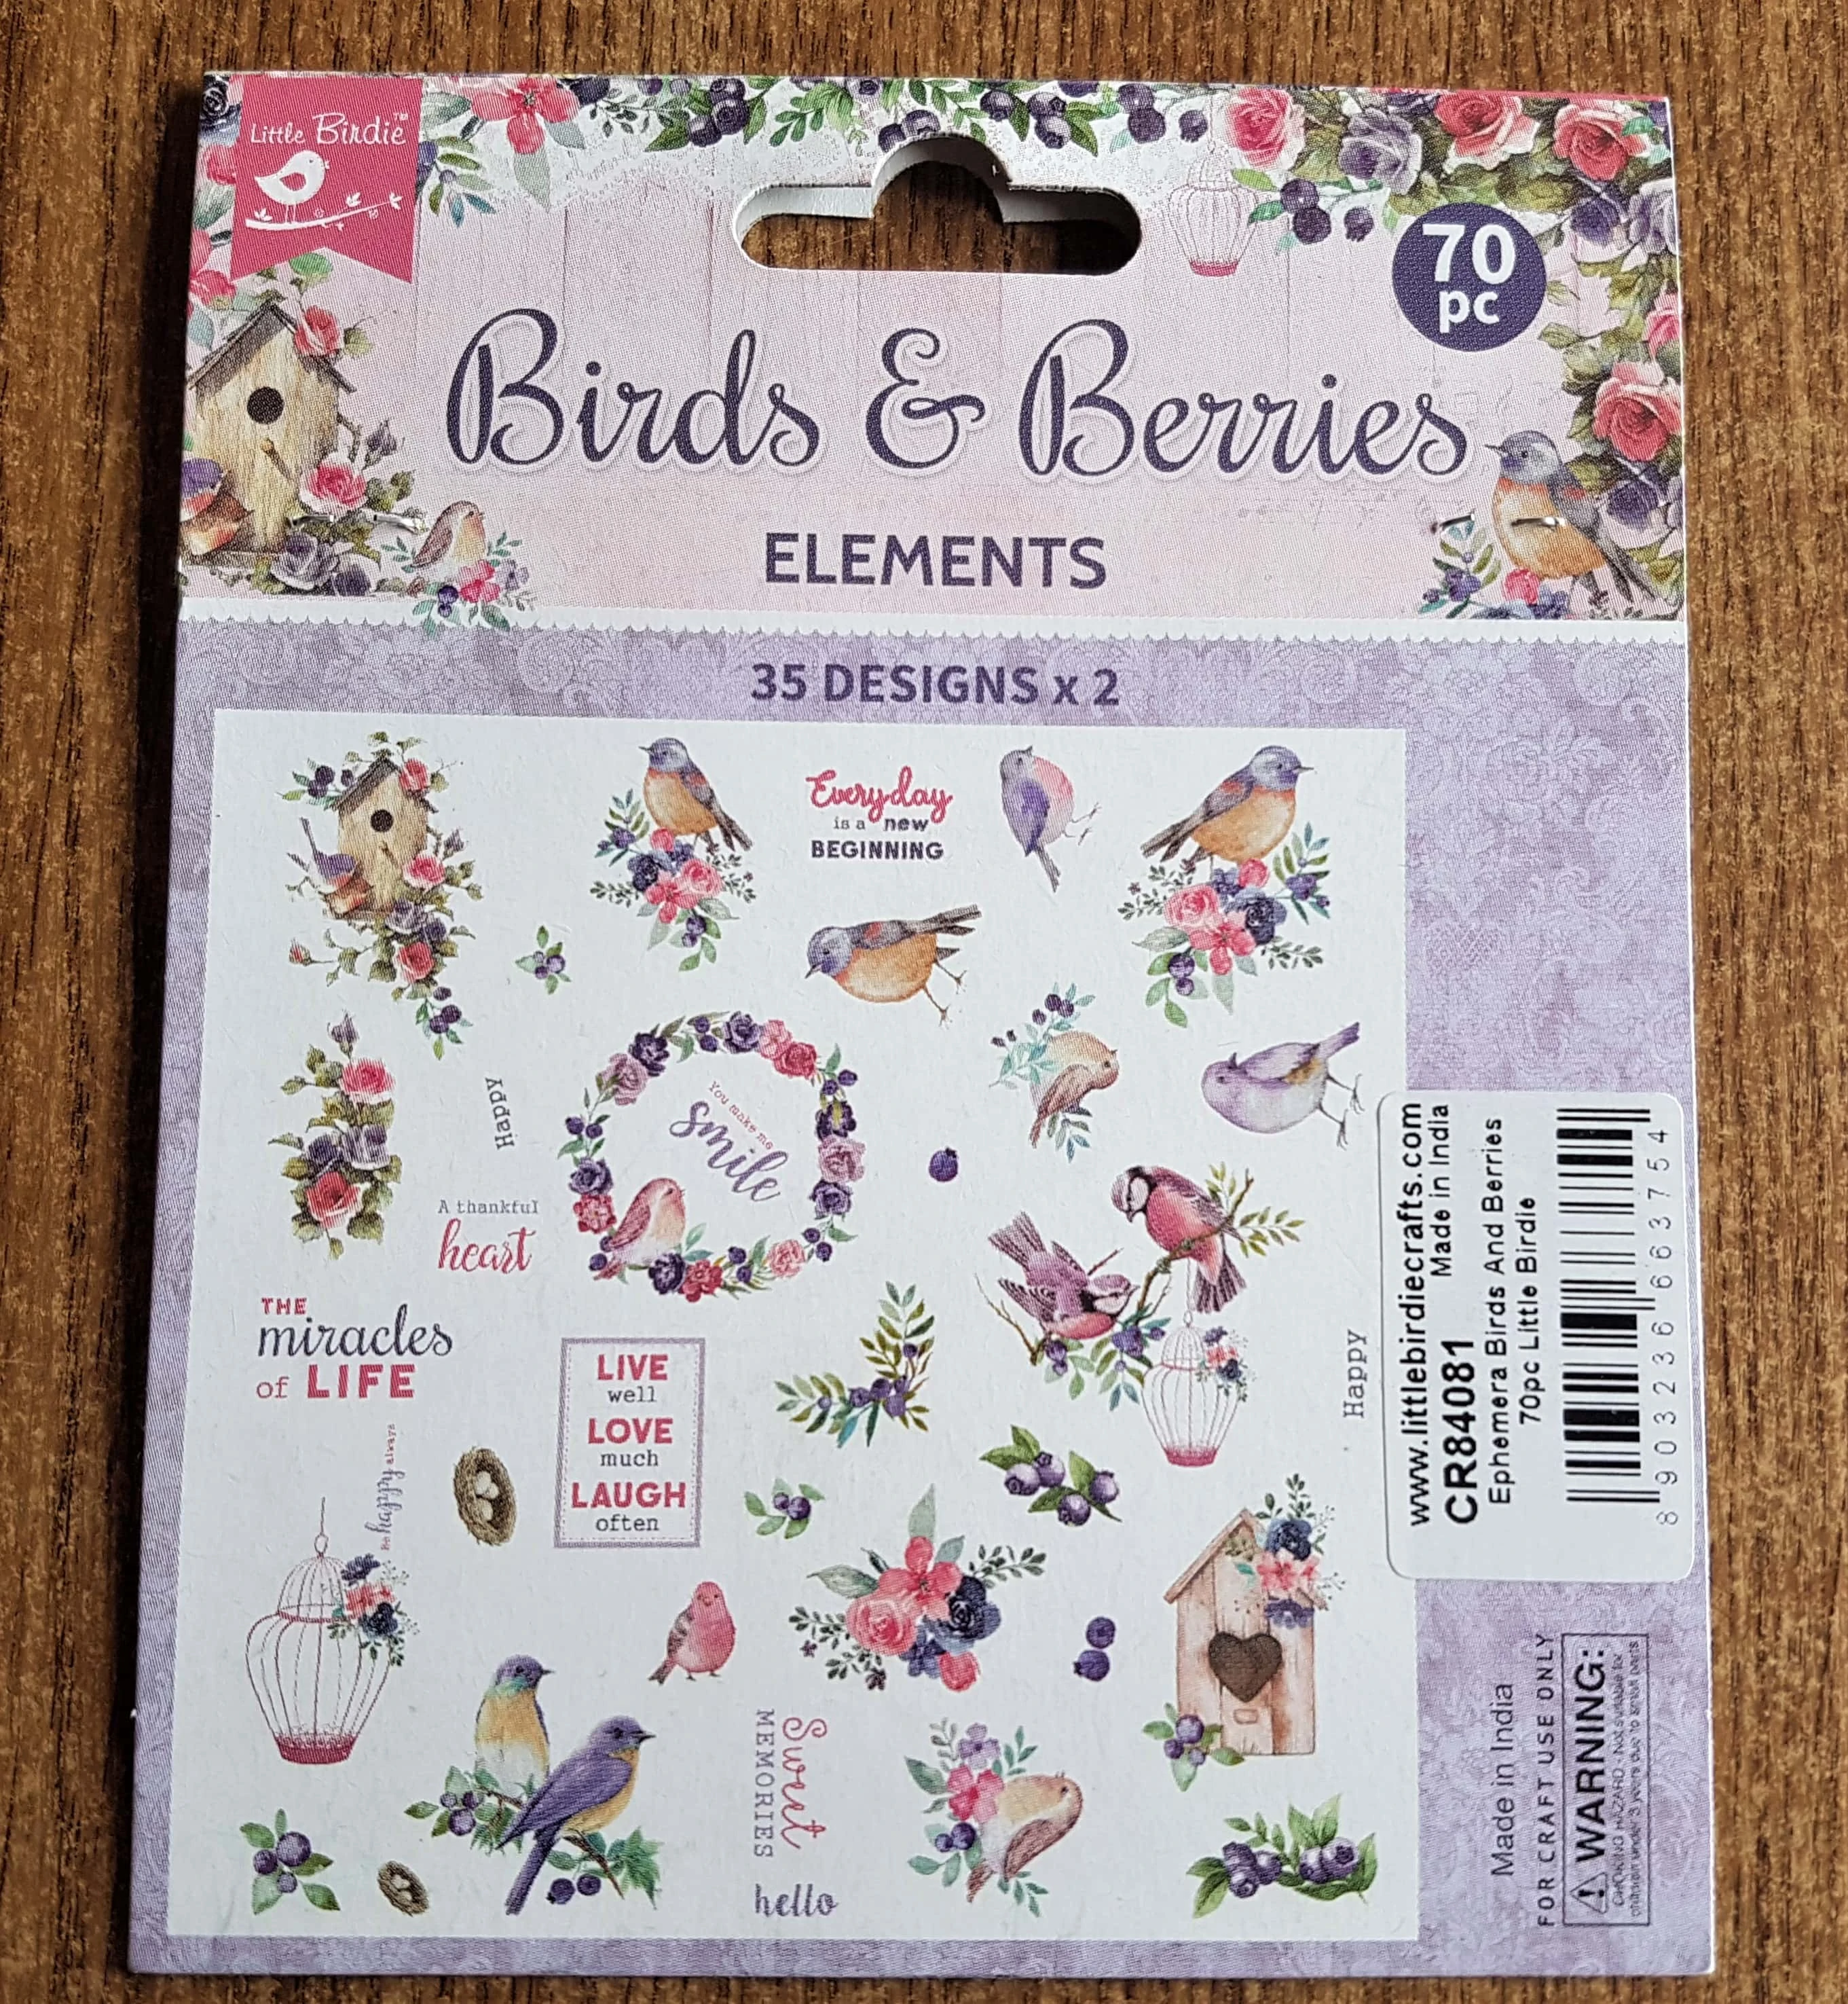
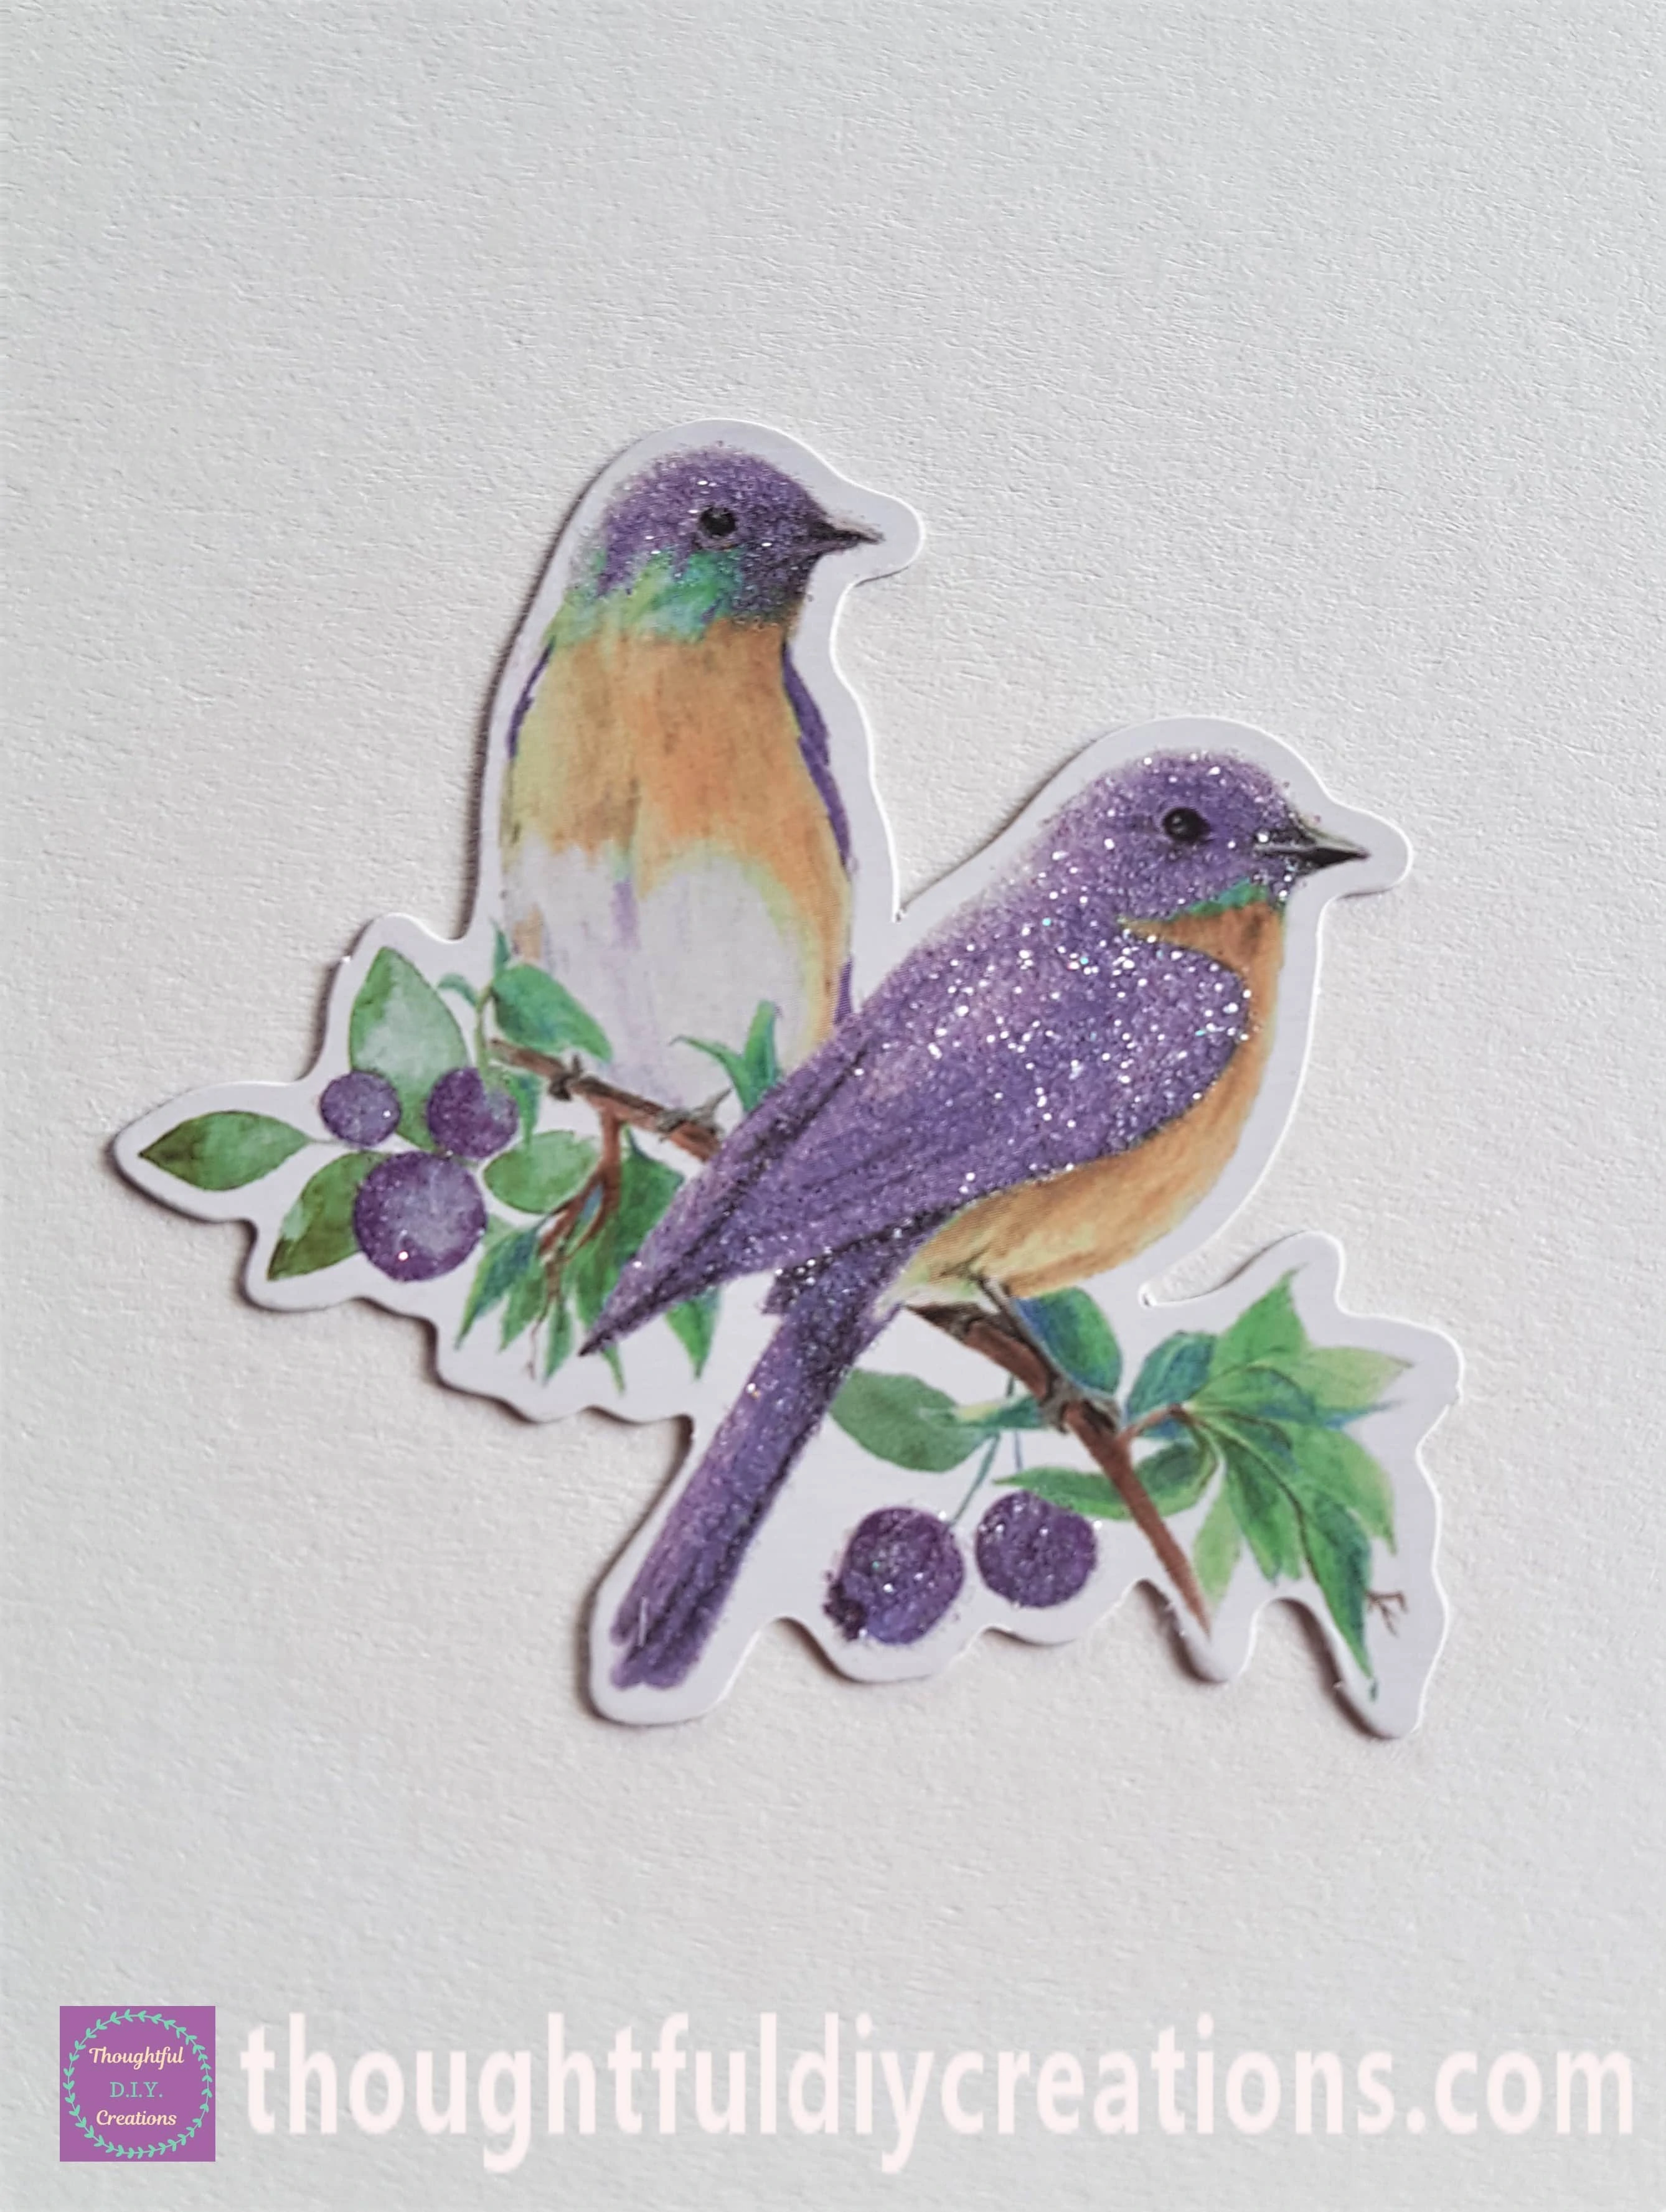
I got my ‘Birds & Berries Elements’ from ‘Little Birdie Crafts’.
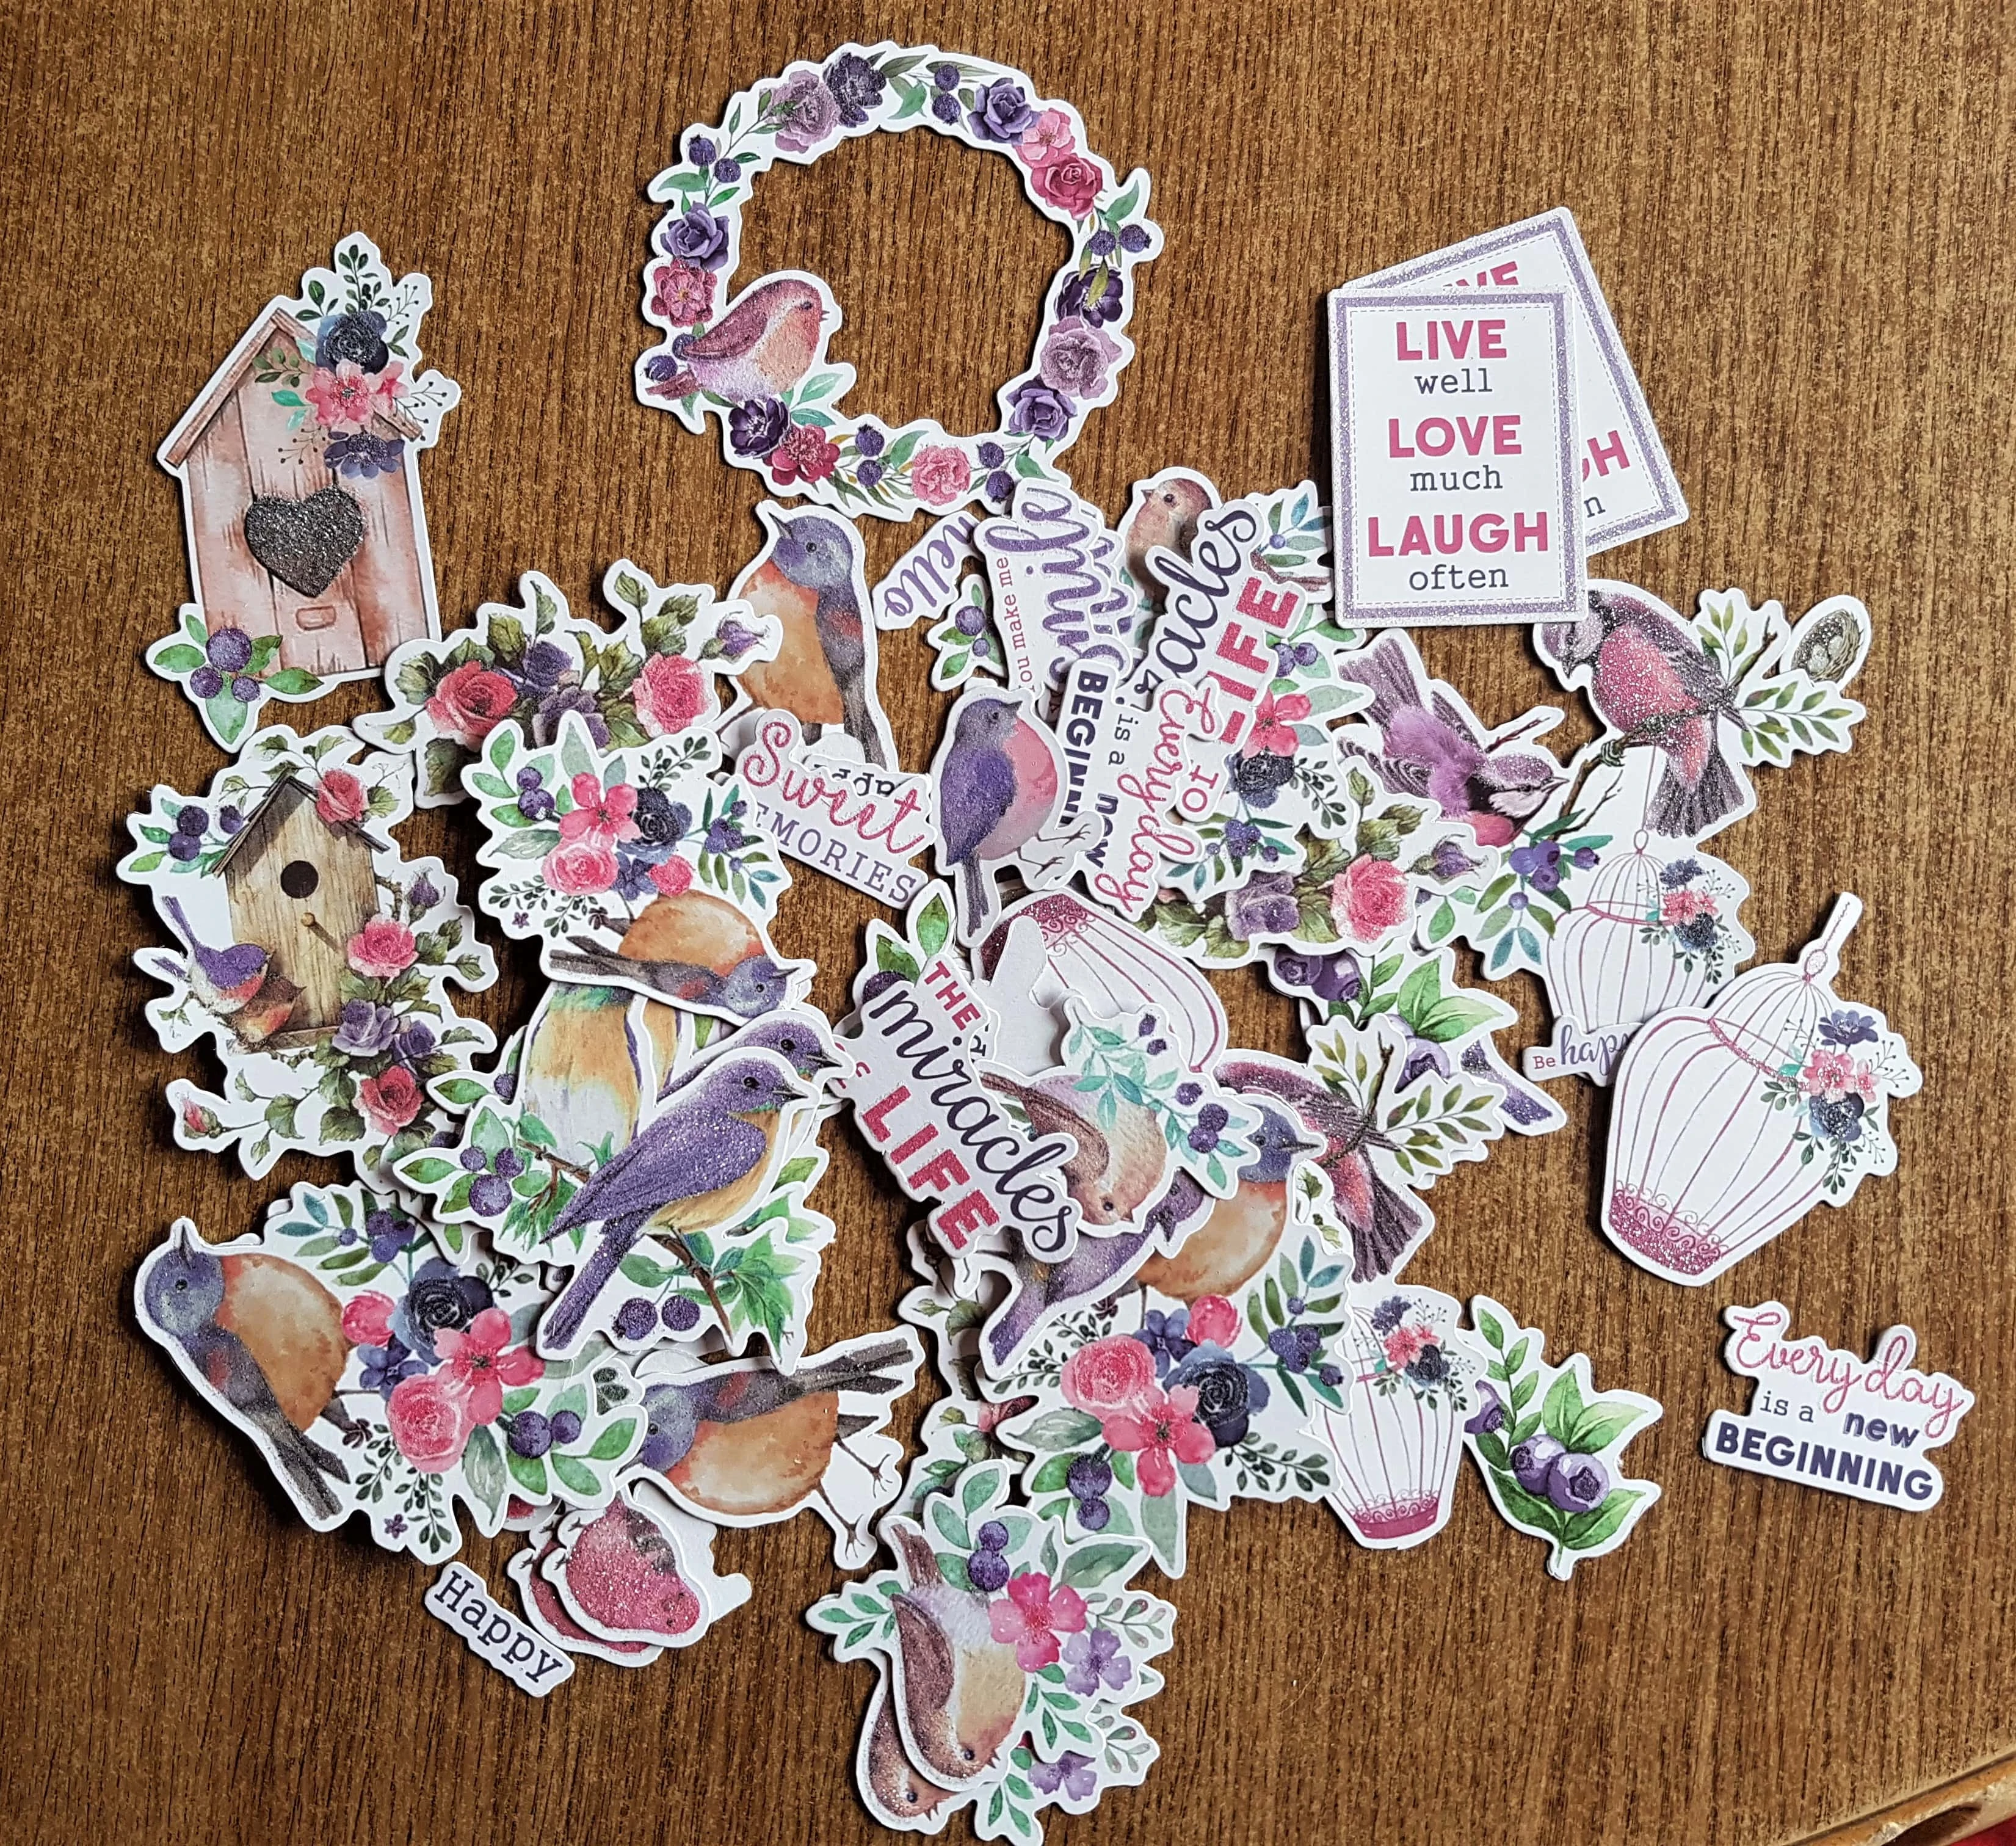
Here are the Ephemera Pieces out of the Pack.
Attaching the Elements to the Card
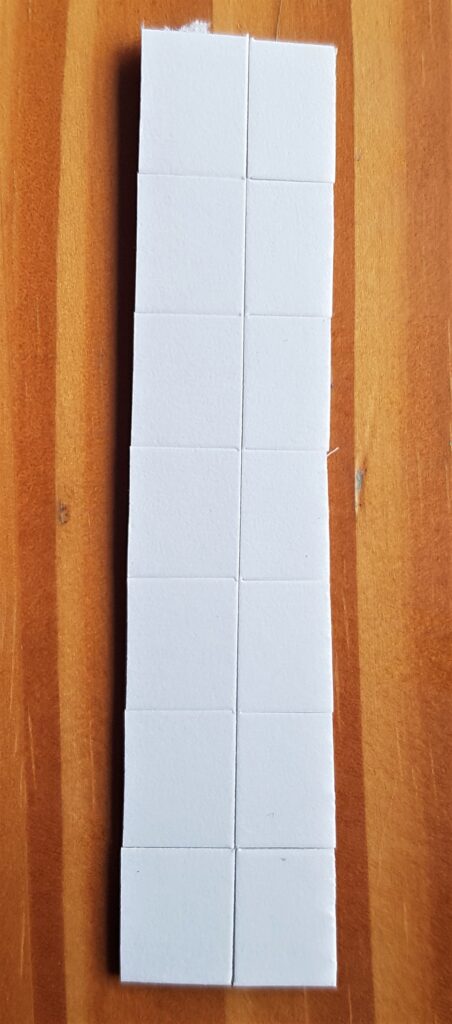
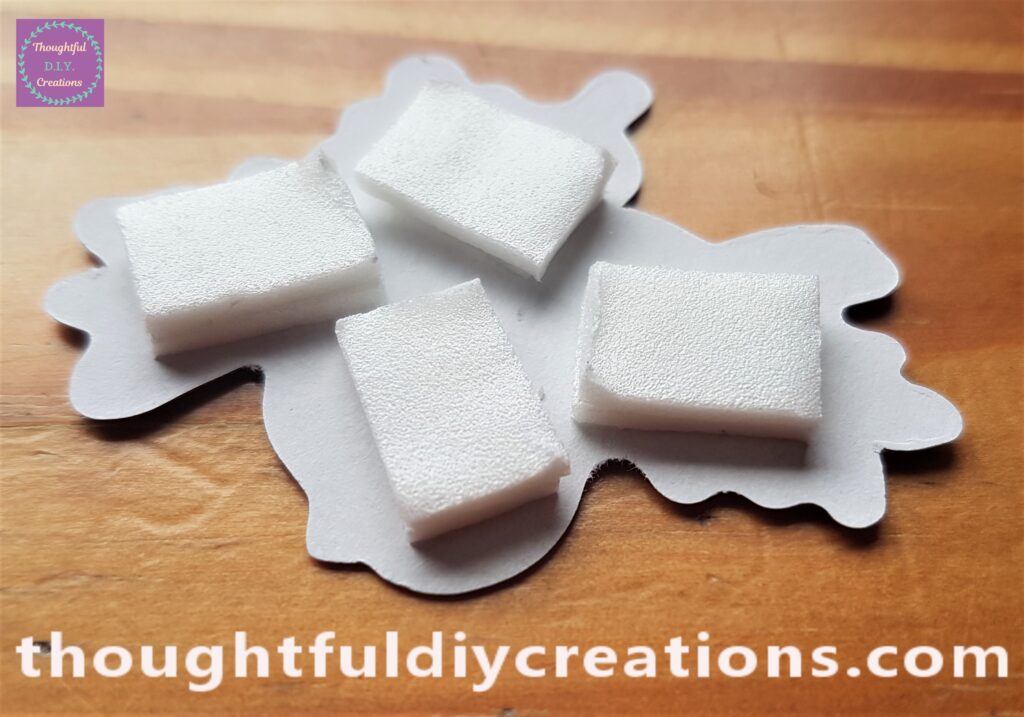
I got my Double-Sided Sticky Foam Rectangles and cut them in half to make smaller Squares.
I put the Foam Squares on the Back of one of the Elements.
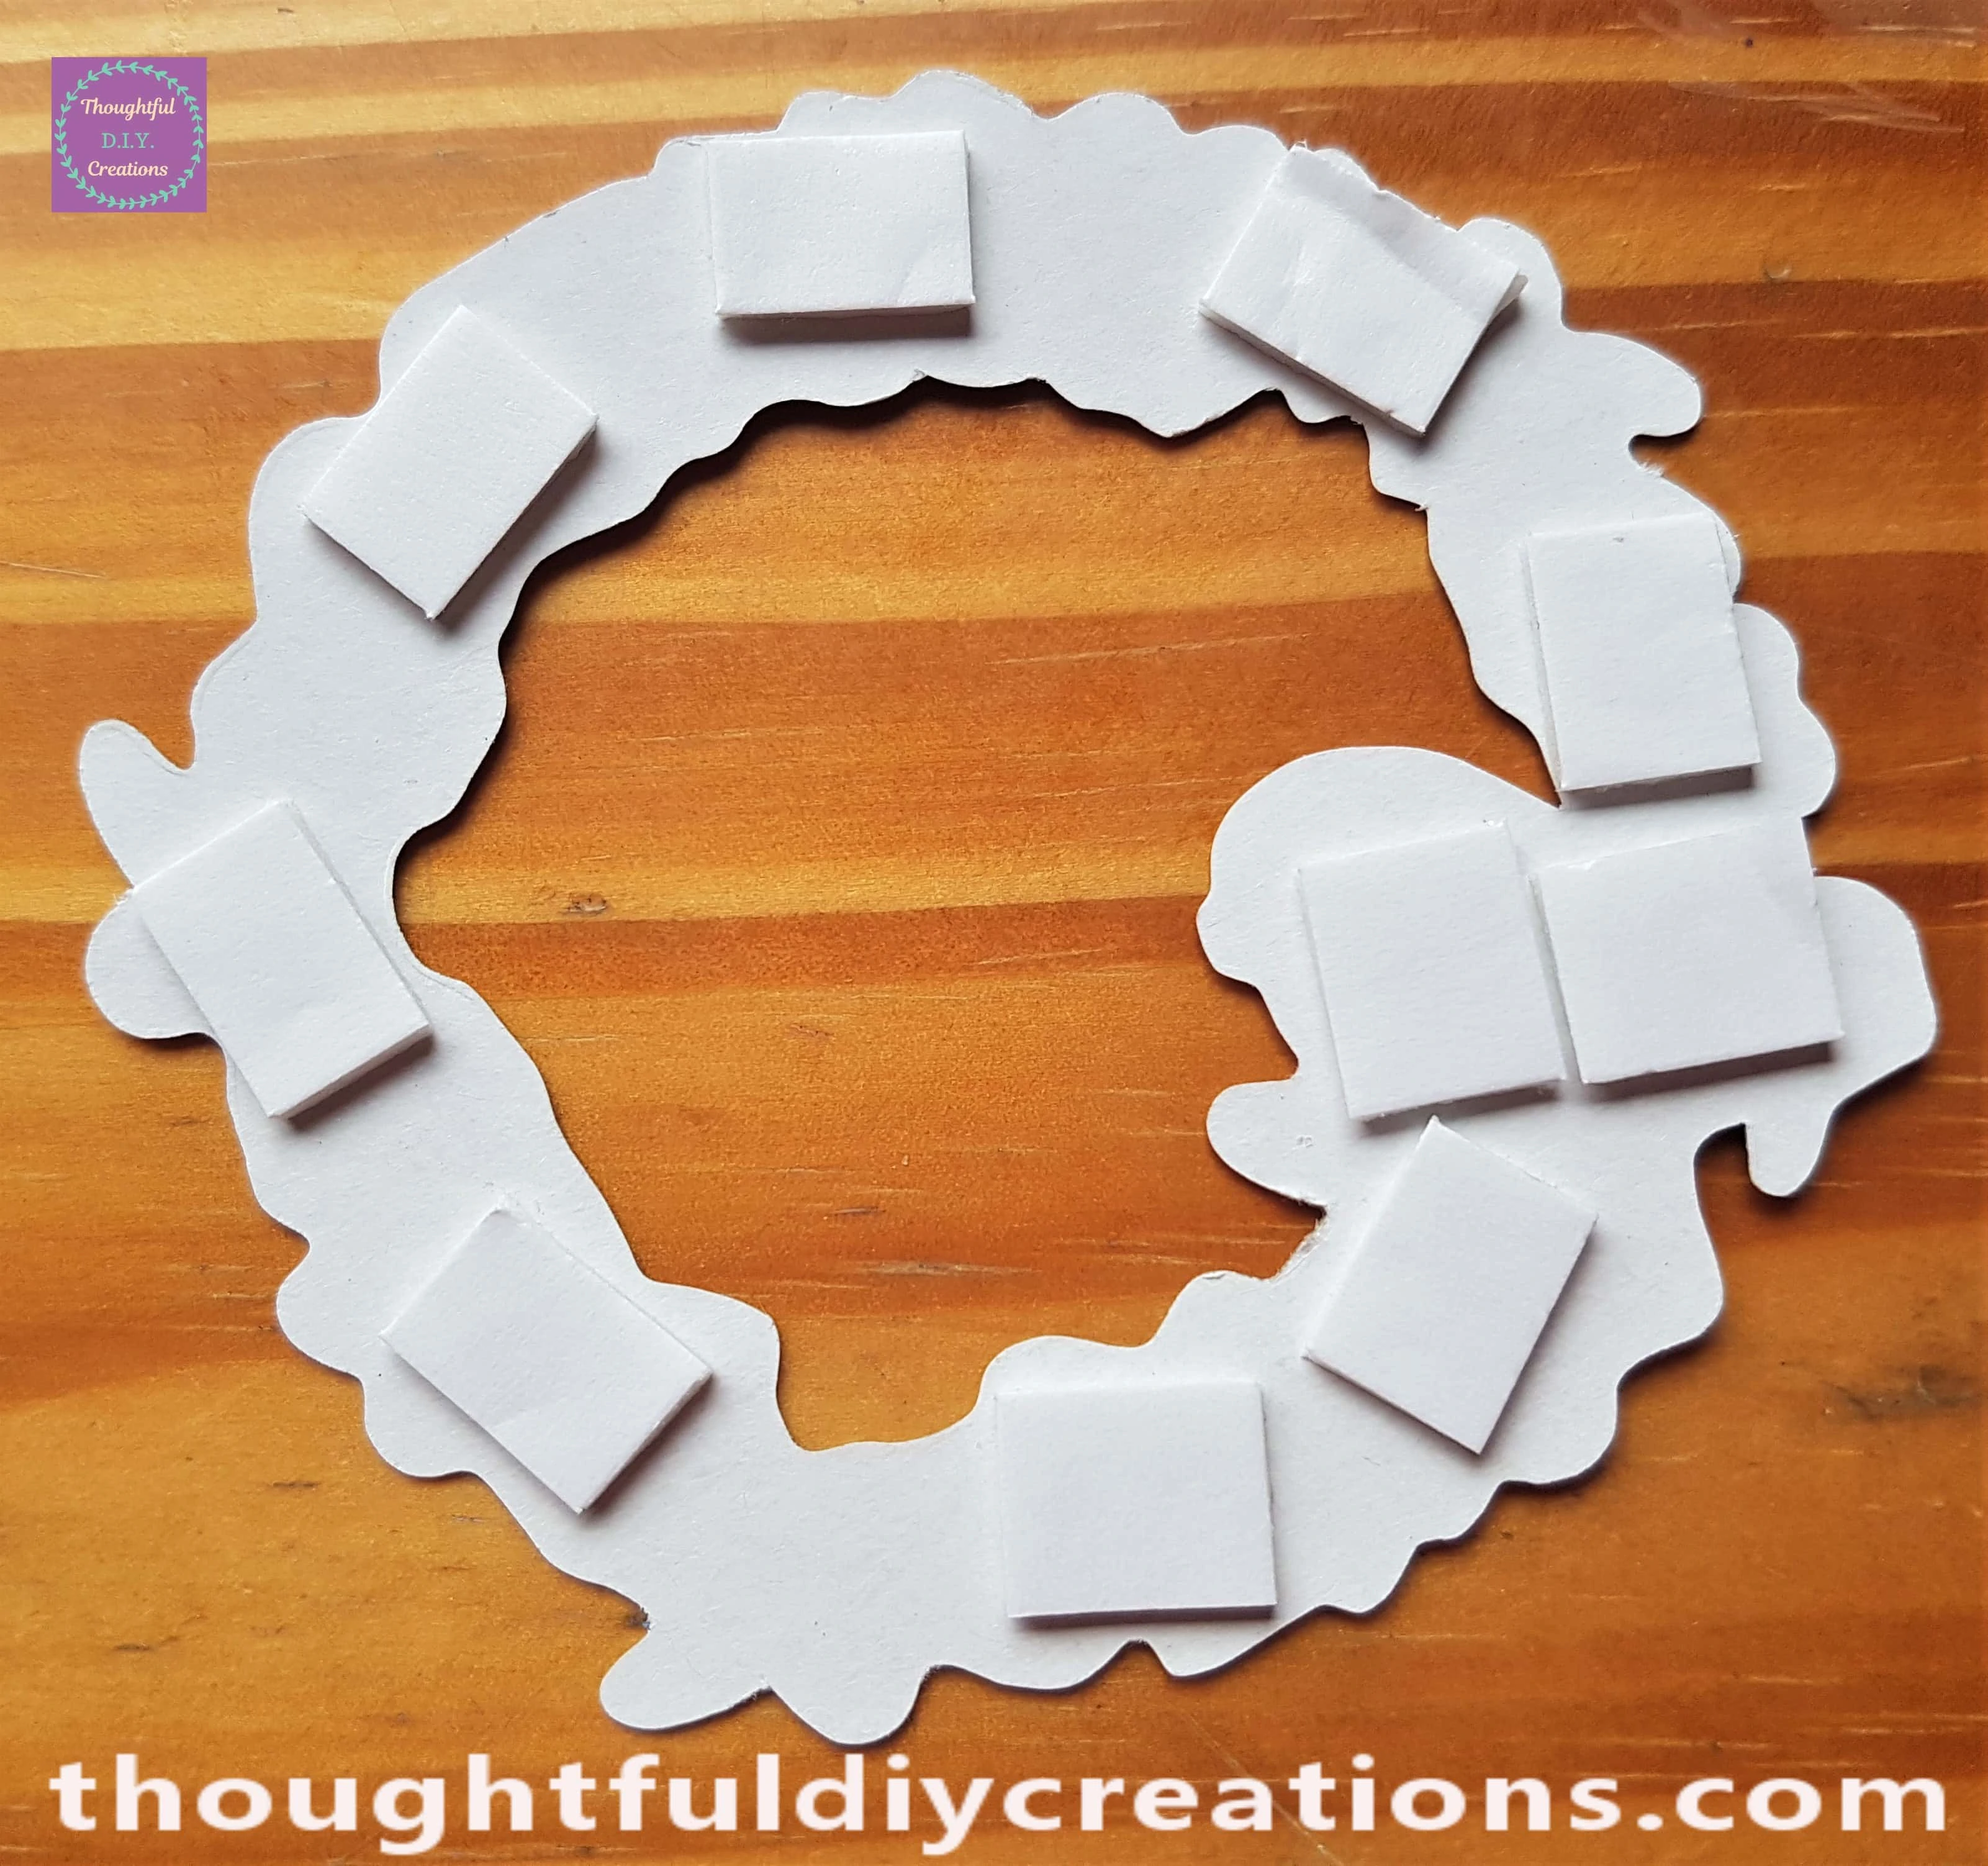
I removed the White backing from the Foam pieces and attached the now 3-D element to the Card.
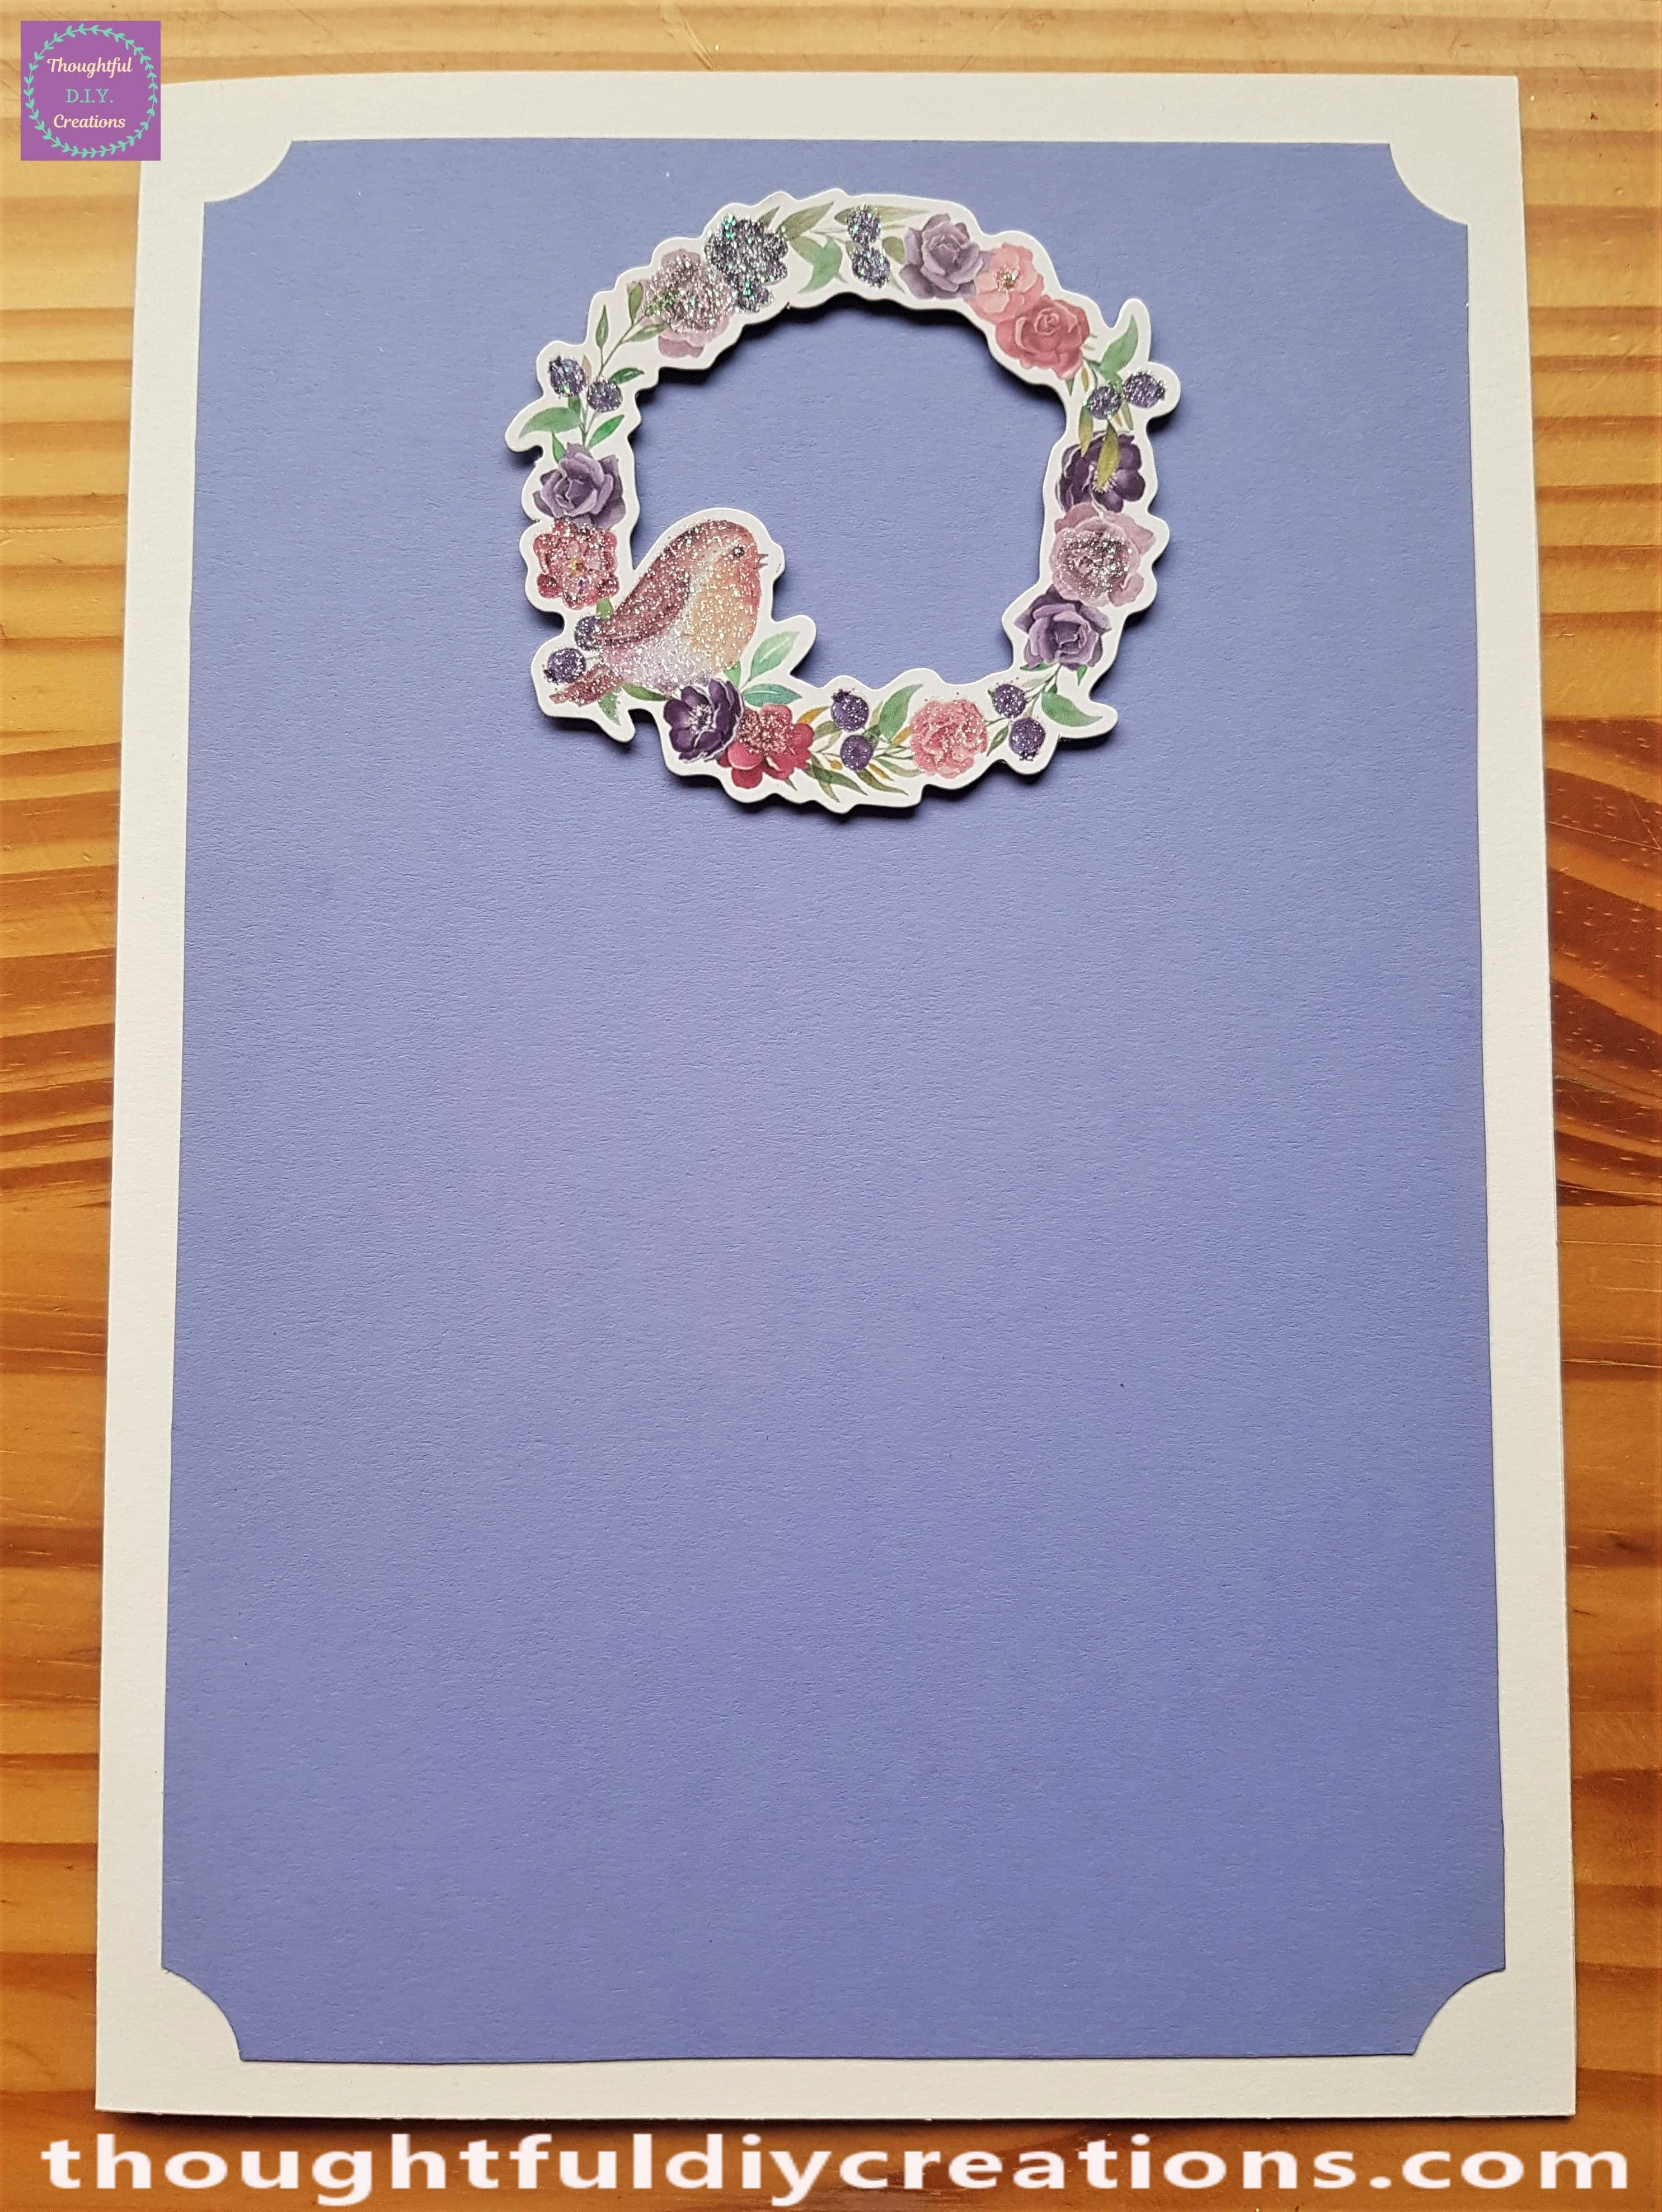
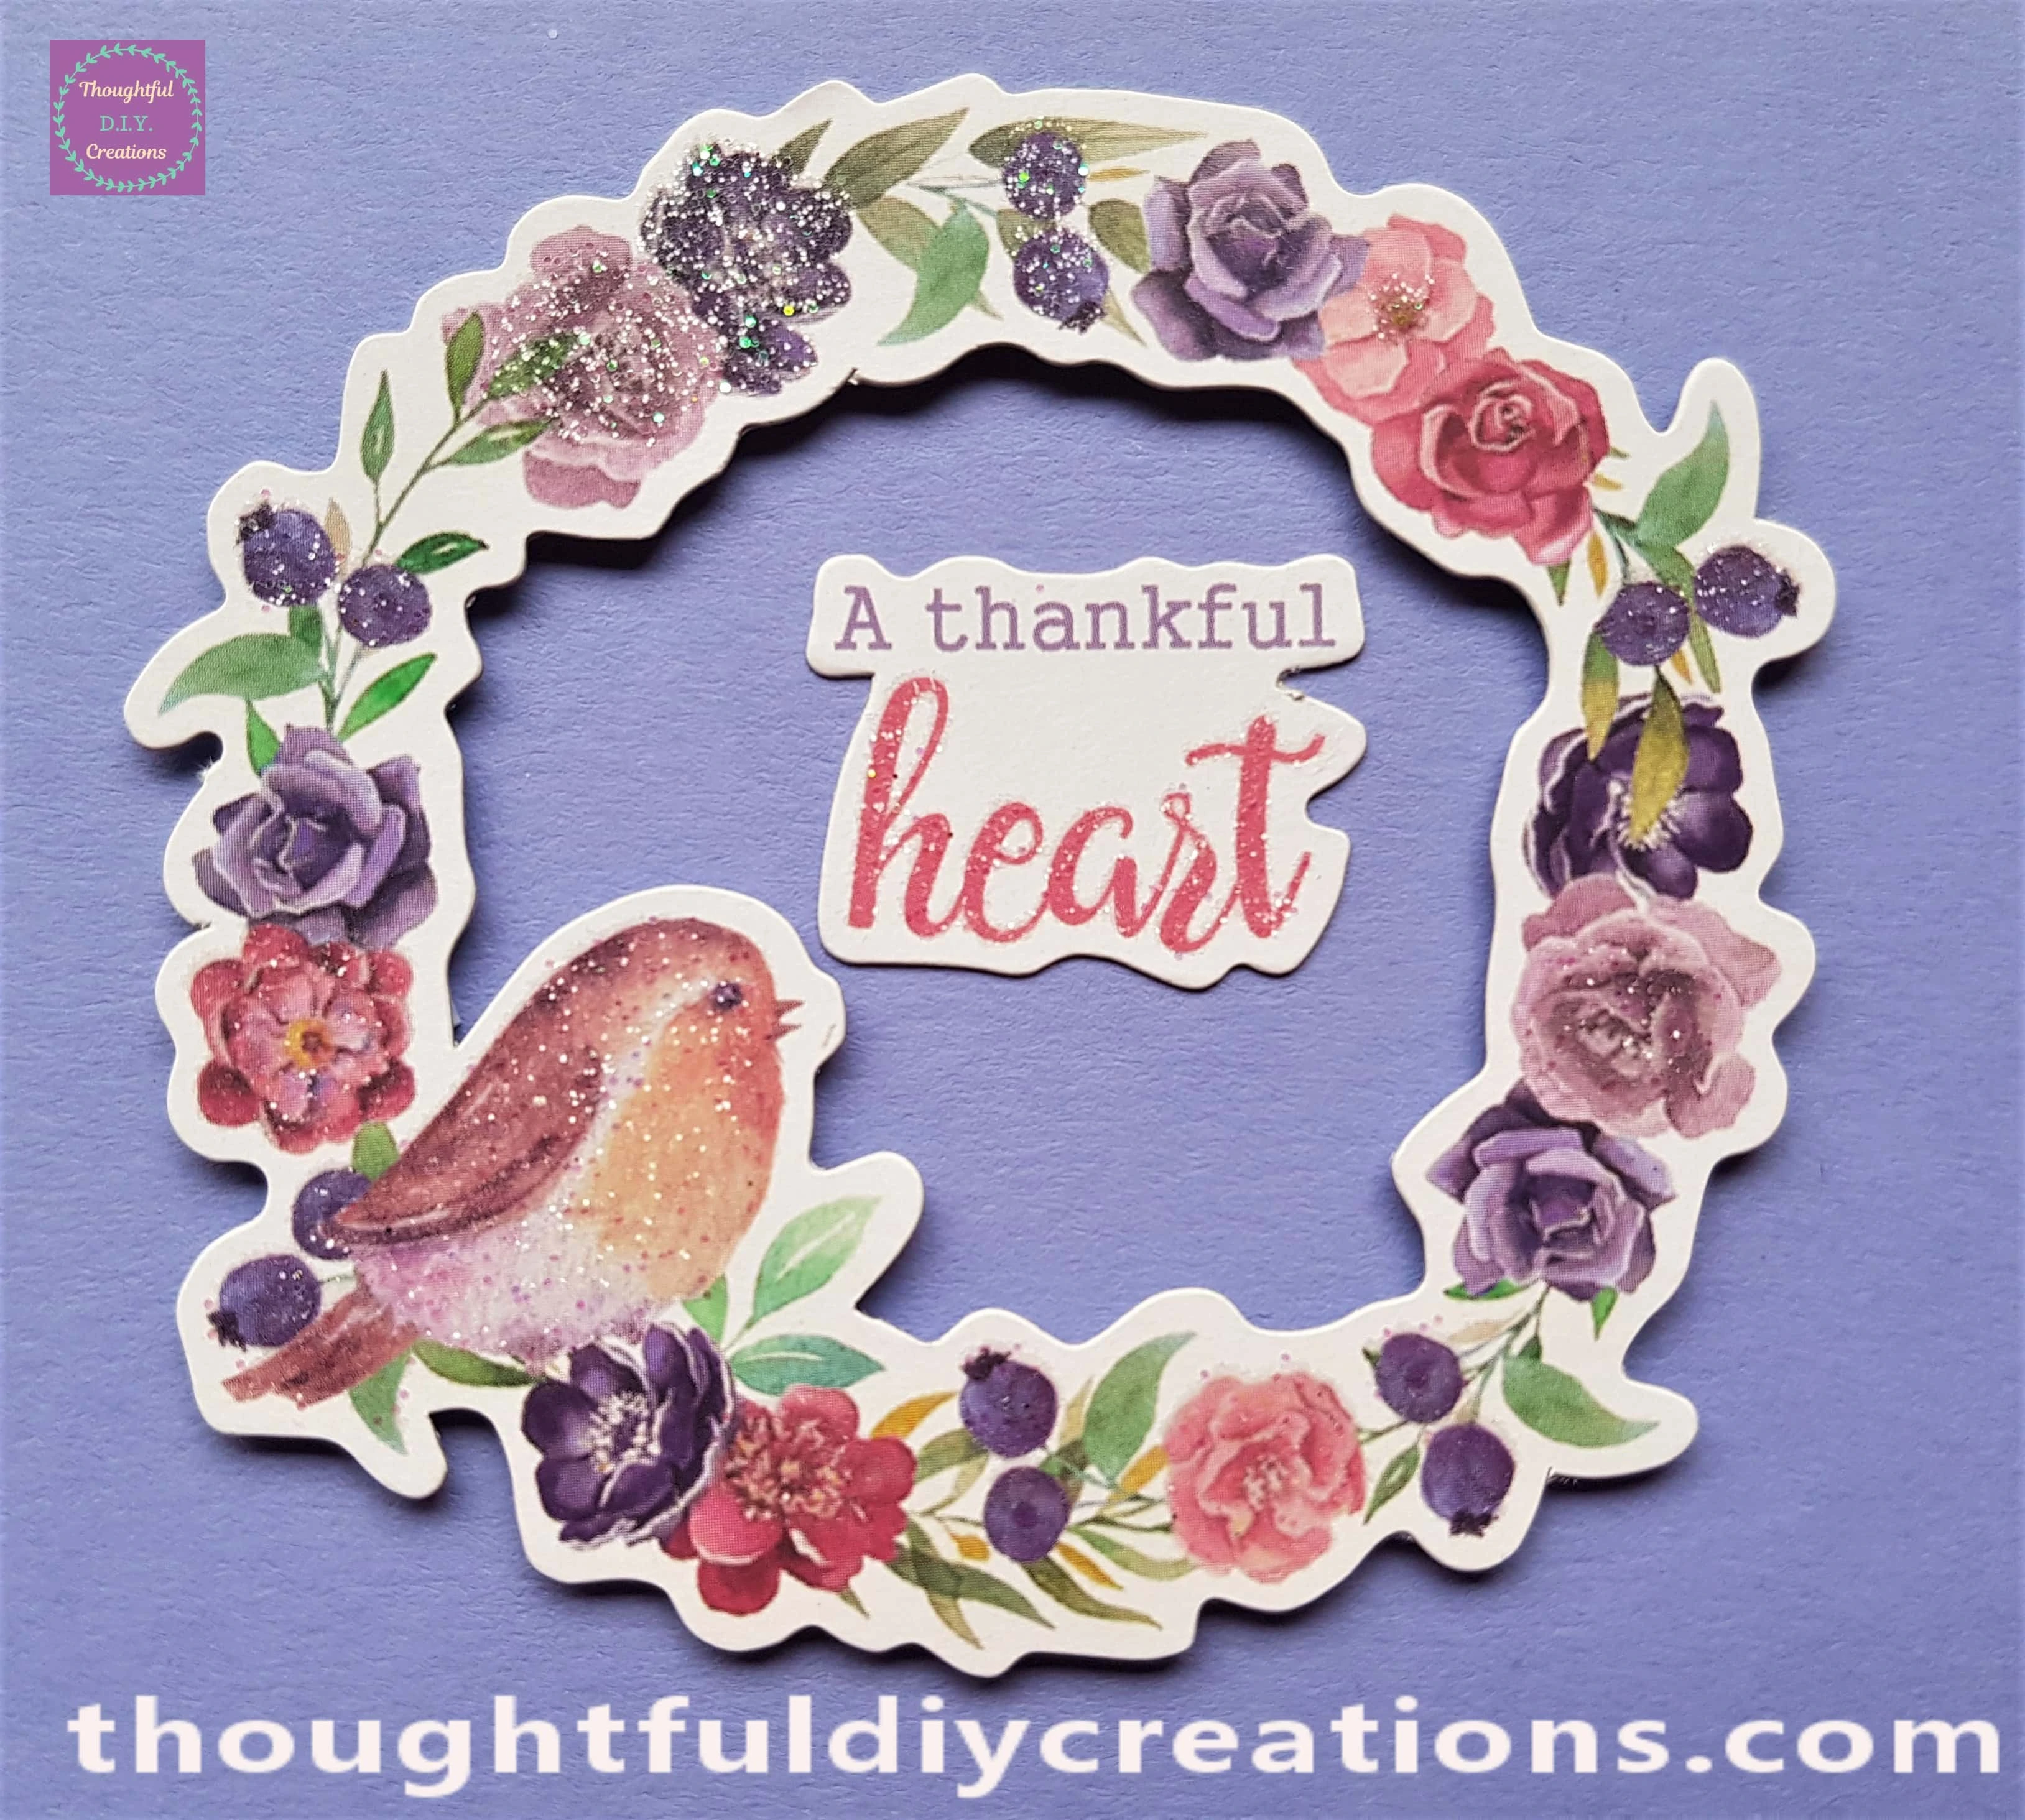
I put Pritt Stick on the back of a Sentiment and added it inside the Floral Wreath.
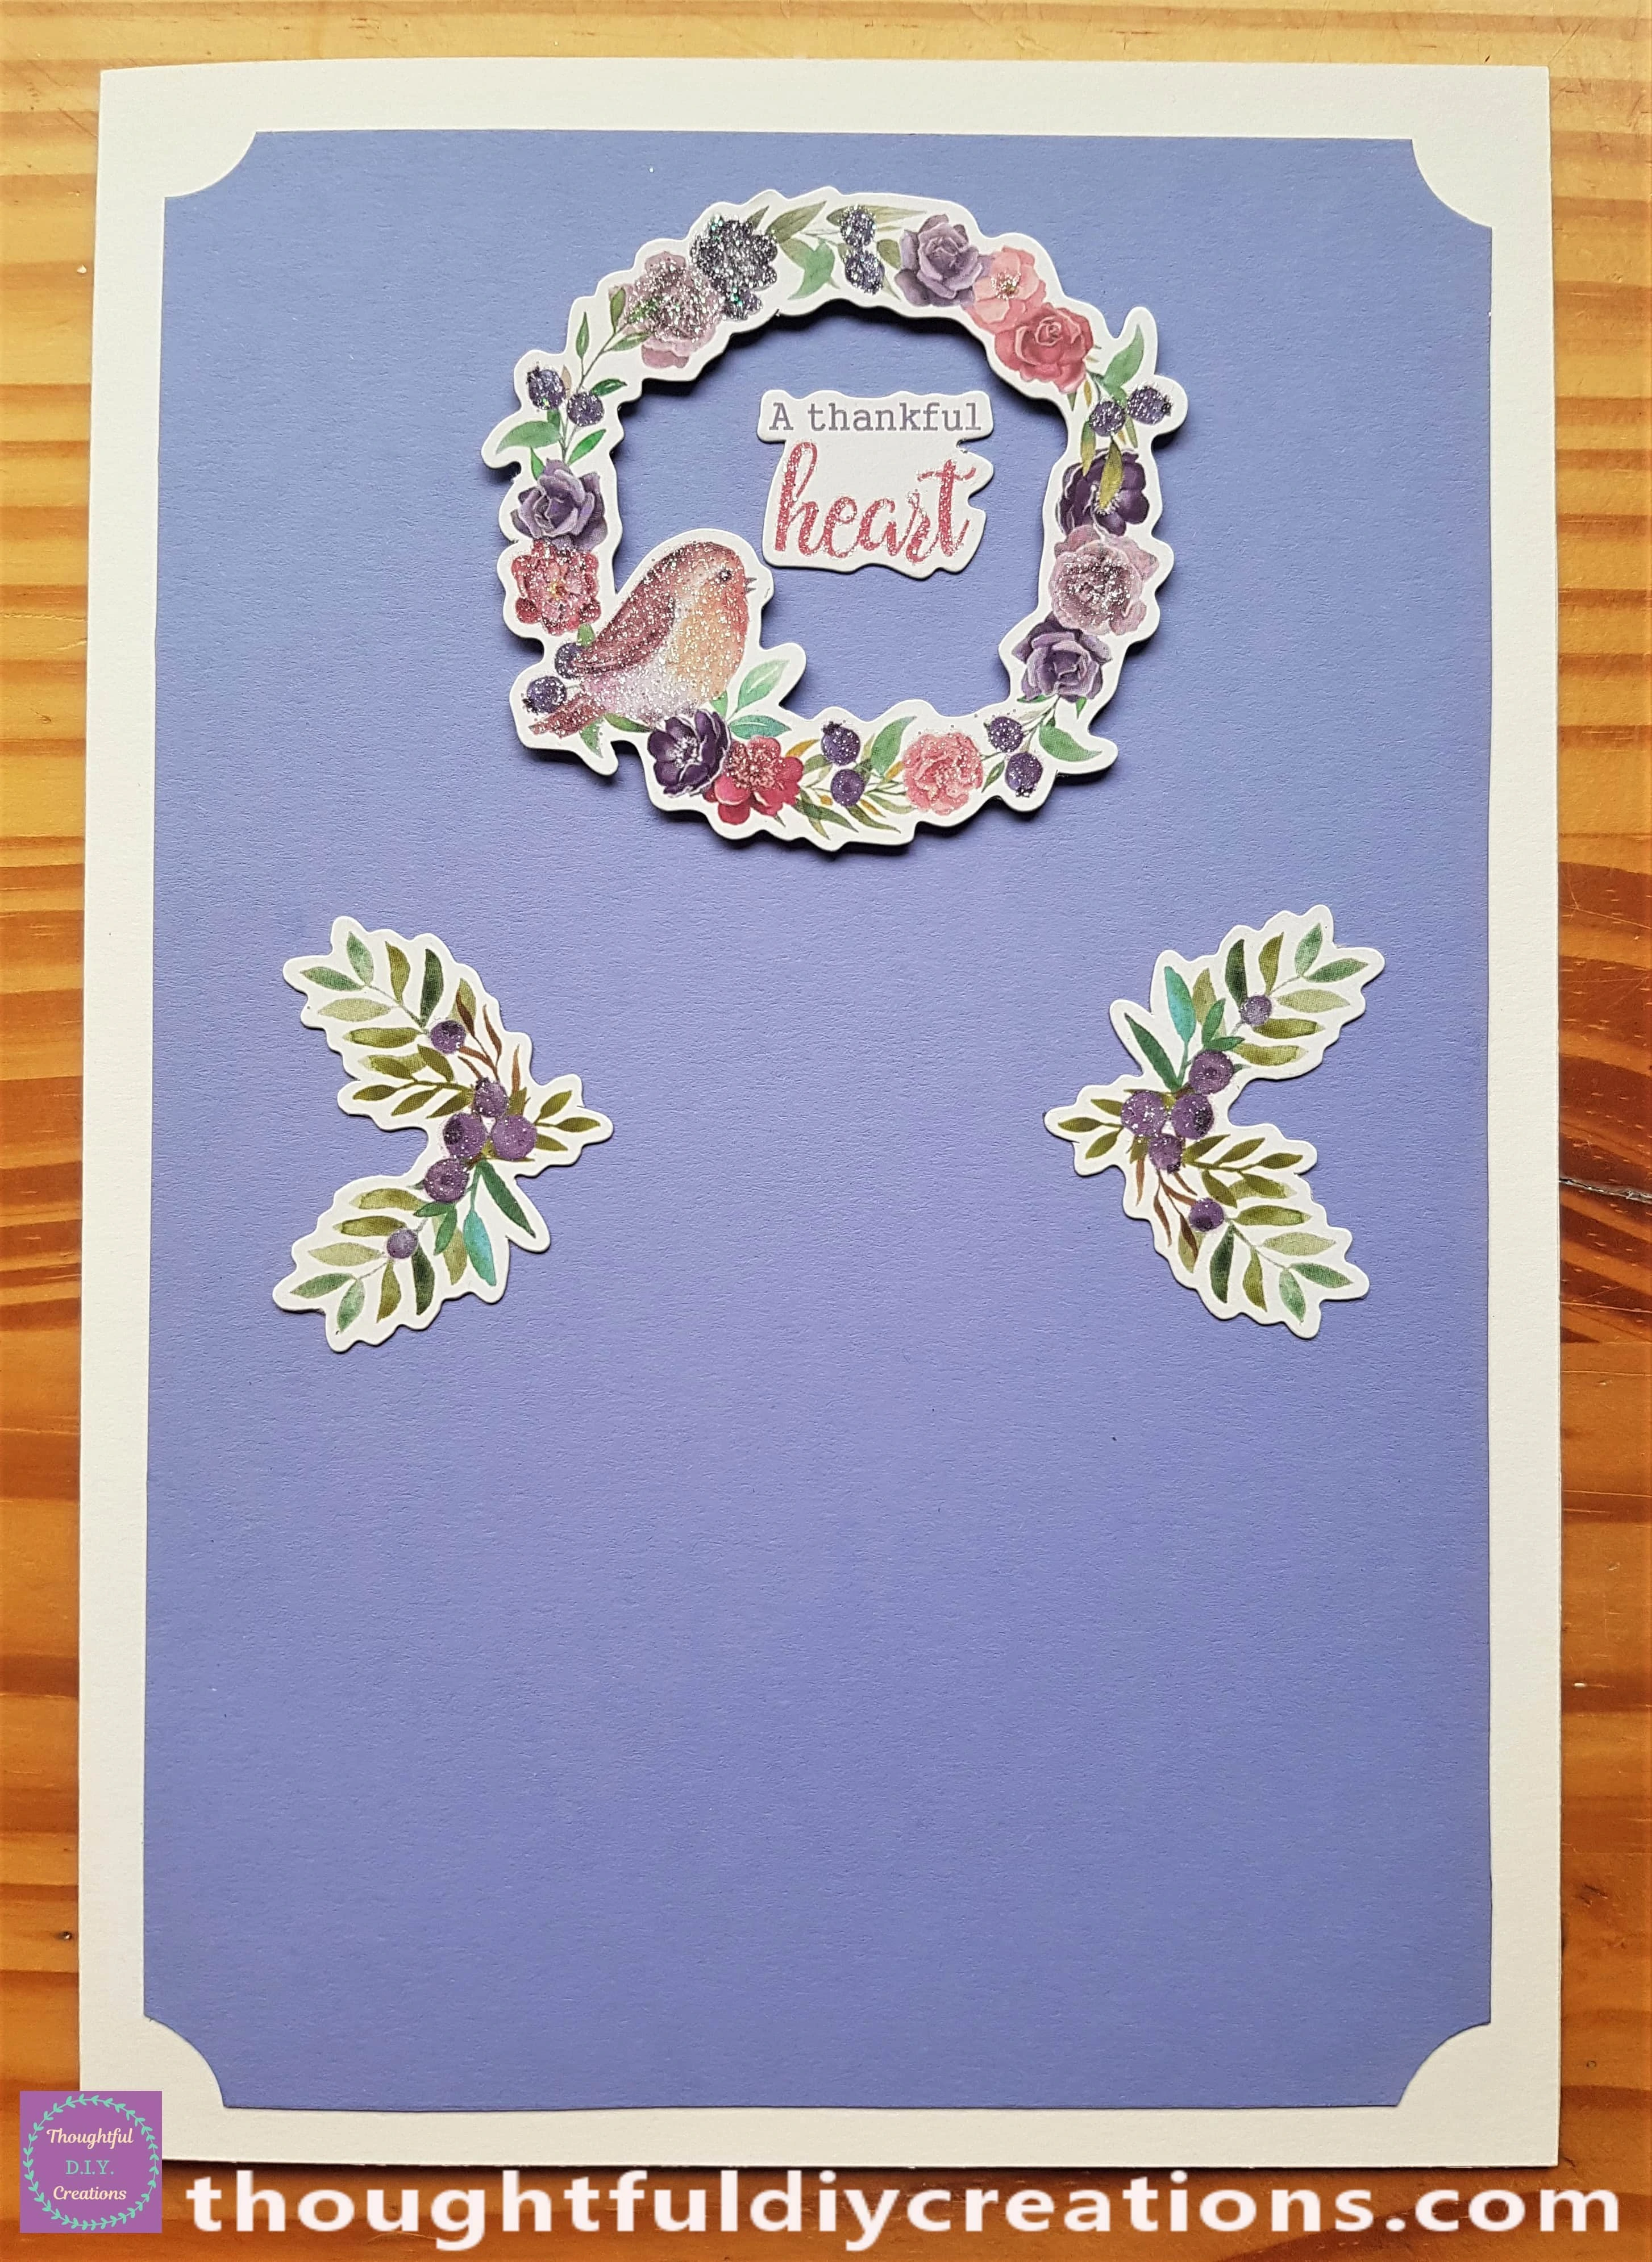
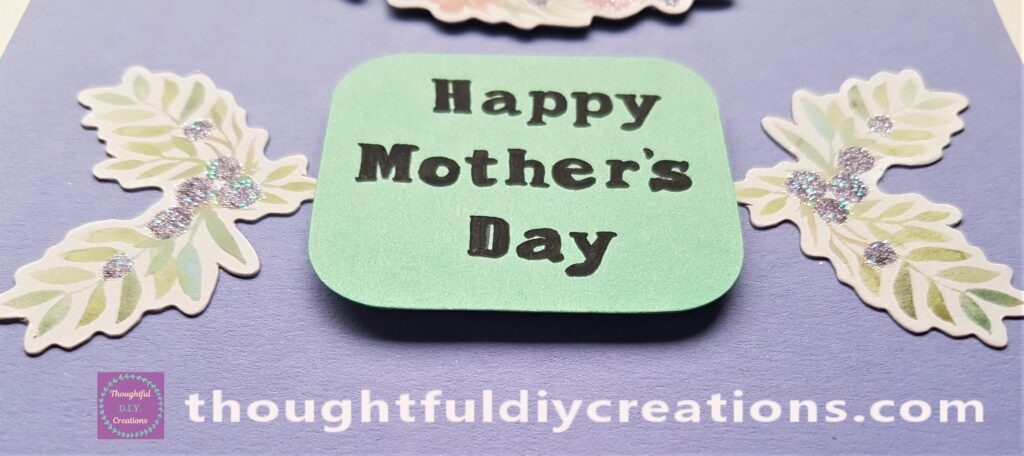
I put Pritt Stick on the back of 2 matching elements and attached them to the mid-section of the Mother’s Day Card.
Stamping the Mother’s Day Sentiment
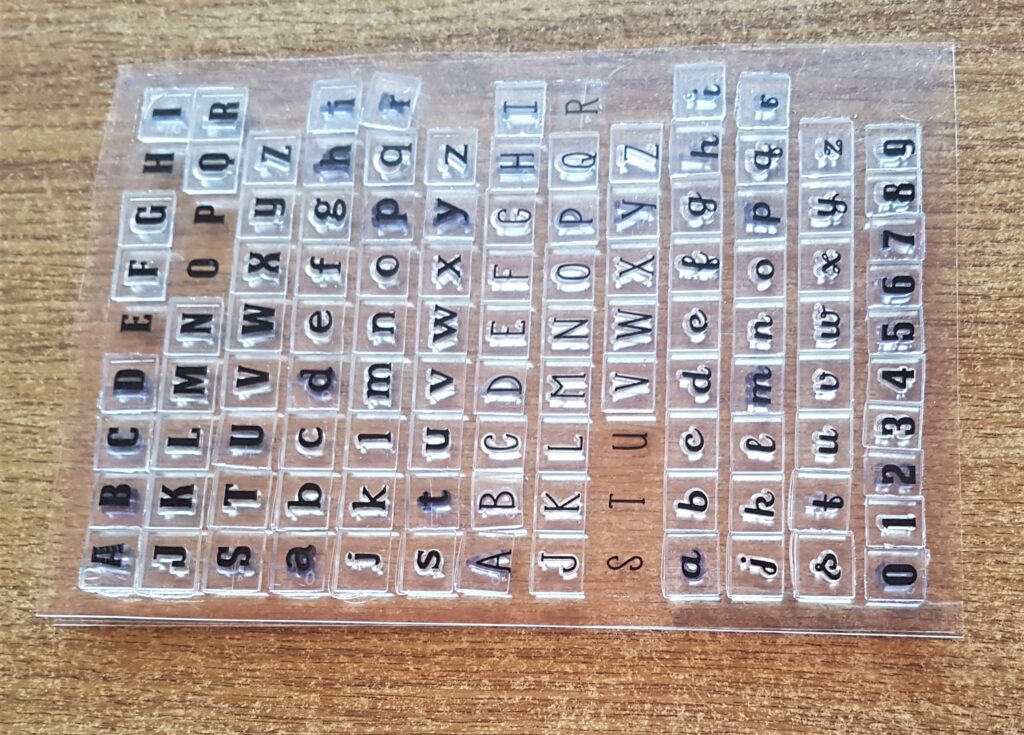
I got my Alphabet Stamps.
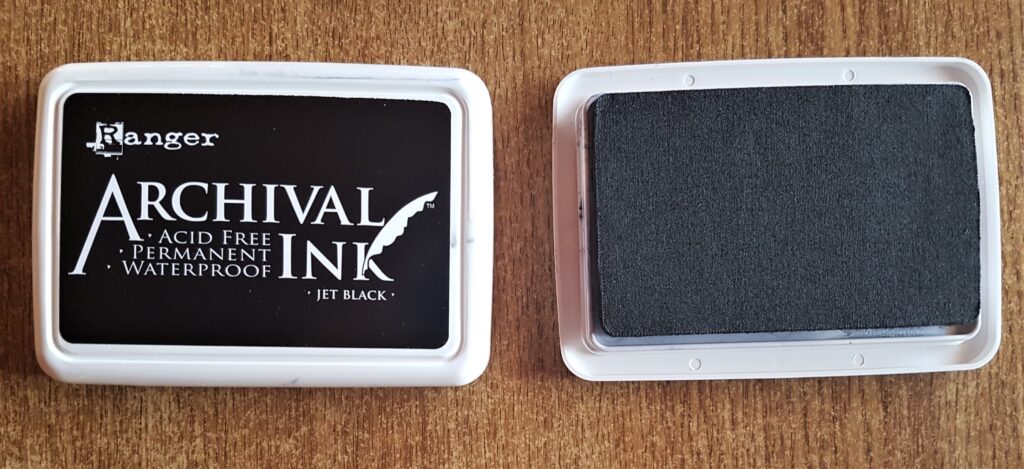
I also got my Black ‘Archival Ink’ by ‘Ranger’.
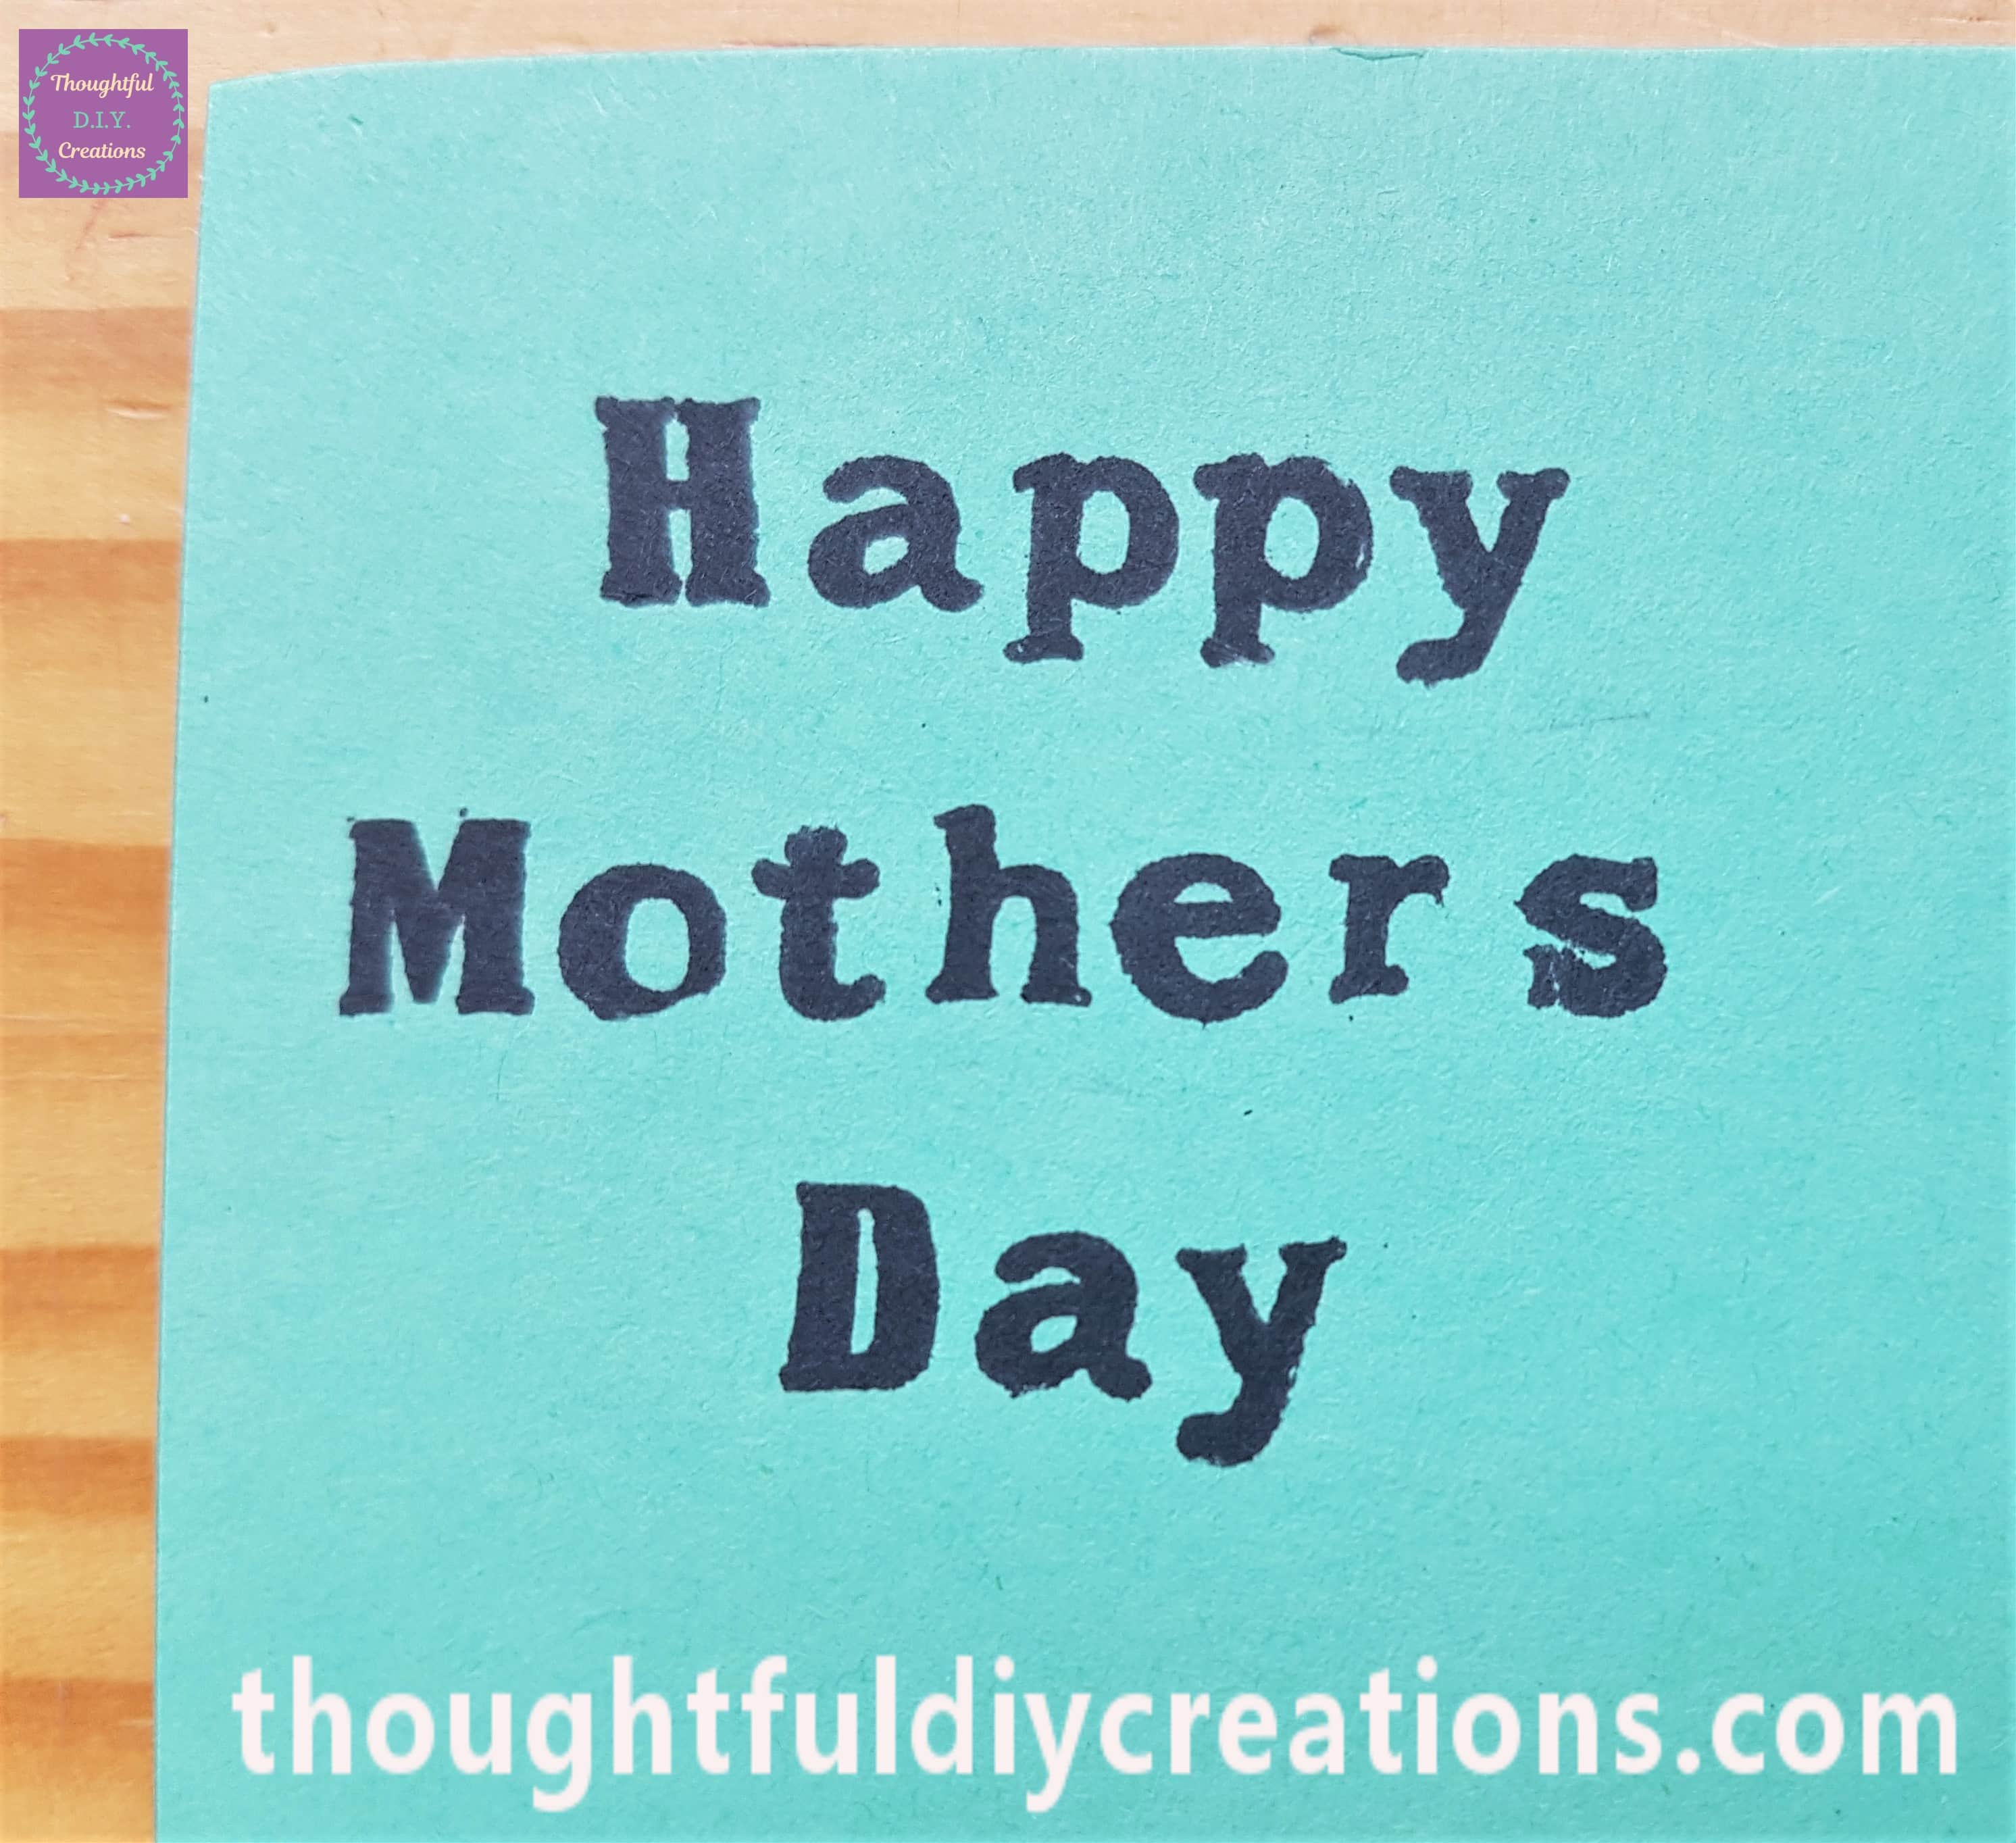
I Stamped the Letters one-by-one to read ‘Happy Mother’s Day’ on a Green Cardstock Sheet from the Pad.
Cutting out and Finishing Touches to the Sentiment
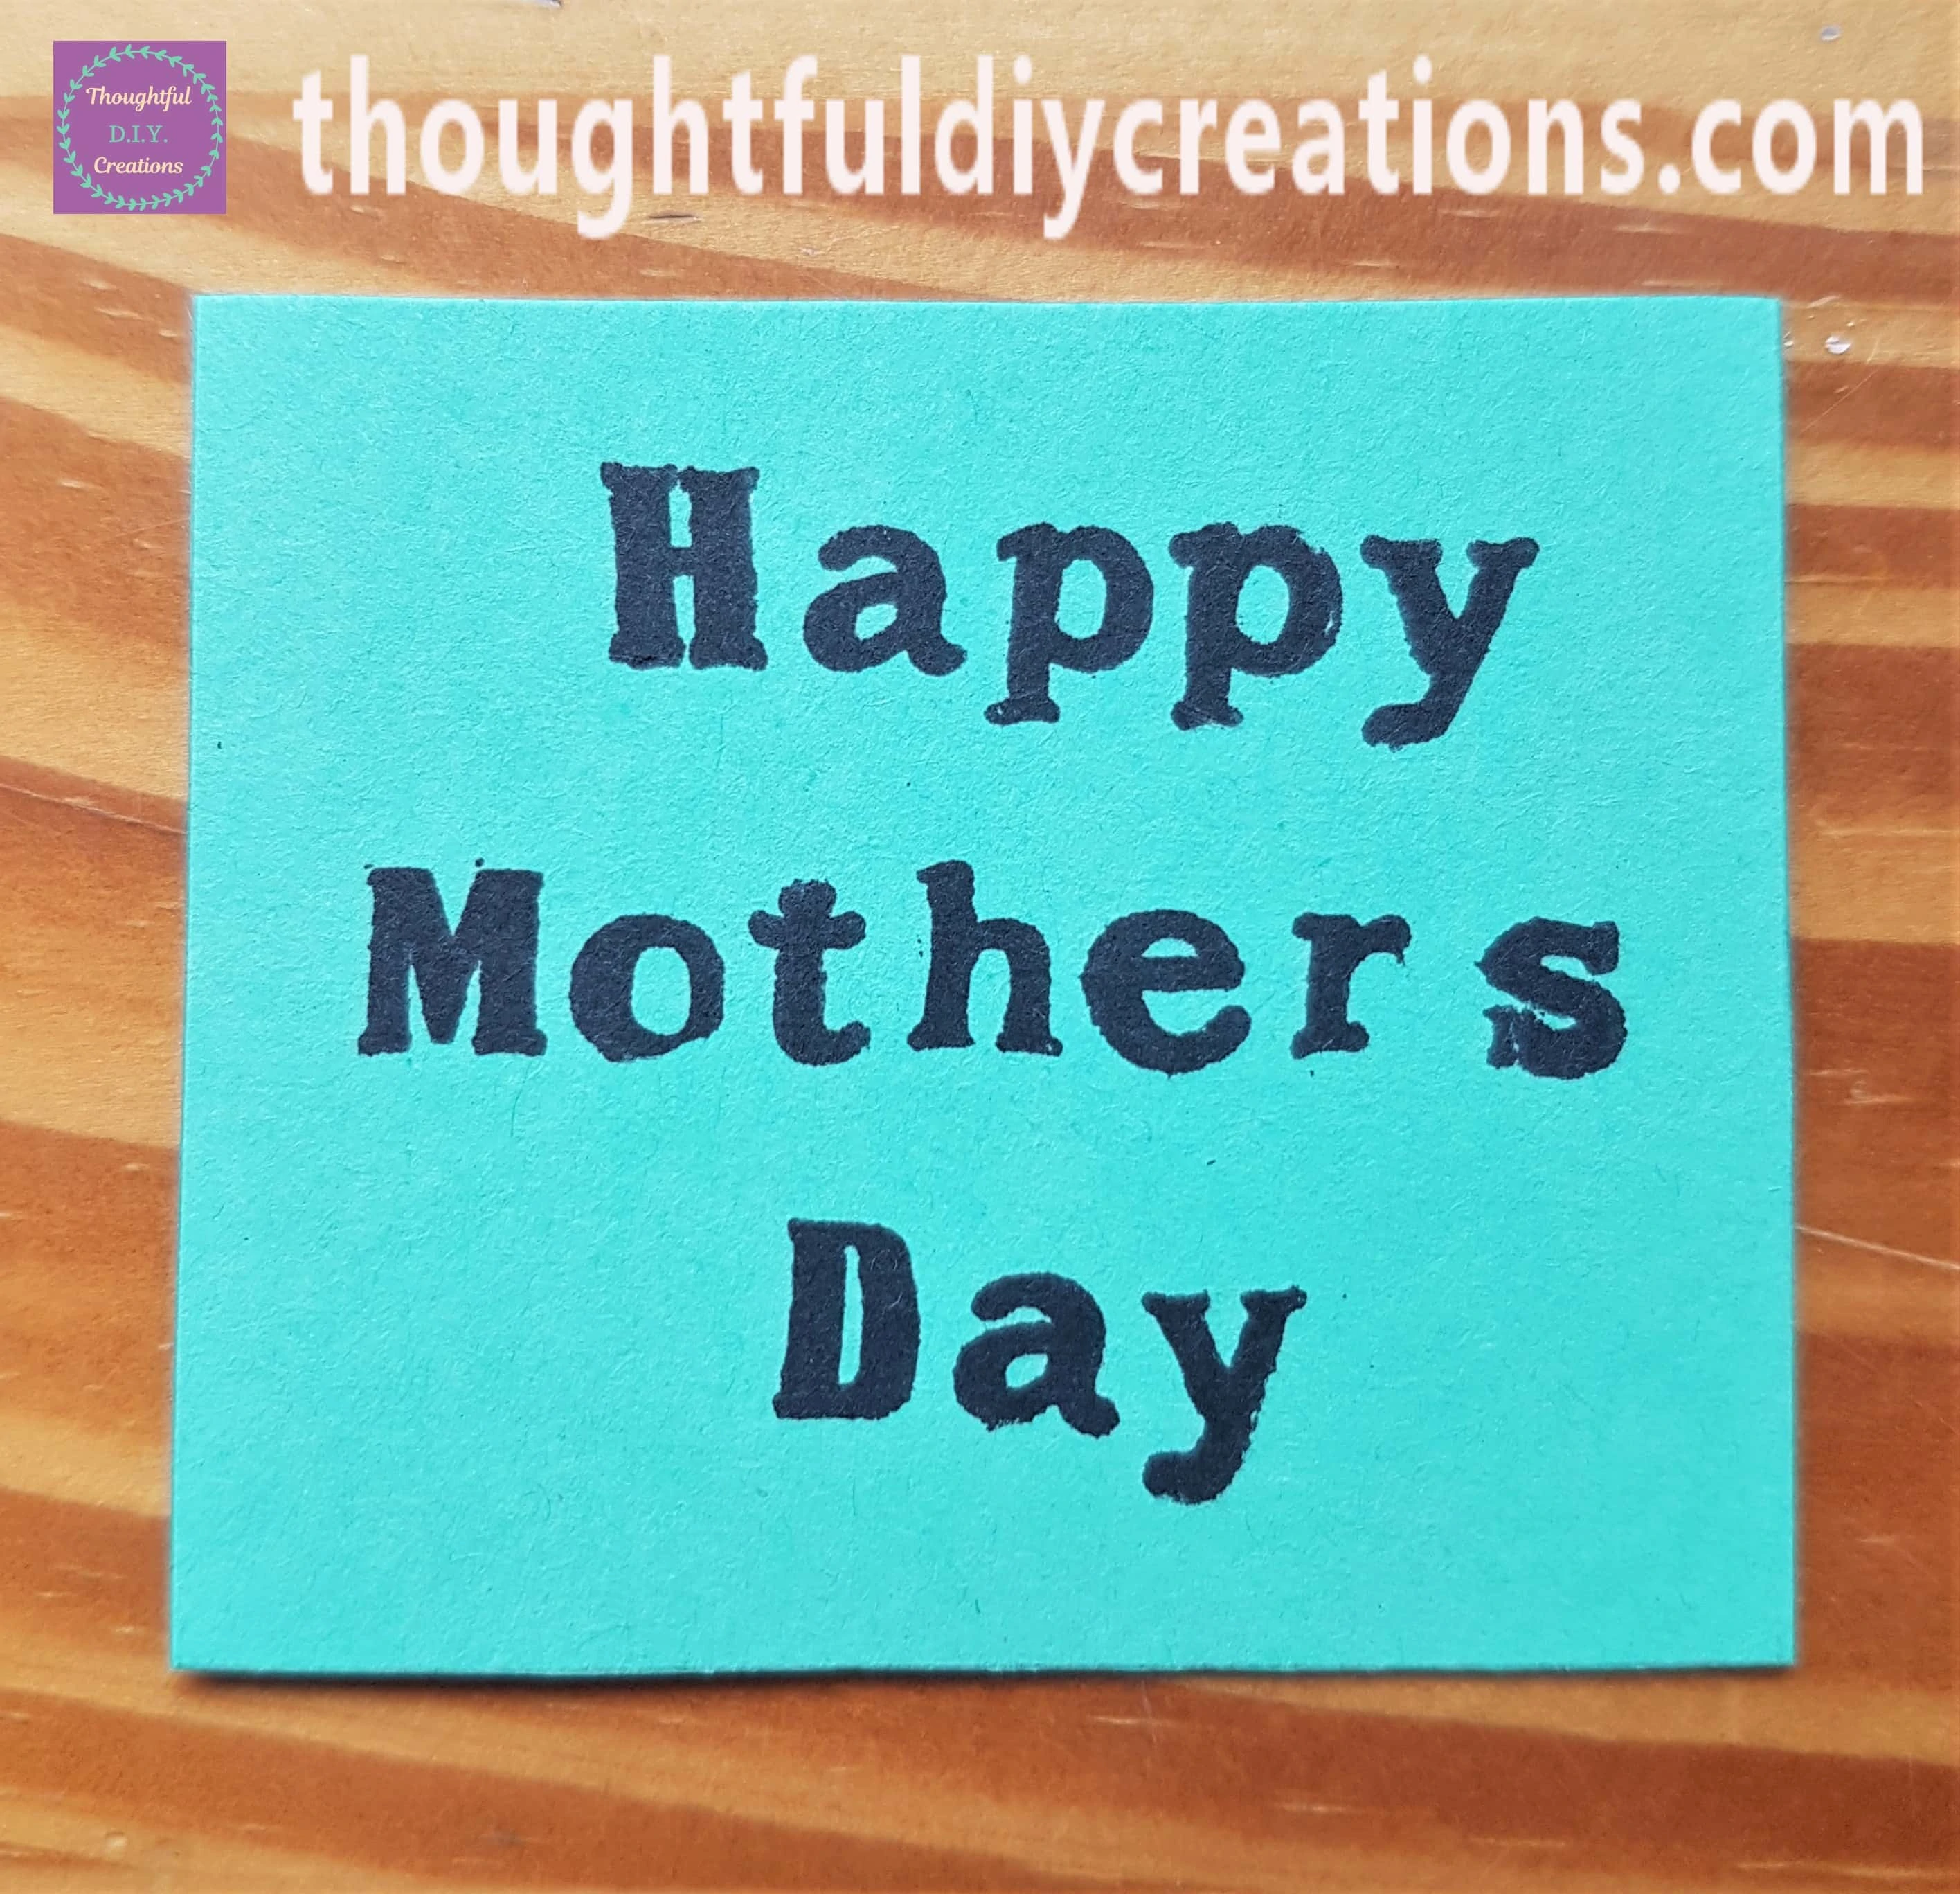
I cut out a square shape around the Stamped Sentiment.
I put each Corner of the Green Square Card into the Inner Part of the ‘Corner Punch’ I used earlier and Pressed the Punch down to Round the Corners on the Card.
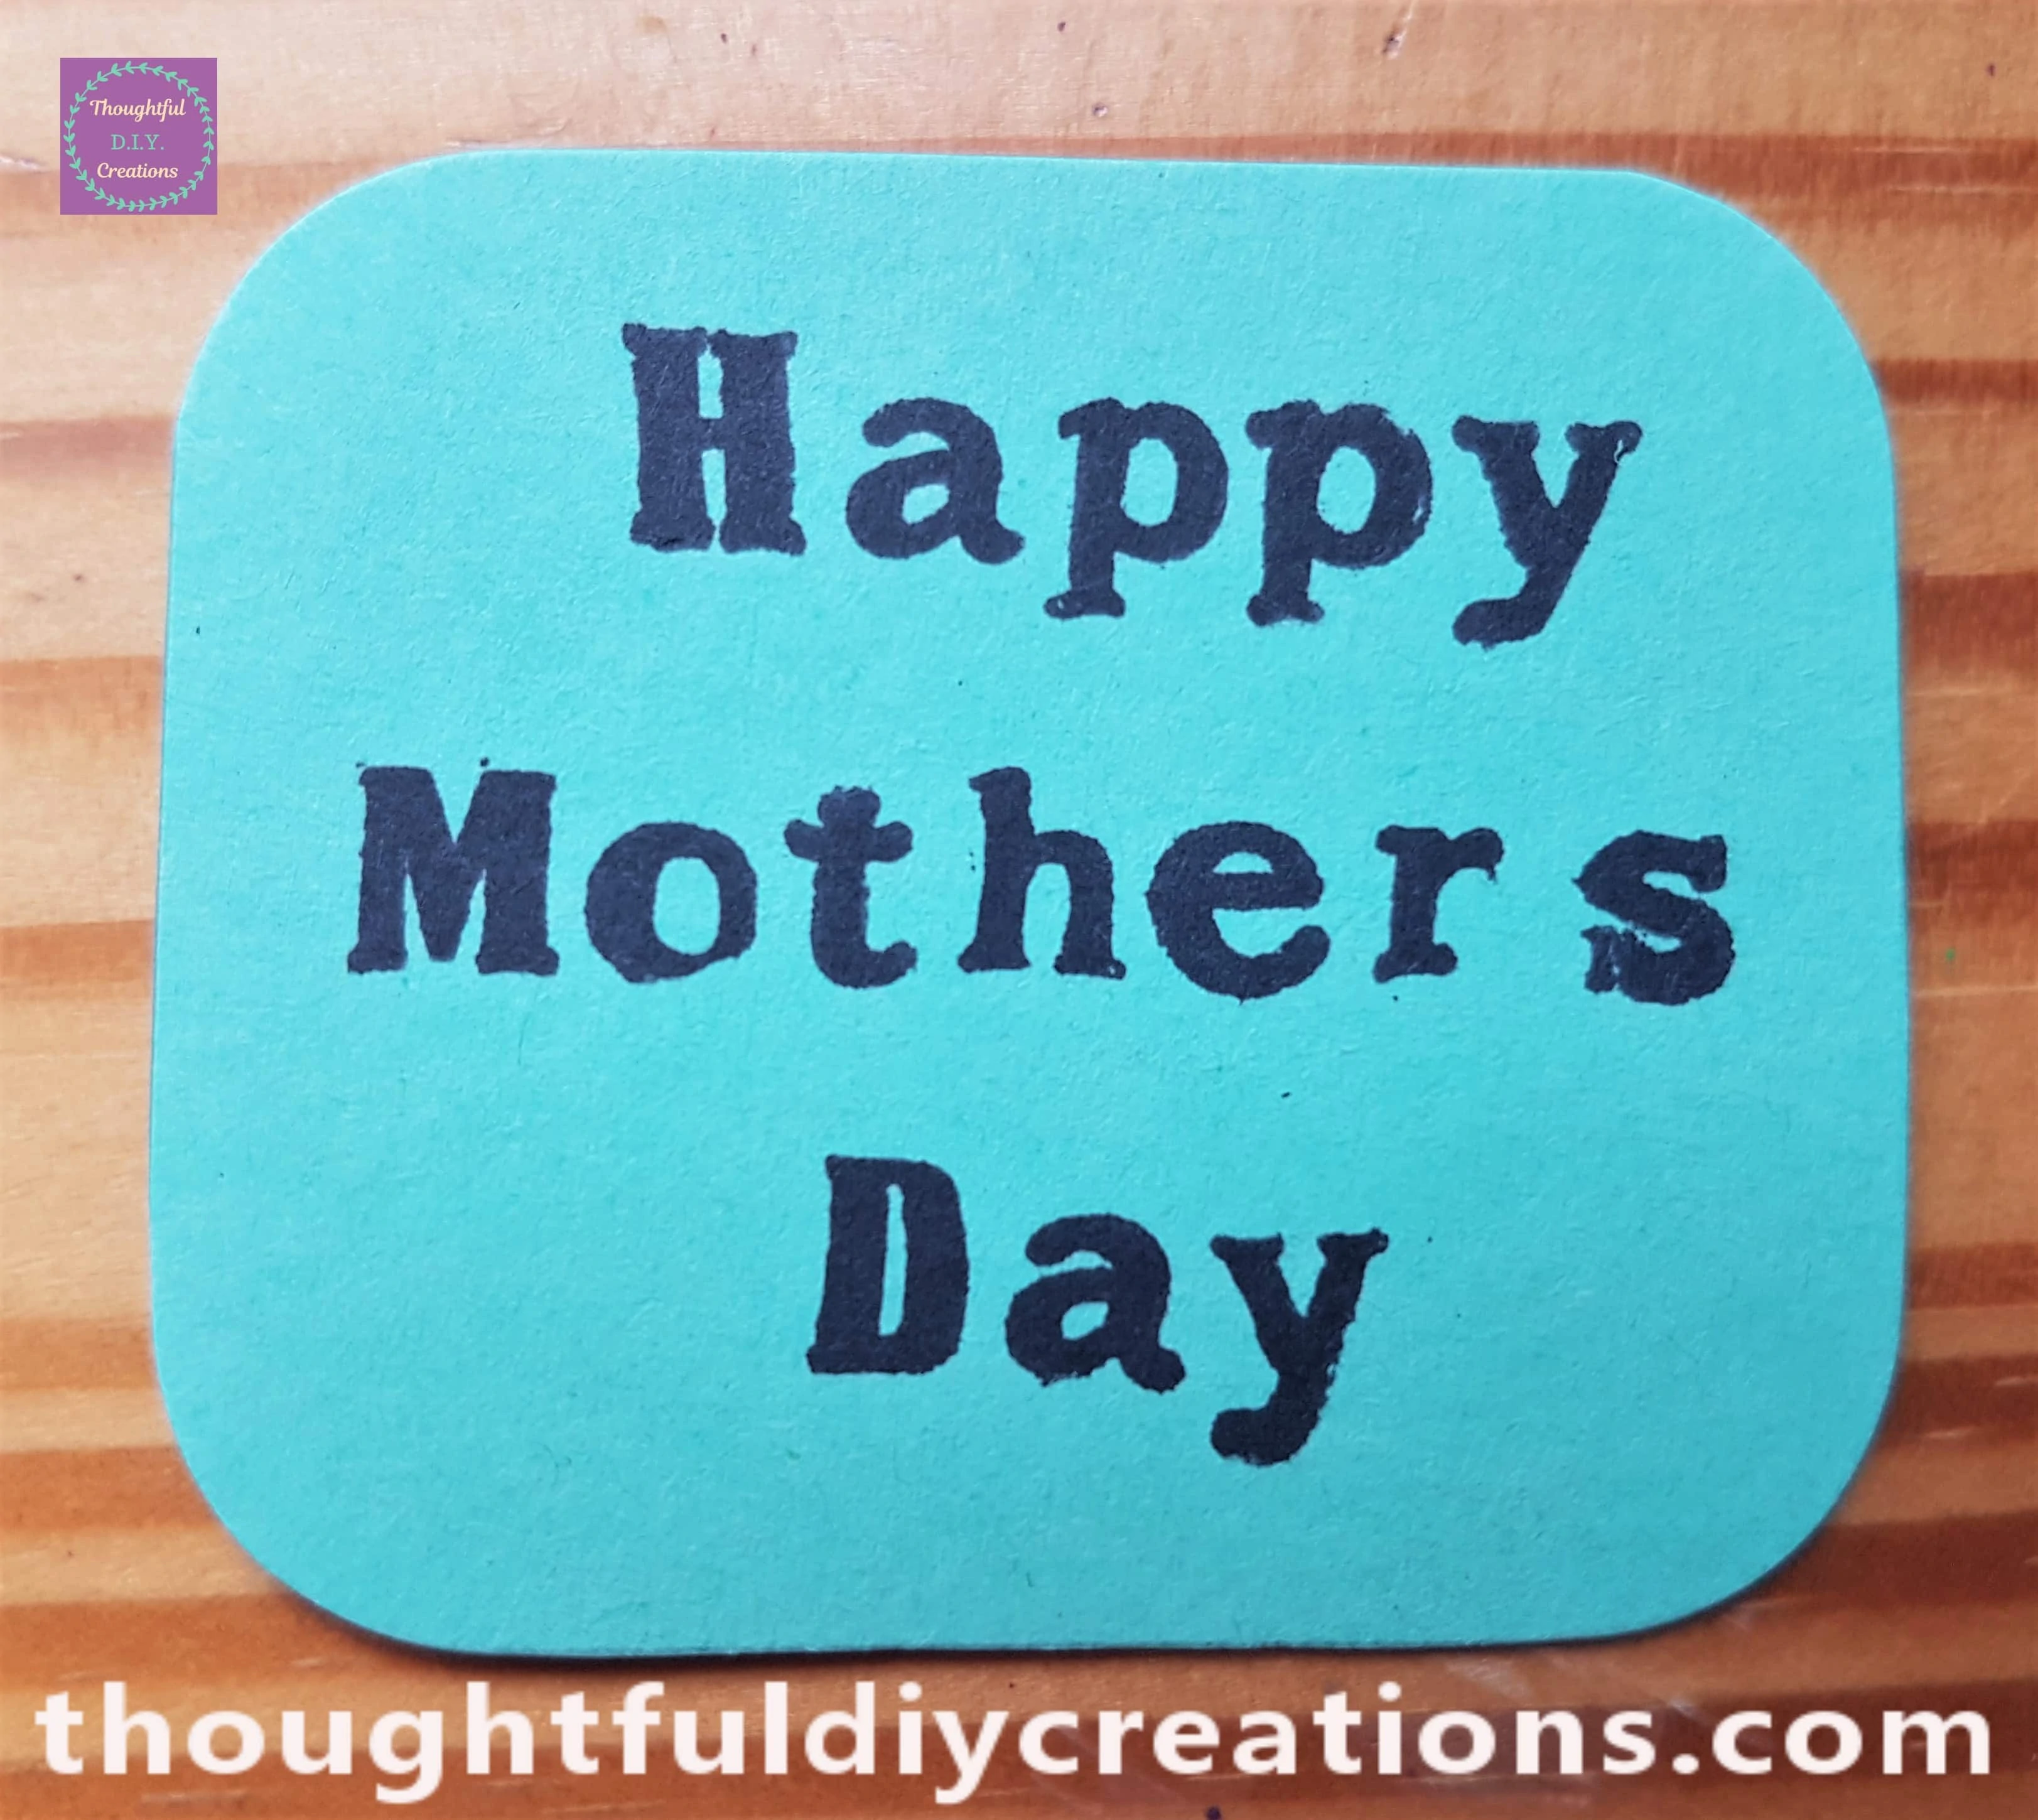
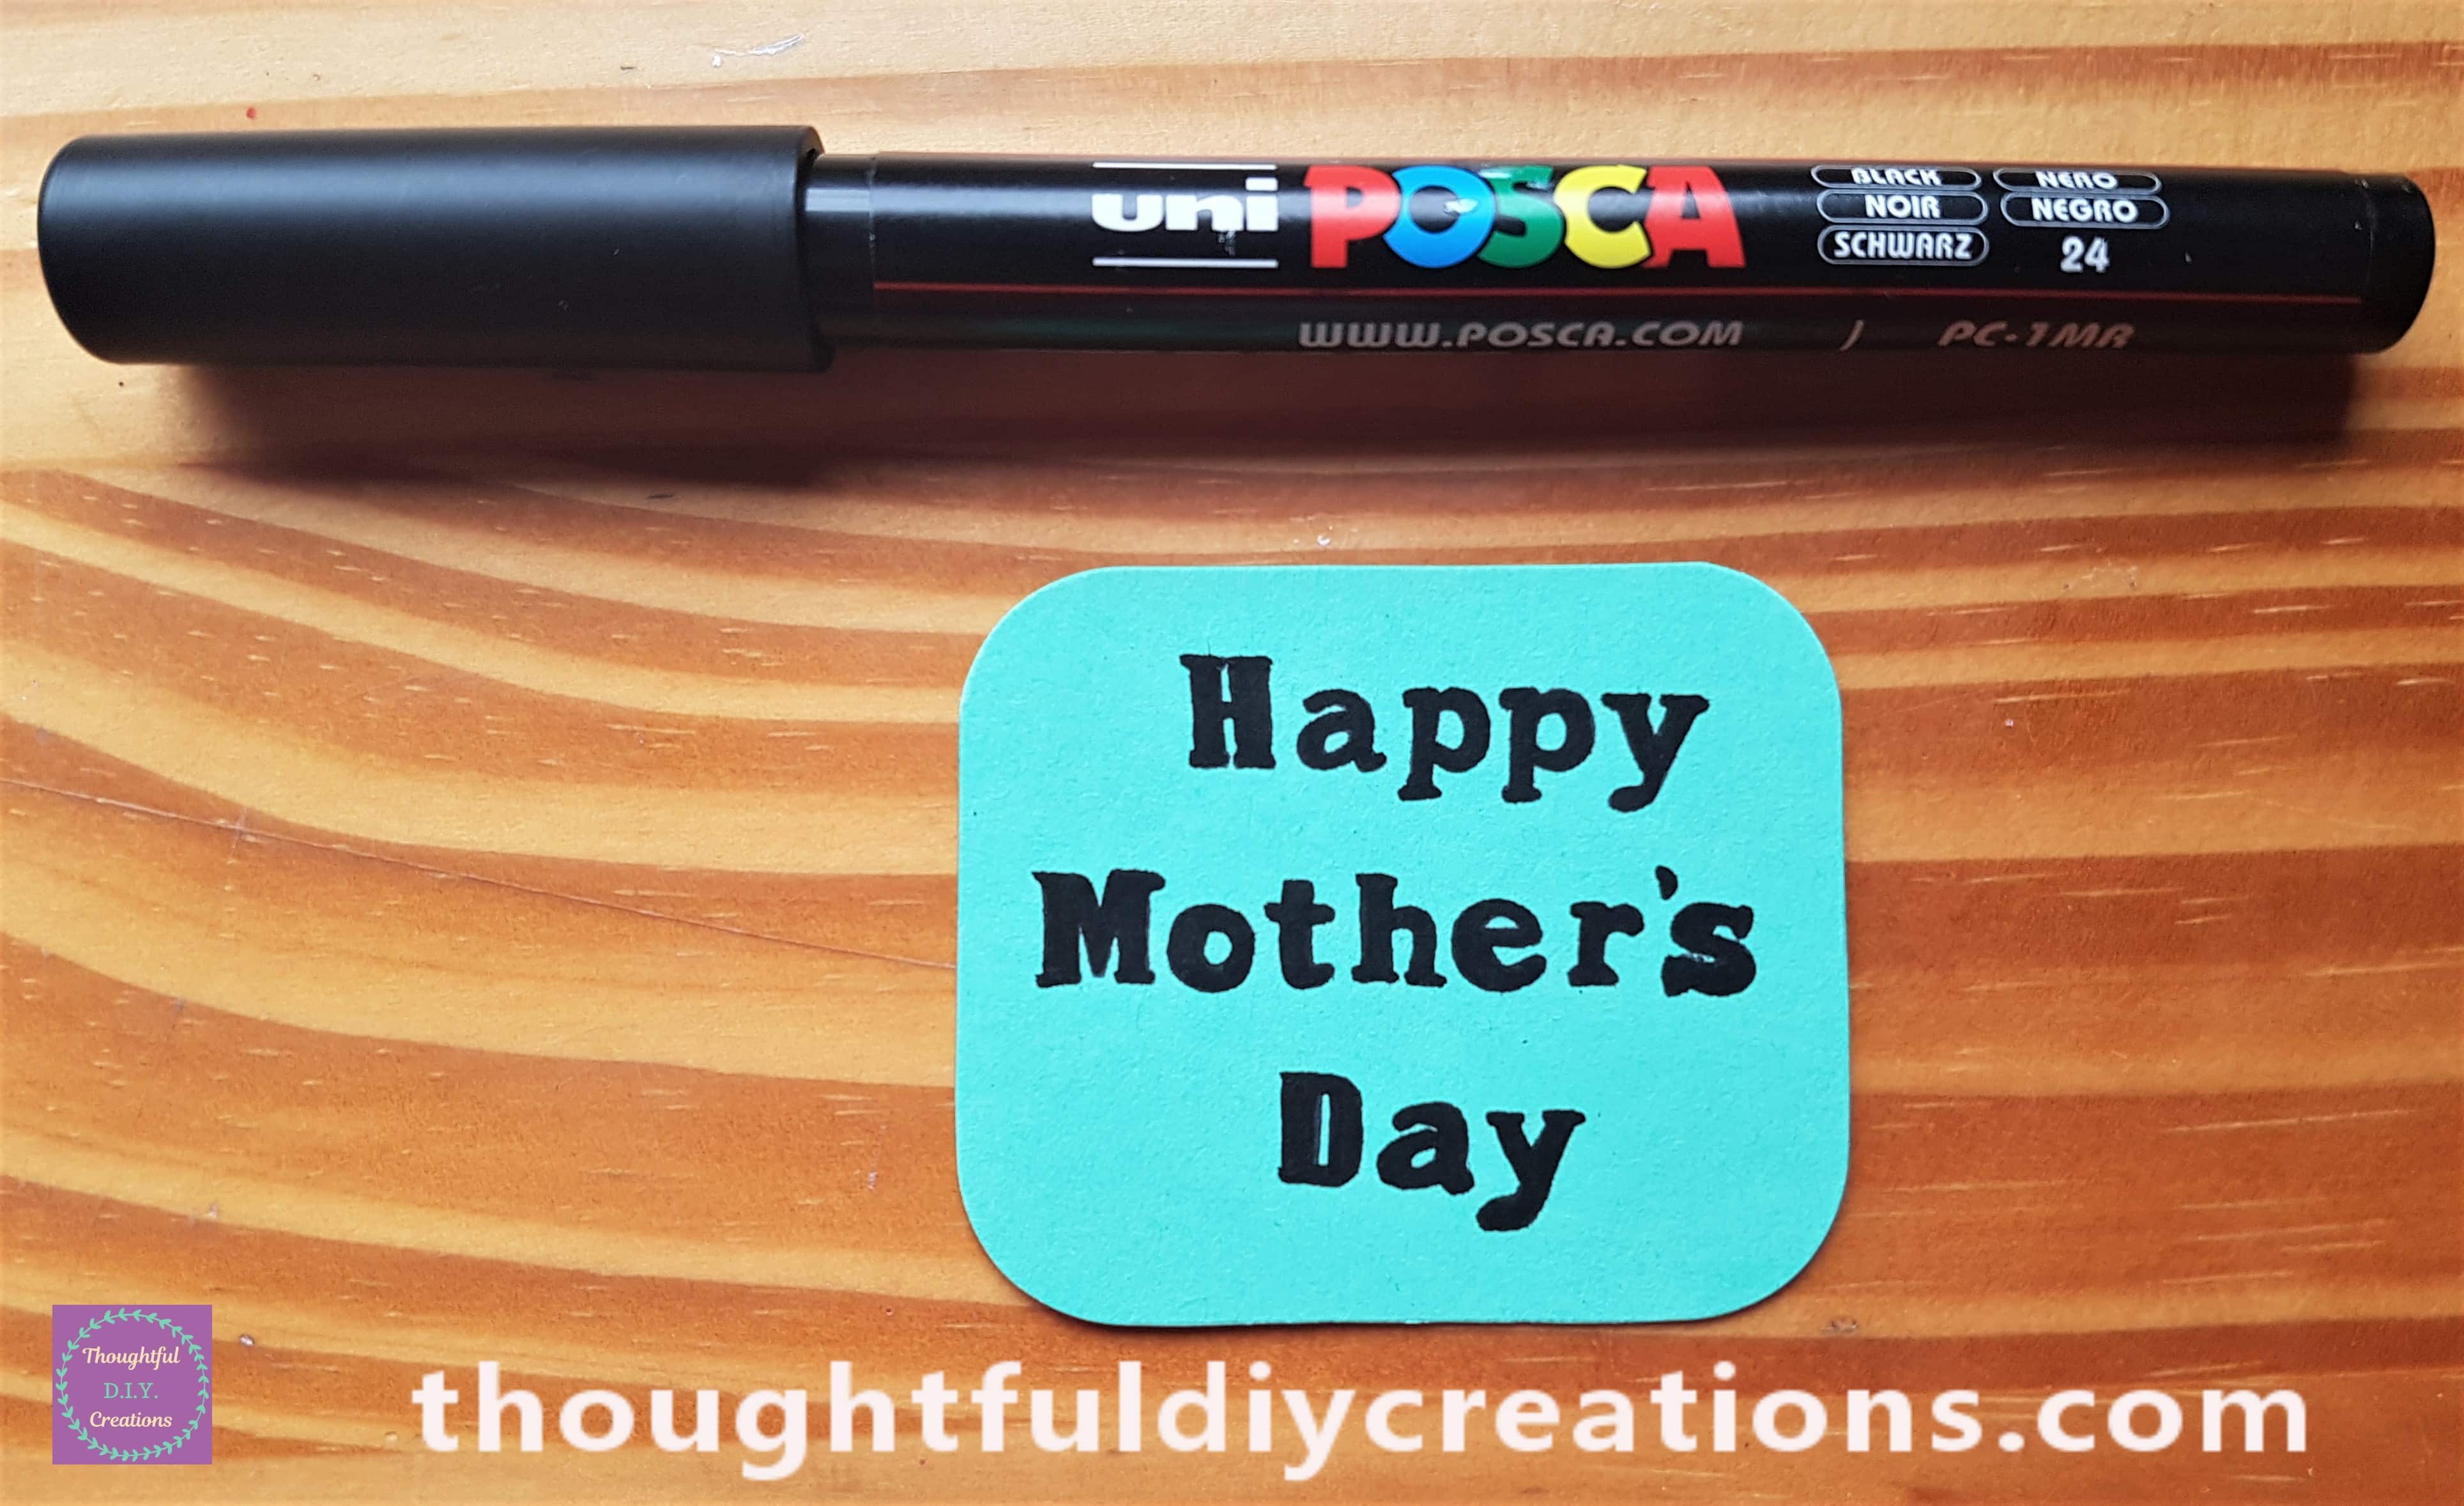
I went over each letter of ‘Happy Mother’s Day’ with my Black ‘uni POSCA Acrylic Paint Pen 0.7mm’.
Attaching the Sentiment to the Card
To make the Sentiment stand out more I put 2 layers of Foam Squares on the back of the green Card.
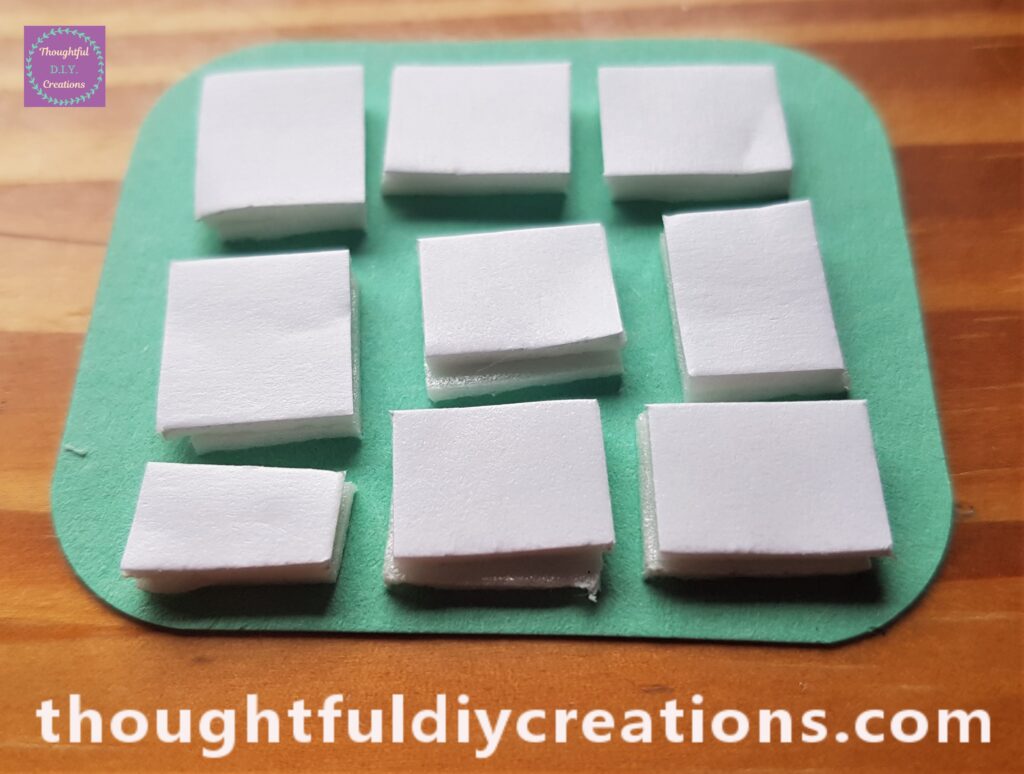
I removed the white backing from the foam squares and attached the Sentiment to the center of the Mother’s Day Card.
Gluing more Elements to the Card
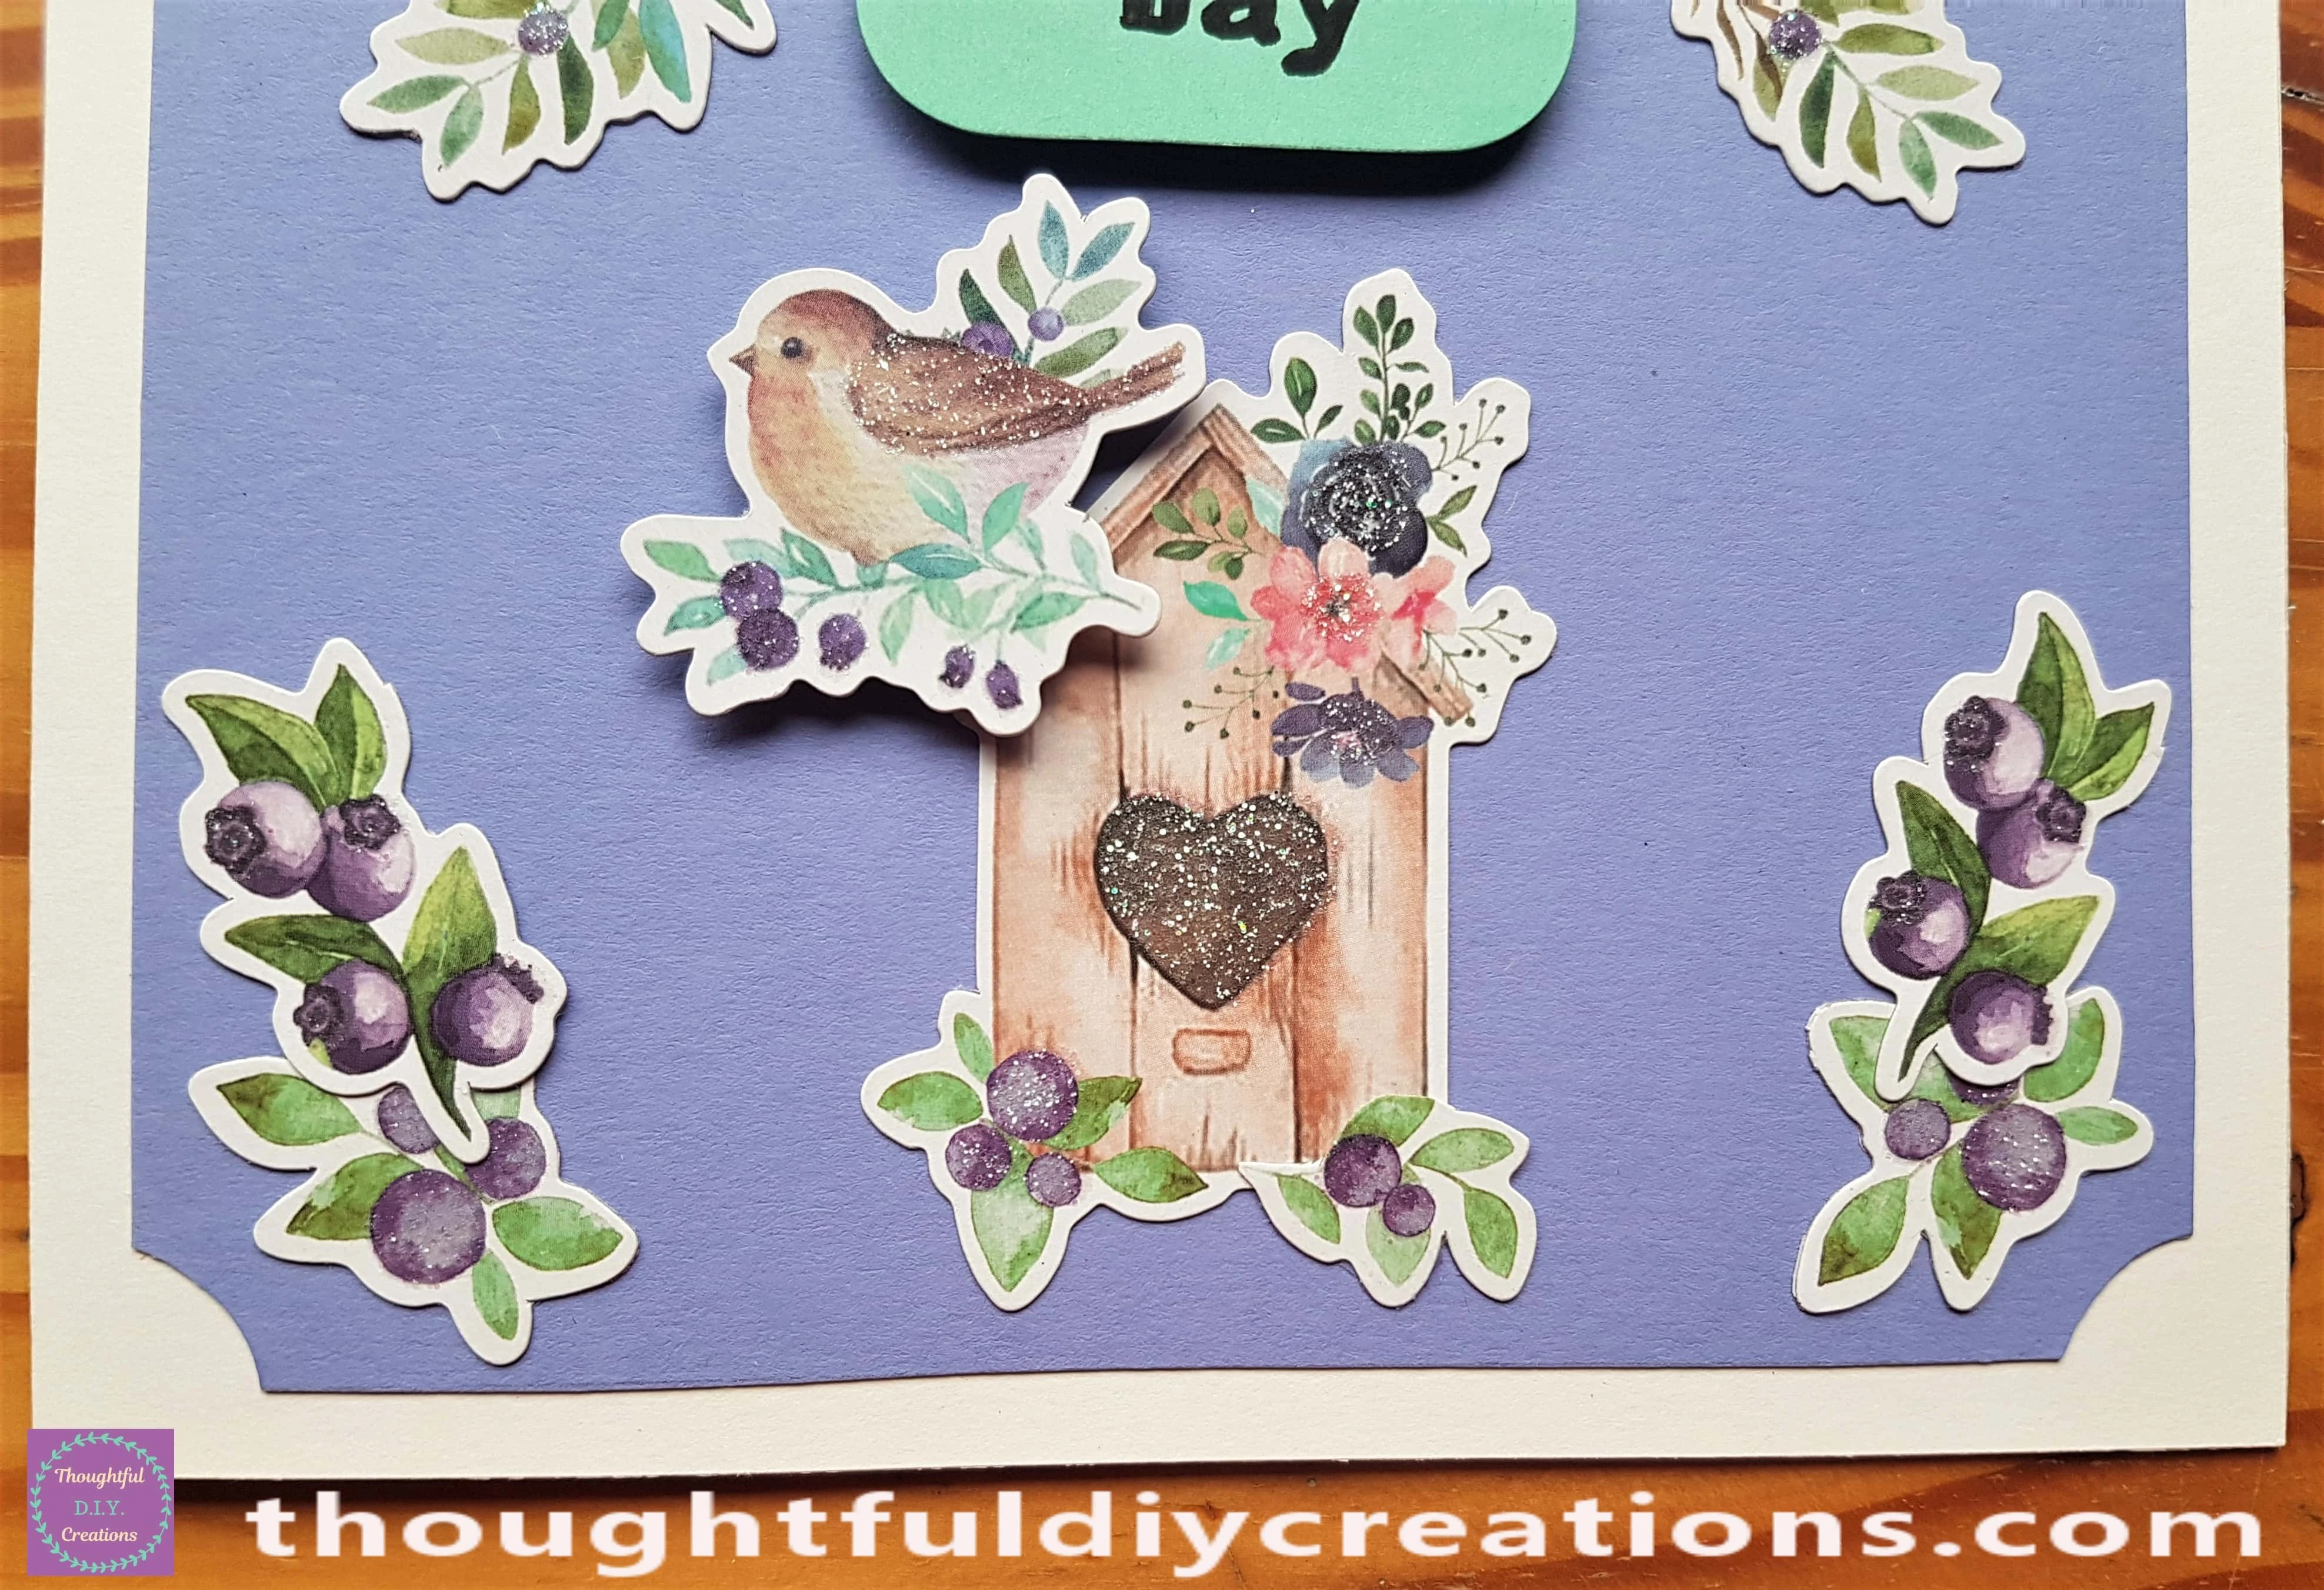
I put Pritt Stick on the back of a Birdhouse and added it to the bottom of the Card.
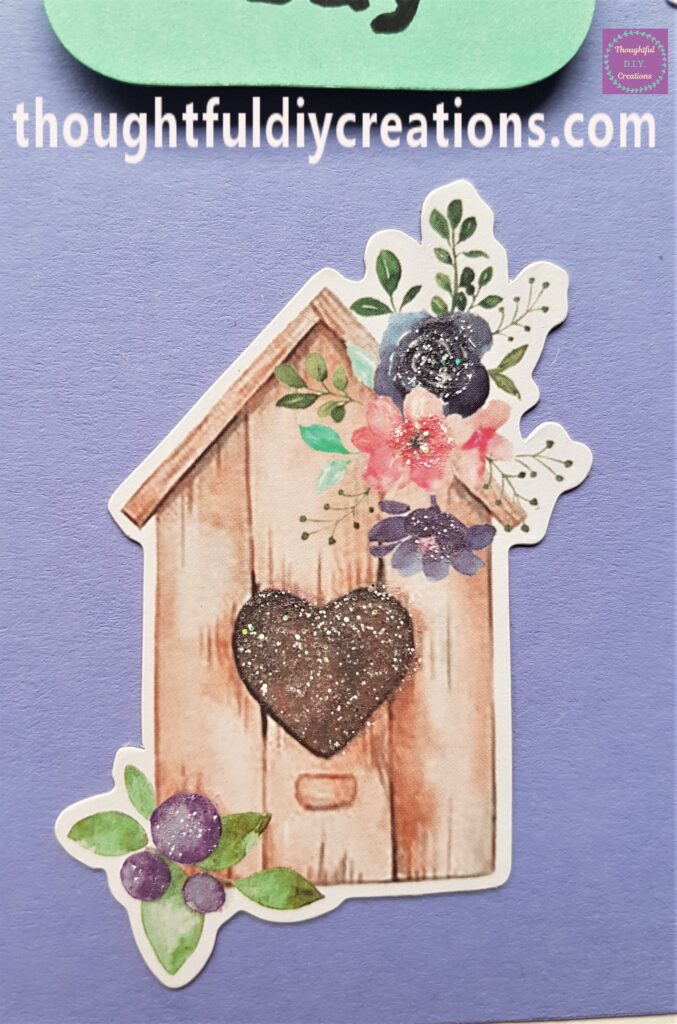
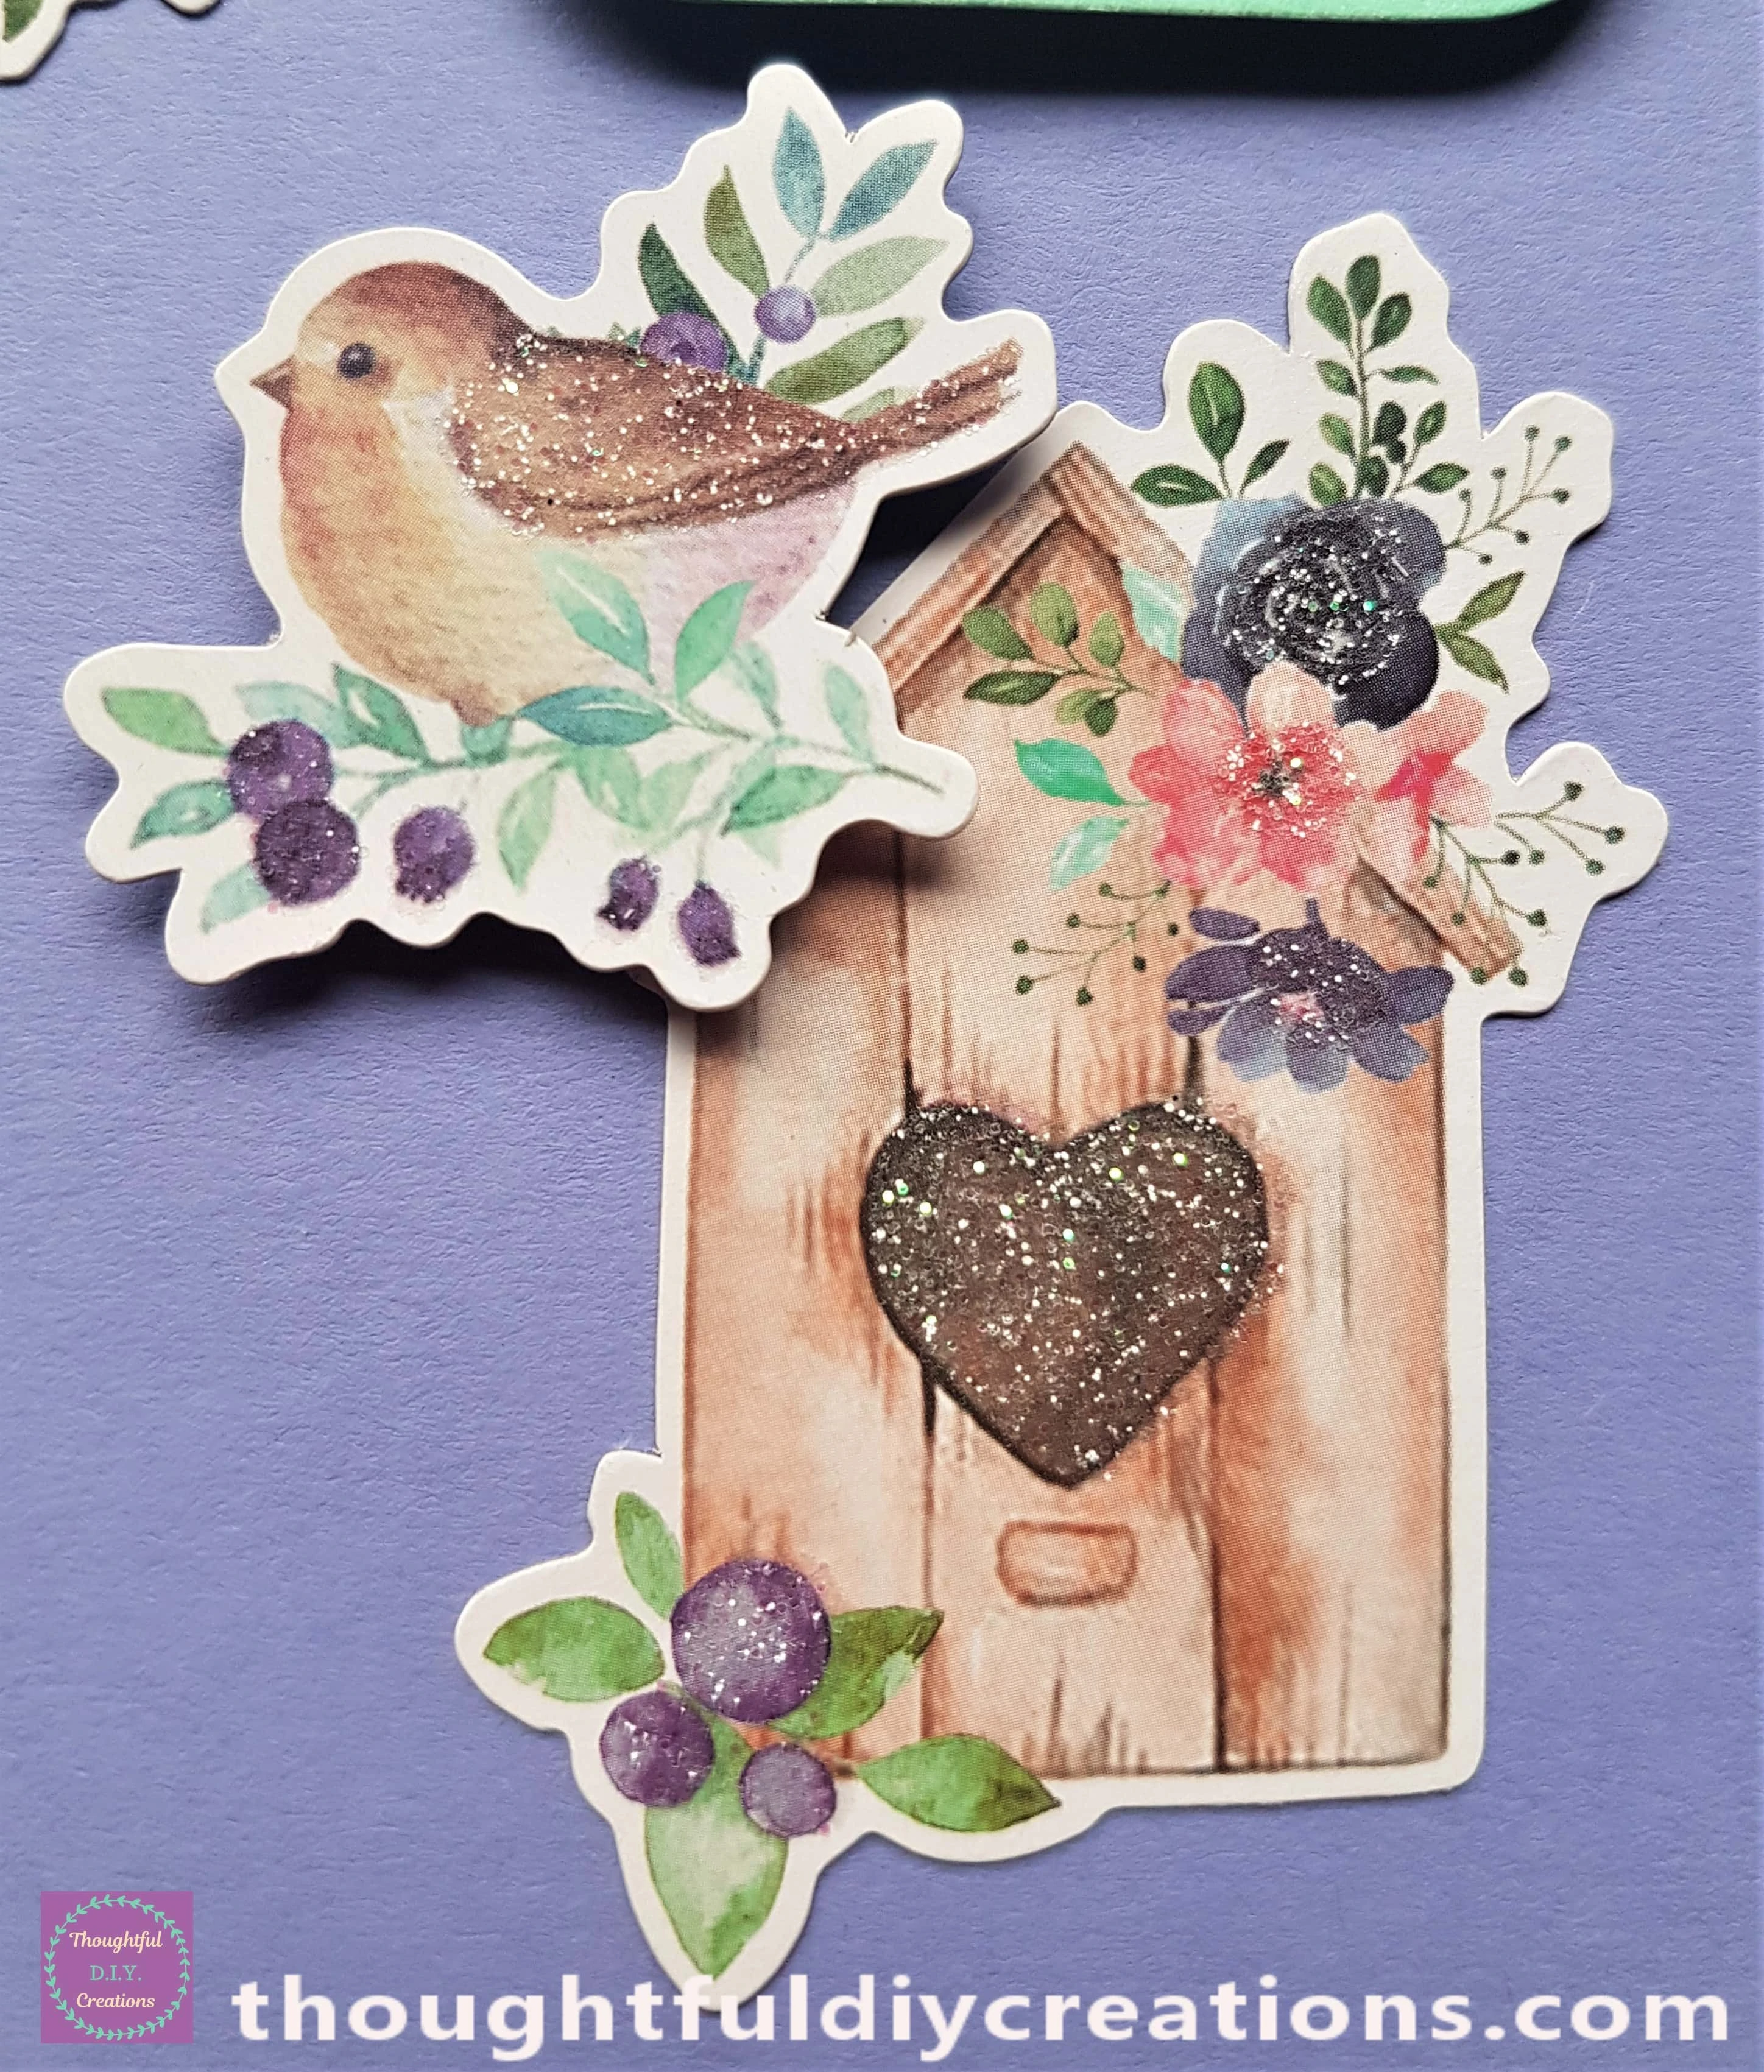
I put 2 layers of Foam Squares on the back of a Bird.
I attached it to the top of the Birdhouse.
Two matching Berry Leaves were glued to the Card with Pritt Stick.
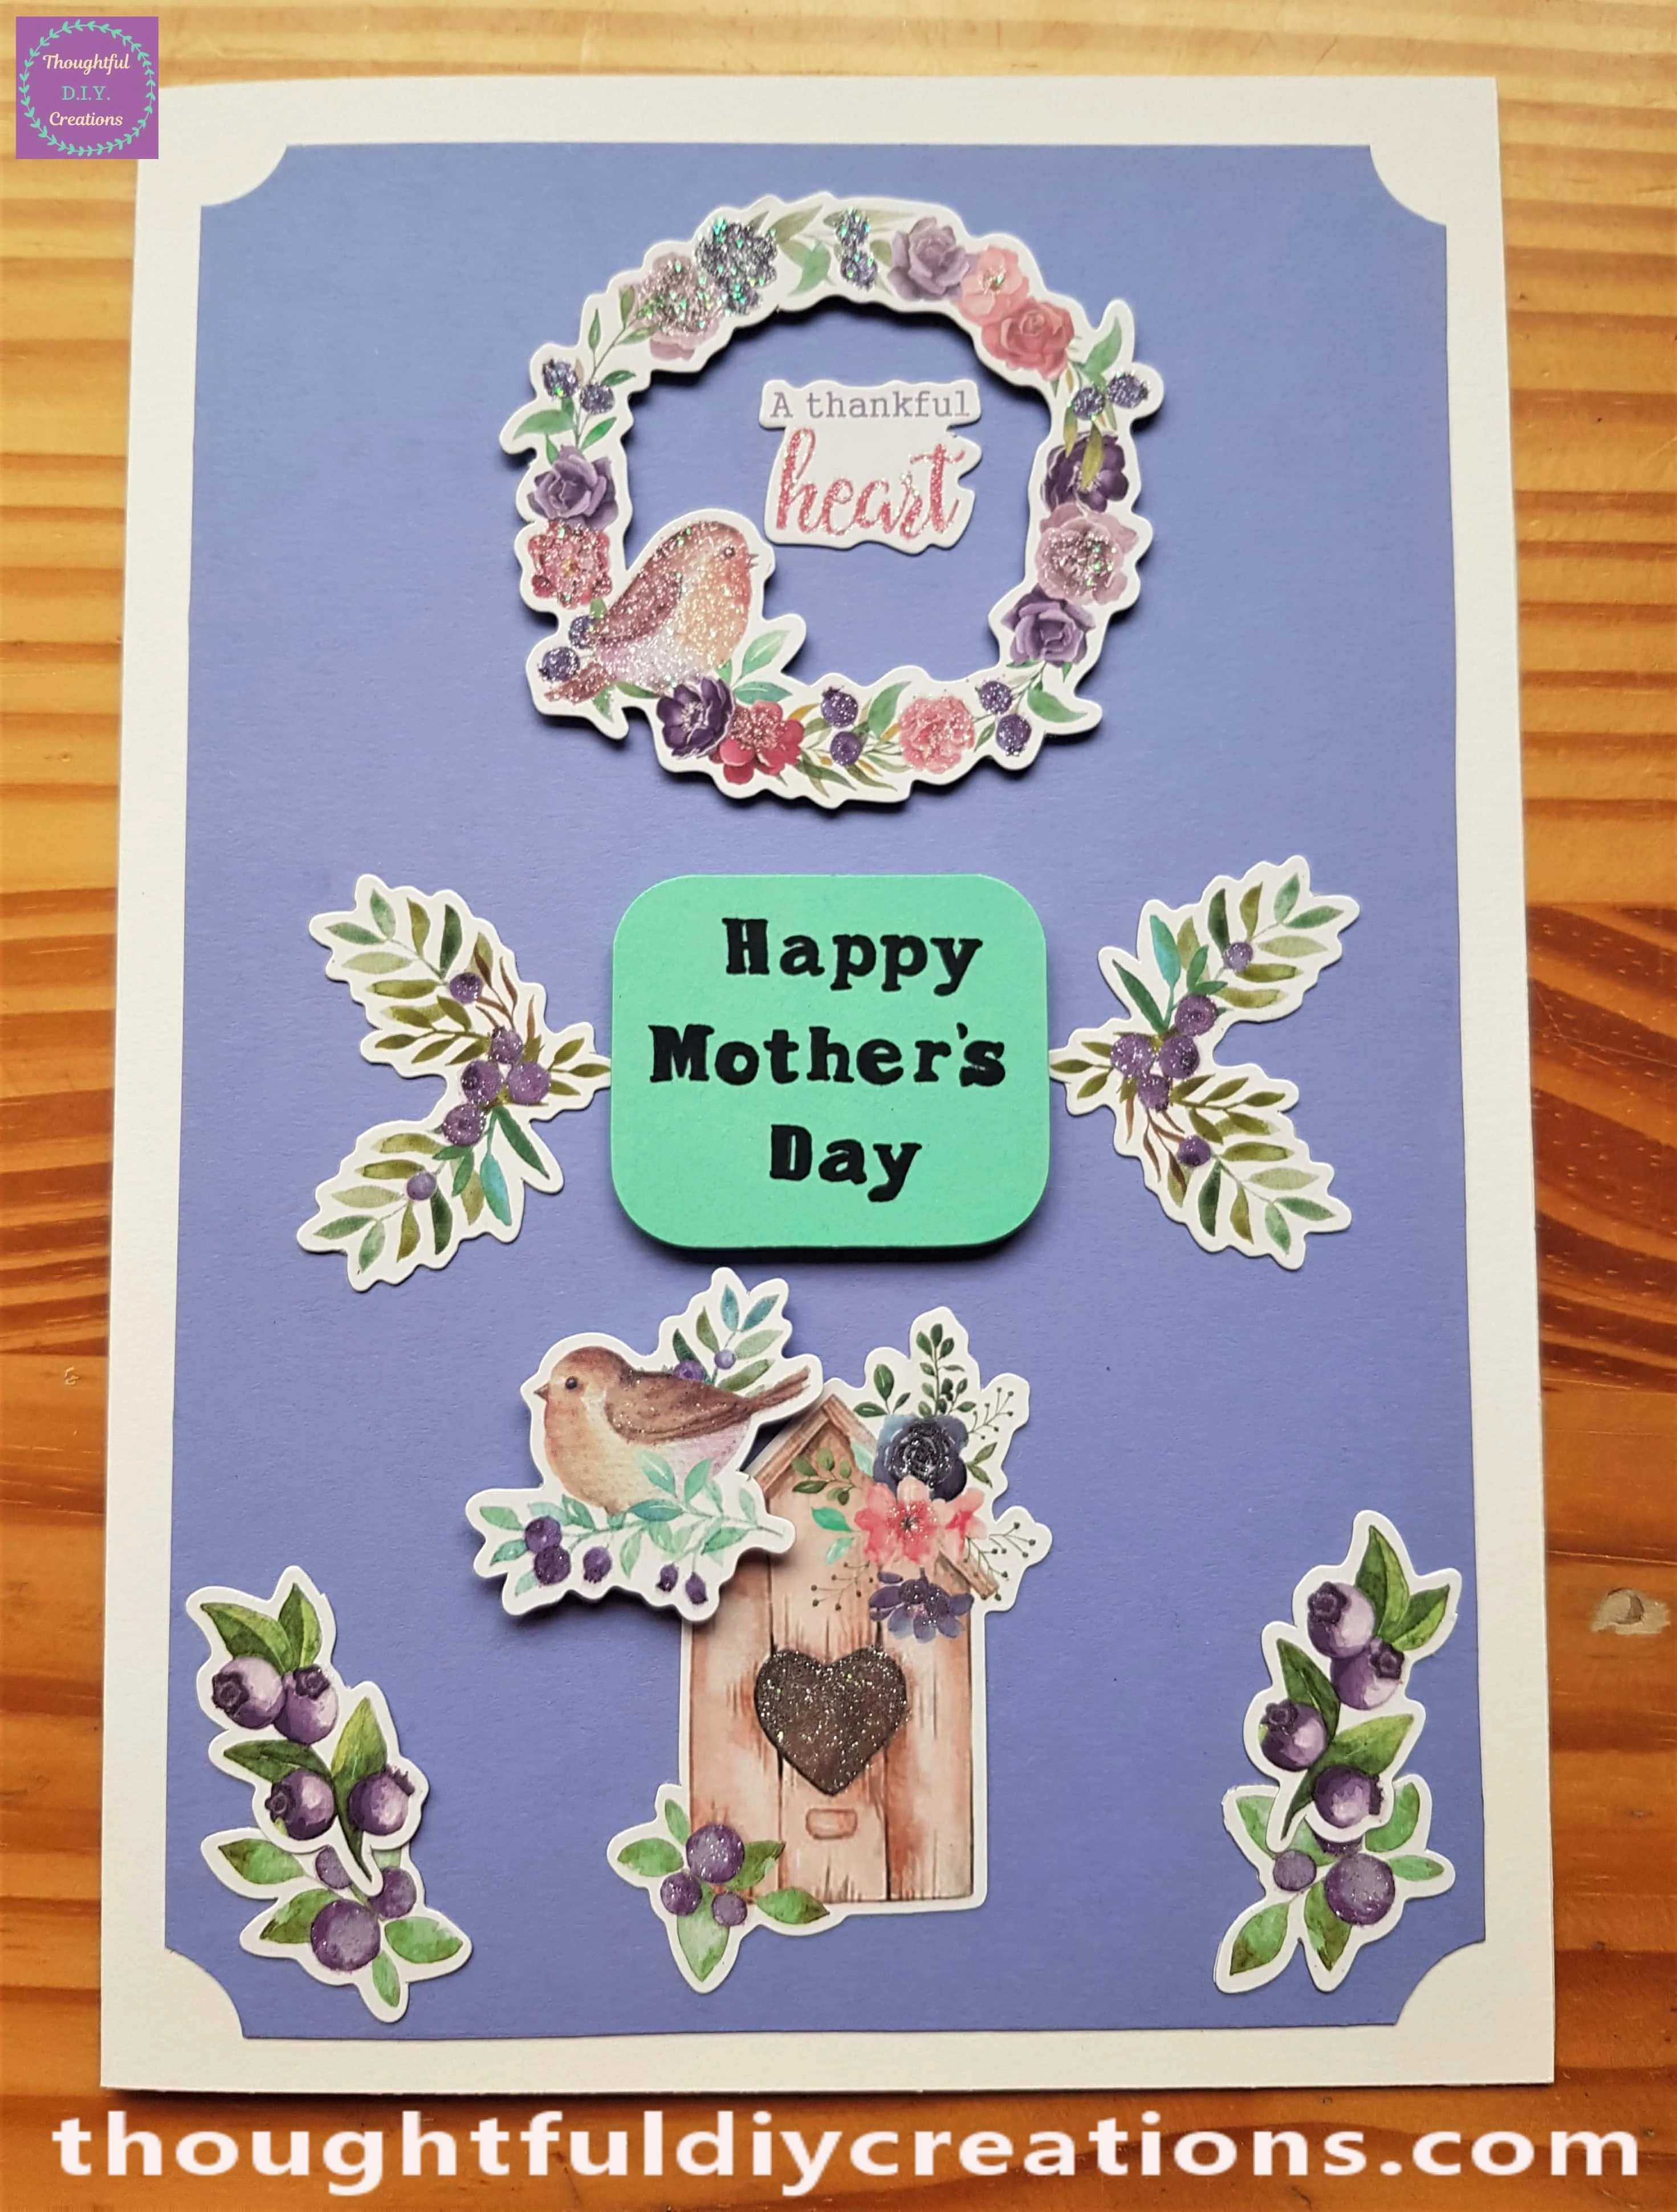
I added one more smaller Berry and Leaf element to the bottom of the Birdhouse with Pritt Stick.
Finishing Touches to the Front of the Mother’s Day Card
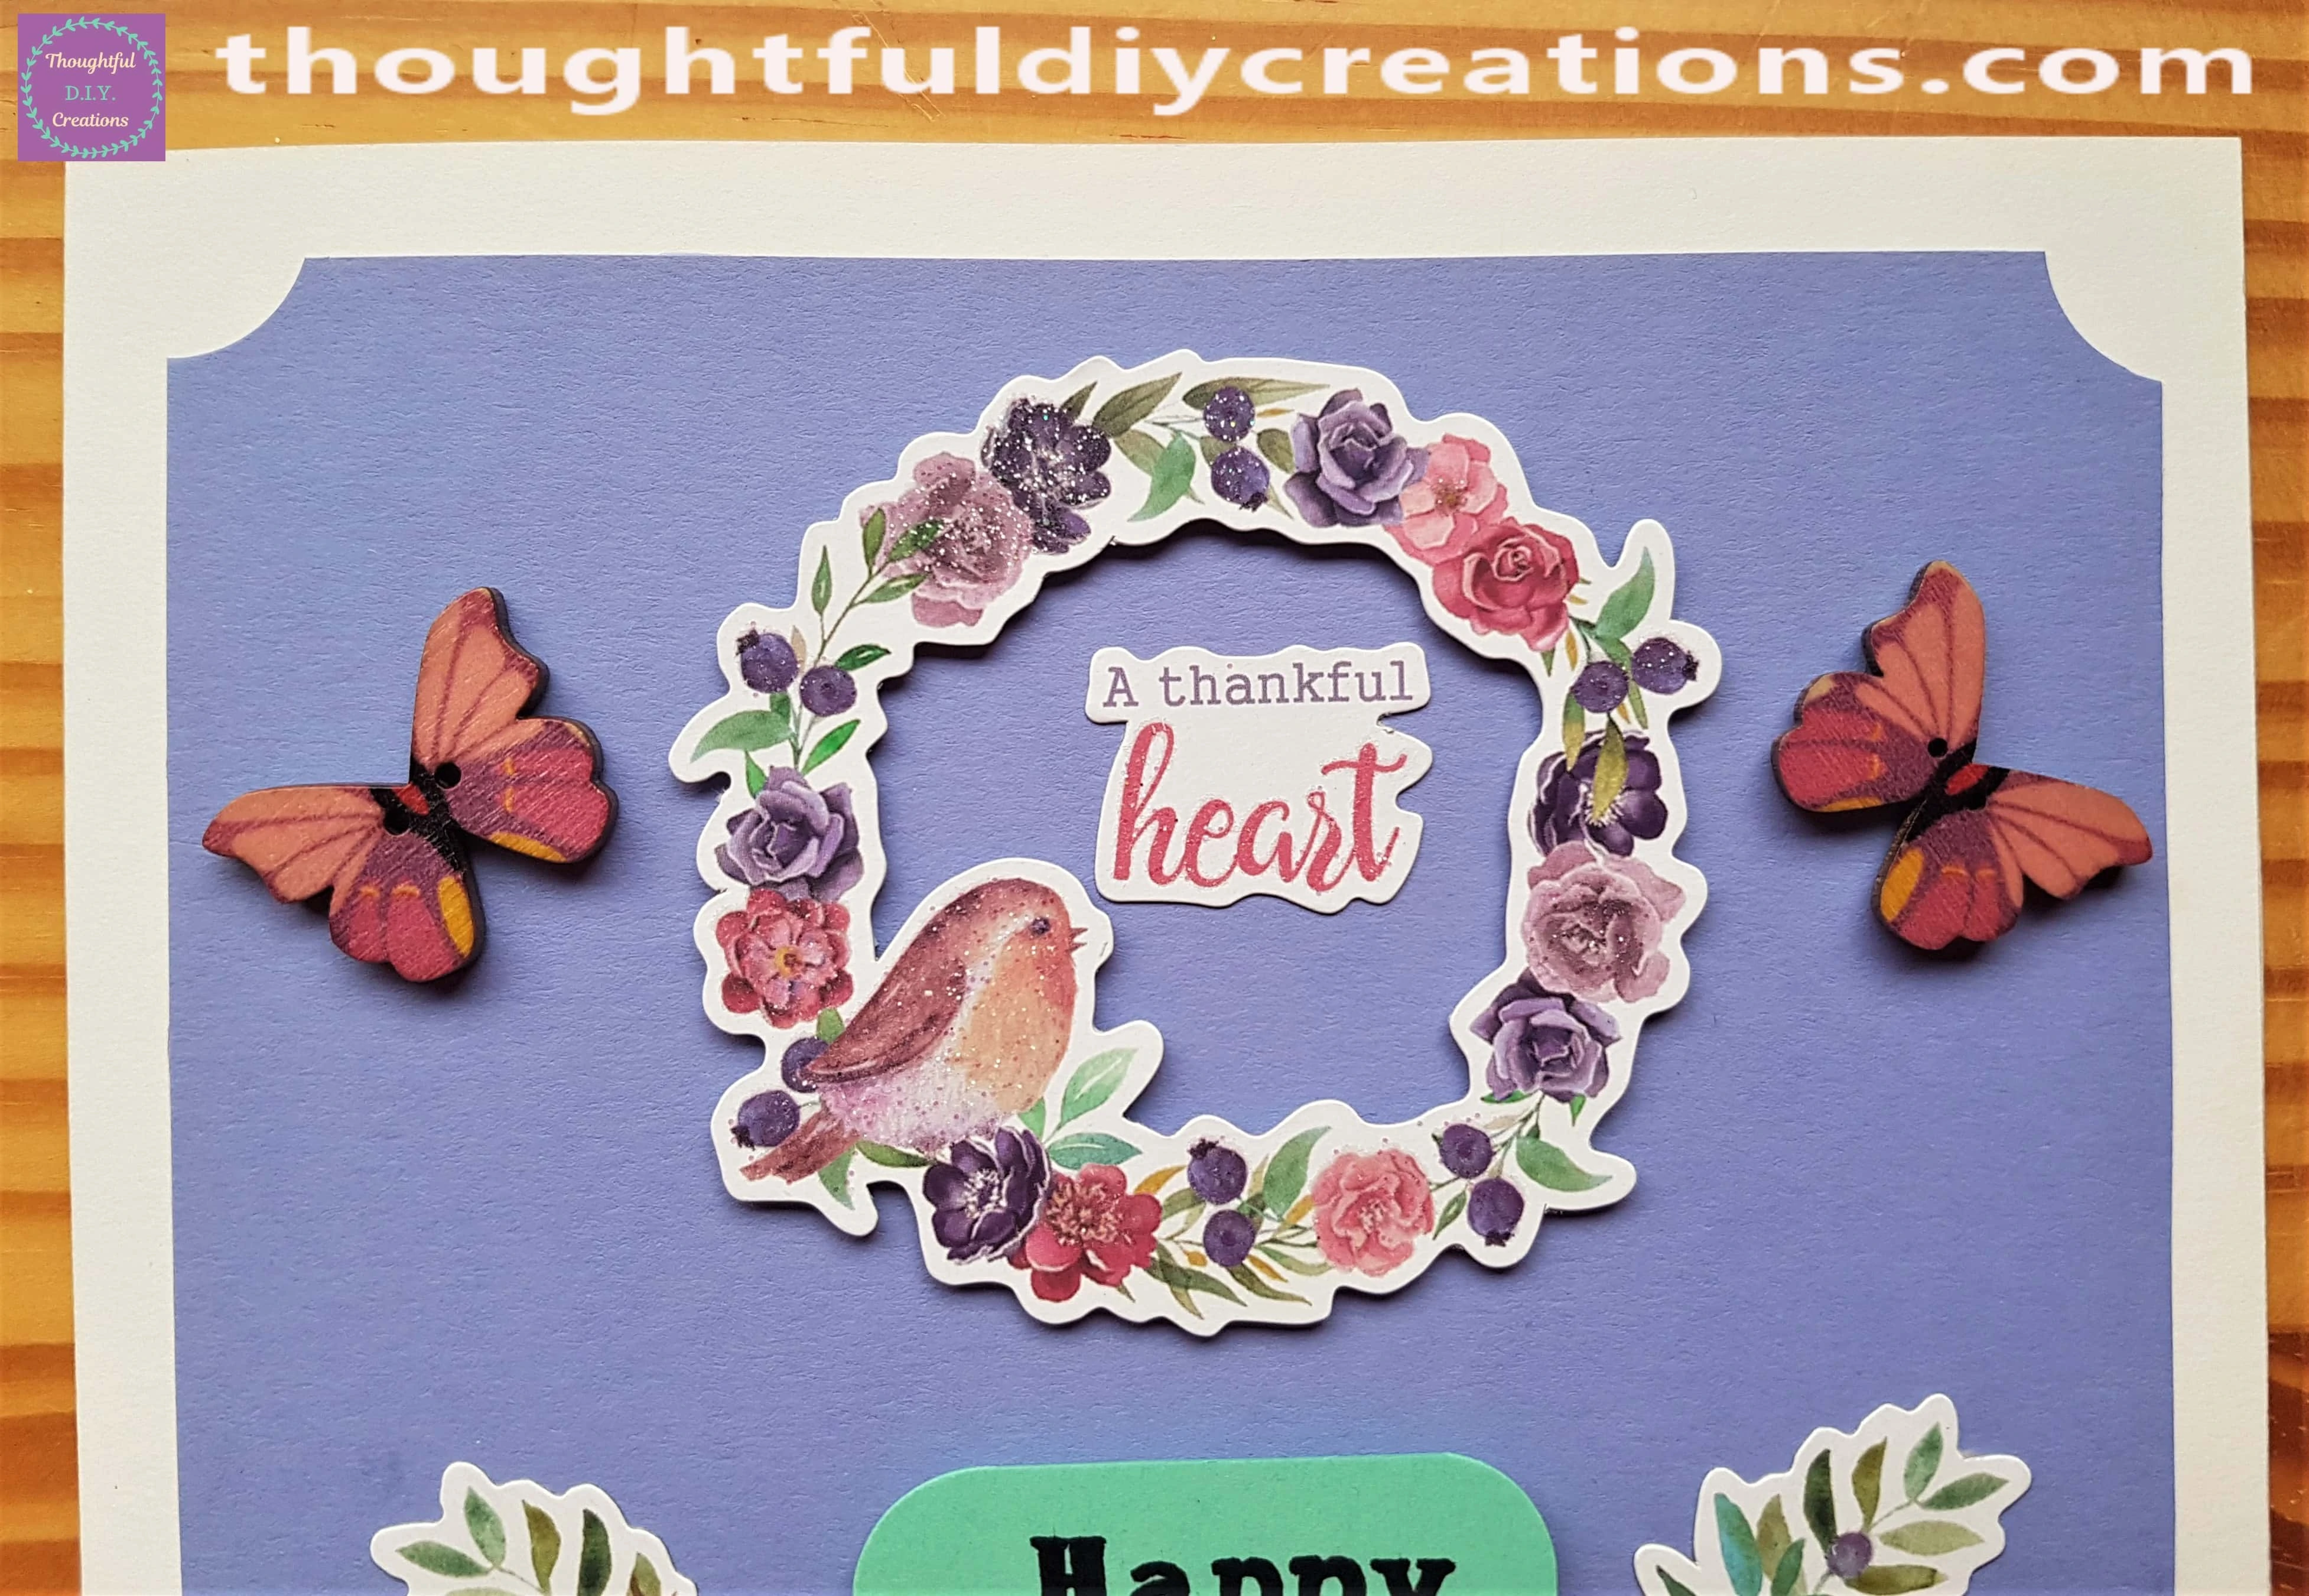
Clear Hot Glue from my Hot Glue Gun was added to the back of 2 Pink Wooden Butterflies. I attached these one-by-one to the top of the Mother’s Day Card.
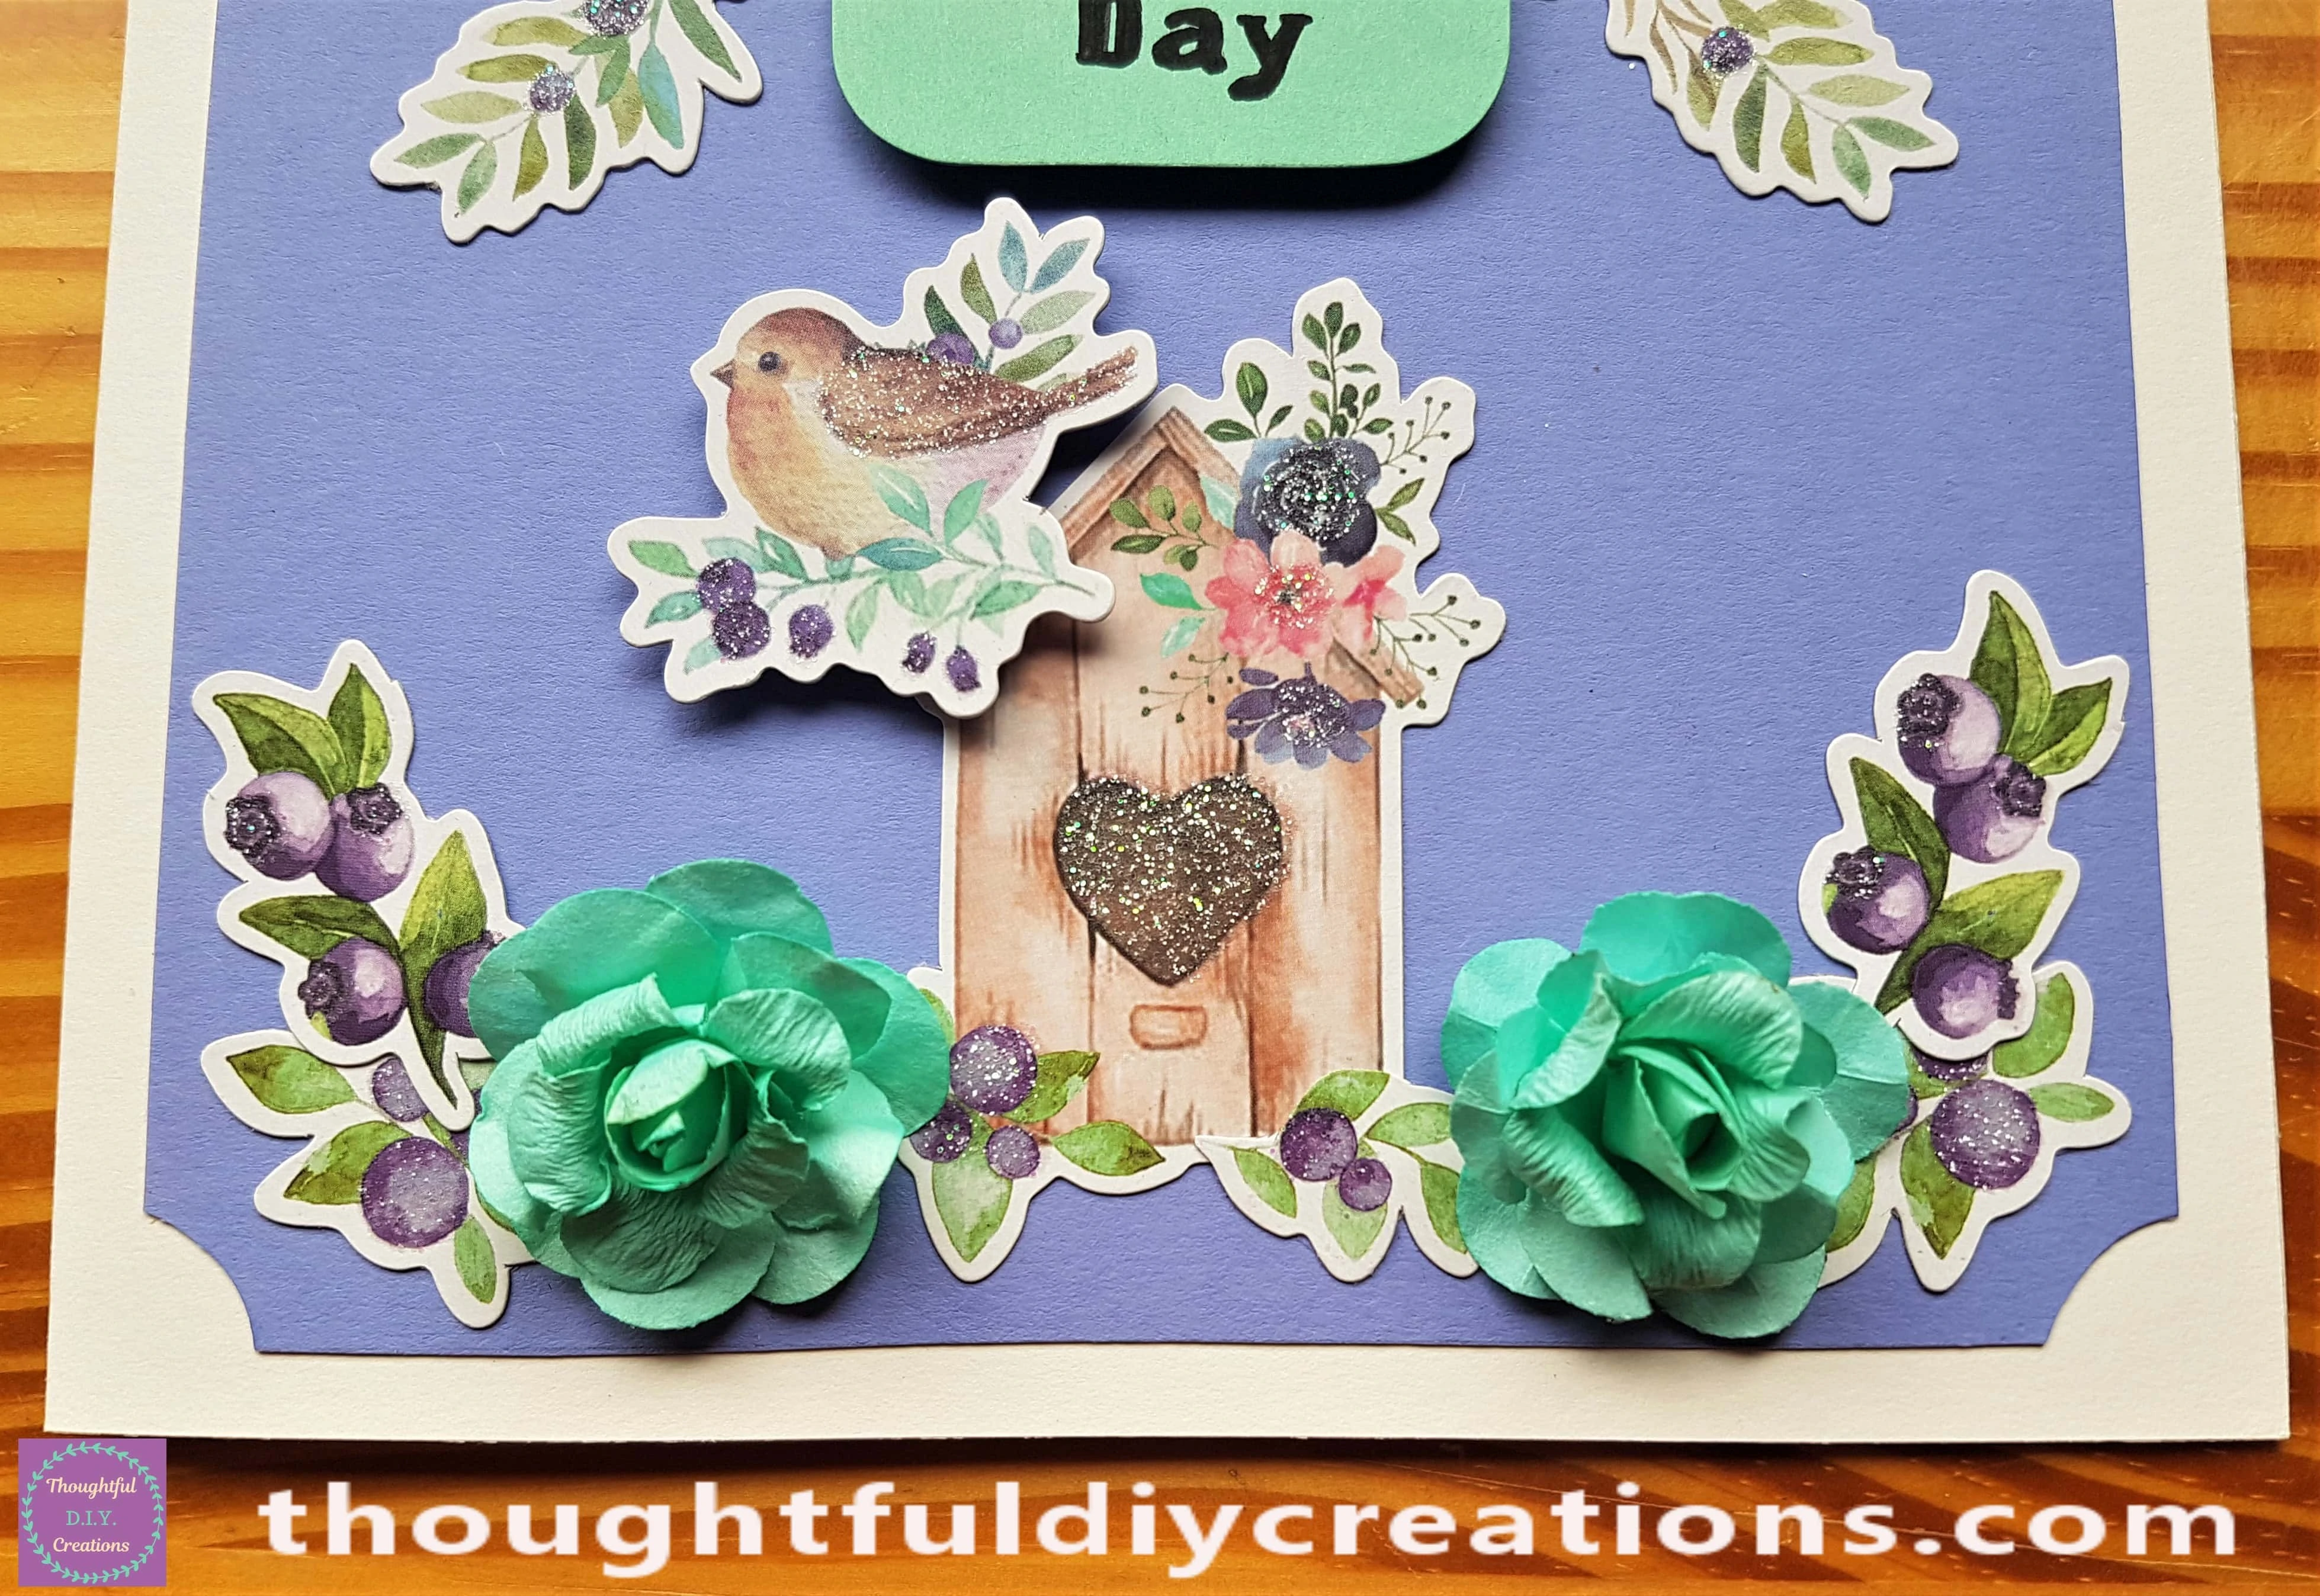
I also put a dab of Hot Glue on the back of Two Green Paper Flowers and attached them to the bottom of the Card.
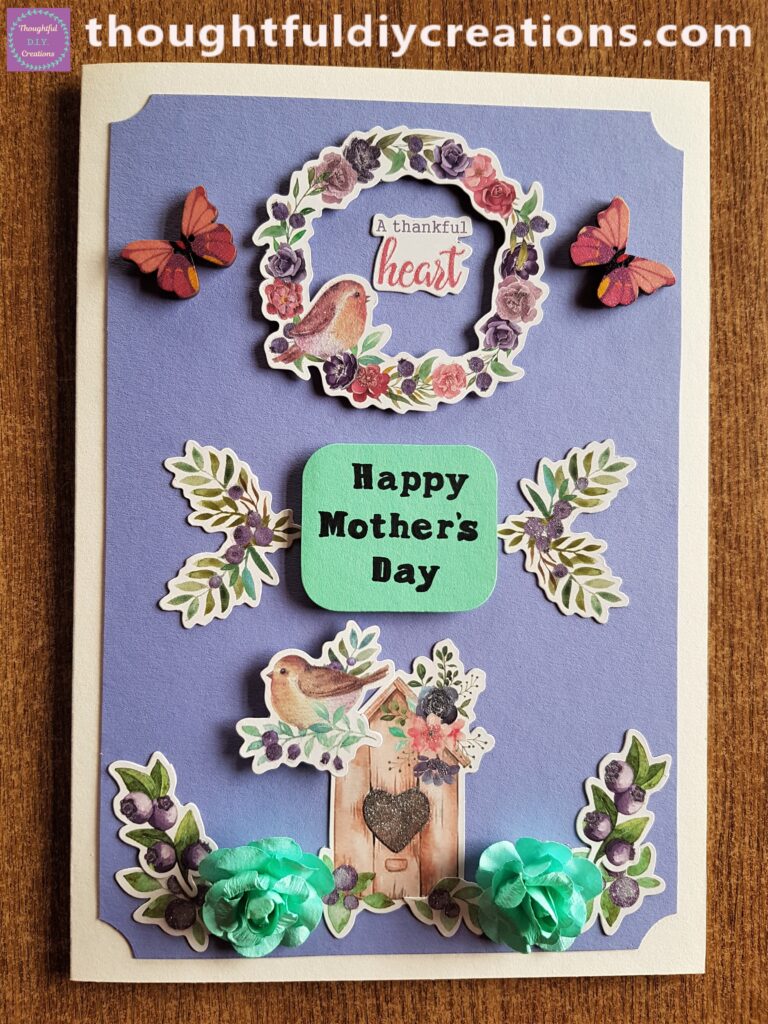
This Completed the Outside of my Mother’s Day Card.
Decorating the Inside of the Card
I cut out a Section of the same Purple Cardstock as earlier. I also removed the 4 Corners with the Corner Punch.
I cut out a smaller section of the same Green Cardstock as I used for the Mother’s Day Sentiment.
I put each Corner of the Green Card into the Inner Part of the Corner Punch and pressed down on the ‘L’ Symbol on the Punch to Round each Corner.
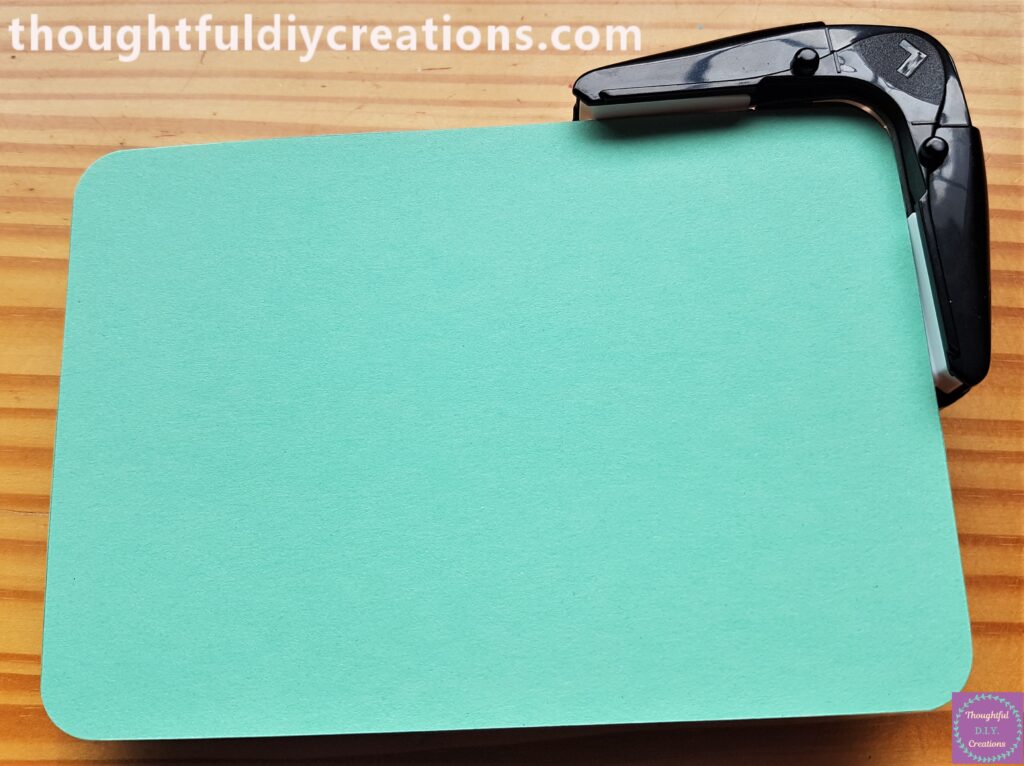
The Green Cardstock with all the Corners Rounded.
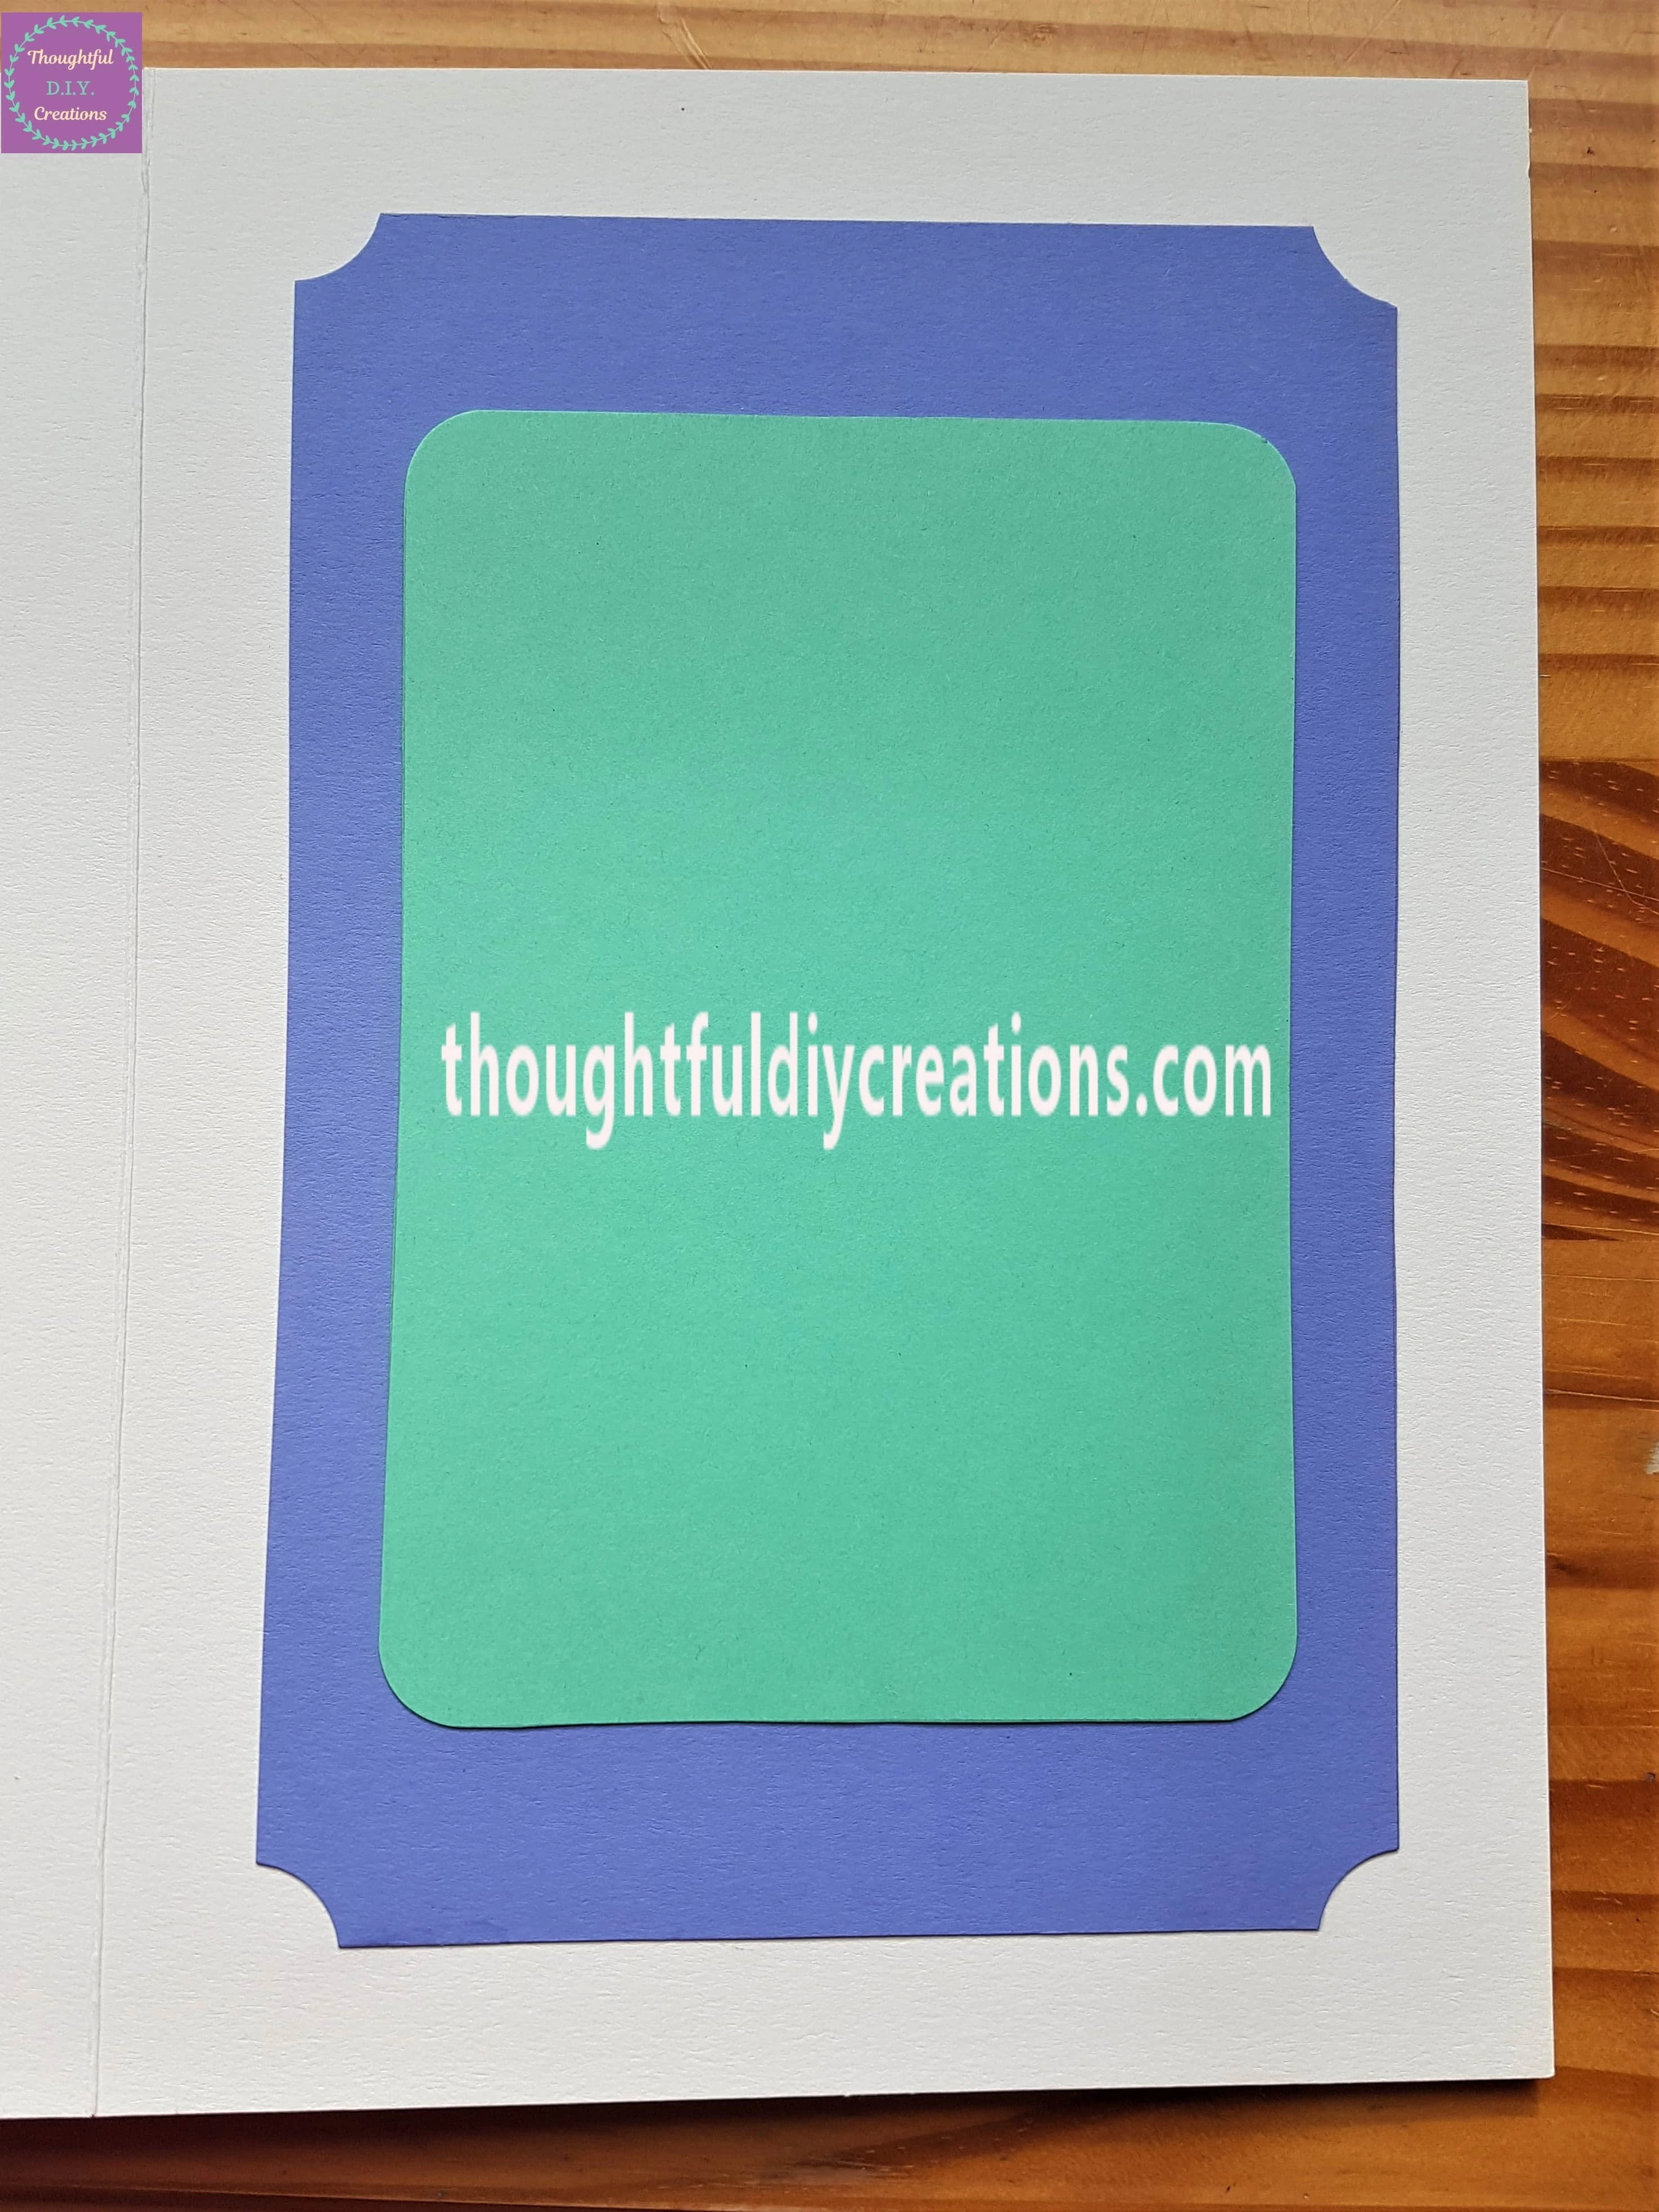
I attached the Purple Cardstock to the Inside of the Mother’s Day Card and then the Green Cardstock on top. I used Pritt Stick for both Sheets.
Completing the Mother’s Day Card
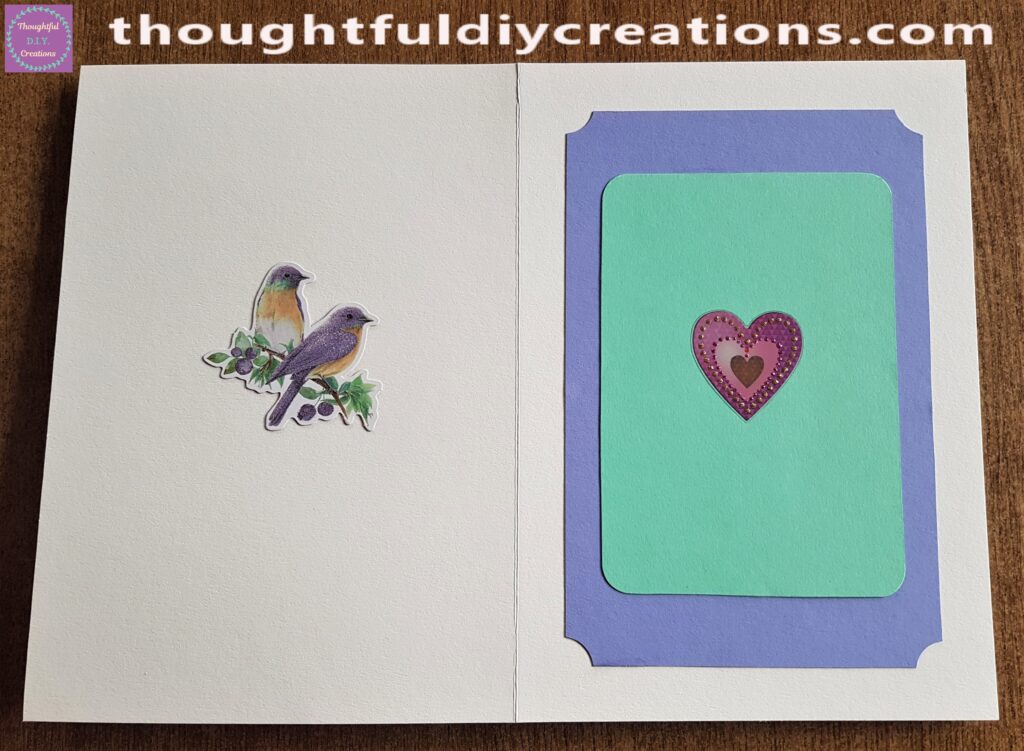
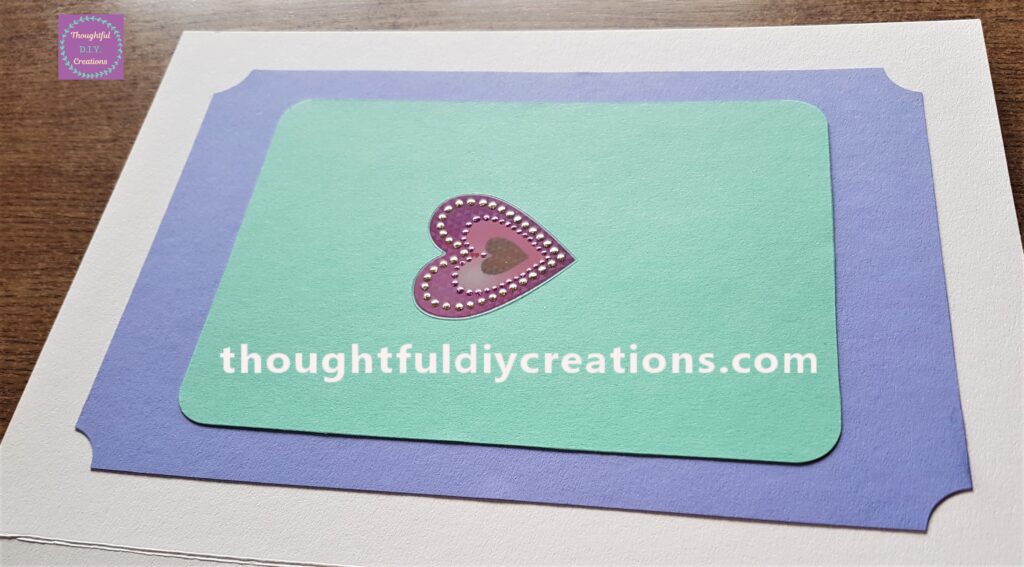
I glued a Bird and Berry Element to the left side of the Inner Card with Pritt Stick. I added a Pink Heart Sticker to the Green Cardstock on the right side of the Inner Card.
A Closer look at the Heart Sticker.
The Glitter Birds and Berries.
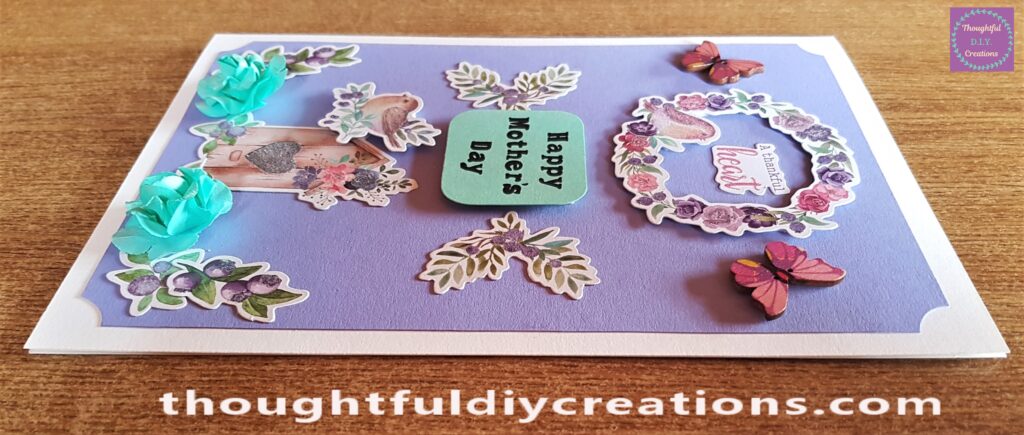
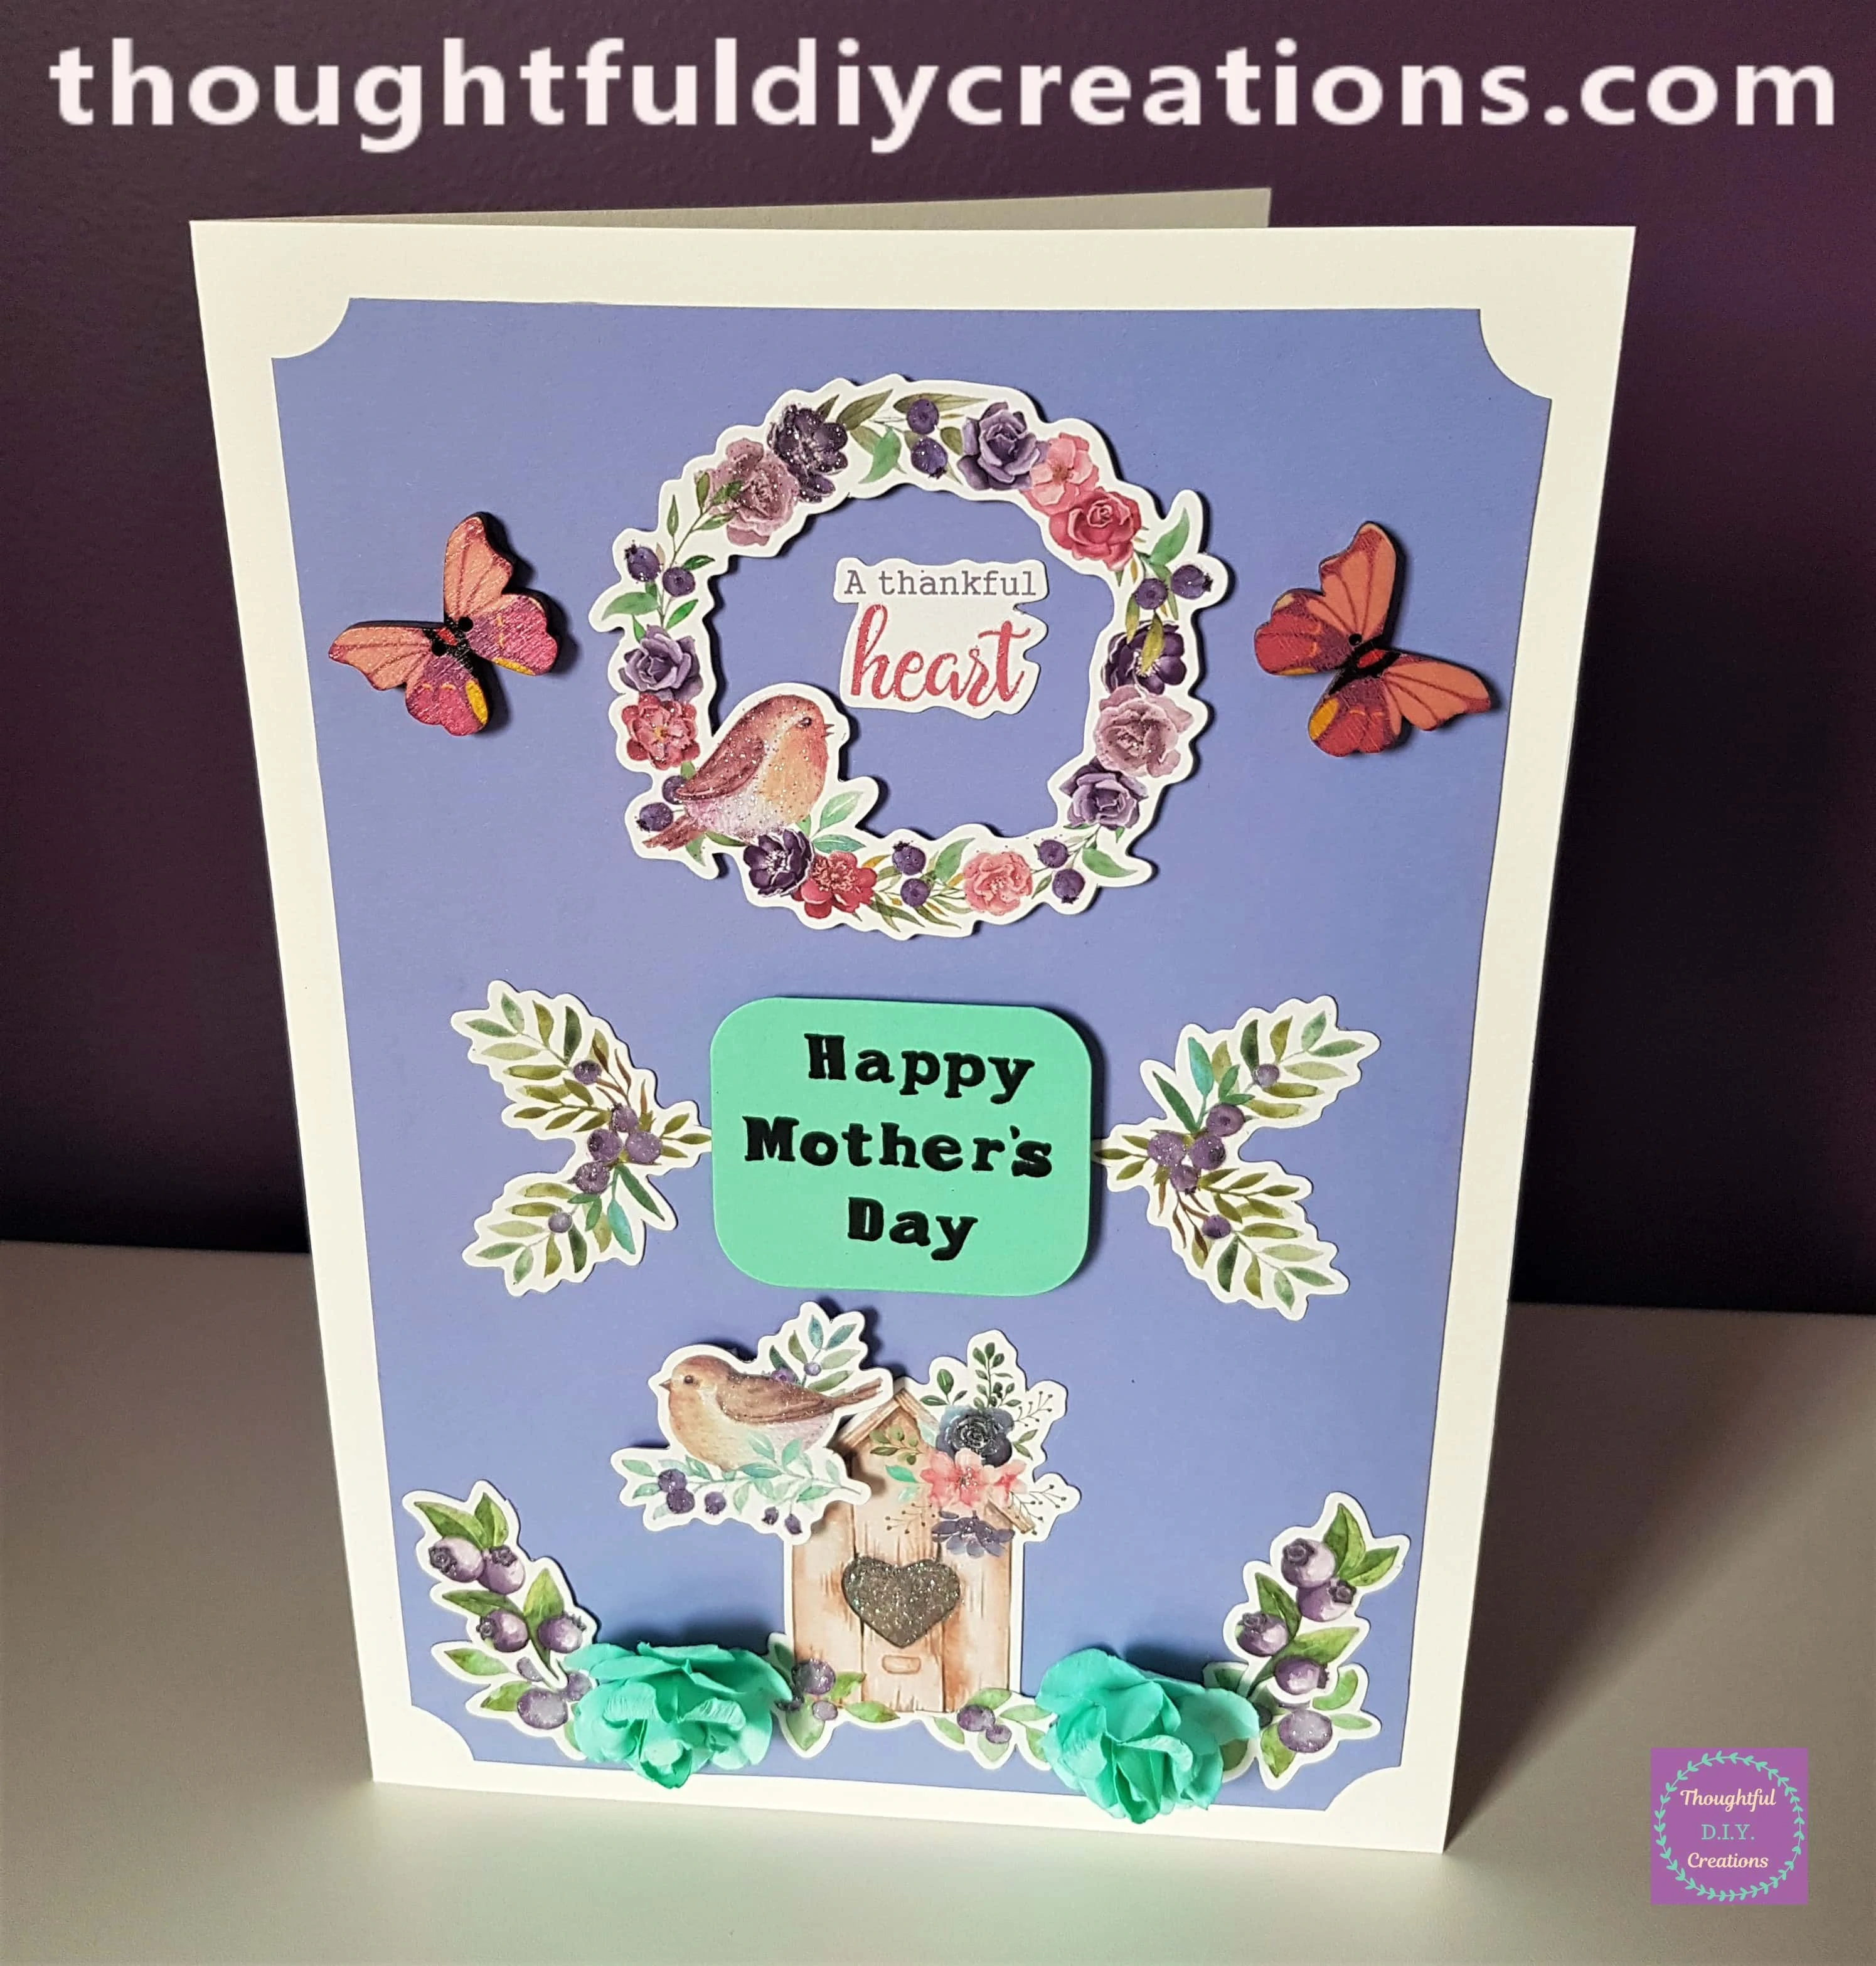
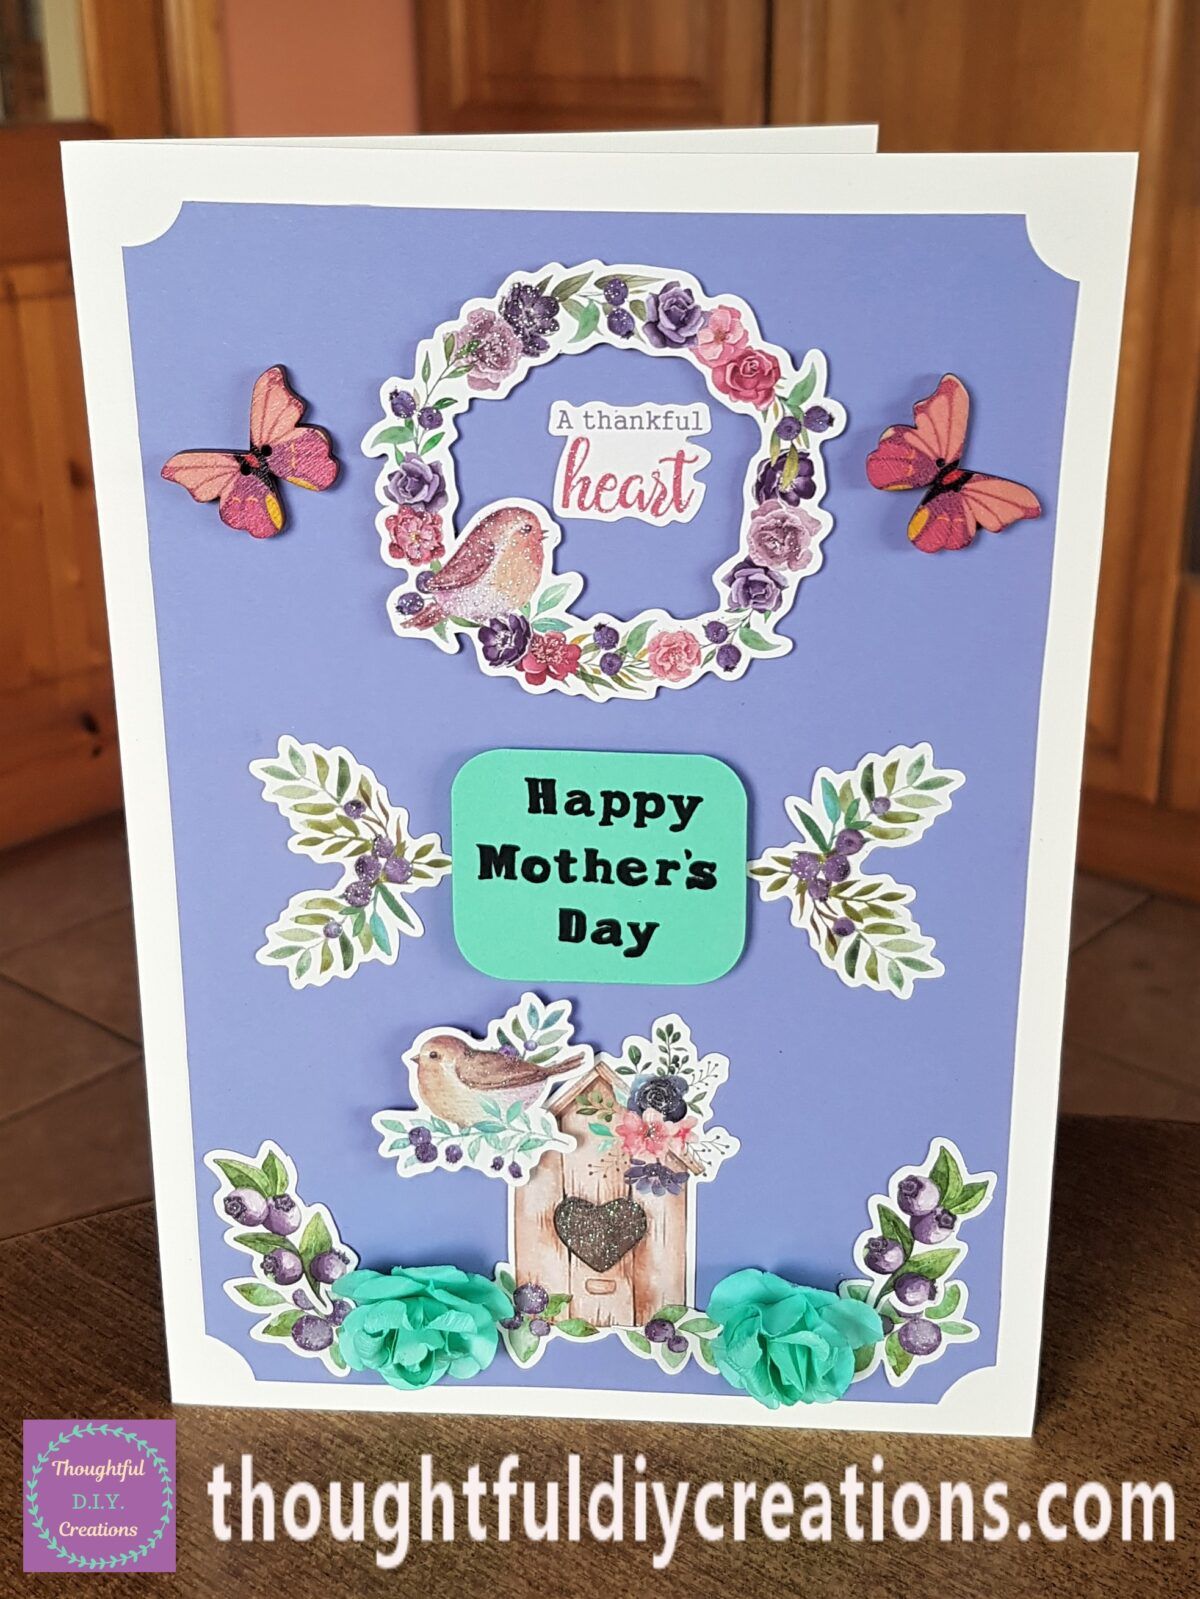
A Side angle of the Finished Card.
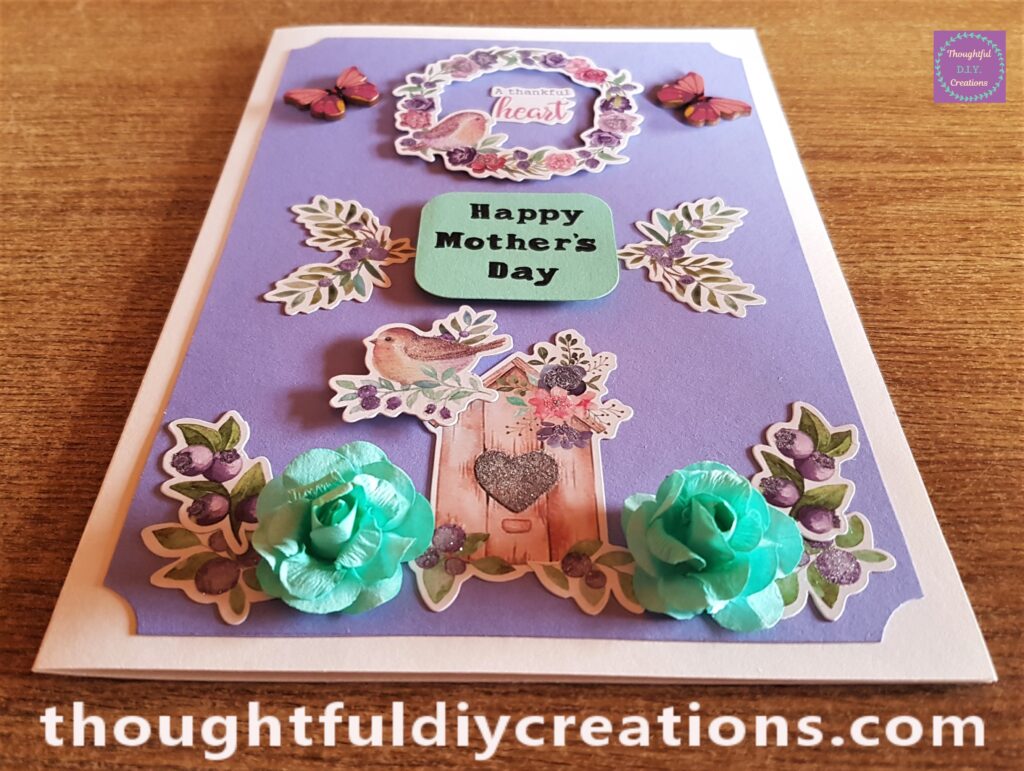
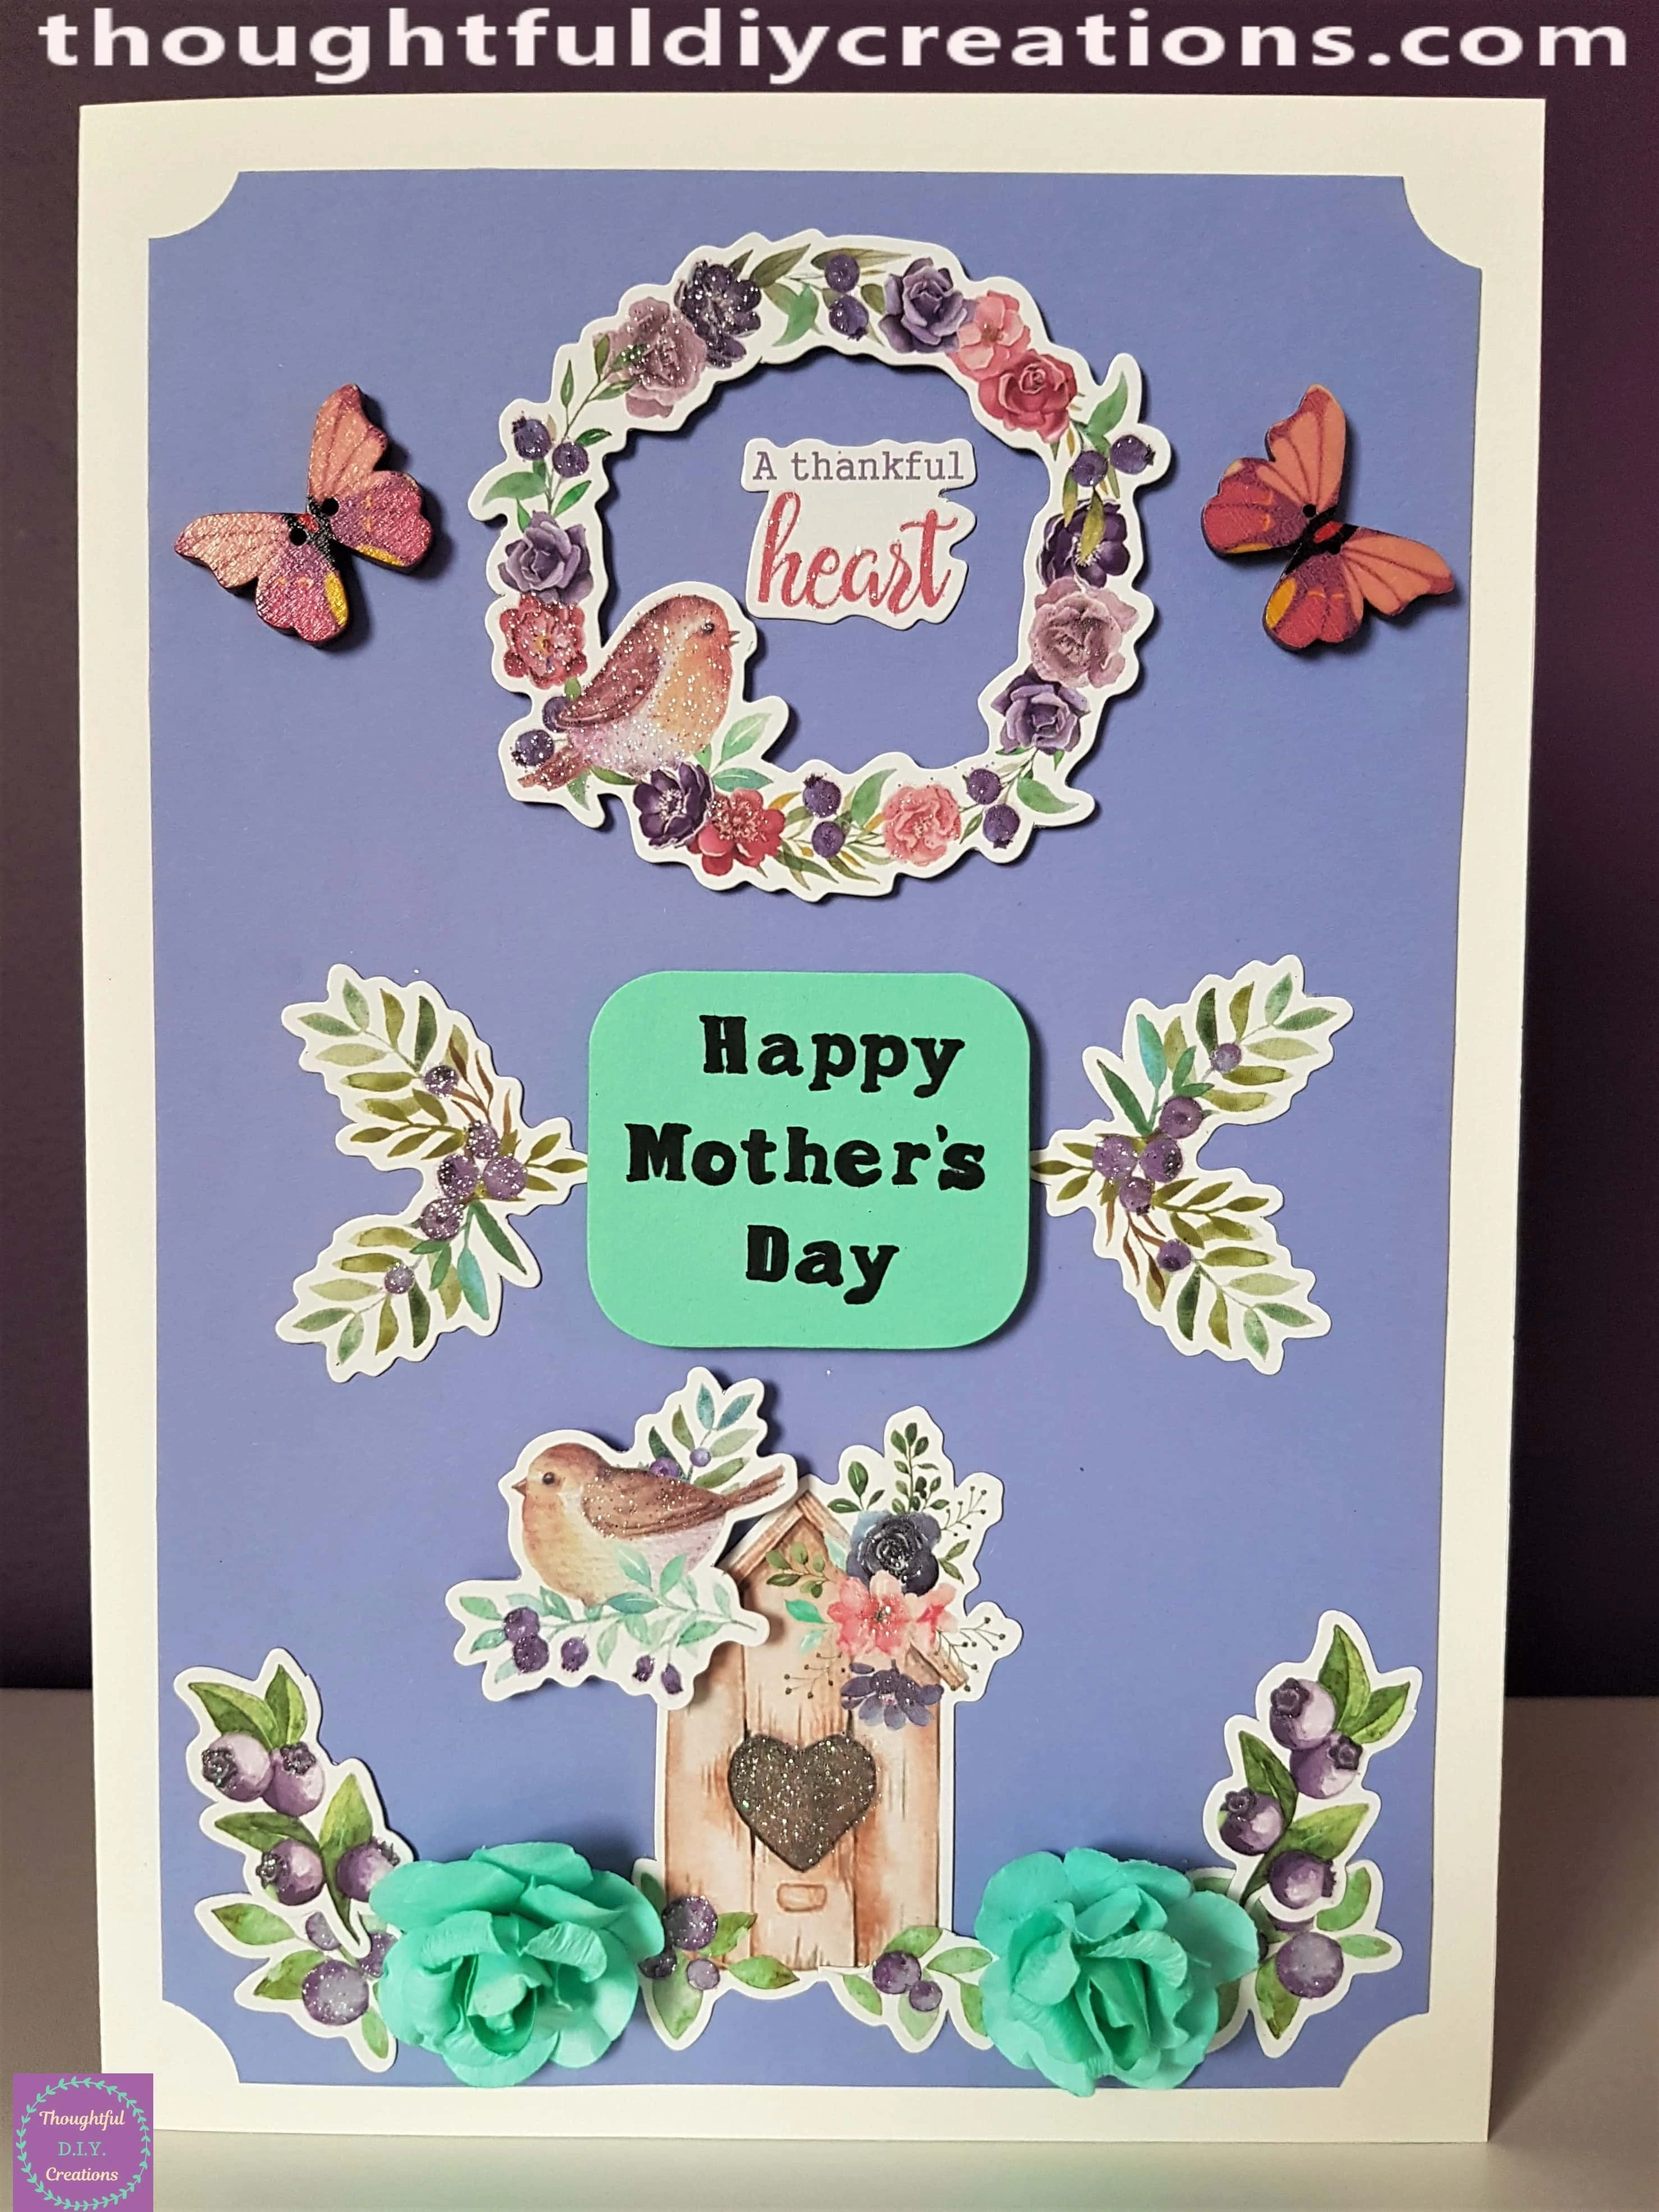
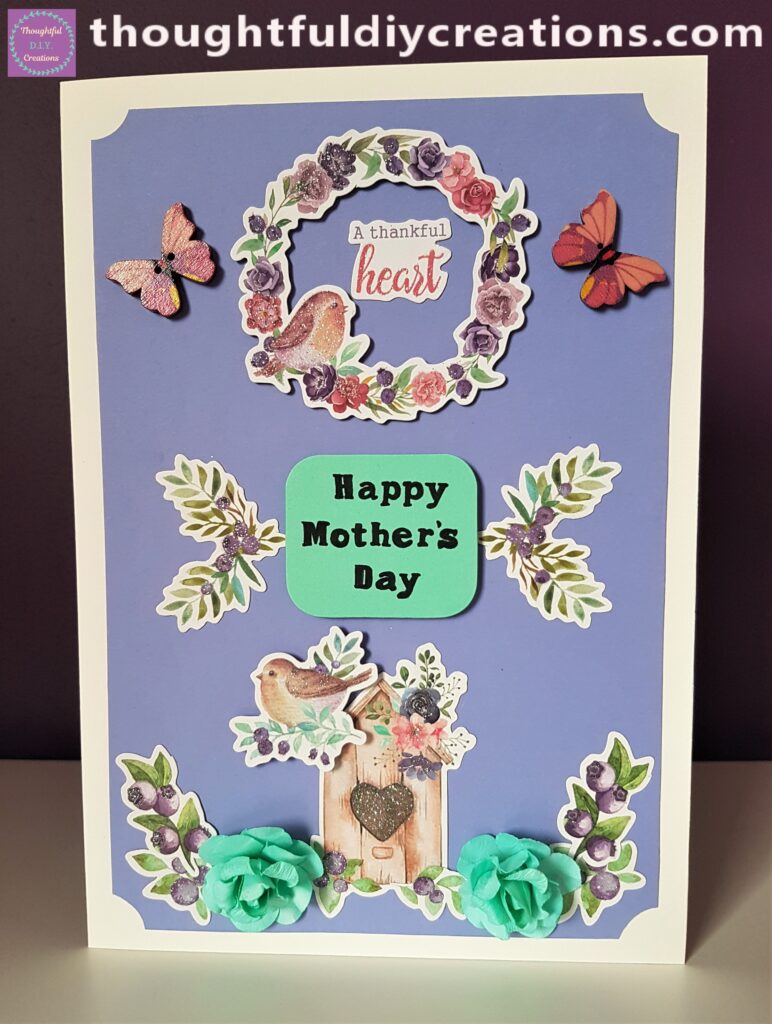
The Card standing up-right.
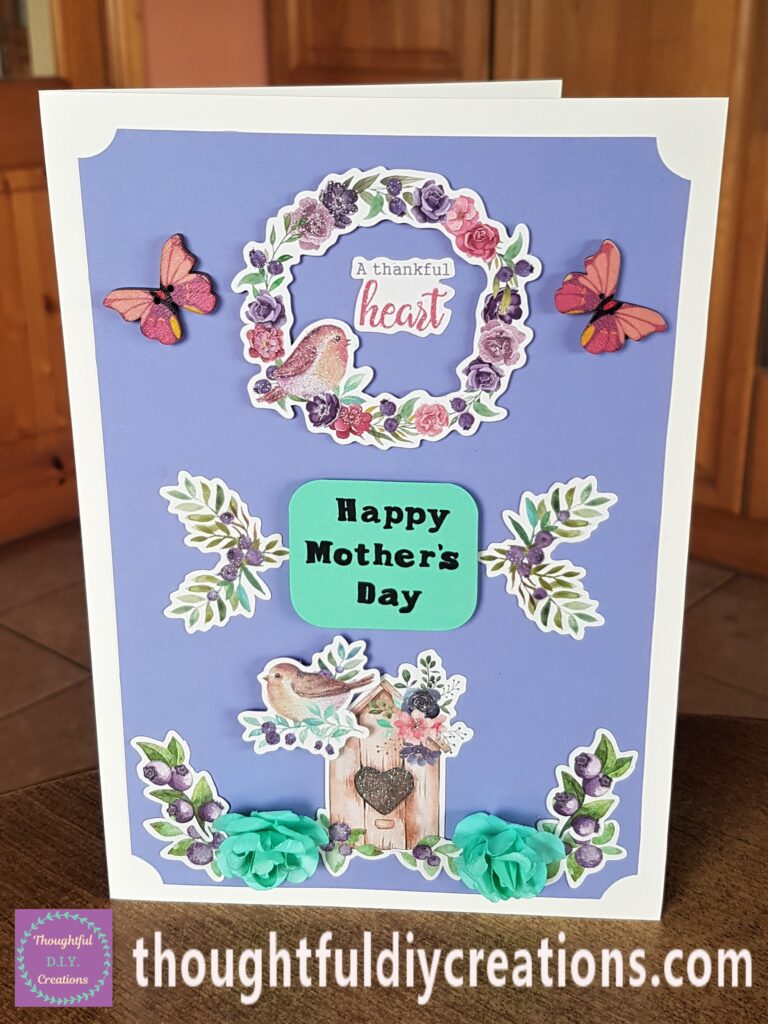
The Mother’s Day Card on Display.
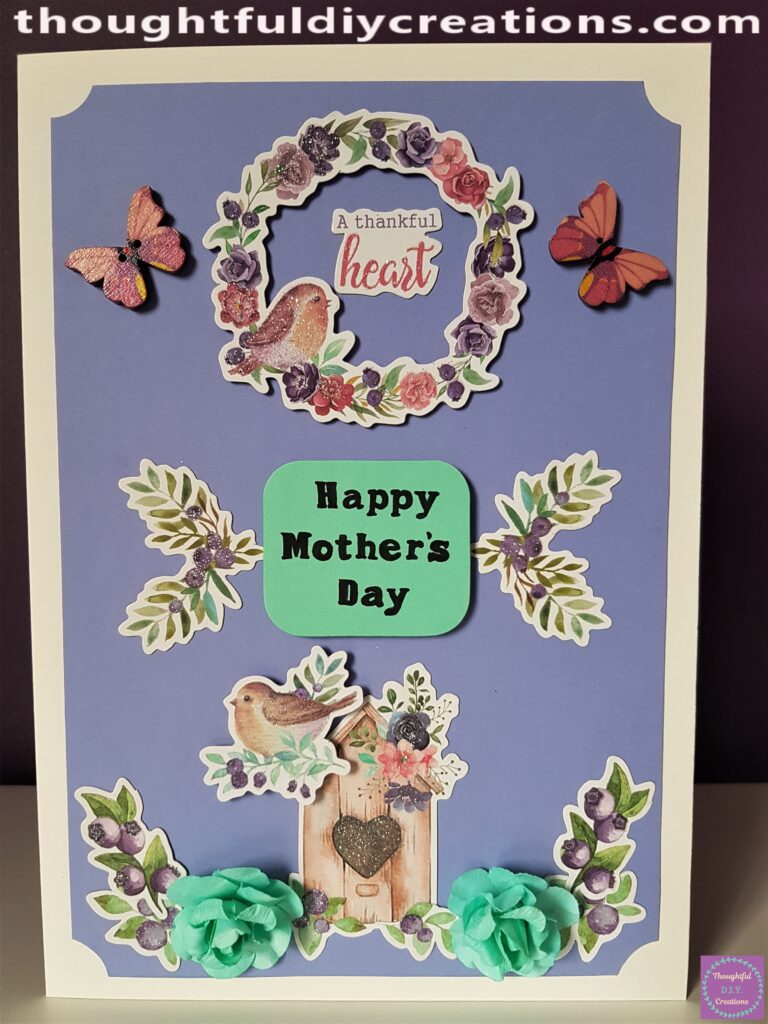
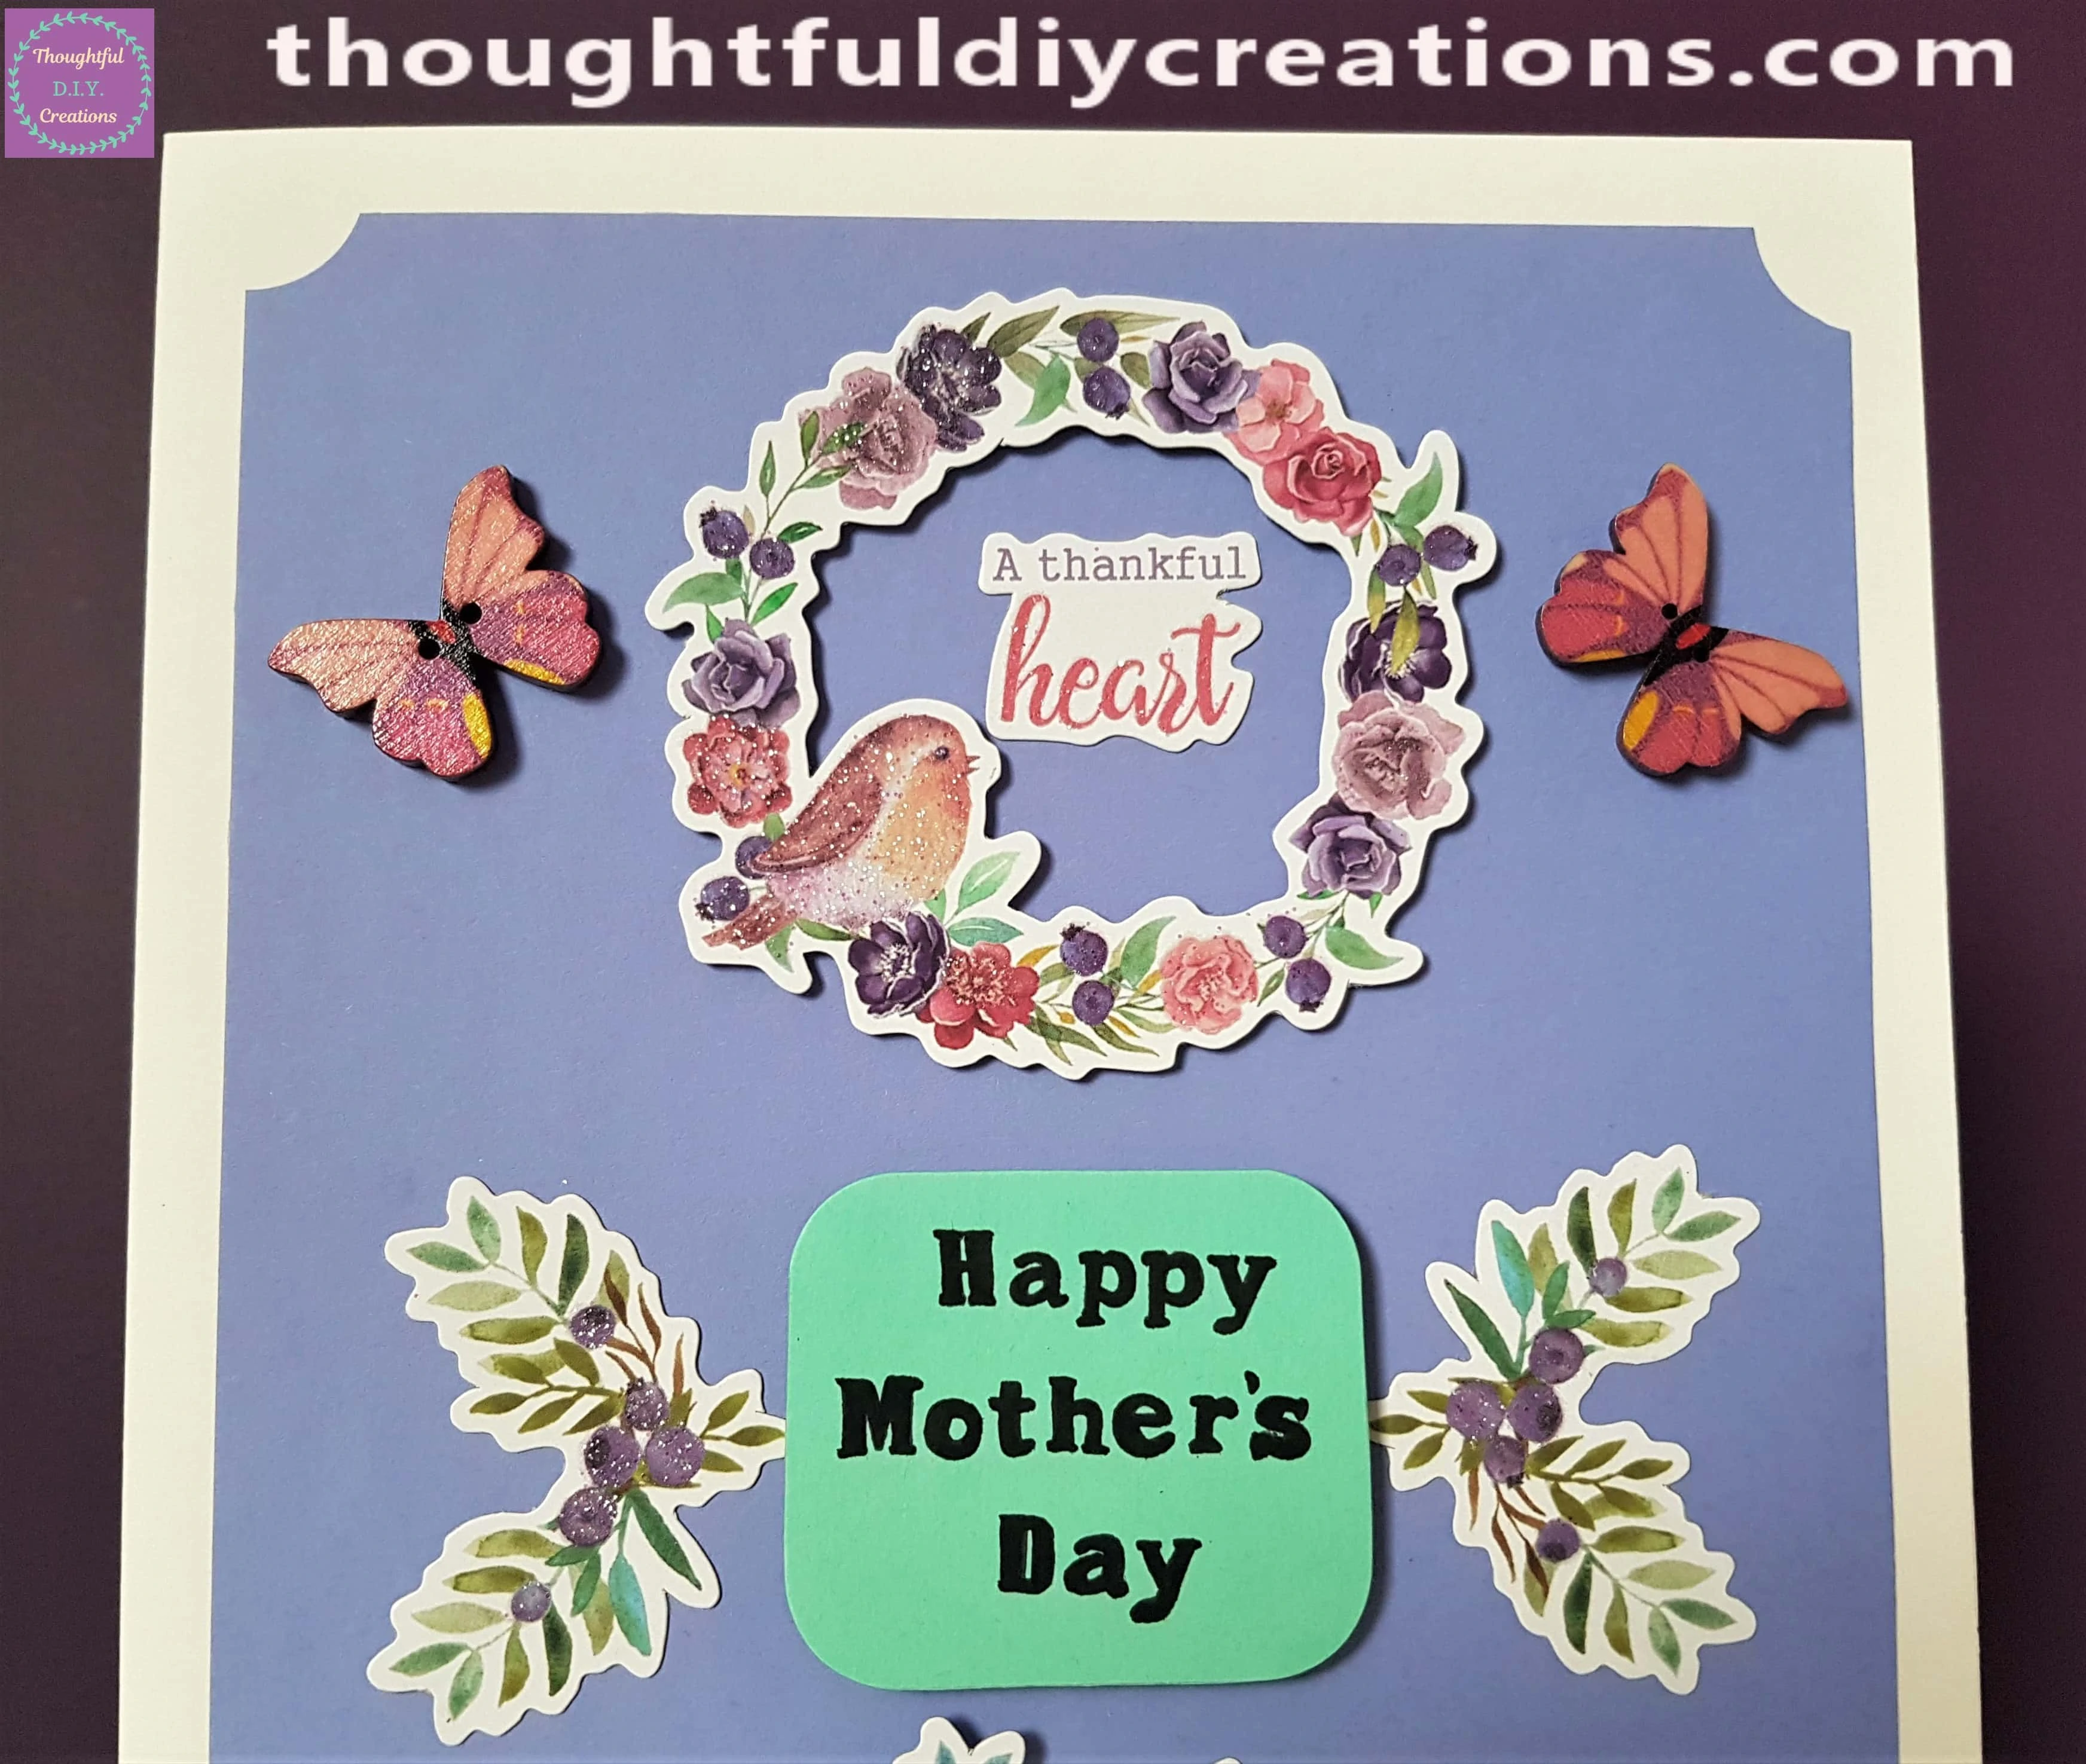
The Top half of the Card.
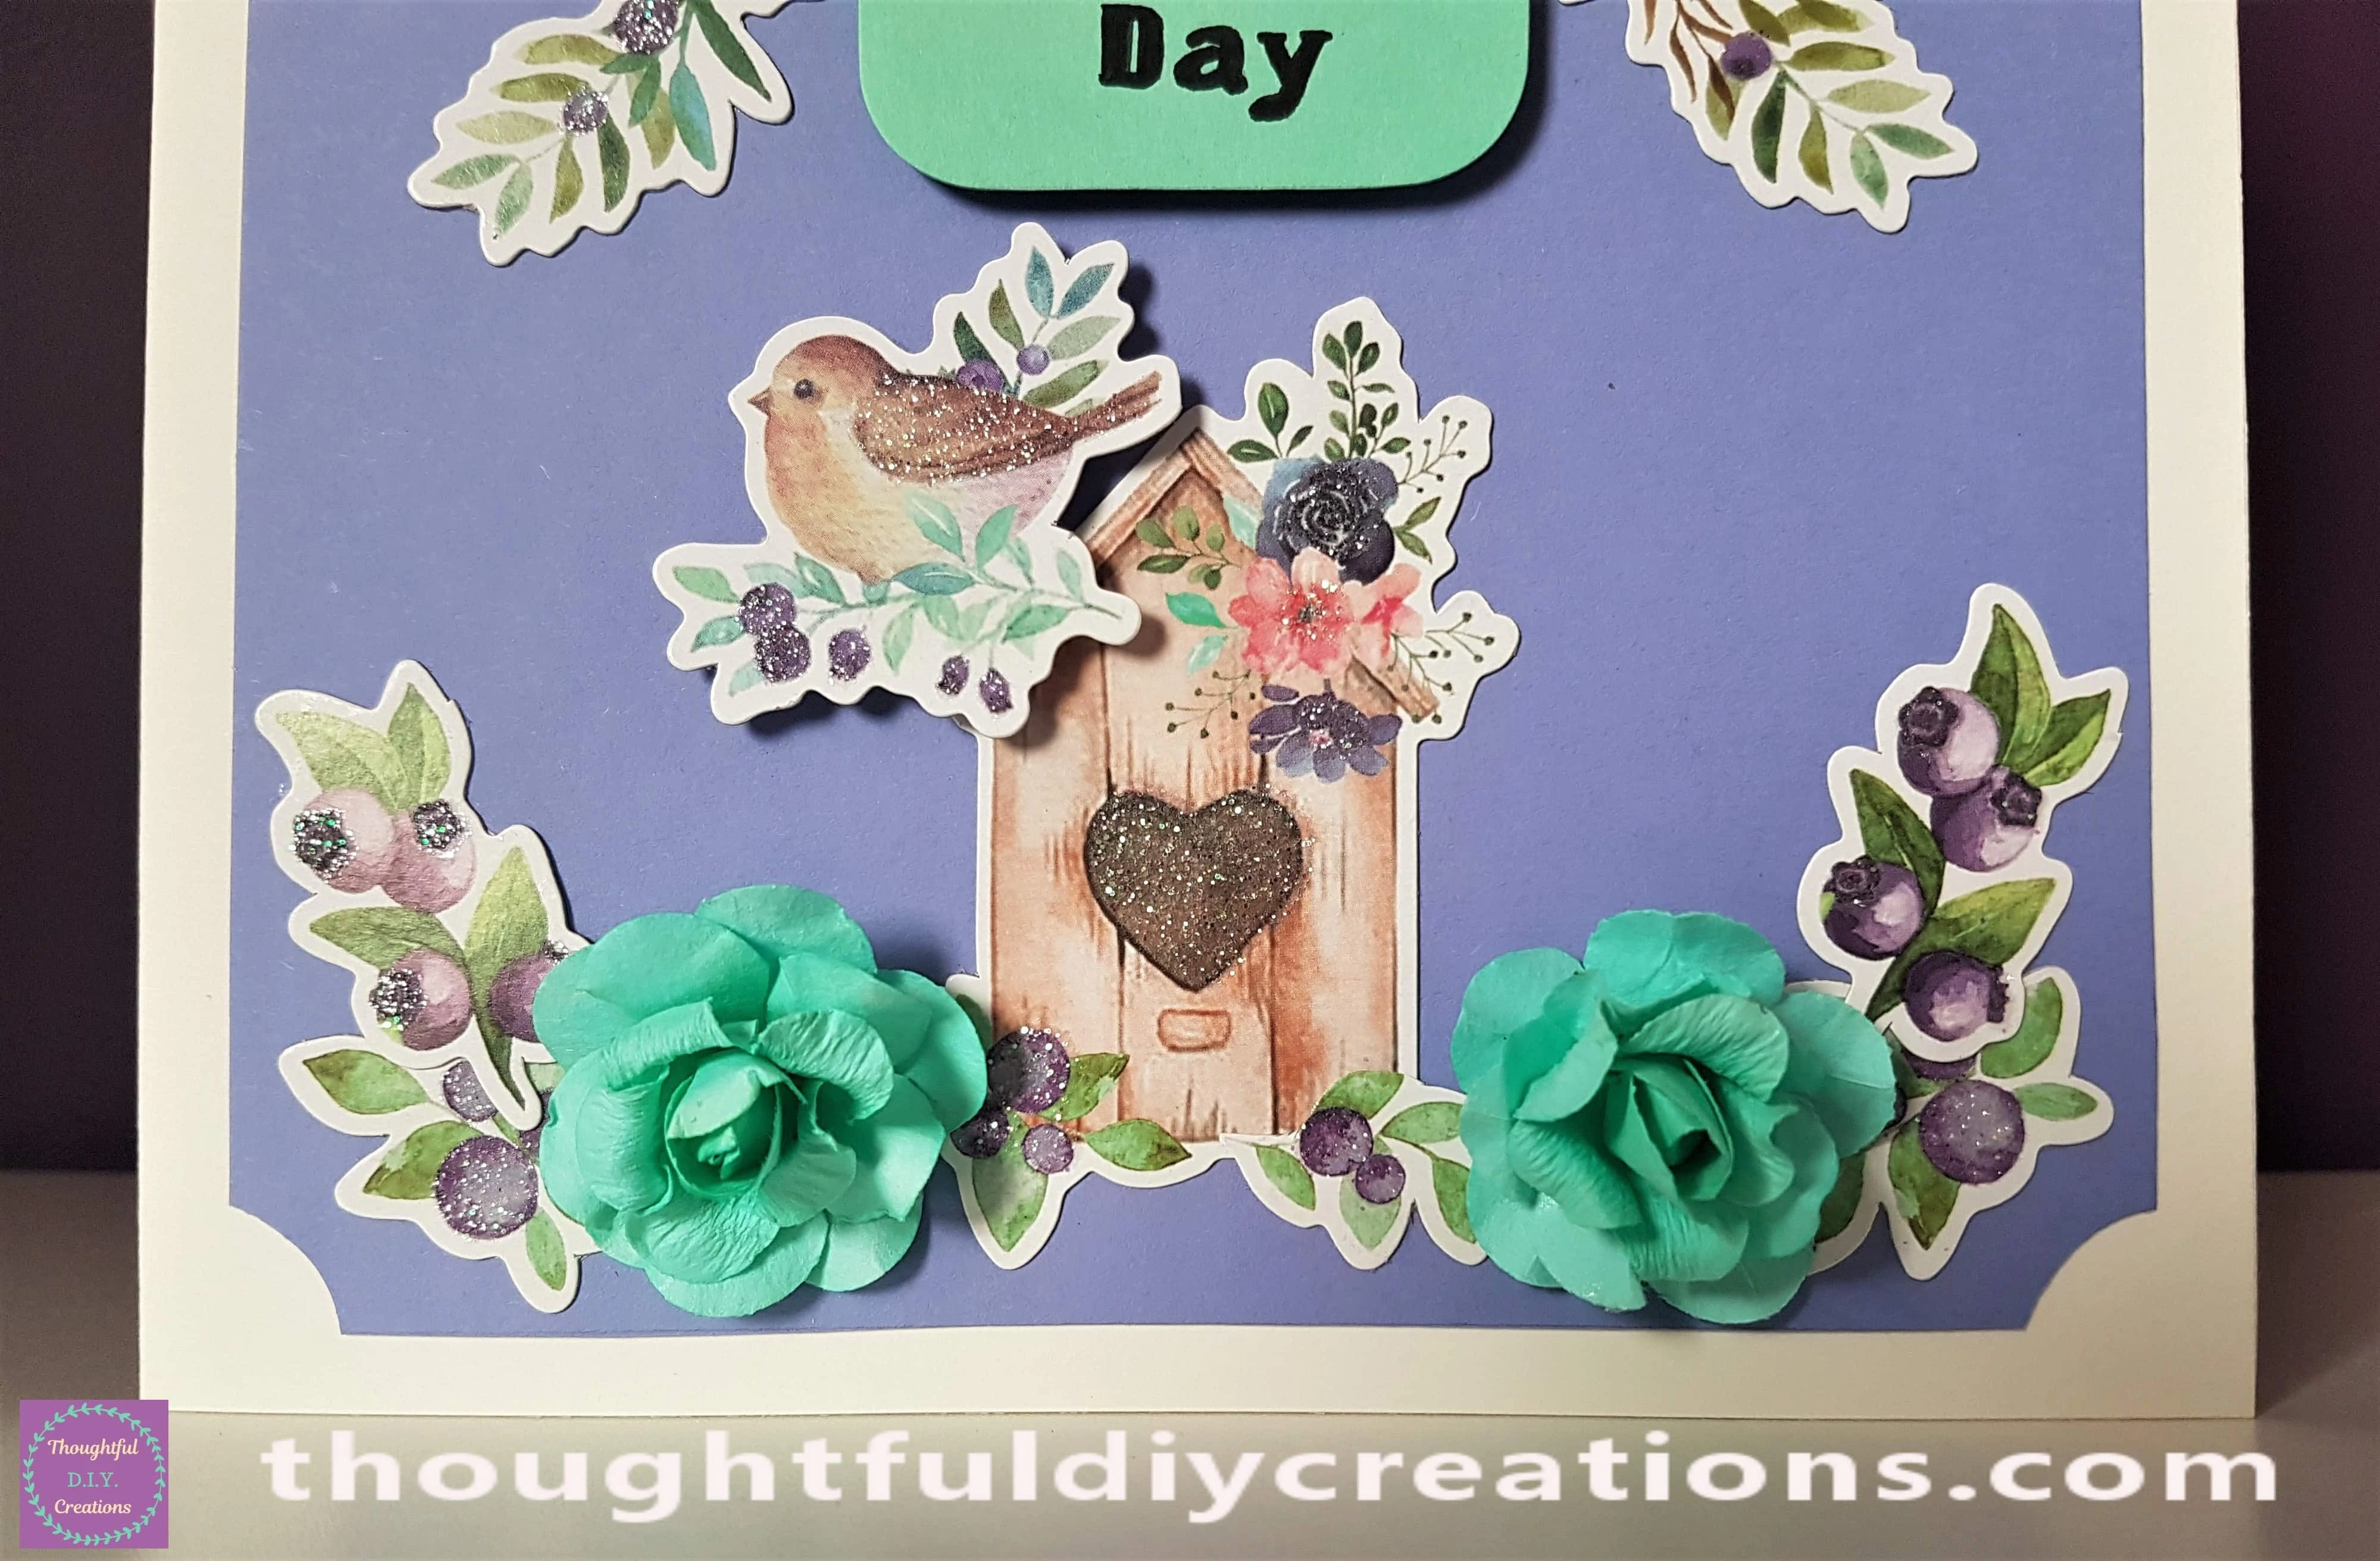
The bottom part of the Card.
Conclusion
I am really happy with the Outcome of my Mother’s Day Card. I love the Birds and Berries elements. They are ideal as they are pre-cut and good to go as they are. I also adore the subtle Glitter which doesn’t fall off and go everywhere.
I hope this Handmade Card Tutorial was helpful if you were unsure of where to Start or haven’t made many Cards previously.
You can make a Card in whatever Style you are most comfortable with. I love watching Mixed Media Card and Craft Tutorials on Youtube but when it comes to my own Style; it is much more Simple, pared back and Clean.
I like being able to see and appreciate each element. I don’t really have a Focal Point which is probably the Opposite to what some people think a Layout should have. There is no Right or Wrong way to Create; just do what’s right for you and the Style you are most drawn to will come out in your Work.
Here is another example of a Card I have made previously: Unicorn Card.
I would like to Wish a Happy Mother’s Day to all the Mother’s / Step-Mothers / First Time Mother’s all around the World. I hope You all have an Amazing Day.
Sending Love to Anyone without their Mother or their First Year without their Mother, I hope you are doing okay.
Thank You So Much for taking the Time to Read my Blog.
Always Grateful,
T.D.C.
xoxox

-0 Comment-