Mothers Day Heart Craft
Hello my Creative Friends,
I hope you are all well. In Today’s Tutorial I will show you how to decorate a Heart Plaque for Mothers Day or for your Mums Birthday. I hope it gives you some ideas for your own D.I.Y. Crafting. You can always change some aspects to suit your own preferences.
MDF Heart for Crafting
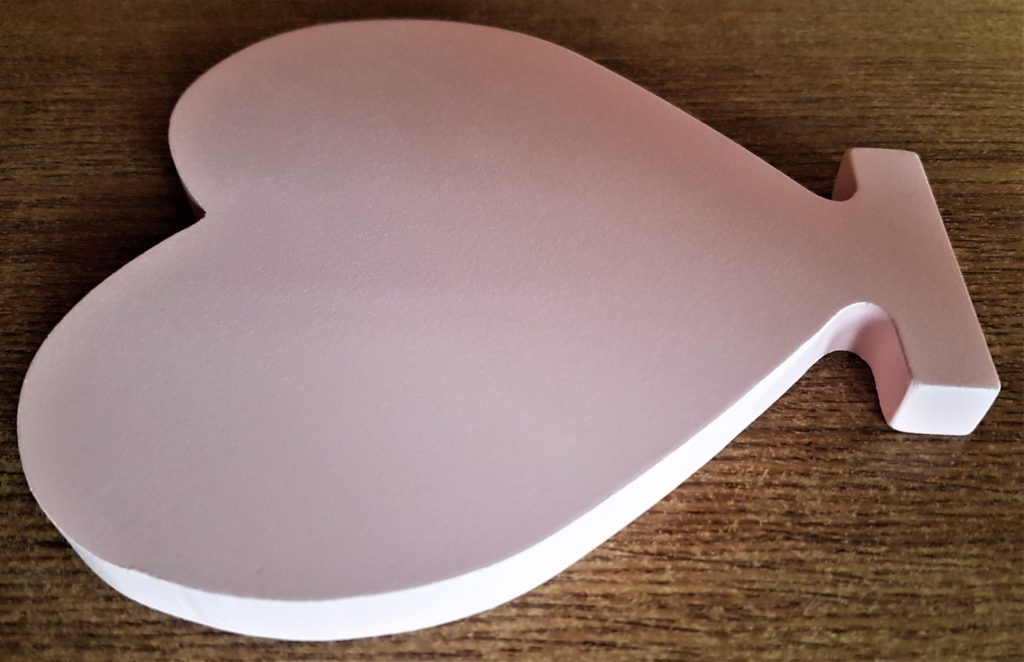
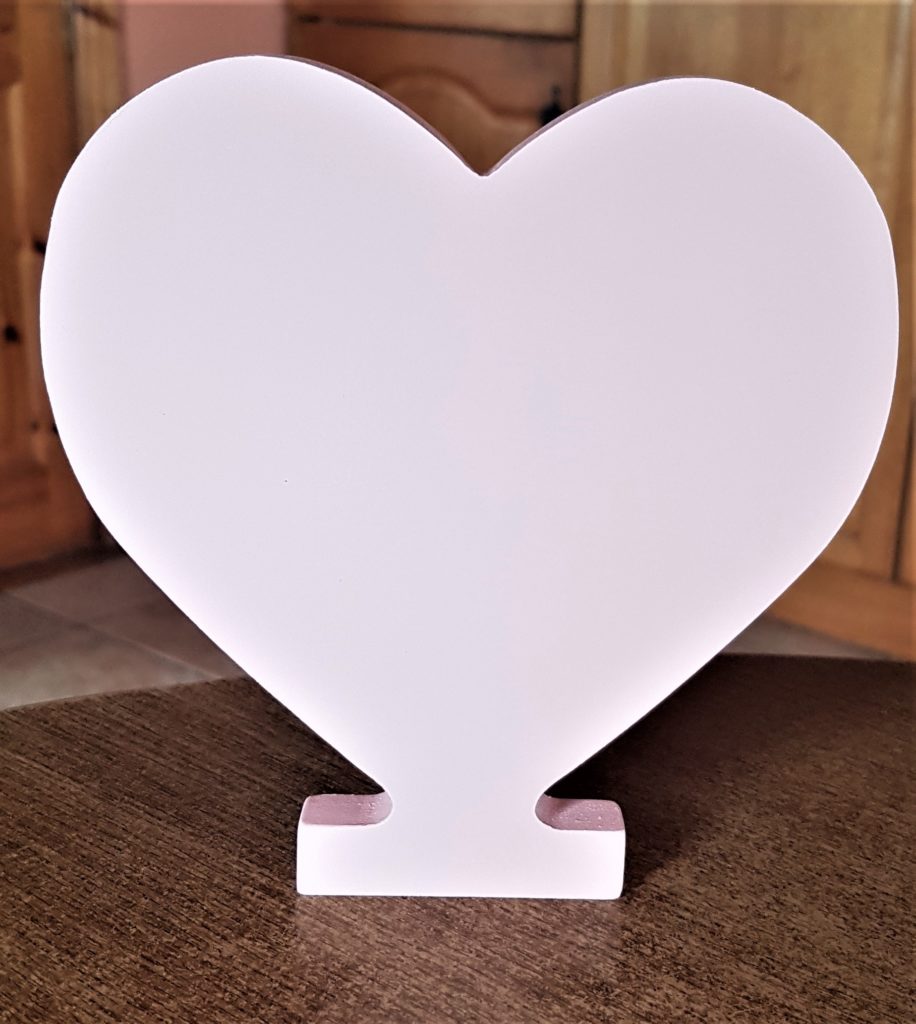
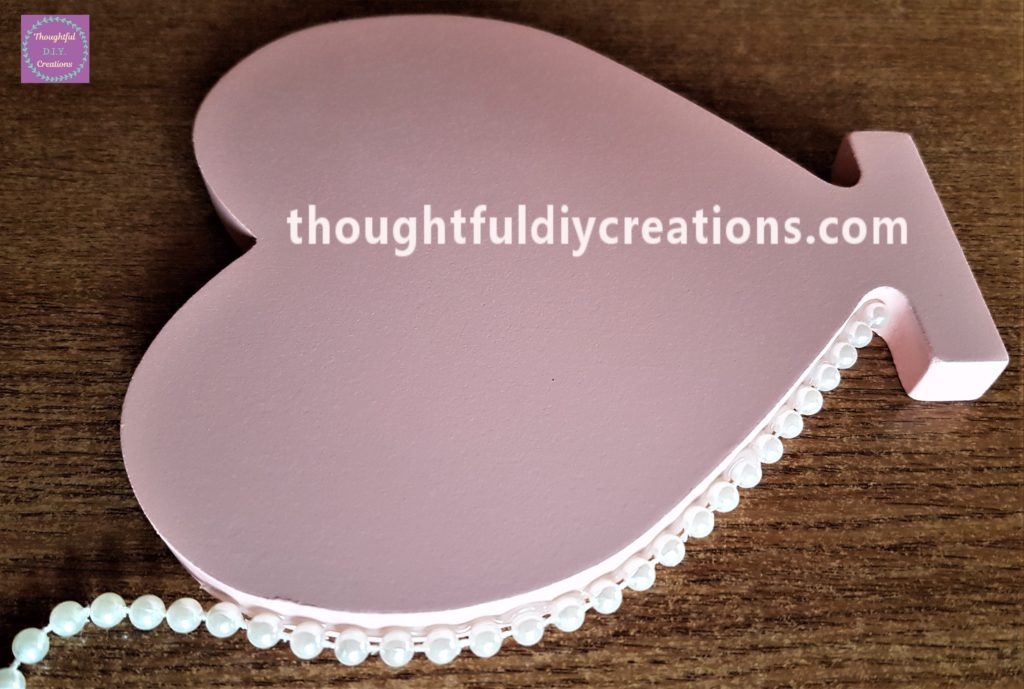
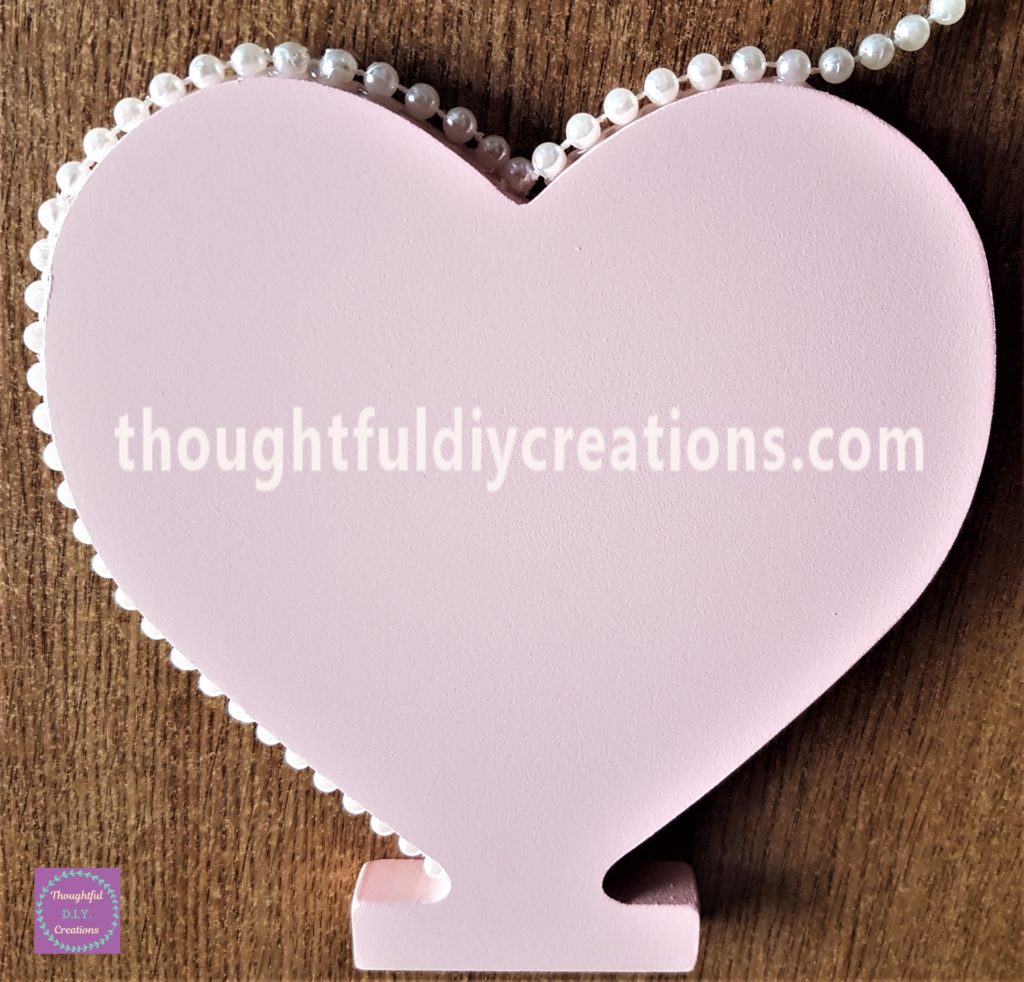
I bought a Pink MDF 15 cm Heart. MDF Heart Shapes.
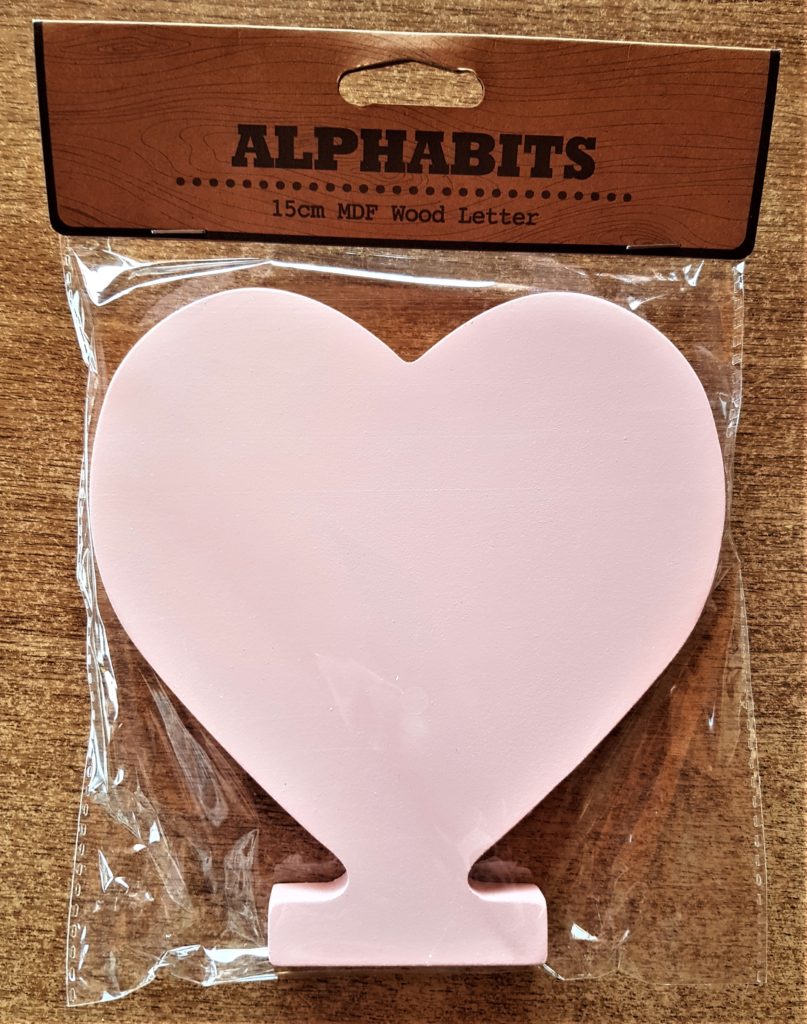
This is the Pink Heart out of the Packet. MDF Heart Shapes.
Pearl Garland for the Mothers Day Heart
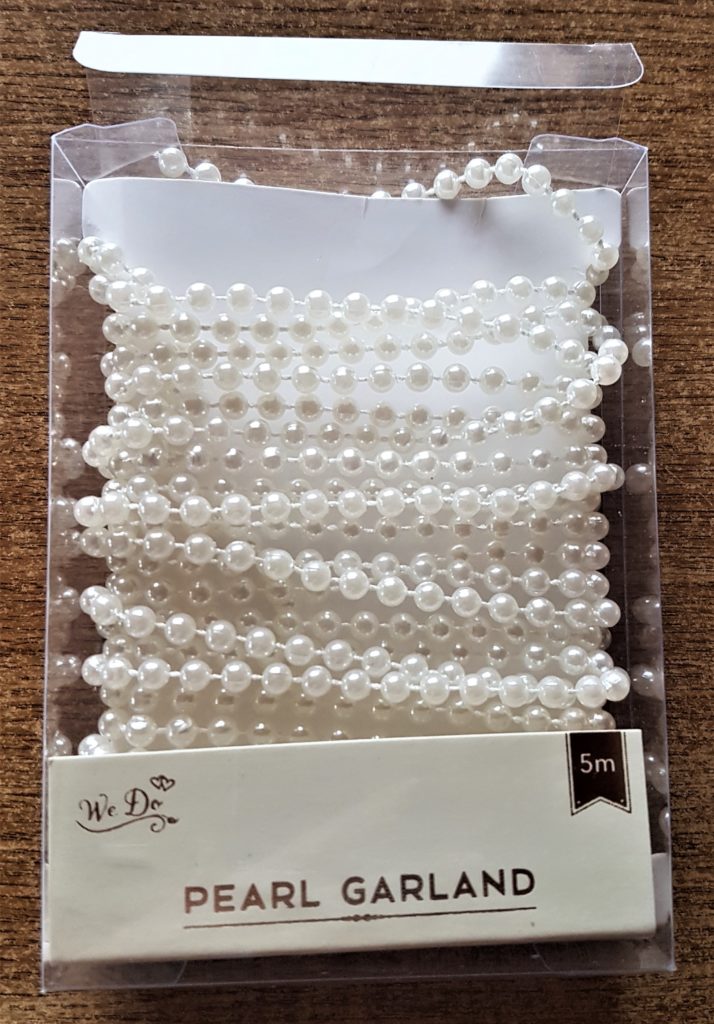
I loved the quality of the heart, it is well made and perfect for crafting. I decided to decorate the side of the heart with pearls. I had a Box of ‘5m Pearl Garland’ in my supplies. Pearl Beads.
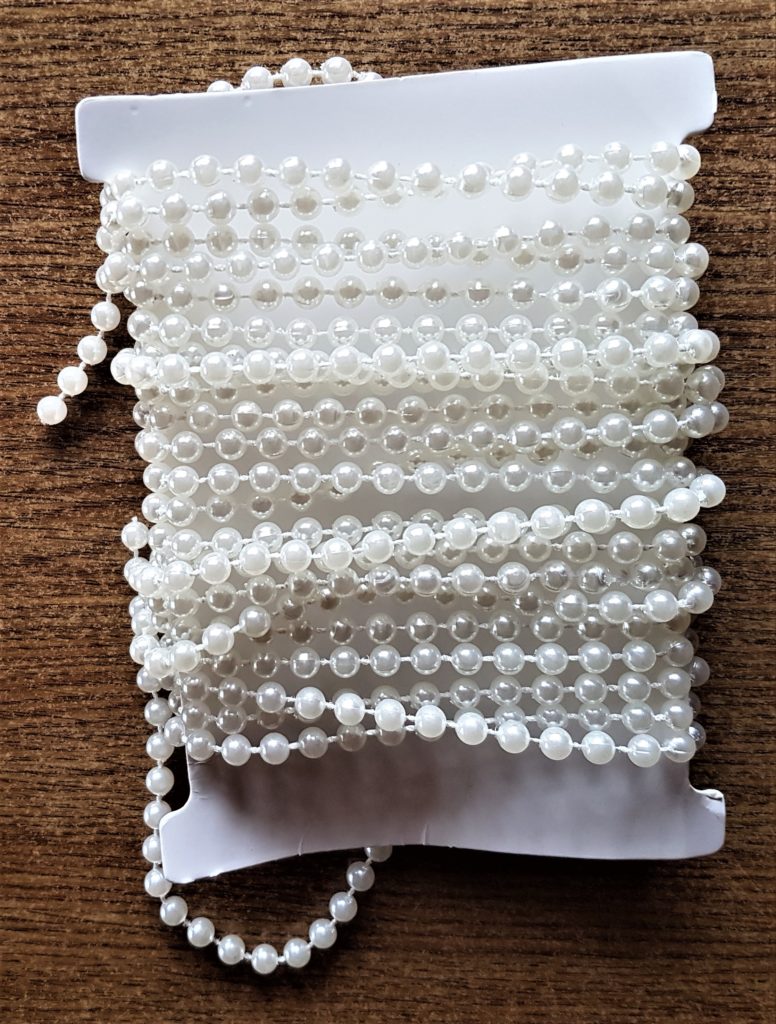
This is the Pearl Garland out of the Box. Pearl Beads.
Attaching the Pearls to the Heart
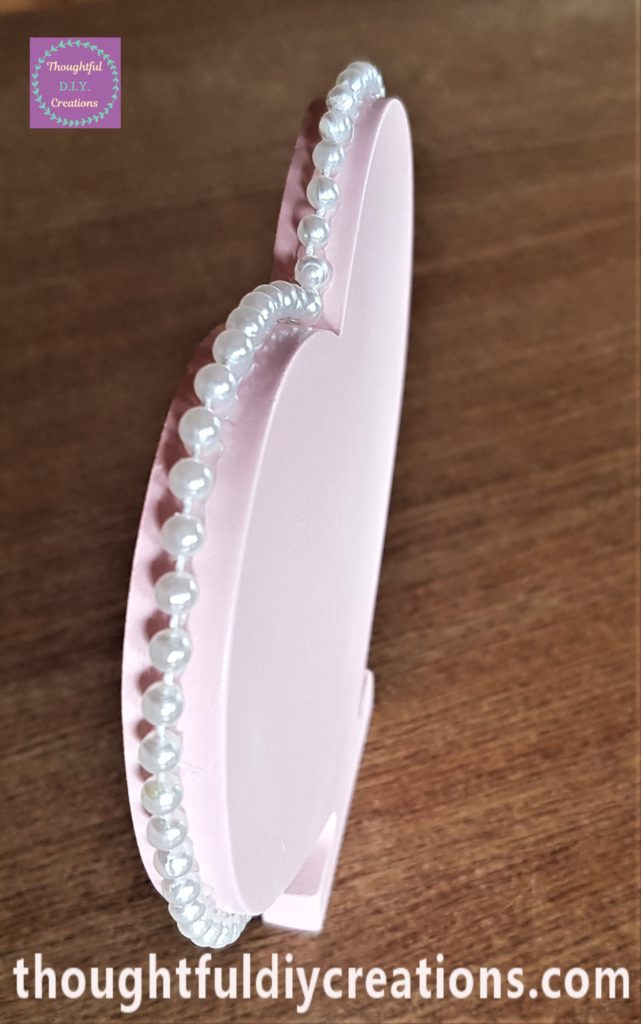
I plugged in my Hot Glue Gun with clear glue stick inside and let it heat up for 5 minutes. I then put a strip of hot glue in the mid-section on the side of the heart. I attached the pearl garland to the hot glue. Hot Glue Gun.

I added another strip of hot glue to the side of the heart and pressed the pearl garland into the glue.
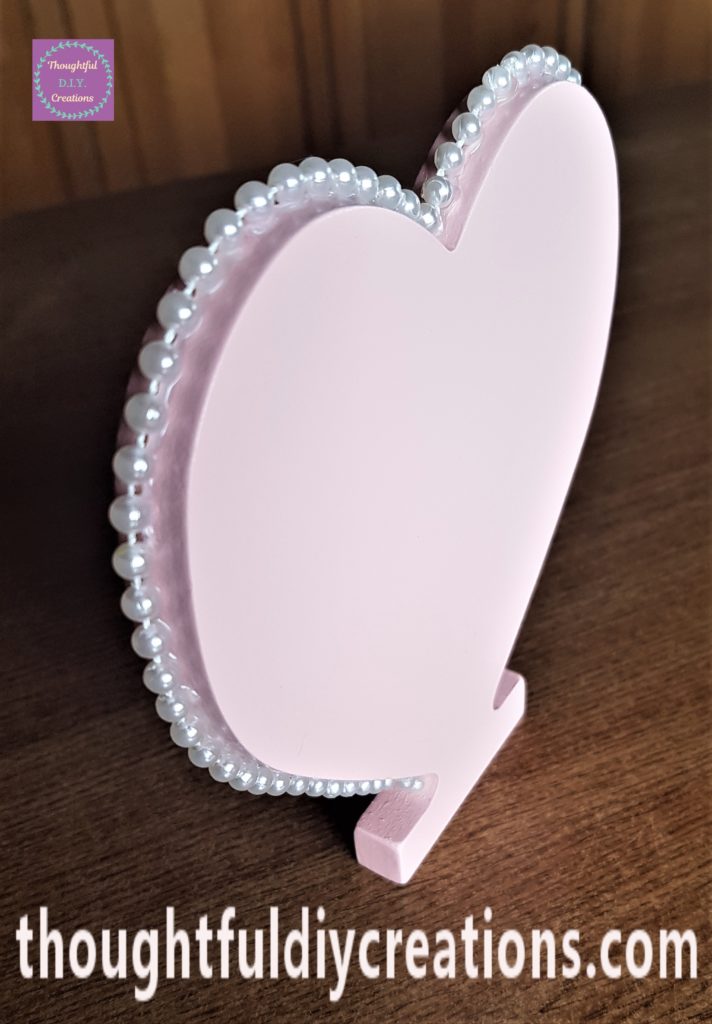
It’s best to add the hot glue in small sections as it can dry quickly. I continued with this process until both sides of the heart were covered with the pearl garland. Pearl Beads.
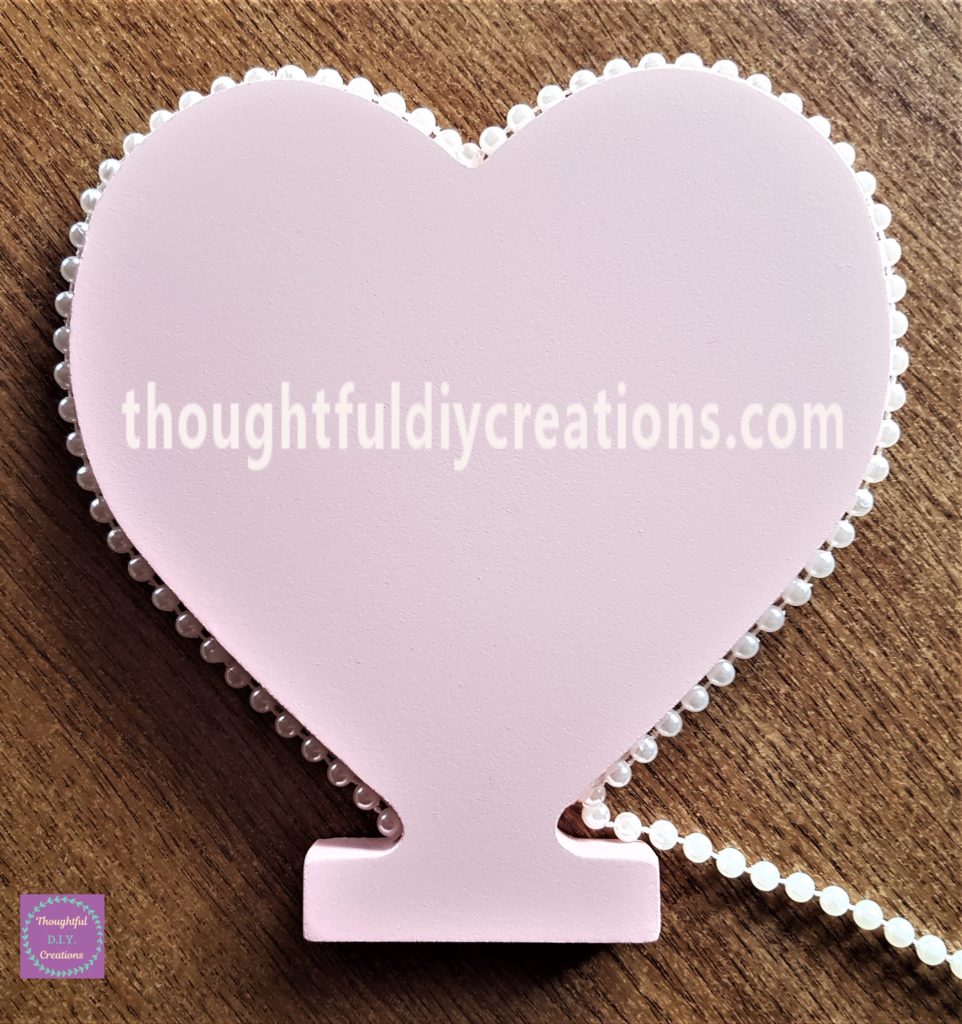
When I got to the bottom of the heart I cut off the excess pearls and added hot glue to the last pearl on the heart.
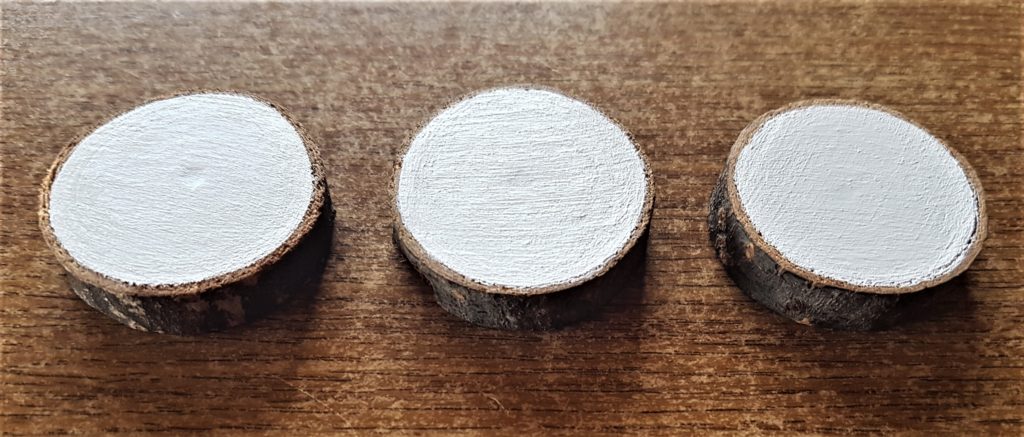
Painting the Wood Slices
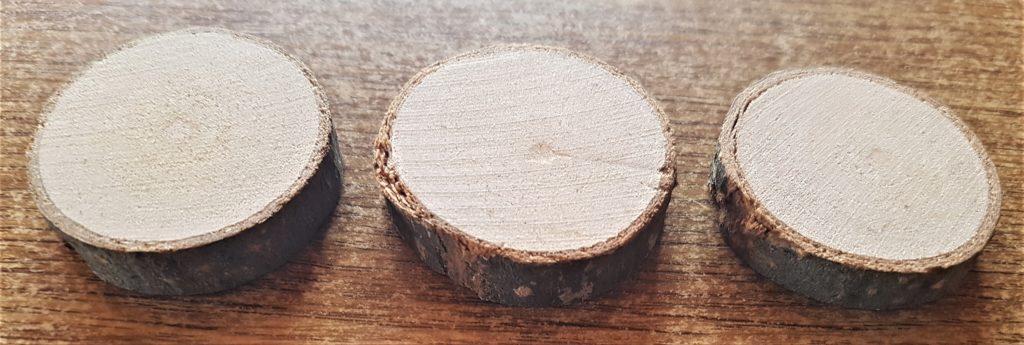
I got three Wood Slices from a Pack I bought a few months ago. Wood Slices.
I painted each Wood Slice with White Acrylic Paint and a small paintbrush. Acrylic Paint – Titanium White.

After about 30 minutes I painted a second layer of paint onto each wood slice. Wood Slices.
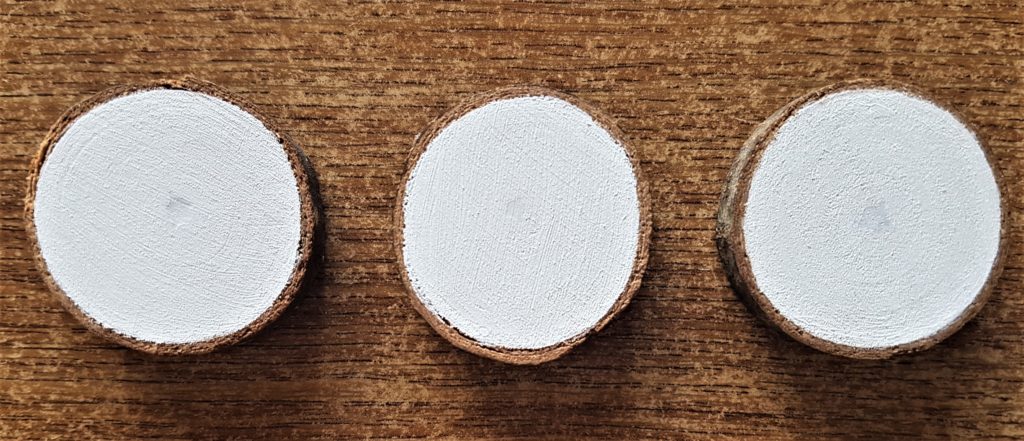
I added the third and final layer of paint after another half an hour. Acrylic Paint – Titanium White.
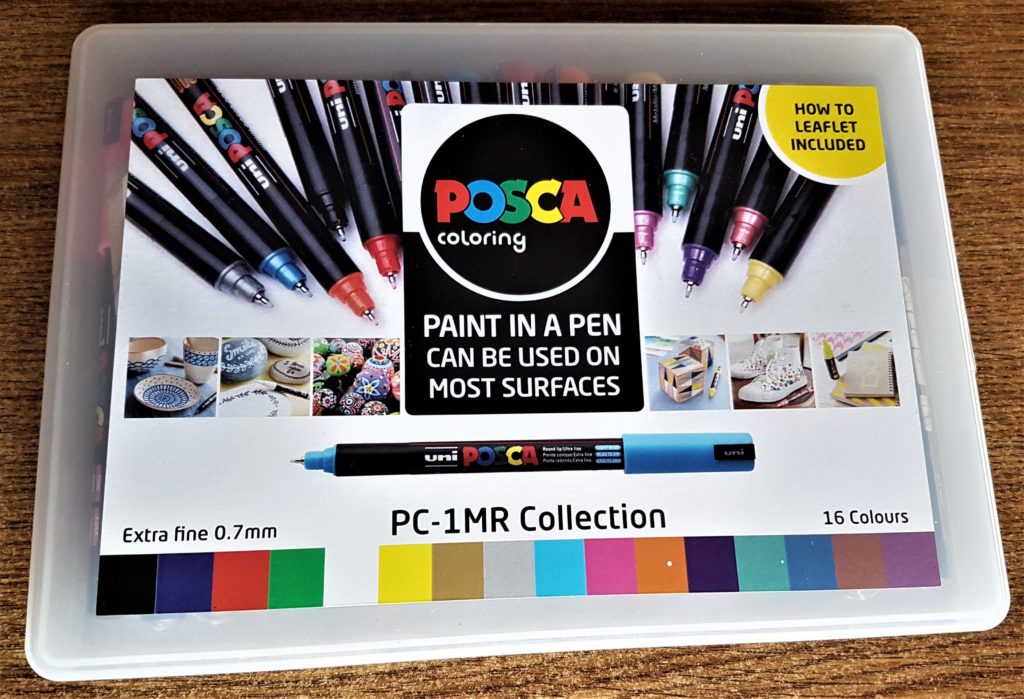
I took out my uni POSCA Paint Pen Set. Uni Posca Paint Pens.
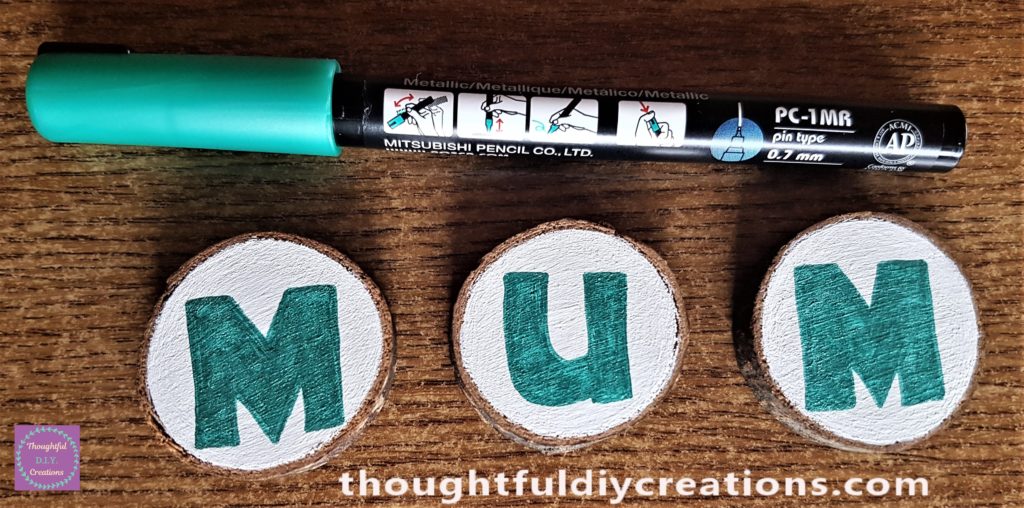
I thought green would complement pink and white so I chose a Metallic Green Paint Pen. I wrote the word ‘MUM’ on the Wood Slices and coloured them in using the Paint Pen. Uni Posca Paint Pens.
Flowers for the Mothers Day Heart
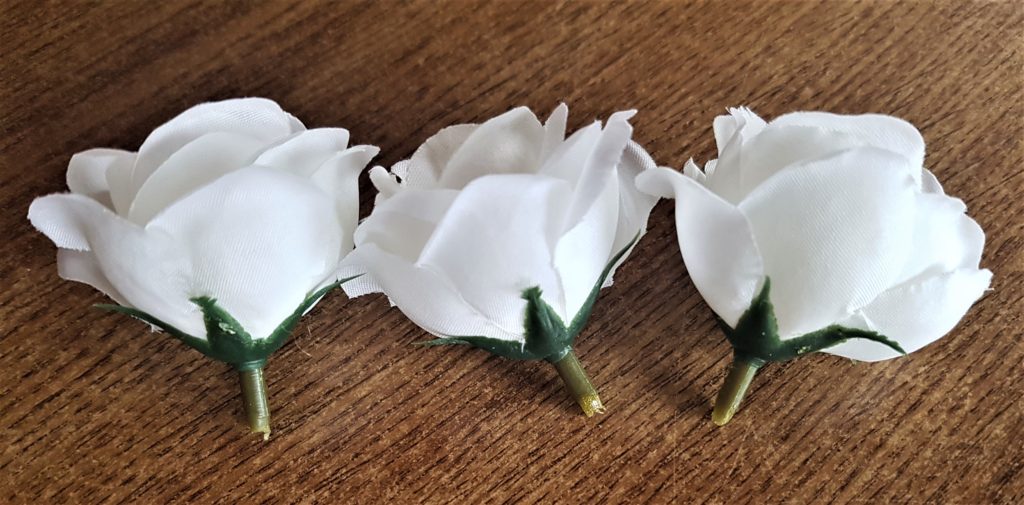
I pulled the heads of 3 flowers from a bunch of artificial flowers I had in my supplies. Artificial Flowers Roses.
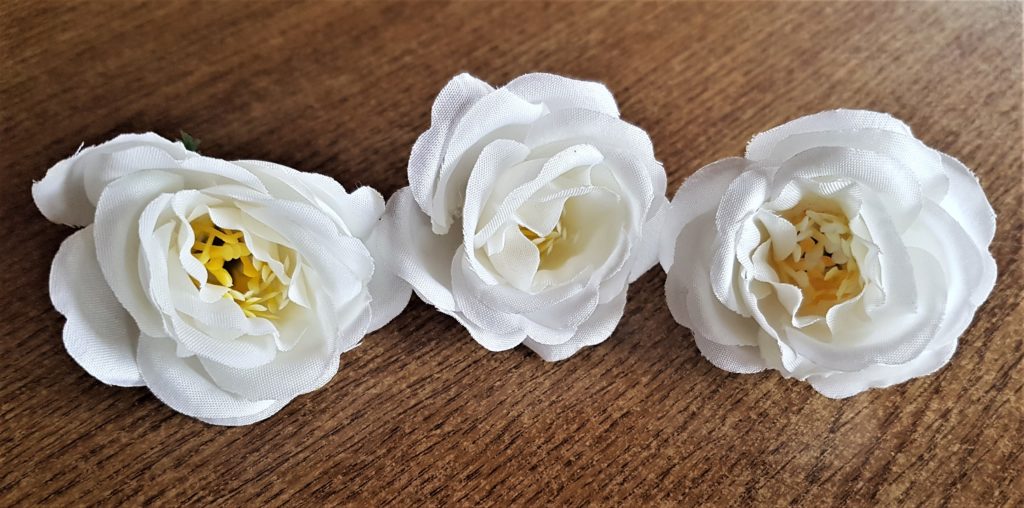
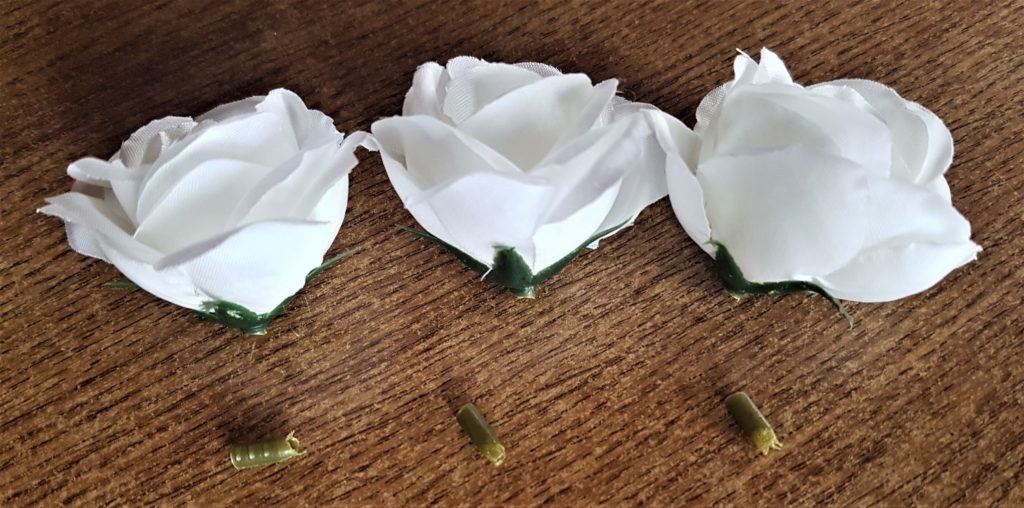
I cut off the green stems from the flower heads. Artificial Flowers Roses.
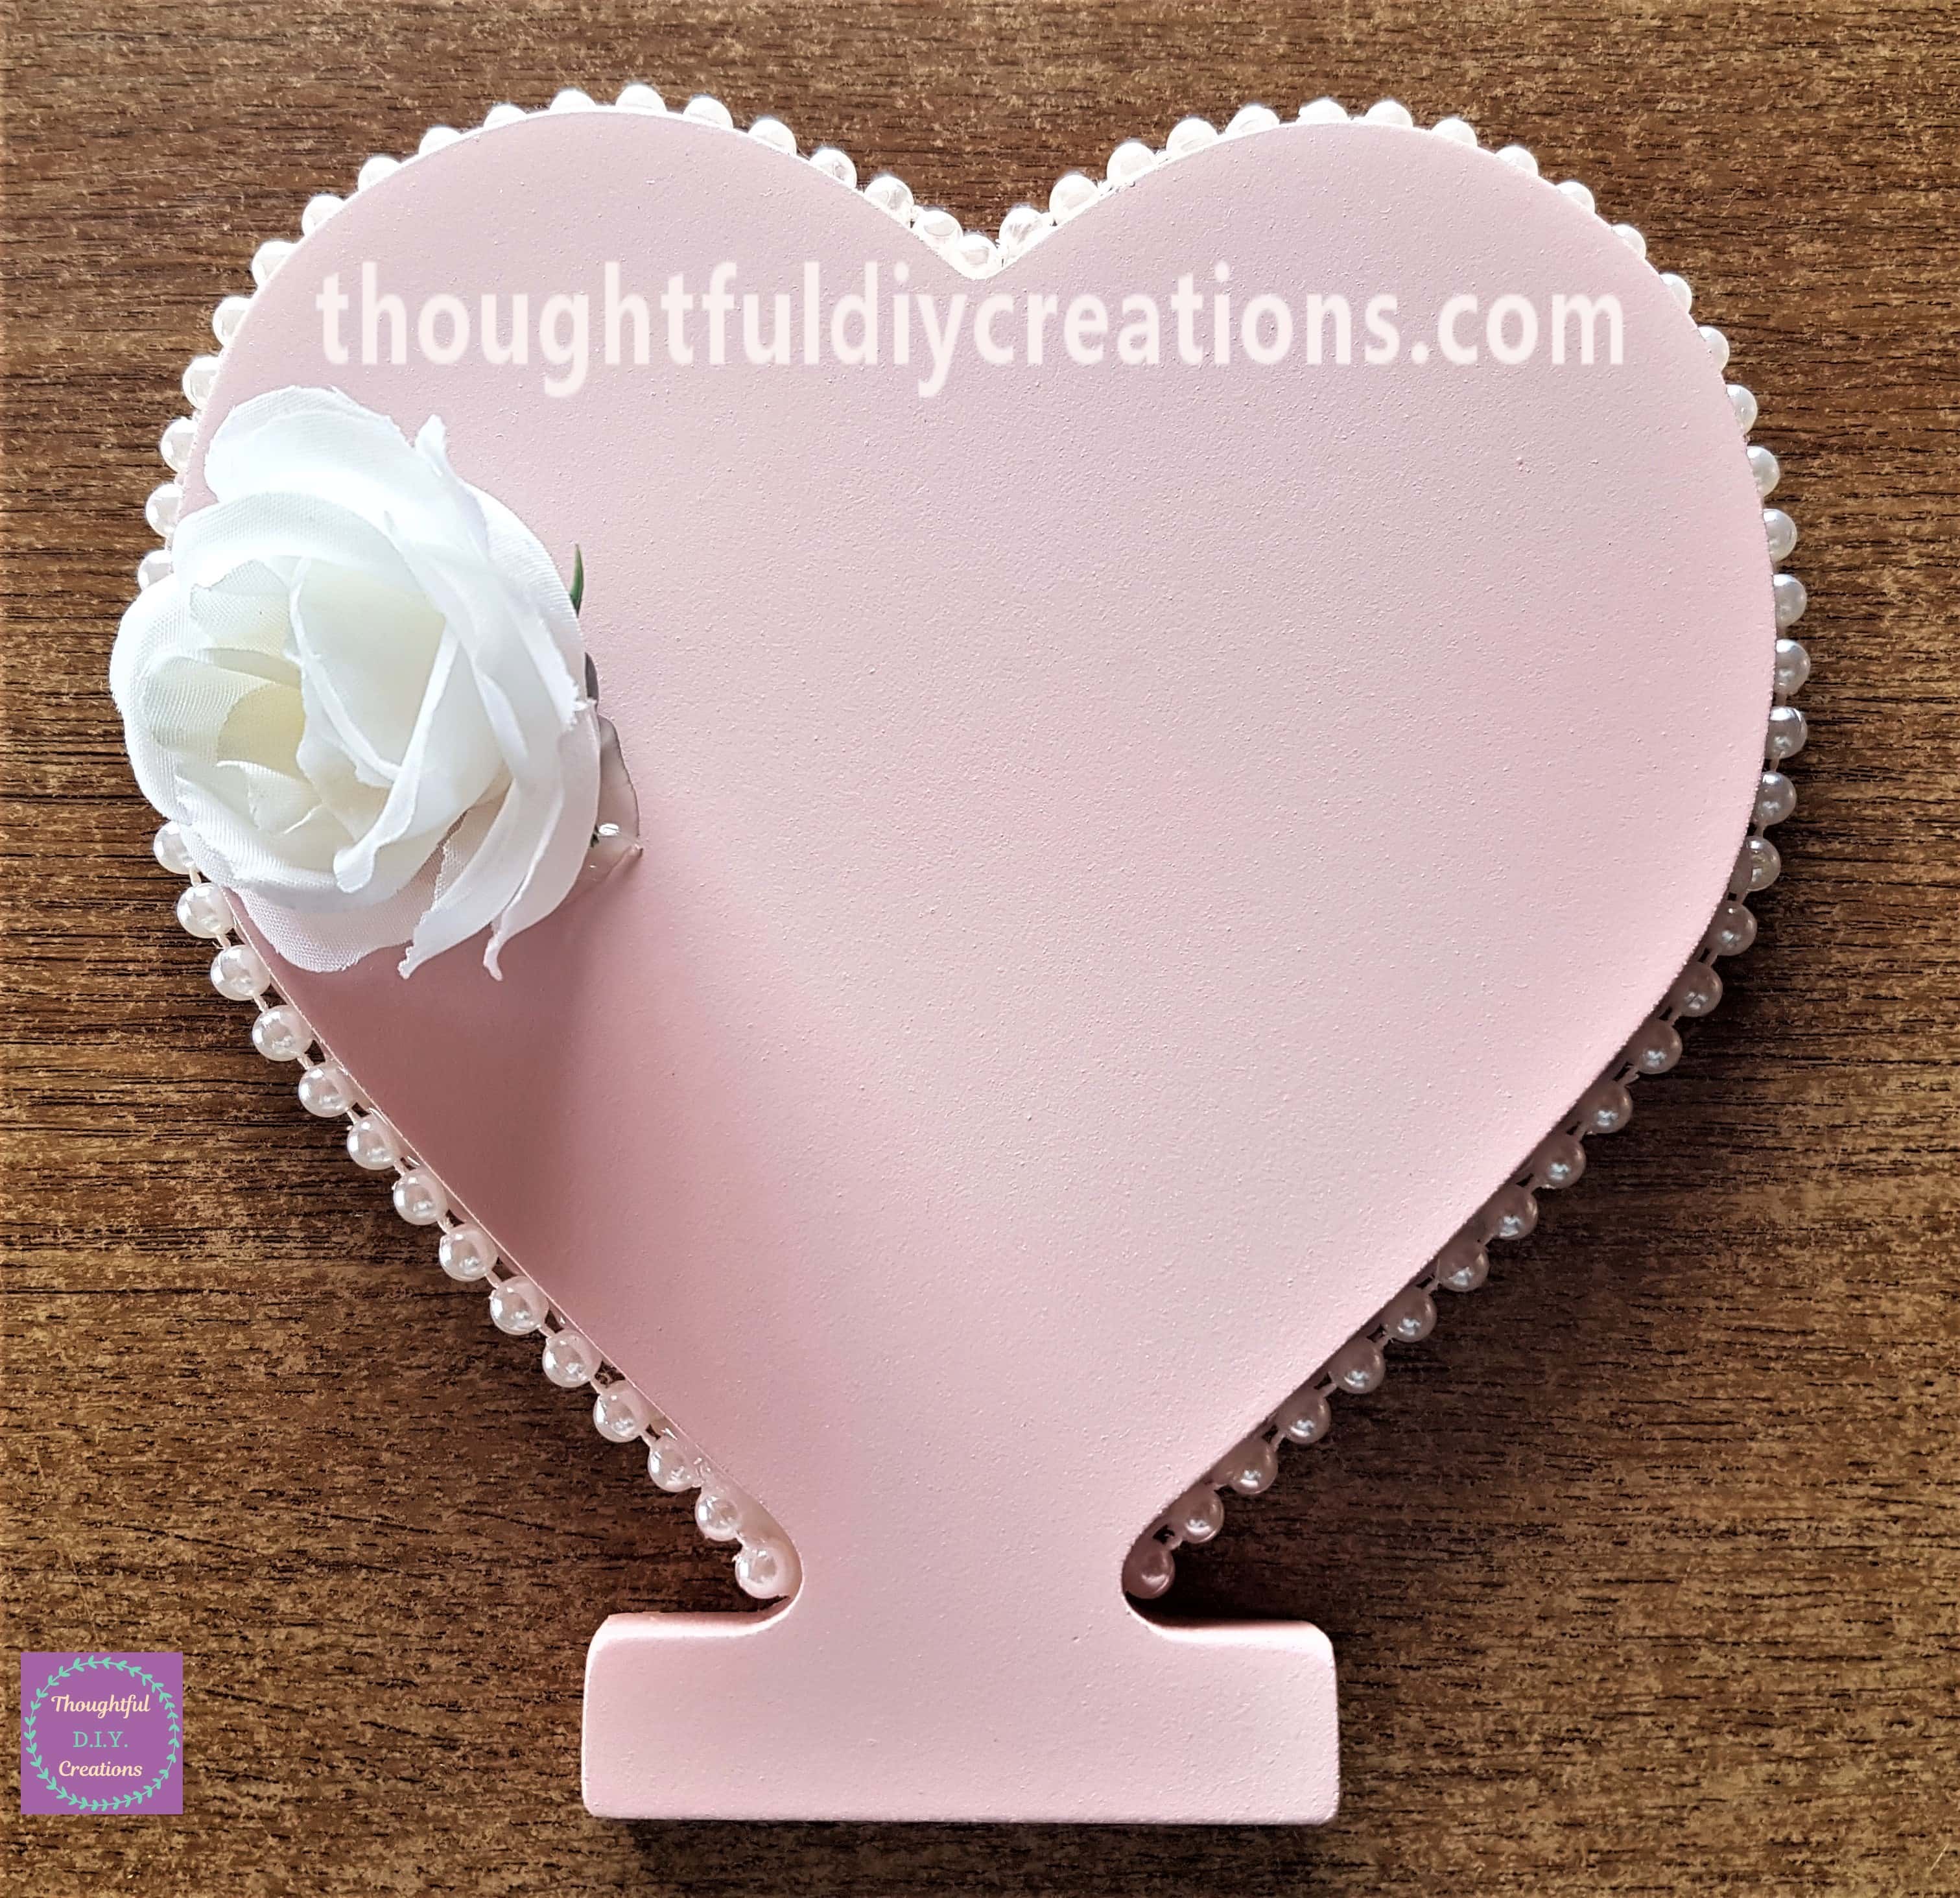
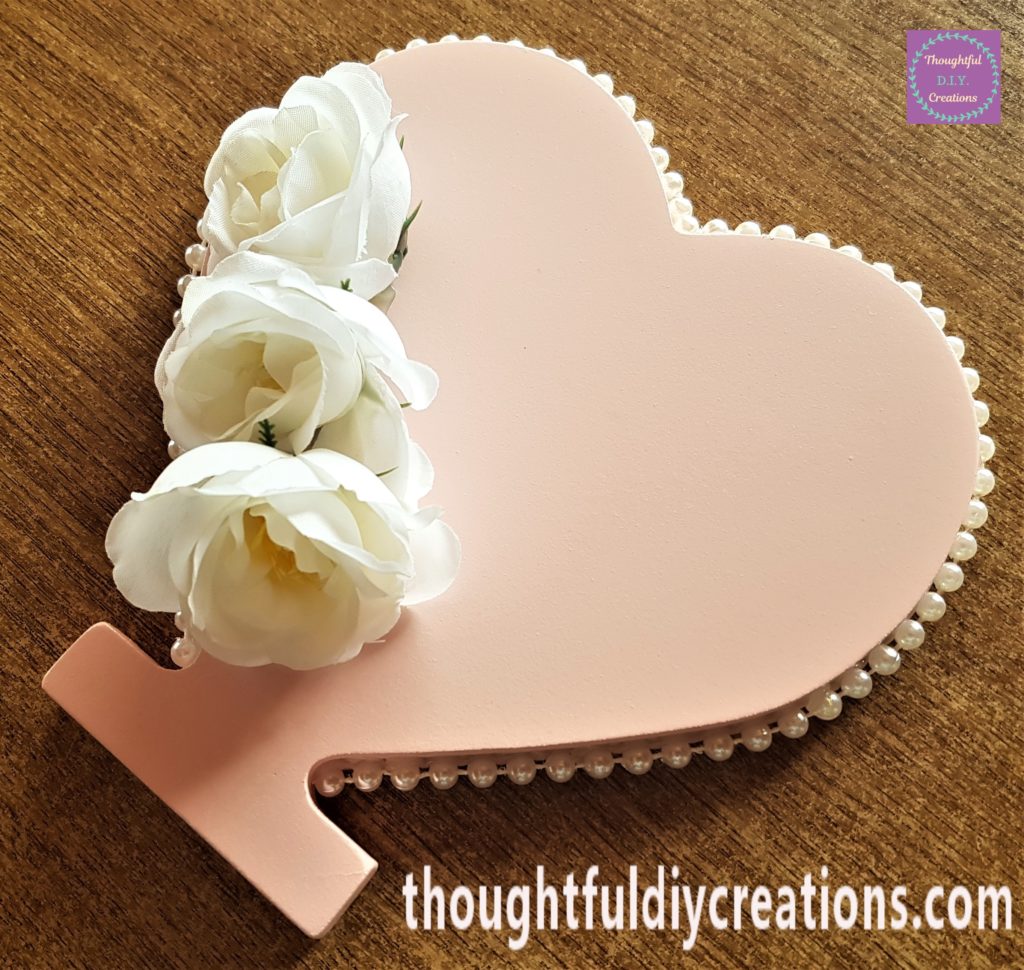
I put hot glue on one side of the flower and attached it to the pink heart. Hot Glue Gun.
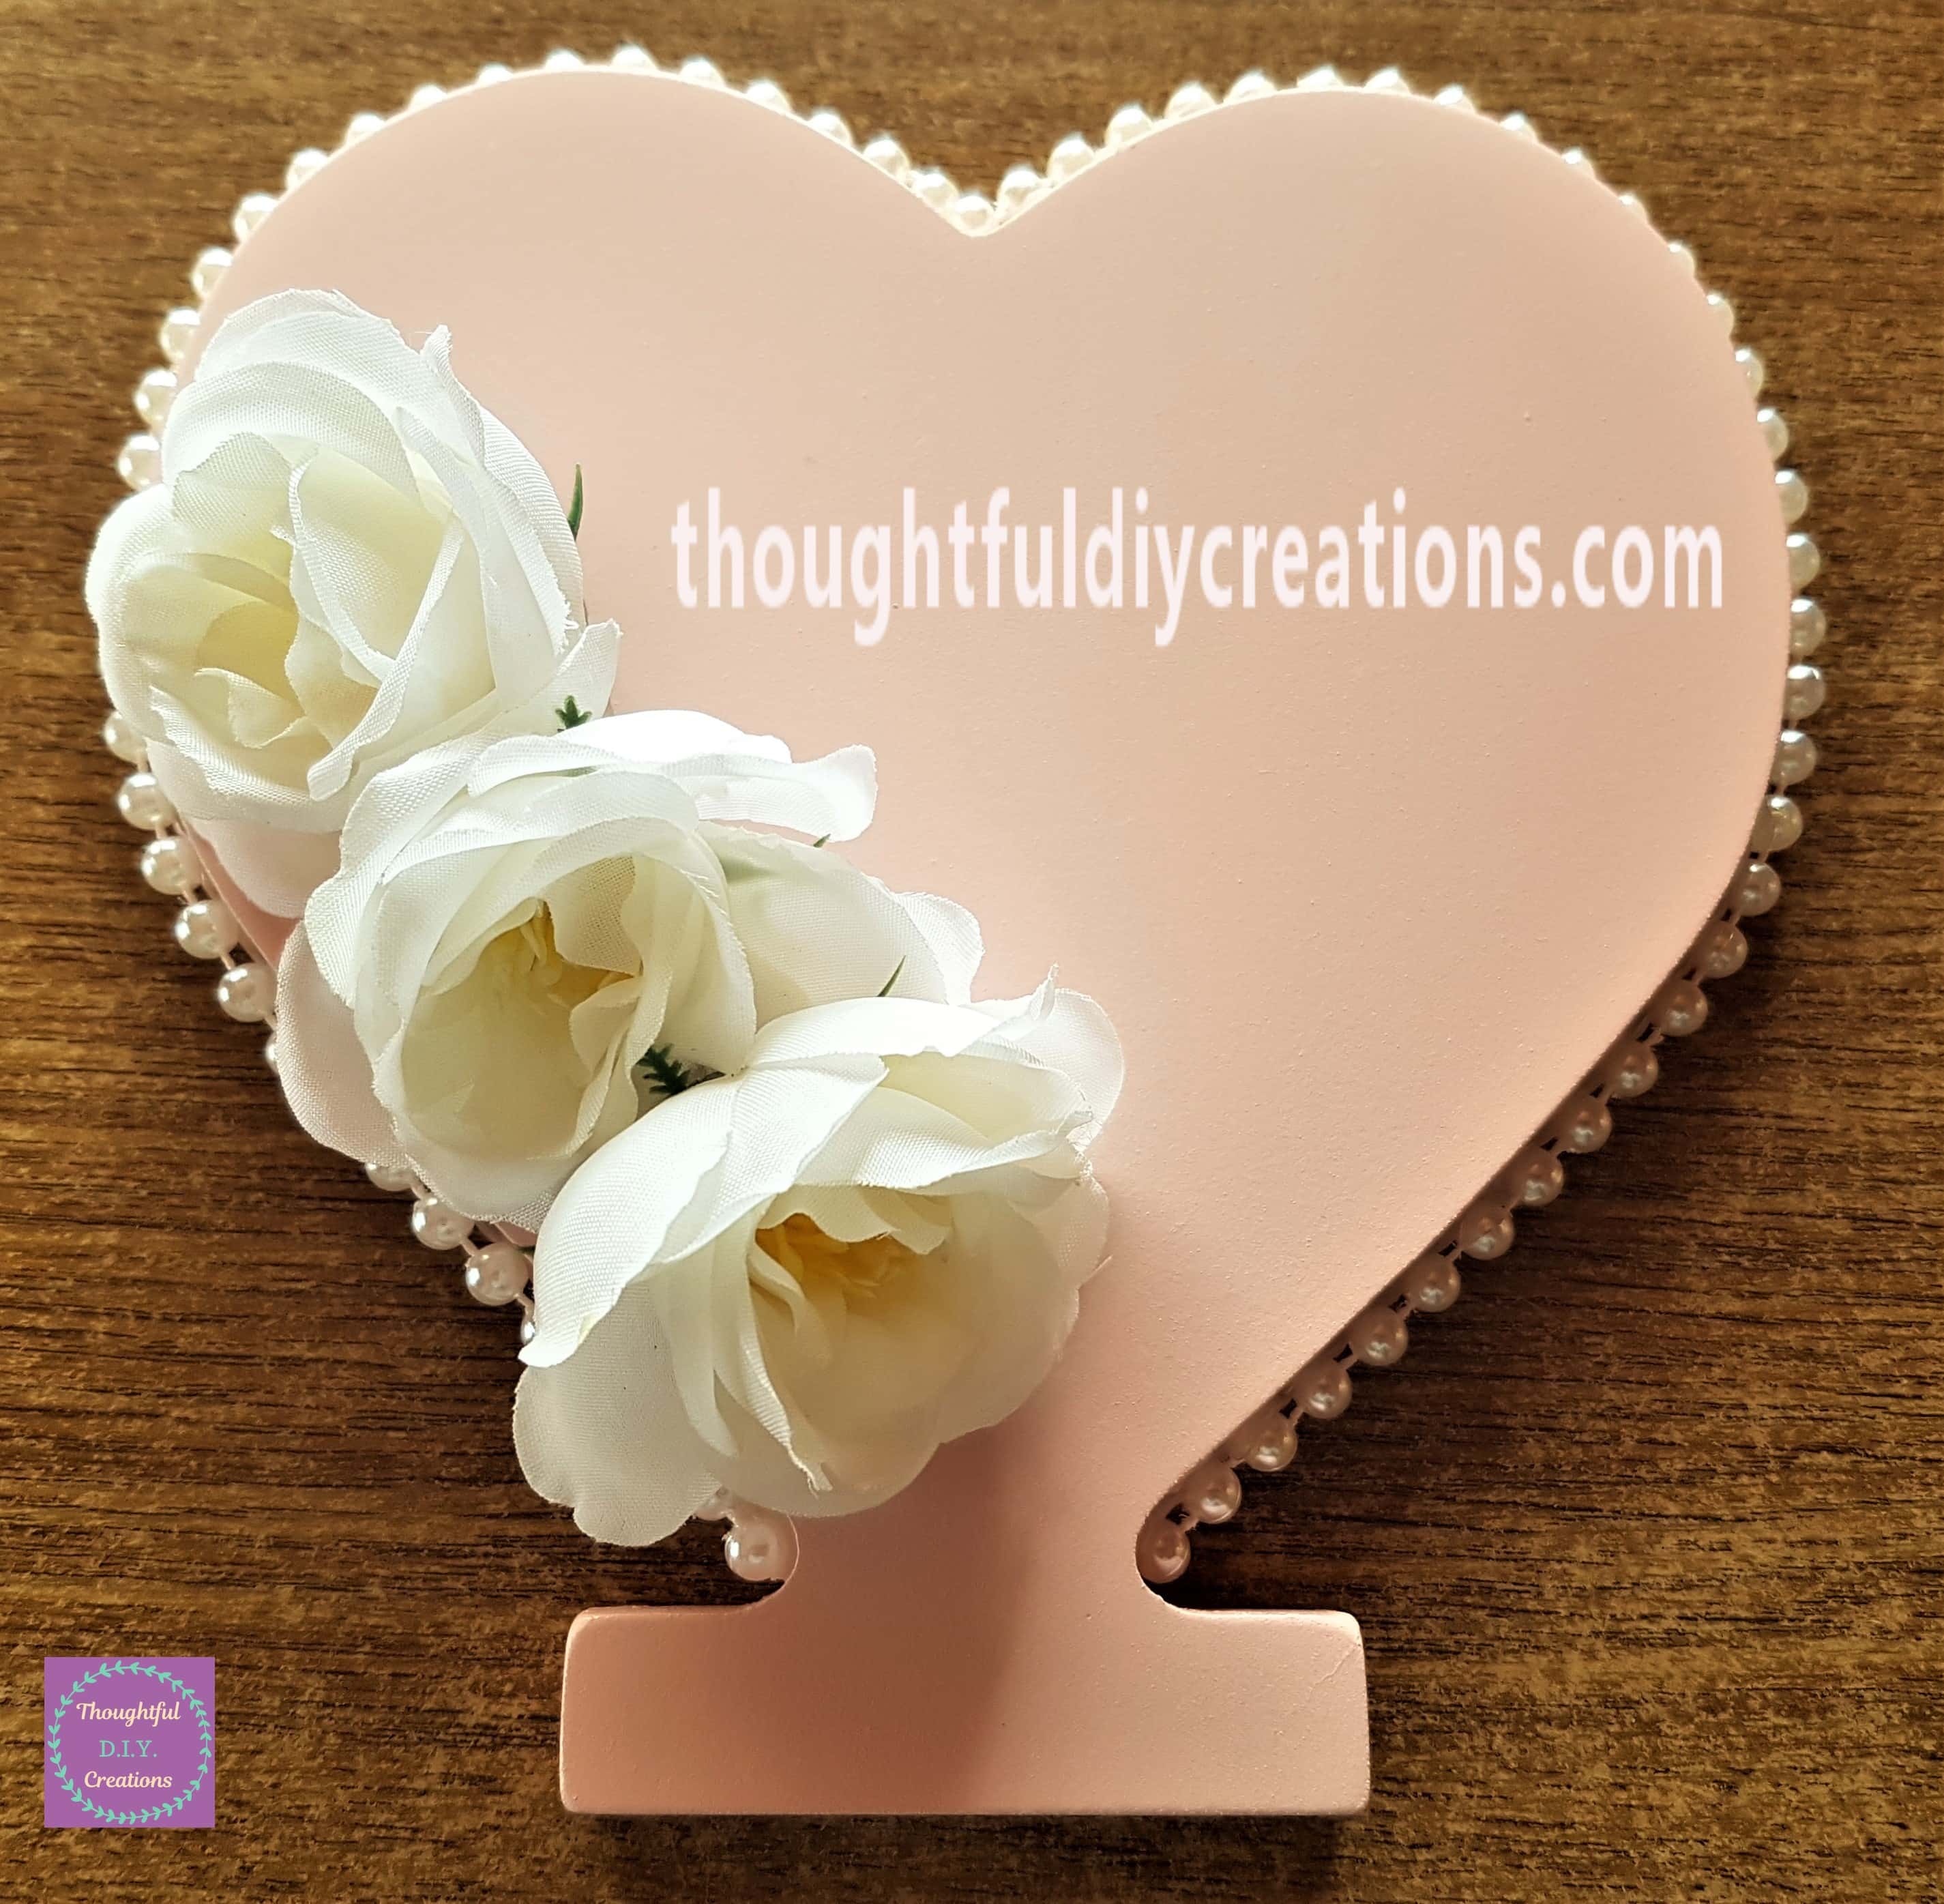
I put hot glue on the next flower and held it to the heart under the first flower. I then attached the third flower in the same way. Artificial Flowers Roses.
Gluing the Wood Slices to the Mothers Day Heart
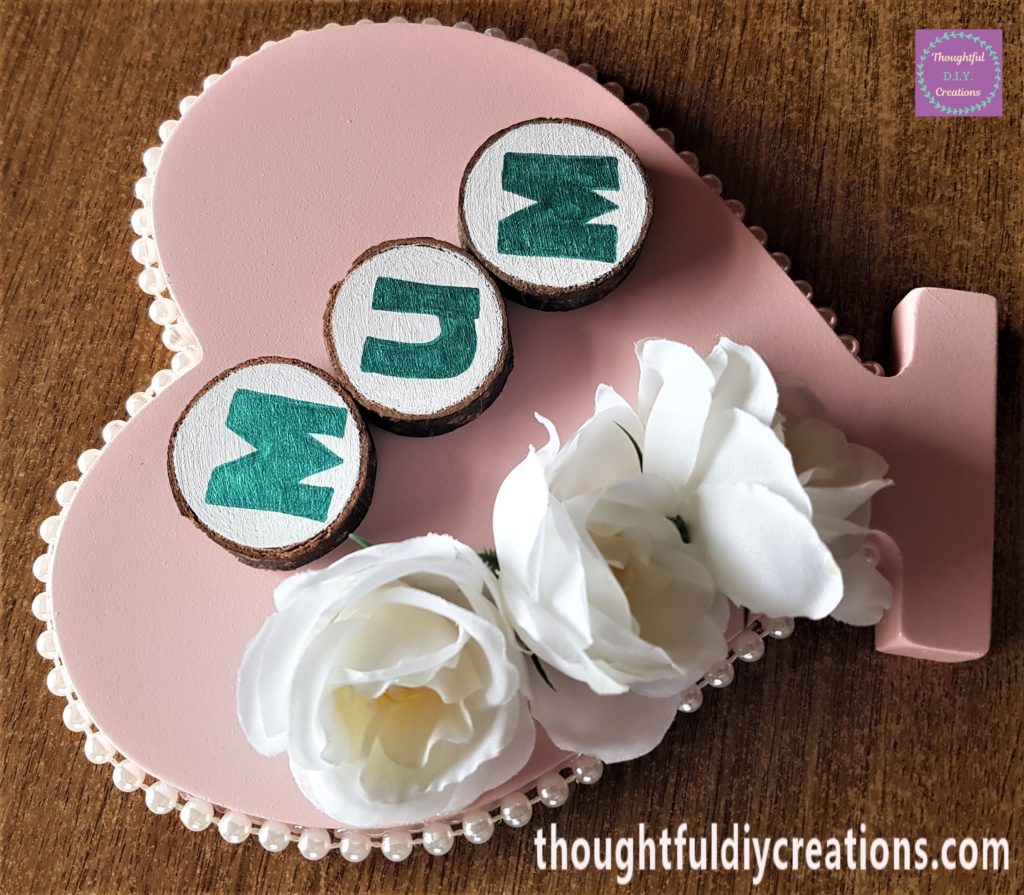
I put hot glue on the back of the first wood slice and attached it to the heart. I held it in place for about 5 seconds. I put hot glue on the back of the next wood slice and added it at an angle under the first wood slice. I attached the third wood slice in the same way. Hot Glue Gun.
Adding Embellishments to the Heart
I had a Sticker set which I really liked and wanted to use for this craft. Colorful Feather Sticker Set.
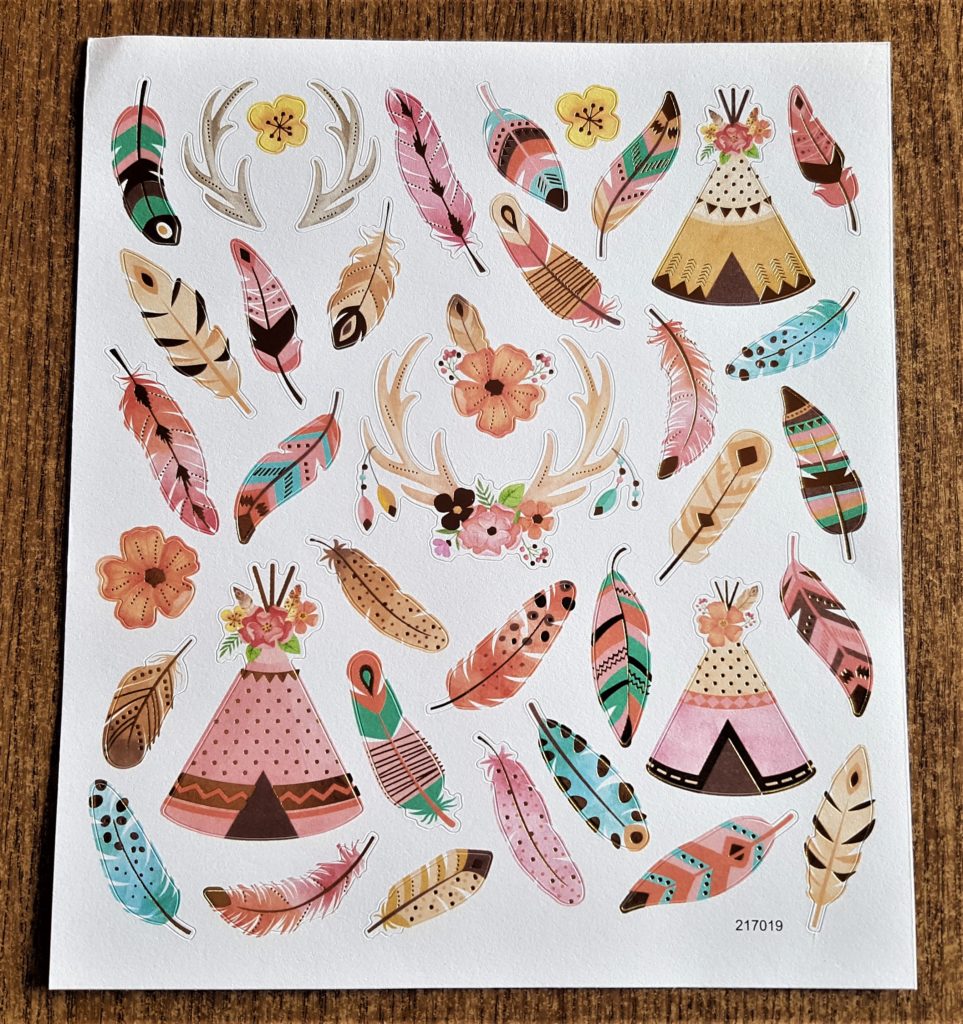
I chose a feather sticker and attached it to the top left hand side of the heart. Colorful Feather Sticker Set.
I chose a sticker of a purple bow I had from a different sticker set. I stuck it to the mid-section on the bottom of the heart.
I added another feather sticker on the top right hand side of the heart. I also hot glued a Wooden Butterfly Button to the pink heart. Butterfly Wooden Button.
I added 1 more sticker to the heart. It is a purple and silver flower and I stuck it underneath the butterfly.
Finishing Touches to the Mothers Day Heart
I cut a section of leaves from the artificial bouquet.
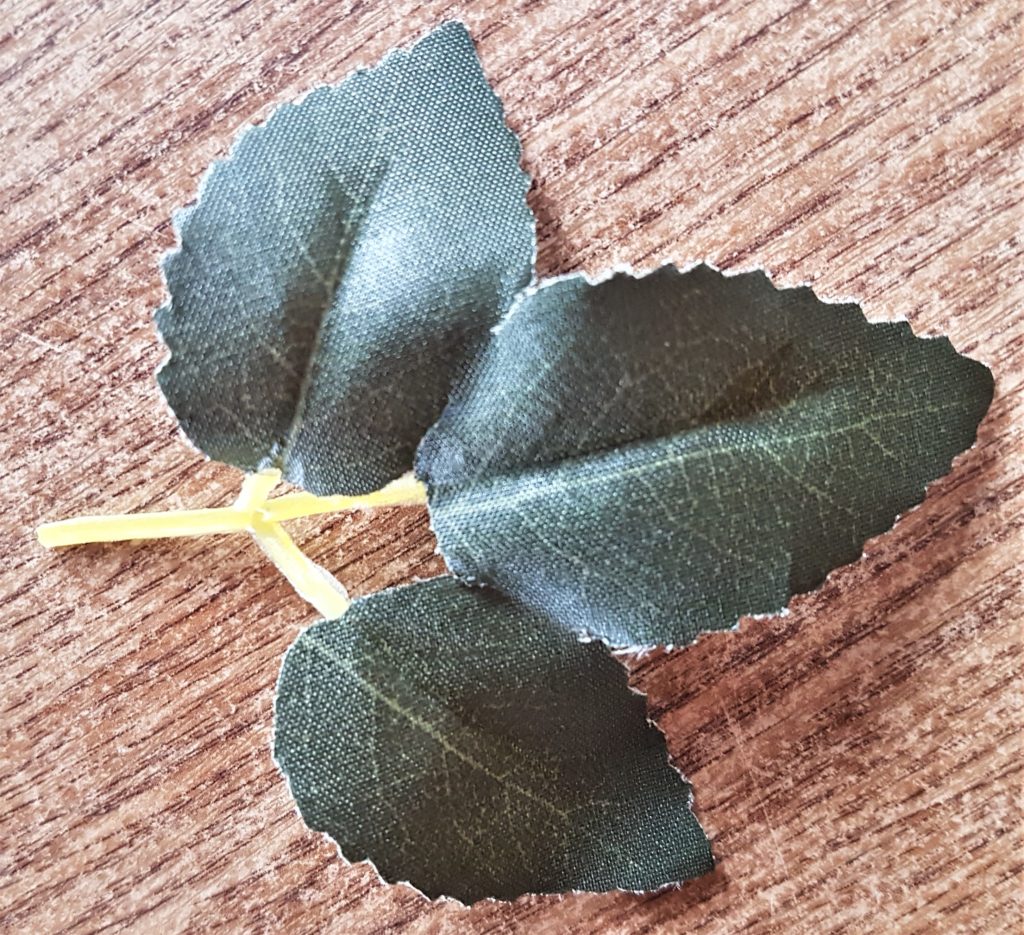
I cut off the stalk and separated each leaf.
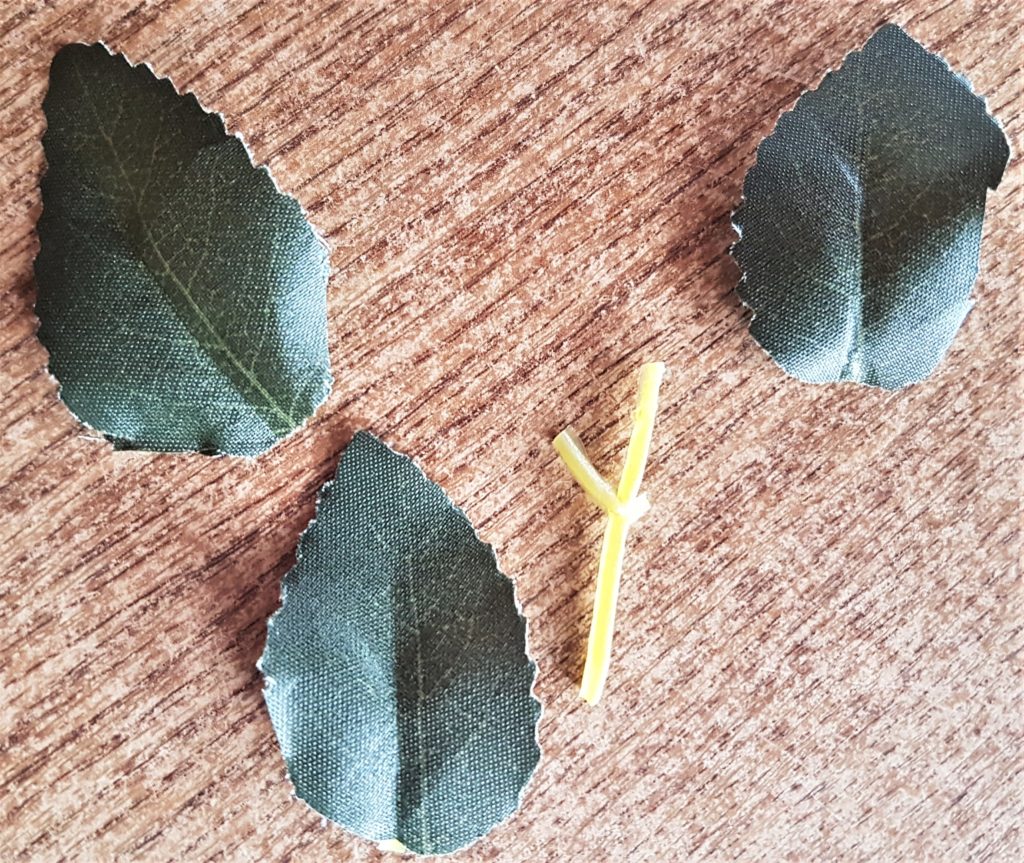
I wanted to cover up the hot glue peeking out from one of the flowers. I also thought the greenery would add colour and interest to the heart.
I hot glued the leaves one-by-one to the heart beside the flowers.
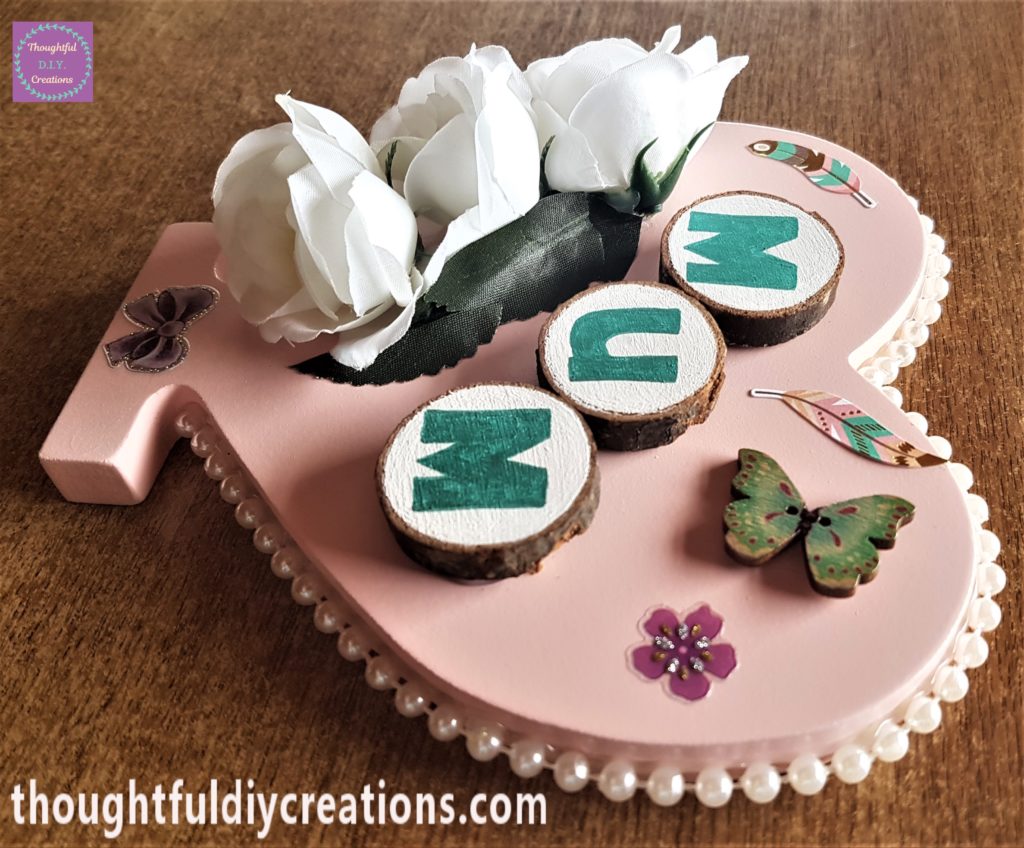

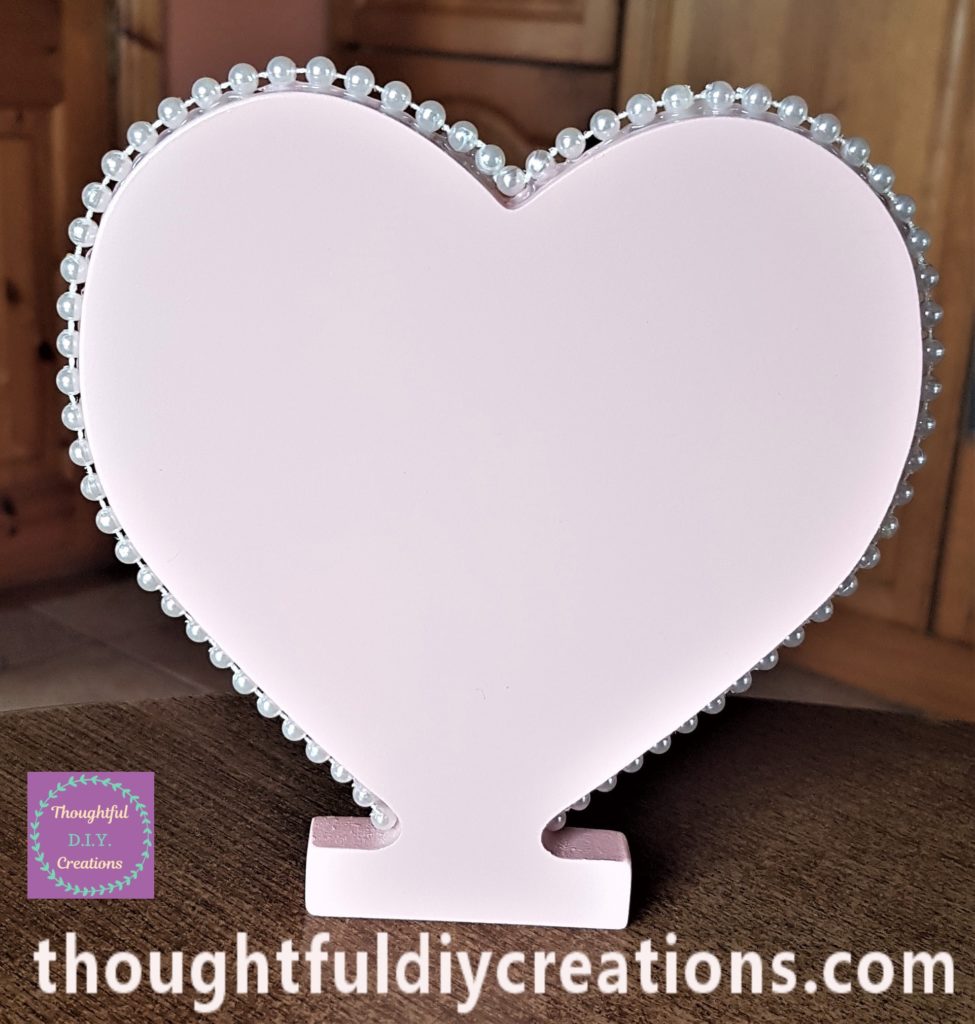
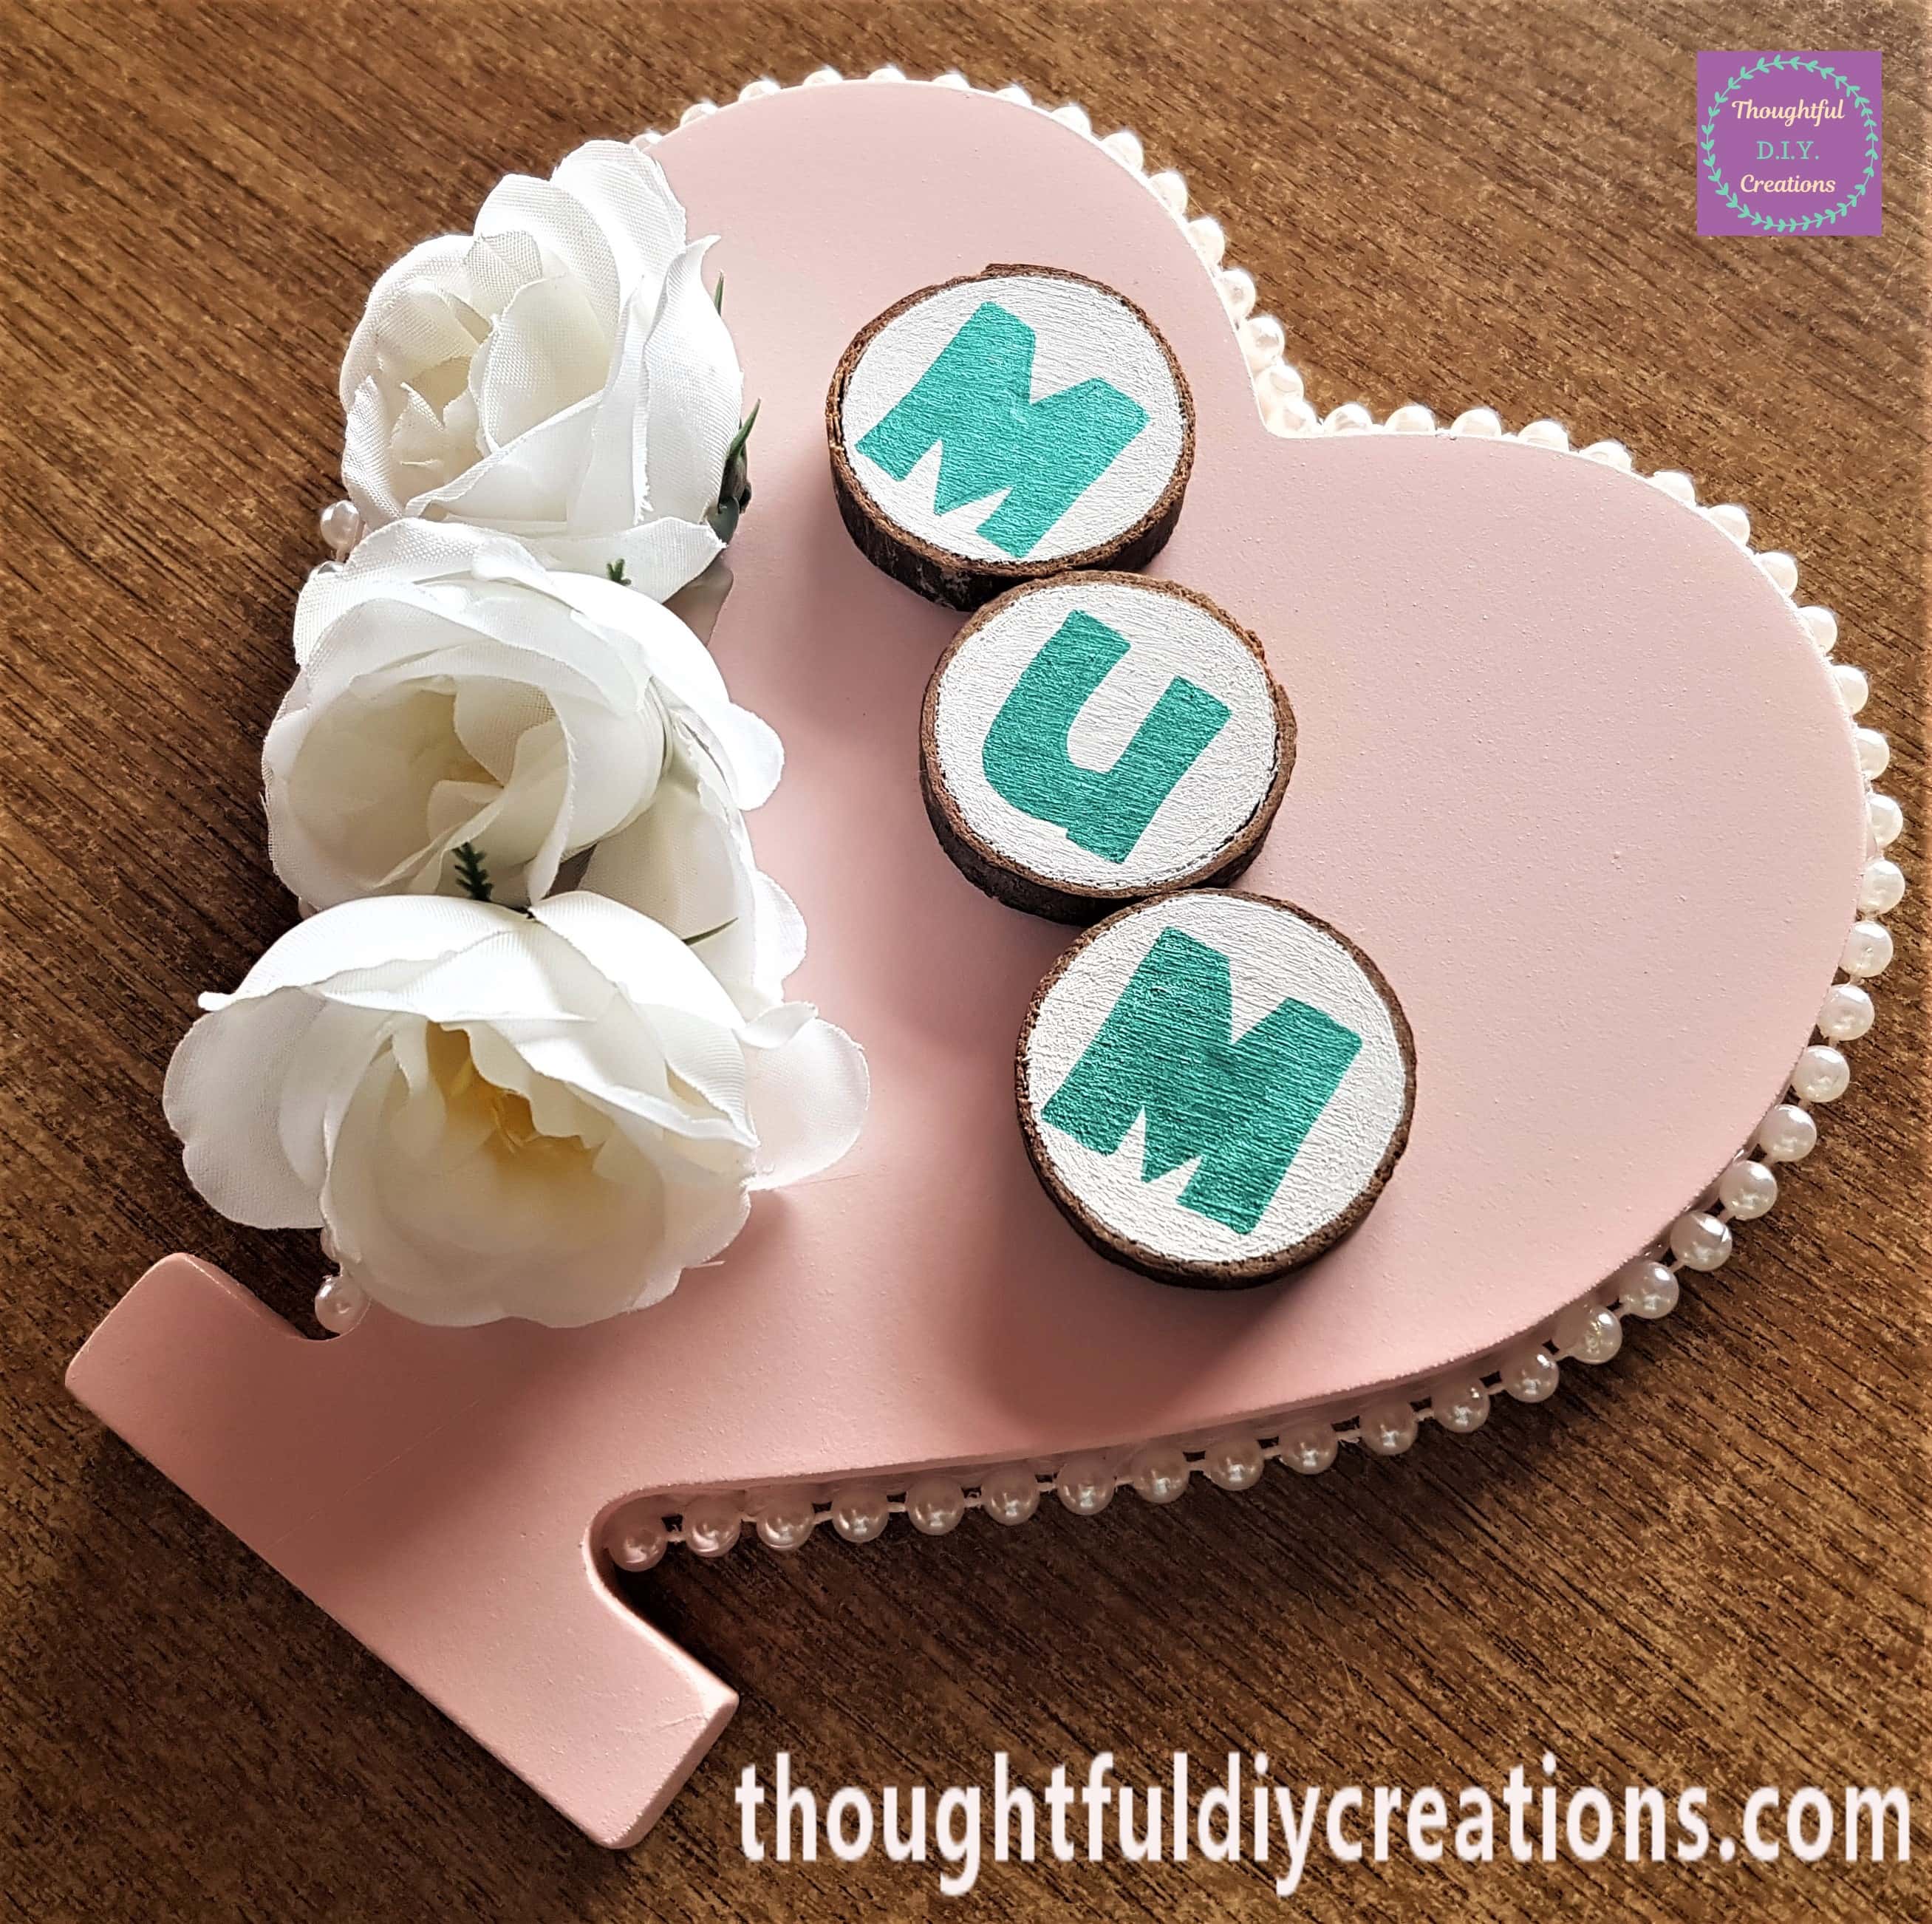
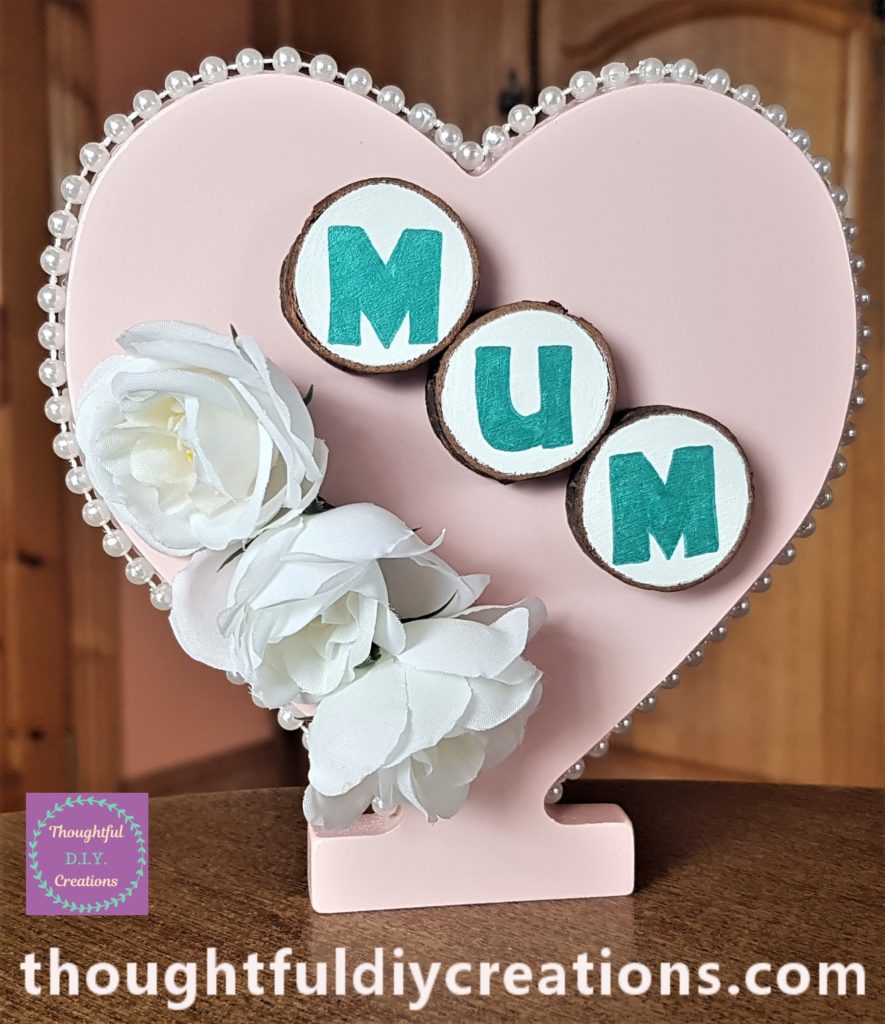
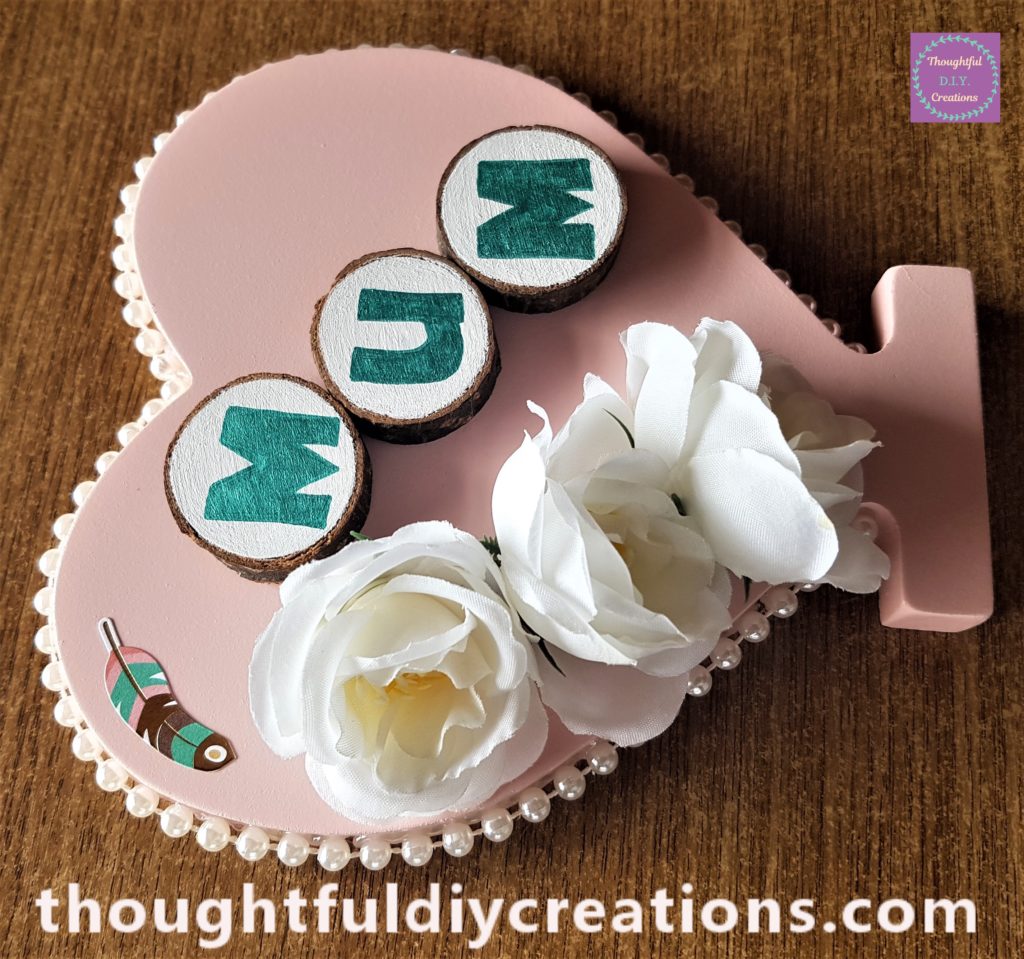
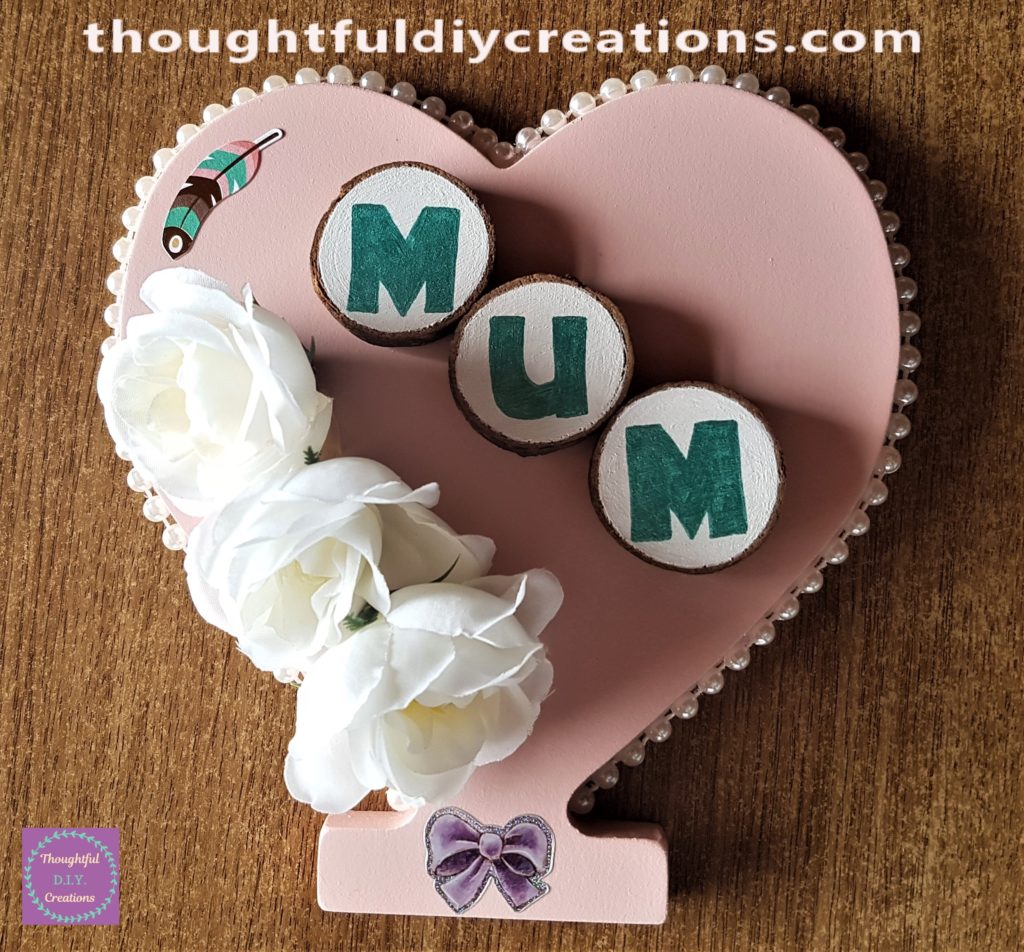
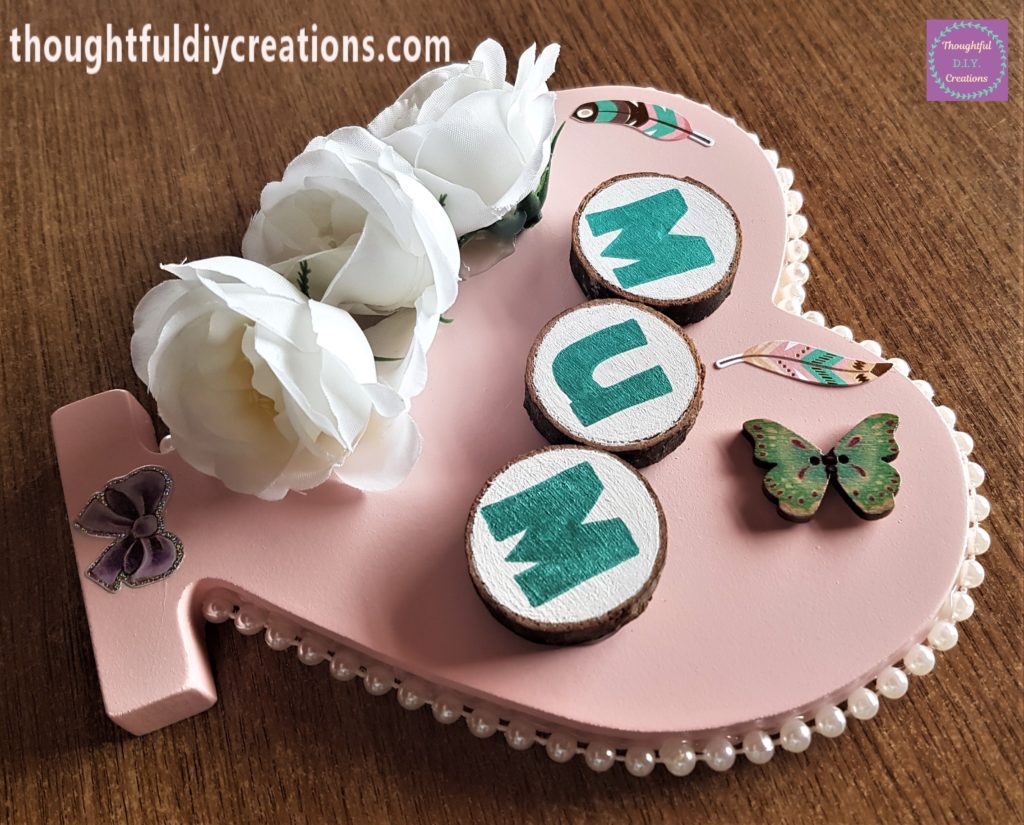
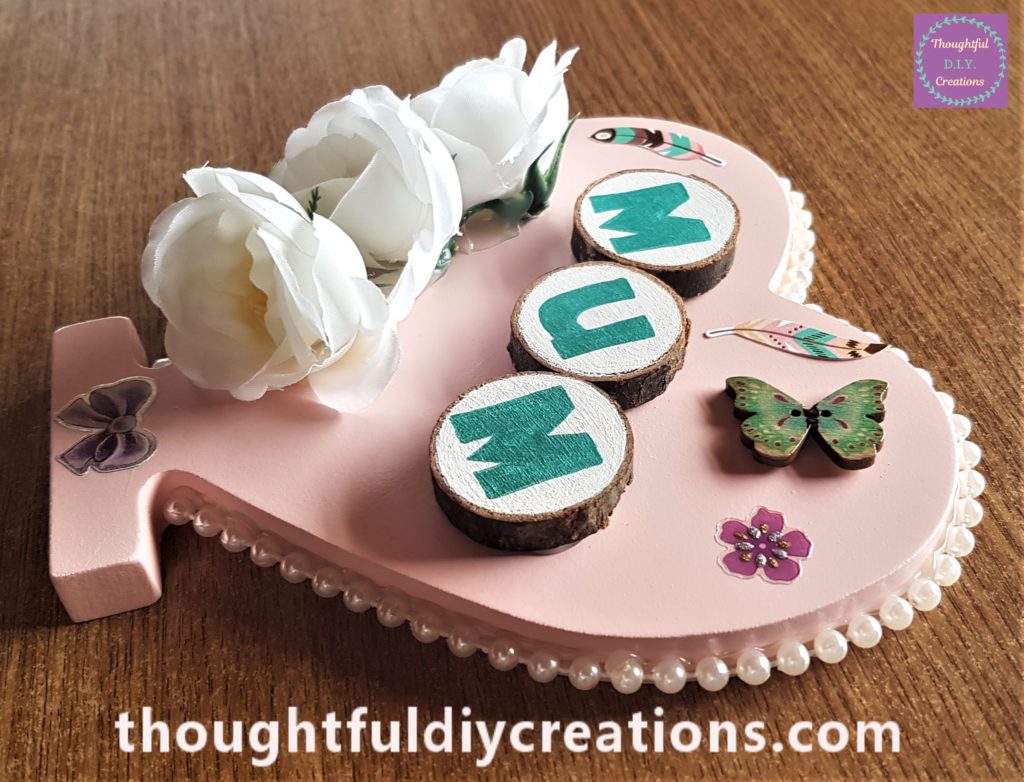
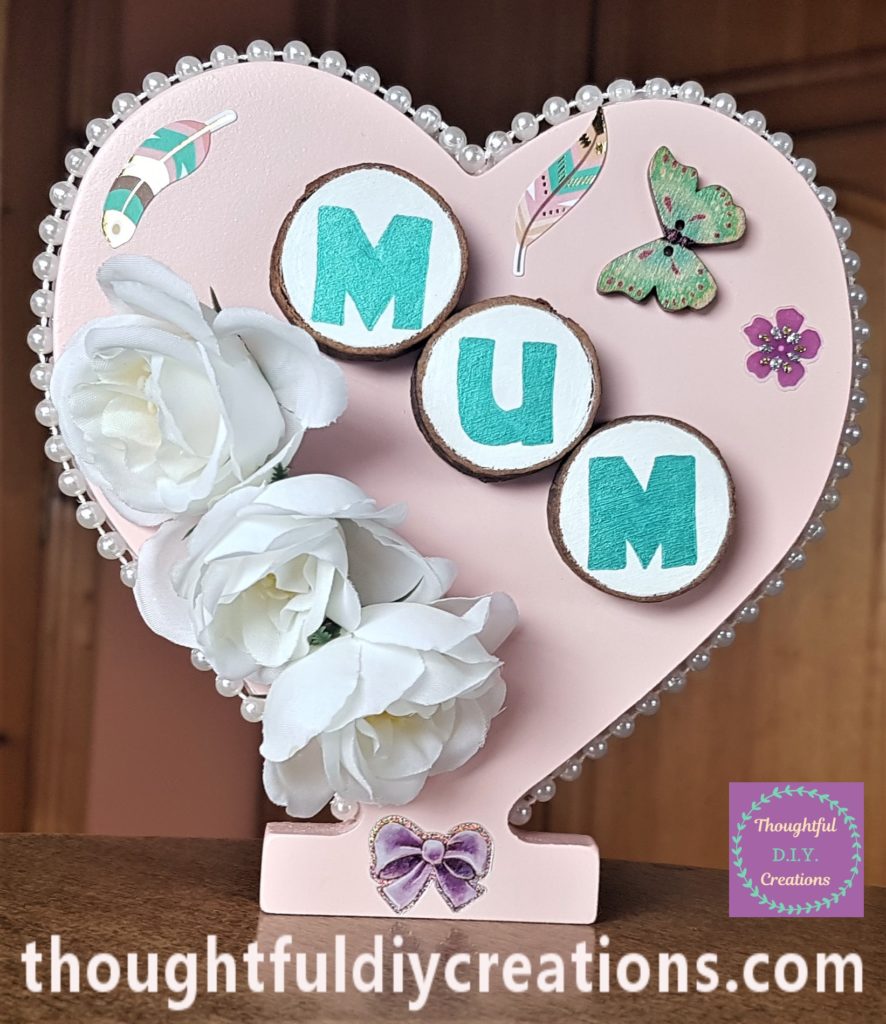
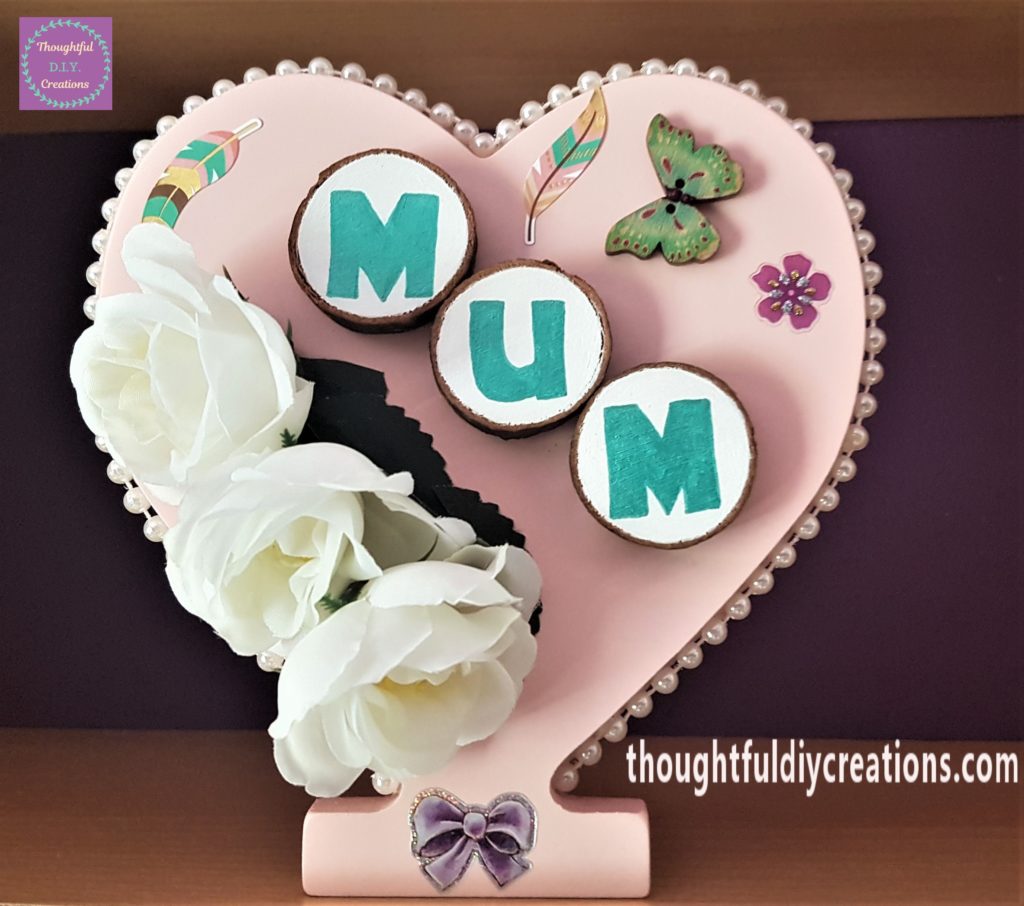
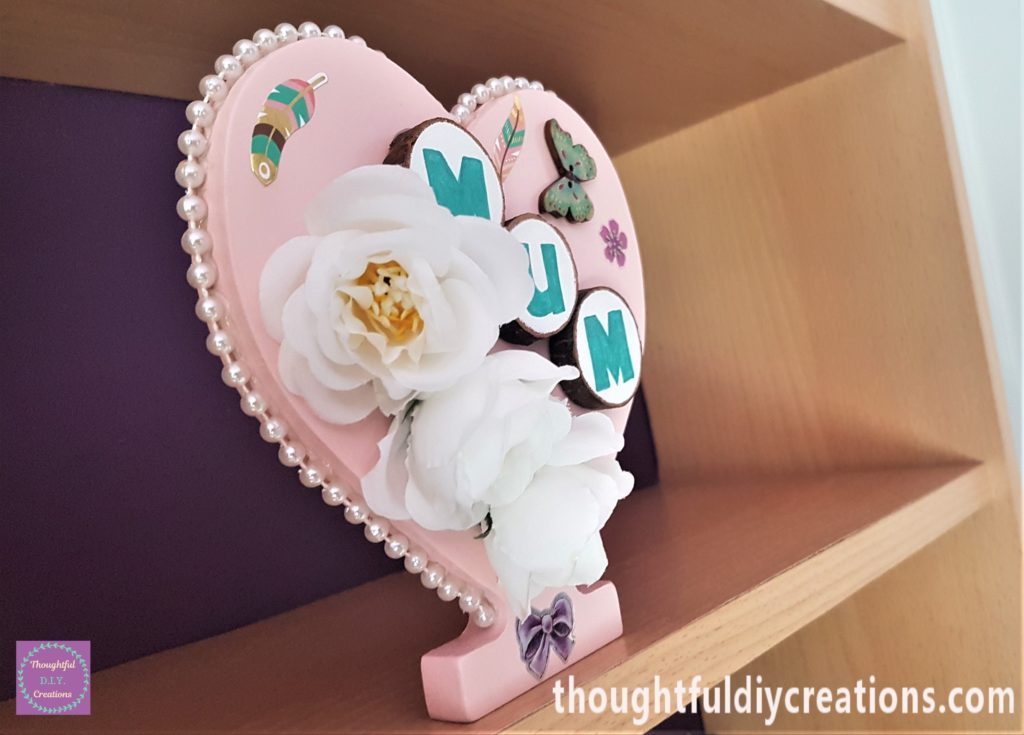
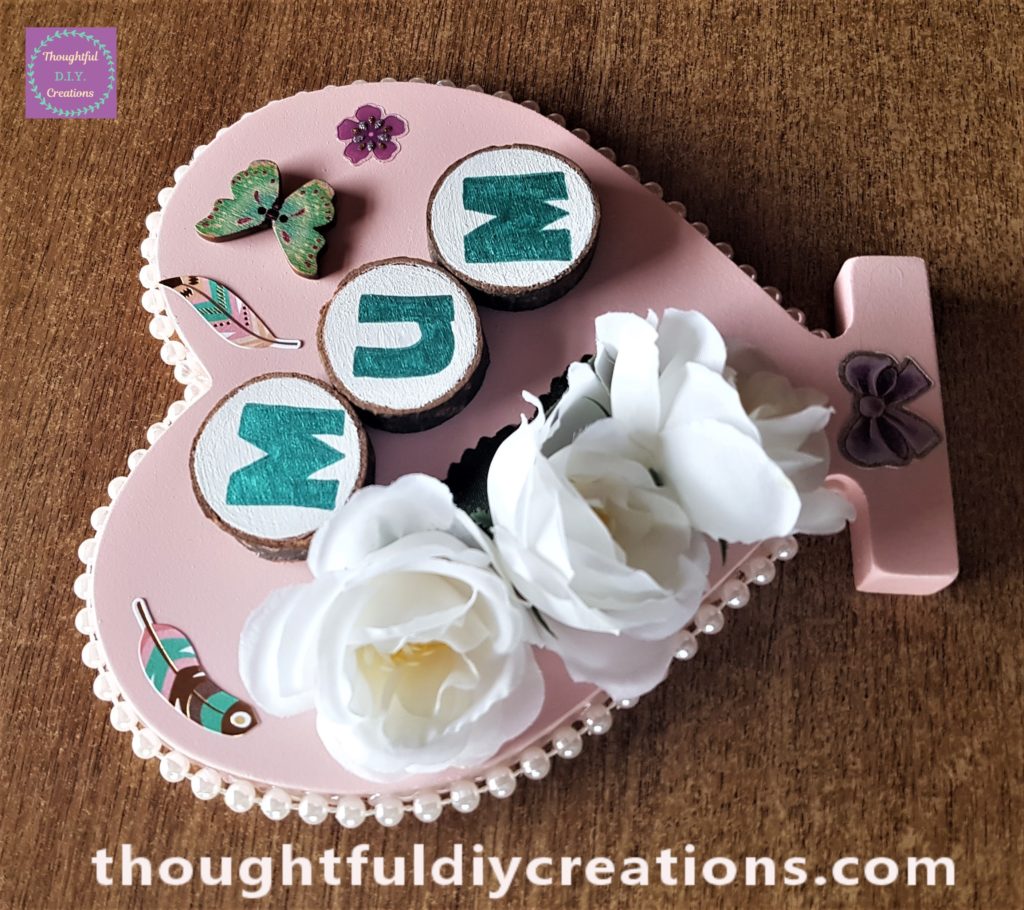
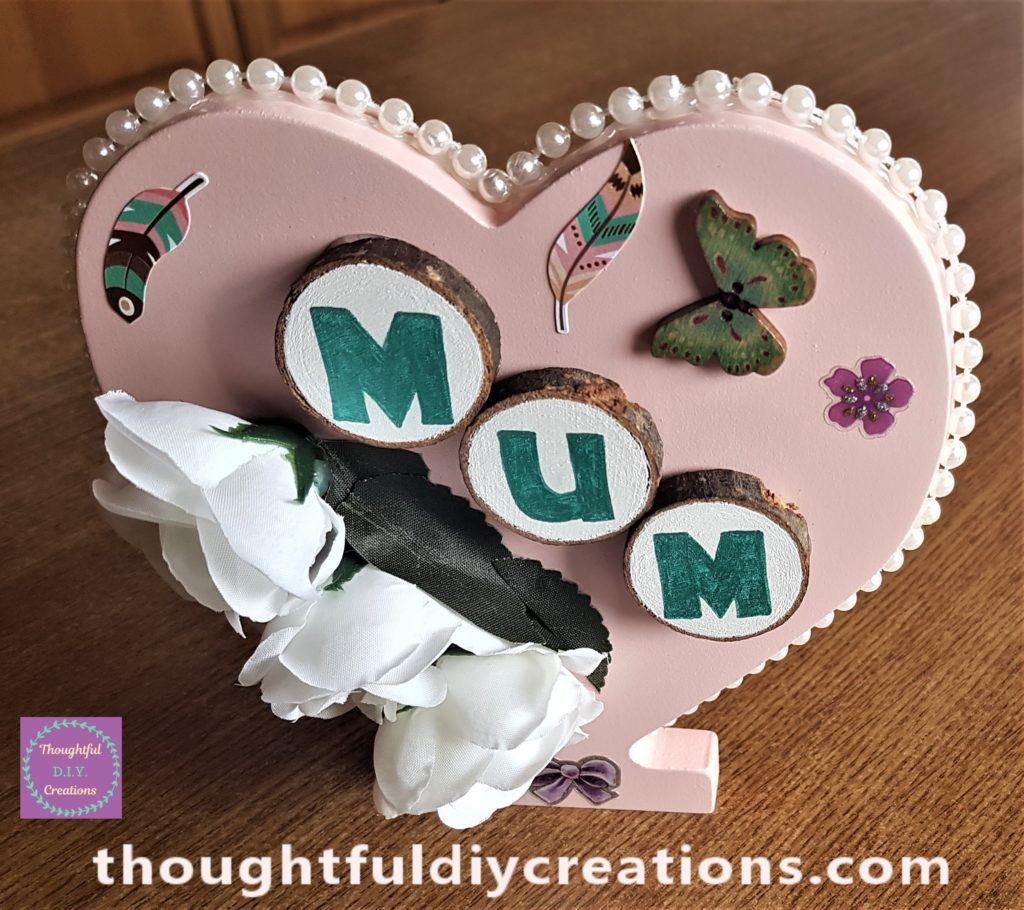
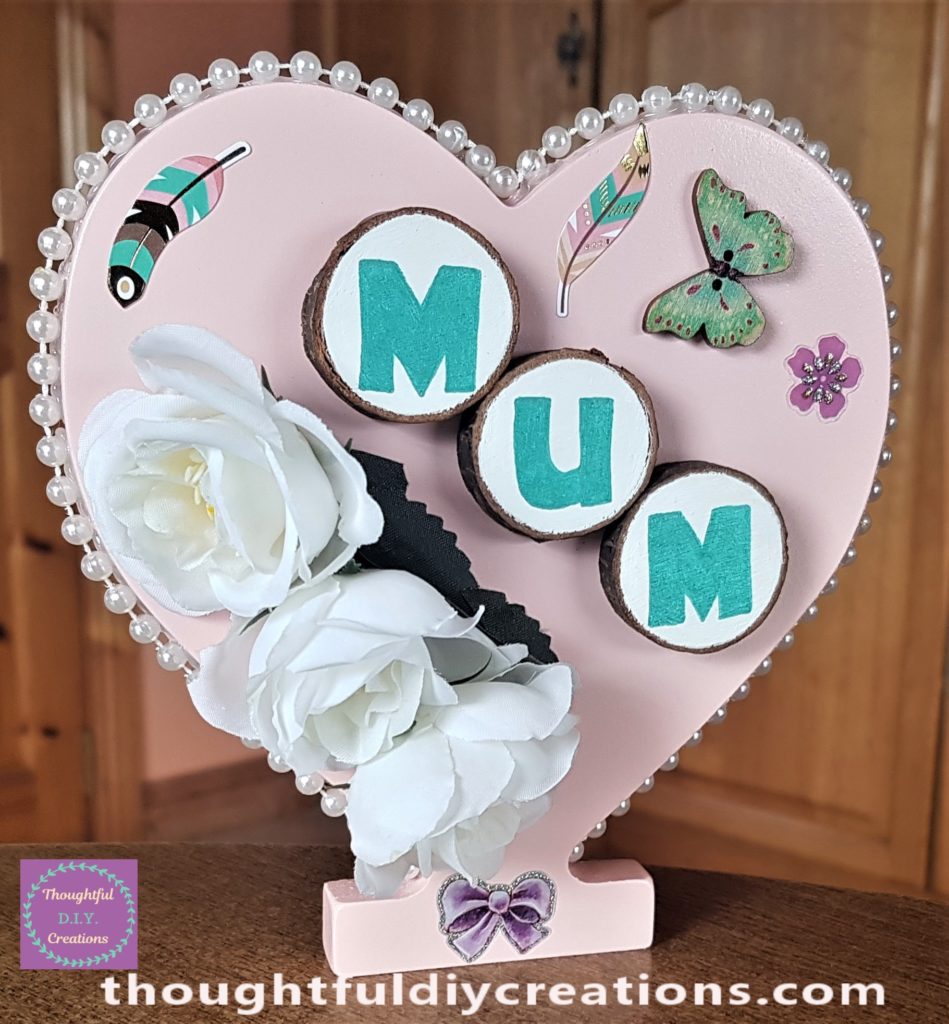
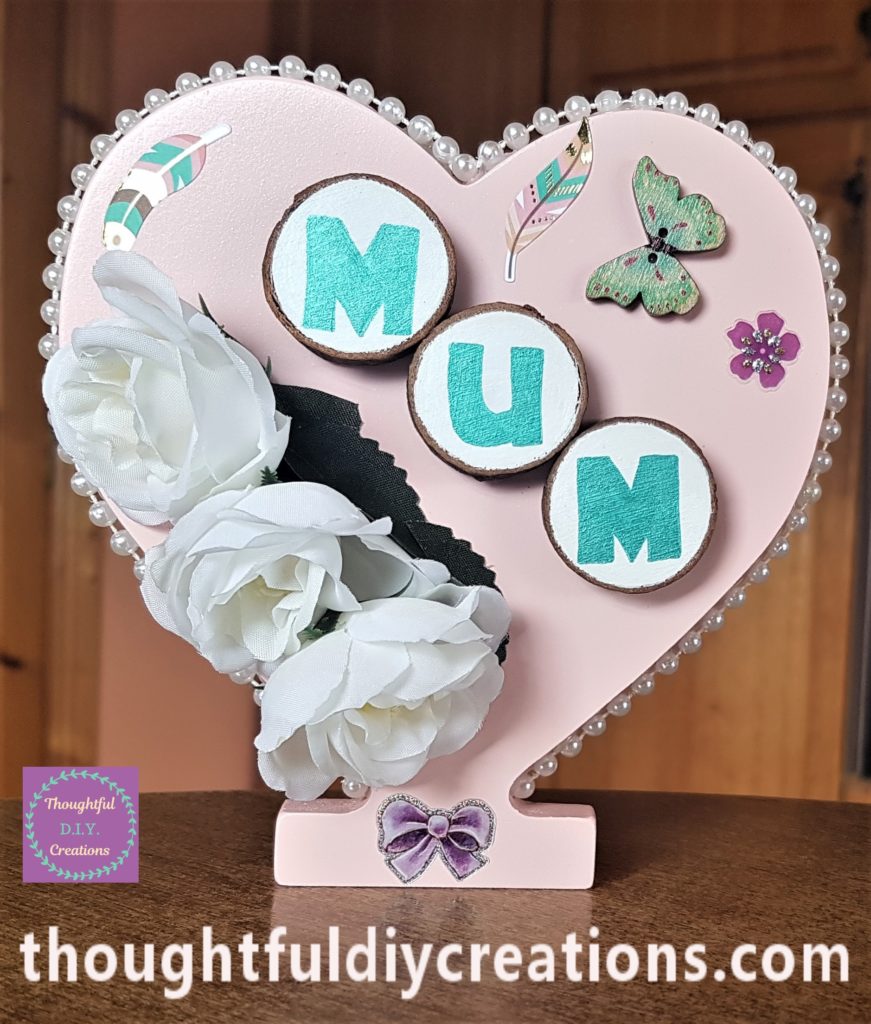
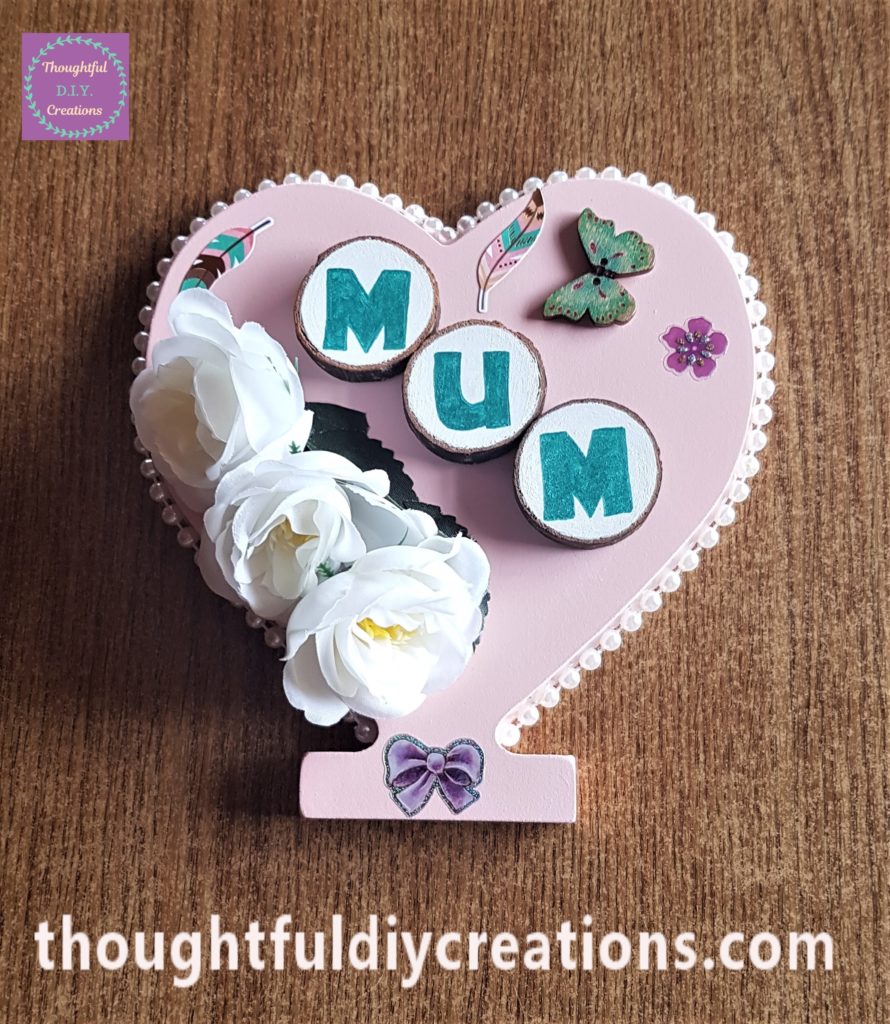
This Completed my Mothers Day Heart. Here are more images of the finished product.


Conclusion
I was happy with the outcome of the Mothers Day Heart. I think the colours go well together. I especially like the addition of the pearls and the flowers and white paint on the wood slices all complement each other.
The options are endless with how you could decorate your Heart plaque. If you have different embellishments than I used they can work too. You could add things your Mam enjoys e.g if she likes sewing you could add cute buttons, if she loves coffee you could add stickers of a Cup of Coffee. Try to make it personal for the added heartfelt touch.
If you have any questions on this Craft just fill out the Comment Box below this Blog Post and I will answer as soon as I can.
Wishing all the Mums / Mams / Moms / Step-Mums / Foster Mums / Adoptive Mums / First Time Mums a wonderful Mothers Day.
Thank you so much for taking the time to read my Blog.
Always Grateful,
T.D.C.
xoxox