Napkin Art Journal Page Tutorial
Hello my Creative Friends,
Welcome Back to my Blog, the first Tutorial of this Year. I hope you are all keeping Well and had a lovely Christmas and New Year under the Circumstances. Here’s hoping 2021 will bring Peace, Health and Joy to Everyone.
In Today’s Tutorial I will show you how I Completed an Art Journal Page using a Napkin, Paint, and Stamps. It is both Beginner and Budget Friendly and I hope it Inspires you to Start Art Journalling if you have never done it before or get back into it if you haven’t done a Page in a while.
Art Journal
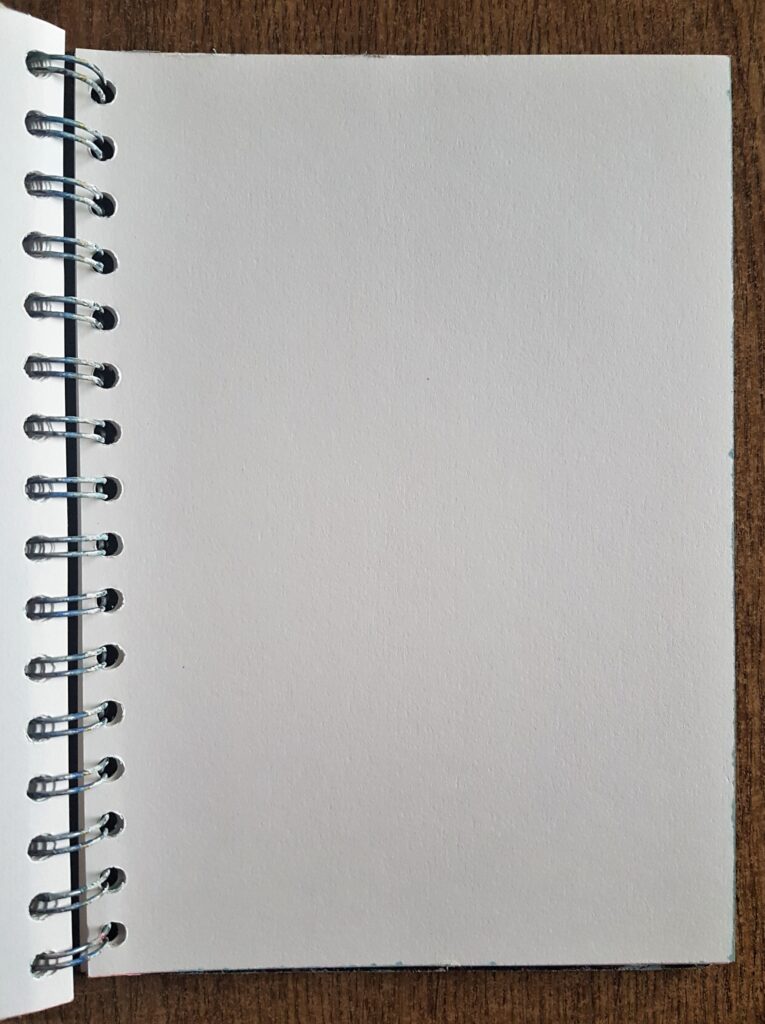
The Size of the Journal I used is 6 Inches in Width and 8 and a half Inches in Height. You can use whatever Size you Prefer or anything you already have at Home. If the Pages aren’t thick enough for Paint or Mixed Media you can Glue two Pages together to make them stronger and then apply Gesso to Prime it and give it a tooth like texture to make it easier to hold mediums like Paint or Texture Pastes.
This is the Inside of my Spiral Bound Journal opened up and ready to Start.
Napkin for the Art Journal
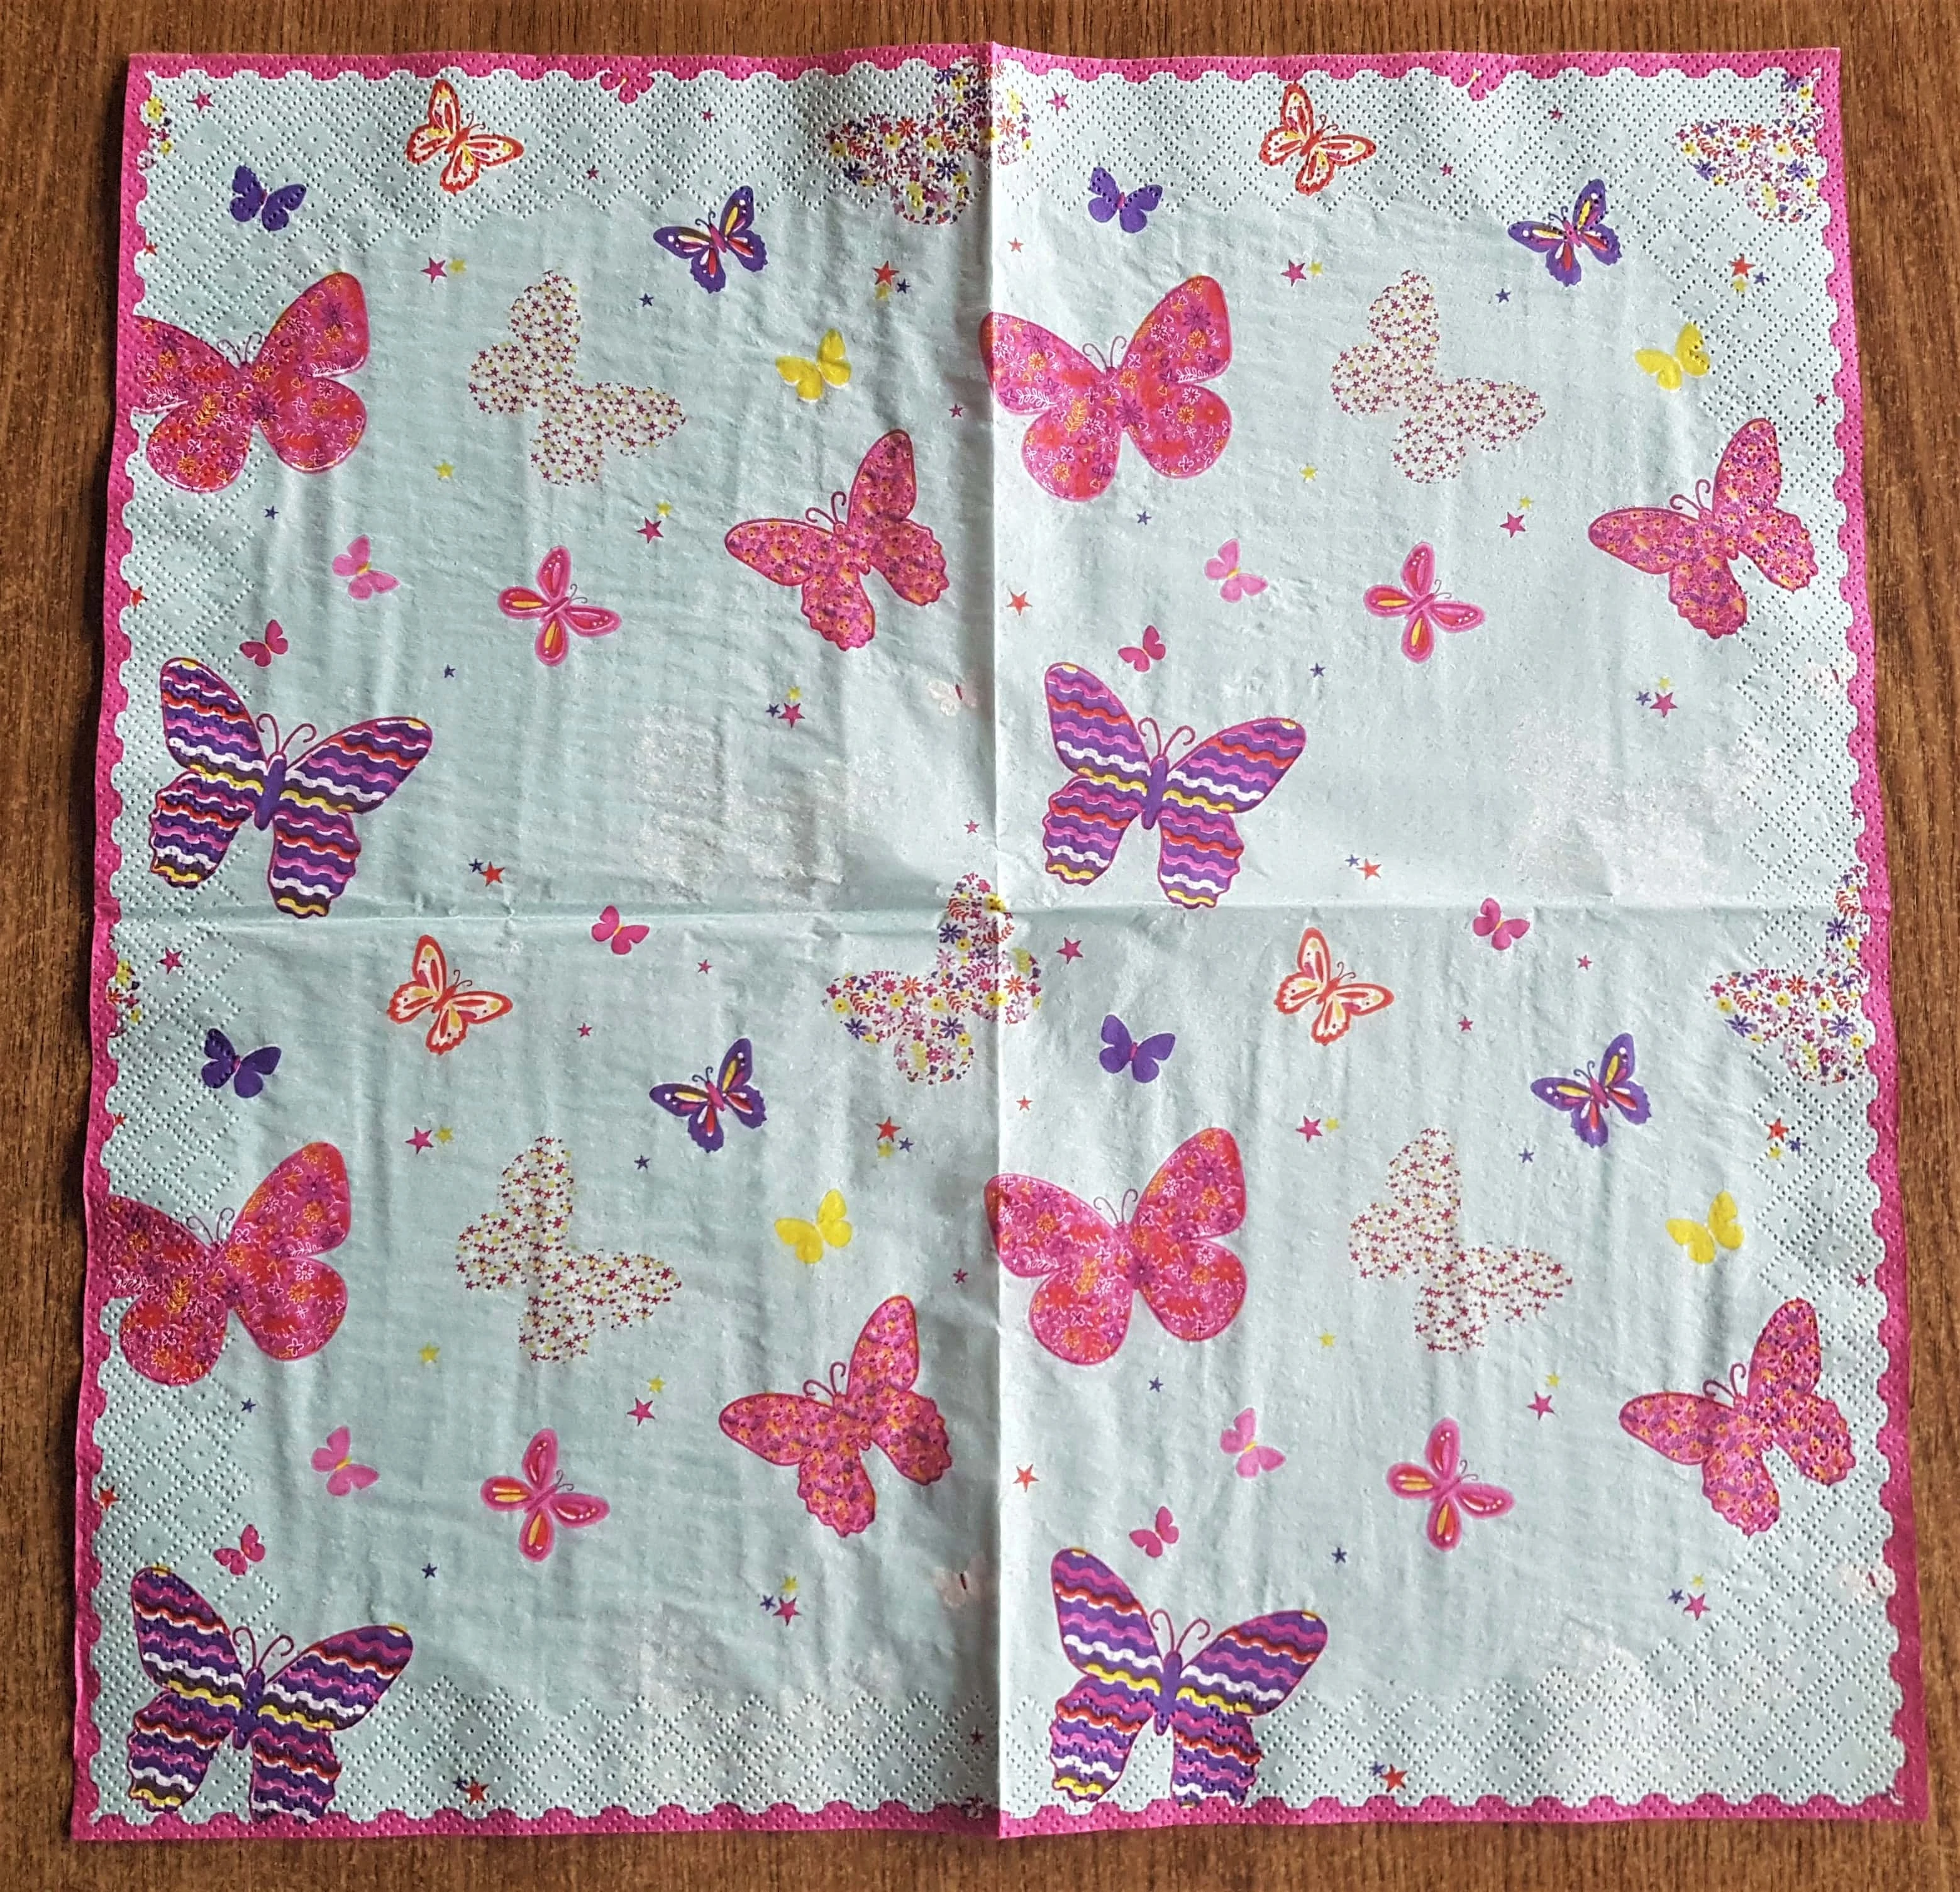
I had some Butterfly Napkins left over from a Birthday Party a few years ago. I kept them in my Craft Supplies as I thought the Colours and Butterflies would be beautiful added to an Art Journal or Decoupaged to a Jar / Bottle /Box etc.
I got One Butterfly Napkin and opened it out.
Separating the Layers of the Napkin
A Napkin is usually 3 -Ply meaning it has 3 layers; we only need the Top layer with the Pattern on it for Crafting.
I got One Corner of the Napkin and began to Carefully separate the two bottom plain layers from the Patterned Napkin.
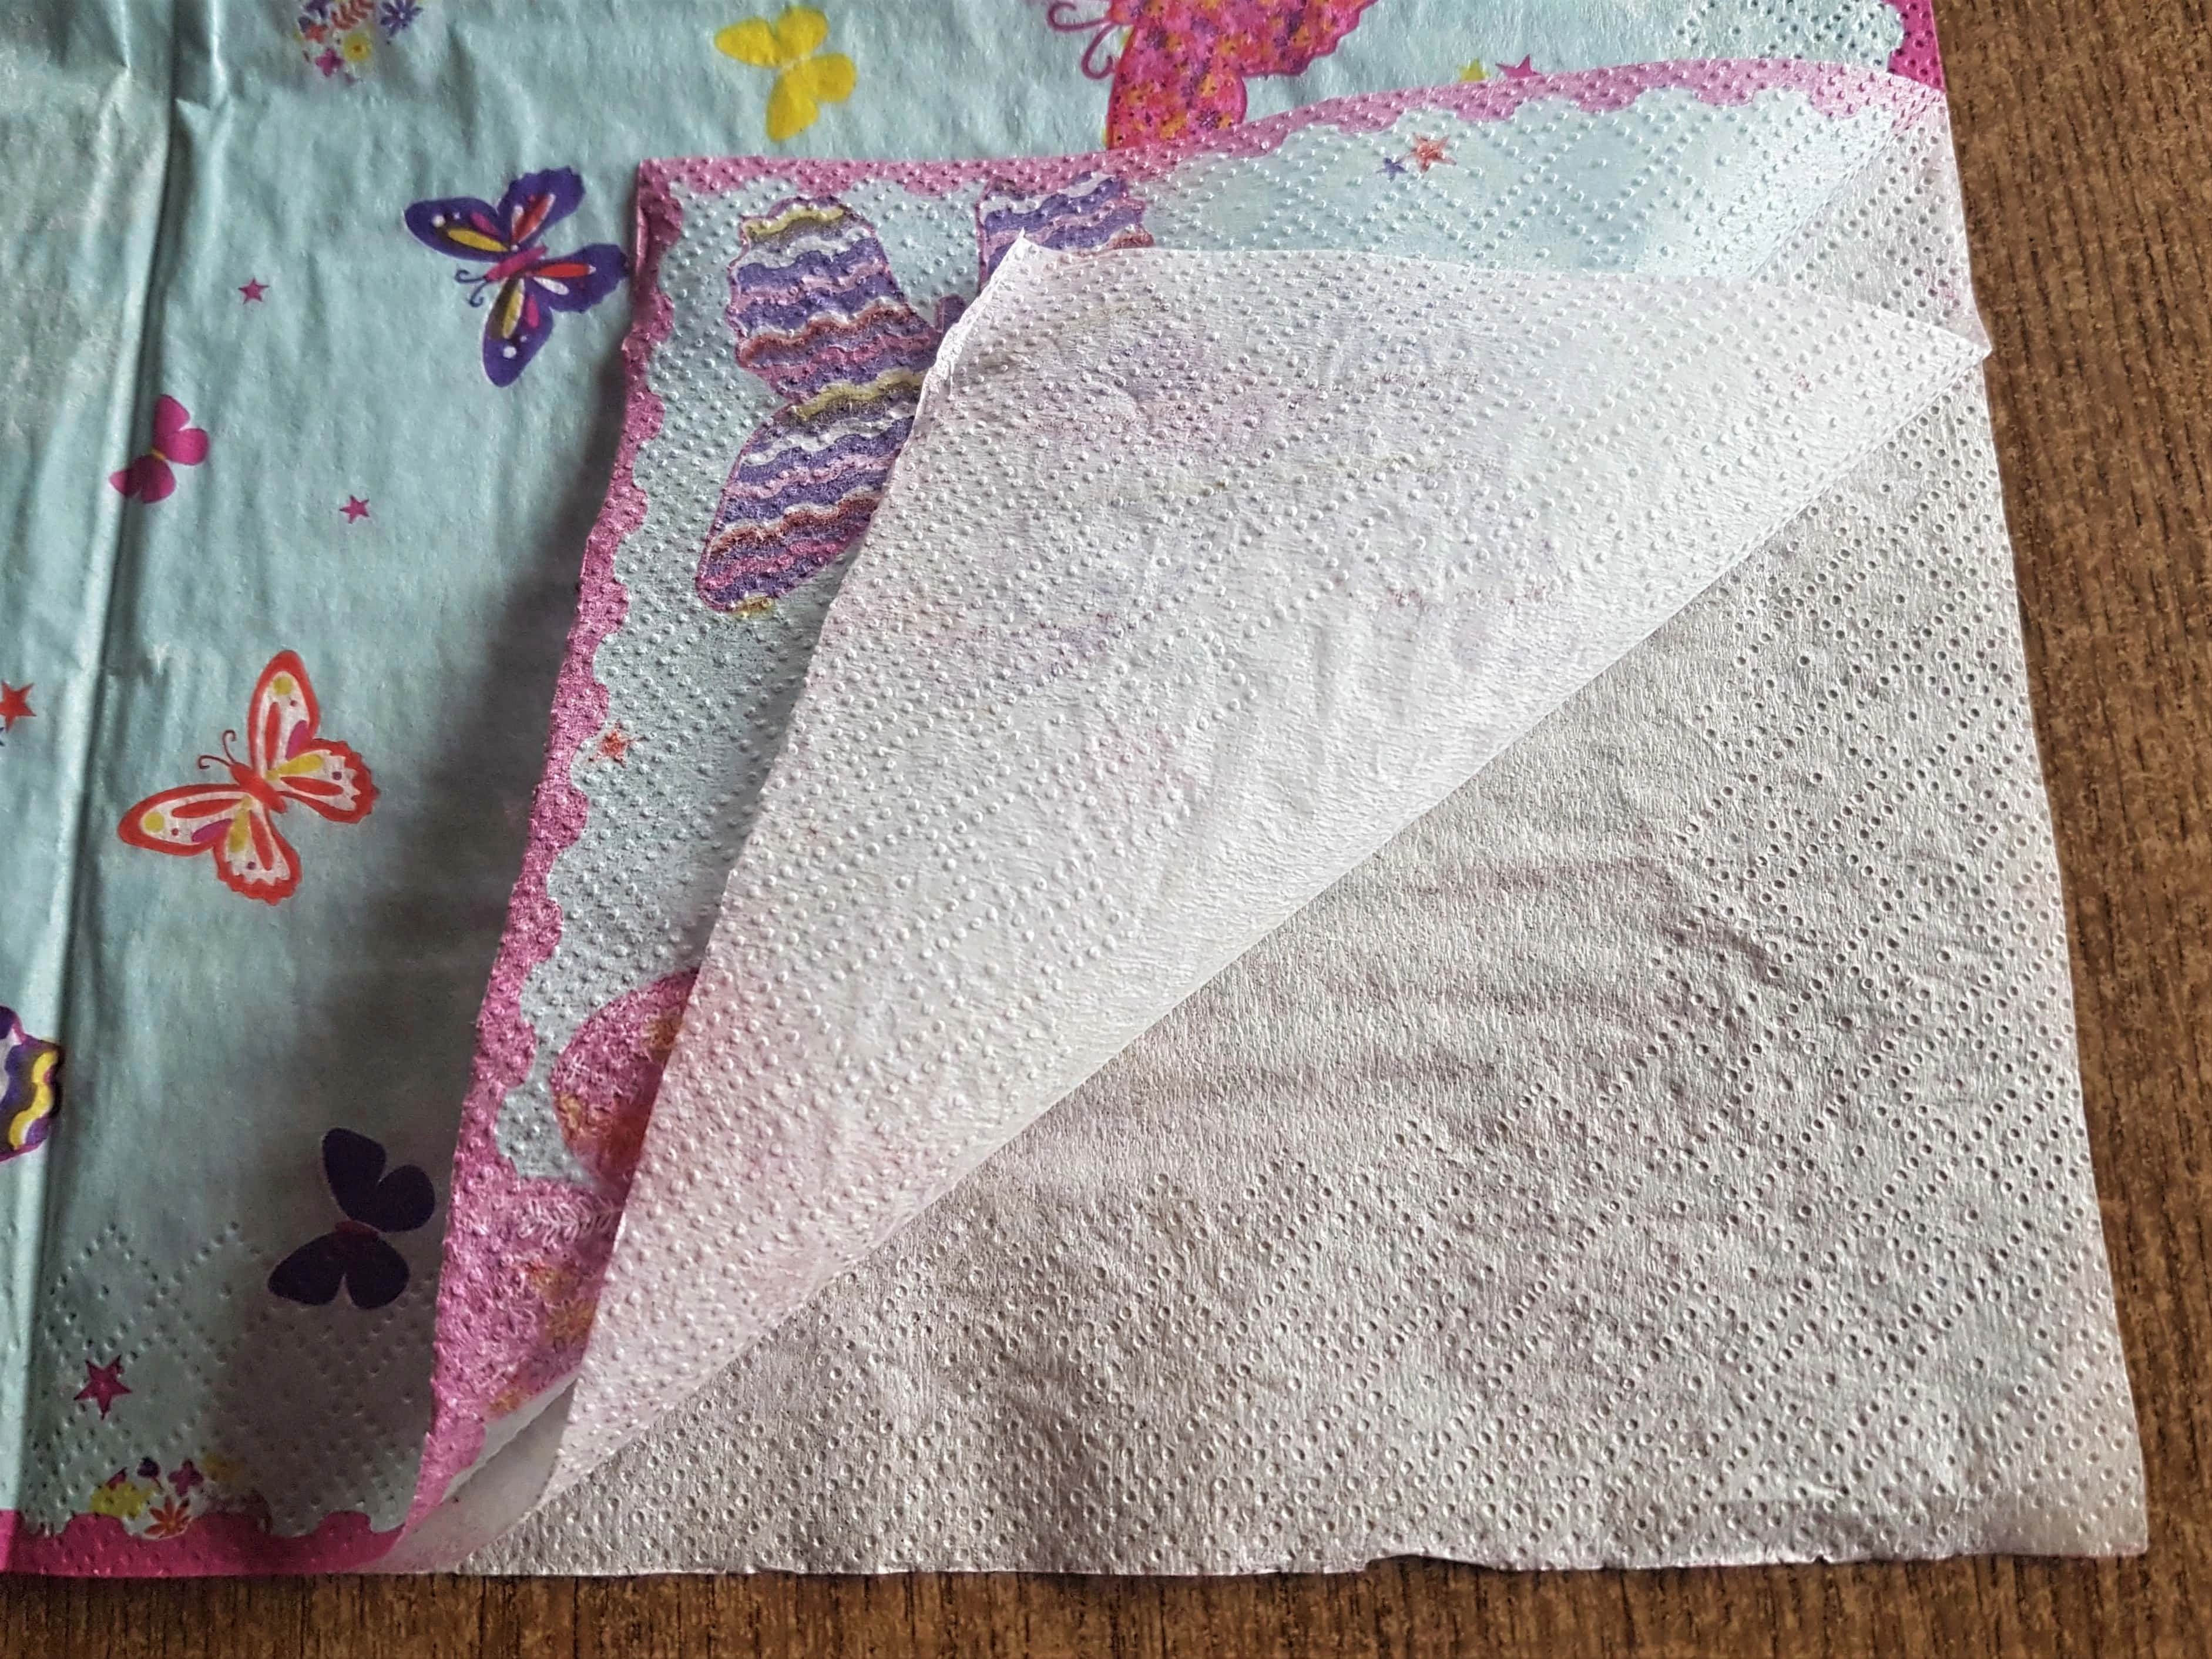
I then removed them one layer at a time. This is how my Napkin looks with the 2 layers peeled off.
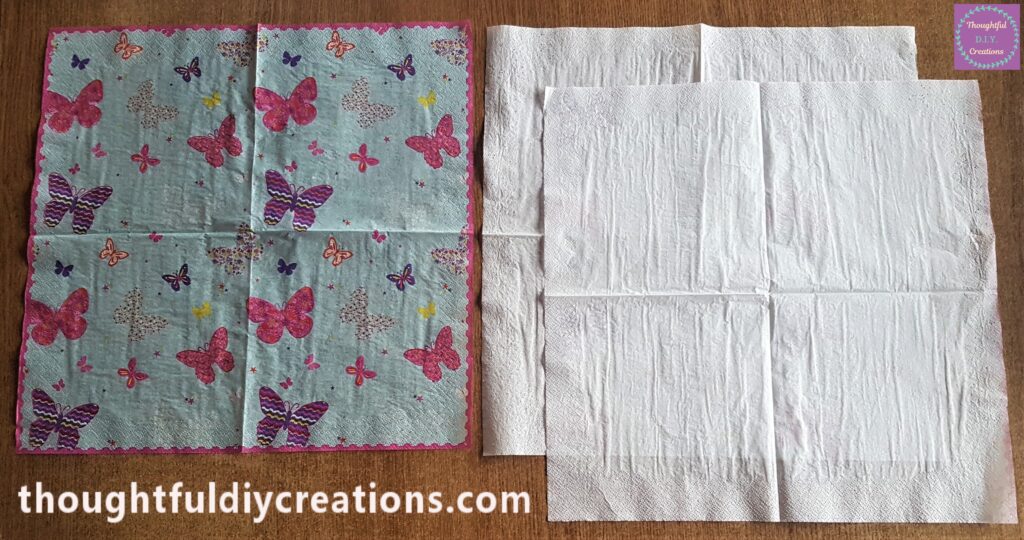
You can discard the 2 Plain layers as we won’t need them for this Craft. This is the Top layer of the Napkin without the bottom two layers.
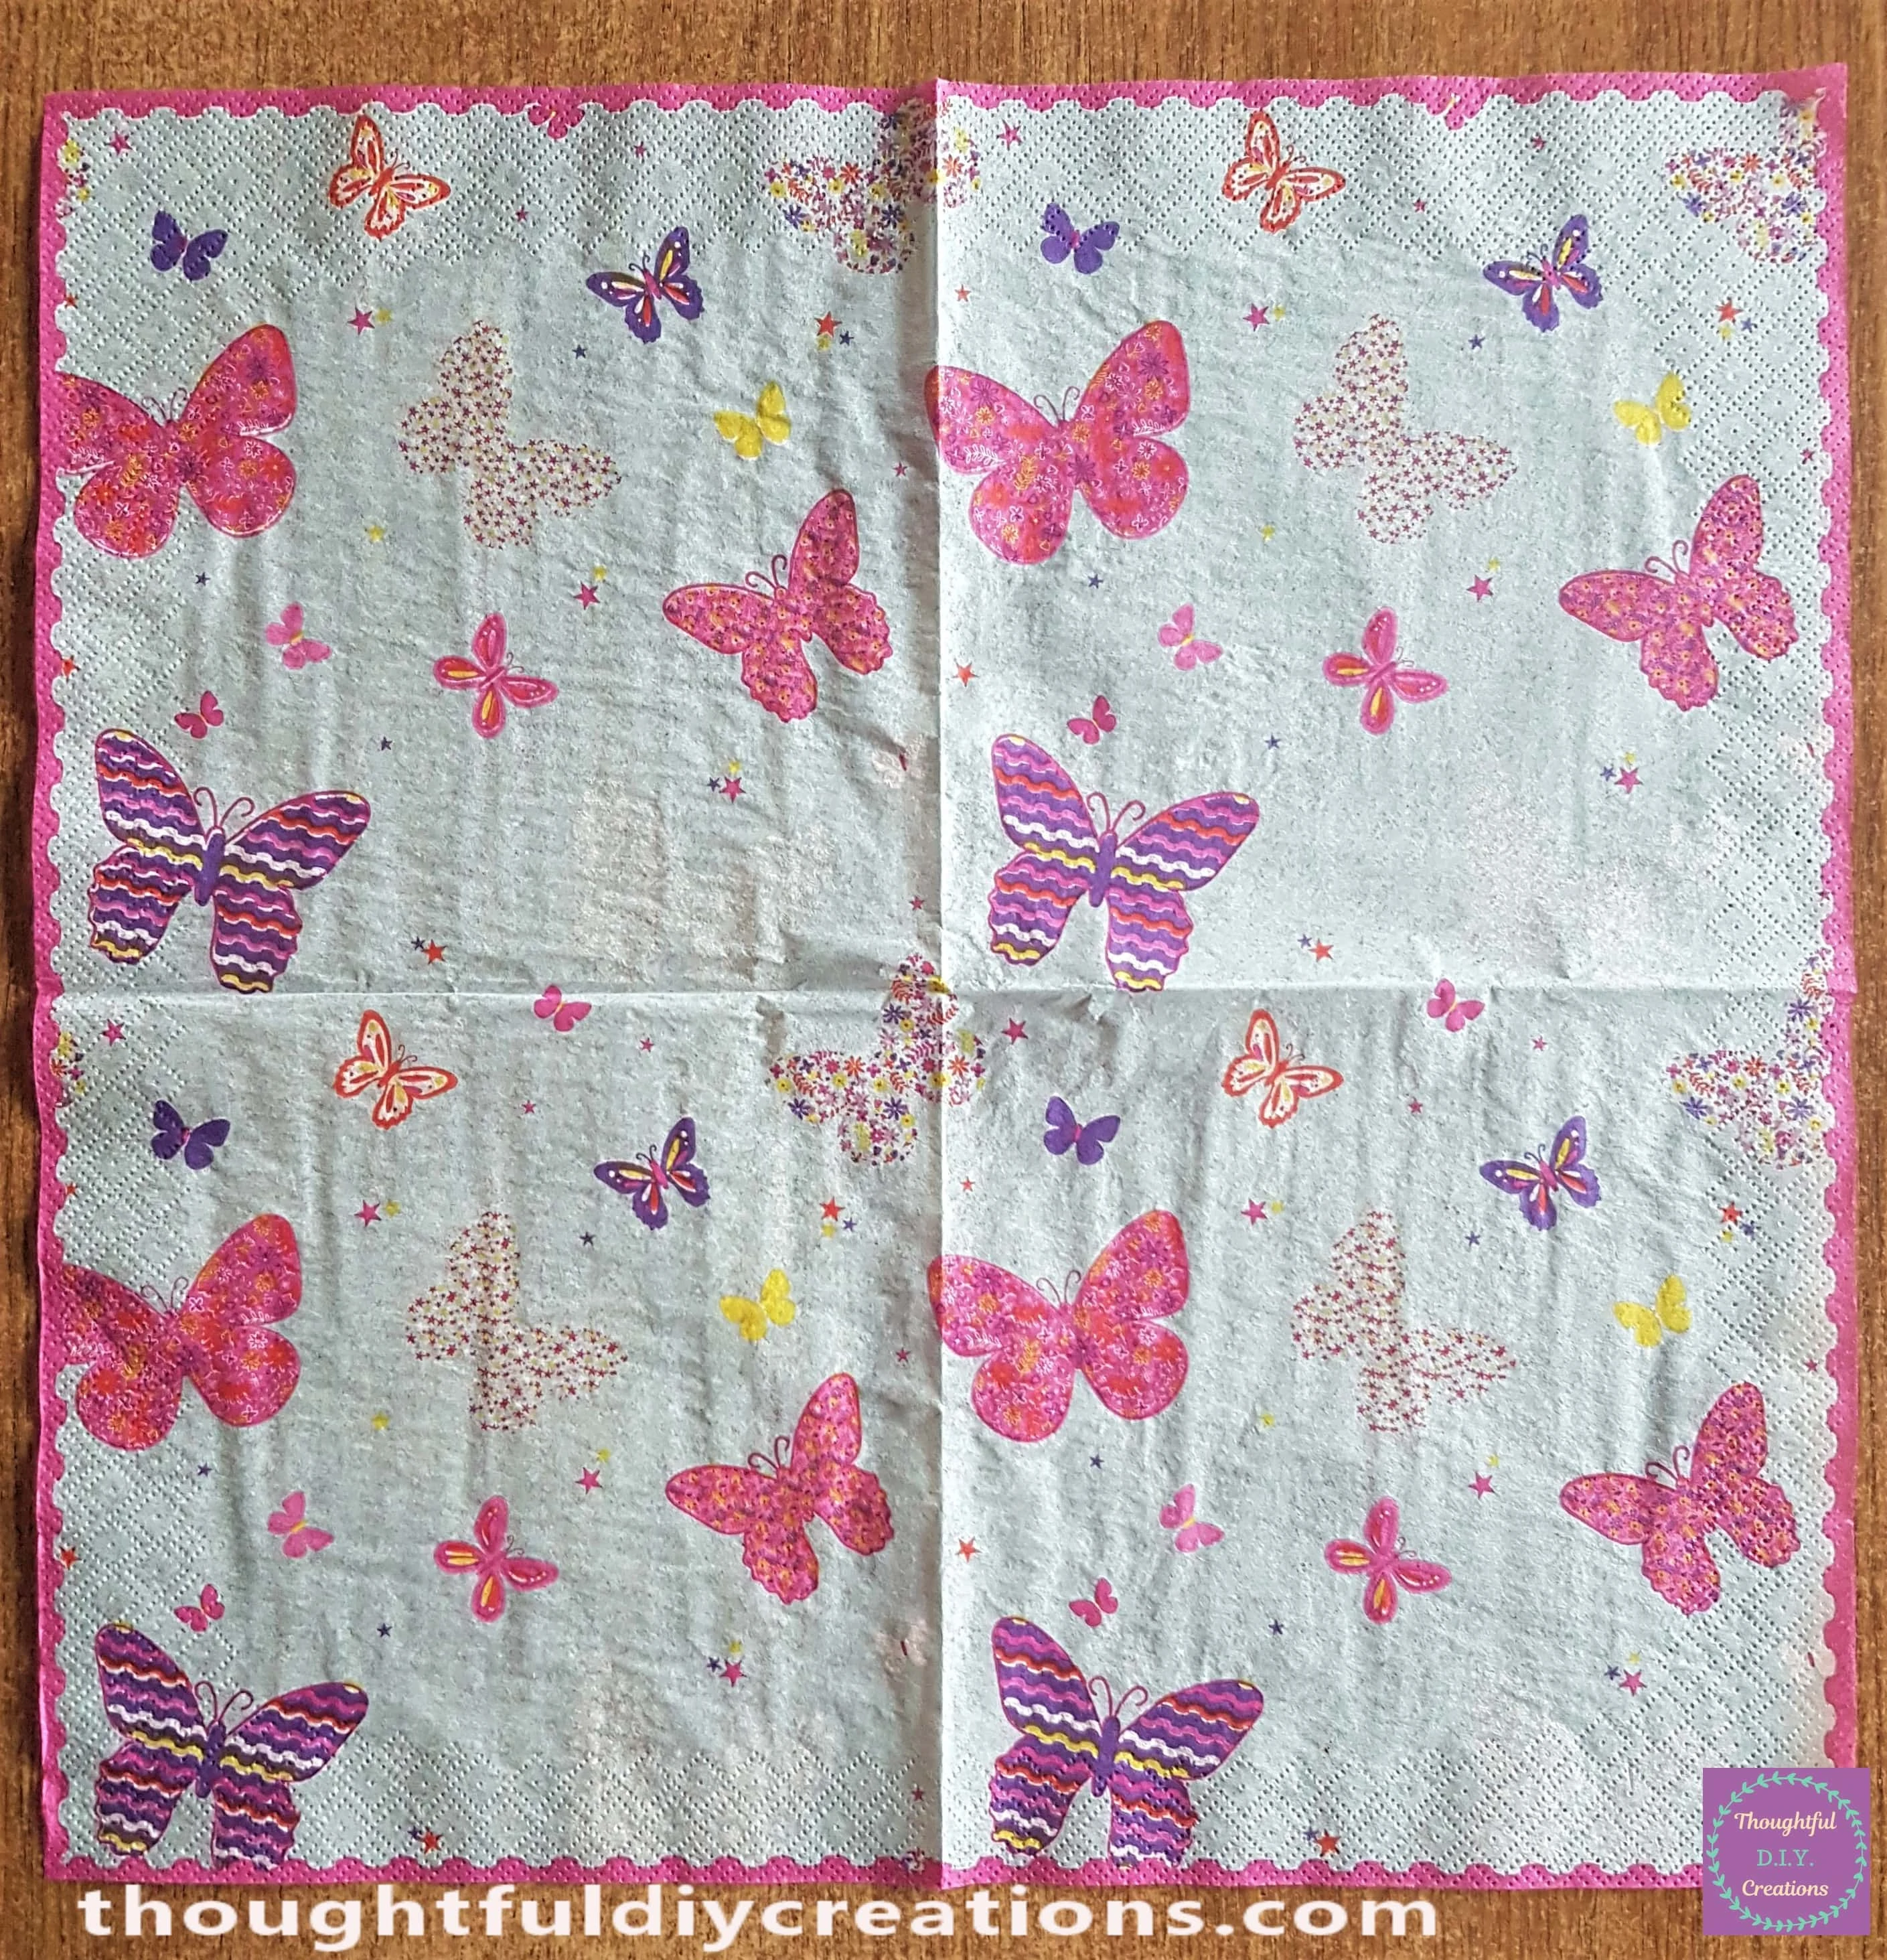
Tearing the Butterfly Images from the Napkin
I began to tear the Napkin with my Fingers. If you cut the Napkin pieces with a scissors you will be left with a sharp edge all around making it harder to blend the Cut out Image into your Work; it will stand out more compared to when you tear it.
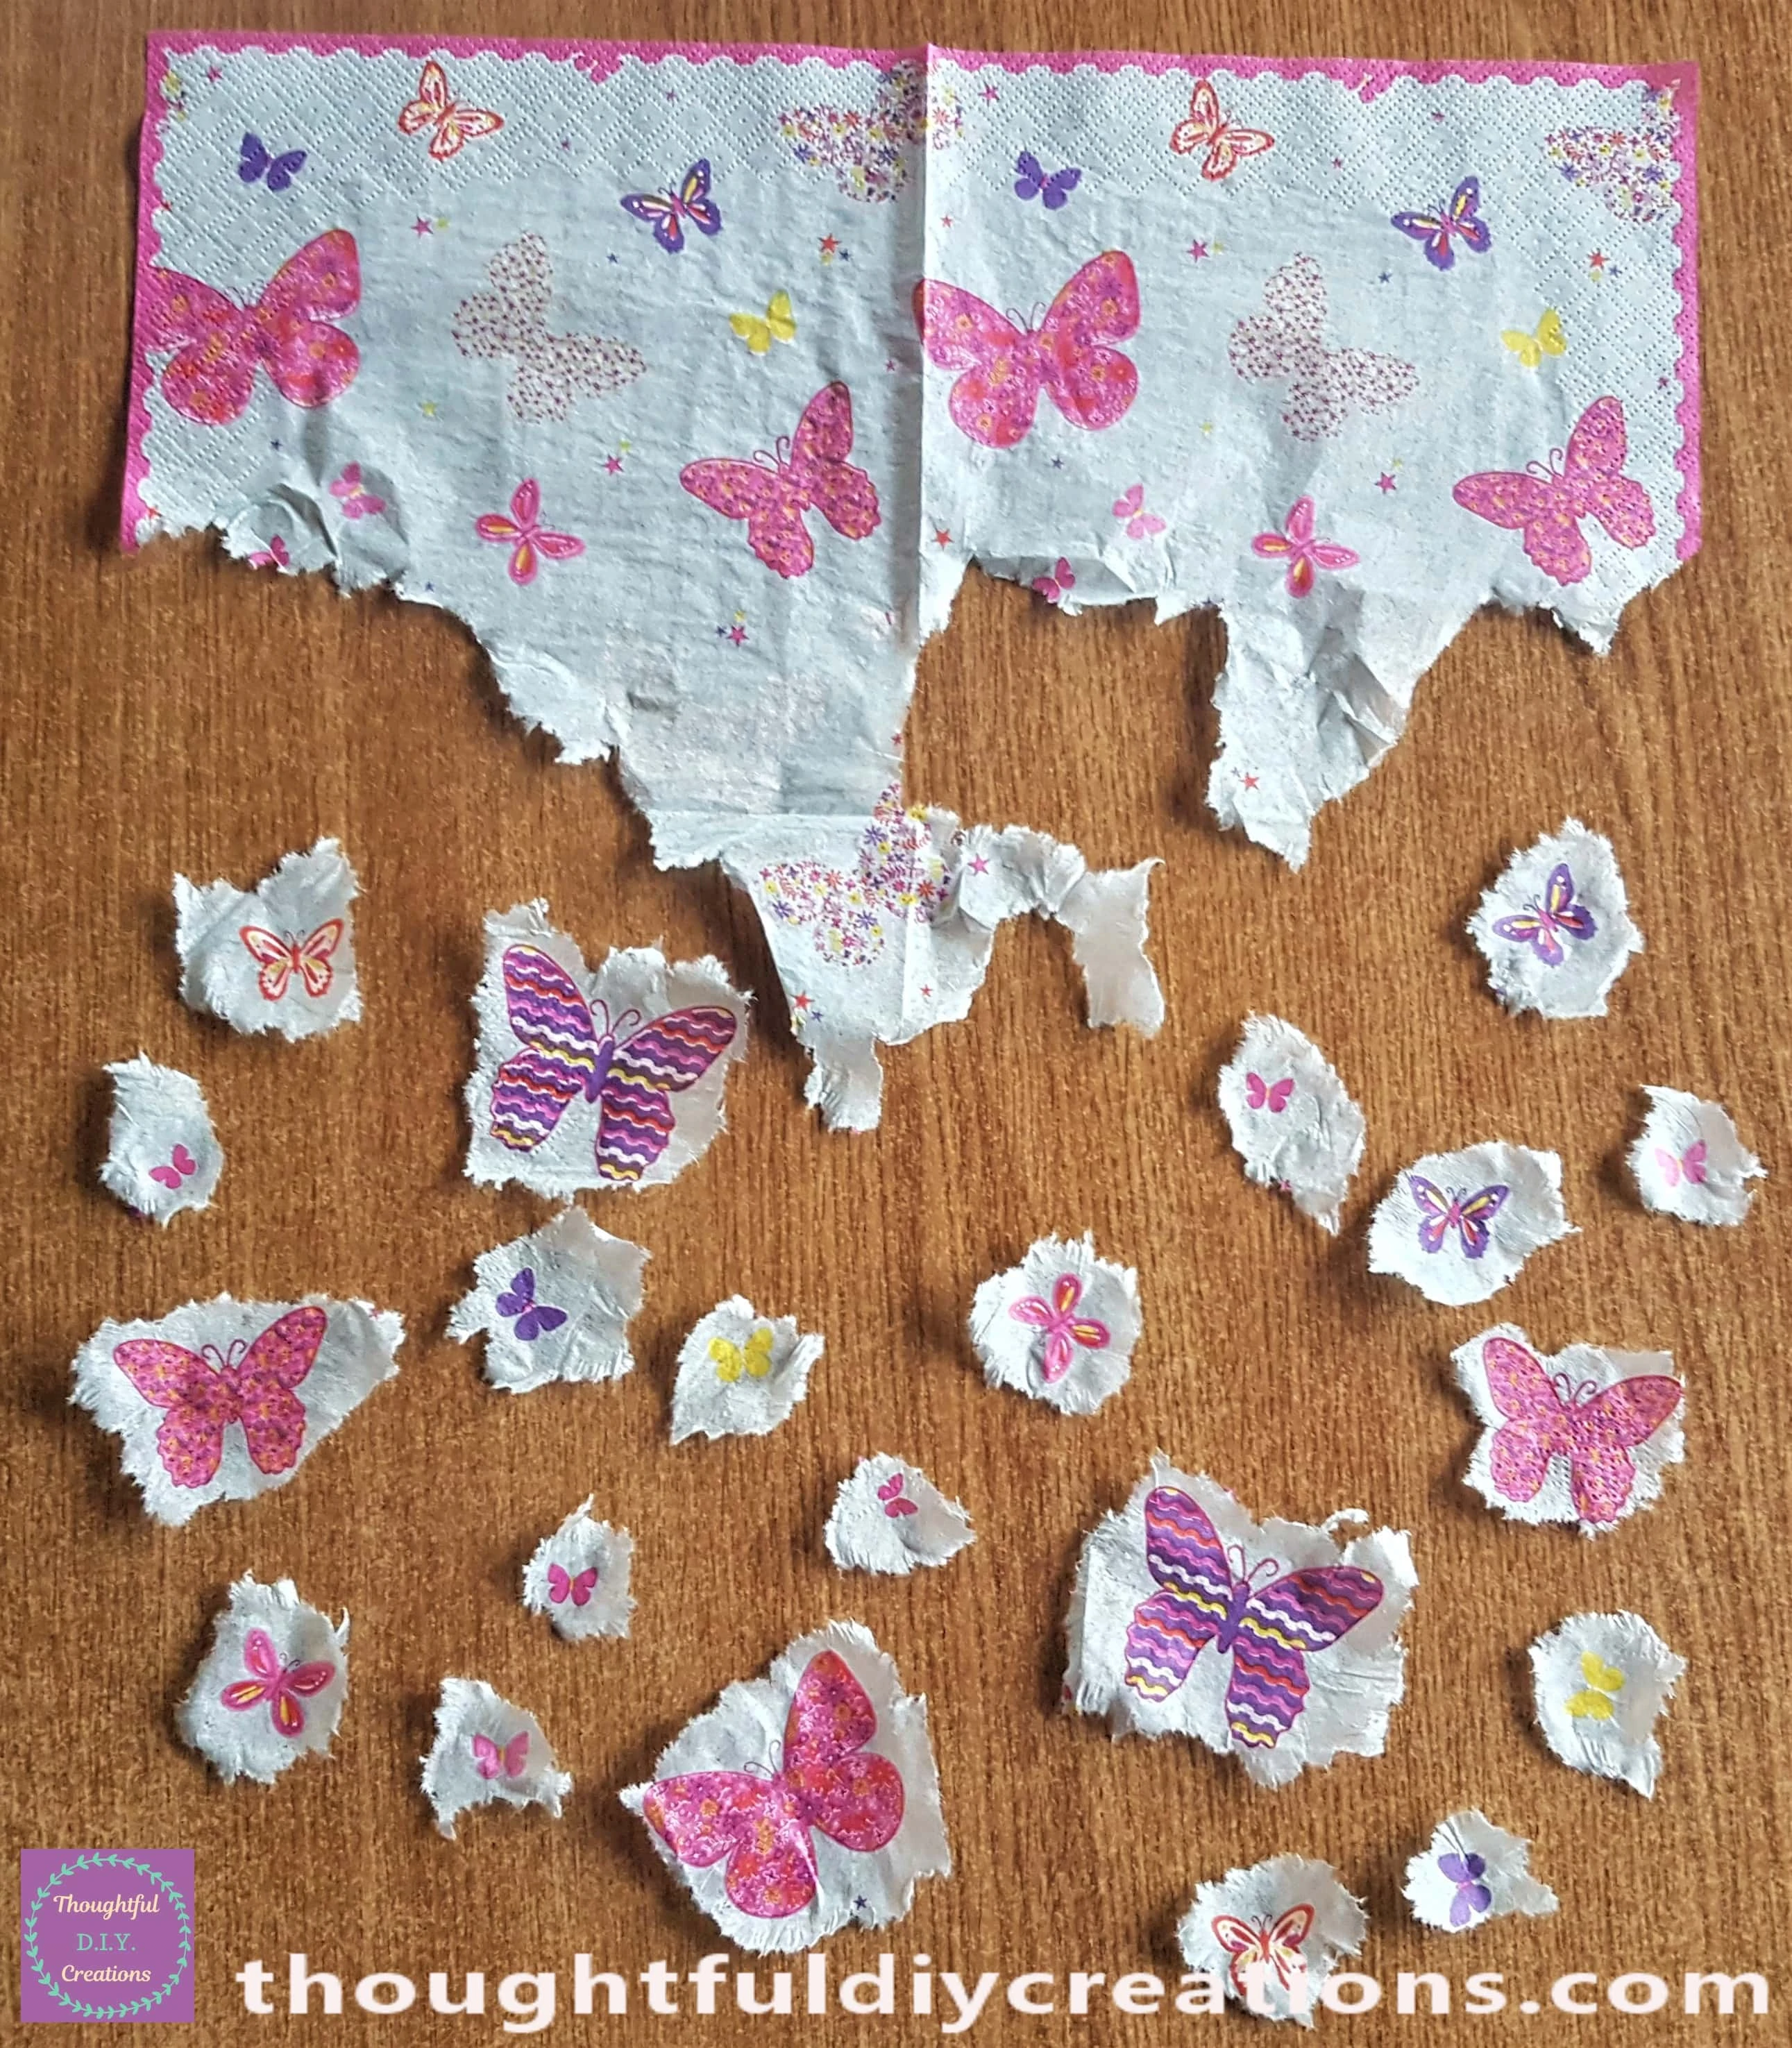
I tore around the Butterfly; I had one hand on the butterfly and tore outwards with my other hand to ensure I wouldn’t rip the butterfly Image.
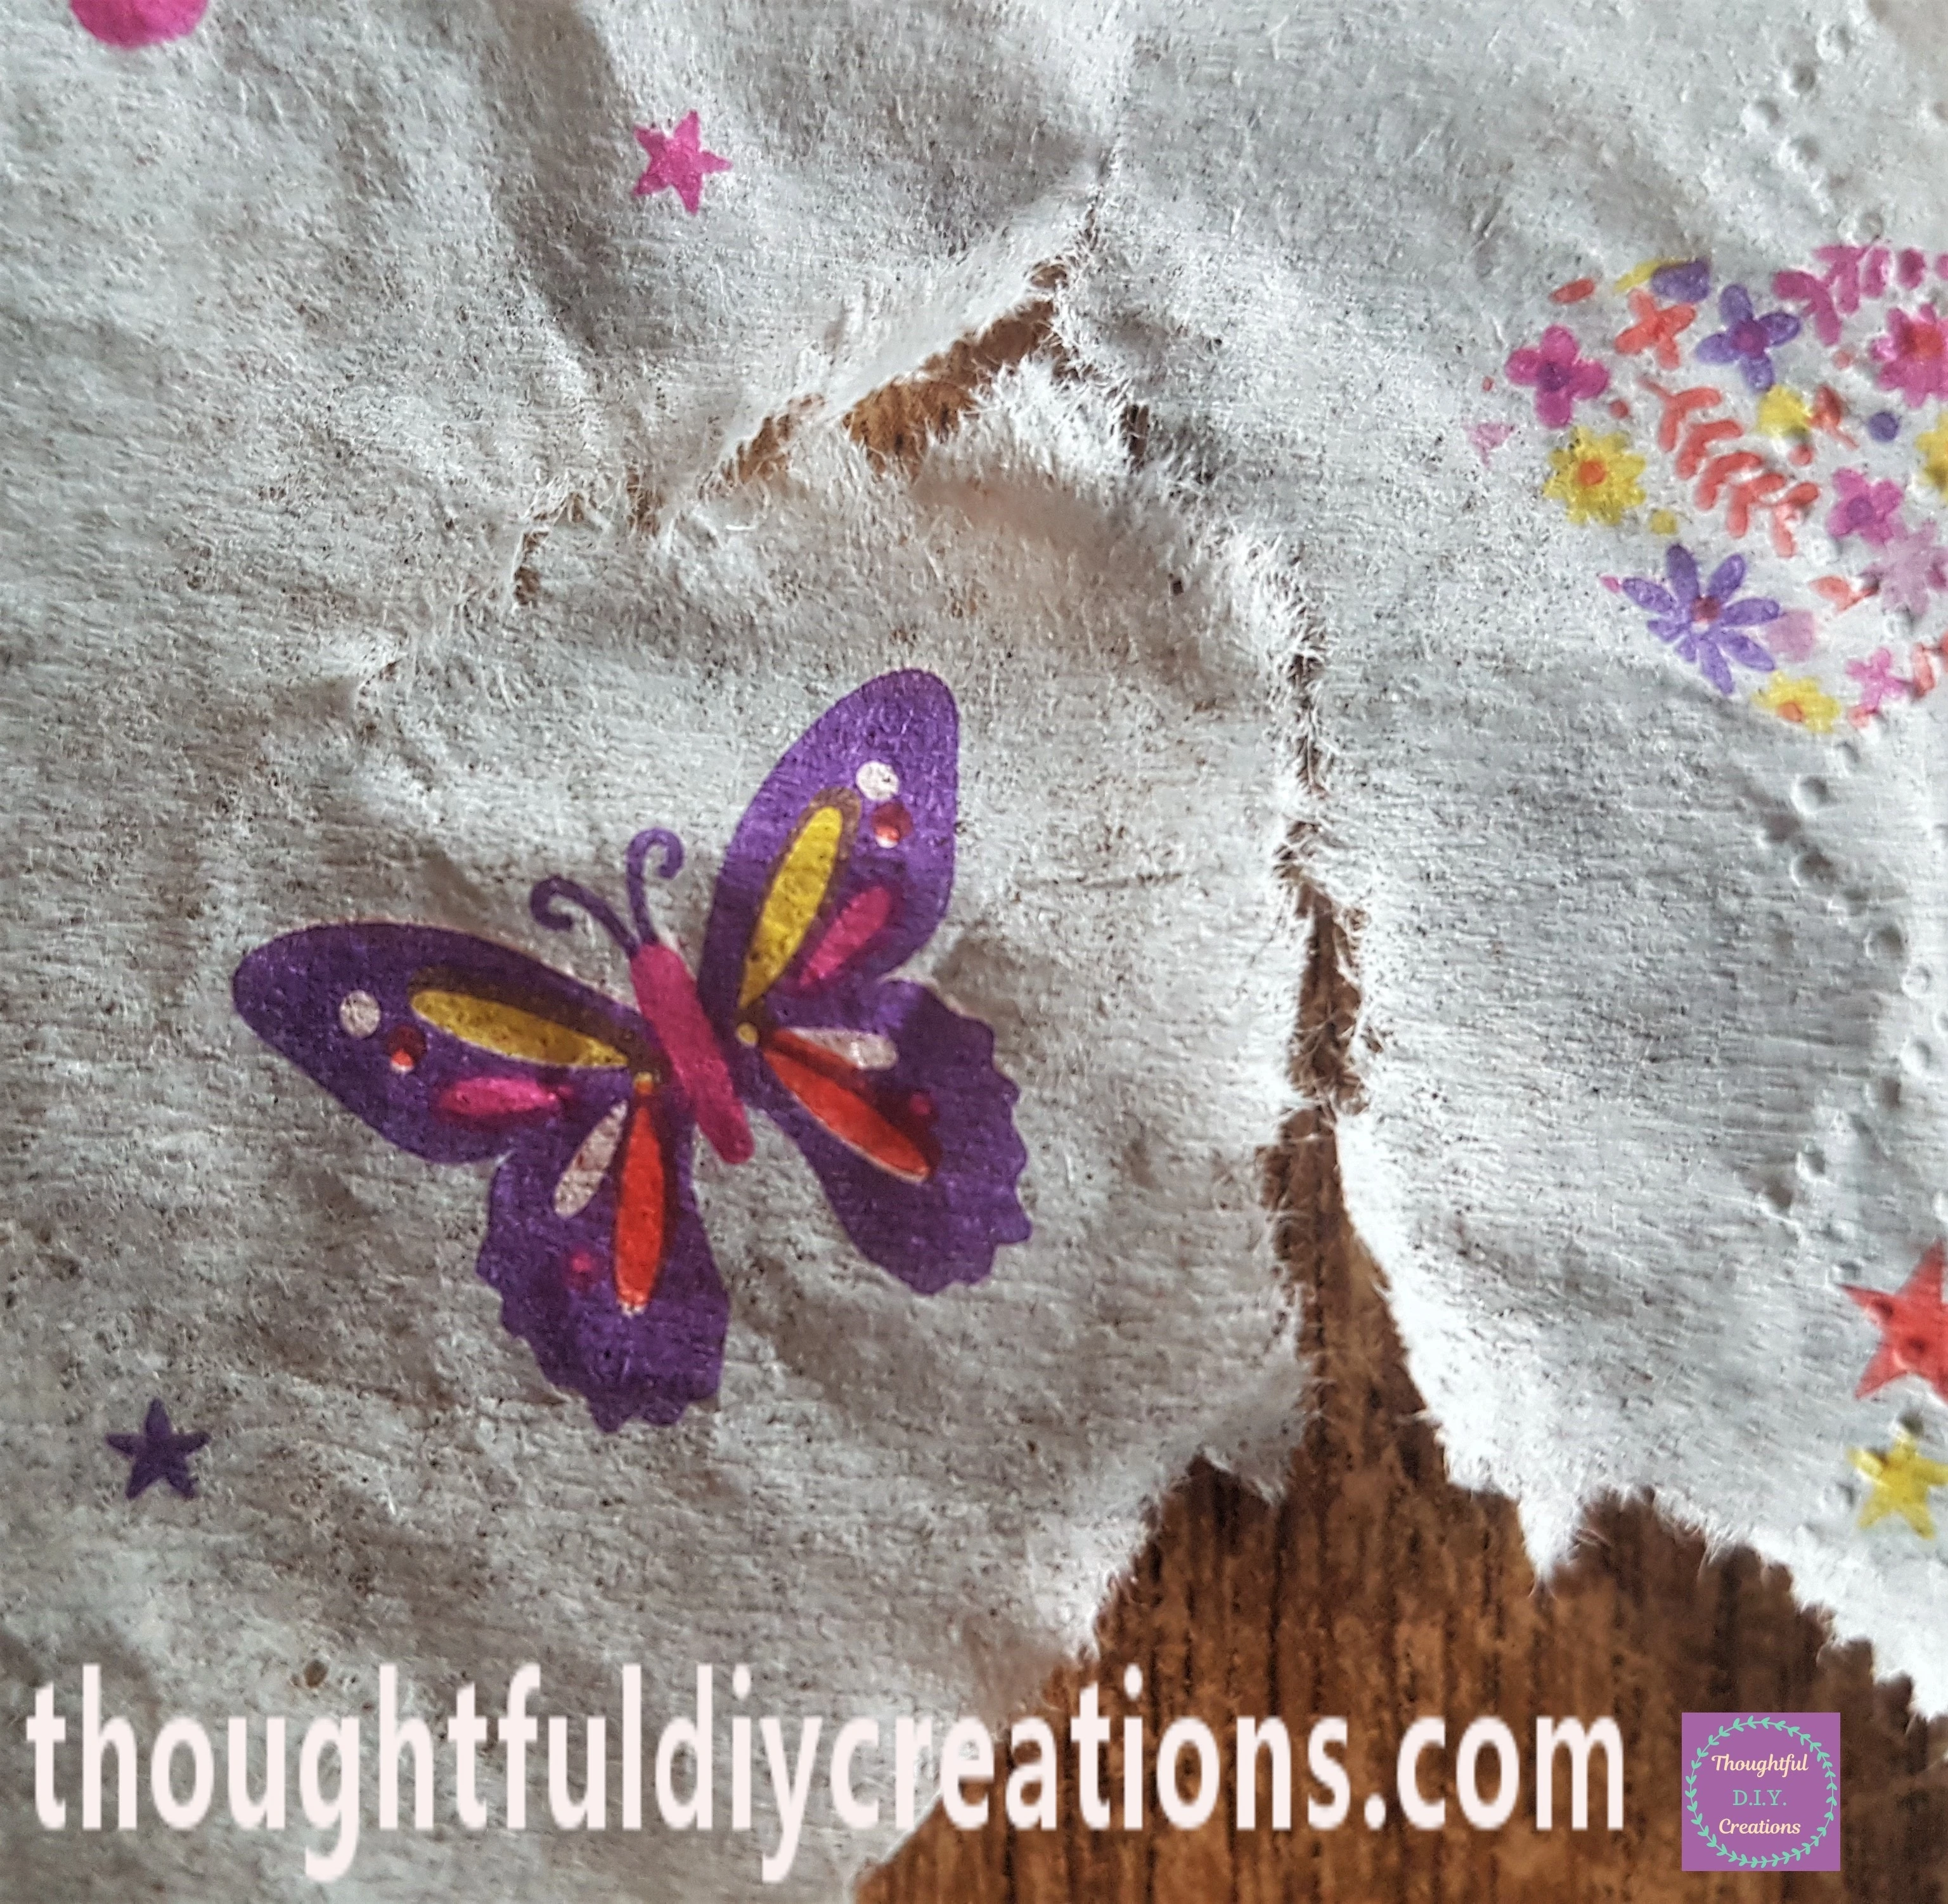
I continued with this process until I had enough butterflies.
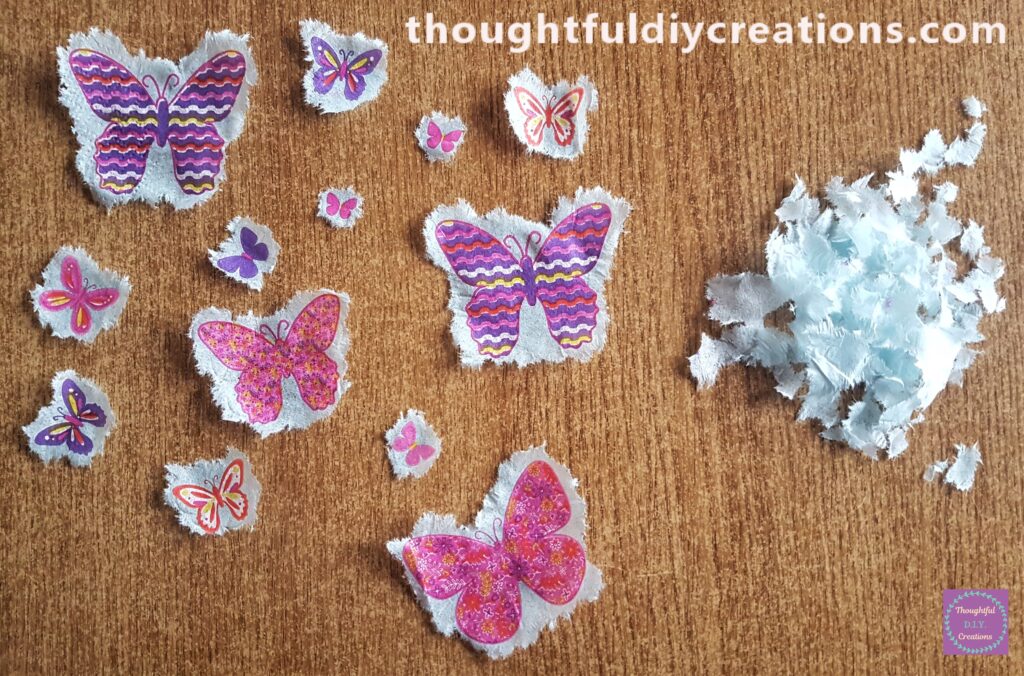
I then tore around each butterfly again just leaving a small part of the blue border; it will be less of the Napkin background to glue and blend into the Page.
Decoupaging the Napkin Pieces to the Art Journal
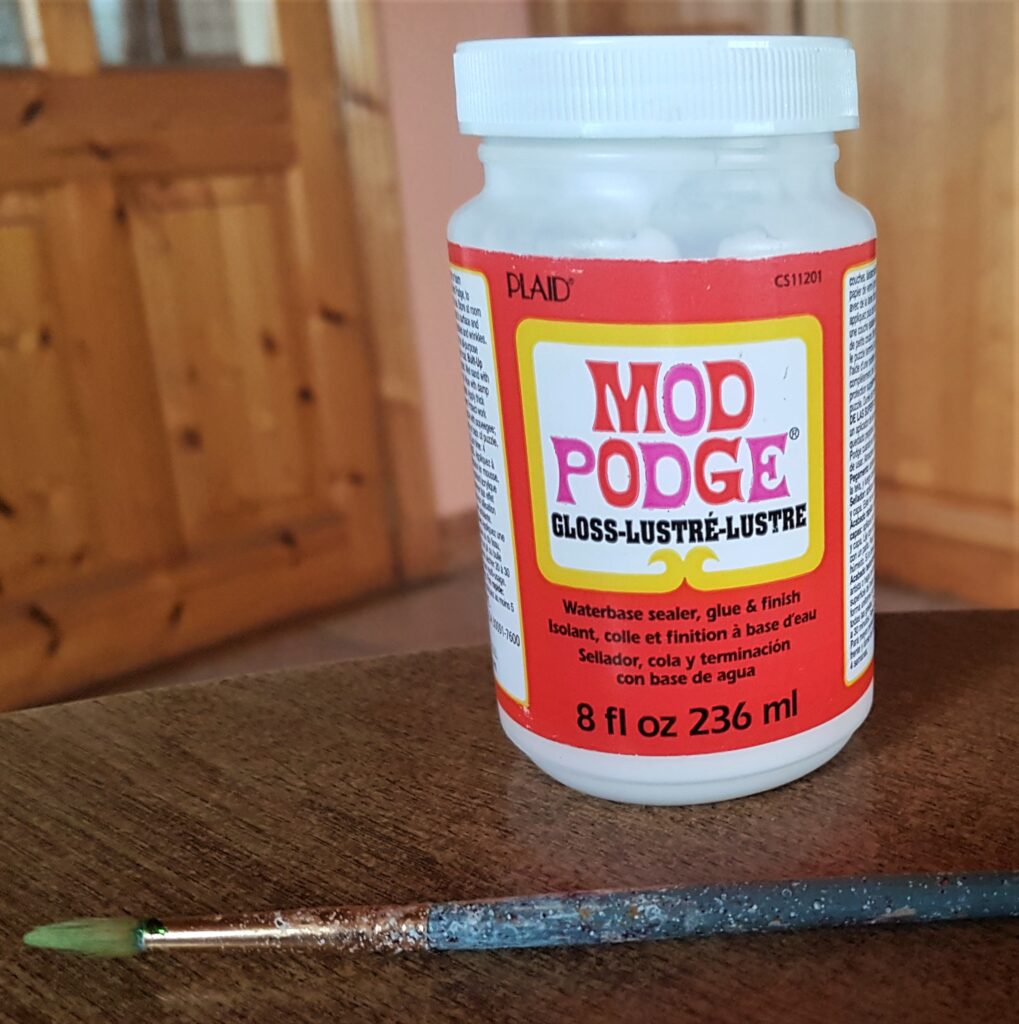
I got my ‘Mod Podge Gloss’ and a small Paintbrush.
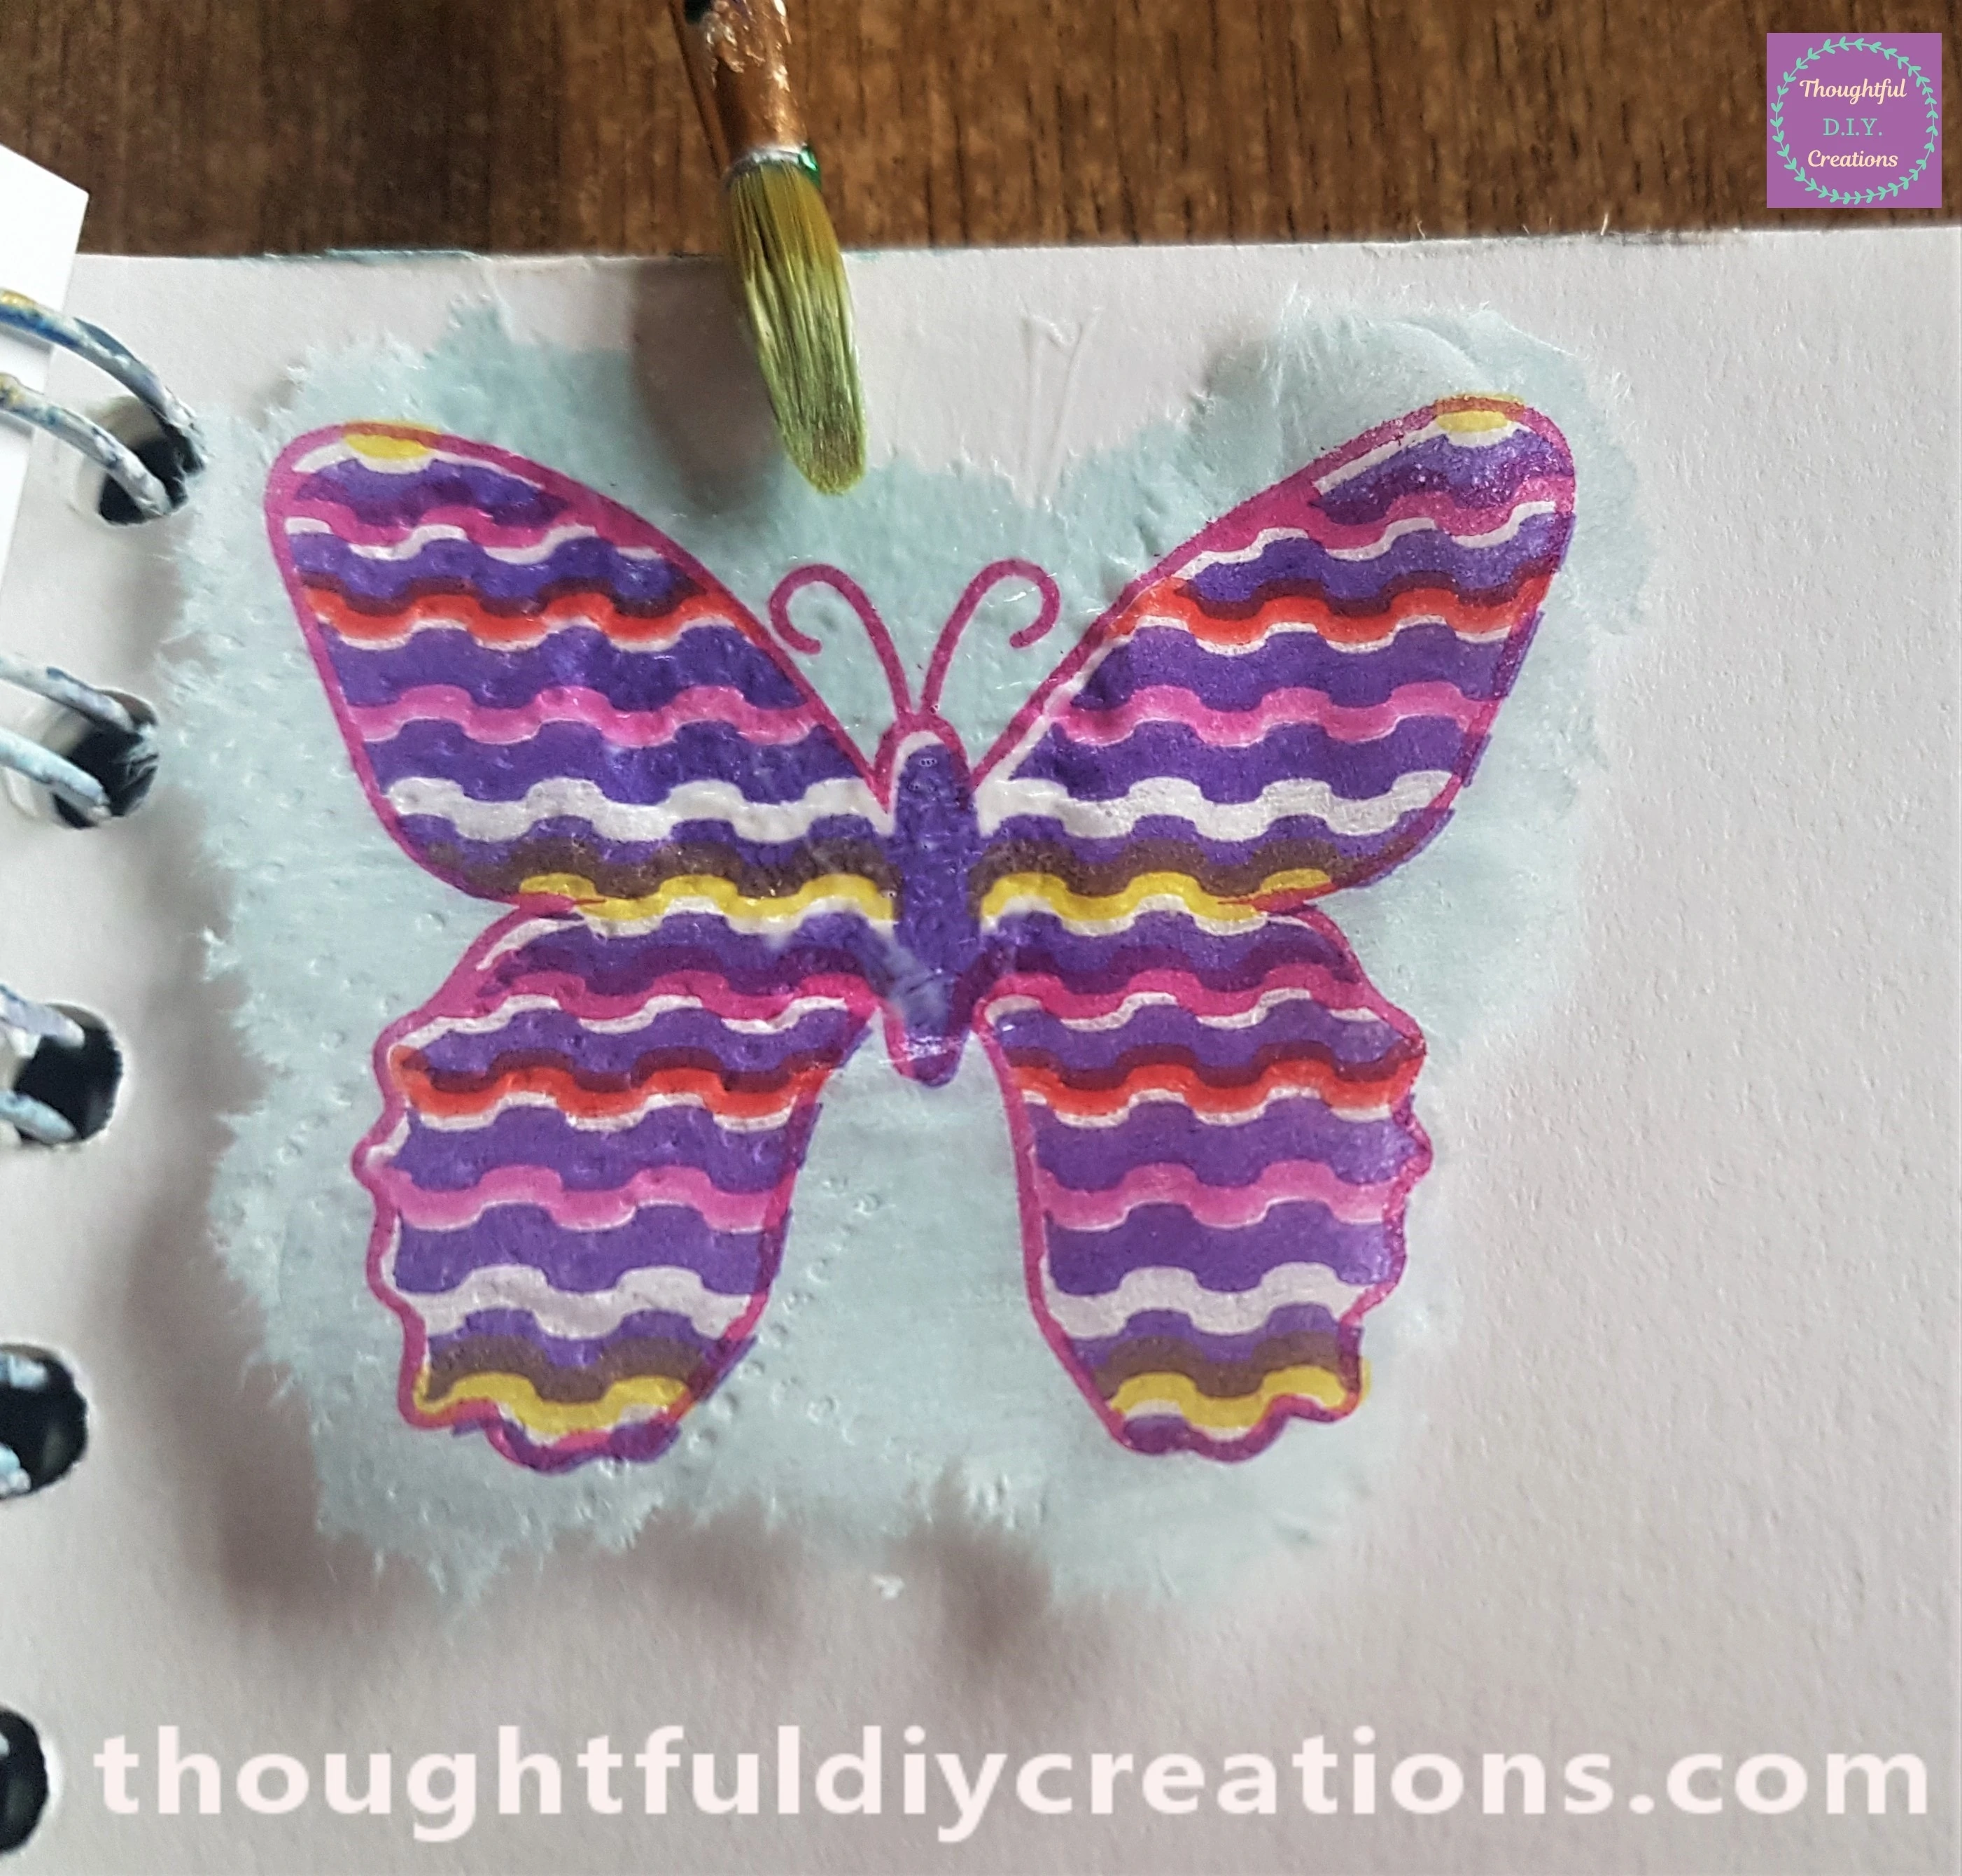
I put a Butterfly on the top of the Page in my Art Journal. I dipped my Paintbrush into the Mod Podge and gently brushed it onto the top mid-section of the butterfly out towards the edge.
I continued adding Mod Podge all around the butterfly; again starting in the middle and brushing outwards, then moving onto the next section.
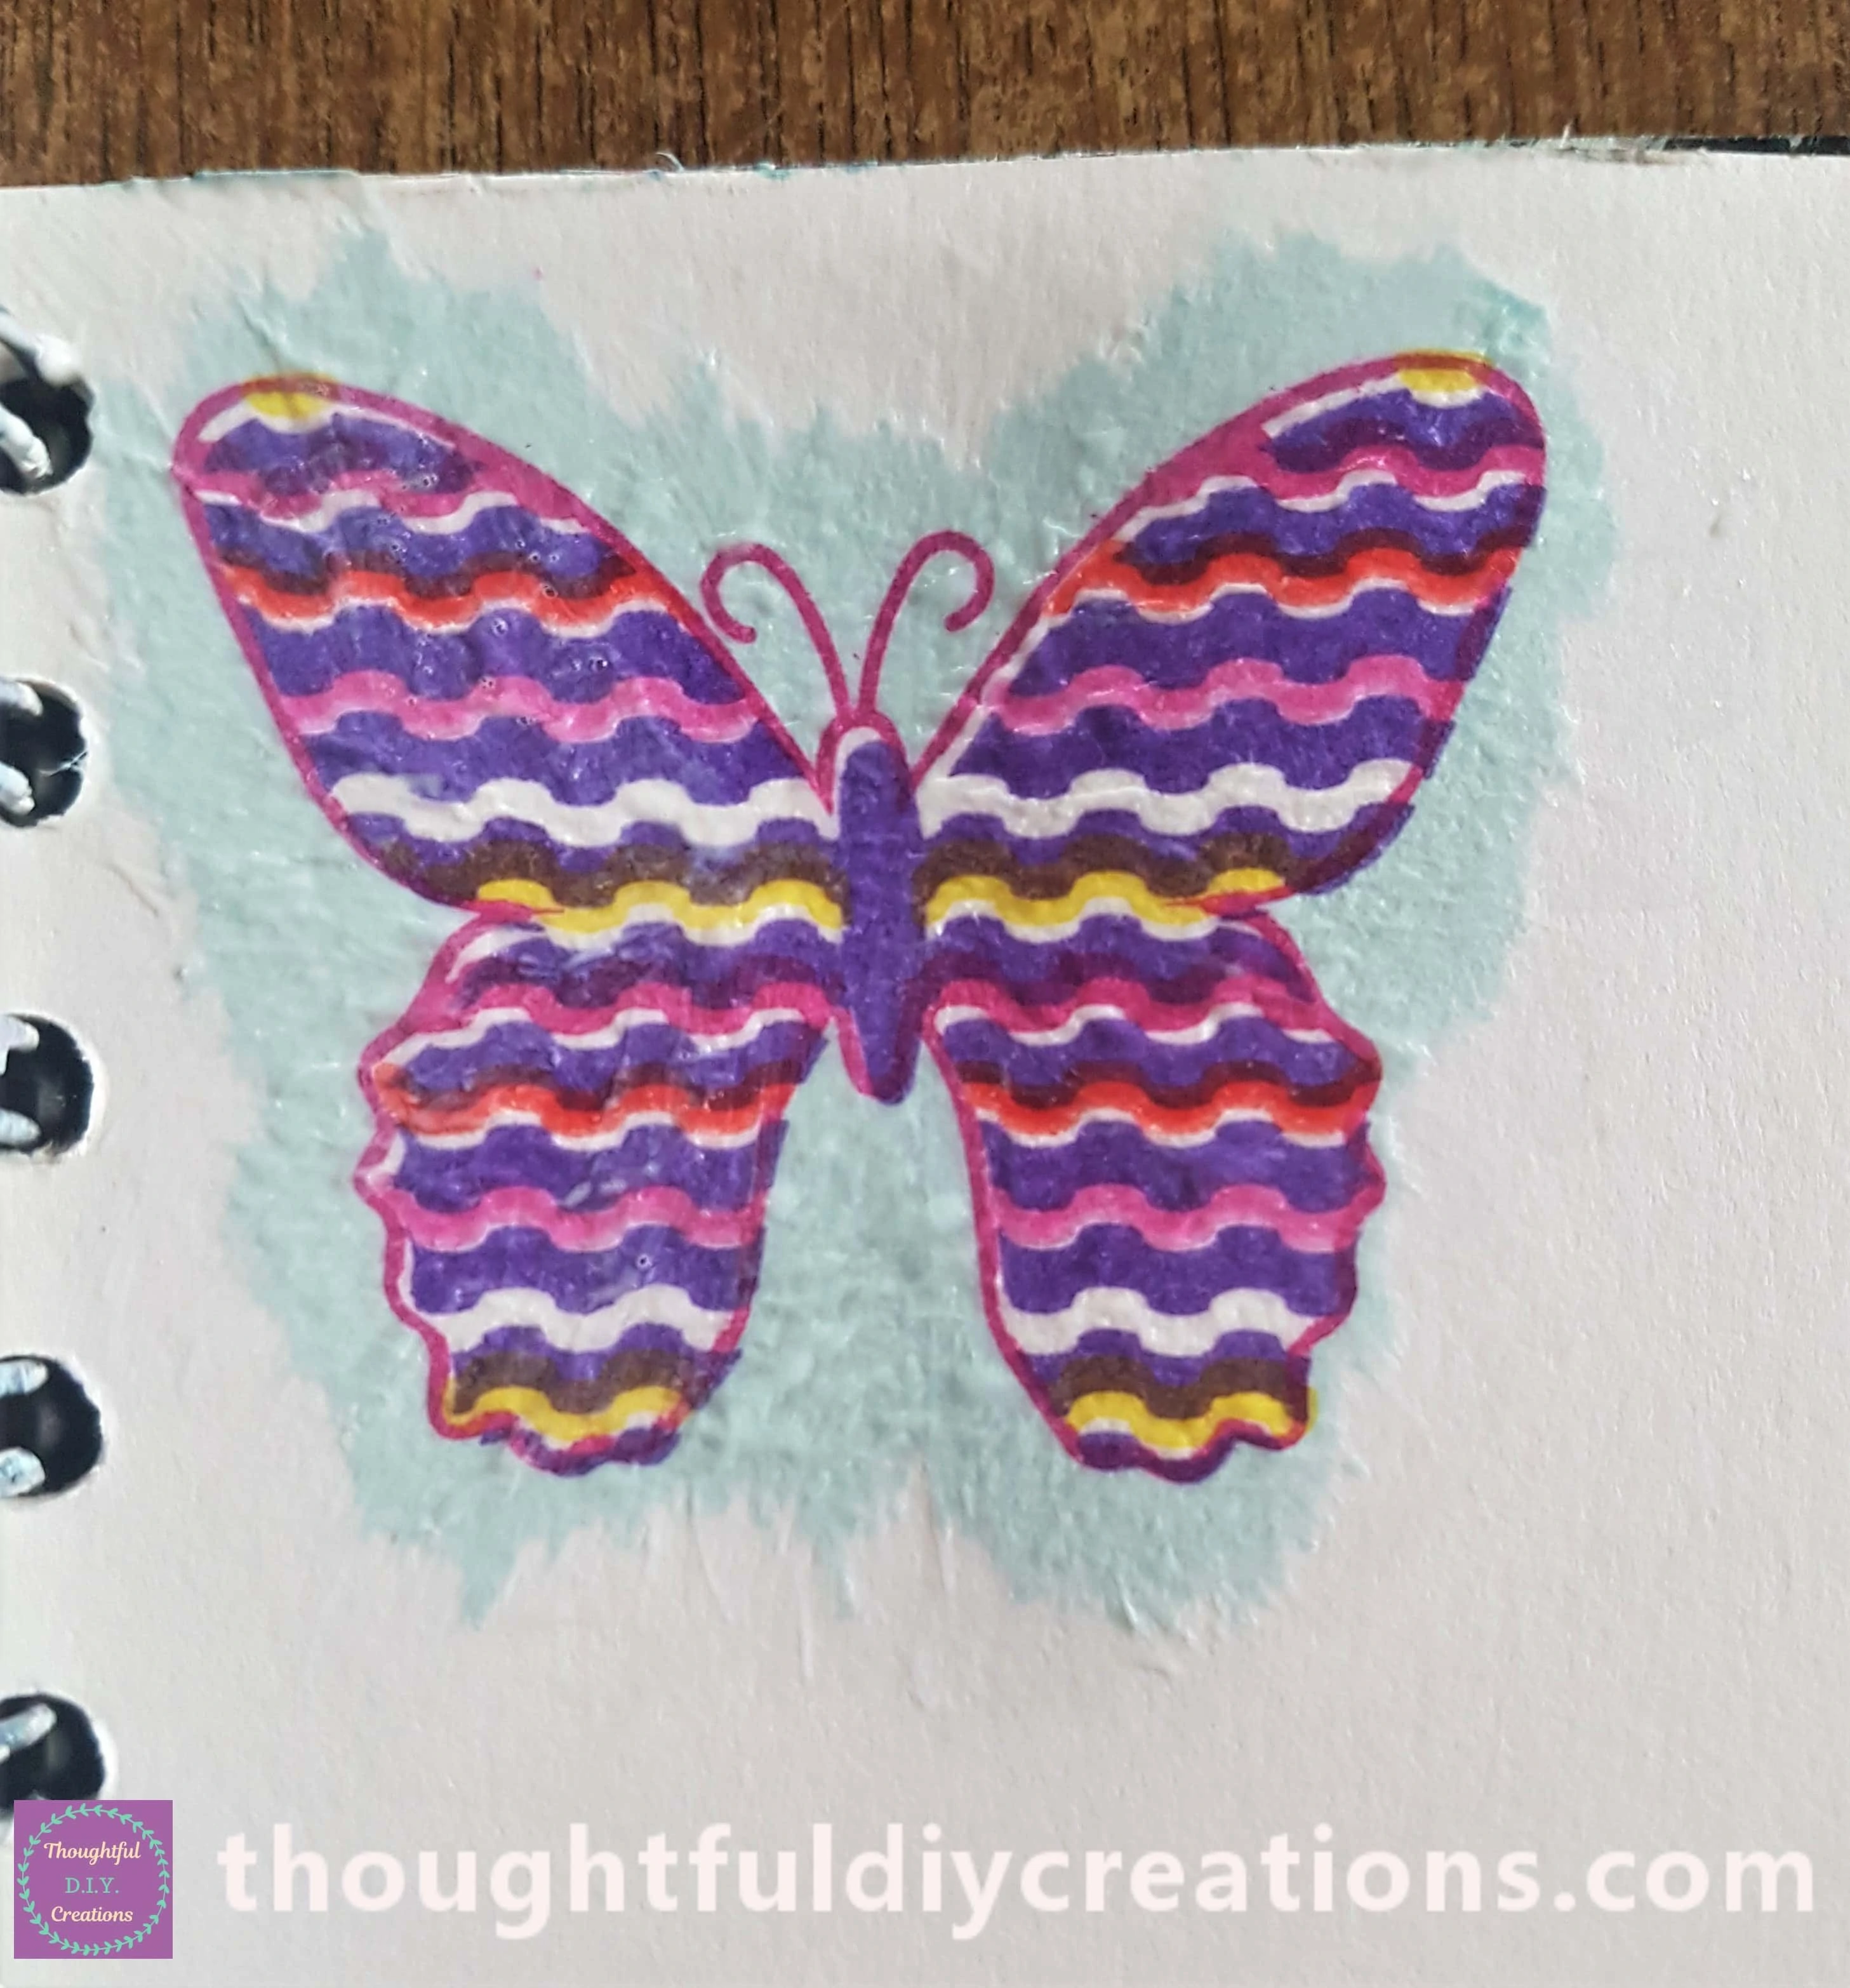
It will wrinkle as you apply the Mod Podge but the majority of the wrinkles will dissappear as it dries; the wrinkles that remain provide a nice texture and interest to an Art Journal Page.
I added a Pink Butterfly in the middle of the Page and another Purple Butterfly to the bottom of the Page in the same way.
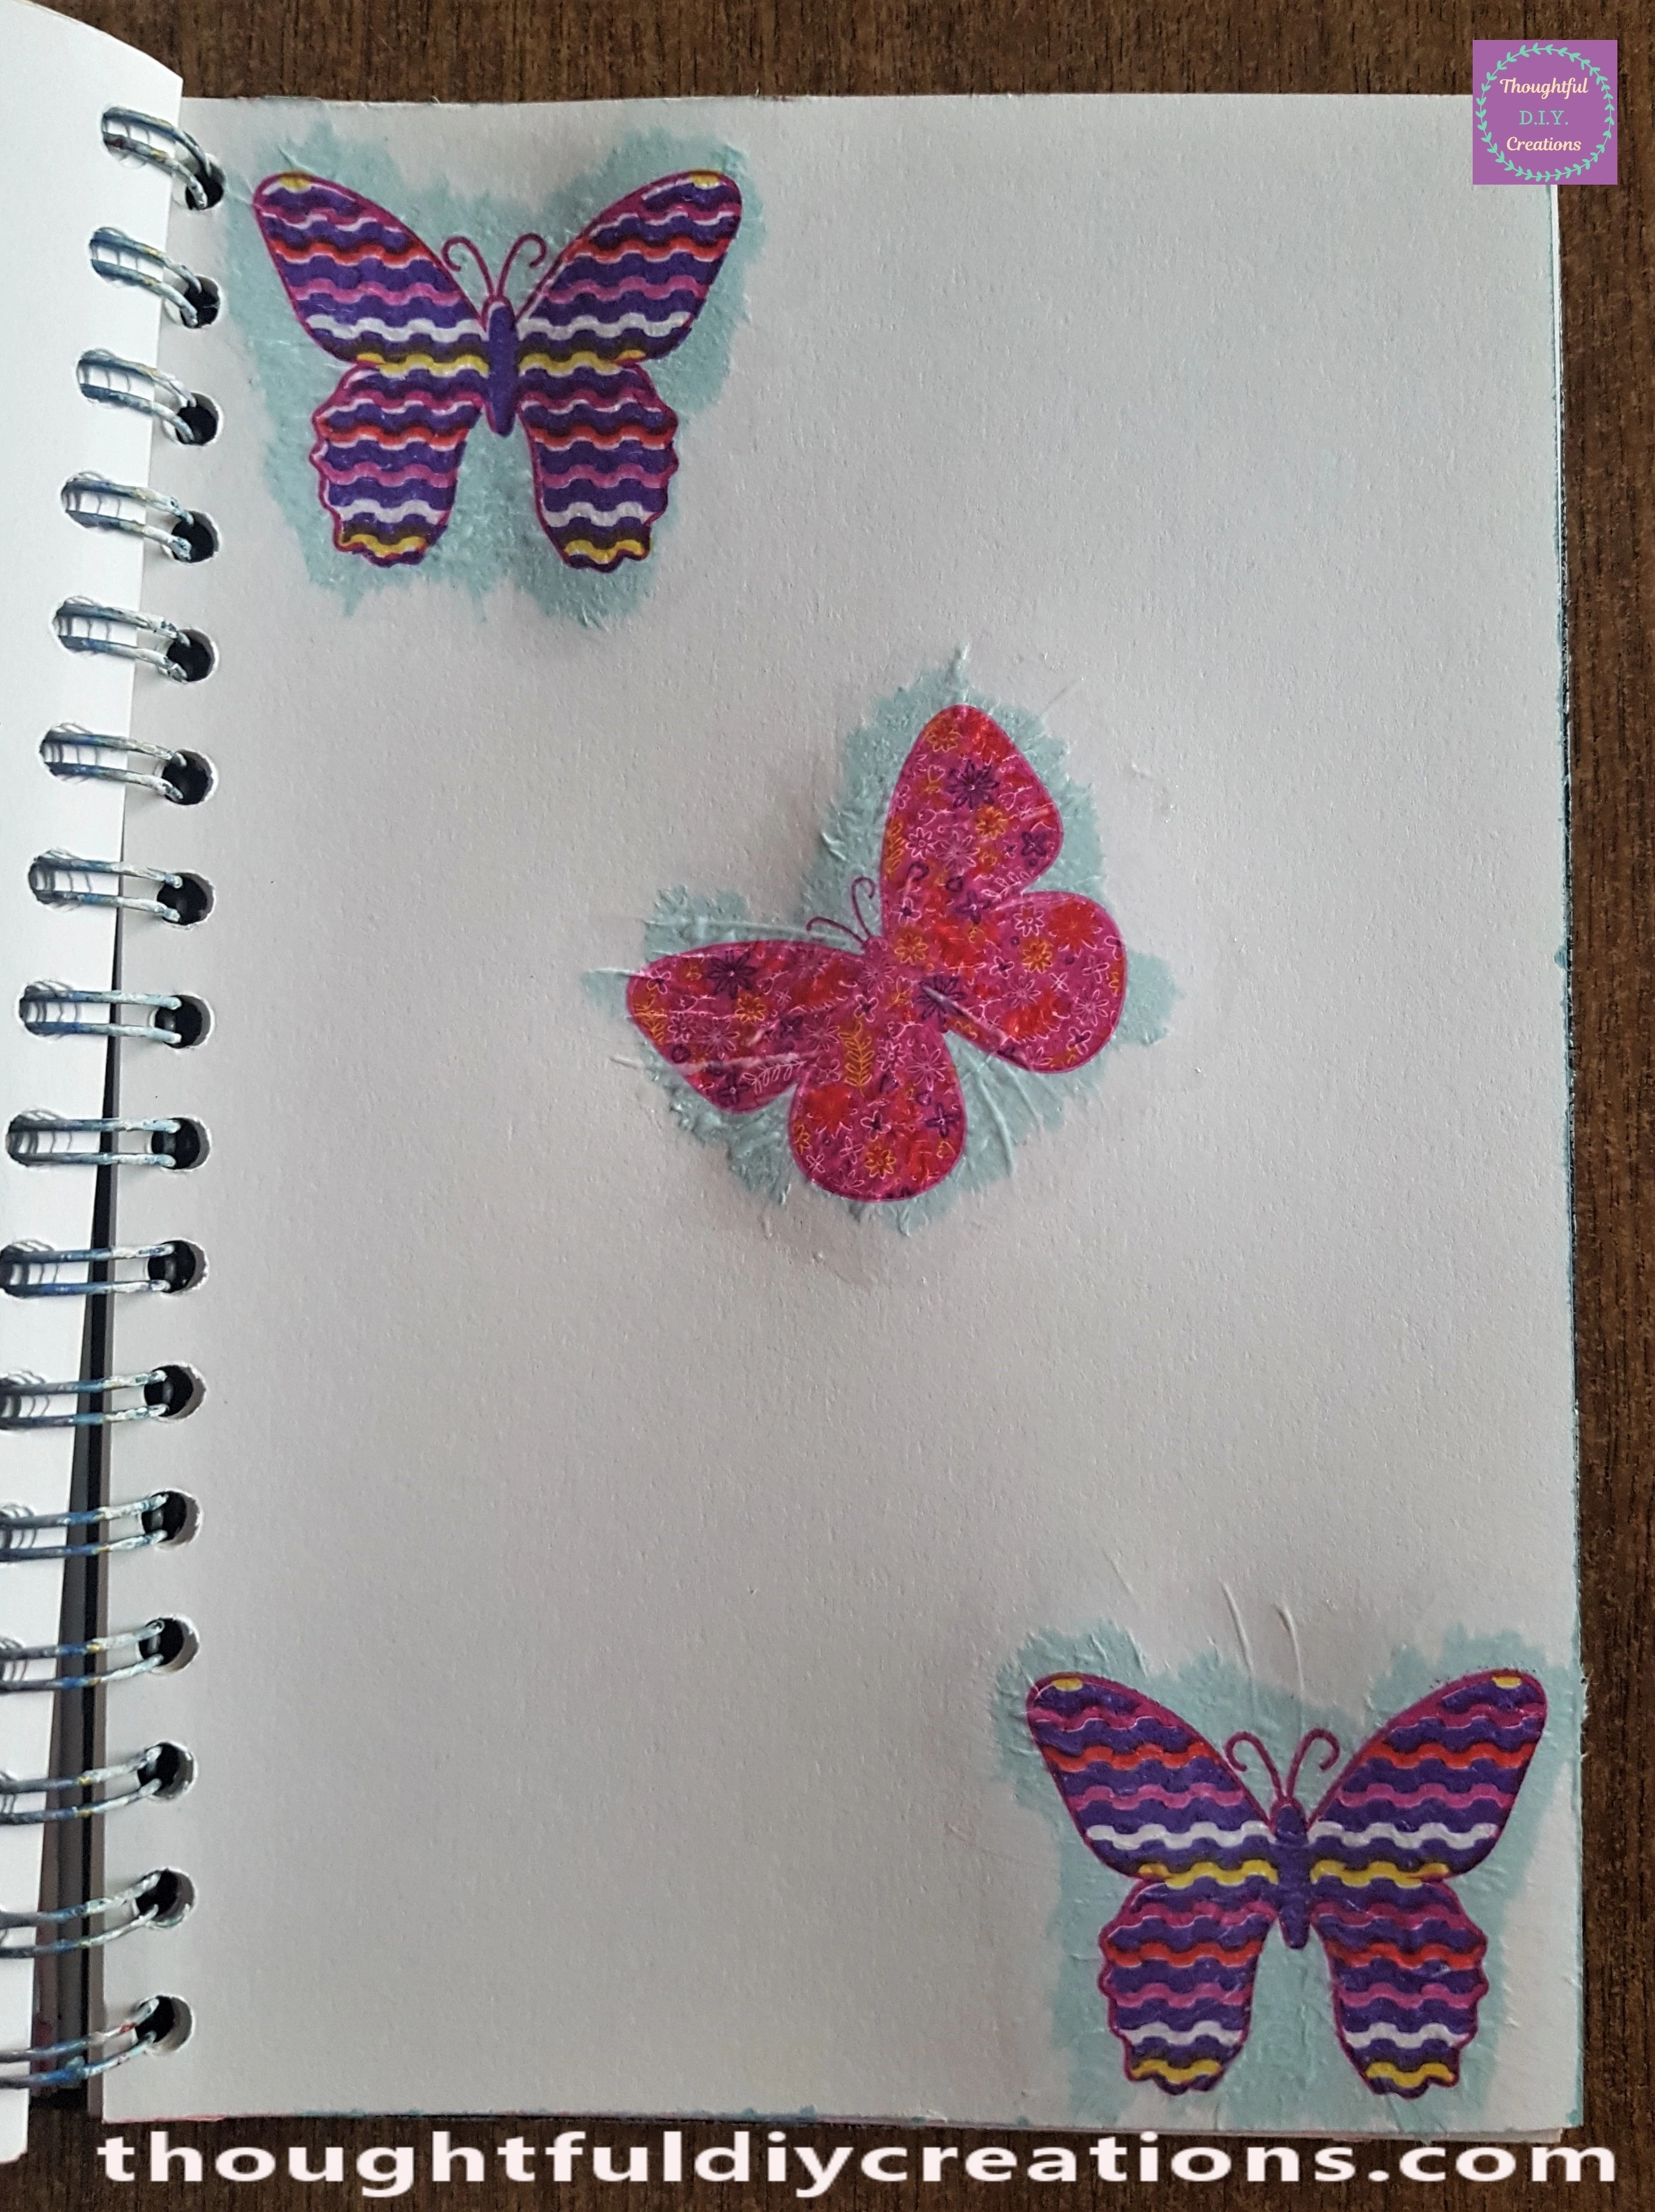
I attached a smaller Pink Butterfly to the bottom left hand side of the Page.
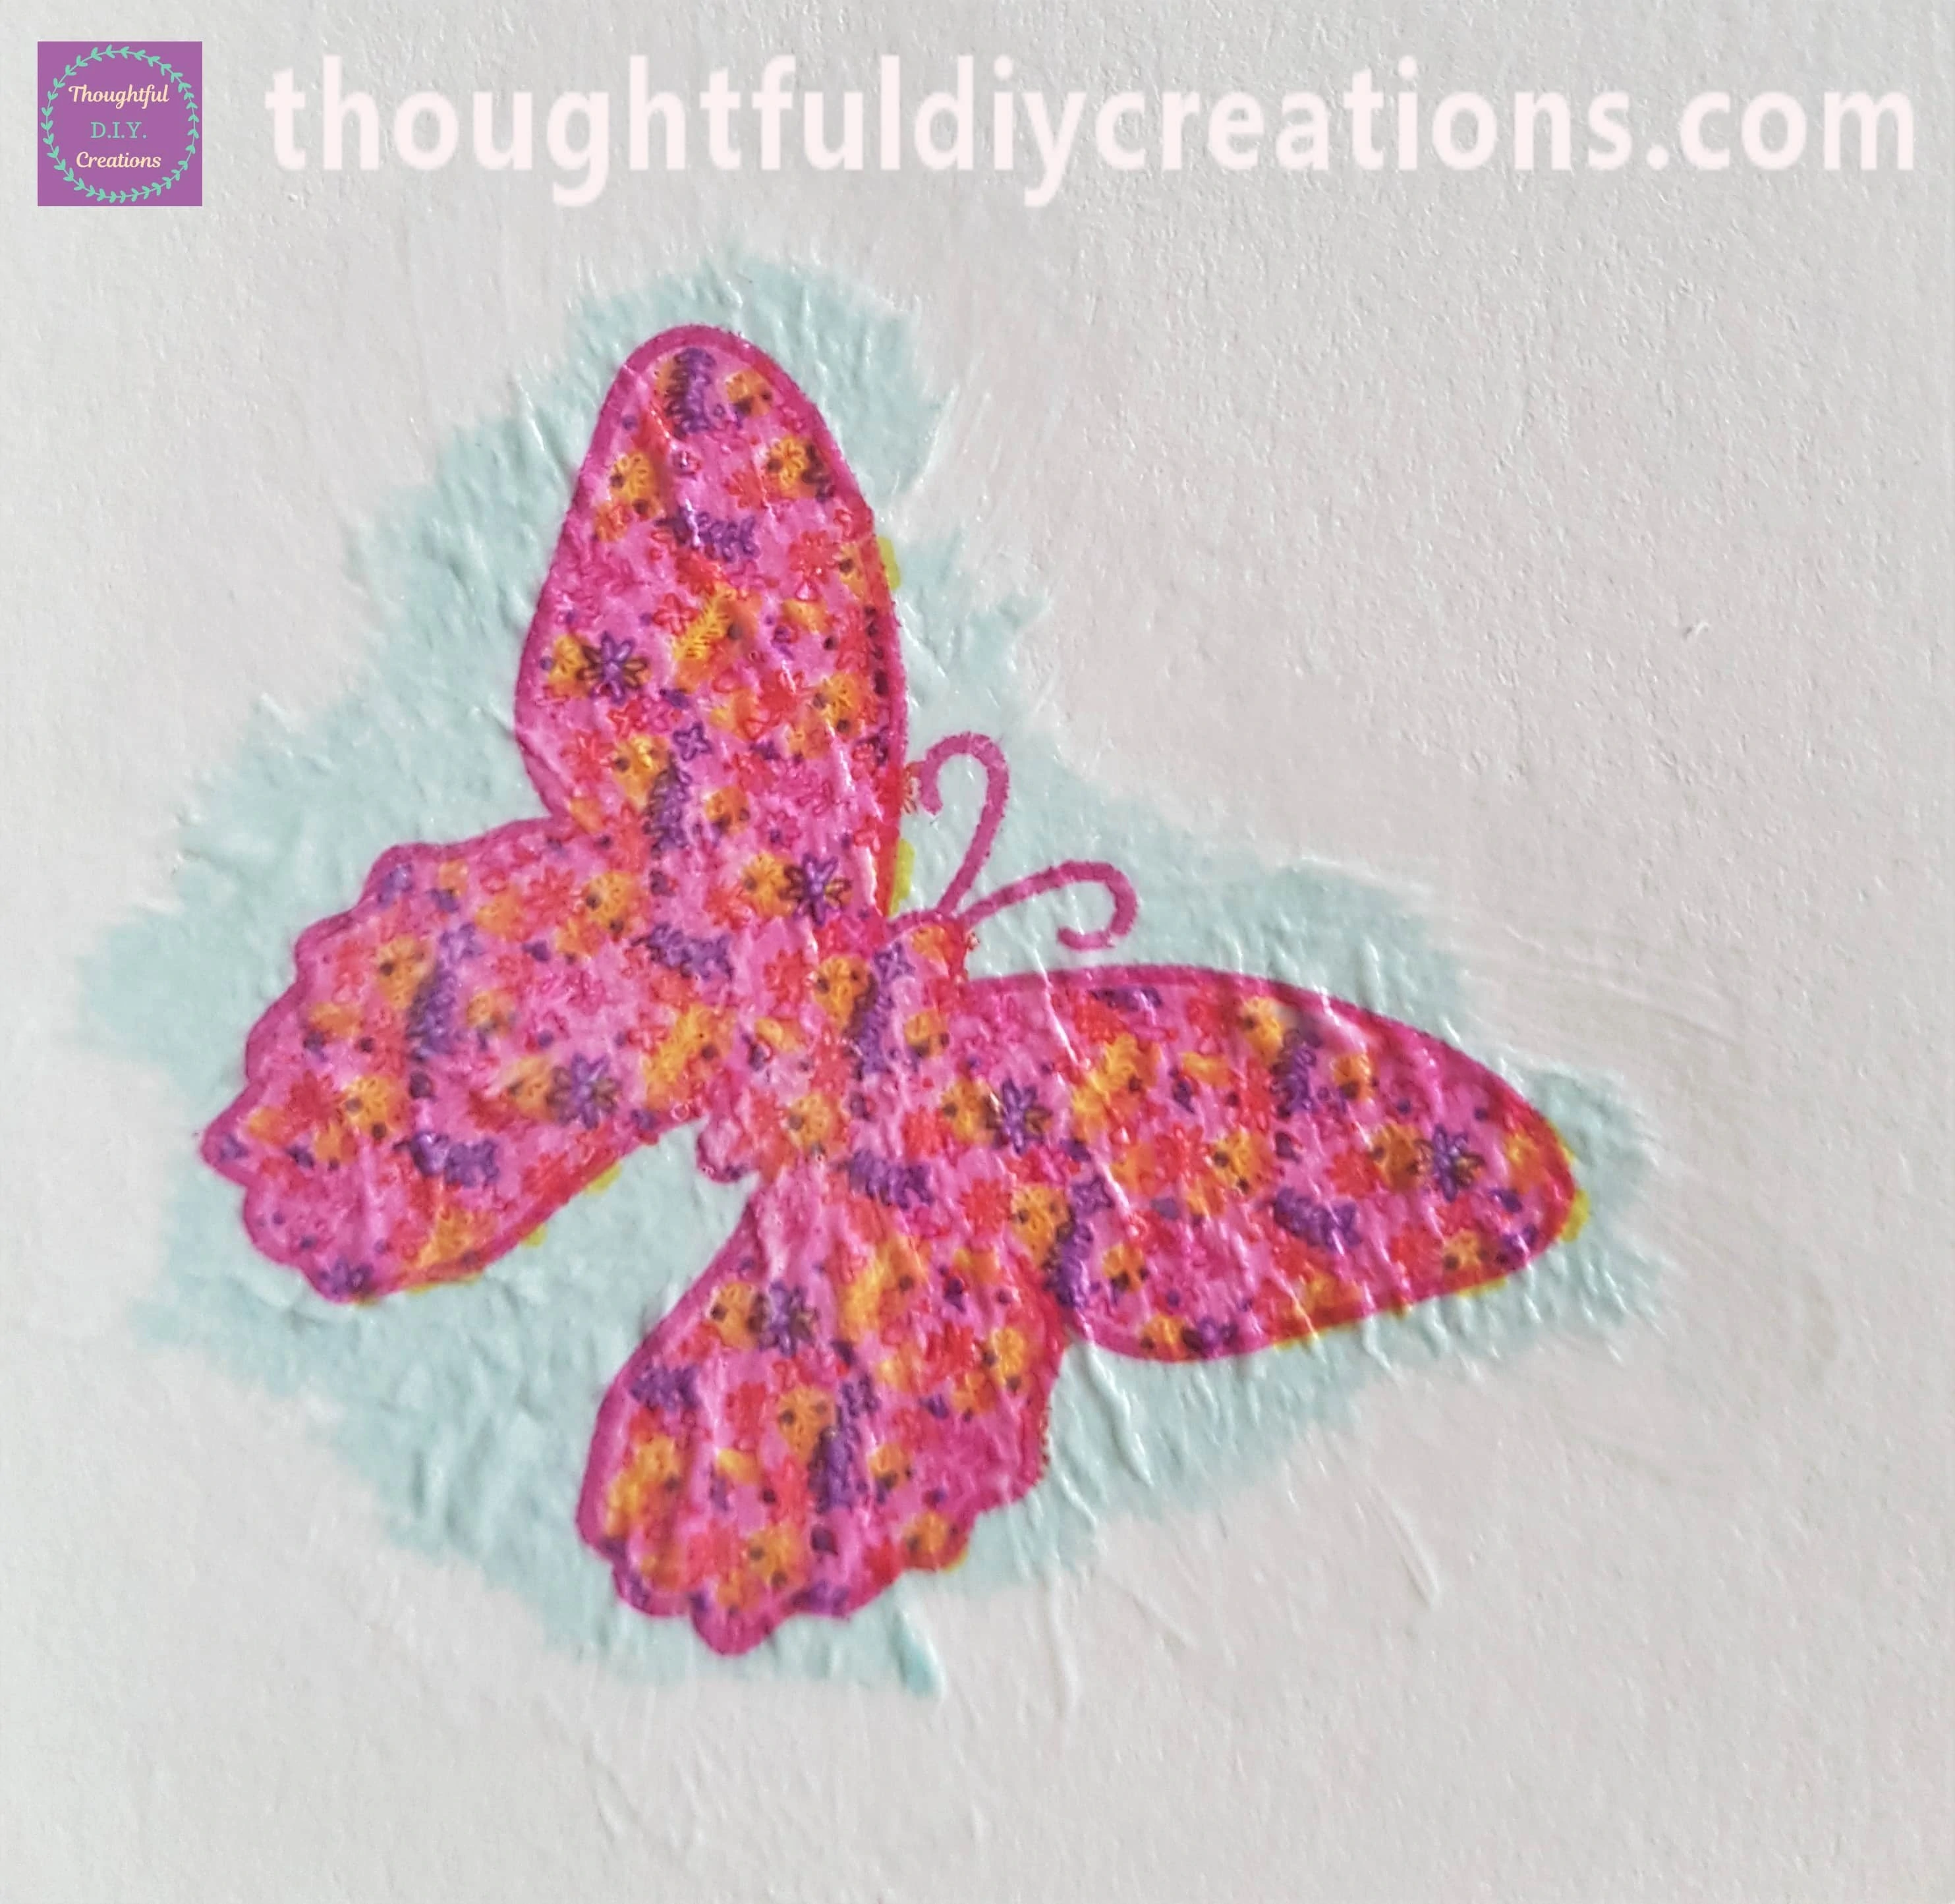
I added 4 smaller butterflies to different parts of the Page.
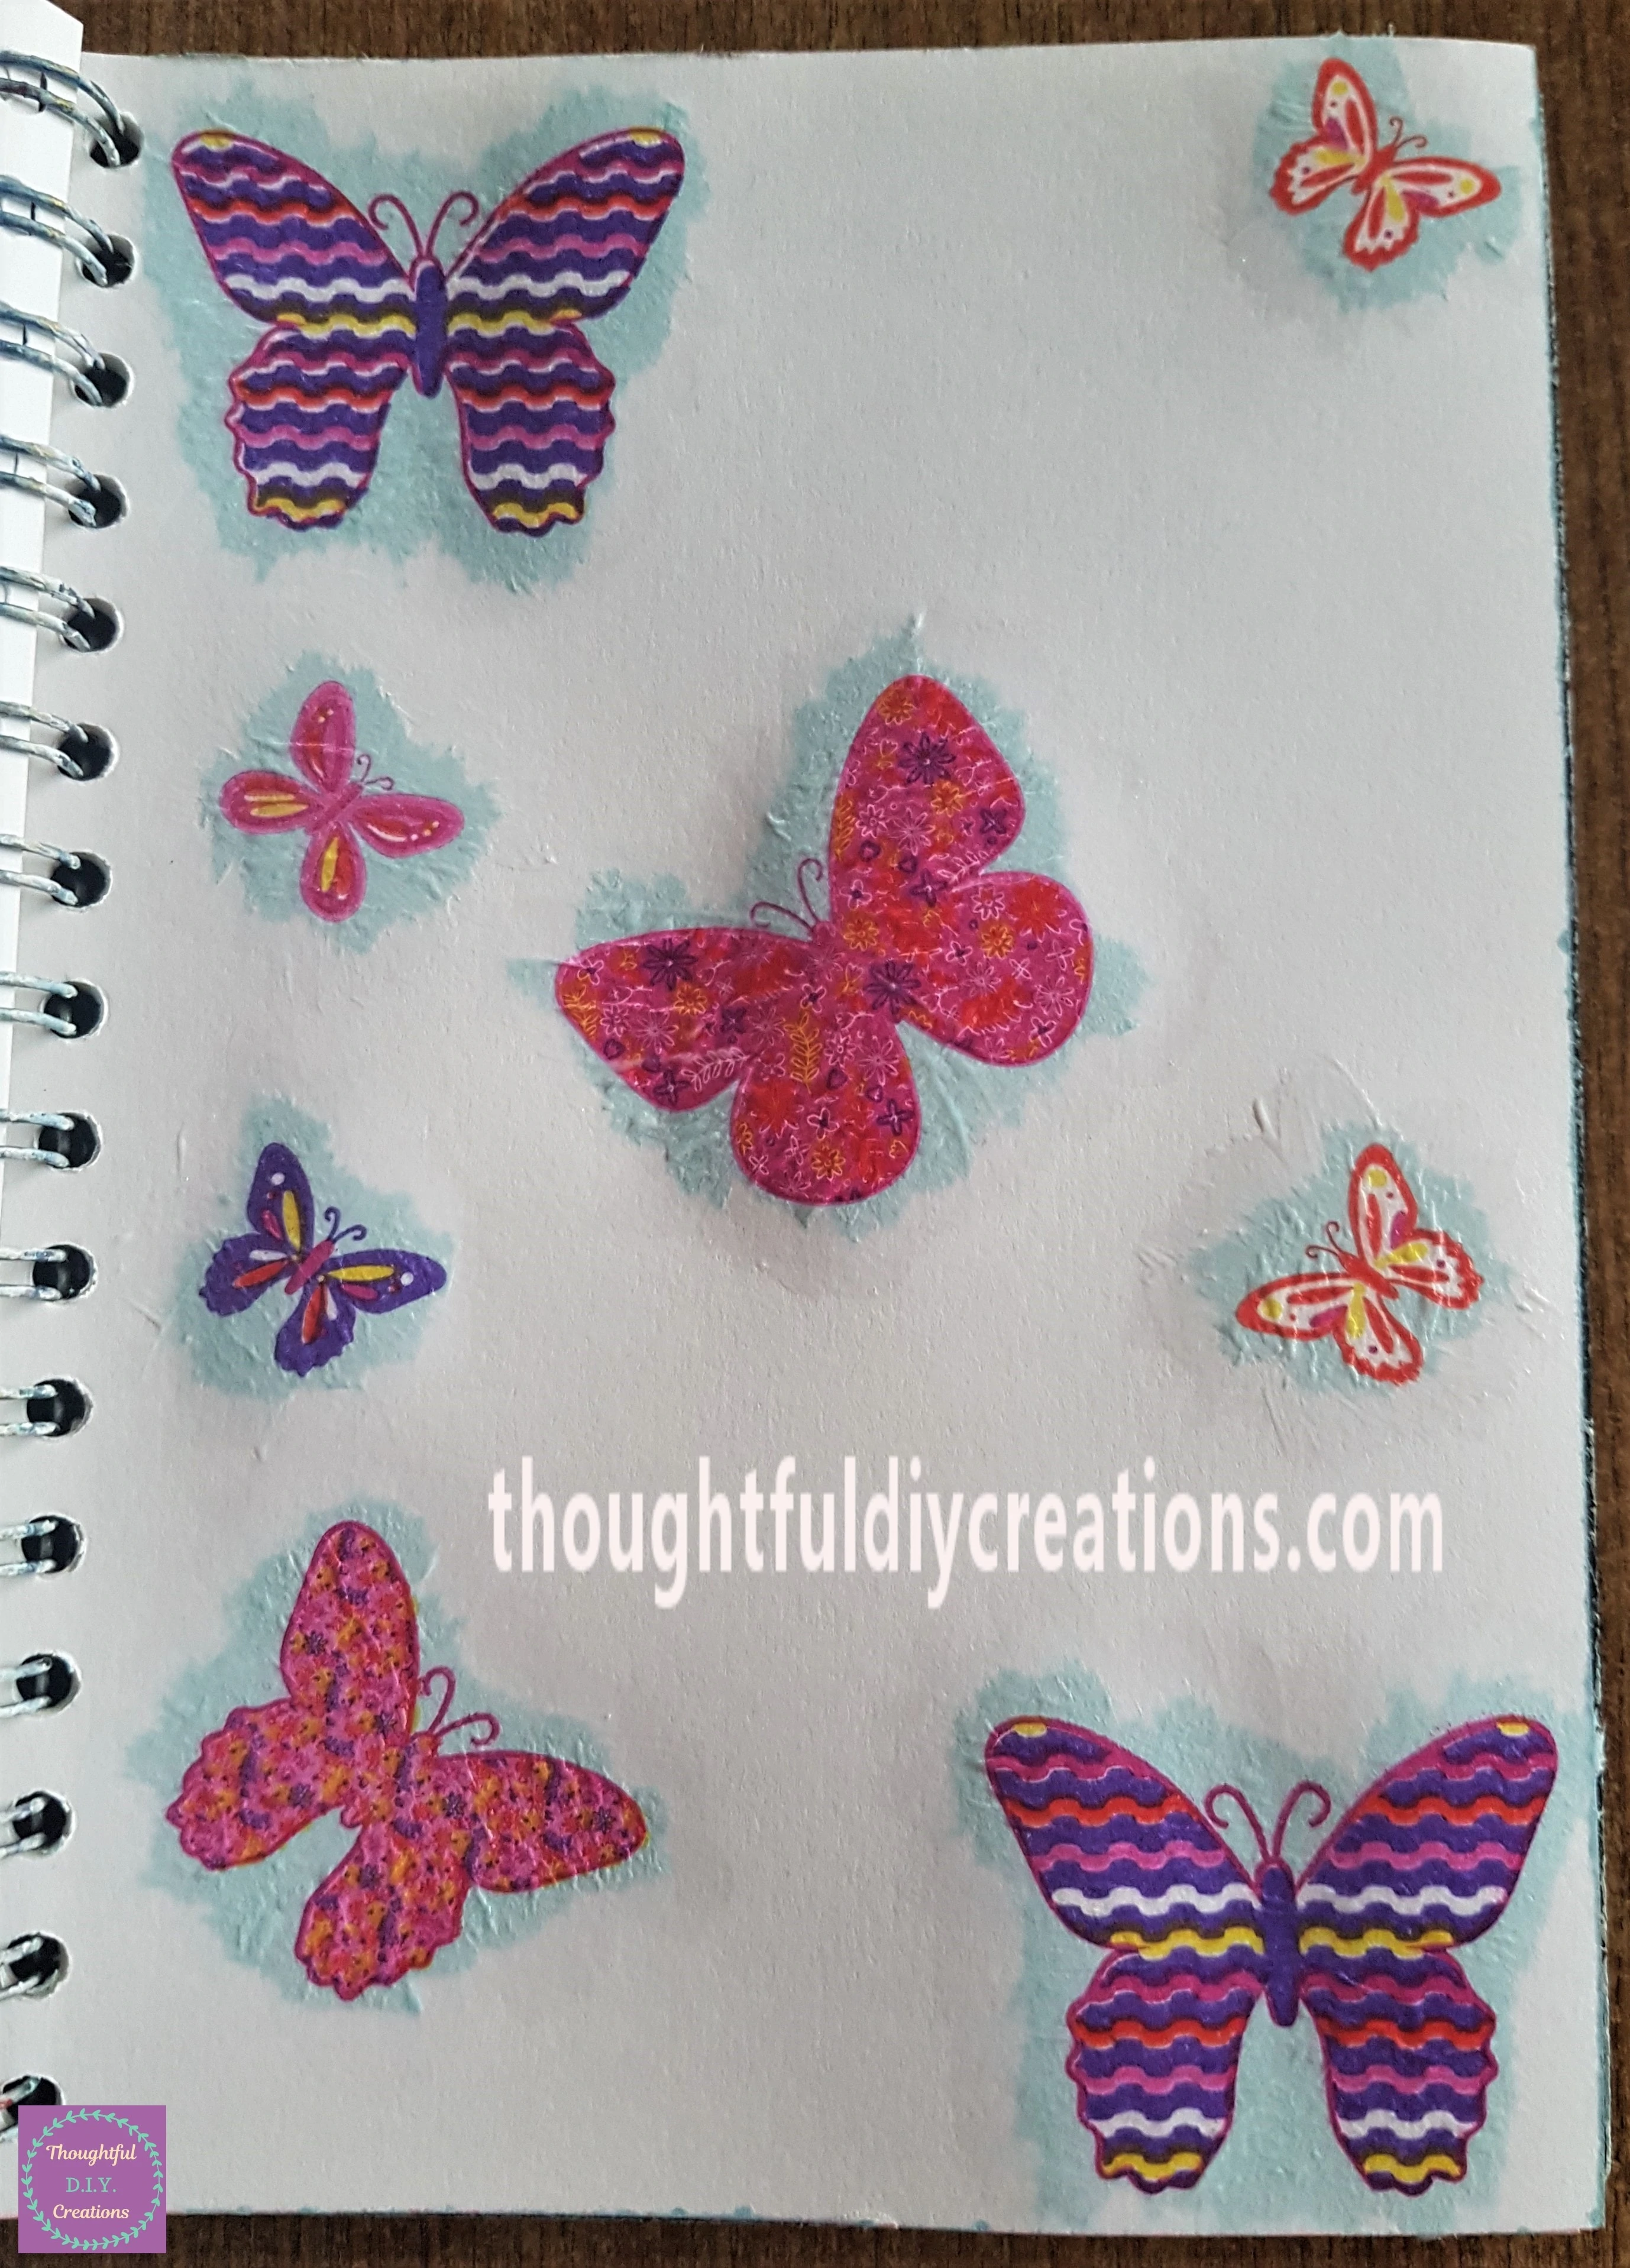
I finished with the Decoupage technique by adding 5 more butterflies to the Page.
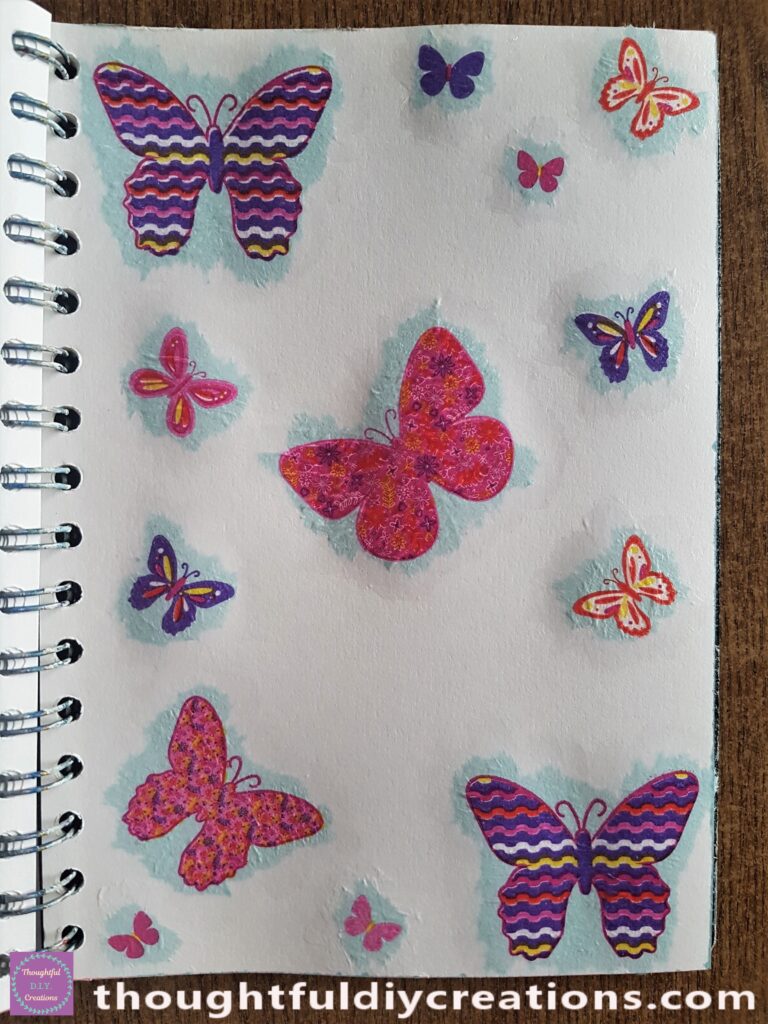
I allowed half an hour for the Decoupage Napkins to Dry. It reduced alot of the wrinkles in that time.
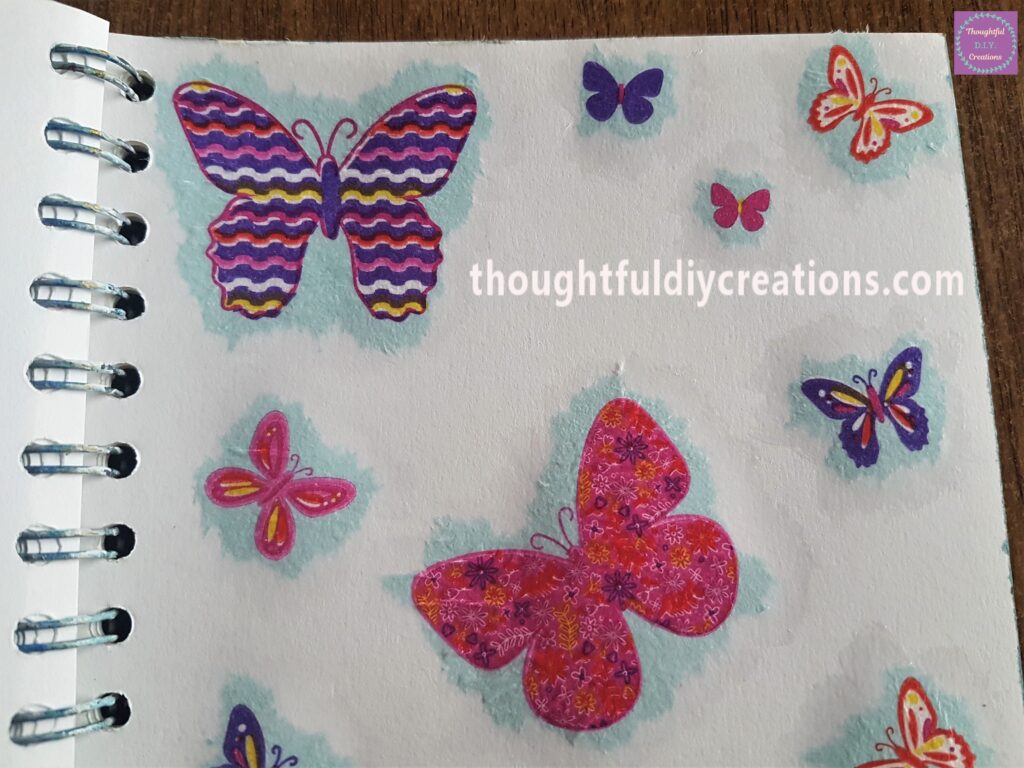
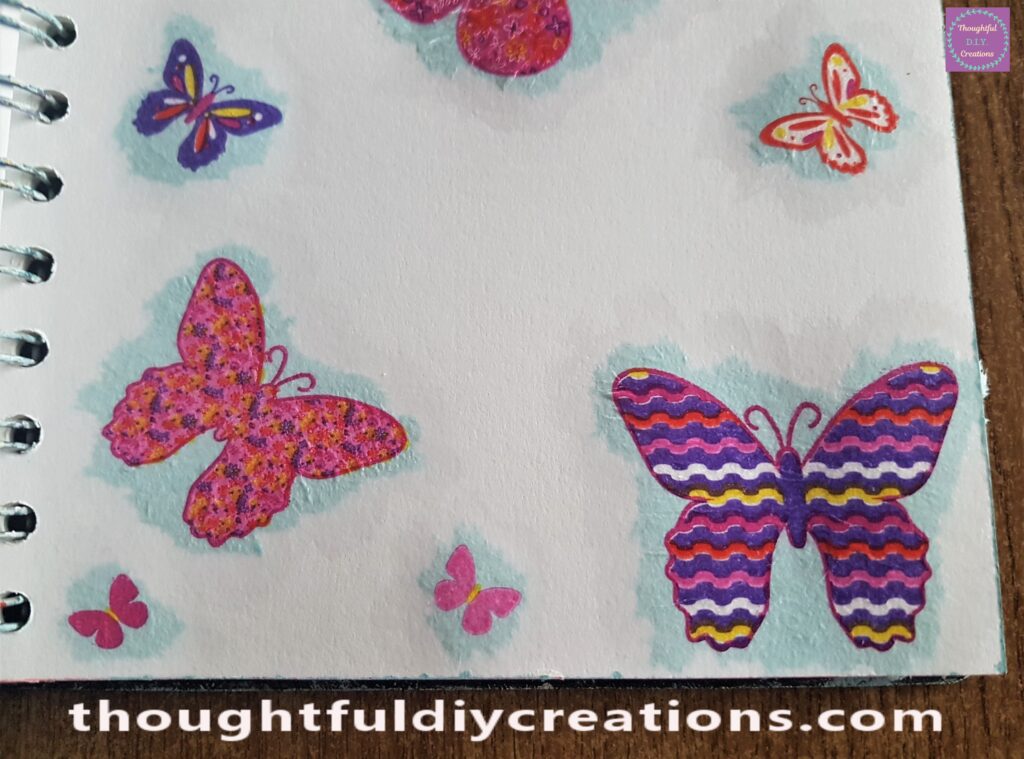
The Lower half of the Art Journal Page after drying time.
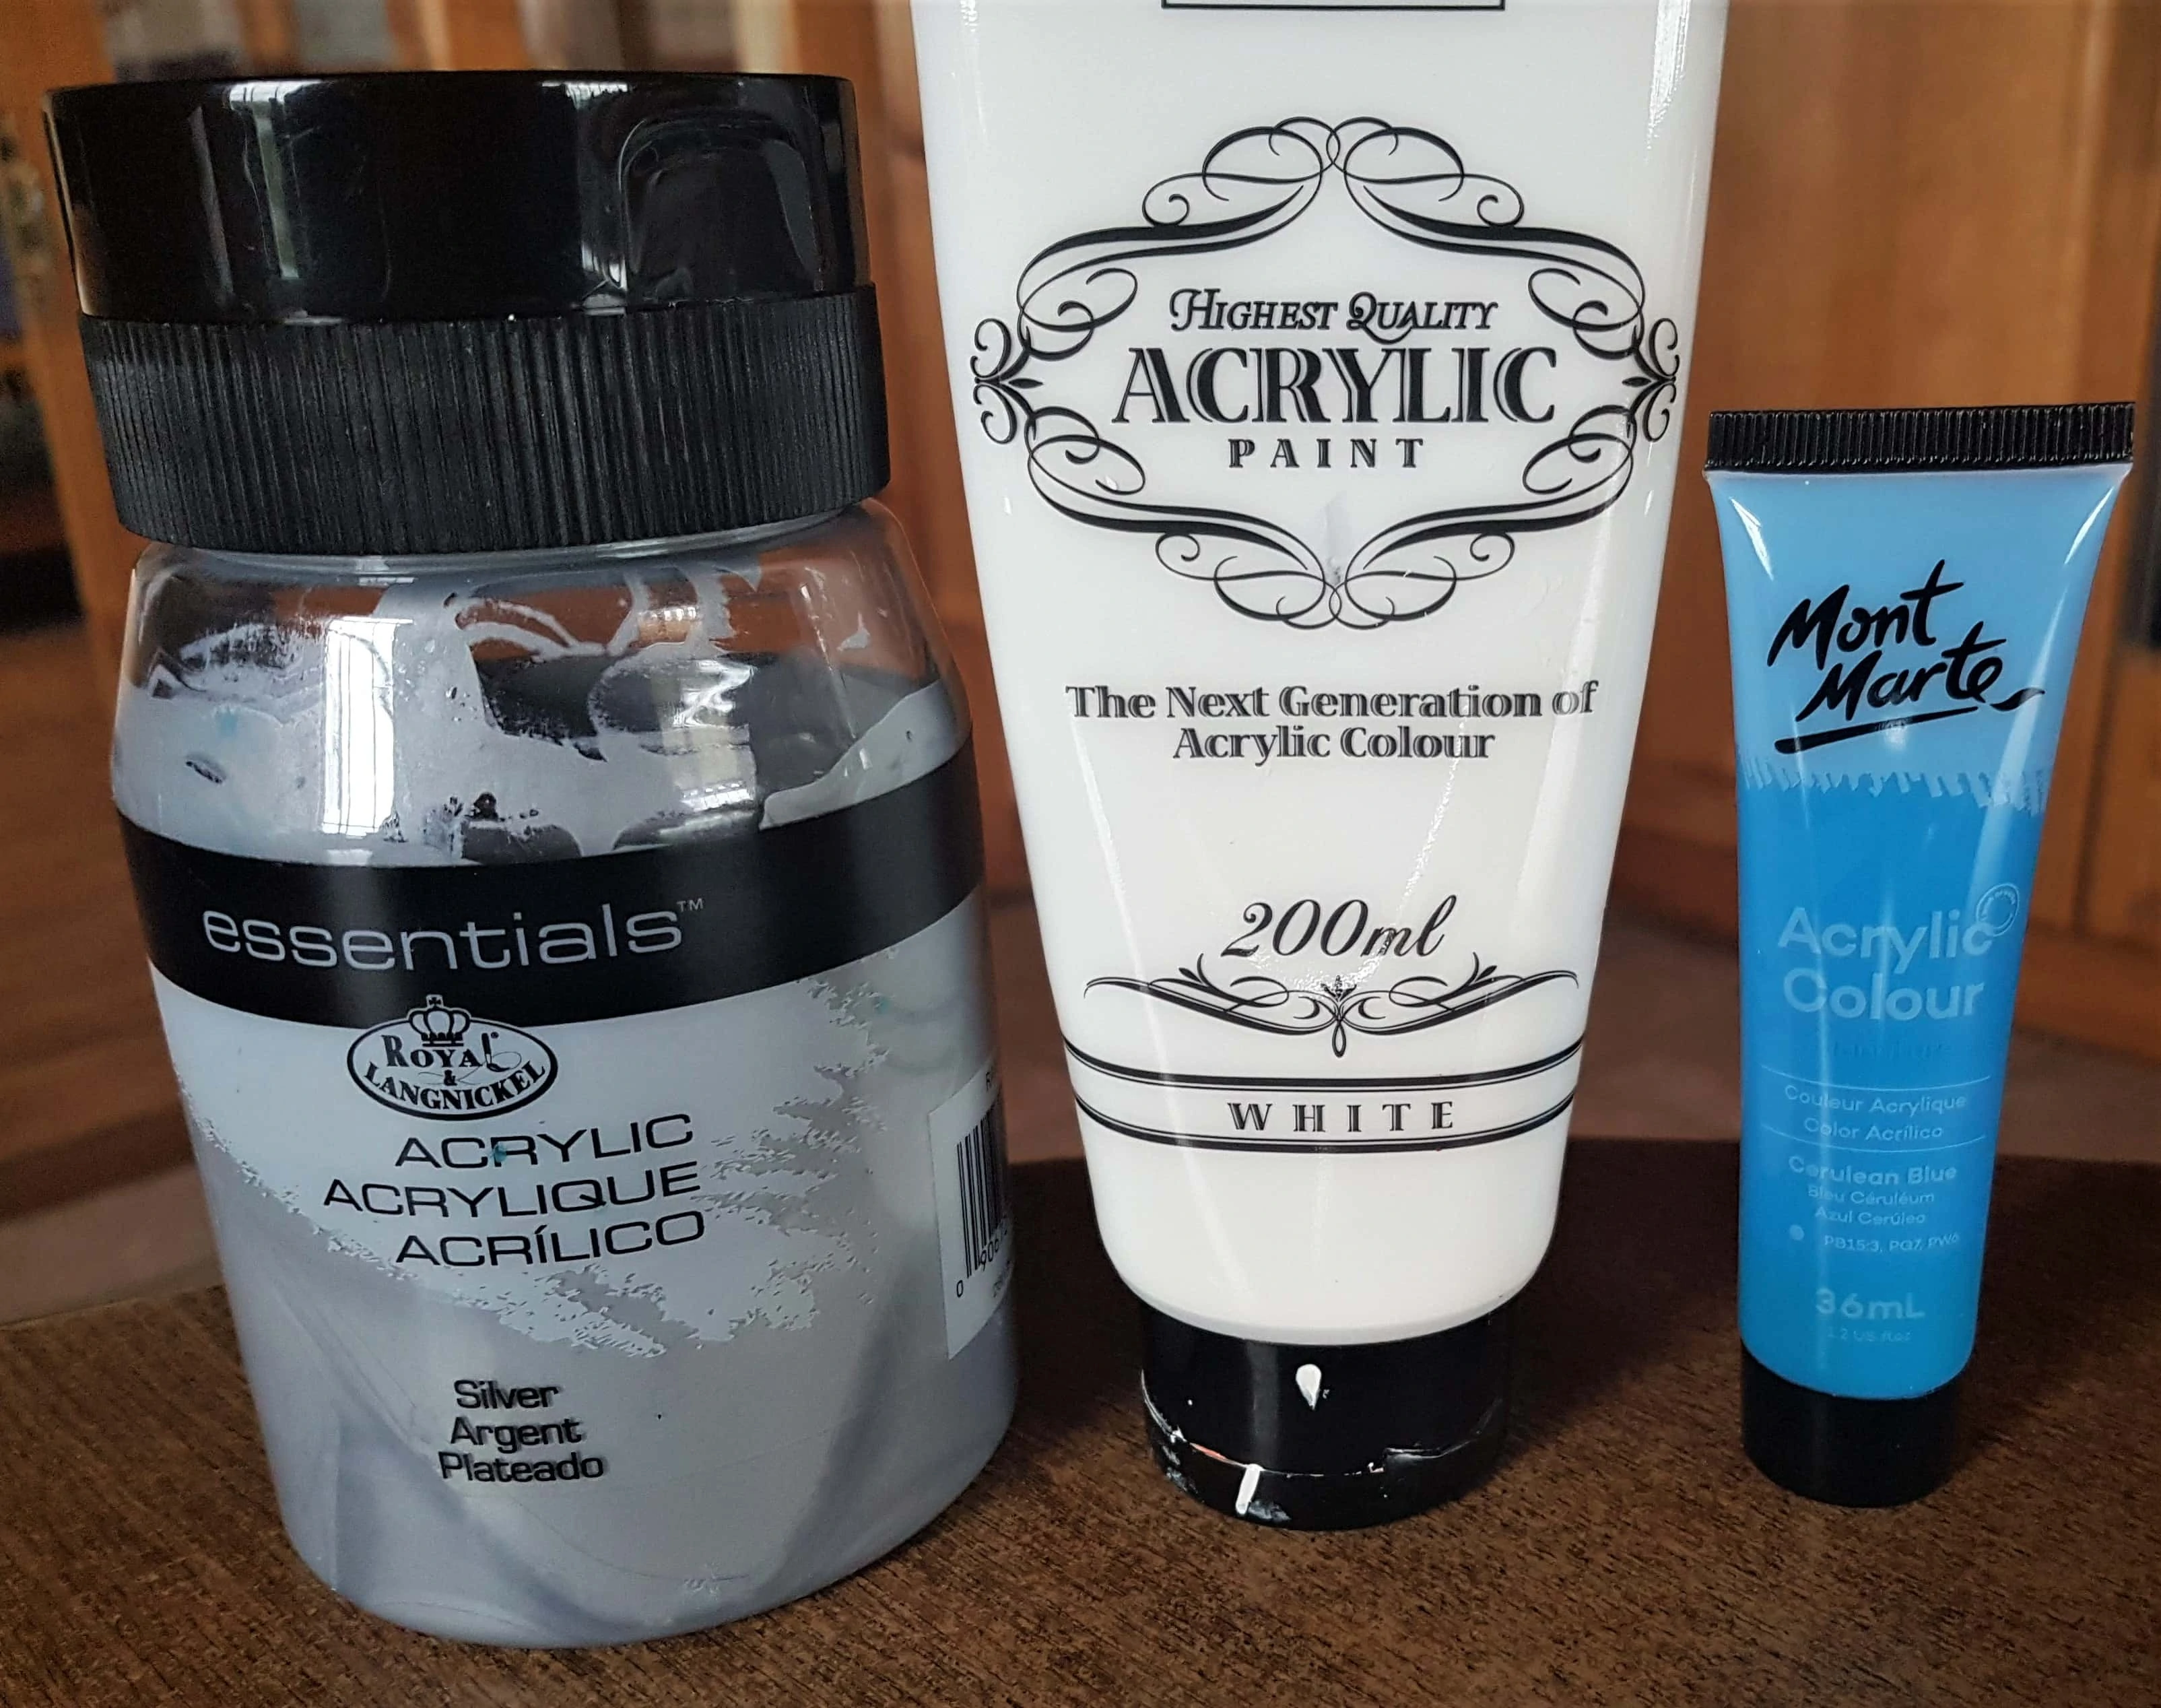
Making Paint Mixture for the Background
I got my ‘Silver’, ‘White’ and ‘Cerulean Blue’ Acrylic Paints.
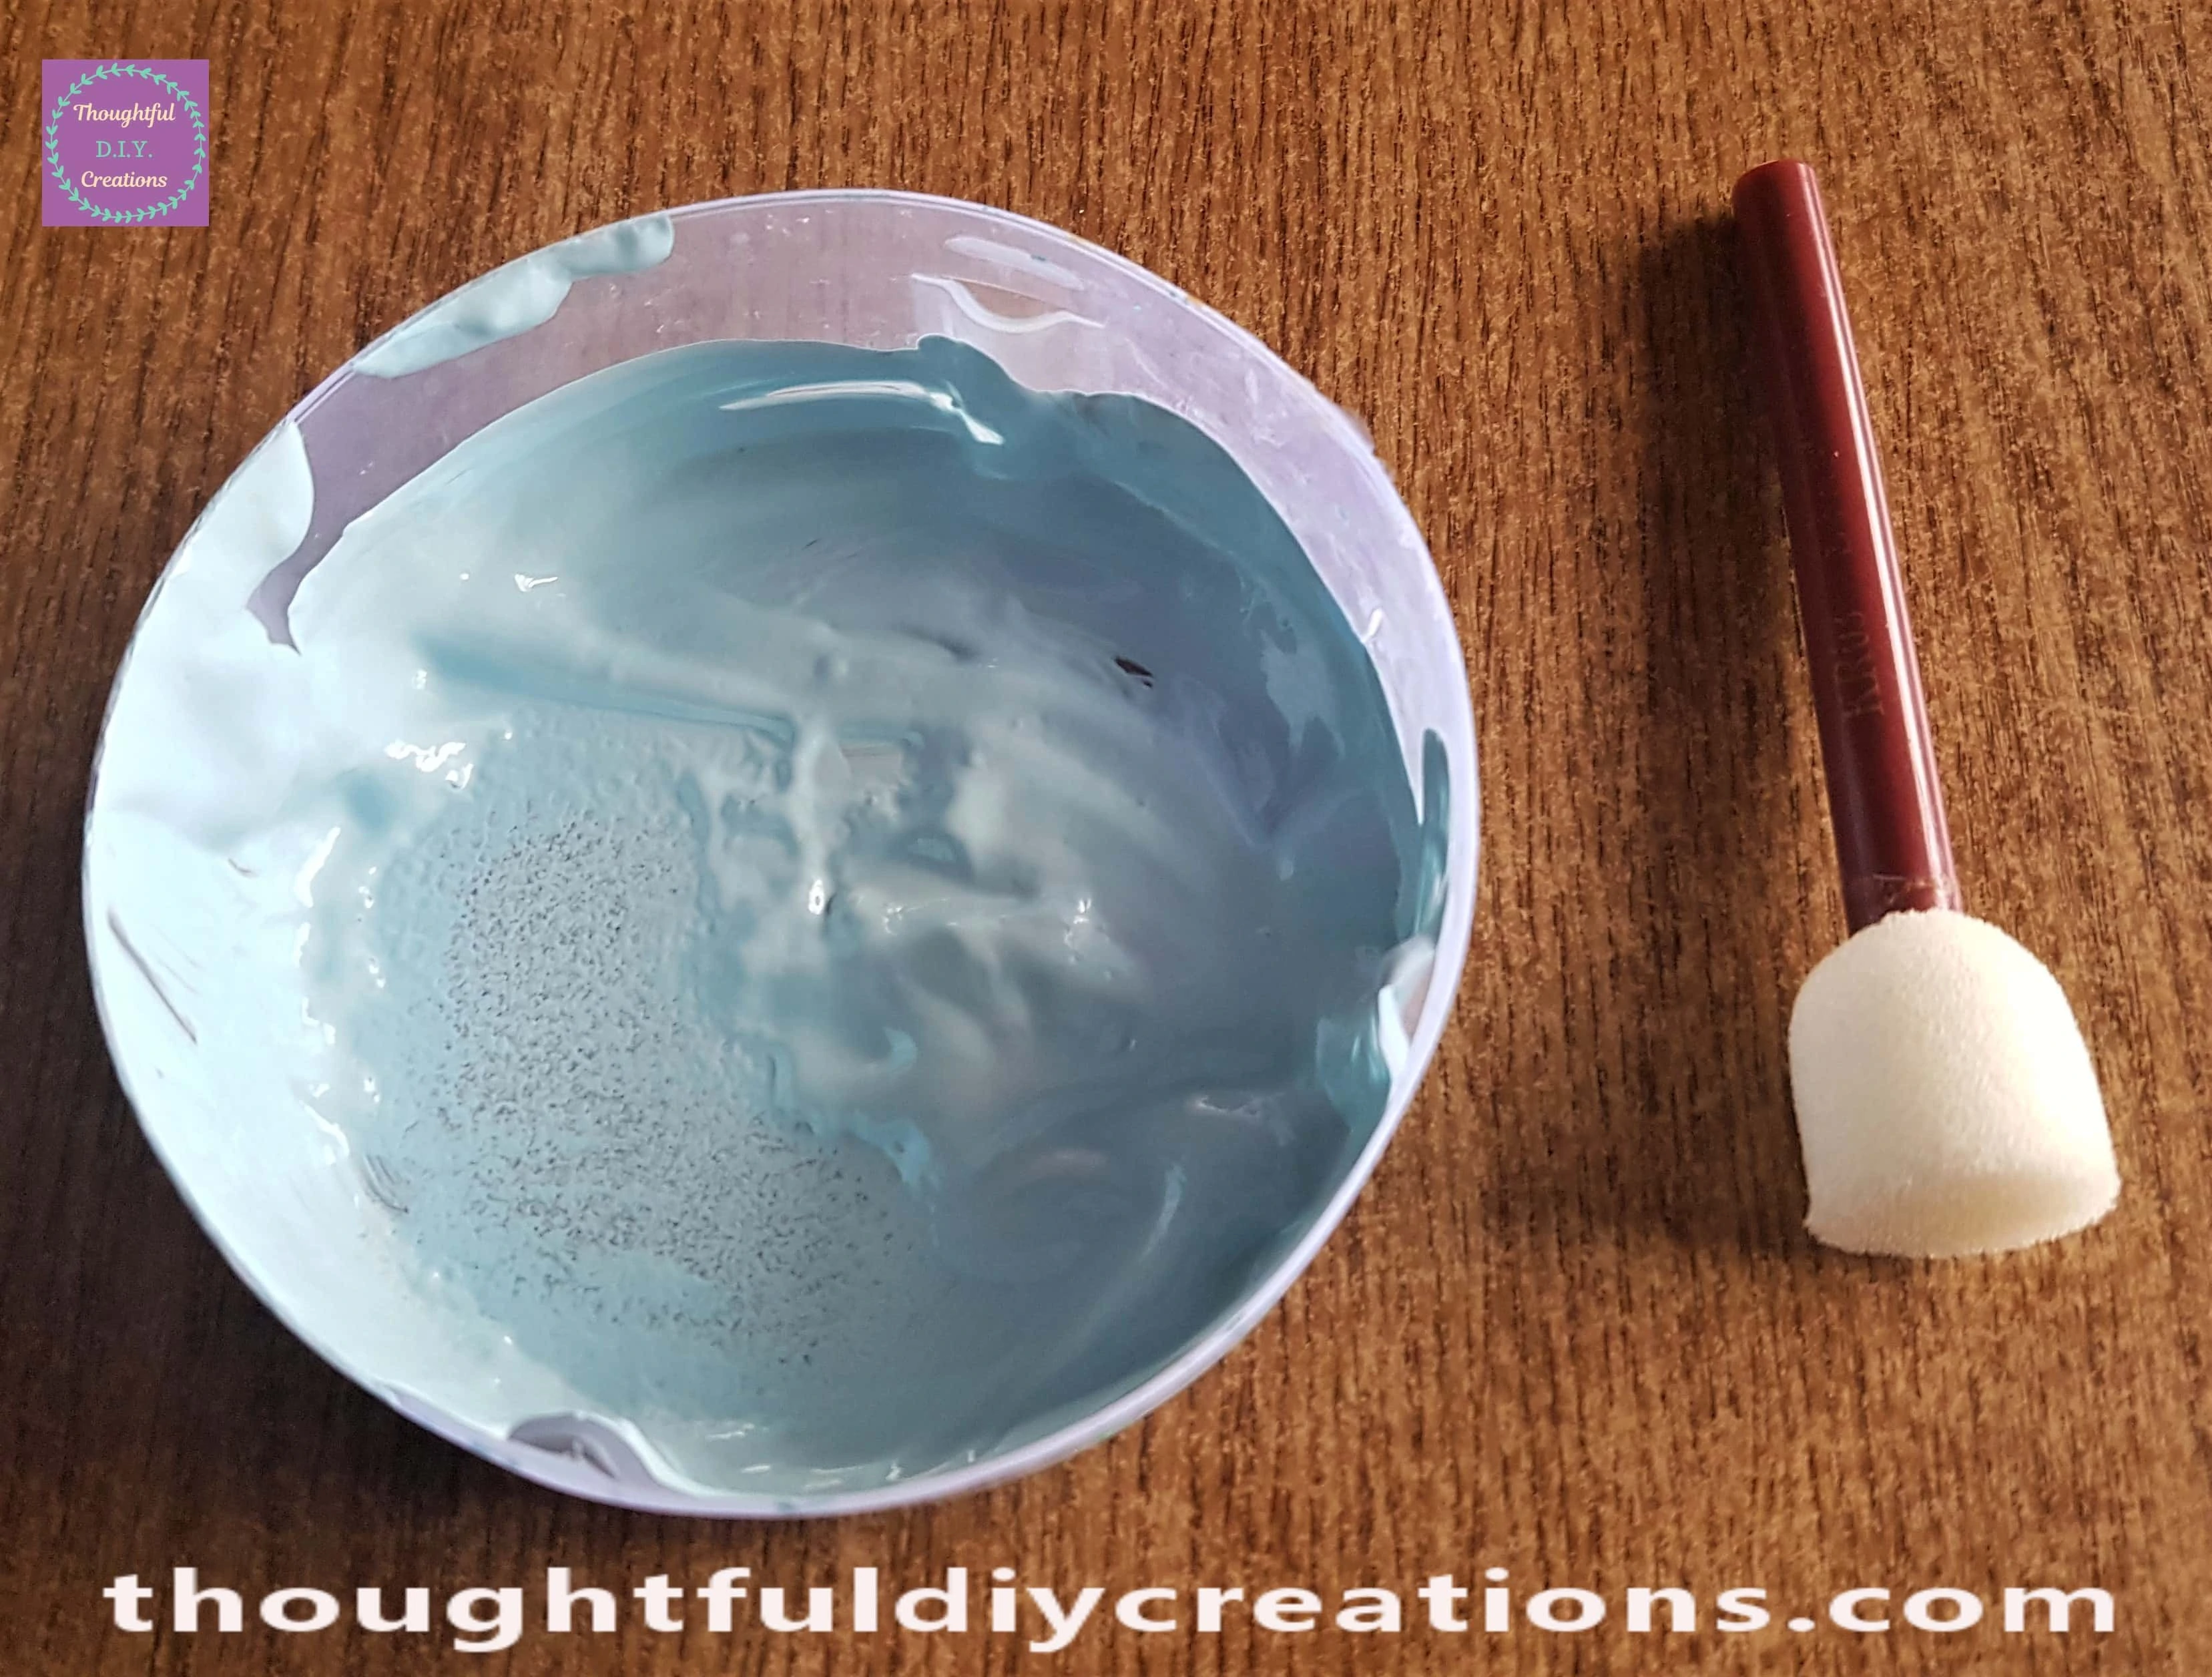
I put a small amount of the Blue Paint into a Lid, I lightened the Colour by mixing a nice amount of White Paint to the Blue with a Paintbrush and then added some Silver Paint to make it as similiar to the background on the Napkins as I could.
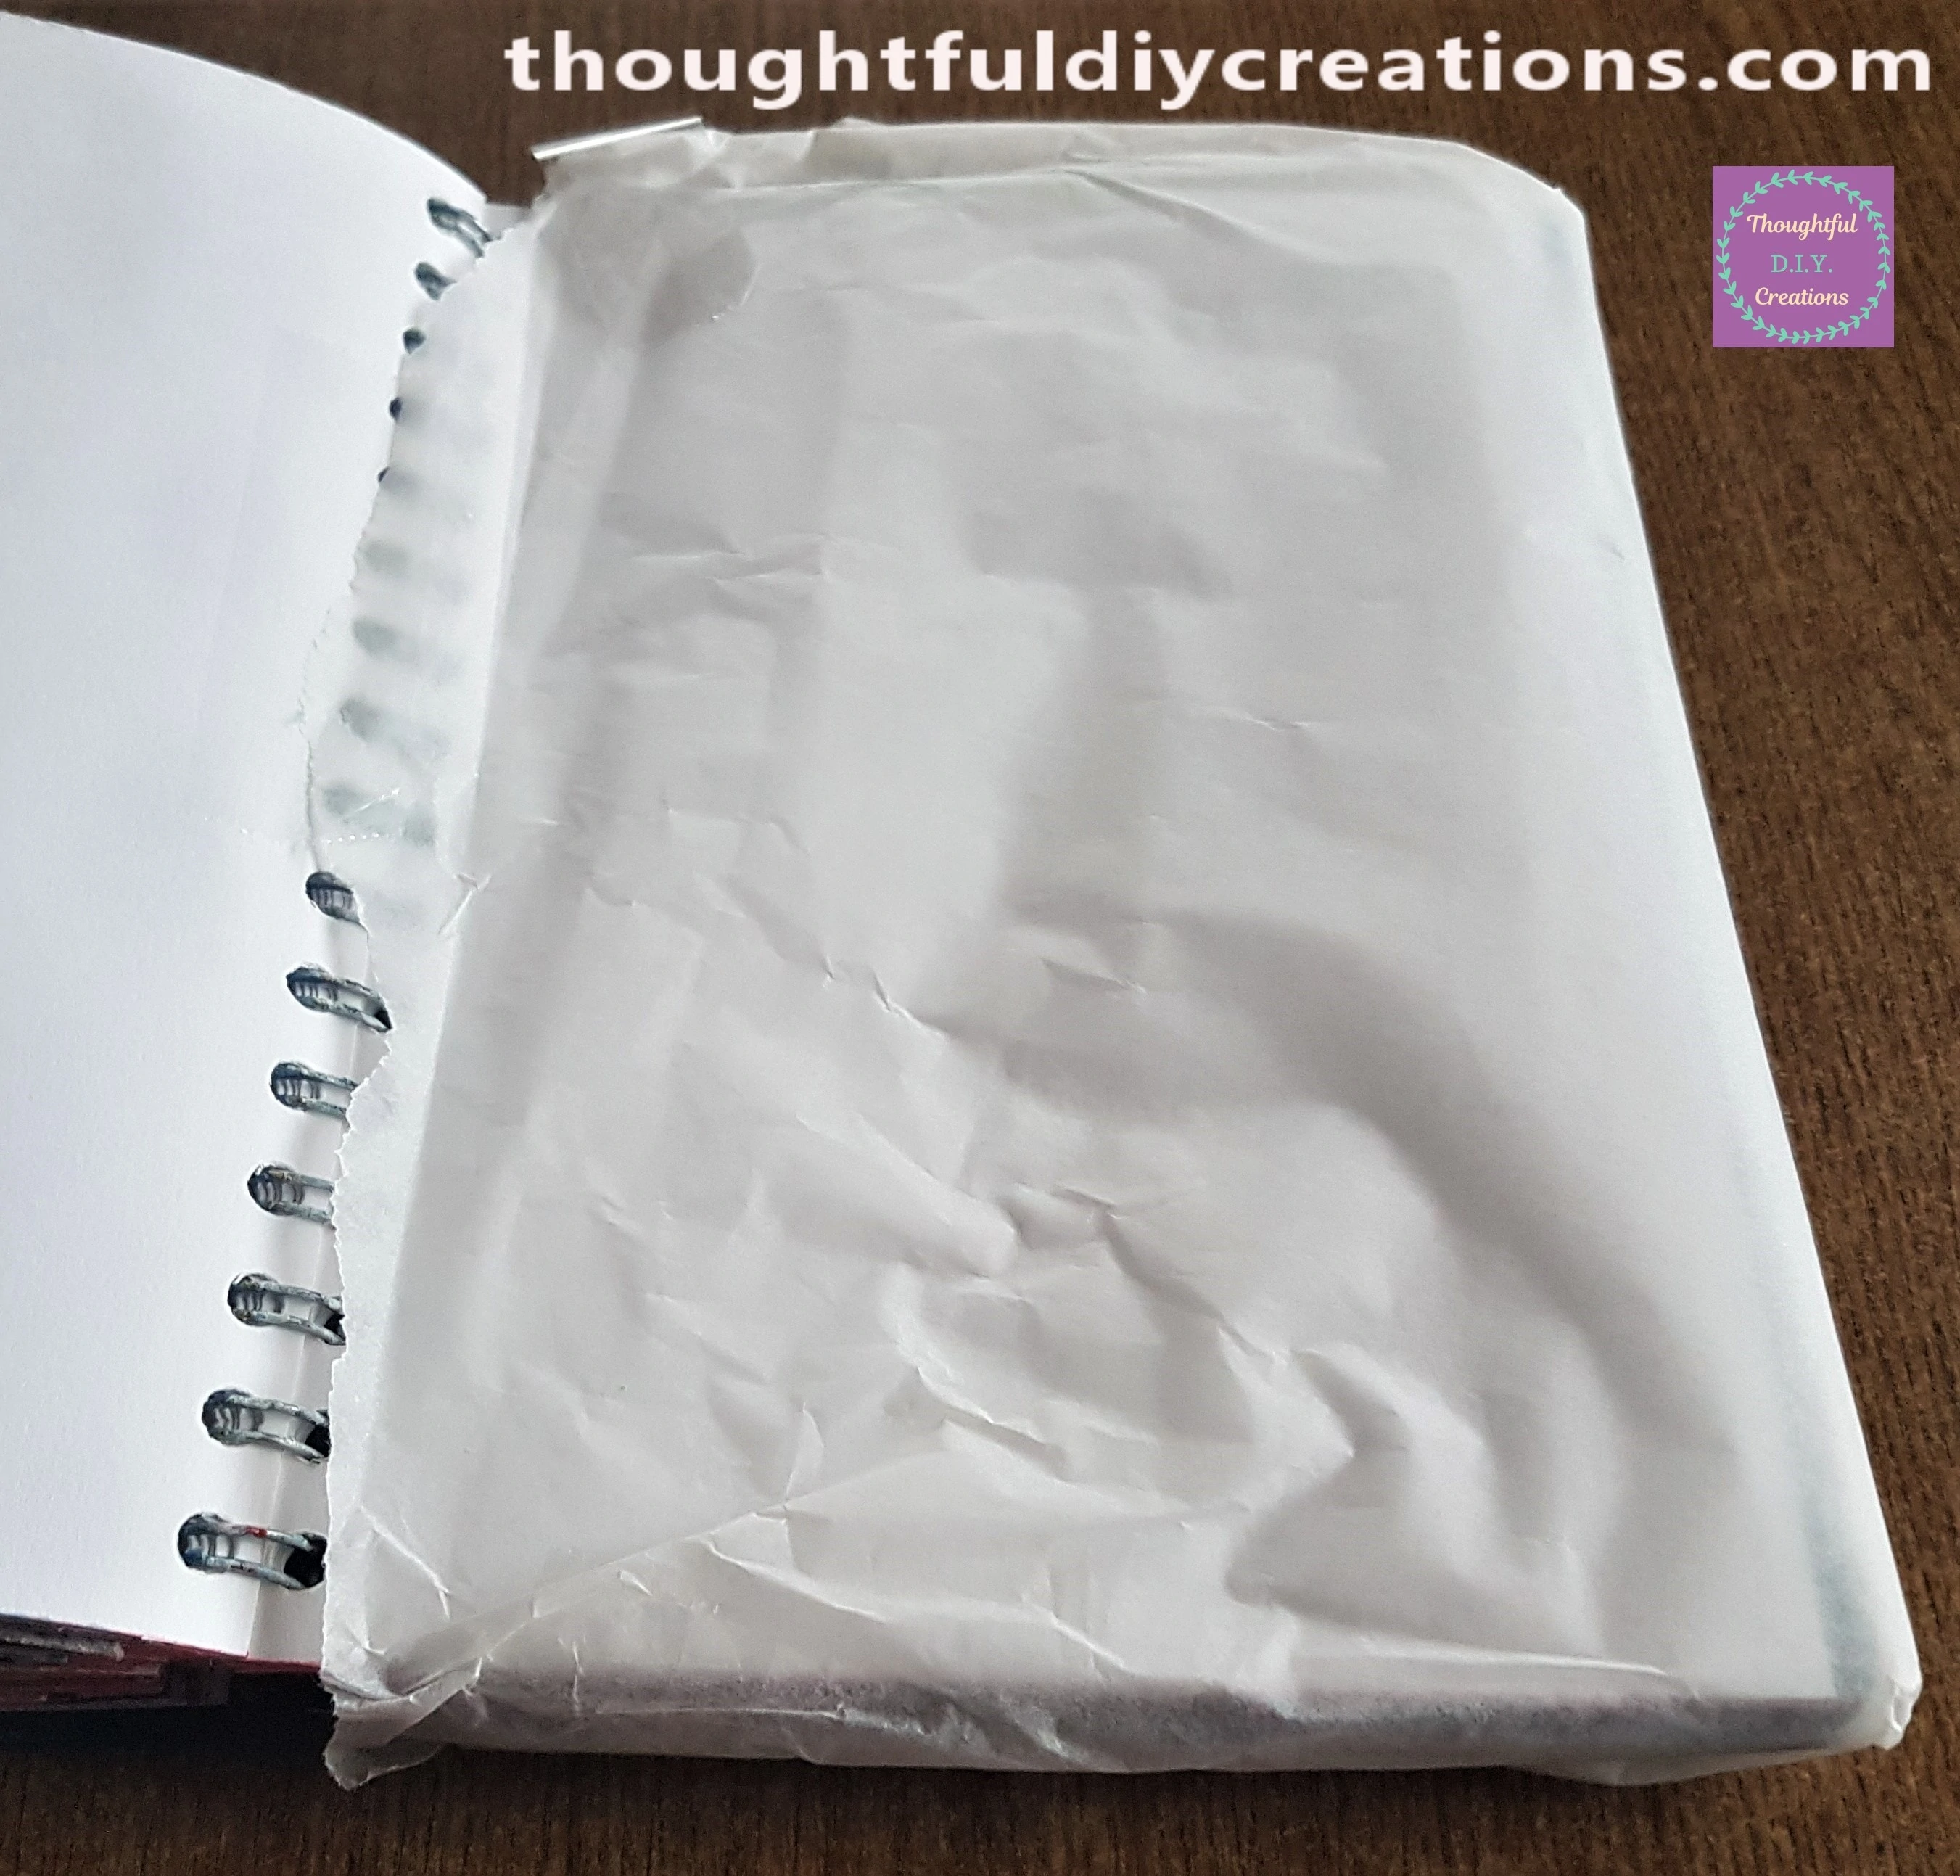
I tore some Baking Parchment Paper from the Roll.
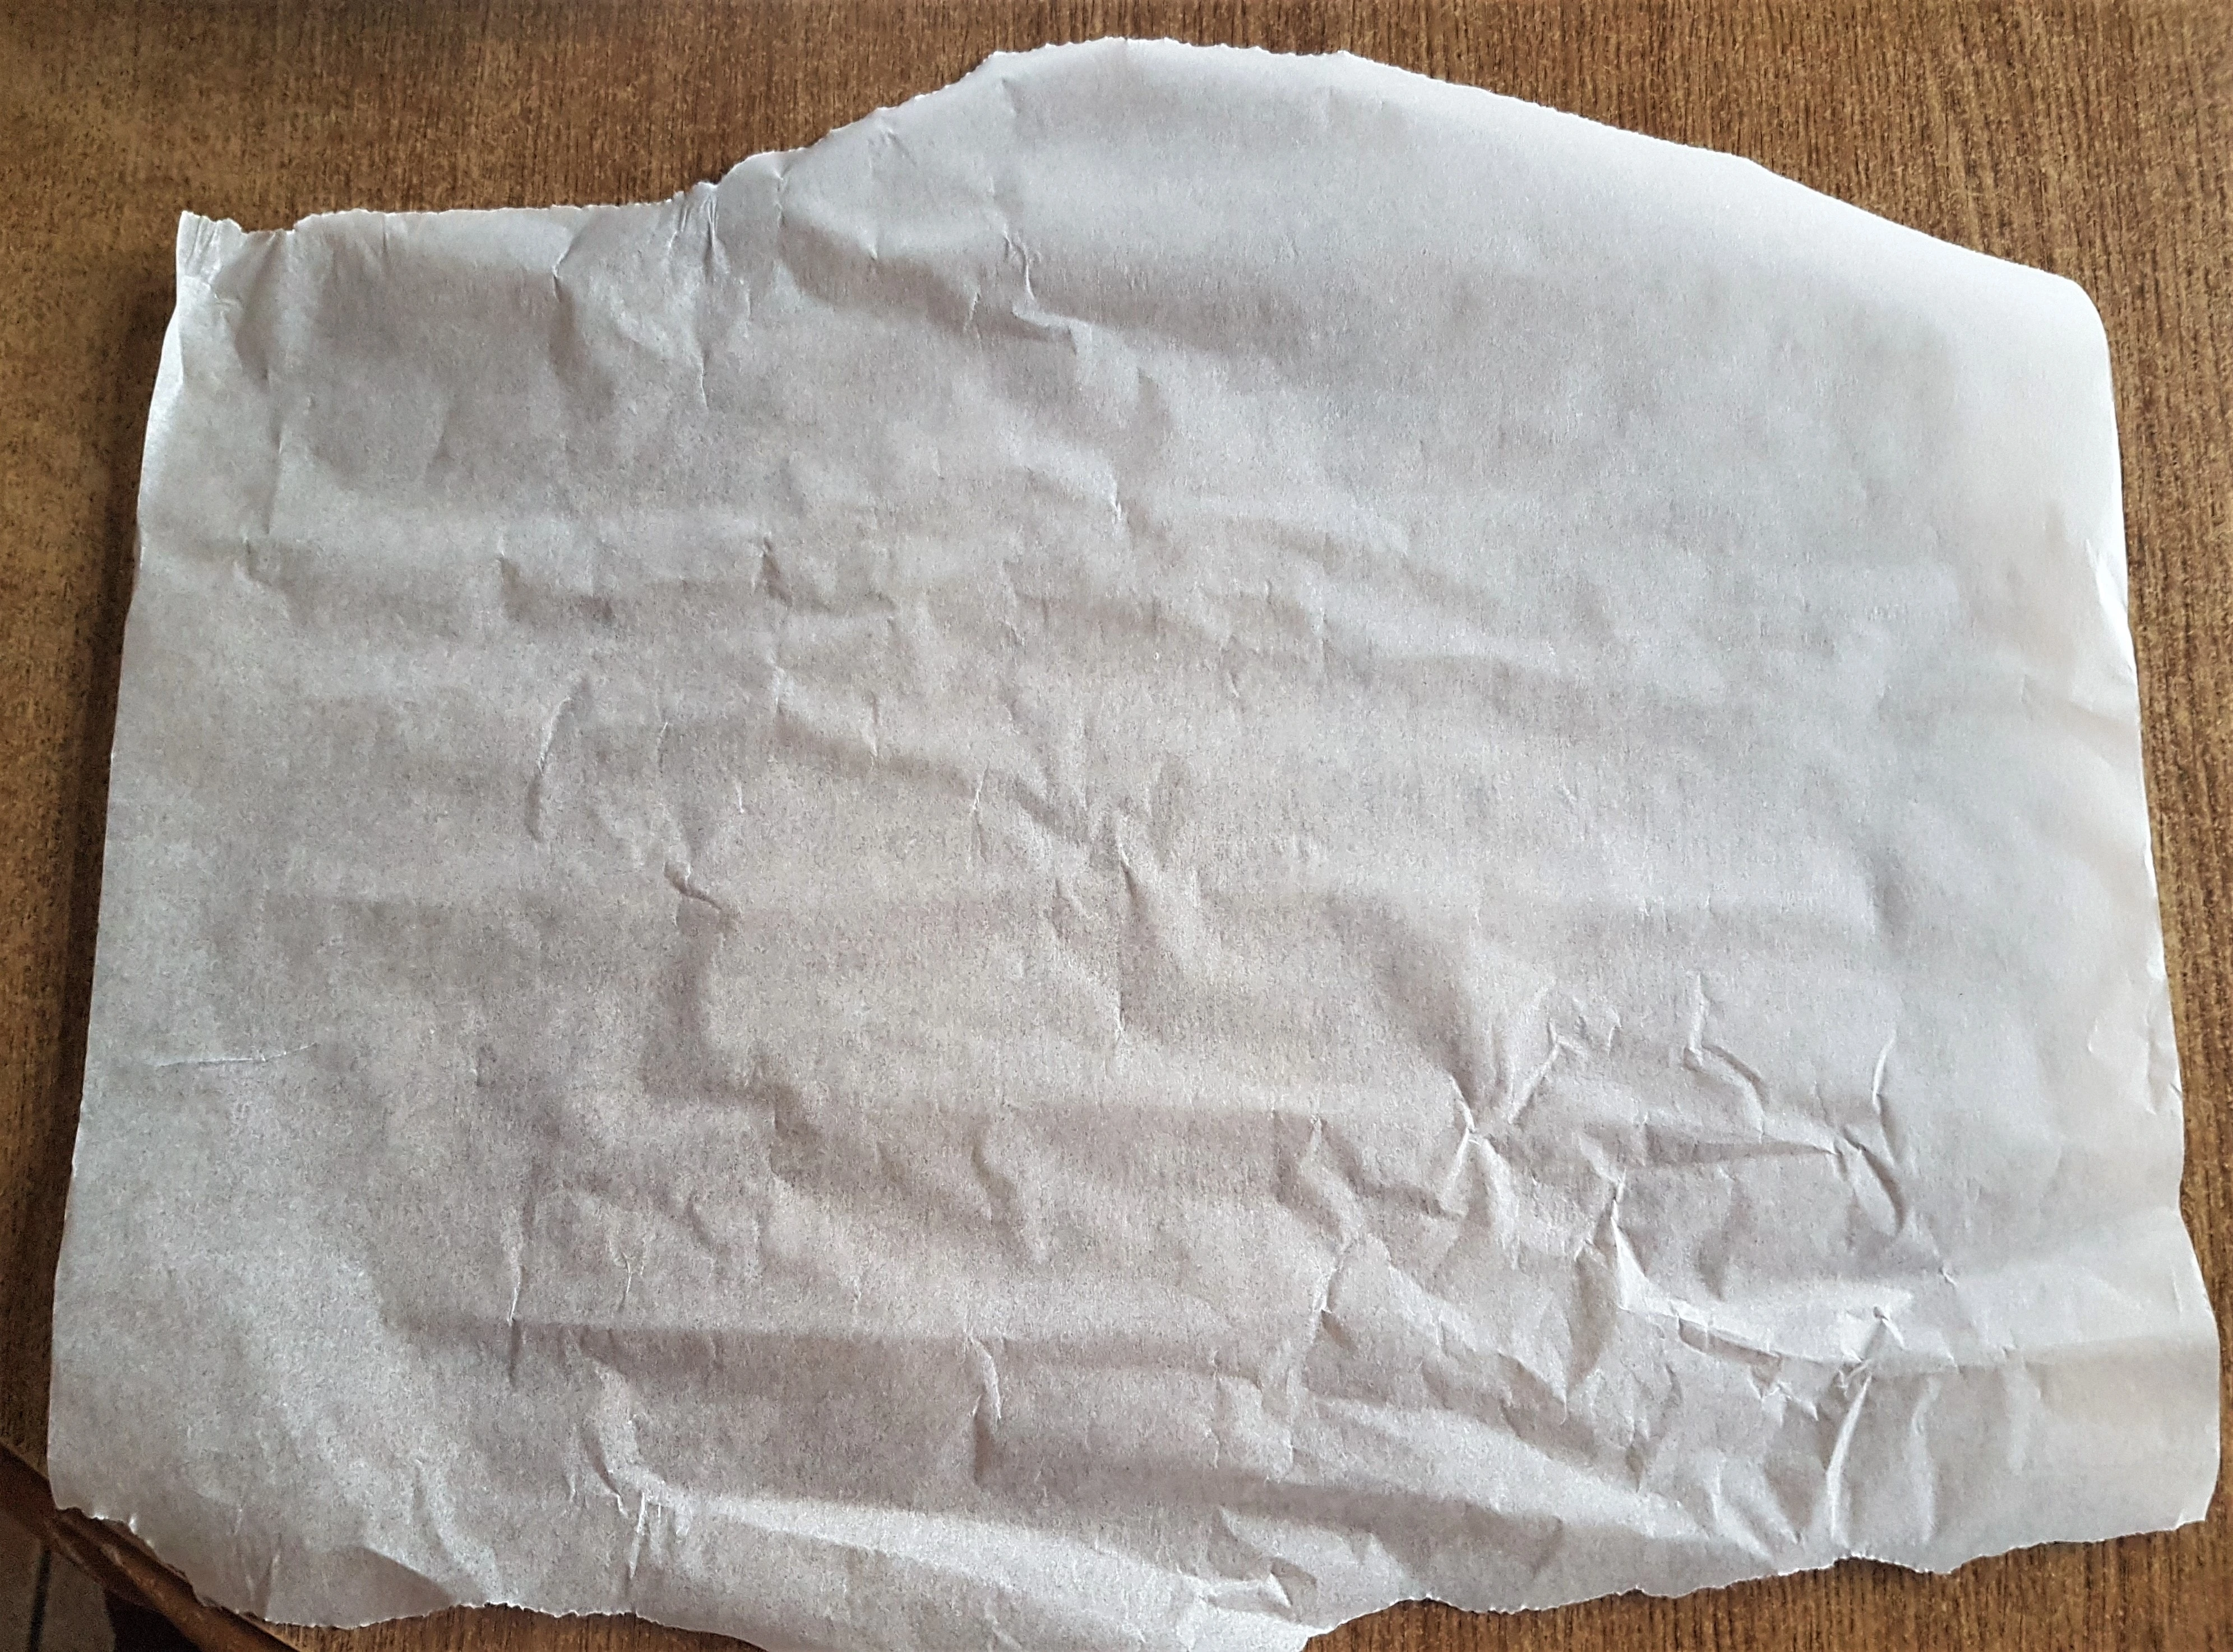
I sellotaped it from the Page under the one I’m working on to the Back of the Art Journal to prevent the rest of the Pages from getting any Paint on them.
Painting the Art Journal Background
I dipped the Flat Sponge with Handle into the Blue Paint I mixed and dabbed it onto the Art Journal Page.
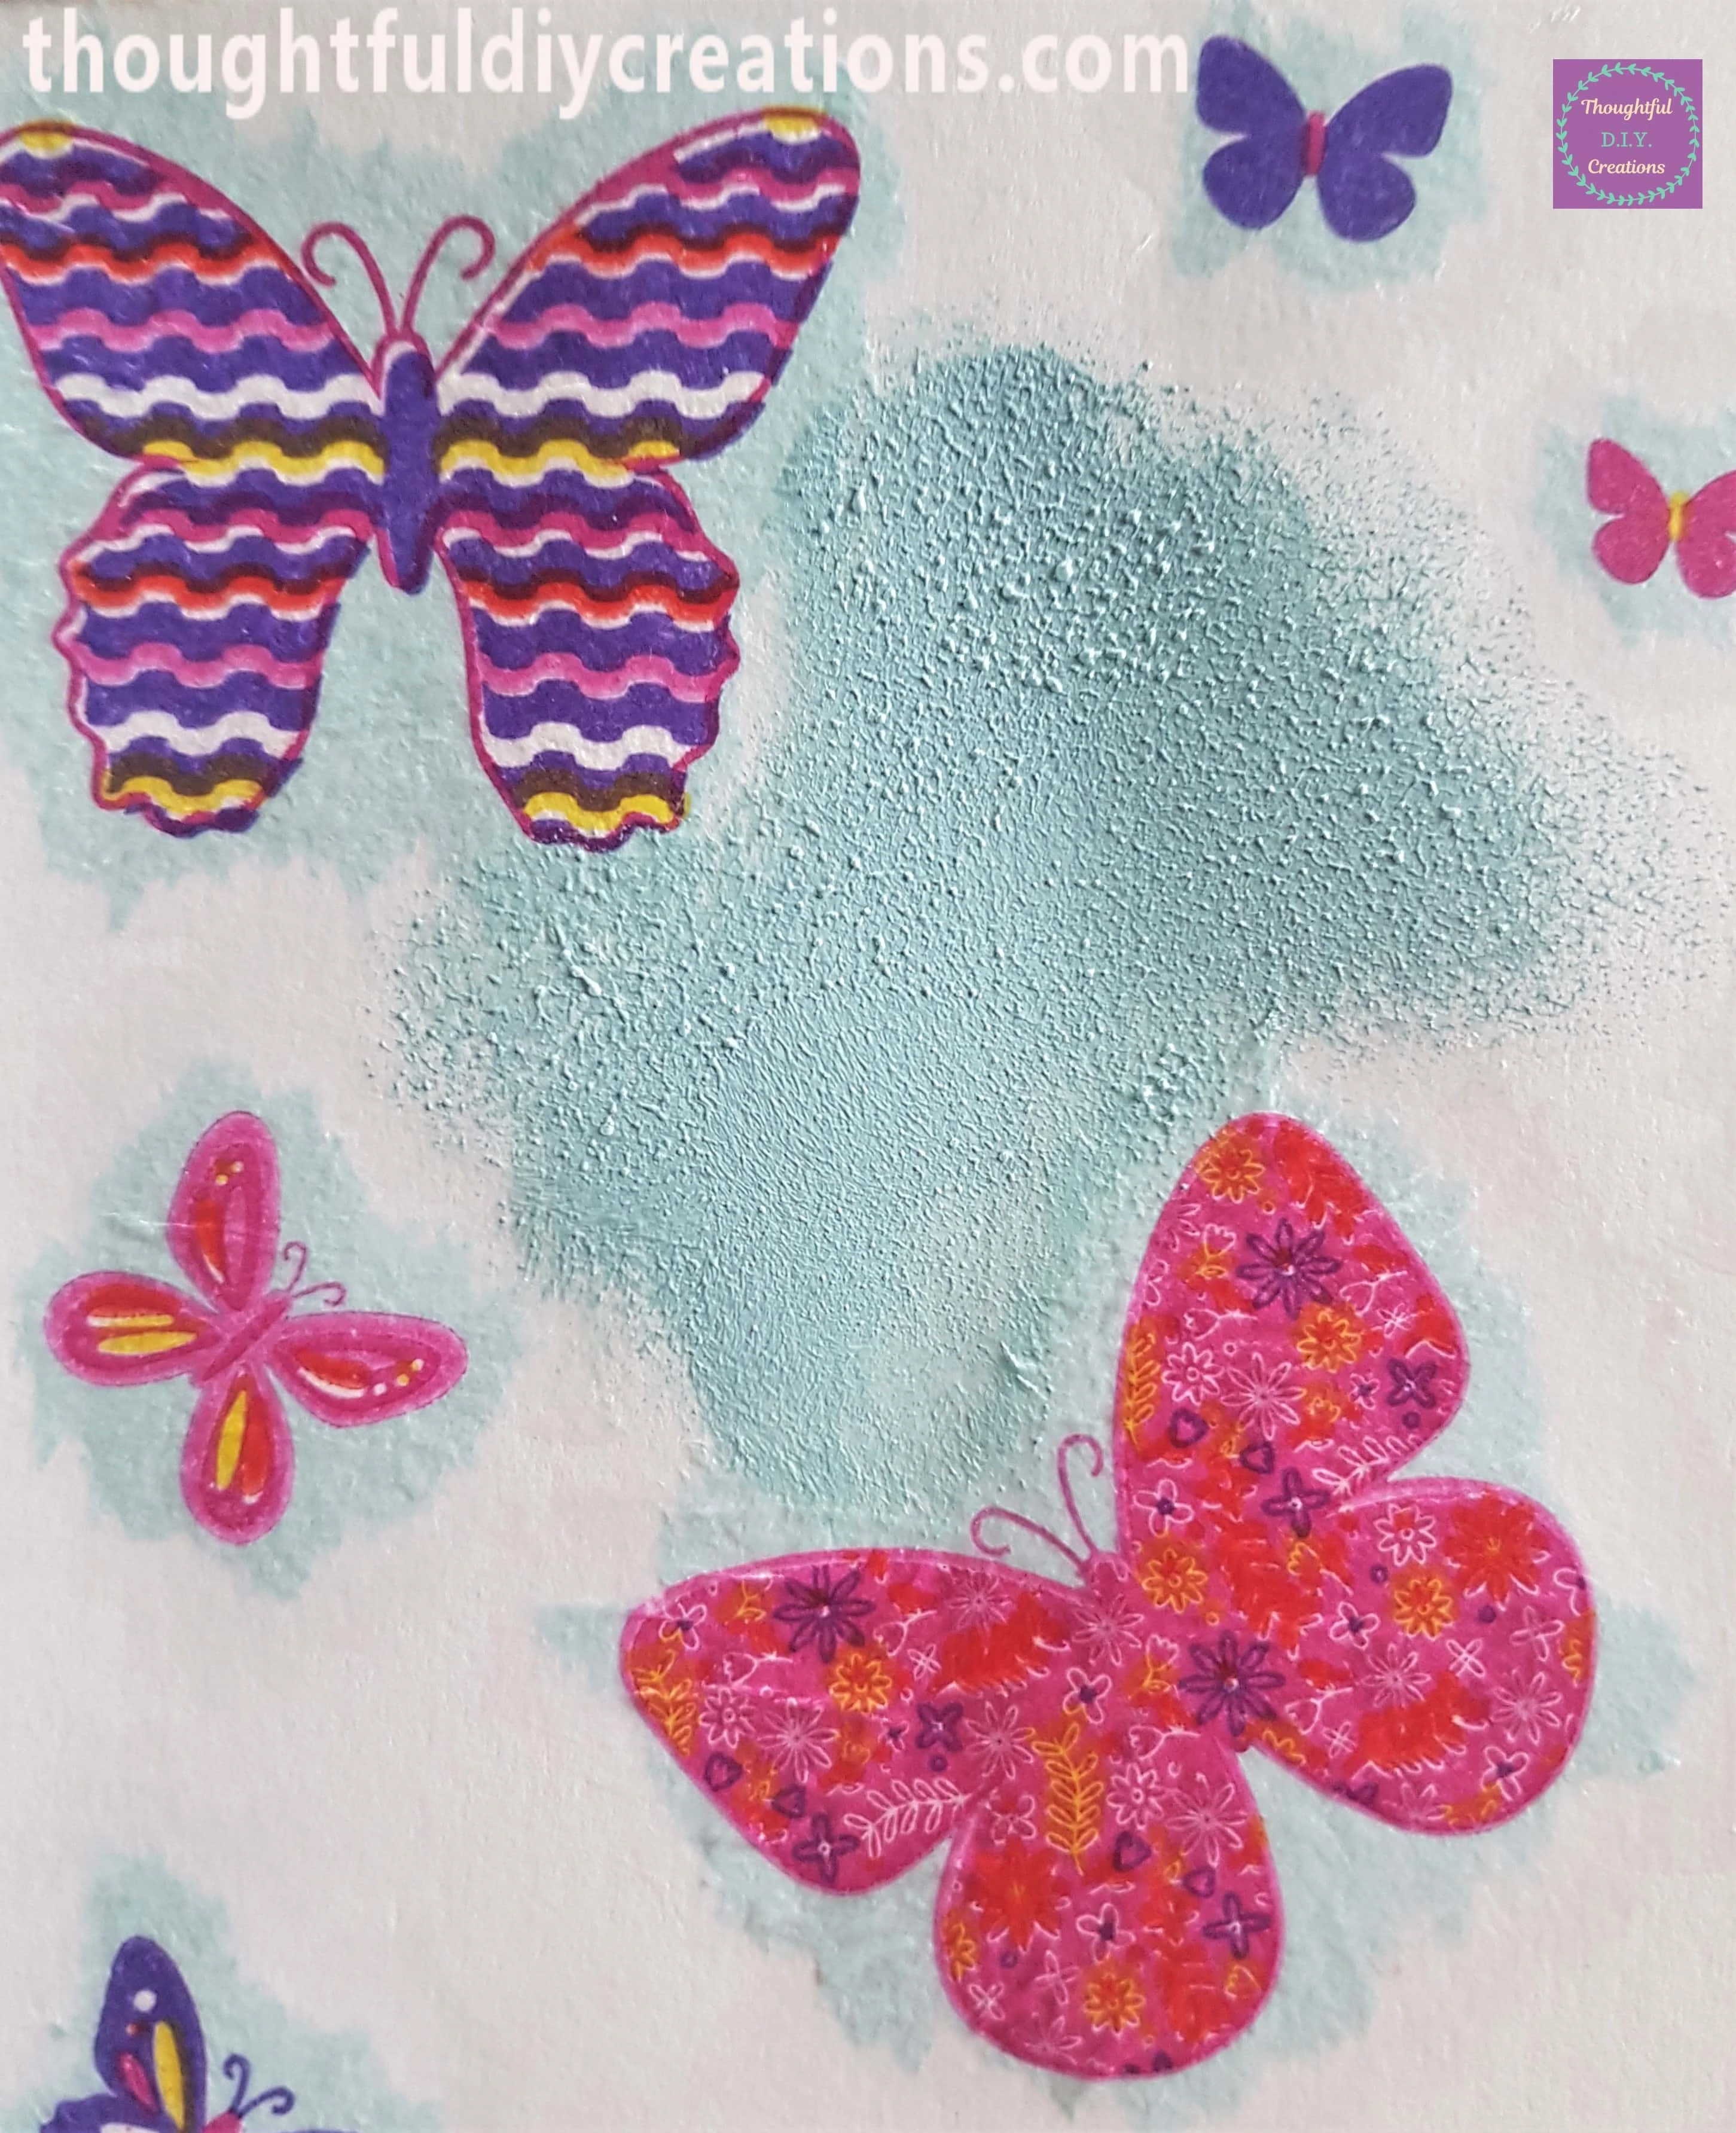
I continued adding Paint to the Page around the Butterflies.
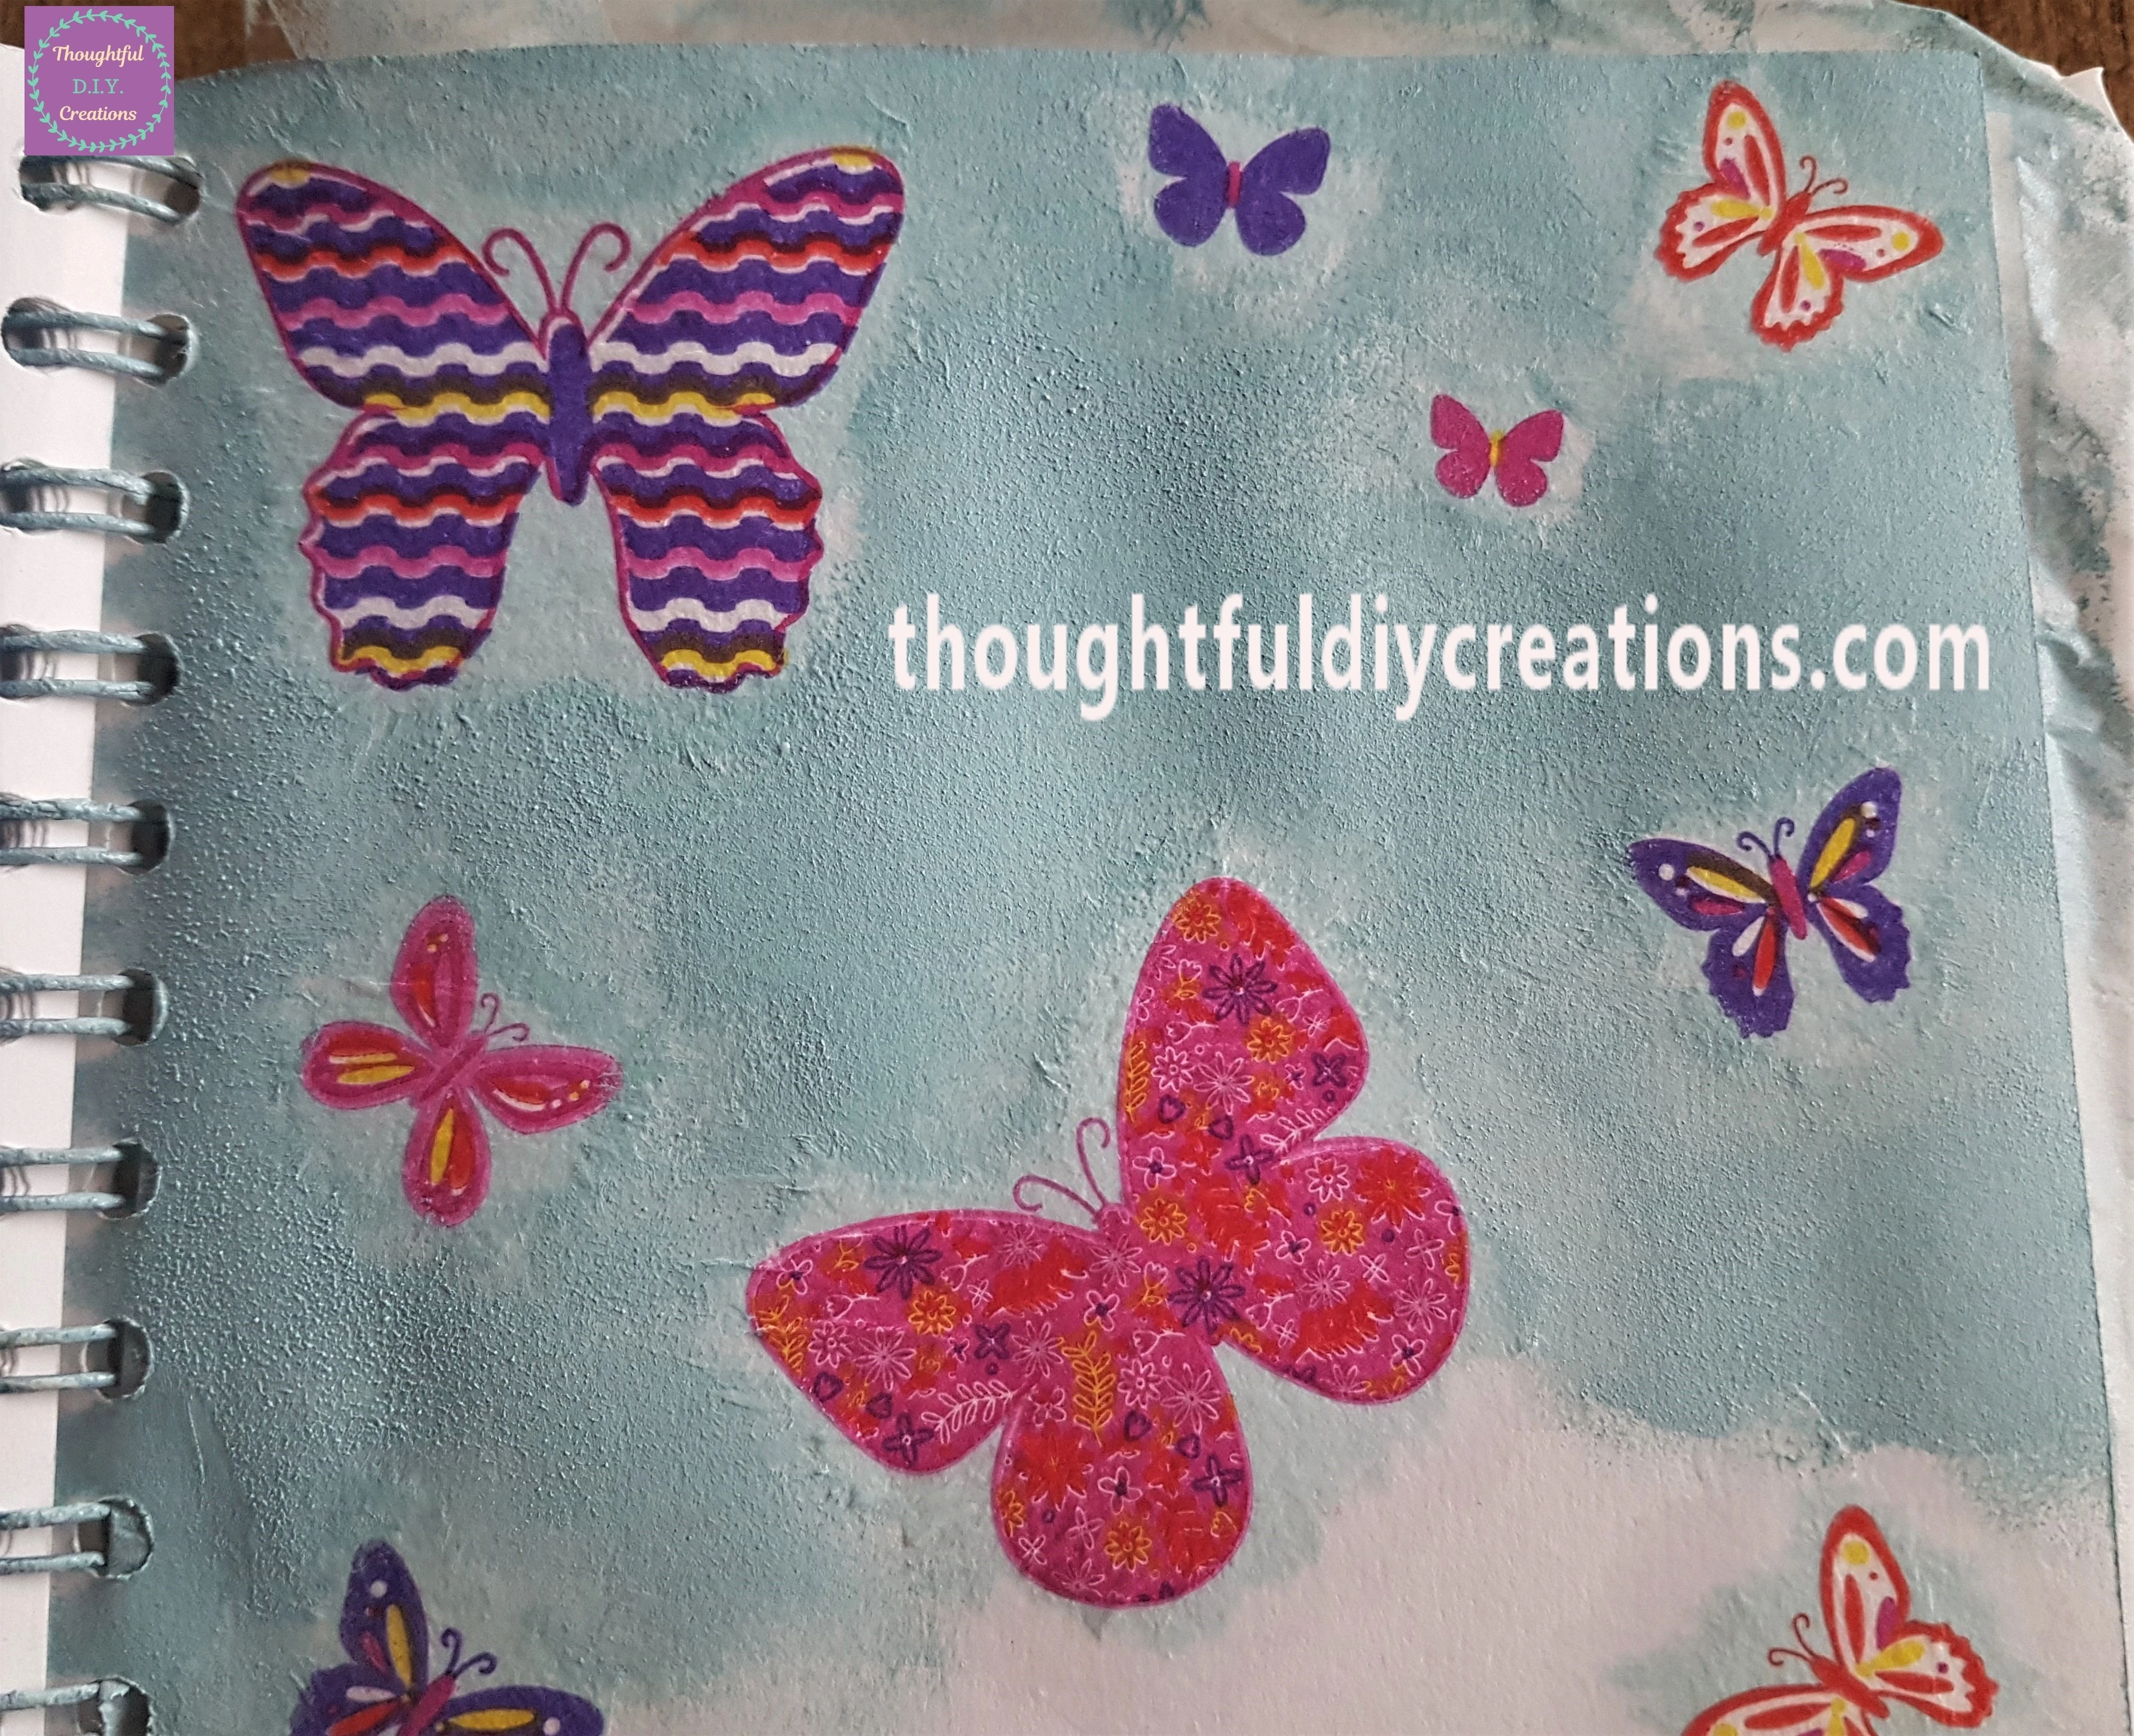
I covered the Page with the Blue Paint.
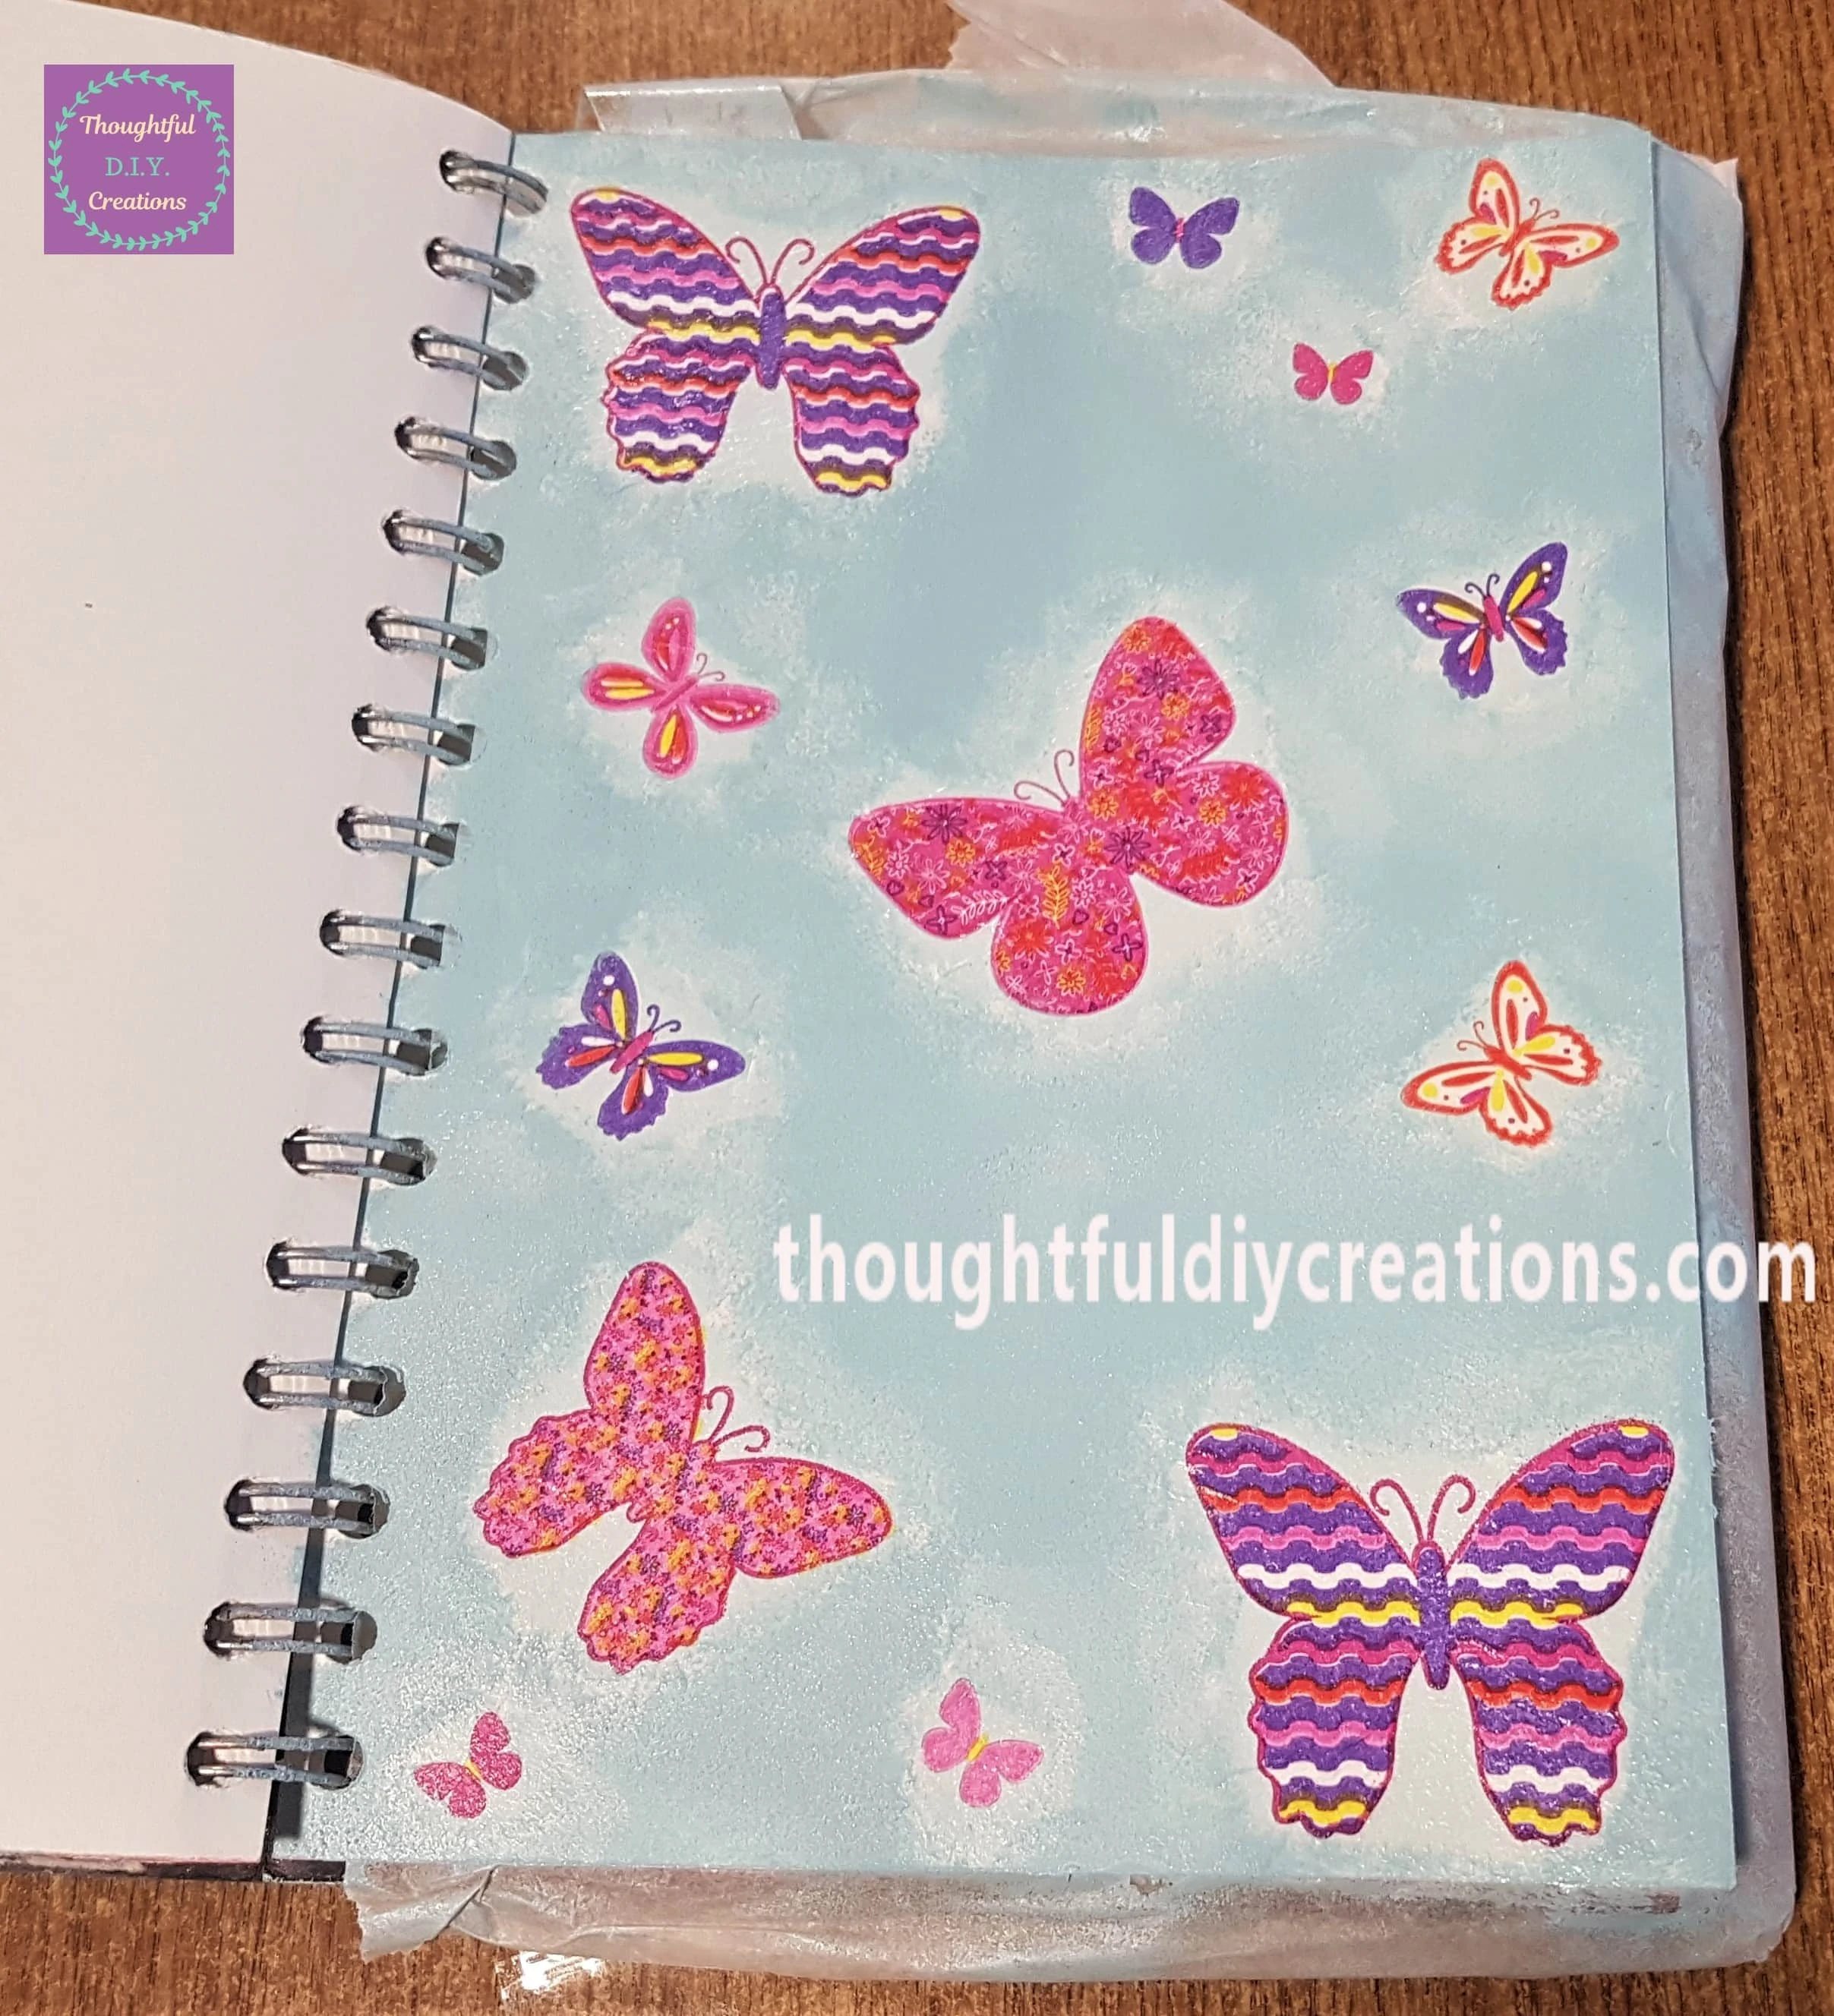
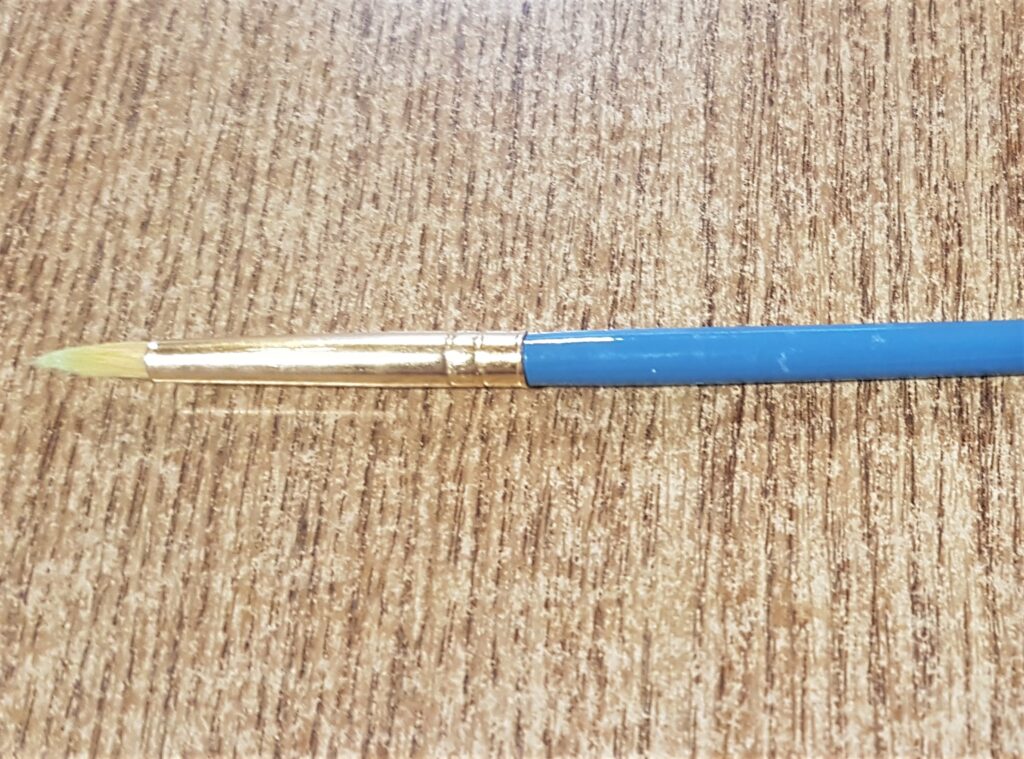
I got a Fine Tip Paintbrush.
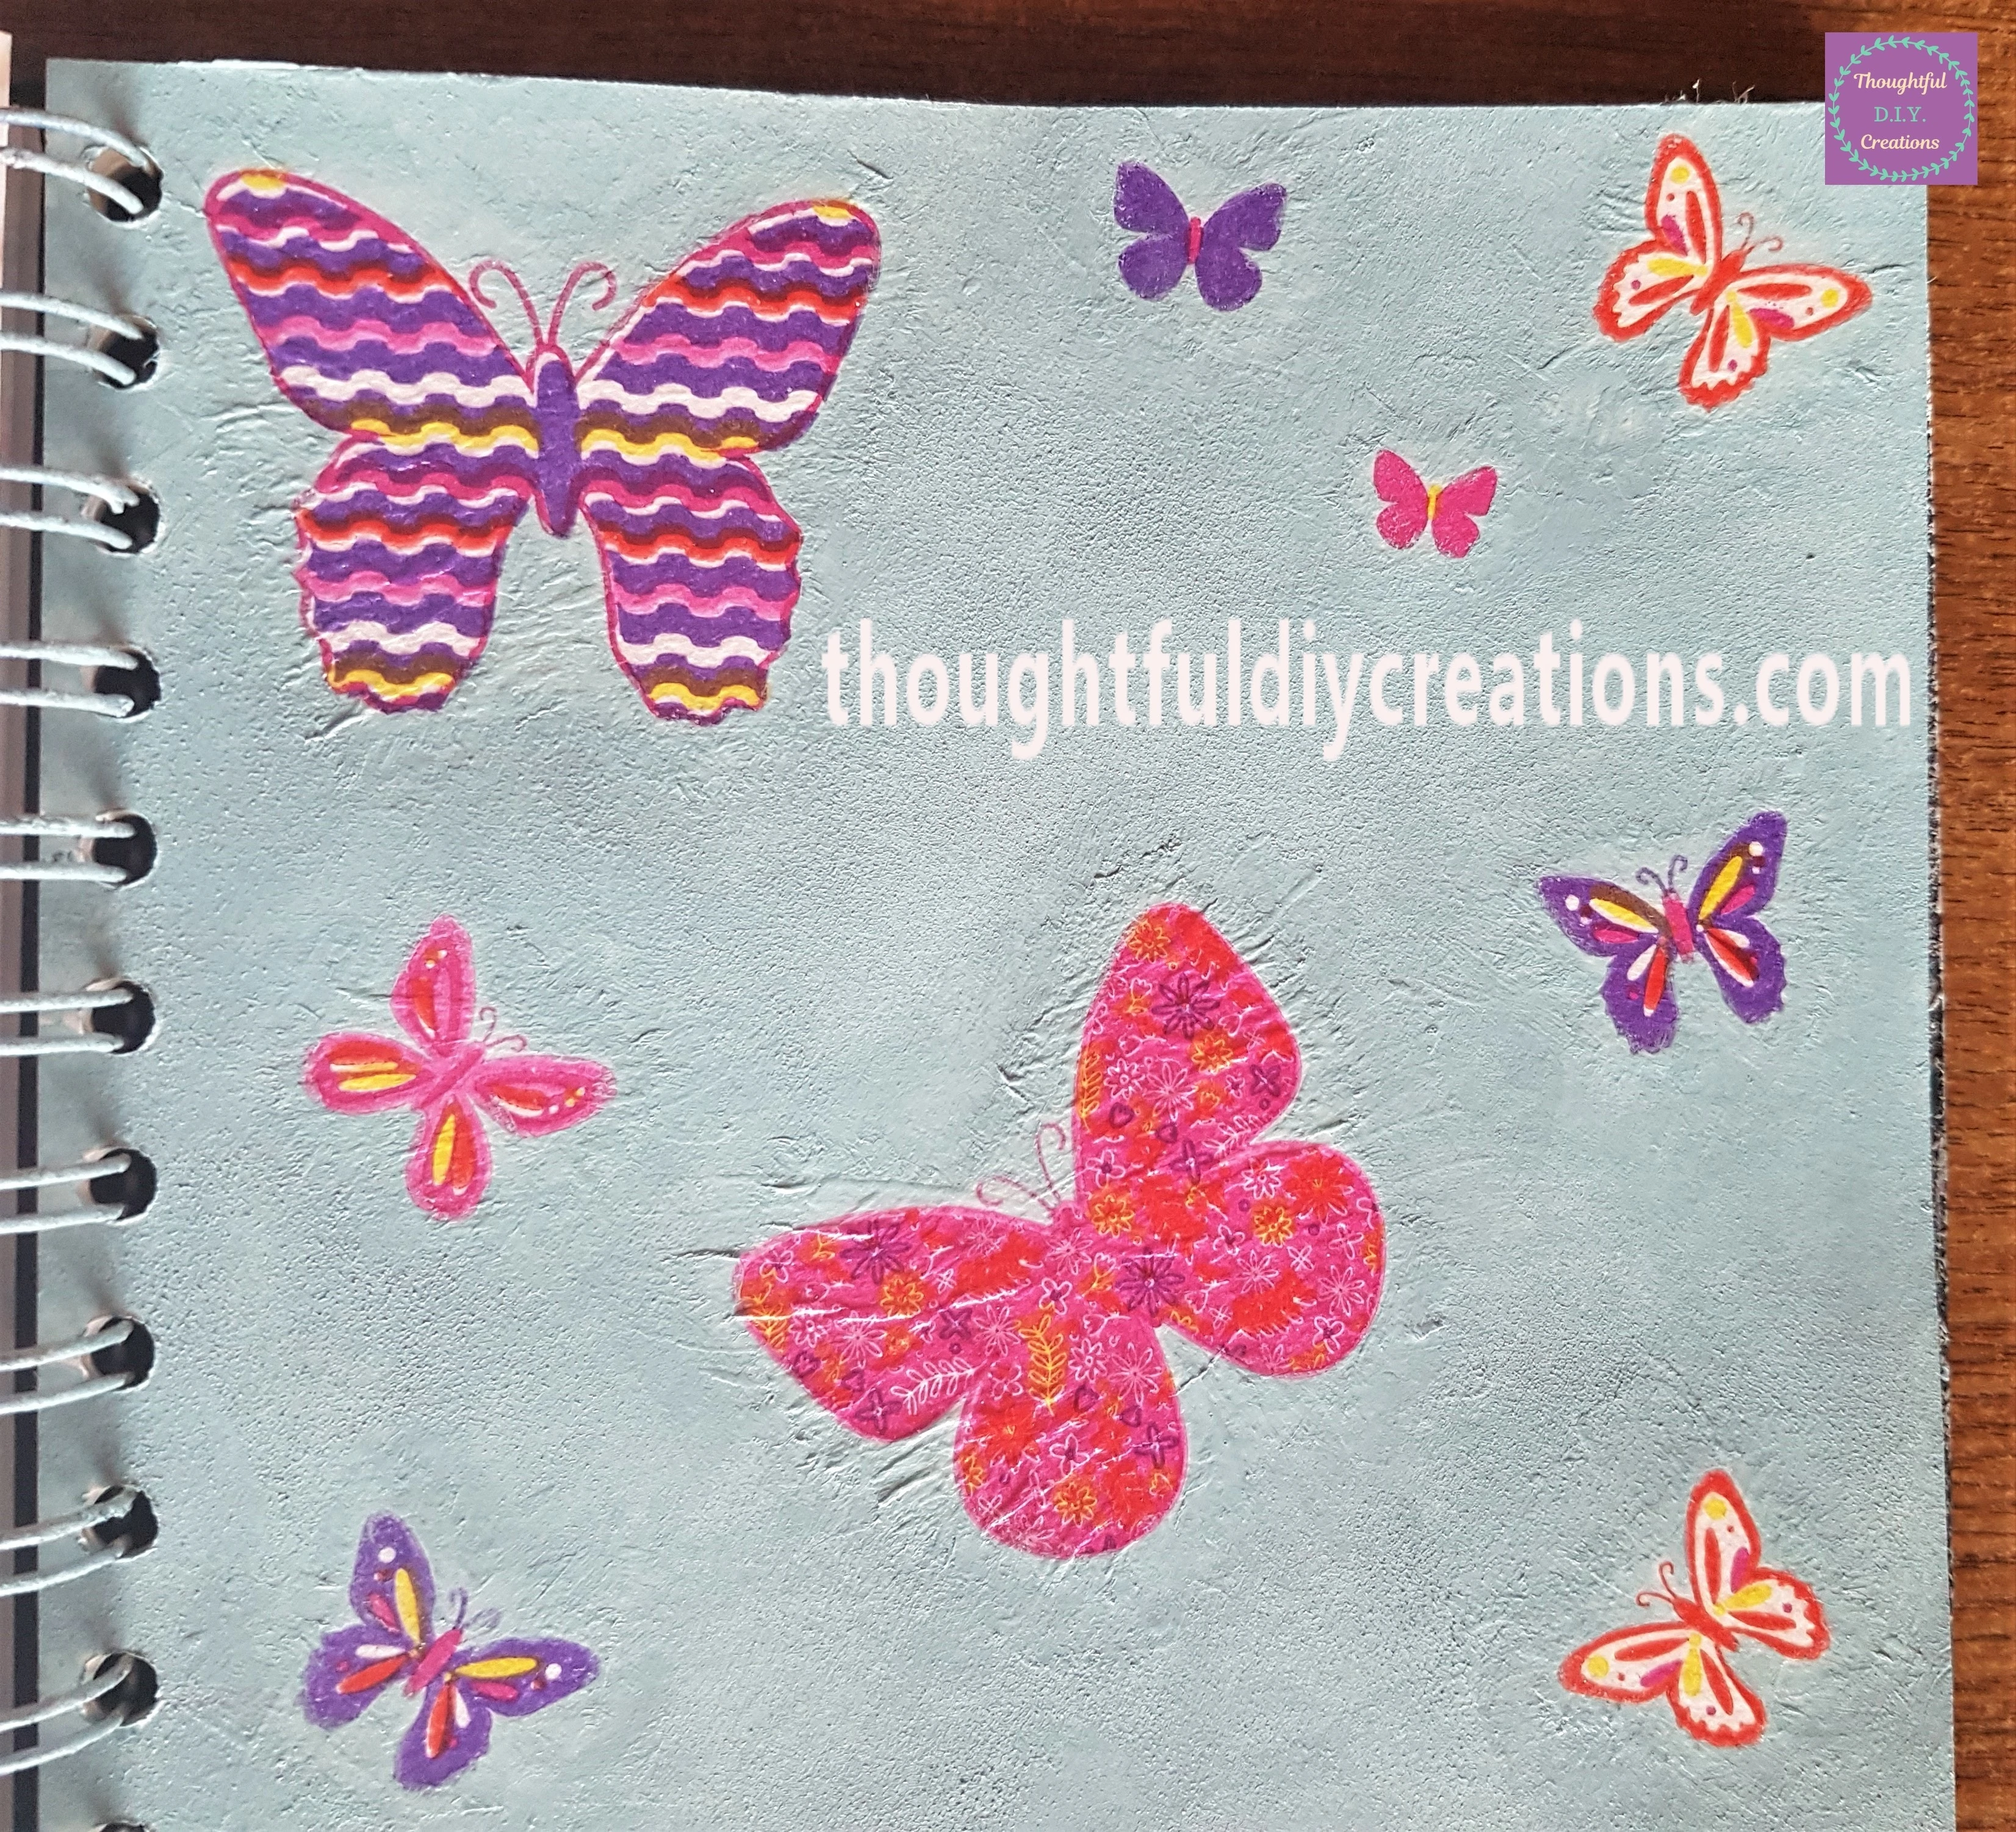
I Painted all around the edges of the Butterflies with the Paintbrush and Blue Paint to blend each Napkin into the Page.
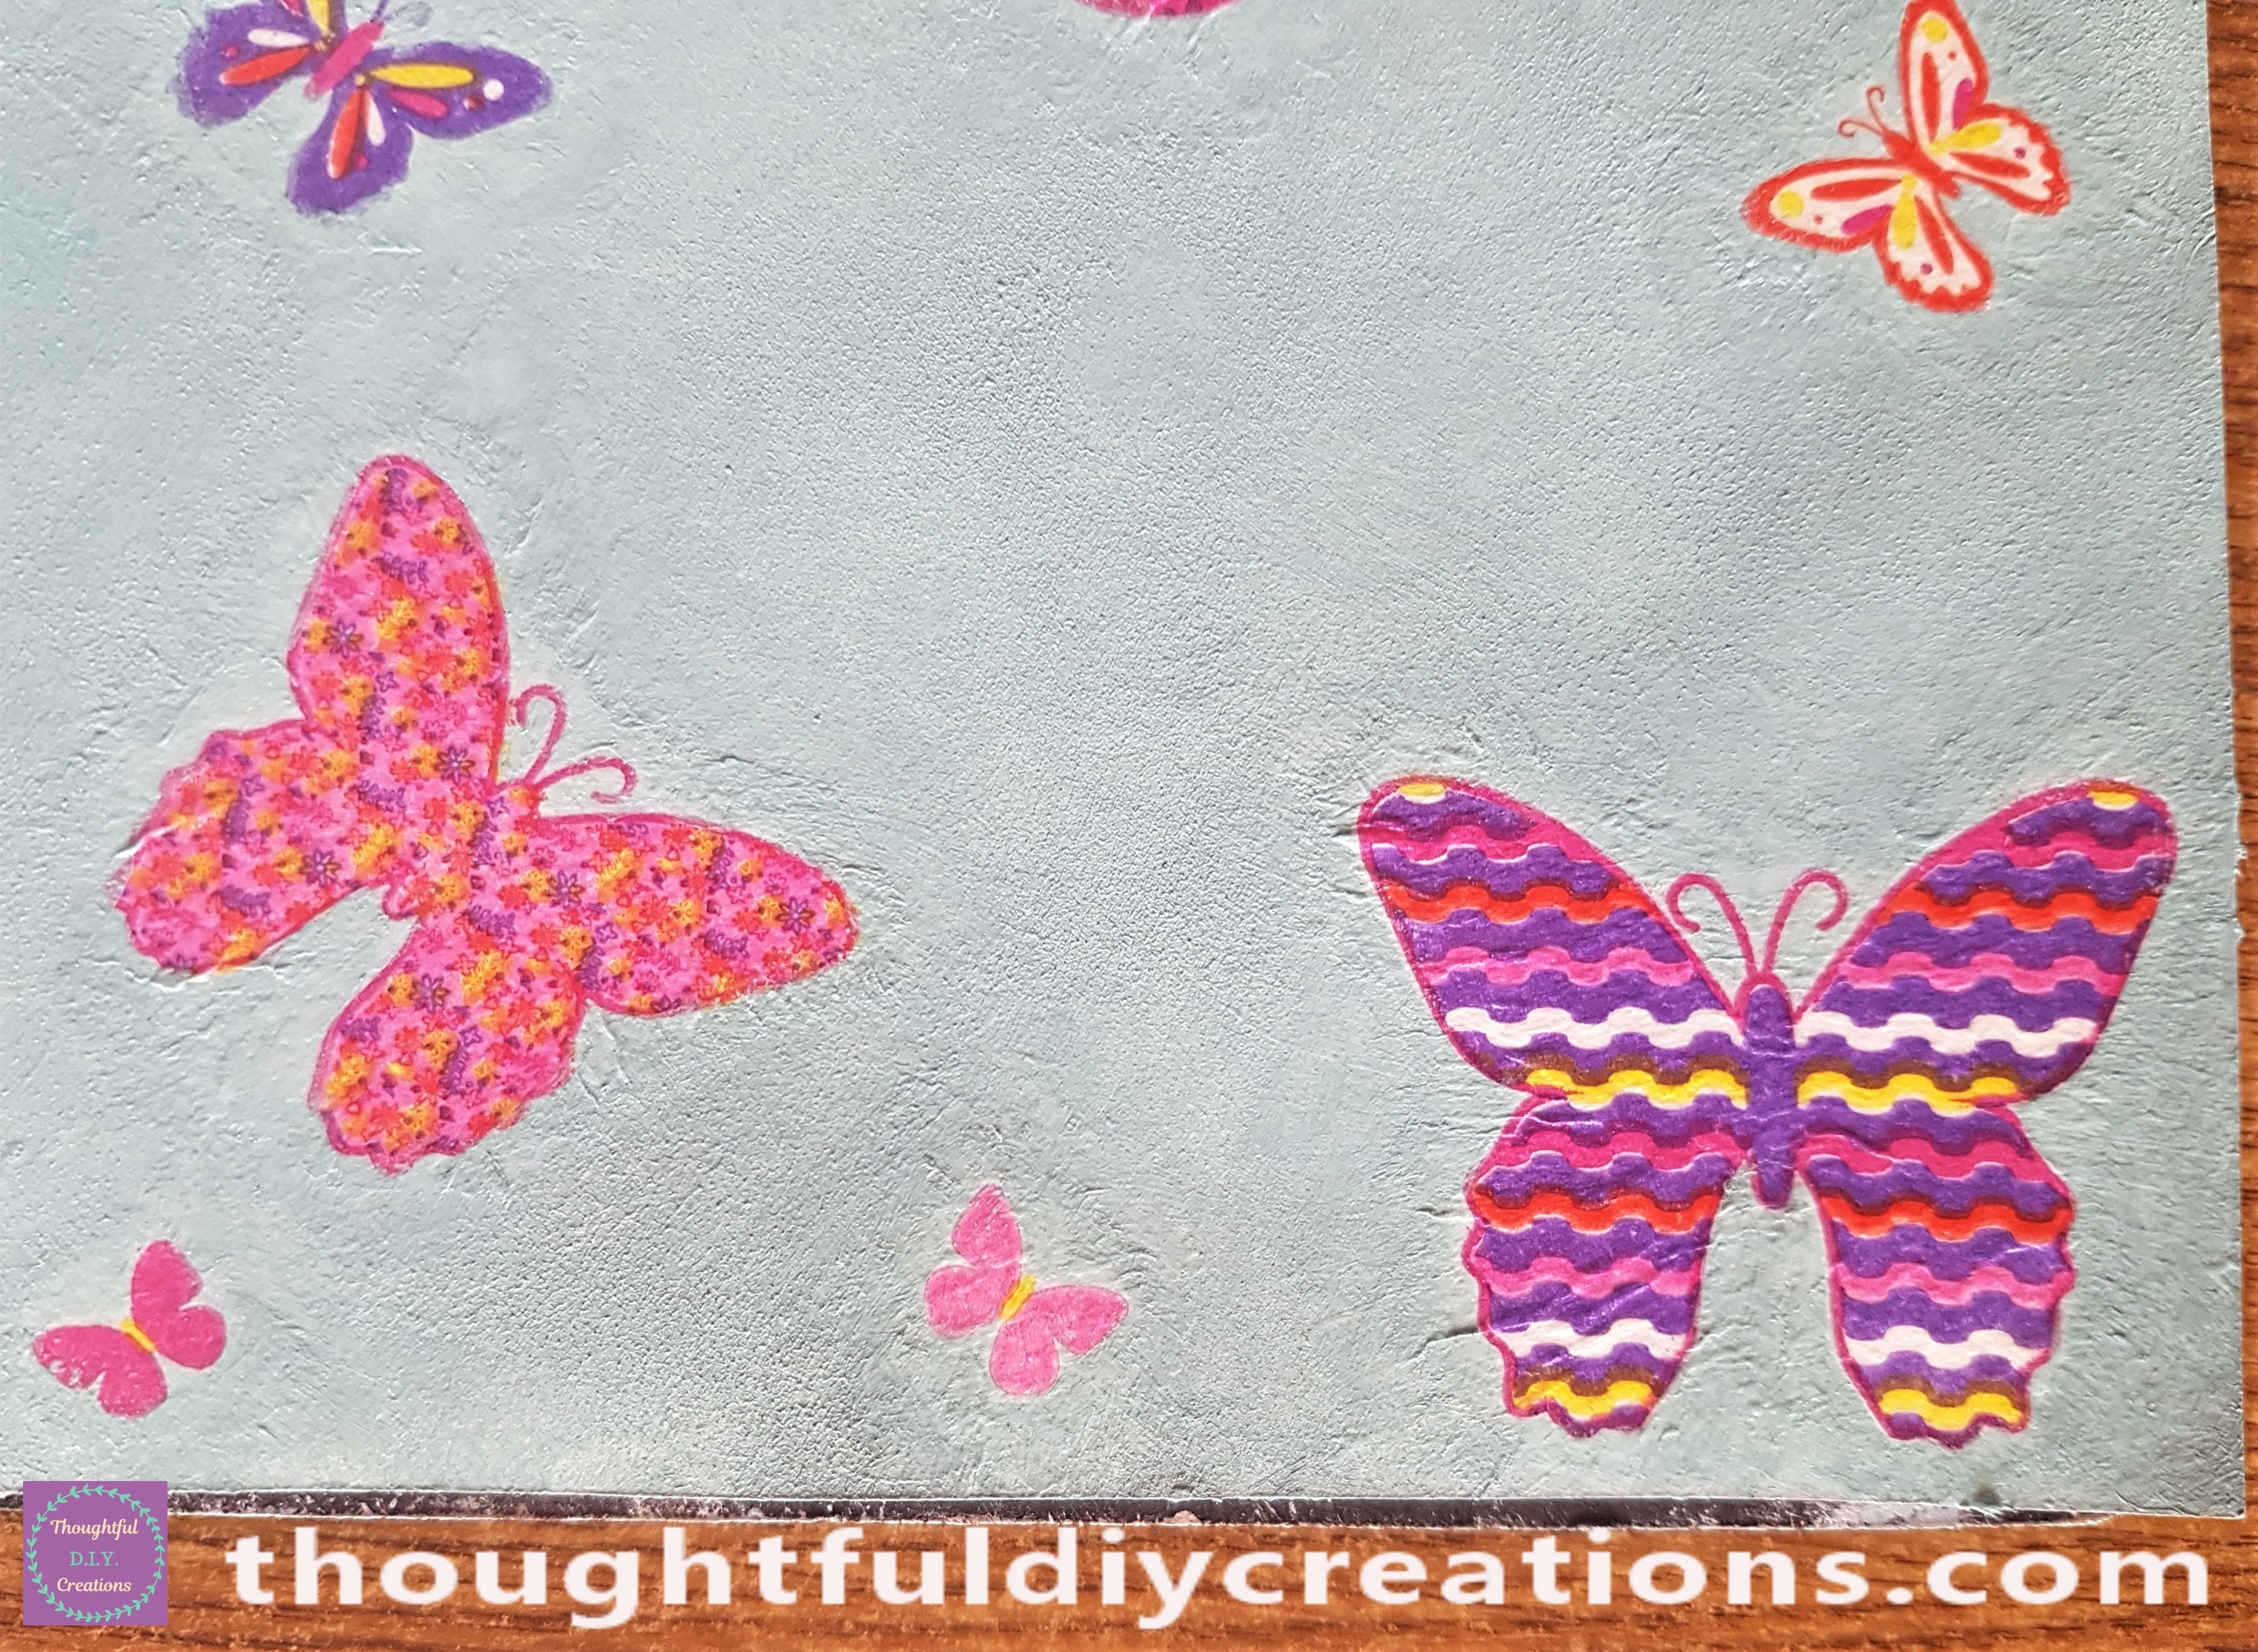
The bottom part of the Page with Paint added to each Napkin.
Adding Stamps to the Page
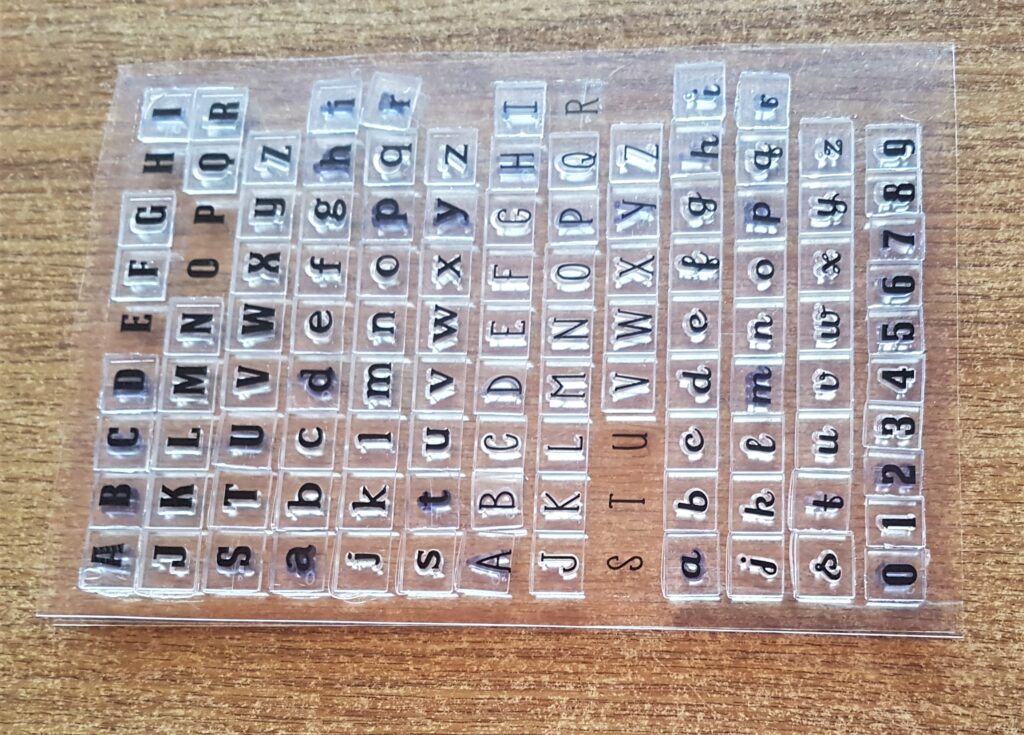
I got my Alphabet and Number Stamp Set.
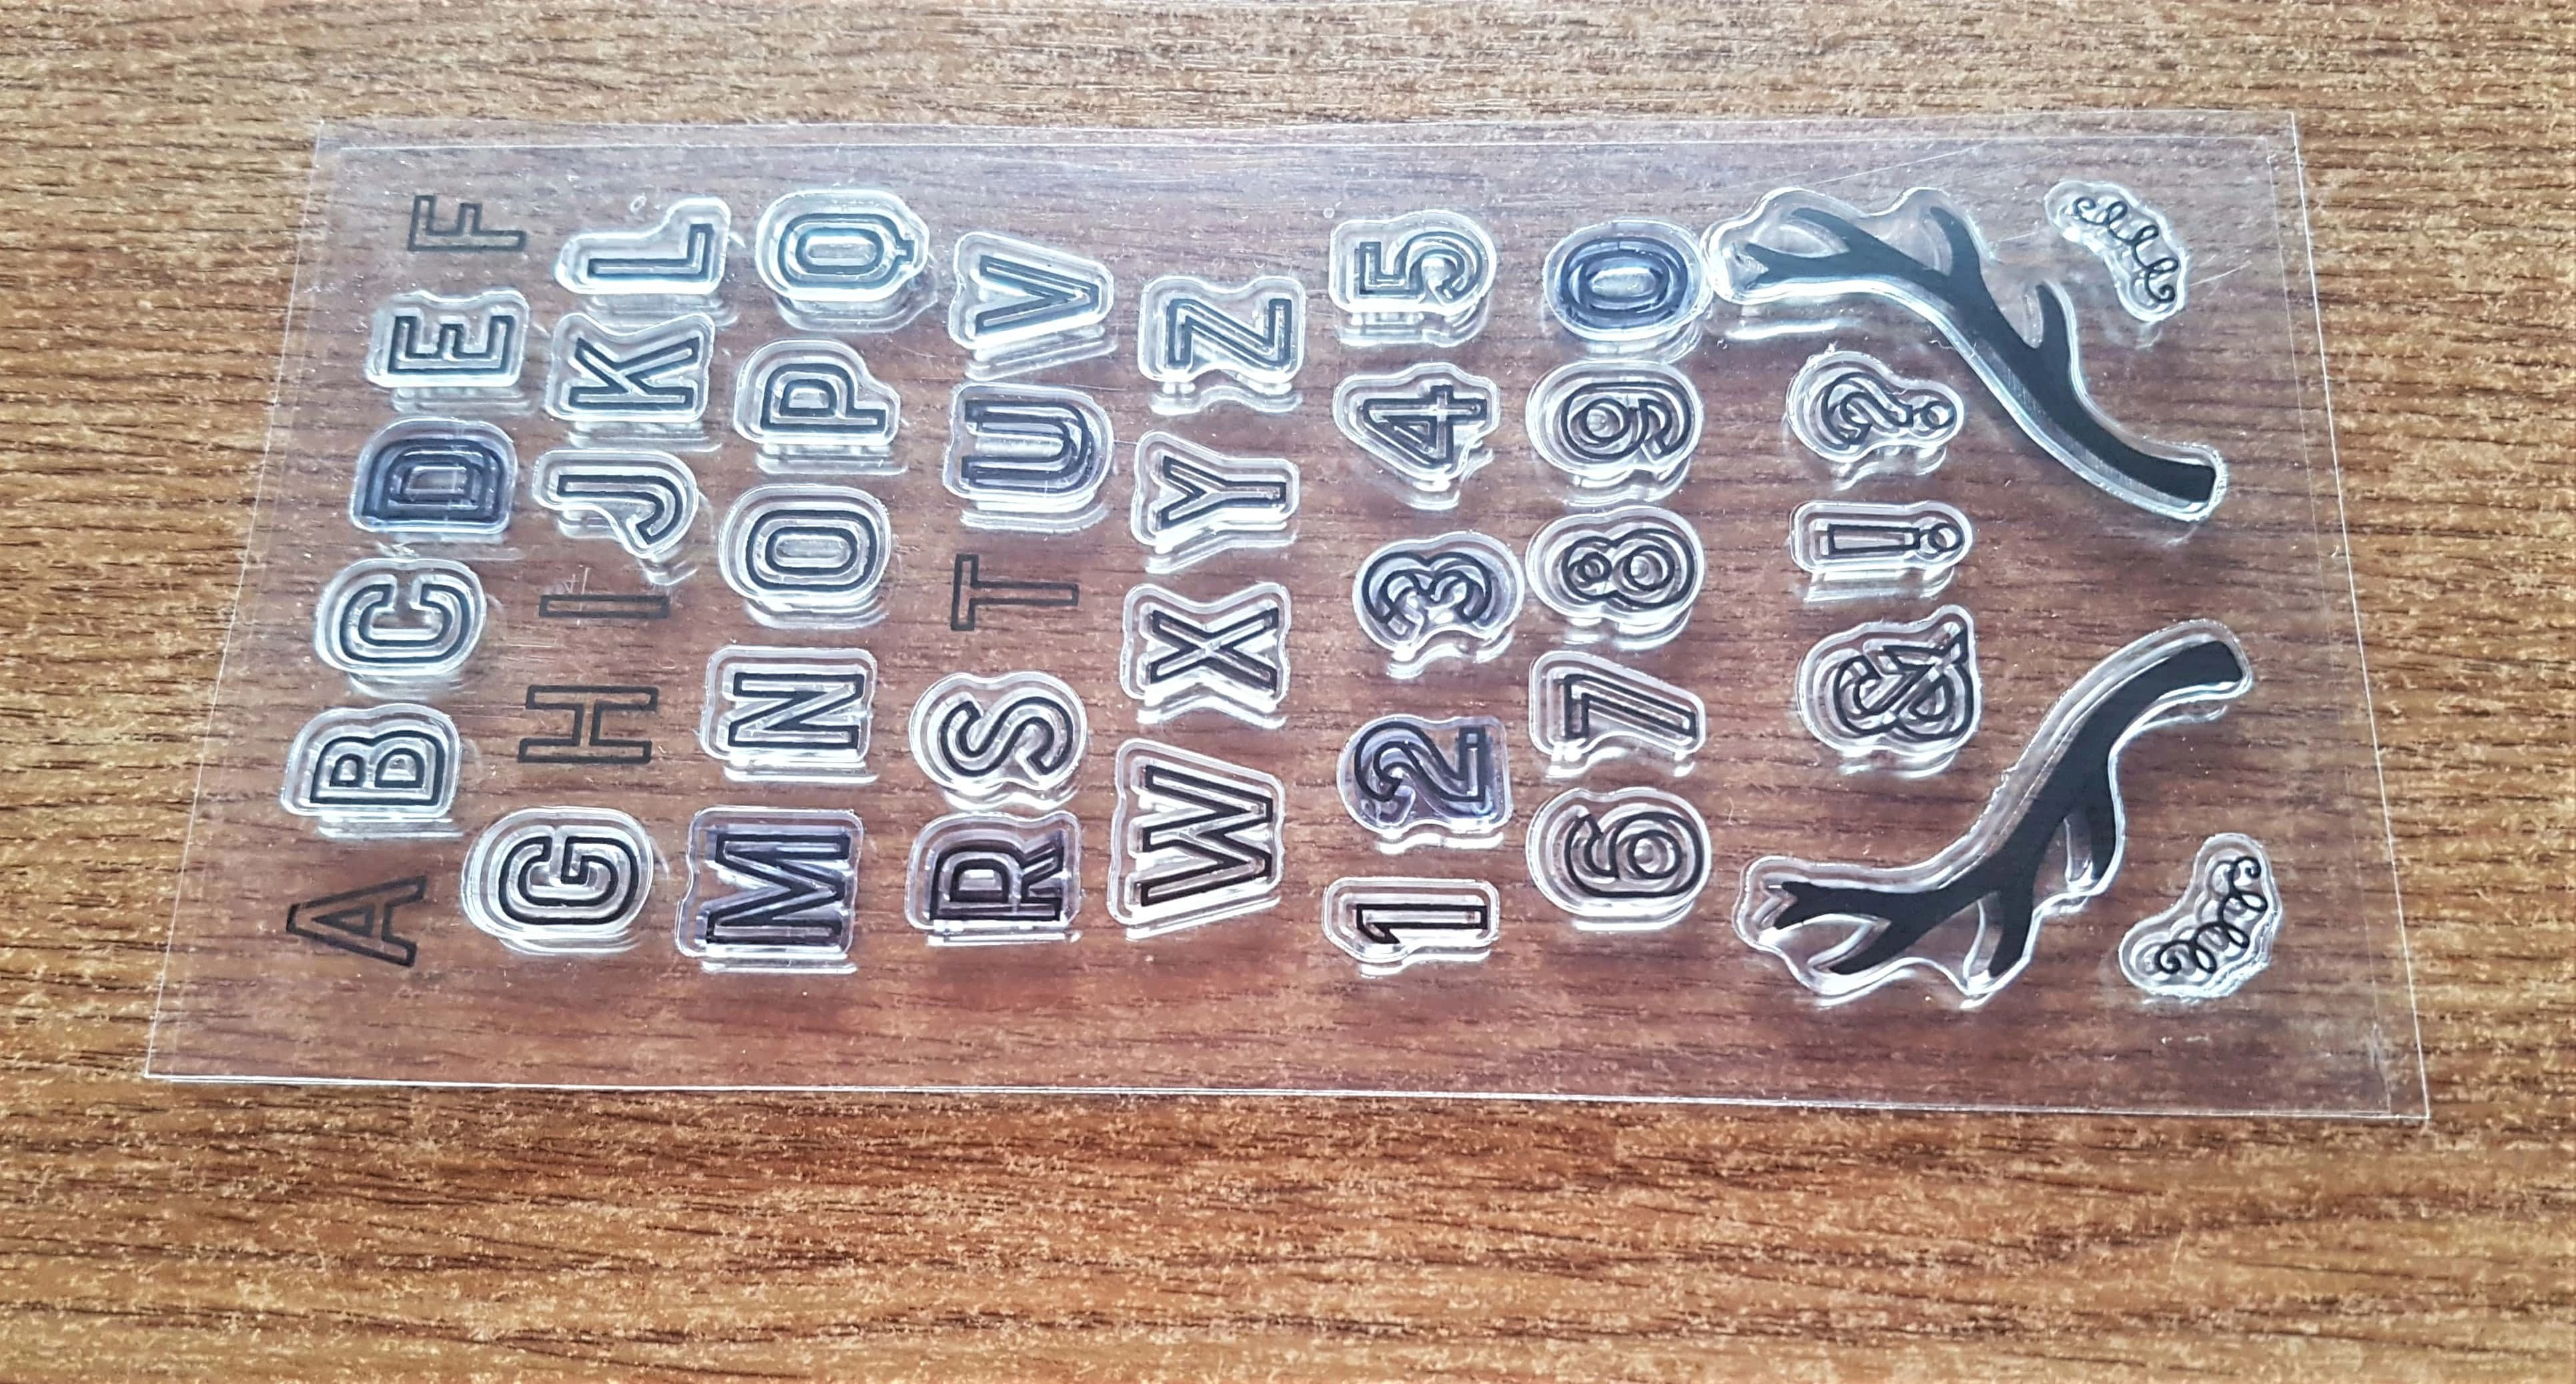
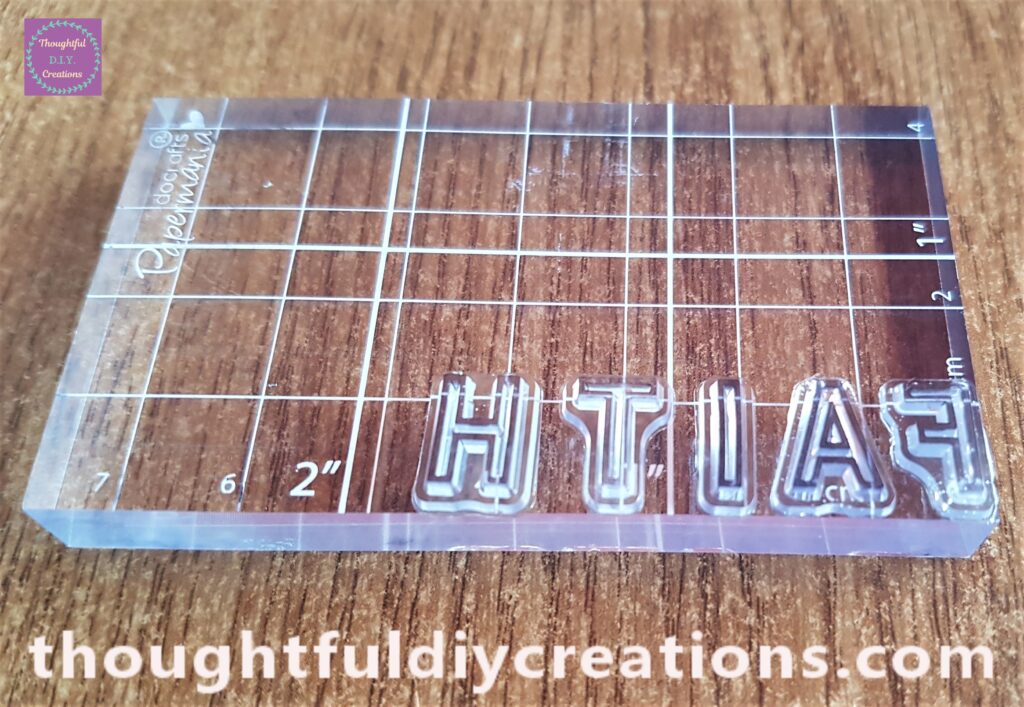
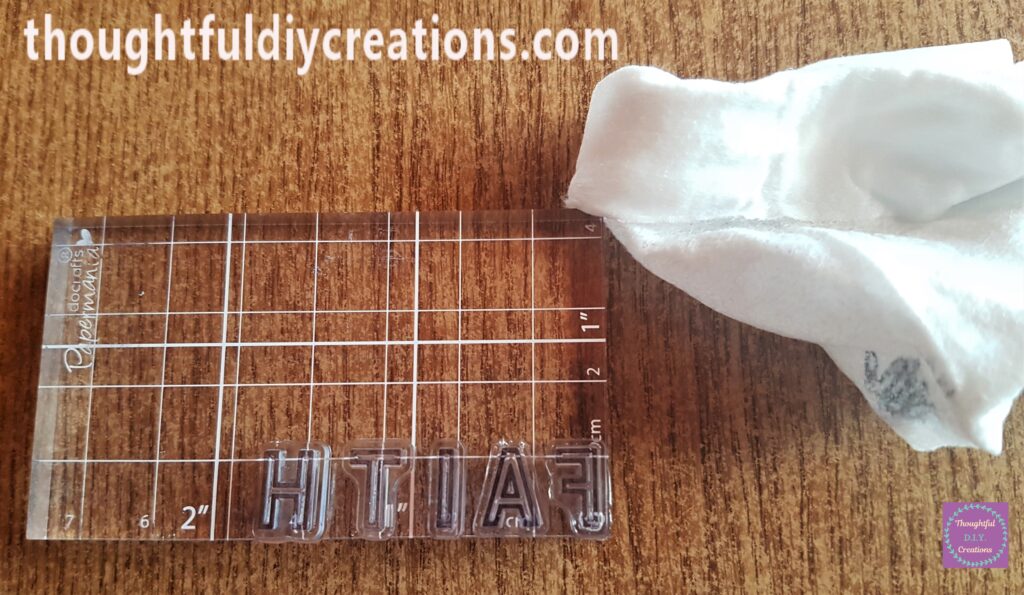
I had taken off the Letters to Spell the word FAITH. I attached each letter beside each other one-by-one to the back of an Acrylic Block.
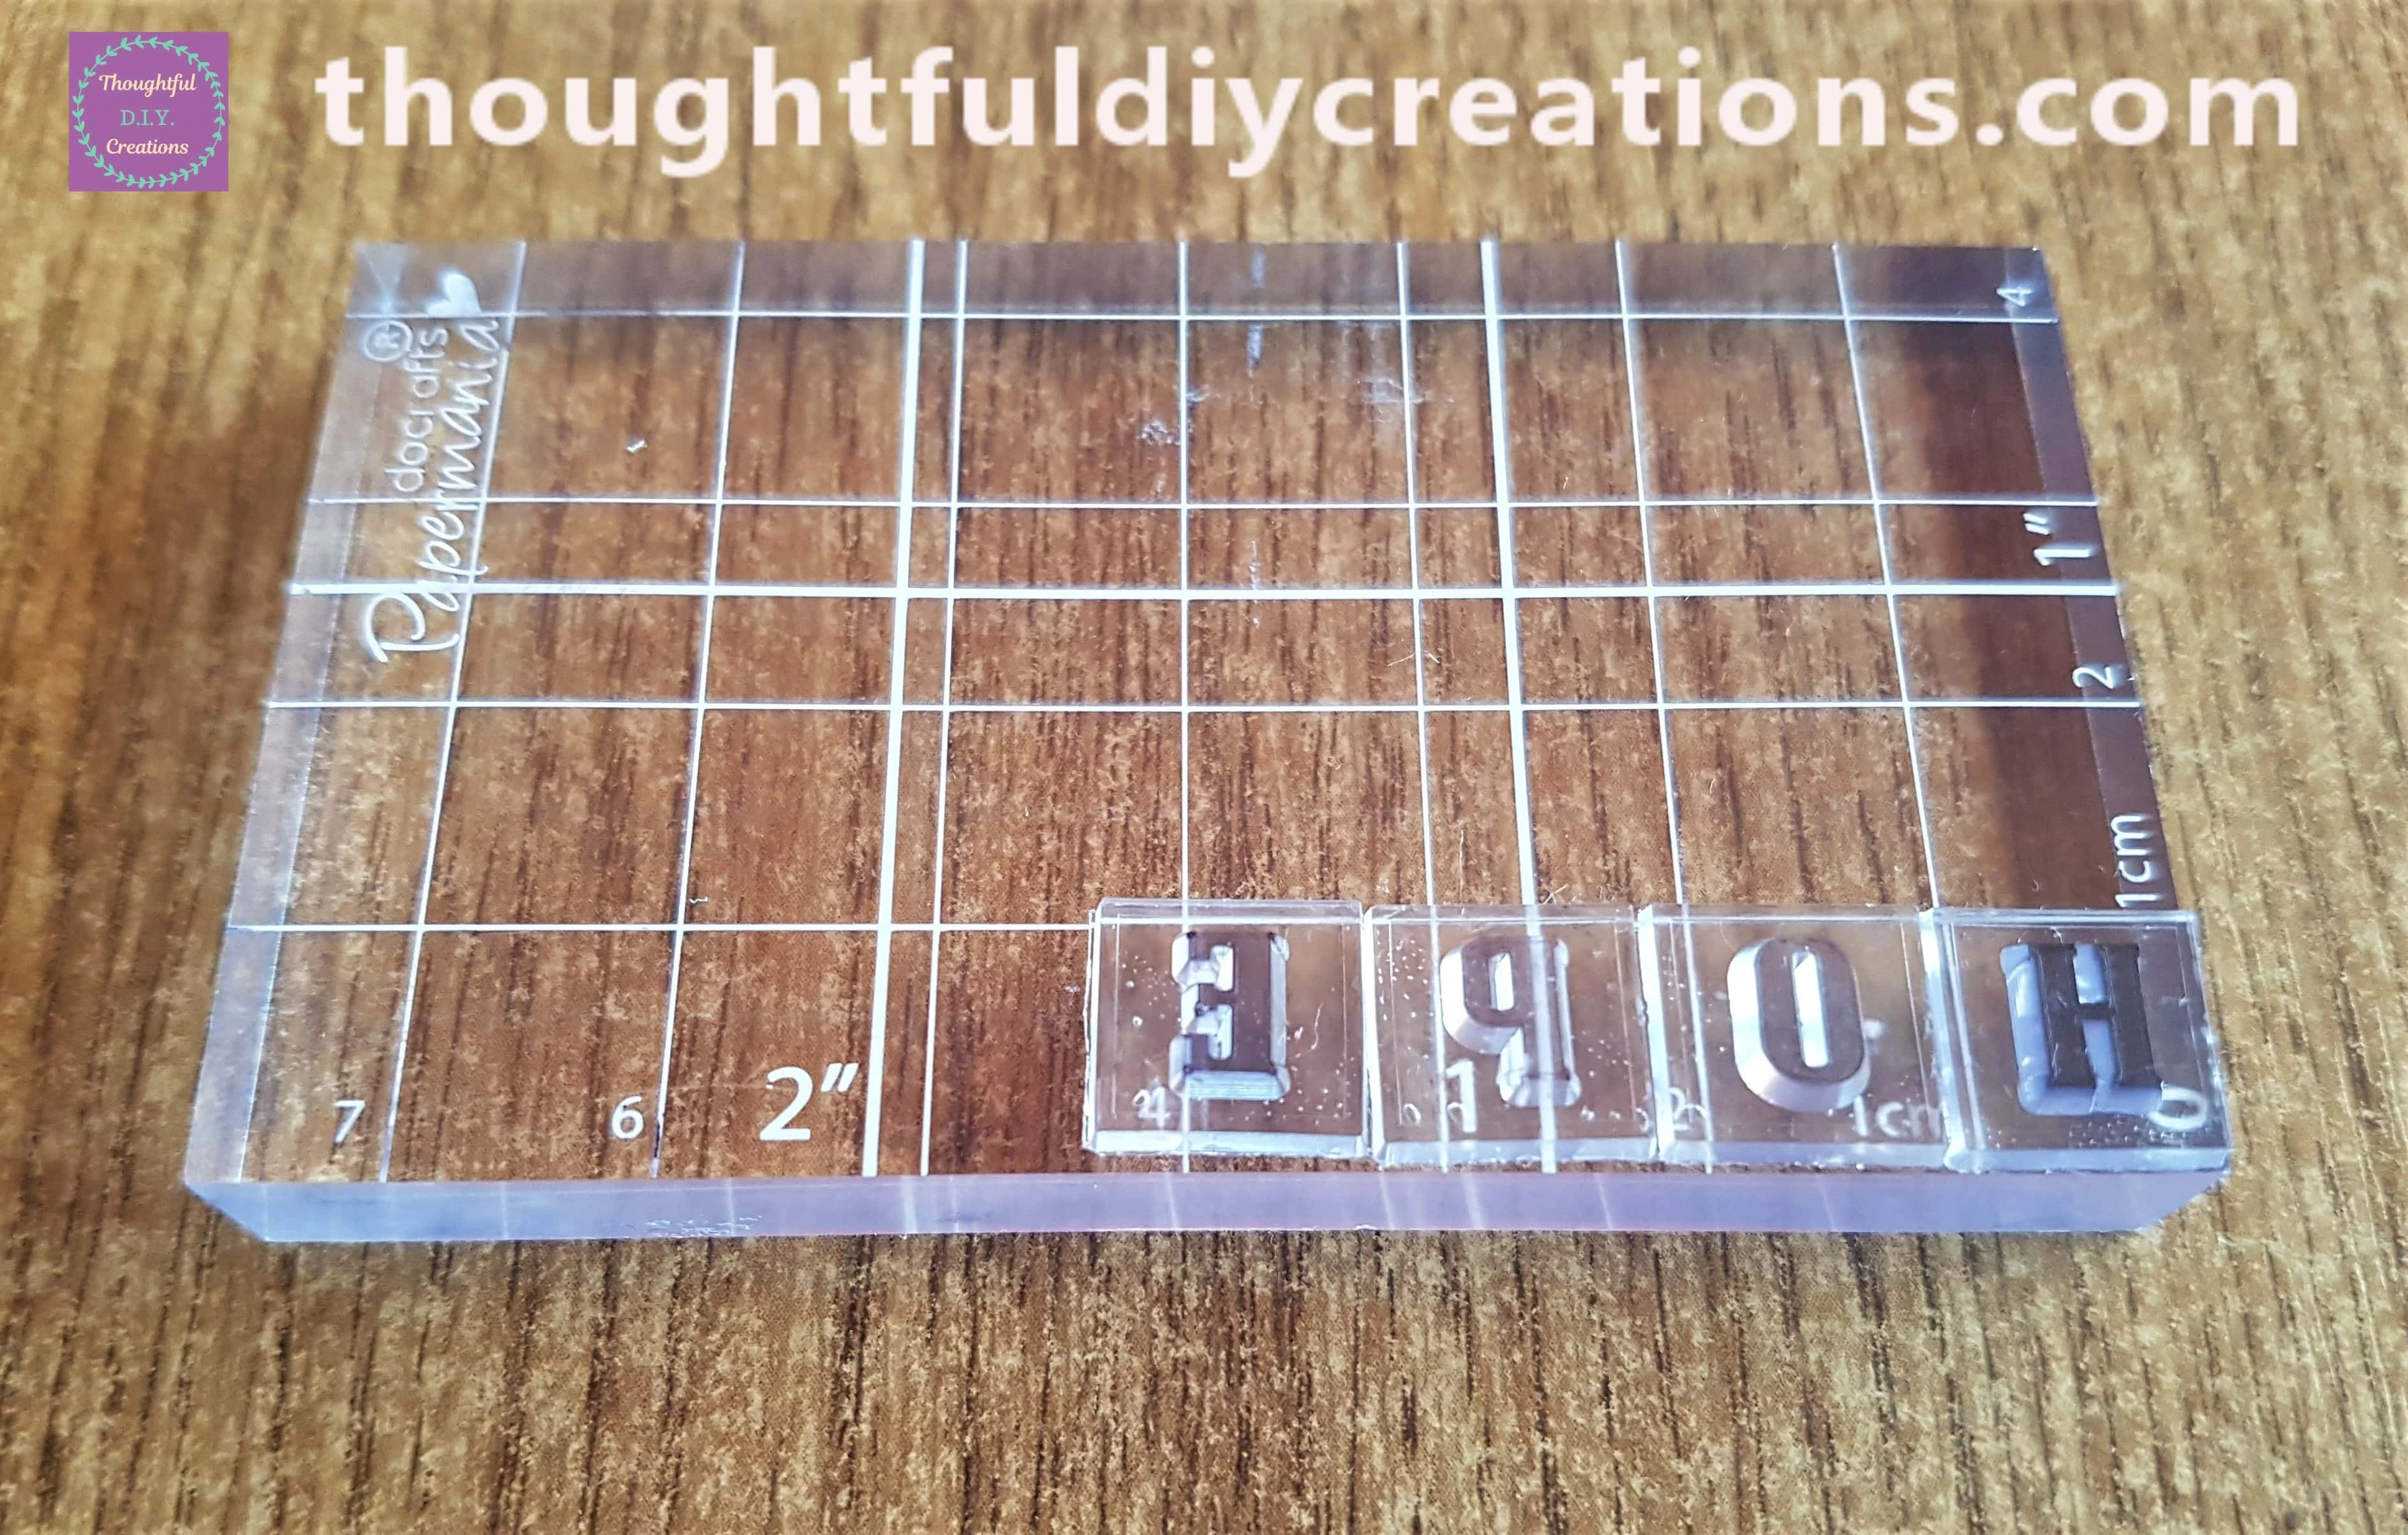
This is so handy for doing Stamping as the Stamps stick to the Acrylic Block and you hold the sides of the Block when pressing the Stamps down into the Ink and the Page making the Process easier. Just make sure you add the letters the opposite way to the back of the Block so they will be the right way around when added to your Page, you can turn the Block around to make sure the word looks right before you Ink.
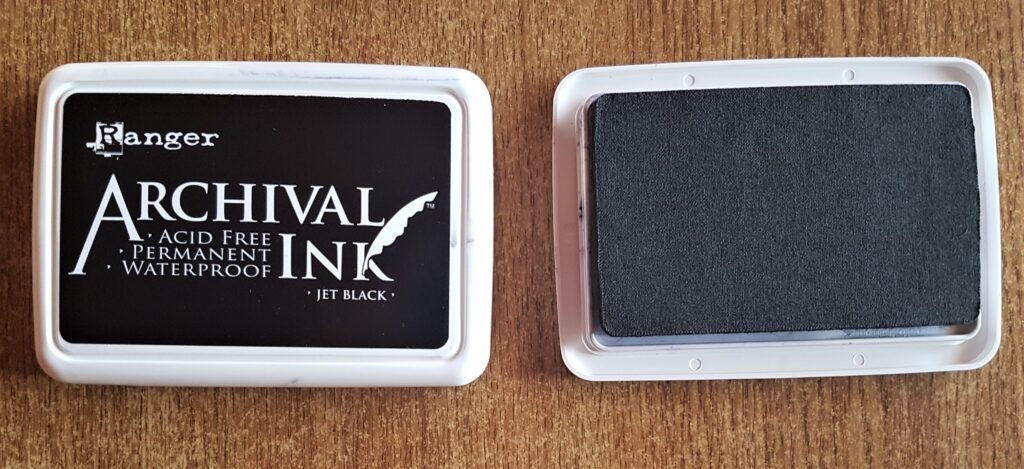
I got my Black Archival Ink Pad and opened it up.
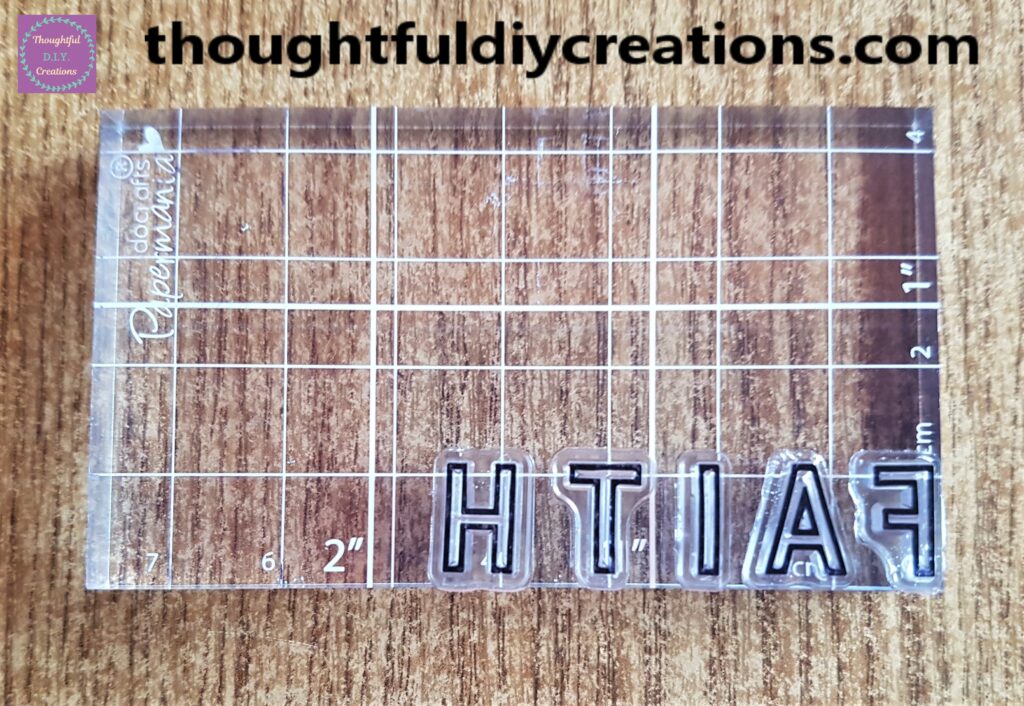
I turned the Acrylic Block over and pressed the Stamps into the Black Ink for a few seconds. This is how the Stamps look once Inked.
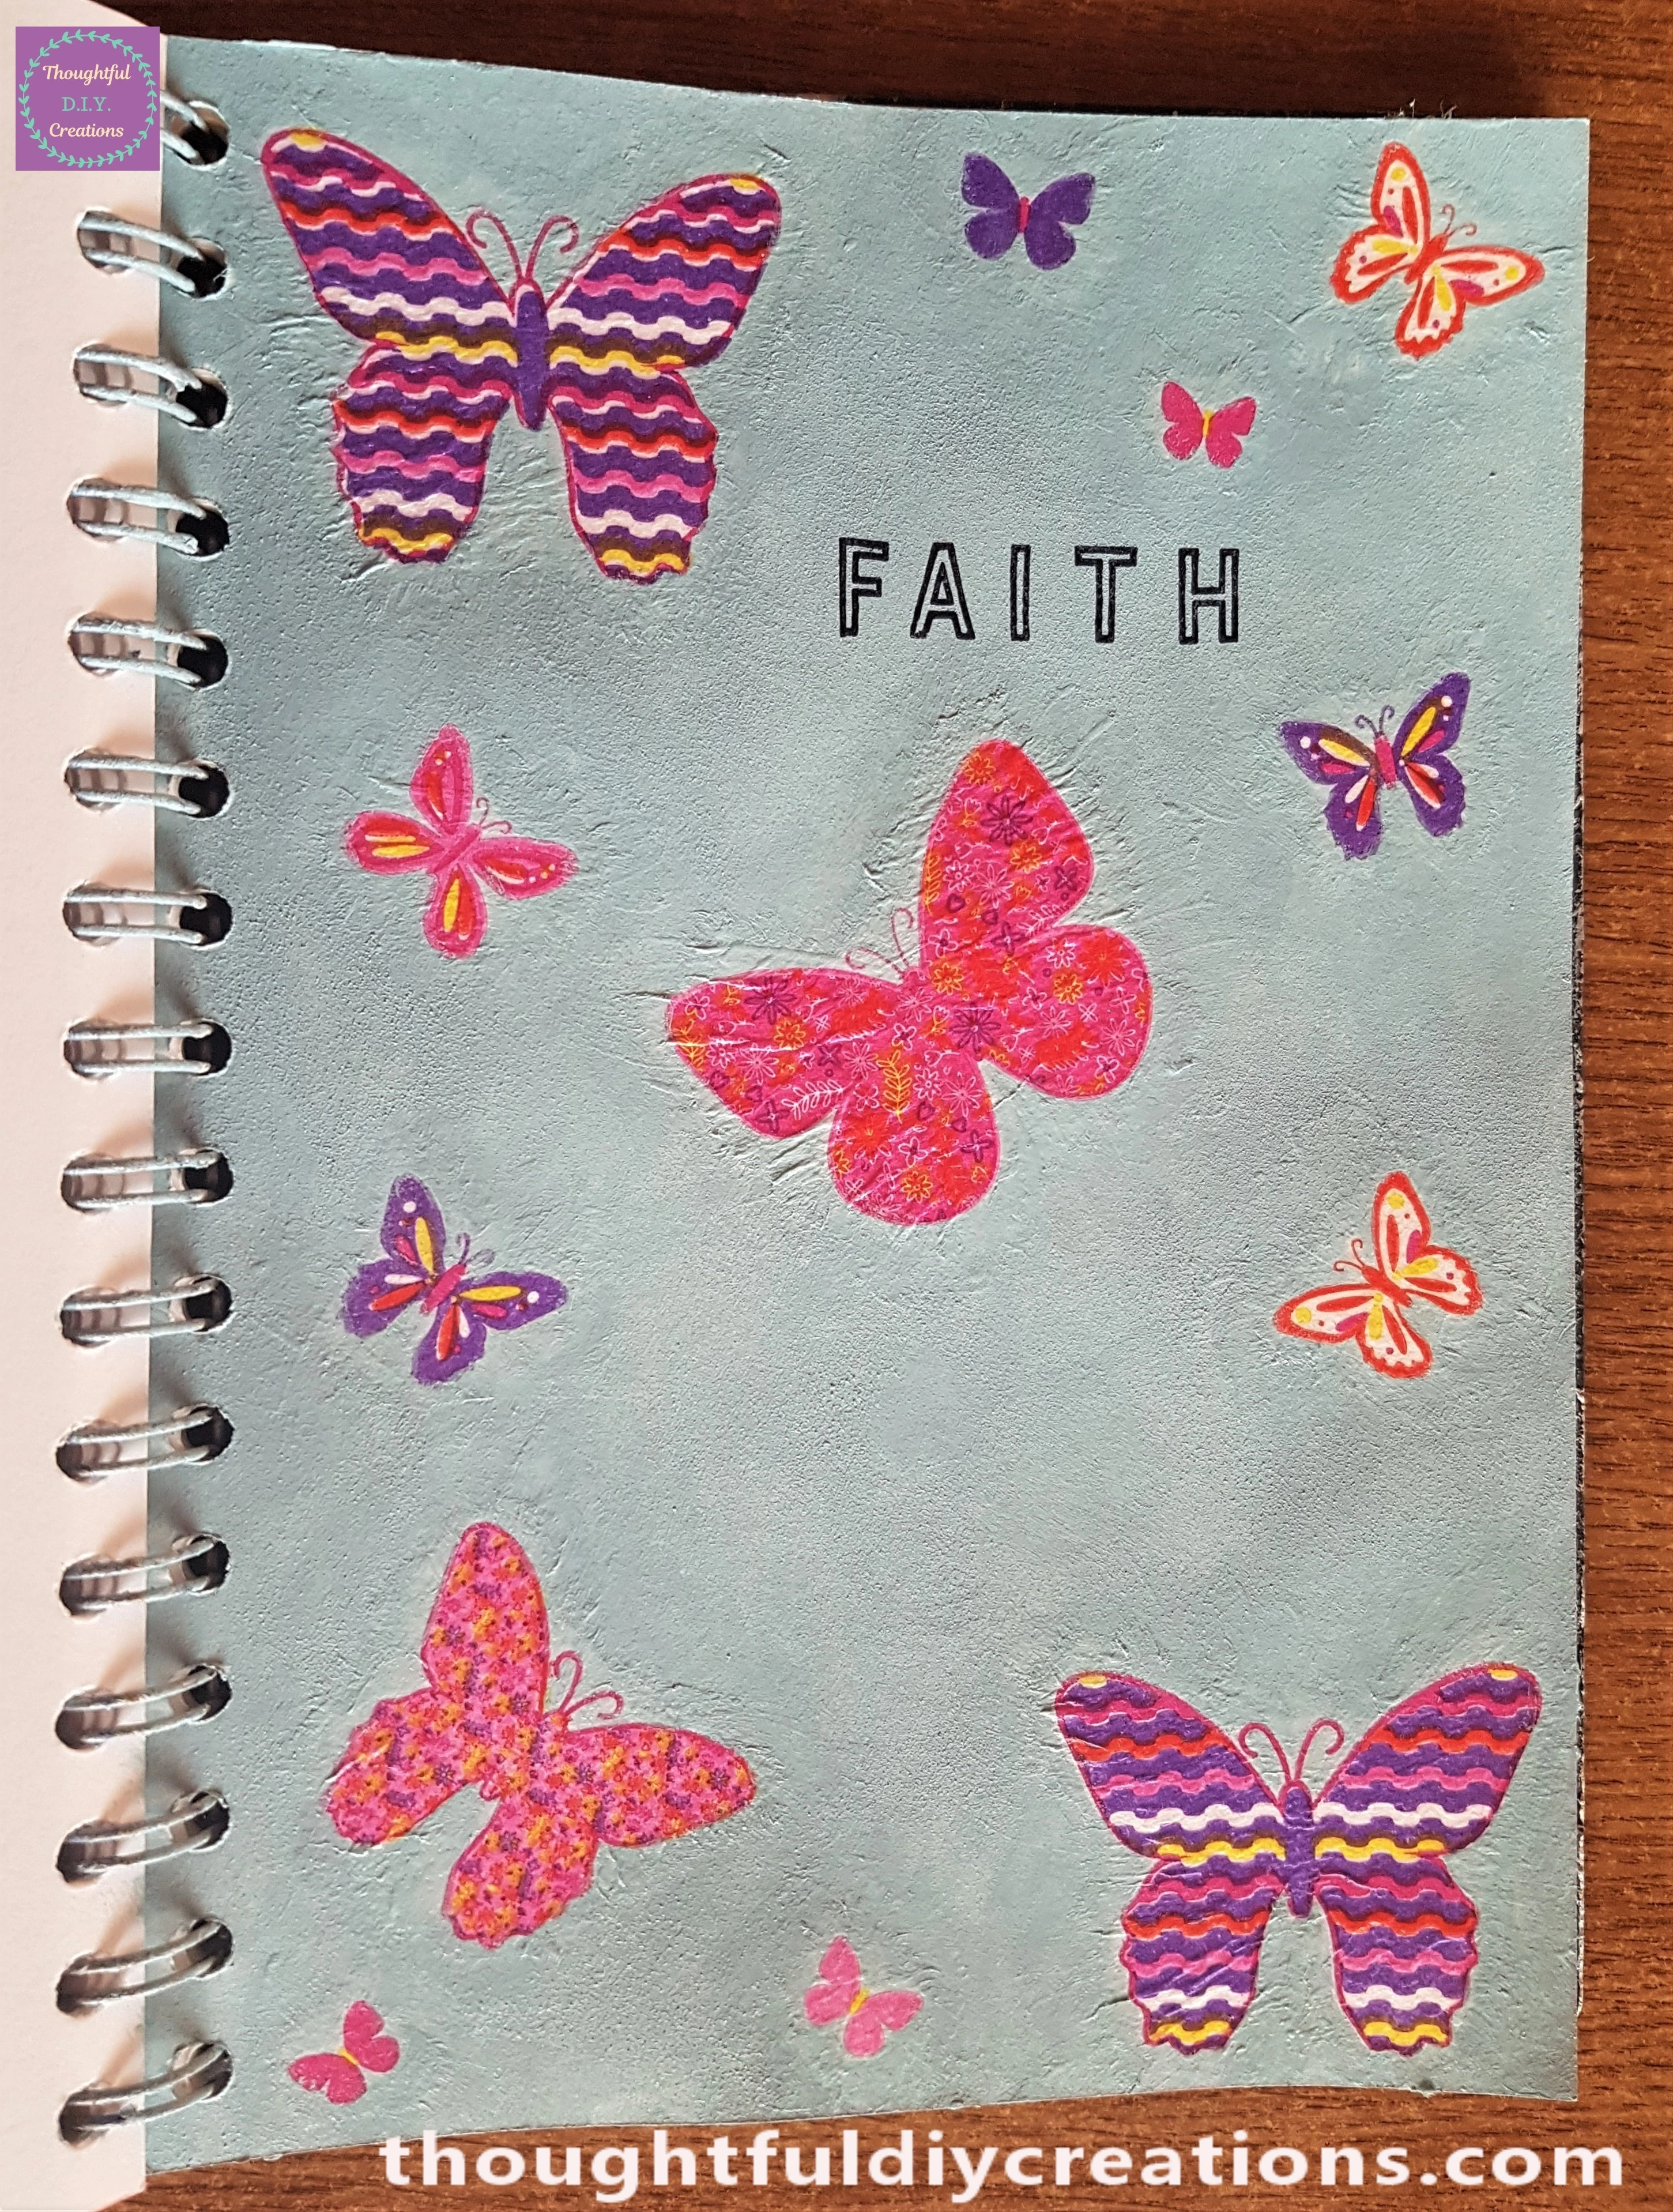
I pressed the Acrylic Block with Inked Stamps to the Art Journal Page for a few seconds.
I wiped the excess Ink off each Stamp using a Baby Wipe.
I got another Alphabet and Number Stamp that came in the same Set as the first Stamps.
I attached the letters to spell the word HOPE to the Acrylic Block.
I pressed the Stamps into the Black Ink and then onto the Page.
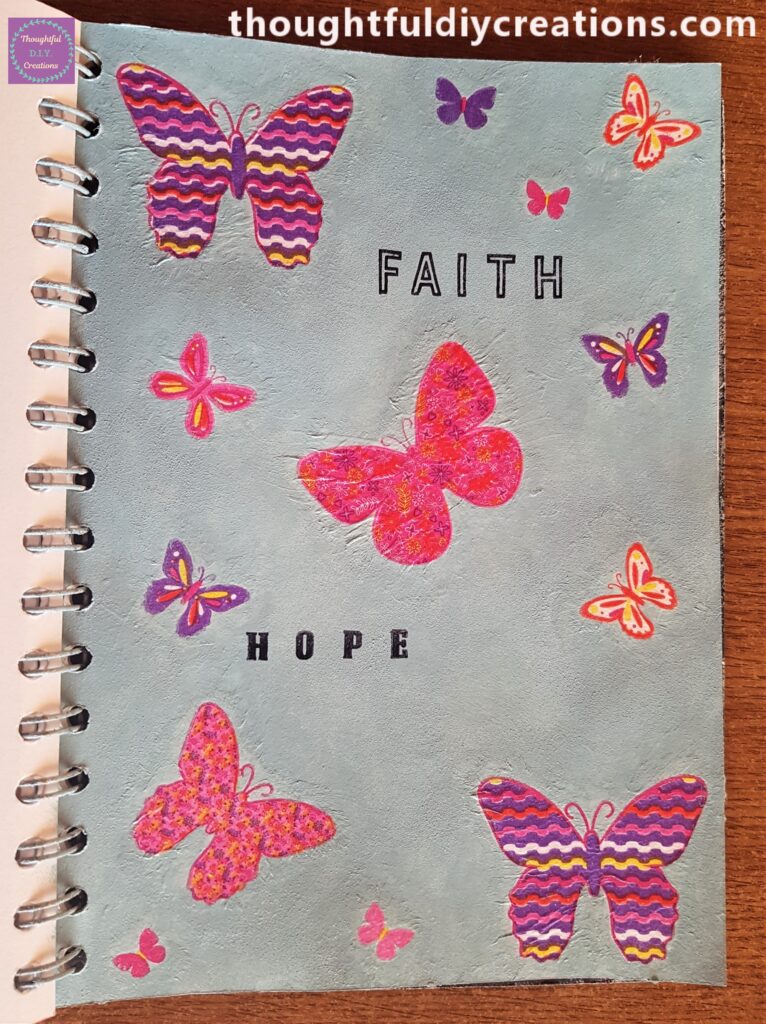
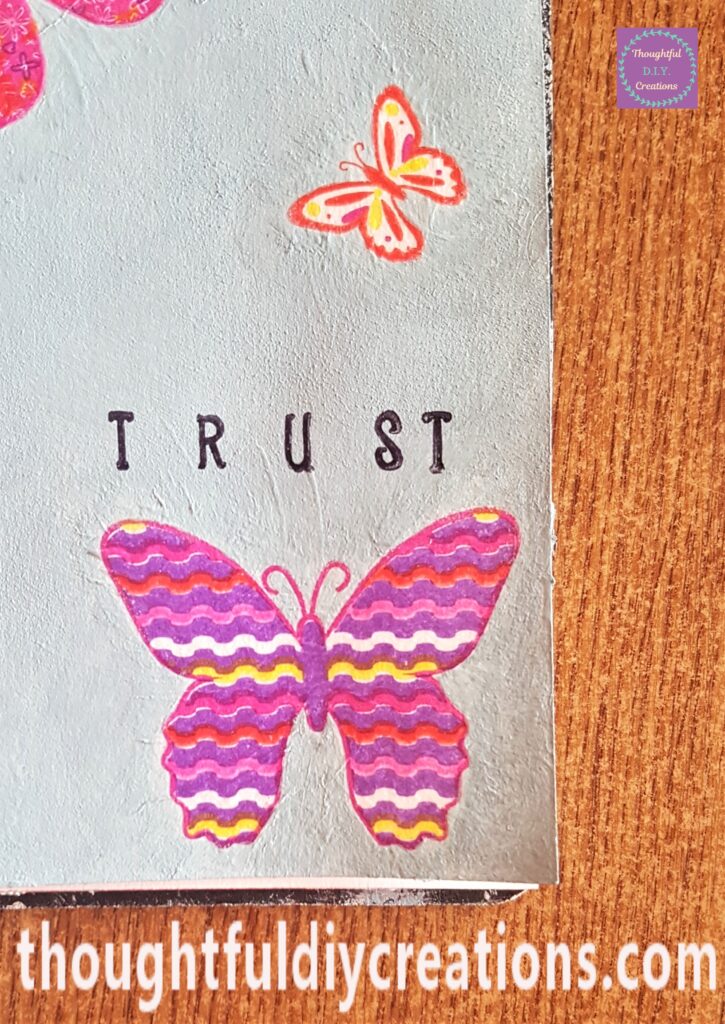
I finished the Stamping by adding the Word TRUST to the bottom of the Page.
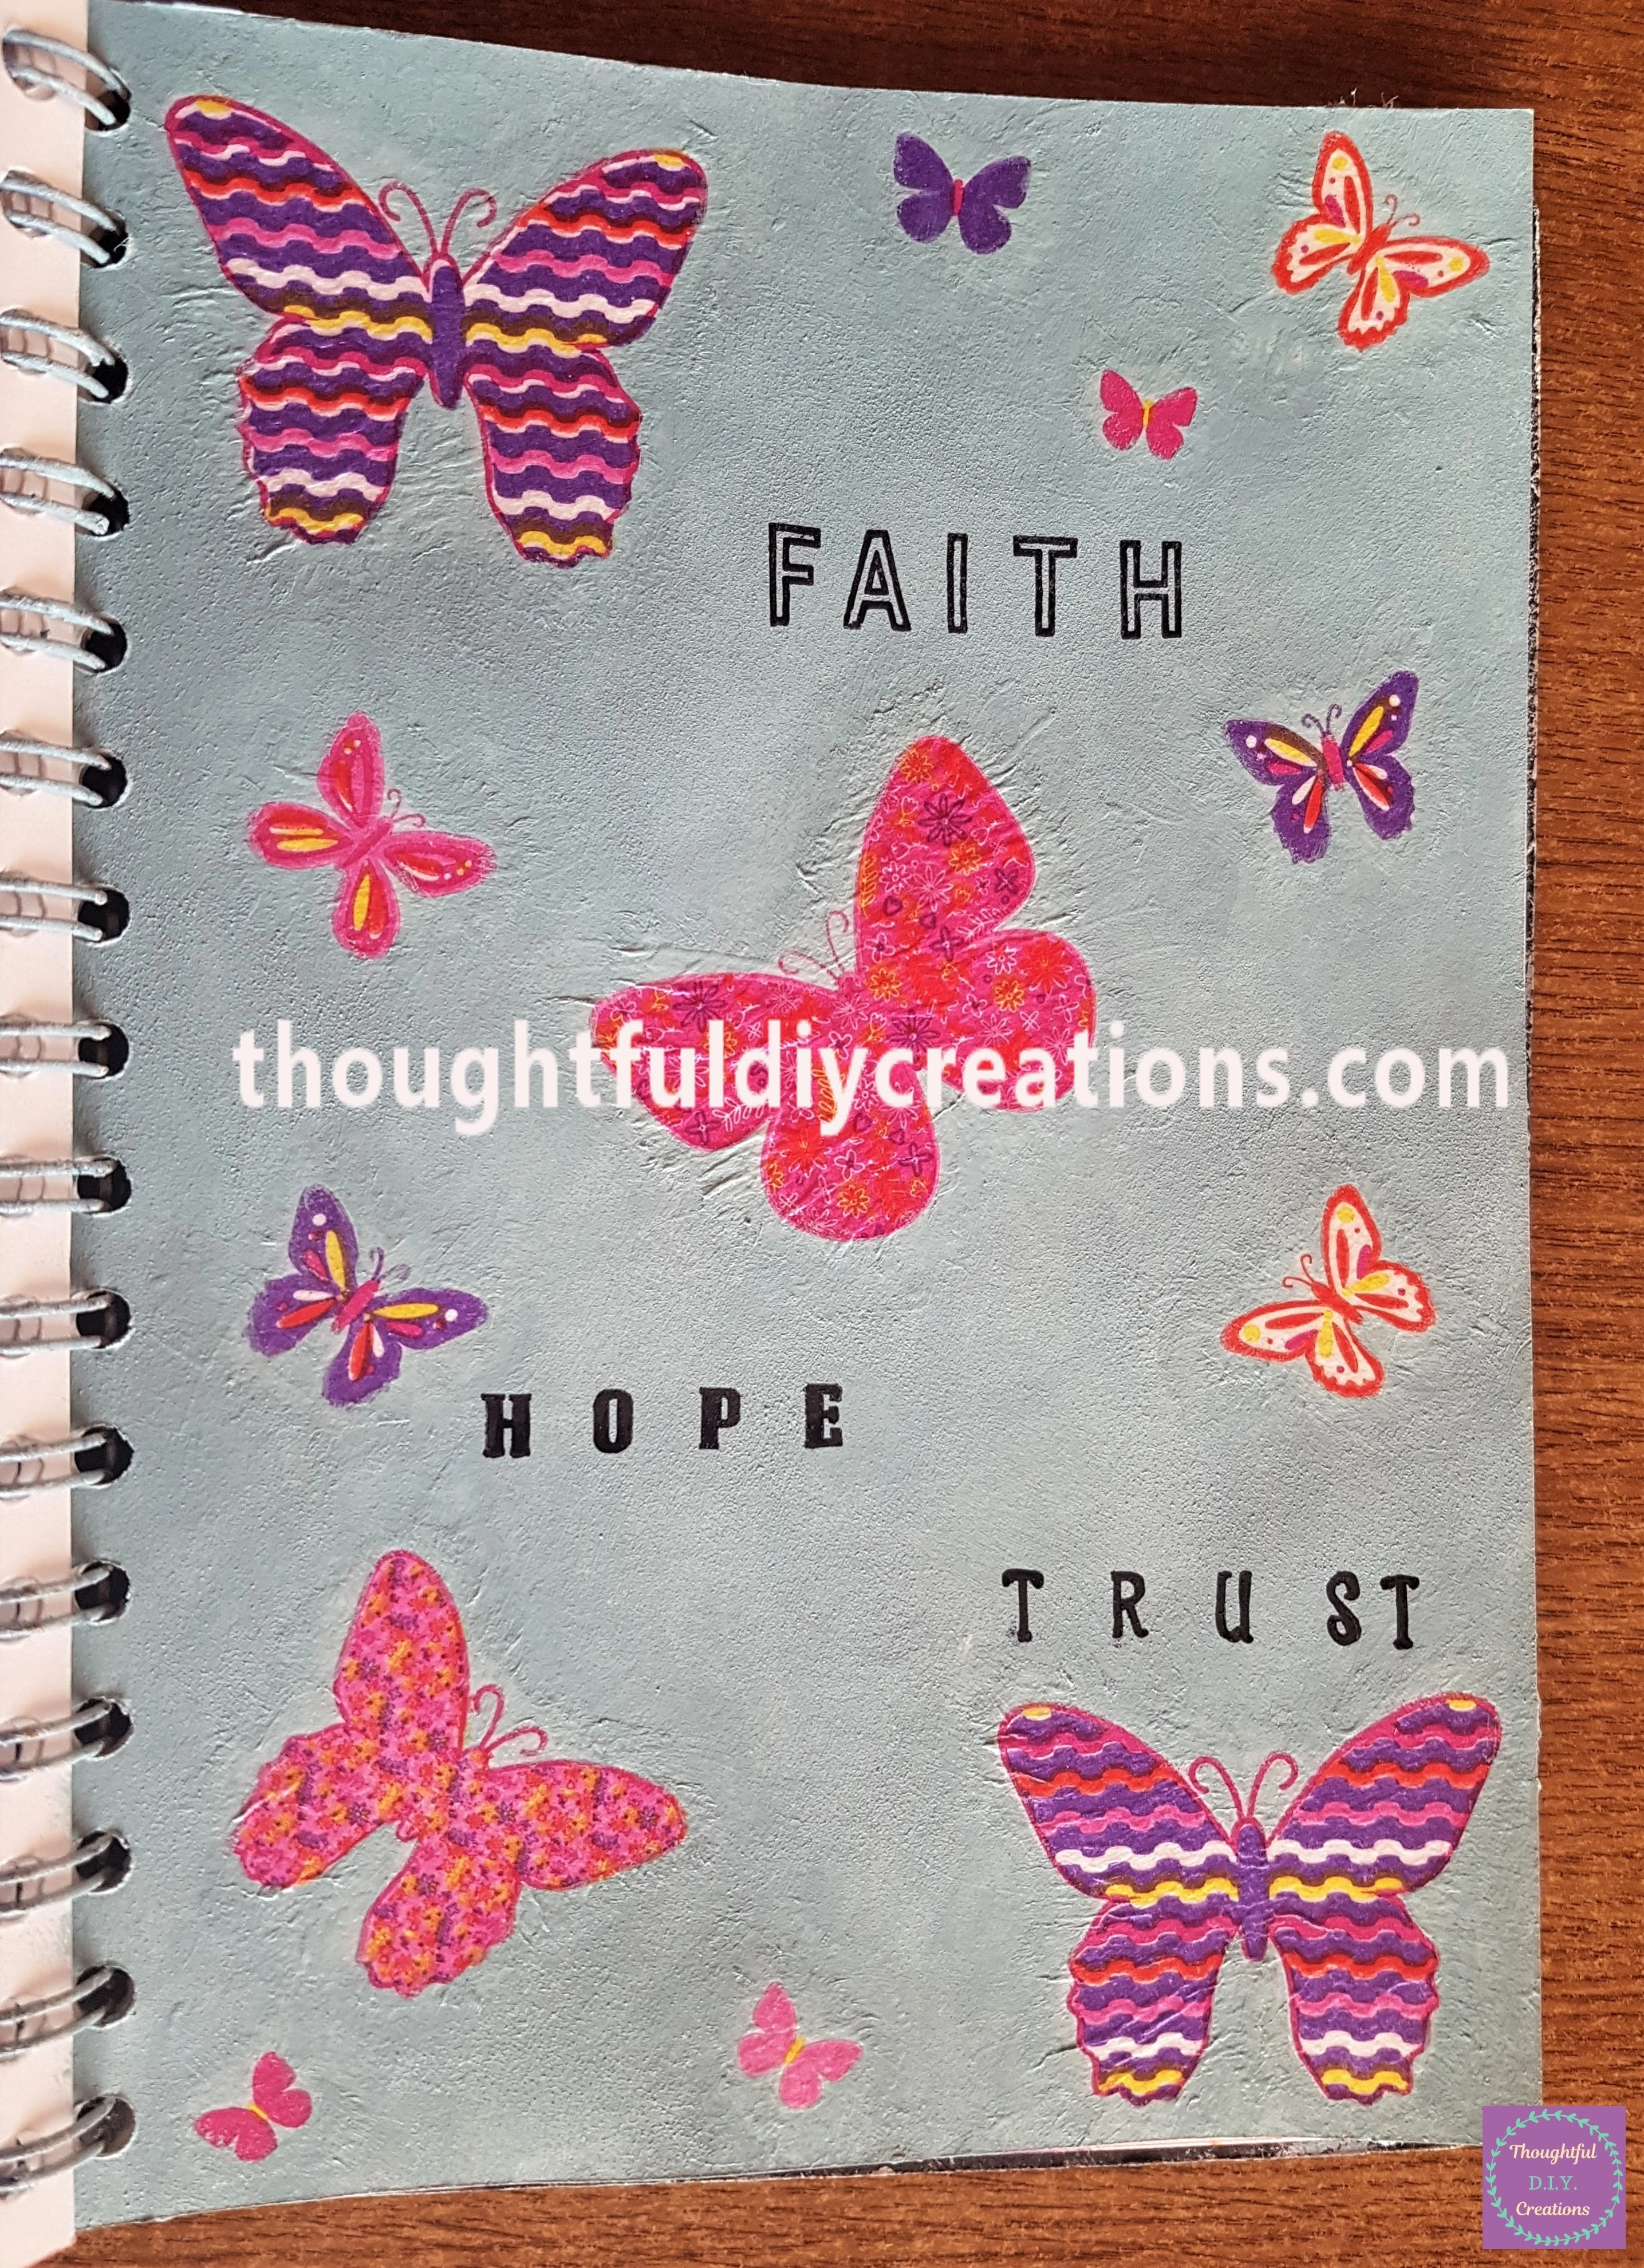
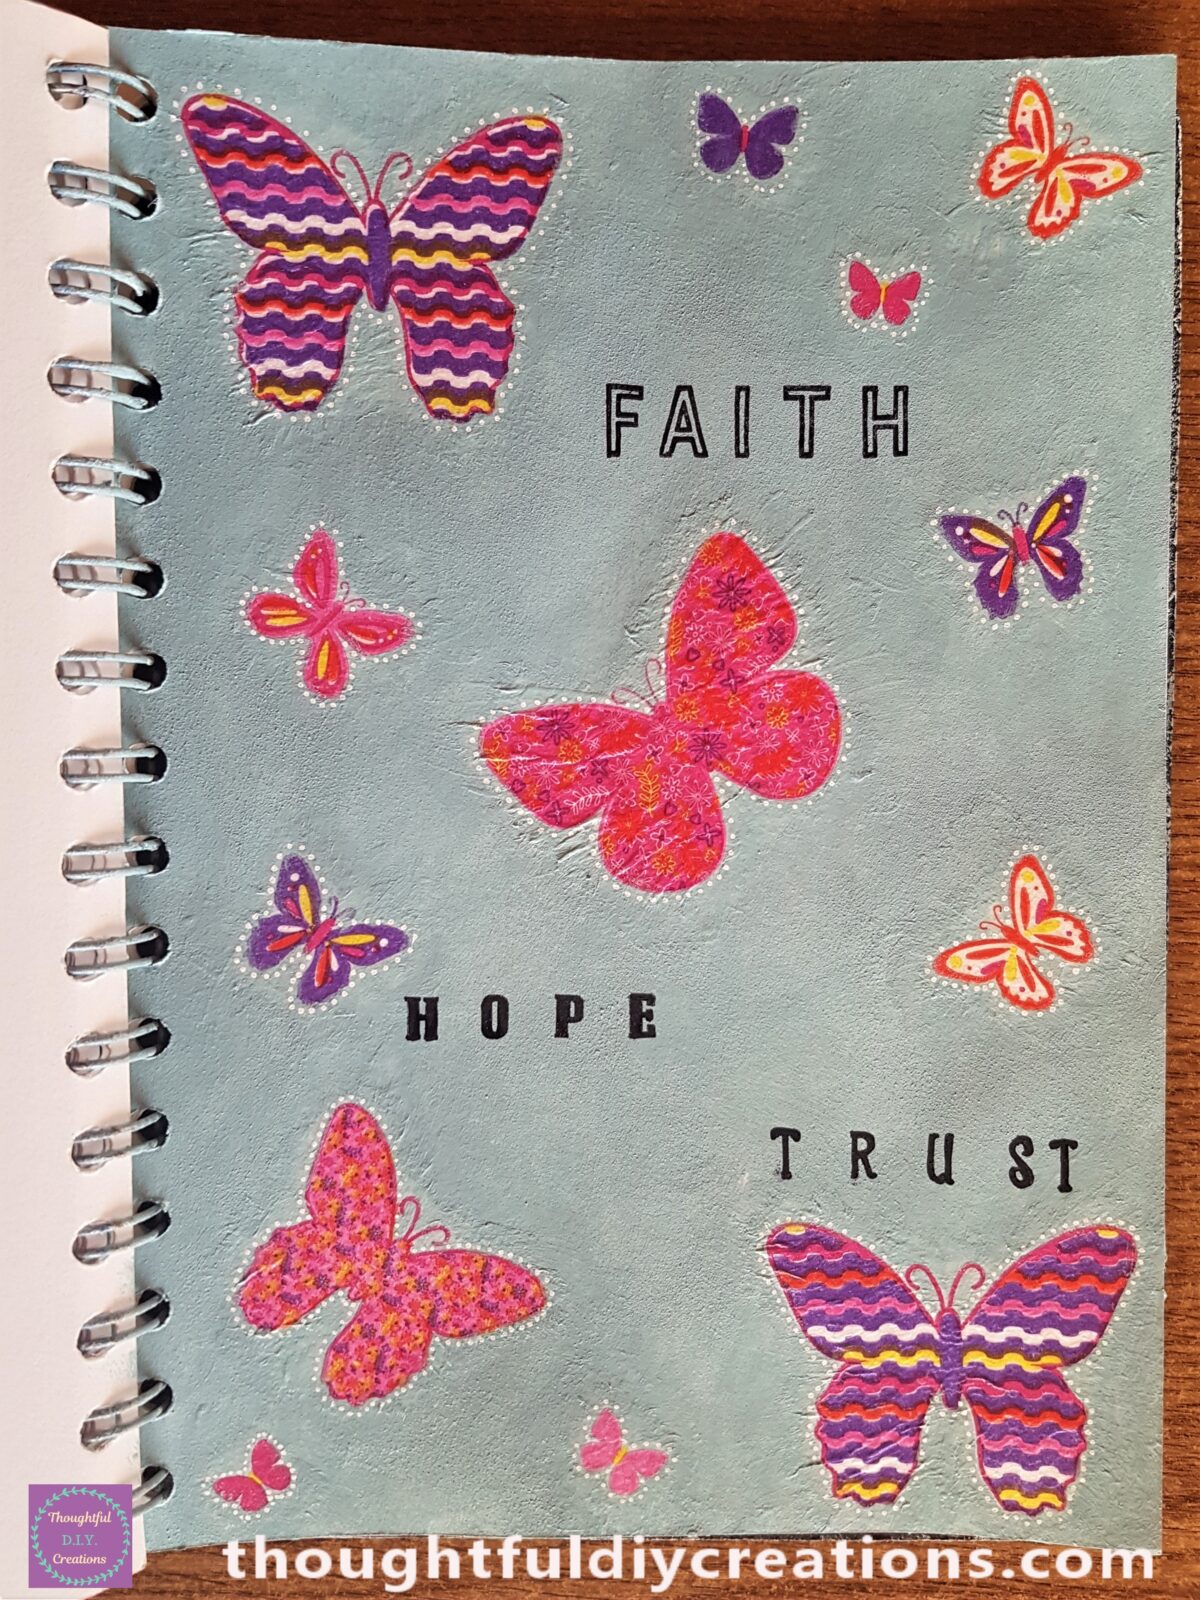
A full view of the Napkin Page with the addition of the Stamps.
Finishing Touches to the Napkin Art Journal
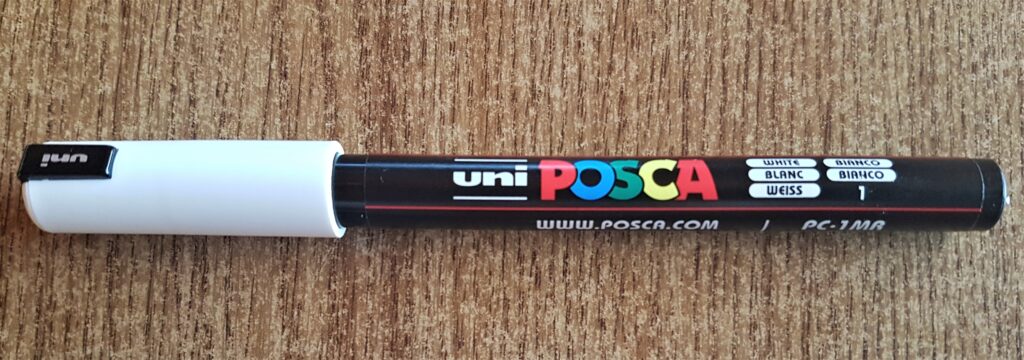
I got my ‘uni POSCA Acrylic Paint Pen in White 0.7 mm’.
I added White Dots all around the edge of the Butterfly Napkin.
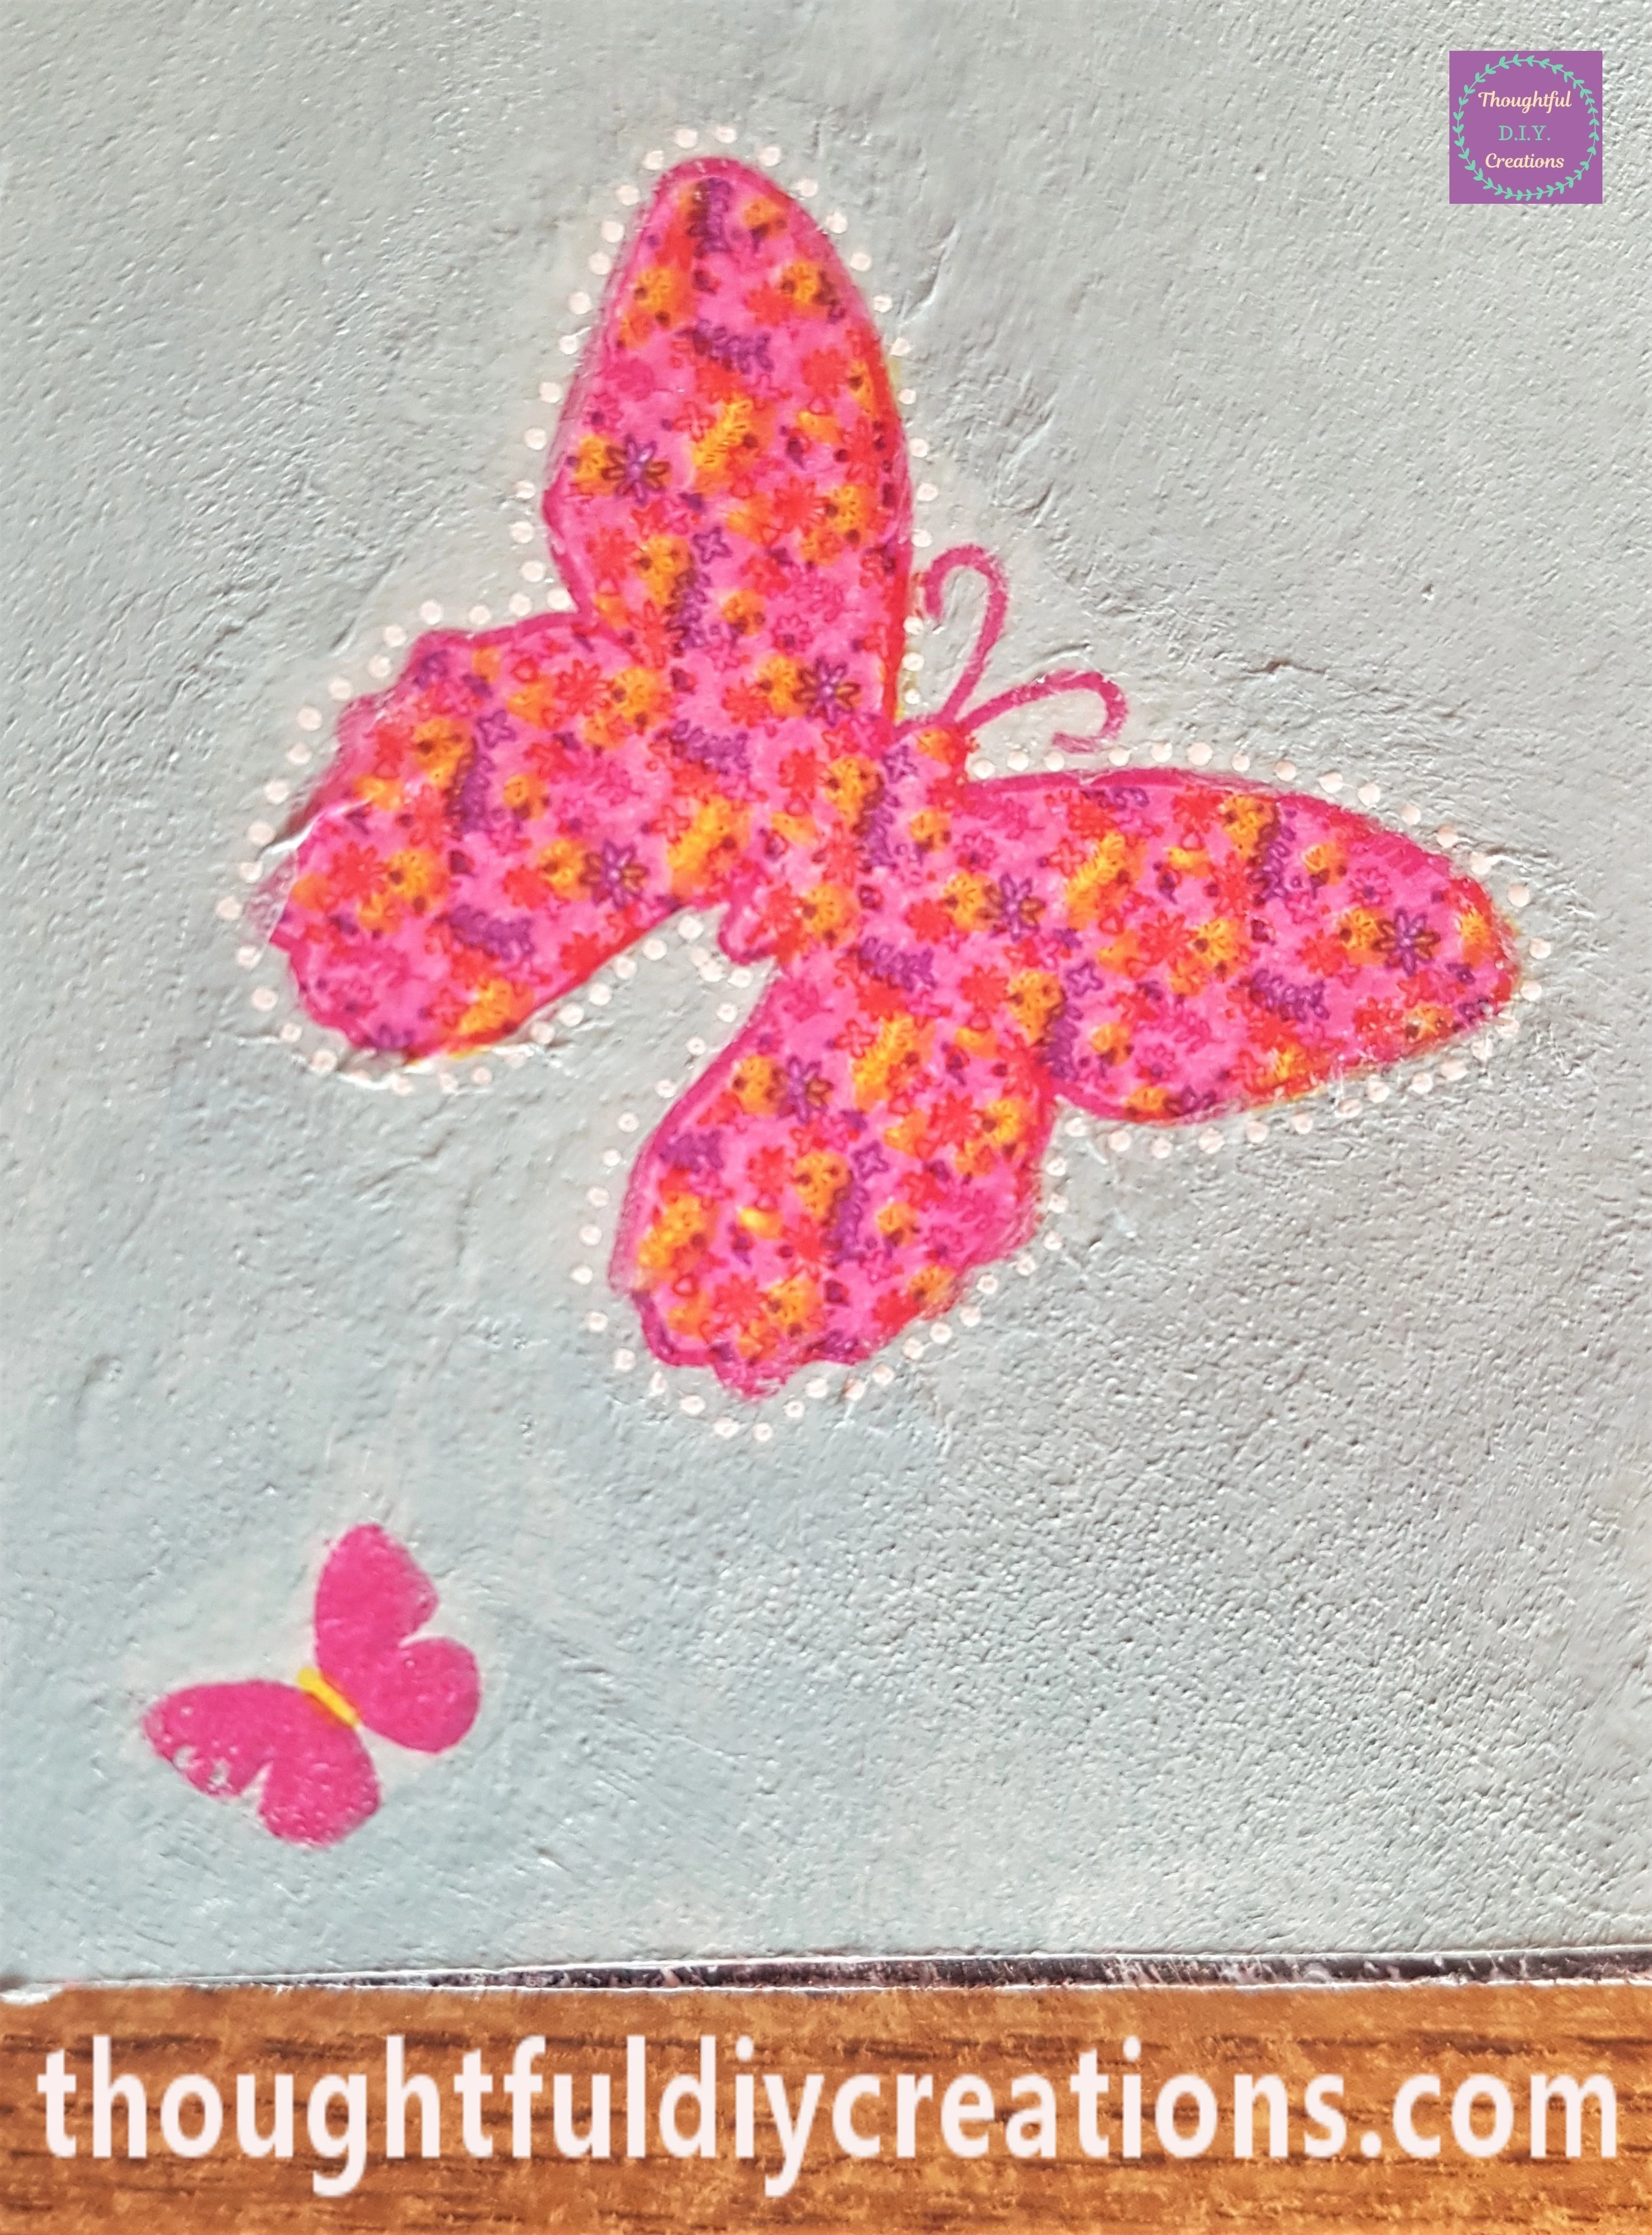
I repeated this Process on every Butterfly on the Page using the Paint Pen.
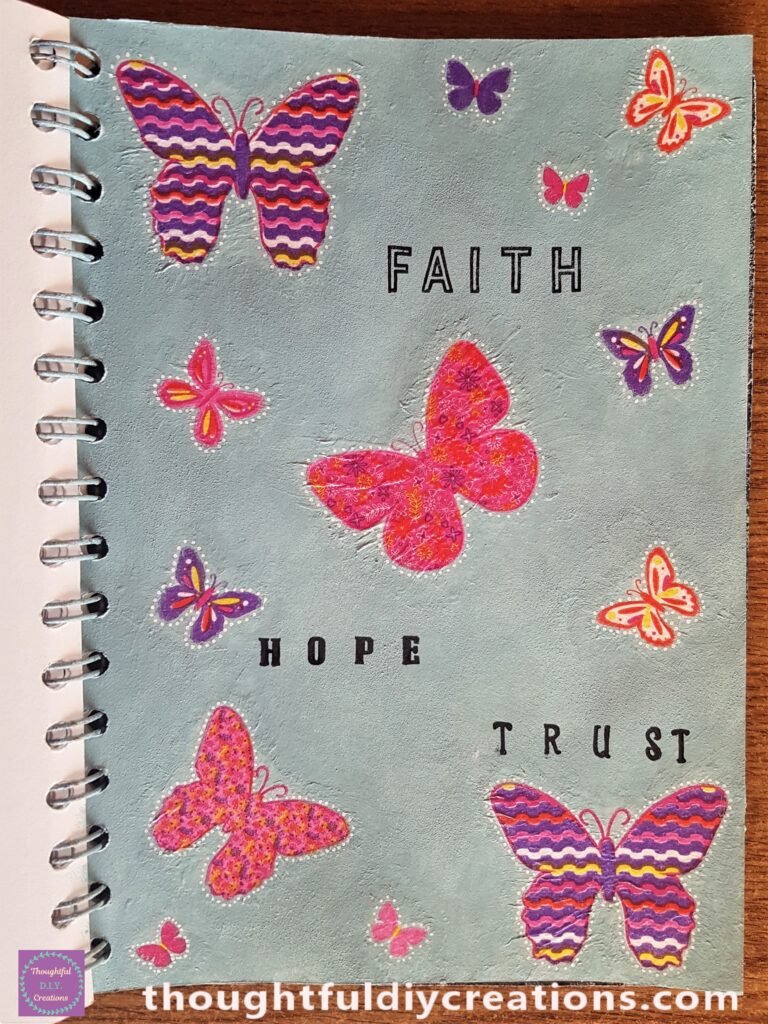
This Completed my Napkin Art Journal Page.
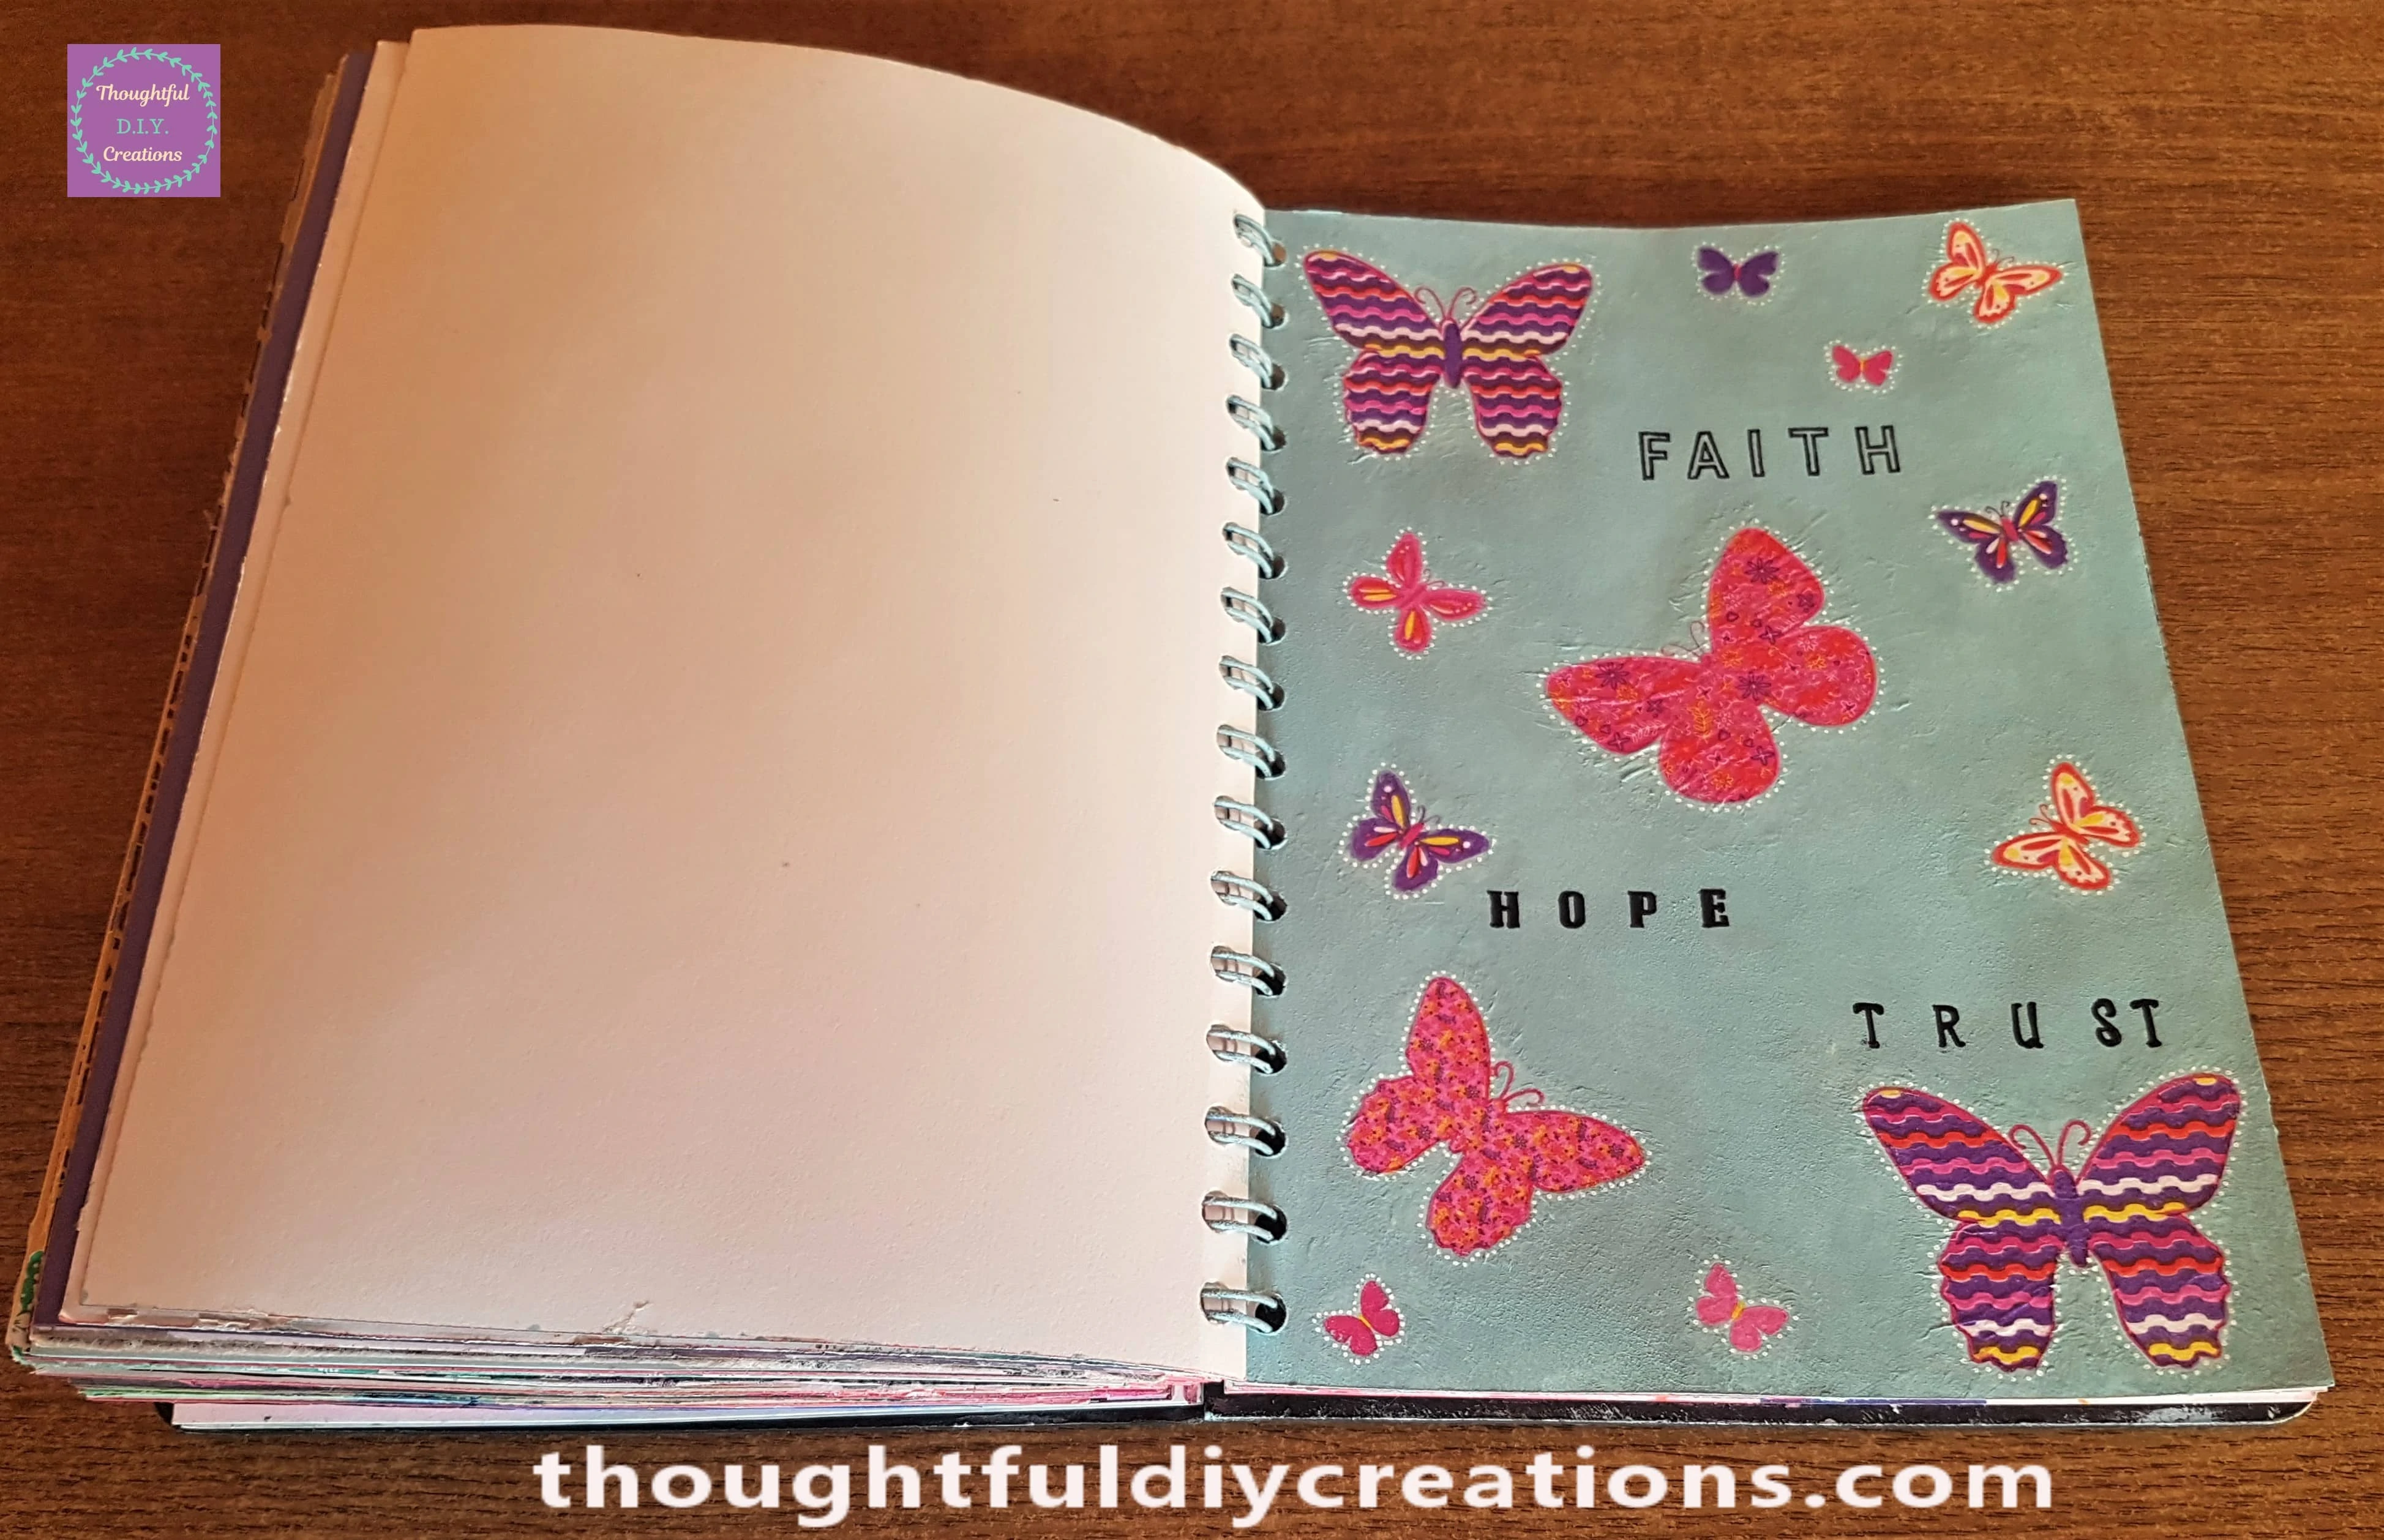
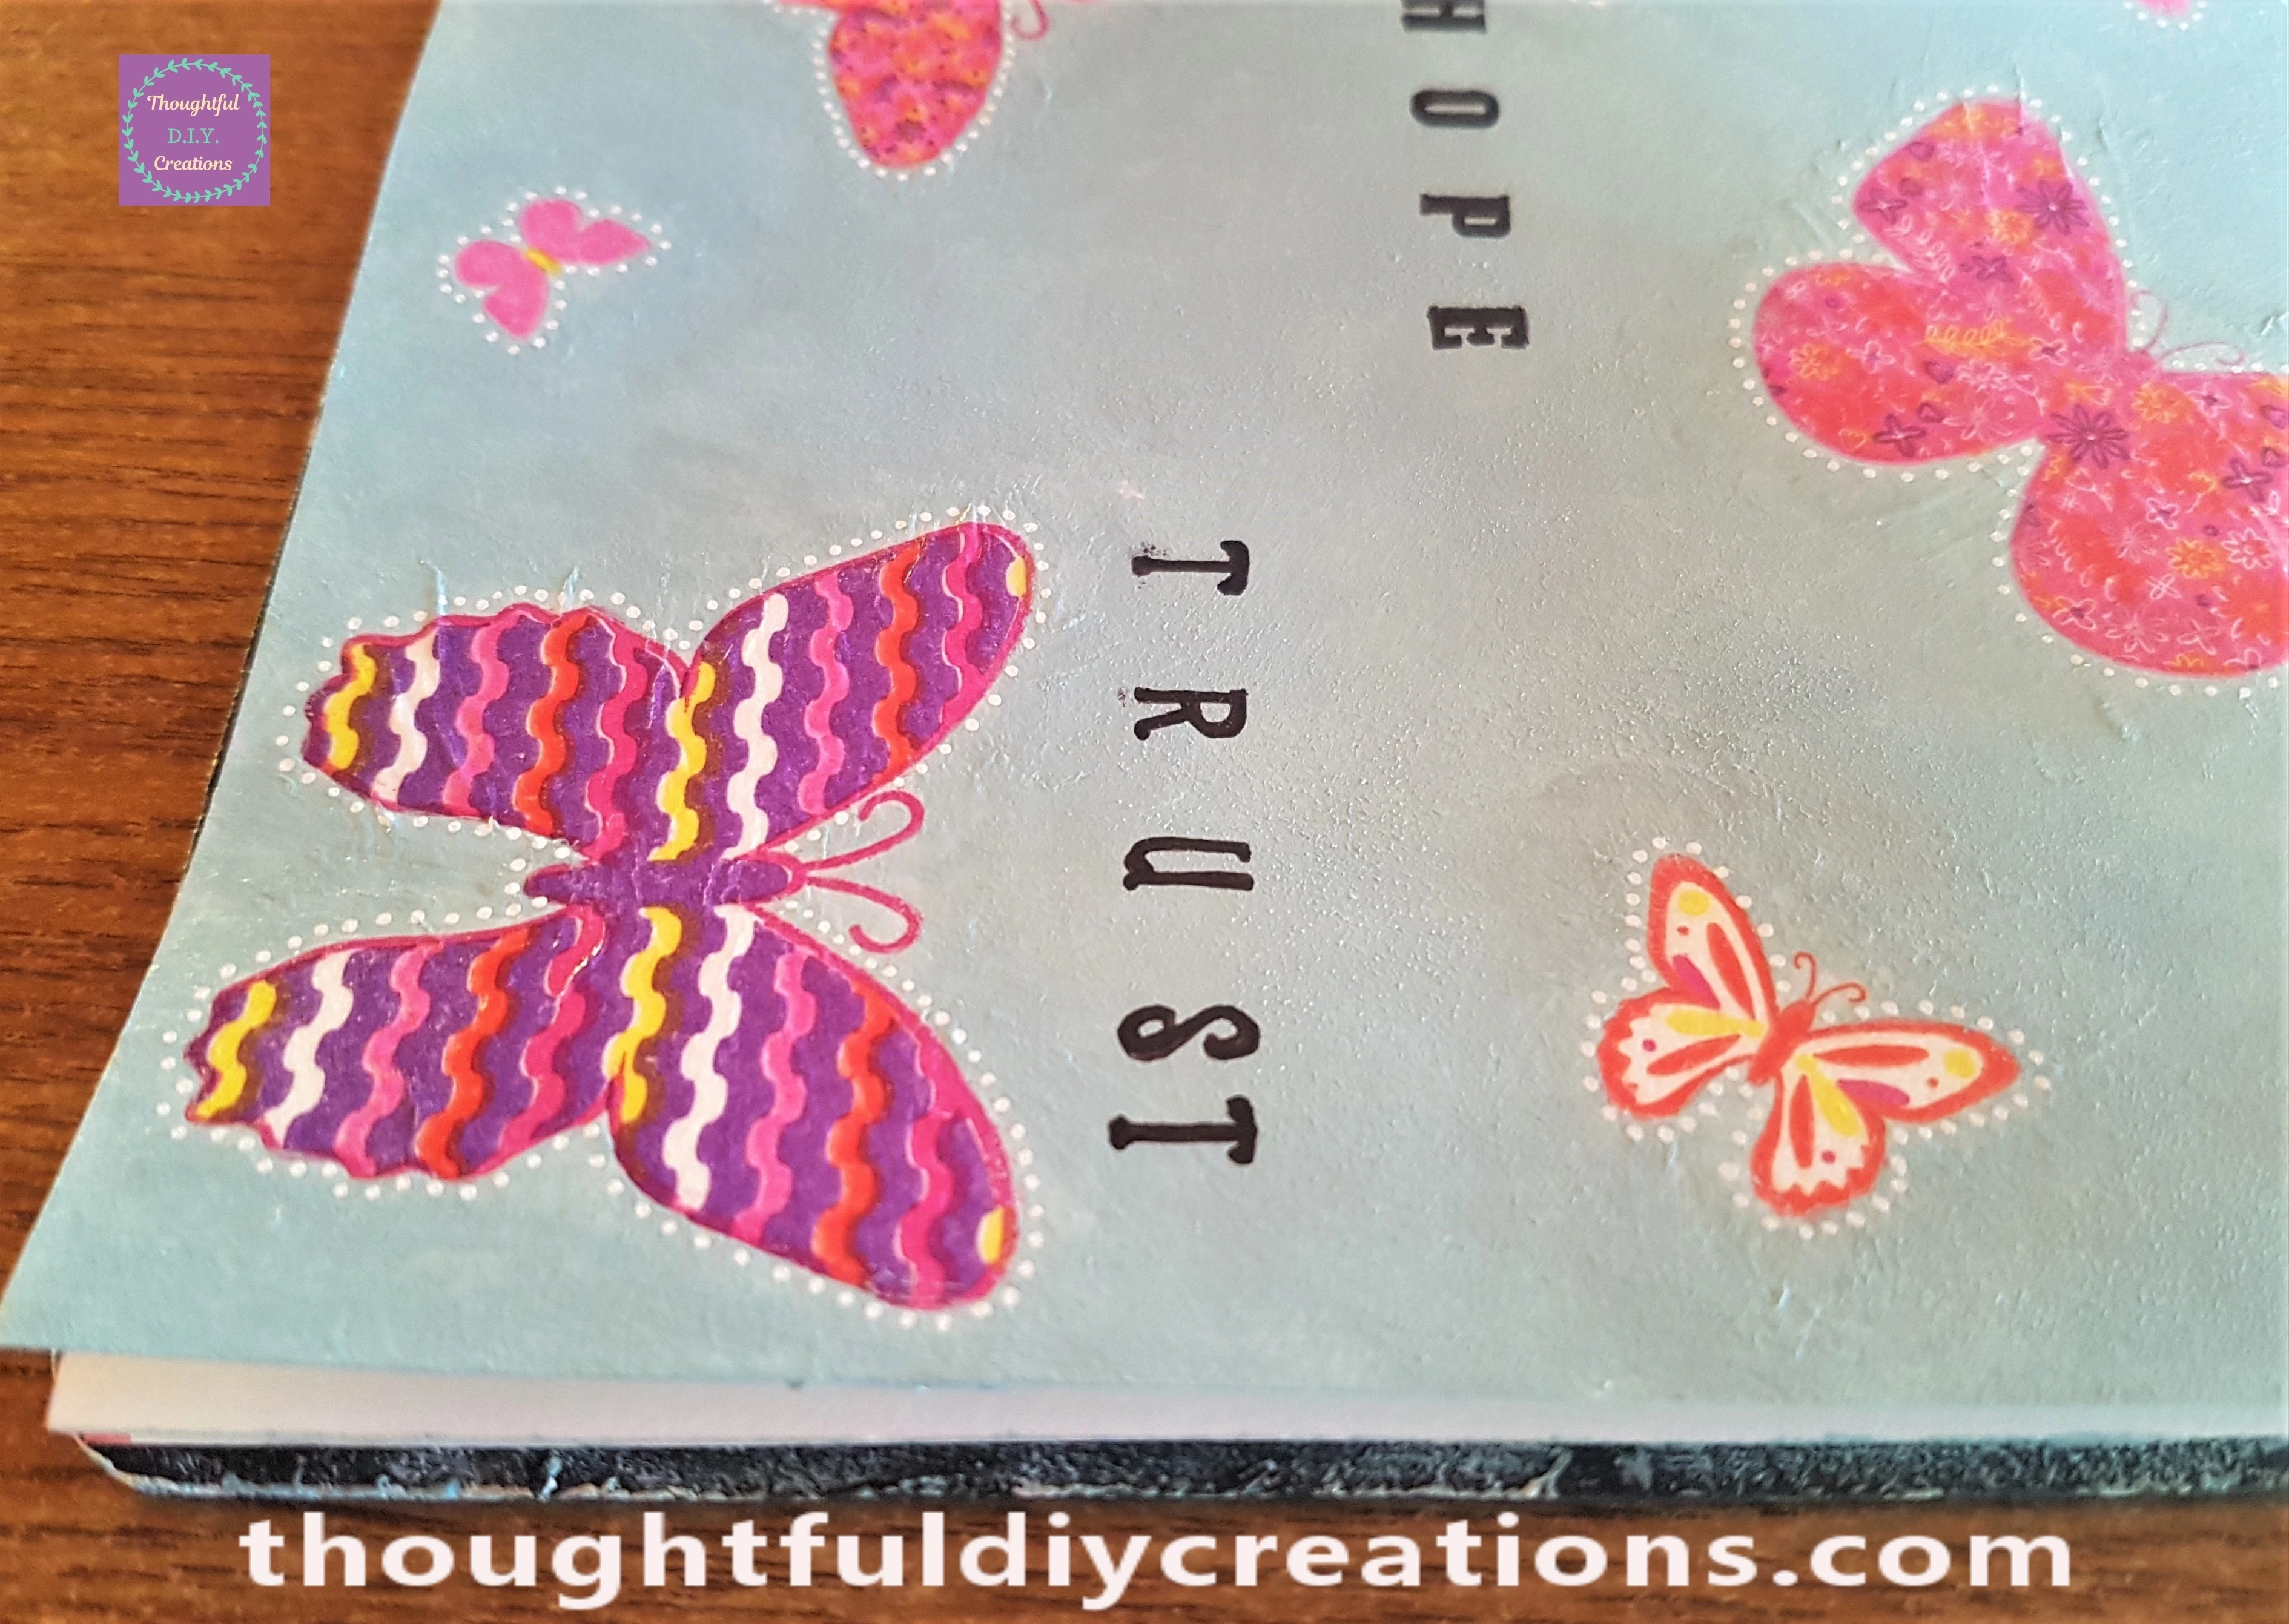
A Side View of the Page.
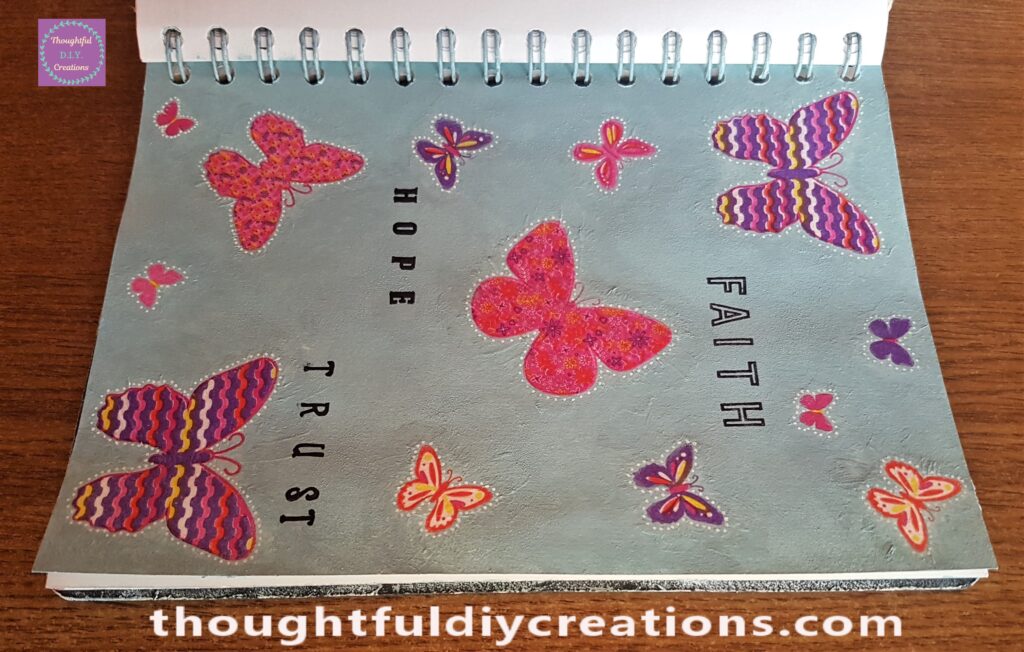
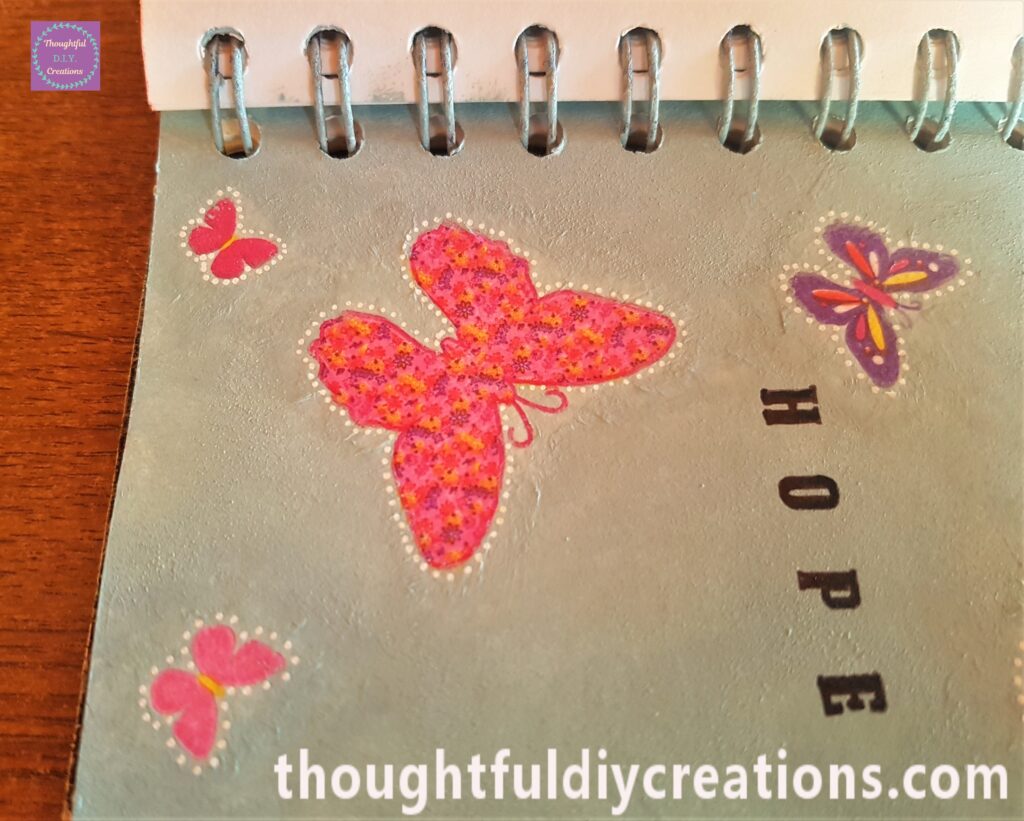
The Top half of the finished Art Journal.
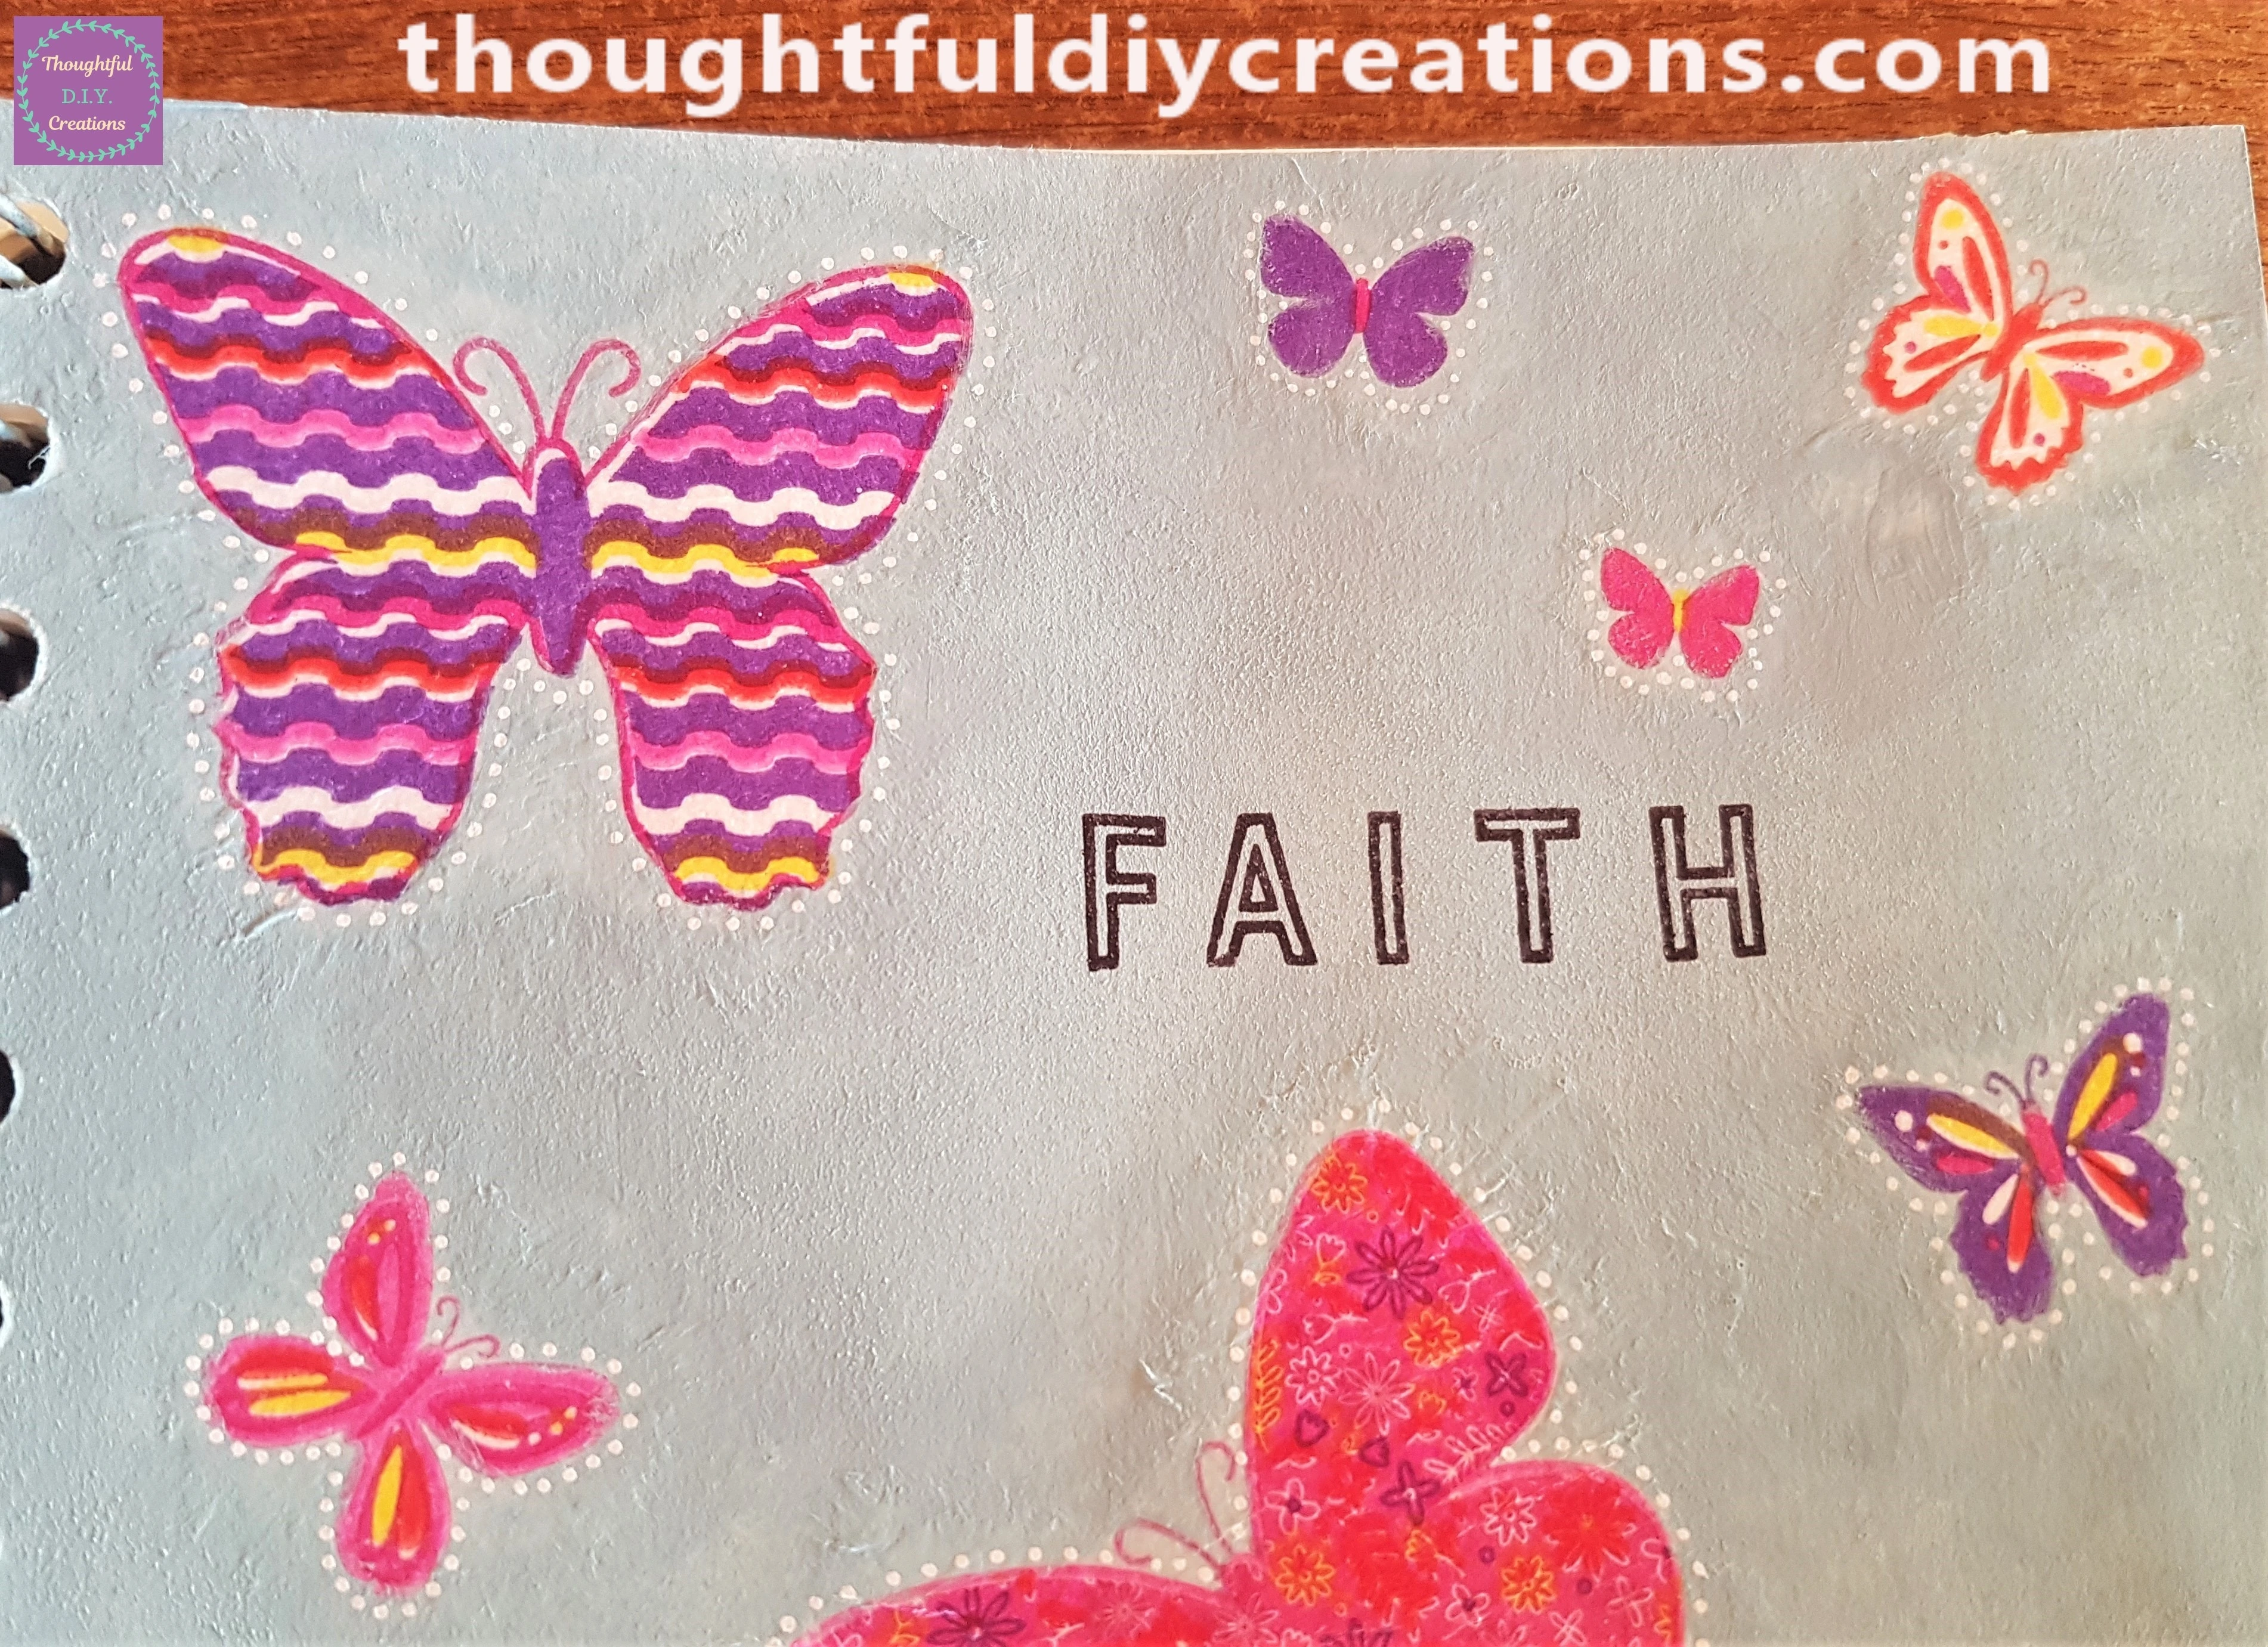
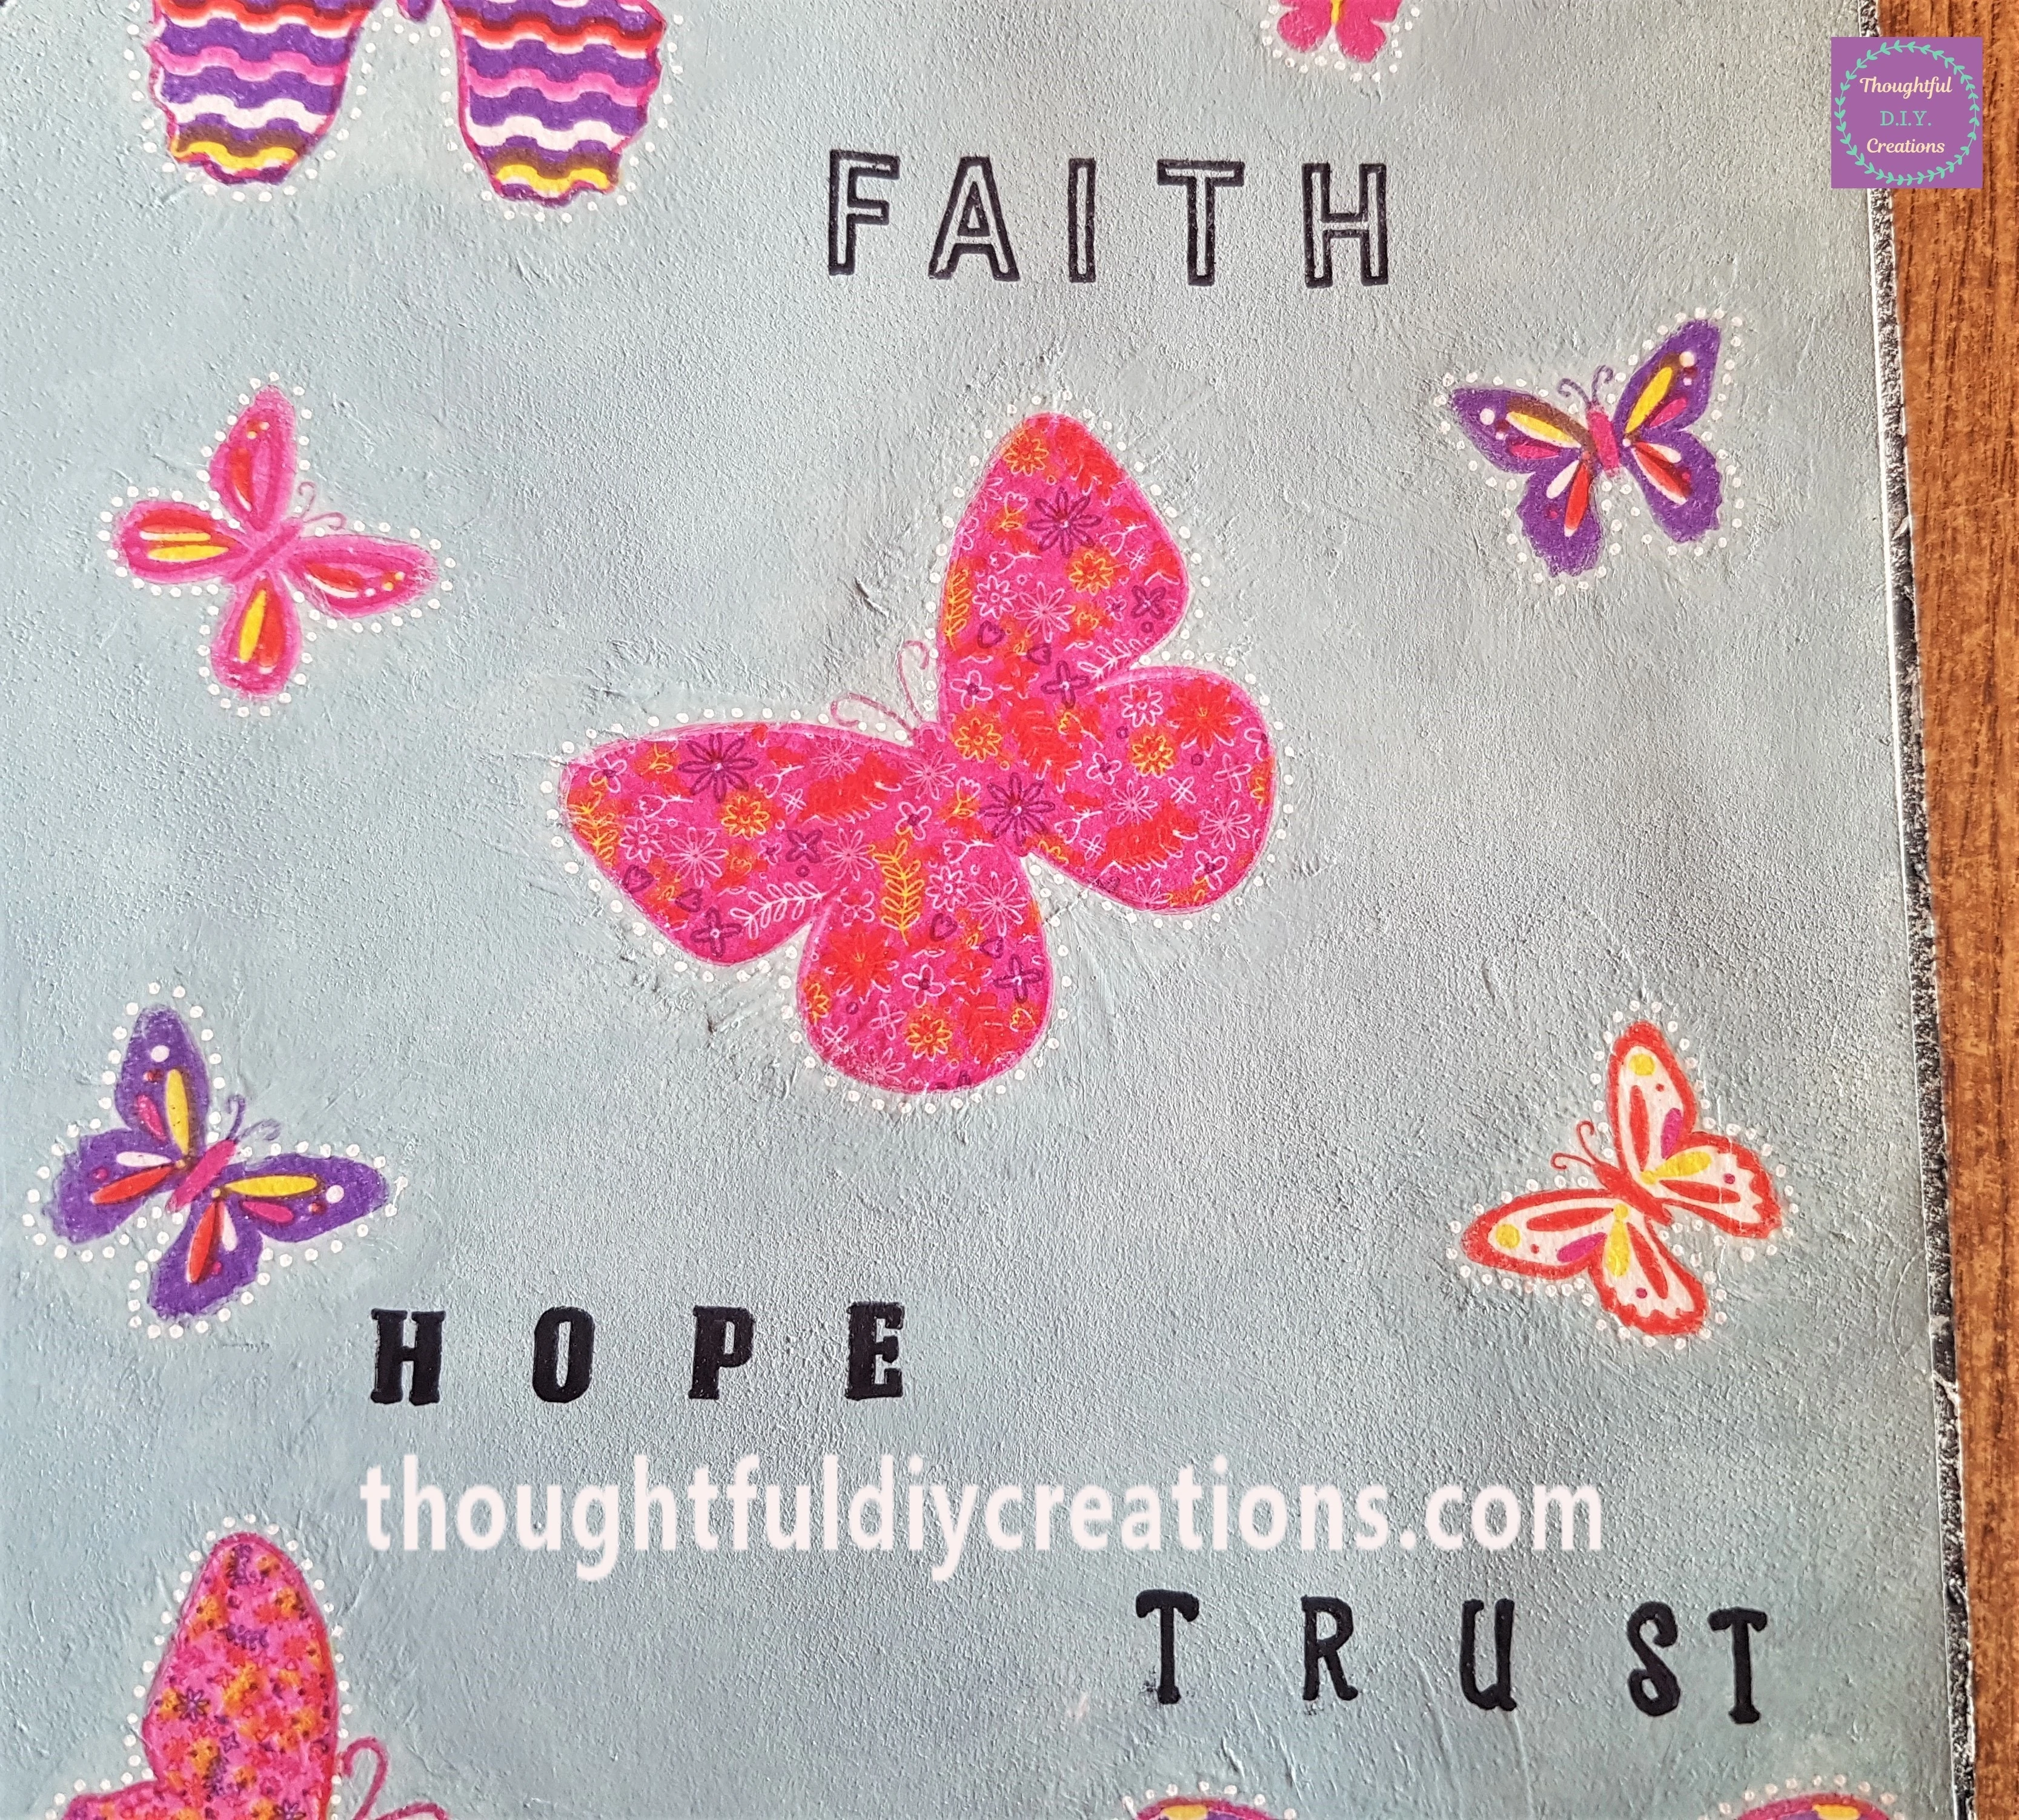
The bottom part of the Page.
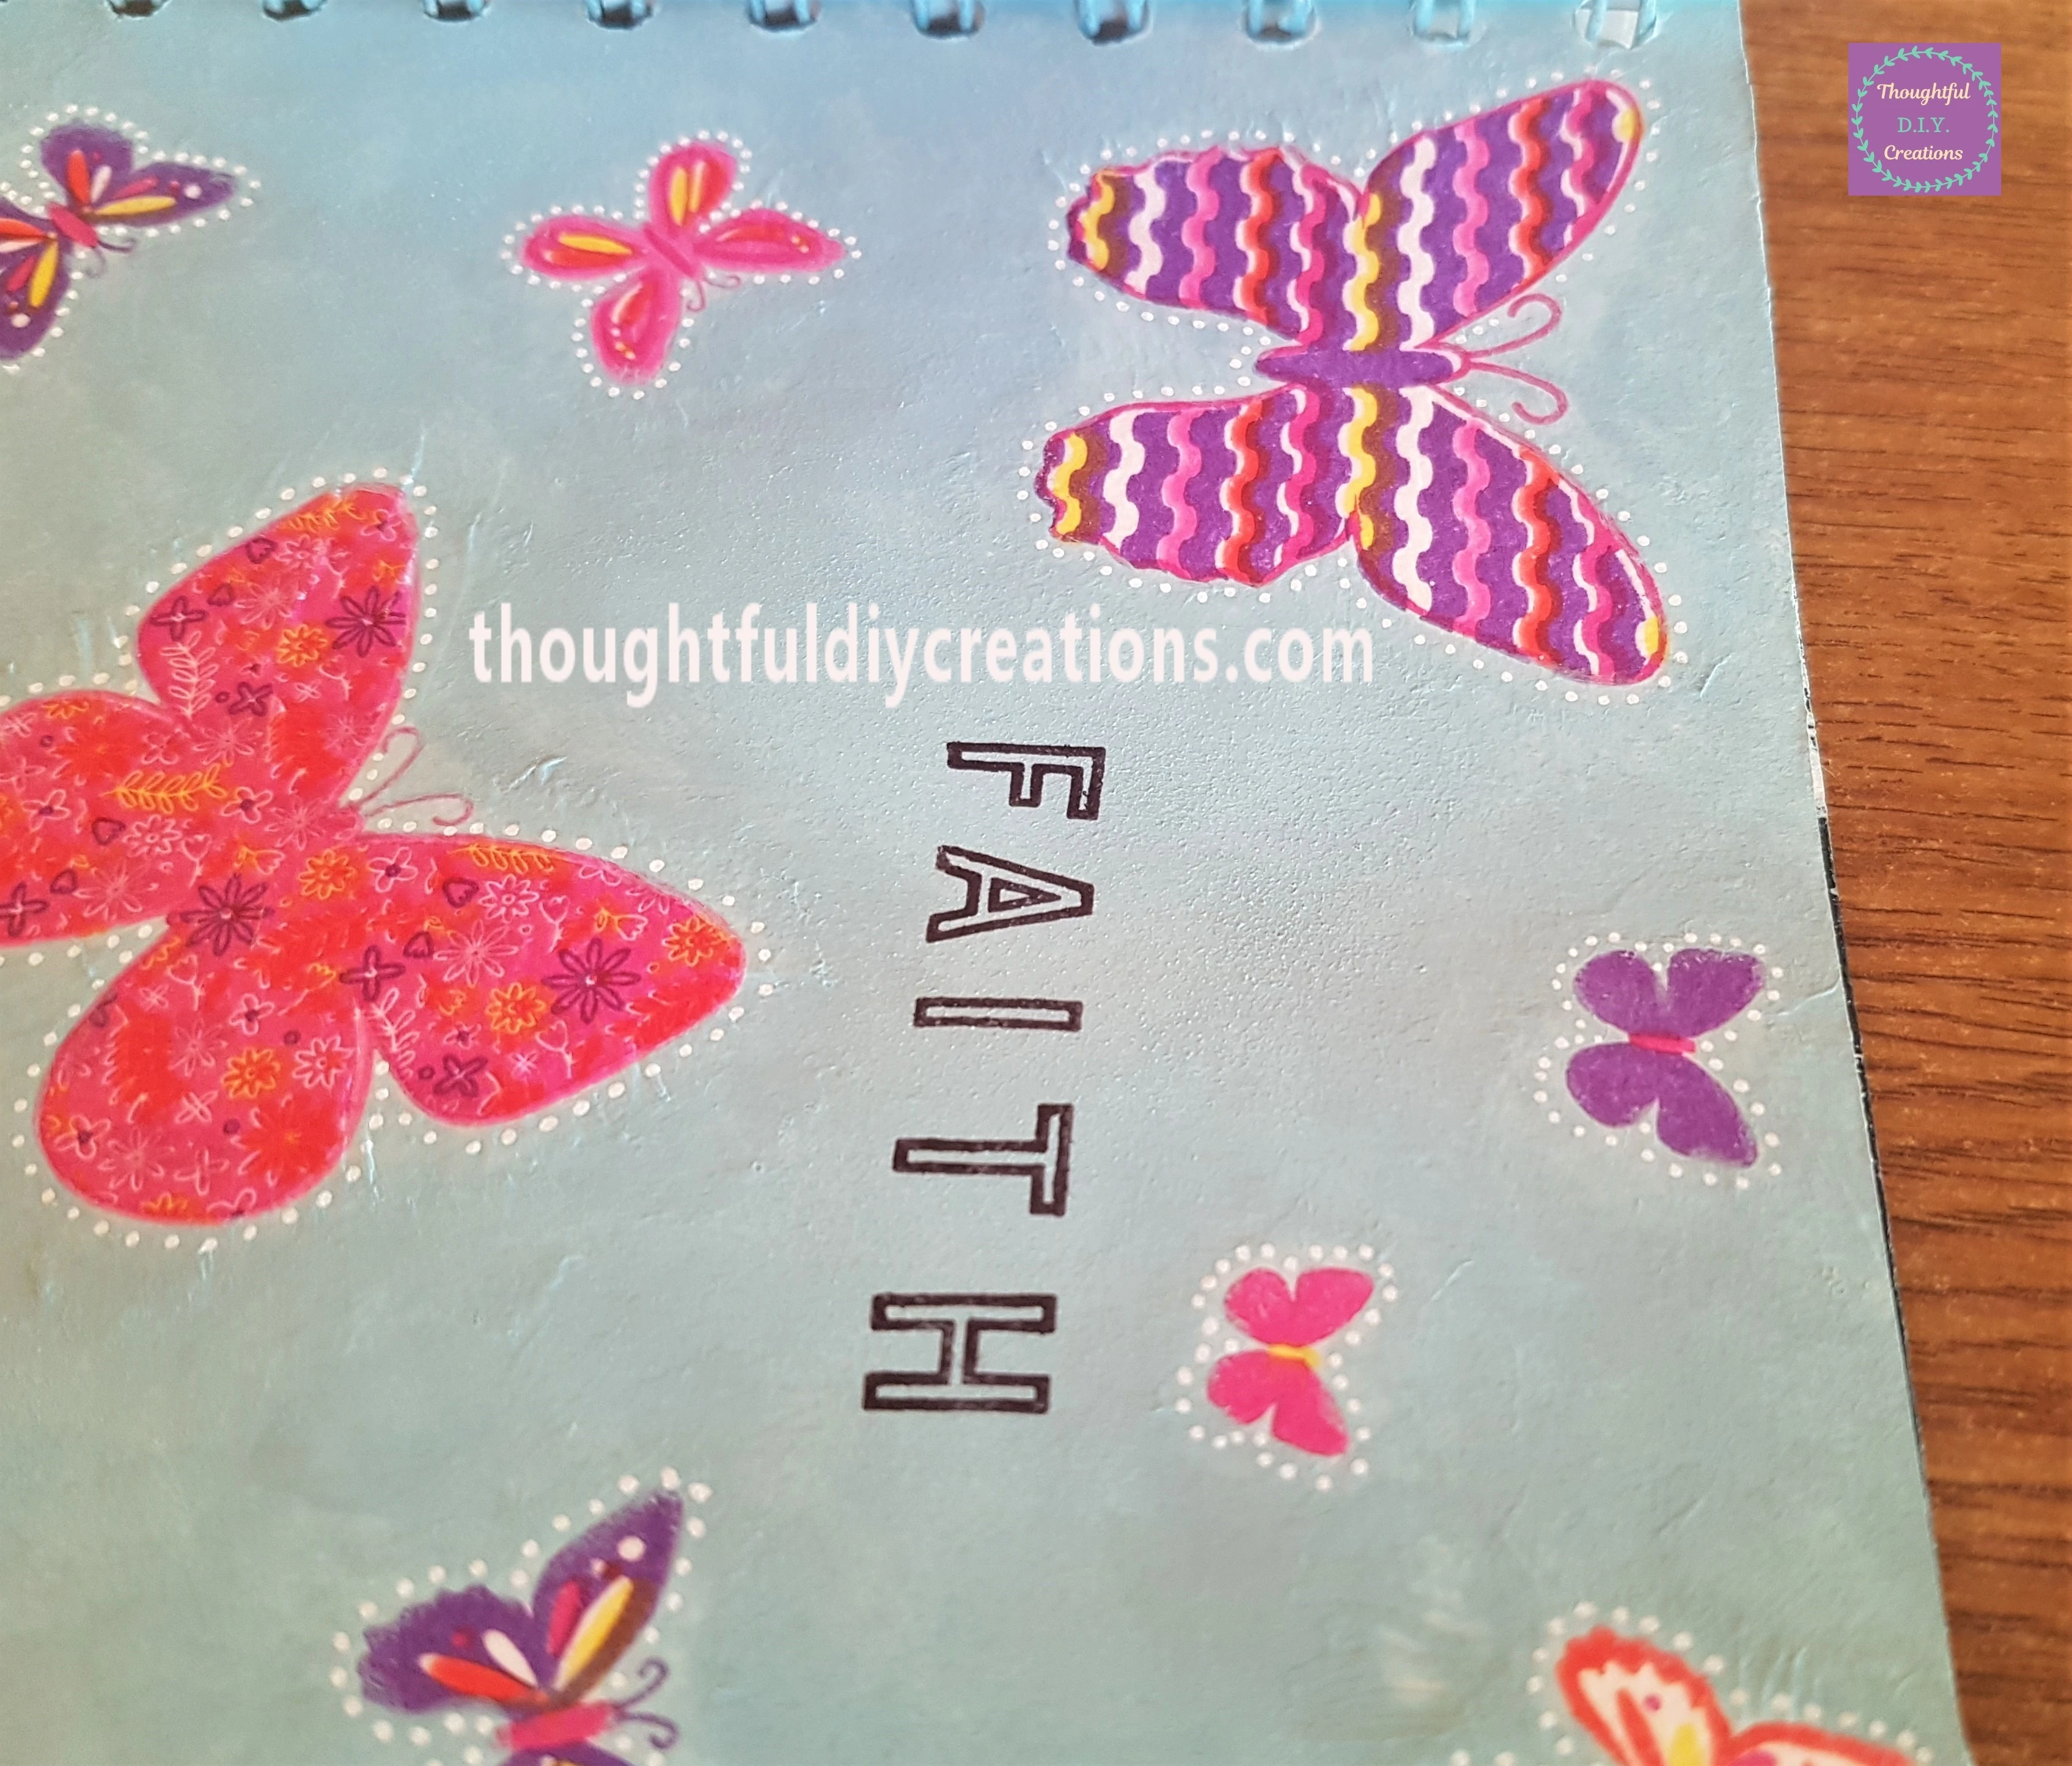
The Final Photo of the Butterfly Page.
Conclusion
I am really pleased with how my Napkin Art Journal Page turned out. I think it is Bright and Airy with the Butterflies and I like the Positive Sentiment from the Stamps. I hope you learned something New that you can apply to your own Art Journaling or Crafts.
I think it is Important Now more than ever to have Faith, Hope and Trust that everything will work out for everyone around the World. With a Positive Mindset anything can happen; you are welcoming good Health, Ideas, People and Opportunities into your Life.
I love Butterflies and how they represent you often have to go through a long learning process to come out Stronger the other side. Transformation can often be uncomfortable or painful but necessary when we want to Change an aspect of our Lives and have more Freedom and Joy in our Life.
It is often only when you look back on something that happened in your Past that you realise you were meant to go through that rough patch, that lonely or stressful time. If something bad didn’t happen you wouldn’t have made the Positive Changes to Improve your Life.
If you are Inspired to make some Butterfly Wall Art check out my Tutorial; Live, Love Laugh Canvas.
Trying out any type of Art, Crafts, Writing your thoughts, worries or concerns into a Journal, or Art Journaling can offer great Stress relief and Healing. If you are frustrated, angry, or overcome with anxiety, you can write, draw or scribble it all out onto Paper. Just by addressing what is annoying you and giving it that time can reap great benefits to your mindset, health and life.
Sending Love to anyone who is struggling at this Time.
If you have any questions or anything to Add on this Topic just Fill out the Comment Box below this Blog Post and I’ll get back to you as soon as I can.
Thank You so much for taking the Time to Read my Blog.
Always Grateful,
T.D.C.
xoxox


-0 Comment-