Paddy’s Day Jars Tutorial
Hello my Creative Friends,
I hope you are all Well. In Today’s Tutorial I will show you How I Re-Purposed 3 Household Jars into Seasonal Paddy’s Day Decor. It requires minimal materials and is a stylish, elegant way to Decorate your Home for Paddys Day.
Preparing the Jars for Crafting
I washed out 2 Jam Jars and a Lasagne Sauce Jar as well as their Lids. I peeled off as much of the labels as I could; I then soaked the Jars in the Sink with warm water and washing-up-liquid for an Hour to soften the rest of the labels.
I then removed the remaining parts of the labels with a Cloth, rinsed the Jars with water and dried them.
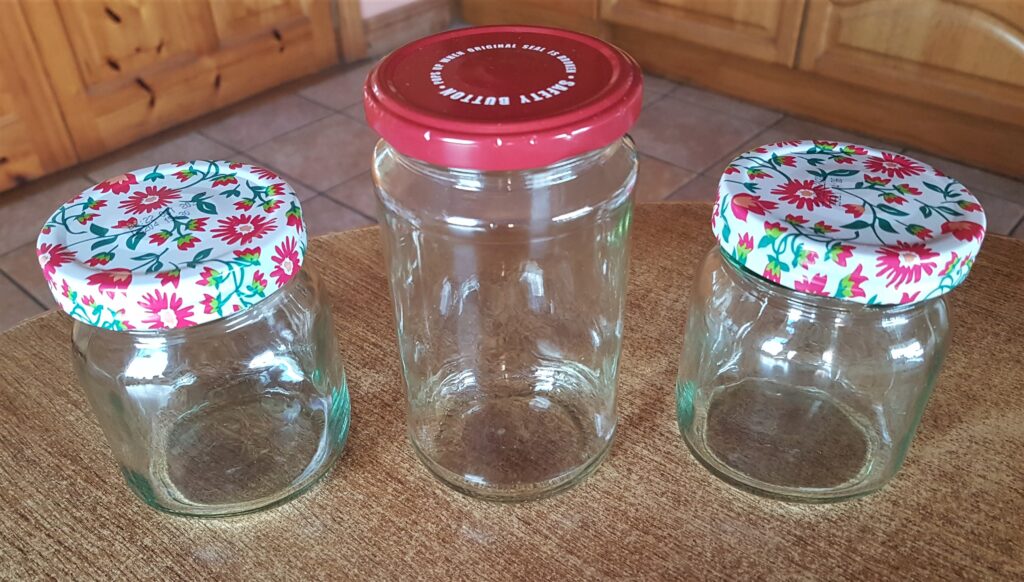
This Image shows the Jars with their labels removed, and washed and dried.
Priming the Lids with Gesso
I put a Sheet of Baking Paper on the Table to protect it while Painting. I put the 3 Lids on the Baking Sheet. I got another piece of Baking Paper to use as a Paint Palette. I got my ‘White Acrylic Gesso’, and Flat Sponge with Handle. I poured some Gesso onto the piece of Baking Paper.
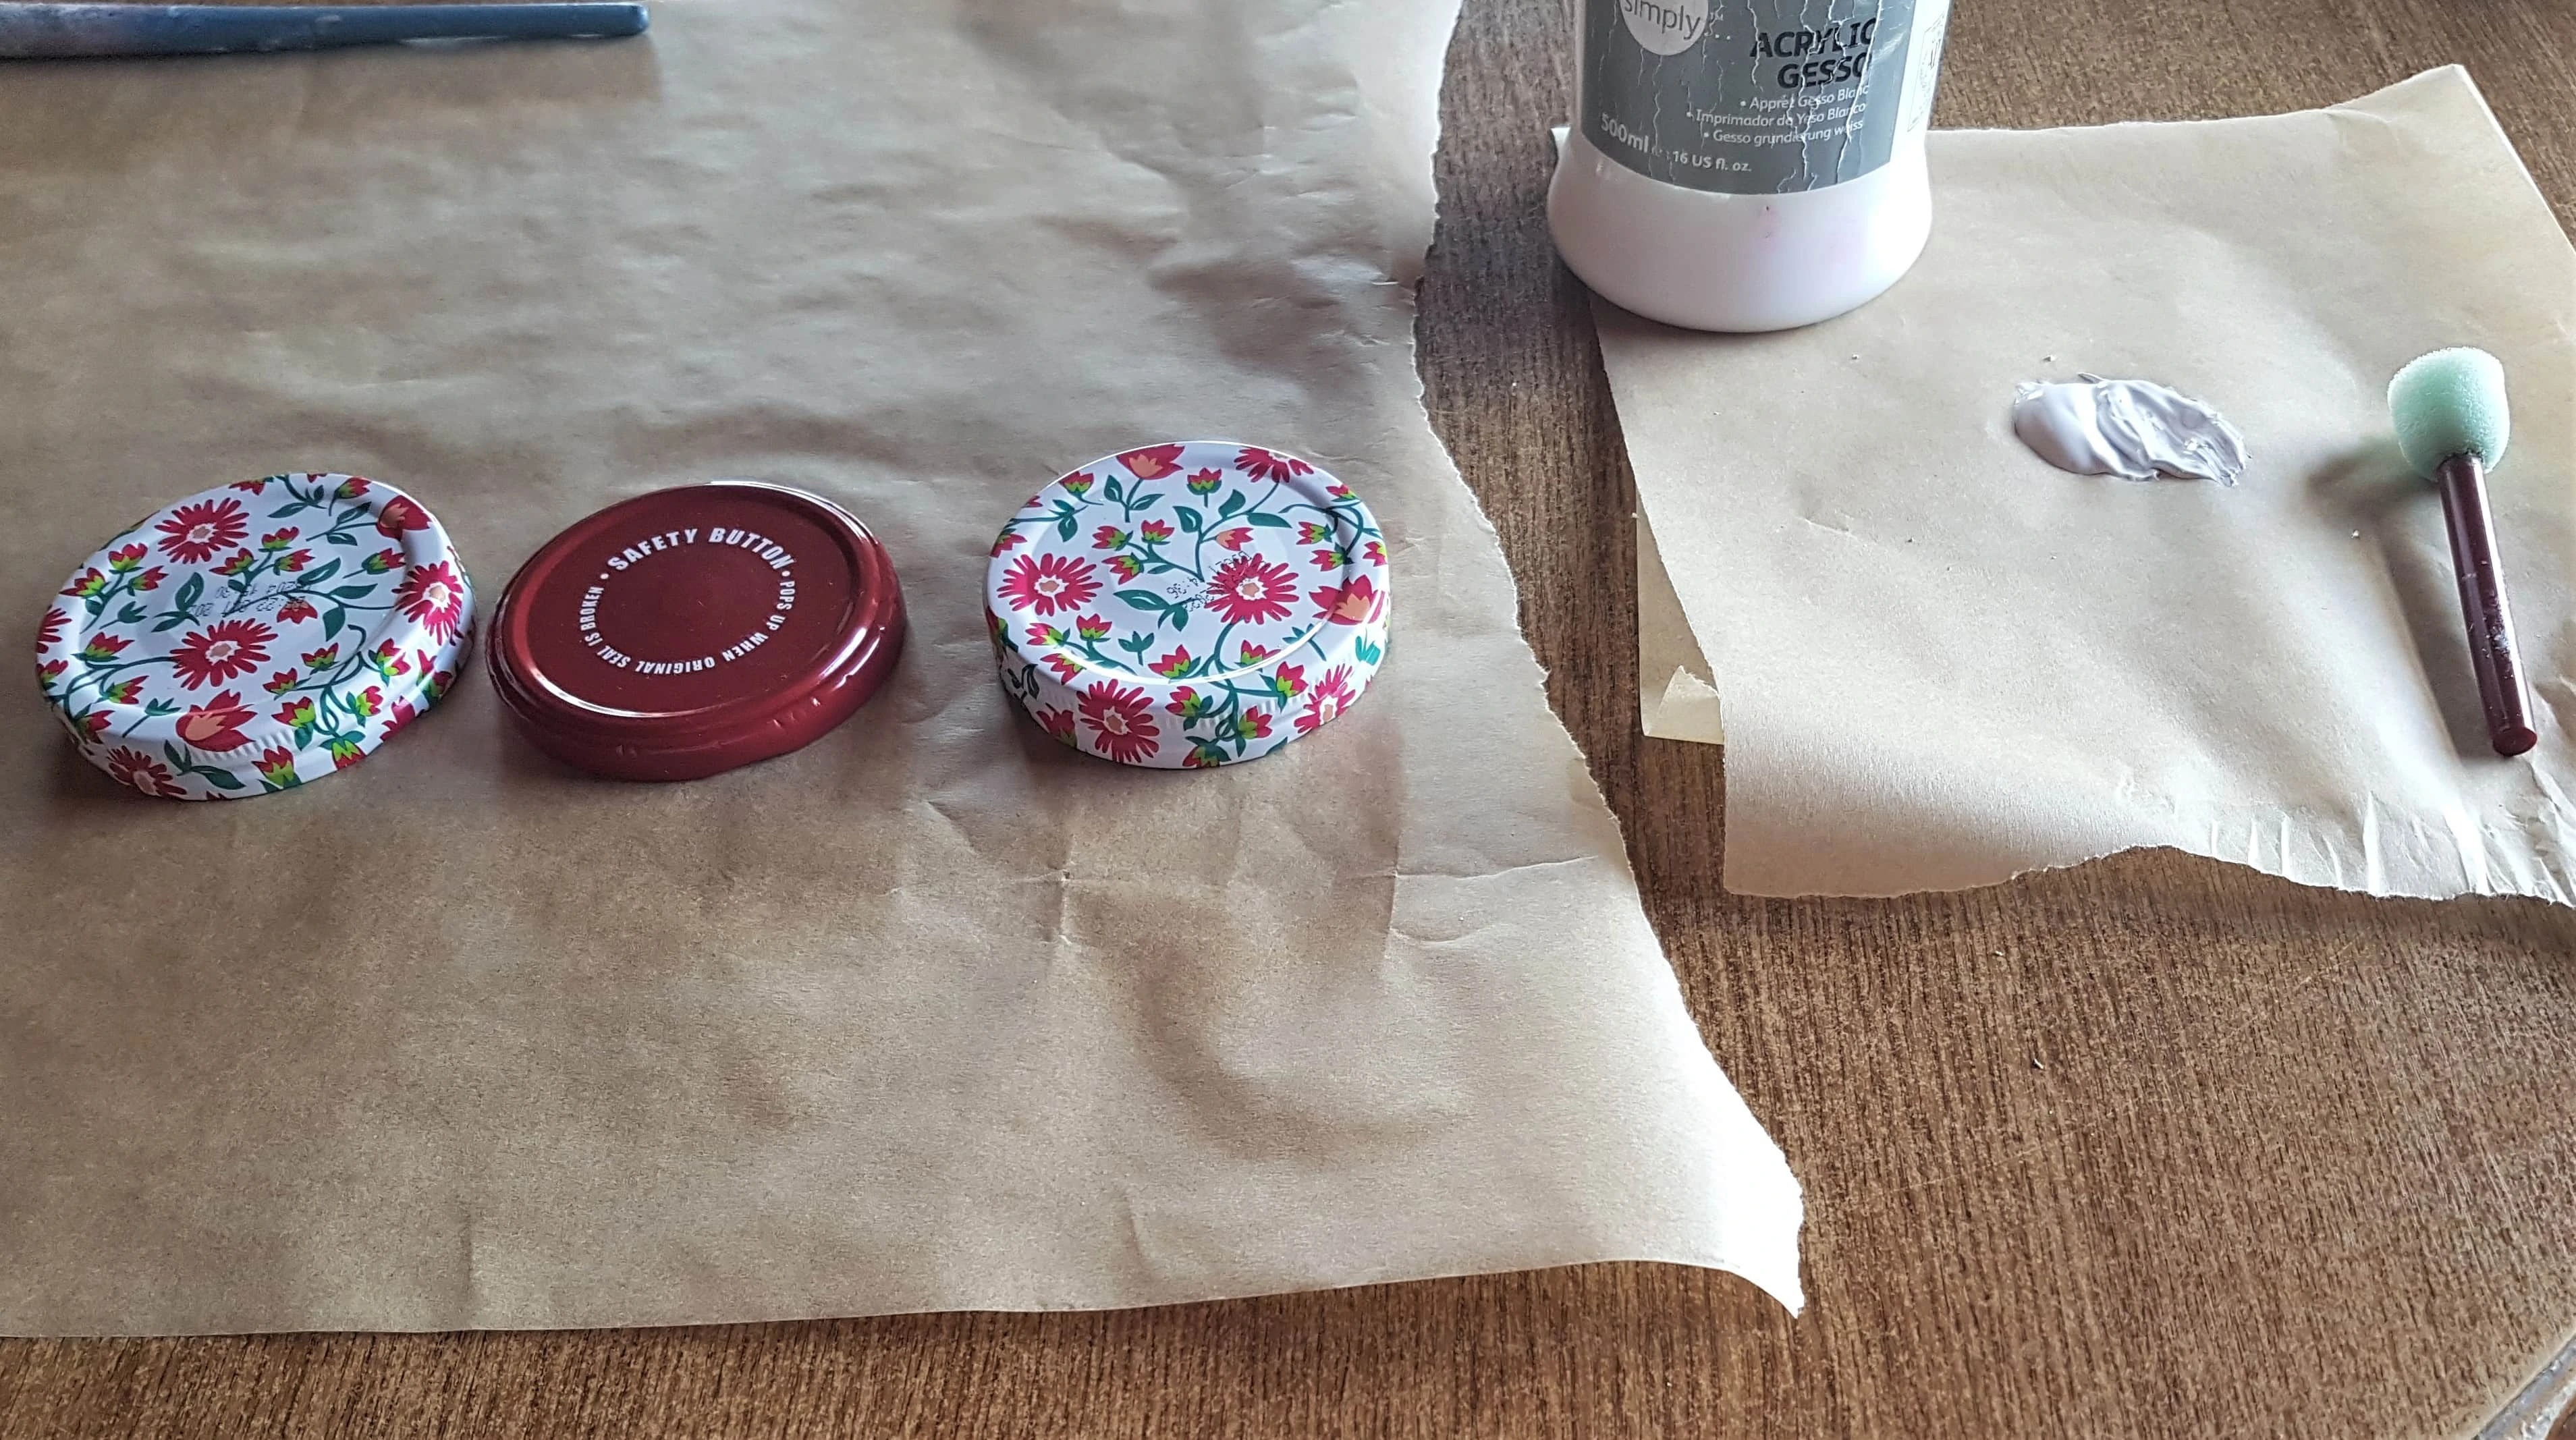
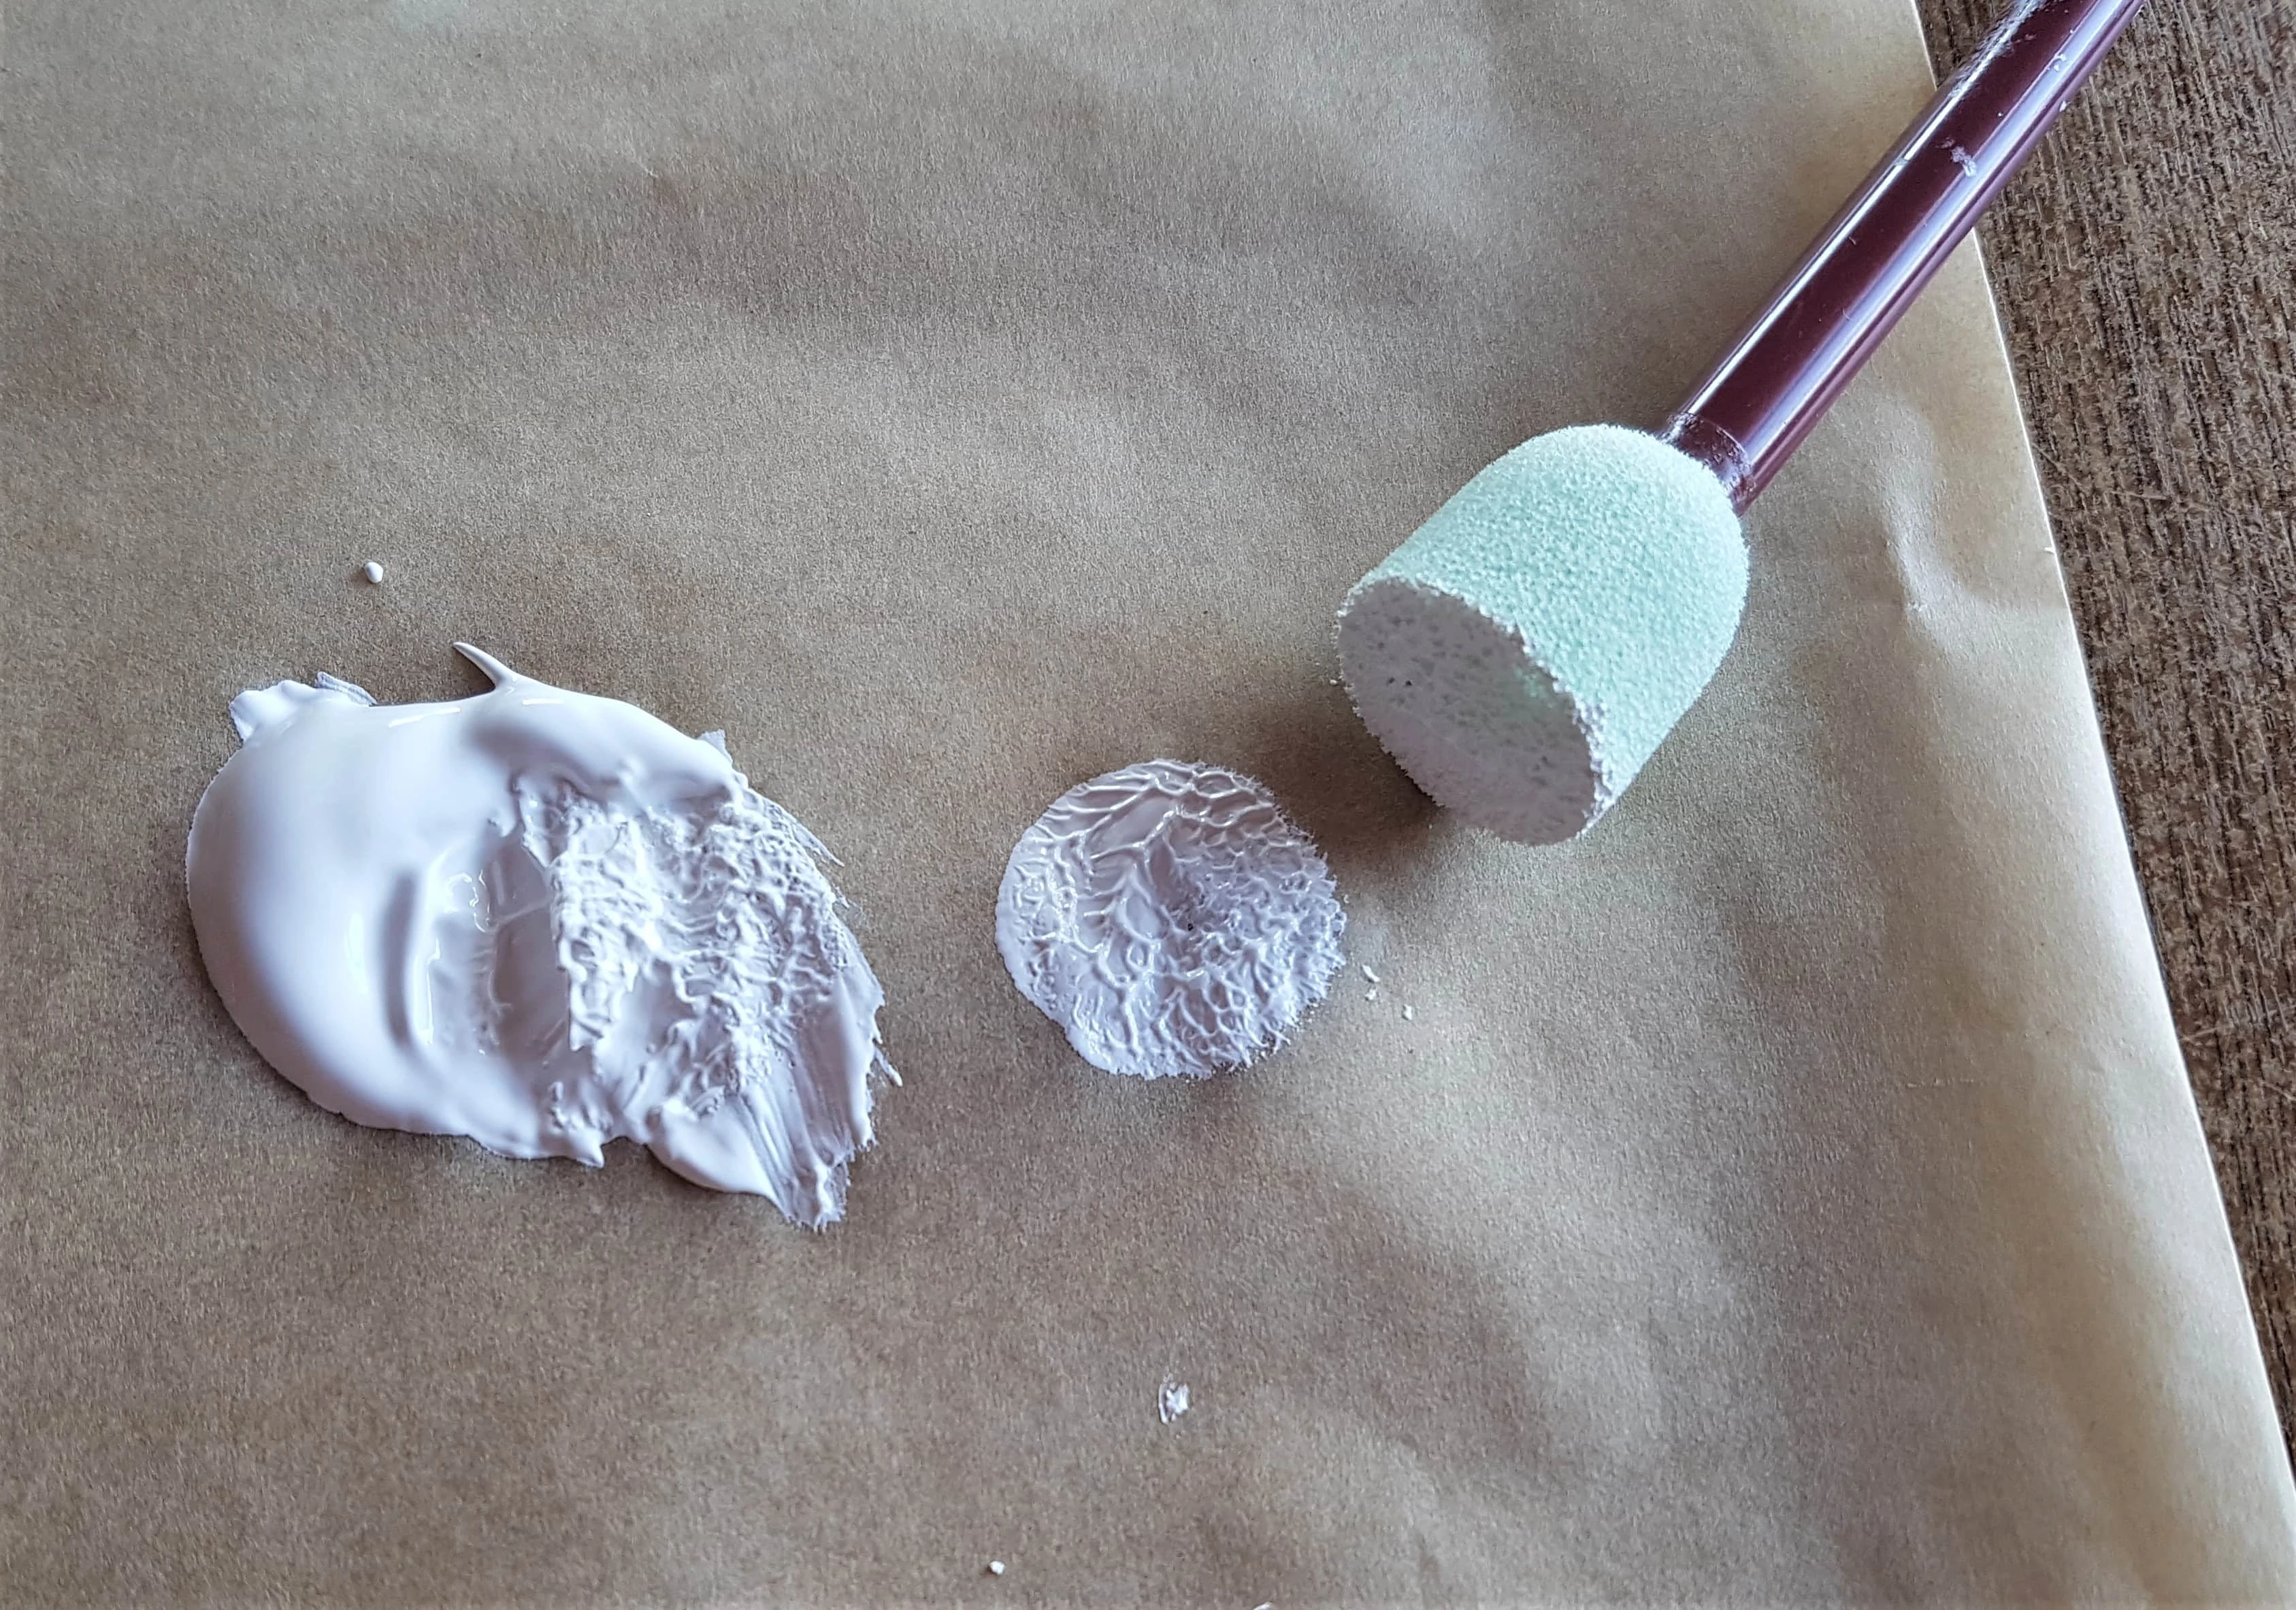
I pressed the Sponge into the Gesso and dabbed the excess onto another part of the Baking Sheet to ensure there wasn’t too much Gesso on the Sponge.
I dabbed the Sponge with Gesso onto the Front Flat Side of the Lid.
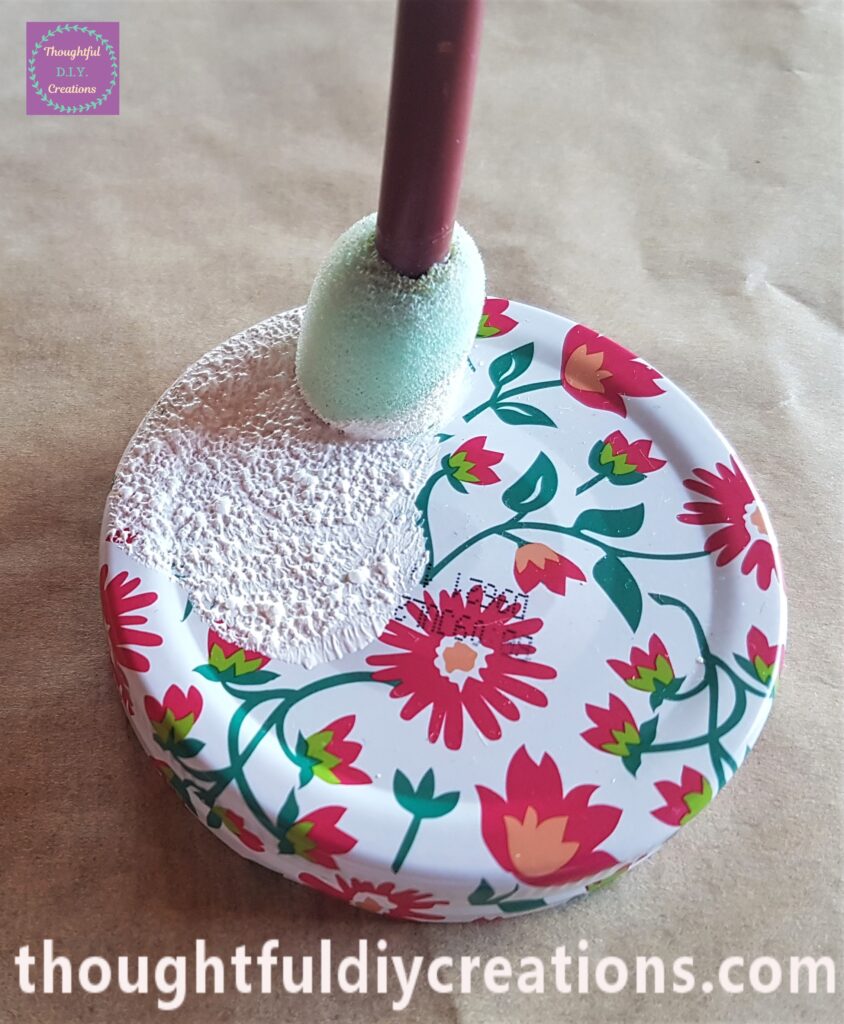
I added more Gesso to the Sponge, dabbed the excess onto the Baking Sheet and added more Gesso to the Lid by continuing where I had left off.
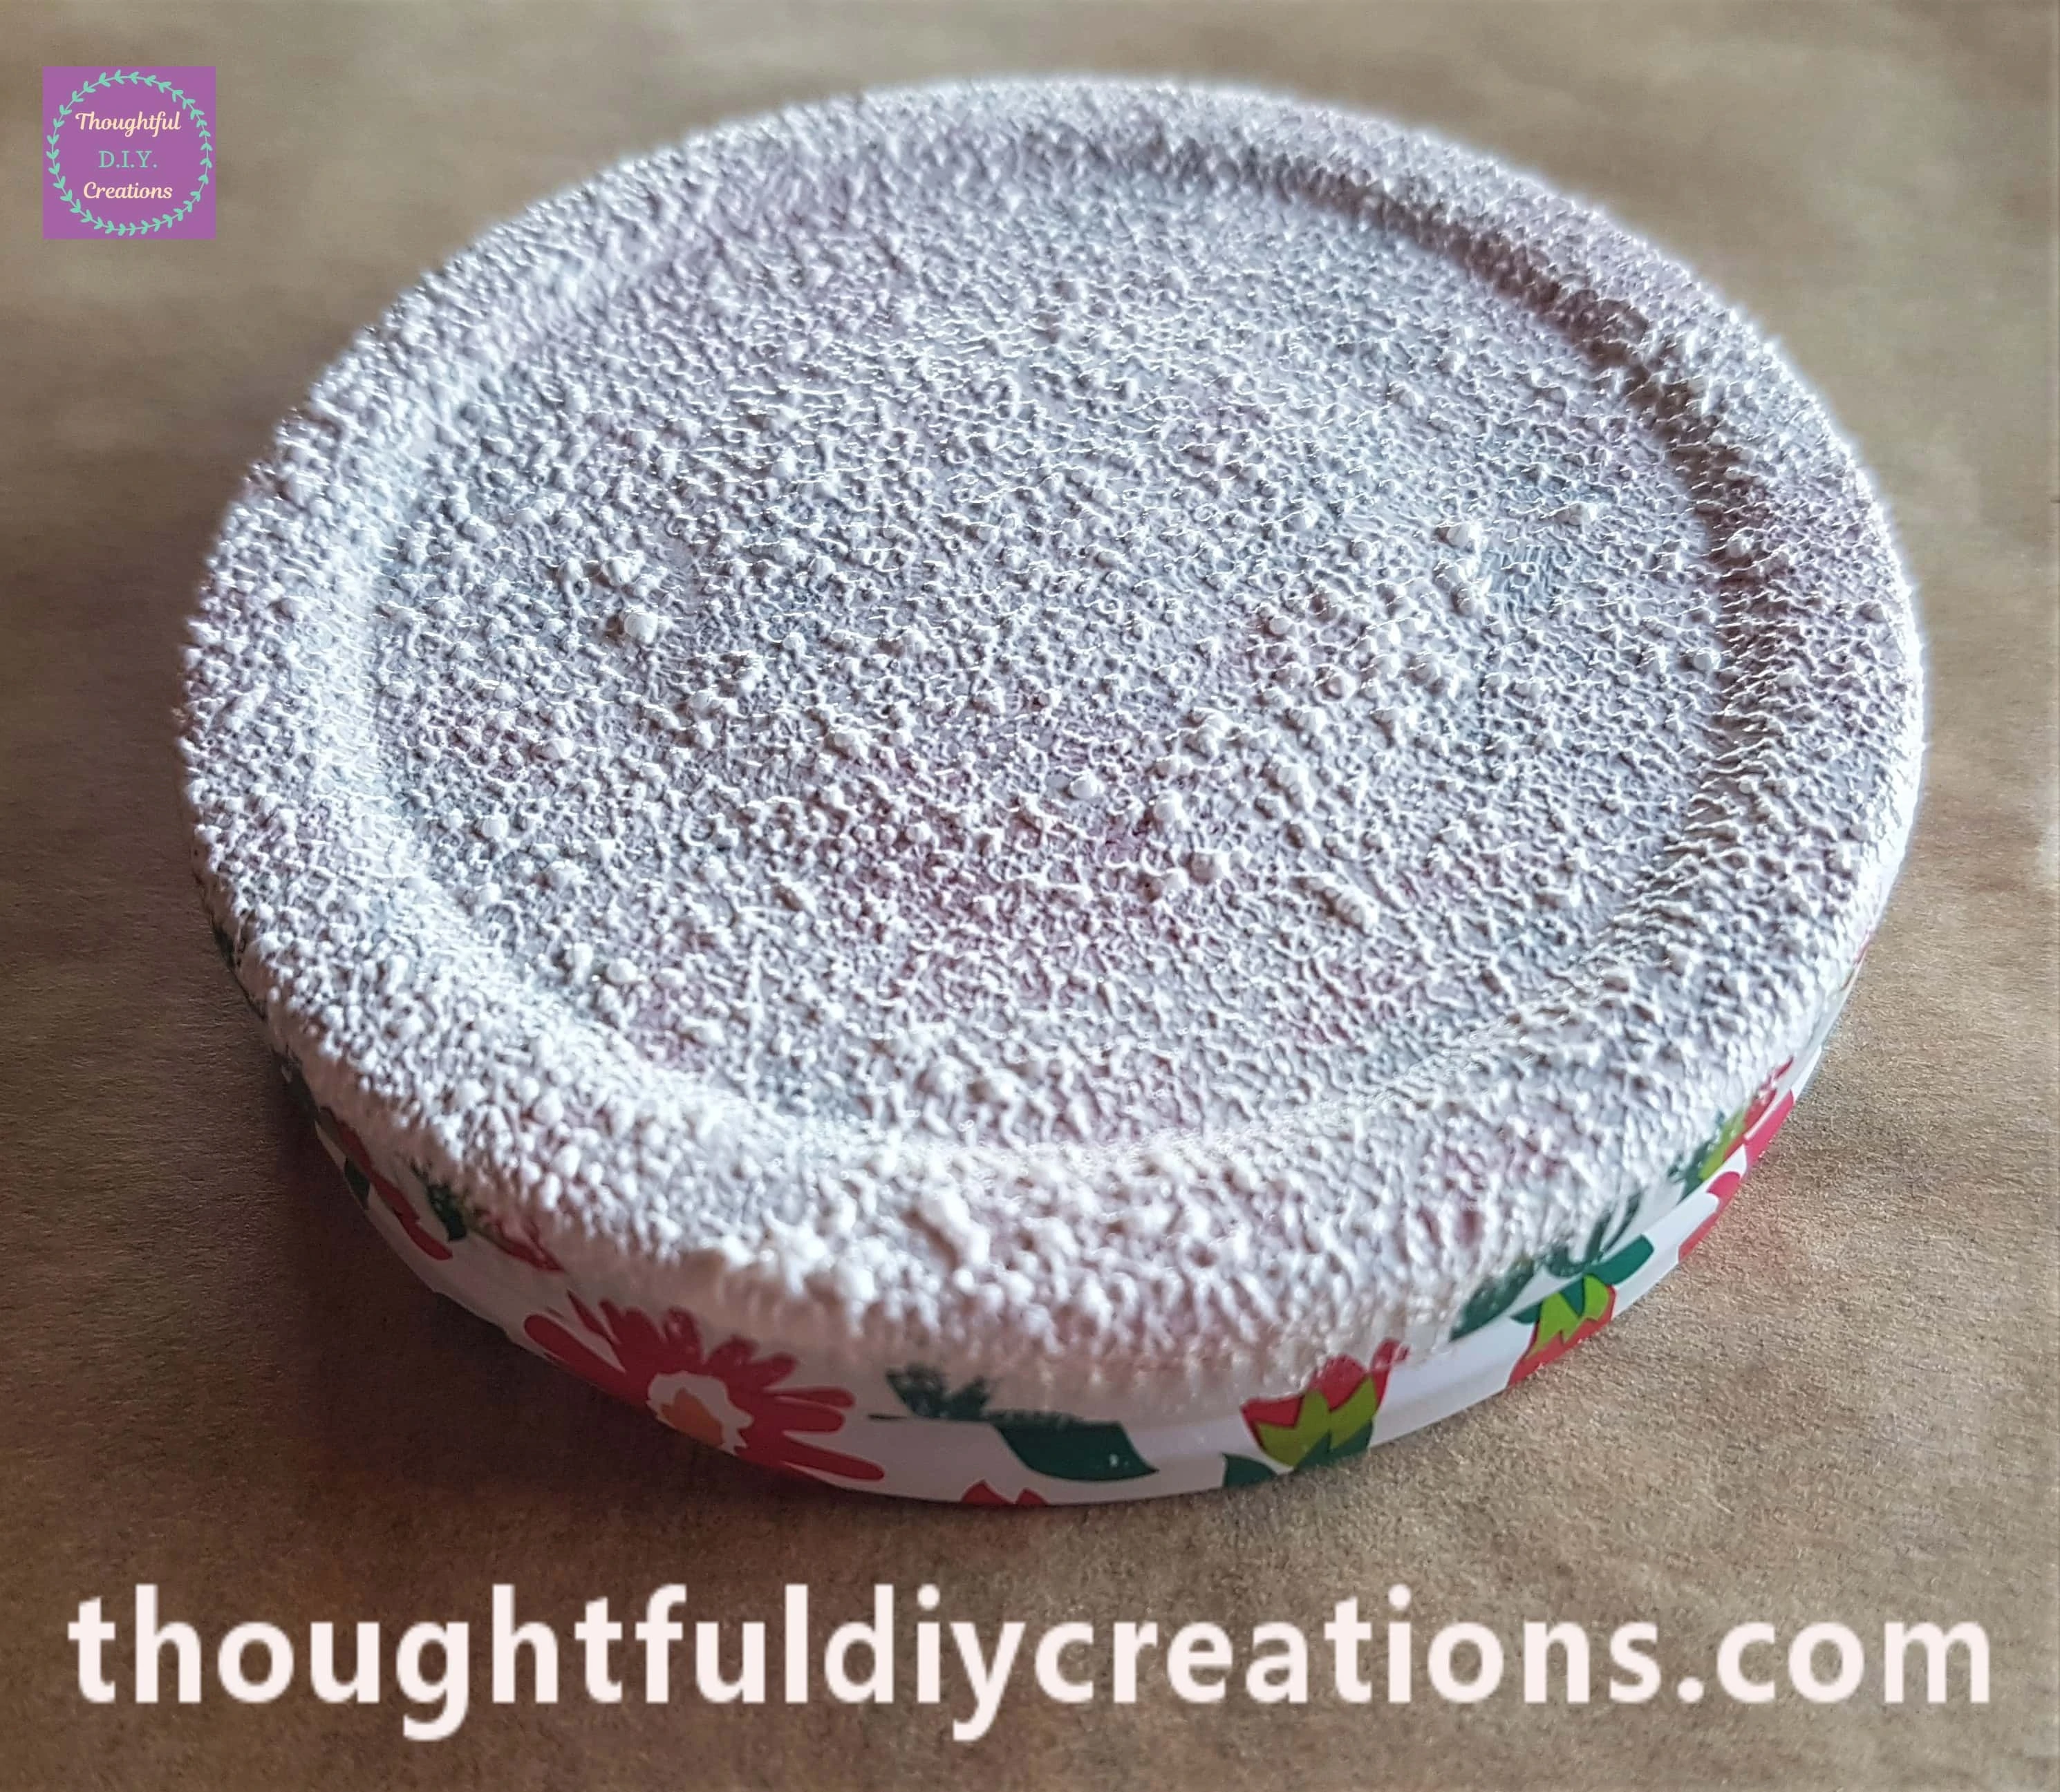
I picked the Lid up and held it in the air with my left Hand. I dabbed the Sponge with Gesso onto the Side of the Lid with my right hand until I had one even layer applied.
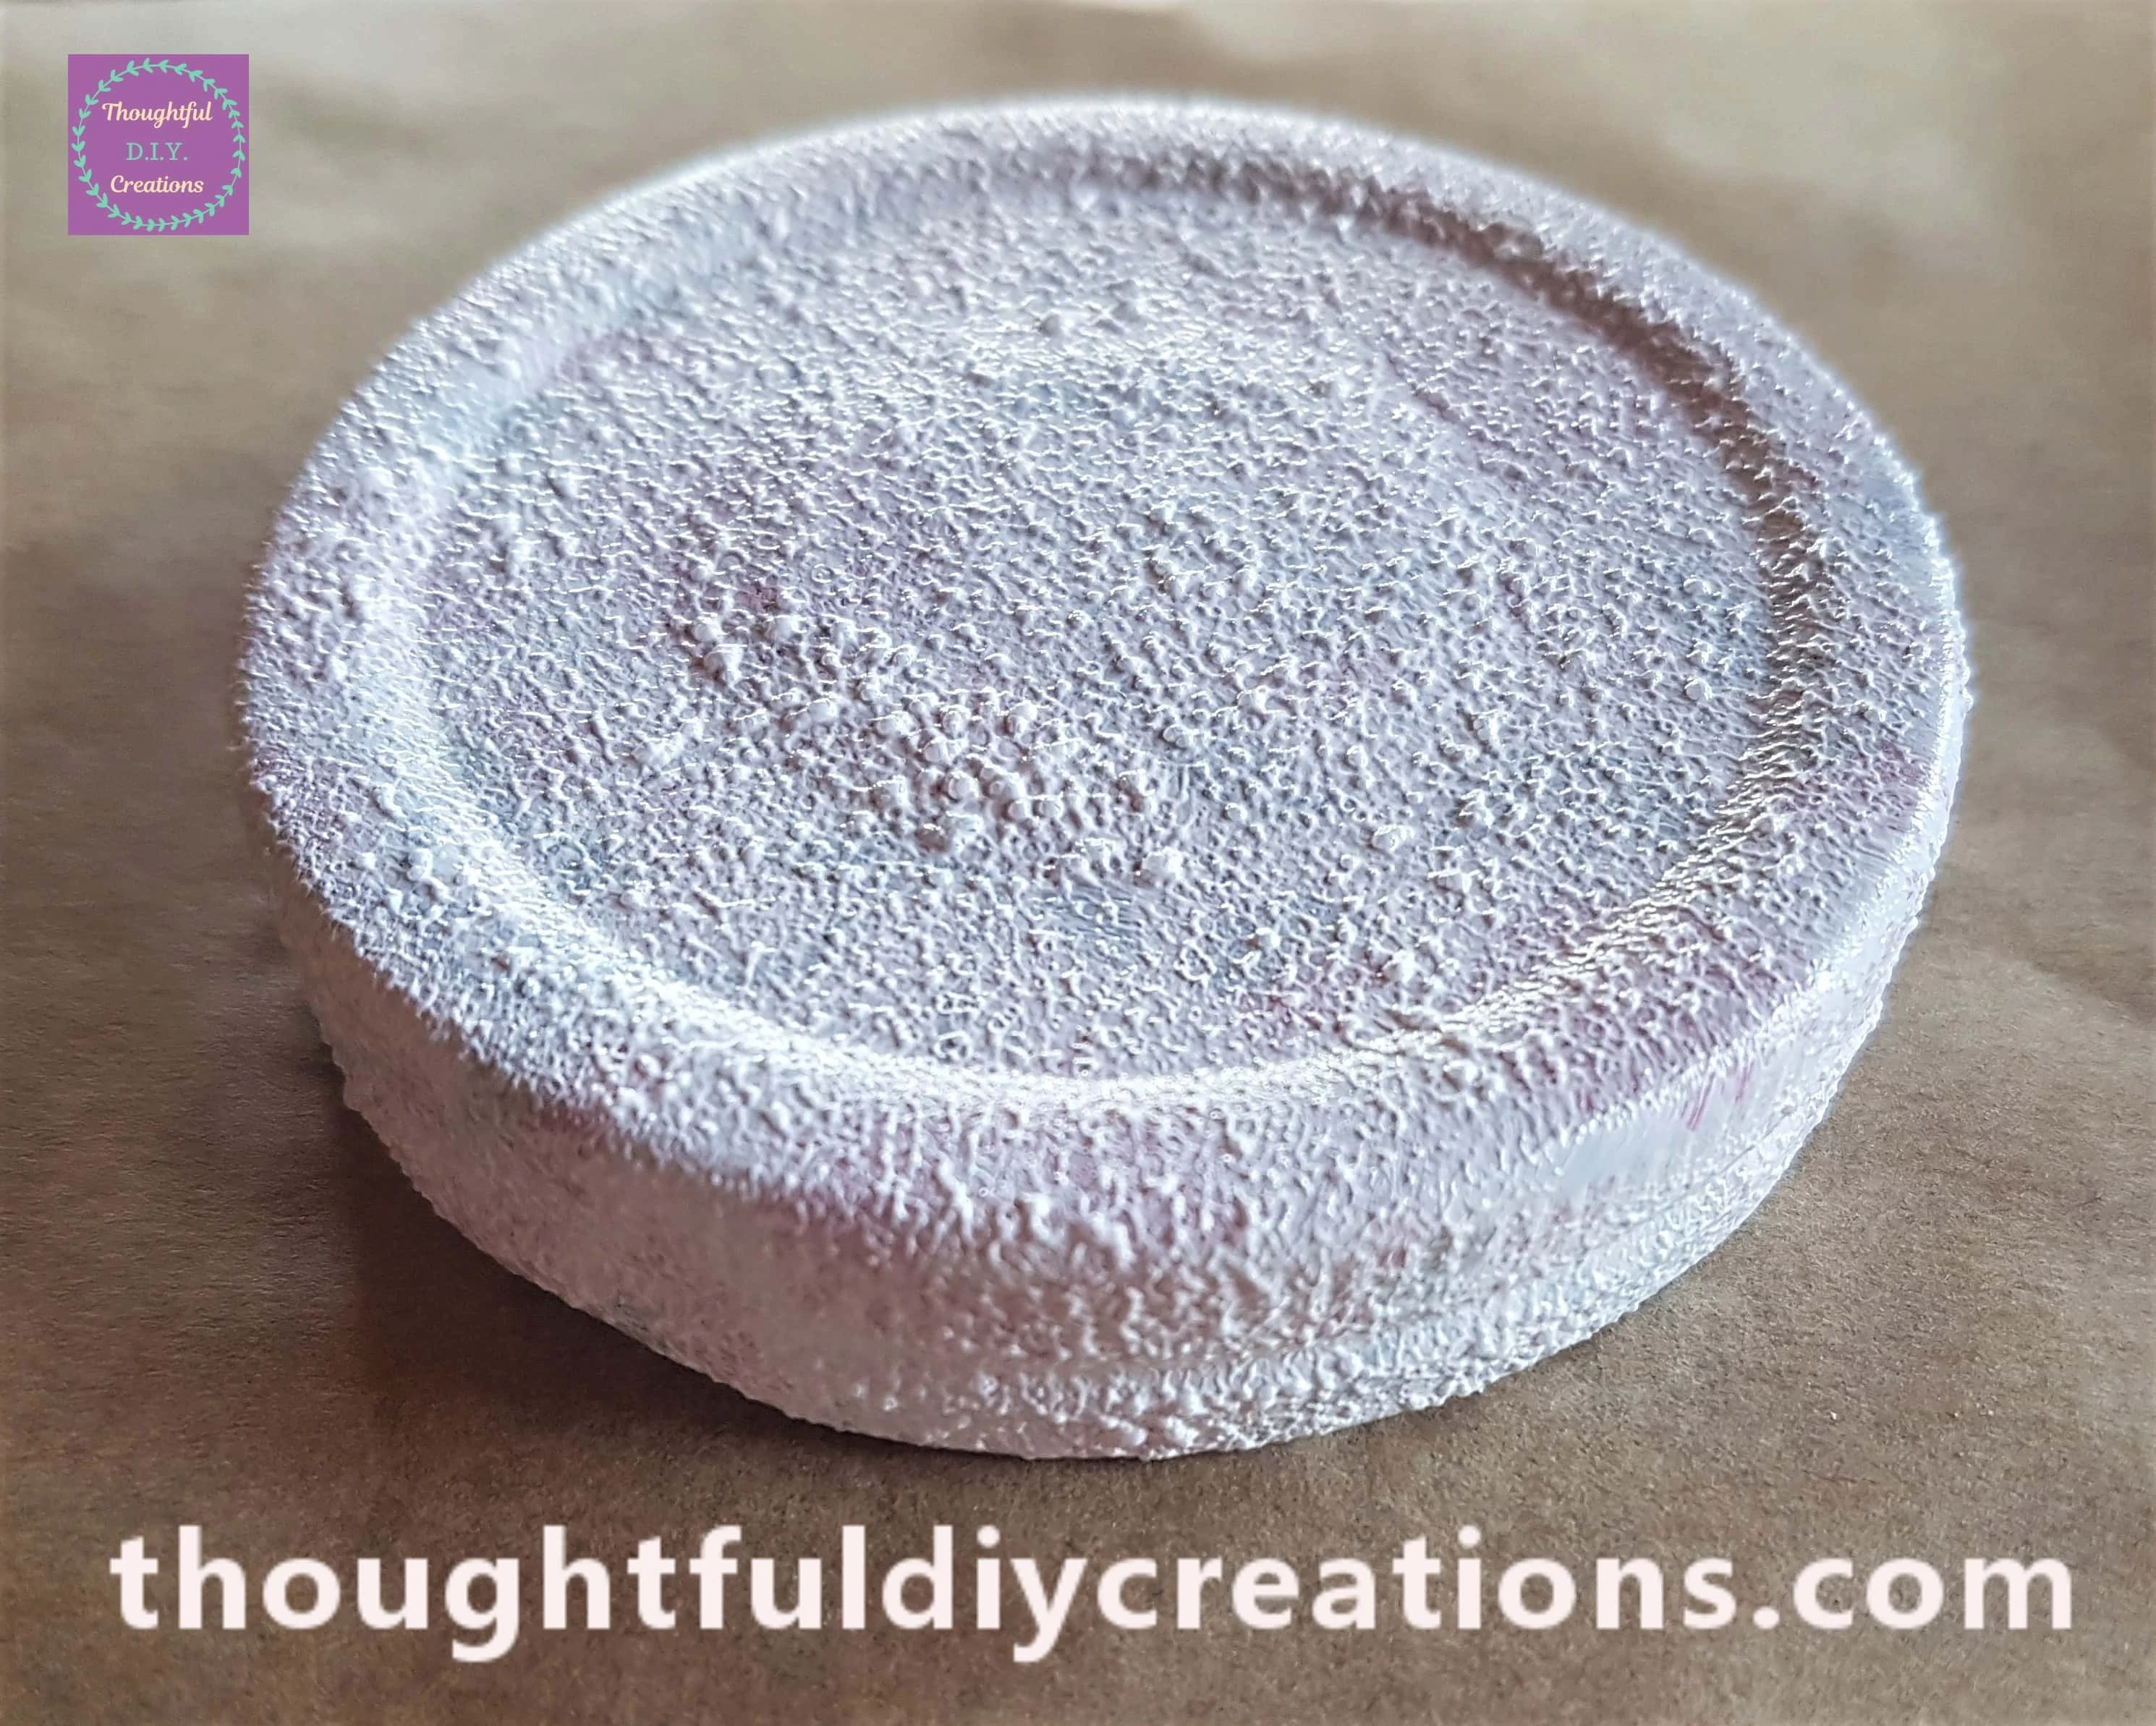
I repeated this Process on the other 2 Lids.
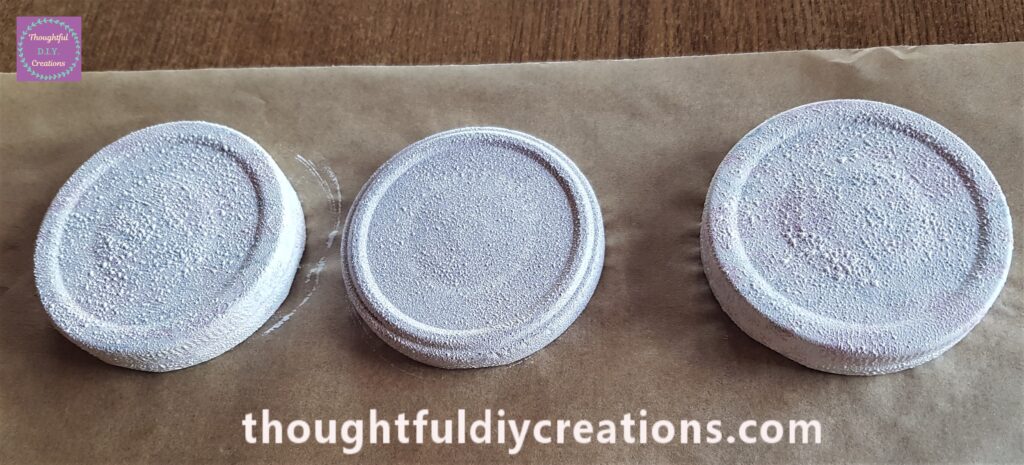
An Hour Later I applied another layer of Gesso to each Lid using the same technique.
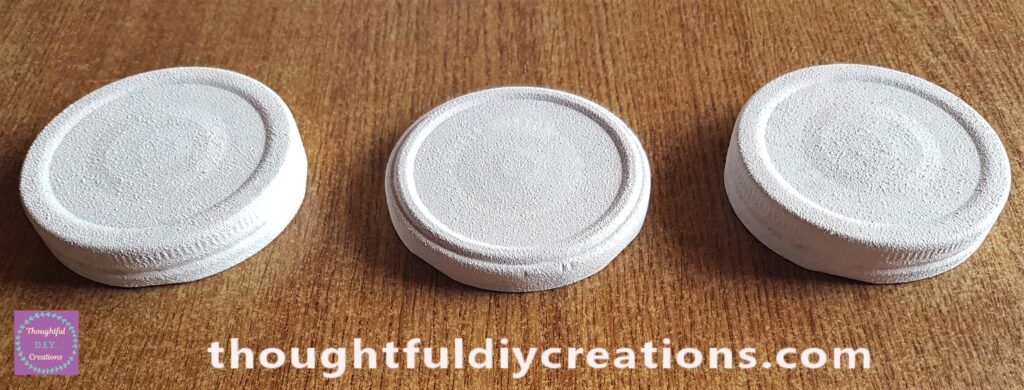
The Lids were now Primed and ready for Paint. The Gesso removed the Shiny, slippy surface from the Lids and provided a tooth like texture; the Paint now has something to grip onto and will ensure a smoother application with less coats of Paint.
This Image shows the Lids after the second coat of Primer had been applied and dried.
Painting the Paddy’s Day Lids Gold
The next Day I put some ‘Gold Acrylic Paint’ onto an old Plate and pressed a Sponge into the Paint and dabbed the excess onto another part of the Plate.
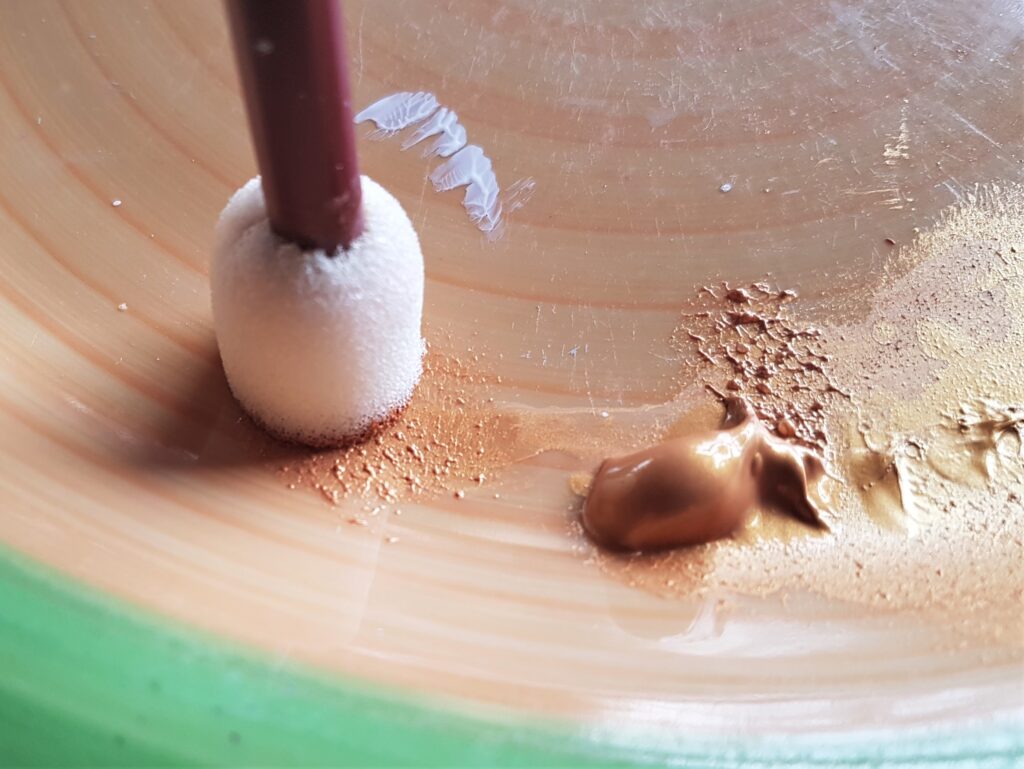
I Painted an even layer to each Lid with the Sponge.
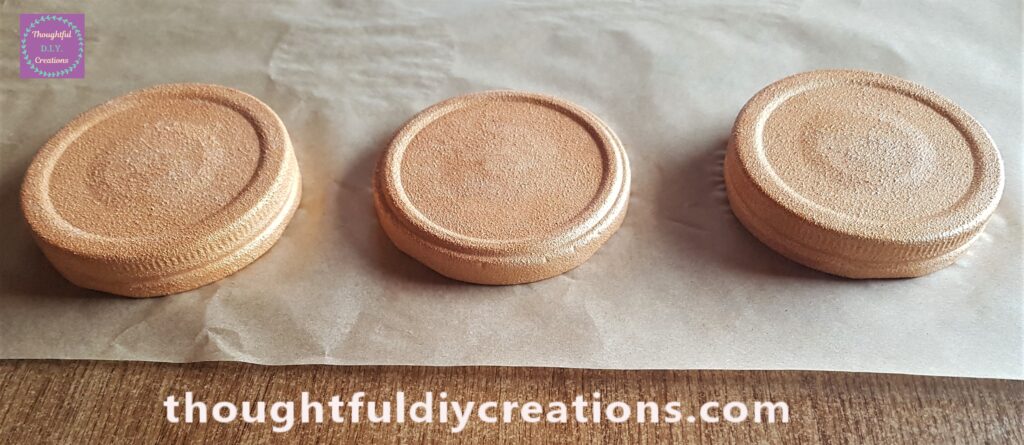
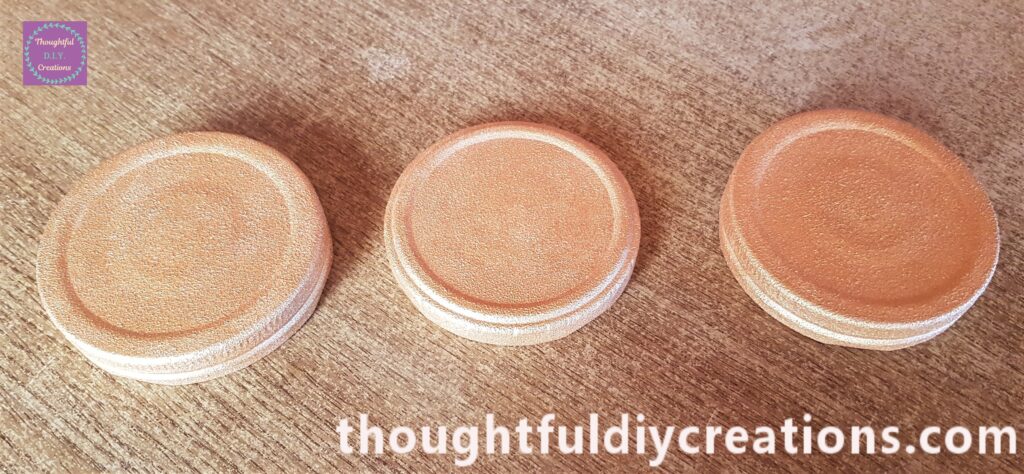
An Hour later I applied the second and final layer of Gold Paint to each Lid.
Painting 2 of the Paddy’s Day Jars Green
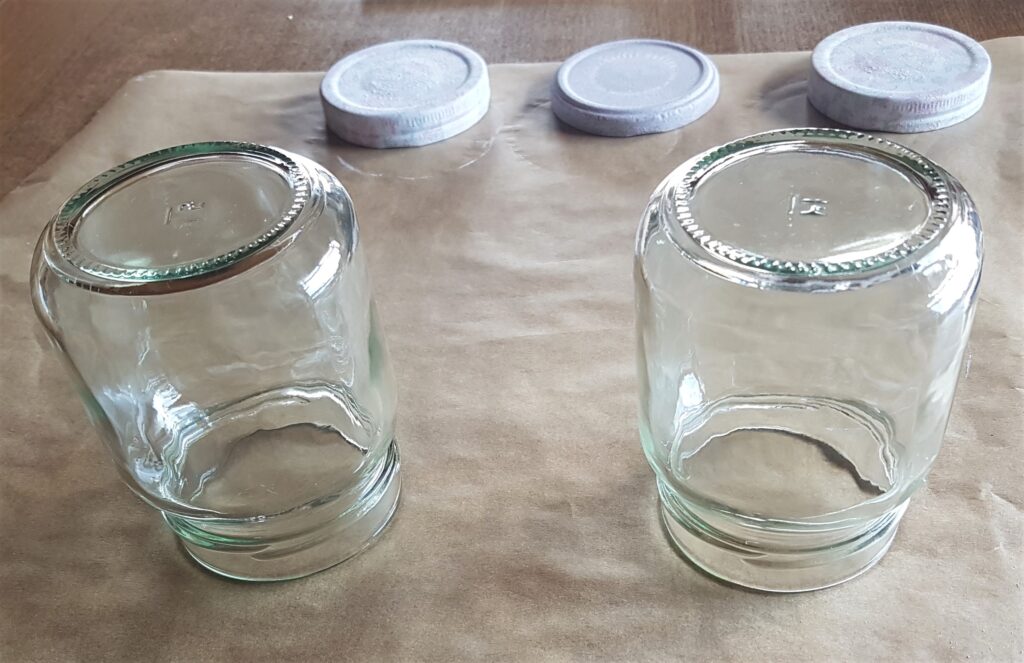
The previous Day I got my ‘Phthalo Green Acrylic Paint’ and poured some onto the Baking Sheet that I used for the Gesso. I got another Sponge with handle.
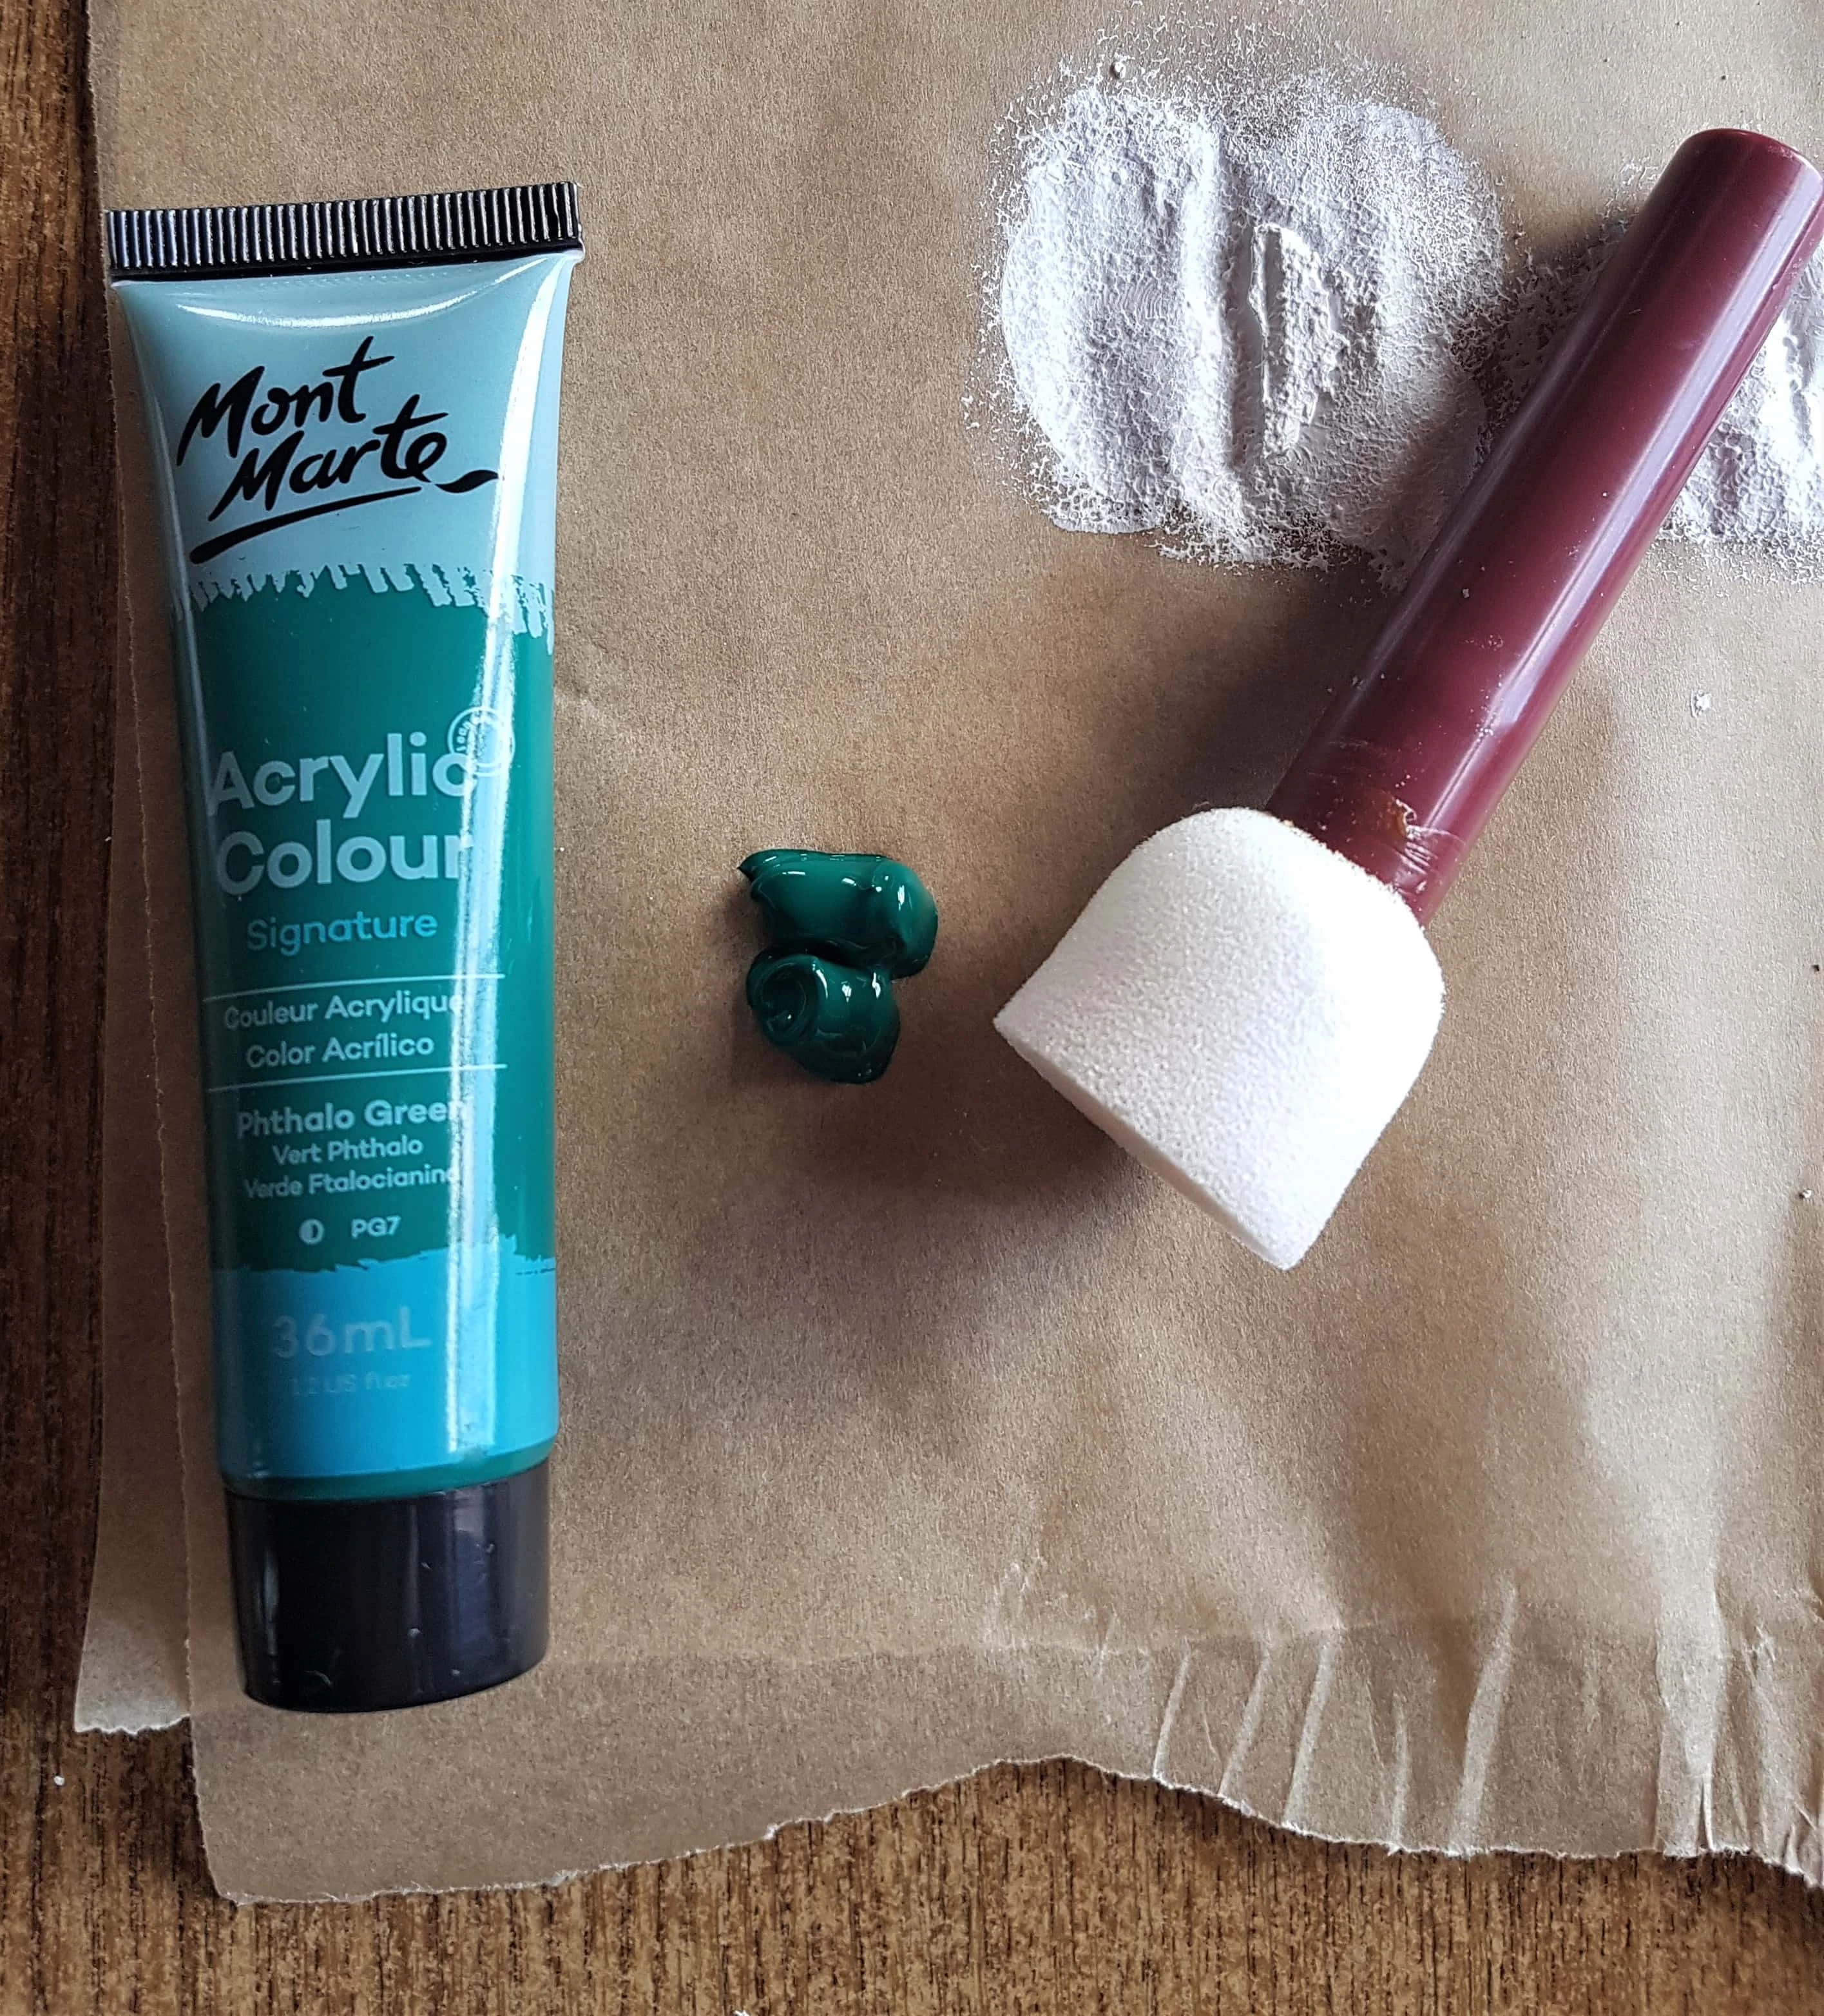
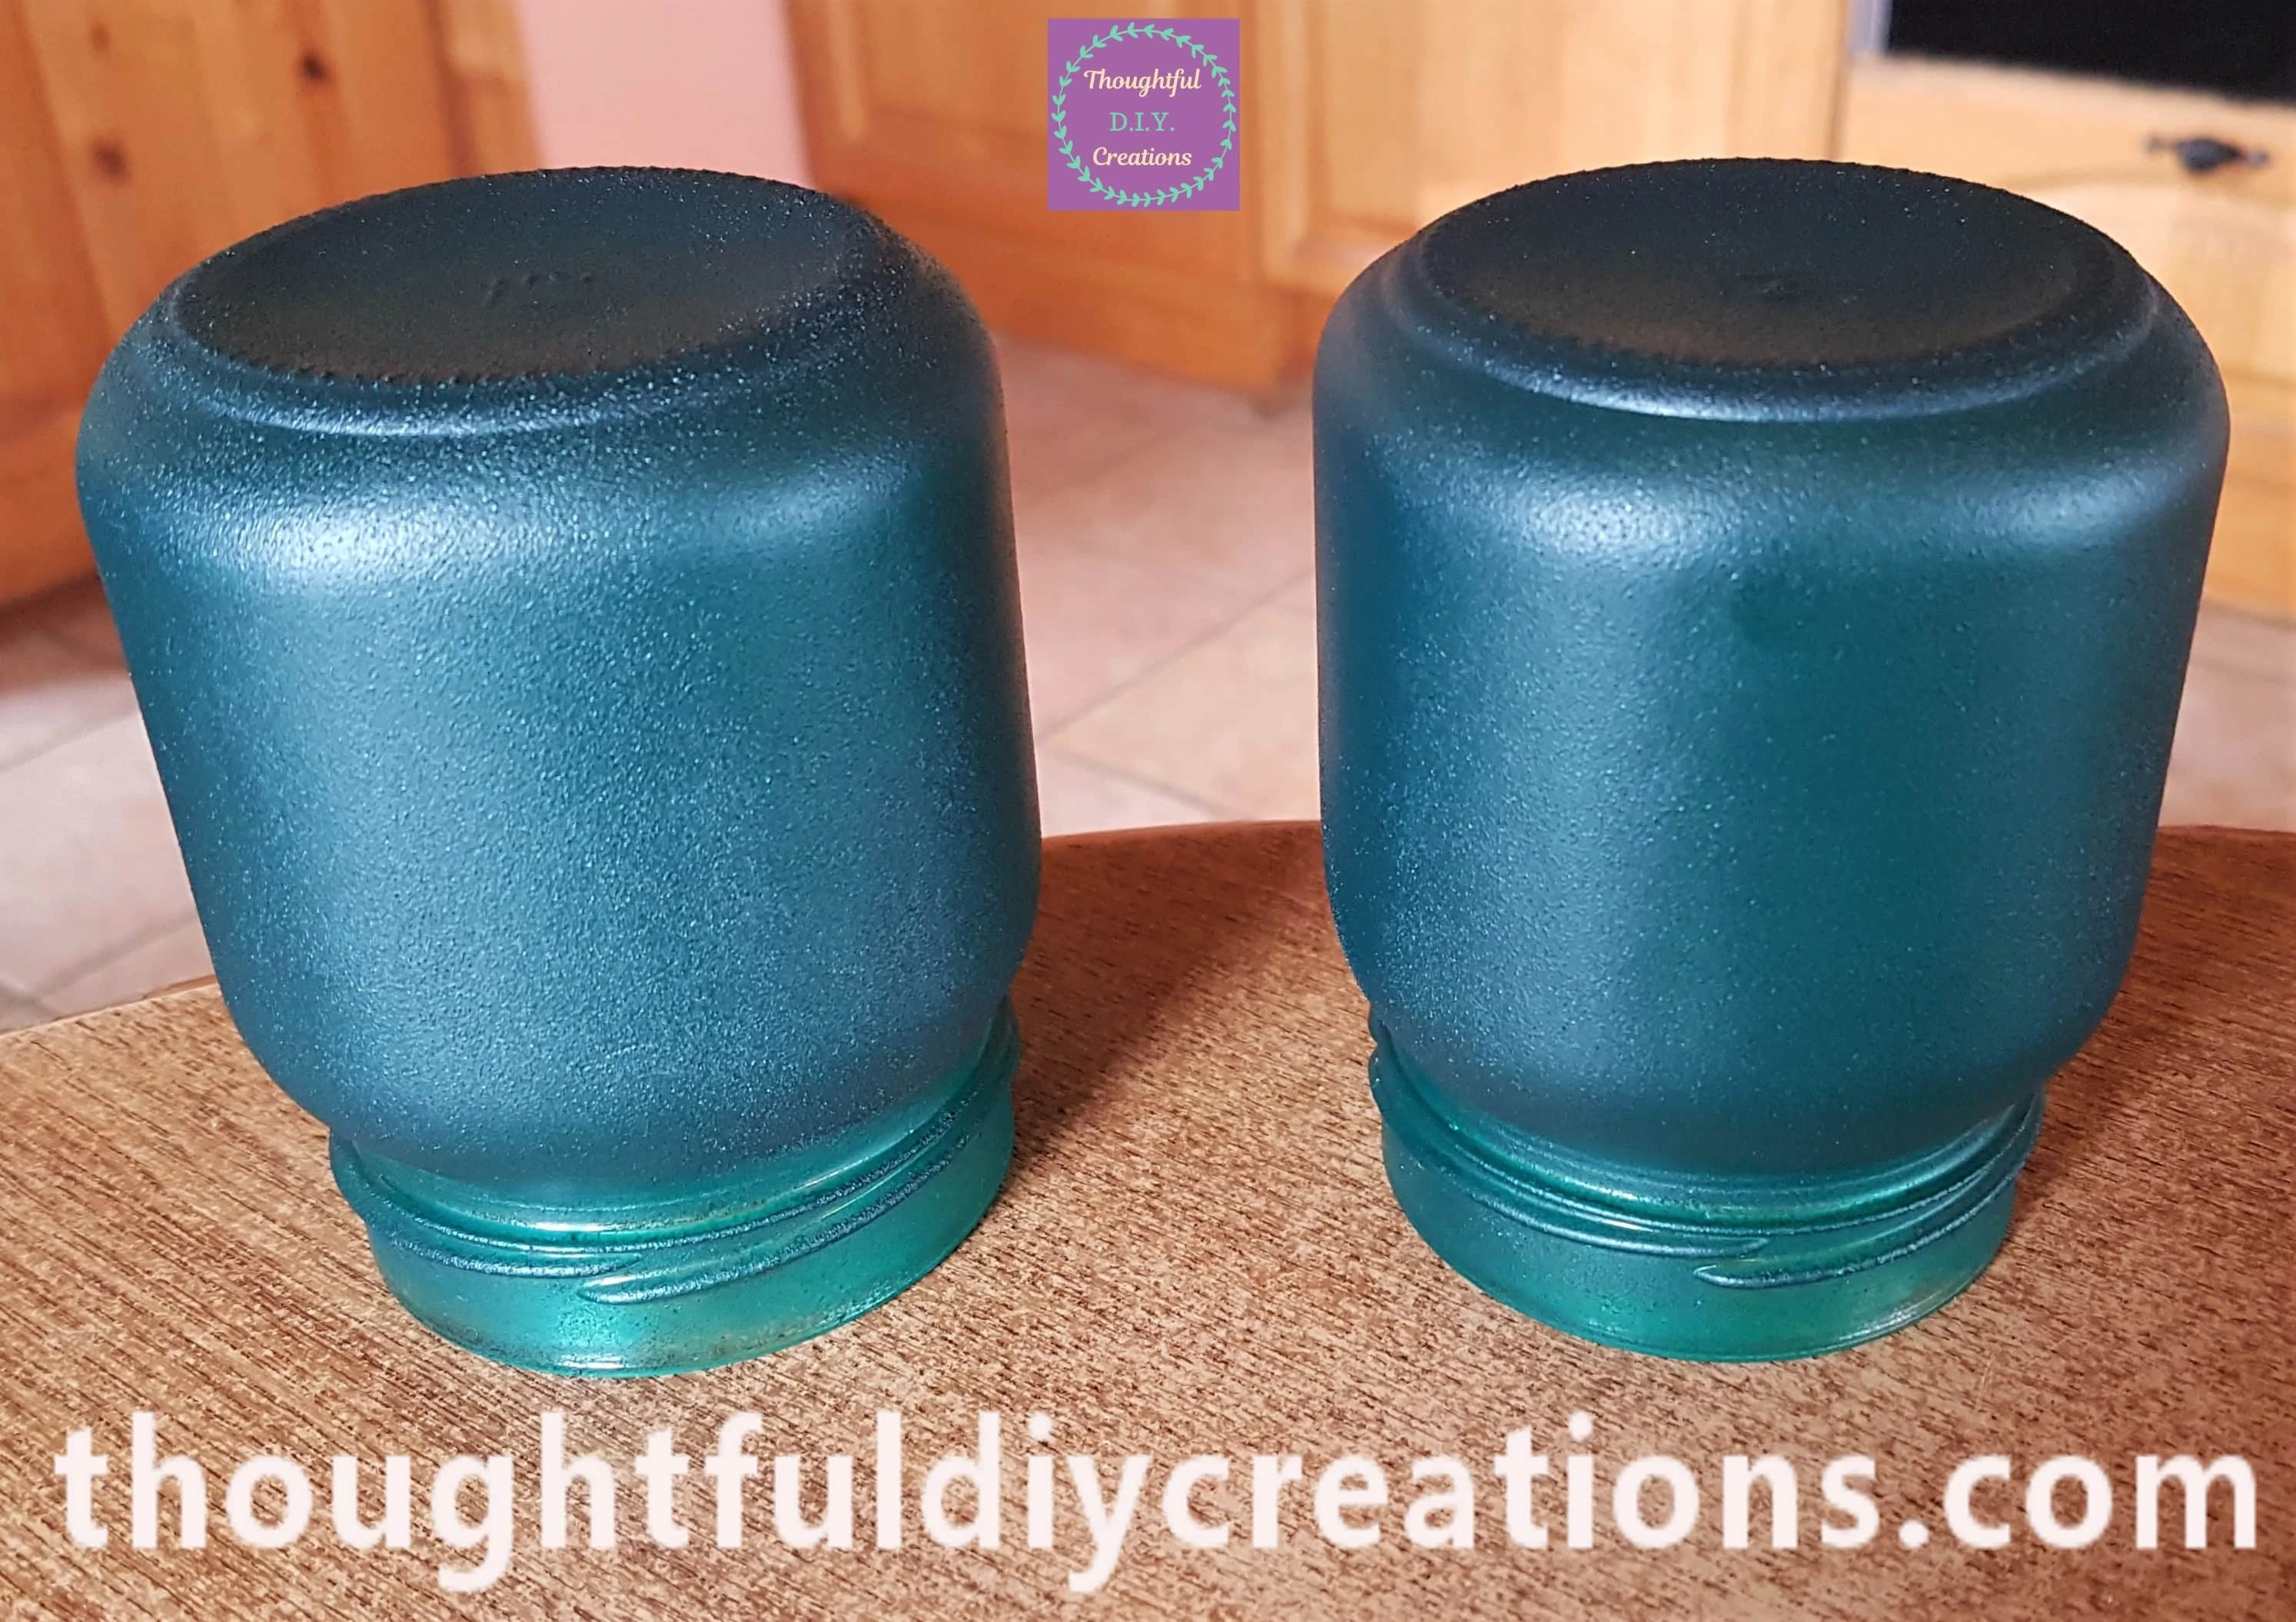
I turned the 2 Jam Jars upside down onto the Baking Sheet. You can see the Primed Lids drying in the background.
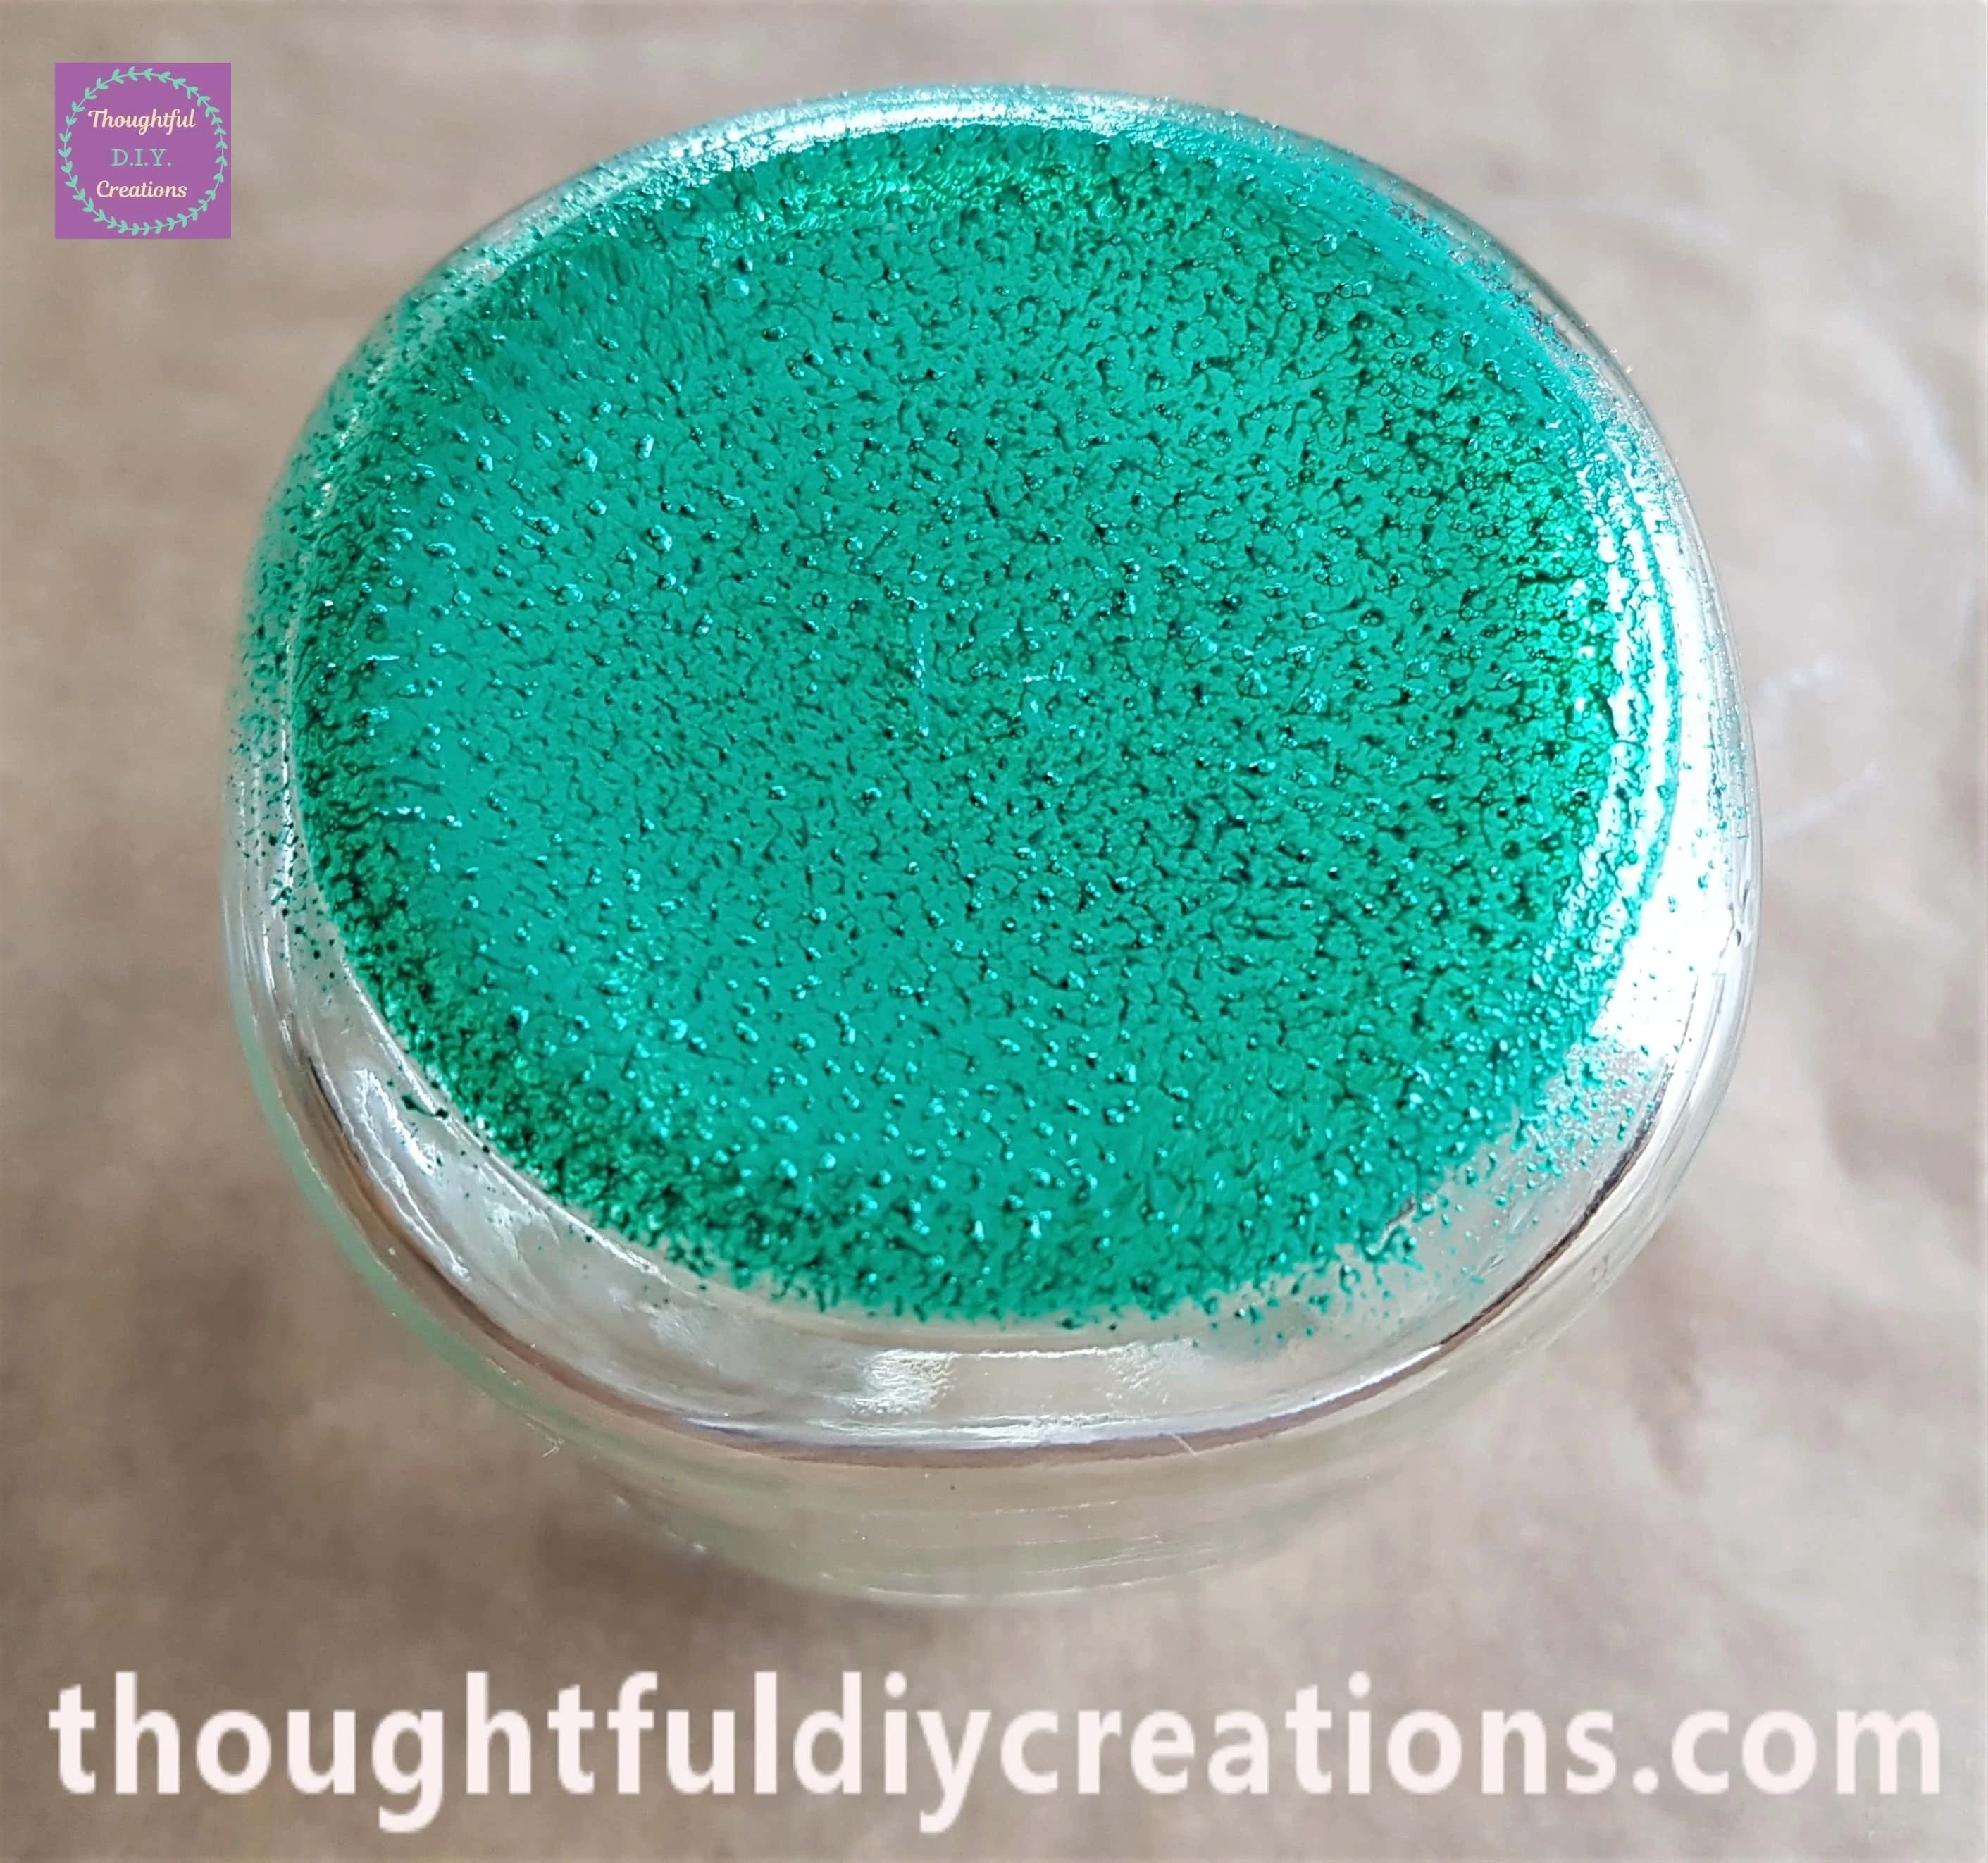
I started with the Base of the Jar; I dabbed the Sponge with Green Paint onto the Jar.
I picked up the Jar and put my left hand inside it and held the Jar in the air. This was to ensure I could Paint the top of the Jar without having to touch / move it and smudge it afterwards with my fingers.
I then moved down the Jar with the Sponge and Paint. I worked quickly and dabbed Paint onto the Jar using the Sponge with my right hand. I applied more Paint to the Sponge when I needed it and continued onto the next section of the Jar before it had time to dry.
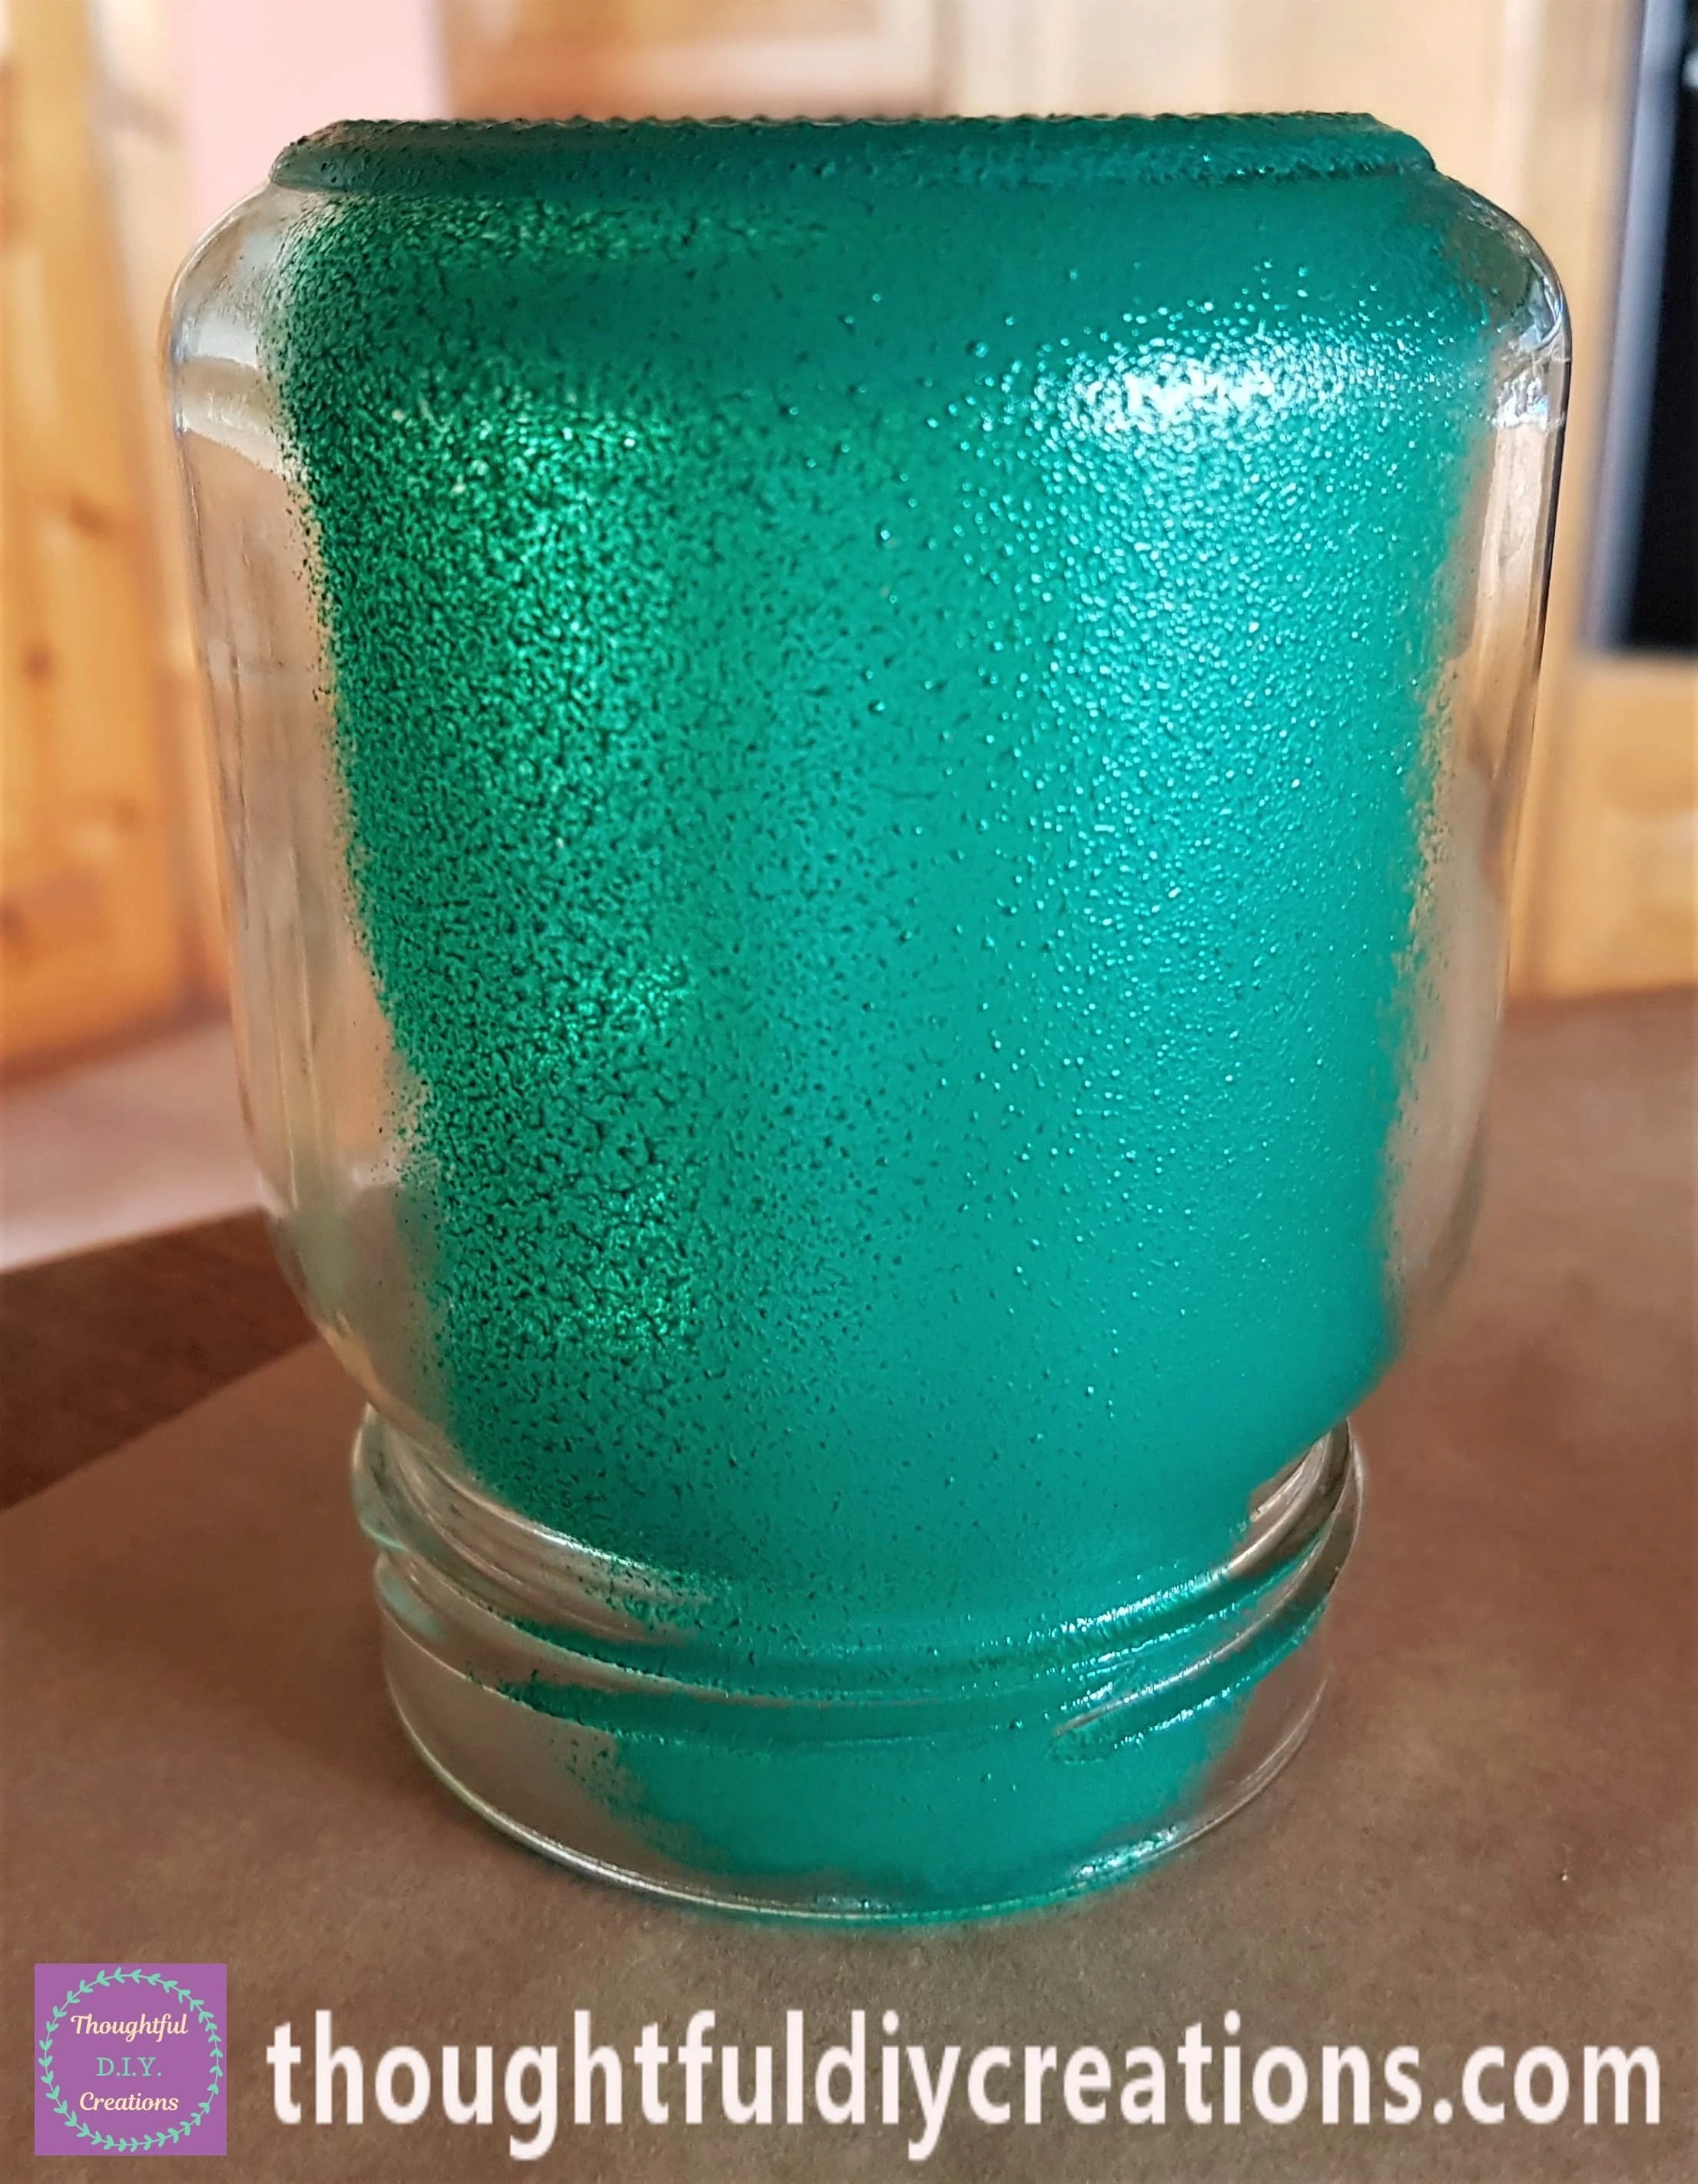
I continued with this Process until I had an even layer of Paint added to the Jar. I swivelled my hand inside the Jar when I needed to turn it so I could move onto the next section to Paint it. I then repeated the same steps on the second Jar.
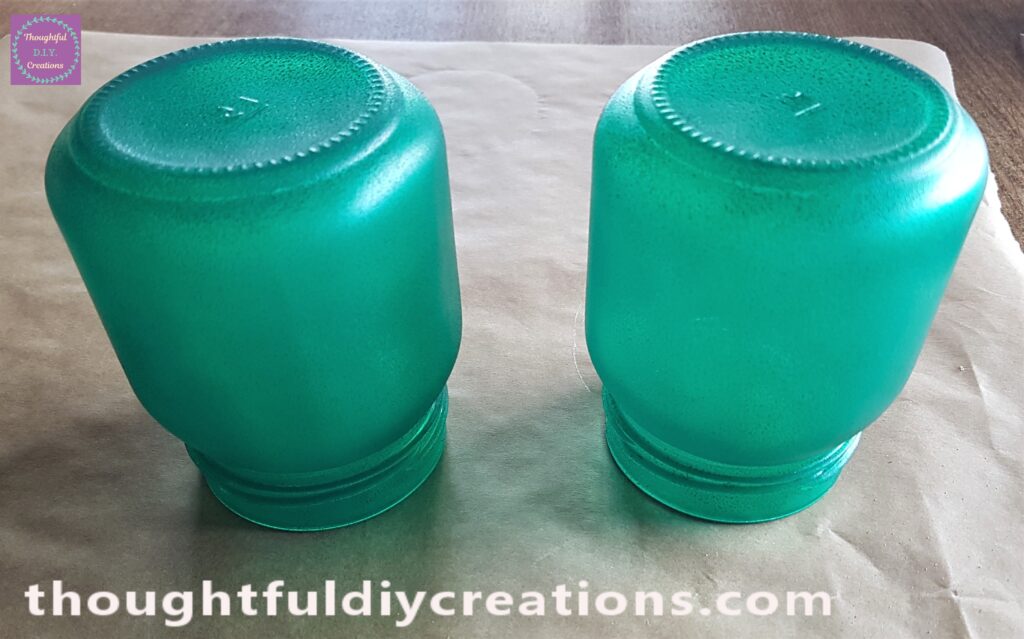
I applied 2 more layers of the Green Paint to the Jars with the Sponge leaving an hour Drying Time between each layer.
This Image shows the Jars the next Day with 3 layers of Paint applied and dried.
Adding Font to the Painted Jars
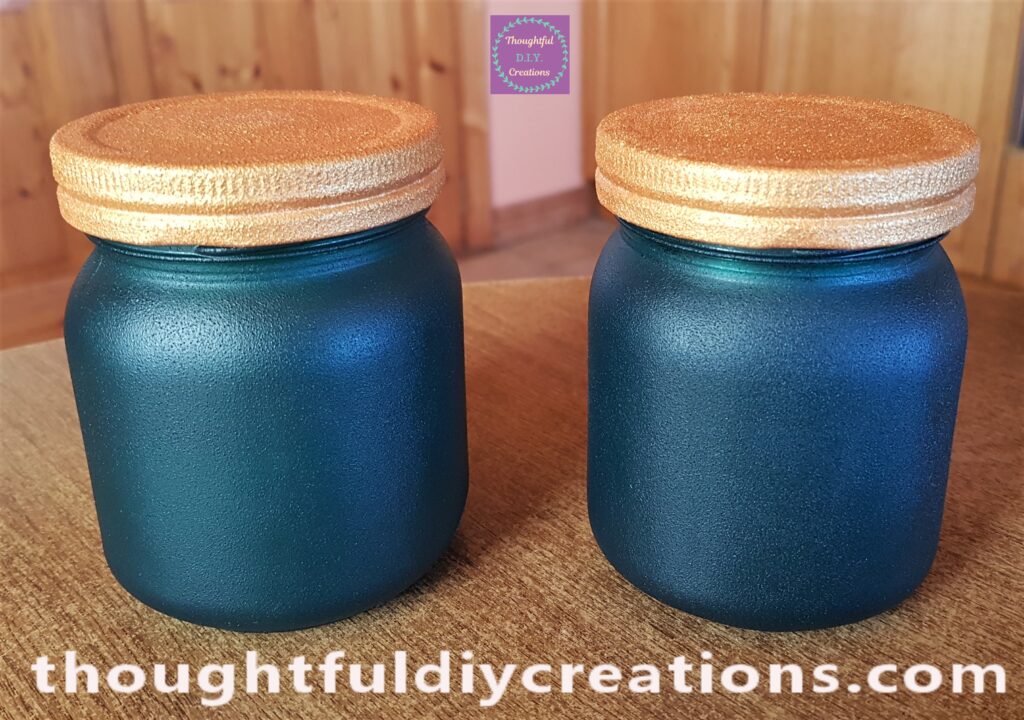
I put the Gold Painted Lids back on the Jars to see how they were coming along.
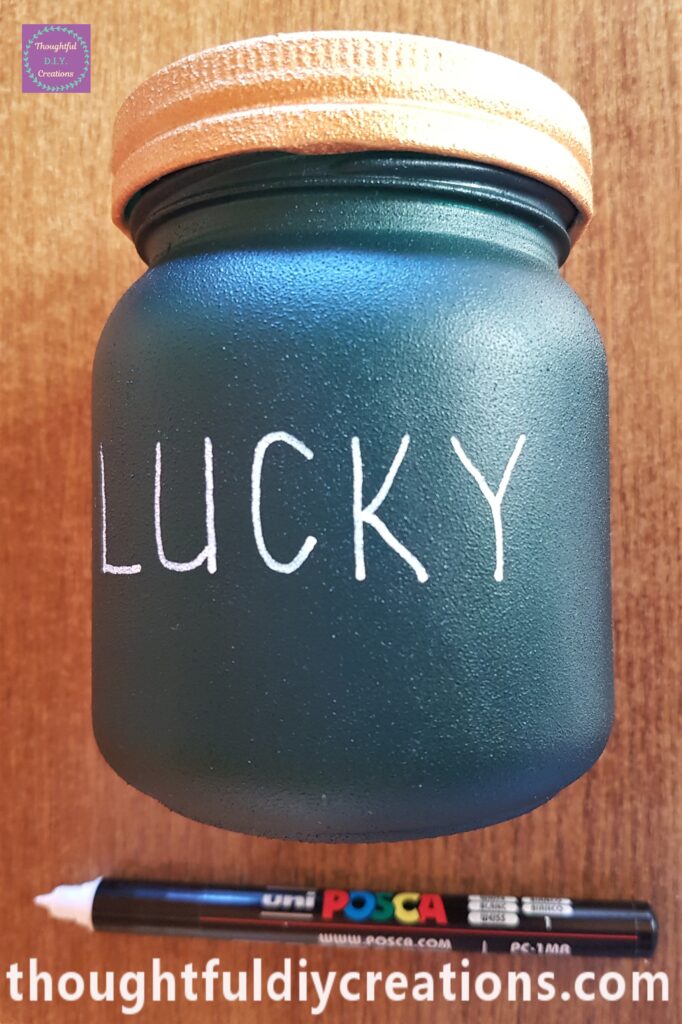
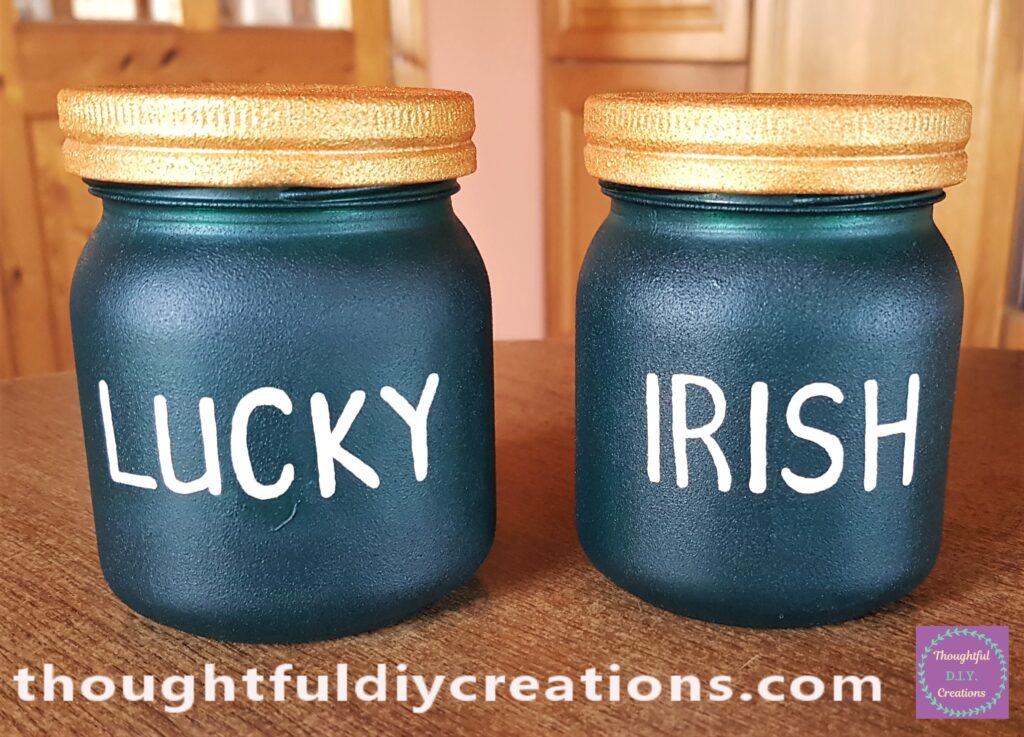
I put the Jar laying flat on the Table. I got my ‘White uni POSCA Acrylic Paint Pen 0.7mm’ and wrote ‘LUCKY’ onto the first Paddy’s Day Jar.
I put the second Jar laying flat on the Table. I wrote ‘IRISH’ onto this Paddy’s Day Jar with the White Paint Pen.
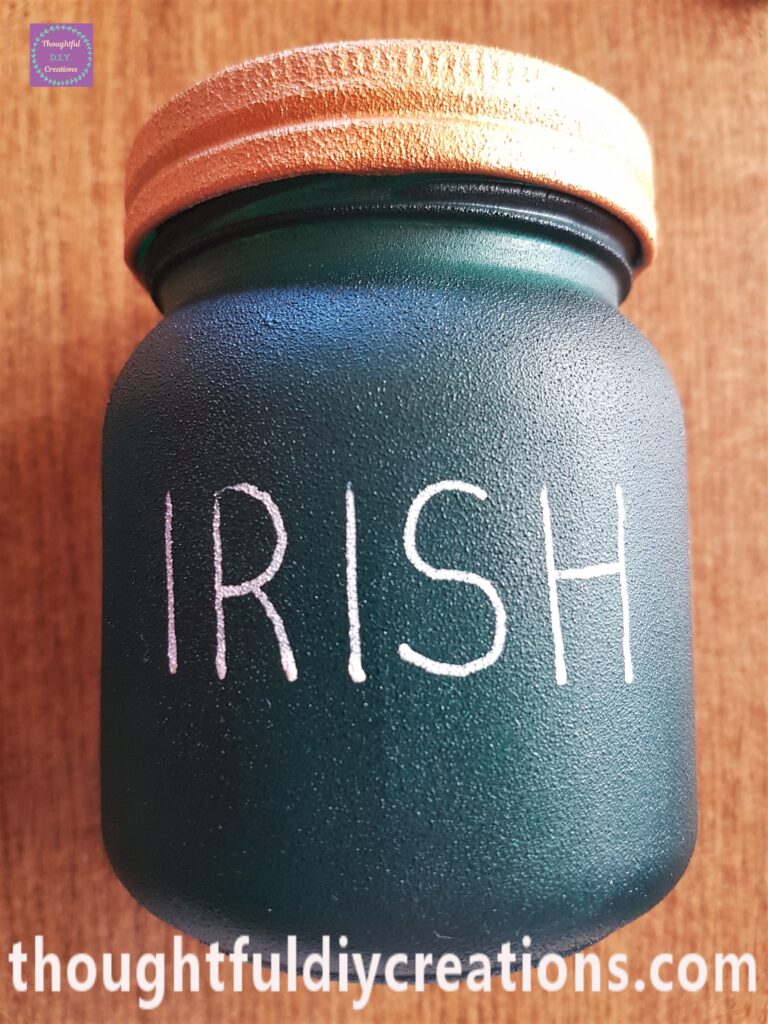
I added 2 more layers to each word with the Paint Pen leaving about 30 minutes between each layer. This Completed 2 of the Paddy’s Day Jars.
Printing and Cutting out the Shamrock Template
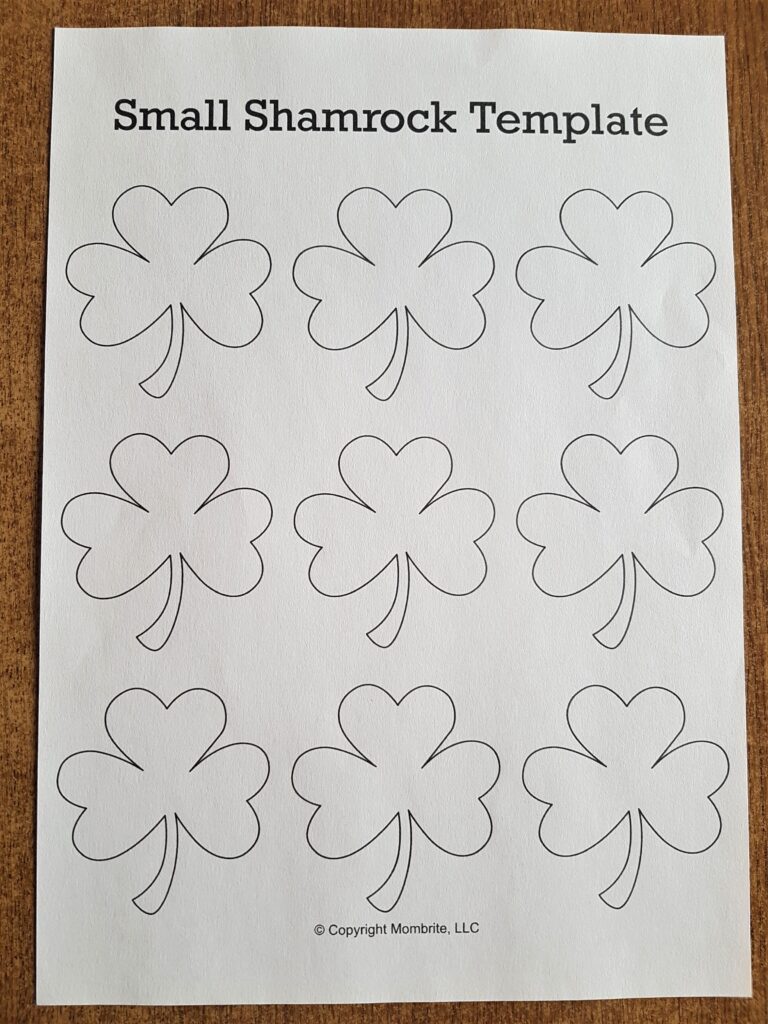
I typed in ‘Shamrock Template’ on ‘Google Images’. The one I liked best and the perfect Size for my Jar was from Betty from ‘Mombrite’s Blog’. She had 3 different Size Options to choose from.
I had to enter my Name and E-mail to subscribe to her Newsletter to receive the Template in my E-mail. I then Downloaded it to my Computer and Printed it. Betty has a Blog with educational activities for kids; you can unsubscribe from her E-mails at any time.
Here is the Print-out of the Small Shamrock Templates. It also came in Medium and Large.
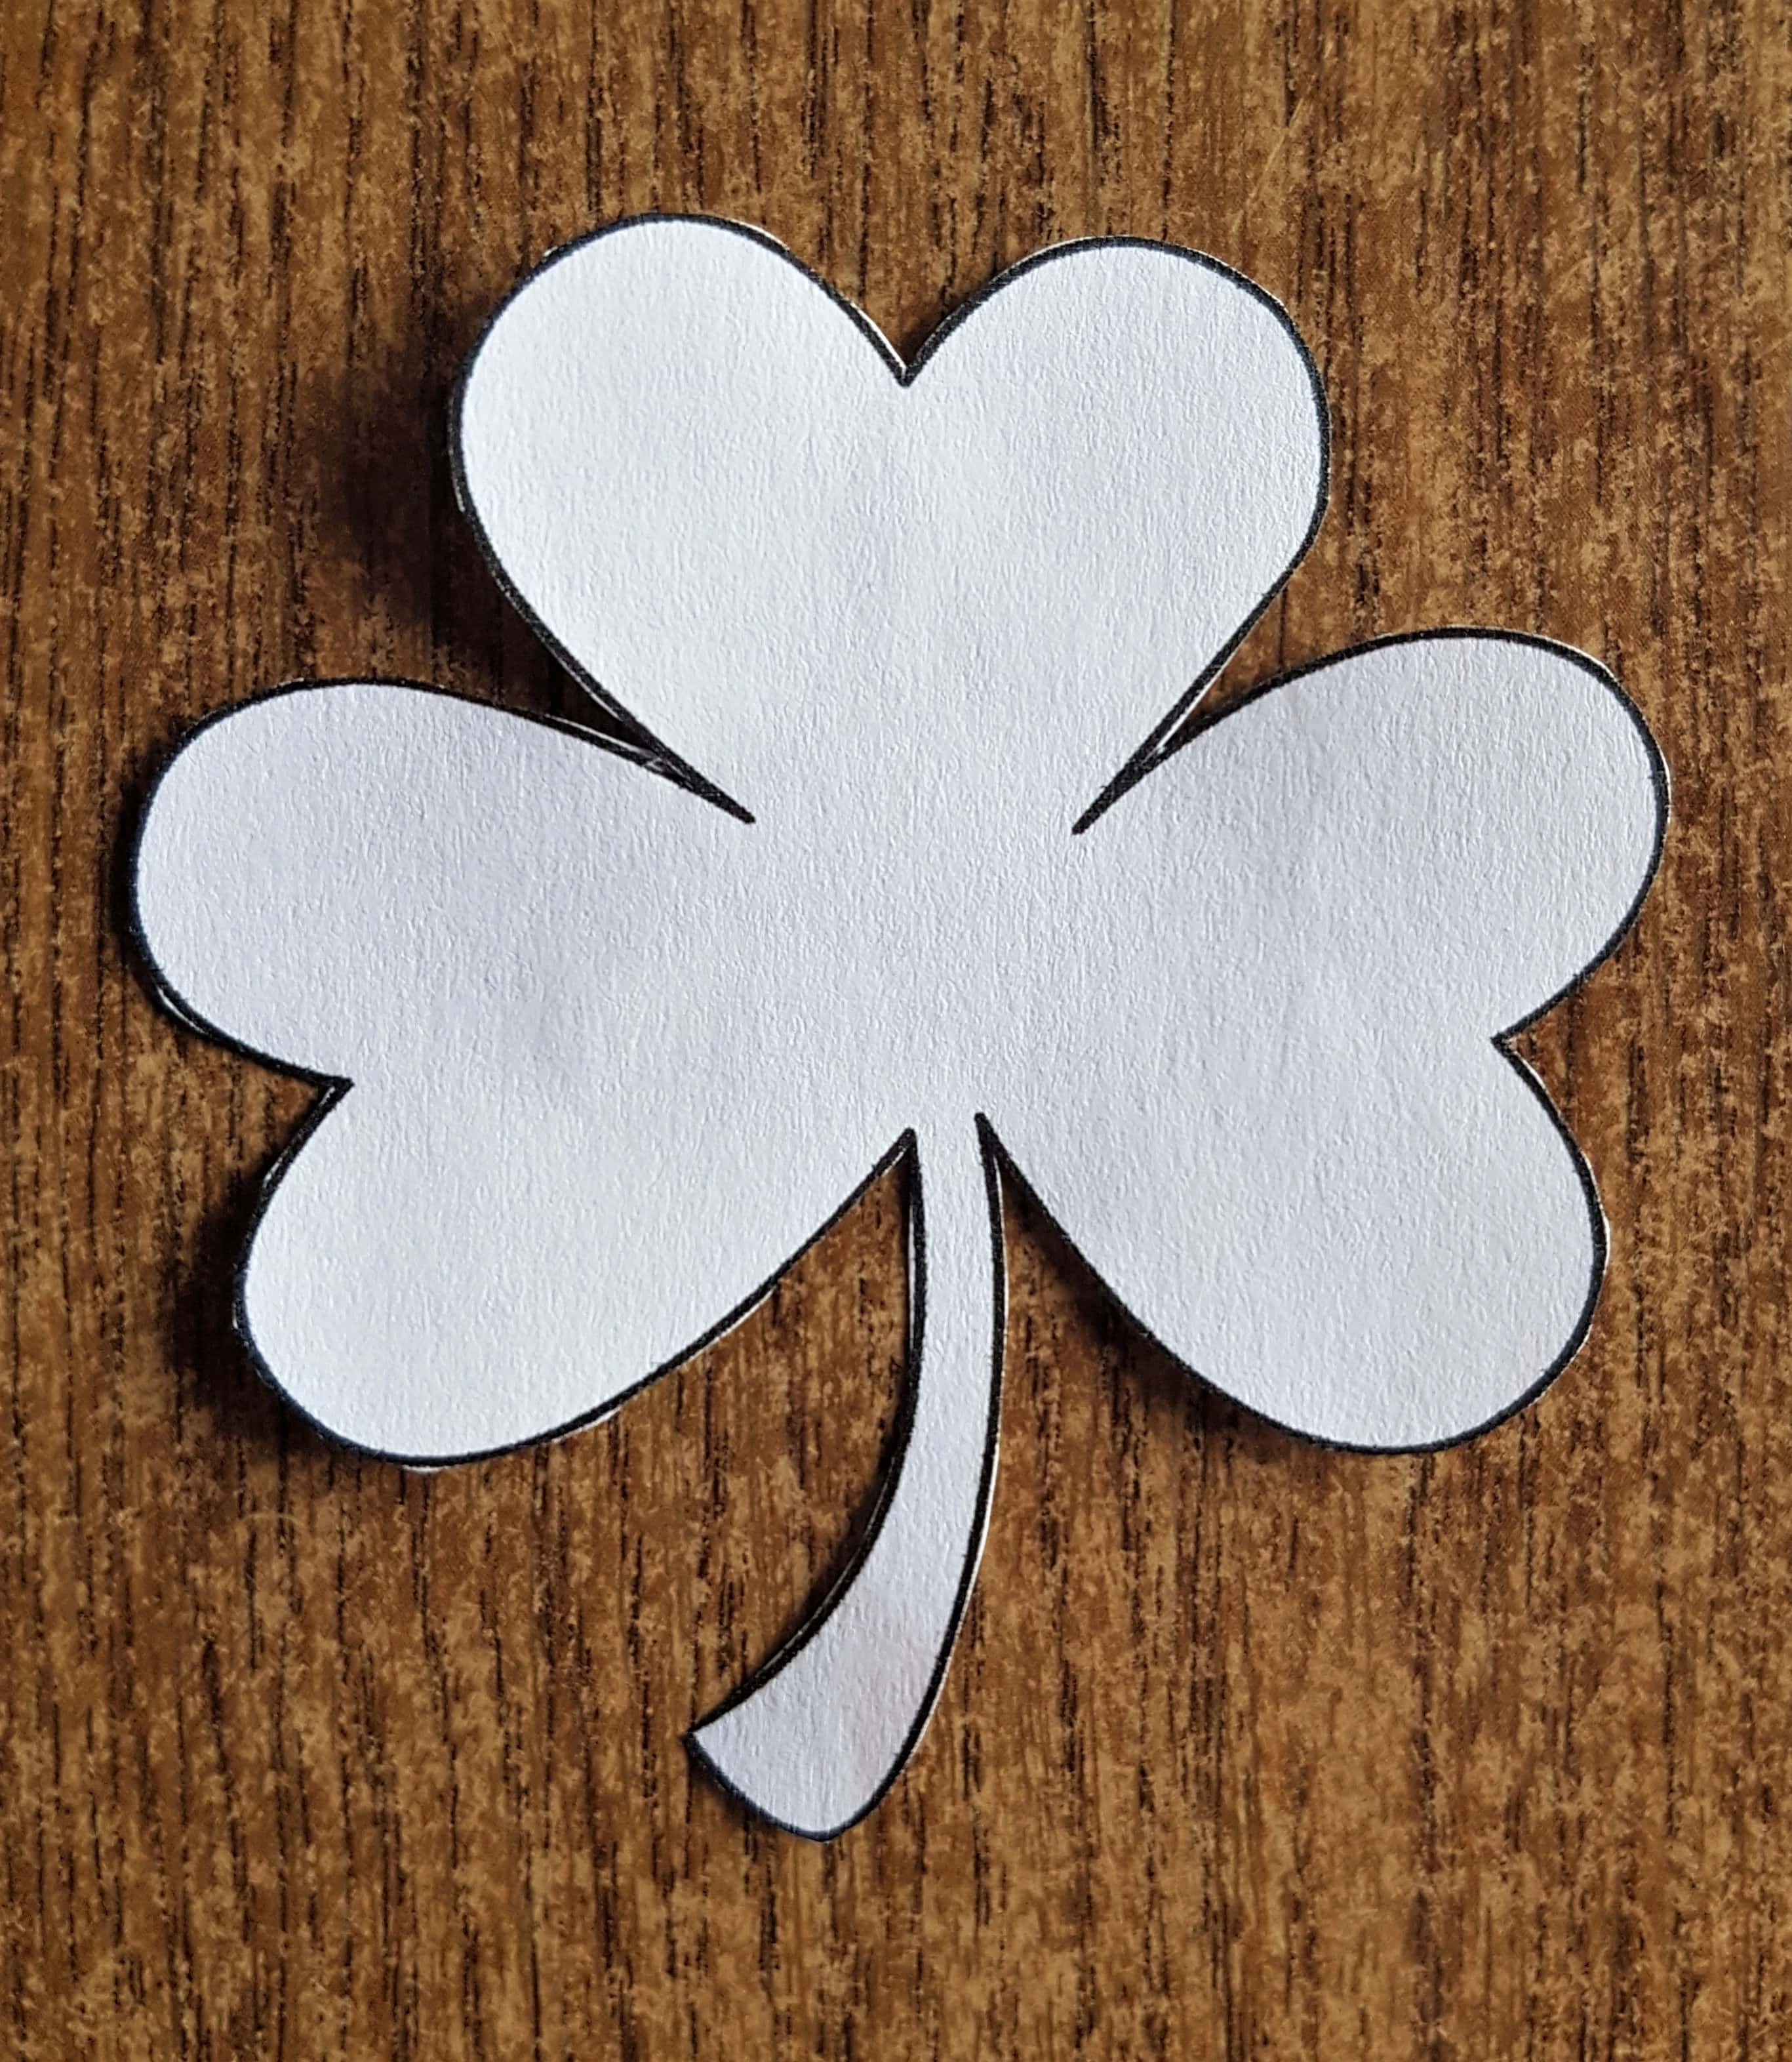
I Cut out One of the Shamrock Templates using a small sharp scissors.
Attaching the Shamrock to the third Paddy’s Day Jar
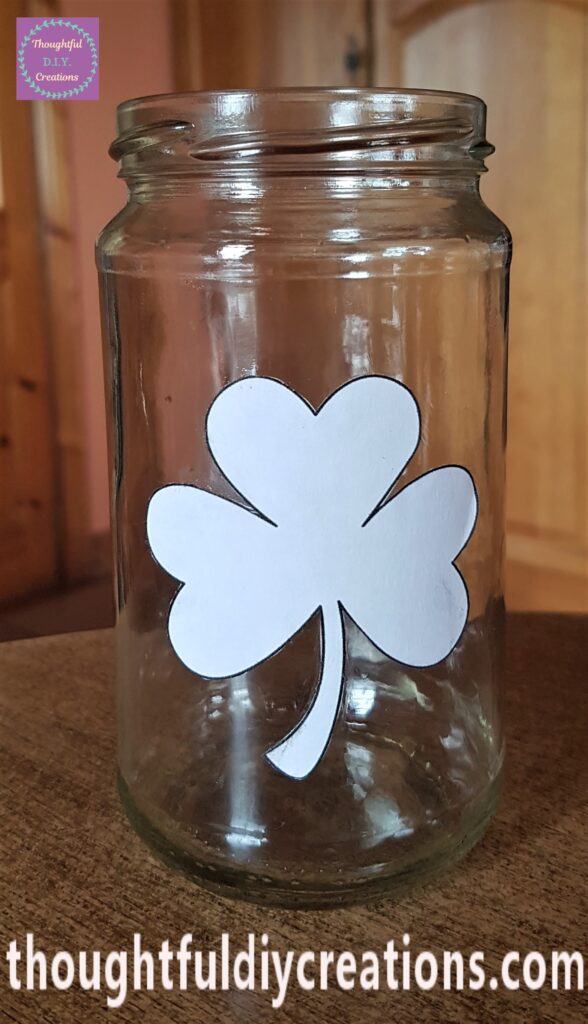
I put Pritt Stick on the back of the Shamrock mostly along the edges.
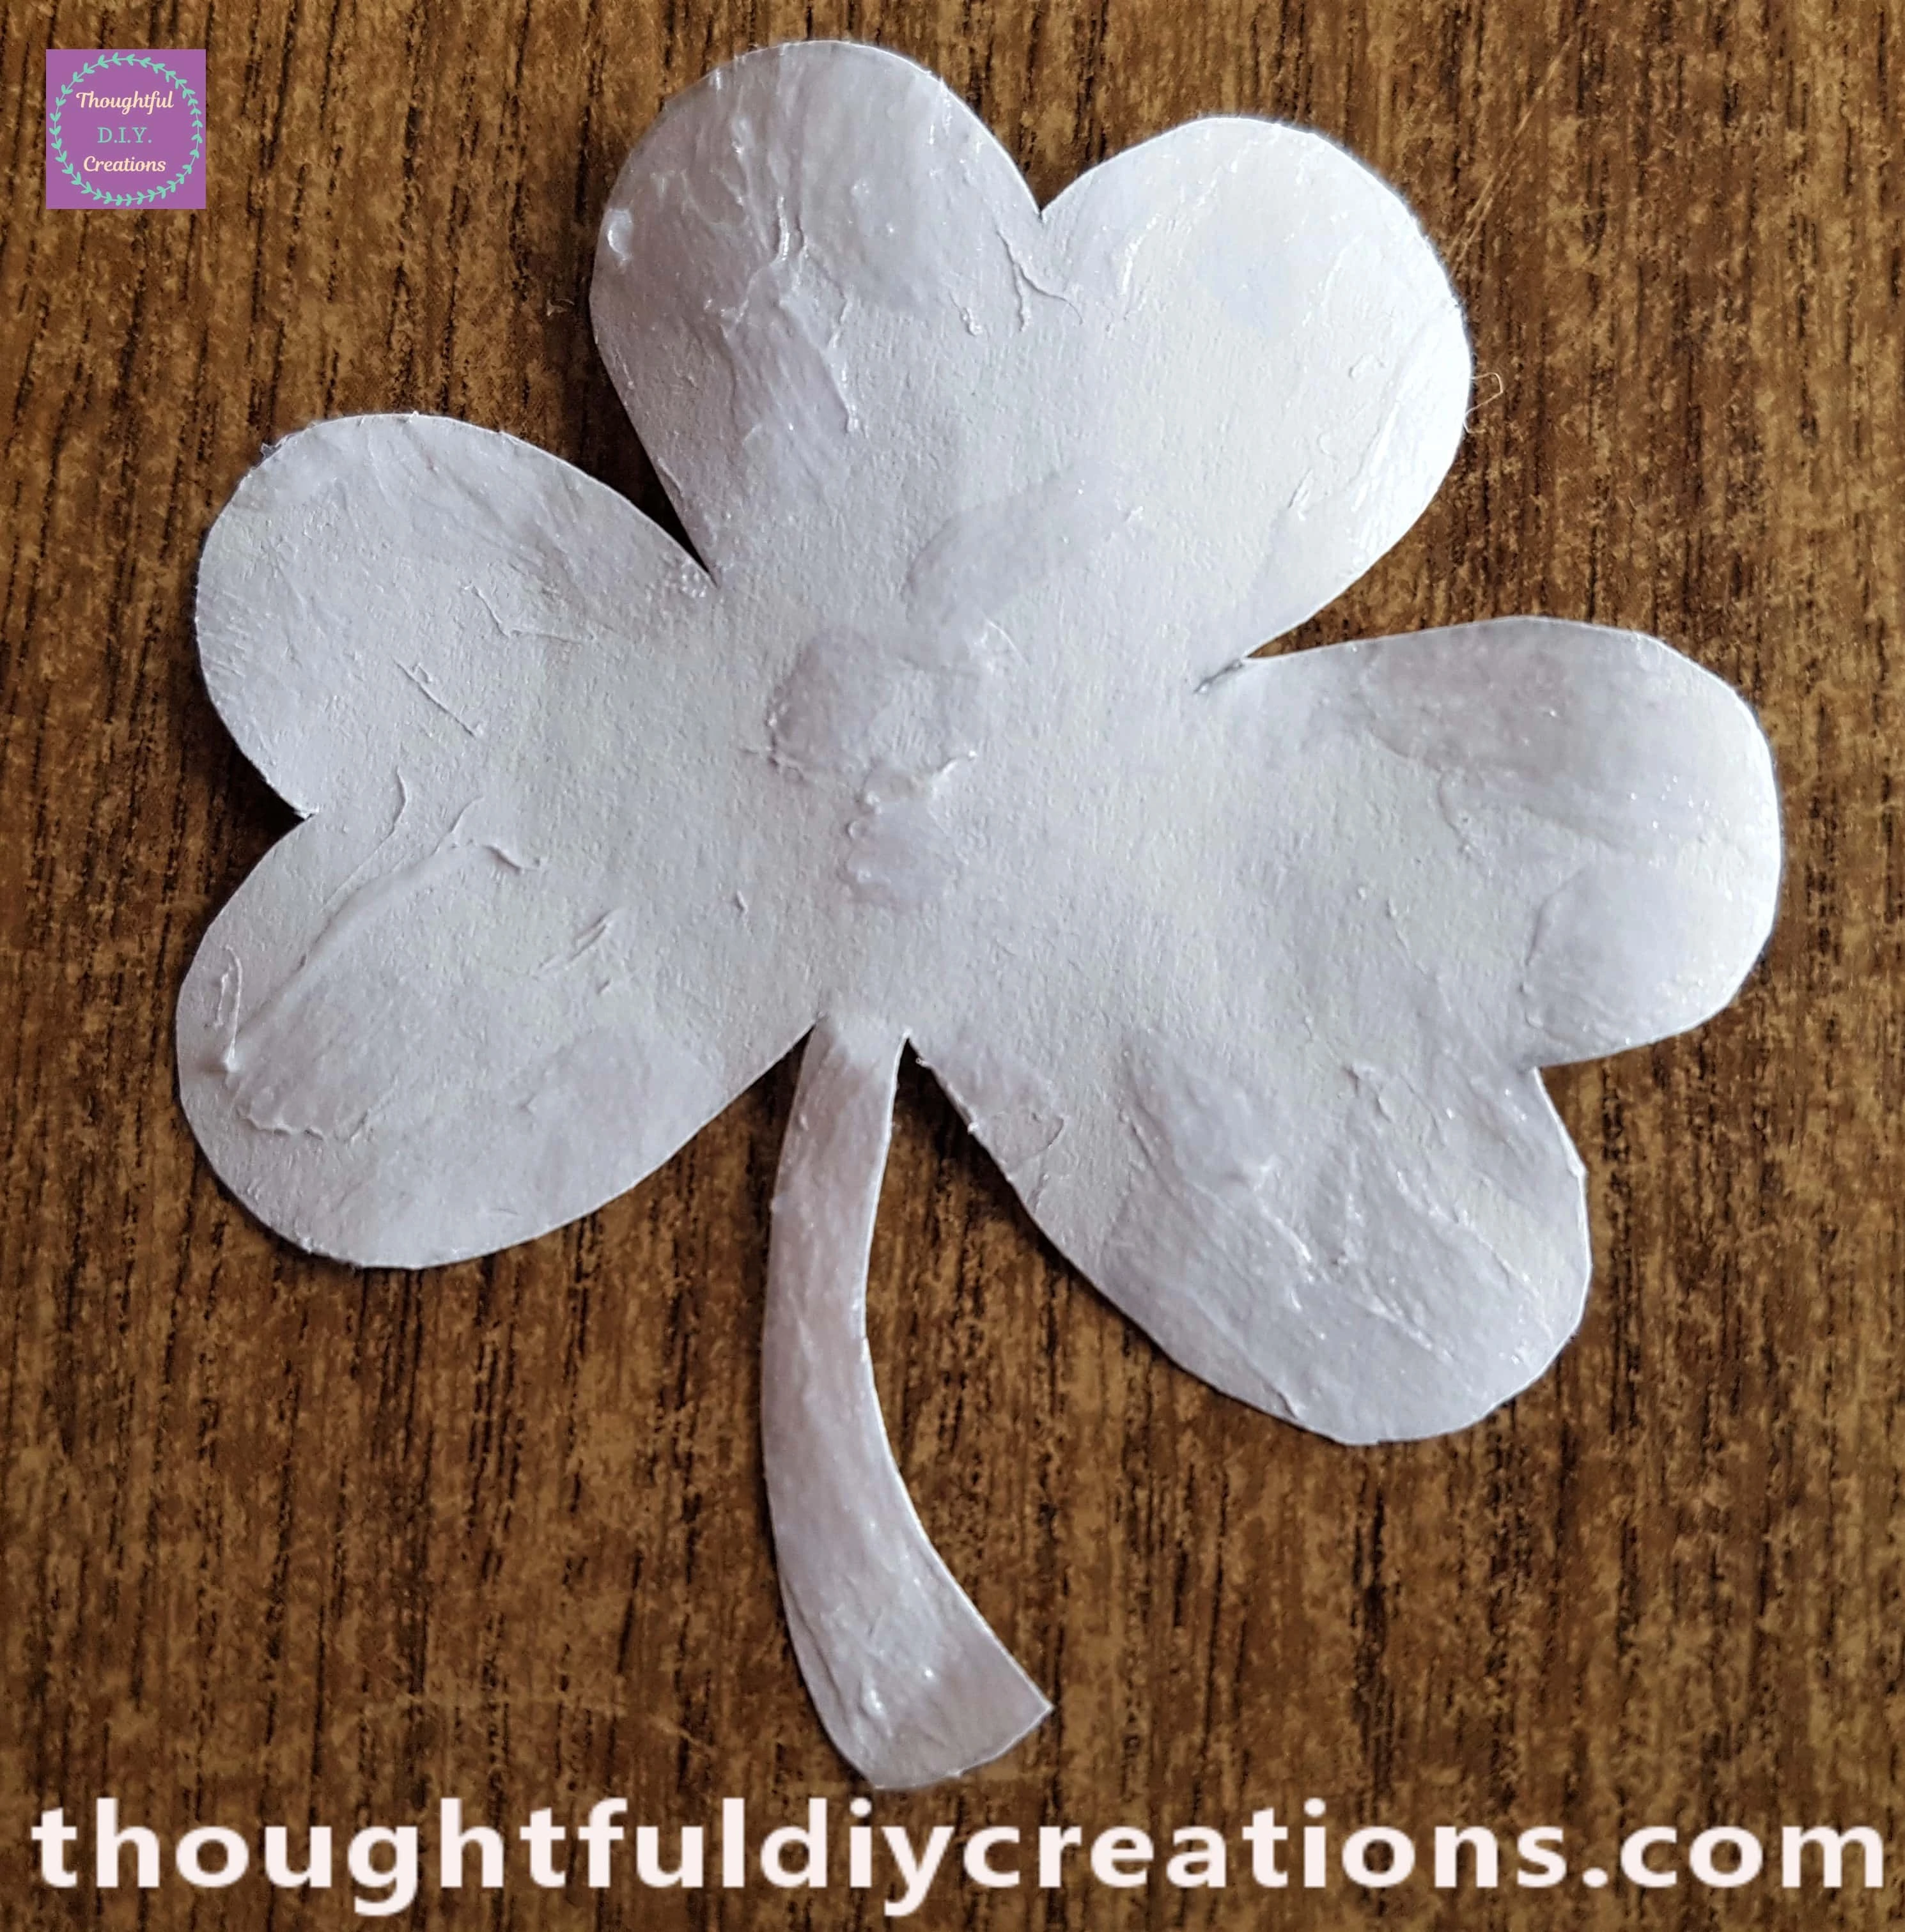
I attached it to the Front of the third Paddy’s Day Jar.
Painting the Jar White
I turned the Jar upside down onto the Baking Sheet. I poured some ‘White Acrylic Paint’ onto a Plate and got a Sponge.
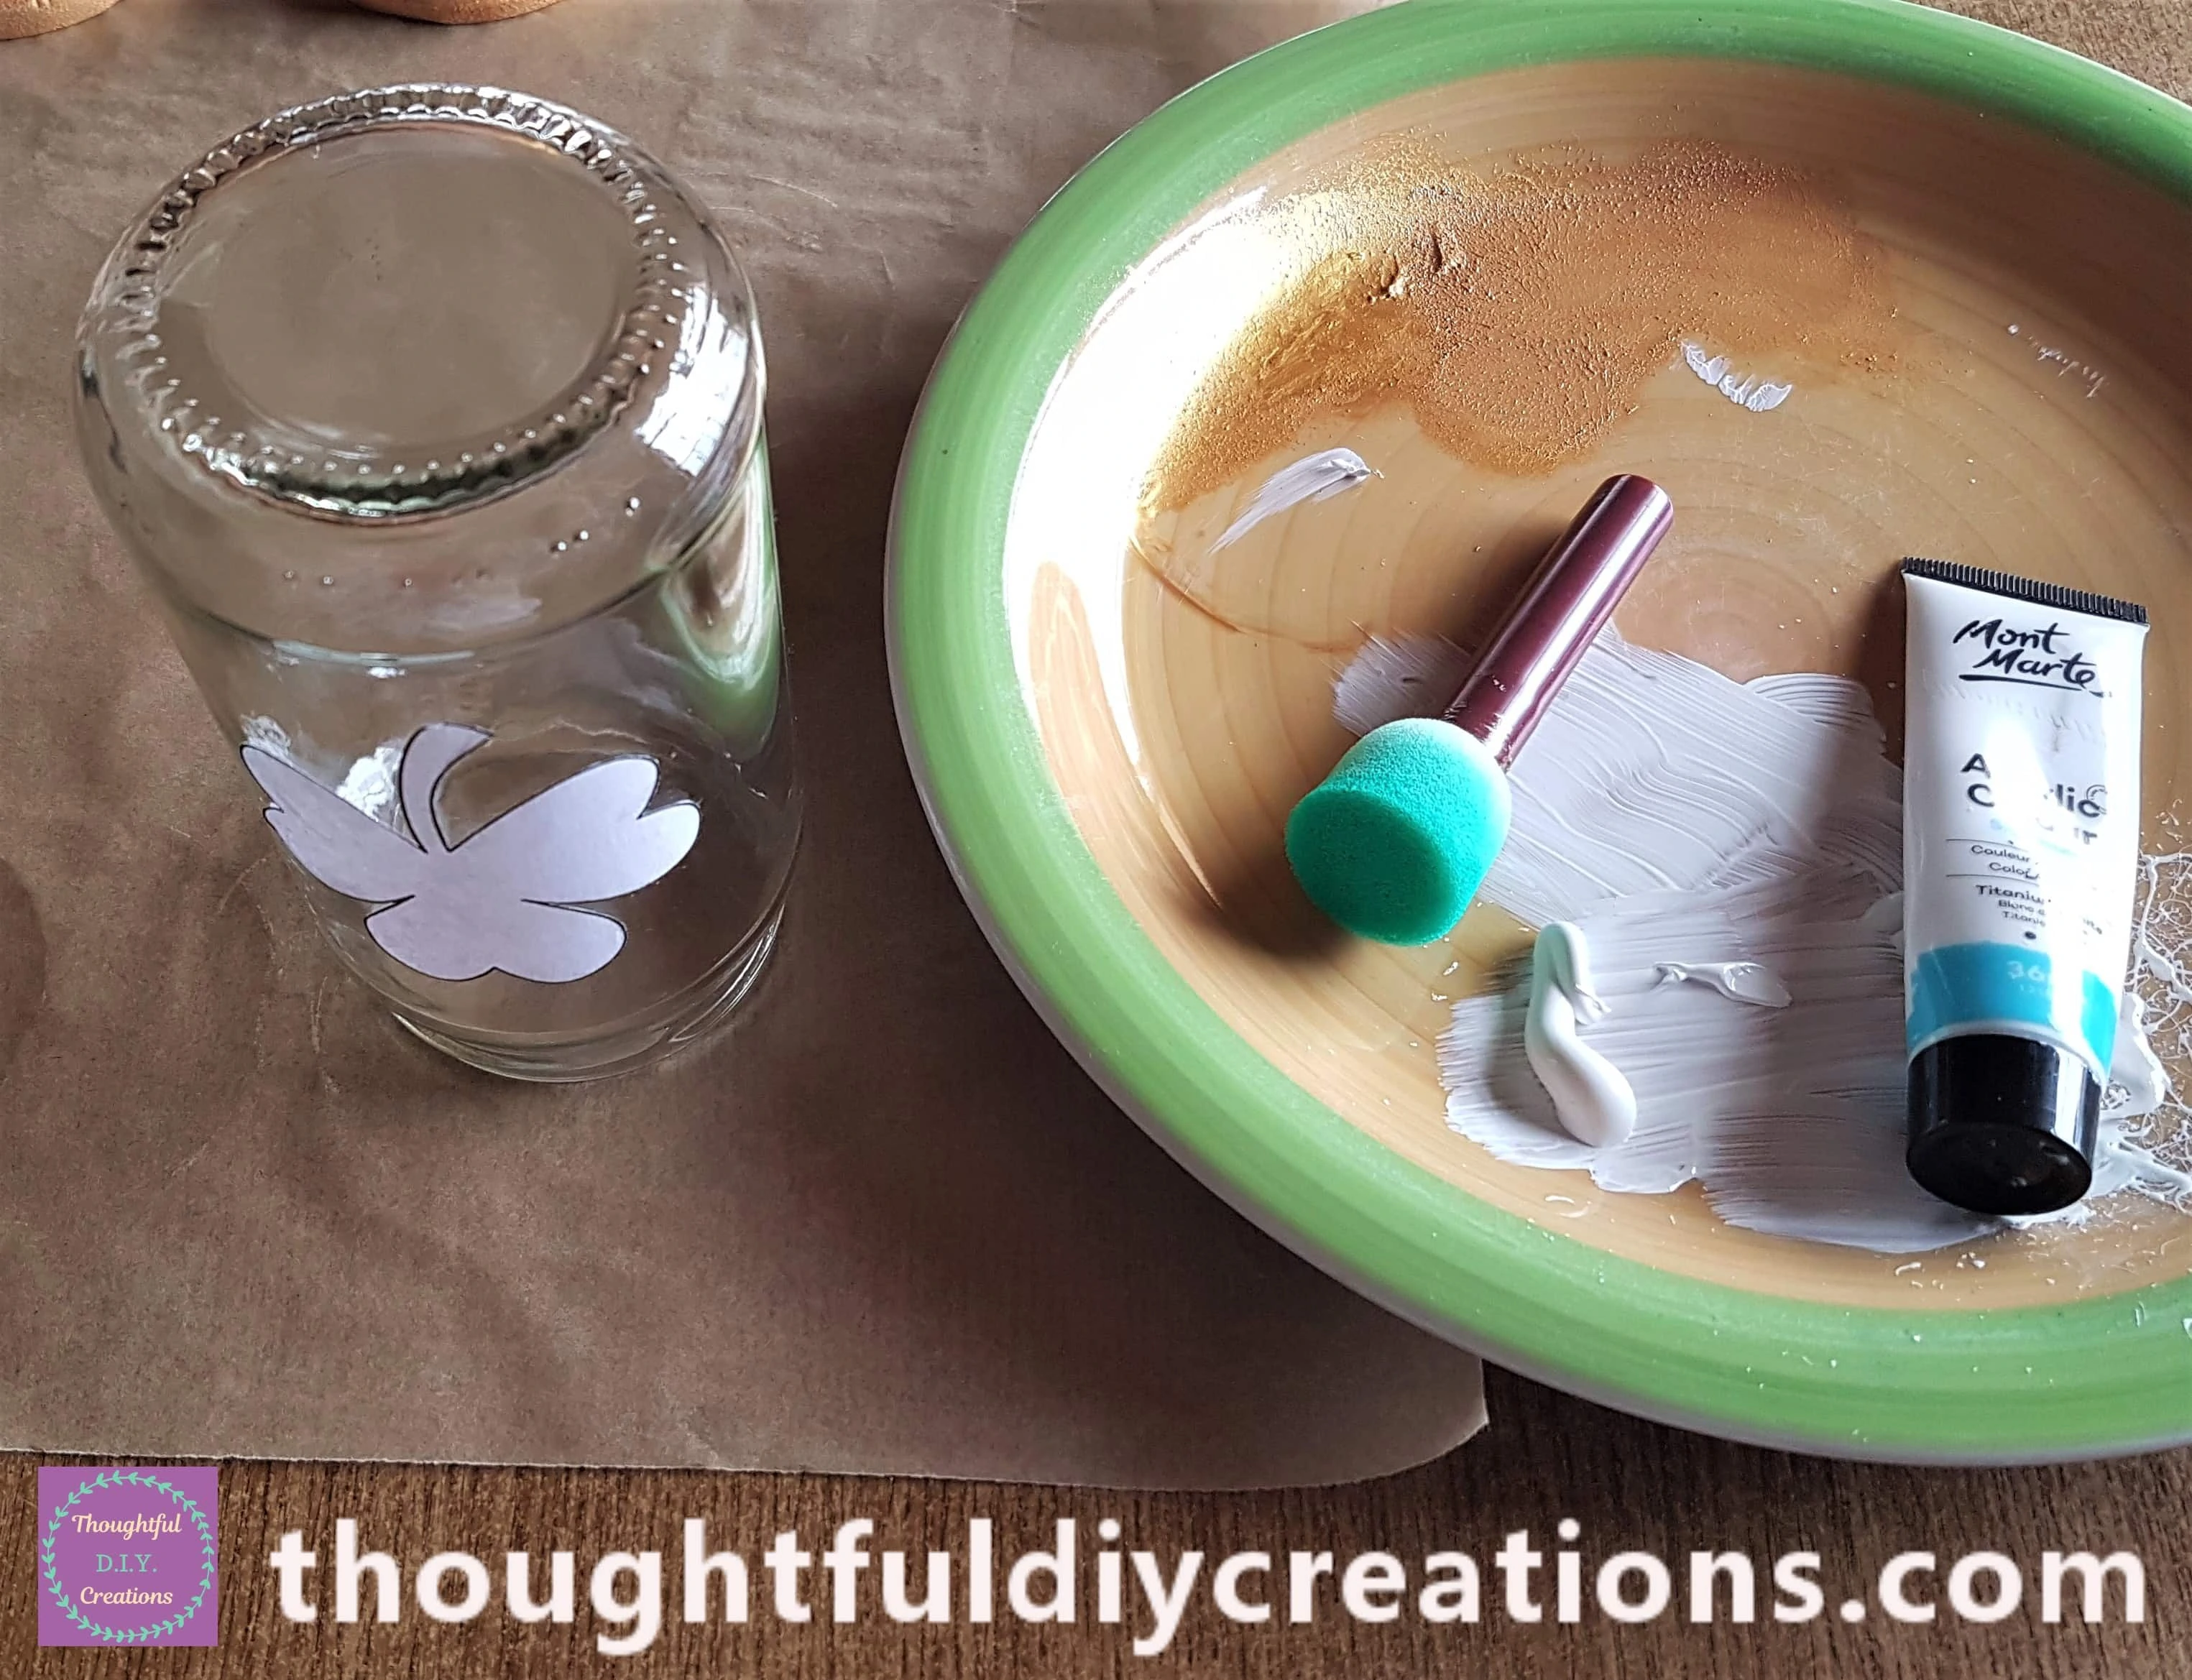
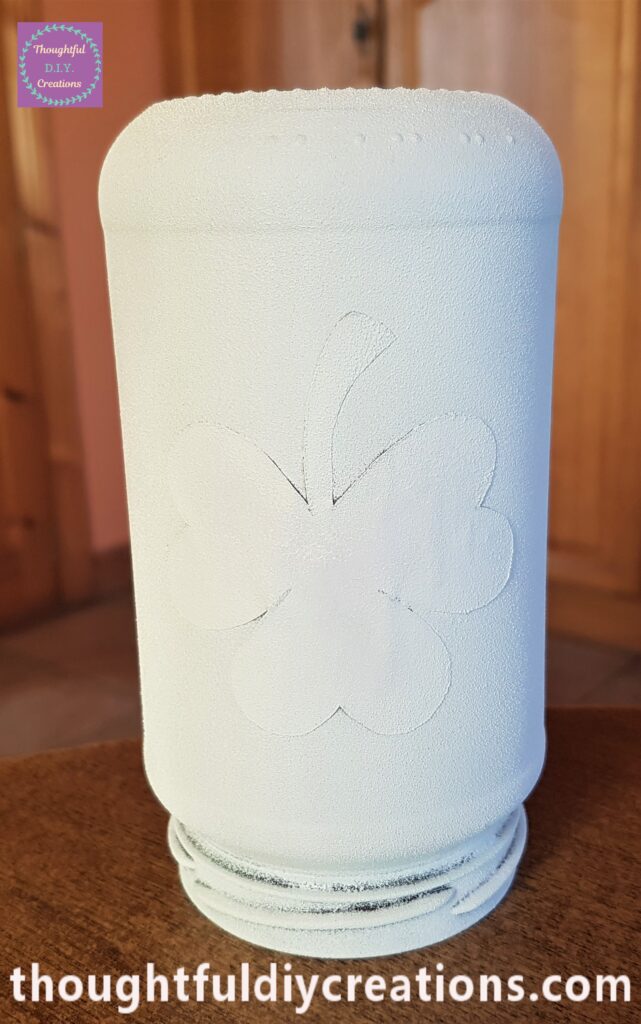
I Painted 3 Layers of White Paint onto the Jar with the Sponge using the same process as the previous Jars. I added Paint to the edges of the Shamrock Template to ensure the Shape would be seen on the Jar.
Finishing Touches to the Paddy’s Day Jar
The next Day I put the Jar laying Flat on the Table.
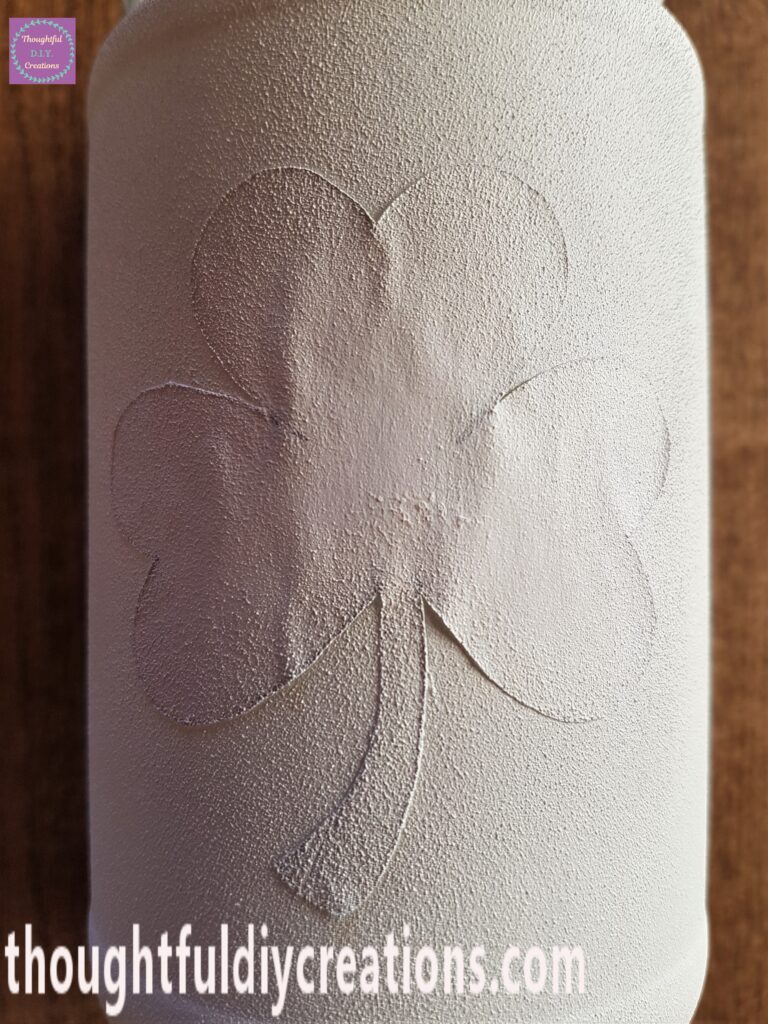
I carefully began to Peel back the Shamrock Template.
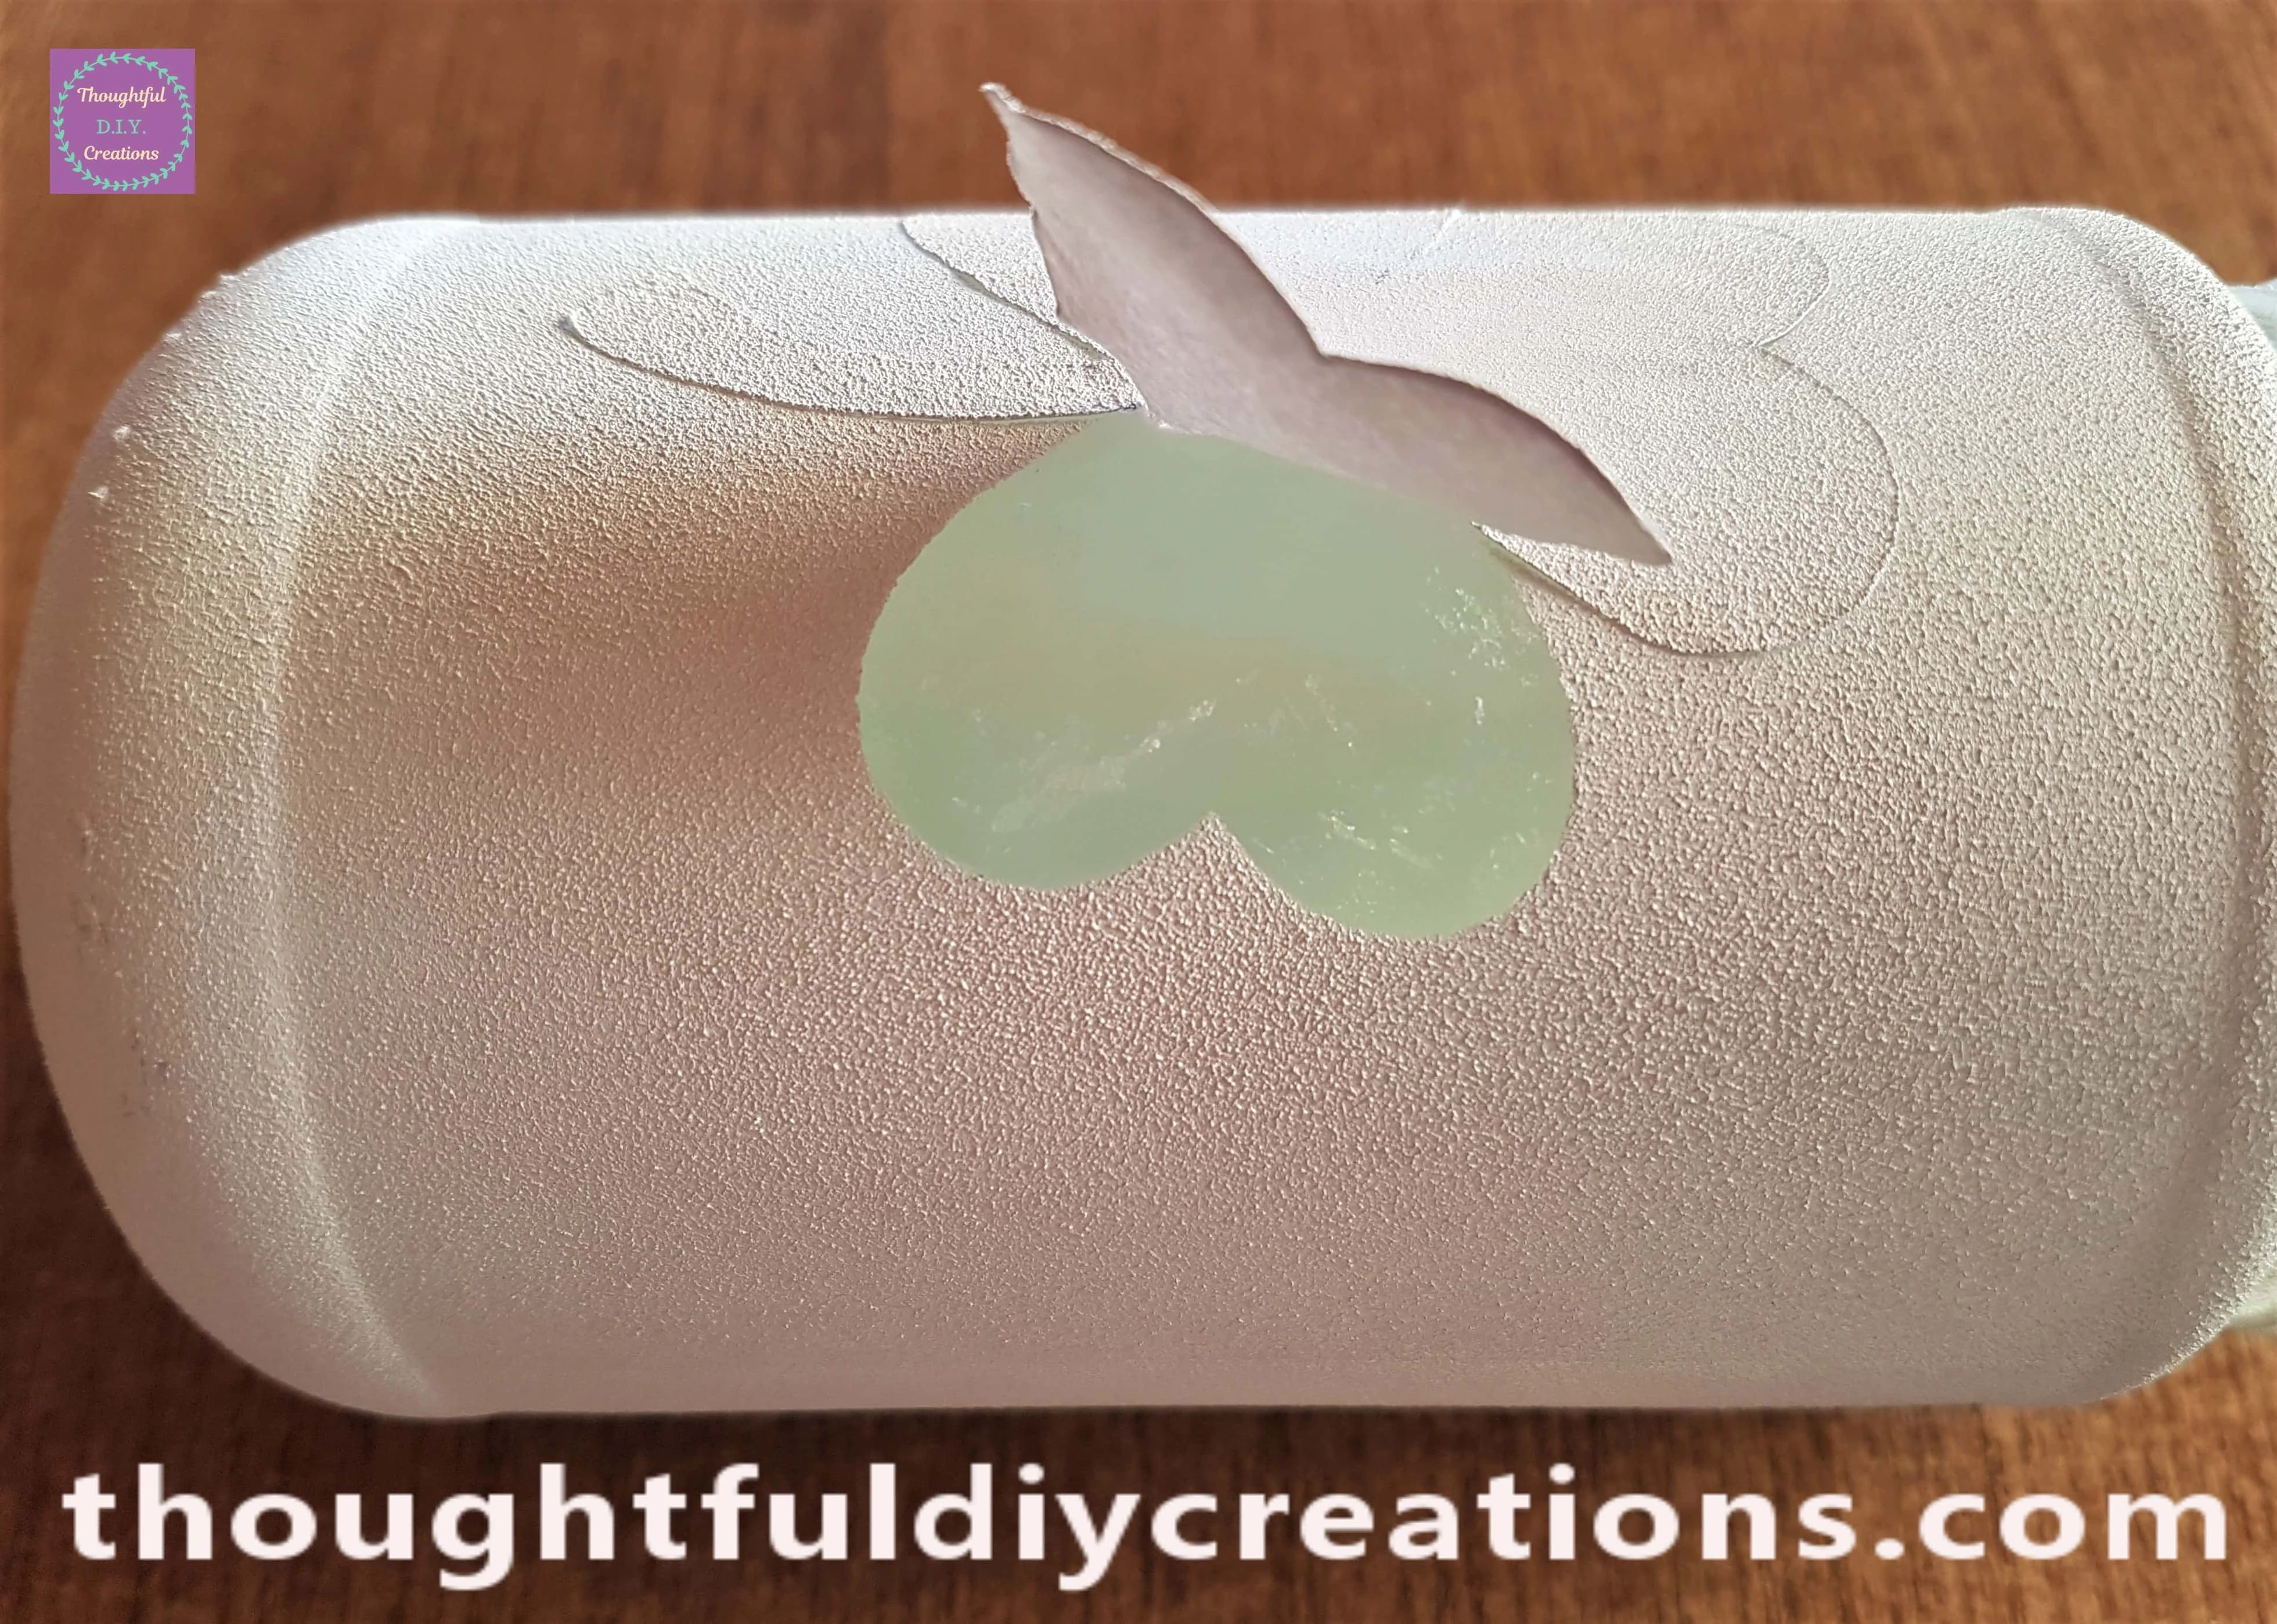
I continued until it was fully removed.
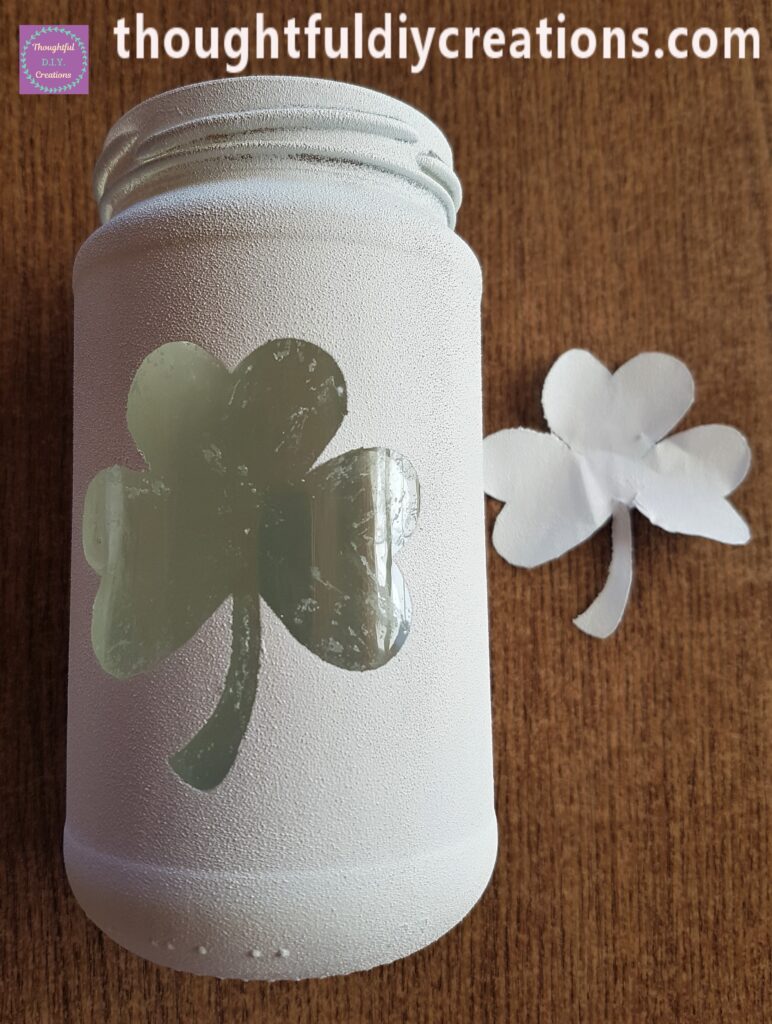
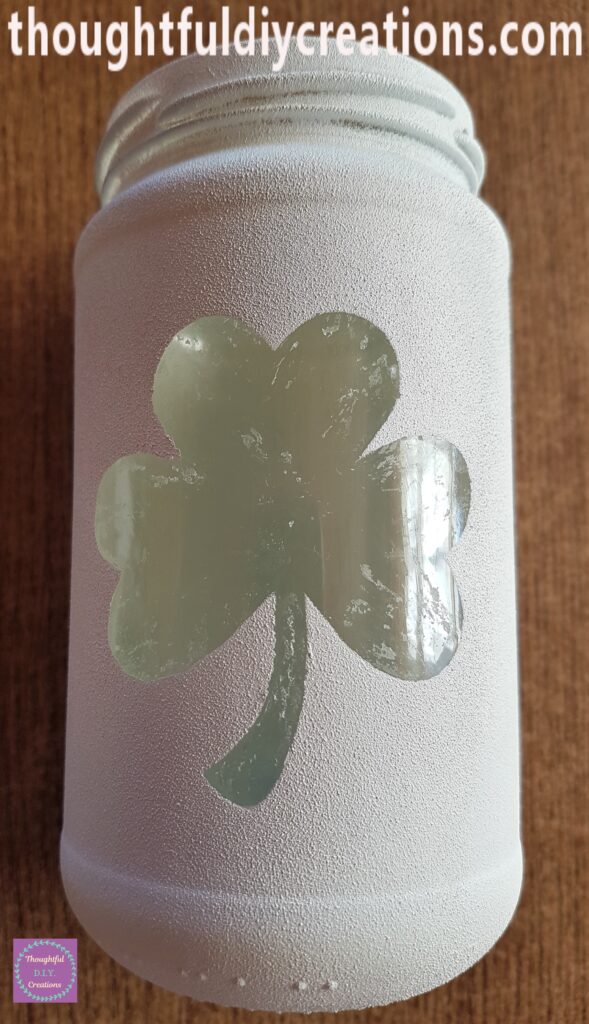
The Shamrock Shape on the Jar.
I got a Baby Wipe and a Sheet of Kitchen Paper.
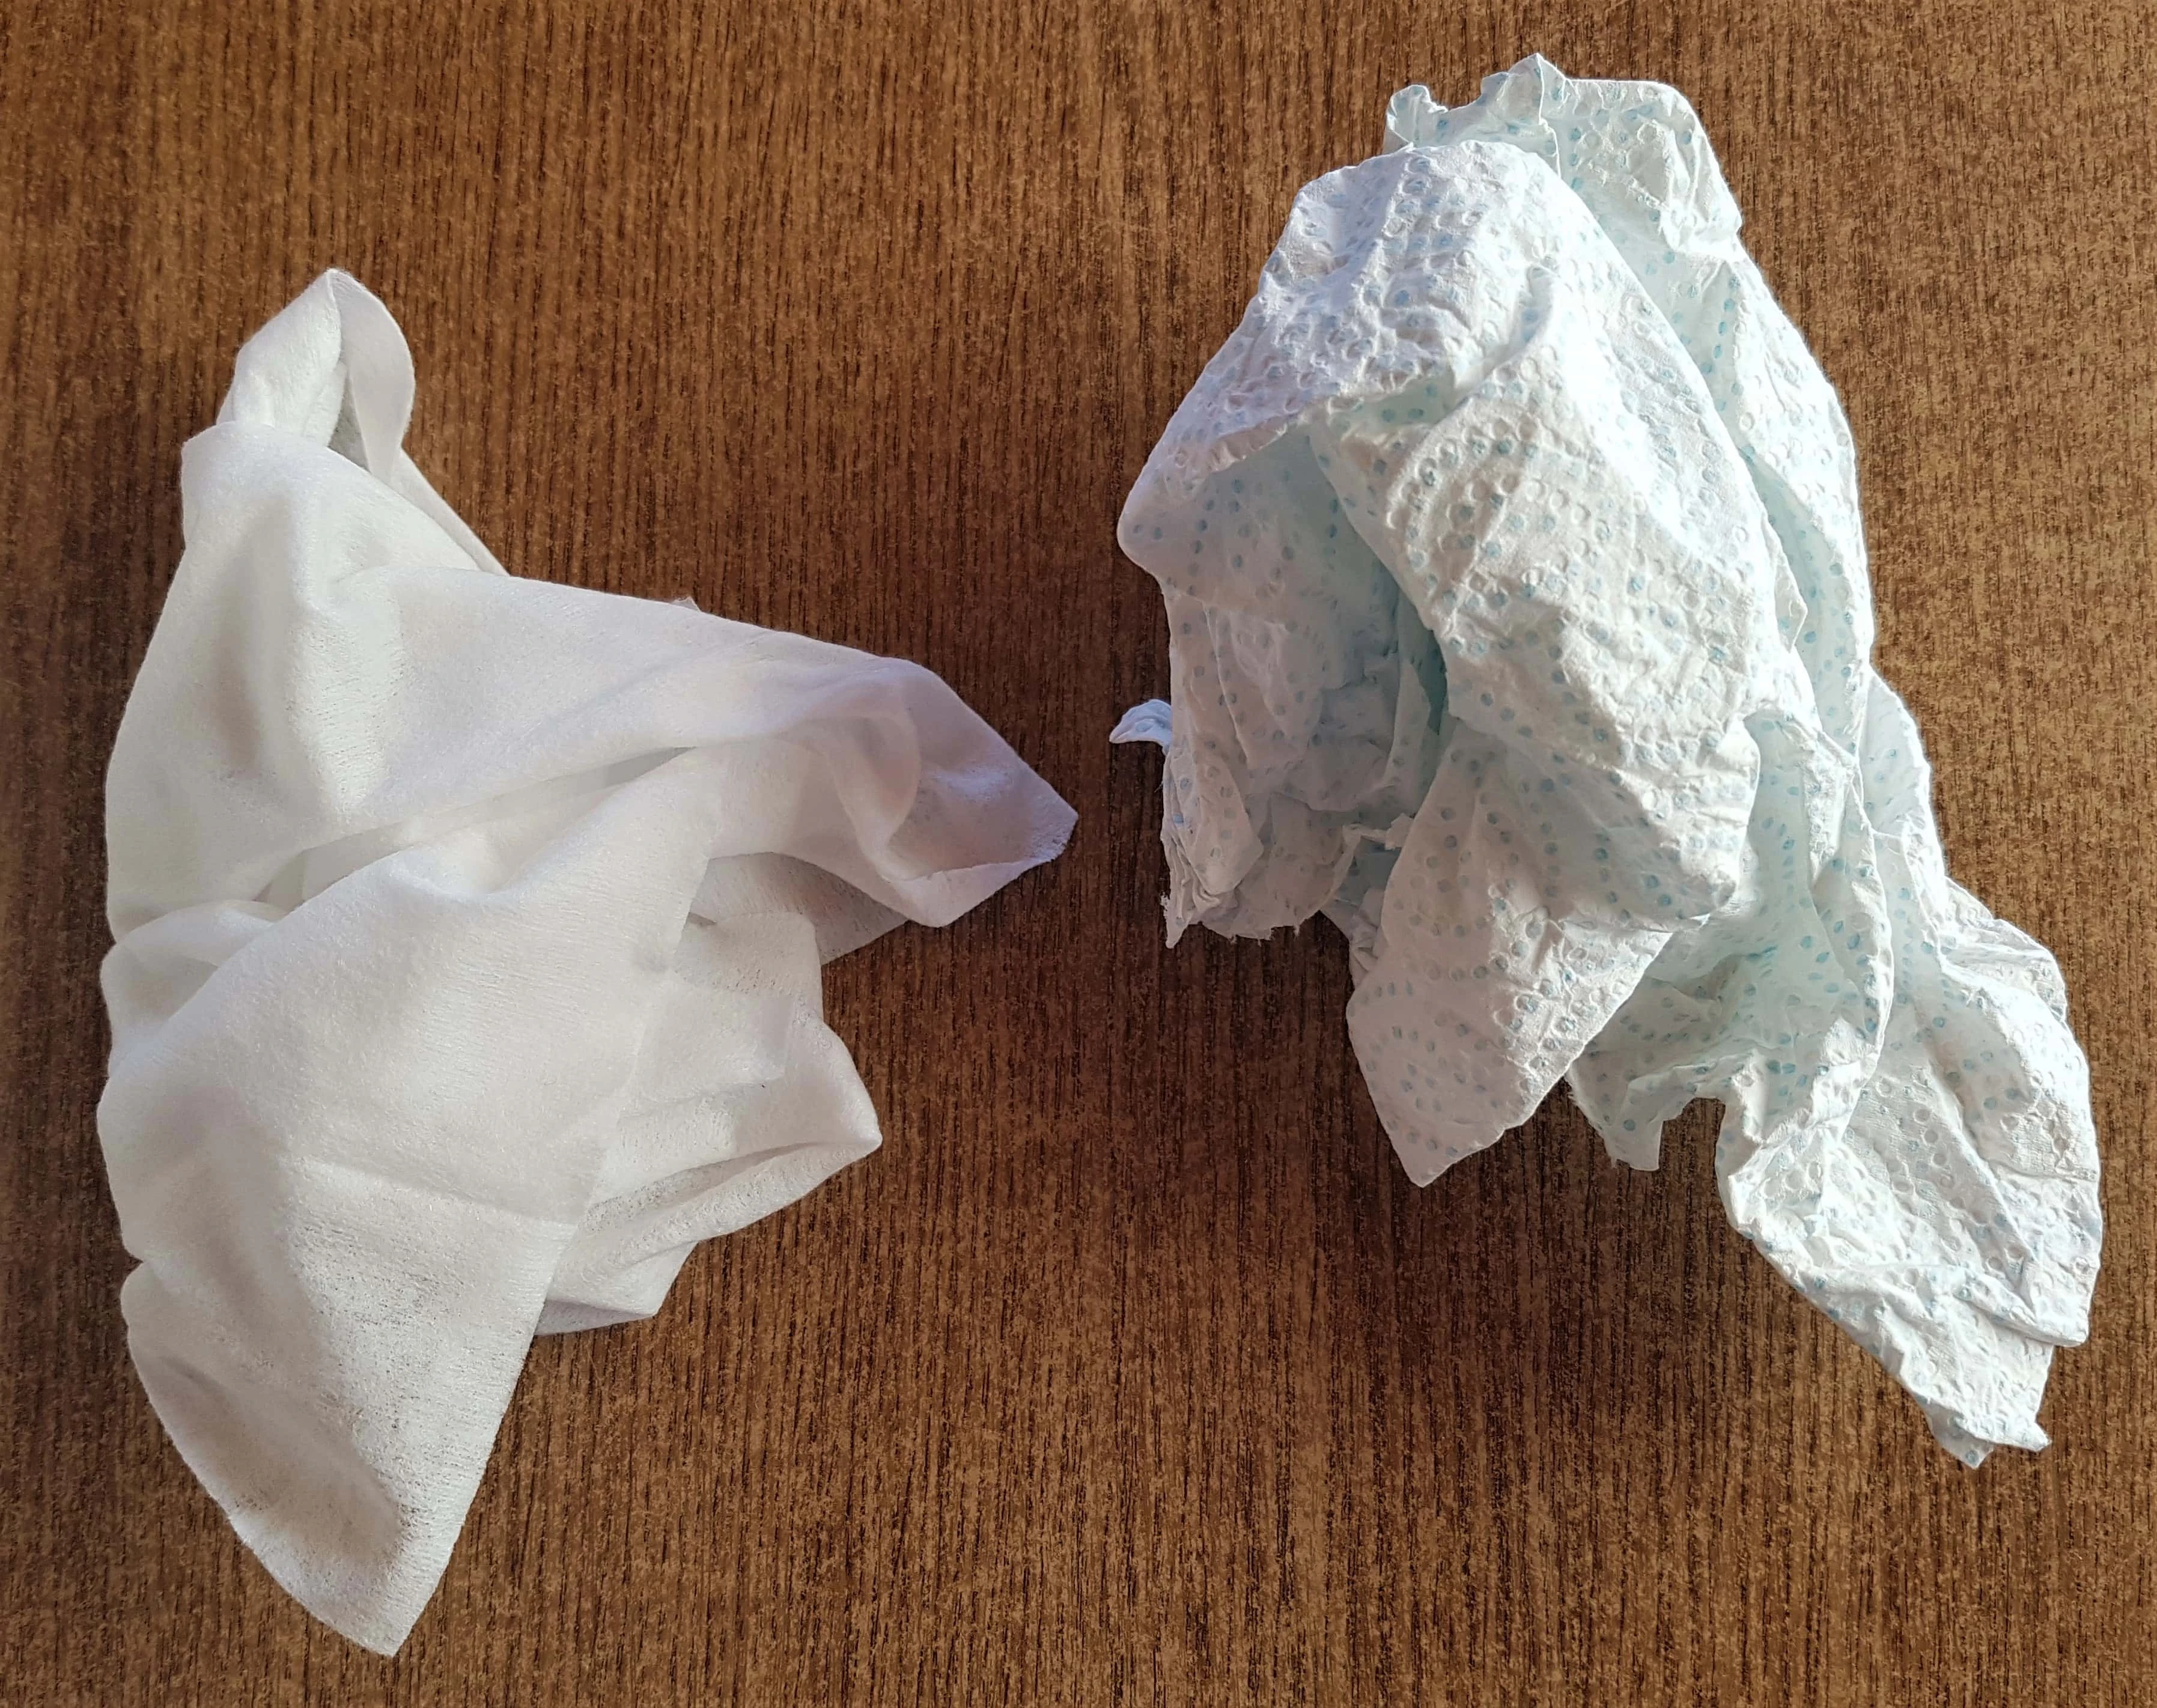
I wiped off the Pritt Stick marks with the Baby Wipe and Dried the Jar with the Kitchen Paper.
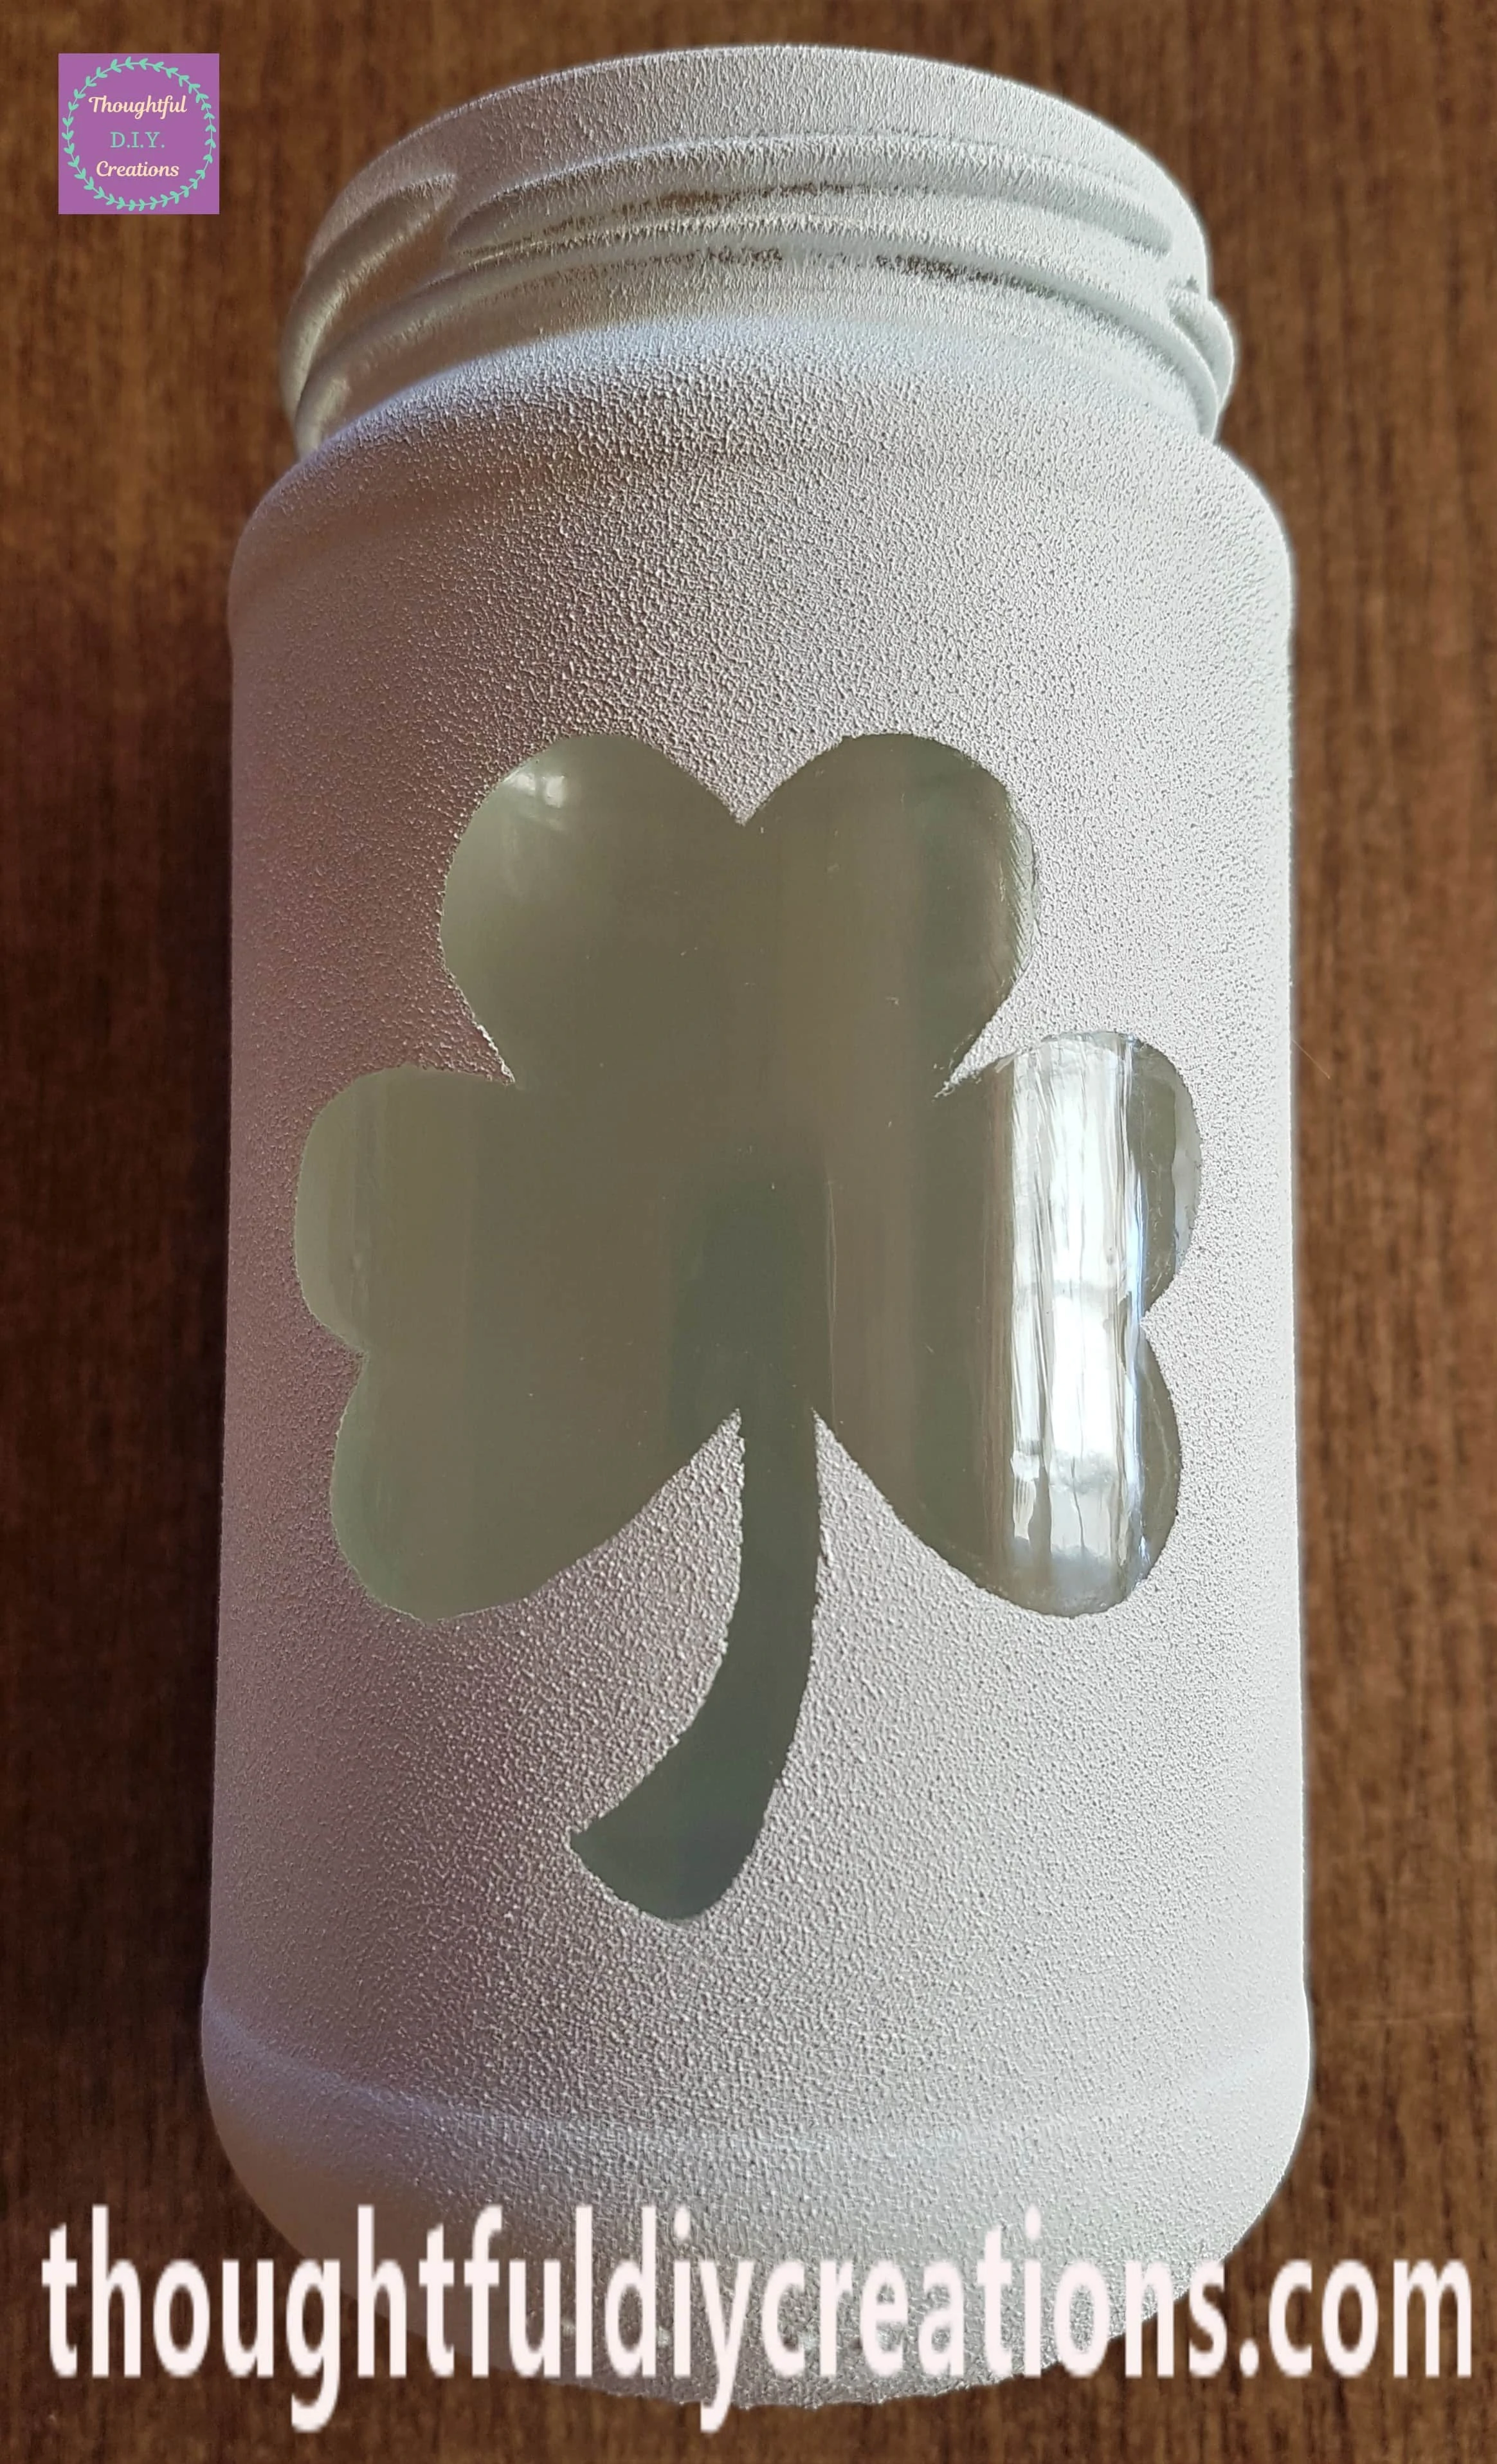
I put the Gold Lid back on the Jar. This Completed my third Paddy’s Day Jar.
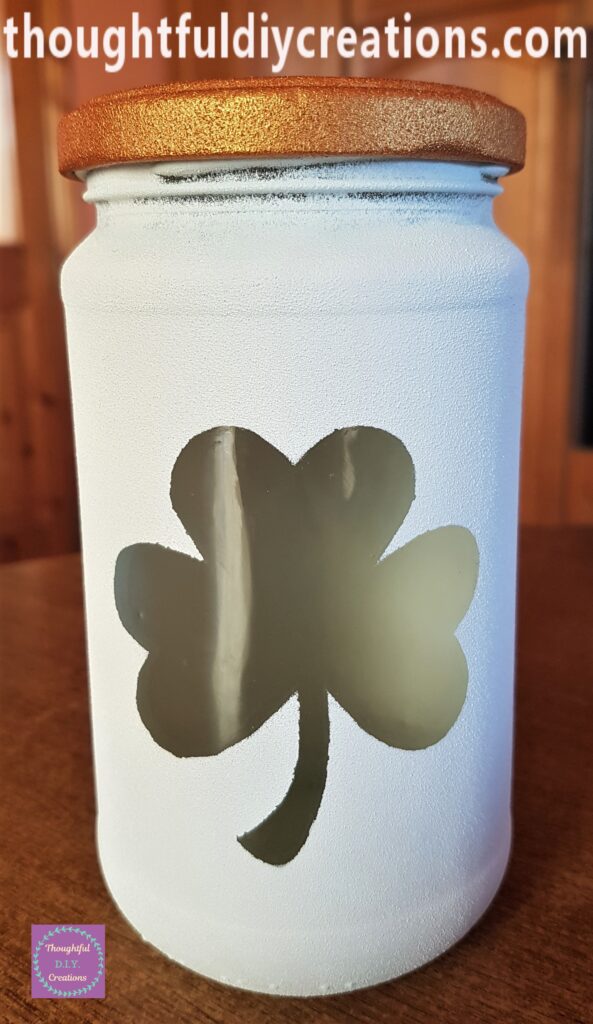
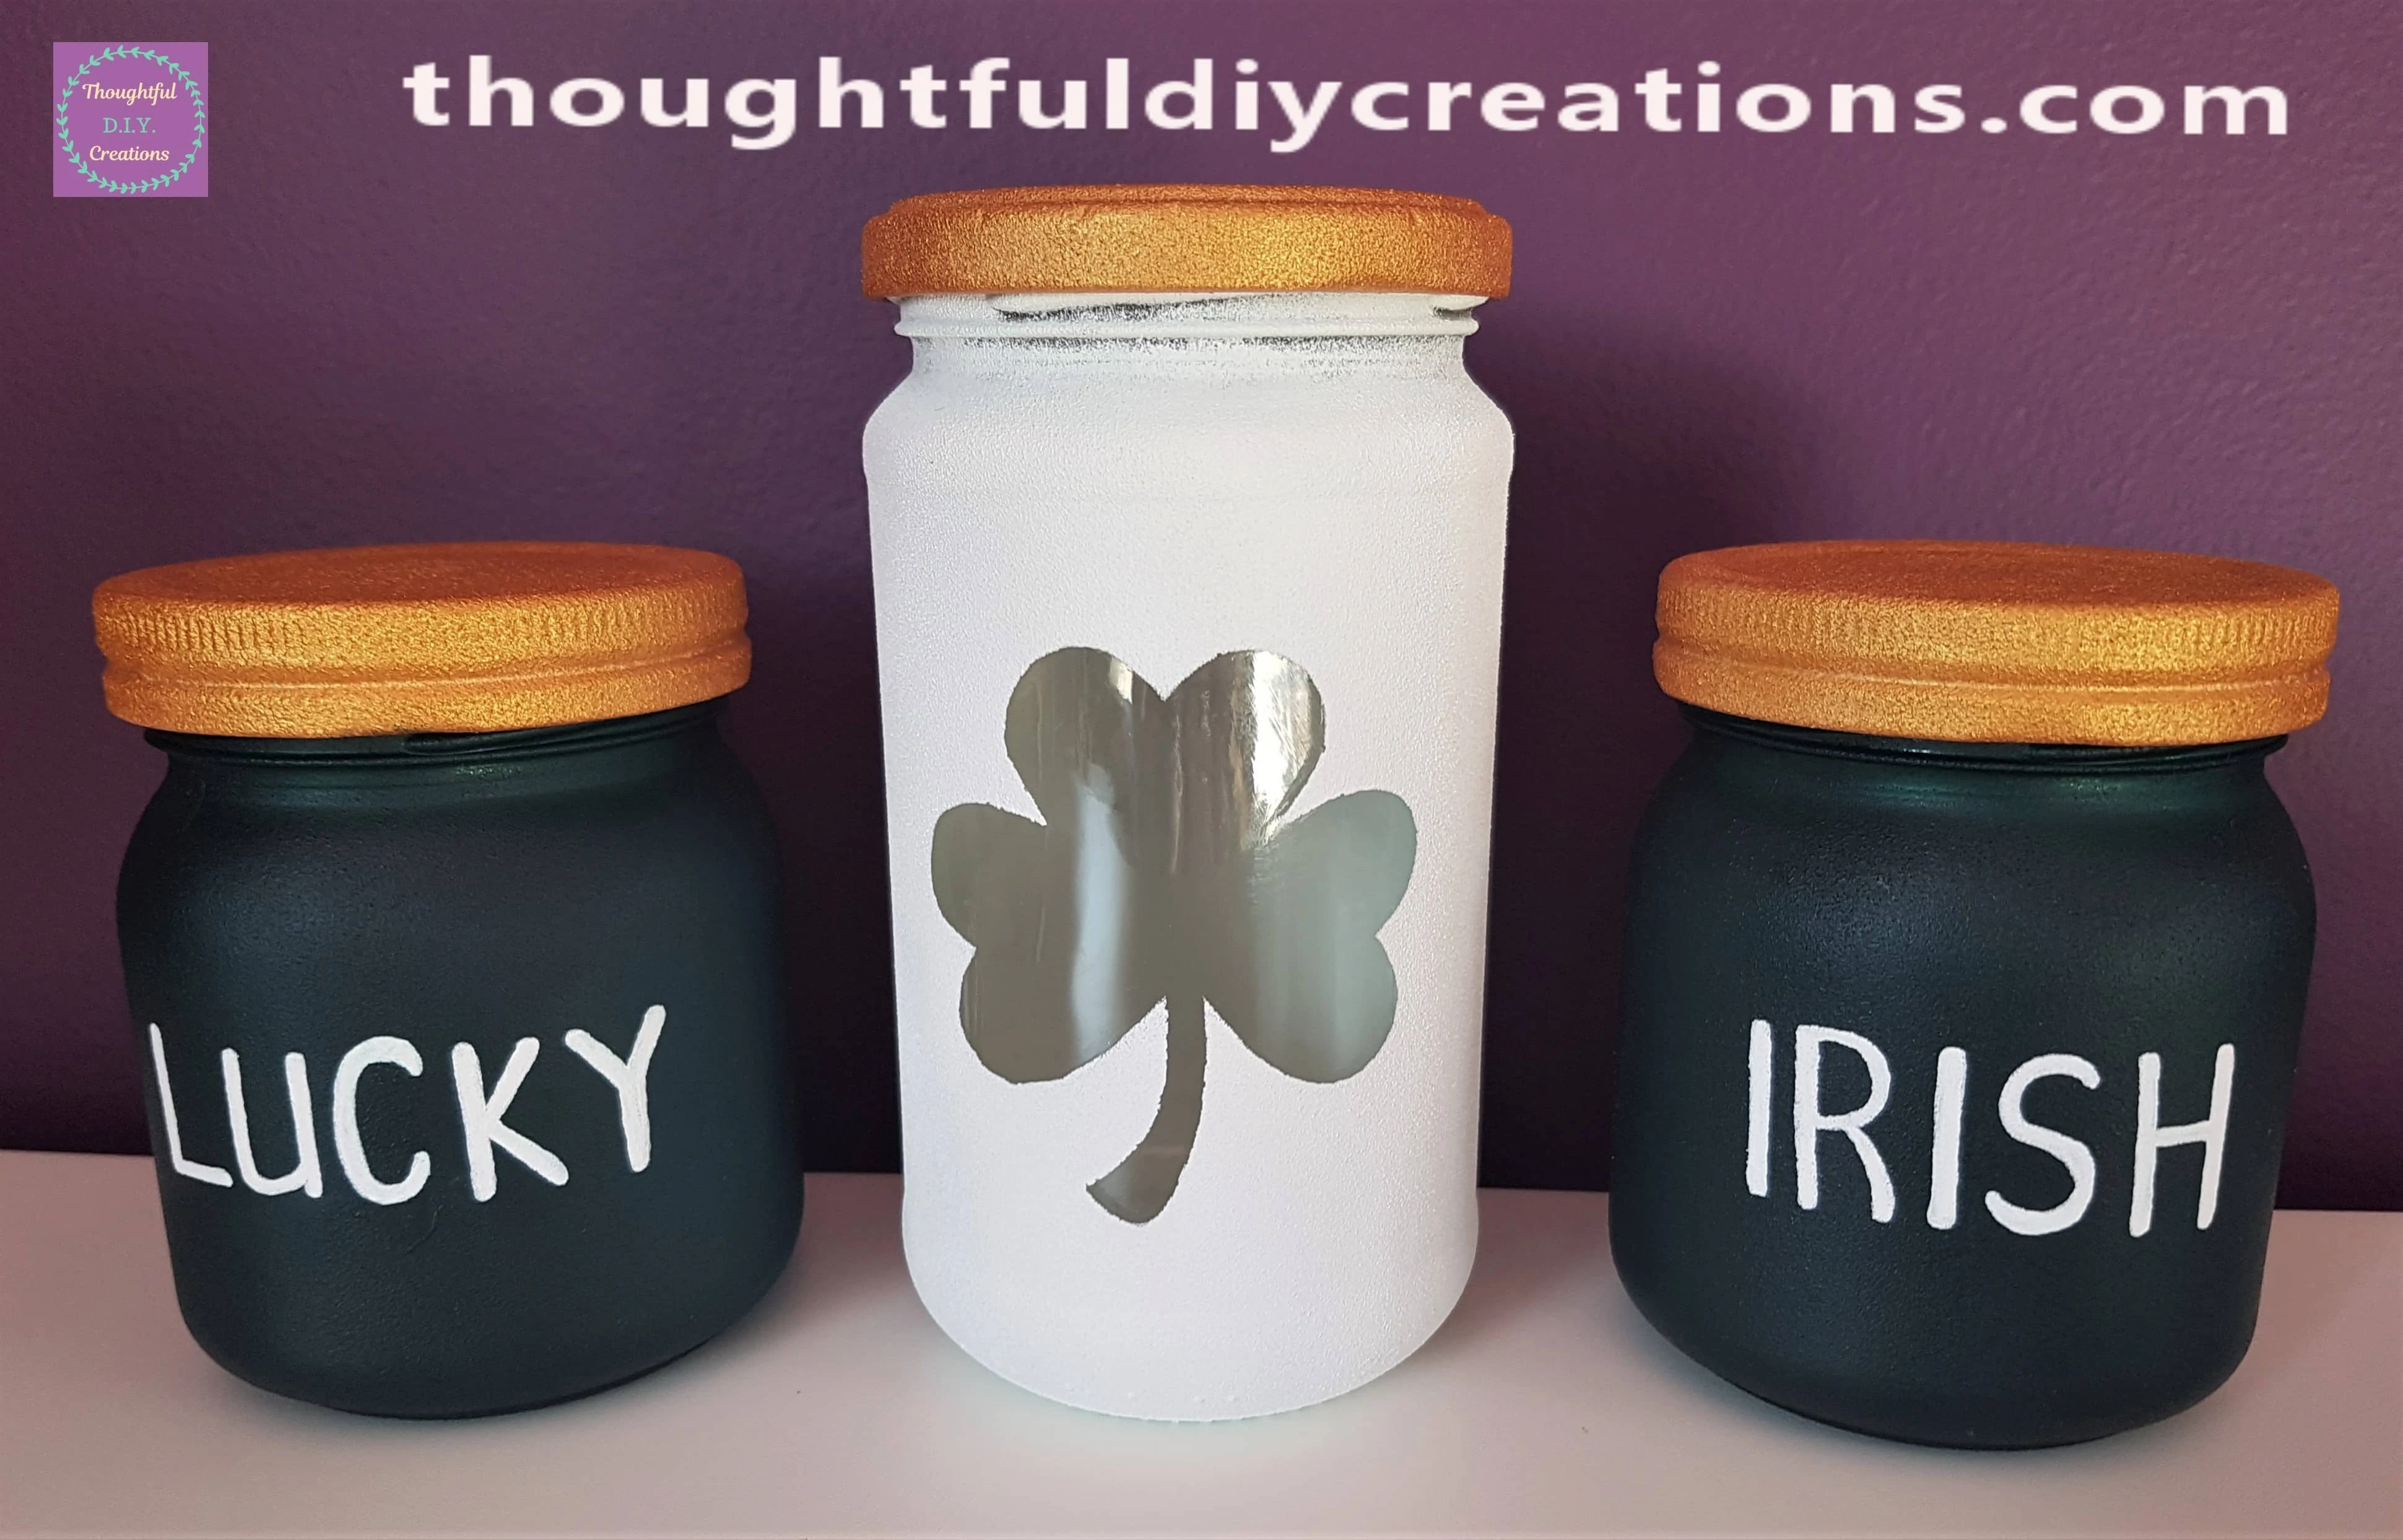
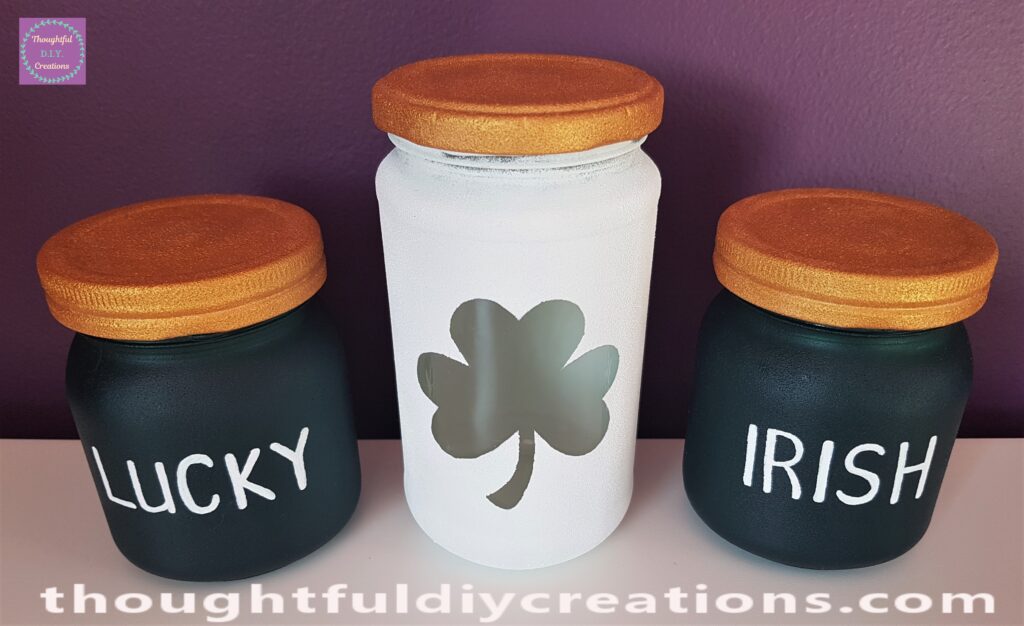
Here are all of the Finished Jars together.
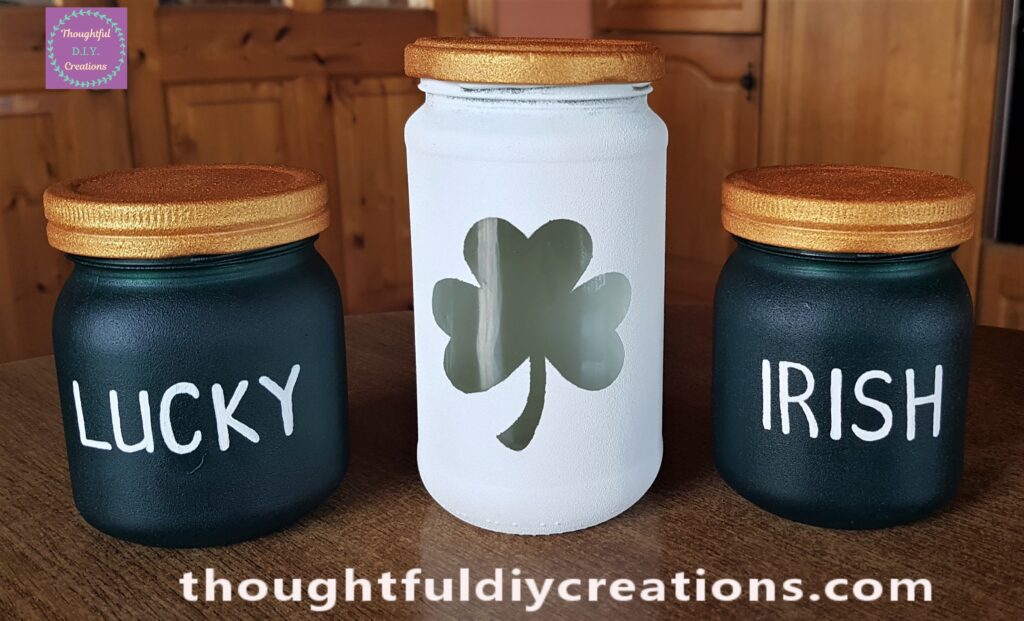
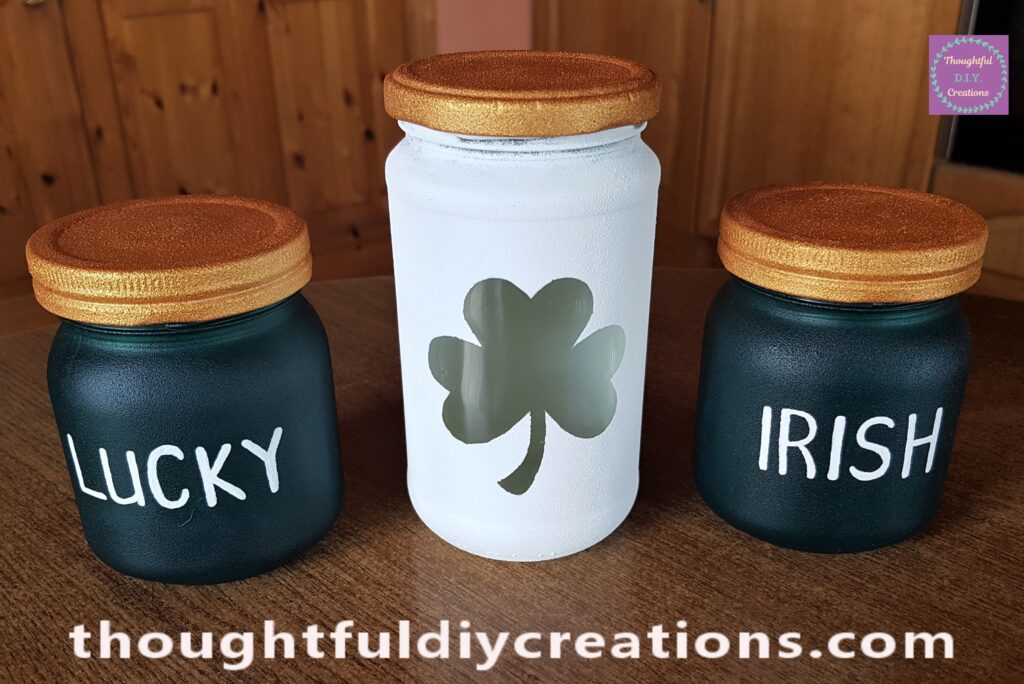
The 3 Paddy’s Day Jars on Display.
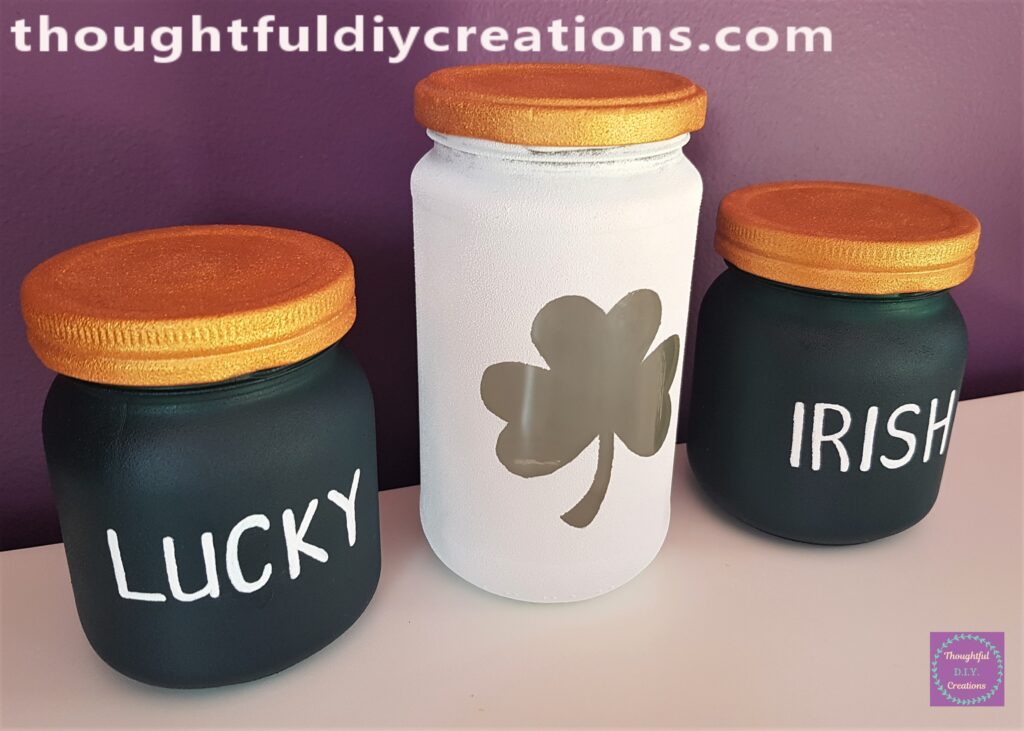
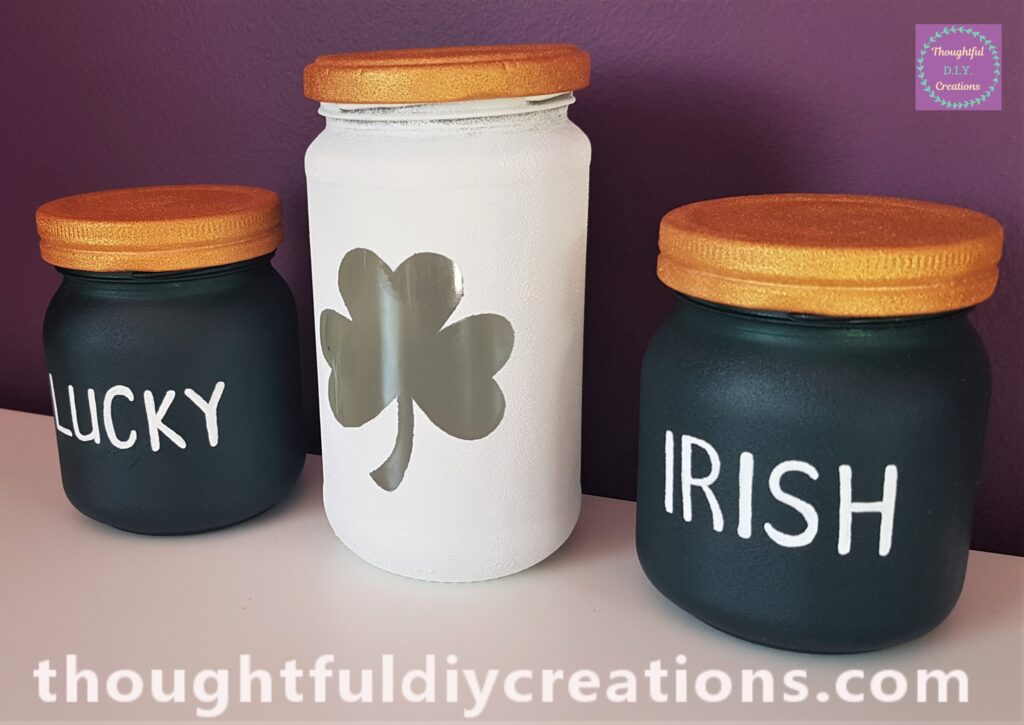
A Side Angle of the Jars.
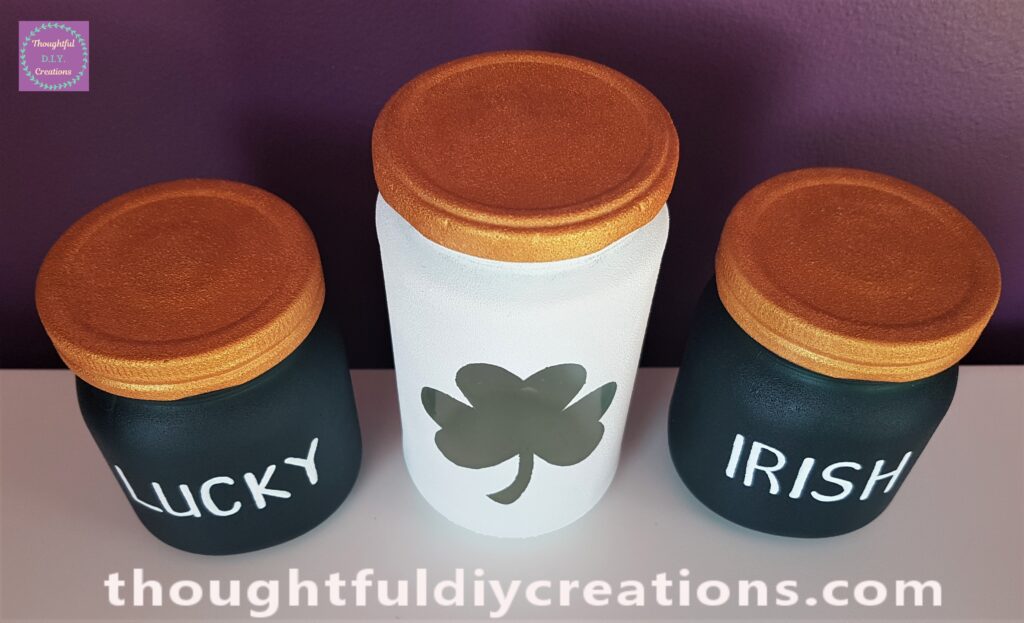
The Final Image of the Jars.
Conclusion
I am so Pleased with how the Paddy’s Day Jars came together. It’s amazing how some Paint and a Paint Pen can transform a Food Jar and turn it into something to Display, that would otherwise have ended up in the Bin.
I love the Colour Green on the Jars and I think it blends perfectly with the Gold and the Crisp White. The Shamrock Shape adds the famous Irish Symbol in the center of the Display.
Have you ever worked with Up-Cycling Jars before? Is there anything you do different than I do with mine?
You can Spray Paint the Jars instead of using the Acrylic Paint if you want. It would be a quicker process if you are stuck for Time. I don’t mind Sponging on the Acrylic Paint; it’s quite therapeutic. It would be ideal for younger Children too as using the Sponge will be less messy.
If you are looking for more St. Patrick’s Day Crafts Inspiration, here is a Cute Leprechaun Craft you might want to try with your Children that I made last Year; Leprechaun Door.
That’s it for This Week.
Thank You So Much for Taking the Time to Read my Blog.
Always Grateful,
T.D.C.
xoxox

-0 Comment-