Personalised Light-Up Flower Canvas Tutorial
Hello my Creative Friends,
I hope you are all Well. In Today’s Tutorial I will show you How I made a Personalised Light-Up Flower Canvas. It is the Perfect Gift for any Age; it would work equally well in a Nursery or a Teen / Adult’s Bedroom as part of the Decor. It can be customised to your favourite Colours as well as the Size of the Canvas you prefer.
Canvas for Crafting
I bought a “20cm x 20 cm” Primed Canvas.

This Image shows the Back of the Canvas.
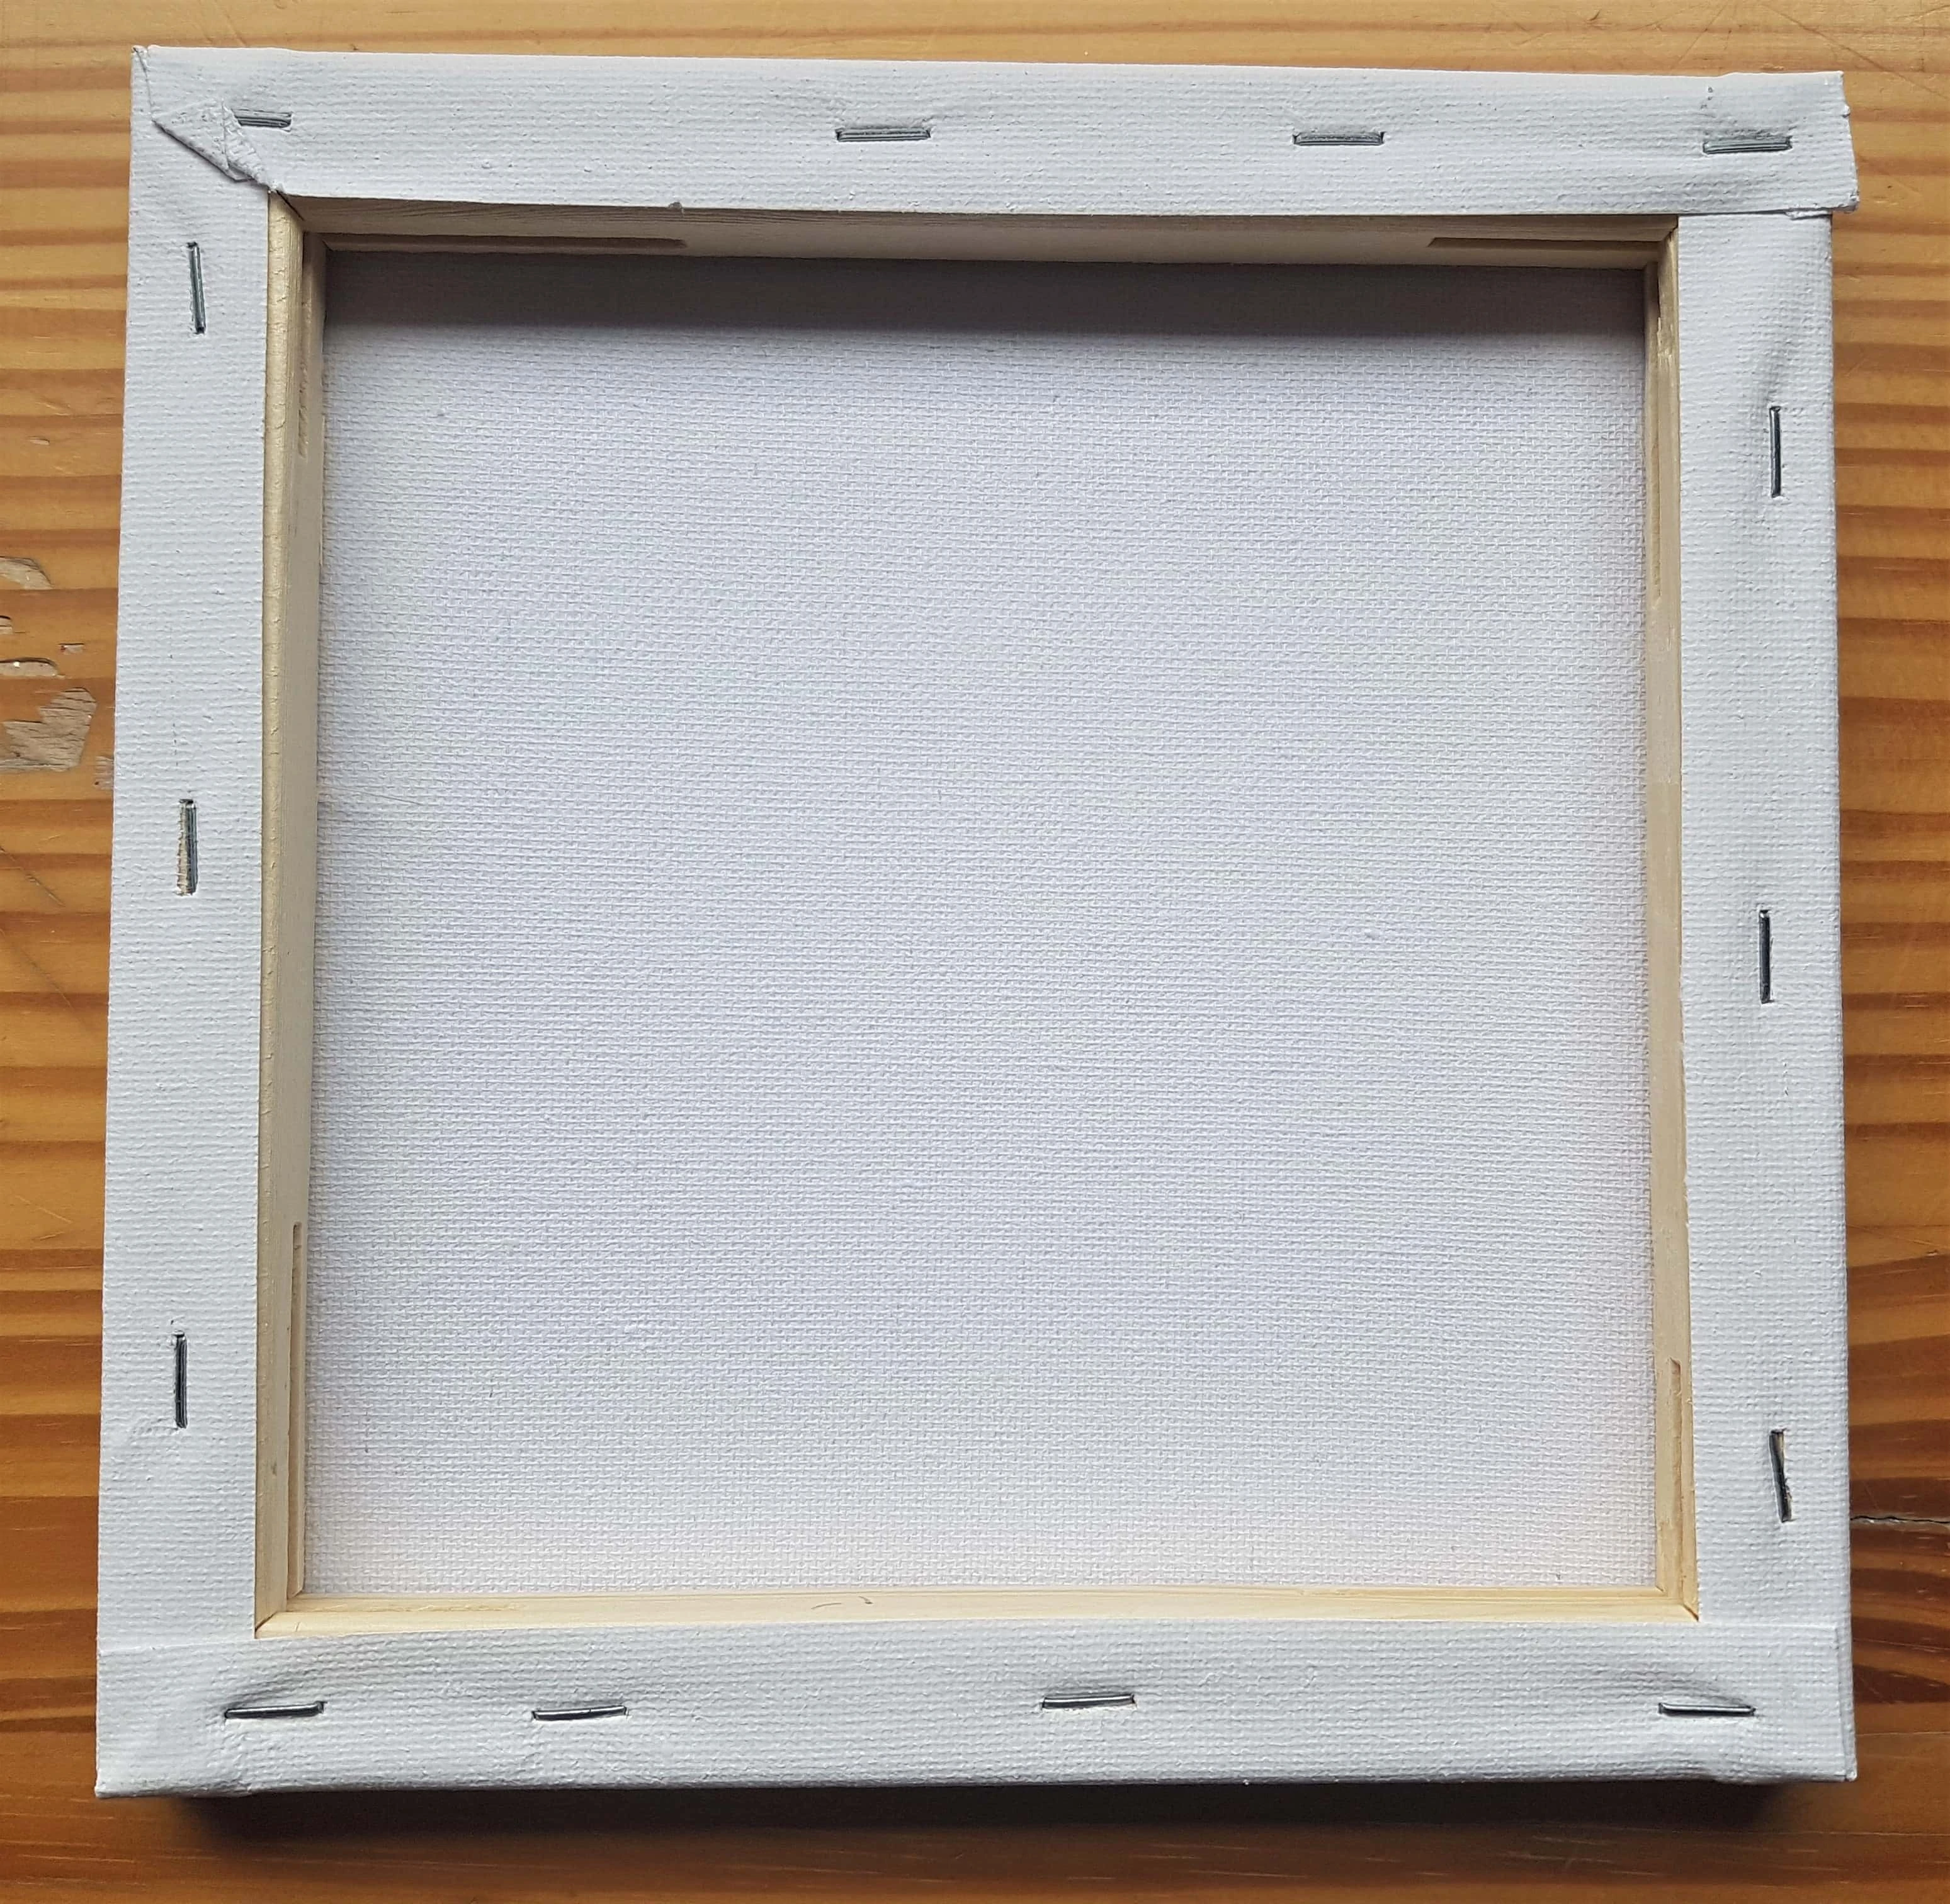
Preparing to Paint the Back of the Personalised Canvas
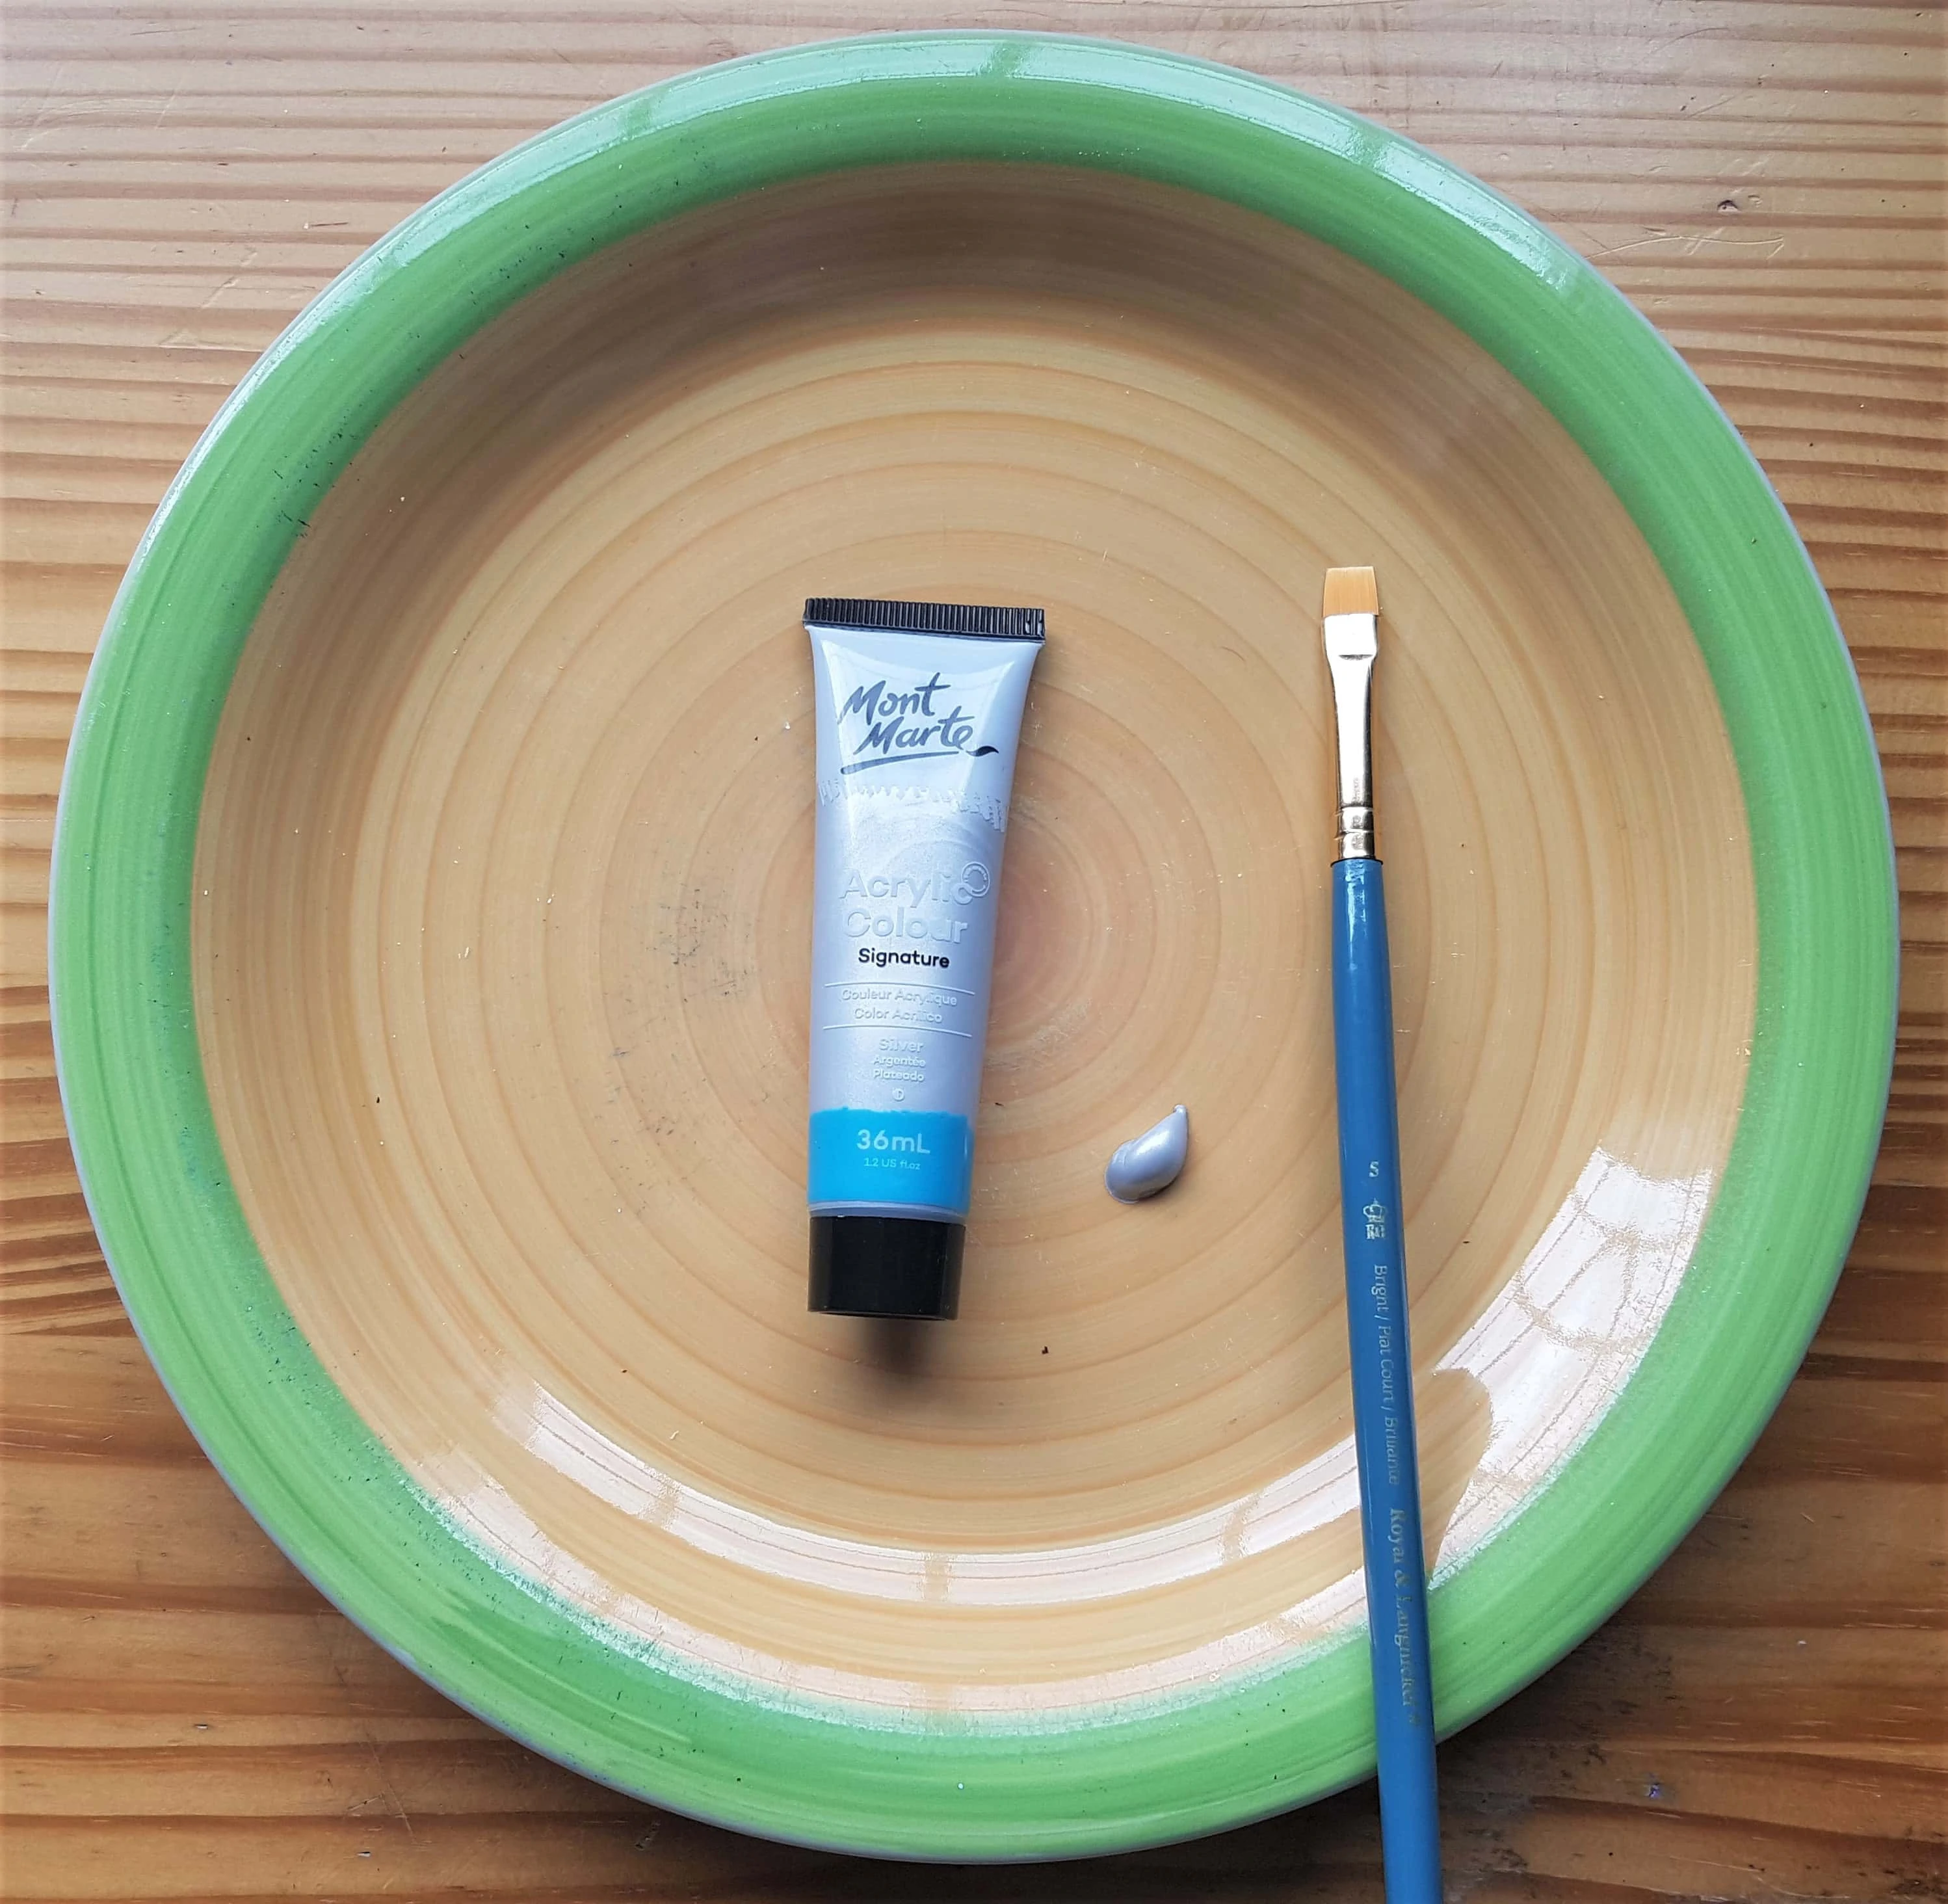
I poured some Silver Acrylic Paint onto an old Plate and got a small flat Paintbrush.
I Painted 2 Layers of Silver Paint onto the back of the Canvas leaving an Hour drying time between layers.
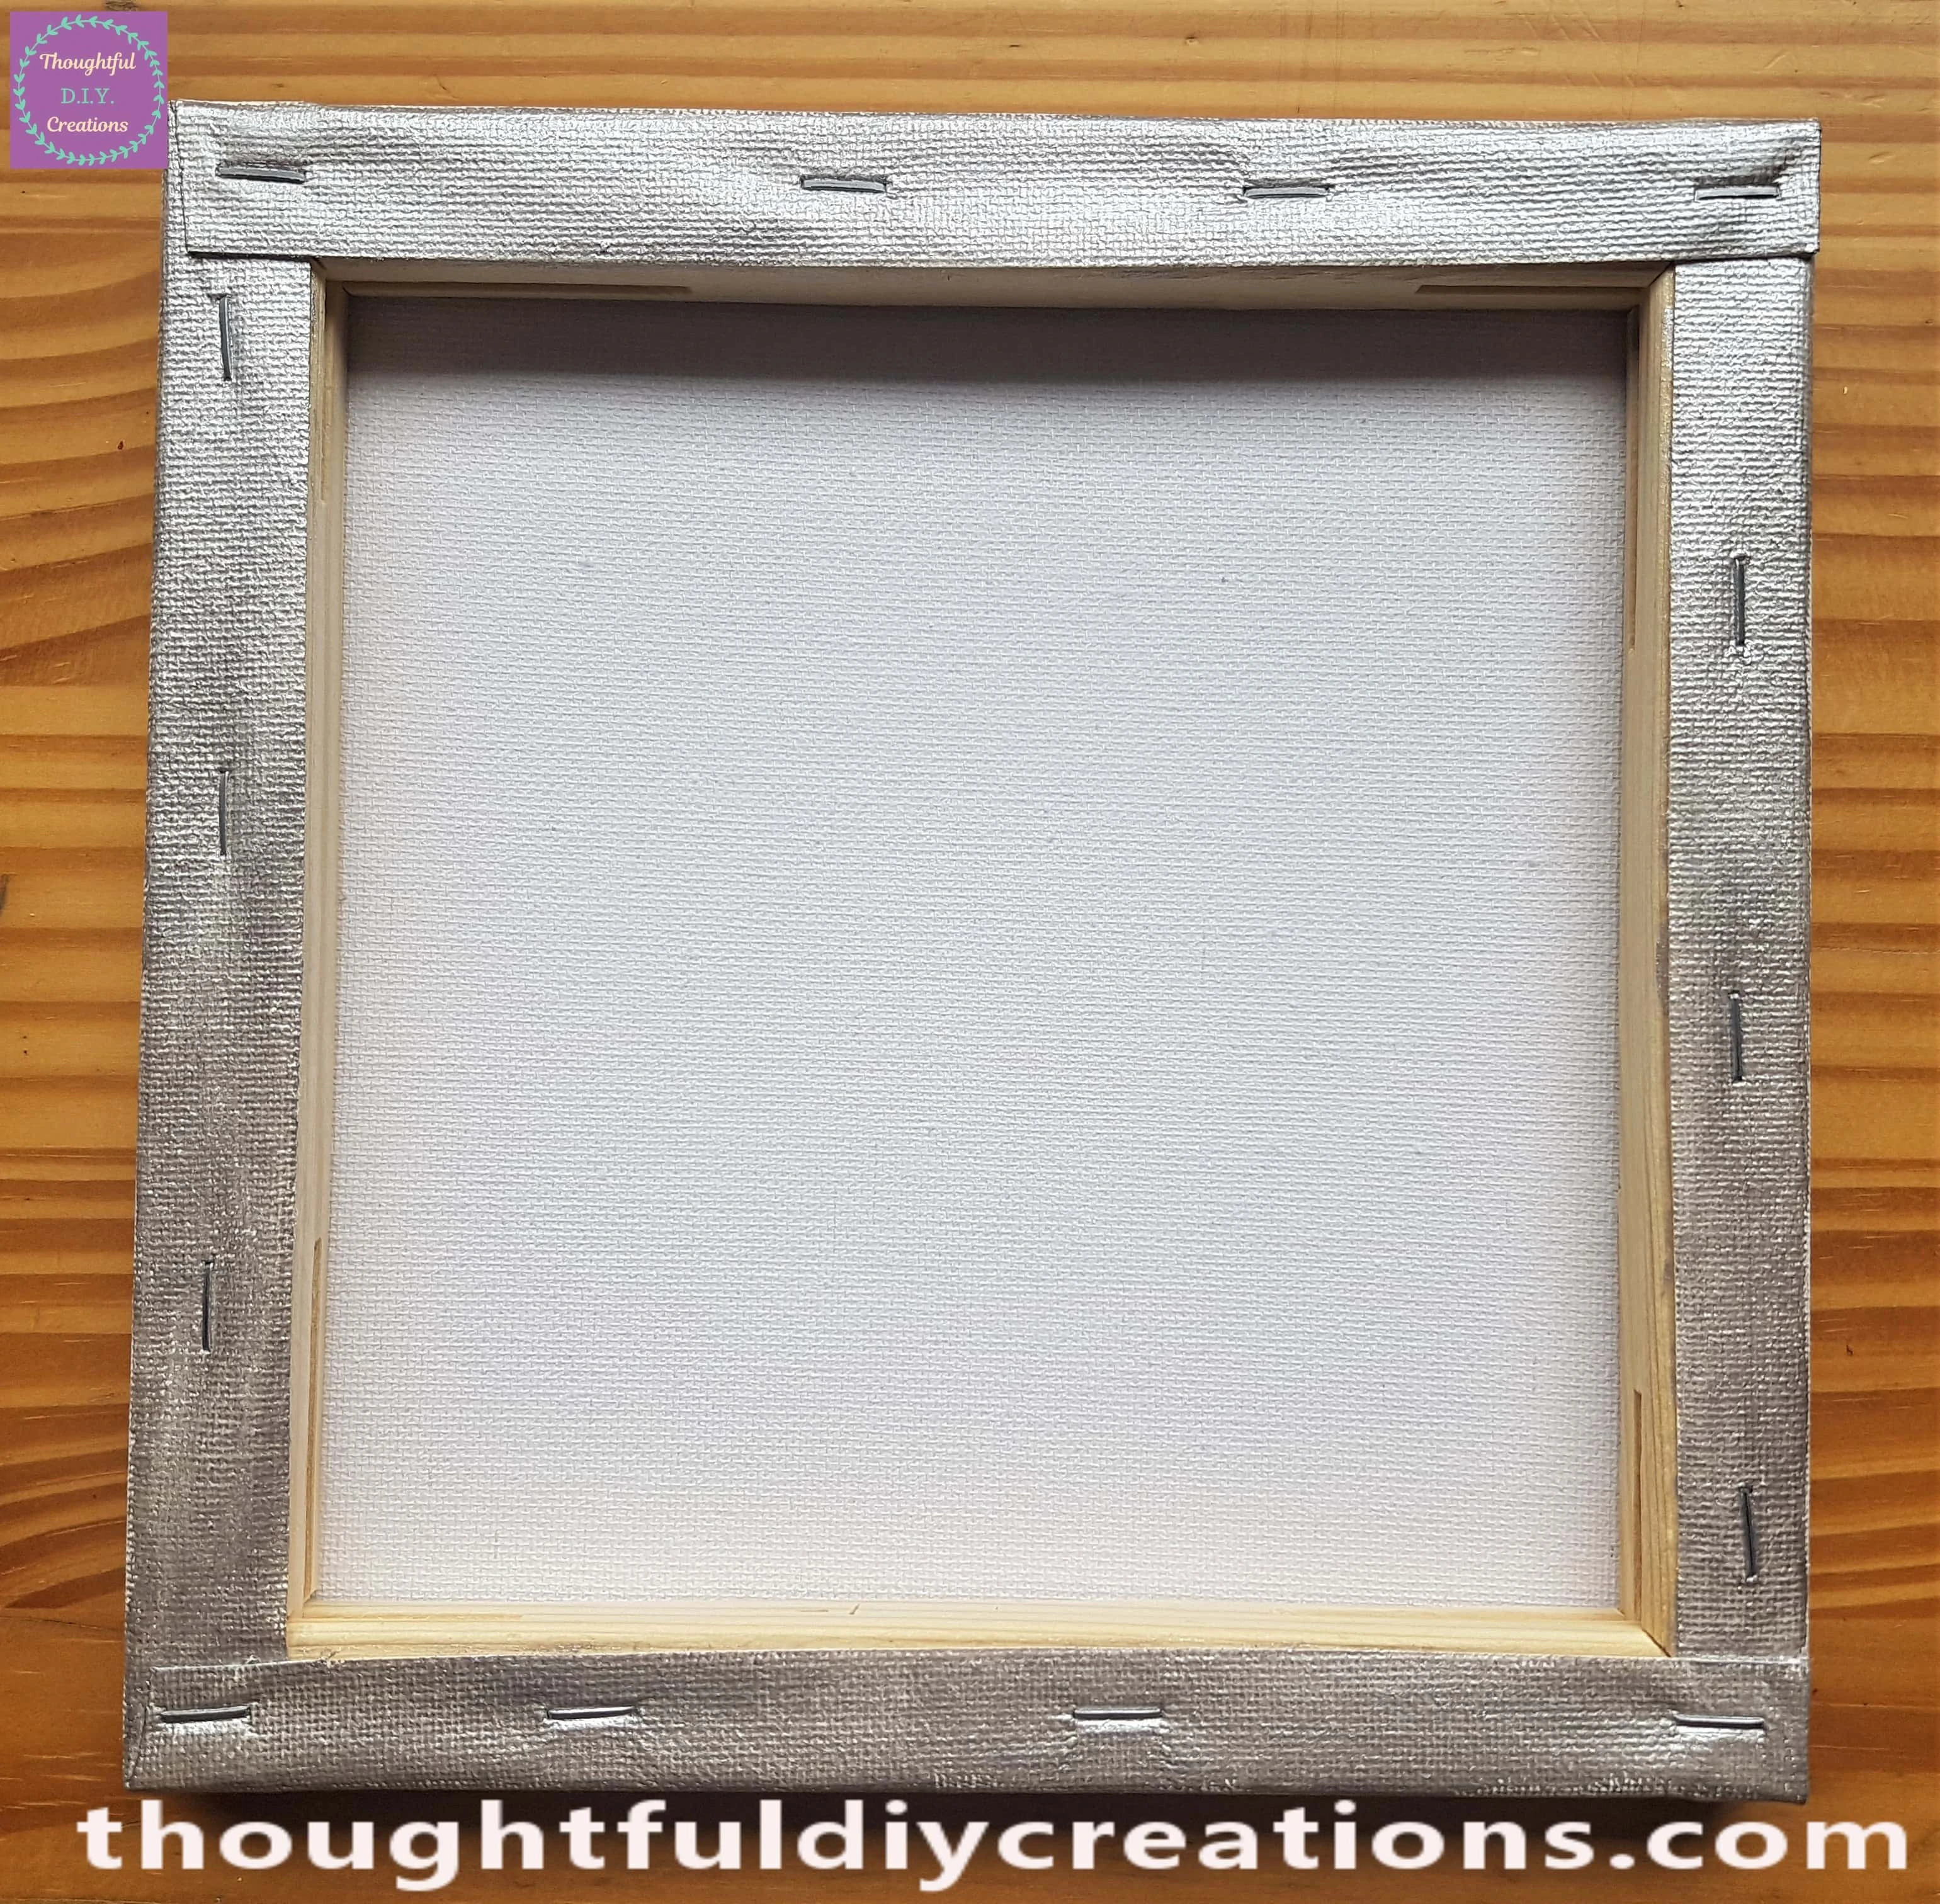
Painting the Rest of the Personalised Canvas
A Couple of Hours after the second coat of Paint was applied to the back of the Canvas; I turned it back over to the front. I got a 1 inch Flat Paintbrush and poured some Silver Paint onto the Plate.
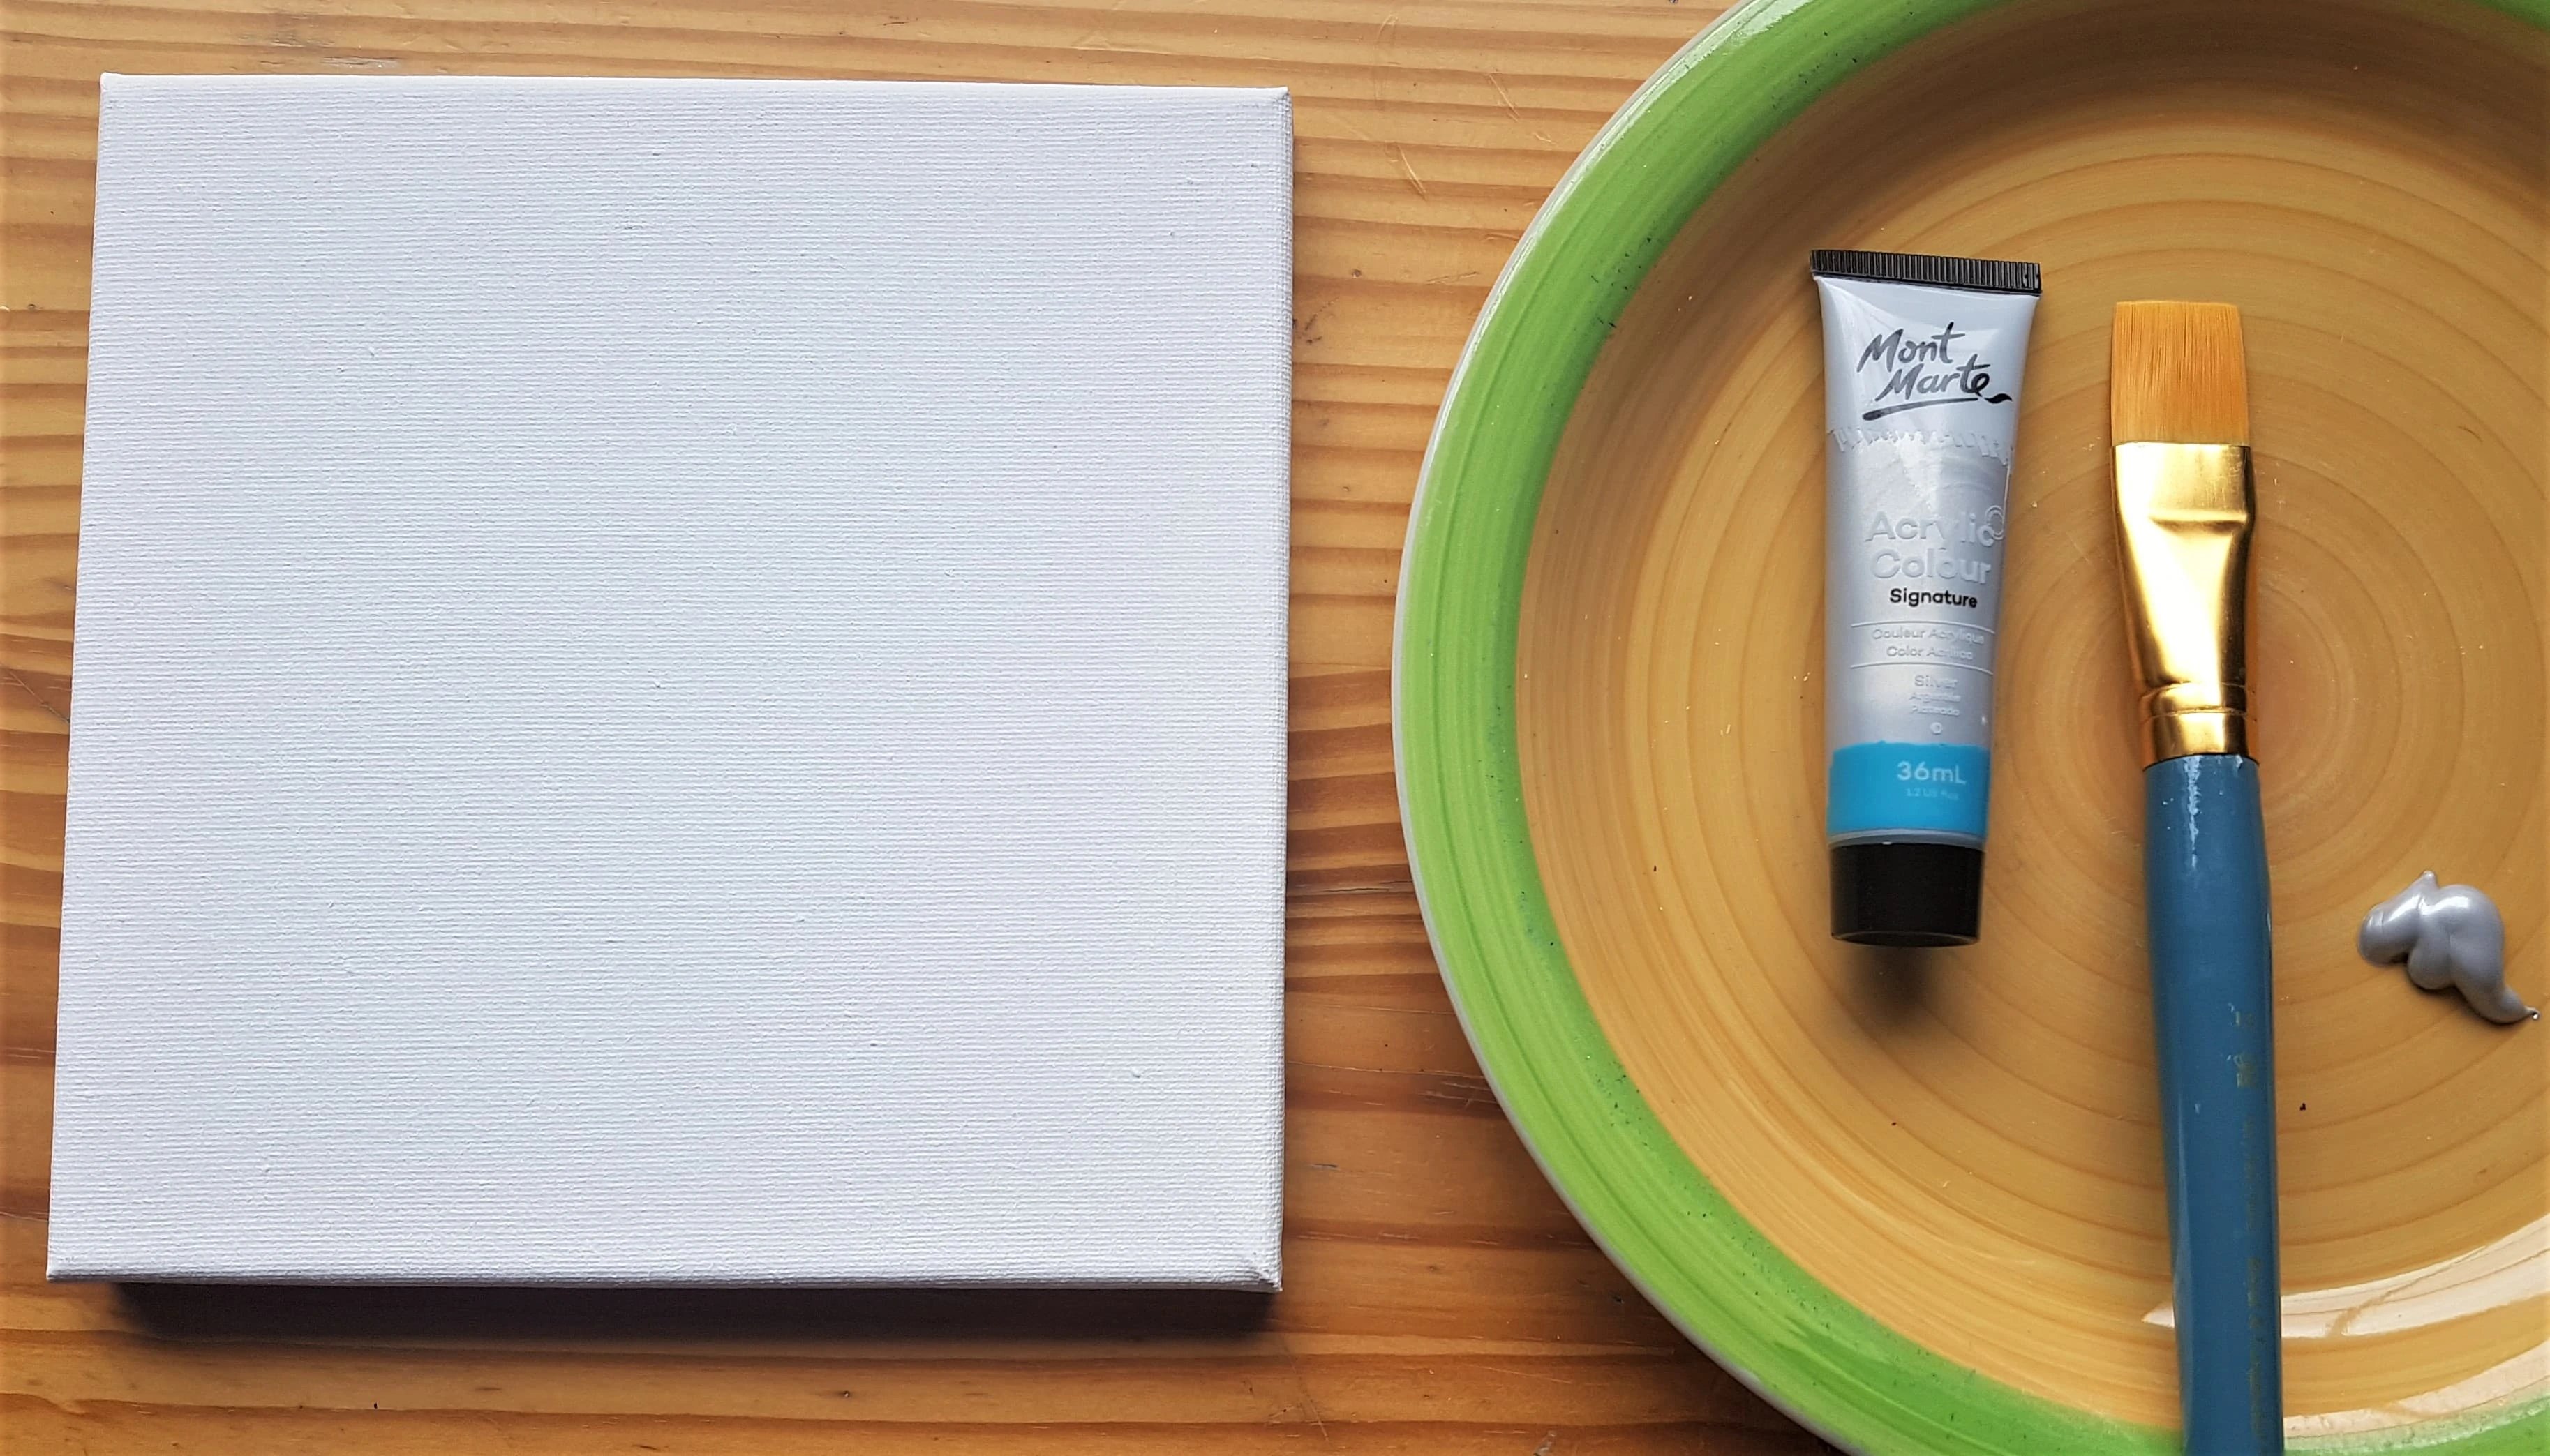
I Painted a thin even layer of Silver Paint onto the Front and Sides of the Canvas.
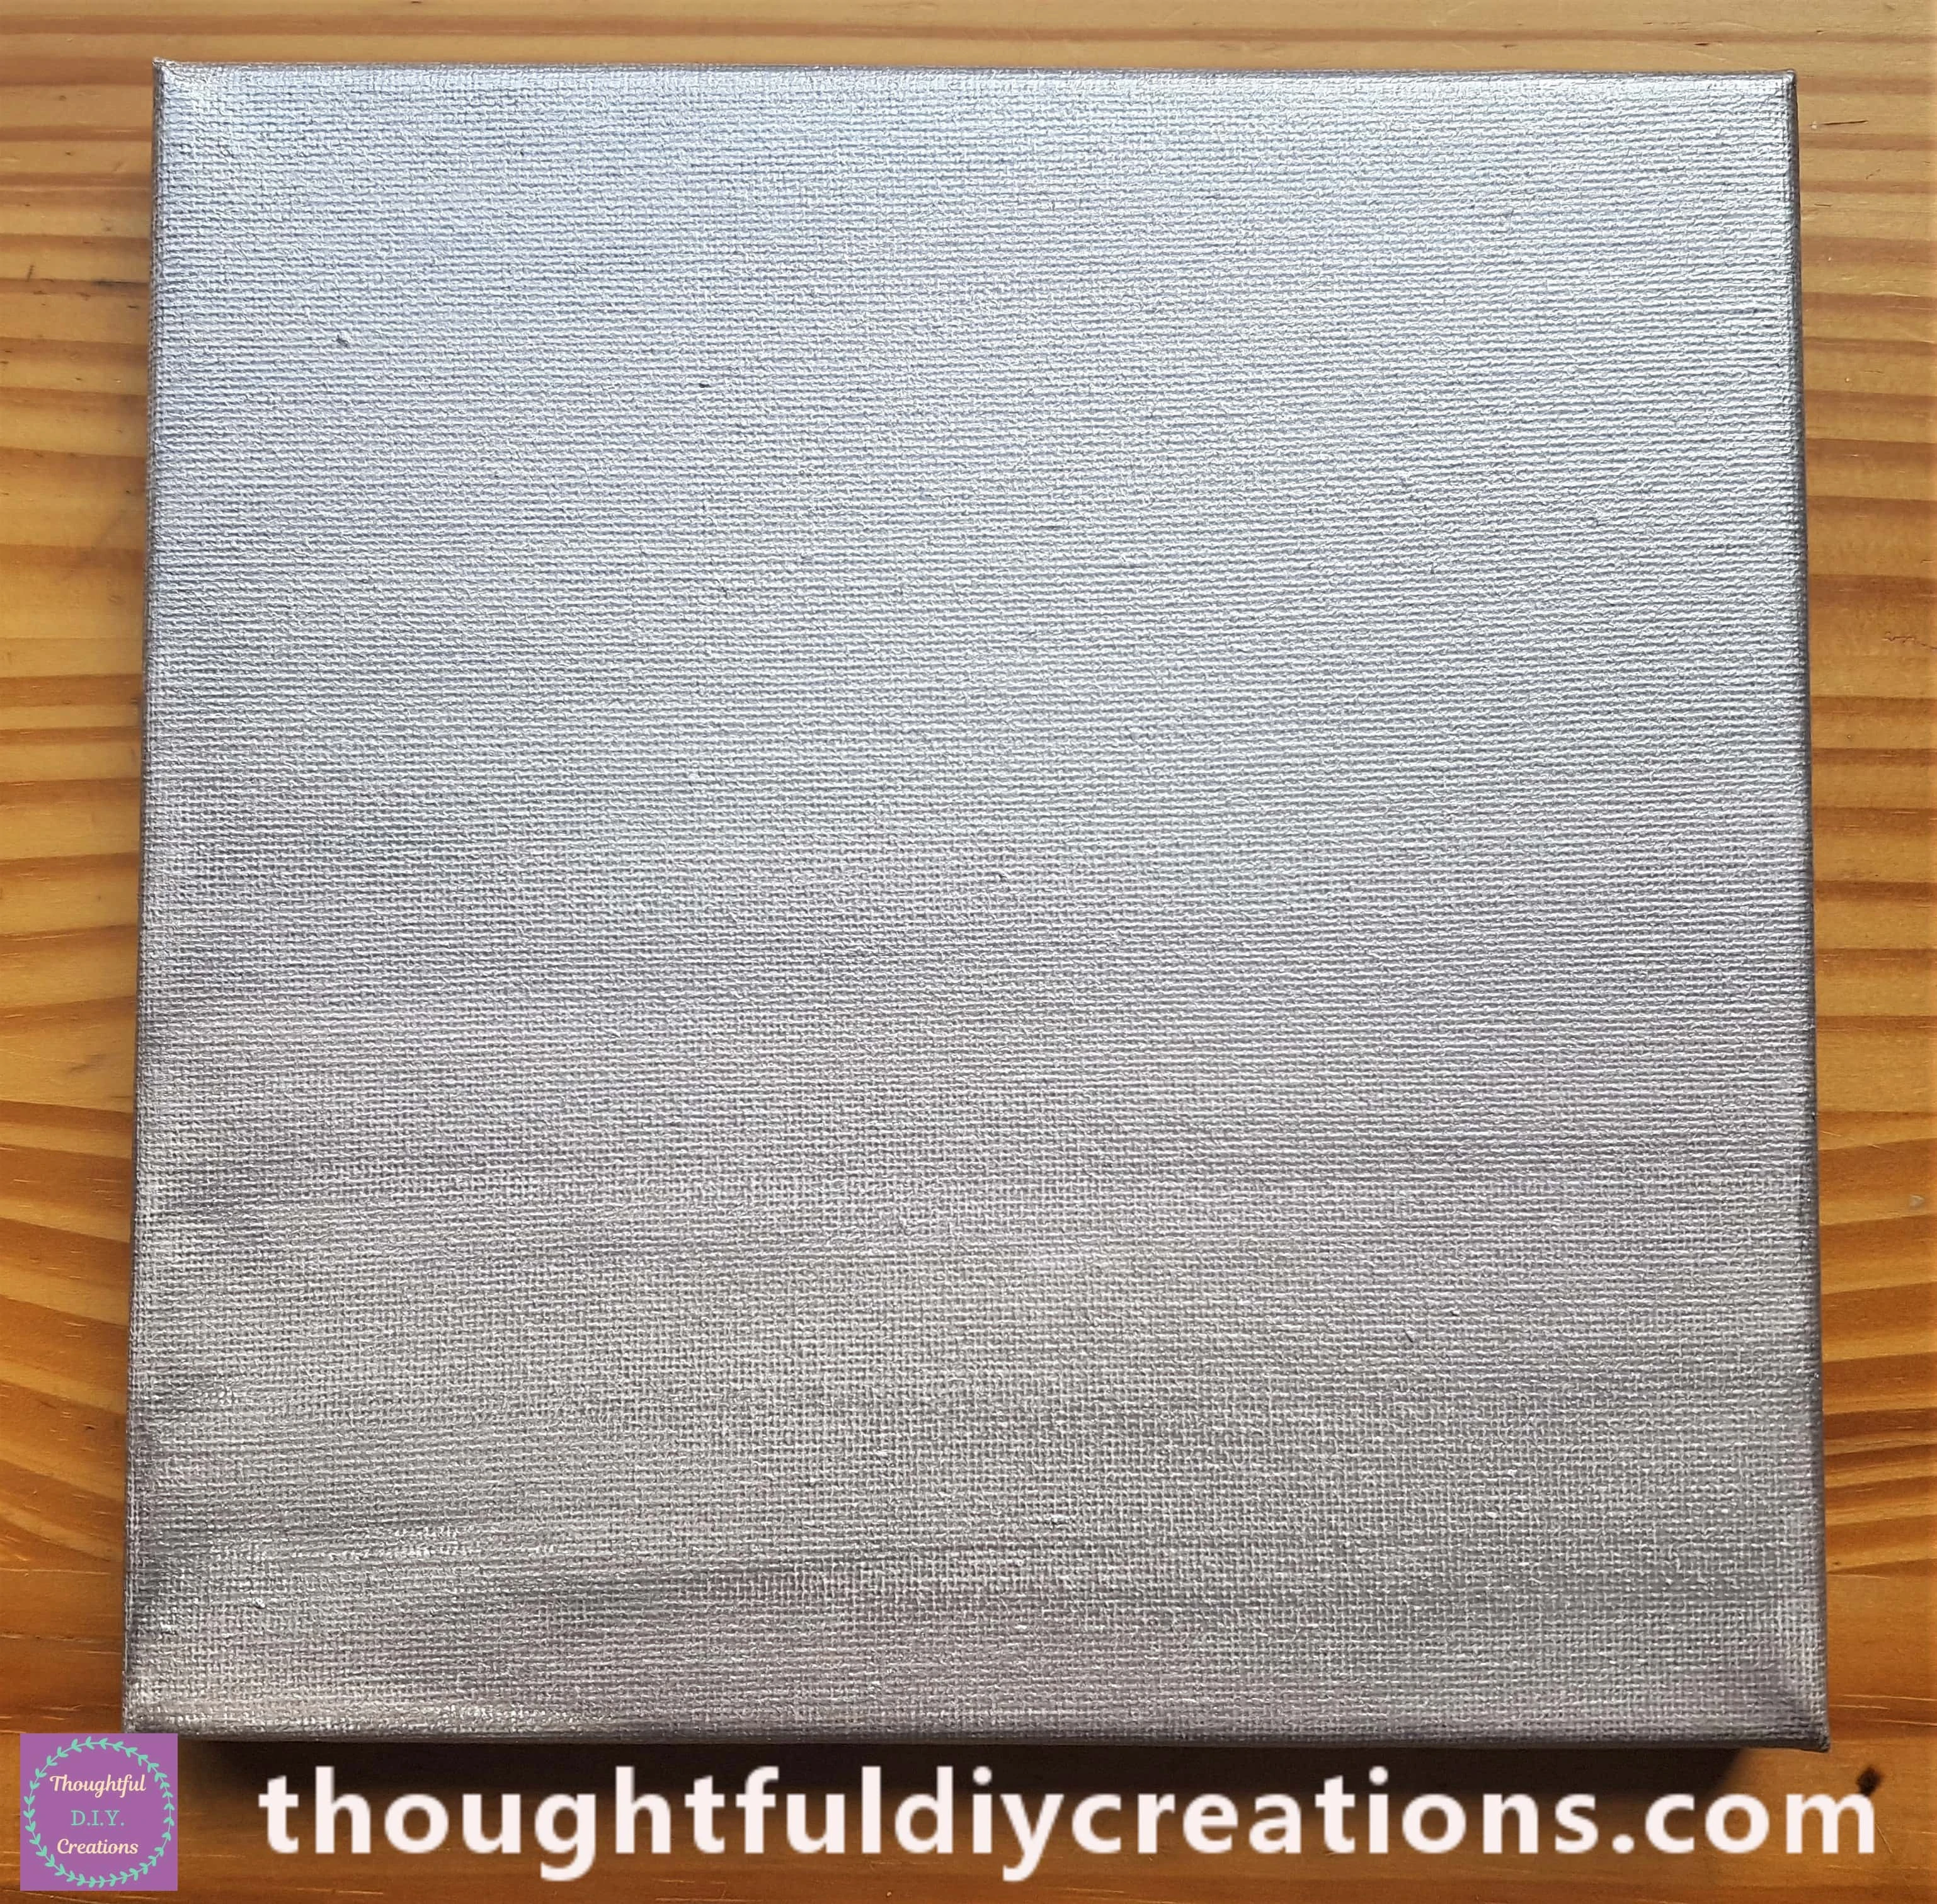
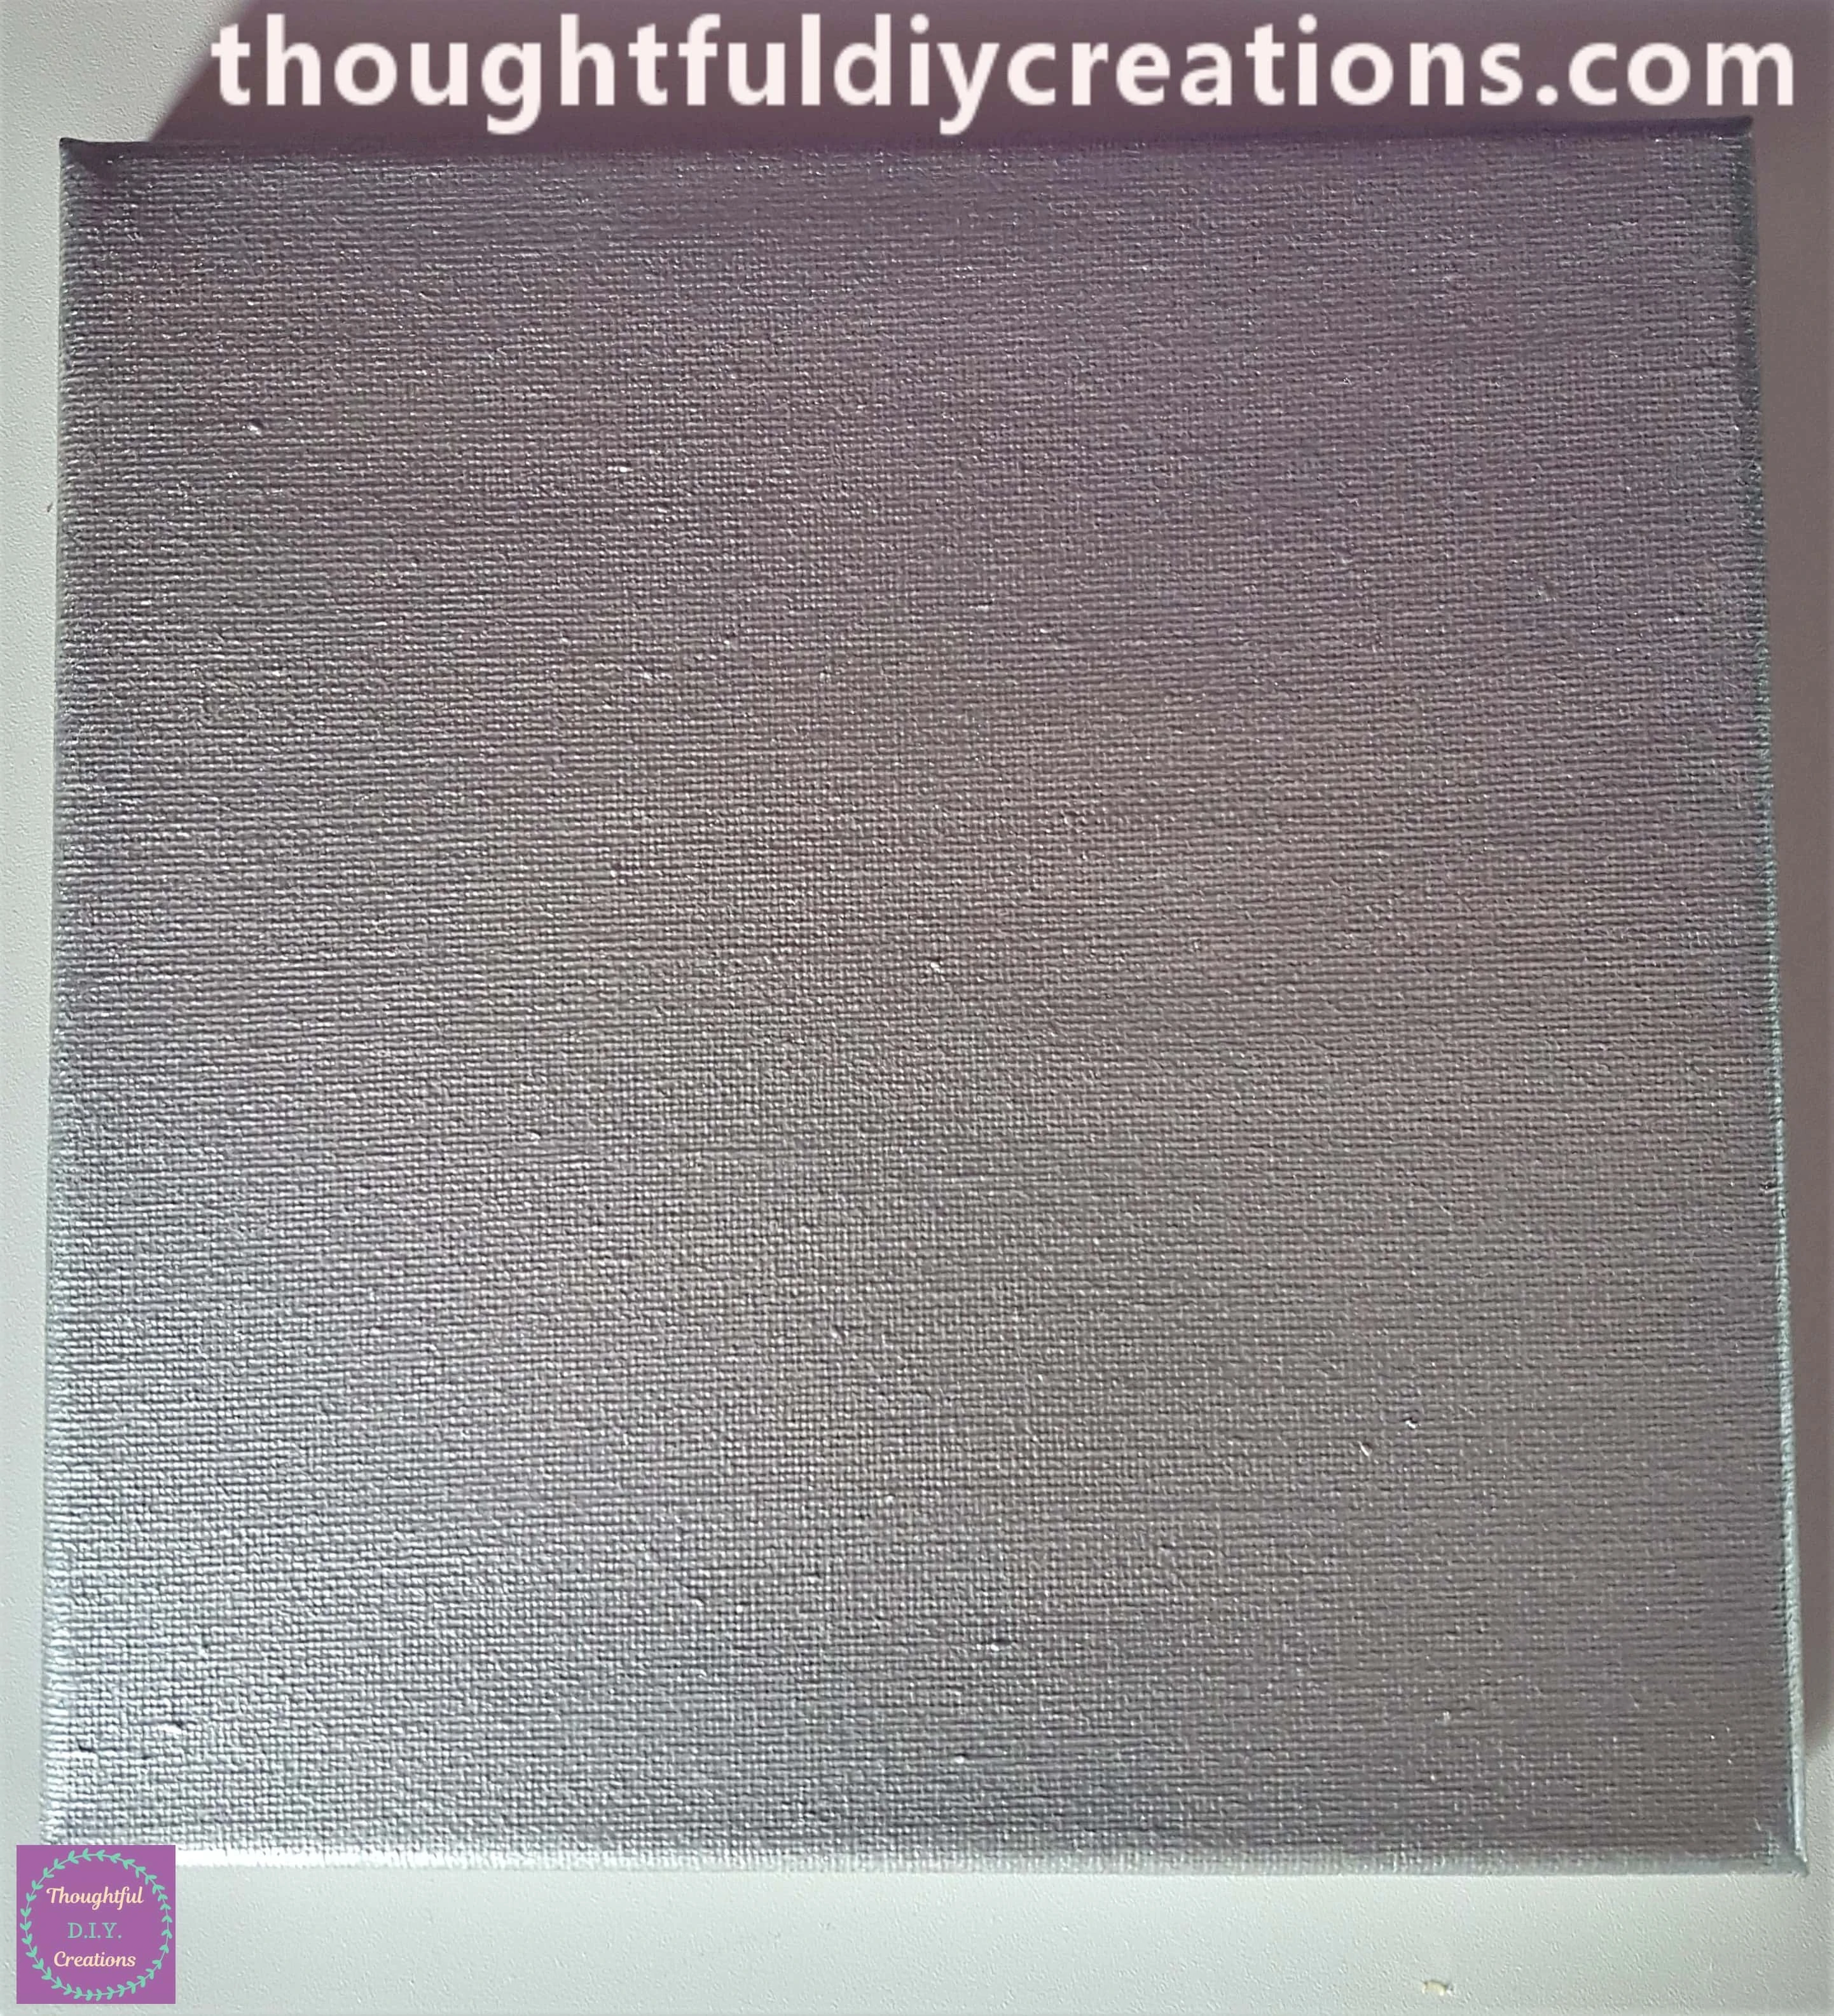
I Painted 2 more Layers of Silver Paint onto the Canvas leaving an Hour between each Layer.
Flower Lights
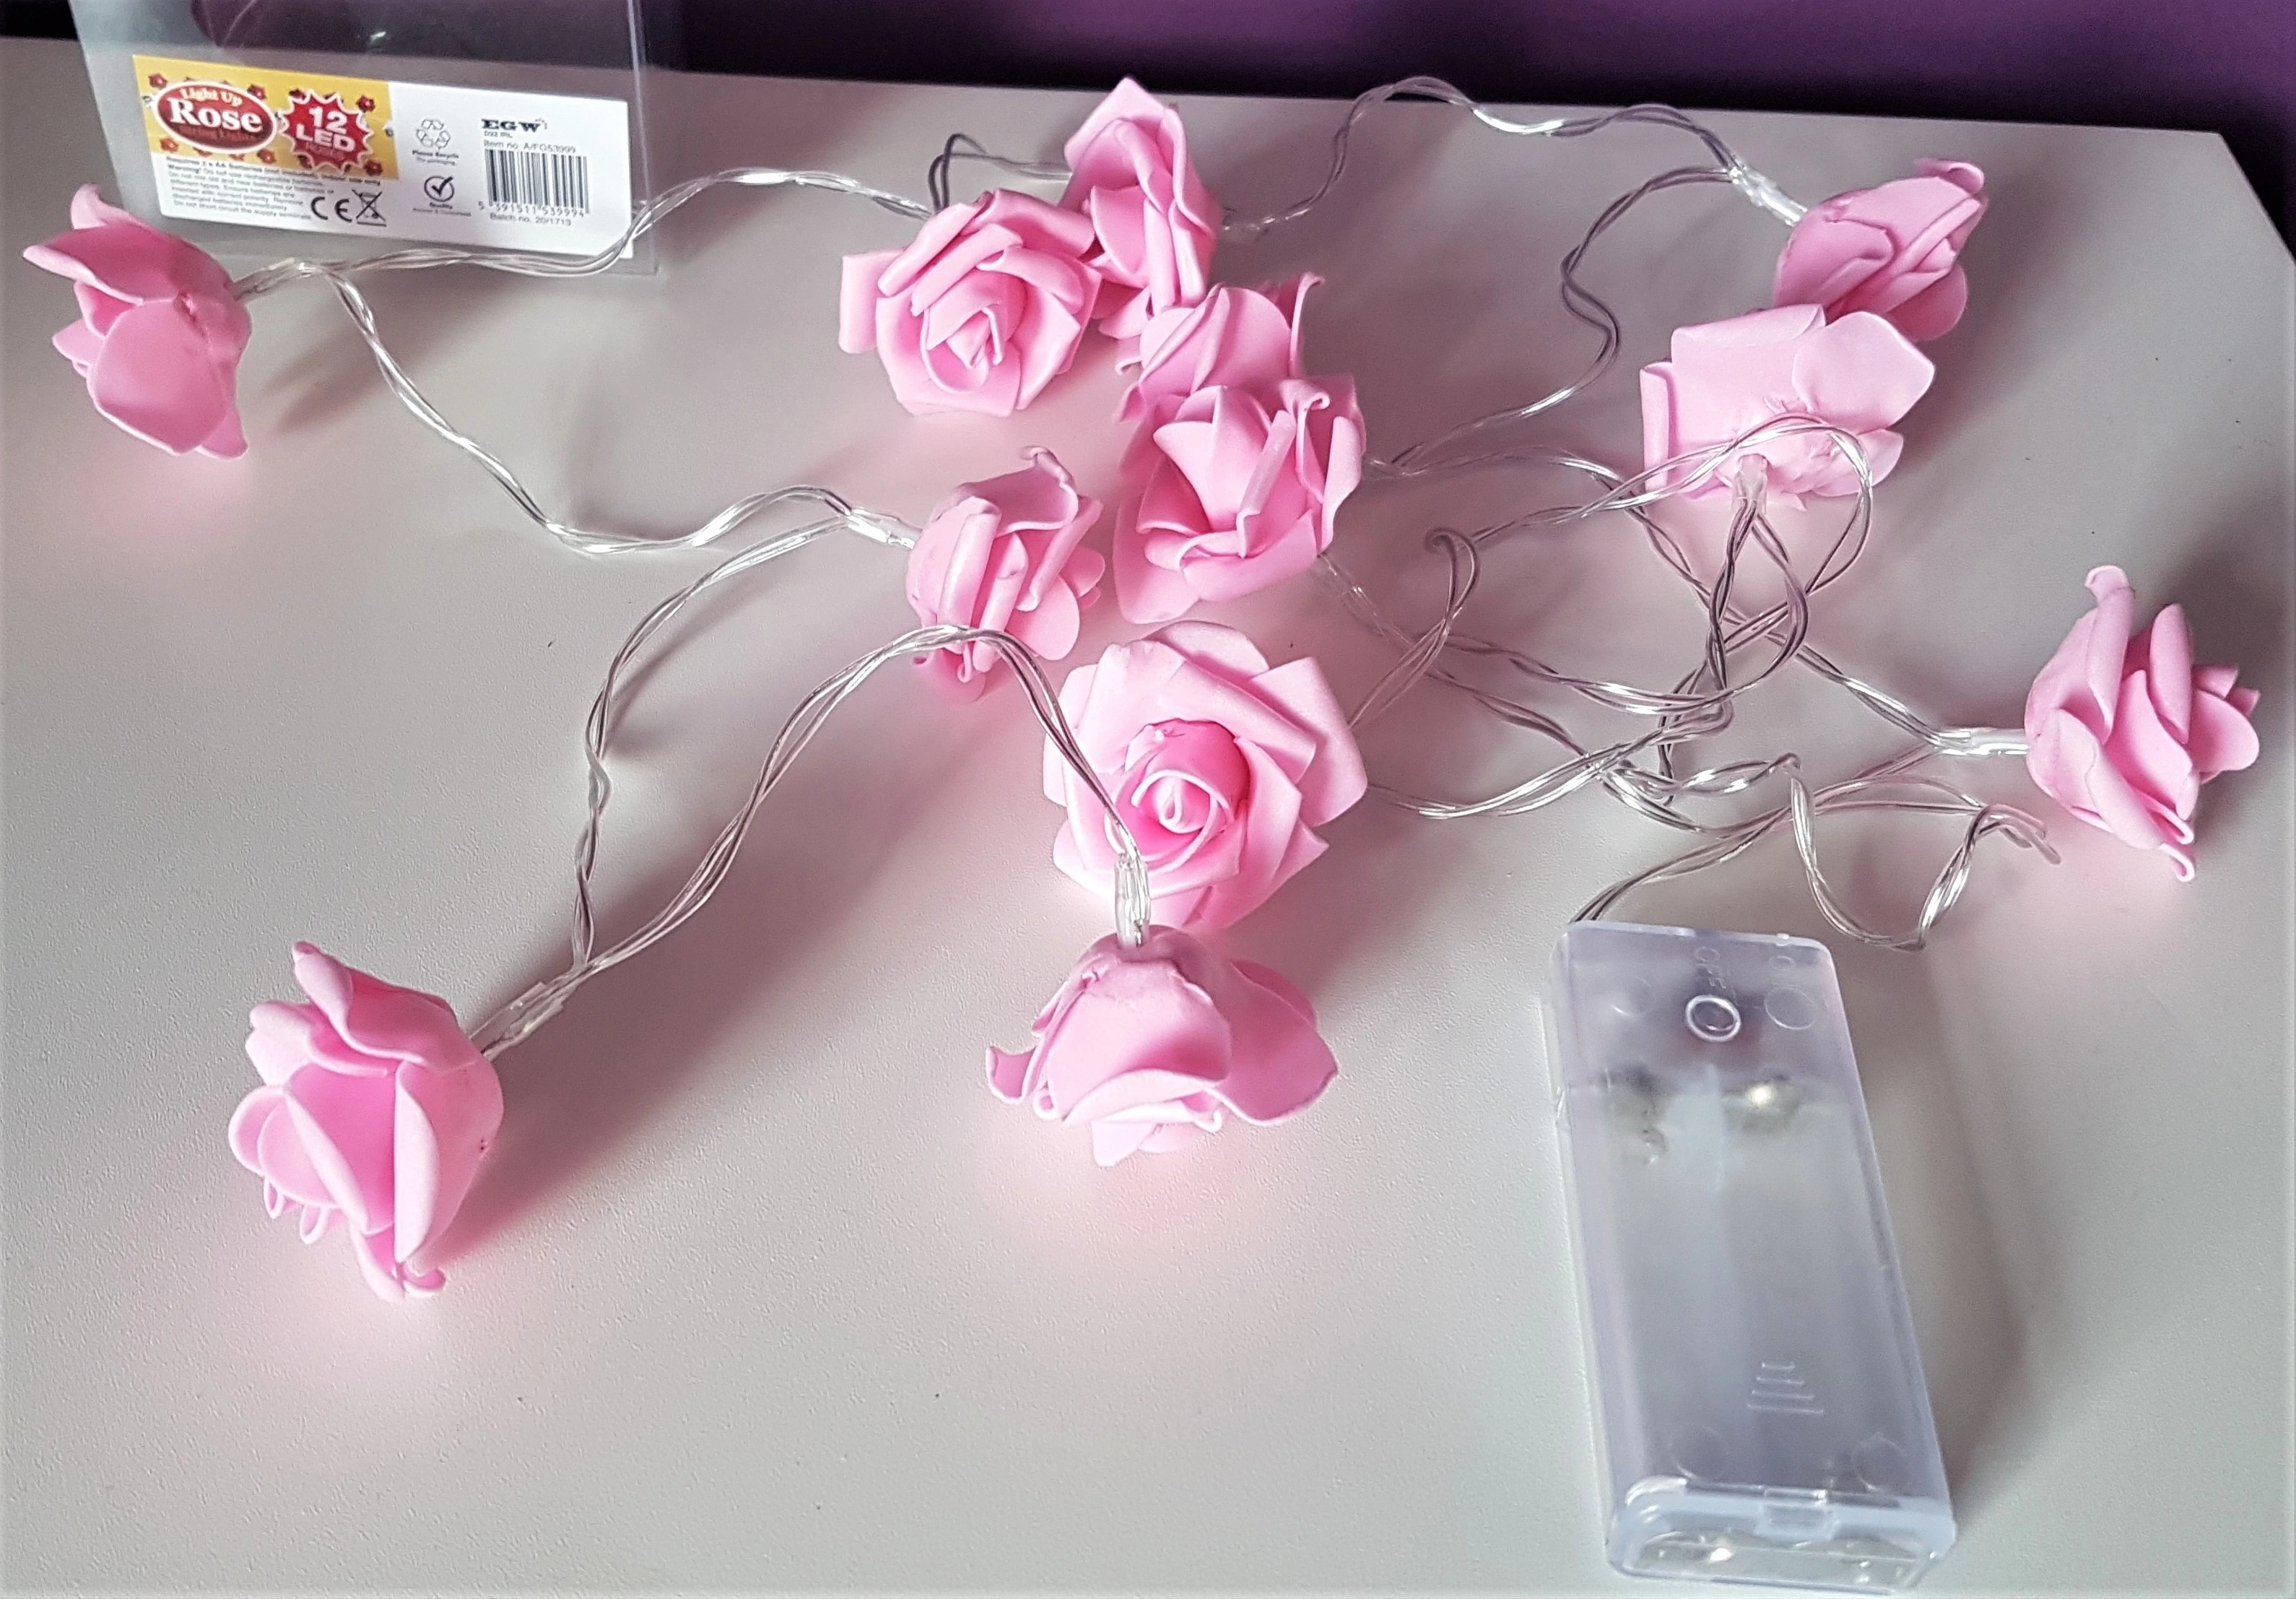
I got my Set of “12 LED Battery Pack, Rose Flower Lights”.
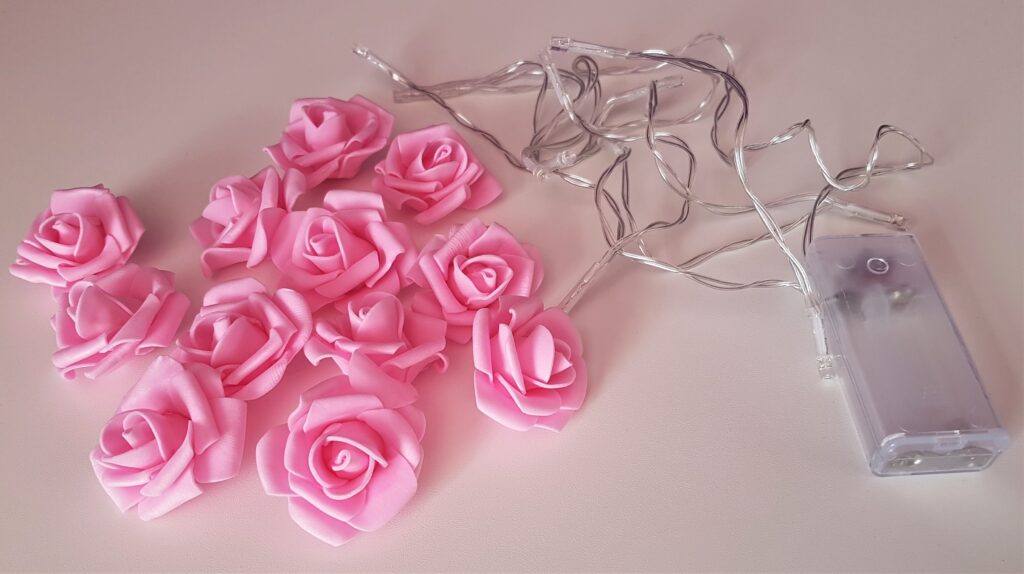
I removed the Flower Heads from the Lights; they just pop off easily.
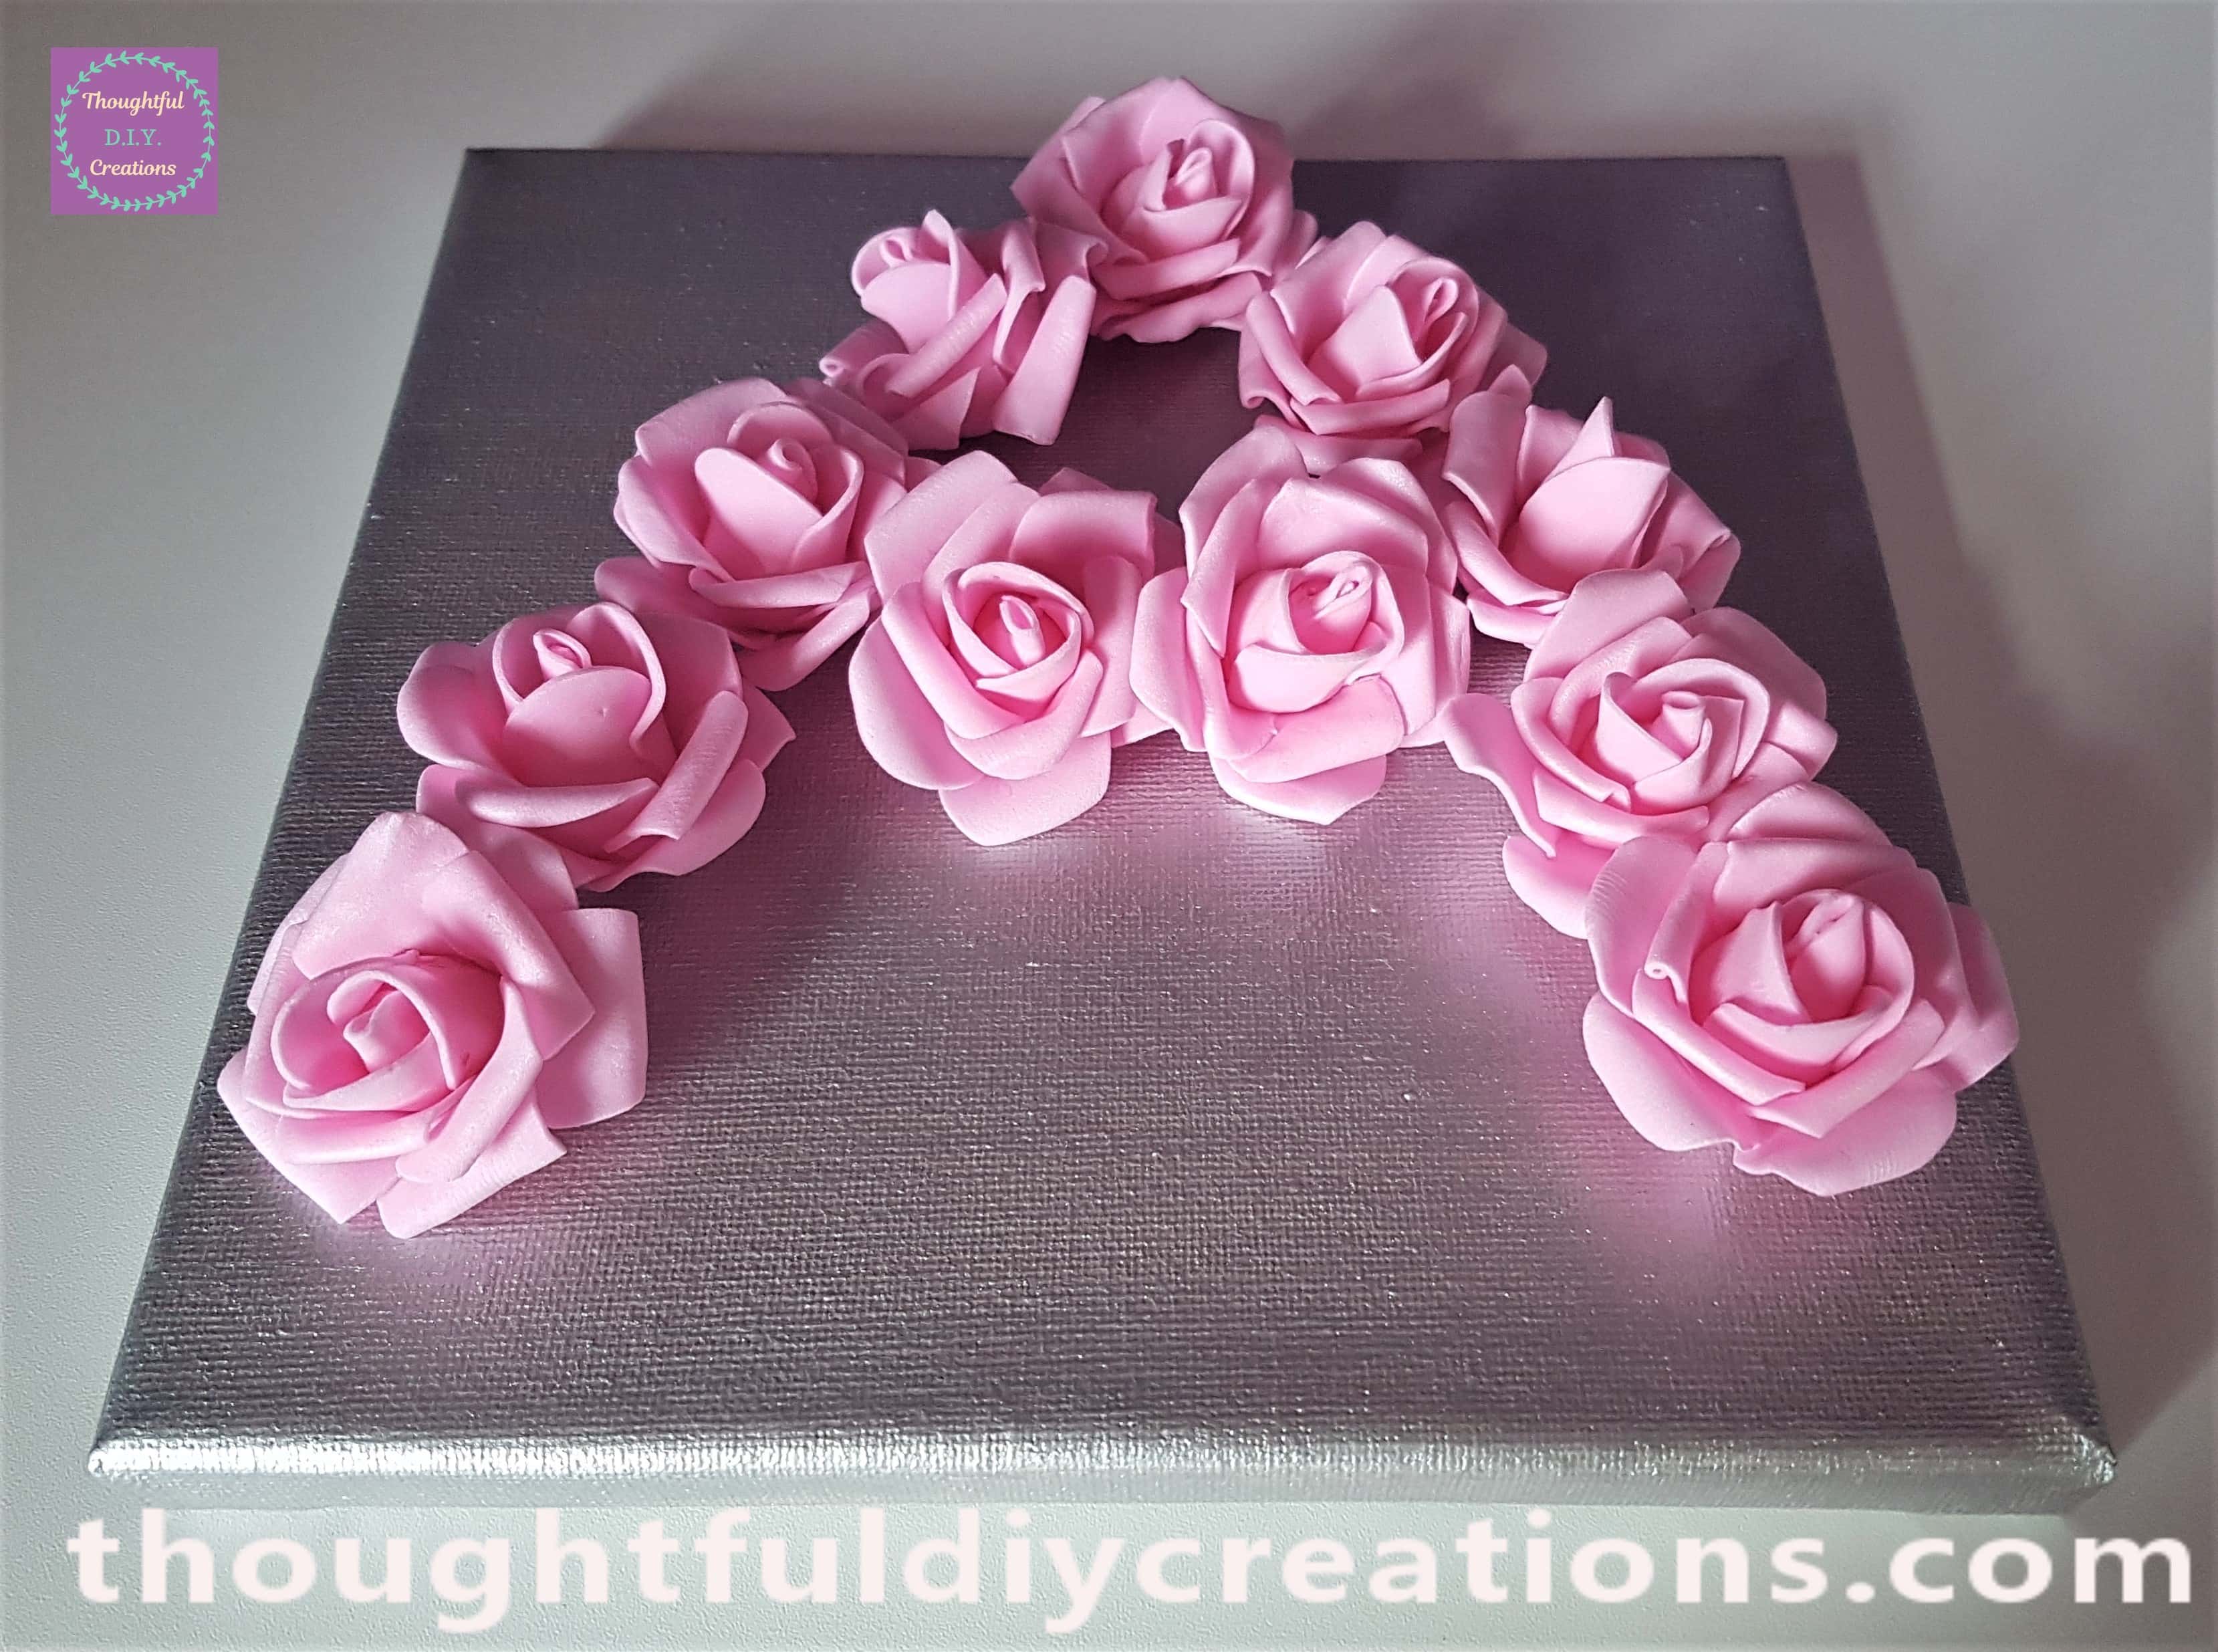
I arranged the Flower Heads on the Canvas in the Shape of the Initial “A”.
Making Holes on the Canvas for the Lights
I put my thumb from my Left Hand on the outer right side of the first Flower and put my finger from the same Hand on the left side of the outer Flower.
I then removed the Flower from the Canvas with my Right Hand while keeping my thumb and finger from my Left Hand on the Canvas marking the measurements of the Flower.
I got a small Sharp Scissors with my Right Hand and made a Hole in the Canvas in the middle of my Measurements from my thumb and finger. This gives a rough Idea of where to place the Lights on the Canvas.
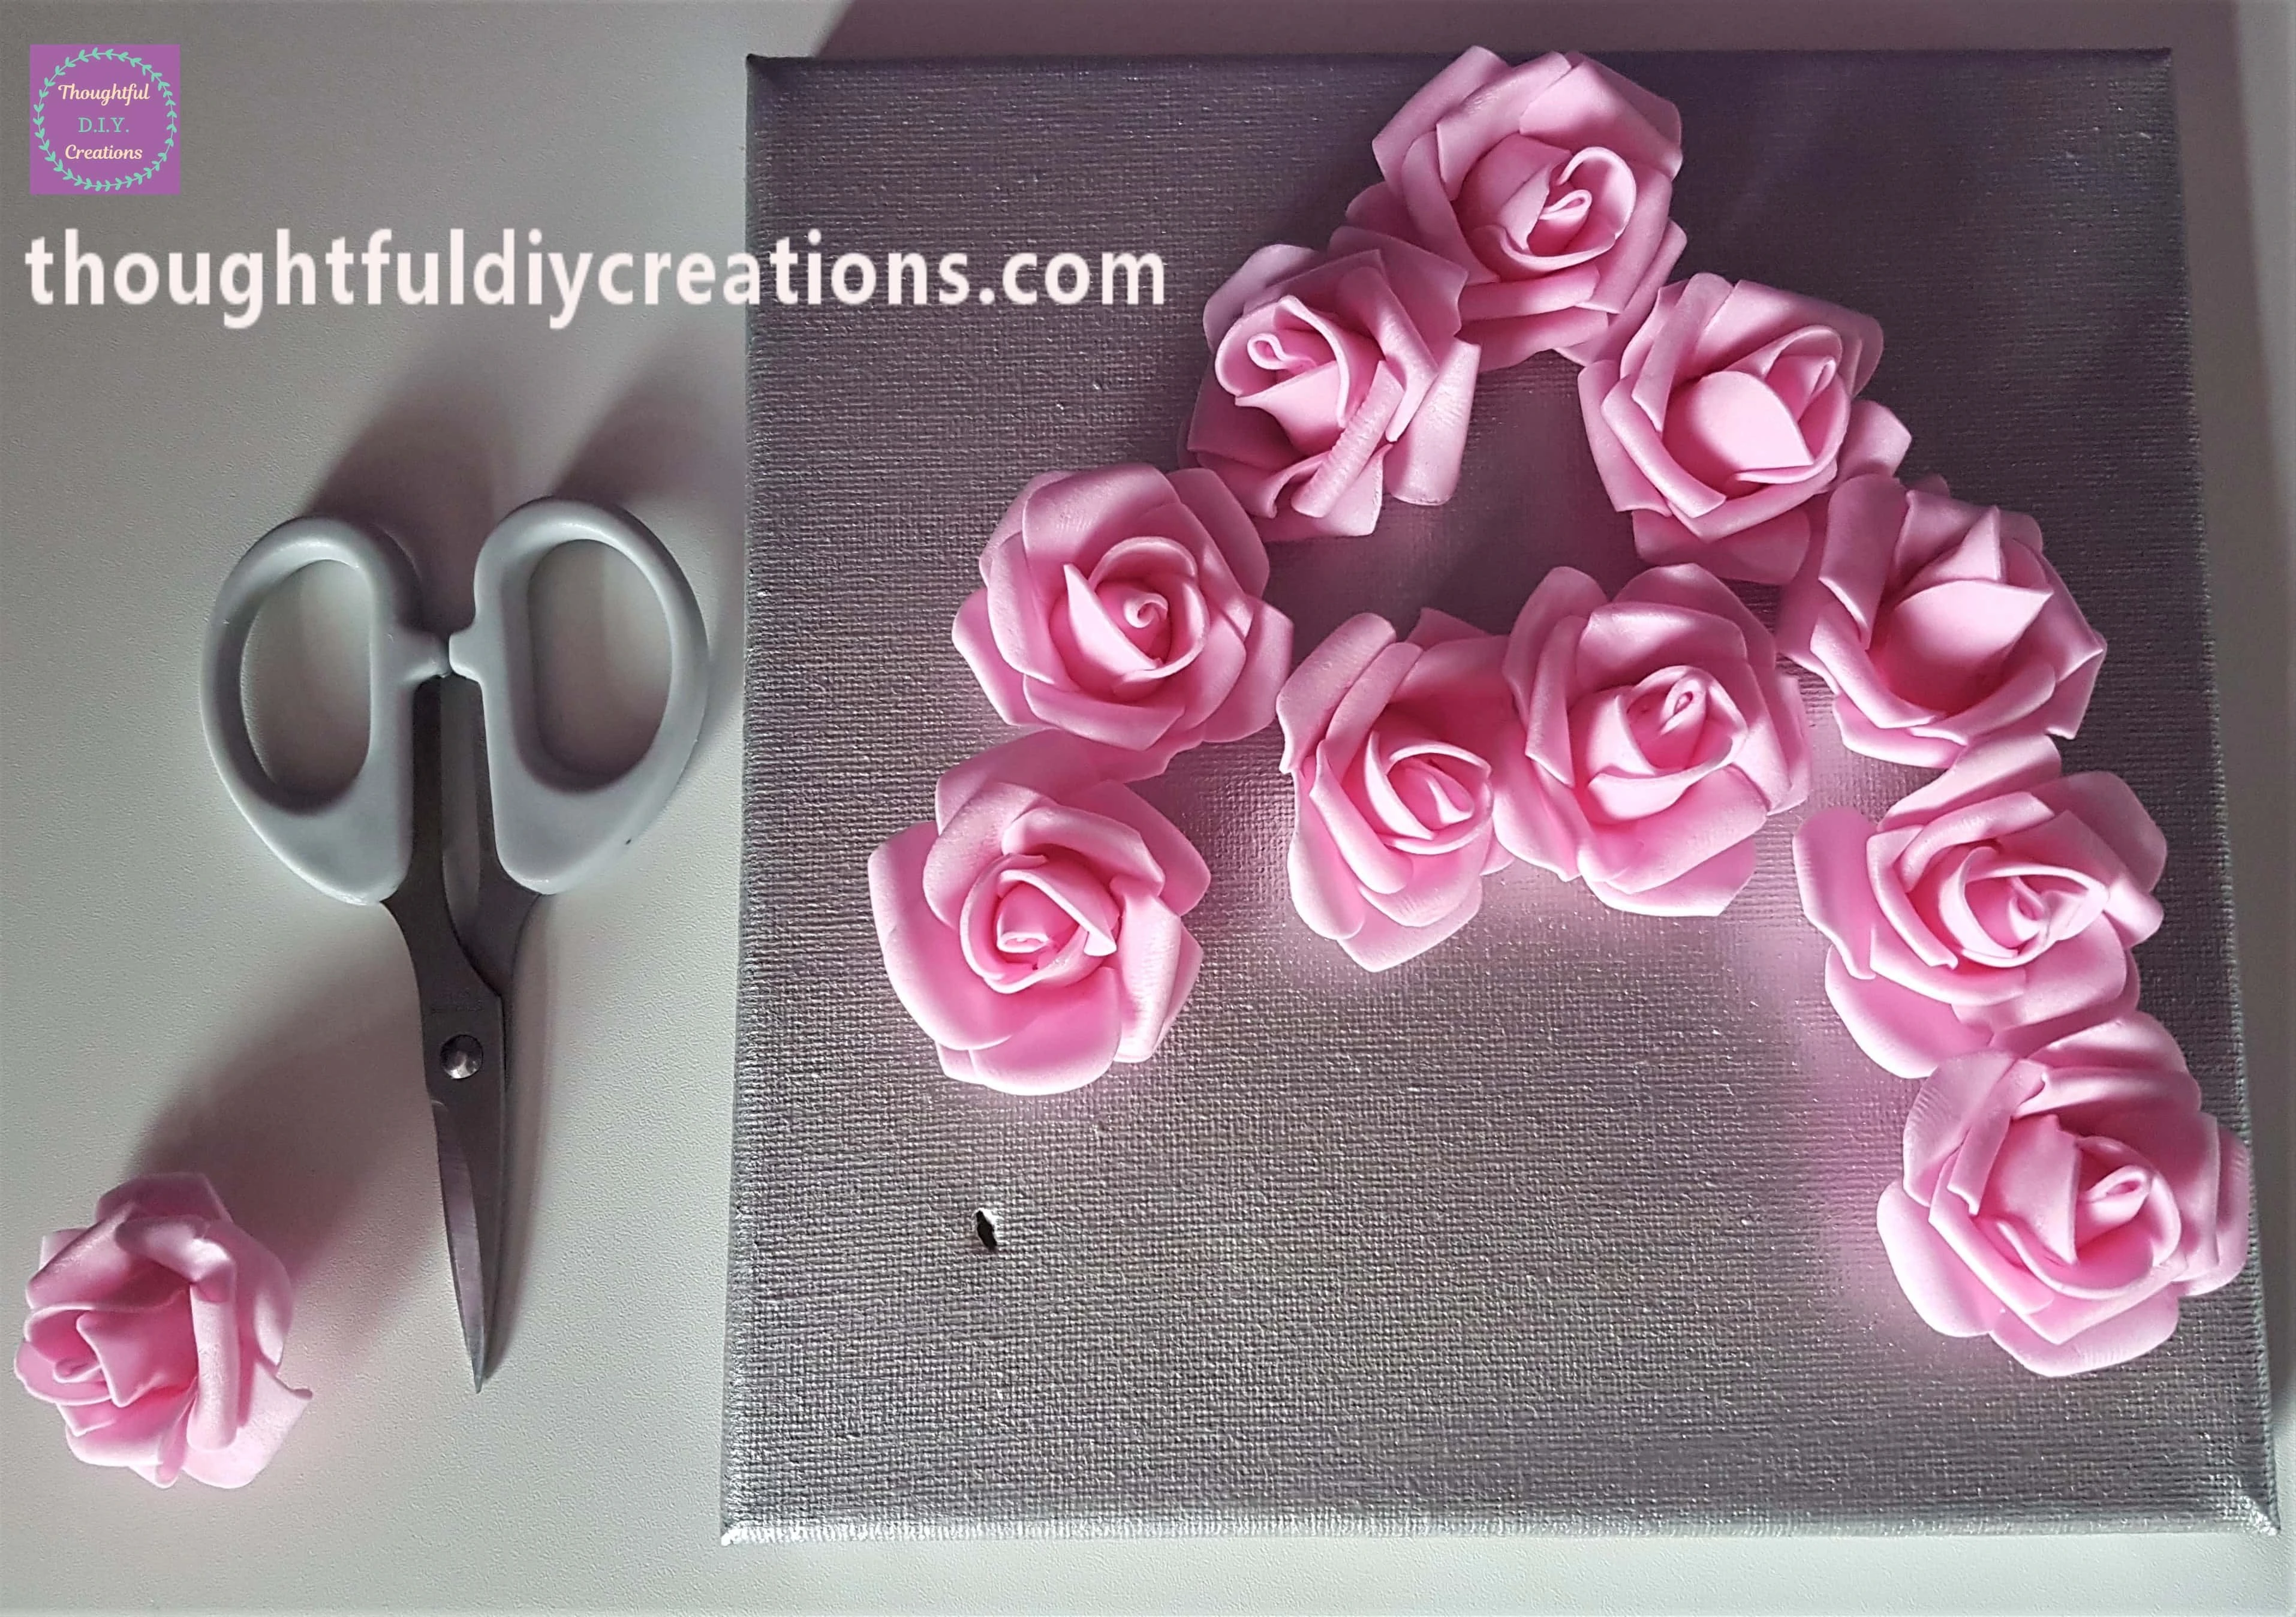
I put the Flower back on the Canvas and repeated the Step with the next Flower on the Canvas.
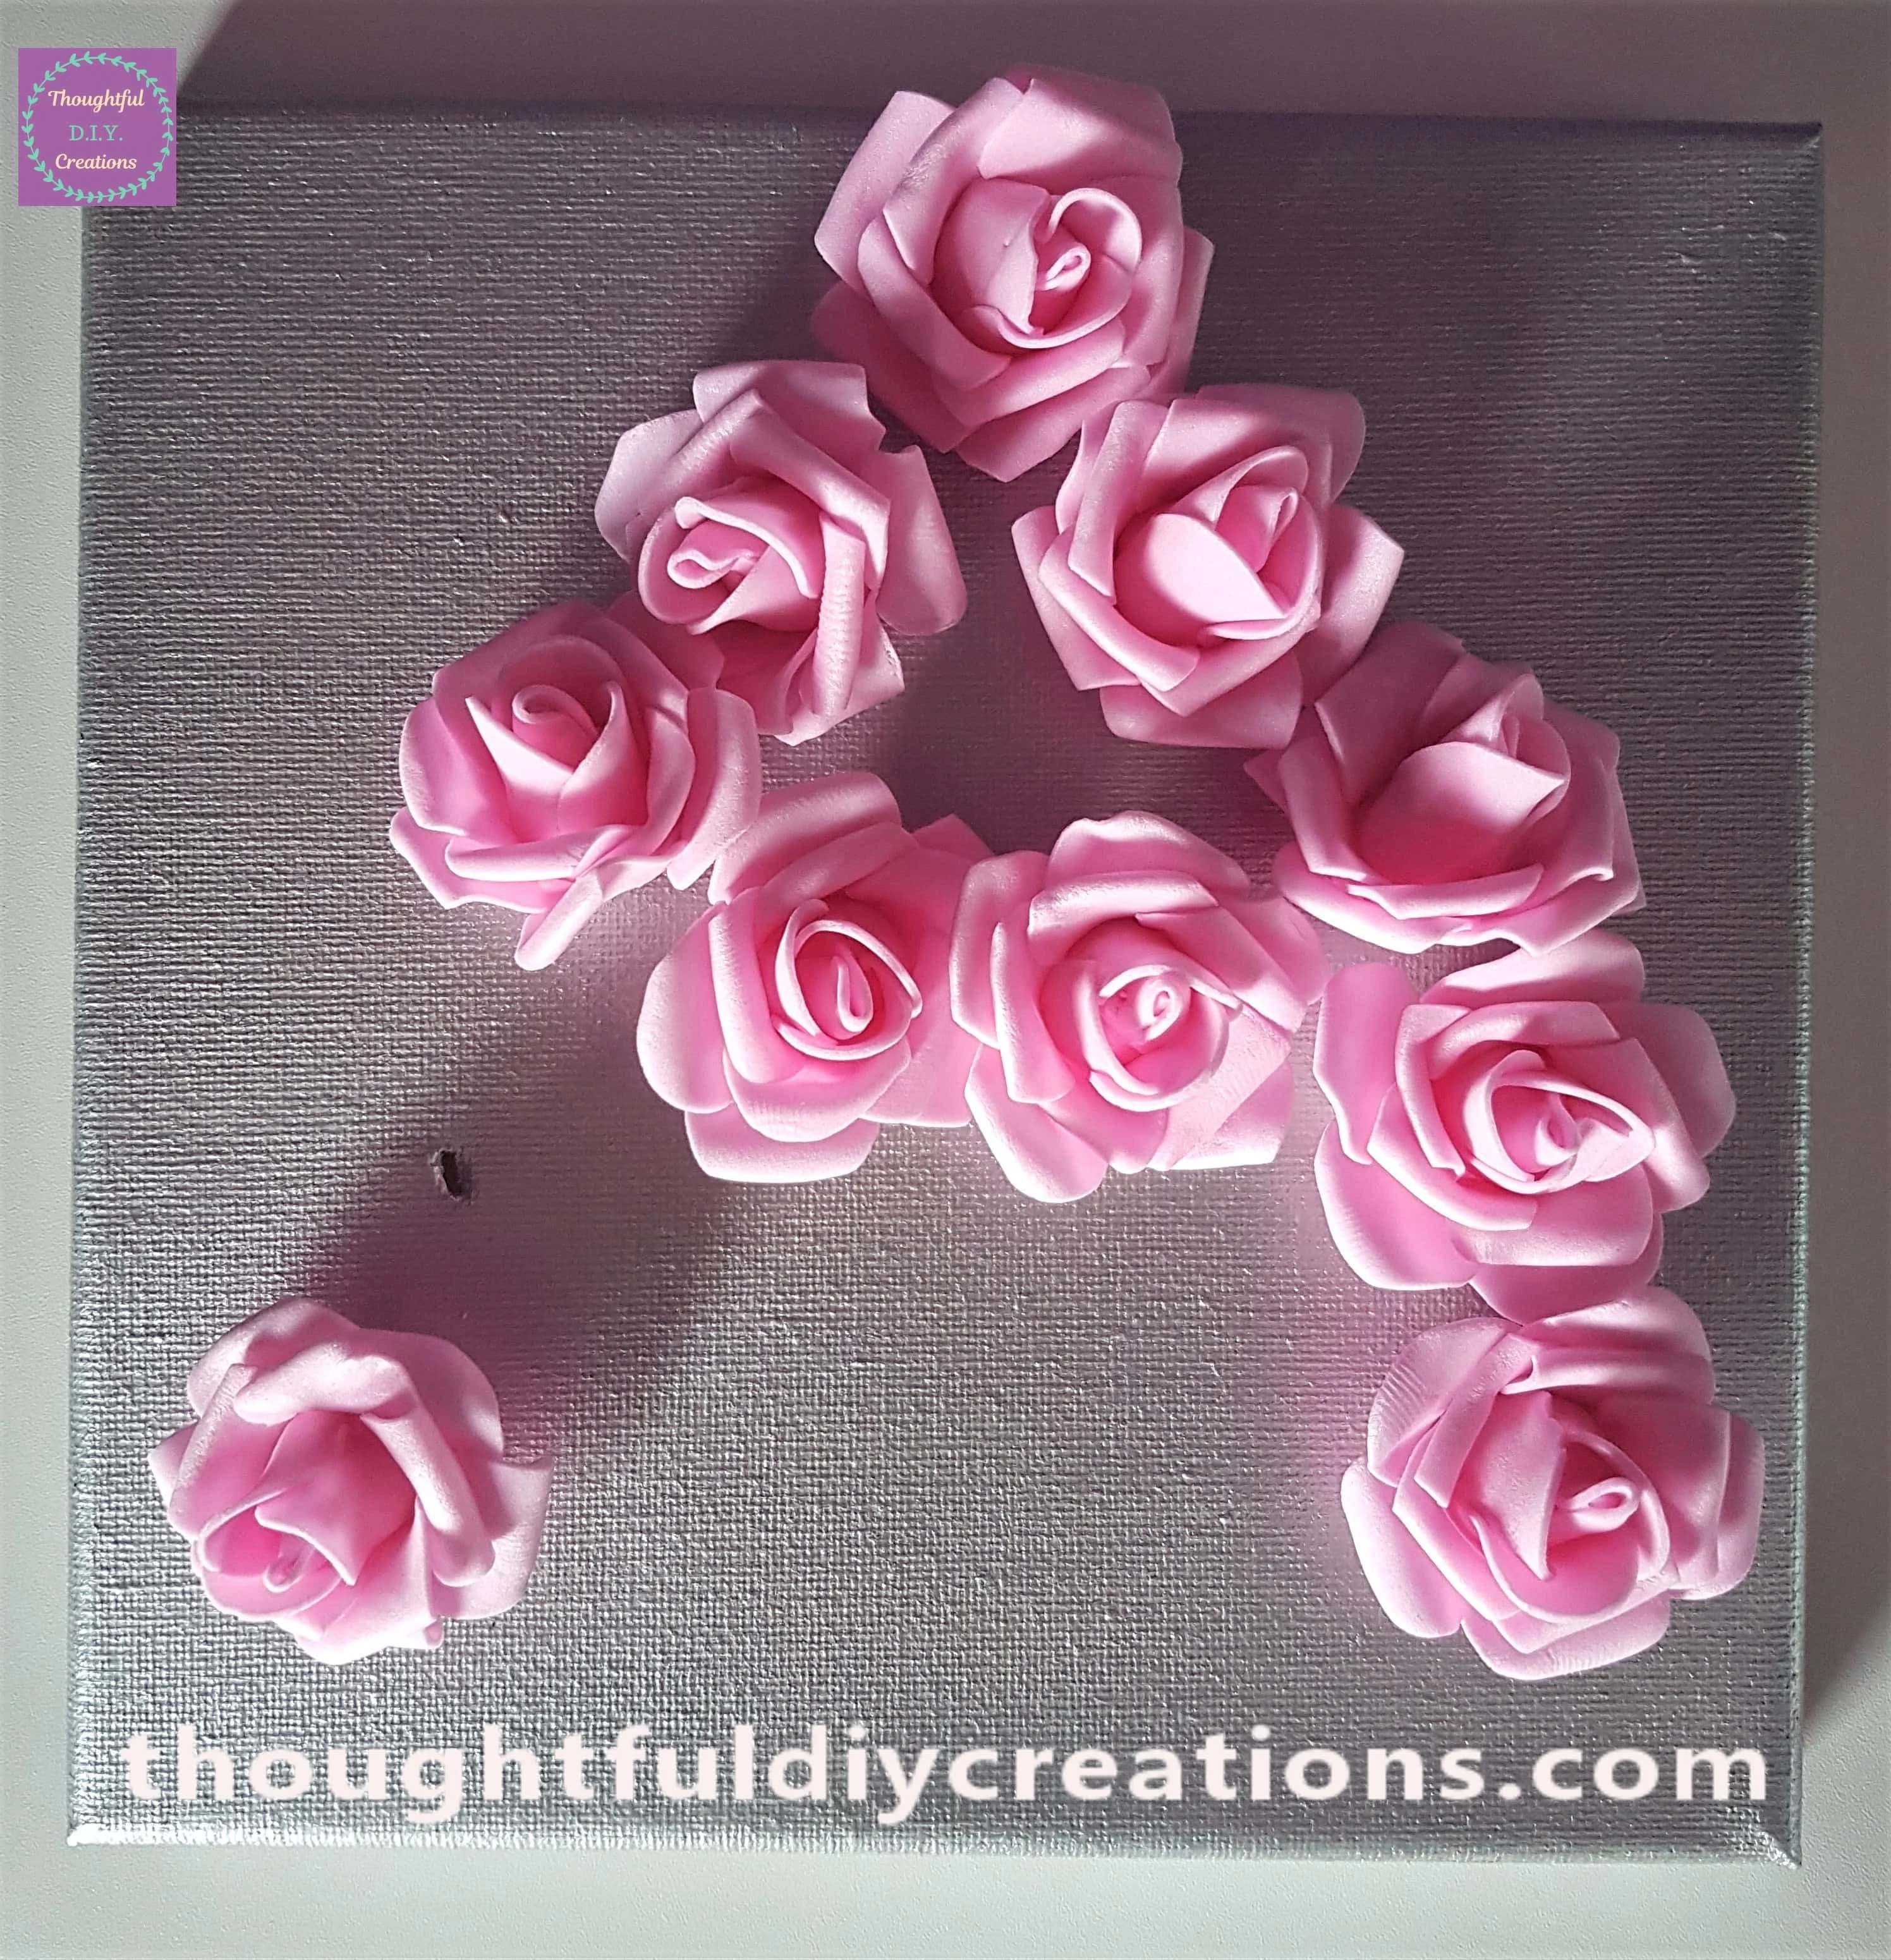
I continued with this process until I made a Hole in the center of each Flower on the Canvas with the Scissors. This is How the Canvas looks with all the Flowers removed and the Initial “A” made out of Holes.
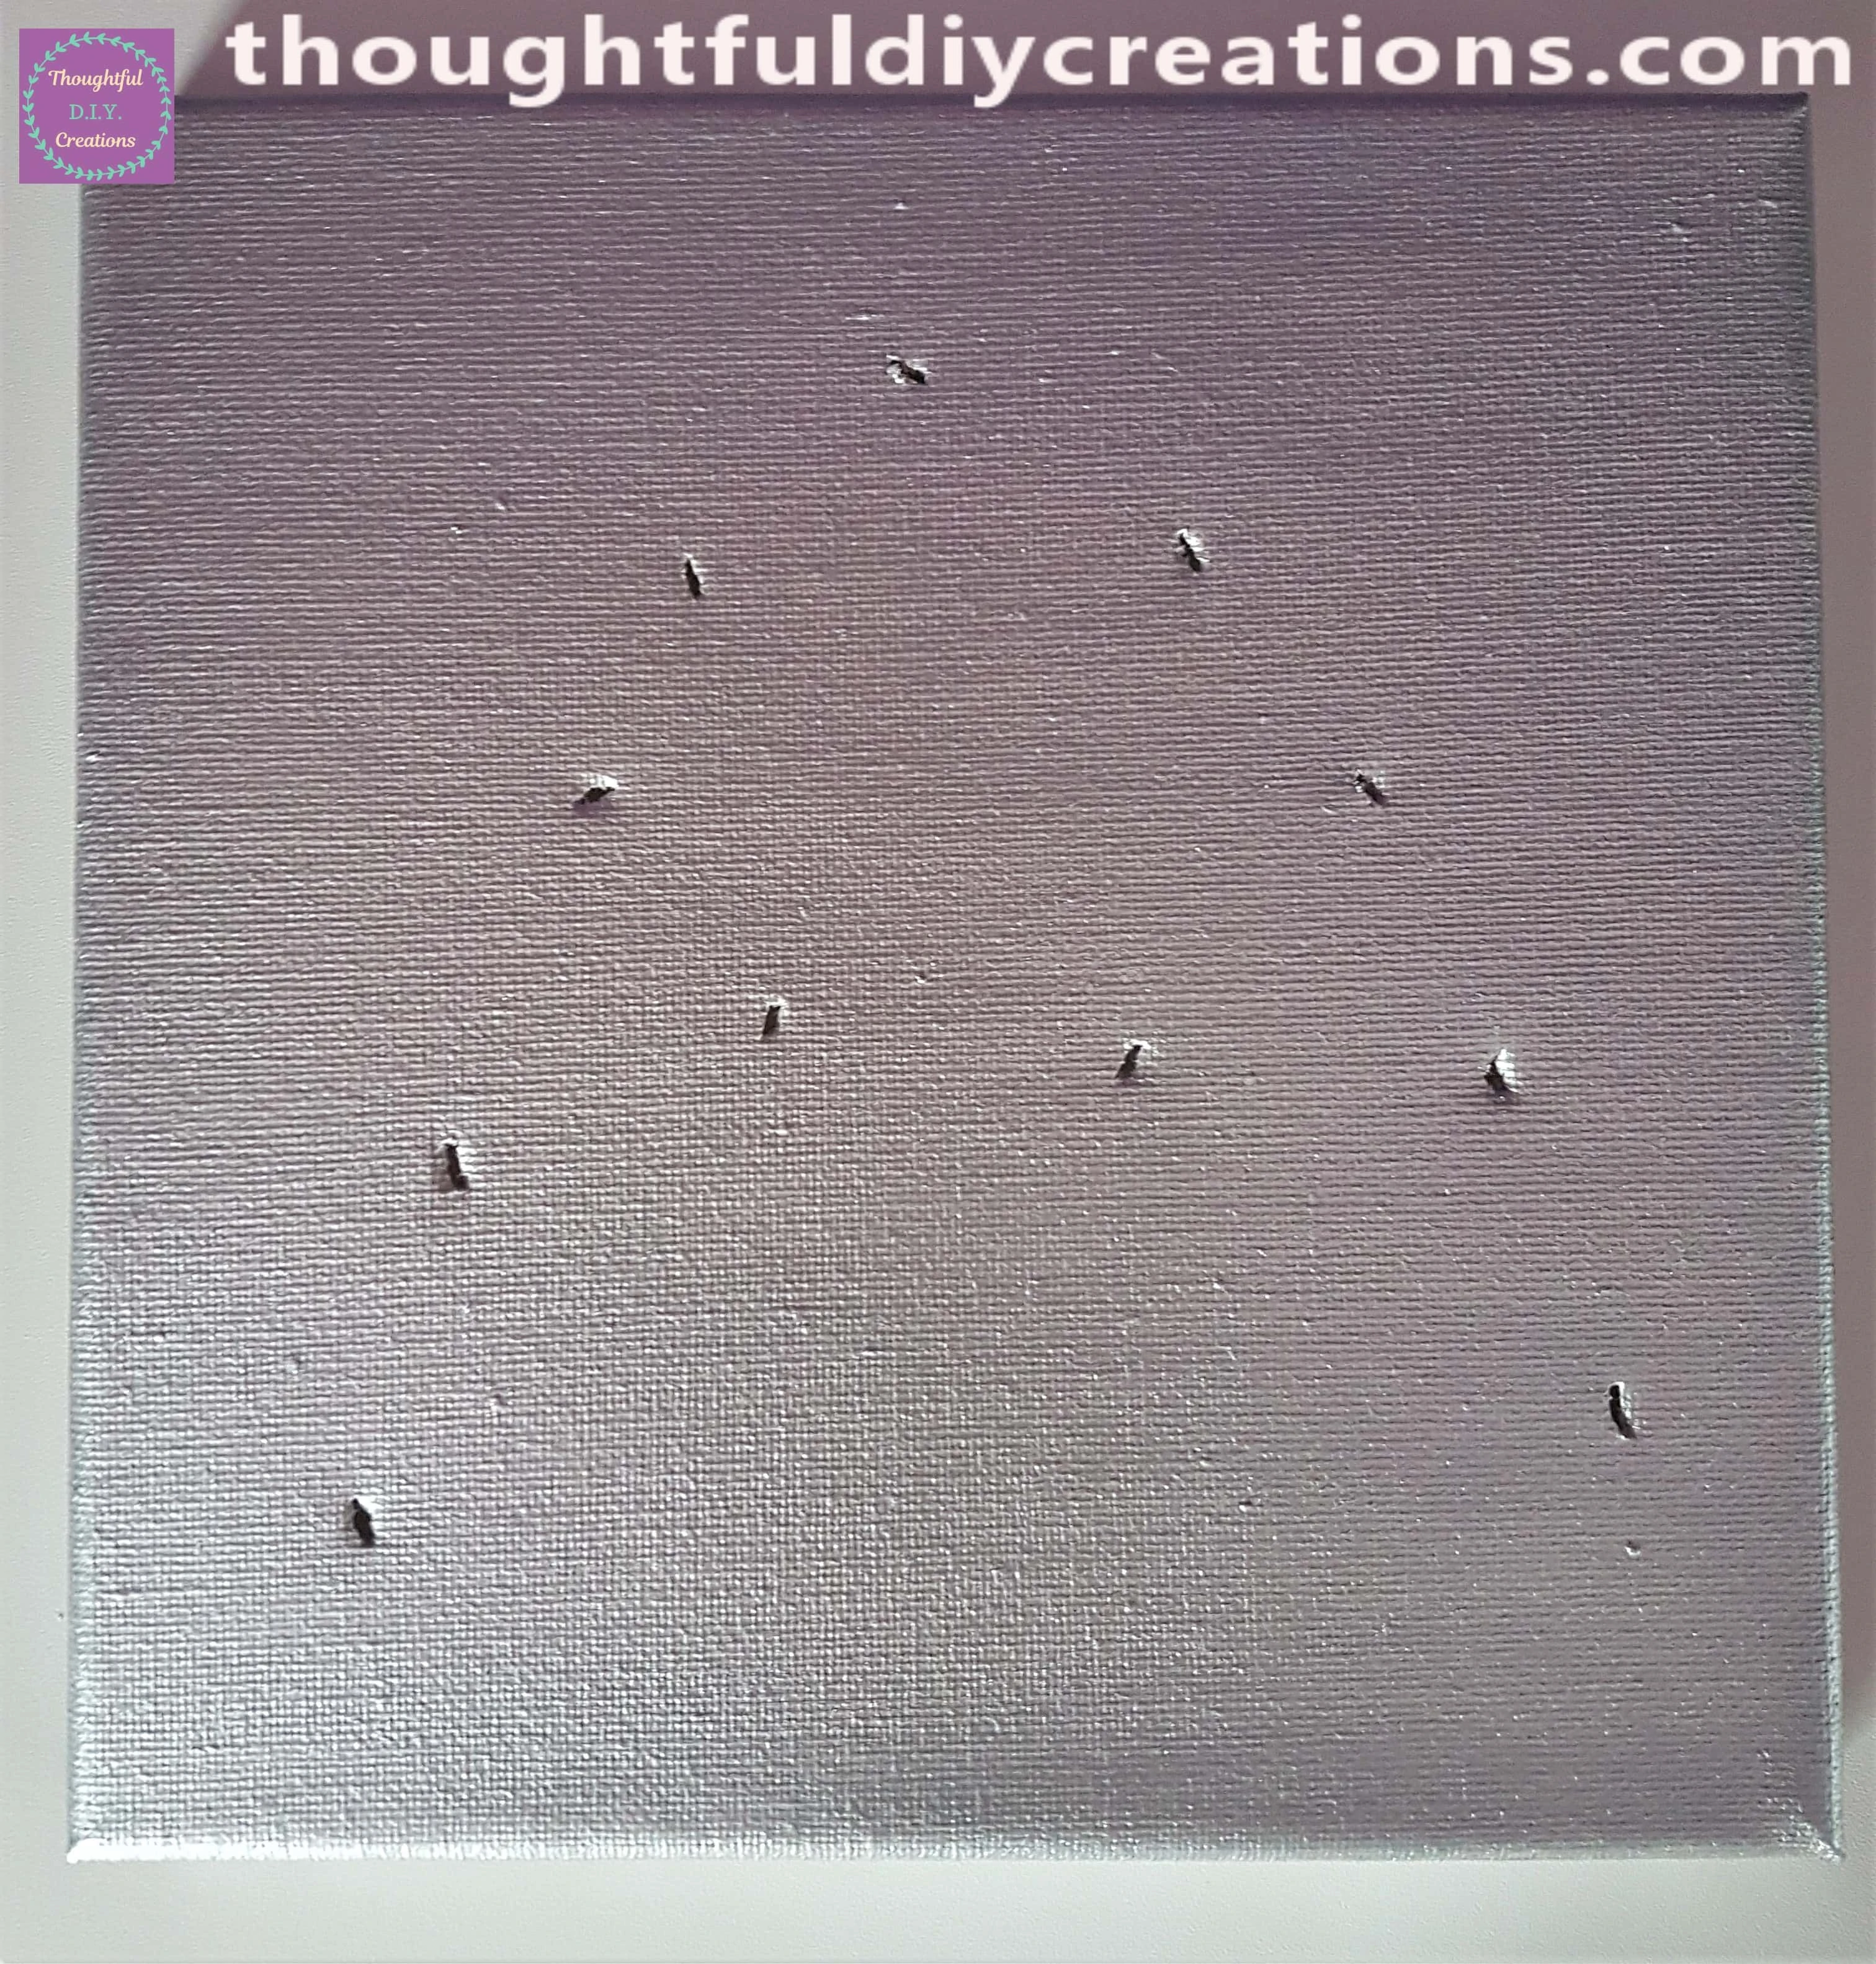
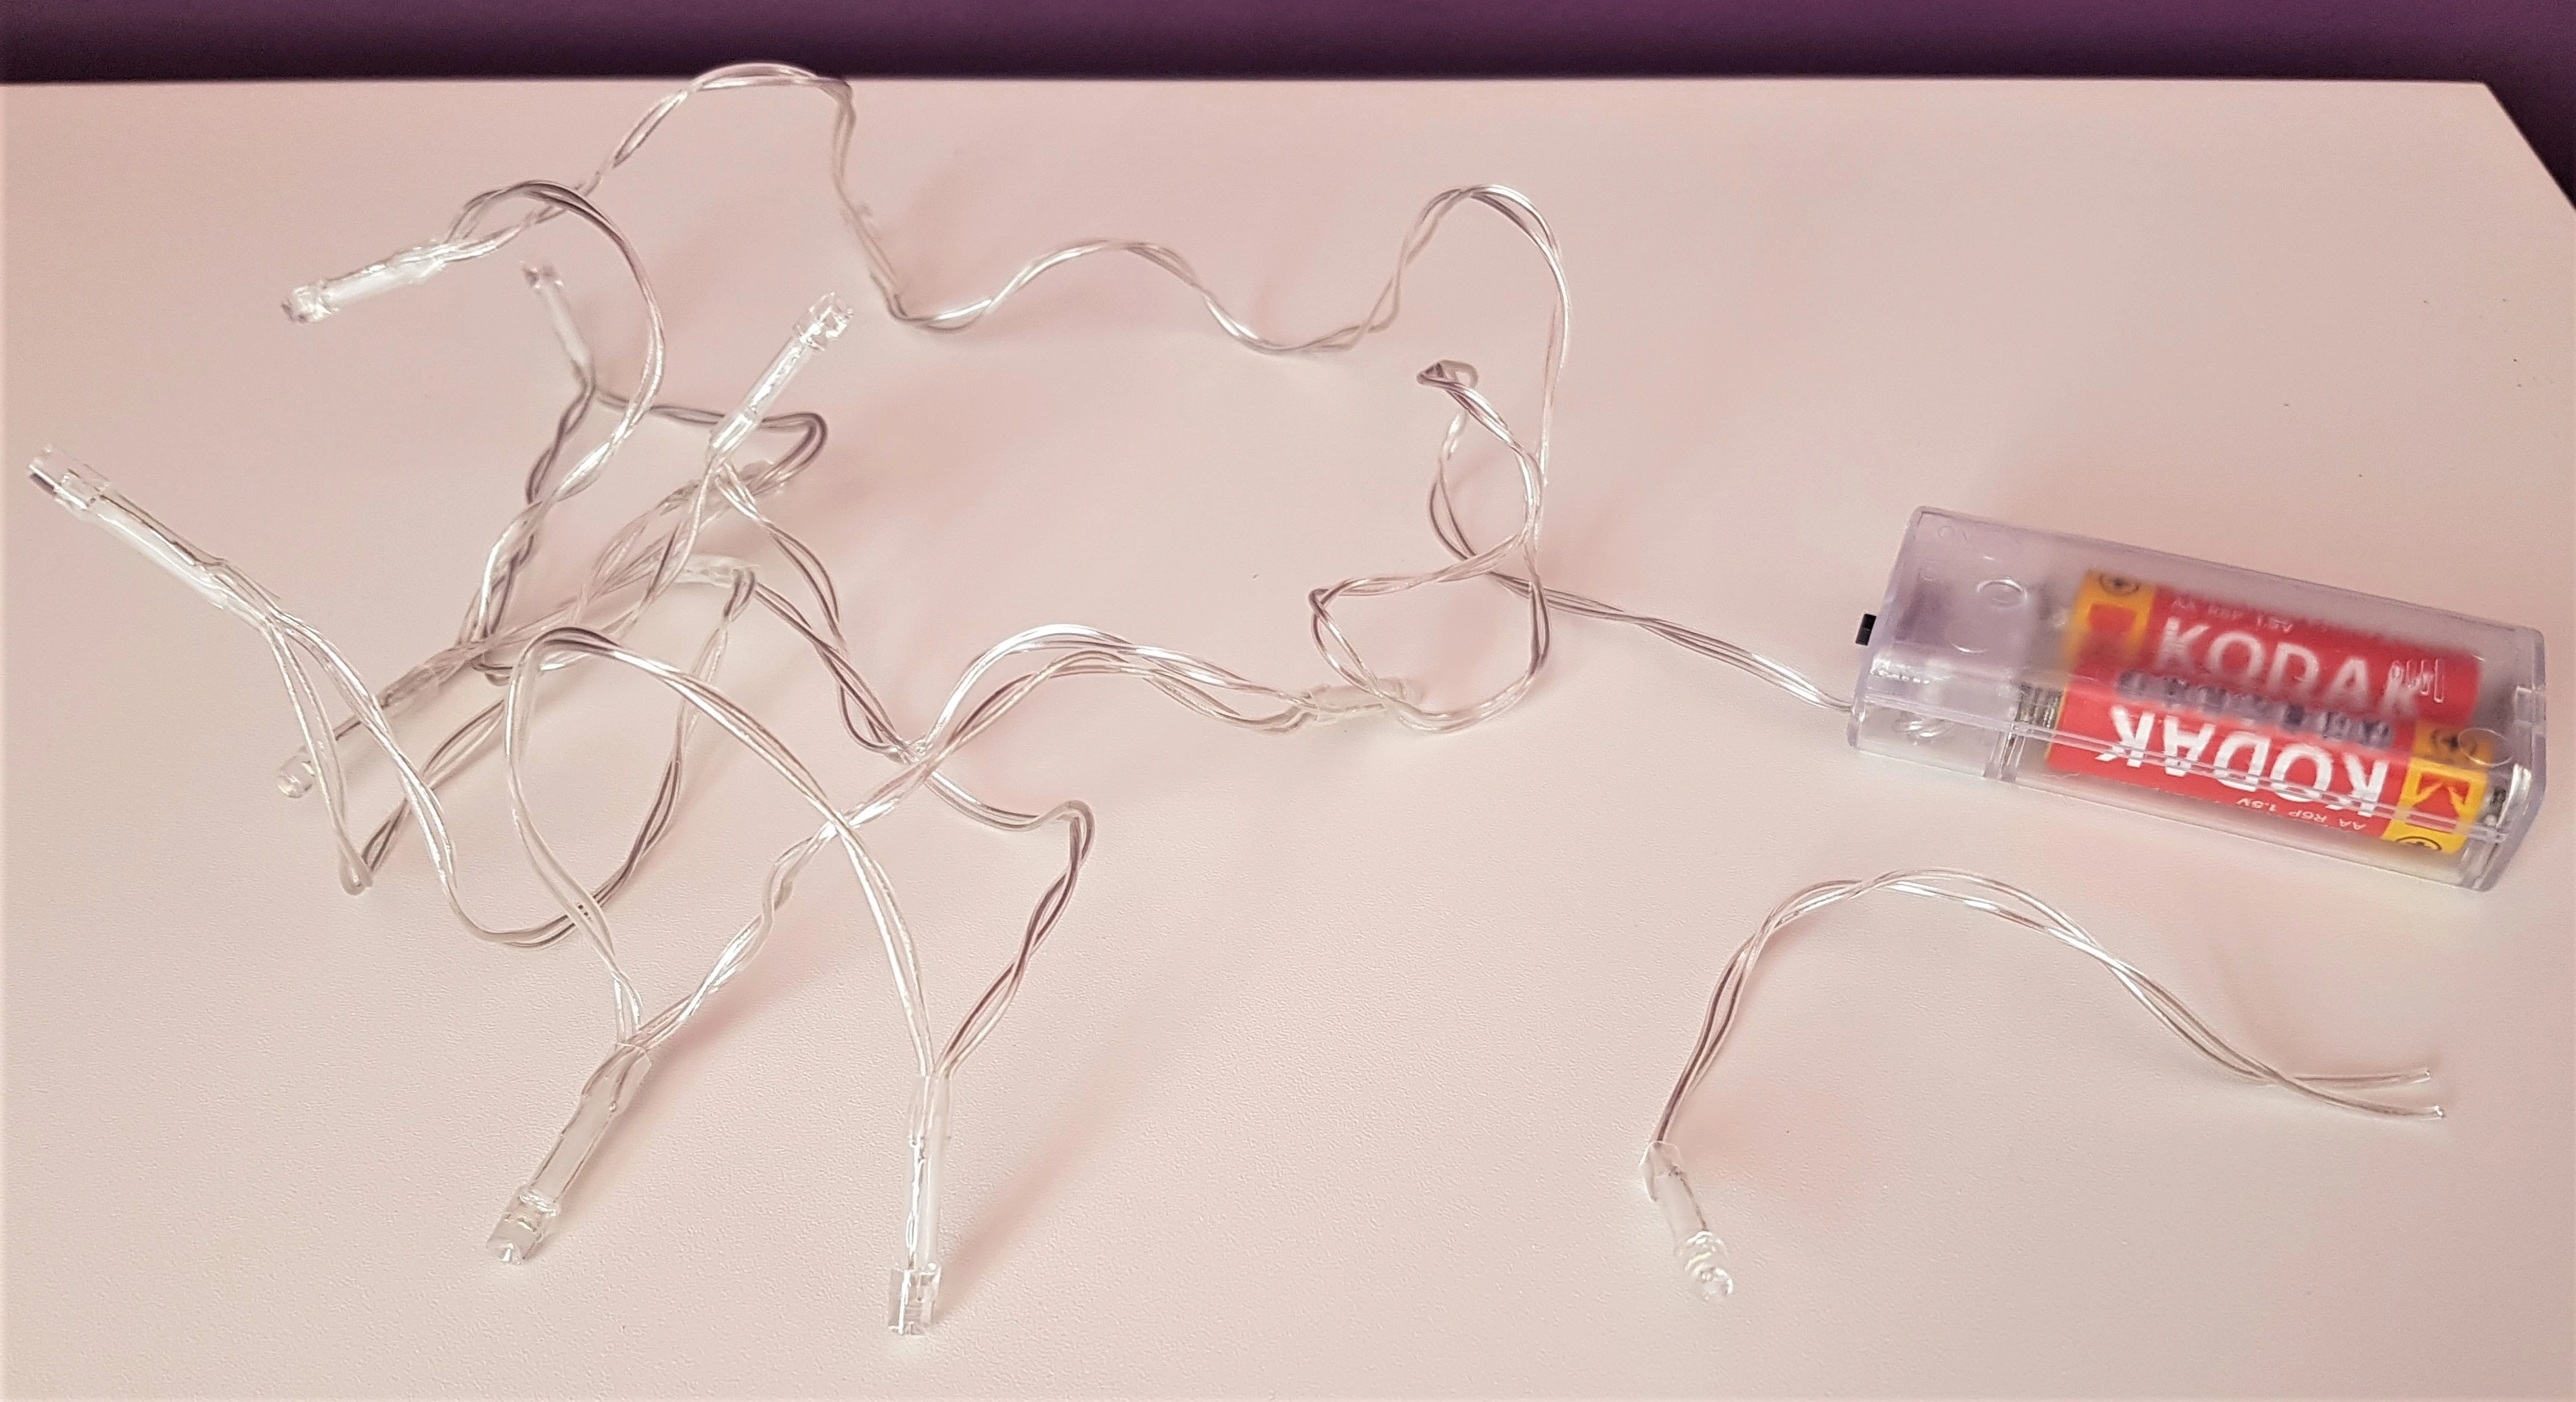
I only need 11 Flowers and Lights to make the “A” so I cut off the first Light from the Pack; the one furthest away from the Battery Pack.
Attaching the Lights to the Personalised Canvas
I turned the Canvas over and put the Light through the back of the Hole in the Canvas; starting with the Light closest to the Battery Pack to ensure the Battery Pack will be at the bottom of the Canvas when finished and easy to Turn On and Off.
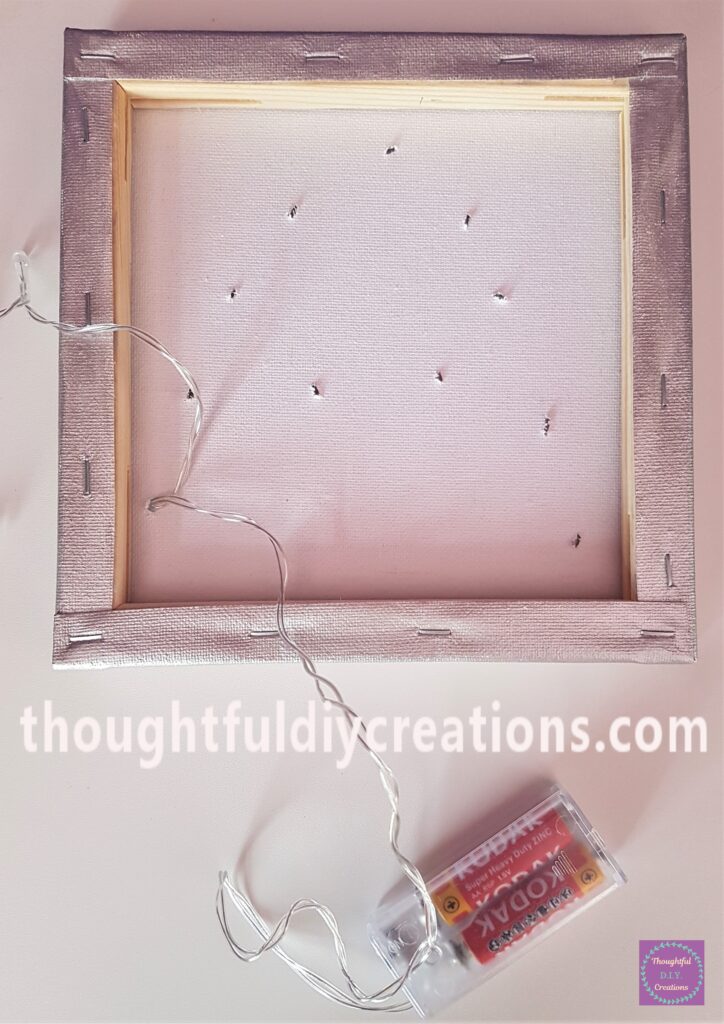
This is How the Front of the Canvas looks with the Light poked through the Hole.
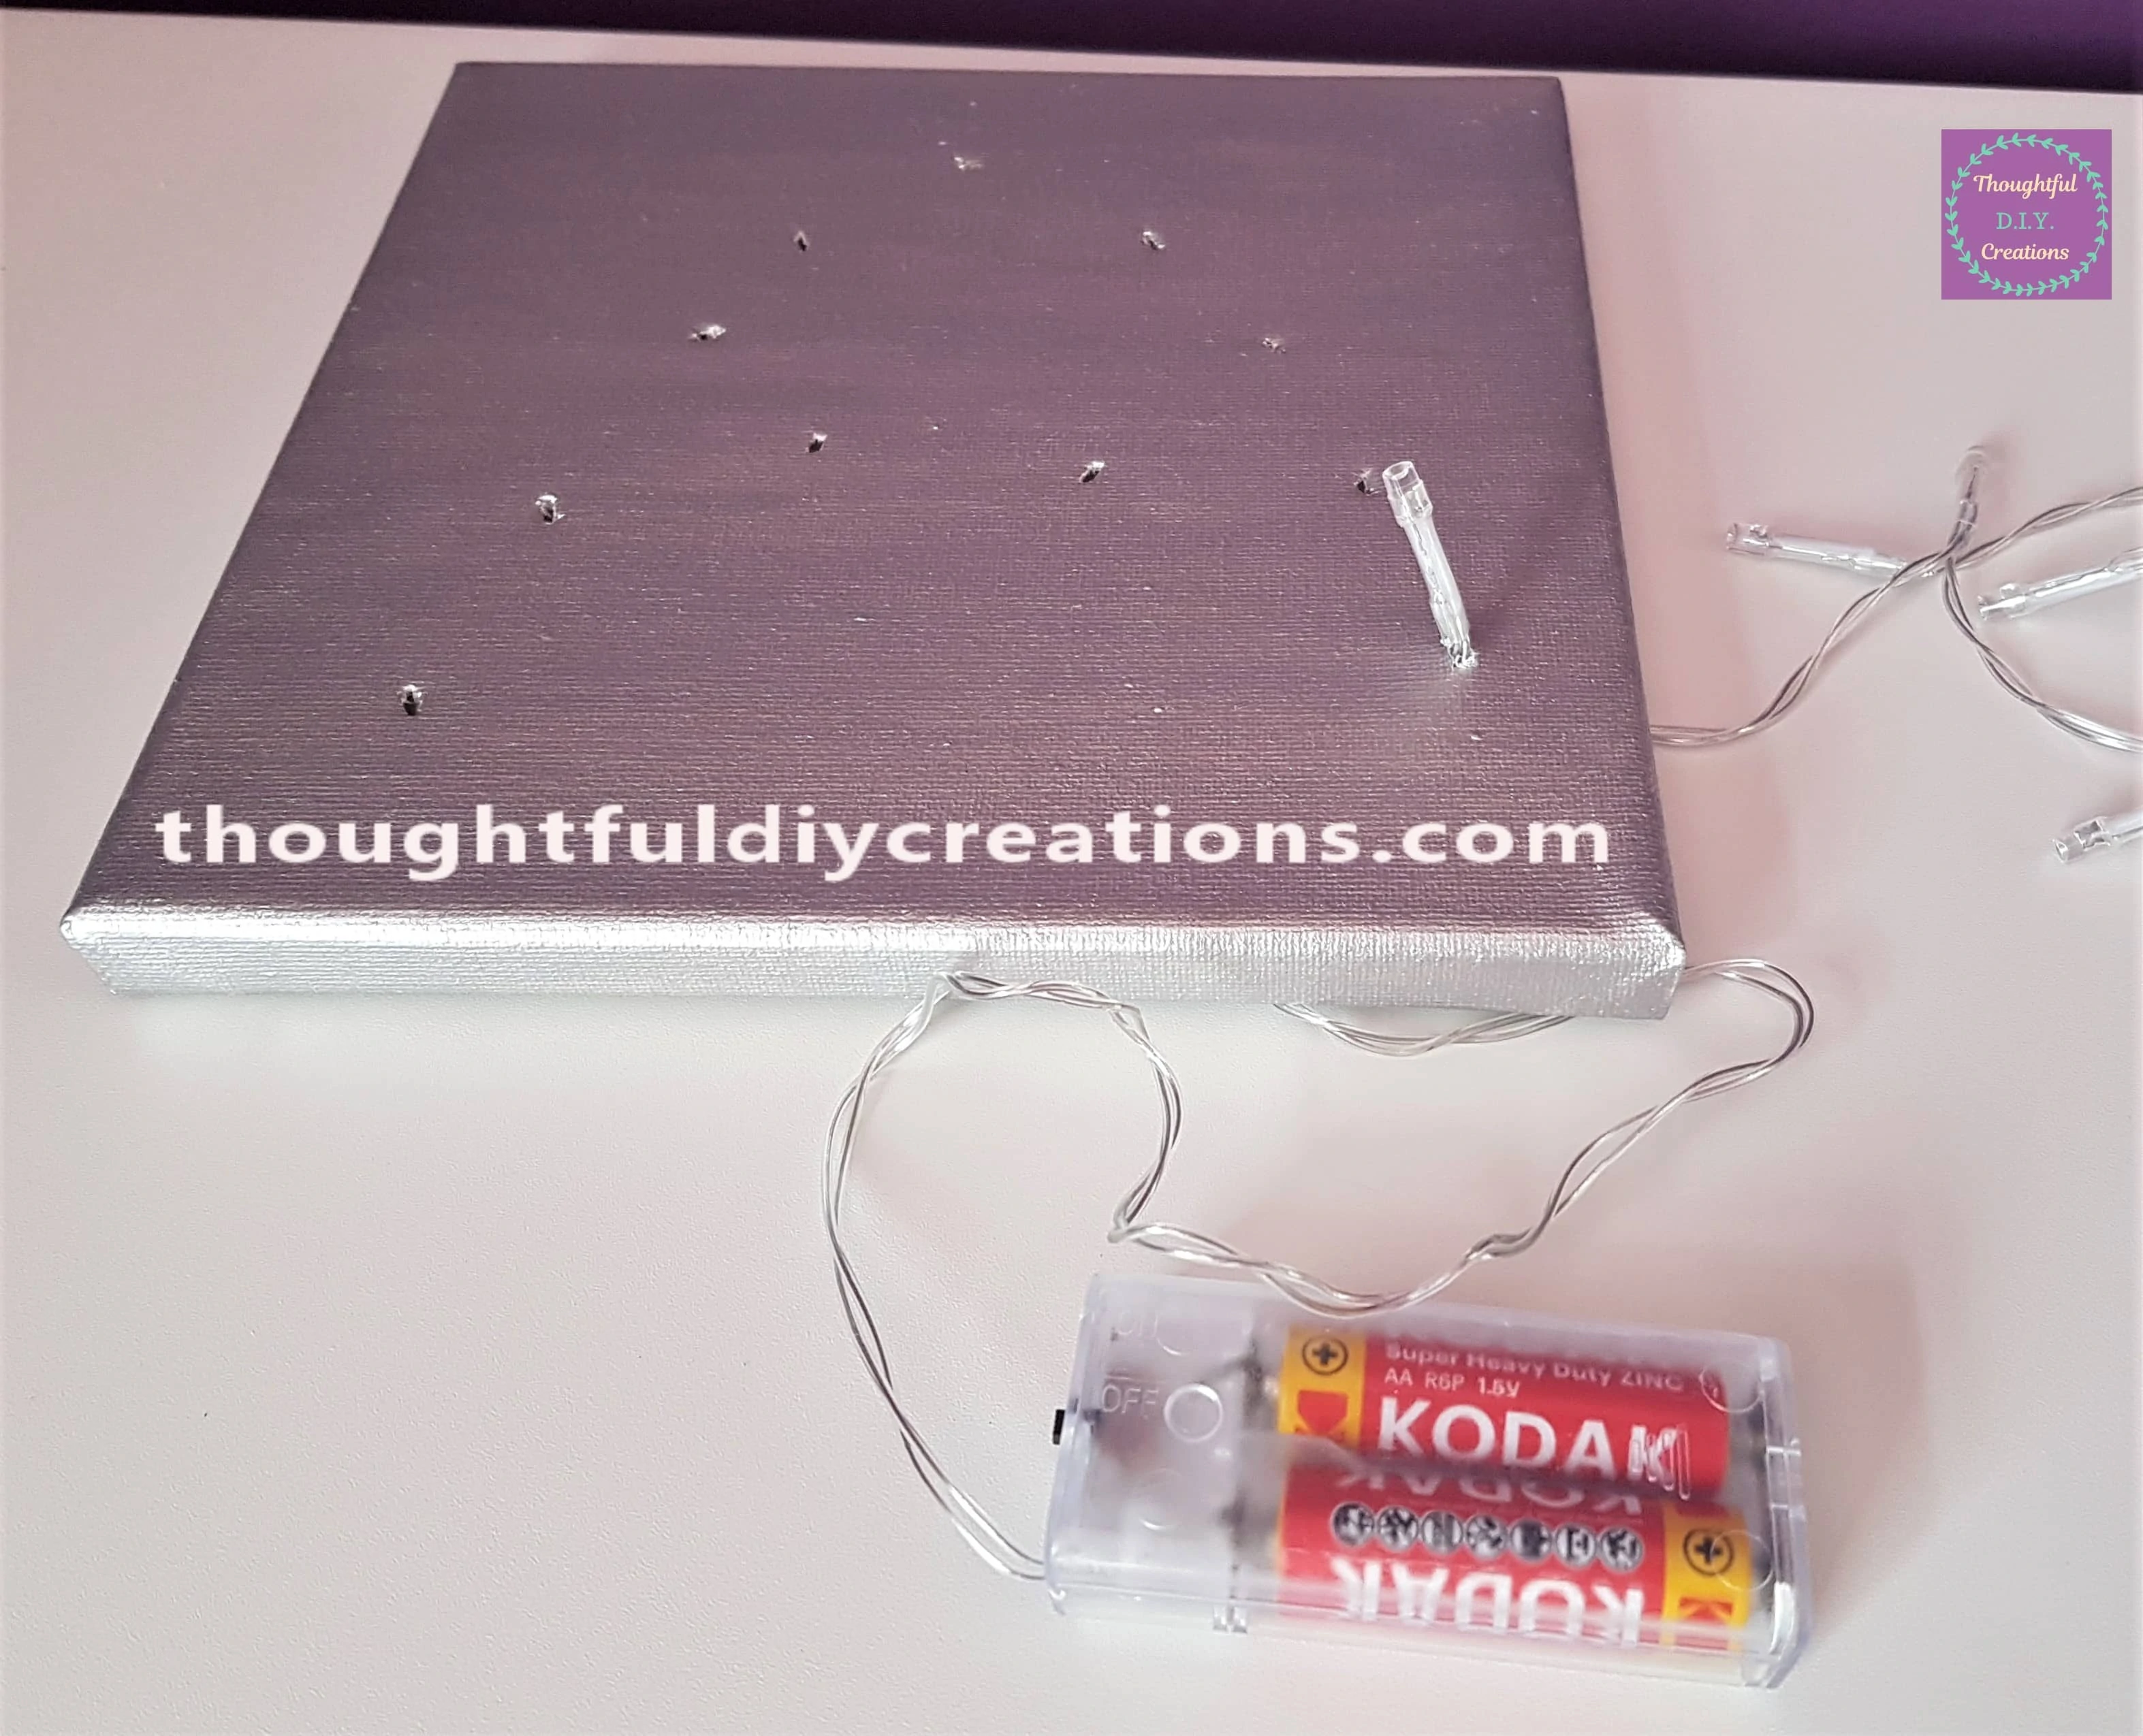
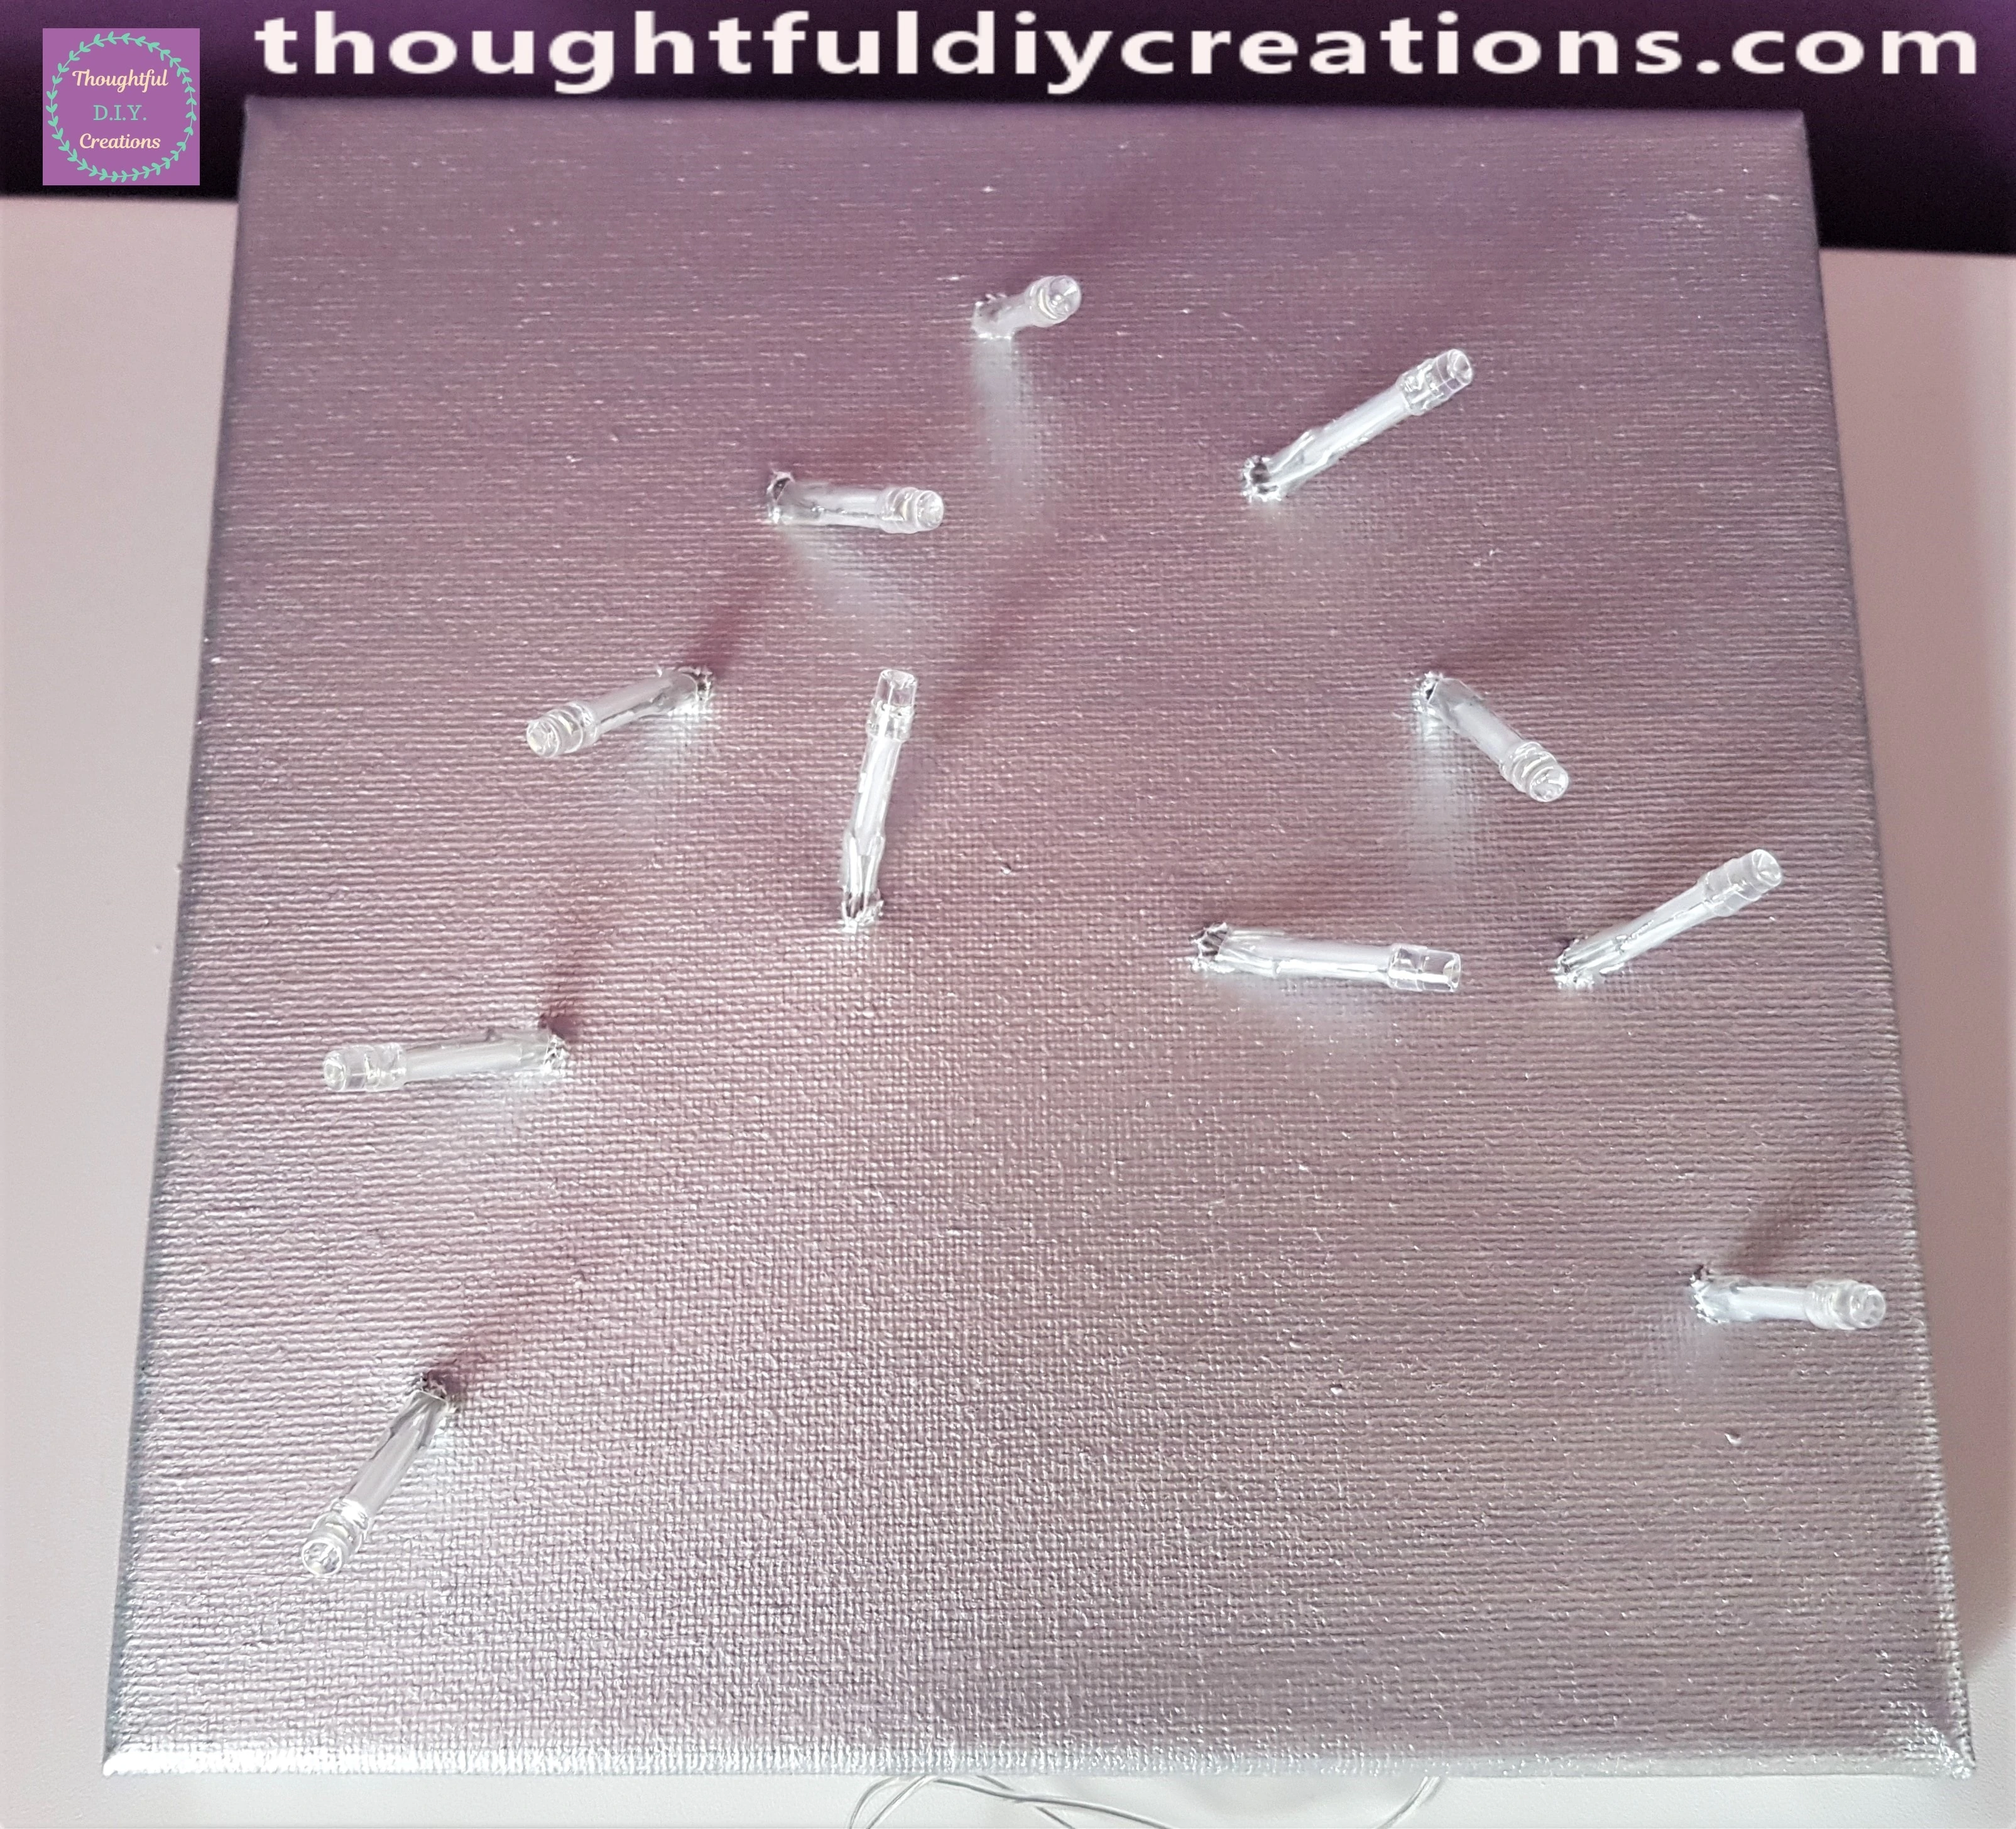
I turned the Canvas back over and poked each Light through each Hole on the Canvas.
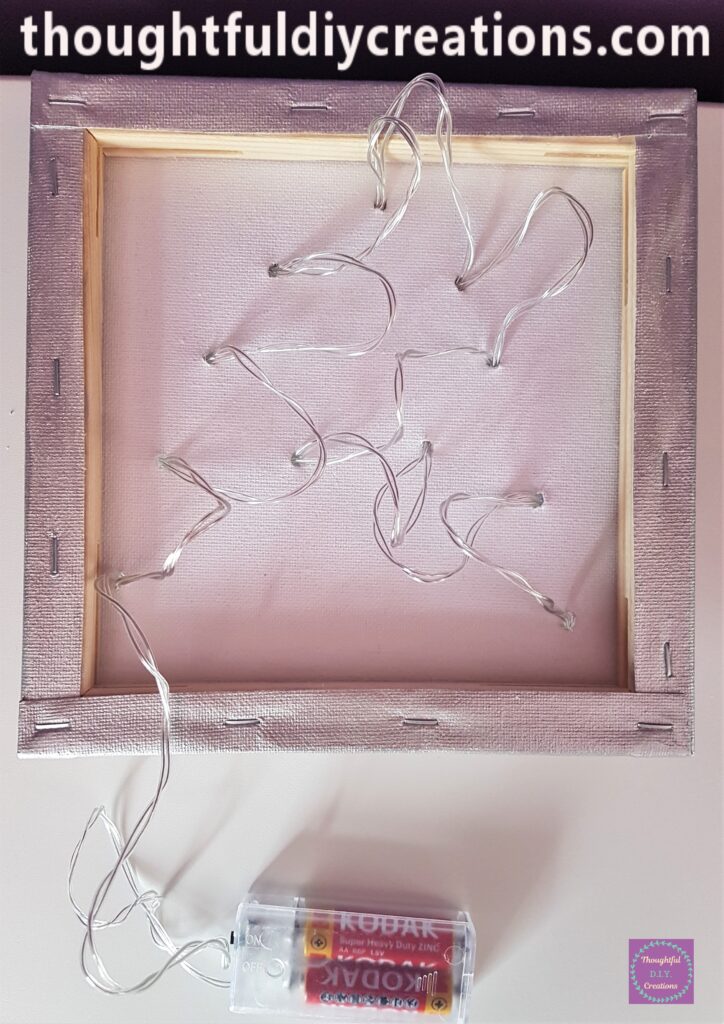
The Front of the Canvas with each Light poked through.
Arranging the Rose Flowers on the Canvas
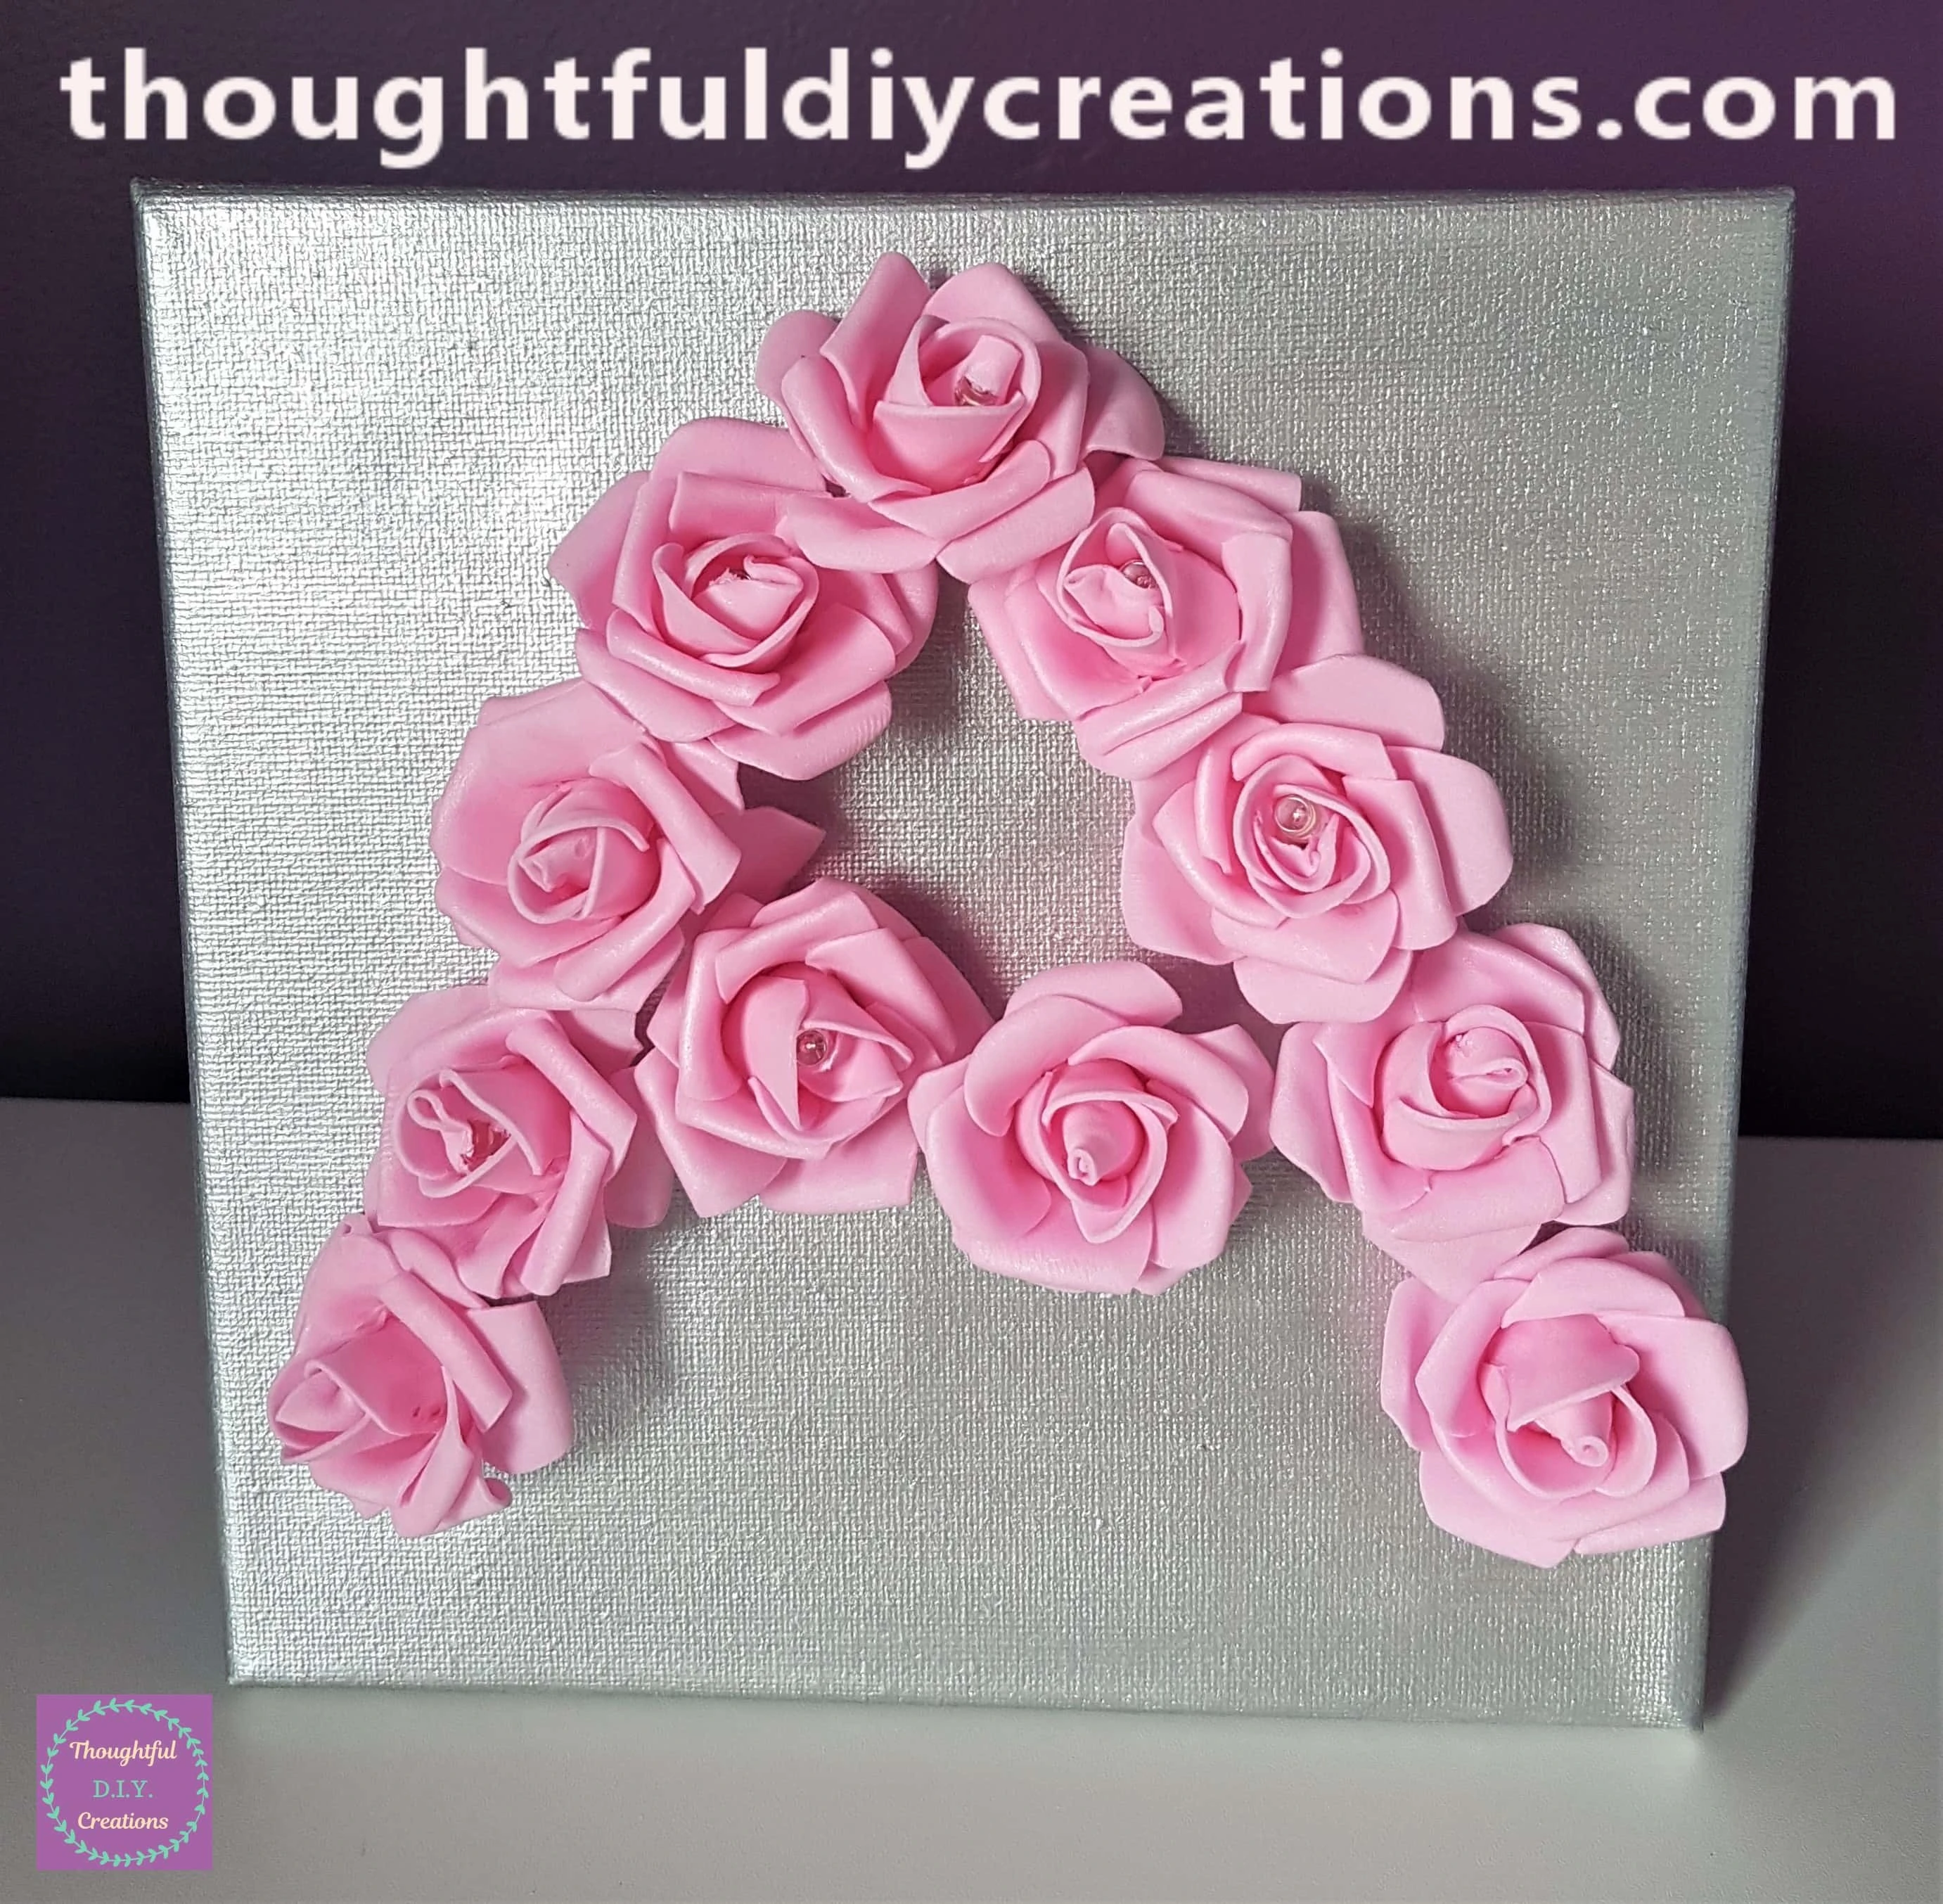
I placed each Rose Flower back on each Light on the Canvas.
Adding Sellotape to the String of Lights
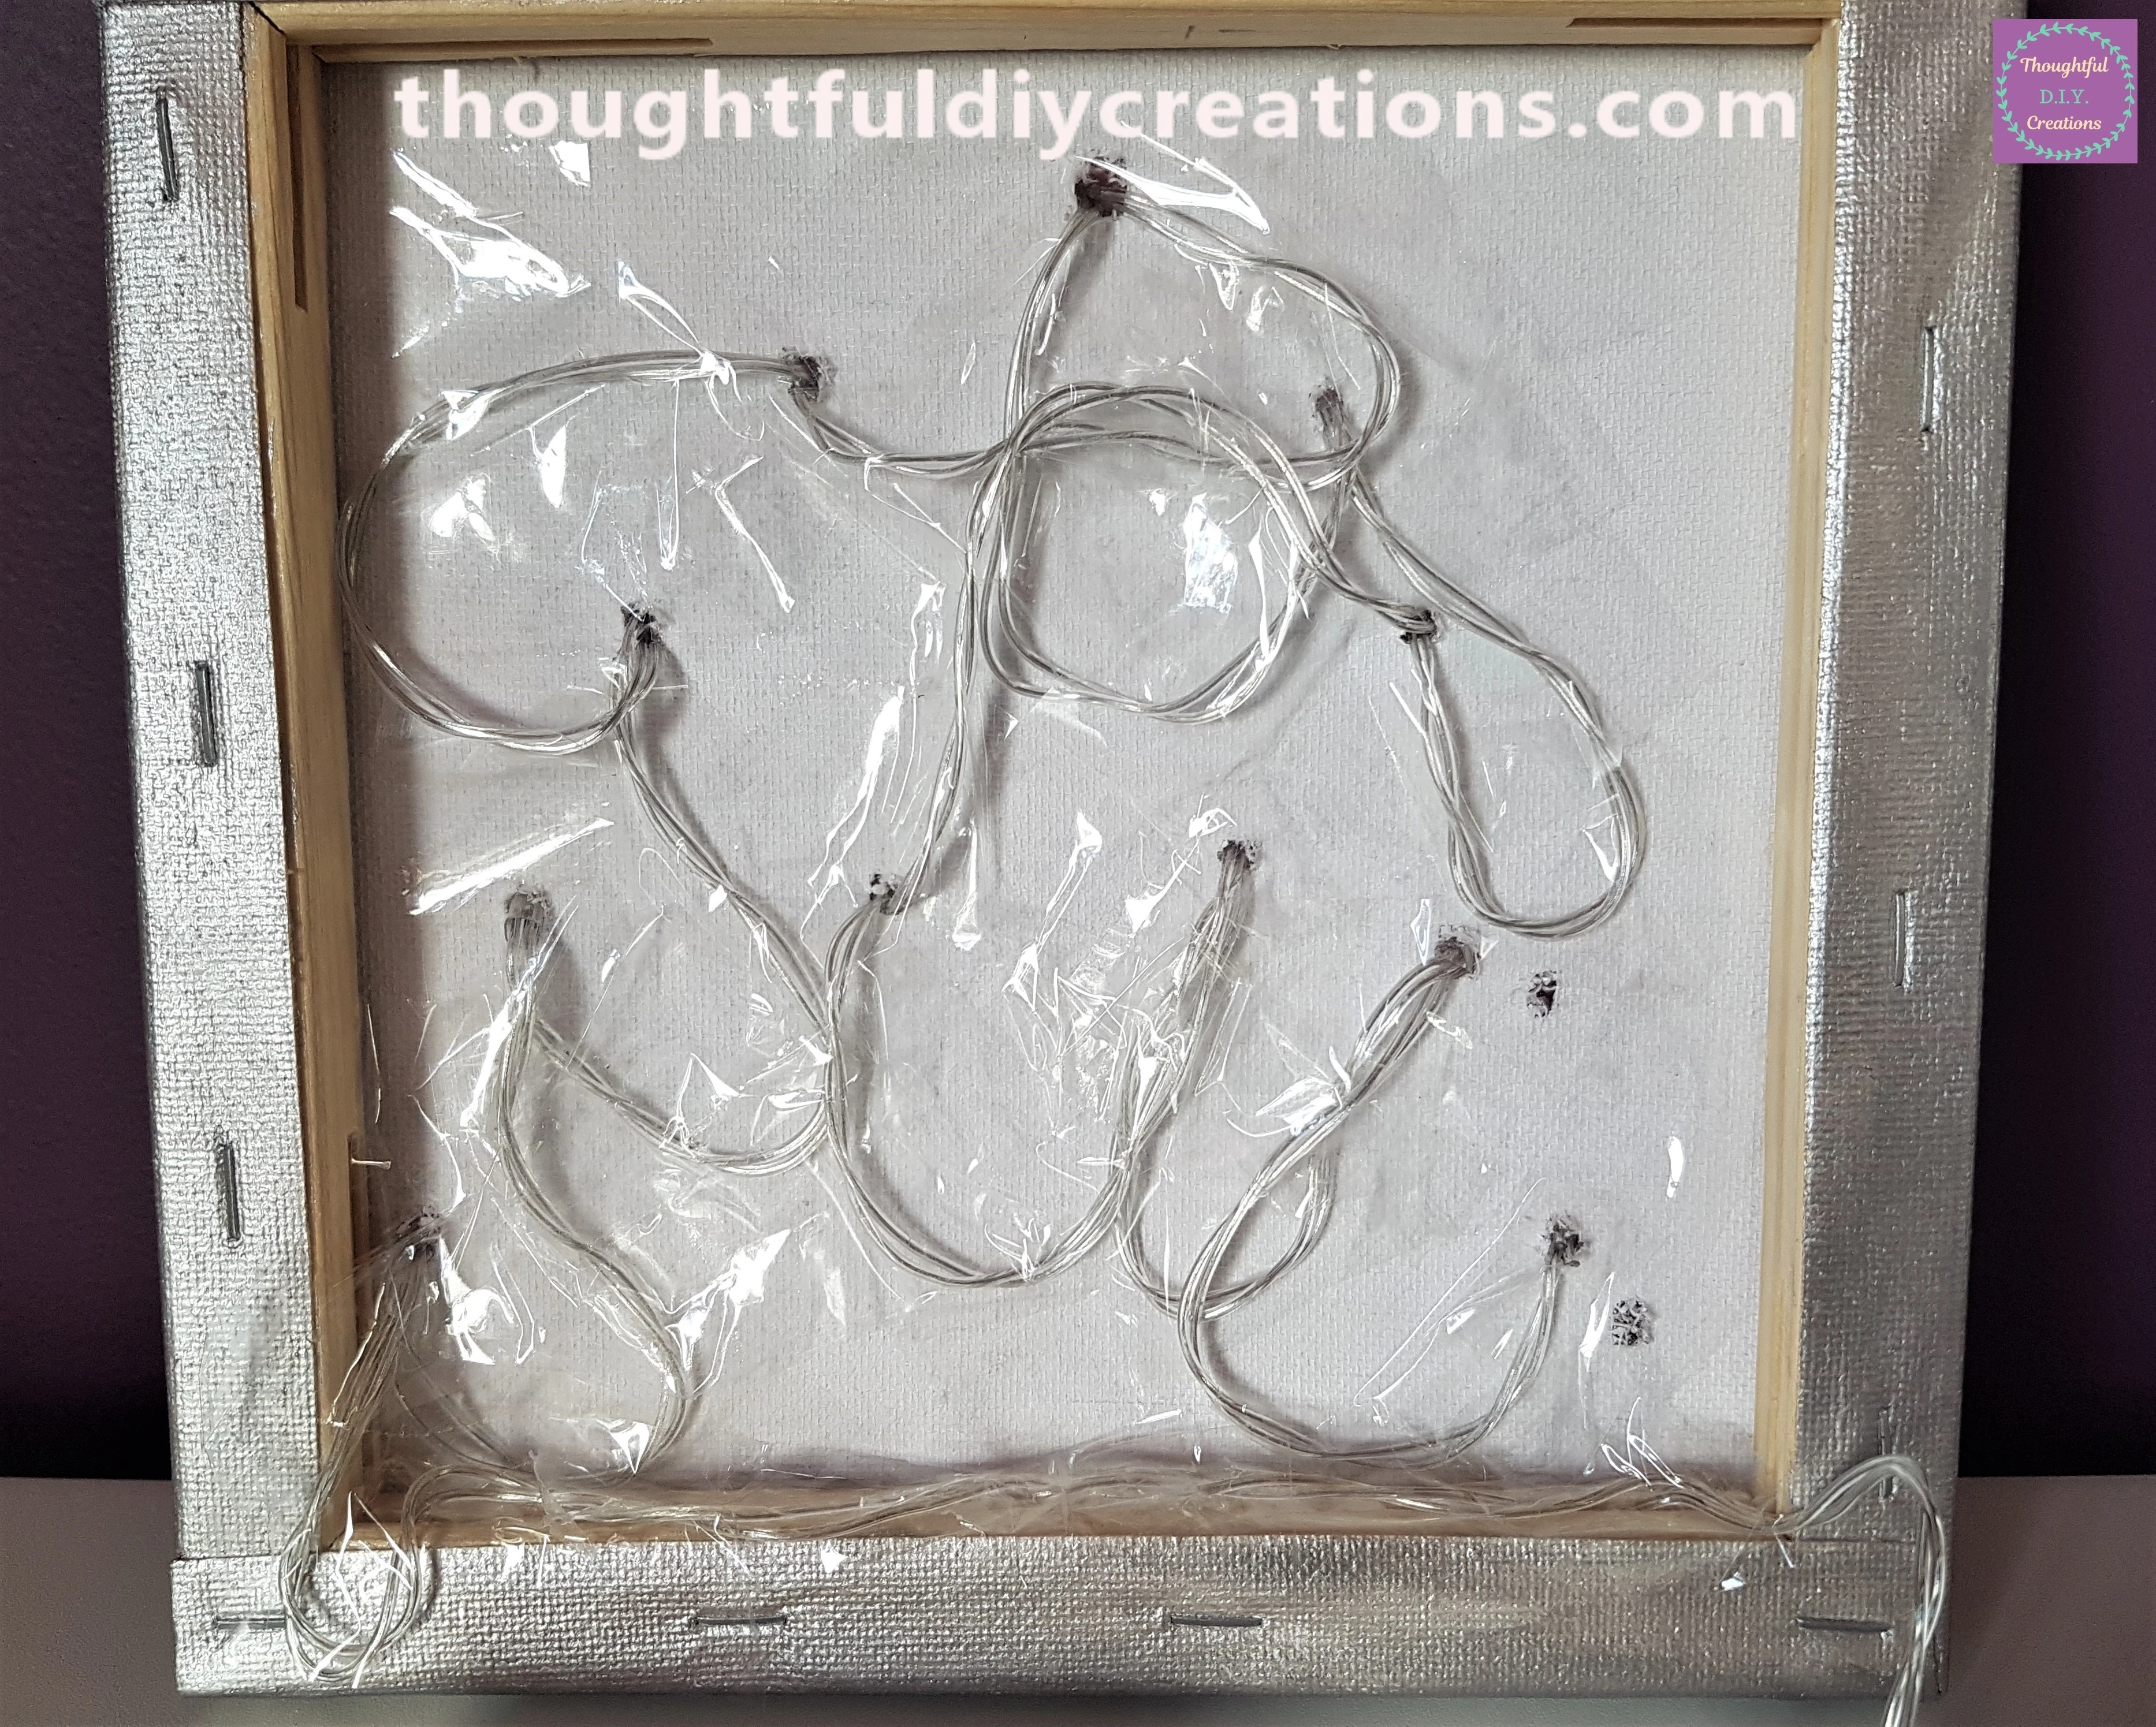
I tidied up the String from the Lights on the back of the Canvas with Sellotape.
Finishing Touches to the Personalised Light-Up Canvas
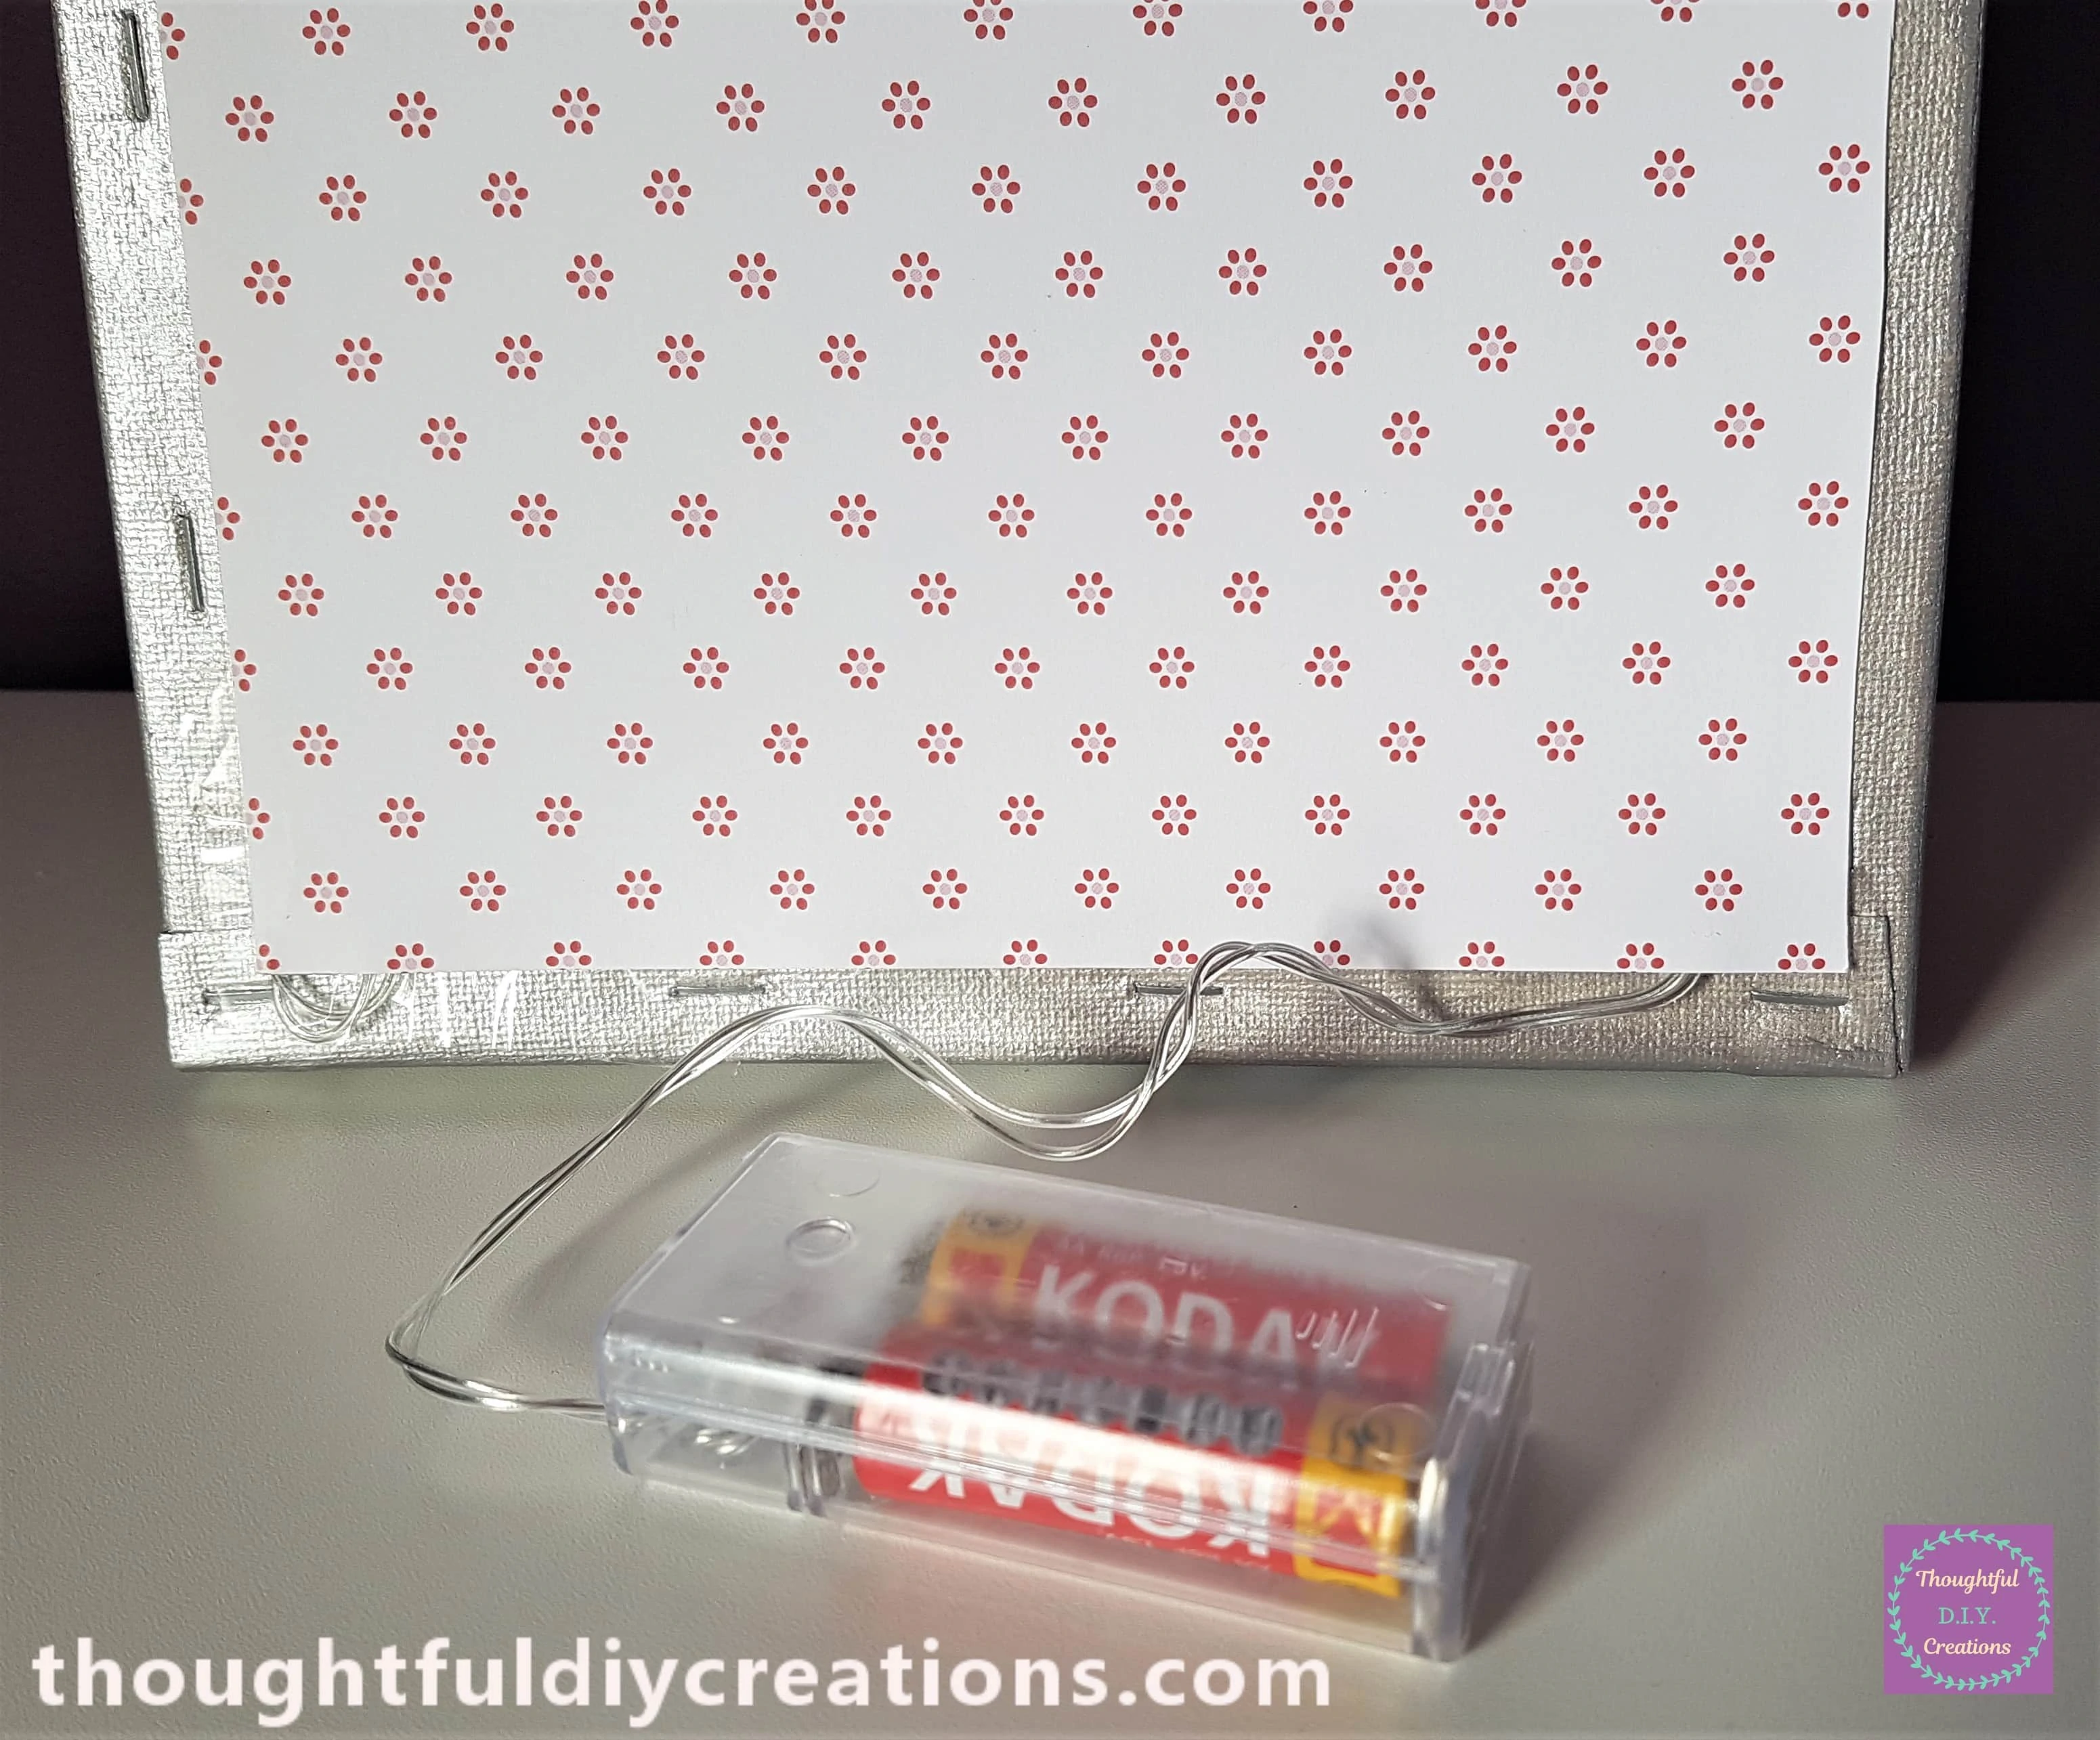
I attached a Sheet of Cardstock on the Back of the Canvas using Double-Sided Tape along each Side of the Paper and some of “Anita’s Tacky PVA Glue” for staying power. This provided a Cleaner and Professional appearance.
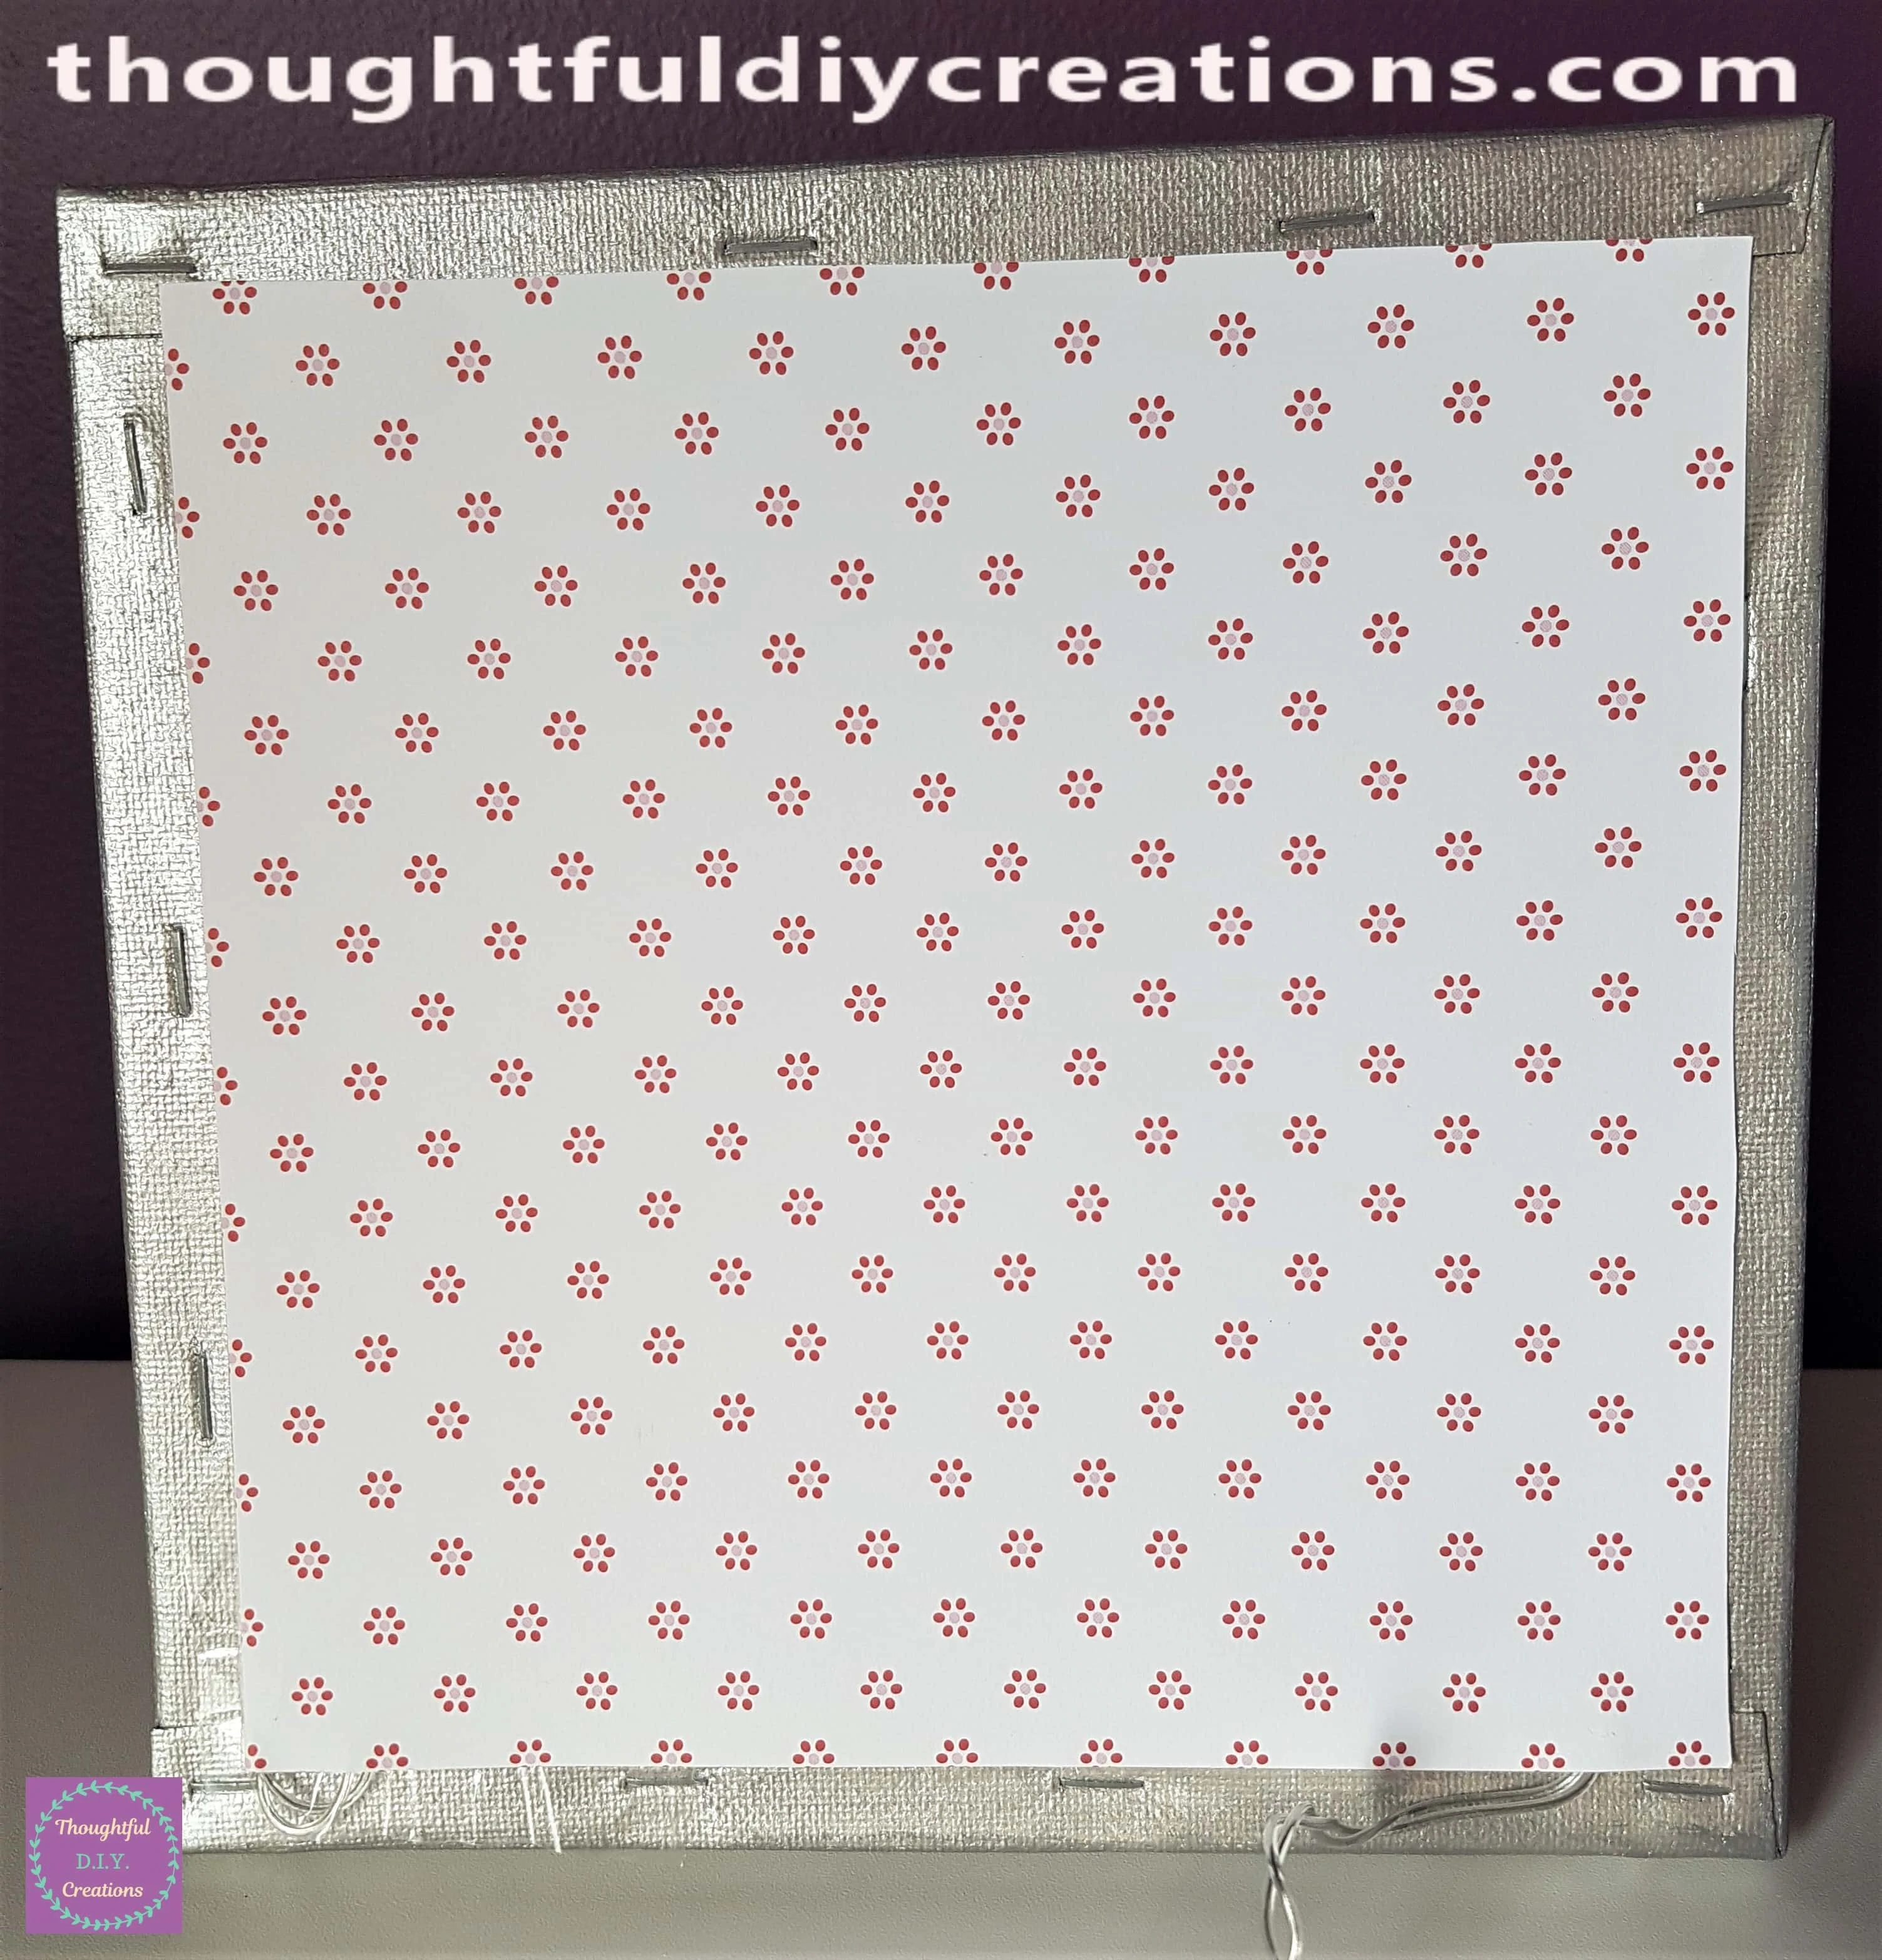
A Closer look at the bottom half of the Canvas. The Battery Pack can be hidden behind the Canvas and the Batteries can be easily Changed.
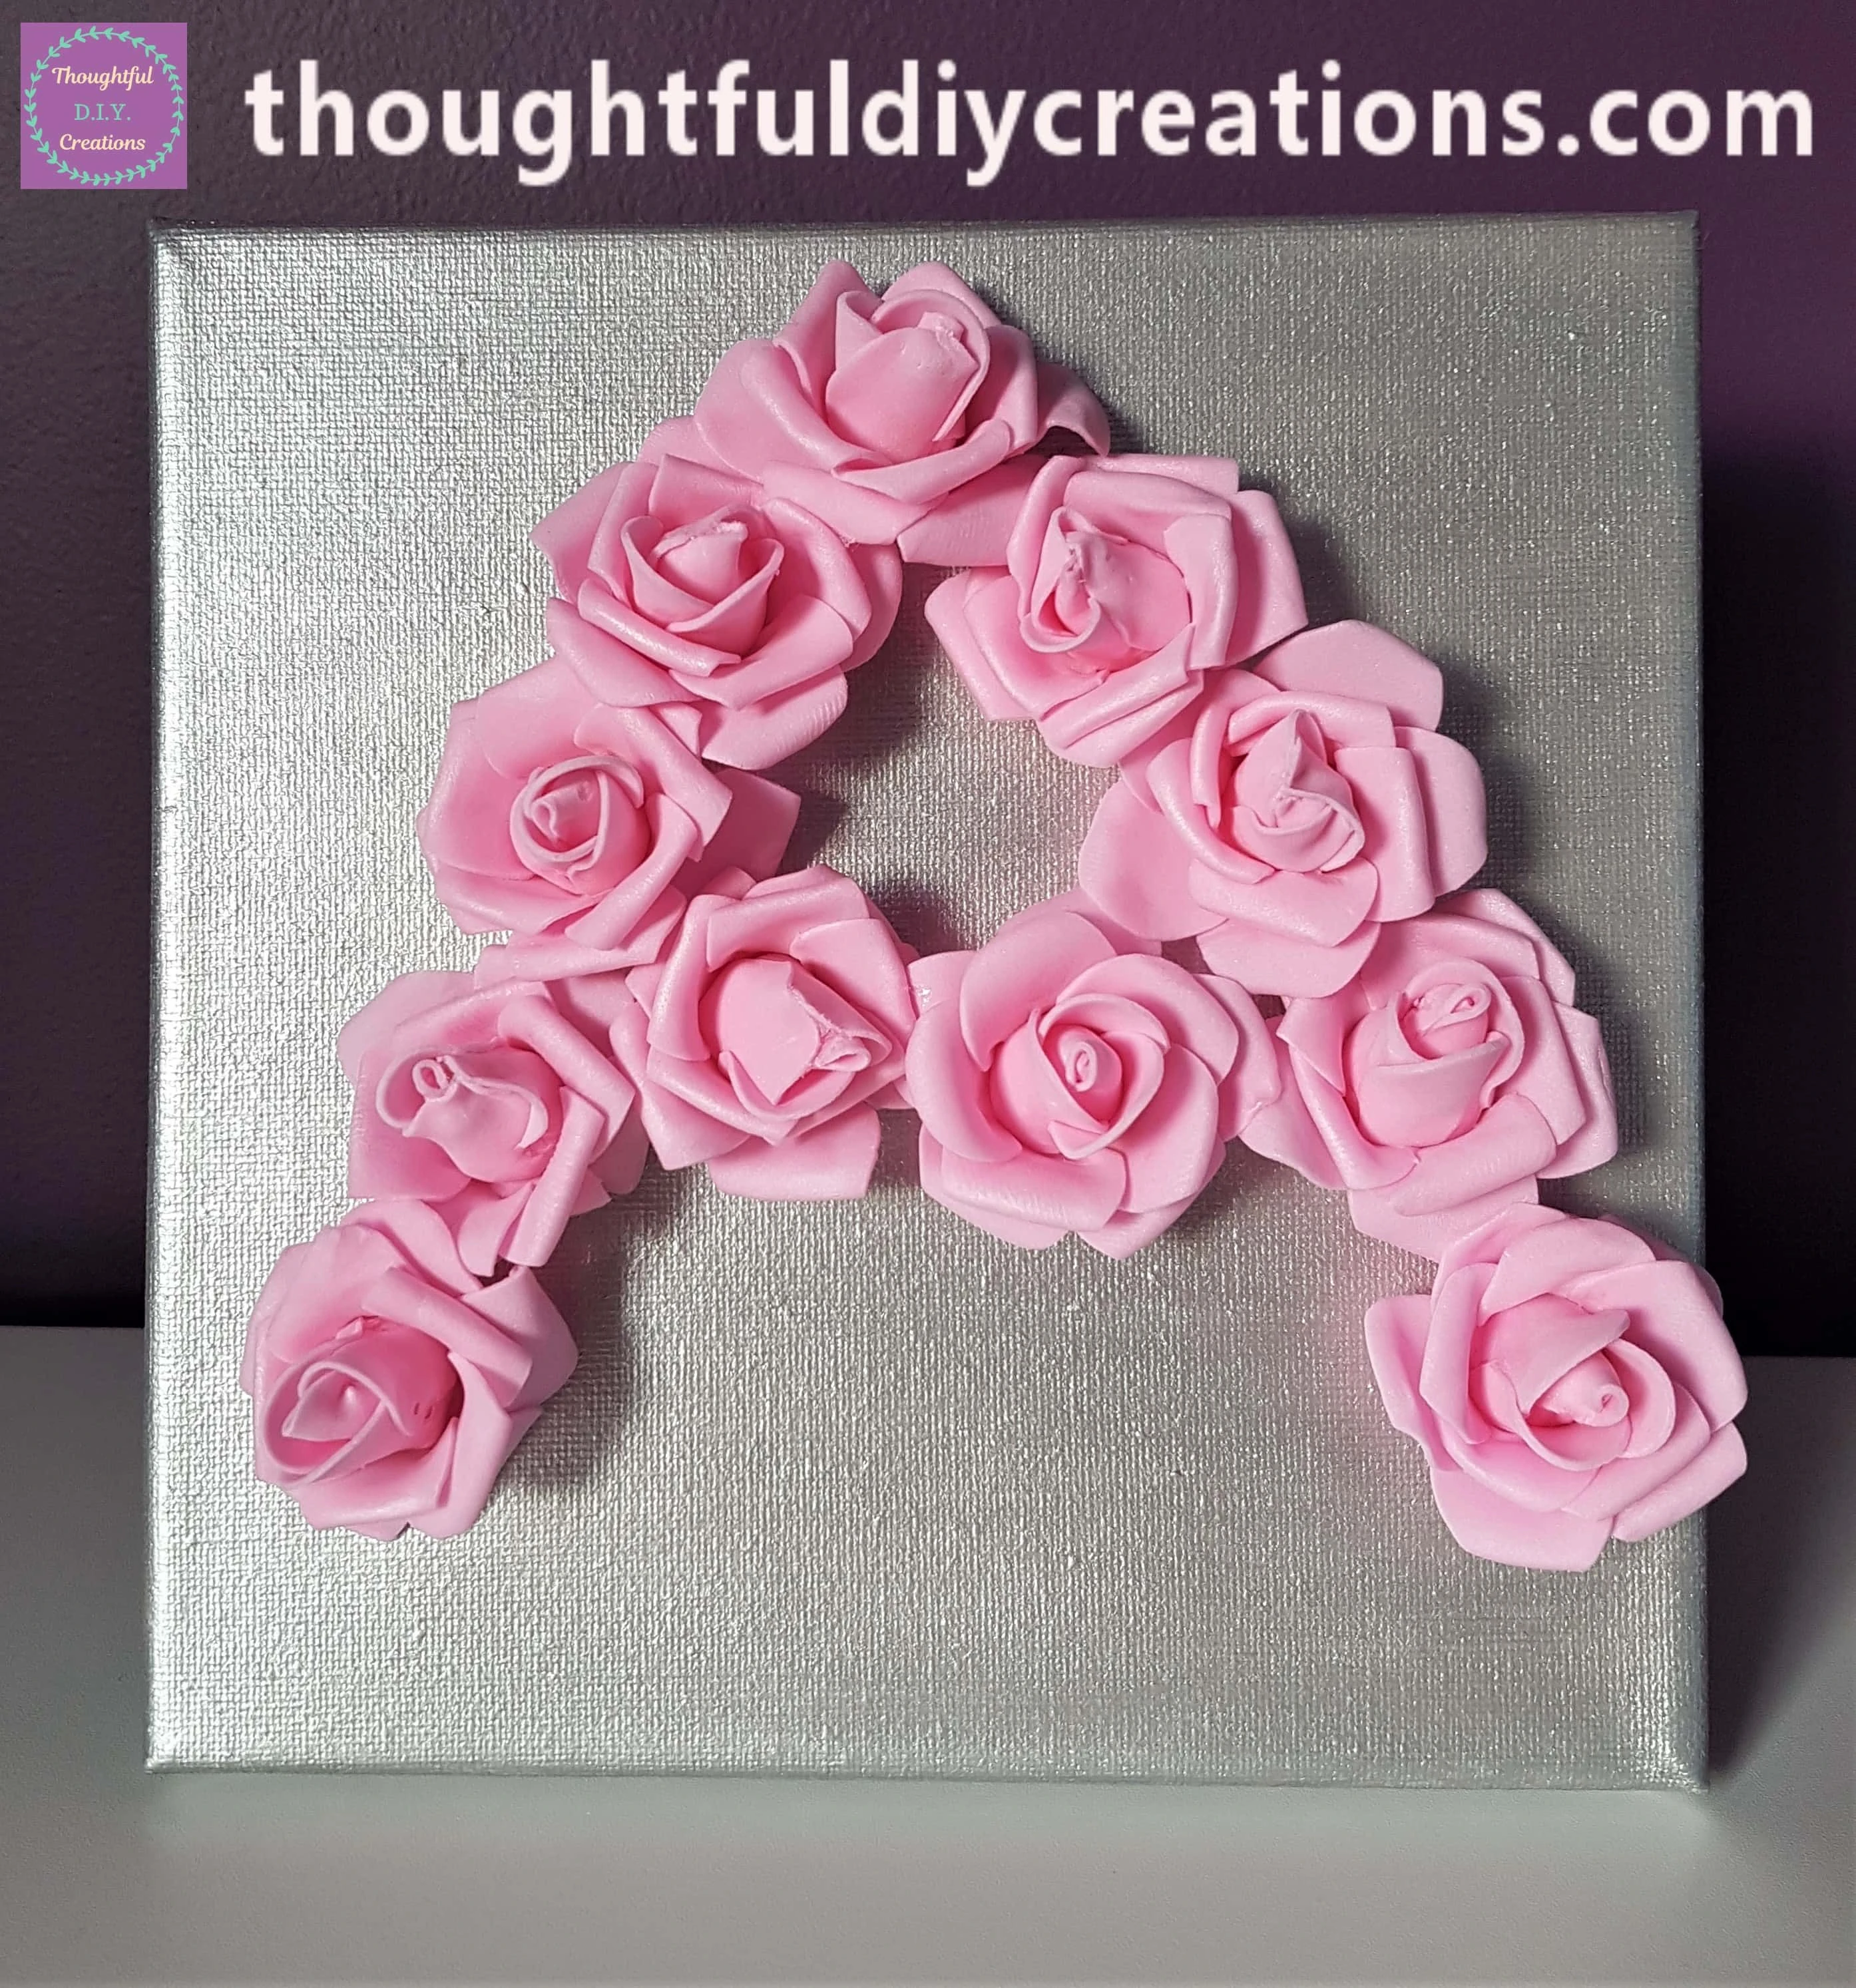
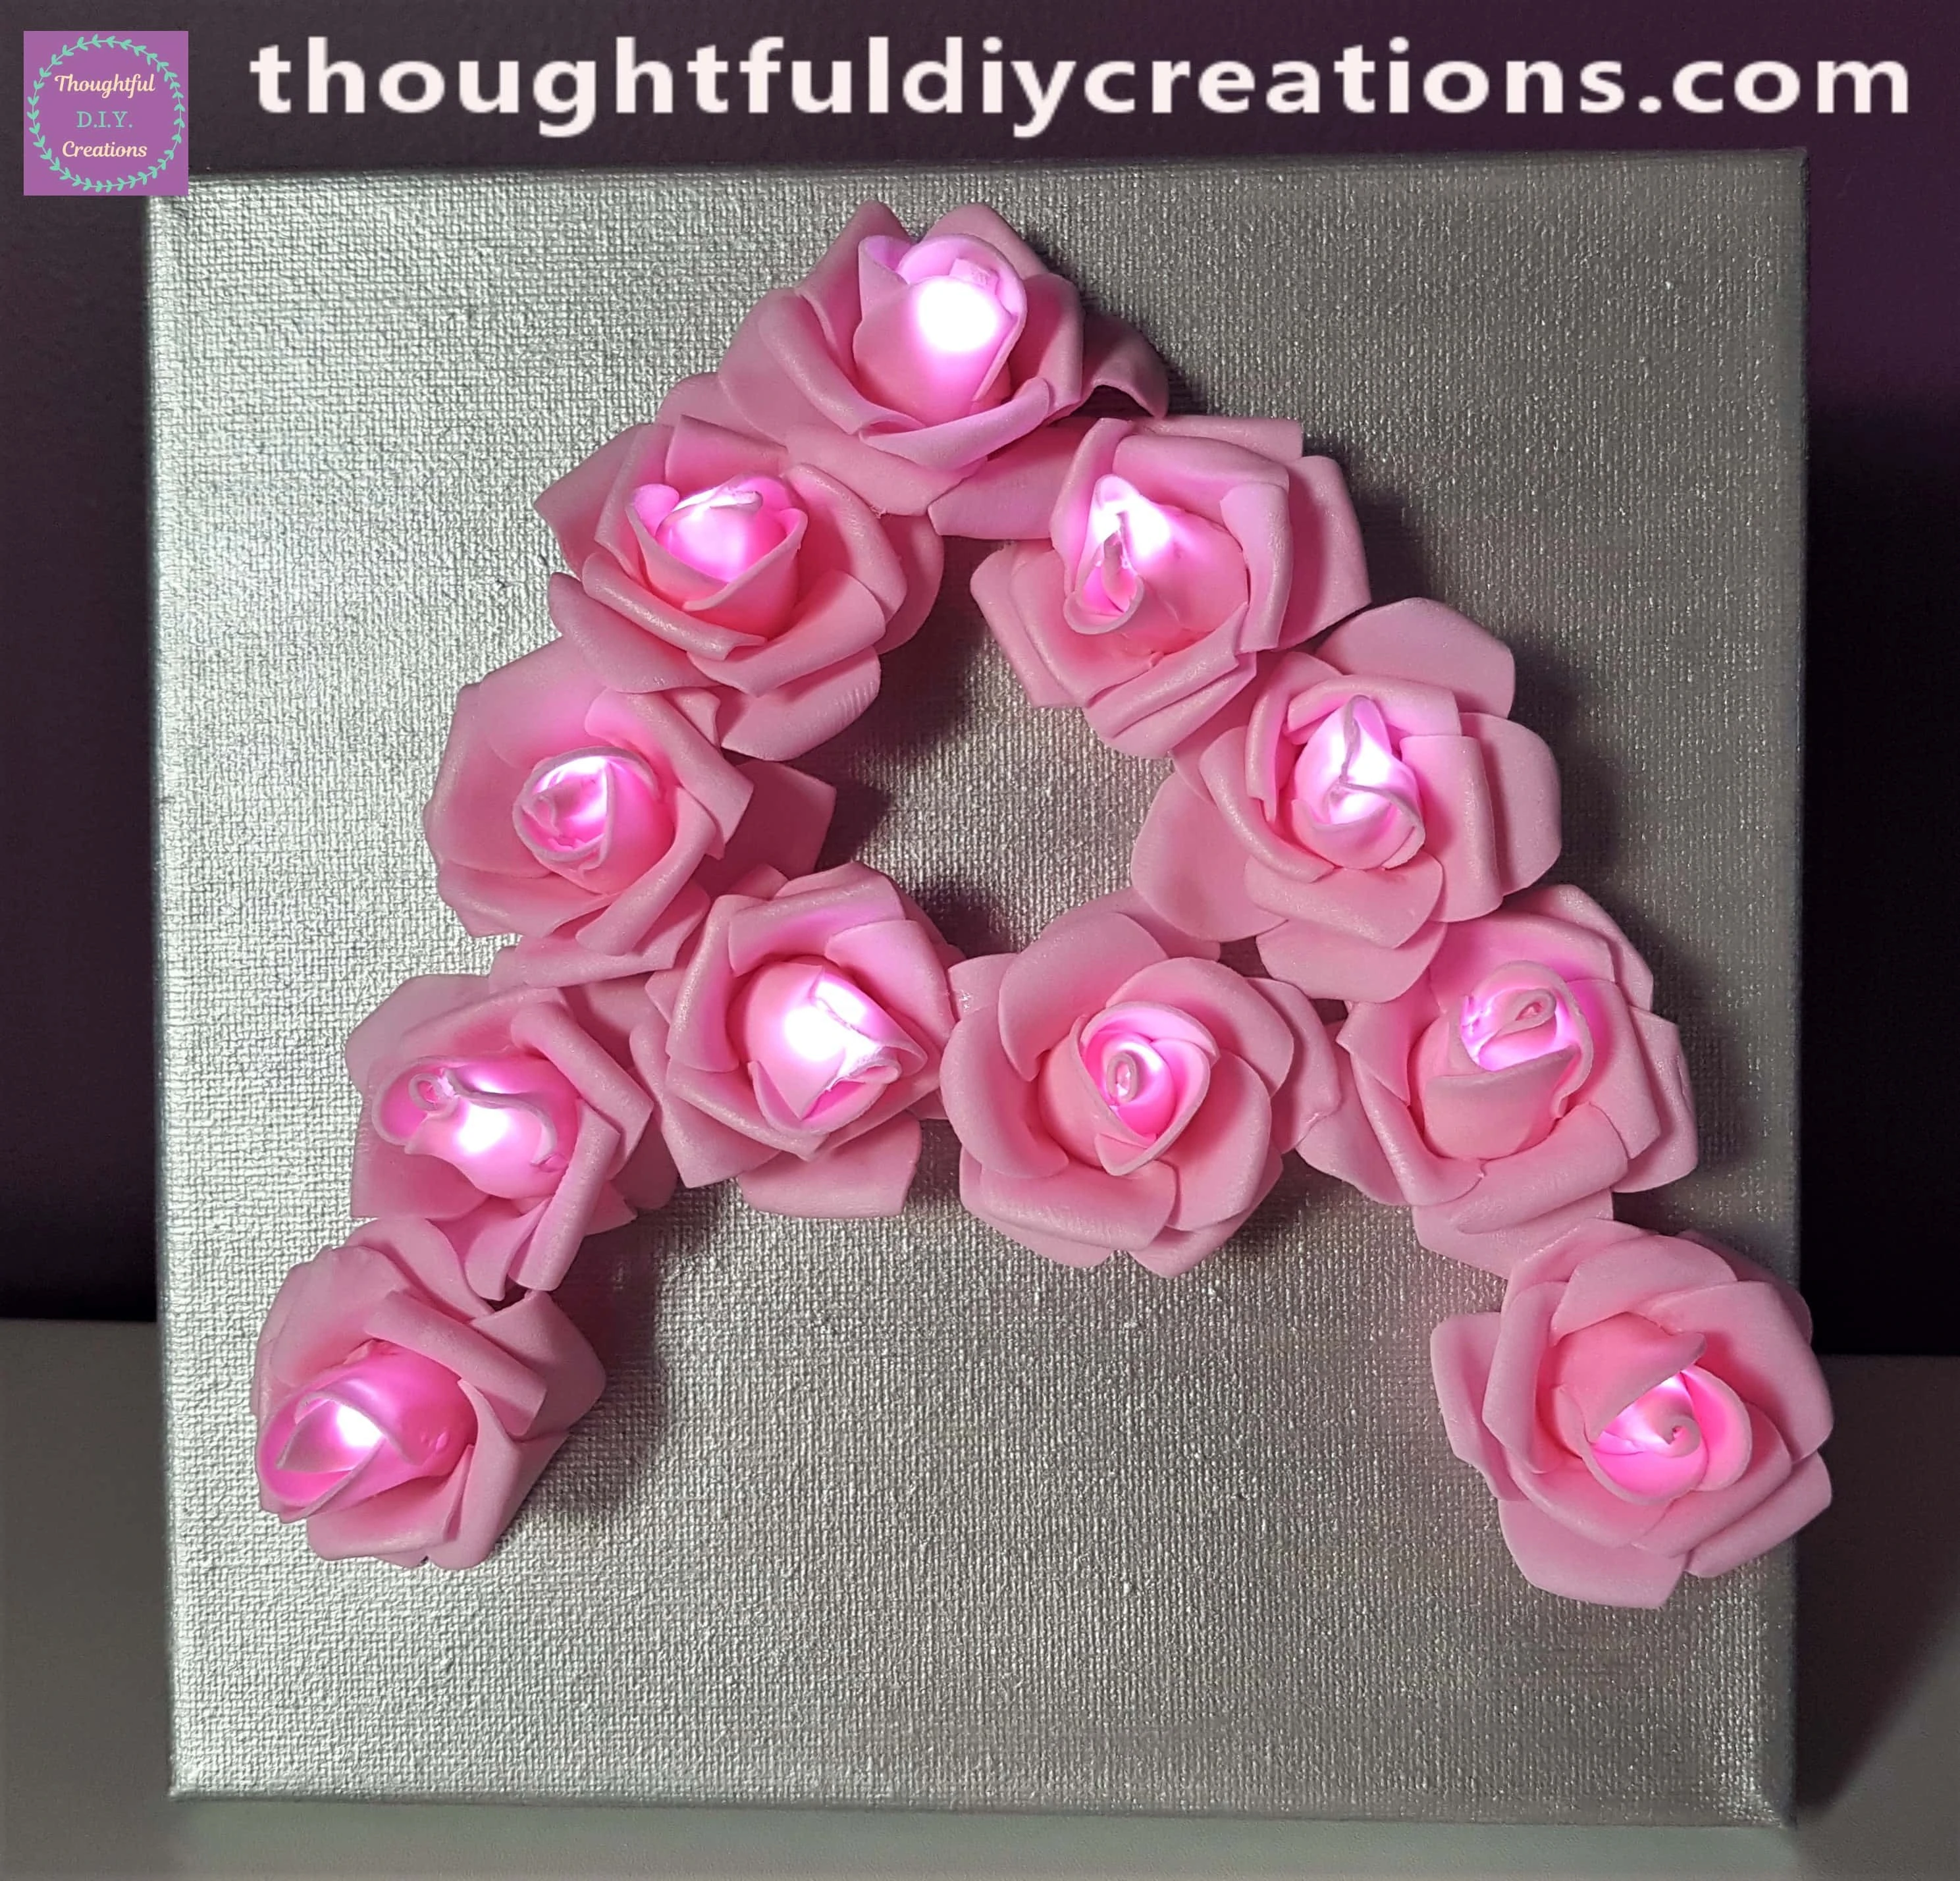
This Completed my Personalised Light-Up Flower Canvas.
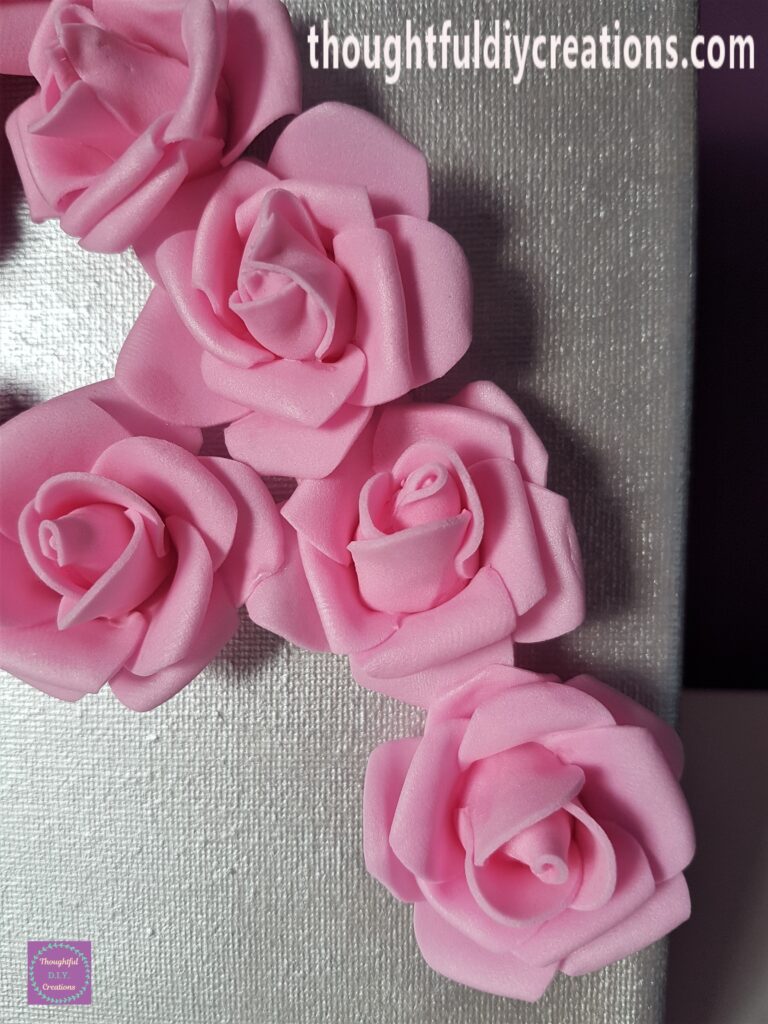
A Close-Up Image of the Pink Roses.
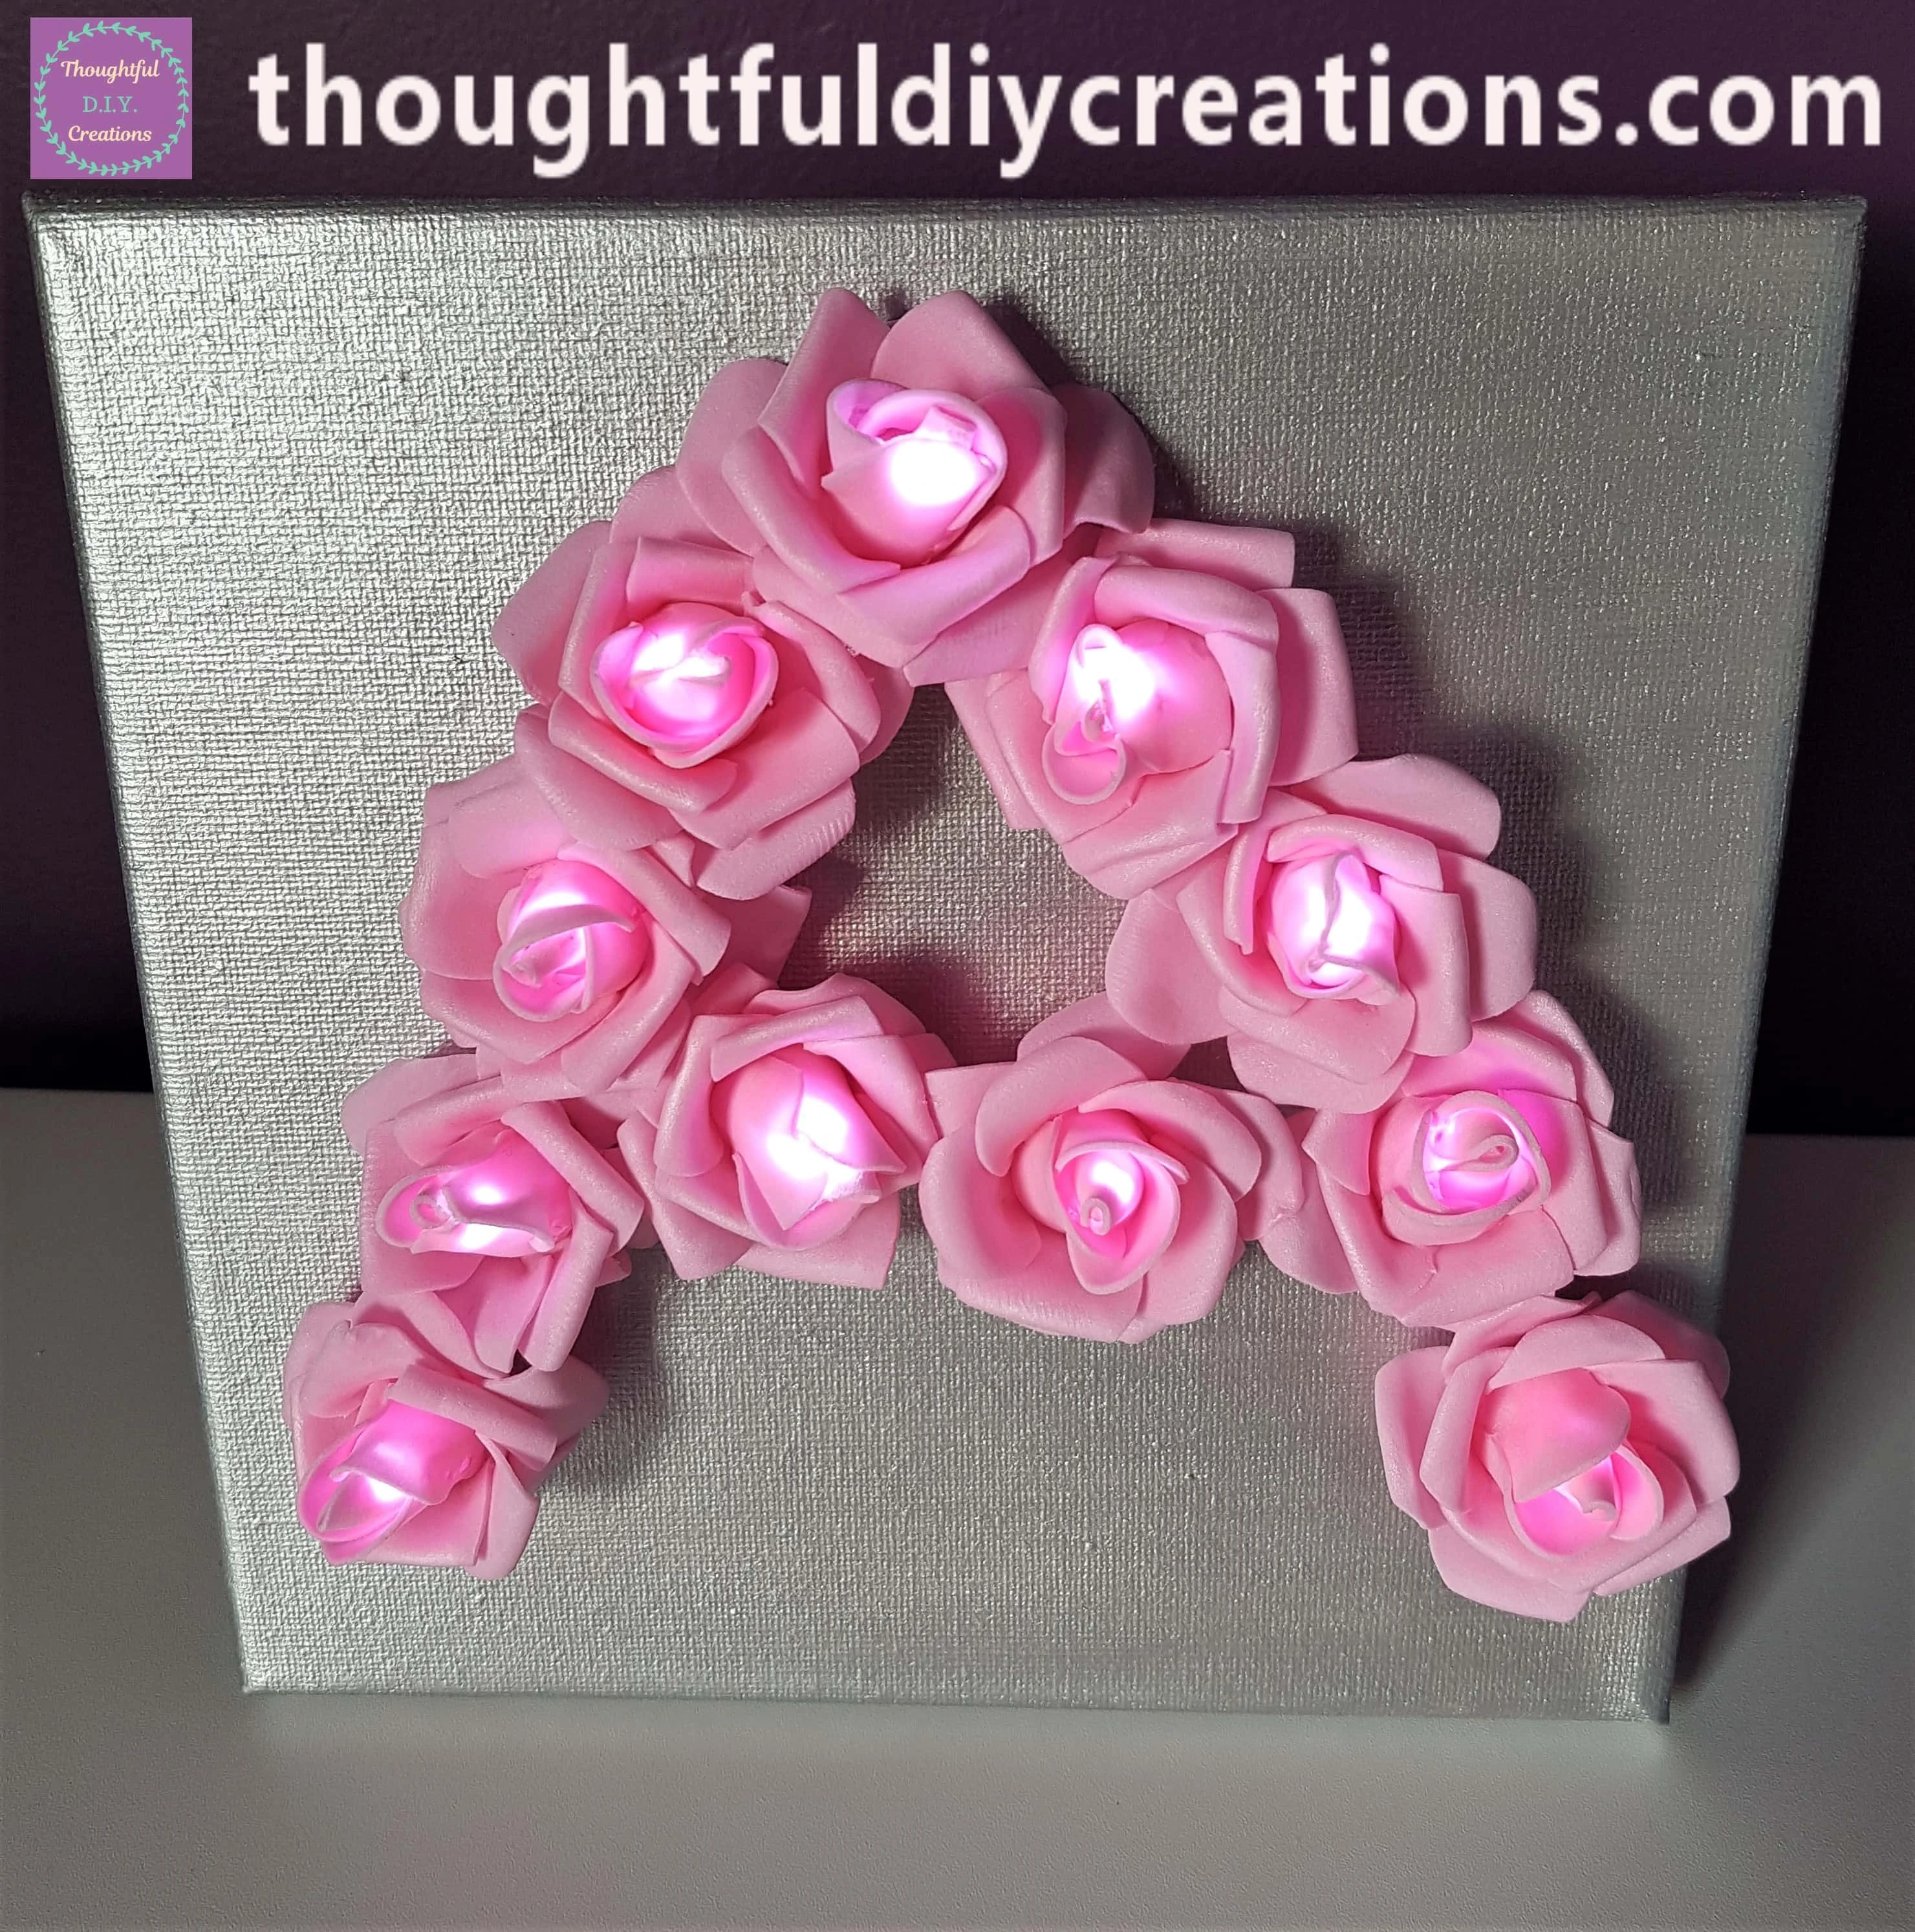
The Lights turned On during the Day.
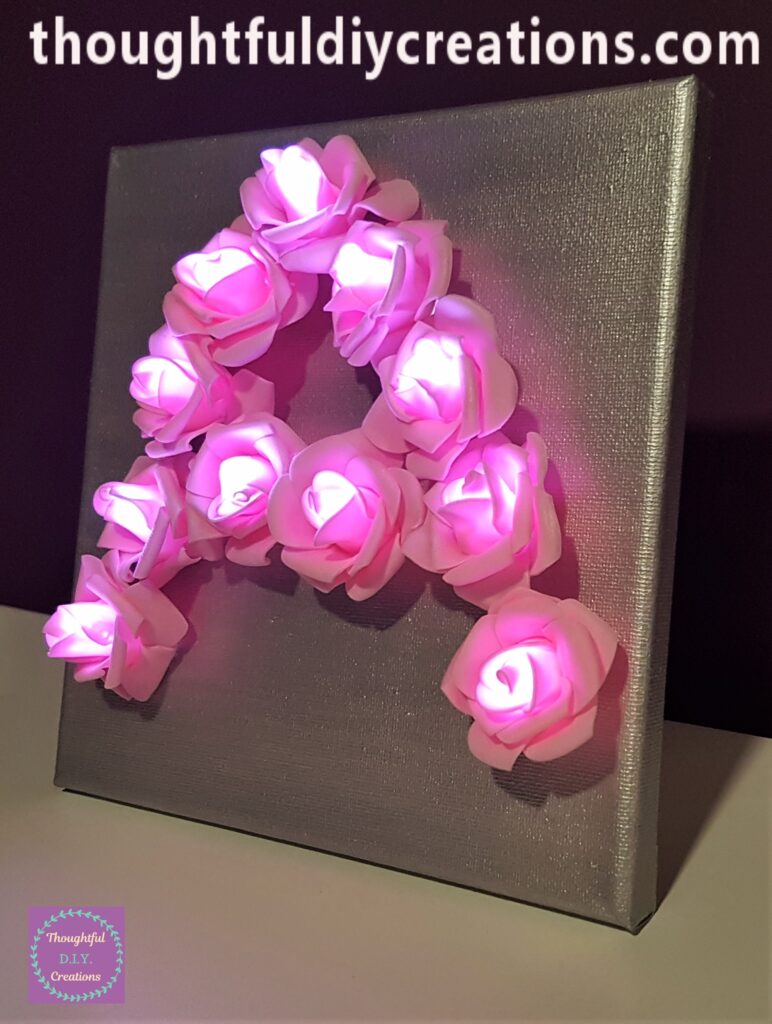
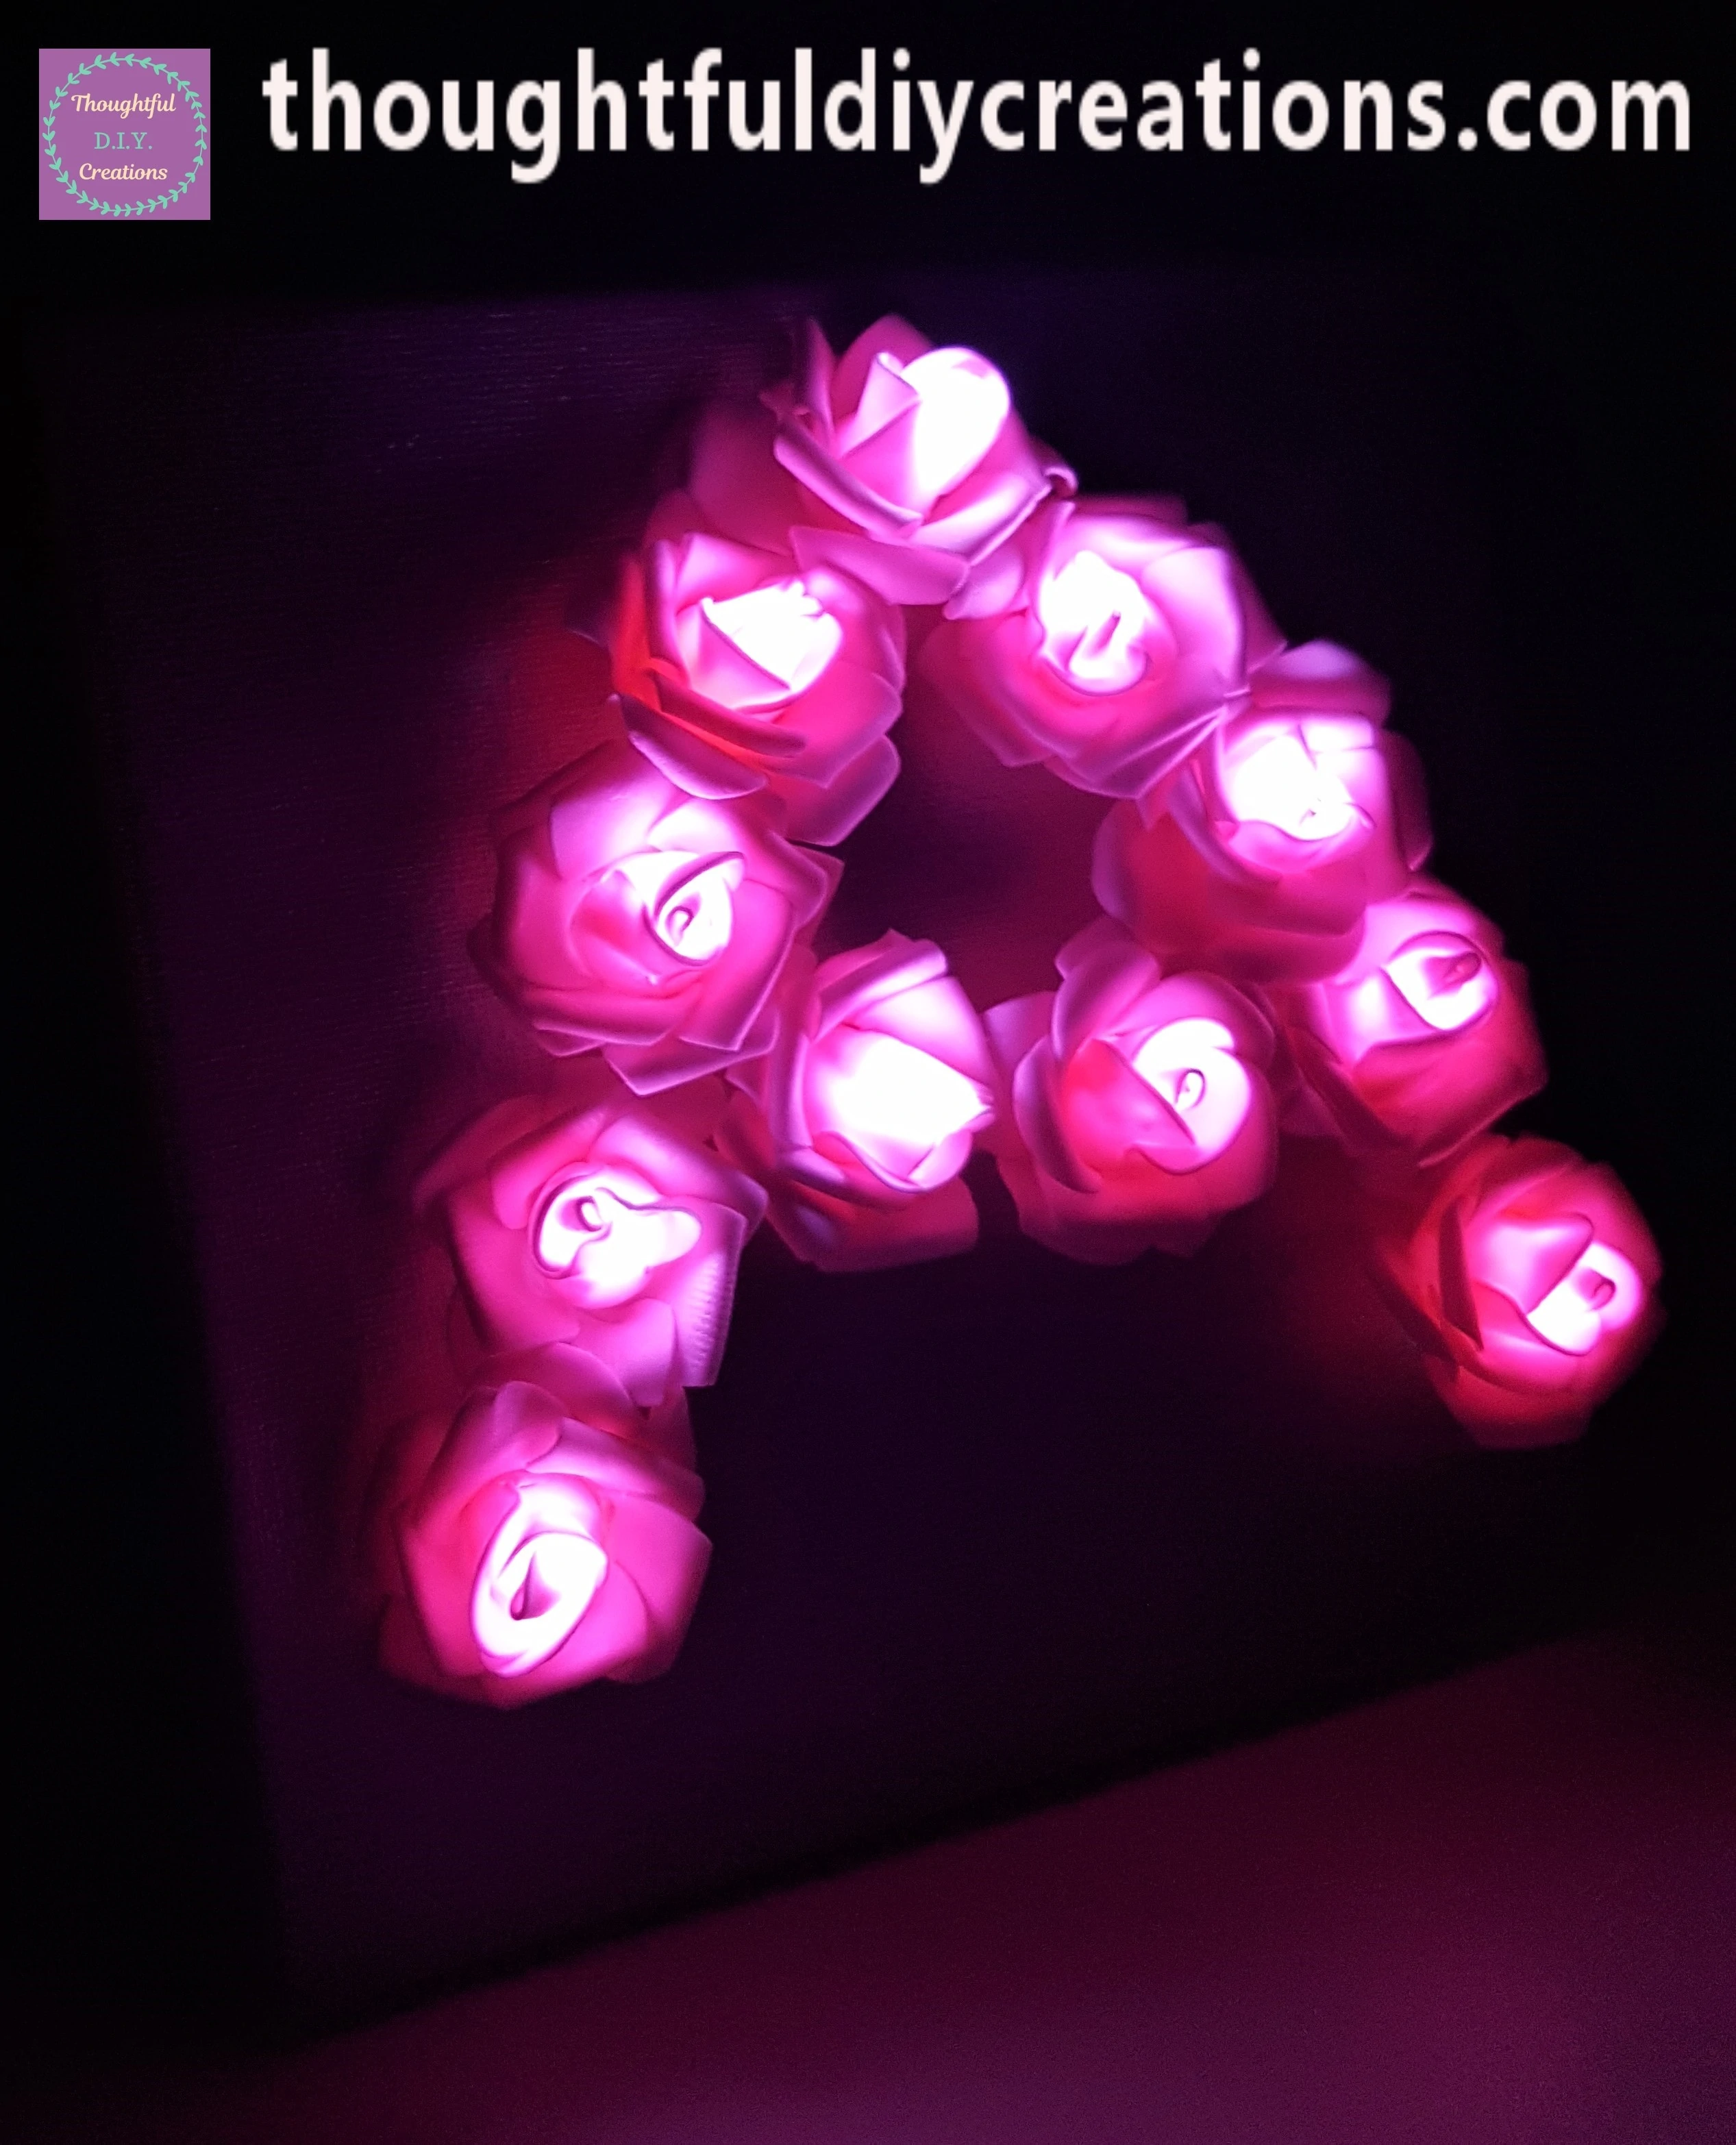
A Side angle of the Personalised Light-Up Canvas at Night with the Room Light turned On.
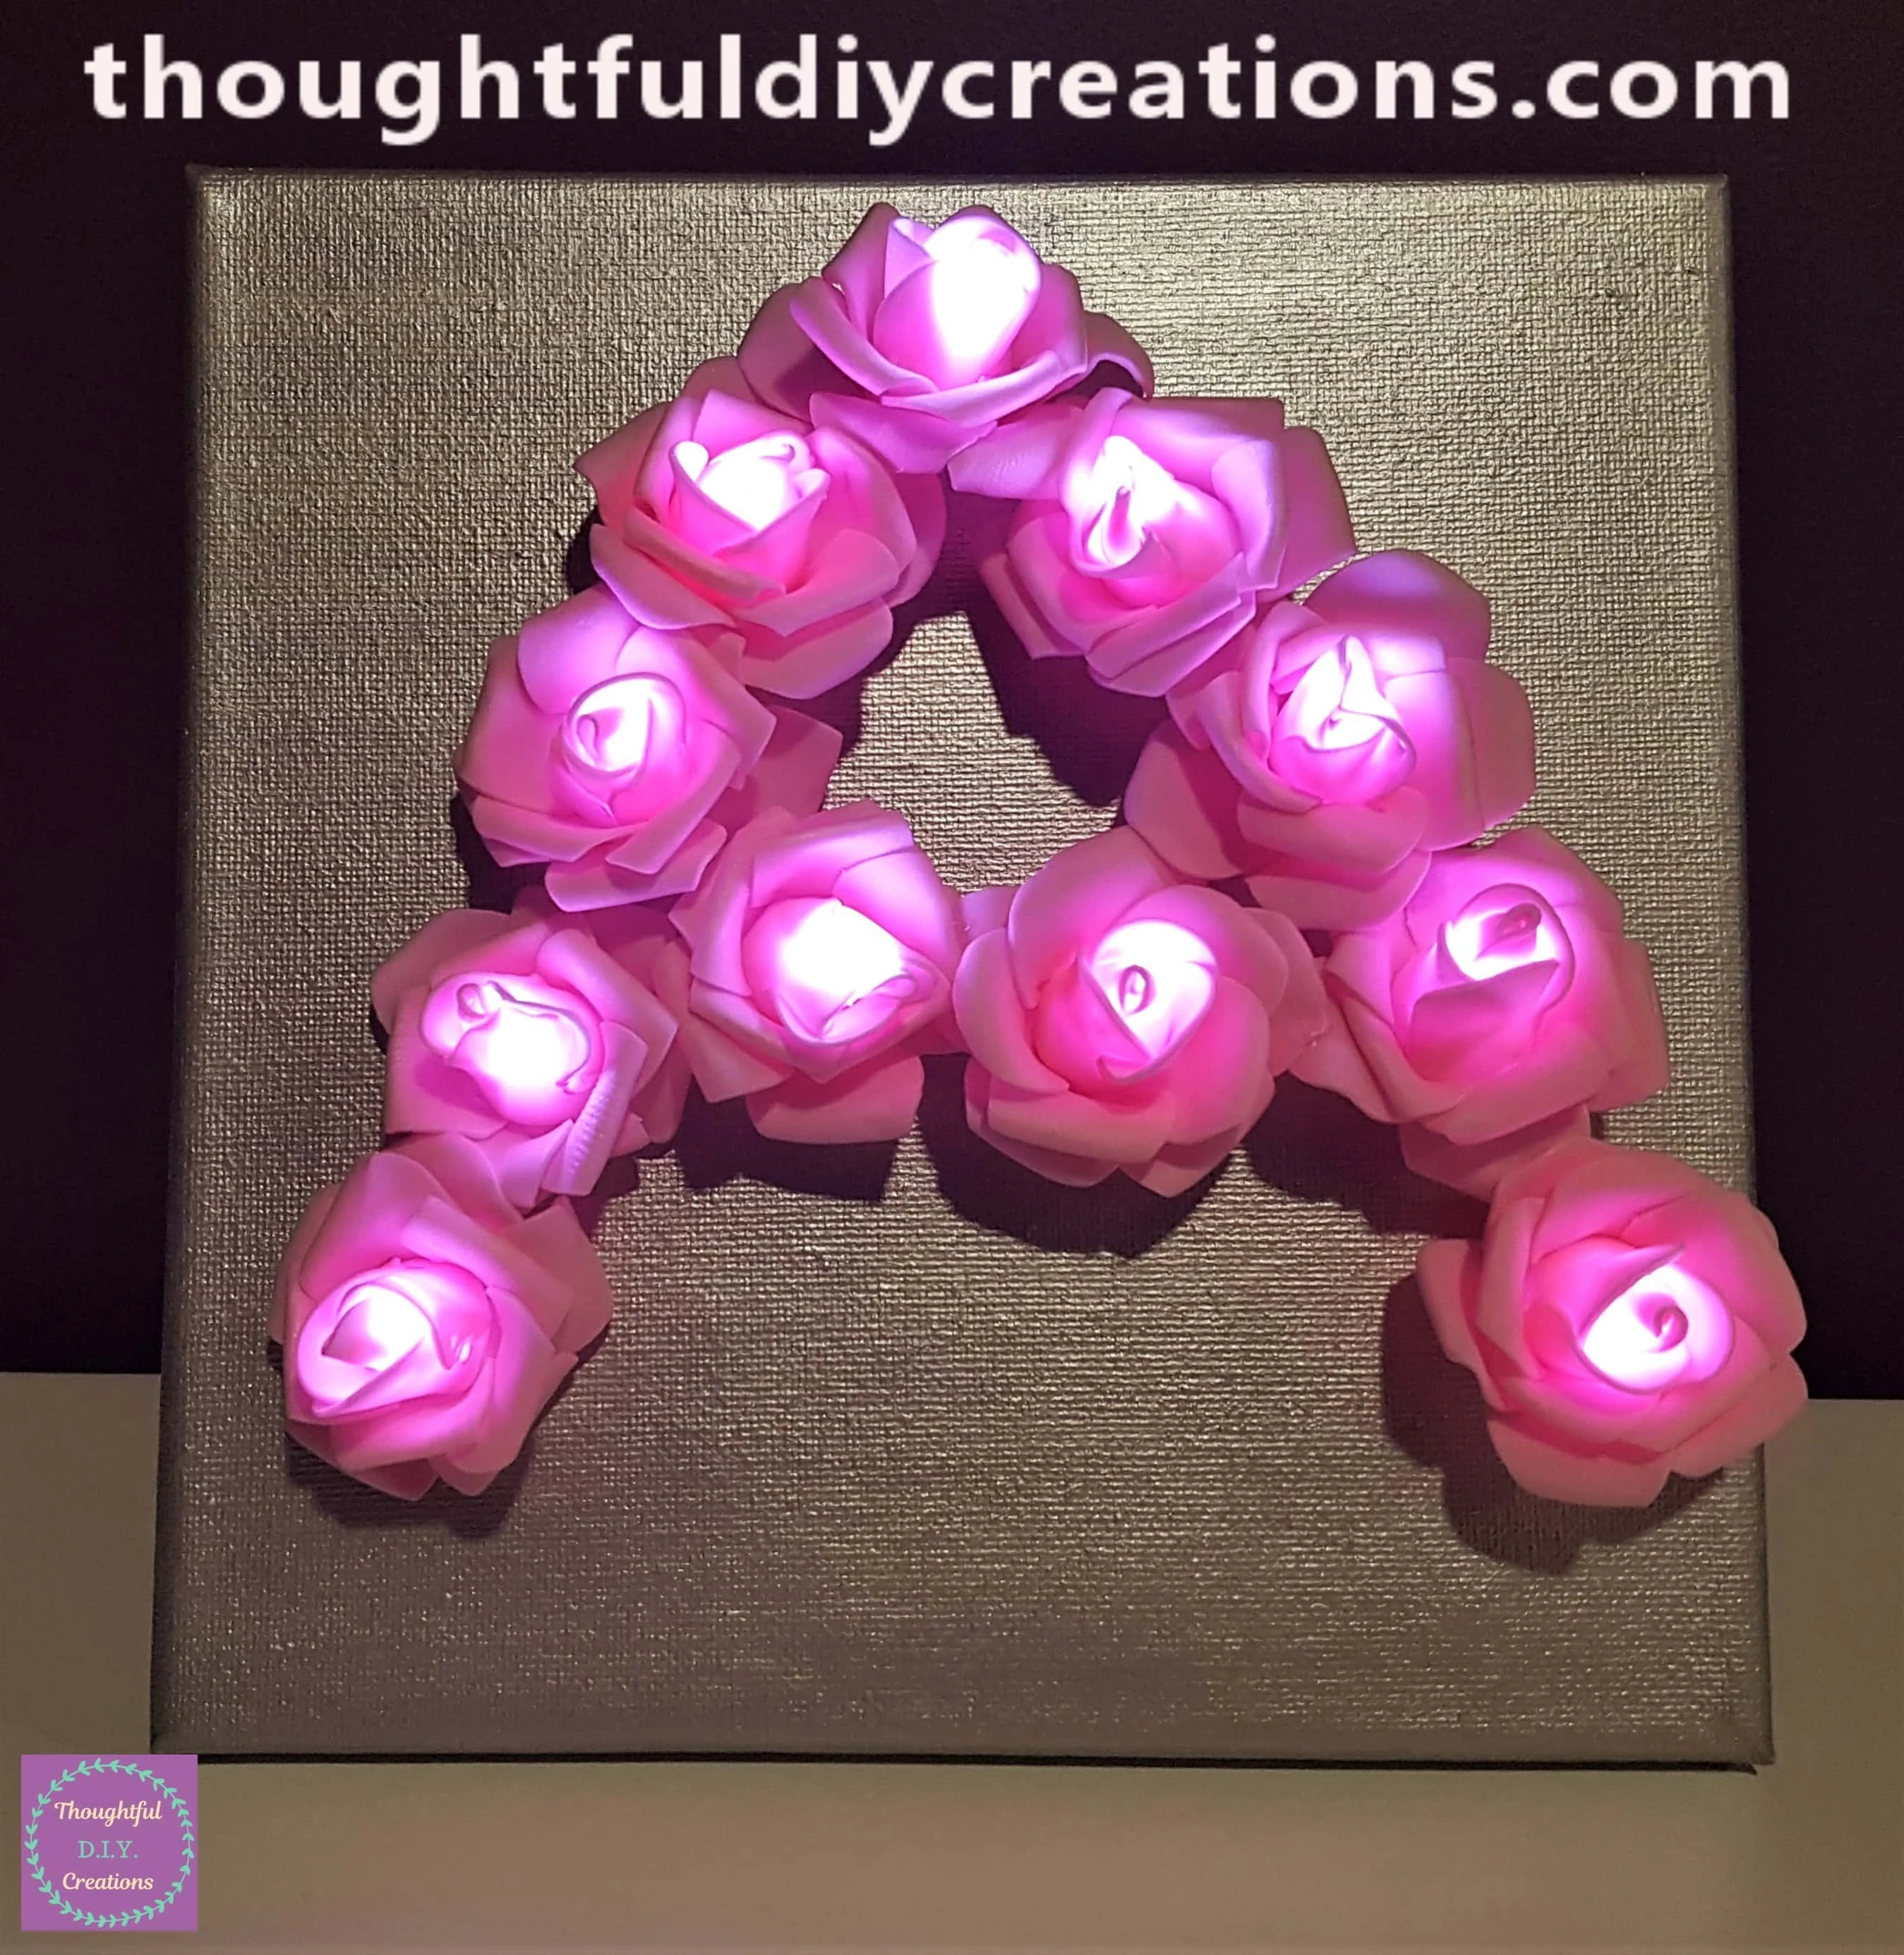
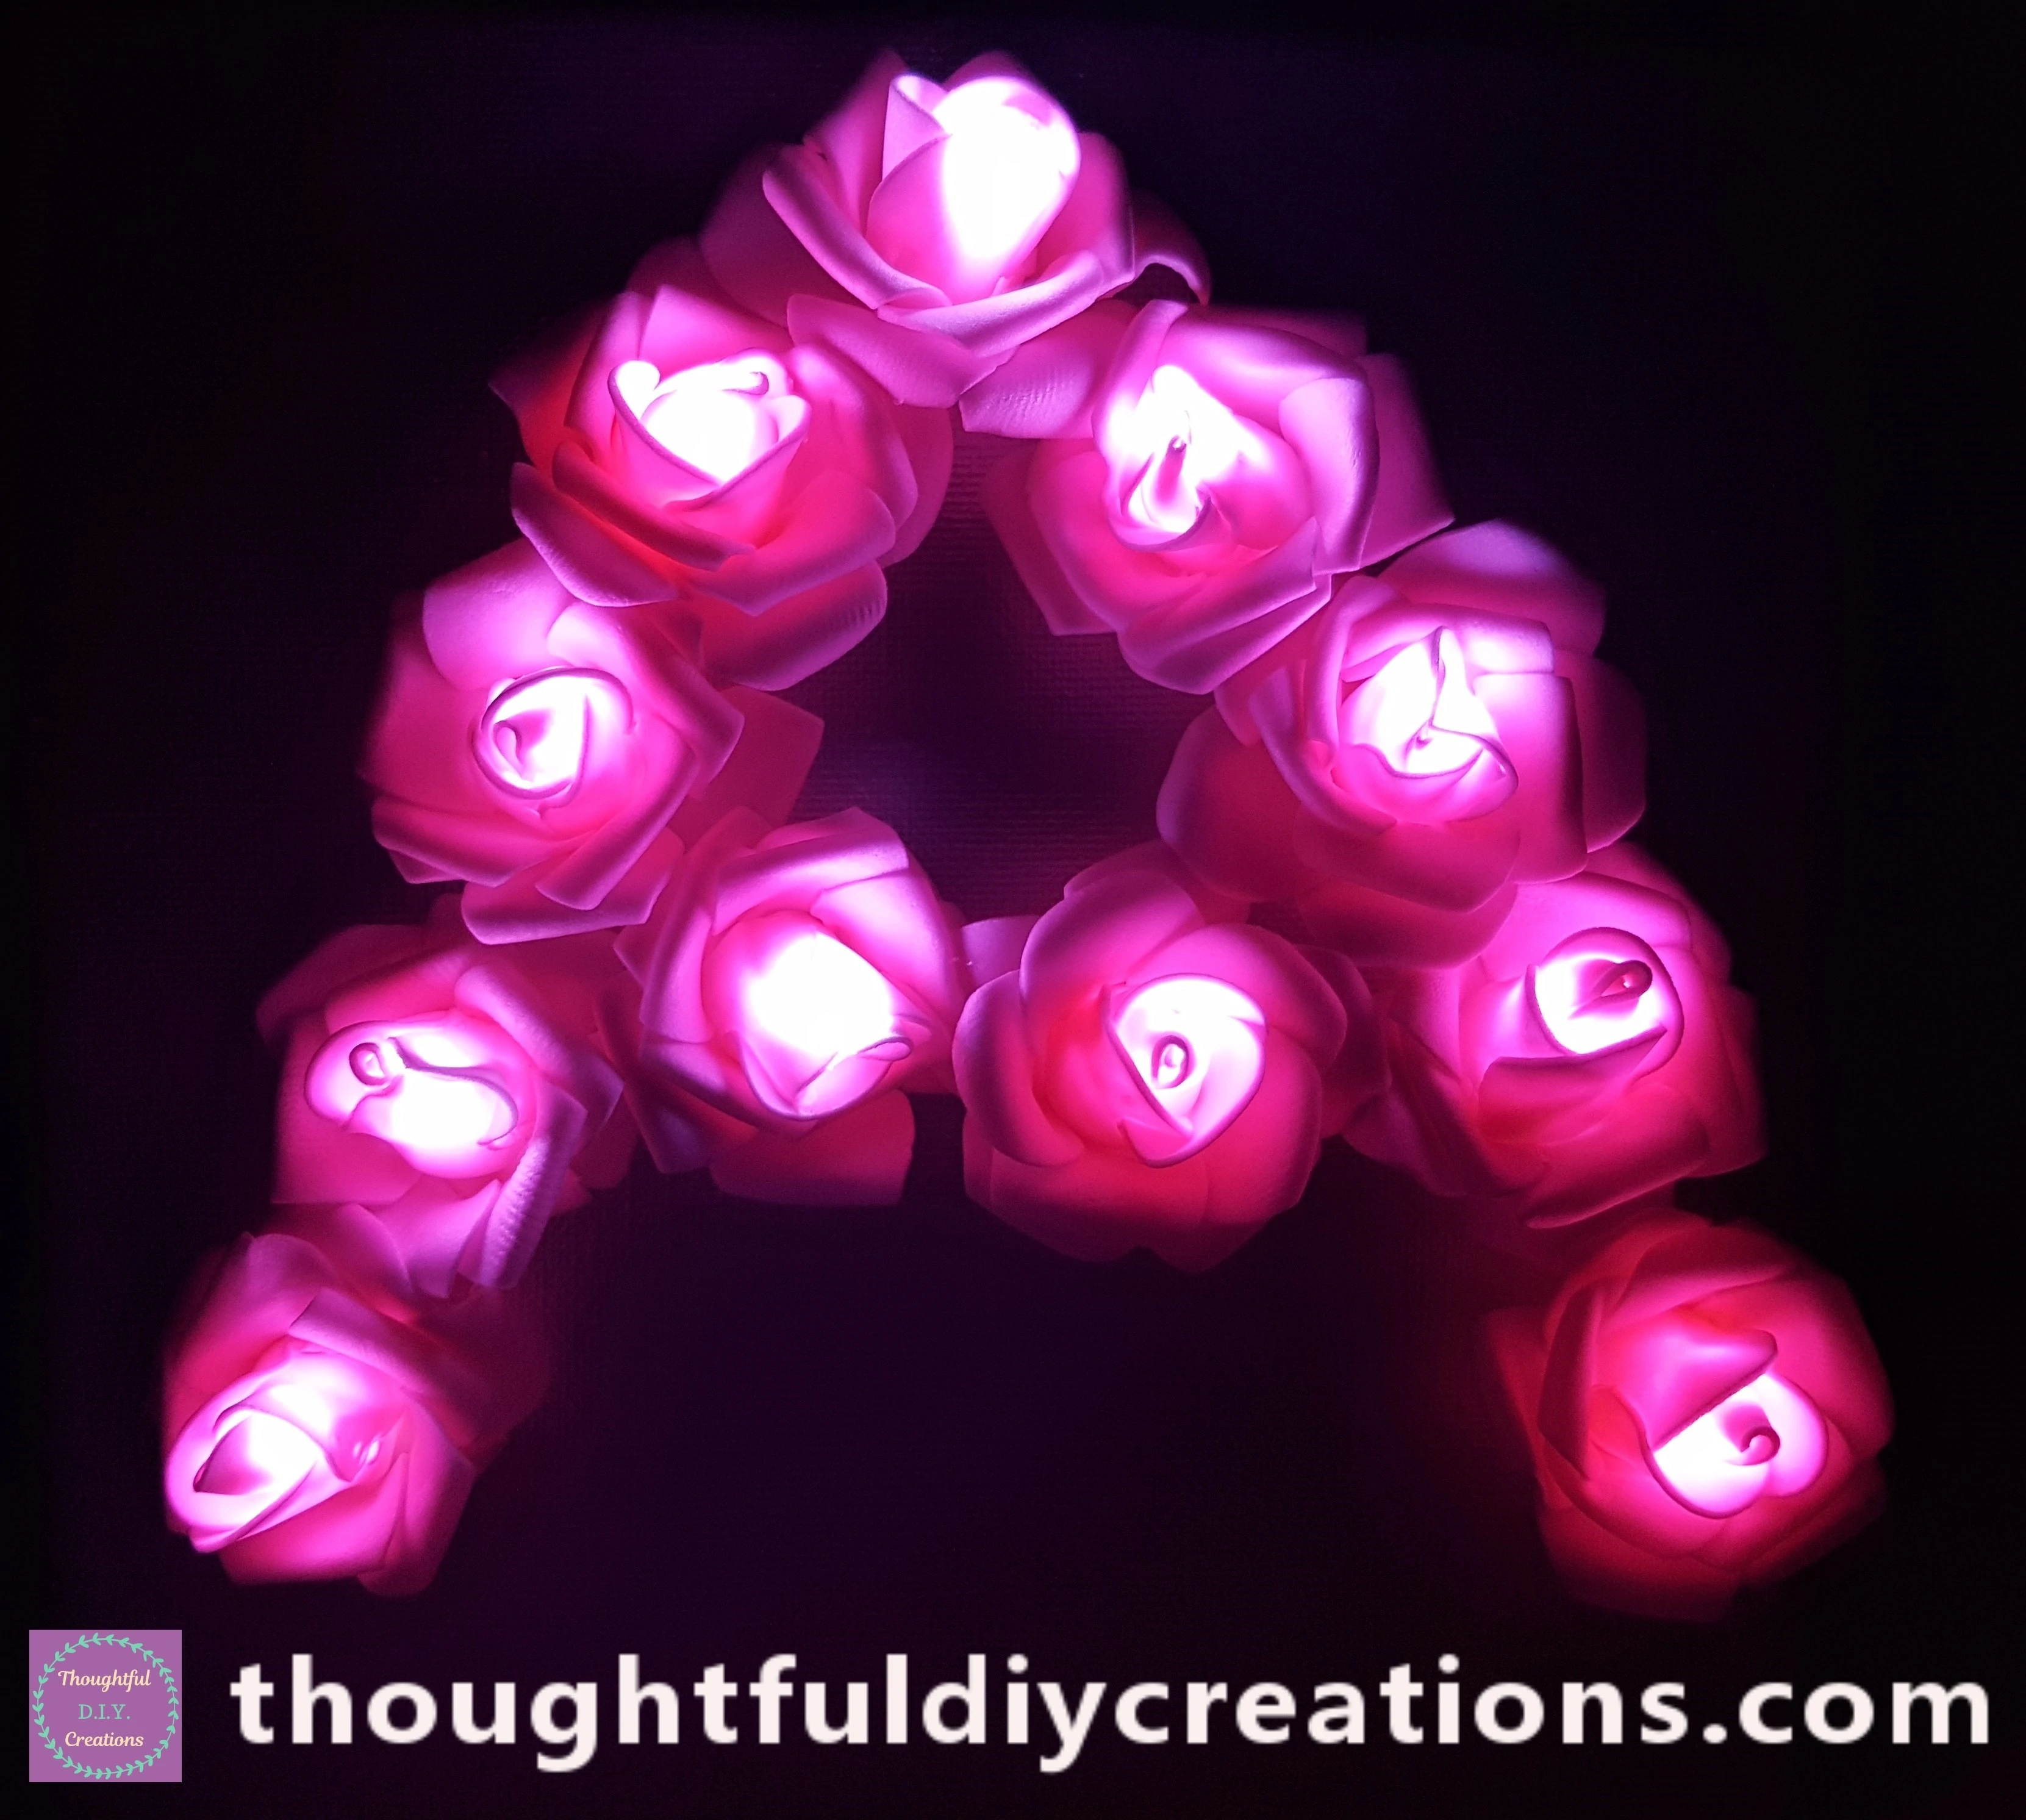
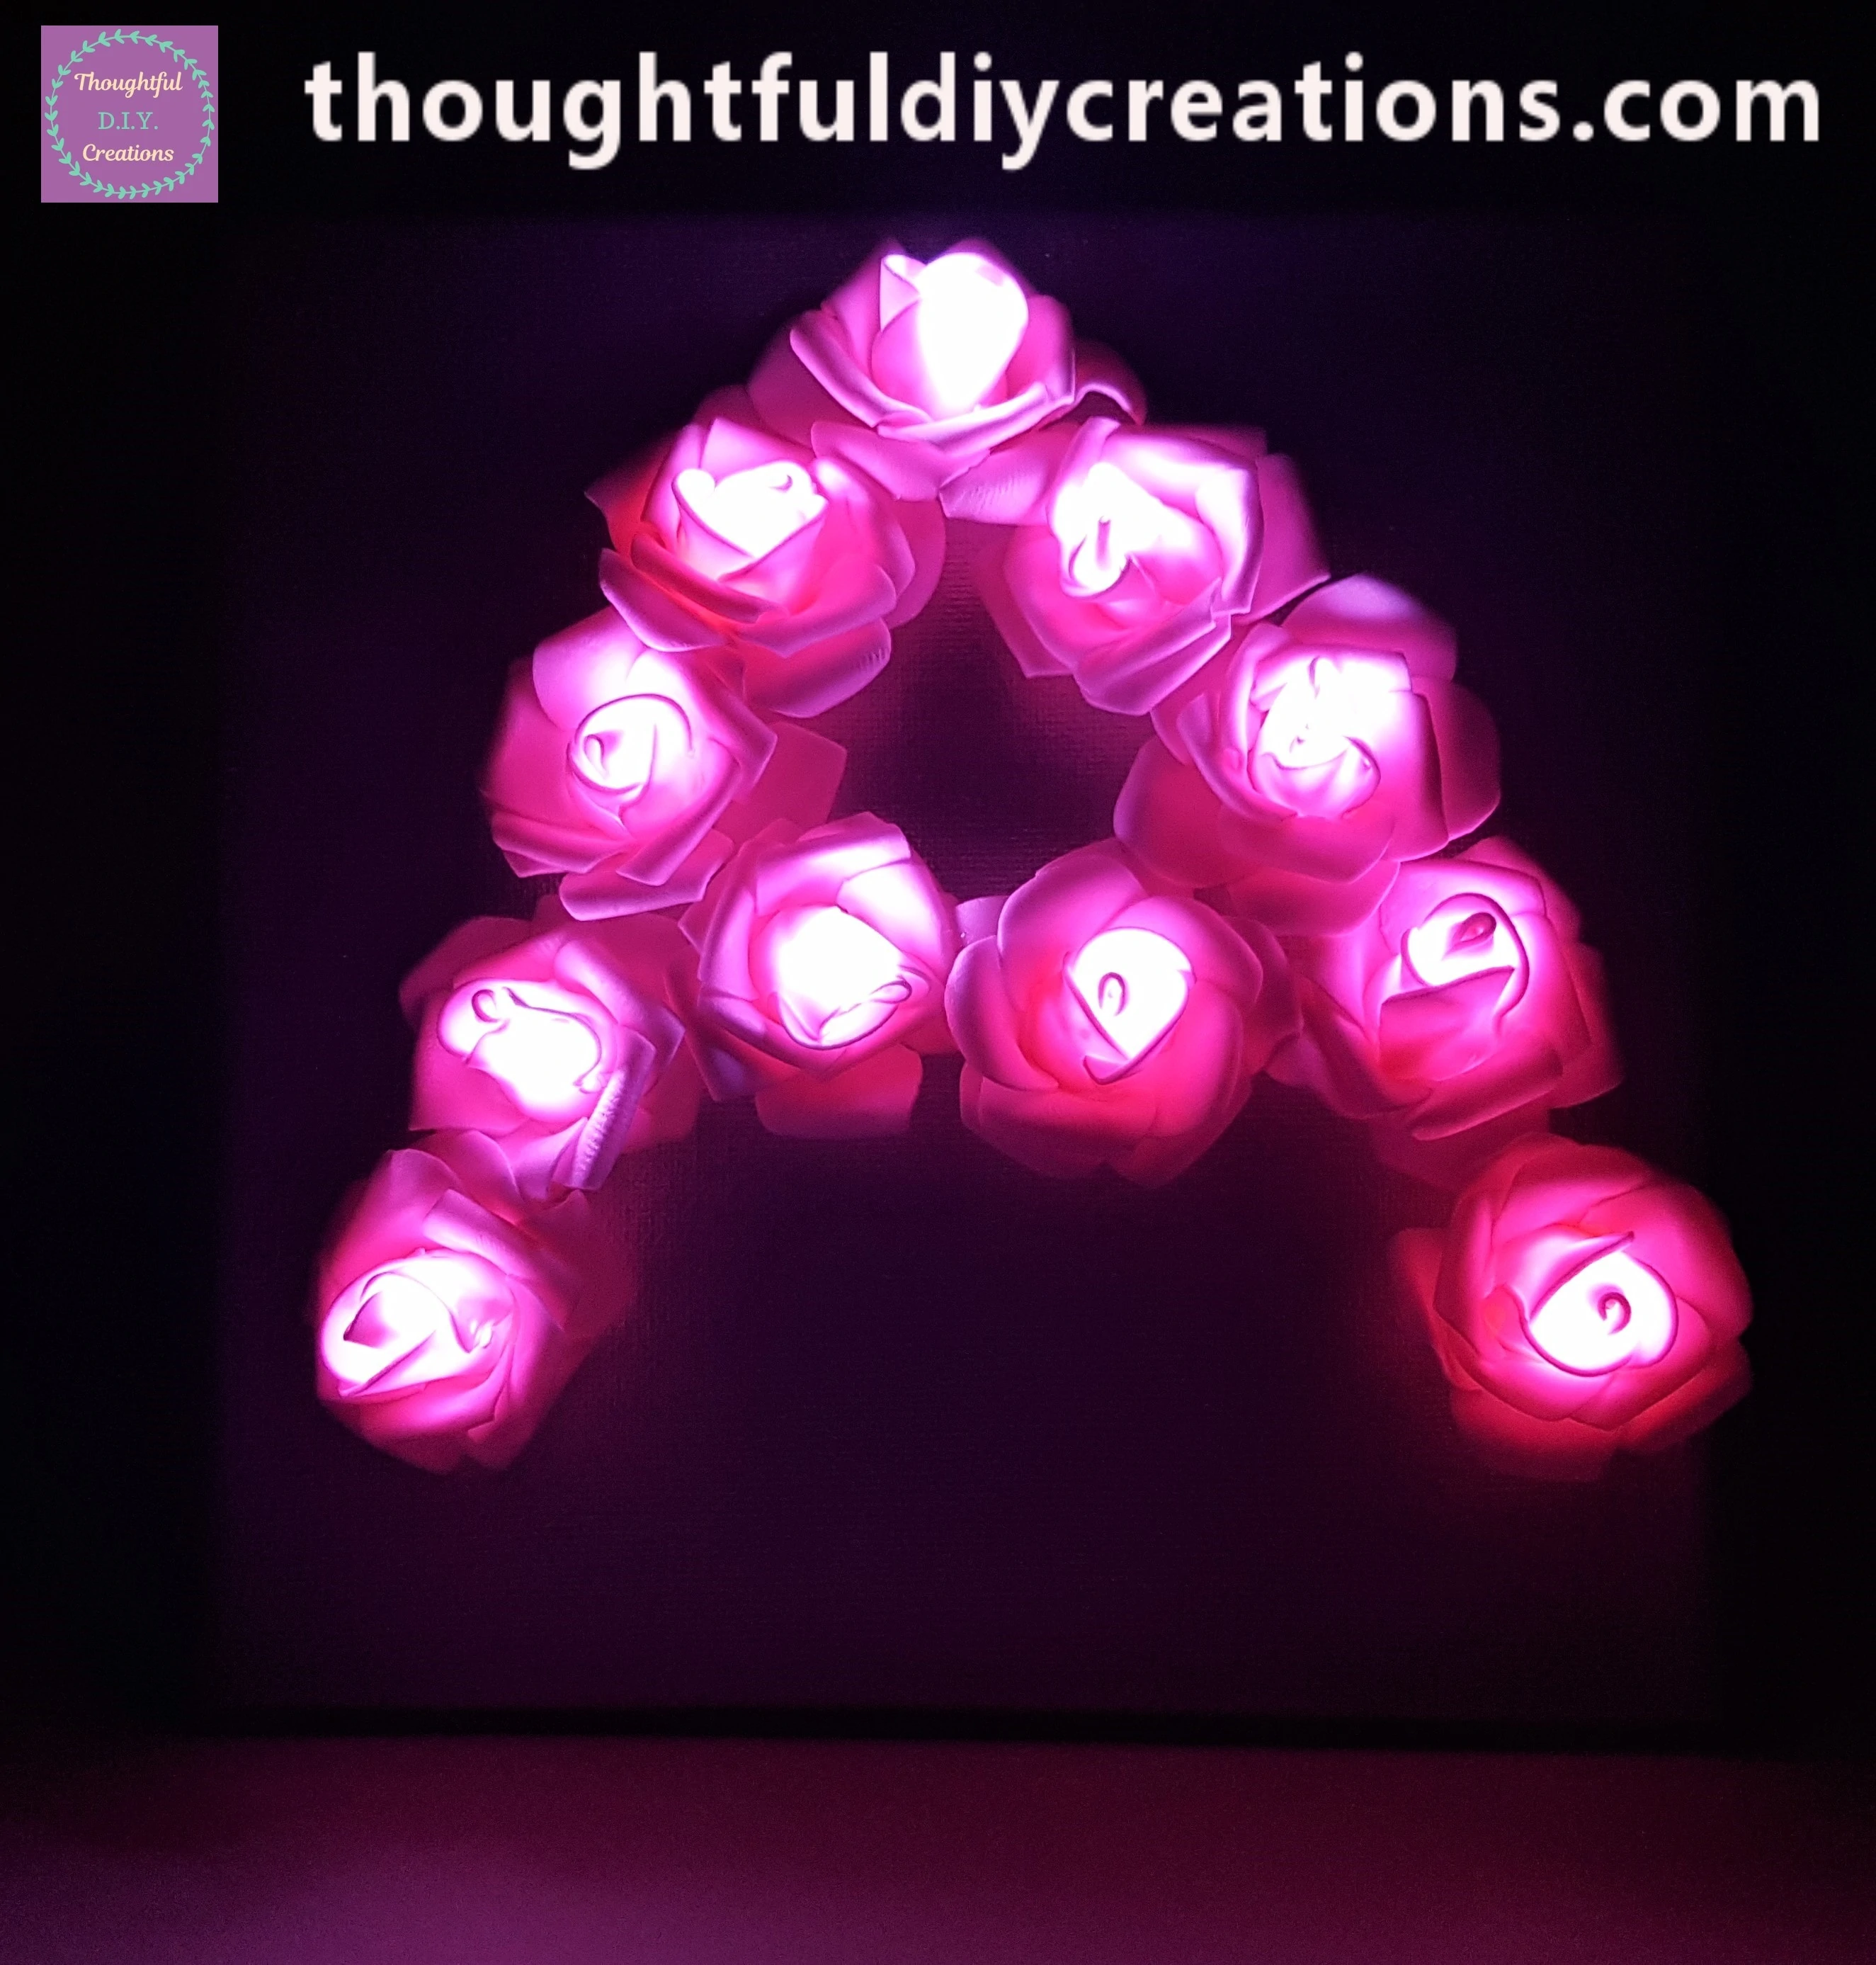
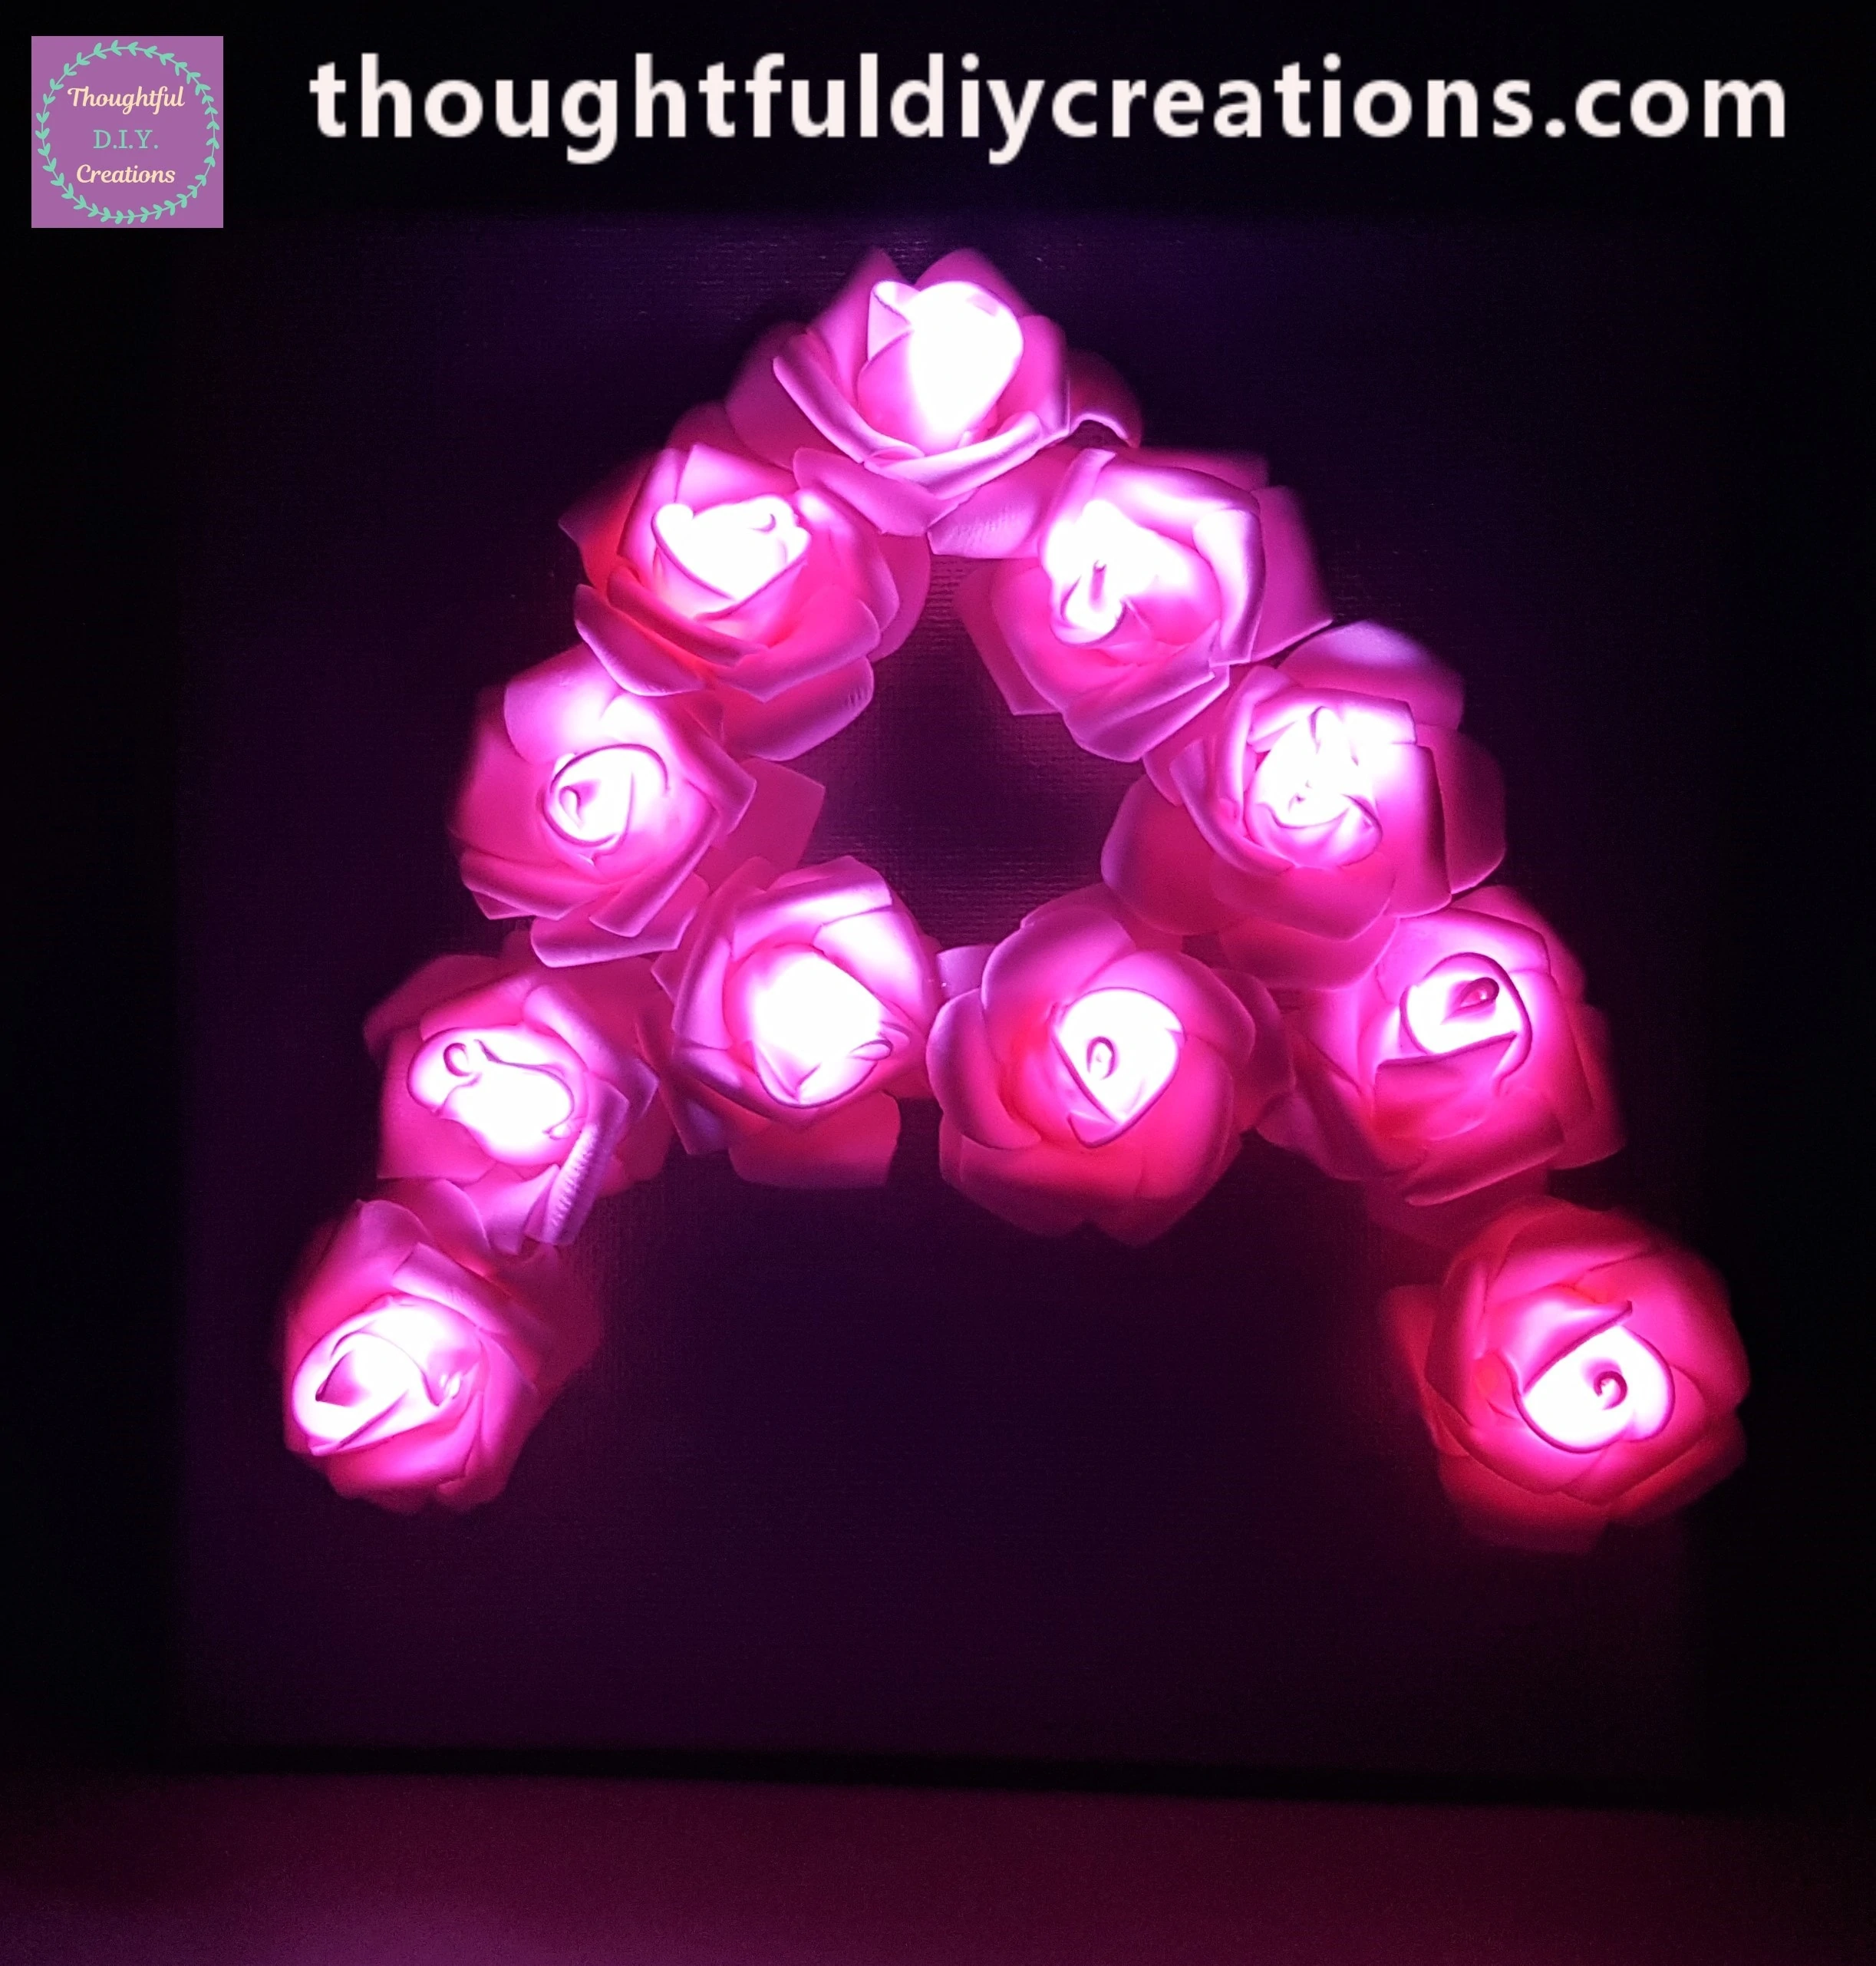
This is the Canvas Lit Up at Night with the Room Light turned Off.
A Side angle of the Personalised Canvas.
Conclusion
I adore the Outcome of the Light-Up Canvas. I think it looks beautiful during the Day with the Pretty Rose Flowers, and the Lights turned On in the evening and at Night provide a Cosy, Magical experience. I really like the Silver and Pink Colour Combination; I think it suits all Ages.
I added a Name to the bottom of my Canvas; I didn’t include those Images in my Blog as it’s a Full Name and a Gift for Someone so I wanted to respect Confidentiality. I will explain the Process below if you wanted to Add a Name to Your Canvas.
I typed out the Name on Microsoft Word using a Font I liked and the Font Size was 28. I Printed it on Light Pink Printer Paper. I then Cut it Out and Laminated it to protect it and give a Glossy appearance. I then attached it to the bottom of the Canvas using 2 layers of “Double-Sided Foam Stickers” to add Dimension and some of “Anita’s Tacky PVA Glue” for added staying power.
I hope you were Inspired to Create a Personalised Gift for Yourself, Your Home or for Someone Special in your Life, from Reading my Tutorial. If you give this Craft a go let me know how you Get On and if you did anything different than mine. I Hope you Enjoy the Creative process.
If you are looking for more Personalised Home Decor or Gift Ideas; check out my other Tutorials; Personalised Frame or Flower Name Frame.
Thank You So Much for Taking the Time to Read my Blog.
Always Grateful,
T.D.C.
xoxox


-0 Comment-