Pink Spray Painted Bottle
Hello my Creative Friends,
I hope you are all well. In Today’s Tutorial I will show you how I made a Pink Spray Painted Bottle with a Positive Quote. It is an easy, budget-friendly Craft to make and I hope it encourages you to make one for yourself or for a Friend. It is versatile as you can change the colour of the Spray Paint as well as the Quote.
Preparing the Bottle for Crafting
I soaked an empty Wine Bottle and Lid in the Sink with warm water and washing-up-liquid for an hour. This softens the label and makes it easier to peel off. I then removed the label, rinsed and dried the bottle and lid.
Spray Paint Recommendations
I brought the bottle and lid out to the shed to Spray Paint.
Always Spray Paint in a well ventilated area, open windows and doors and leave the area as soon as you can after spray painting to avoid inhaling any fumes.
Setting Up Props for Spray Painting
I balanced the top of the wine bottle over the spout of an old watering can. This makes it easier to Spray Paint as I can spray every angle of the Bottle without having to move it.
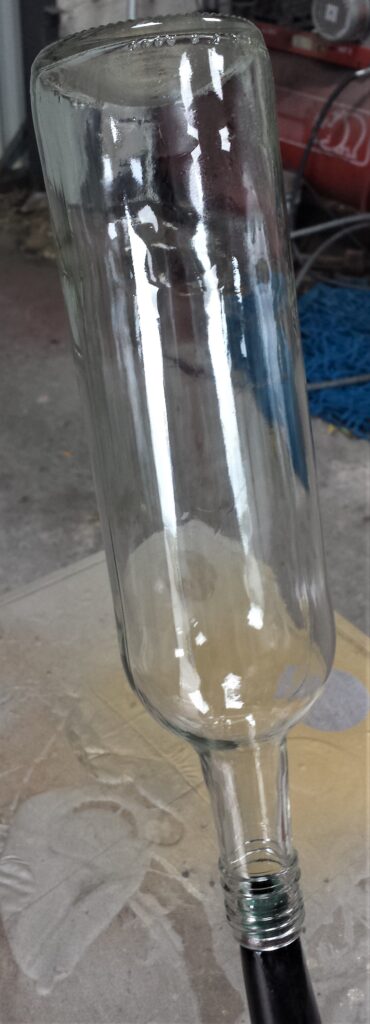
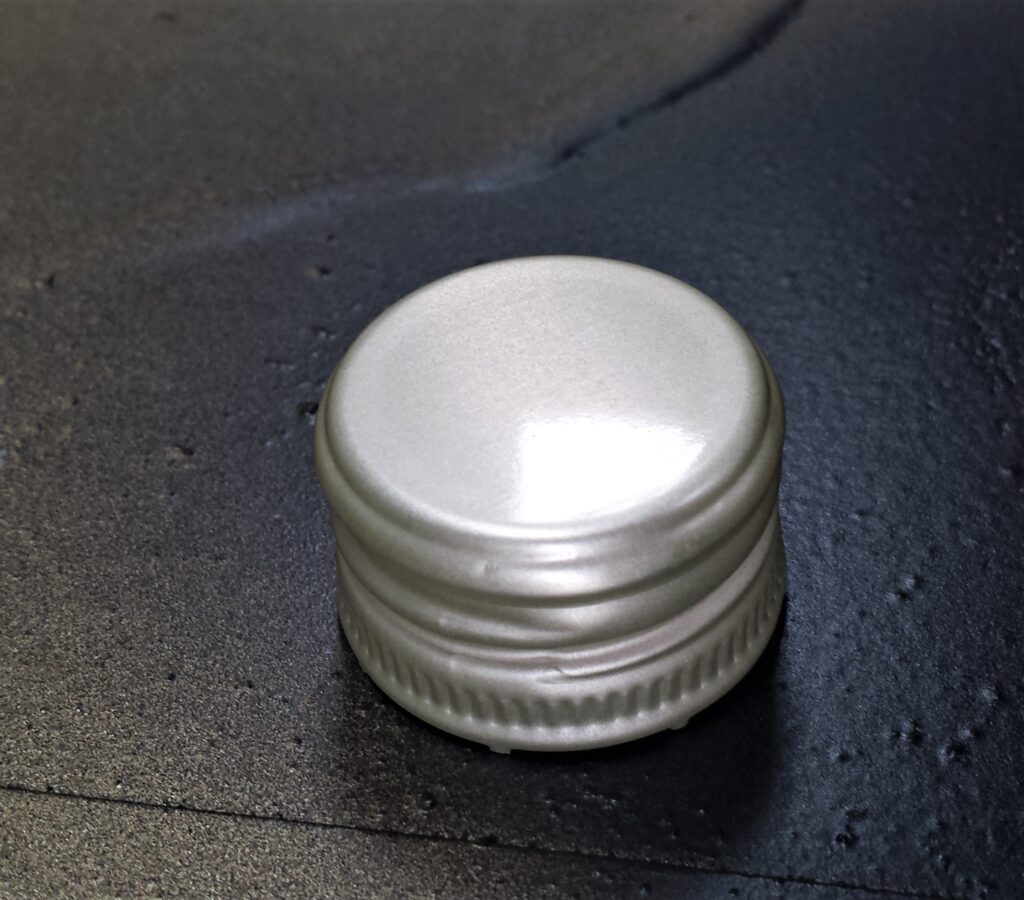
You can use whatever props you have handy in your home or shed, just ensure to choose something you don’t mind getting Spray Paint on. I put the lid of the Bottle on a metal sheet that was in the shed.
Spray Painting the Bottle & Lid
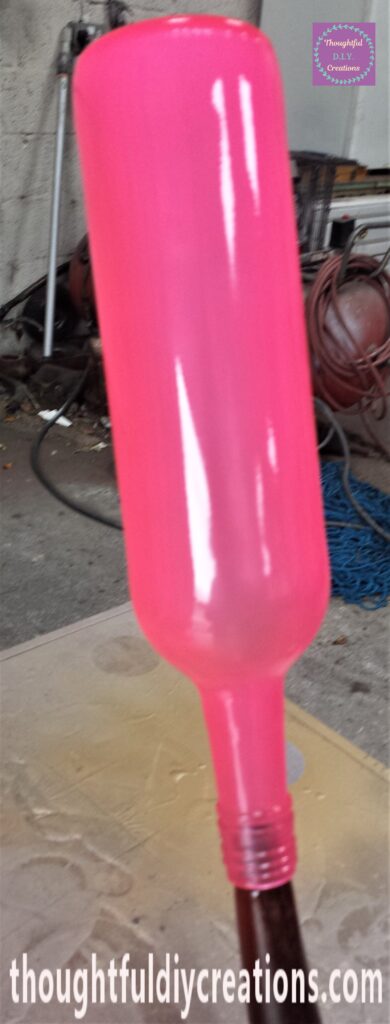
The Spray Paint I used was ‘Neon Pink’. I shook the Spray Can from side-to-side for a minute. I held the Can about 20 cm away from the Bottle and sprayed the base of the Bottle first. I then sprayed from the bottom of the bottle to the top of the bottle; one straight line down the bottle without stopping. This prevents streaks and gives a smoother finish.
I then gave the Spray Can a quick shake and sprayed the next section beside the first section, from the bottom to the top of the bottle. I continued with this process all around the Bottle until it had one even coat of Spray Paint. I shook the Can after every two lines sprayed. The whole process only took a minute or two.
I sprayed the top and sides of the Lid Pink.

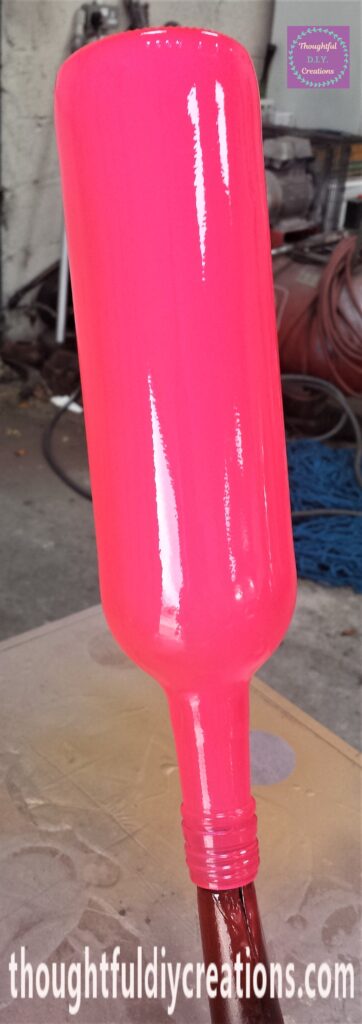
I left the shed after Spray Painting and returned an hour later and applied the second layer using the same process as the first layer.
I sprayed the lid for a second time.
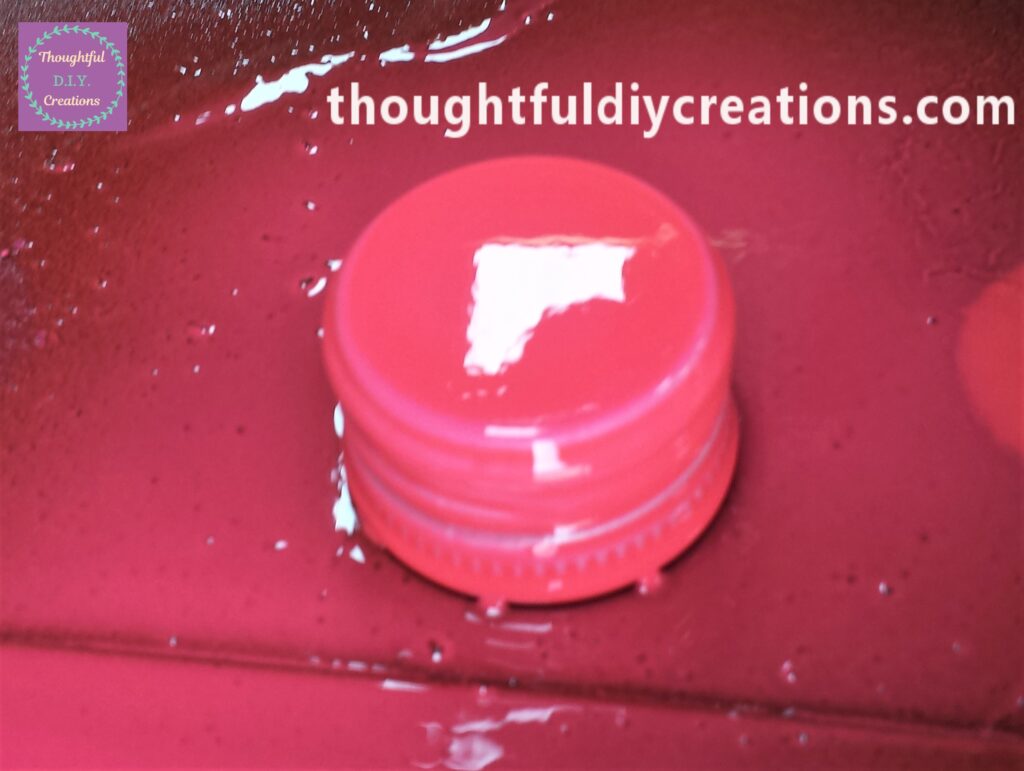
After another hour I sprayed the third and final layer of Spray Paint to the Bottle.
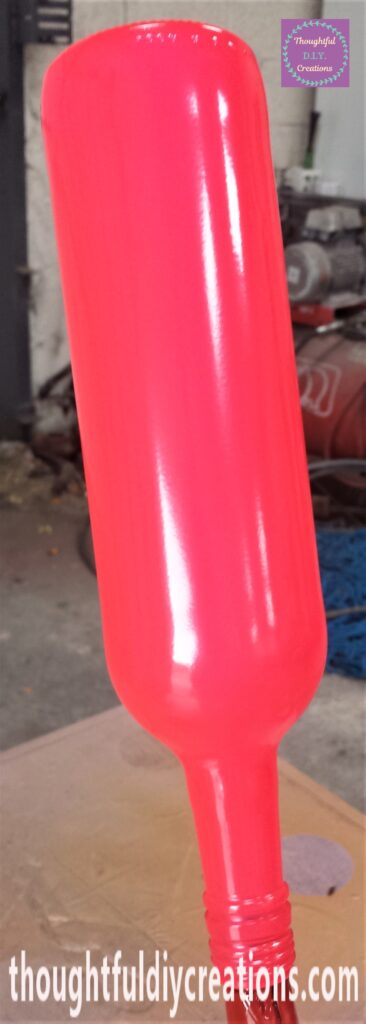
I also sprayed the lid one final time.
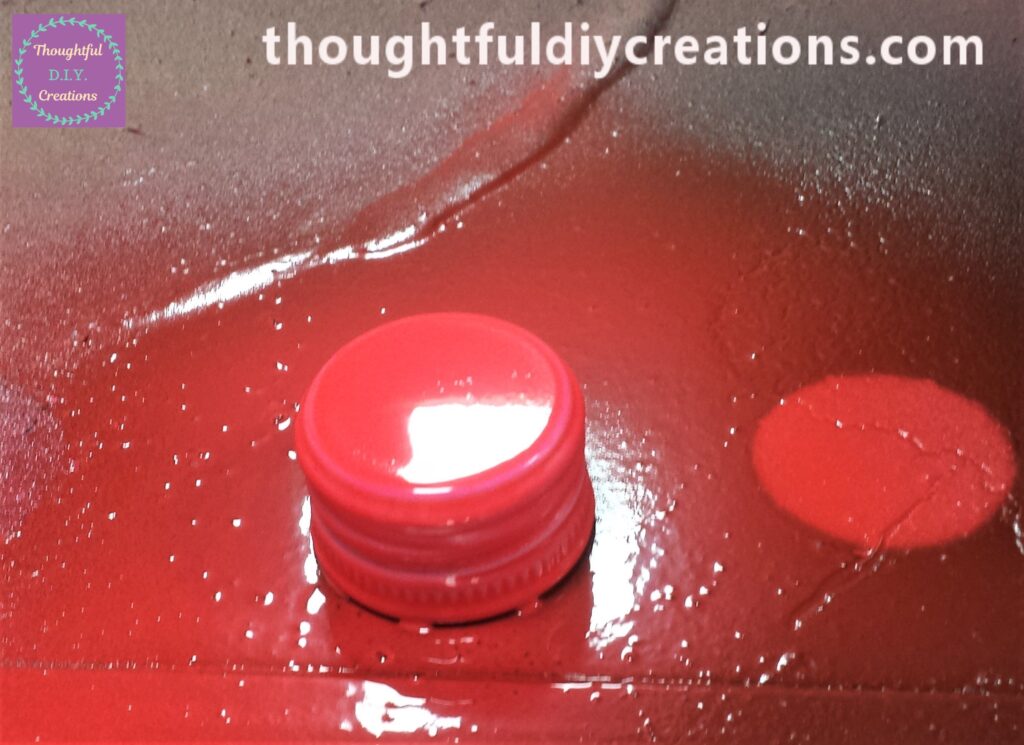
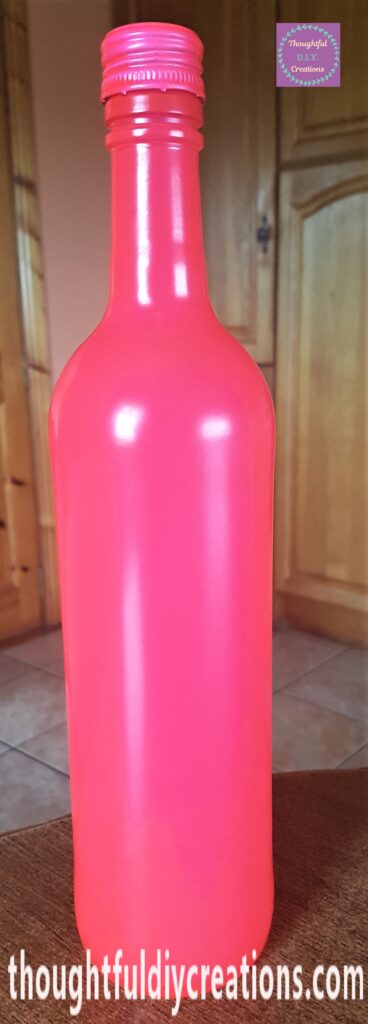
Pink Spray Painted Bottle
I left the Bottle and Lid to Cure in the Shed for a few days after the final layer of Spray Paint was completed. I brought the Bottle and Lid back inside a few days later.
Writing ‘Shine’ onto the Bottle
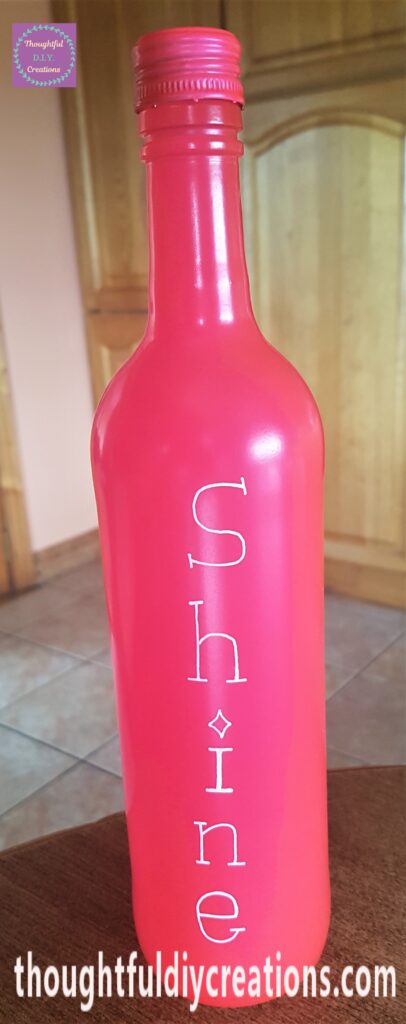
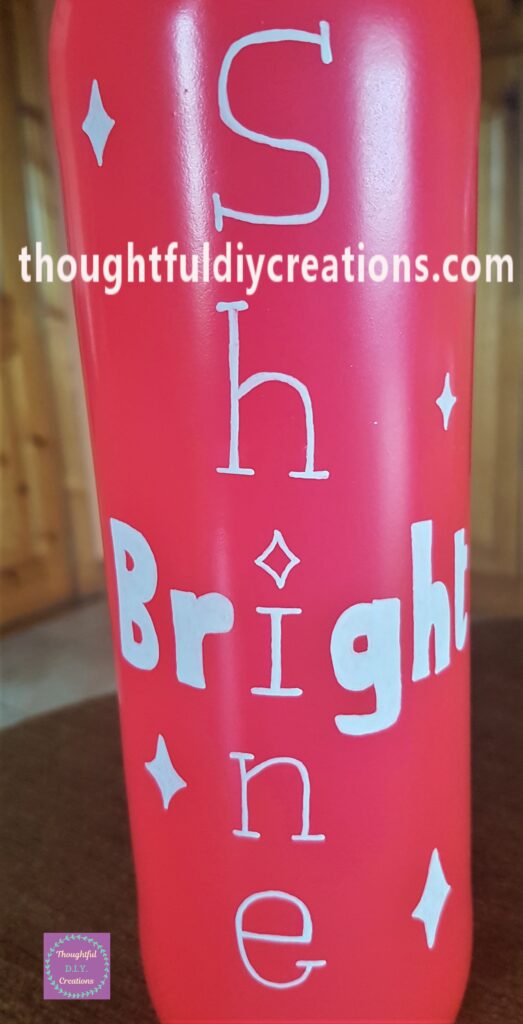
I loved the bright Pink shade on the Bottle. I thought it would really suit the colour of the Bottle to write ‘Shine Bright’ on it. I practiced writing different Fonts on a sheet of Paper. I chose the two I liked best. I wrote ‘Shine’ down the center of the Bottle using a ‘uni POSCA Acrylic Paint Pen in White 0.7 mm’.
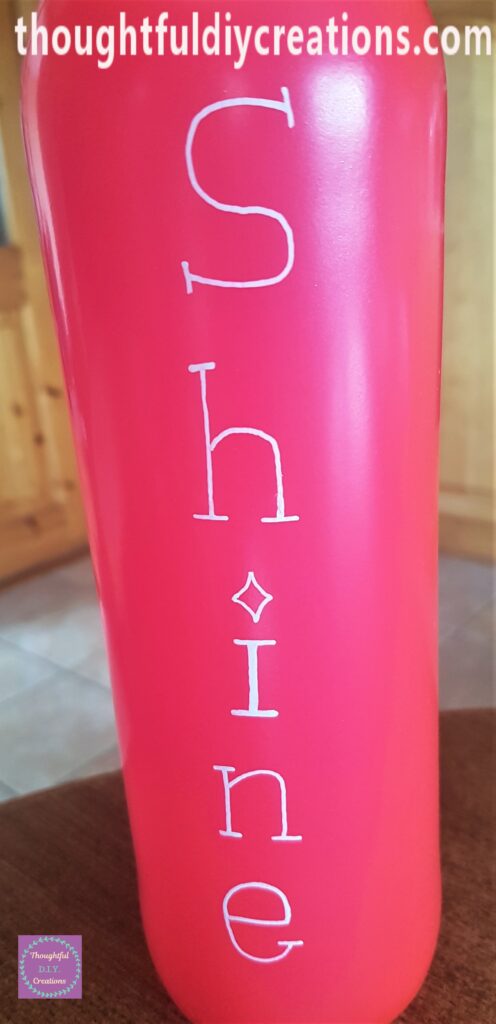
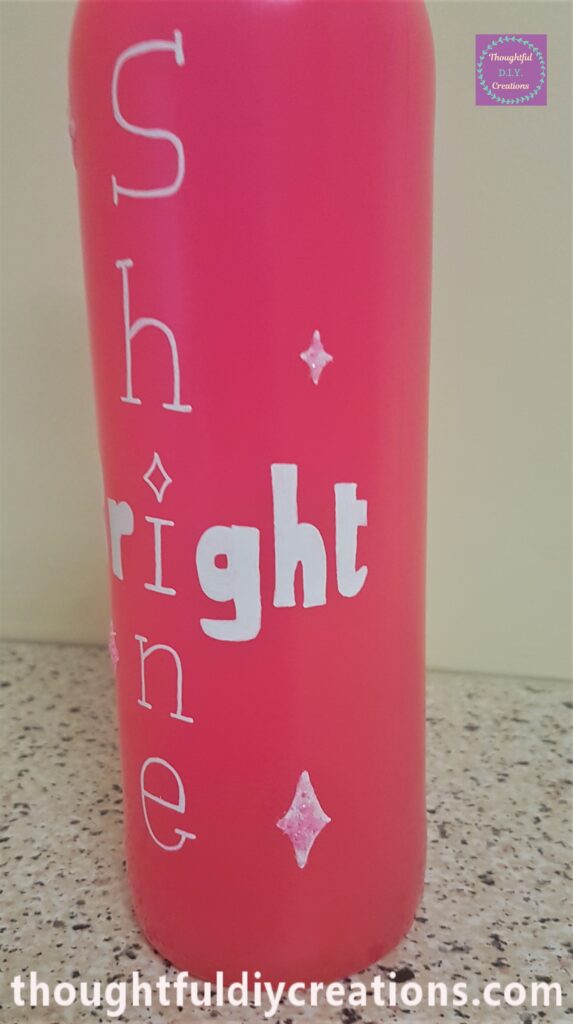
This is a closer view of the word ‘Shine’.
Writing ‘Bright’ onto the Pink Spray Painted Bottle
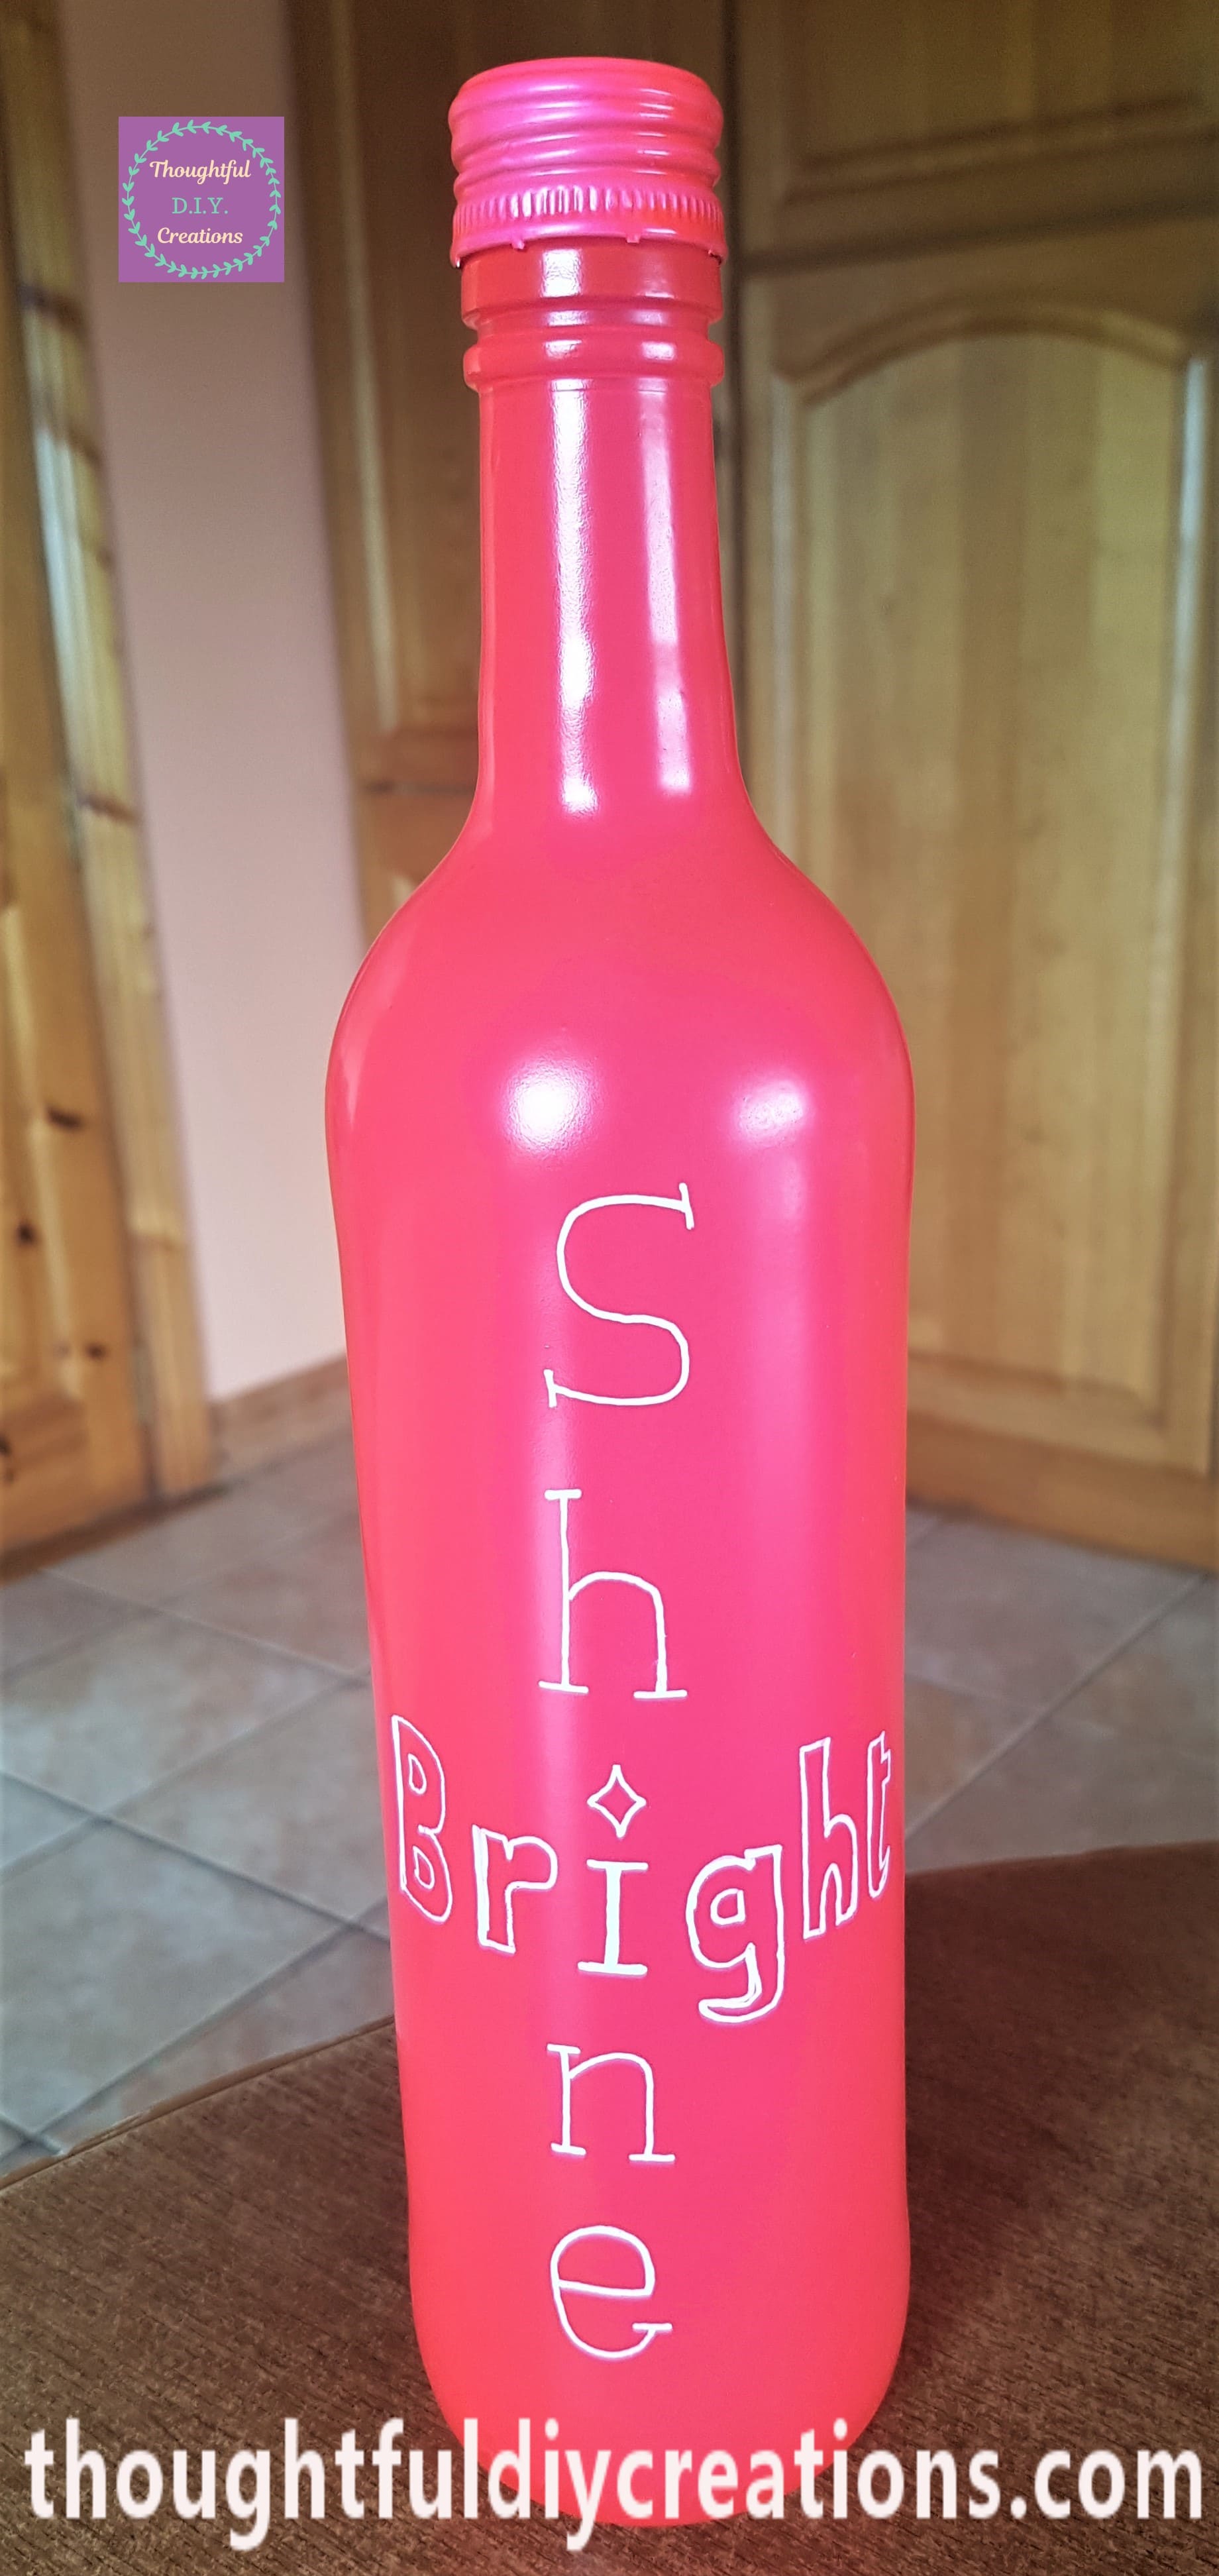
I wrote the word ‘Bright’ across the center of the Bottle joining with the word Shine. I again used the ‘uni POSCA Paint Pen’.
Here is a closer look at the Quote.
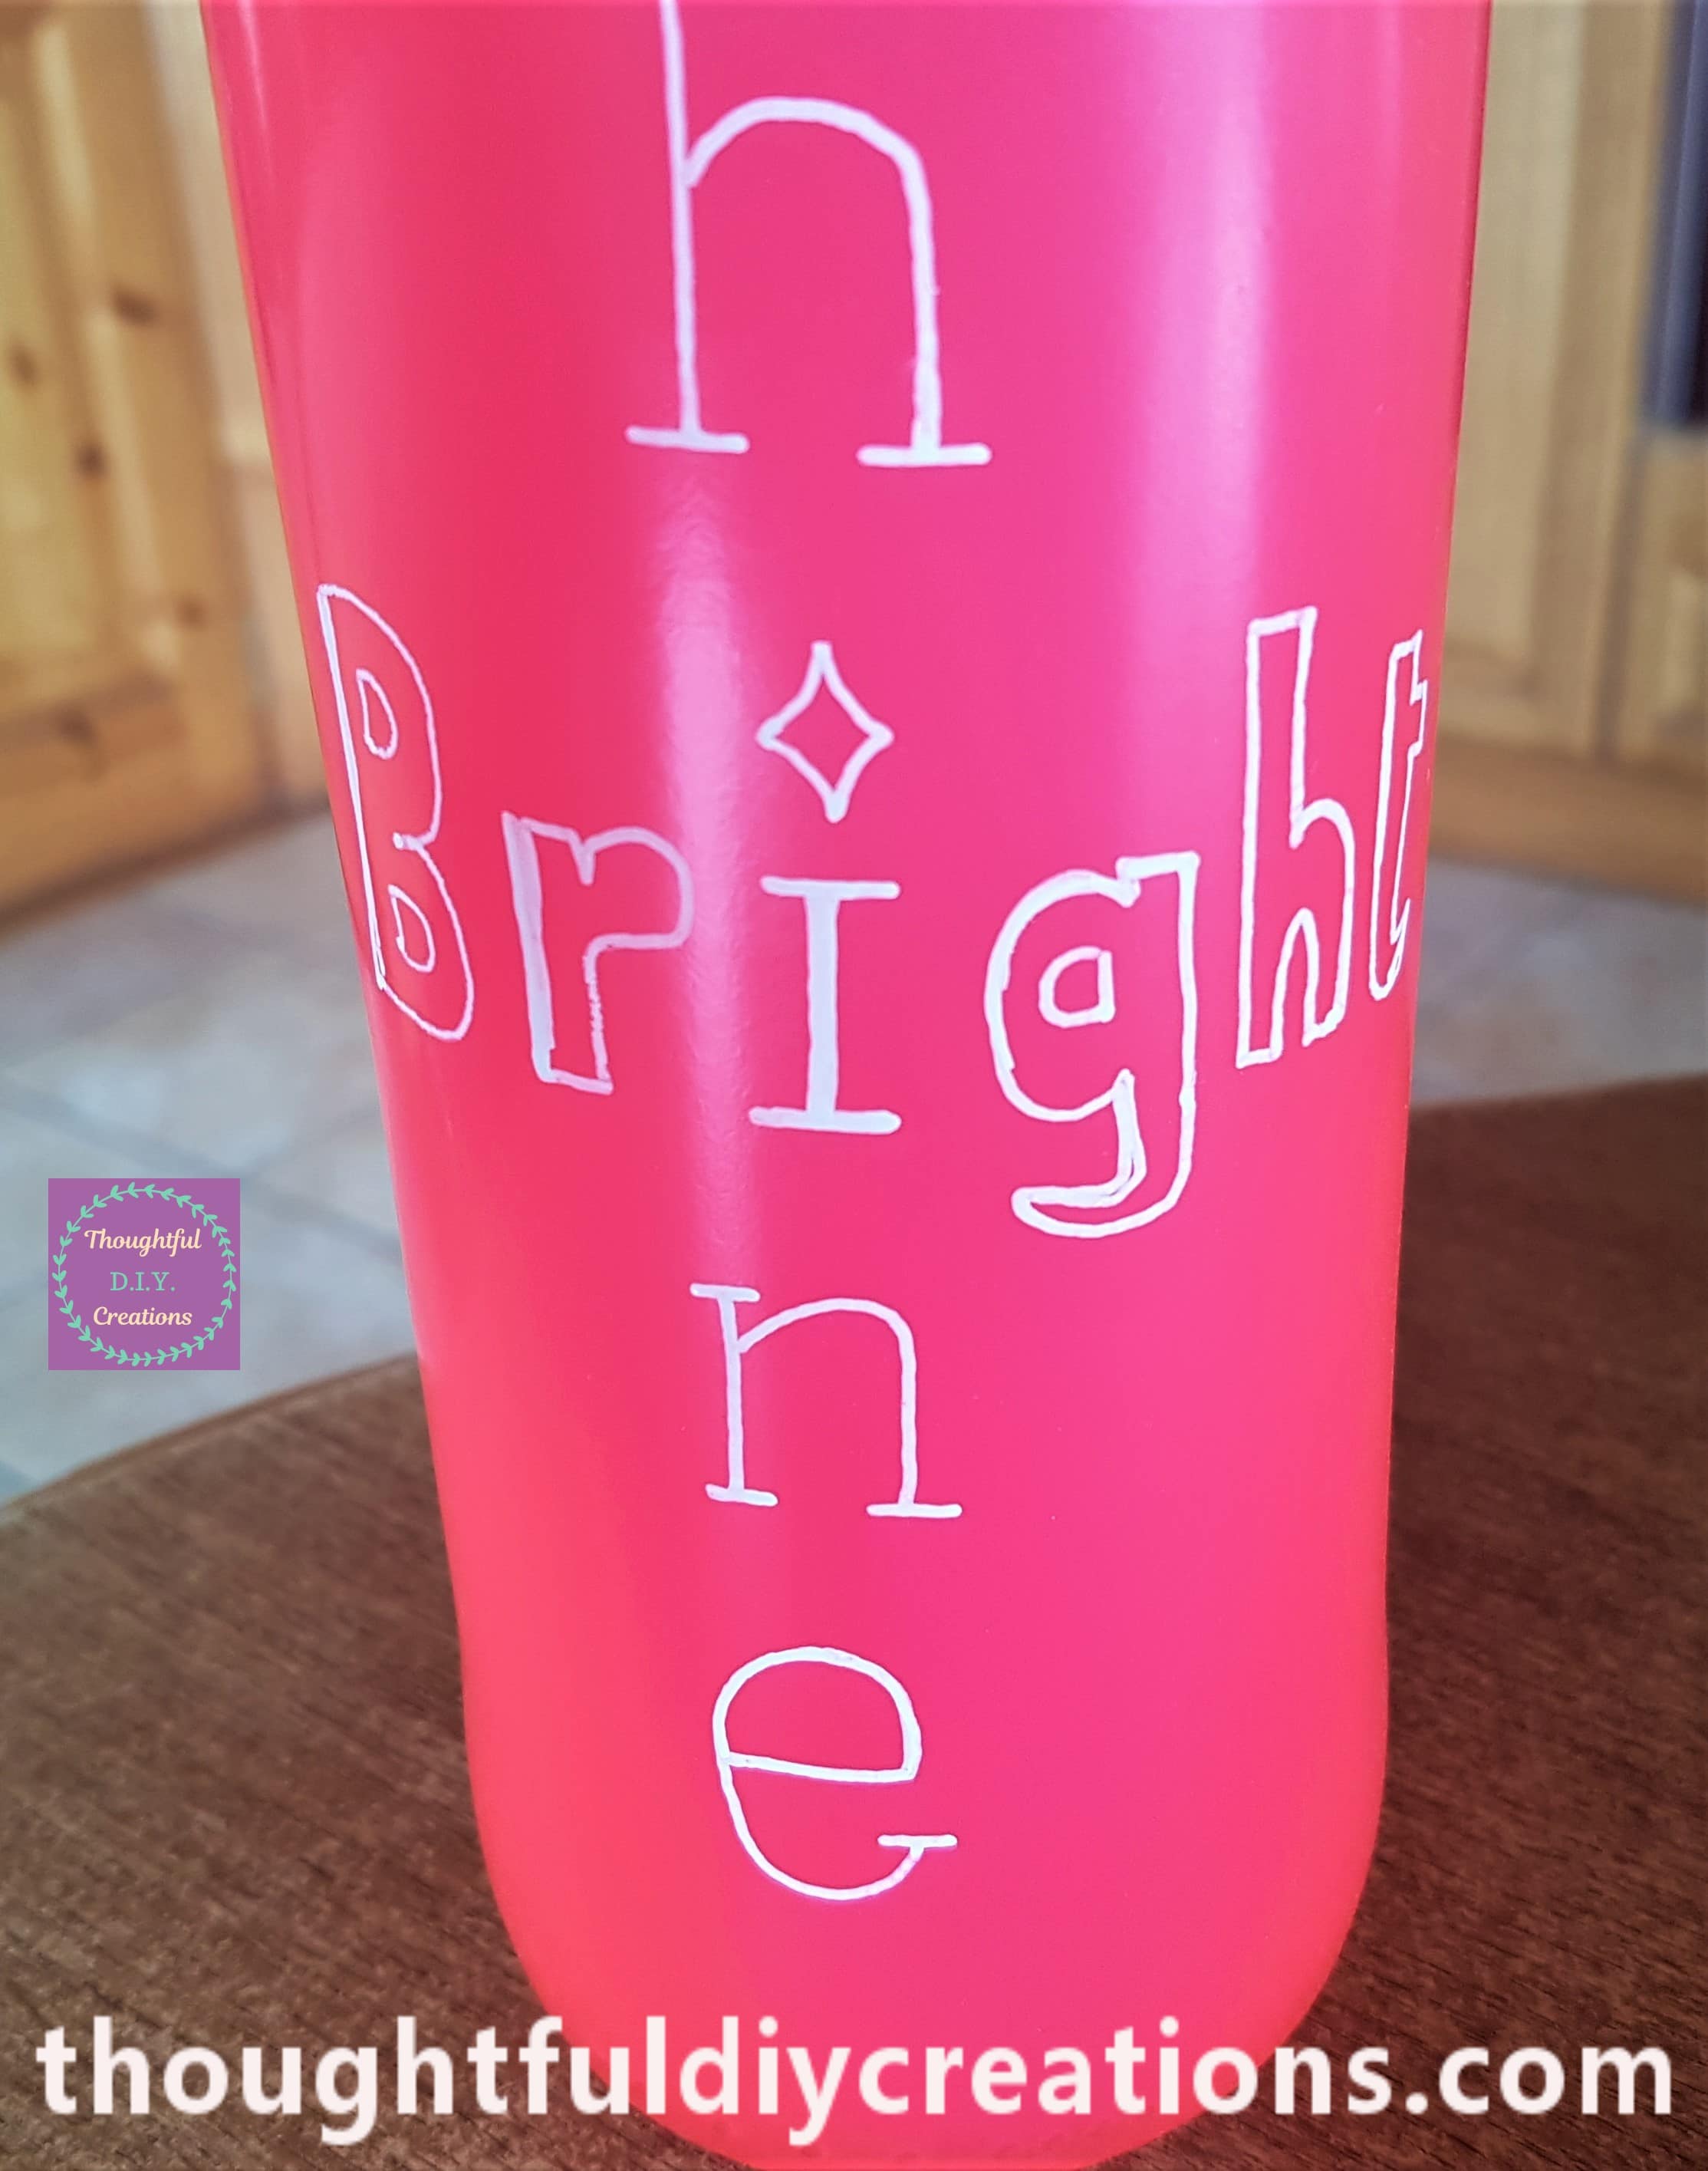
I filled in the letters of the word ‘Bright’ using the white Paint Pen. I didn’t fill in the letter ‘i’ joining the two words together.
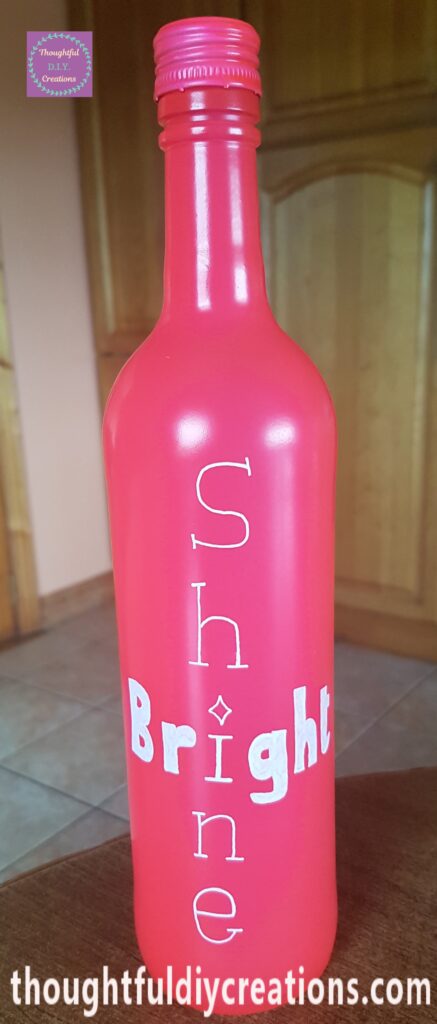
I done a second layer over all the Font after about 30 minutes.
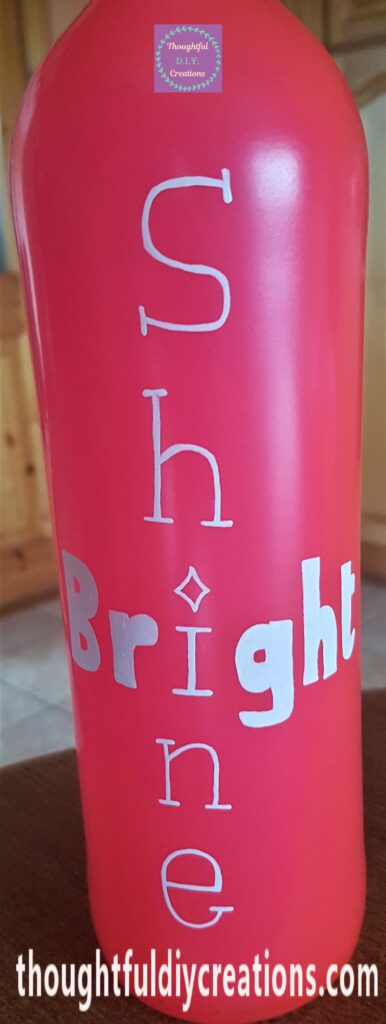
Drawing Diamonds onto the Pink Spray Painted Bottle
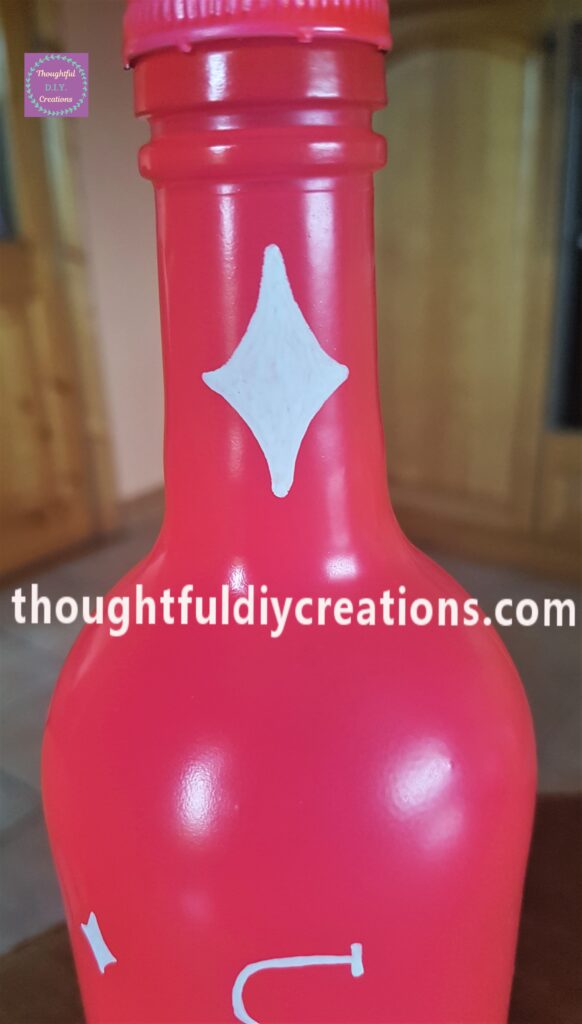
I drew and filled in 5 Diamond Shapes on the Bottle with the Paint Pen.
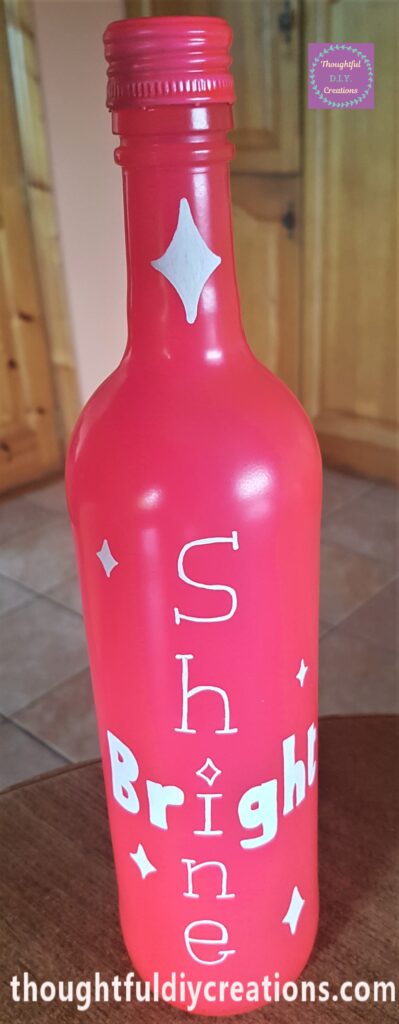
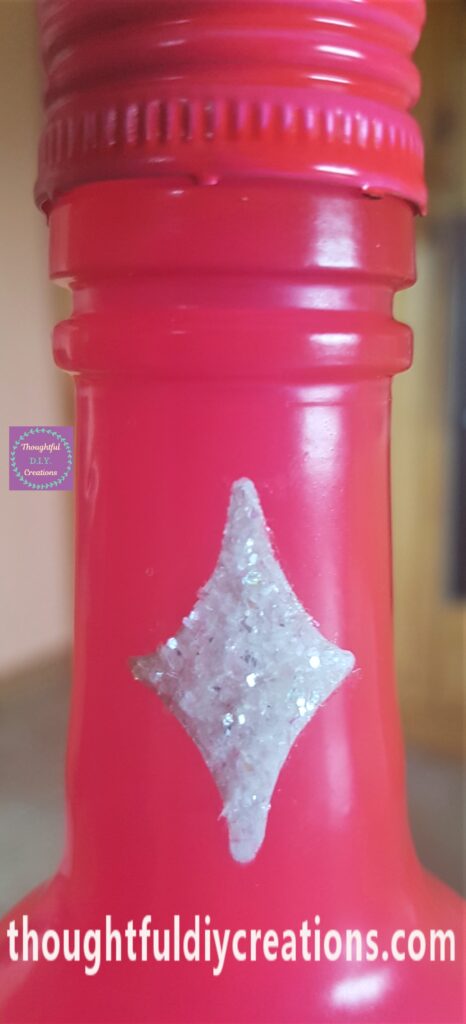
Here is a closer look at the biggest diamond shape on the top of the bottle.
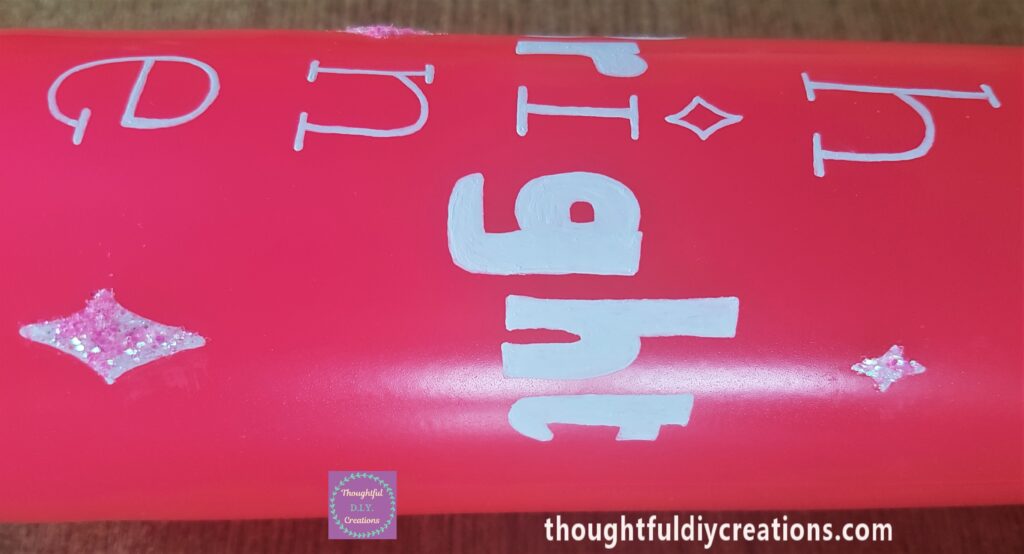
This is the four smaller diamond shapes on the bottle.
Adding Glitter to the Diamonds
I put the bottle lying down on the table. I put Tacky Glue on the Diamond Shapes with a small paintbrush and sprinkled White Glitter over the Glue.
A couple of hours later I added more Tacky Glue to the four smaller Diamond shapes and sprinkled Pink Glitter over the Glue.
Finishing Touches to the Pink Spray Painted Bottle
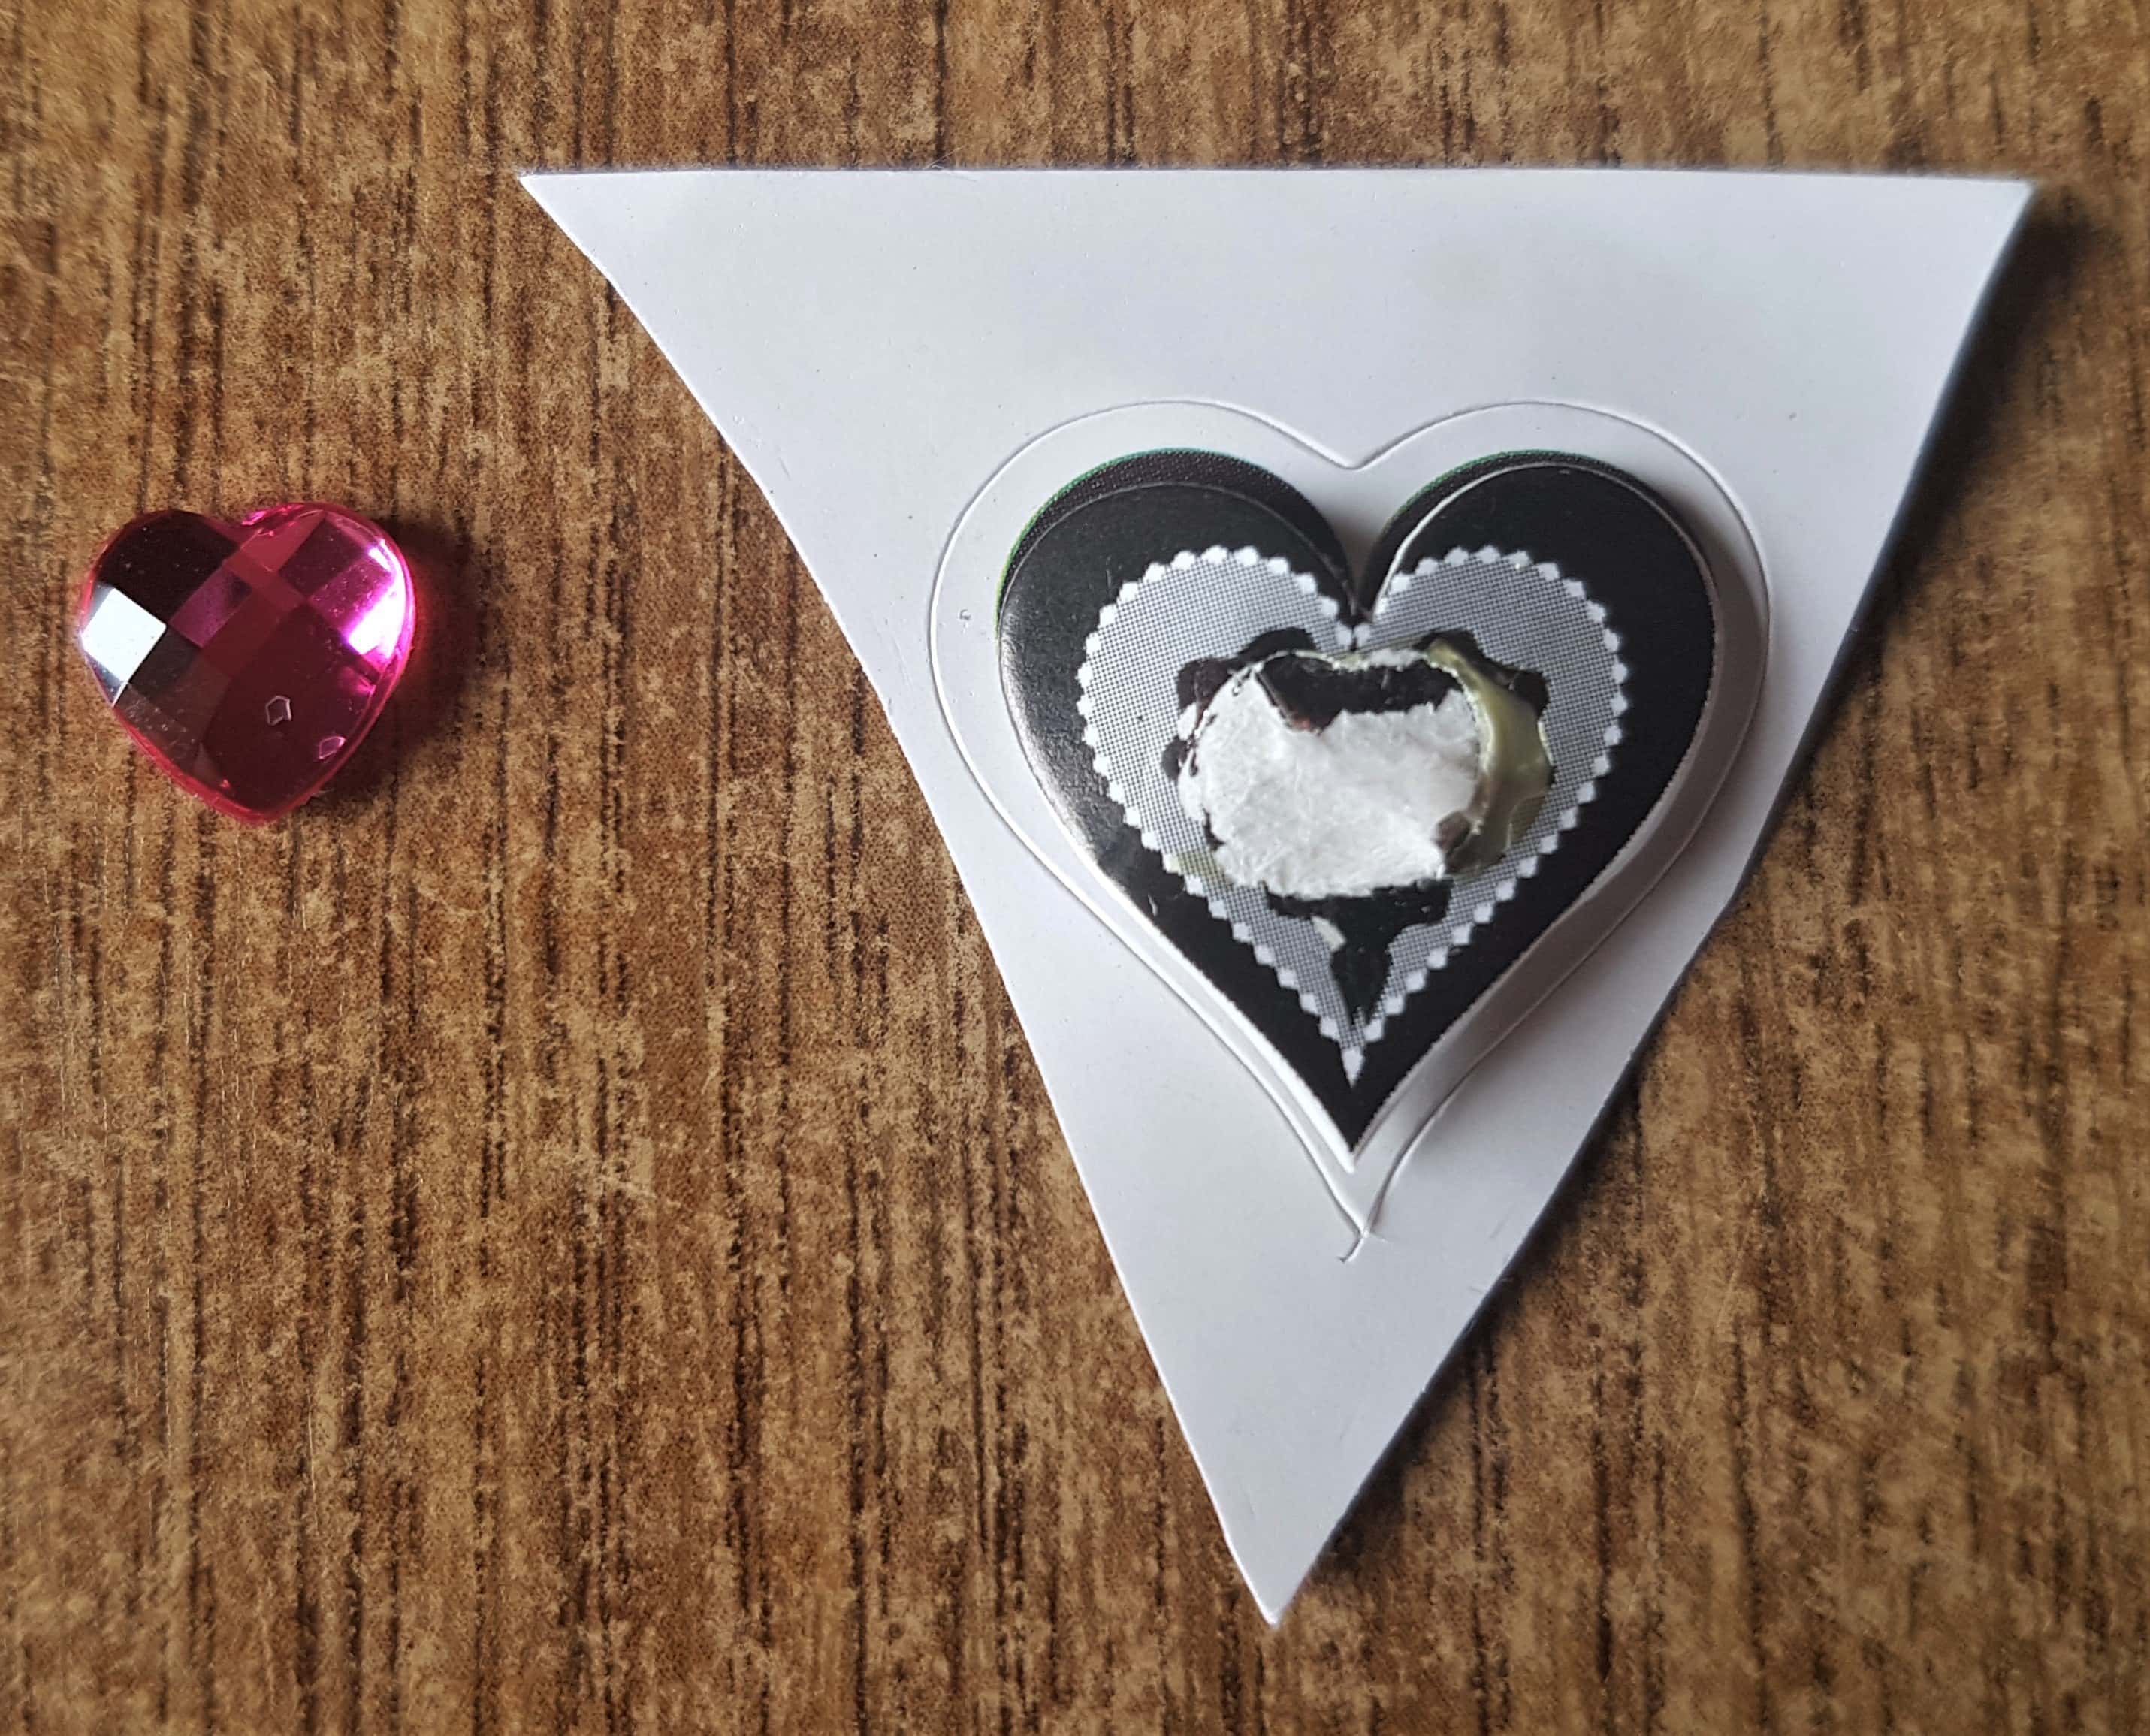
I had a Pink Love Heart Diamond on a Sticker.
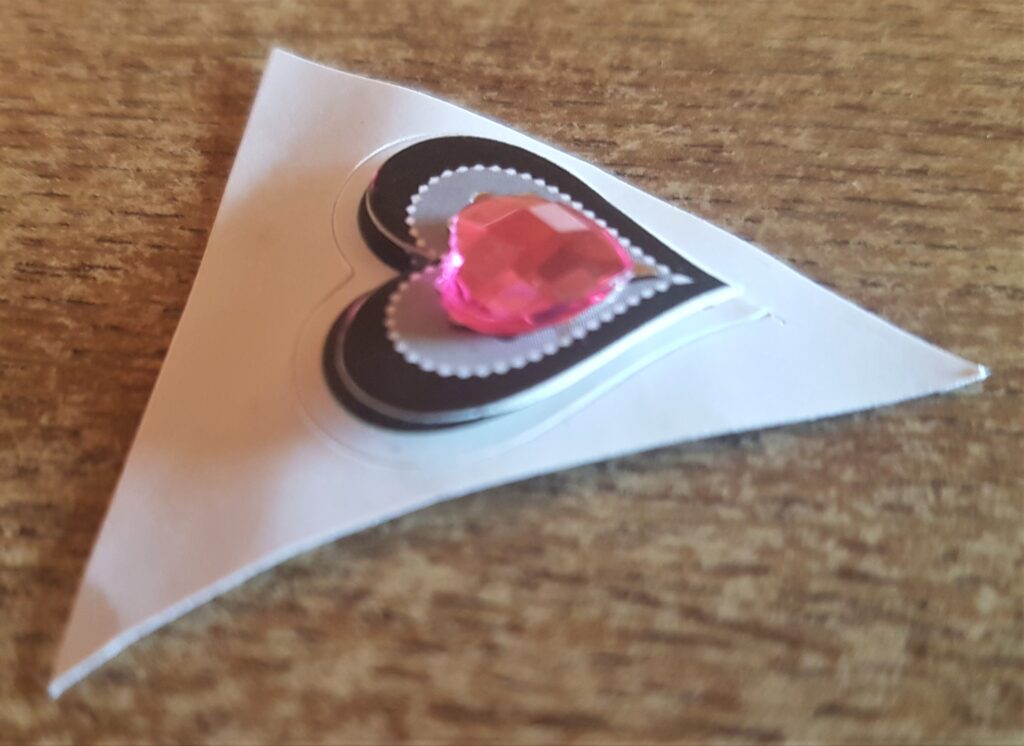
I removed the Pink Love Heart Diamond from the Sticker.
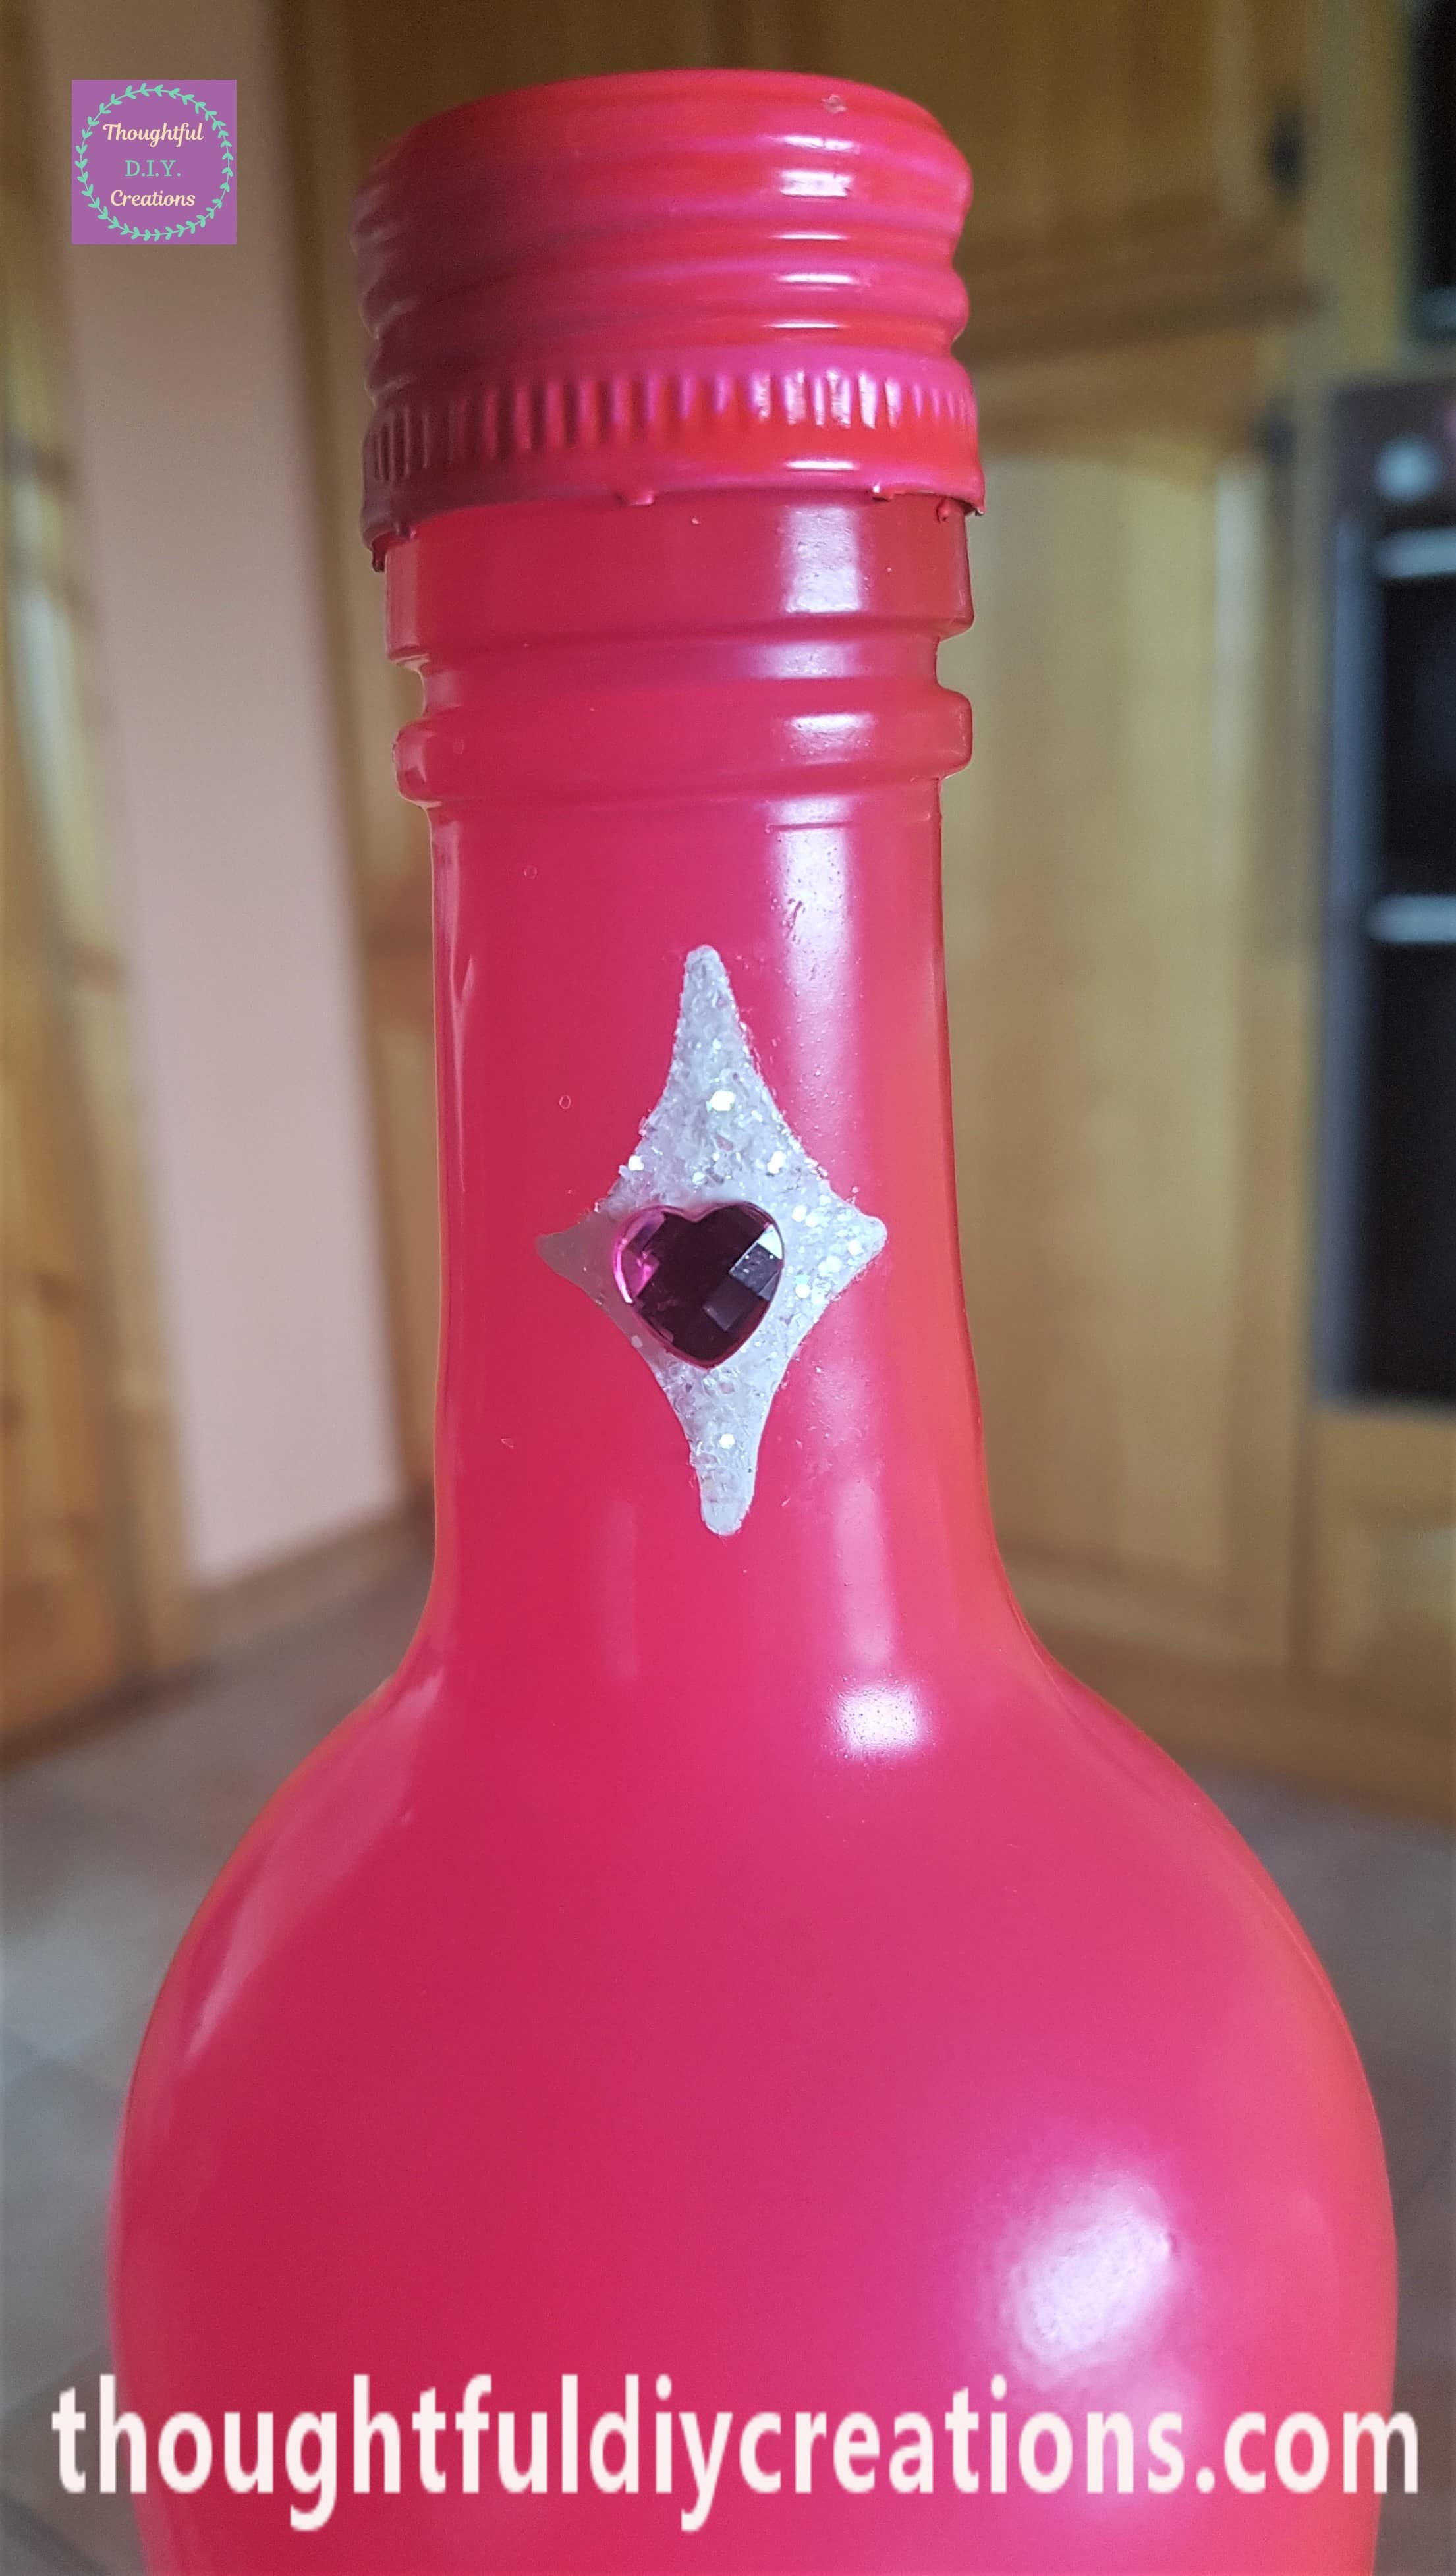
I attached the pink love heart to the white glitter diamond with Tacky Glue.
I got my Clear self-adhesive Gemstones.
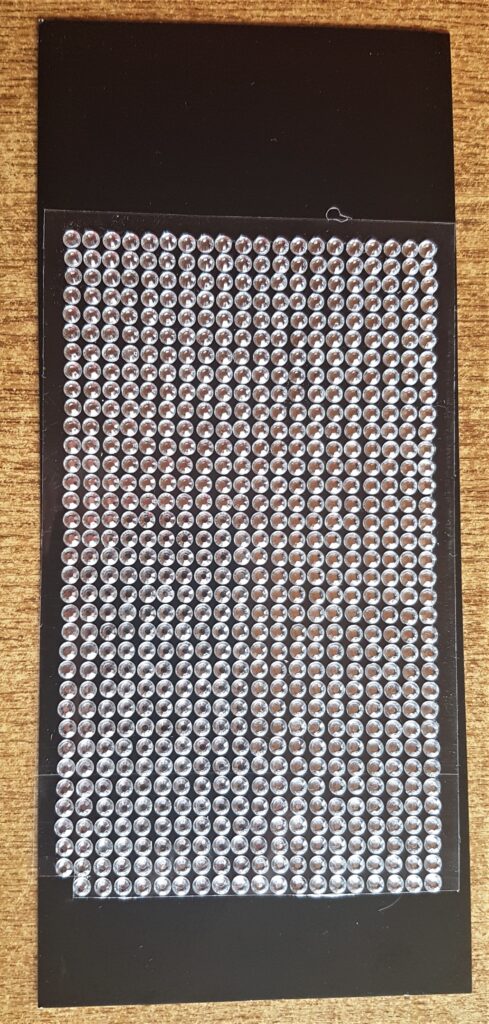
I cut off a row of Gemstones.

I removed the gemstones from the clear backing and attached them to the top of the bottle under the lid.
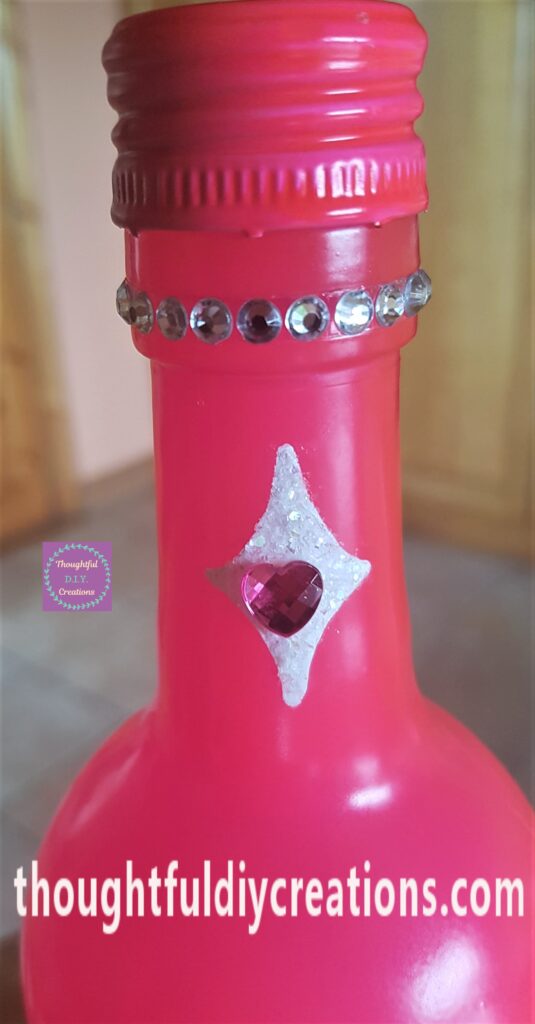
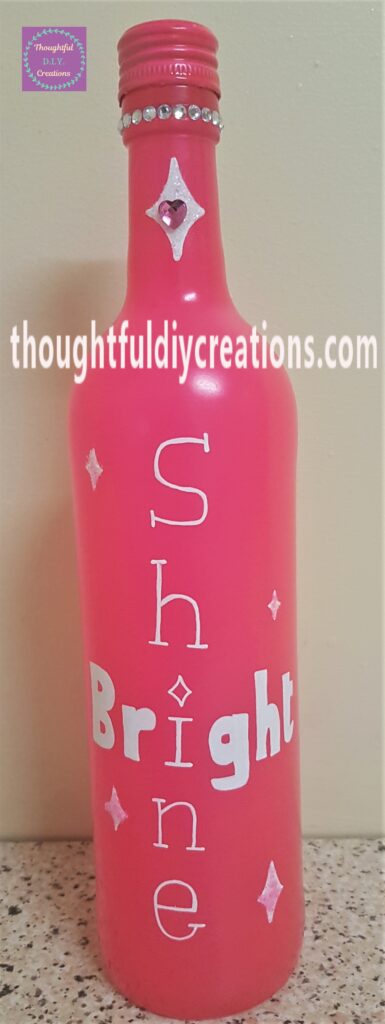
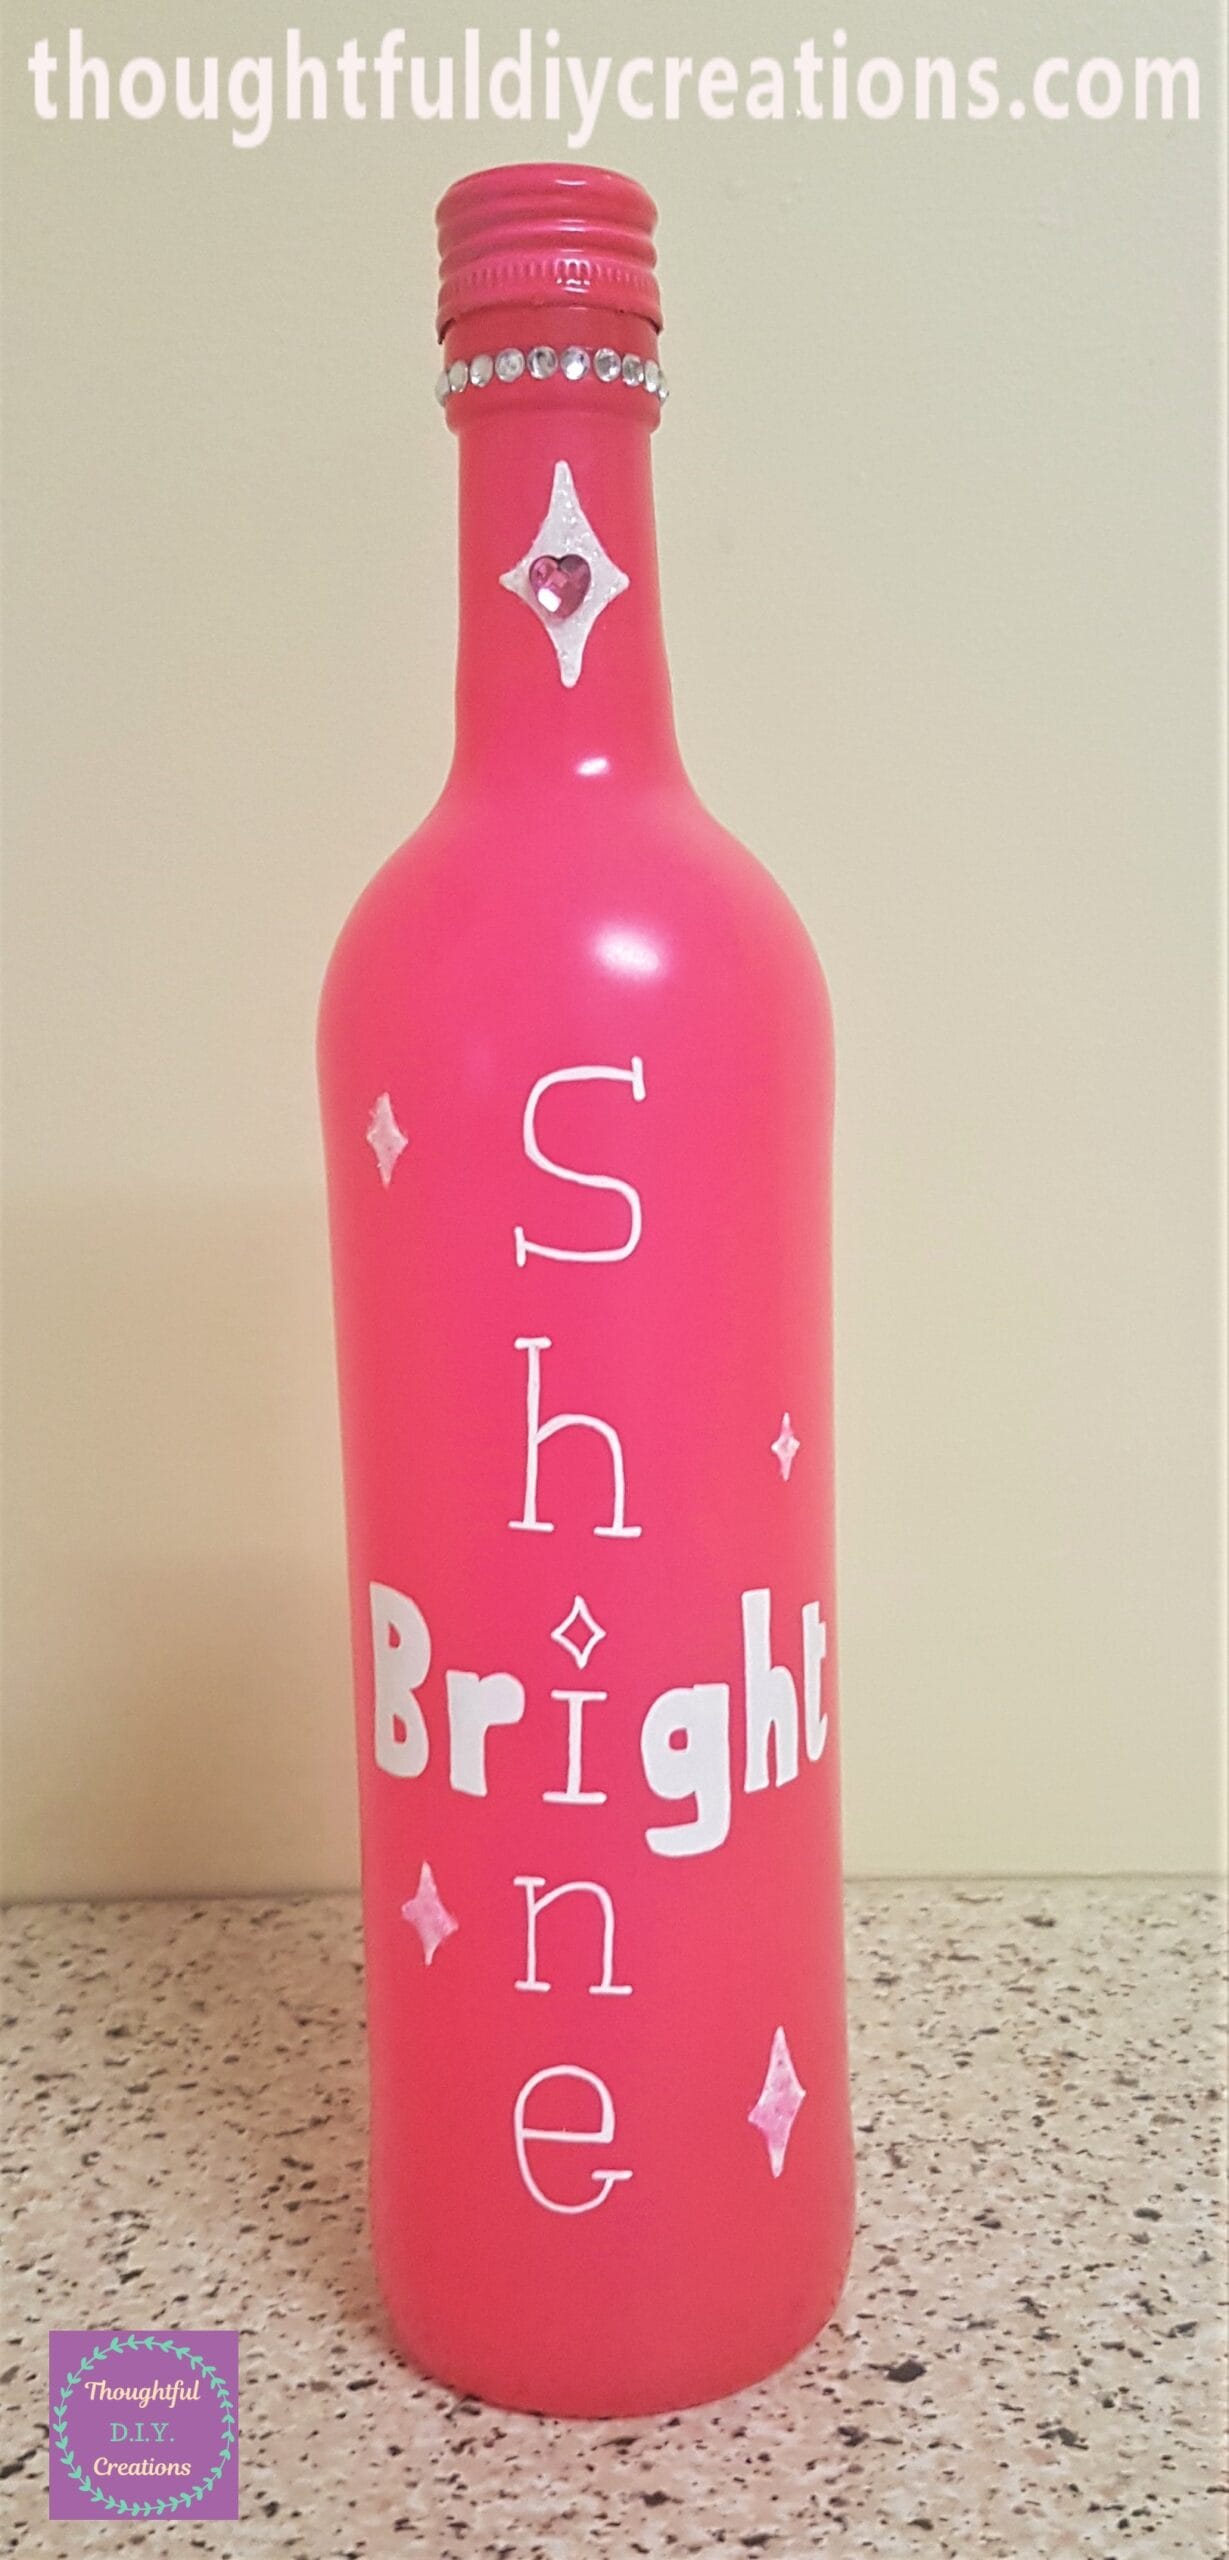
This Completed my Pink Spray Painted Bottle with Positive Quote.
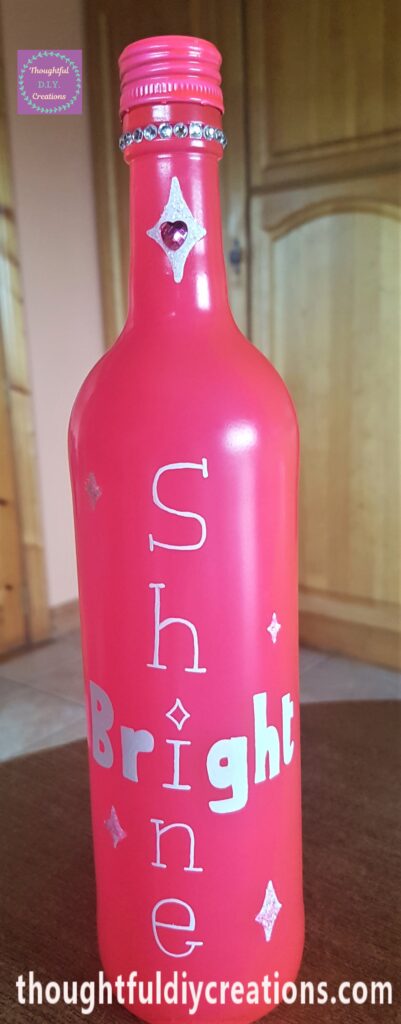
This is a side angle of the Completed Craft.
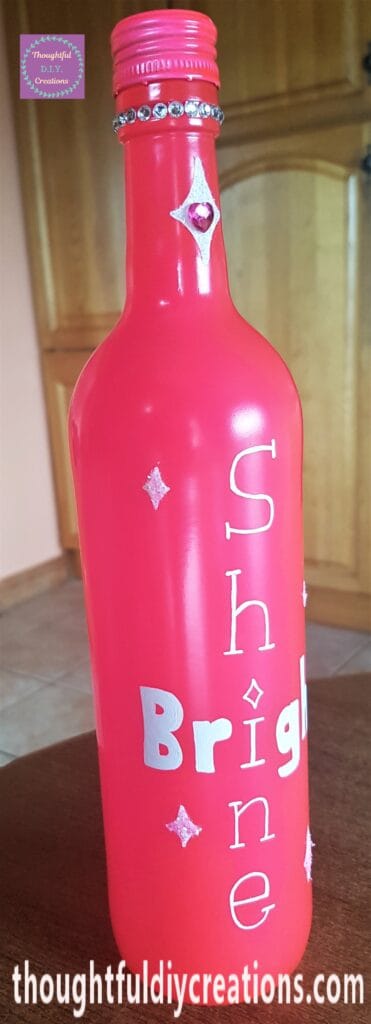
Here is the other side of the Pink Spray Painted Bottle.
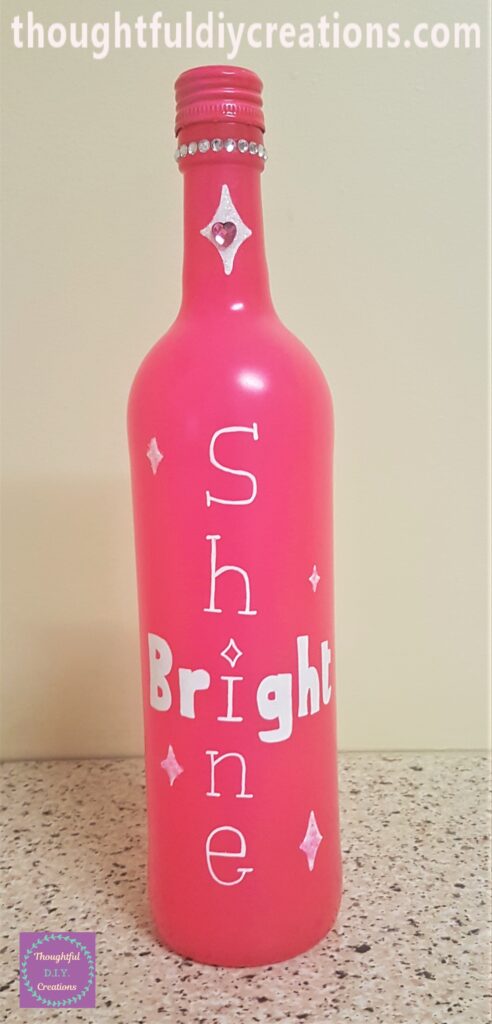
This is the Bottle on Display.
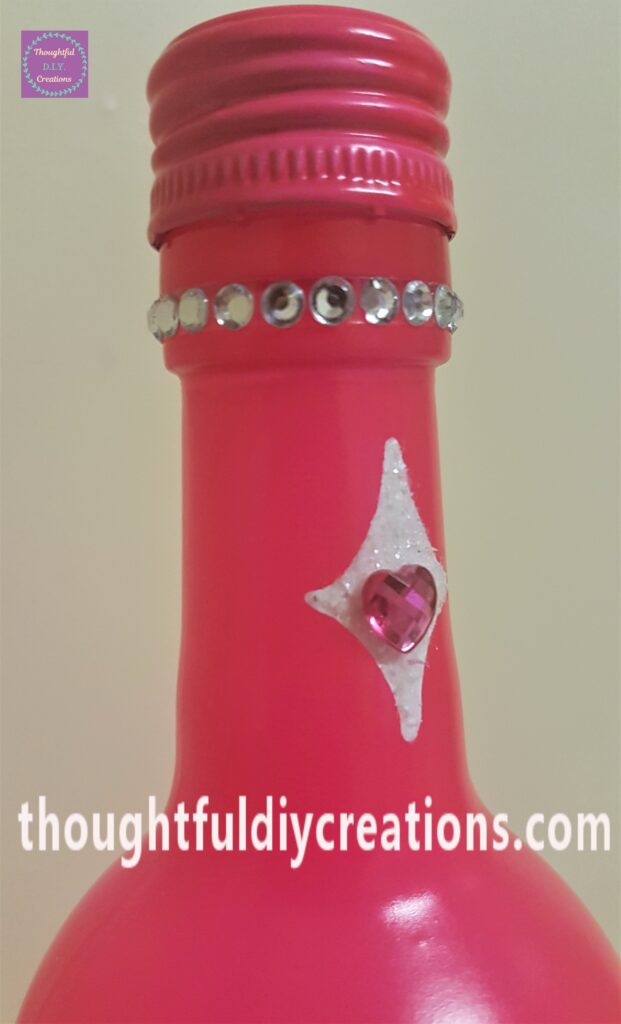
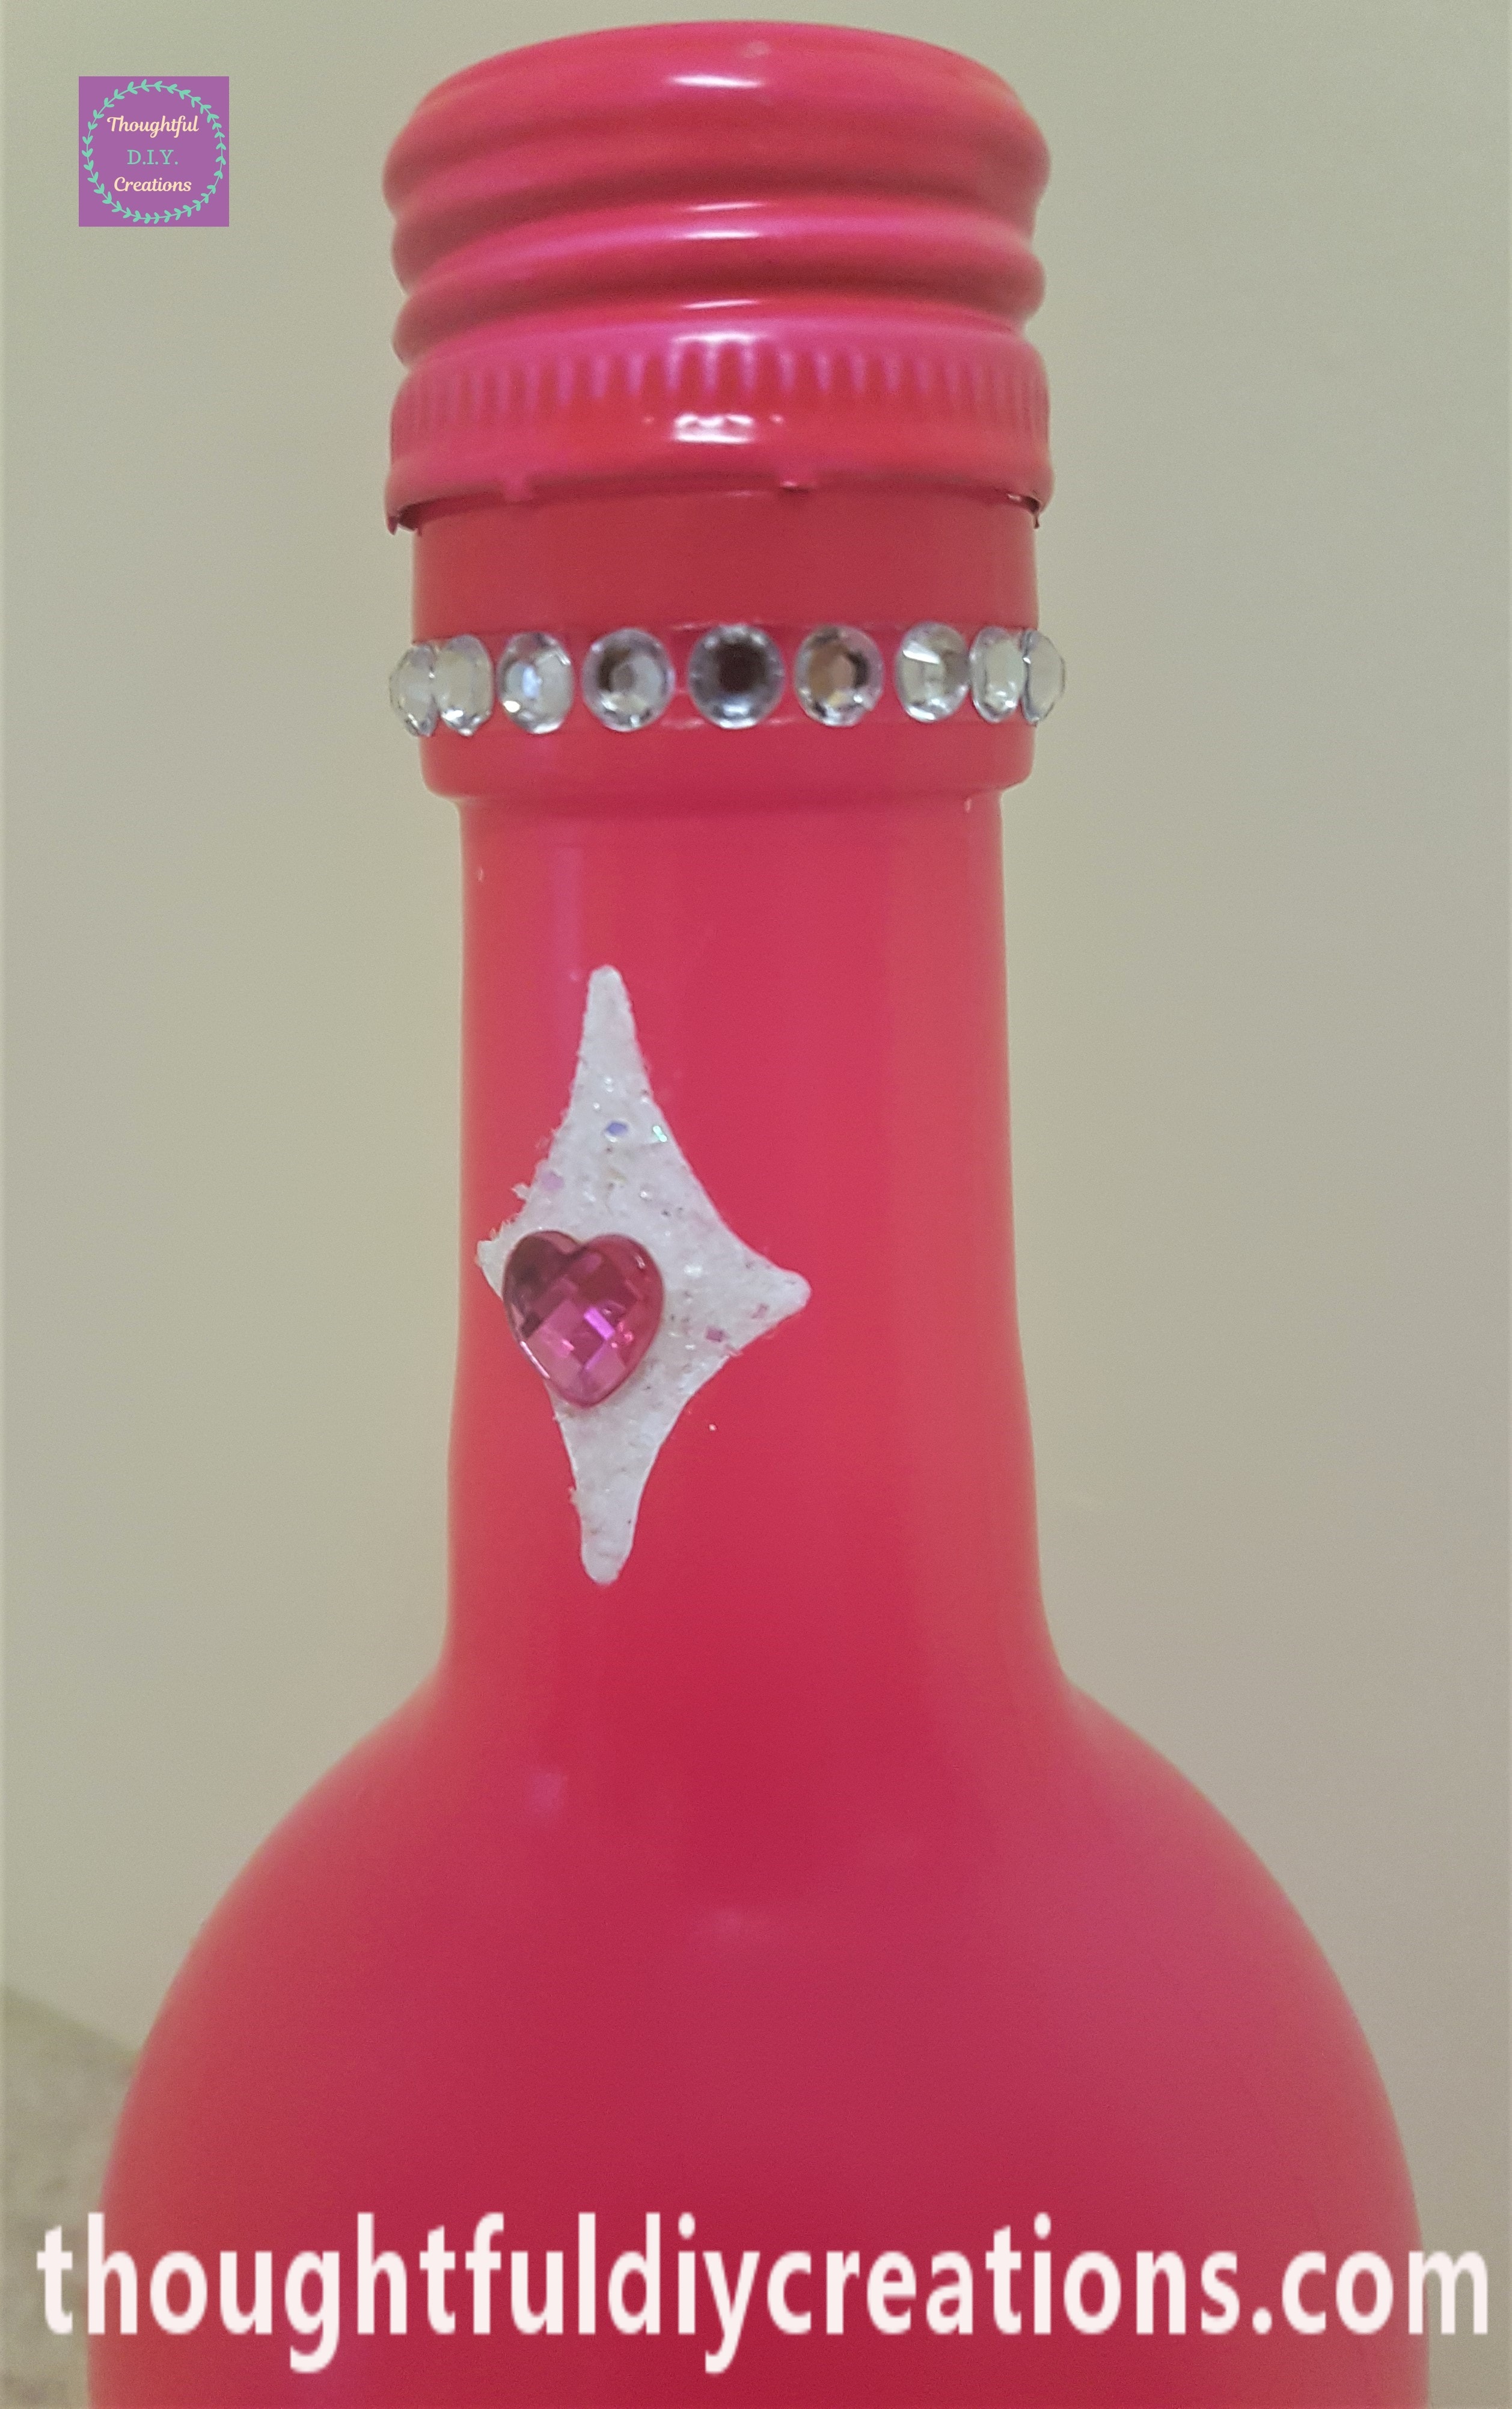
A closer look at the top of the Bottle.
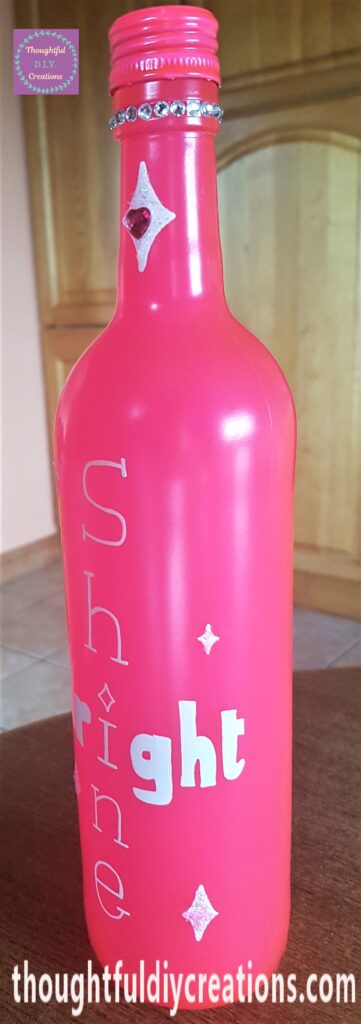
A peek at the other side.
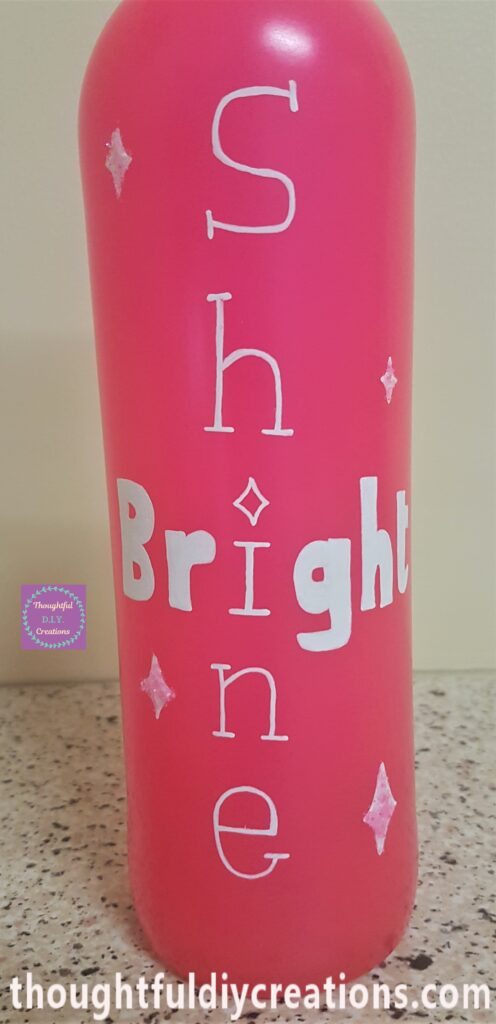
The main Part of the Pink Spray Painted Bottle showing the Quote.
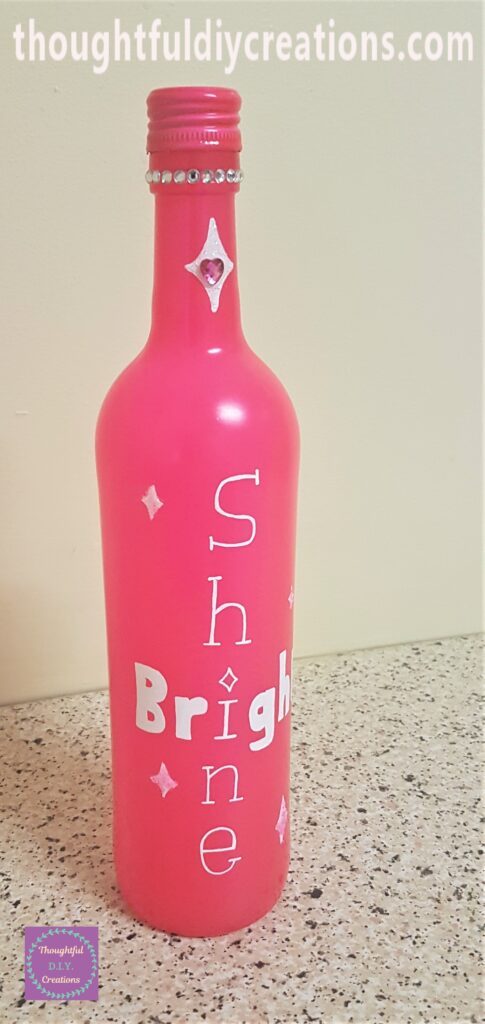
A full side view angle of the Bottle.
A closer look at the diamonds on the Bottle.
The Final Image of the Pink Spray Painted Bottle with Quote.
Conclusion
I was really happy with how the Pink Spray Painted Bottle turned out. I think it would add colour and sparkle to any room. I love re-using empty Wine Bottles and completely changing their appearance and purpose.
The writing isn’t perfectly straight on the Bottle but I like that Handmade isn’t meant to be perfect. It’s the thought, time, love and dedication you put into something that counts and I think some imperfections can add to a piece and just show that we are human not machines.
This is such a Budget and Beginner Friendly Craft and I hope you give it a try. You can use a different colour Spray Paint to mine if you want; they come in such a variety of Colours, there’s something for everyone. The Quote can also be completely changed to anything you want. Paint Pens also come in a range of Colours, you don’t have to choose white. You could add flowers, or other embellishments to your Bottle. This is another example of a Decorated Bottle; Gold Butterfly Bottle
This Bottle would be a thoughtful D.I.Y. Gift for a Graduation from School or College, an 18th or 21st Birthday. It would also be pretty Decor for a Teen Bedroom or College Apartment Decor as it won’t take up too much space and can be moved around easily. Here is a Tutorial on a 30th Birthday Bottle.
If you have any questions on this type of Craft just fill out the Comment Box below this Blog Post and I’ll get back to you as soon as possible.
Thank you so much for taking the time to Read my Blog.
Always Grateful,
T.D.C.
xoxox


-0 Comment-