Pirate Card : Easy D.I.Y. Tutorial
Hello my Creative Friends,
I hope you are all Well. In Today’s Tutorial I will Show you How I Made a Pirate Card from Start to Finish. It is an Easy D.I.Y. Card Tutorial with minimal Materials and I hope it Inspires you to Create your Own Handmade Cards for your Family and Friends.
Card Base
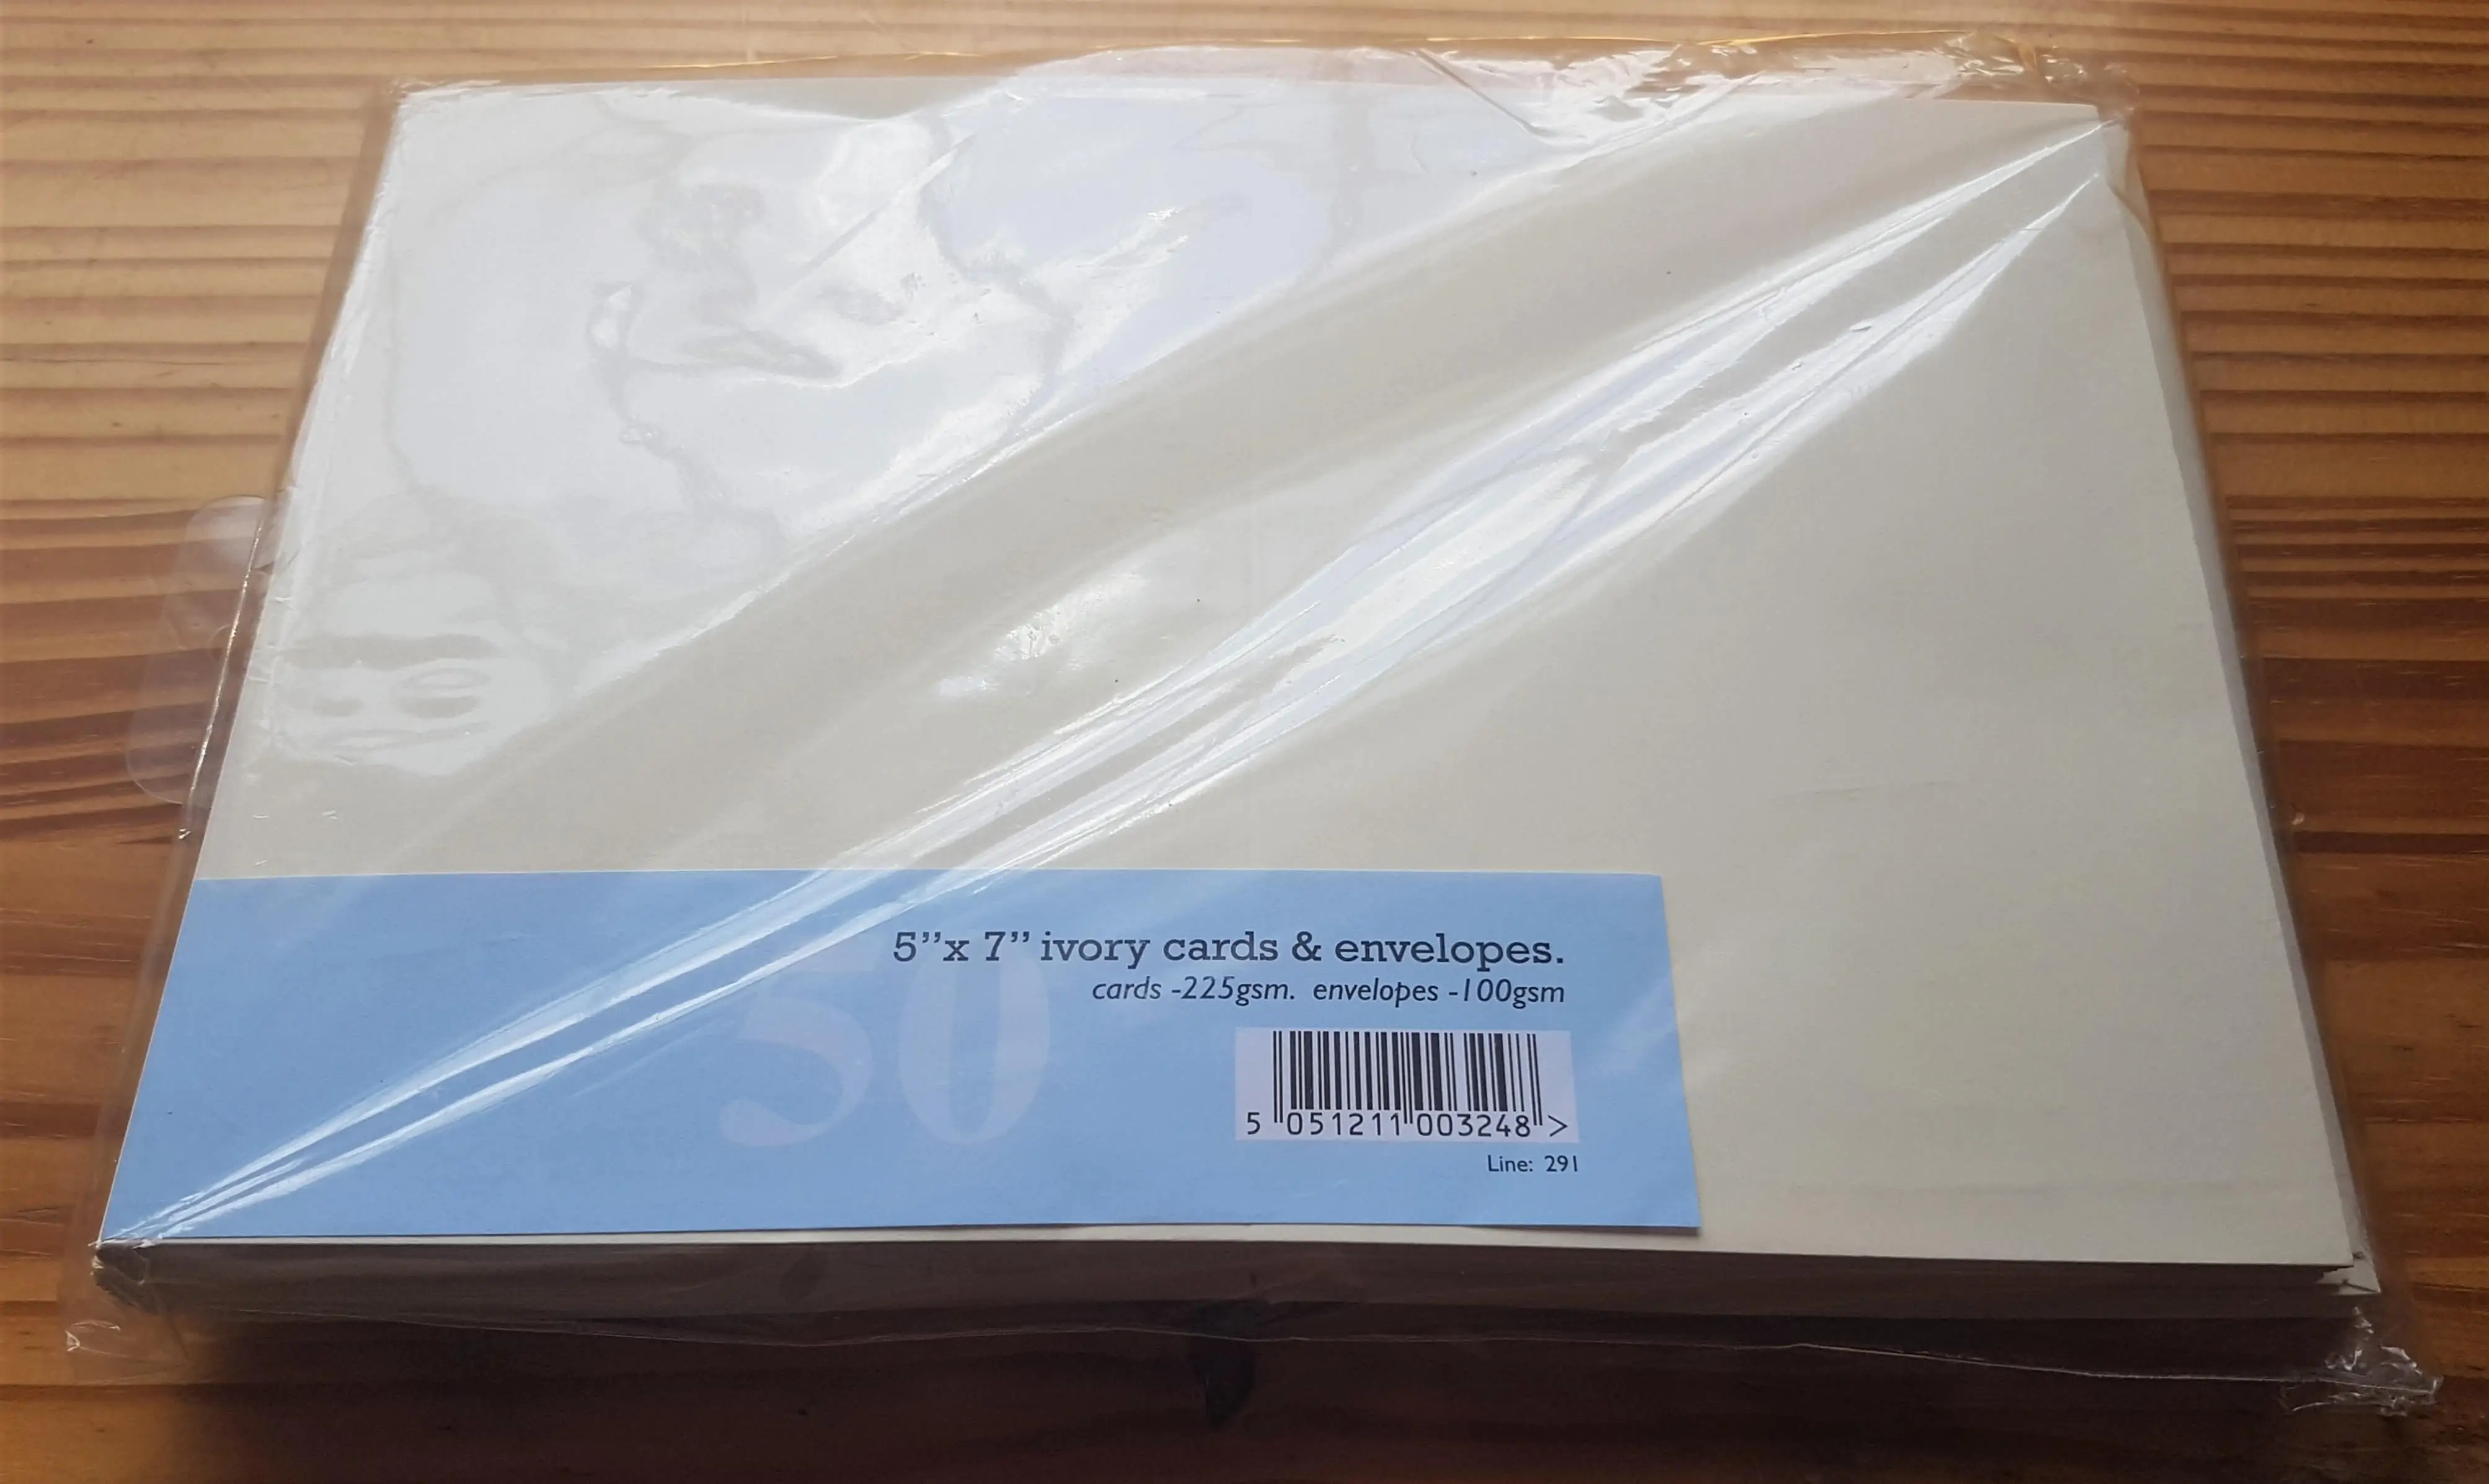
I got my Pack of 50 Ivory Cards 5″ x 7″ with matching Envelopes. These Cards are great as they are already Scored in the middle, meaning they quickly and easily fold into Shape. They can be Used Portrait or Landscape.
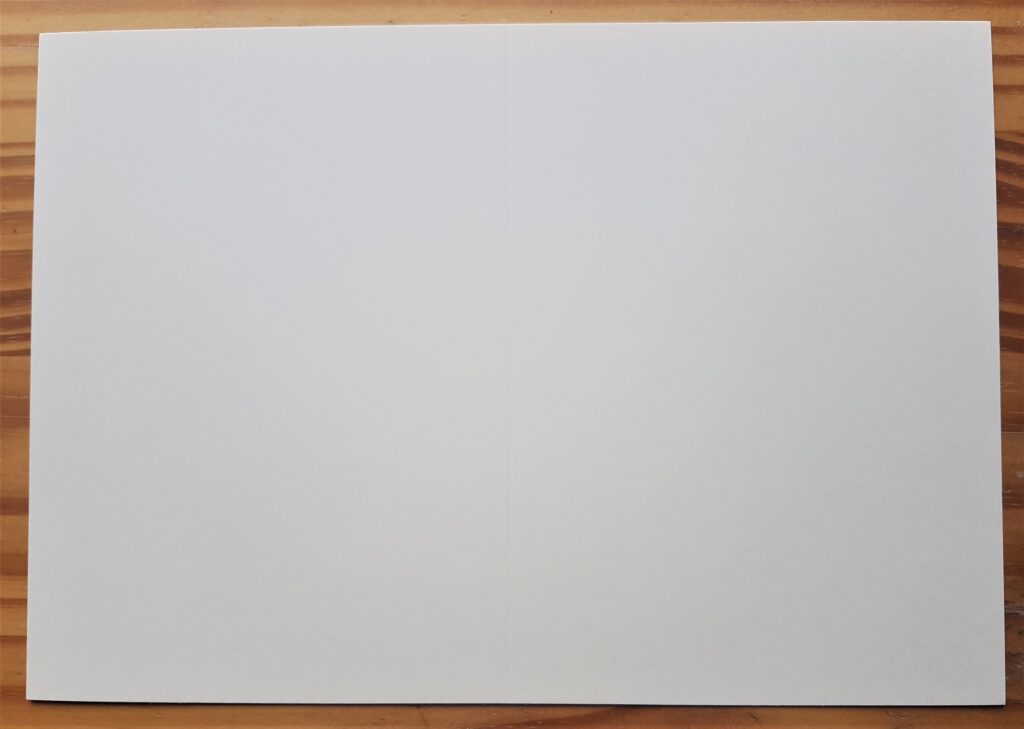
This is One Card laying Flat out of the Pack, the Score Line is in the Center, my Camera didn’t really Pick it up; it was a bright Day and my Desk is in front of the Window.
I Folded the Card in Half.
Paper for the Background of the Pirate Card
I got my A4 Scrapbook Paper Pad 120gsm.
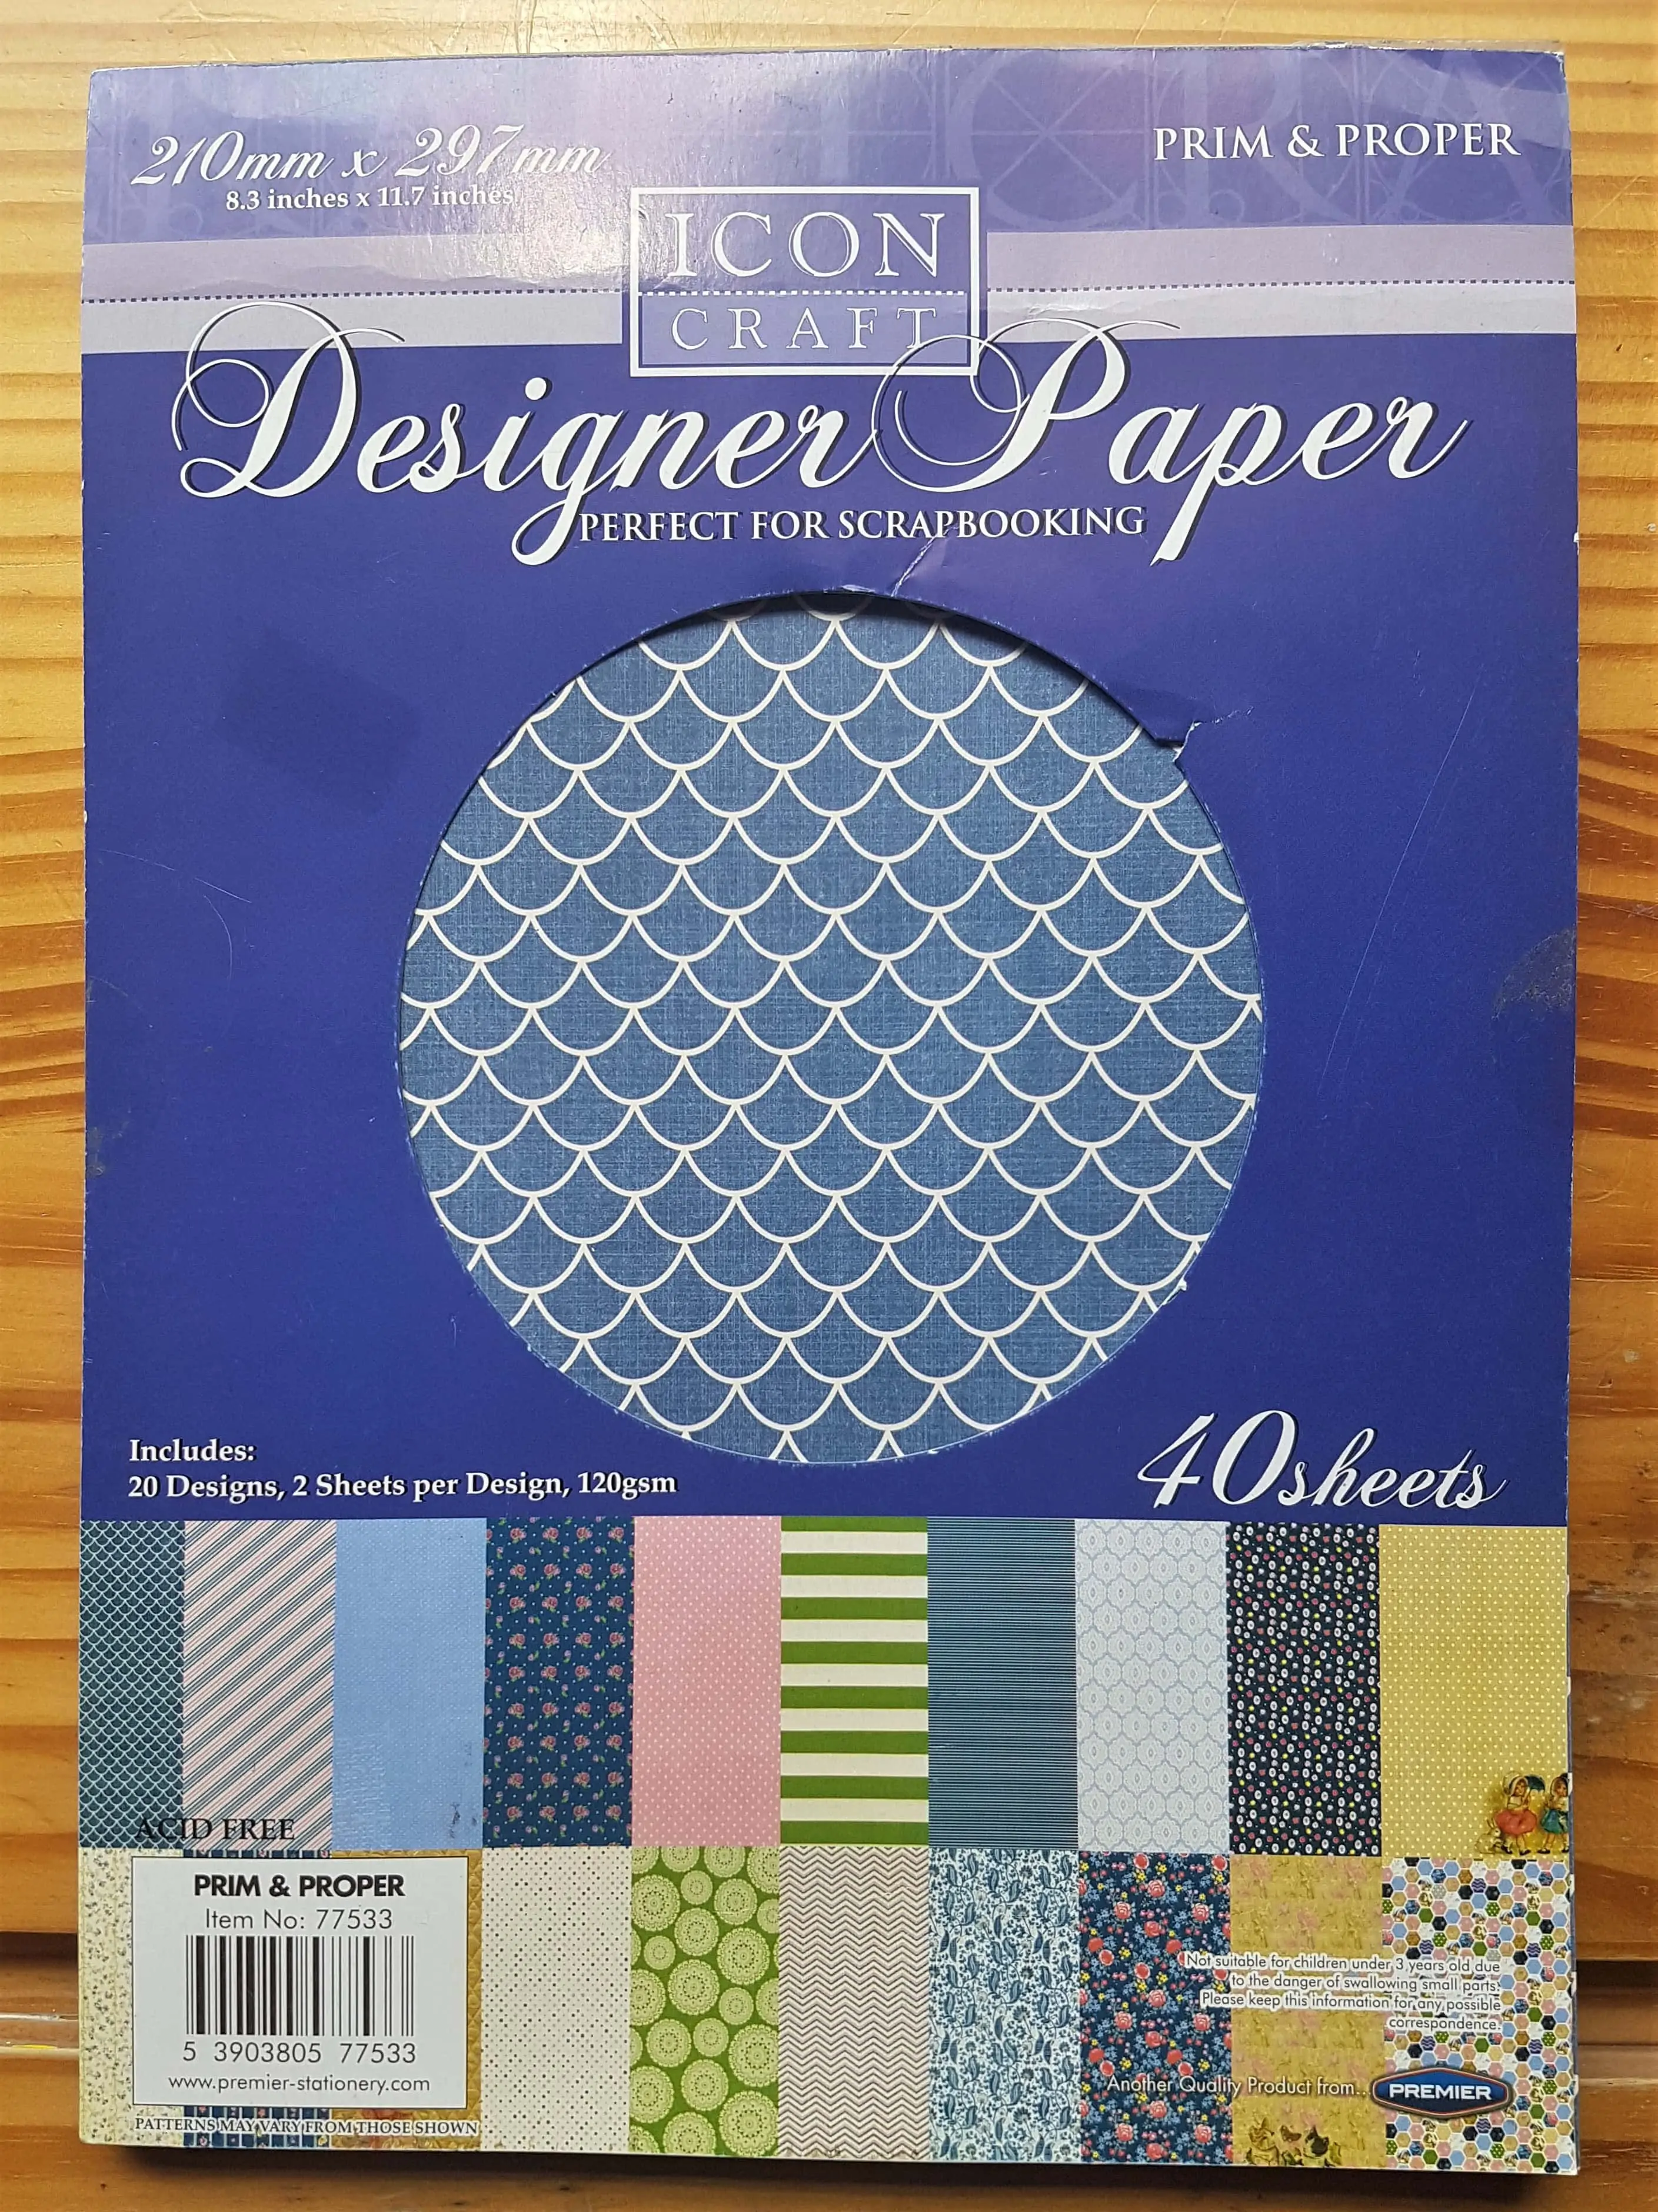
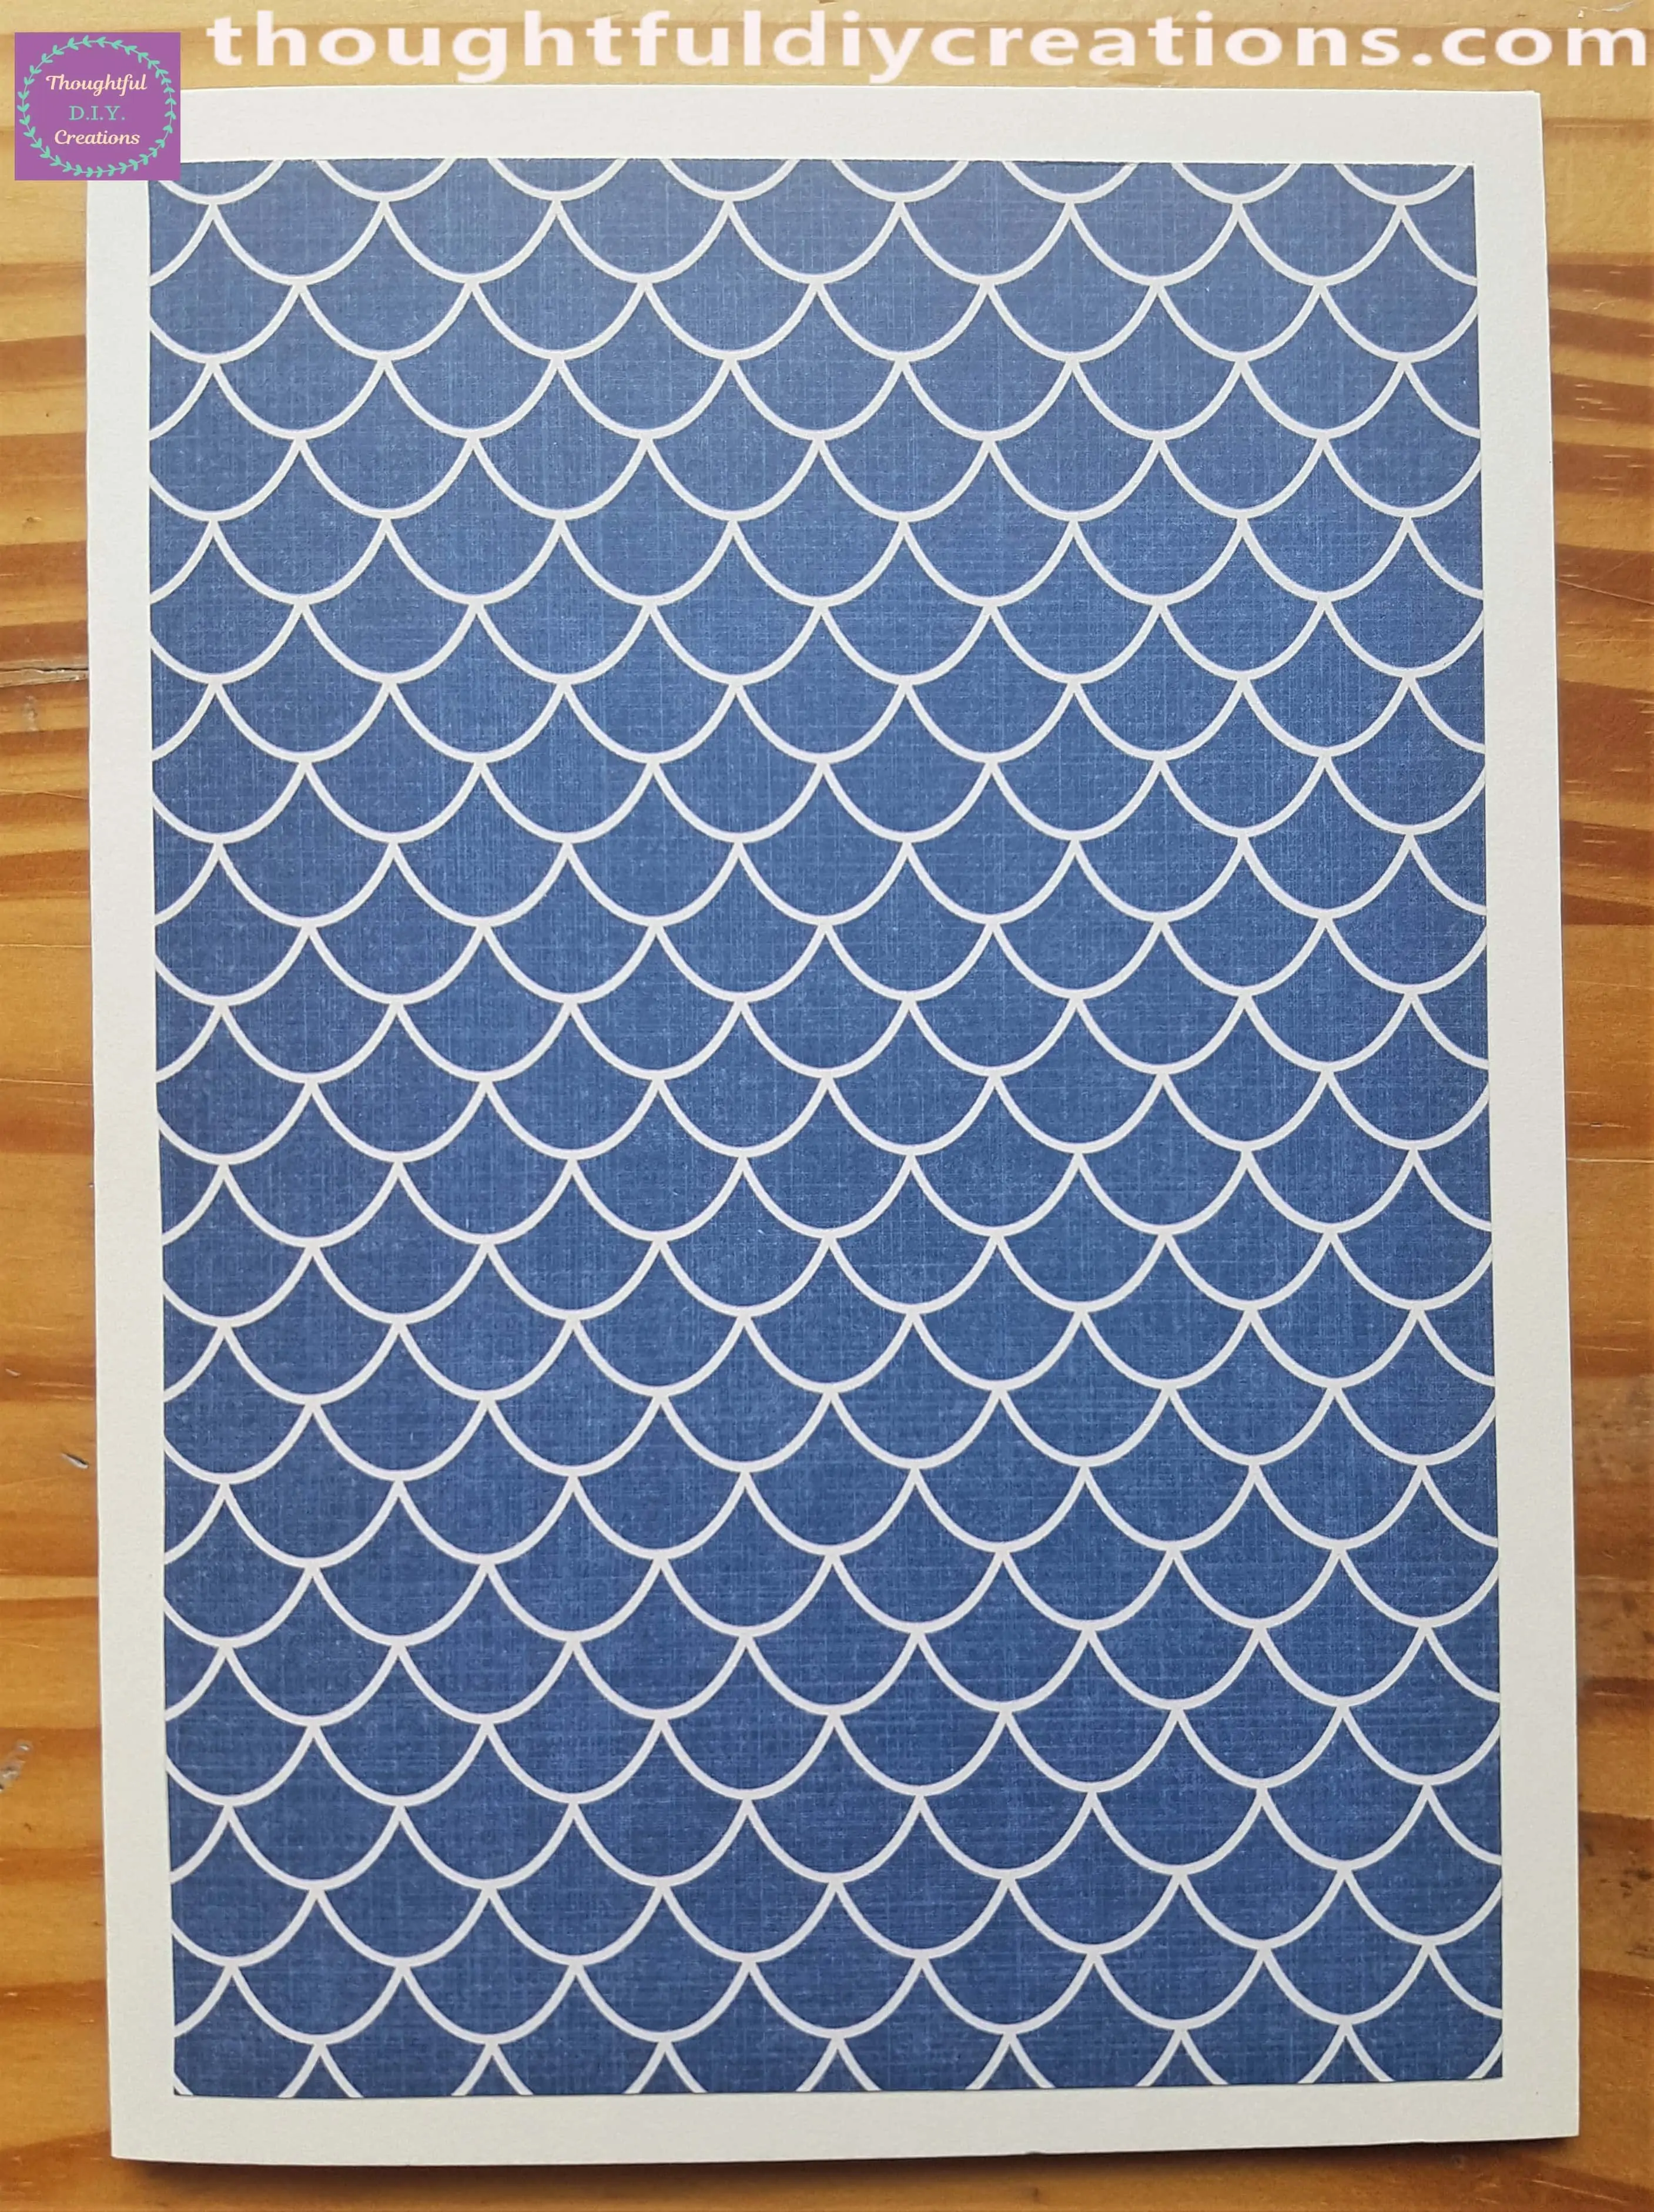
I liked the look of the first Sheet in the Pad. The Scalloped Shapes reminded me of Waves in the Sea.
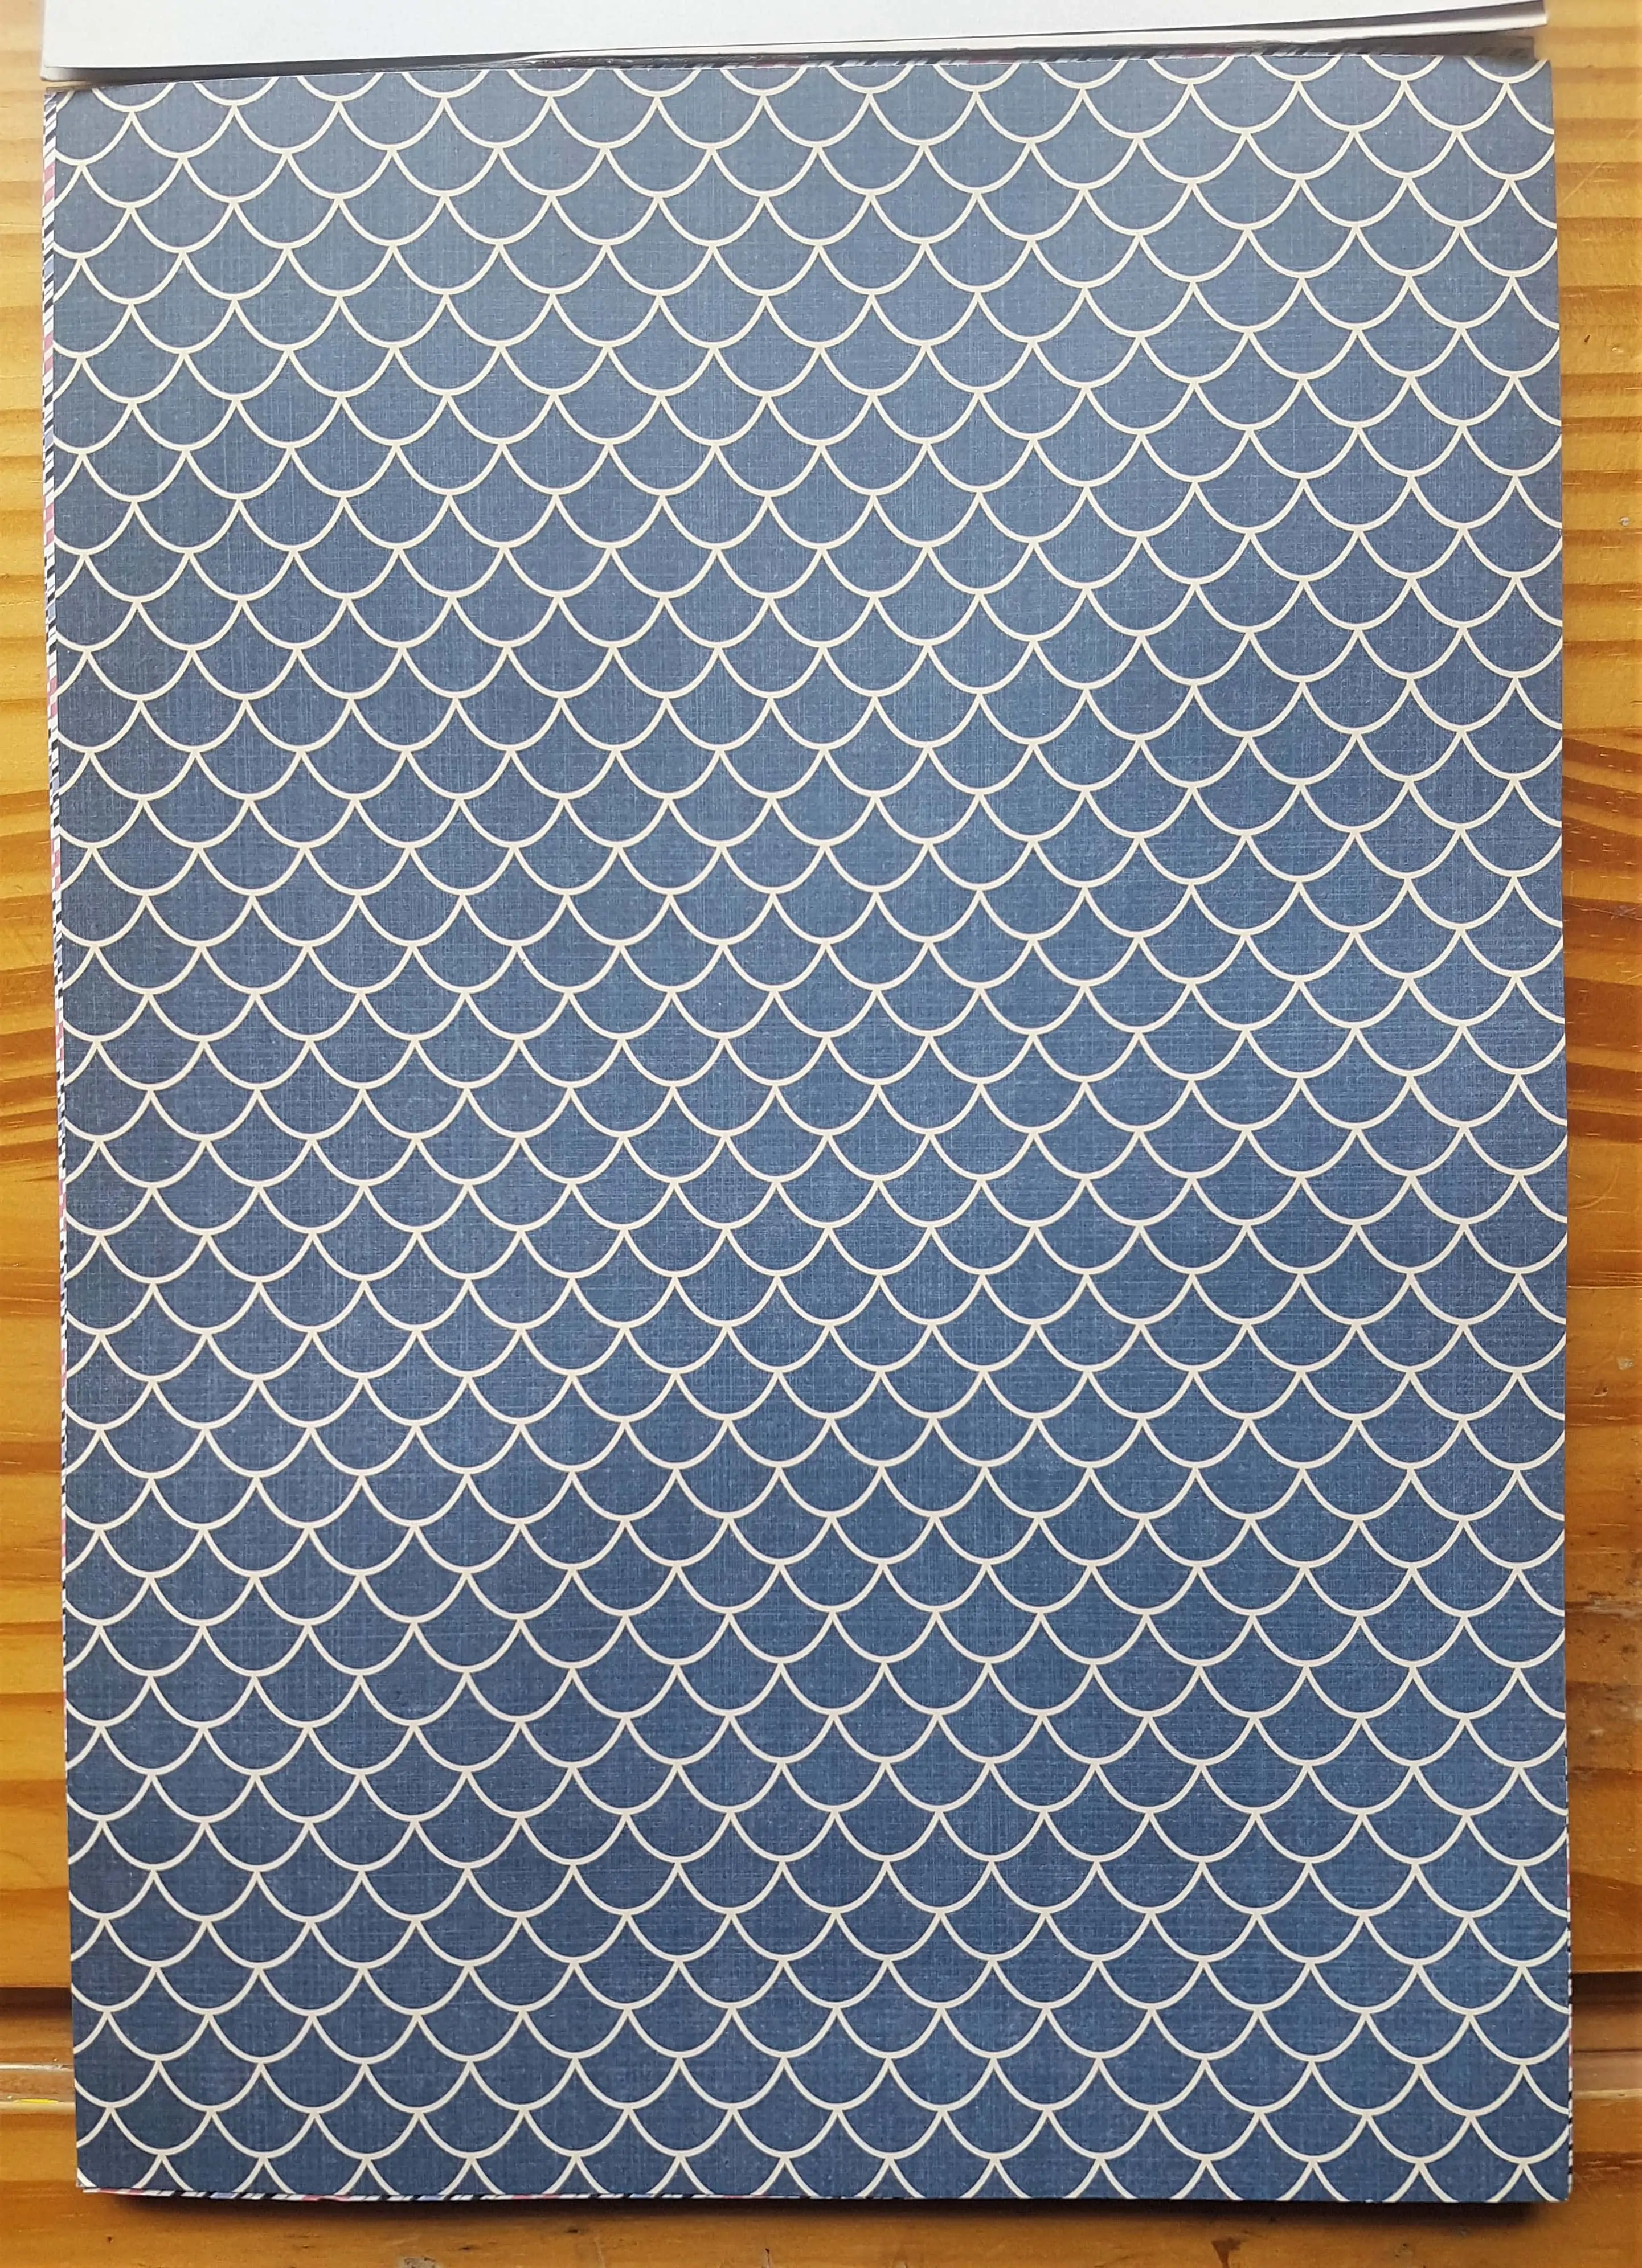
I tore the Sheet out from the Pad. I turned the Page over and Drew Lines measuring 4 and a Half Inches in Width and 6 and a Half Inches in Height with a Pencil and Ruler.
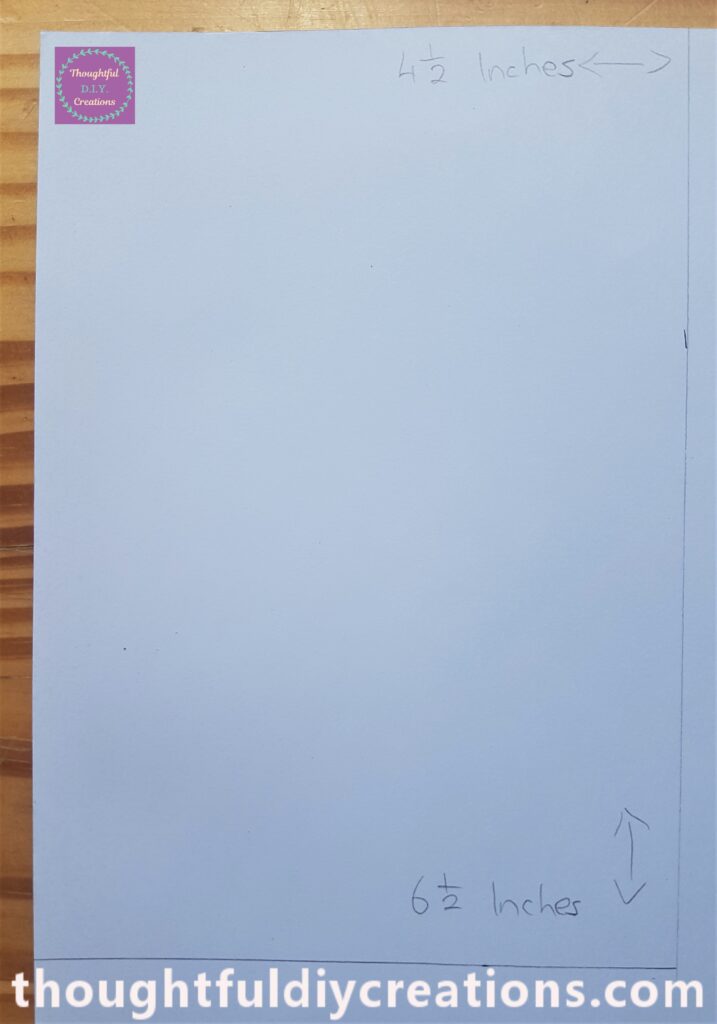
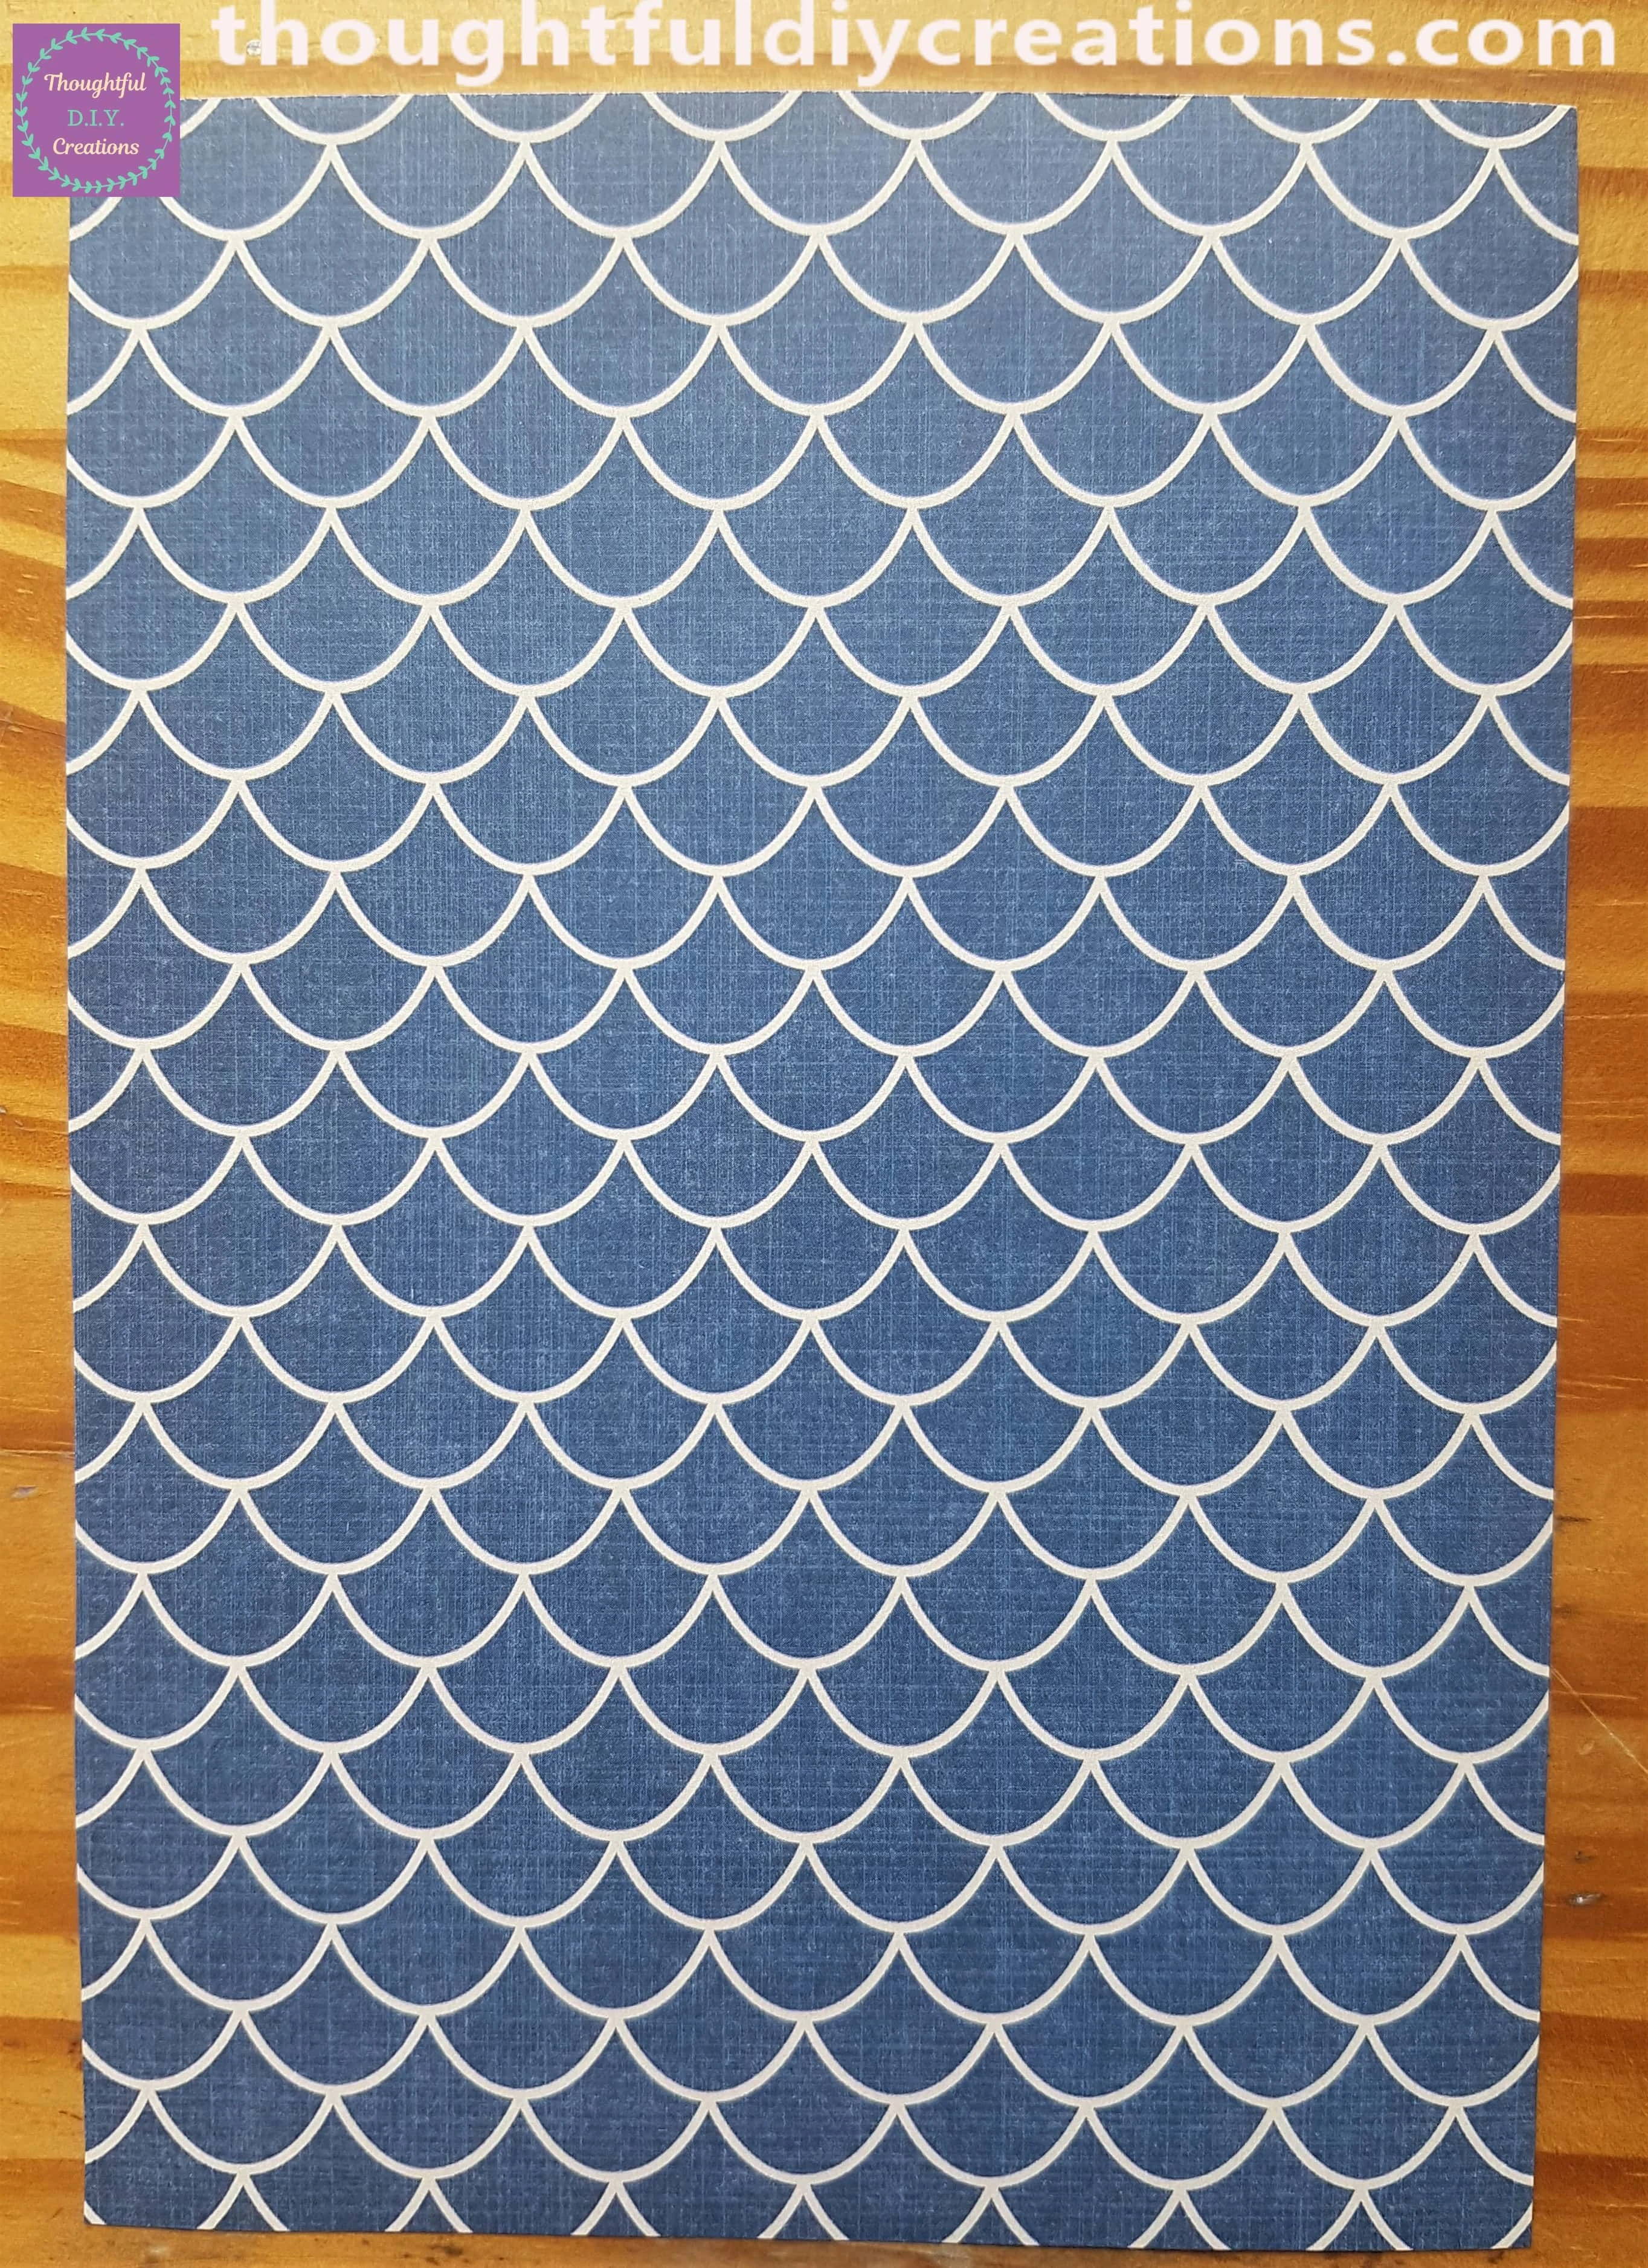
I Cut around the Lines and turned the Sheet back the right way.
Attaching Double-Sided Tape to the Paper
I got my Roll of Double-Sided Tape and Cut and stuck down various pieces to the back of the Patterned Sheet.
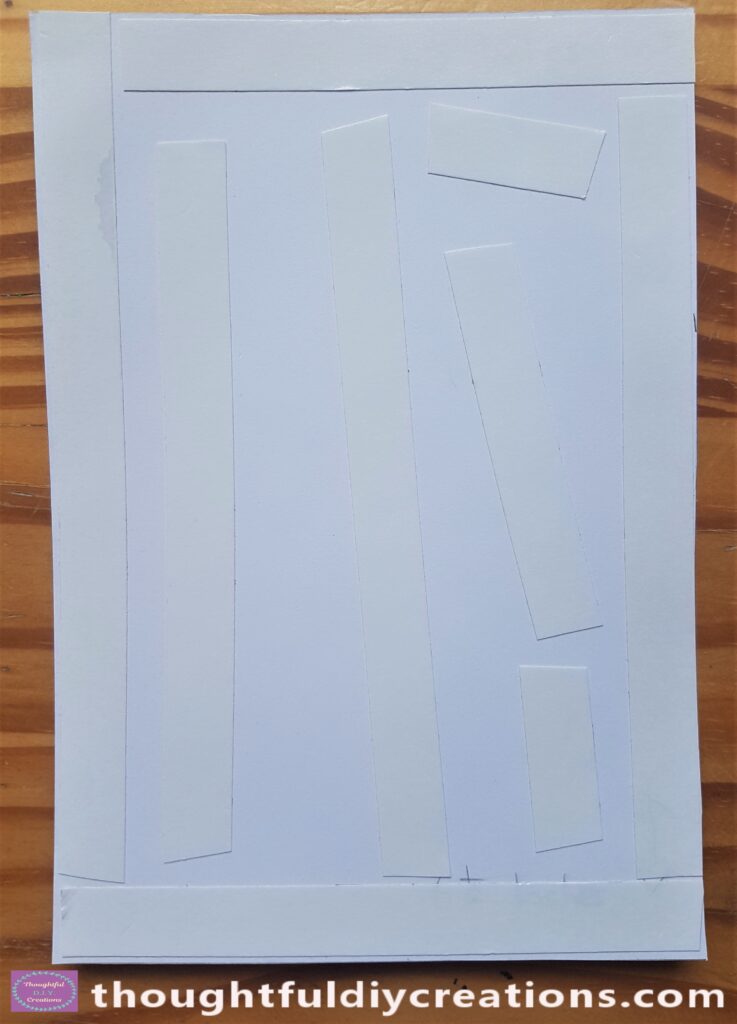
I removed the White Backing from each piece of the Double-Sided Tape.
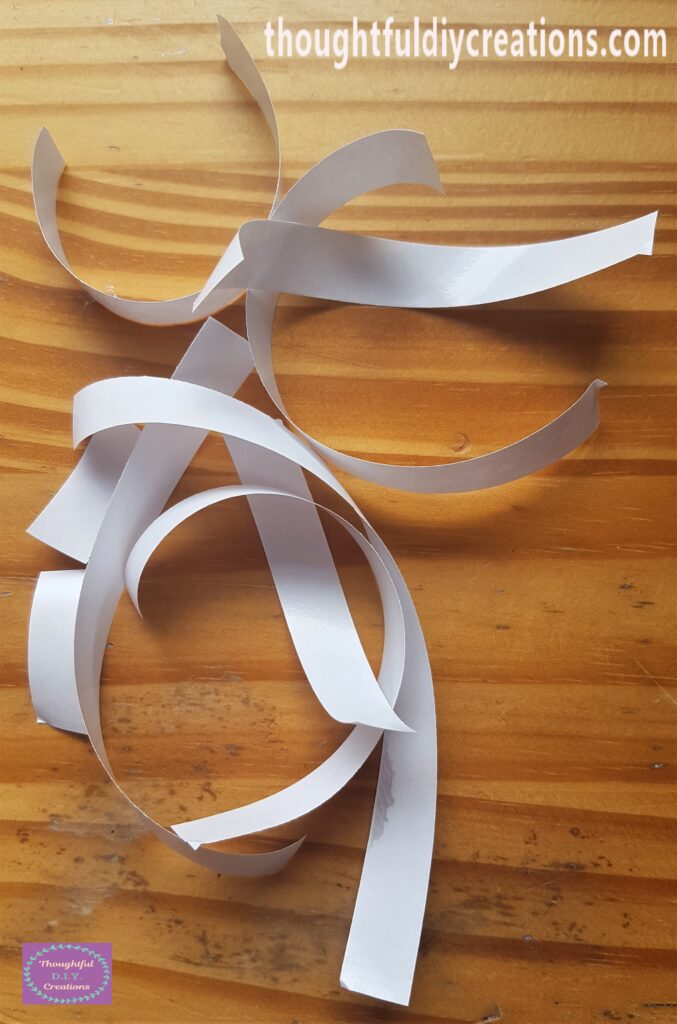
The Tape is now sticky on both Sides.
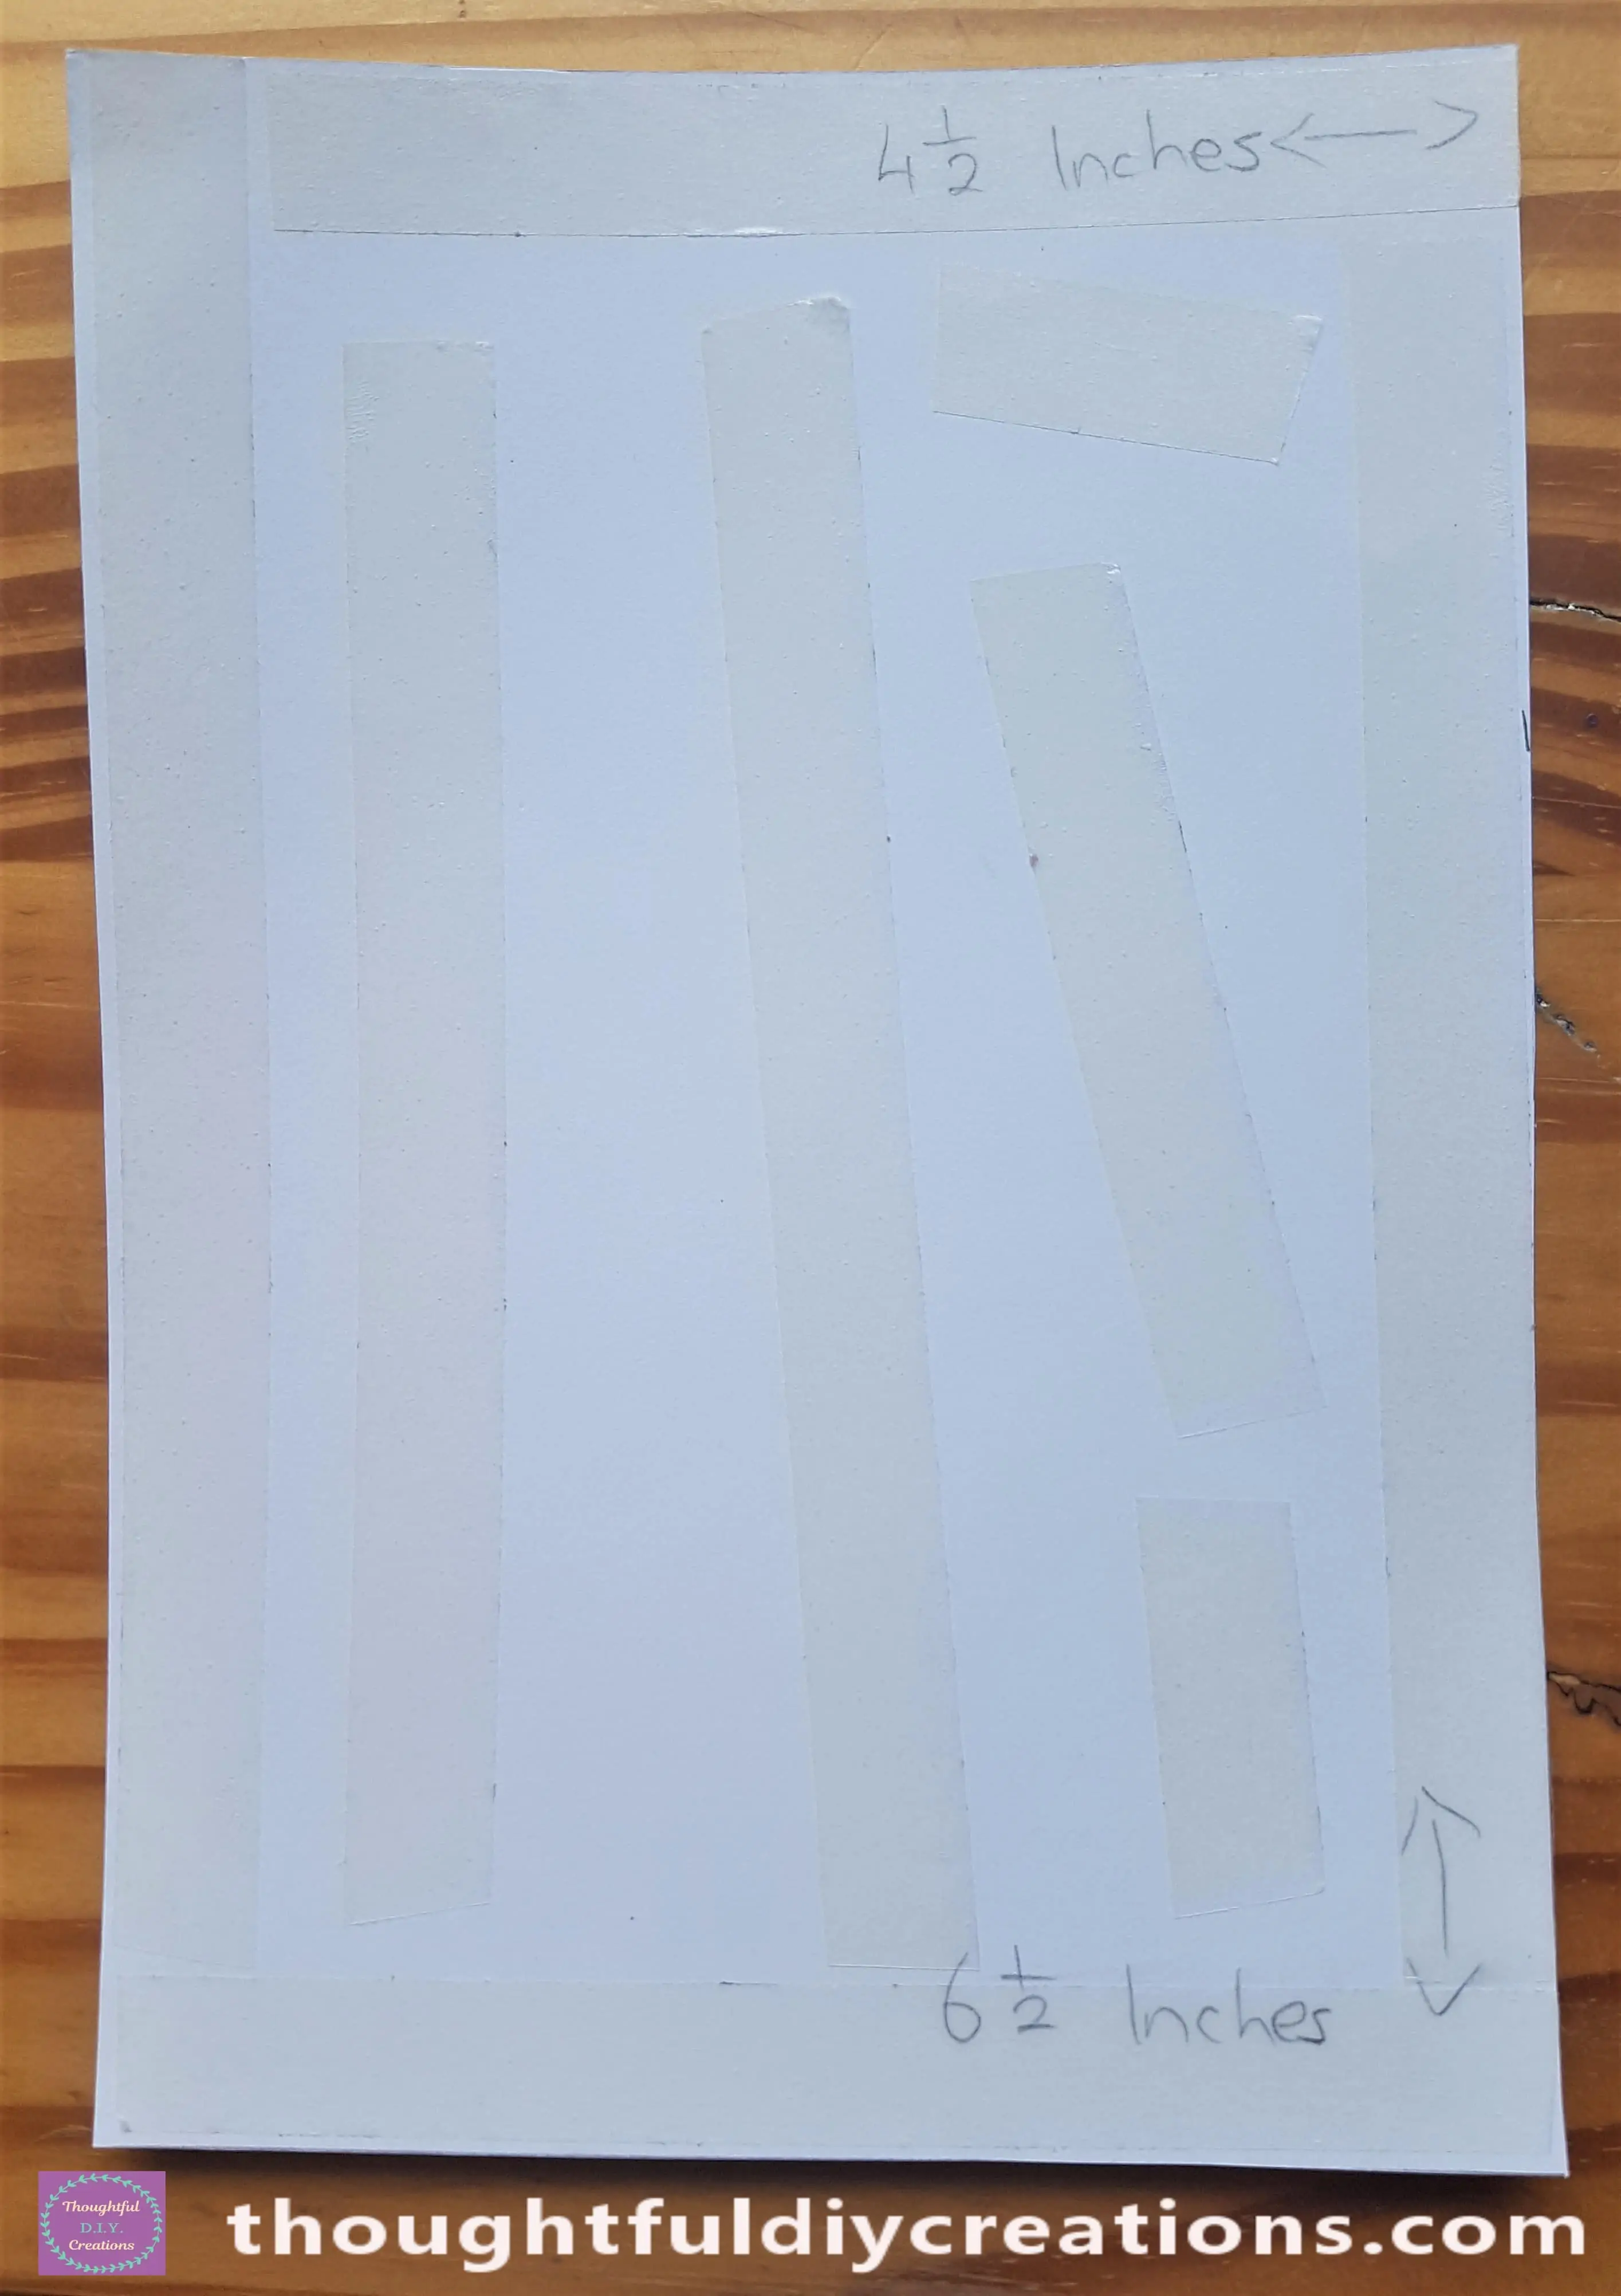
I adhered it to the Front of the Card and pressed it into place.
Foam Pirate Stickers
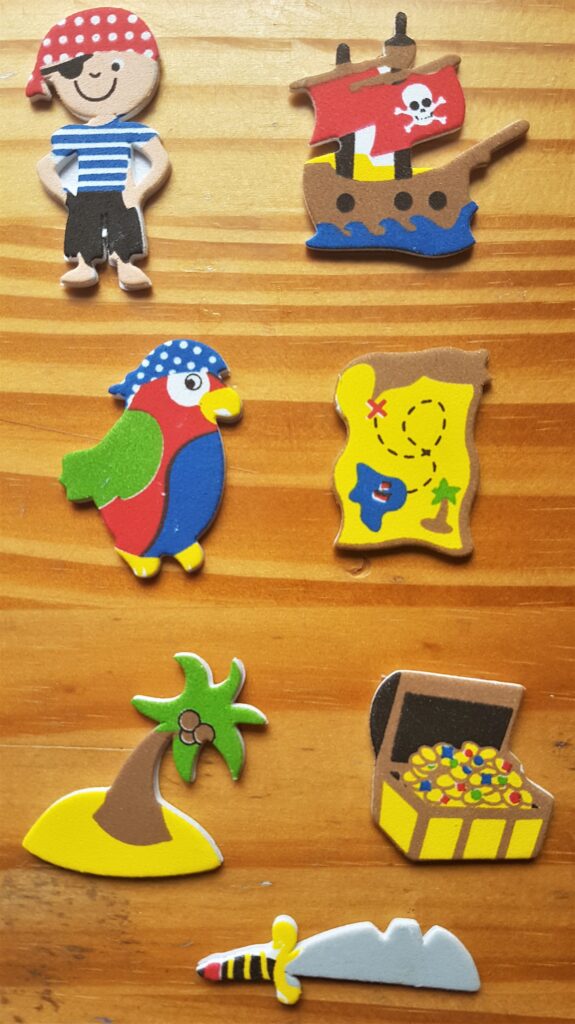
I got my Pack of Foam Pirate Stickers.
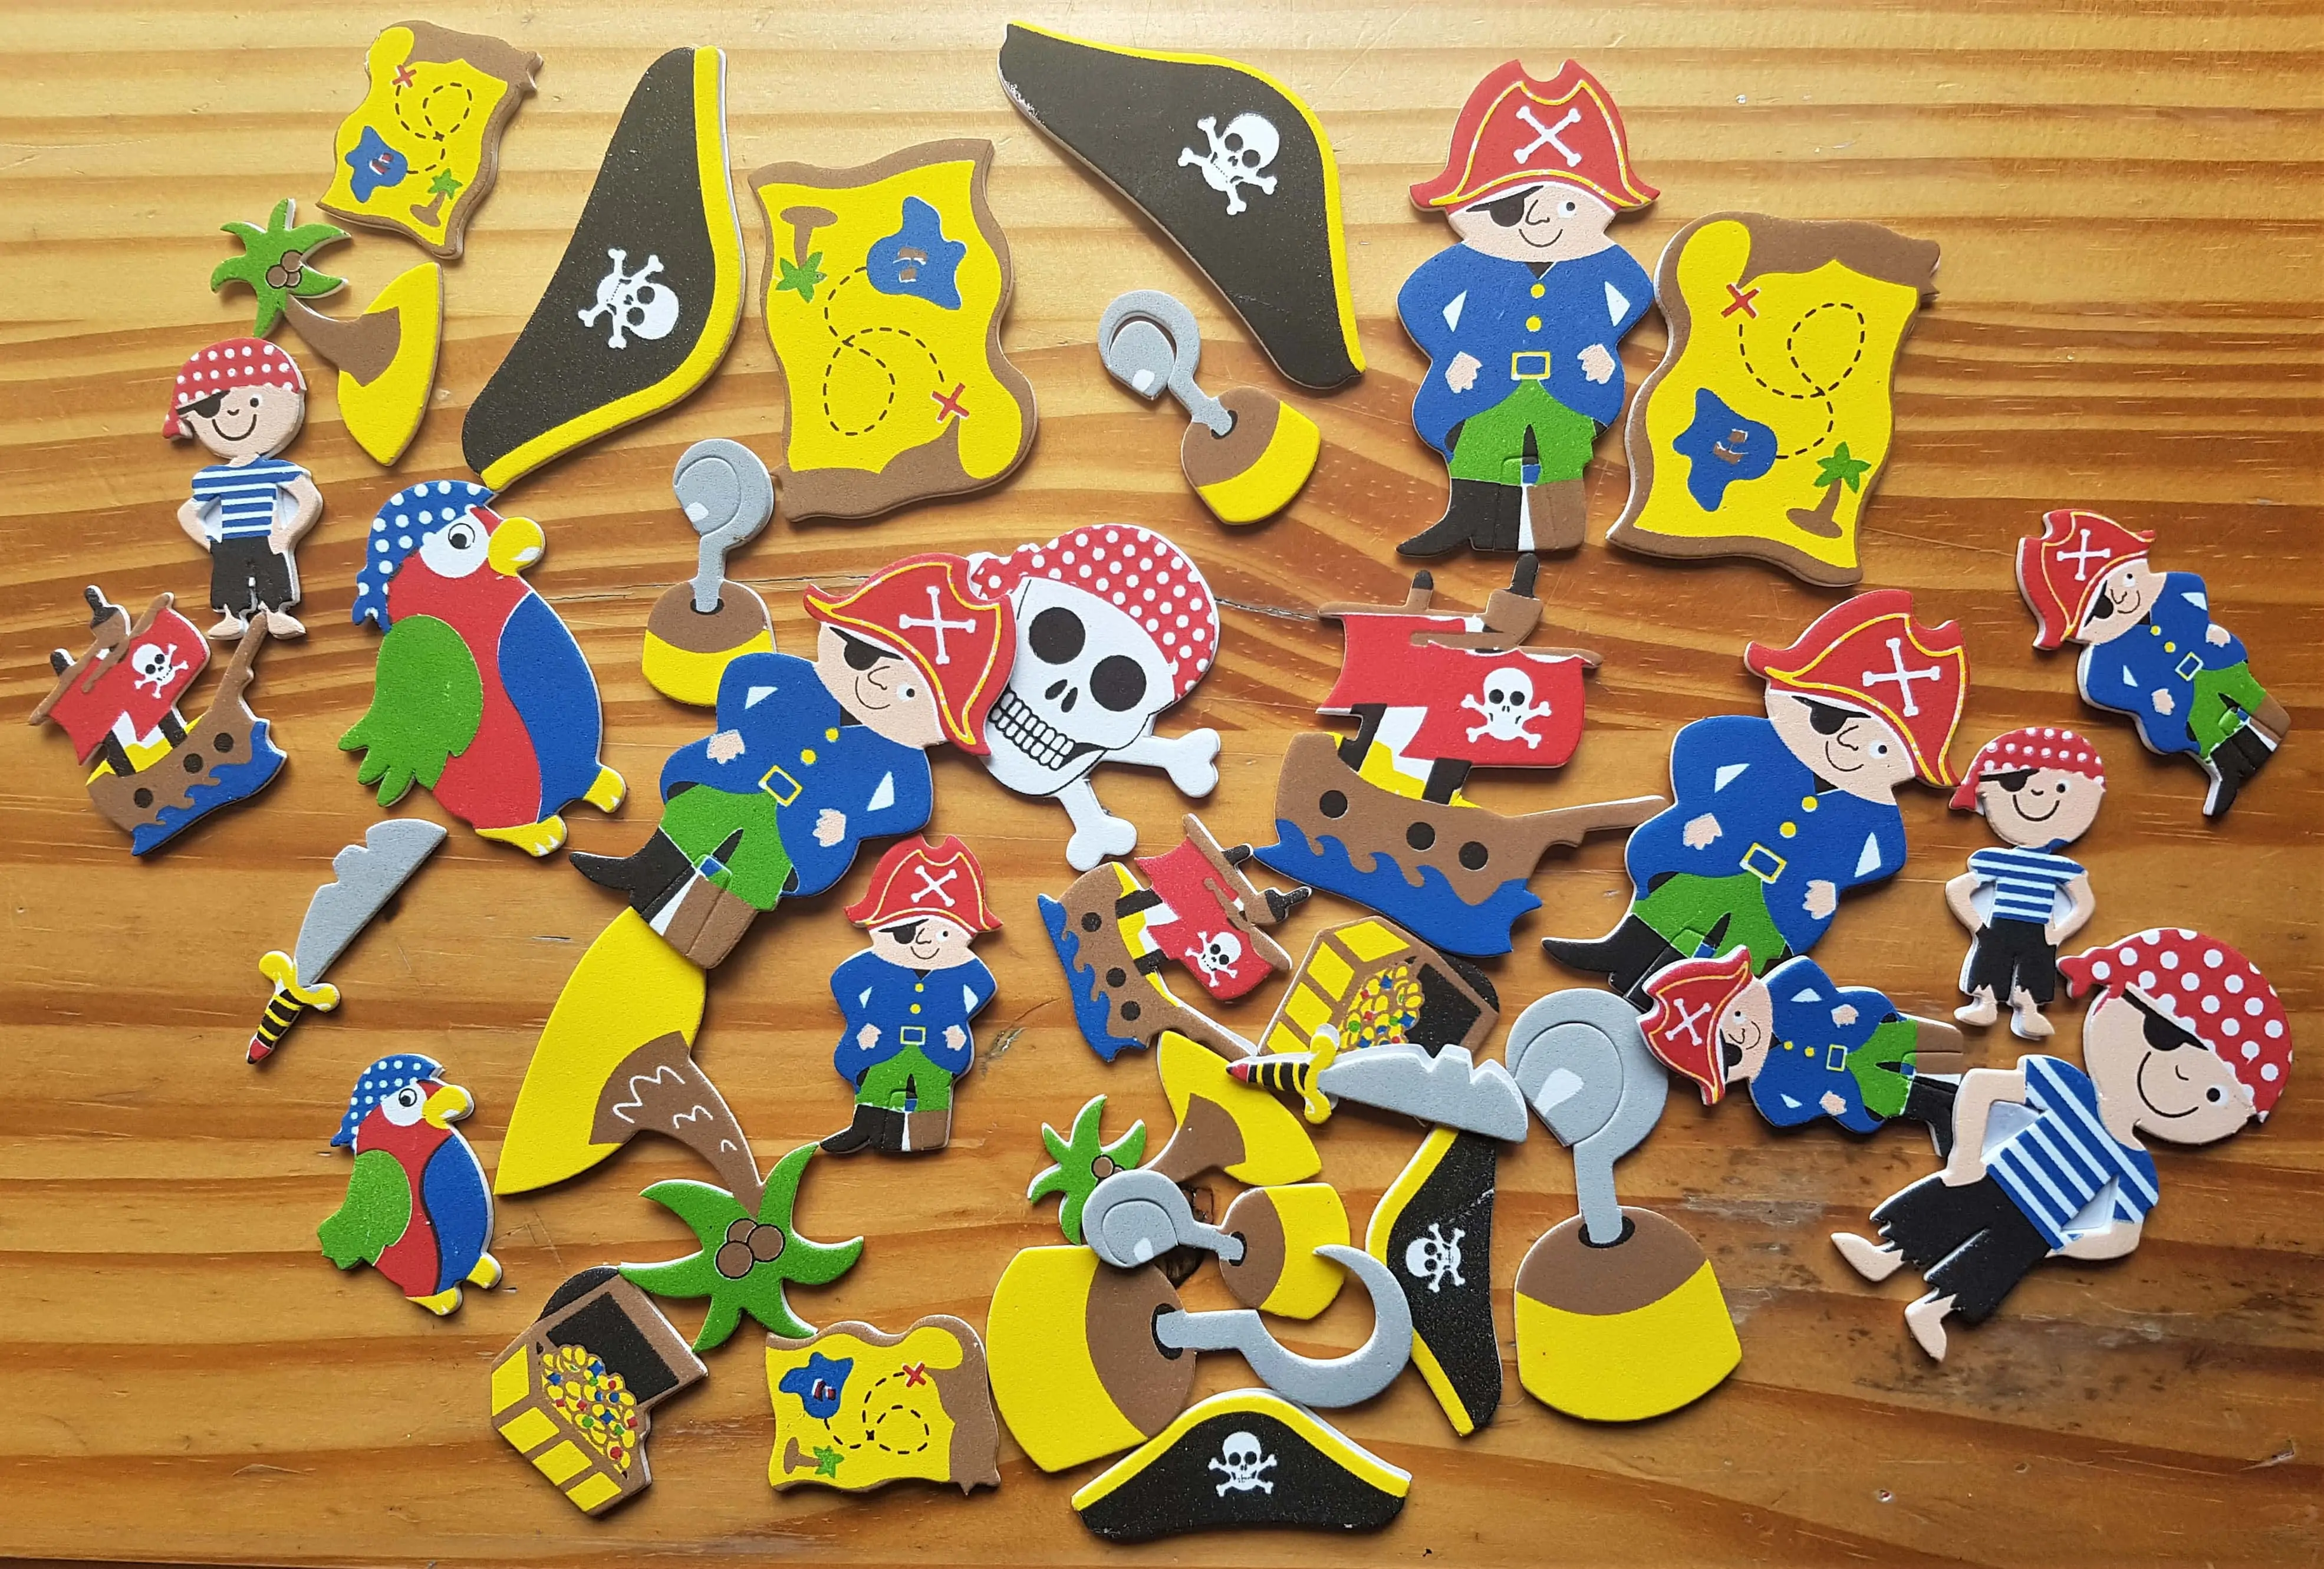
I chose some of the Smaller Size Stickers to Use for my Pirate Card.
Making a Background for the Pirate Stickers
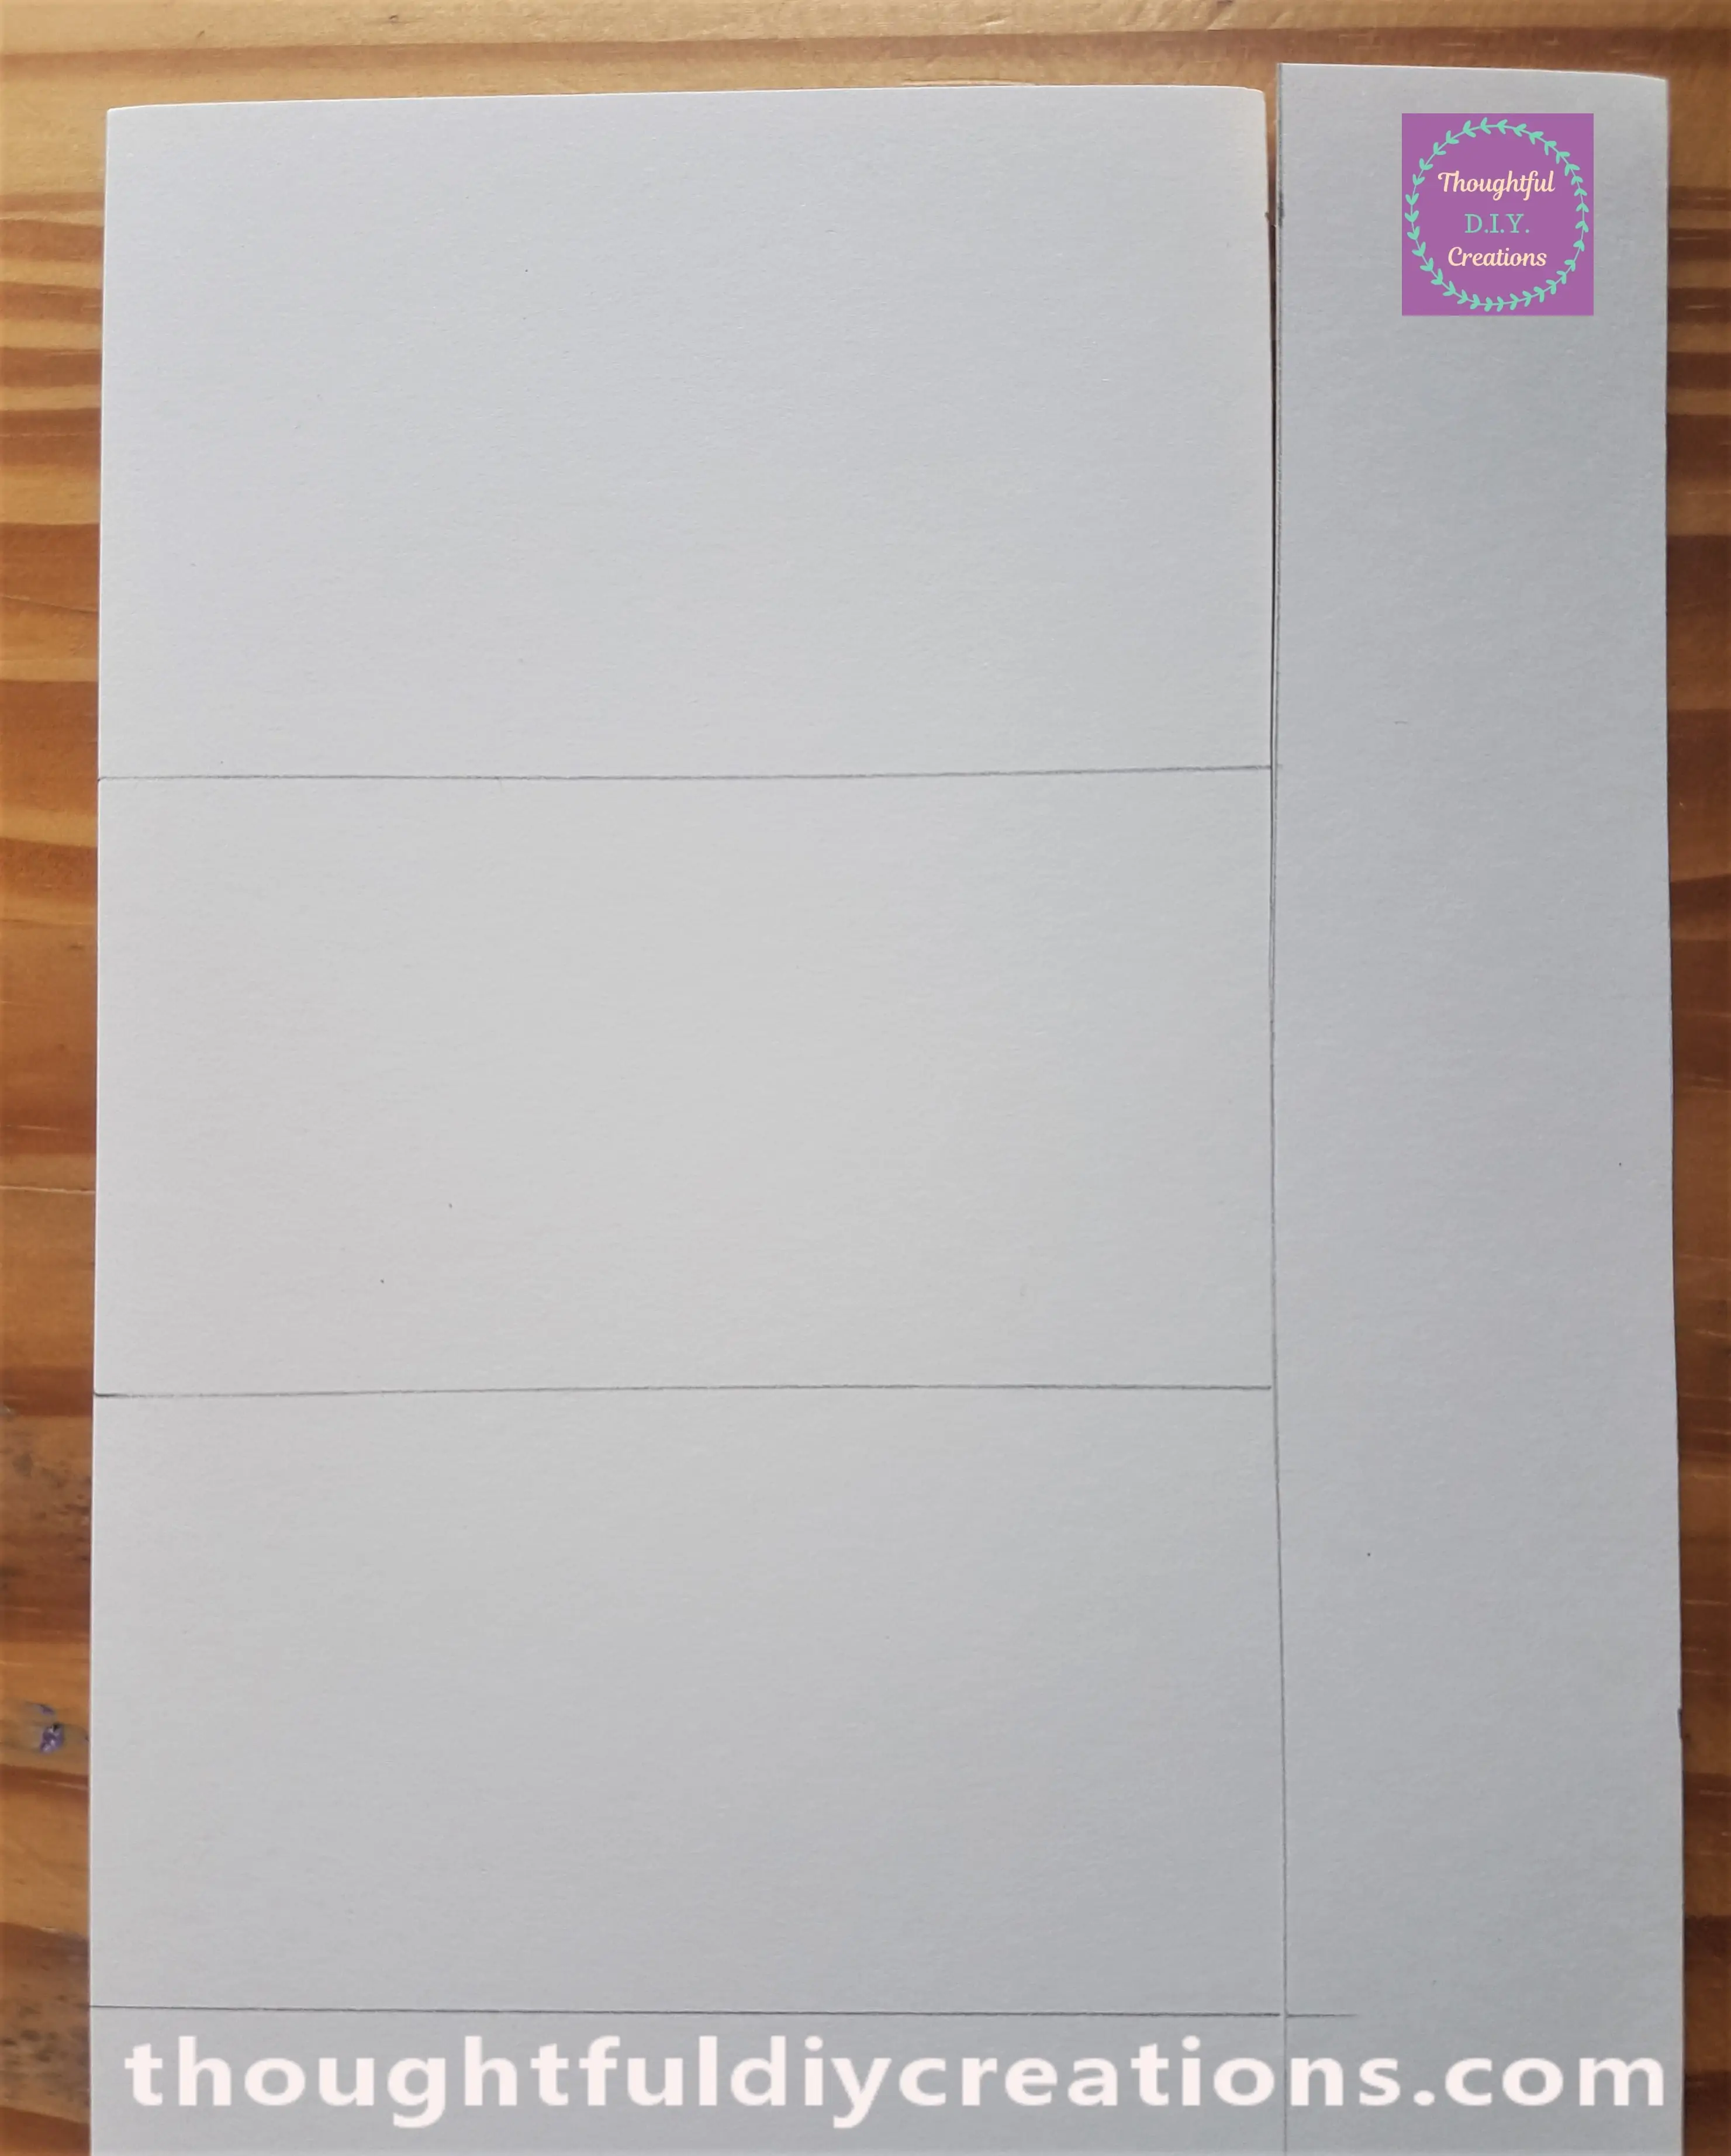
I had a Scrap Piece of Cream Card in my Supplies. I drew 3 different Sections on the Card to Use as a Background for the Pirate Stickers.
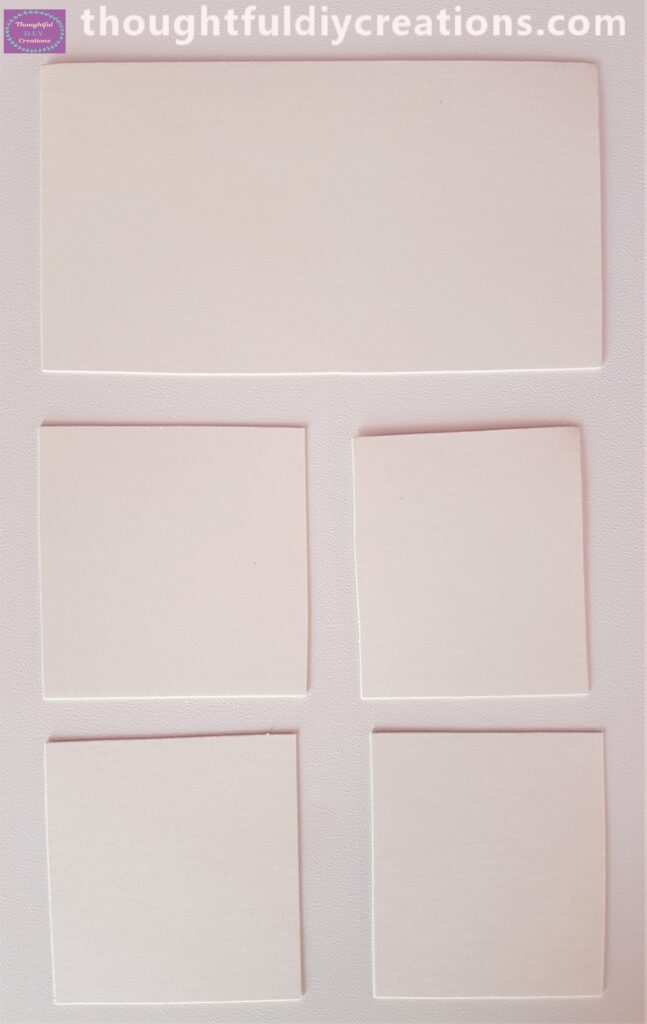
I Cut around the Lines and then decided to Cut the bottom 2 Sections in half and then made them smaller again.
Attaching the Cream Card Pieces to the Patterned Paper
I put Pritt Stick on the back of the bigger section and then Stuck it to the top of the Pirate Card.
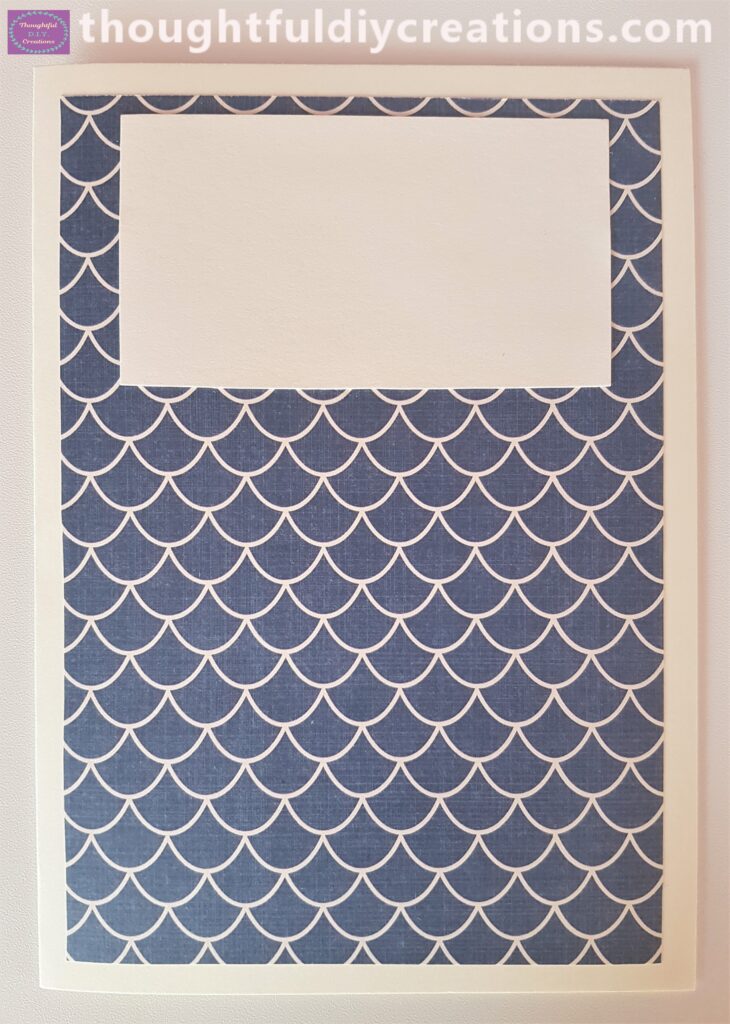
I put Pritt Stick on the back of the 2 smaller sections and applied them to the middle section of the Card.
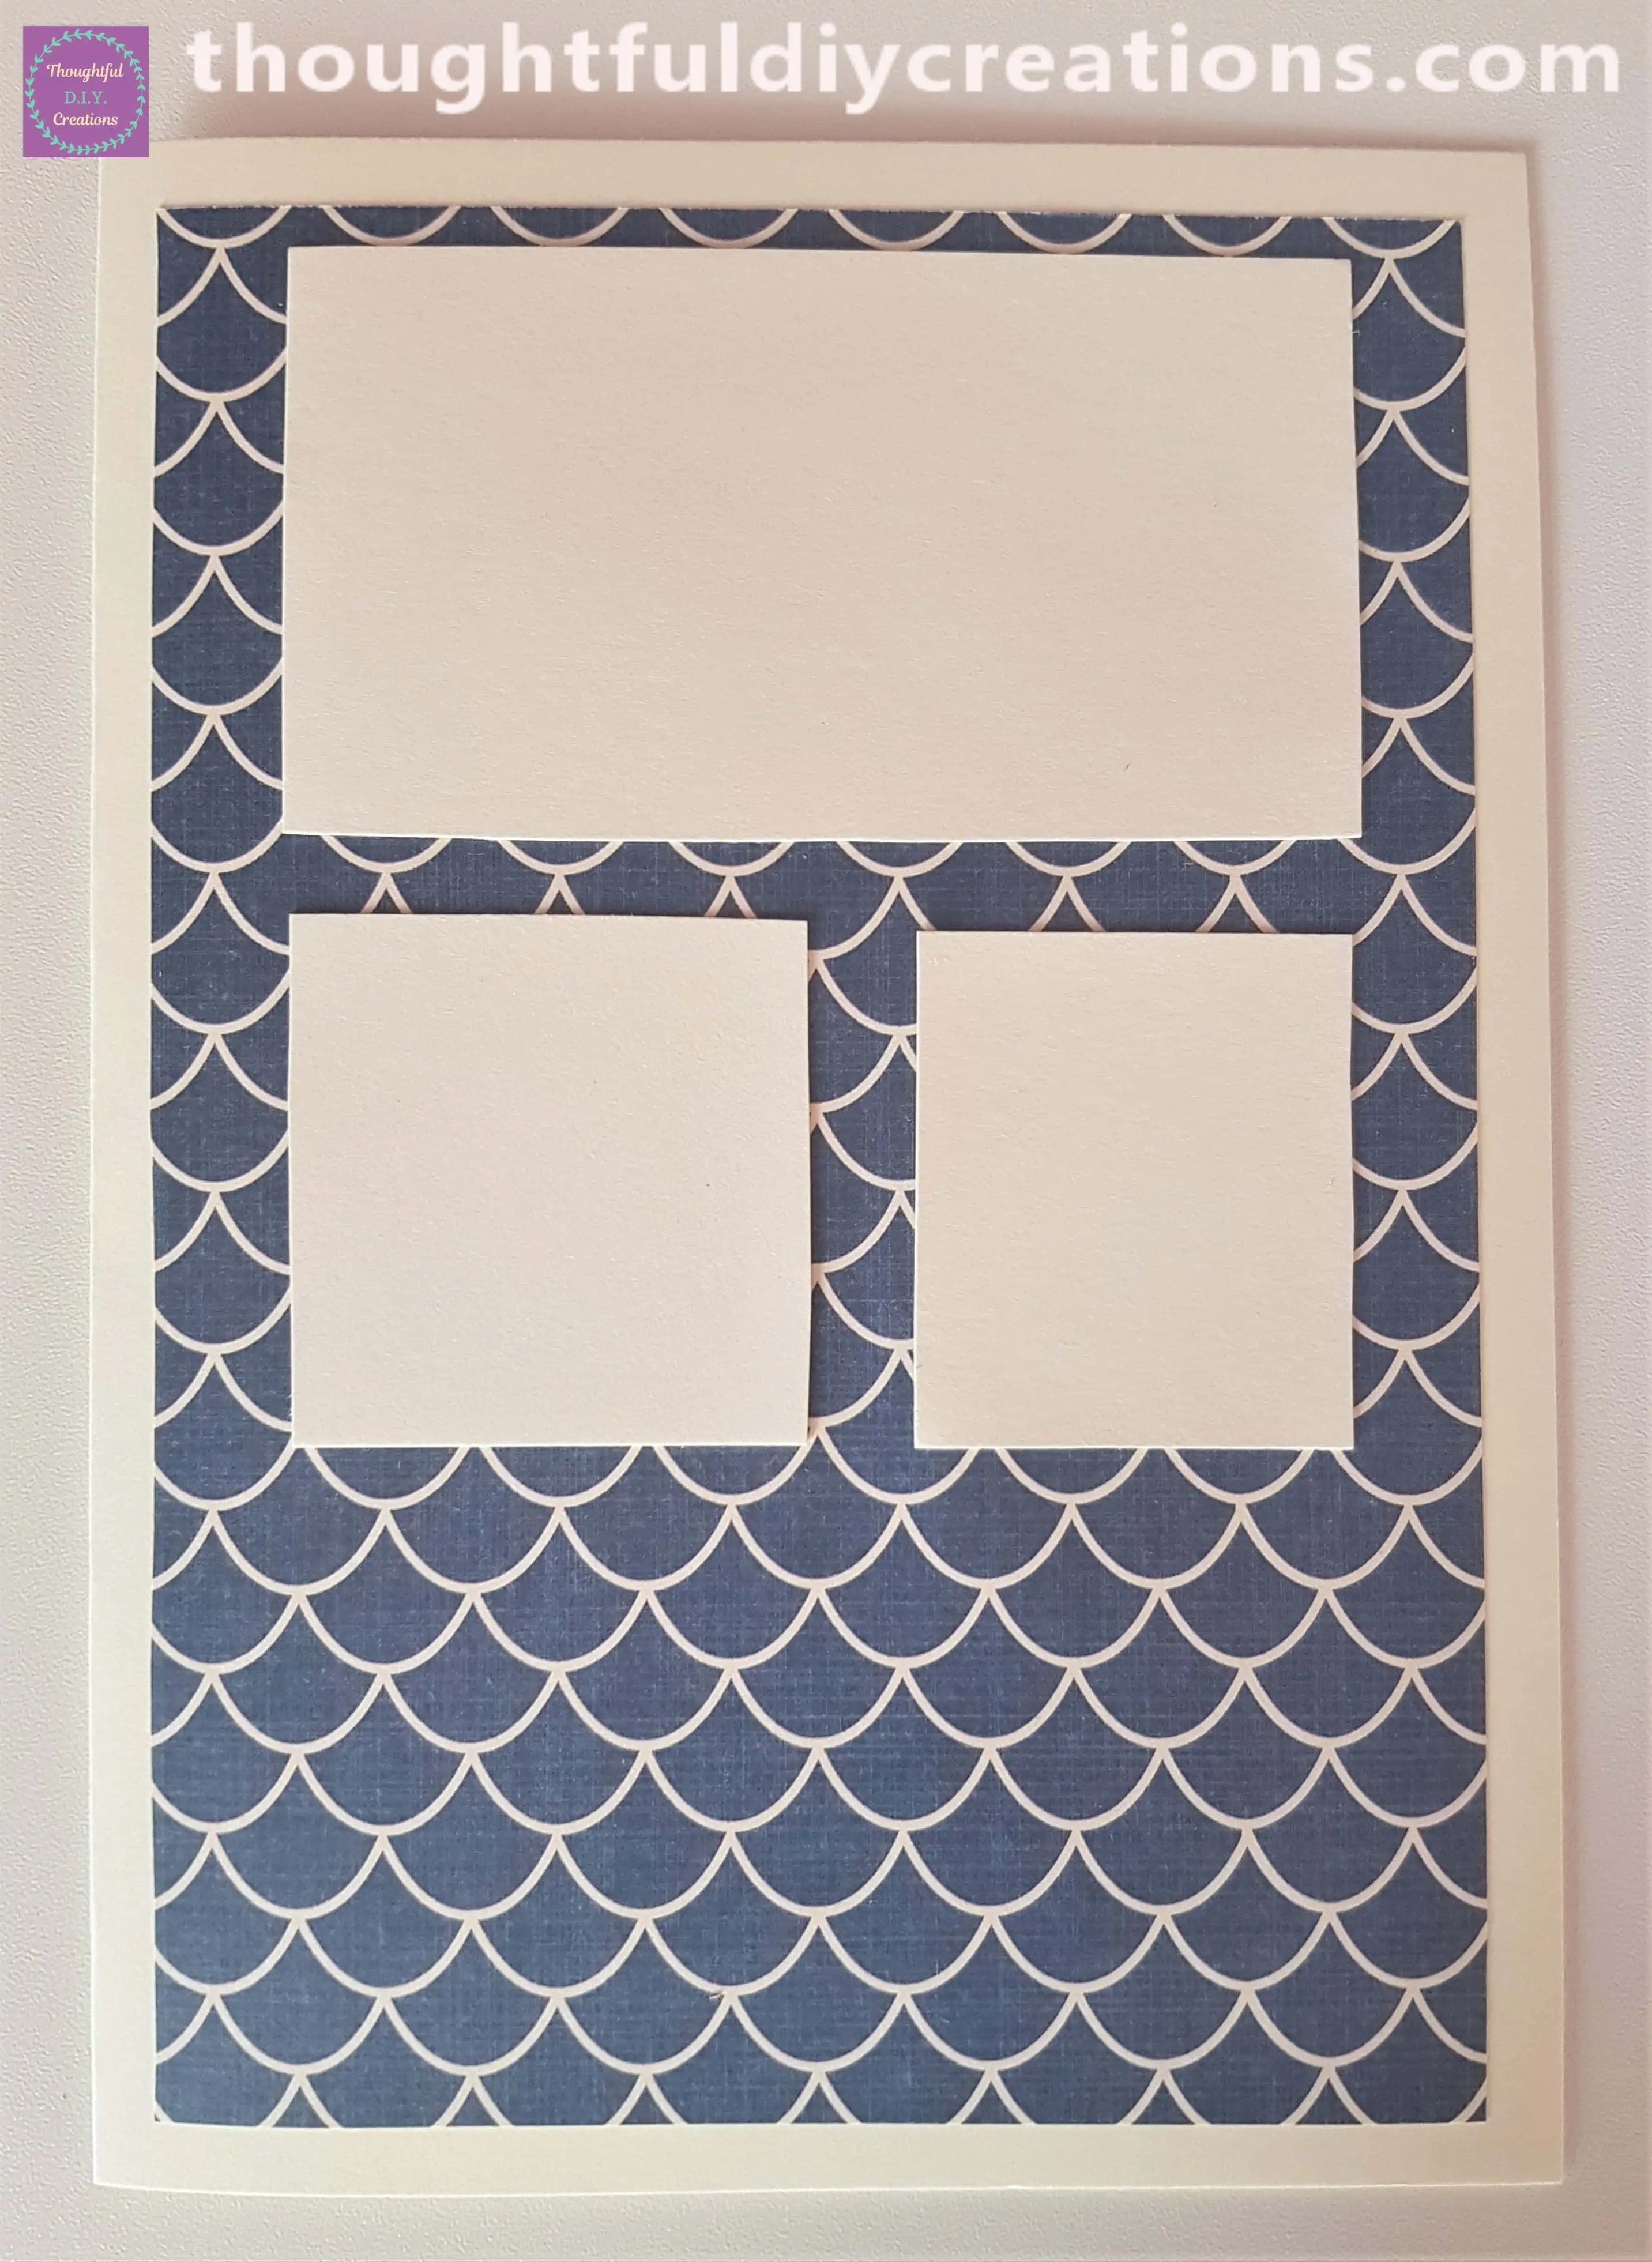
I repeated this Step with the final 2 sections and added them to the Bottom of the Card.
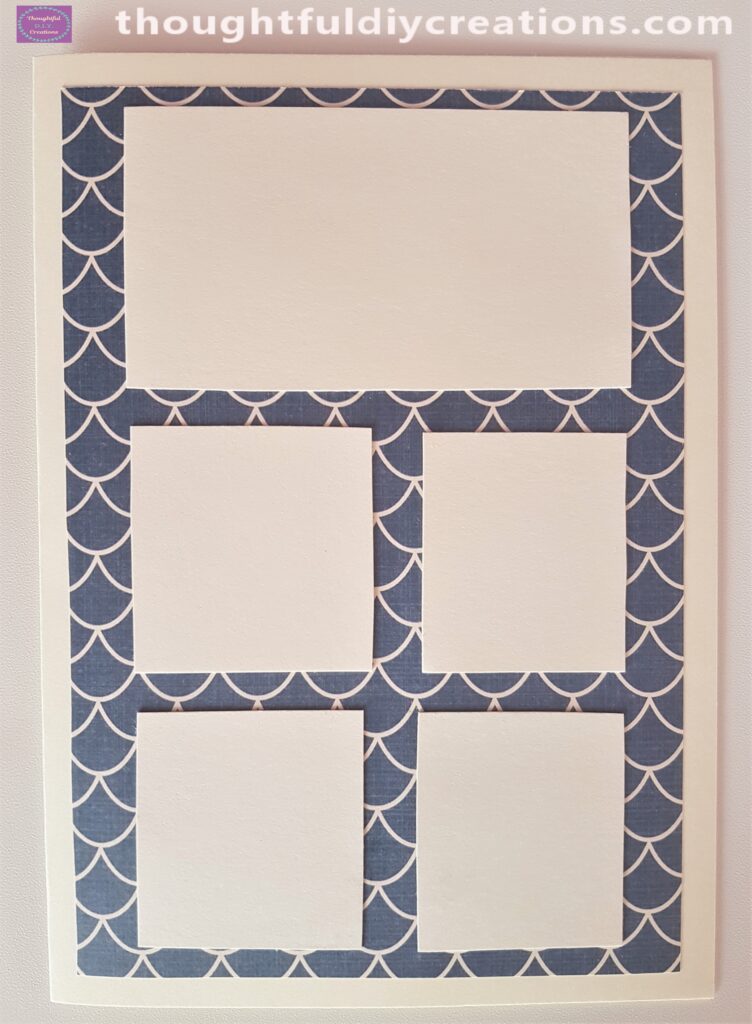
Adding the Pirate Stickers to the Card
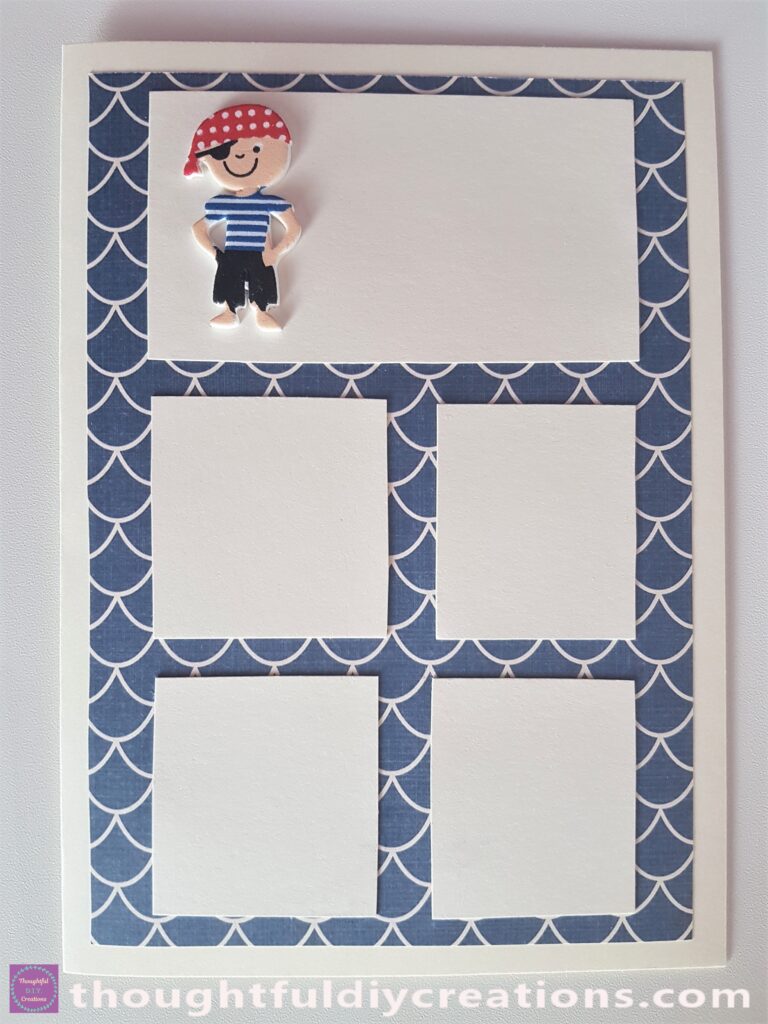
I removed the White Backing from the Foam Pirate Sticker and attached him to the Top Left Section on the Card.
I had the word ‘Pirate’ in my Scrap Supplies. It had been on the Packaging of a Pirate Activity Set.
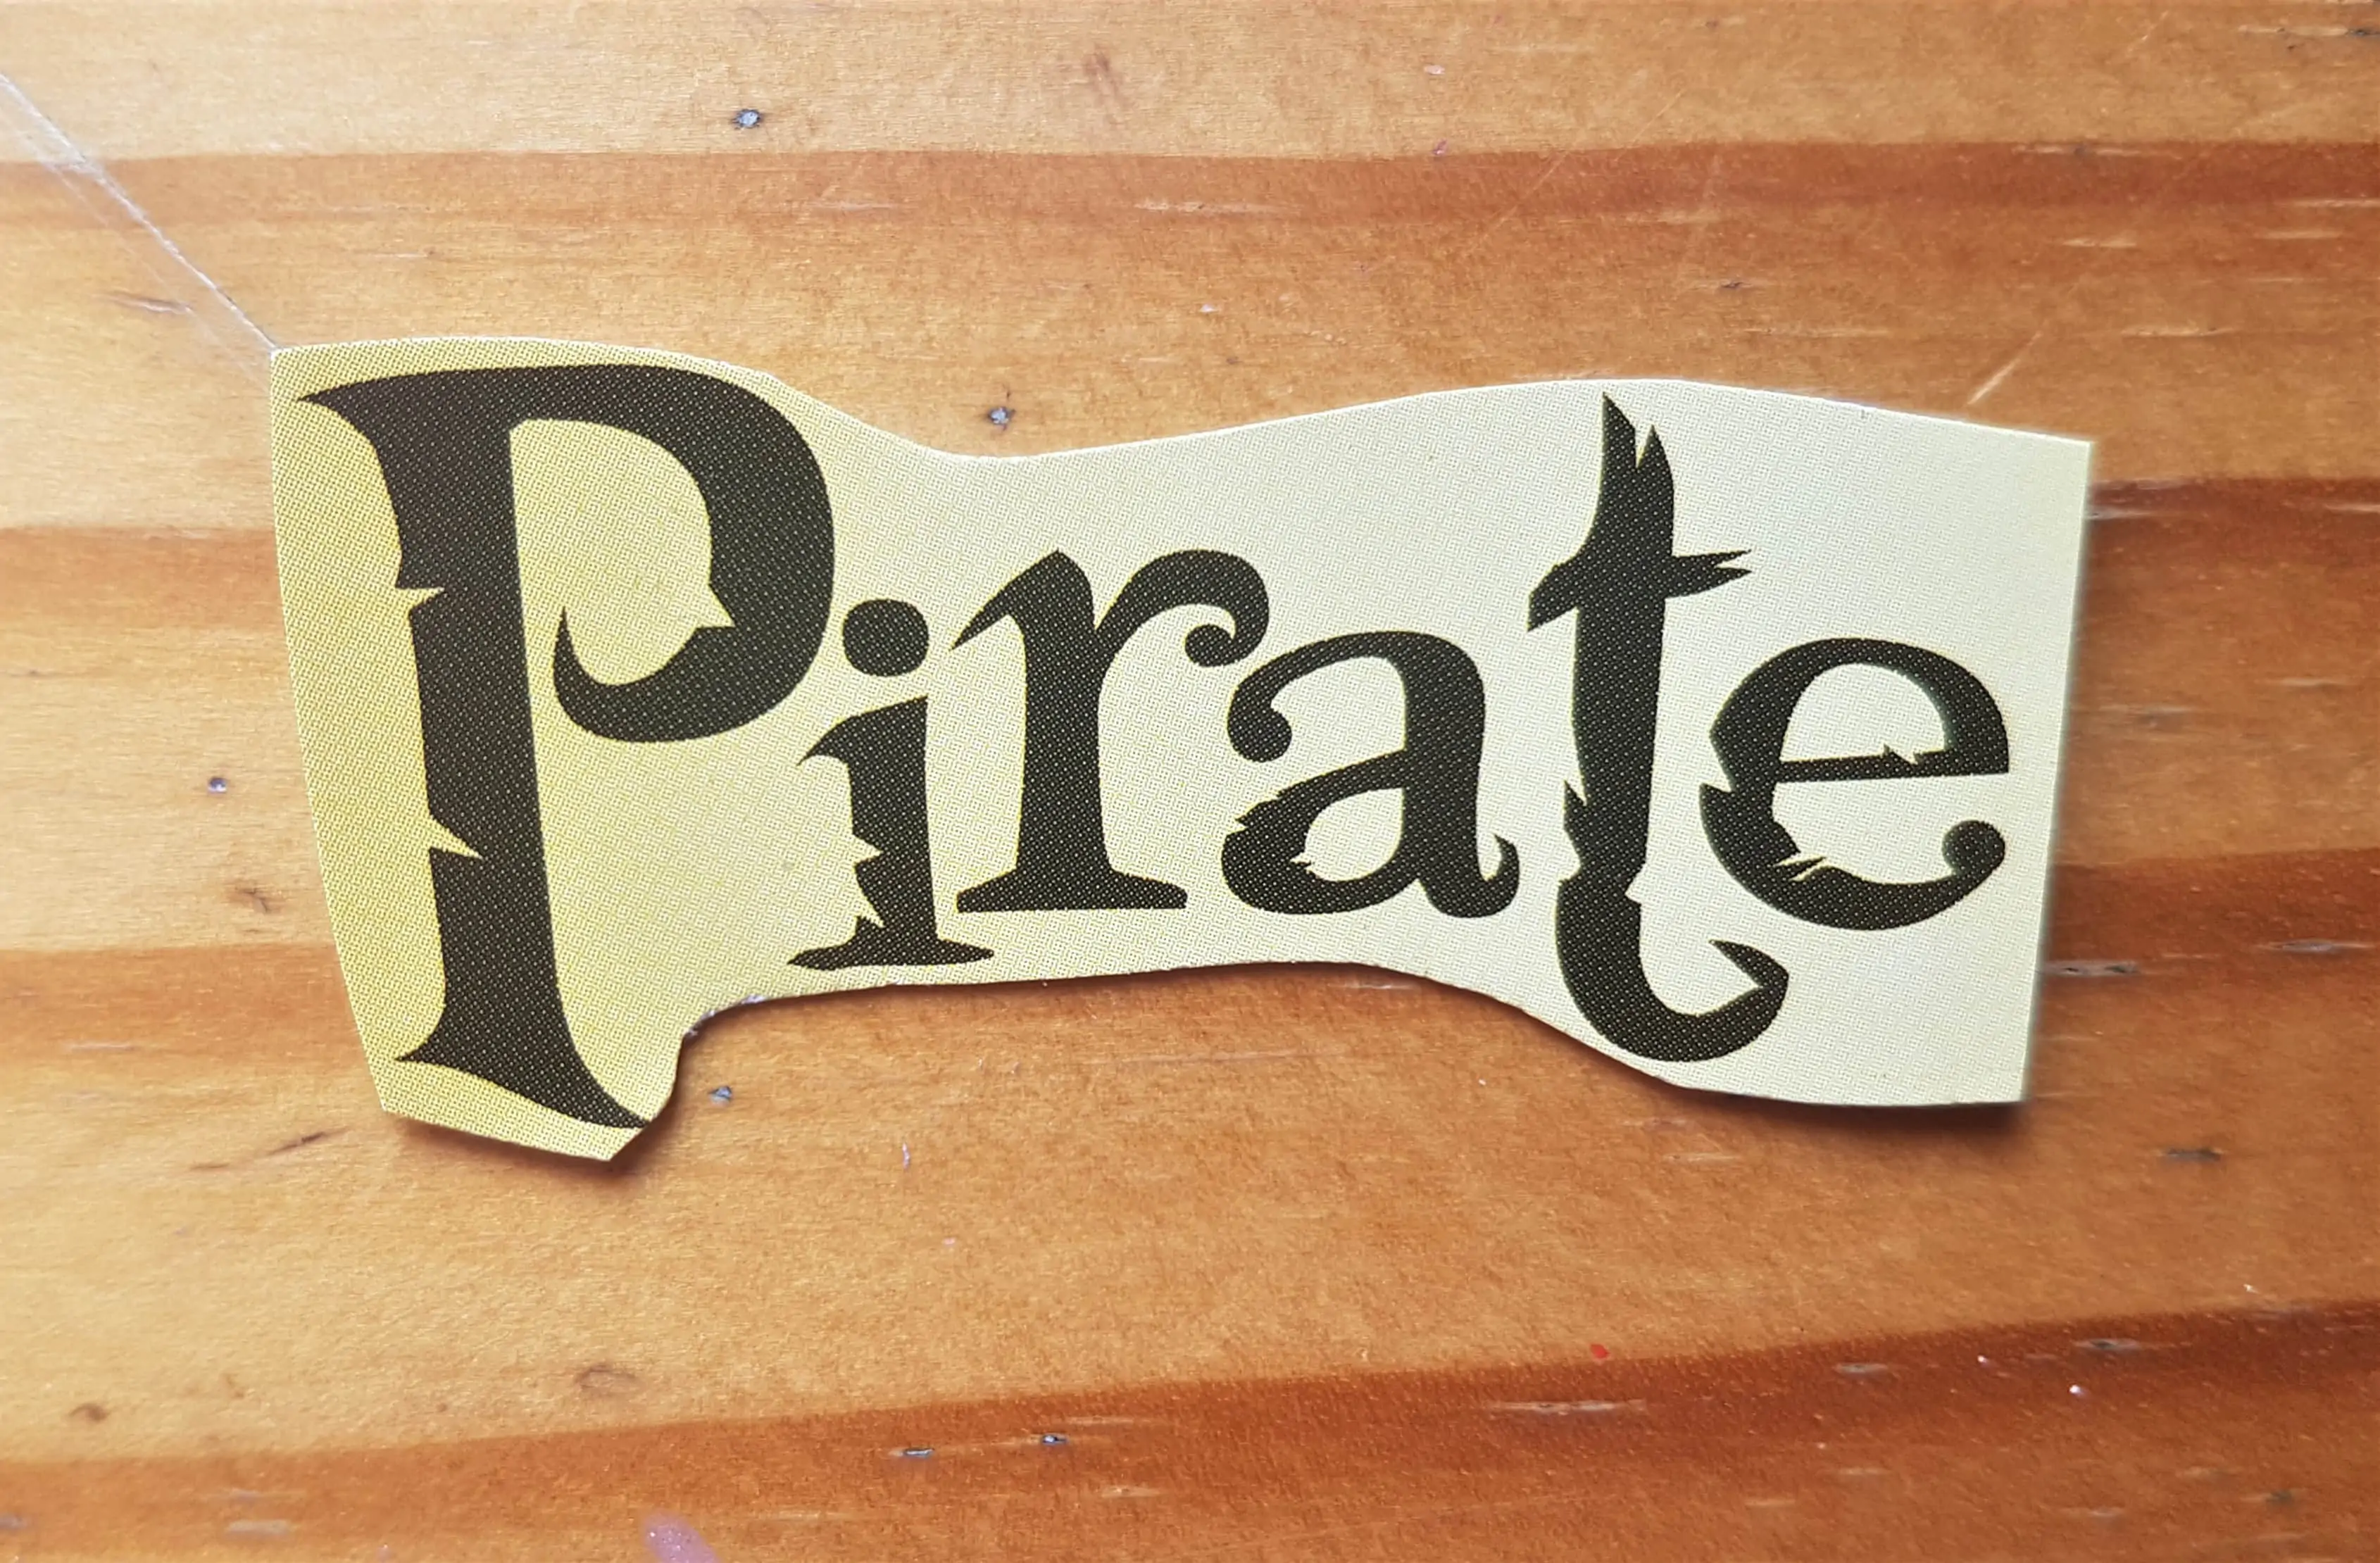
I put Pritt Stick on the back of it and attached it to the Top of the Card.

I removed the White Backing from the Foam Sword Sticker and added it under the word Pirate.

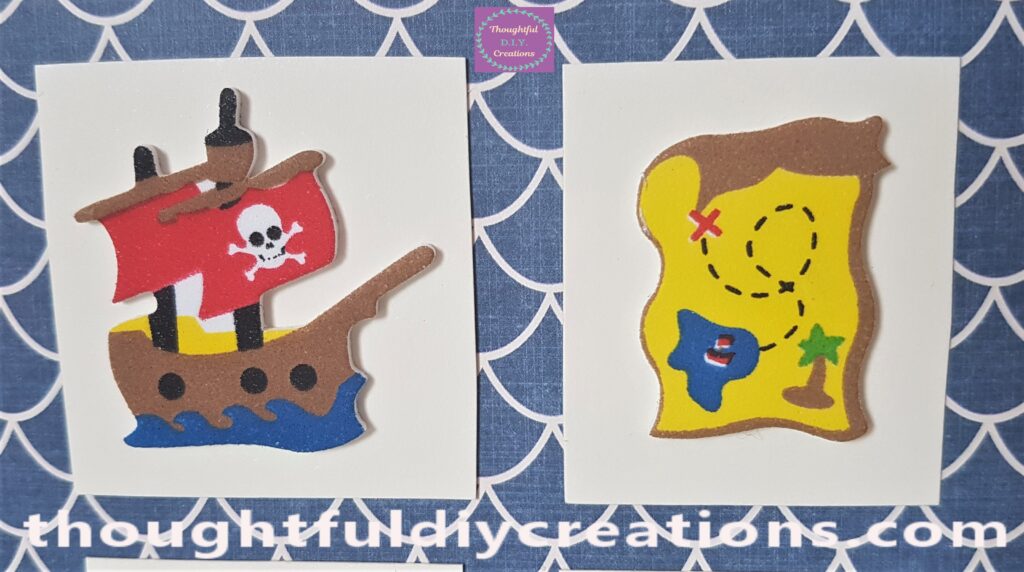
I put the Pirate Ship and the Treasure Map on each of the Cream Square Cards.

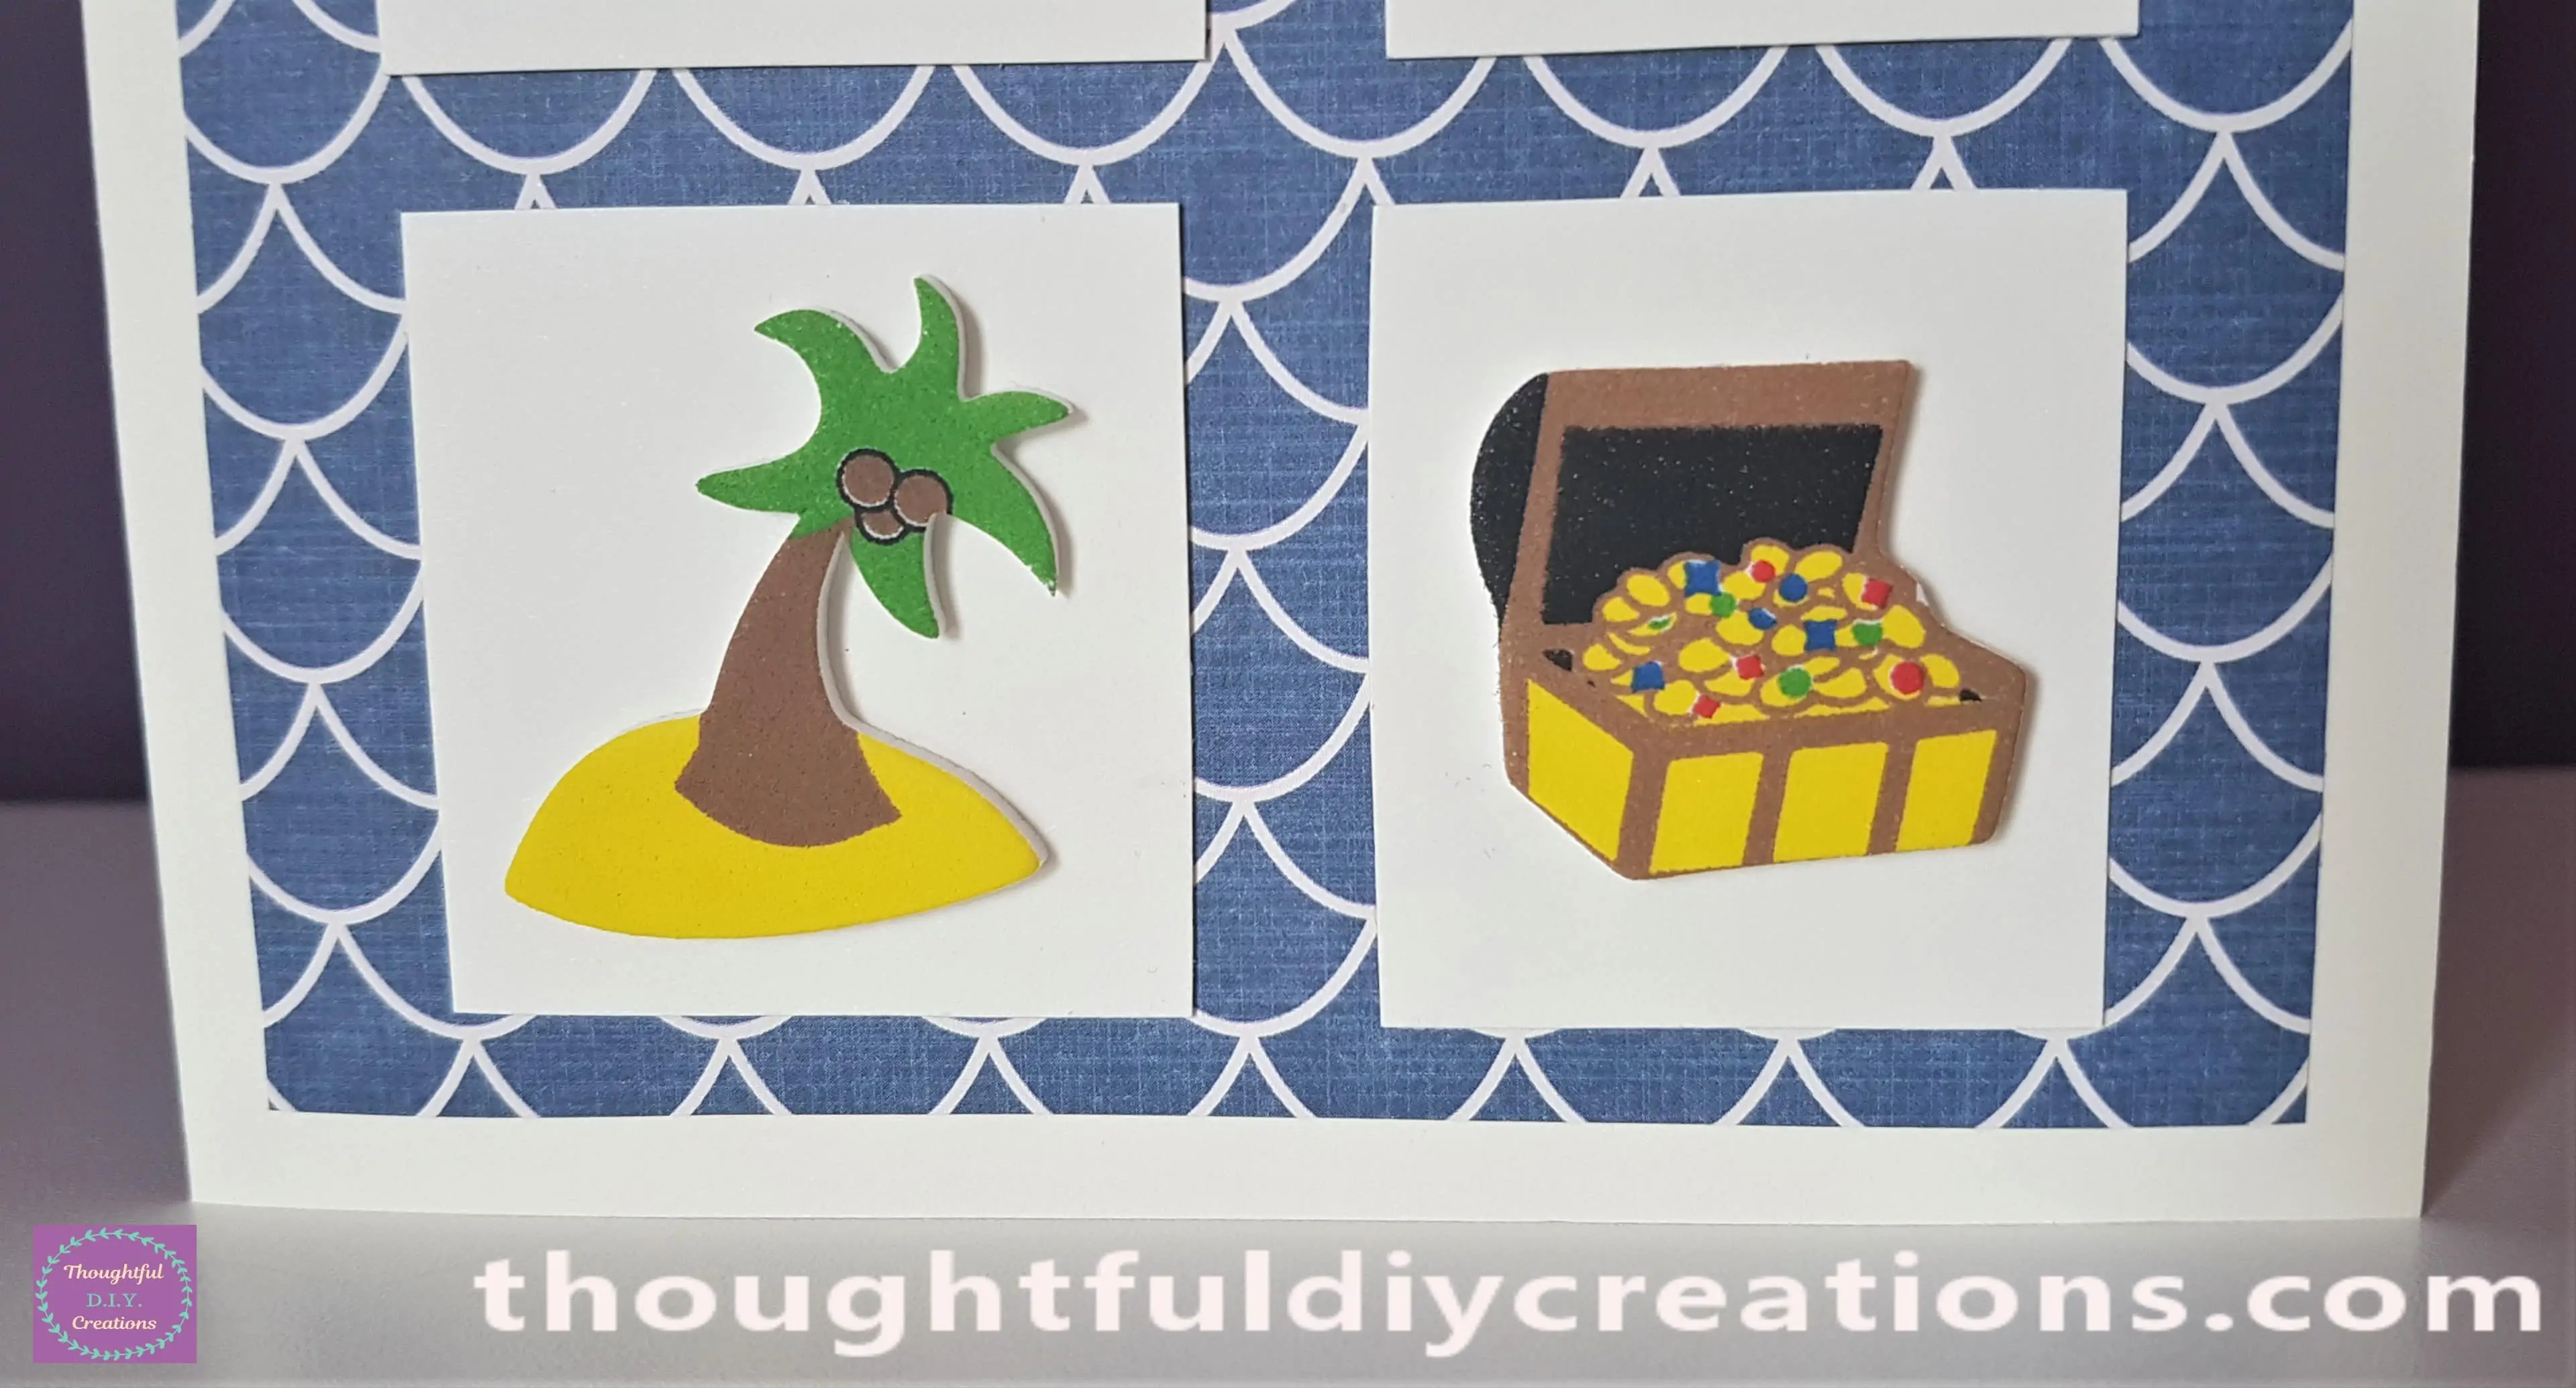
I placed the Island and the Treasure Chest Stickers on the Final 2 Squares of Card.
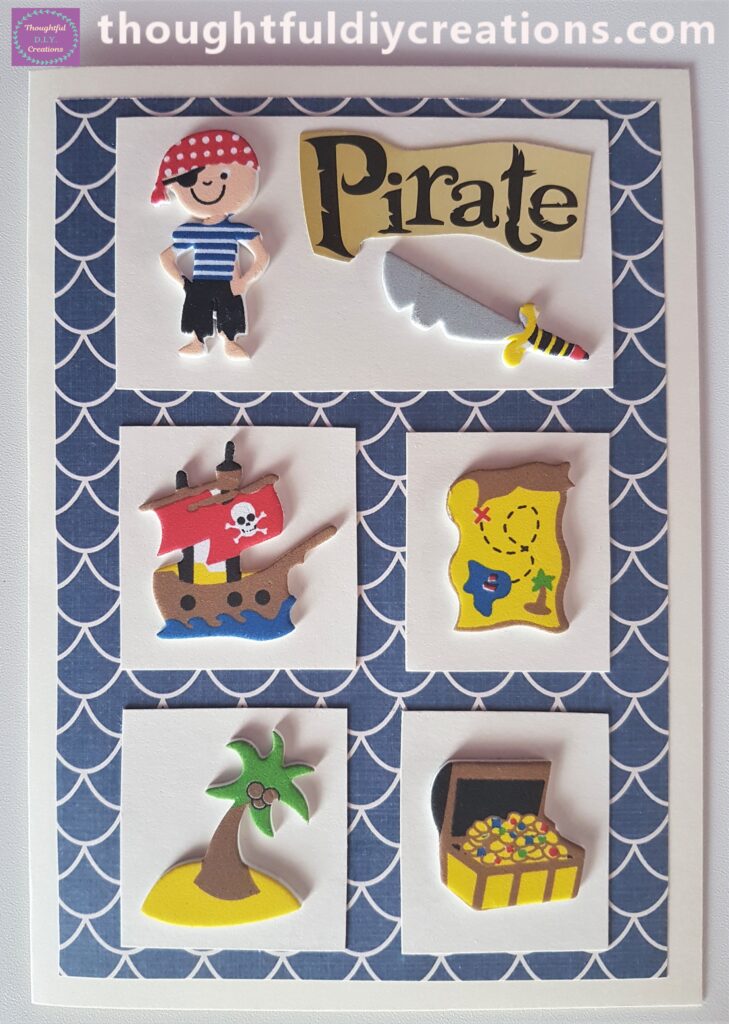
This Completed my Pirate Card.
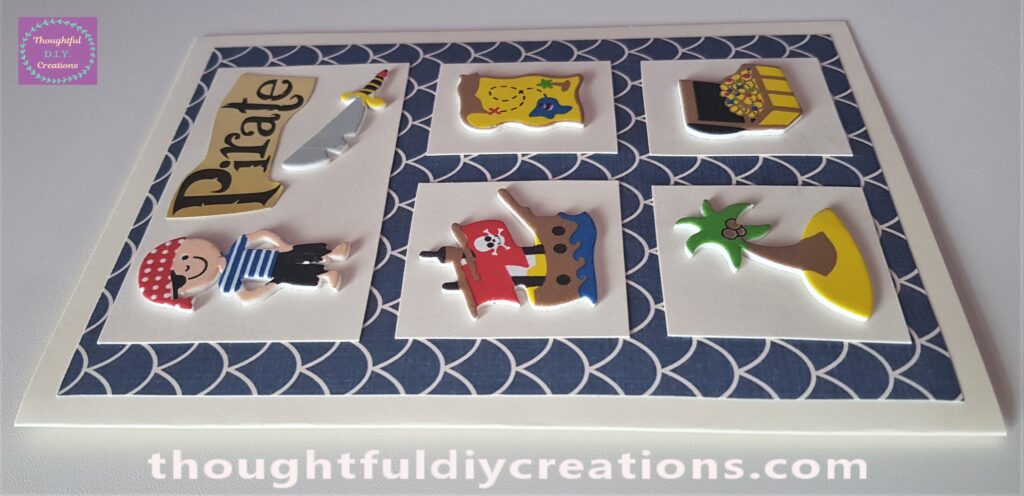
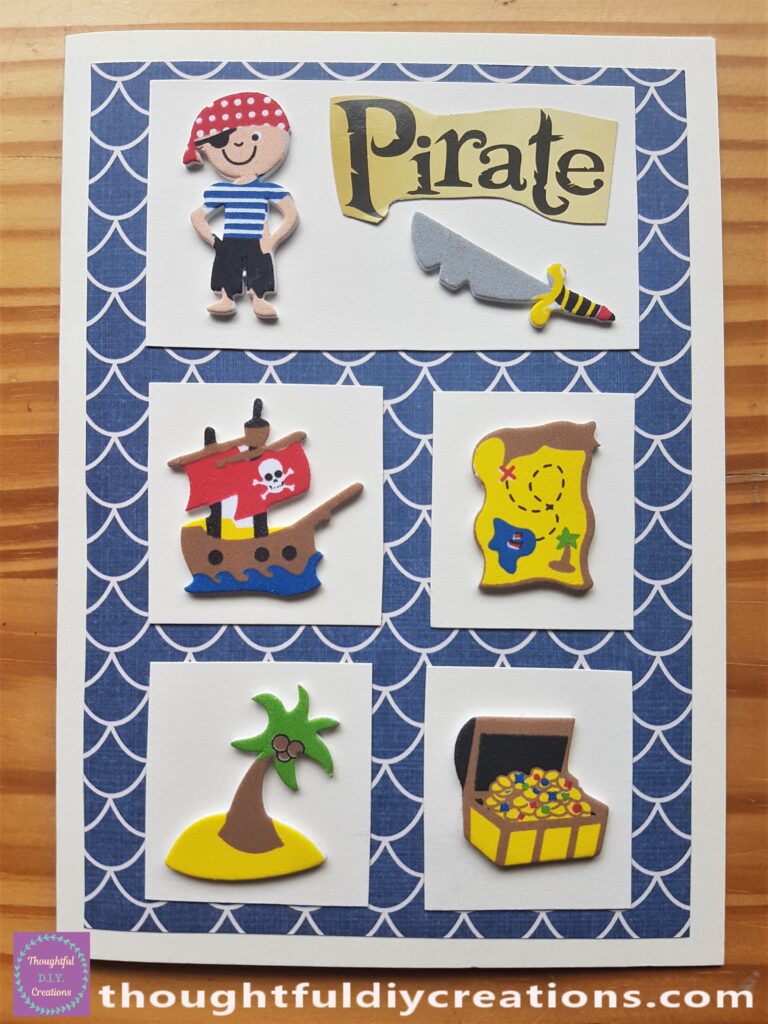
The Pirate Card Standing Up-Right on Display.

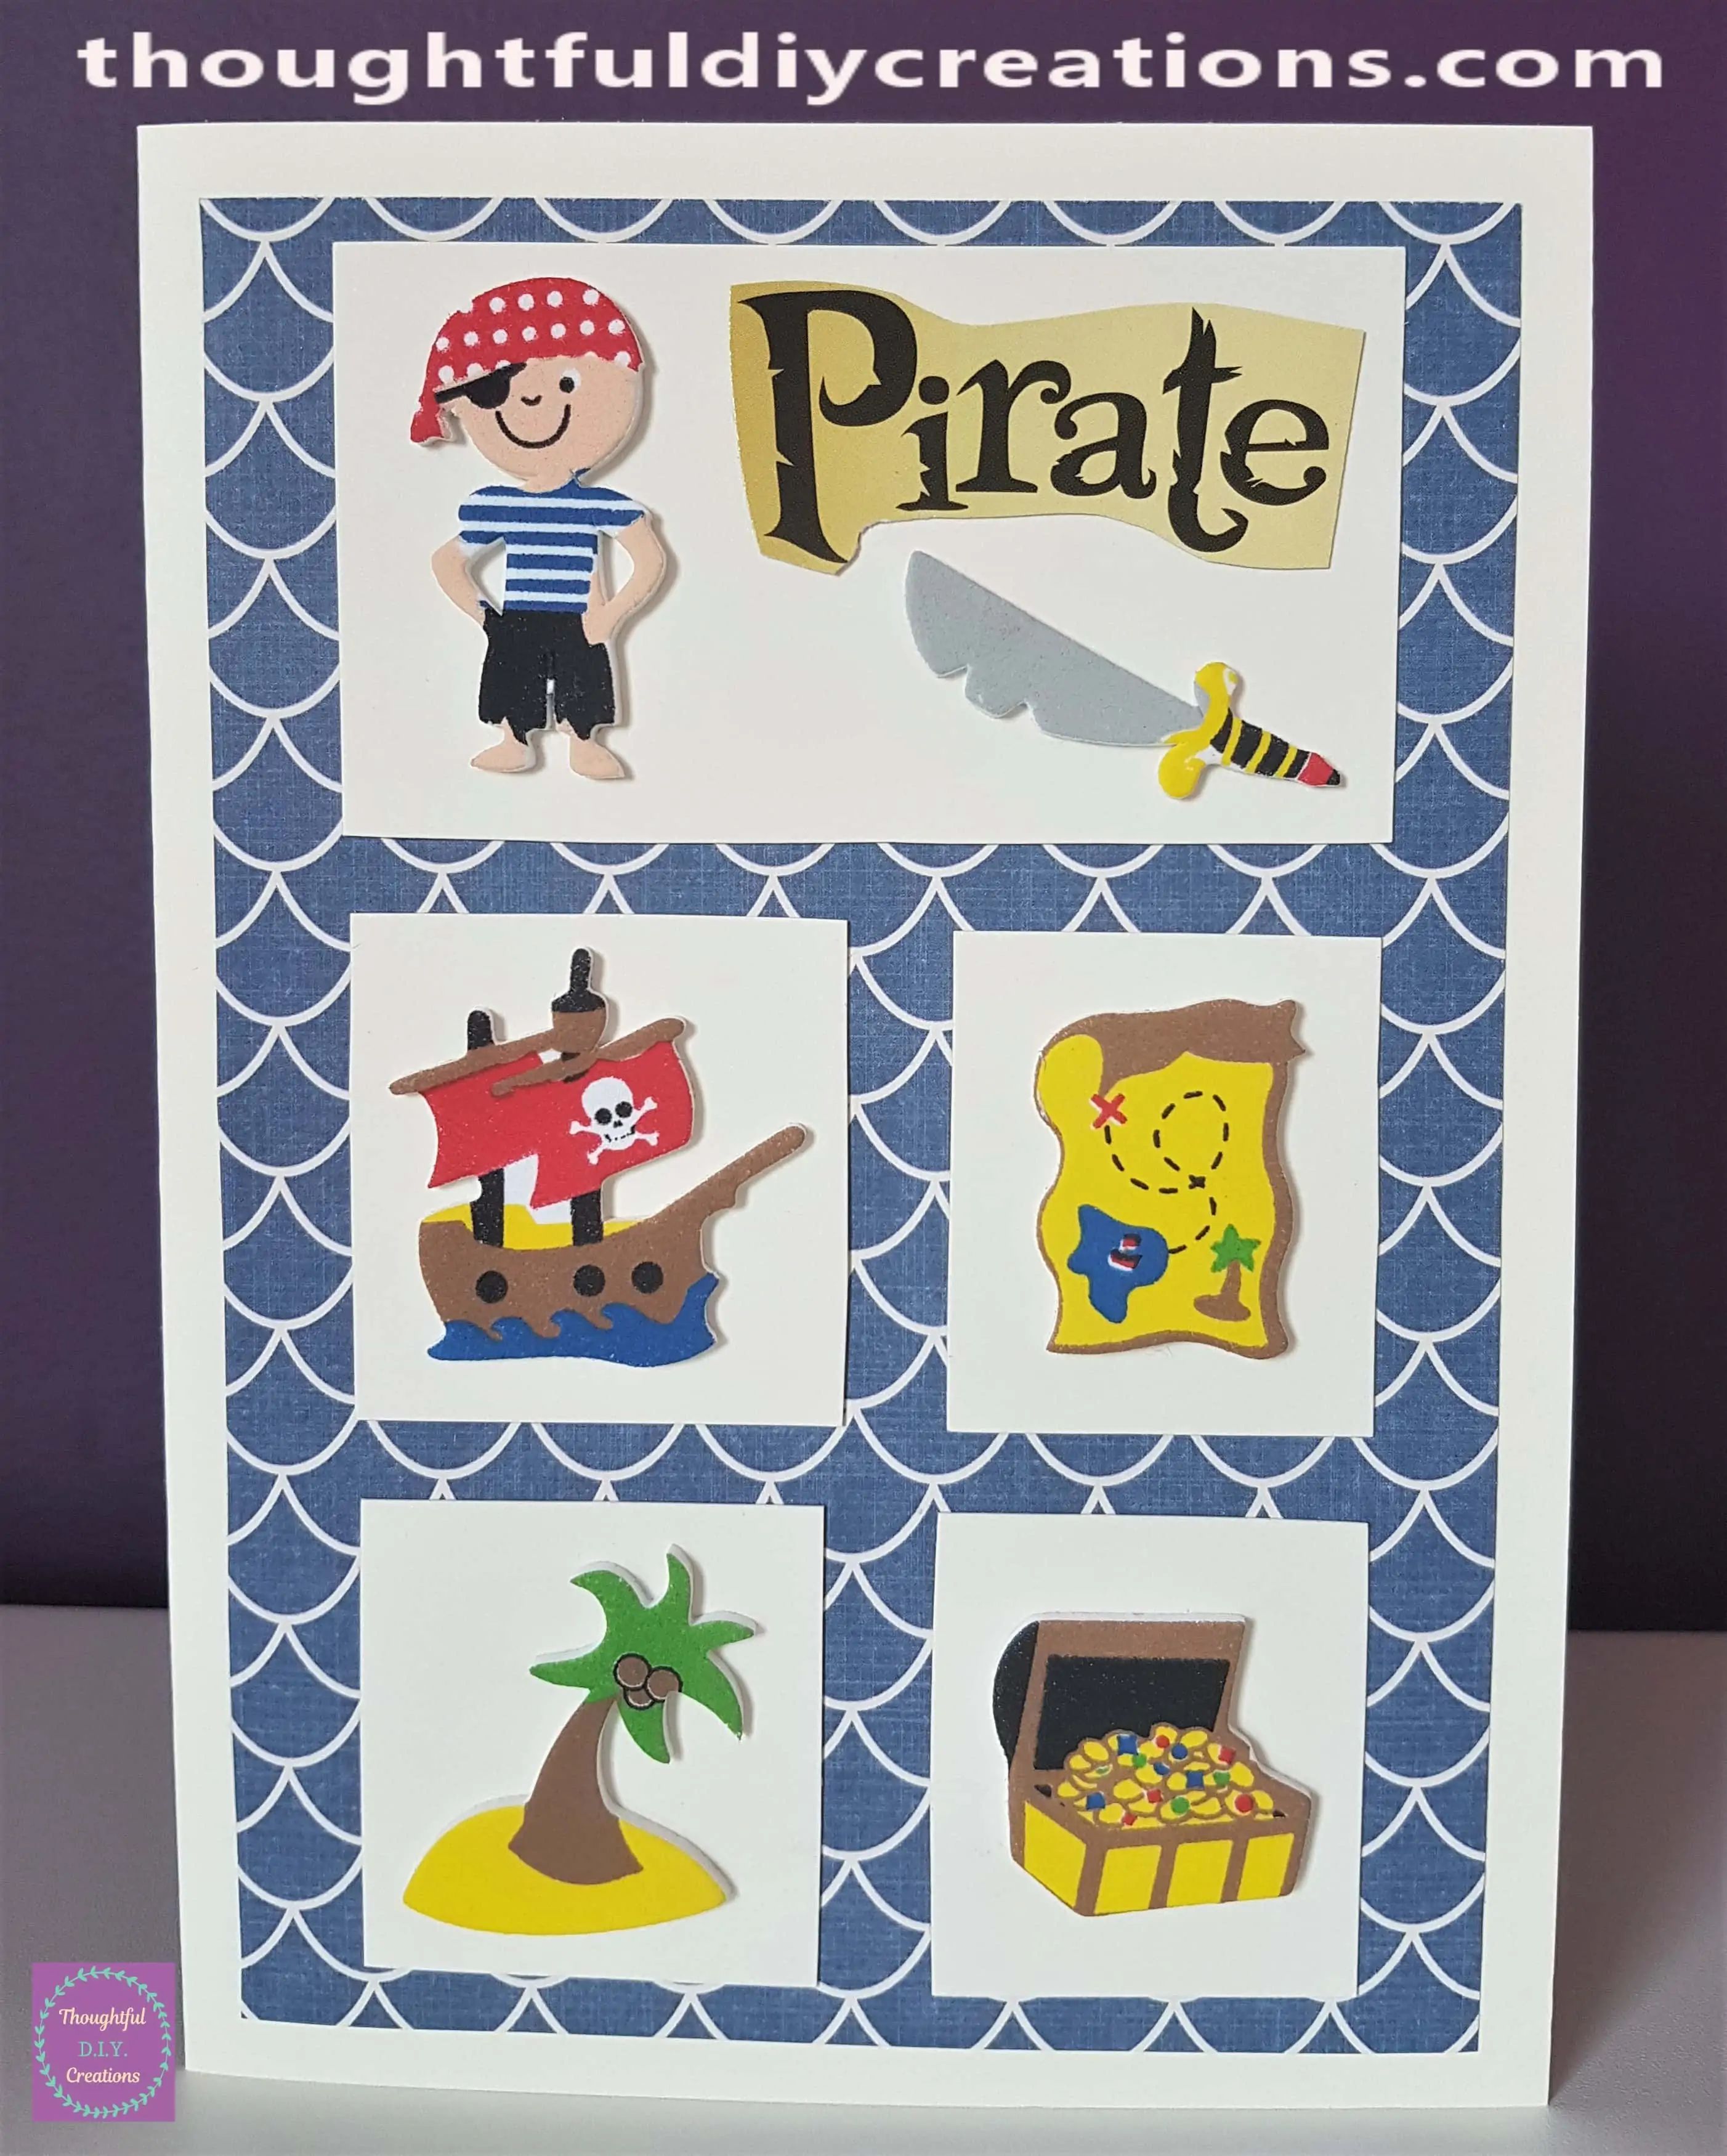
A Closer look at the Stickers.
Conclusion
I think the Pirate Card turned out really Cute; it would be adorable for Toddlers who are interested in Pirates and Treasure. I love the Foam Stickers; they are Colourful and Well Made.
If you would like more Inspiration on Making Children’s Cards; Check out my other Tutorial here; Unicorn Card.
I hope you will attempt Cardmaking for Yourself. If you have Children; you more than likely have all the Supplies already from their Arts and Crafts. This would be a Great Way of Creating Personalised, Meaningful Cards with Pictures of Whatever they Love each Year.
This would be especially Helpful if you want to Create a Card for Someone who has Different Hobbies / Interests than what would be on Store Bought Cards.
For Example; alot of Store Bought Cards have Pink or Bright Colours and Pictures Of Flowers, Bags and Jewellery on Cards Aimed at Women, but if you want to Buy a Card for your Sister / Auntie / Mother etc. and they are into the Colour Blue, Cars, Sewing, Stamp Collecting, D.I.Y. or a quirky interest it can be Hard to Find a Card they would genuinely Love.
You can type their Interests into ‘Google Images’ and Print out your favourite Pictures and Create a Special Handmade Card for your Loved One. I’m sure they would Cherish it even more knowing that you put Time, Thought and Effort into it.
Good Luck, and Feel Free to Let Me Know How You Get On.
Thank You So Much For Taking the Time to Read my Blog.
Always Grateful,
T.D.C.
xoxox


-0 Comment-