Rainbow Butterfly Heart Frame
Hello my Creative Friends,
I hope you are all well. In Today’s Tutorial I will show you how I made a Rainbow Butterfly Heart Frame. It is an easy craft to create and only requires a few materials. I hope it provides you with some ideas for D.I.Y. Home Decor.
Frame for Crafting
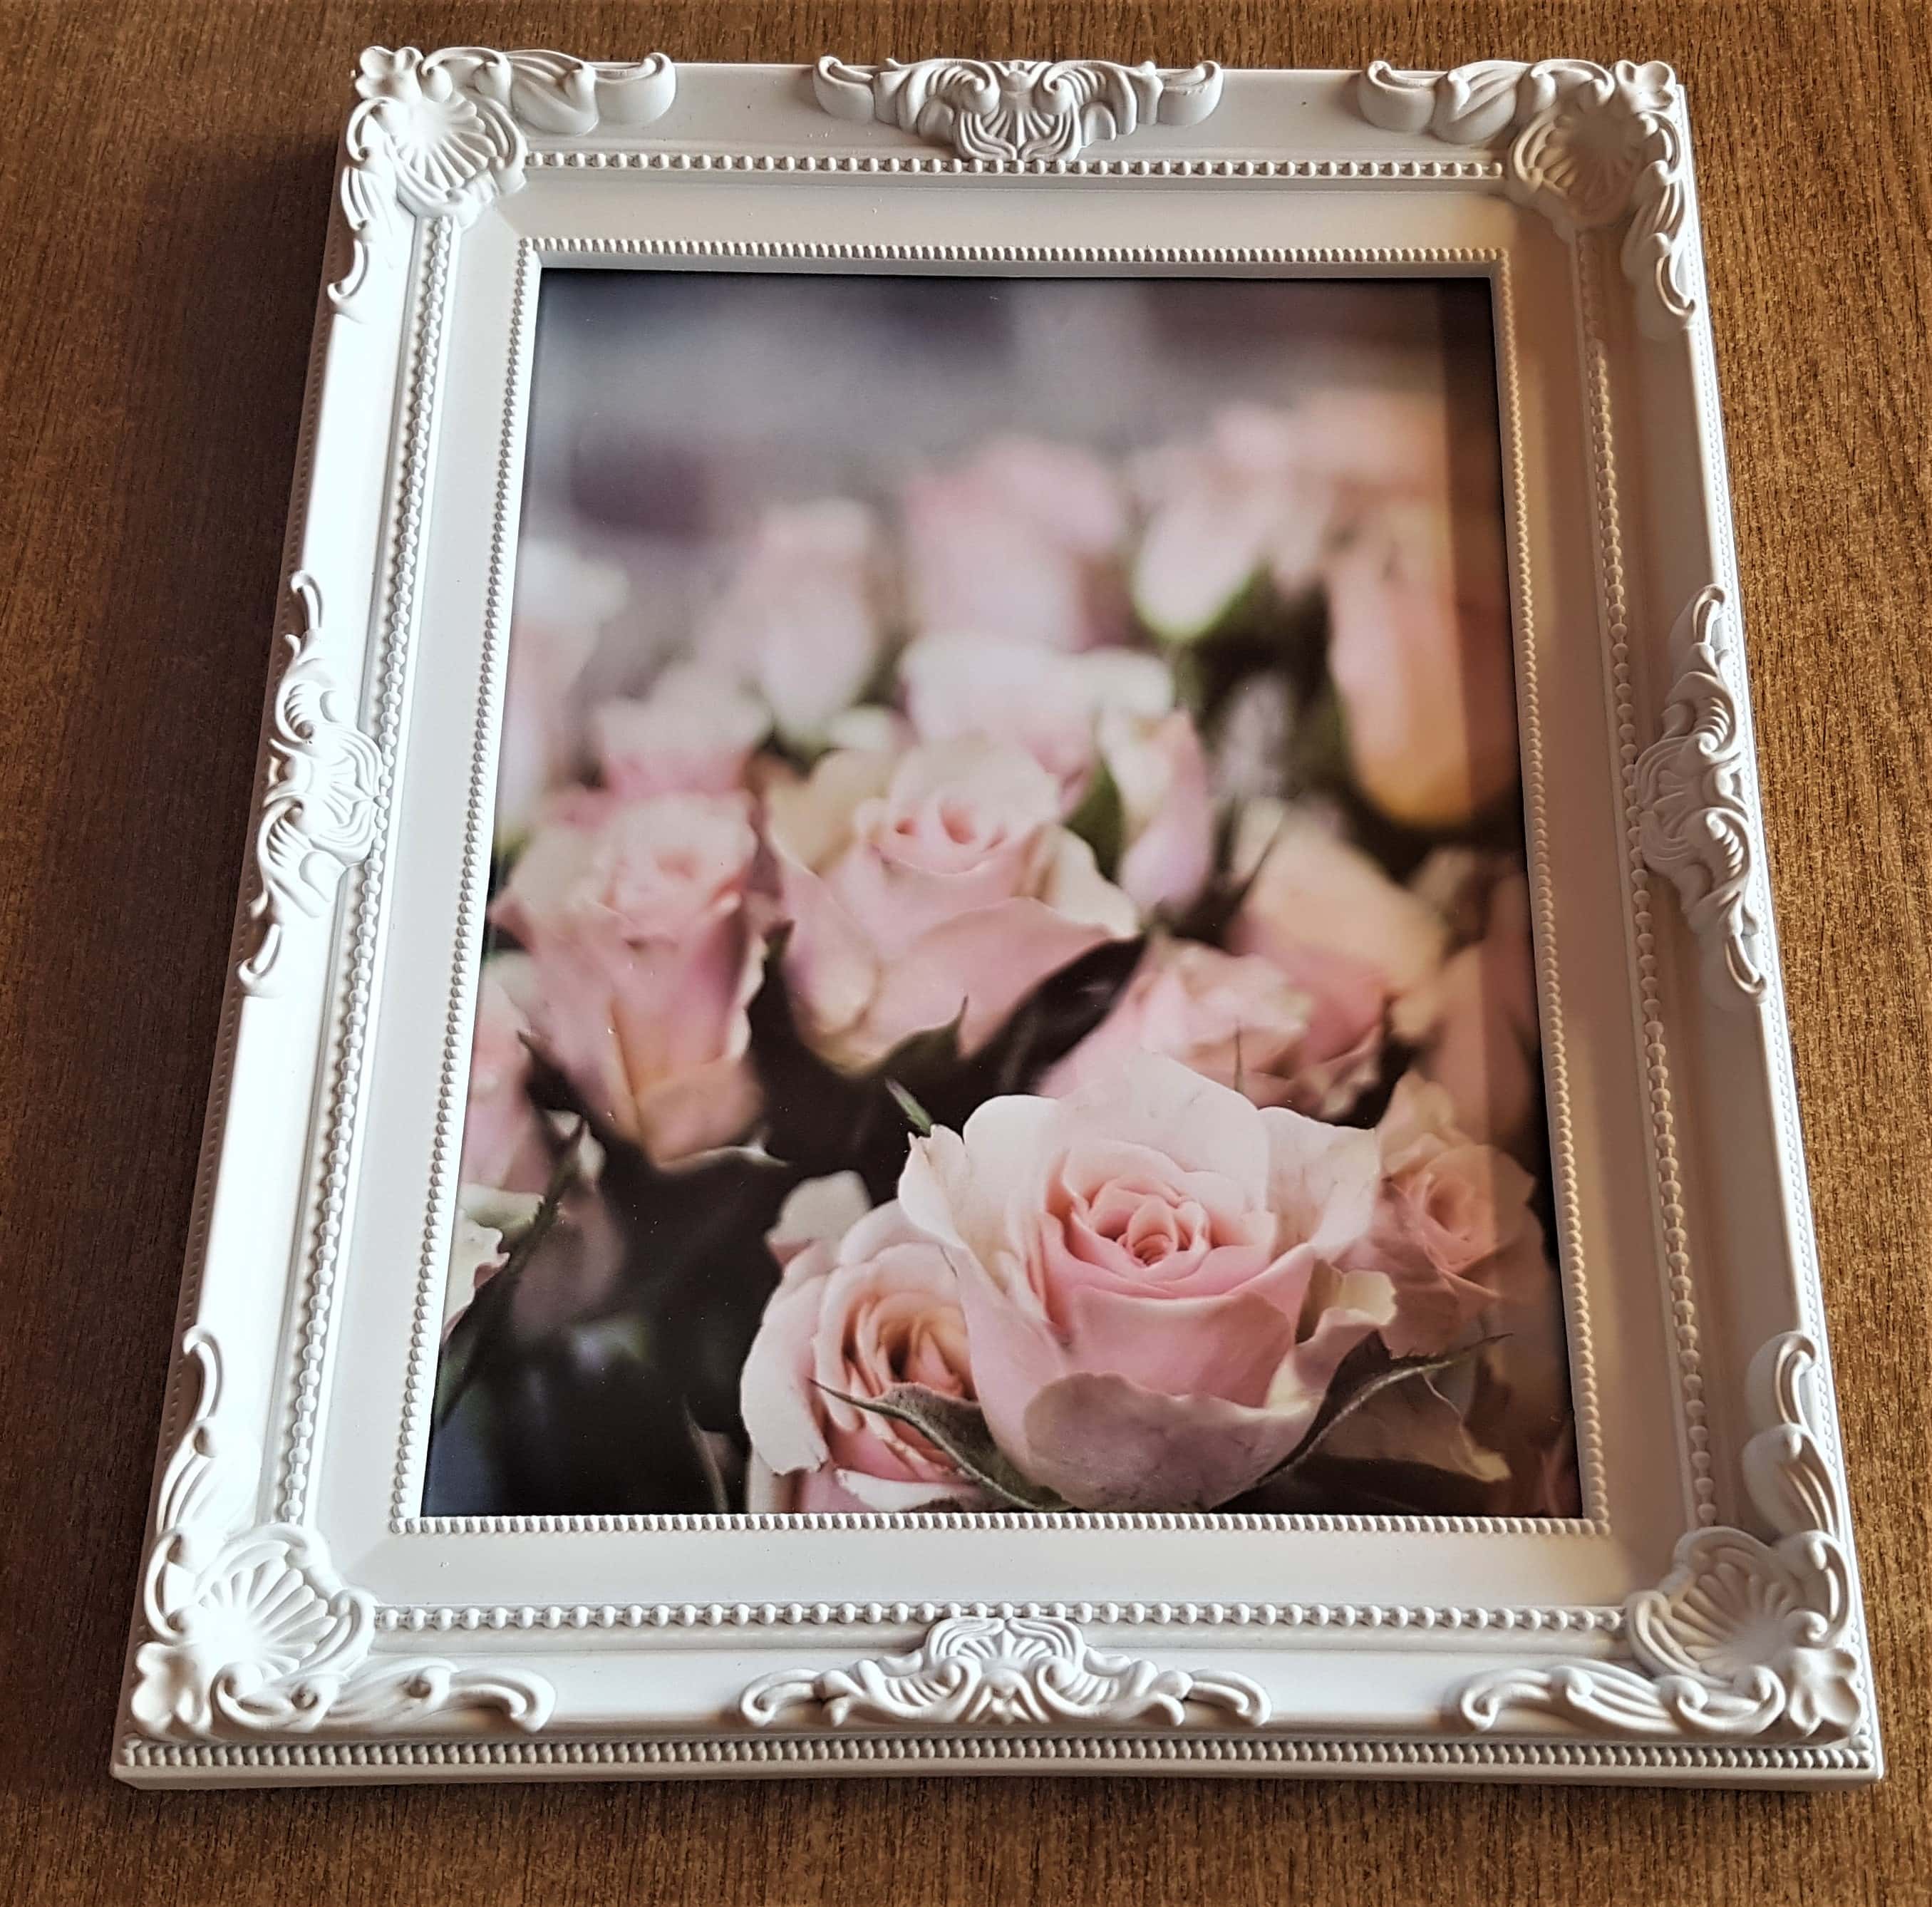
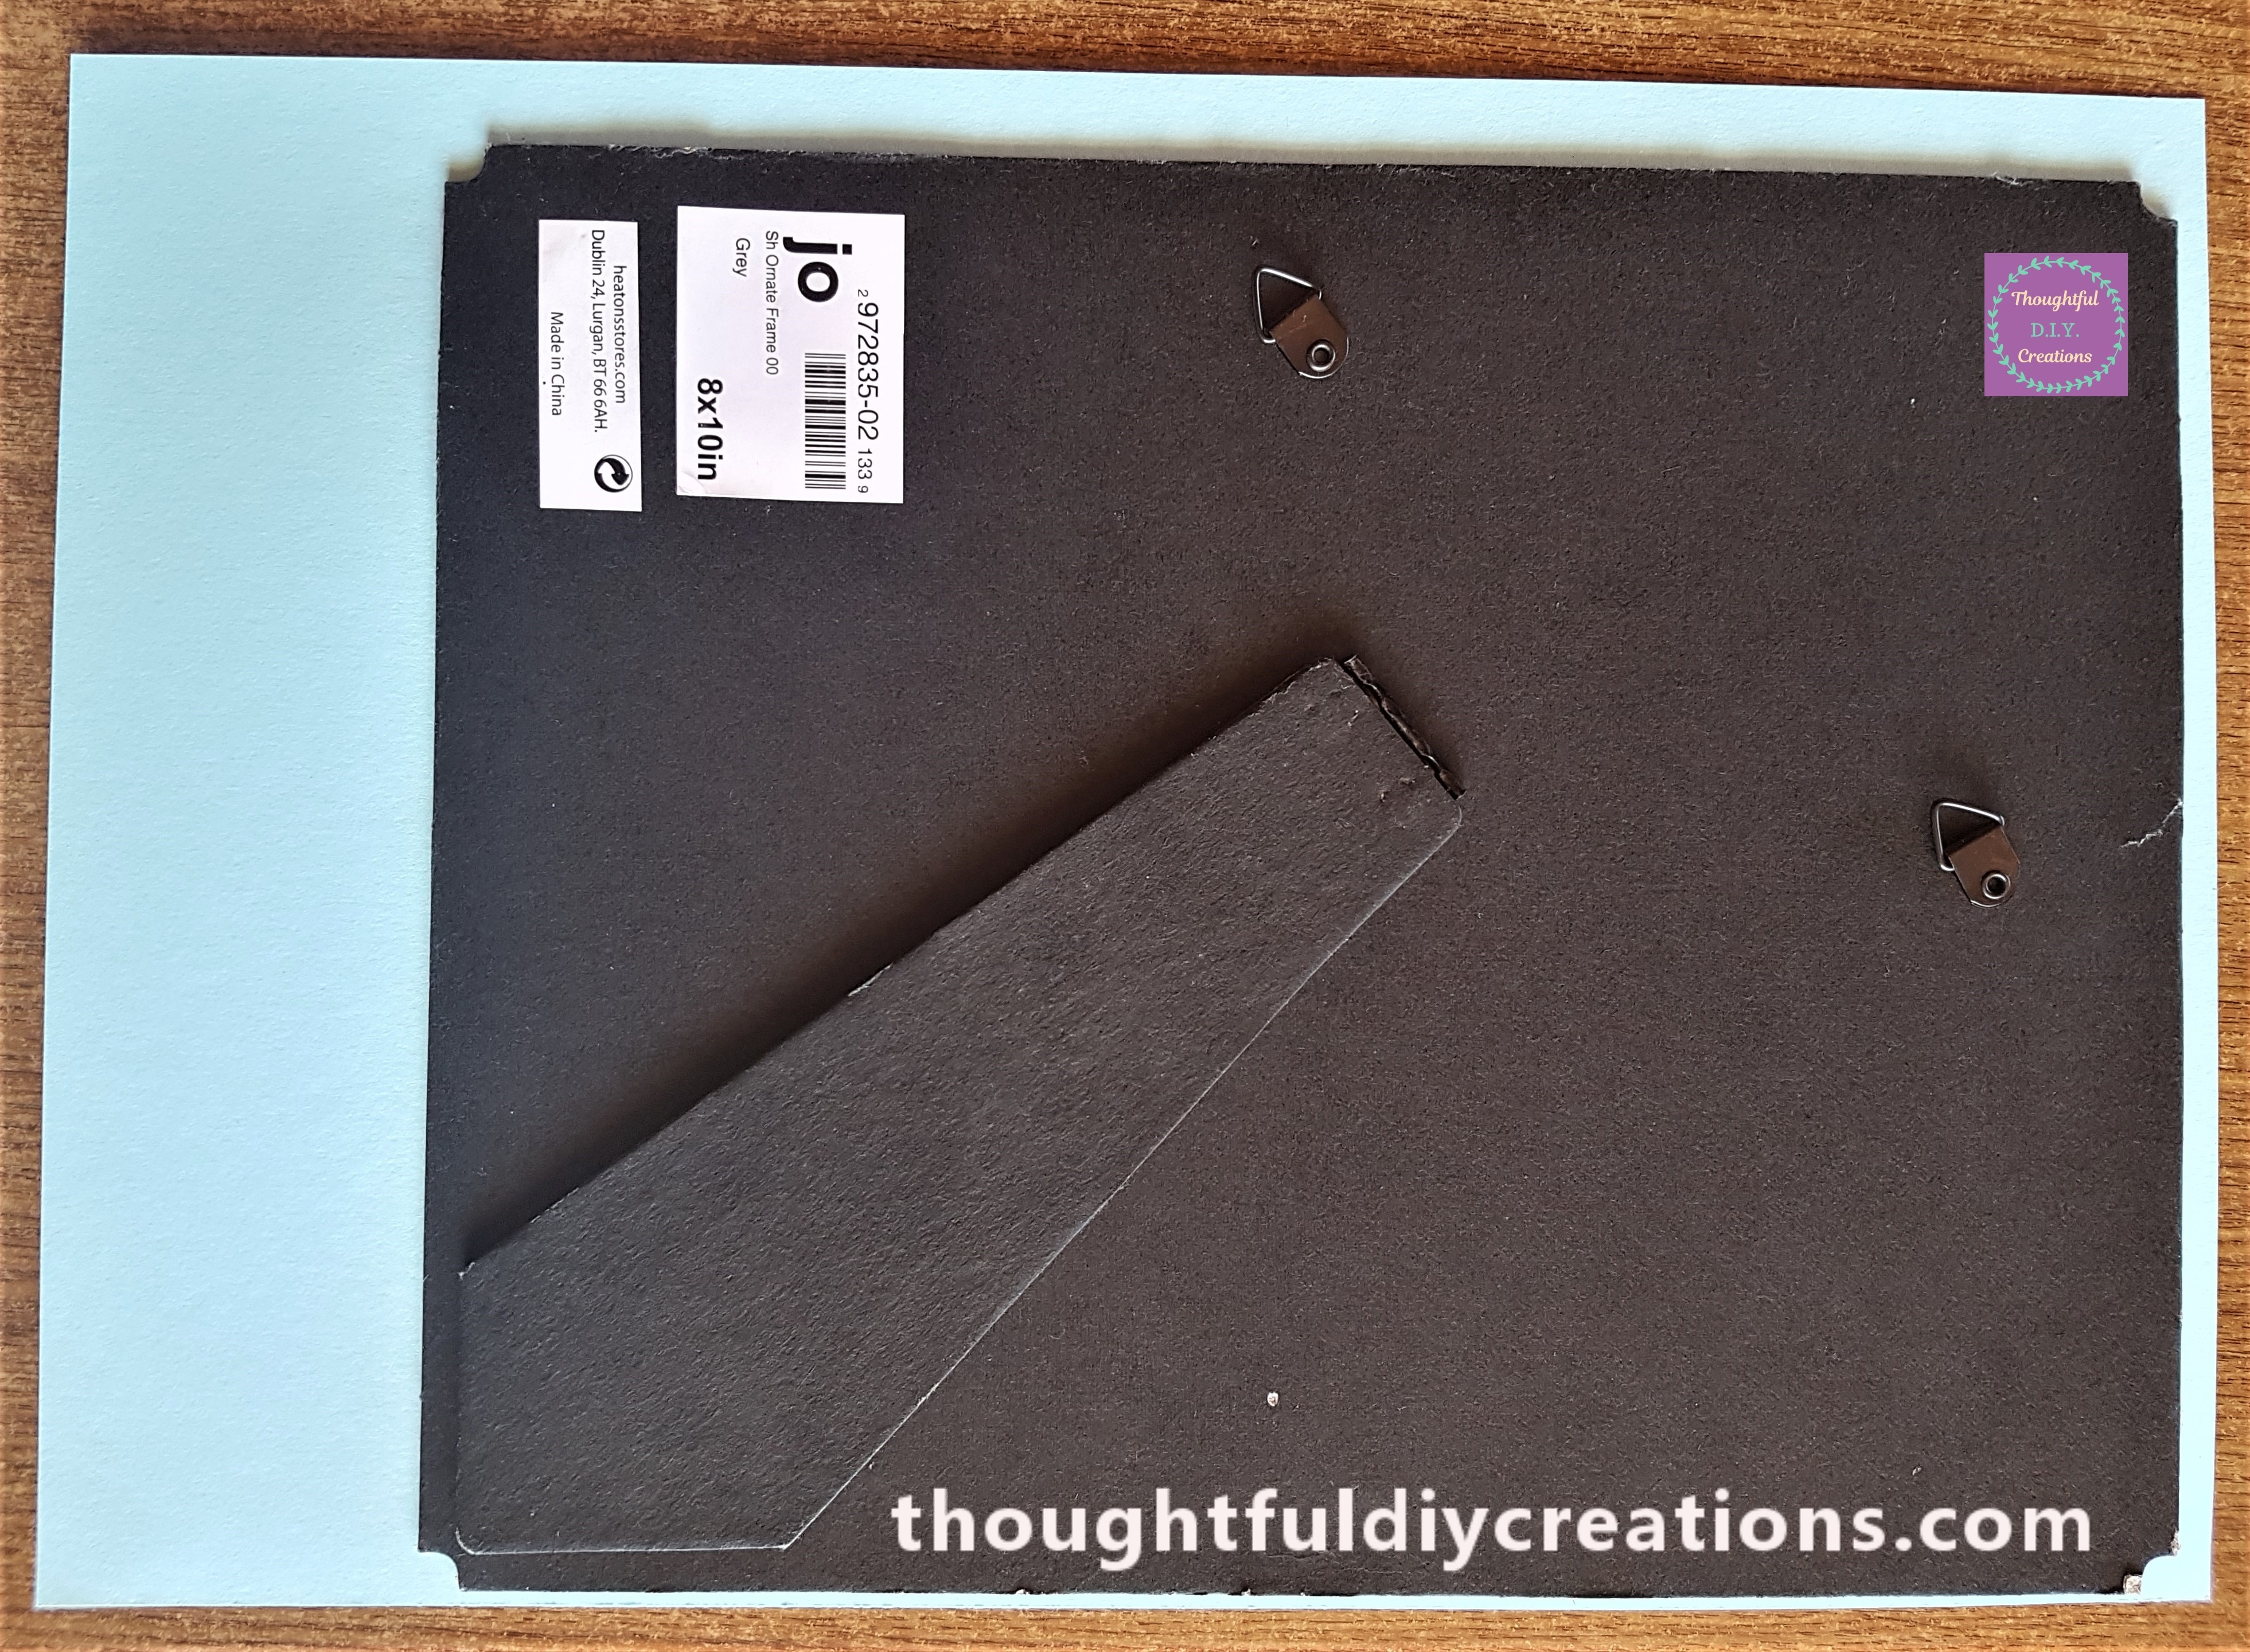
I had an 8 x 10 inch Decorative Frame in my supplies. Ornate Frame.
Here is a side angle of the Frame.
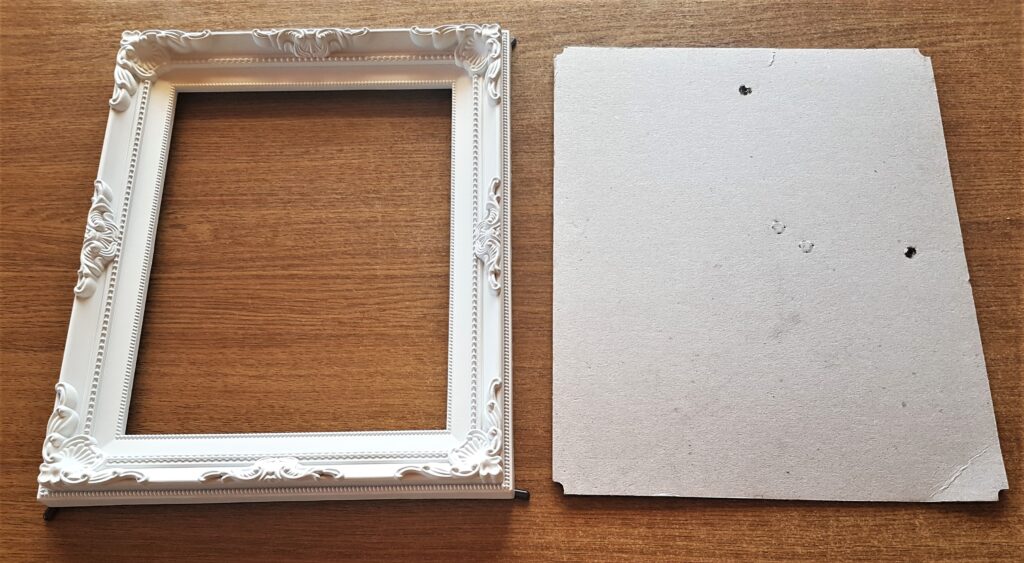
I removed the Glass and the Picture of the Pink Roses from the Frame as I won’t need them for this craft. Ornate Frame.
Adding the Background to the Frame
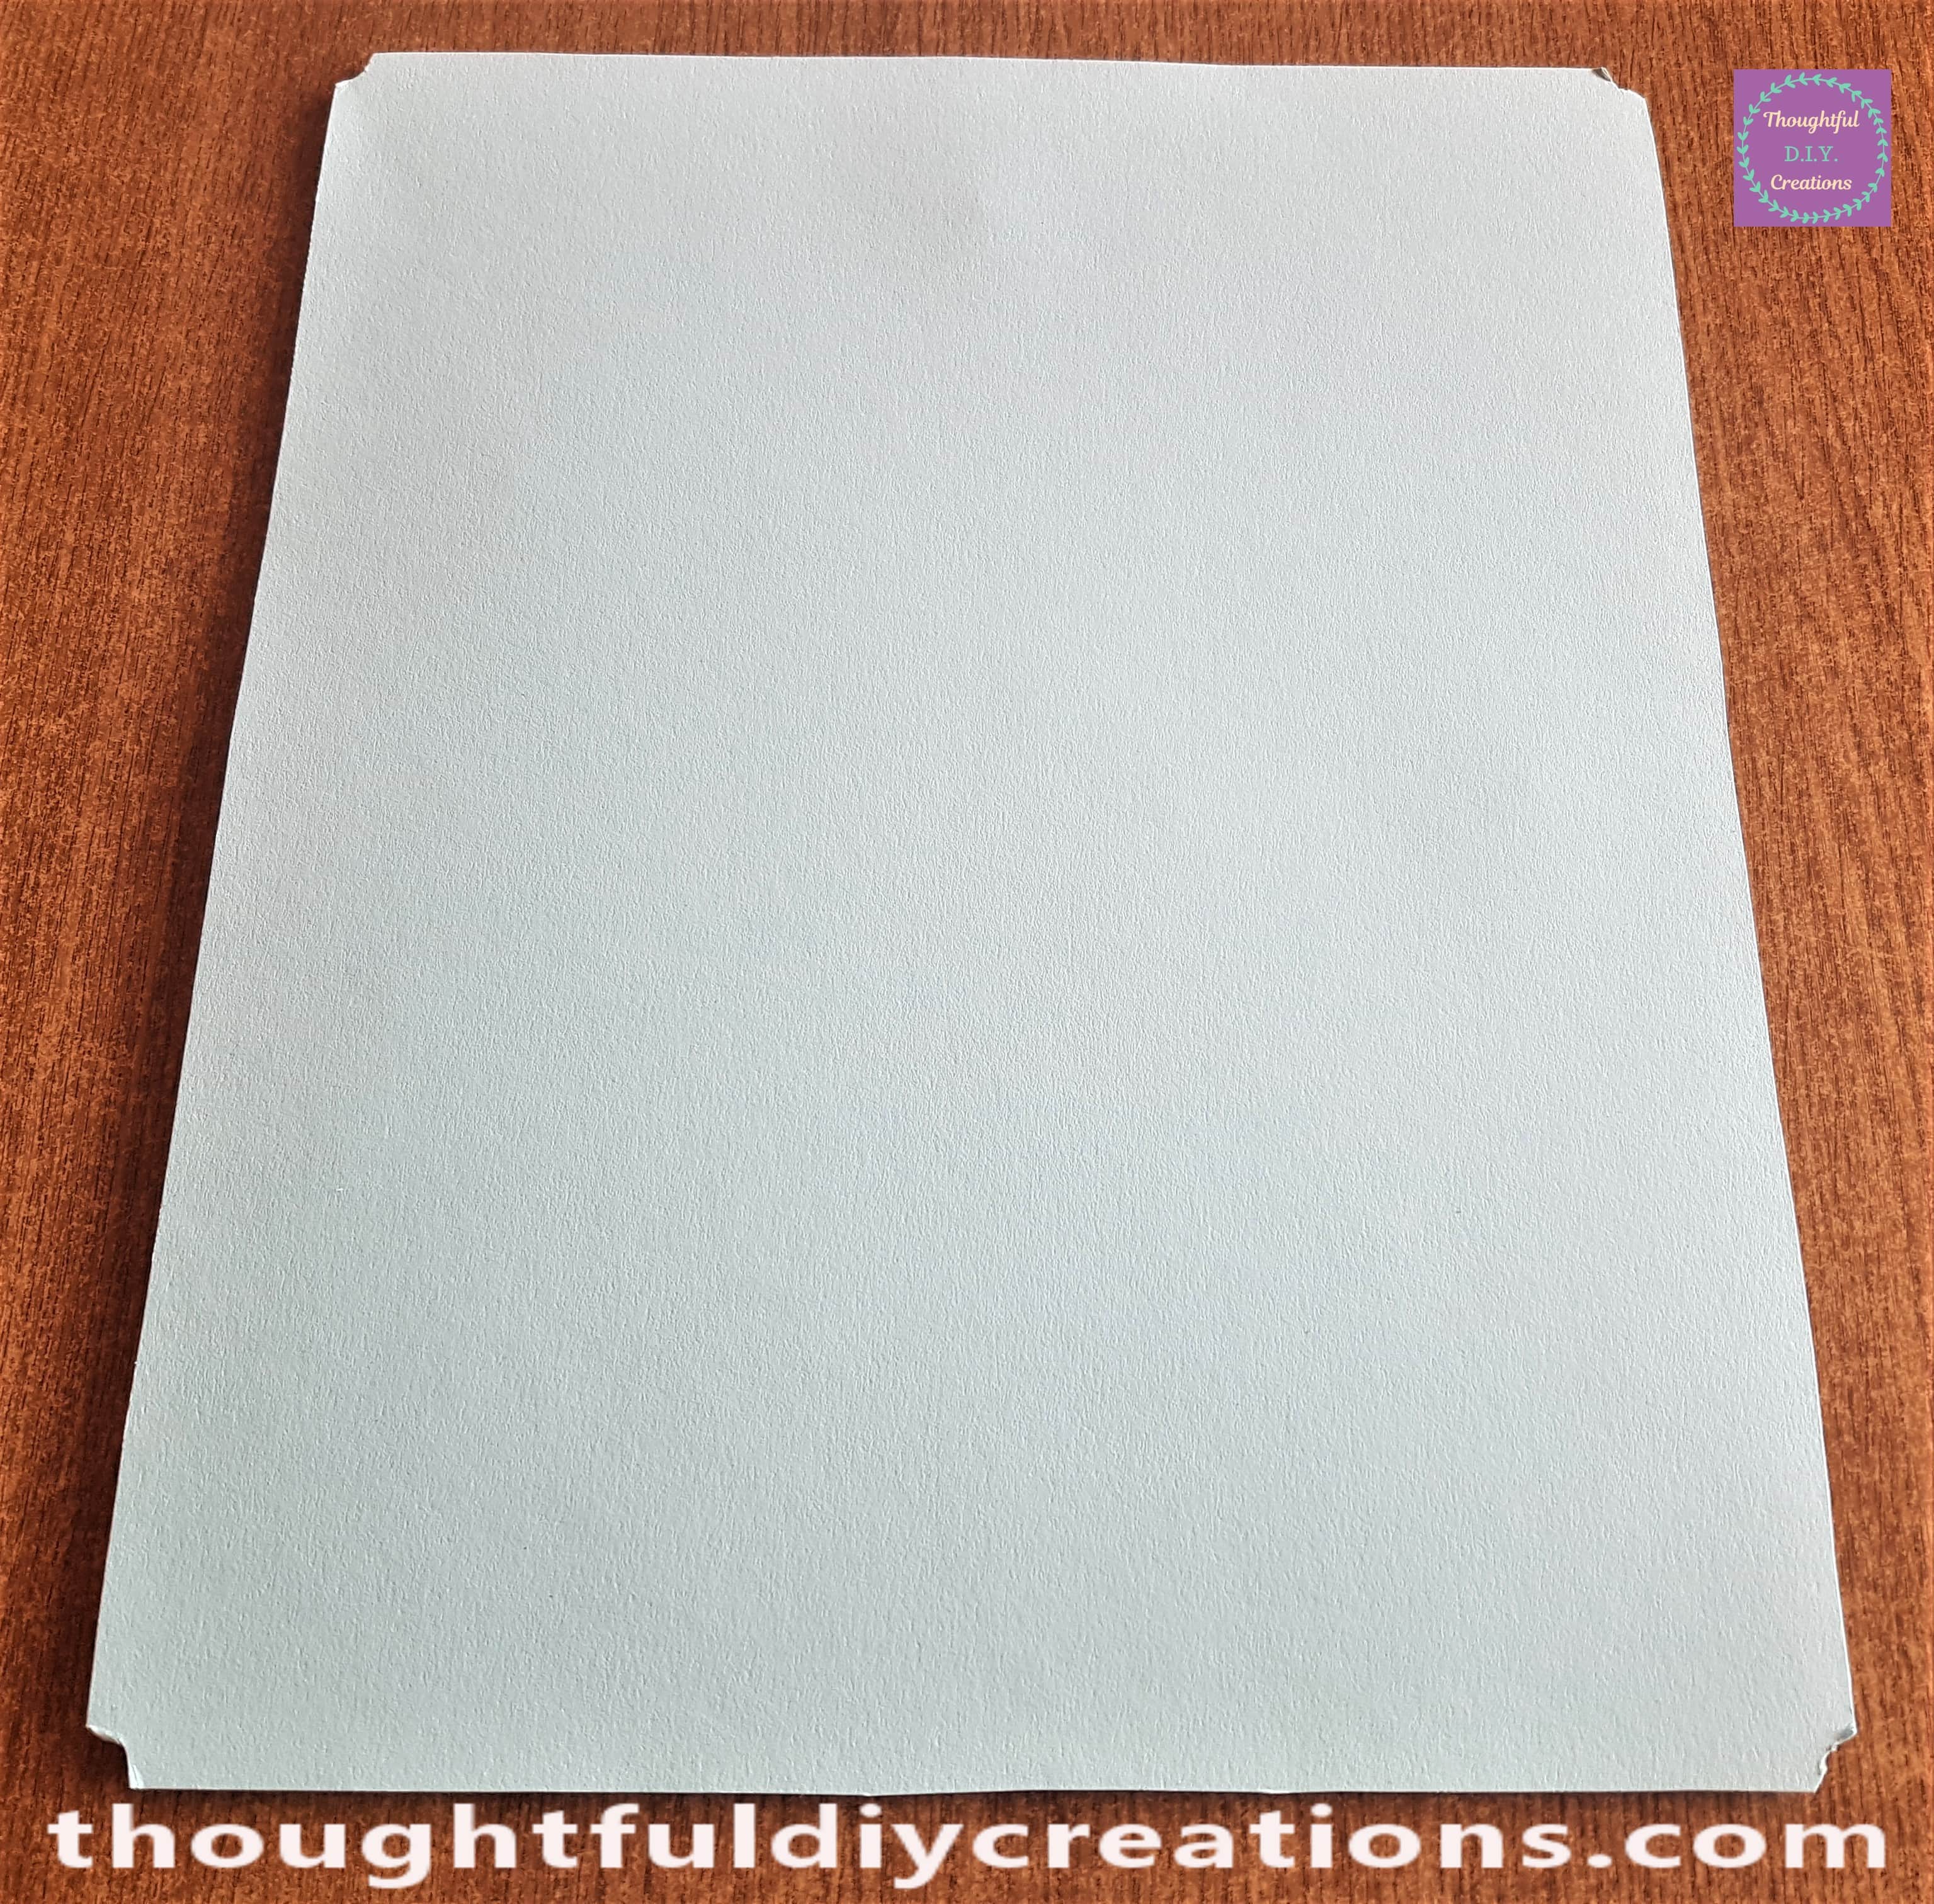
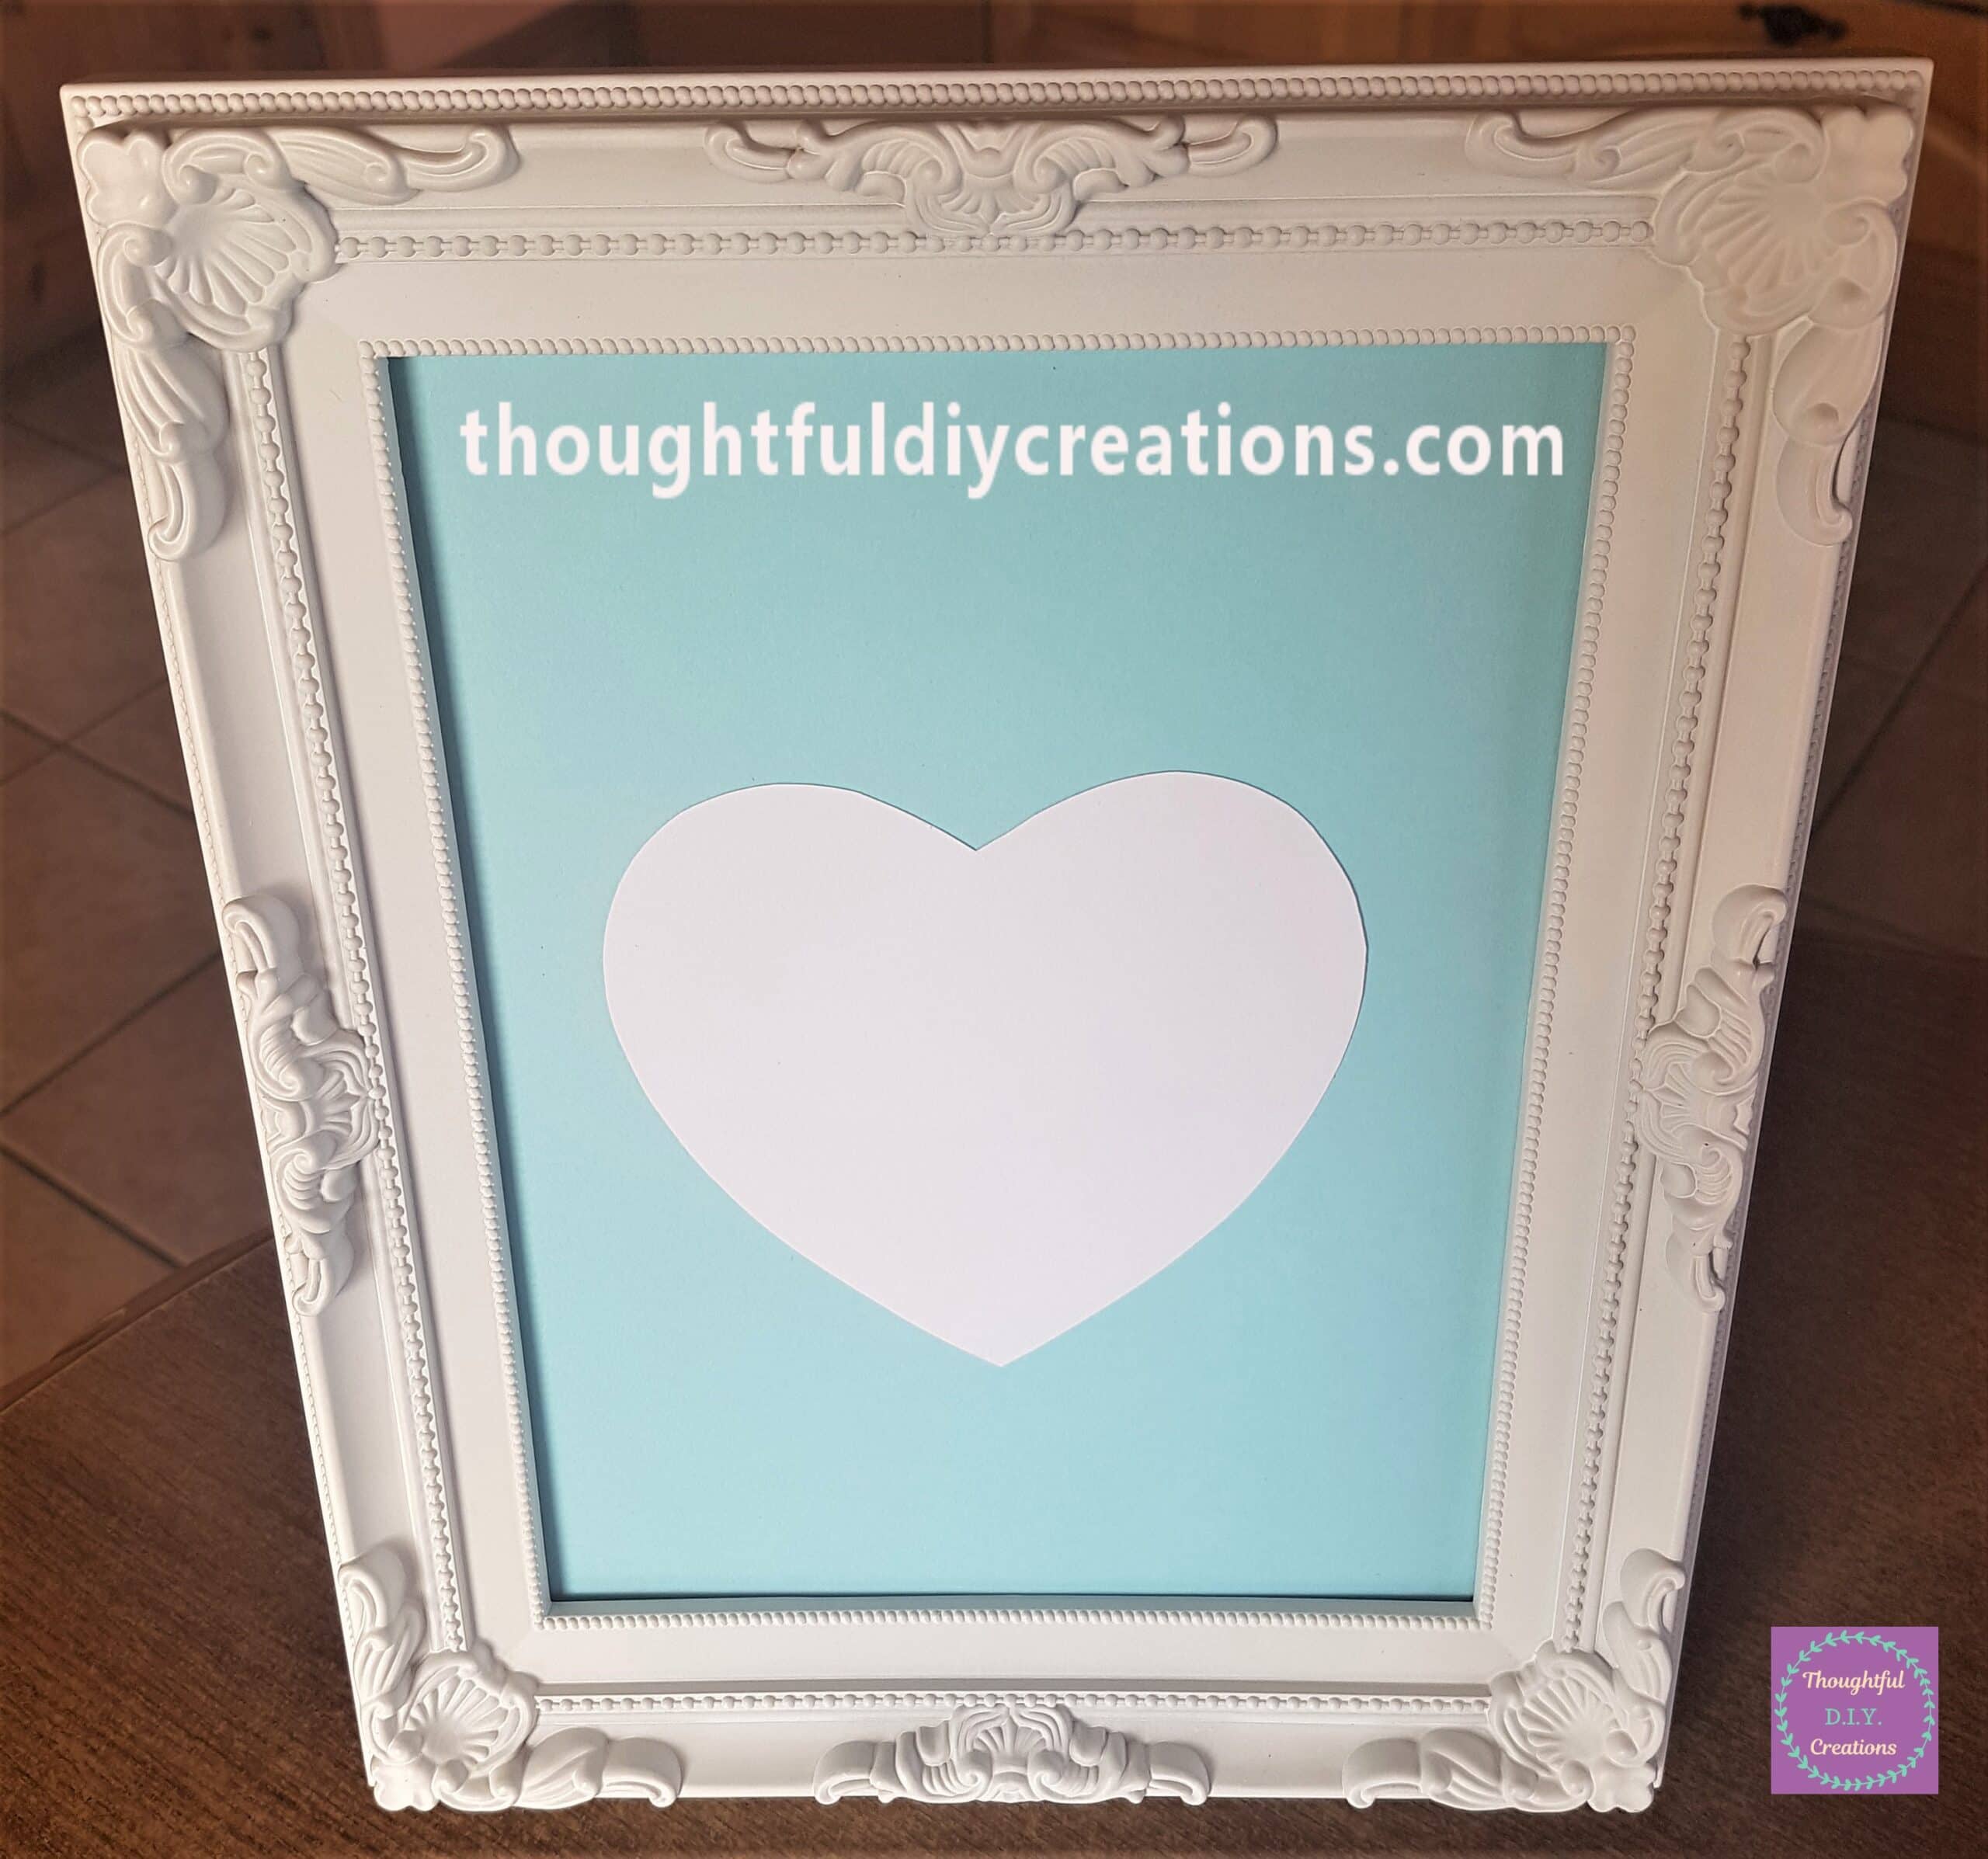
I put Pritt Stick all over the grey backing of the frame. I got a Light Blue 270 gsm Card and pressed it to the grey backing. Coloured Paper Pack.
I cut around the outside of the frame to remove the excess blue card. Coloured Paper Pack.
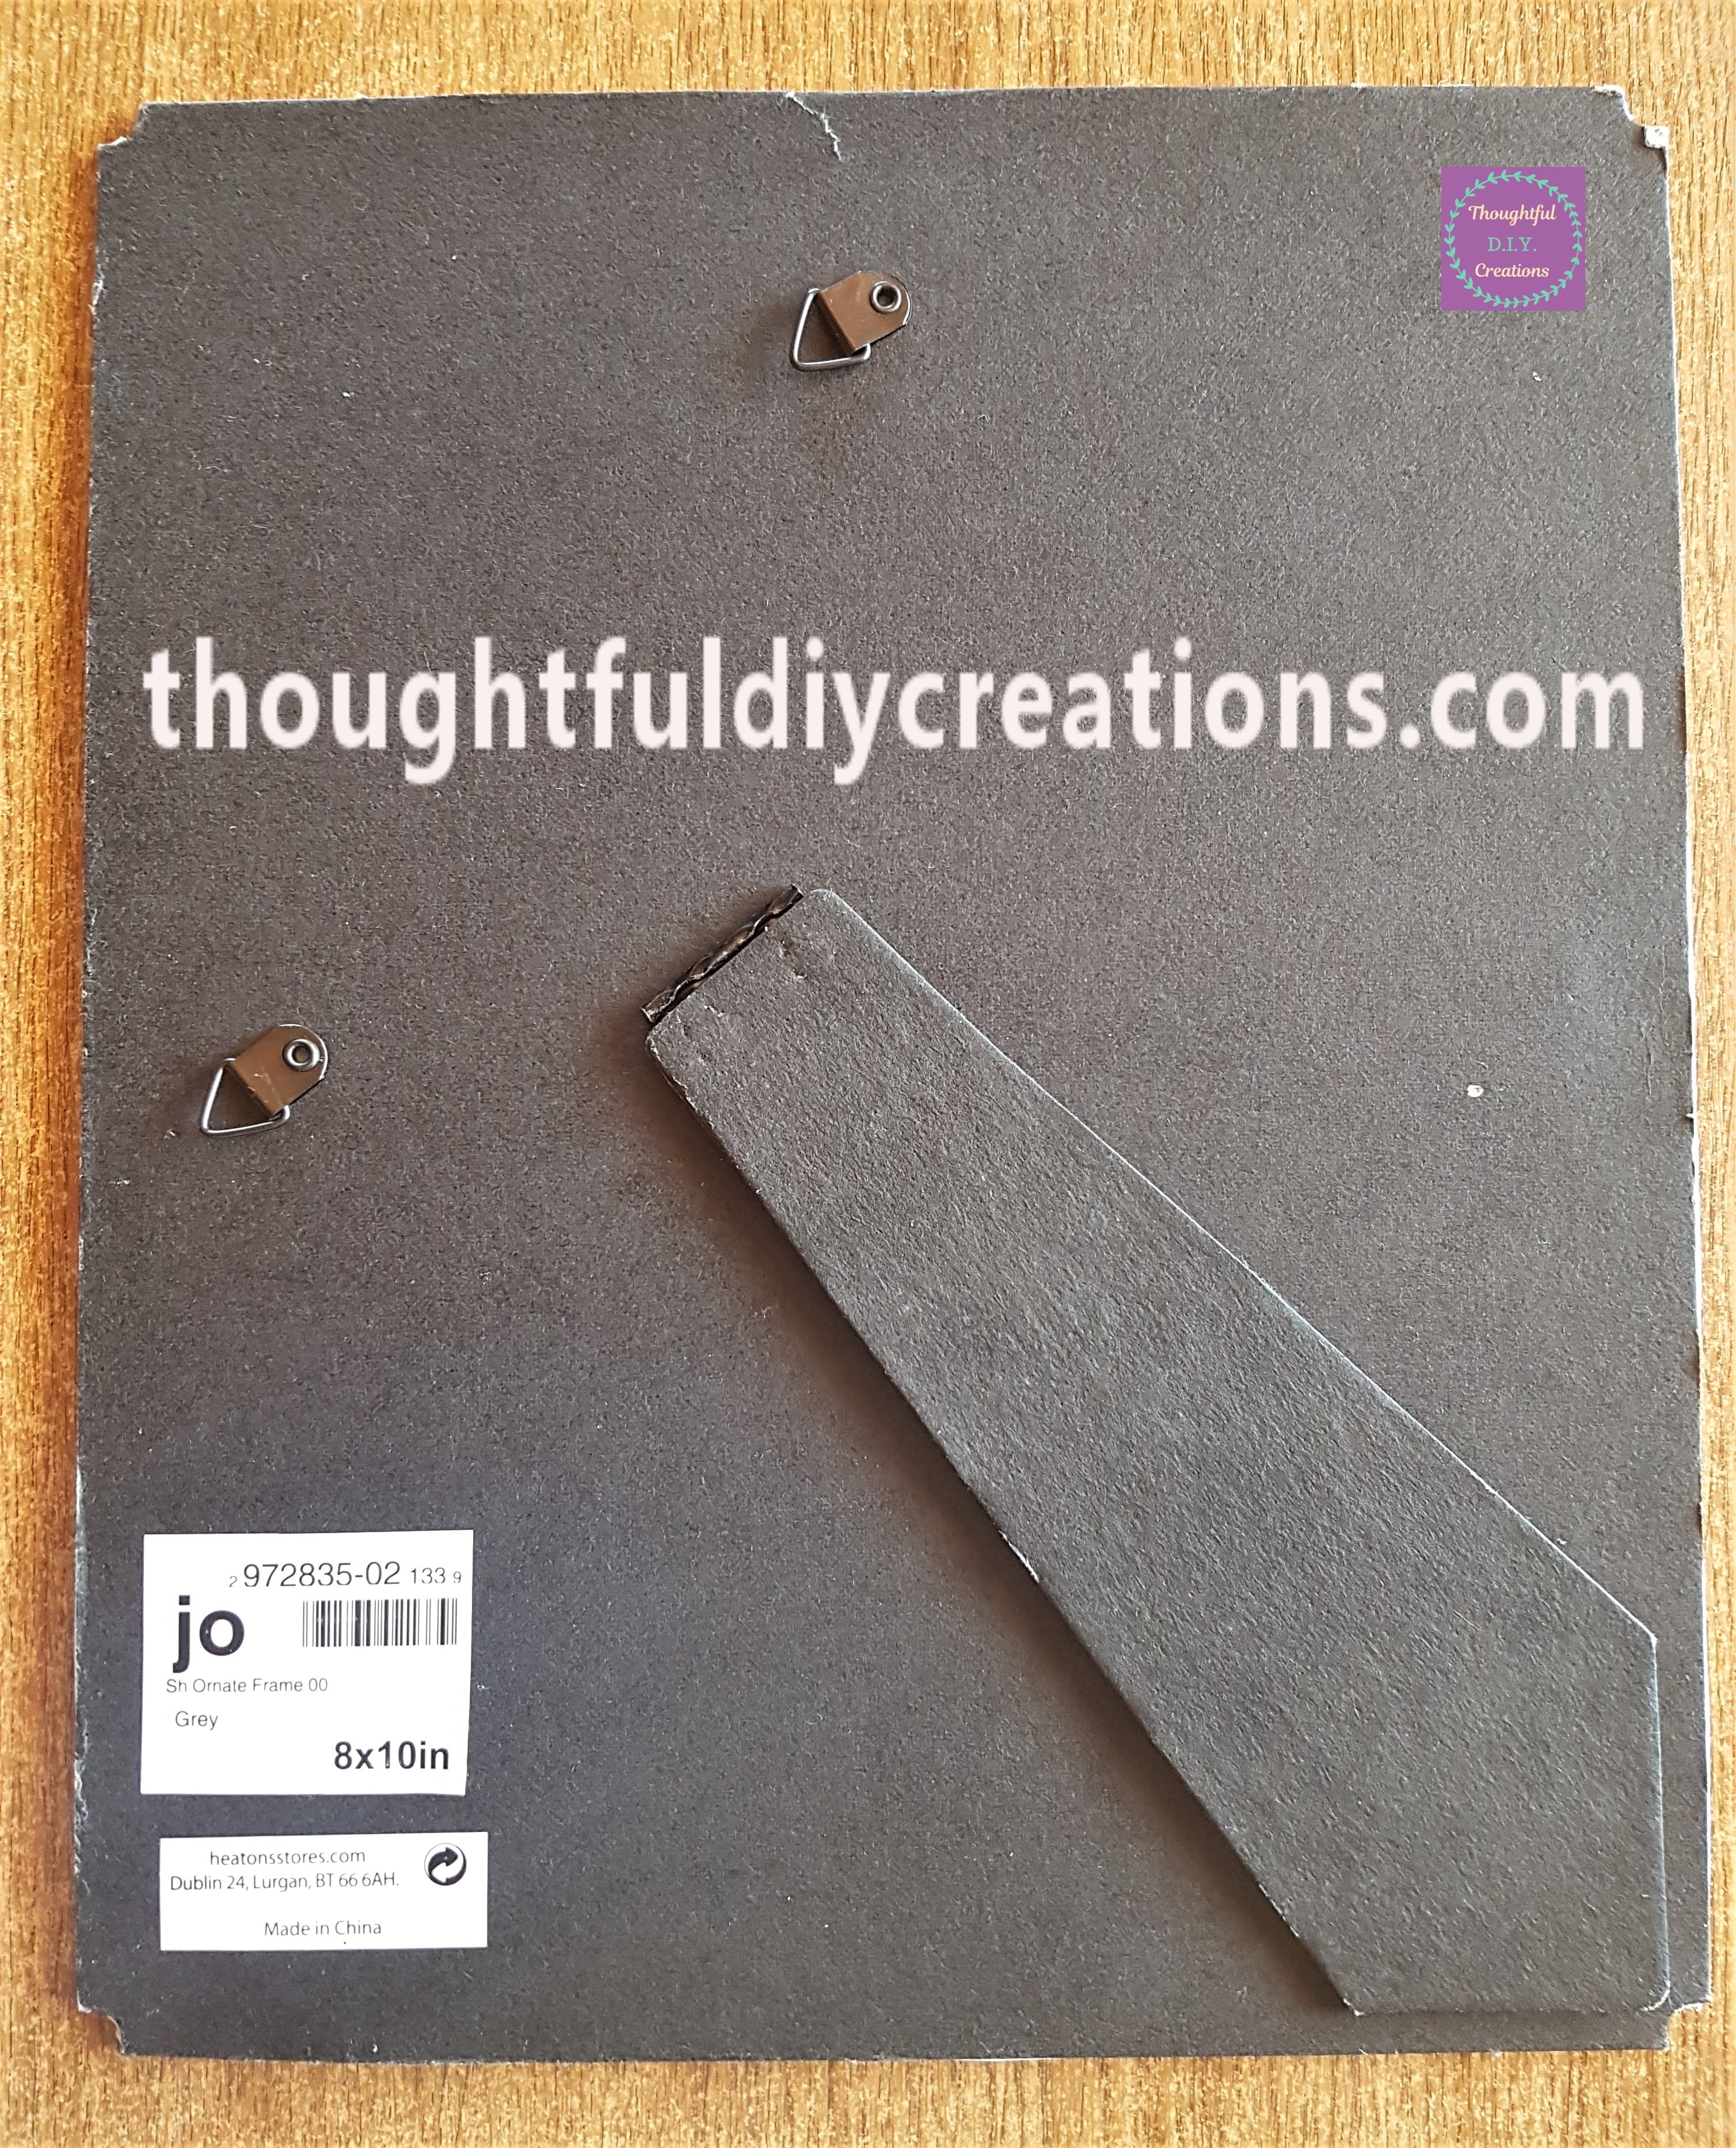
This is the back of the frame with the blue card attached to the other side.
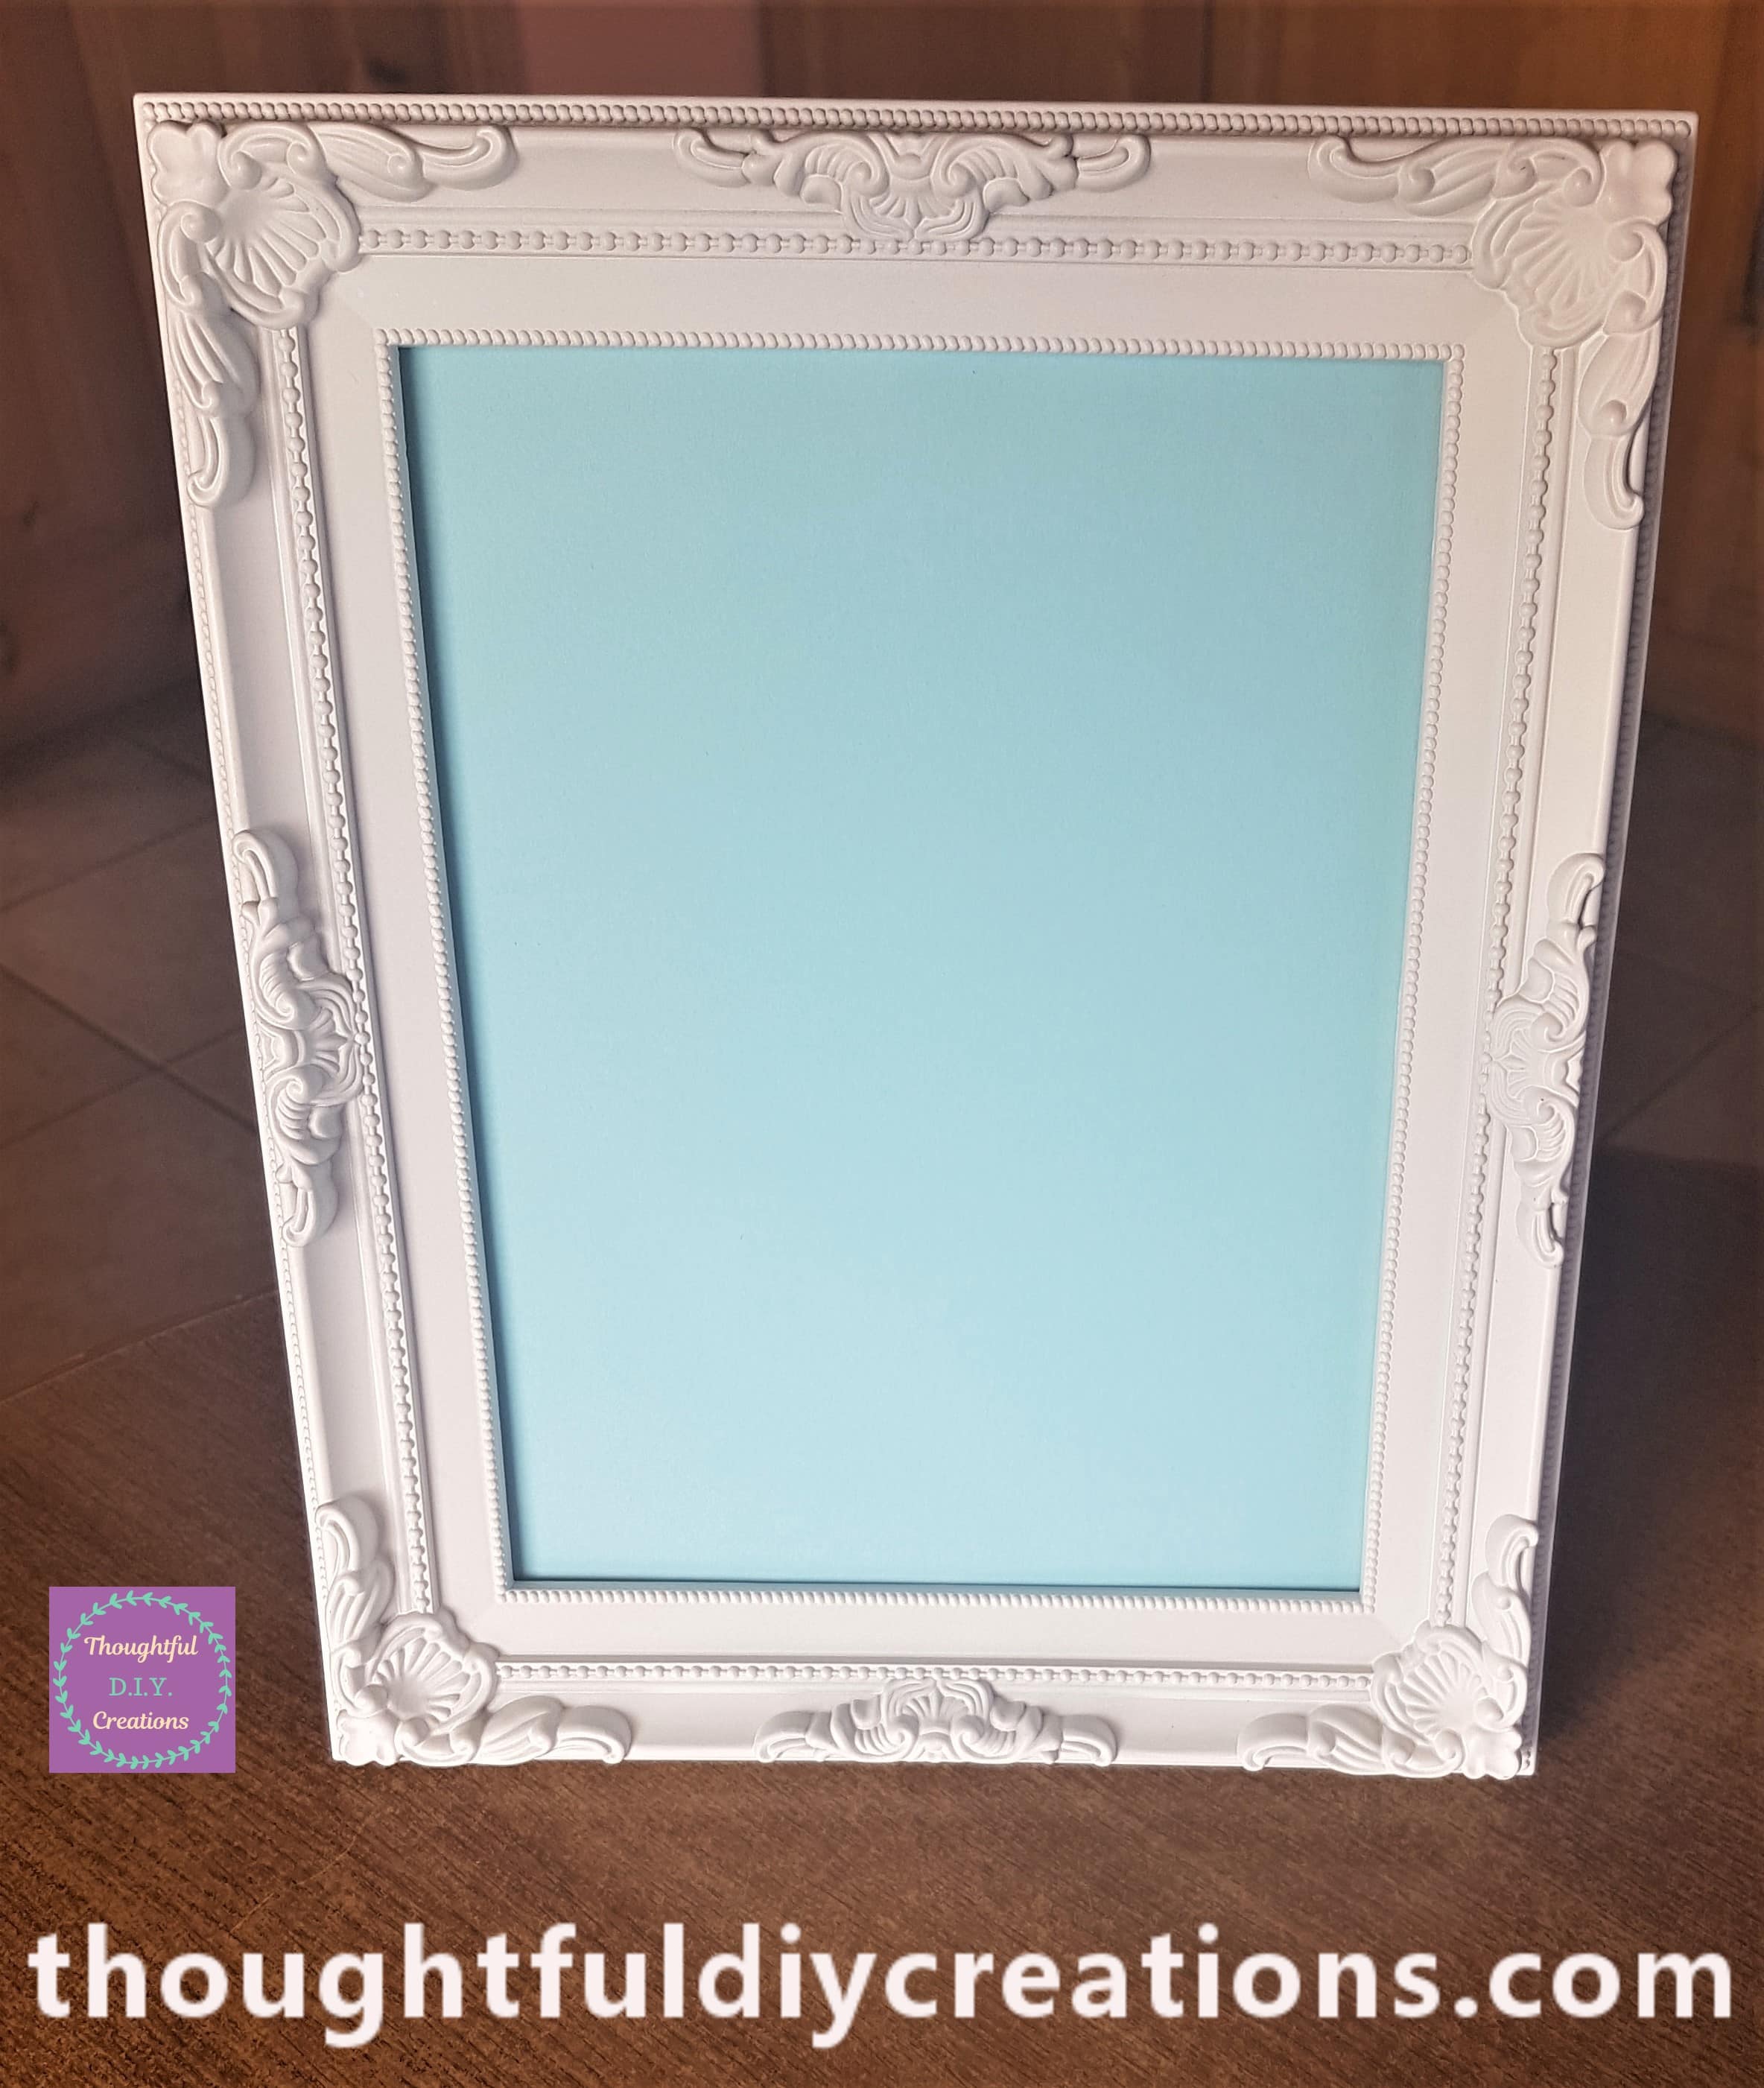
I put the frame back together. Ornate Frame.
Making the Heart for the Rainbow Butterfly Frame
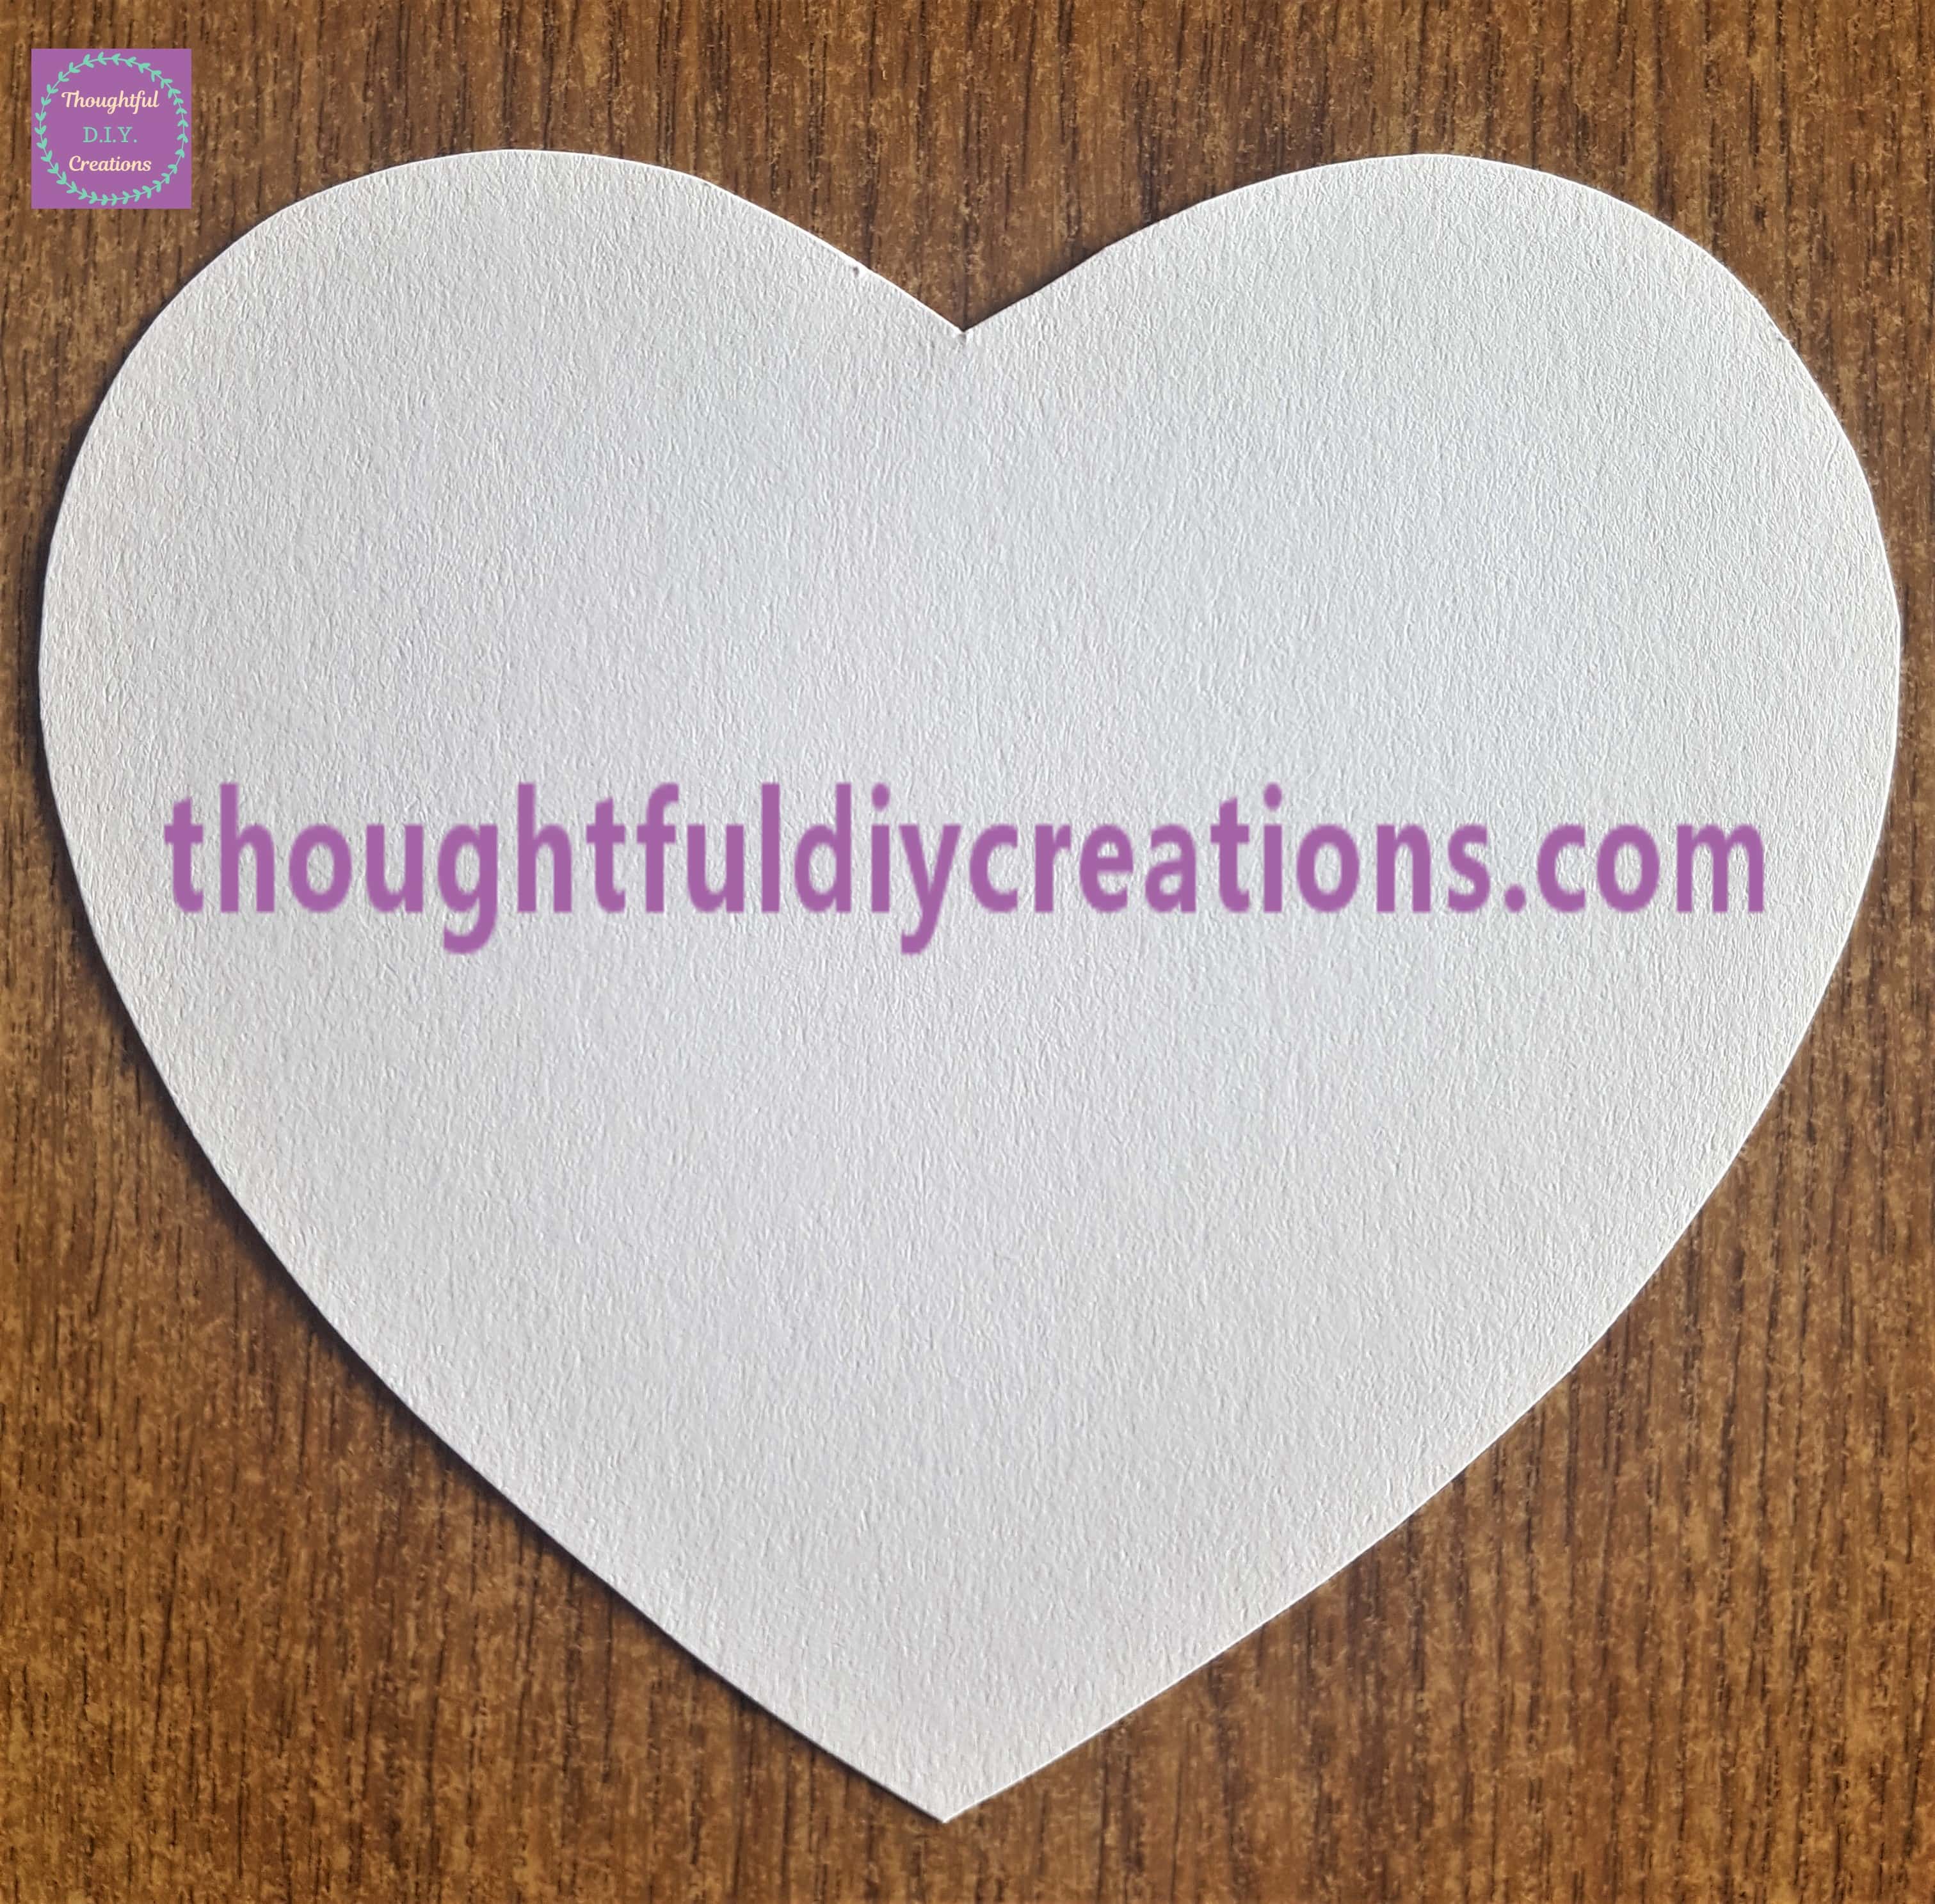
I got my biggest Heart Shape Cutter and traced around it on white 270 gsm card. Heart Cutters.

I cut out the heart shape. Coloured Paper Pack.
I put Pritt Stick on the back of the heart and attached it to the mid-section of the frame. Pritt Stick.
A side view of the frame so far. Heart Cutters.
Materials for Making the Rainbow Butterfly
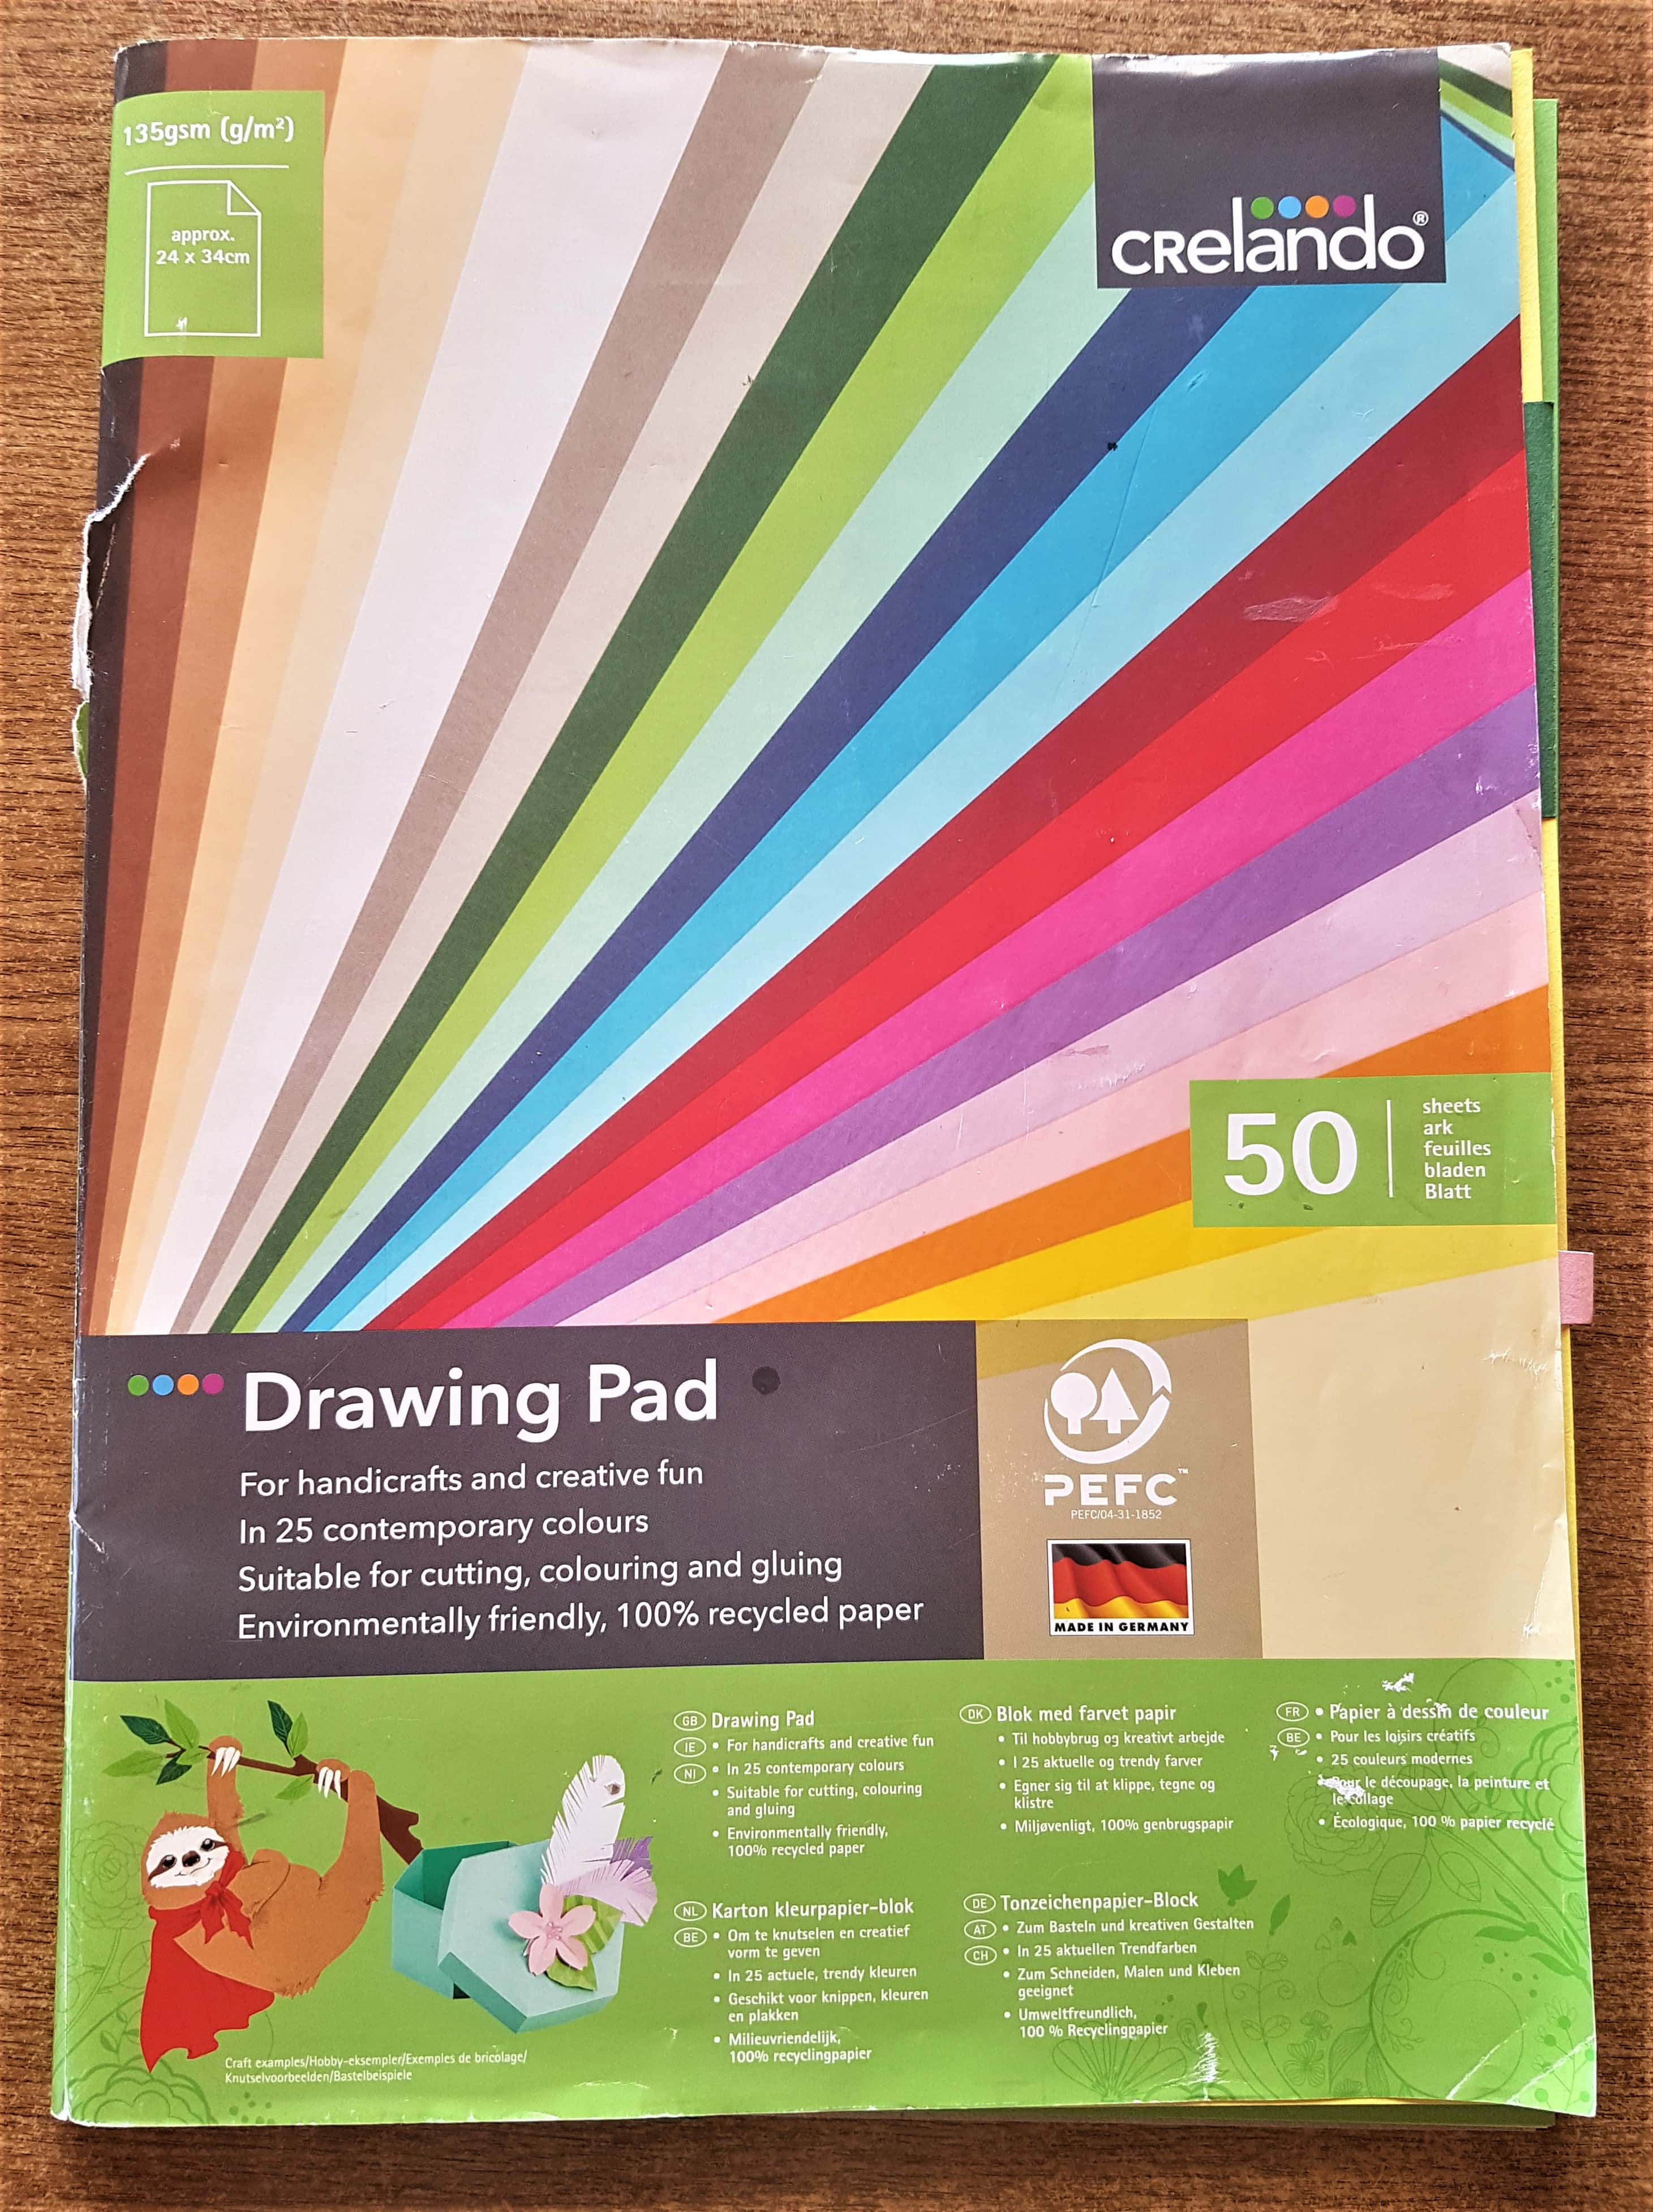
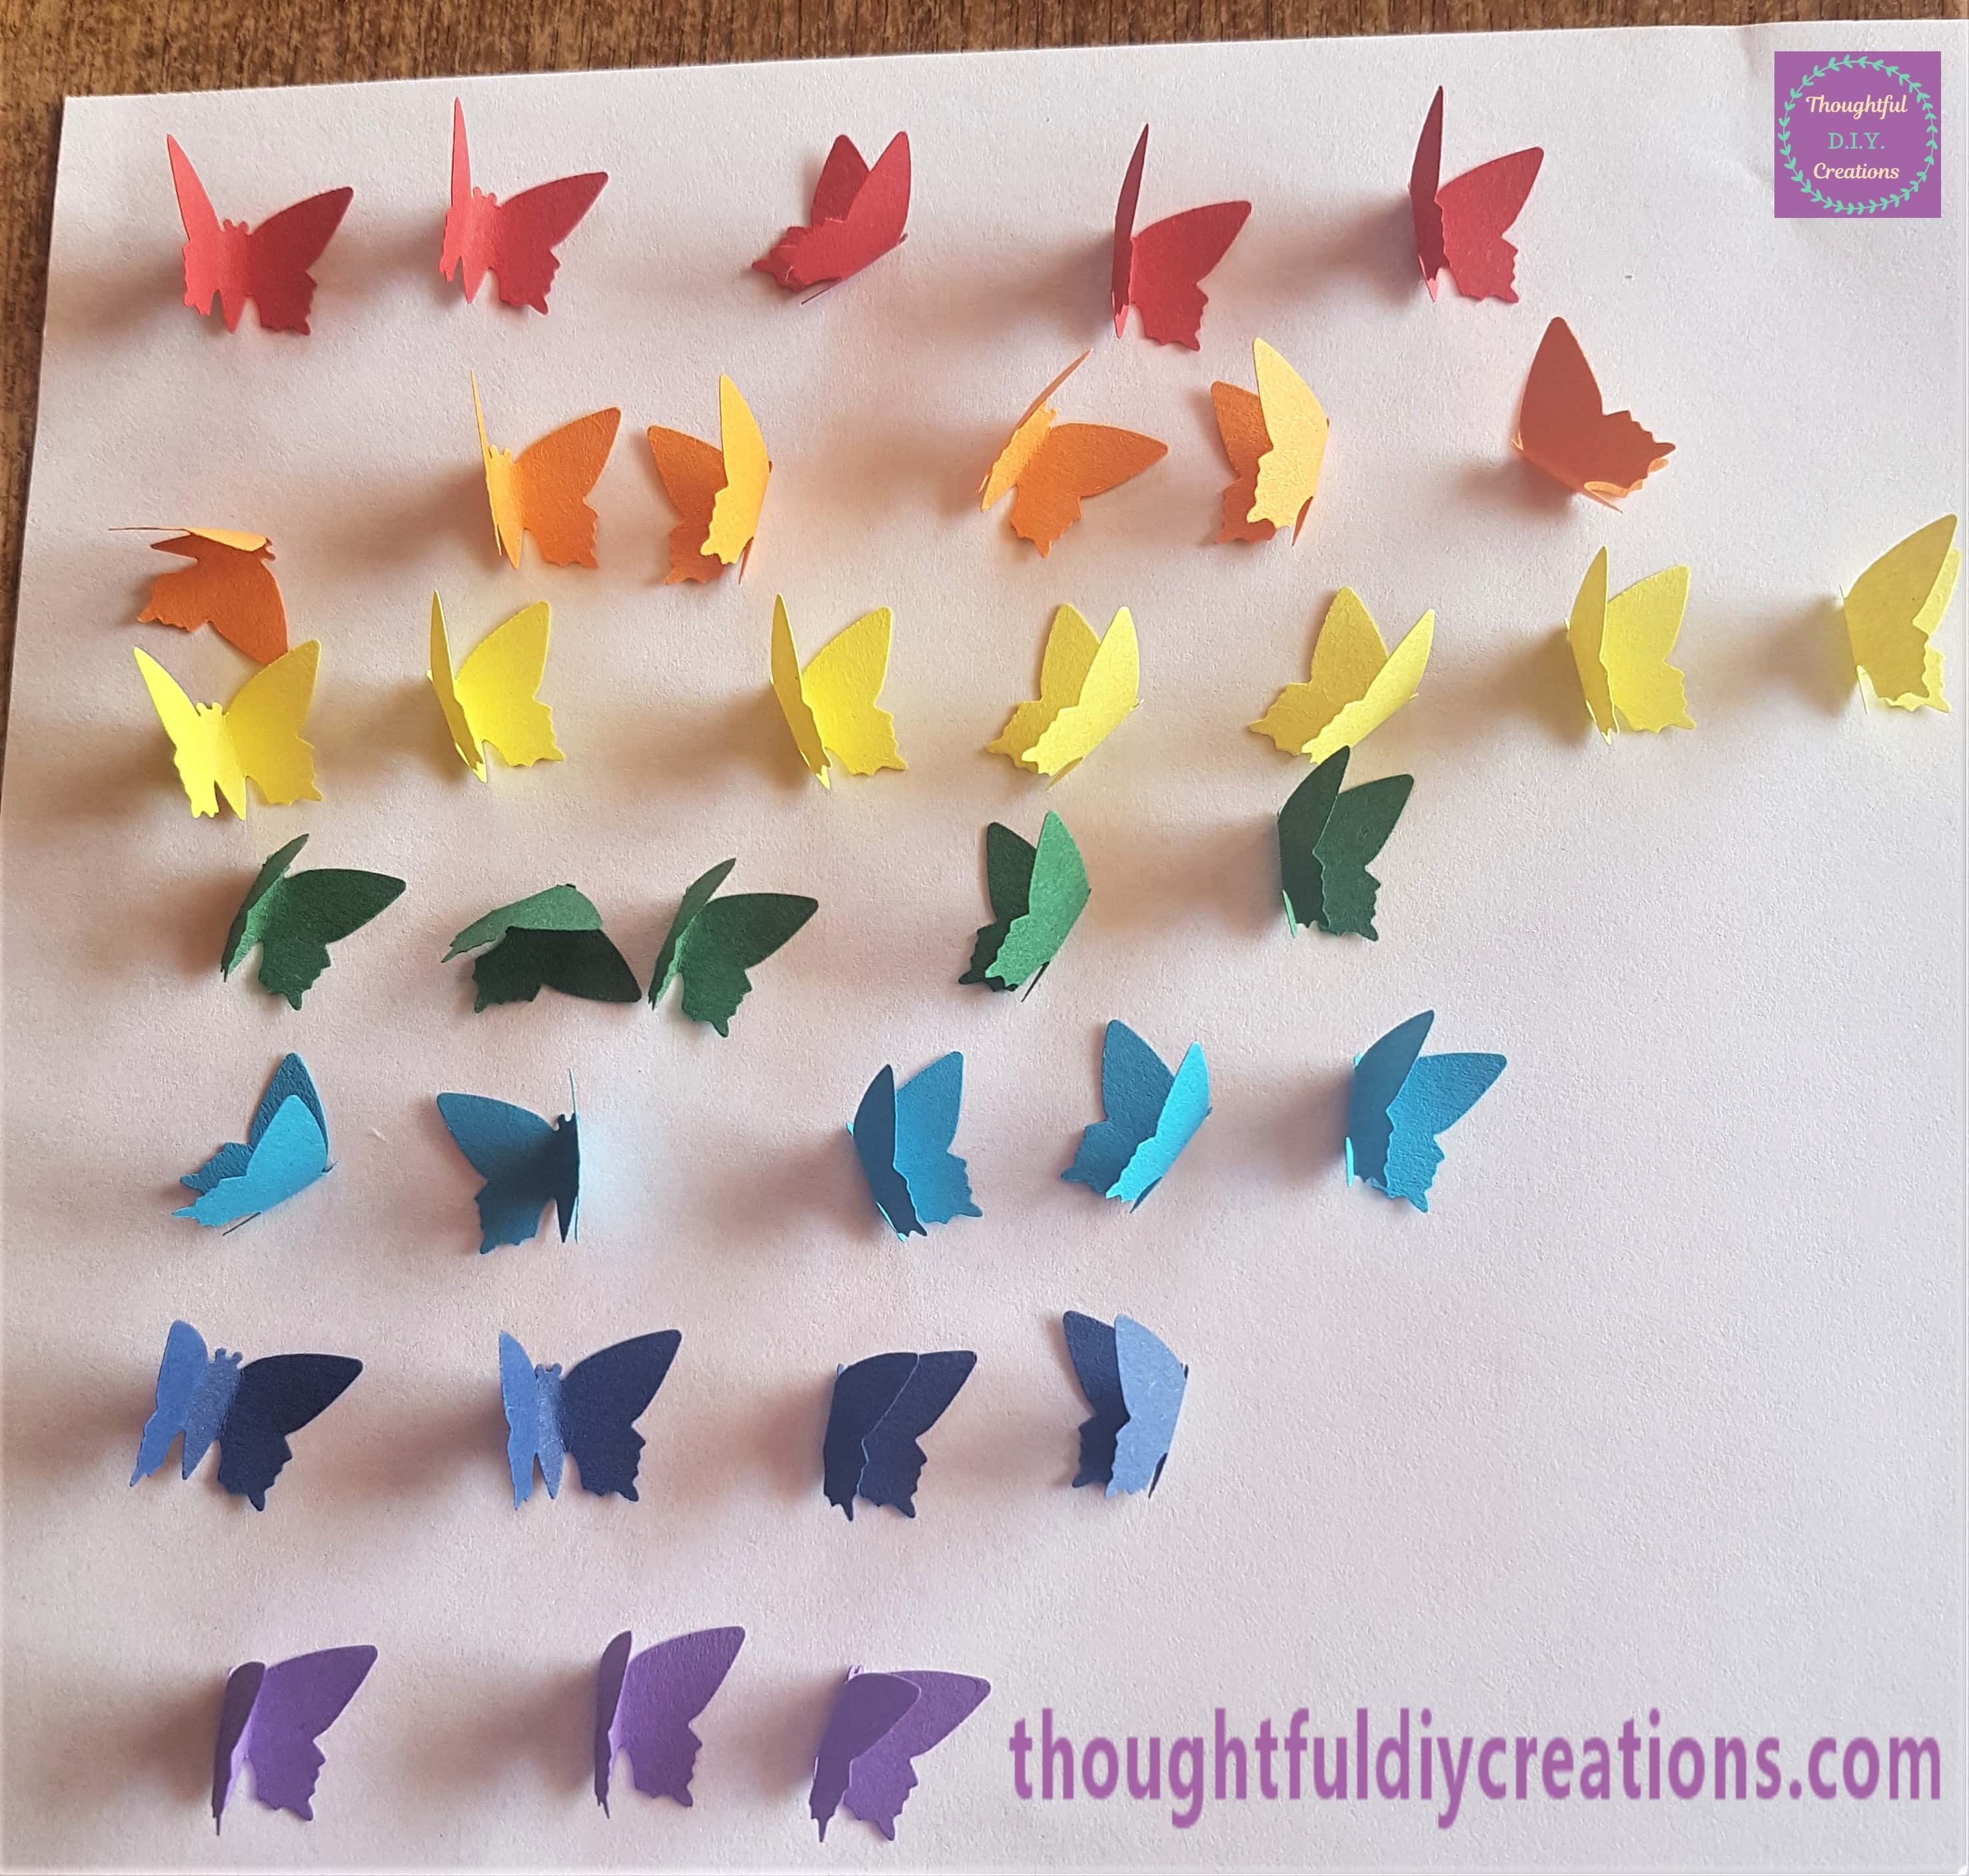
I used a Multi-Colour Paper Pad 135 gsm for all the Butterflies. Coloured Paper Pack.
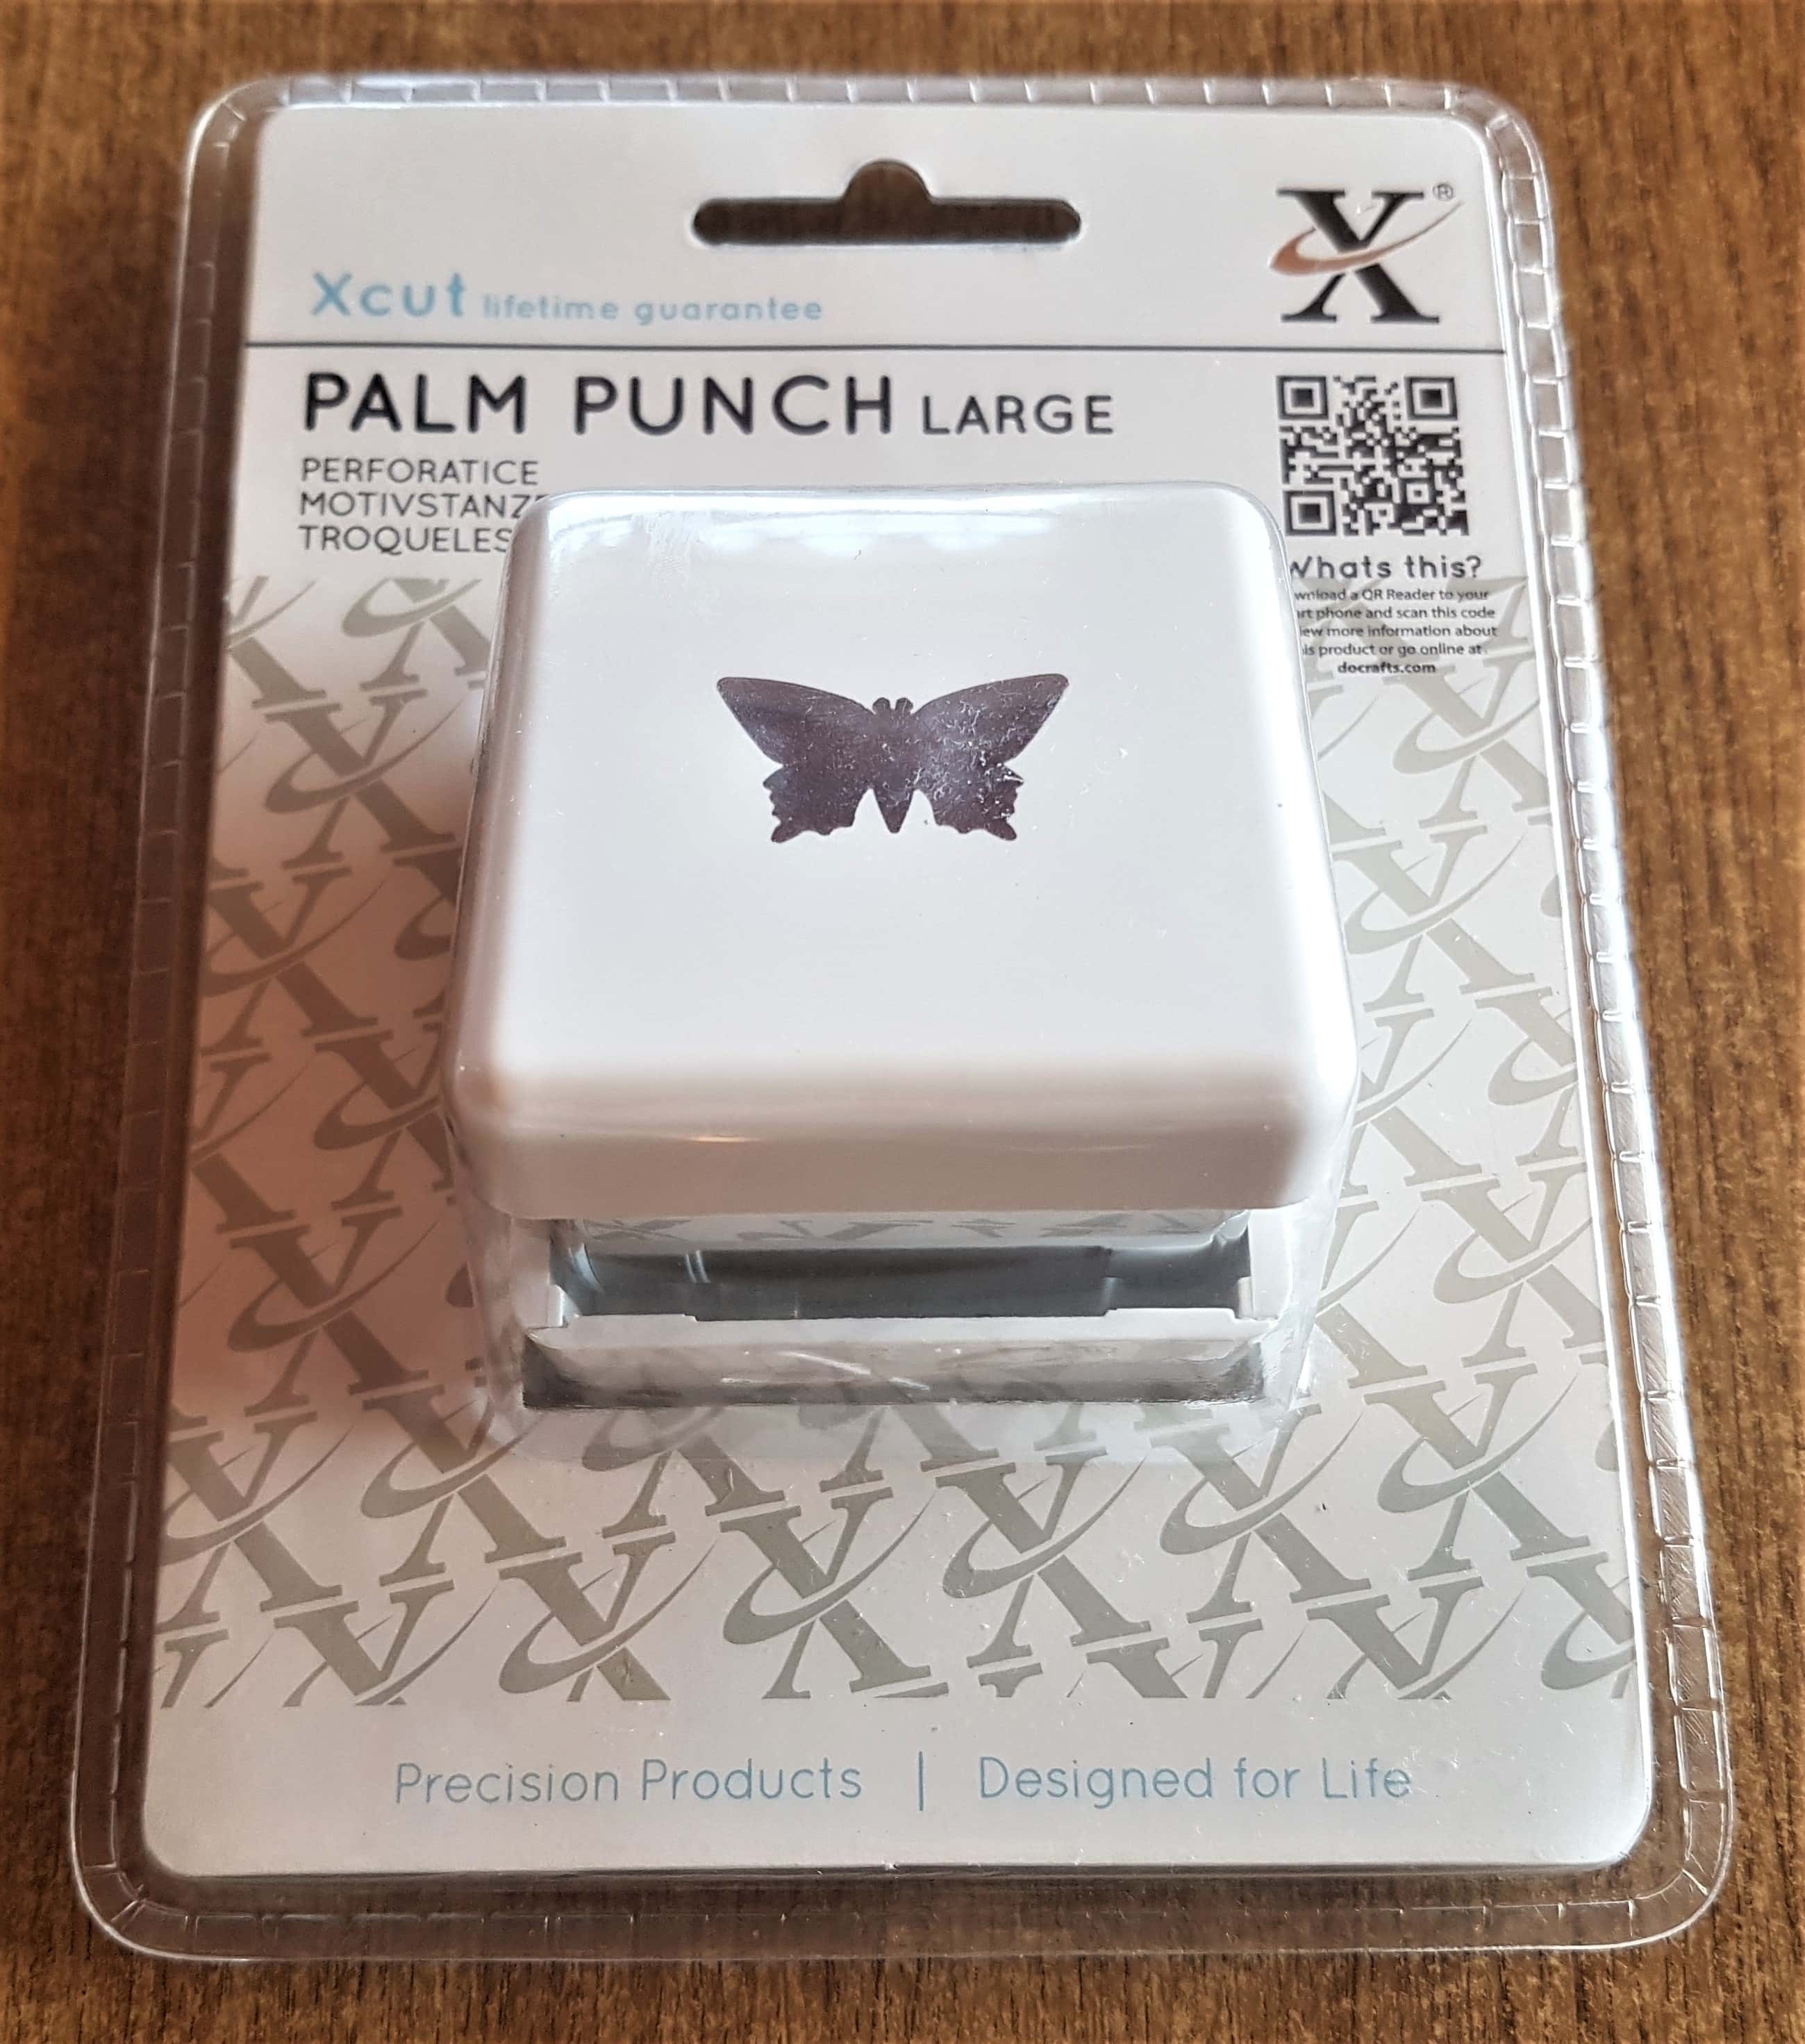
I had a Palm Punch by Xcut in Size Large that I hadn’t yet used. Xcut Palm Punch.
Making the Butterflies
I started to Punch out some butterflies using red paper and the punch. Xcut Palm Punch.
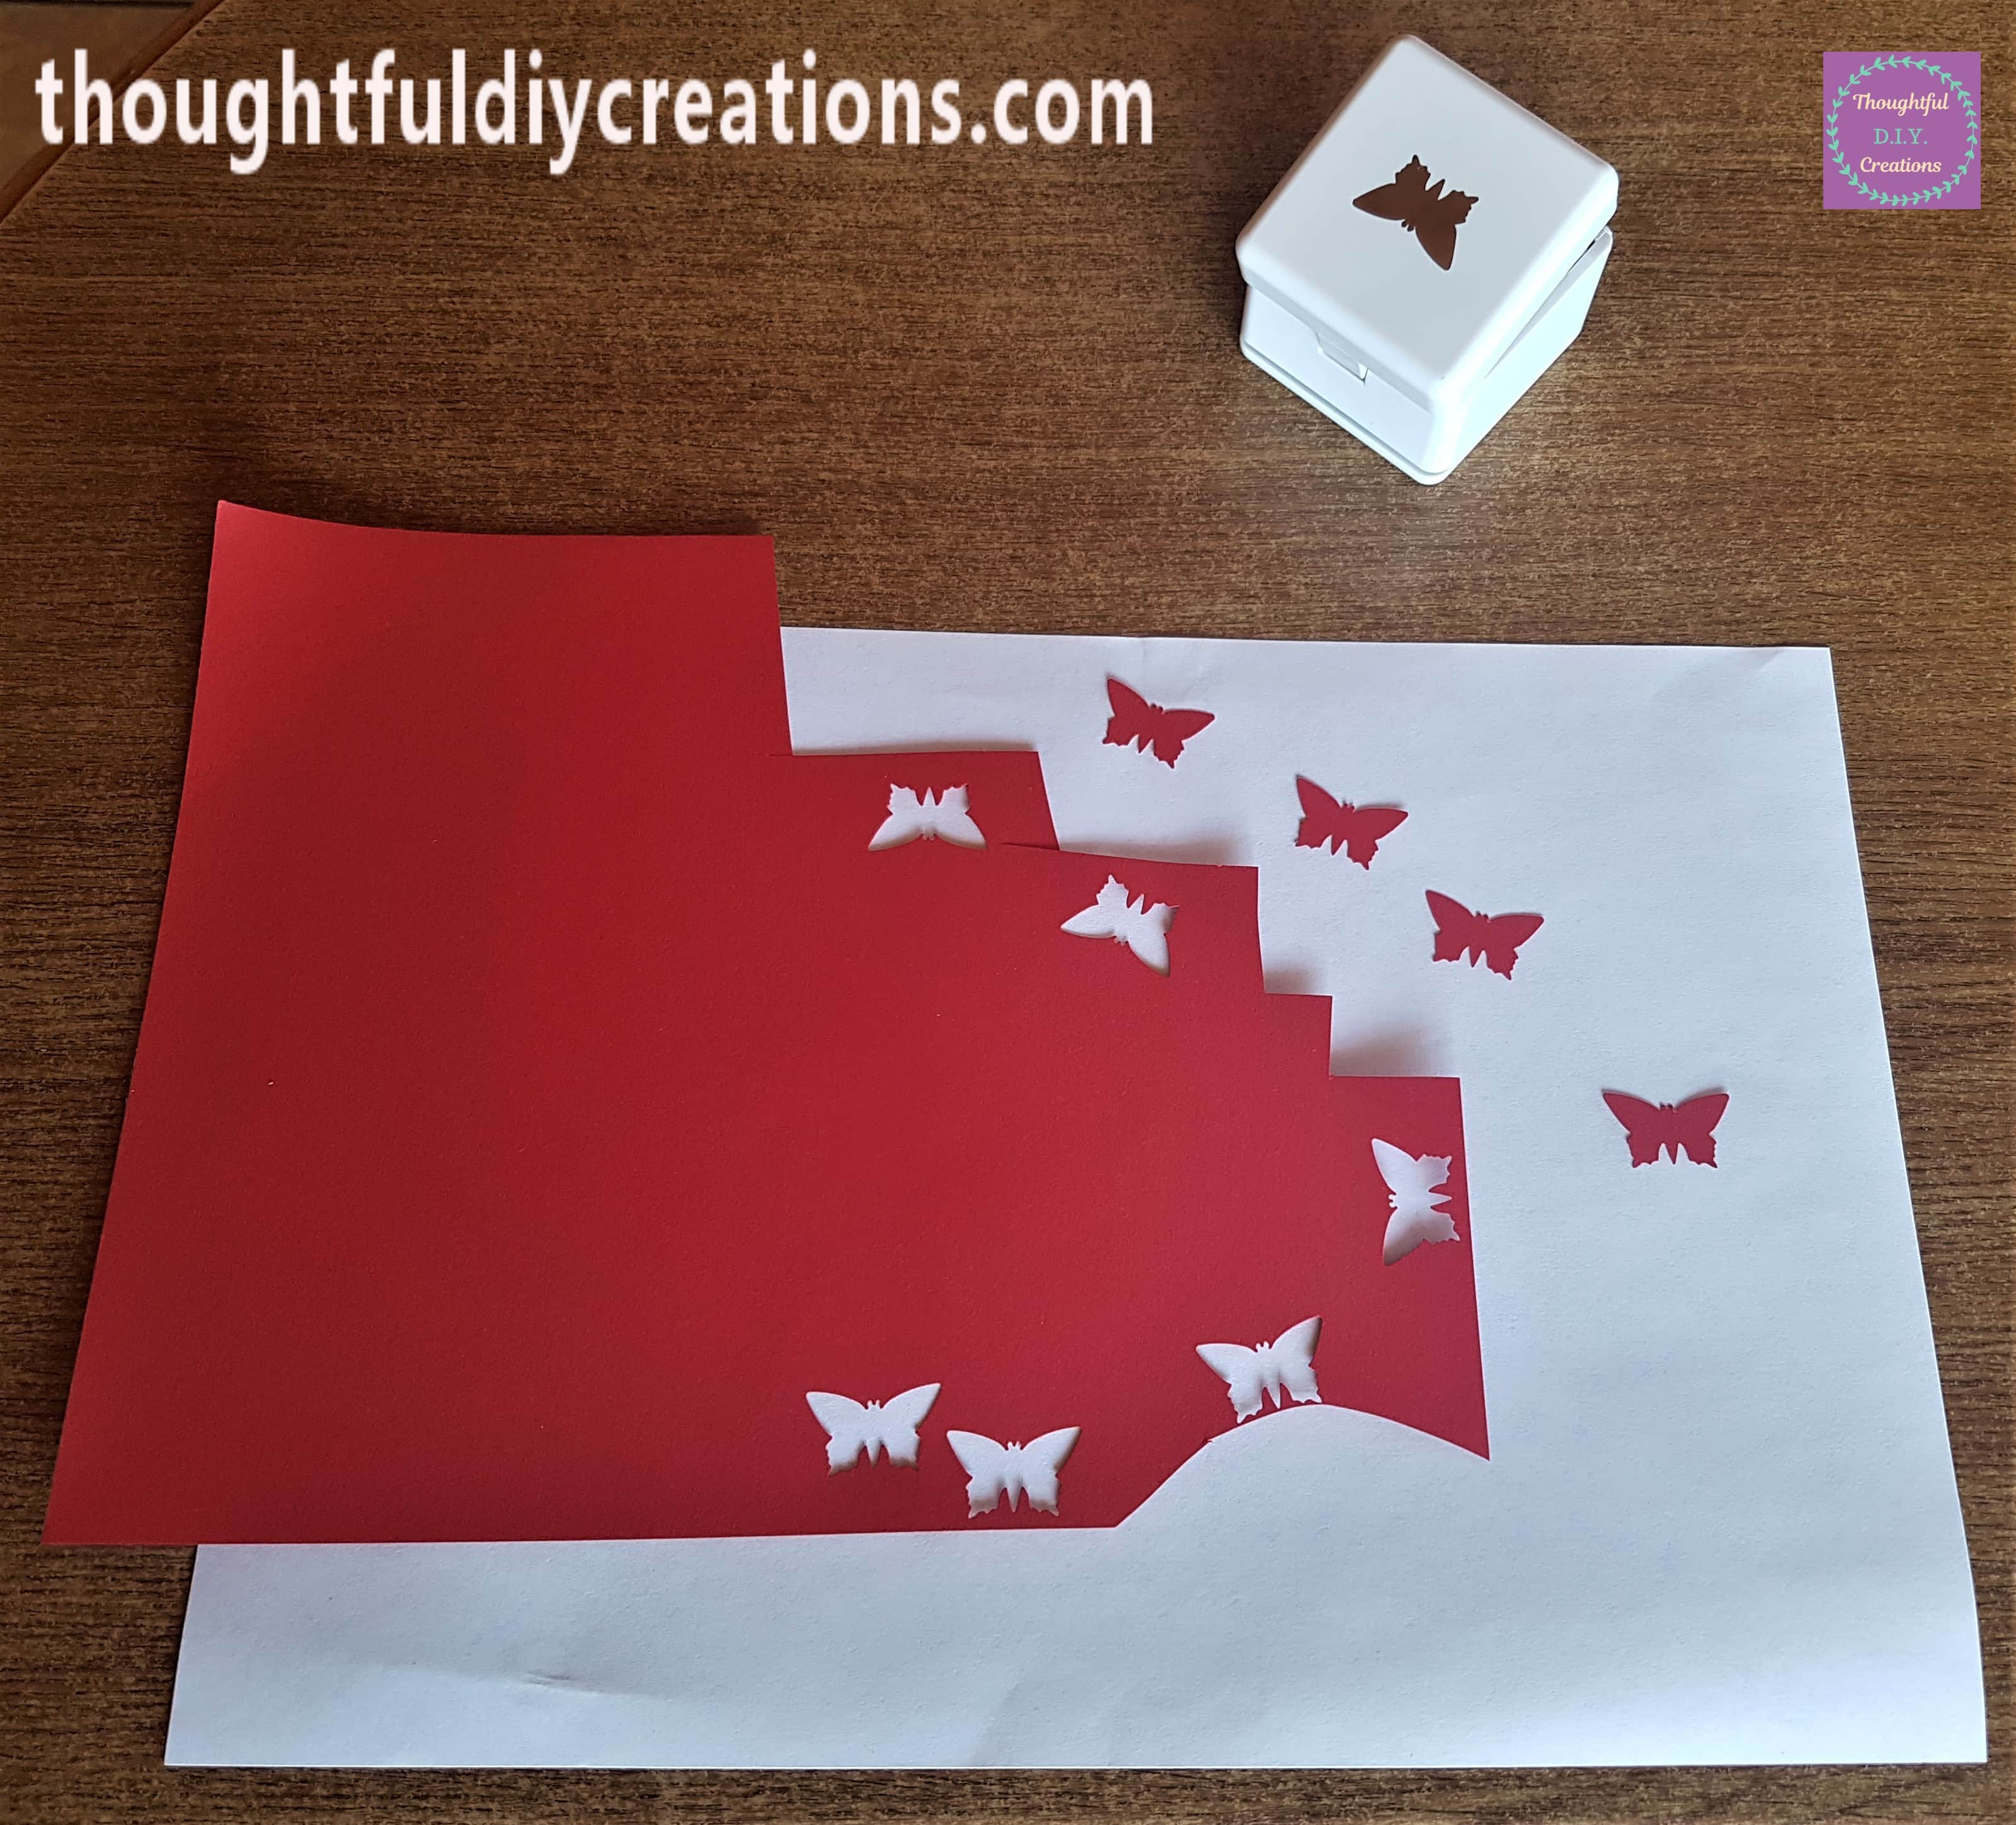
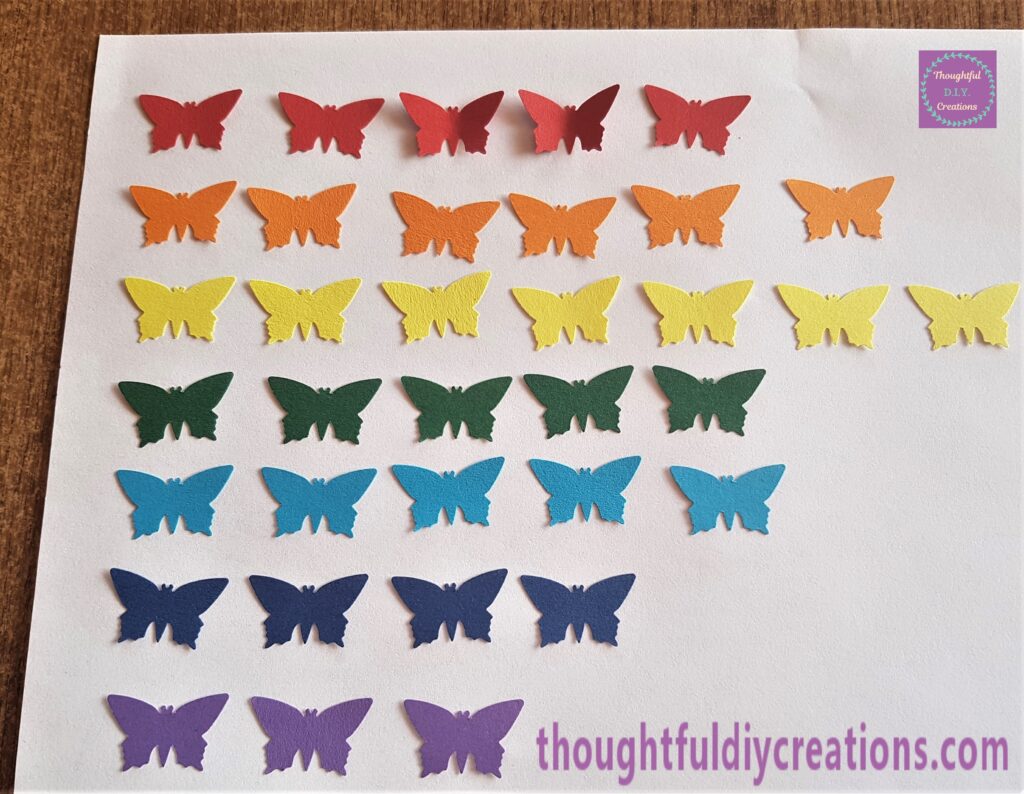
I repeated this until I had all the colours of the rainbow punched out as butterflies. Coloured Paper Pack.
I got a red butterfly and pressed it’s wings forward to make it look 3-D.
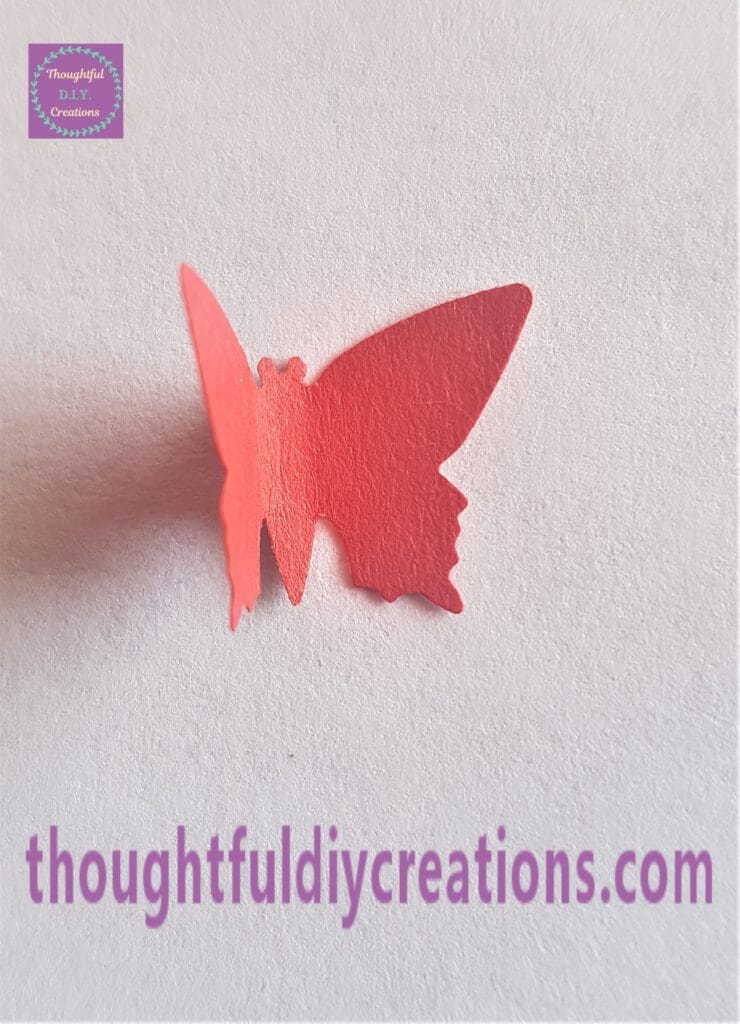
This is how the back of the butterfly looks with it’s wings pressed forward.
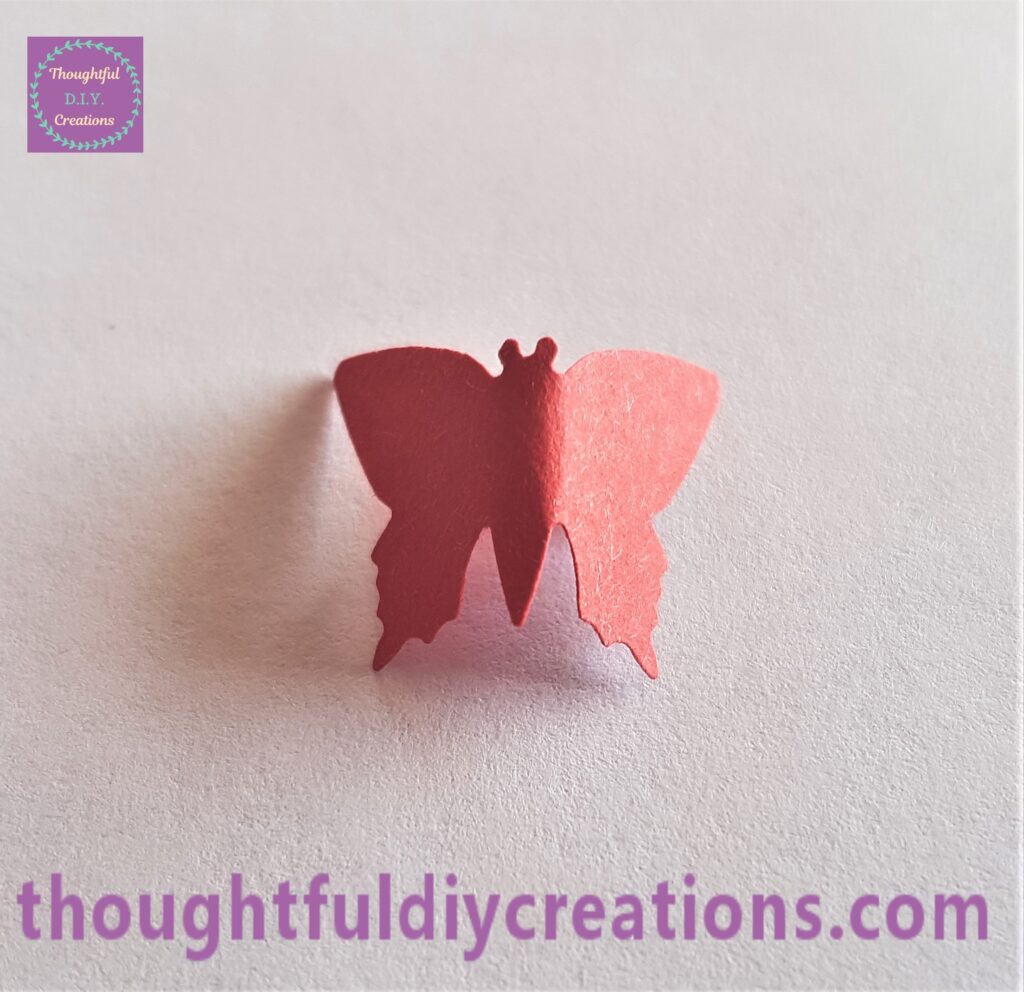
I repeated this process until all the butterflies appeared 3-D. Coloured Paper Pack.
Attaching the Butterflies to the Heart
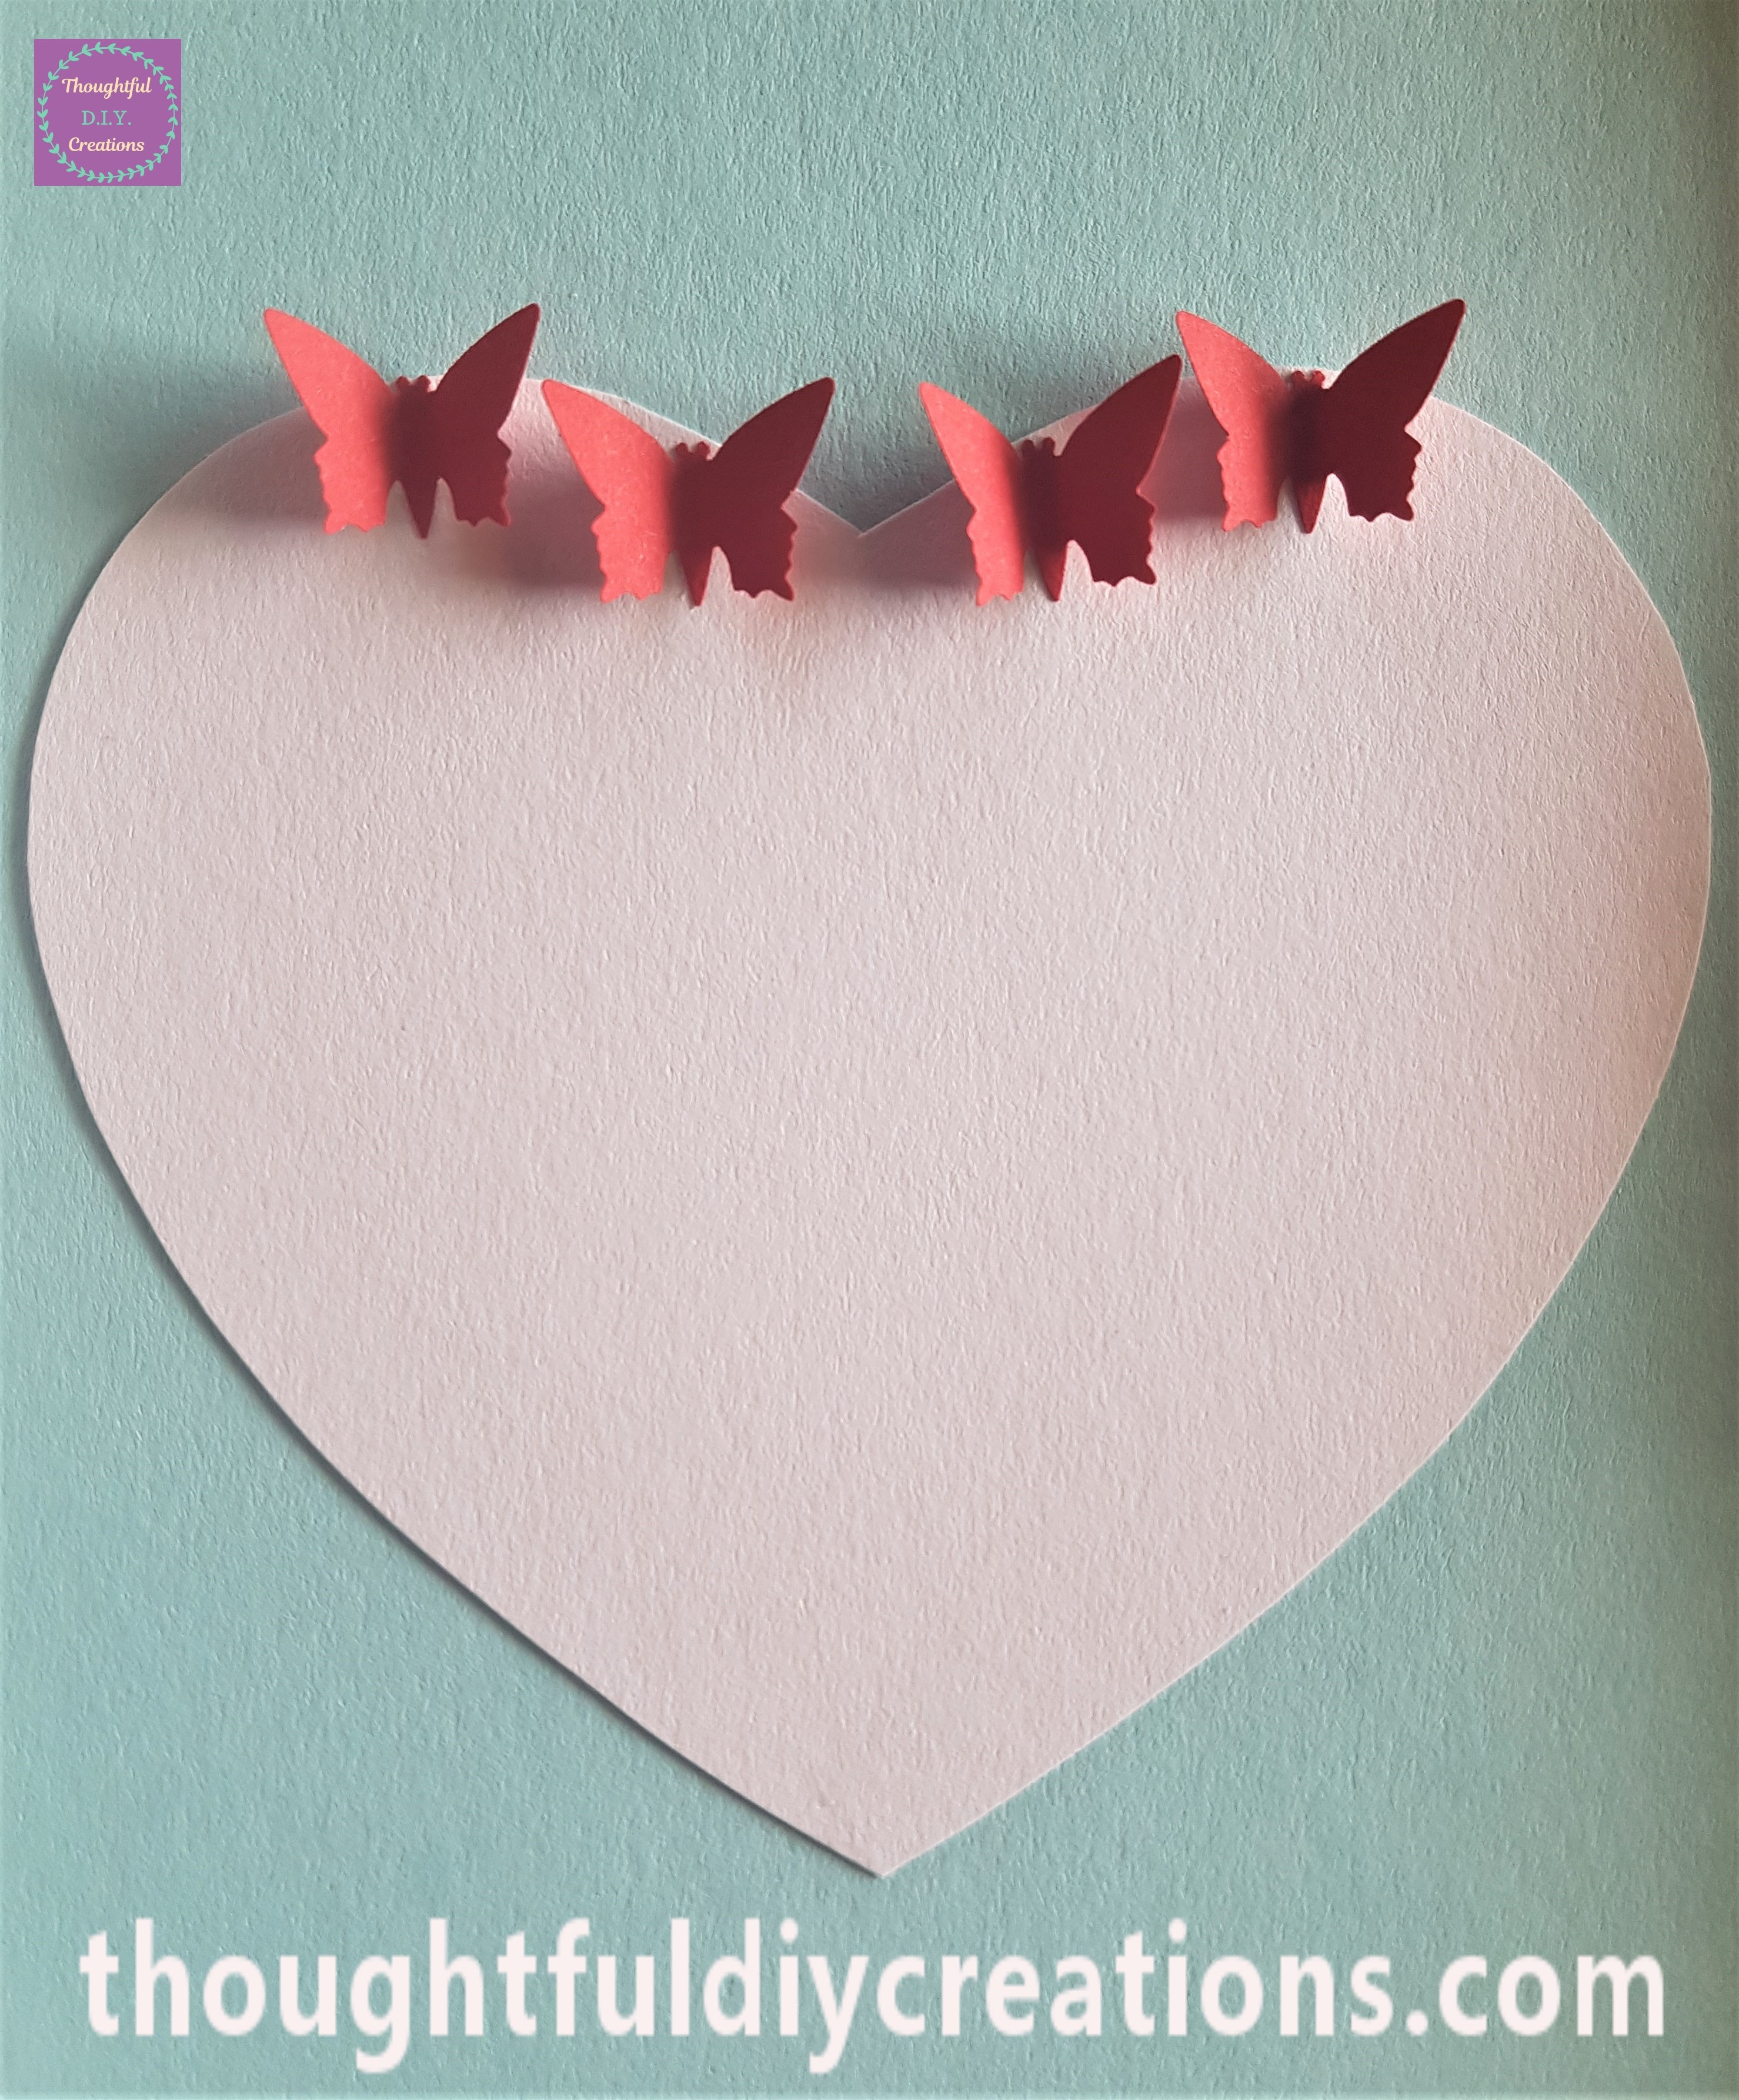
I got a small paintbrush and dipped it into ‘Anita’s Tacky Glue’ and spread it on the back of the mid-section of the butterfly. I didn’t put any glue on the wings. I then placed the butterfly on the top of the heart. I got the end of a thin paintbrush and pressed the mid-section of the butterfly into the heart for a few seconds. I repeated this process with 3 more red butterflies. Anita’s PVA Tacky Glue.
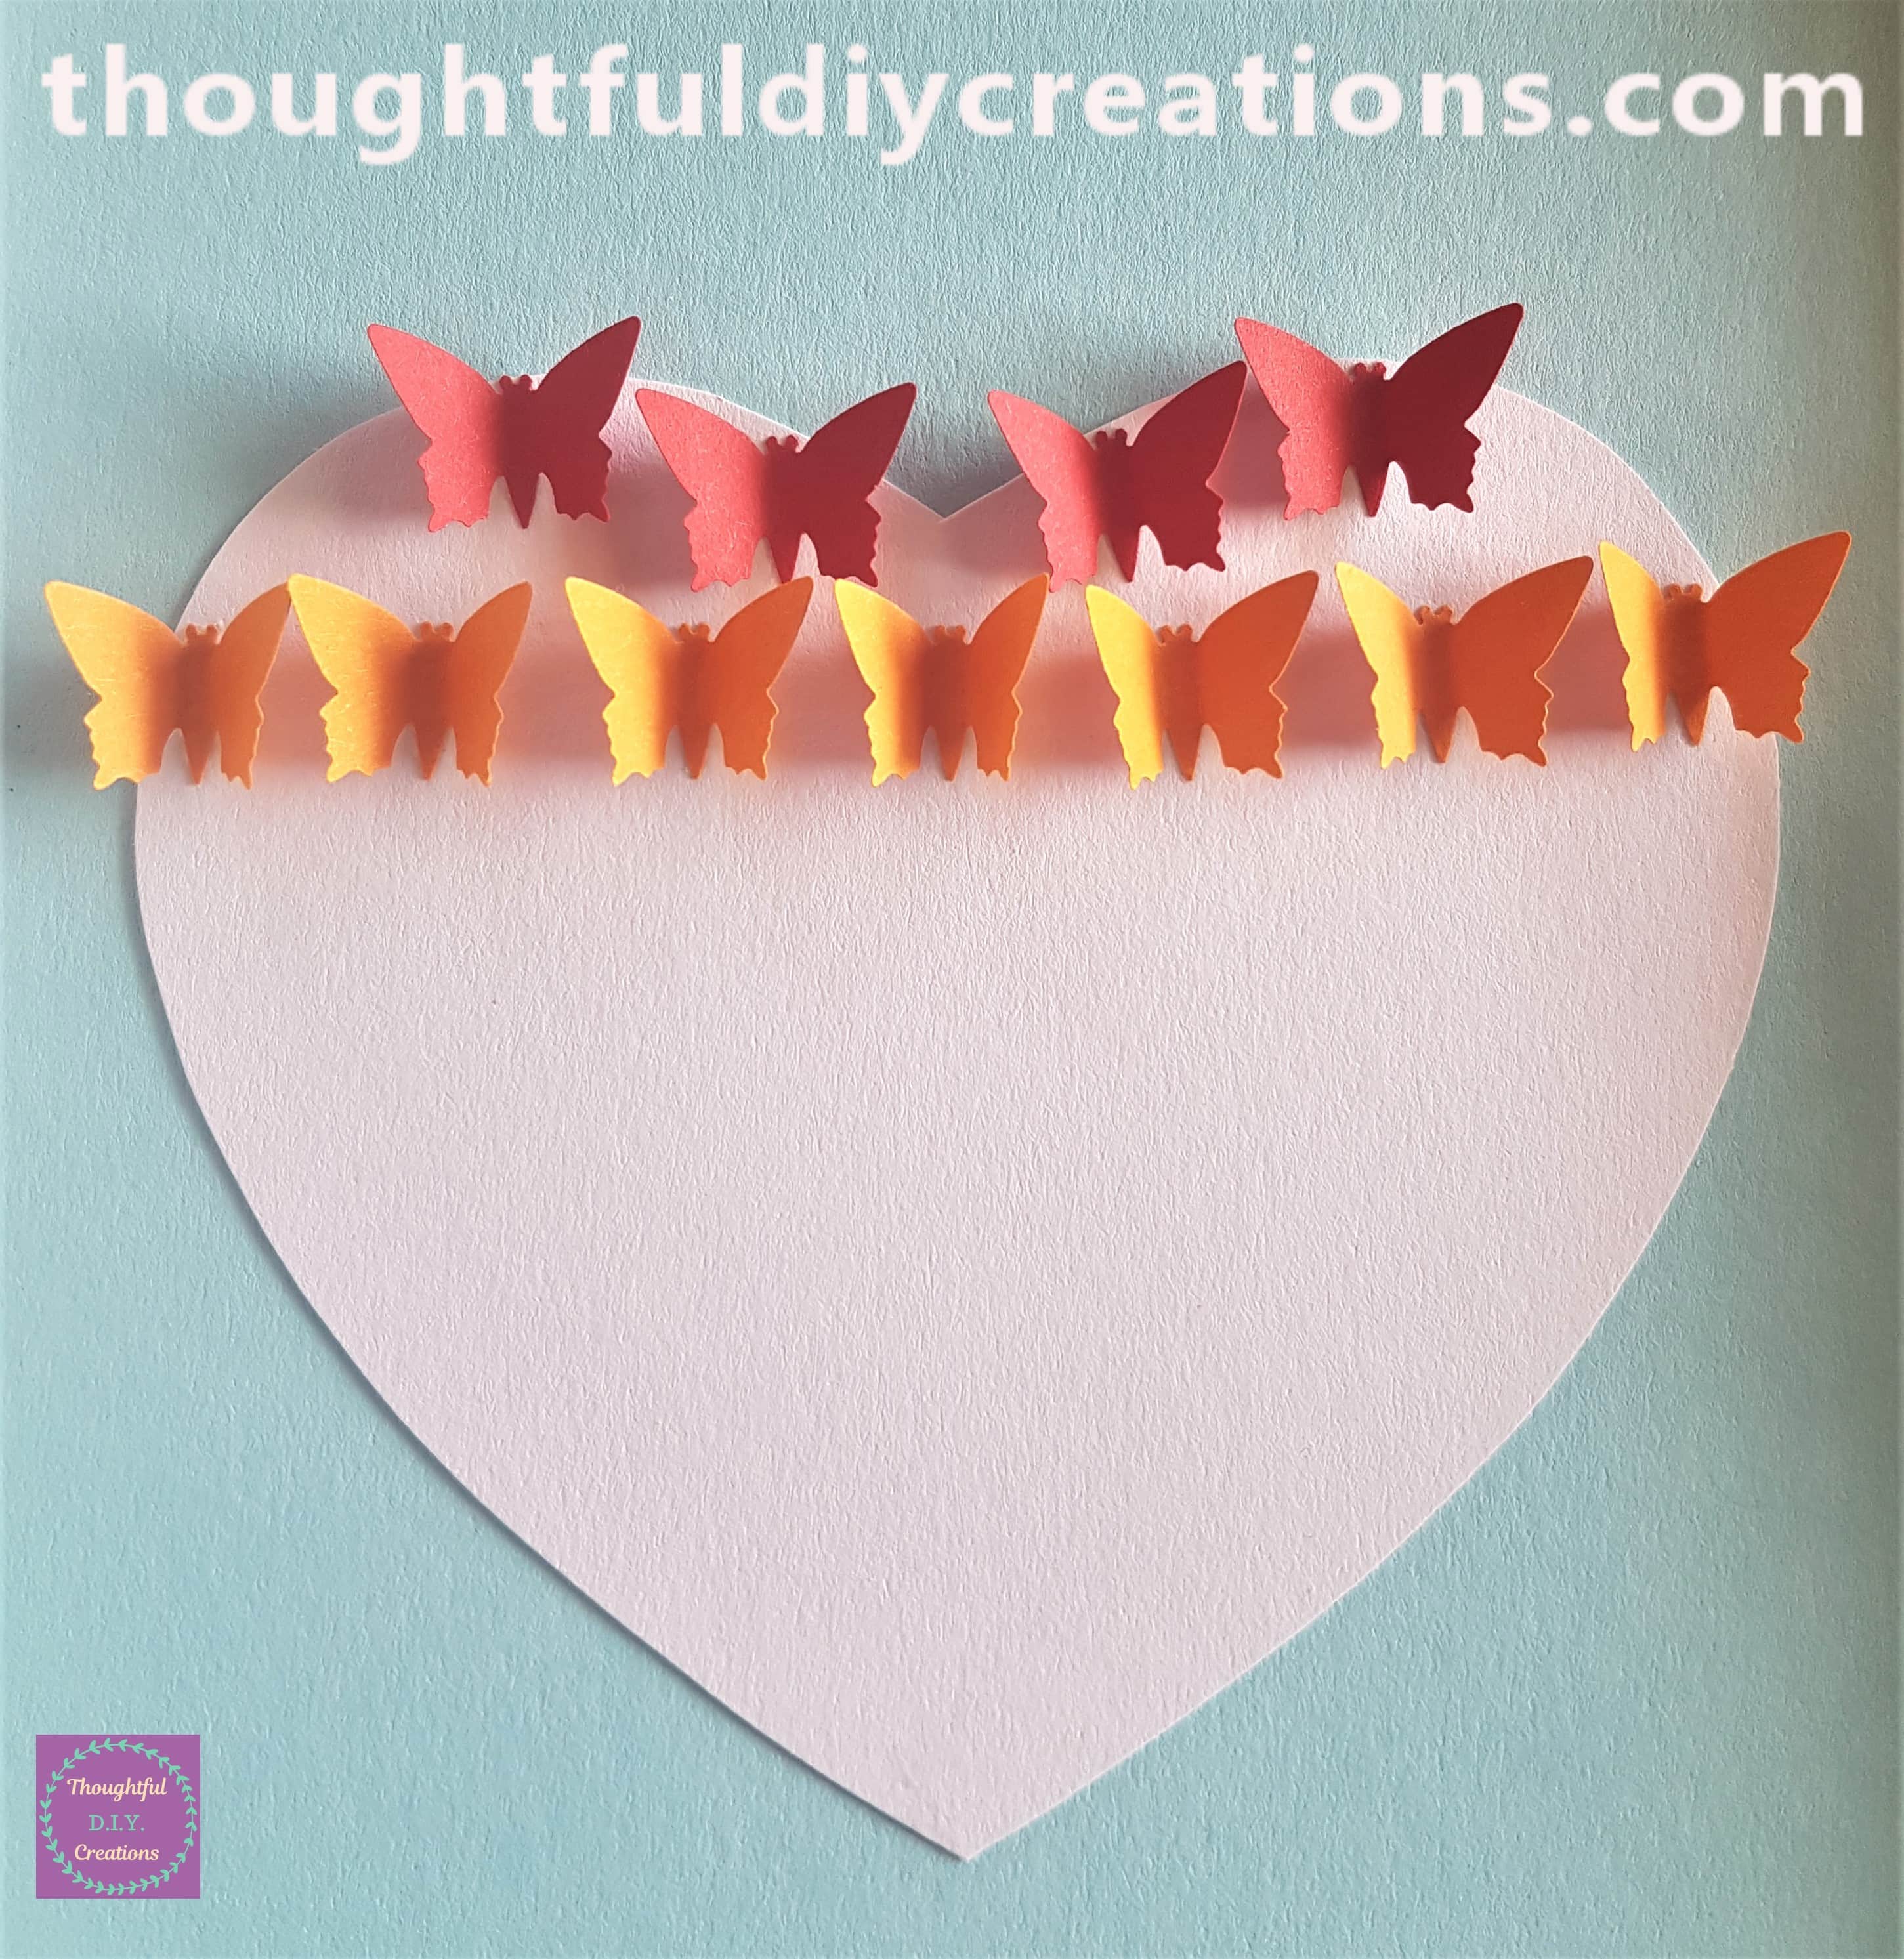
I attached 7 orange butterflies to the heart under the red butterflies.
I added the yellow butterflies next. If there was any glue peeking out on the heart I removed it straight away with a dry paintbrush. Anita’s PVA Tacky Glue.
The green butterflies were glued under the row of yellow butterflies.
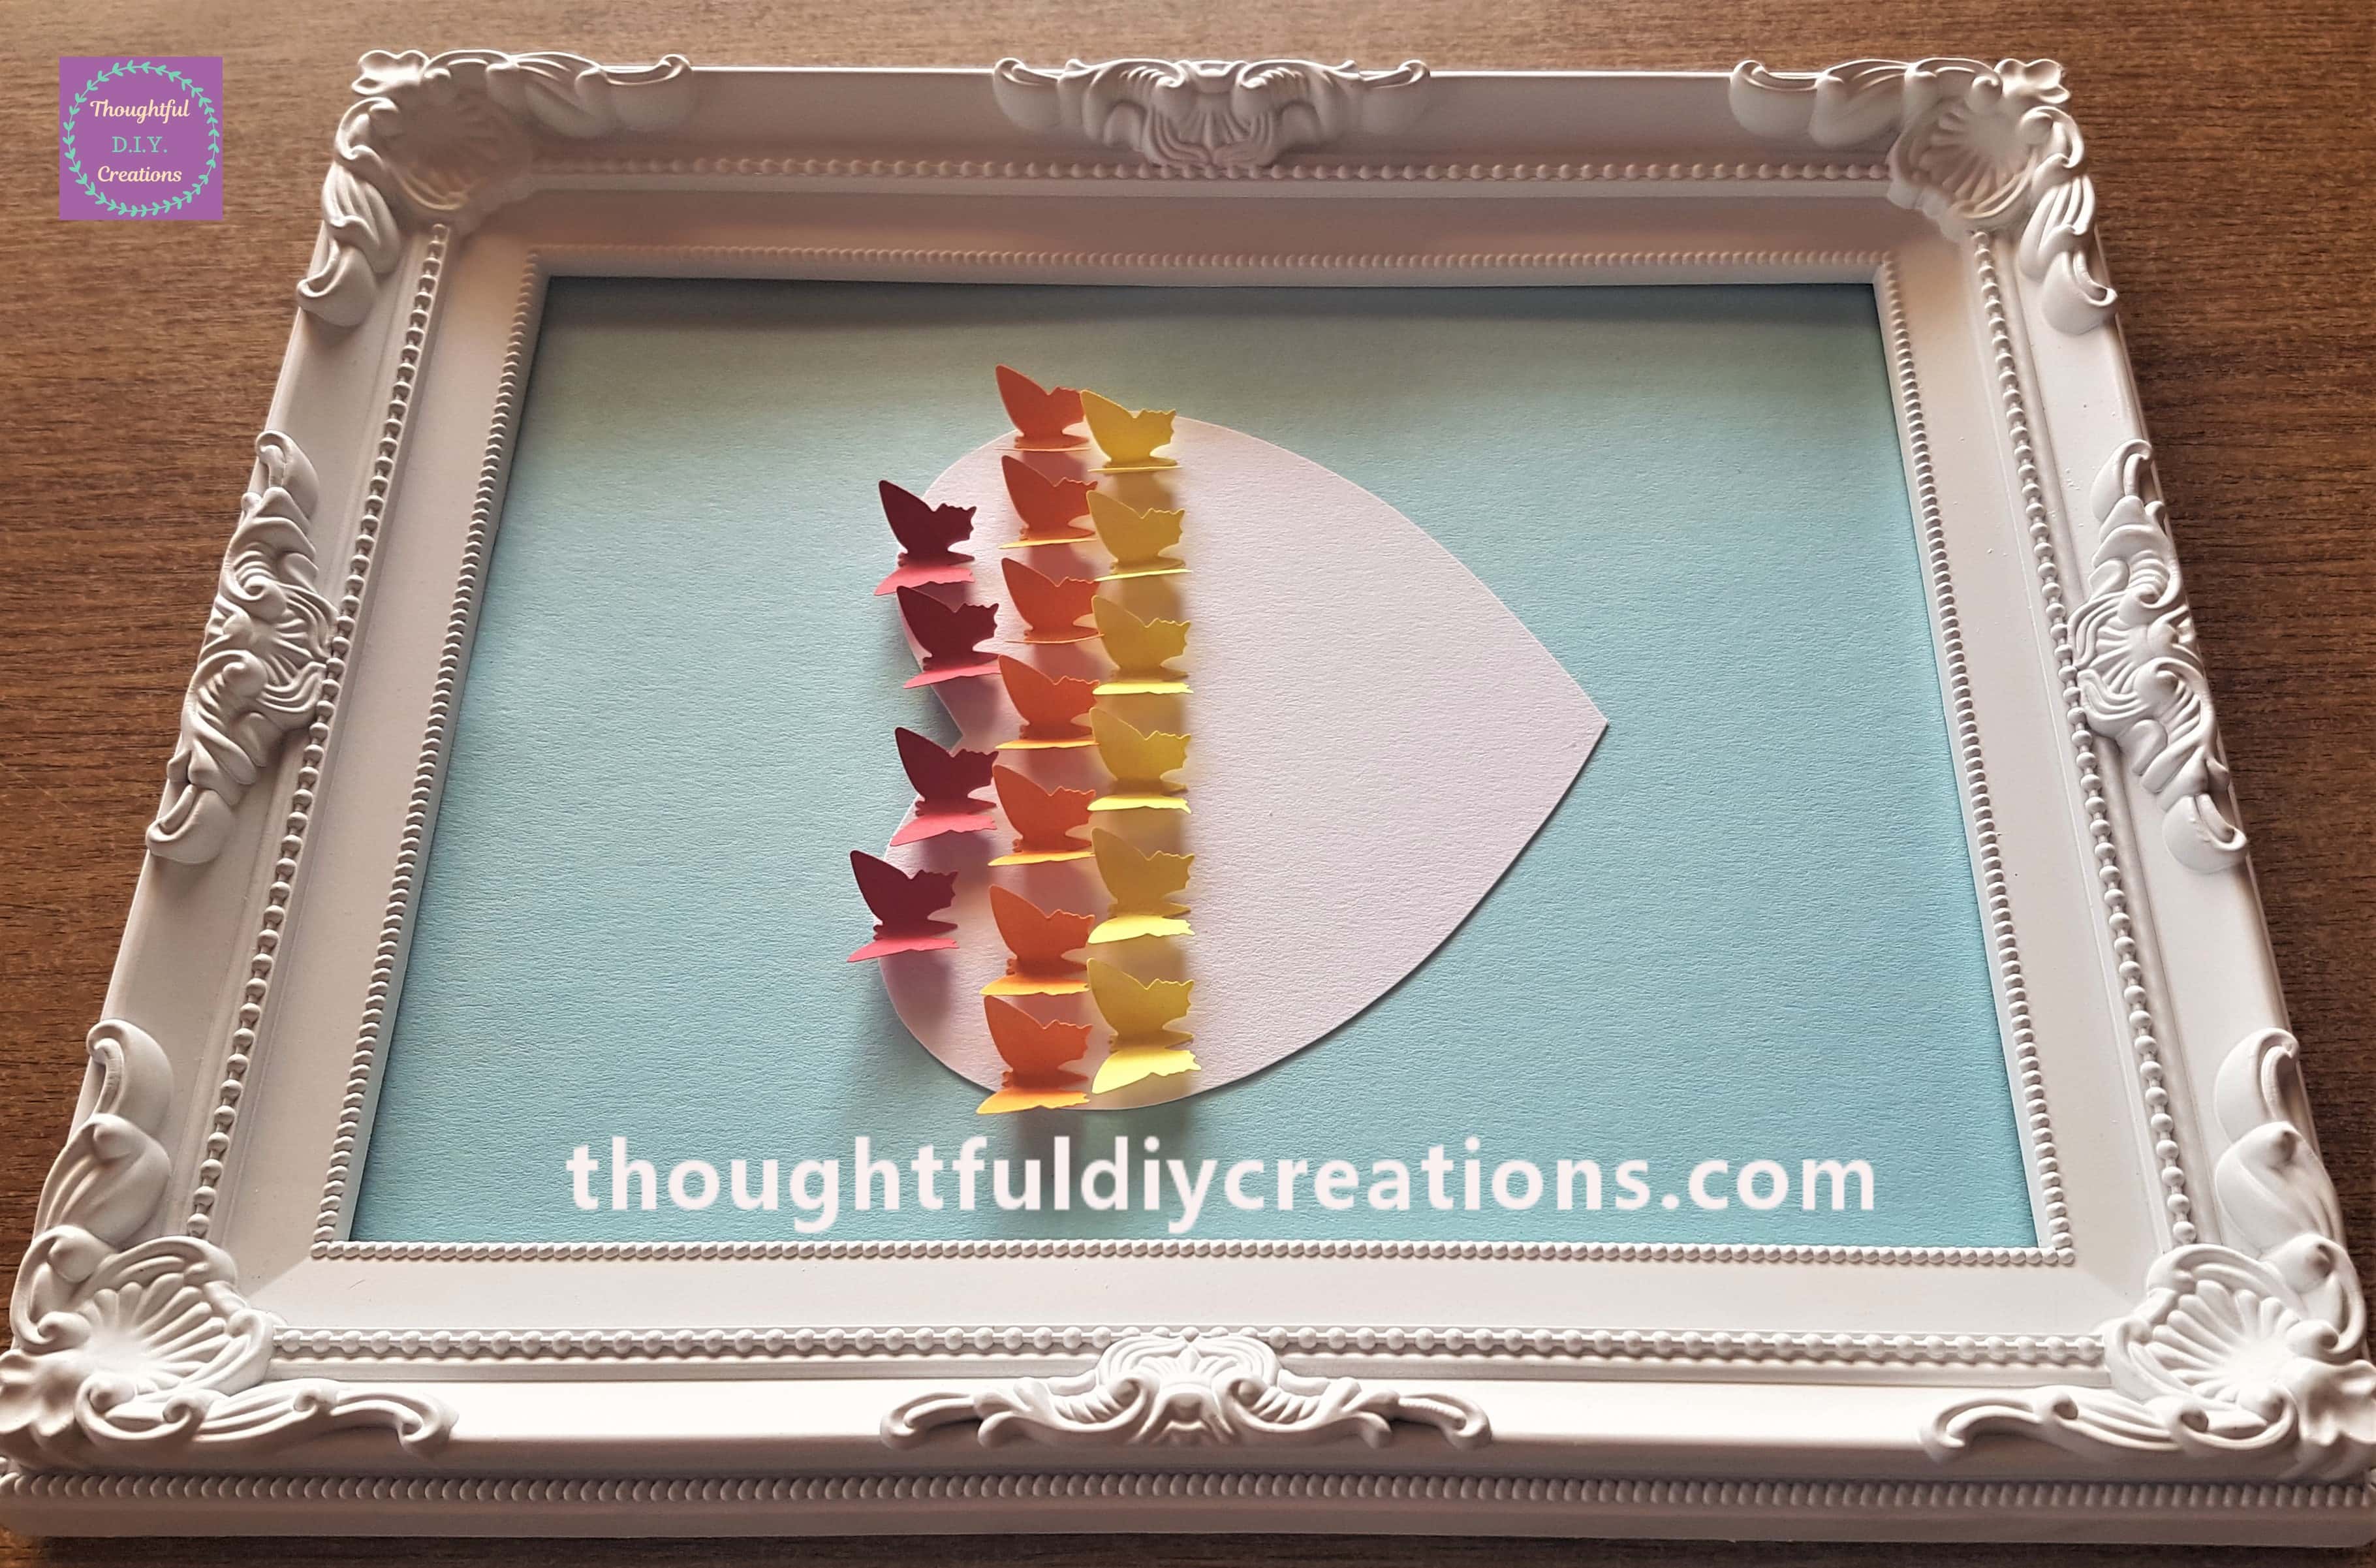
Five blue butterflies were added to the rainbow heart next. Xcut Palm Punch.
This is a side view of the indigo butterflies in the frame. Coloured Paper Pack.
Violet the last colour was added to the bottom of the heart.
Finishing the Rainbow Butterfly Heart Frame
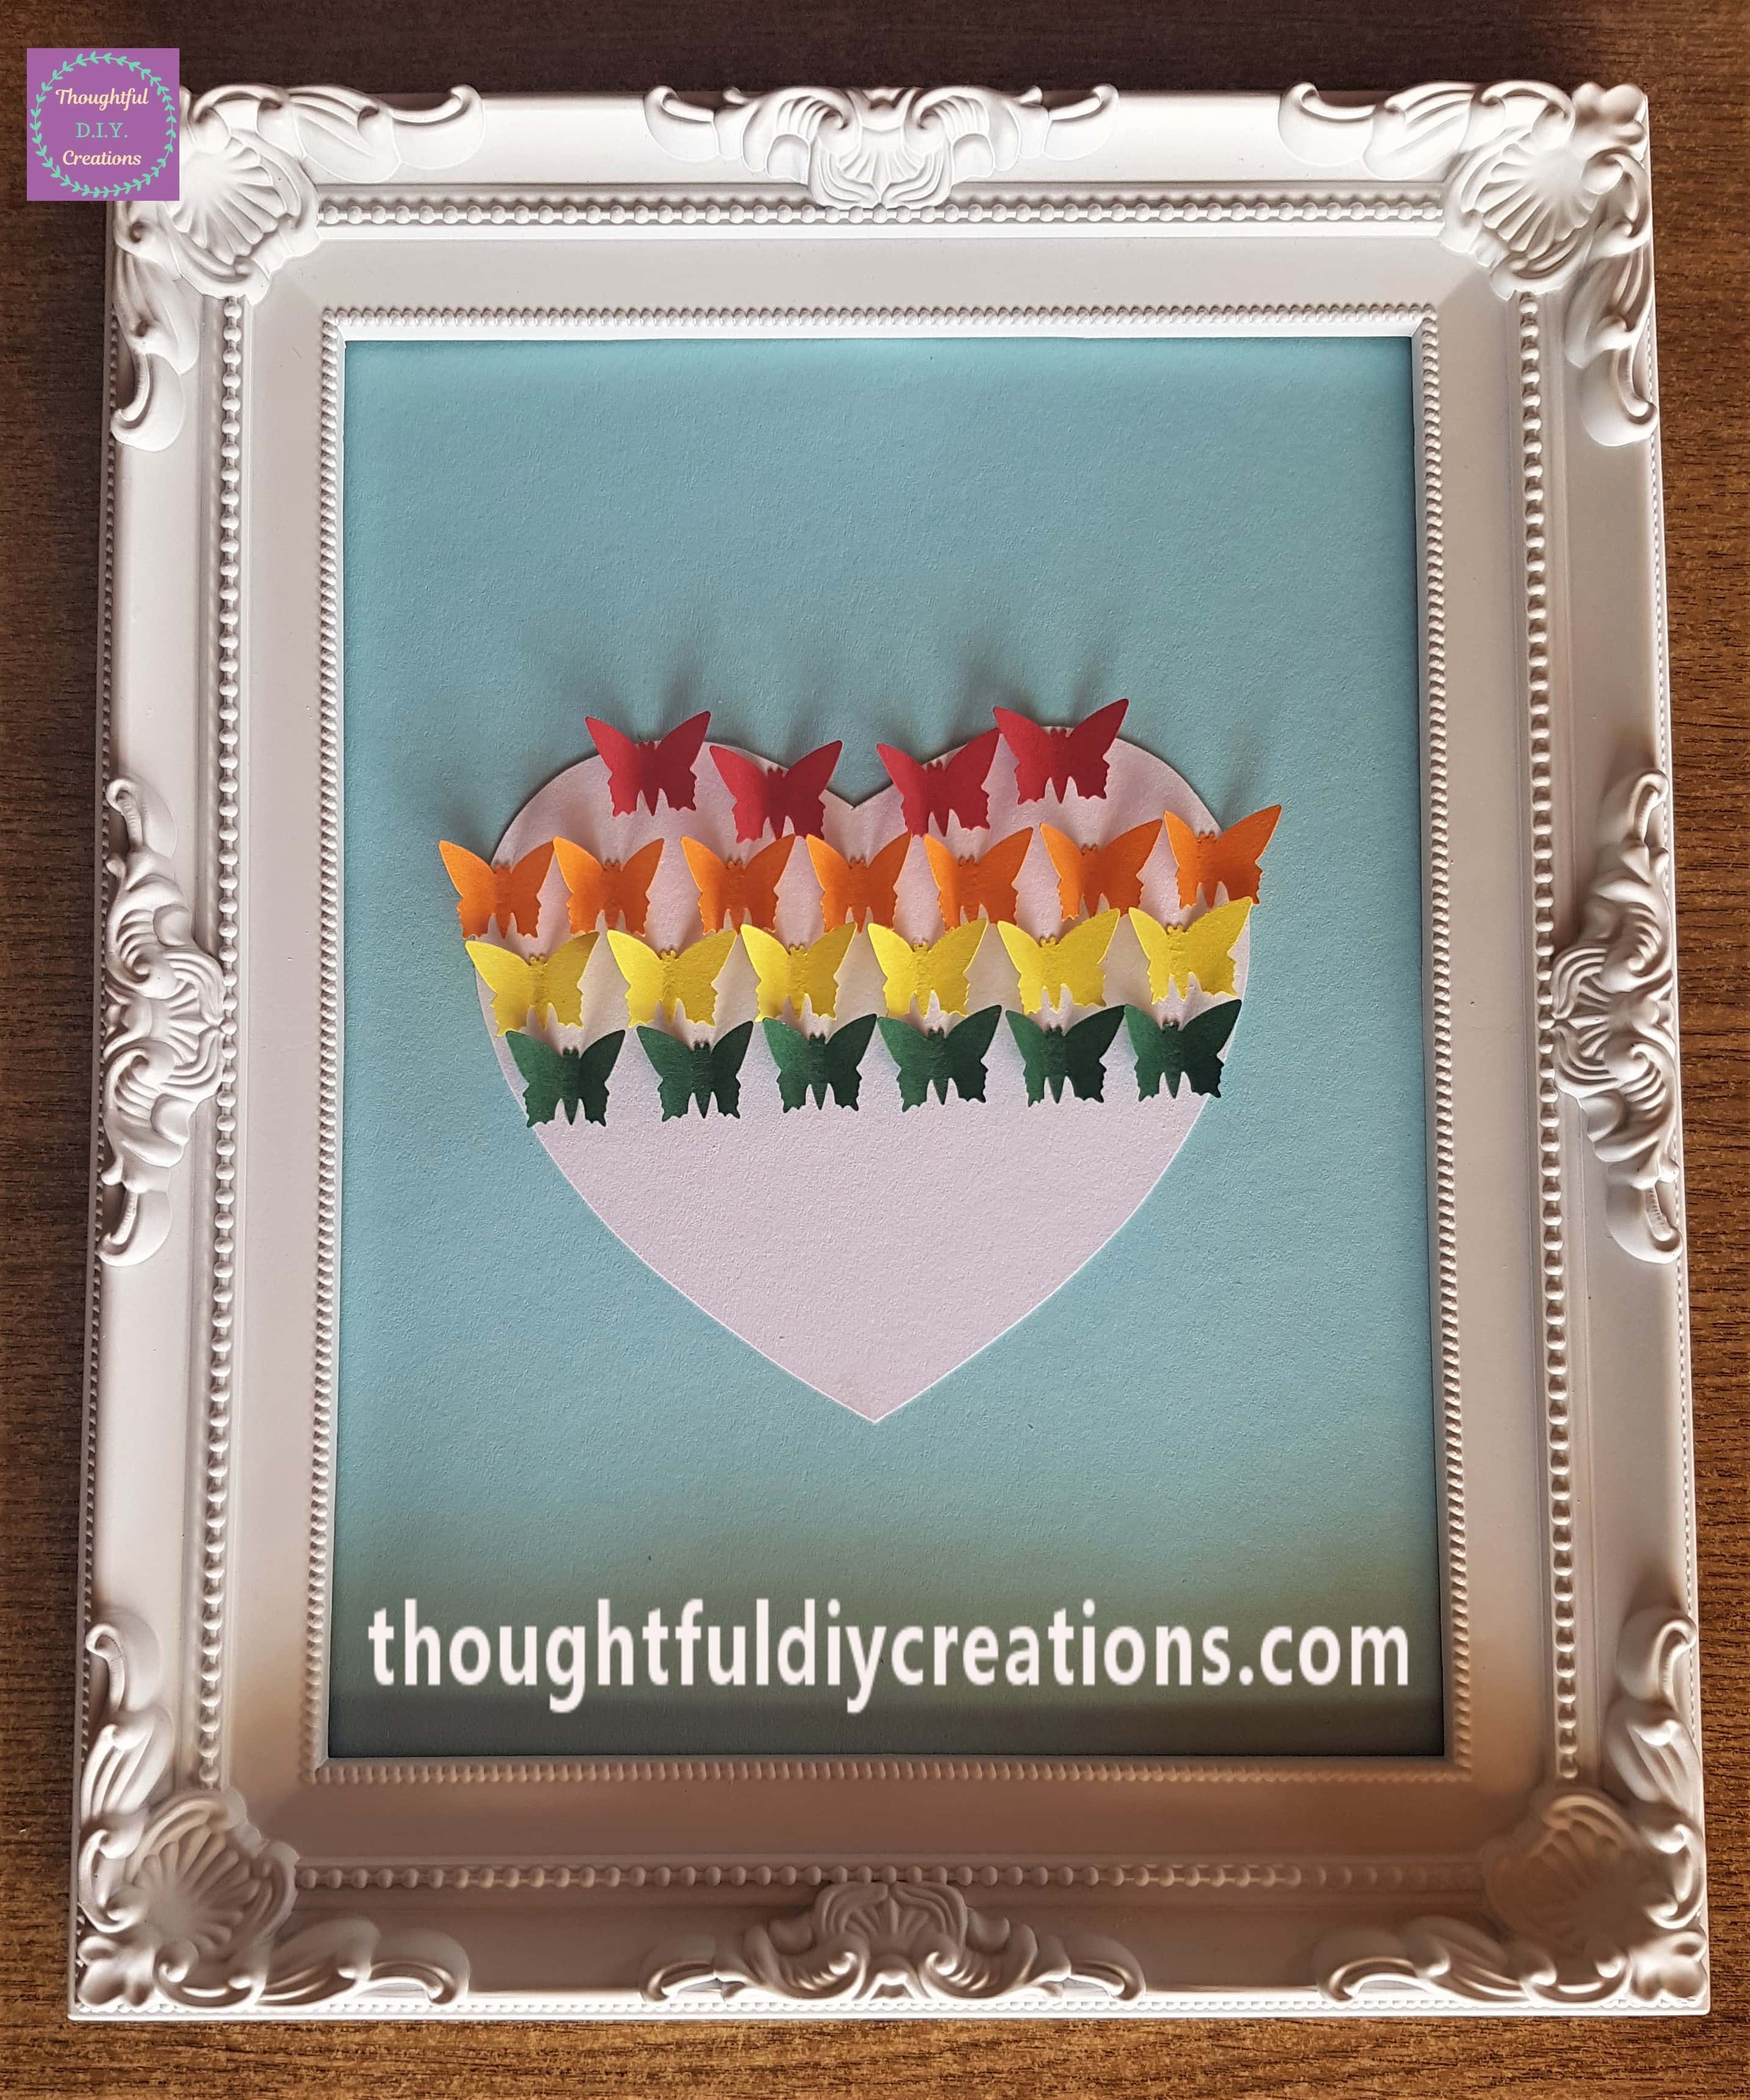
I thought there was a bit too much white space on the heart so I added 2 more red butterflies to the top of the heart and 2 more violet butterflies to the bottom of the heart. Anita’s PVA Tacky Glue.
A side view of the rainbow butterfly heart.
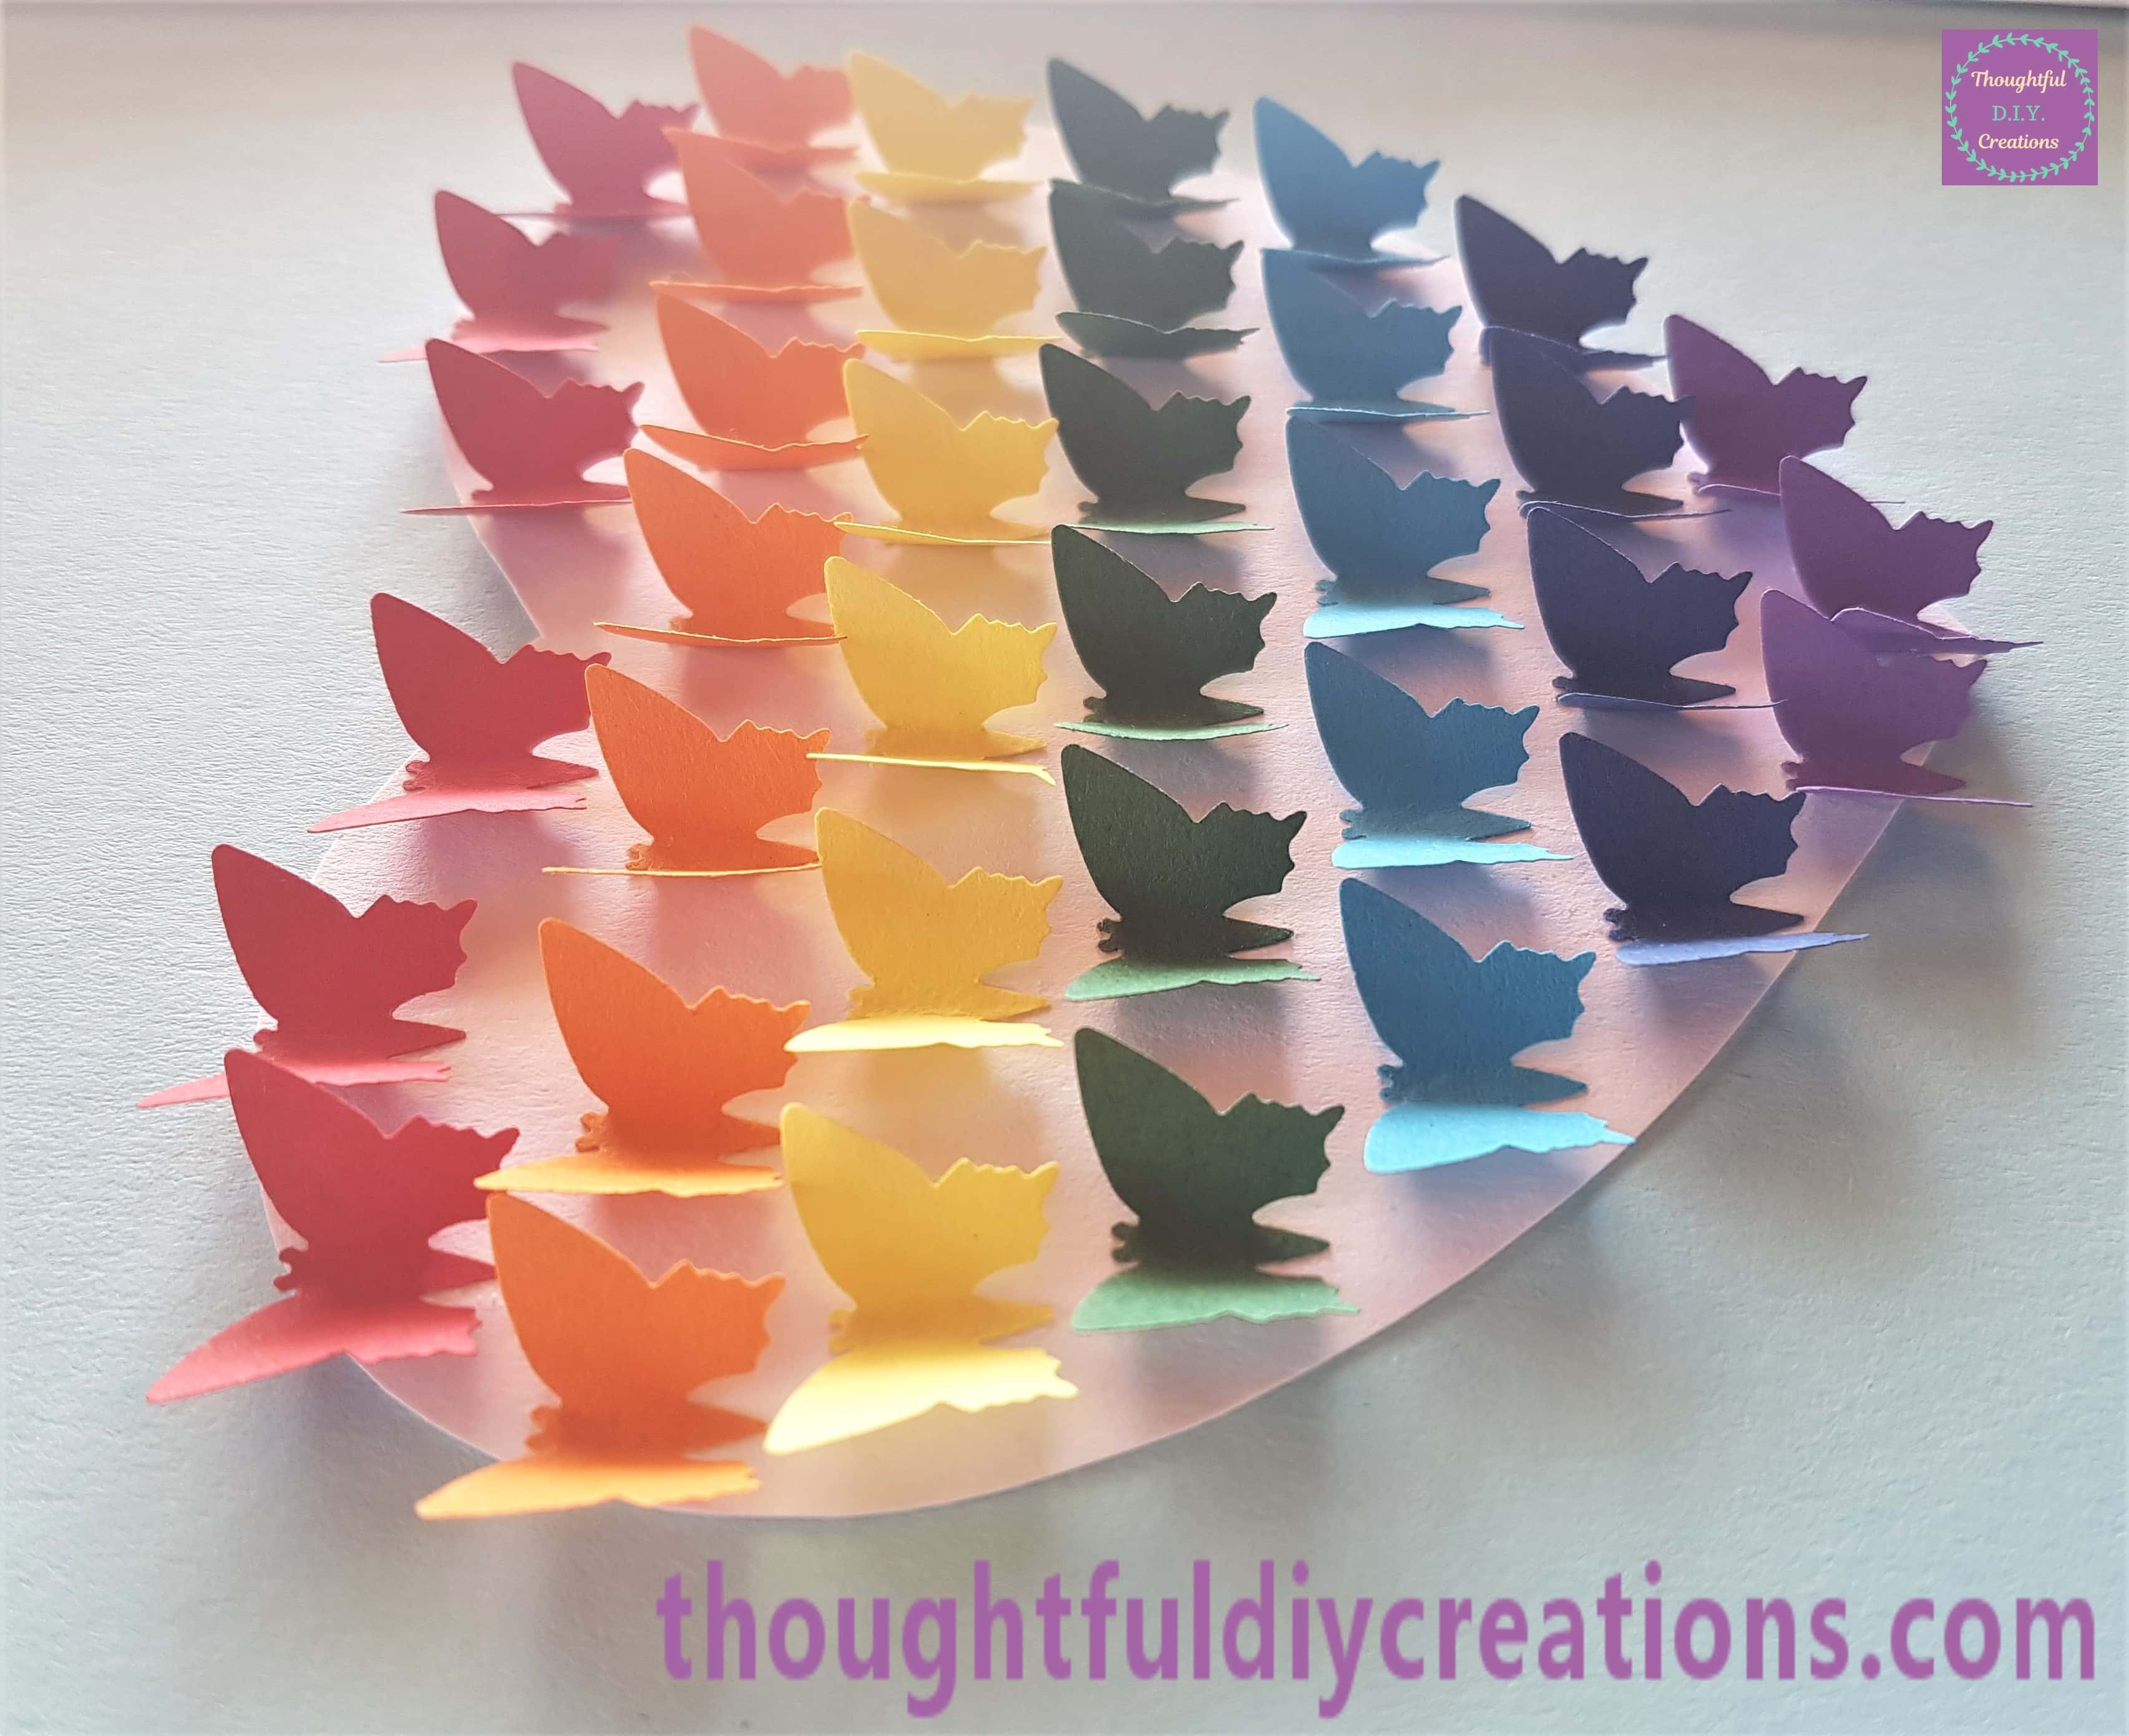
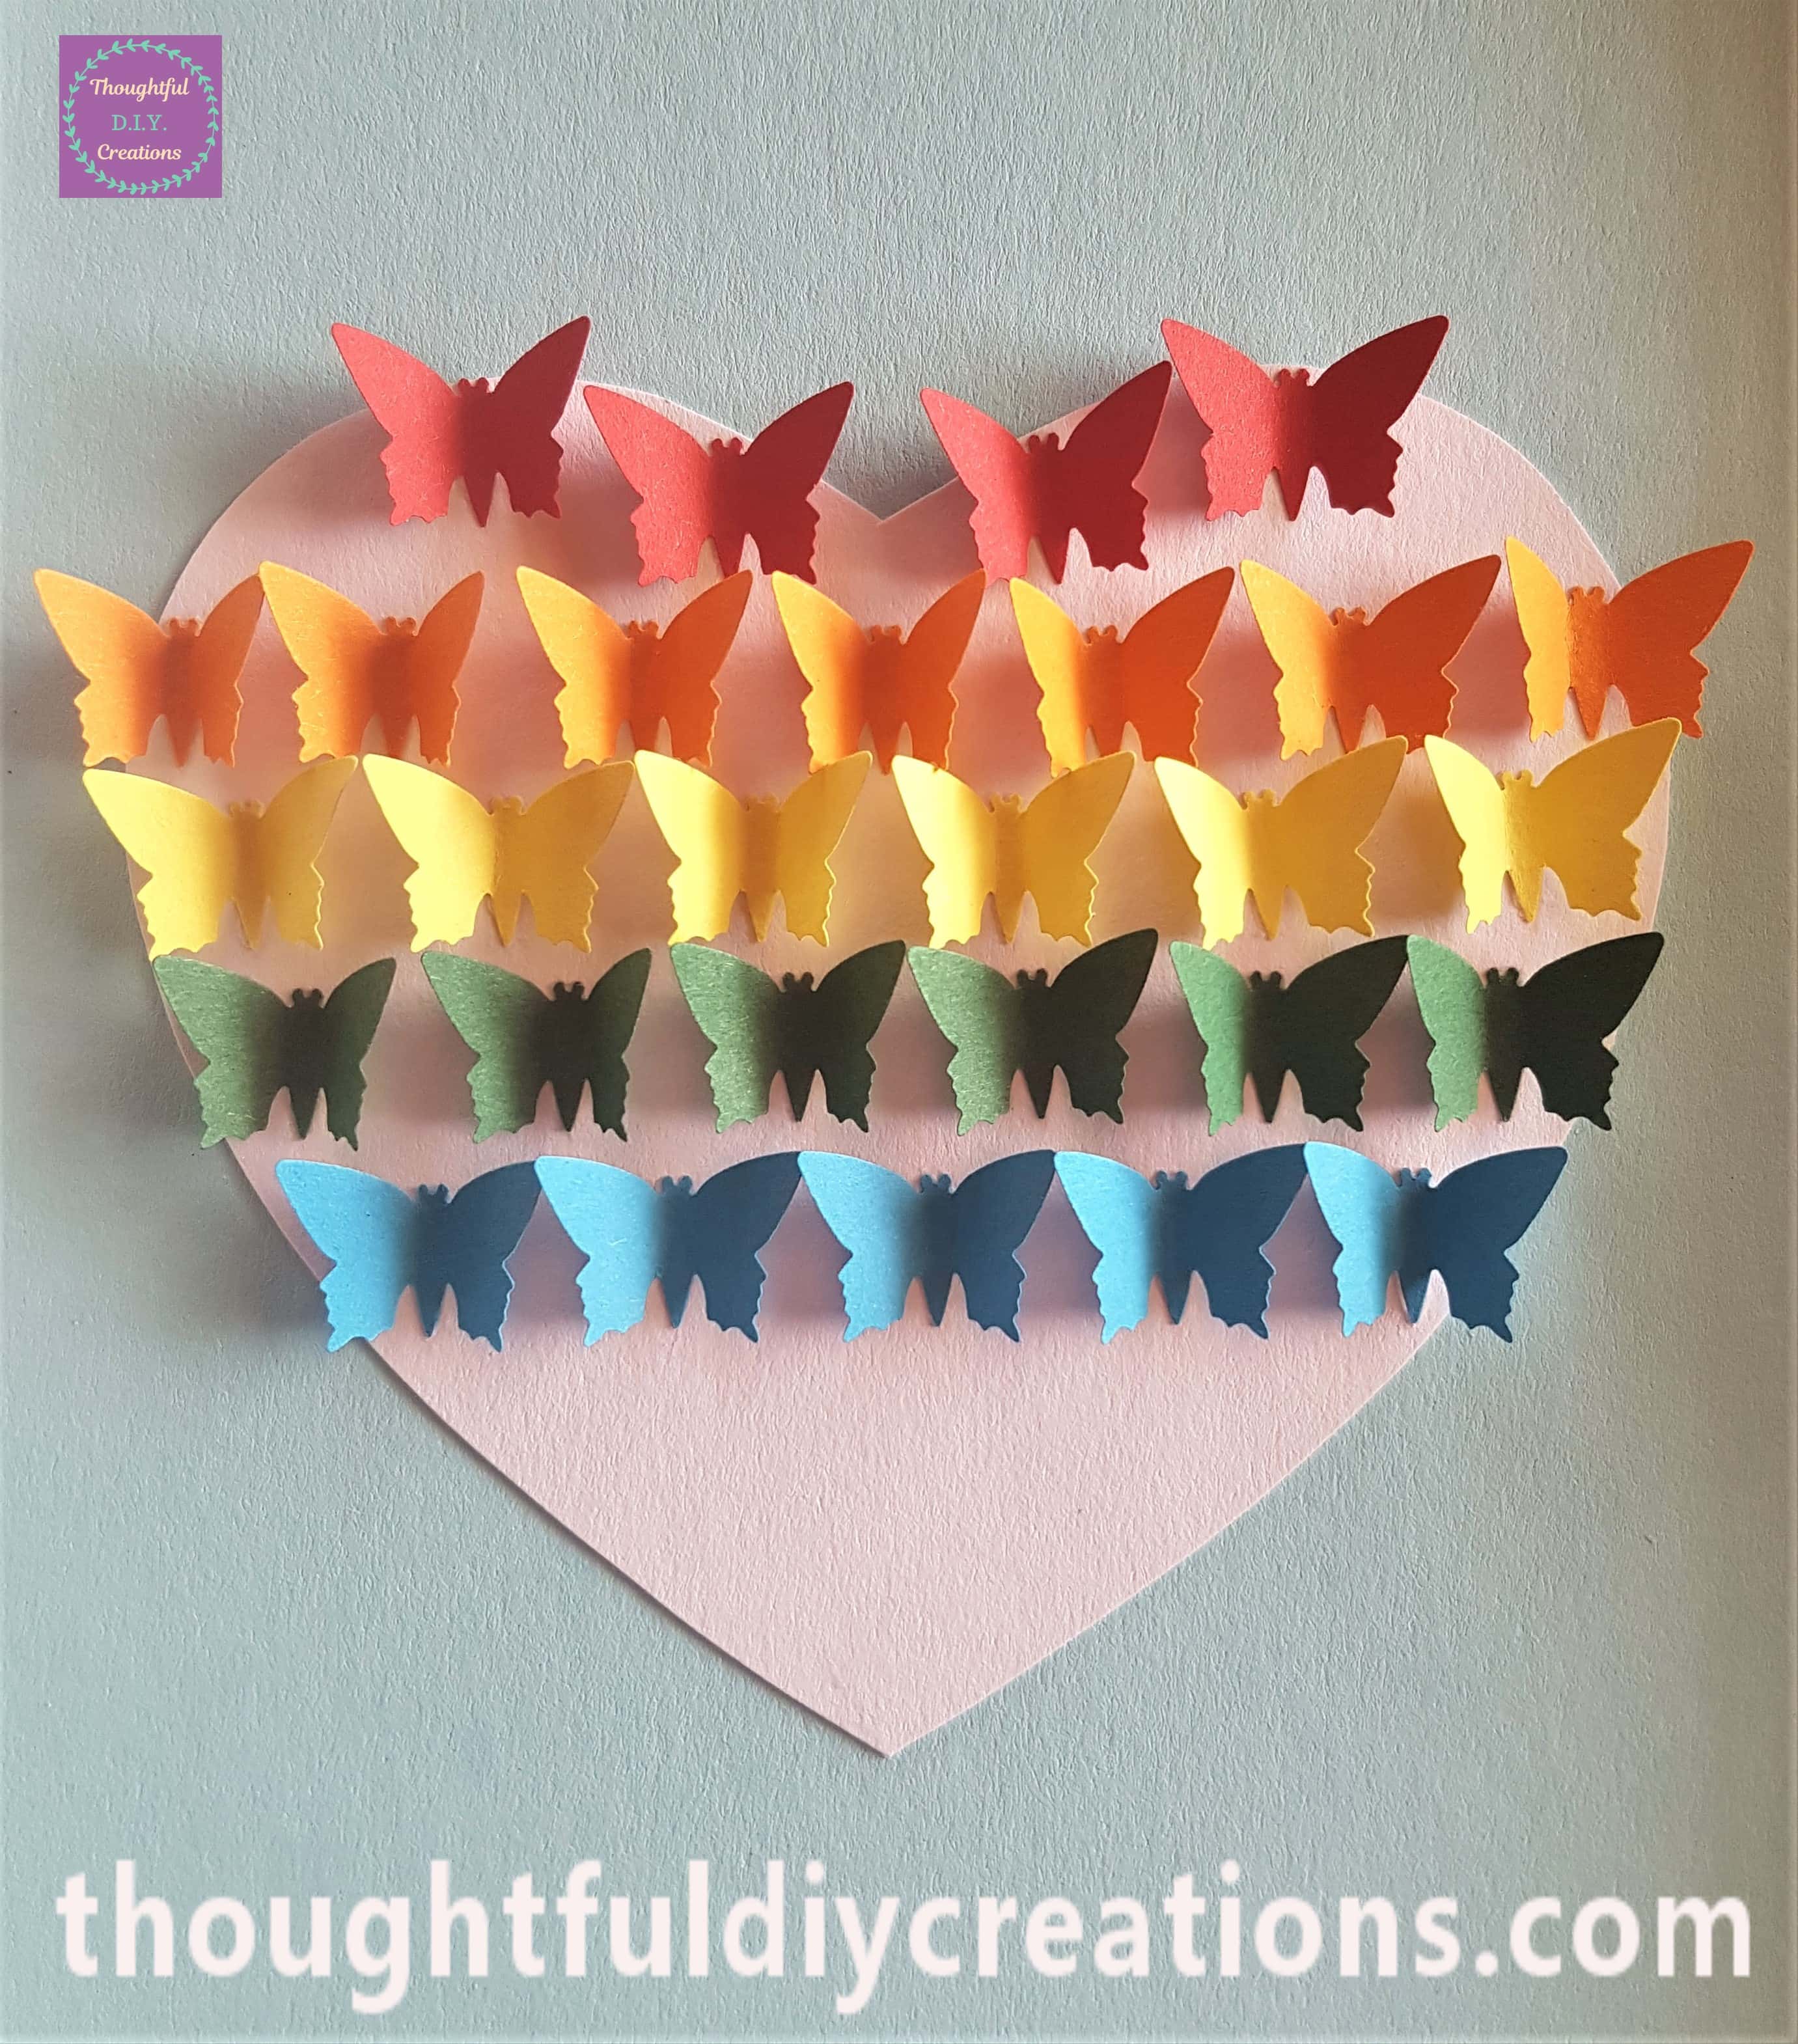
Another view of the 3-D butterflies.
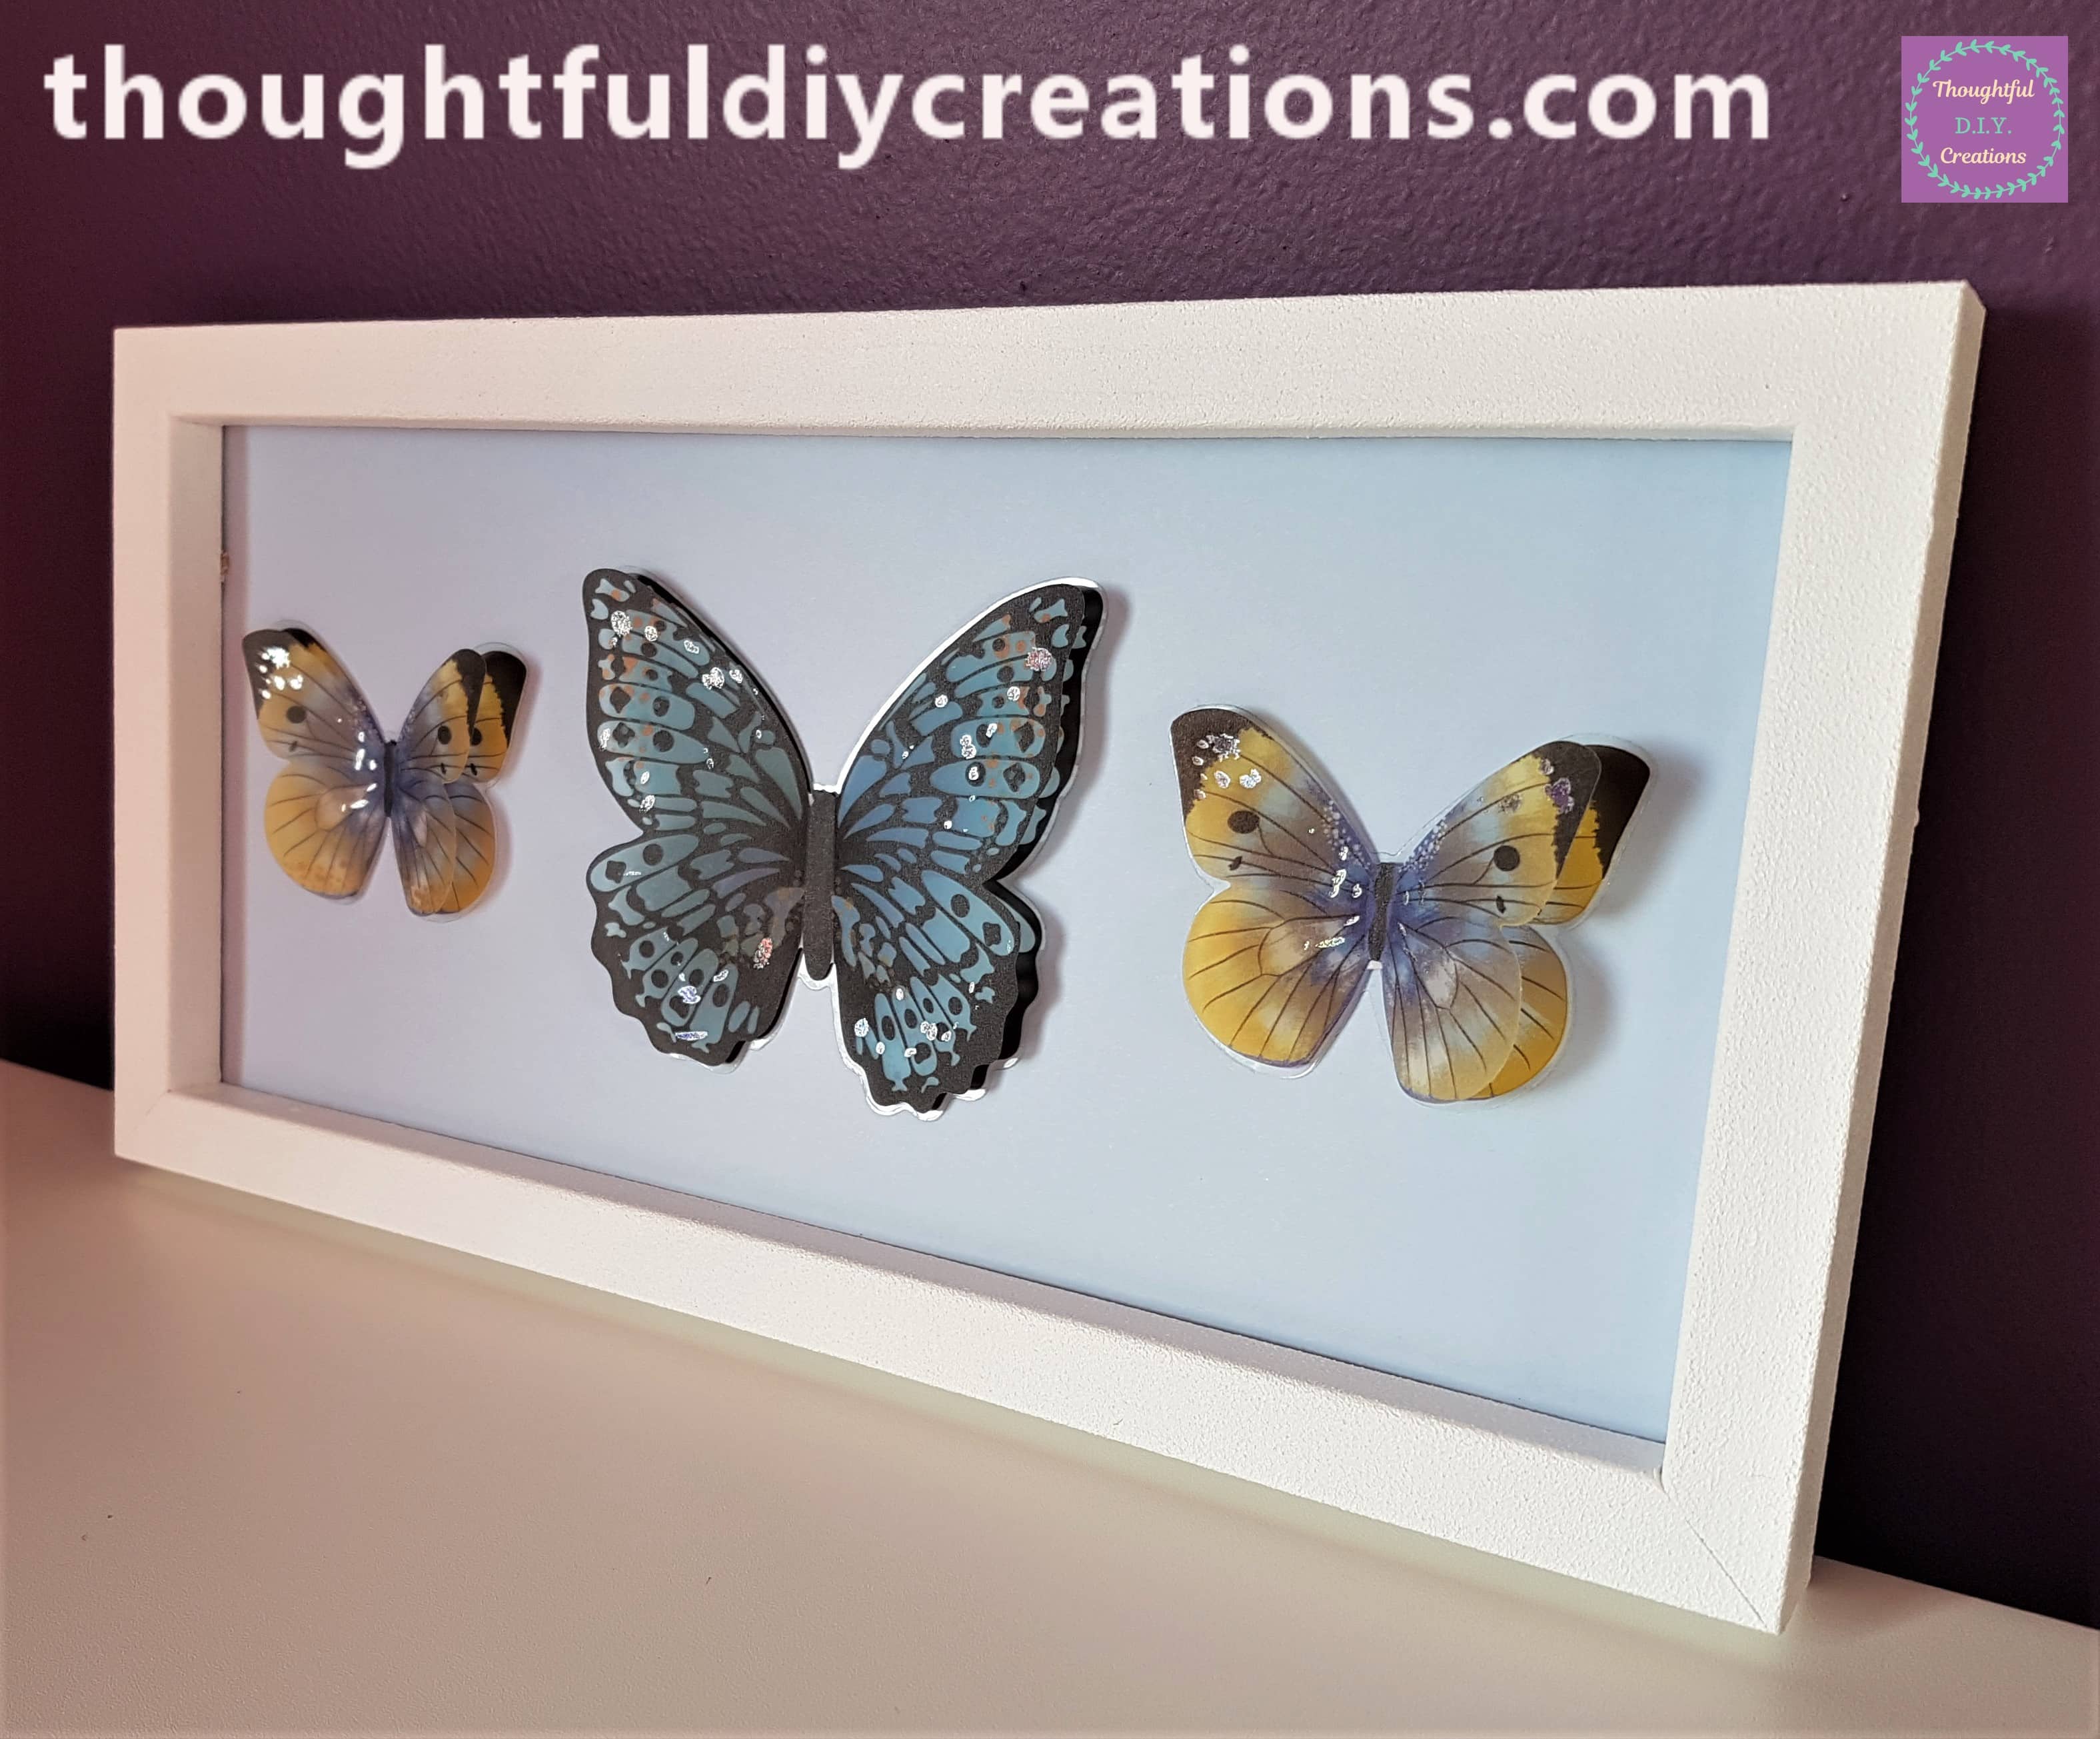
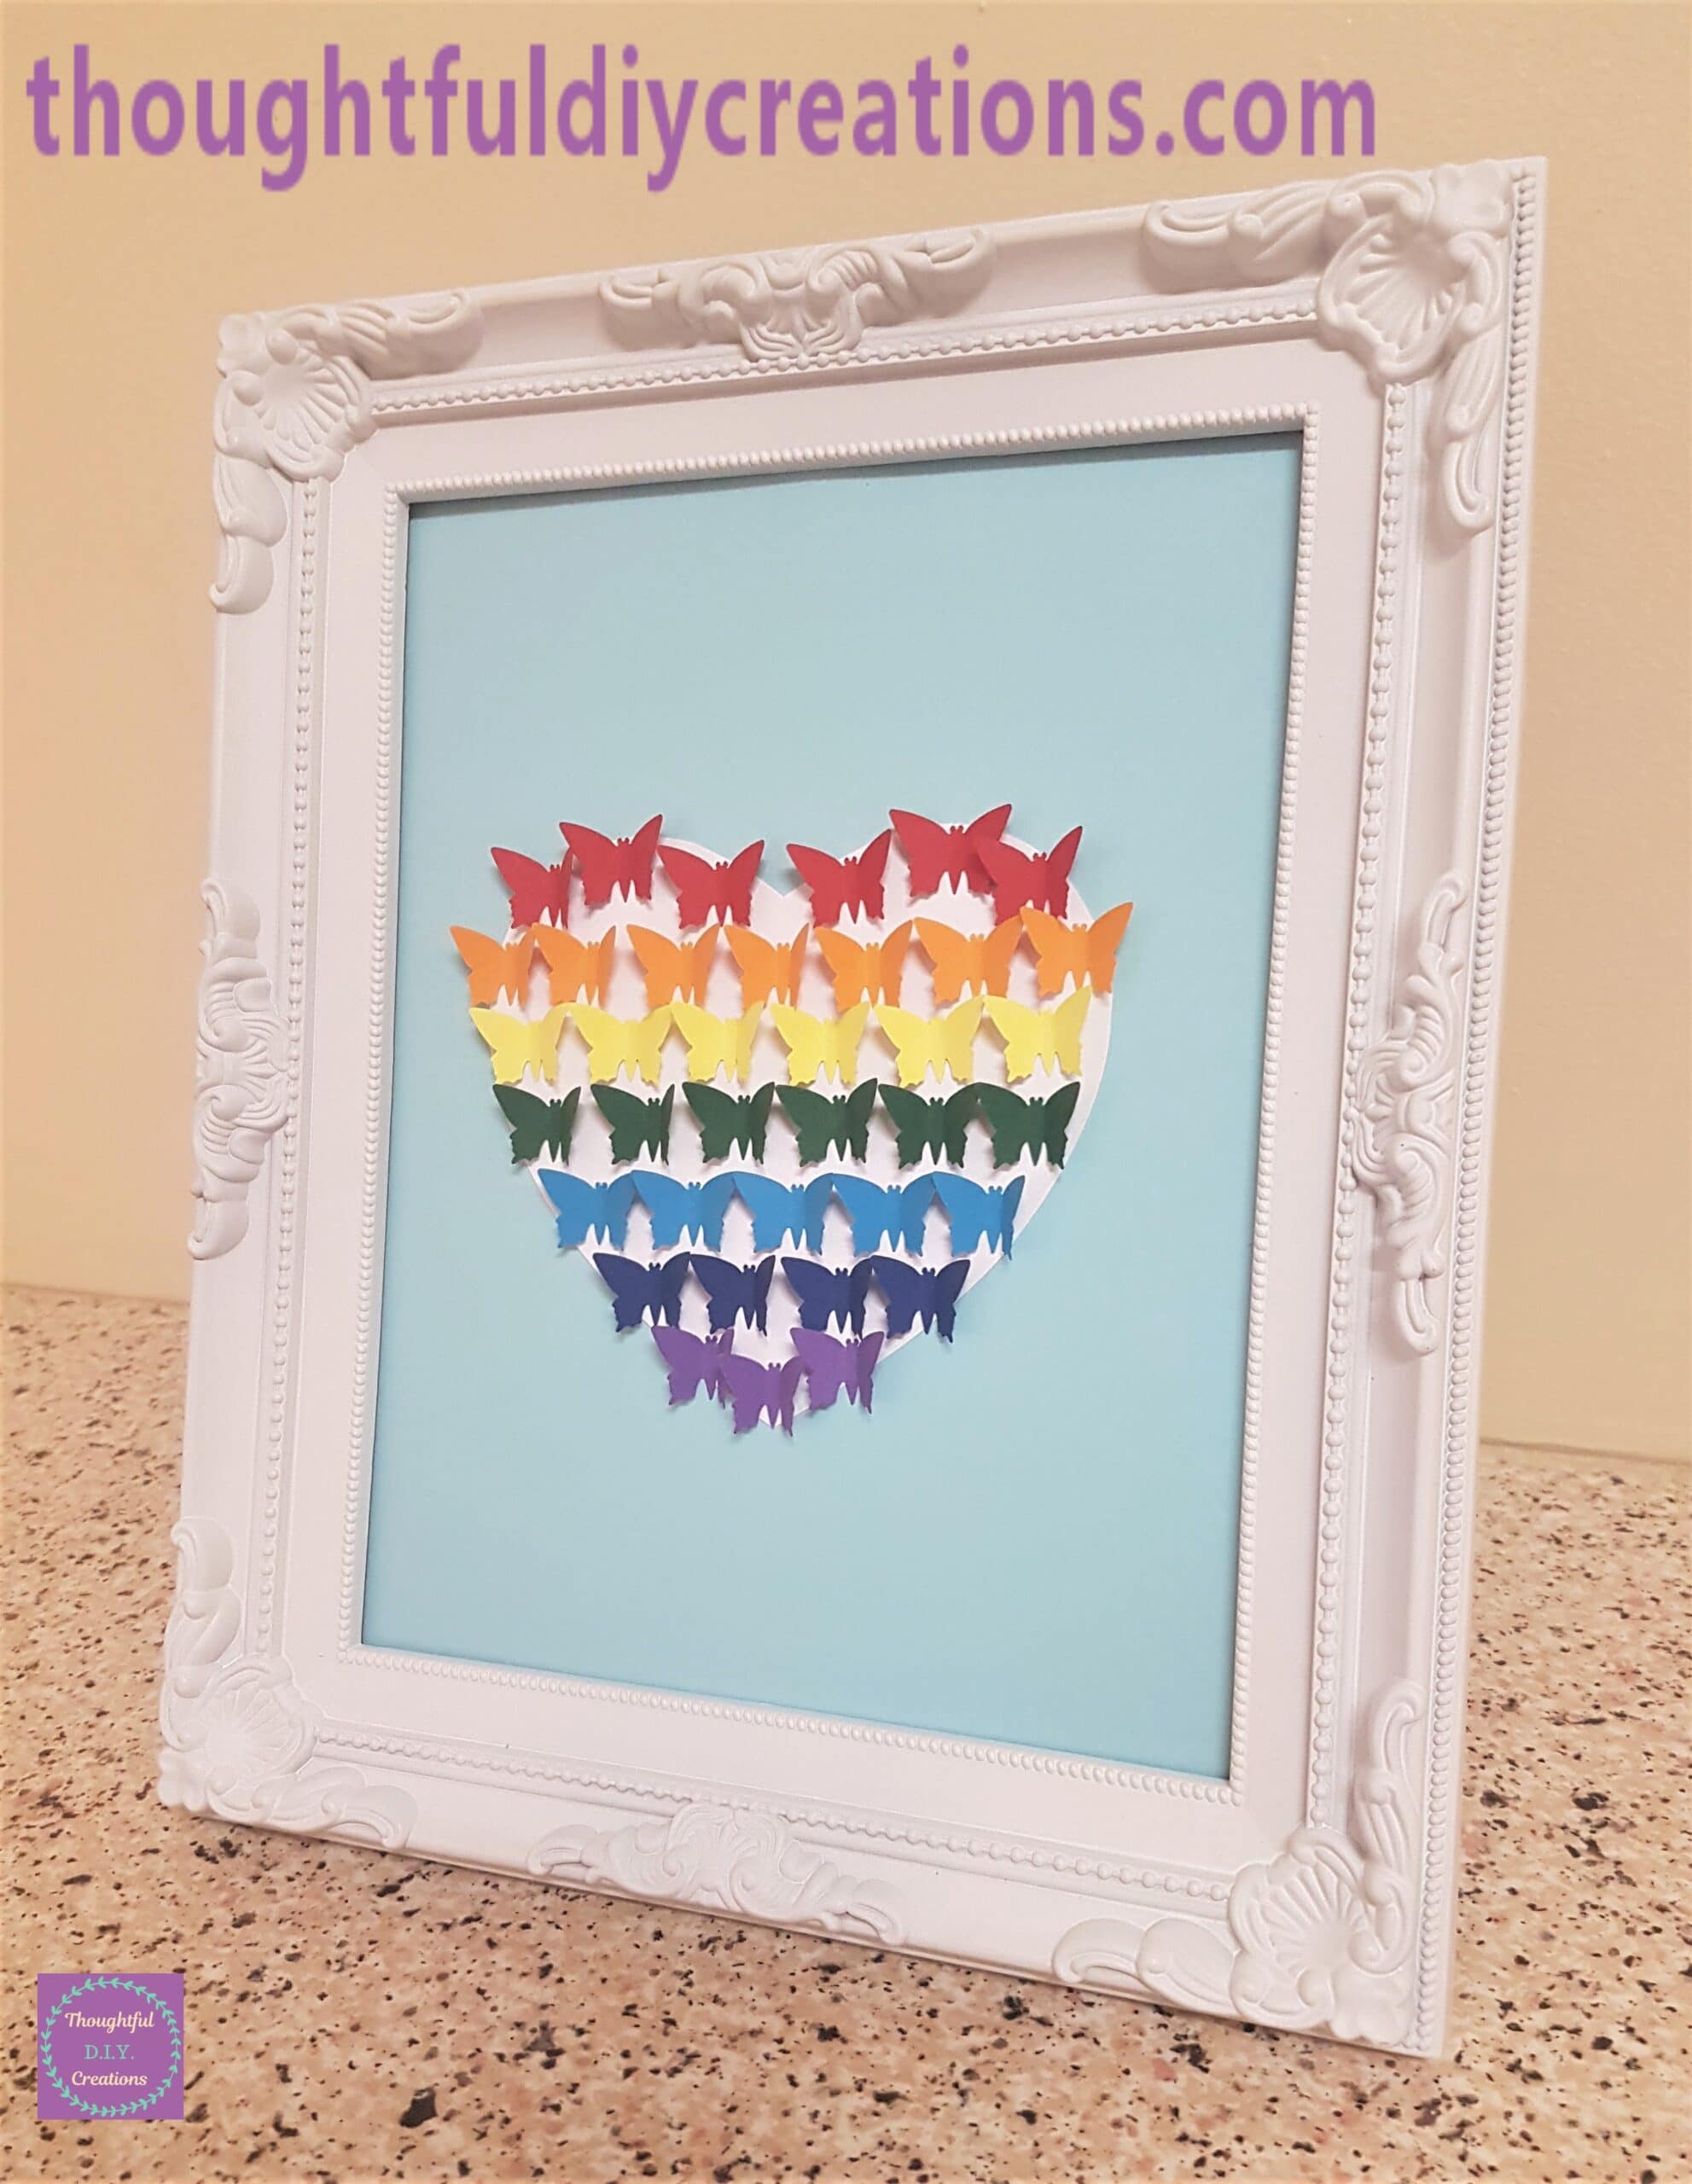
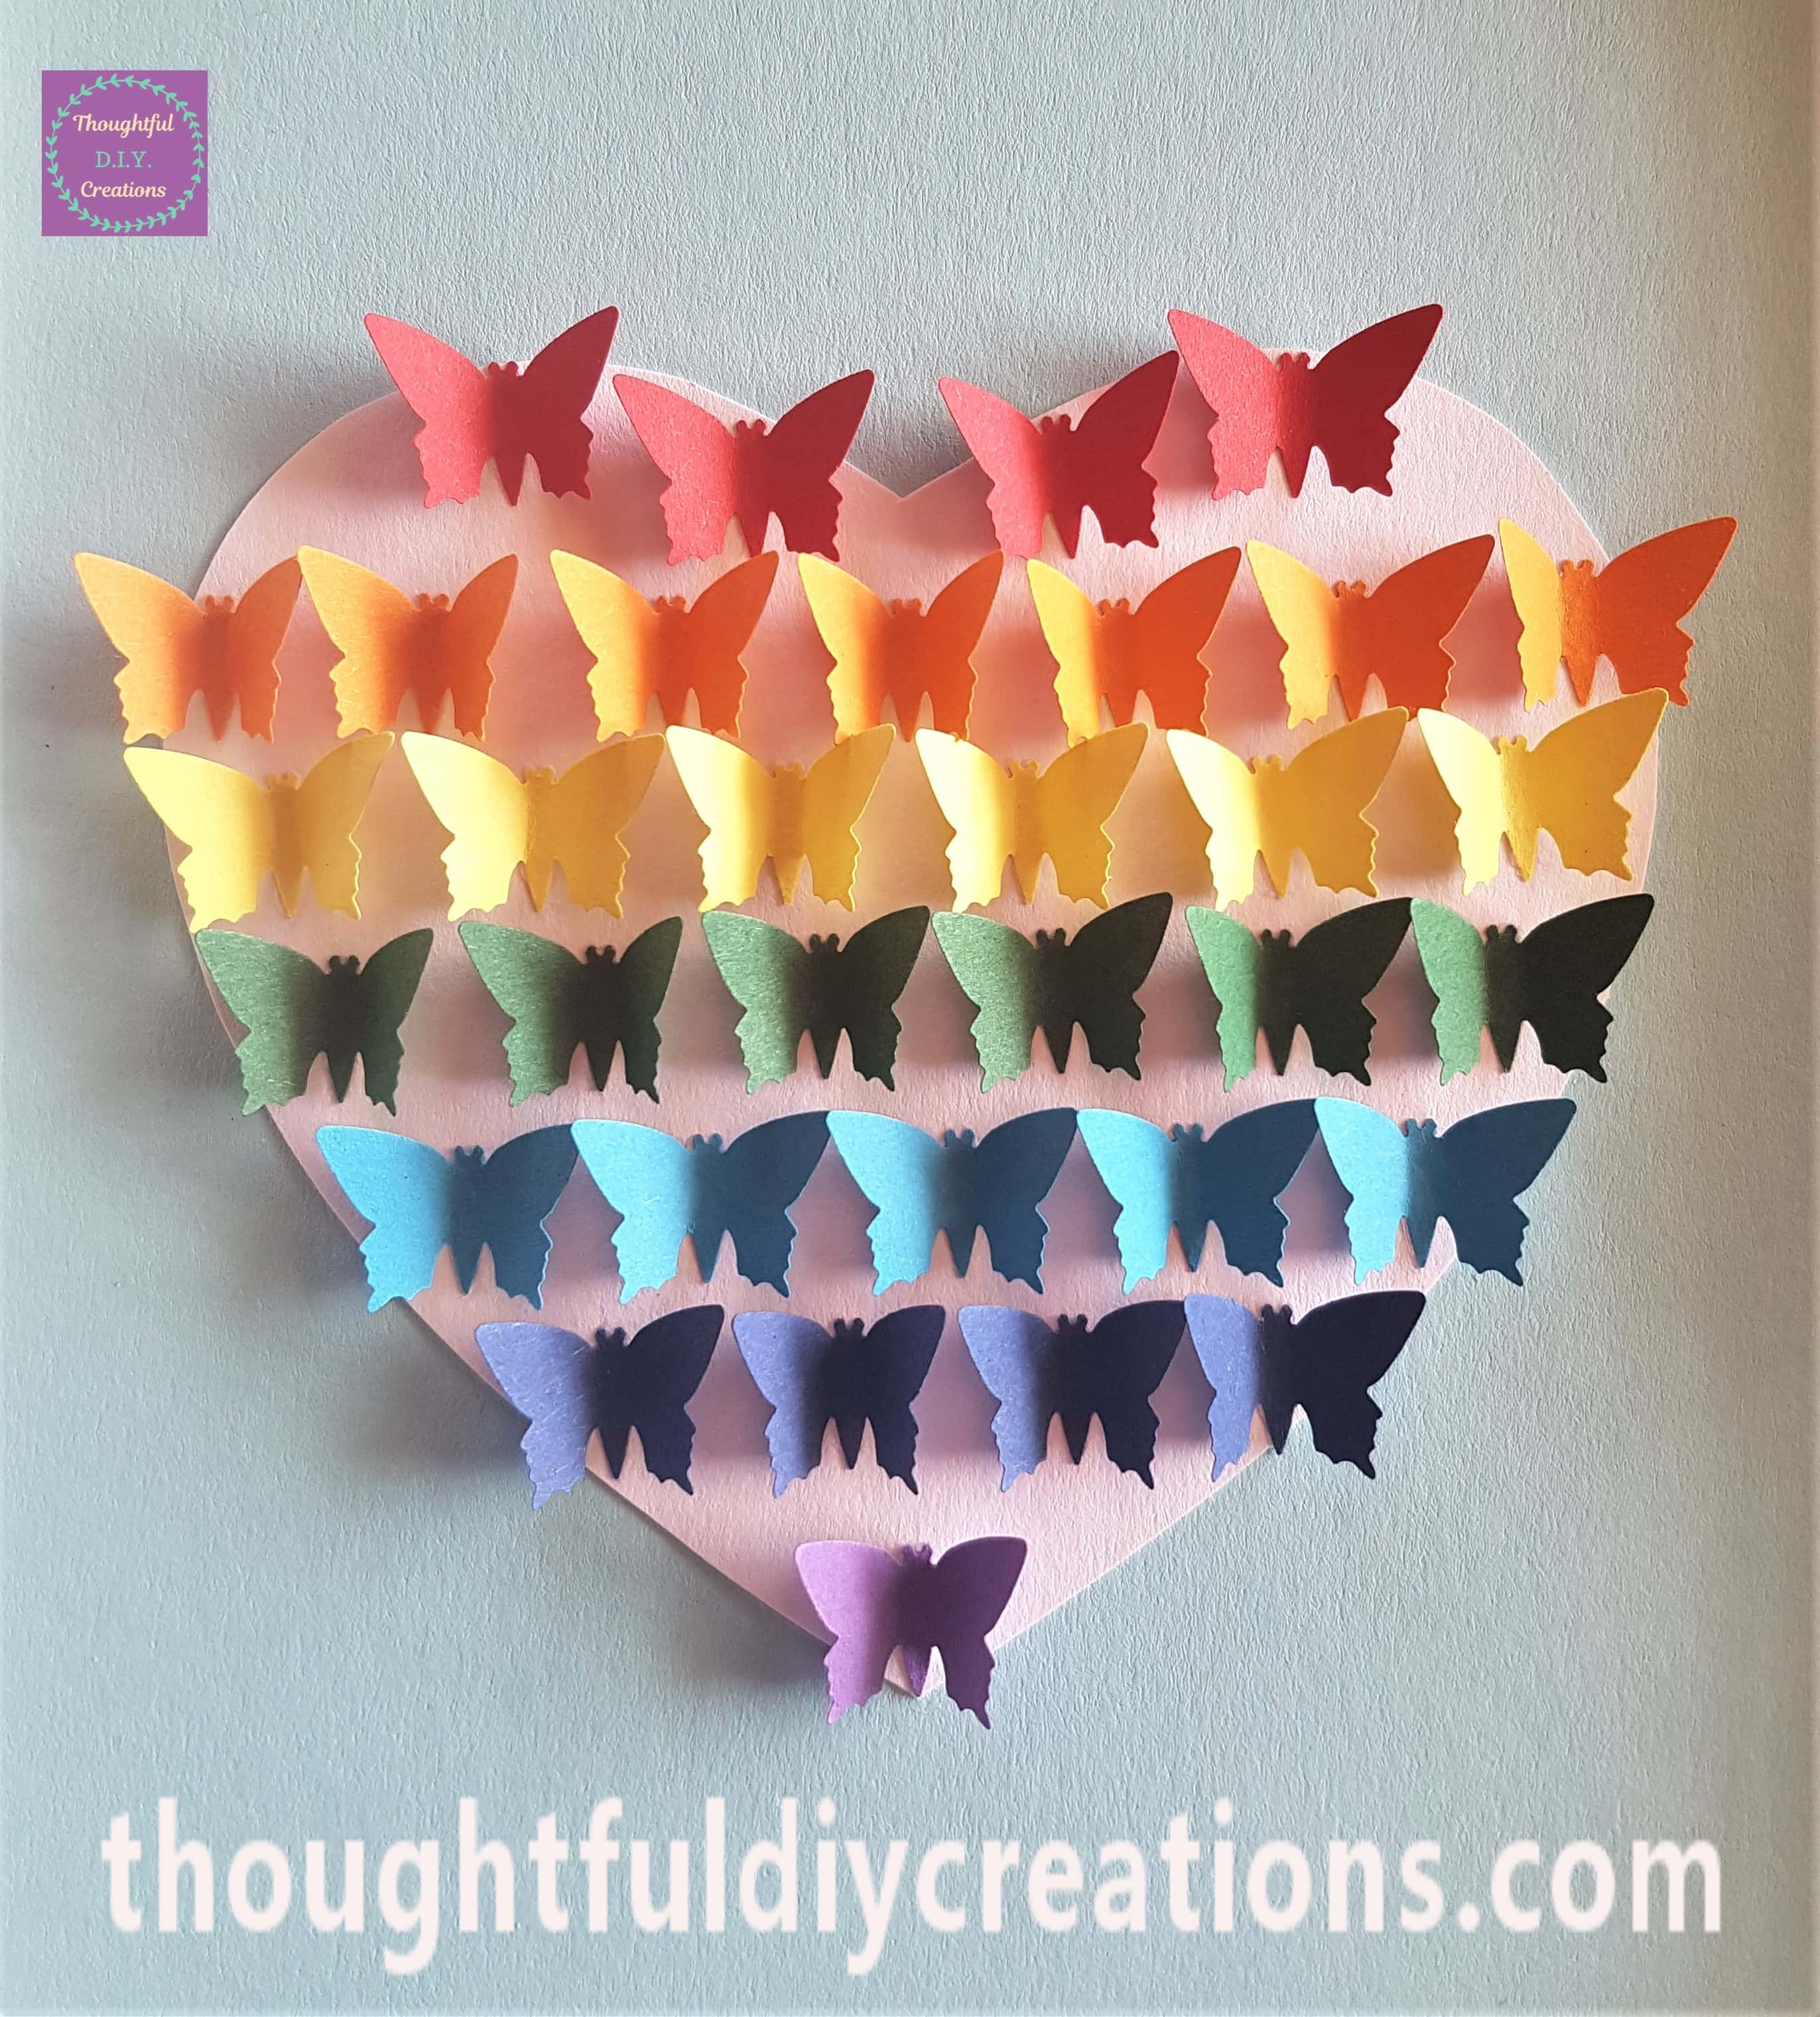
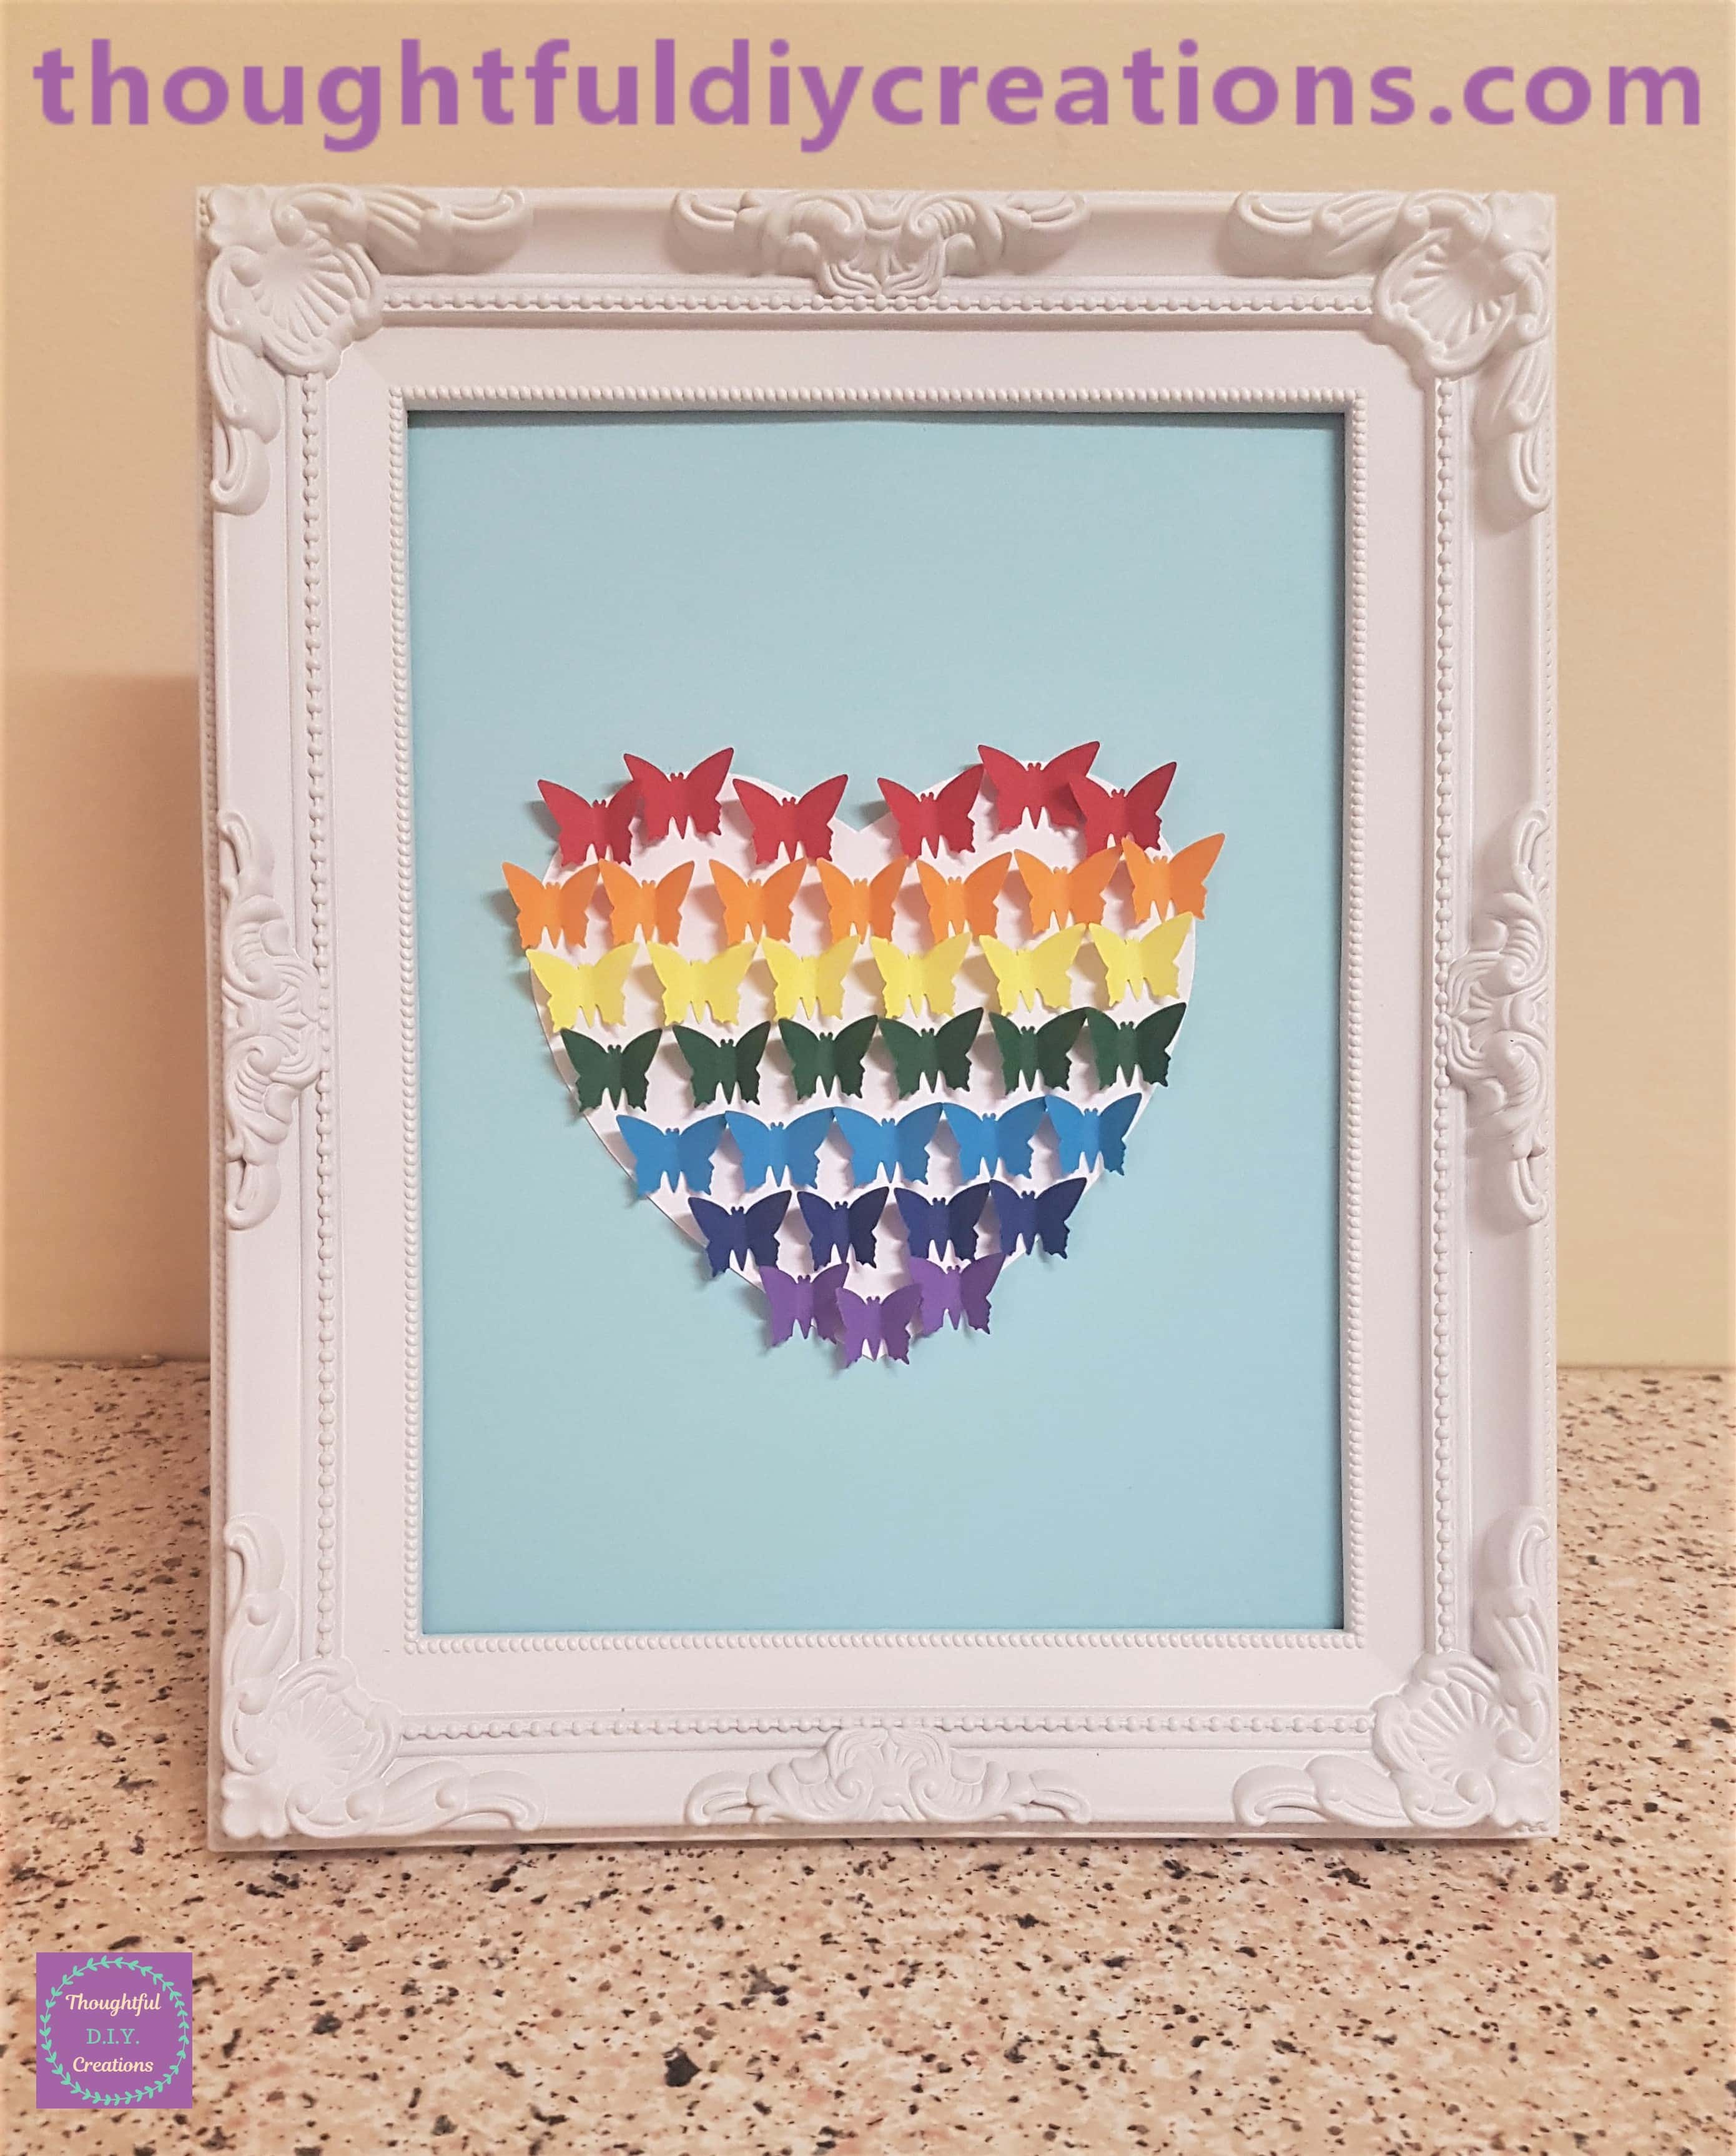
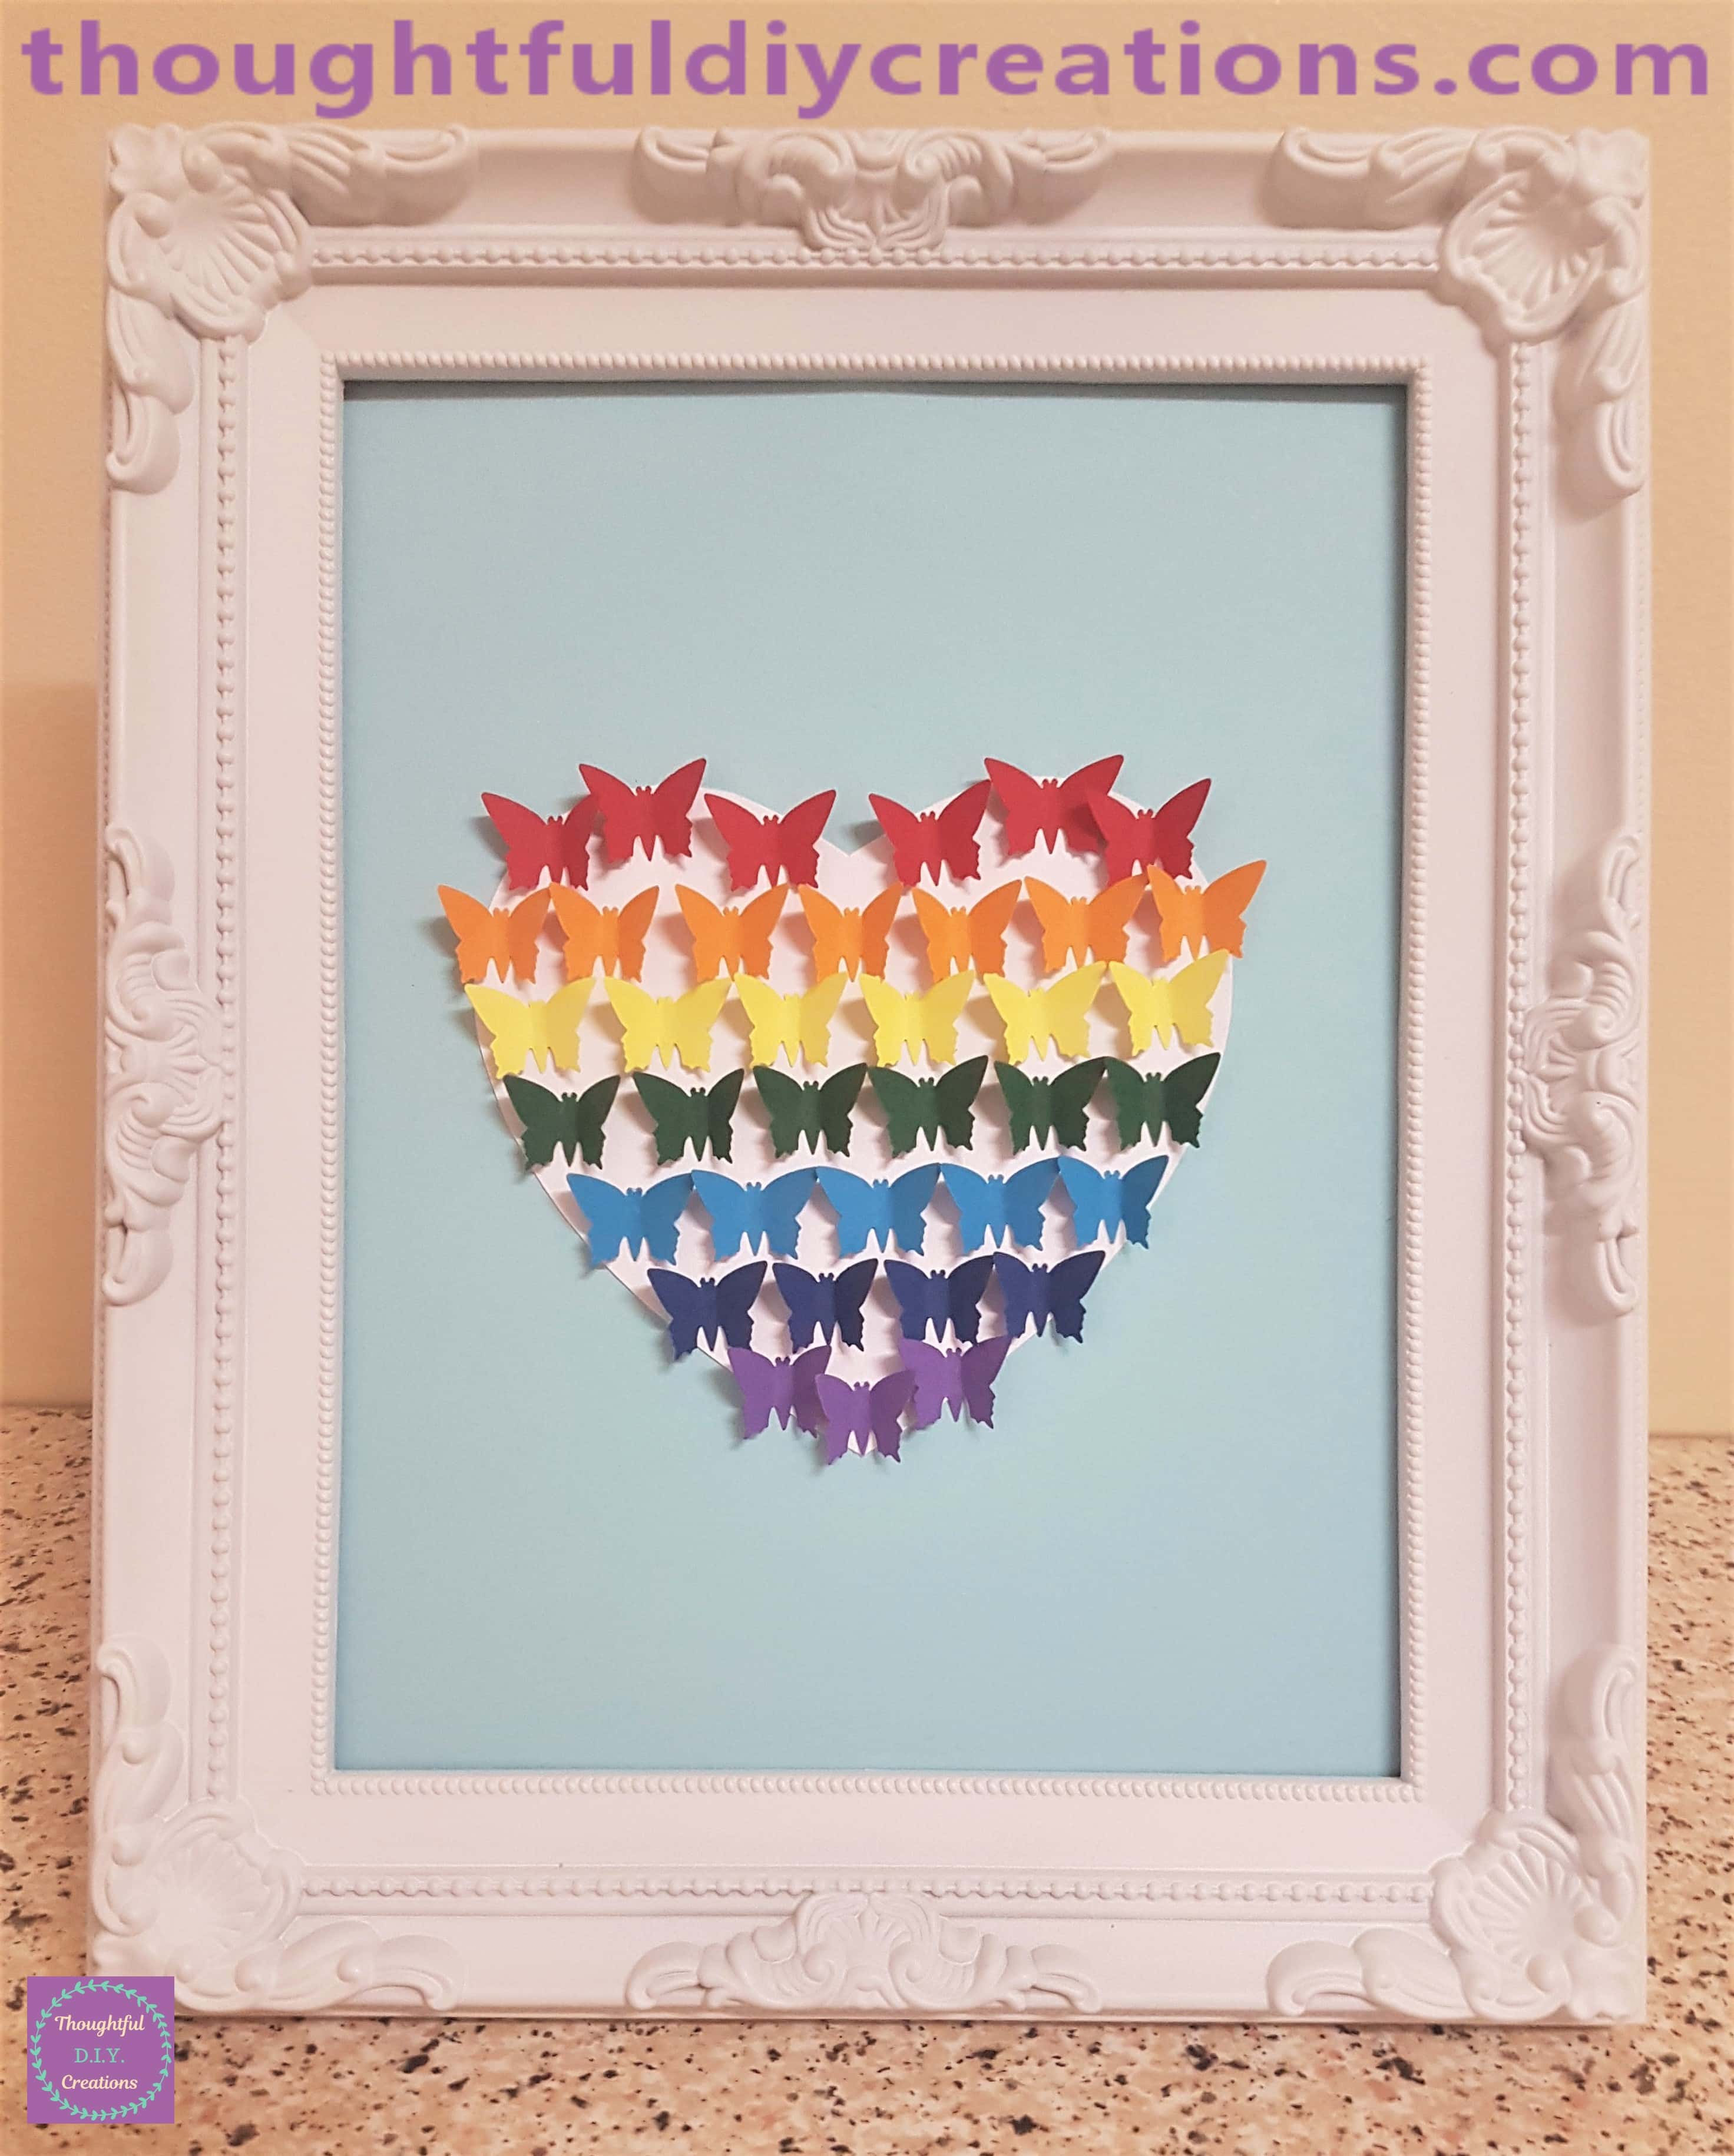
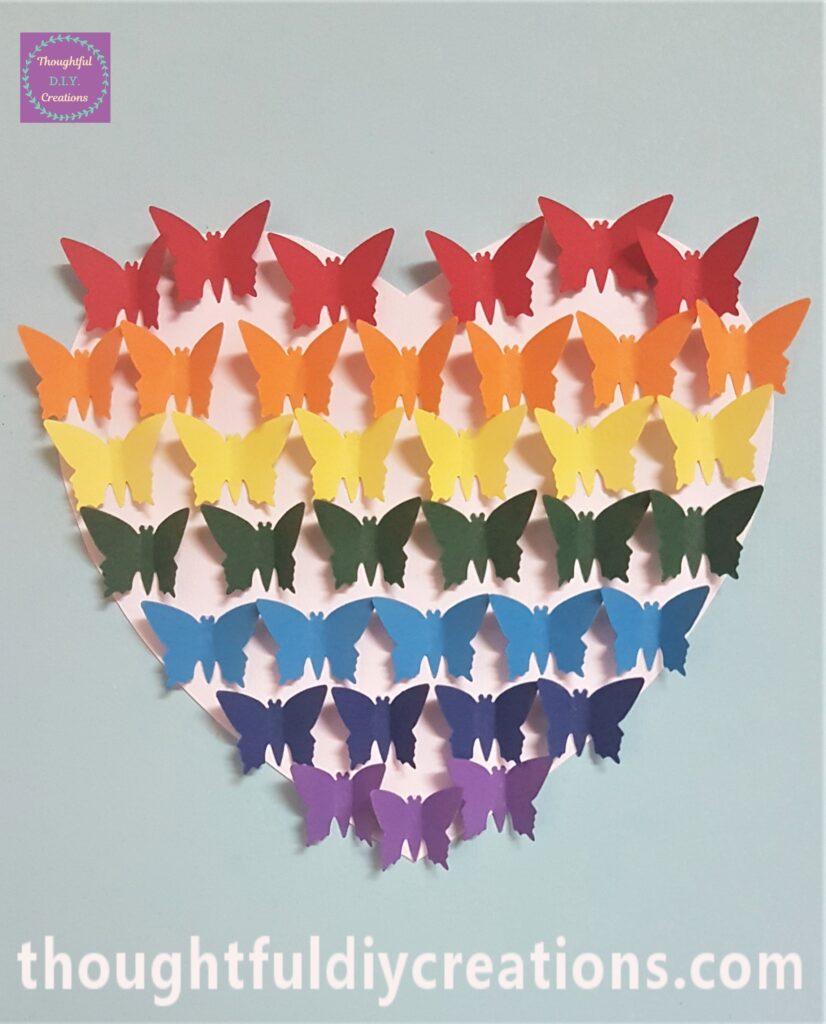
This Completed the Rainbow Butterfly Heart Frame.
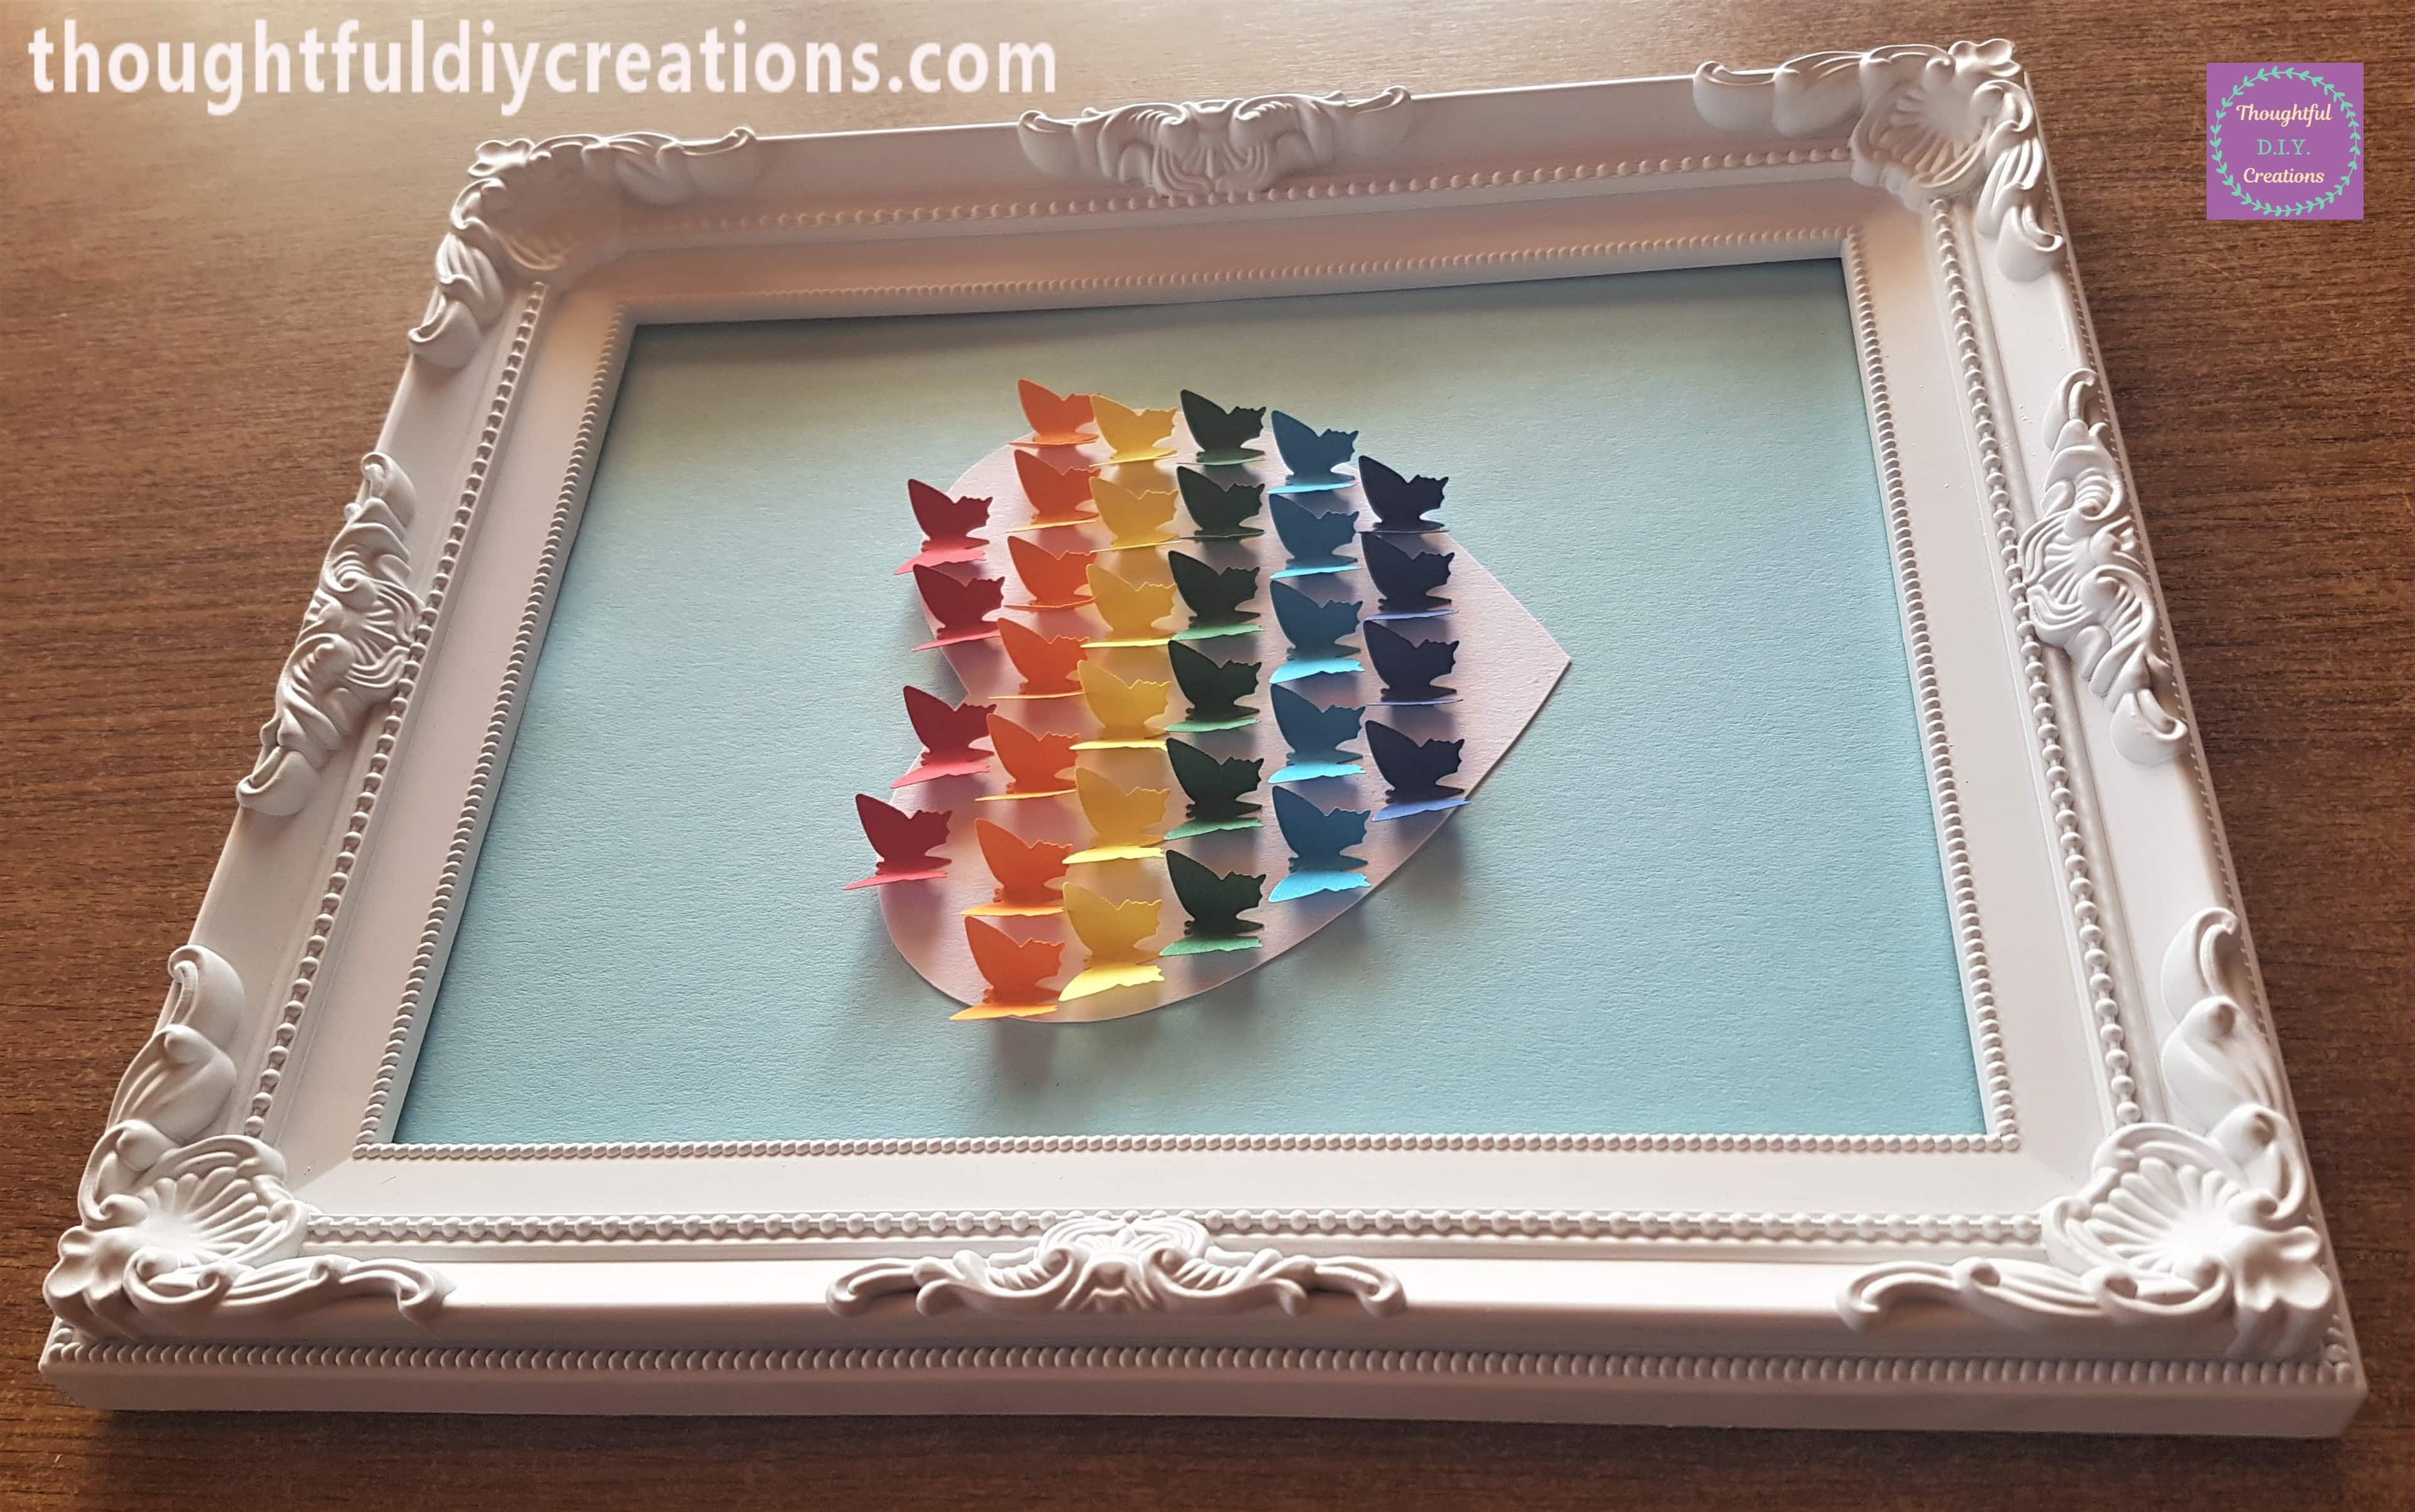
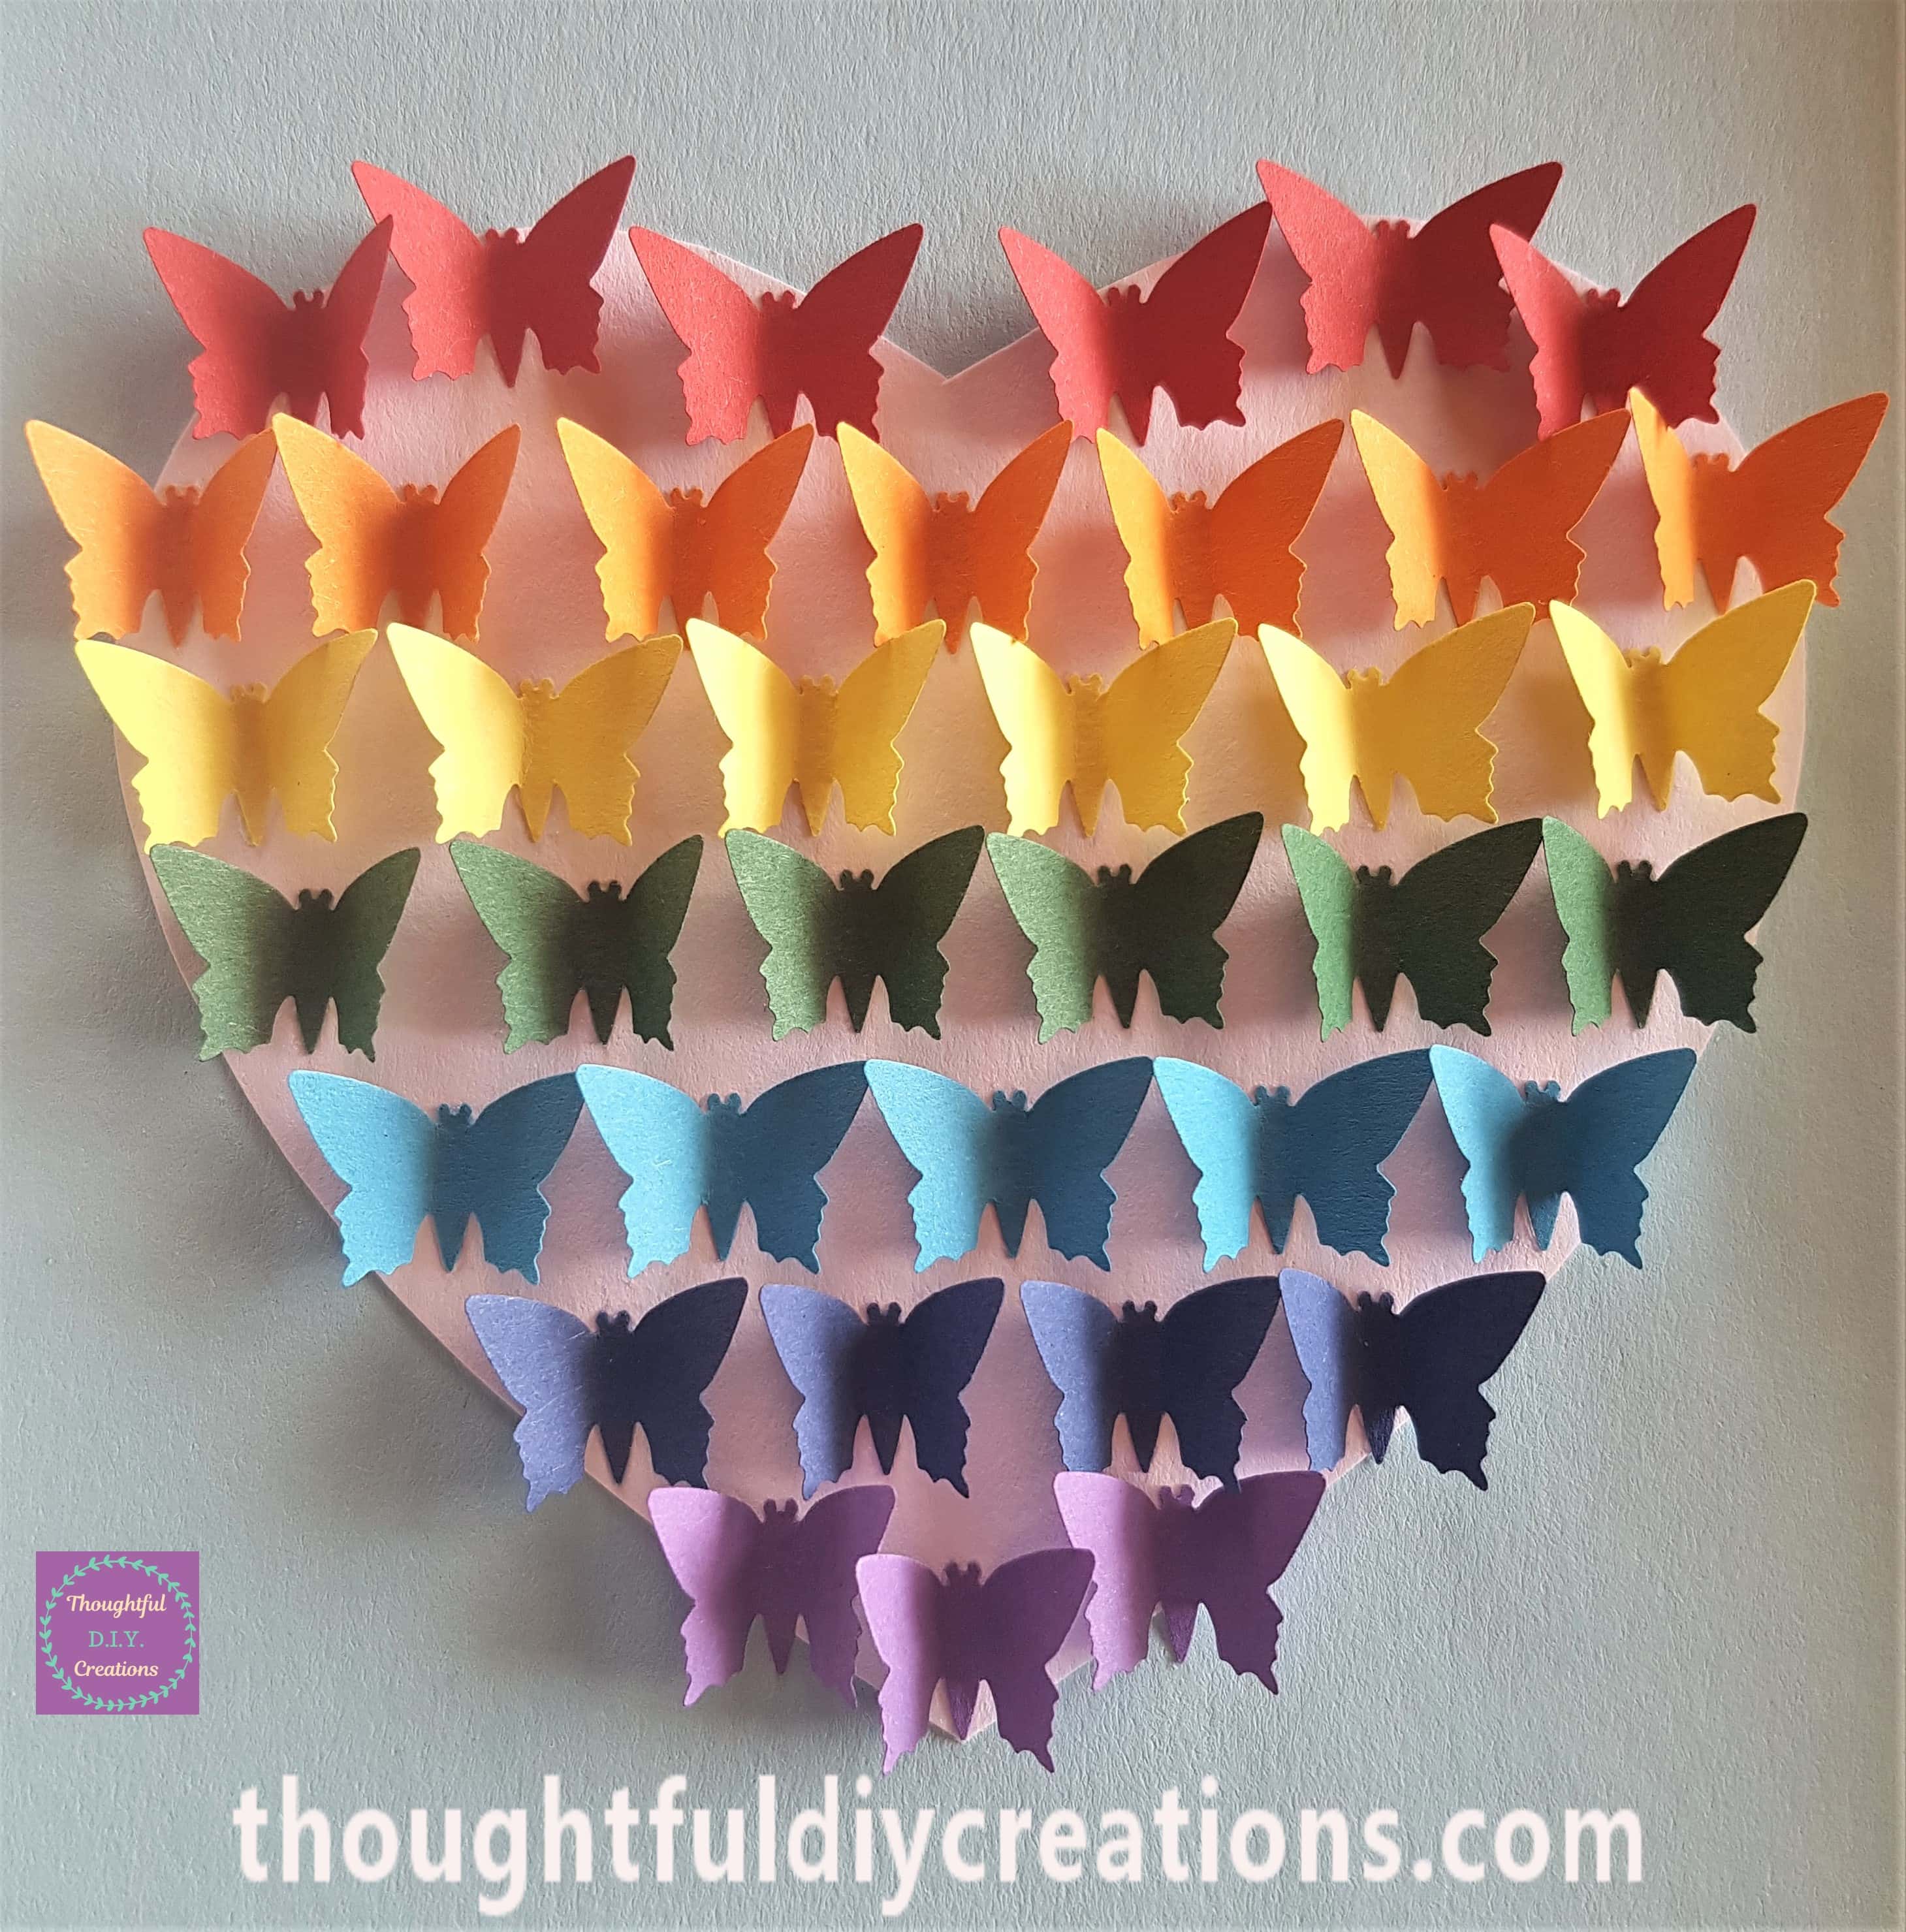
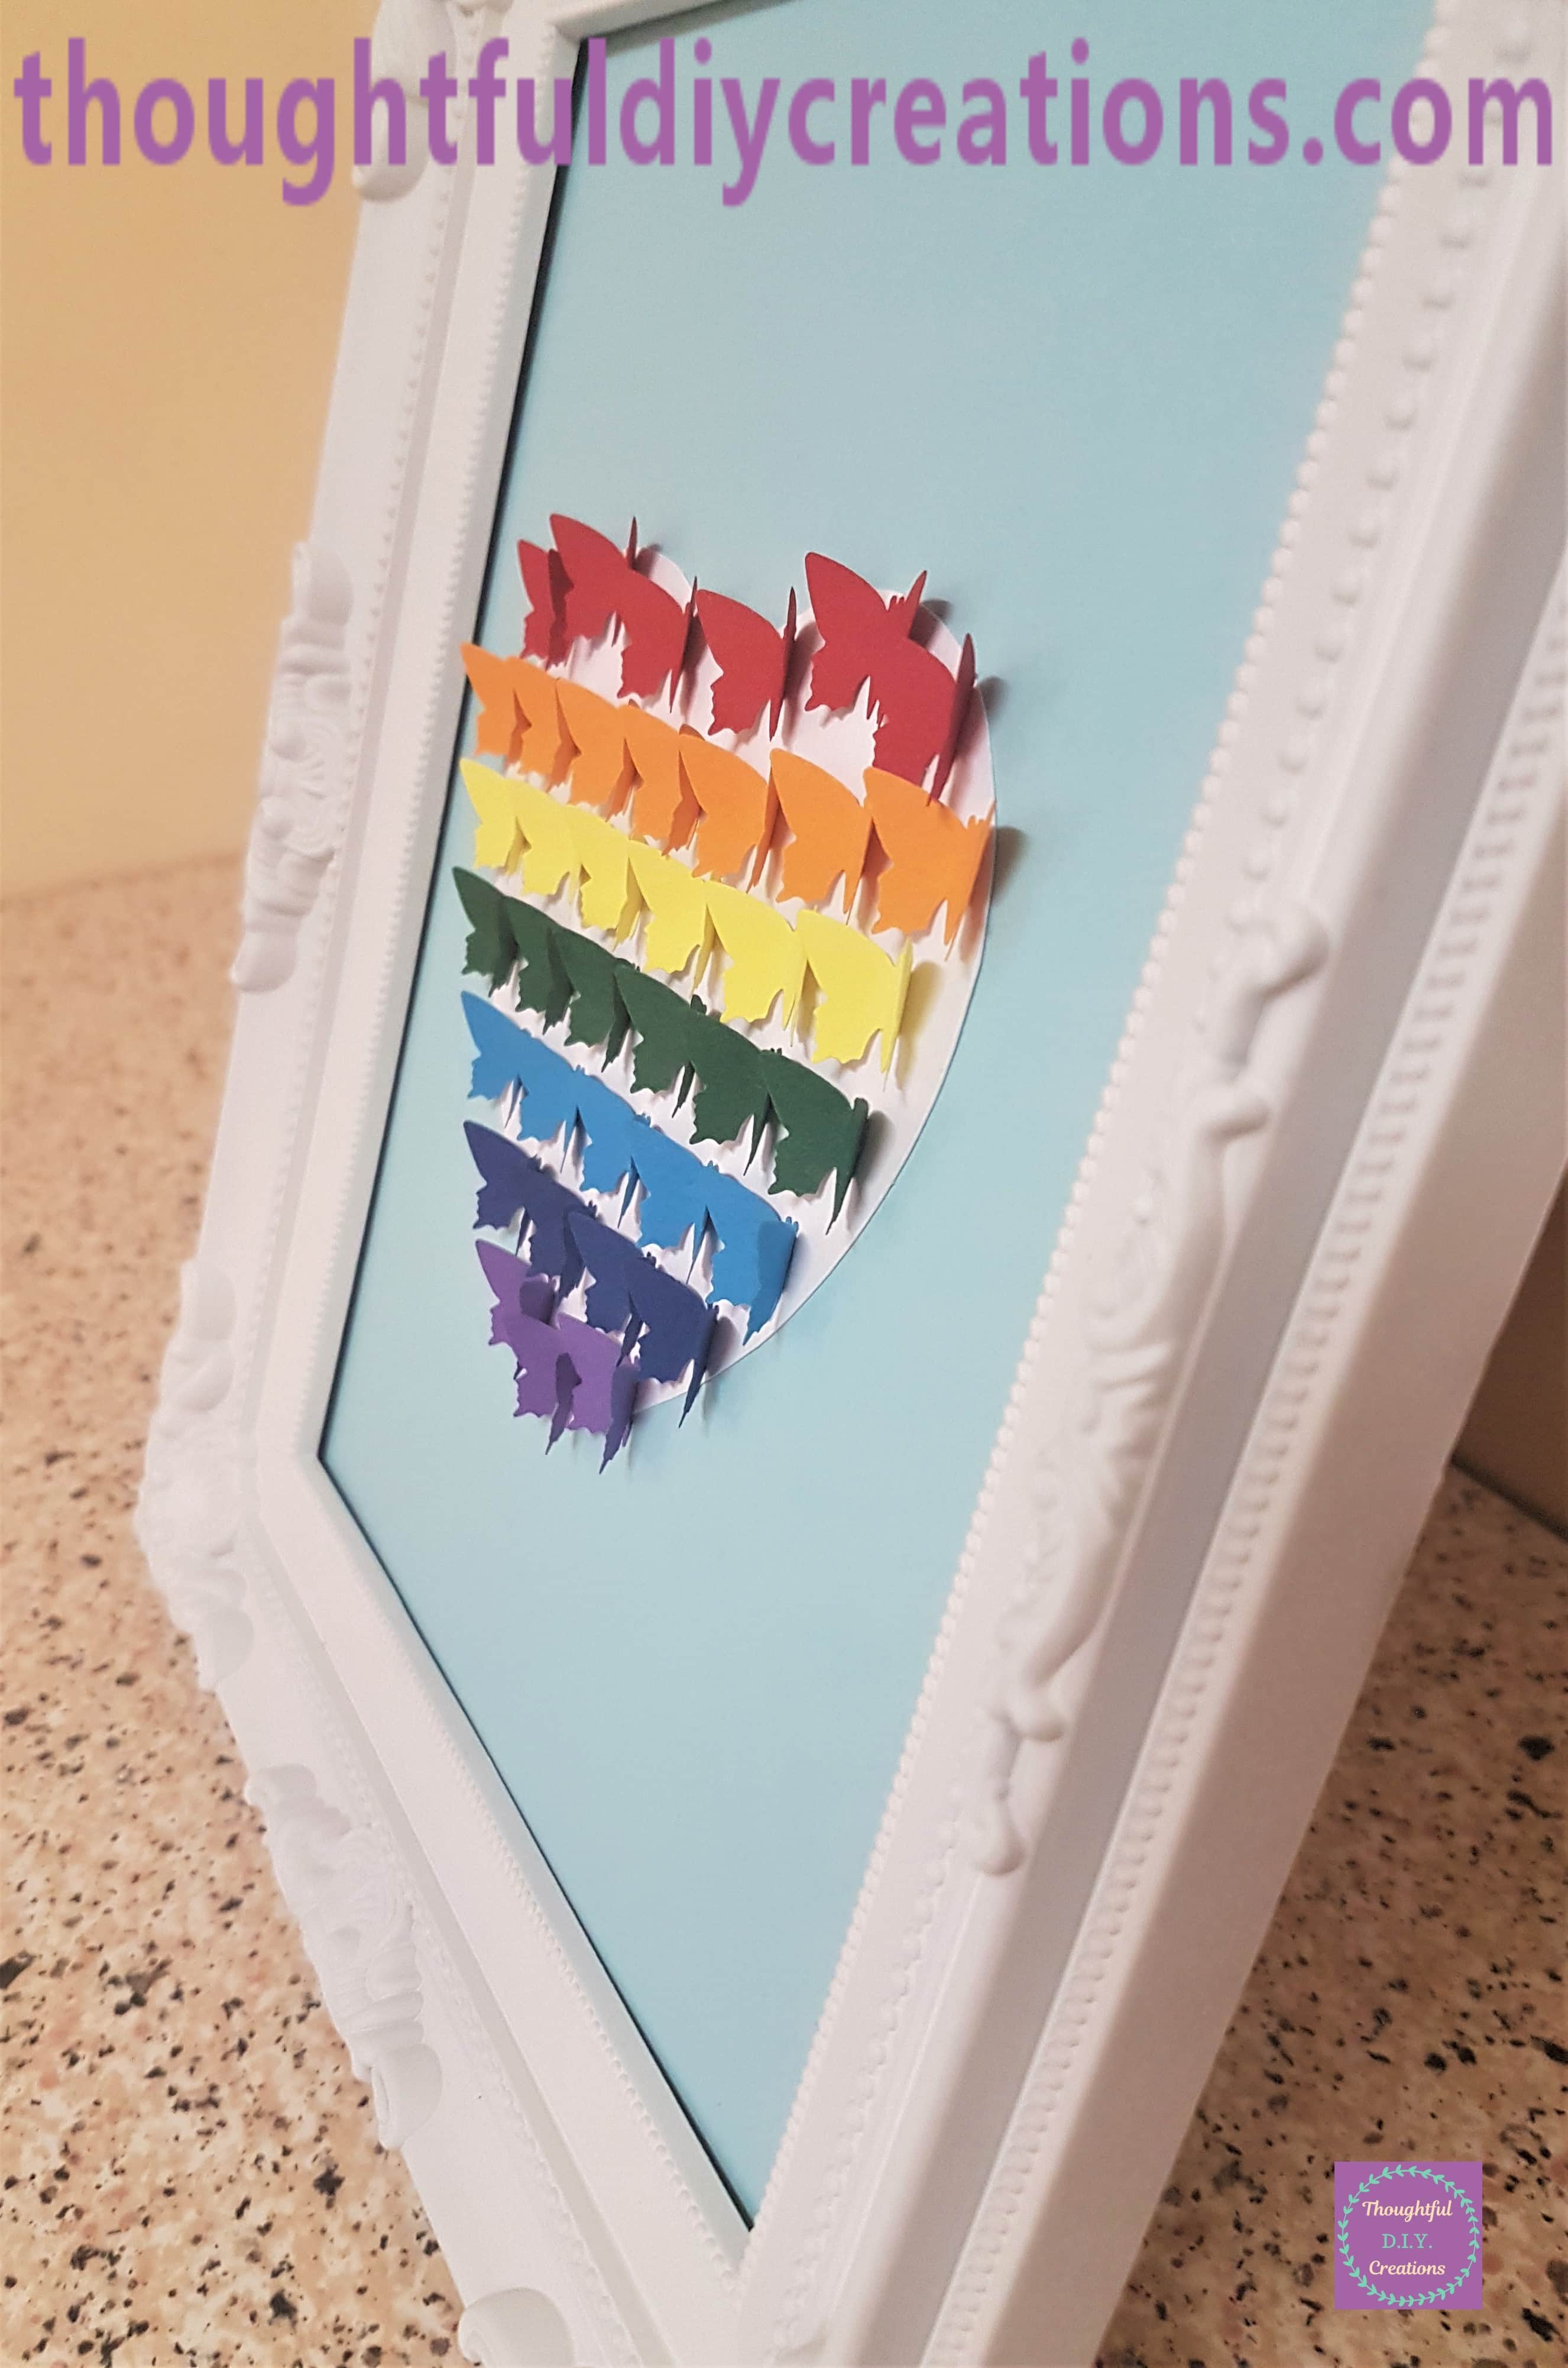
A side view of the finished craft.
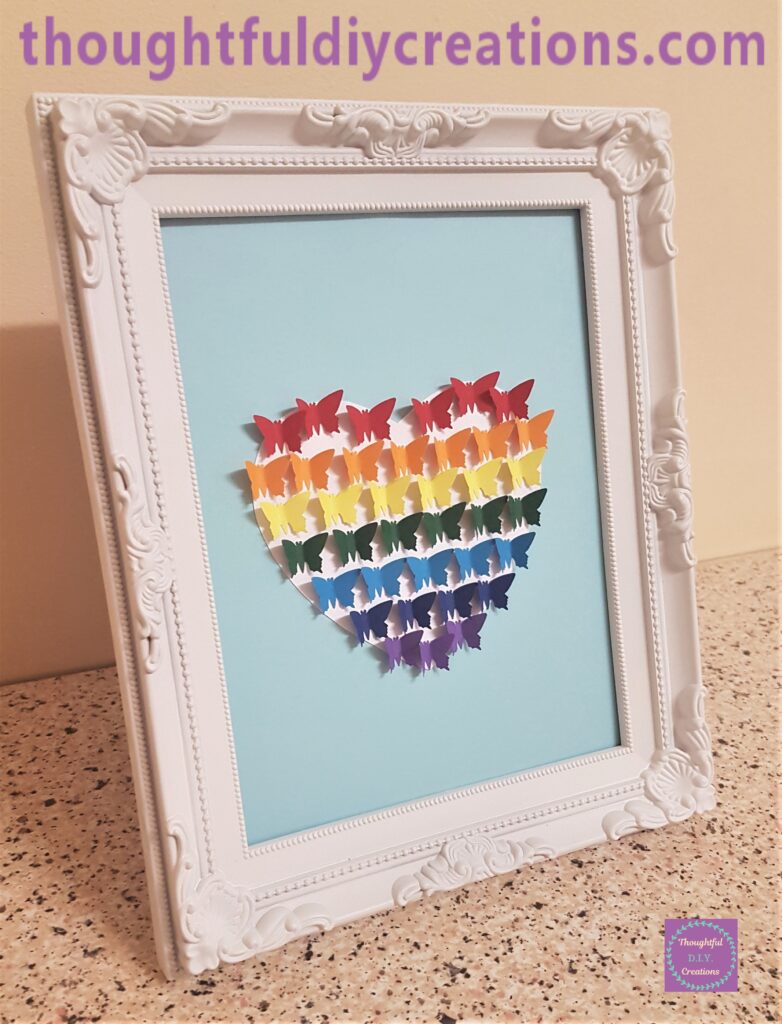
The other side of the rainbow butterfly frame.

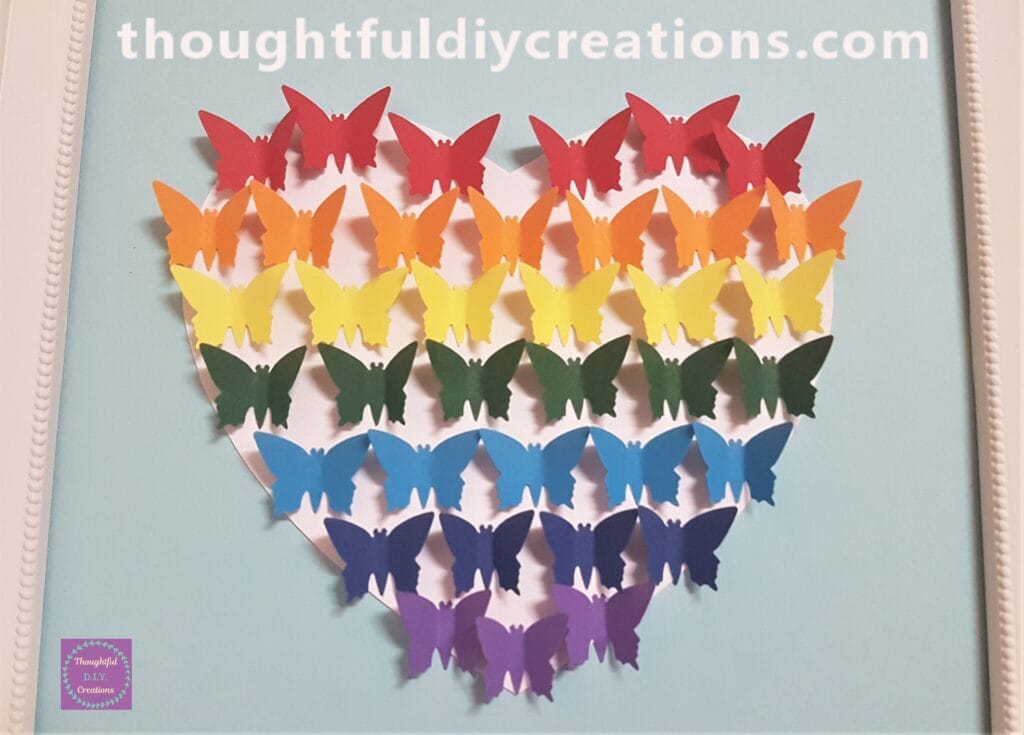
Close up image of the butterflies.
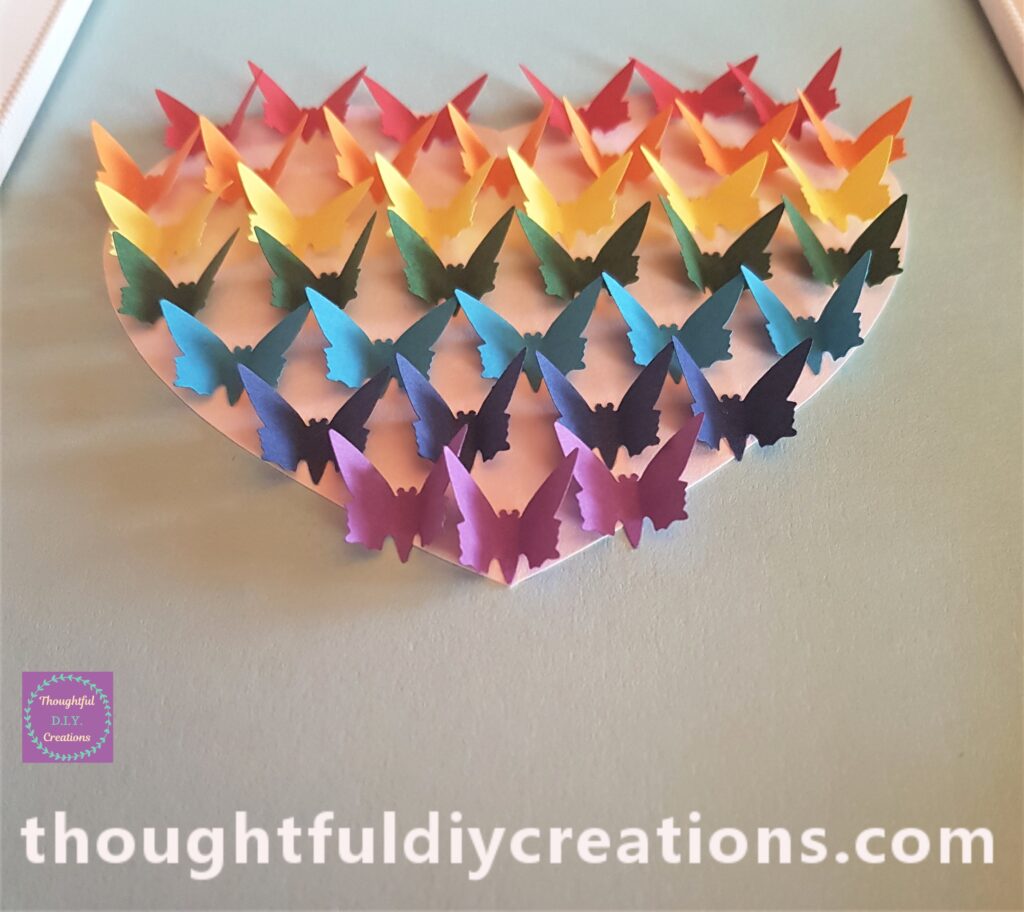
A full view of the D.I.Y. Frame Craft.
Conclusion
I am really happy with the outcome of the Rainbow Butterfly Heart Frame. I was going to add smaller gold hearts from cardstock to the corners of the frame but they didn’t match and I think it looks better as it is. I love how the butterflies appear to be fluttering their wings, it adds dimension and interest to the frame.
I’m glad that I got to make use of my frame and the butterfly punch. I like that this frame can be used for Home Decor at any time. I didn’t want to add any words to ensure I get more use out of the Frame. It can be displayed and moved around most rooms in the home.
Rainbow Crafts are popular right now with everything going on in the world. I like that Butterflies represent Hope and Transformation. If they can transform from a Caterpillar to a Butterfly it gives hope that we can all change from what we are going through and evolve into something better. We can let go and shed old layers that are not serving us anymore and move onto the next stage of our life with more wisdom as well as being more light and free.
This Rainbow heart frame could be made as D.I.Y. Nursery Decor and hung up on the wall. It could also be created to add to a Child’s Bedroom Decor. You could add their Name or other details to the frame to Personalise it if you want. It is so versatile and can be a Positive Piece of Artwork to have in any room in your Home.
Have you made and displayed any Rainbow Crafts lately? If you have anything to add on the topic just fill out the Comment Box below this Tutorial.
Thank you so much for taking the time to read my Blog.
Always Grateful,
T.D.C.
xoxox