Scrapbook Layout Tutorial
Hello my Creative Friends,
I hope you are all Well. In Today’s Tutorial I will show you how I made a Fairy Scrapbook Layout. It is an easy to make Craft with minimal materials. I hope it inspires you to make your own Scrapbook layout using your favourite Photographs or Images.
Base for the Scrapbook Layout
I have an A3 Ivory Colour Cardstock Pack which is 300 gsm. This is a nice heavy Cardstock for making Scrapbook Layouts as it will hold flowers / stickers / ephemera easily without buckling. If you don’t have heavy Cardstock you can use a slightly lighter Card and glue it to Cardboard to make it more sturdy and durable.
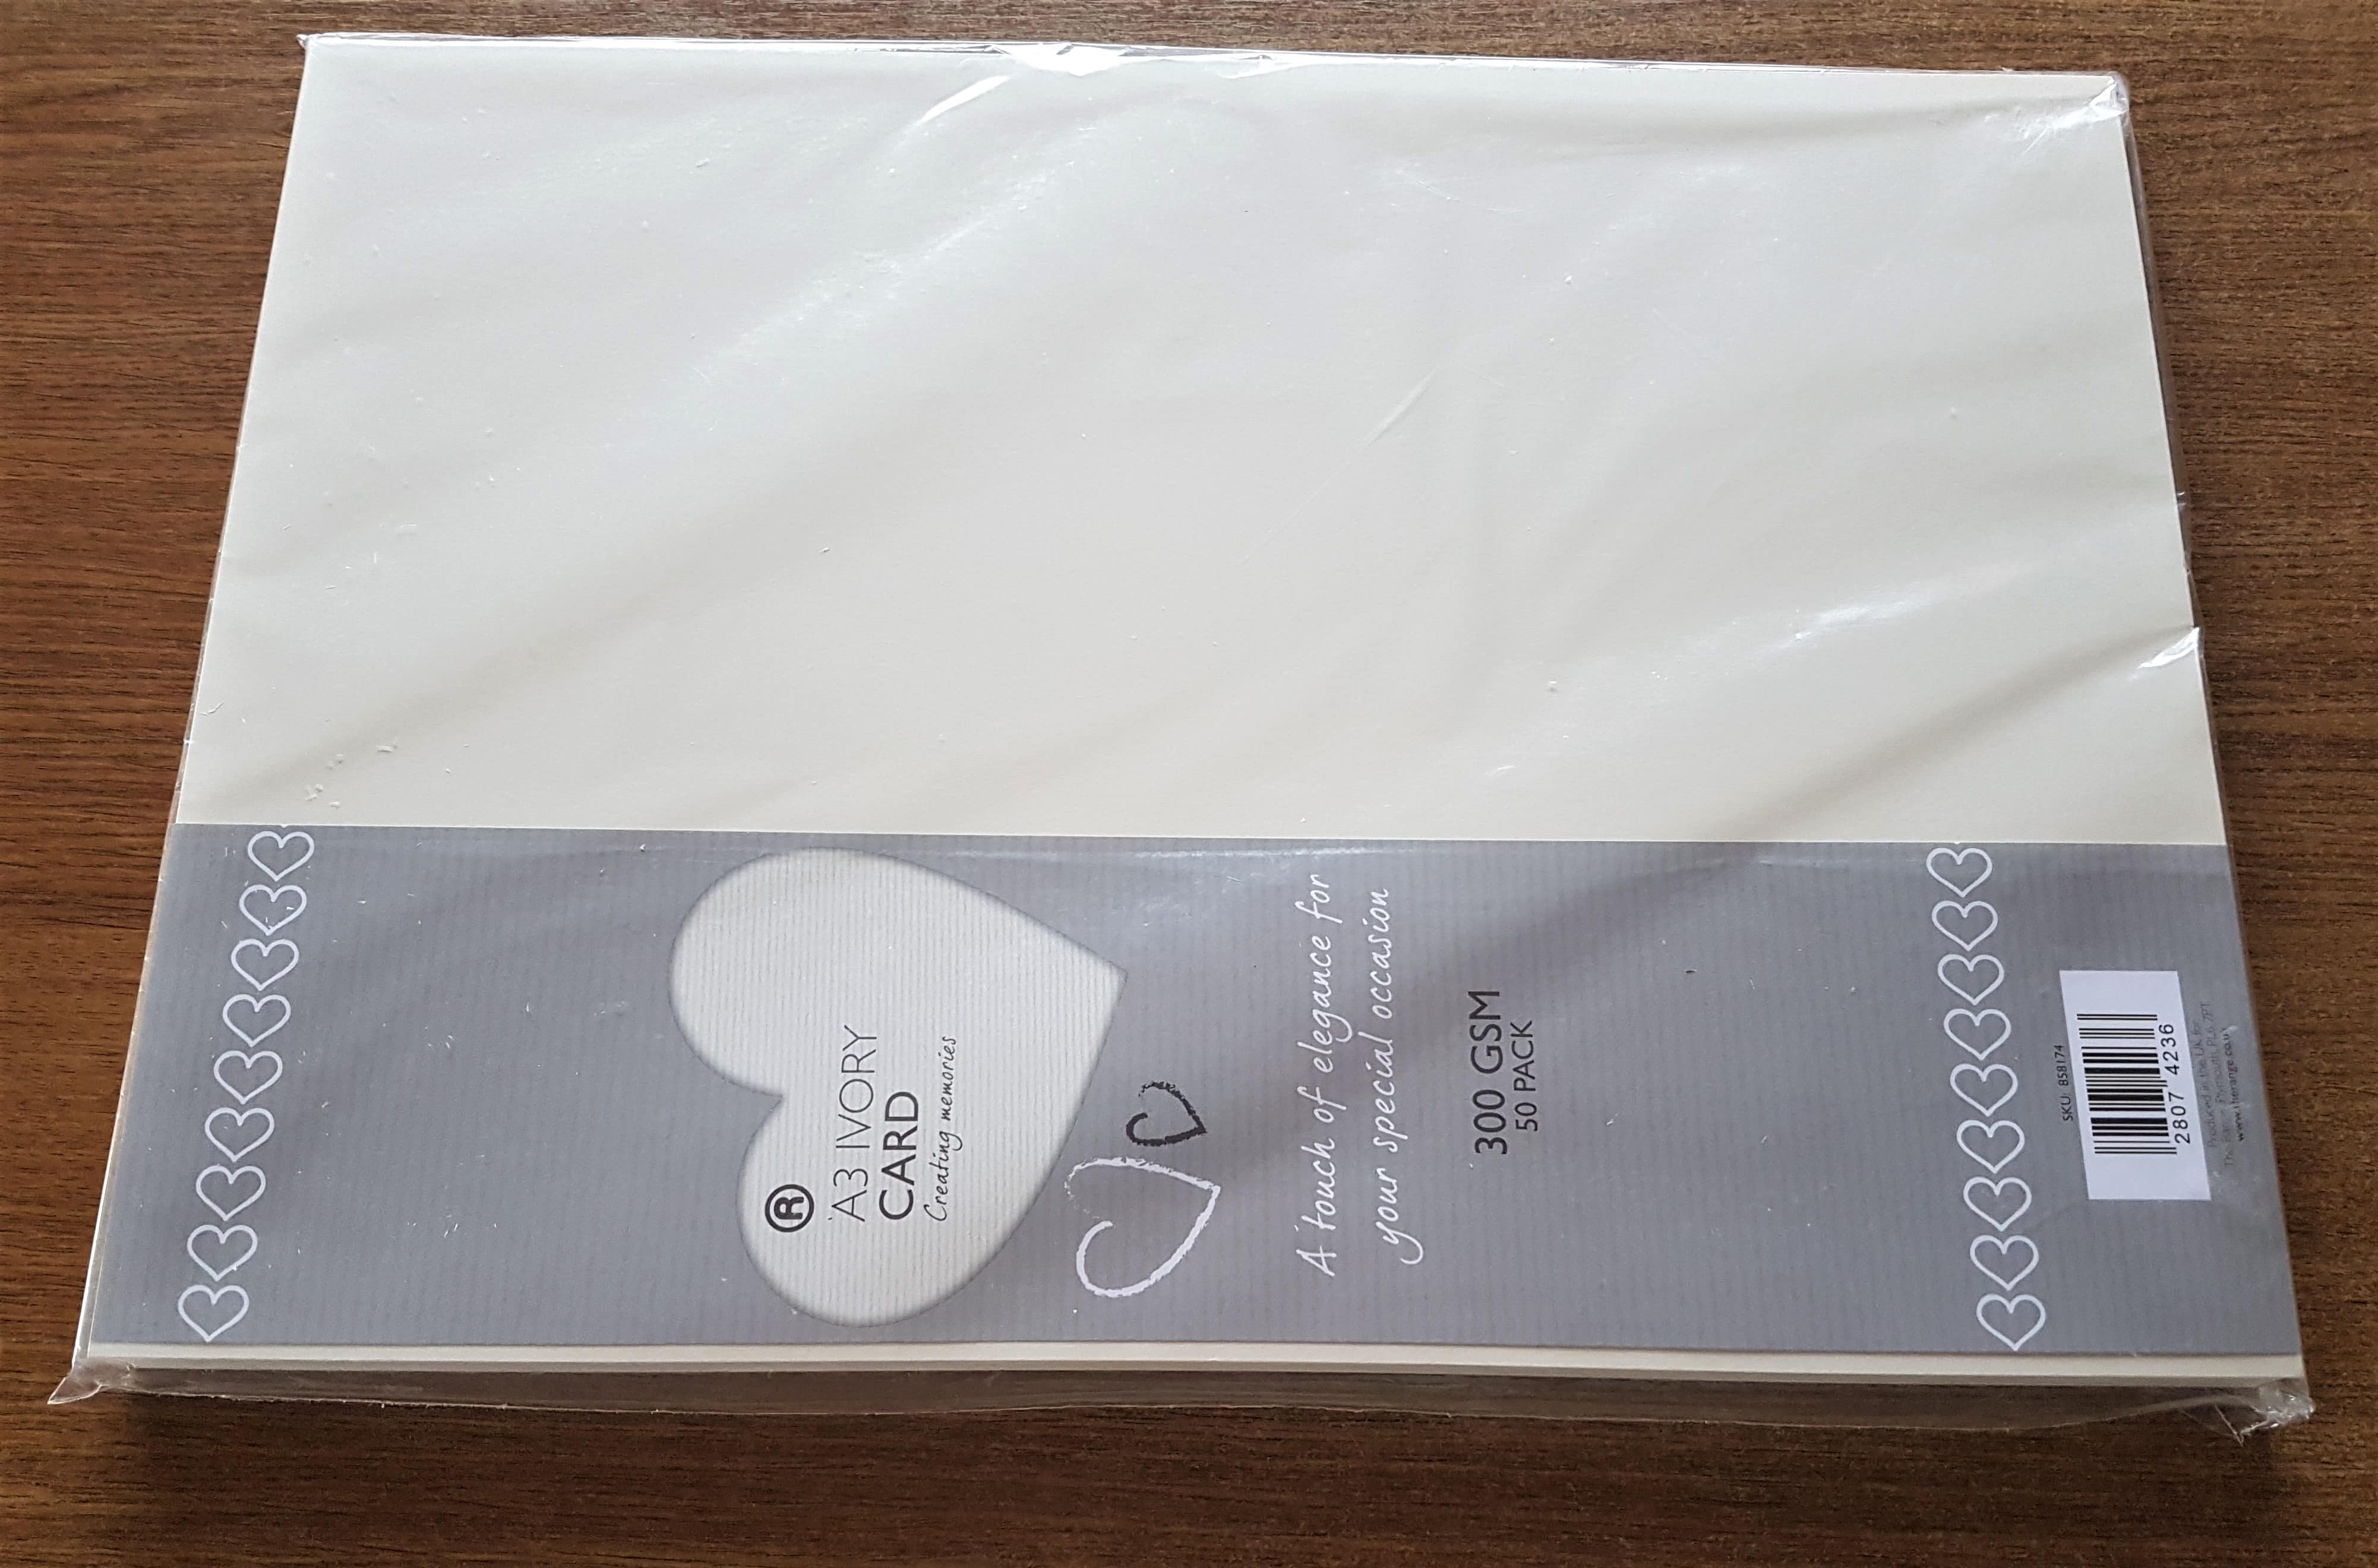
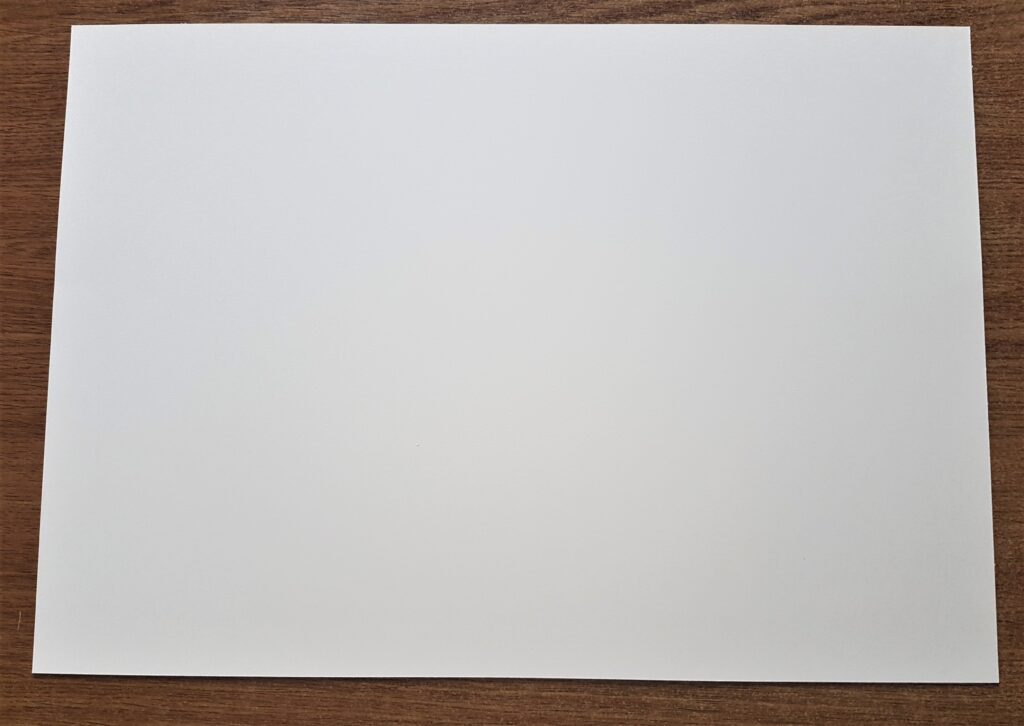
I took out One Sheet of Ivory Cardstock from the Pack.
Focal Point for the Layout
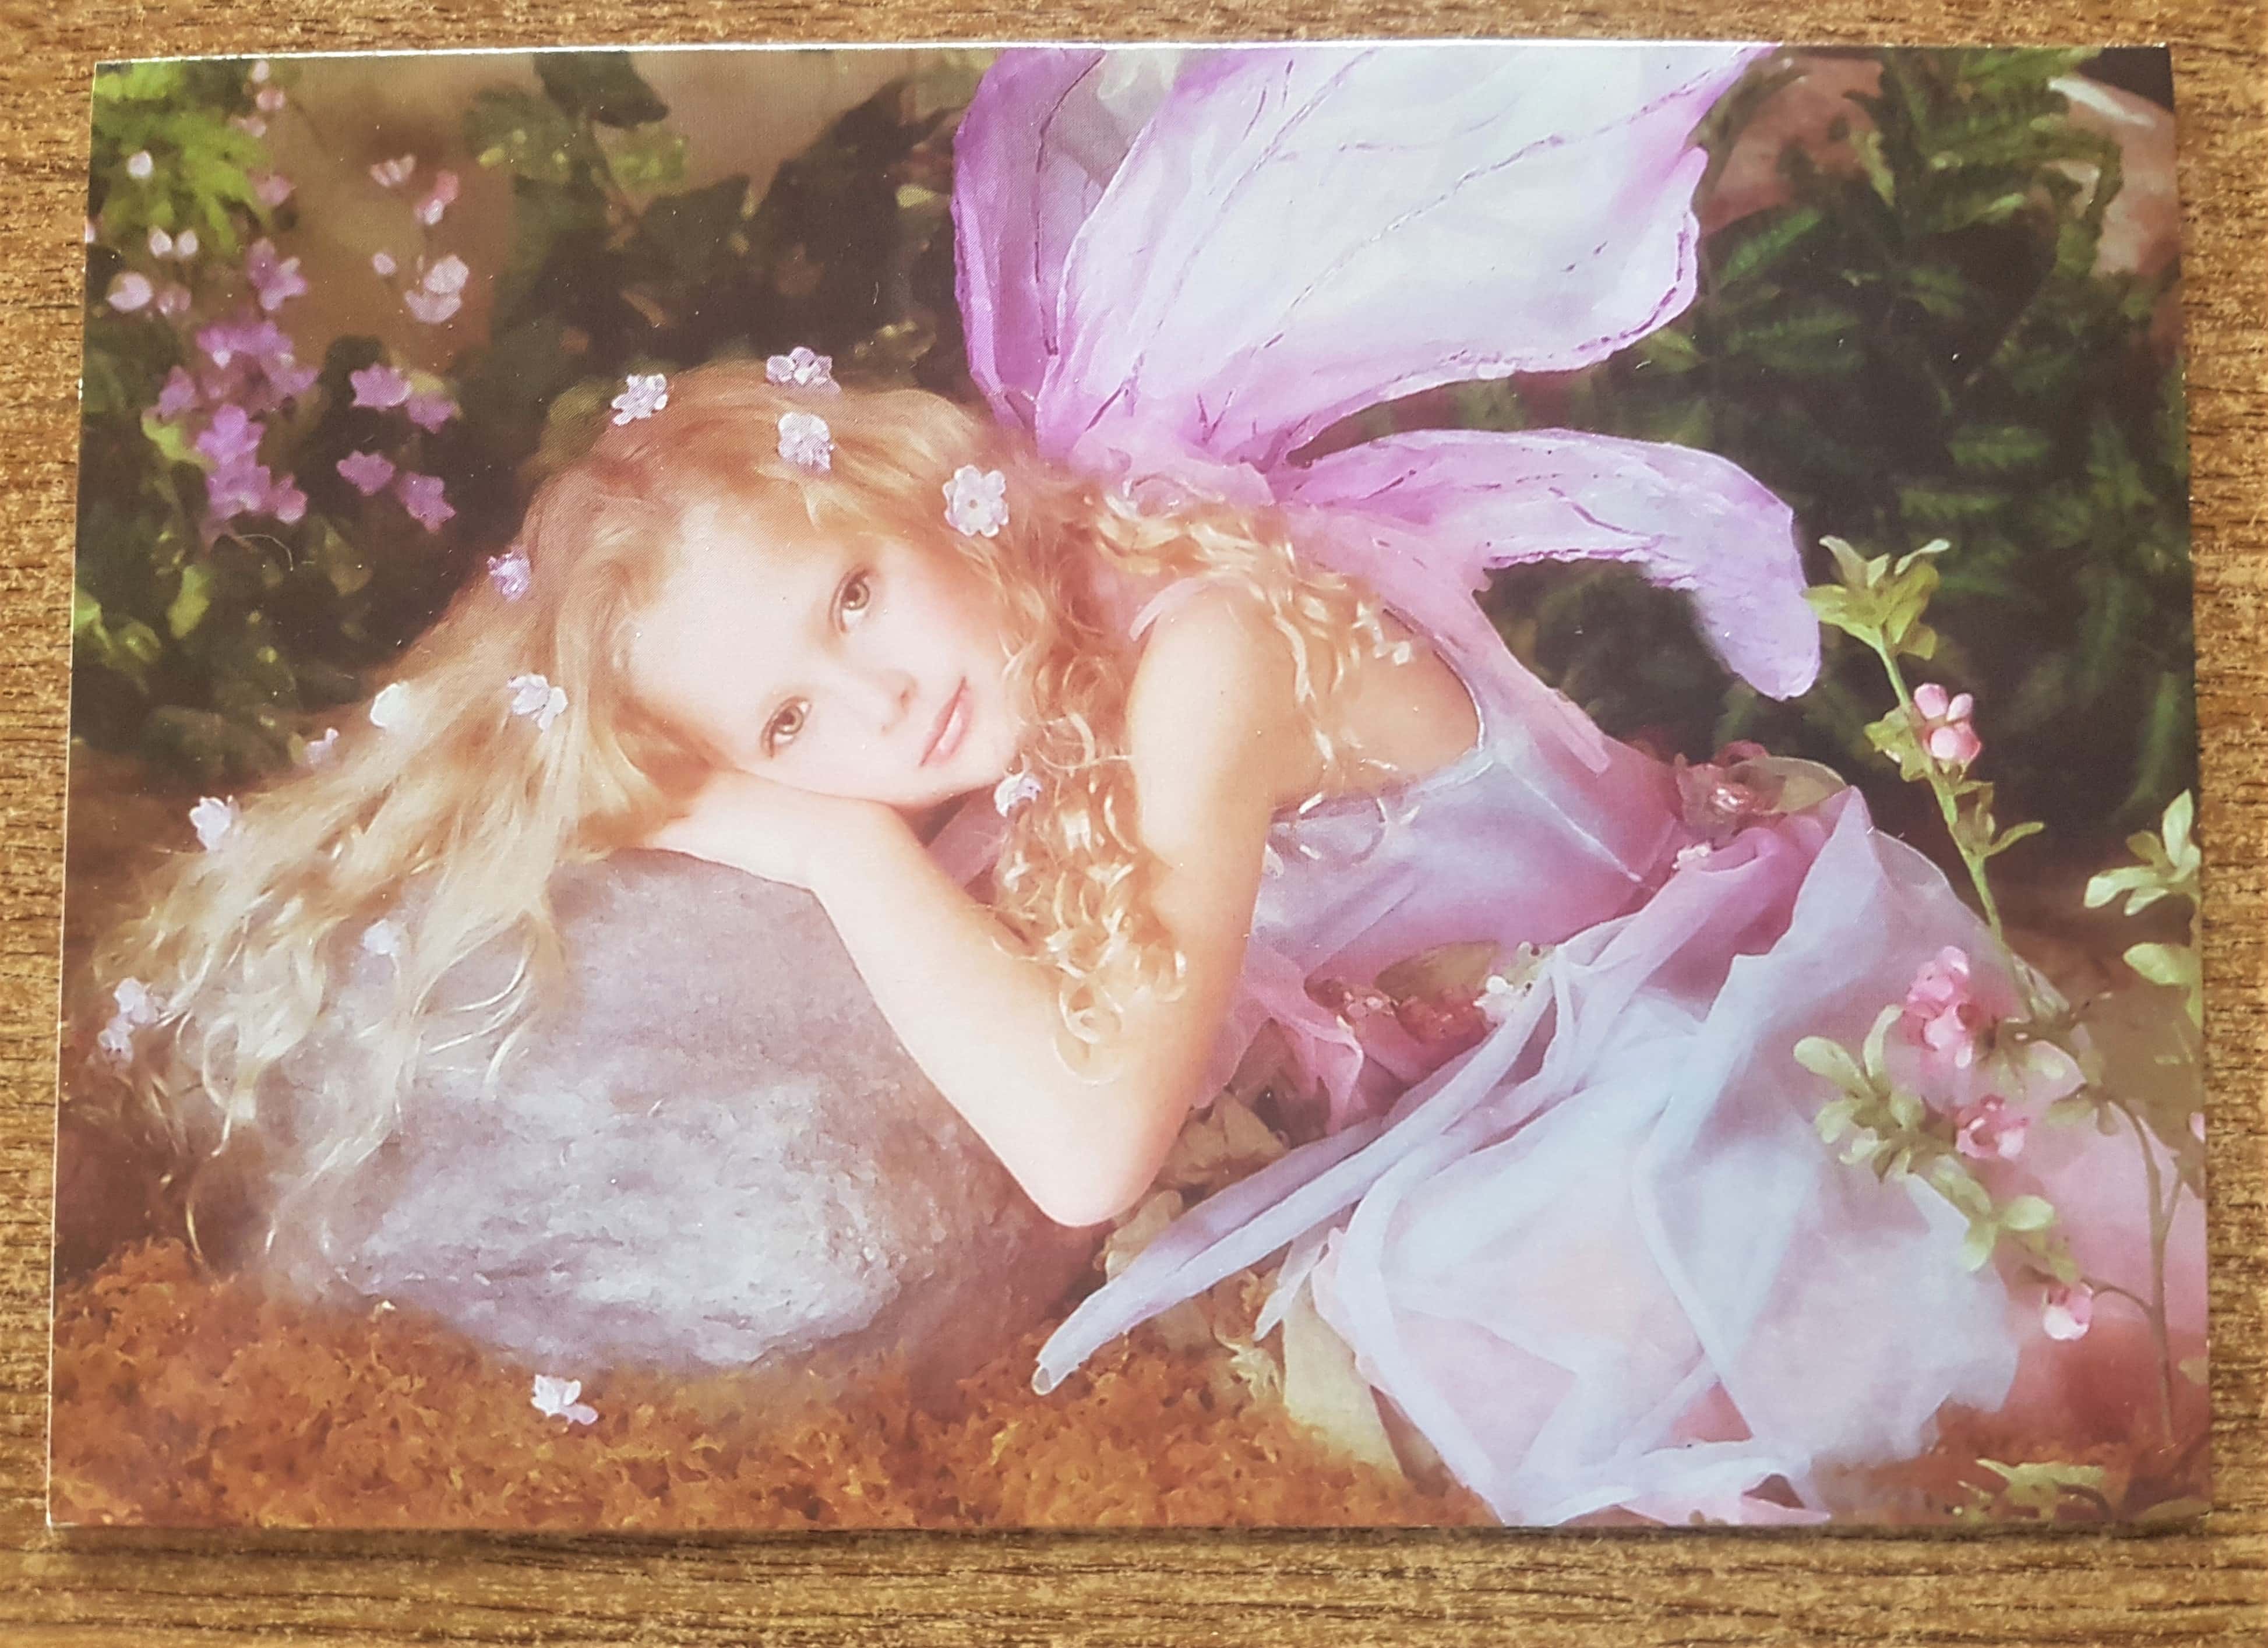
I chose a Fairy Card I had in my stash to use for the Focal Point for the Scrabook Layout.
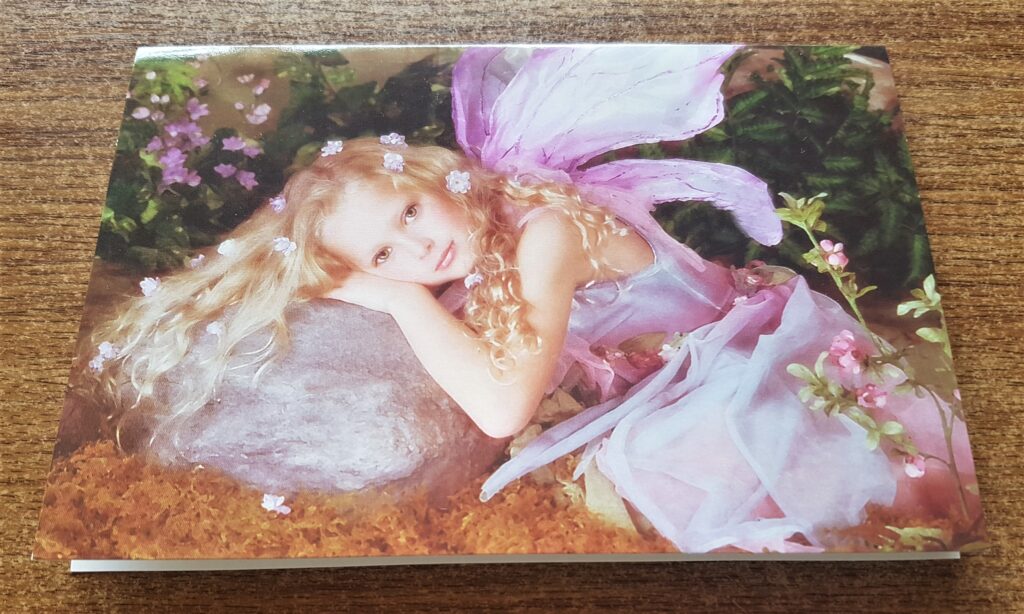
I cut the Back off the Fairy Card as I won’t need it for this craft.
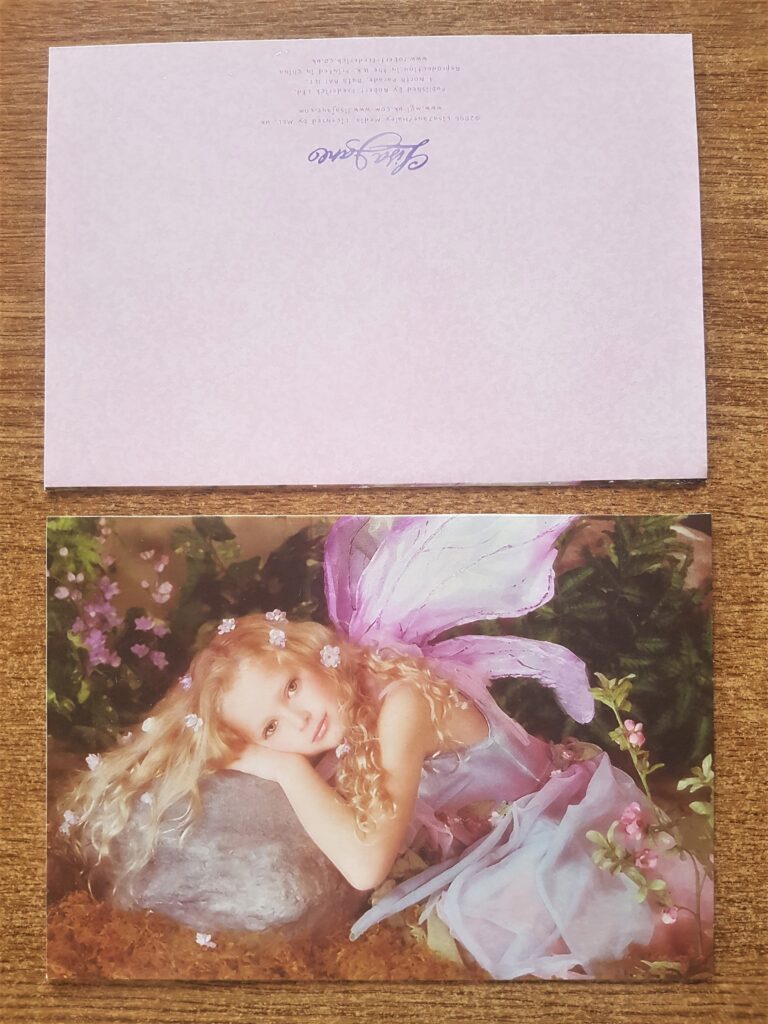
Here is the Front of the Fairy Card after being cut.
Making a Background for the Fairy Image
I had a Sheet of Brown Textured Cardstock in a Paper Pad I had in my Supplies.
I cut out a section of the Brown Paper big enough for a Border for the Fairy Image.
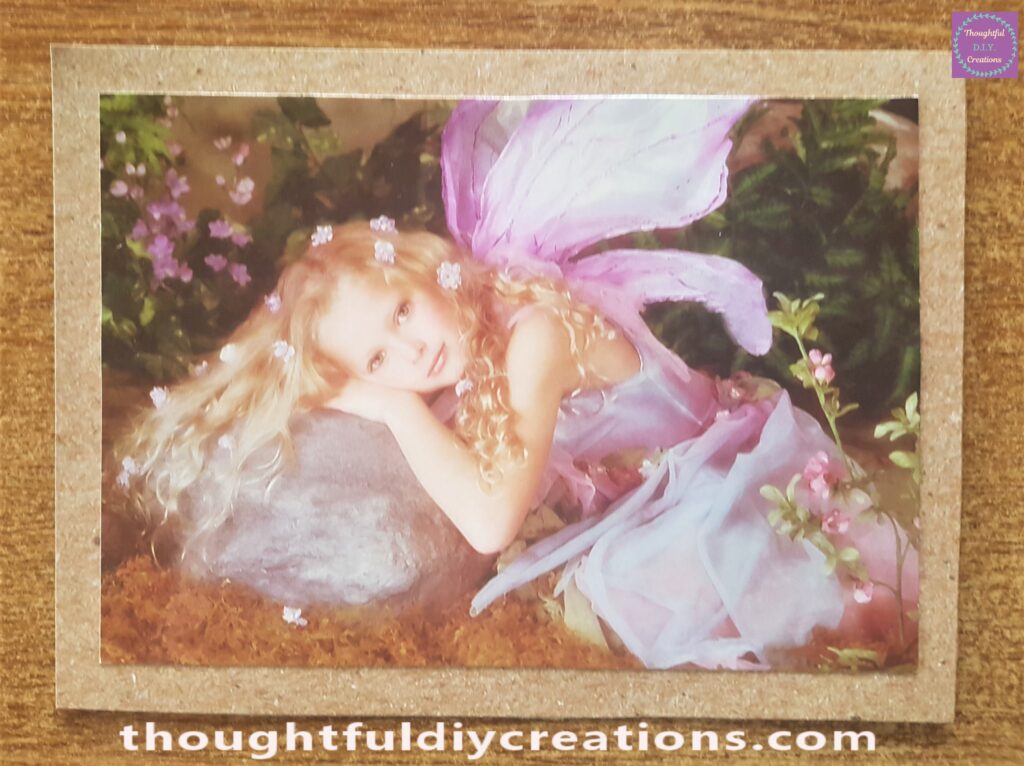
I attached the Fairy Image to the Brown Card using Pritt Stick.
Attaching the Fairy to the Scrapbook Layout
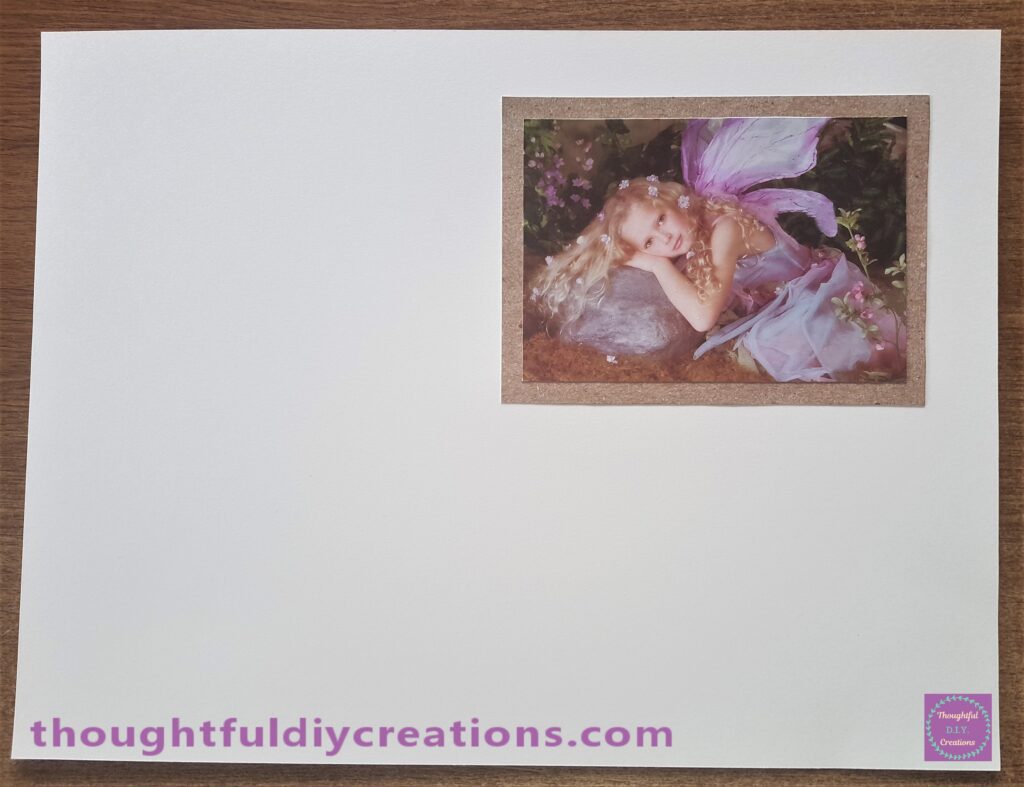
I glued the Brown Fairy Image to the top right hand side of the Scrapbook Layout using Pritt Stick.
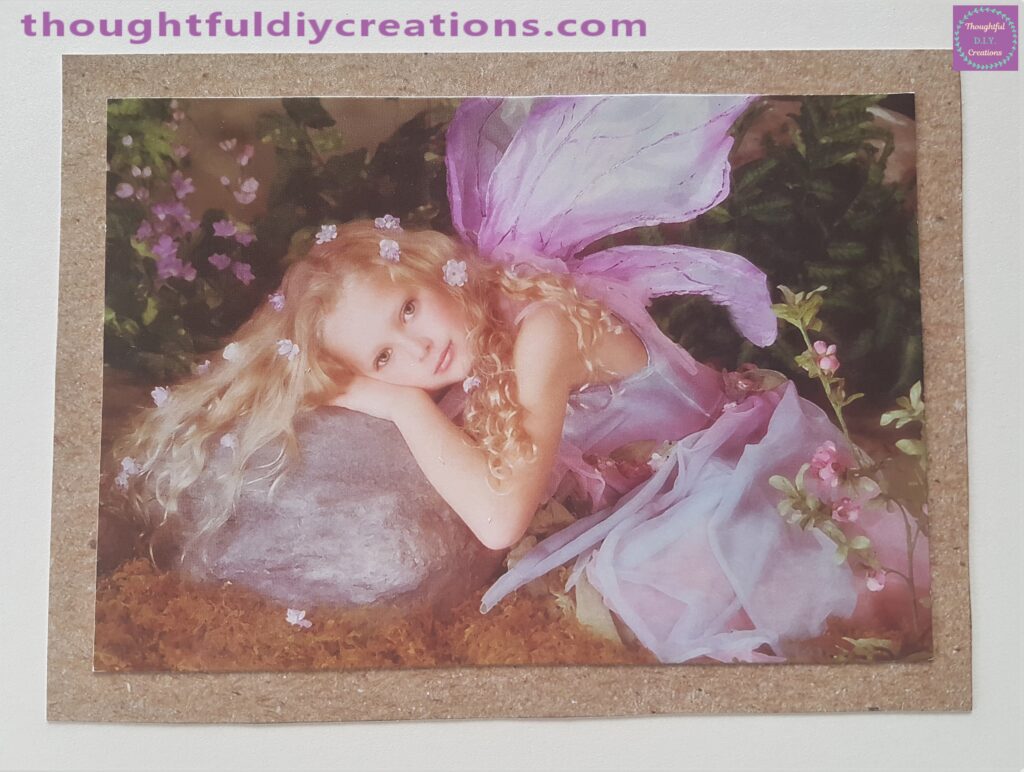
A Closer view of the Fairy.
Leaves and Flowers for the Layout
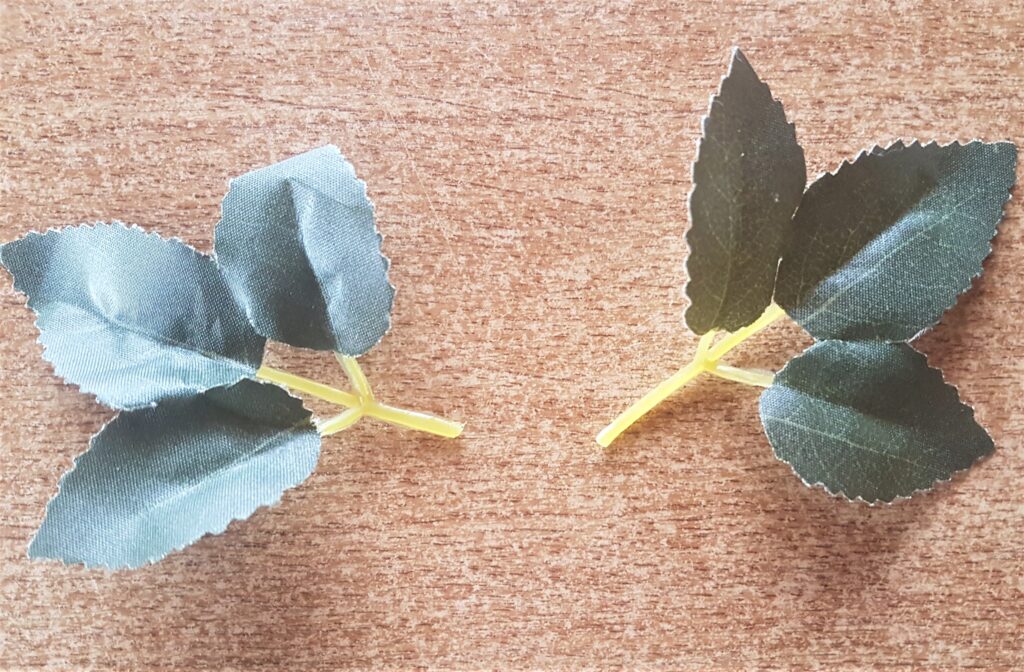
I cut off two sets of leaves from an Artificial Bunch of Flowers.
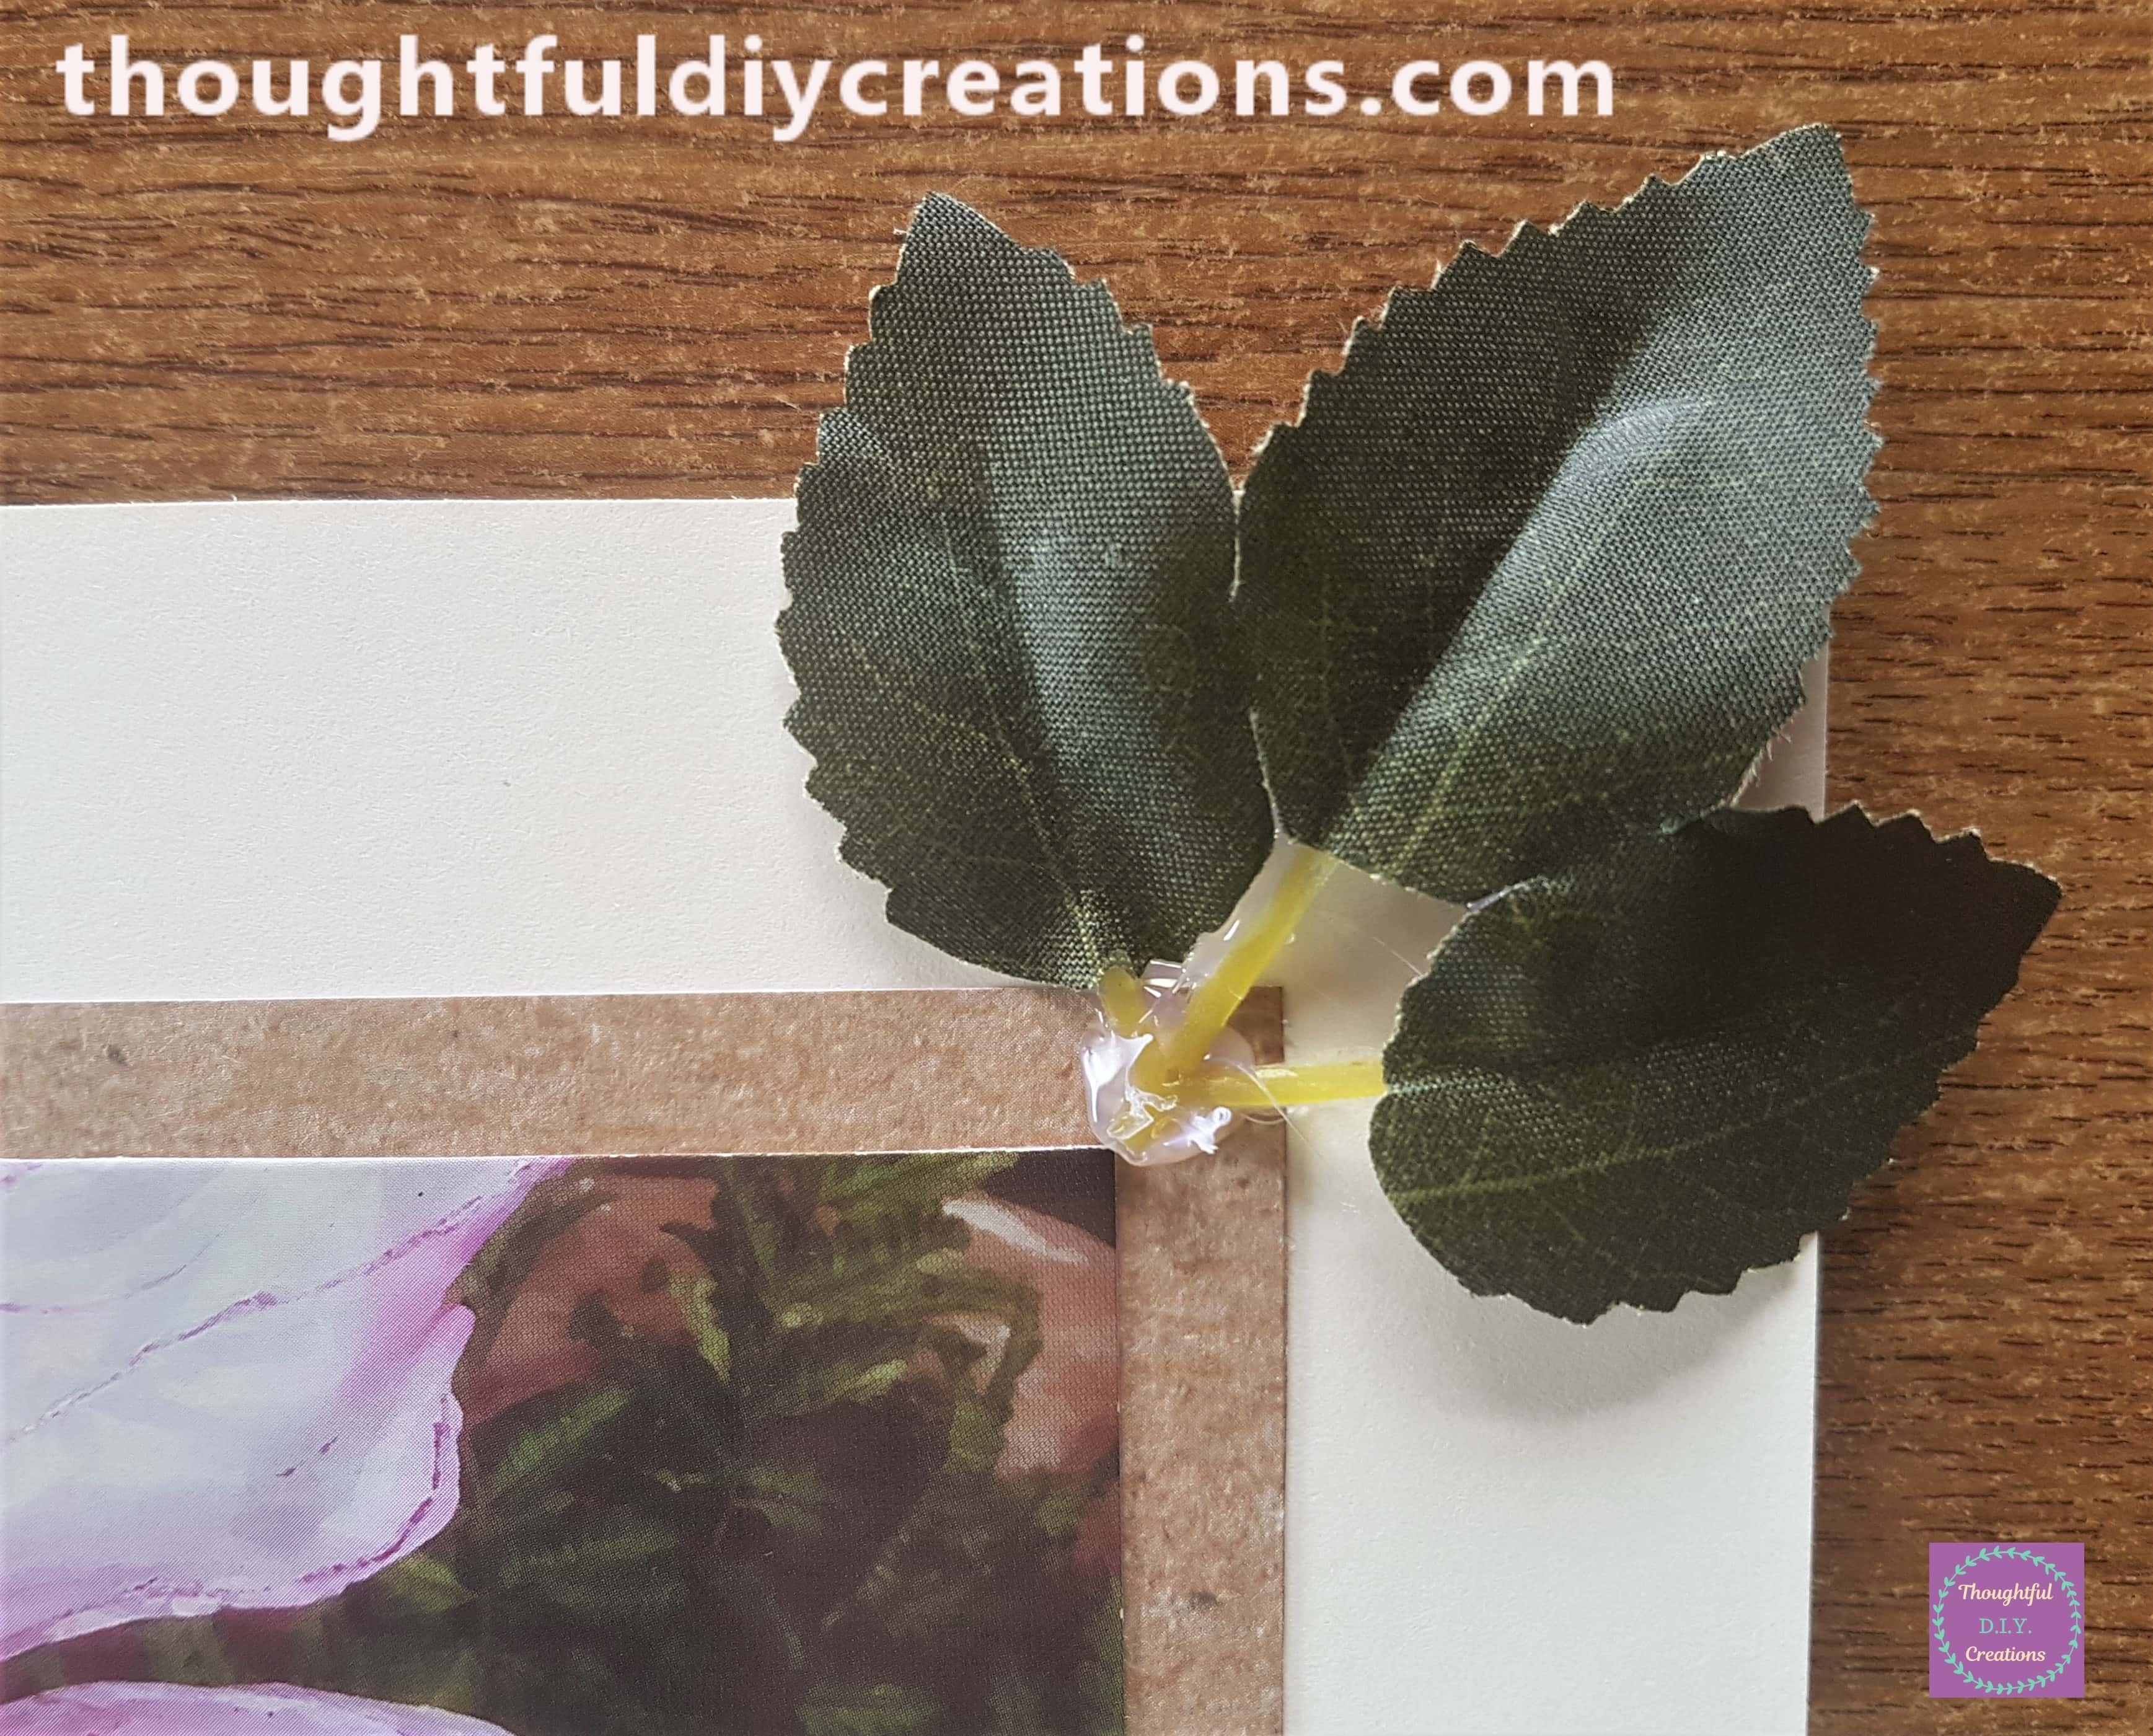
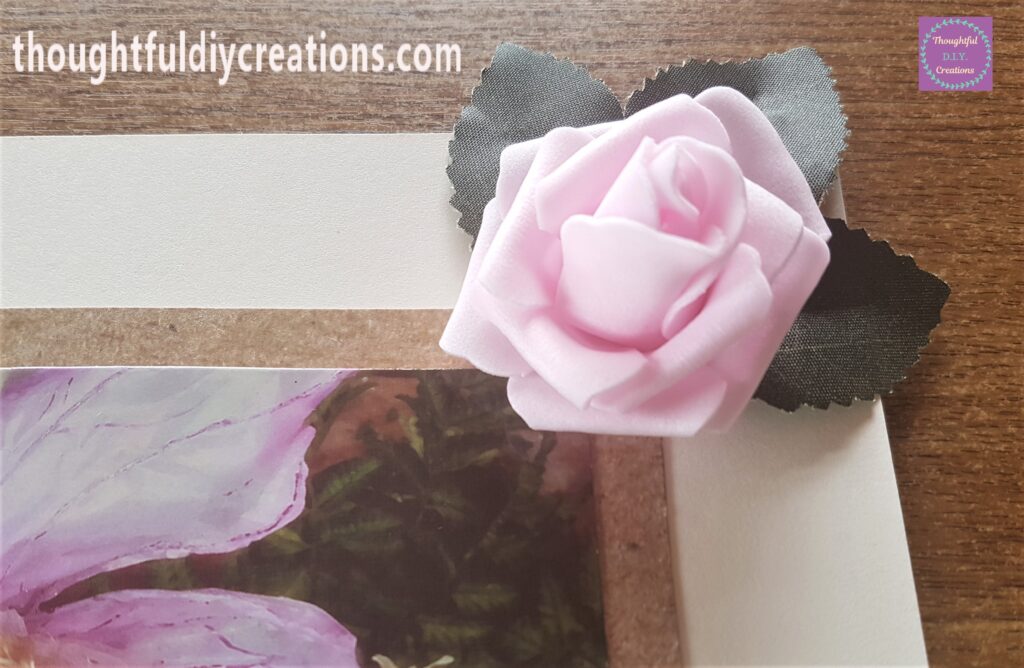
I plugged in my Hot Glue Gun and let it heat up for 5 minutes. I then added some Clear Hot Glue to the Stem of the leaves and attached it to the top right hand corner of the Border Fairy Image. I held it in place for about 10 seconds with the end of a Paintbrush, the Glue will be very hot so to prevent any burning; use whatever household items you have nearby to hold the glue in place for a few seconds.
I had 2 Foam Pink Flowers in my Craft Supplies.
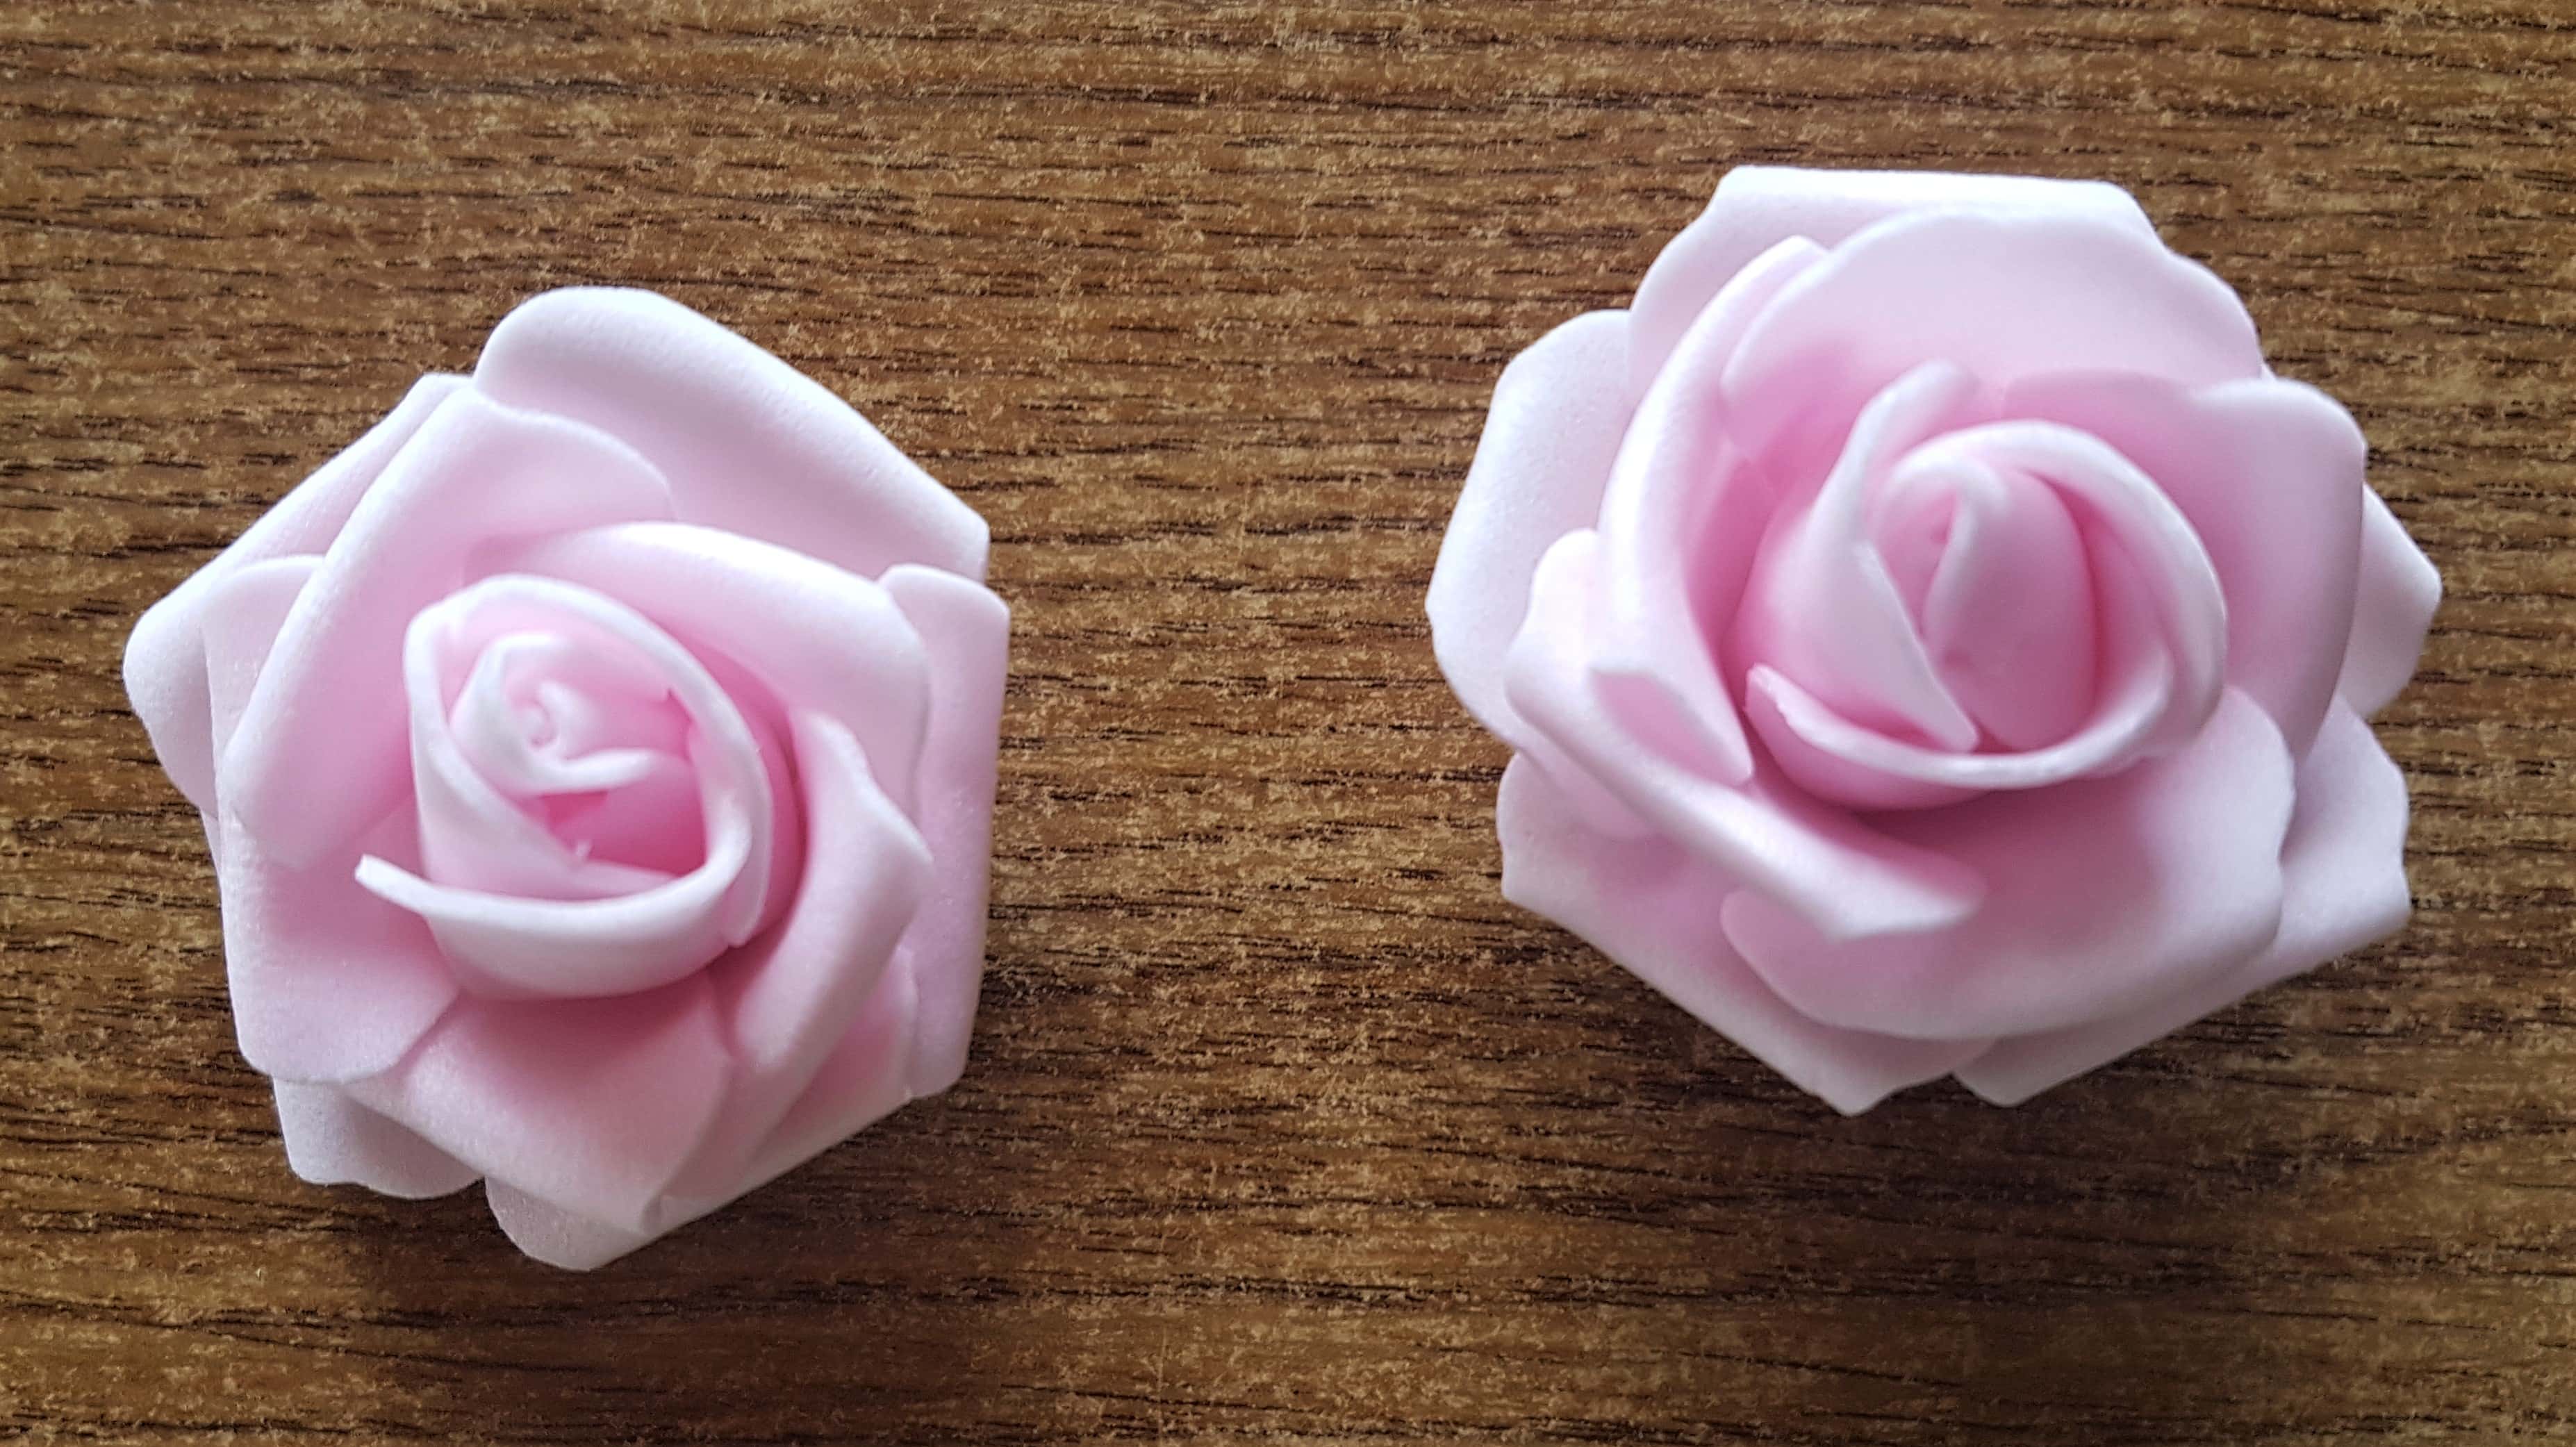
I put some Hot Glue on the bottom of the Pink Rose and held it on top of the Leaves.
I Hot Glued the other set of leaves to the bottom left hand side of the Border Fairy Image.
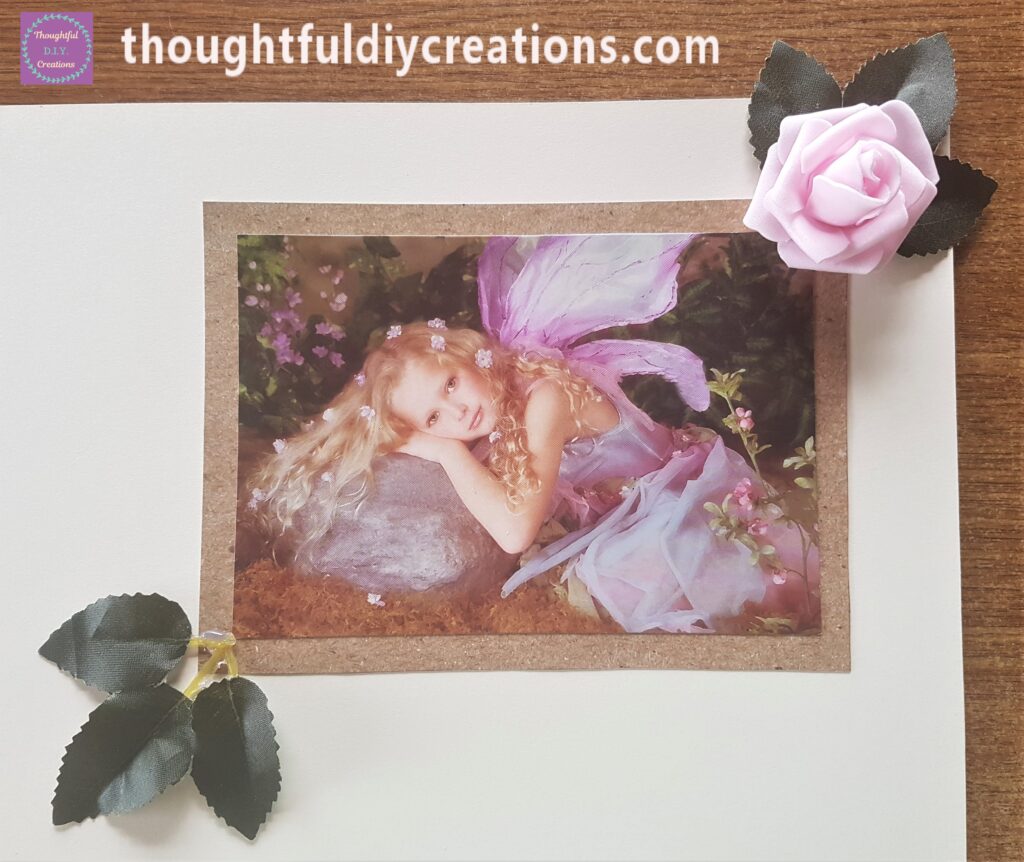
I hot glued the second pink Rose to the second set of leaves.
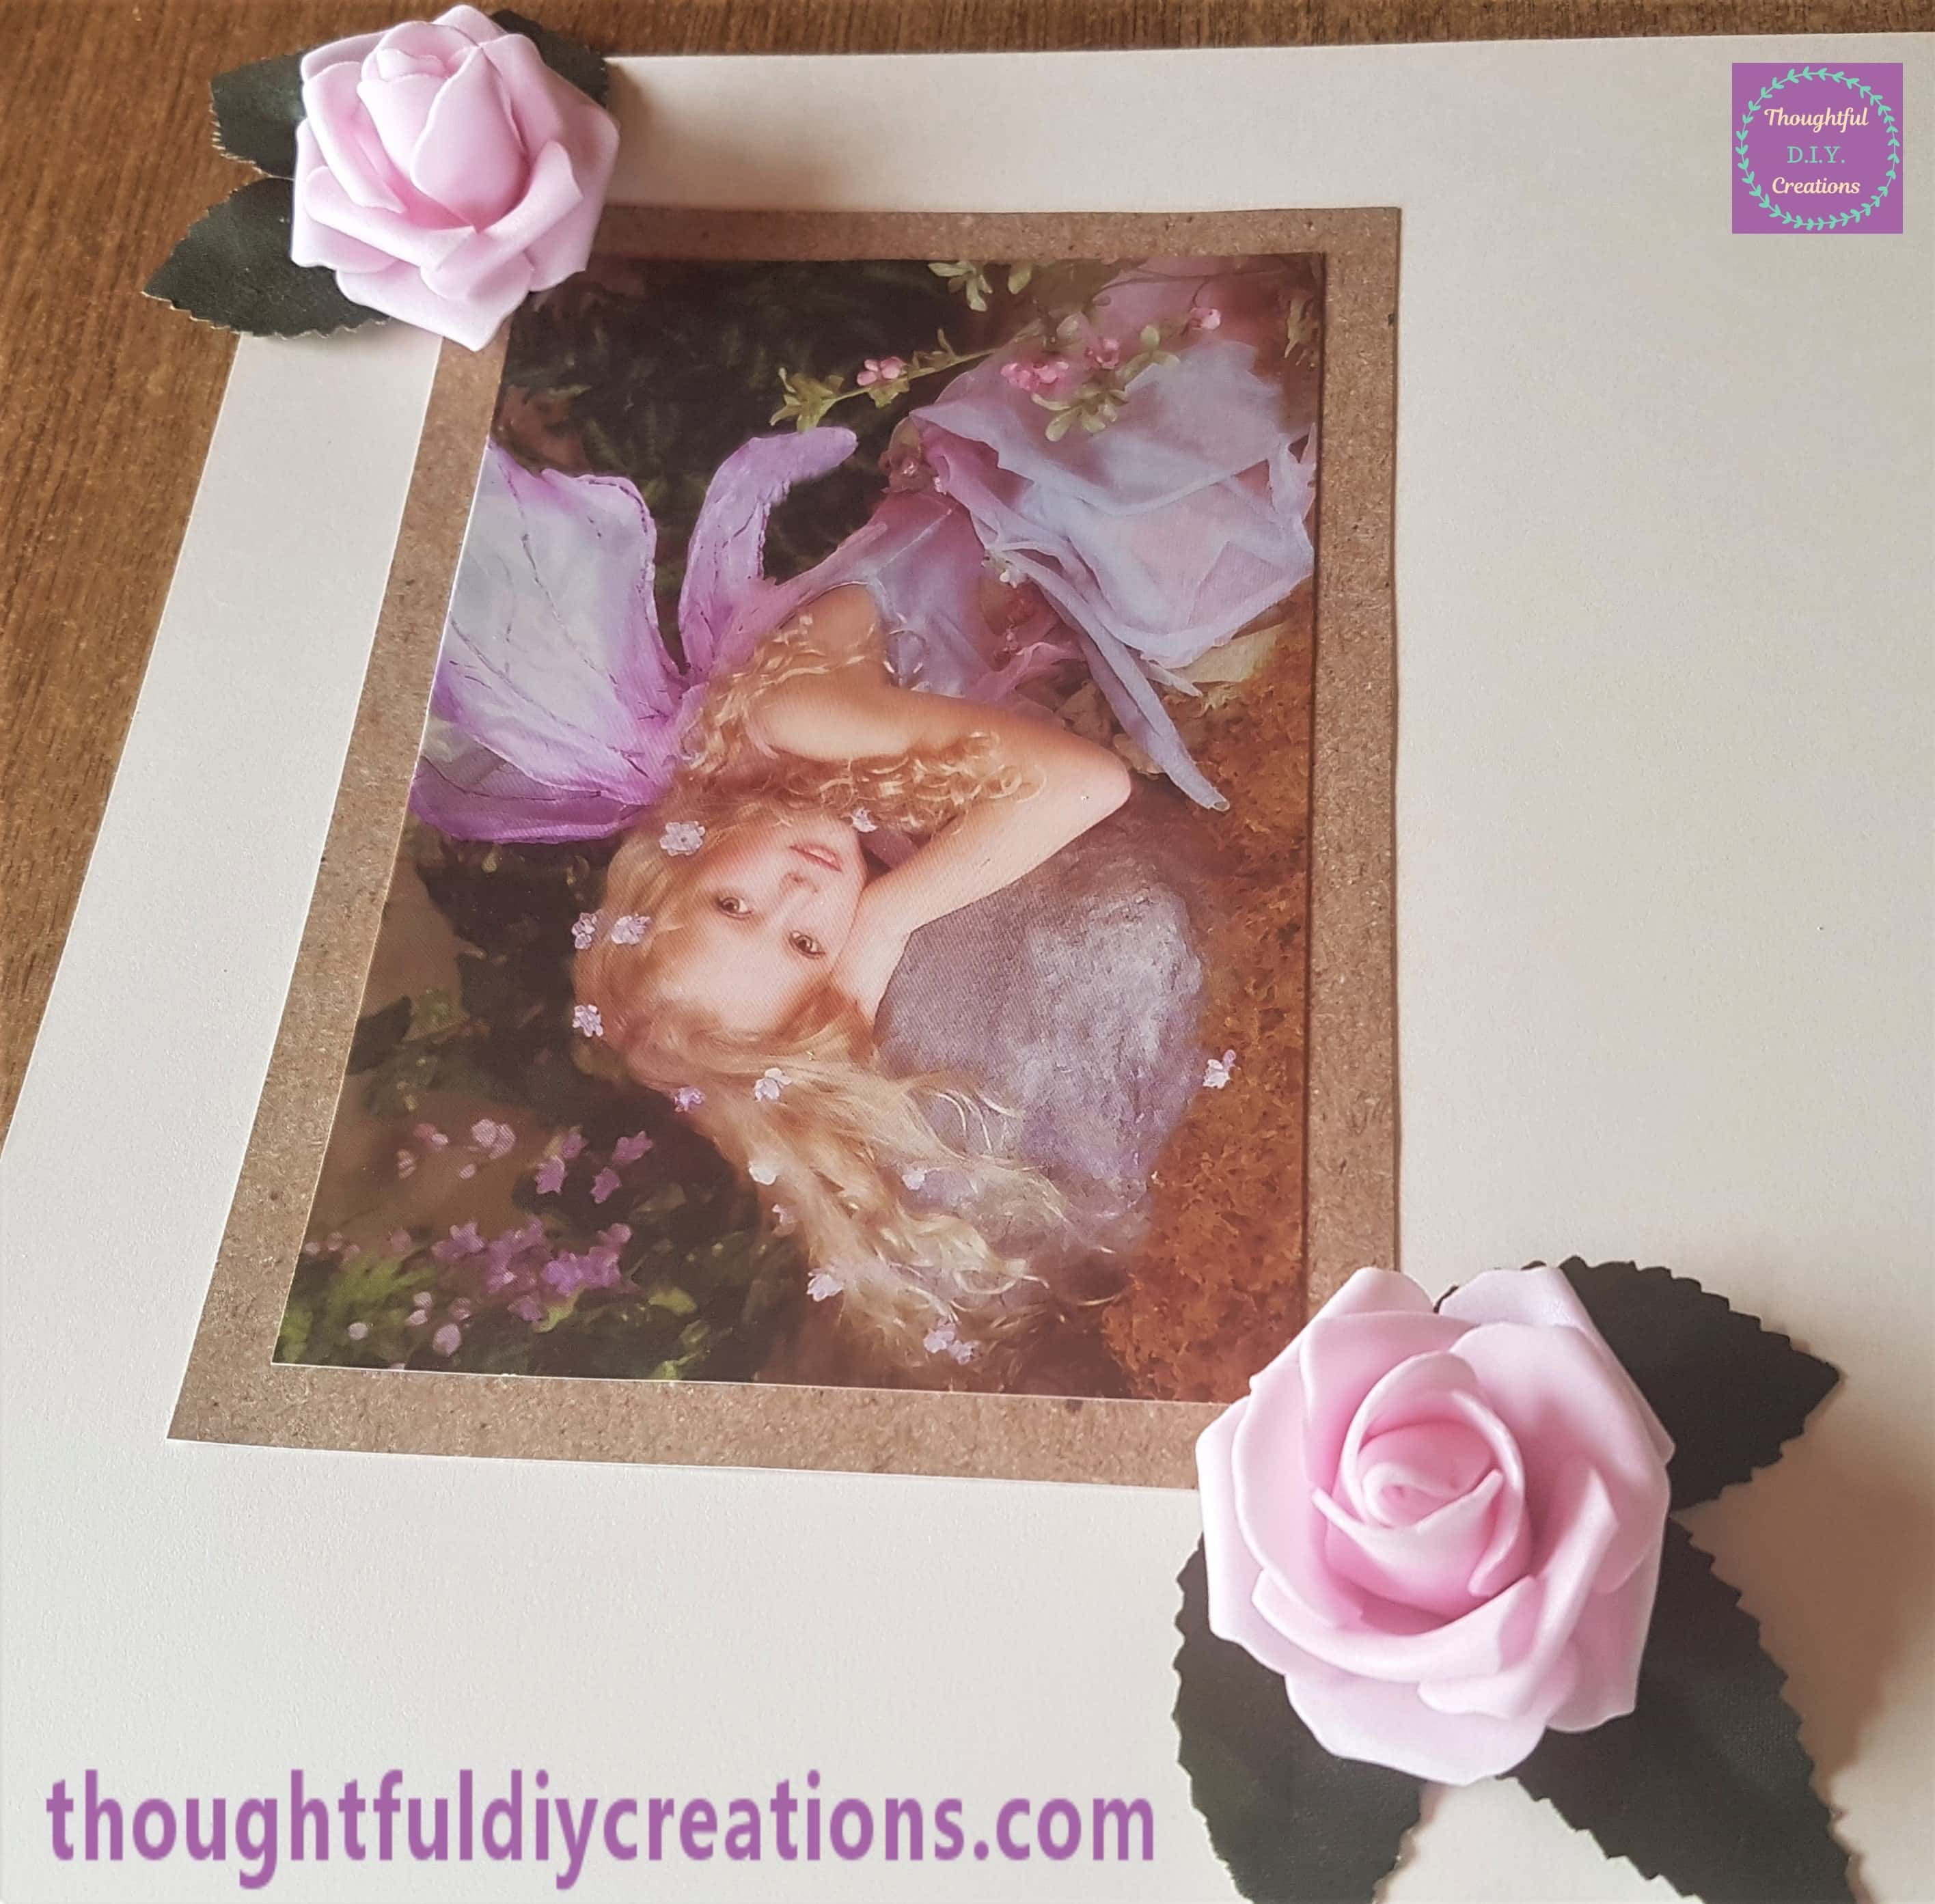
Adding a Doily to the Scrapbook Layout
I got a Pink Rose print Paper Doily to use for the Scrapbook Layout.
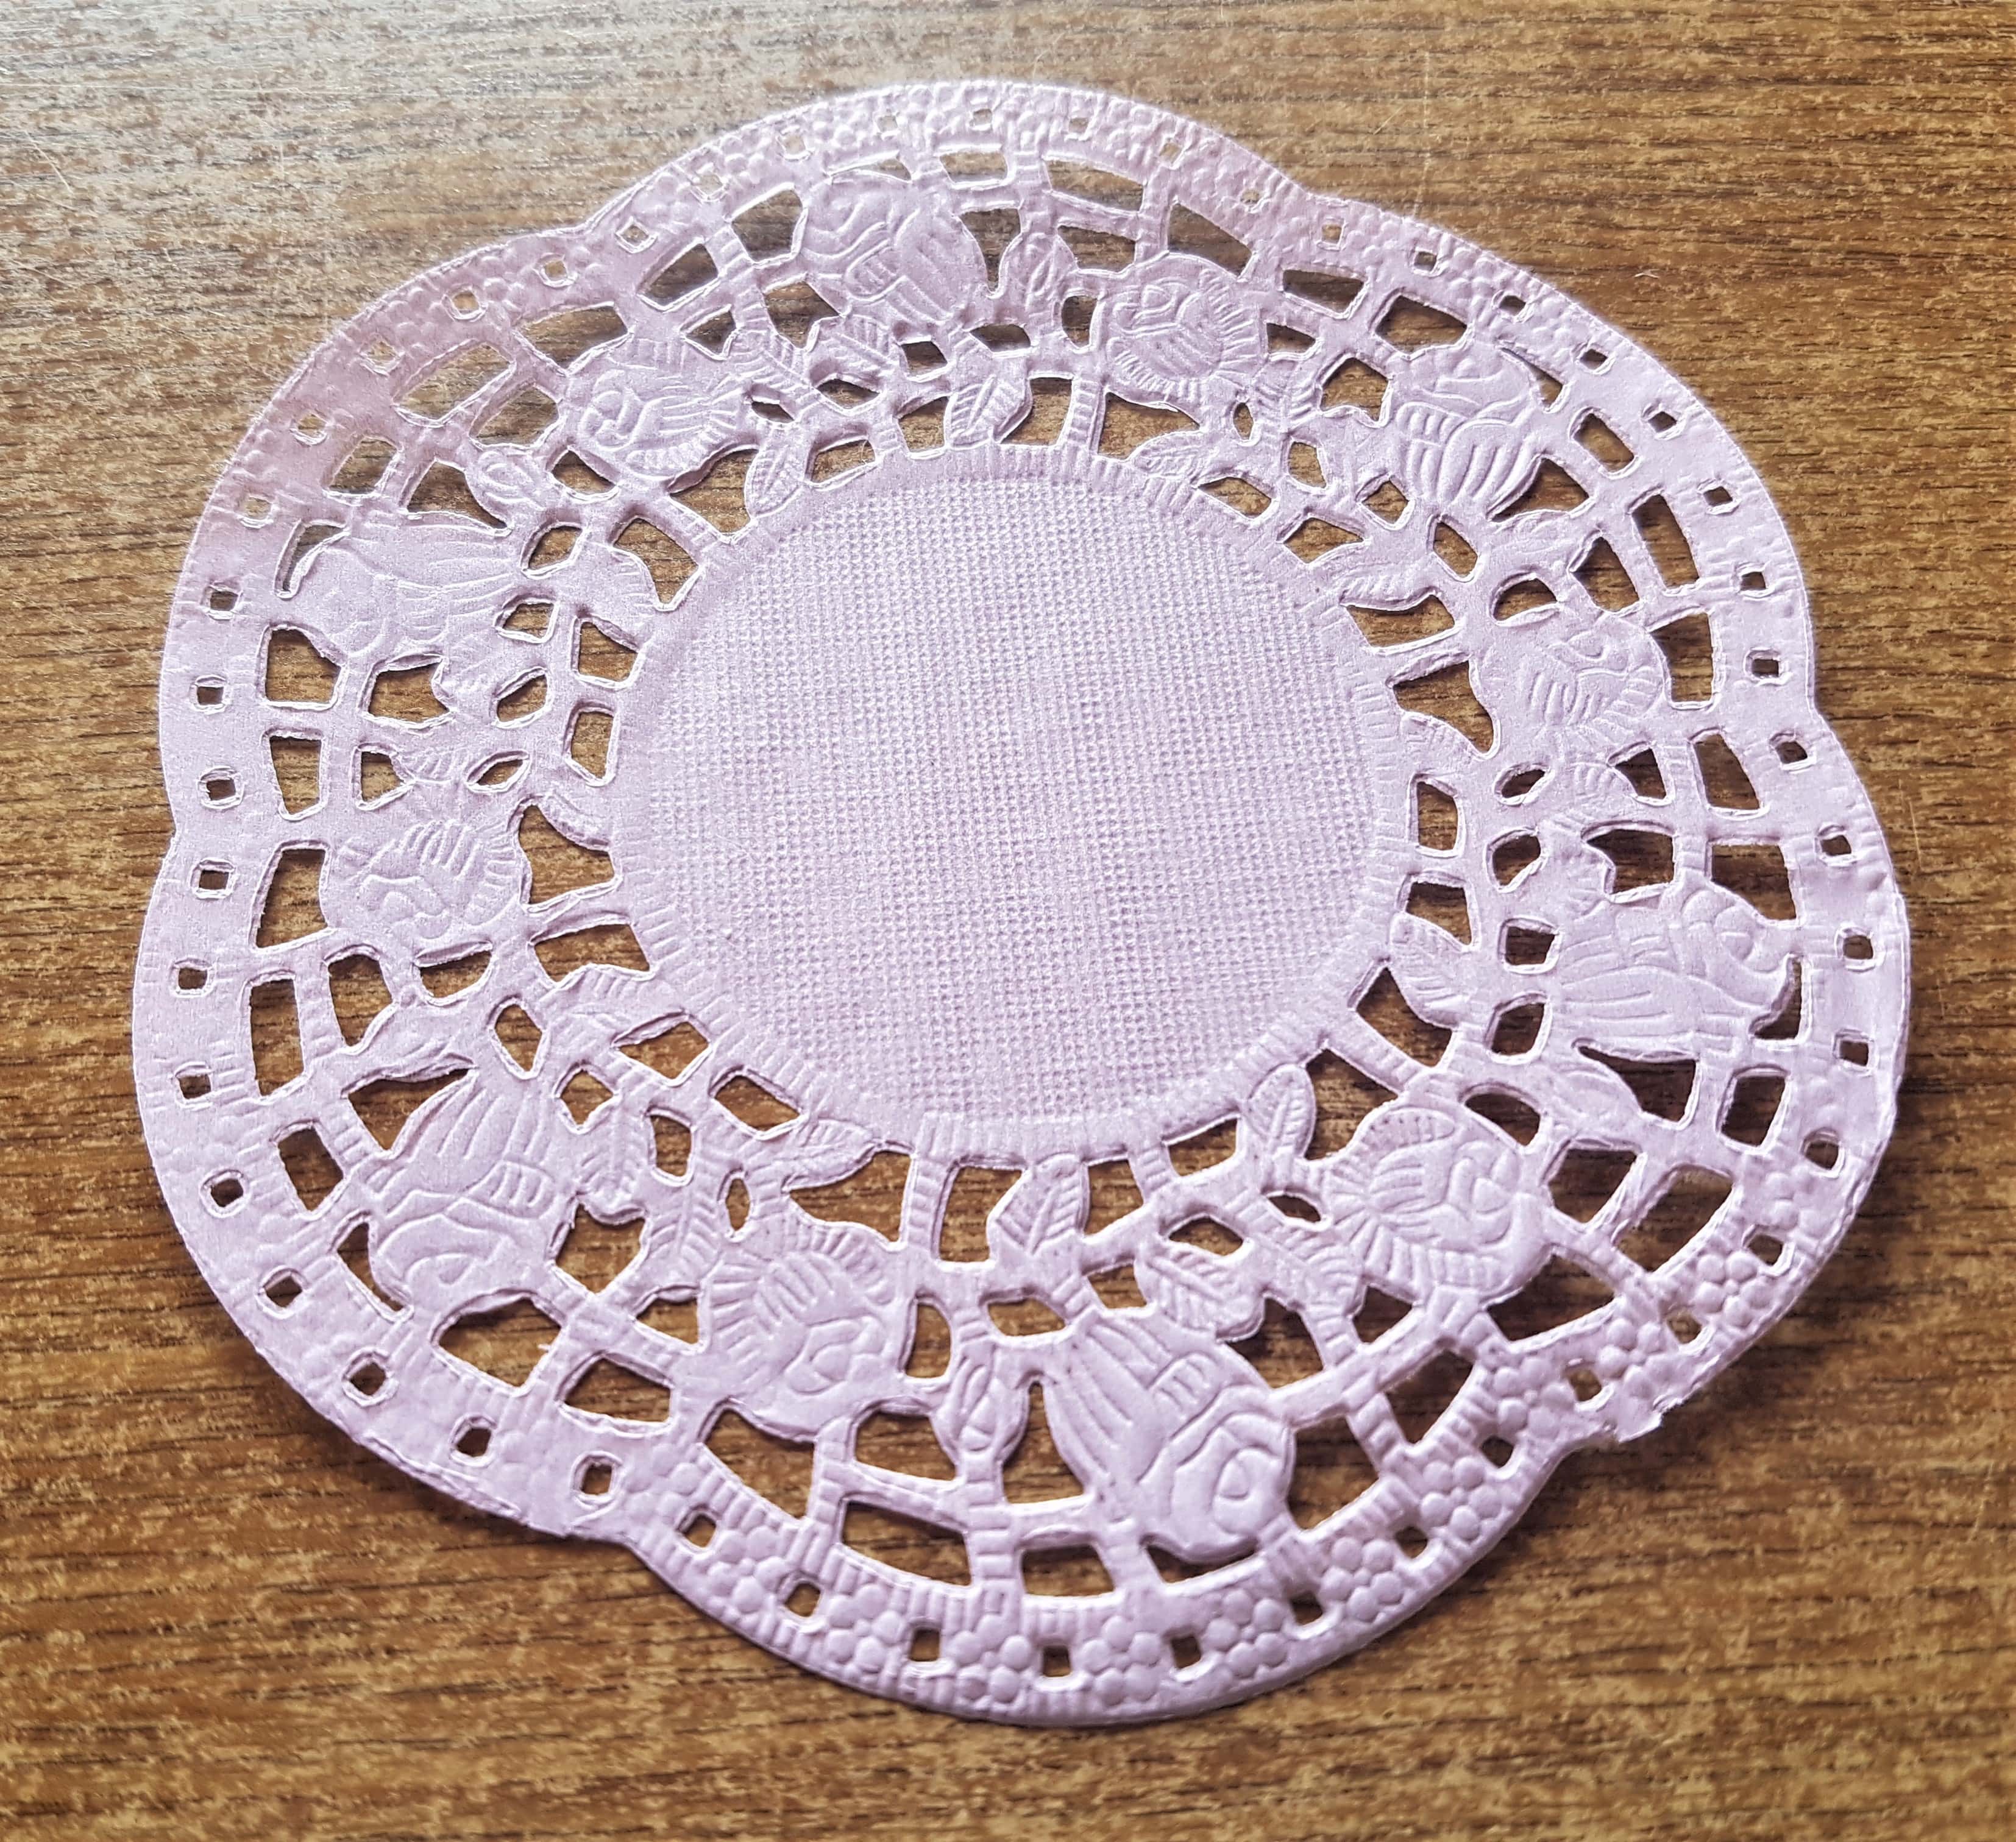
I cut out a square section of the same brown textured cardstock from earlier and attached the Doily to it using Pritt Stick.
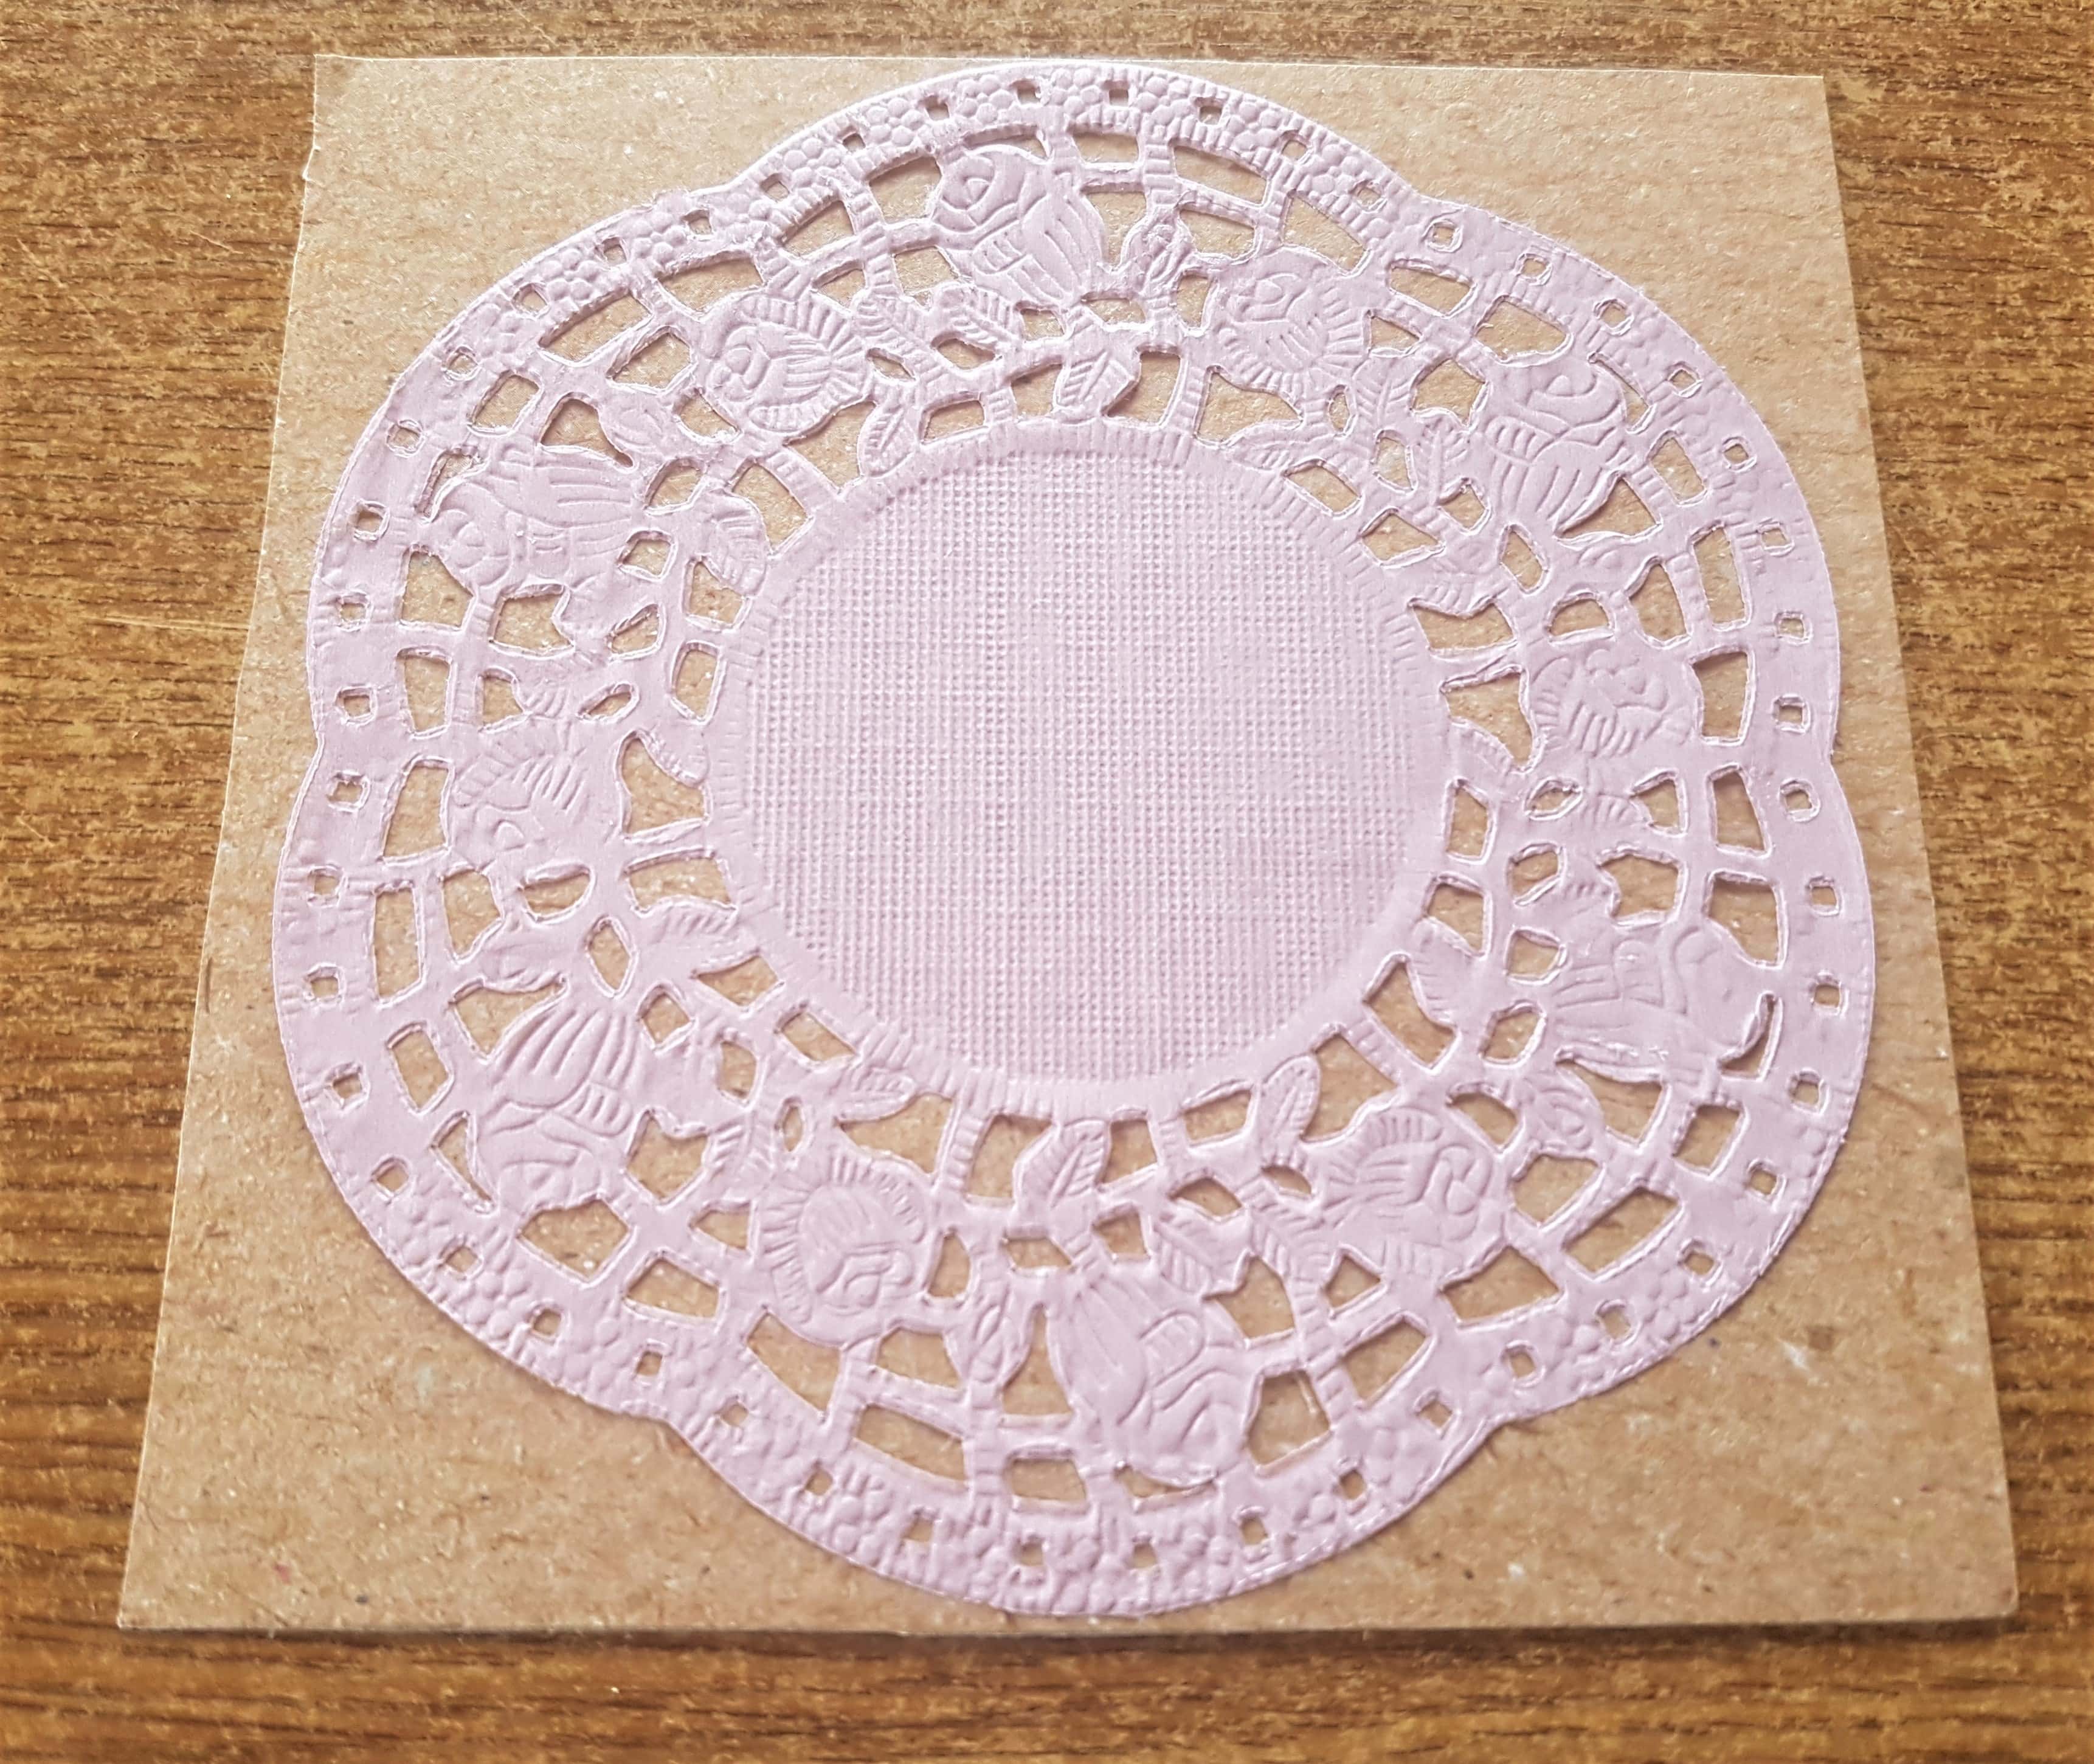
I cut around the Doily to remove the excess brown cardstock.
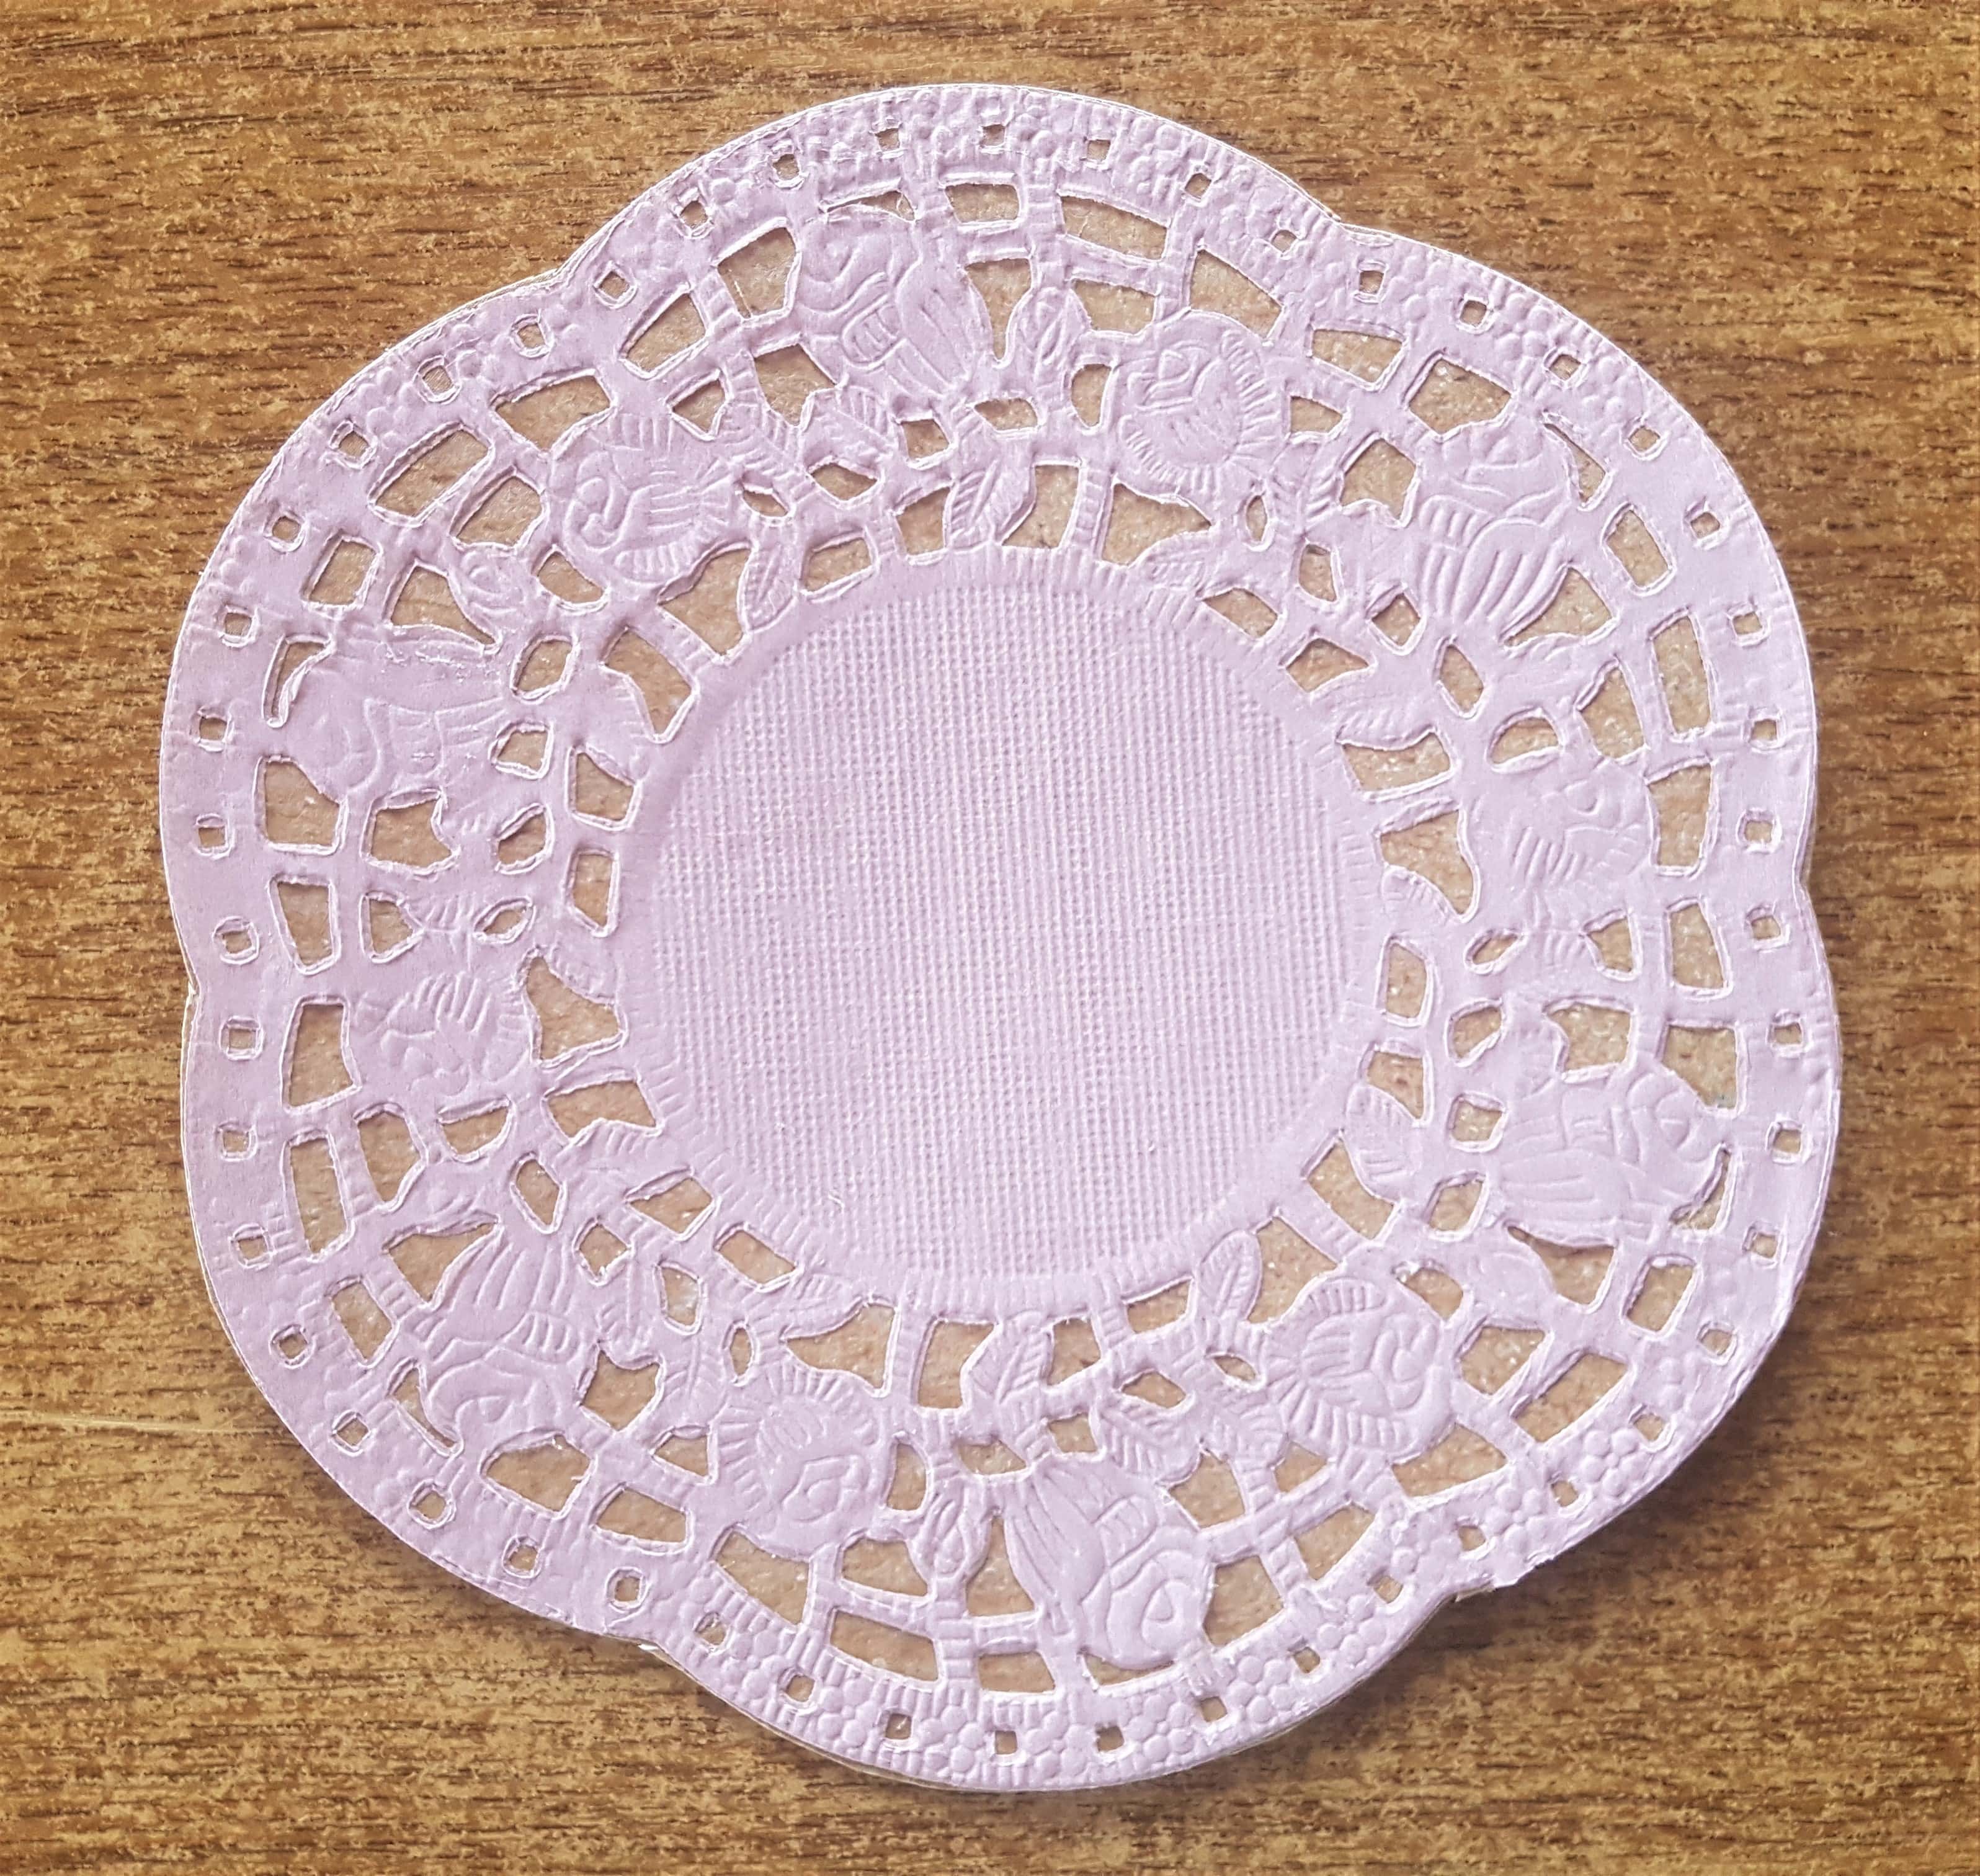
I glued the Doily to the Scrapbook Layout using Pritt Stick.
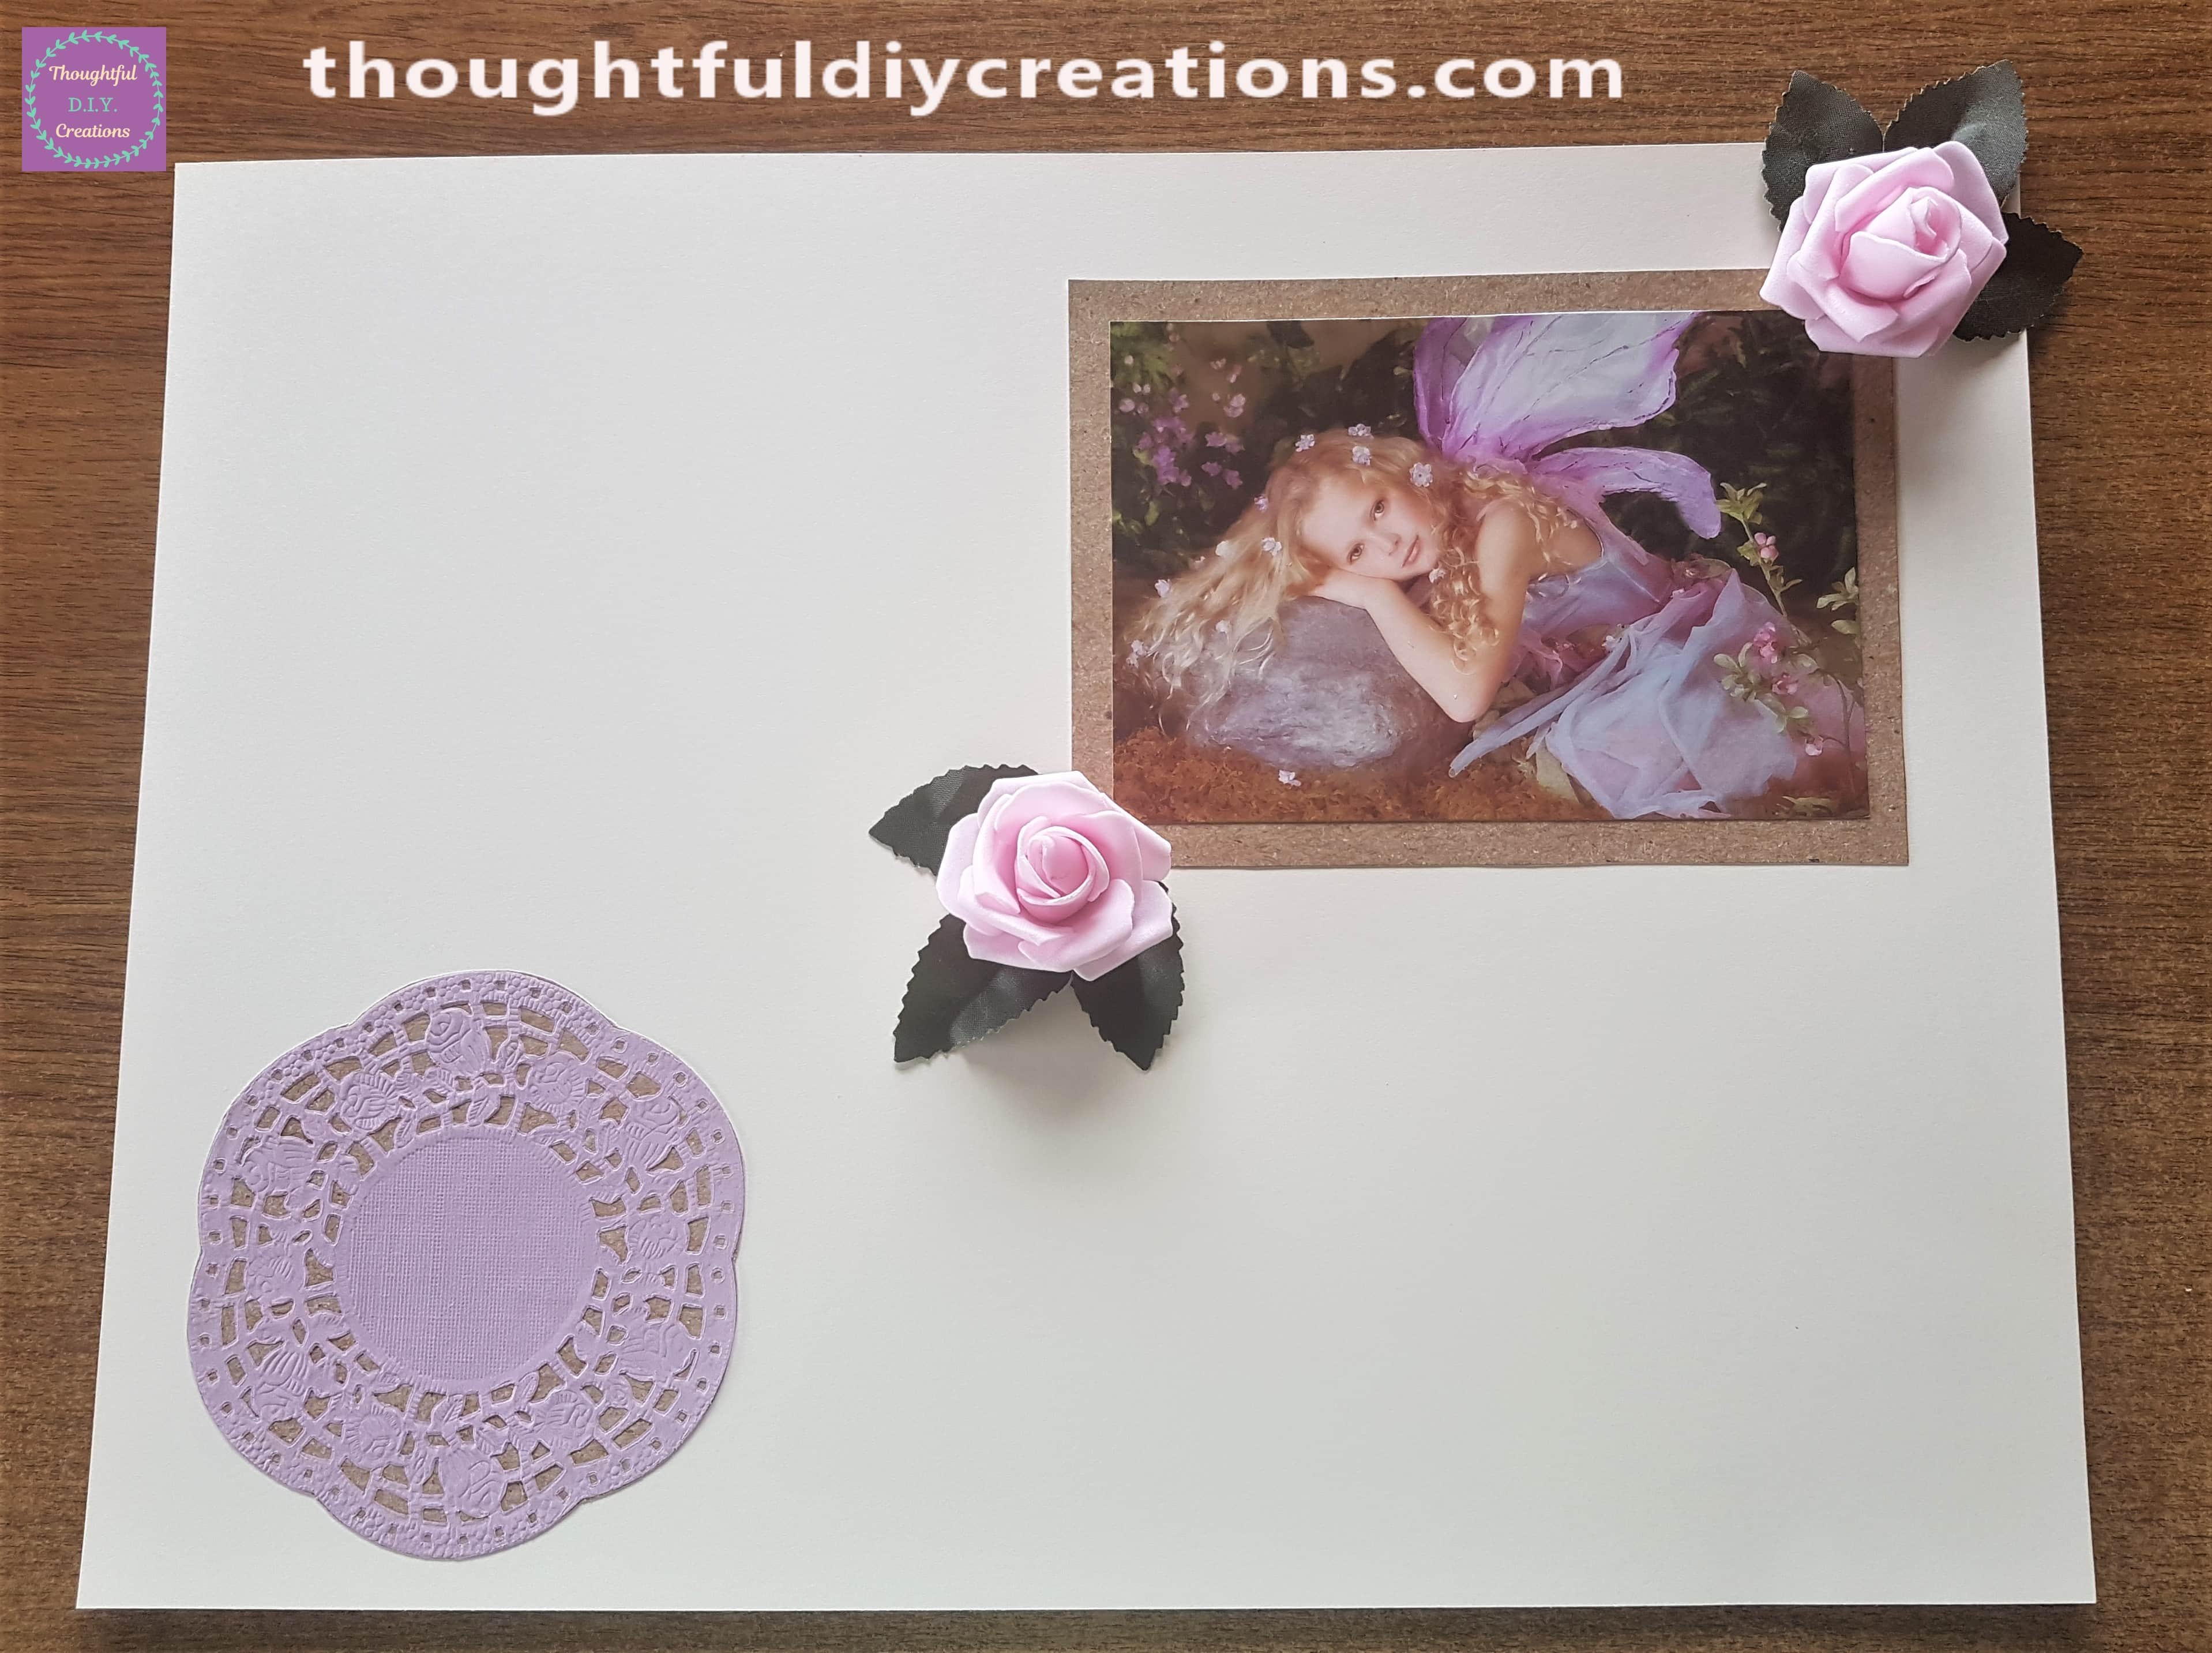
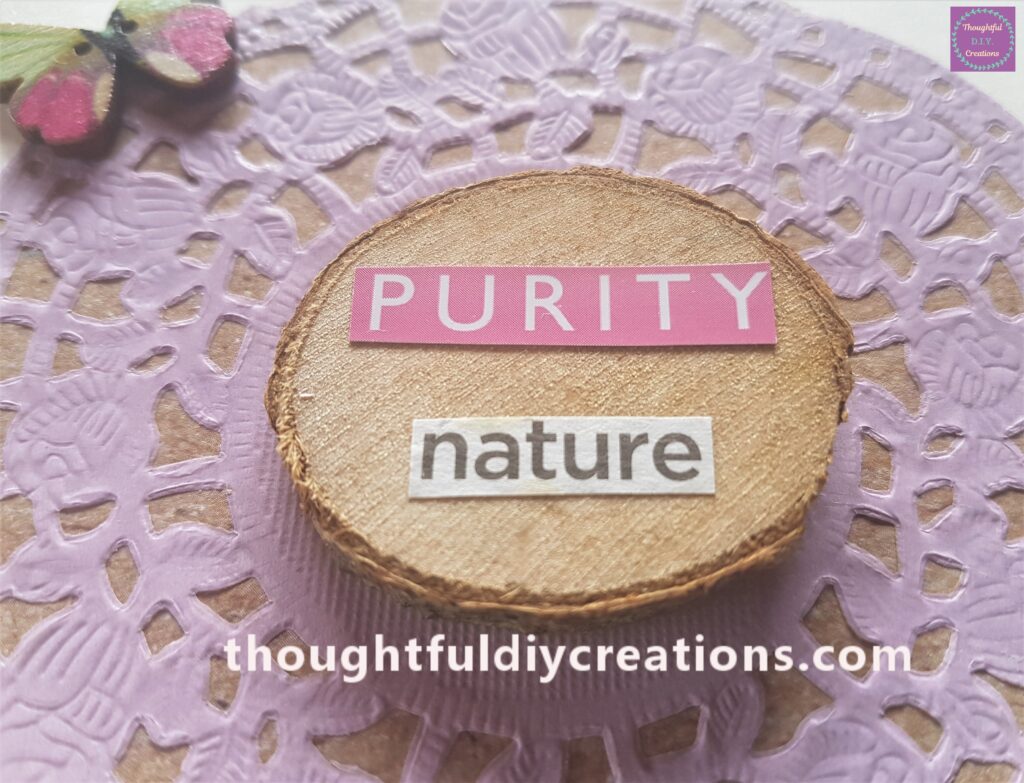
A closer look at the Doily.
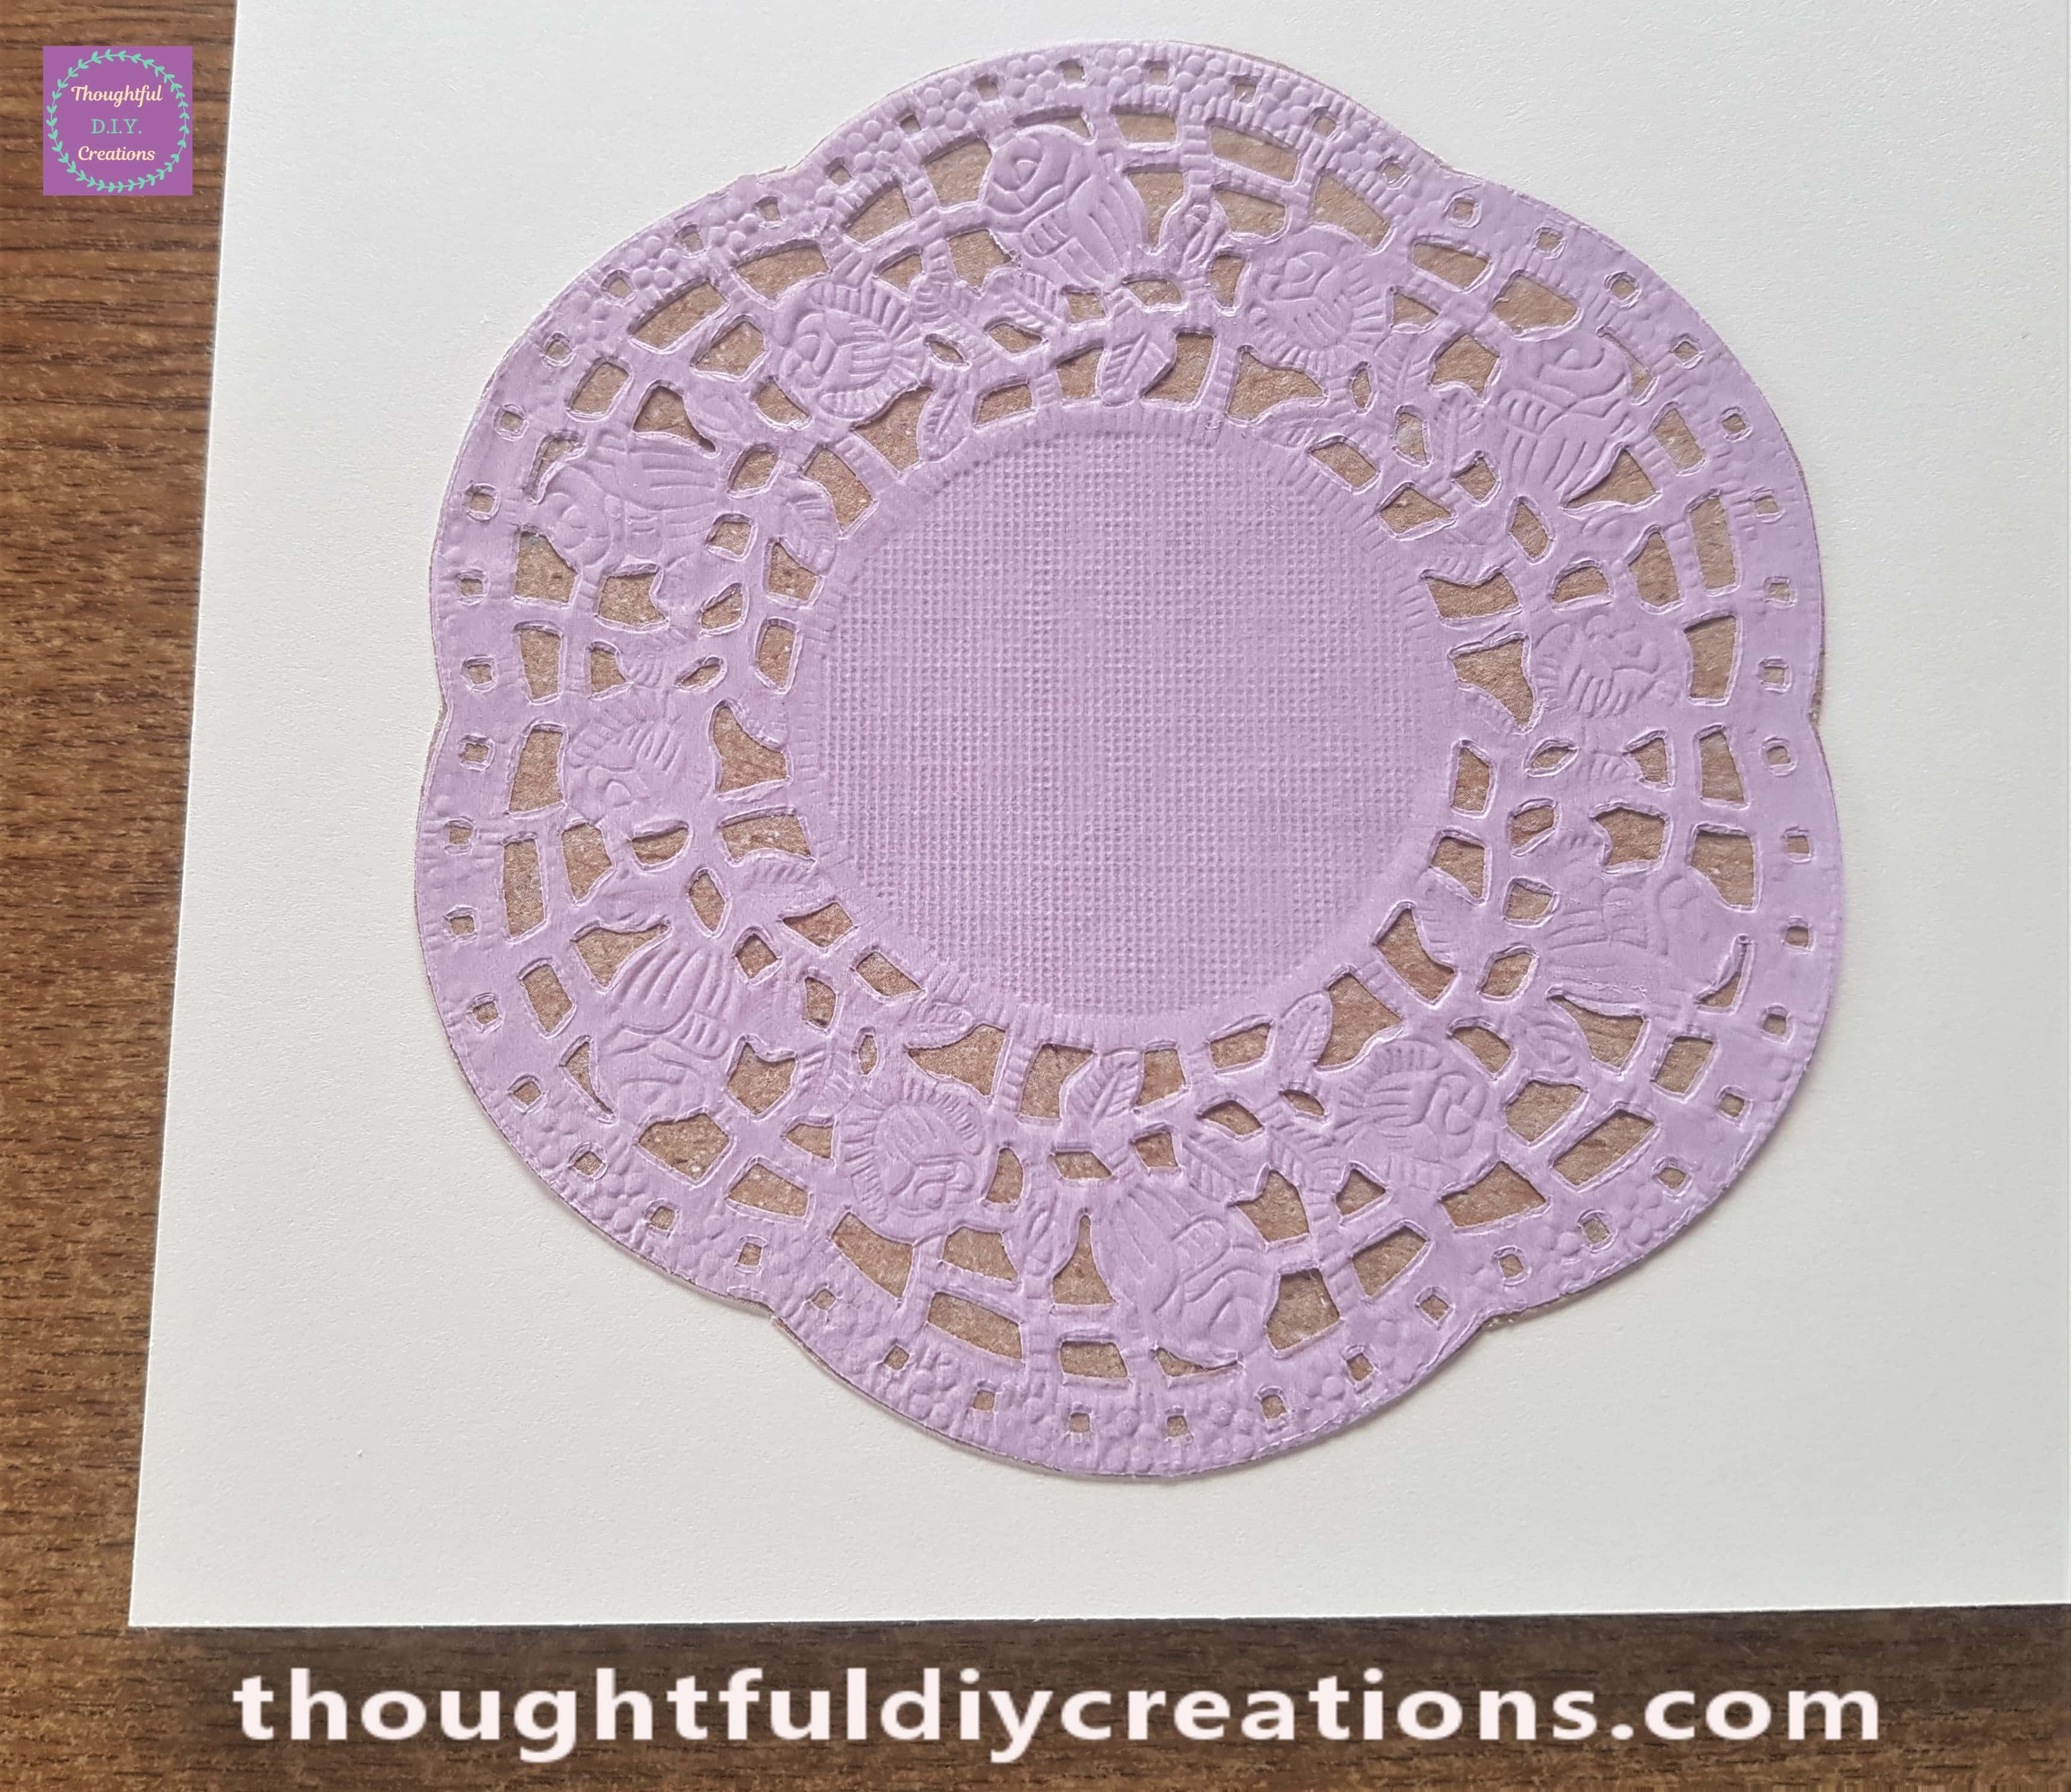
Adding more Elements to the Doily
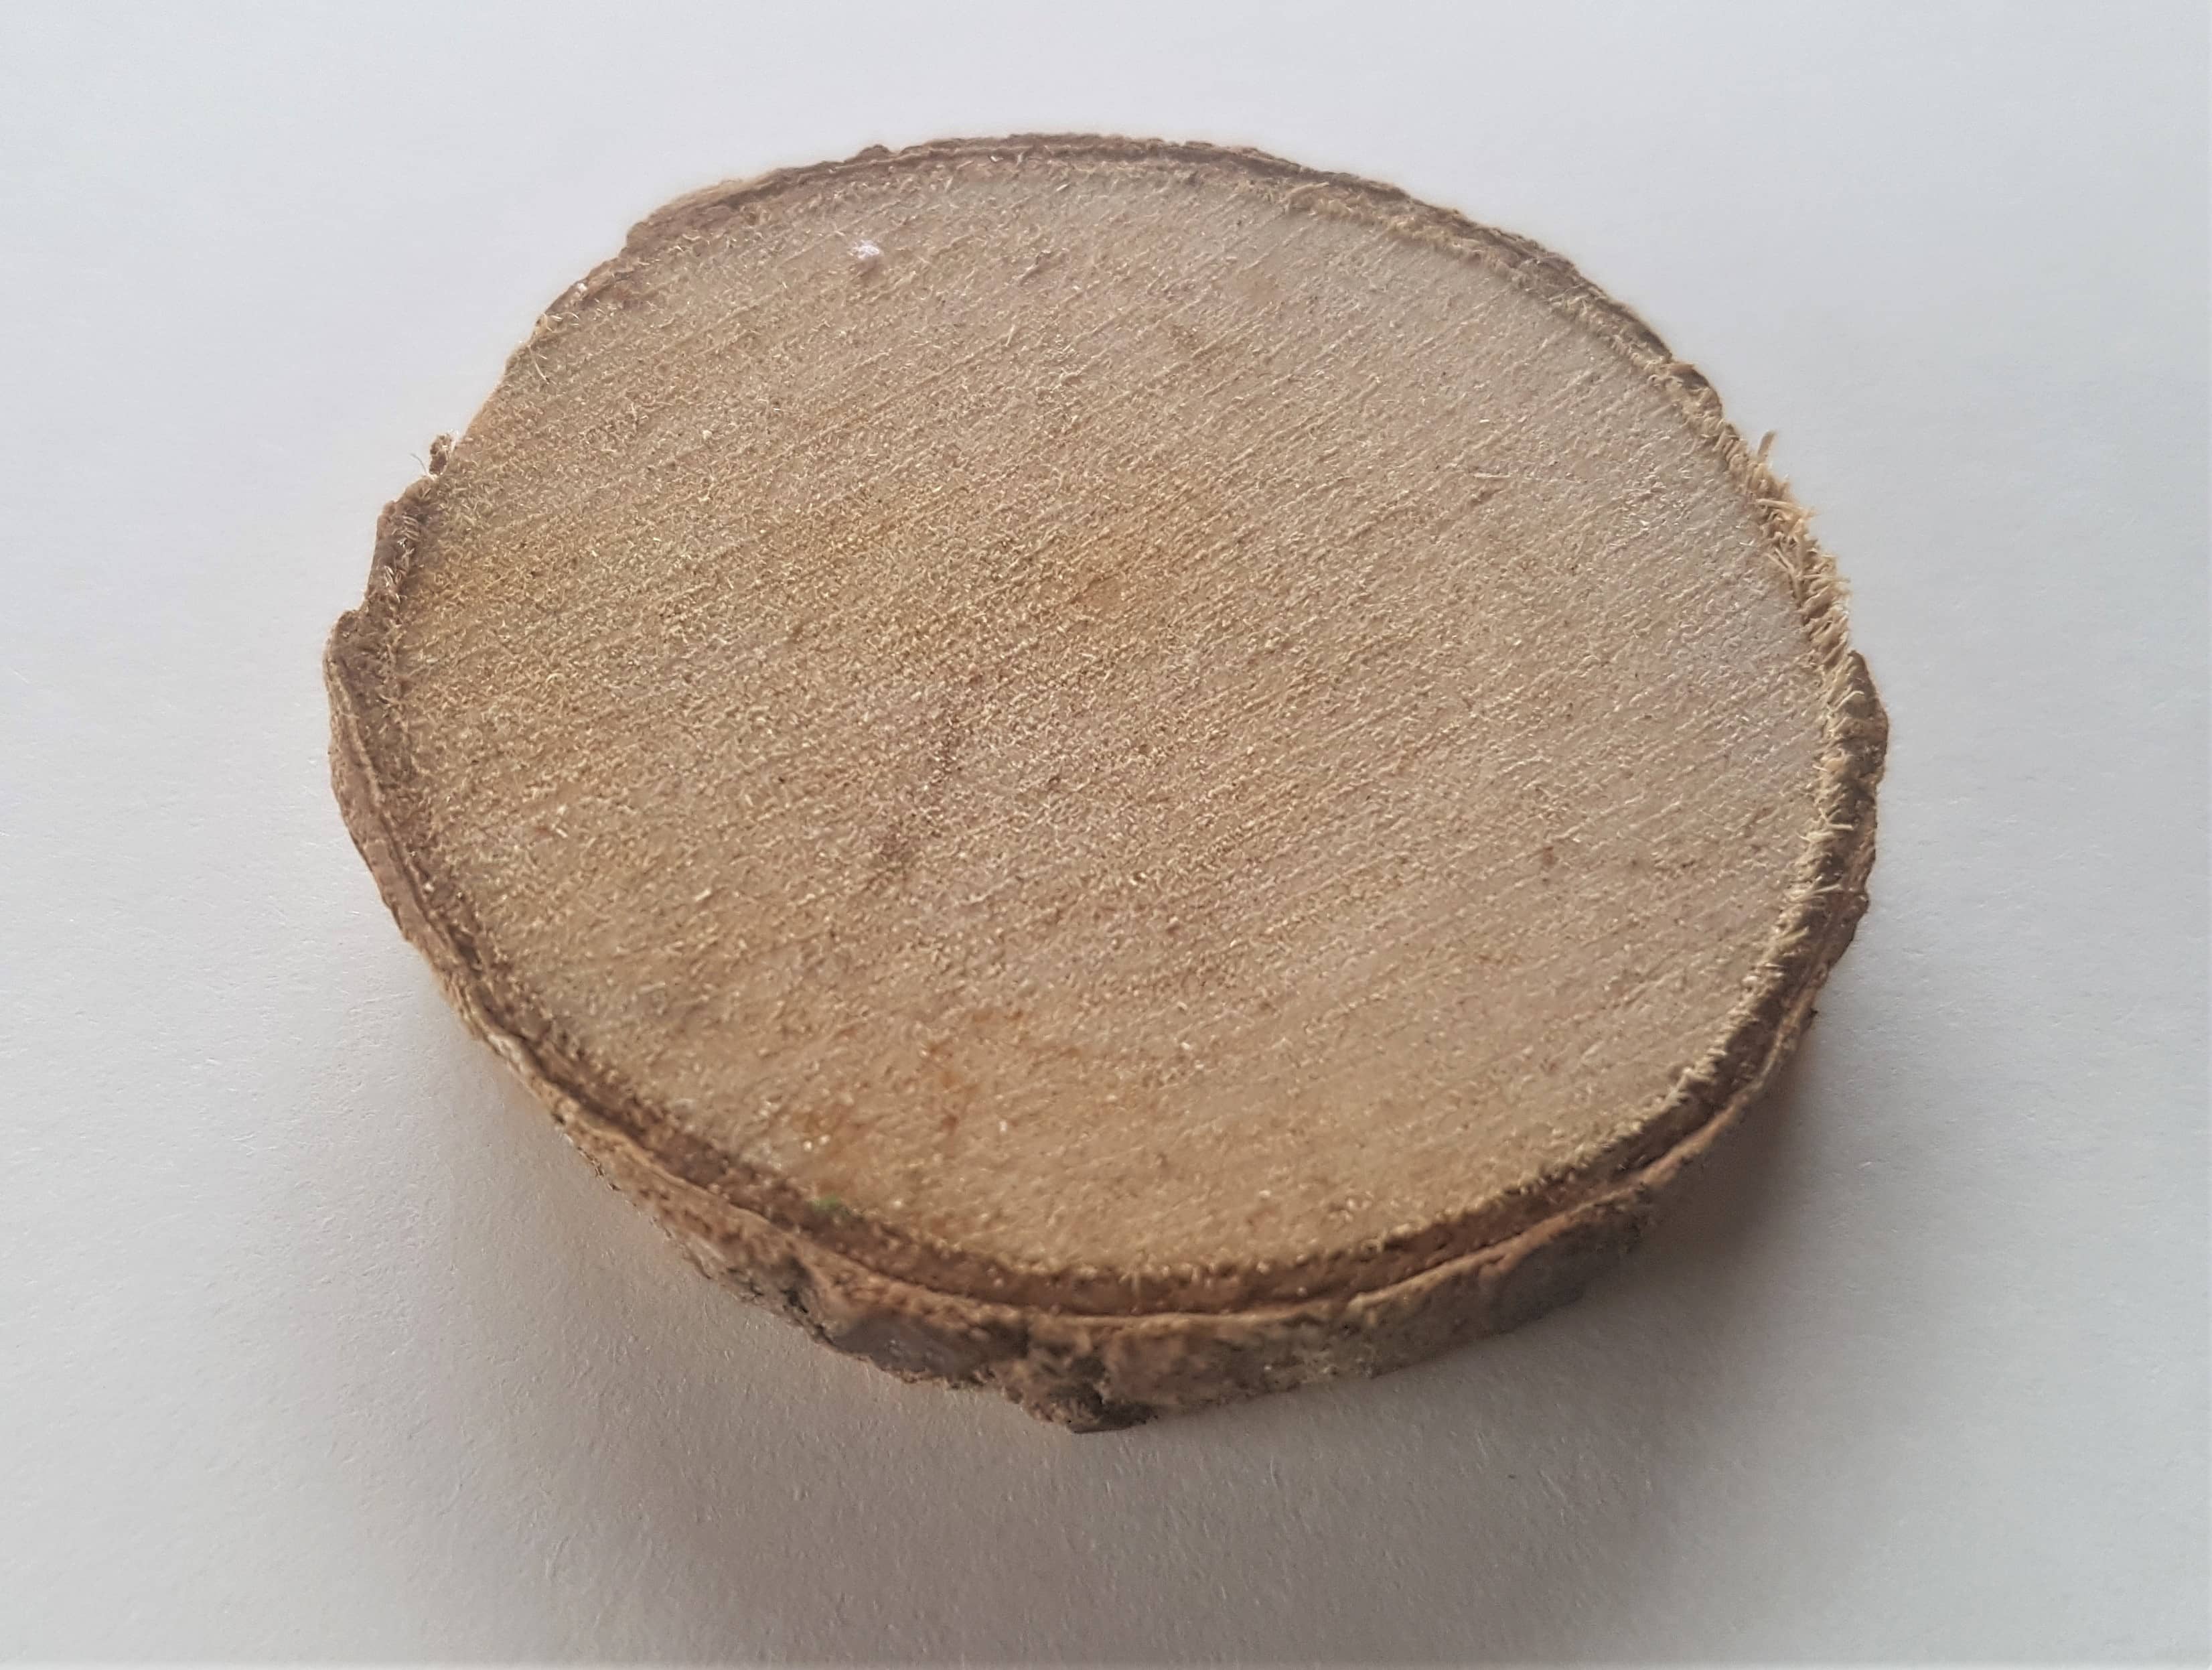
I got a Wood Slice from the Pack.
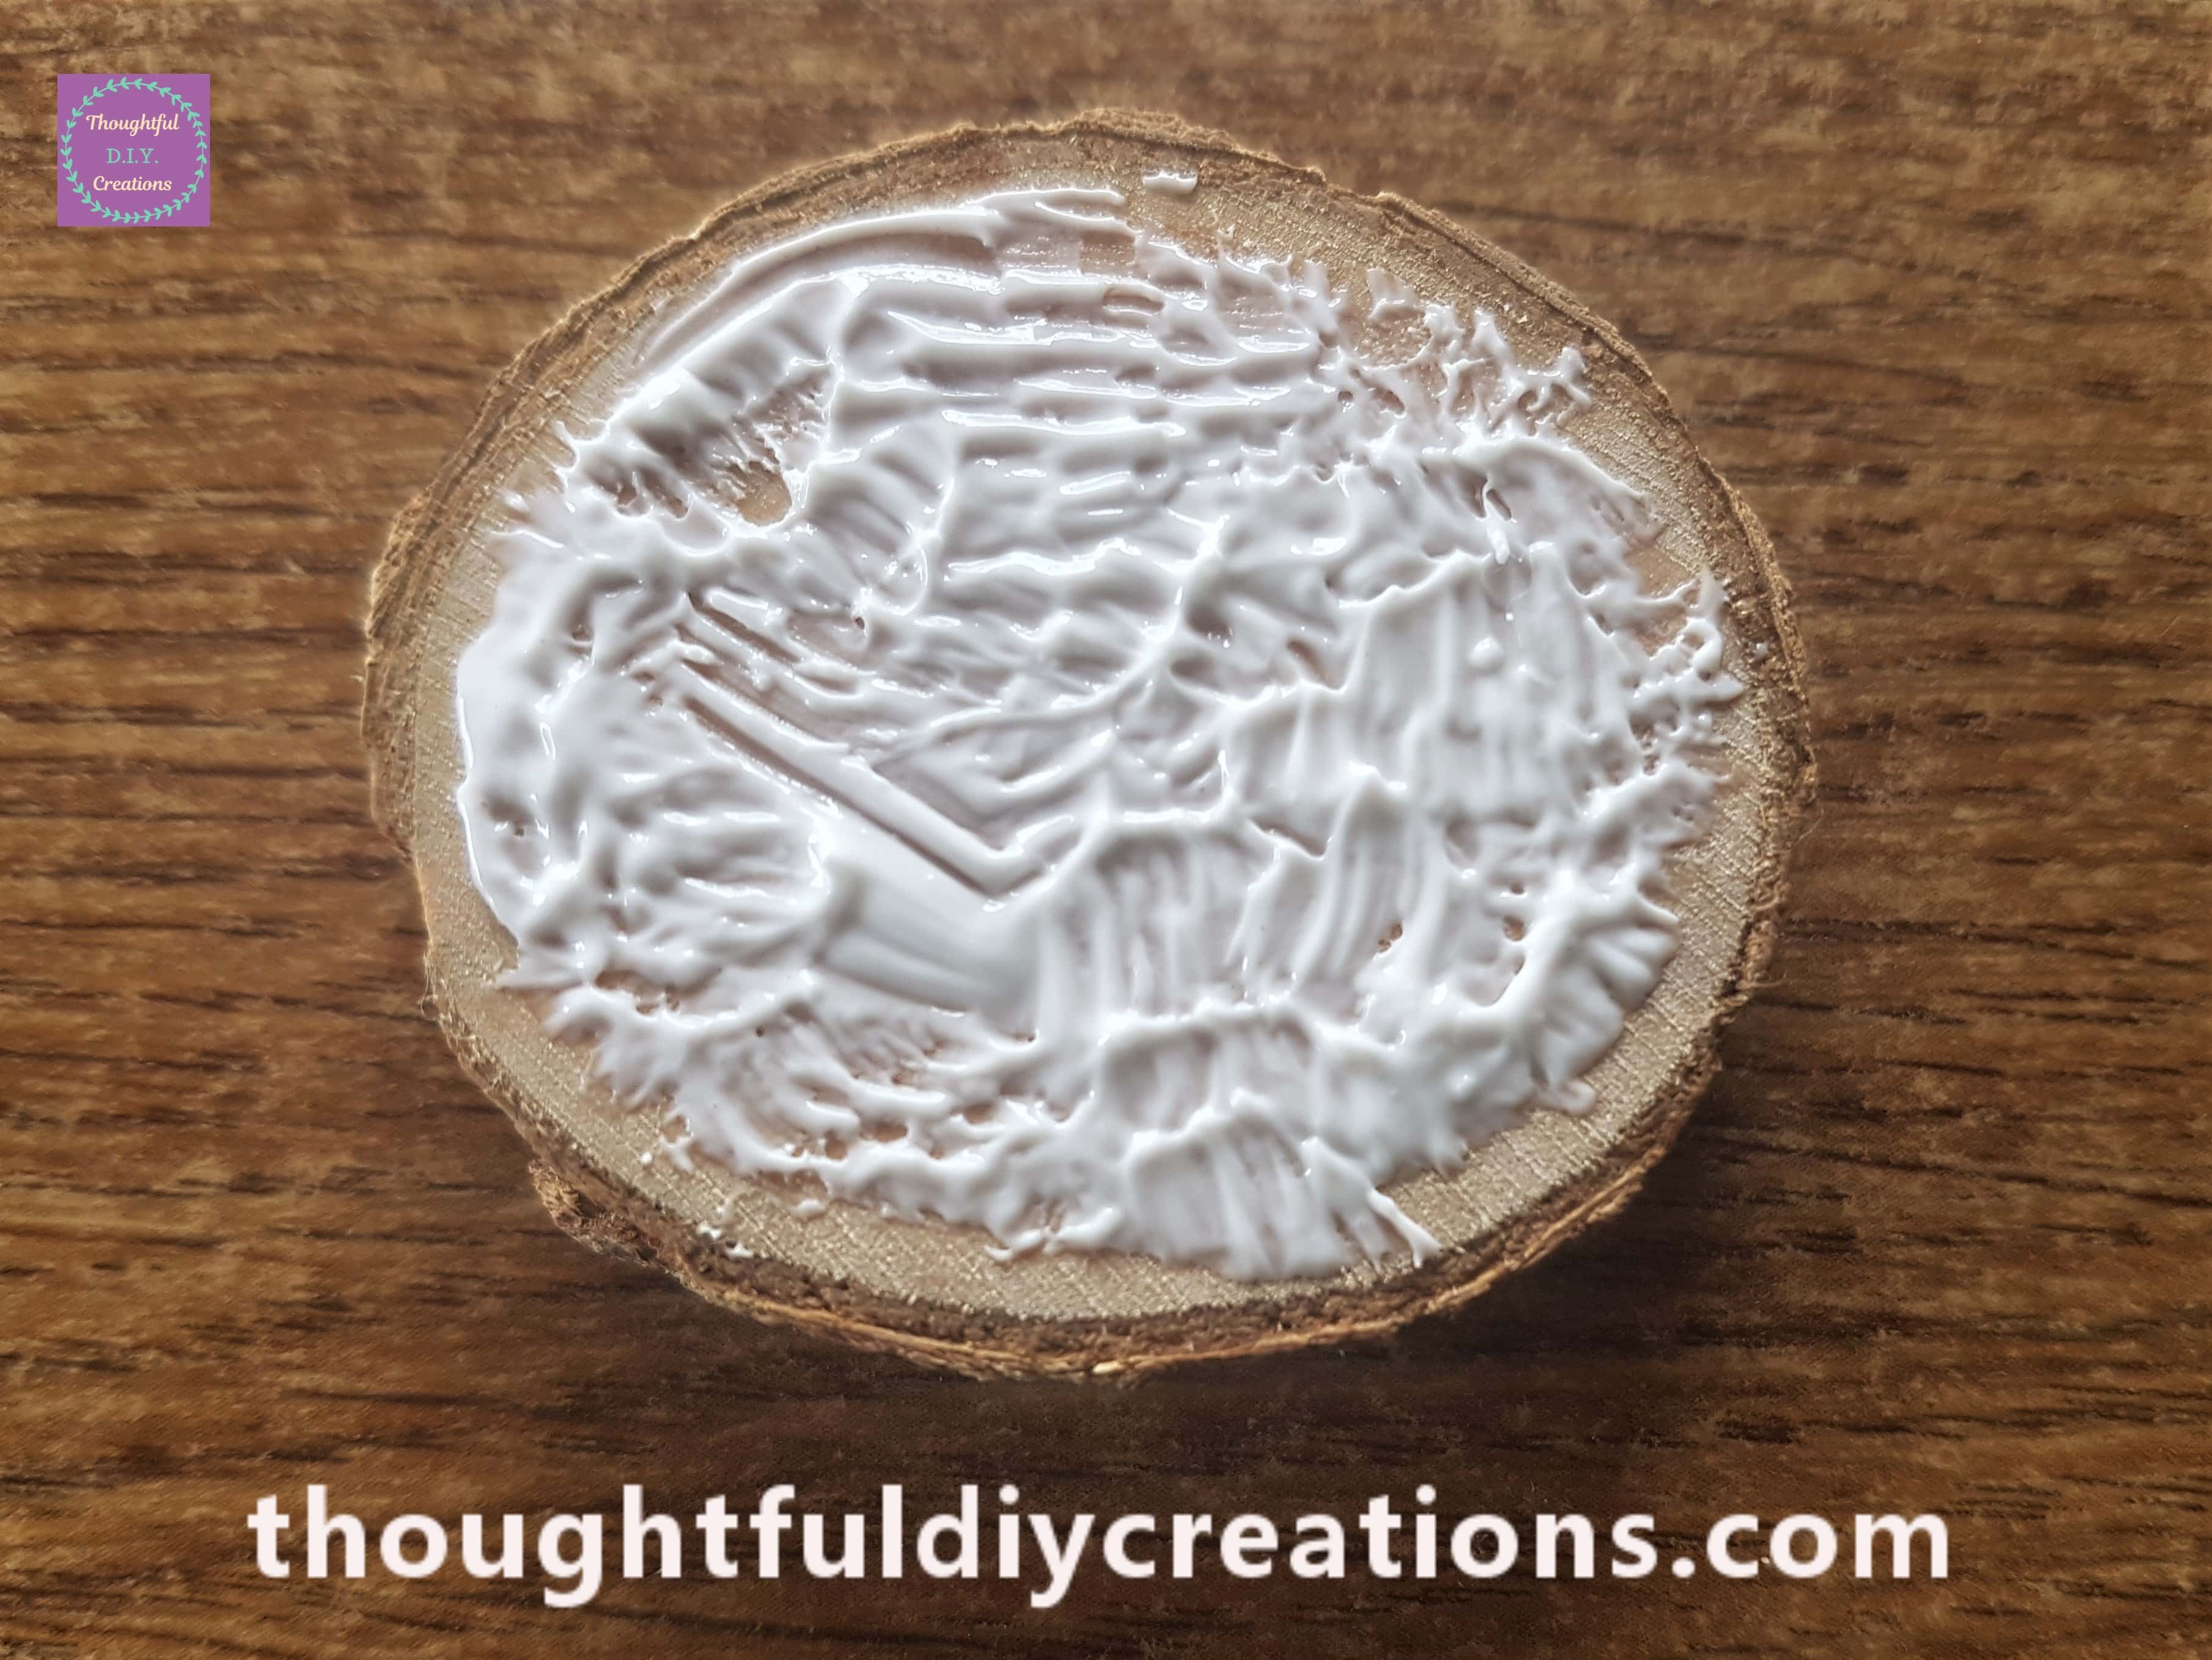
I put ‘Anita’s Tacky PVA Glue’ all over the back of the Wood Slice with a small paintbrush.
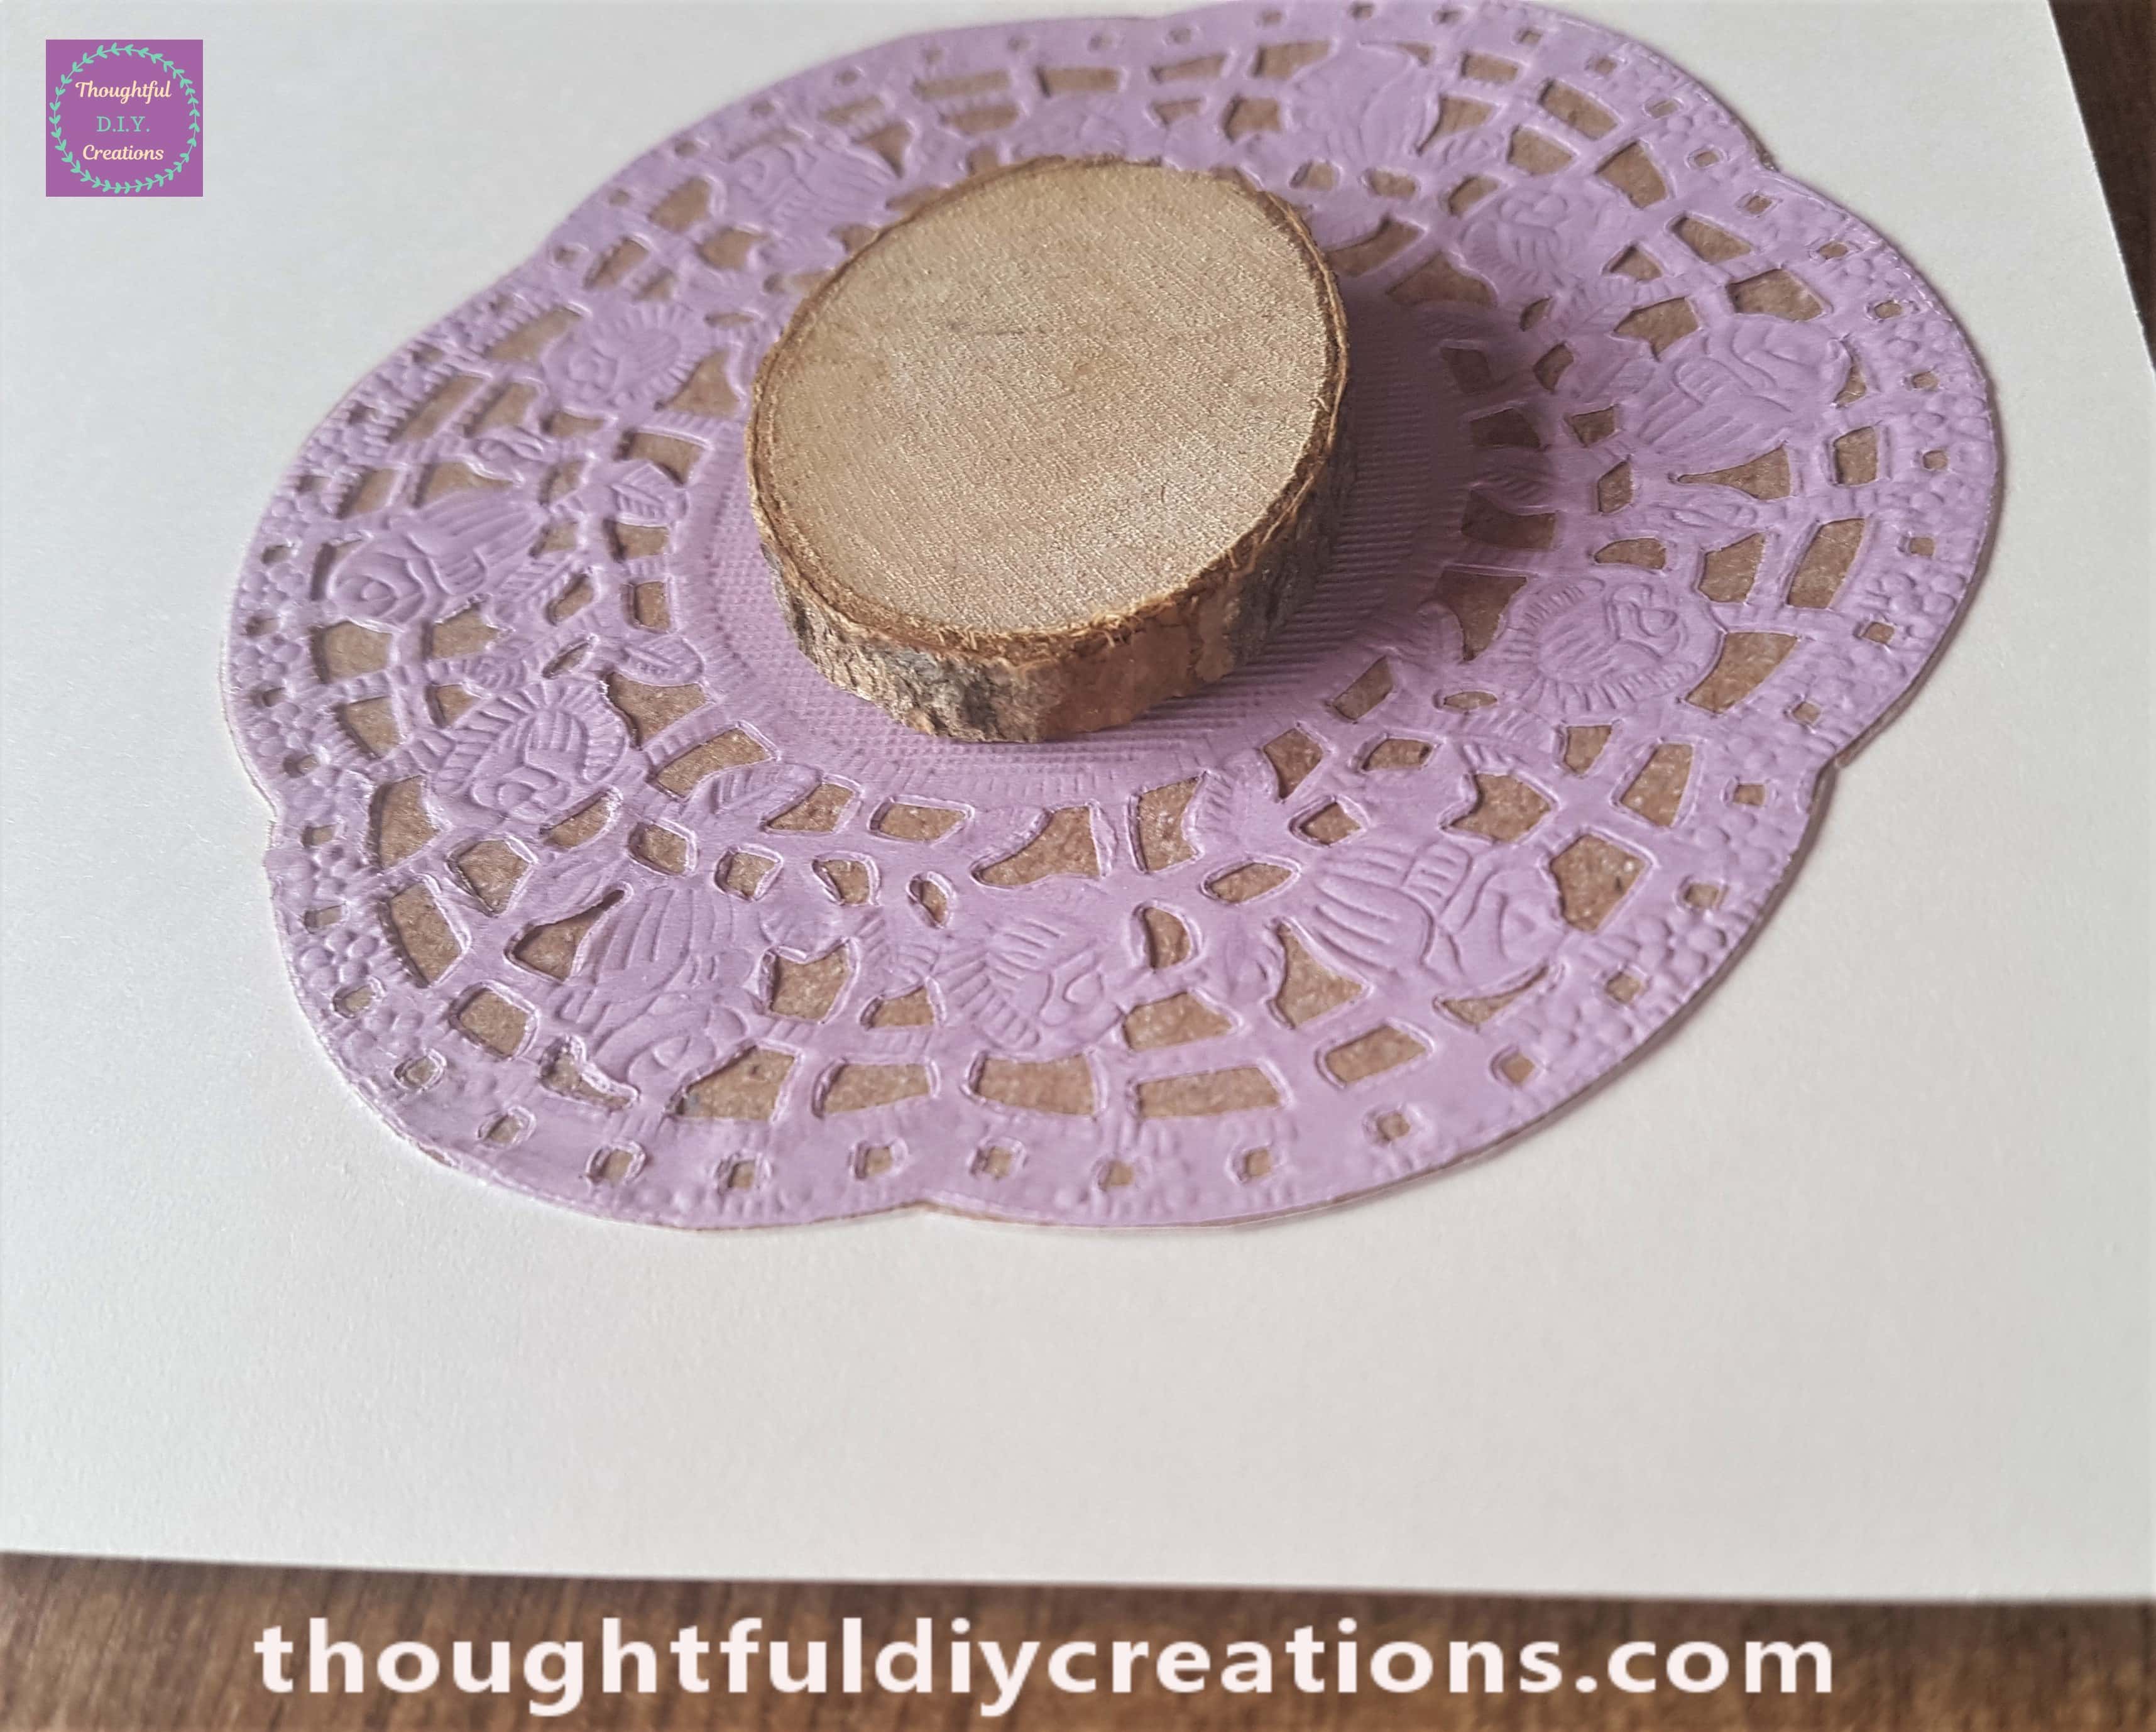
I attached it to the mid-section of theDoily.
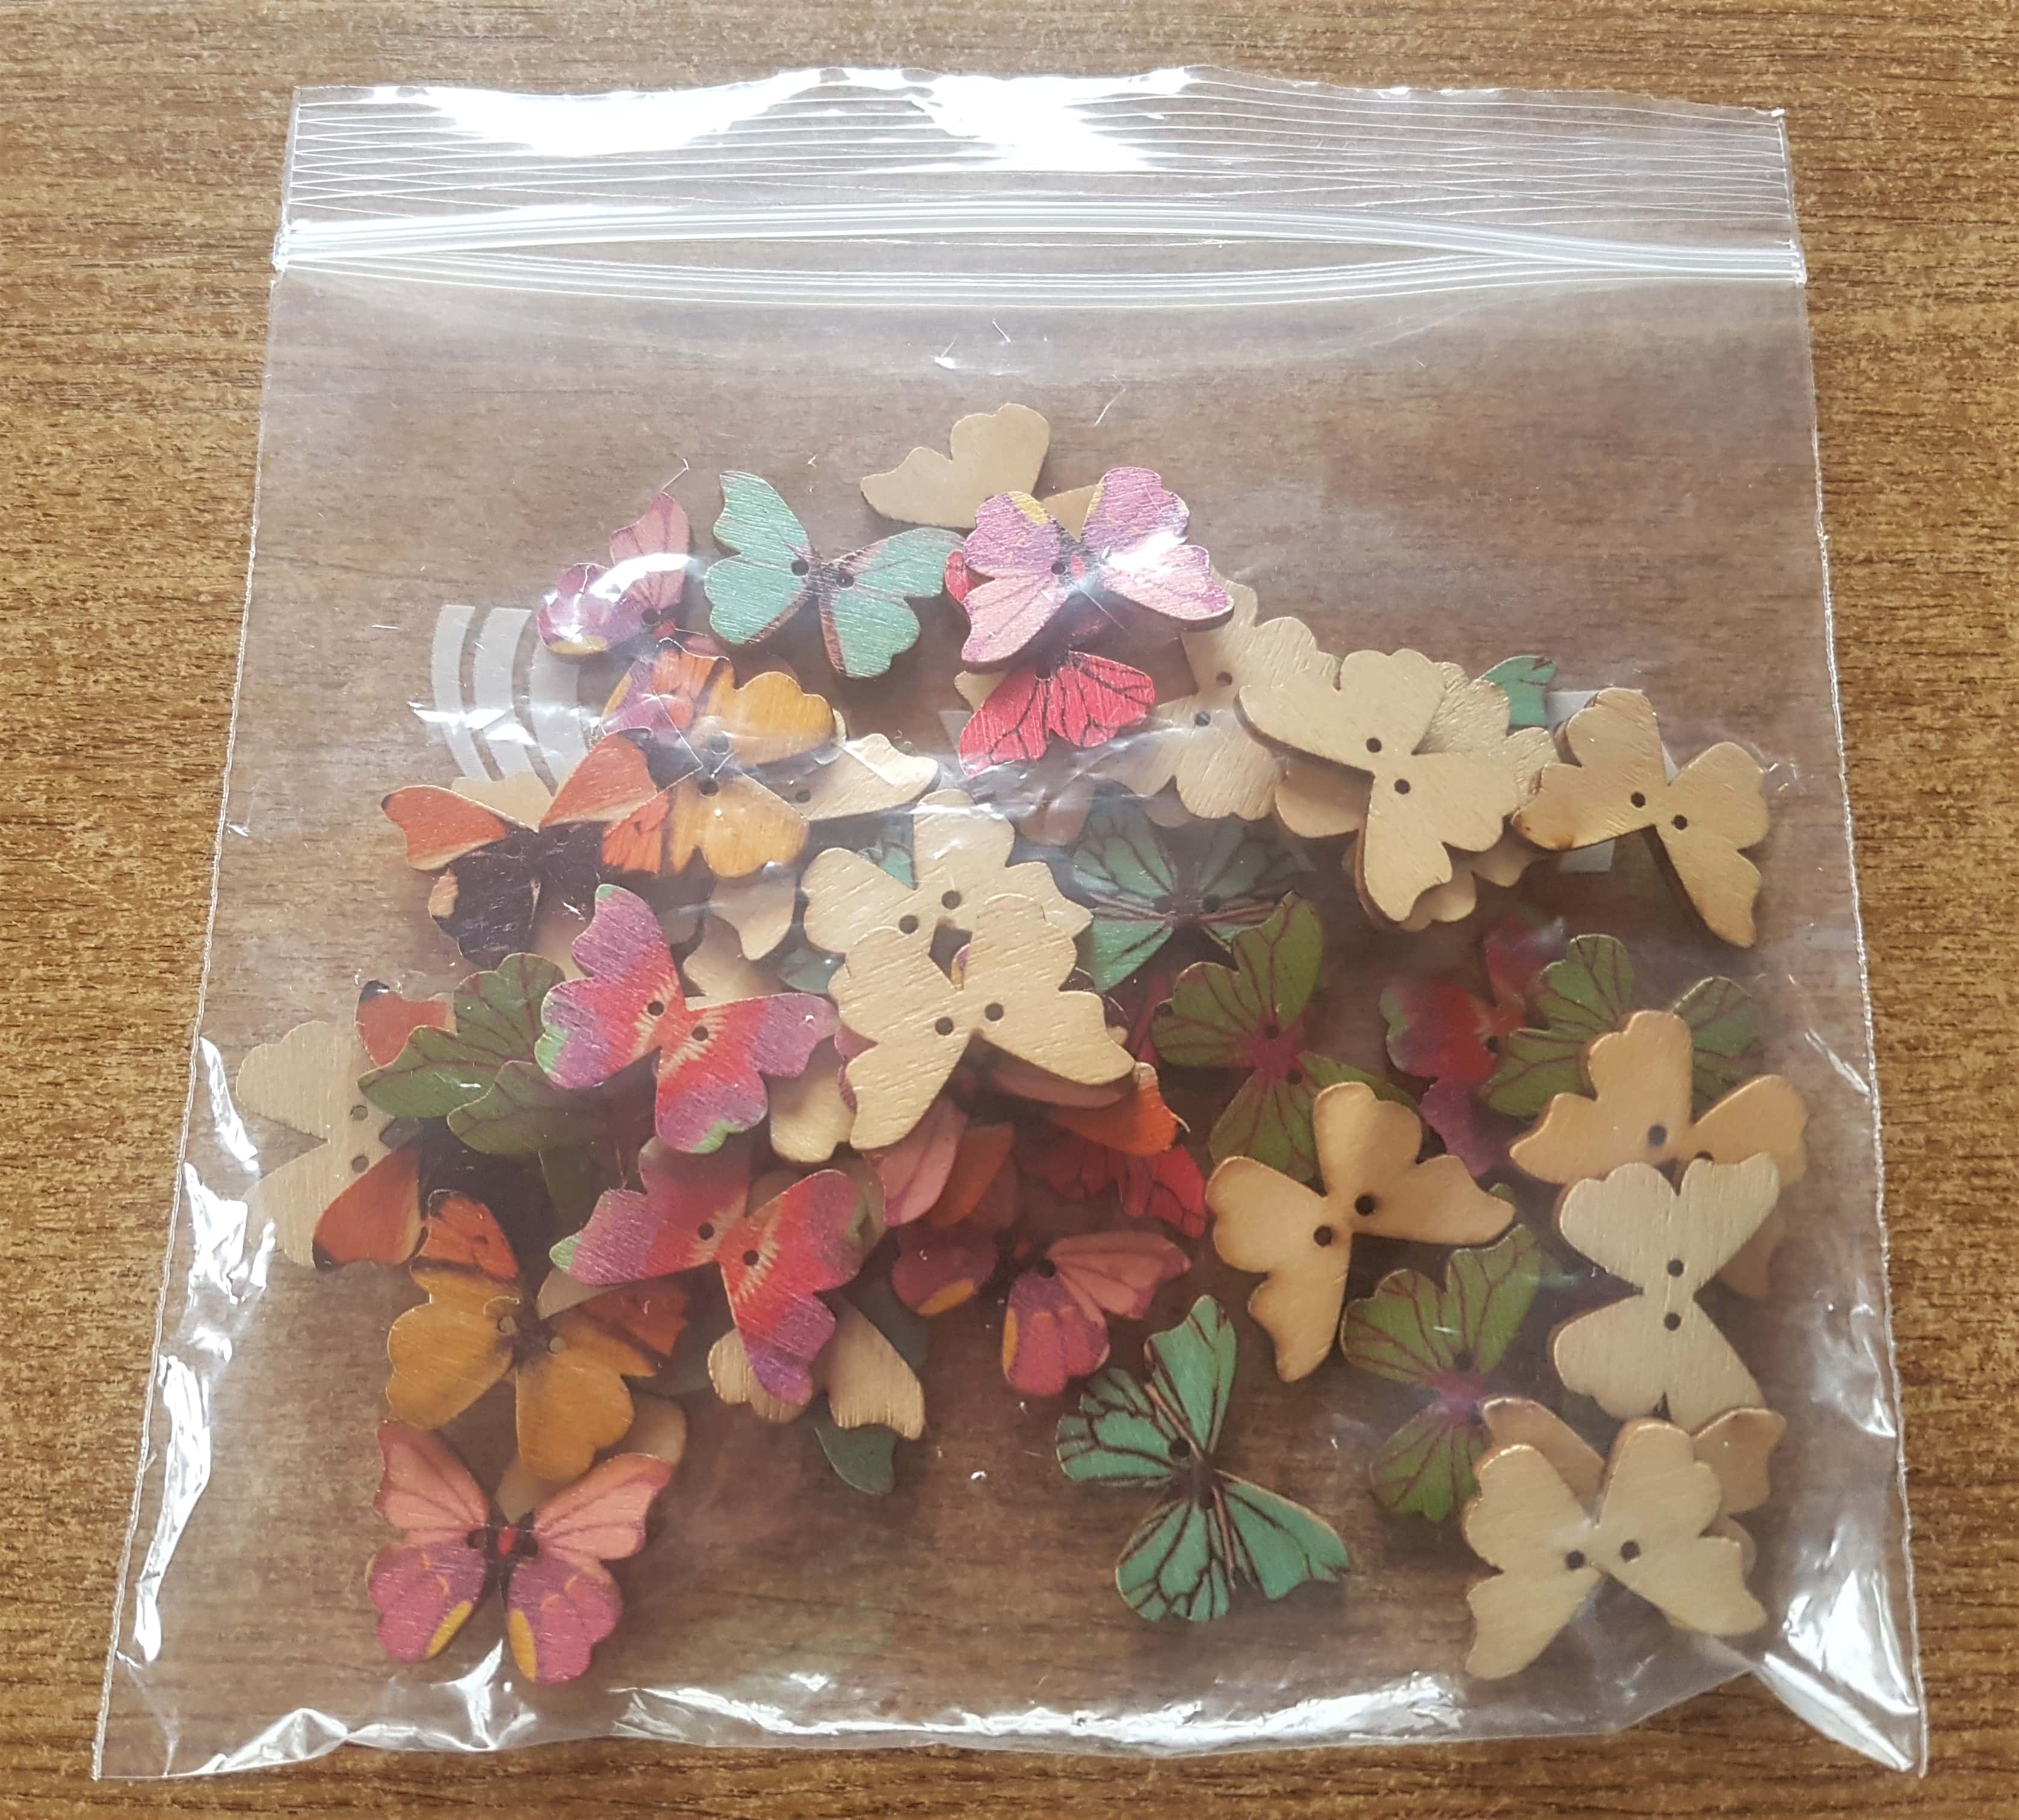
I got my Pack of multi-coloured Wood Butterflies.
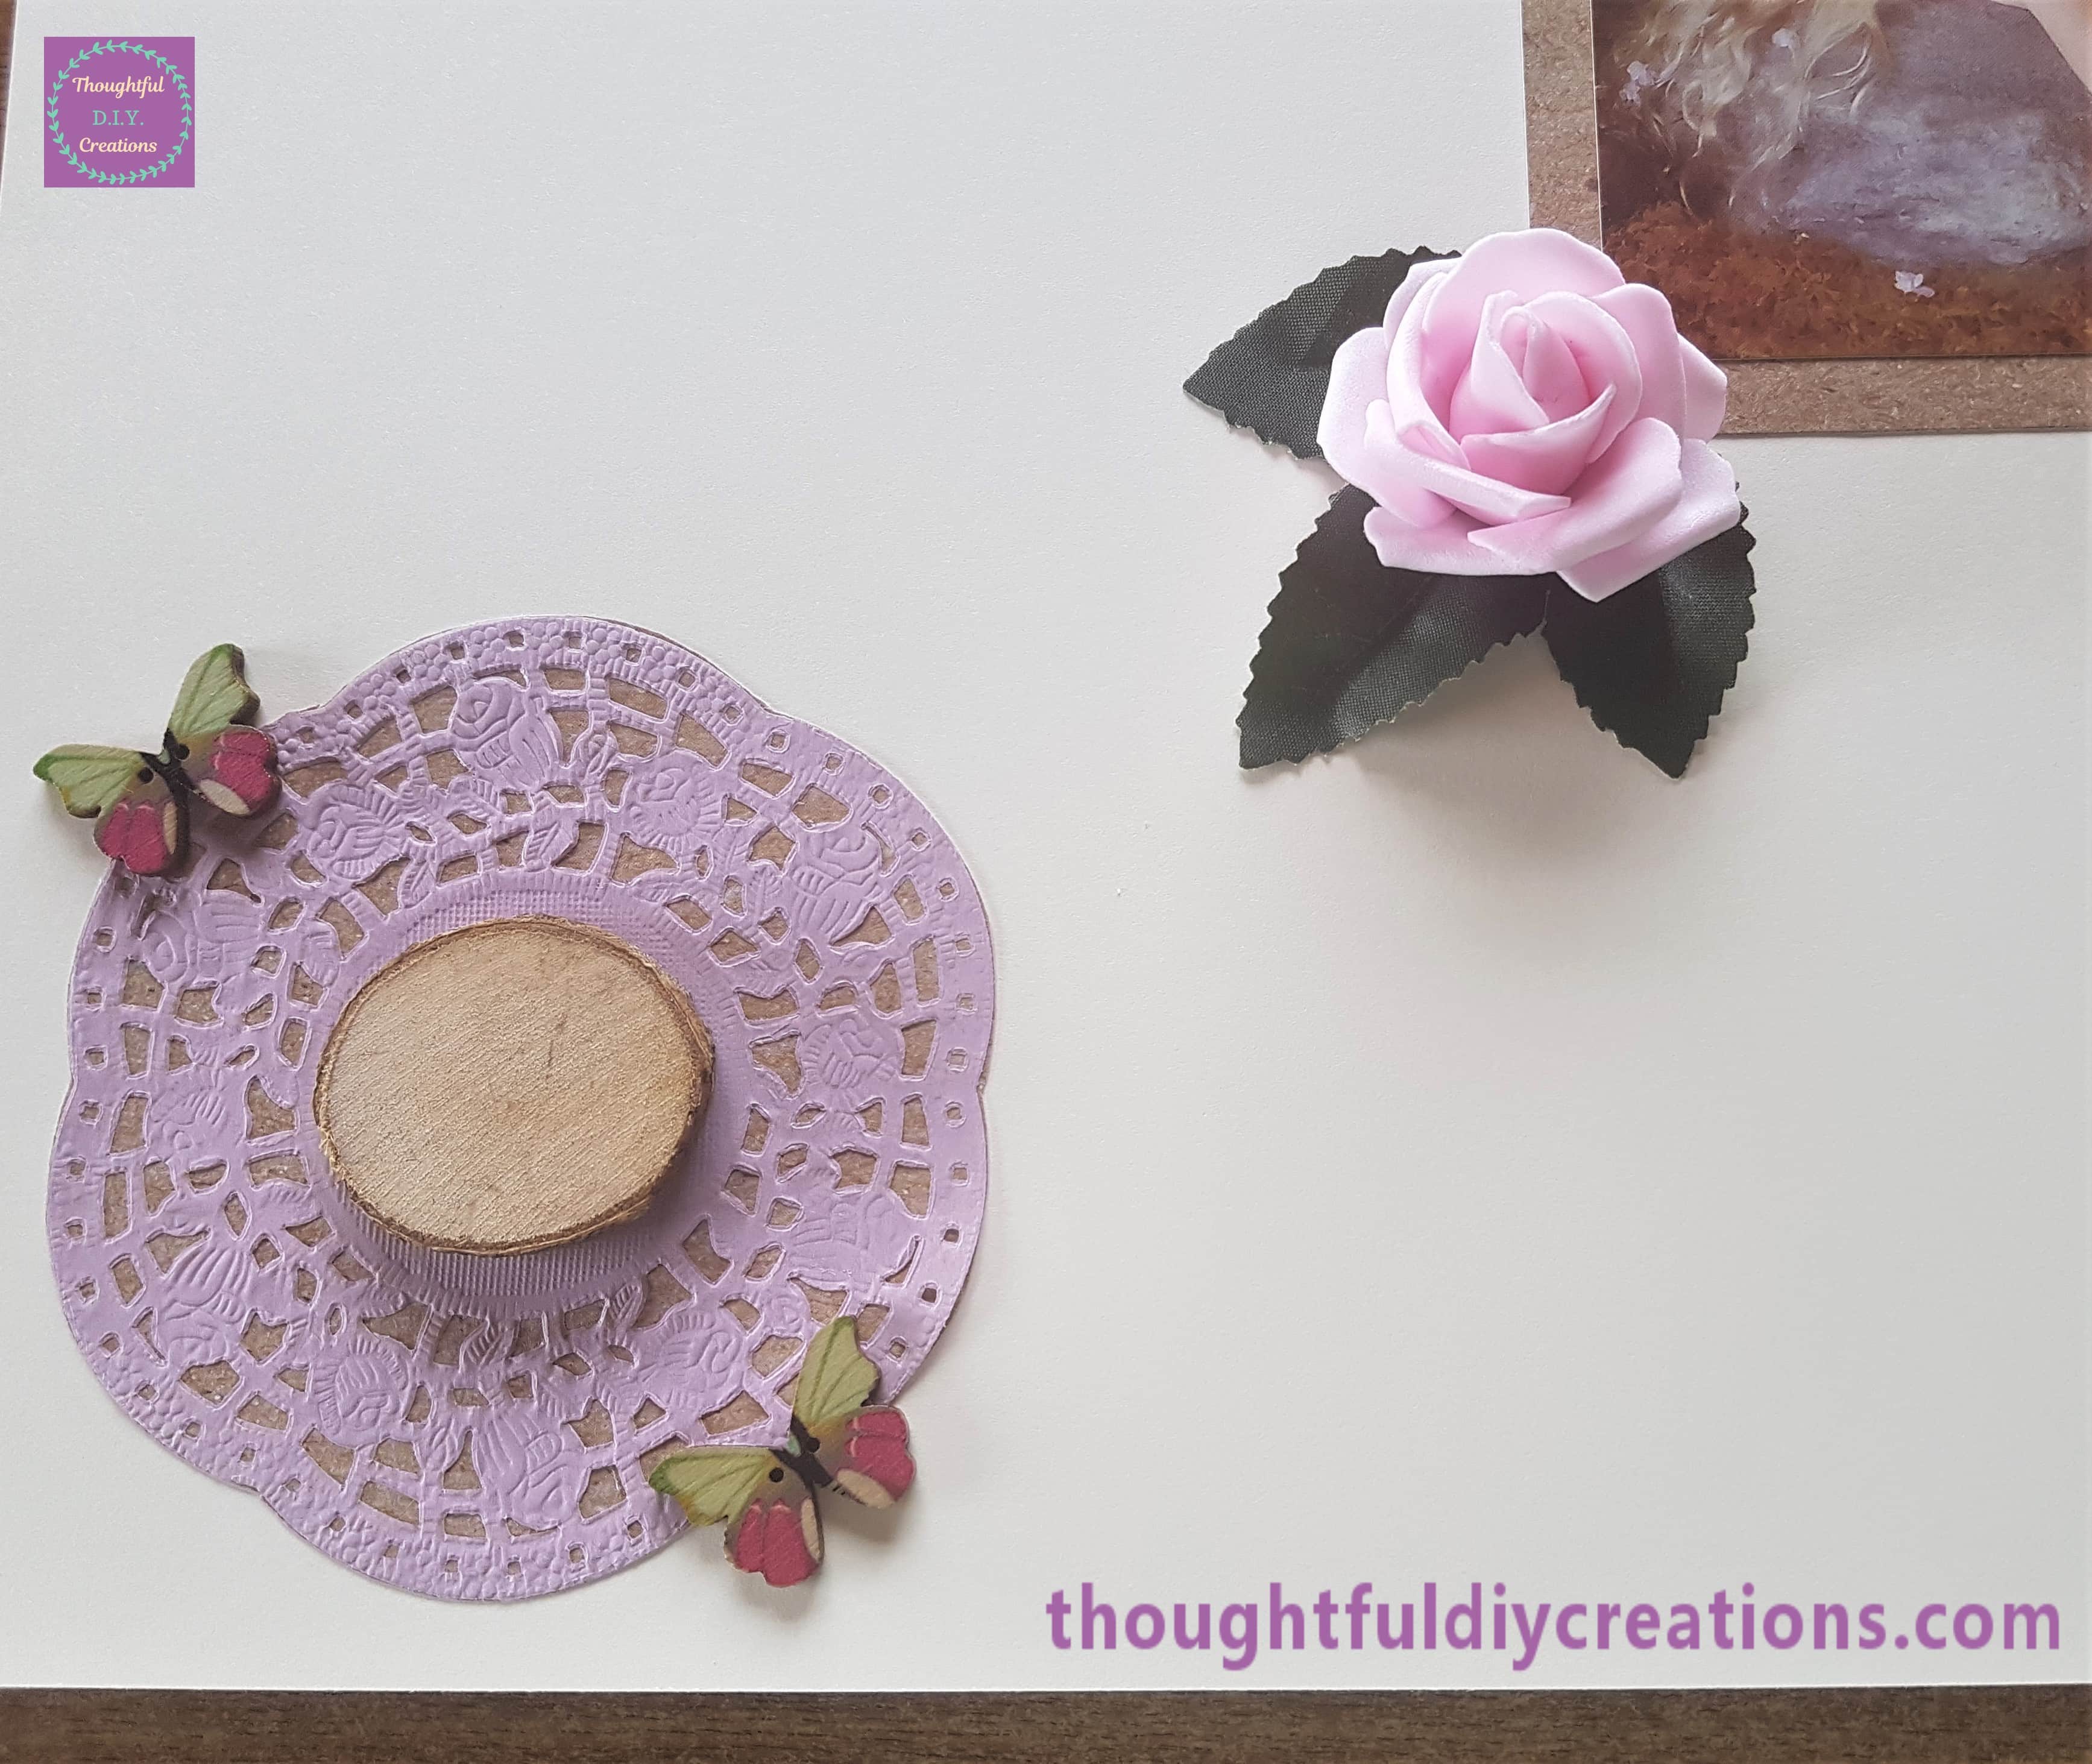
I chose two of the same design butterfly and attached them to the top and bottom of the Doily using Anita’s Tacky PVA Glue.
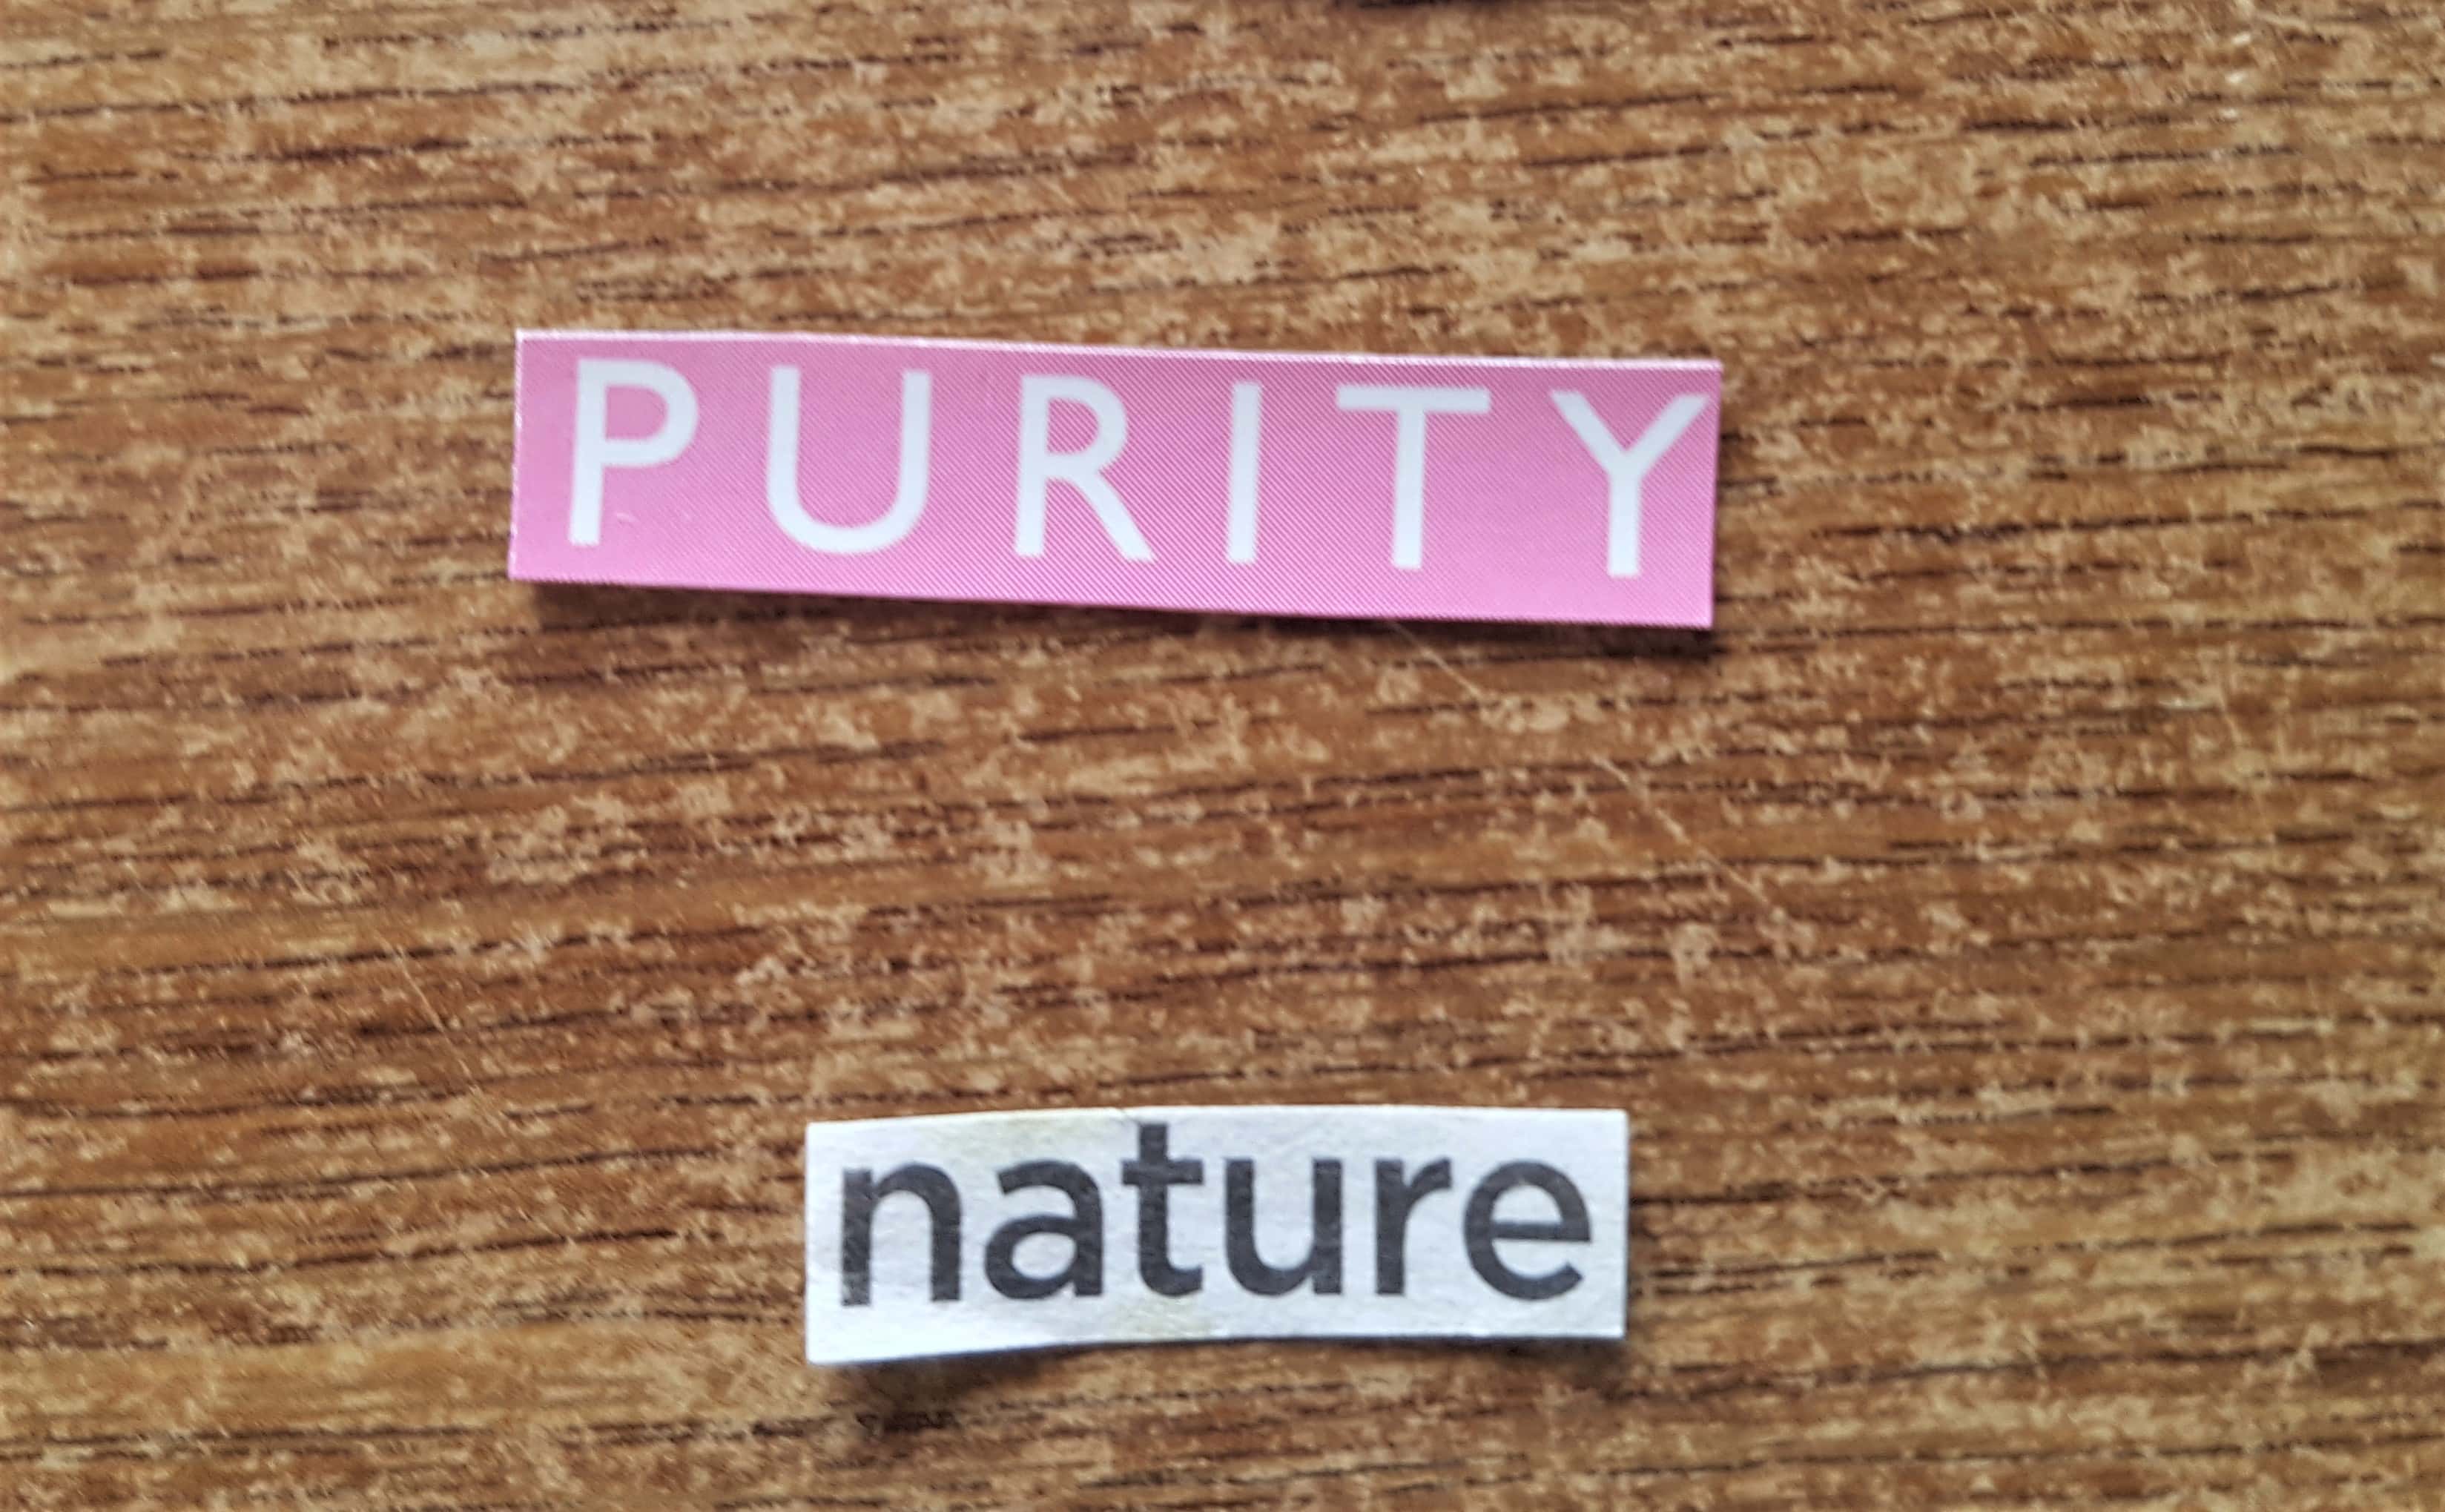
I chose 2 words that I had previously cut out from a magazine and newspaper.
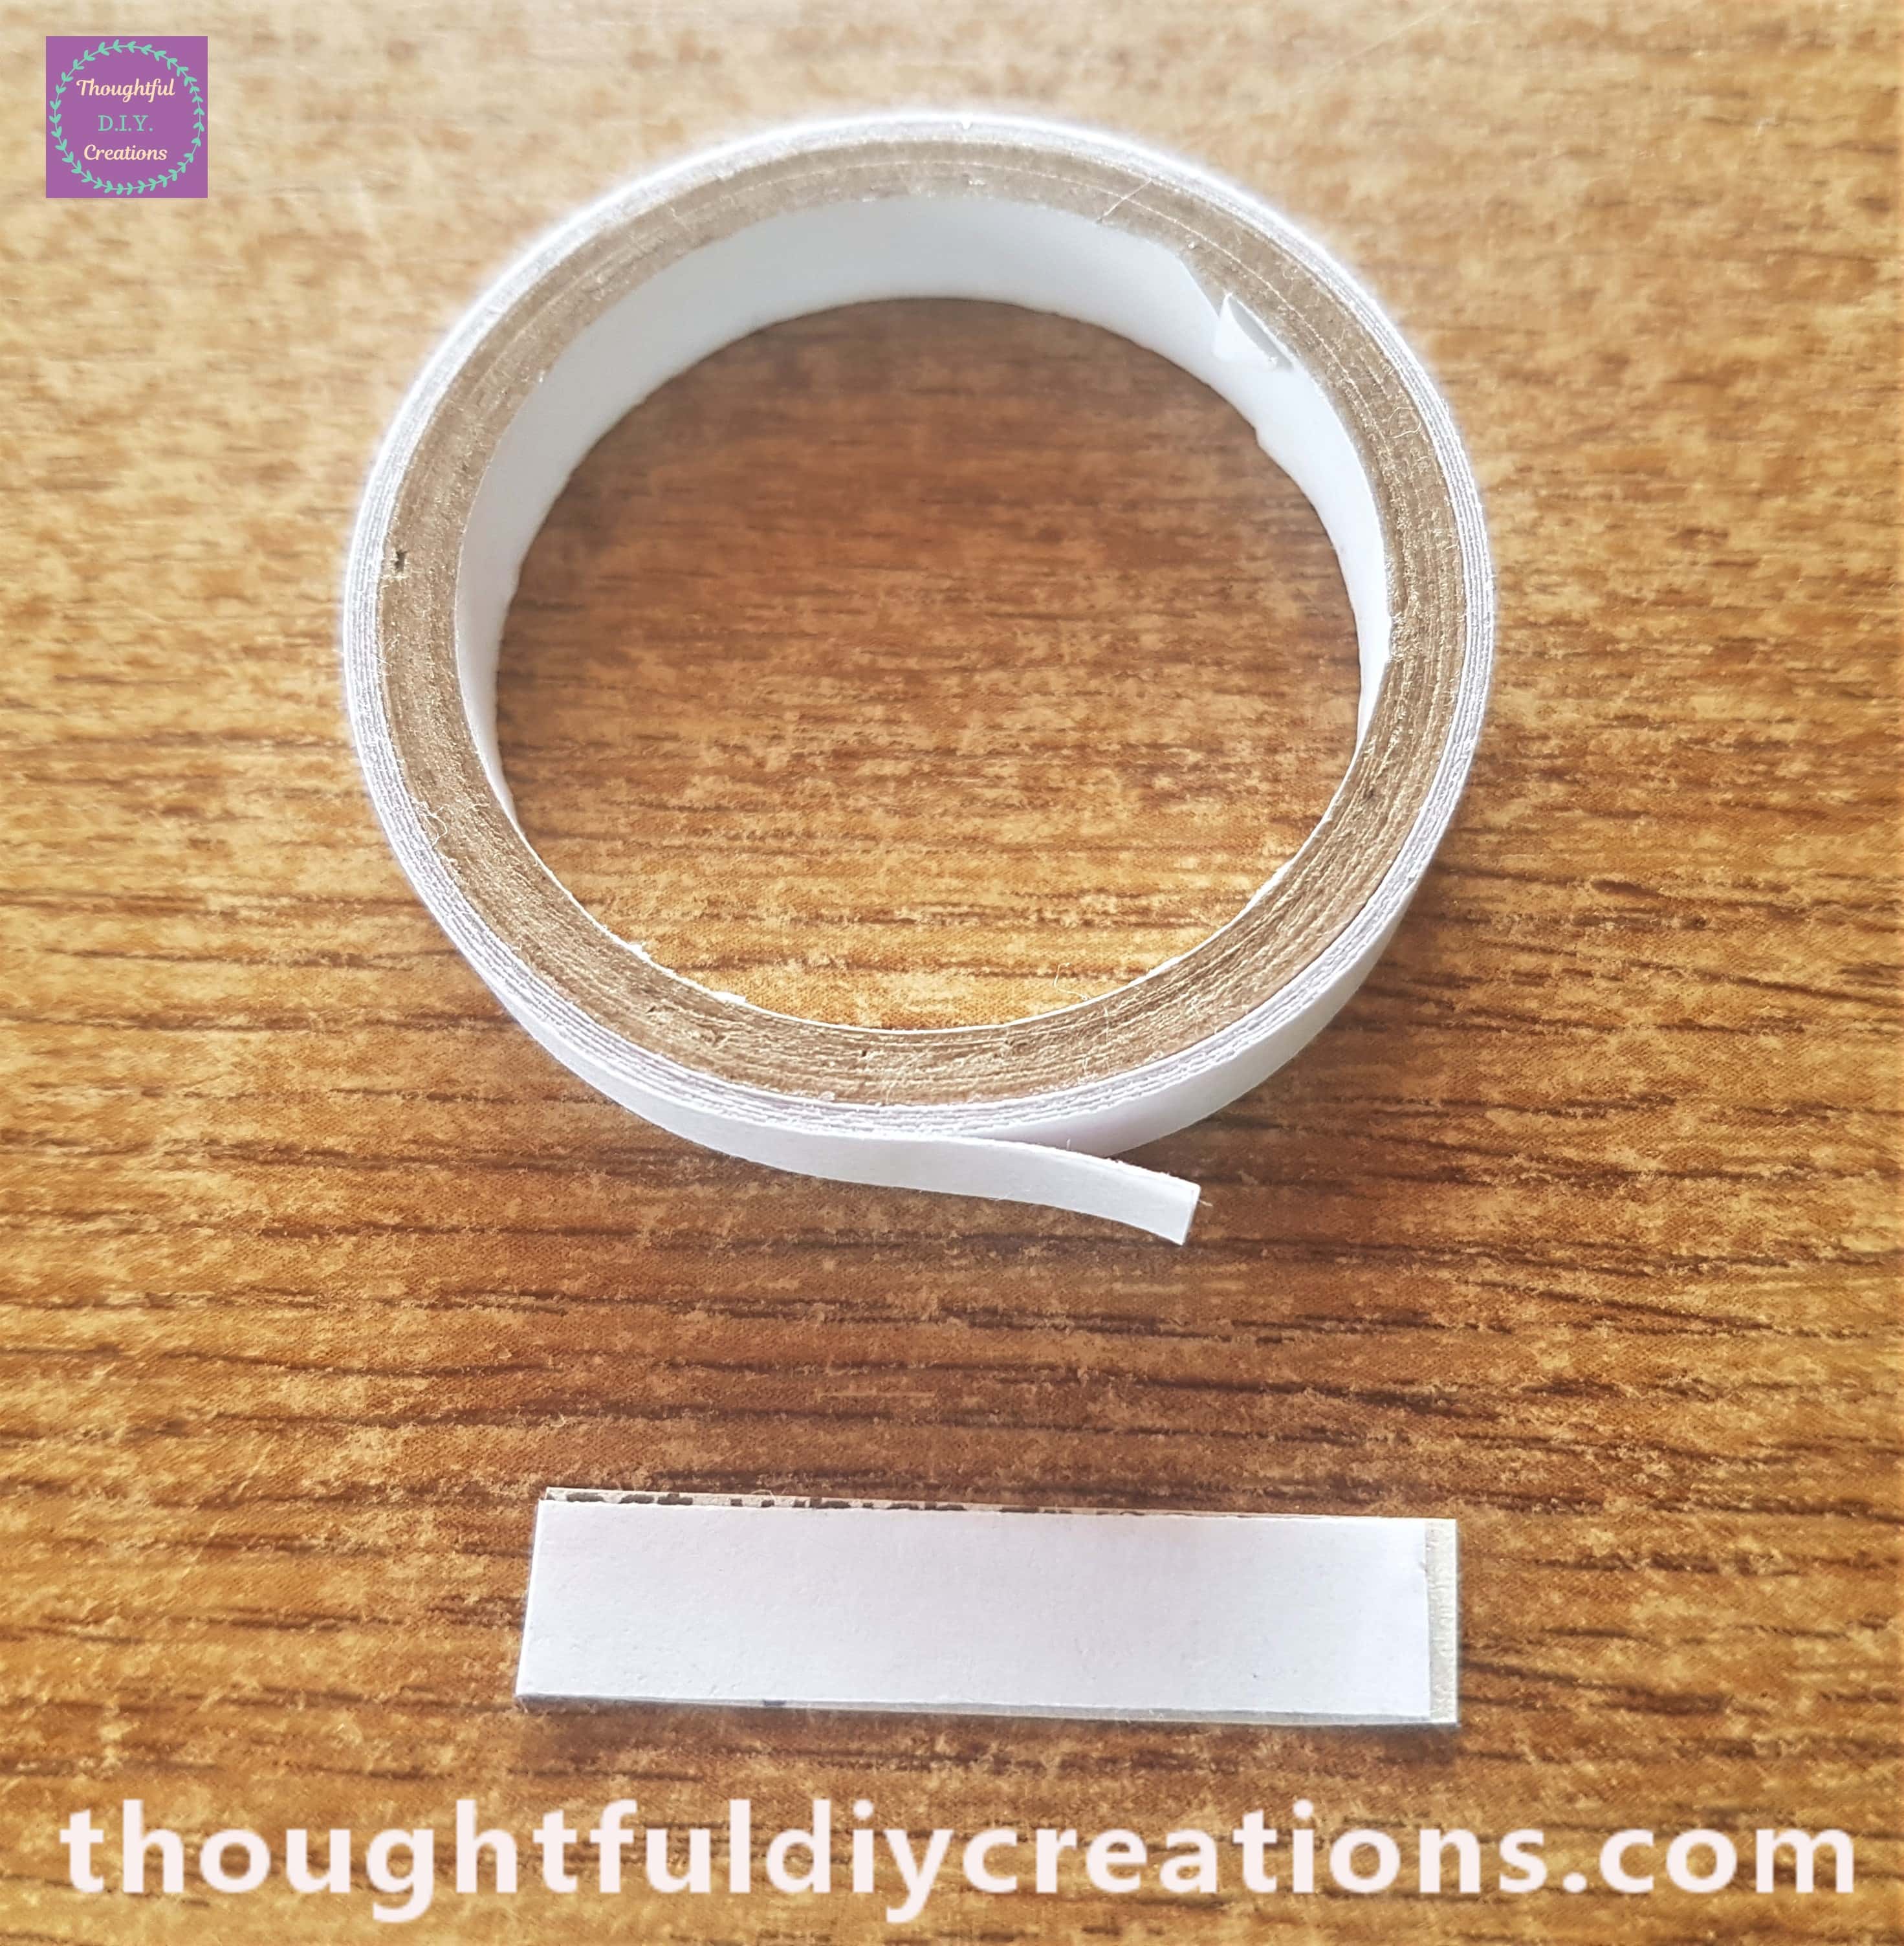
I put a strip of Double-Sided Tape on the back of each Word.
I attached the Words to the Wood Slice.
Feathers for the Scrapbook Layout
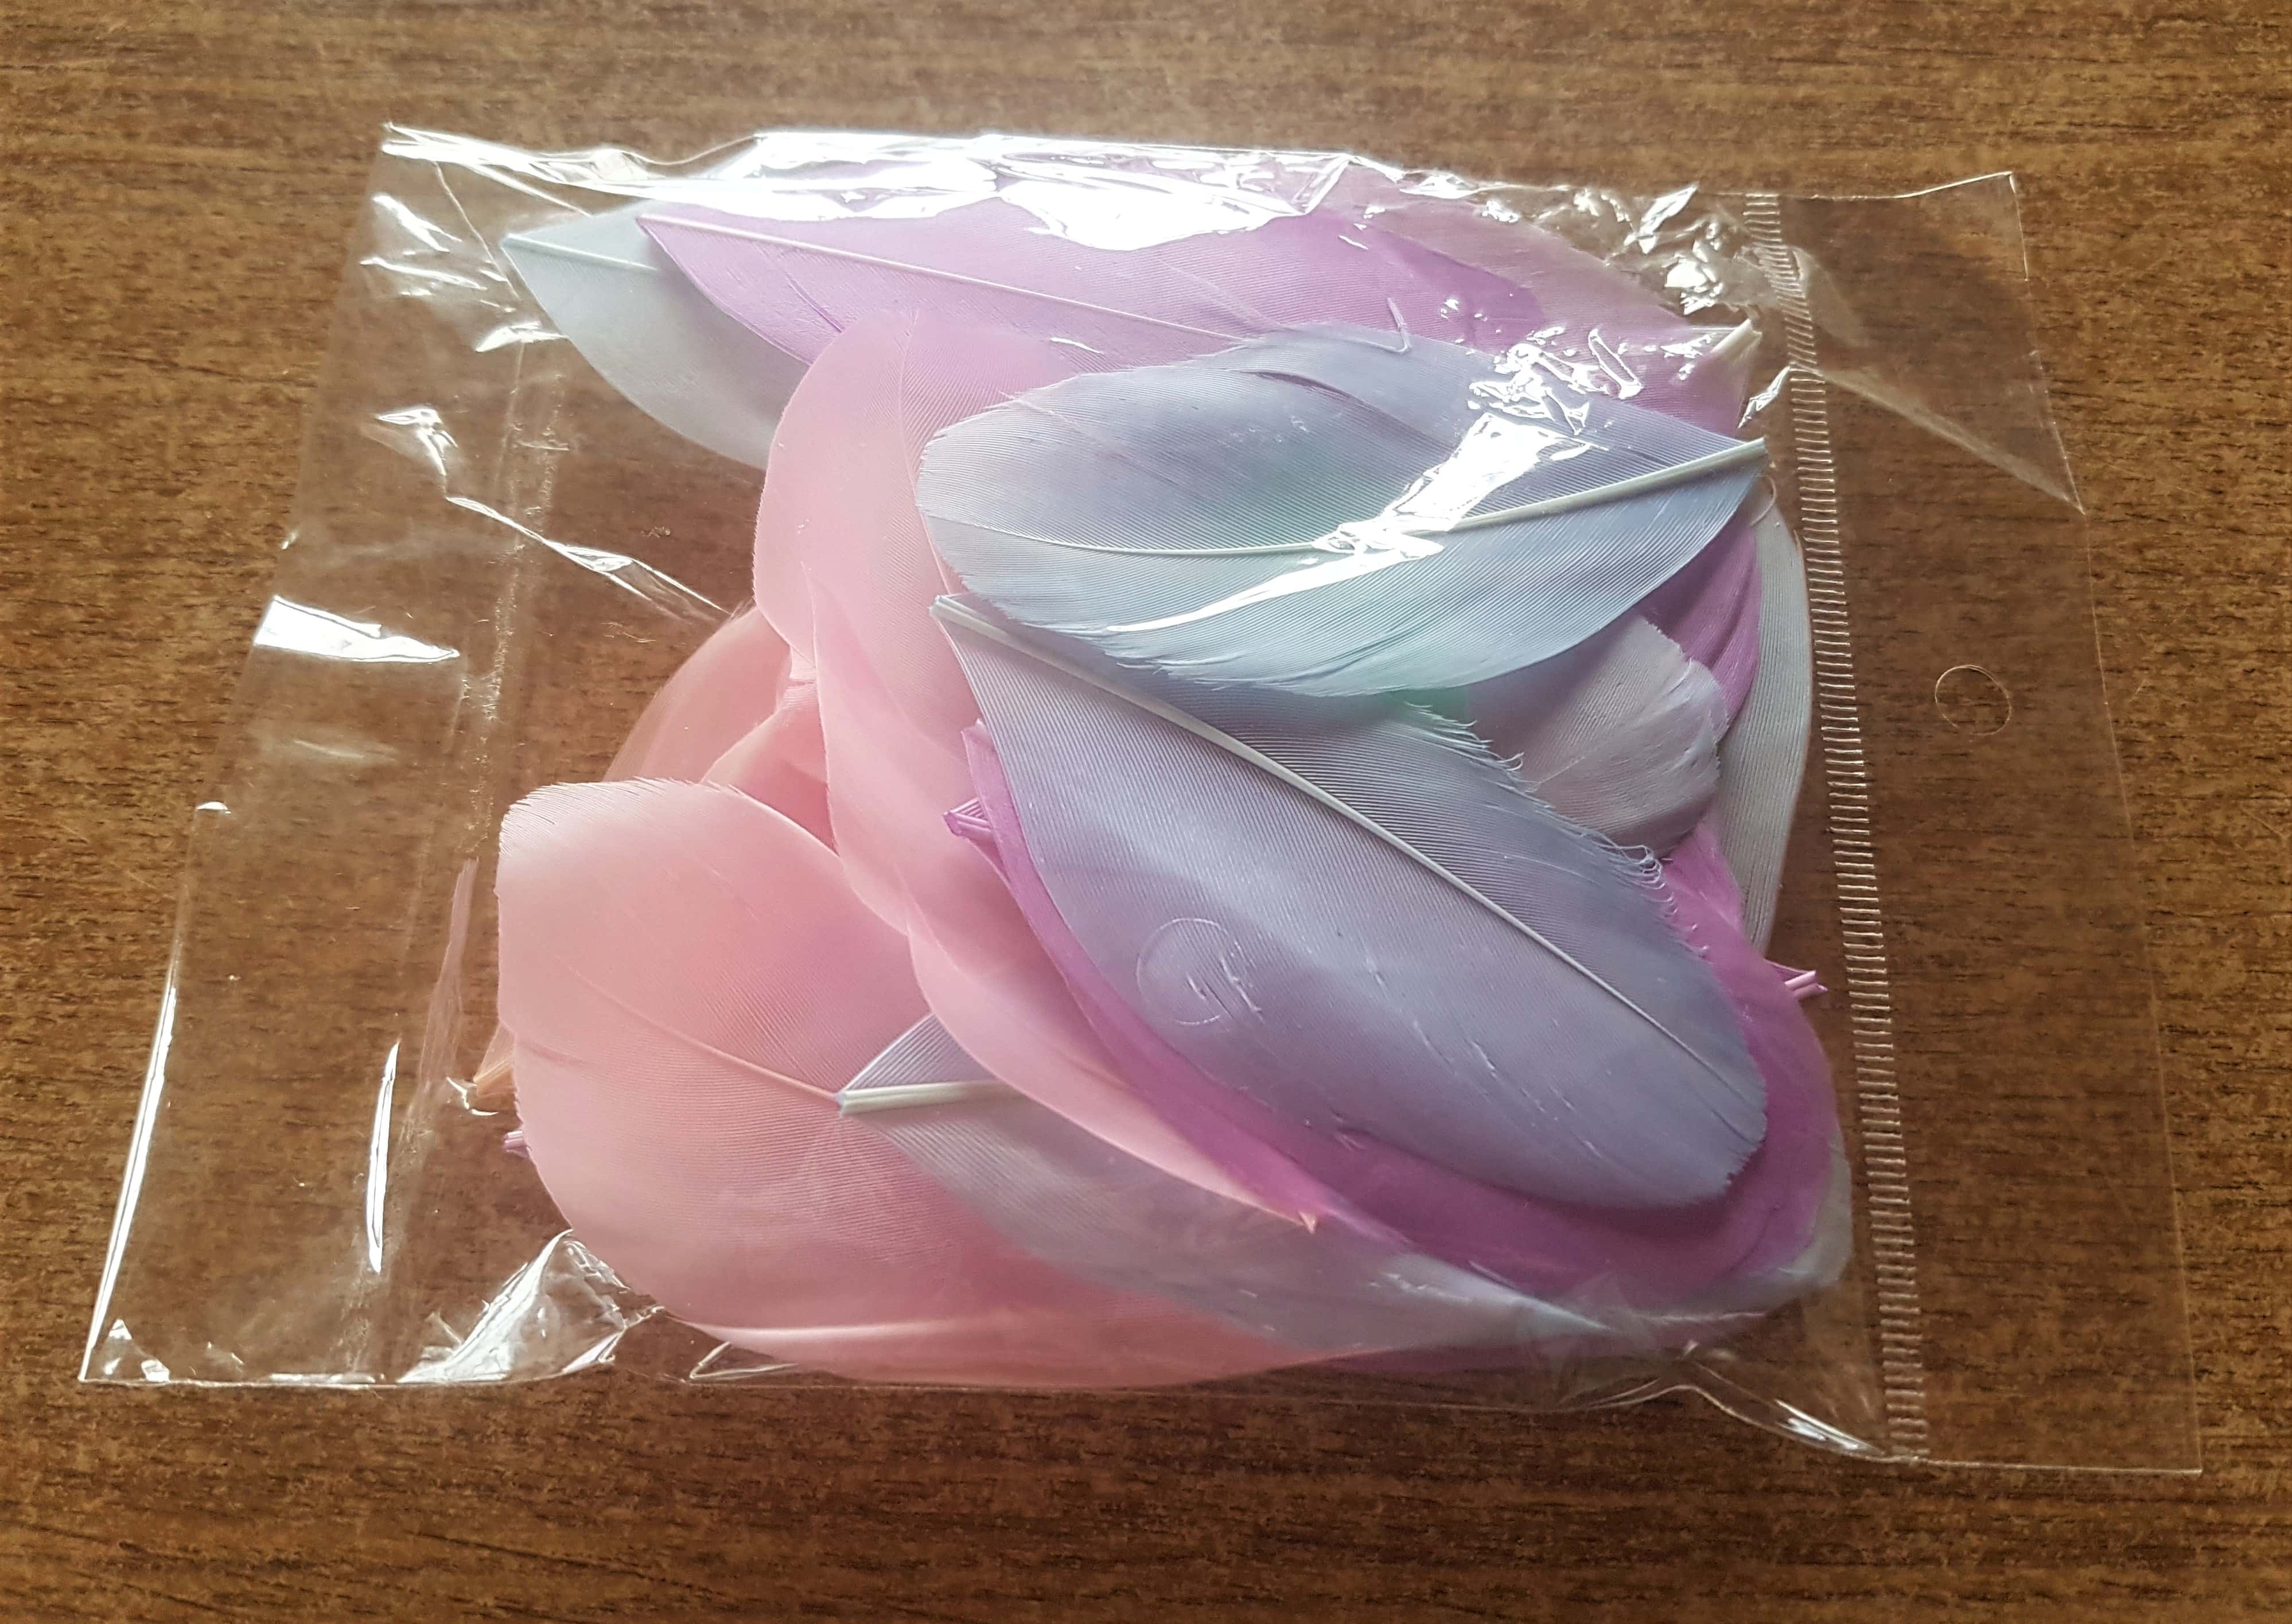
I got my Pack of multi-coloured Feathers.
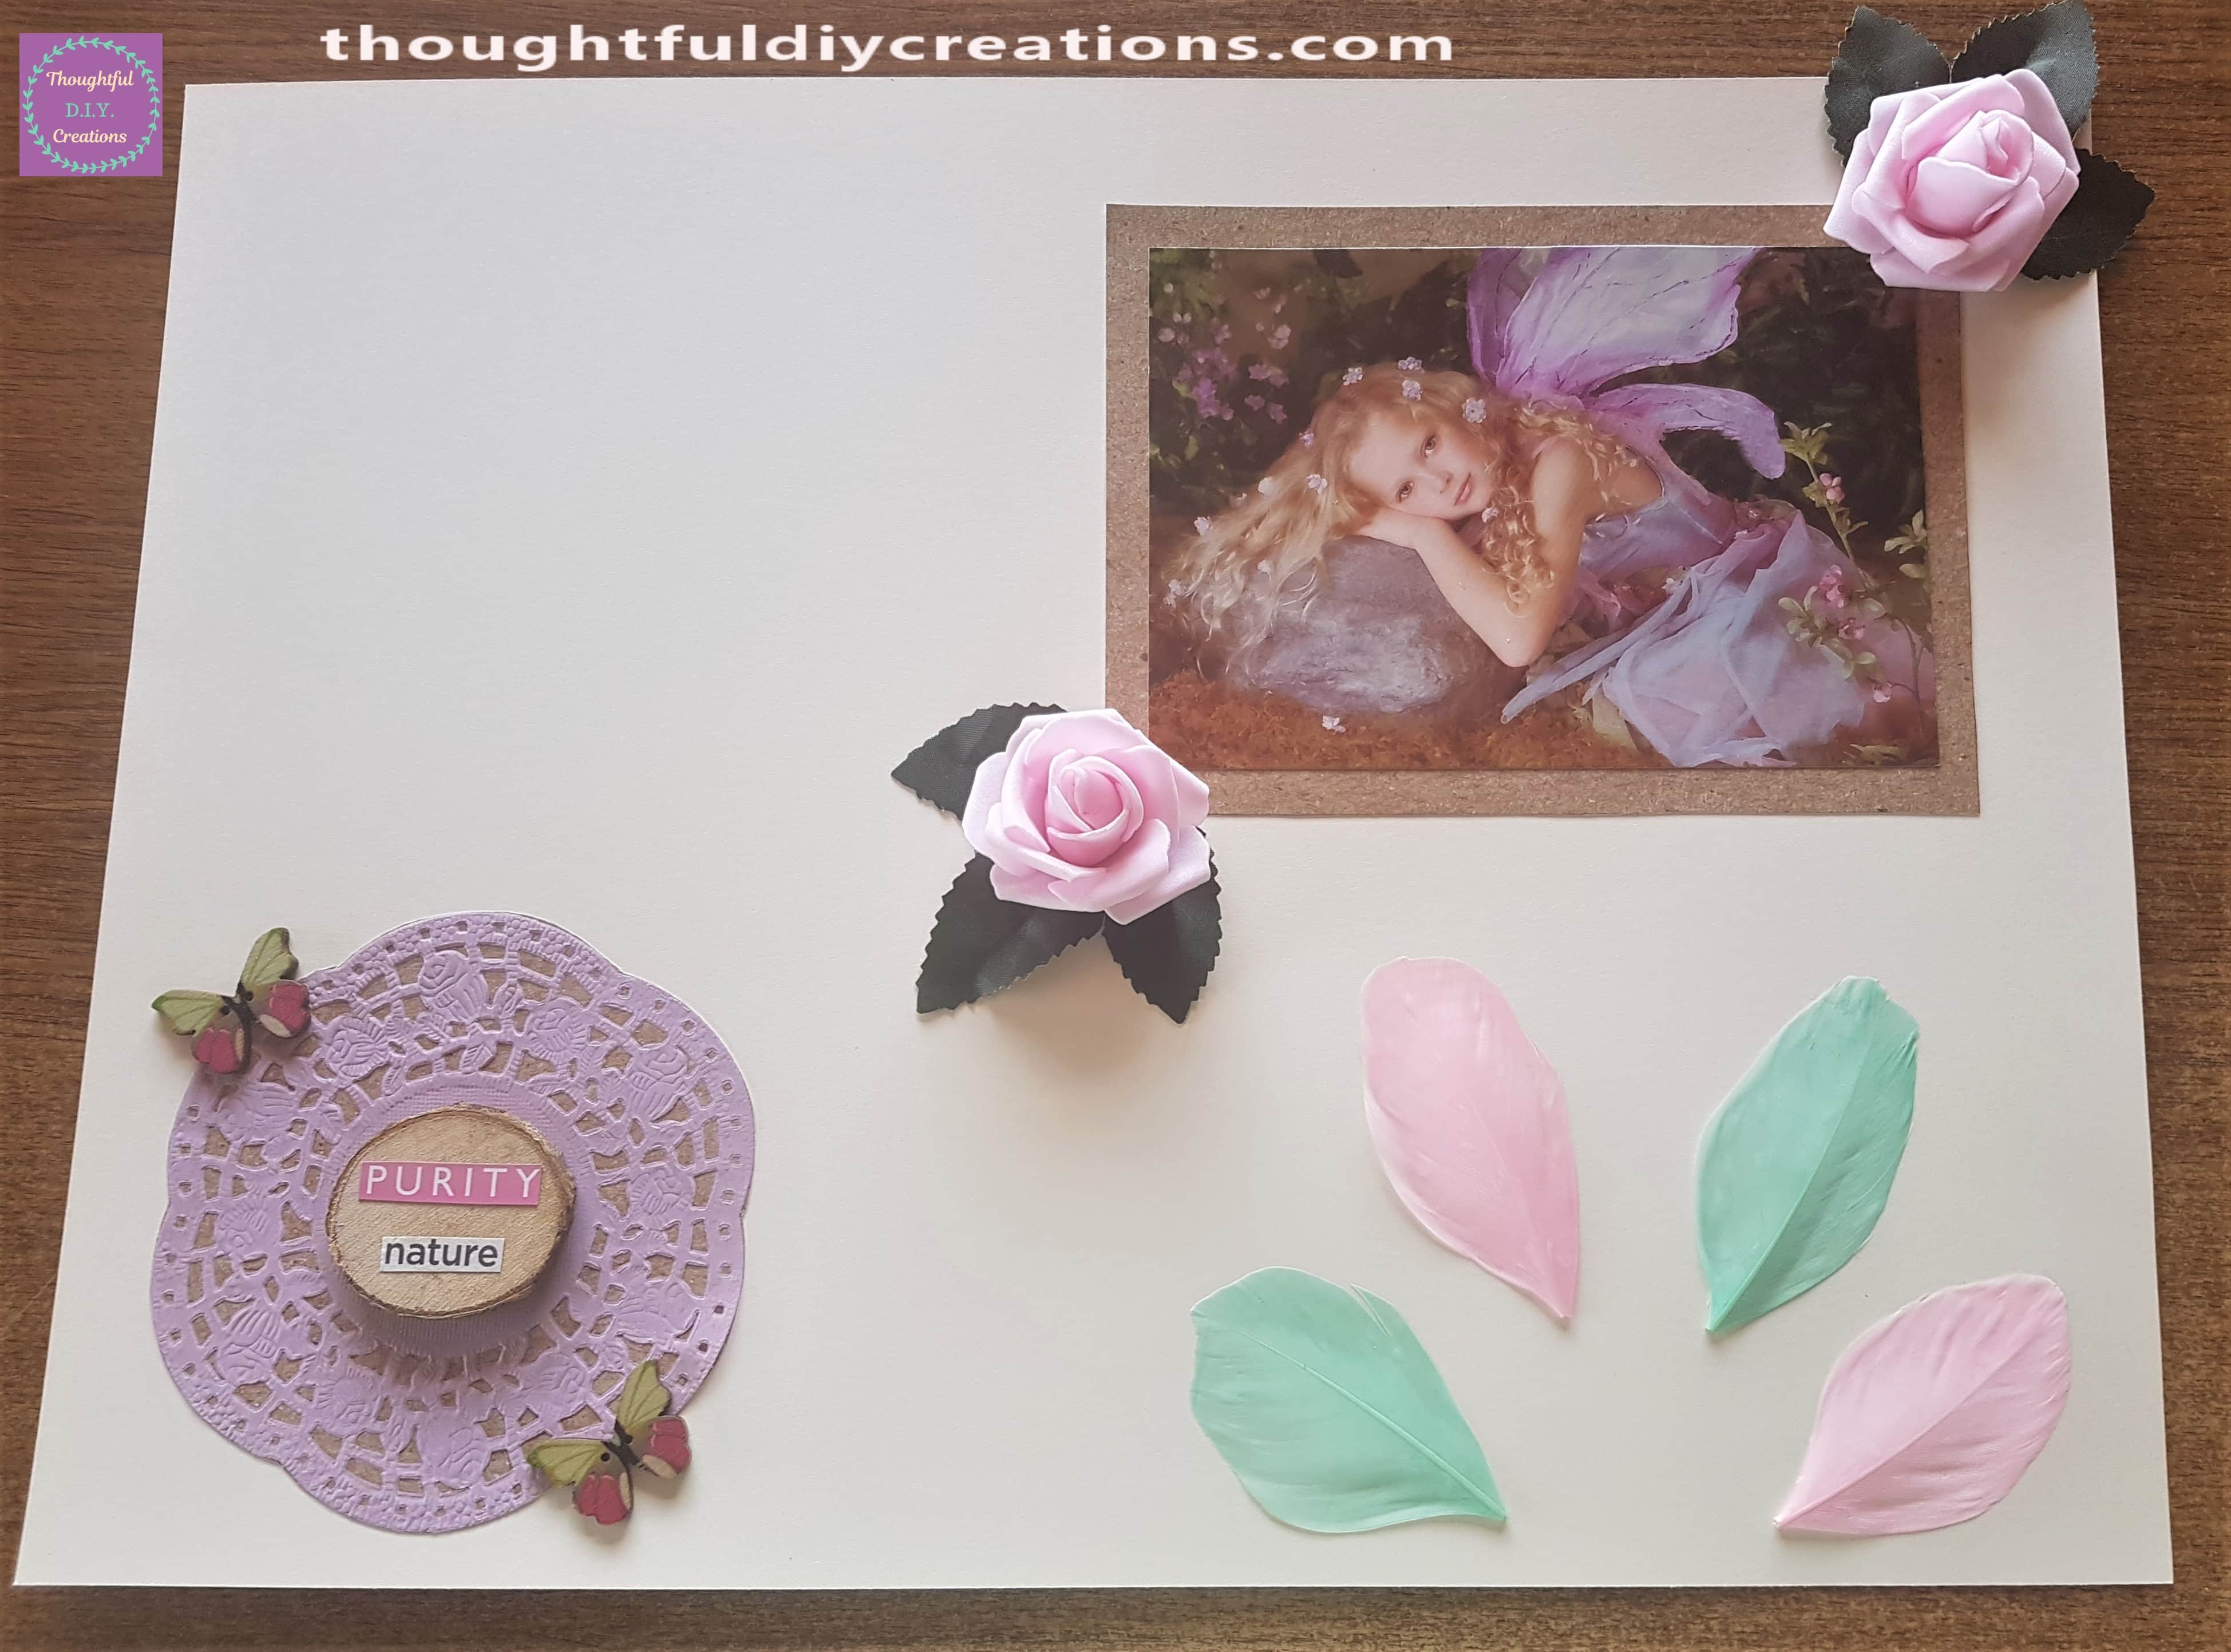
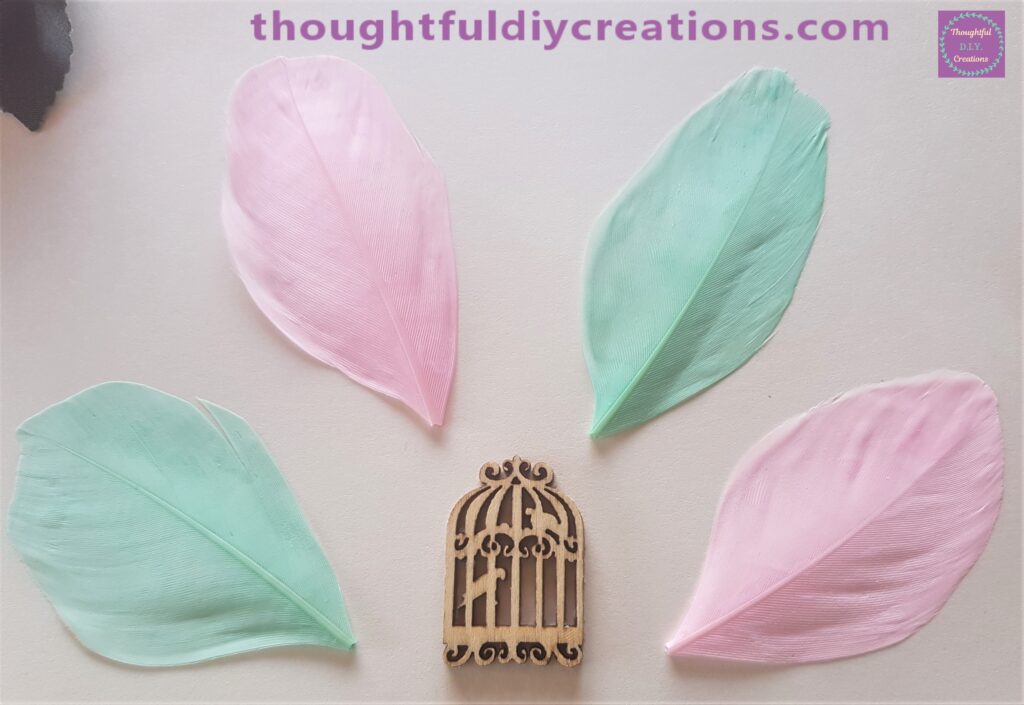
I picked 2 Pink and 2 Green Feathers and attached them to the bottom right hand side of the Scrapbook Layout using Anita’s Tacky PVA Glue.
I got a Wooden Birdcage from the Pack of 50 I had bought.
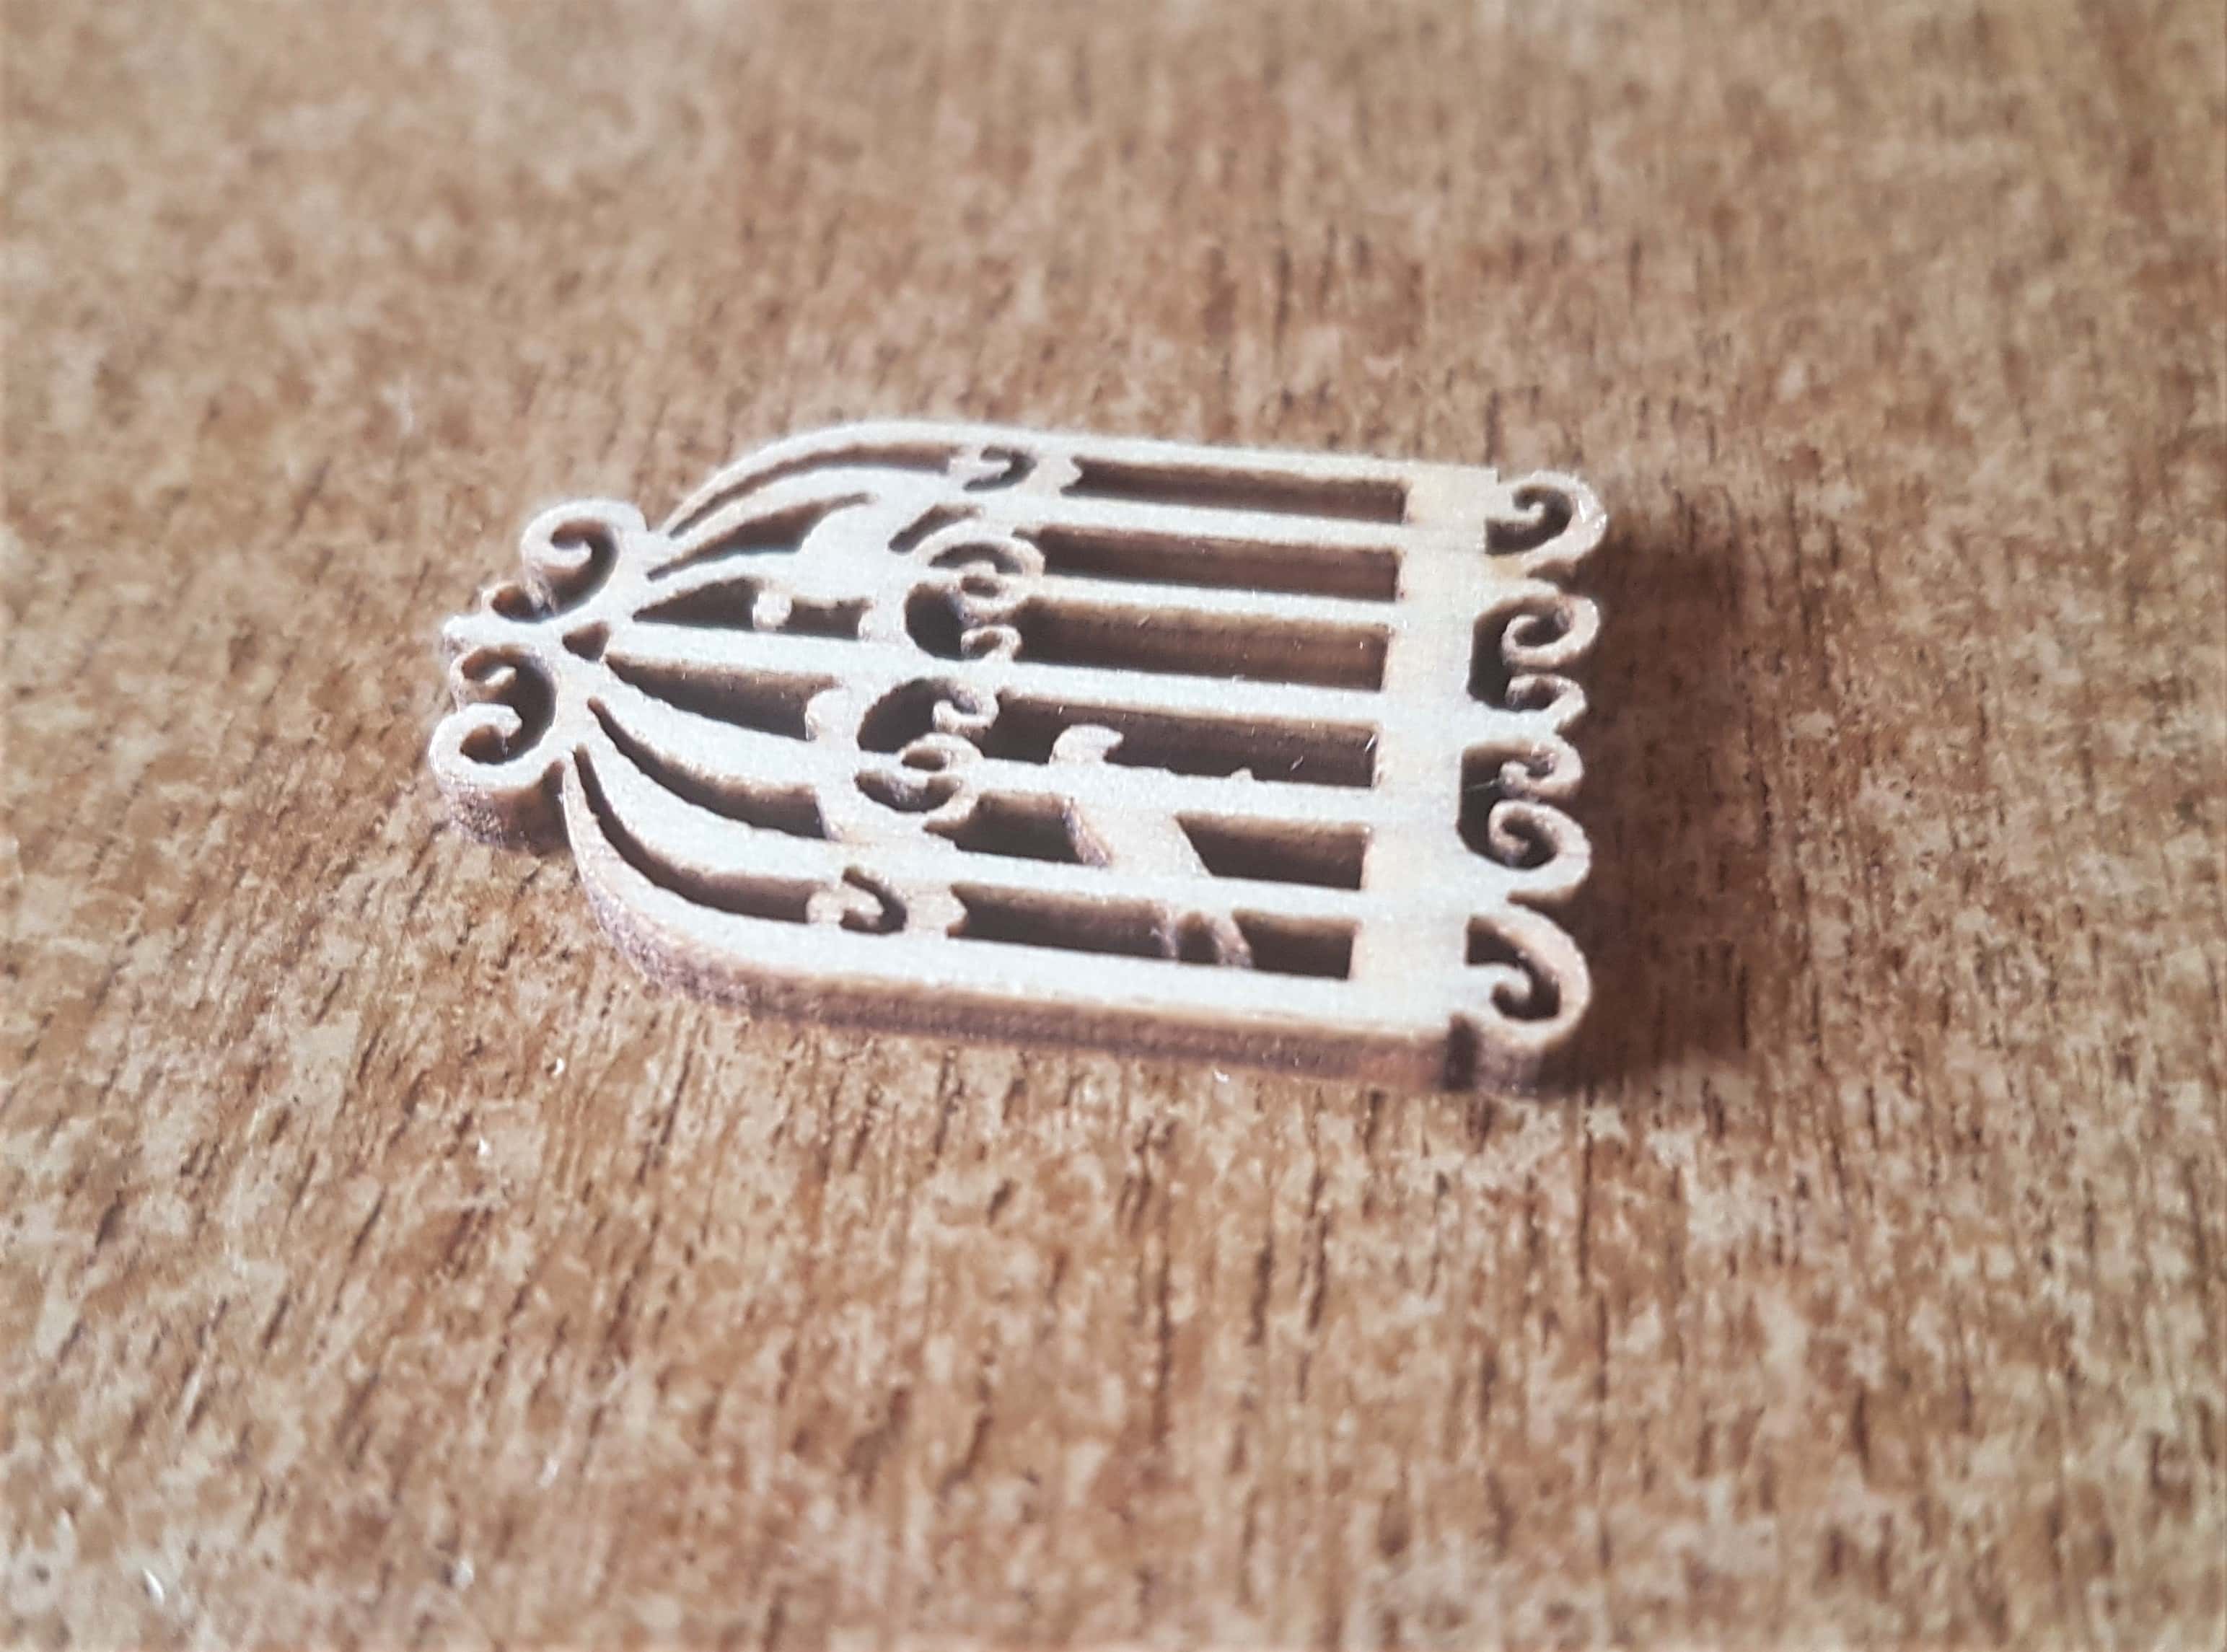
I attached it in between the feathers using Anita’s Tacky PVA Glue.
Finding Sentiments for the Layout
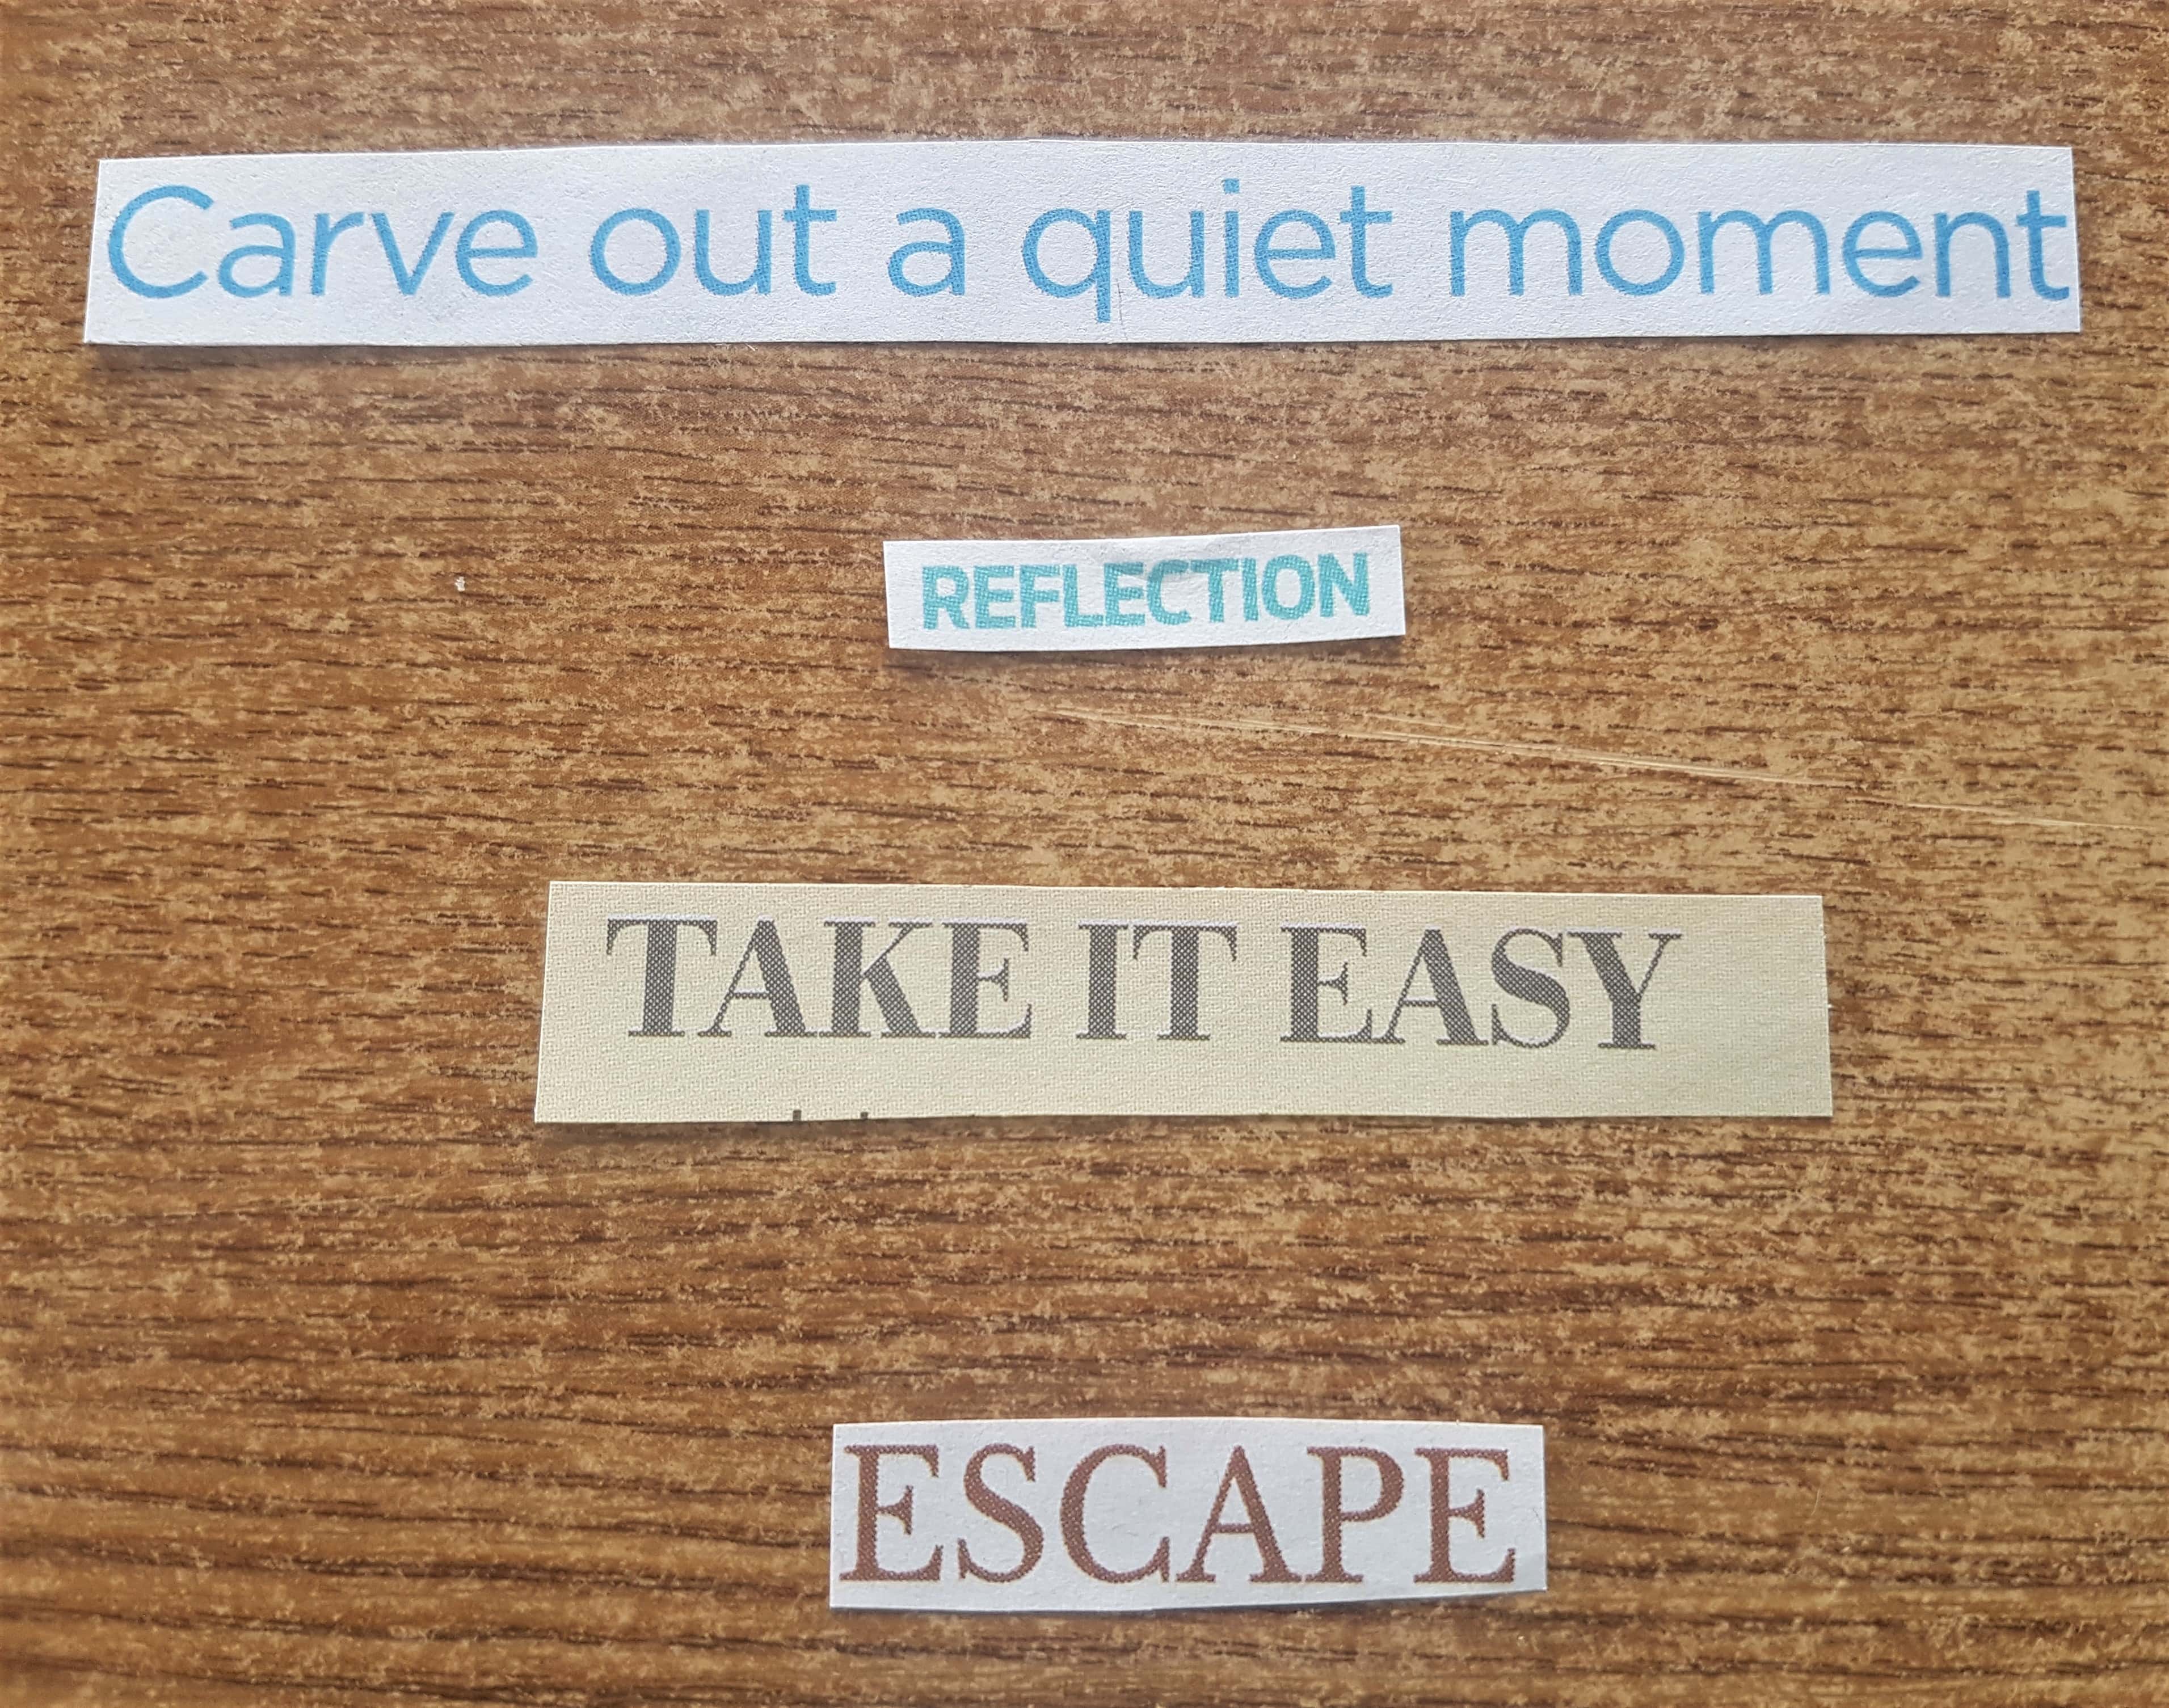
I went through some Newspapers and Magazines to find some Sentiments for this Scrapbook Layout. I found 4 Words or Phrases I liked and cut them out.
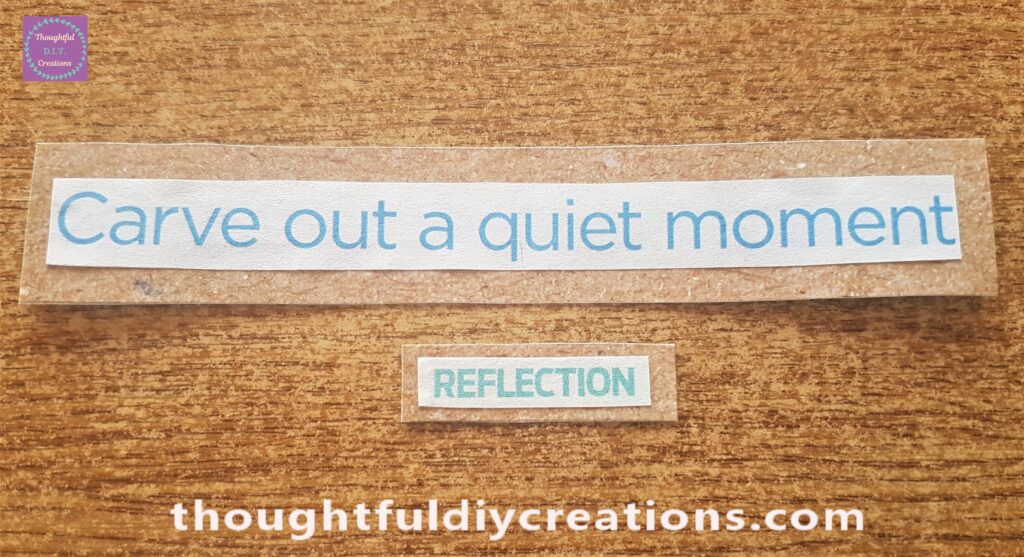
I cut out 2 brown cardstock borders for 2 of the phrases and attached them with double-sided tape.
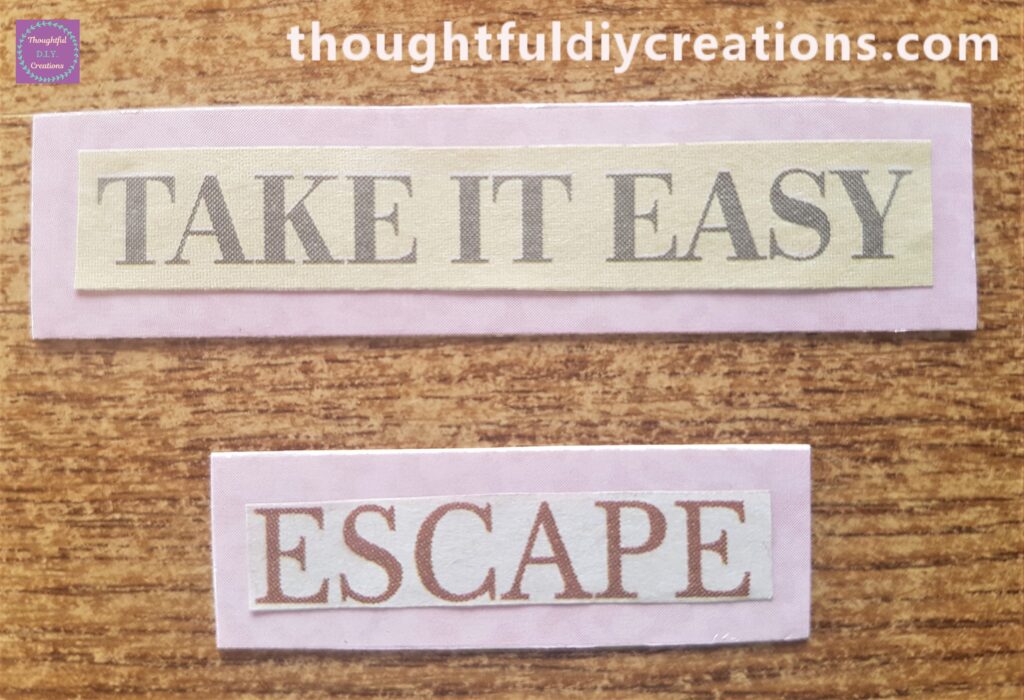
I cut out 2 borders from the Pink Cardstock from the back of the Fairy Card and also attached them with double-sided tape.
I attached each word or phrase underneath one another on the top left hand side of the Scrapbook Layout. I used Pritt Stick to glue them down.
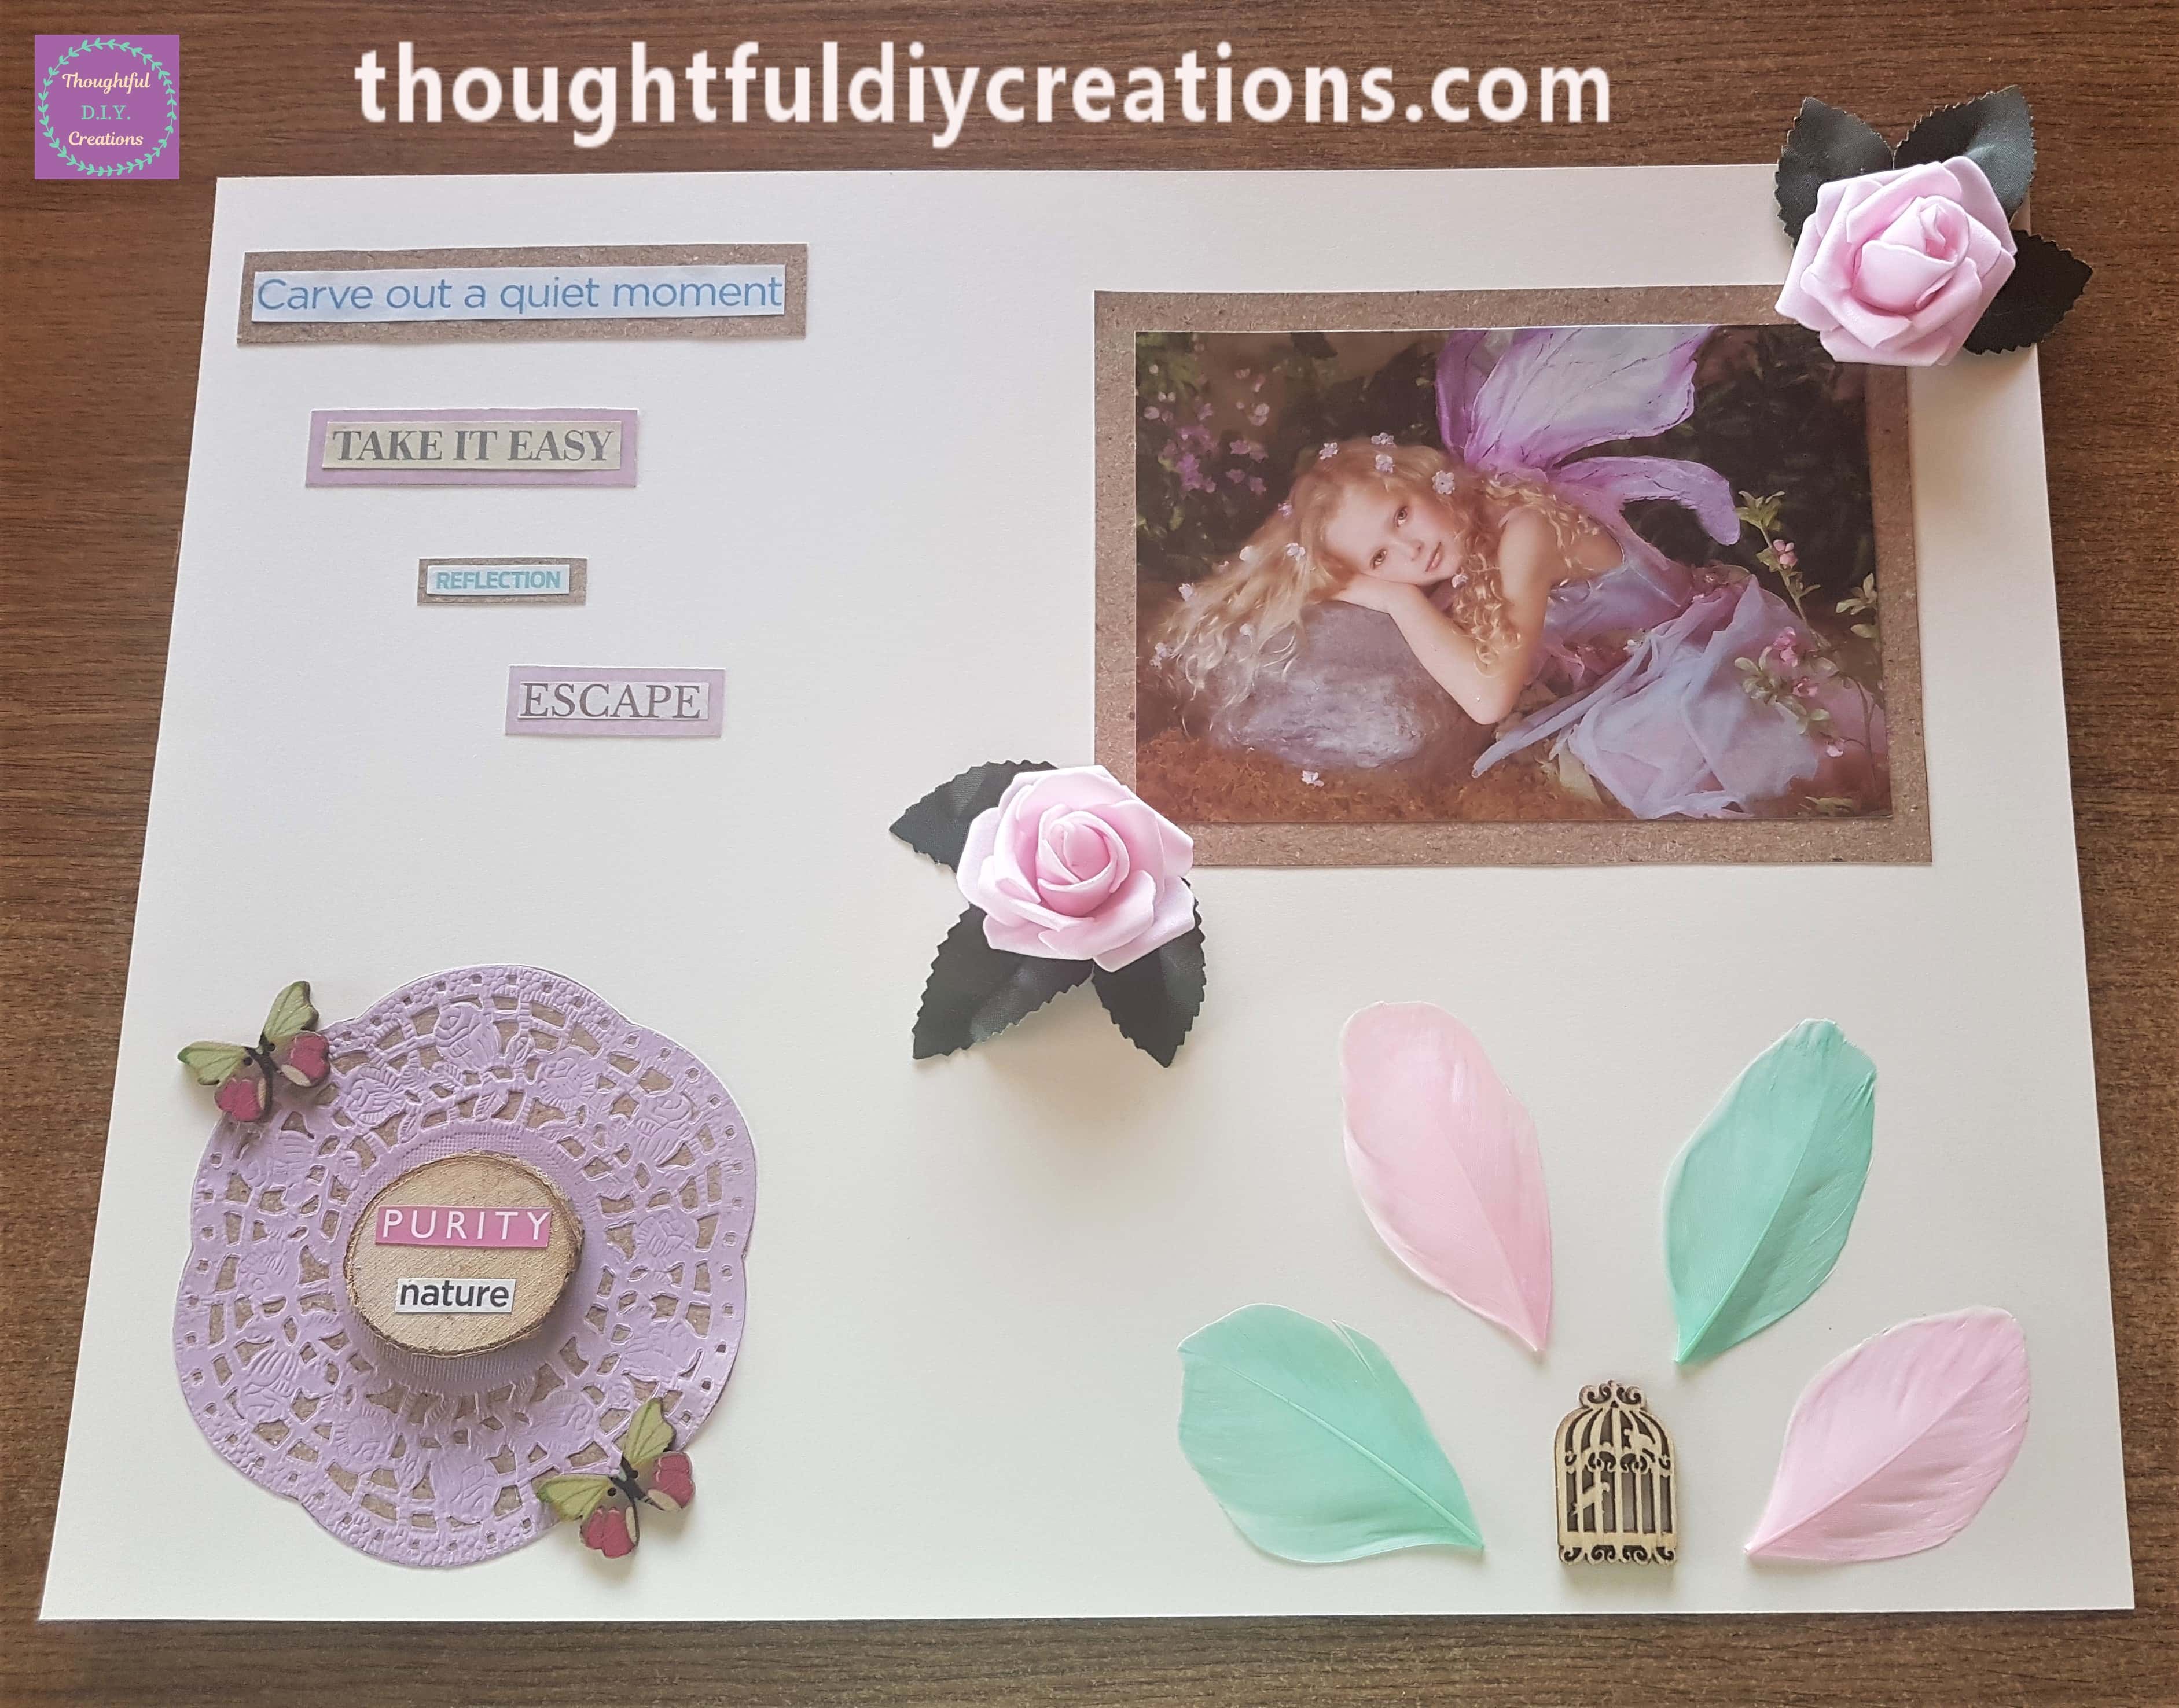
A closer look at each Sentiment.
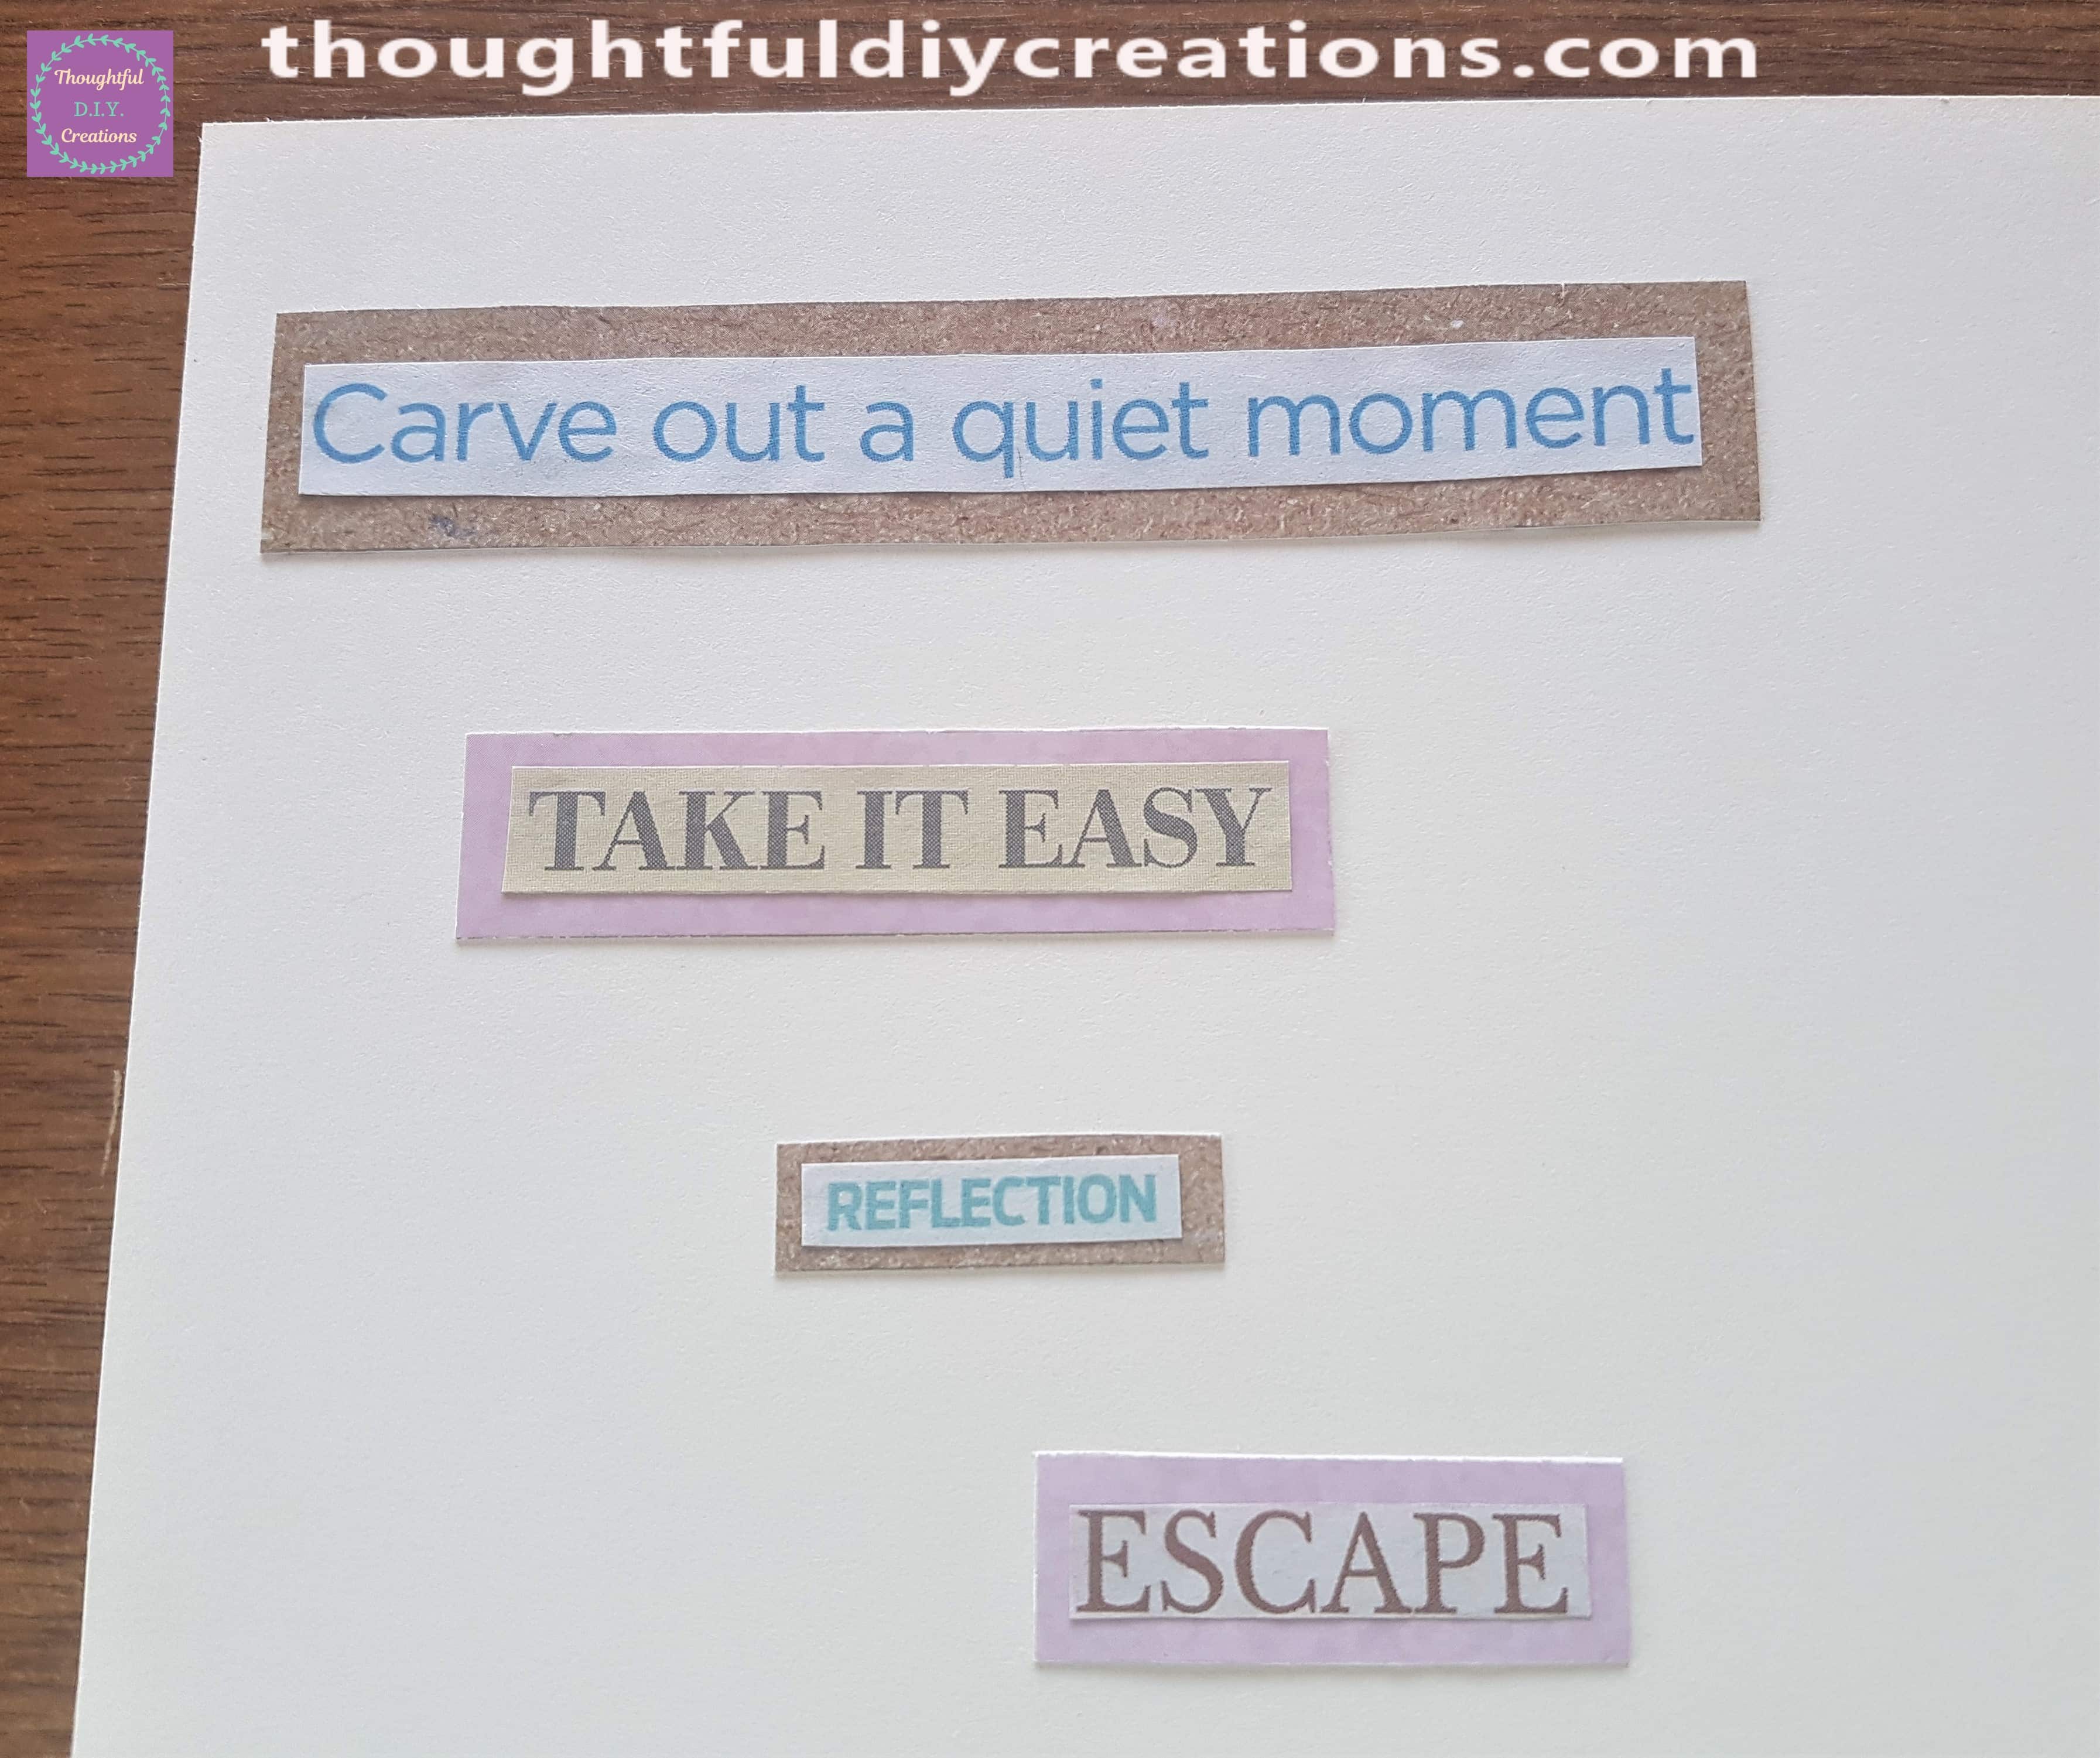
Finishing Touches to the Scrapbook Layout
I placed a Glitter Love Heart Sticker in between the Sentiments and the Fairy Image.

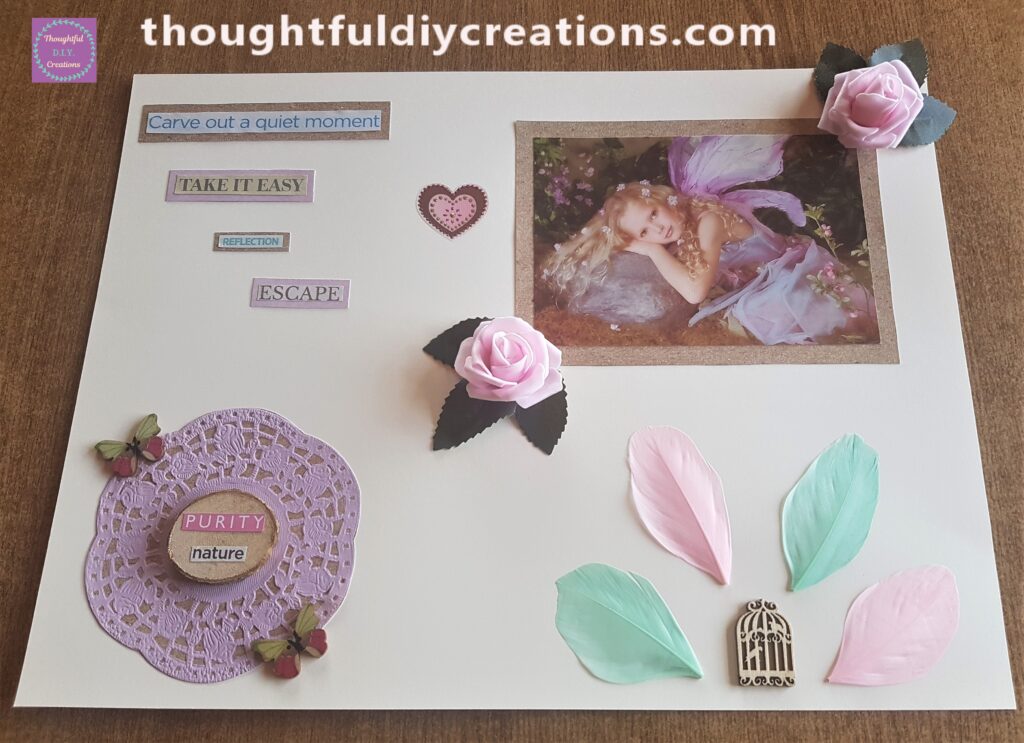
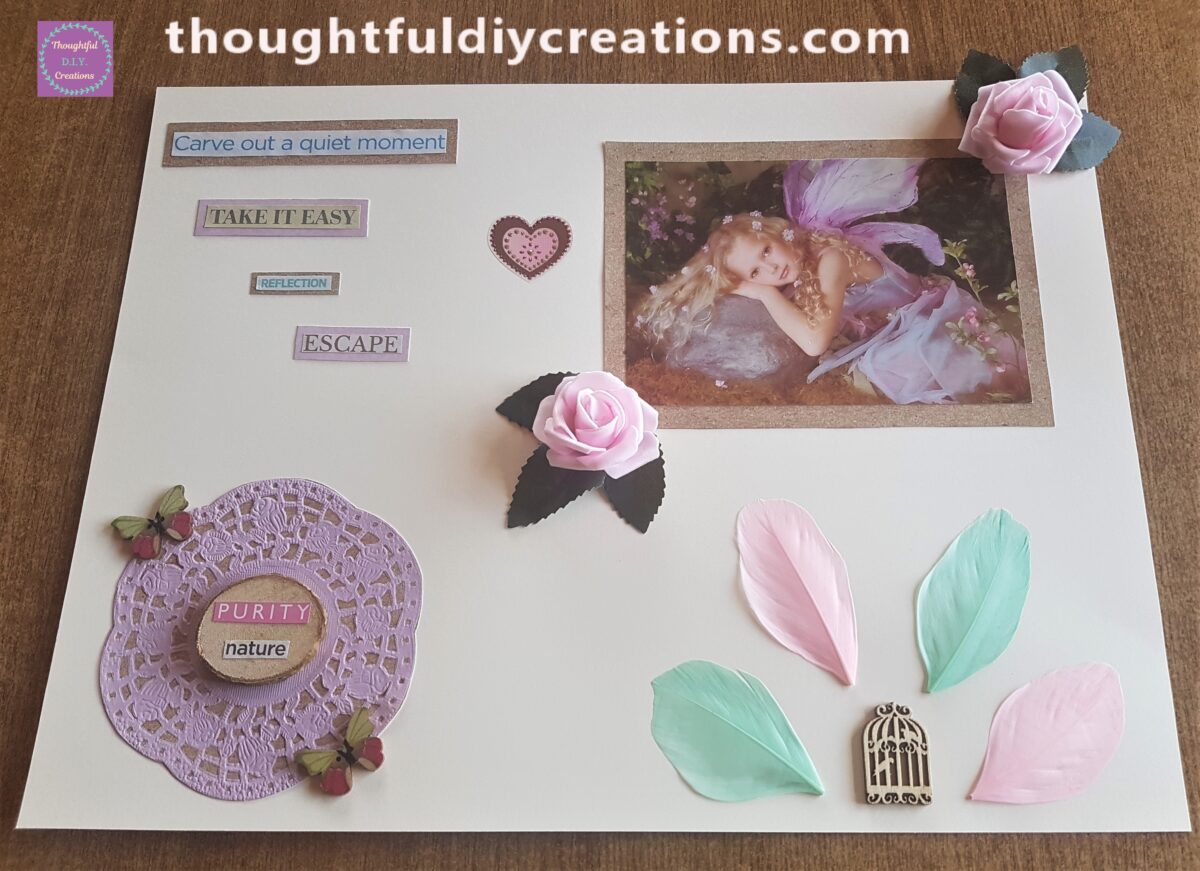
This Completed the Scrapbook Layout.
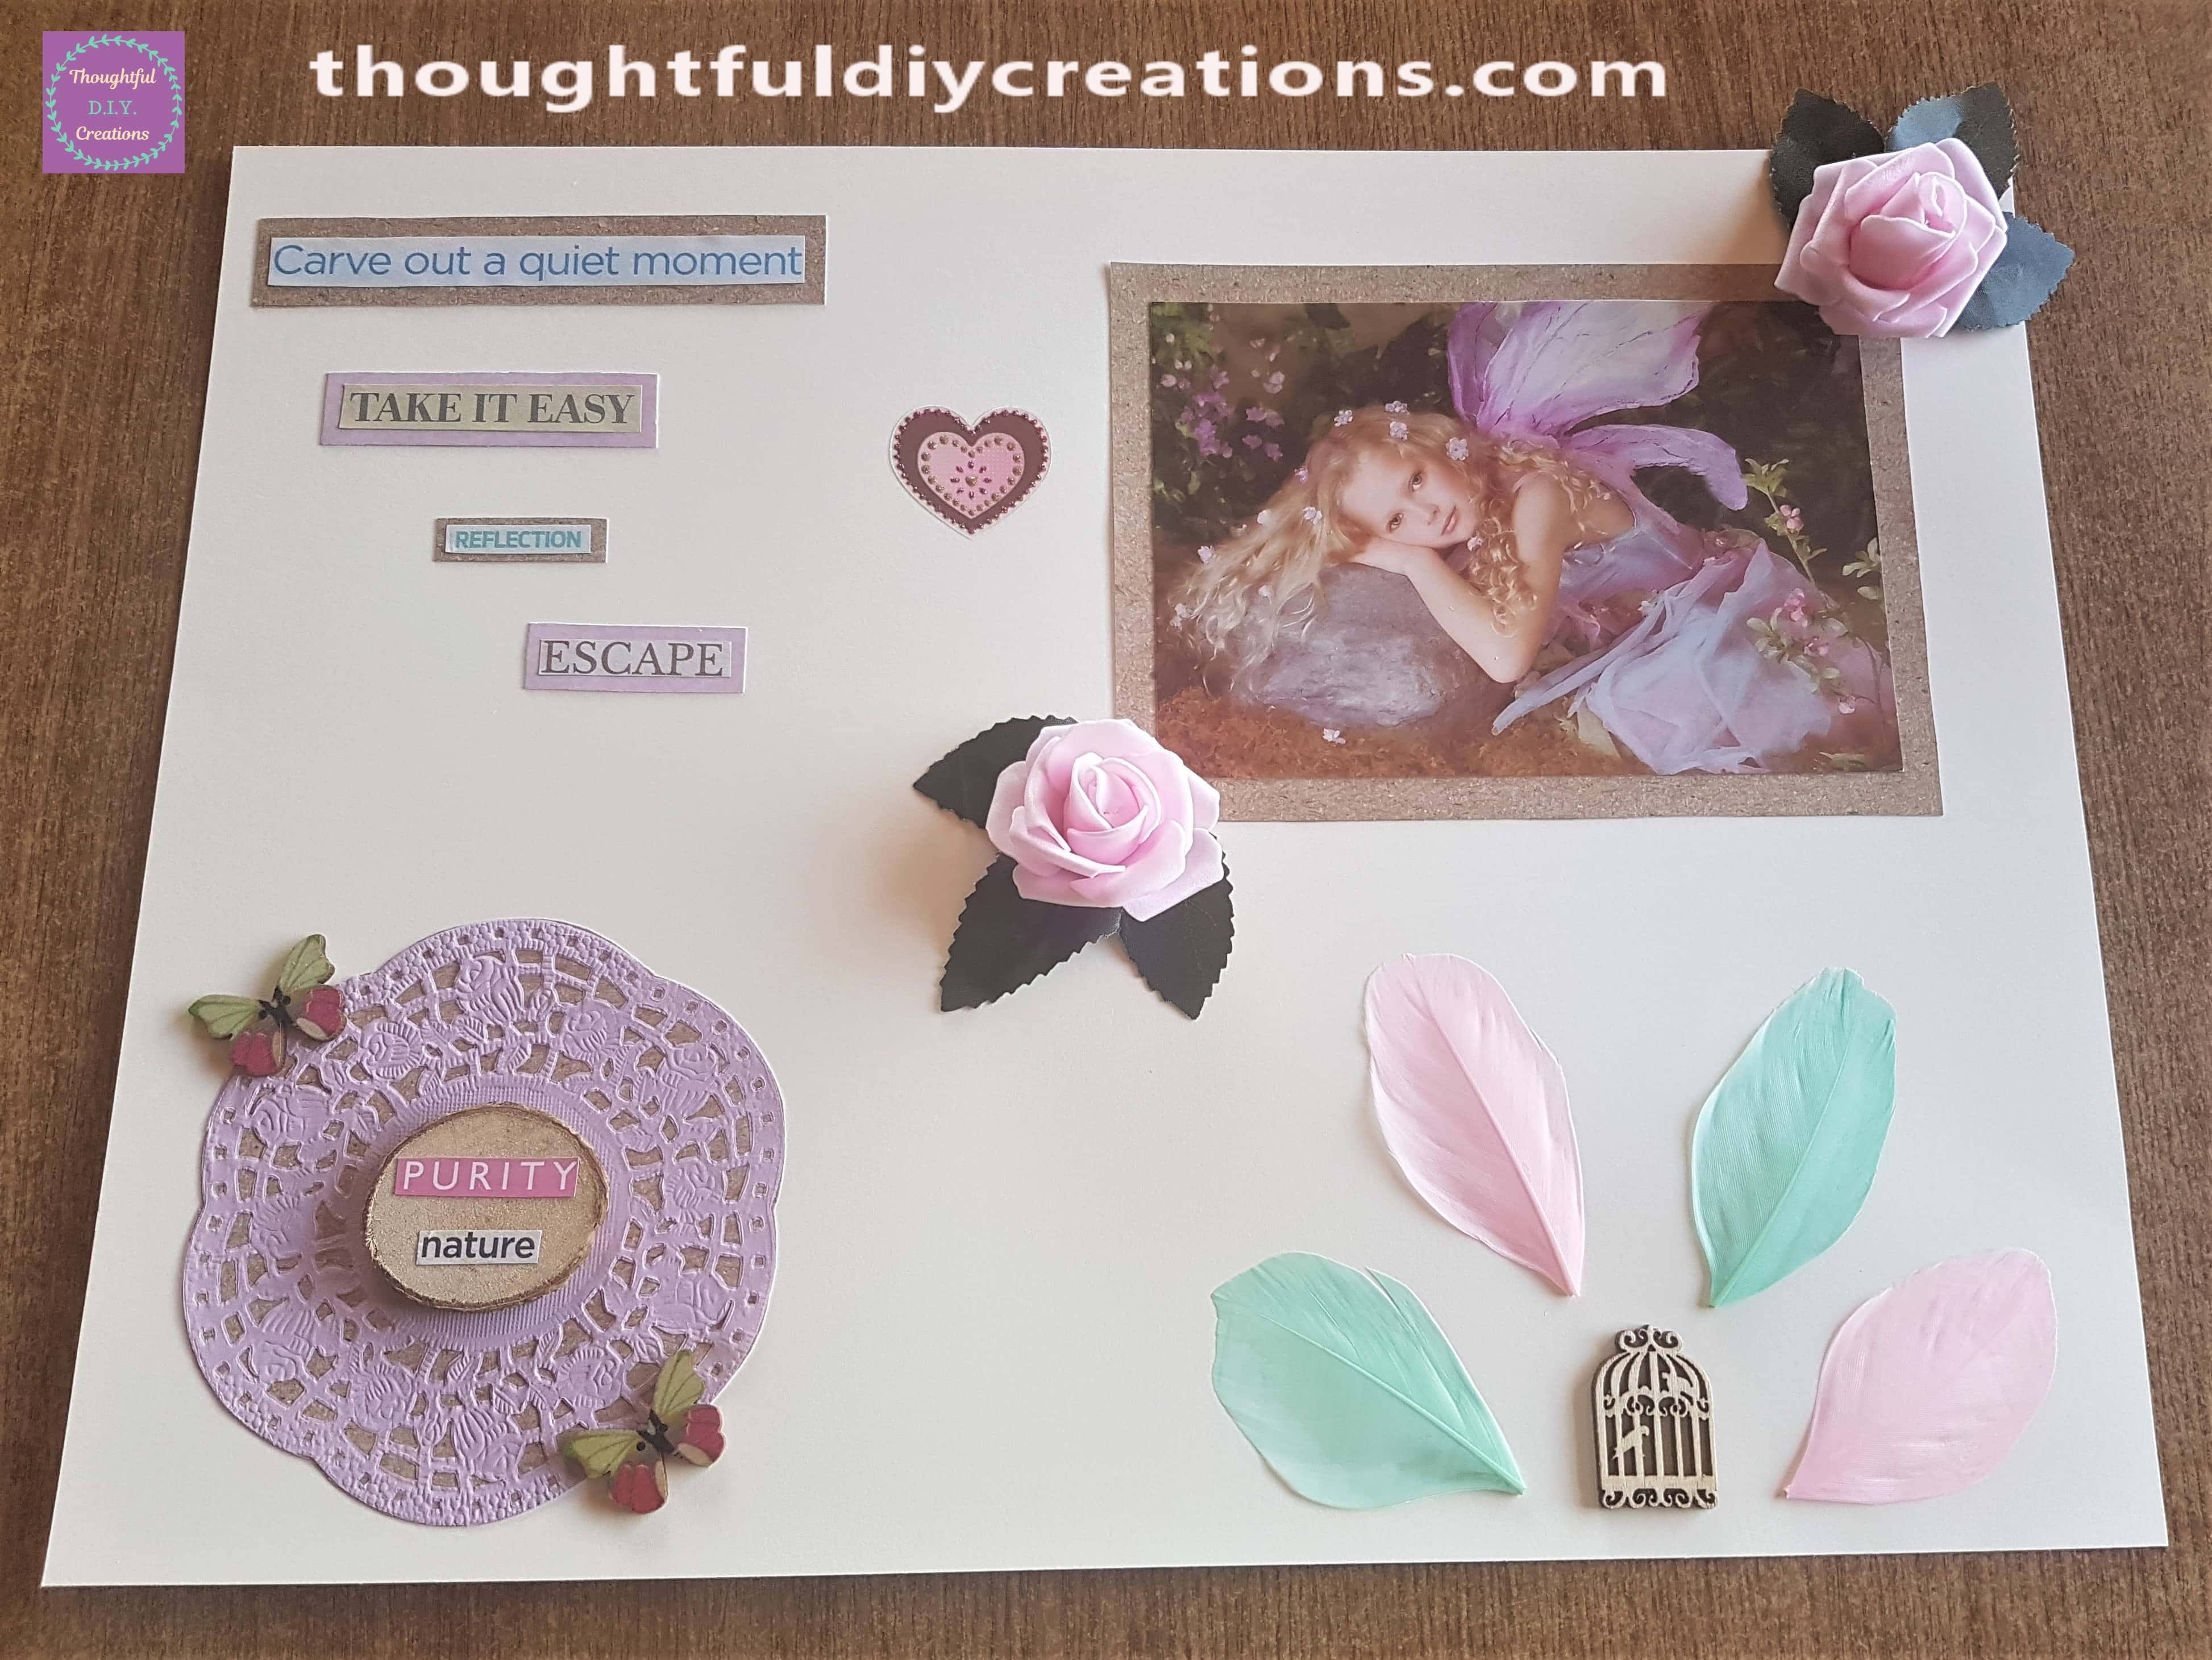
This is the Love Heart beside the Sentiment.
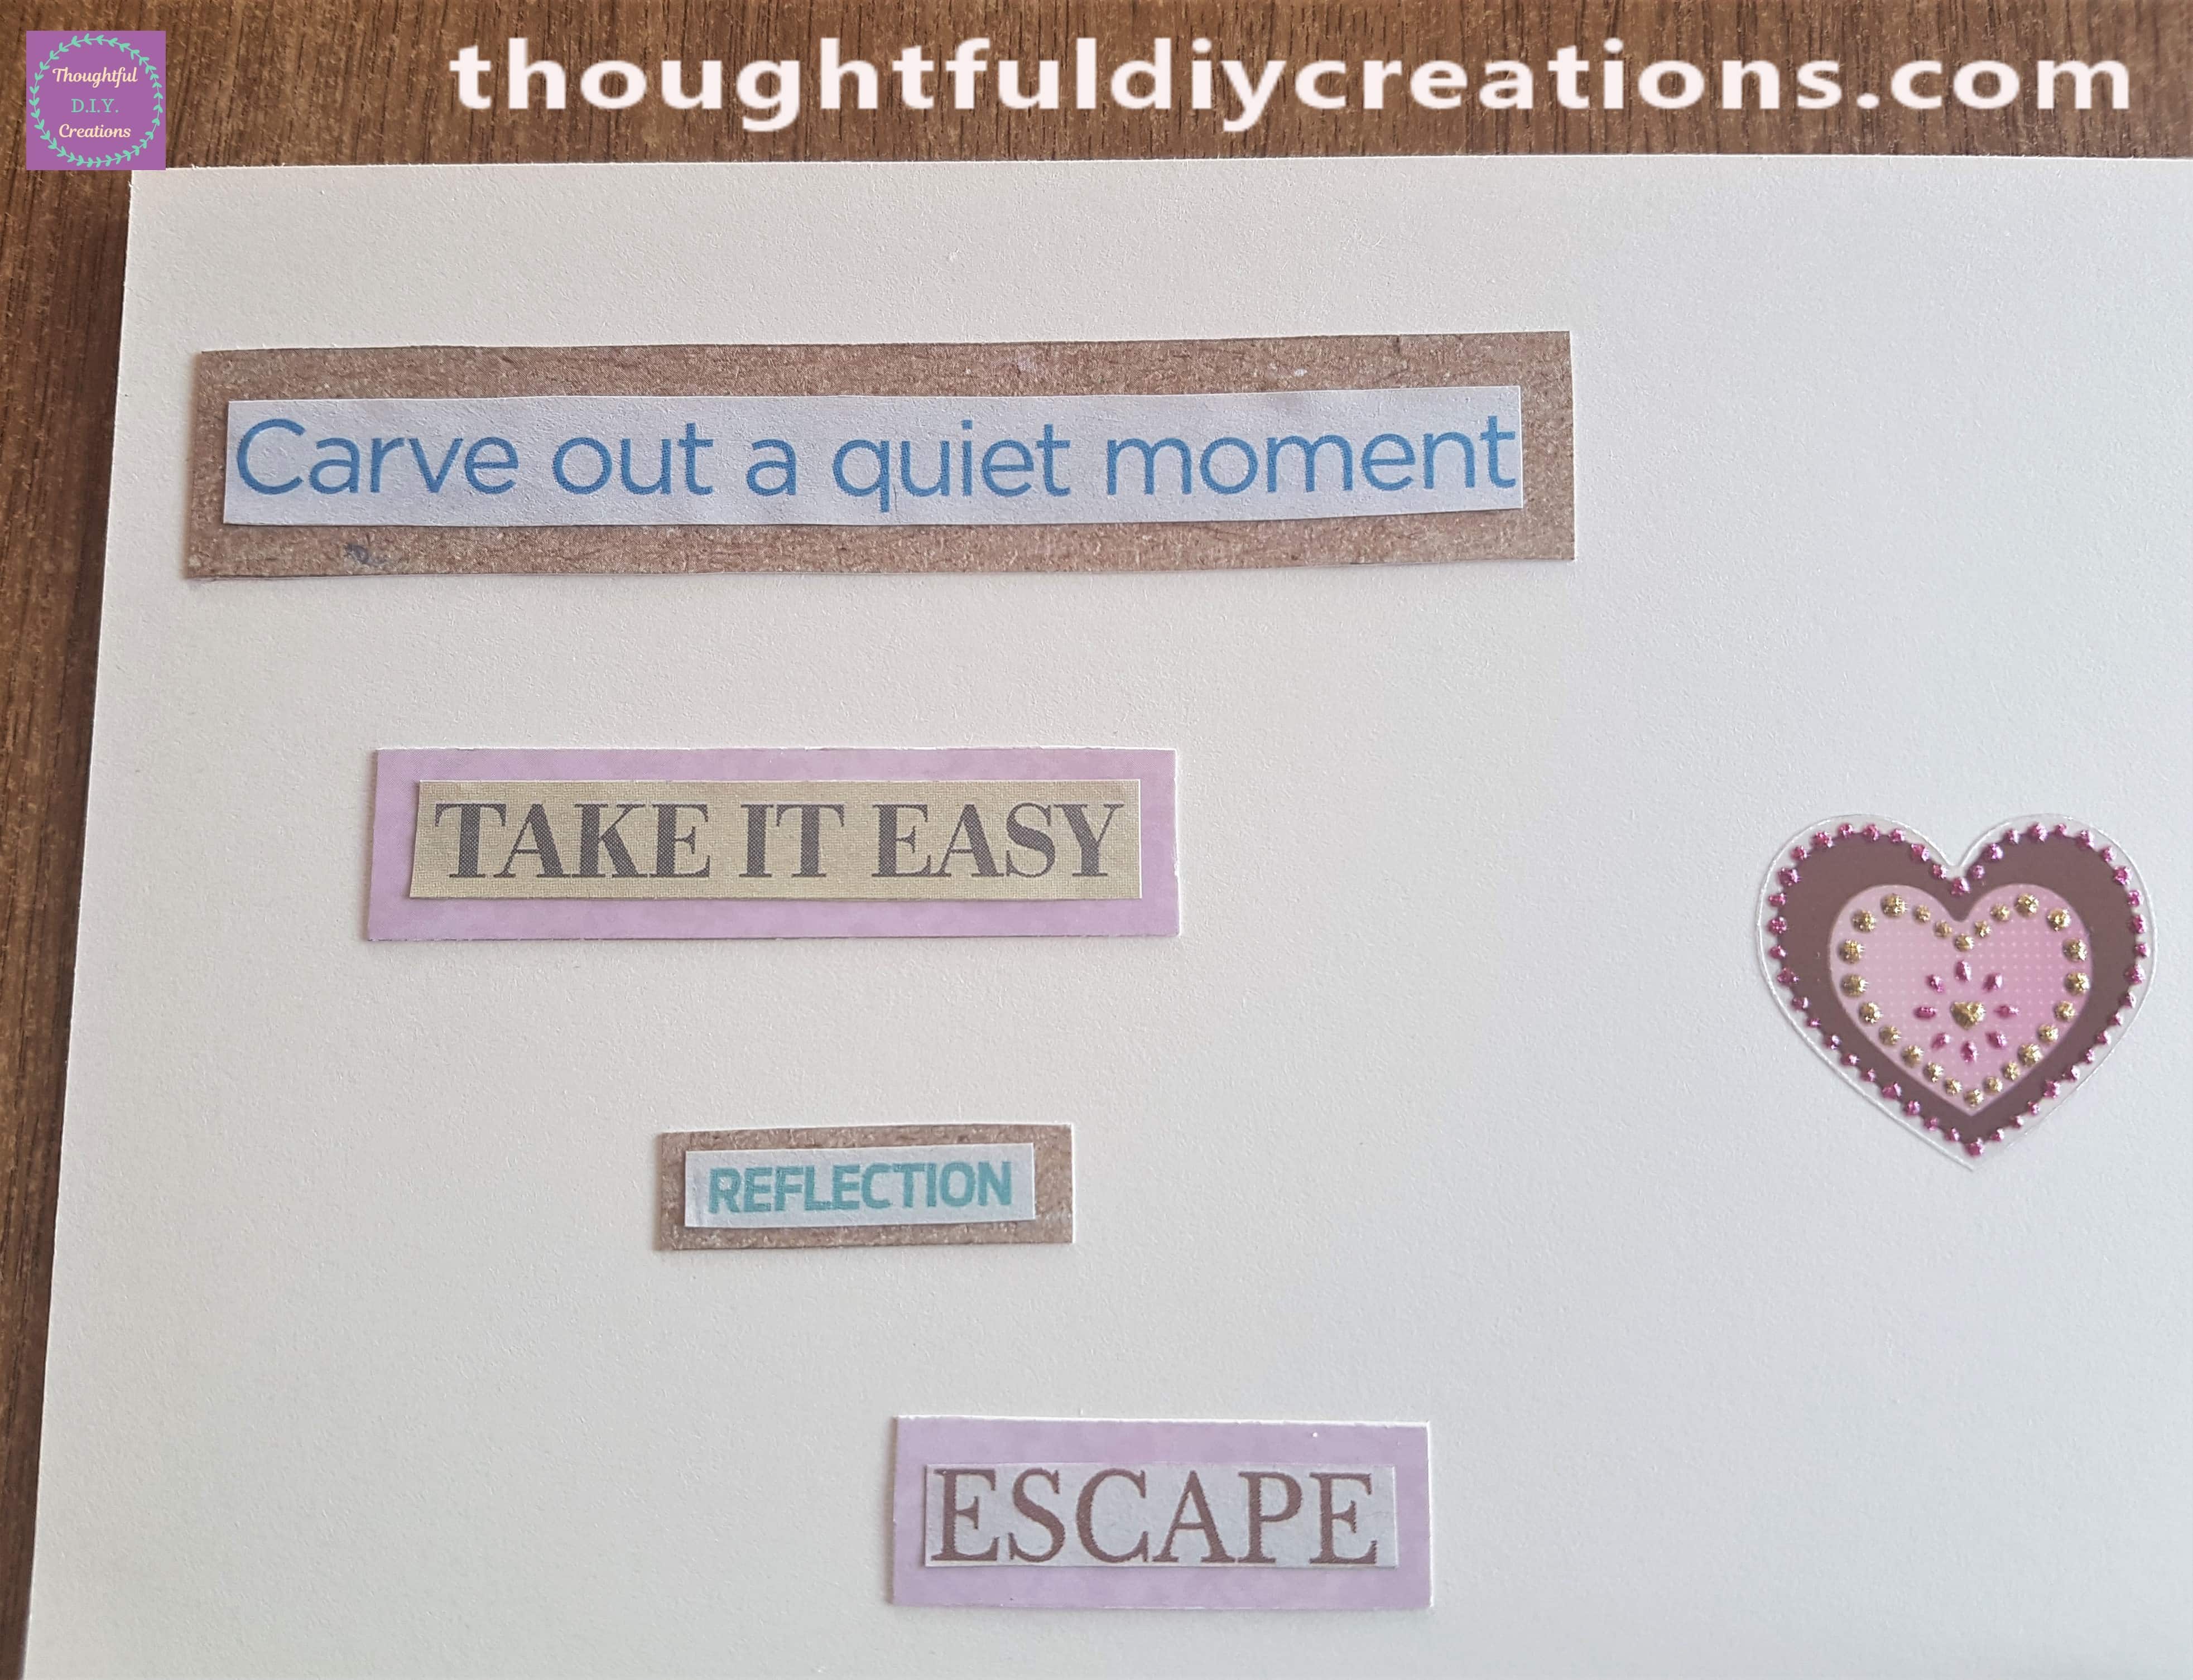
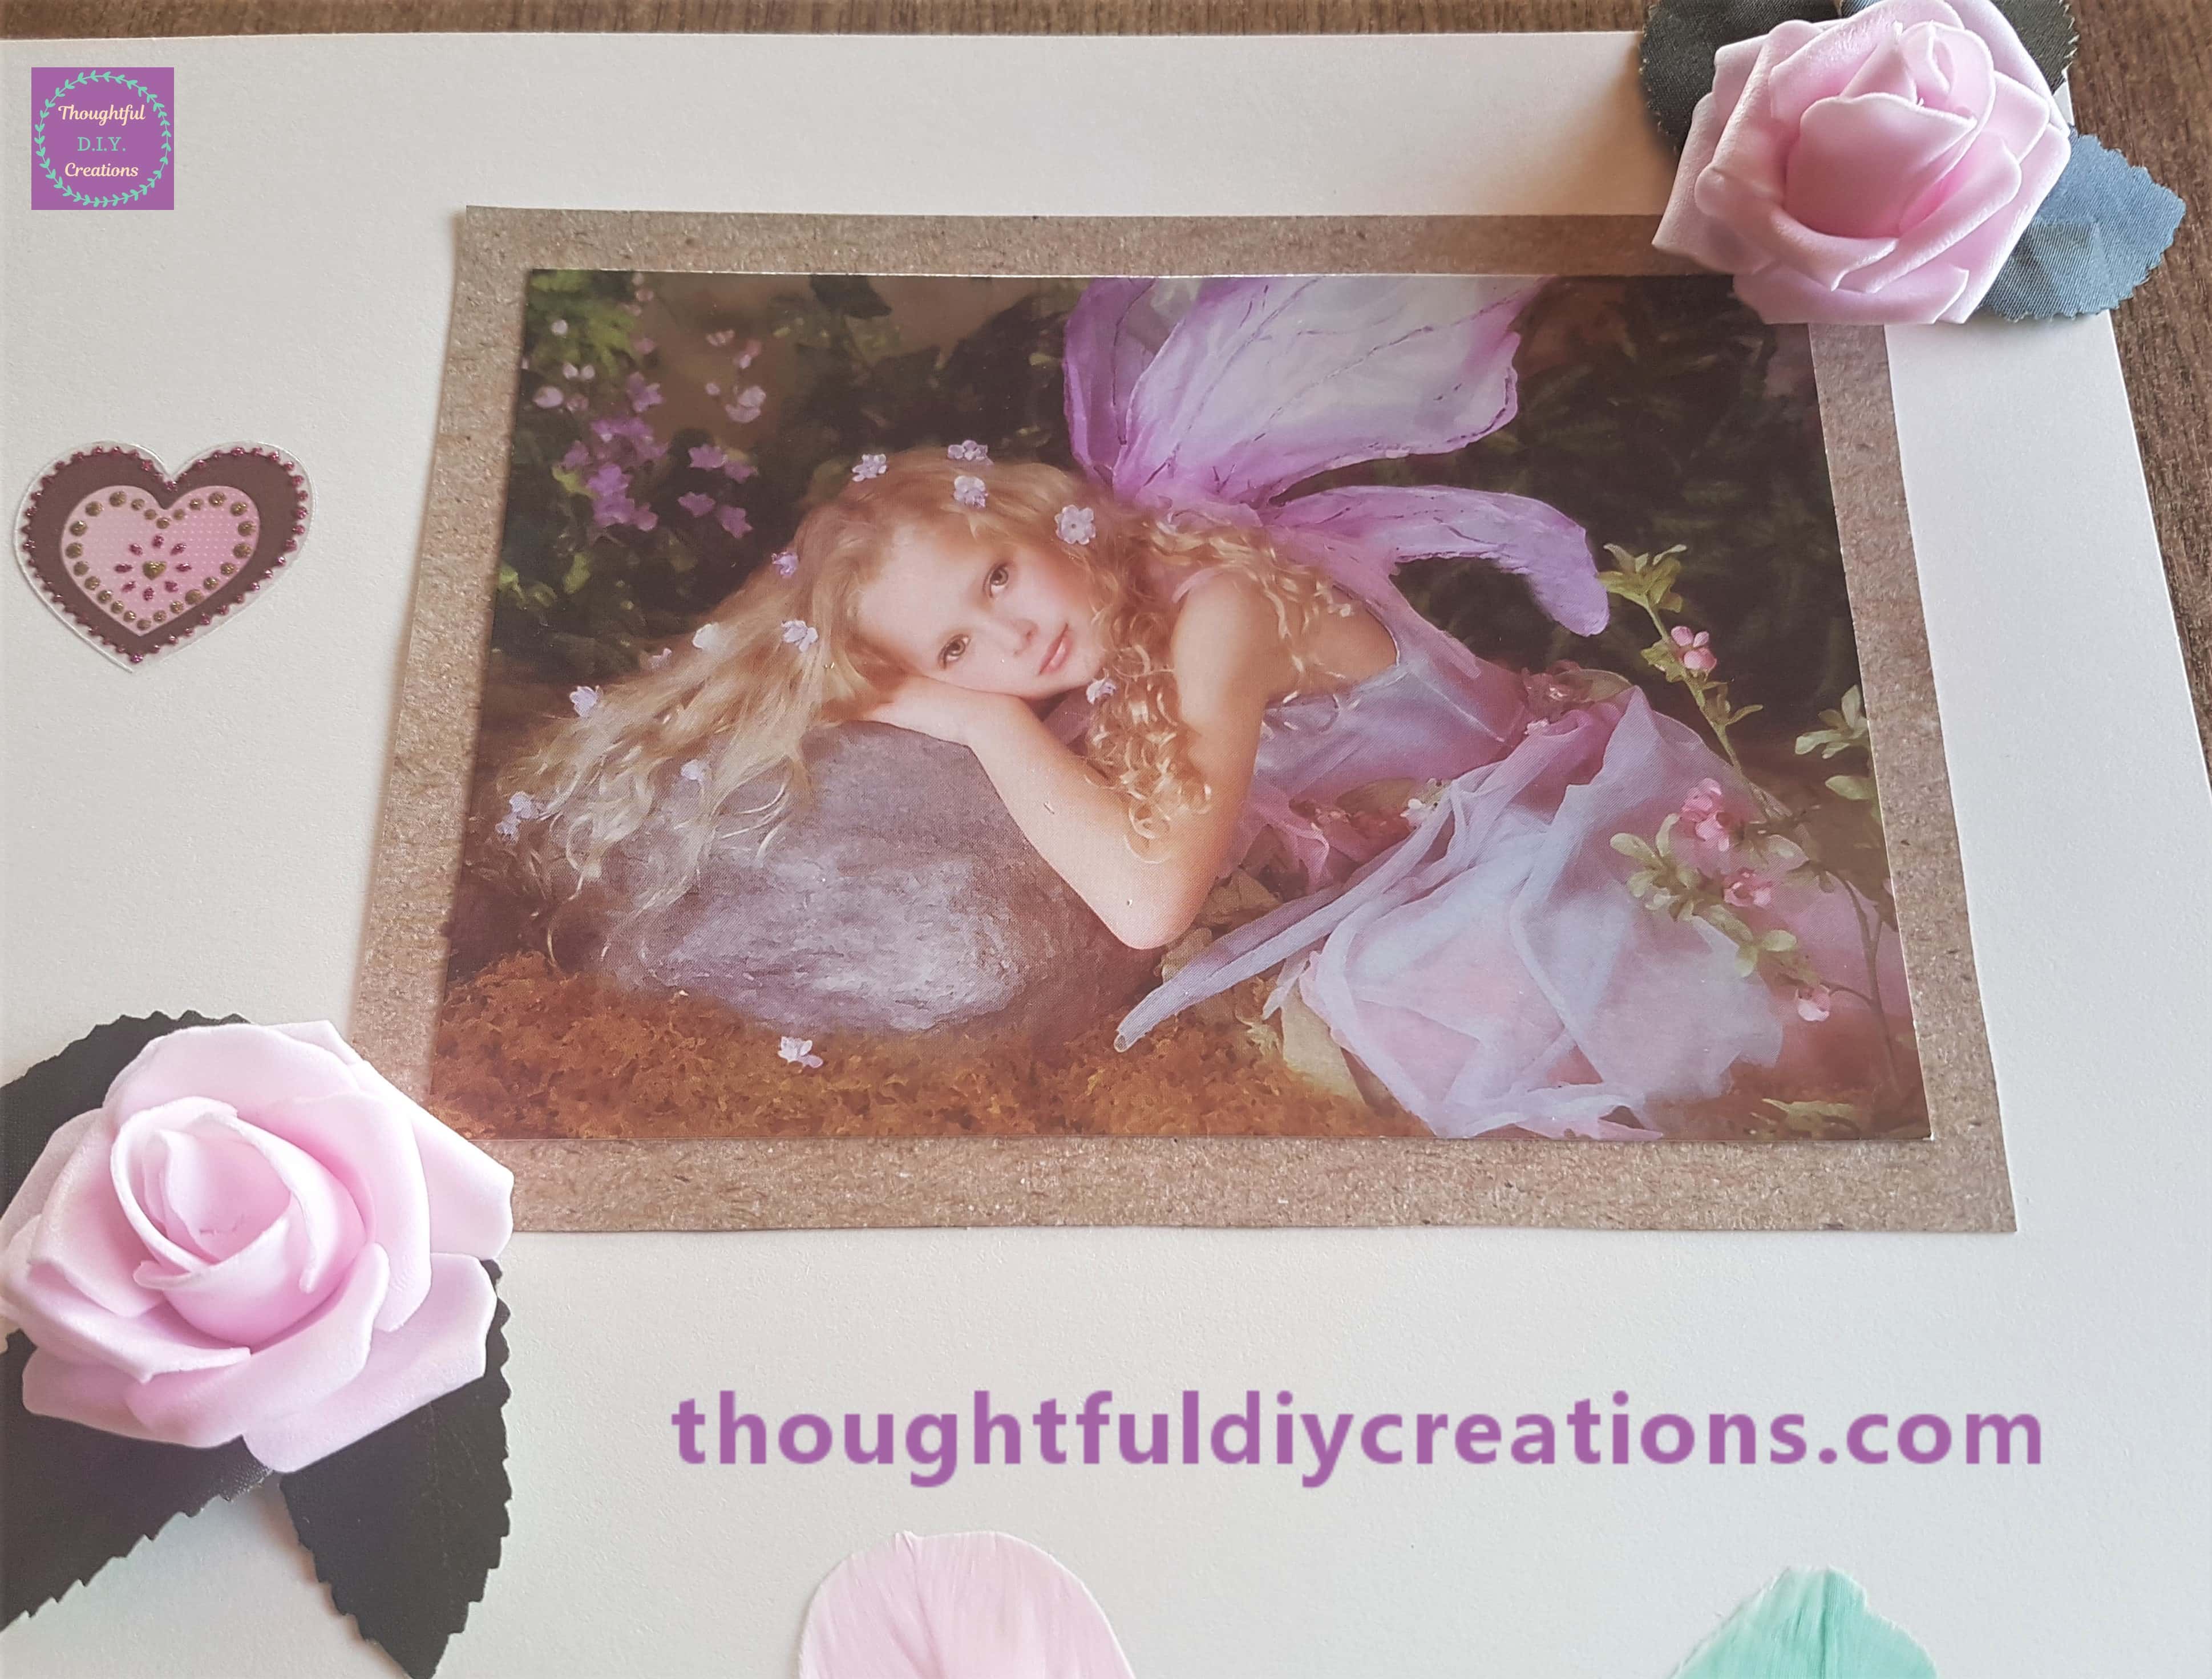
The Heart, Fairy Image and the Flowers.
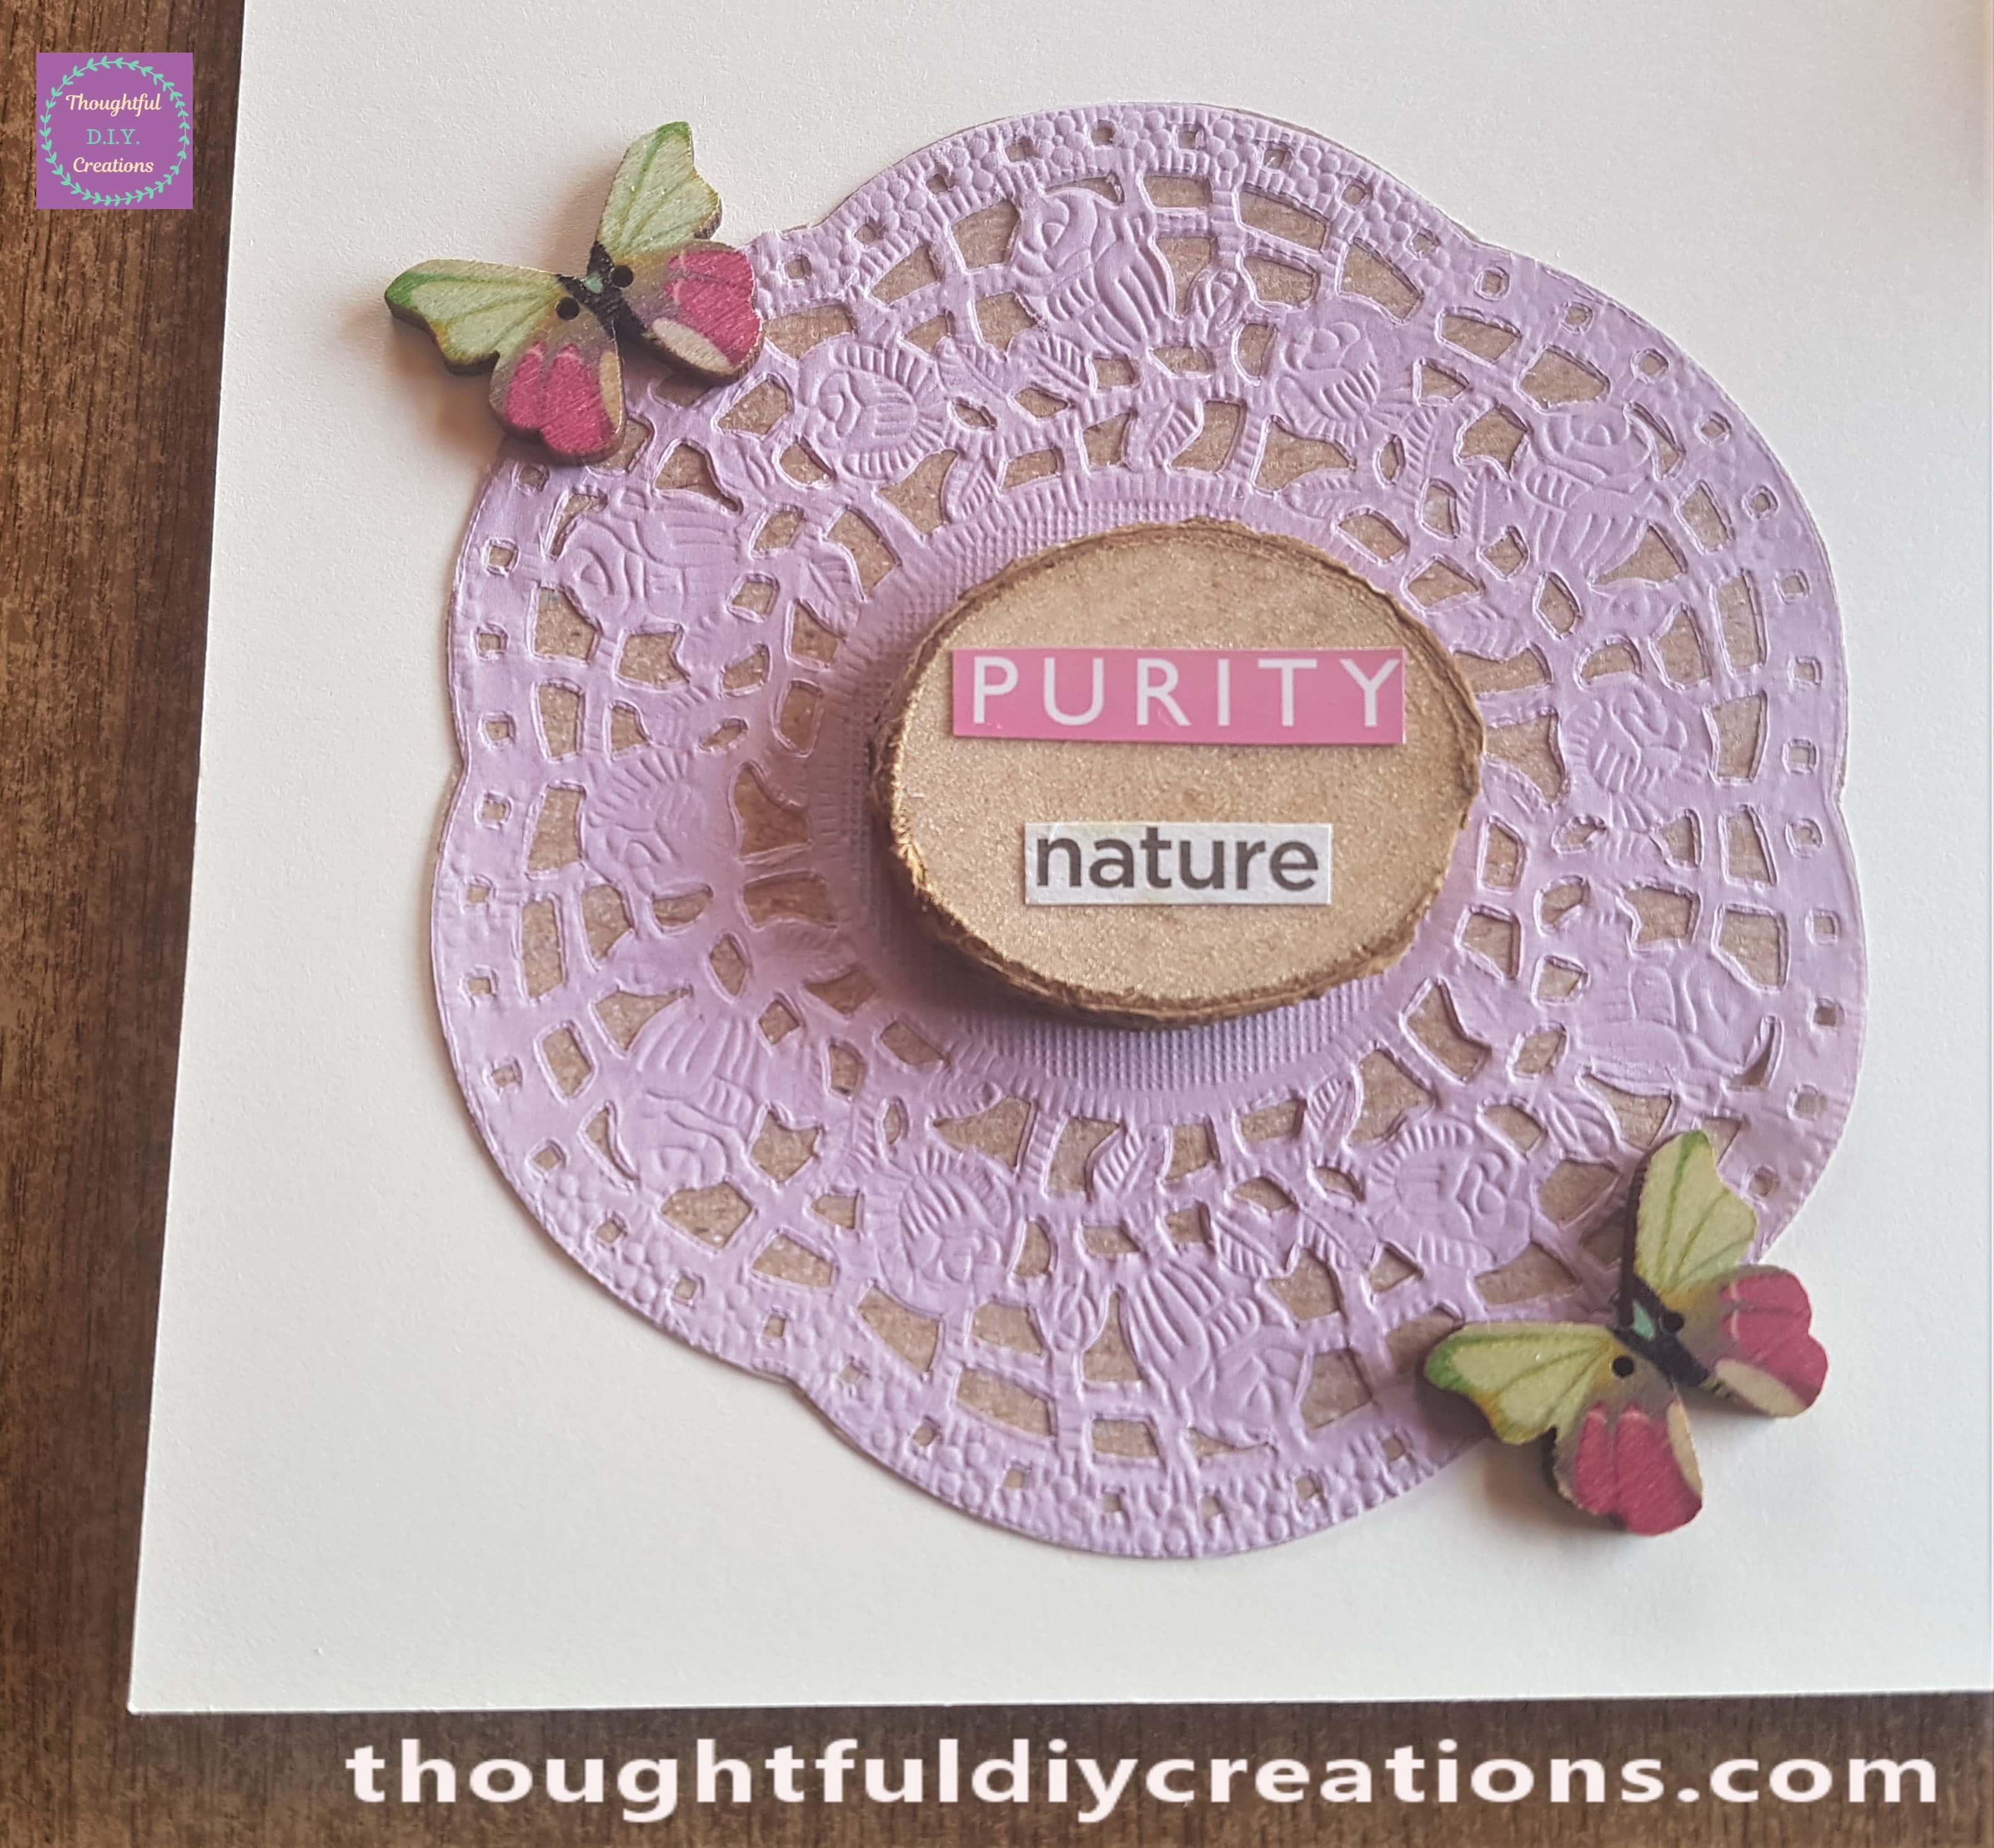
Here is the Wood Slice, Butterflies and Doily.
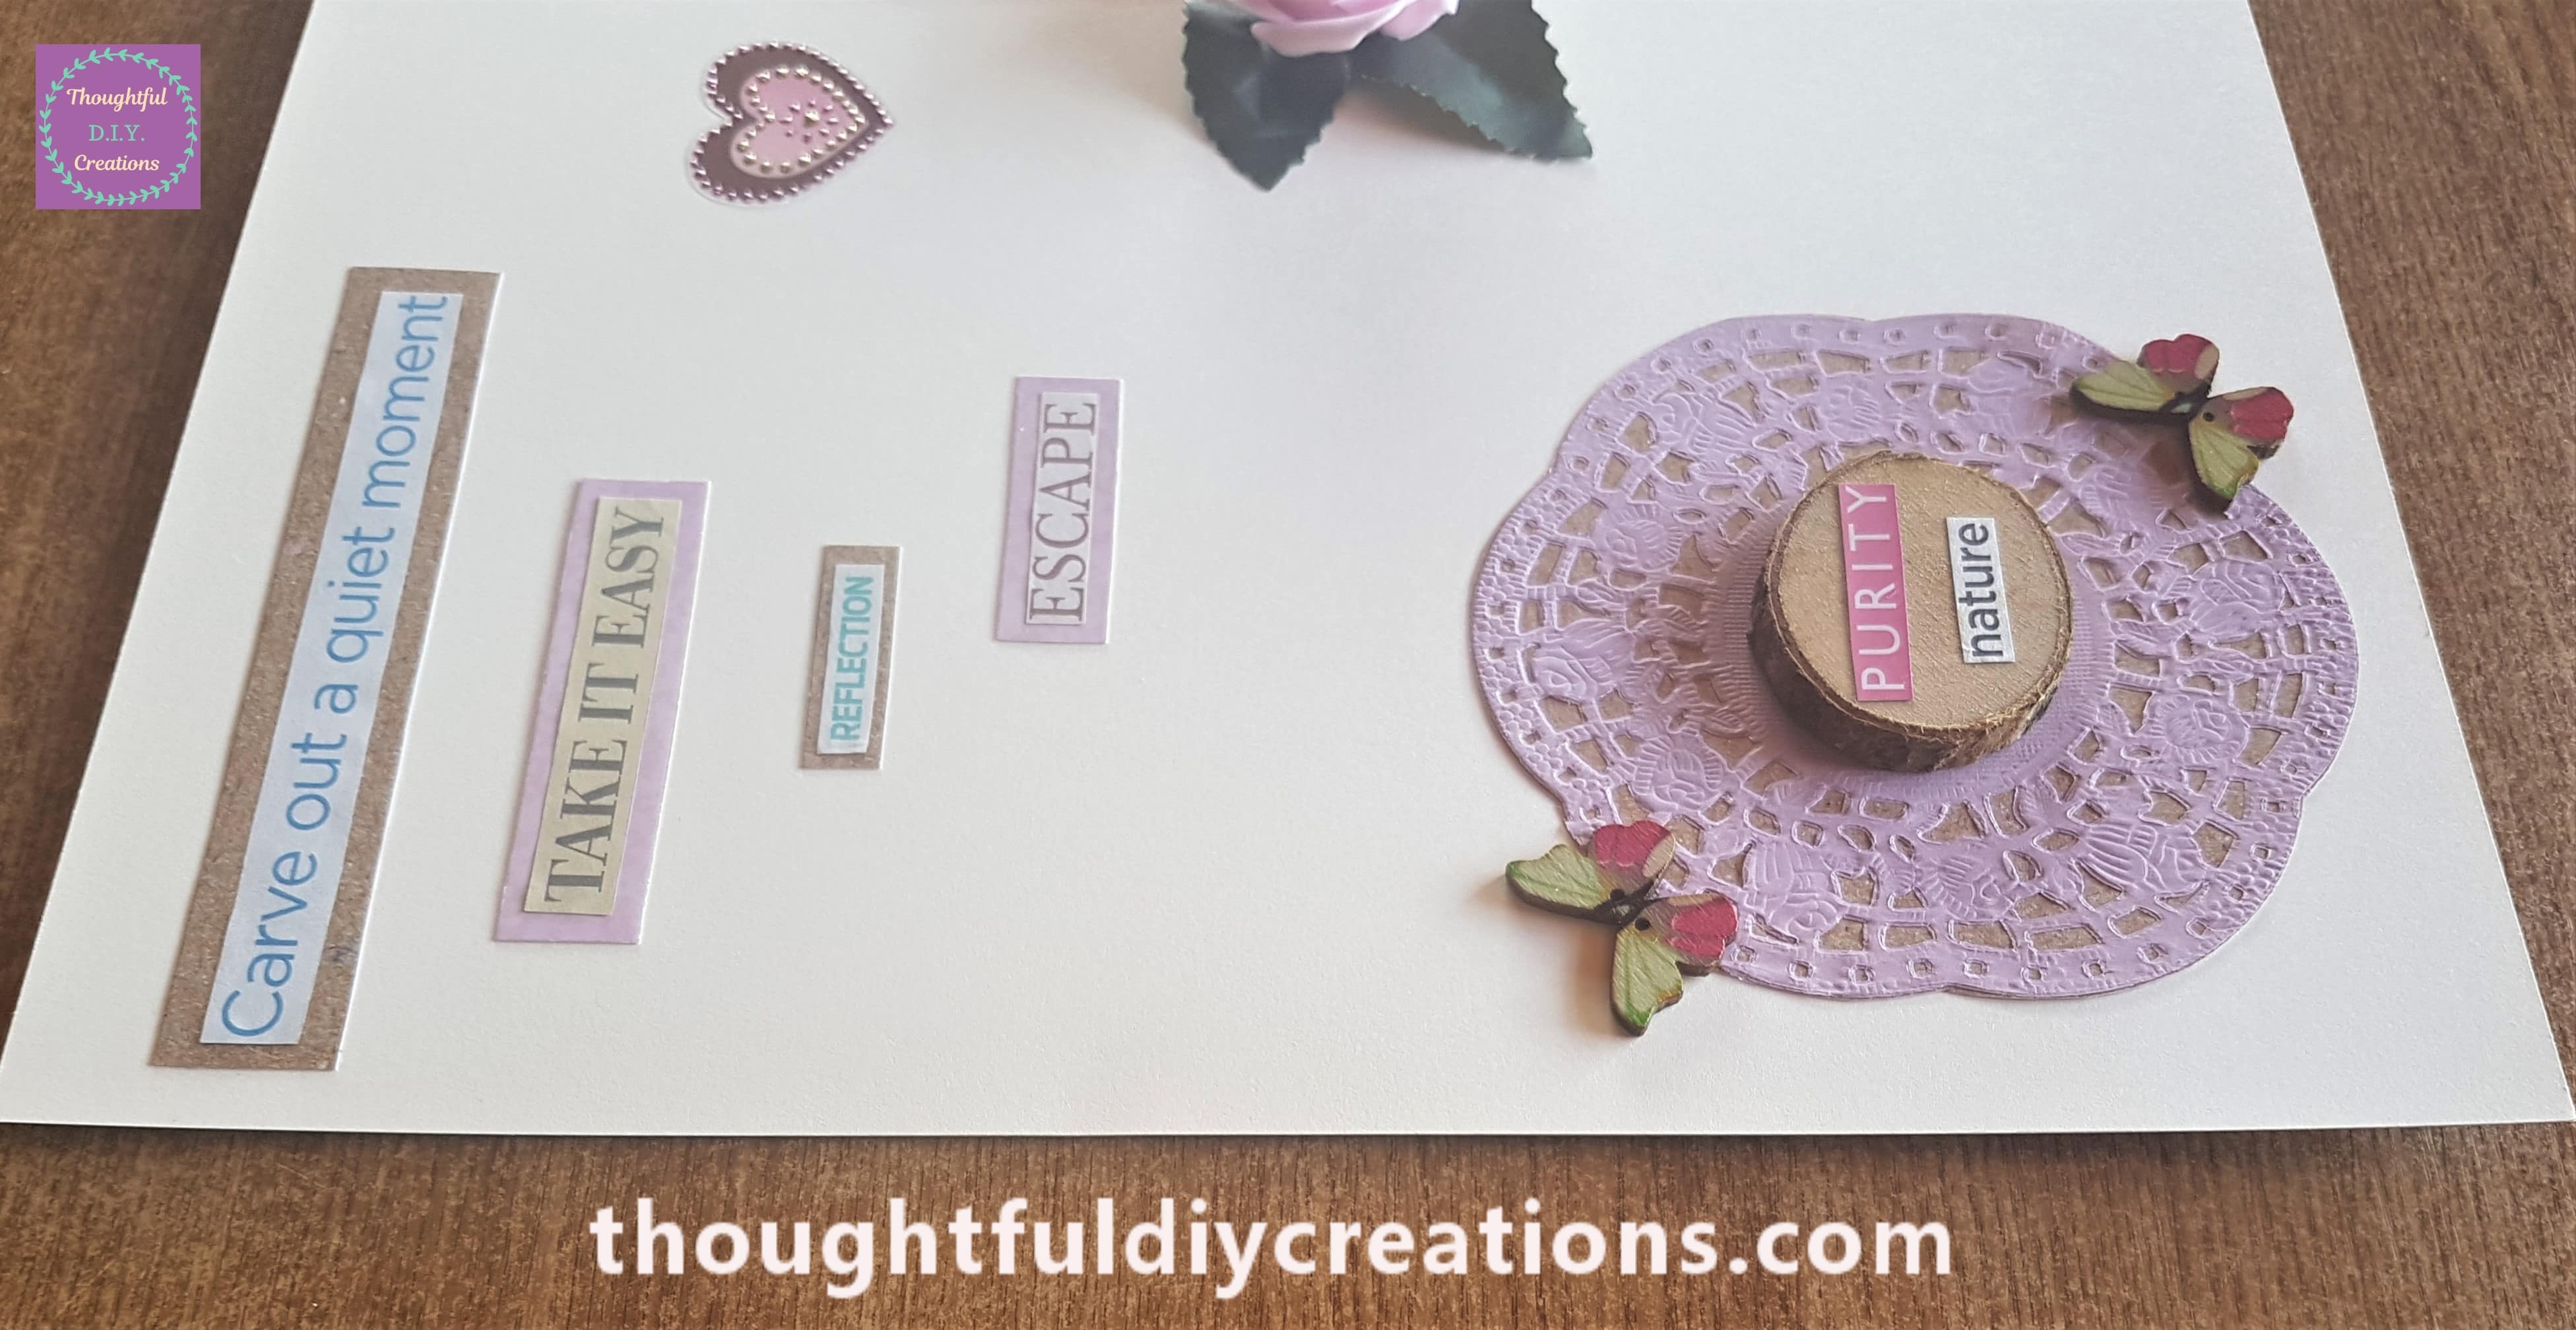
A side view of the Feathers and Bird Cage.

Below is a side angle of the first half of the Scrapbook Layout.
This is the Final Image of the Fairy Layout.
Conclusion
I am really happy with how my Scrapbook Layout came together. I love the soft pastel colours, the pretty Fairy, and all the nature elements. I love how relaxed and carefree the Fairy appears and that was the influence of how I chose each word or phrase in the Sentiment.
Have you ever made a Fairy Garden before? I show you how in this step-by-step Tutorial. D.I.Y. Fairy Garden.
If you have never made a Scrapbook Layout before I hope you will now give it a try. You can use Photographs instead of an Image if you prefer. You could choose a Photograoh of your Child / Children having fun and that could be the theme of your Page. It doesn’t have to be anything fancy just your favourite photo of them eating their Favourite food or trying food for the first time if they are babies or toddlers, Bath Time, having Fun in their Garden, losing their first Tooth etc. Children find delight in the normal everyday activities and it can be lovely to capture that moment and document it.
If you were at an Occasion like a Garden Party, Birthday Party, Engagement, or Wedding you could base your Scrapbook Layout on your few favourite Photos from the event. You could add Receipts, Tickets, Confetti or the Invitation or Menu to your layout. It can be as simple or clustered as you like.
Another idea would be to make a Scrapbook Layout and Frame it for your Home or to give as a thoughtful, personalised Gift. It could consist of photos and sentimental elements through the years for a Friend’s Birthday. You could add photos of you with your Niece / Nephew or Grandson / Granddaughter and include some accessories and colours they love and they could put it up in their bedroom. The options are endless really. You can’t go wrong so just have fun with it.
If you have any questions or anything to add on this topic just fill out the Comment Box below this Blog Post with your thoughts and opinions.
Thank you so much for taking the time to Read my Blog.
Always Grateful,
T.D.C.
xoxox

-0 Comment-