Spiritual Canvas Tutorial
Hello my Creative Friends,
I hope you are all Well. In Today’s Tutorial I will show you how I made a Spiritual Canvas. It is on a smaller scale so won’t take up too much room on your Wall or in your Home or Office. It is a calming, positive piece to look at and I hope it inspires you to make one yourself.
Canvas for the Craft
I bought a 2 Pack Artist Canvas 5″ x 7″.
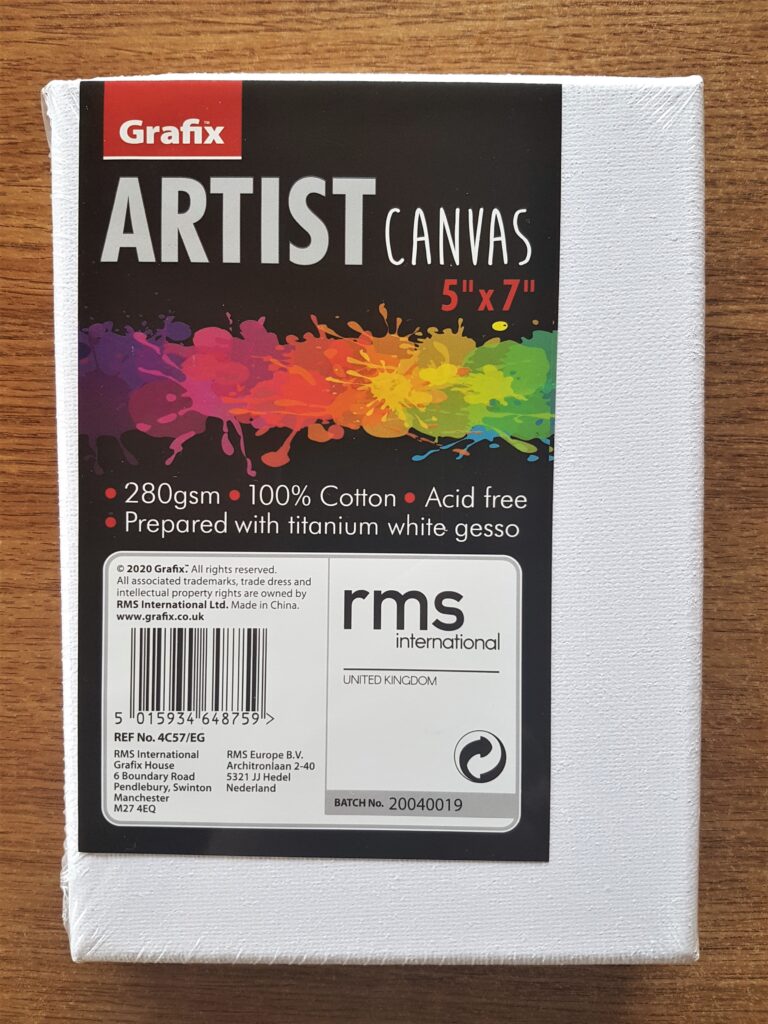
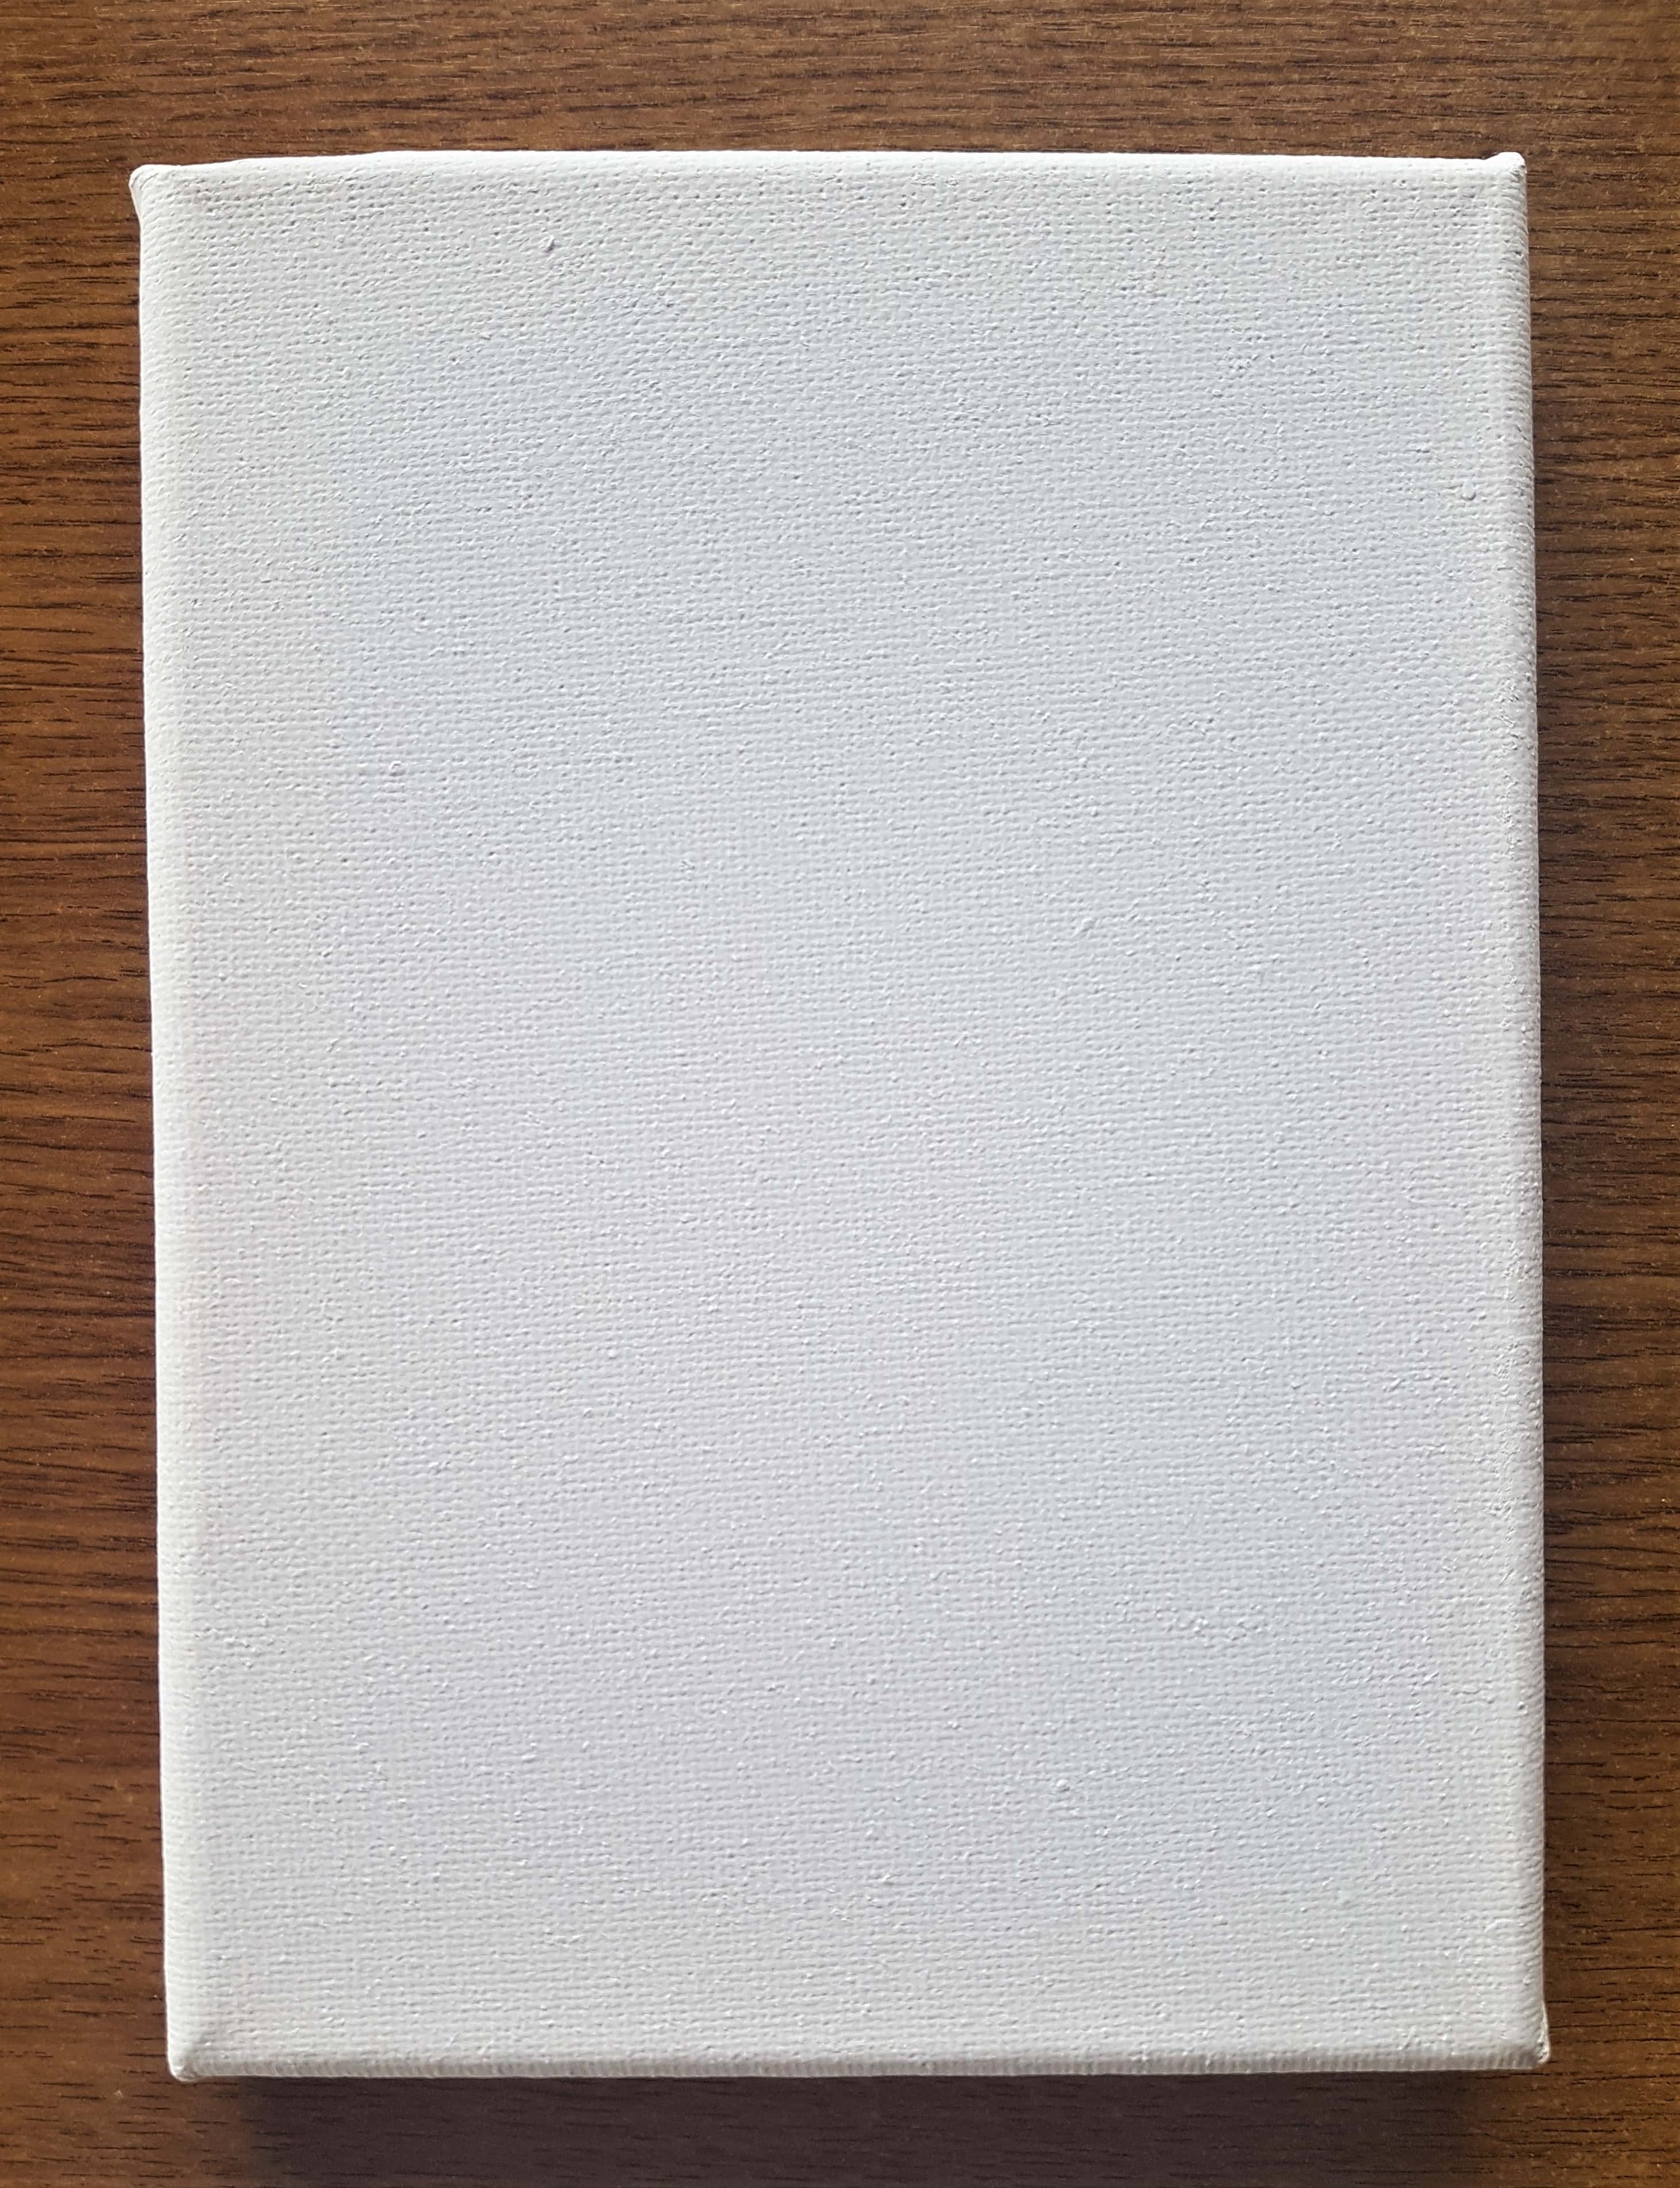
I removed the Packaging and took out one Canvas to work on.
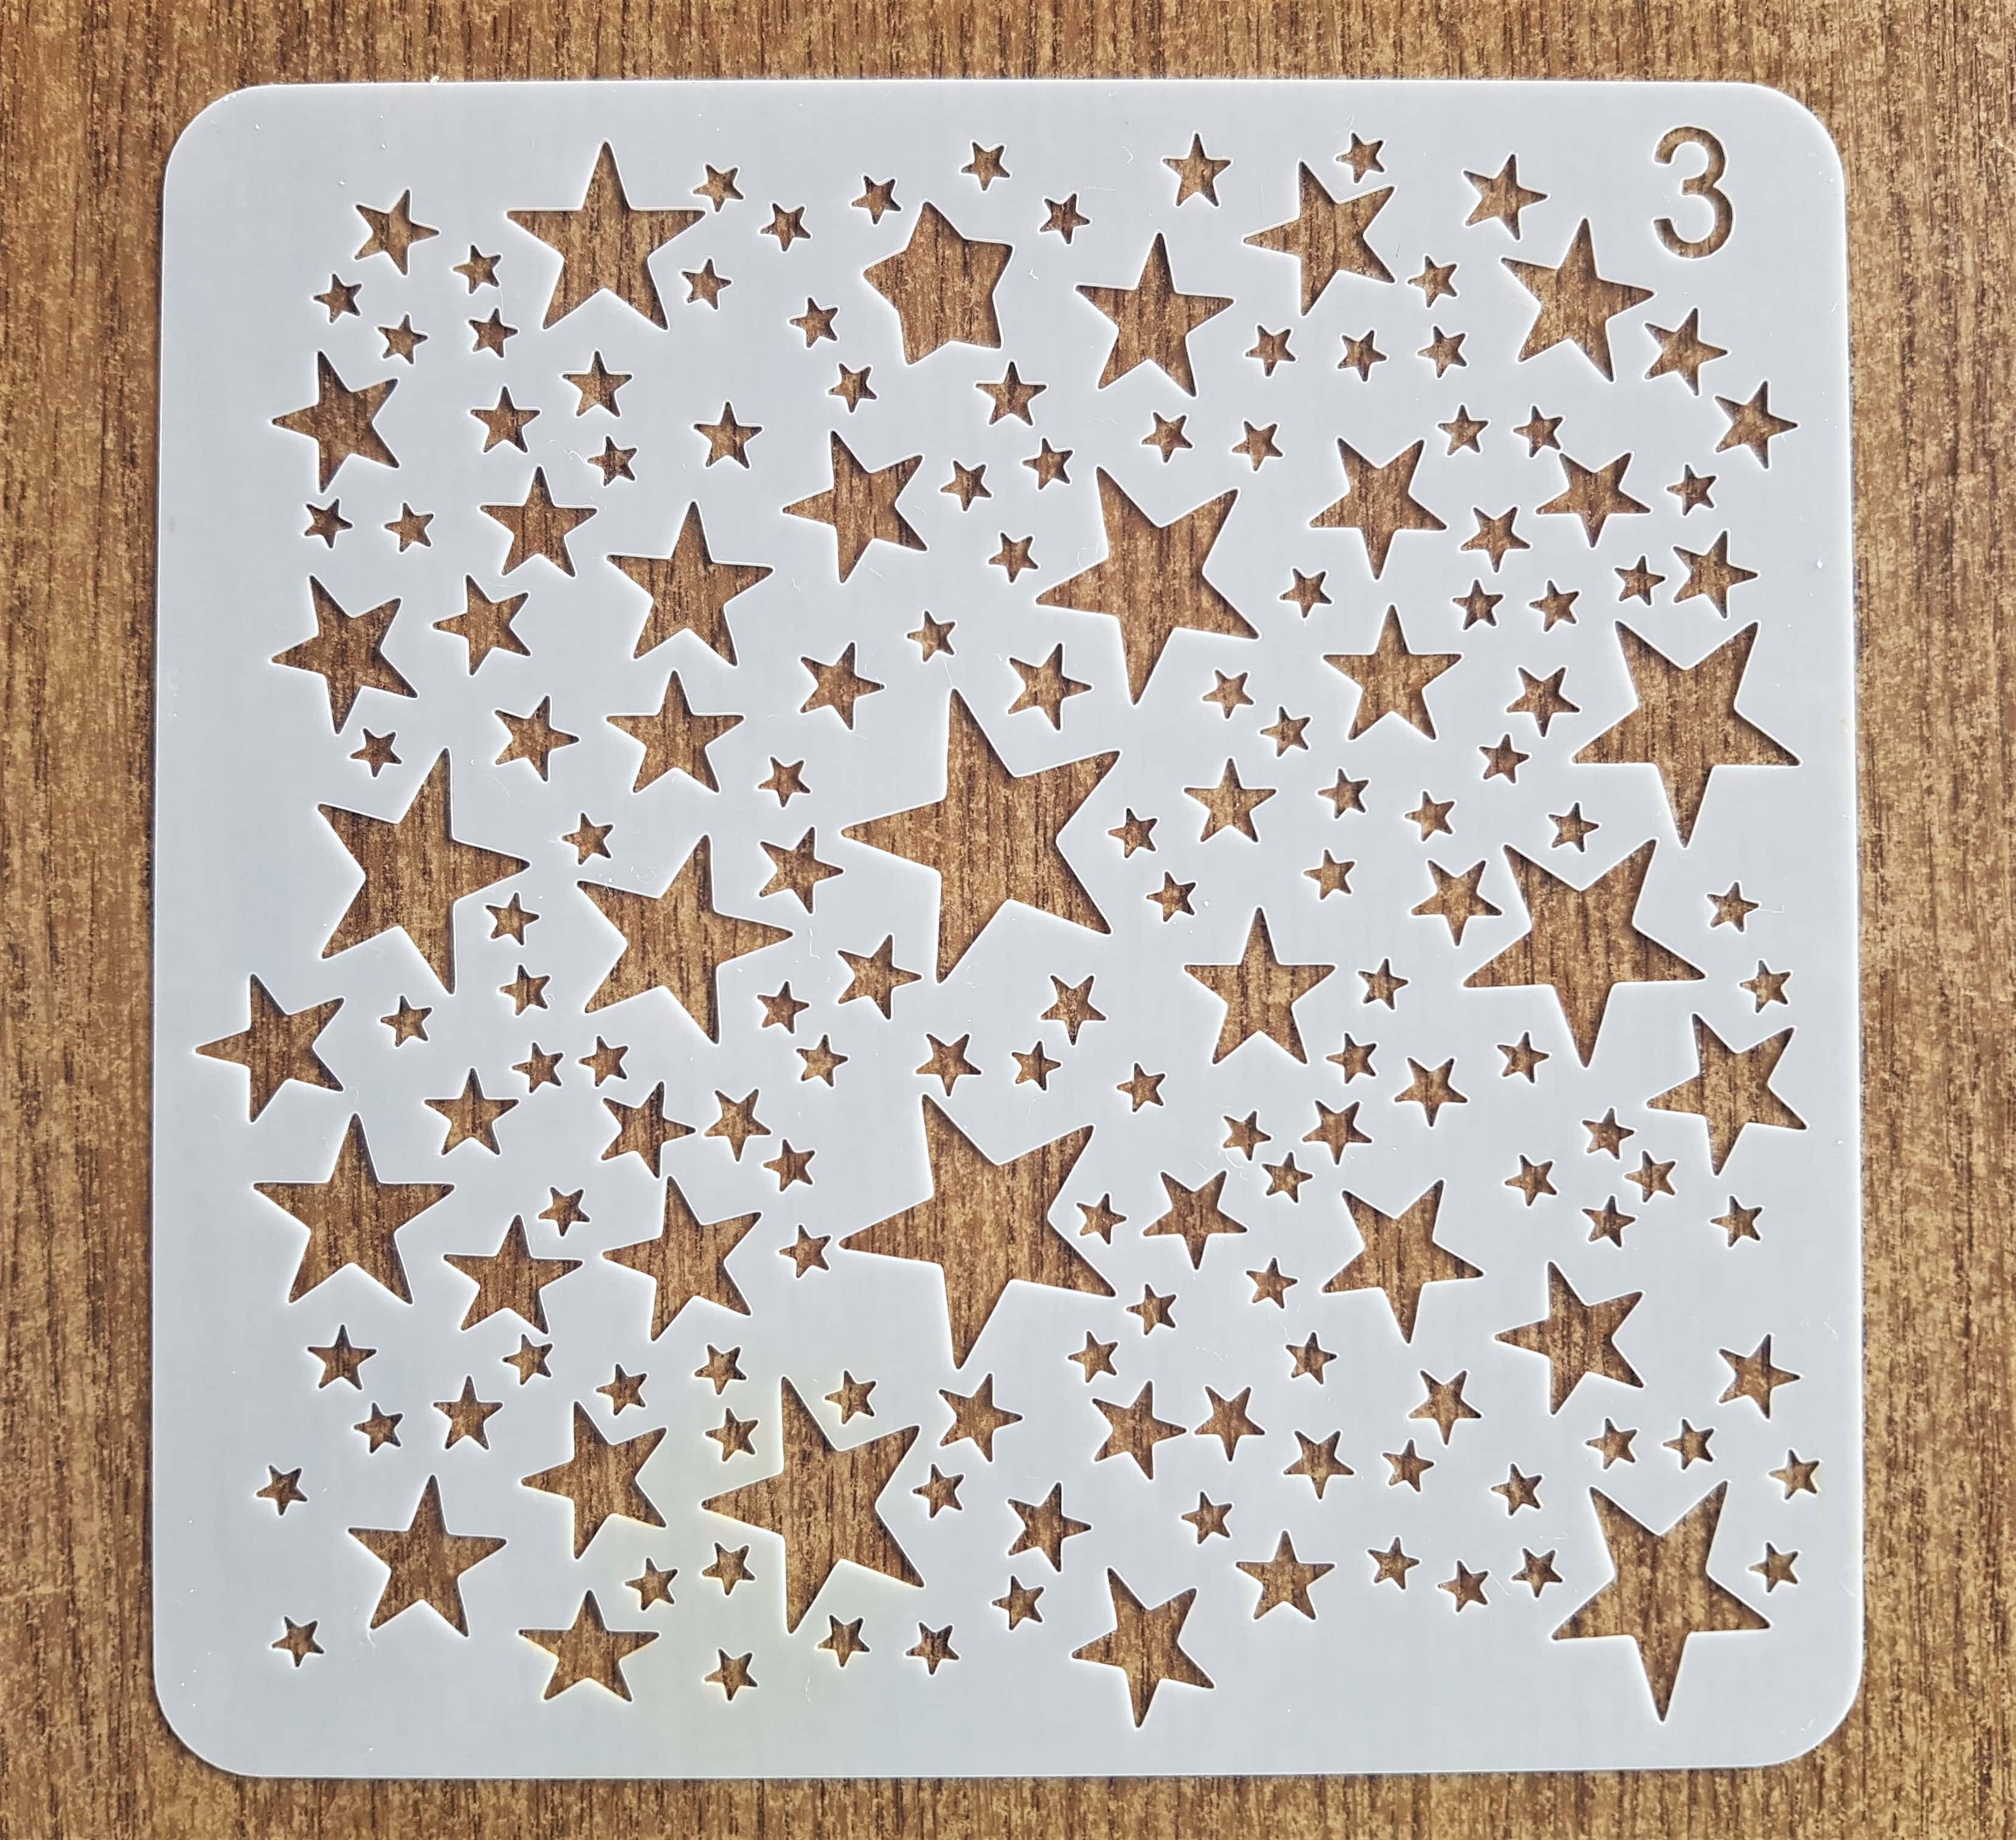
I got my Star Stencil from a Pack of Stencils I had in my supplies.
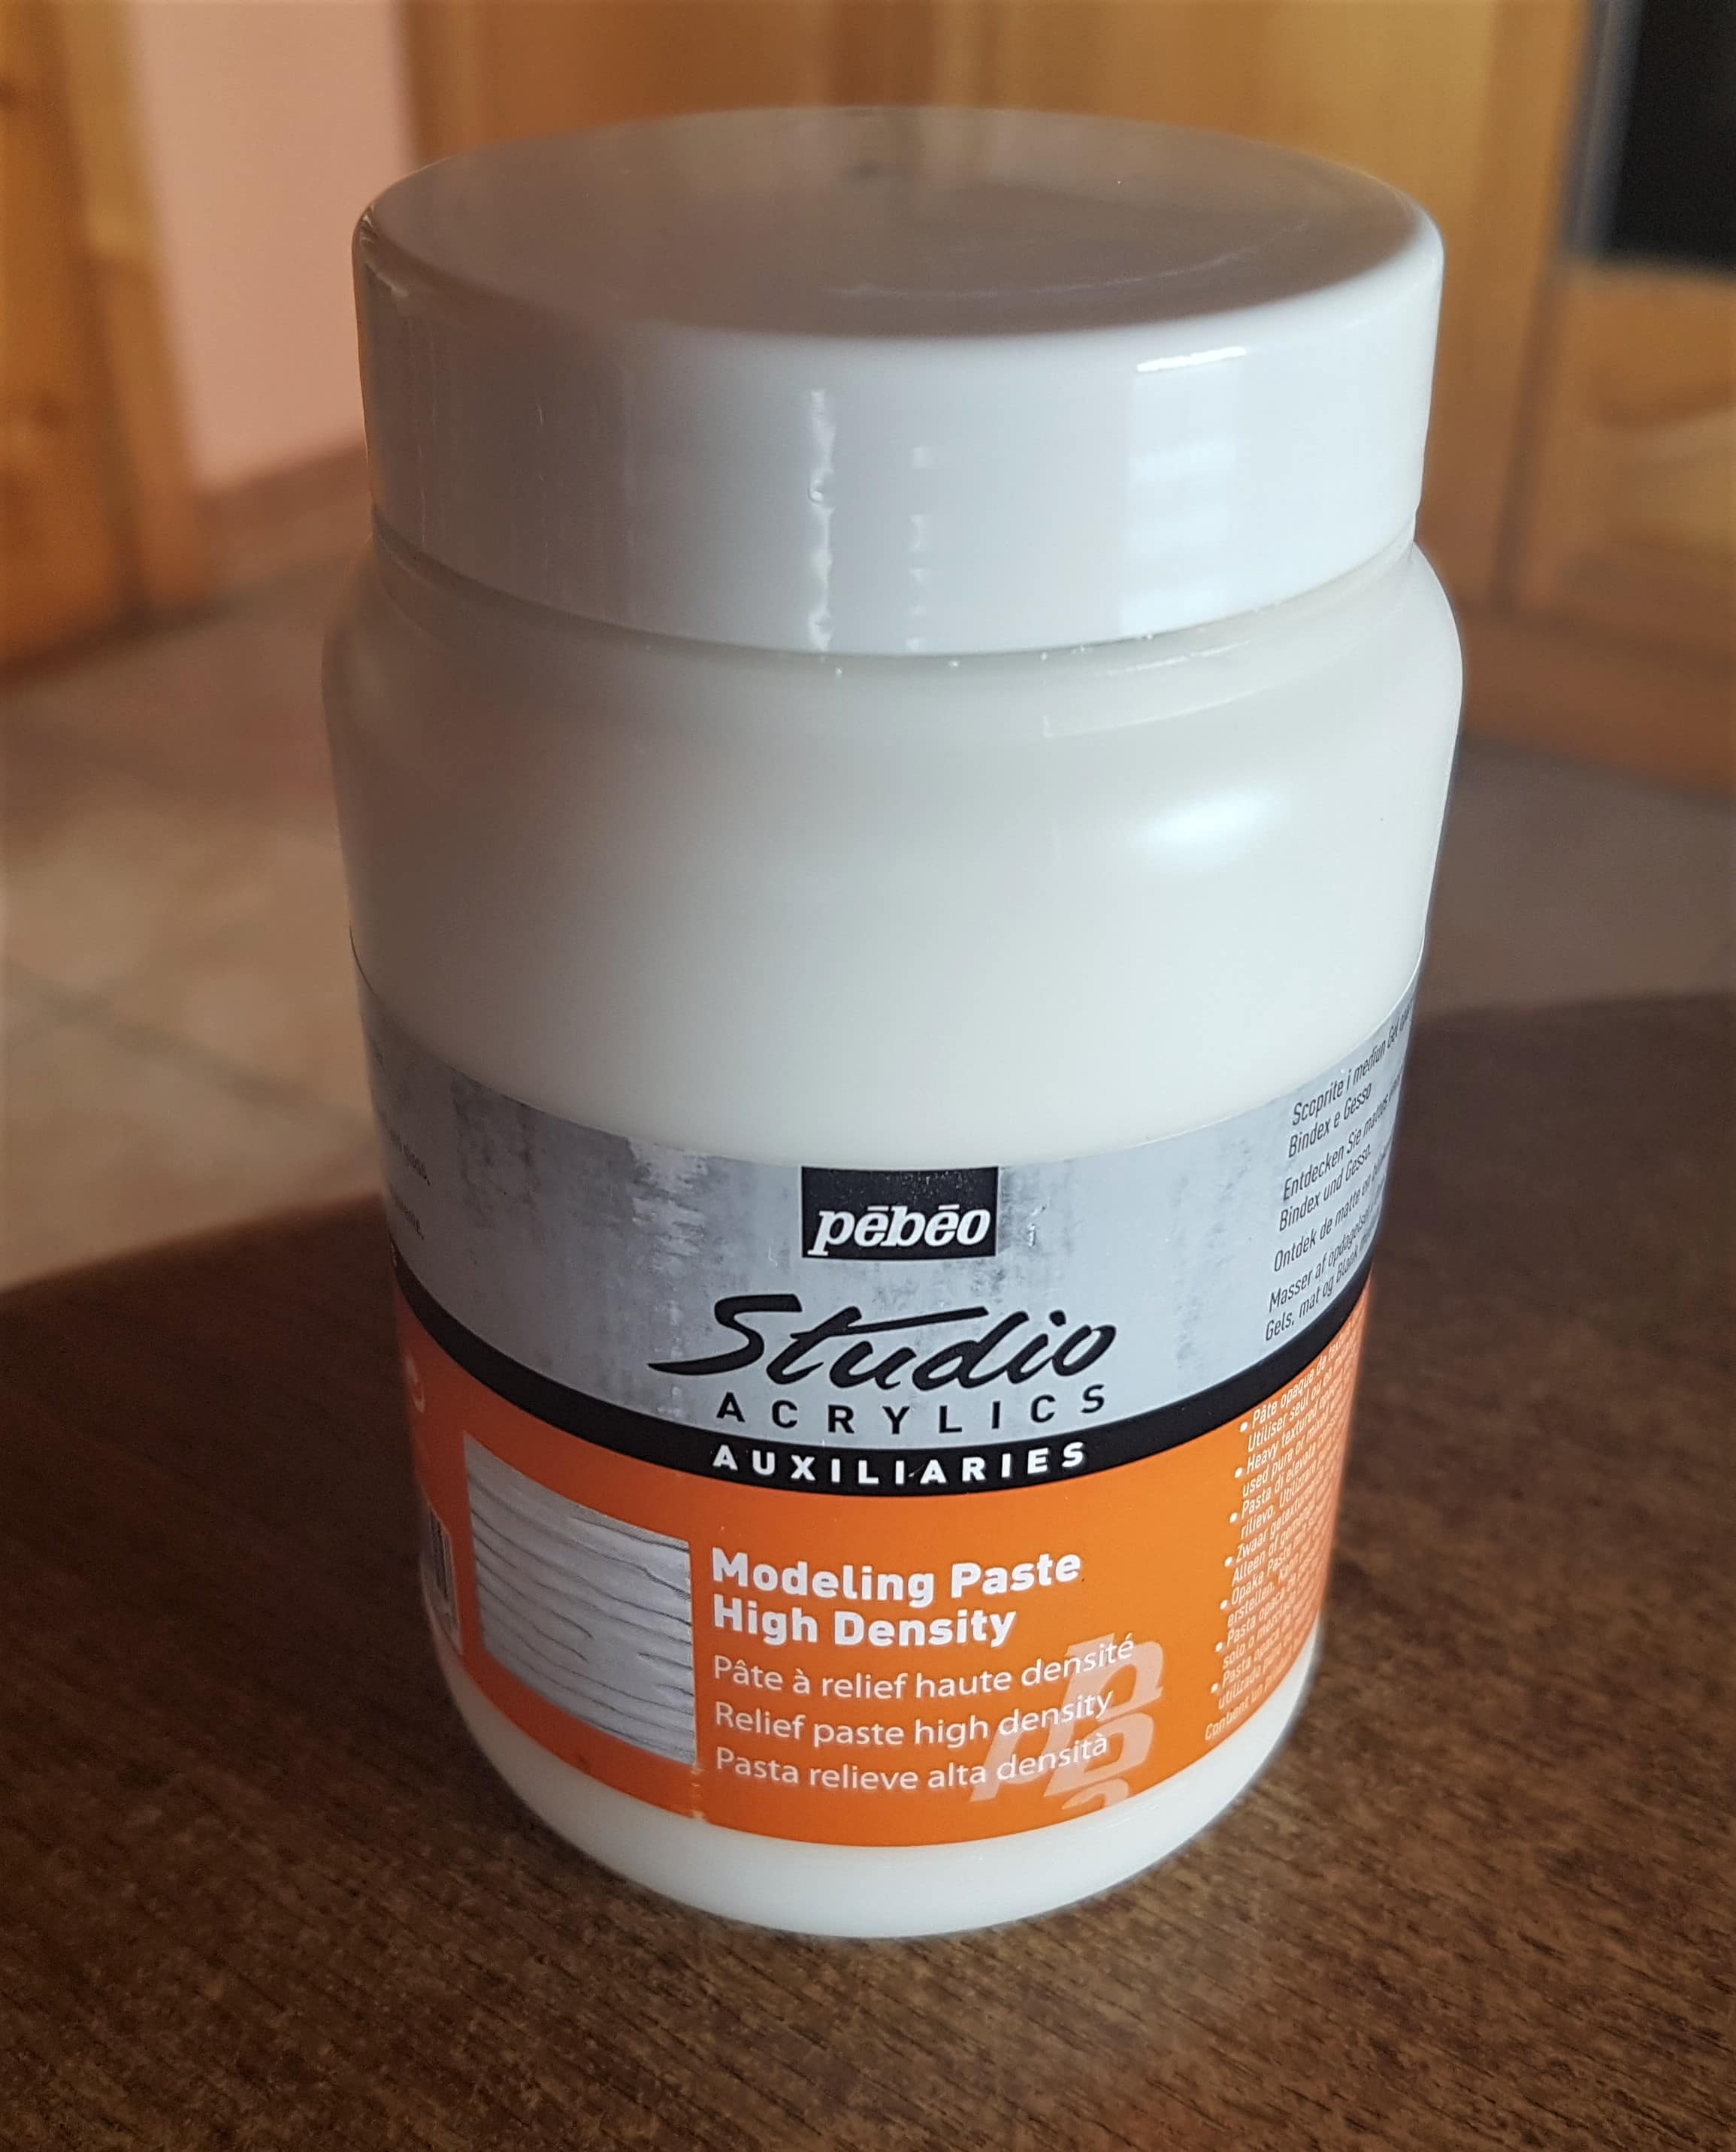
I also got my Tub of Modeling Paste.
Adding Stars to the Spiritual Canvas
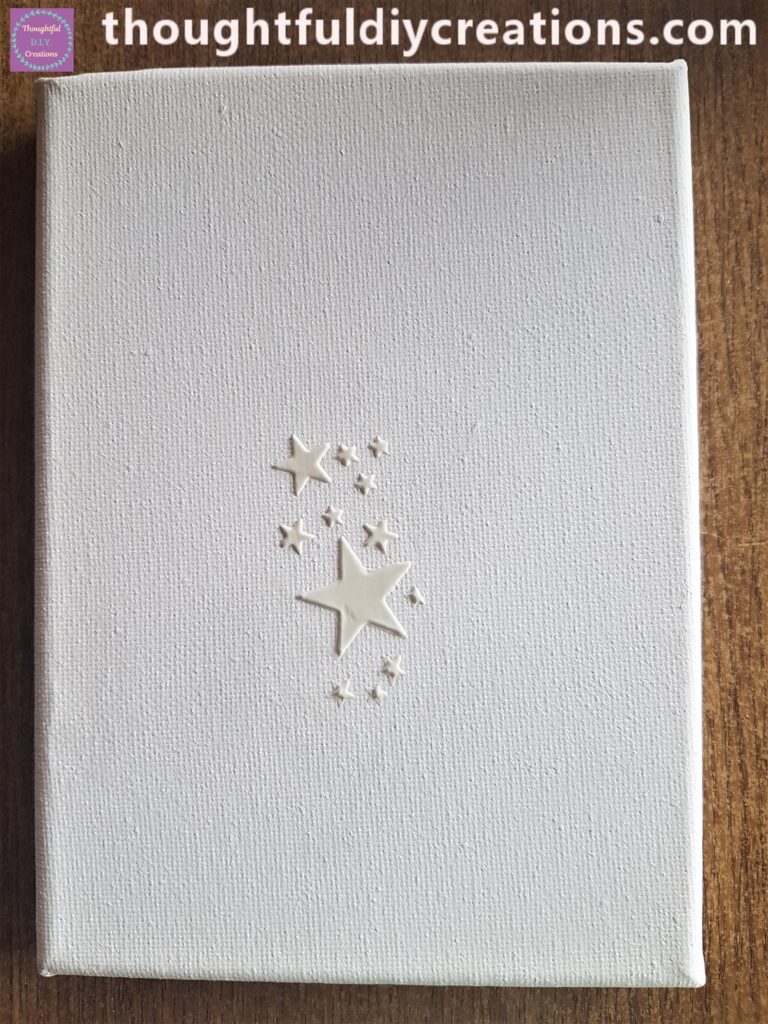
I got a Plastic Palette Knife and dipped it into the tub of Modeling Paste. I put the Stencil in the middle of the Canvas and spread the modeling paste evenly over some of the the stars on the stencil with the palette knife. I removed the stencil from the Canvas and the stars were slightly raised due to the modeling paste.
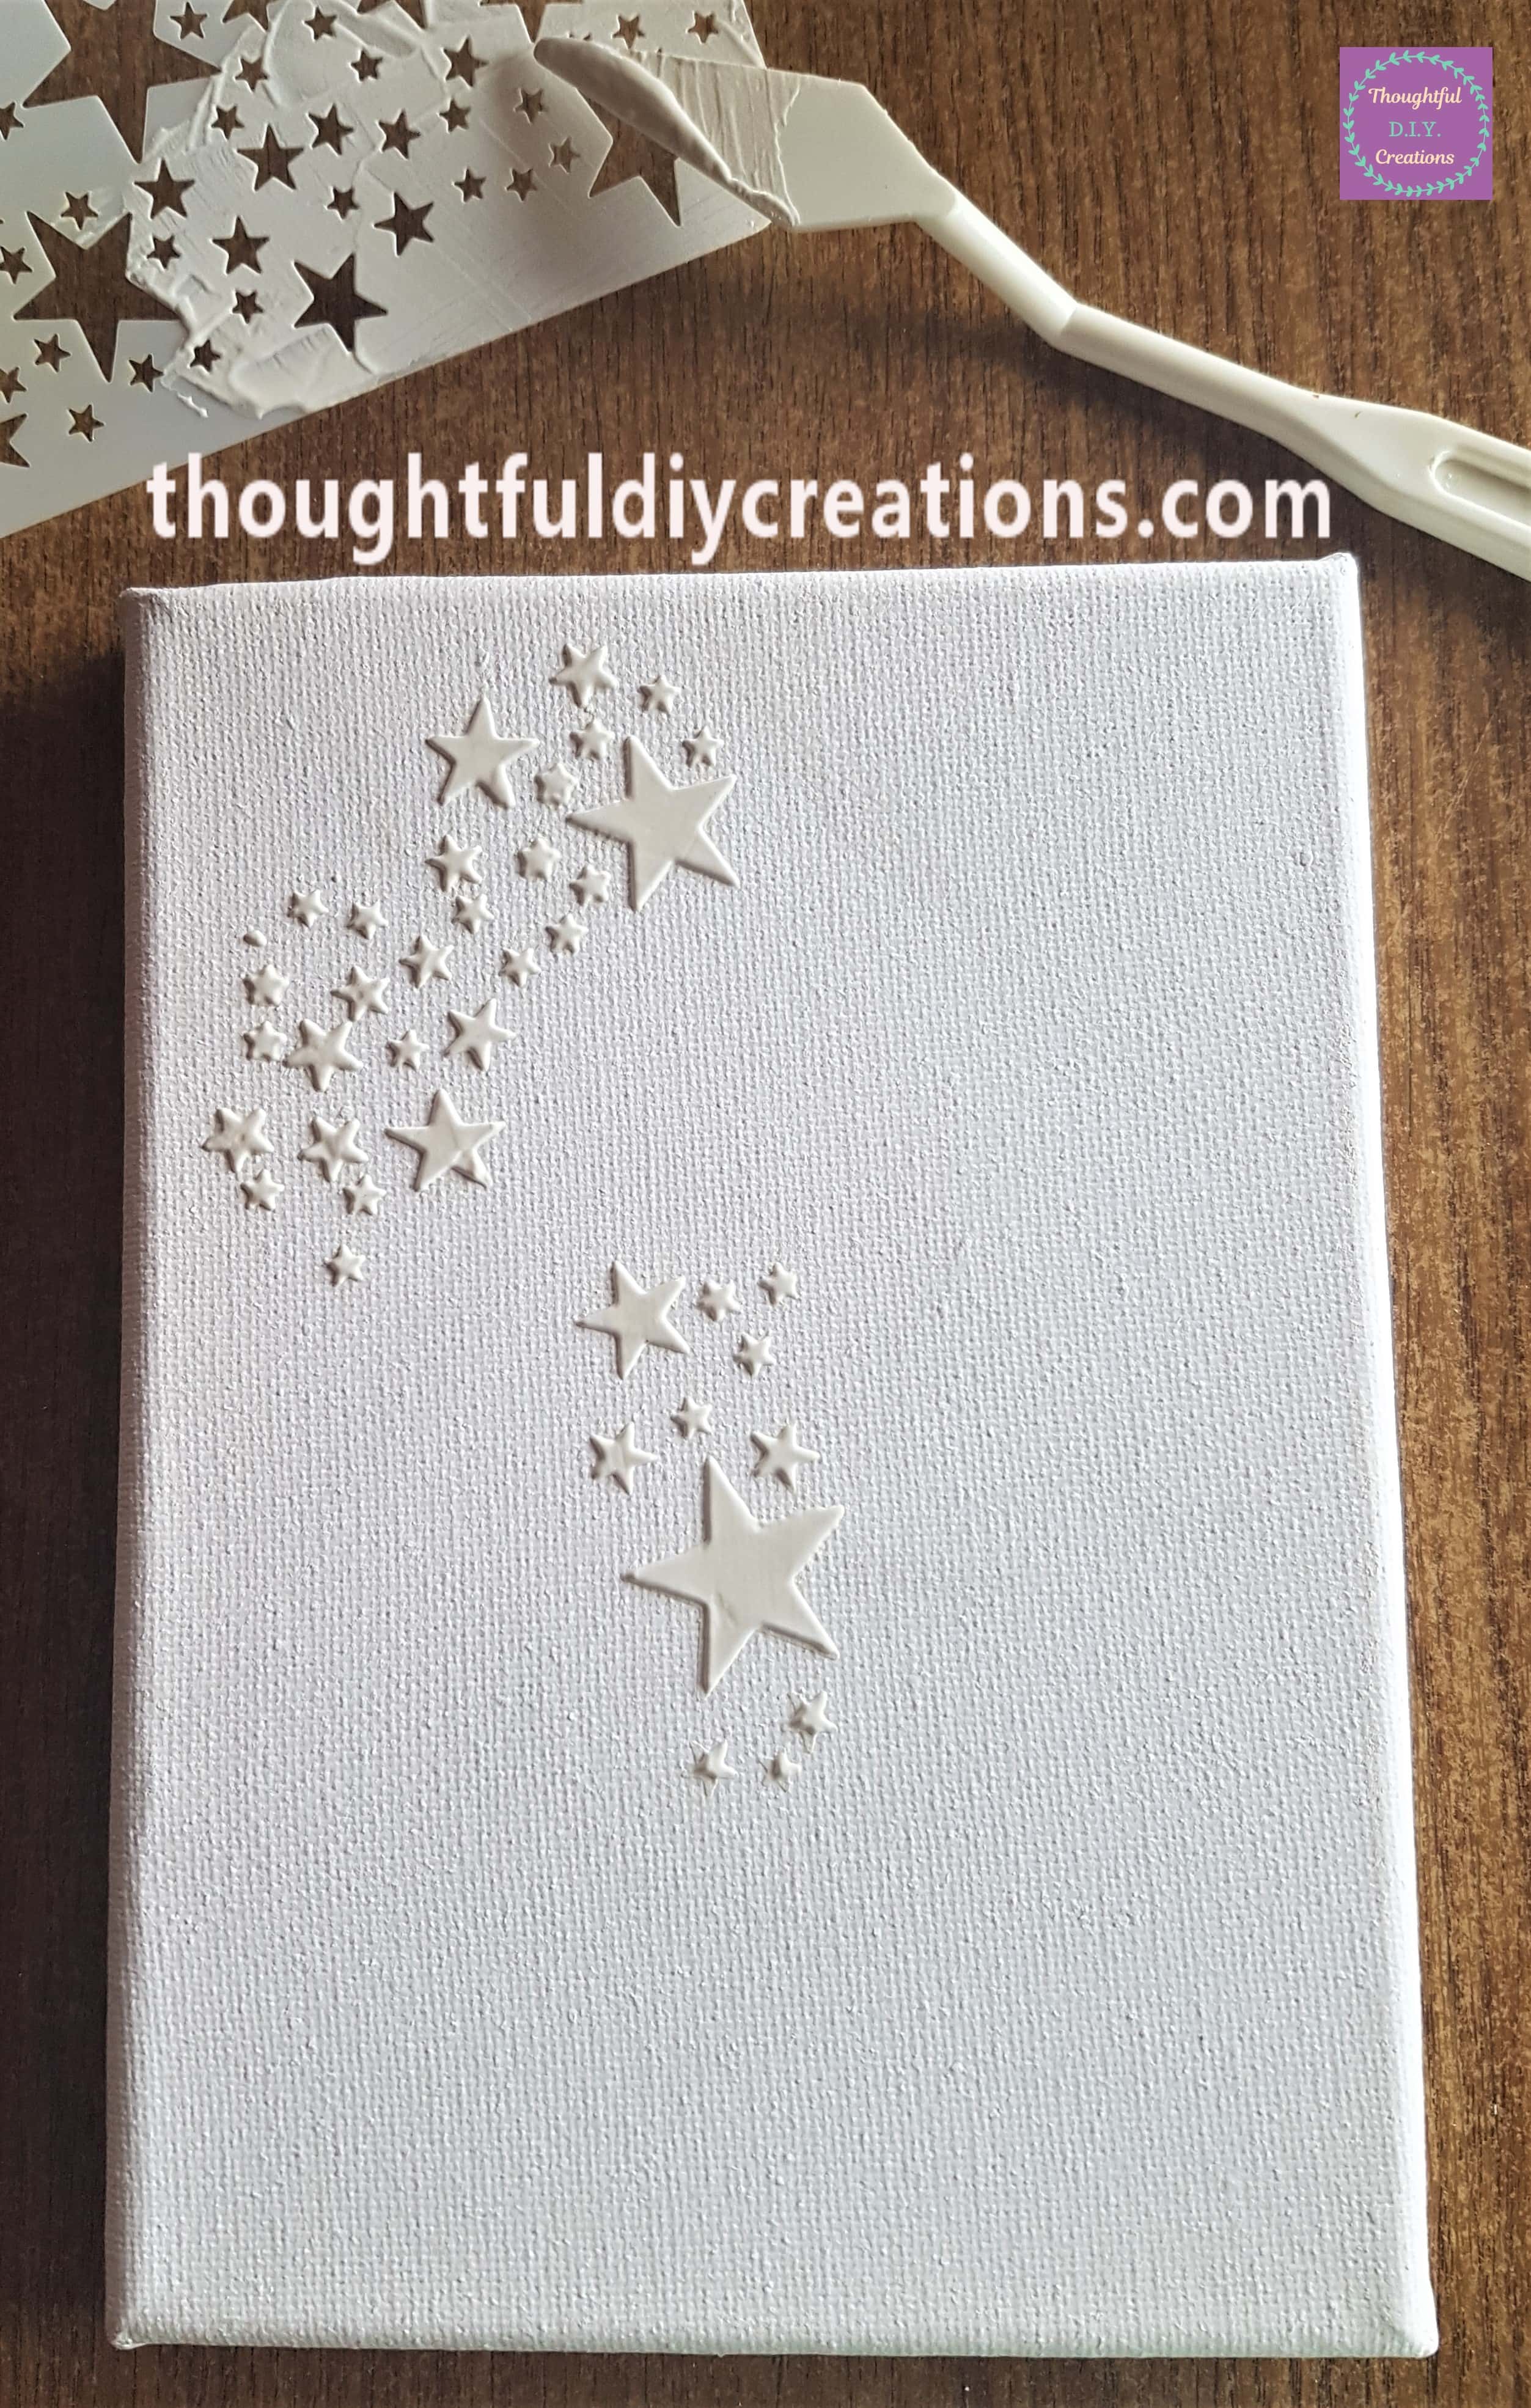
I put the Stencil on the top left half of the Canvas and added more stars with the palette knife and modeling paste.
I added a few smaller stars to the top left corner of the Canvas and then completed the Stars by adding them to the bottom right part of the Canvas.
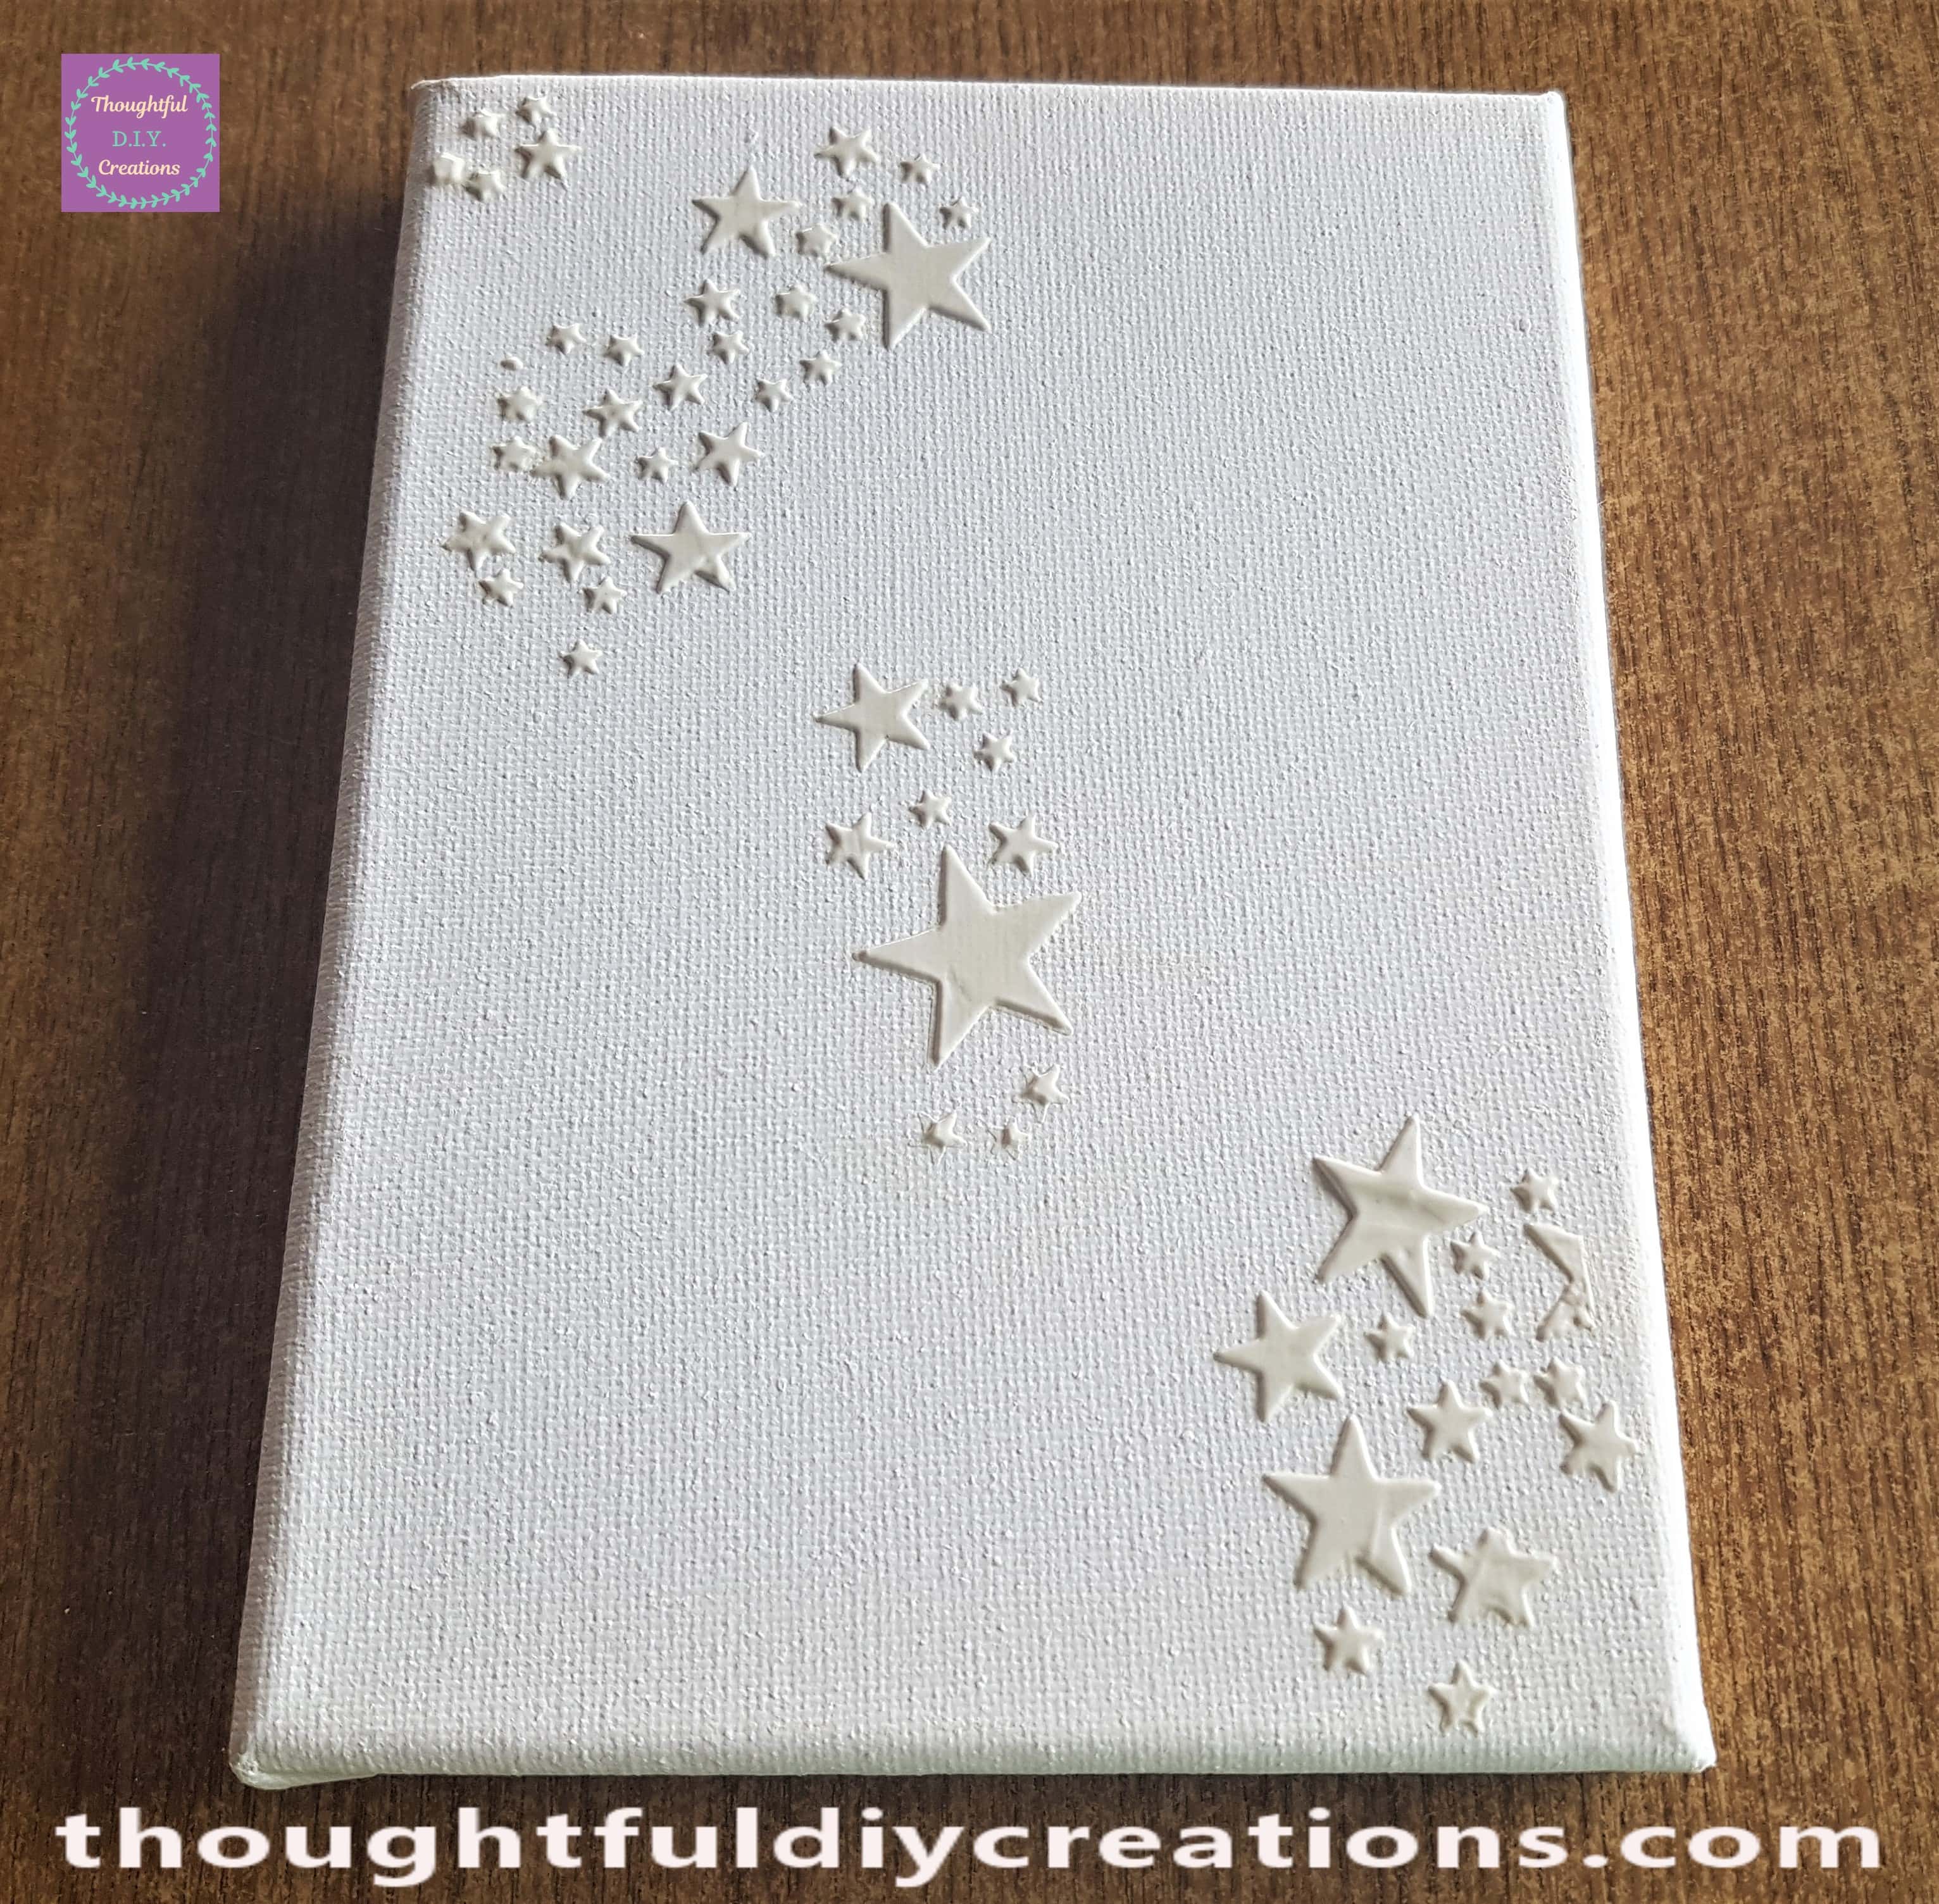
This is a side angle of the Canvas with the Stars added with Modelling Paste.
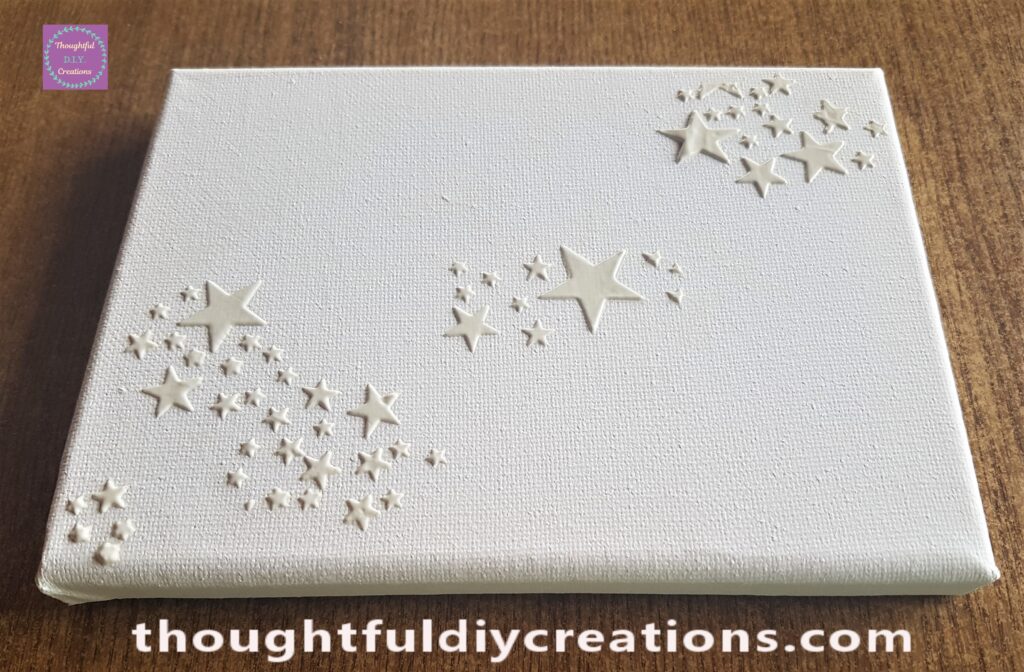
I allowed the Modeling Paste to dry naturally overnight. This is how it looked the next day.
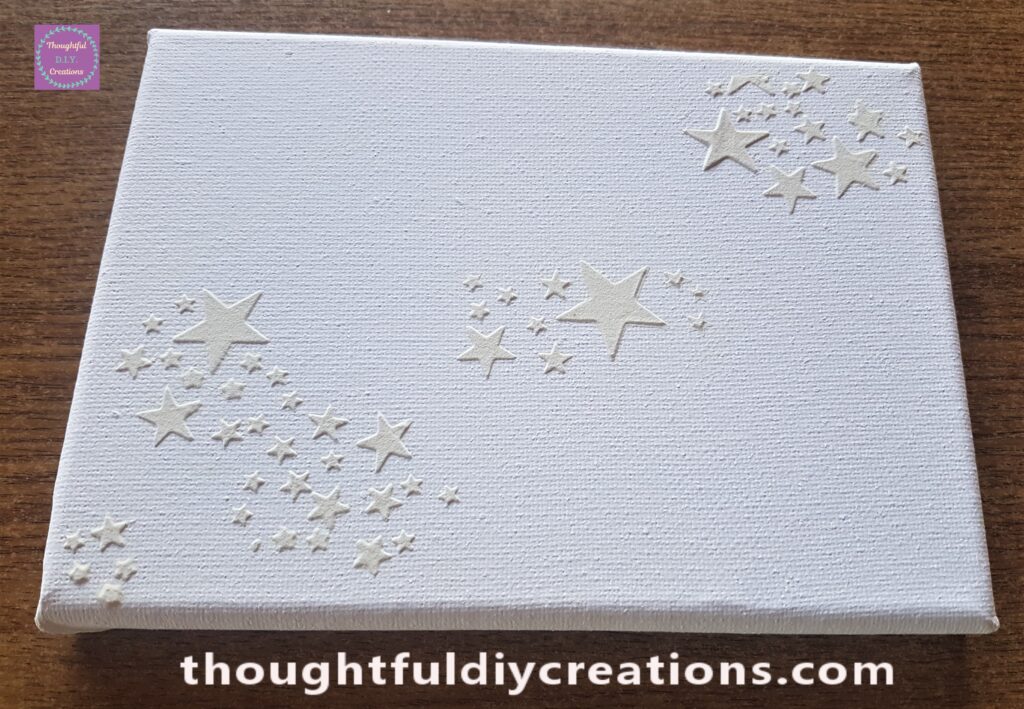
Painting the Spiritual Canvas
I got my Tube of Gold Acrylic Paint.
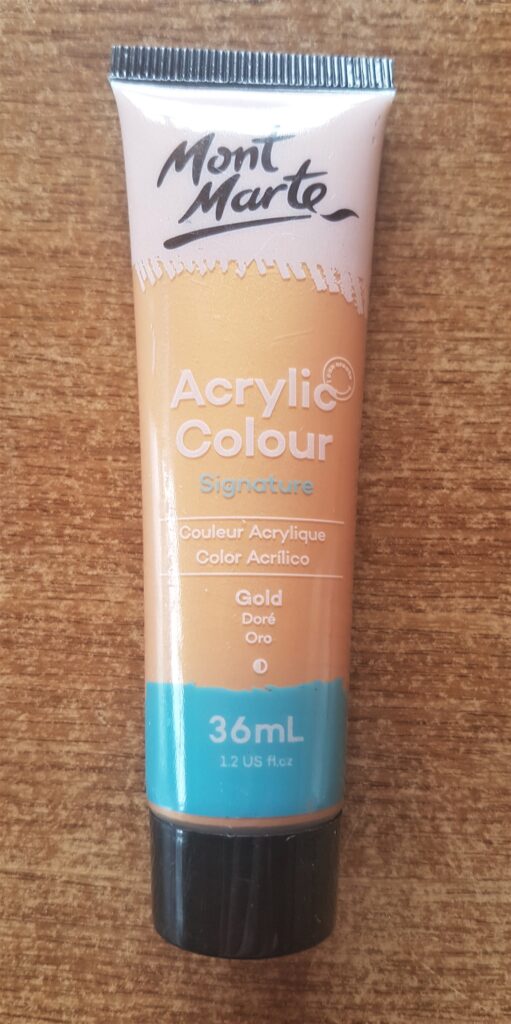
I painted 3 layers of the Gold Paint onto the front and sides of the Canvas leaving an hour drying time between each layer.
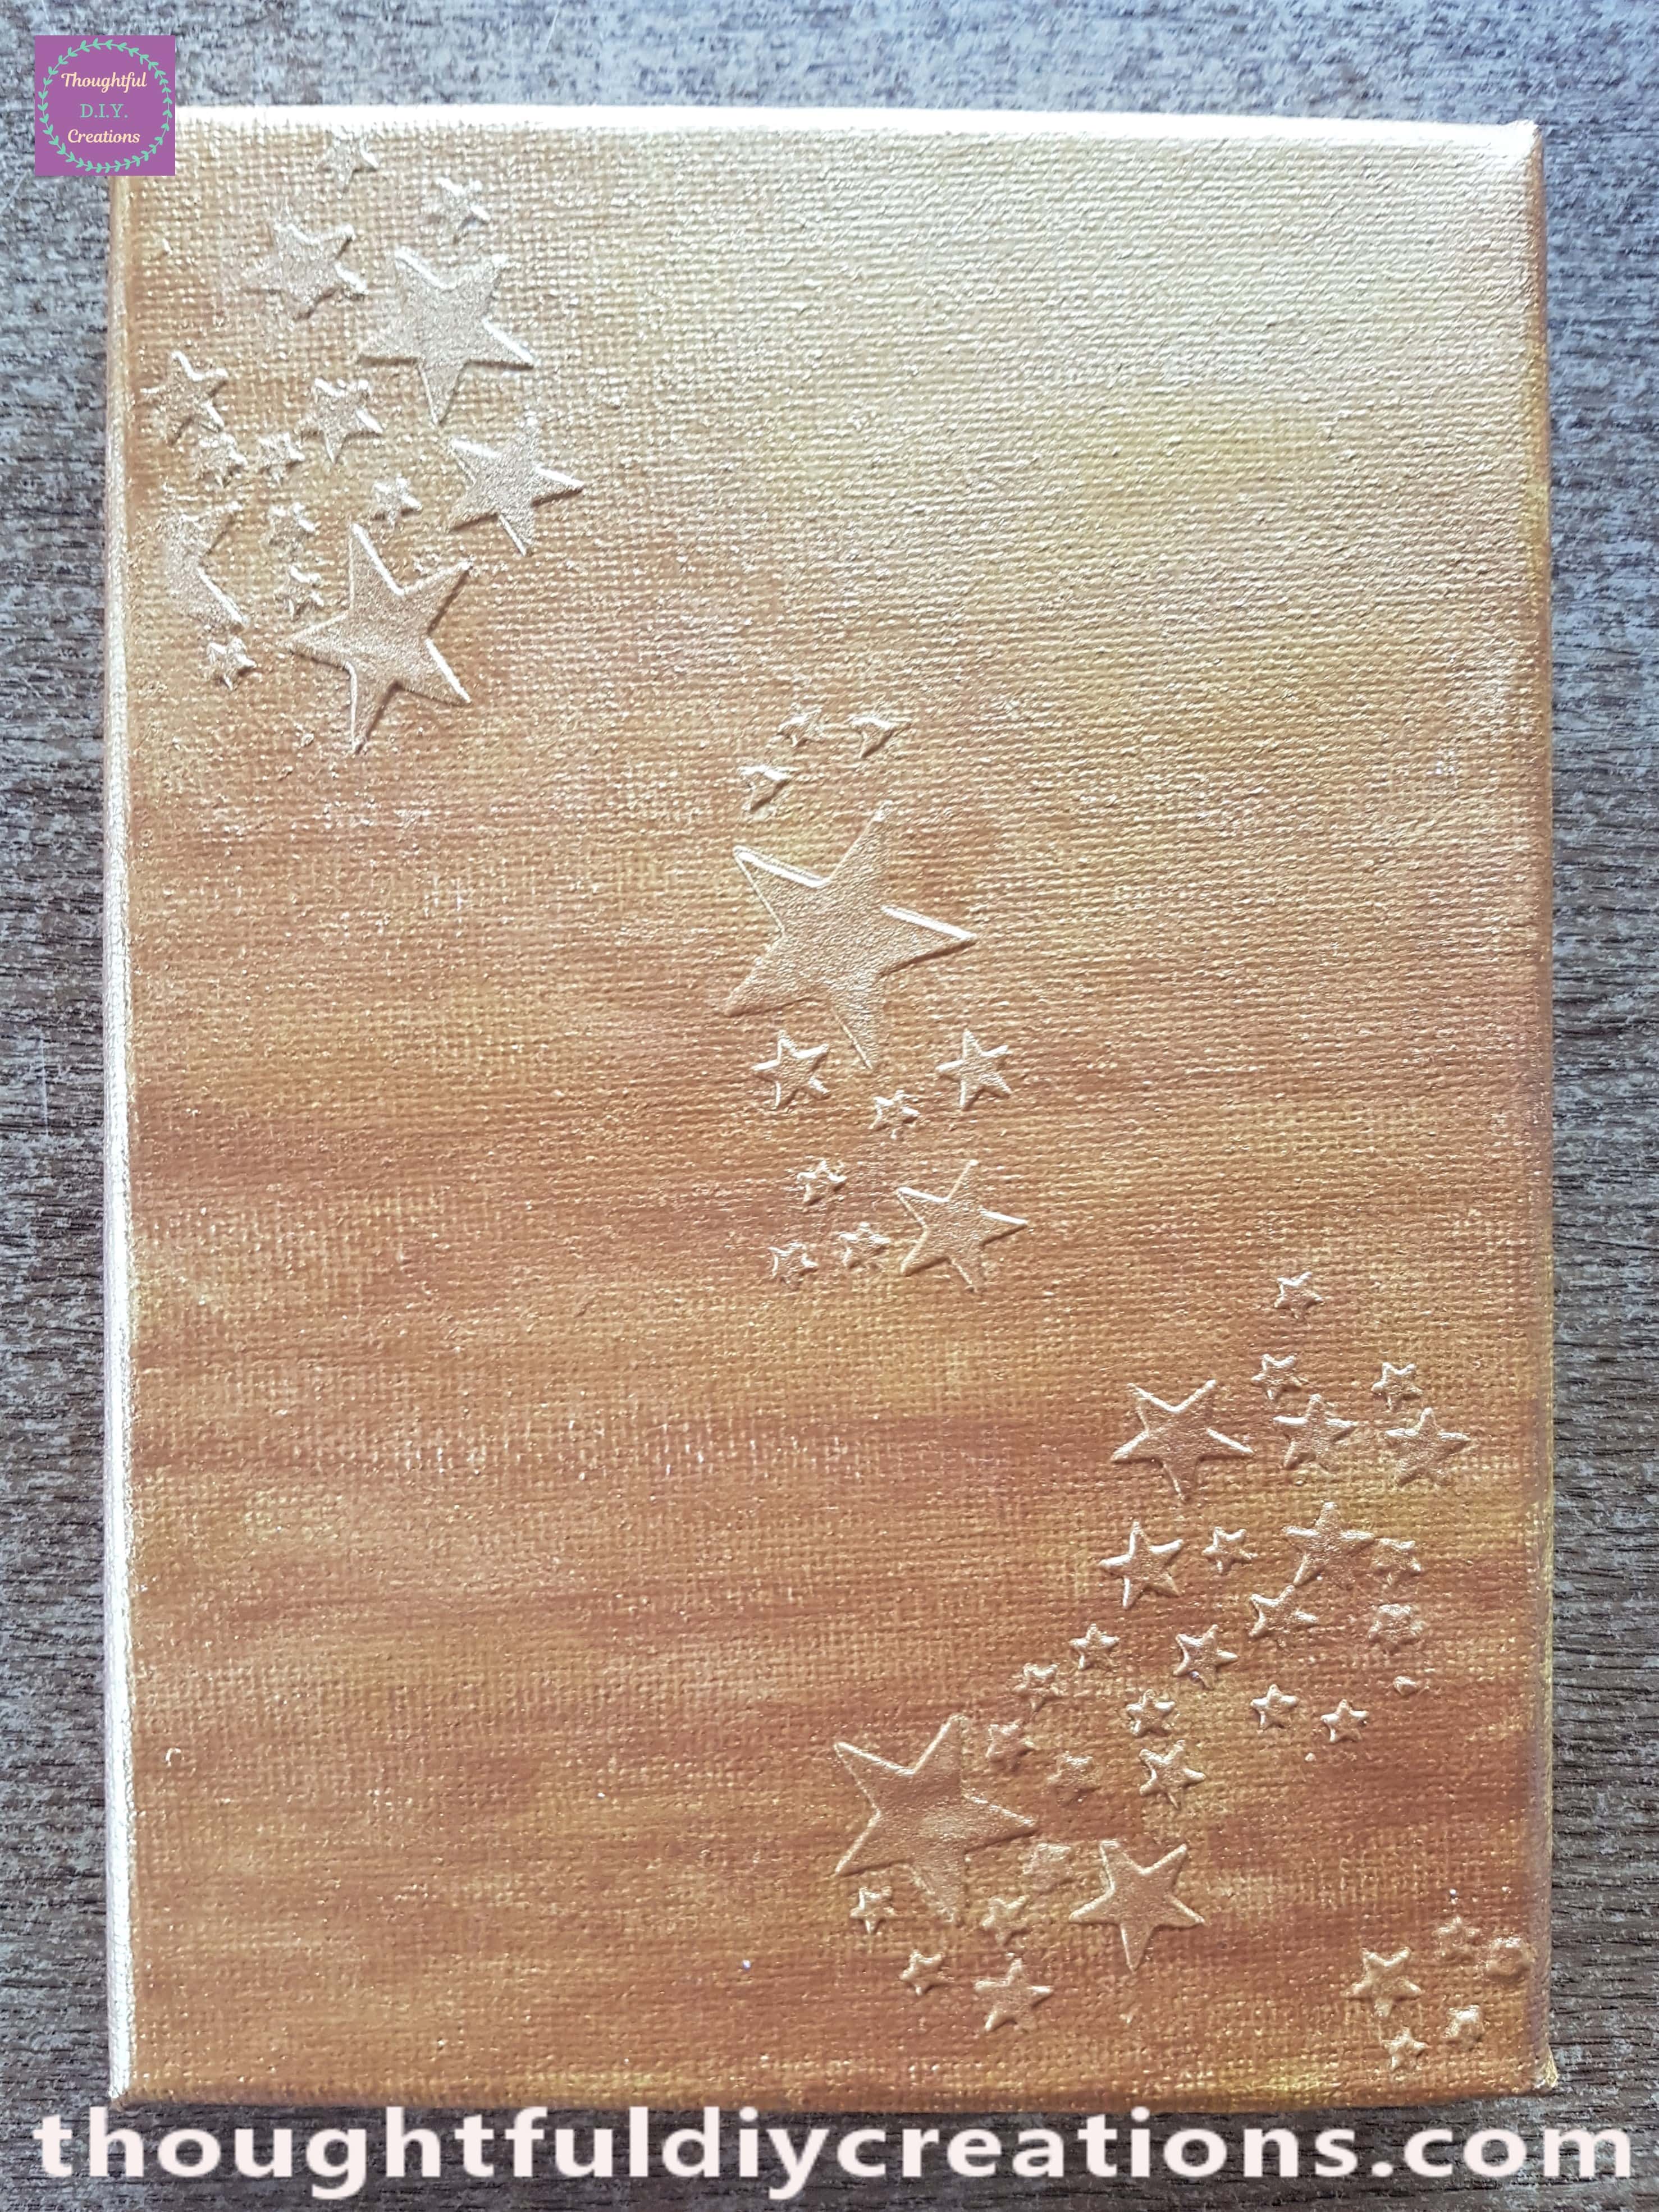
Making Purple Splatters on the Canvas
I put some ‘Twilight Purple’ Acrylic Paint from a Tester Pot into an old Lid from a jar.
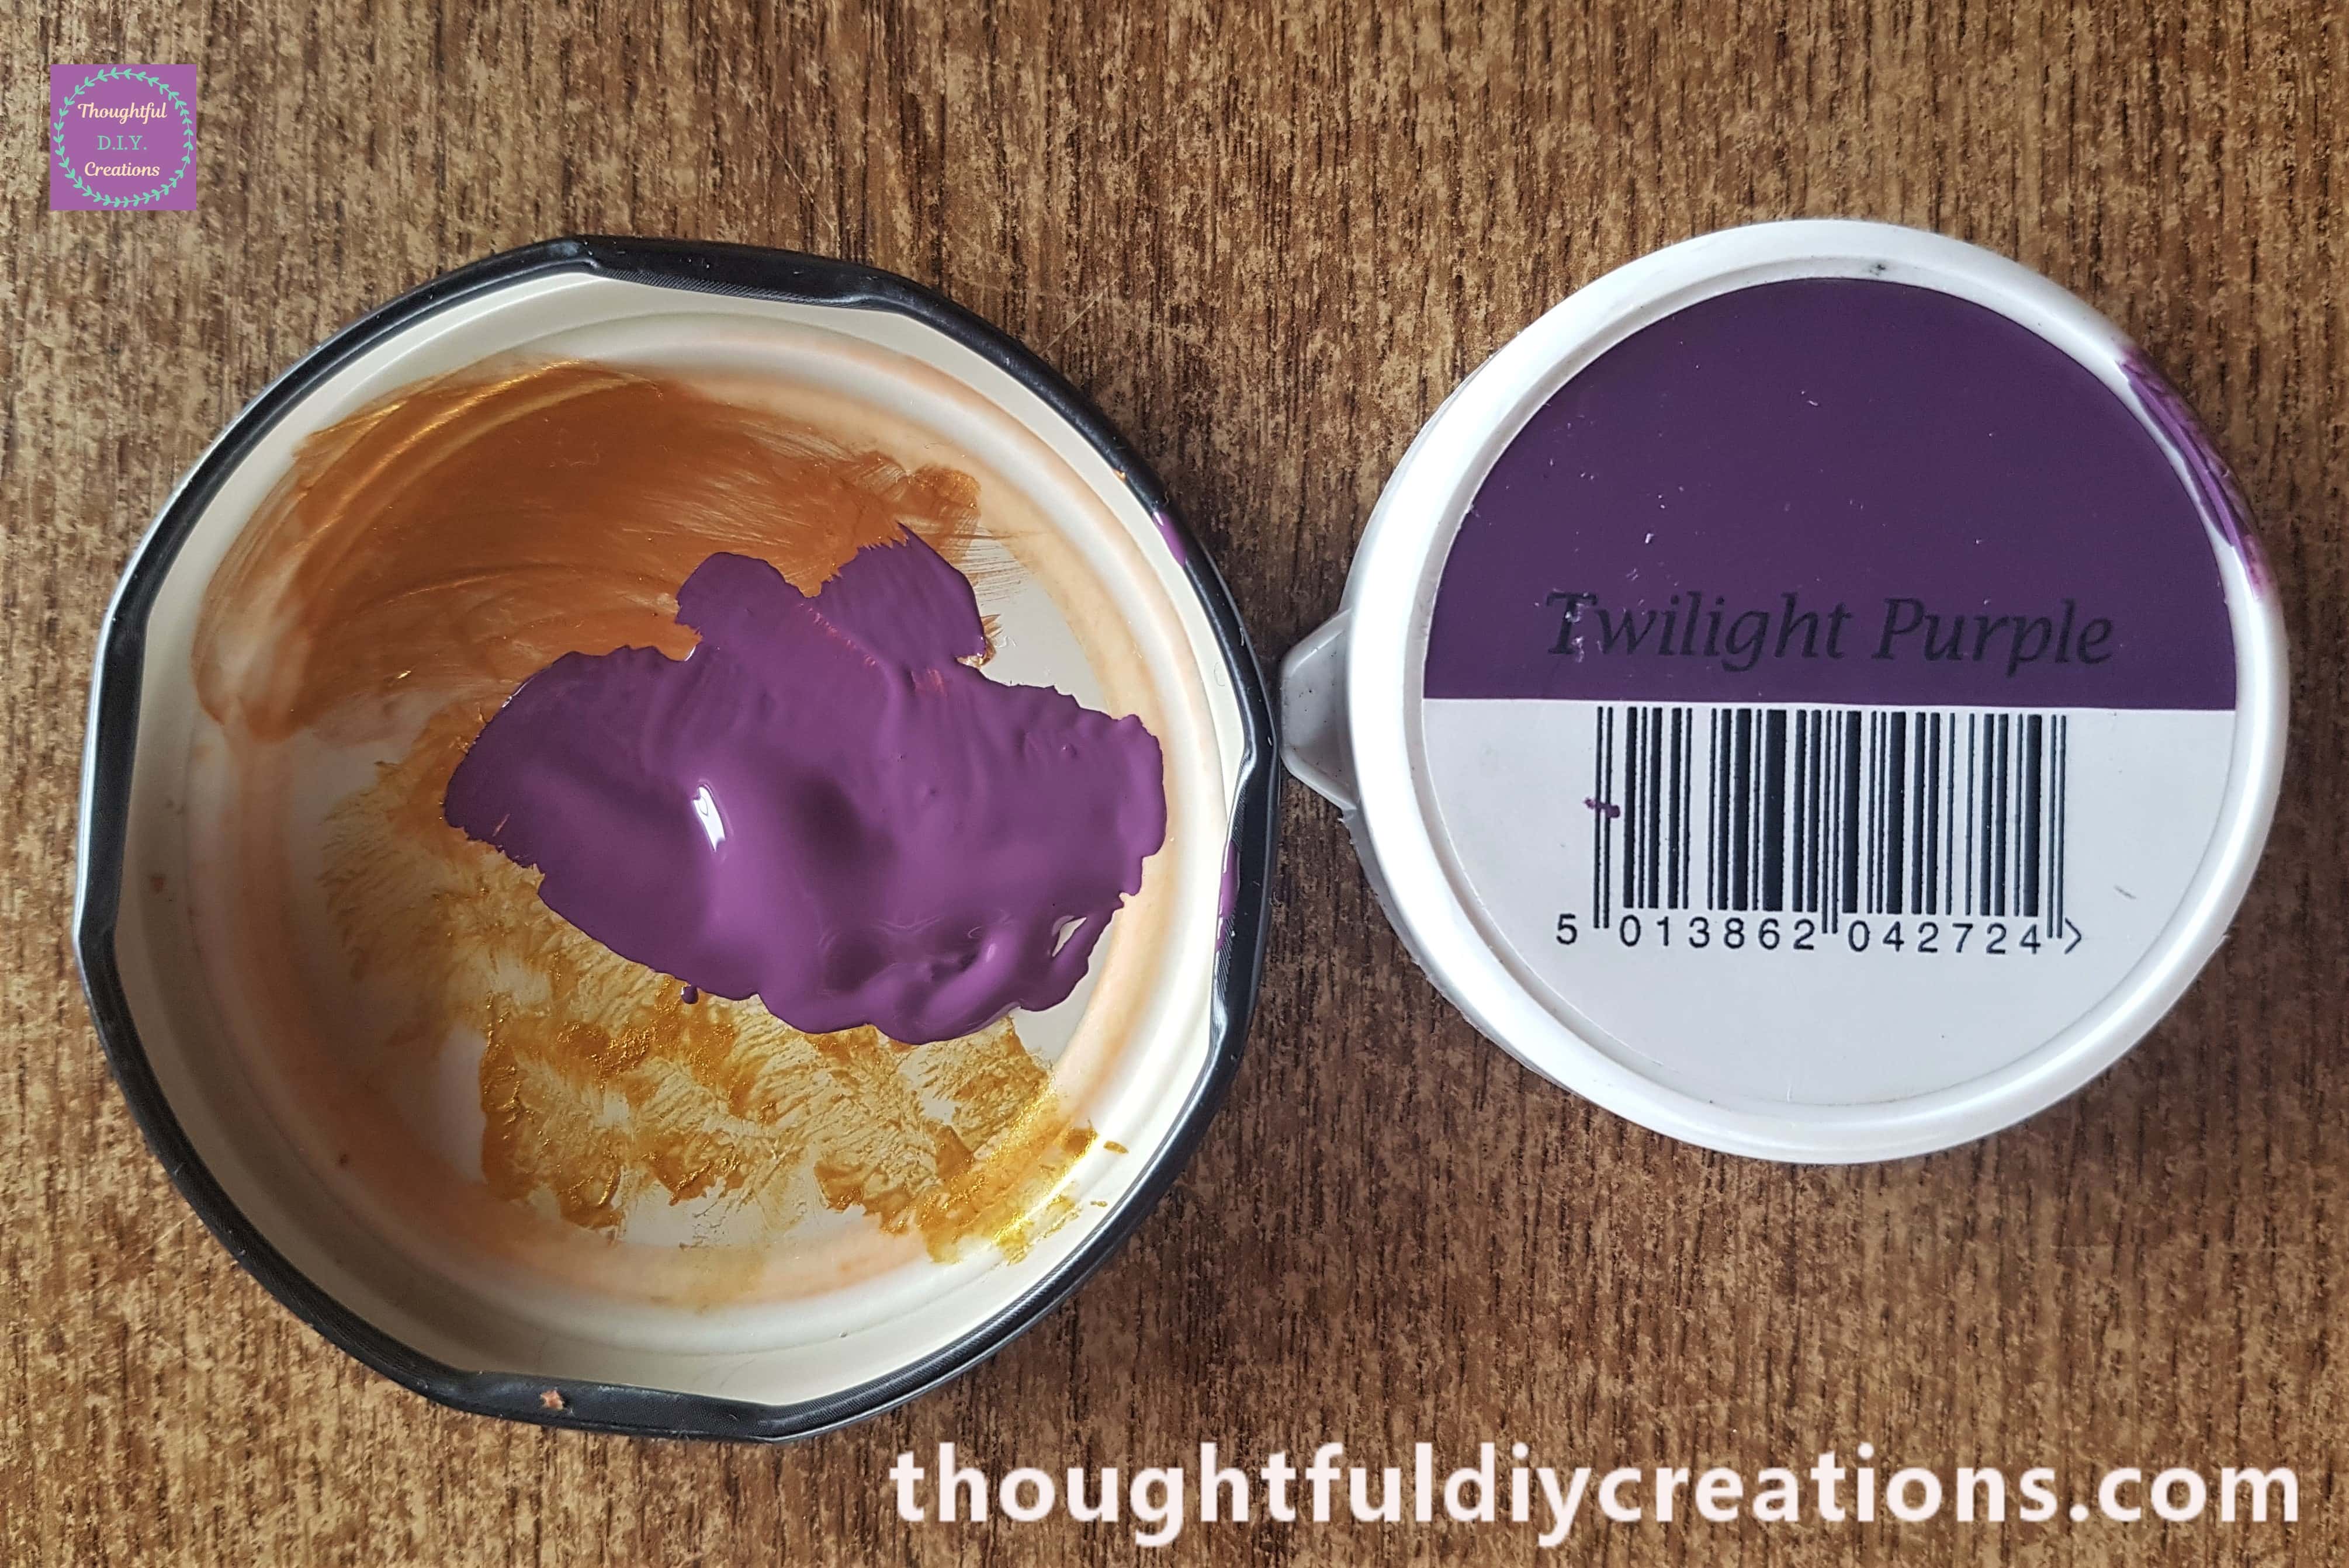
I tore some tissue and covered up the Stars on the Canvas. I added a small bit of water to the purple paint. I dipped a paintbrush into the paint mixture and held the end of the paintbrush about 20 cm above the canvas. I tapped the middle of the paintbrush with a pencil and moved my arm around the canvas allowing purple paint splatters to fall randomly on the canvas.
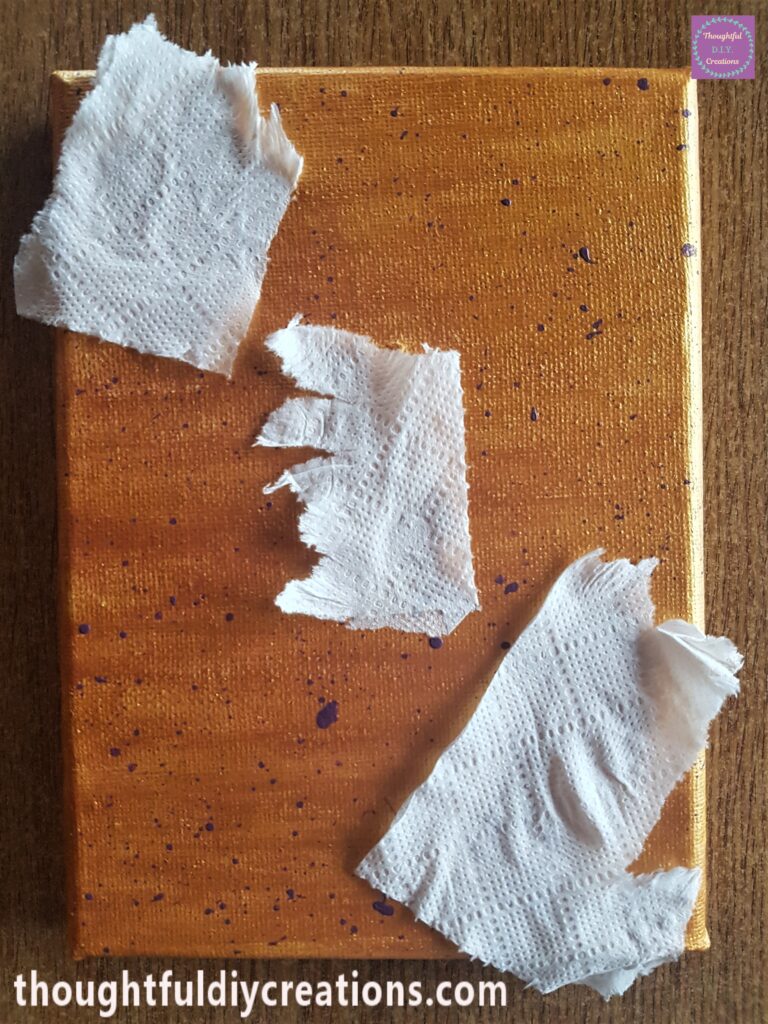
I removed the tissue from the canvas and allowed time for the paint splatters to dry.
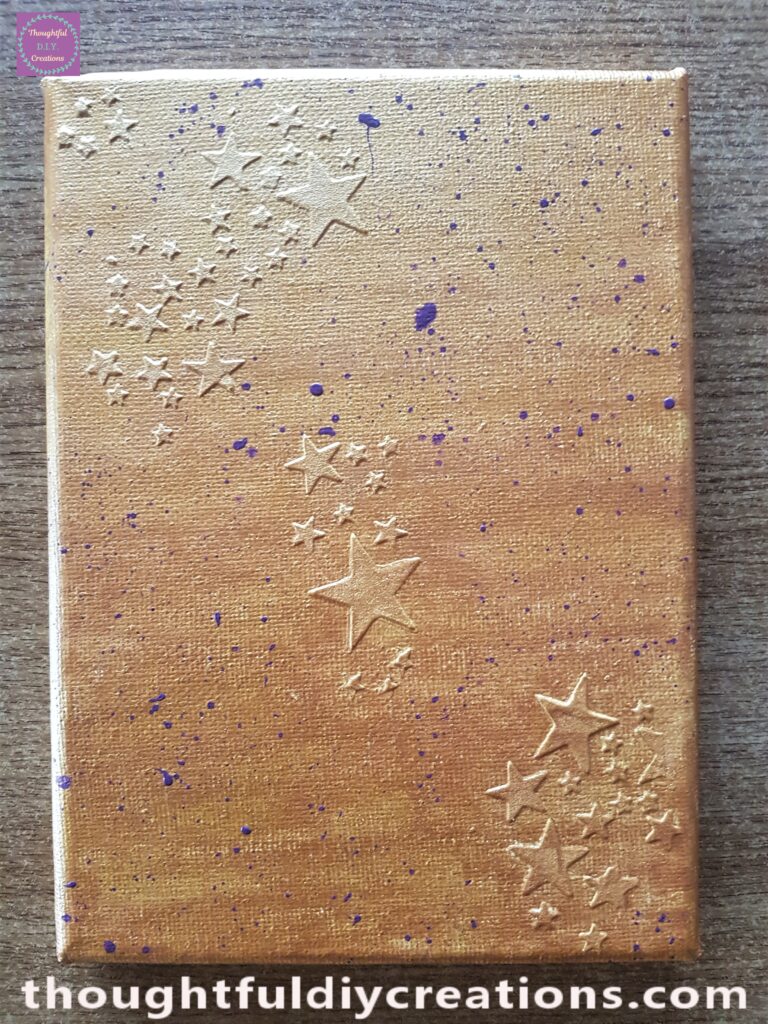
Adding White Splatters to the Canvas
I put some White Acrylic Paint into the old lid.
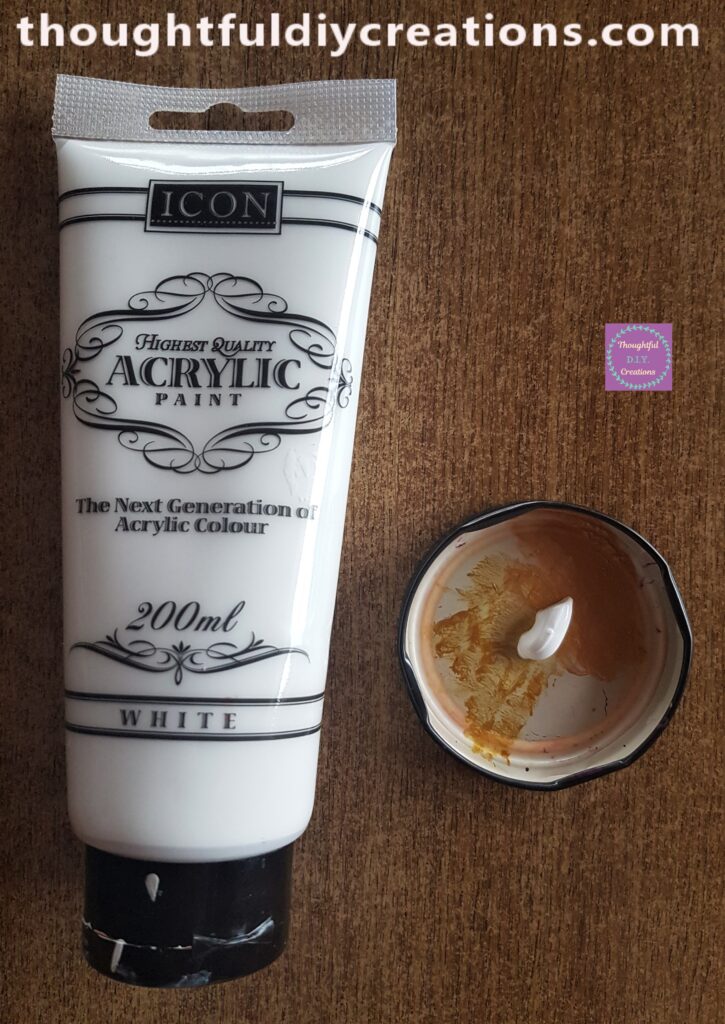
I again covered up the stars and added white splatters to the canvas in the same way as the purple splatters.
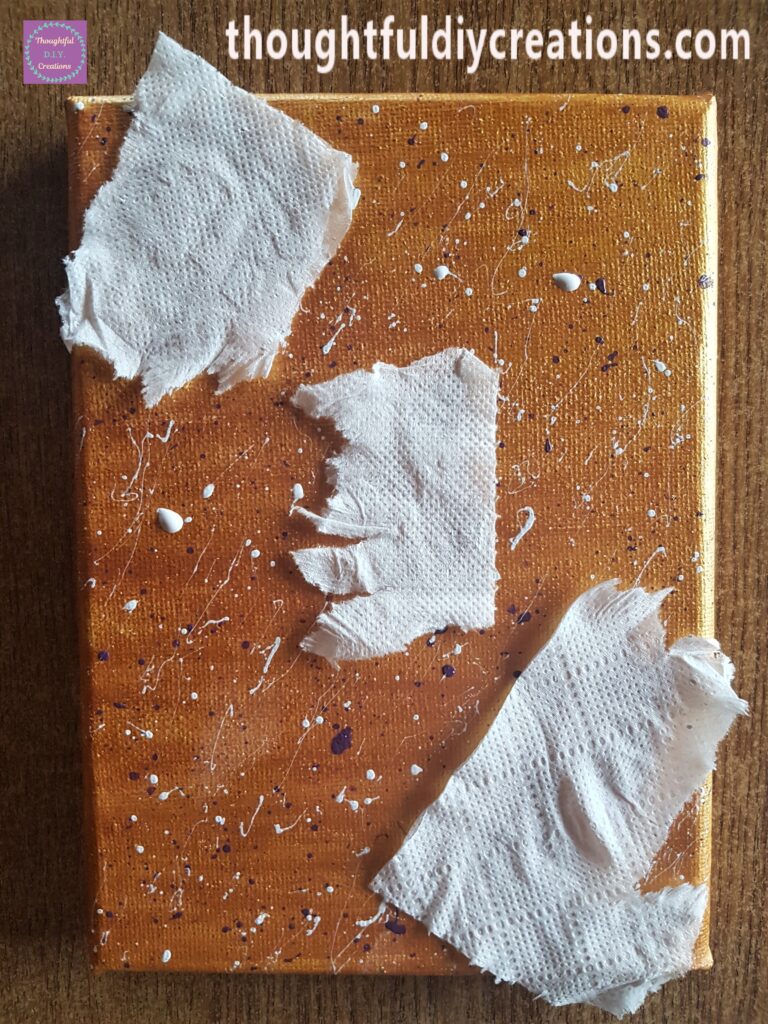
This is the Canvas a couple of hours later when the splatters were completely dry.
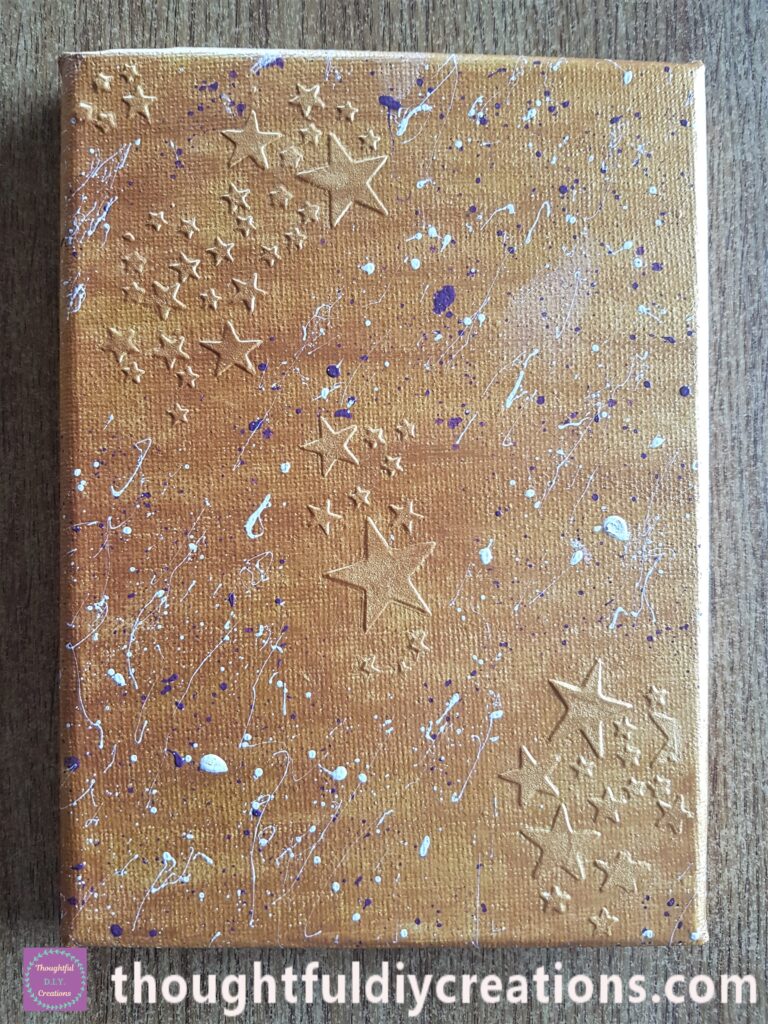
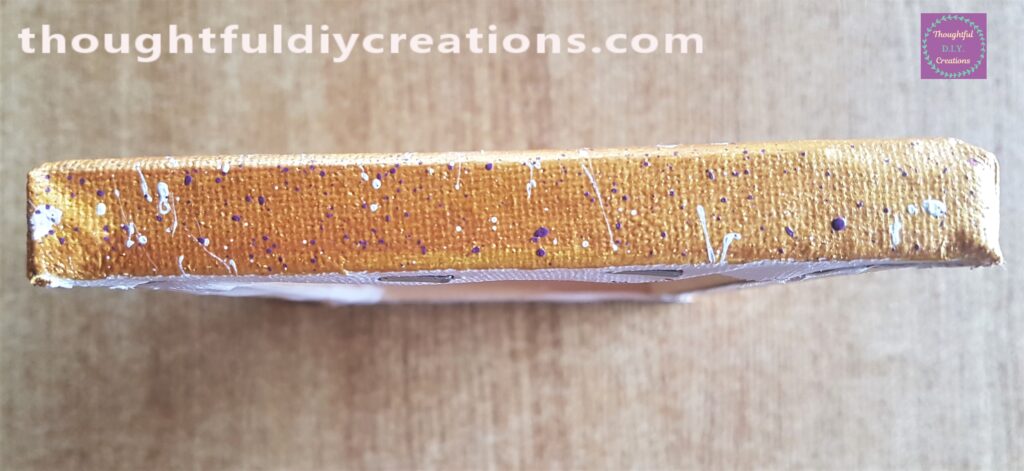
I added white splatters to all 4 sides of the Canvas.
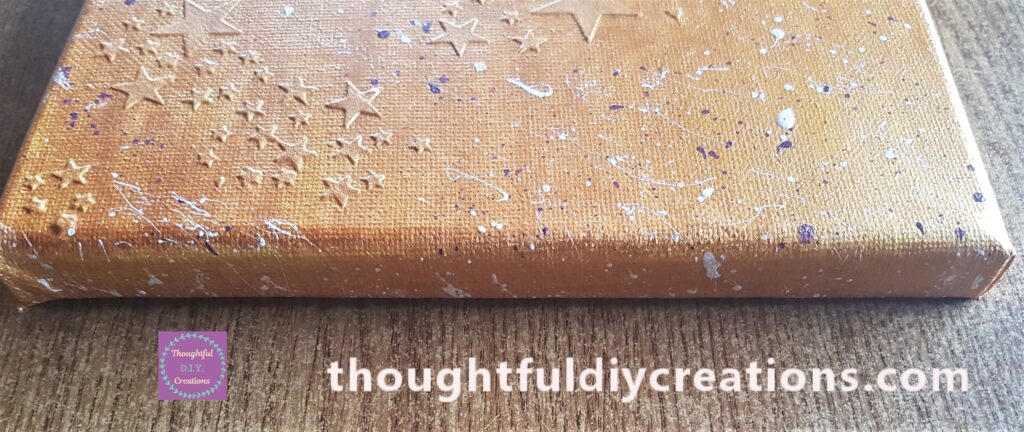
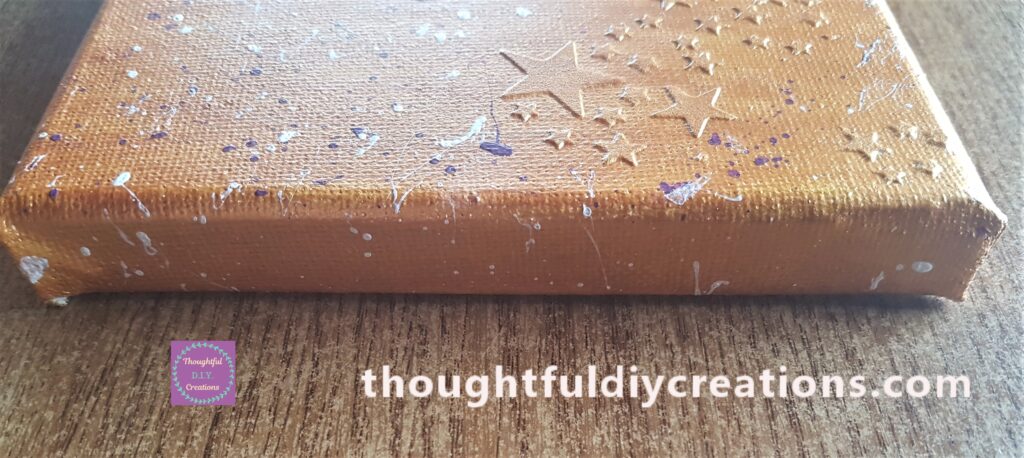
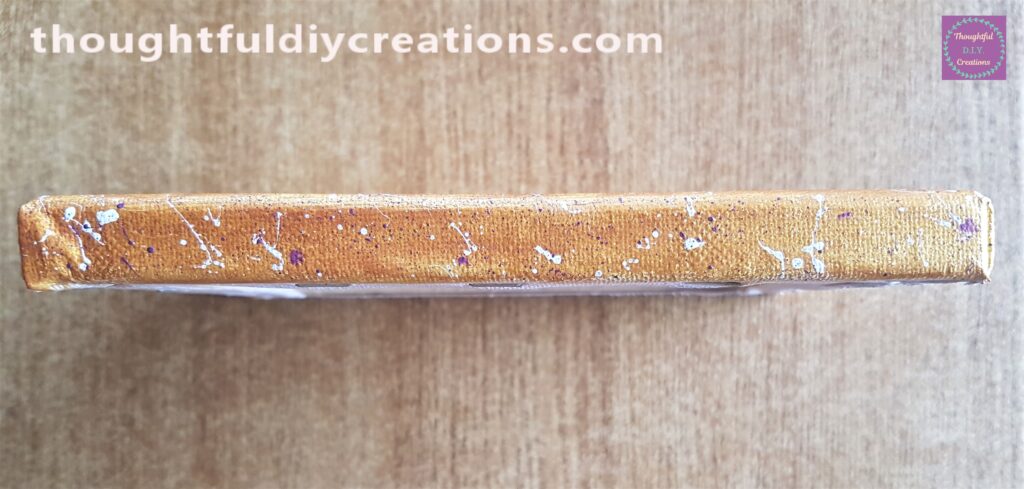
Purple splatters were added to the sides when the white splatters were fully dry.
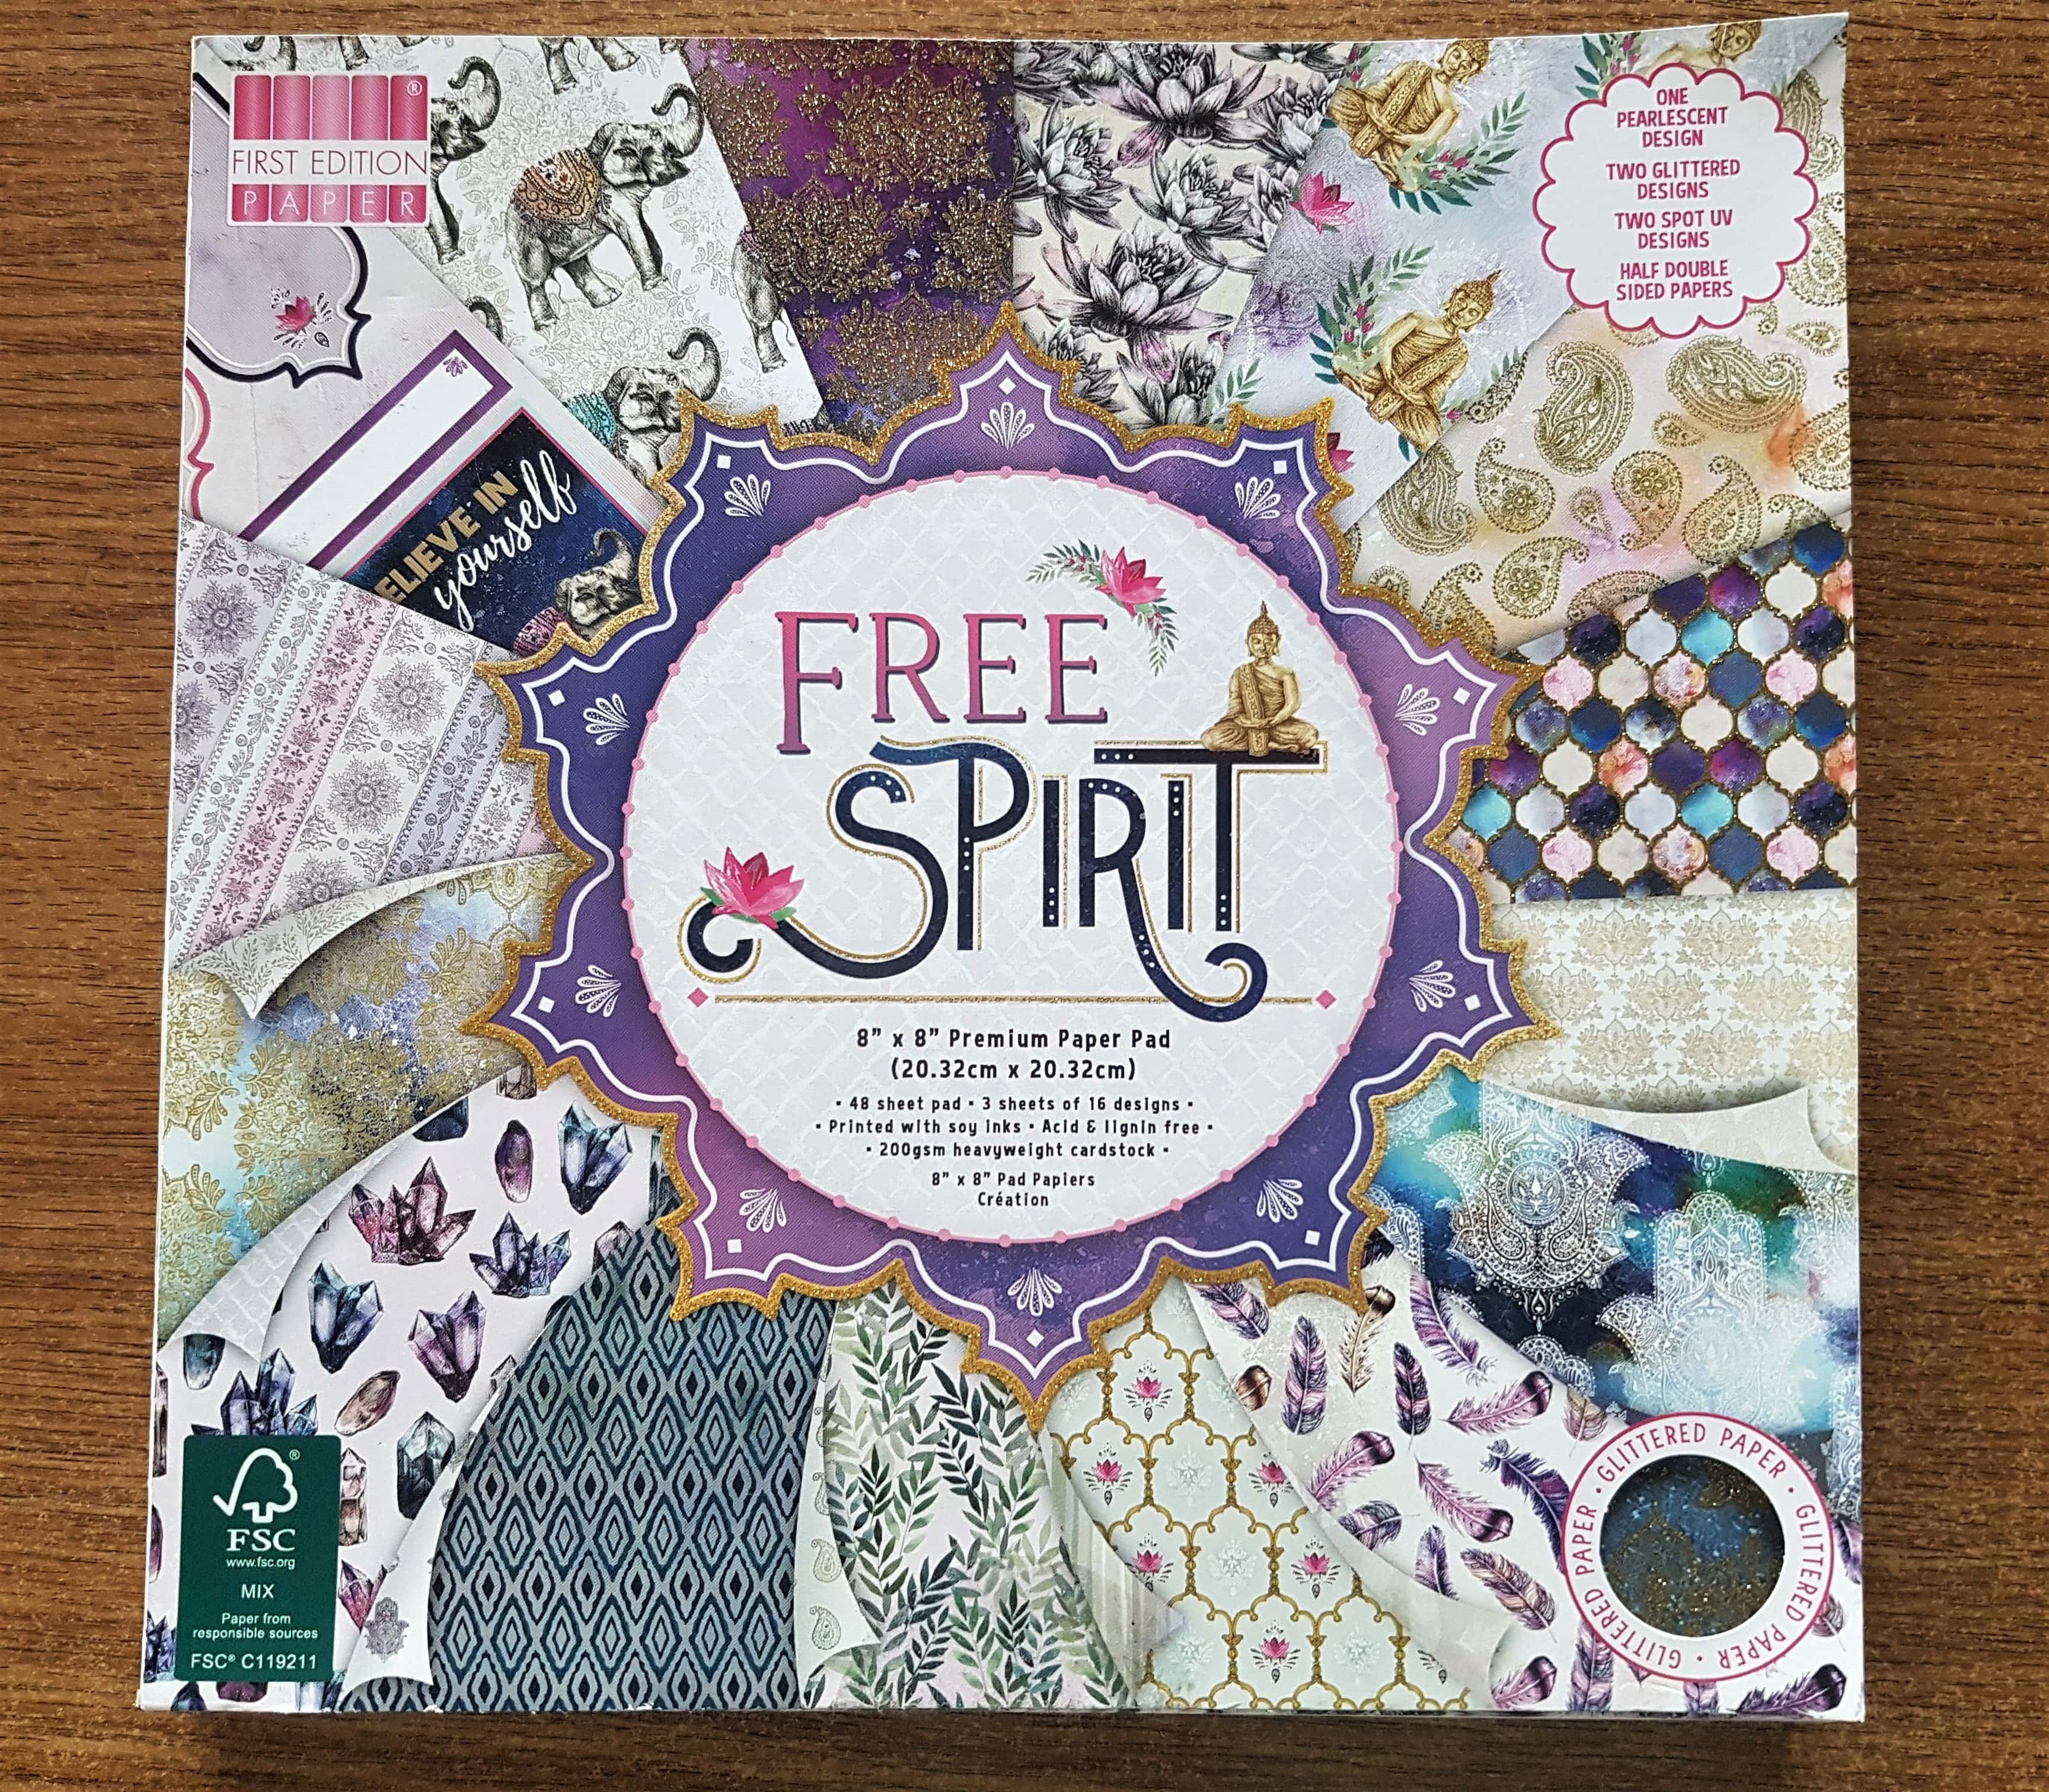
Free Spirit Paper Pad
I got my ‘Free Spirit’ by First Edition 8″ x 8″ Paper Pad which is 200 gsm.
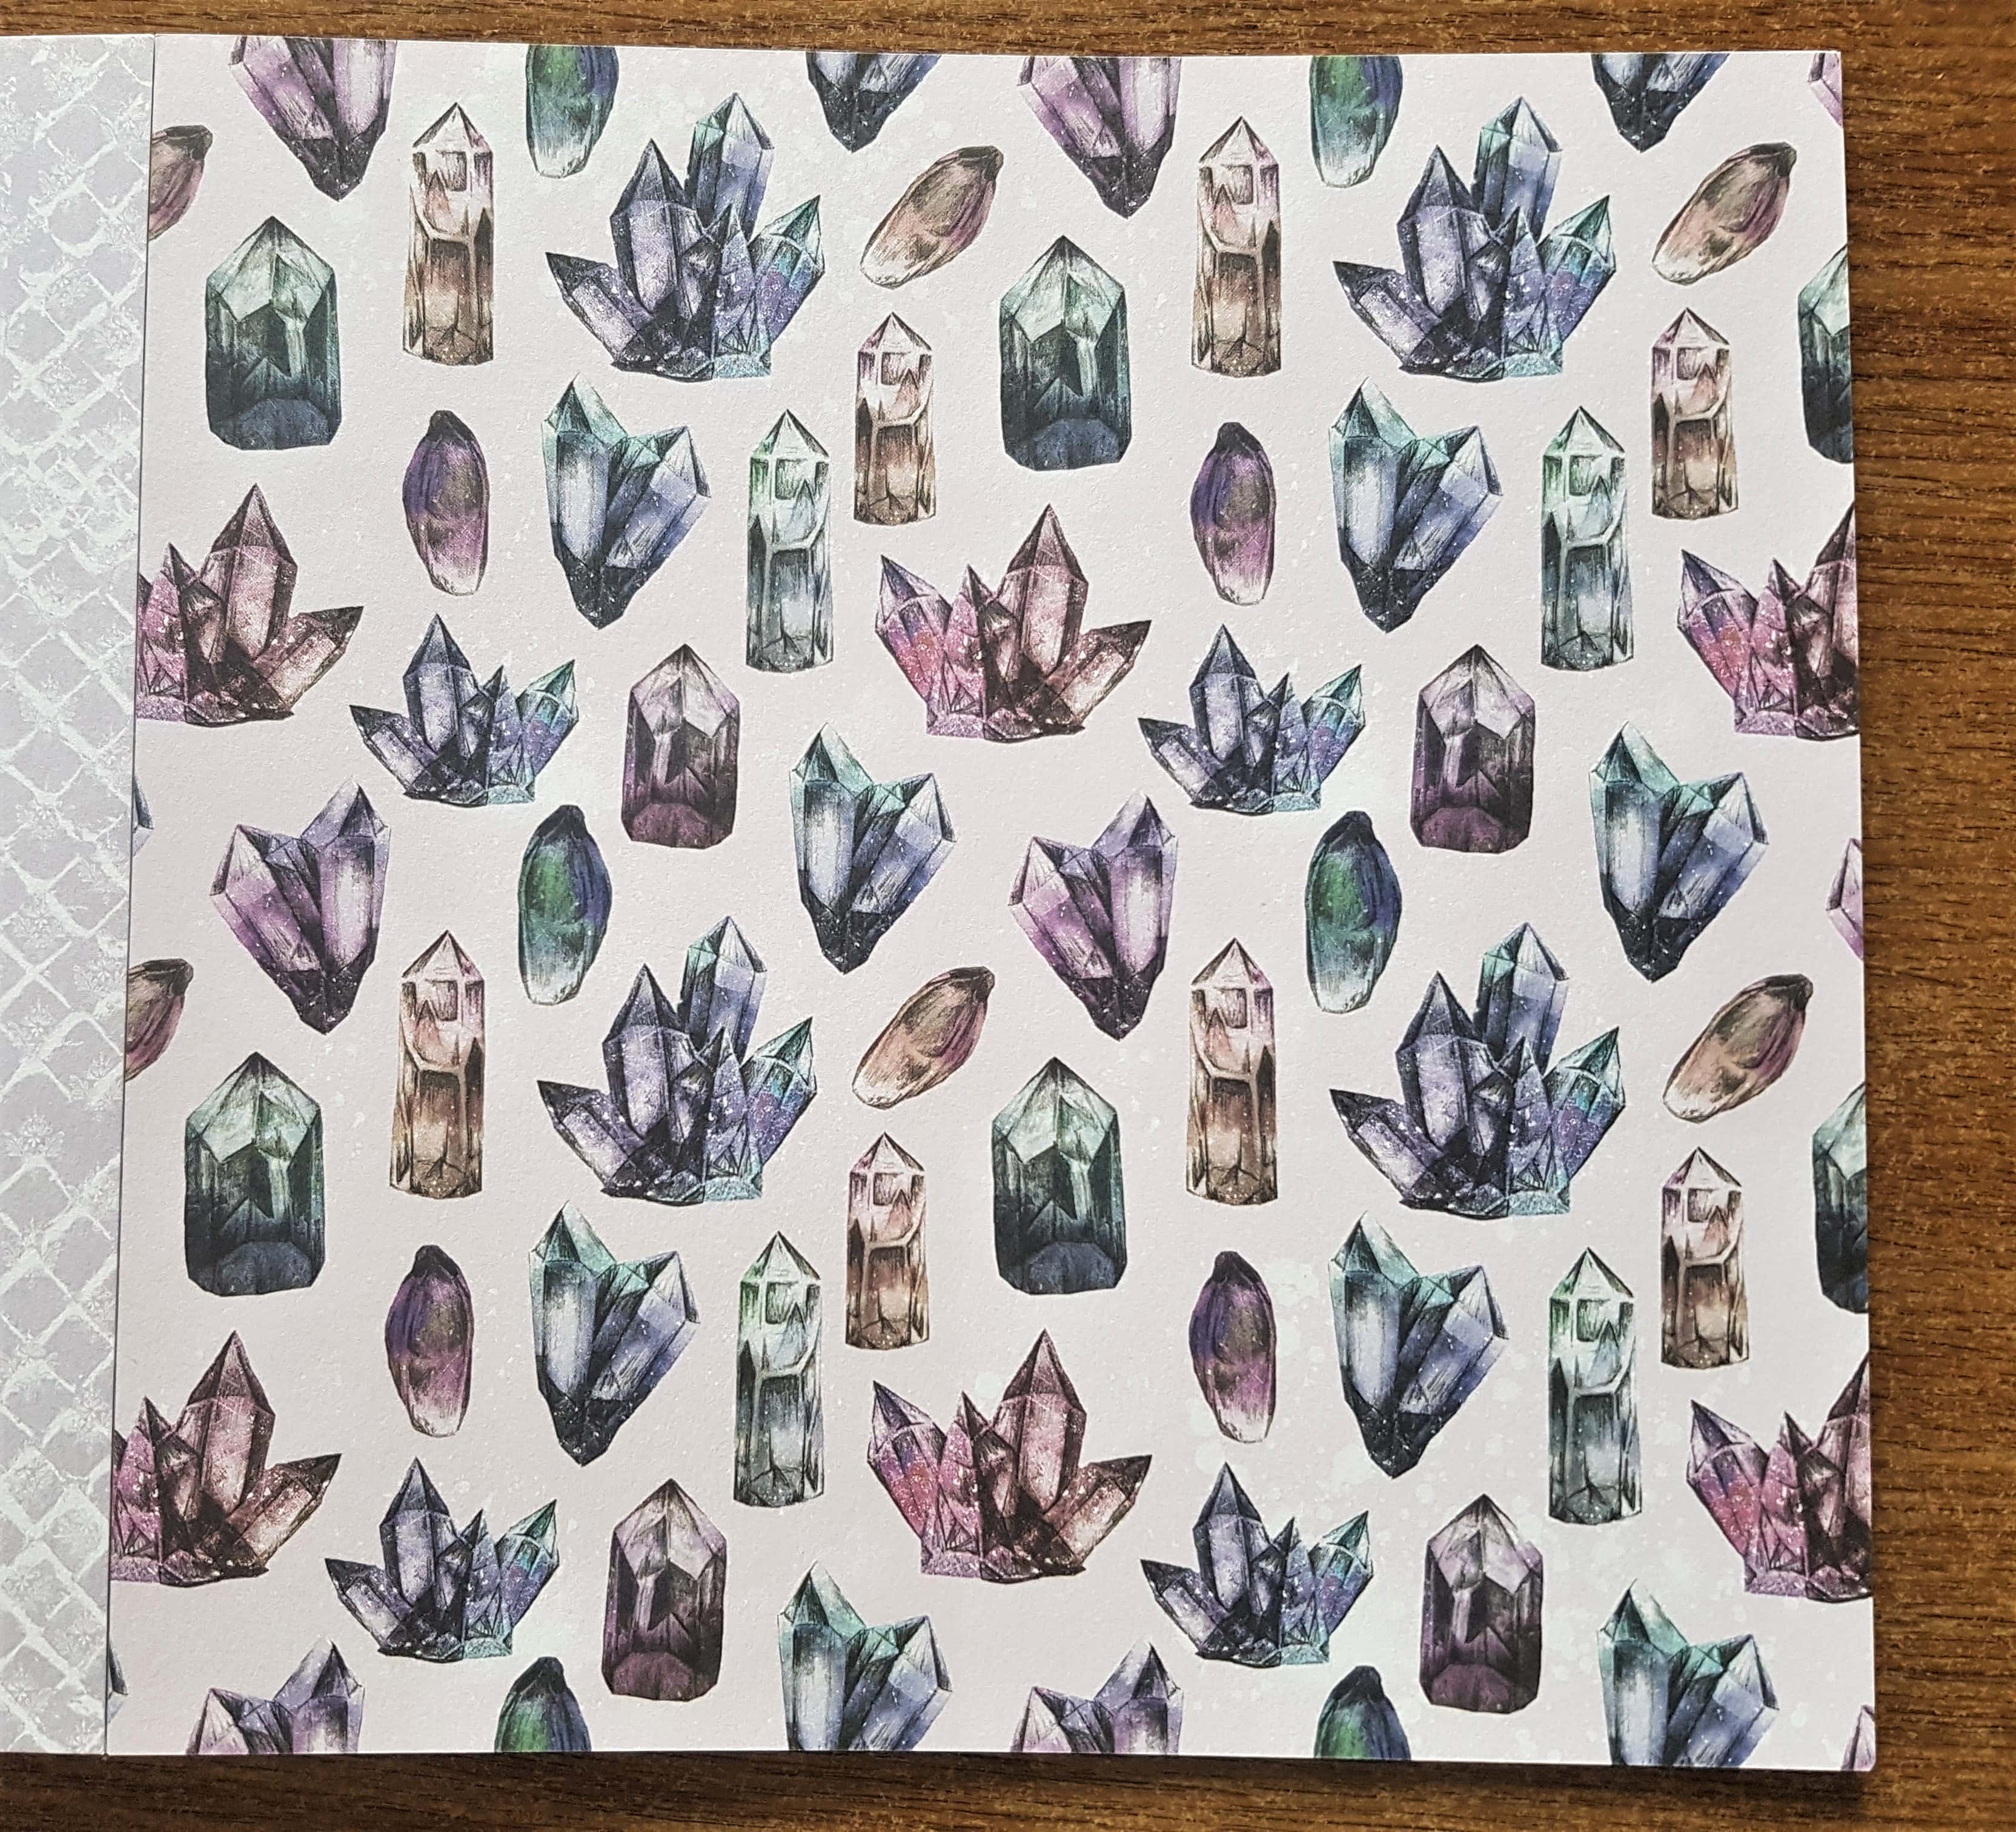
It has a Page full of different Size and Colour Crystals.
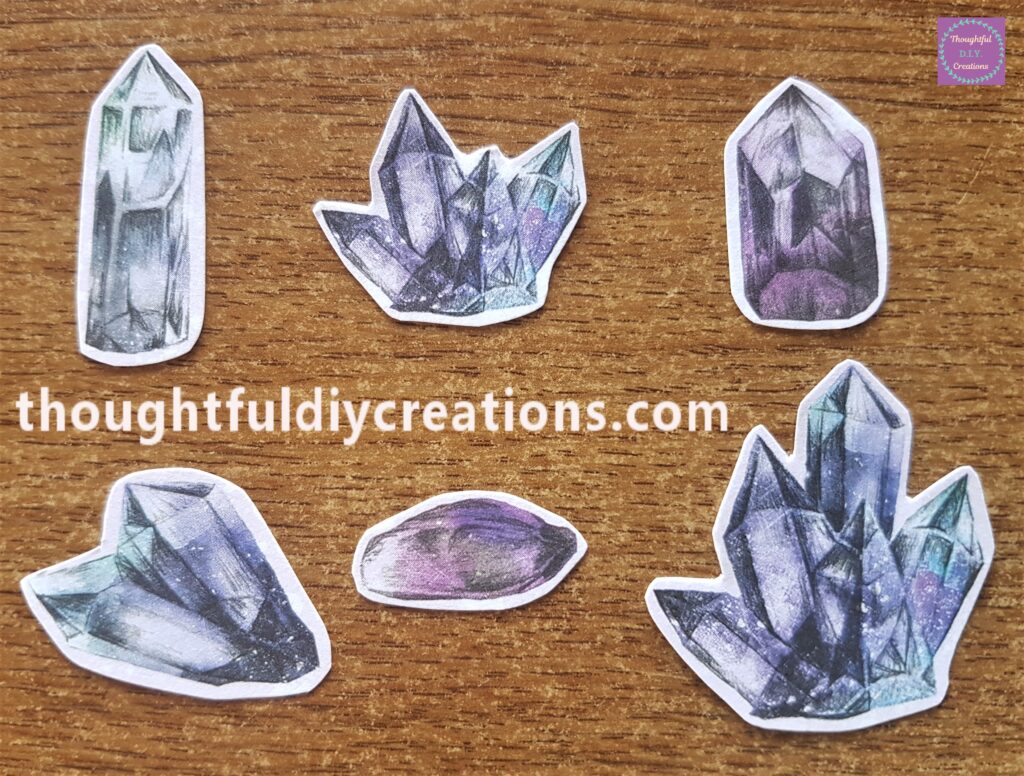
I fussy cut around 6 different crystals using a small sharp scissors.
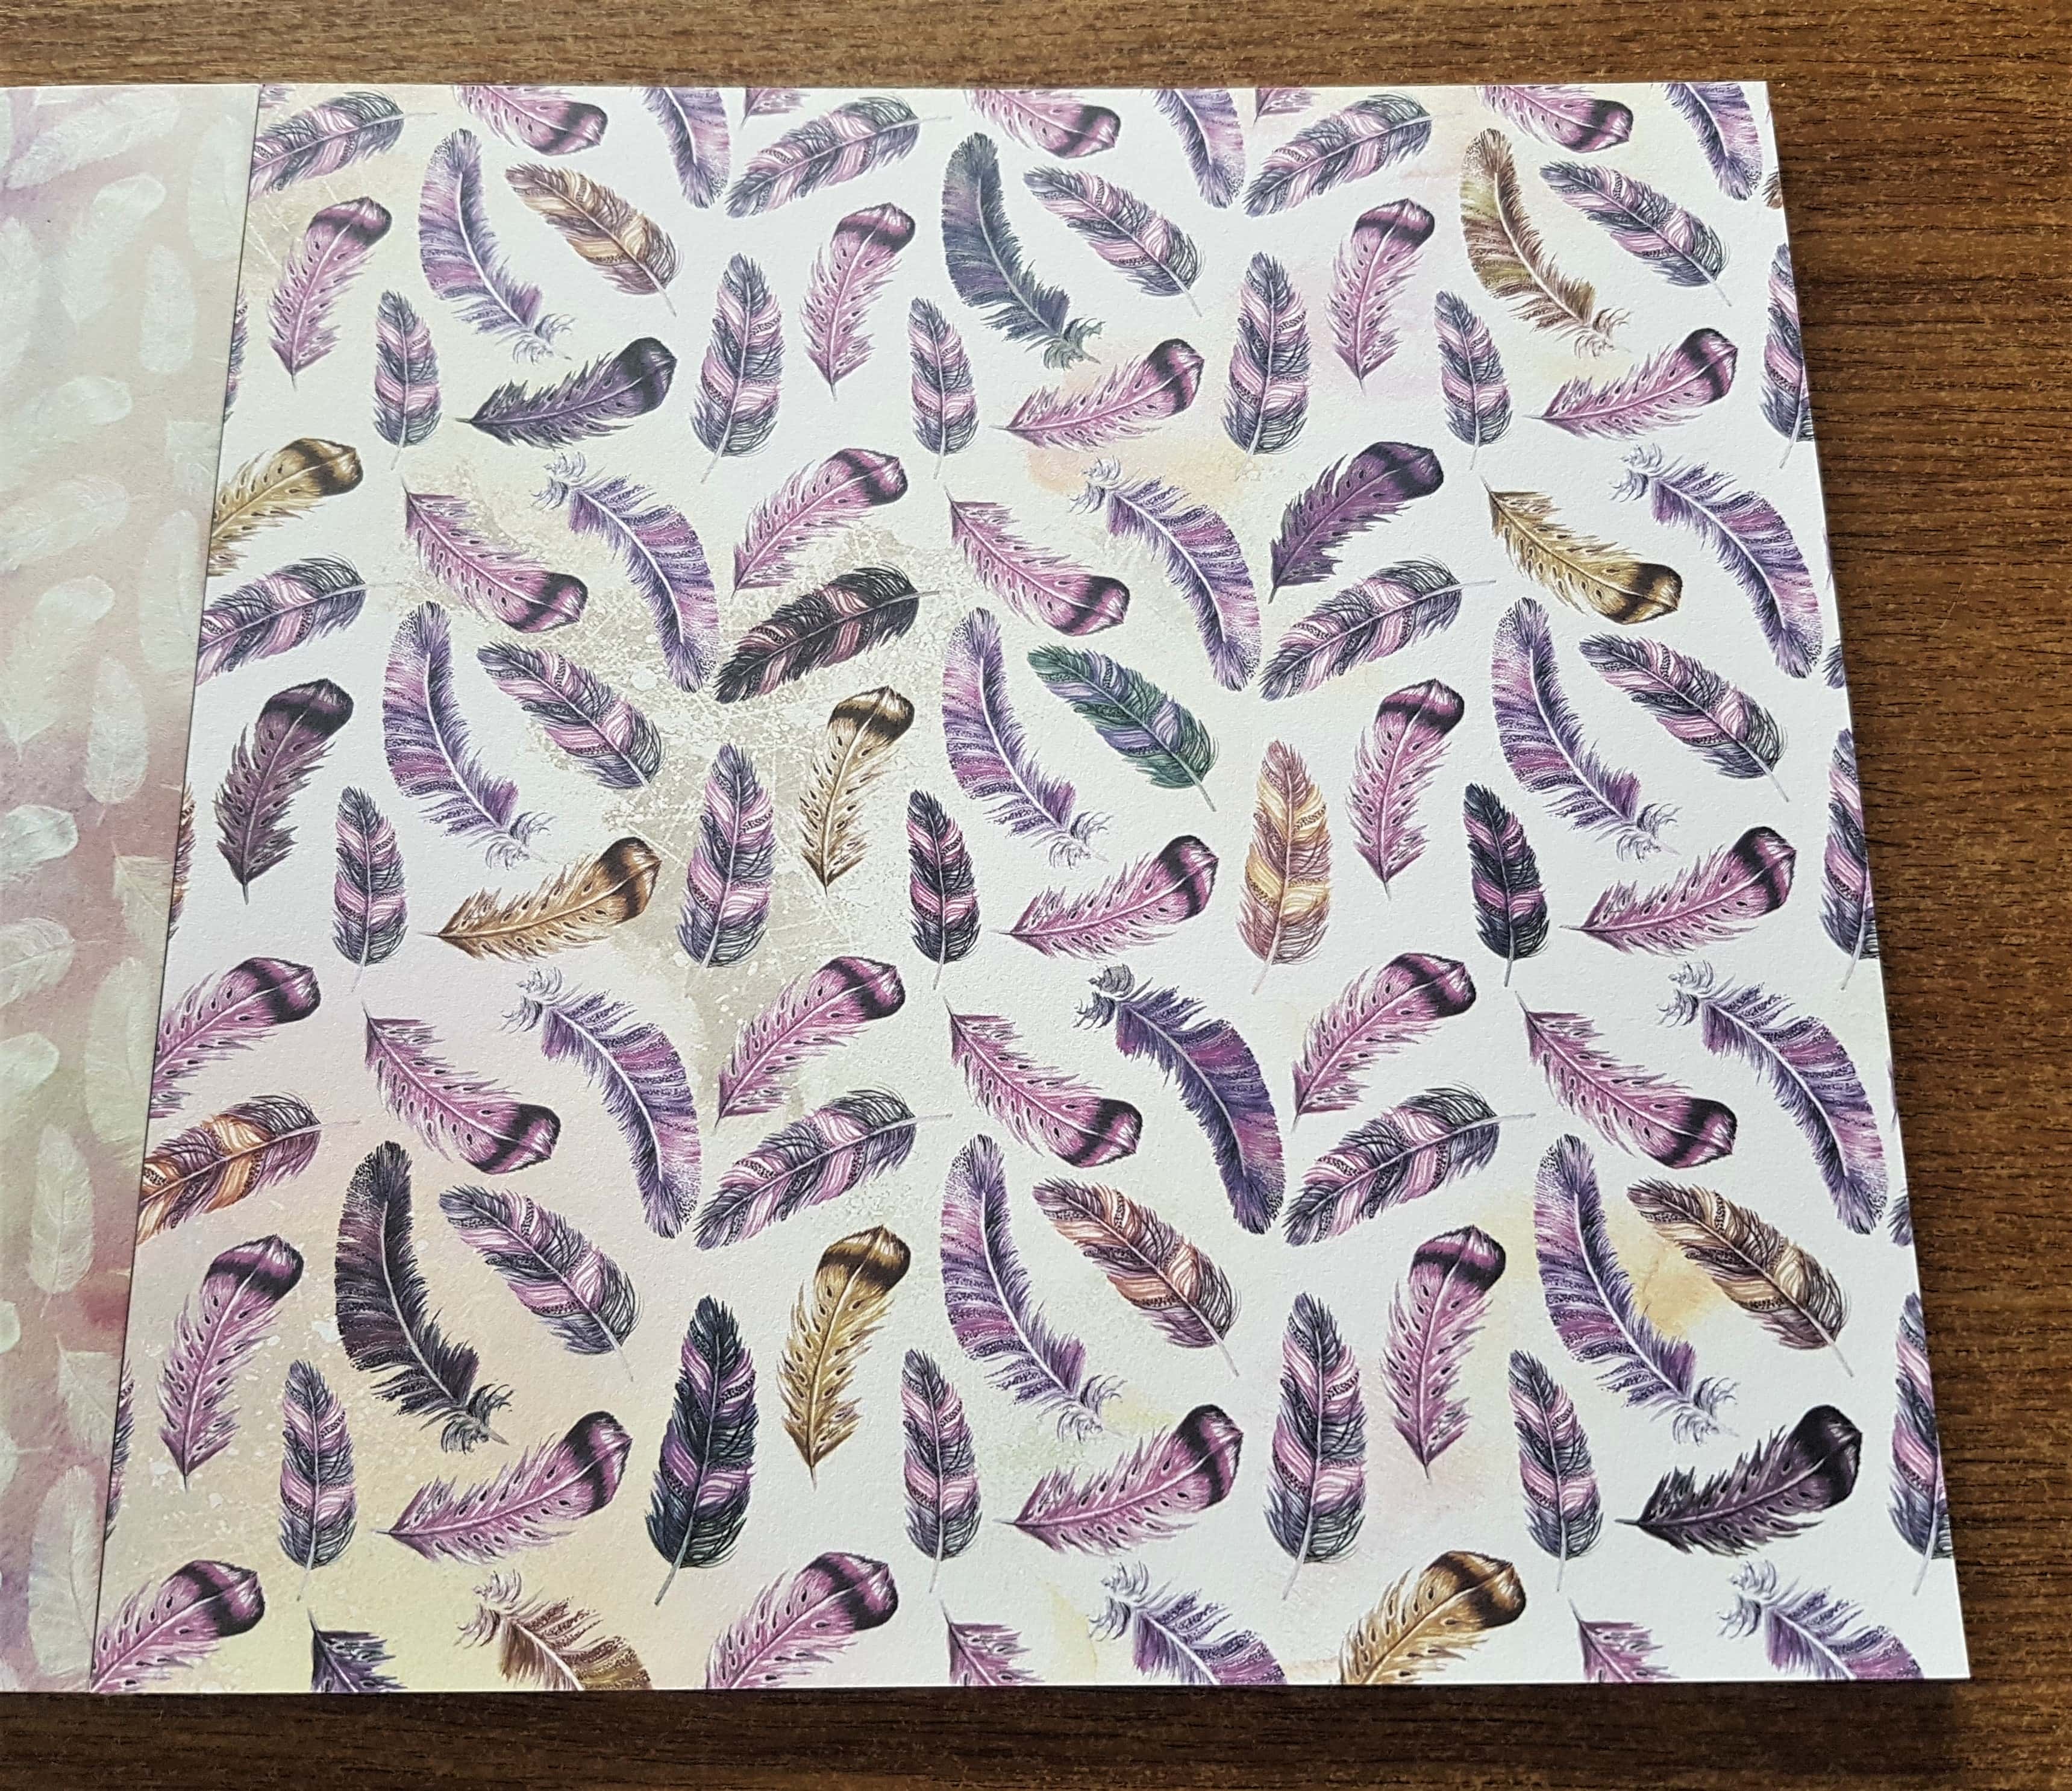
The Paper Pad has a Page full of Feathers.
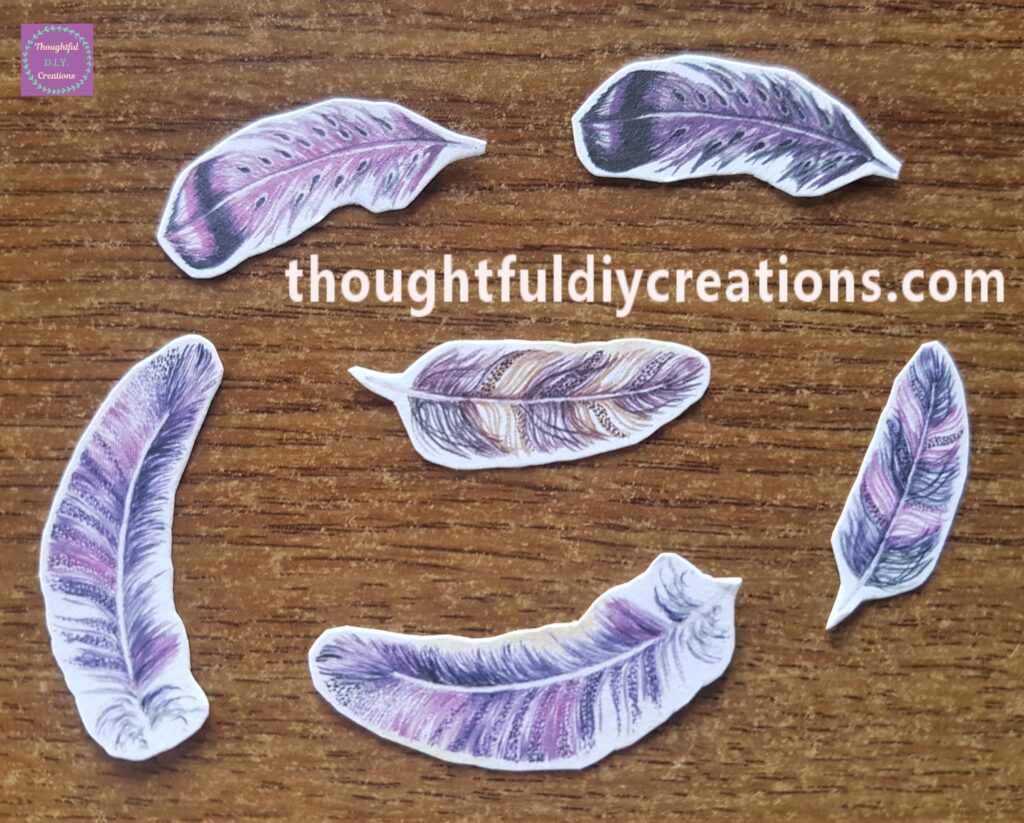
I cut 6 Feathers from the Page.
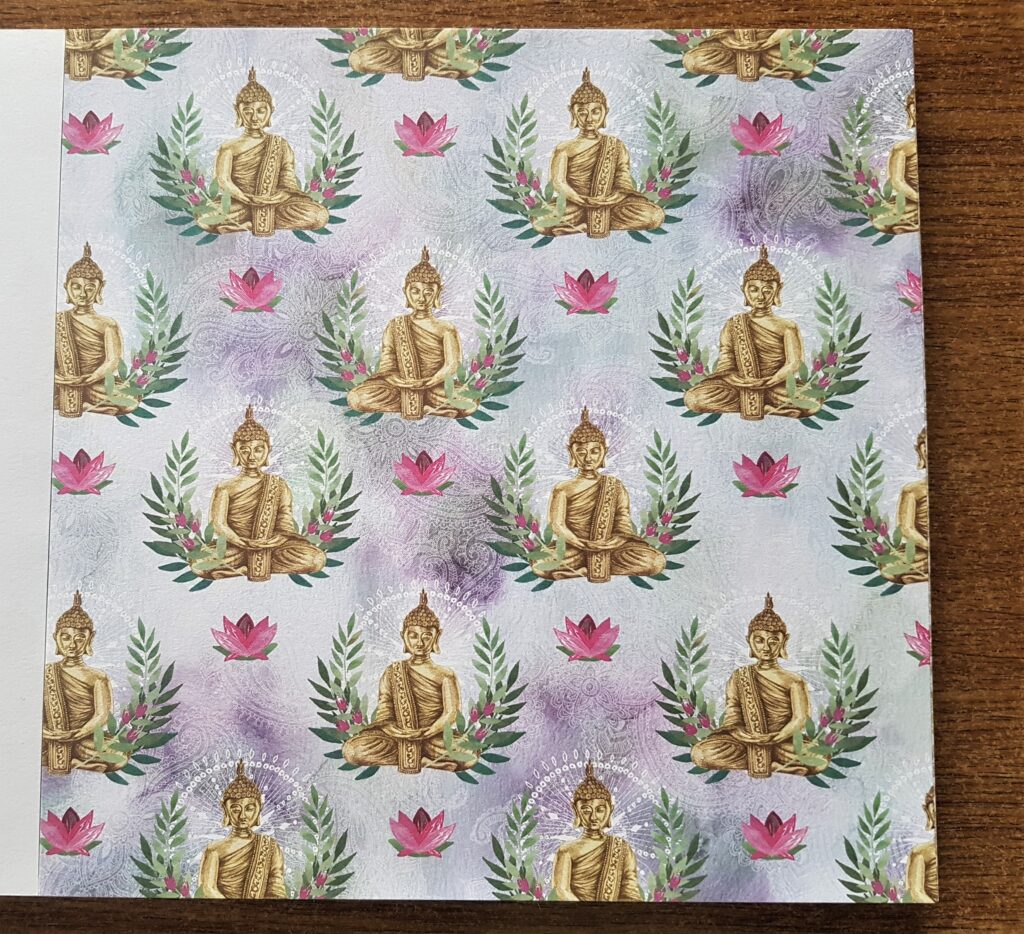
This Page includes the Buddha and the Lotus Flower.
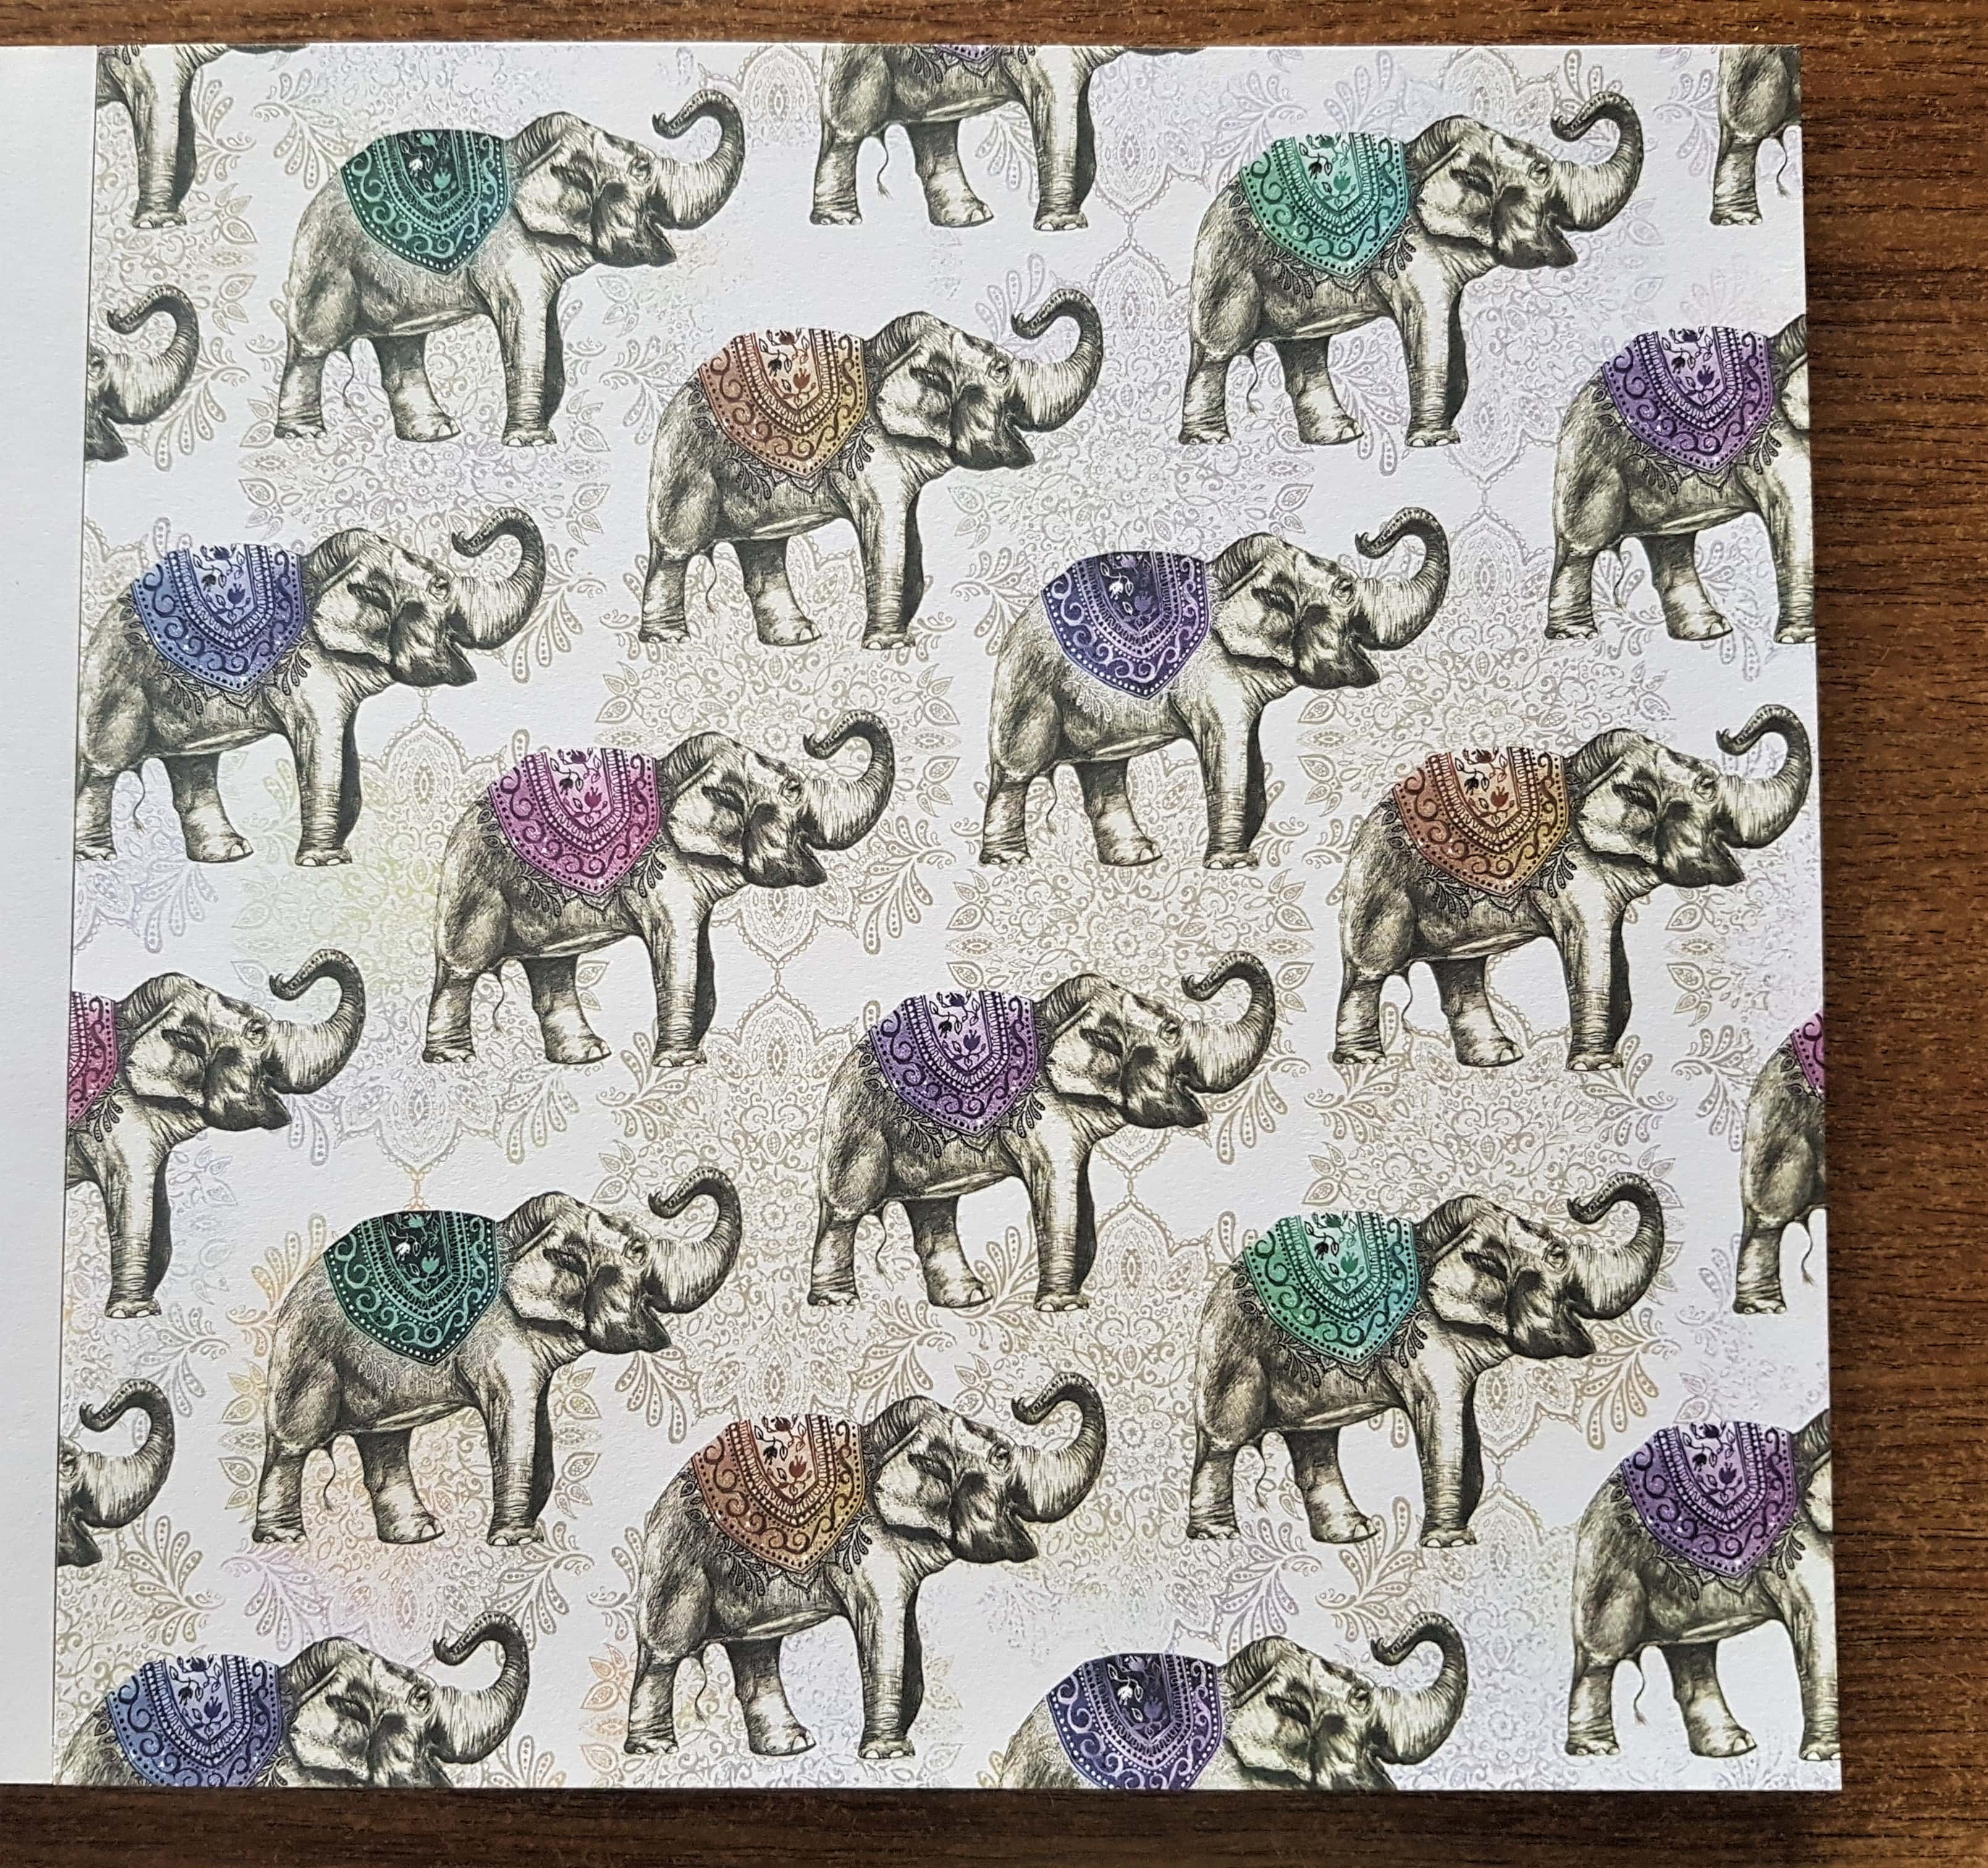
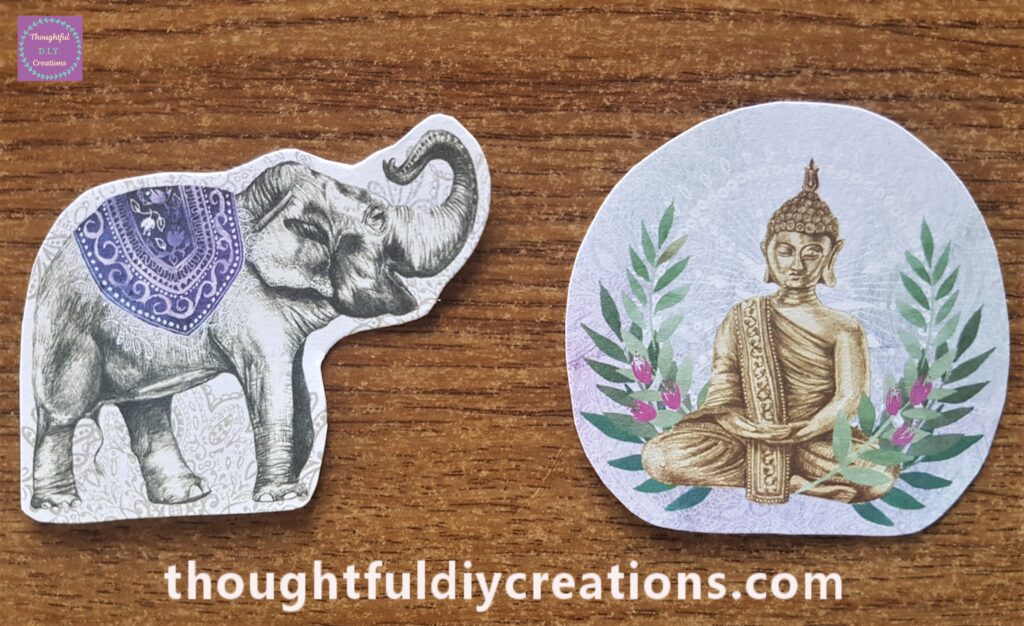
The Page below has Elephants with their trunk in the Air.
I cut around one Elephant and a Buddha, I also cut out a Lotus Flower.
Attaching the Images to the Spiritual Canvas
I attached the Lotus Flower, Crystals and the Feathers to the Canvas using ‘Anita’s Tacky PVA Glue’.
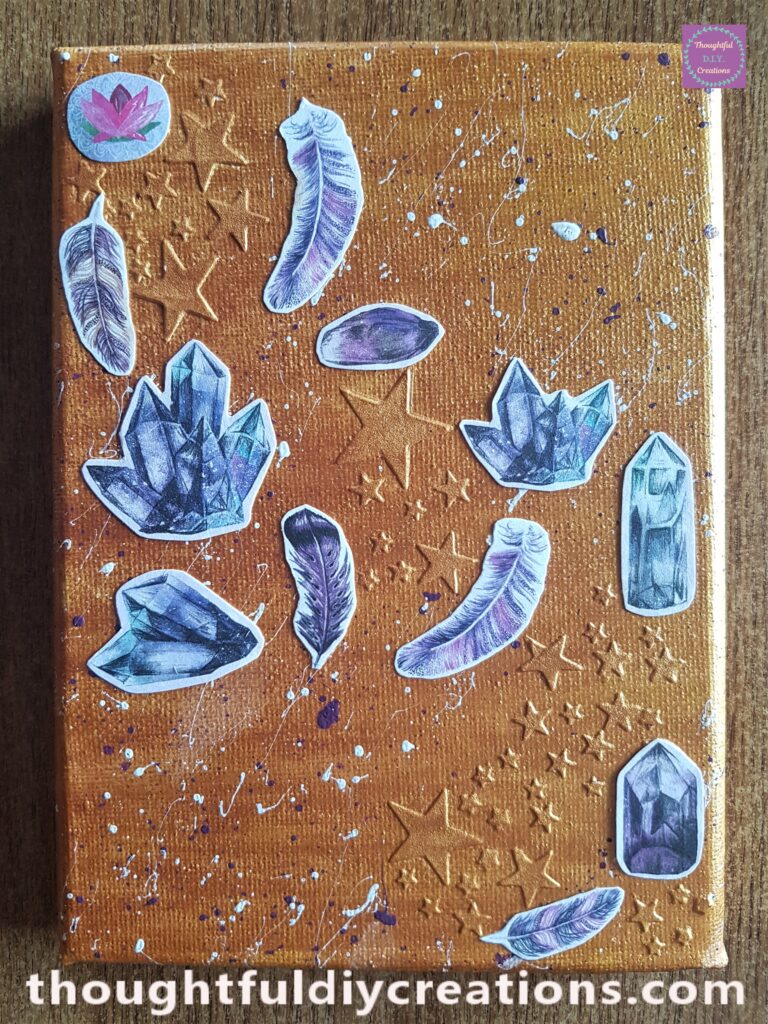
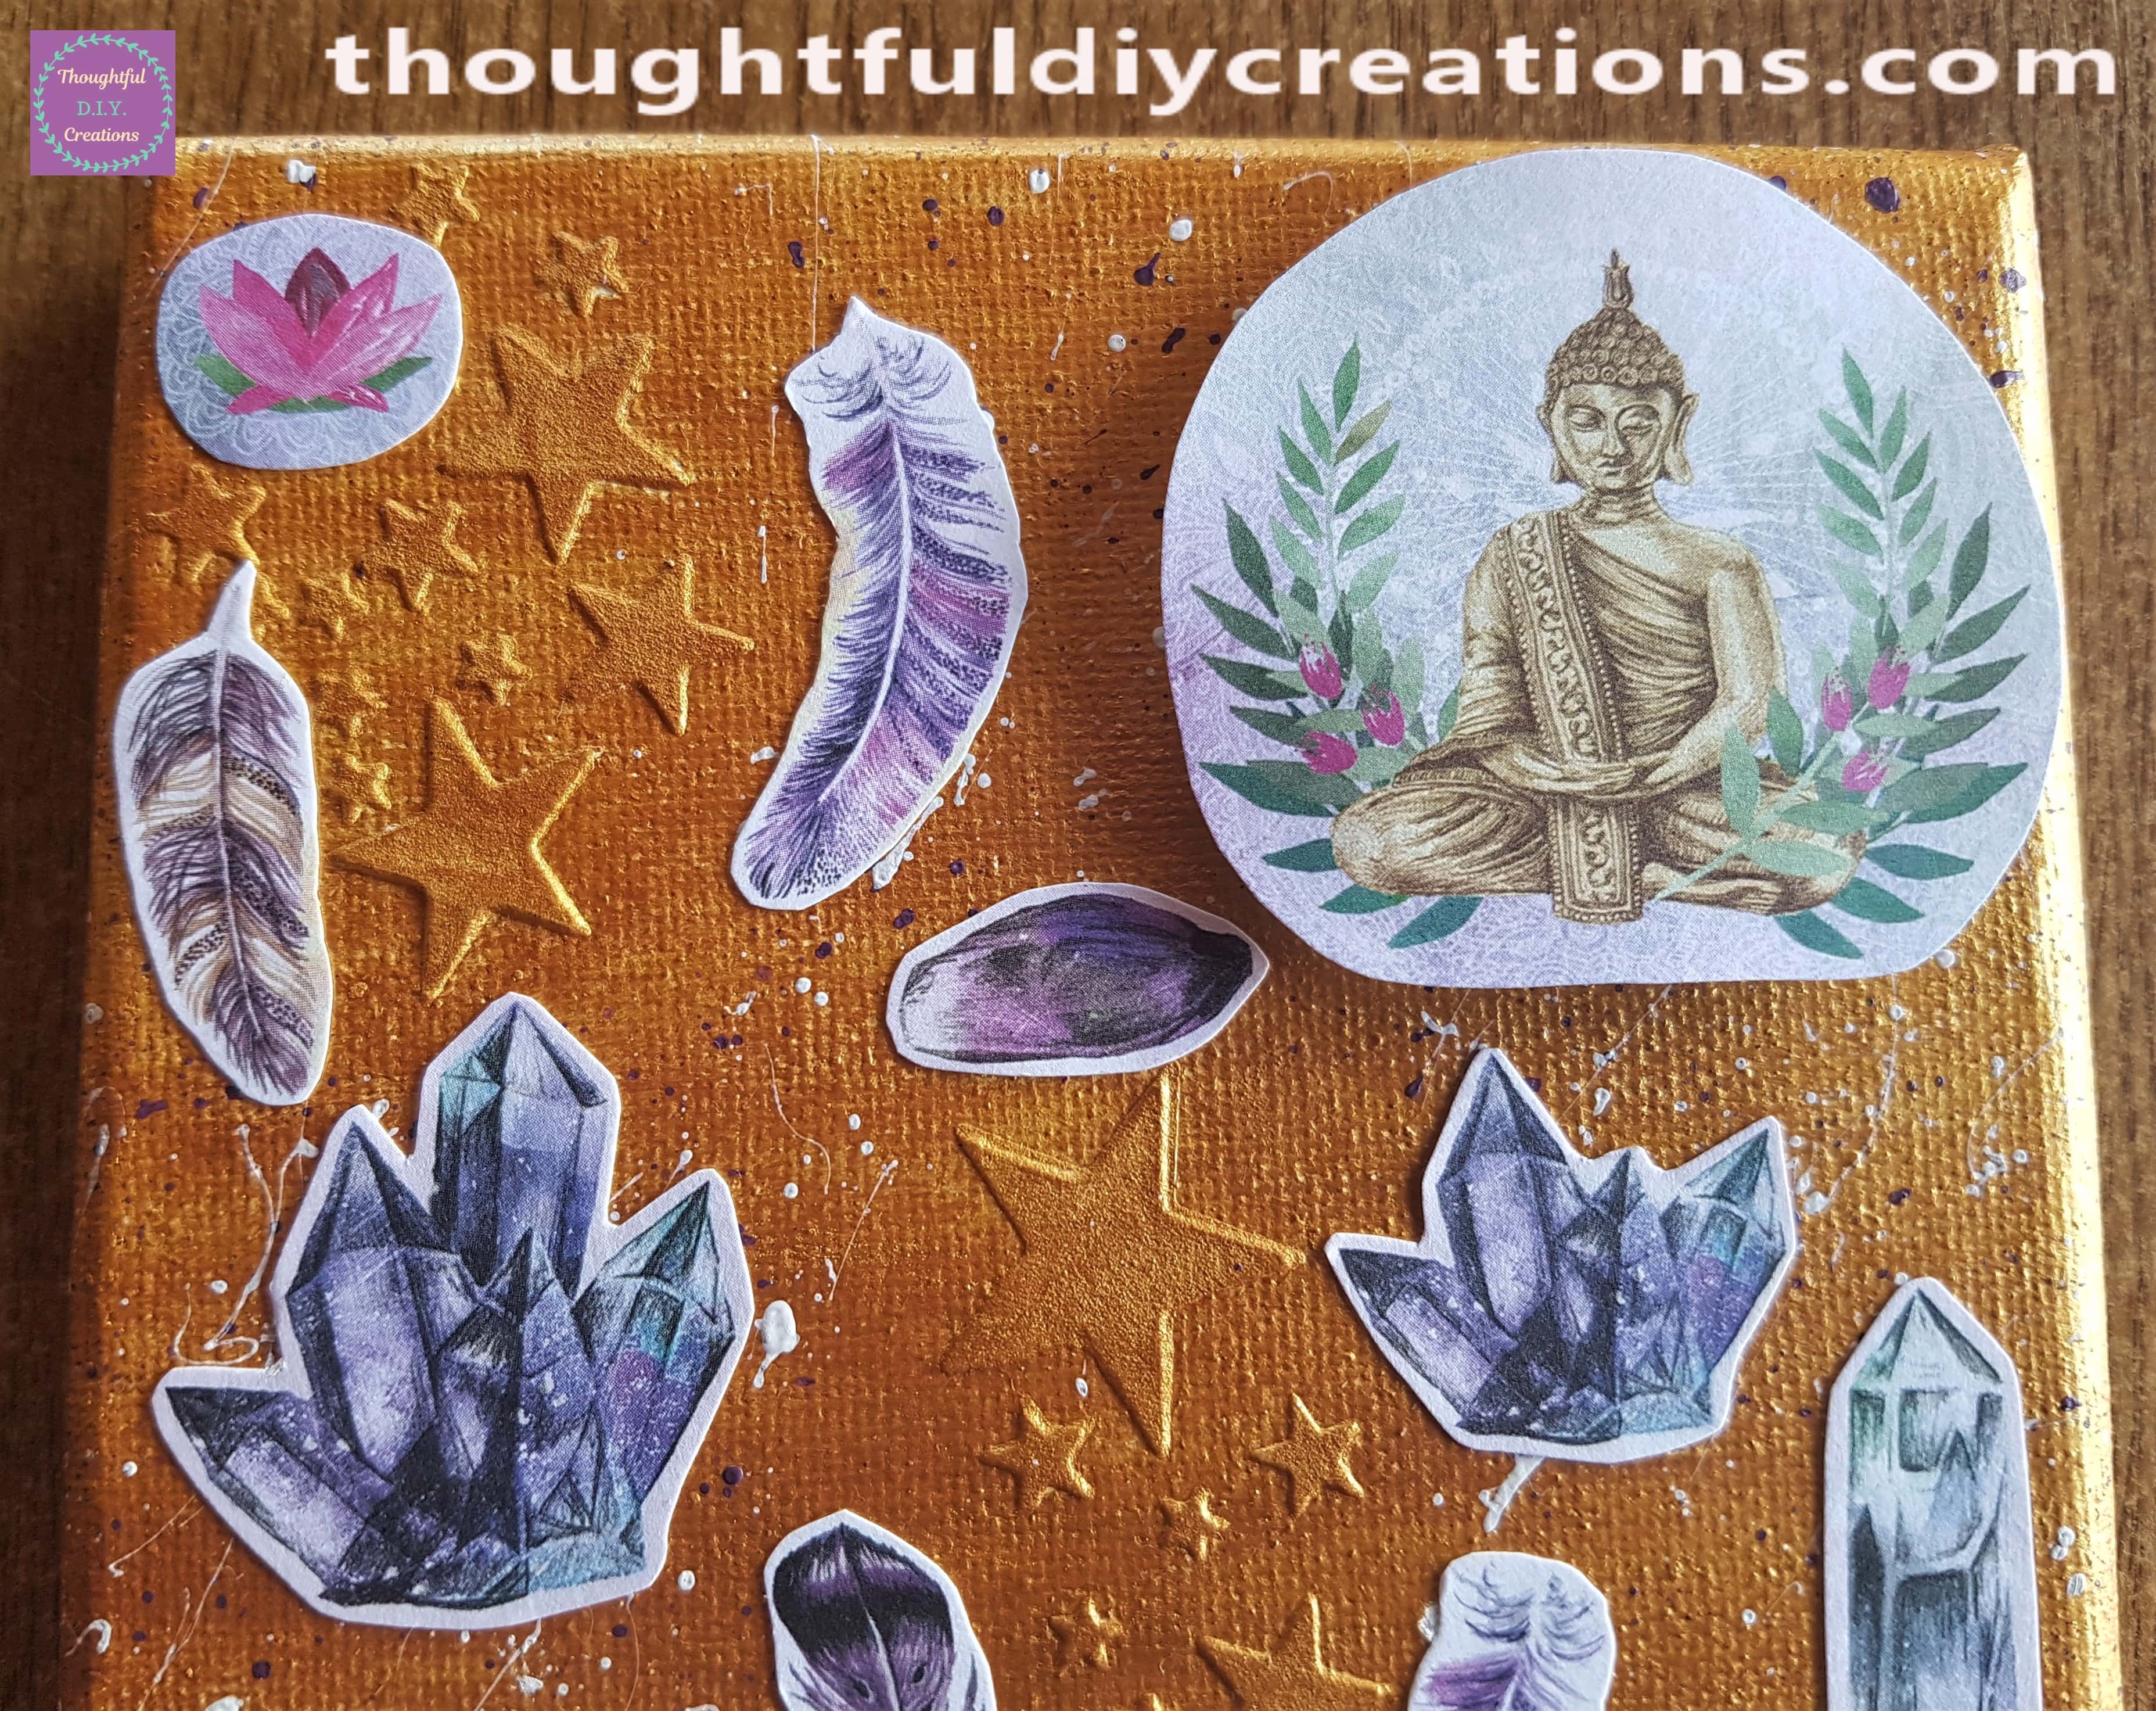
This is the first half of the Canvas with the Cut-Outs attached.
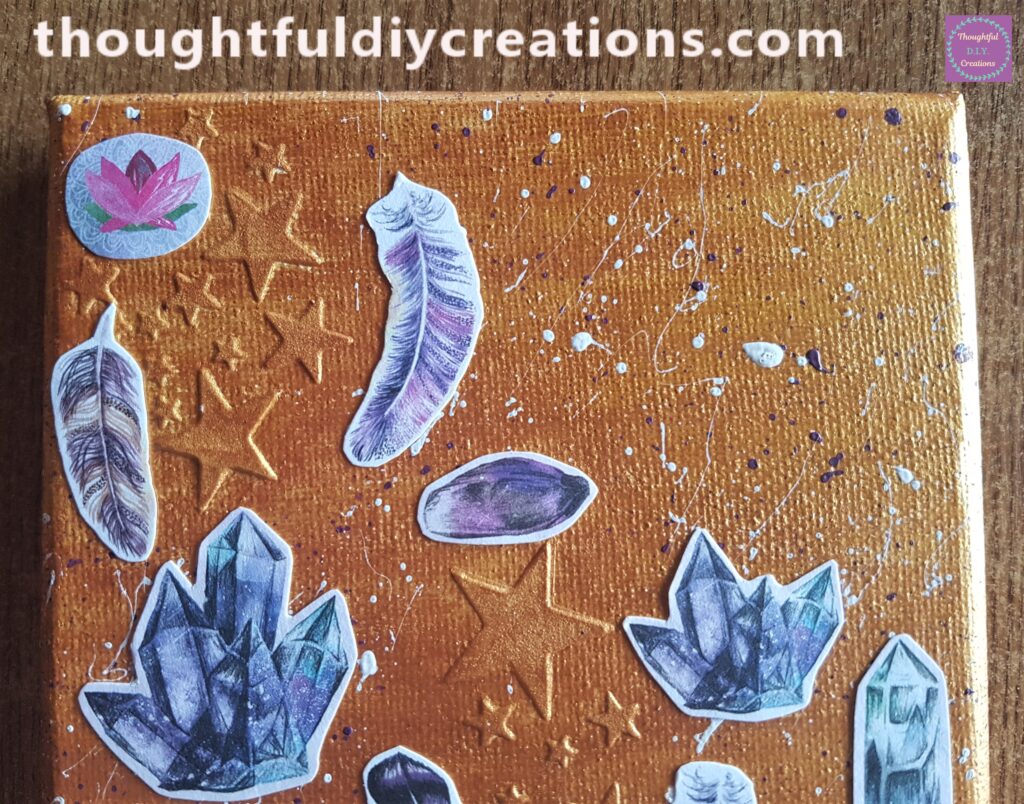
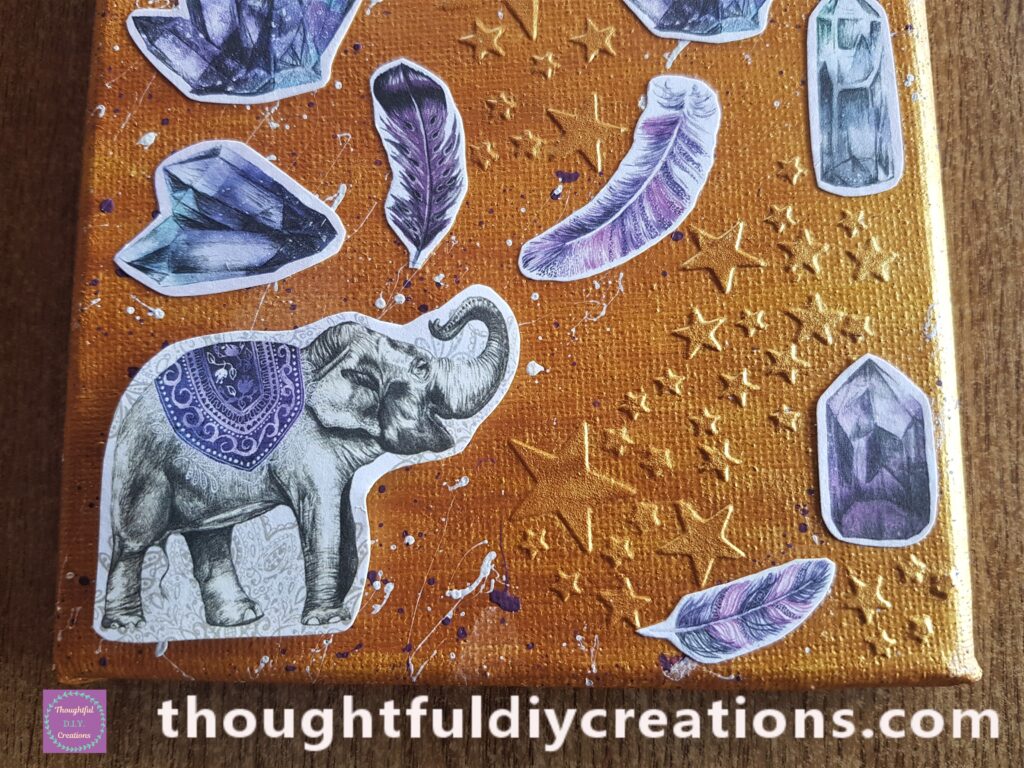
Below is the second half of the Canvas.
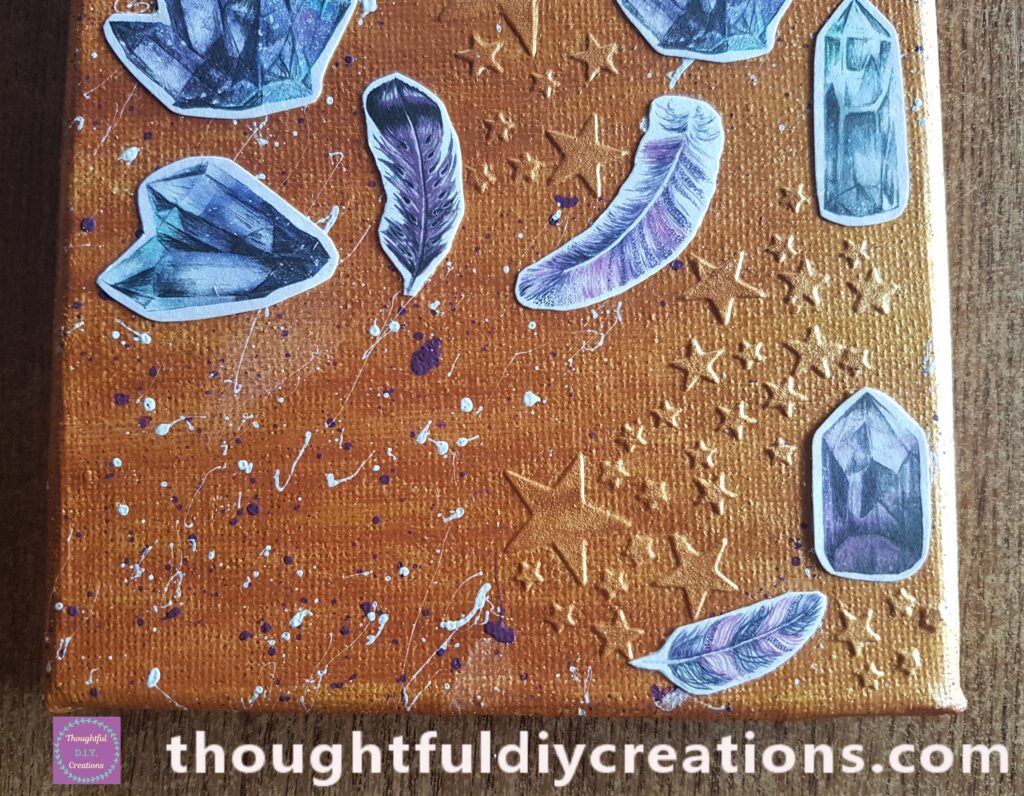
I cut out 2 pieces of Cardboard to add to the Buddha and Elephant for extra height.
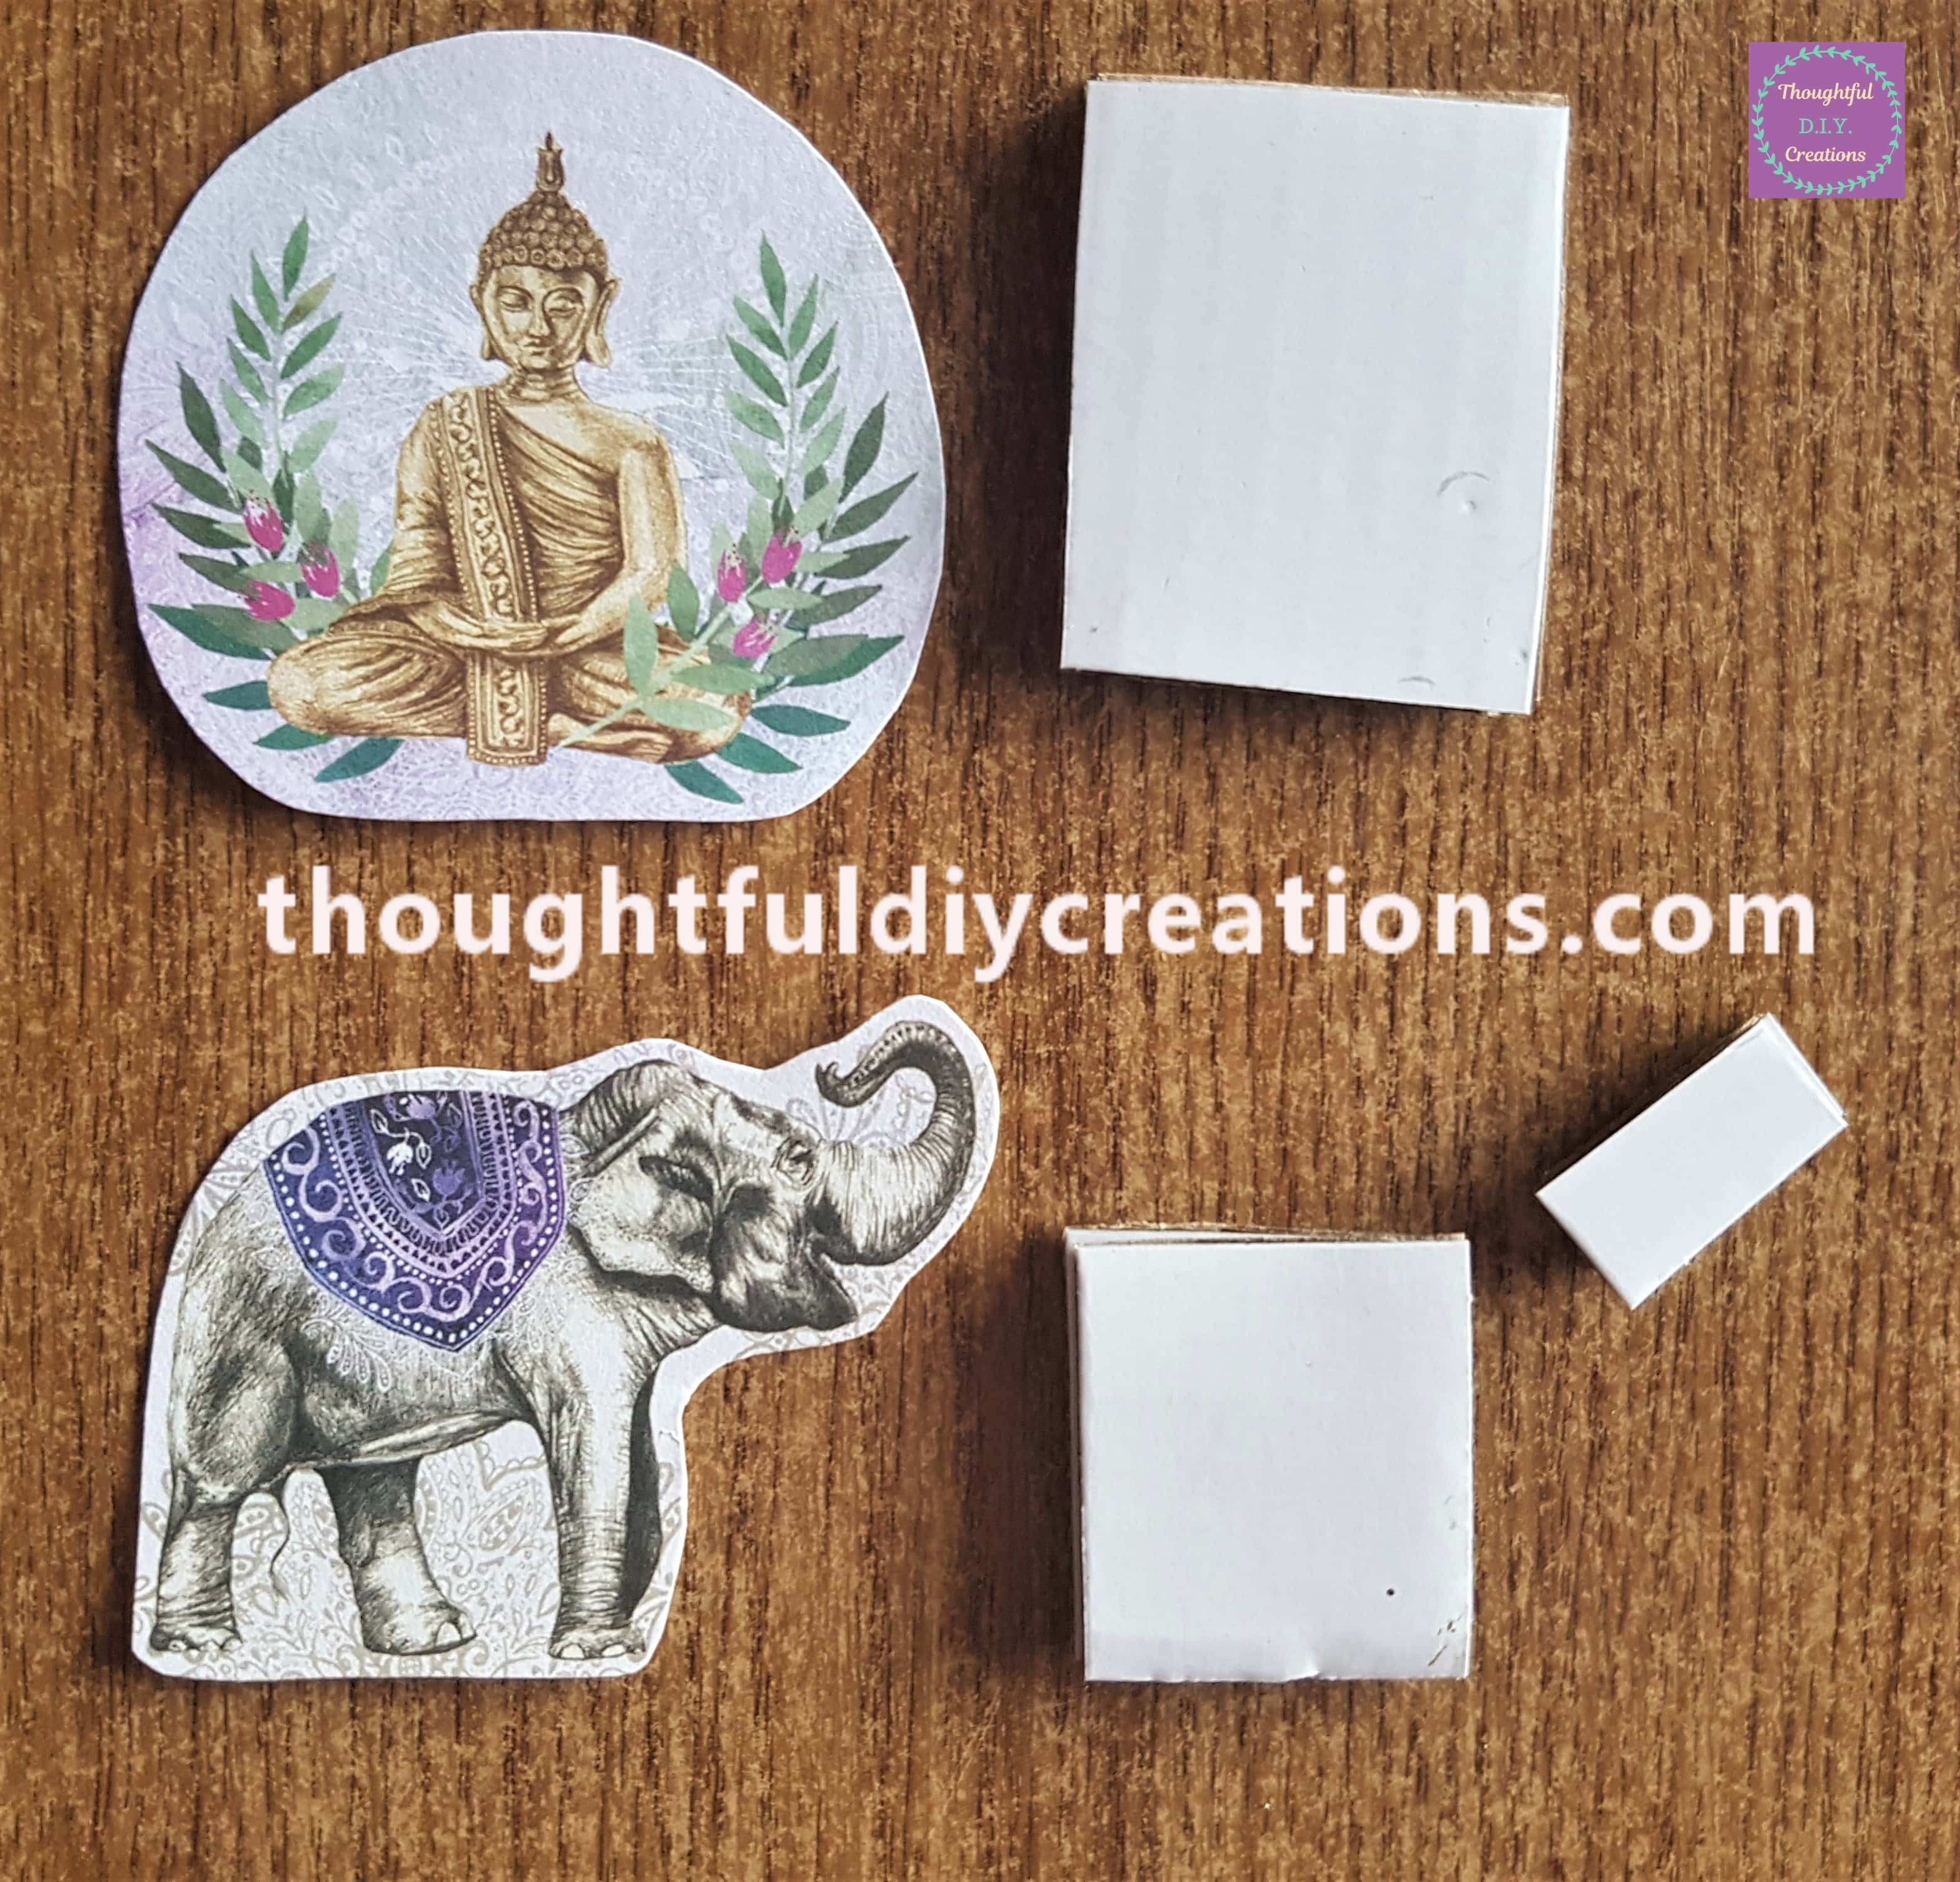
I glued each of the 2 pieces of Cardboard together and let them dry for about 15 minutes and then glued the Cardboard pieces to the back of the Buddha and the Elephant. I used the same PVA Glue as earlier.
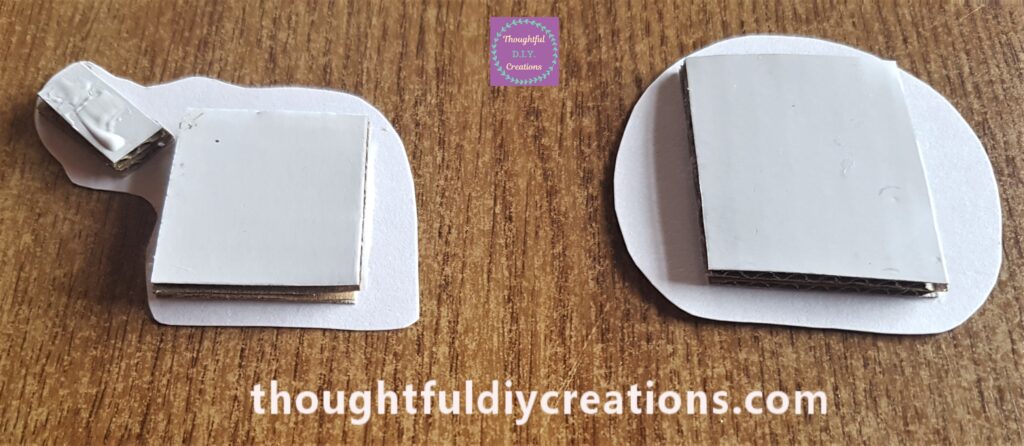
I added glue to the back of the Cardboard and attached the Buddha to the top right hand corner of the Canvas.
I put PVA glue on the back of the Cardboard with a Paintbrush and attached the Elephant to the bottom left hand side of the Canvas.
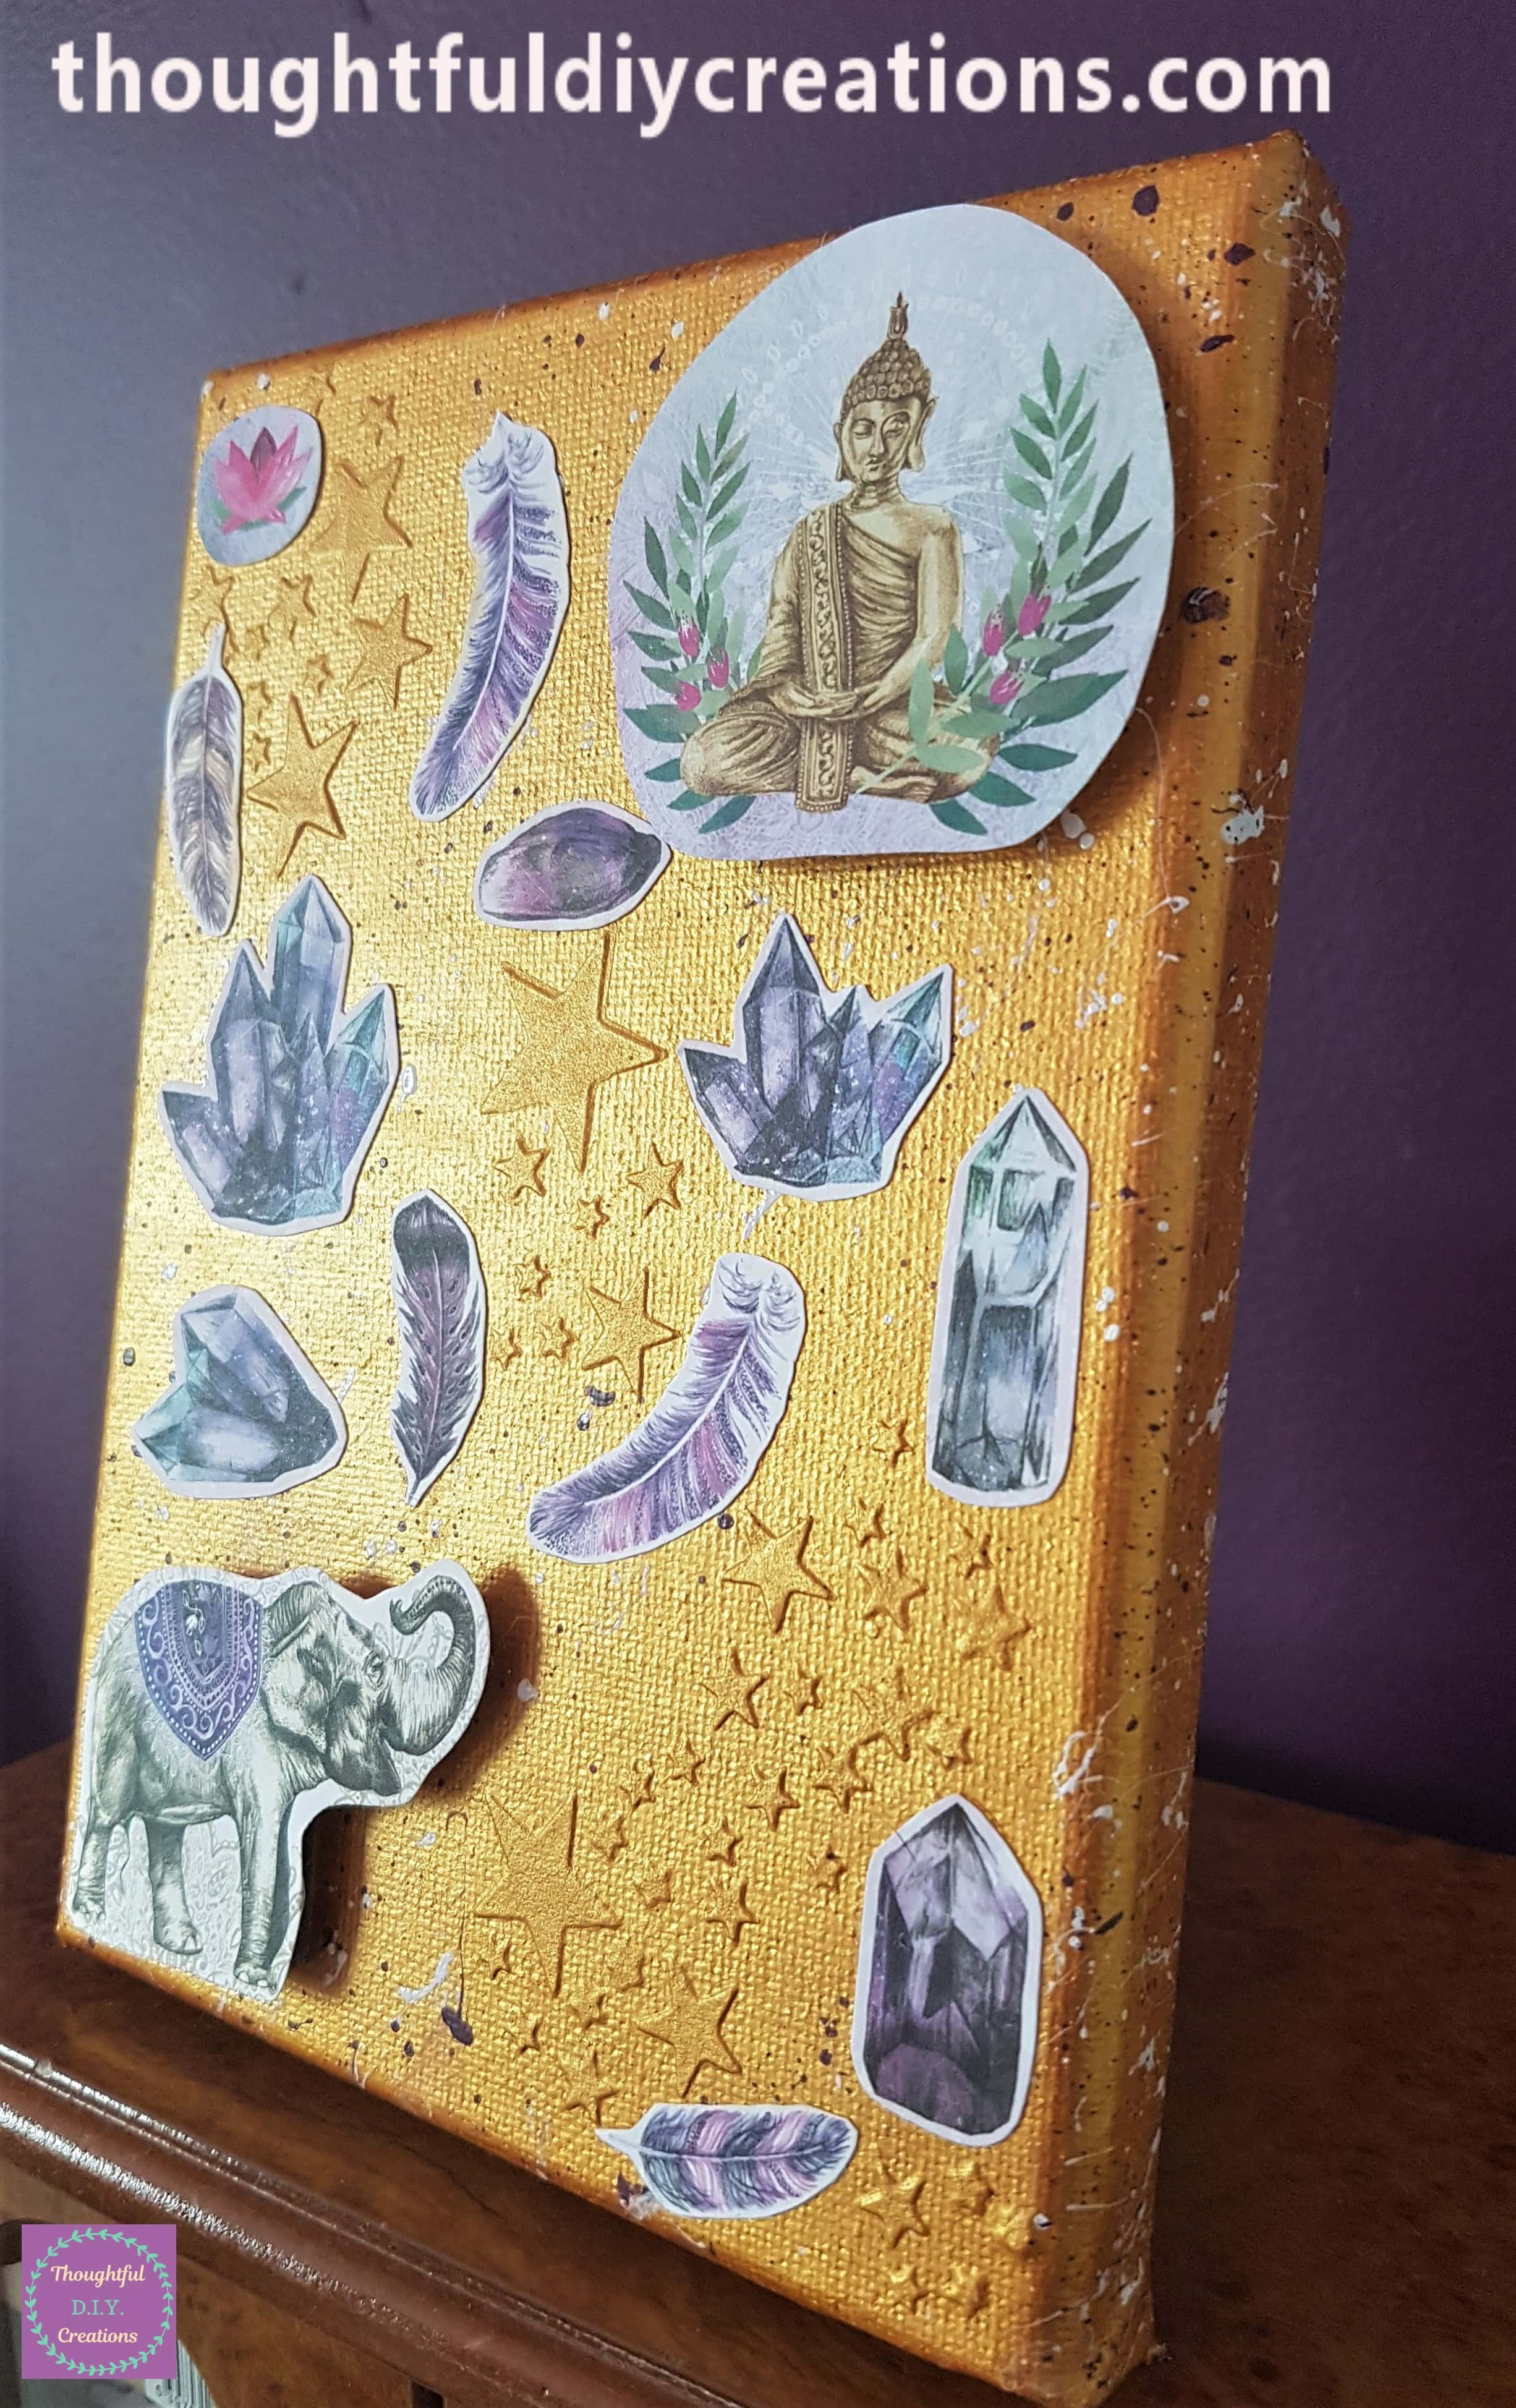
This is a side angle view with the elements attached.
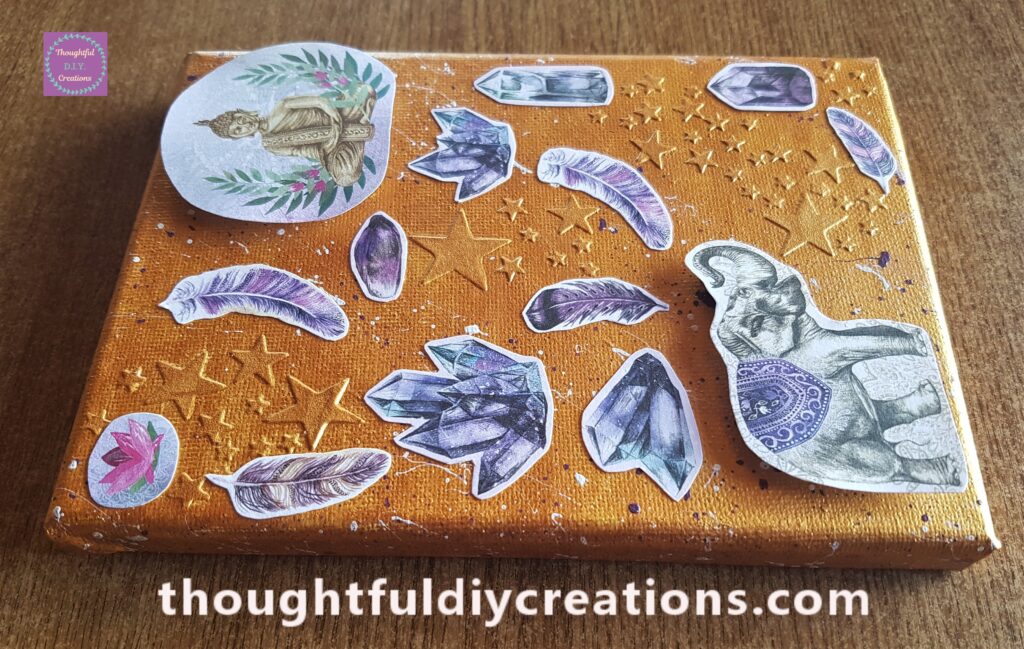
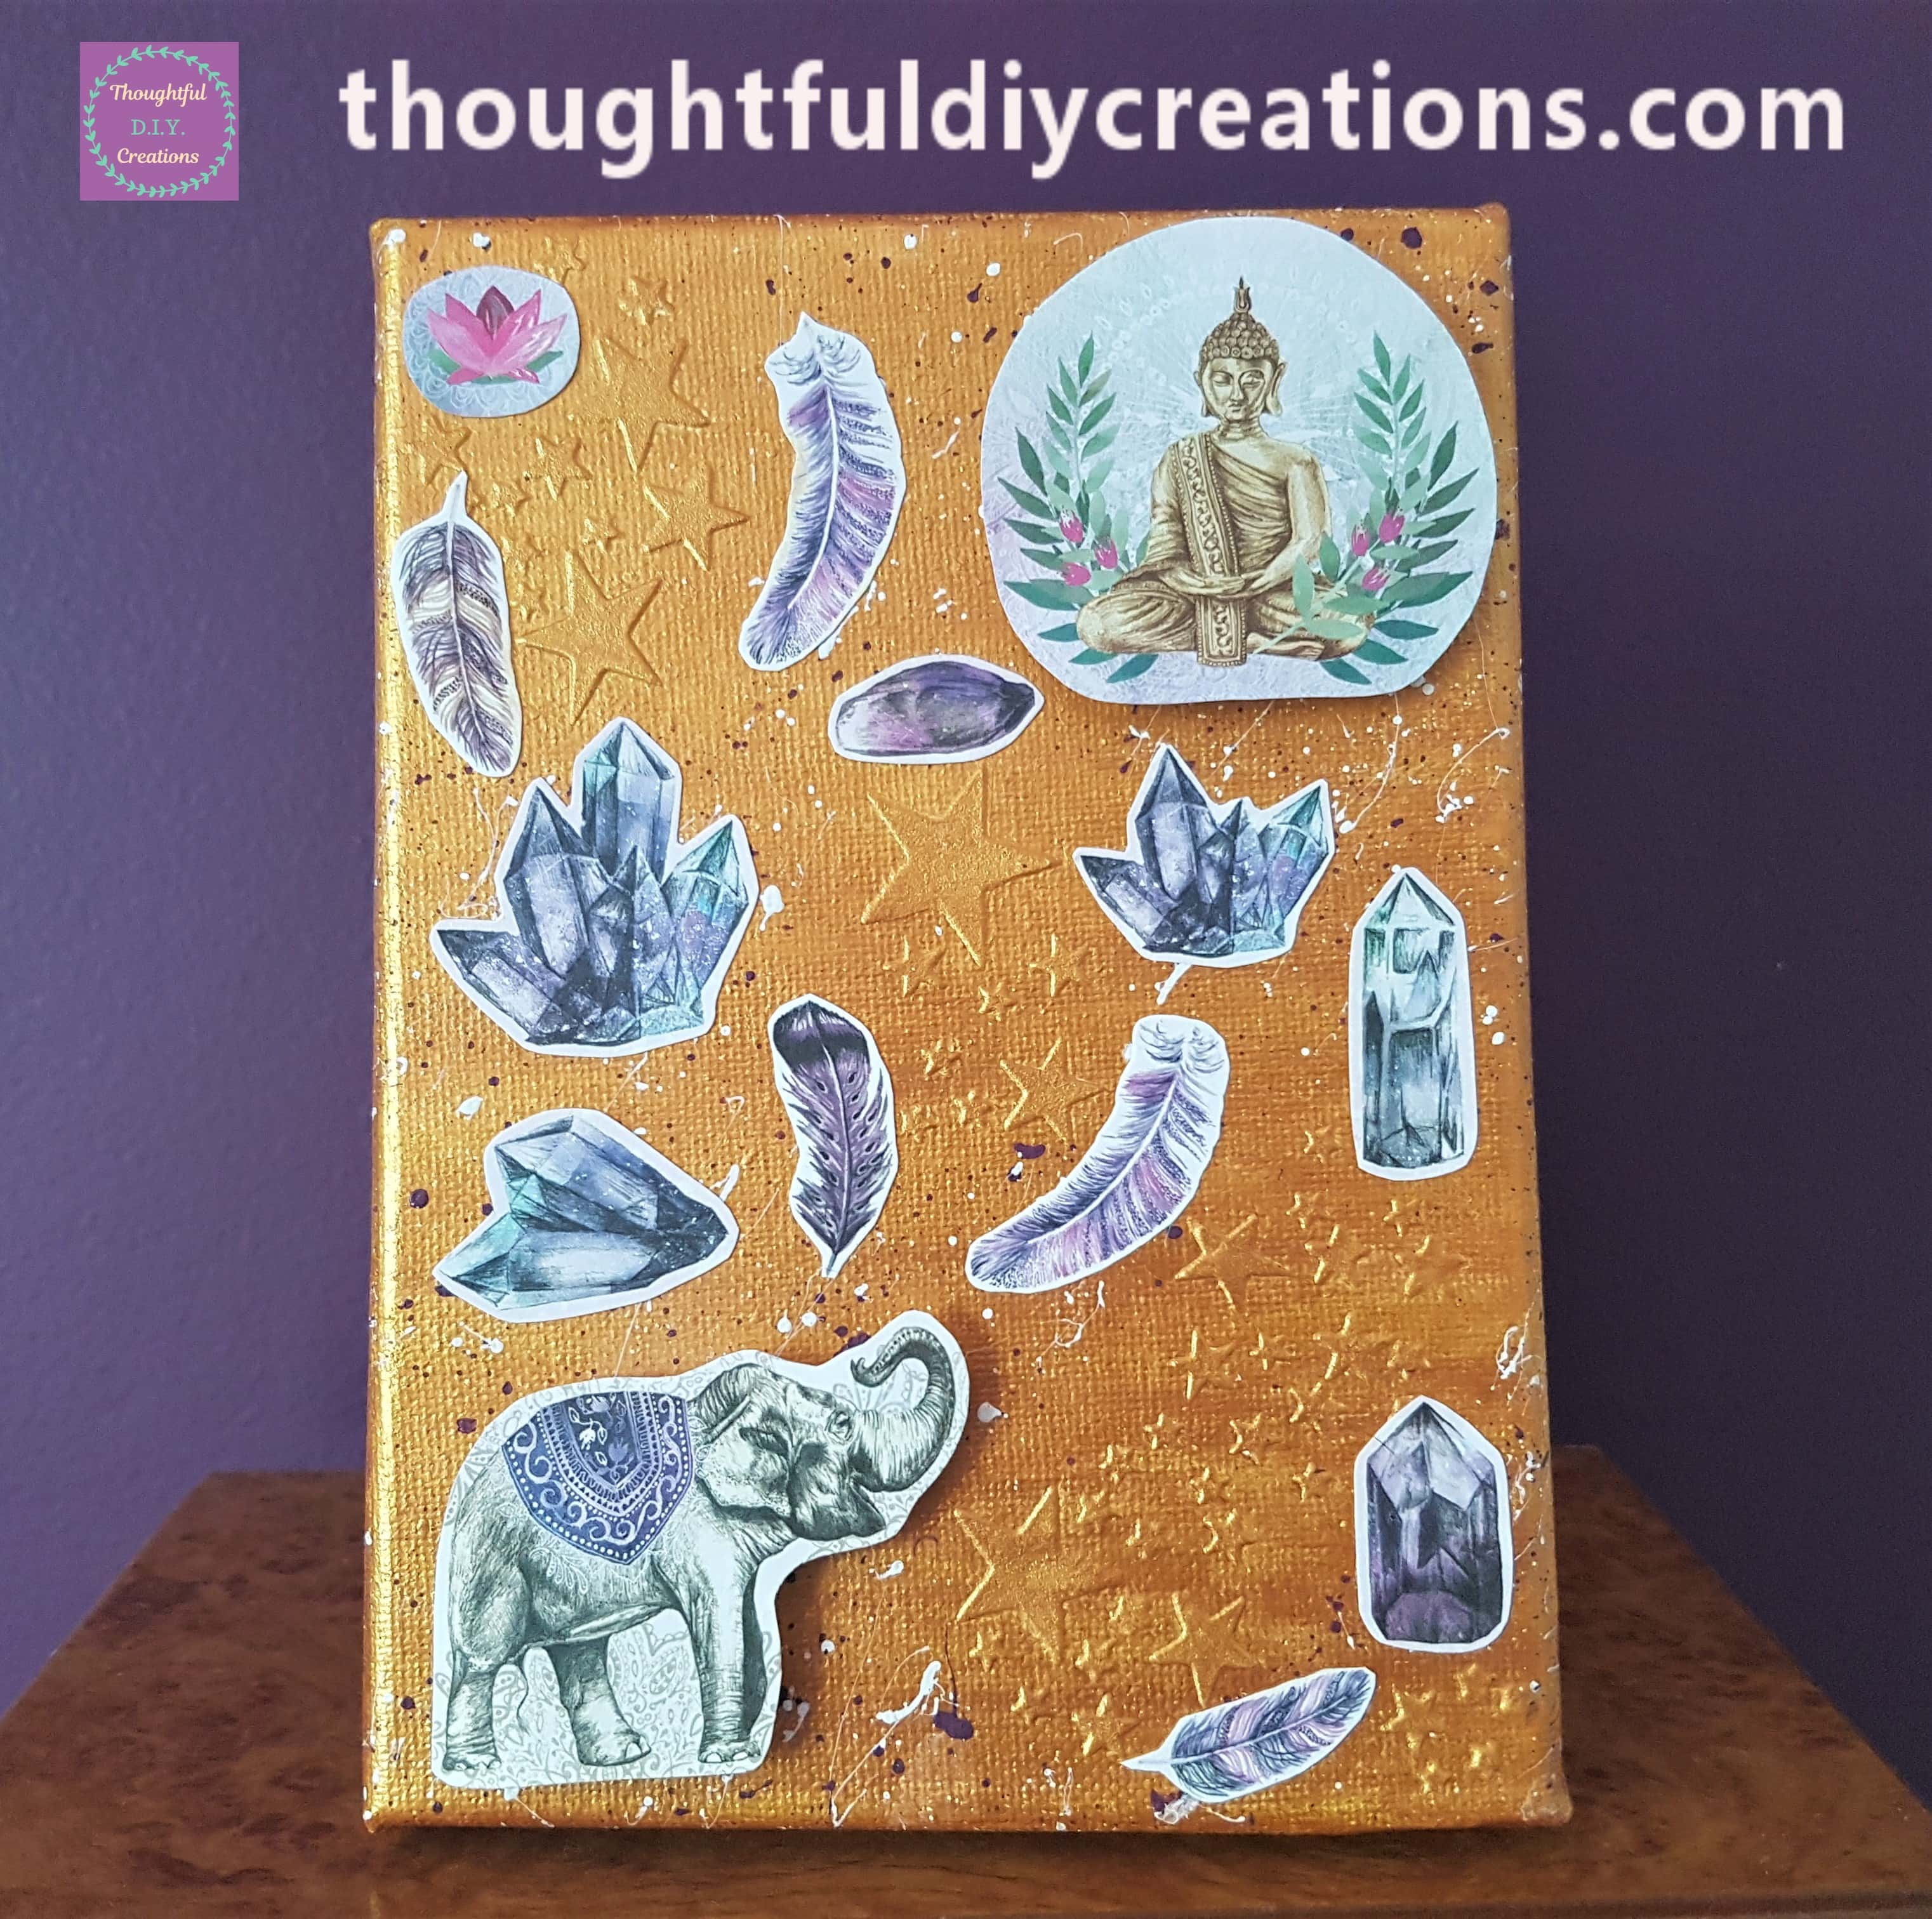
This Completed the Spiritual Canvas.
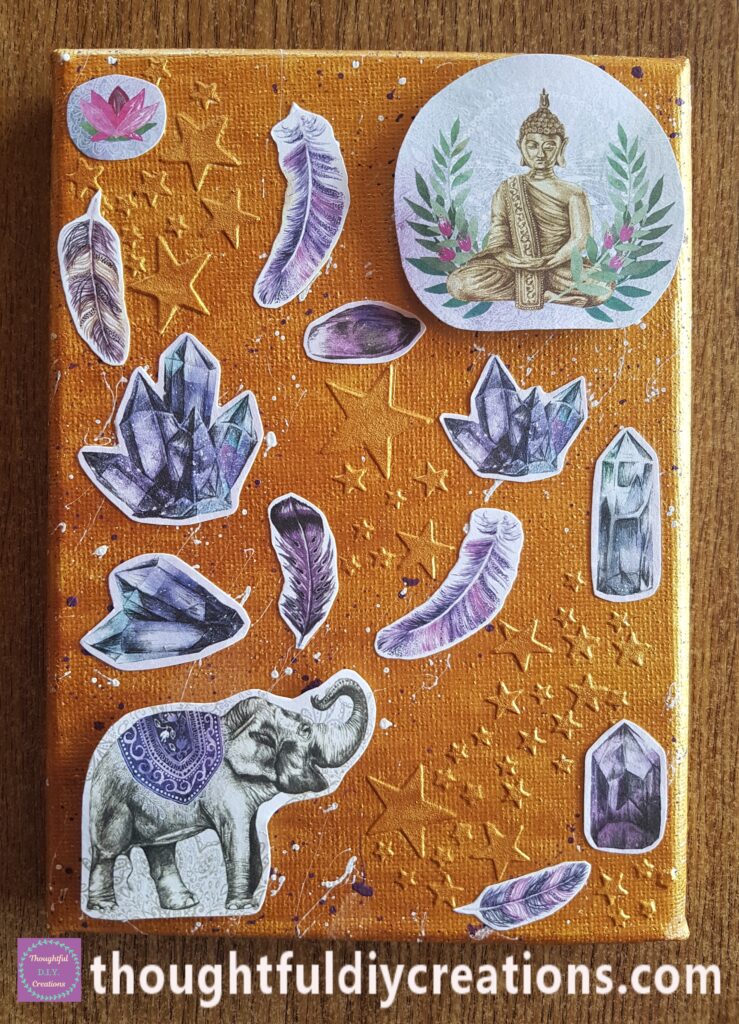
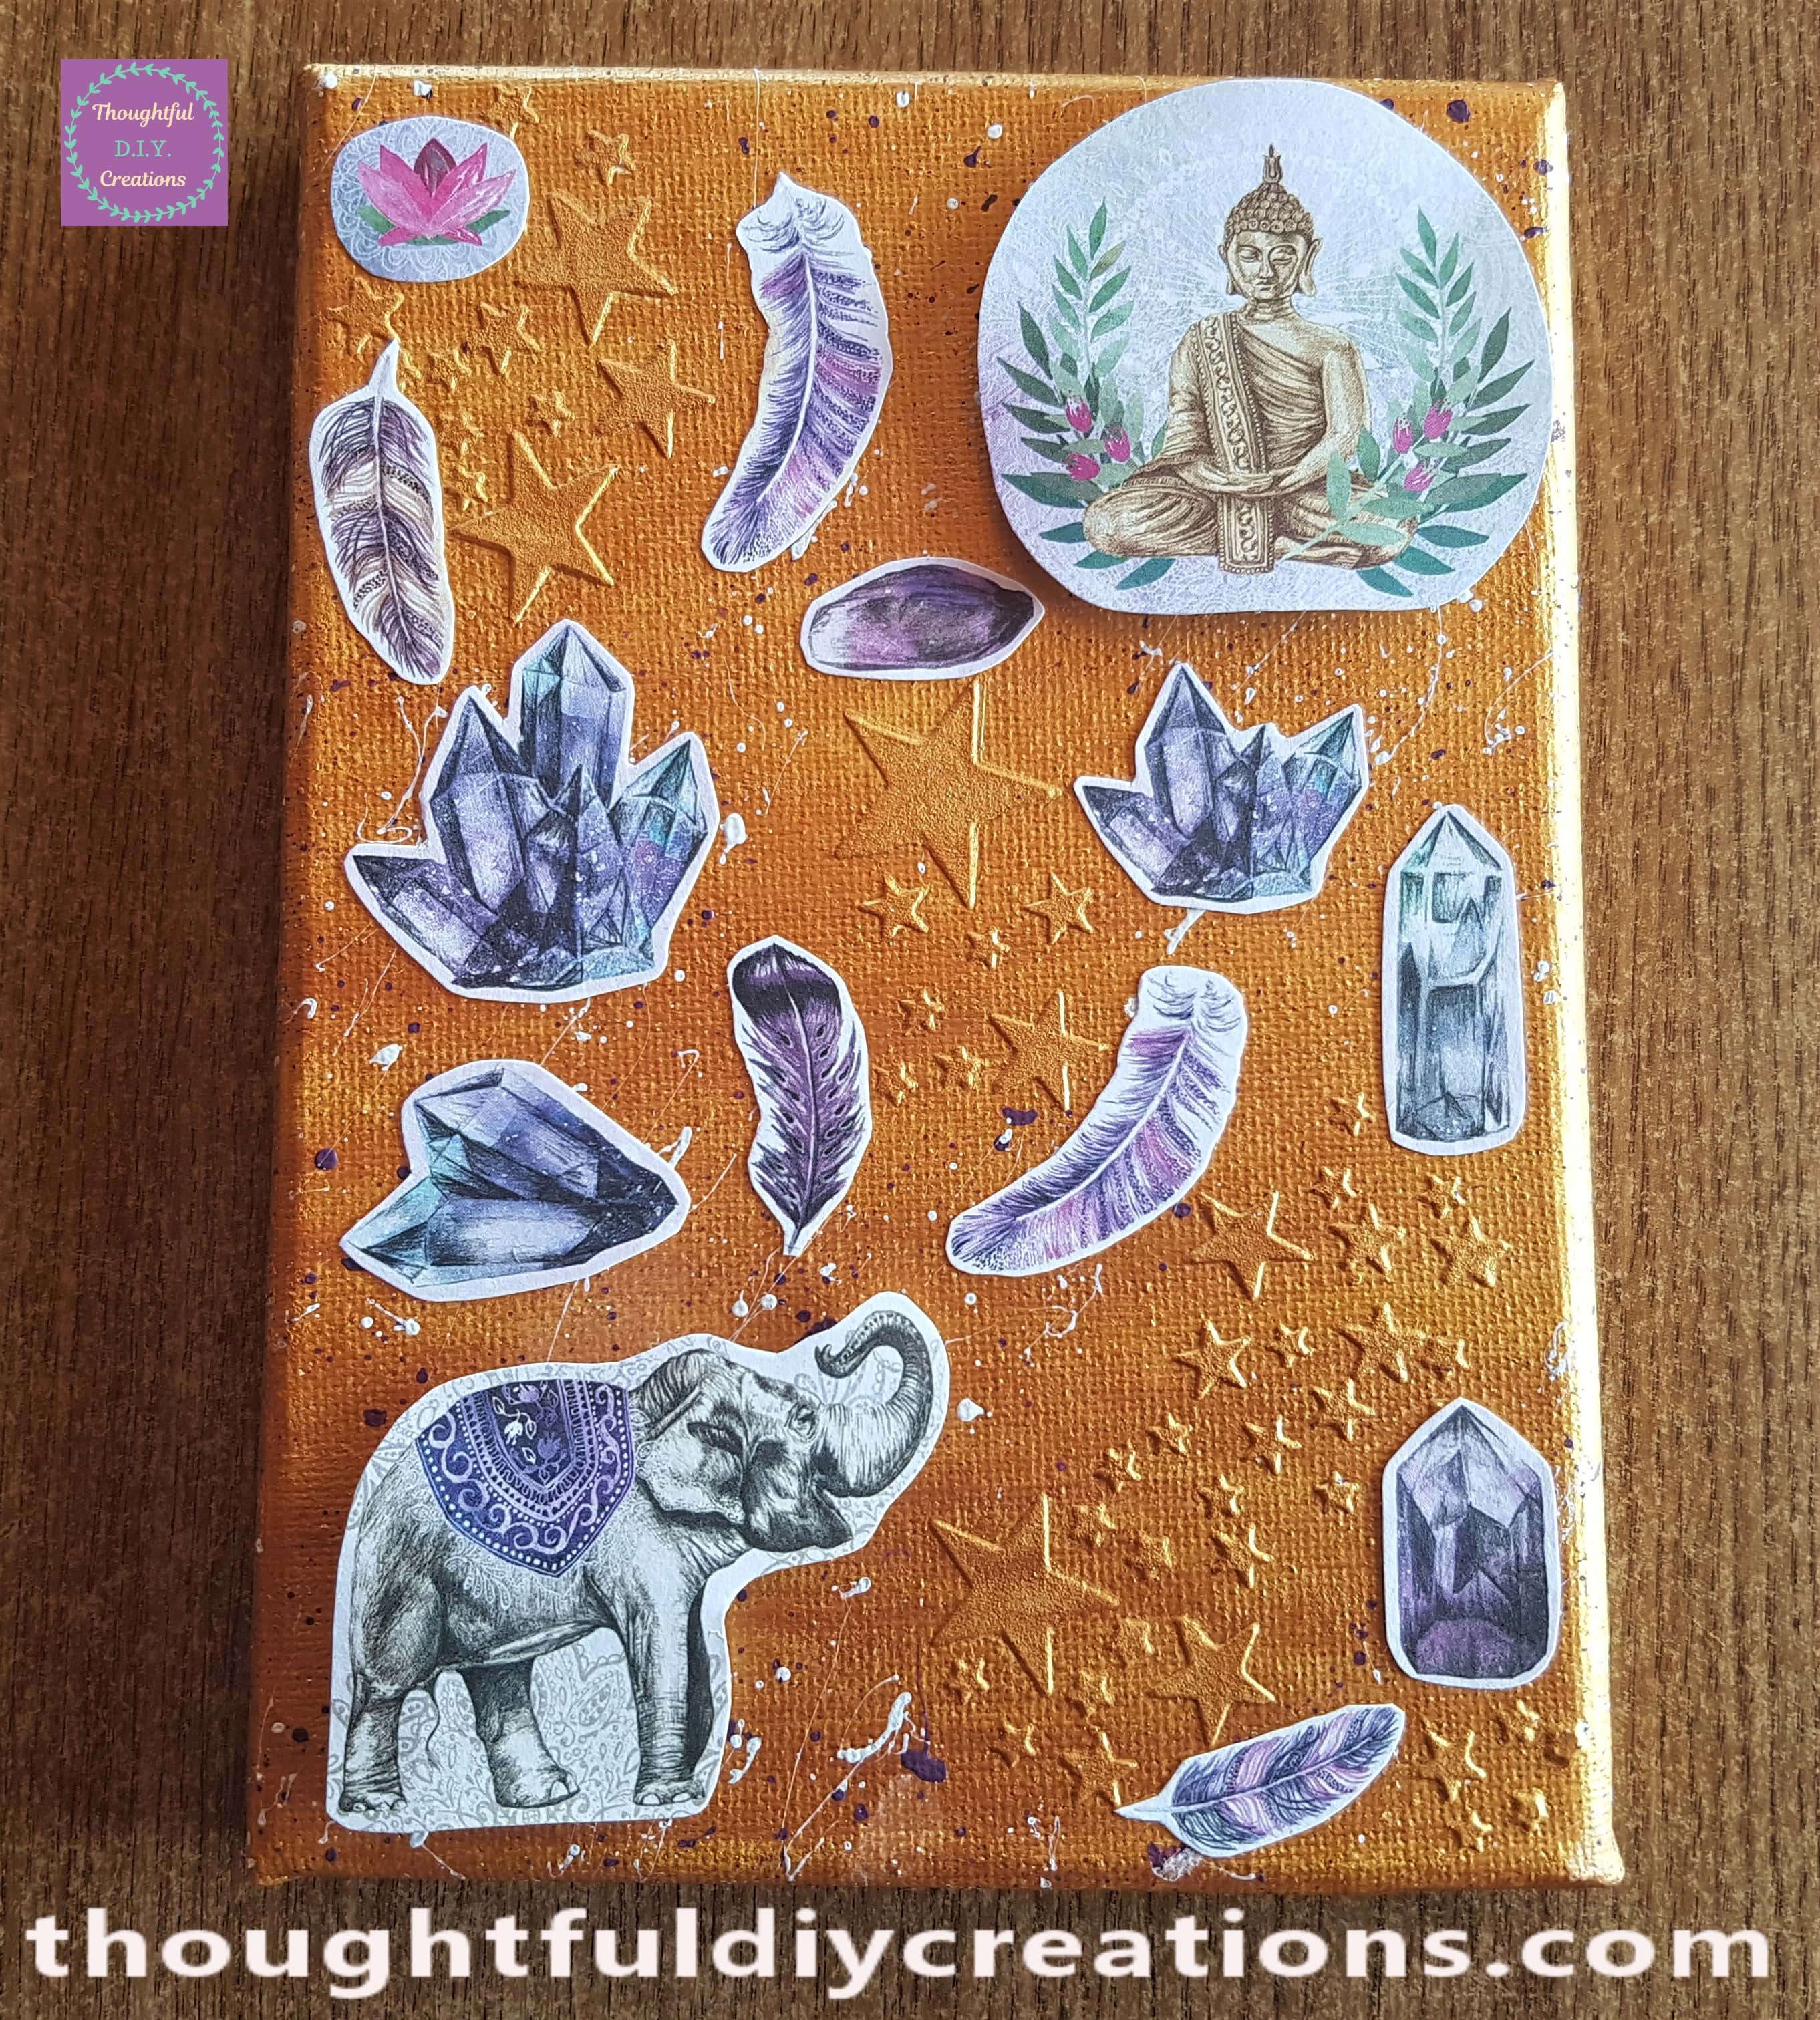
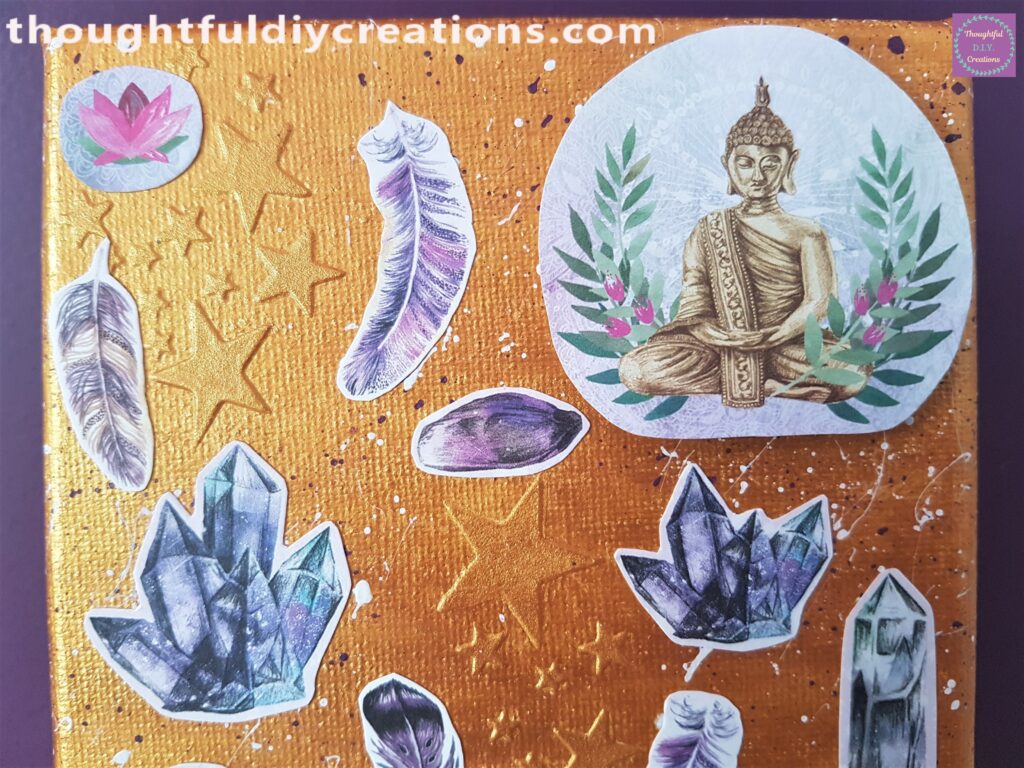
A closer look at the pictures on the Canvas.
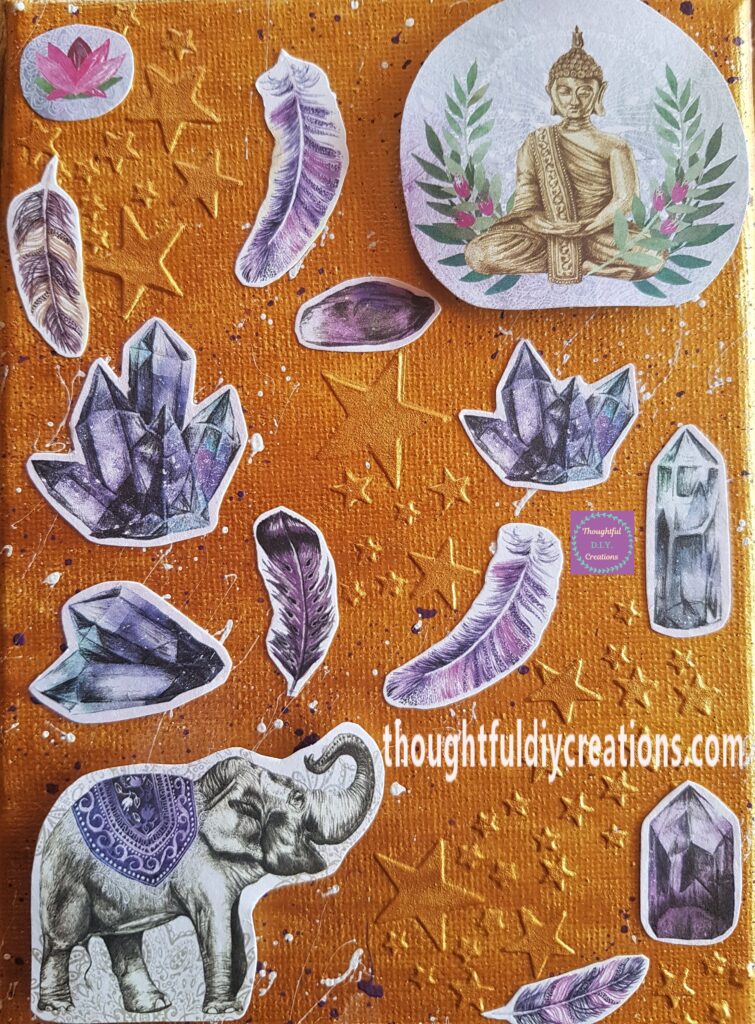
Below is the Spiritual Canvas on Display.
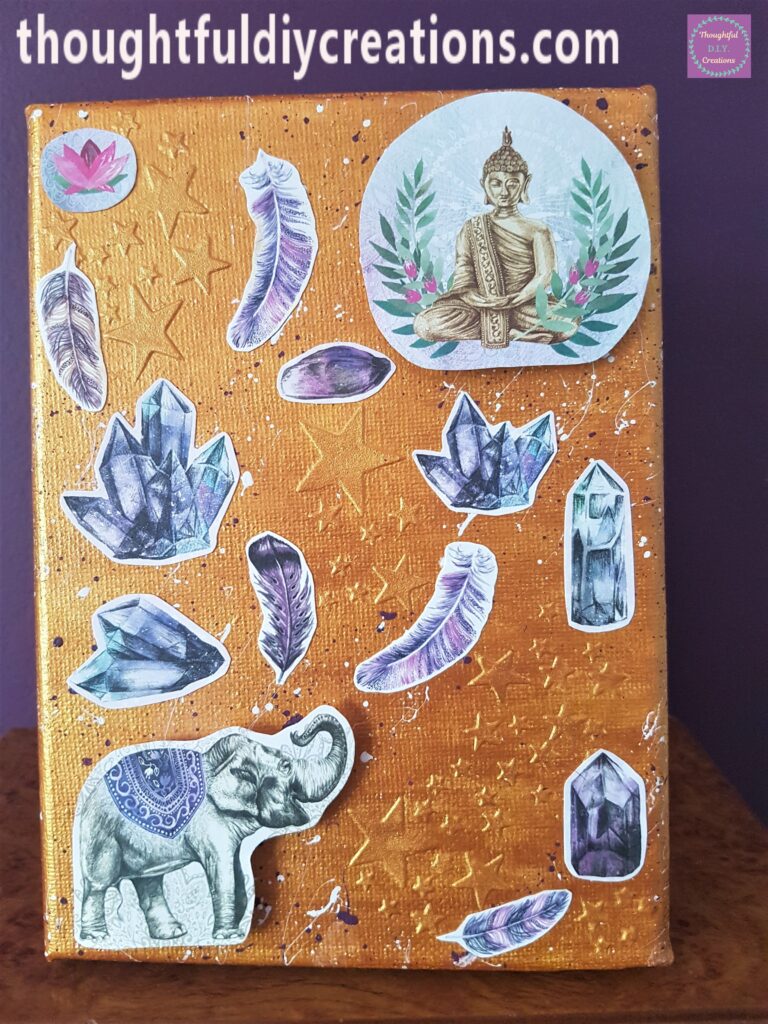
A side angle of the Craft.
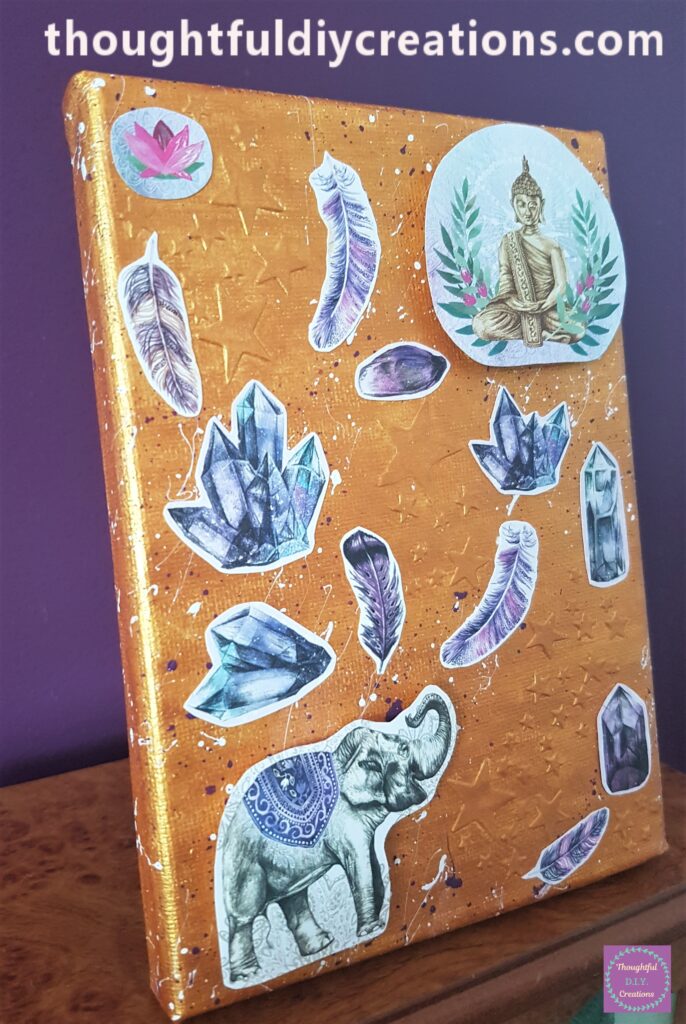
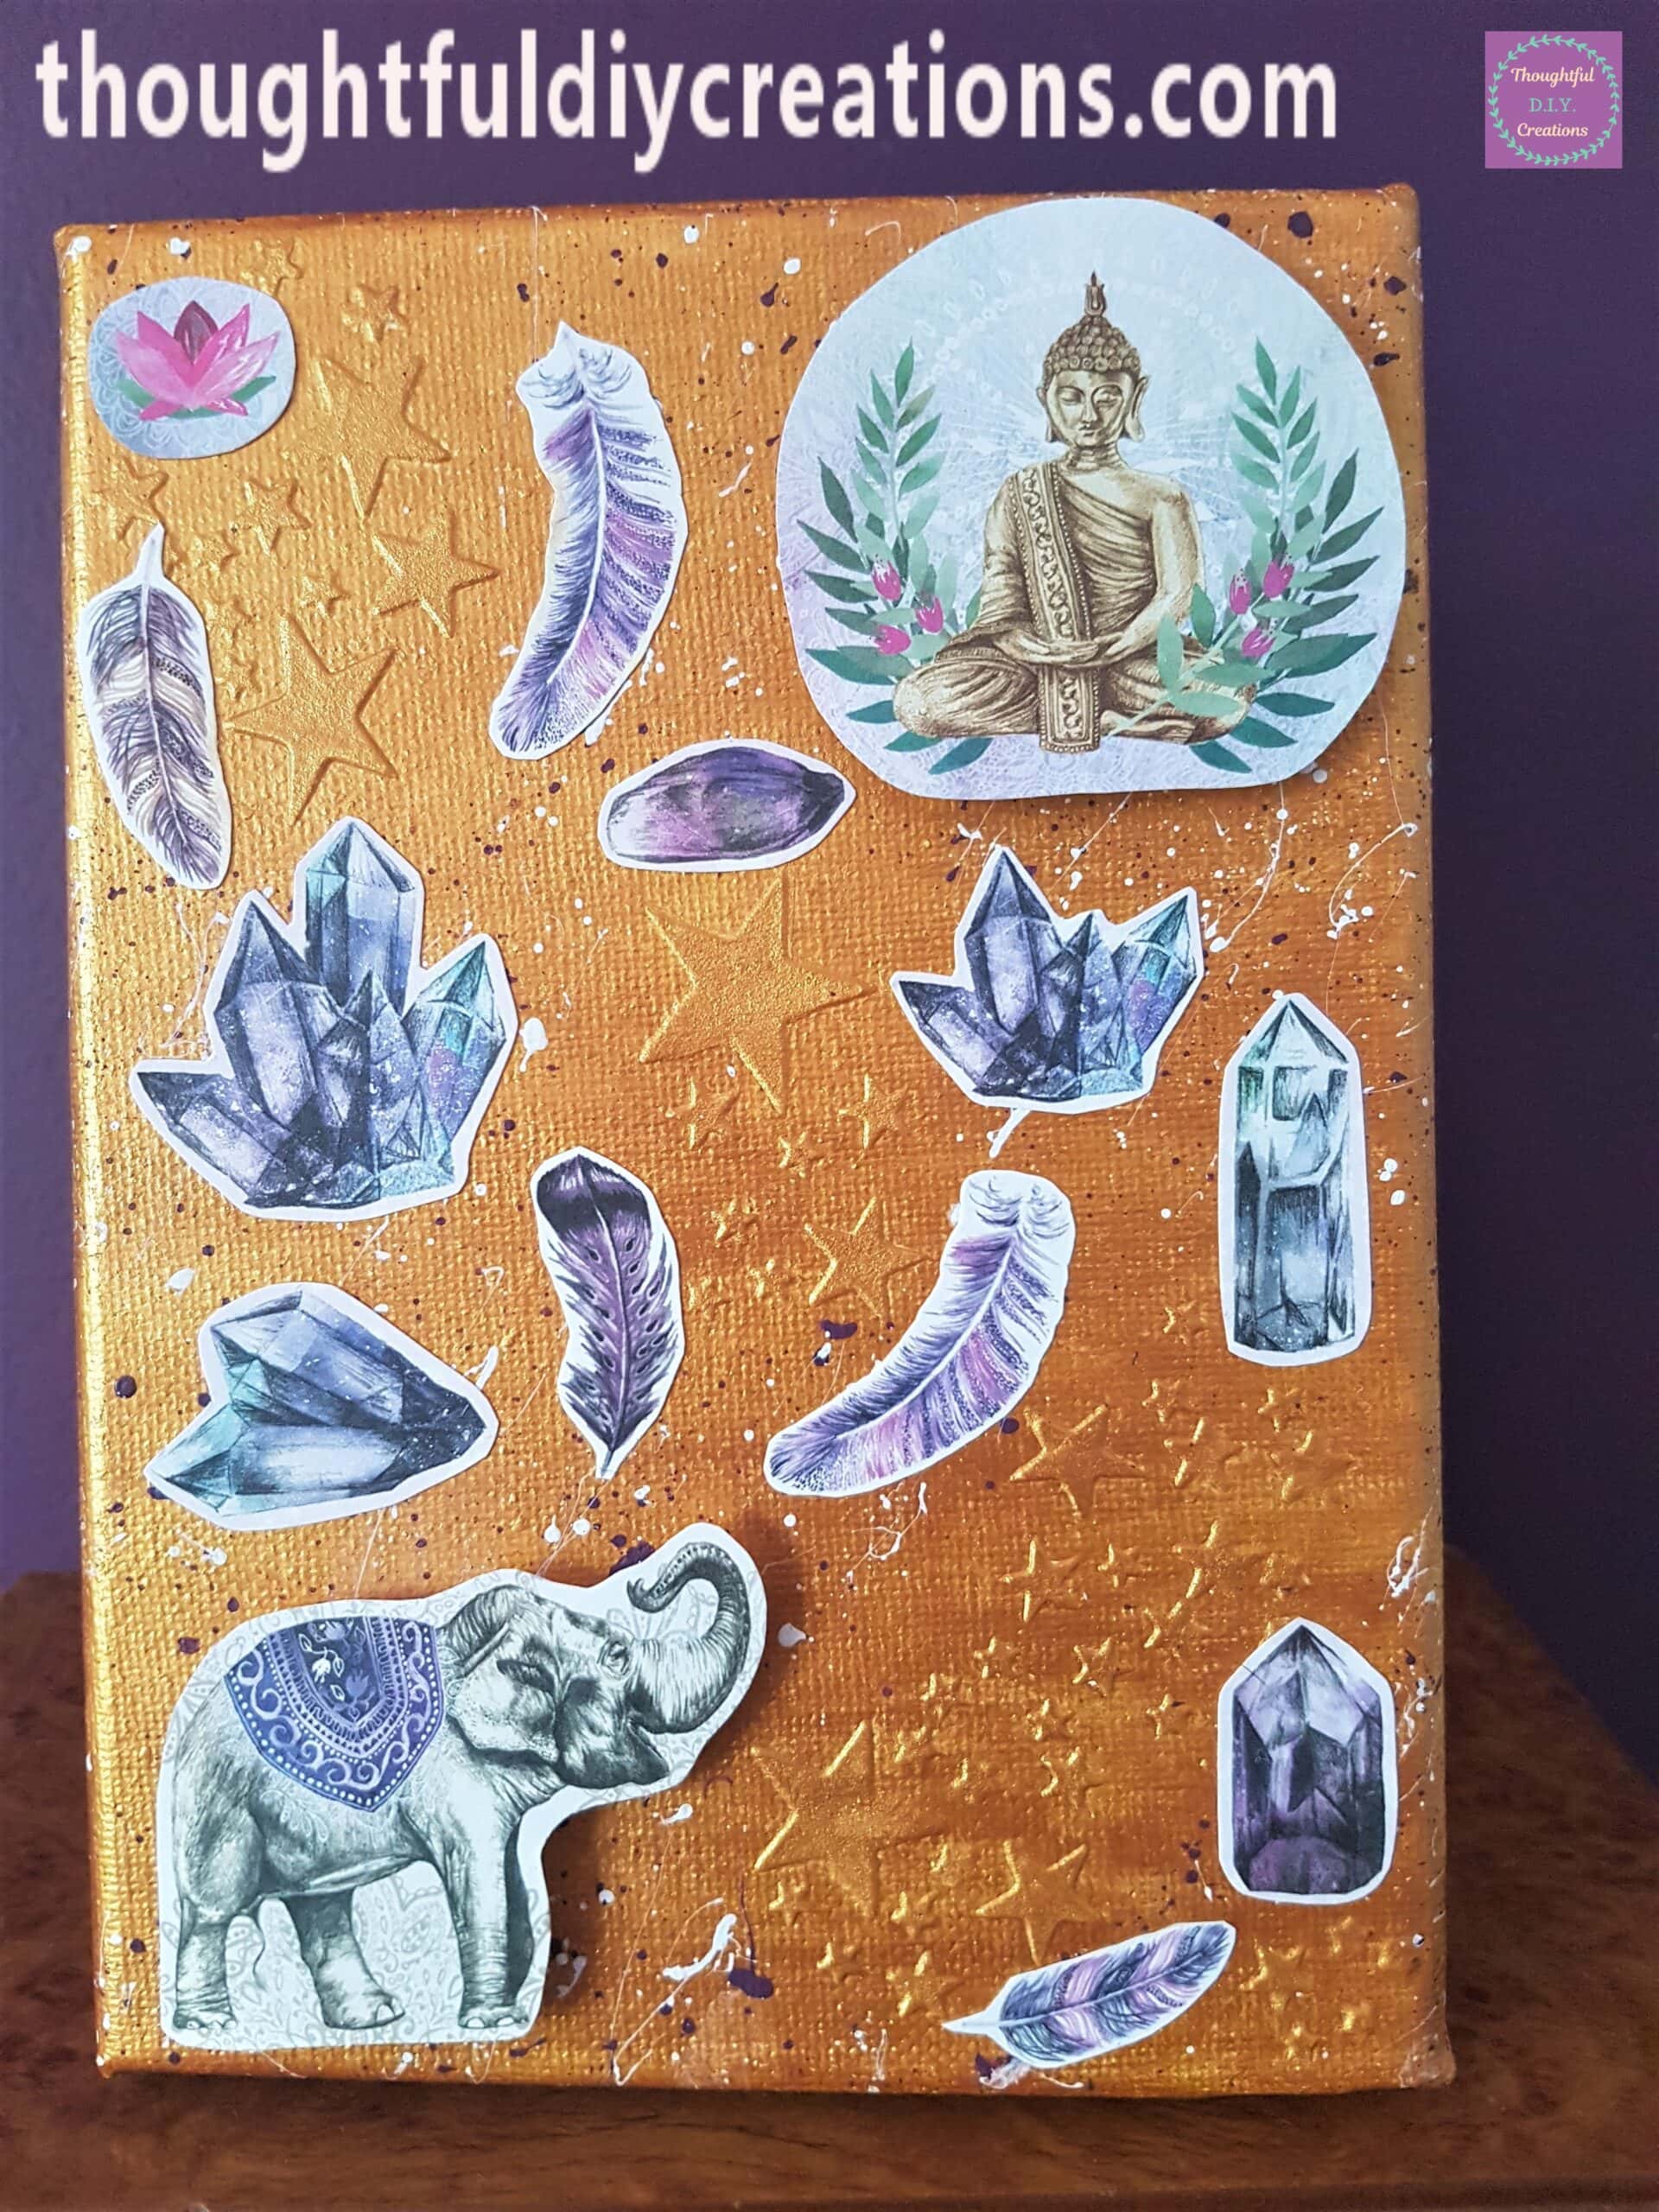
The view of the other side of the Canvas.
The top half of the Canvas.
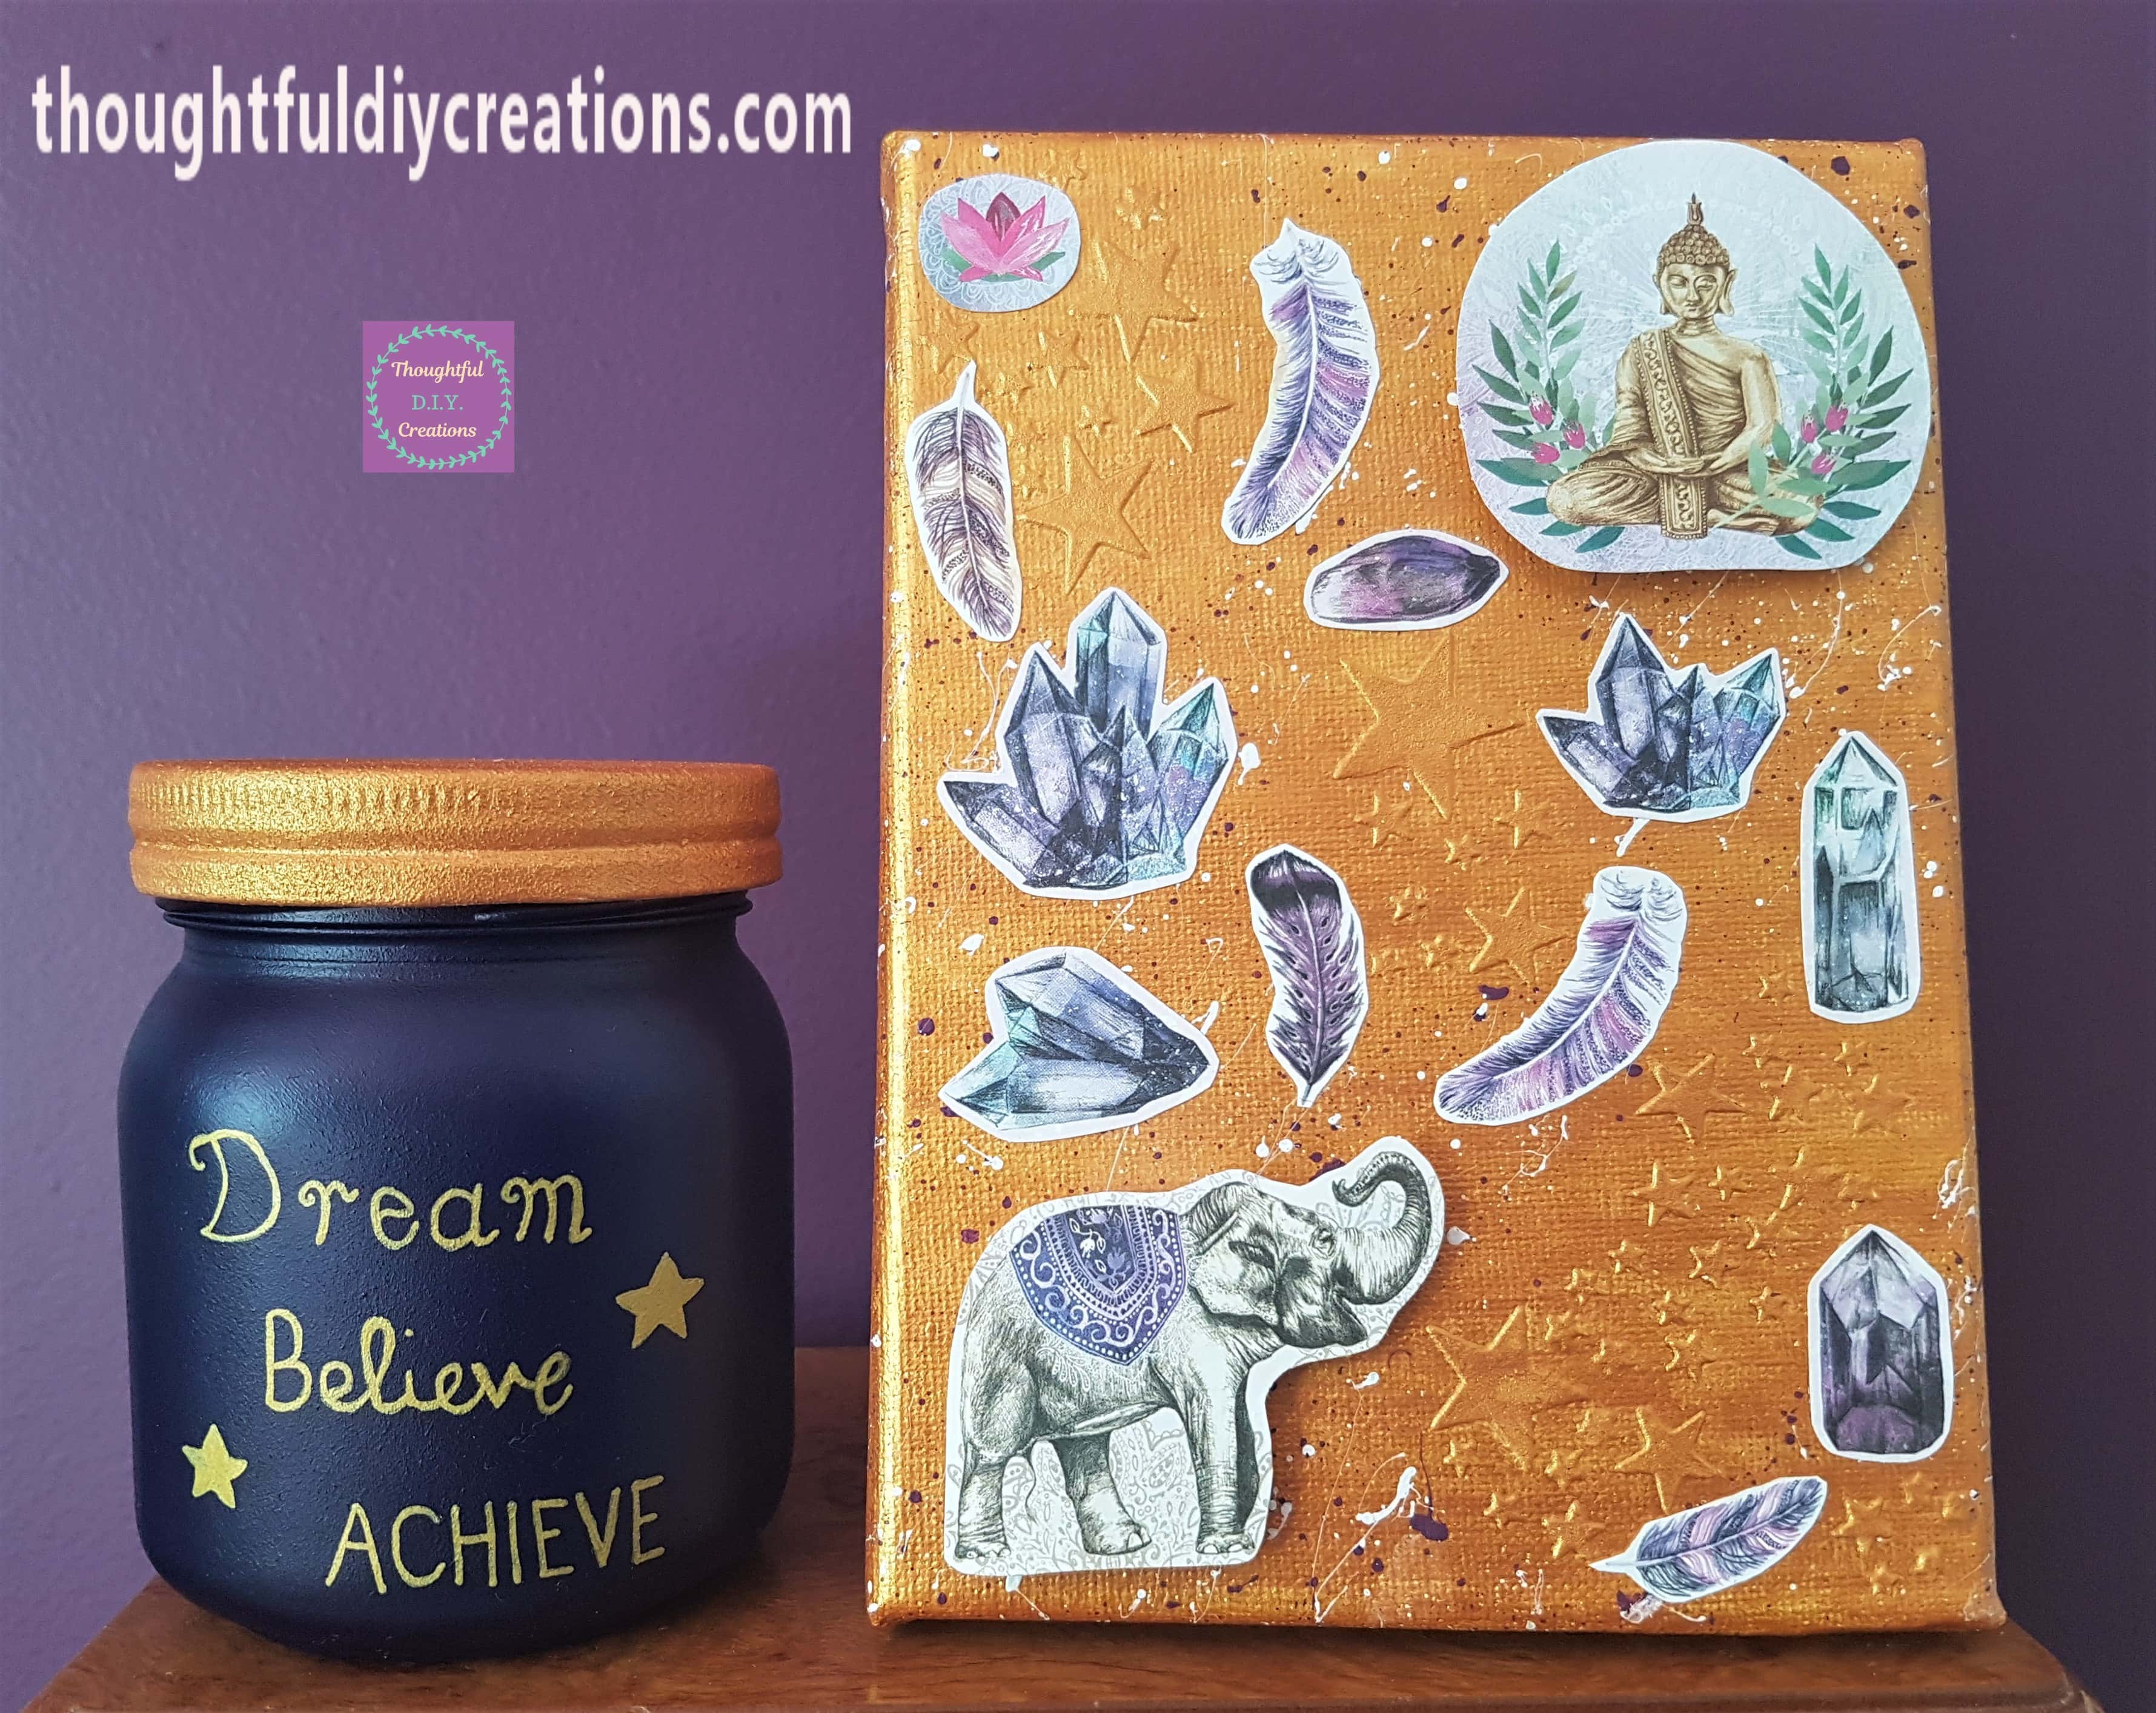
This is the Spiritual Canvas beside the Blue Jar I made a couple of weeks ago.
Conclusion
I am really happy with the outcome of the Spiritual Canvas. I wasn’t sure after I added the Gold Paint, it didn’t seem to look that nice but I persevered as I loved the effect of the Modeling Paste for the Stars and I think I turned it around. I hope it inspires you to keep going if you make a mistake or if it isn’t turning out how you had envisioned to not give up as you can overturn the result.
I love the Paper Pad, the images are such good quality, and there is great variety of pictures to choose from. It can be bought in different Sizes making it versatile for making Cards, Tags, or bigger projects such as Scrapbook Layouts, Canvases or Frames.
This is the perfect Craft or D.I.Y. Gift Idea for anyone Spiritual. It would be great on the Wall or on a Console Table in your entryway to encourage Positive Vibes and good Feng Shui to enter your Home.
I love how calm and relaxed the Buddha appears in the picture and positive images can have a calming effect on our Mood. They can remind us to slow down, breathe and take things one step at a time. Elephants are a symbol of good luck, wisdom, and protection. An elephant with it’s trunk raised in the air is thought to attract good fortune. It is a great image to have in your Home or Office to encourage Prosperity.
Crystals are known for their transformative, healing benefits, if you want to improve any area in your life such as Confidence, Career, Love, Relationships or Money; there is a crystal that will help to enhance that area.
Many people love Feathers and can associate them with a message from a loved one who has passed away. They can turn up in the most random places and often at times when you are feeling down and in need of a boost or when you need confirmation that you are on the right track. They can hold a loving, peaceful feeling that everything will be ok and to keep going. Feather Canvas Tutorial
I hope this Spiritual Canvas Tutorial was beneficial and you learned something new. If you have any questions or anything to add on the topic just fill out the Comment Box below and I’ll get back to you as soon as I can.
Thank you so much for taking the time to Read my Blog.
Always Grateful,
T.D.C.
xoxox

-0 Comment-