Spray Paint Buddha Transformation
Hello my Creative Friends,
I hope you are all well. In Today’s Tutorial I will show you how I transformed a Buddha Statue with just a can of Spray Paint. I hope it provides you with some Creative ideas for changing the appearance of something you already have and give it a new lease of life.
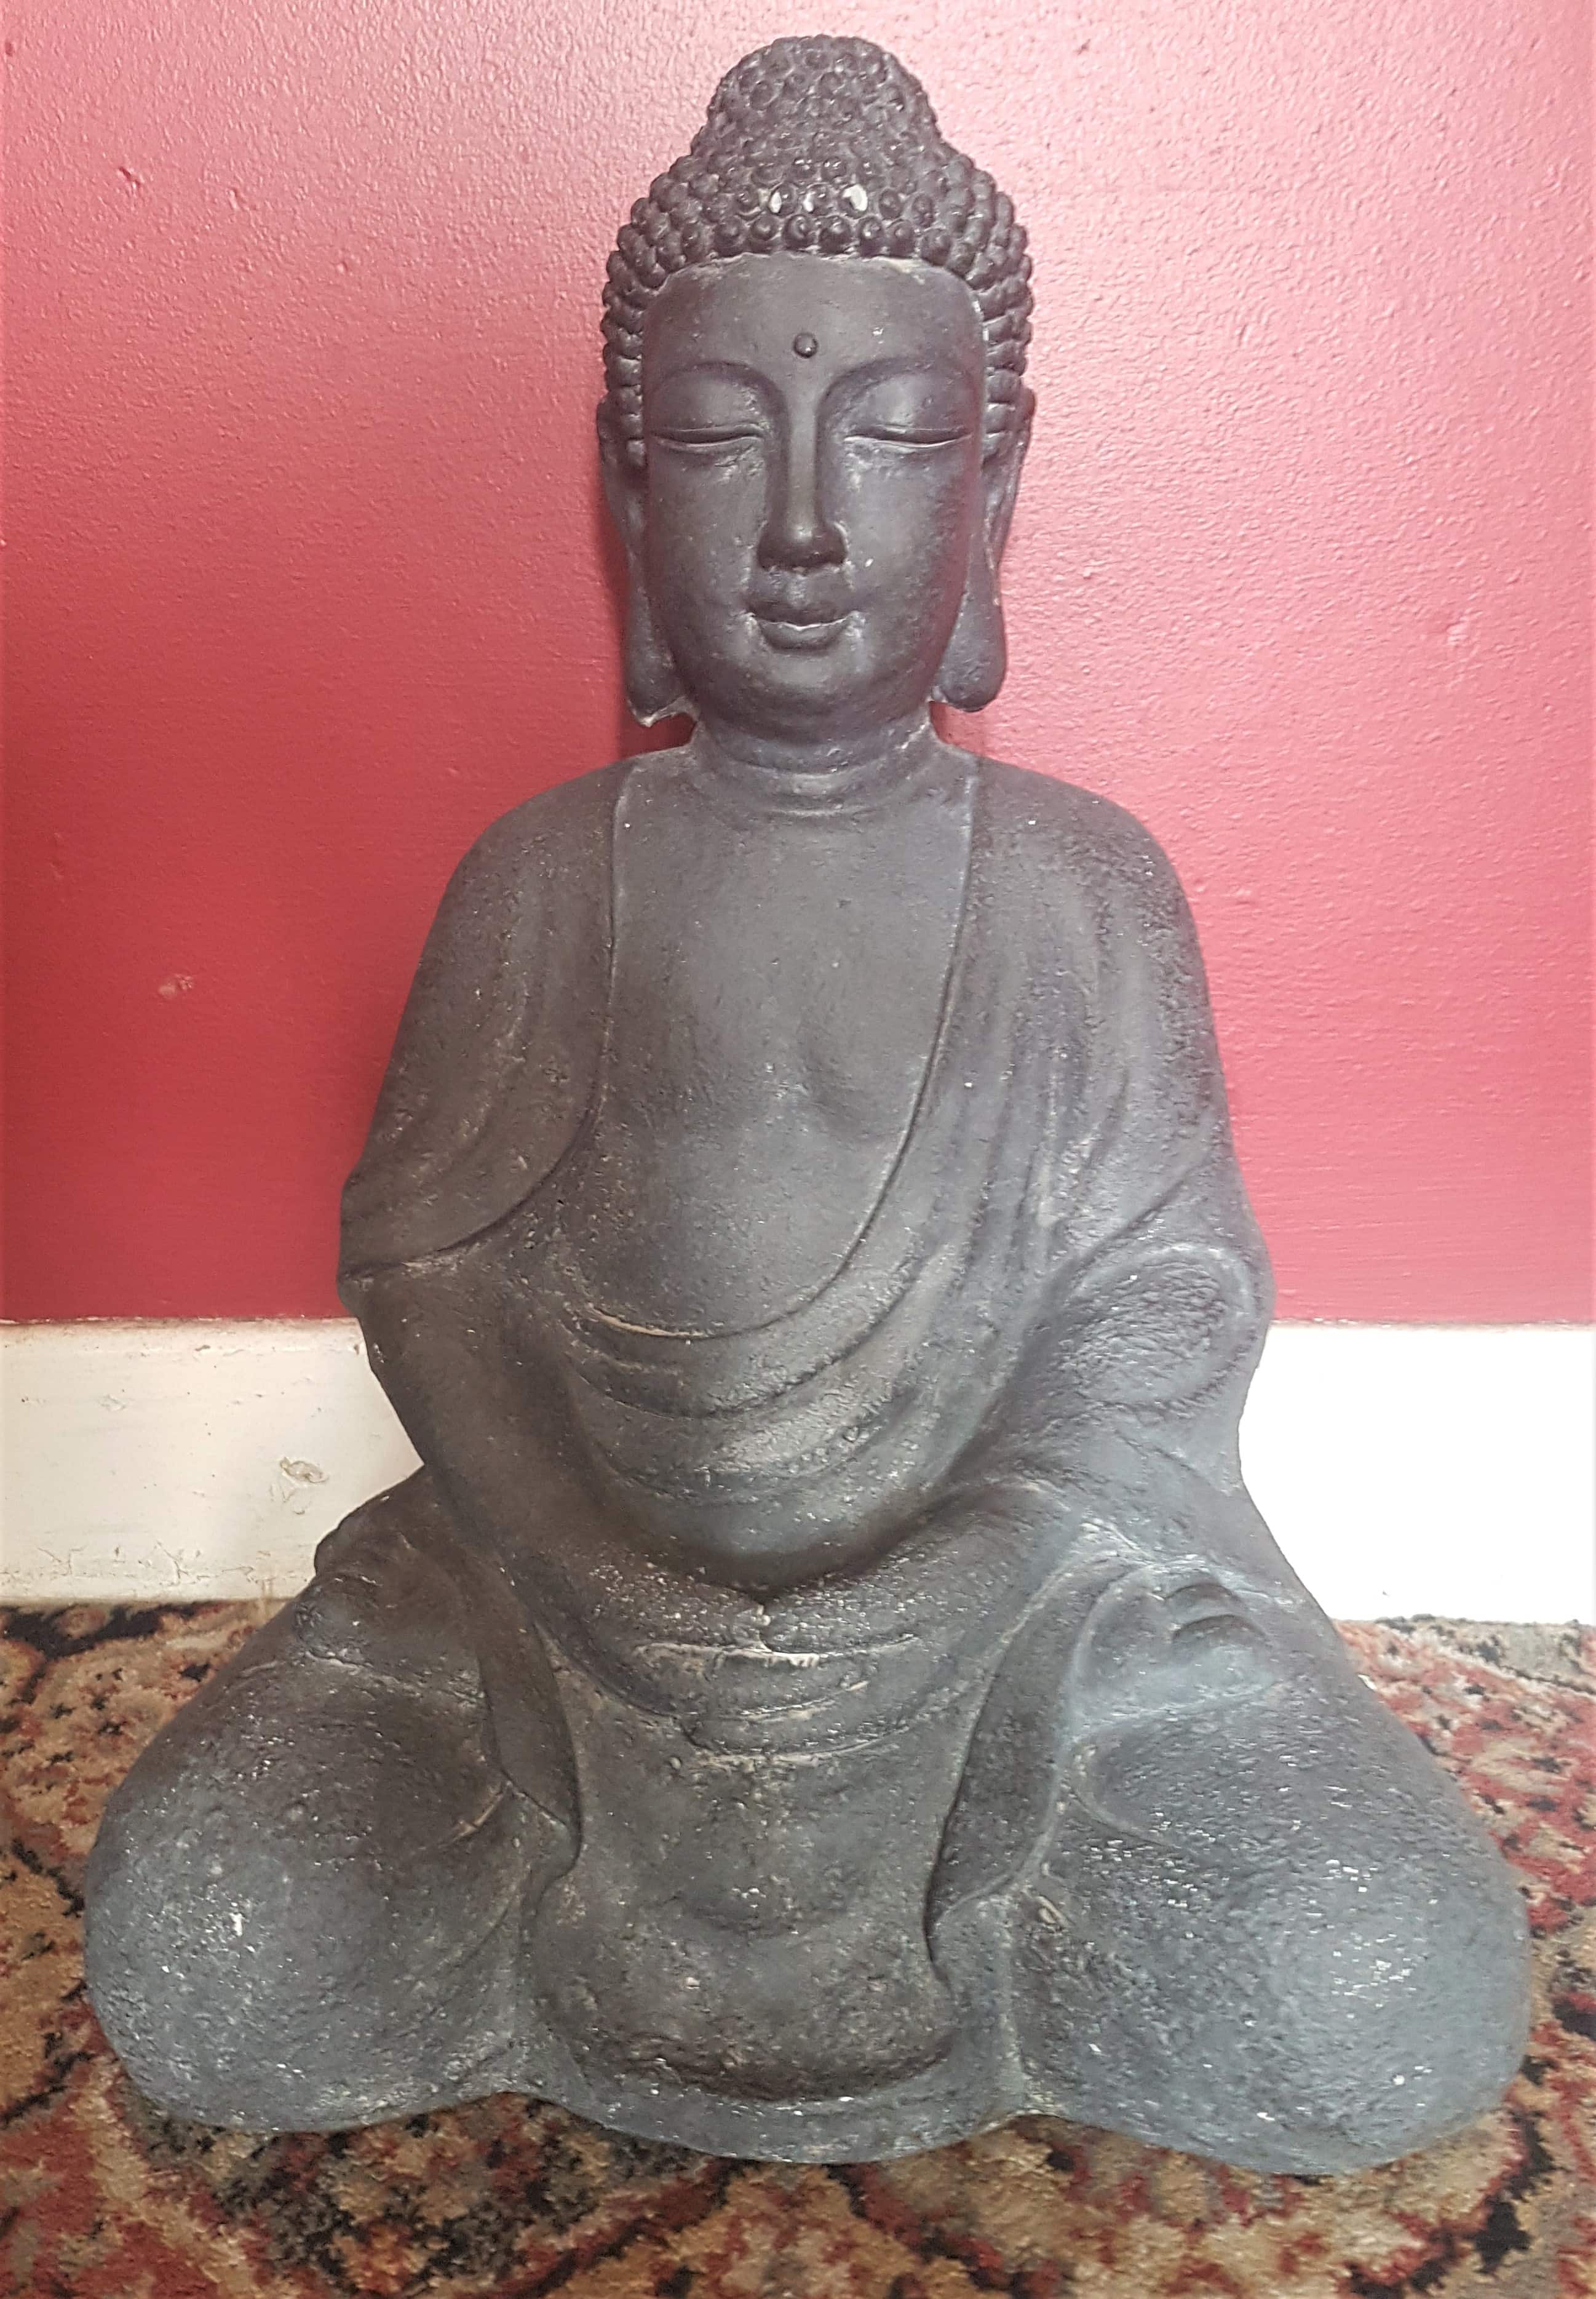
Buddha Before Spray Paint
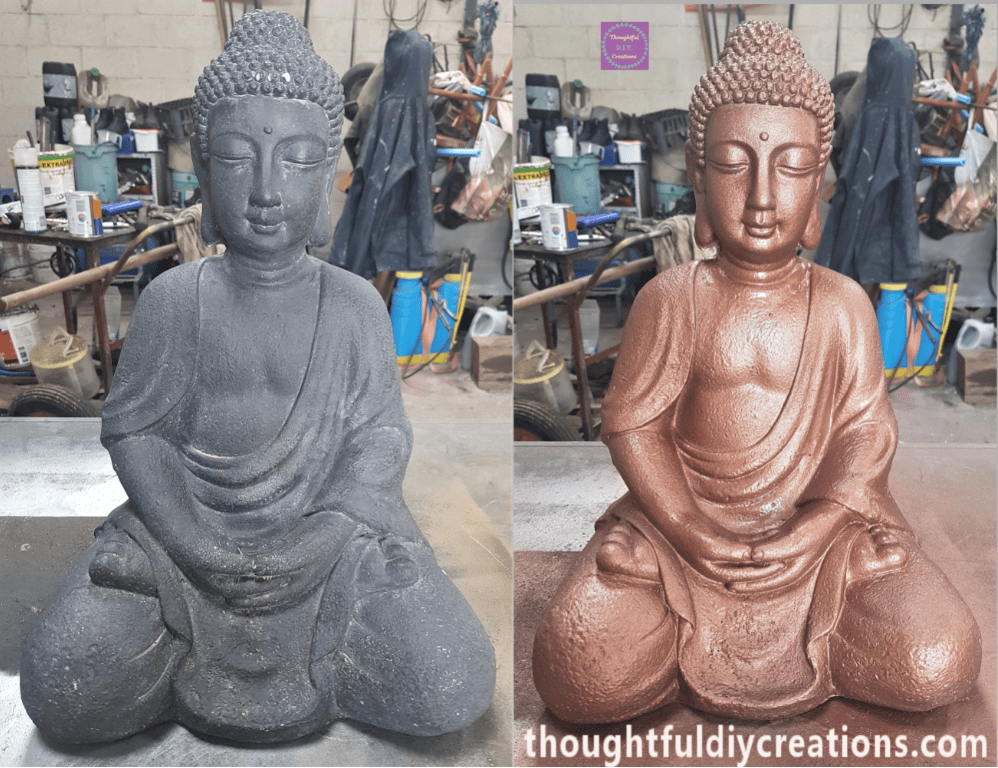
My Mam had a Grey Buddha Statue for a few years. She loved it but thought it could look even nicer if it was a Gold / Bronze Colour. We went shopping (pre – Covid 19) and picked out a Can of Spray Paint. This is how the Buddha looked Before being transformed.
Buddha After being Washed
I washed the Buddha with a Cloth and Hot Water to remove any visible dirt and residue that had built up over the last few years. I let it air-dry.
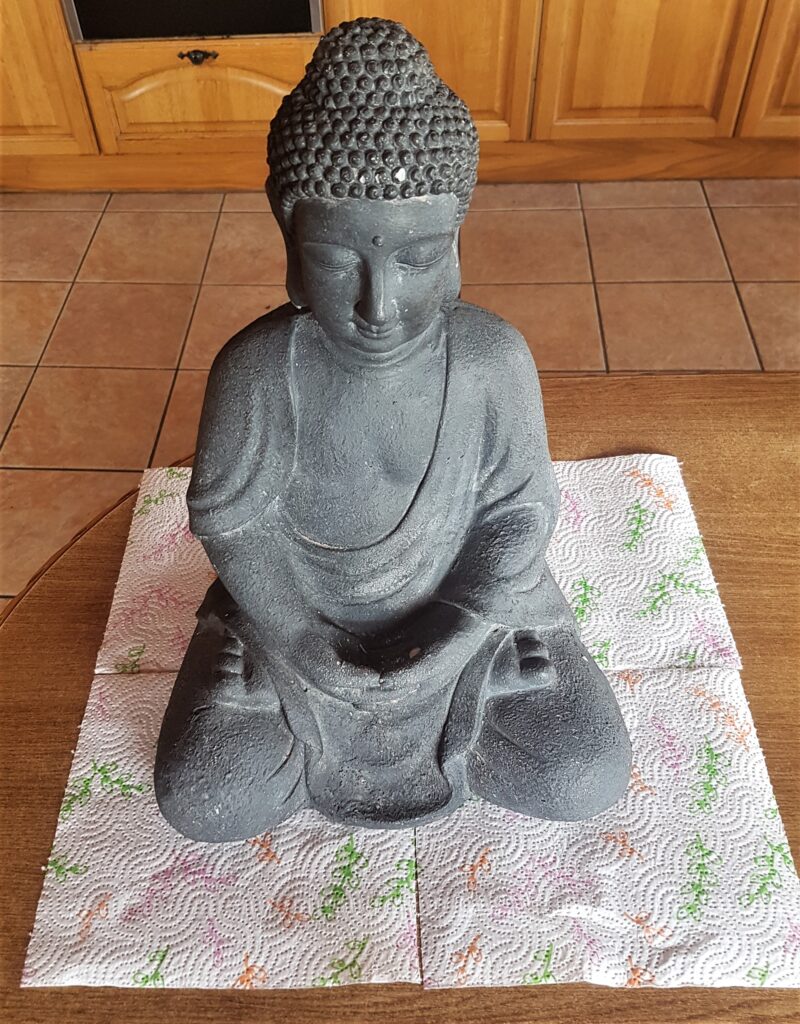
This is a closer look at how the Buddha looks after being washed.
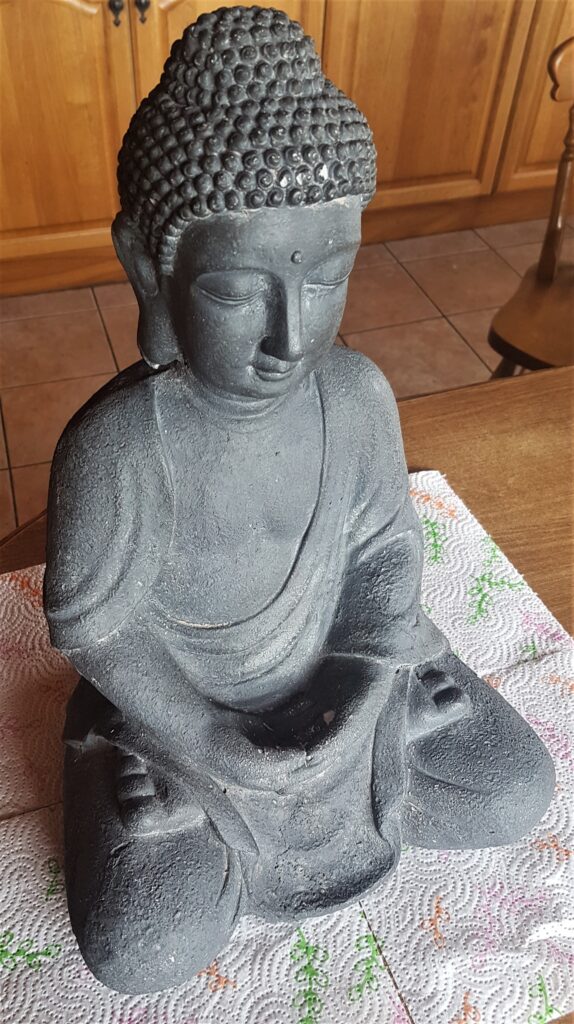
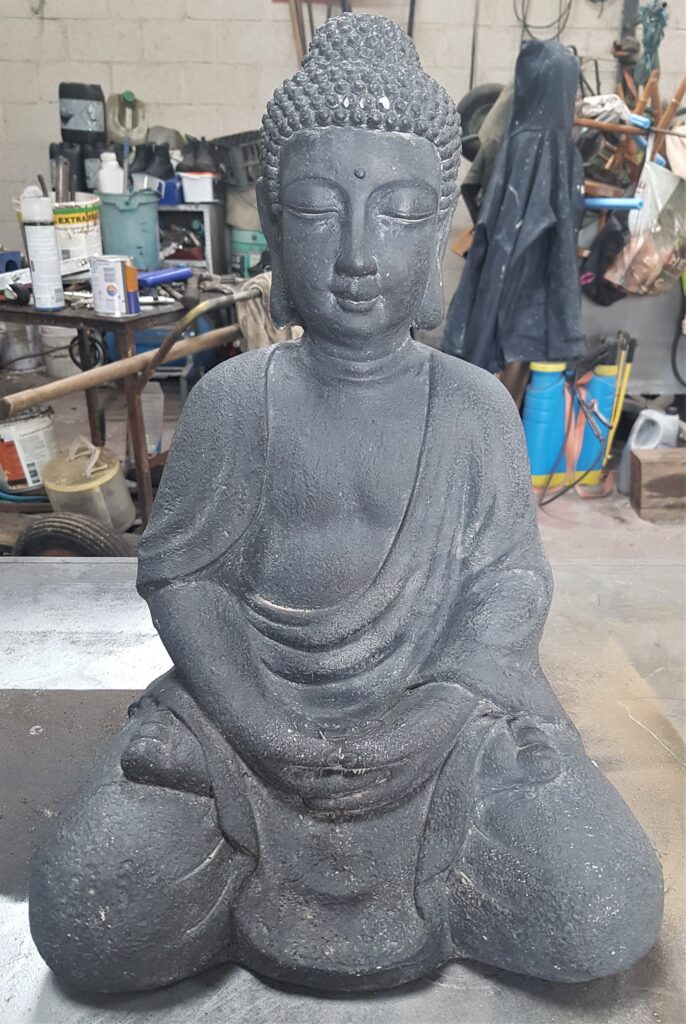
A front view of the Buddha Statue.
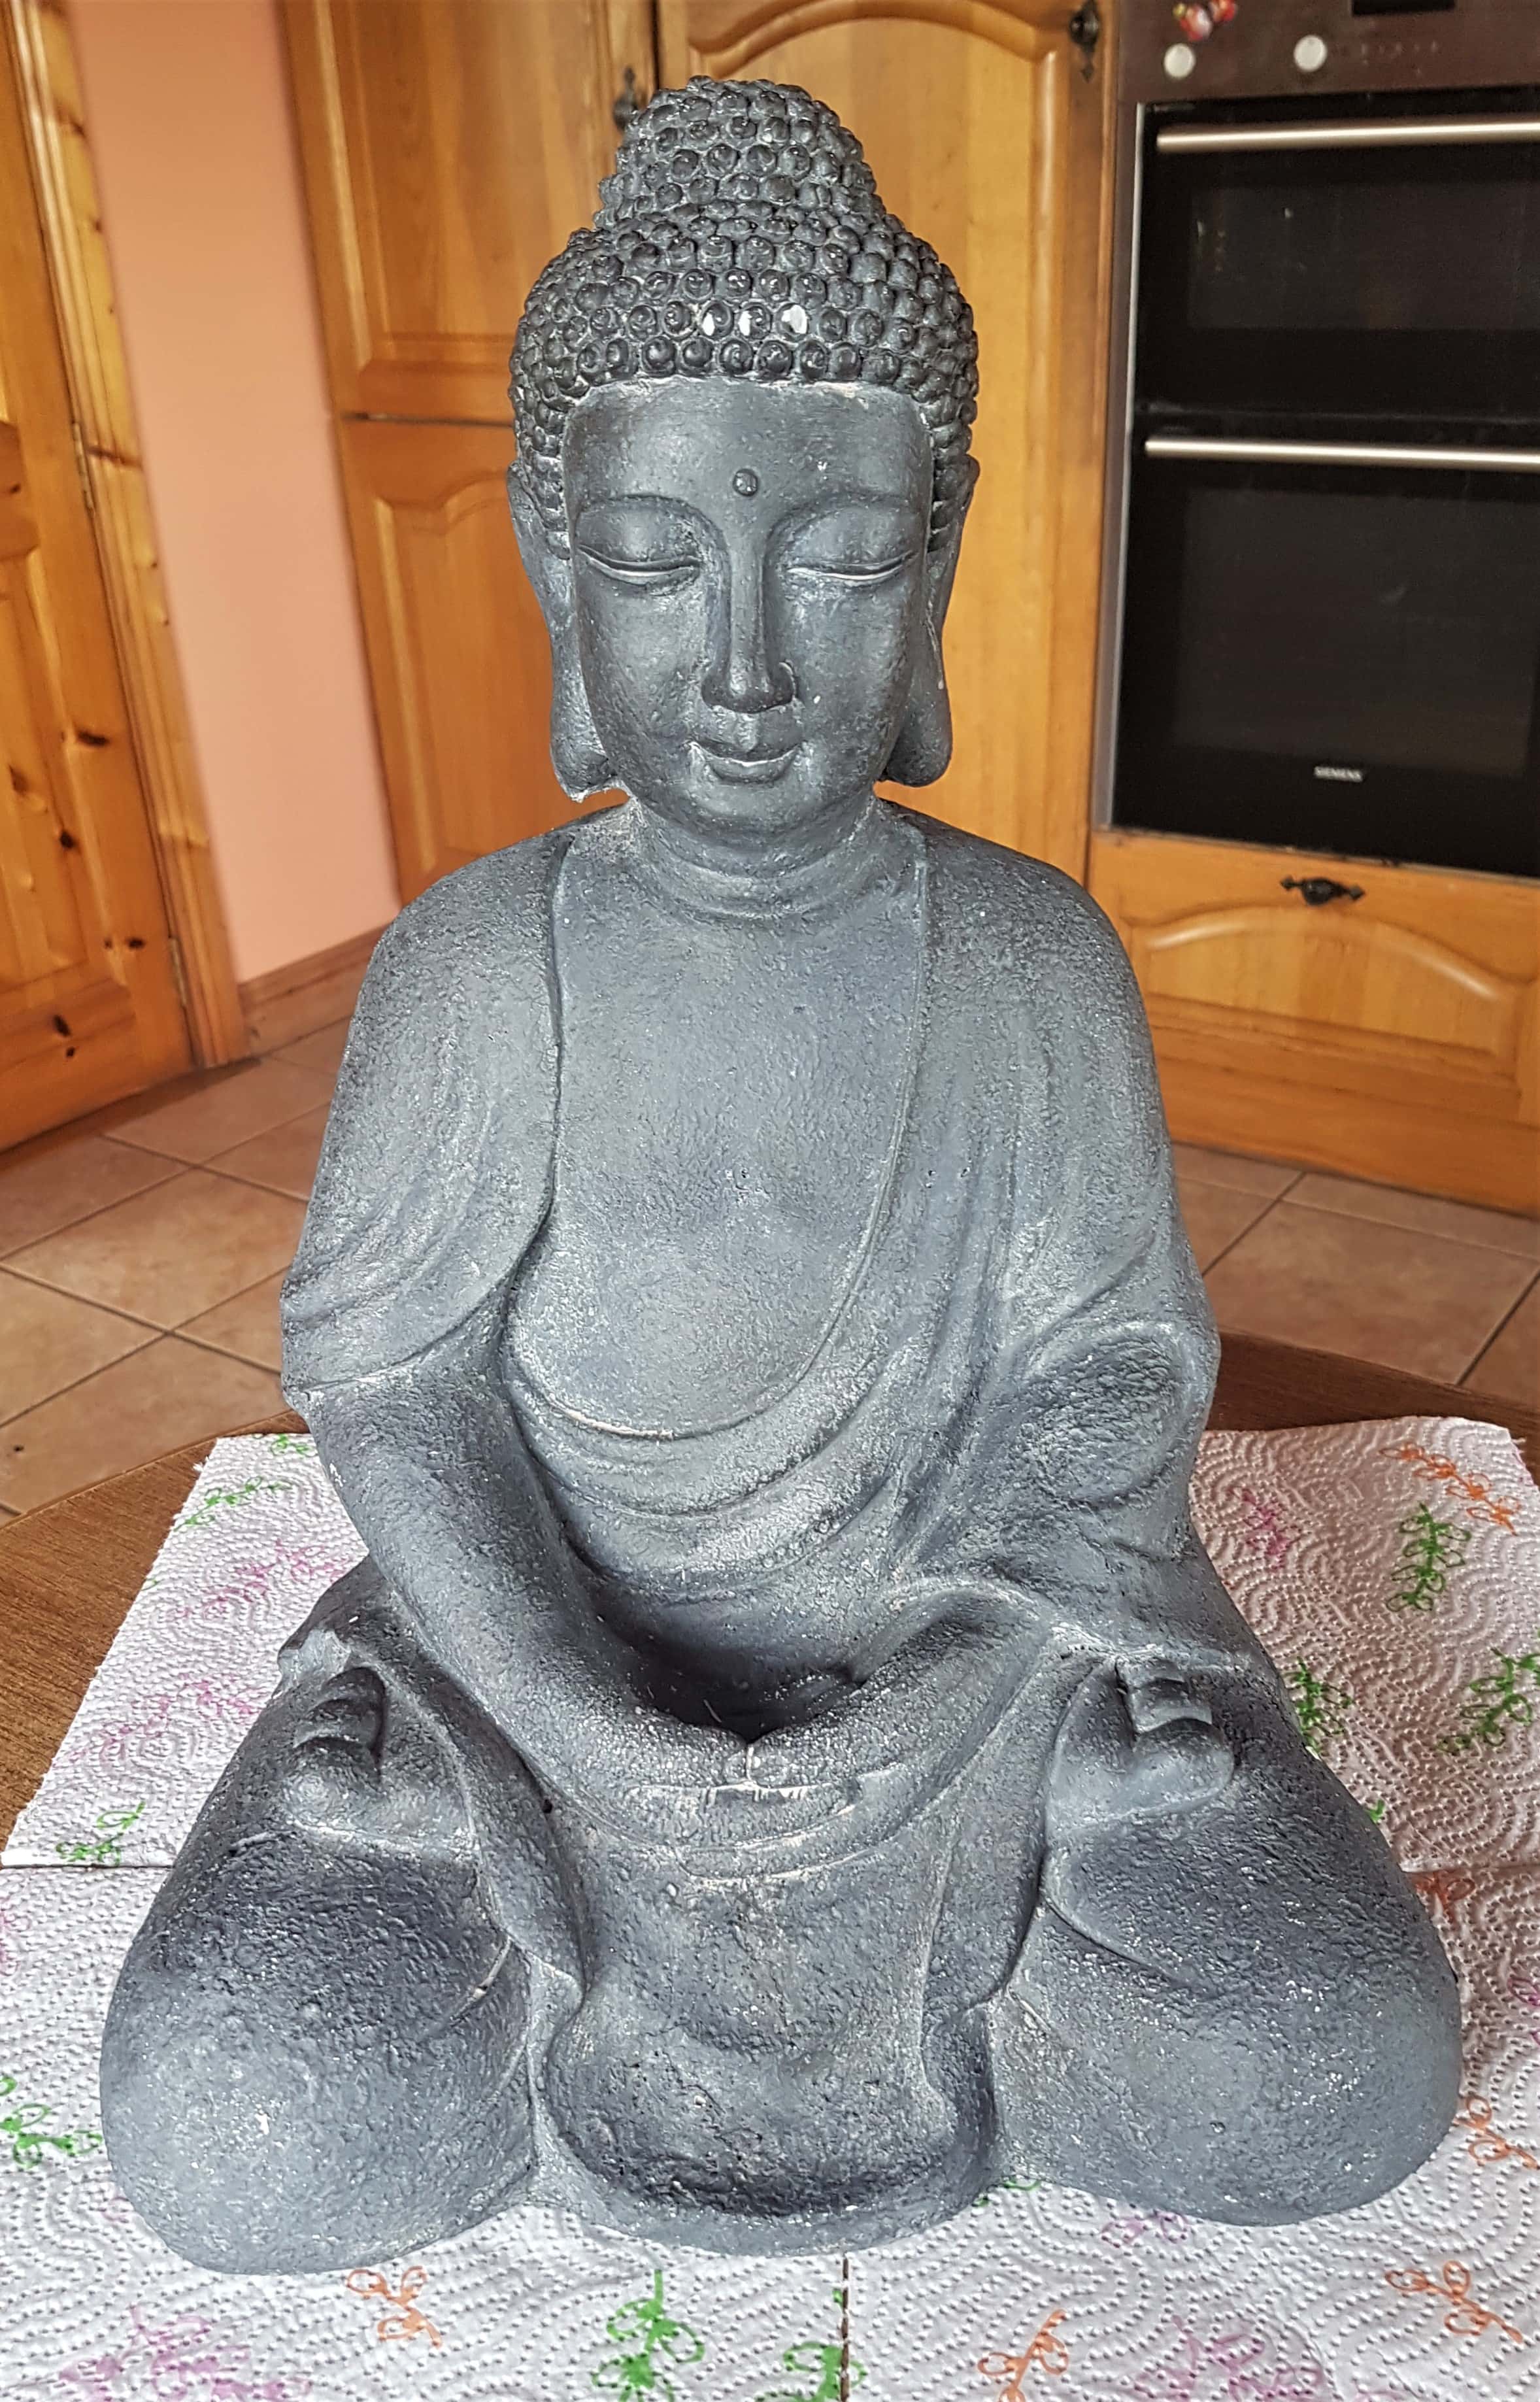
Spray Paint Recommendations
Always Spray Paint in a well ventilated area. Open windows and Doors and leave the area as soon as you can after Spray Painting to avoid inhaling any fumes. Read instructions on the Spray Can carefully and take any necessary precautions.
Preparing to Spray Paint
I brought the Buddha out to the Shed to Spray Paint. I set up my Fold-Away Table in the Shed, this is the perfect height for Spray Painting and I can just put it away when I’m finished. I placed the Buddha on the Table.
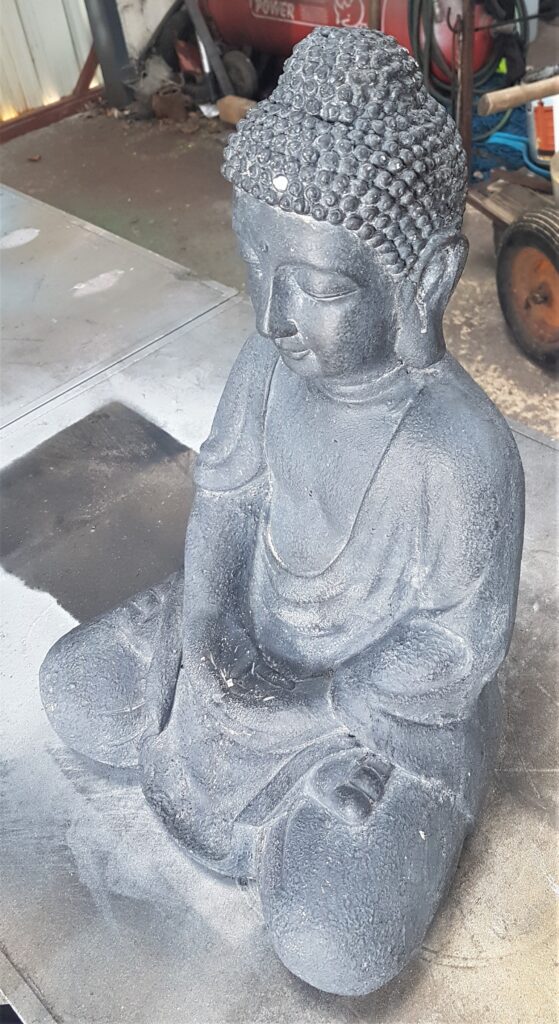
A side angle of the Buddha on the Table.
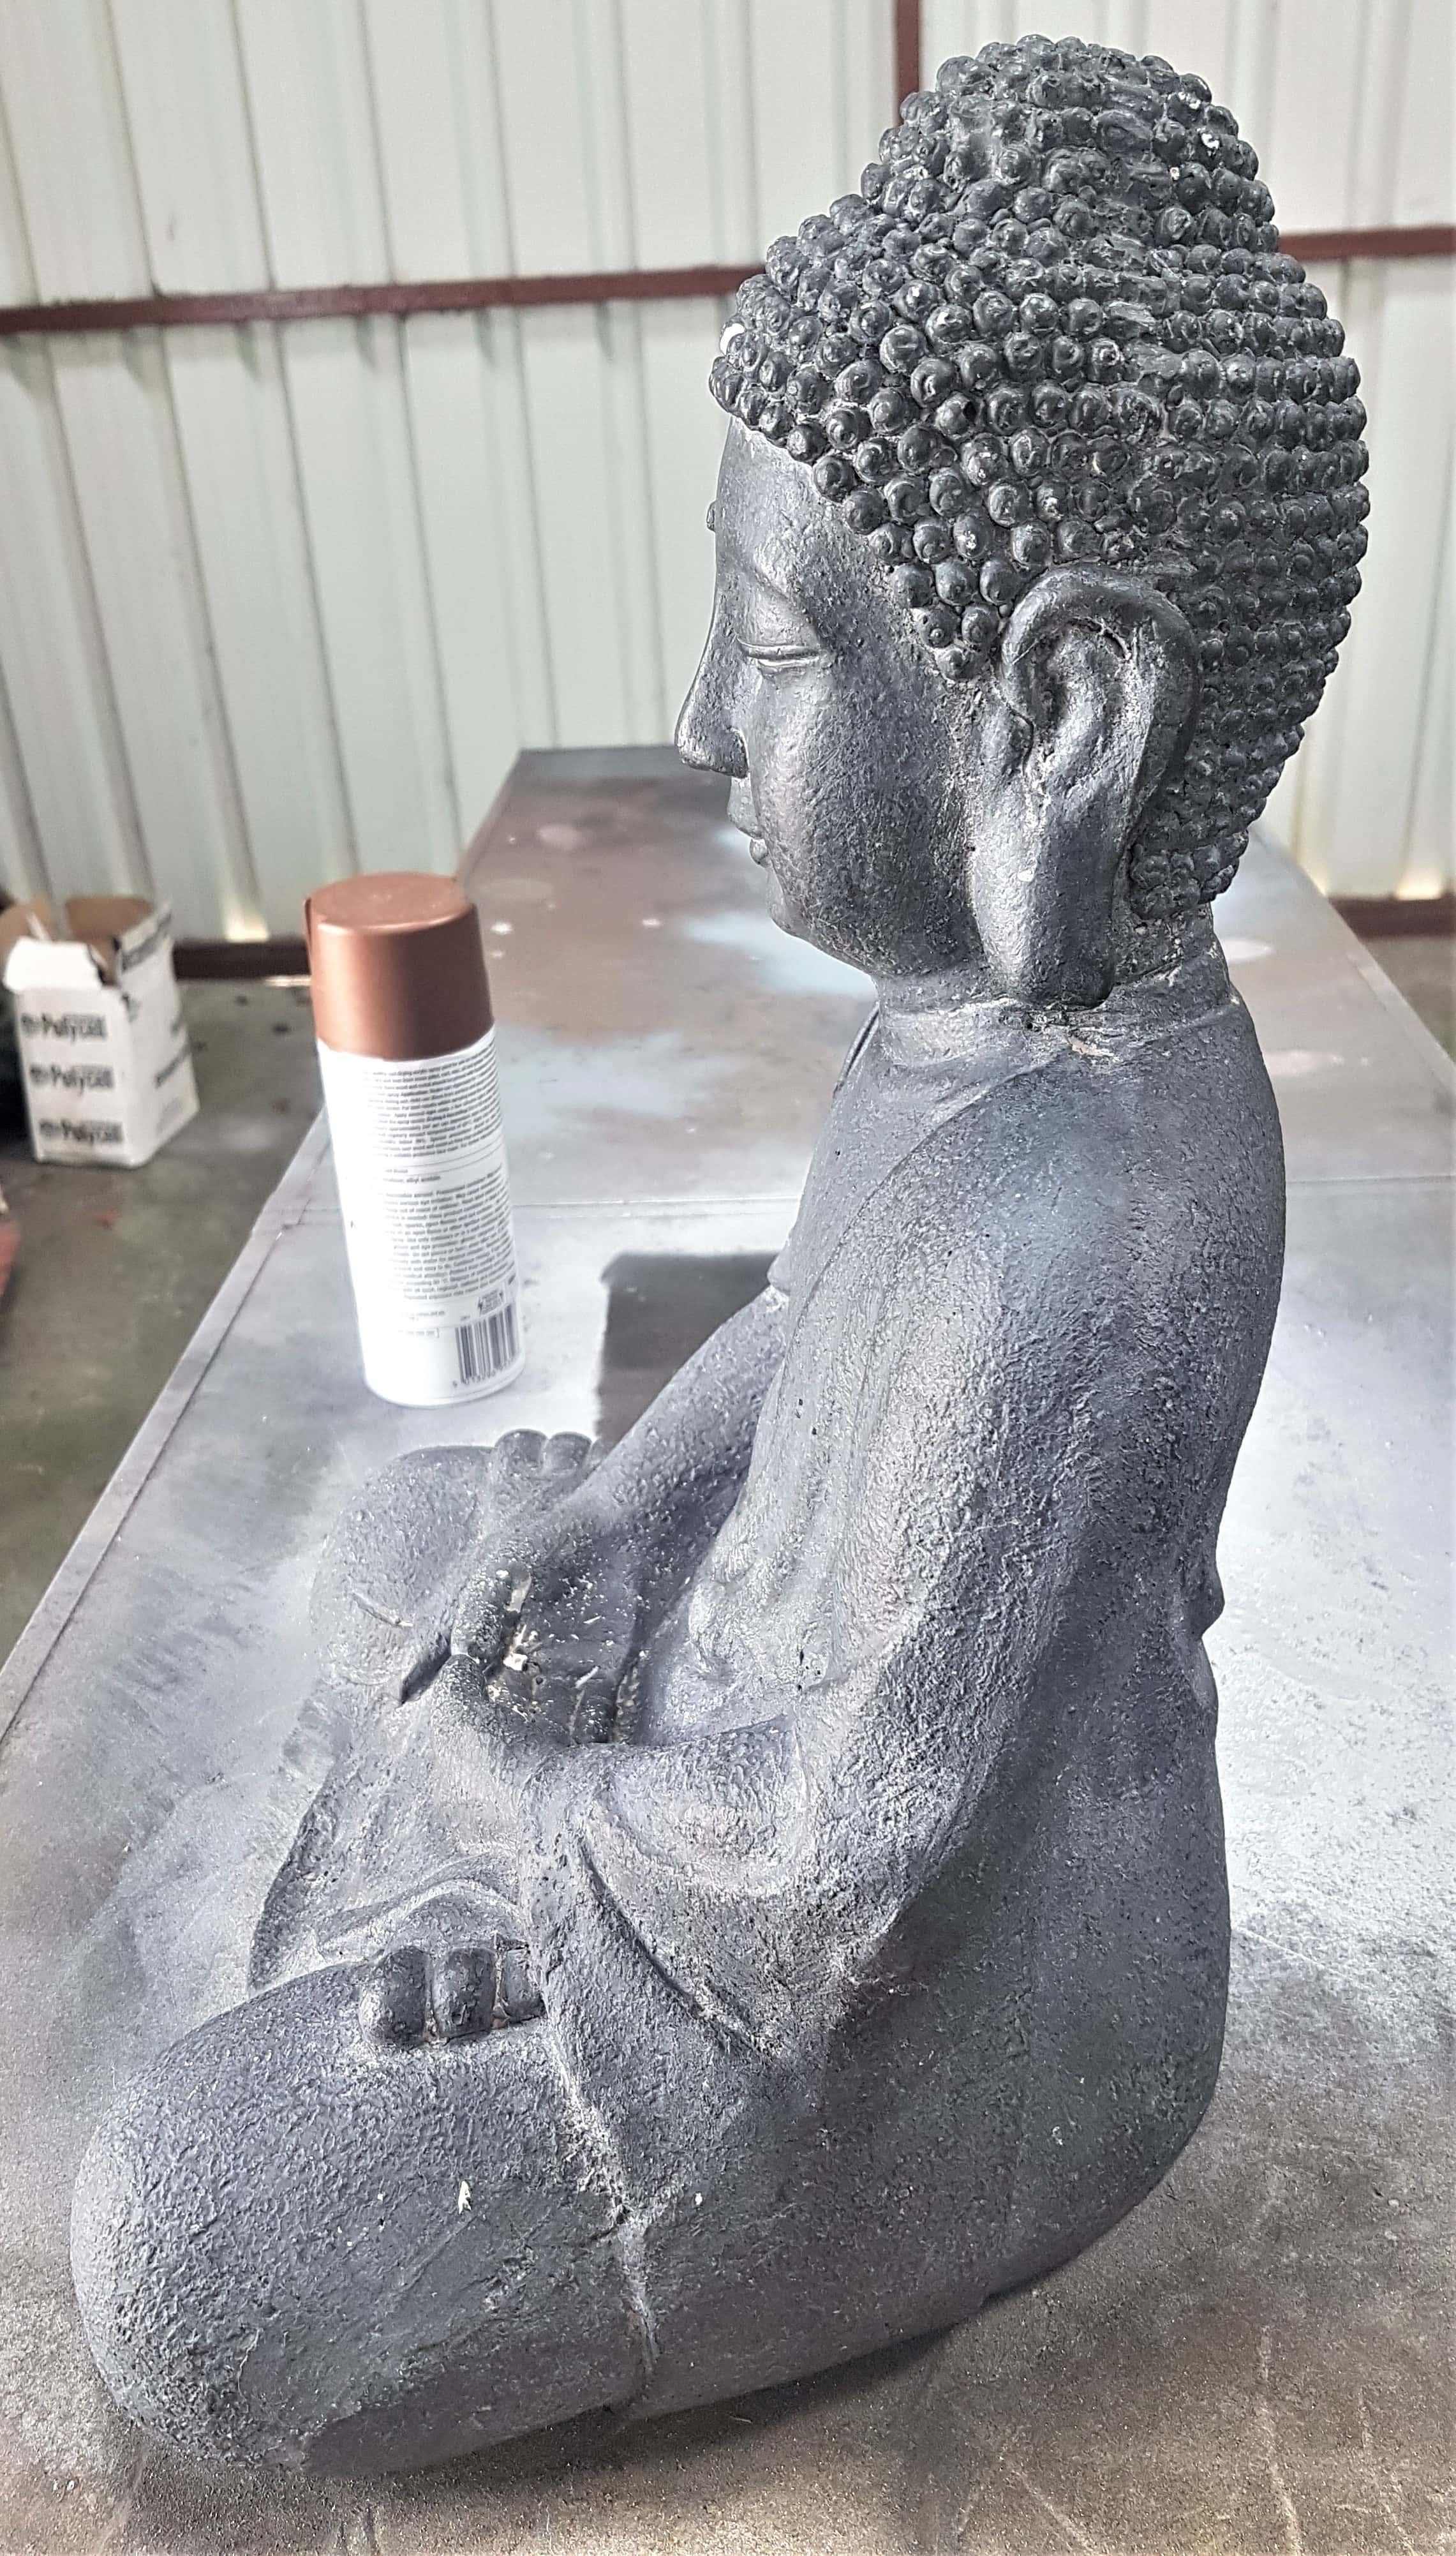
A Closer look at the Buddha before being Spray Painted.
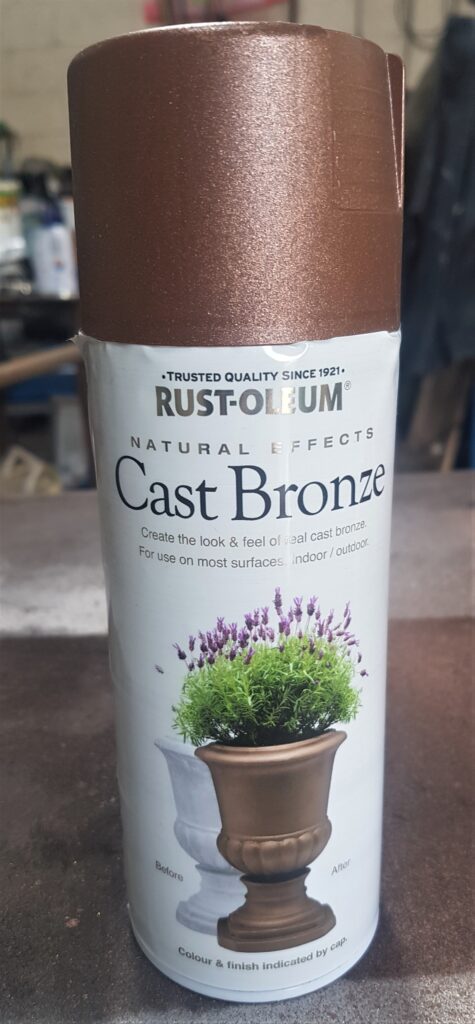
The Spray Paint I used was ‘RUST-OLEUM Natural Effects Cast Bronze’. Rust-Oleum Cast Bronze.
Spray Painting the Buddha
I shook the Spray Paint Can from side-to-side for a minute. I then removed the lid and held the Spray Can about 20 cm away from the top of the Buddha’s Head. I pressed the nozzle down on the Spray Can and sprayed the top and side of the Buddha’s Head, I then moved onto the next section of the Head until it had one even layer of Spray Paint.
I shook the Spray Can again and then moved onto the Body. I sprayed in a downward motion covering as much as I could, I then moved onto the next section and continued around the Buddha’s Body until it had one layer of Spray Paint. I shook the Spray Paint Can after every two sections I sprayed. Rust-Oleum Cast Bronze.
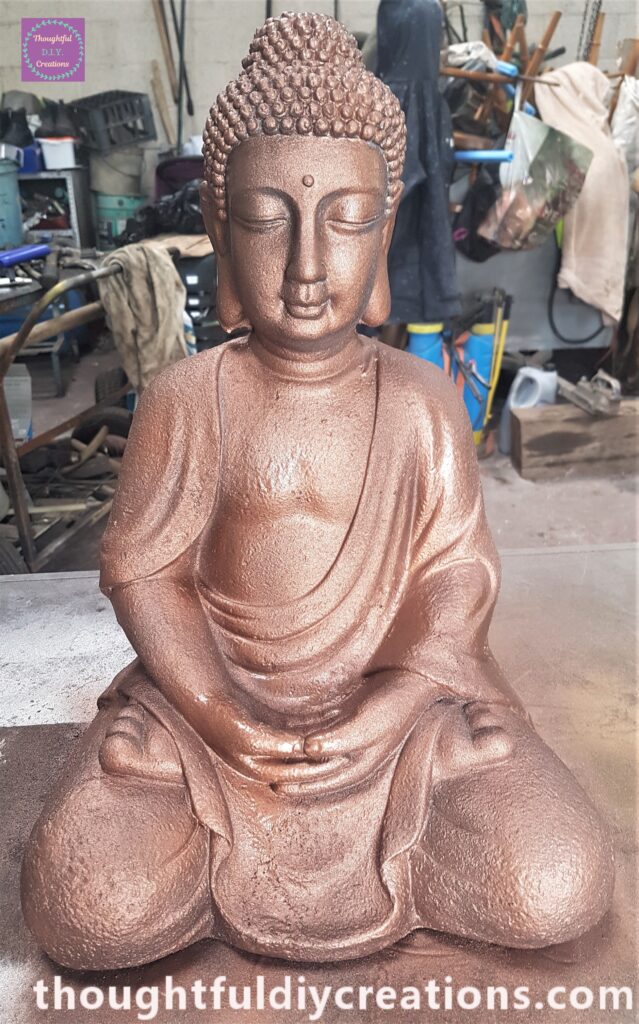
Another angle of the Spray Painted Buddha.
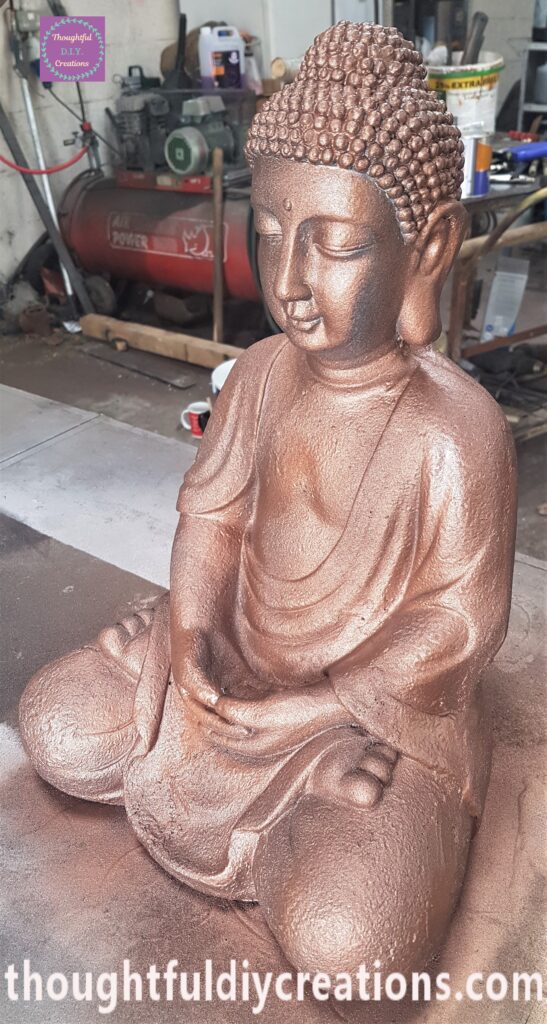
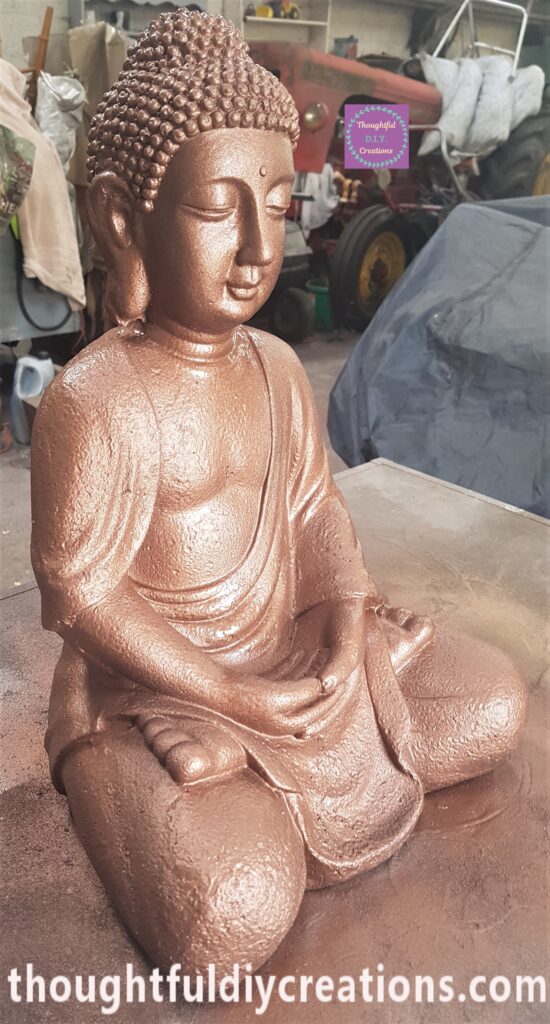
A side view of the Buddha.
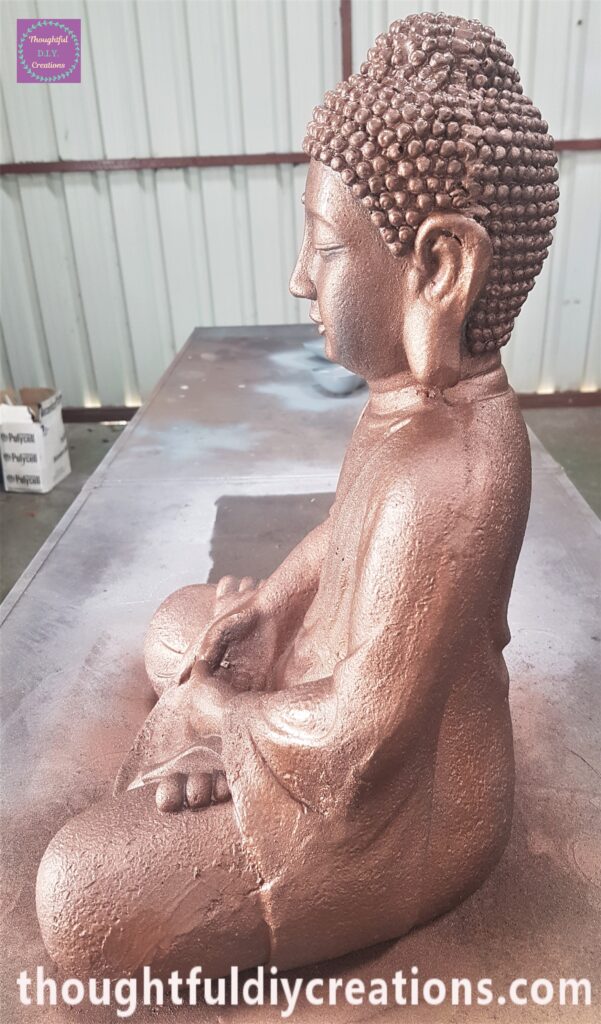
The Back of the Buddha.
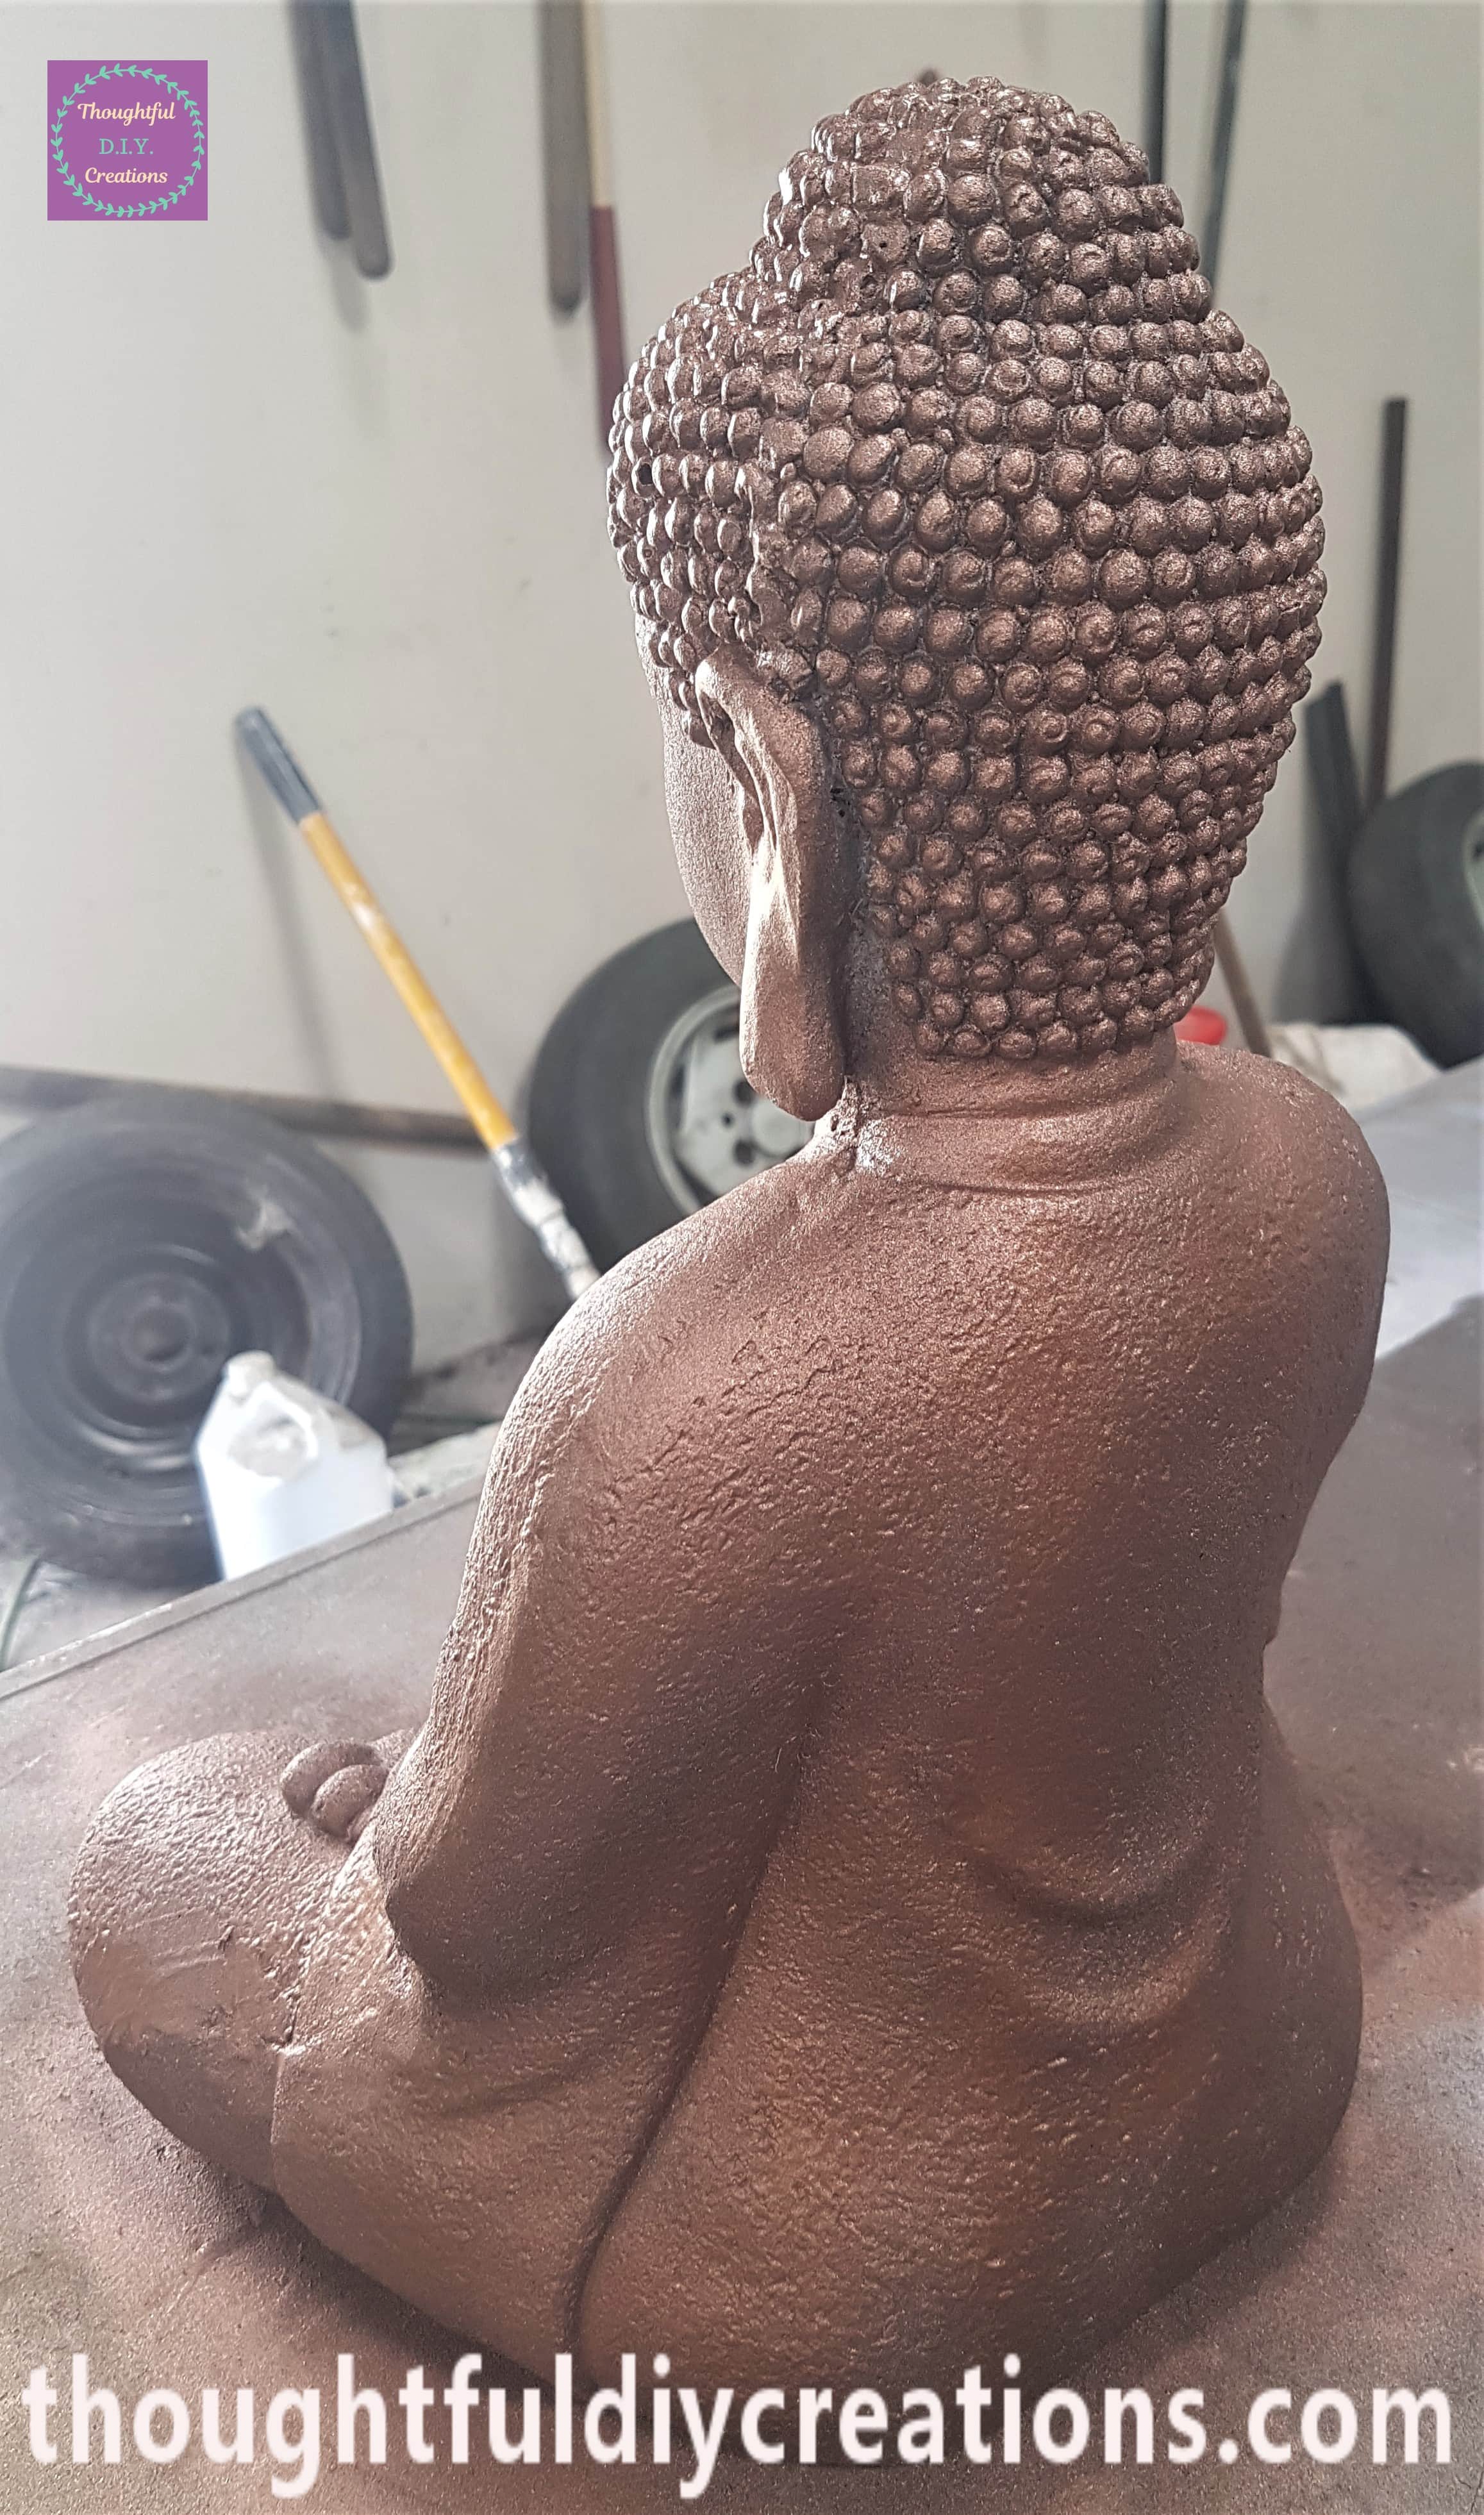
An Hour later I returned to the Shed and applied a Second Layer of Spray Paint to the Buddha in the same way as the first layer. Rust-Oleum Cast Bronze.
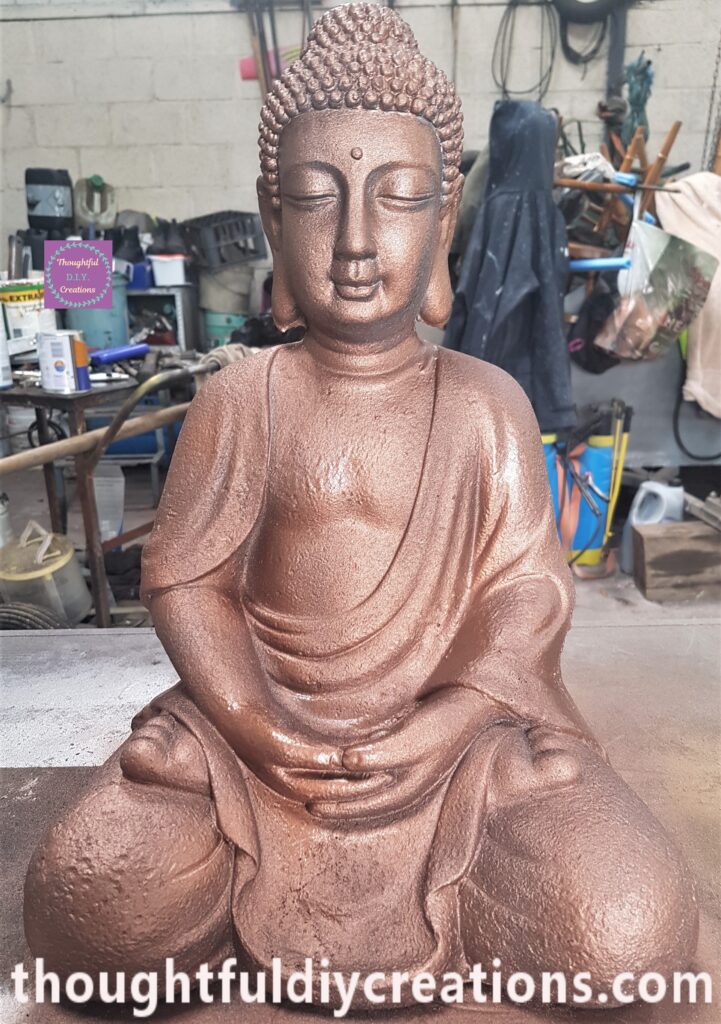
The Back and right-hand side of the Buddha after the second coat of Spray Paint.
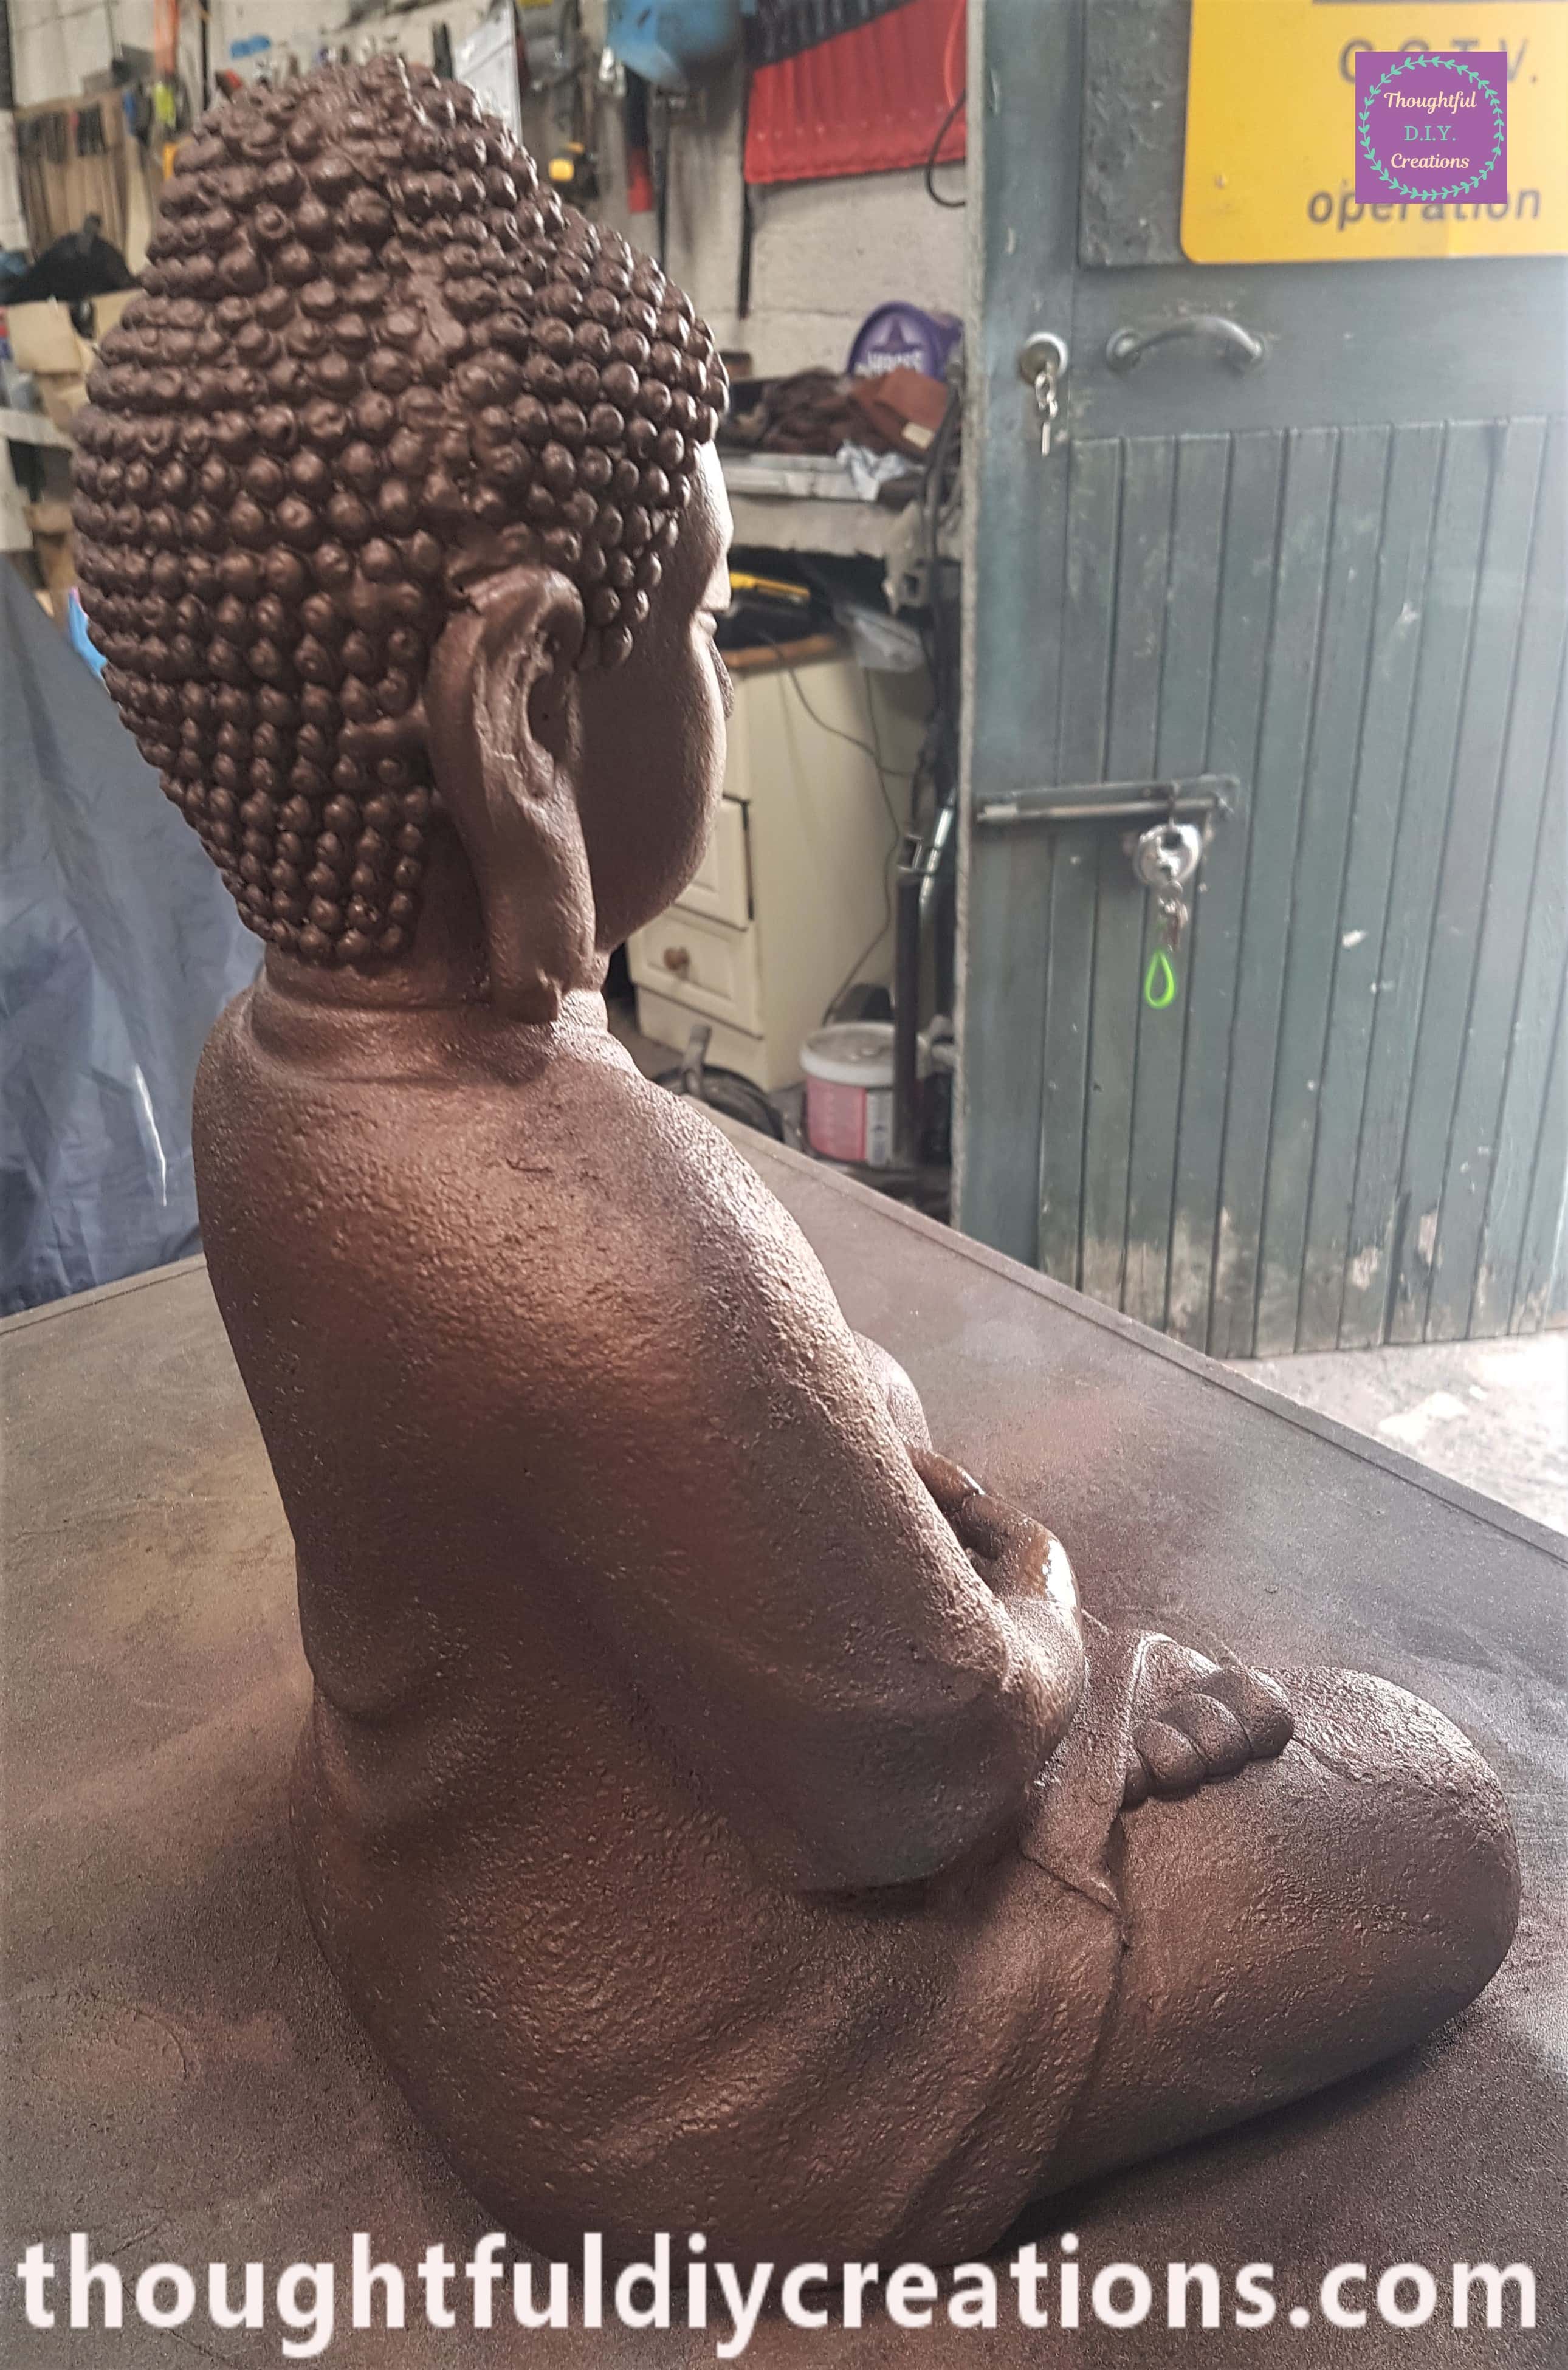
I applied the third and final layer of Spray Paint to the Buddha after another Hour. I focused on any areas I might have missed on my first 2 applications to ensure it was fully covered. Rust-Oleum Cast Bronze.
The side of the Buddha.
This is how the Back of the Buddha looks after being Spray Painted.
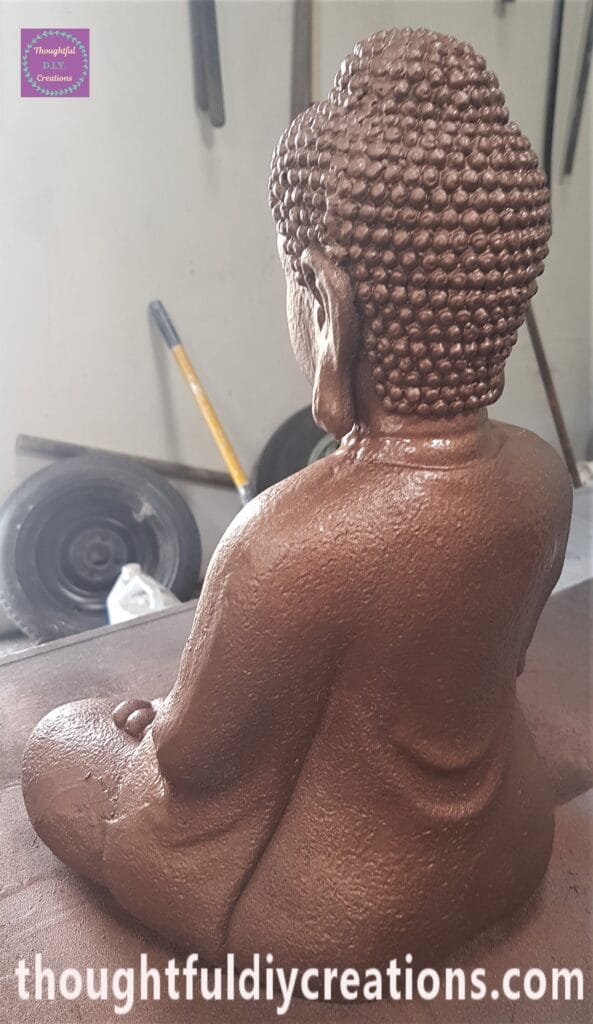
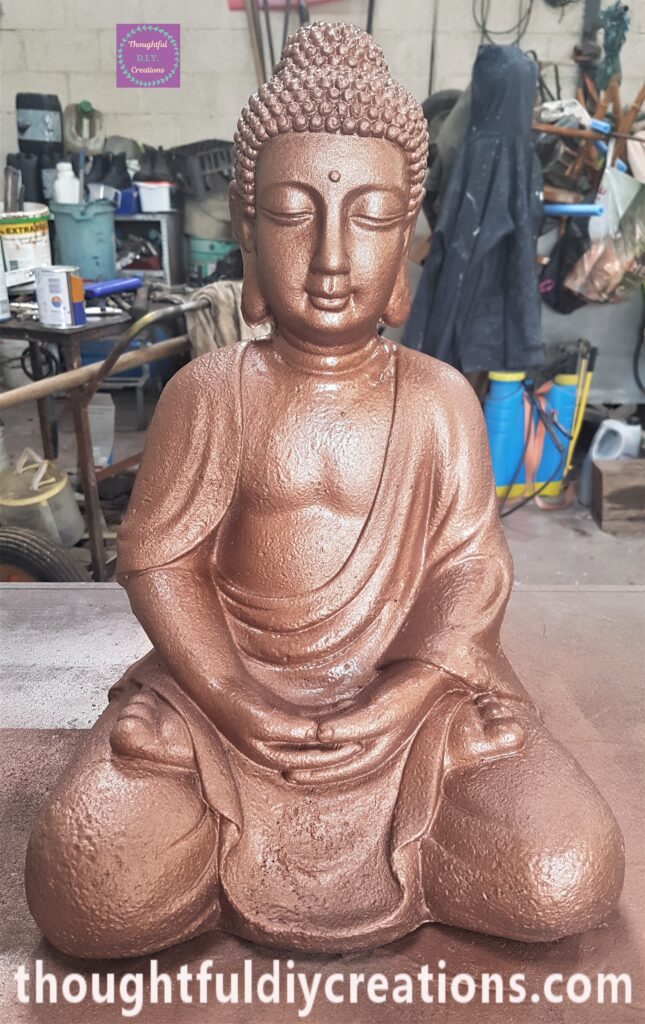
A closer view of the Front of the Buddha.
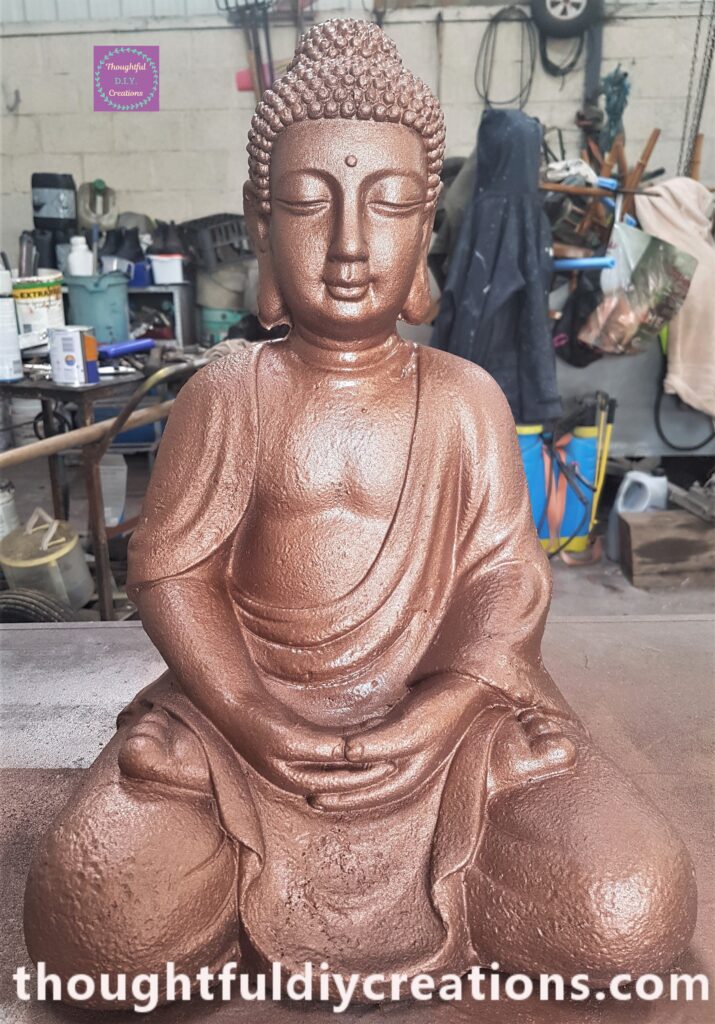
I used the Full Can of Spray Paint on the Buddha. This is the Buddha a couple of Hours after the final layer of Spray Paint. Rust-Oleum Cast Bronze.
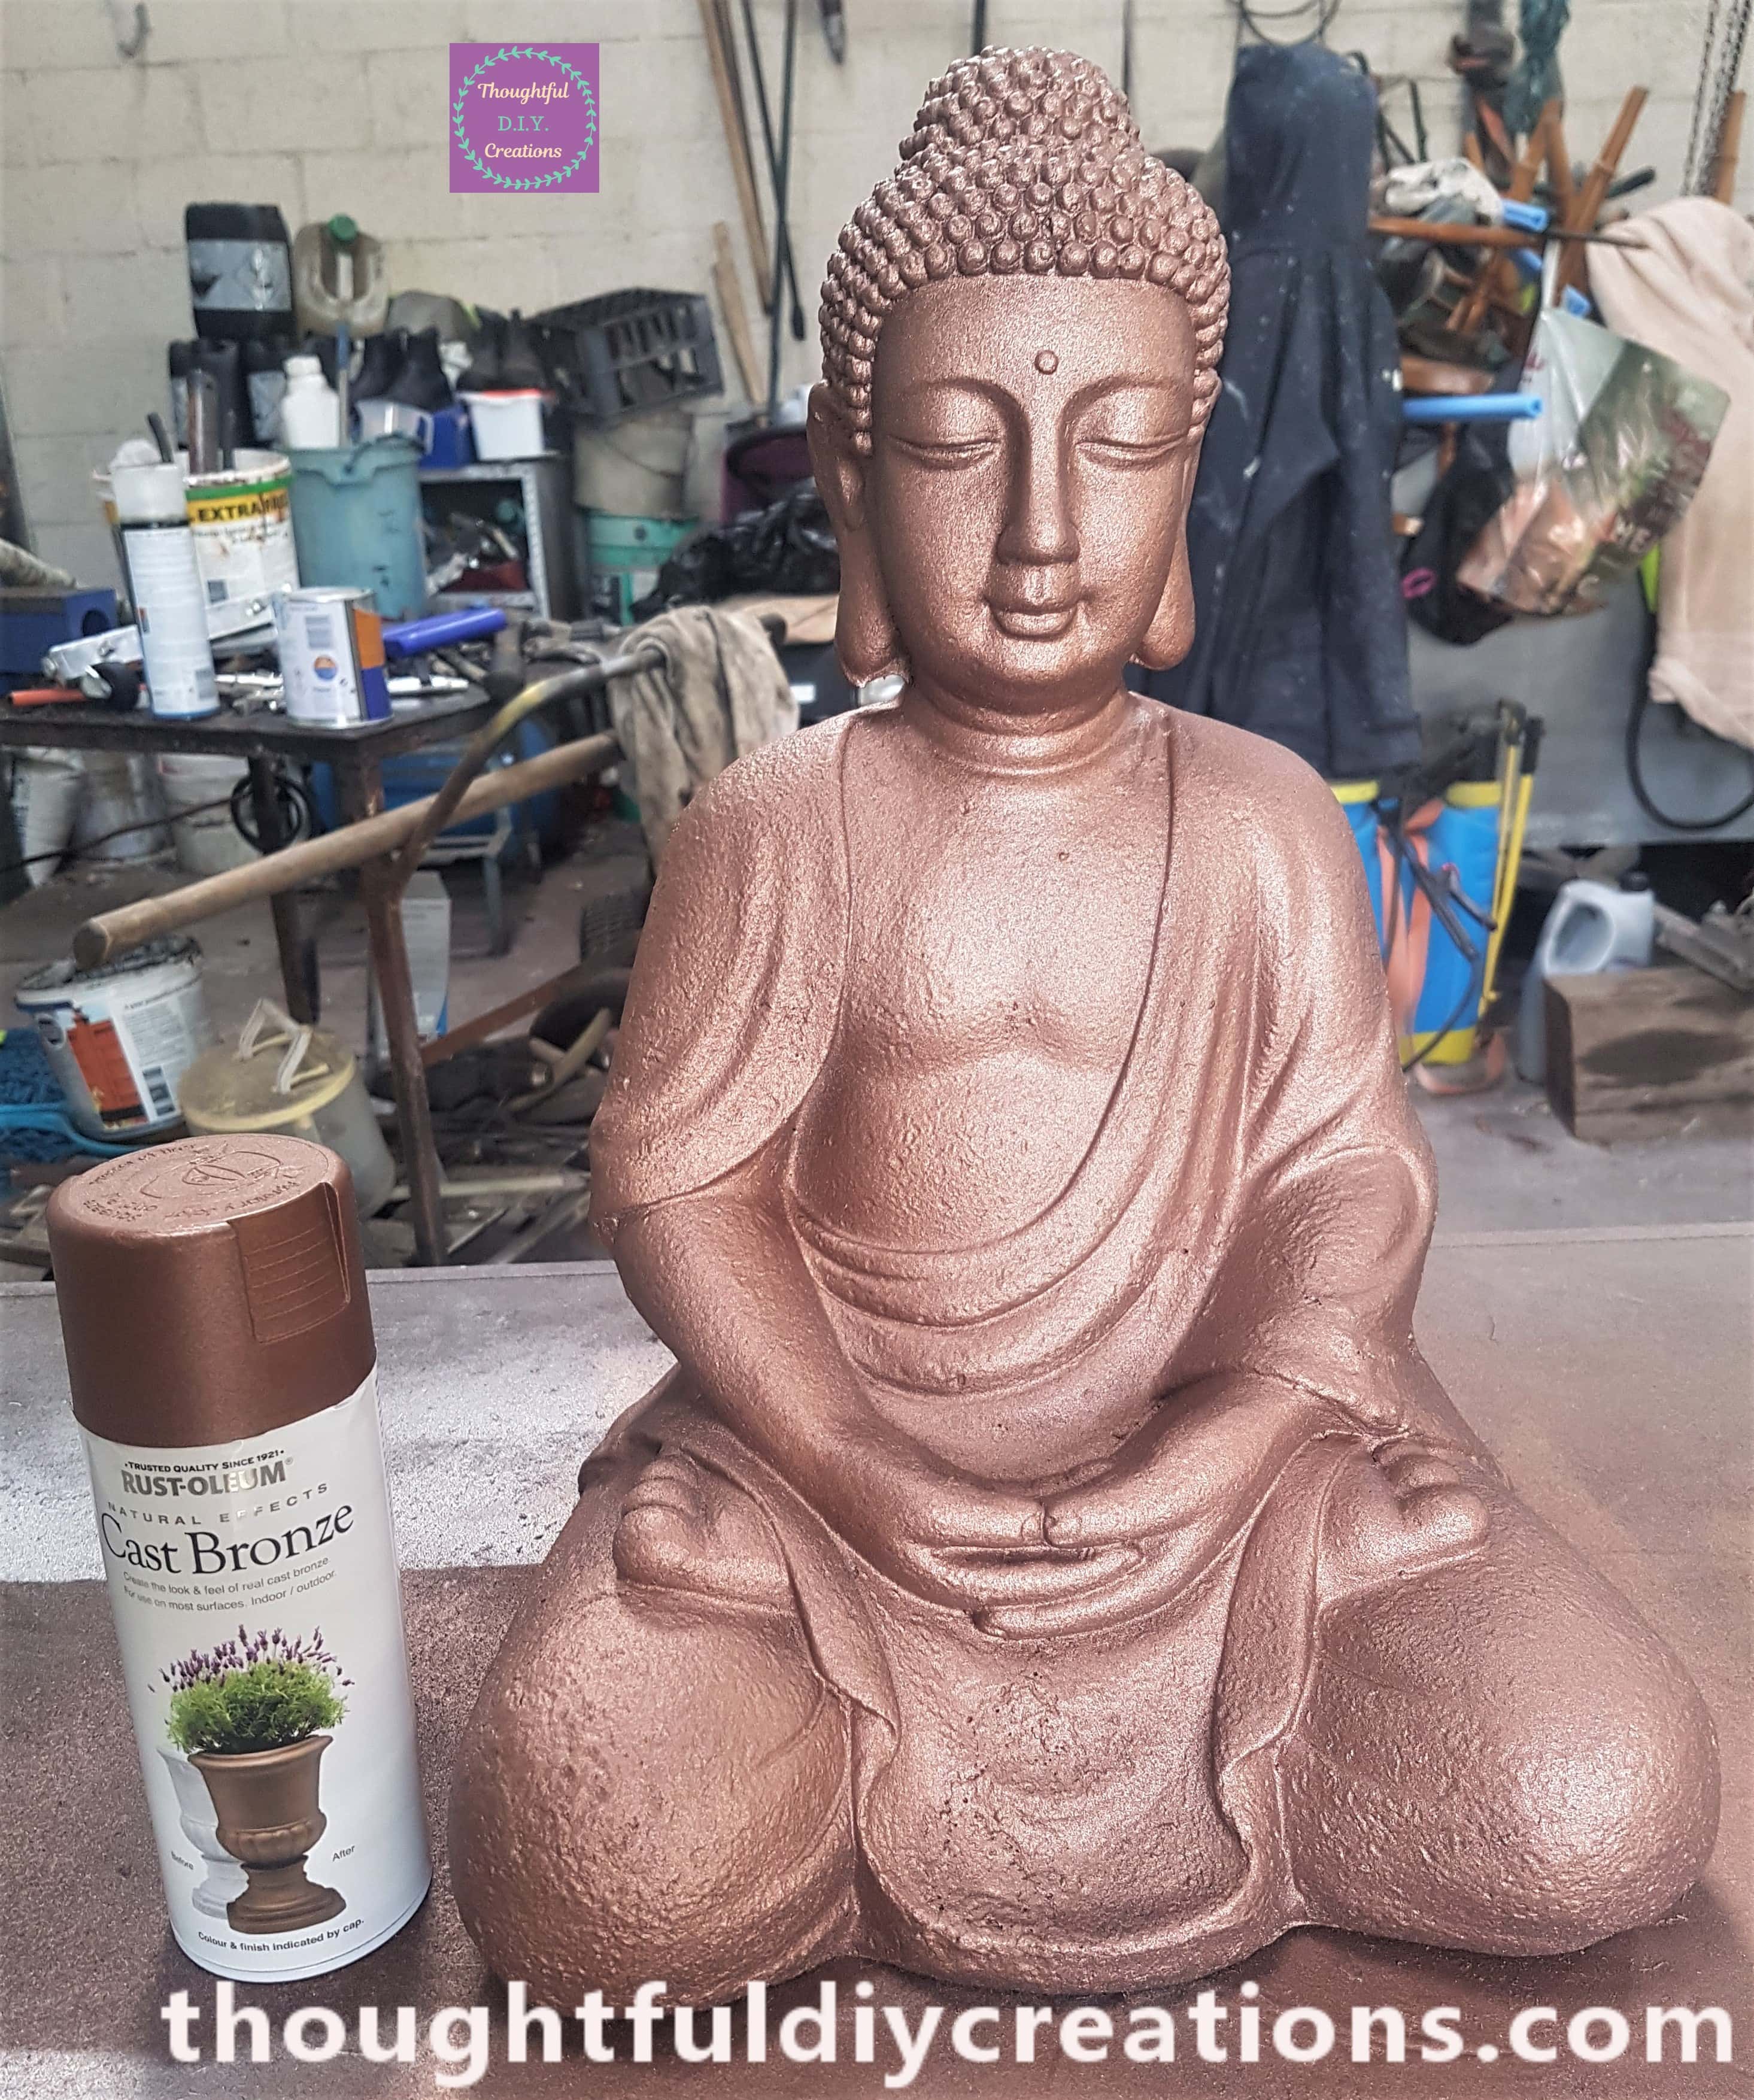
As it was a Big Object Spray Painted and it had taken the Full Can of Paint, I left the Buddha in the Shed for a full Week to Cure. I then brought the Buddha to the Front Porch of the House where it will greet Family and Friends who visit.
I didn’t use a Sealer on the Buddha as the Porch area is protected from the elements and the Buddha is right next to the Door. If I was putting it right in the middle of a Garden I would definitely apply 2-3 Coats of Sealer to protect it.
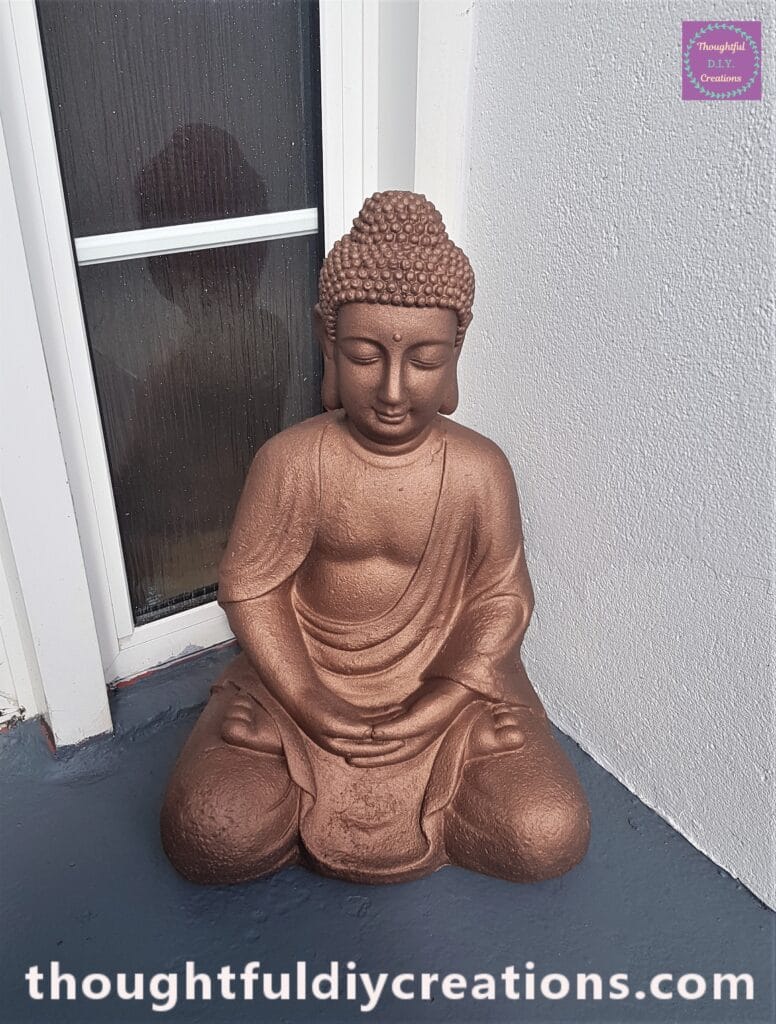
This is the transformed Buddha in it’s Space.
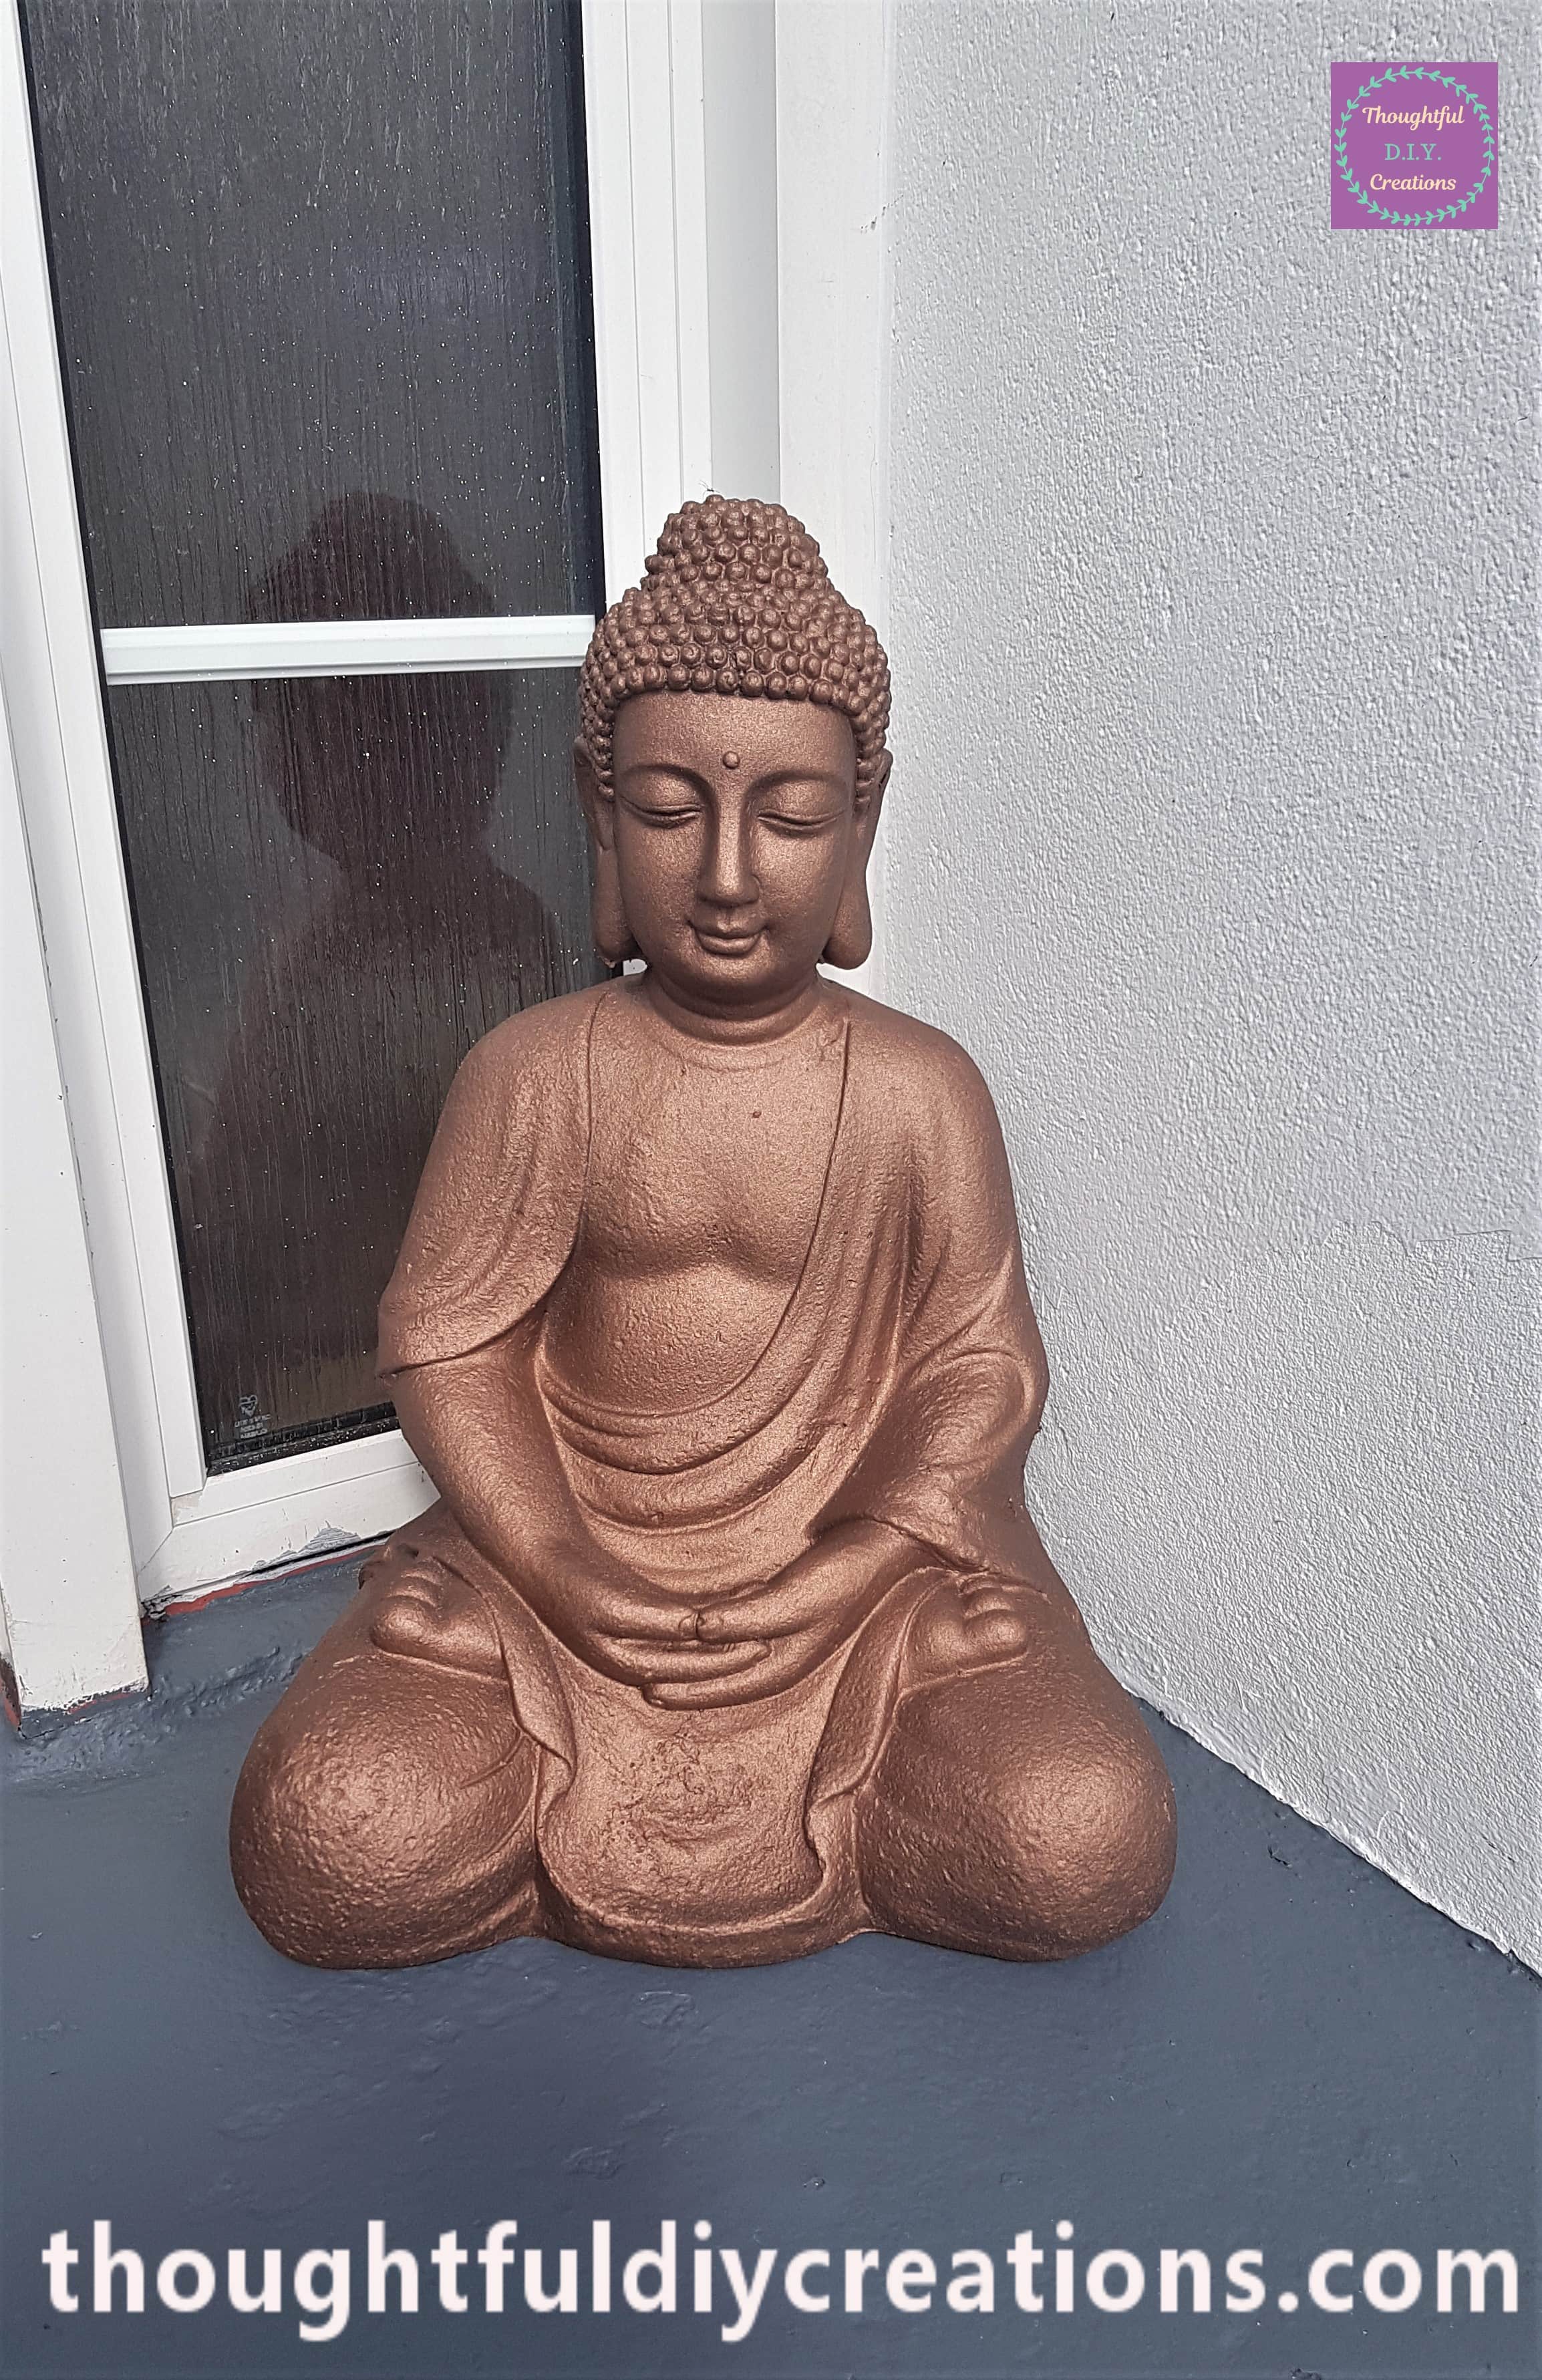
A closer look at the Buddha.
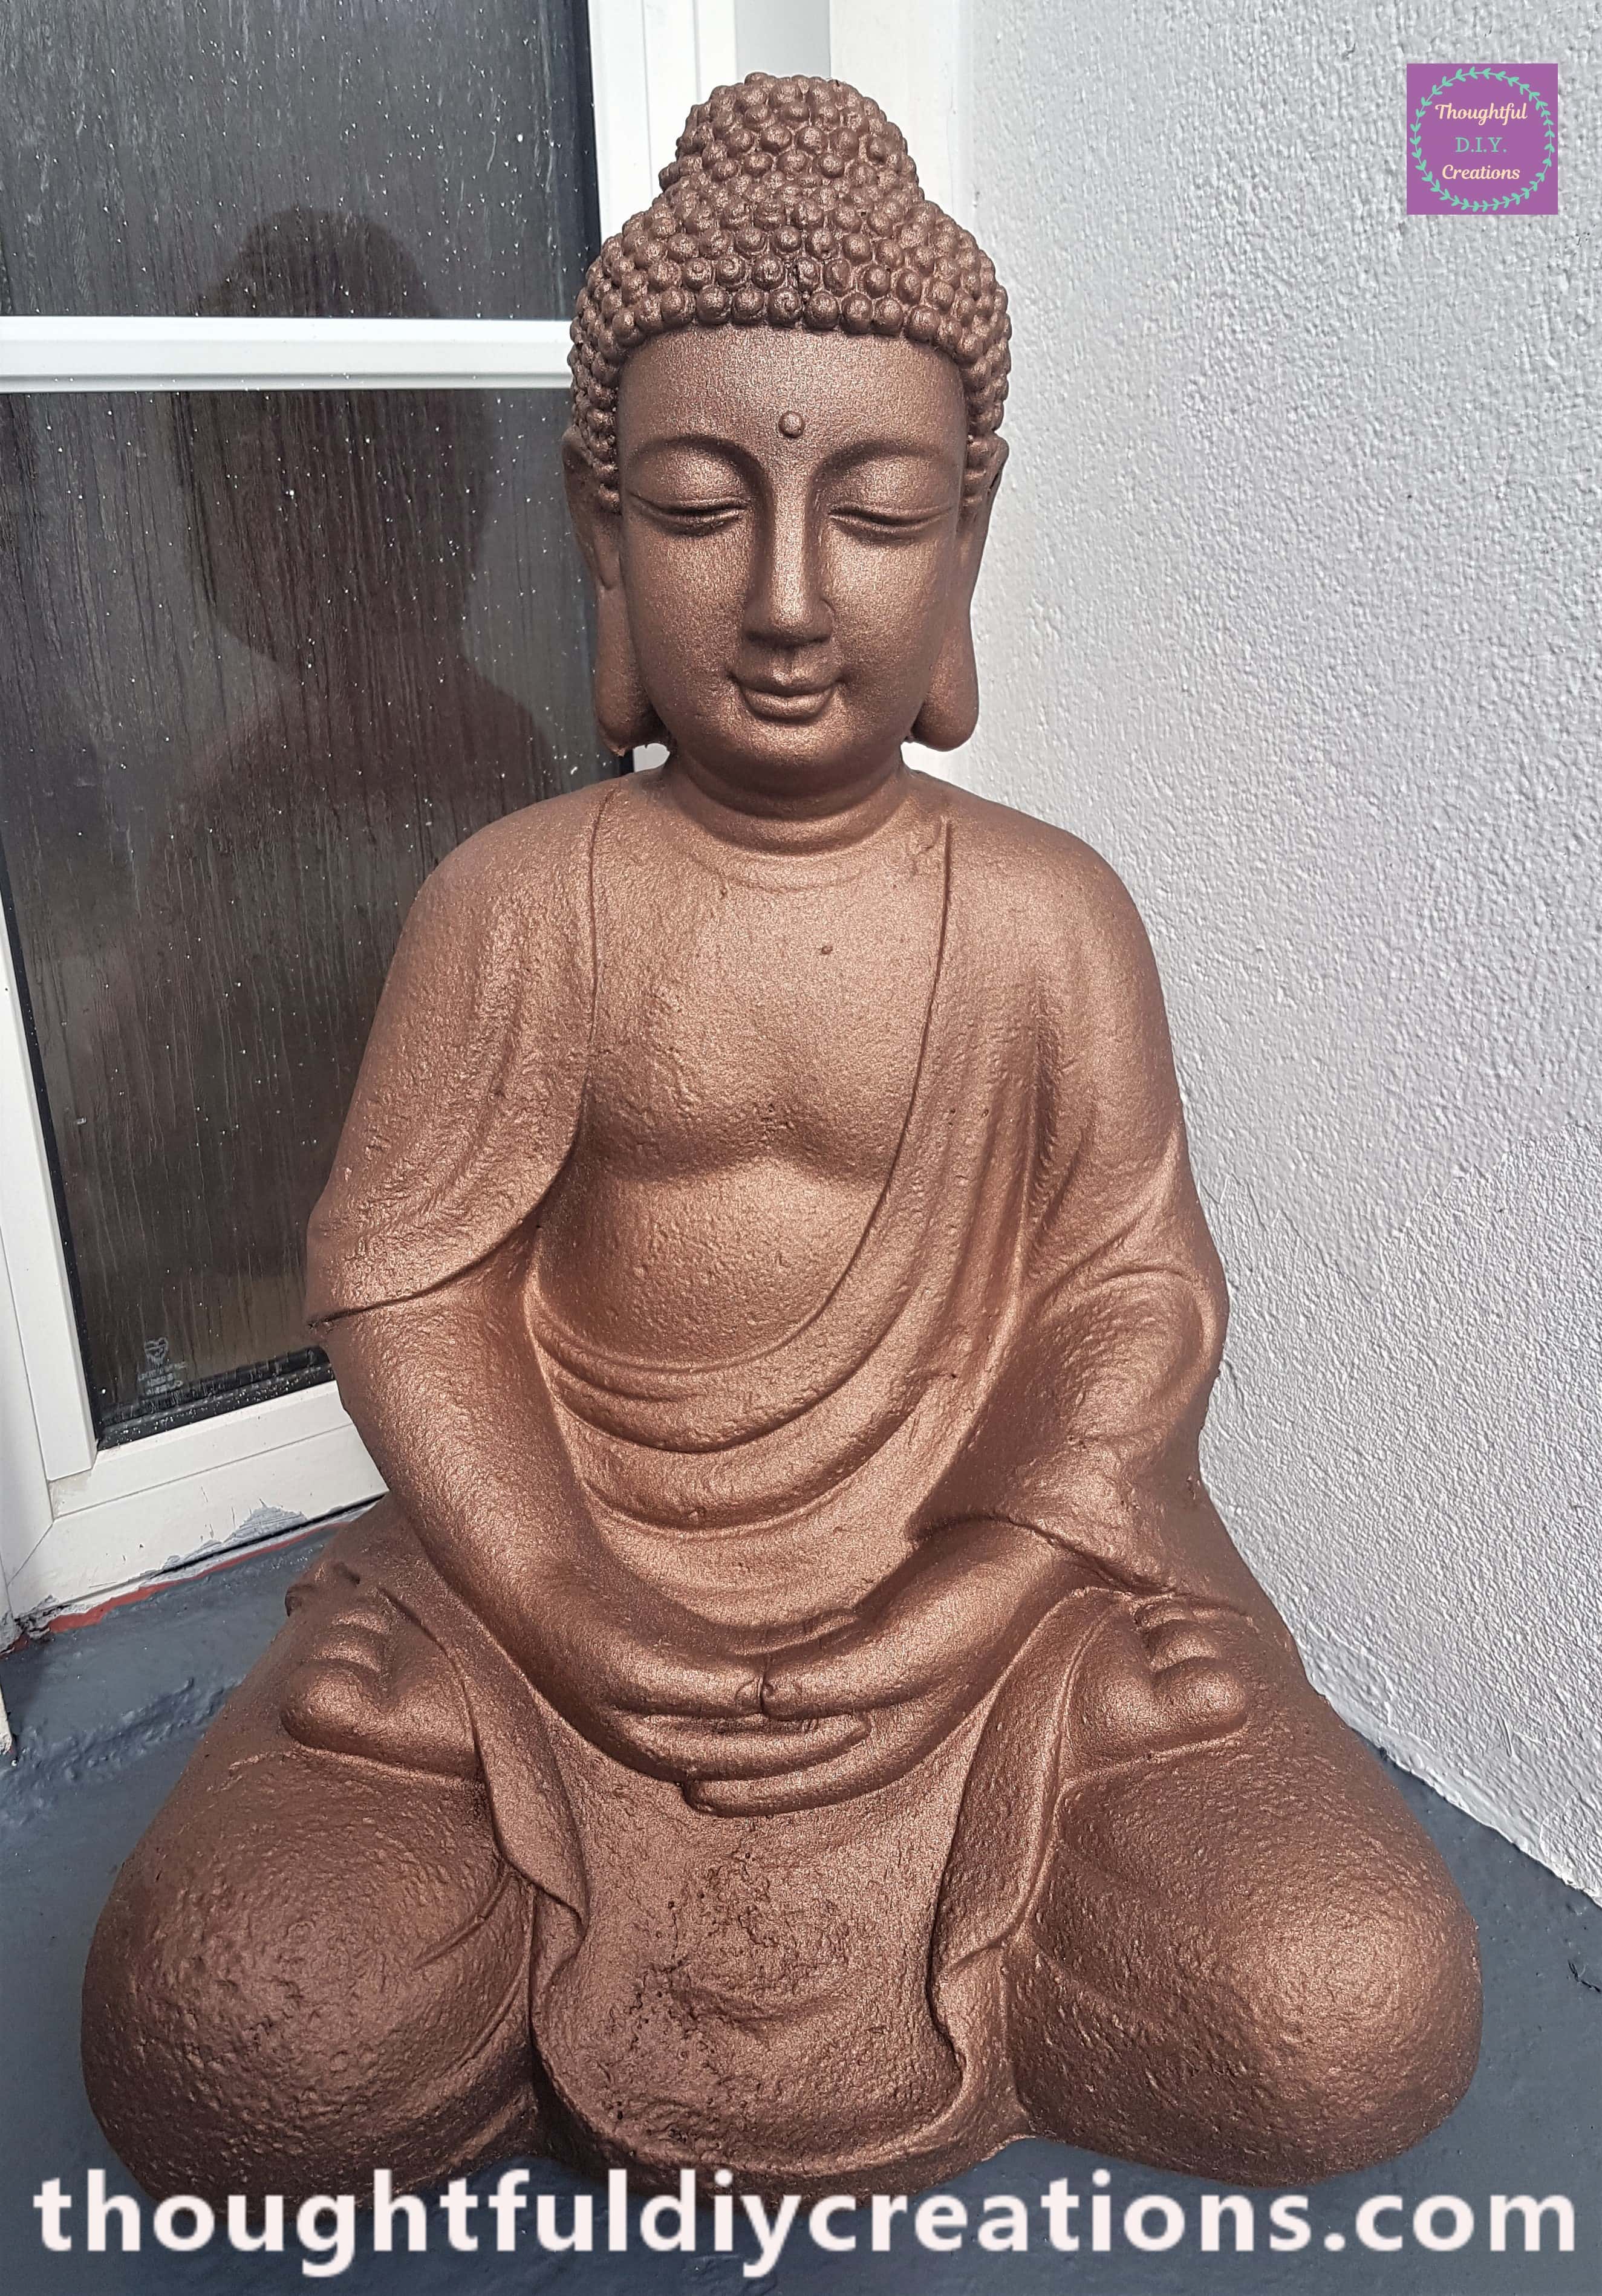
The Completed Spray Painted Buddha.
The Before and After of the Buddha Statue.
Conclusion
I was really impressed with how the Buddha turned out. I was afraid of ruining it so I had sprayed a small section on the bottom of the Buddha to see how the colour would look over the Grey. I thought it looked good so went ahead and Spray Painted it. Most importantly my Mam loved it and is delighted with it’s fresh appearance.
I think it looks so much better now, the Buddha’s features seem to stand out more. I love the Copper / Rose Gold look, it appears luxurious and I think it suits the Buddha better. He looks more peaceful and relaxed and has a lovely Glow about him ?. I also love how clean and crisp it looks after being Spray Painted, it covered up the imperfections from wear- and- tear over the past couple of years.
I hope my Tutorial helped to give you some ideas for your Home or Garden Decor. Sometimes it can be tempting to throw something in the Bin or Give it Away when all it really needs is to be Up-Cycled or Re-Purposed into something else. It’s amazing how 1 Can of Spray Paint can completely change the appearance of something. It is a Budget way to change your Home or Garden and you can learn and have fun in the process.
What is the biggest Change you have given an Object with Spray Paint. I’d love to know how you have overhauled something you were tired of looking at. If you have any Questions or anything you would like to add on the Topic just fill out the Comment Box below this Blog Post.
Thank you so much for taking the time to Read my Blog.
Always Grateful,
T.D.C.
xoxox


-0 Comment-