Spray Painted Stones with Positive Quotes
Hello my Creative Friends,
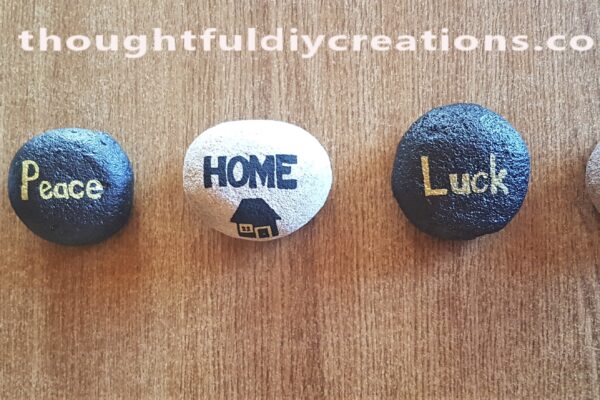
I hope you are all Well. In Today’s Blog Post I will show you how I decorated natural stones into positive Stone Art. They can be displayed around your home or office, or else gifted to a friend or family member who appreciates Nature and Positive Affirmations. They are easy to create and I hope this tutorial inspires you to get creative with Stone Art by using natural stones and a few supplies.
Collecting the Stones
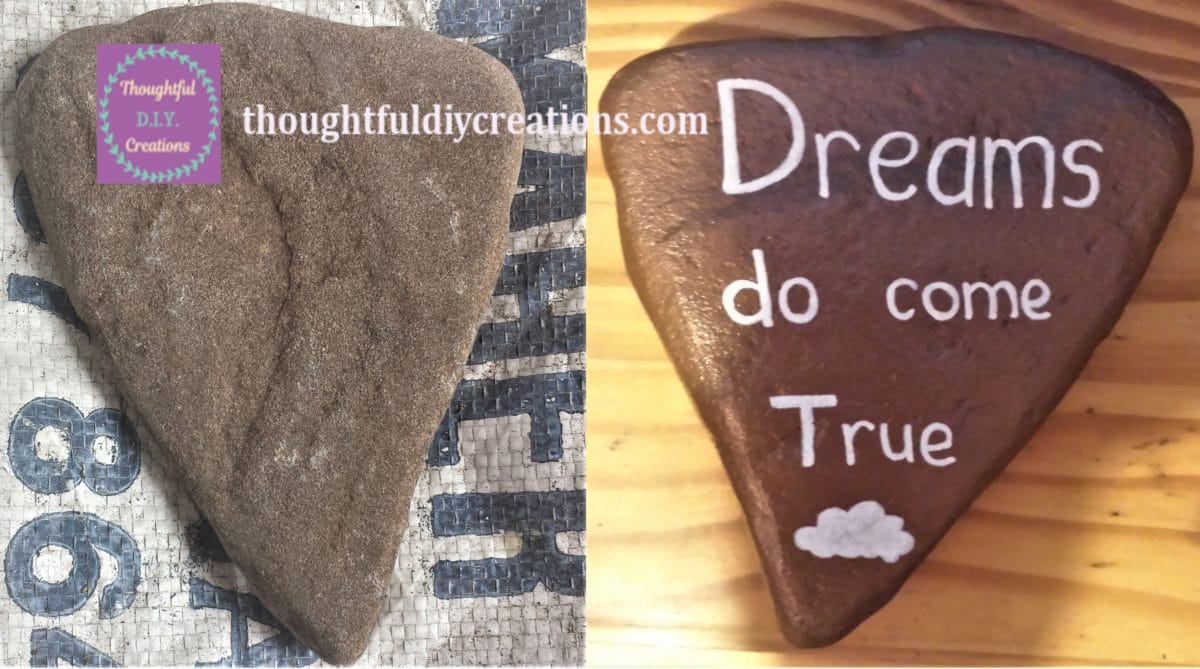
I went for a walk and collected a variety of stones. You can pick different shapes and sizes depending on your preferences. It also doesn’t matter if they are light or dark in colour, as you will be spray painting over them. The only requirement is that they are mostly smooth to make it easier to write the Sentiment. You can use your intuition and collect whatever Stones you are drawn to.
Washing the Stones
I filled a basin with hot water and a little washing up liquid. I put on disposable gloves and held each stone one-by-one over the basin while cleaning them with a cleaning brush. I dipped the brush into the water and lightly scrubbed the stone. I then put it down to dry on a towel on the floor. I repeated this process until all the stones were washed and laid them out to dry overnight.
Stone Art: Spray Painting Process
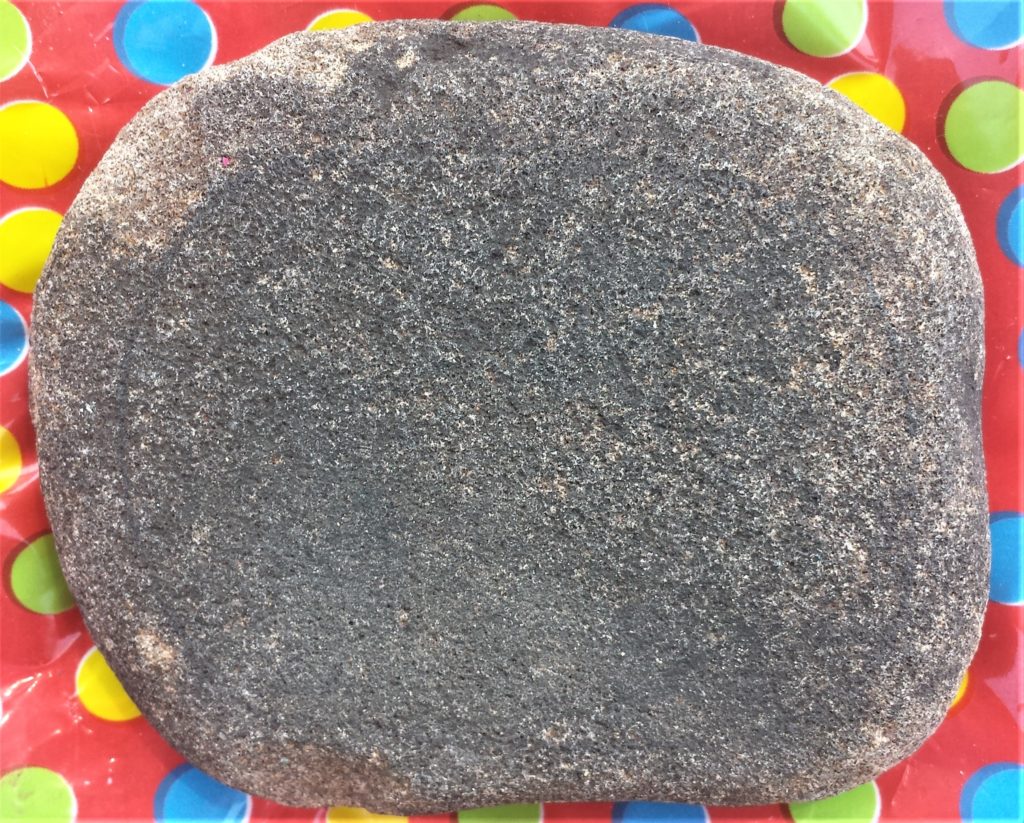
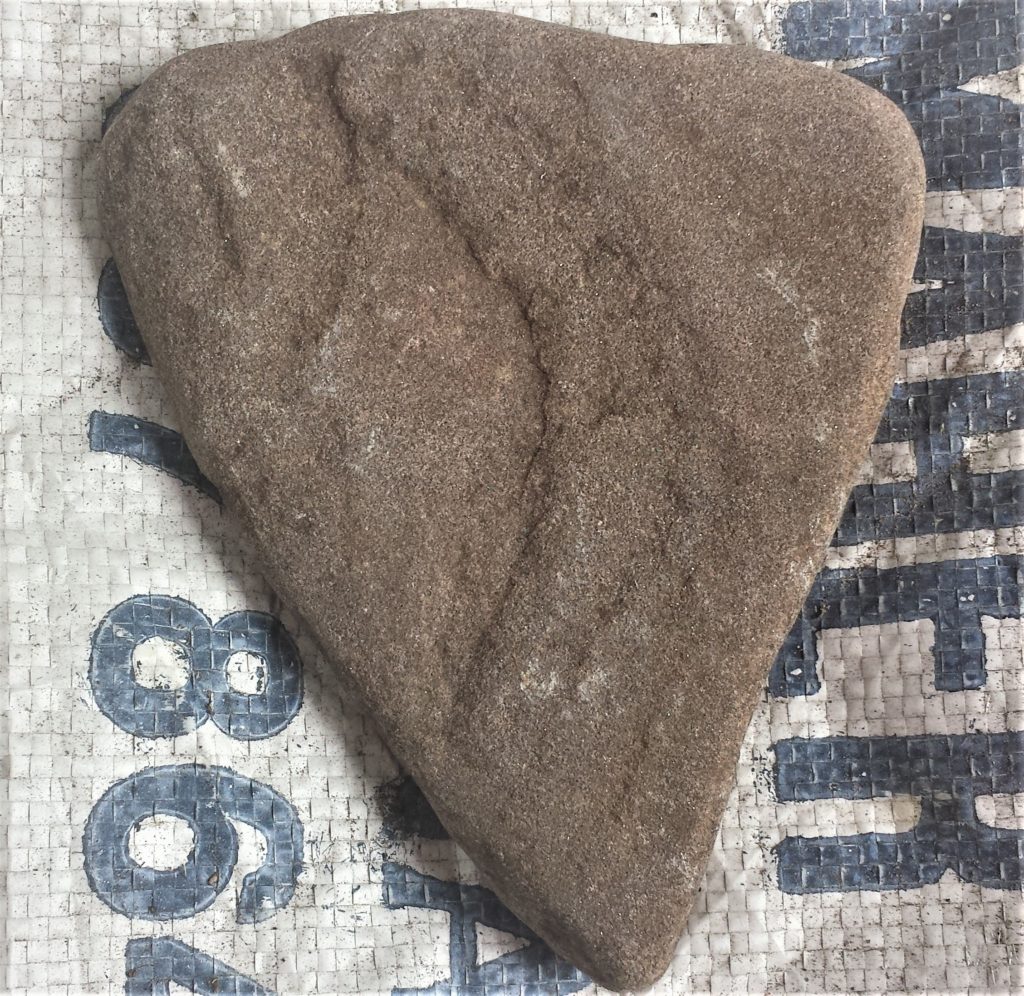
I put the stones on an old tablecloth and a flat bag in my shed. I put the stones to be painted Black on the Red Polka Dot Tablecloth, and the stones to be painted Copper on the White Bag. Polka Dot Plastic Tablecloth.
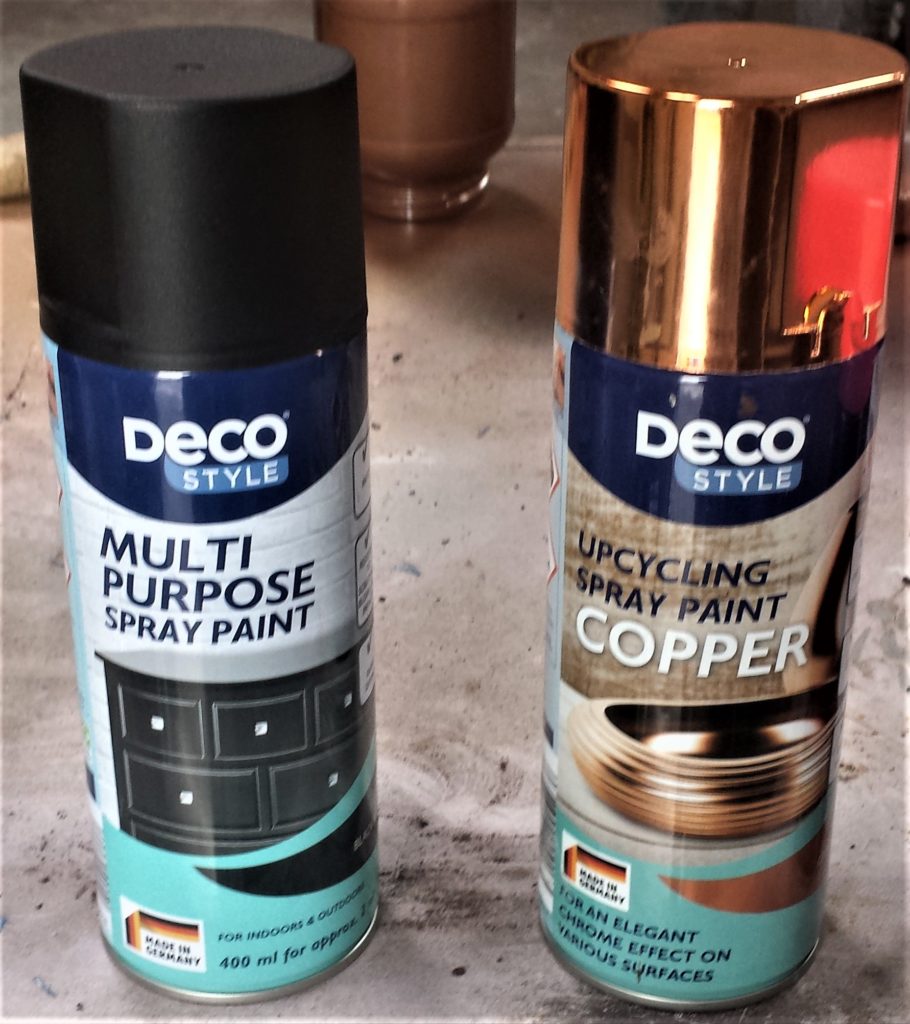
I used two colours of Spray Paint. They were ‘Deco Style Multi Purpose Spray Paint’ in Black as well as ‘Deco Style Upcycling Spray Paint’ in Copper. Montana Shock Black Spray Paint. Krylon Metallic Spray Paint.
Spray Paint Recommendations
Always Spray Paint in a well Ventilated Area. Open Windows and Doors. Leave the Room as soon as you can after Spray Painting to avoid inhaling any fumes. Read the Instructions on the back of the Spray Can carefully and take any necessary precautions.
I shook the Black Spray Can from side to side for a minute then removed the lid. I held the can approximately 20 cm away from the stone. If you spray too close to the stone it will come out too watery.
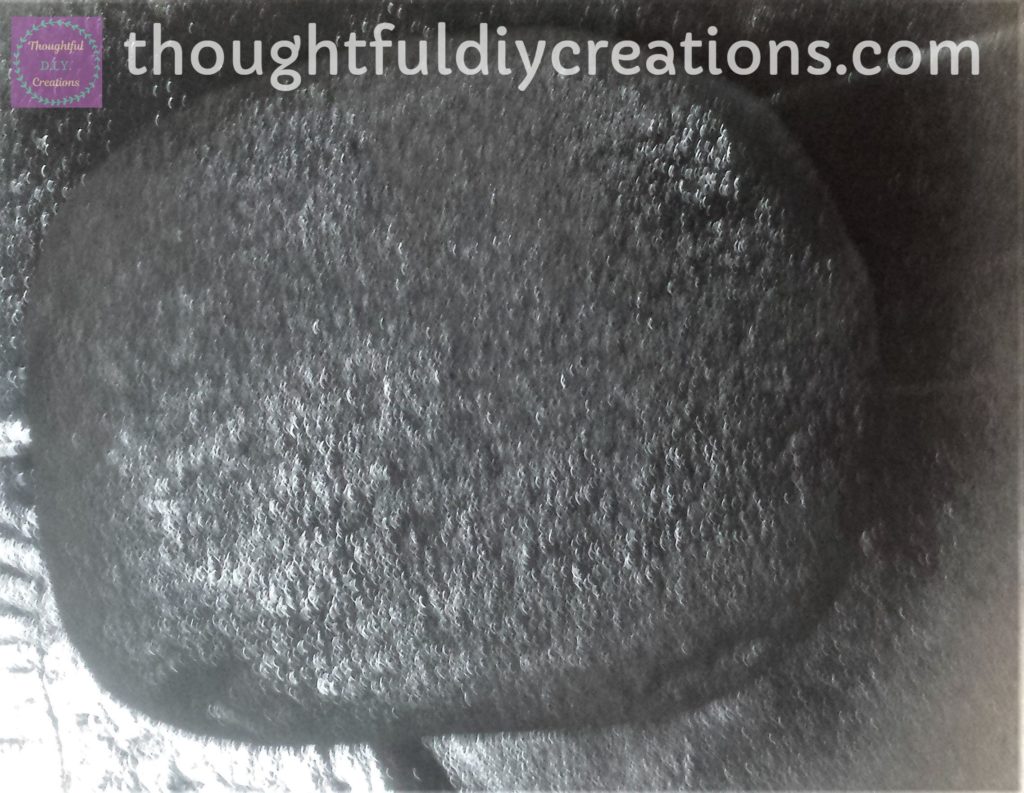
I sprayed the front and sides of the stone without stopping. This only took a few seconds. I then shook the can again and sprayed the front and sides of the next stone.
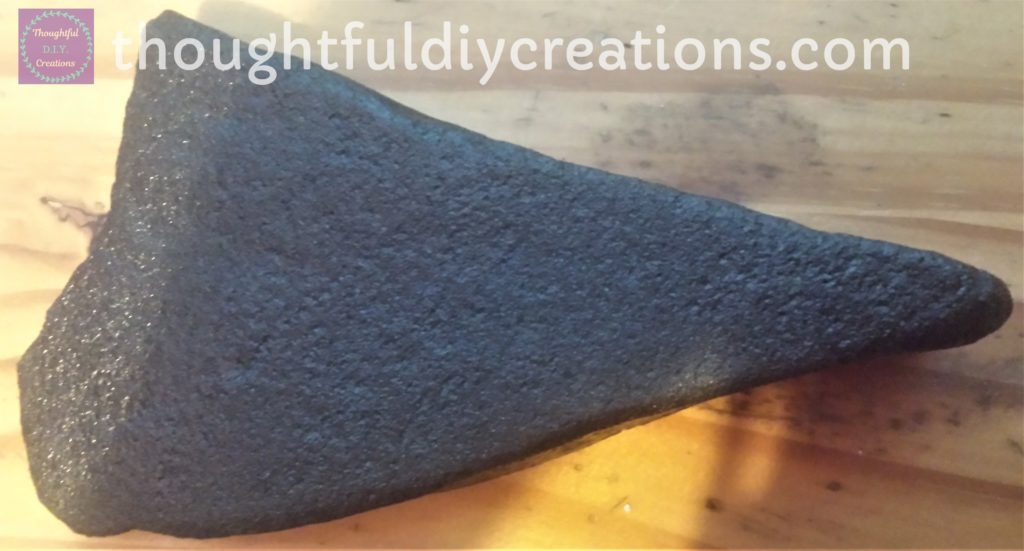
I repeated the spray painting process using the Copper spray paint.
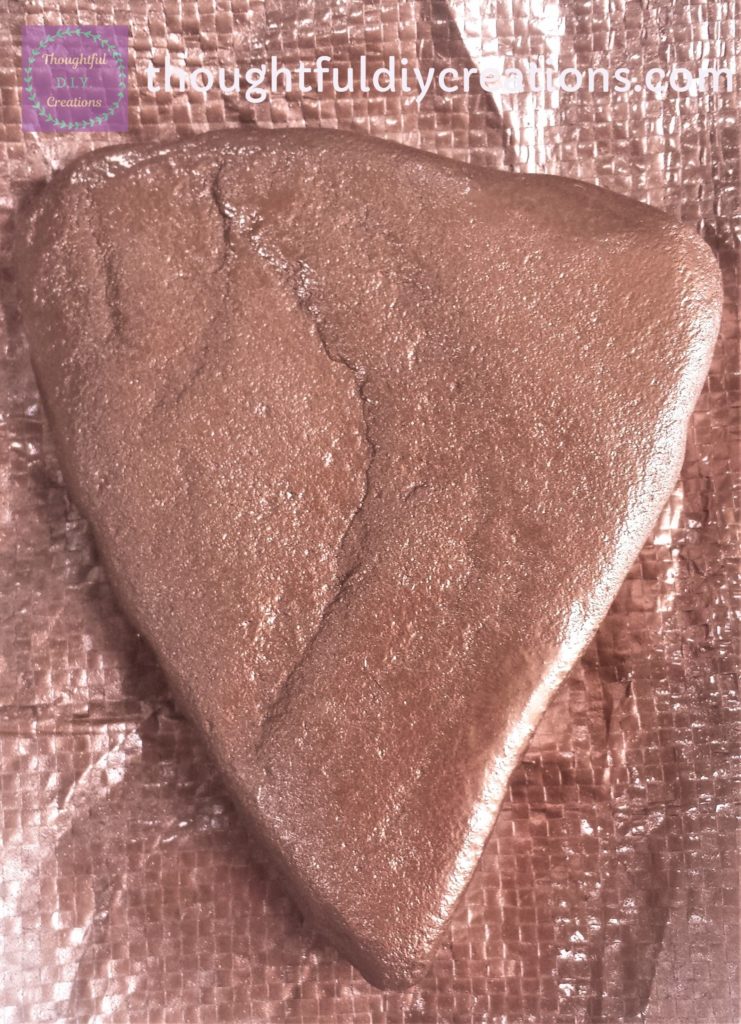
I gave an hour drying time between each layer of spray paint. I spray painted each stone three times. I then left them overnight to dry after the third layer of spray paint.
The next day I turned the stones over and repeated the process of spray painting the back of each stone 3 times. I also gave an hour drying time between each layer and overnight after the third layer.
I checked the stones the next day and was happy with how they looked. I moved each stone slightly on the tablecloth and bag to prevent them from sticking to it. I left them in the shed for a further 48 hours to Cure.
Stone Art: Decorating the Stones
To write the sentiment on each stone I used a white ‘Daler Rowney Acrylic Paint Marker’ in White 2-3mm, and also a ‘uniPOSCA White Paint Pen’ 0.7mm for the finer details. Daler Rowney Acrylic Paint Markers. Uni Posca White Paint Marker Pens.
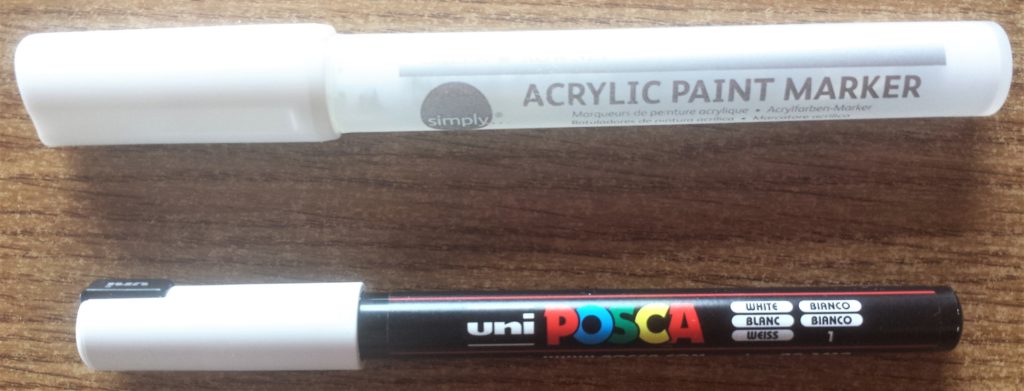
To use both of the products you shake the marker or pen several times. You then press the tip of the marker or pen downwards on a piece of coloured paper and move it up and down until the paint flows out. It is then ready to use on the stones.
The paint comes out like a marker and pen. You just write as normal on the stone. After a while if the paint isn’t coming out, you just need to shake it again and press the tip downwards and upwards on a sample sheet until it flows out again.
I wrote ‘Follow your Dreams’ with the Paint Marker, and drew the arrows with the paint pen. I done about 5 layers of the white marker and pen to ensure it was bright, clear and eligible. I left about 30 minutes between each layer.

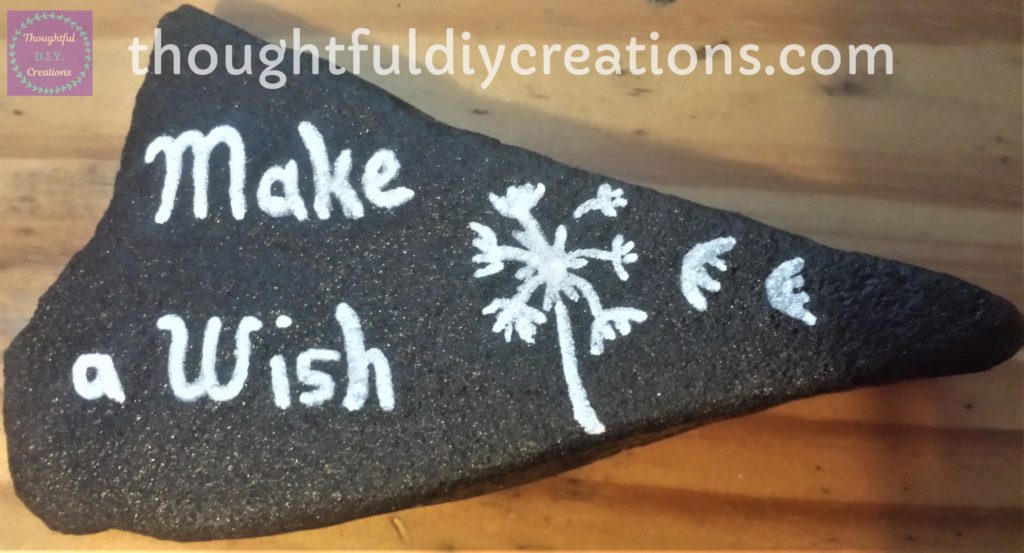
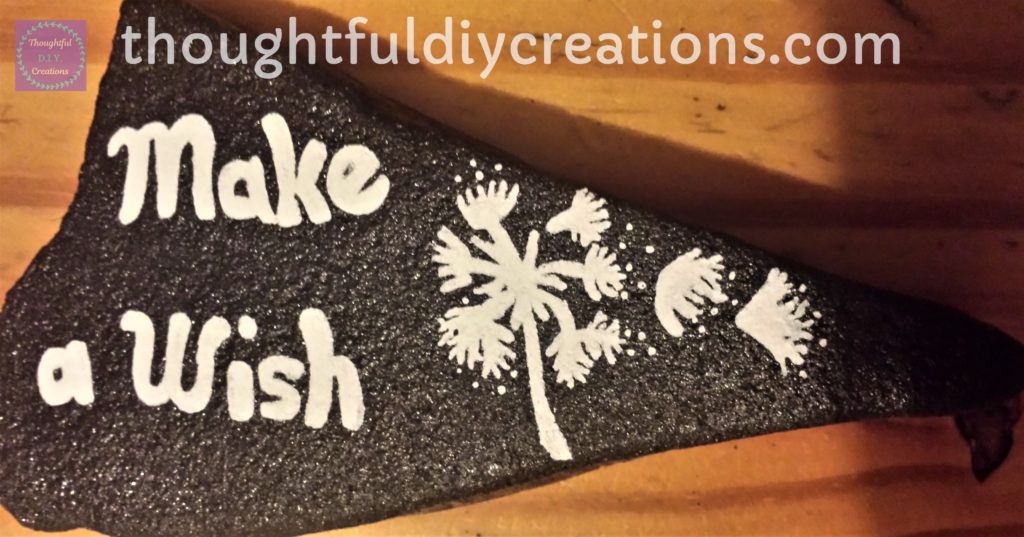
I wrote the ‘Make a Wish’ sentiment with the paint marker. I also done the outline of the dandelion with the marker. I then added some finer details to the dandelion using the paint pen. I also gave 5 layers of the white paint to this stone.
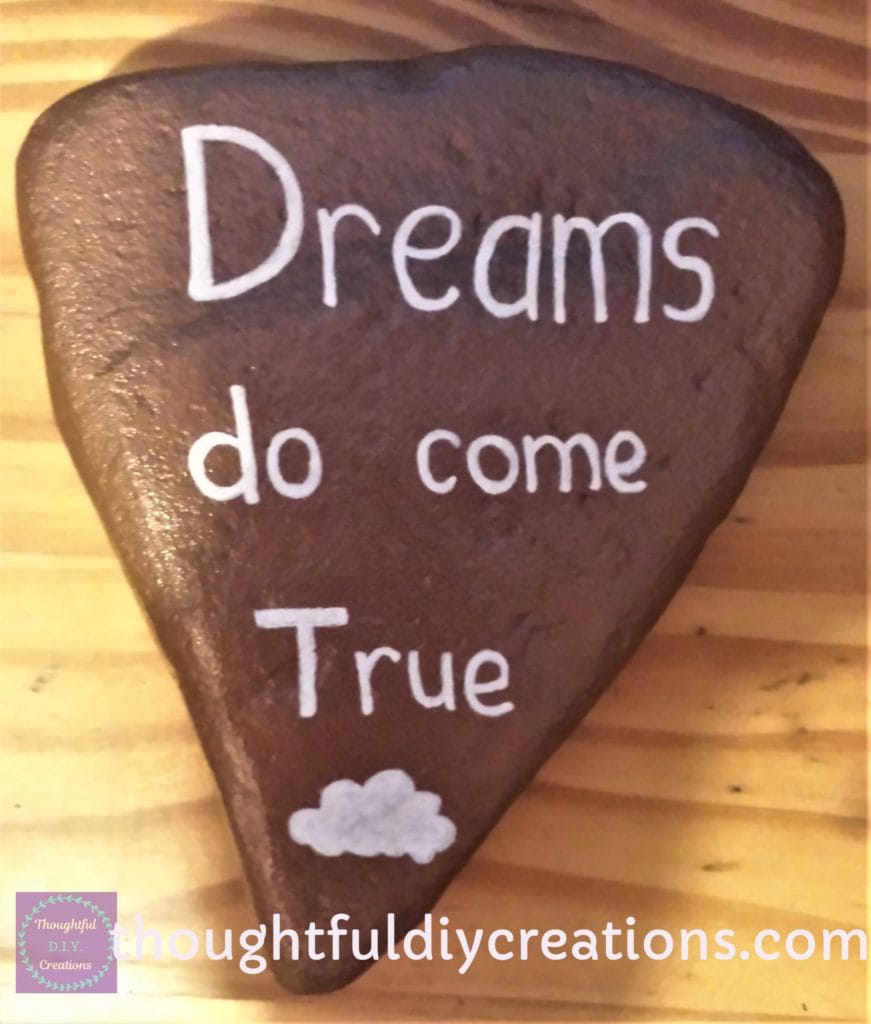
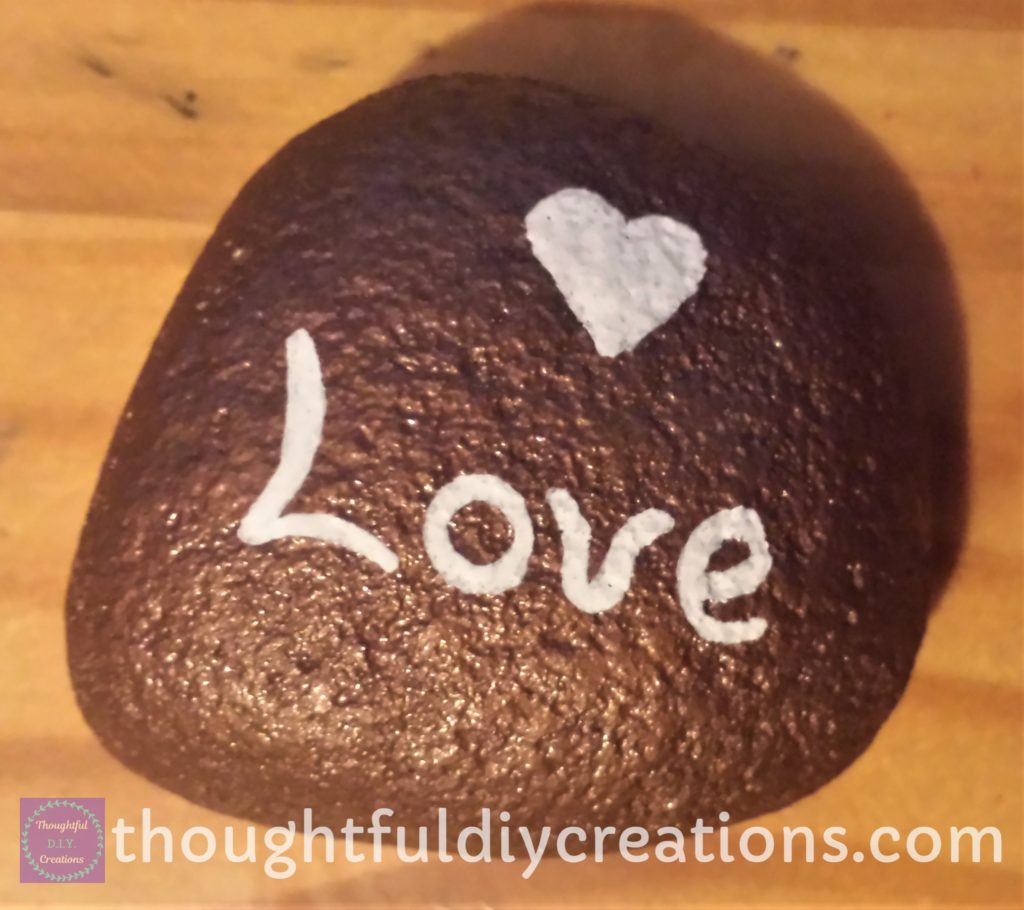
I wrote the ‘Dreams do come True’ and ‘Love’ quotes using the paint pen. I also done the cloud and love heart using the paint pen. I done 4 layers on both of these stones as the base colour wasn’t as dark as the black. This Completed my Stone Art Craft.
Conclusion
I loved how these stones were given a makeover with just two products. Stone Art can be displayed in a multitude of ways to add a pretty element to your office, living room, bedroom or entry way. One look at them and they can be an instant pick- me- up when you are having a bad day.
Let me know if you would consider trying this project yourself. It is an easy-to-do activity. You can change it up by writing whatever you want on your stone. It is such a versatile craft, you could also use Silver or Gold spray paint or Acrylic Paint either. I hope I provided some inspiration for your Stone Art.
If you have any questions please don’t hesitate to ask. Happy Creating everyone.
Here are some more Tutorials for Positive Home Decor; Live, Love Laugh Canvas or Positive Quote Jar.
Thank you so much for taking the time to read my Blog.
Always Grateful,
T.D.C.
xoxox



-0 Comment-