Spring Art Journal Page
Hello my Creative Friends,
I hope you are all Well. In Today’s Tutorial I will show you How I Decorated a Spring Layout in my Art Journal. It is perfect for Complete Beginners as I just used some Pretty Scrapbook Paper and Stickers to Decorate it. There are no complicated Steps and it is an ideal way to Fill your Art Journal if you are stuck on Ideas while still getting to enjoy the Creative process.
Art Journal
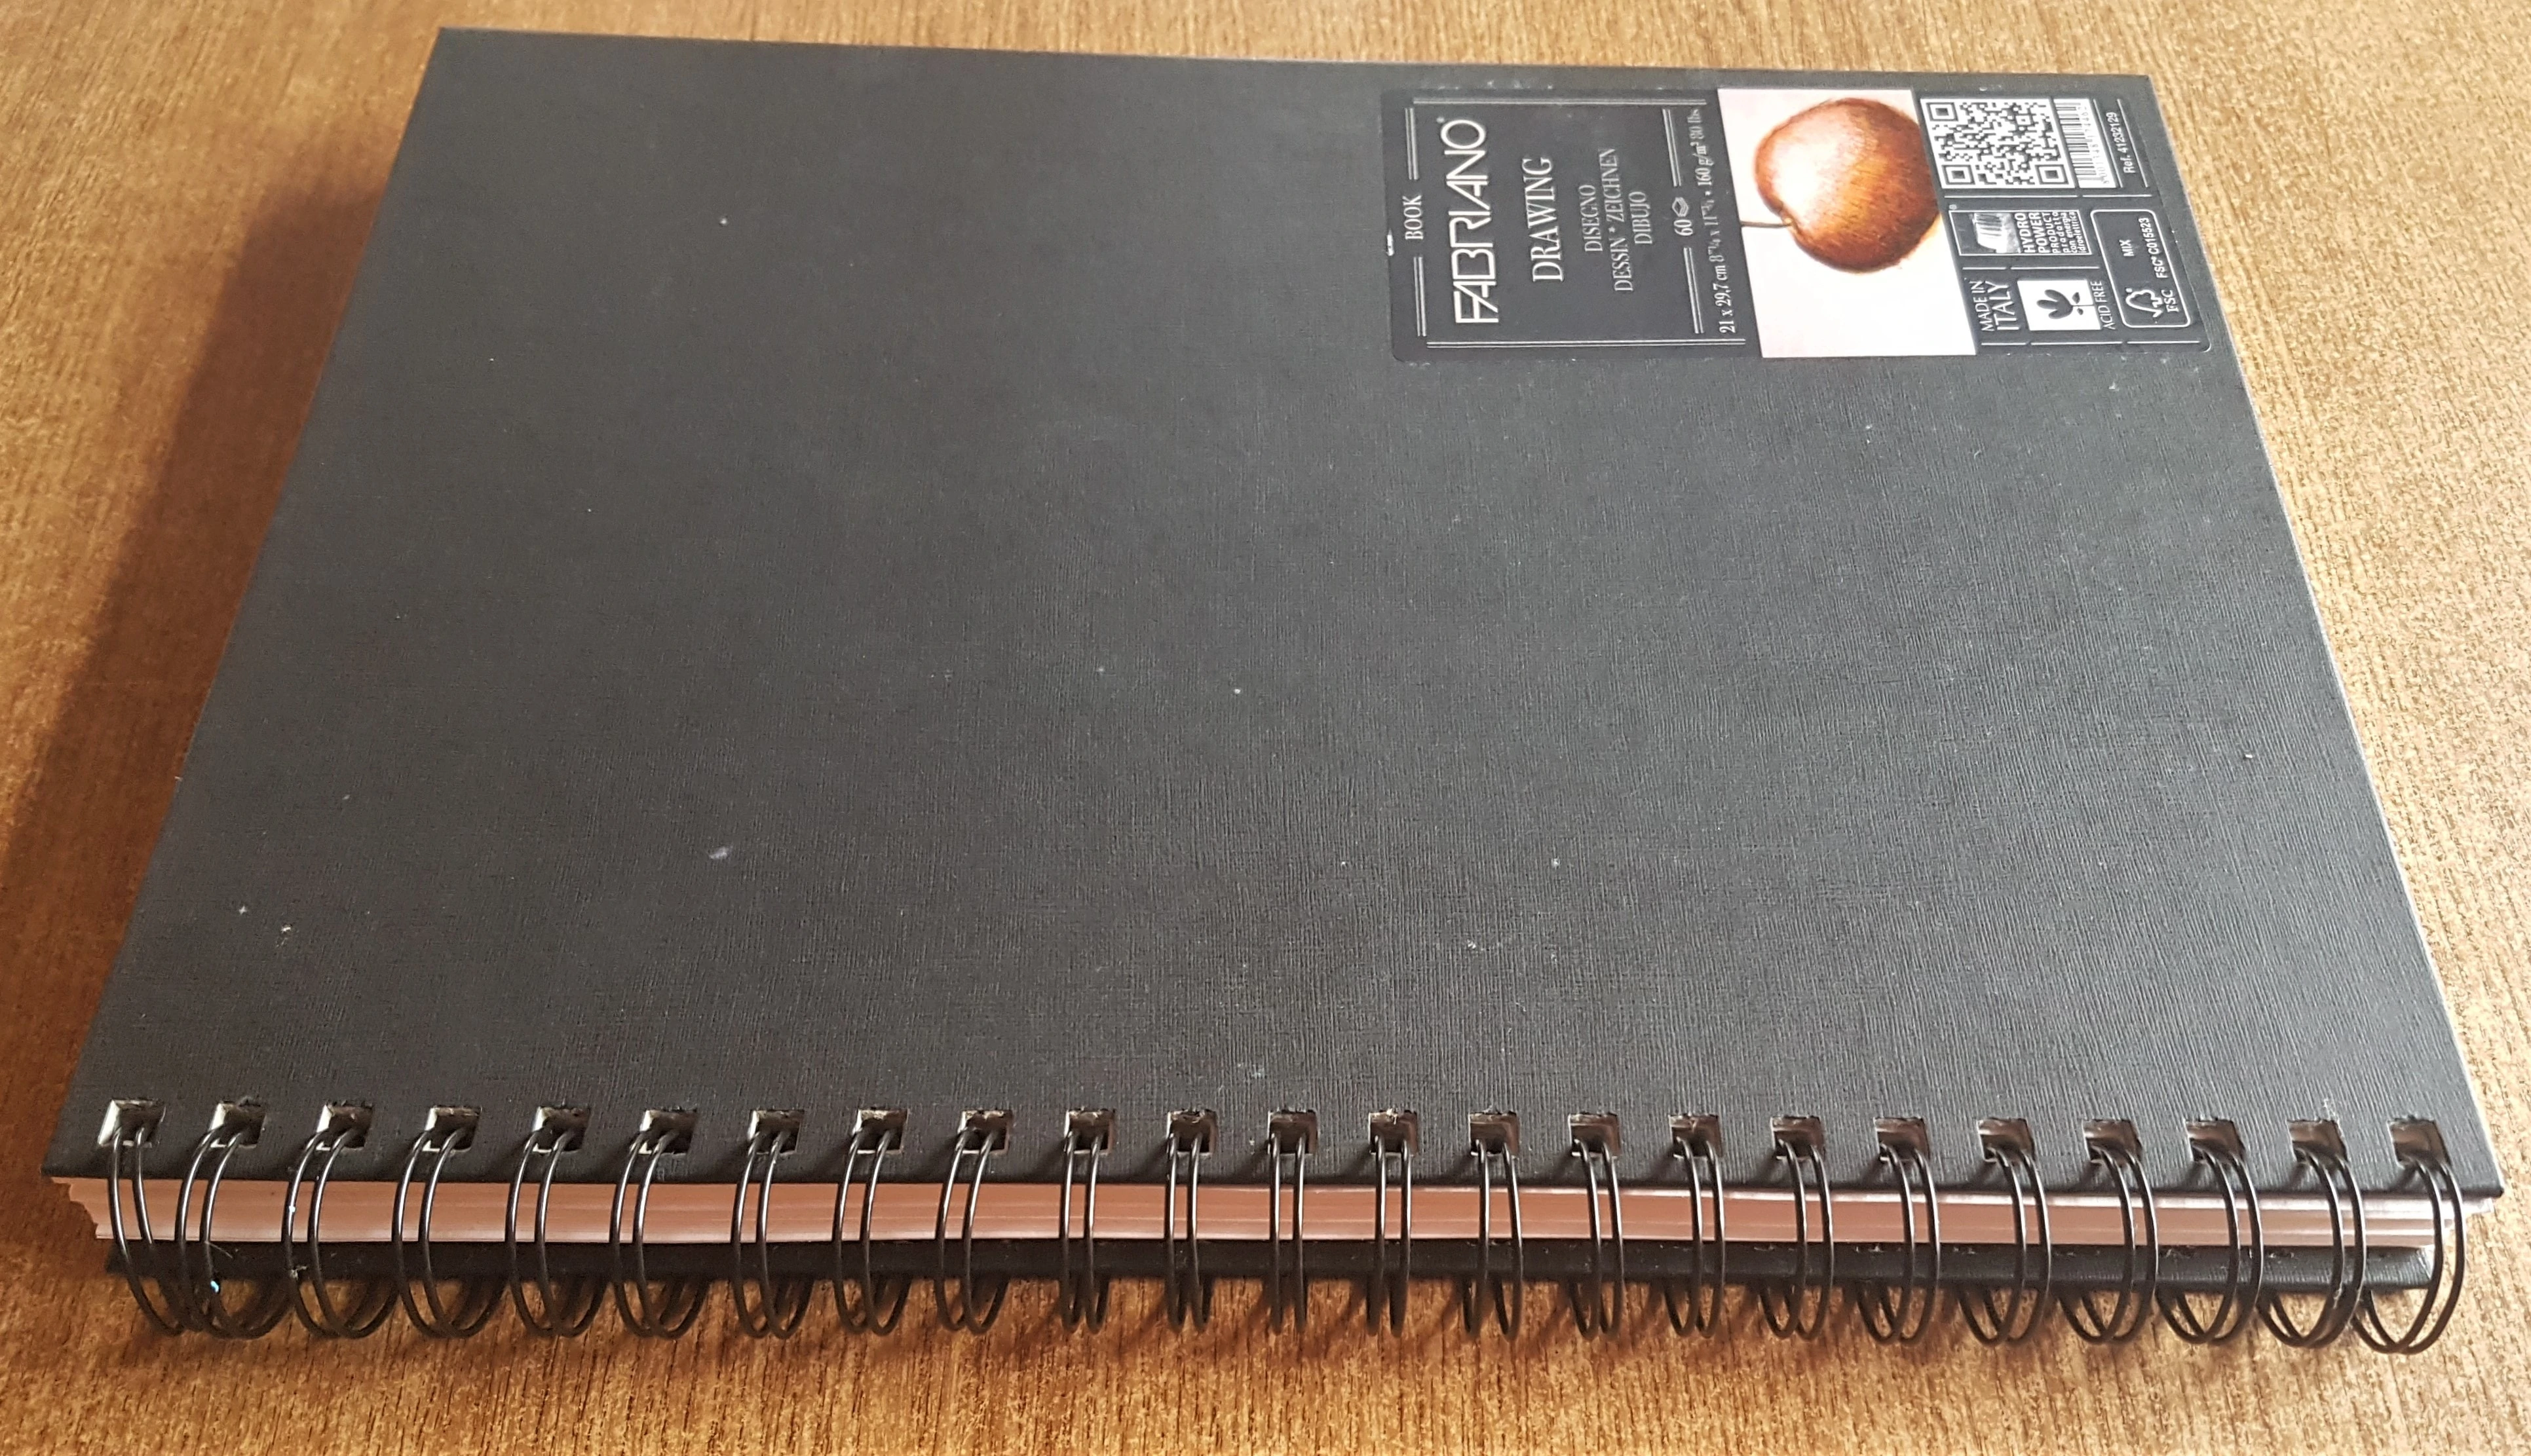
I got my ‘Fabriano A4 Hardback Spiral Journal 160 g/m²’.
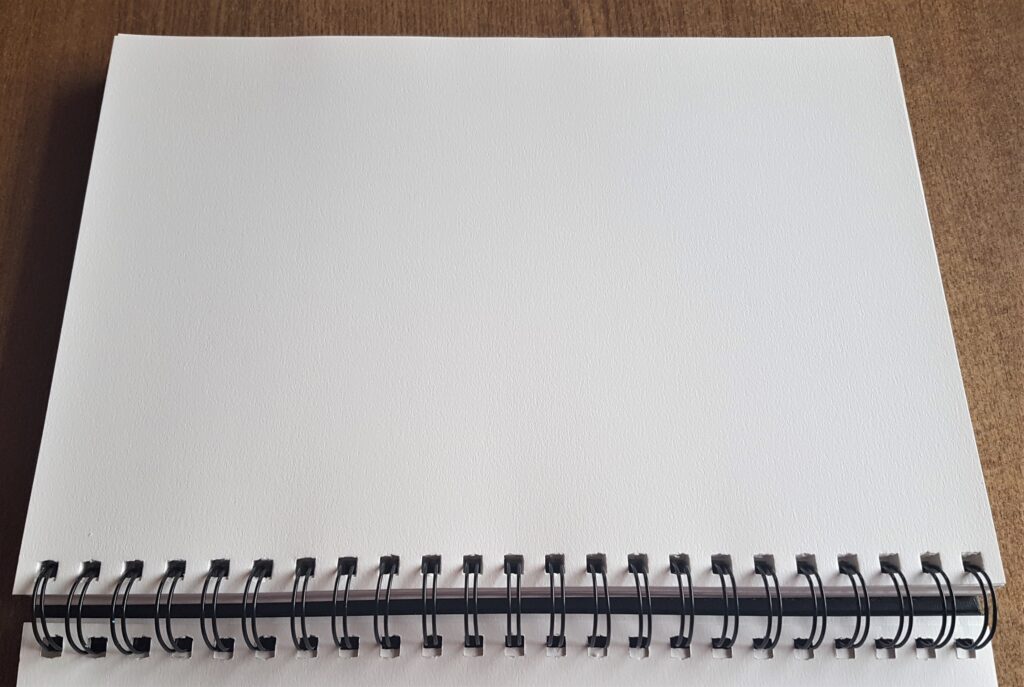
I Opened up the Journal to work on a Page.
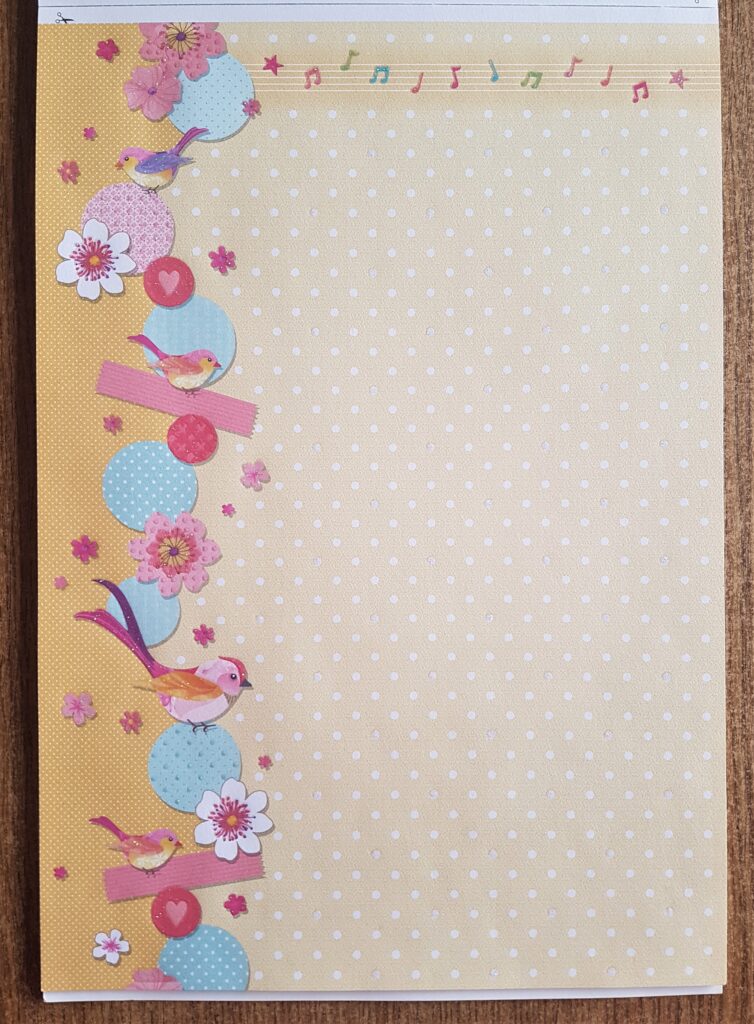
Spring Patterned Paper
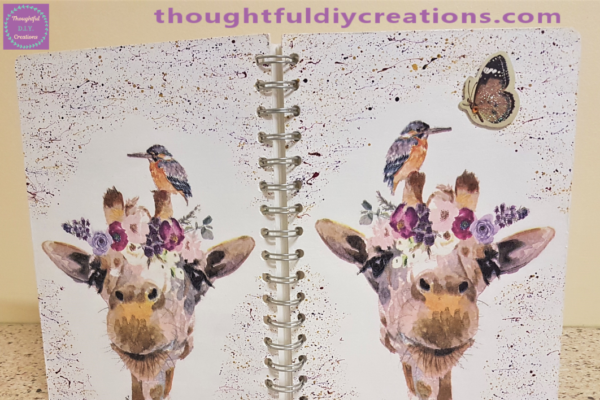
I found a Pretty Bird and Flower Page in one of my A4 Scrapbook Pads.
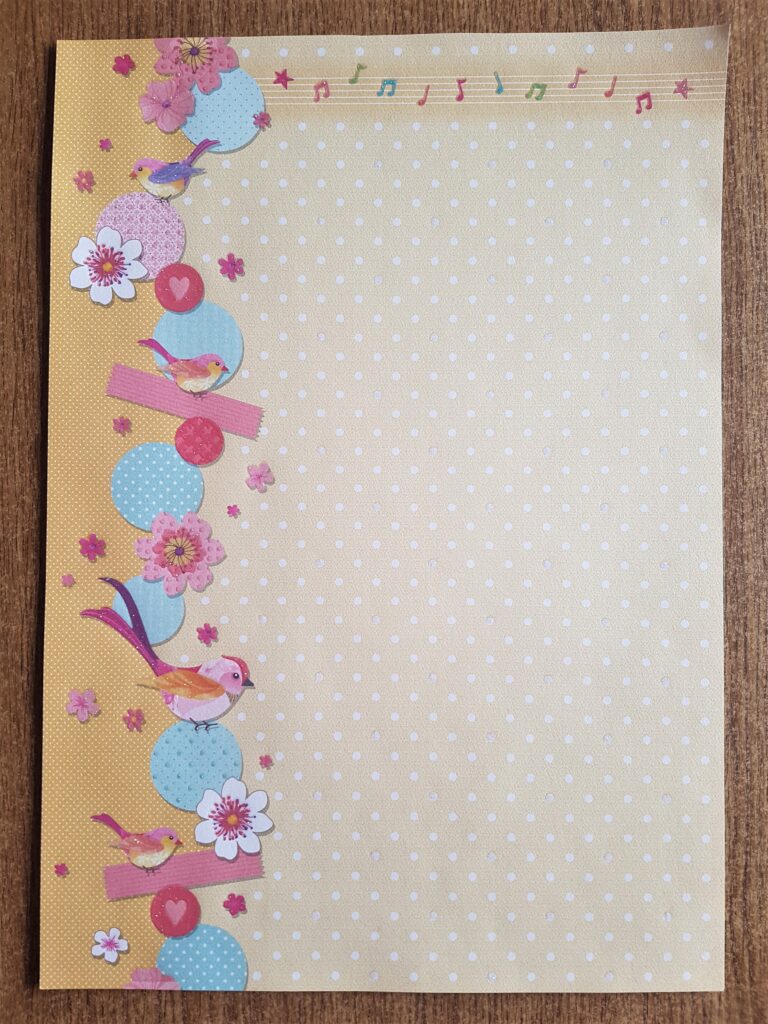
I Cut out the Page from the Pad.
Gluing and Cutting the excess Spring Paper
I put Pritt Stick all over the White Journal Page and then attached the Spring Page to the Glue and pressed it into place.
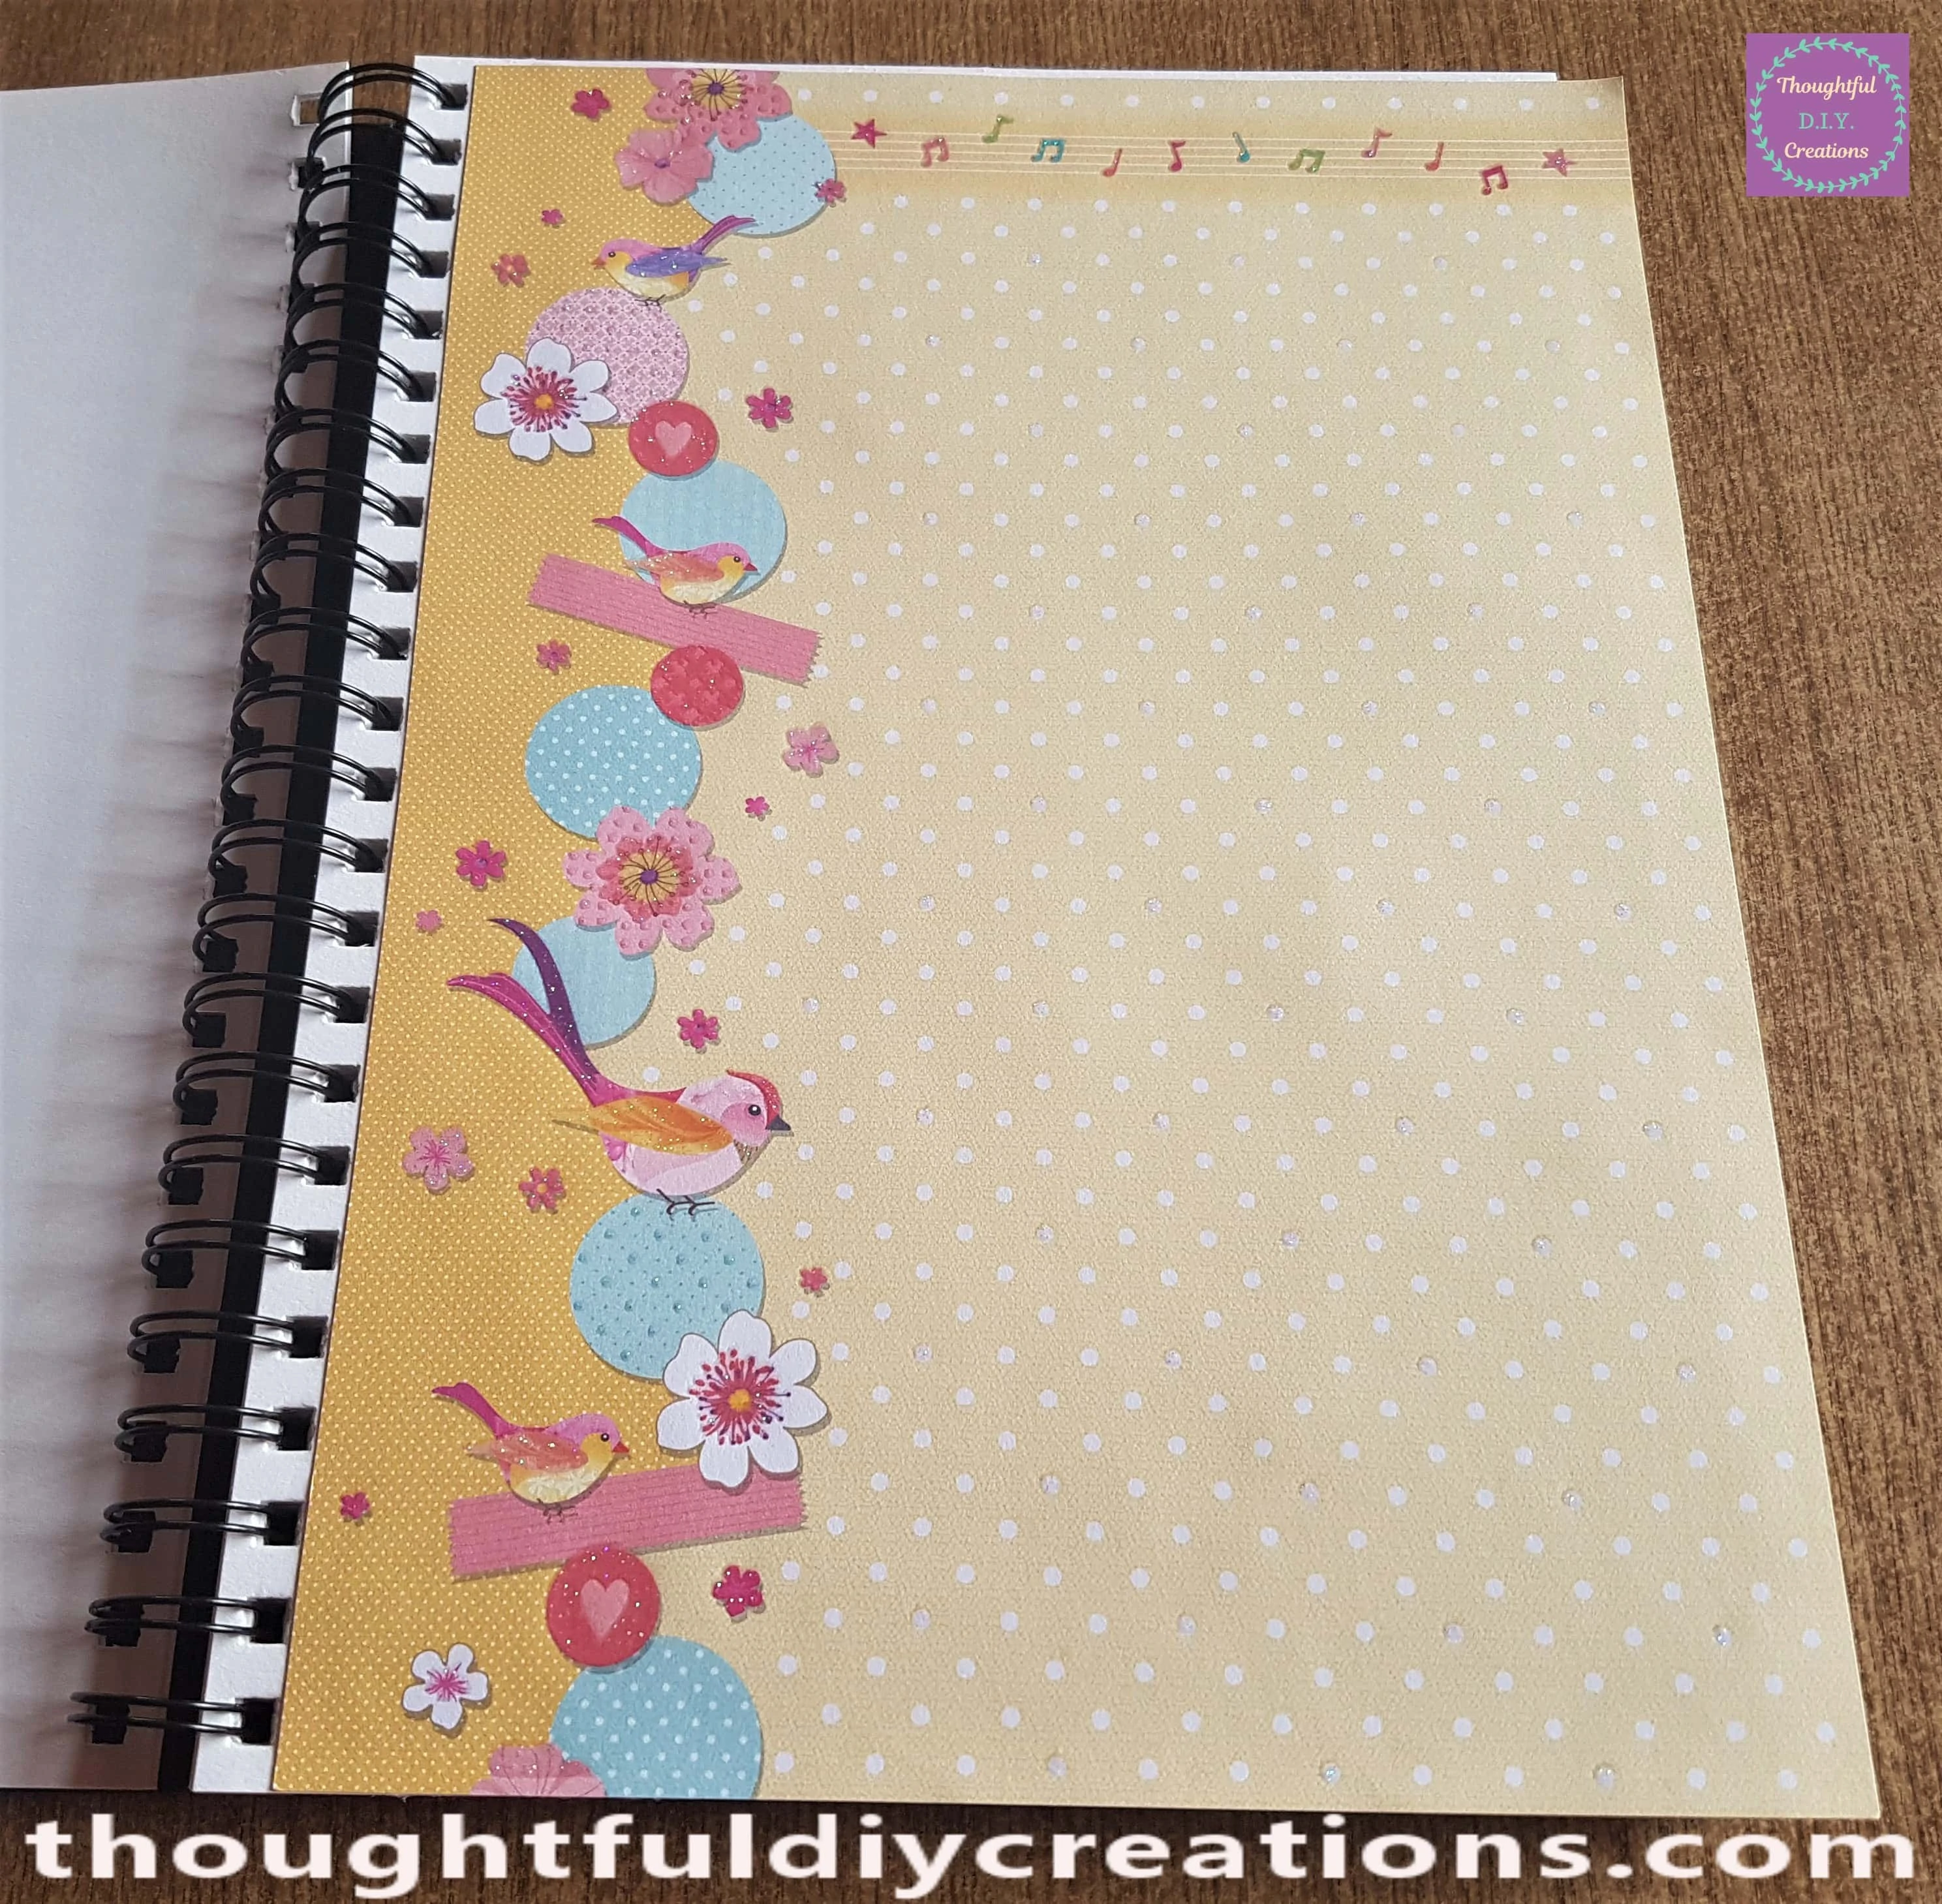
I Cut off the excess Spring Page from the Journal Page.
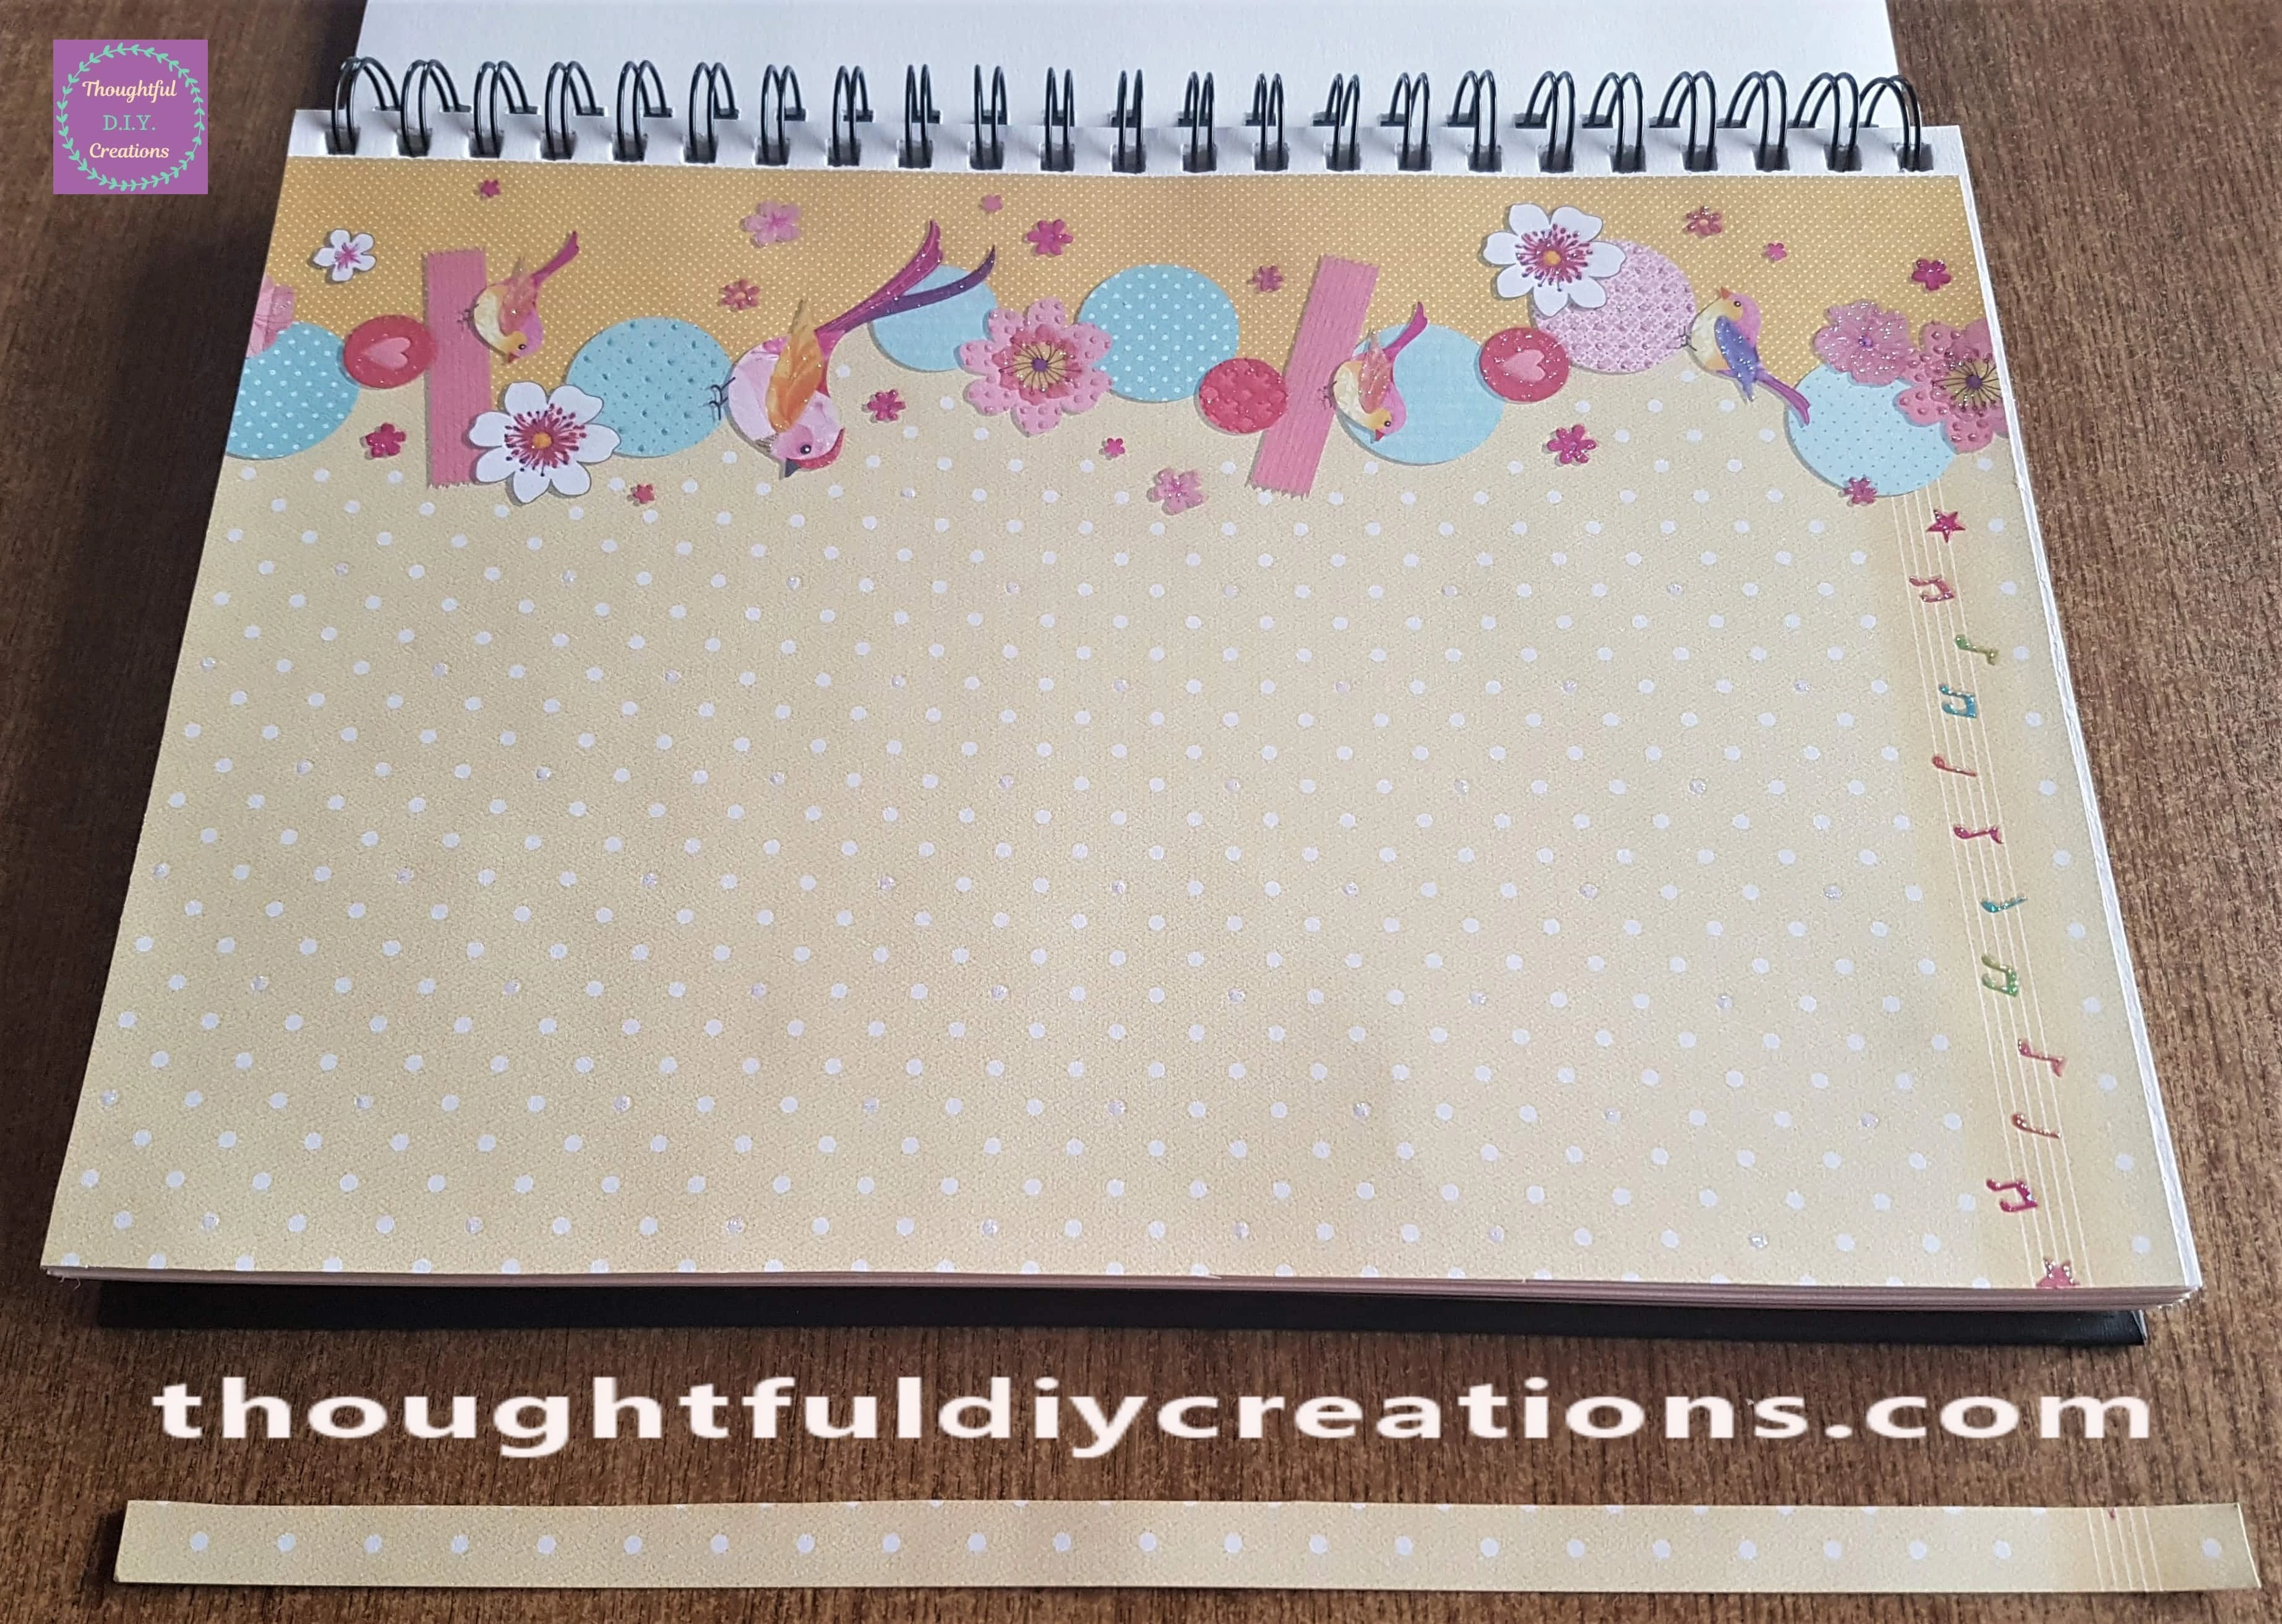
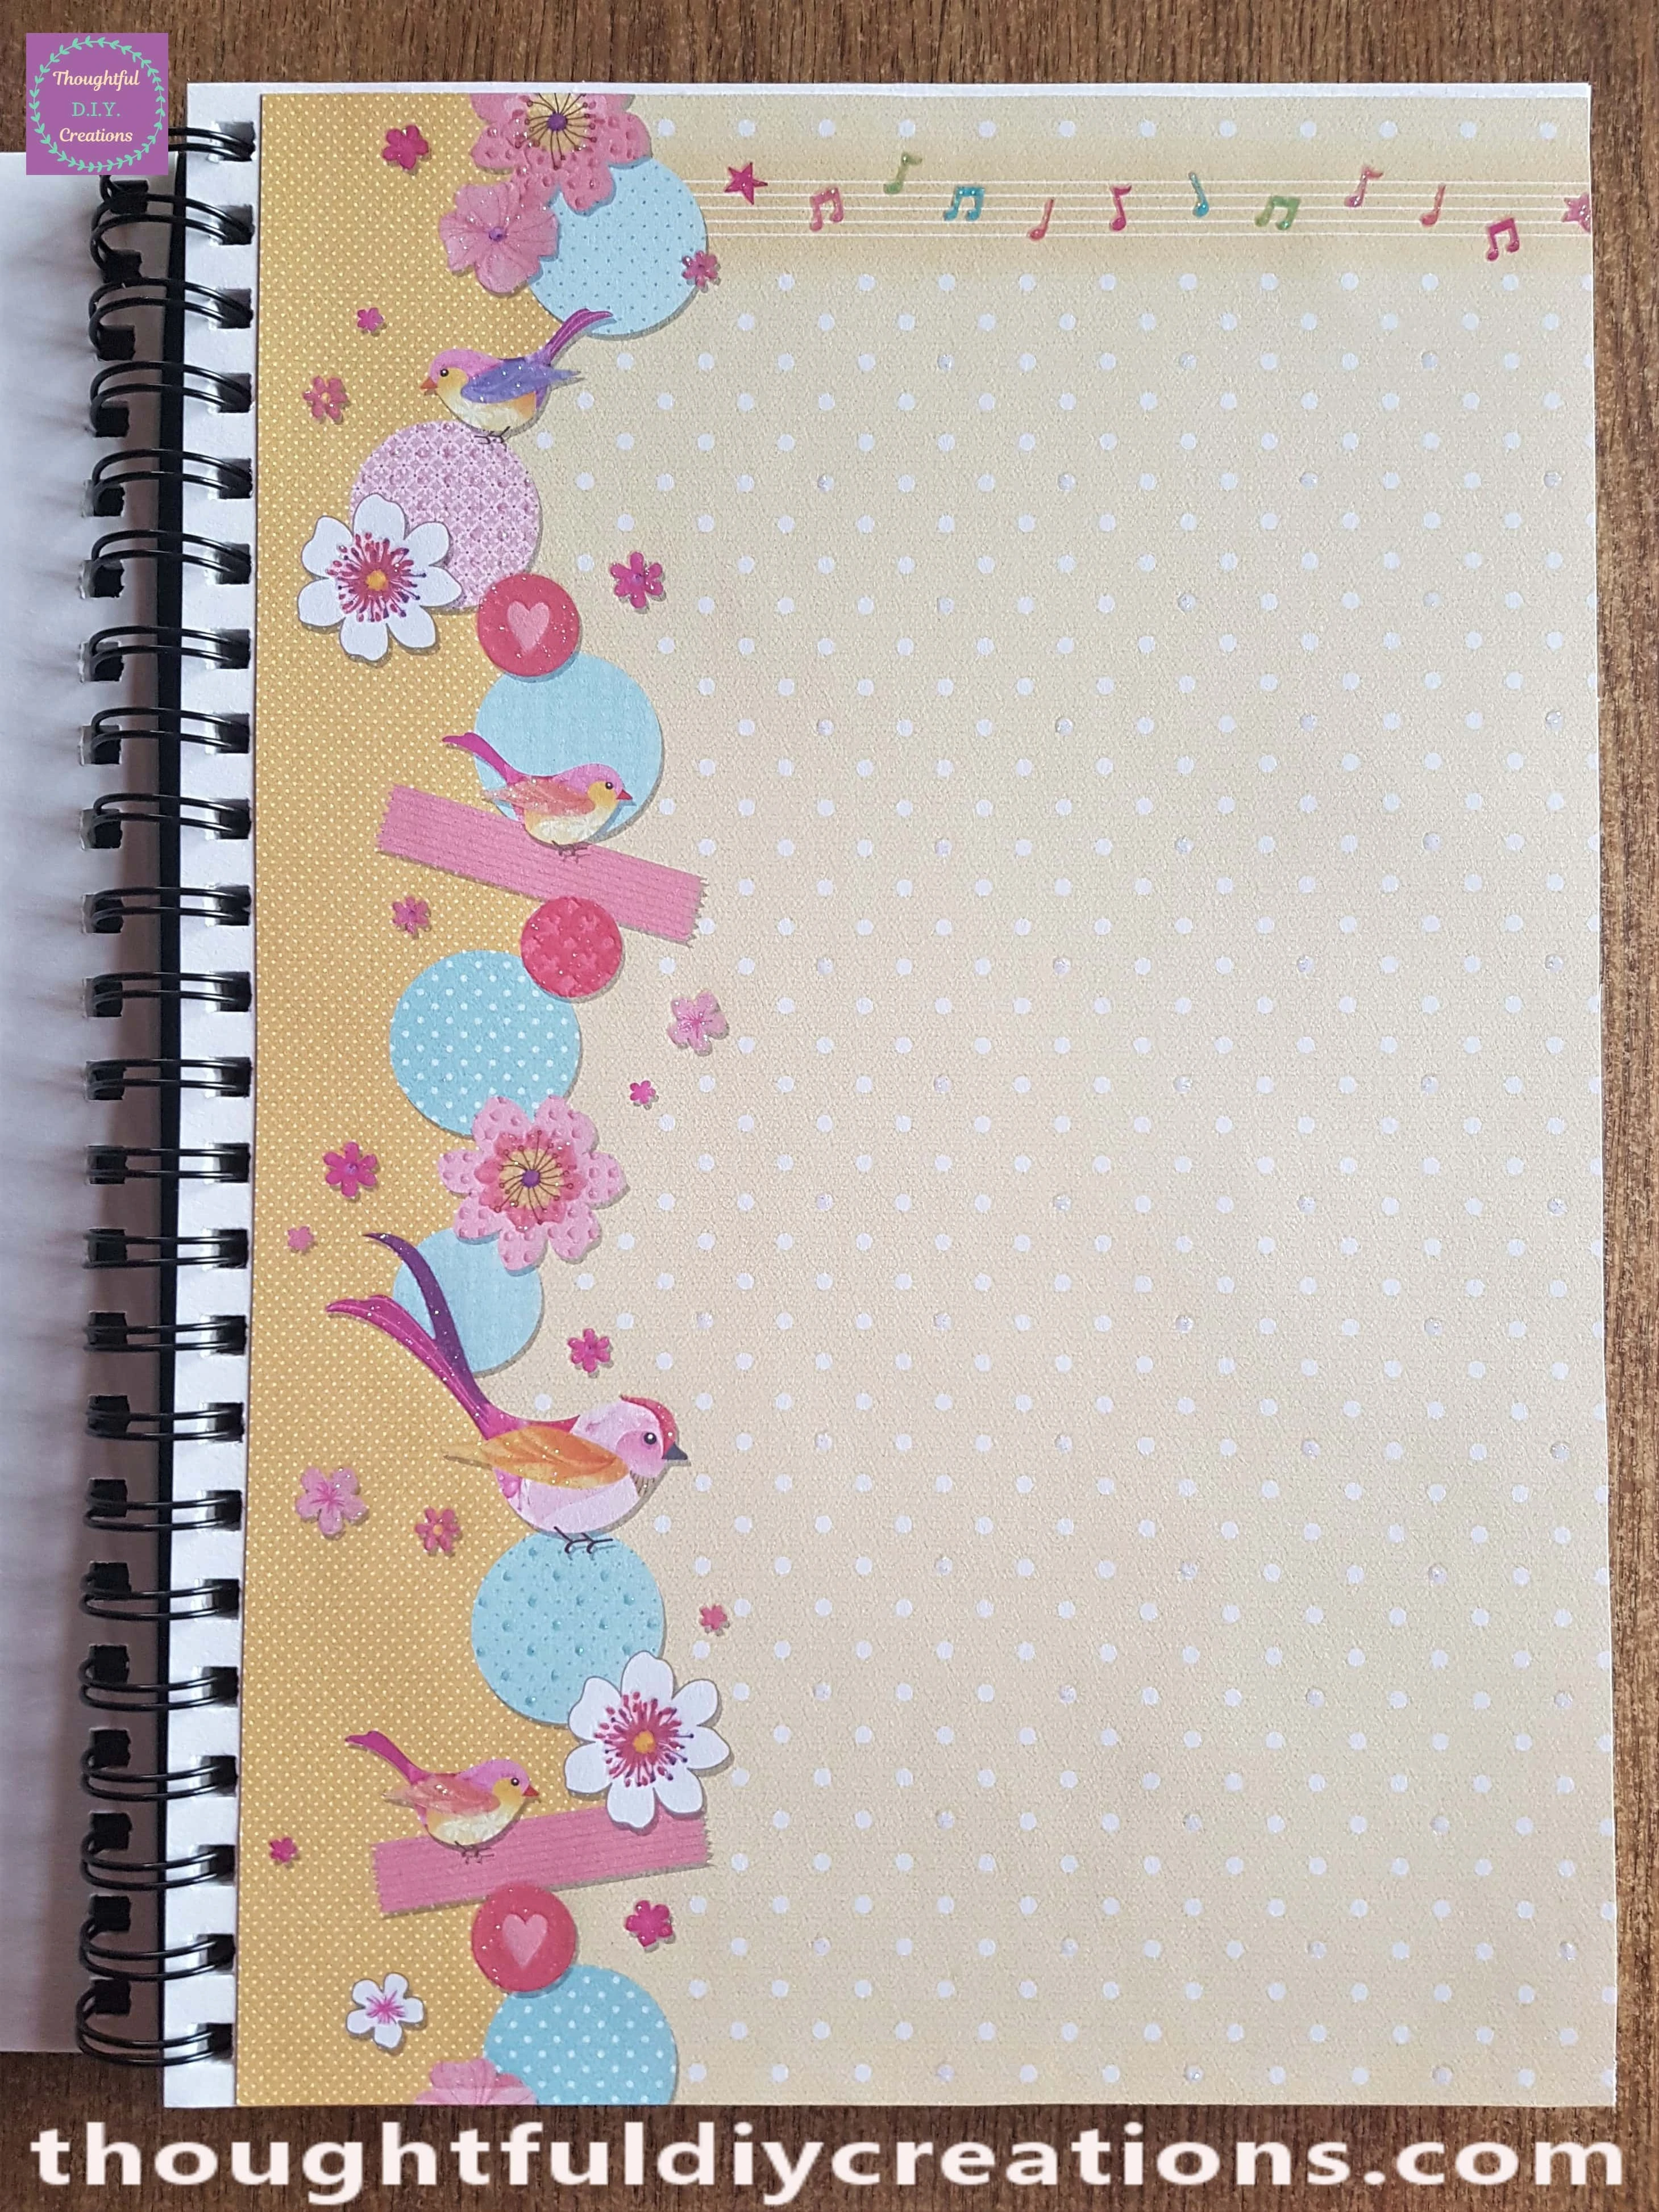
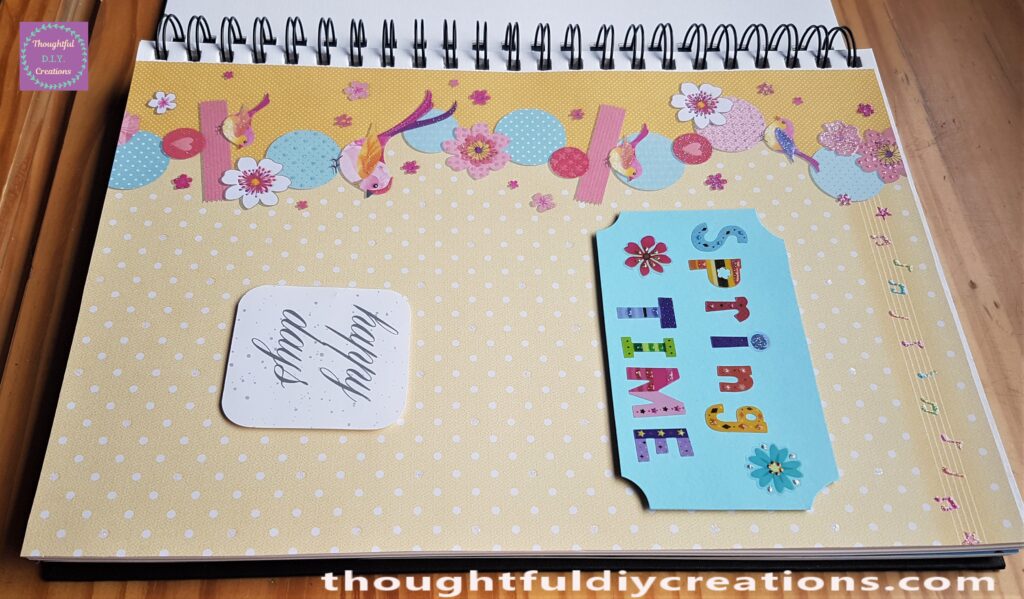
A full view of the Layout so far.
Making the ‘Spring Time’ Sentiment
I had a Light Blue Cardstock piece in my Paper Scraps Folder.

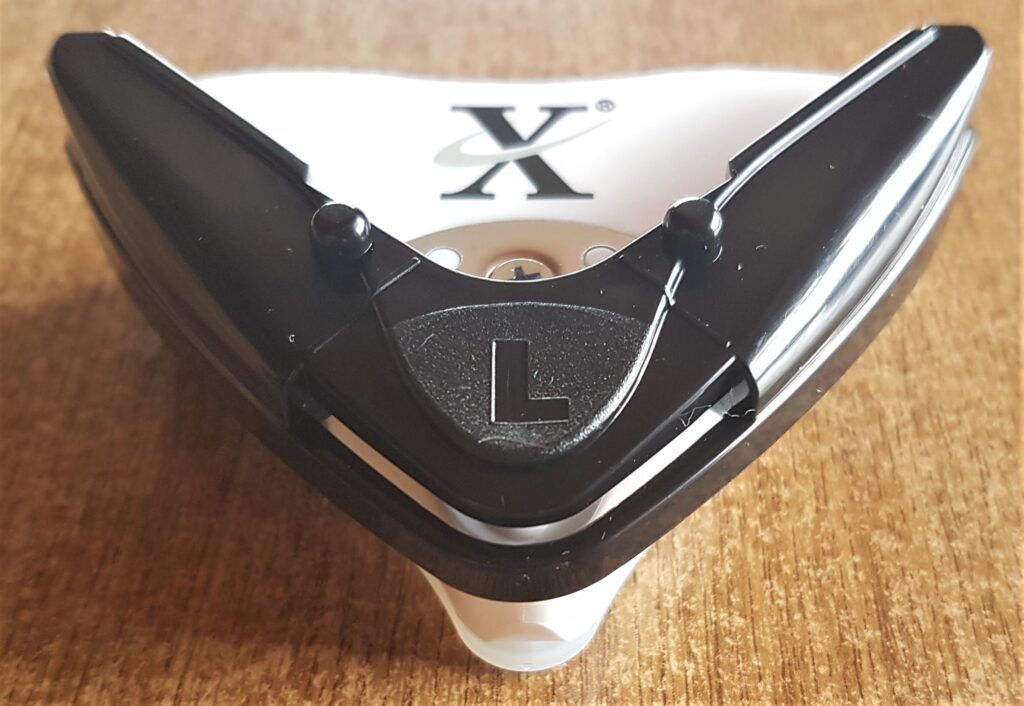
I put the 4 Corners of the Blue Cardstock one-by-one into the outer part of my ‘X-Cut 2-in-1 Corner Punch’. I pressed the ‘L’ Symbol down on the Punch to remove each Corner.
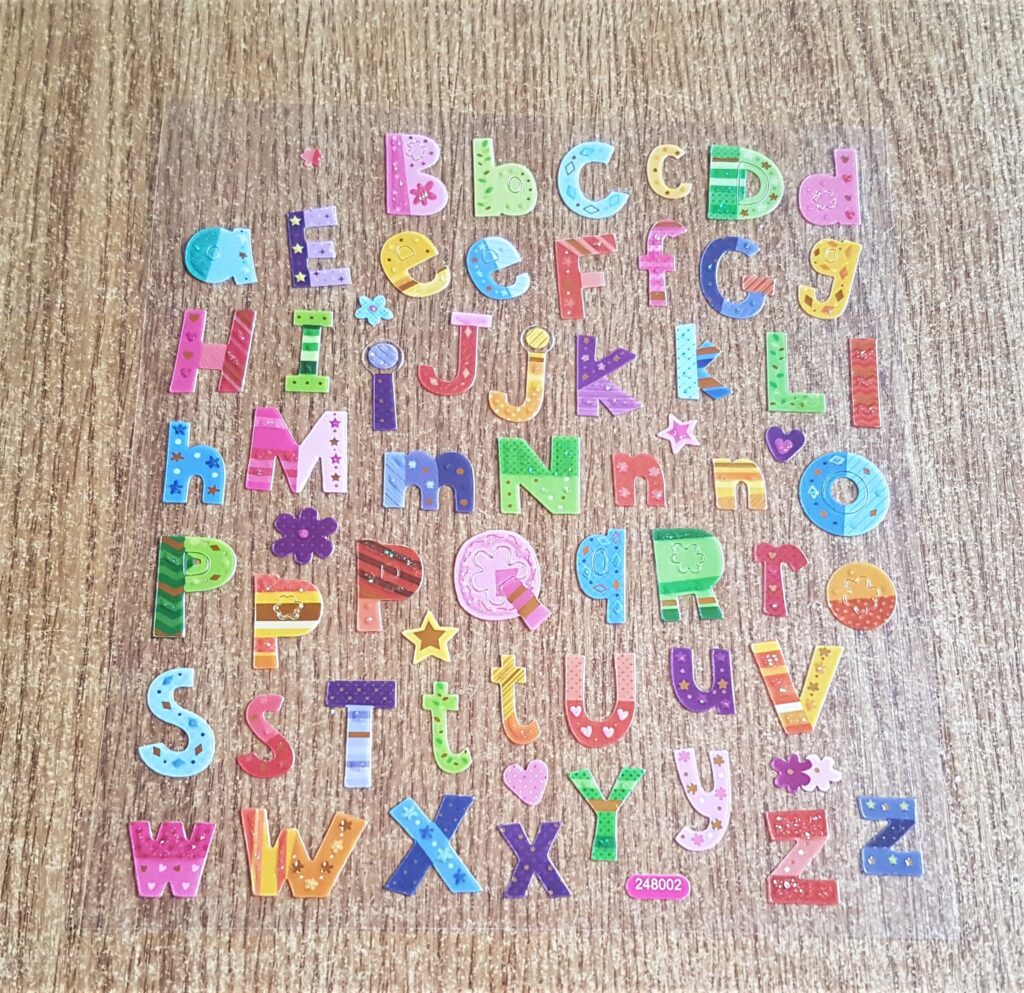
I got my Multi-Coloured Alphabet Stickers.
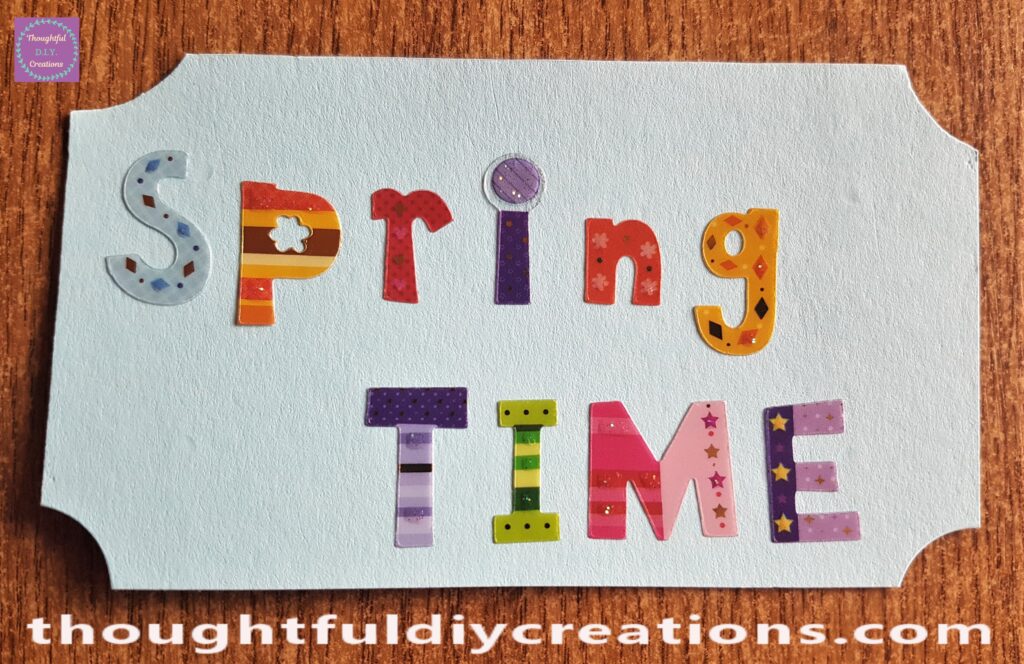
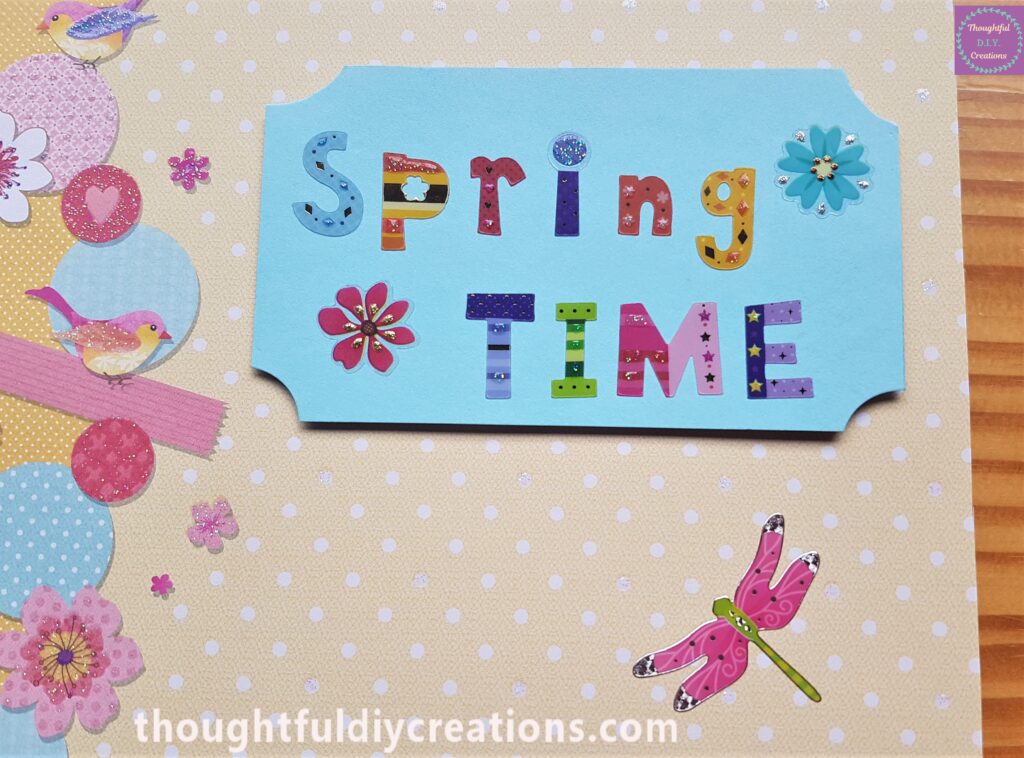
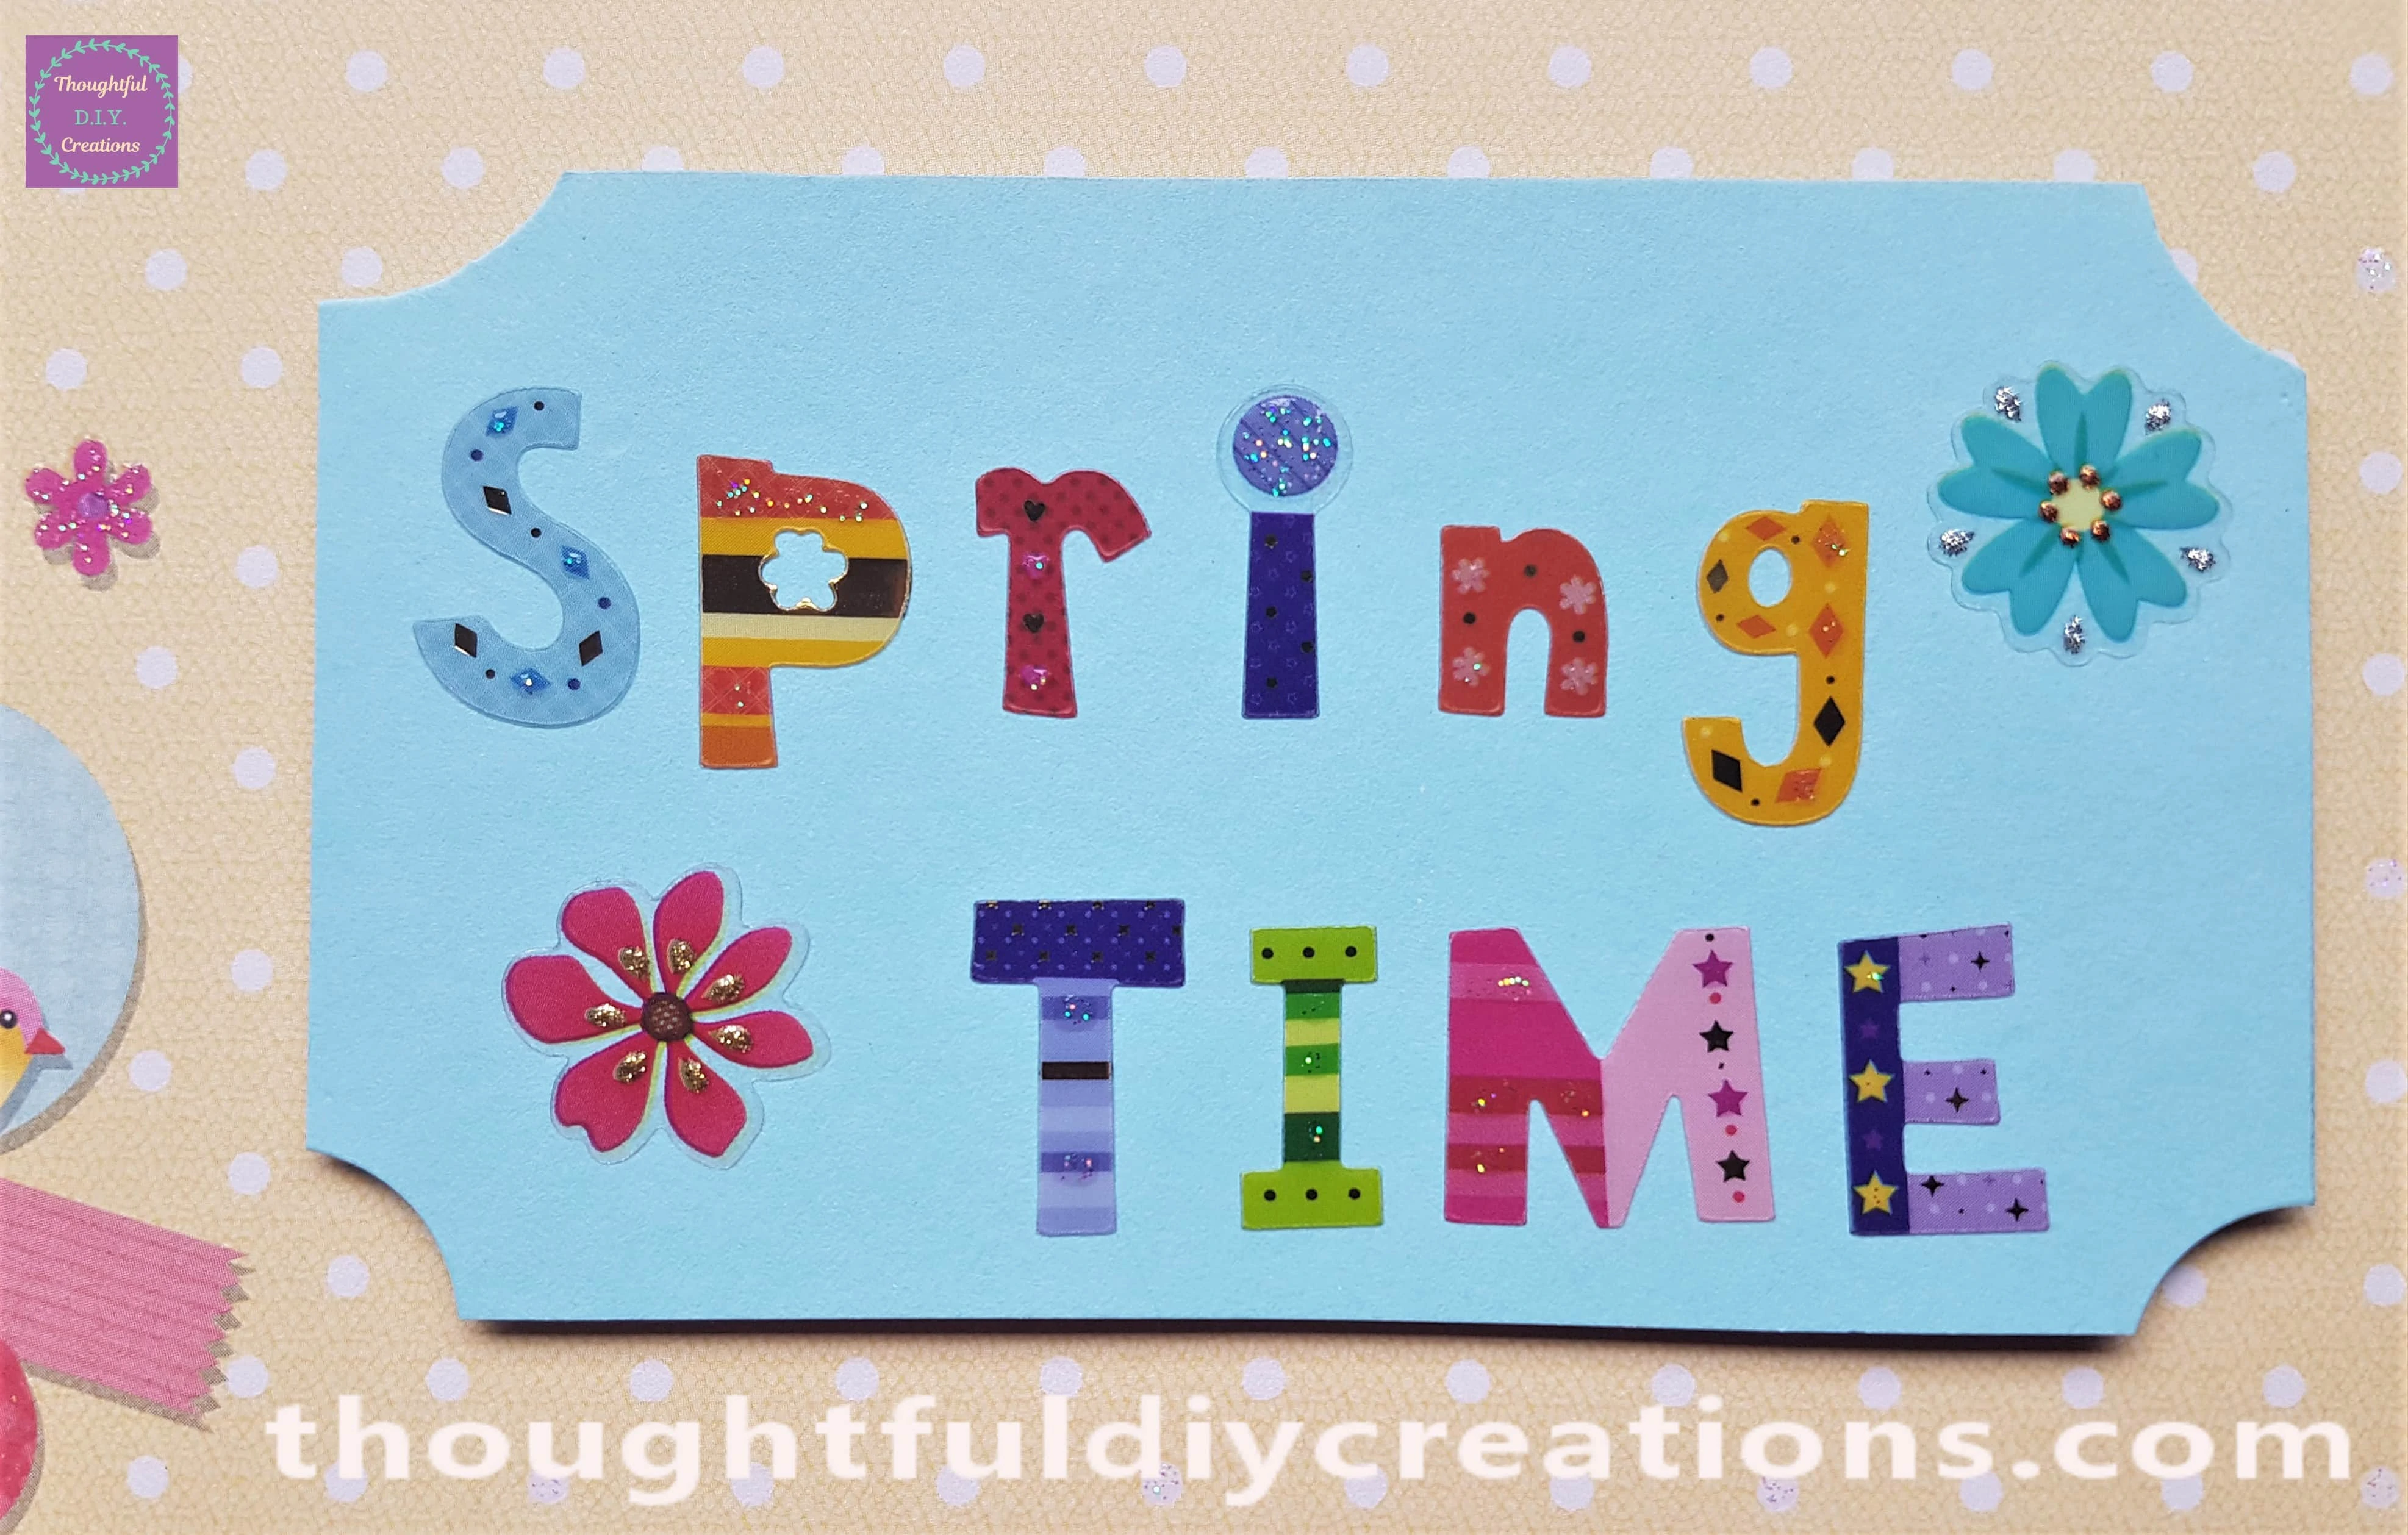
I added the Stickers to Spell ‘Spring Time’ to the Blue Cardstock.
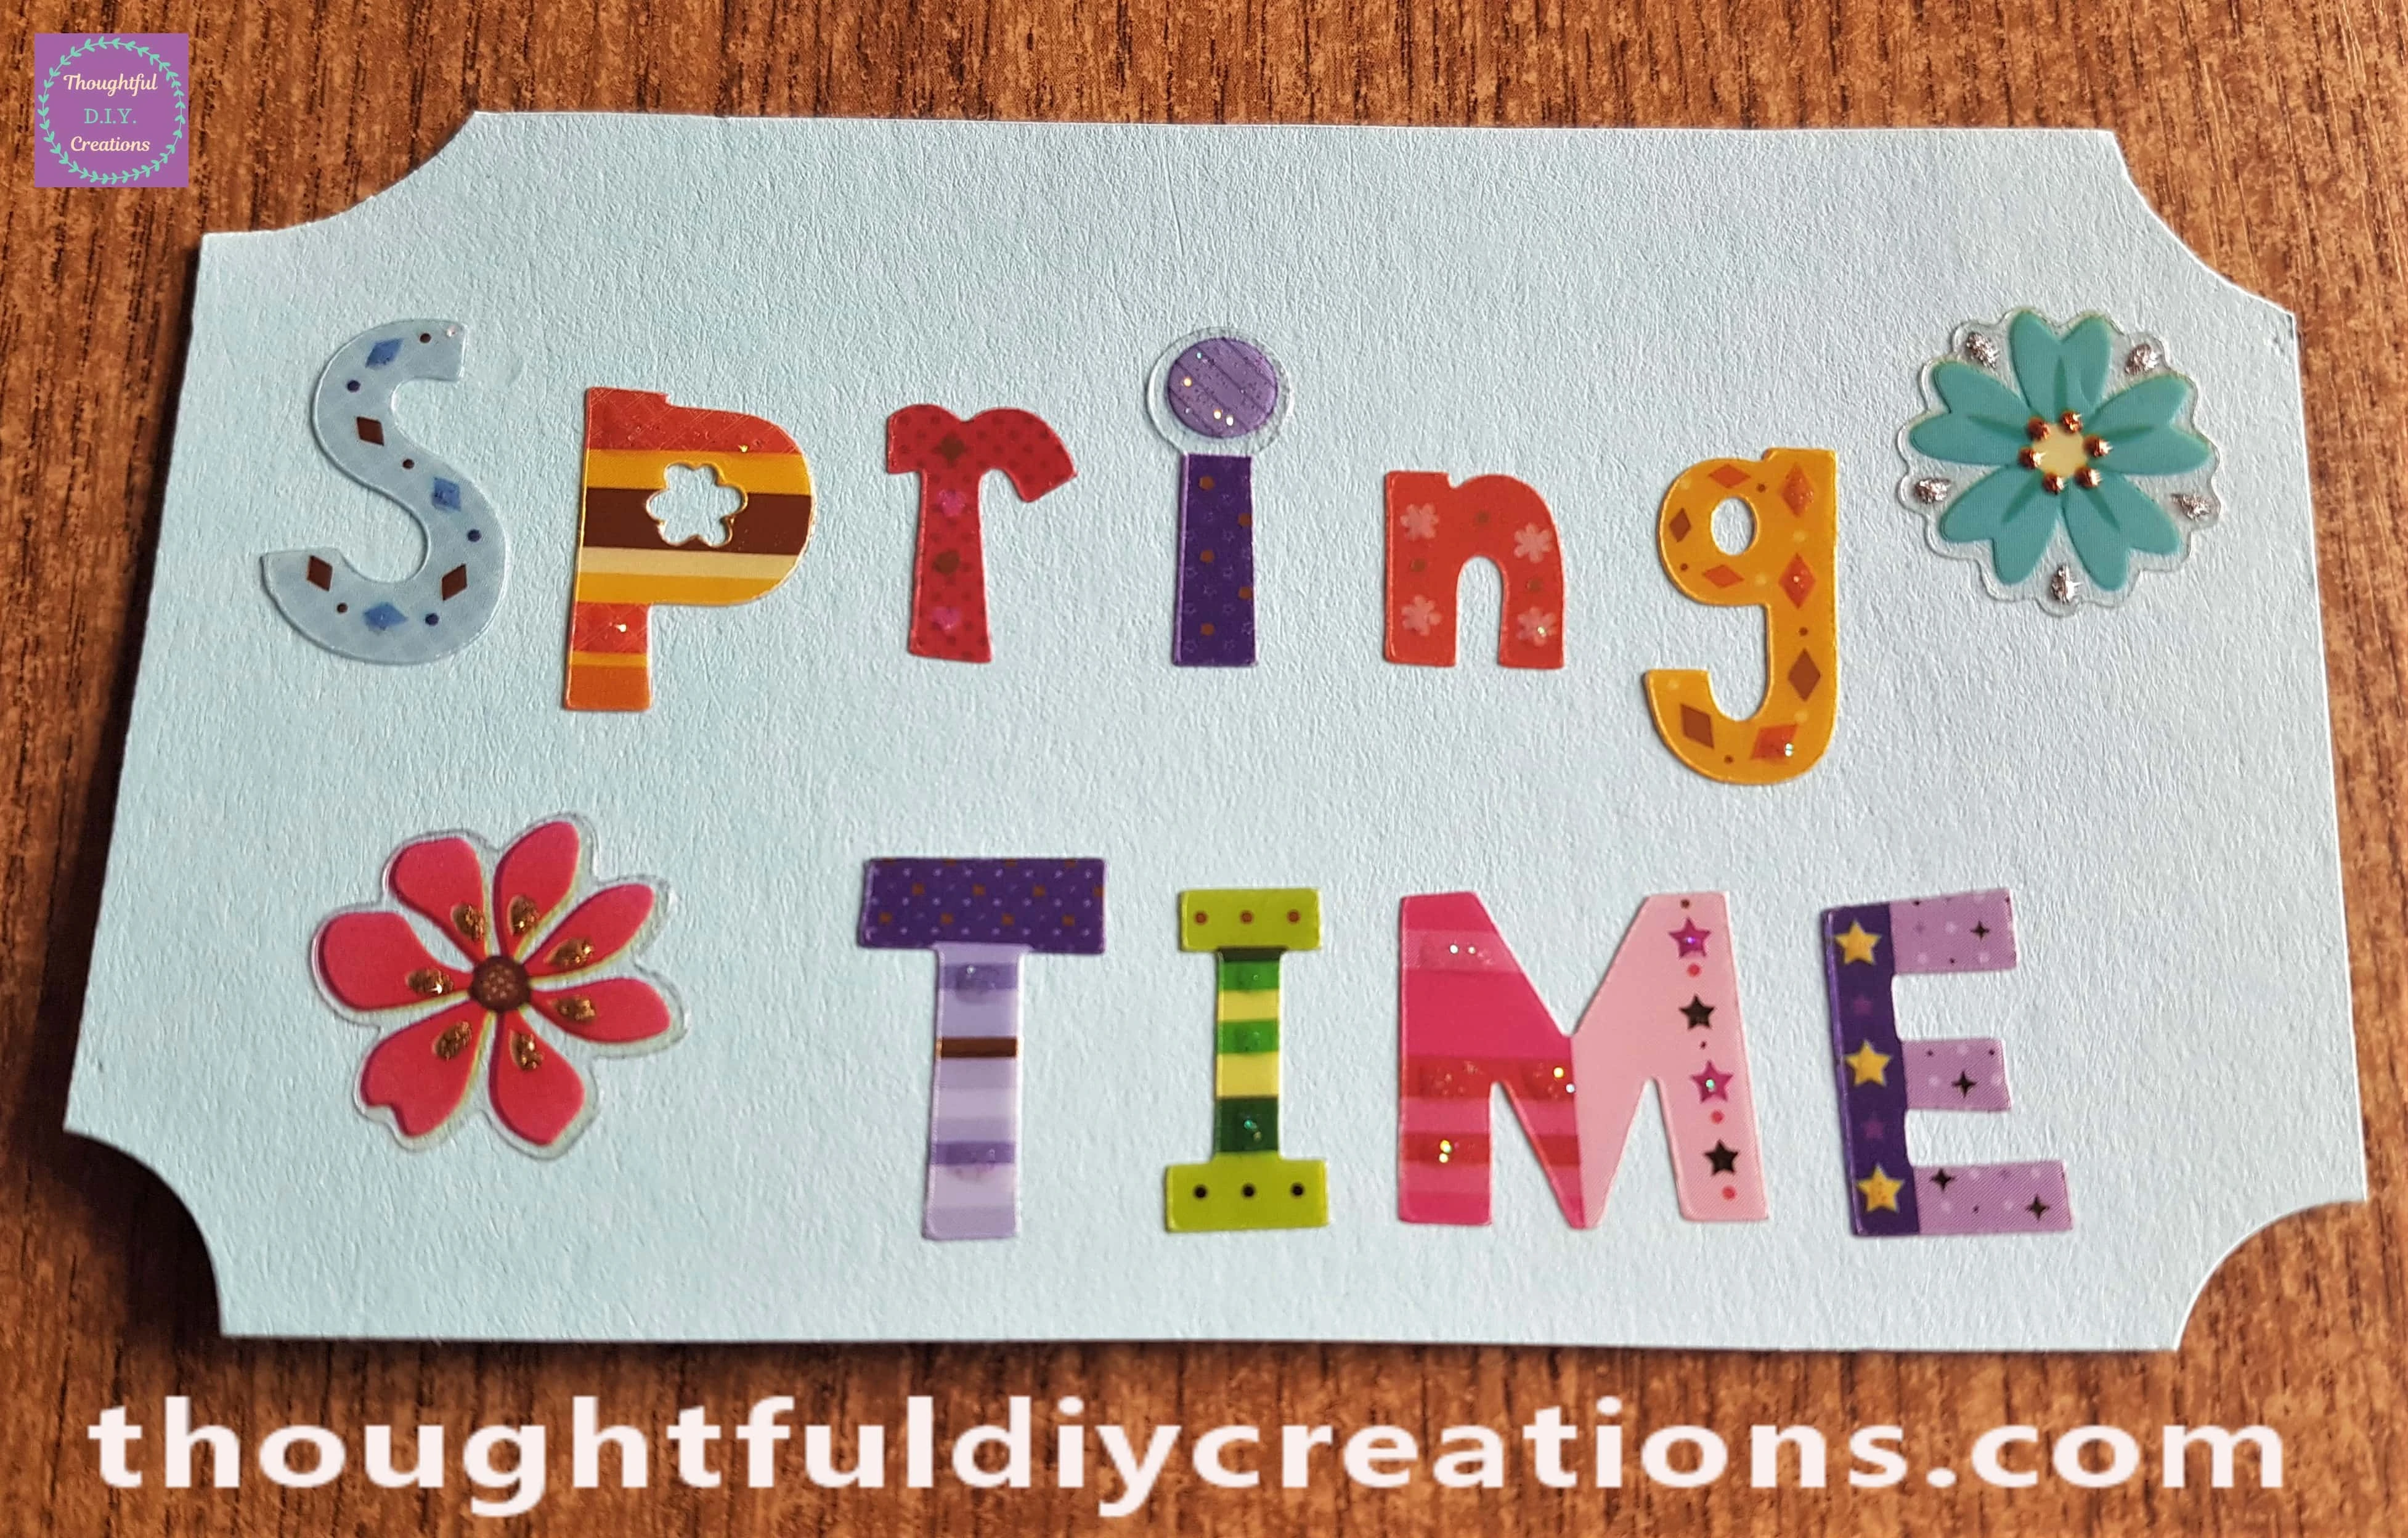
I got two Flower Stickers from a different Sticker Sheet and added them to the Spring Cardstock.
Adjusting the ‘happy days’ Sentiment
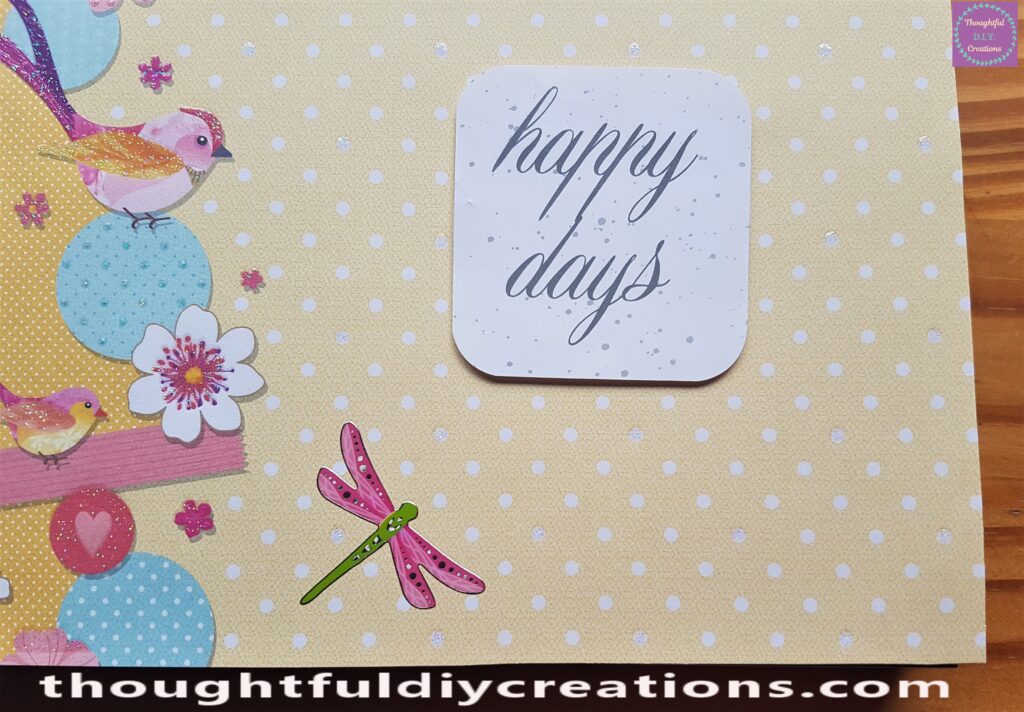
I found a Sentiment in my supplies that says ‘happy days’. This came from a Frame I had bought and Re-Purposed; I had kept the Sentiments for future Crafting.
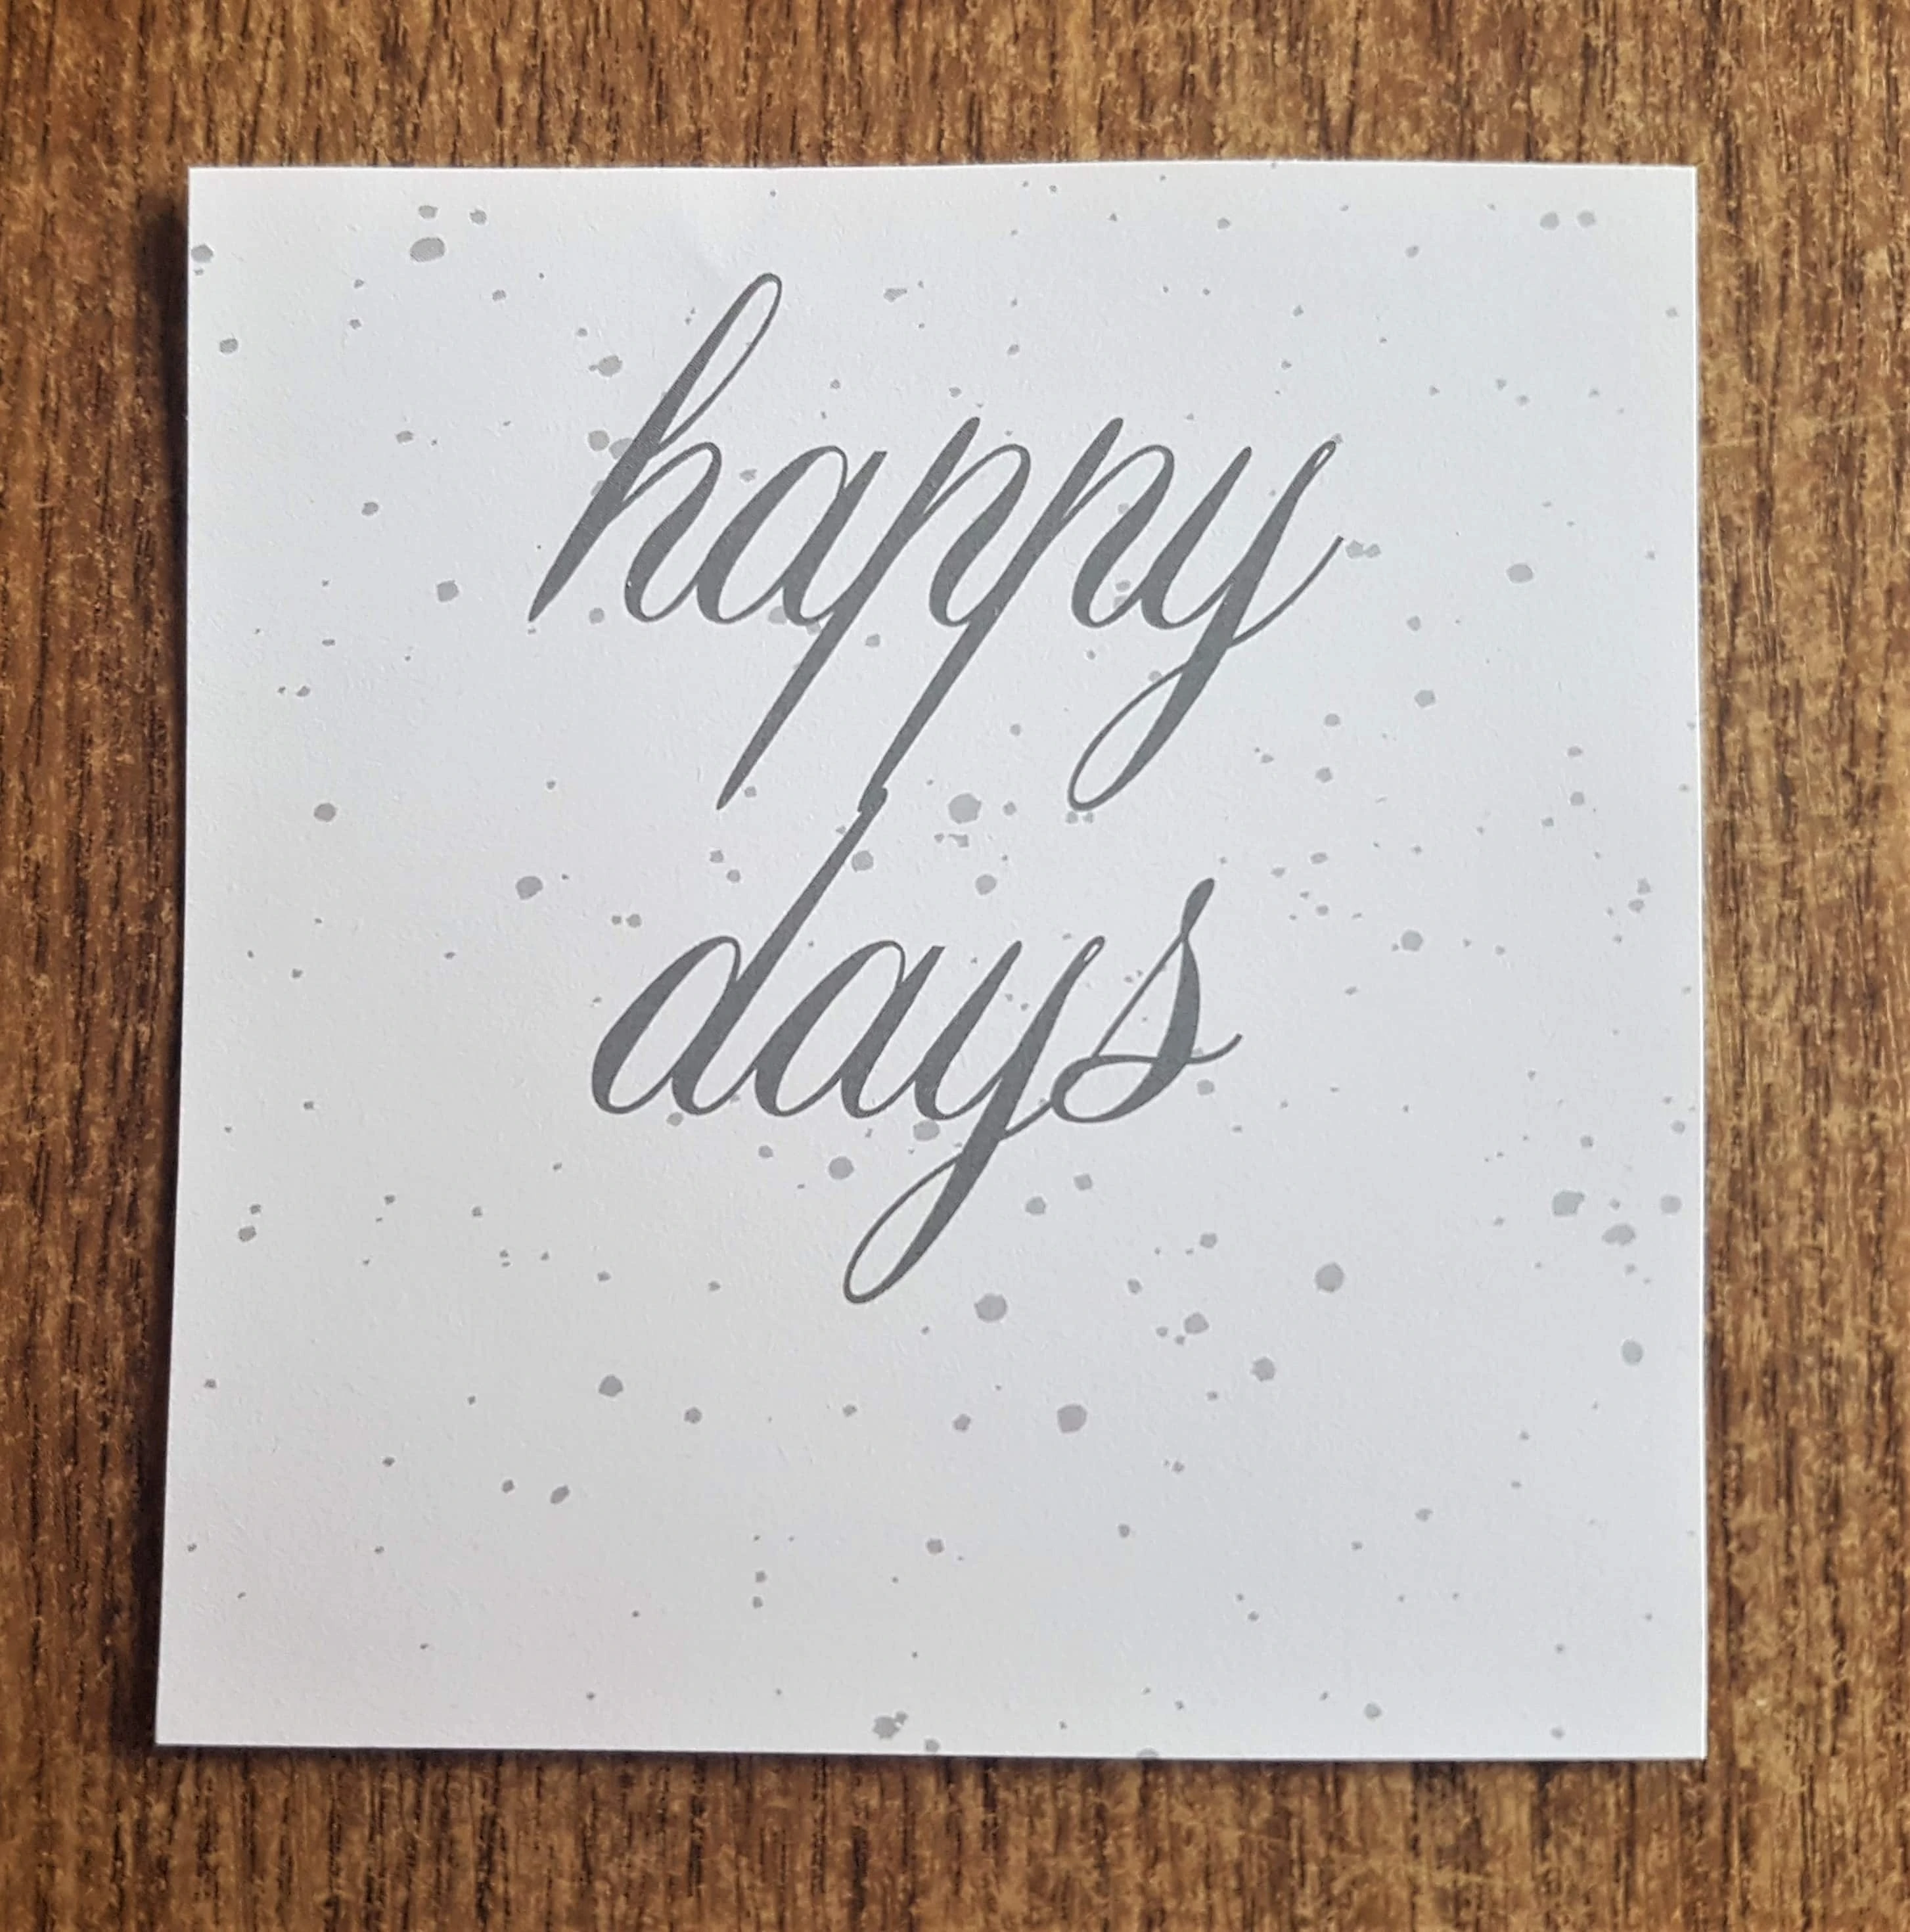
I put each Corner of the Sentiment Paper into the inside of the Corner Punch and Rounded the Corners by pressing down on the ‘L’ Symbol. I also used this Punch for making my Mothers Day Card.

The Sentiment with each Corner rounded. I also cut the paper shorter before I rounded the Corners.

Attaching the Sentiments to the Spring Journal
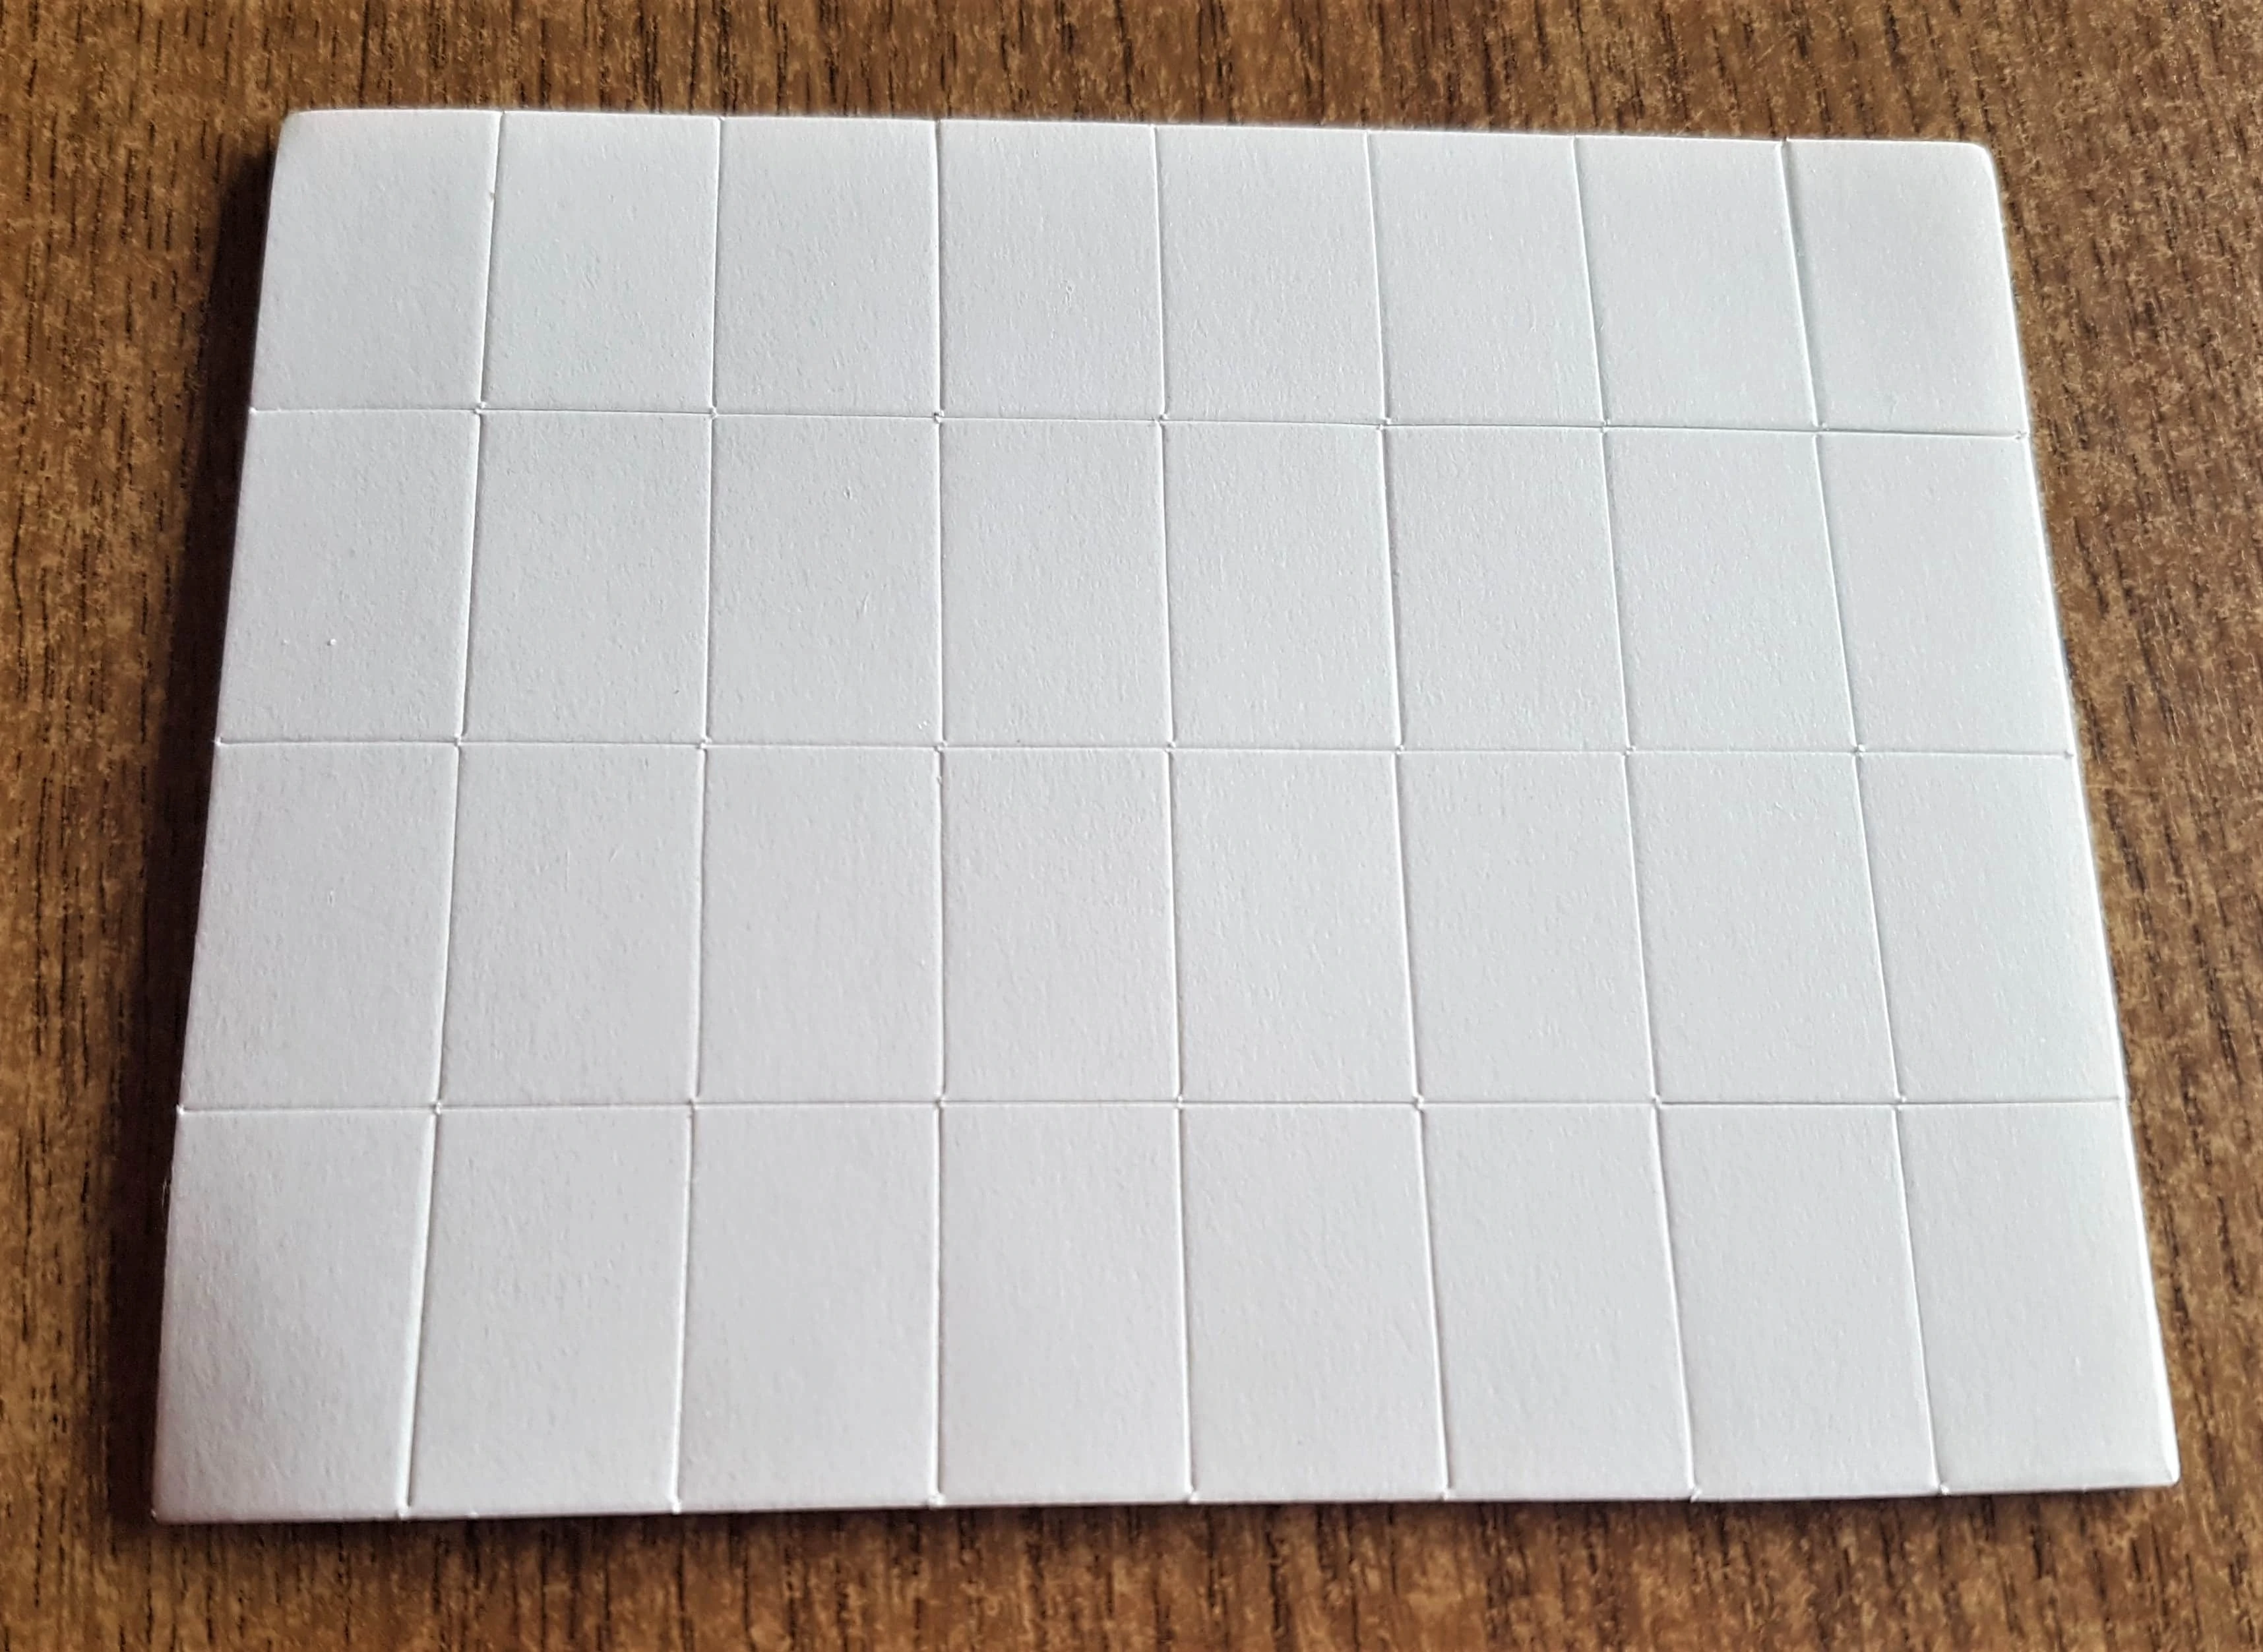
I got my Double-Sided Foam Rectangle Stickers.
I put the foam stickers onto the back of the Blue Cardstock and the Sentiment.
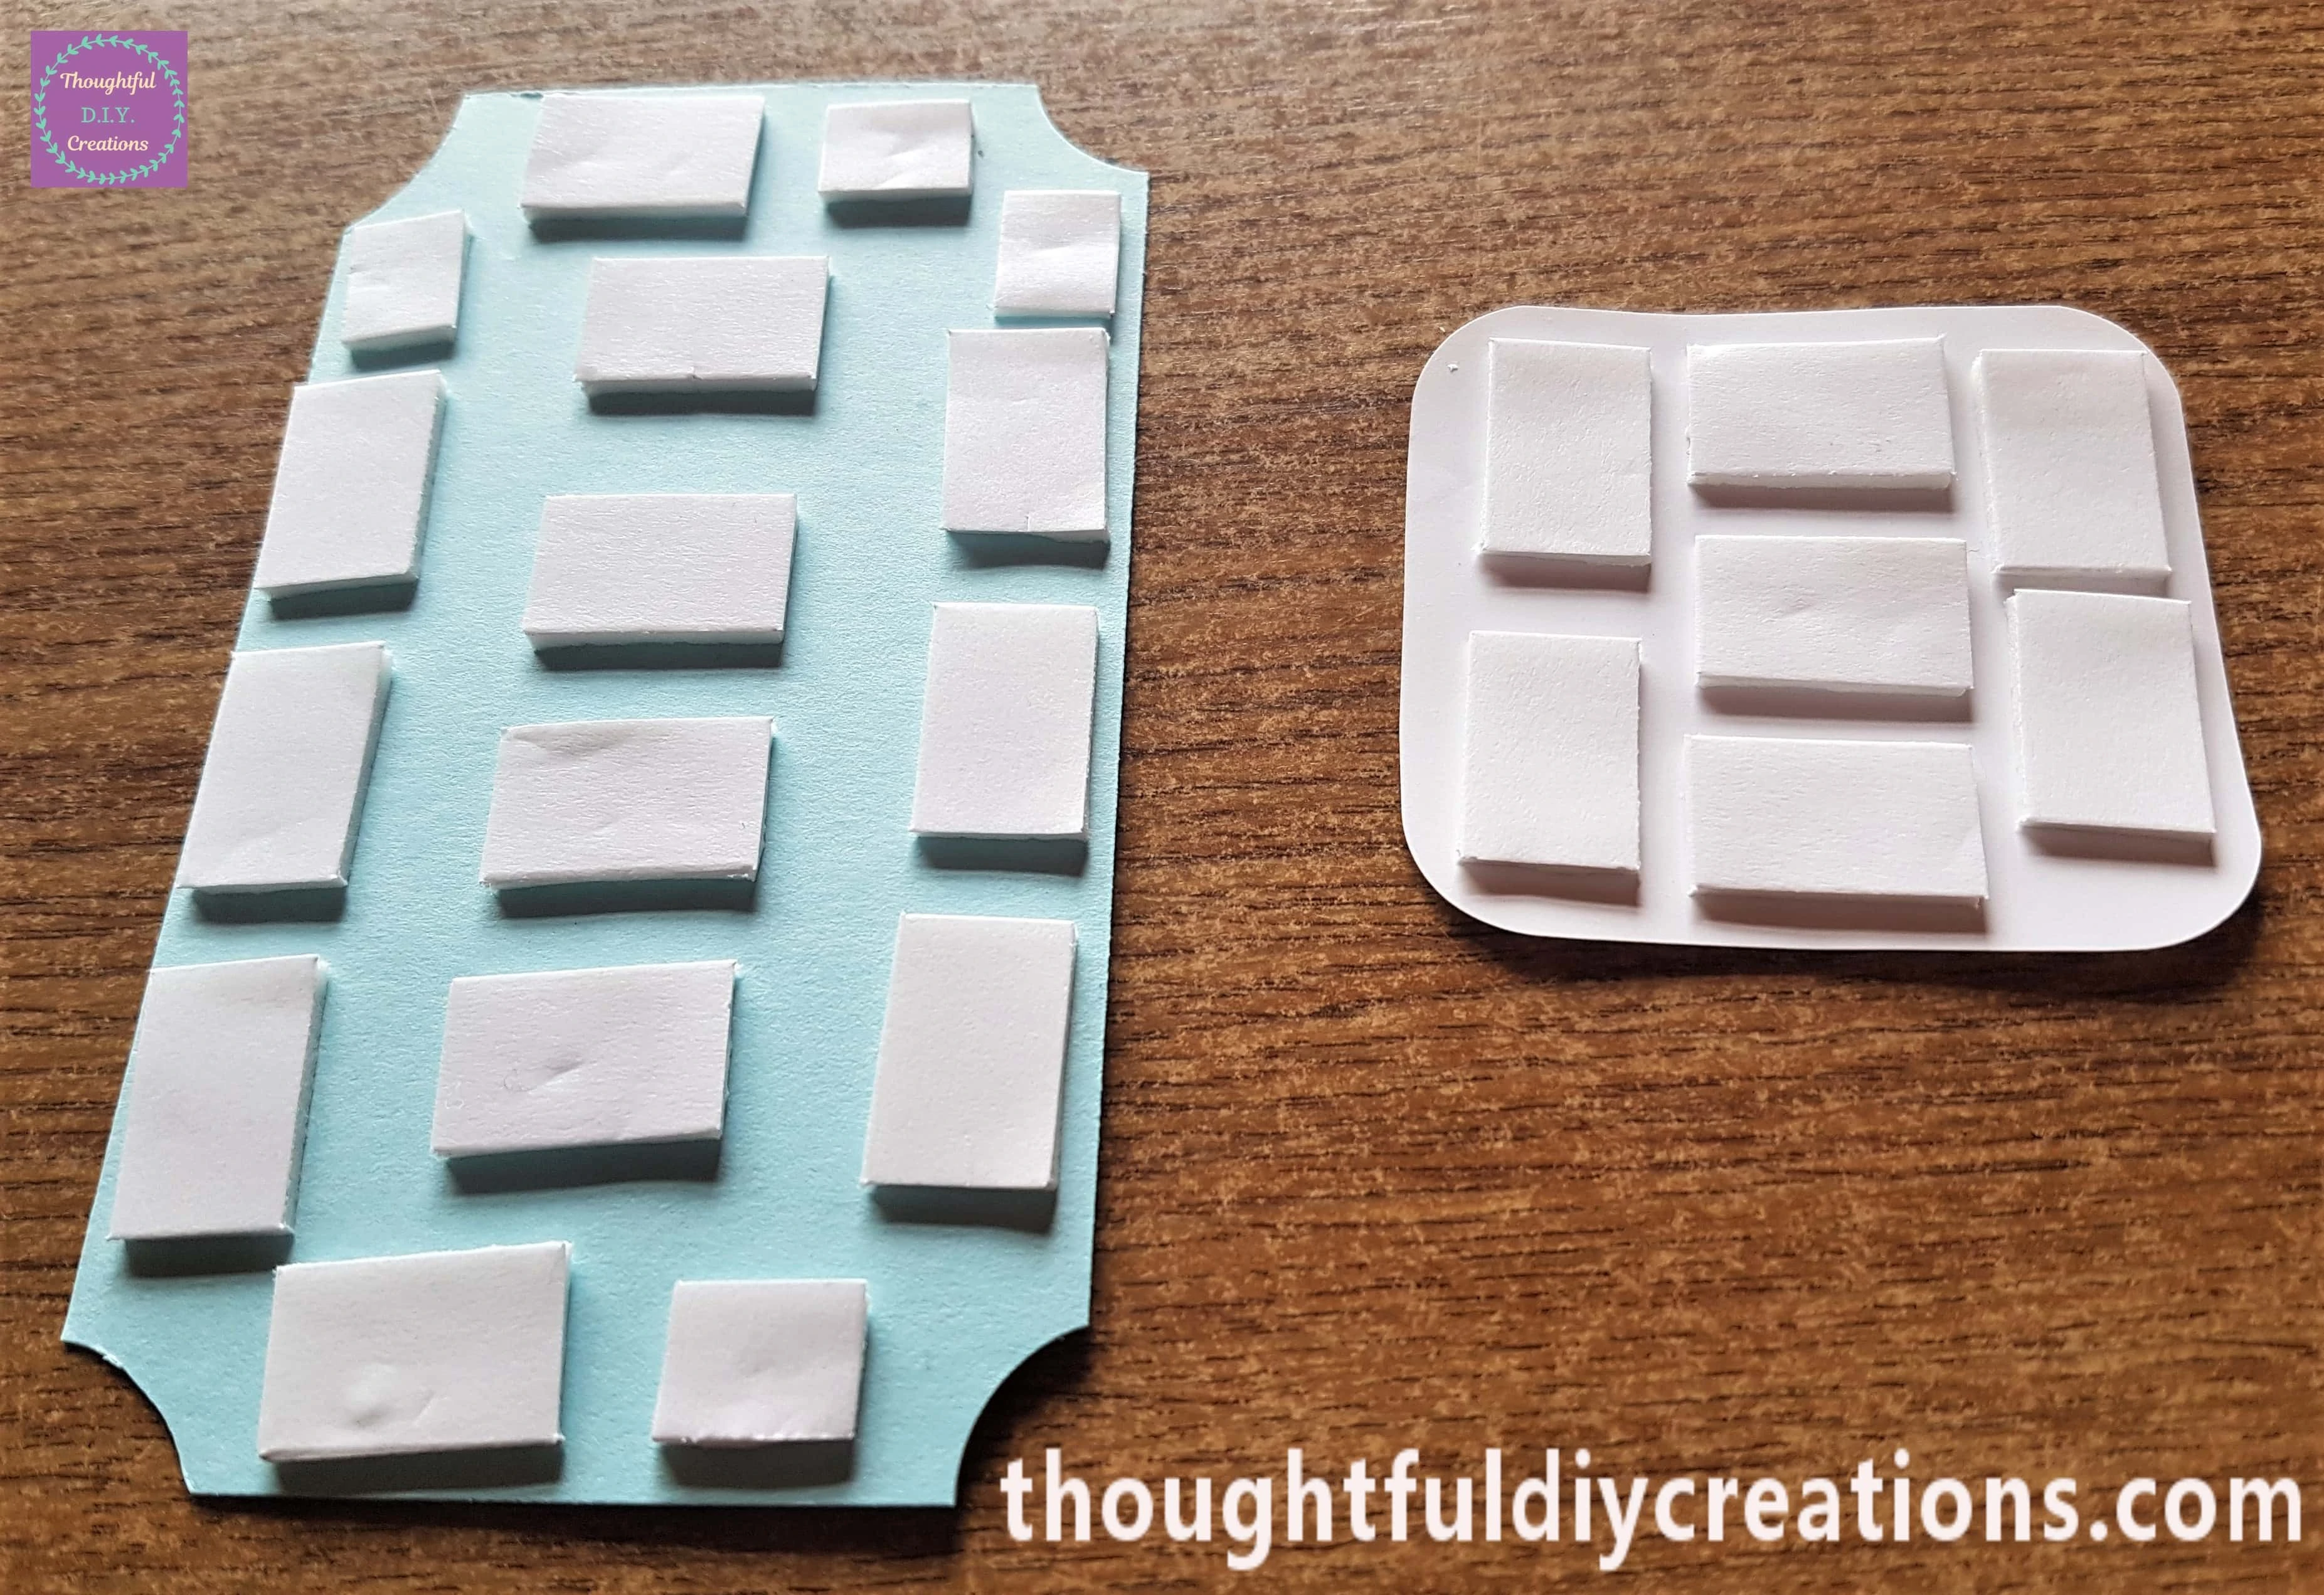
I removed the White Plastic Backing from the foam pieces and attached the Spring Time Sentiment to the Art Journal Page.

I added the ‘happy days’ Sentiment to the bottom part of the Page.

Here is a Side Angle of the Page so far.
Decorating the Journal with Dragonflies
I got my Dragonfly and Flower Stickers.
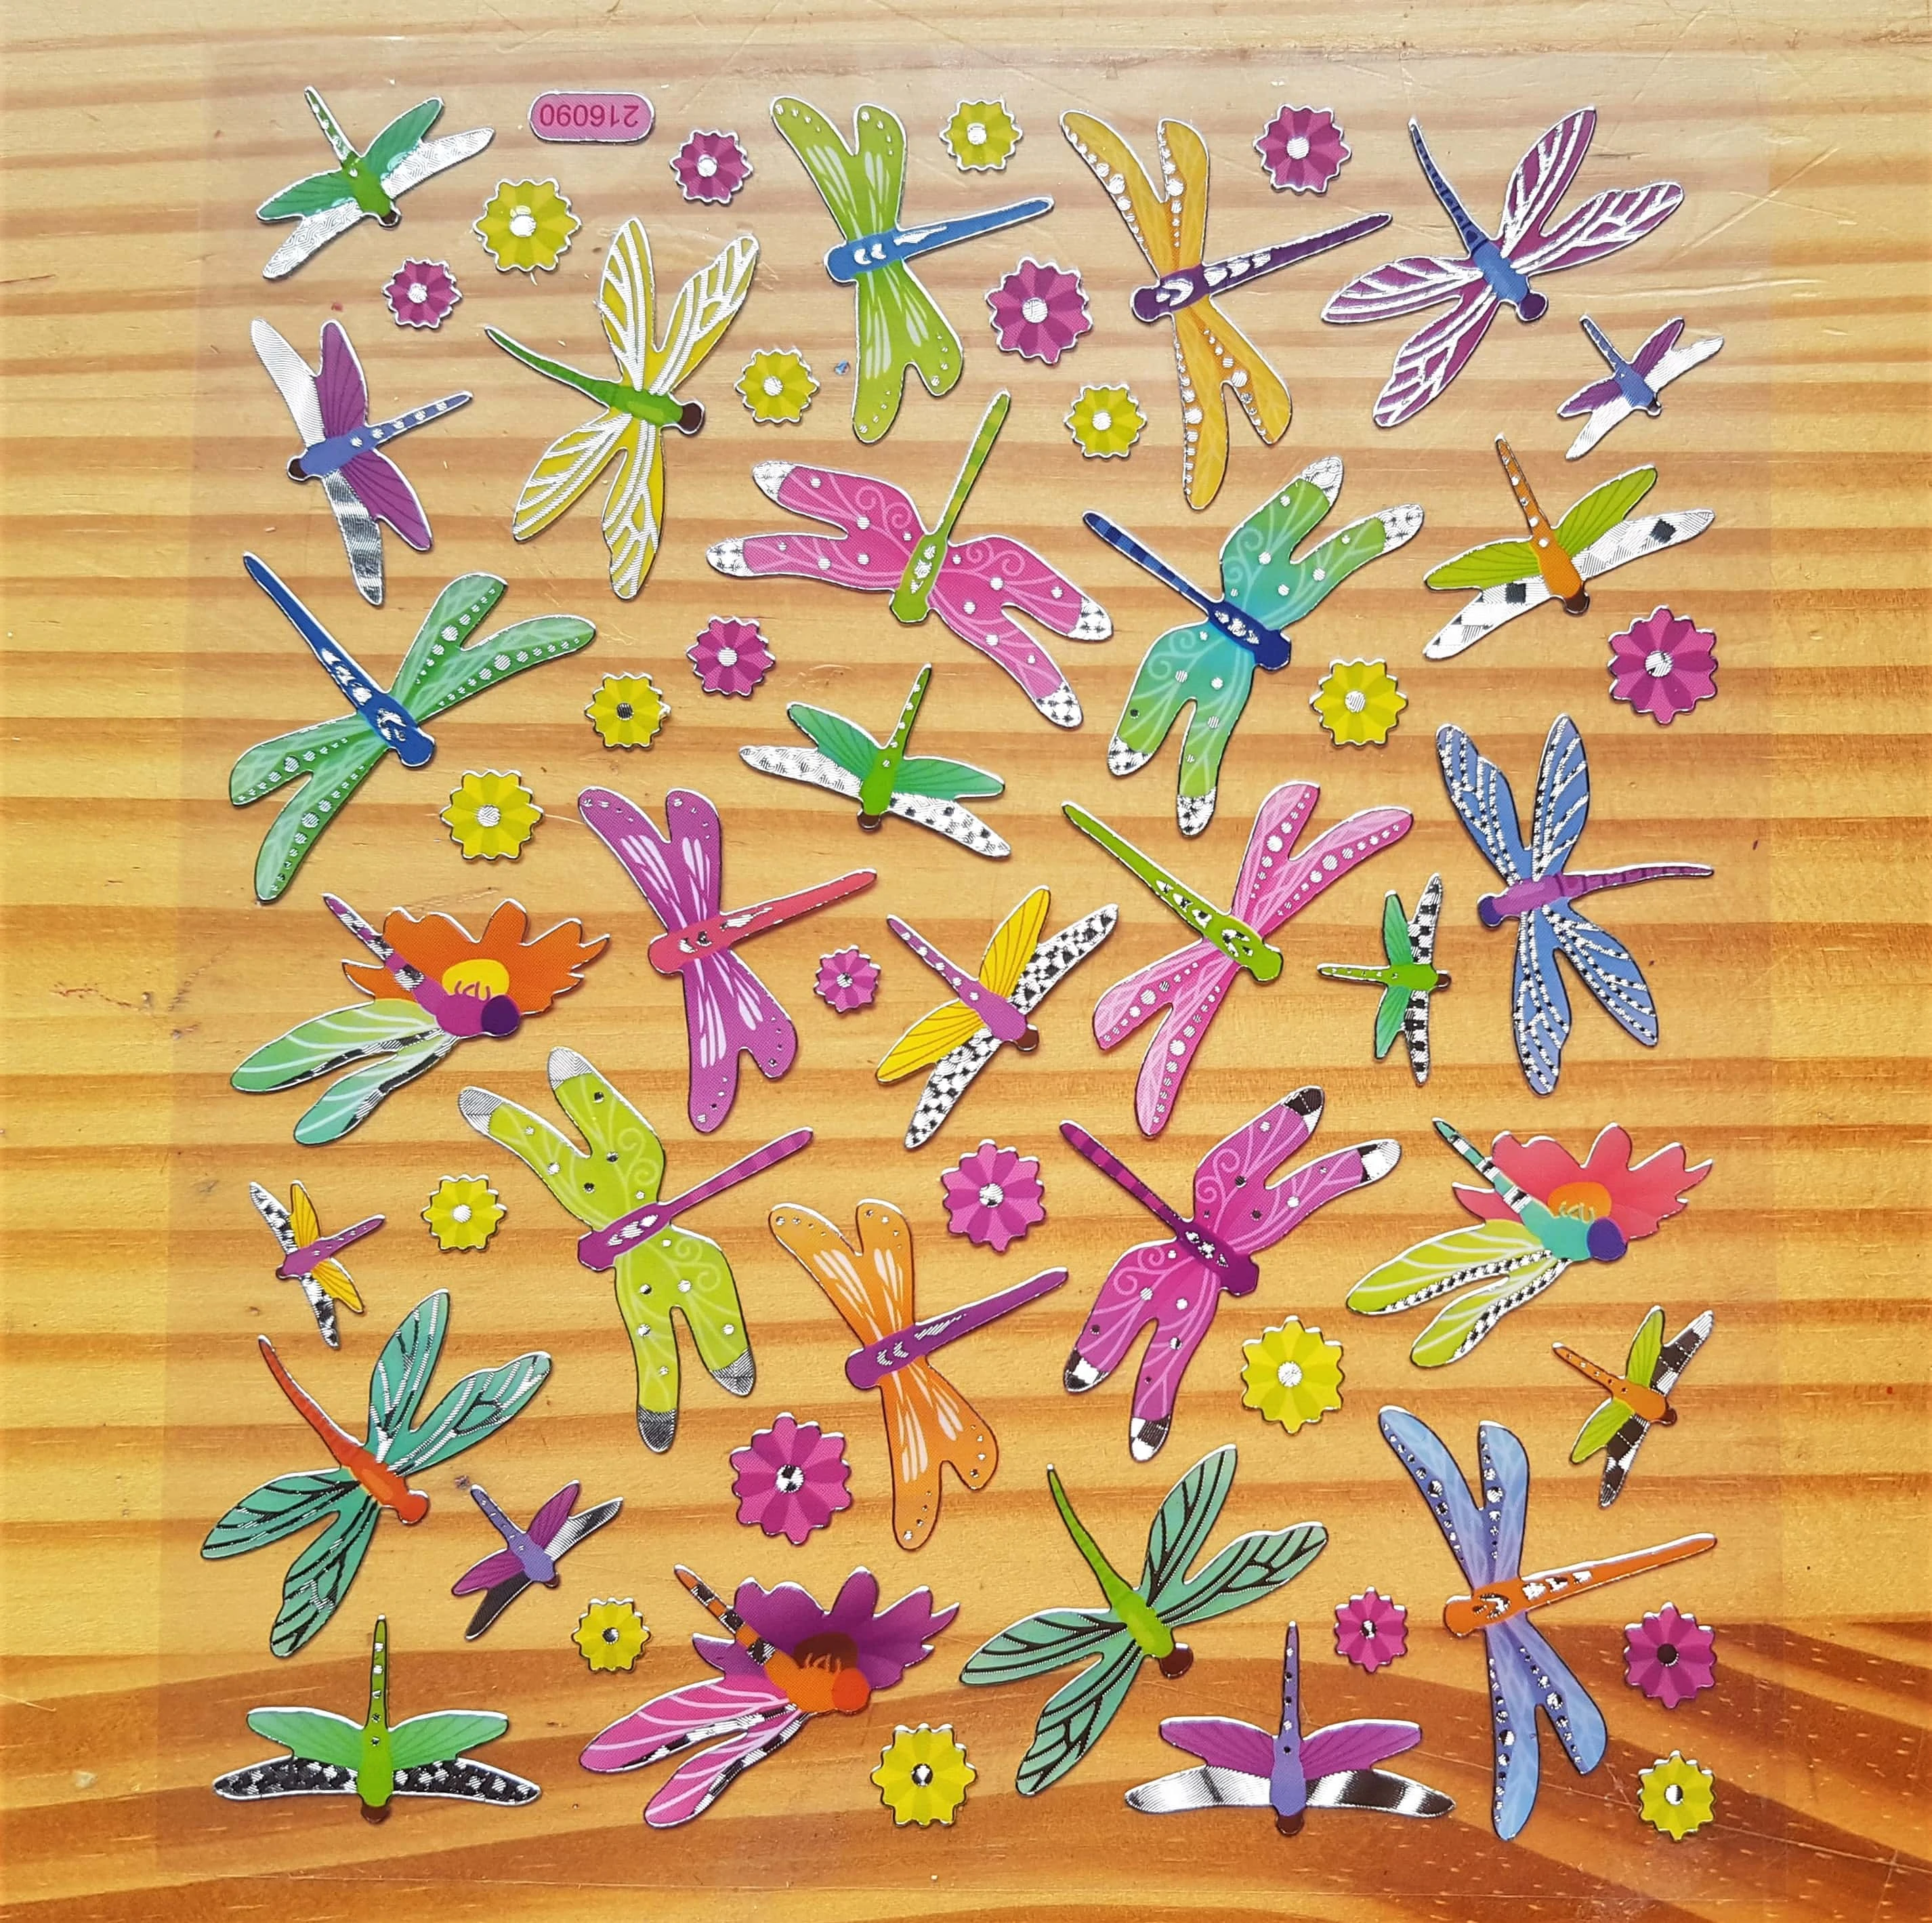
I put a Pink Dragonfly on the mid-section of the Page.
I added another one to the bottom part of the Spring Page.
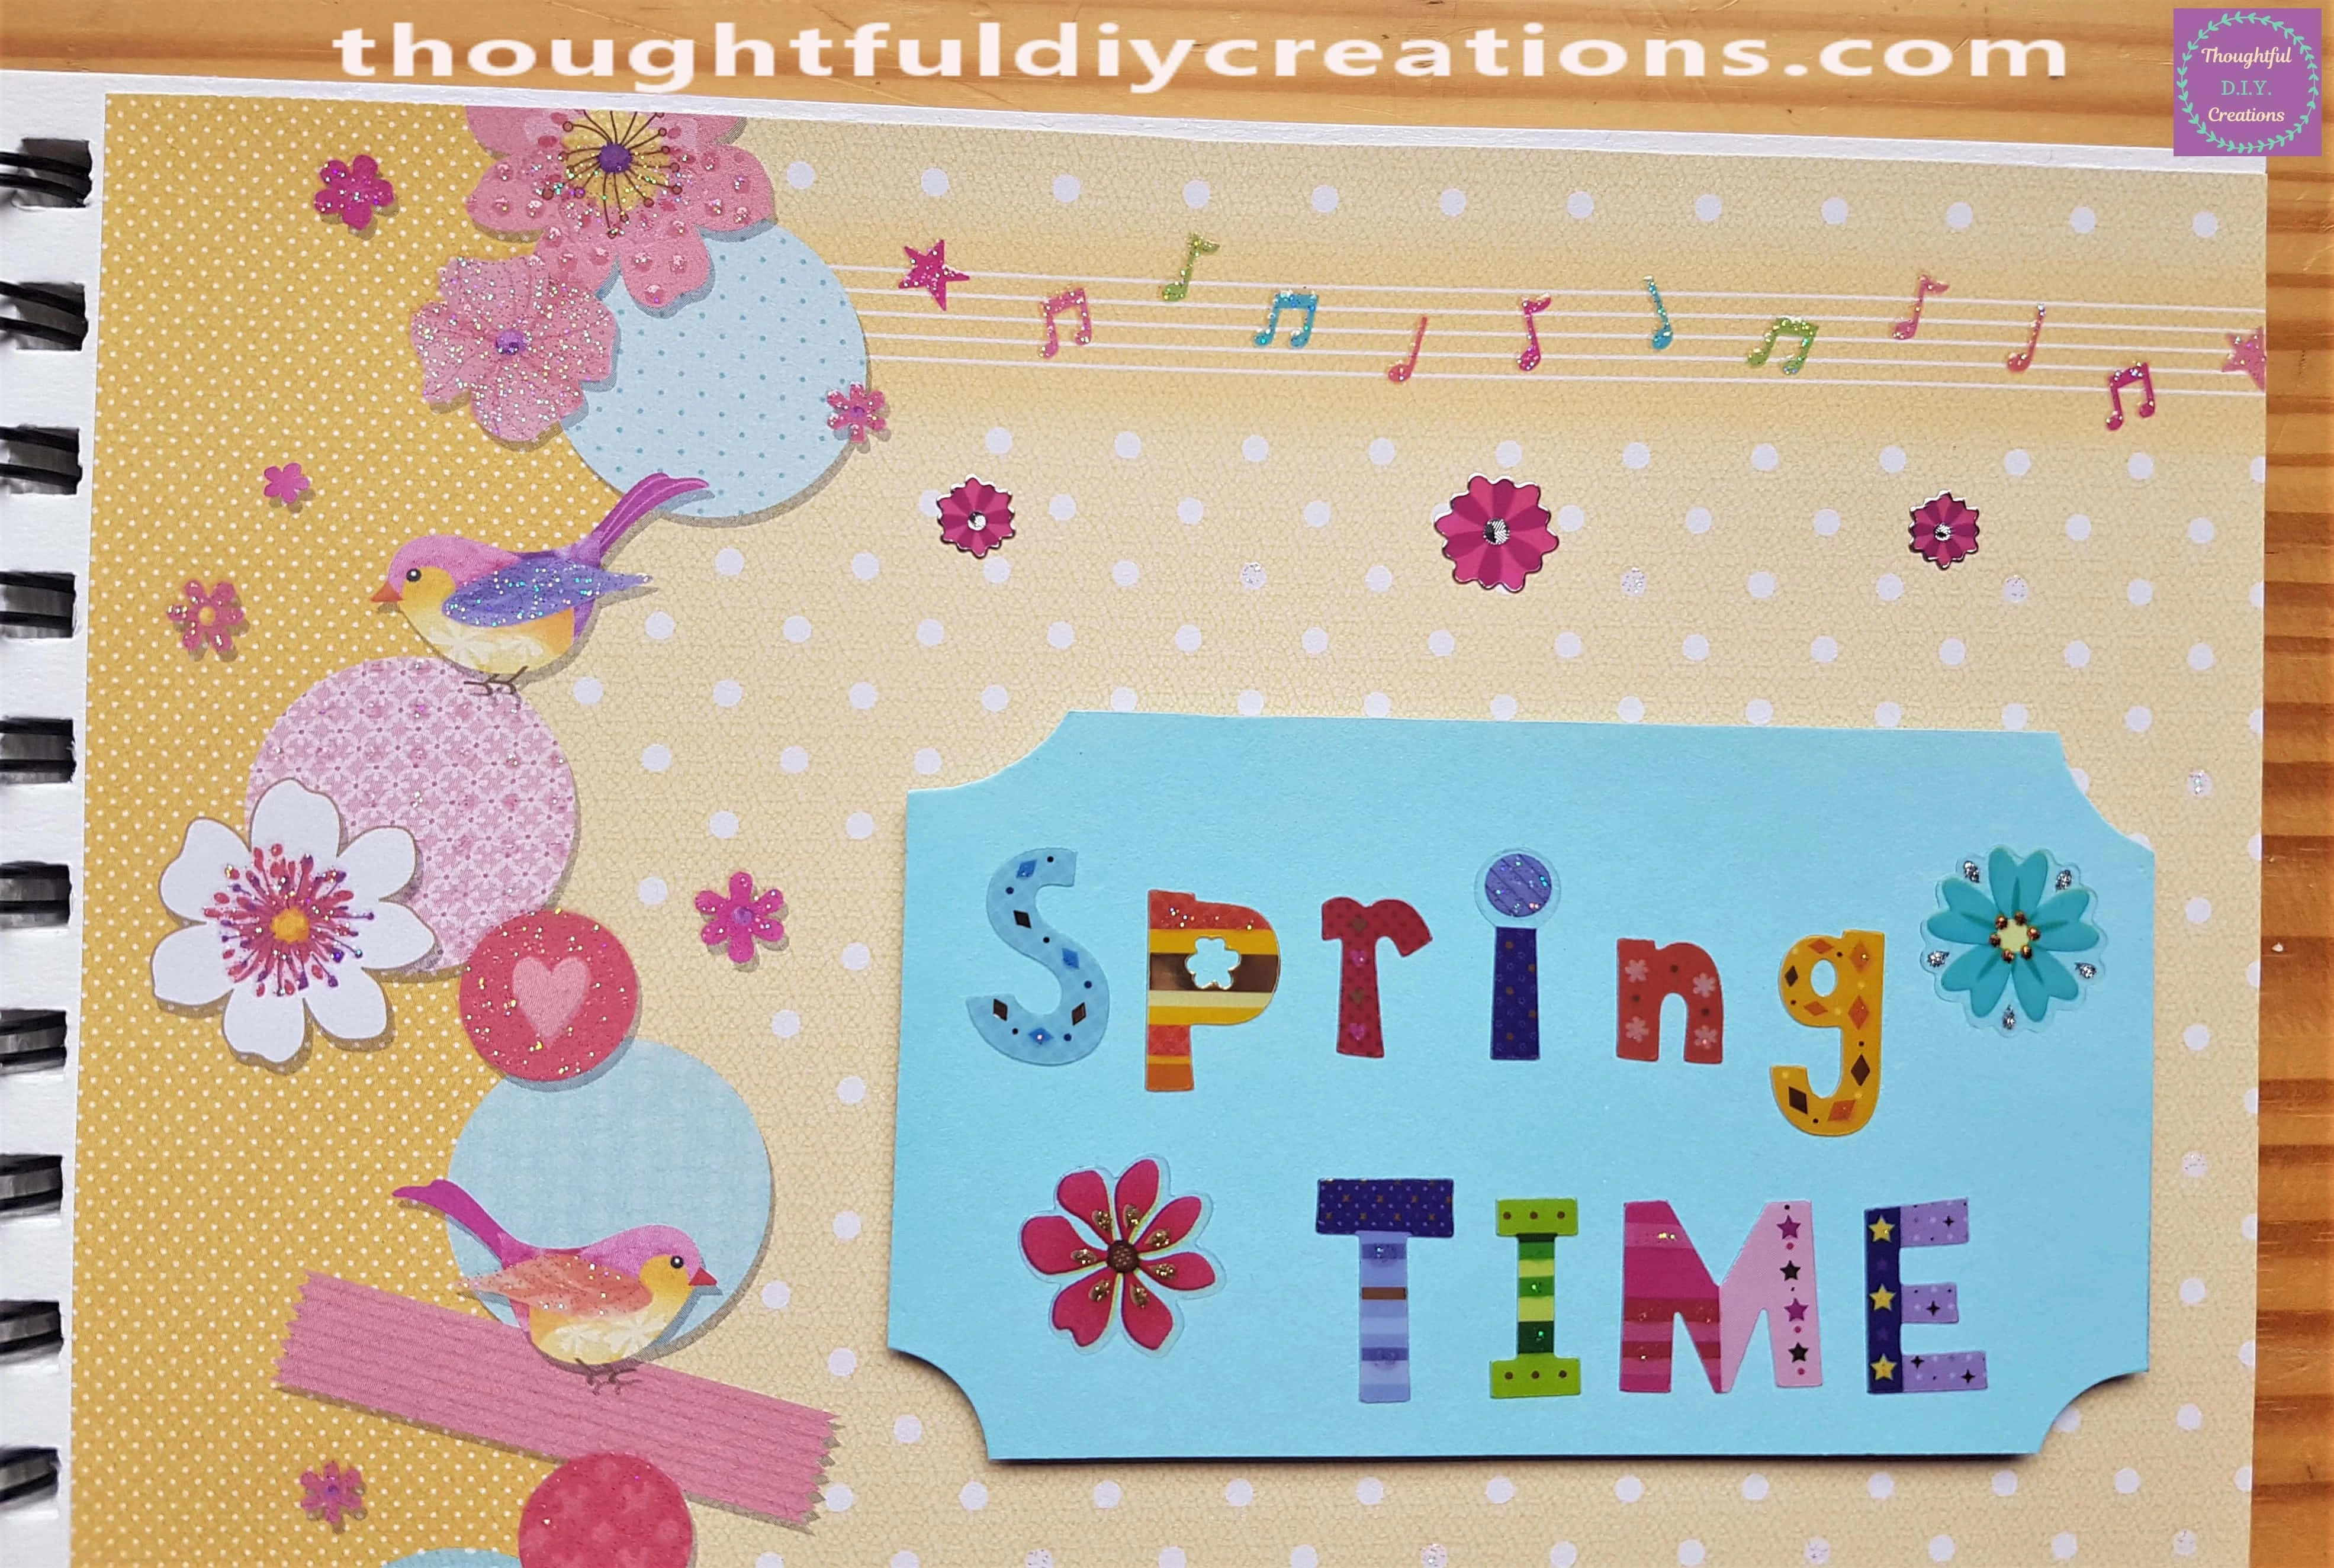
Finishing Touches to the Spring Art Journal Page
Three Pink Flower Stickers were placed on the Top of the Layout.
Four Yellow Flower Stickers and Two Pink and Teal Flower Stickers were added to the Composition.

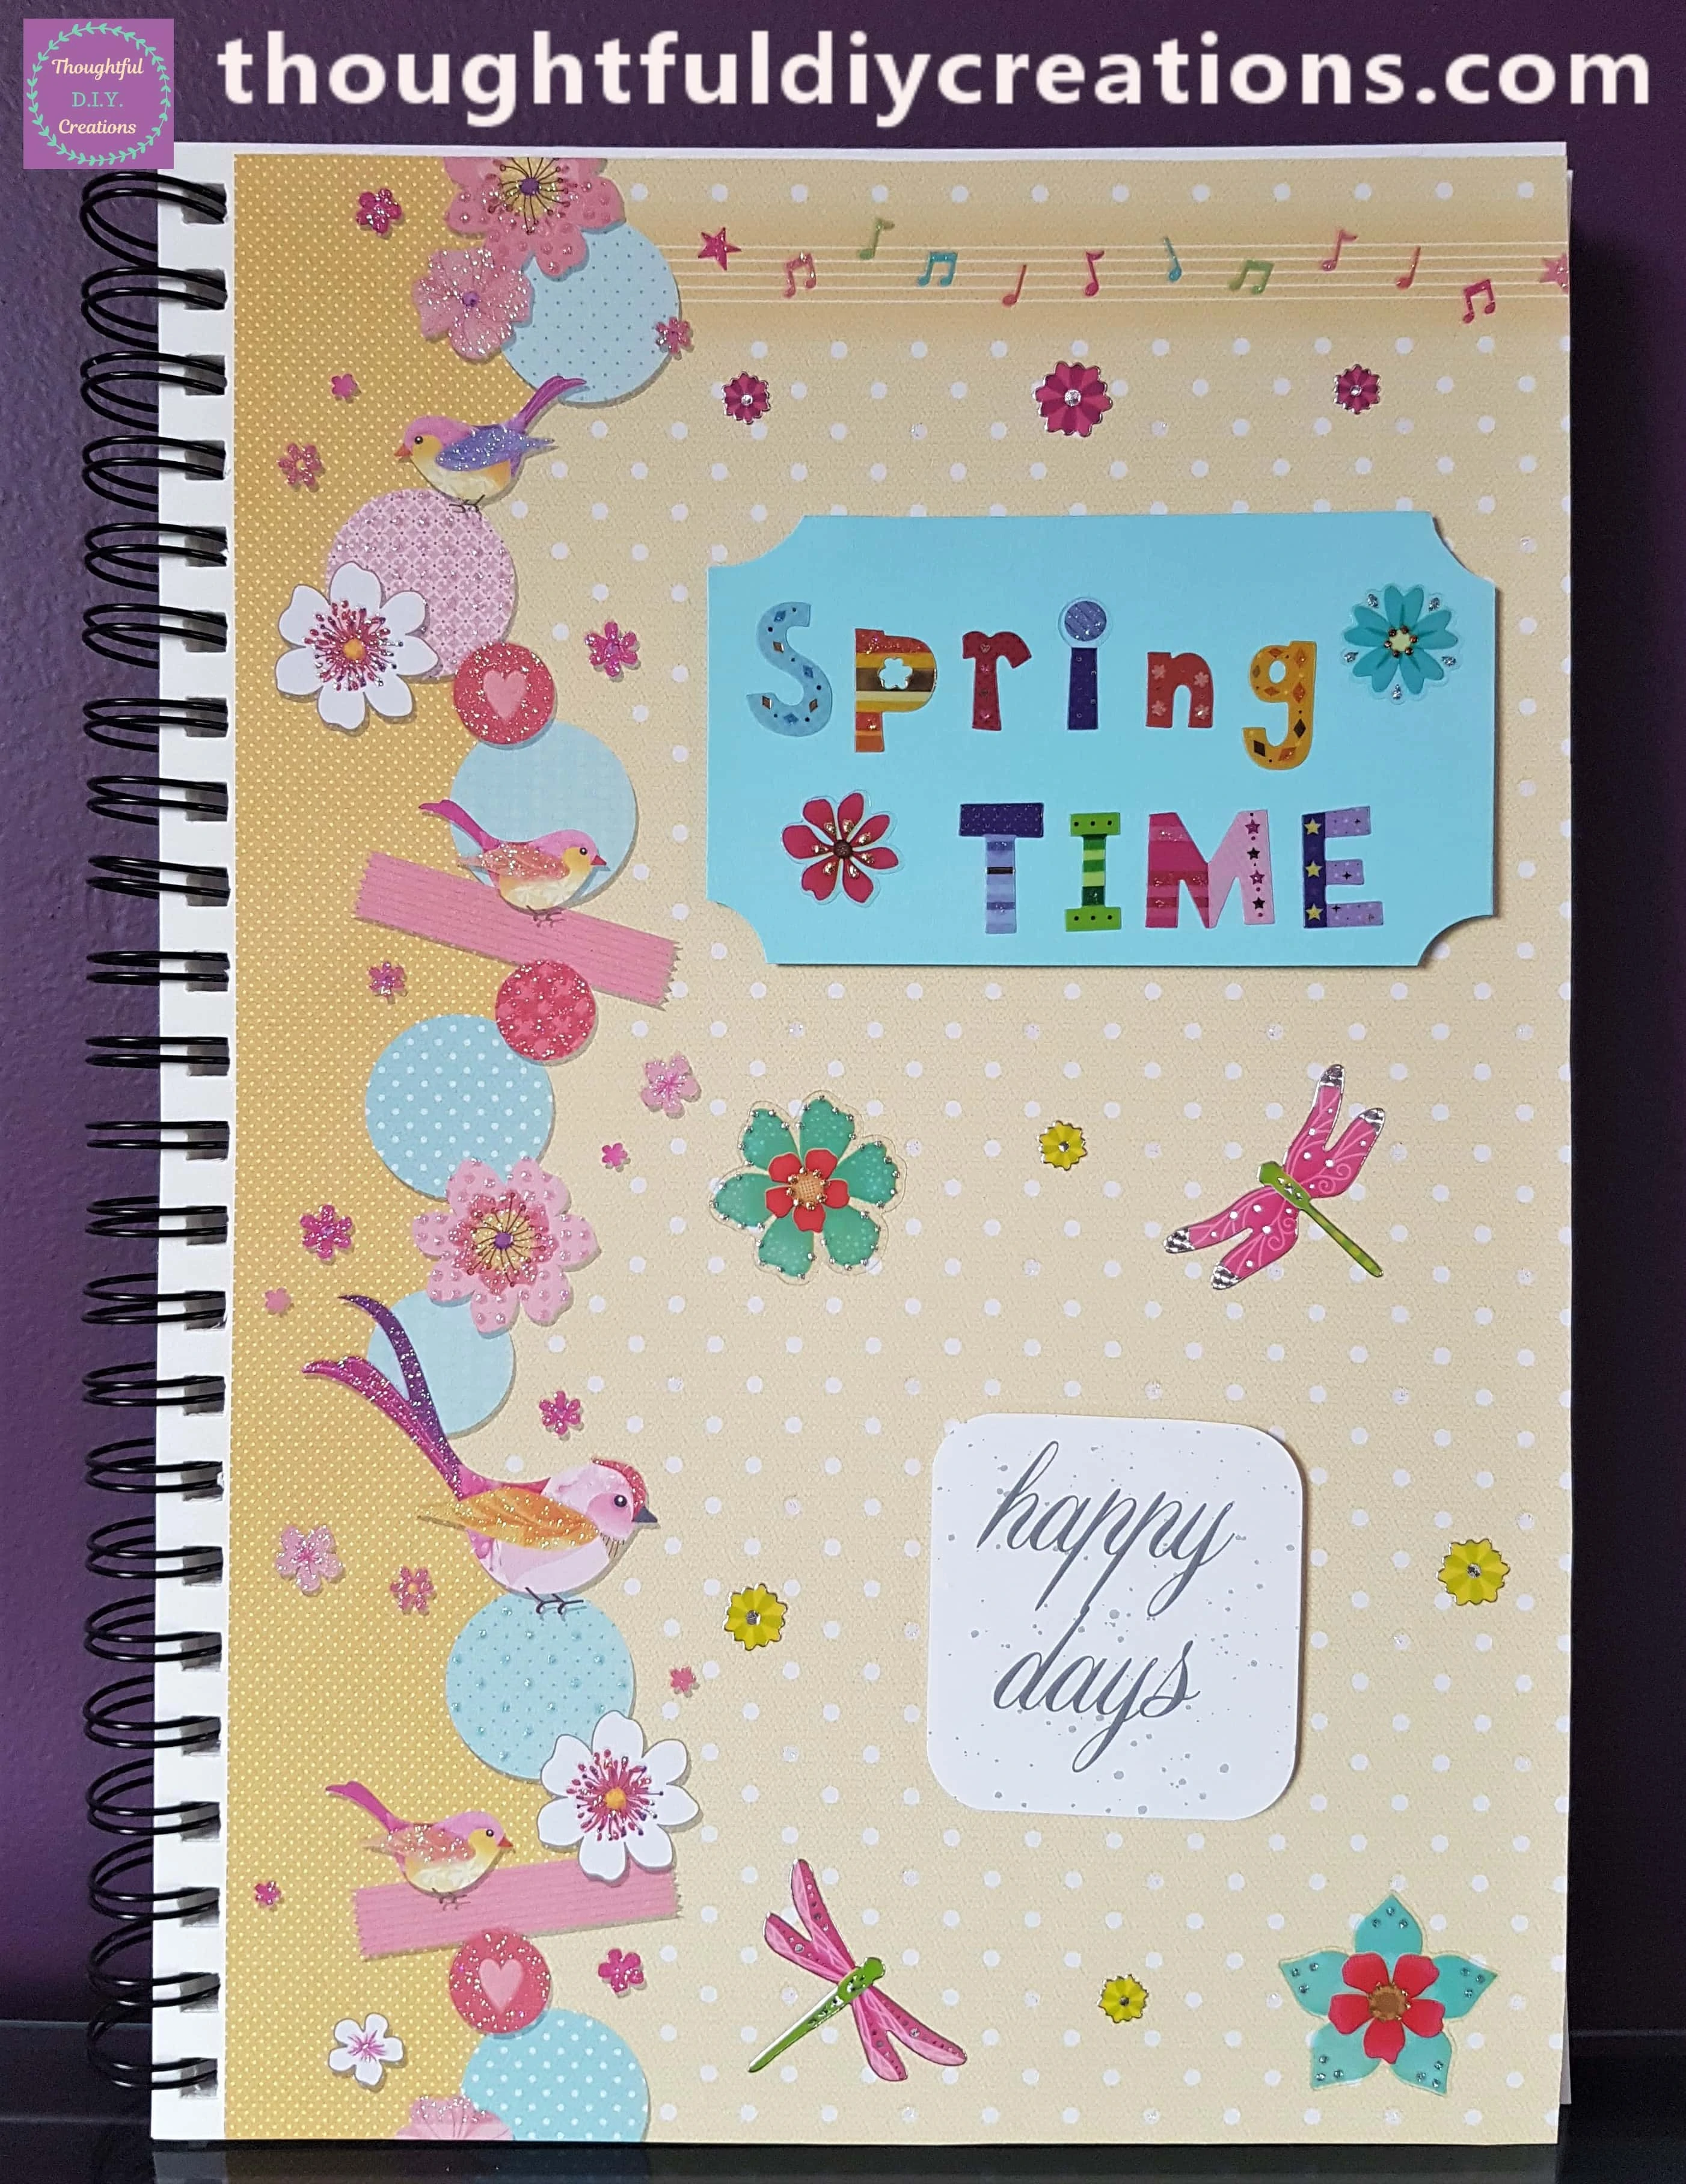
This Completed my Spring Art Journal Page.

This is the Layout standing up-right on Display.

A Side Angle of the Page.

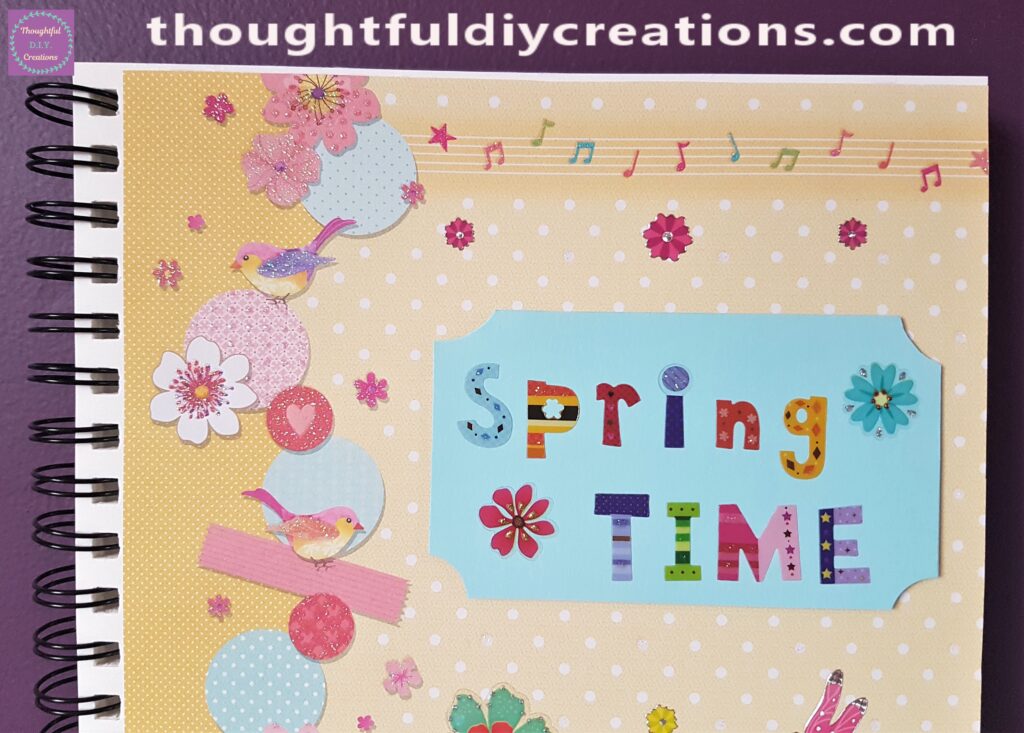
The Top half of the Art Journal.
The mid to lower part of the Page.

A Closer look at the Spring Sentiment.
The Final Image of the Spring Art Journal Page.
Conclusion
I love the bright and cheery appearance of this Page. It represents Nature with the Birds, Flowers and Dragonflies. You can just Imagine the Birds Singing as they land on the pretty Flowers from flying in the Air.
Spring is a great time for New Beginnings and here’s hoping that happier days are on the way for Everyone.
I hope you got some Ideas if you’re New to Art Journaling. It can be intimidating to Start or Fill a Page especially if it’s a bigger Page.
Something as Simple as Gluing Pictures and adding Stickers to a Page can be beneficial to your Mental Health, Creativity and is a great method of hand-eye co-ordination as well as expressing yourself through Art.
It doesn’t have to be a Master-Piece or a full Hand Drawn and Coloured Page to count as Art Journaling. It can be anything you want it to be.
You could add your own favourite hand-written Quotes to your Page or cut out Collage Pieces from Magazines/ Newspapers or Print Pictures or Words you are drawn to Online. The Options are endless really. I hope you have Fun Creating.
Thank You So Much for taking the Time to Read my Blog.
Always Grateful,
T.D.C.
xoxox



-0 Comment-