St. Patrick’s Day Canvas Tutorial
Hello my Creative Friends,
I hope you are all Well. In Today’s Tutorial I will show you how I Painted and Decorated a Canvas for St. Patrick’s Day. It is an easy, budget Craft which is so important when making Seasonal Decor as they are not on Display for very long but it’s nice to Celebrate and Decorate for the various Occasions as well.
Canvas for Crafting
A Four Pack of 20 x 20cm Primed Canvases was unopened in my Supplies.
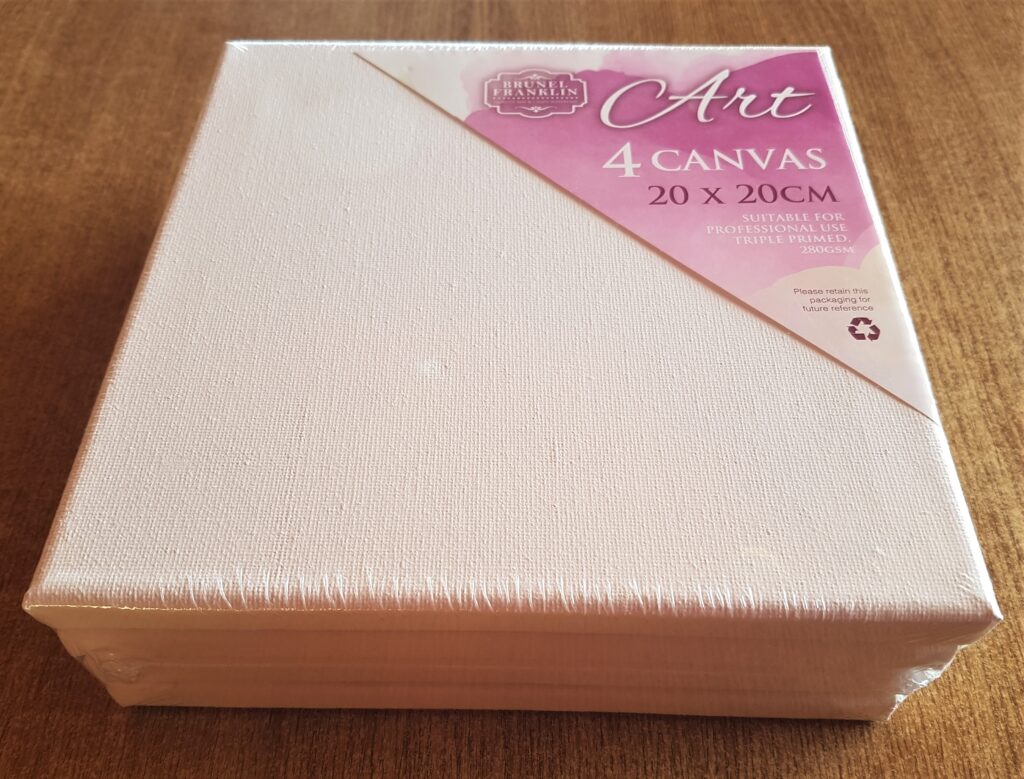
I opened up the Pack and removed One of the Canvases to use for this St. Patrick’s Day Craft.
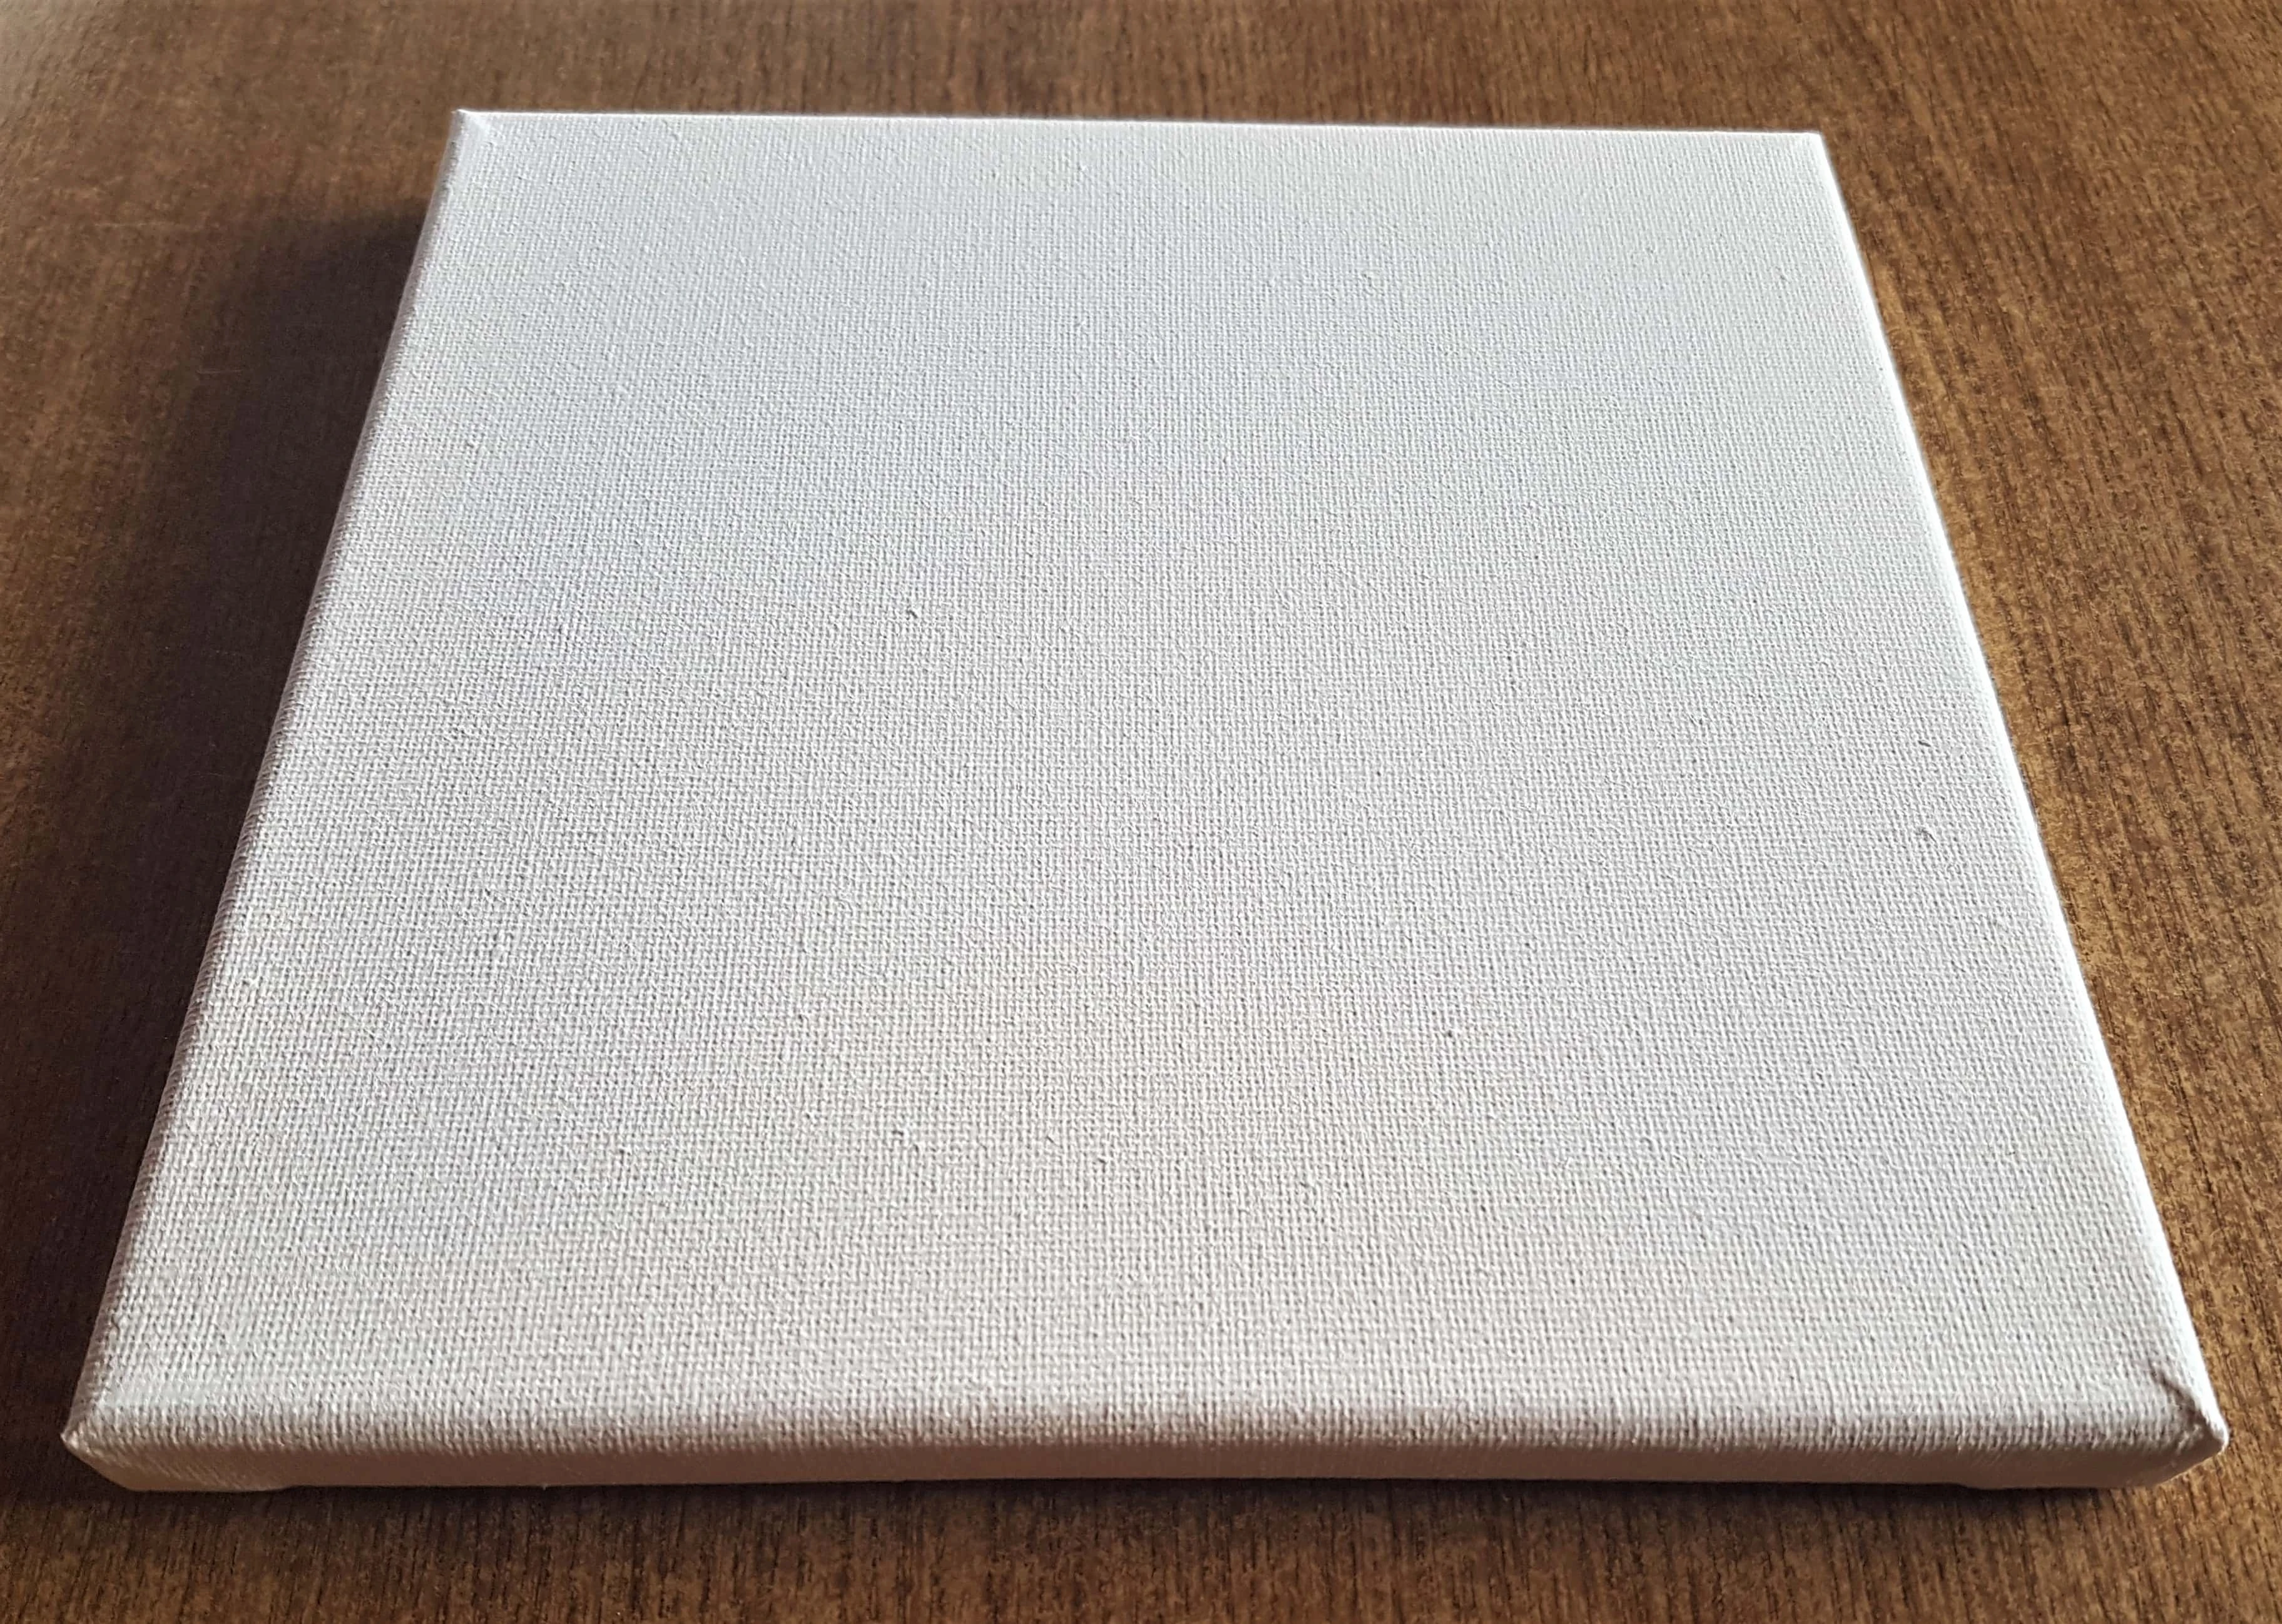
Painting the St. Patrick’s Day Canvas White
I poured some of my ‘Titanium White’ Acrylic Paint onto an old Plate I have that I use for Painting and I got my Flat 1 inch Paintbrush.
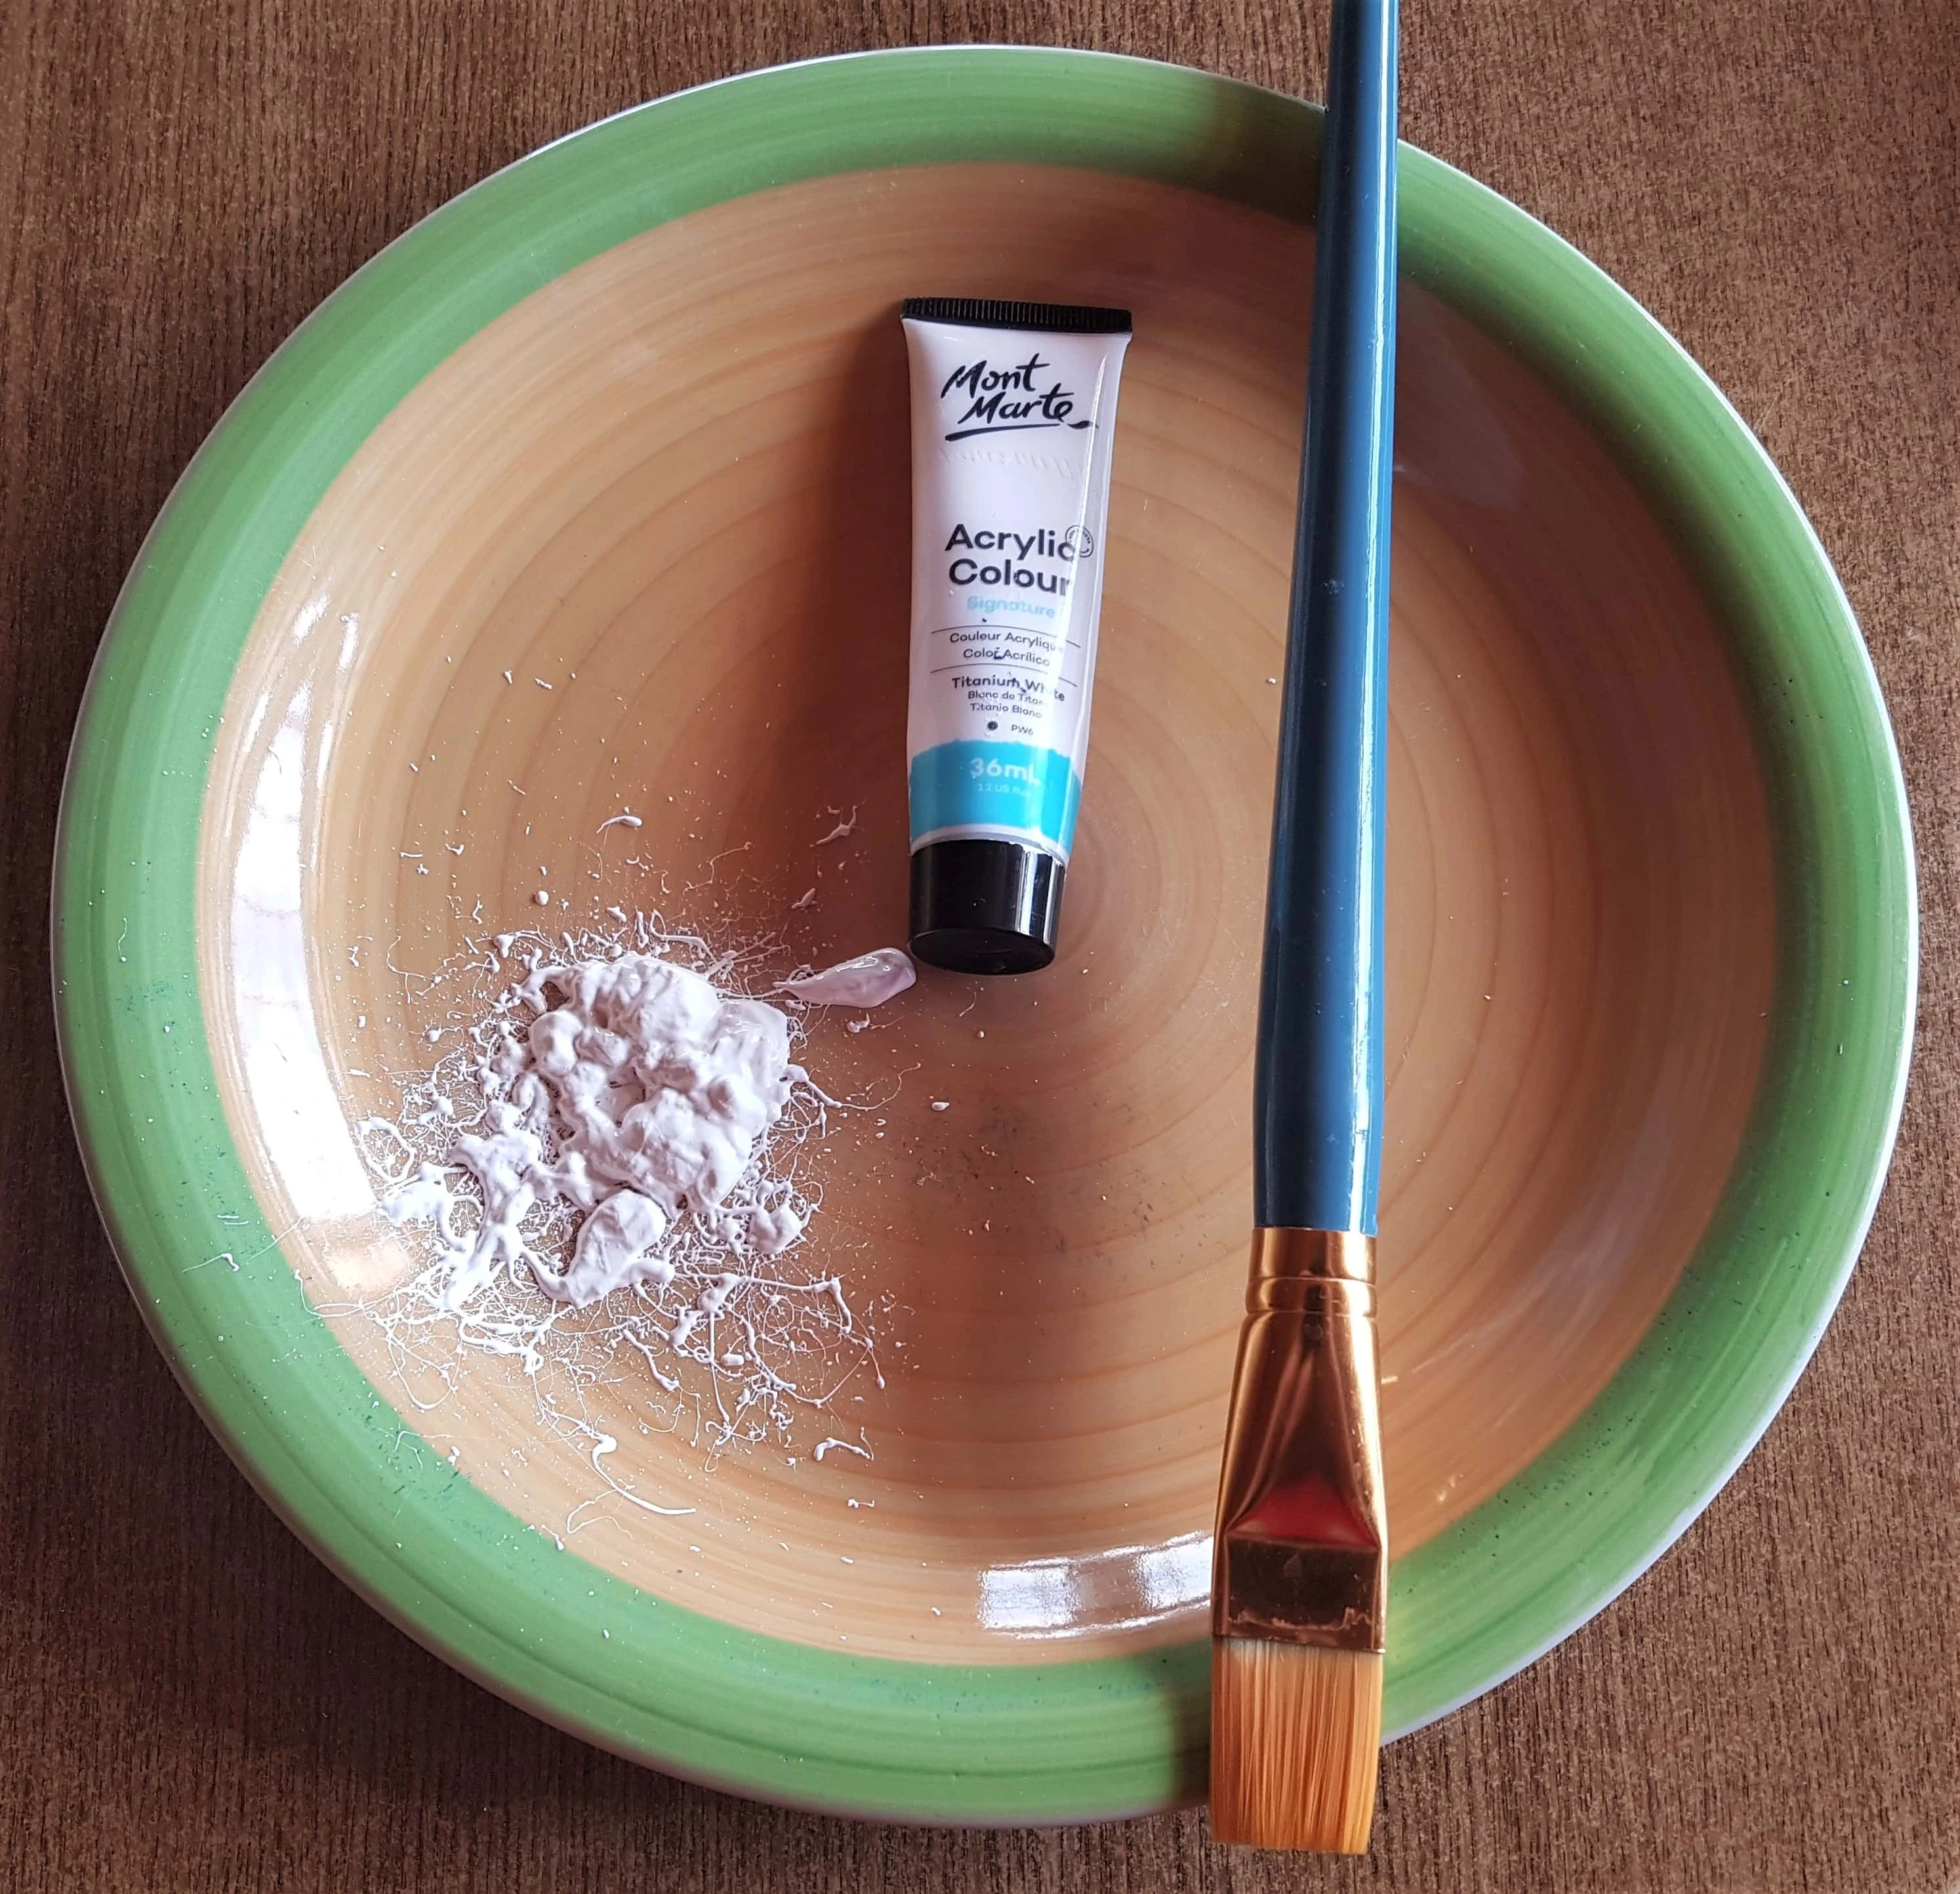
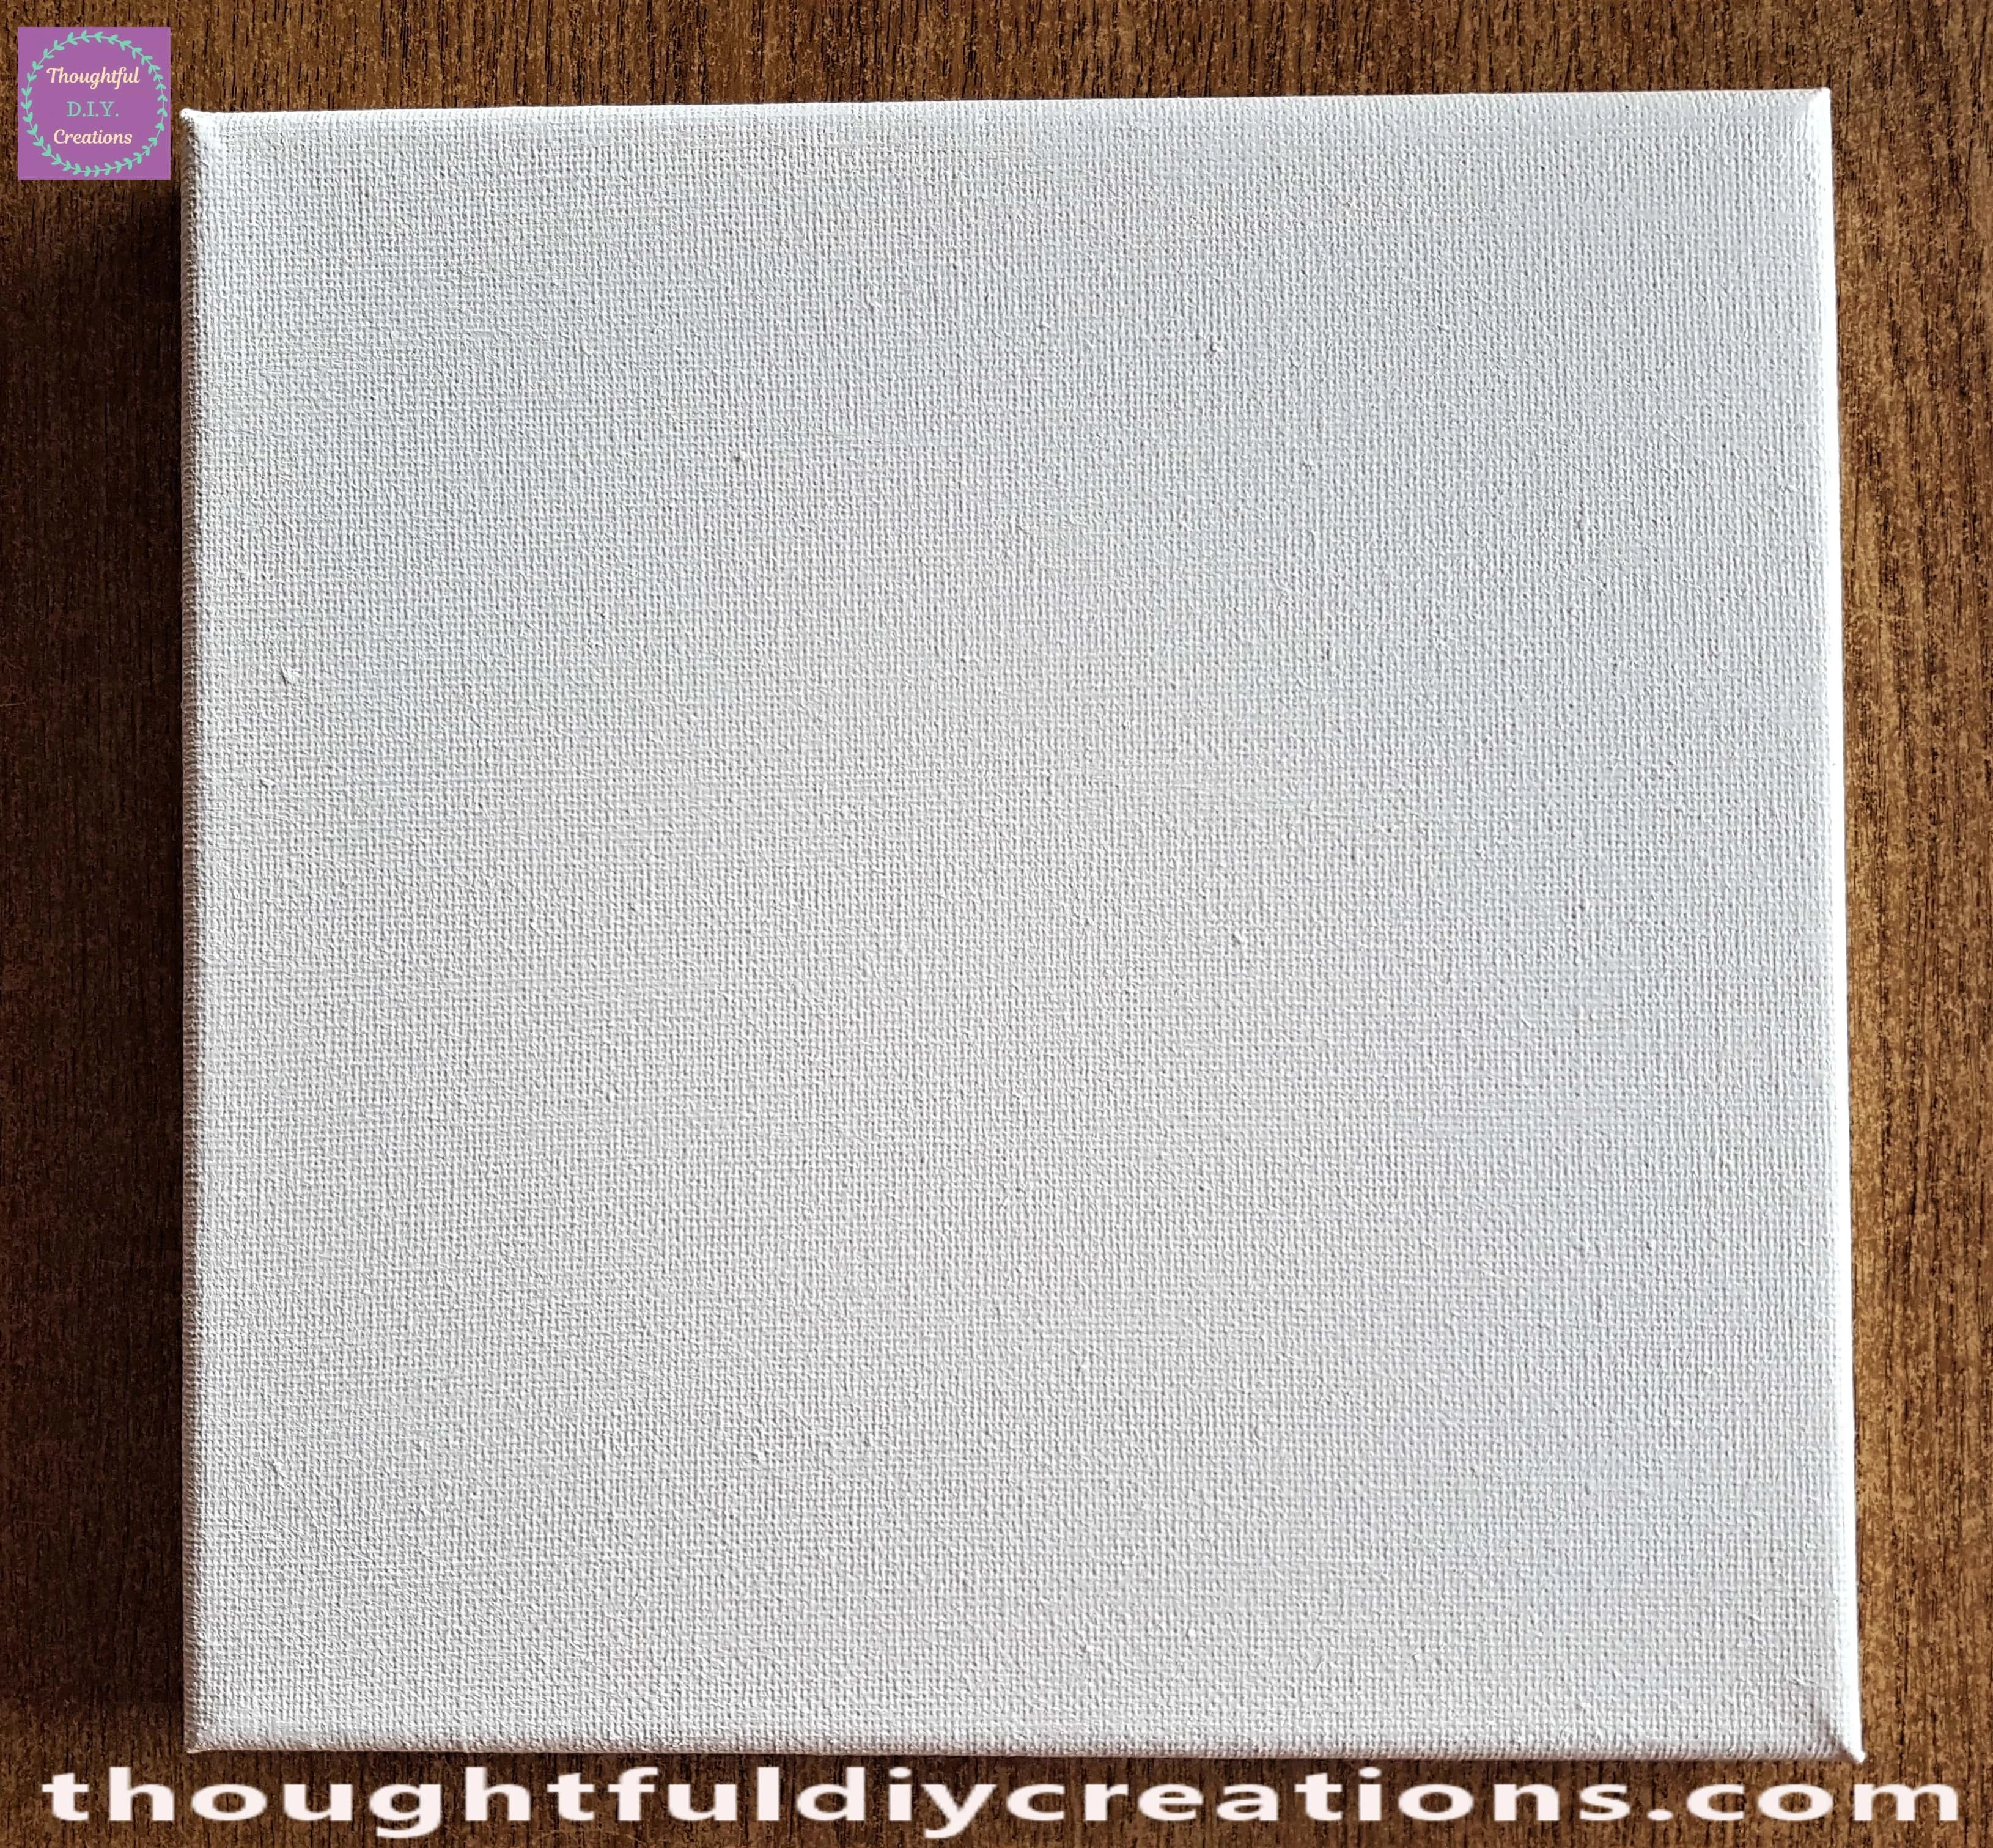
For the First Step; I Painted 2 even layers of the White Paint onto the front of the Canvas leaving an hour drying time between each layer.
Painting the Sides of the Canvas Gold
A couple of hours after the second layer of White Paint was applied, I got my Gold Acrylic Paint and poured some onto the Plate. I got my Flat Sponge with Handle. Baking Paper was placed on the Table to protect it while Painting.
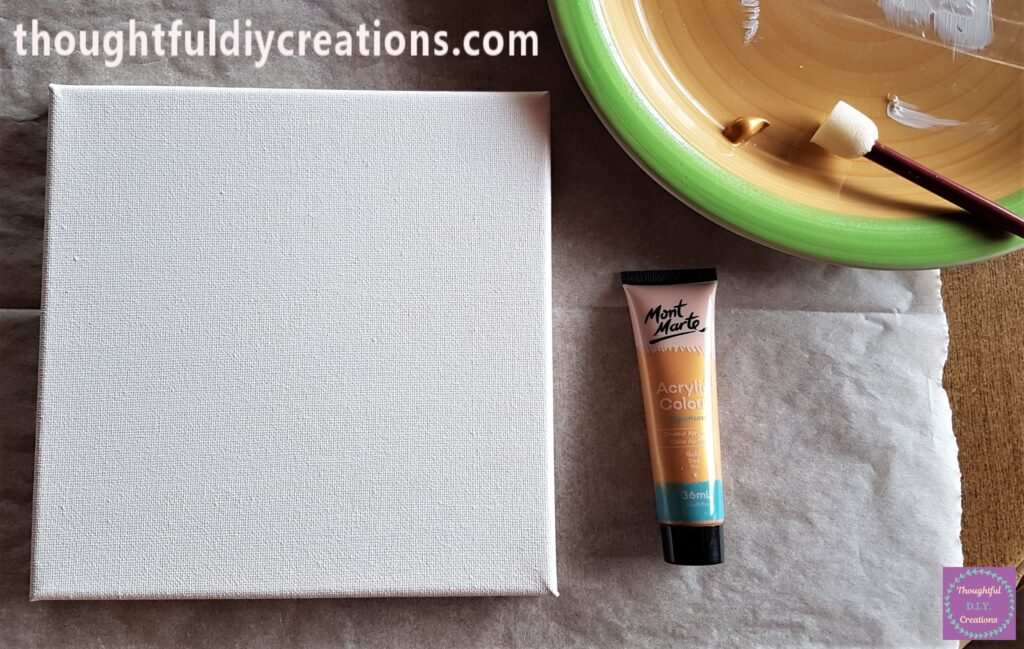
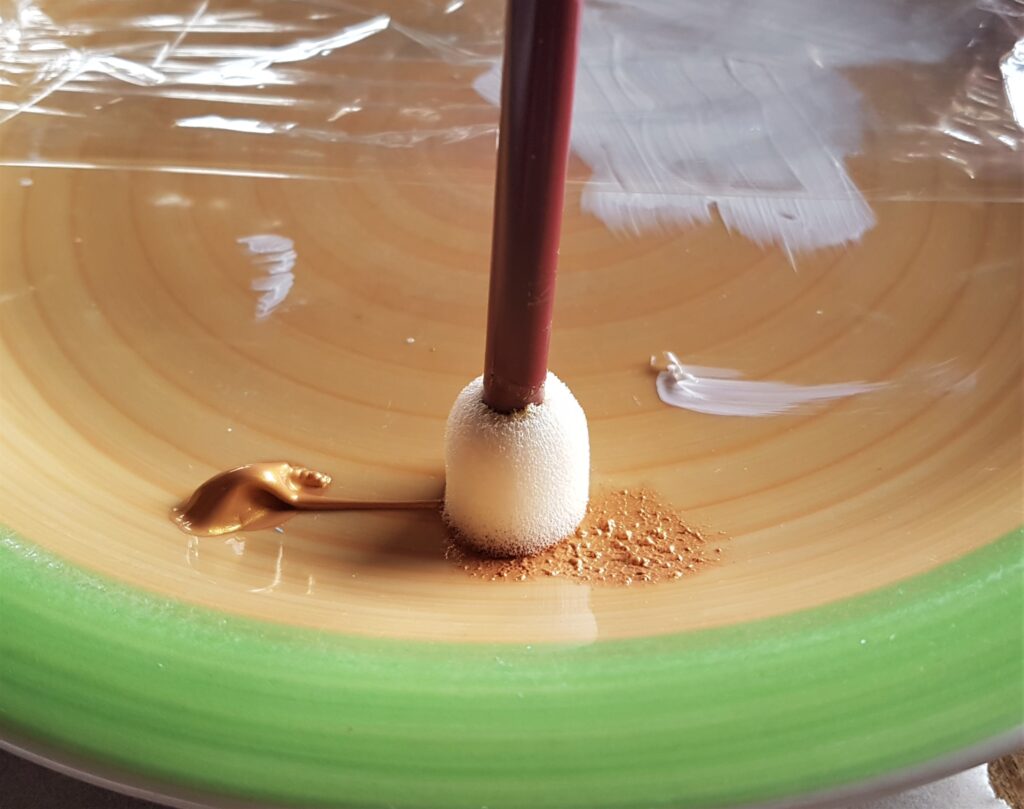
I dipped the Sponge into the Paint, I then dabbed the excess Paint onto another part of the Plate to ensure there wasn’t too much Paint on the Sponge.
Next, I dabbed the Sponge onto the Side of the Canvas.
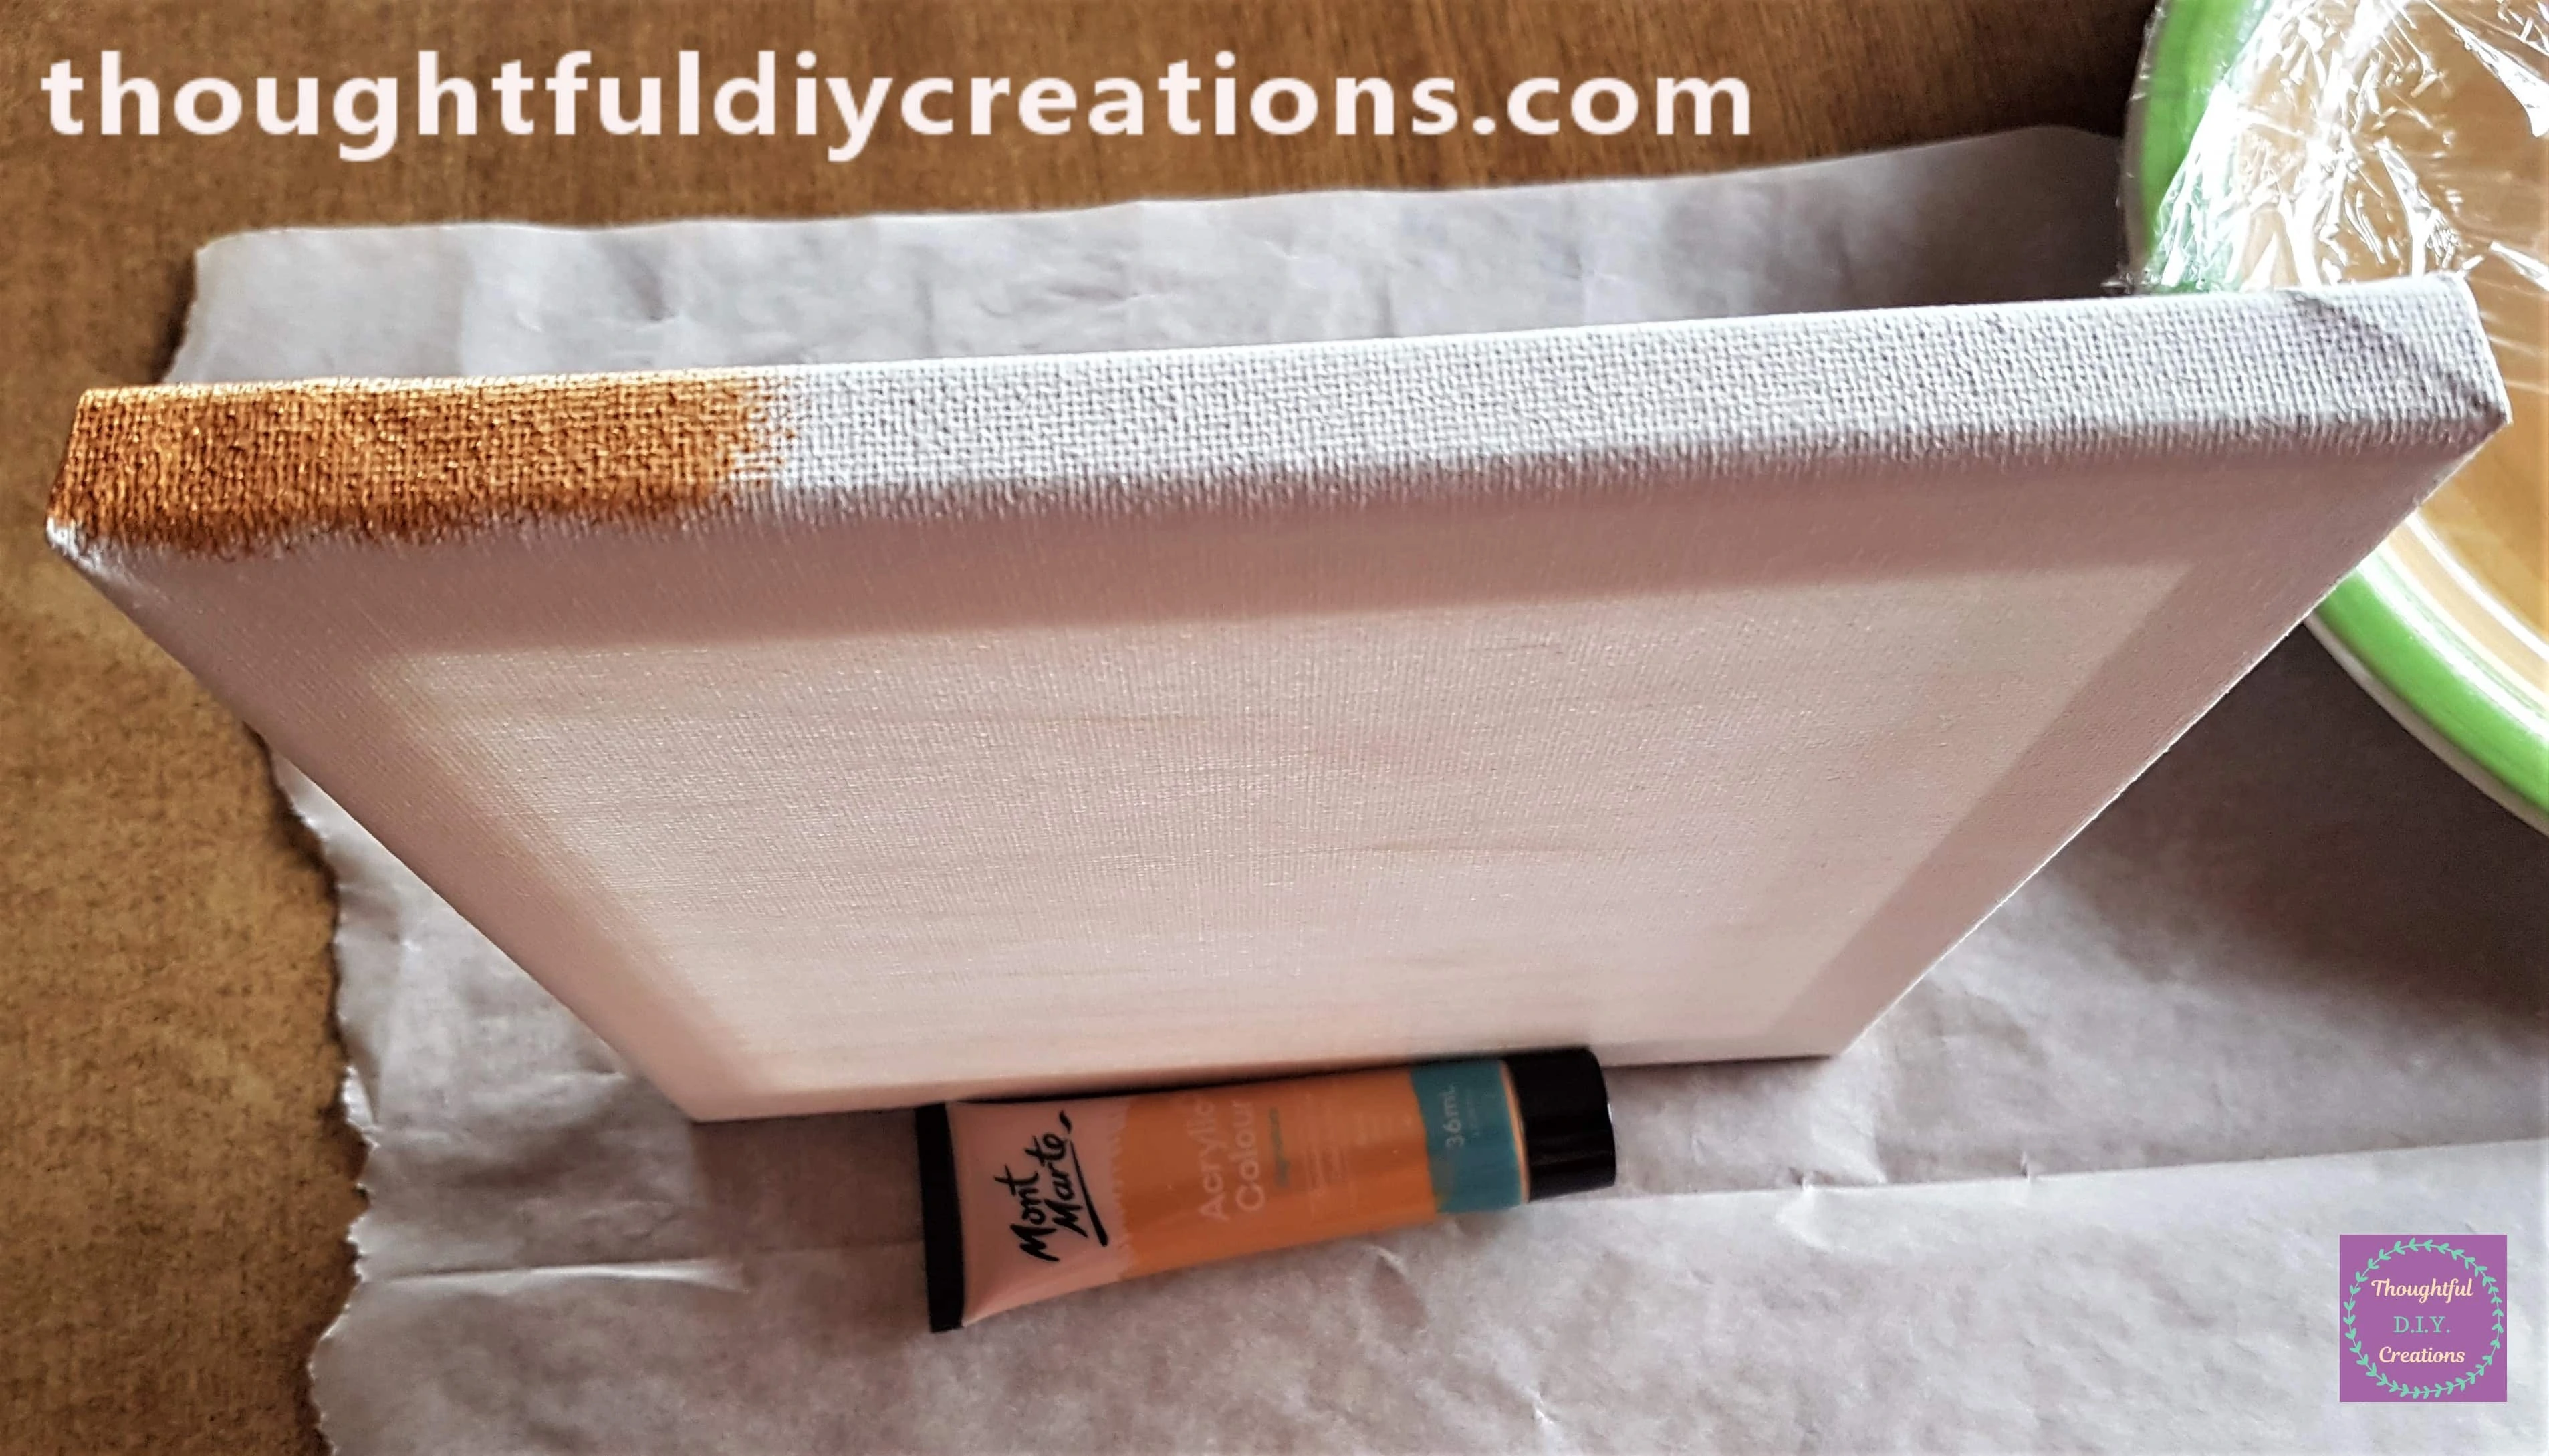
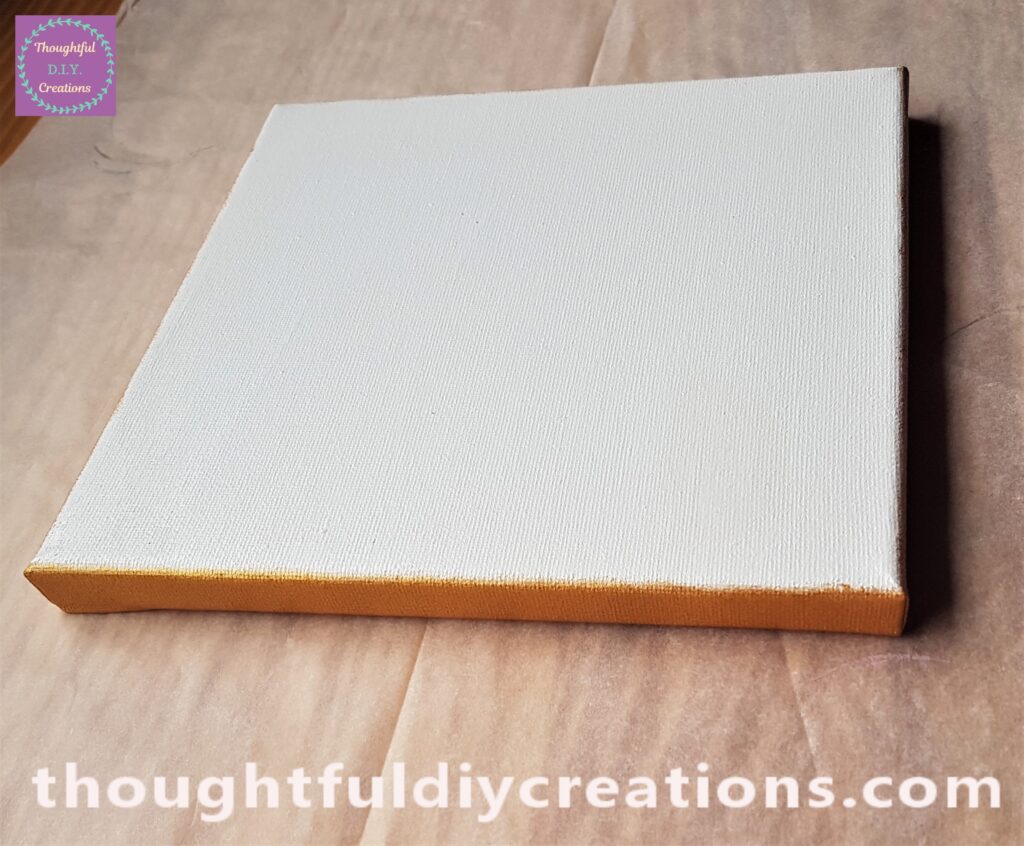
I continued with this process until all 4 Sides of the Canvas were Painted Gold and then I applied another layer an hour later.
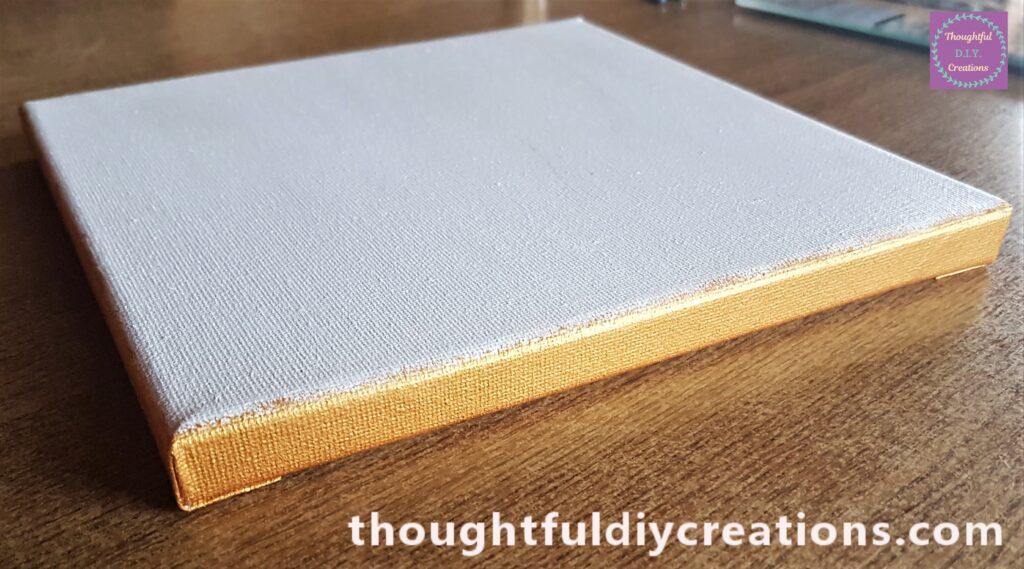
When the second layer of Gold Paint was fully dry I put the Canvas in the middle of the Baking Paper; it was now ready for the next part.
Adding Paint Splatters to the St. Patrick’s Day Canvas
I put some of the Gold Paint into a Lid of a Jar, I added a couple of drops of water to the Paint and mixed it together with a small Paintbrush.
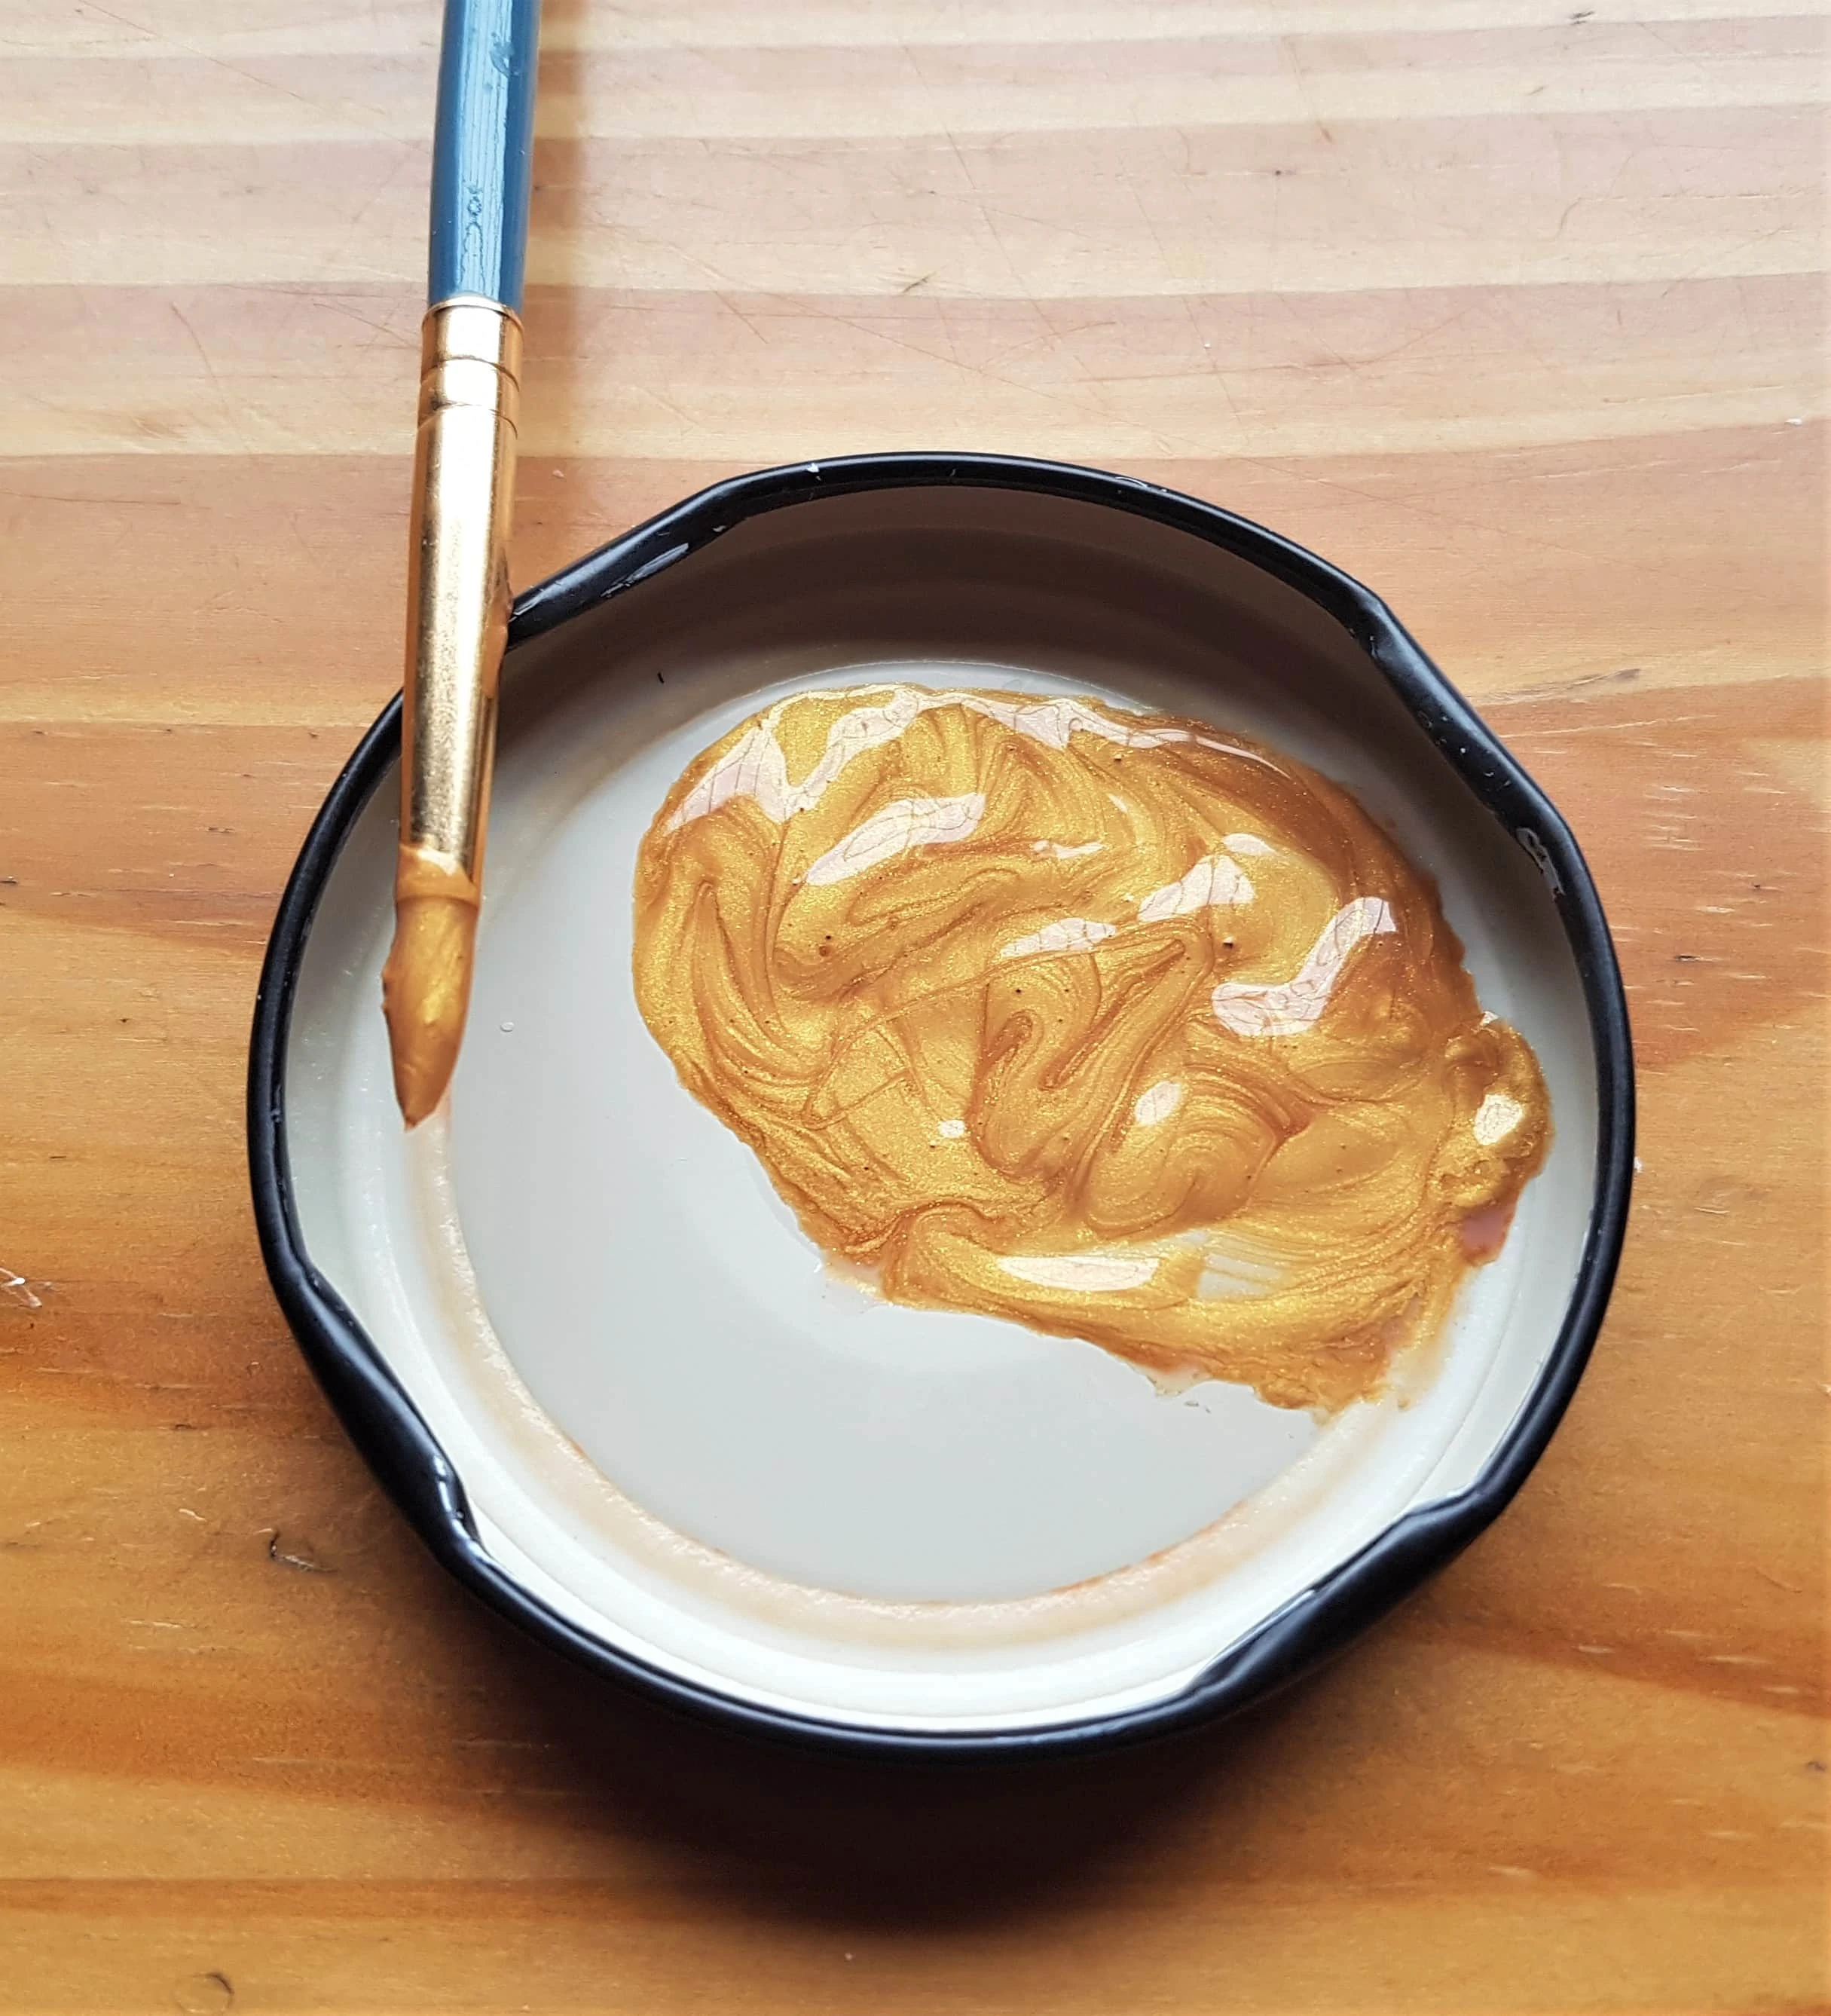
The Paintbrush was dipped into the Paint mixture and I held it about 20cm above the Canvas.
I got another Paintbrush and tapped the end part of this Paintbrush onto the mid-section of the handle on the first Paintbrush.
For the next Step; I moved my arm slowly in the air around the Canvas and from tapping the Paintbrush with the other Paintbrush; the Paint droplets fall randomly on the Canvas making various size blobs, this adds interest to the Canvas.
I dipped the first Paintbrush into the Lid when I needed more Paint and repeated the process until I was happy with the coverage on the Canvas.
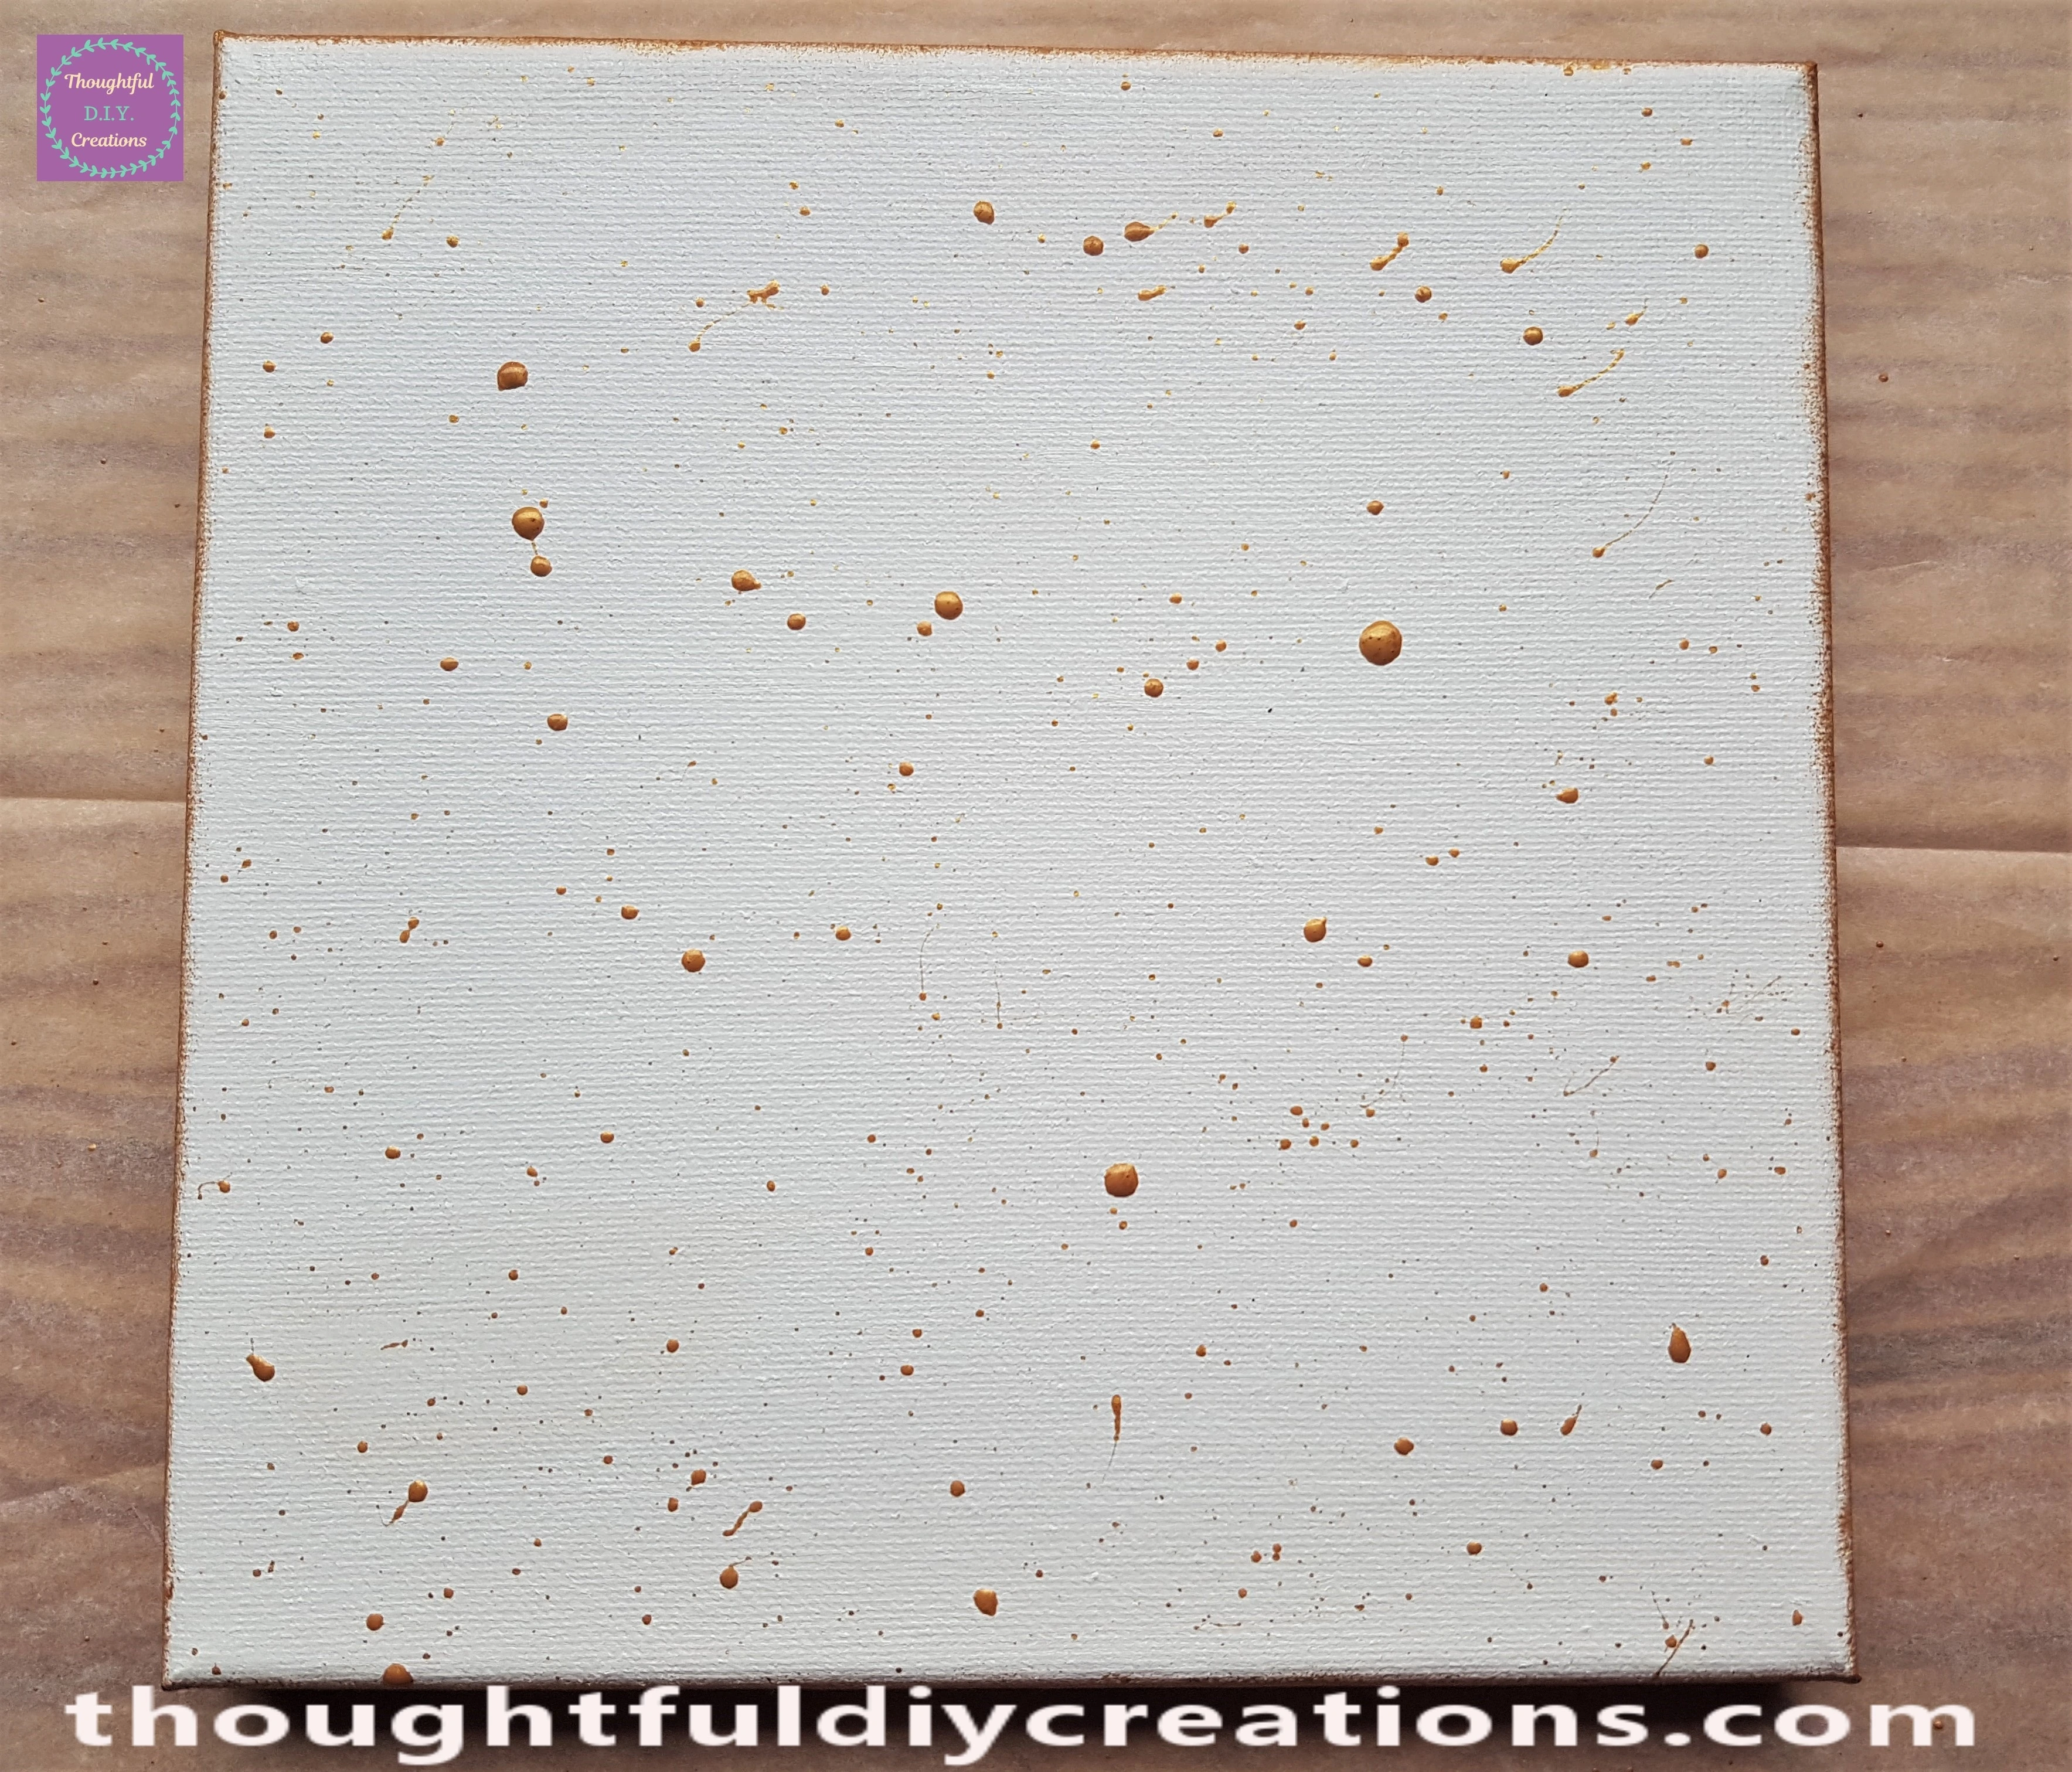
This is the result just after the Paint Splatters were applied to the St. Patrick’s Day Canvas.
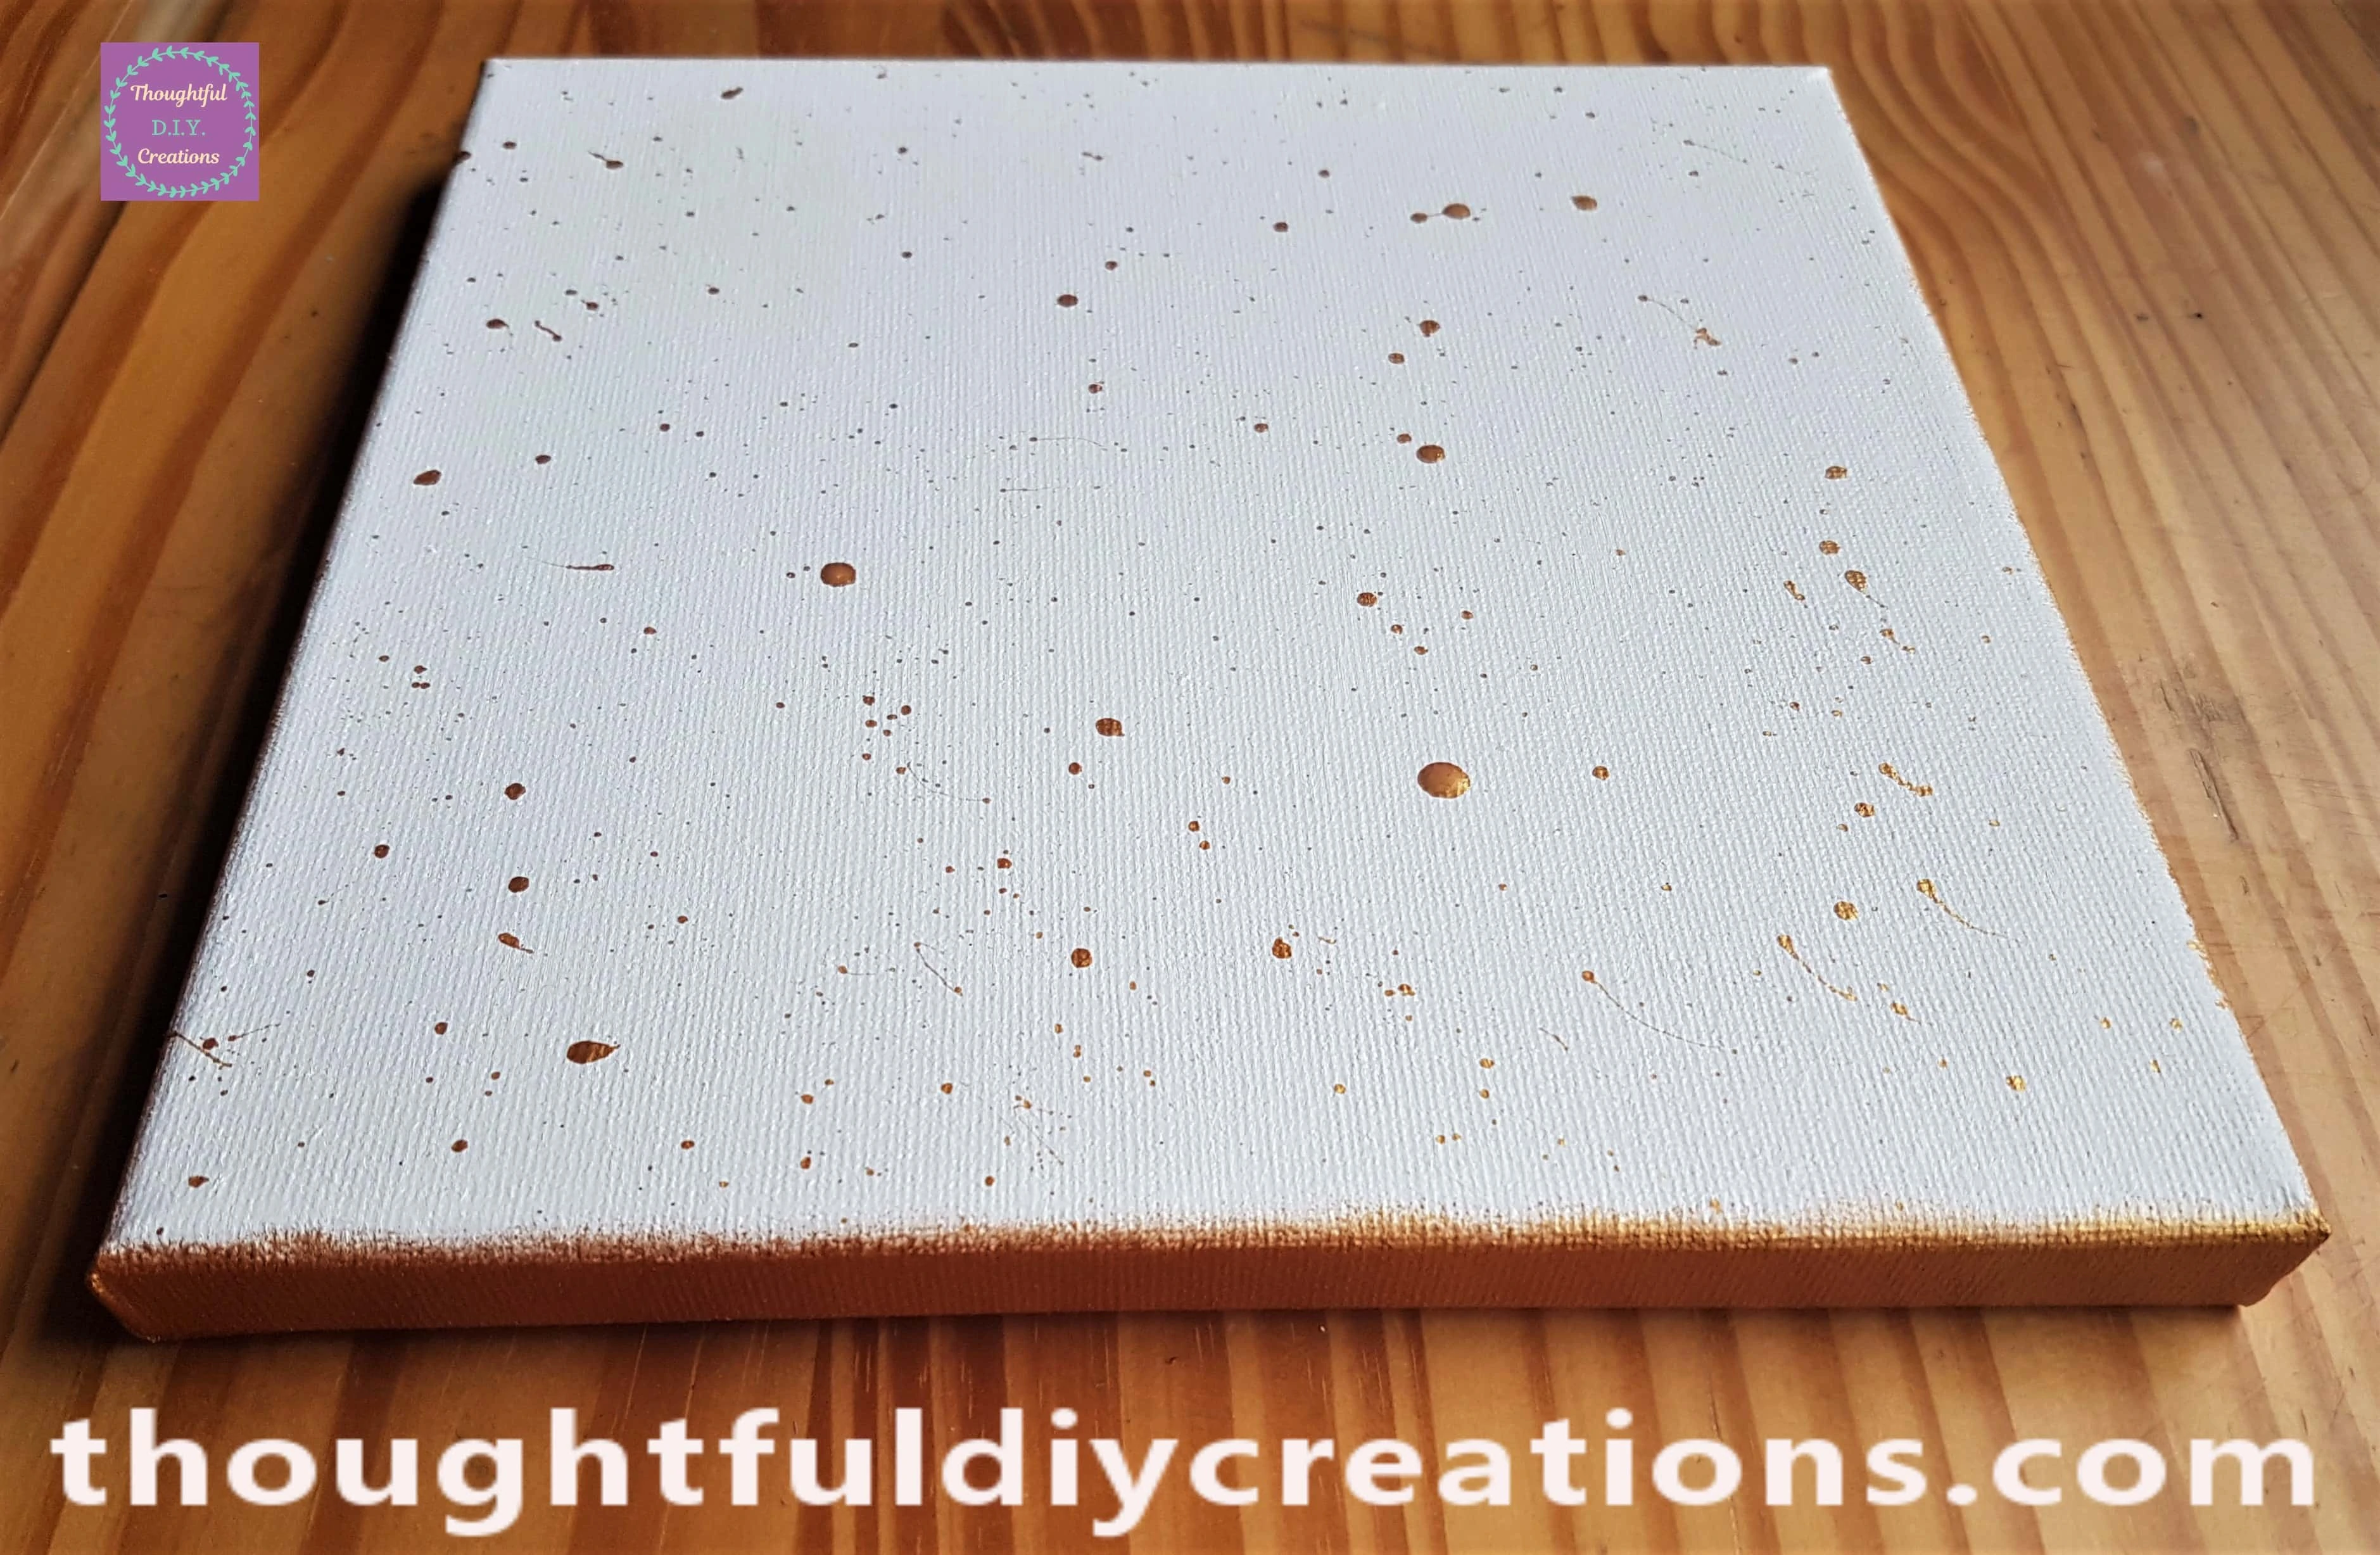
Here is a Side view of the Canvas an hour and a half after the Gold droplets were added. They were now fully dry.
Shamrock Stickers
I got my Pack of Shamrock Stickers; they came in three different Shades of Green in the one Pack.
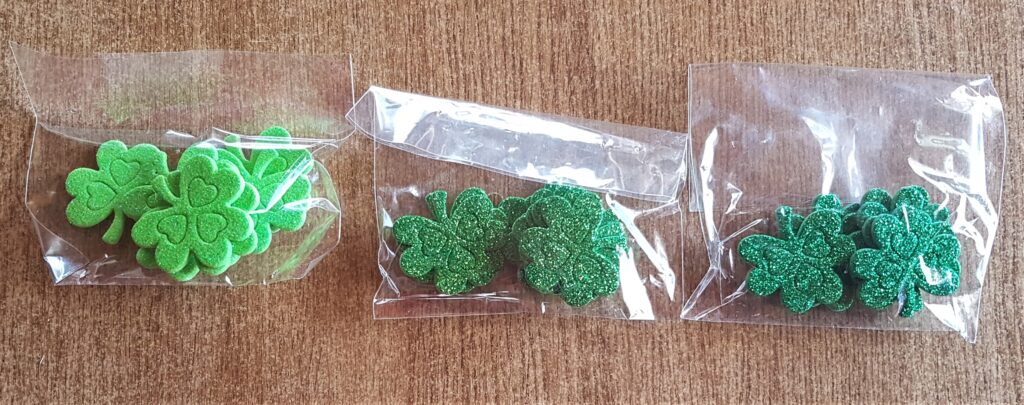
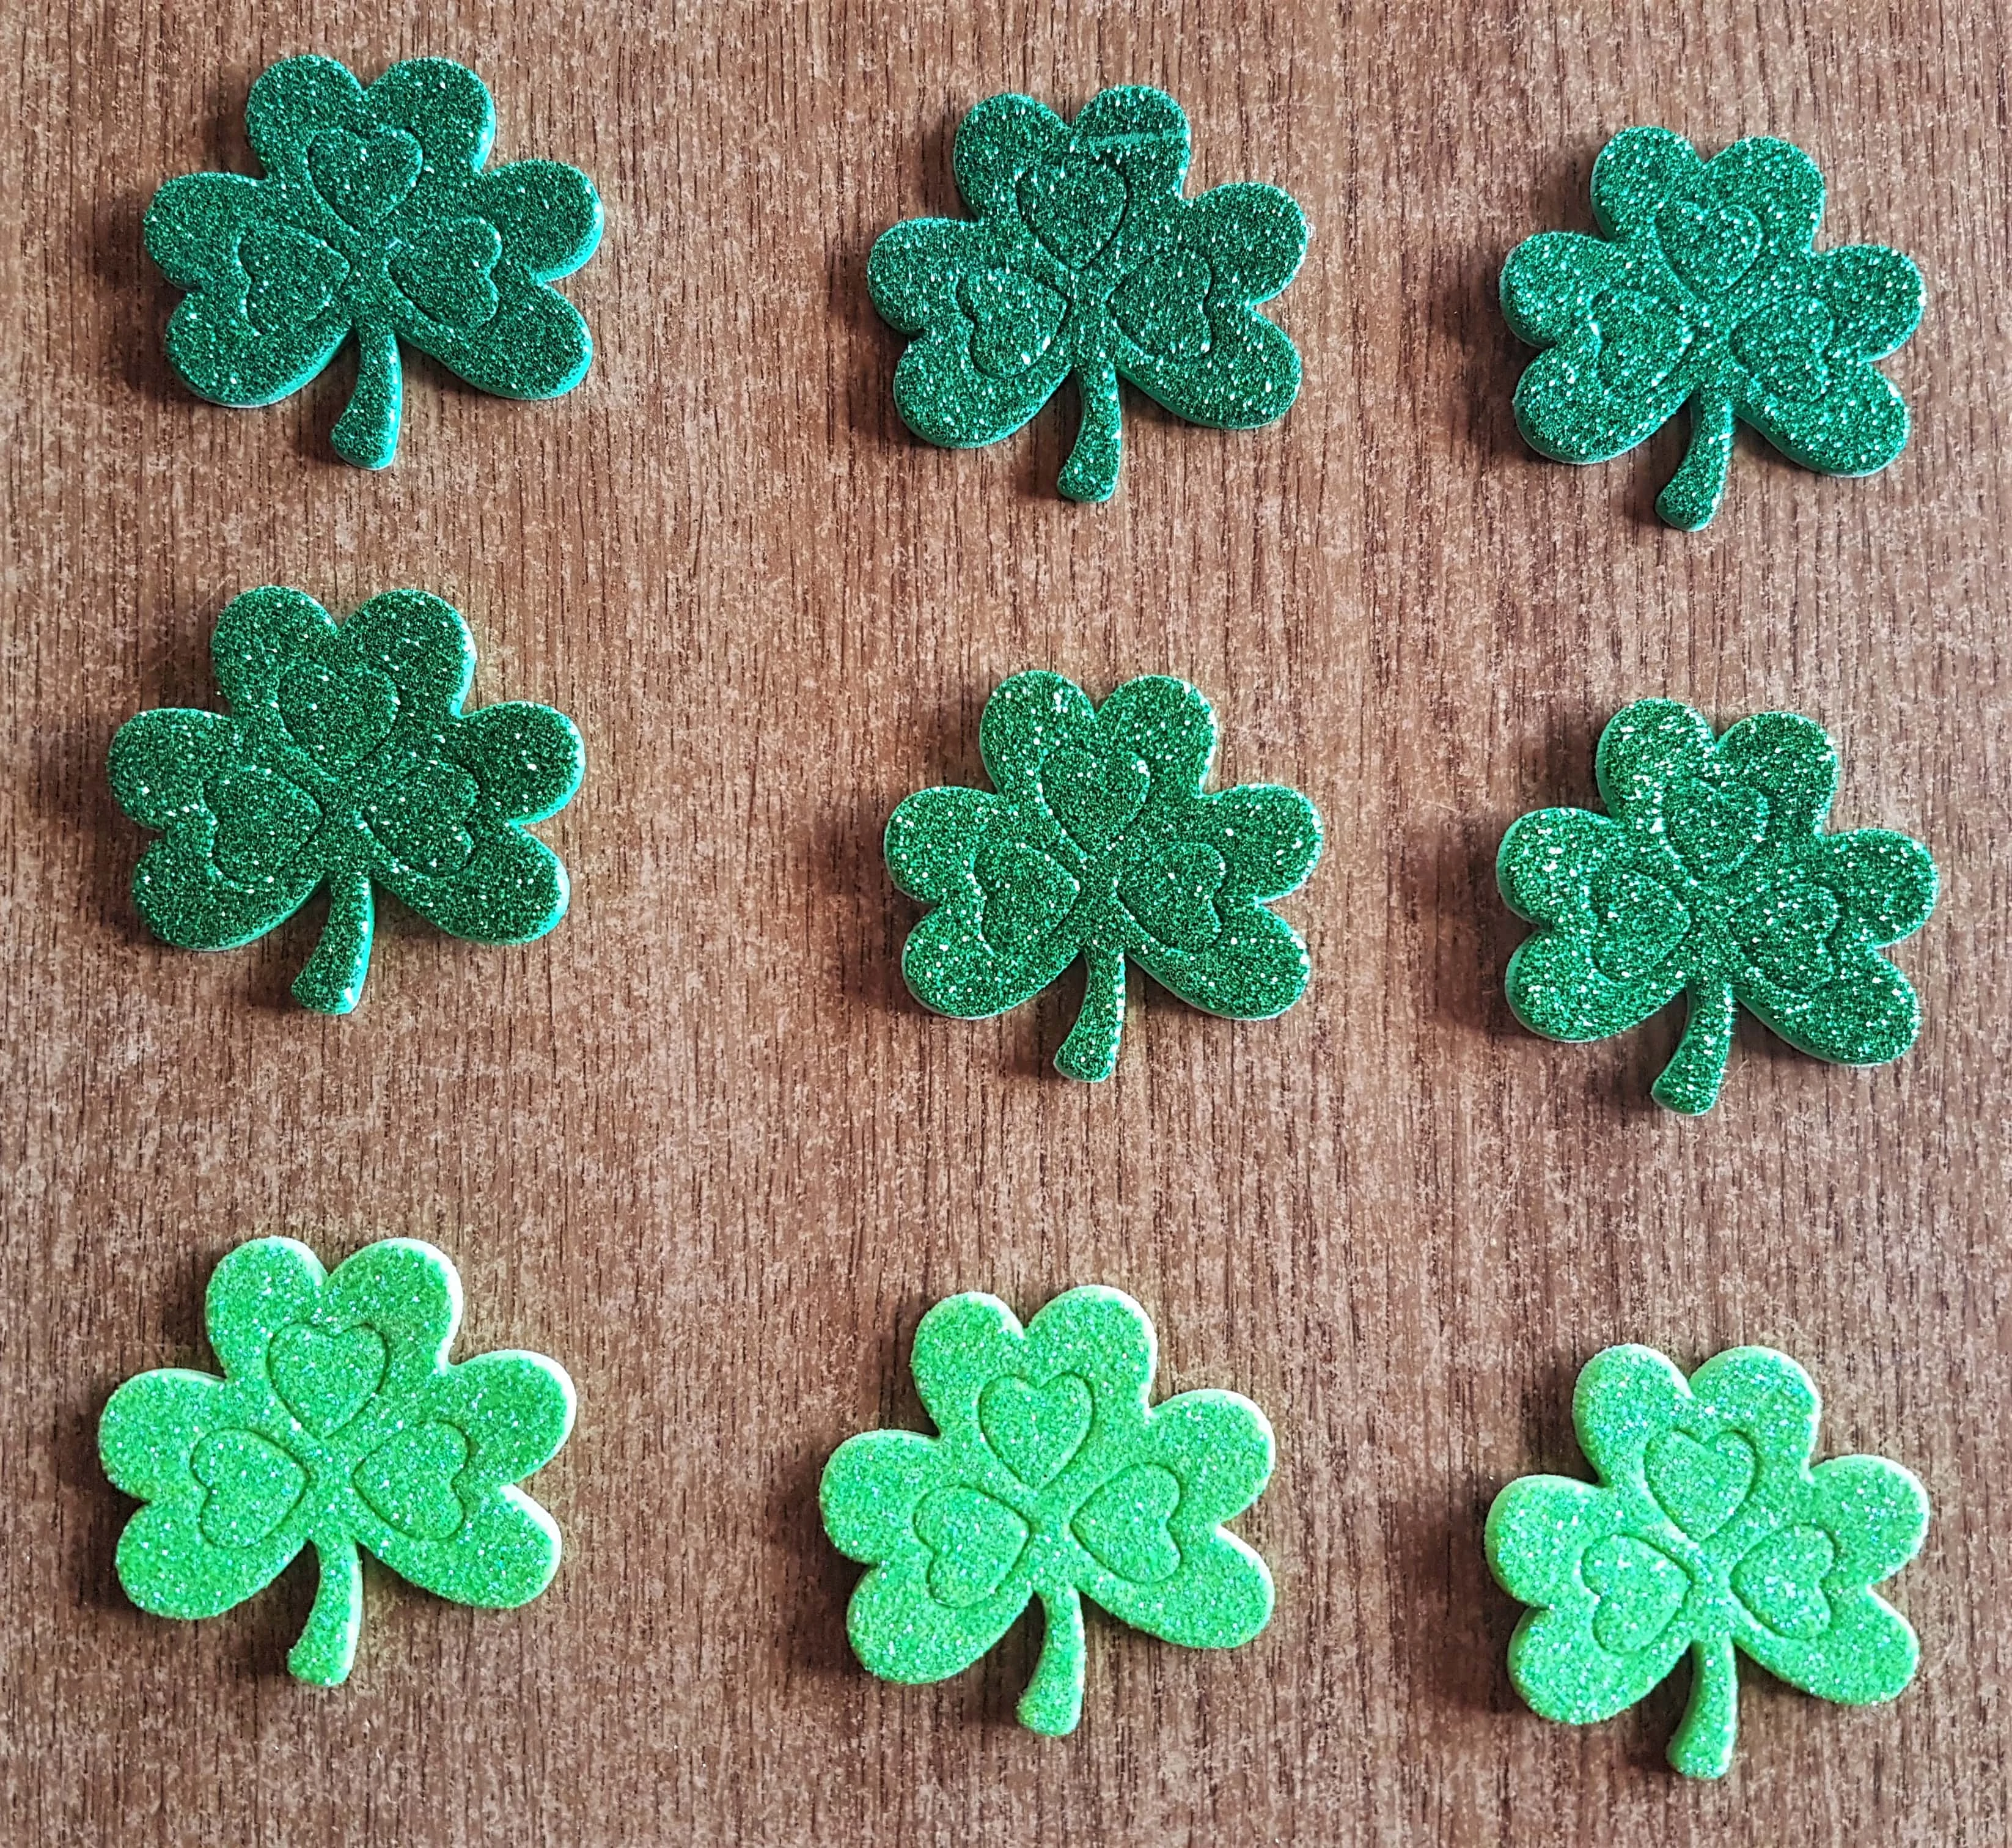
For this Project; I am using 3 Shamrocks of each Colour for the St. Patrick’s Day Canvas.
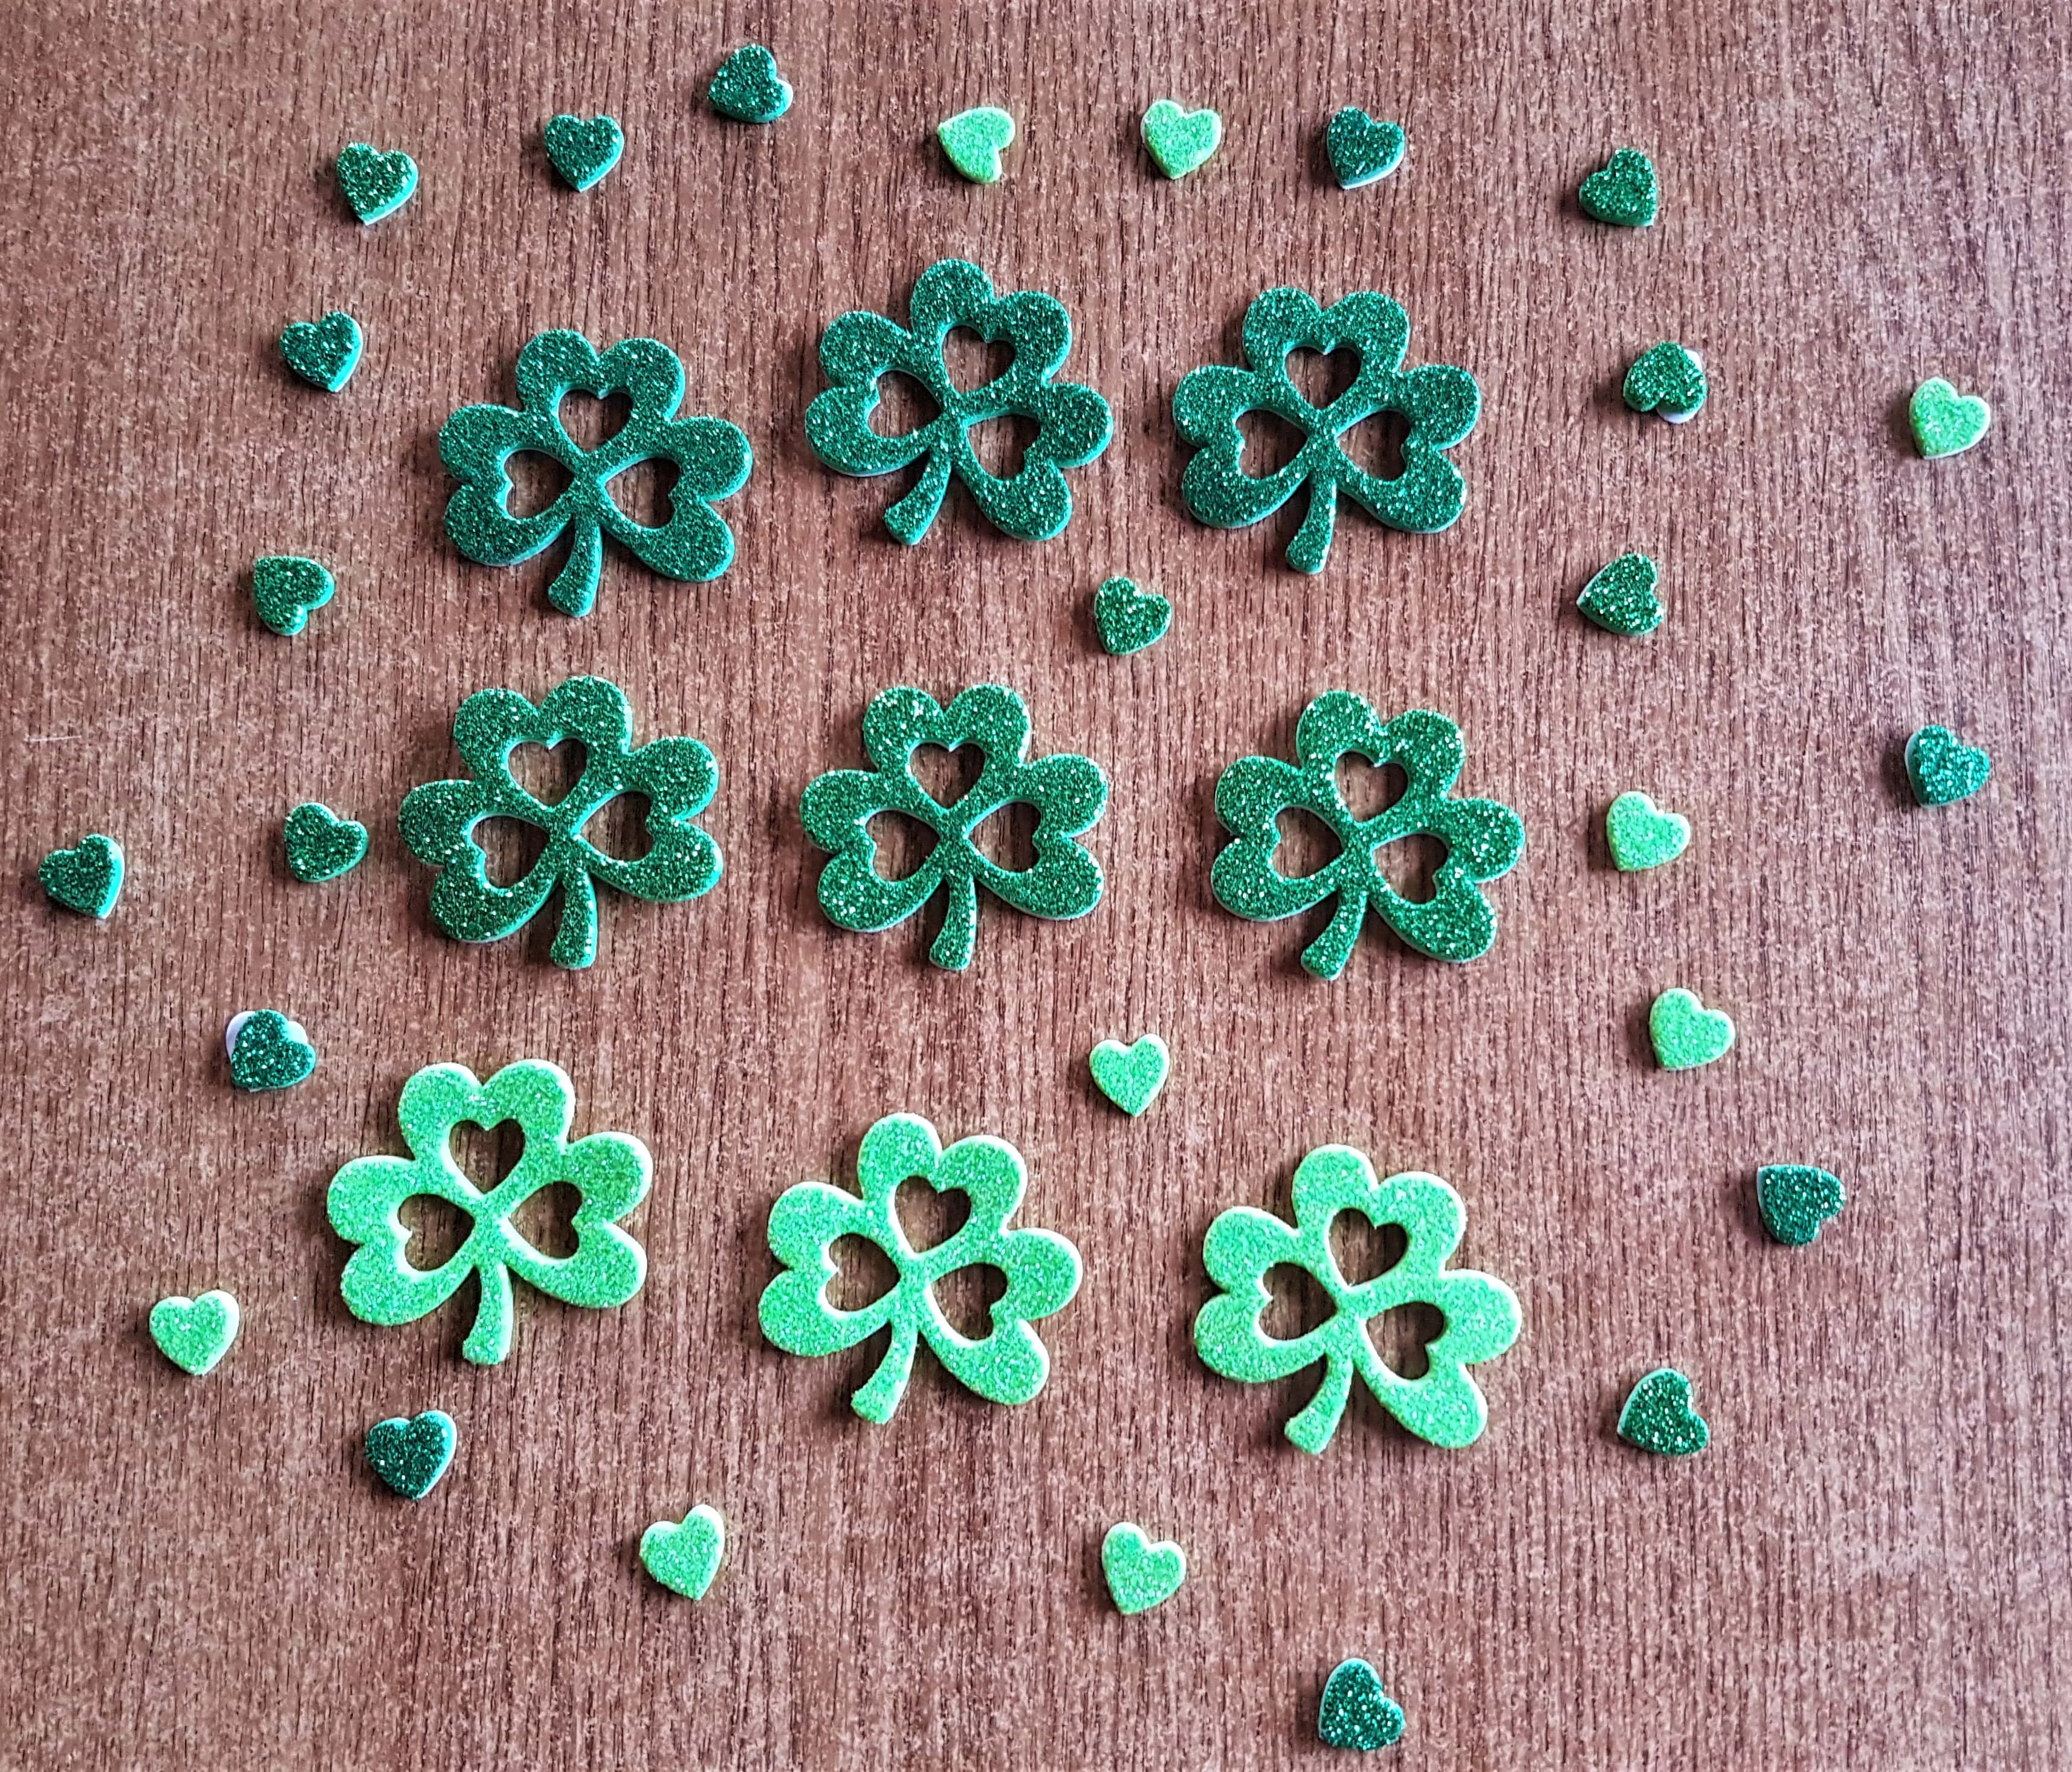
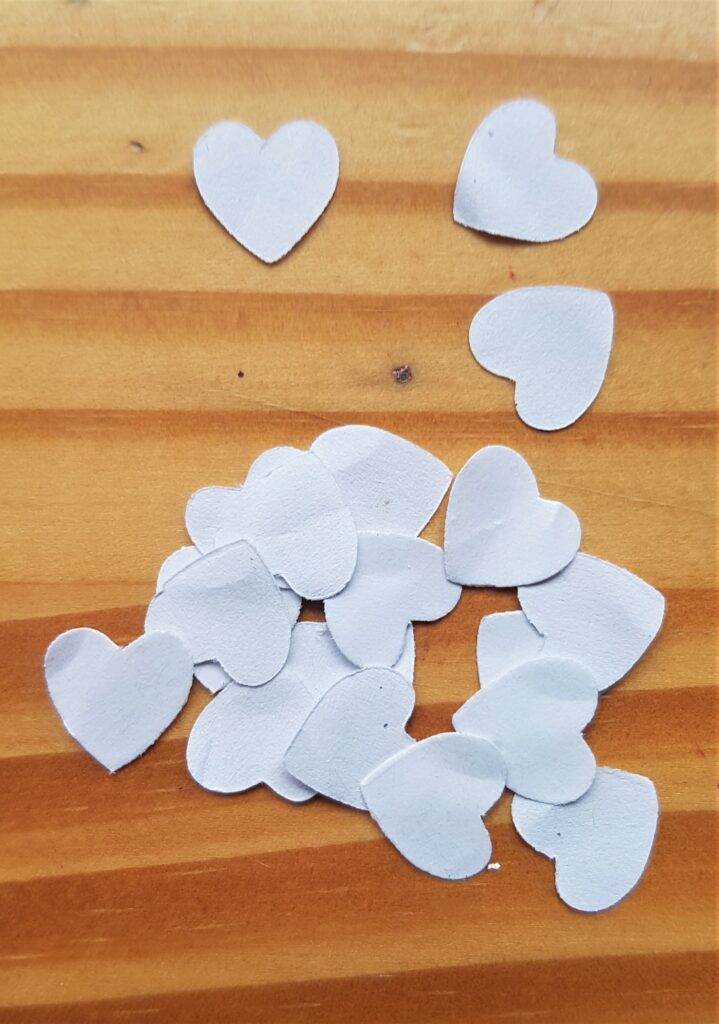
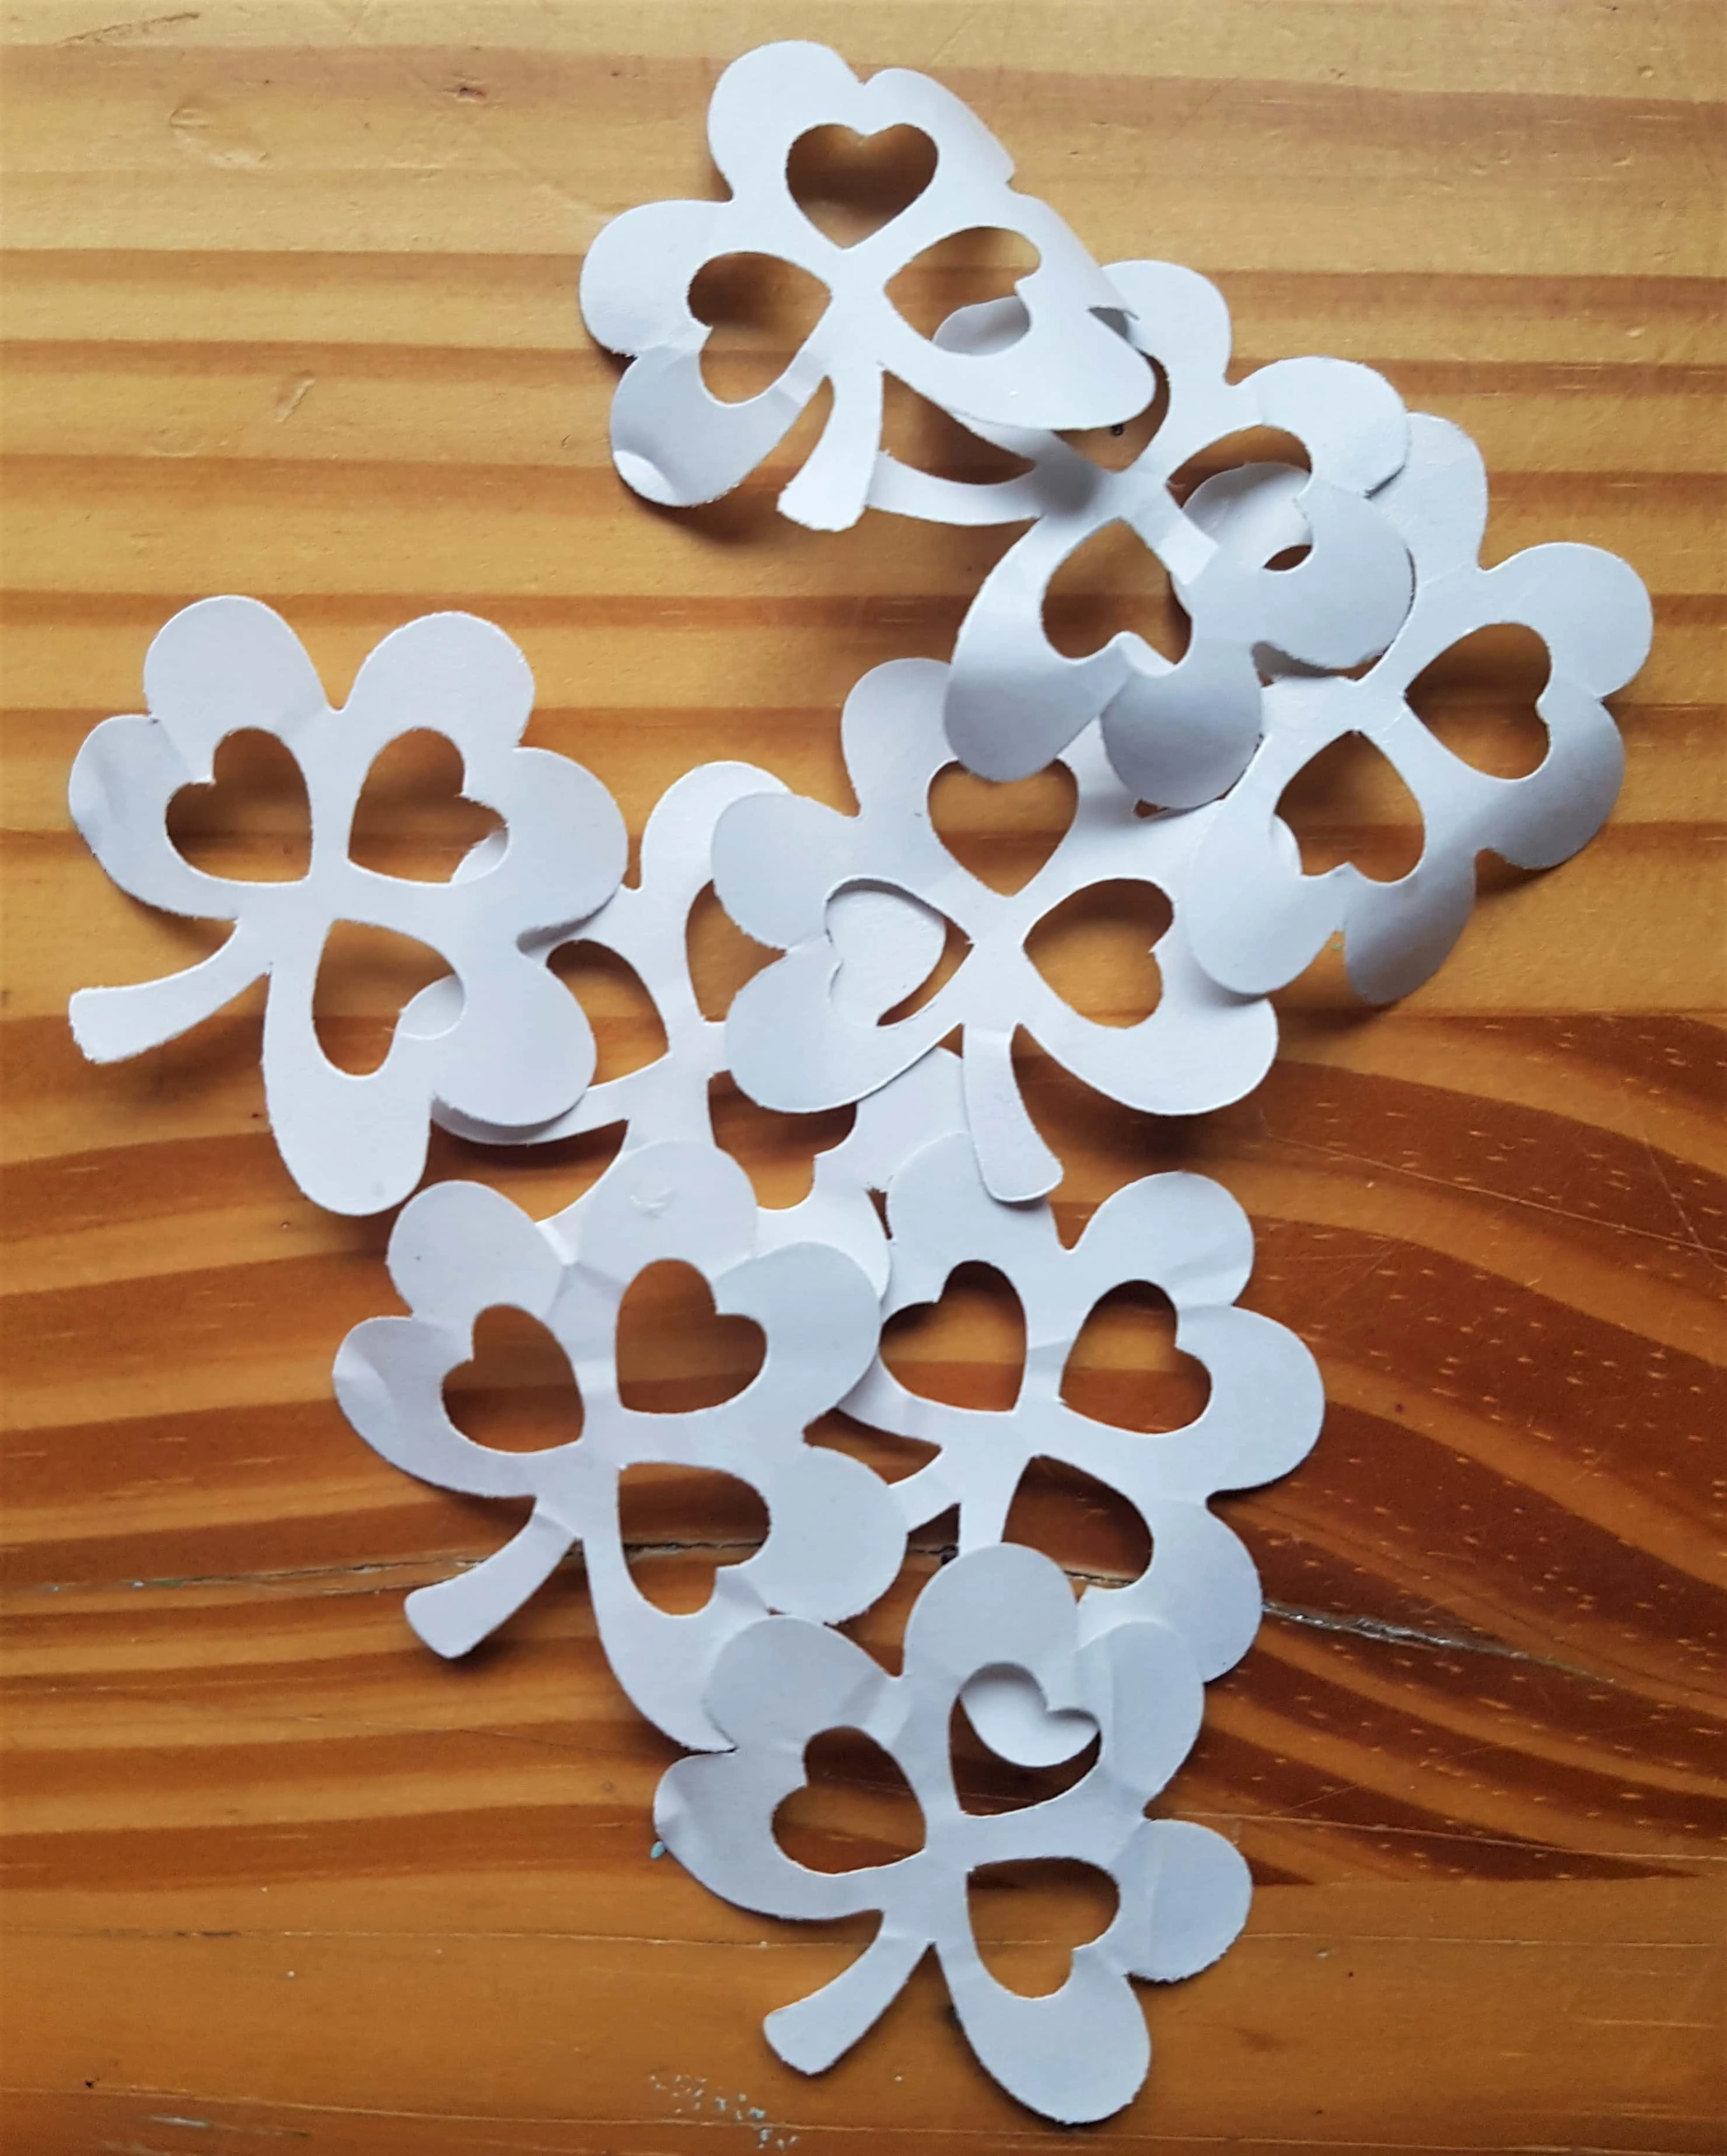
I removed the 3 hearts from the mid-section of each Shamrock.
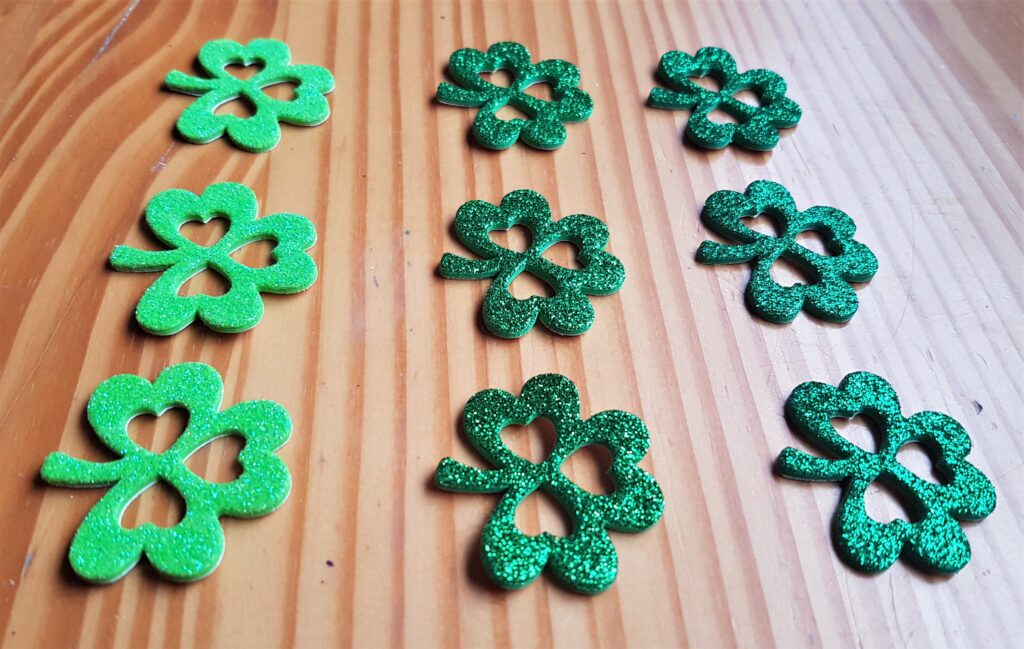
A Side angle of the Shamroocks with the hearts removed.
I will be using the Heart Stickers as a Border and in the mid-section of the Canvas. This Image shows the design I came up with.
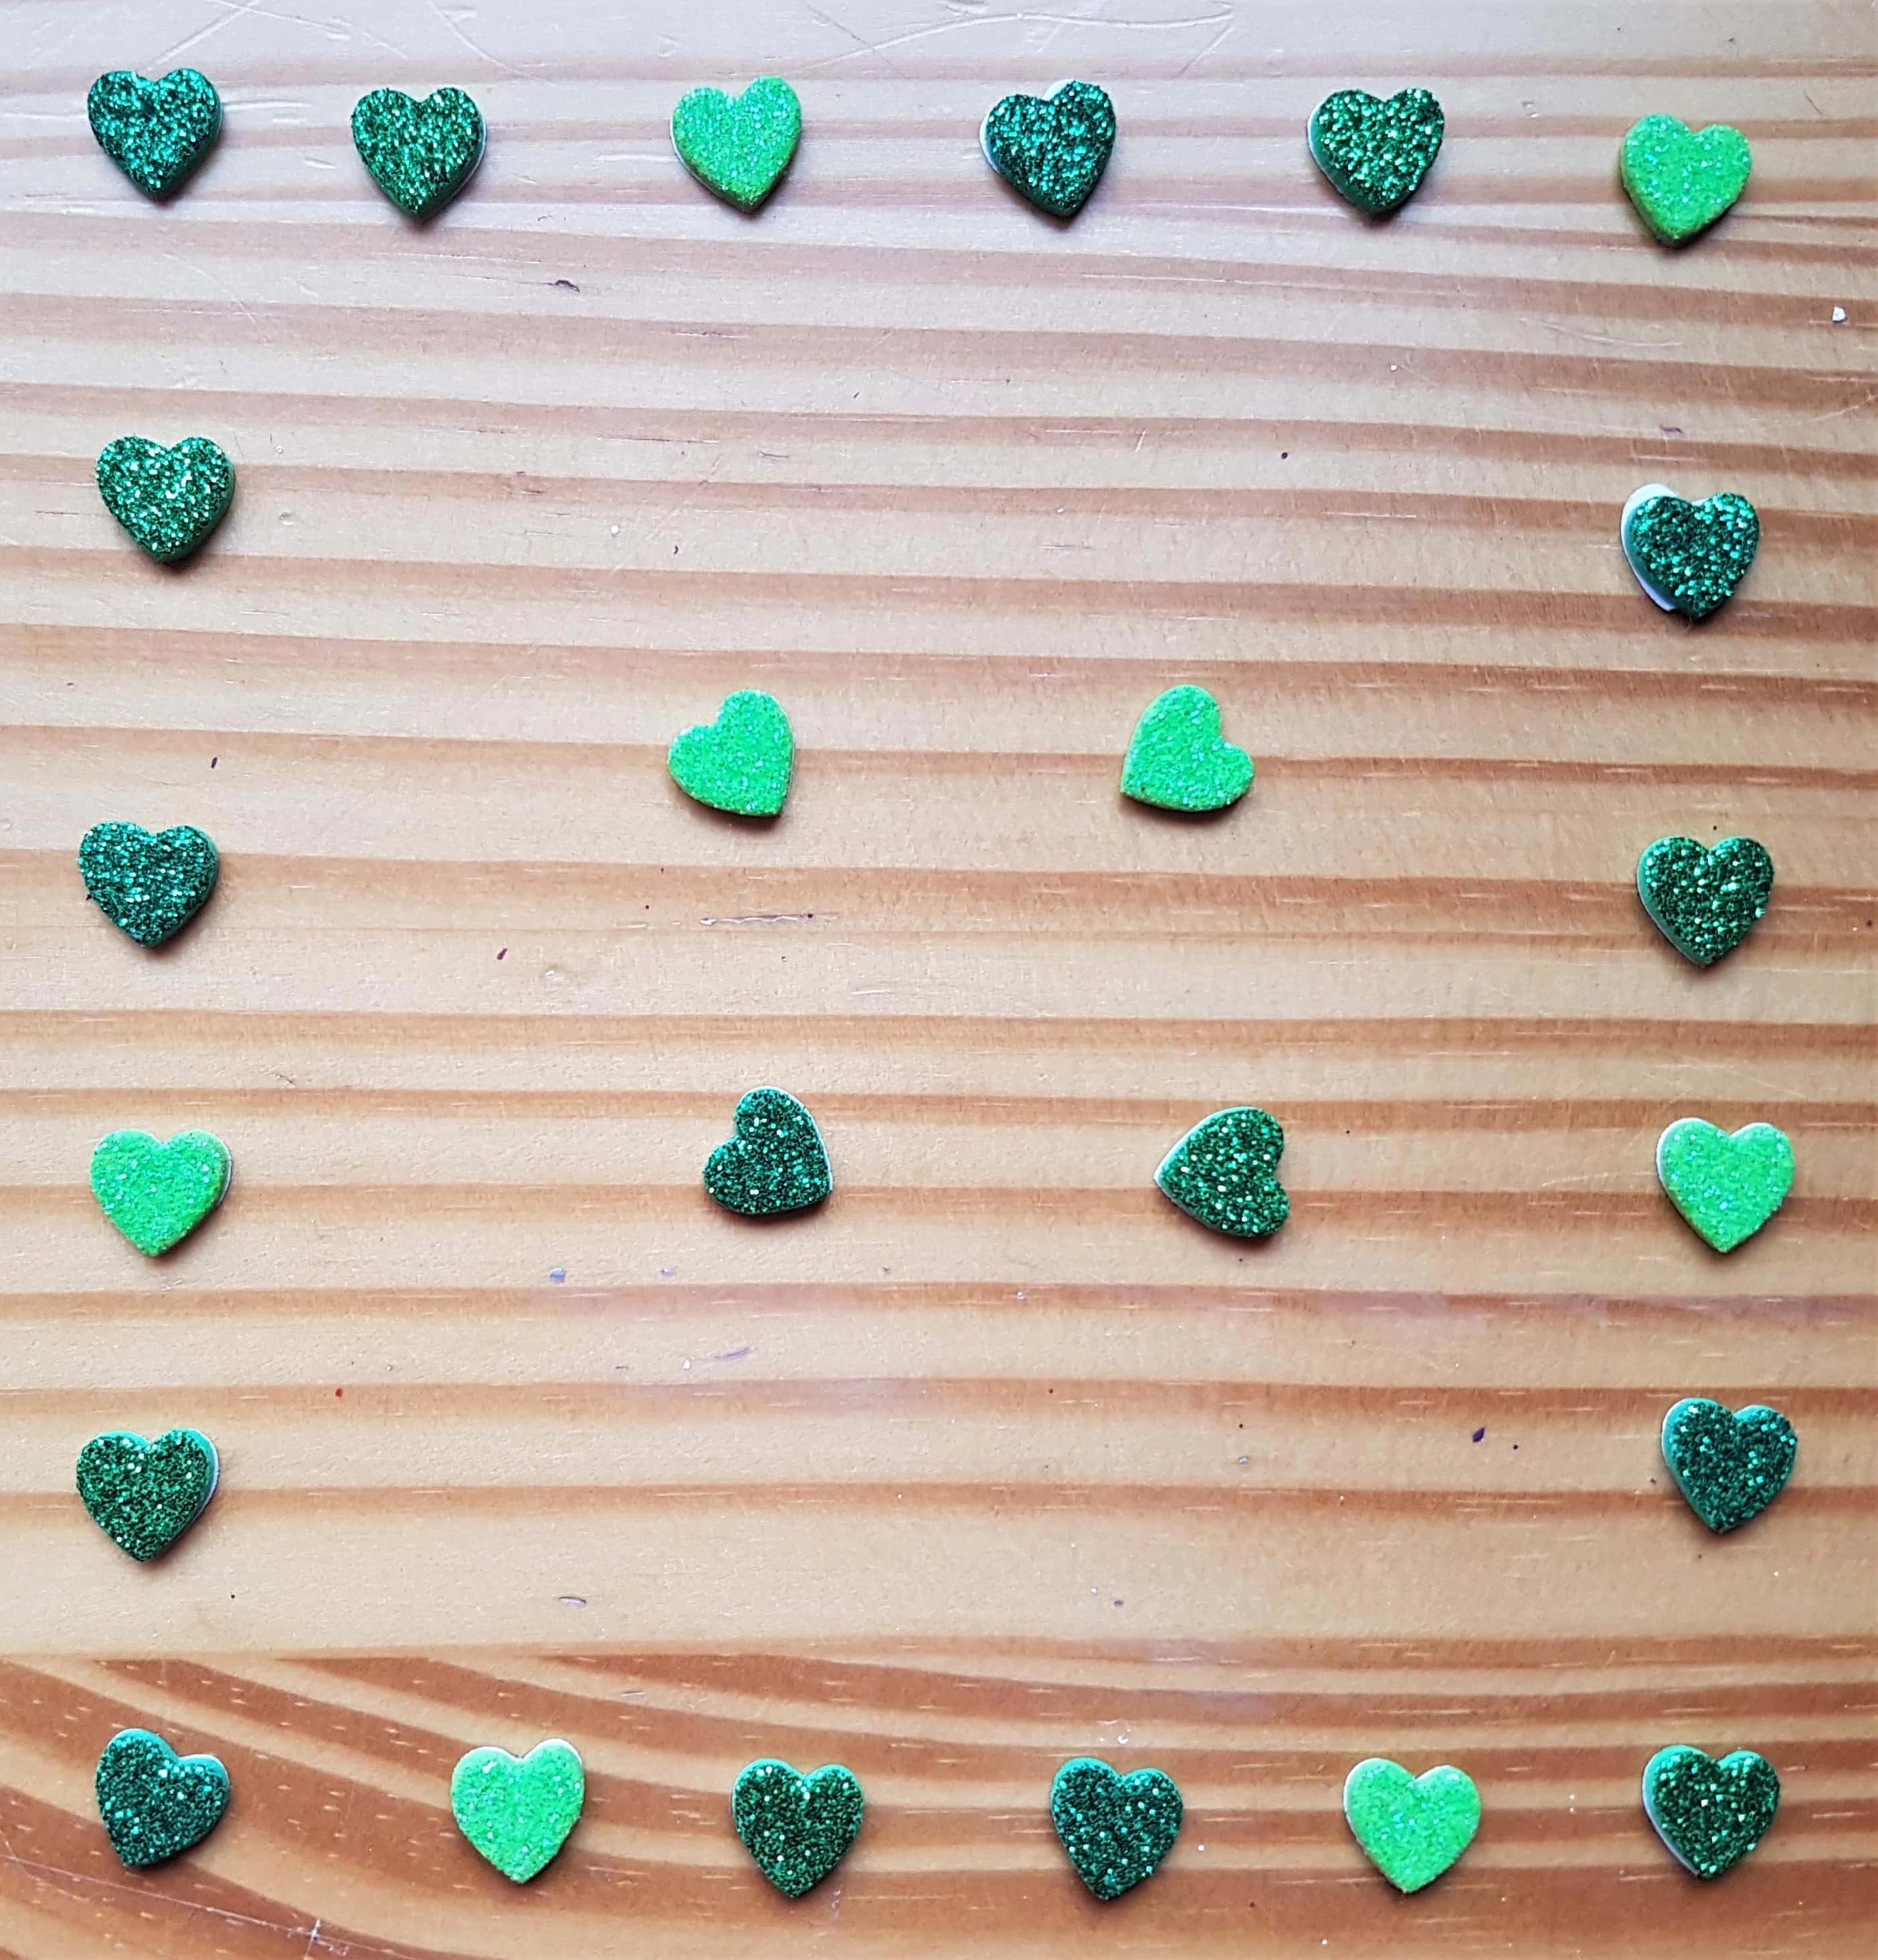
Attaching the Hearts to the St. Patrick’s Day Canvas
I removed the backing from each of the Heart Stickers one-by-one.
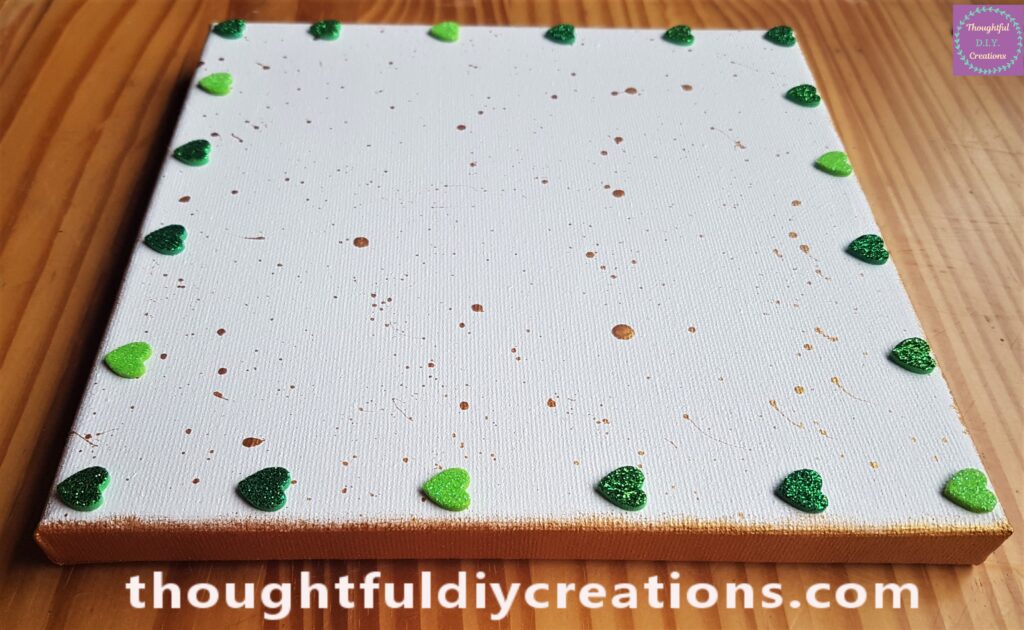
Each heart was attached to Frame the Canvas. Below is a Side view of each Heart added to the Canvas to give it a border.
The Shamrocks added to the Canvas
I removed the backing of each of the Shamrock Stickers.
I attached each Shamrock to the Canvas starting with the darkest shade and working down to the lightest.
Finishing Touch to the St. Patrick’s Day Craft
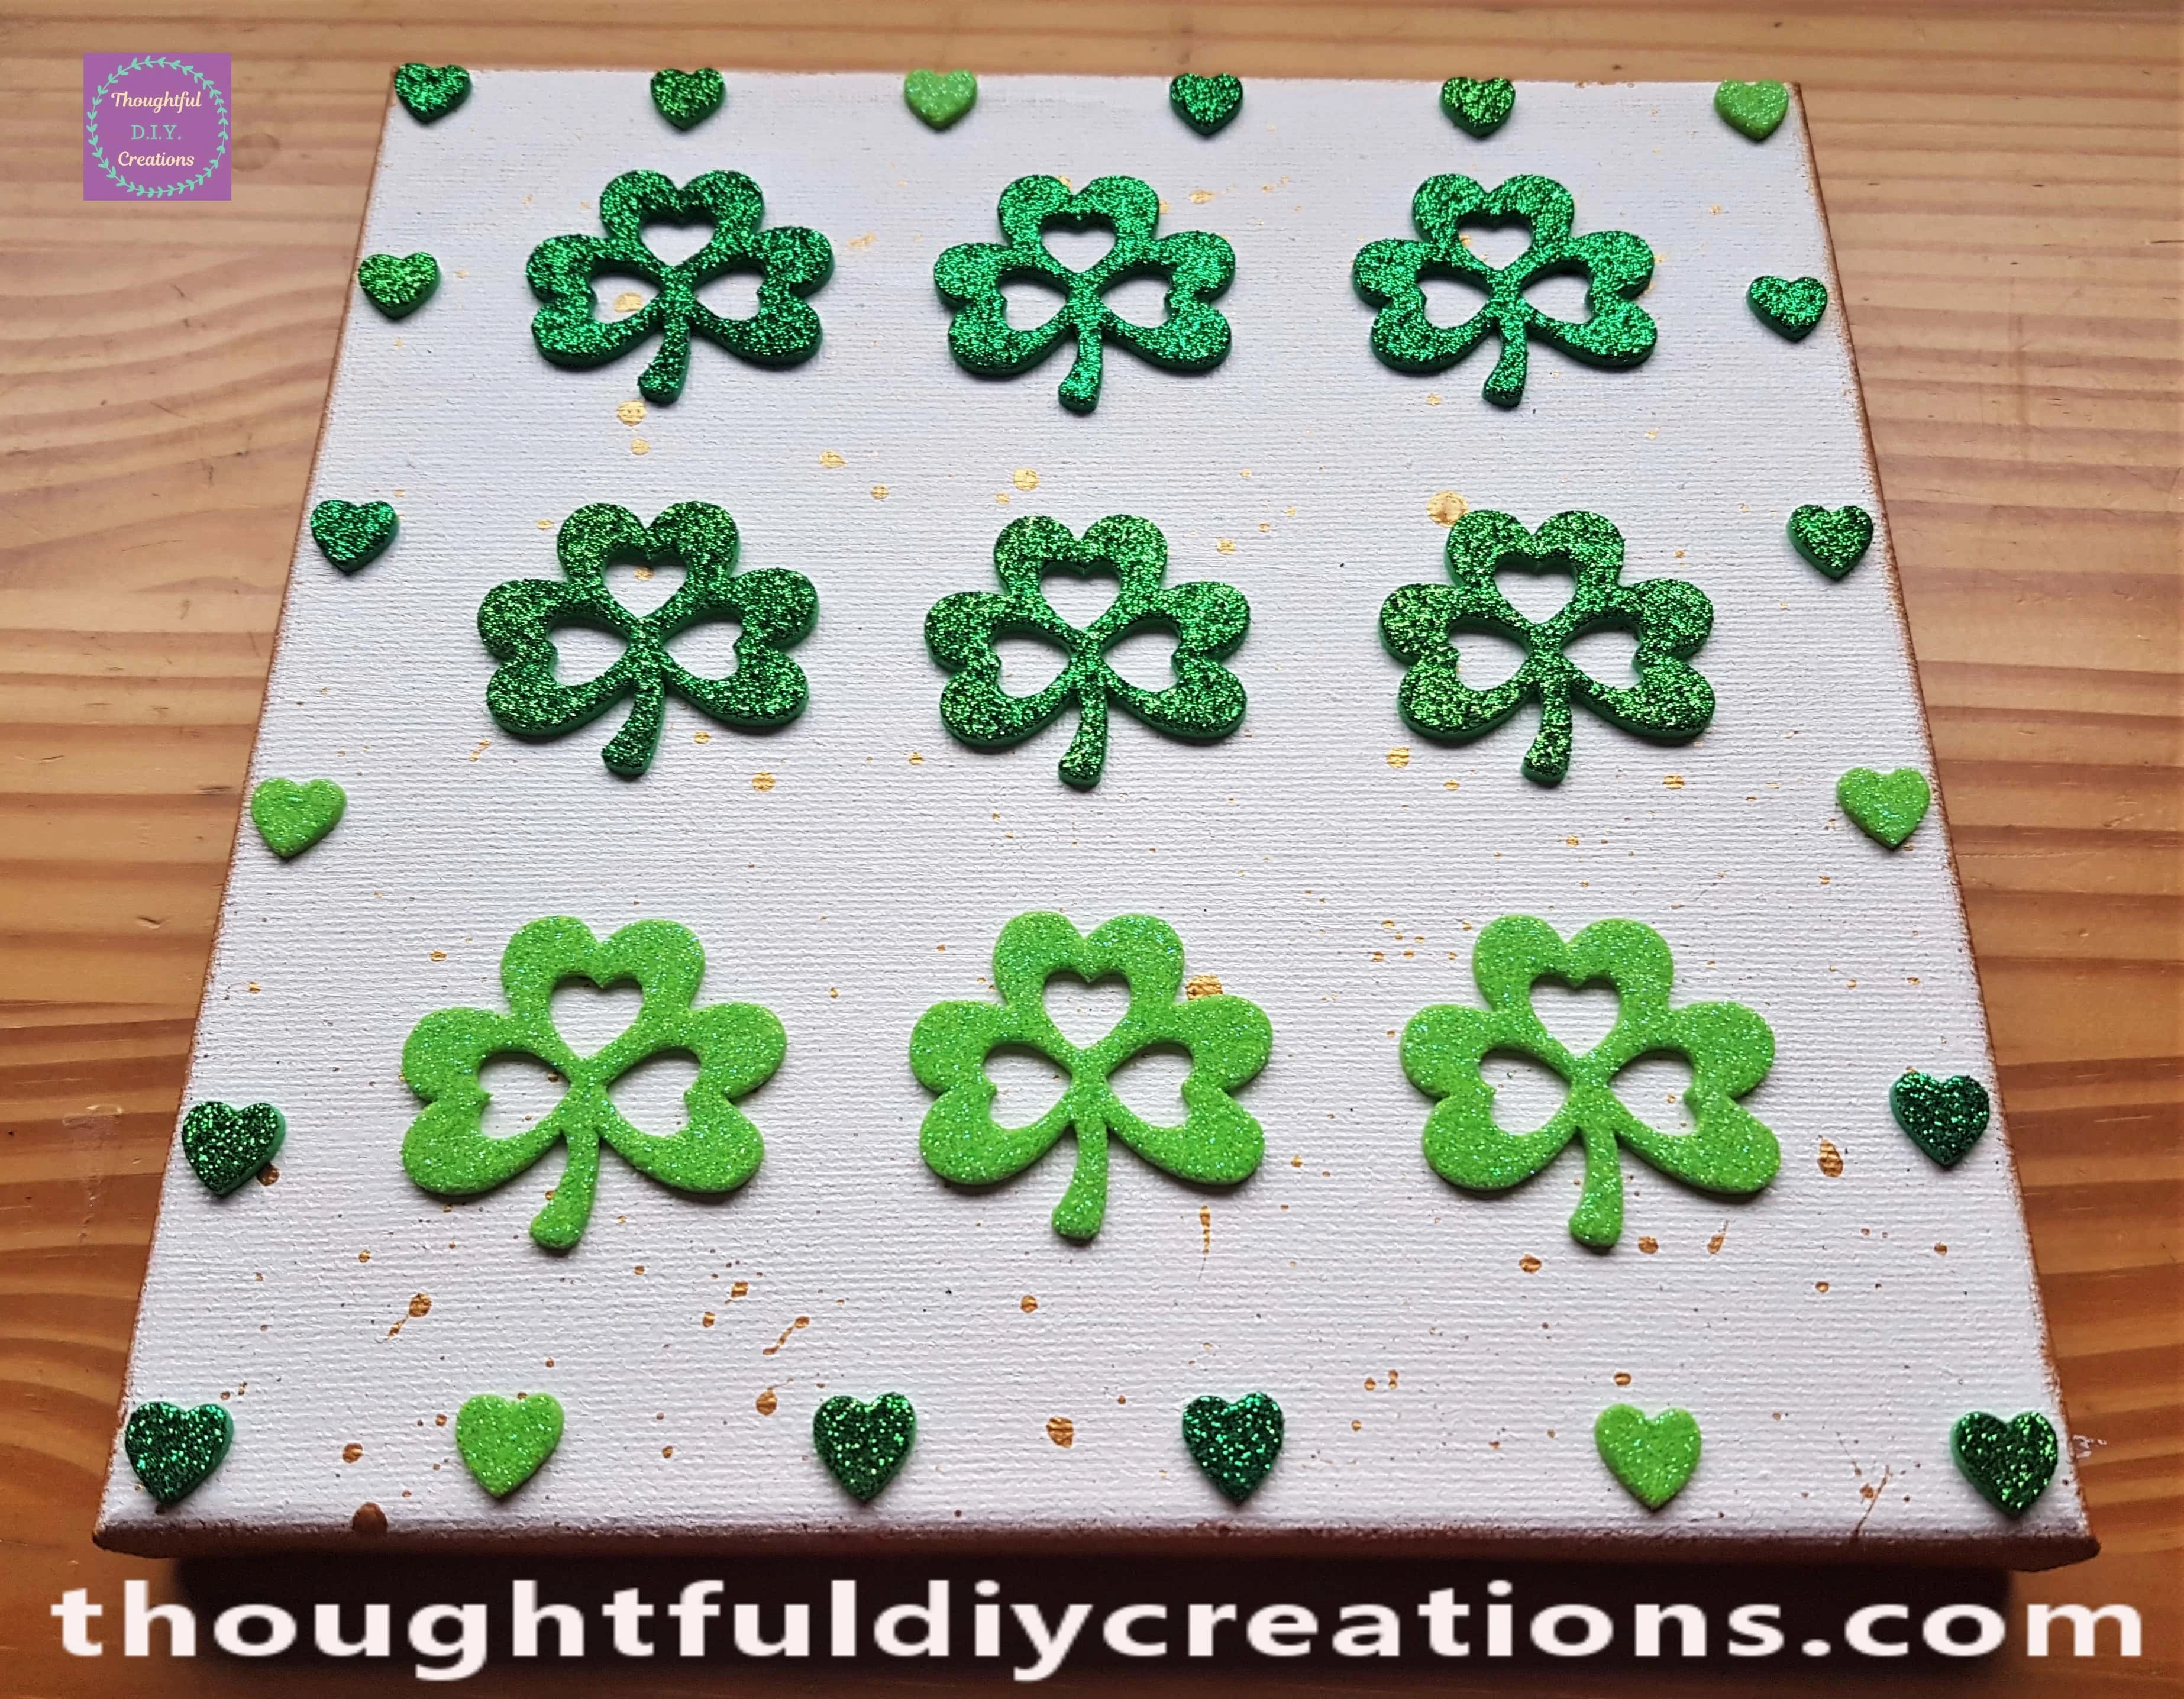
The final 4 hearts were attached to the mid-section of the Canvas.
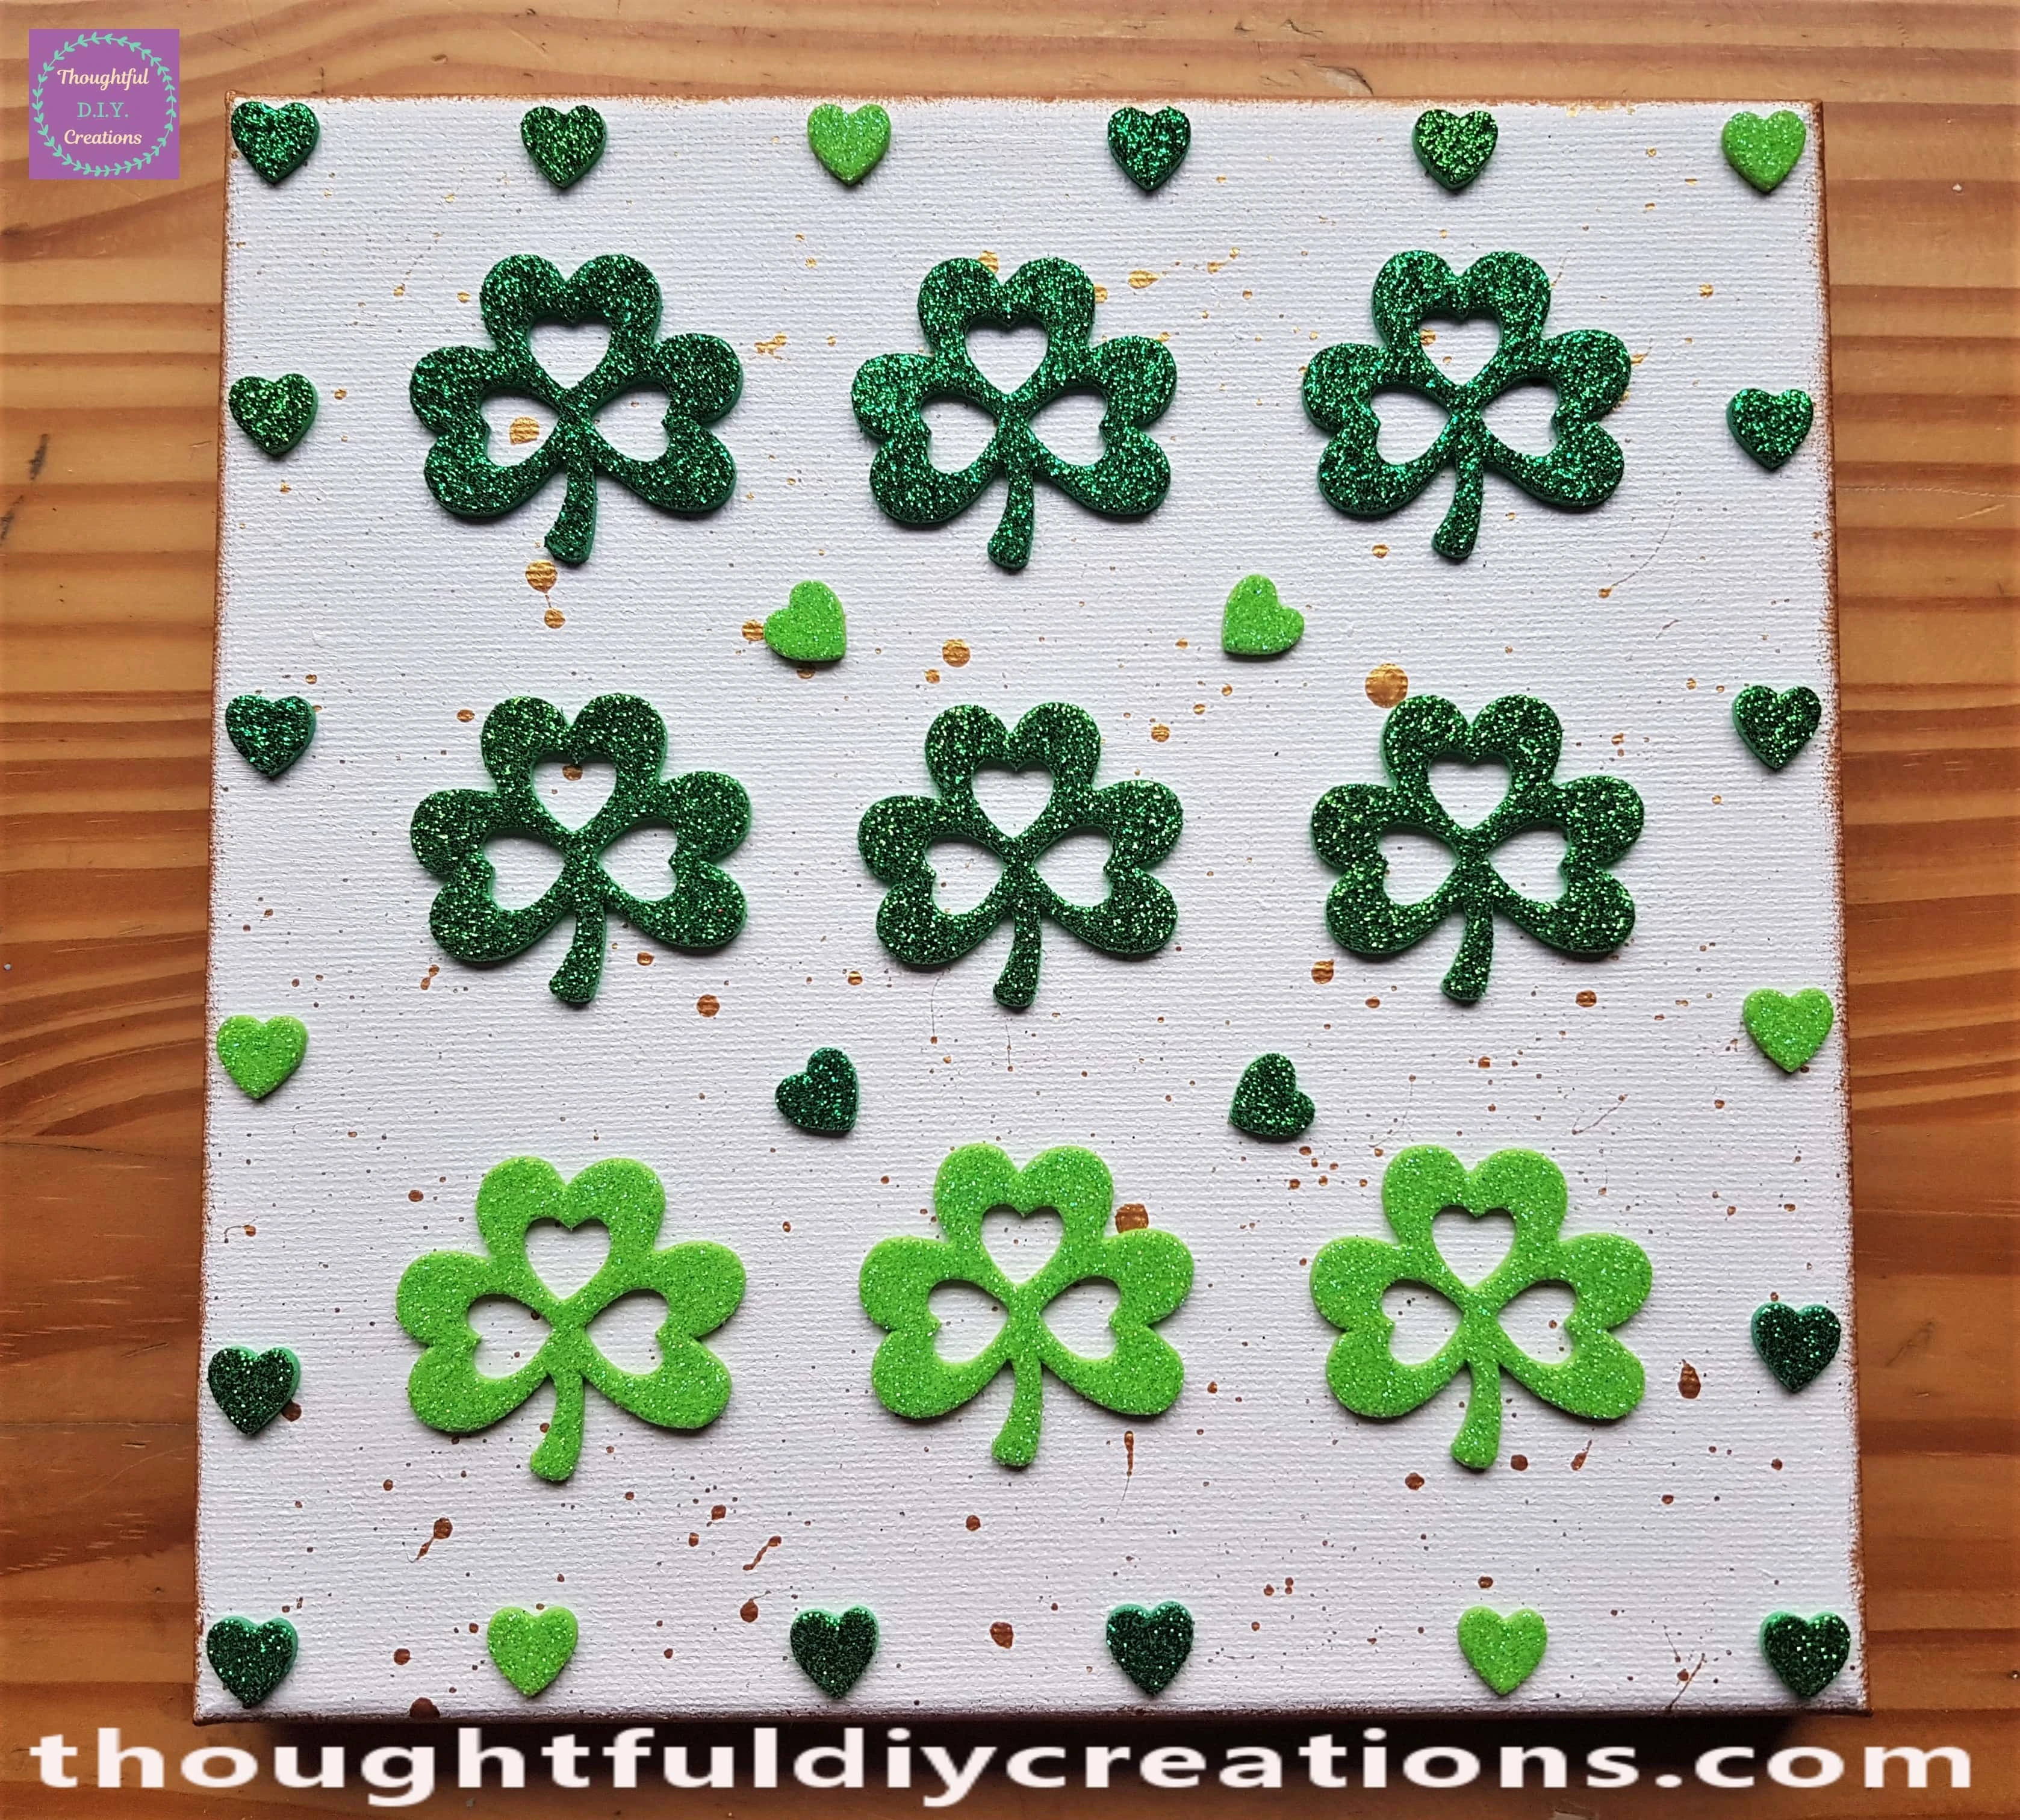
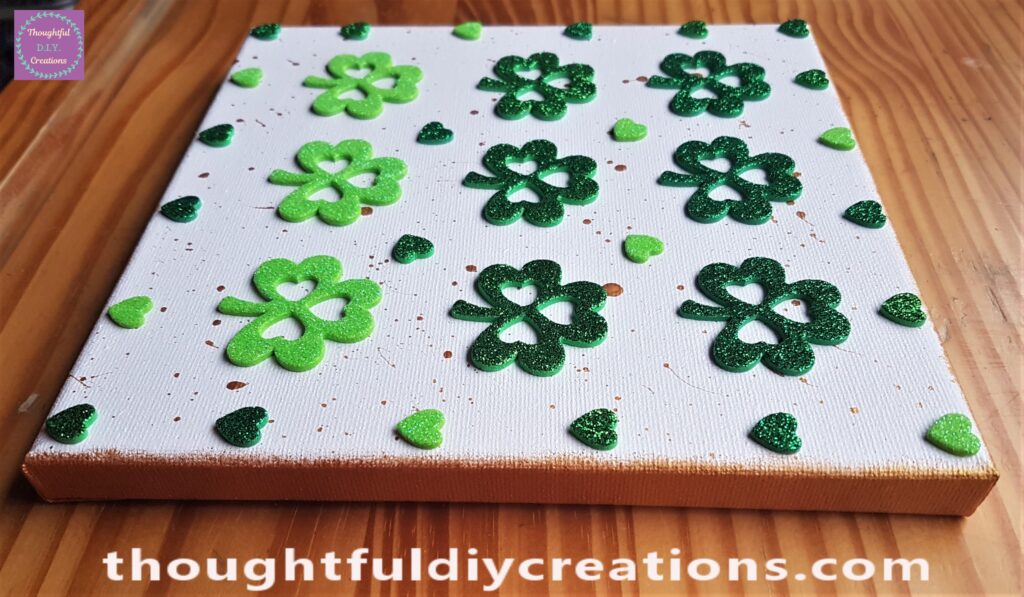
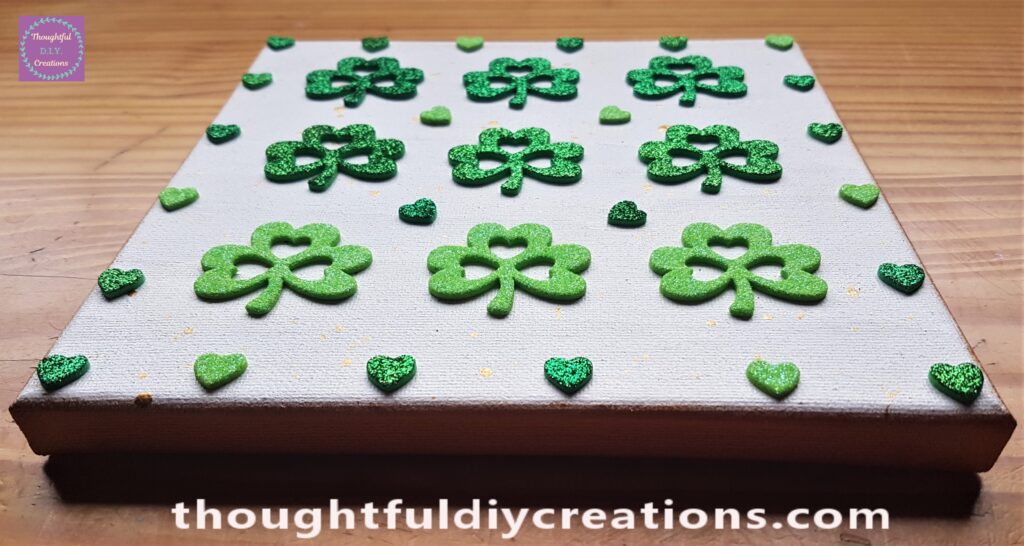
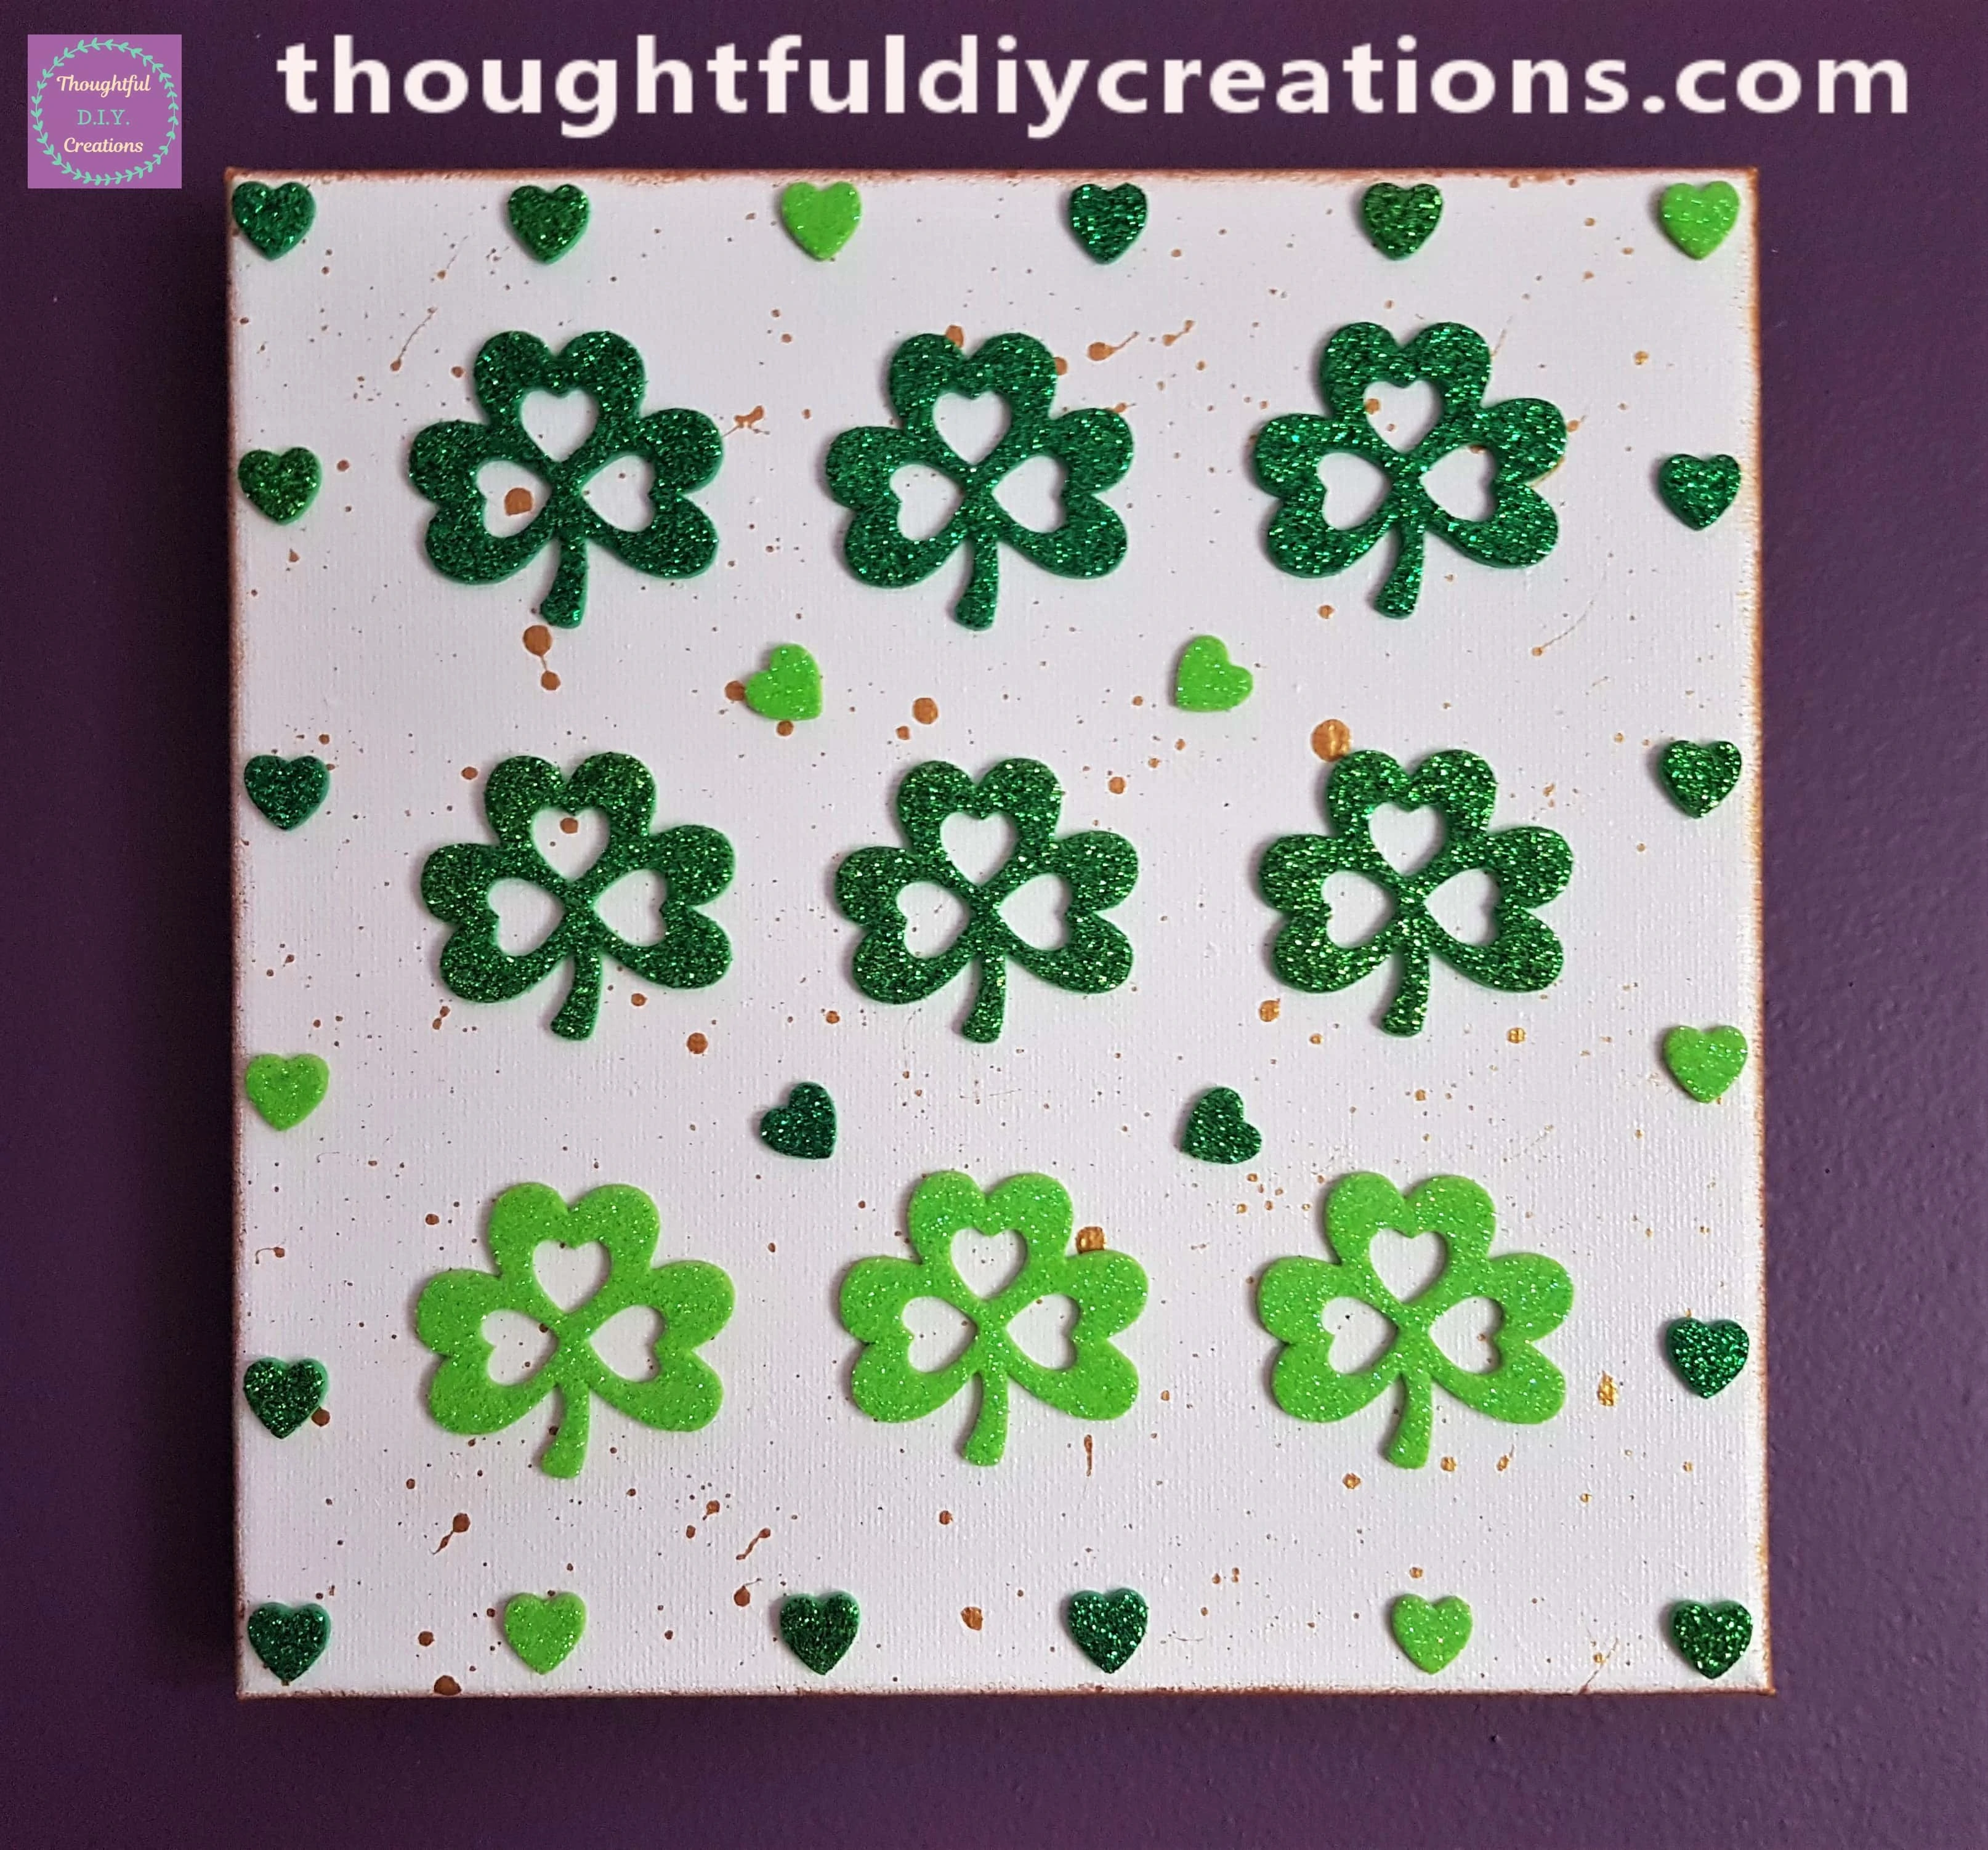
This Completed my St. Patrick’s Day Canvas.
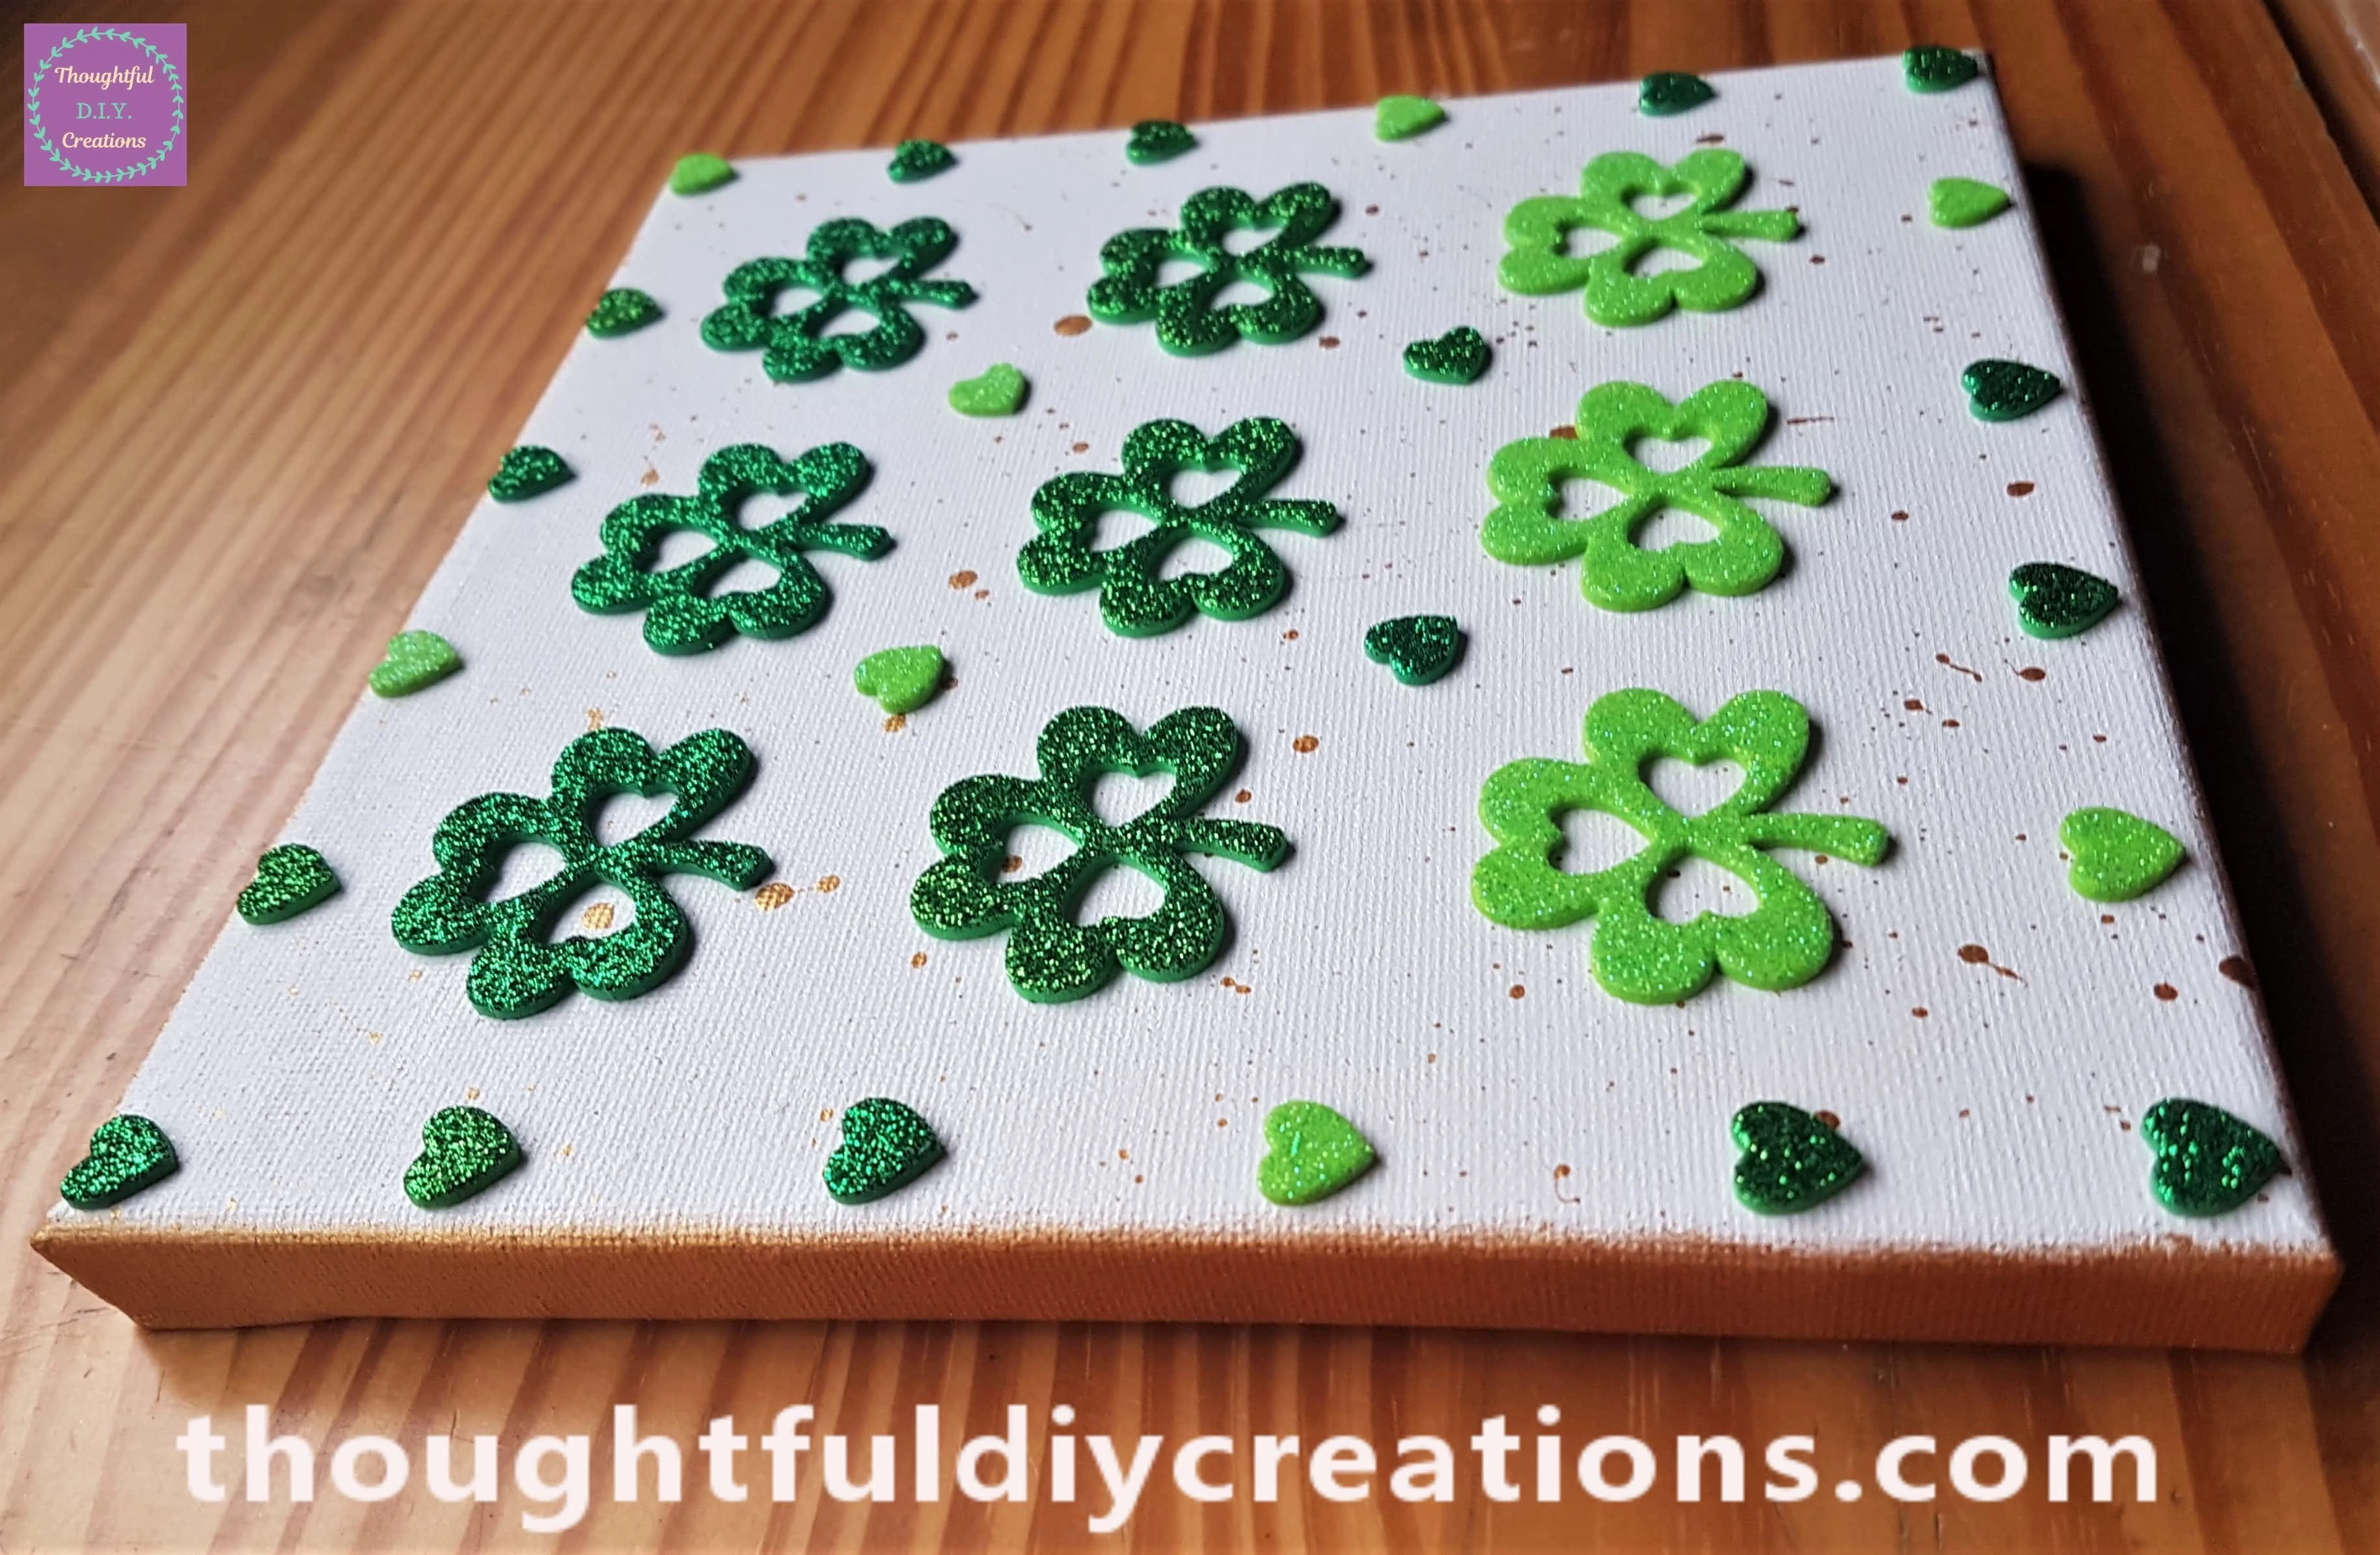
A View of the Craft from the Side.
The Other Side of the Canvas.
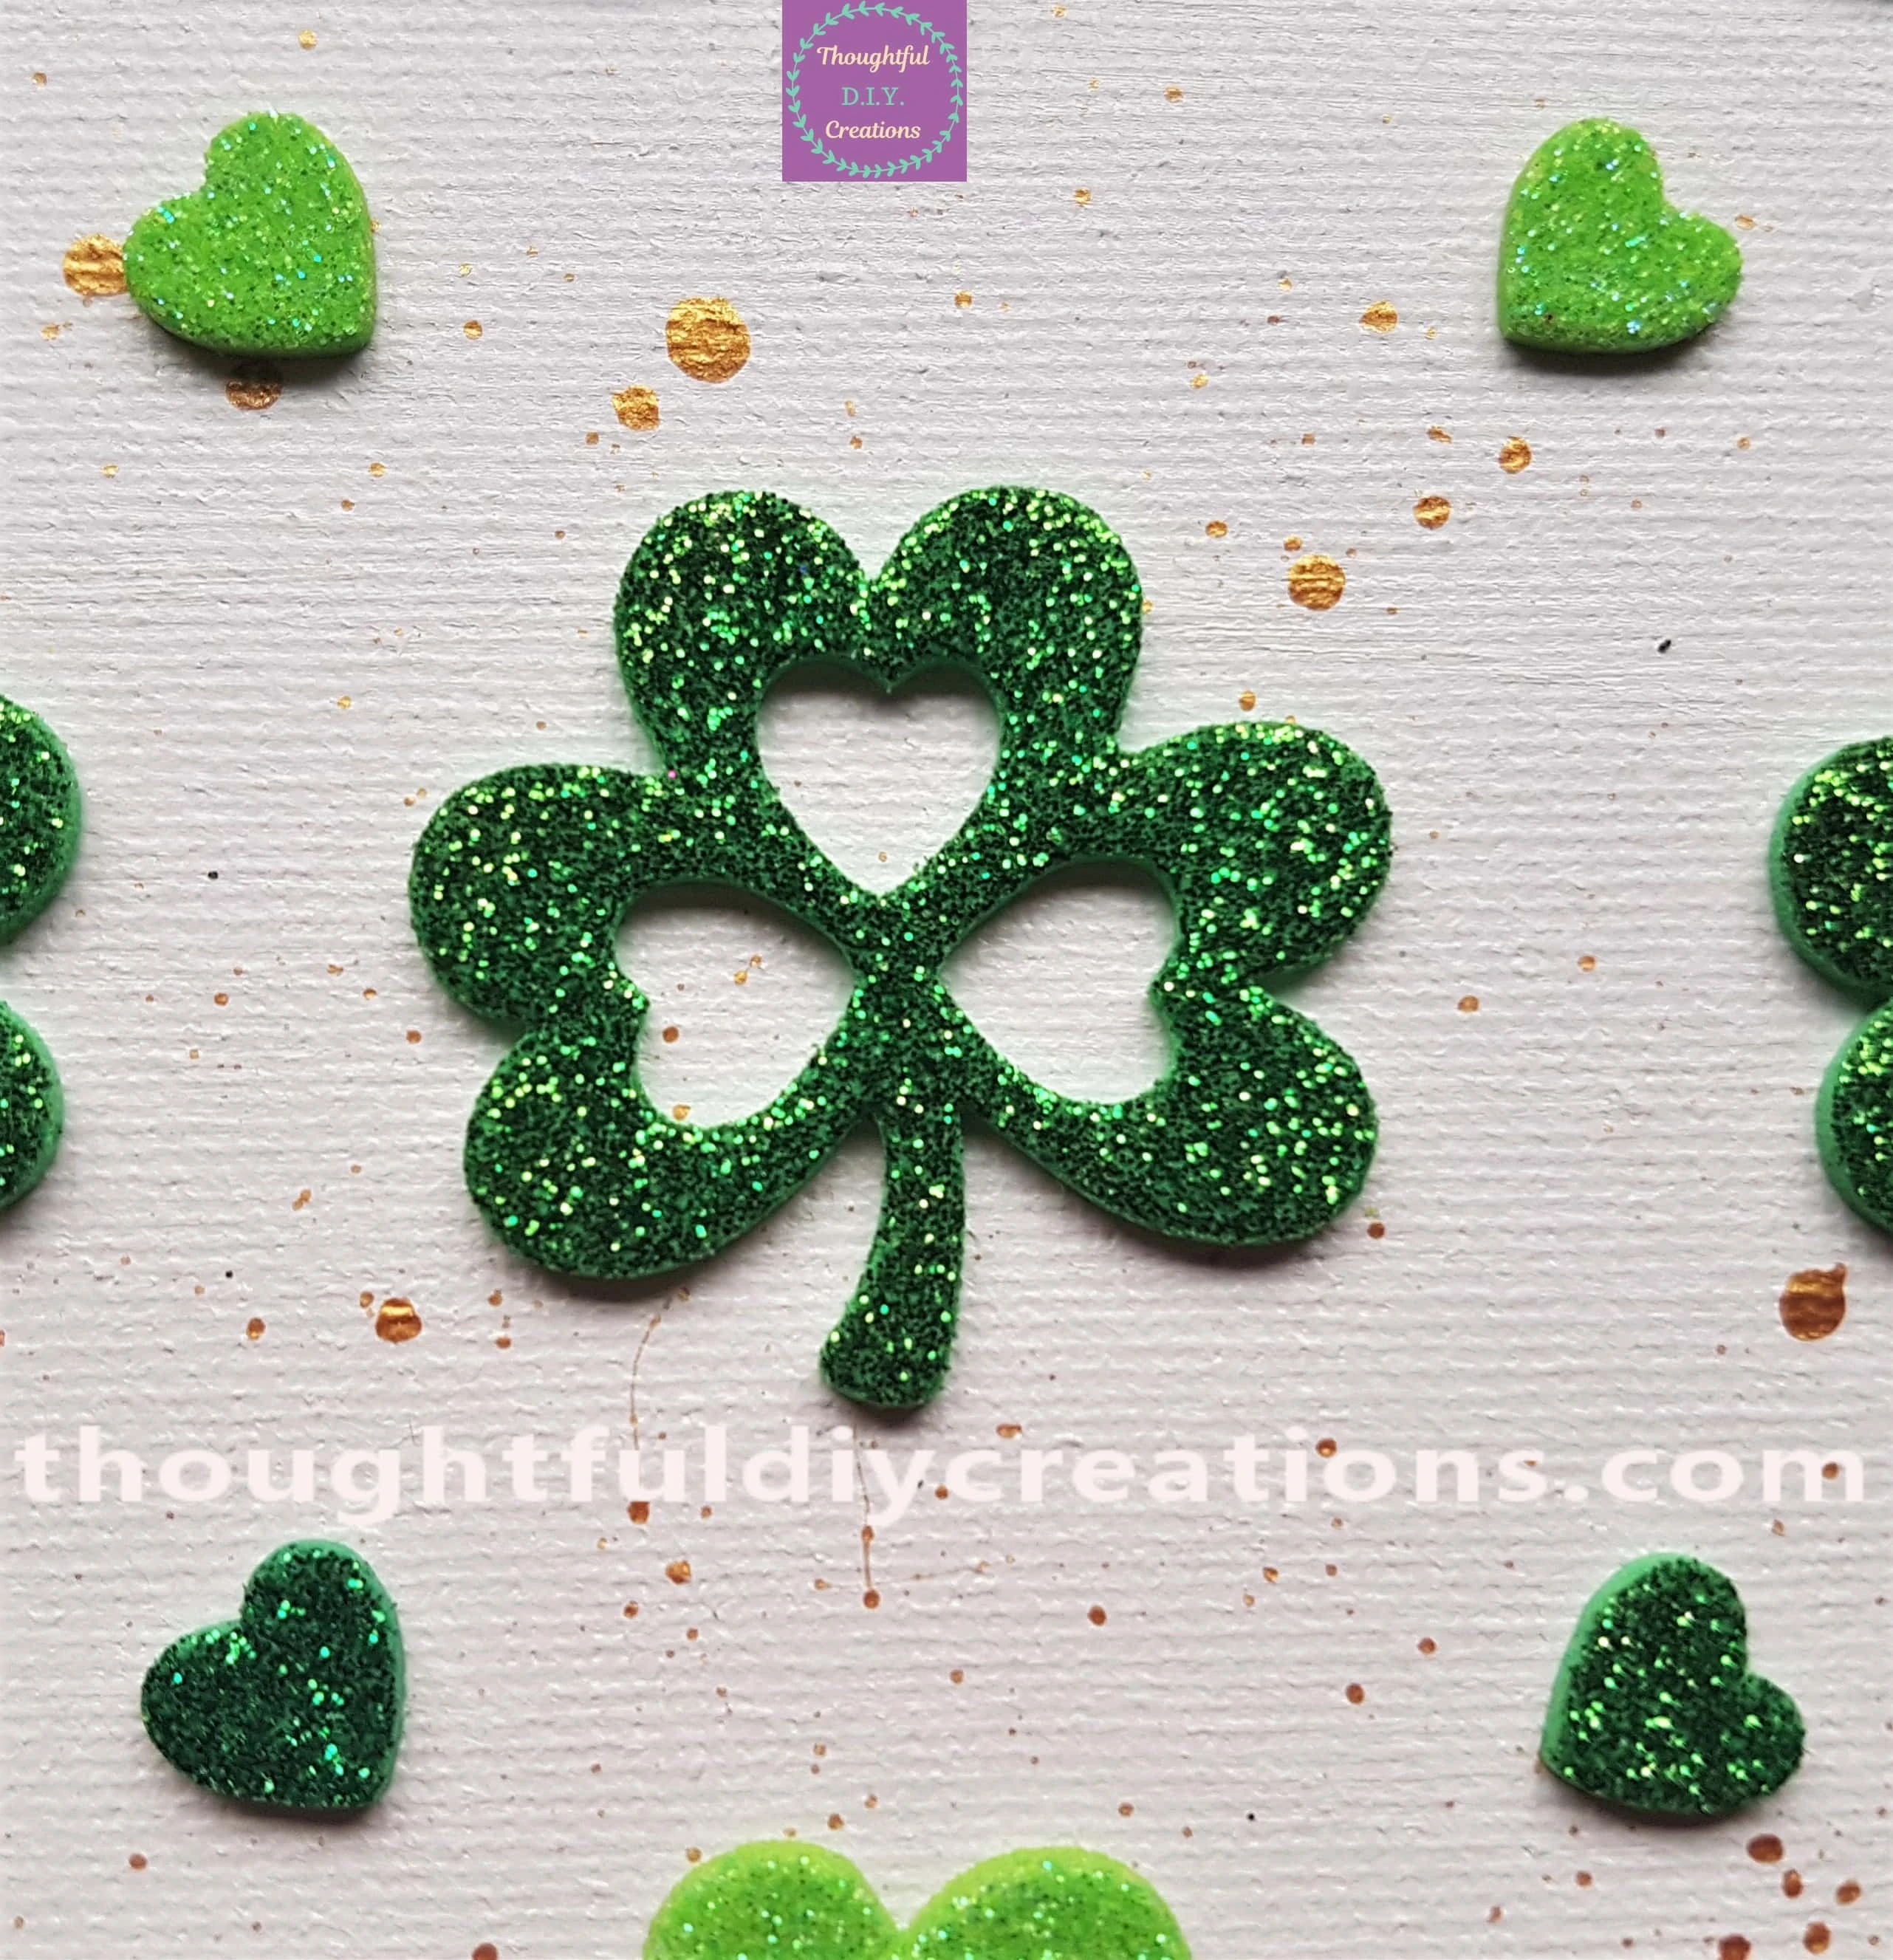
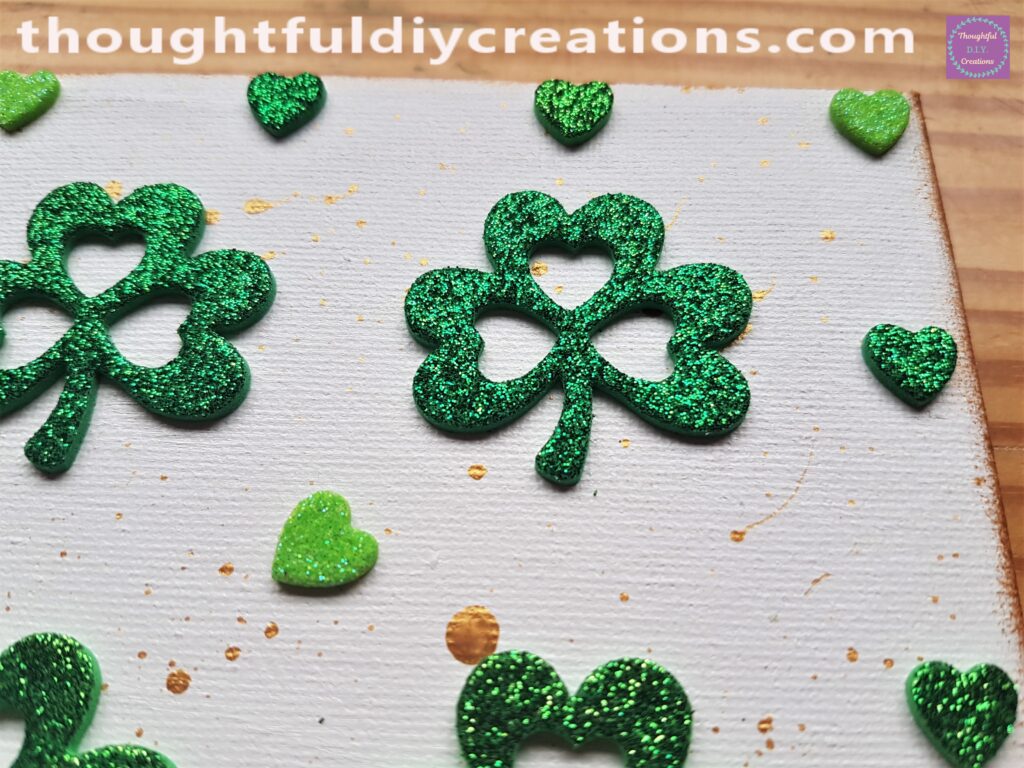
A Closer look at the details.
The Completed Canvas on Display.
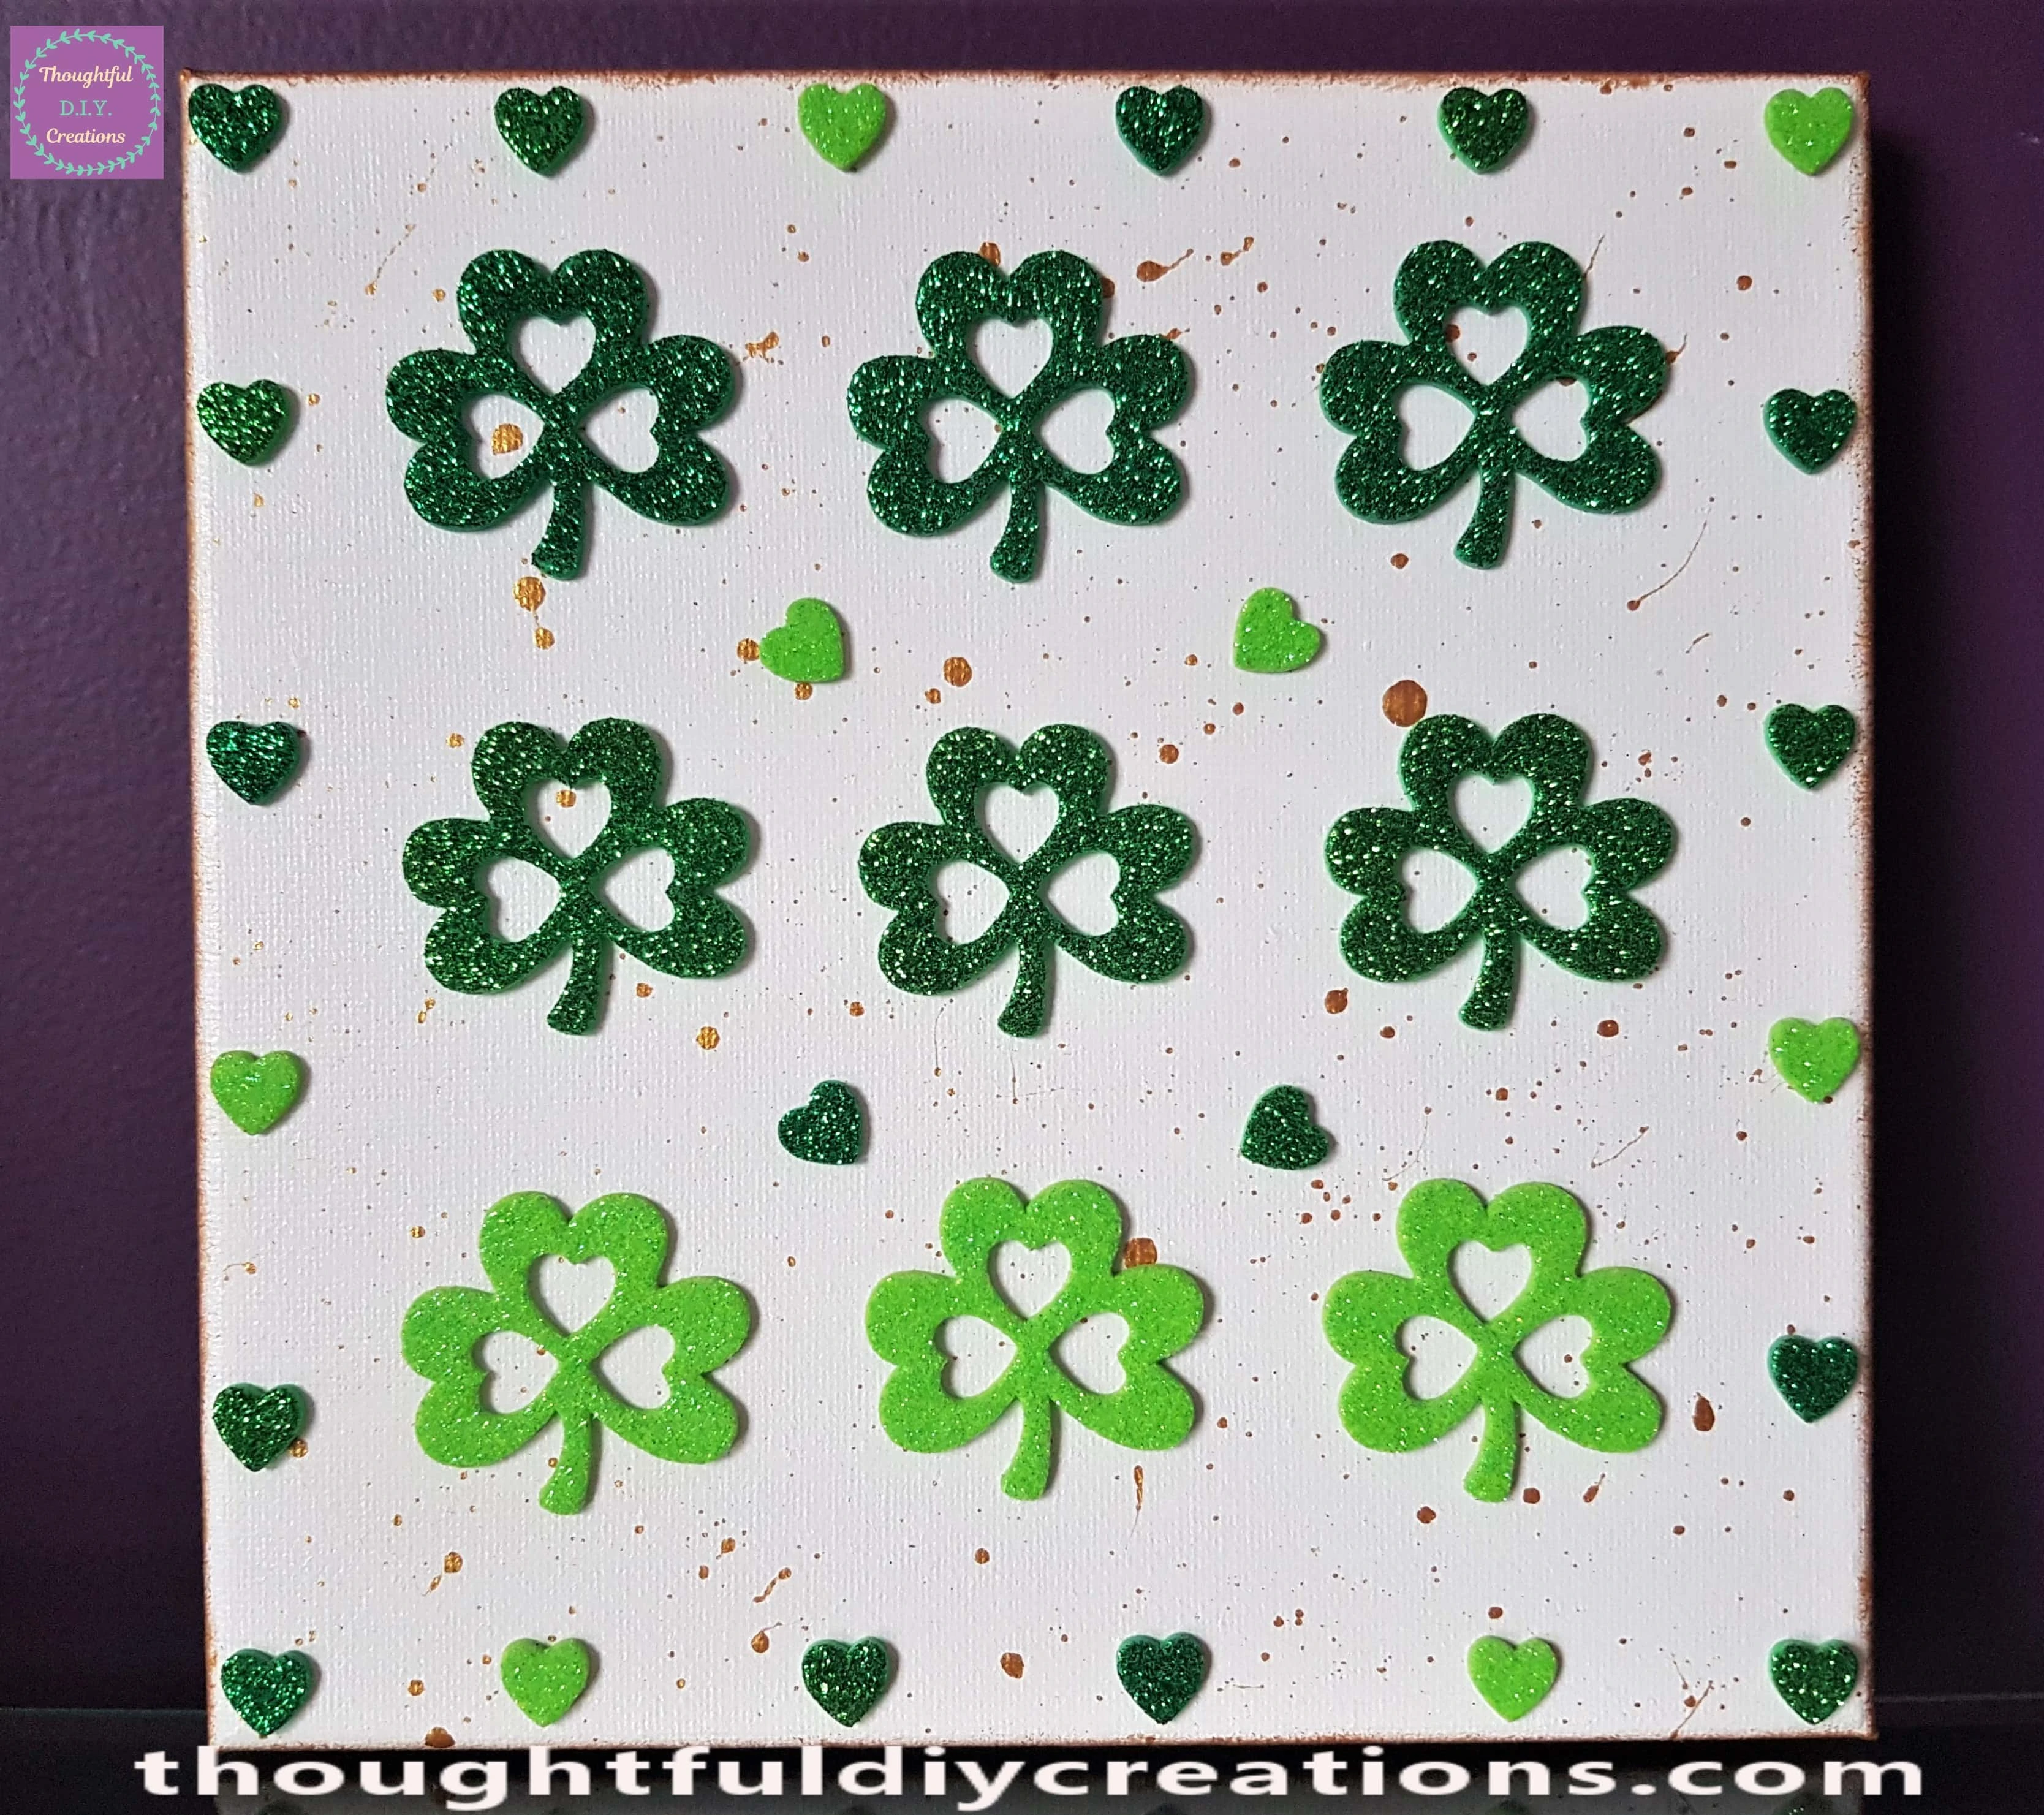
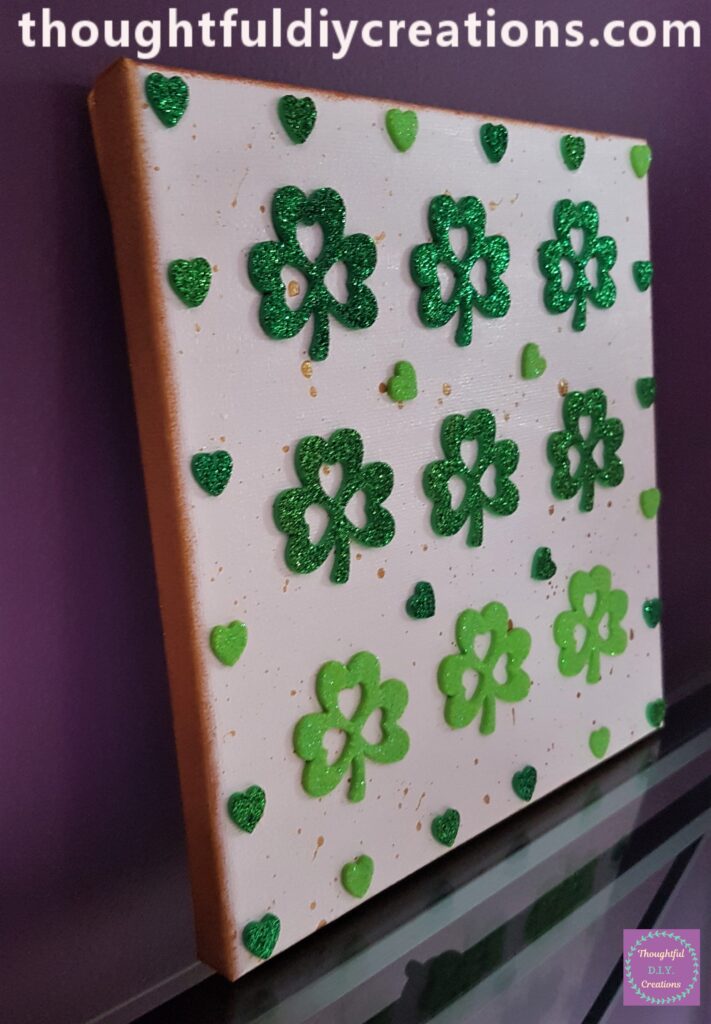
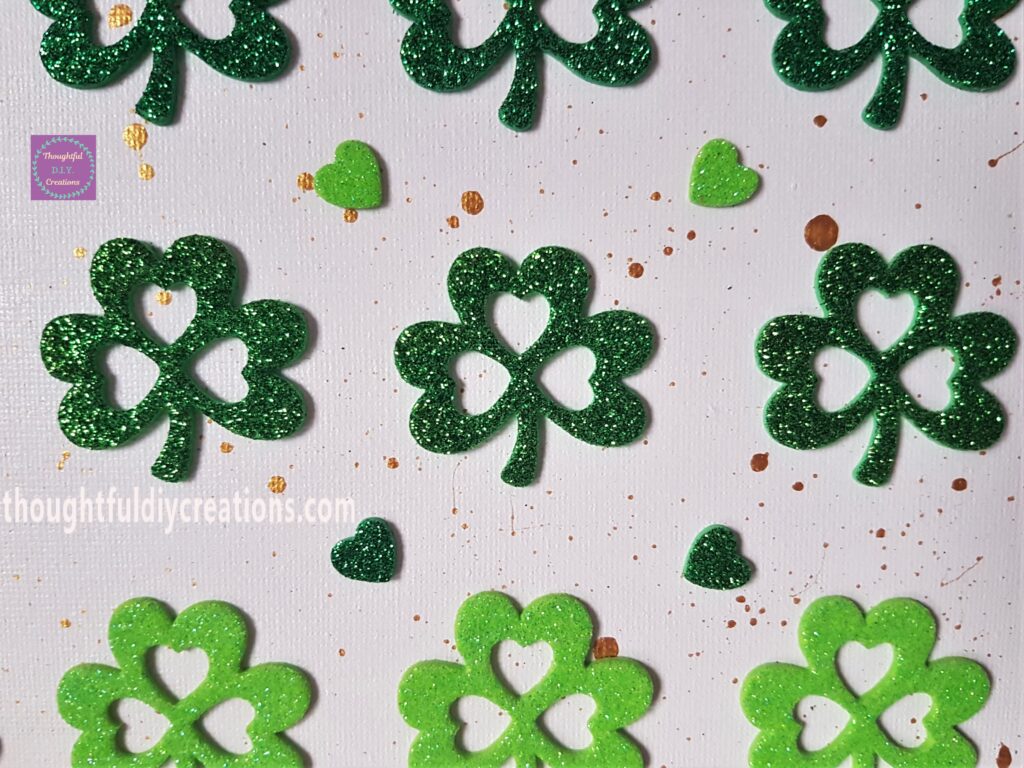
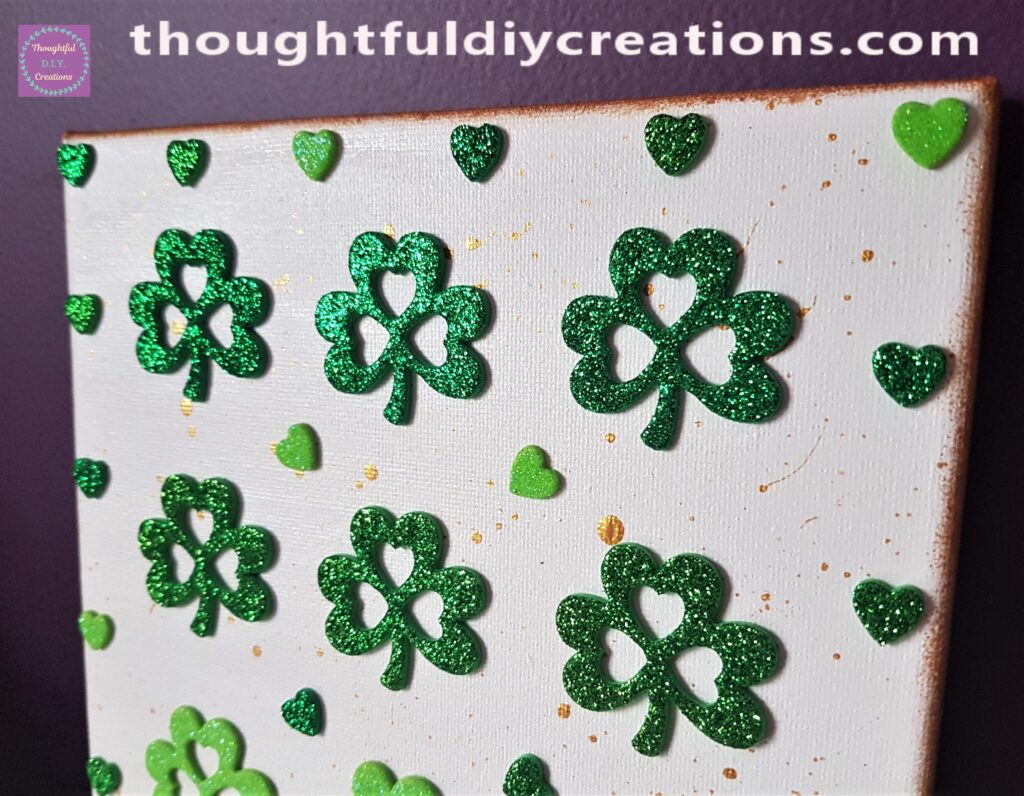
St. Patrick’s Day Canvas hung up on the Wall.
Conclusion
I am really Impressed with the Outcome of the St. Patrick’s Day Canvas especially the Simplicity of it and how it only required 3 materials altogether.
The Shamrocks and Hearts have a 3-D glittery appearance. I love the metallic shade of Gold against the Crisp White background. I like the Ombre effect that the 3 Shades of Green provides to the Canvas.
It is an easy Craft that can be done by any age; toddlers can be supervised for the Painting part and adding the foam stickers would be a simple and fun task for them.
Older Children can put their own spin on it and add other embellishments that they have in their Craft Supplies.
If you are looking for more St. Patrick’s Day Inspiration you might enjoy these Crafts I have made previously; Leprechaun Door and Money Shamrock Canvas Board.
Do you Decorate/Craft for St. Patrick’s Day or do you have any Traditions that you do each year for the Occasion? If so, then pop them down in the Comment Box below this Blog Post. It might give other people Inspiration if they weren’t sure where to Start.
Thank You So Much for Taking the Time to Read my Blog.
Always Grateful,
T.D.C.
xoxox



-0 Comment-