Up-Cycled Wine Bottle – Home Sweet Home
Hello my Creative Friends,
I hope you are all well. In Today’s Tutorial I will show you how I Up-Cycled a Wine Bottle into a ‘Home Sweet Home’ Bottle. It is an ideal Craft to Gift to someone or to have on display in your own Home. It only requires a few materials and I hope I inspire you to make one yourself.
Preparing the Wine Bottle for Crafting
I had an empty clear glass wine bottle in my supplies. I soaked the lid and bottle in the sink with warm water and washing- up- liquid for an hour. This softens the label and makes it easier to peel off. I removed the label and rinsed and dried the bottle and lid.
Spray Paint Recommendations
I brought the lid and bottle out to the shed to spray paint. Always Spray Paint in a well ventilated area. Open windows and doors and leave the area as soon as you can after spray painting to avoid inhaling any fumes.
Setting up Props for Spray Painting
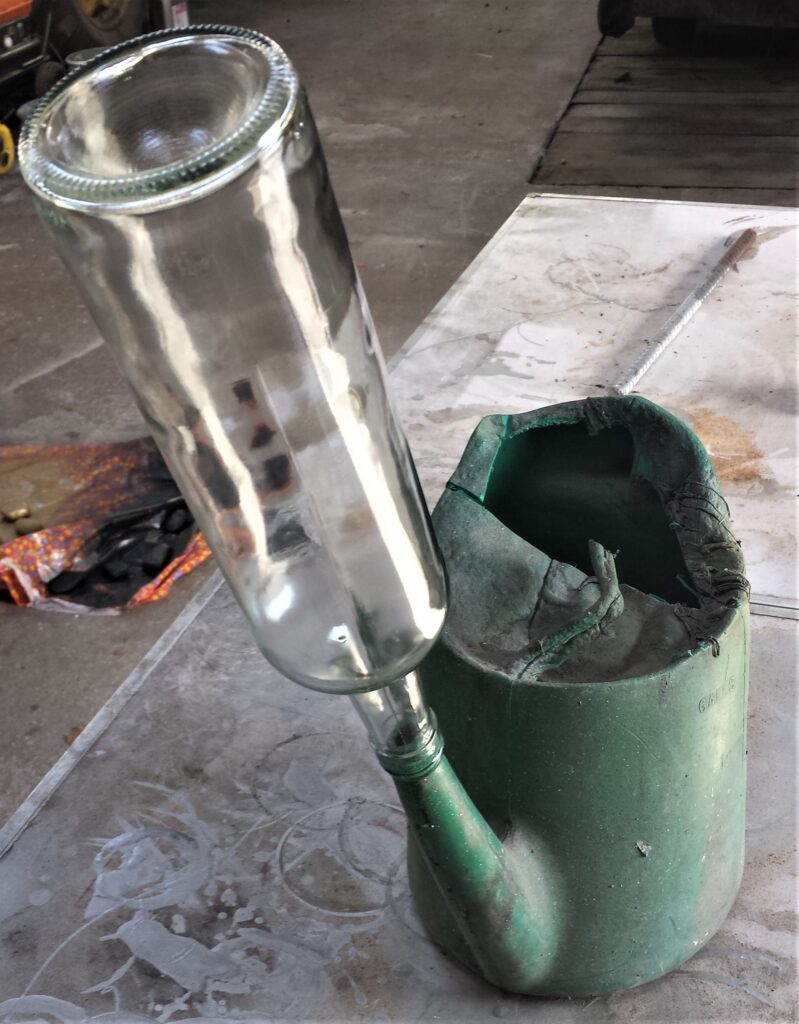
I set up my fold- away Table in the shed. This is a nice height for spray painting. I balanced the wine bottle over the spout of an old watering can. This enables me to spray paint every angle of the wine bottle from top to bottom without having to move the bottle. Use whatever props you have handy in your home or shed / garage. Just ensure it is something you don’t mind getting spray paint on.
Spray Painting the Bottle and Lid
The Spray Paint I used was Silver. Metallic Silver Spray Paint.
I shook the spray paint can from side-to-side for a minute. I removed the lid and held the spray can about 20 cm away from the base of the bottle. I sprayed the base of the wine bottle first and then sprayed a line down from the bottom to the top of the wine bottle. I sprayed the next section from the bottom to the top of the wine bottle. I gave the spray can a quick shake and then continued spraying the wine bottle until it had one even coat of spray paint. This whole process only takes a minute.
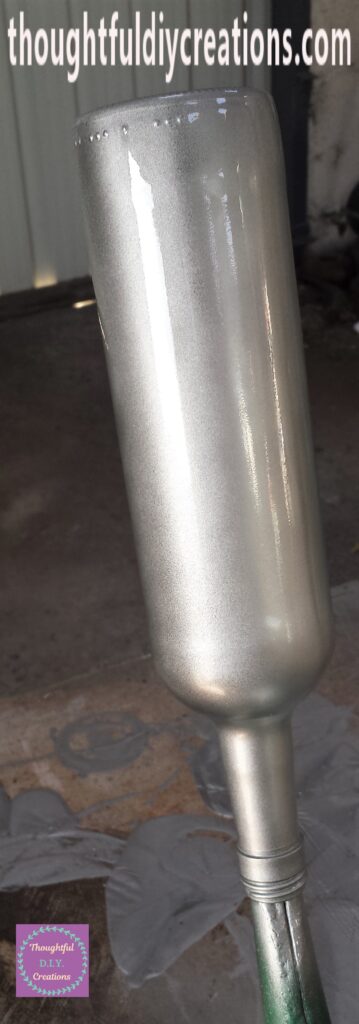
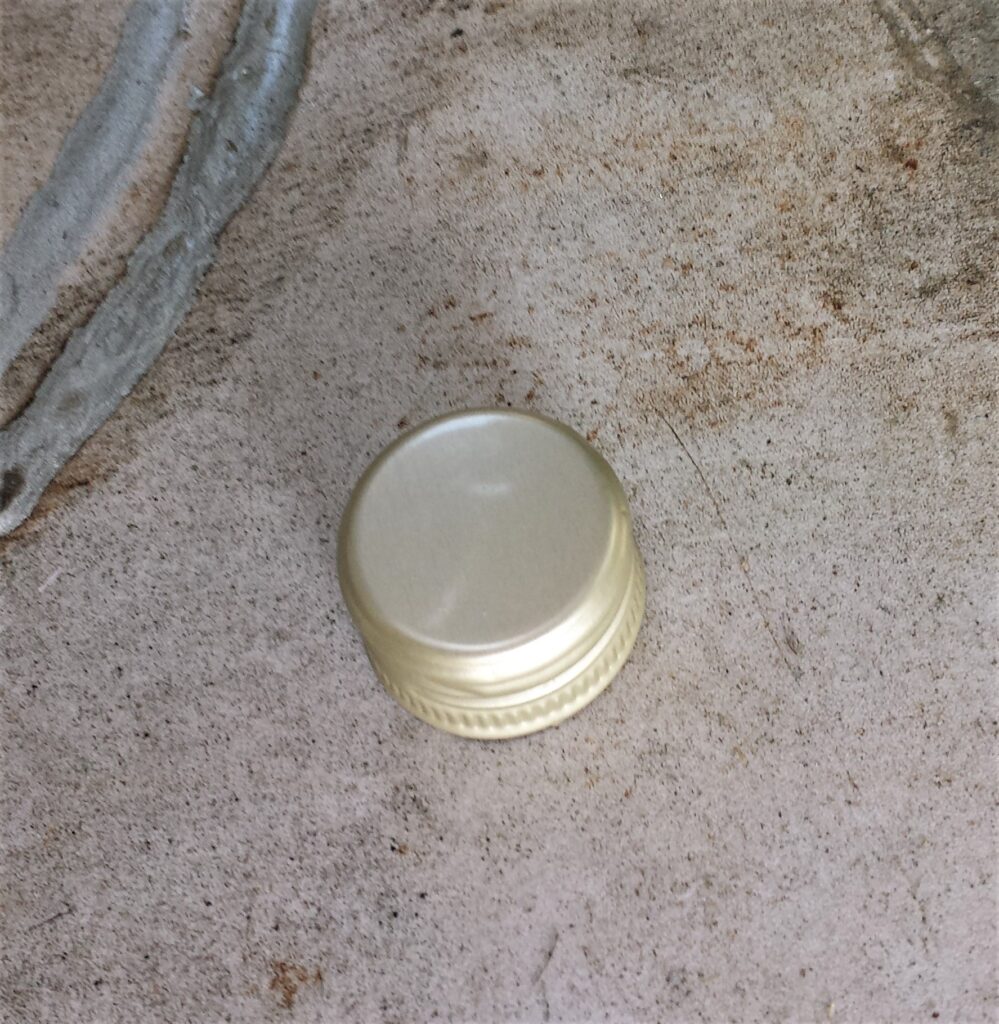
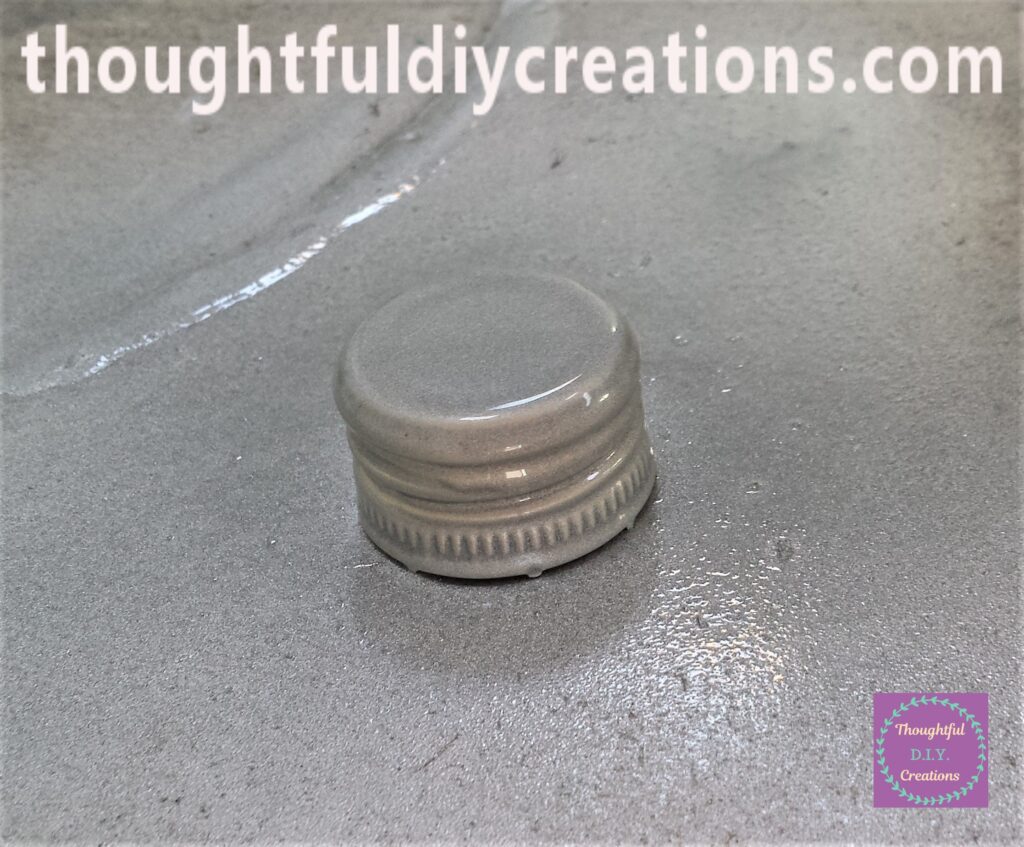
I then spray painted the first layer onto the lid. Metallic Silver Spray Paint.
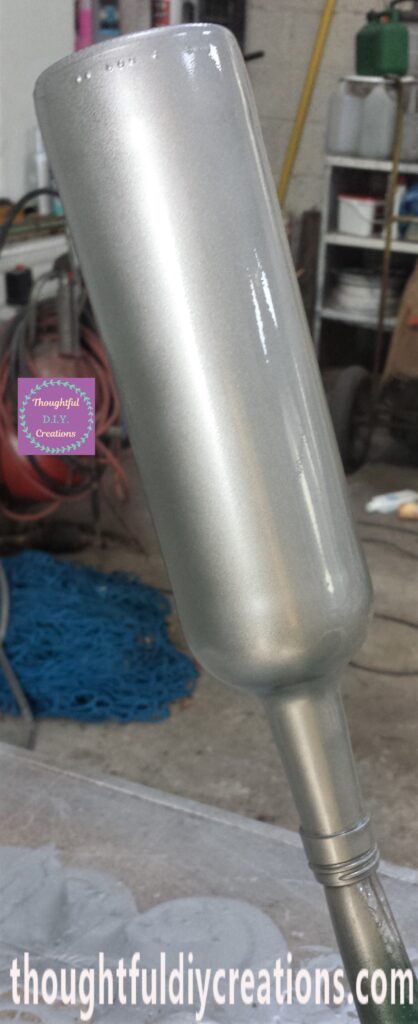
An hour later I returned to the shed and applied the second layer of spray paint to the bottle in the same way as the first layer.
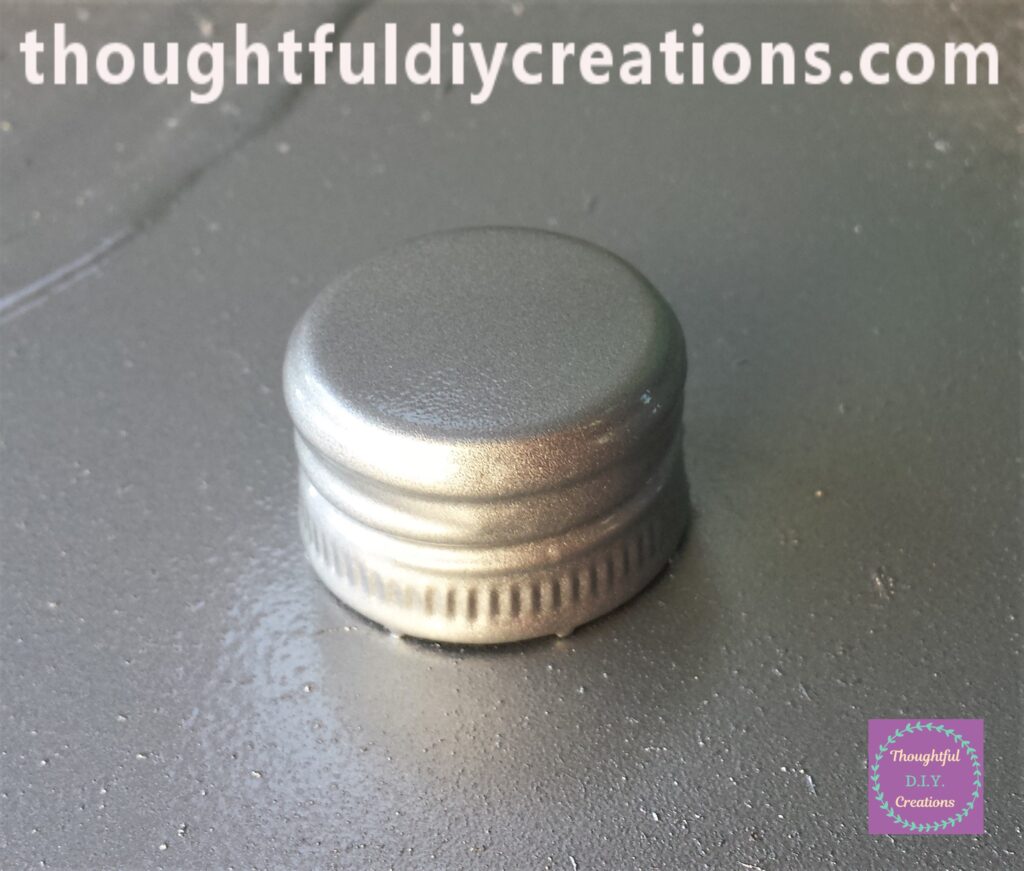
I spray painted the lid for the second time.
After another hour I applied the third and final layer of spray paint to the wine bottle. Metallic Silver Spray Paint.
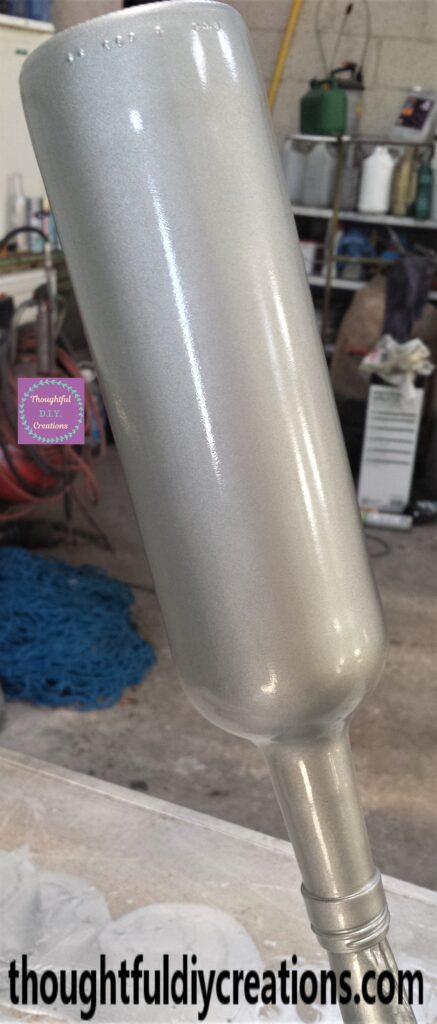
I also sprayed the final layer to the lid.
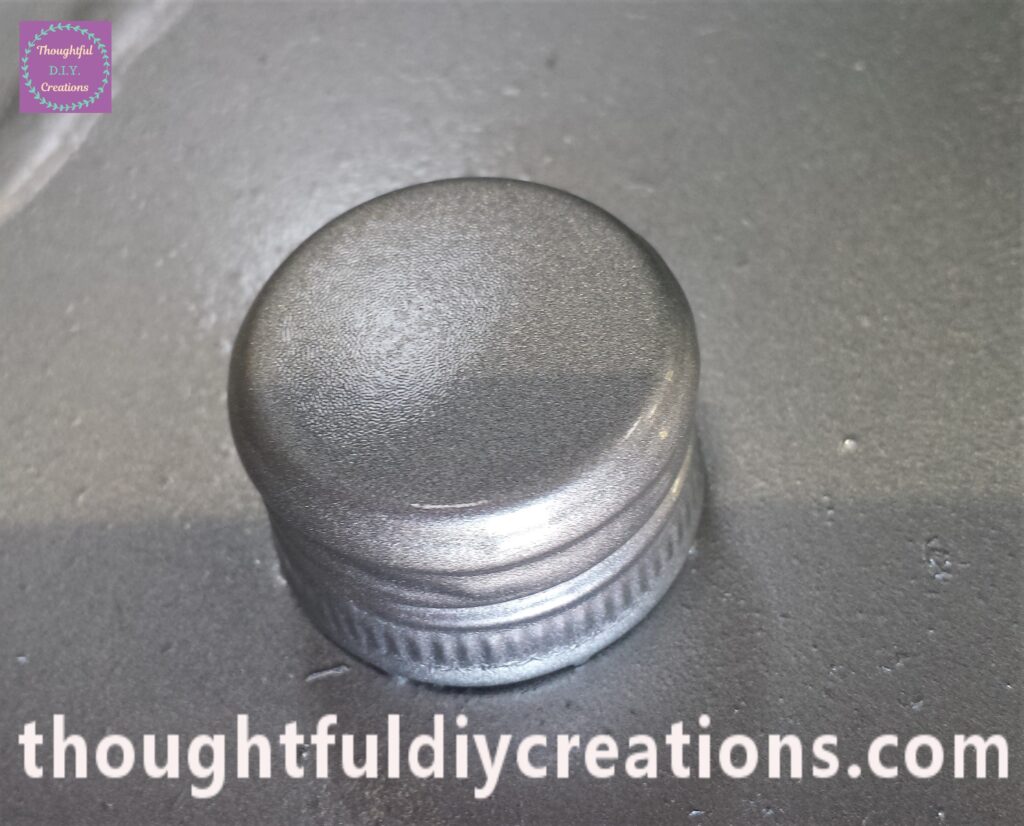
After the final application of spray paint I left the bottle and lid in the shed to cure for 48 hours. Metallic Silver Spray Paint.
Up-Cycled Wine Bottle after Curing Time
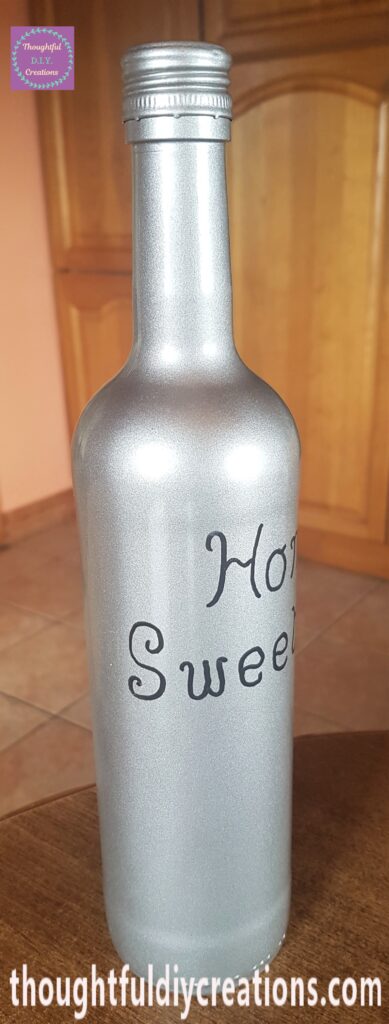
Two days later I went back out to the shed and brought the bottle and lid back inside. I put the lid on the bottle.
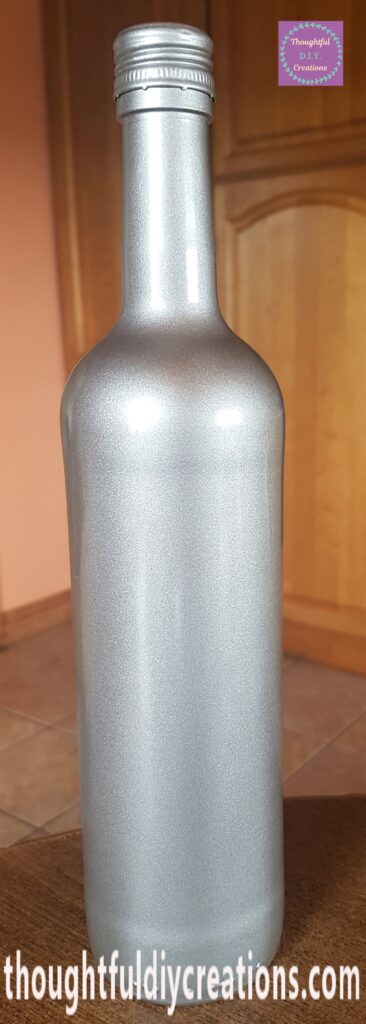
I was delighted with the colour and how clean and crisp the spray paint looked.
Adding Writing to the Bottle
I got my ‘Daler Rowney Acrylic Paint Marker in Black 2 – 3 mm’ from my paint supplies. Daler Rowney Paint Markers.
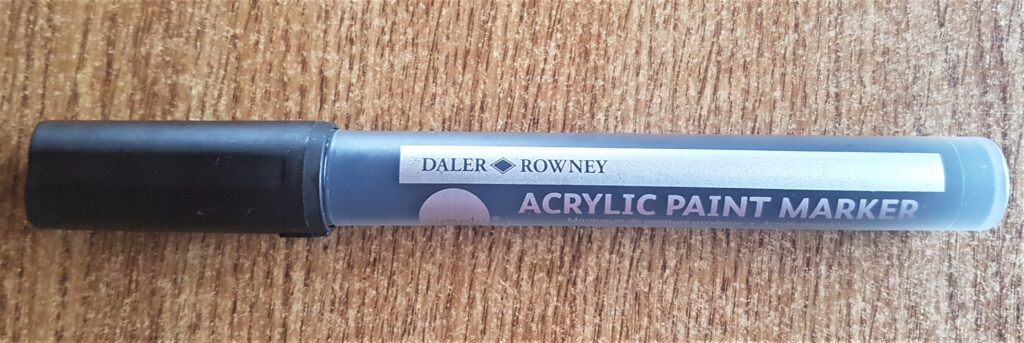
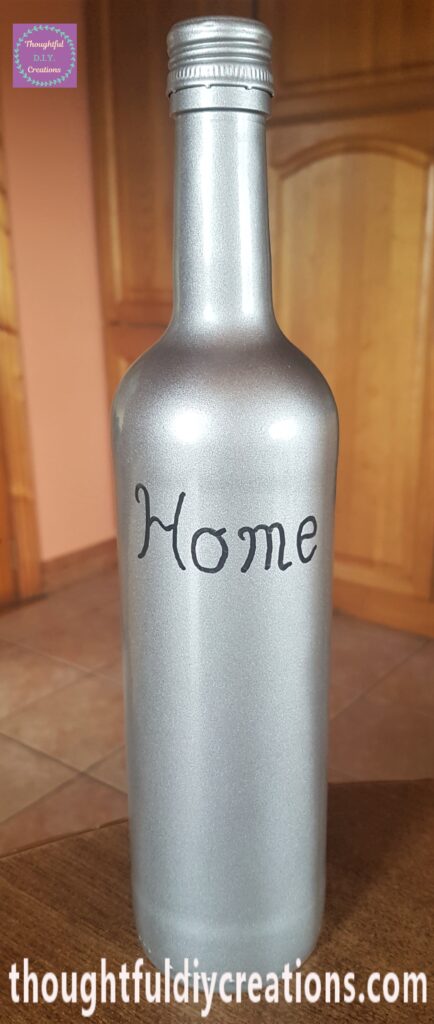
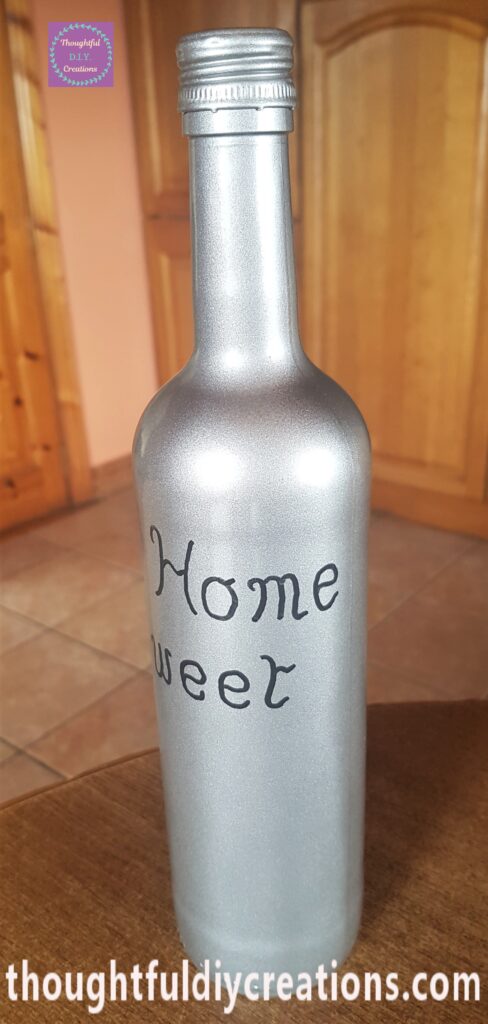
I wrote the word ‘Home’ on the bottle with the Paint Marker. I done a slightly curved text, I wanted it to be easy to read but also nice to look at so didn’t do anything too fancy. Daler Rowney Paint Markers.
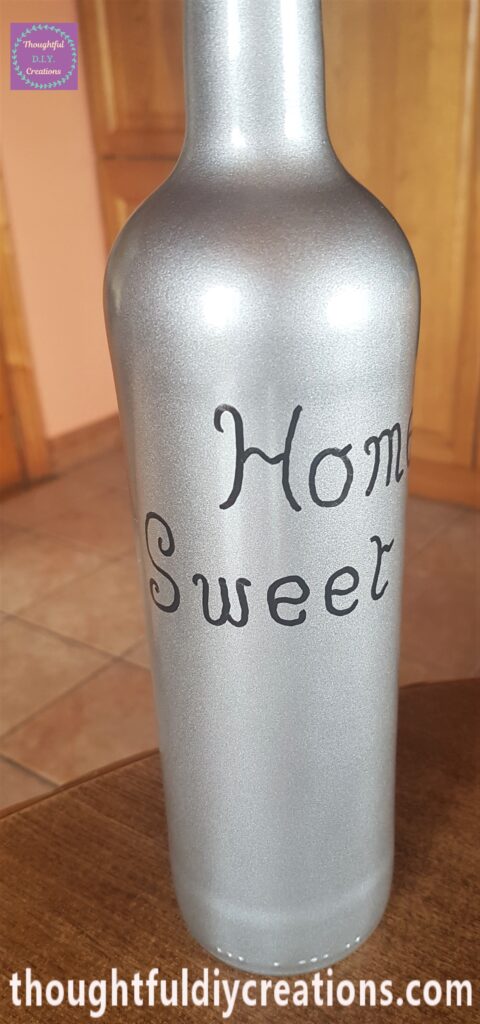
I wrote ‘Sweet’ under the word ‘Home’ with the paint marker.
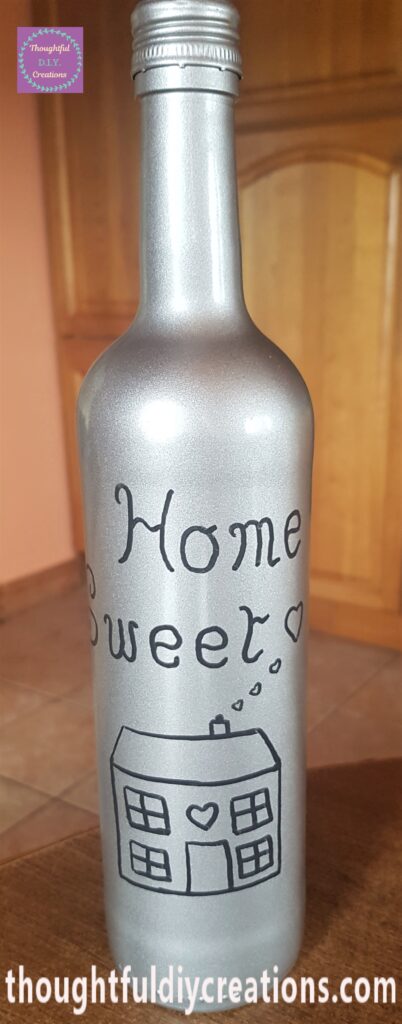
Drawing the House onto the Up-Cycled Wine Bottle
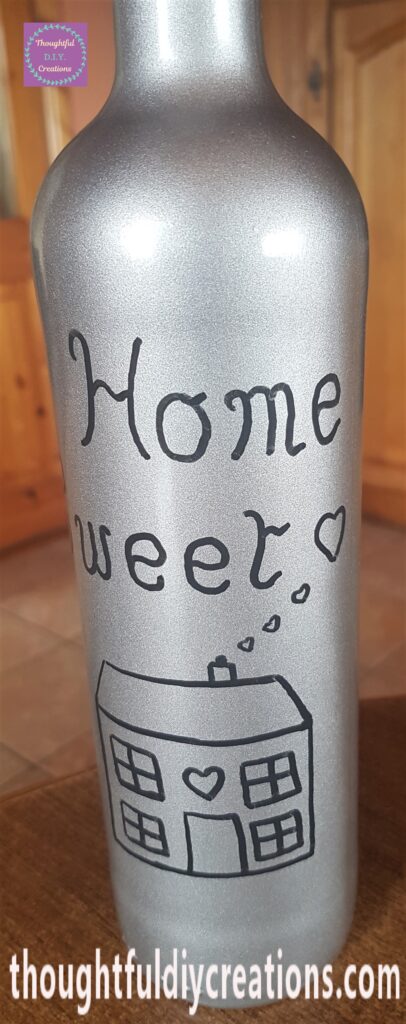
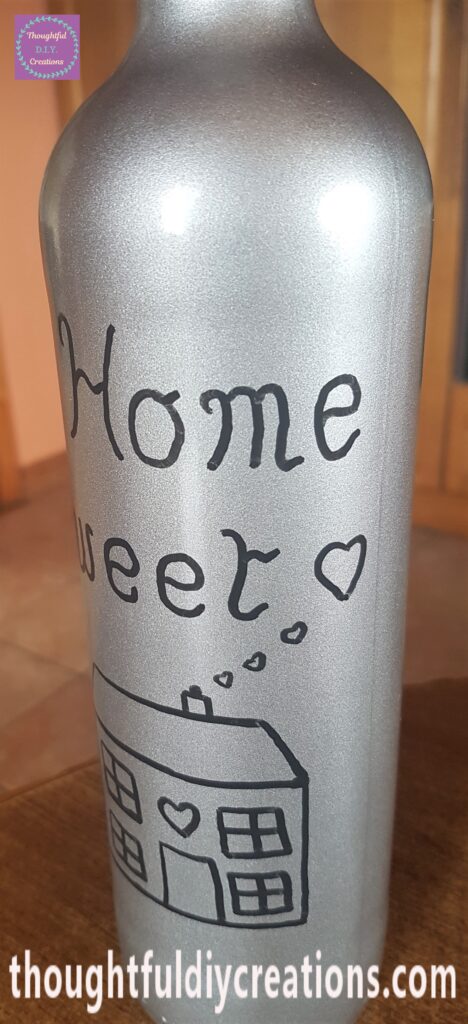
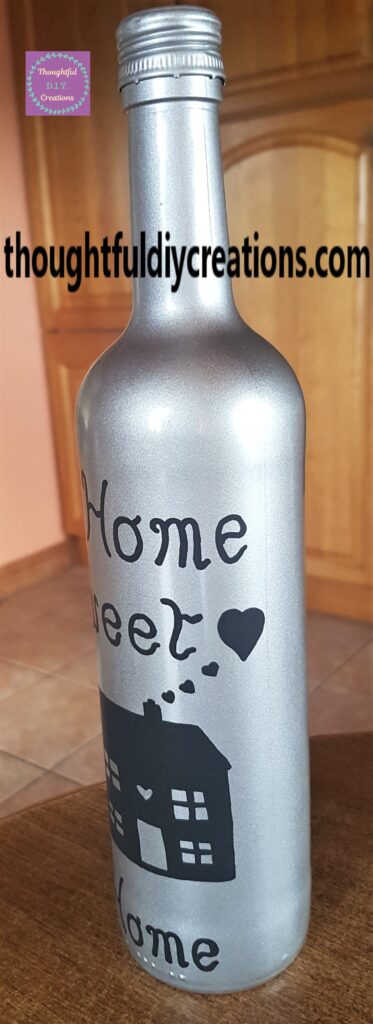
I drew a House on the bottle with 3 small love hearts coming out of the Chimney and a bigger love heart beside the word ‘Sweet’. Daler Rowney Paint Markers.
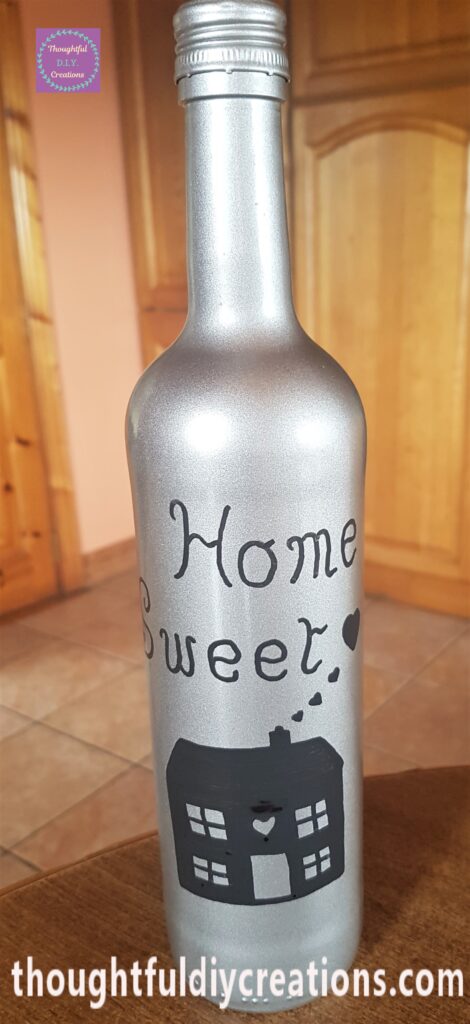
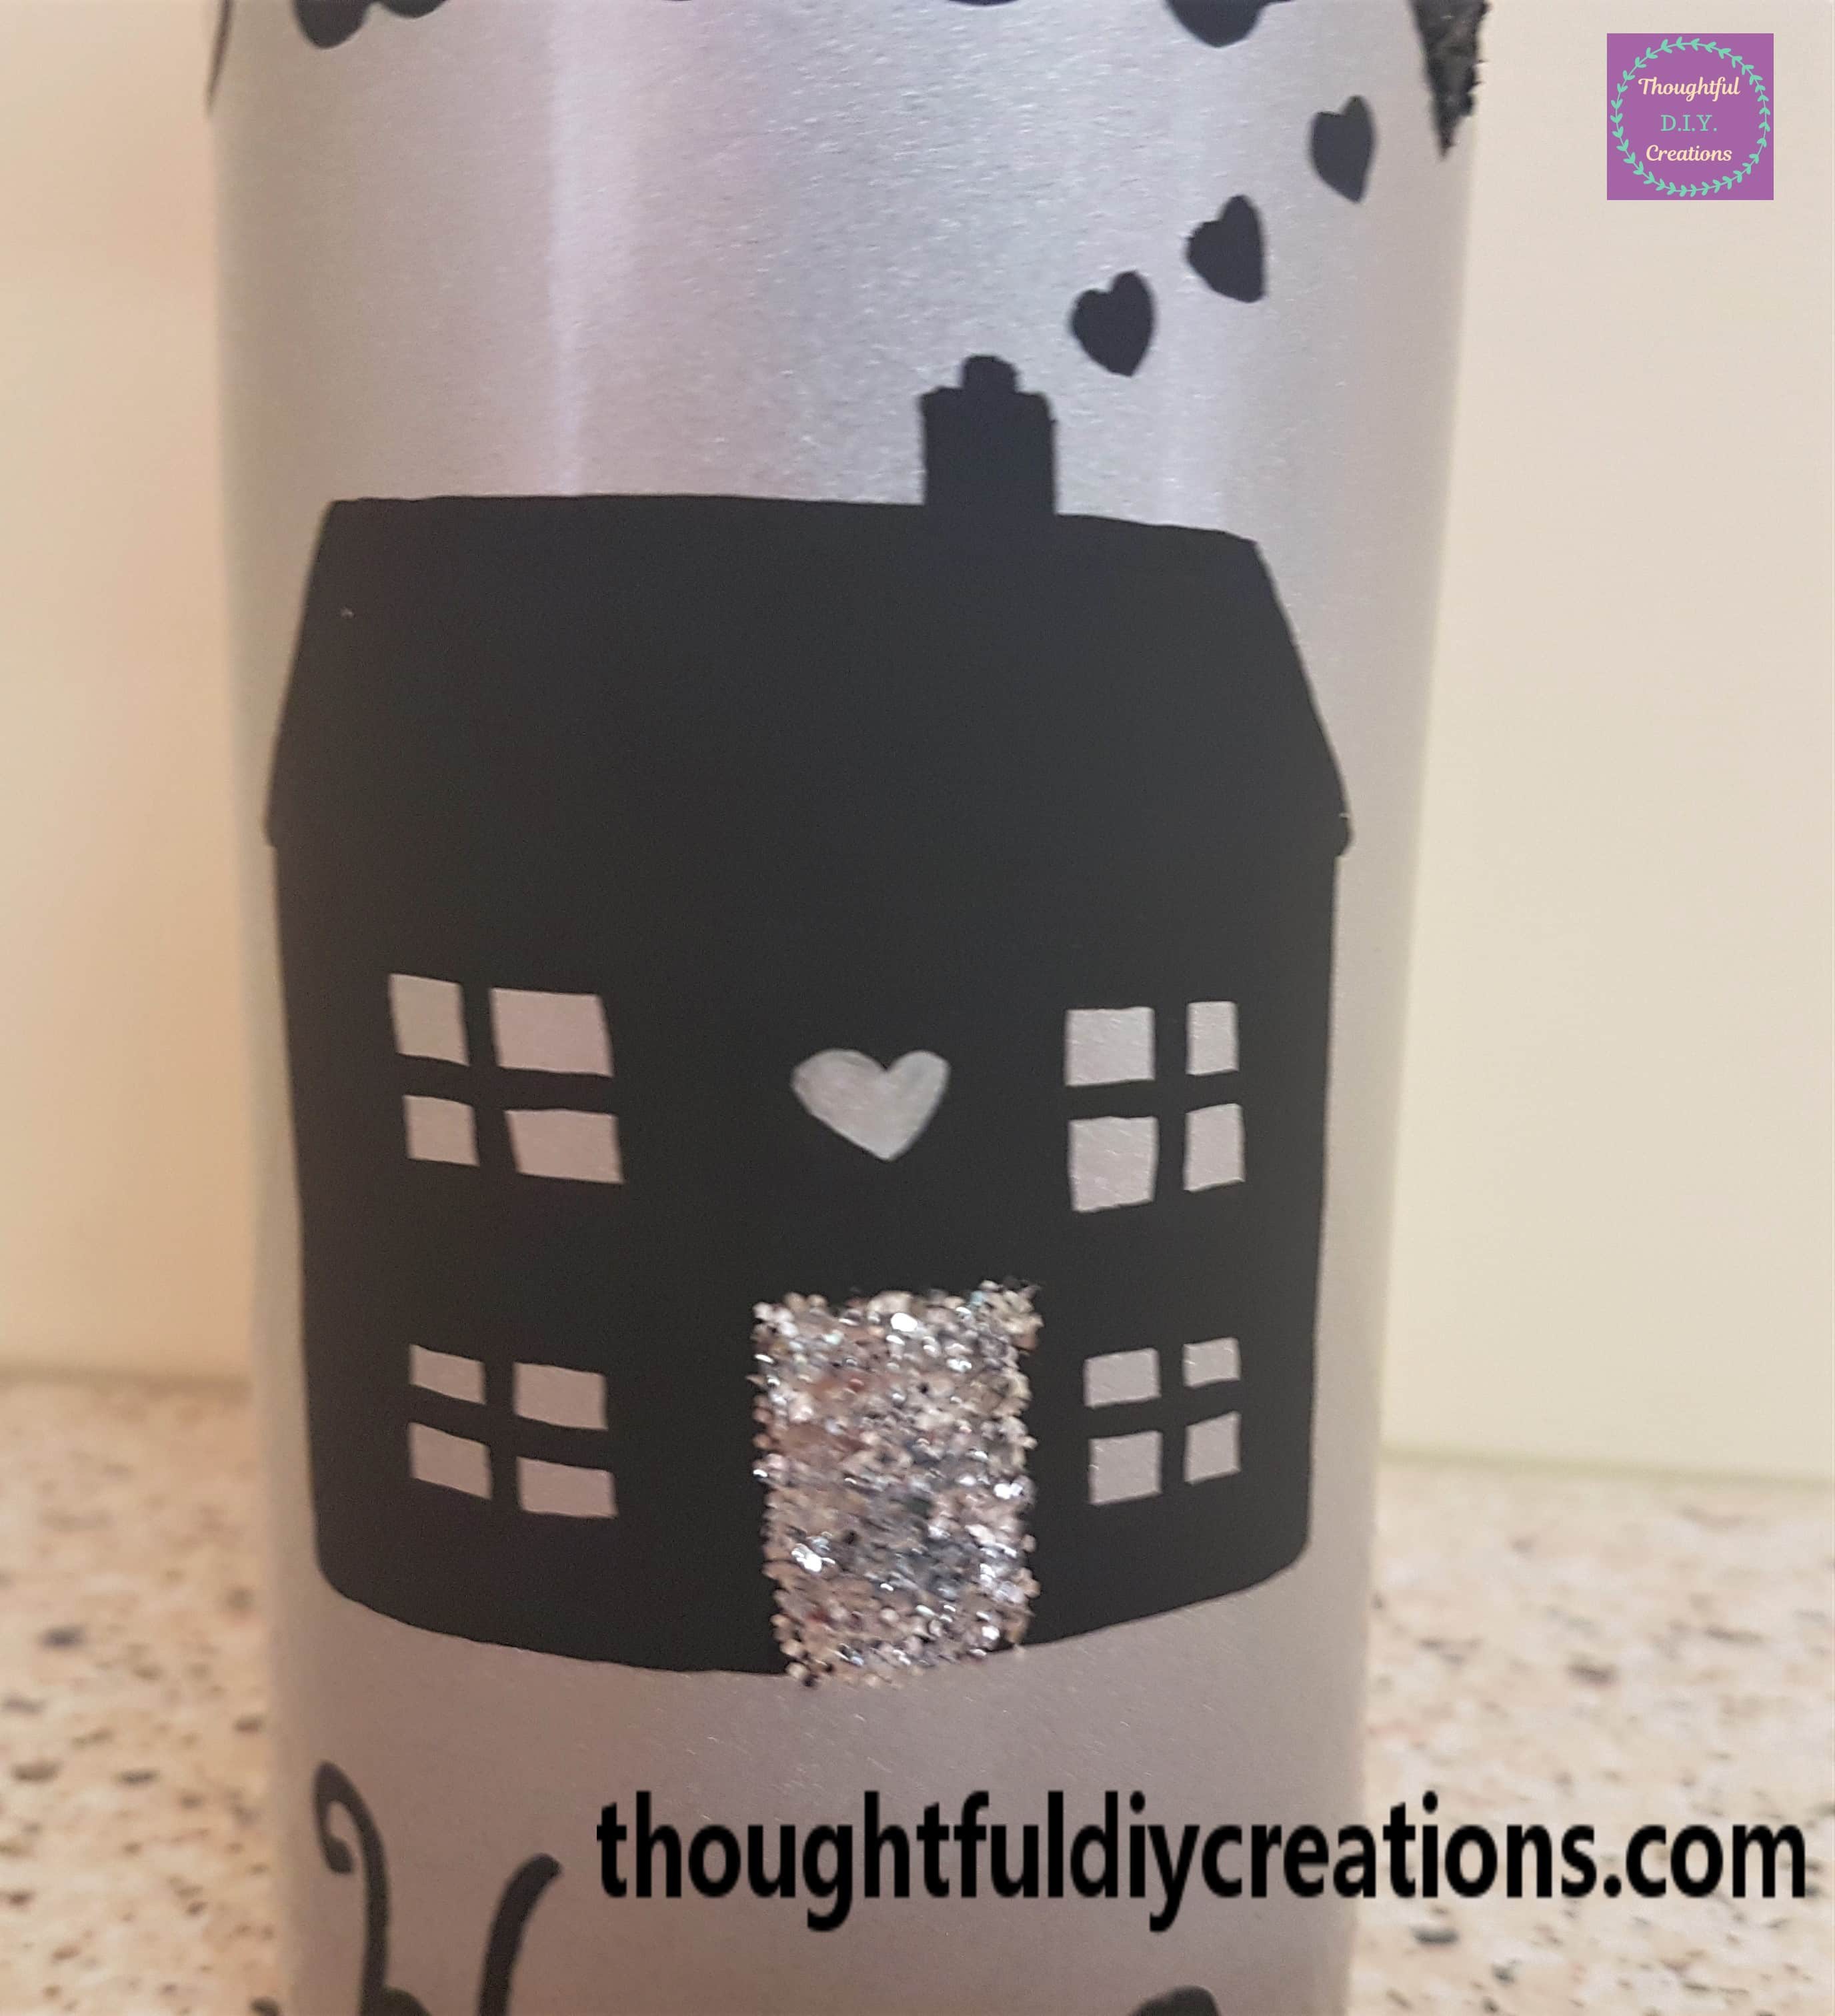
A closer look at the house and love hearts.
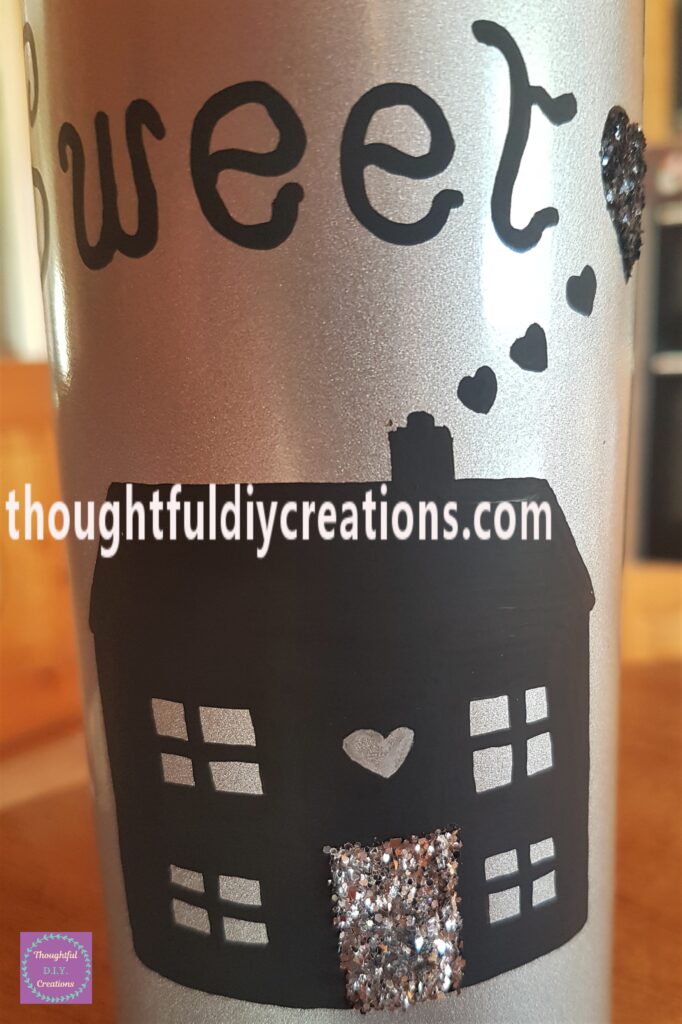
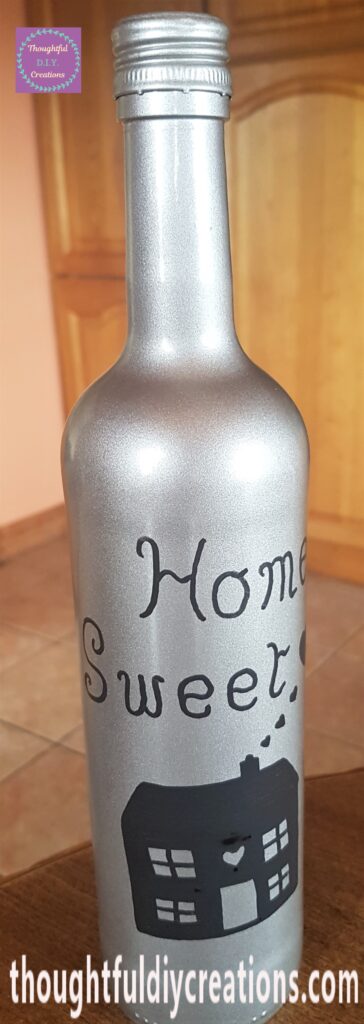
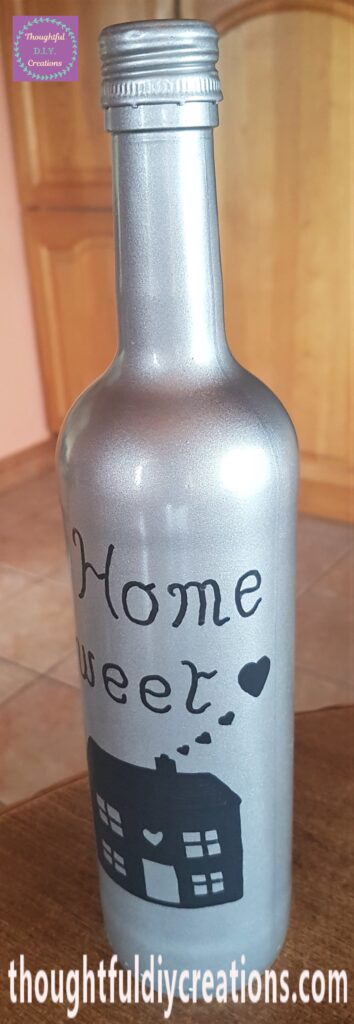
I filled in the love hearts, chimney, roof, and house with the black Paint Marker. I left the love heart on the house and the door and windows silver. Daler Rowney Paint Markers.
Finishing the Writing on the Bottle
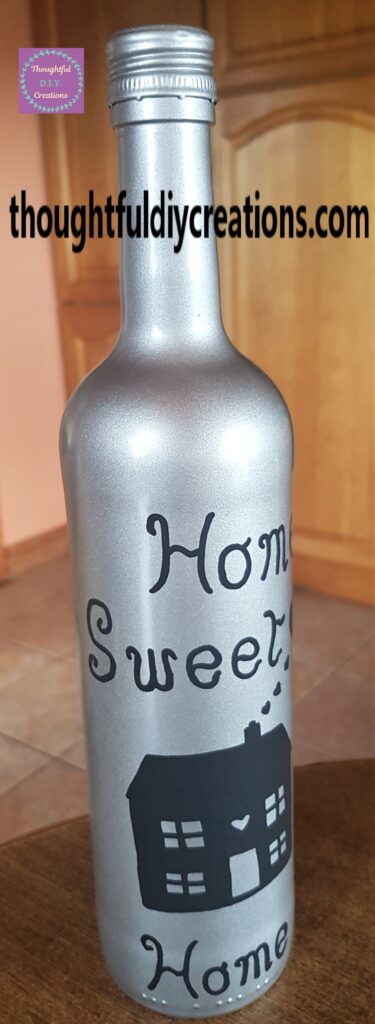
I wrote the word ‘Home’ on the bottom of the up-cycled wine bottle.
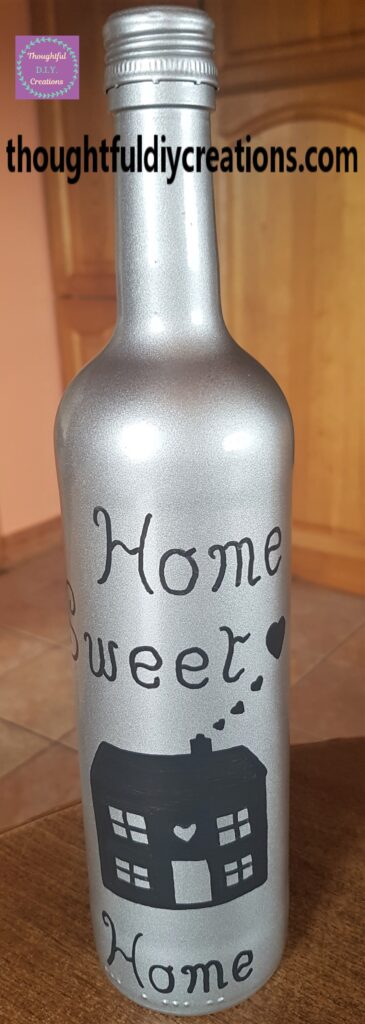
The Paint Marker dries pretty quickly but I waited an hour until I done a second layer over the Writing, Love Hearts and House on the bottle just to be certain and to prevent smudging. Daler Rowney Paint Markers.
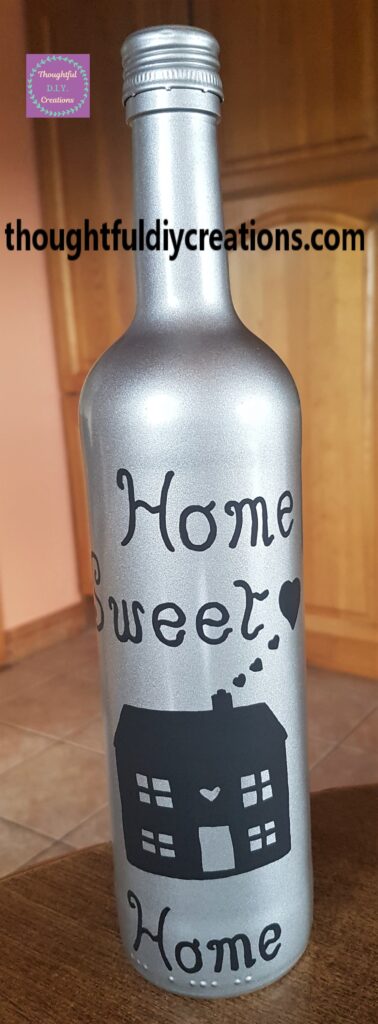
I think the second layer made a big difference to the appearance of the up-cycled wine bottle.
Adding Glitter to the Up-Cycled Wine Bottle
I got my Silver and Black Glitter Jars to match the up-cycled bottle. Glitter Shakers.
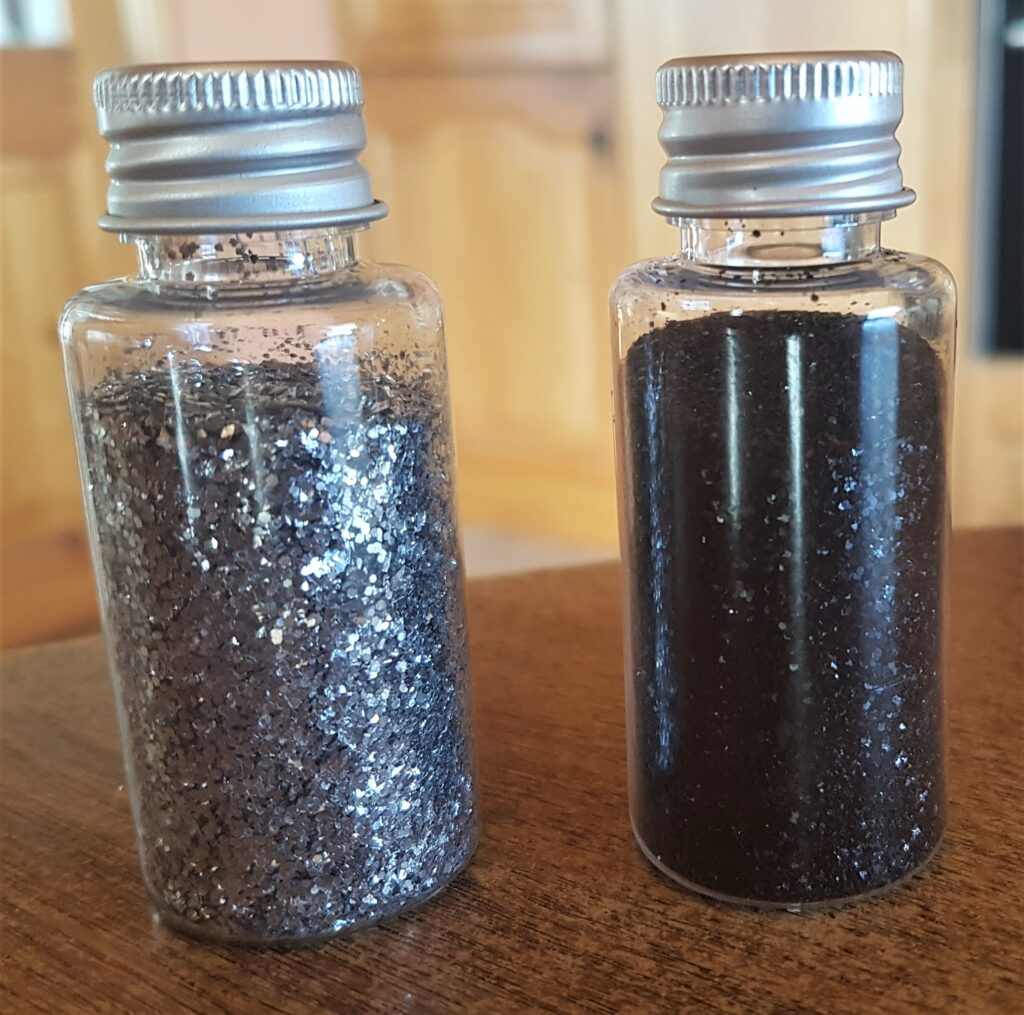
I got a small paintbrush and dipped it into ‘Anita’s Tacky PVA Glue’. I then spread the glue all over the biggest love heart on the bottle. I poured some black glitter into the lid of the glitter jar and gently poured it onto the glue on the heart.
Anita’s PVA Tacky Glue.
I then got the paintbrush, dipped it into the PVA Glue and spread it over the door of the house. I got the silver glitter and poured it into the lid of the glitter jar and gently poured it all over the glue on the door. I then left the bottle lying down until the glitter was attached to the up-cycled bottle. Glitter Shakers.
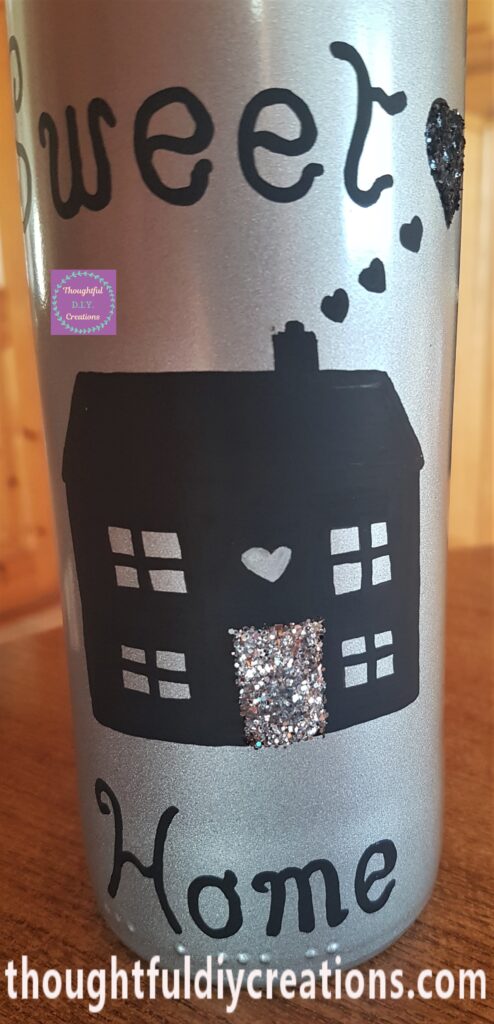
A closer image of the glitter on the bottle.
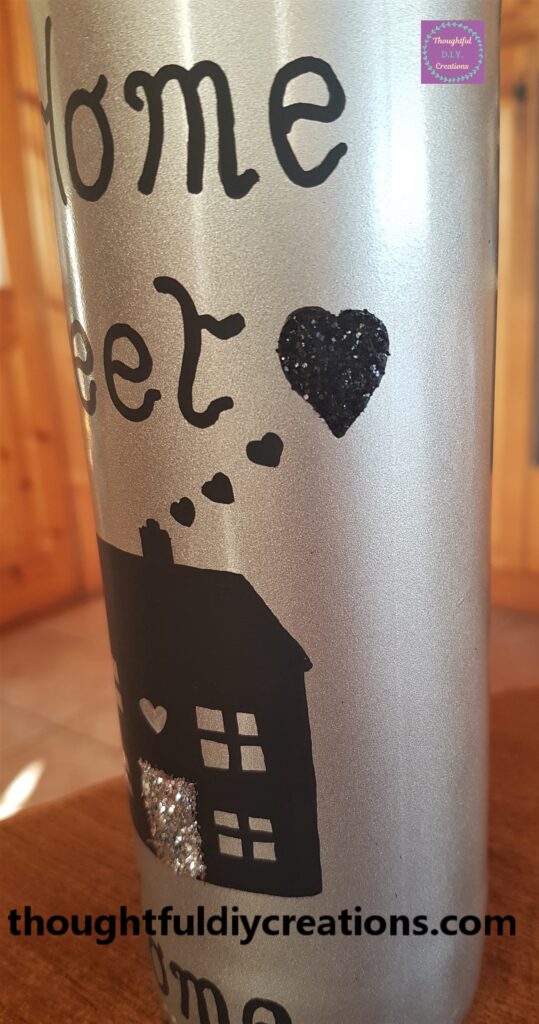
This is a side view of the bottle, you can see more of the glitter love heart. Glitter Shakers.
I had a black key from an old chain, I didn’t want to wear it anymore but knew it would come in handy for my Crafting. I removed the key from the chain. Vintage Skeleton Keys.
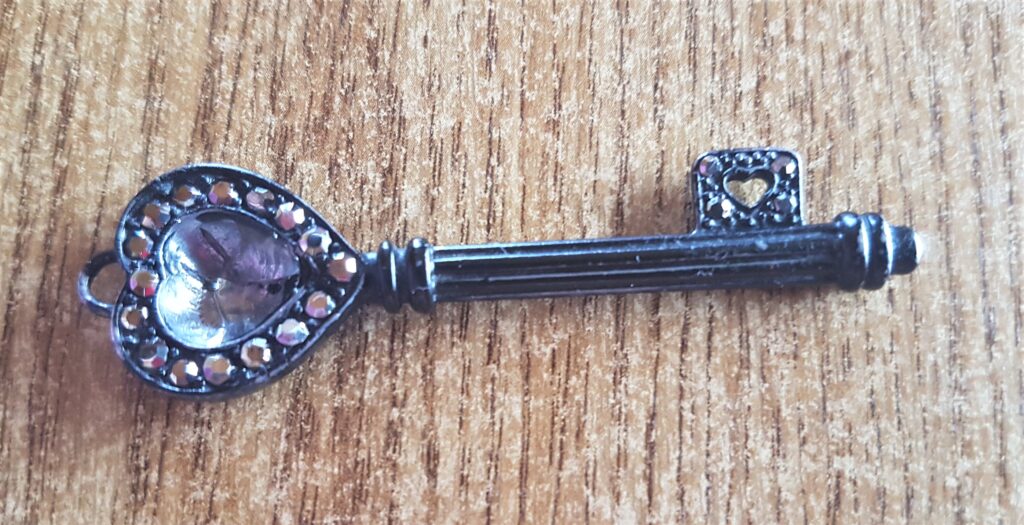
I put some of ‘Anita’s Tacky Glue’ into the gap on the key using a small paintbrush. There had been a love heart crystal inside it but it had fallen out. Anita’s PVA Tacky Glue.
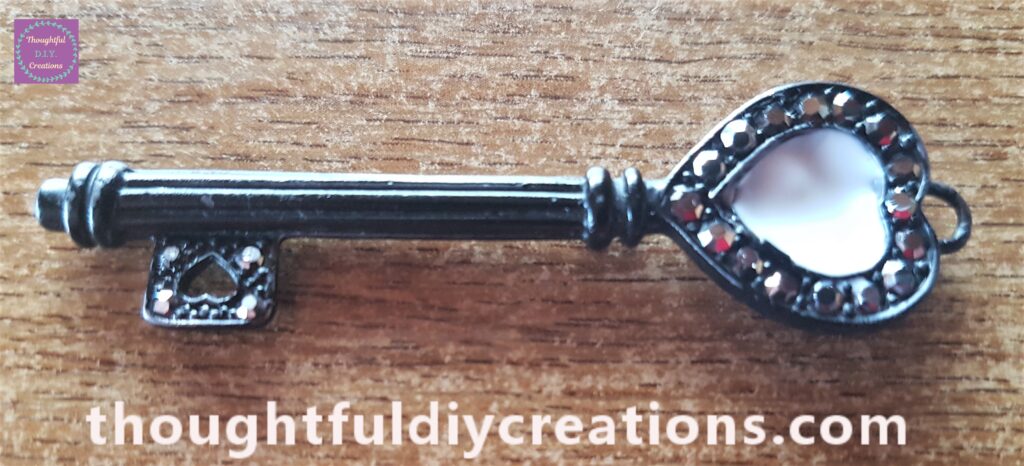
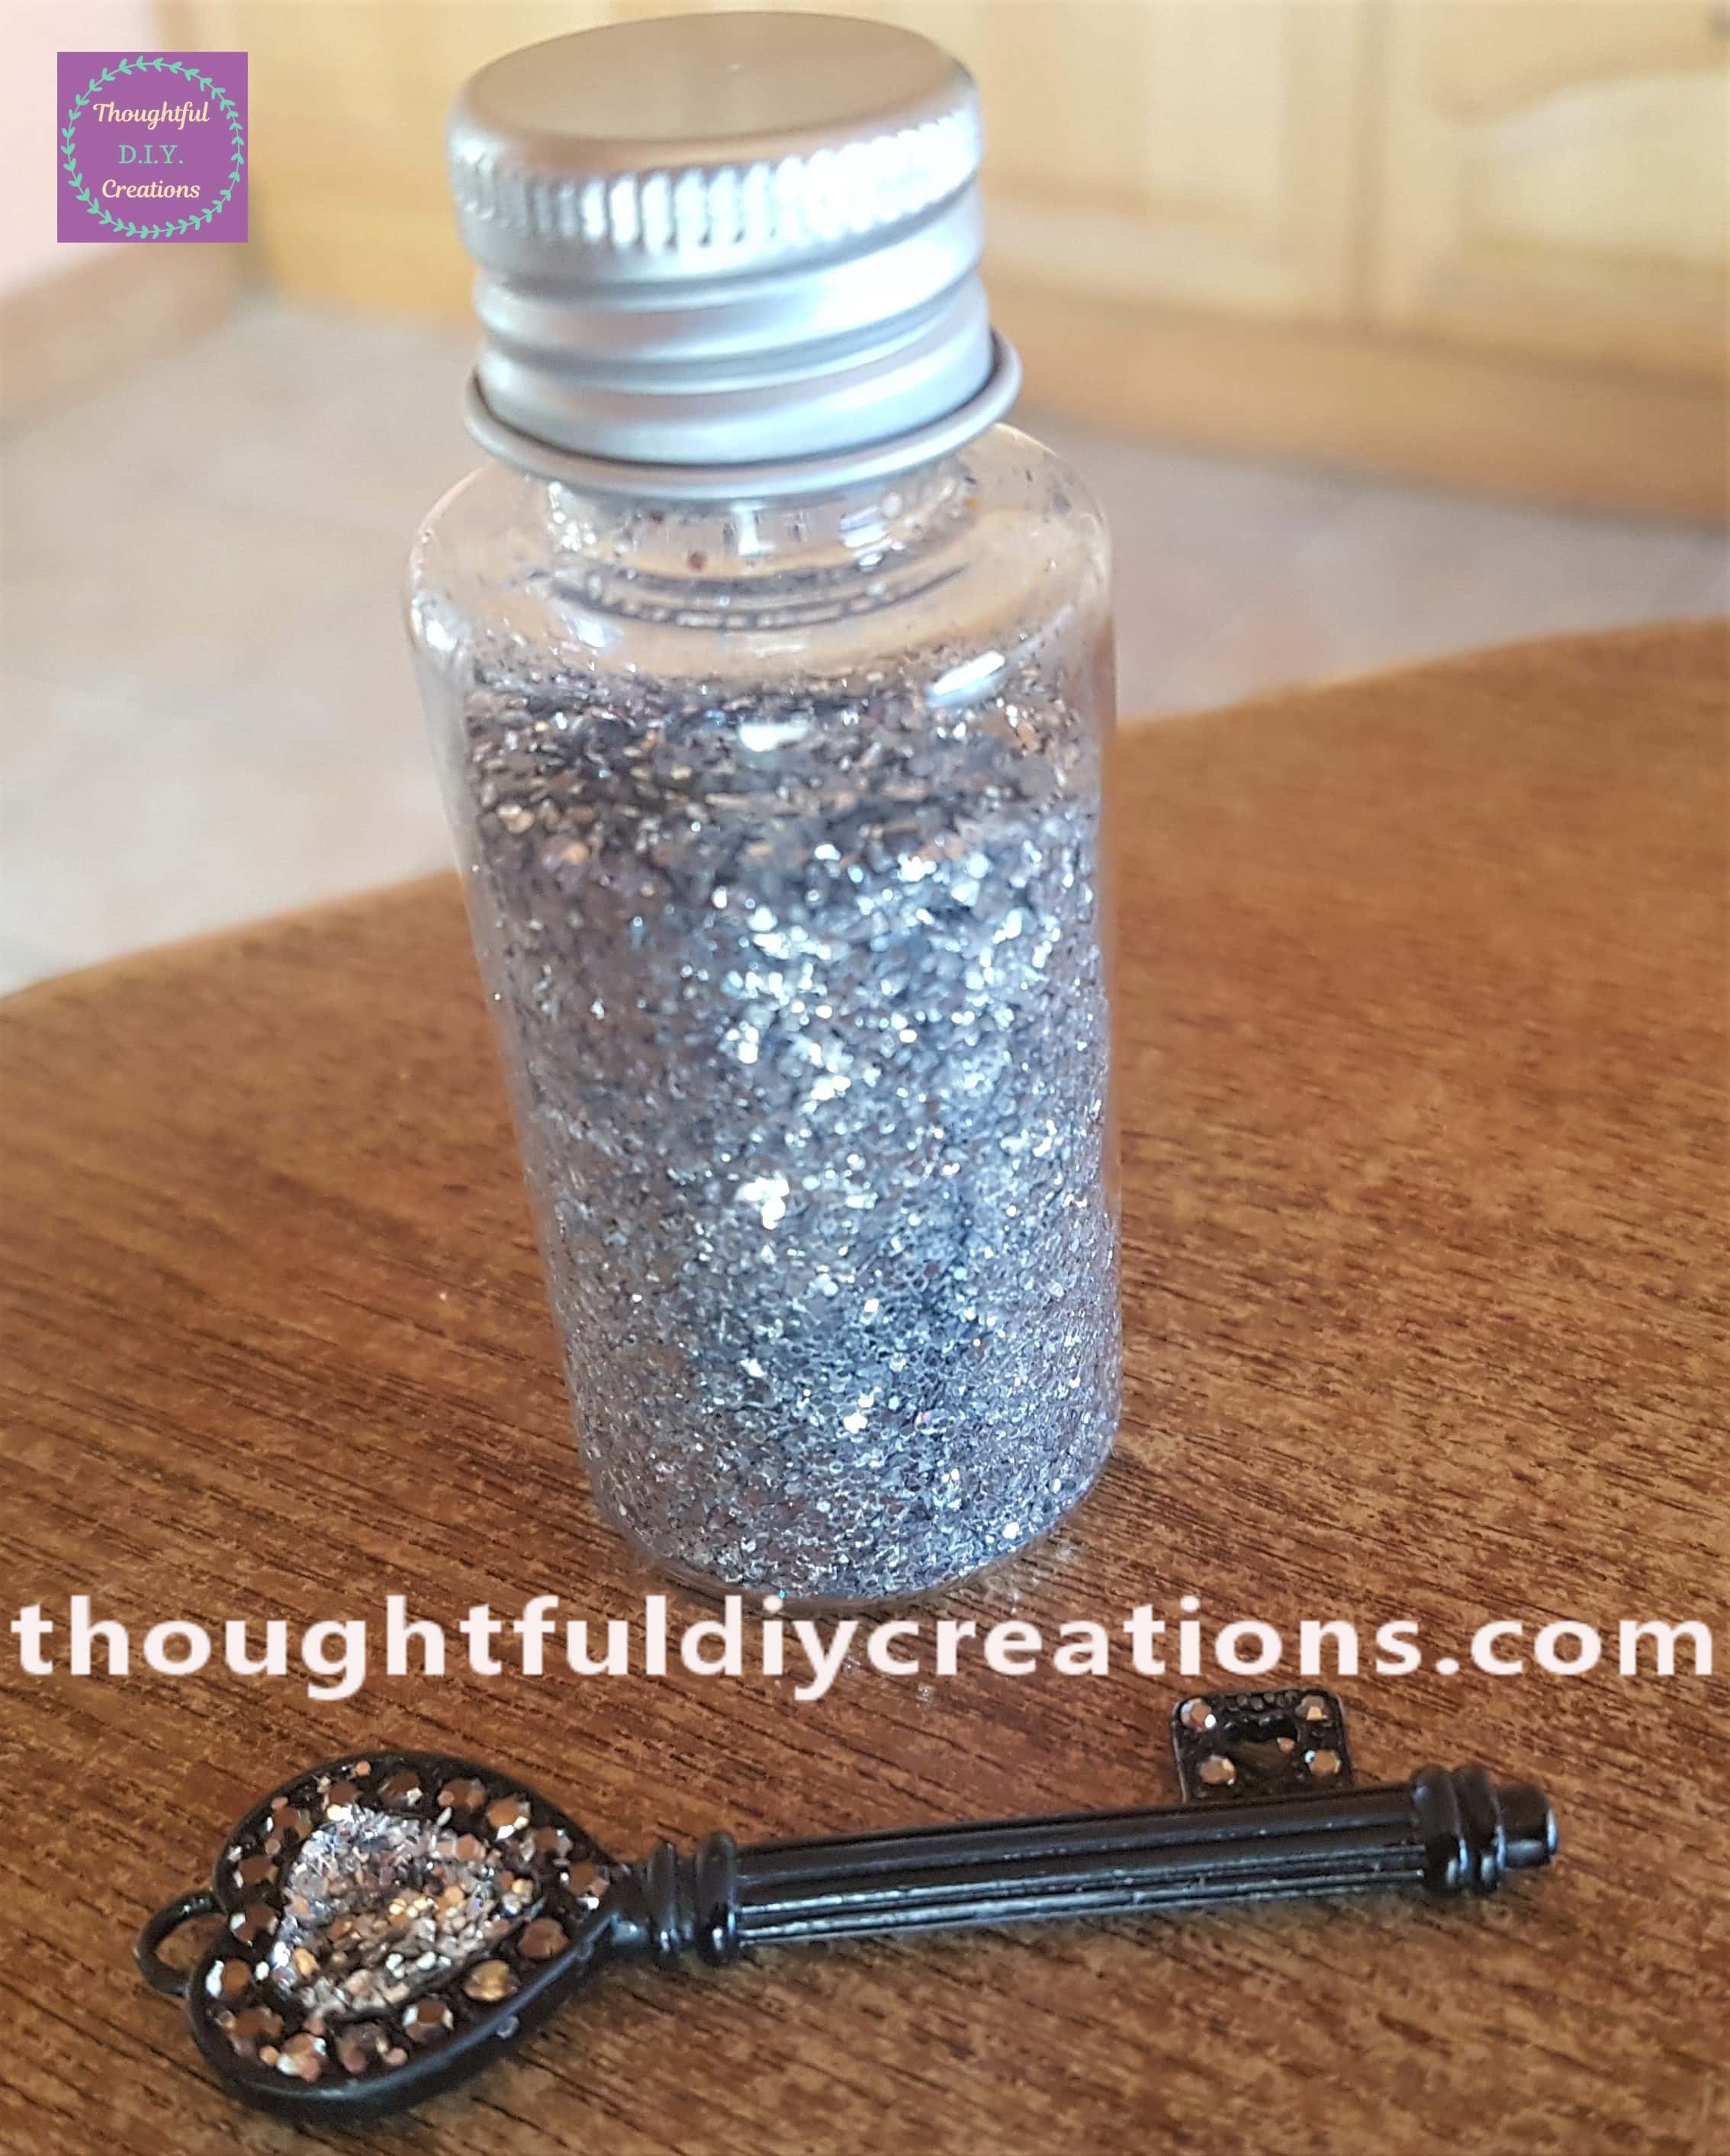
I poured some Silver Glitter into the lid and gently poured the glitter onto the glue on the key and allowed time for the glitter to dry. Glitter Shakers.
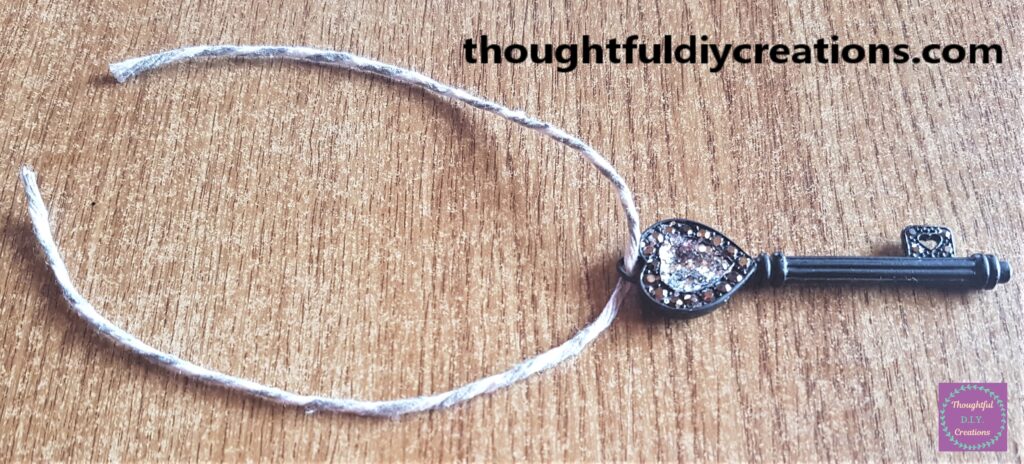
I cut a section of Grey and White Cord and put it through the hole at the top of the key. Bakers Twine.
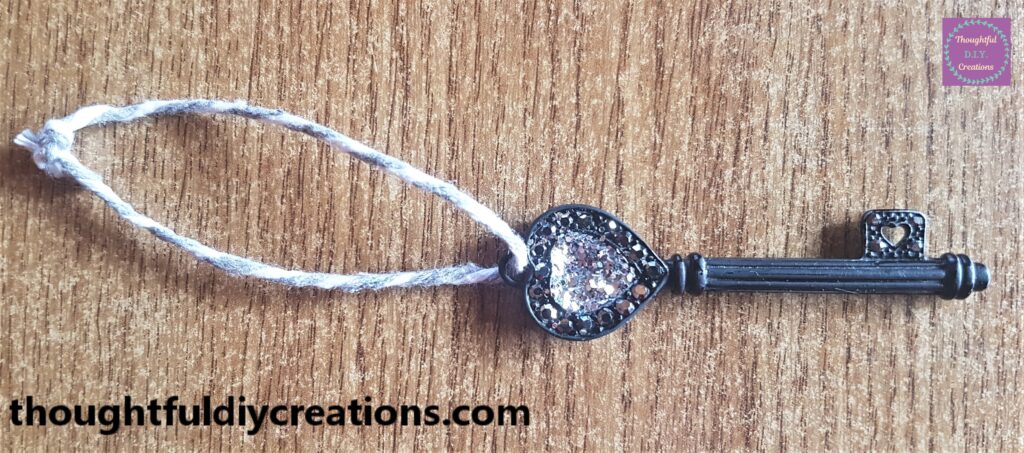
I tied the cord into a knot a few times and cut the excess string.
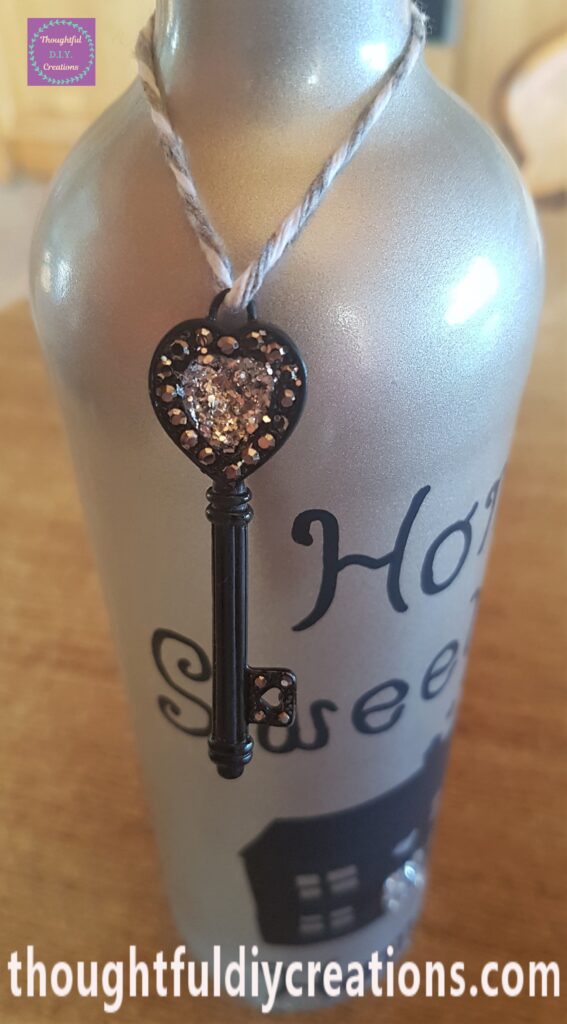
I put the key and string over the neck of the up-cycled wine bottle. Bakers Twine.
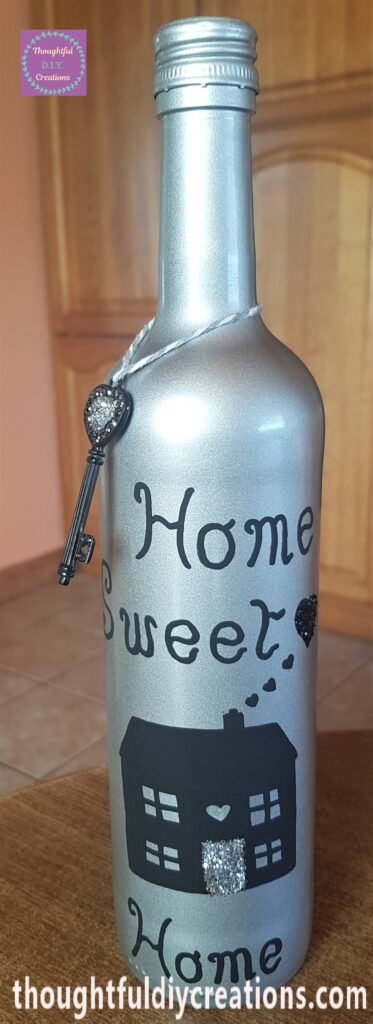
A closer image of the key on the bottle. Vintage Skeleton Keys.
Finishing Touches to the Up-Cycled Wine Bottle
I had a silver bow in my collection. I put a ‘Glue Dot’ on the back mid-section of the bow and attached it to the top of the up-cycled wine bottle. Satin Bows (Self Adhesive) Silver.
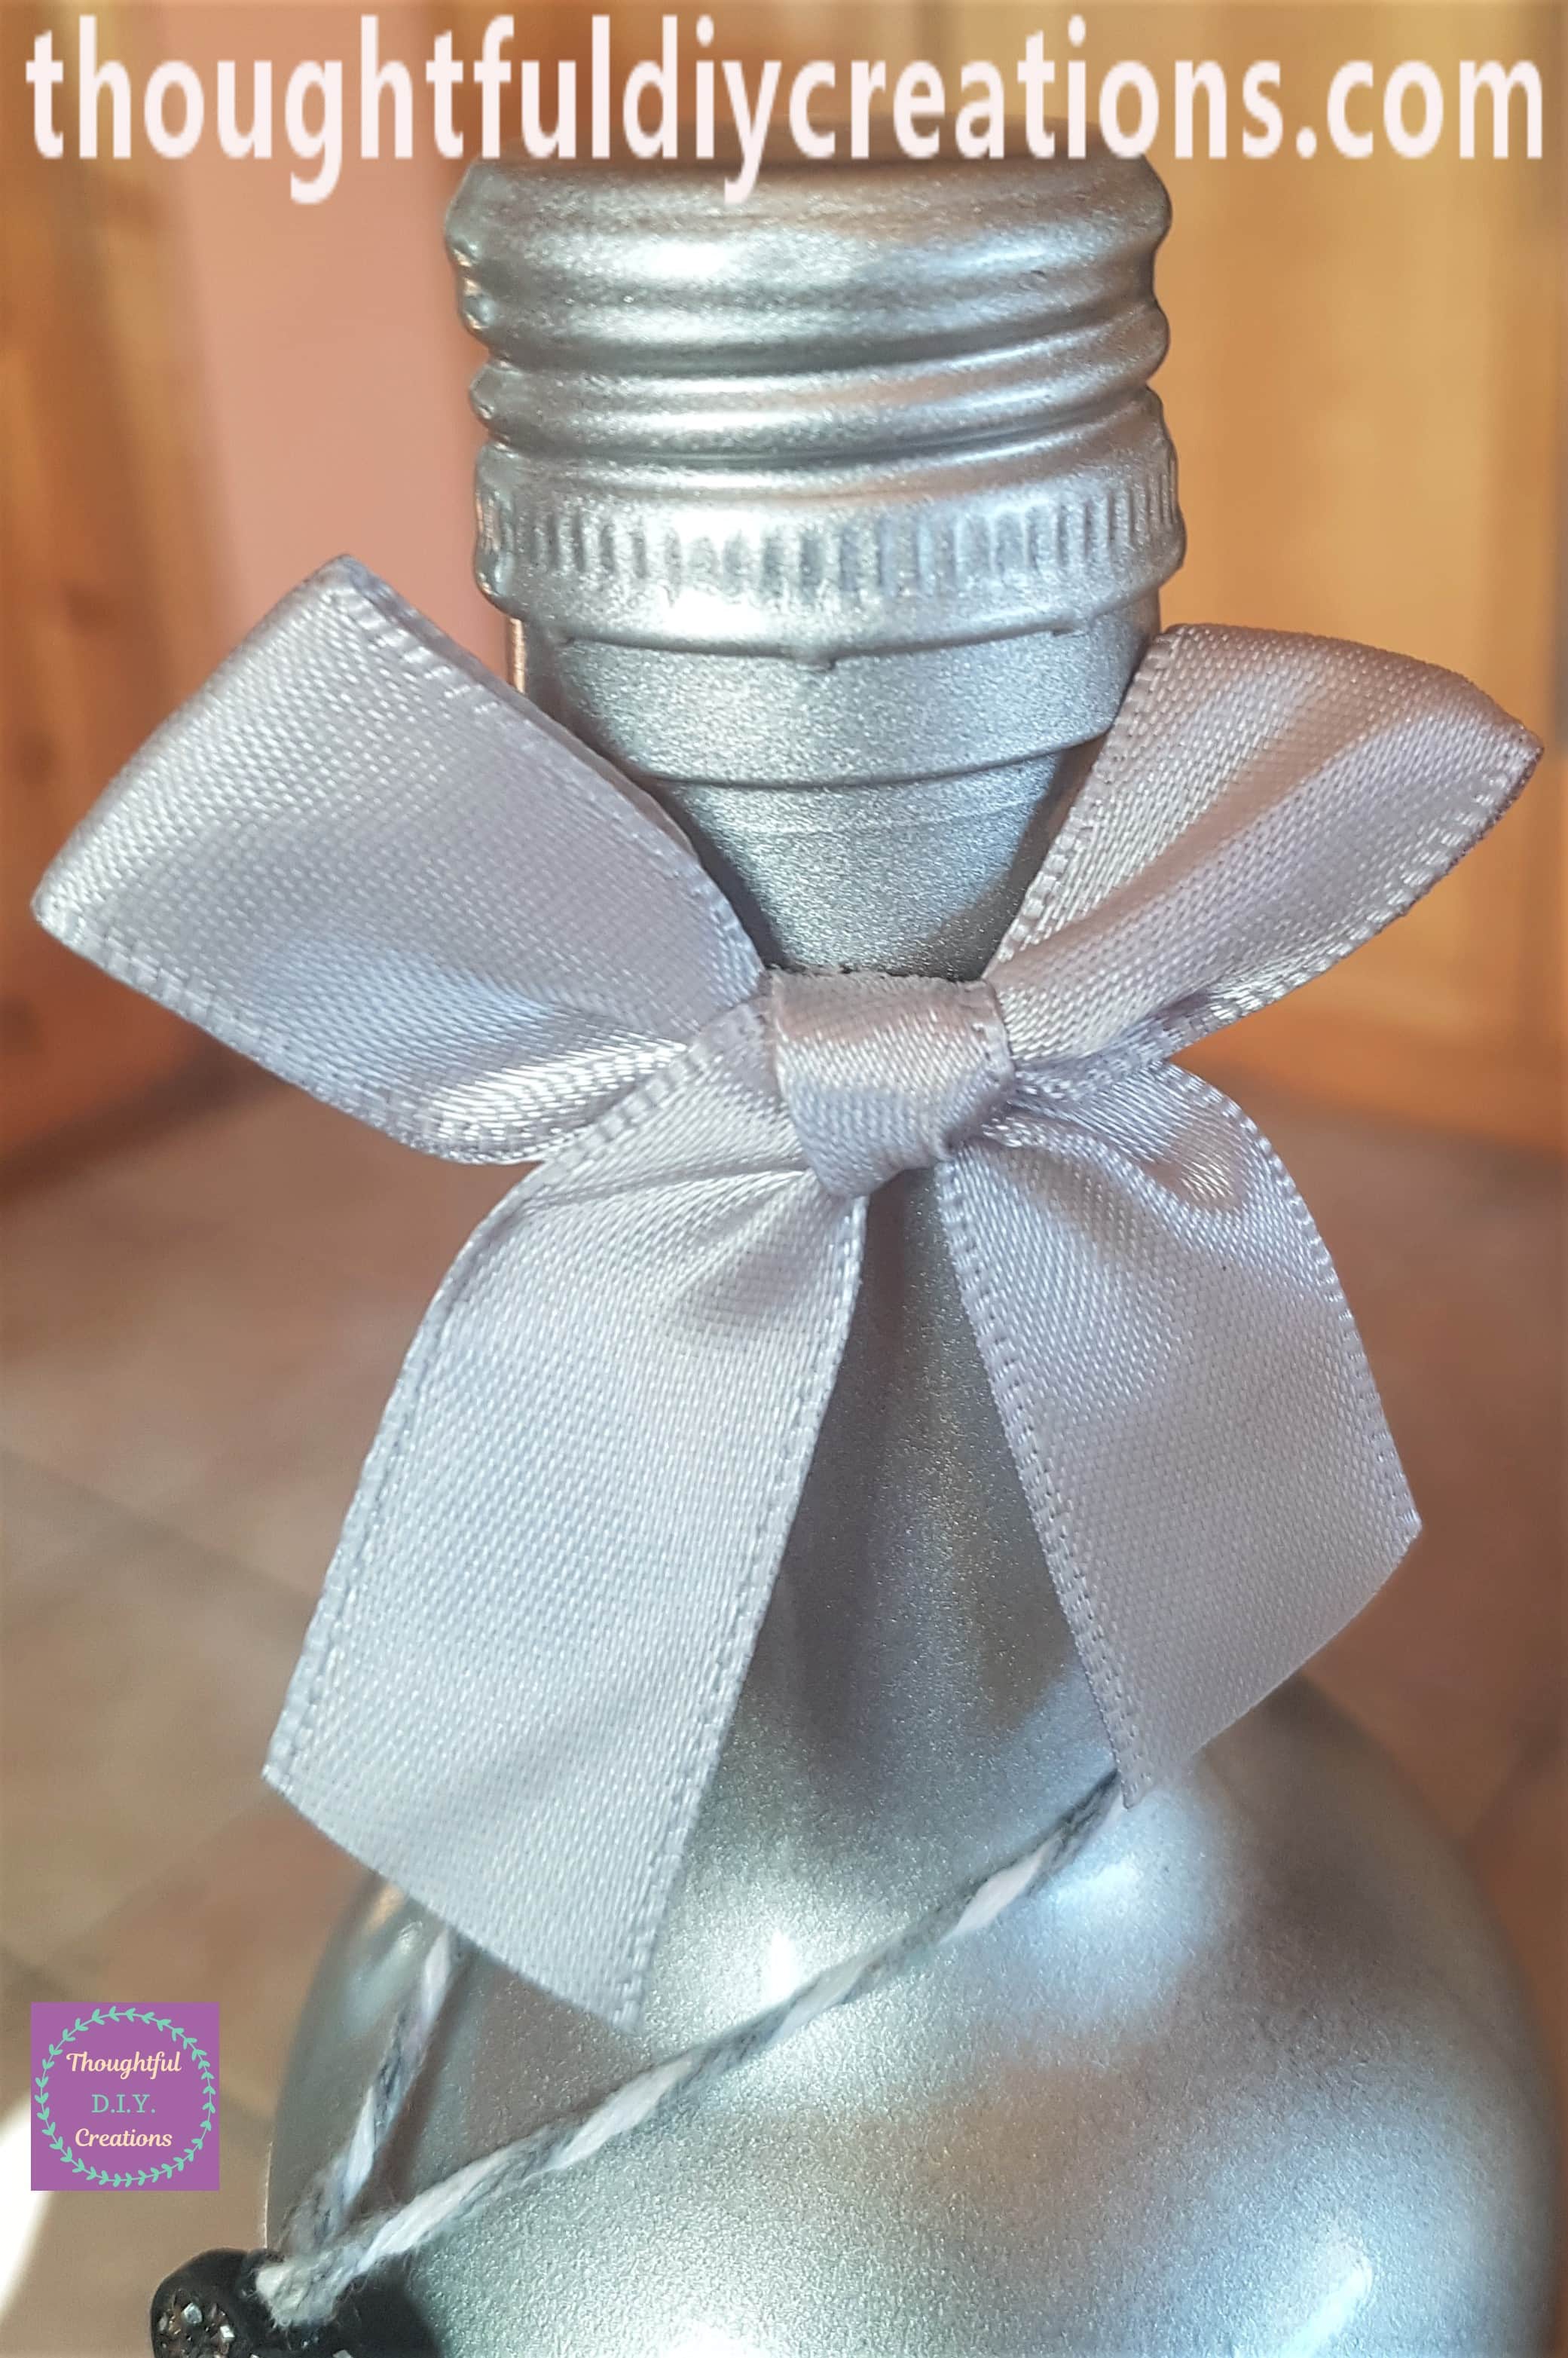
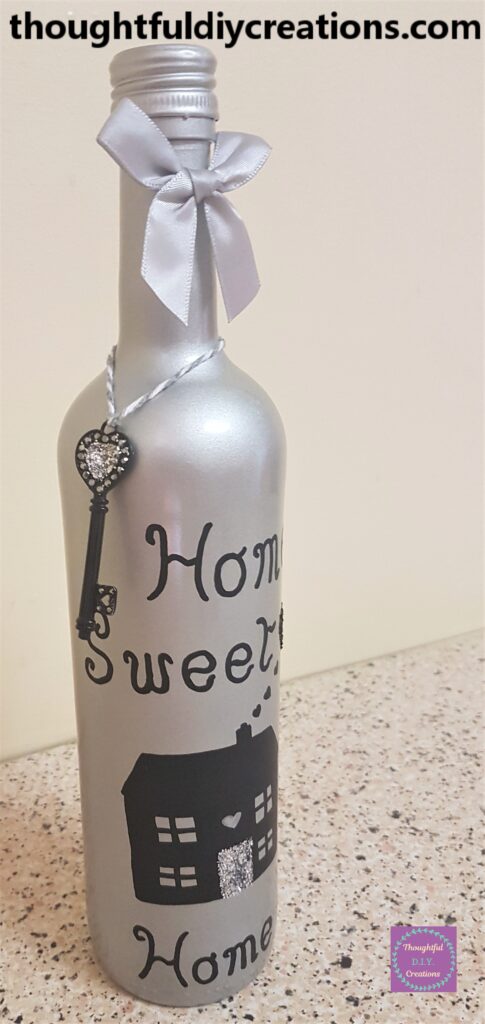
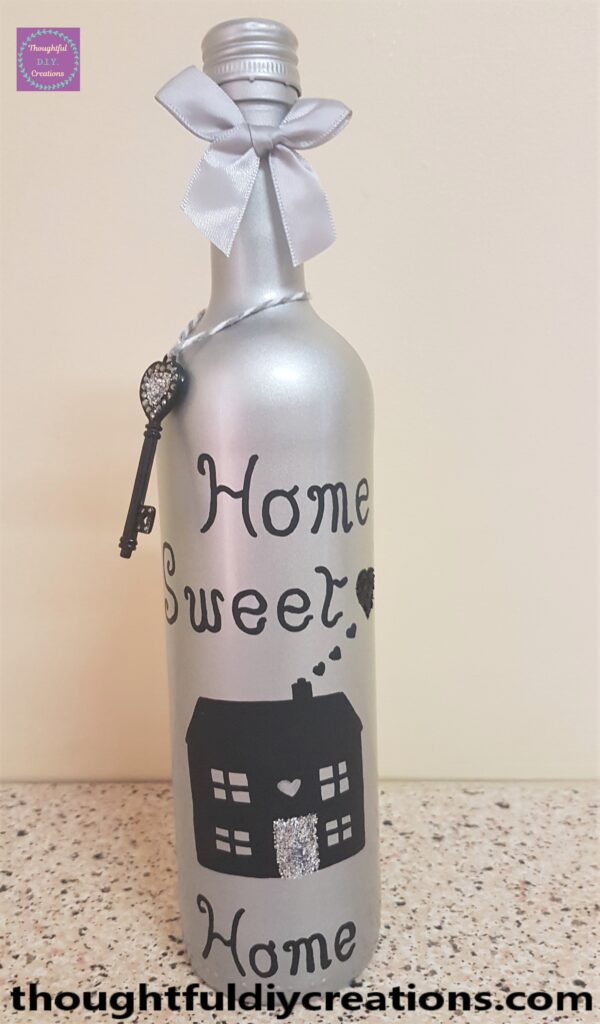
This is a full view of the bottle with the addition of the bow.
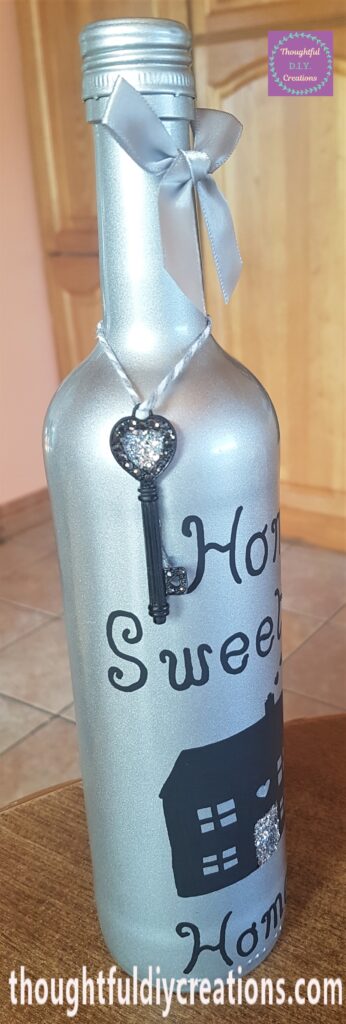
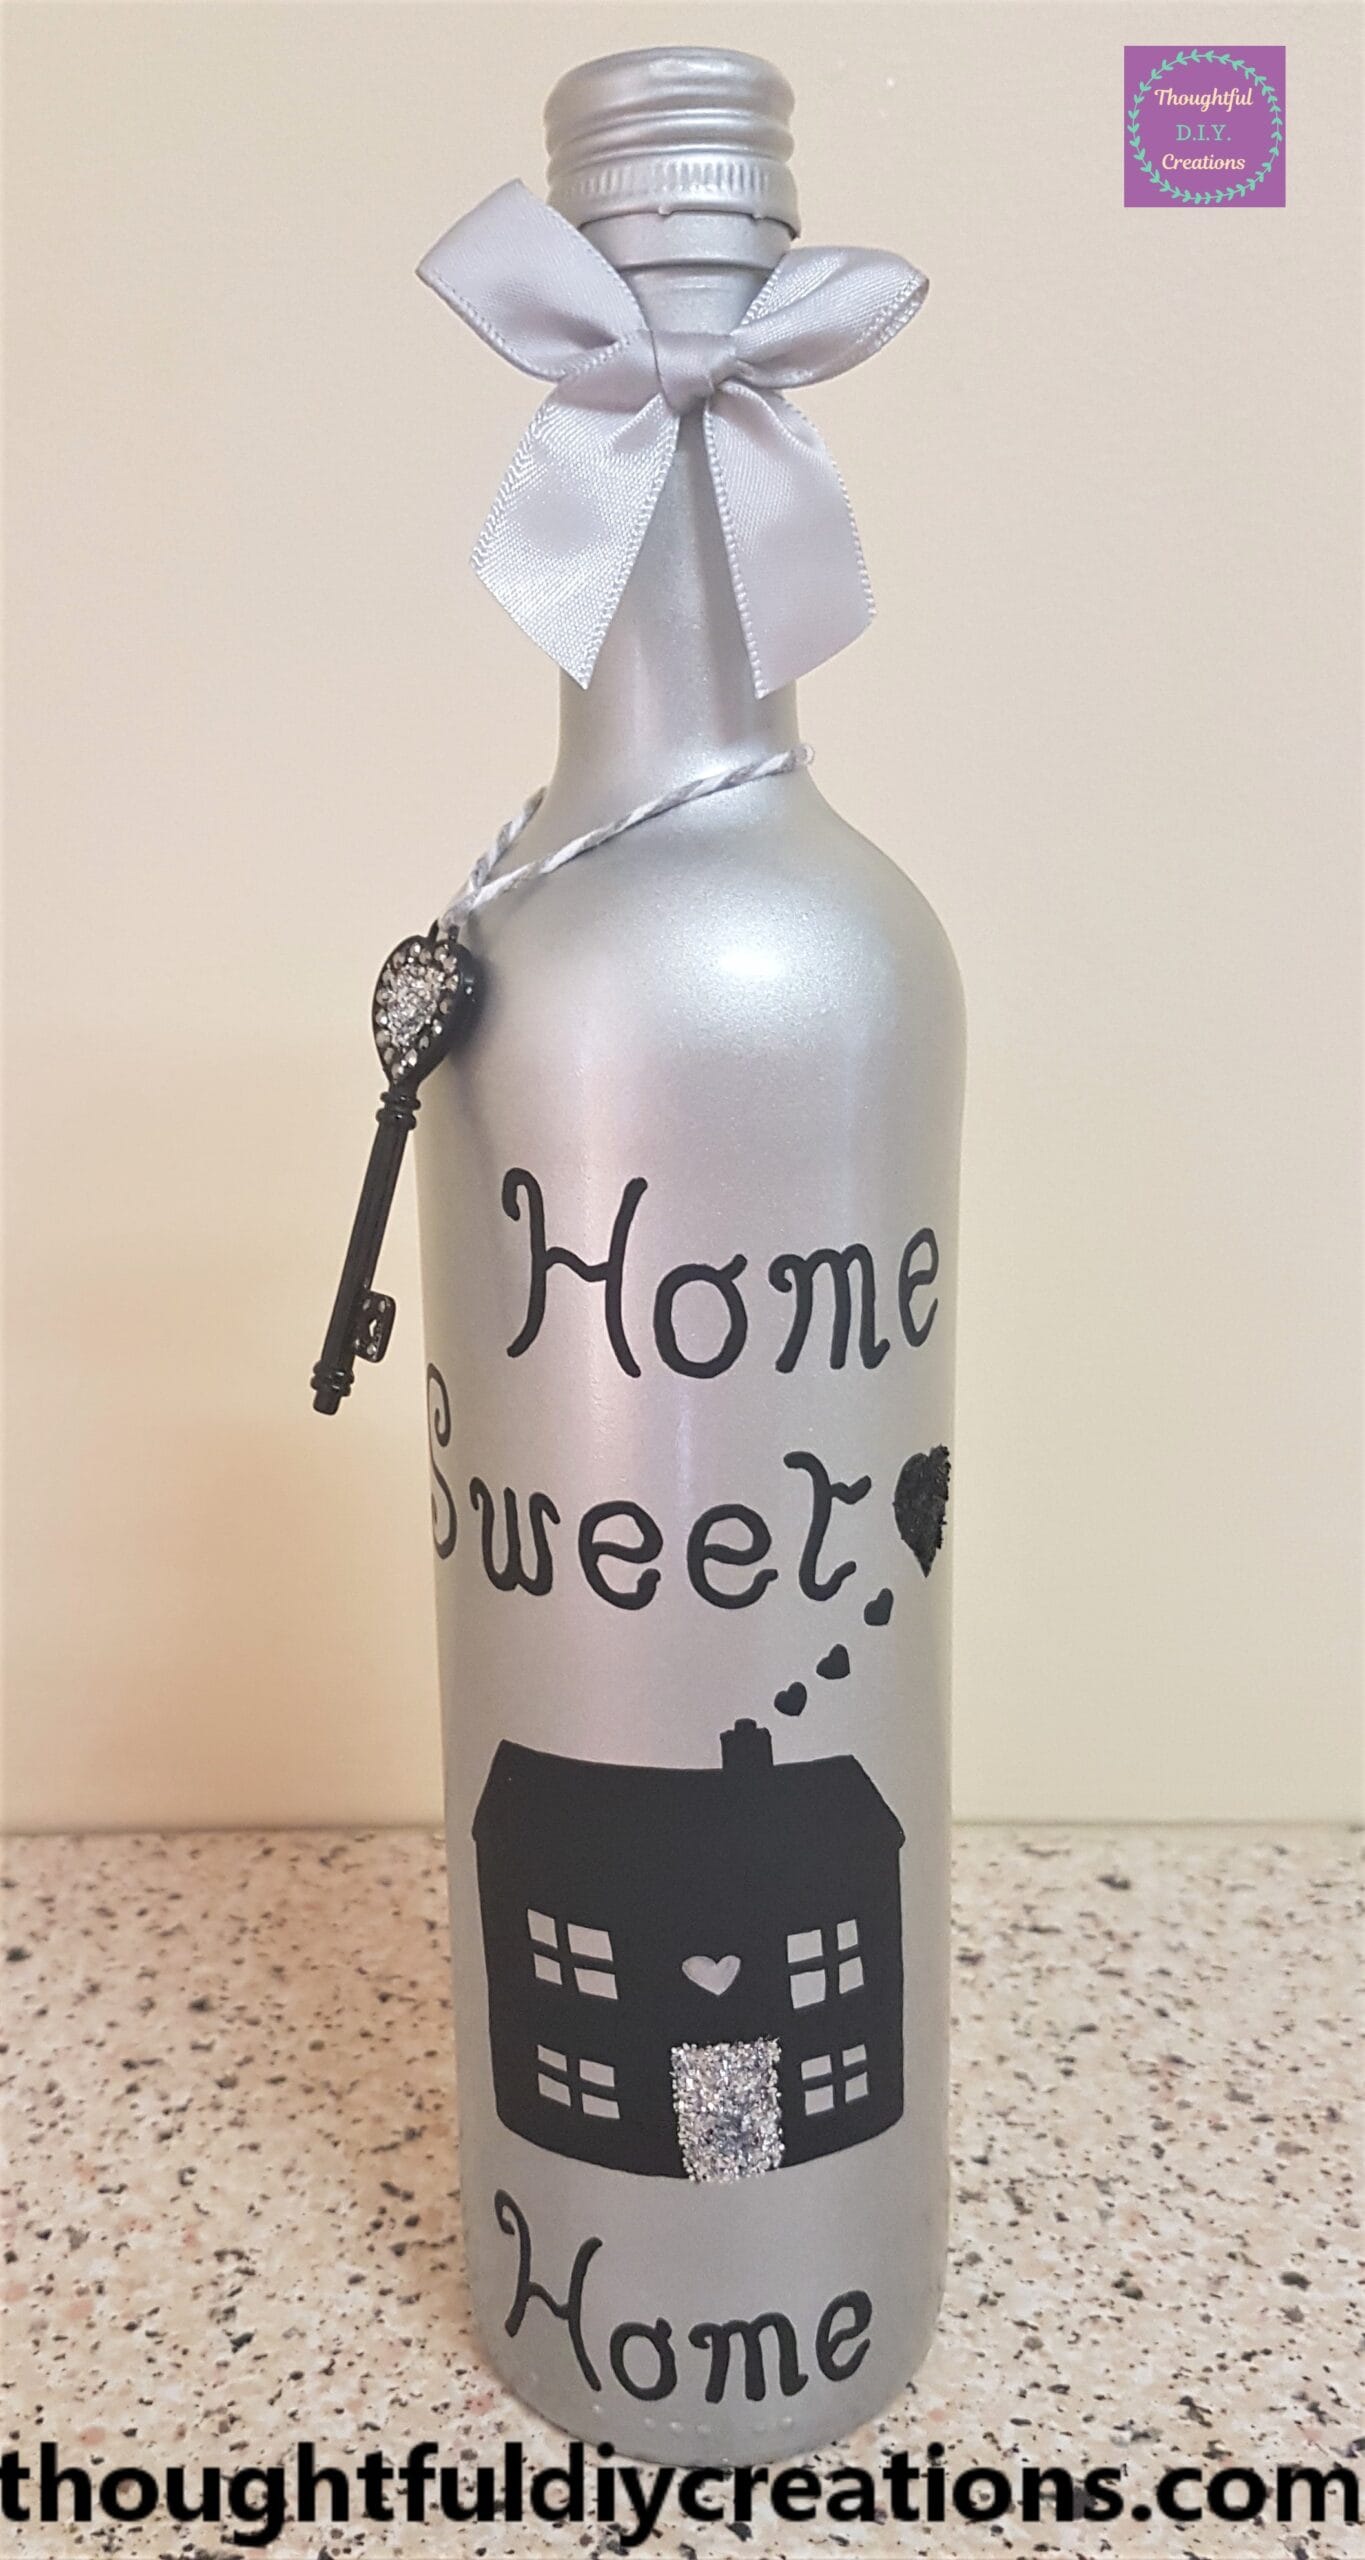
This Completed my Up-Cycled Wine Bottle – Home Sweet Home Craft.
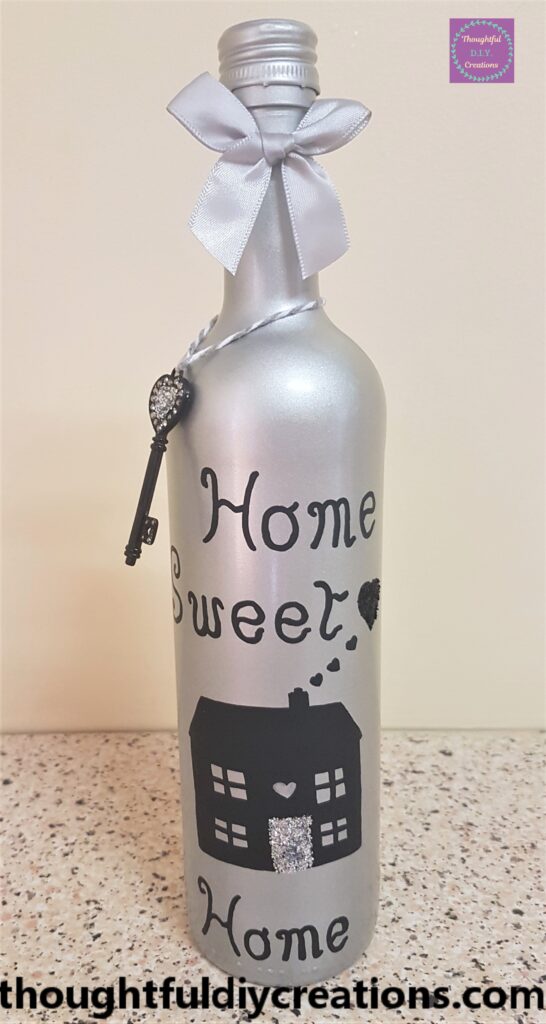
This image shows the side of the bottle with the key.
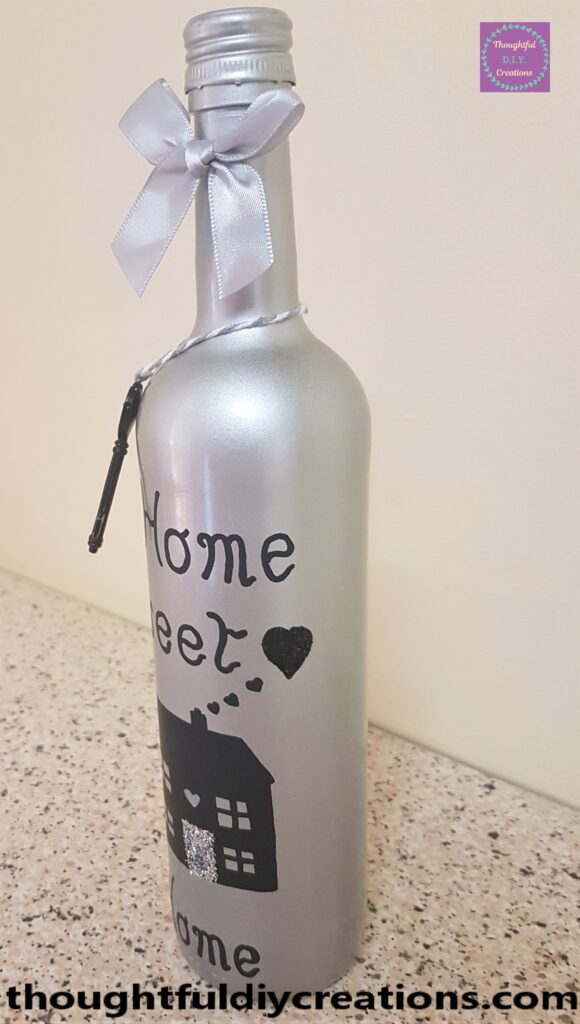
This is the other side of the finished Bottle.
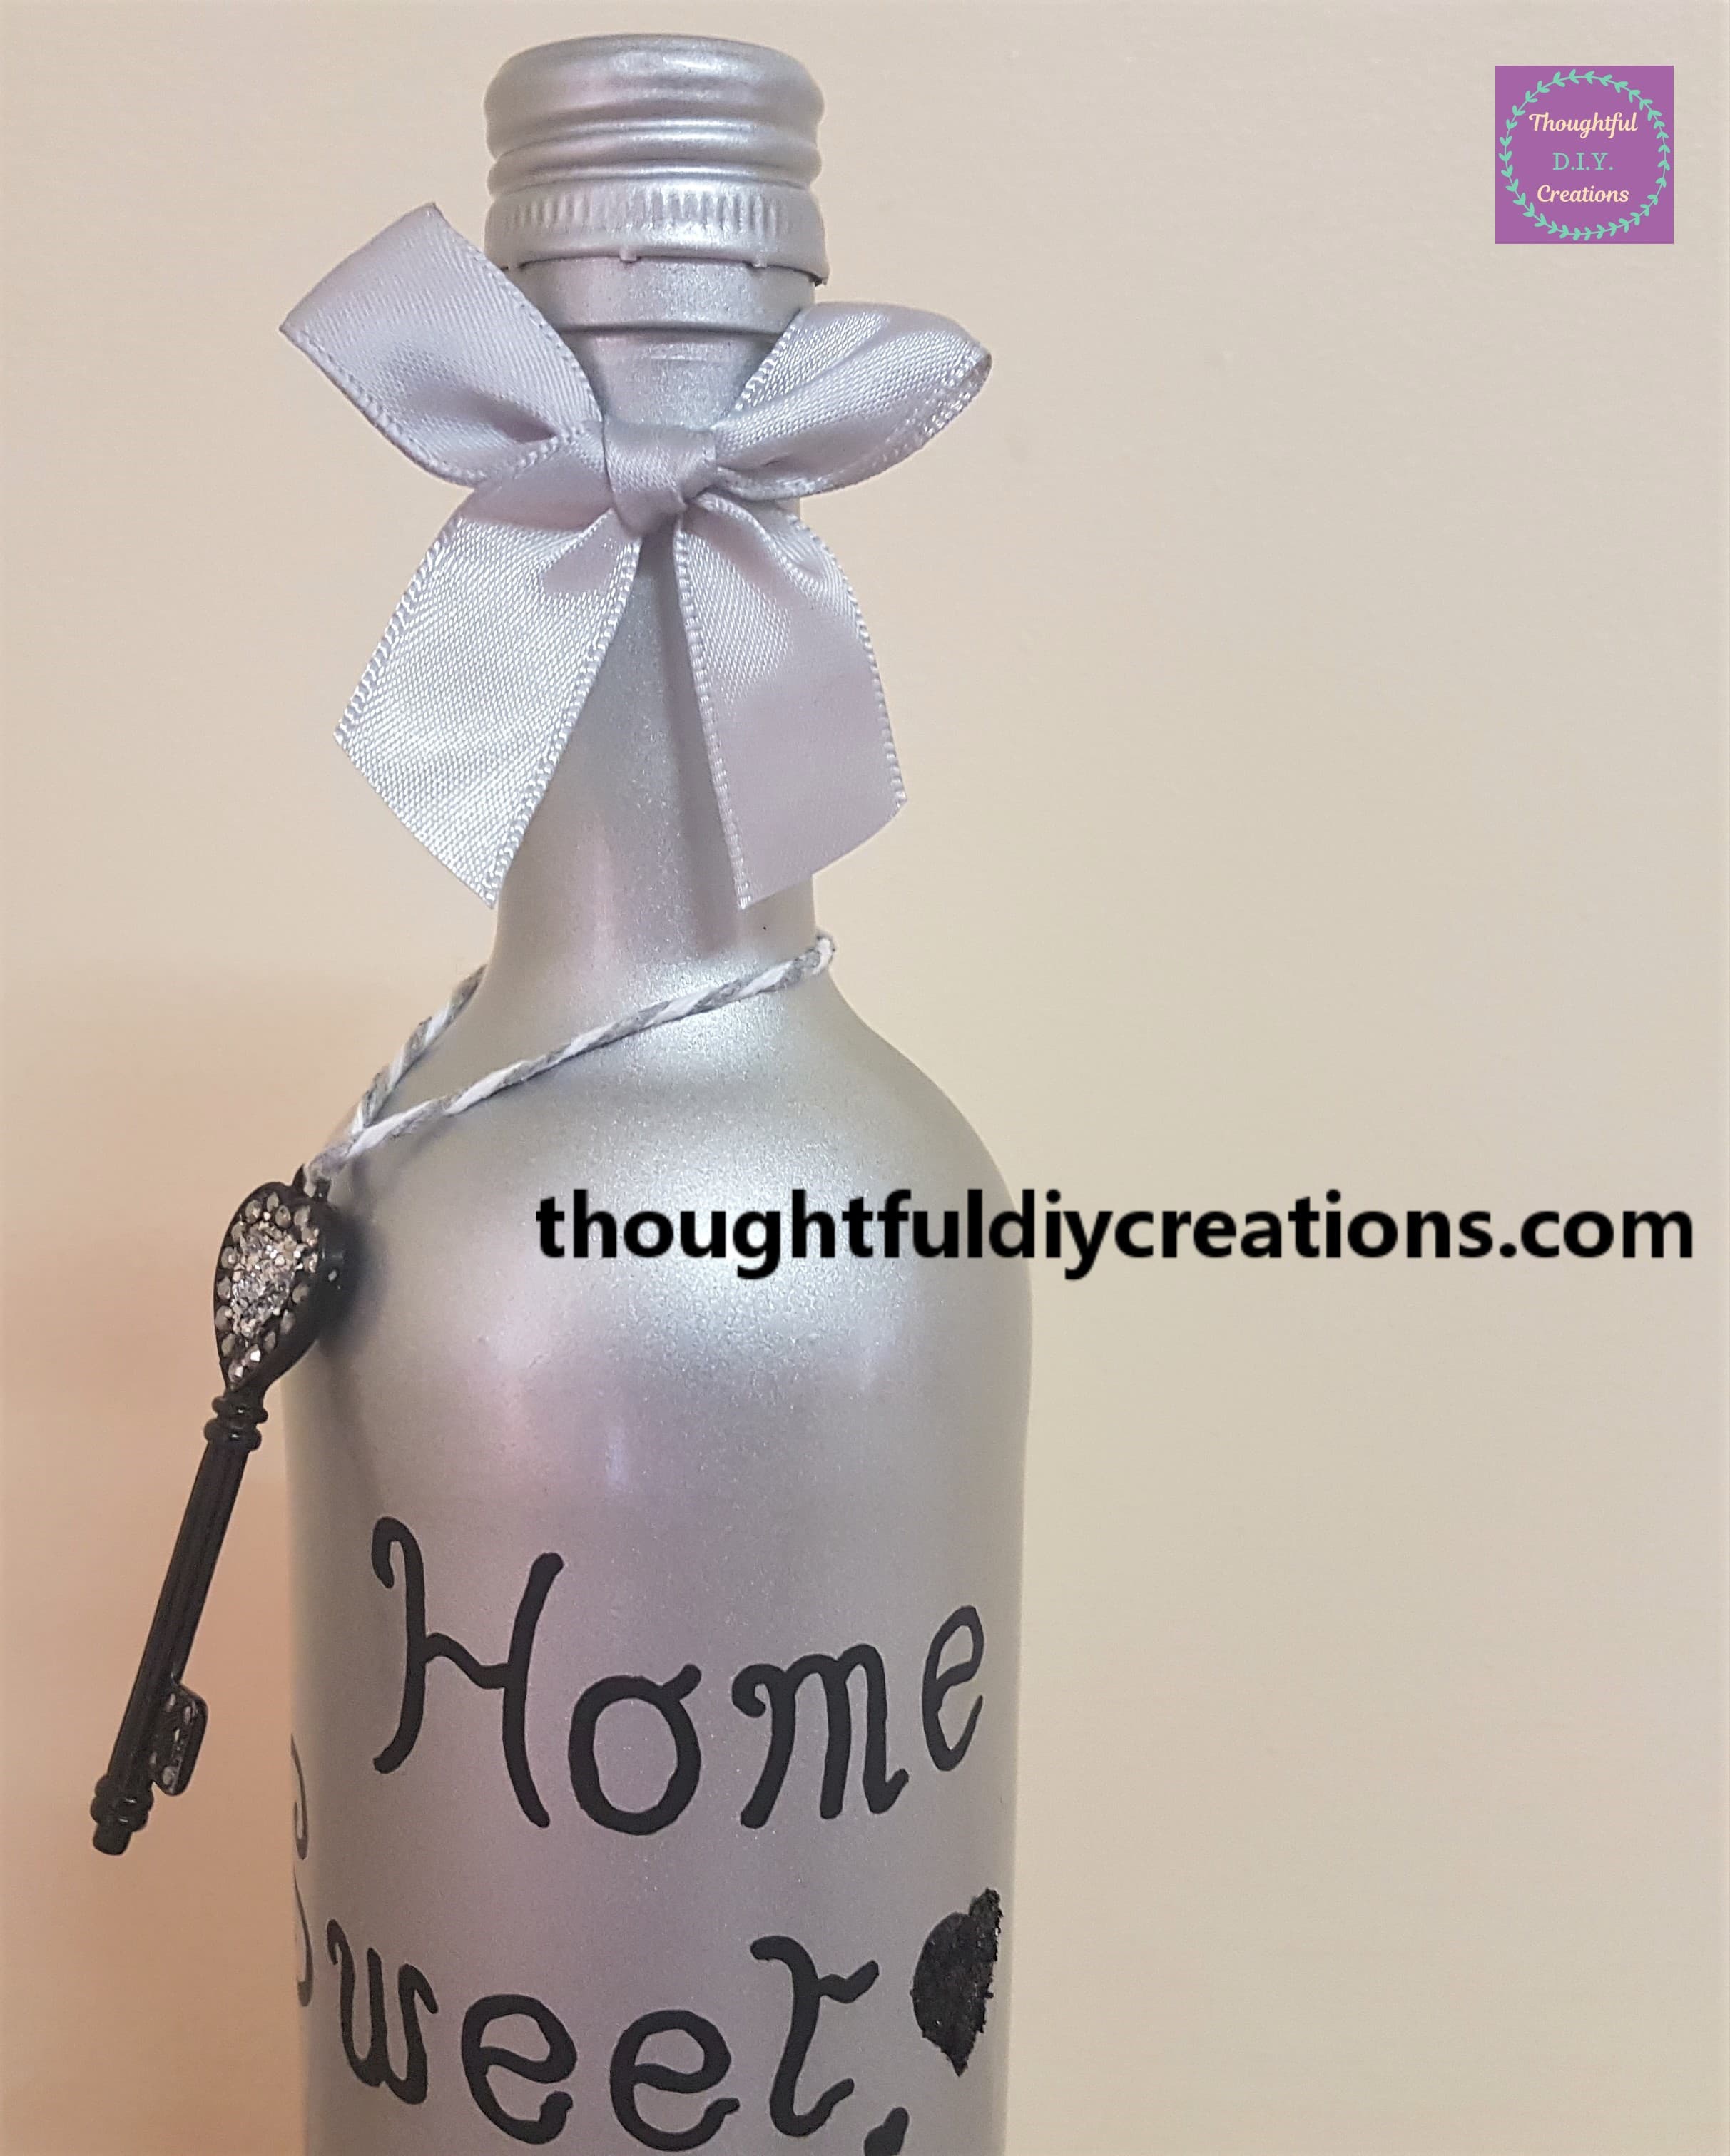
The upper half of the wine bottle.
The lower part of the bottle.
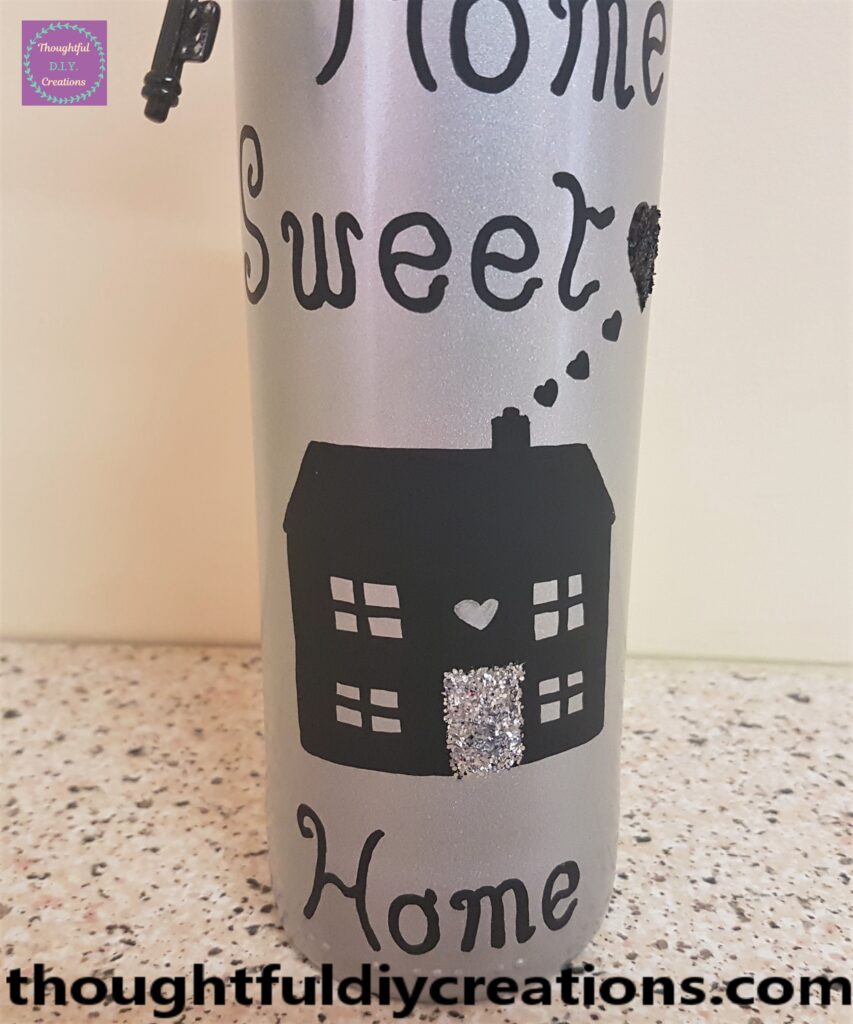
A close up of the house on the bottle.
This is the final image of the Up-Cycled Bottle.
Conclusion
I was thrilled with the transformation of my clear glass wine bottle. I am so happy that it is re-purposed into a piece of Home Decor. It was a fun, budget craft to complete. I think it’s amazing what a can of spray paint can do, it gives an object a whole new lease of life.
This would make a thoughtful D.I.Y. Gift for someone moving into their First Home, or moving into a New Home. It would also work for a Wedding Anniversary Gift for Parents. I think it’s also perfect for any time to display in your house to give it that homely feel and touch.
I hope I provided some ideas for up-cycling and re-purposing objects you already have in your home and changing their use and appearance. If you have any questions on this craft, just fill out the Comment Box below this Blog Post and I’ll reply as soon as I can.
Thank you so much for taking the time to read my Blog.
Always Grateful,
T.D.C.
xoxox

-0 Comment-