Wood Slice Christmas Ornaments
Hello my Creative Friends,
I hope you are all Well. In Today’s Tutorial I will show you how I made Wood Slice Christmas Ornaments. It is a Beginner Friendly Craft and it would be a Fun Activity to get into the Christmas Spirit on your own or with your Family. I hope you will find it beneficial as I will provide some Ideas on how to Paint and Decorate Wood Slices and incorporate them into your Home Decor this Christmas.
Wood Slices for Crafting
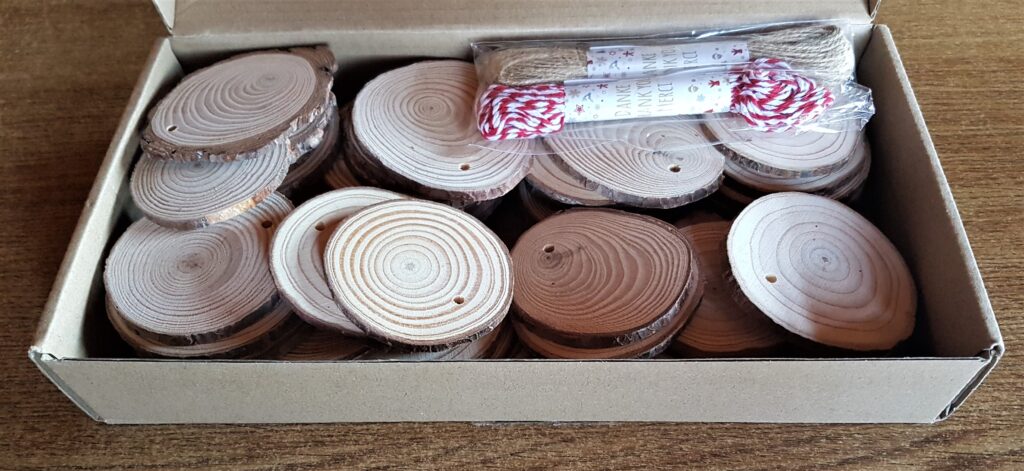
I bought a Box of 50 Pre-Drilled Natural Wood Slices 6-7 cm which came with Jute String and Red and White Cotton String.
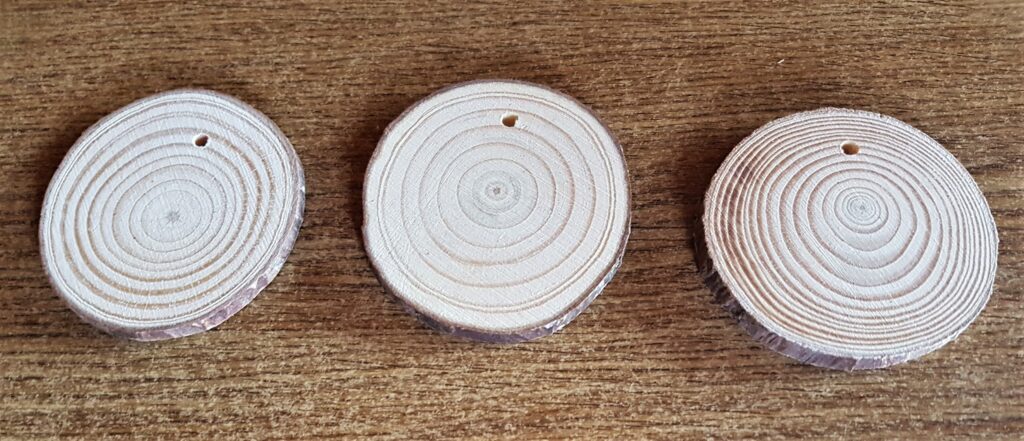
Here are 3 of the Wood Slices out of the Box.
Painting the Wood Slices
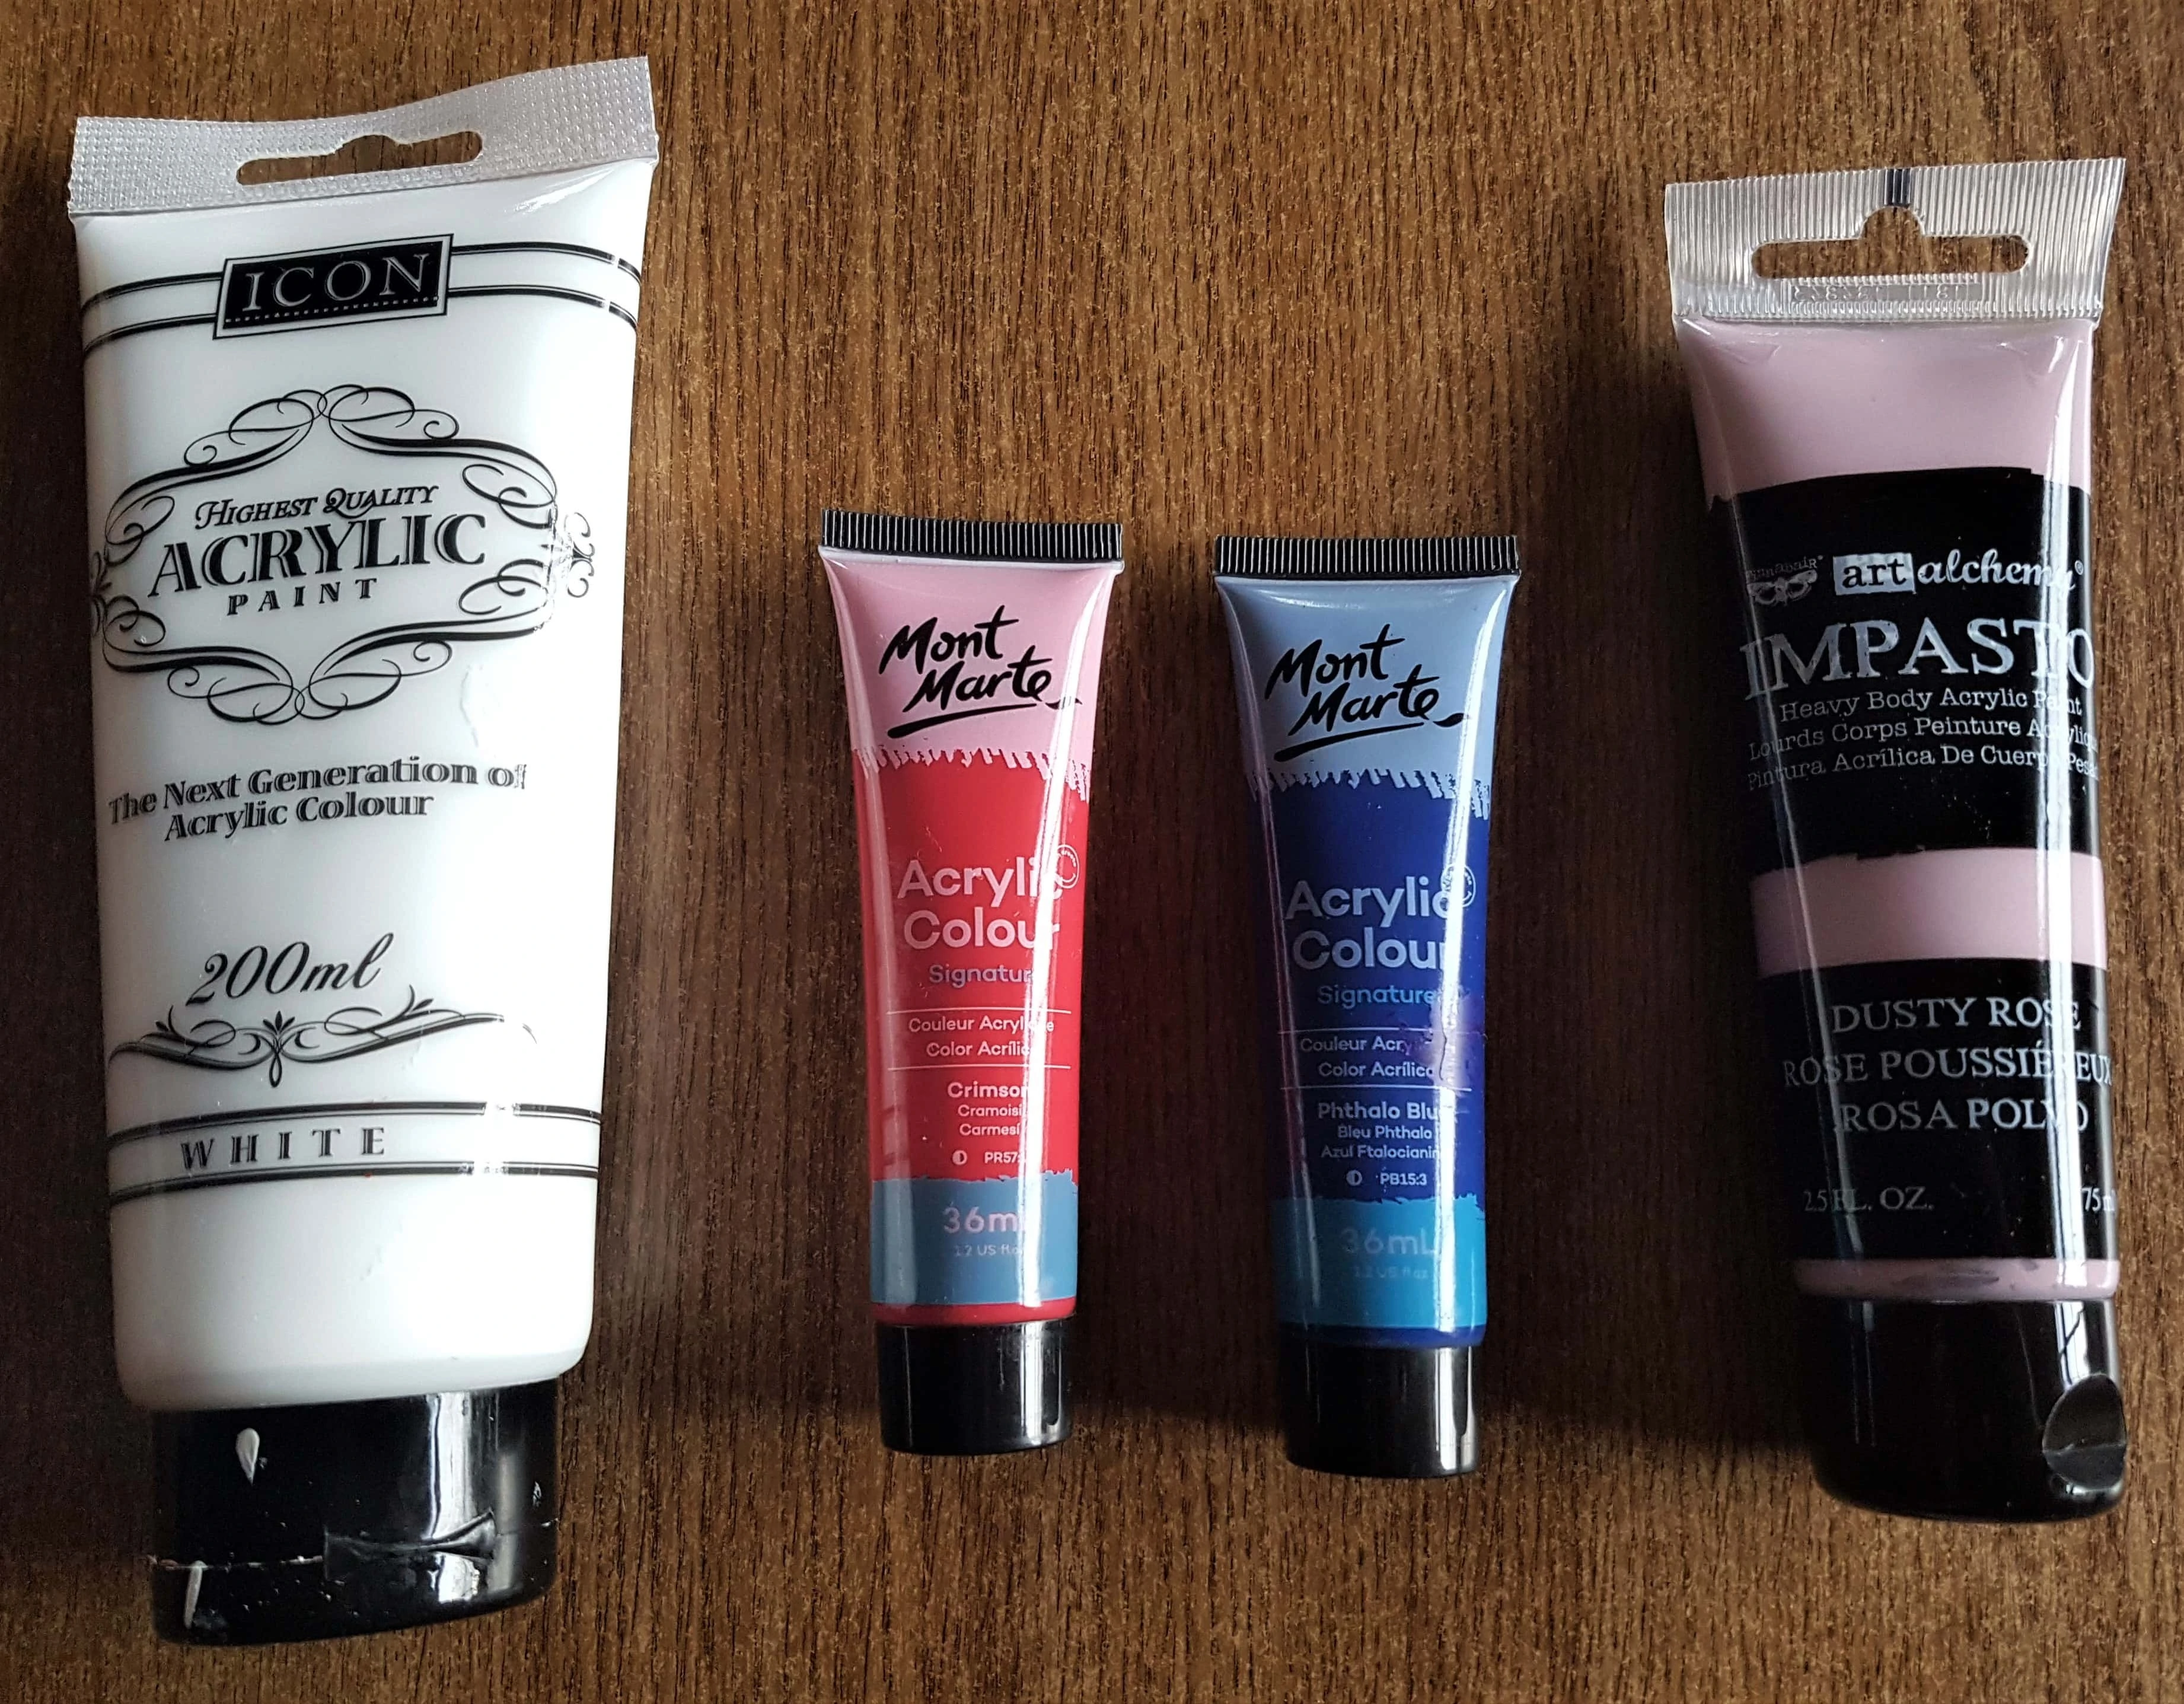
I got my Acrylic Paints, the Colours were; White, Crimson, Phthalo Blue and Dusty Rose.
I Painted 3 layers of the White Paint onto a Wood Slice, leaving an hour between each layer. I Painted One layer of the other Colours onto 3 other Wood Slices. I used a Small Paintbrush.
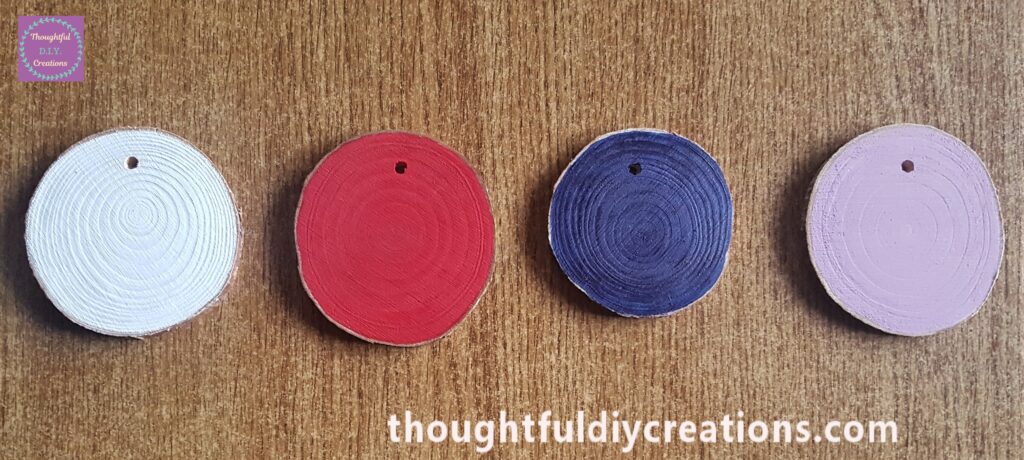
I Painted 2 layers of Purple Acrylic Paint onto another Wood Slice.
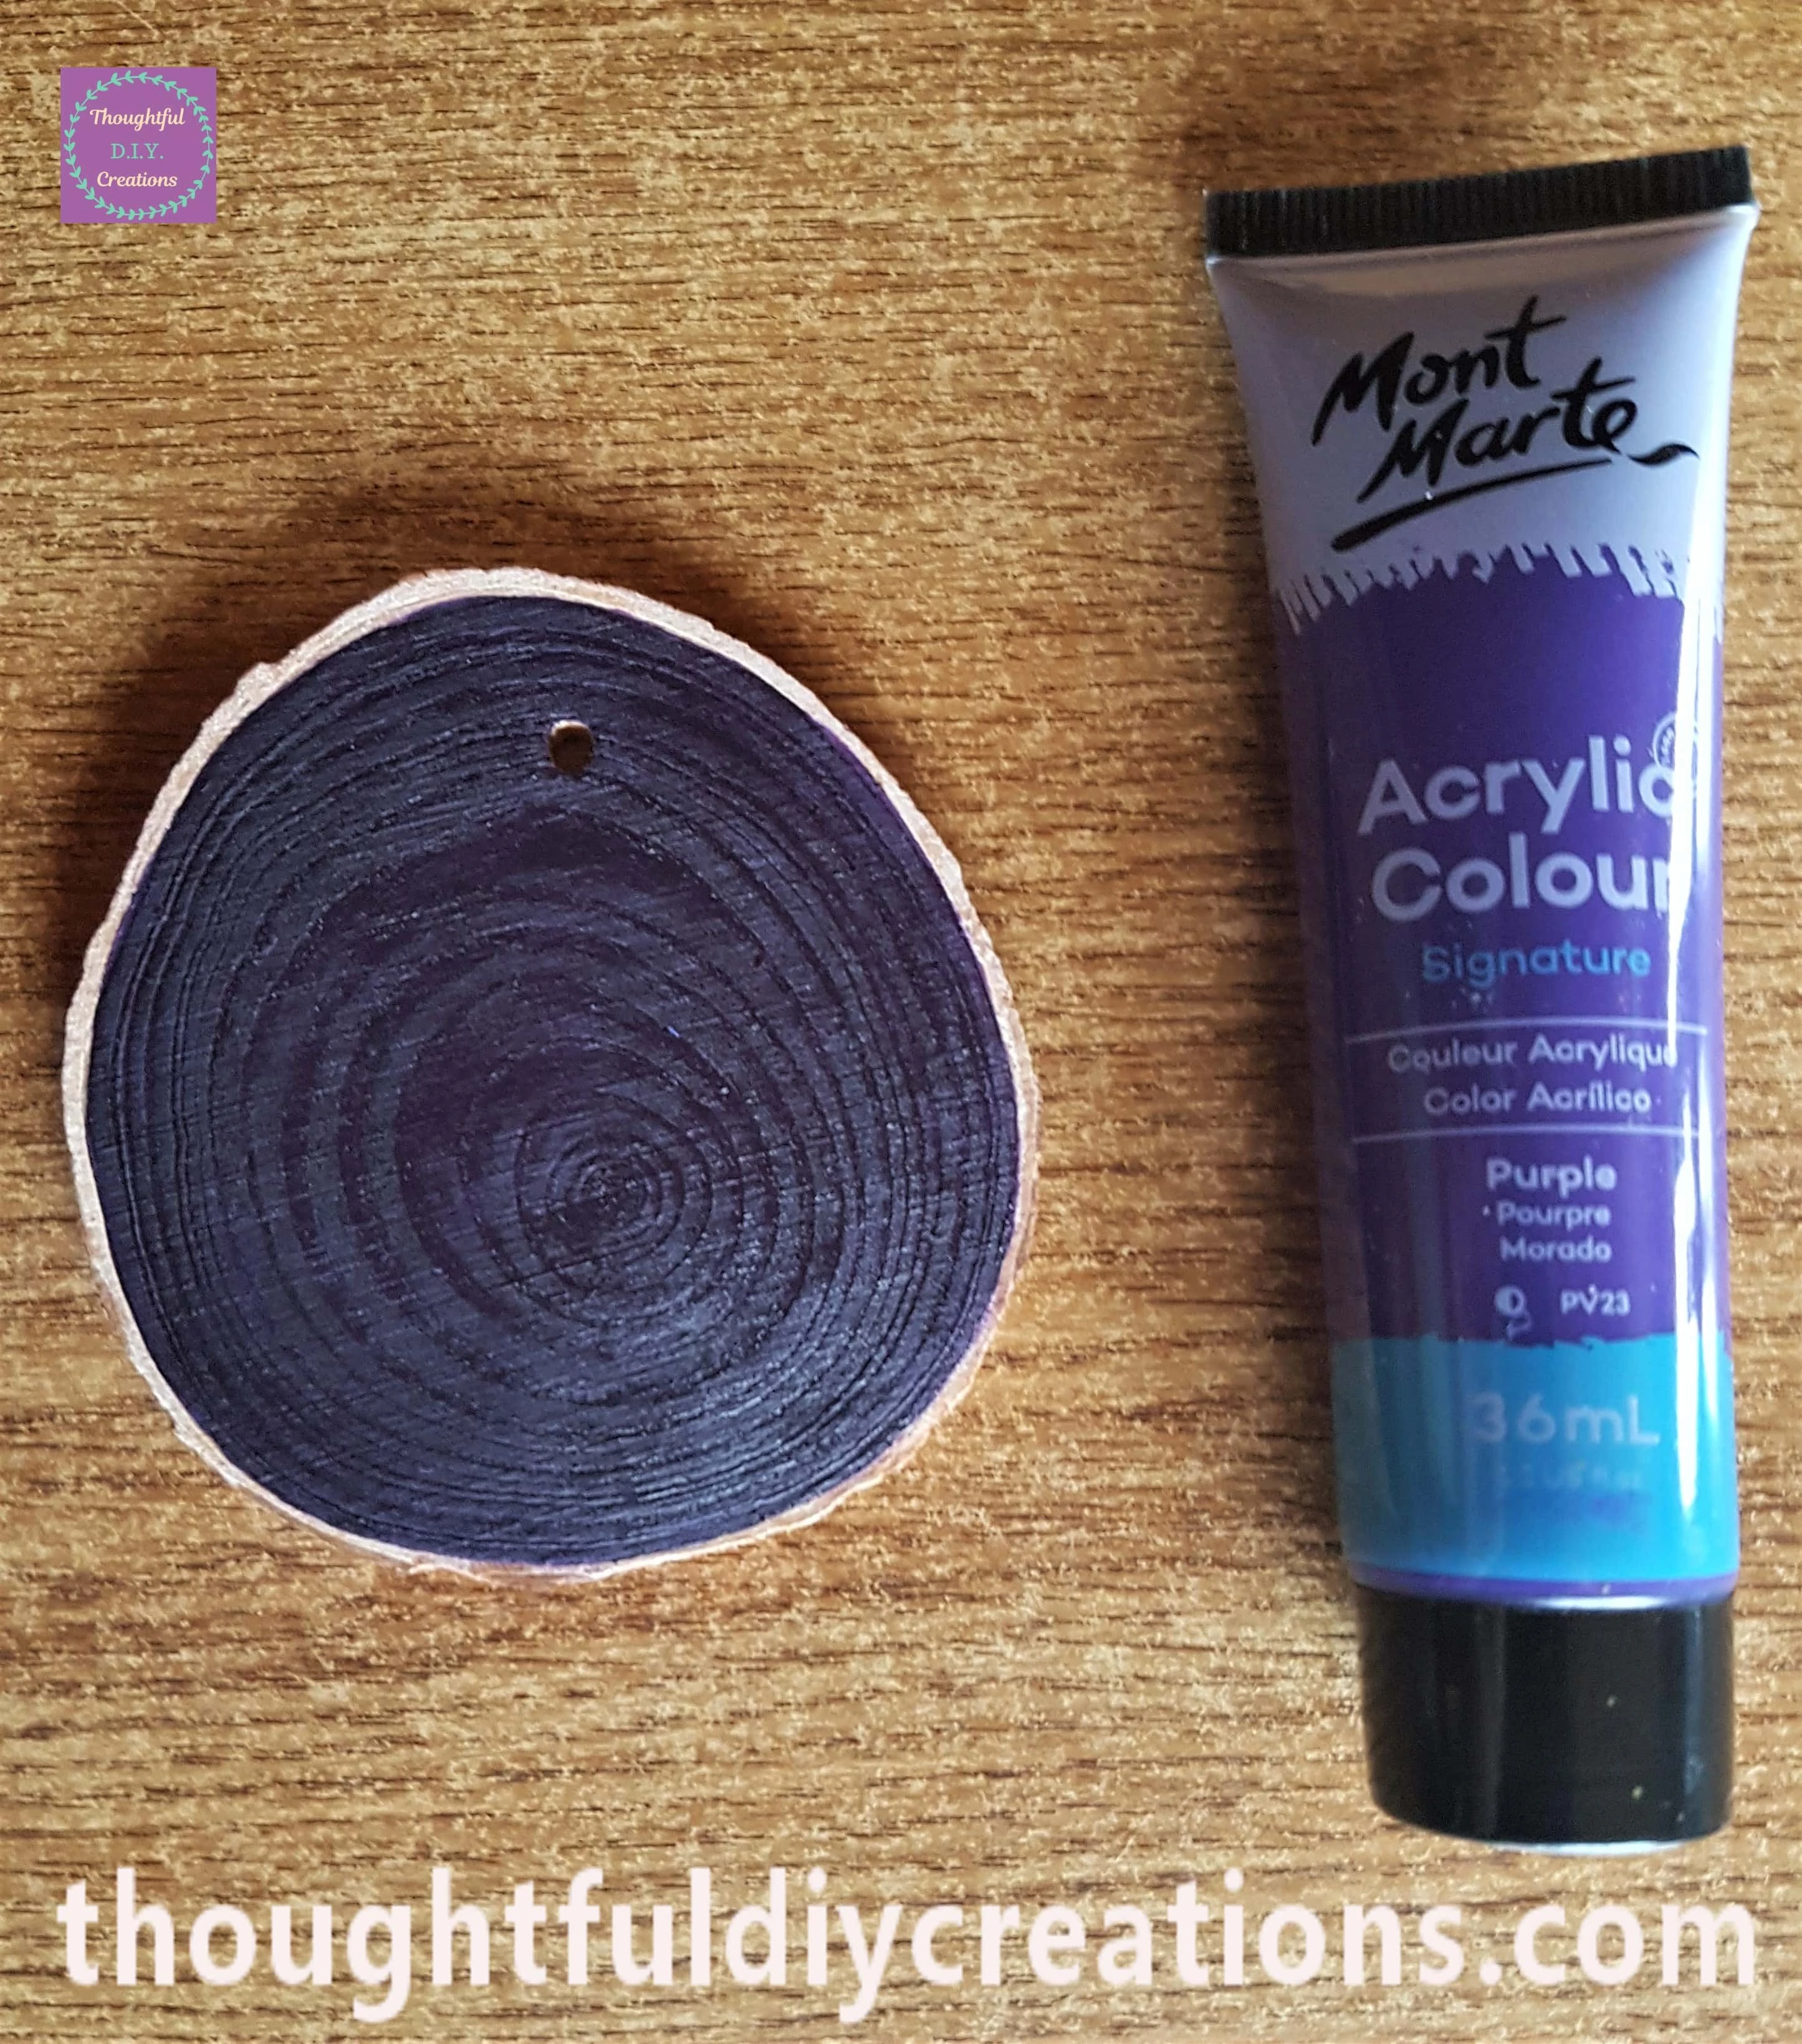
Decorating the Red Wood Slice
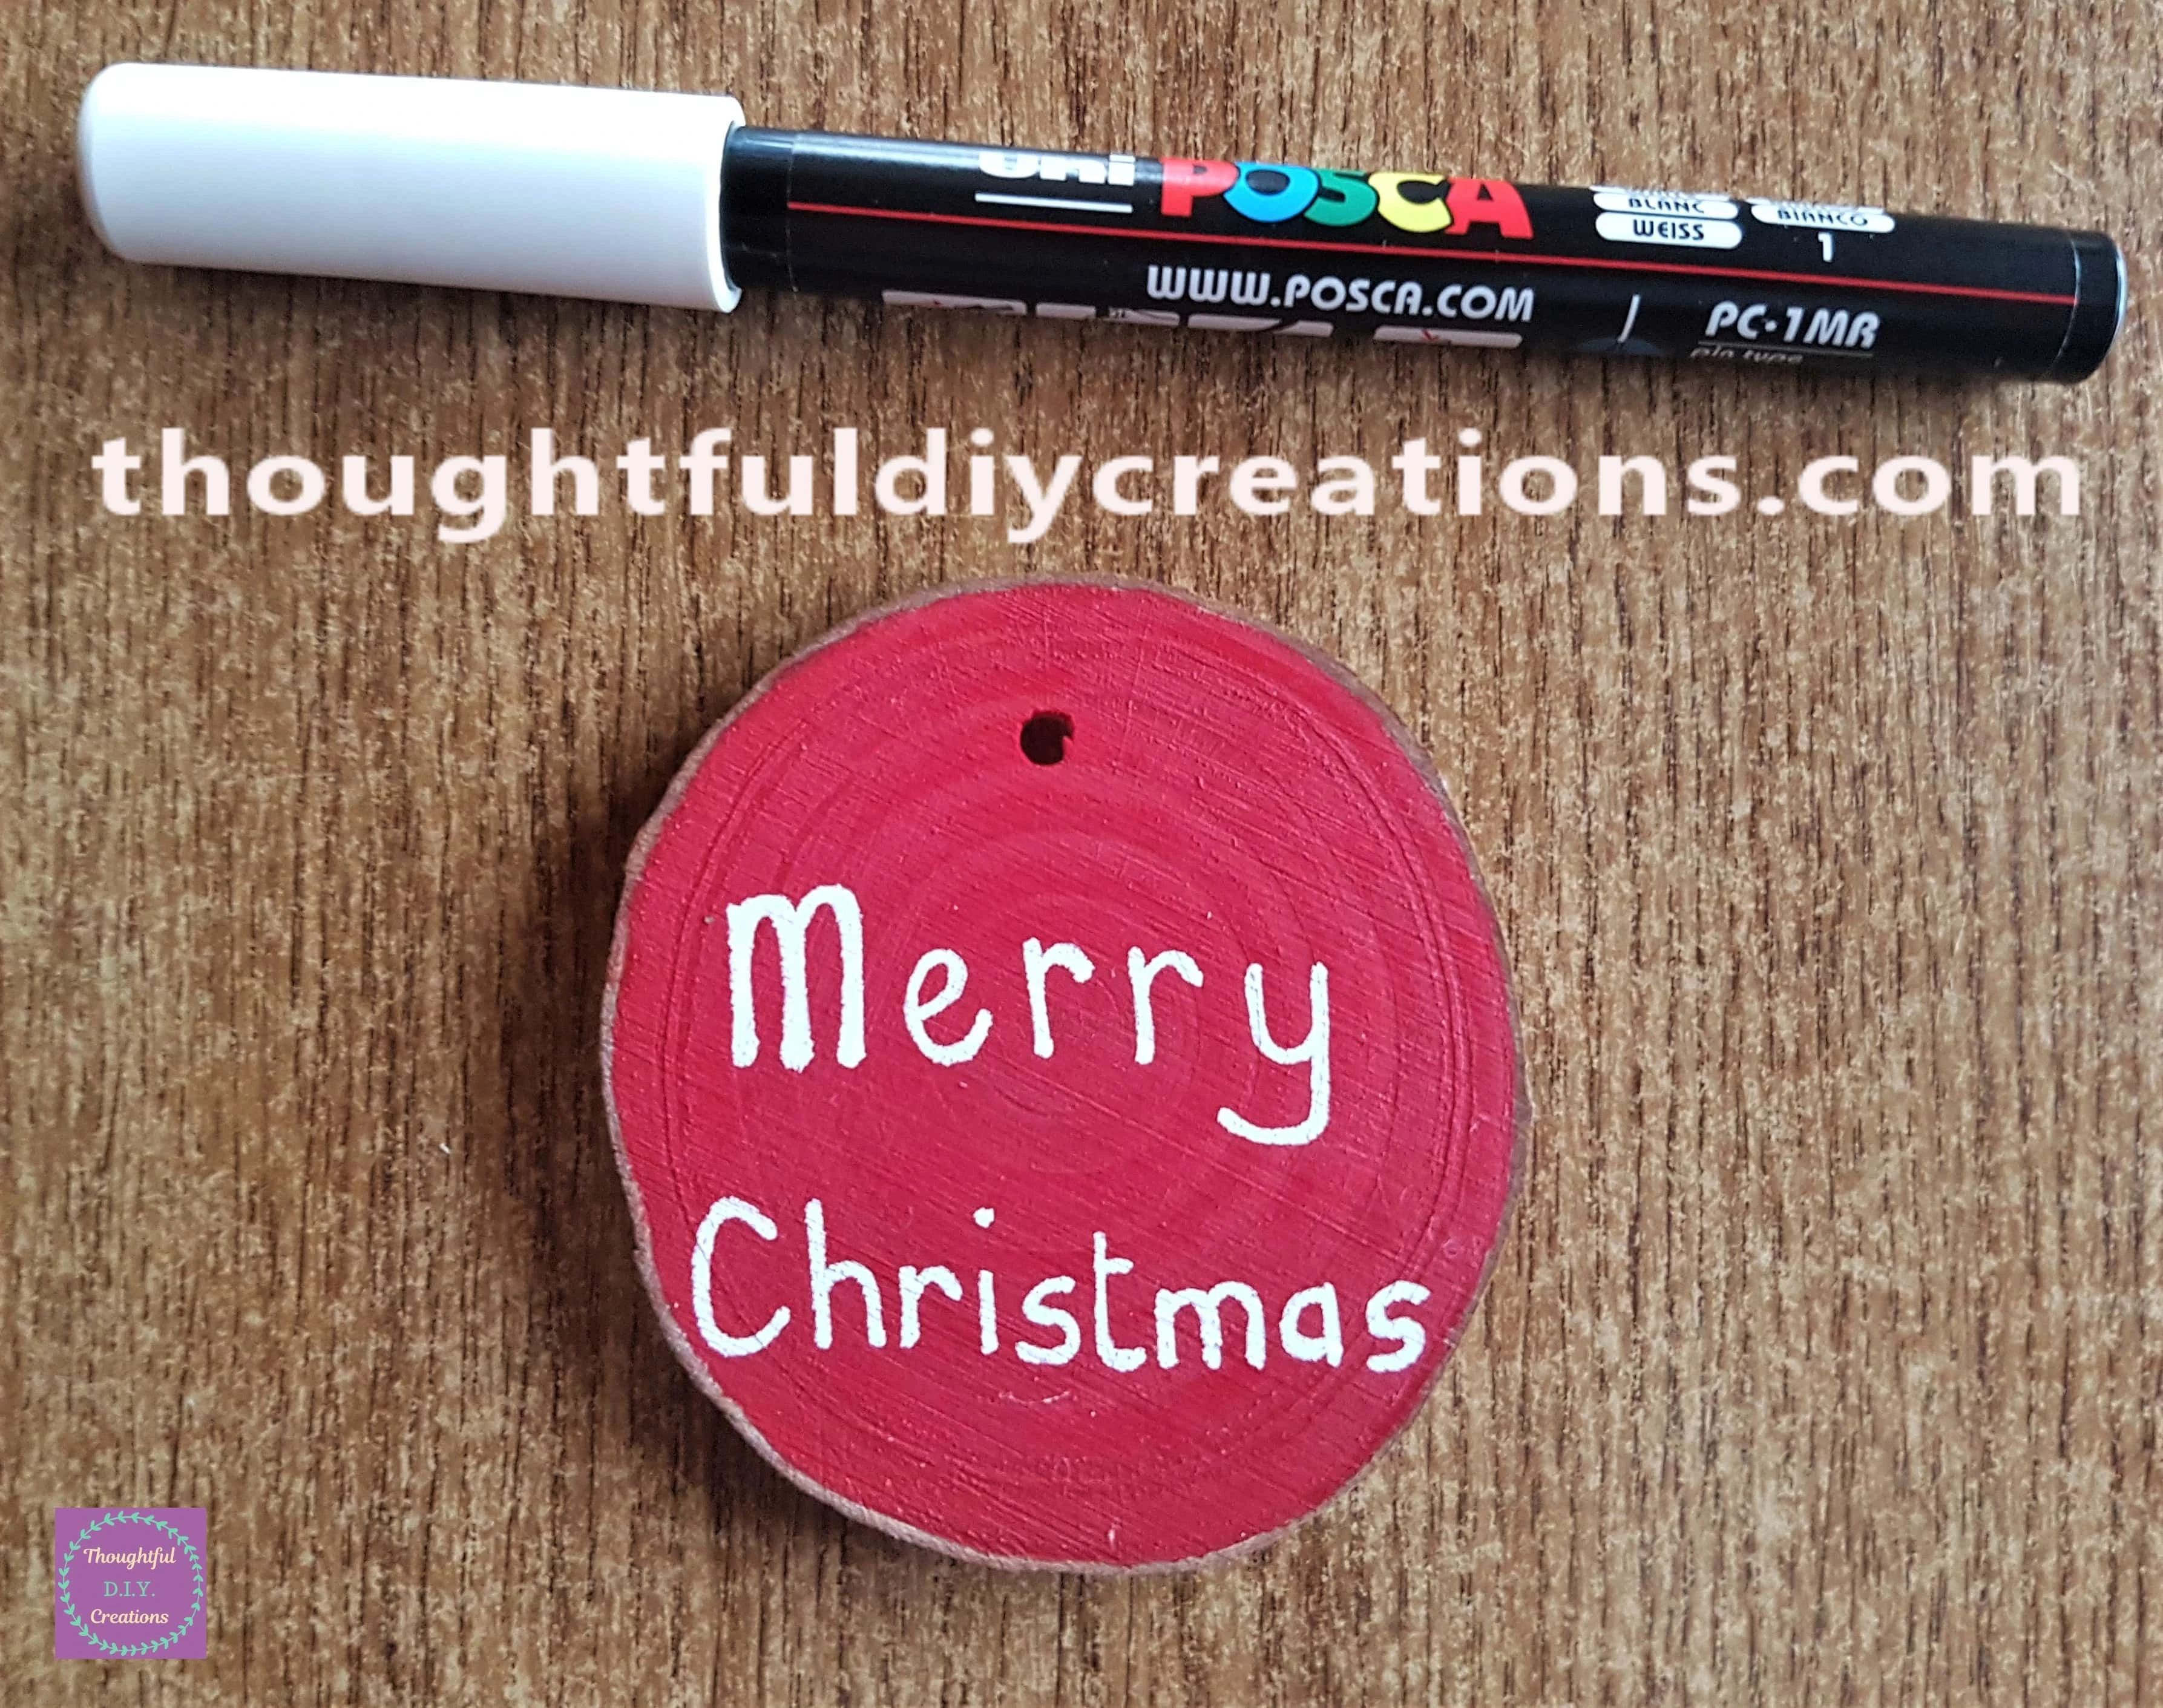
I wrote ‘Merry Christmas’ onto the Red Wood Slice with a ‘White uni POSCA Acrylic Paint Pen 0.7 mm’. I added another layer when the first one was fully dry.
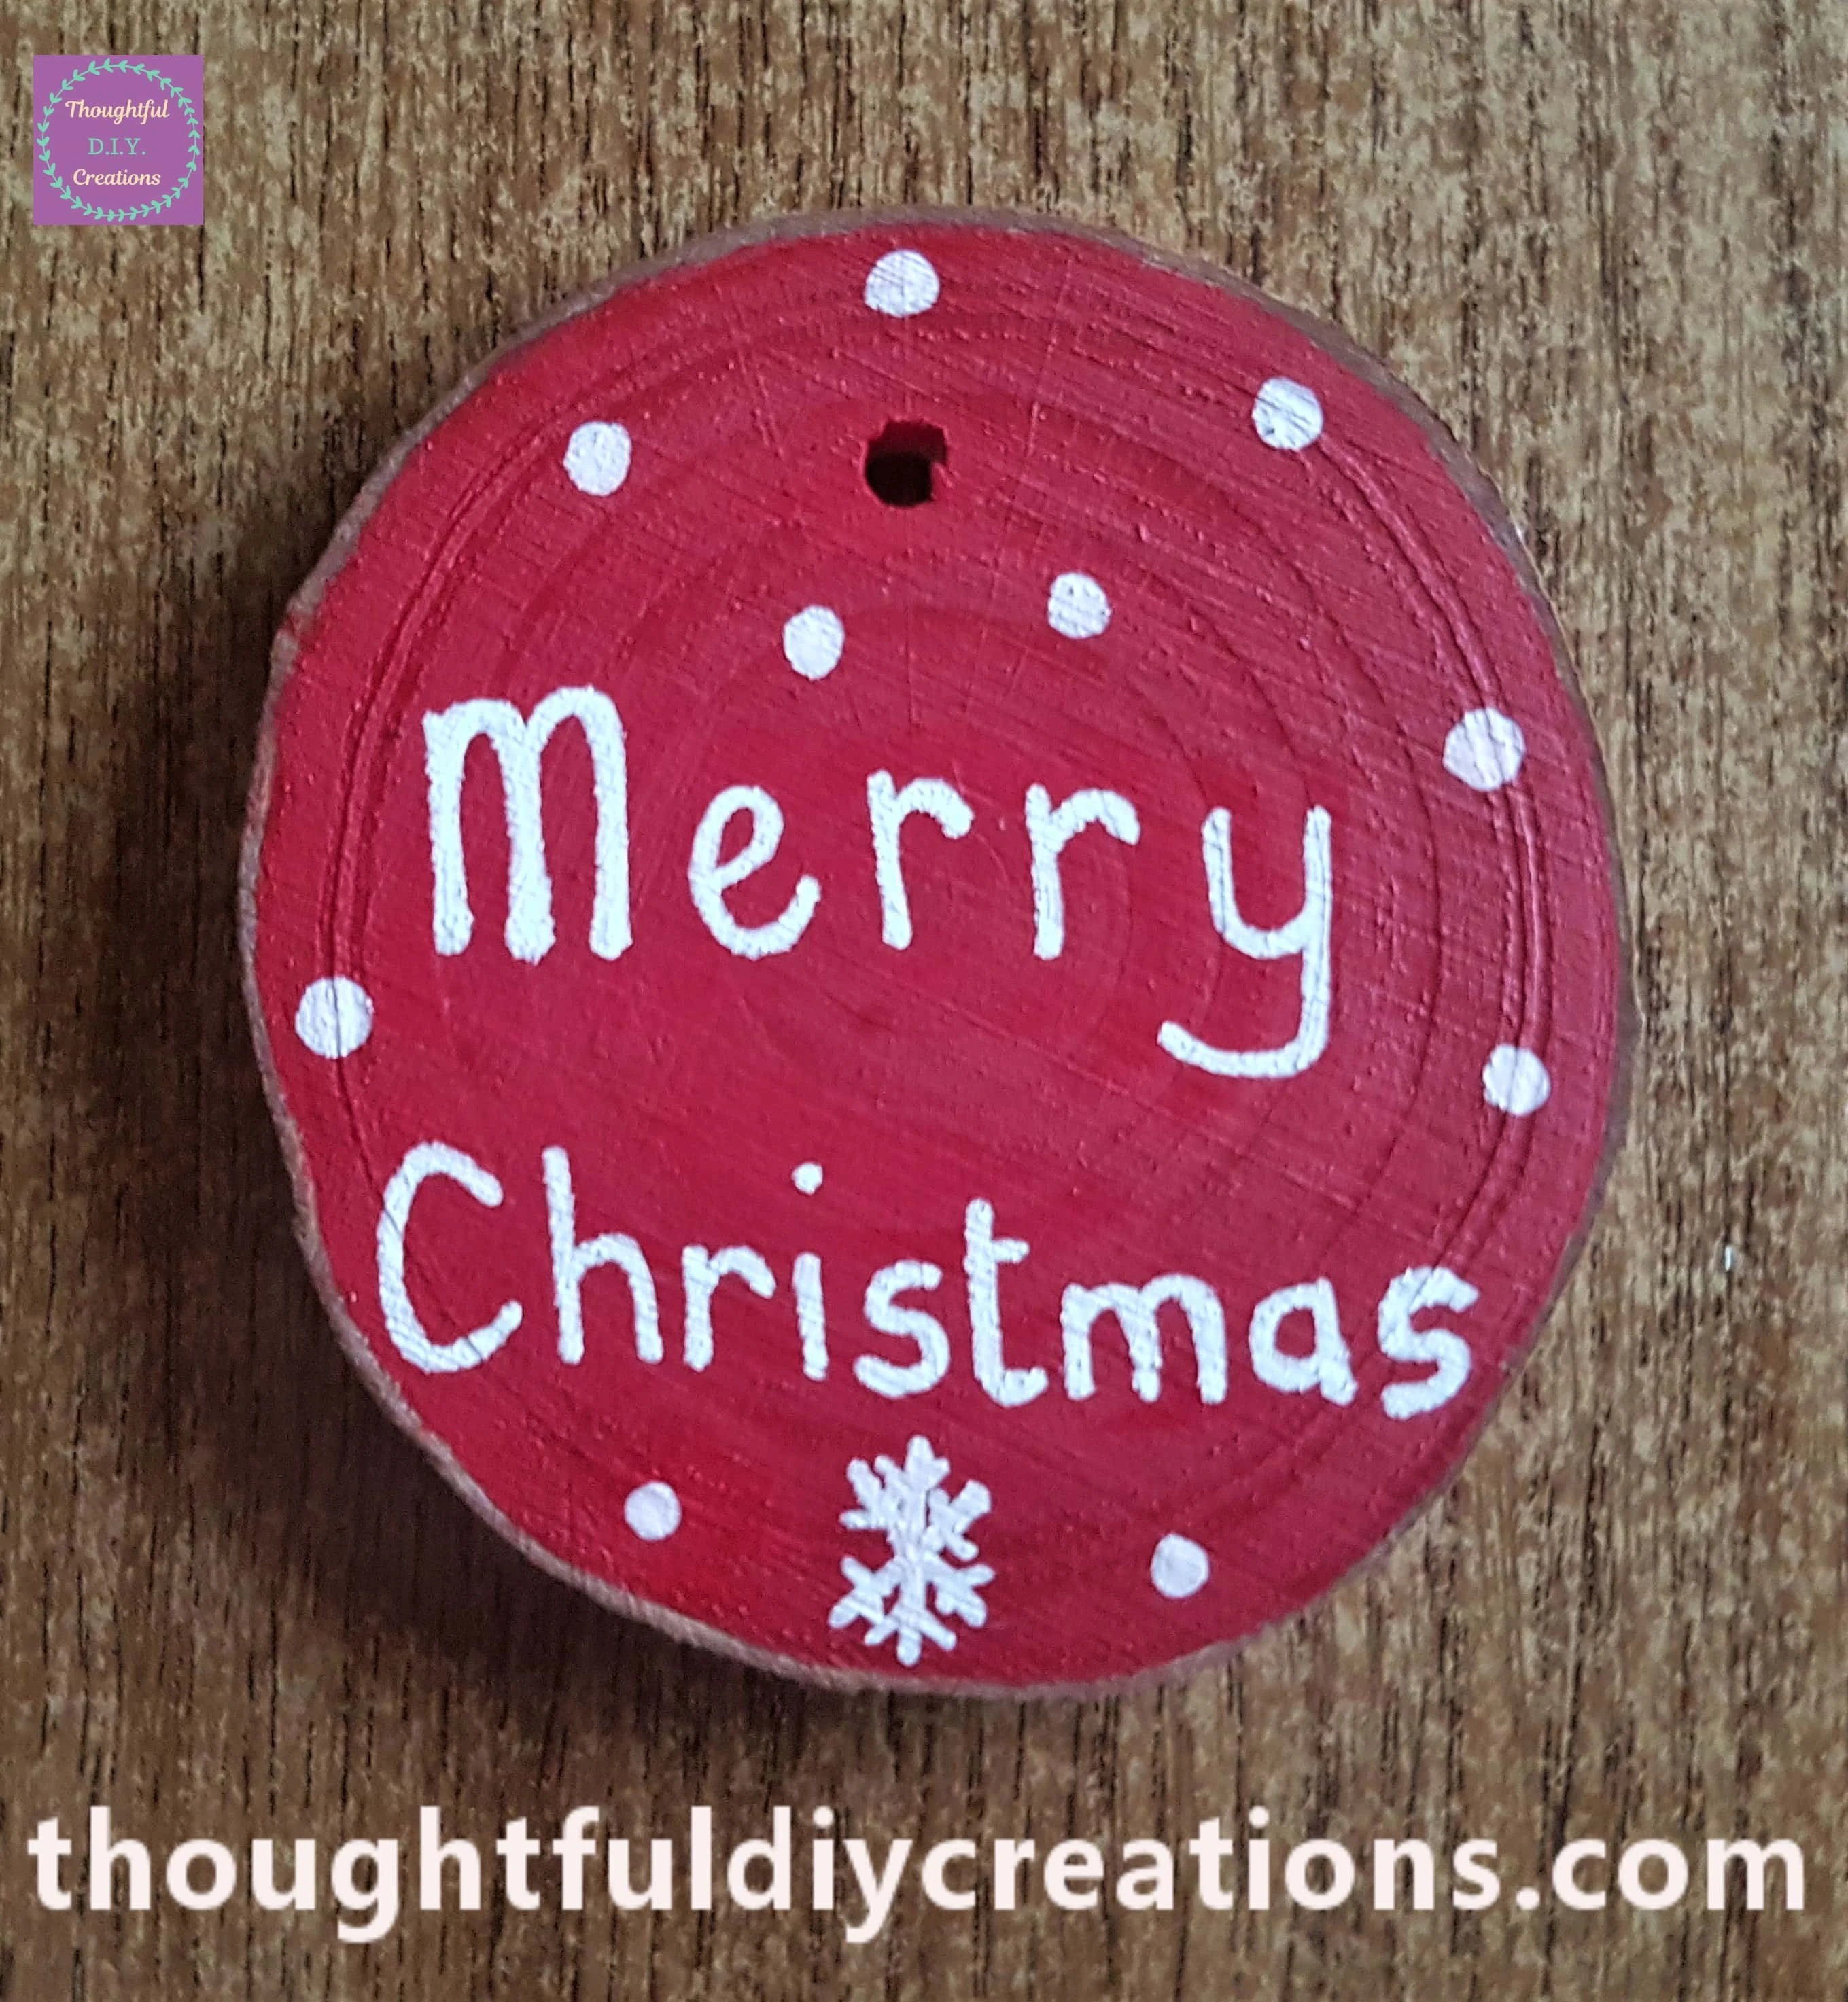
I added Polka Dots for Snow and a Snowflake with the Paint Pen.
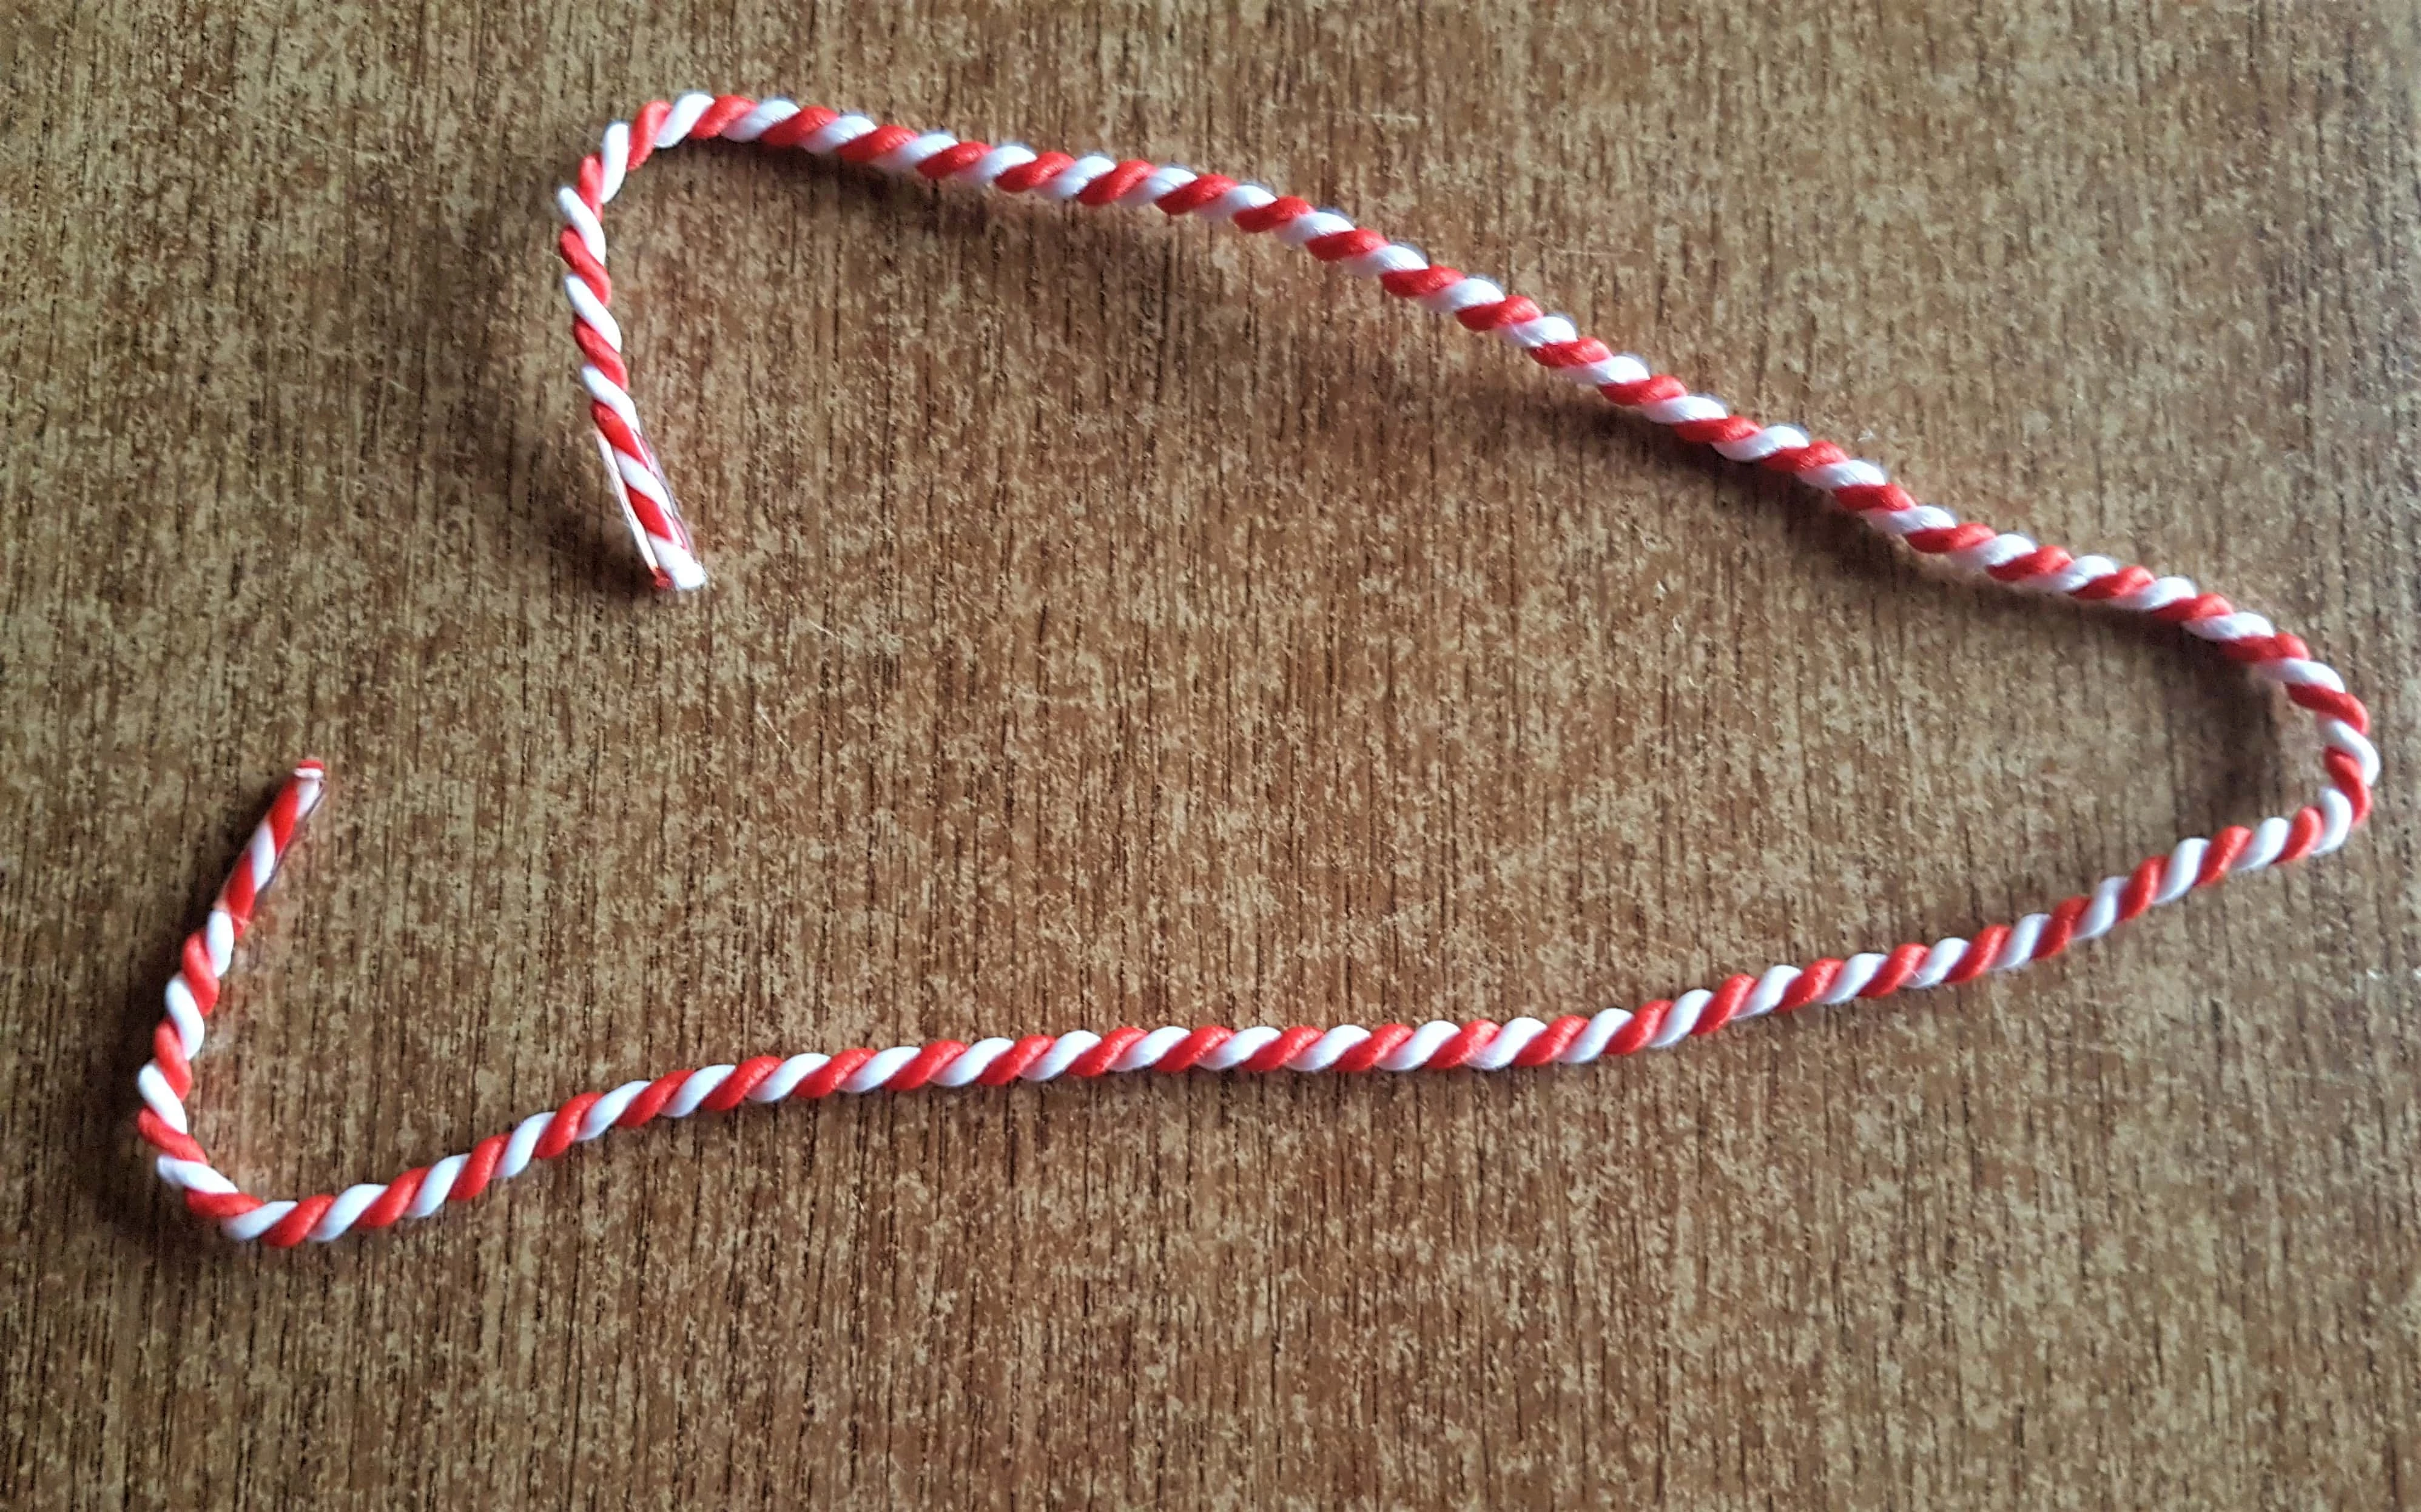
I found a Red and White String in my Supplies that would Complement the Wood Slice.
I put the String through the hole in the Wood Slice, tied it in a knot three times and cut off the excess string.
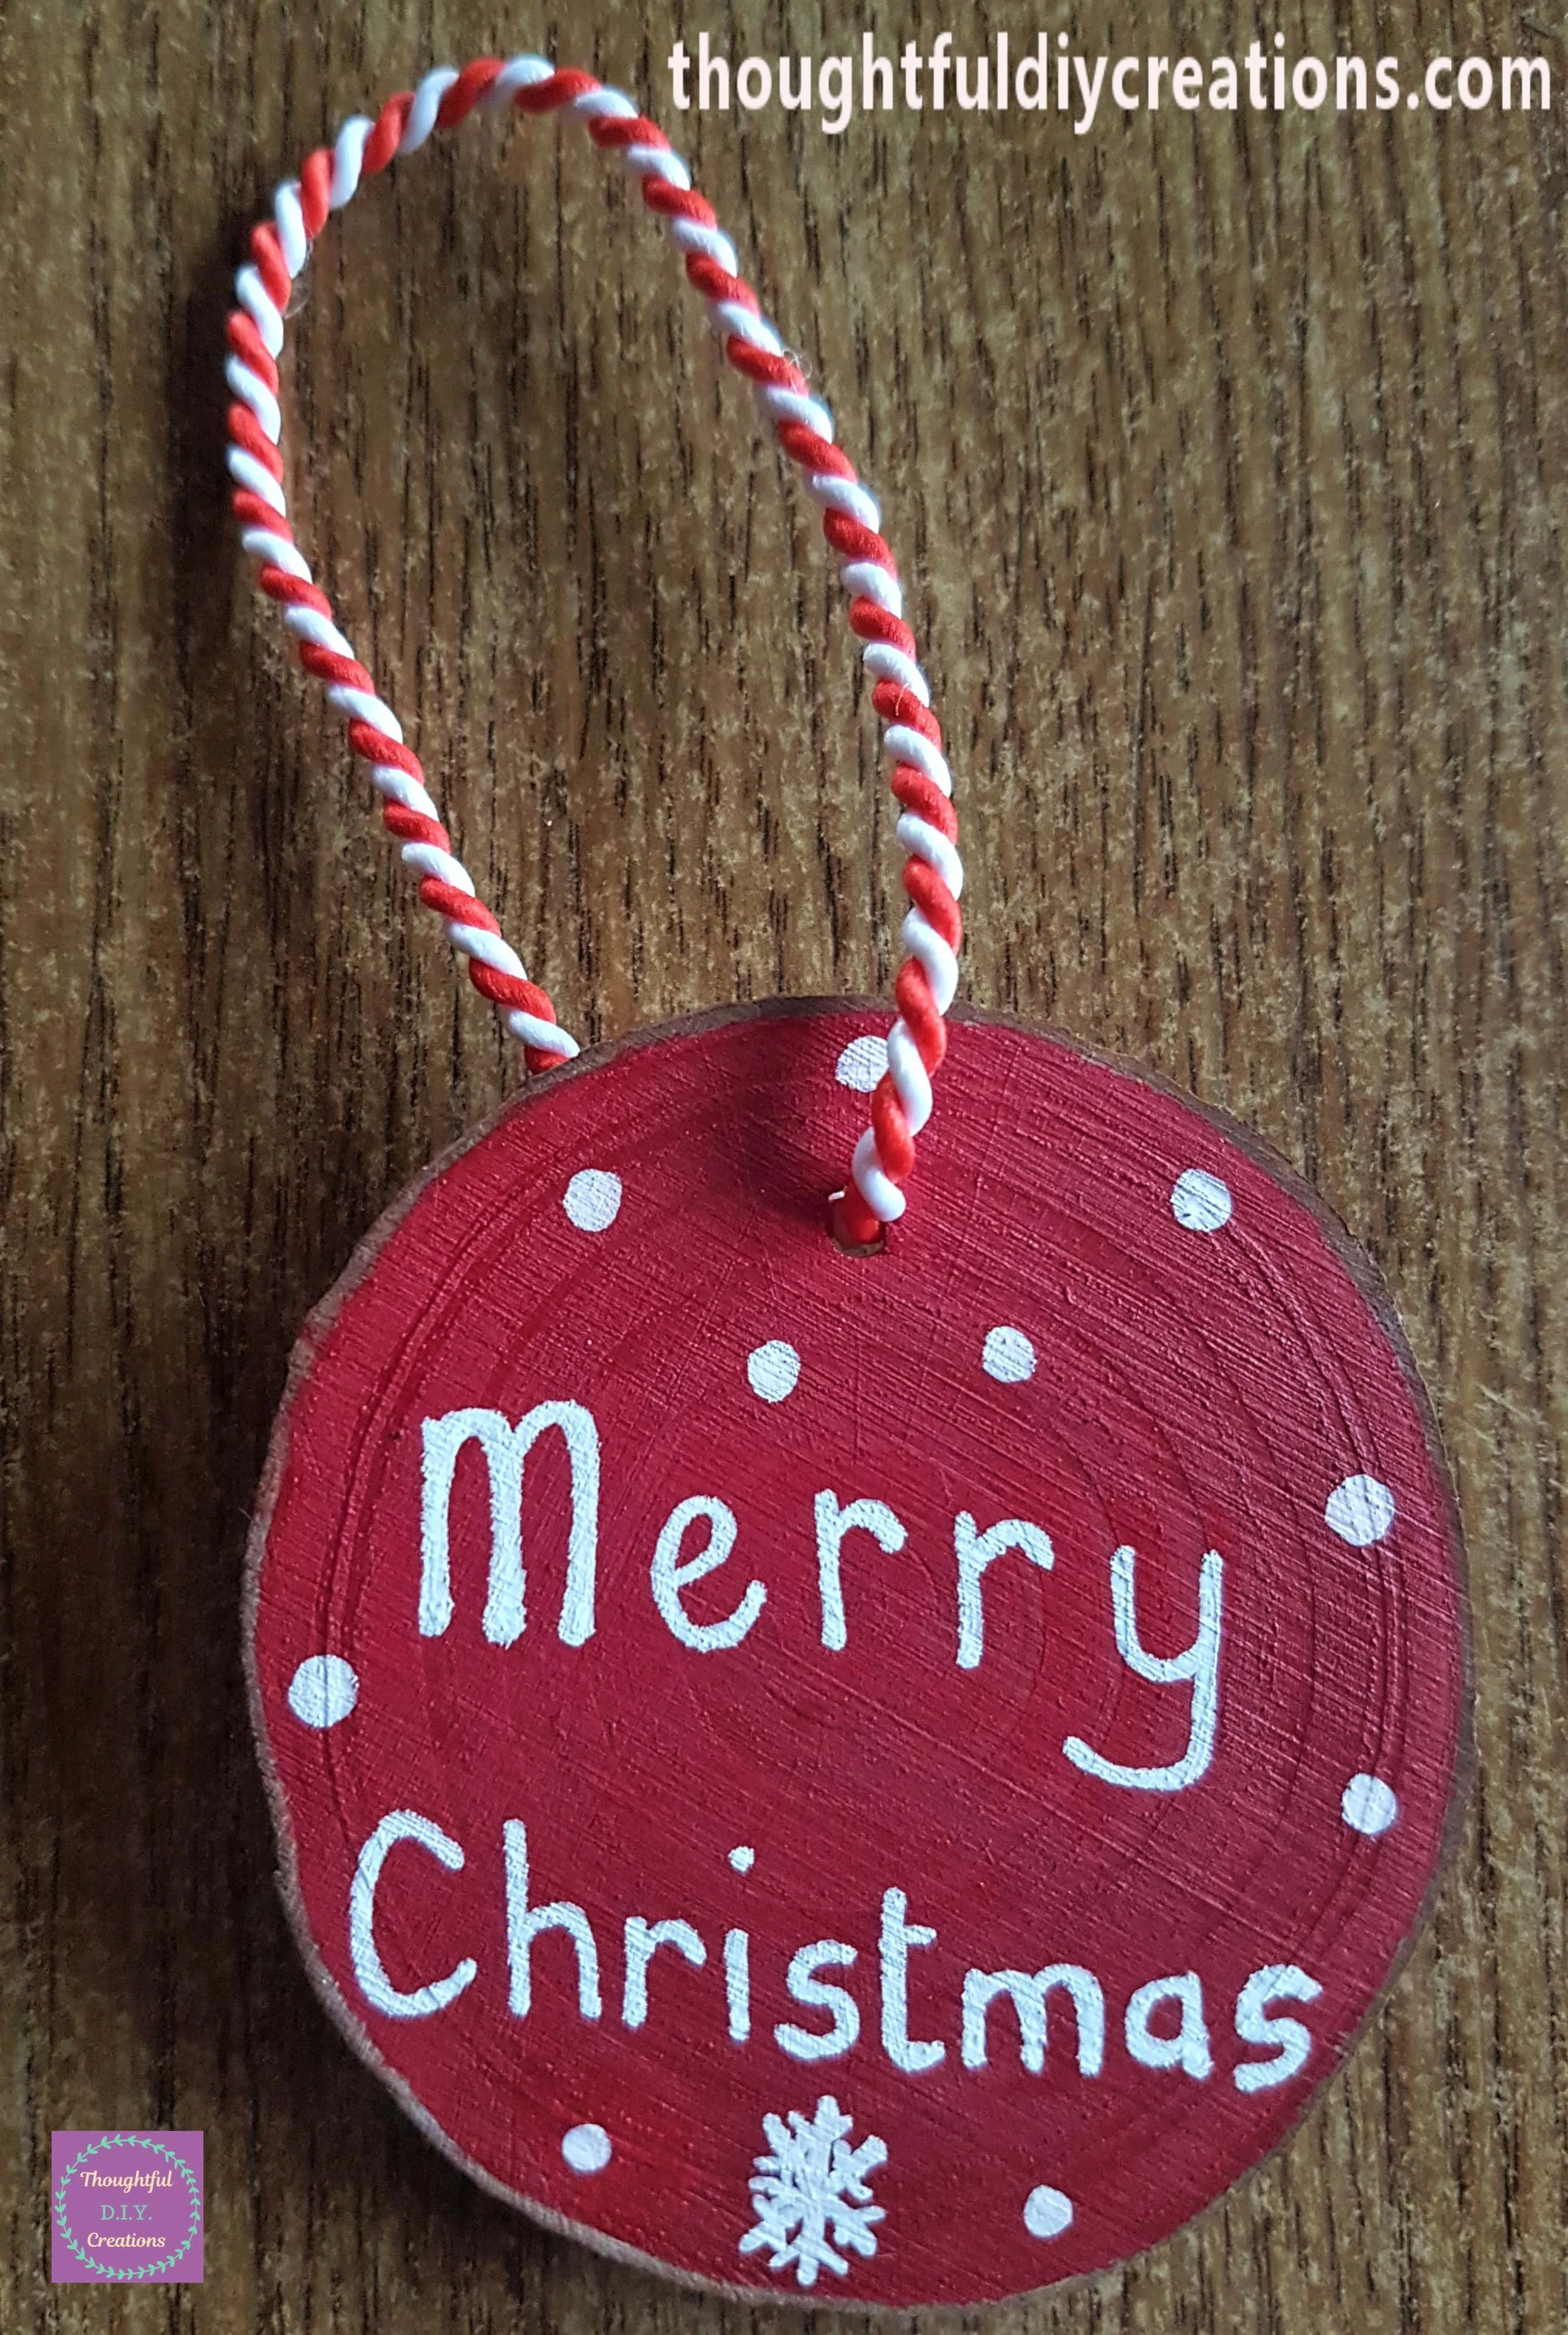
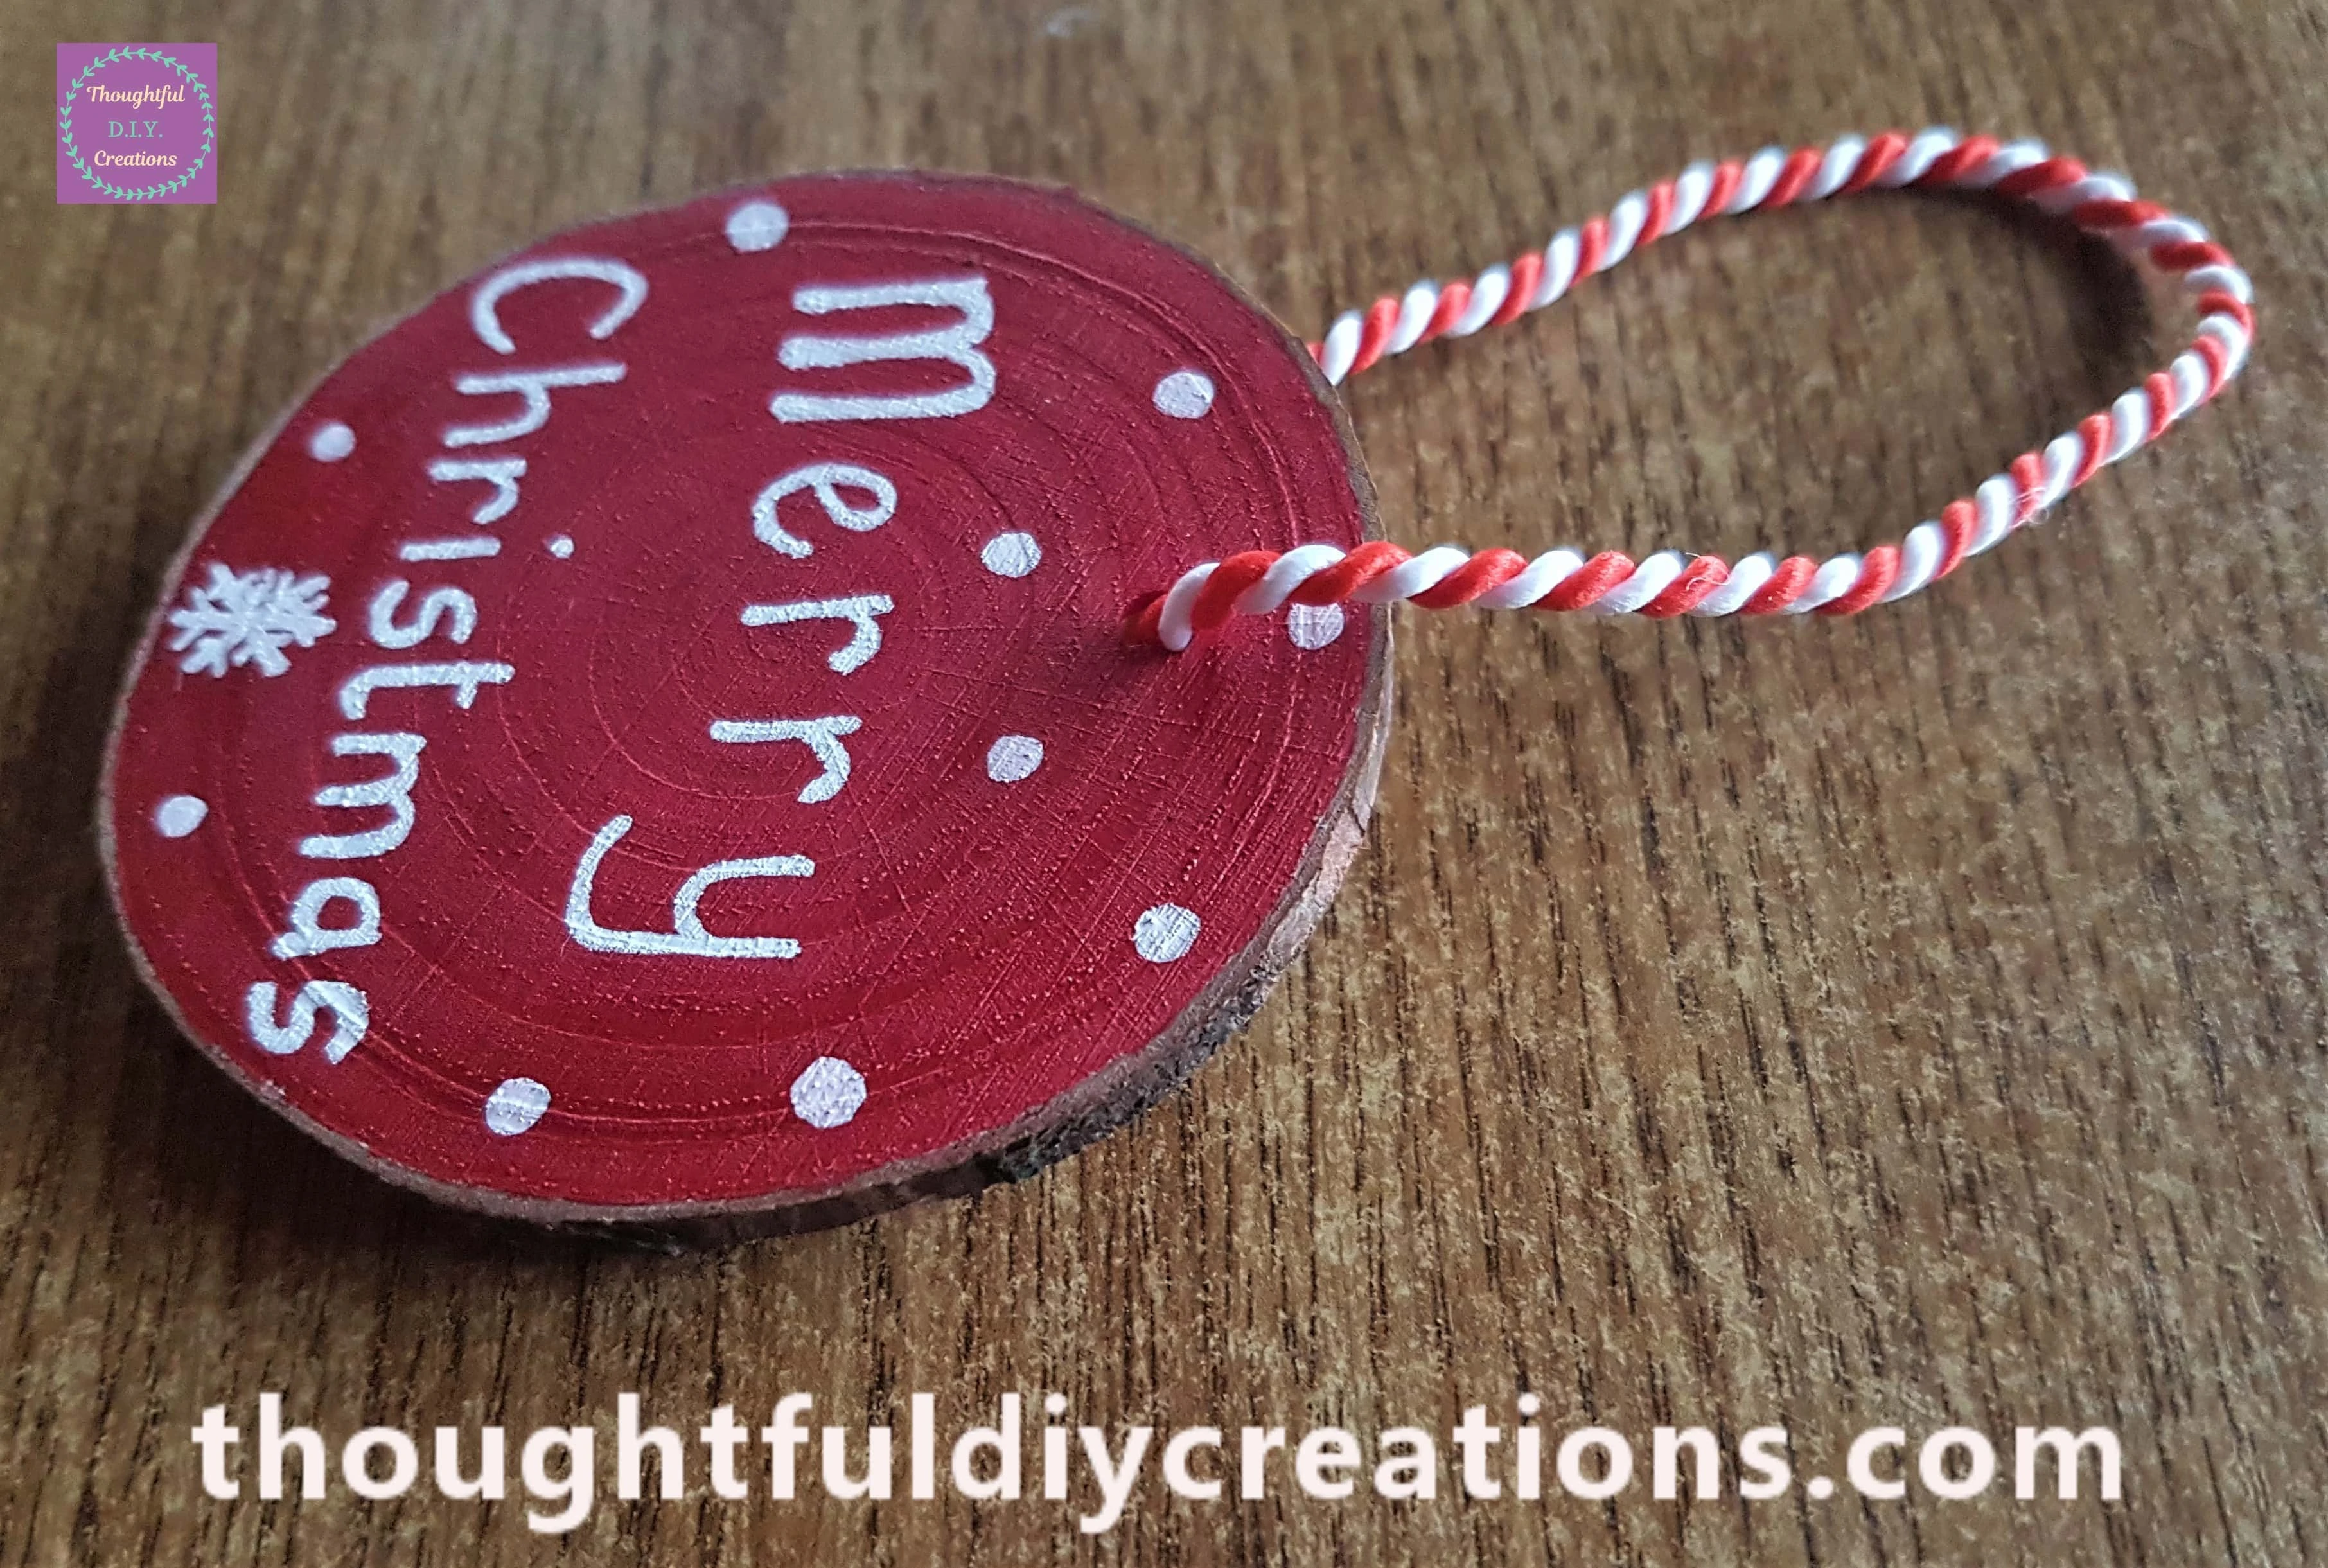
This Completed my first Wood Slice. Here it is from a side angle.
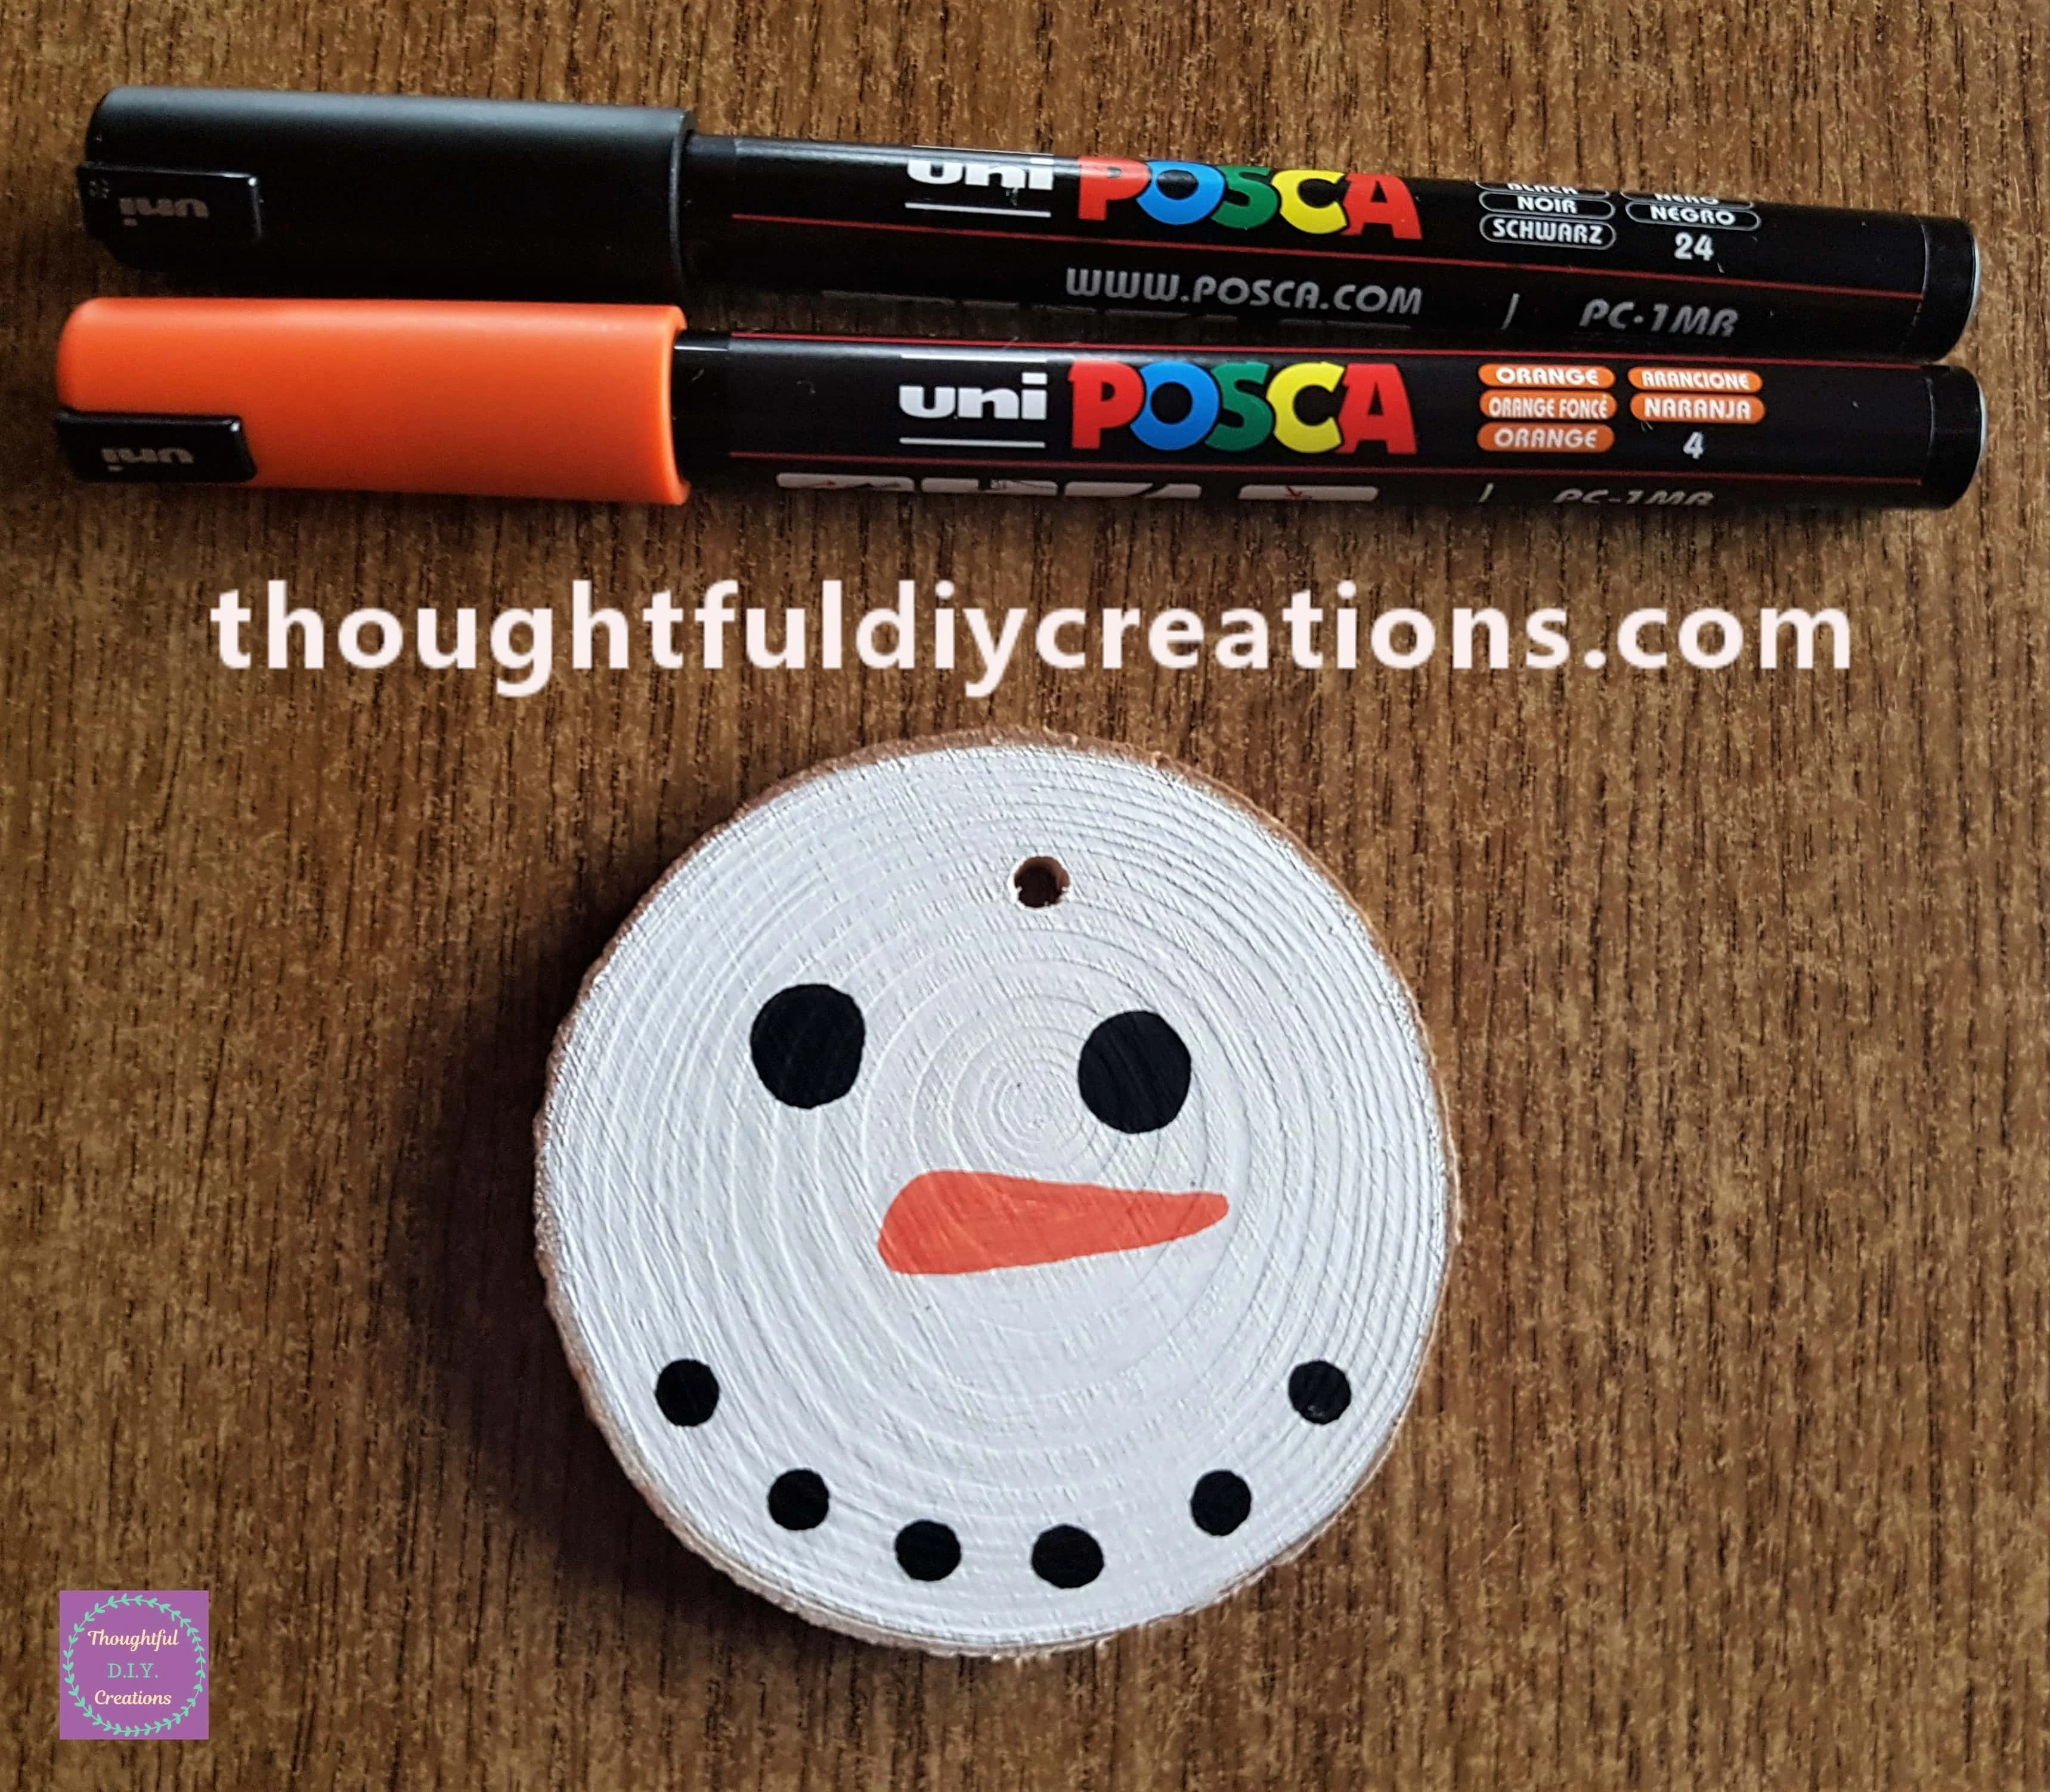
Snowman Wood Slice
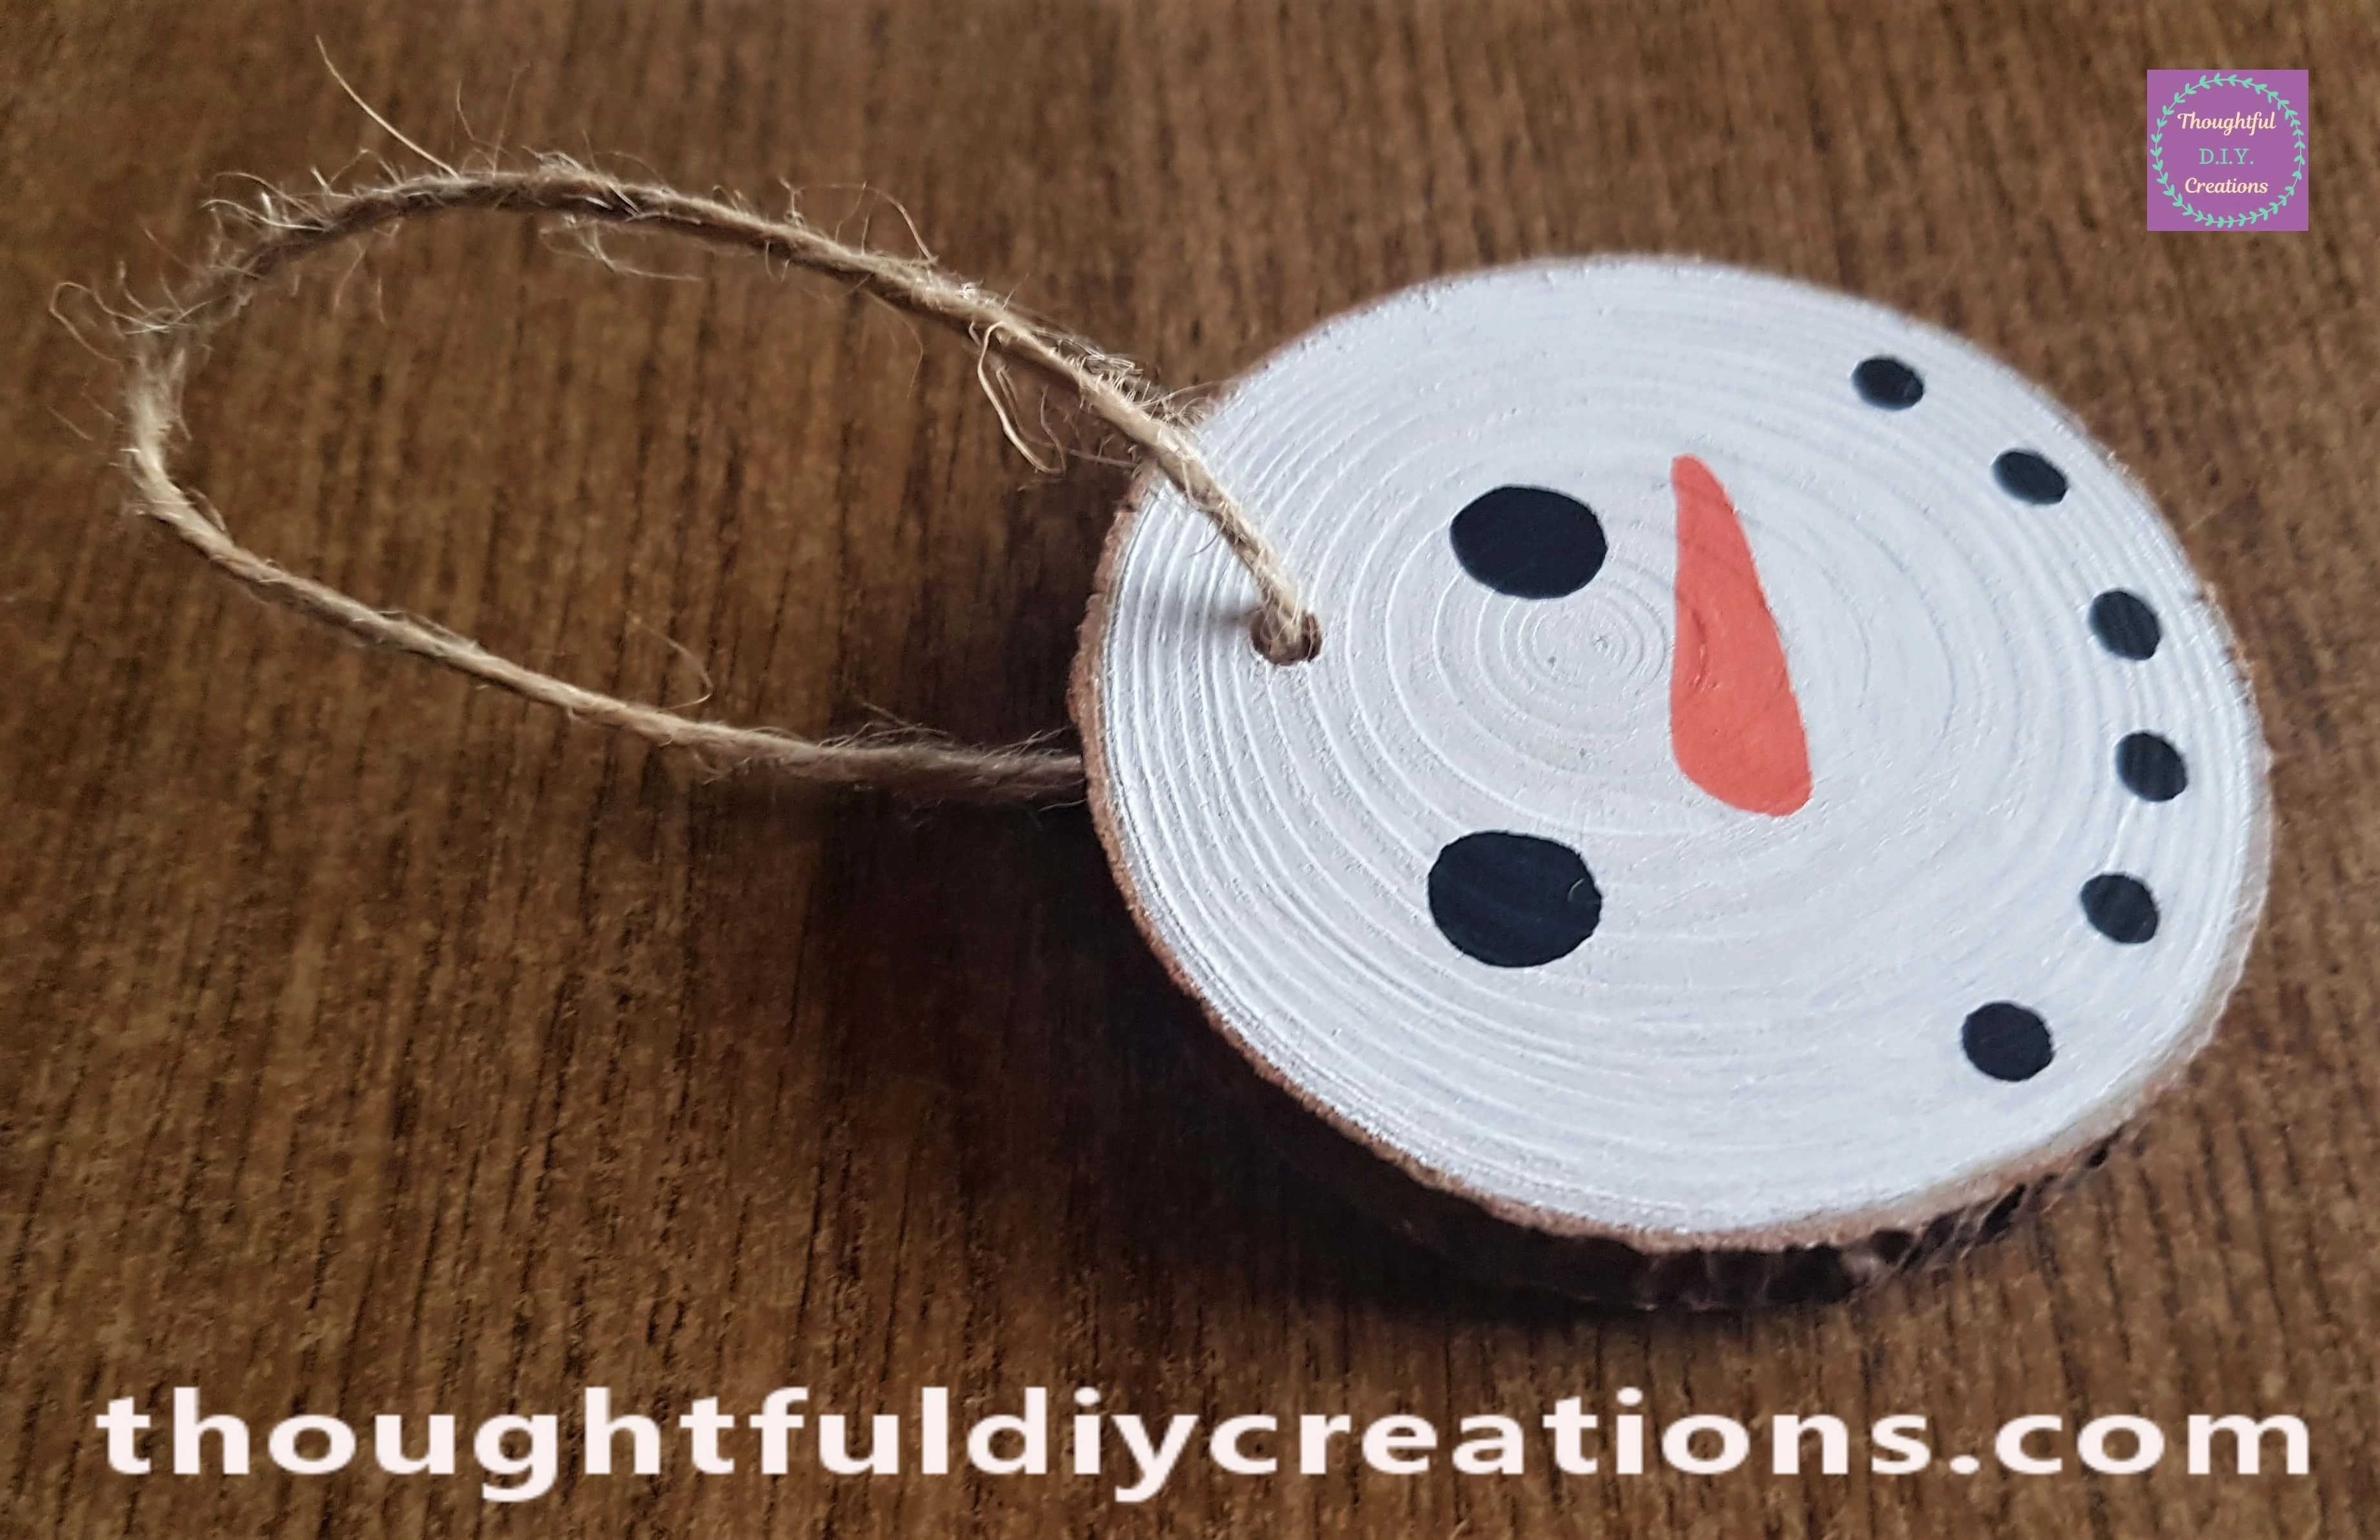
I drew a Snowman’s Face on my next Decoration. I used a Black Paint Pen for the Eyes and Mouth and an Orange Paint Pen for the Nose.
I got the Jute String that came with the Wood Slices.
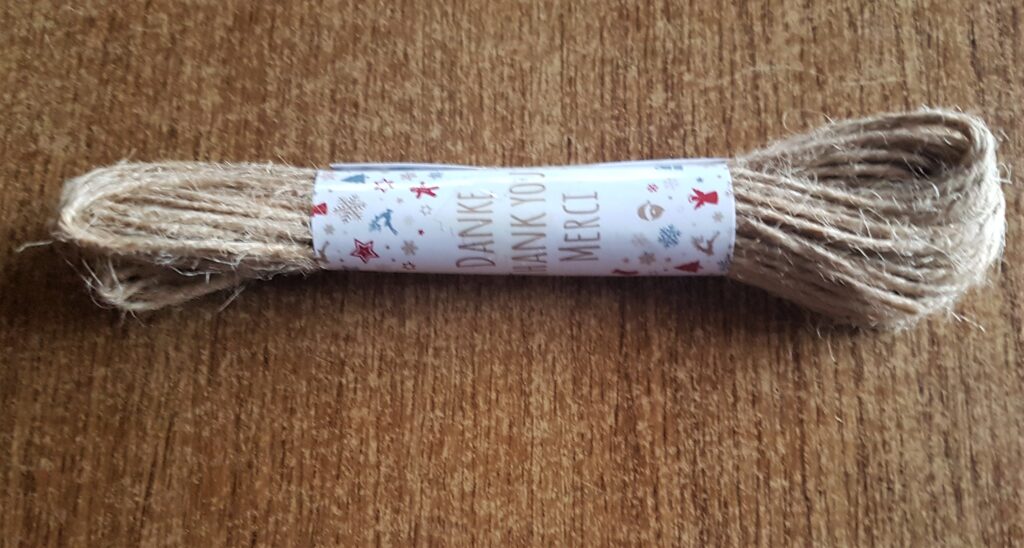
I put it through the hole, tied it in a knot and cut the excess string.
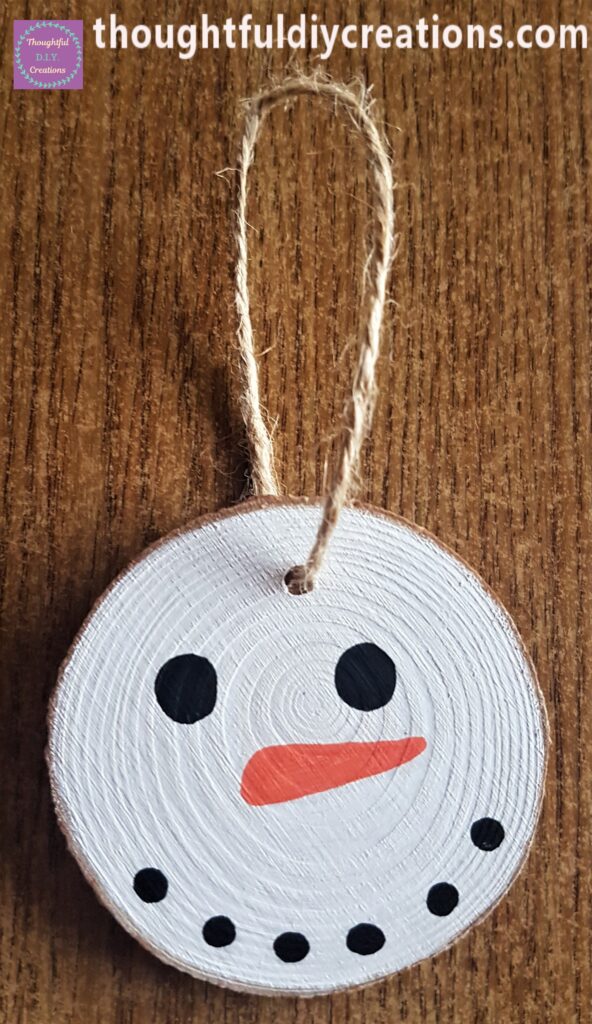
This Completed the Snowman Decoration.
Holly and Berries Wood Slice
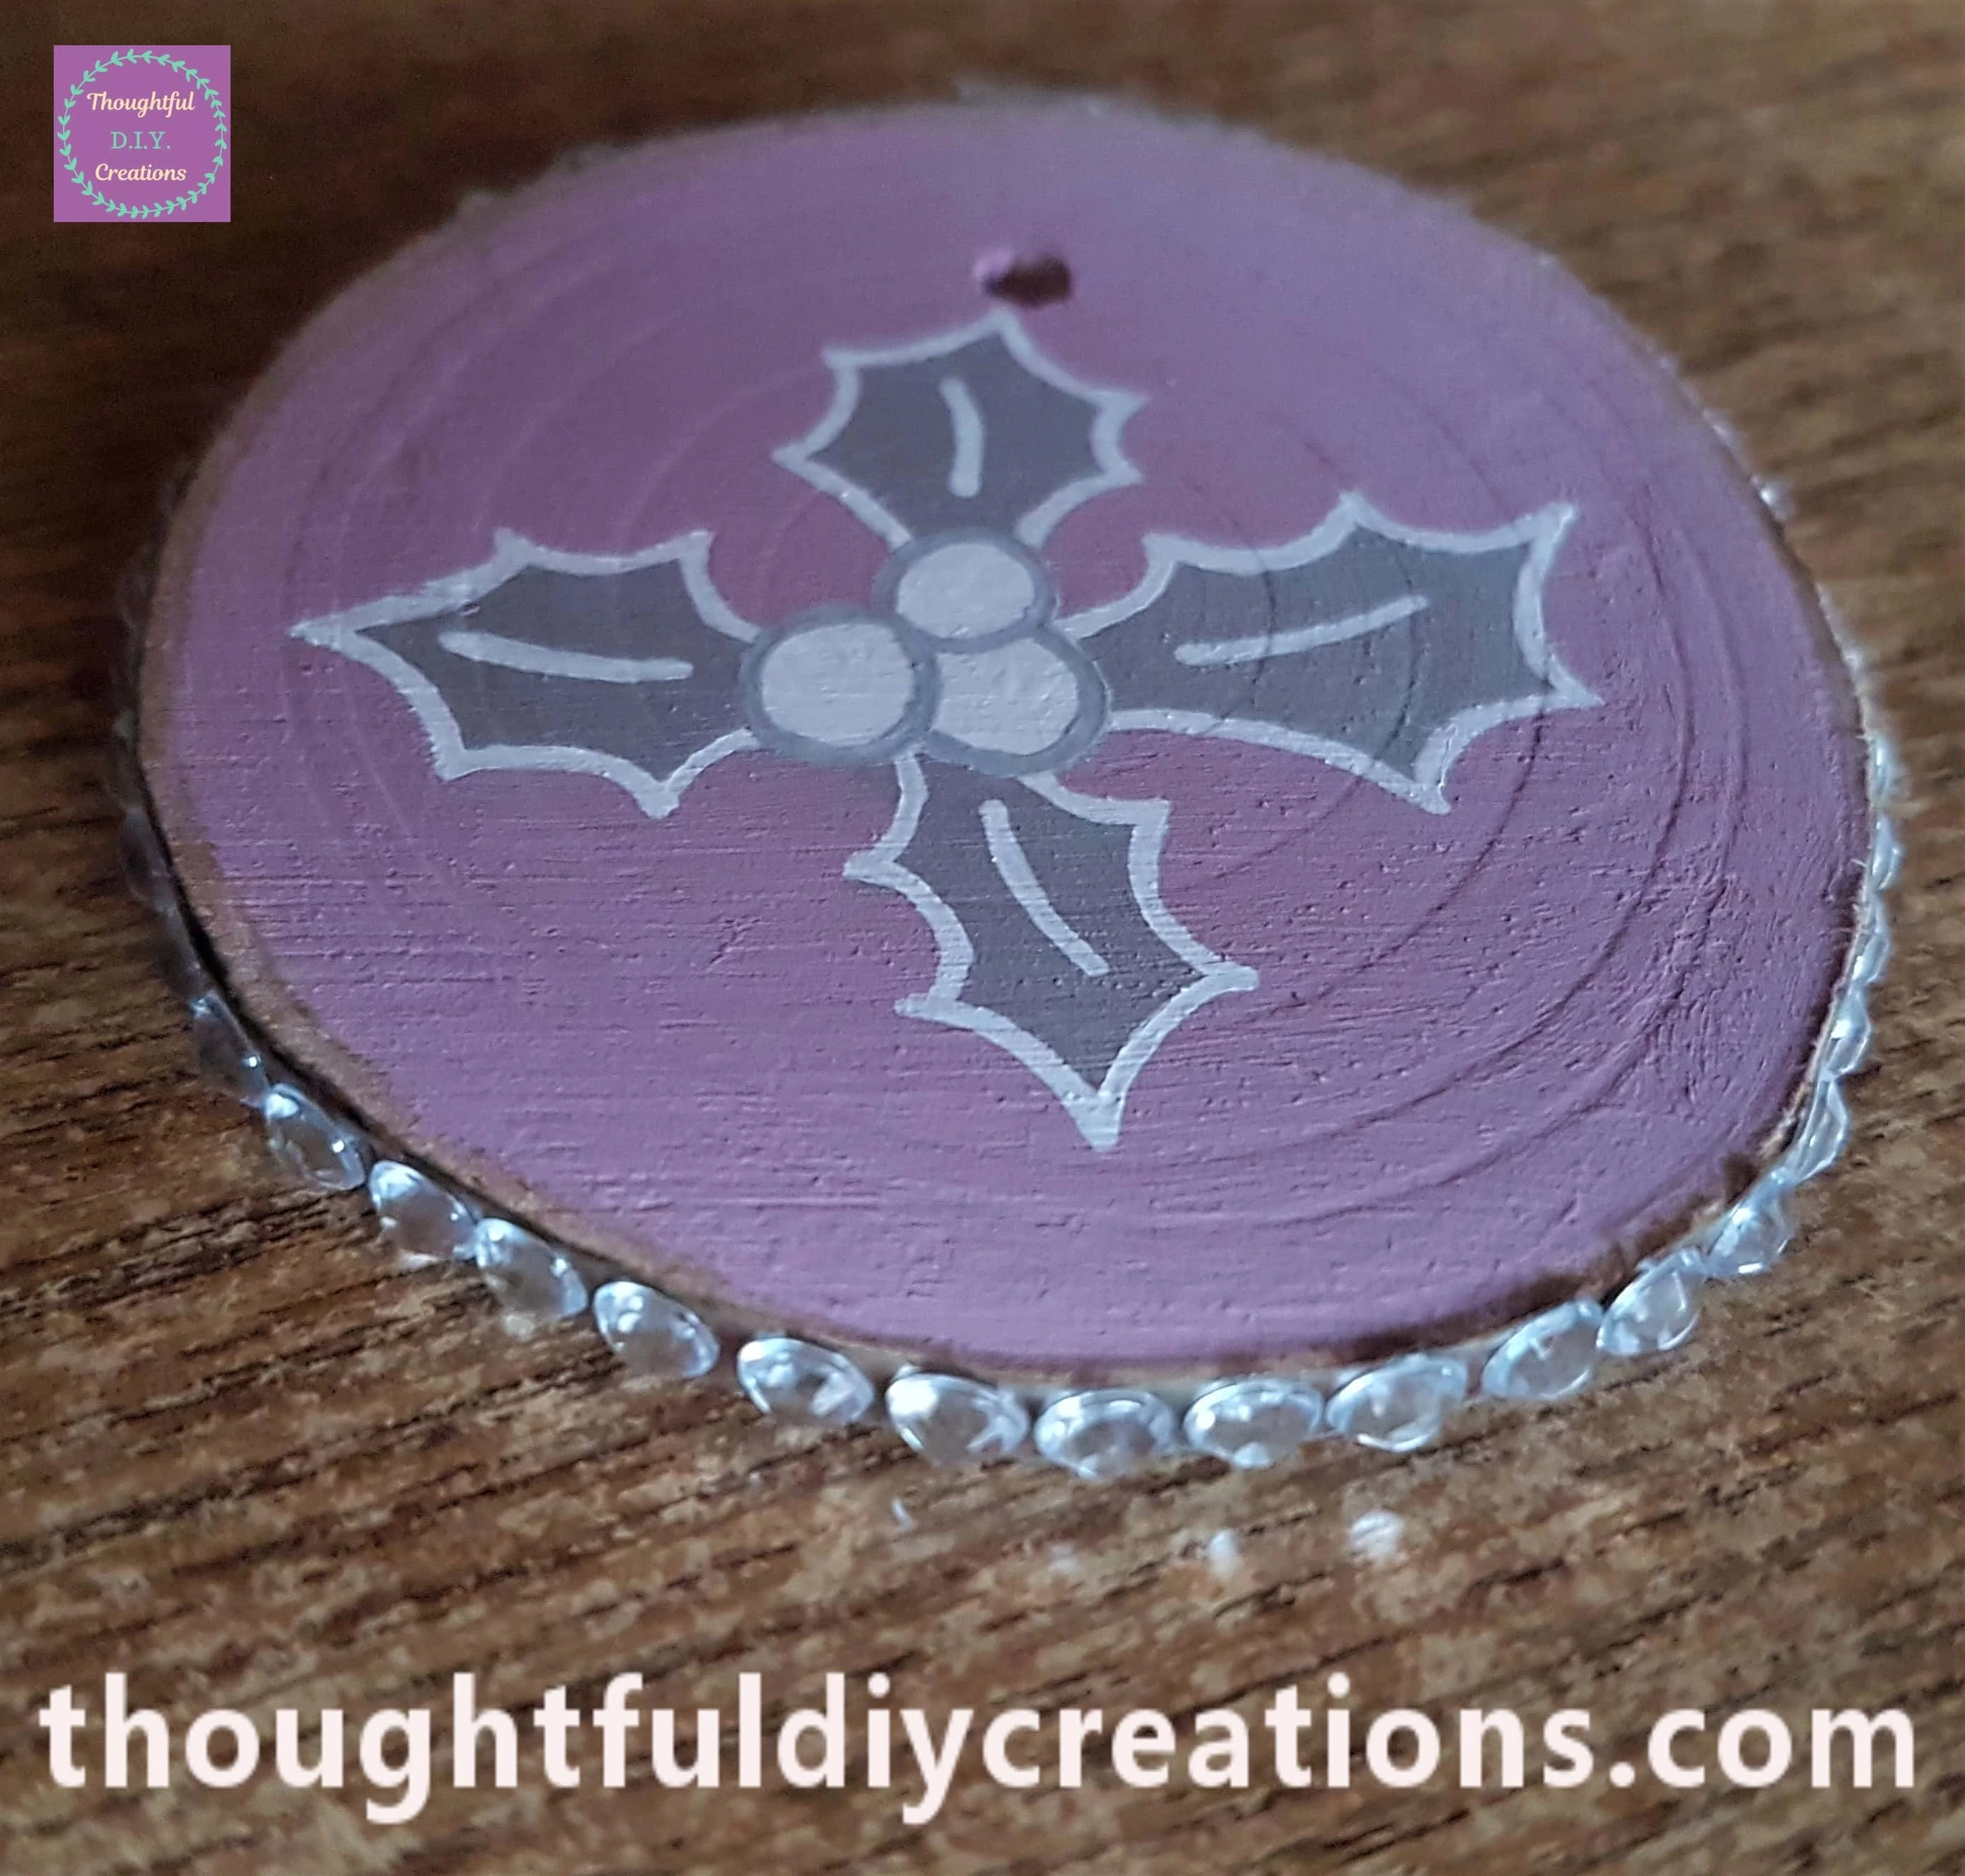
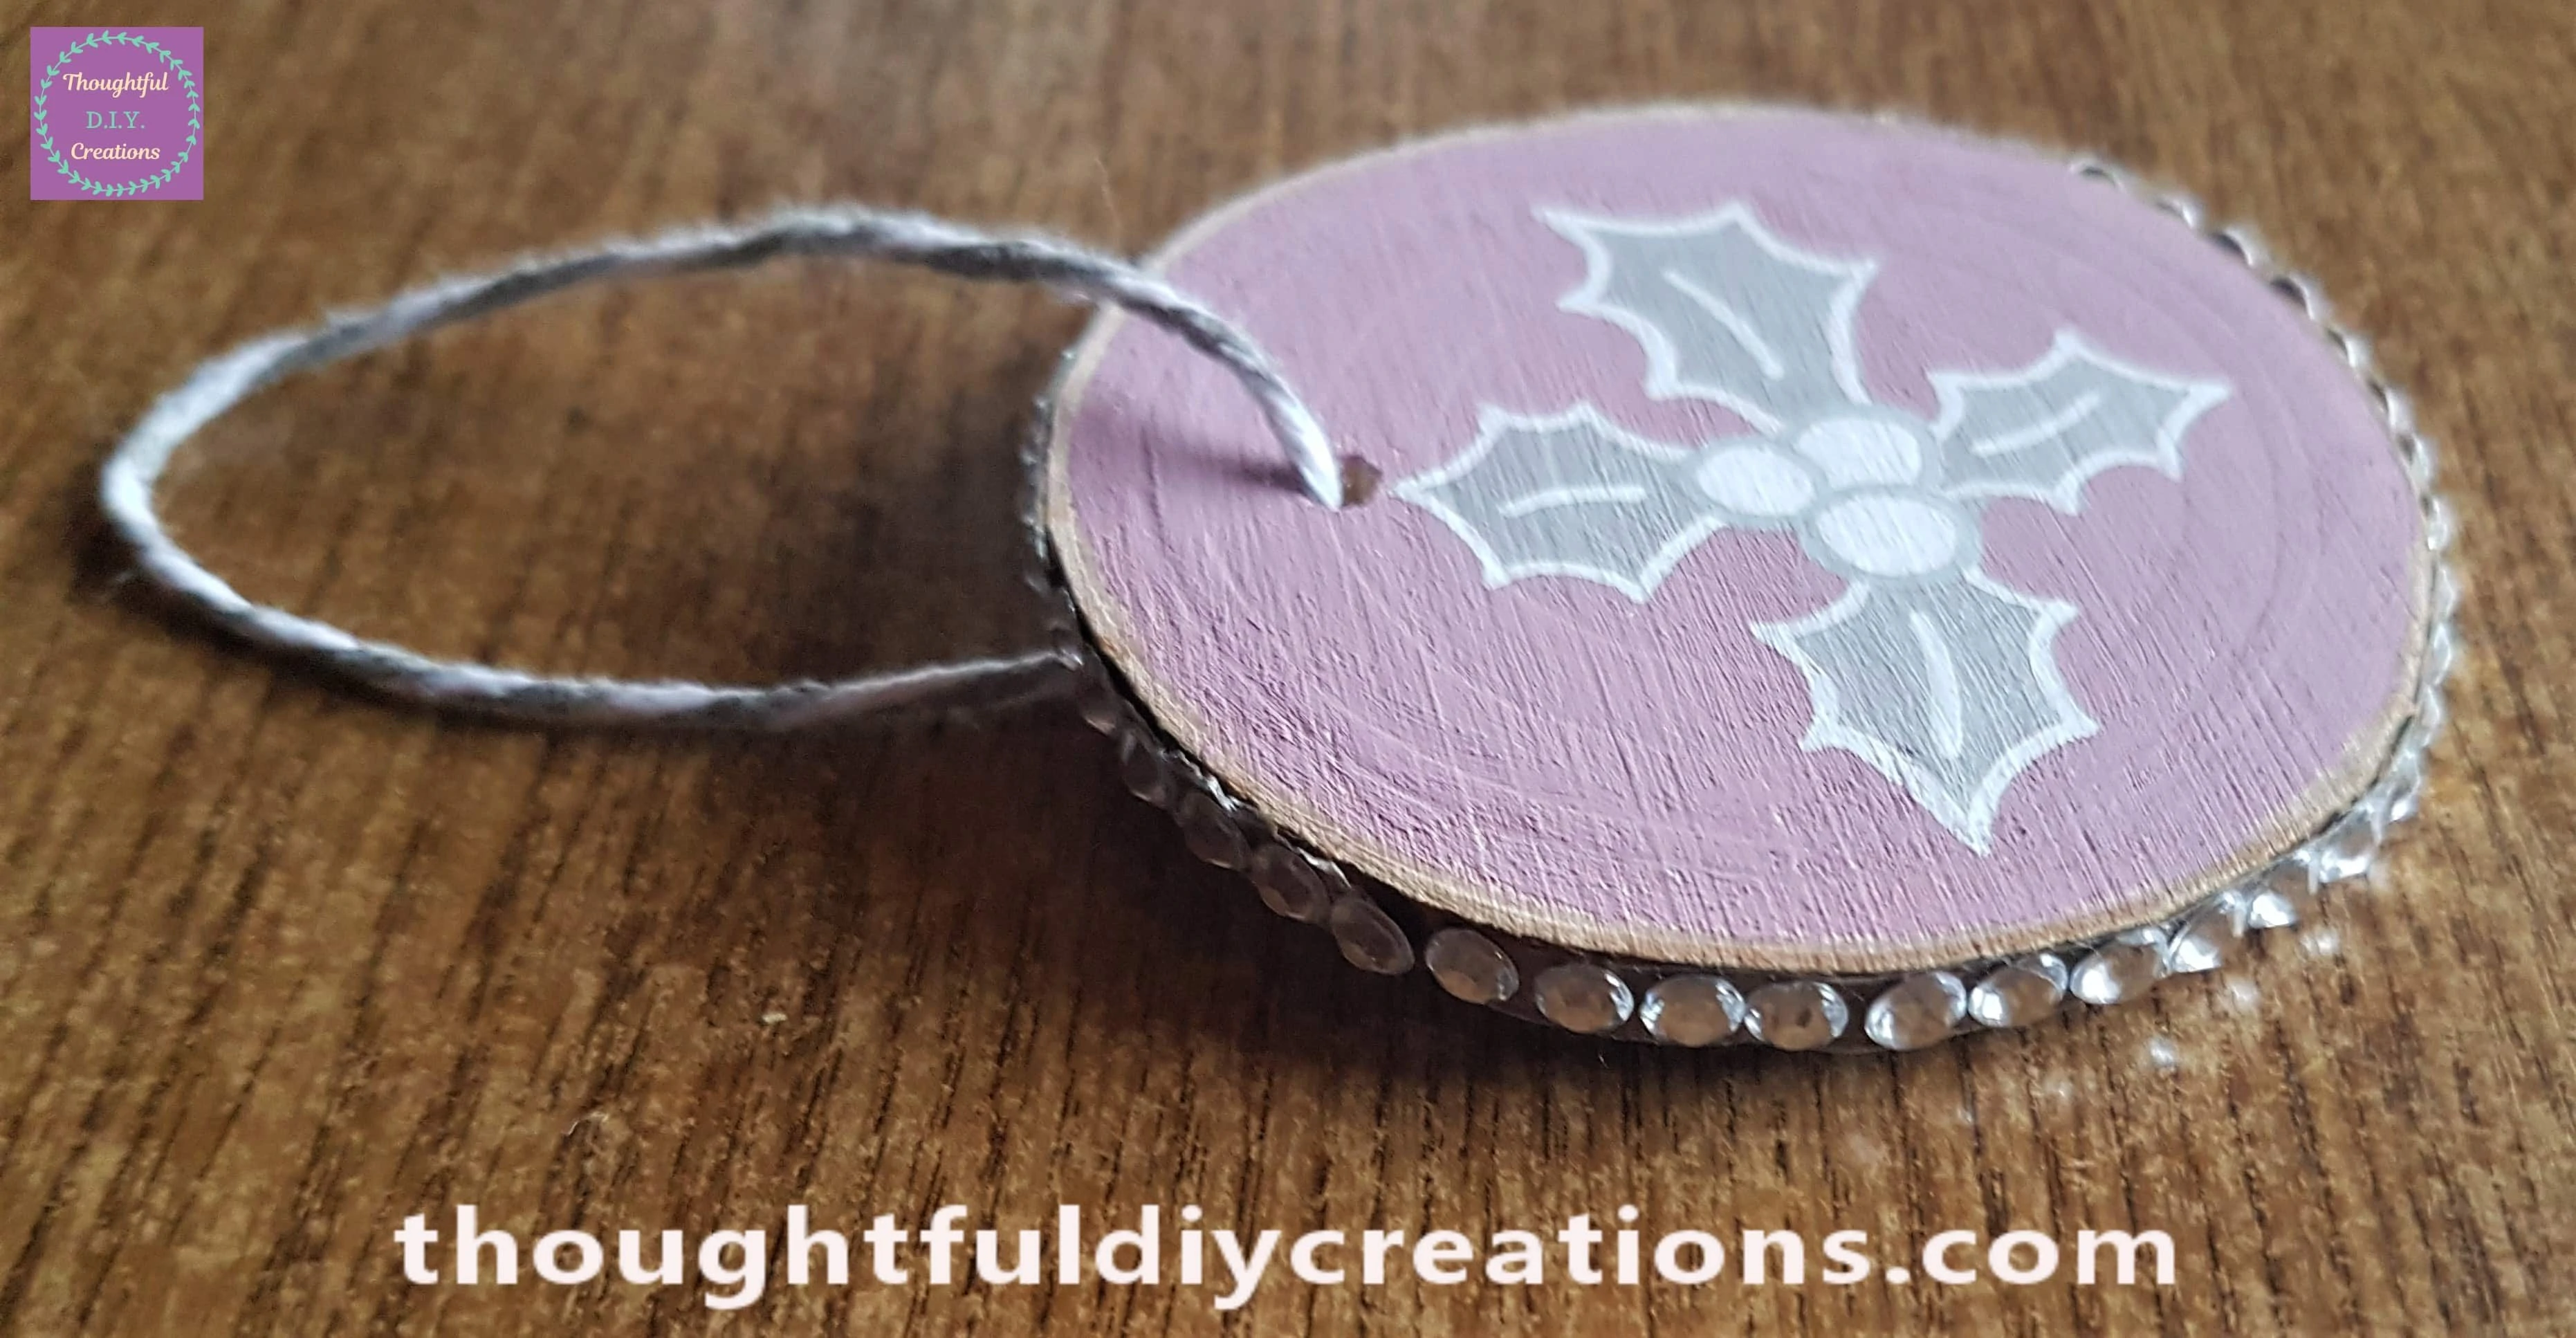
I drew and Coloured Holly Leaves onto the Pink Wood Slice with a Silver Paint Pen. I drew and Coloured three Berries with a White Paint Pen. I applied another layer of the Paint Pens about 30 minutes later.
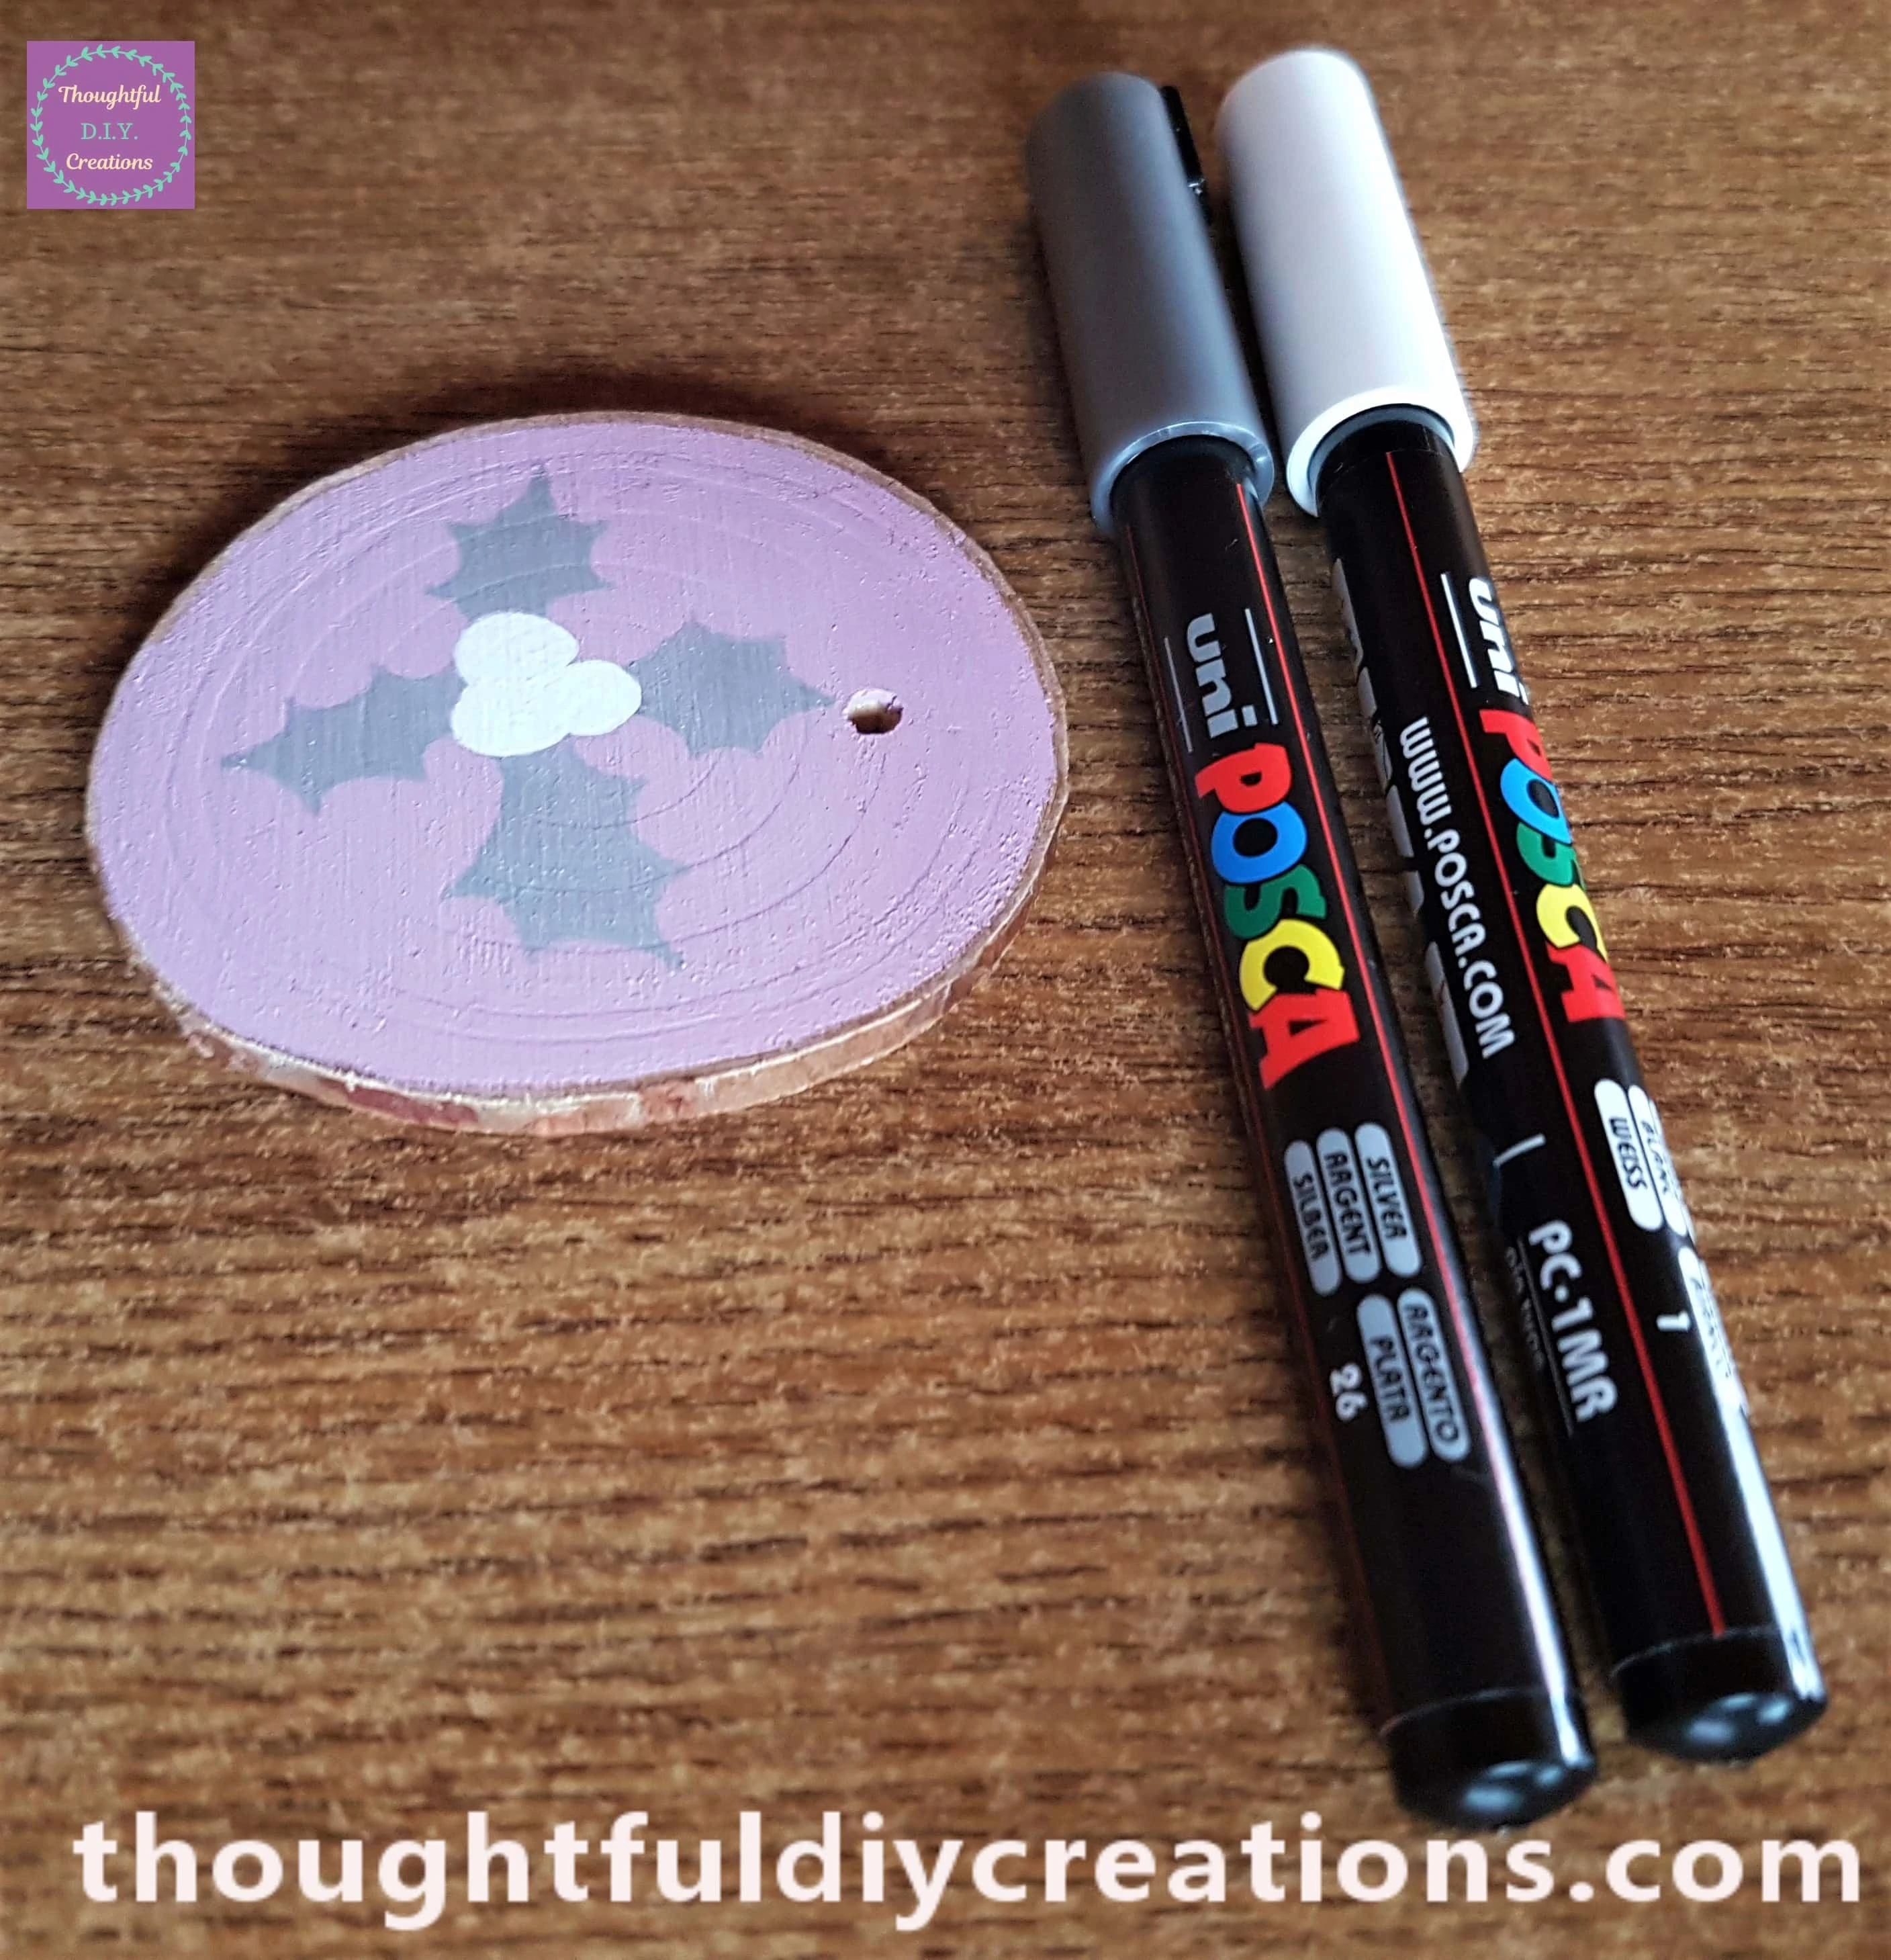
I outlined the Leaves with the White Paint Pen and outlined the berries with the Silver Paint Pen.
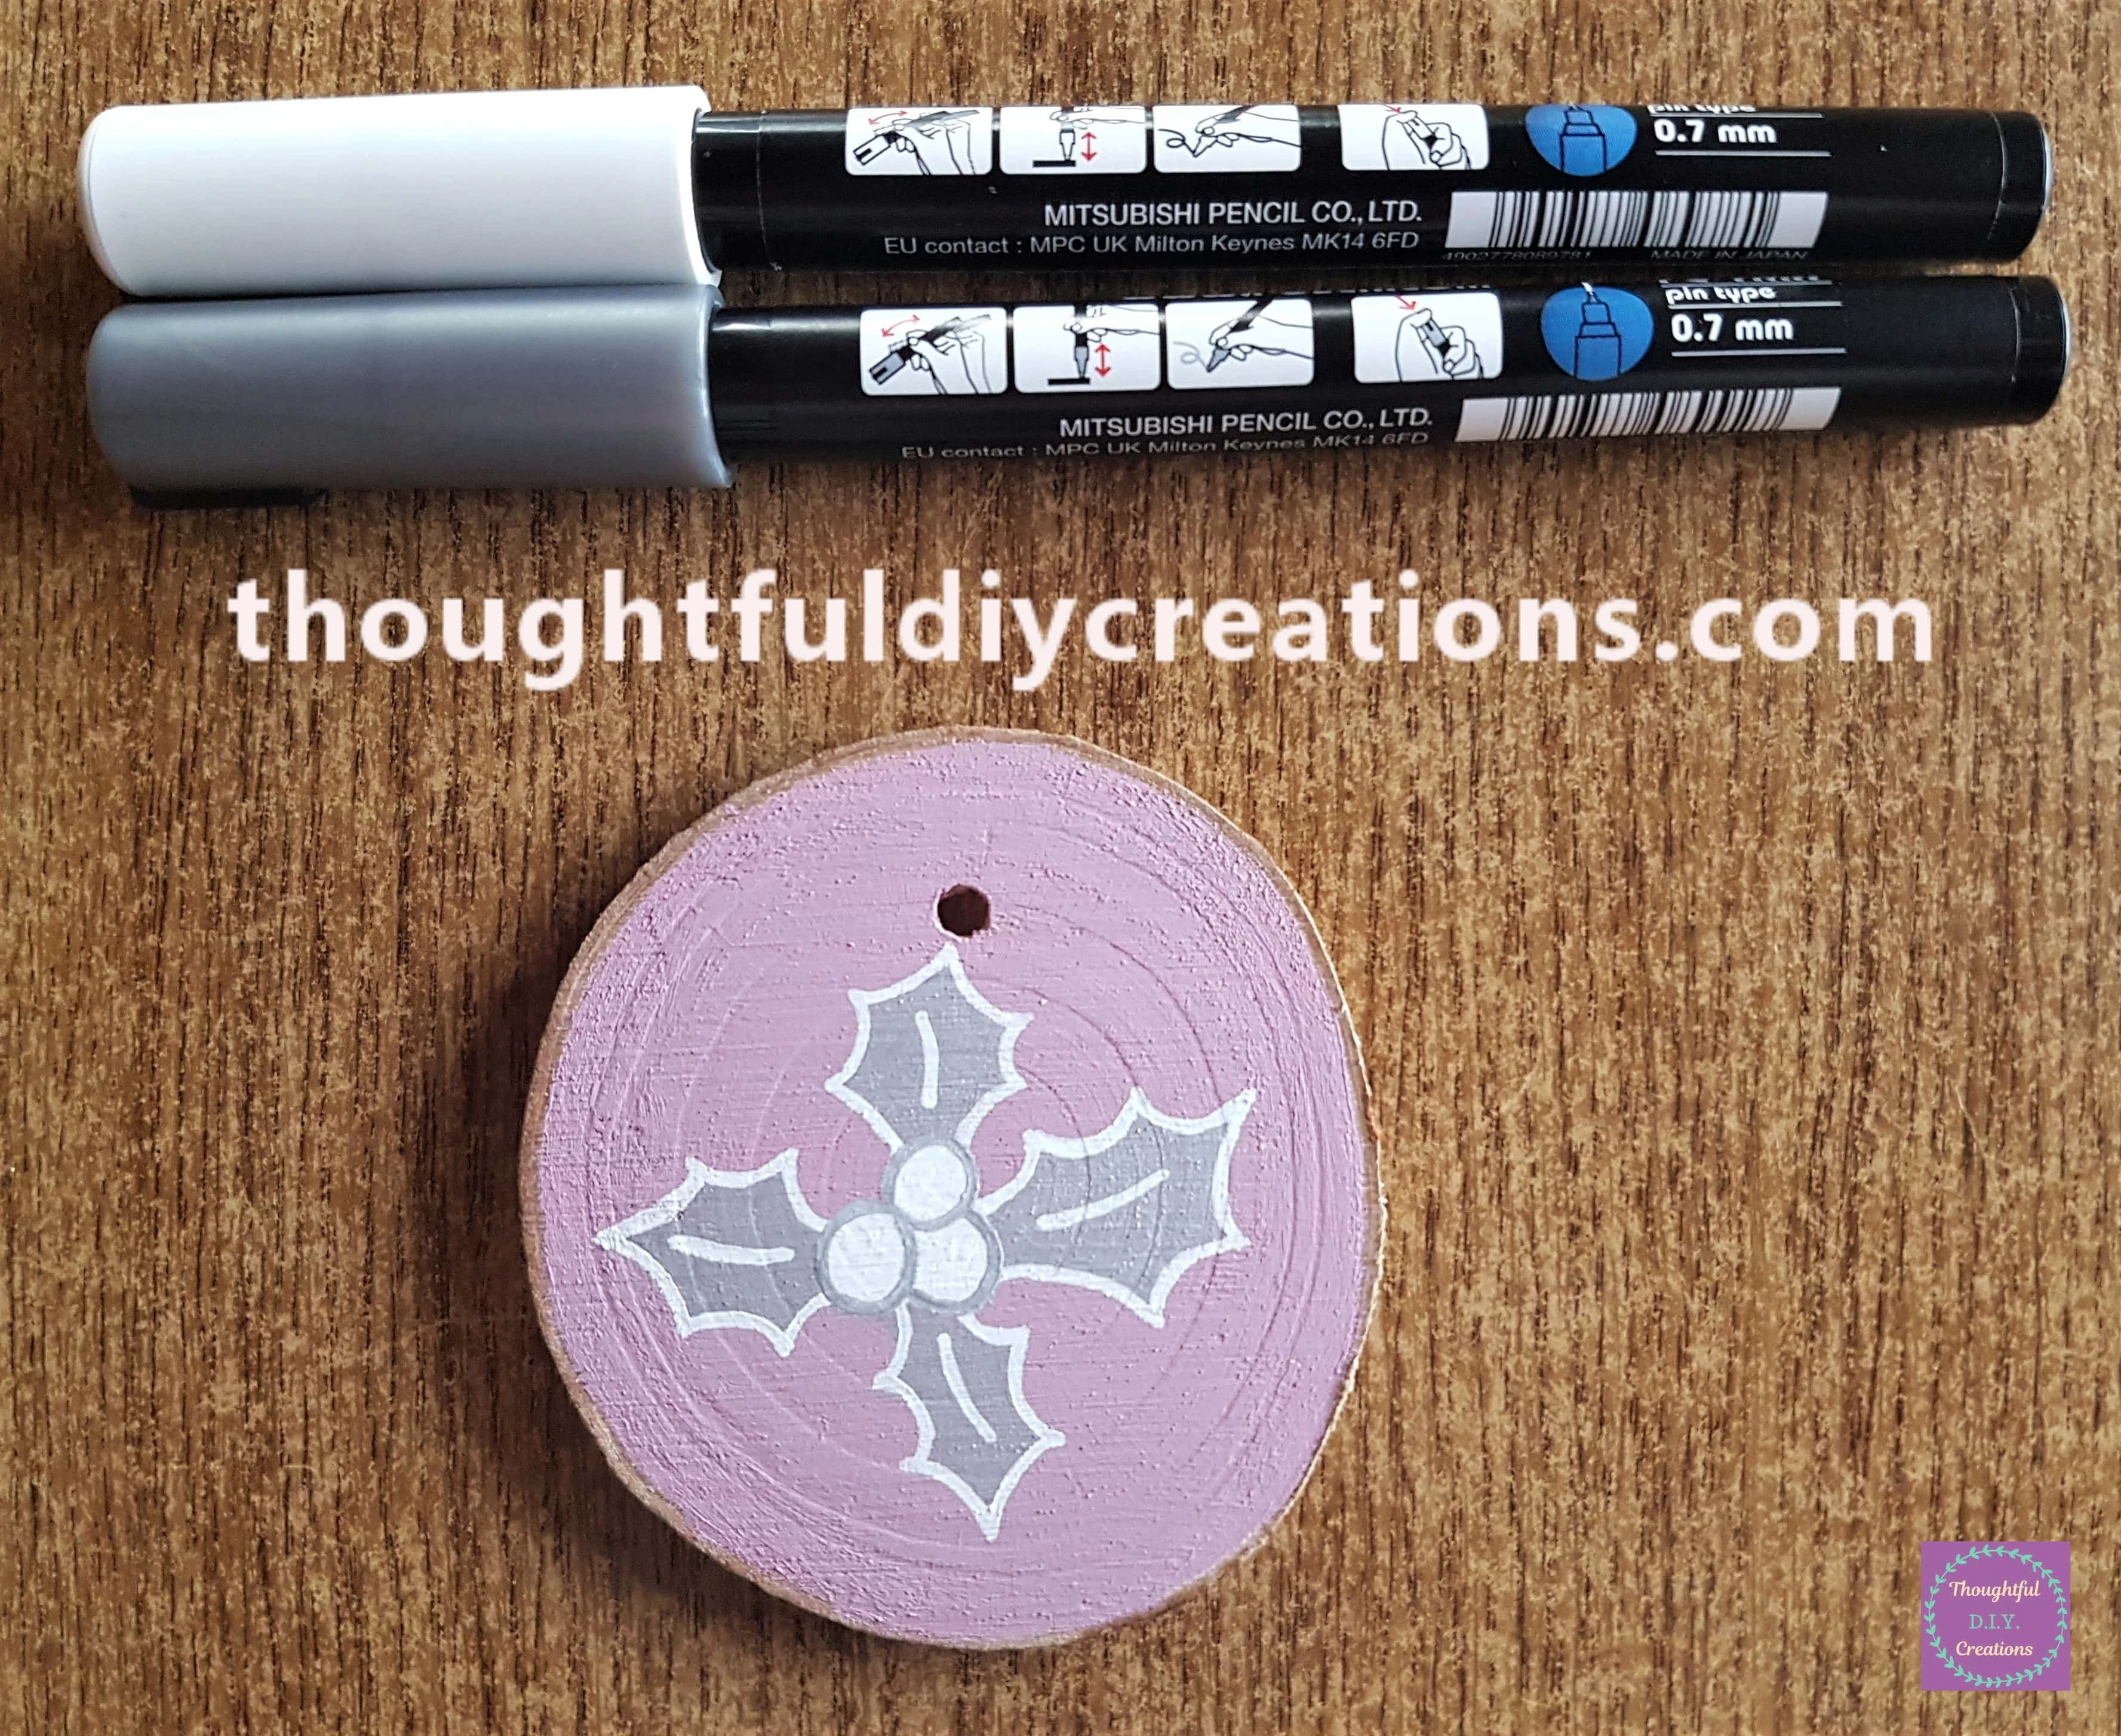
I got my Clear Gemstone Stickers.
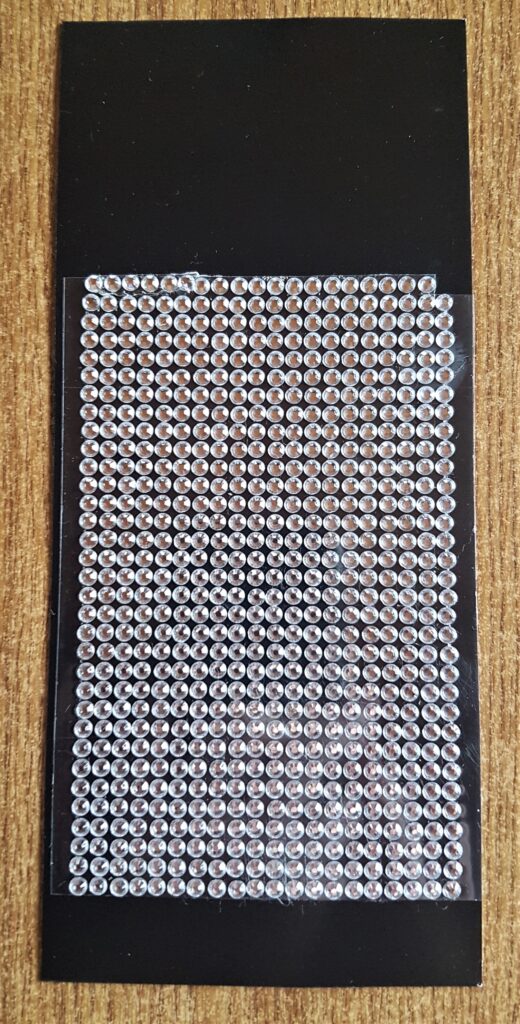
I attached the gemstone stickers along the outer edge of the Wood Slice.
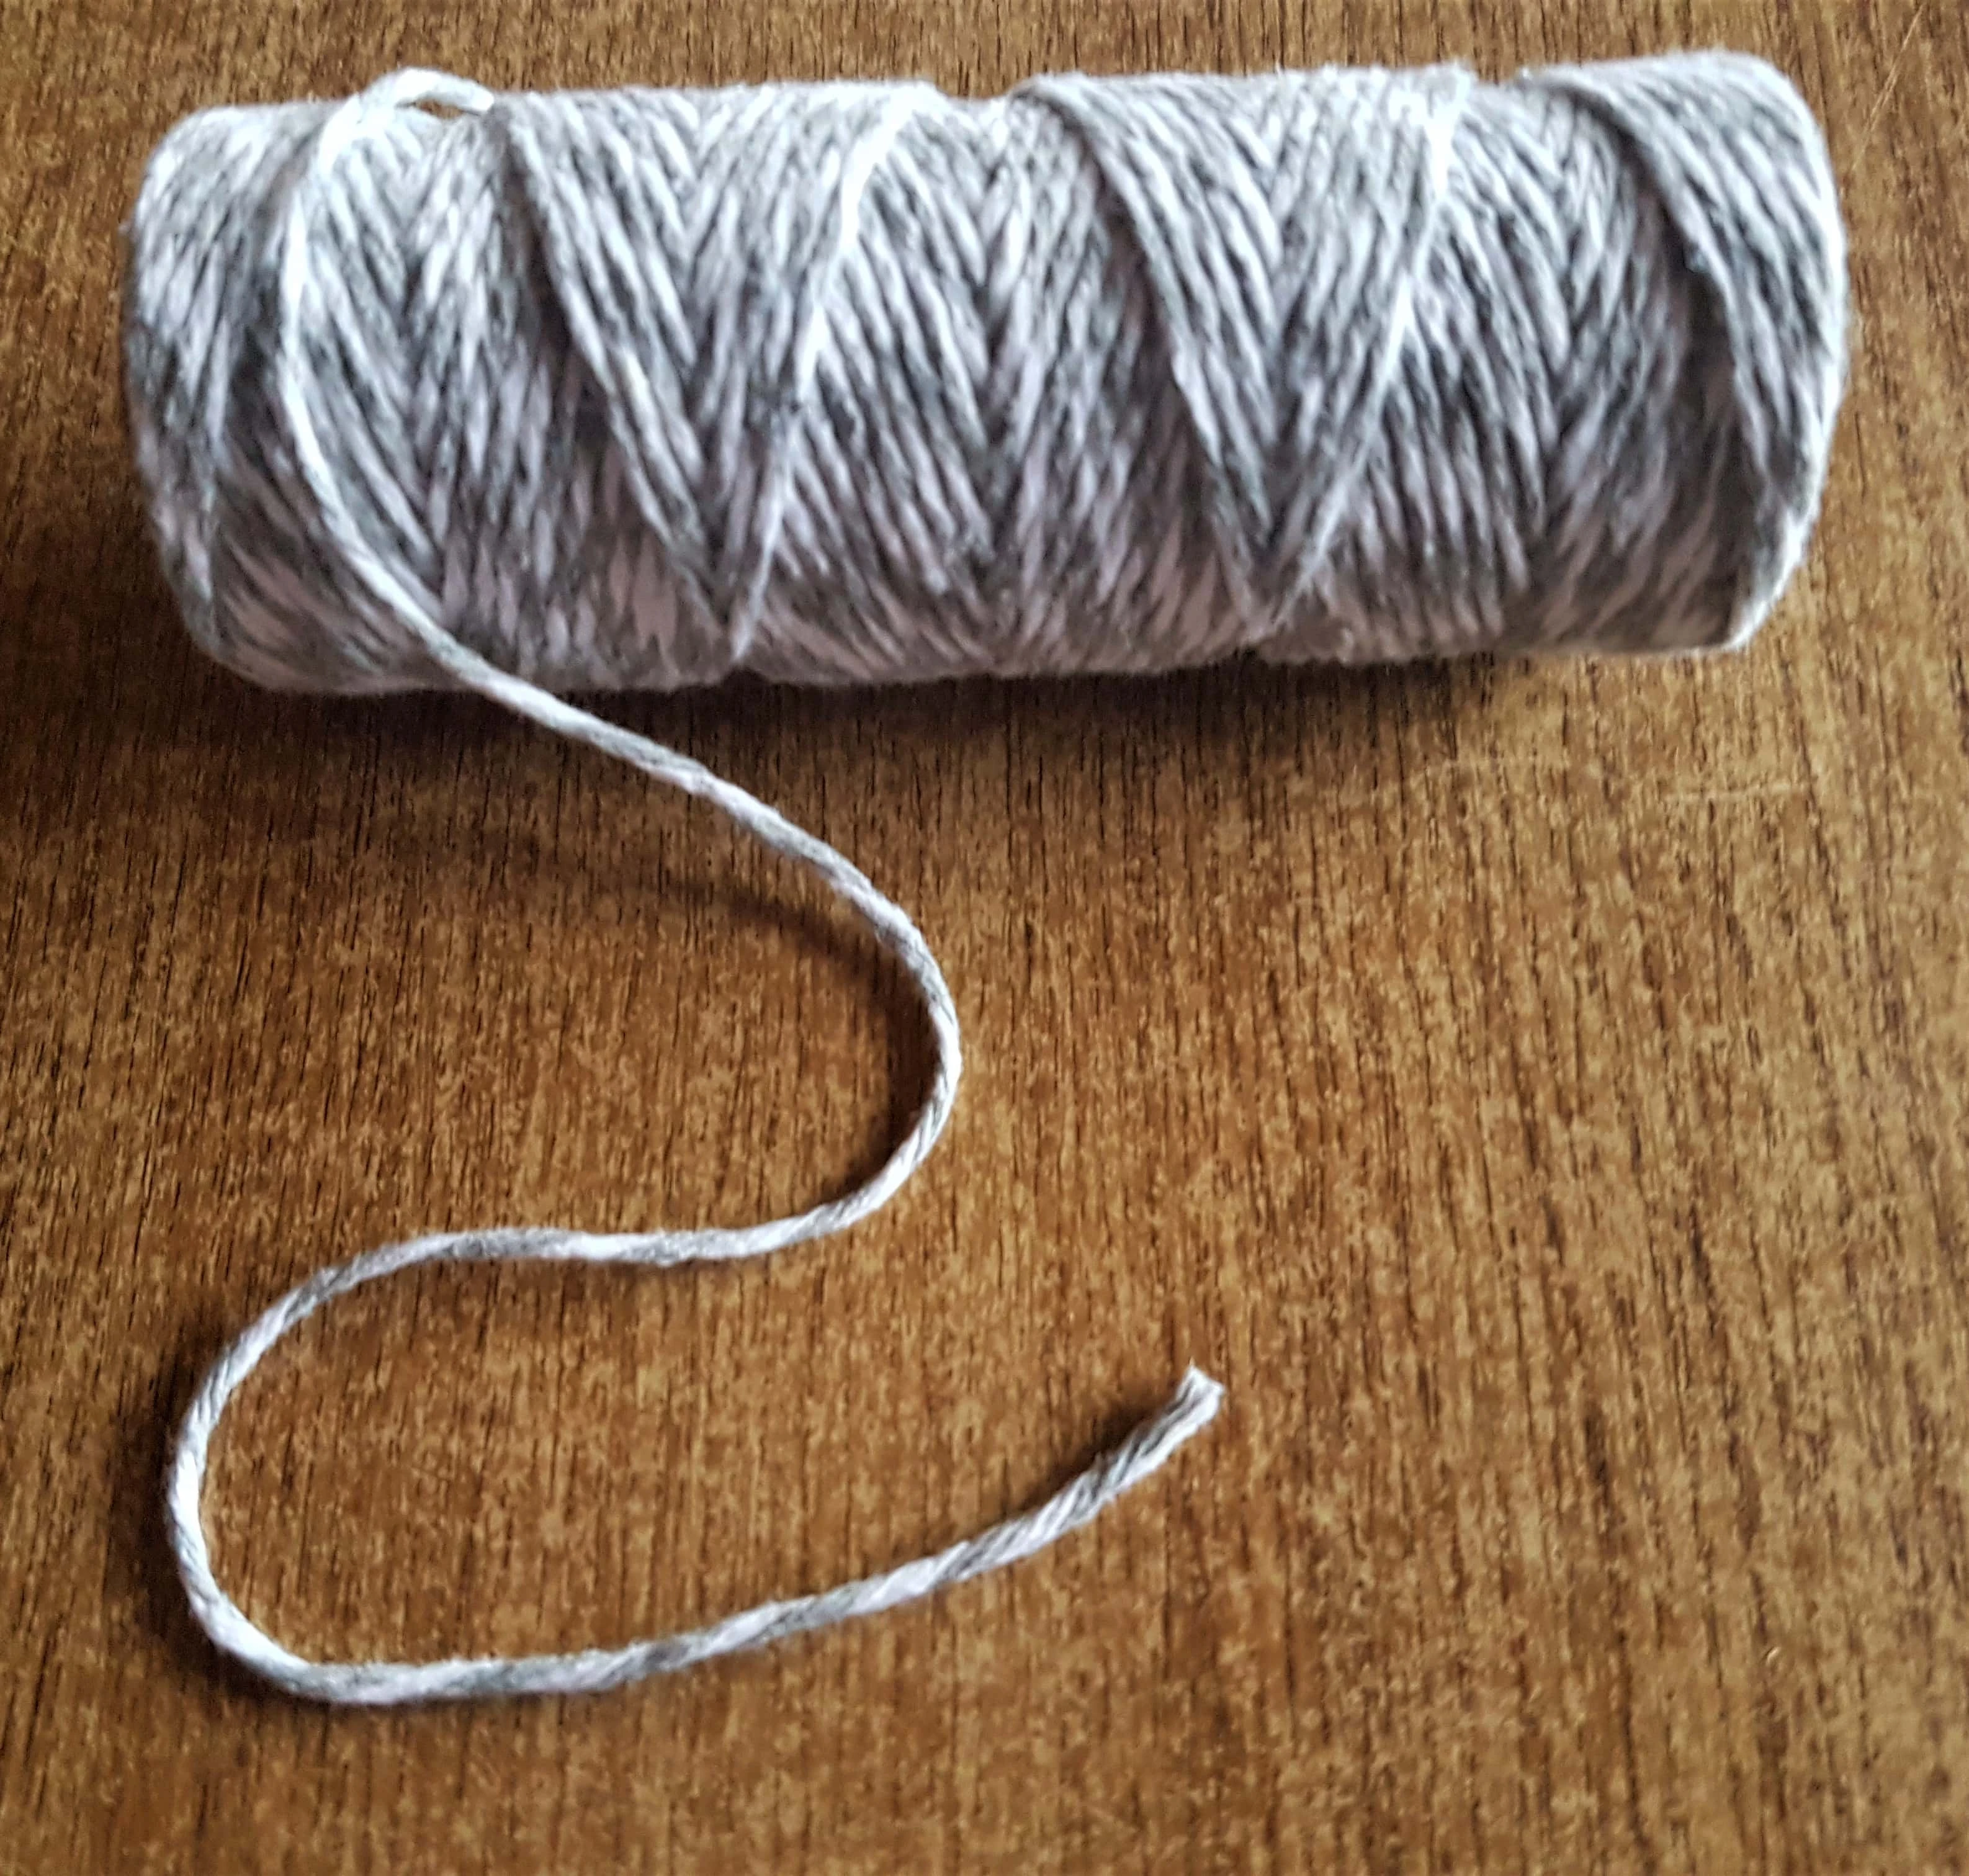
I got my Roll of Grey and White String.
I looped it through the hole, knotted it and cut the excess string.
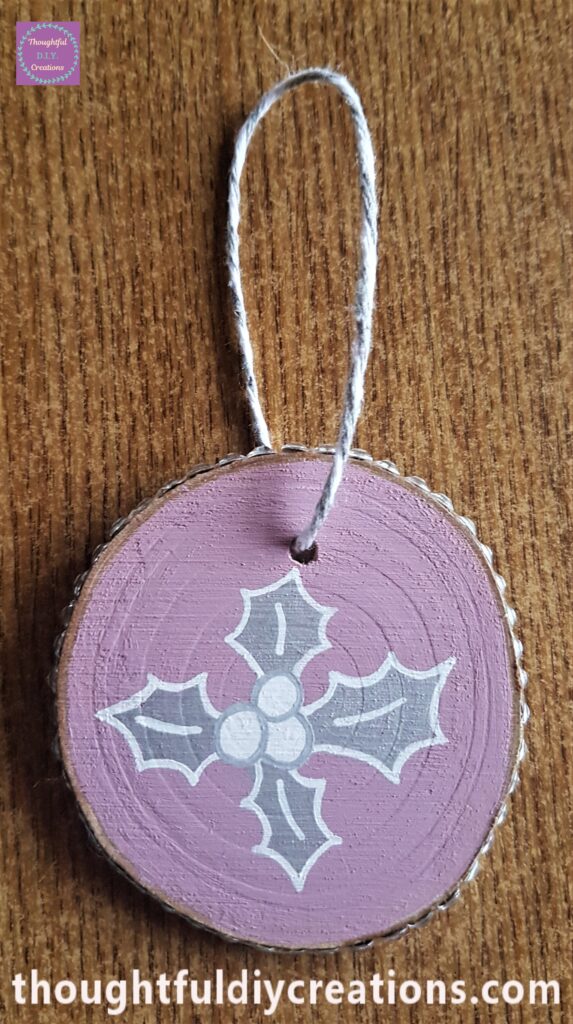
Below is a Side view of the finished Decoration.
Merry Christmas Ornament
I had Red and Gold Glitter ‘Merry Christmas’ Stickers in my Craft Supplies.
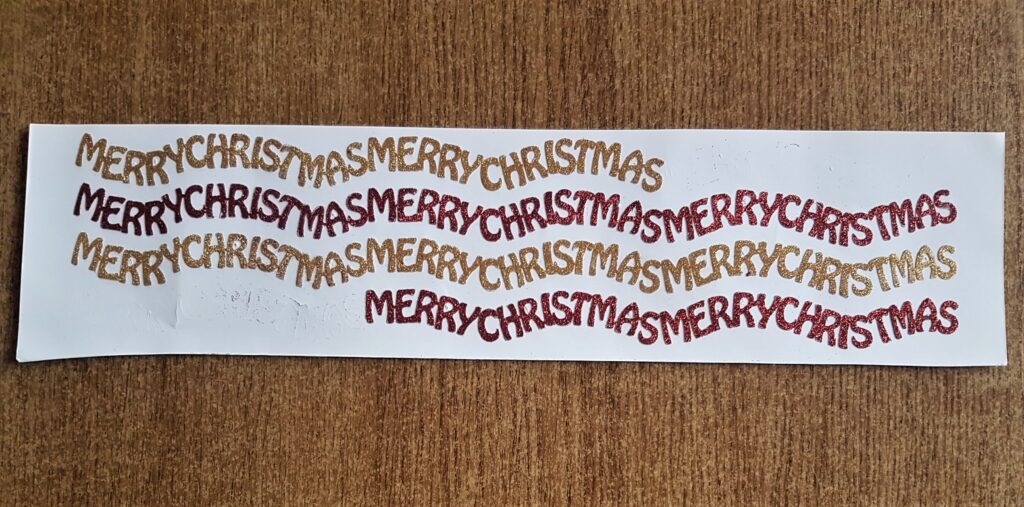
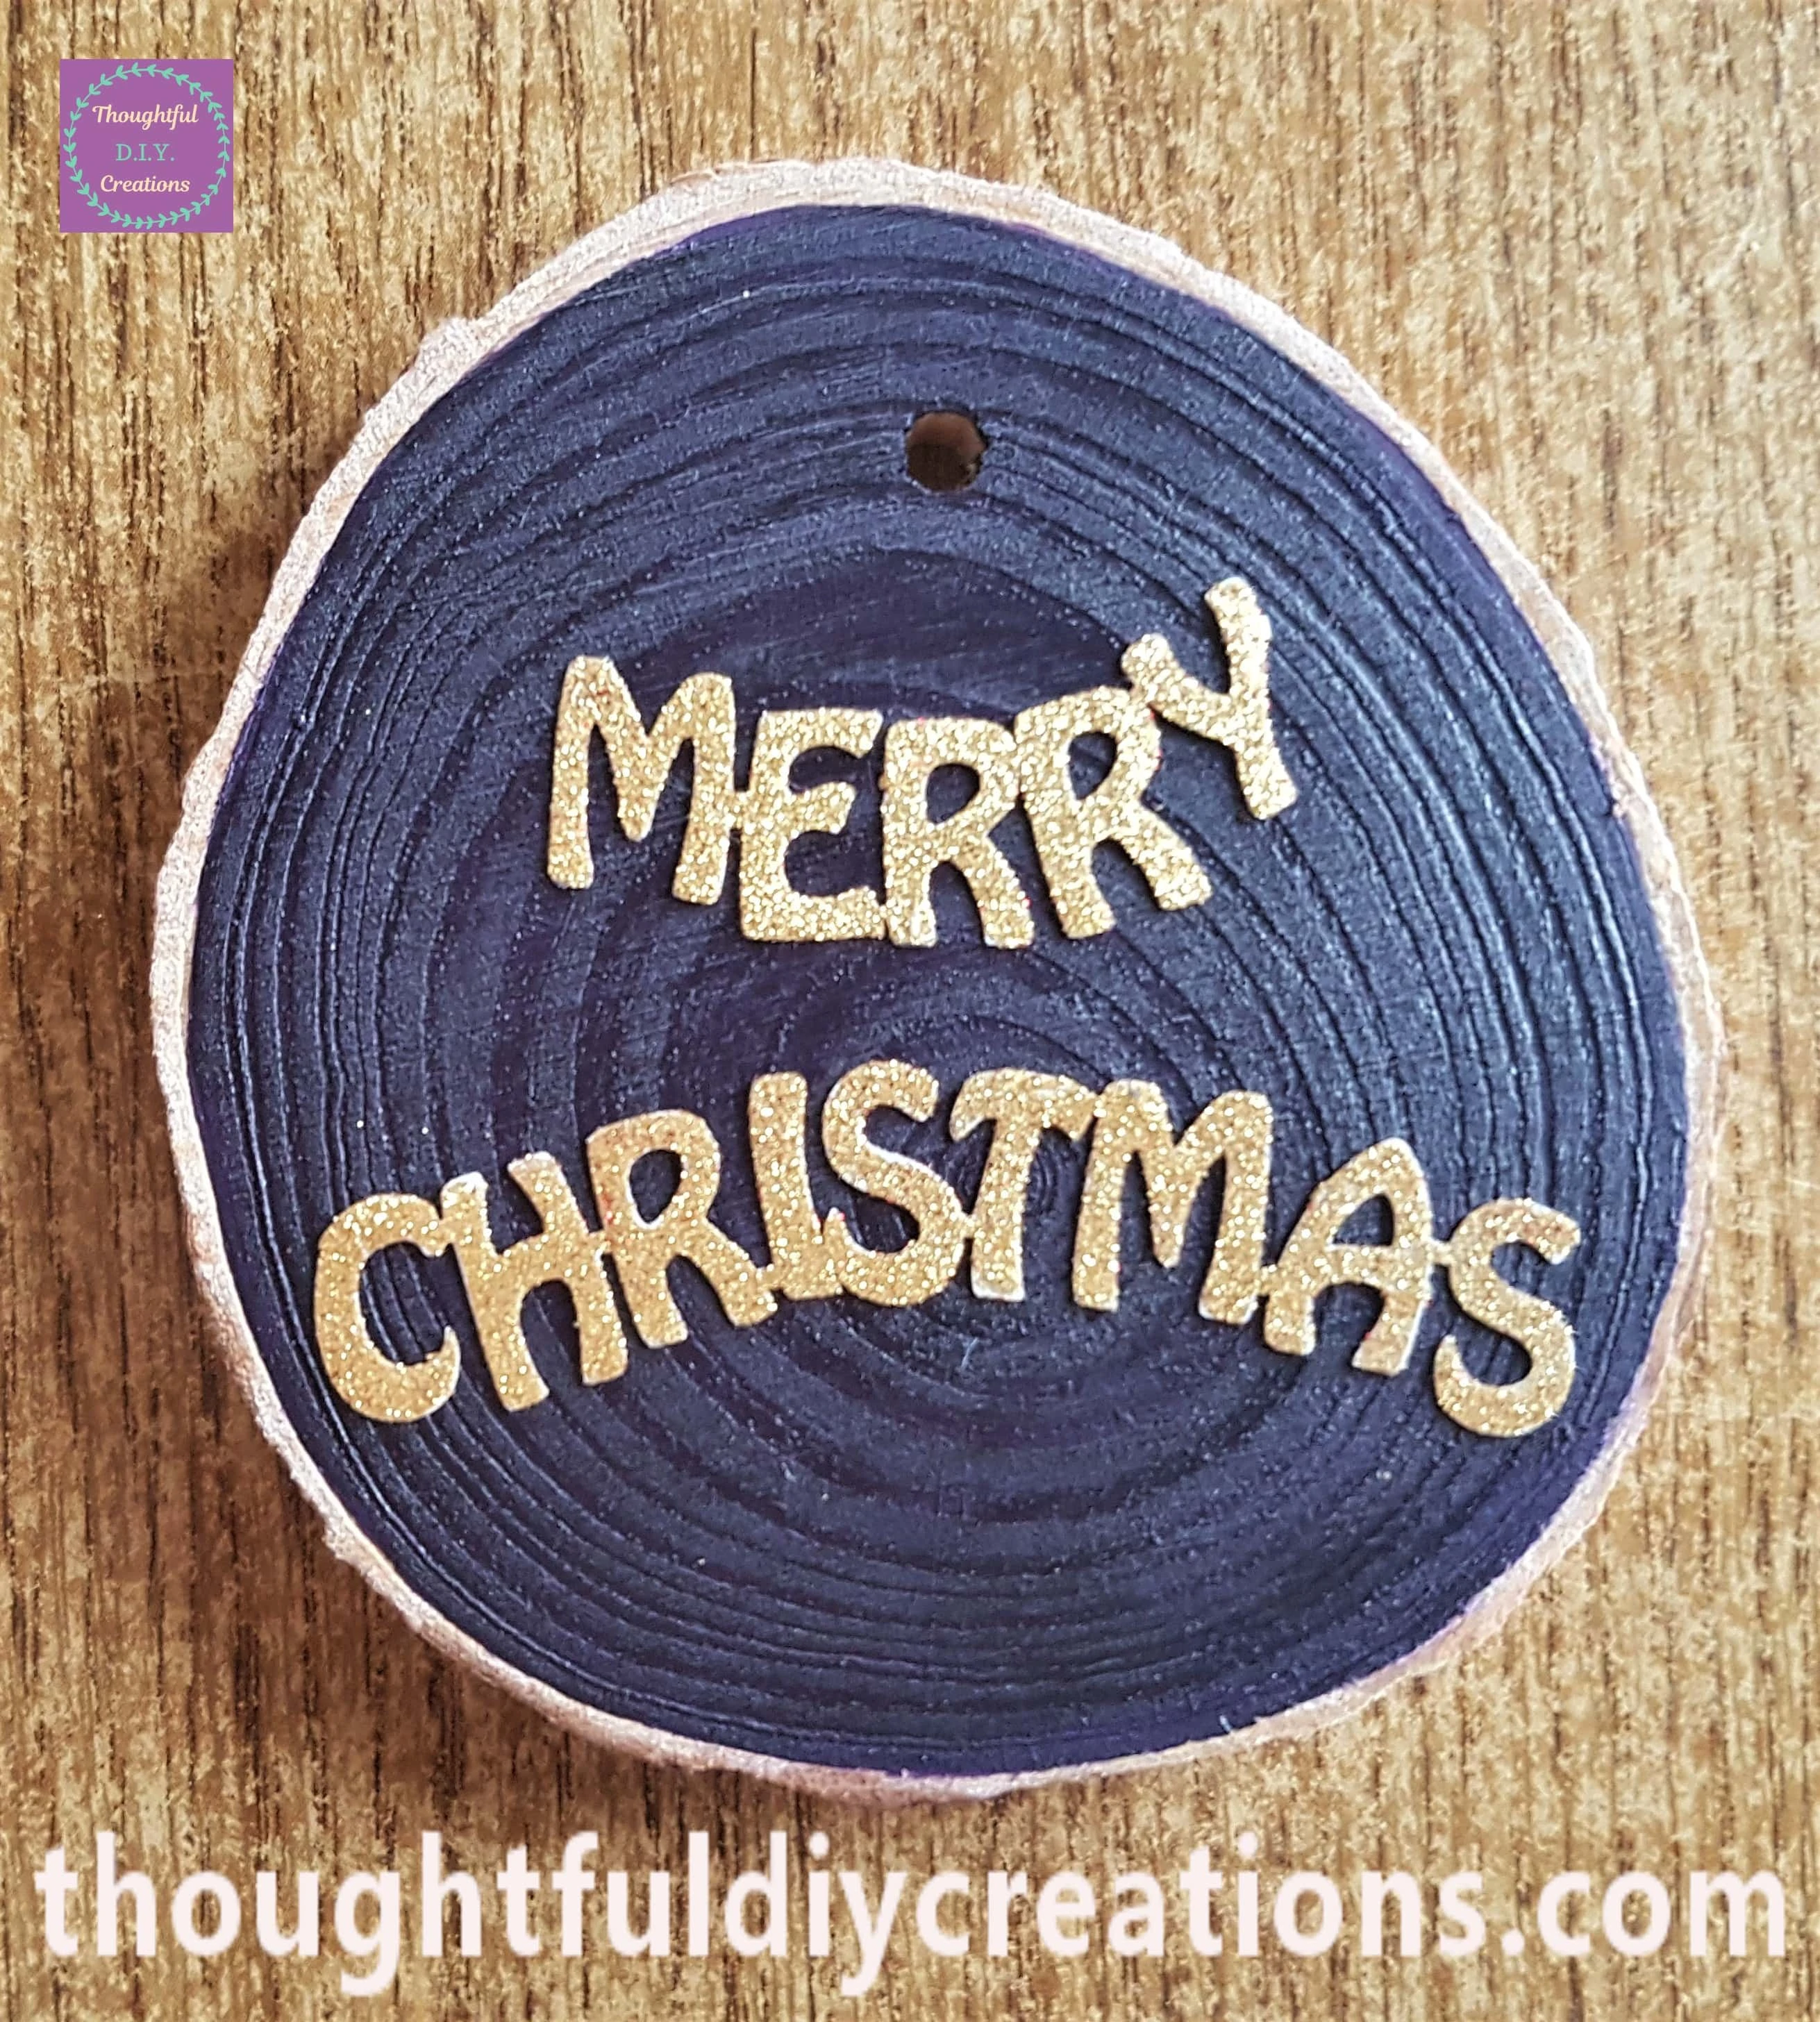
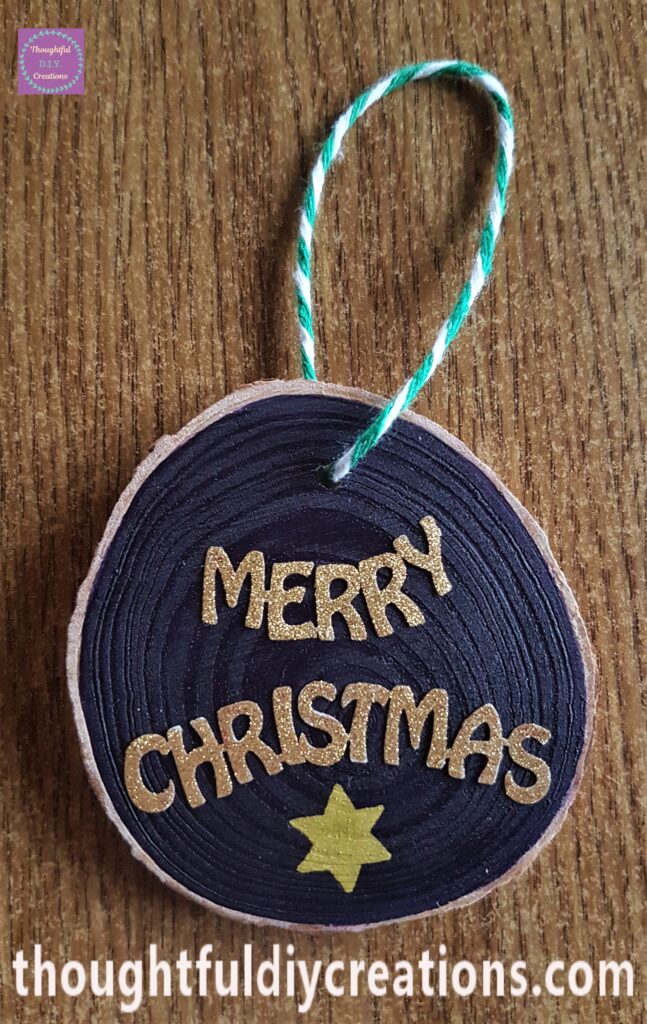
I removed a Gold Merry Christmas Sticker and attached it to the Purple Painted Wood Slice.
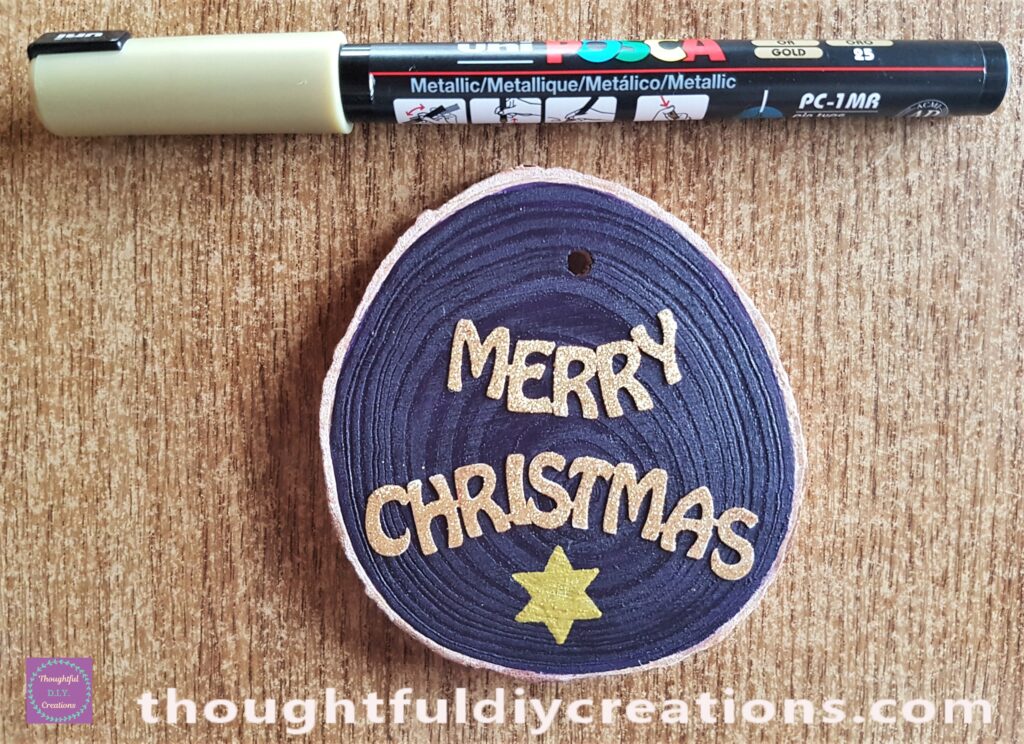
I drew and Coloured a Star under the Sticker with a ‘Gold Acrylic Paint Pen’.
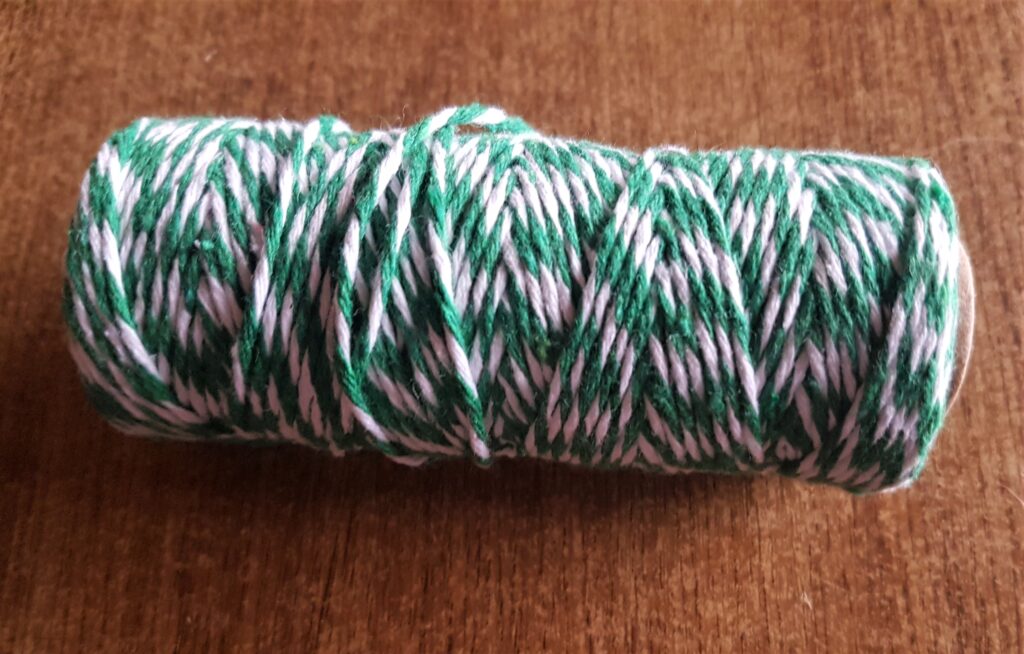
I got my Roll of Green and White String.
I attached the String to Complete the Merry Christmas Ornament.
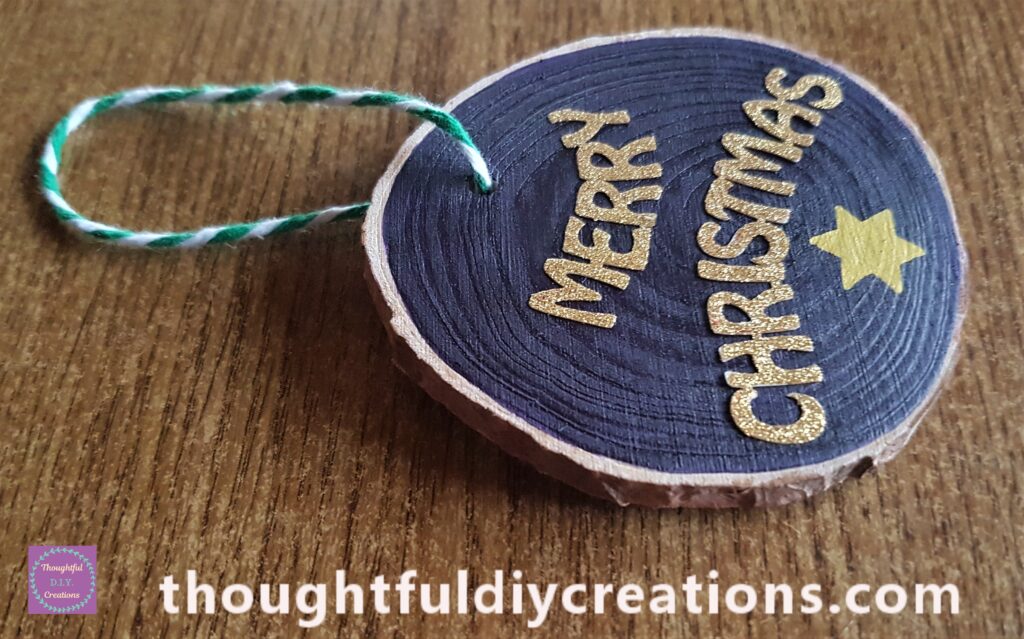
This is how it looks from a side view.
Candy Cane Decoration
I got a Red and White Pipe Cleaner from a Christmas Set.
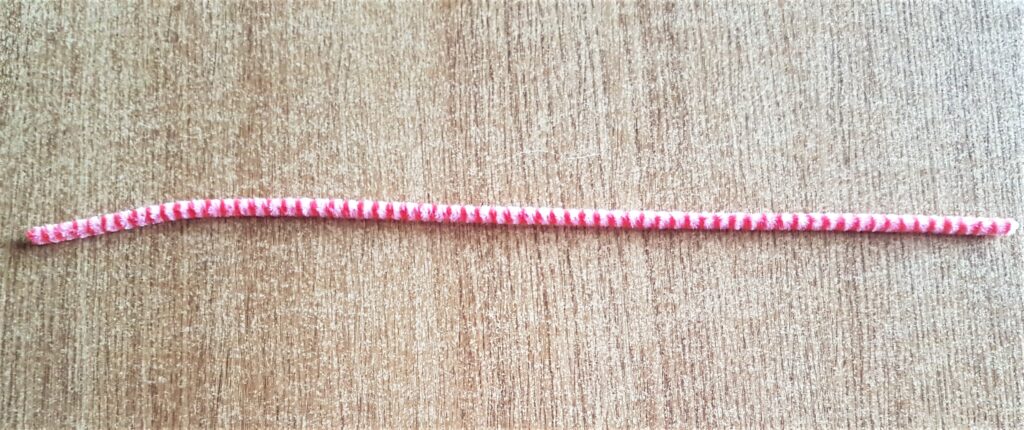
I cut 2 even size sections from the pipe cleaner.
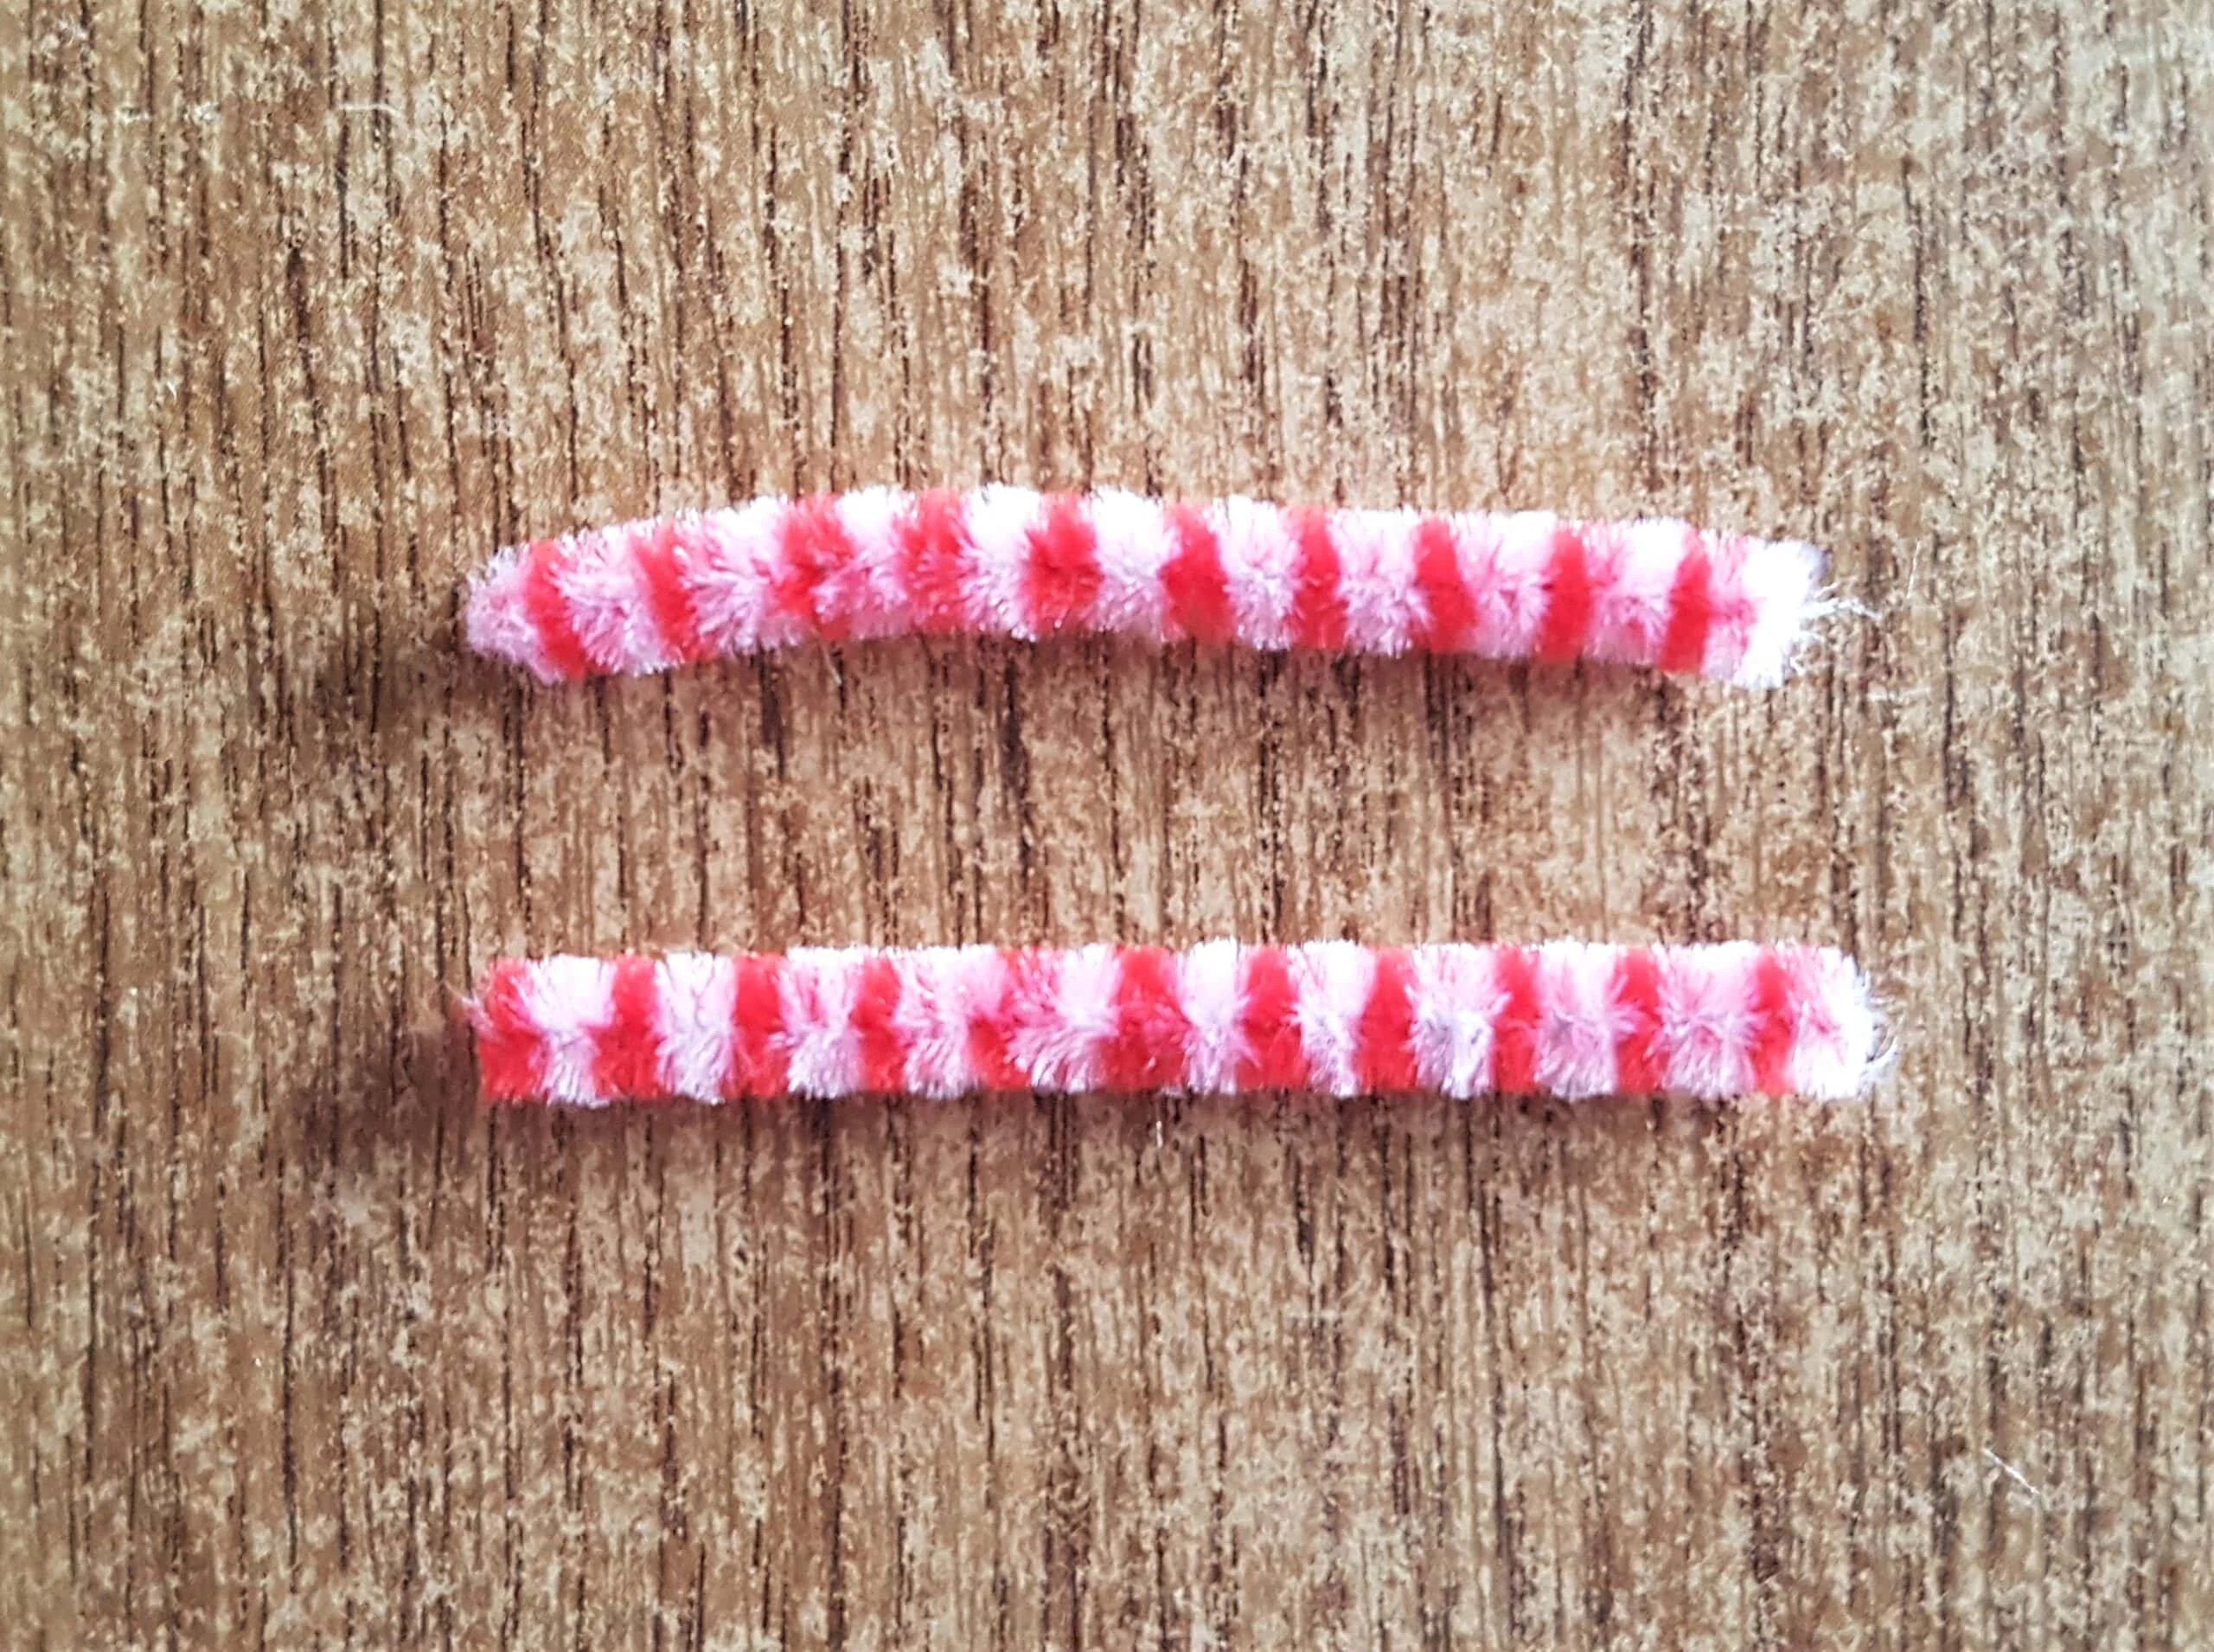
I twisted the top of the pipe cleaners forward to look like Candy Canes.
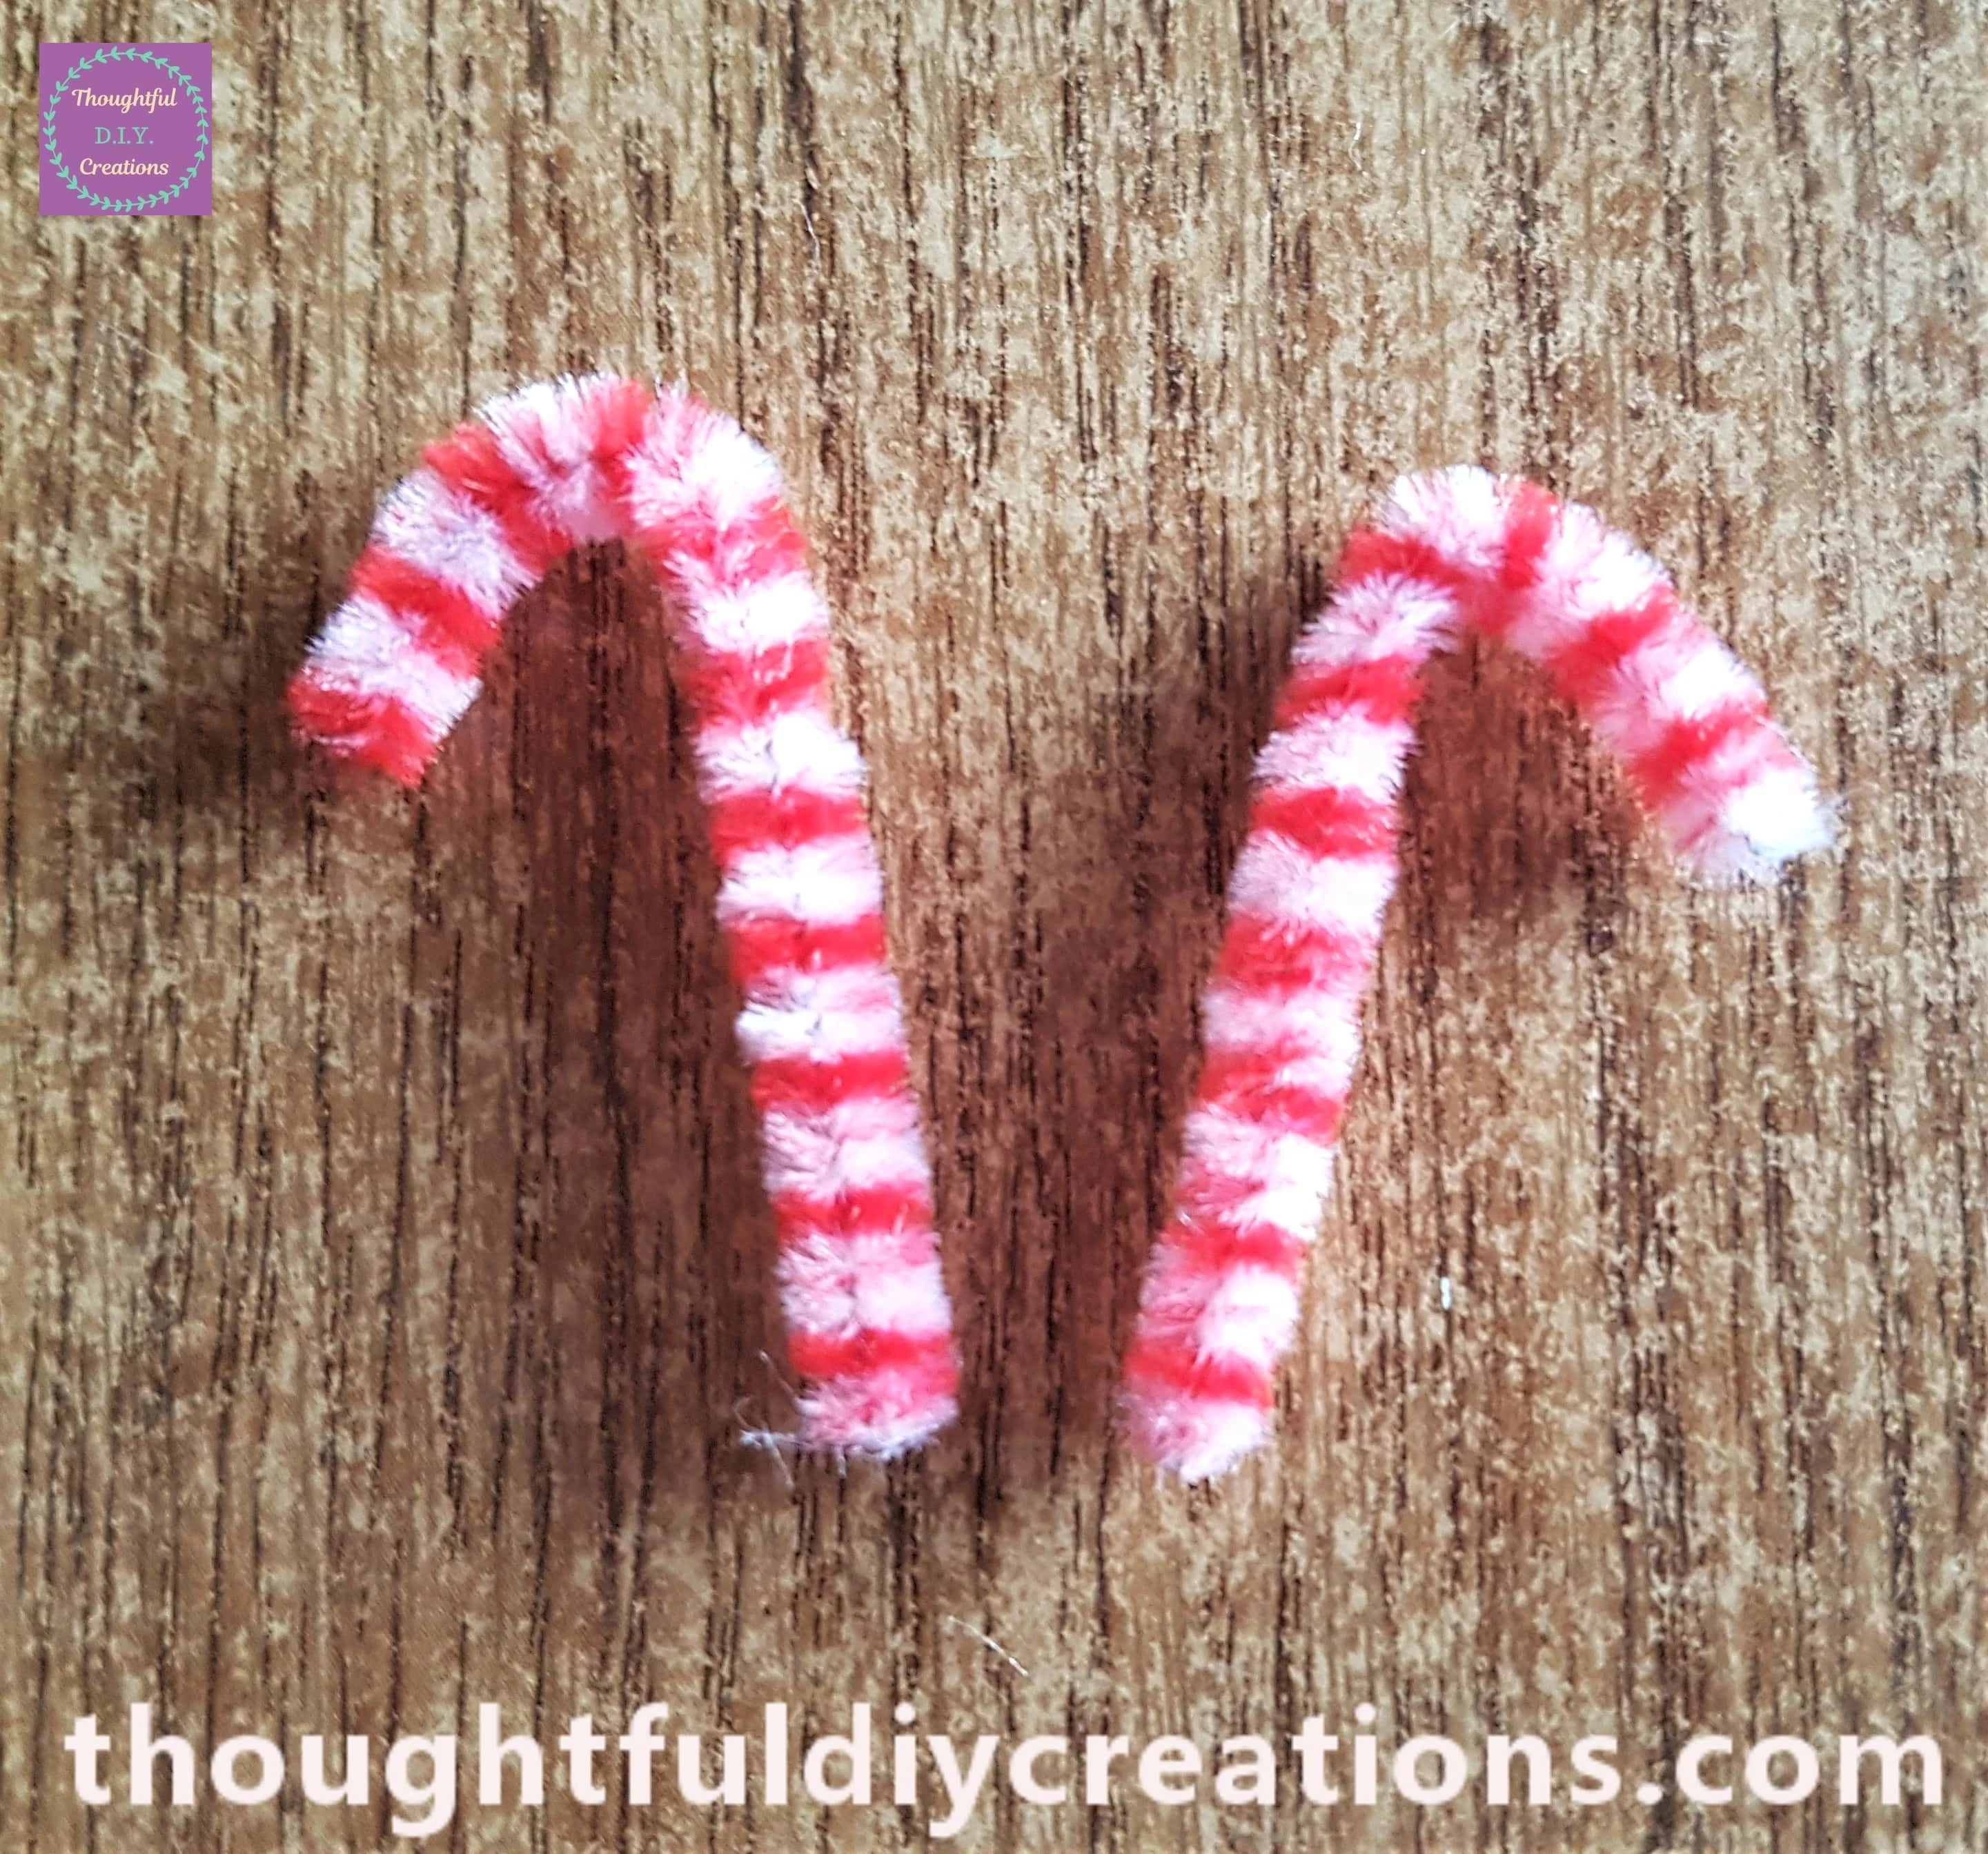
I attached them to the Blue Painted Wood Slice with my Hot Glue Gun.
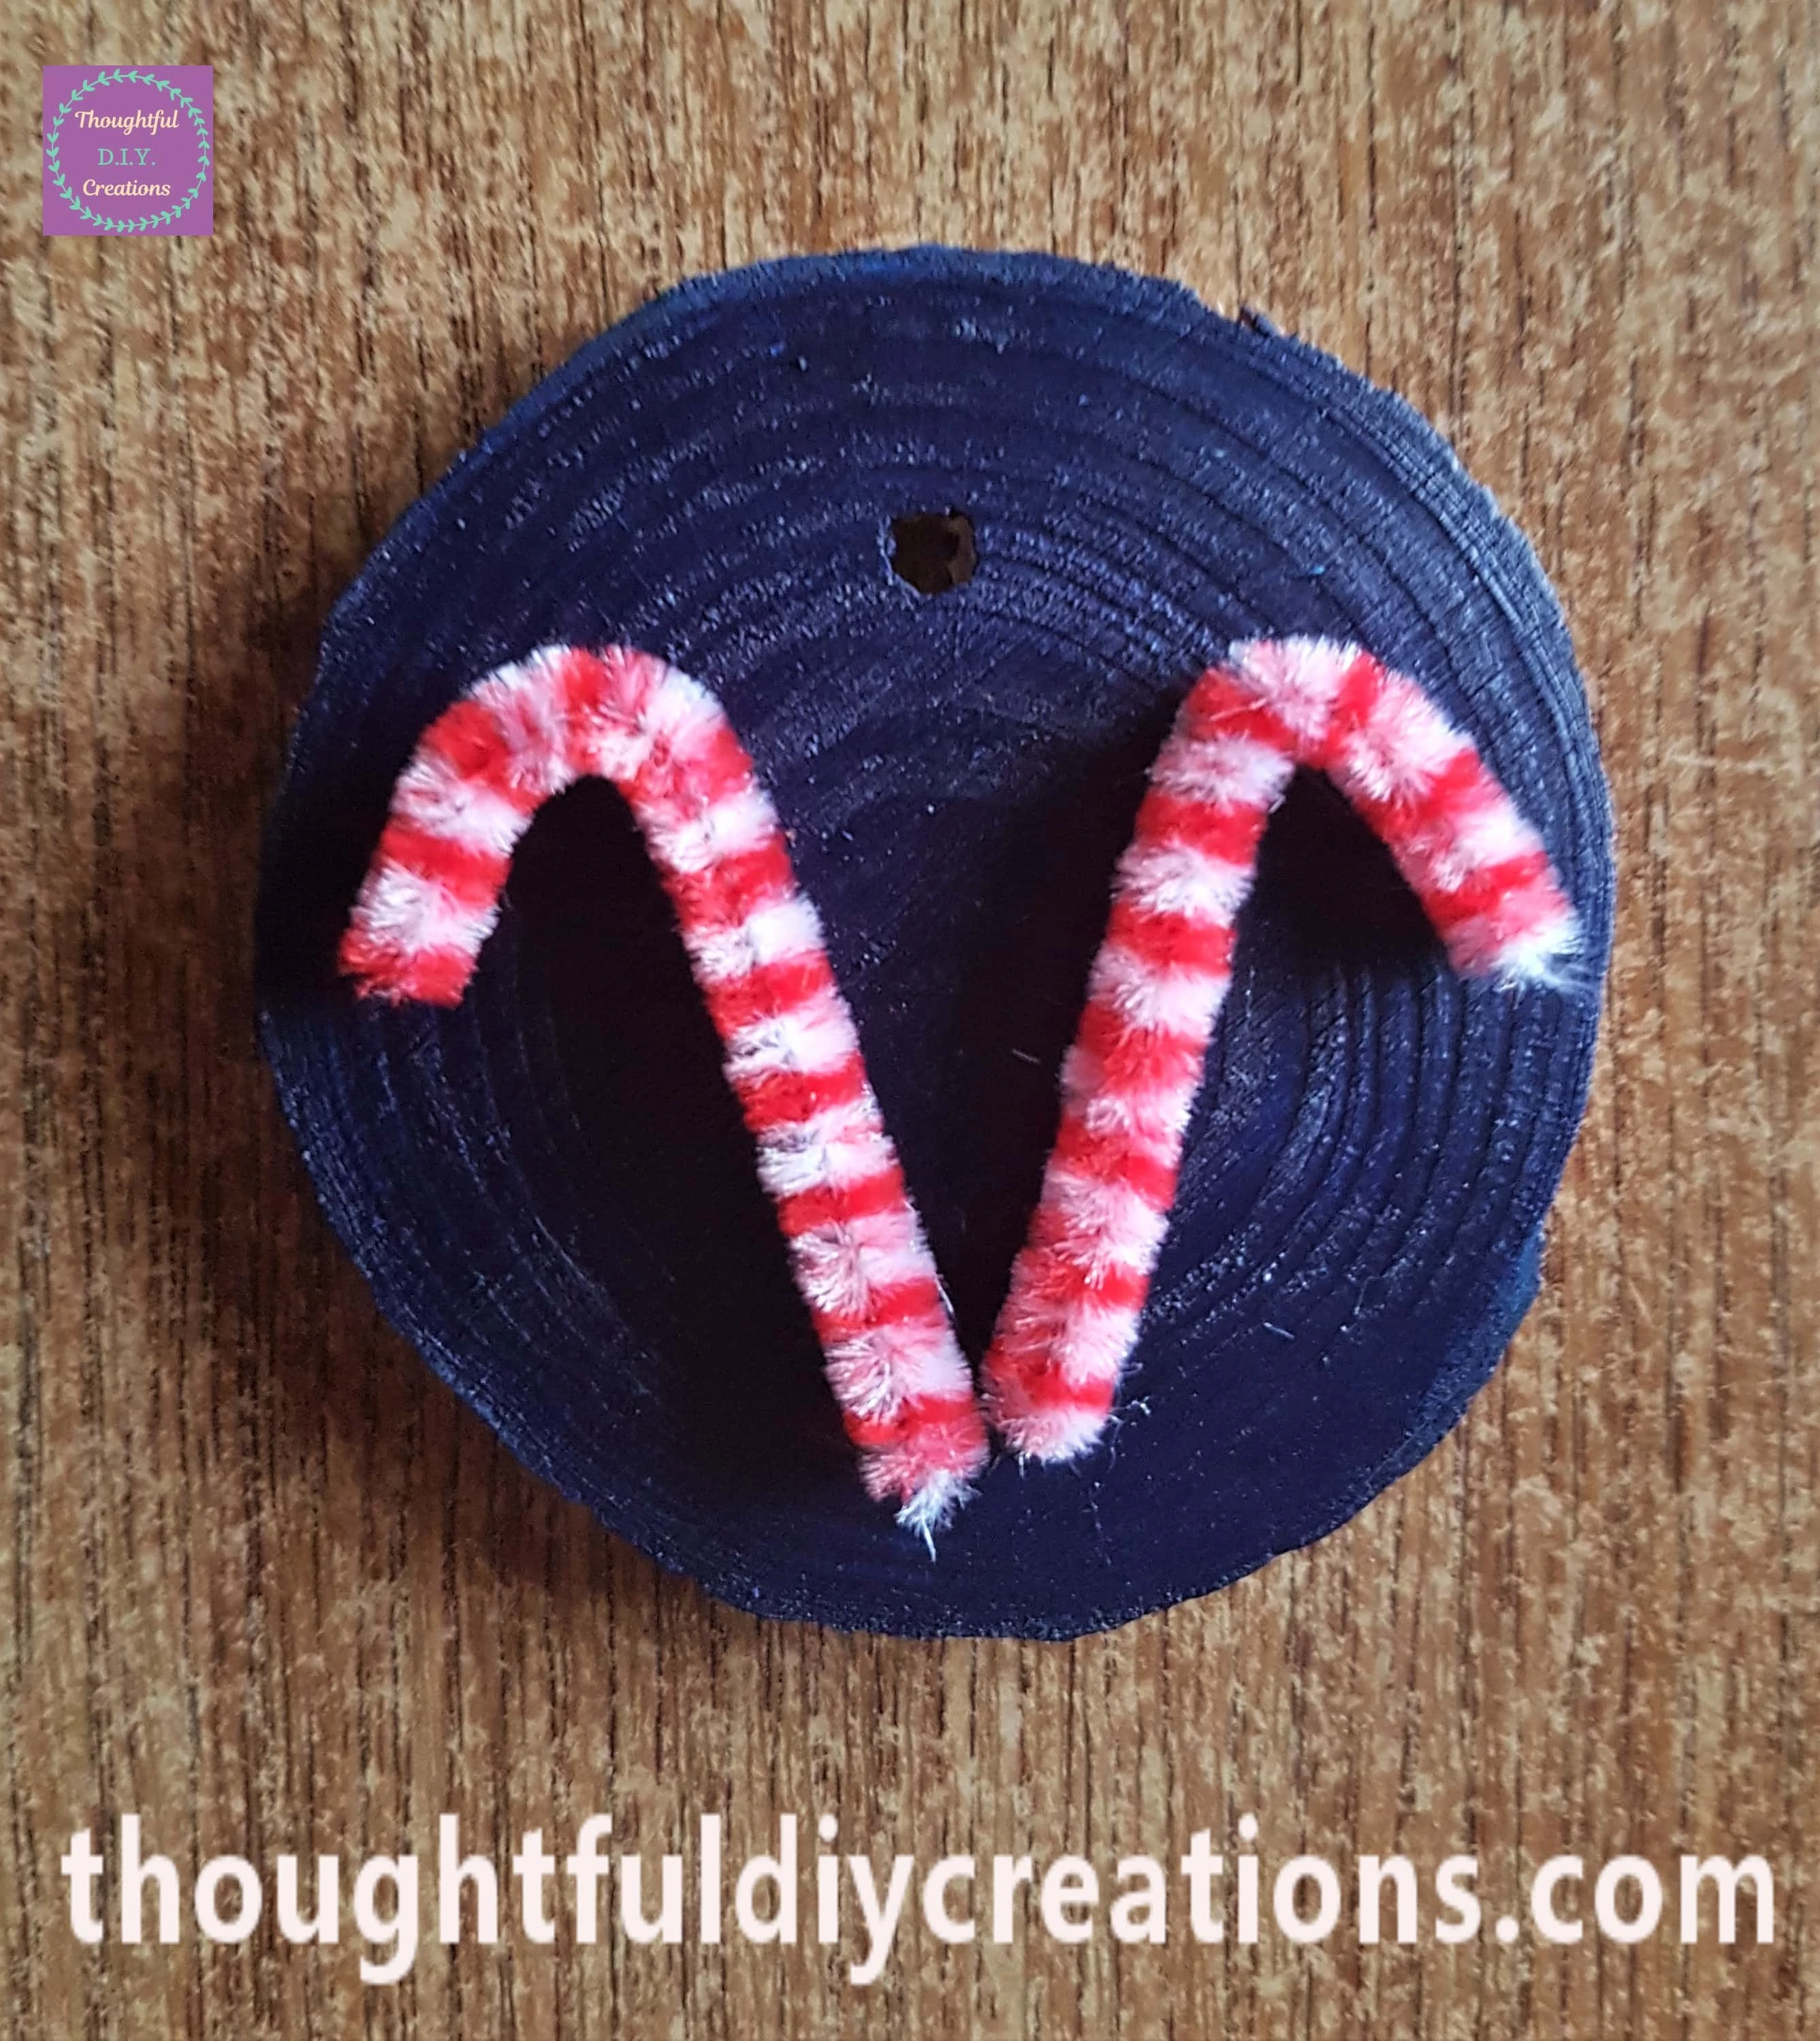
I Hot Glued the rest of the Pipe Cleaner around the edge of the Decoration.
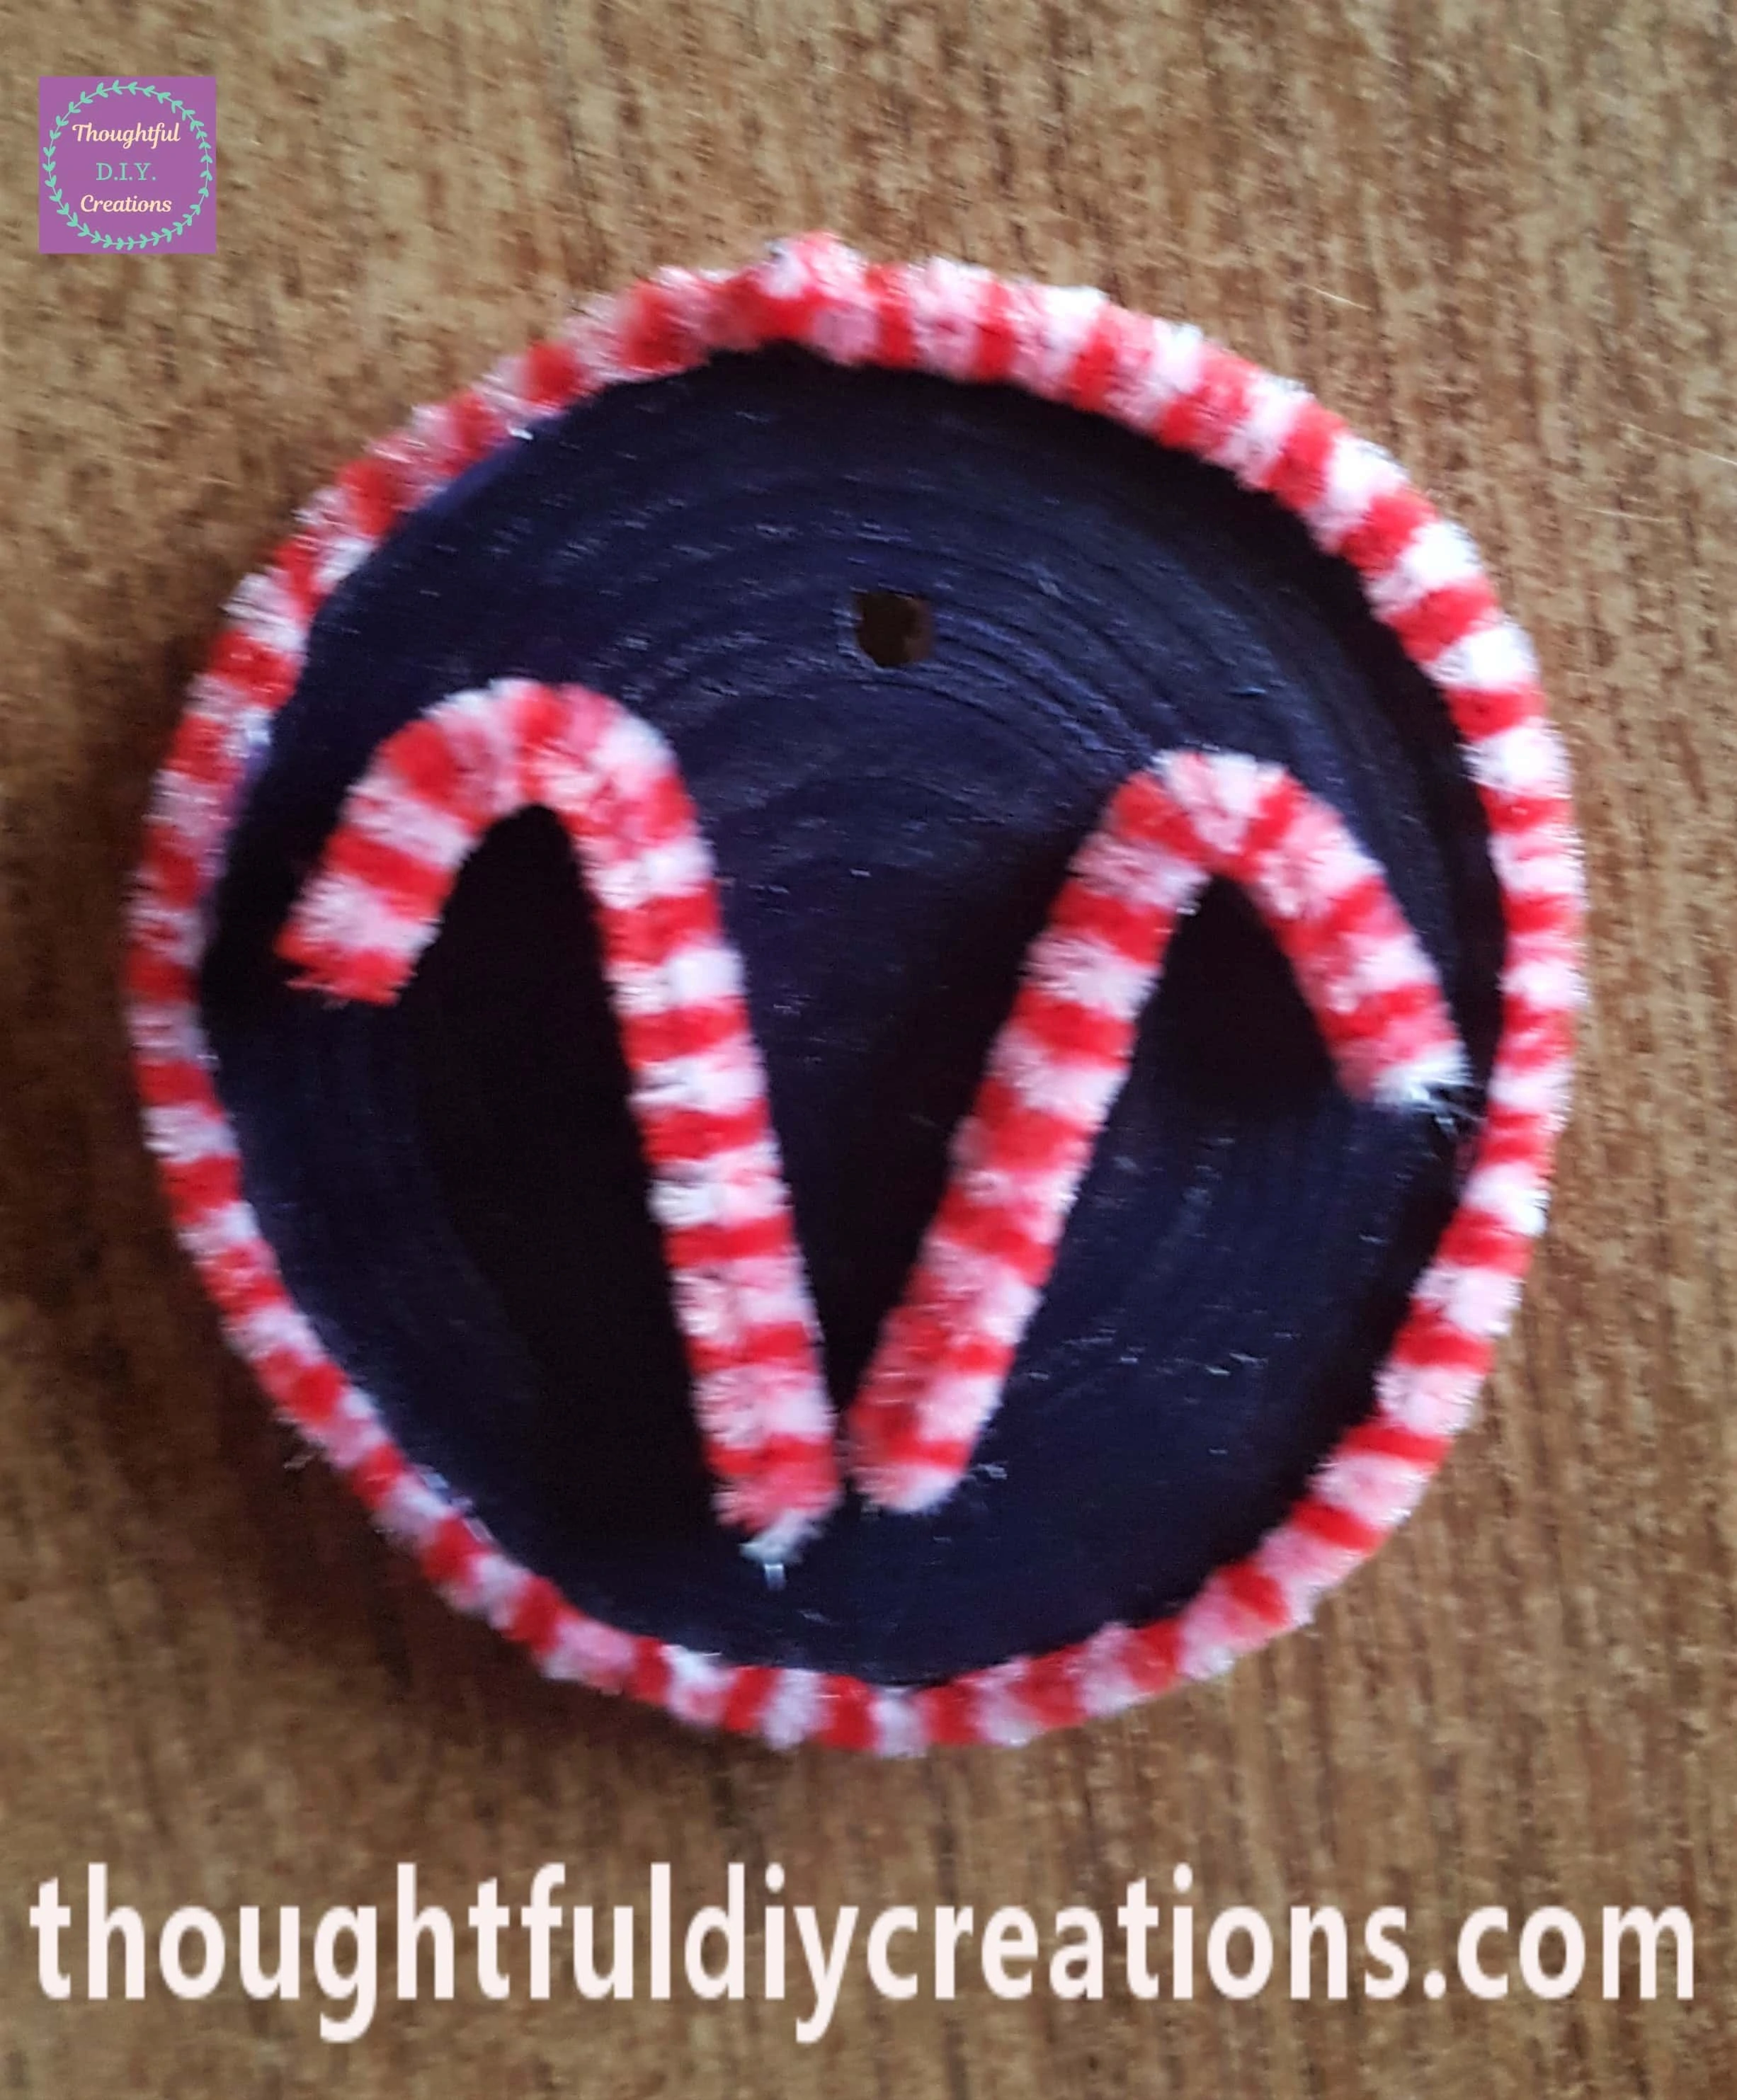
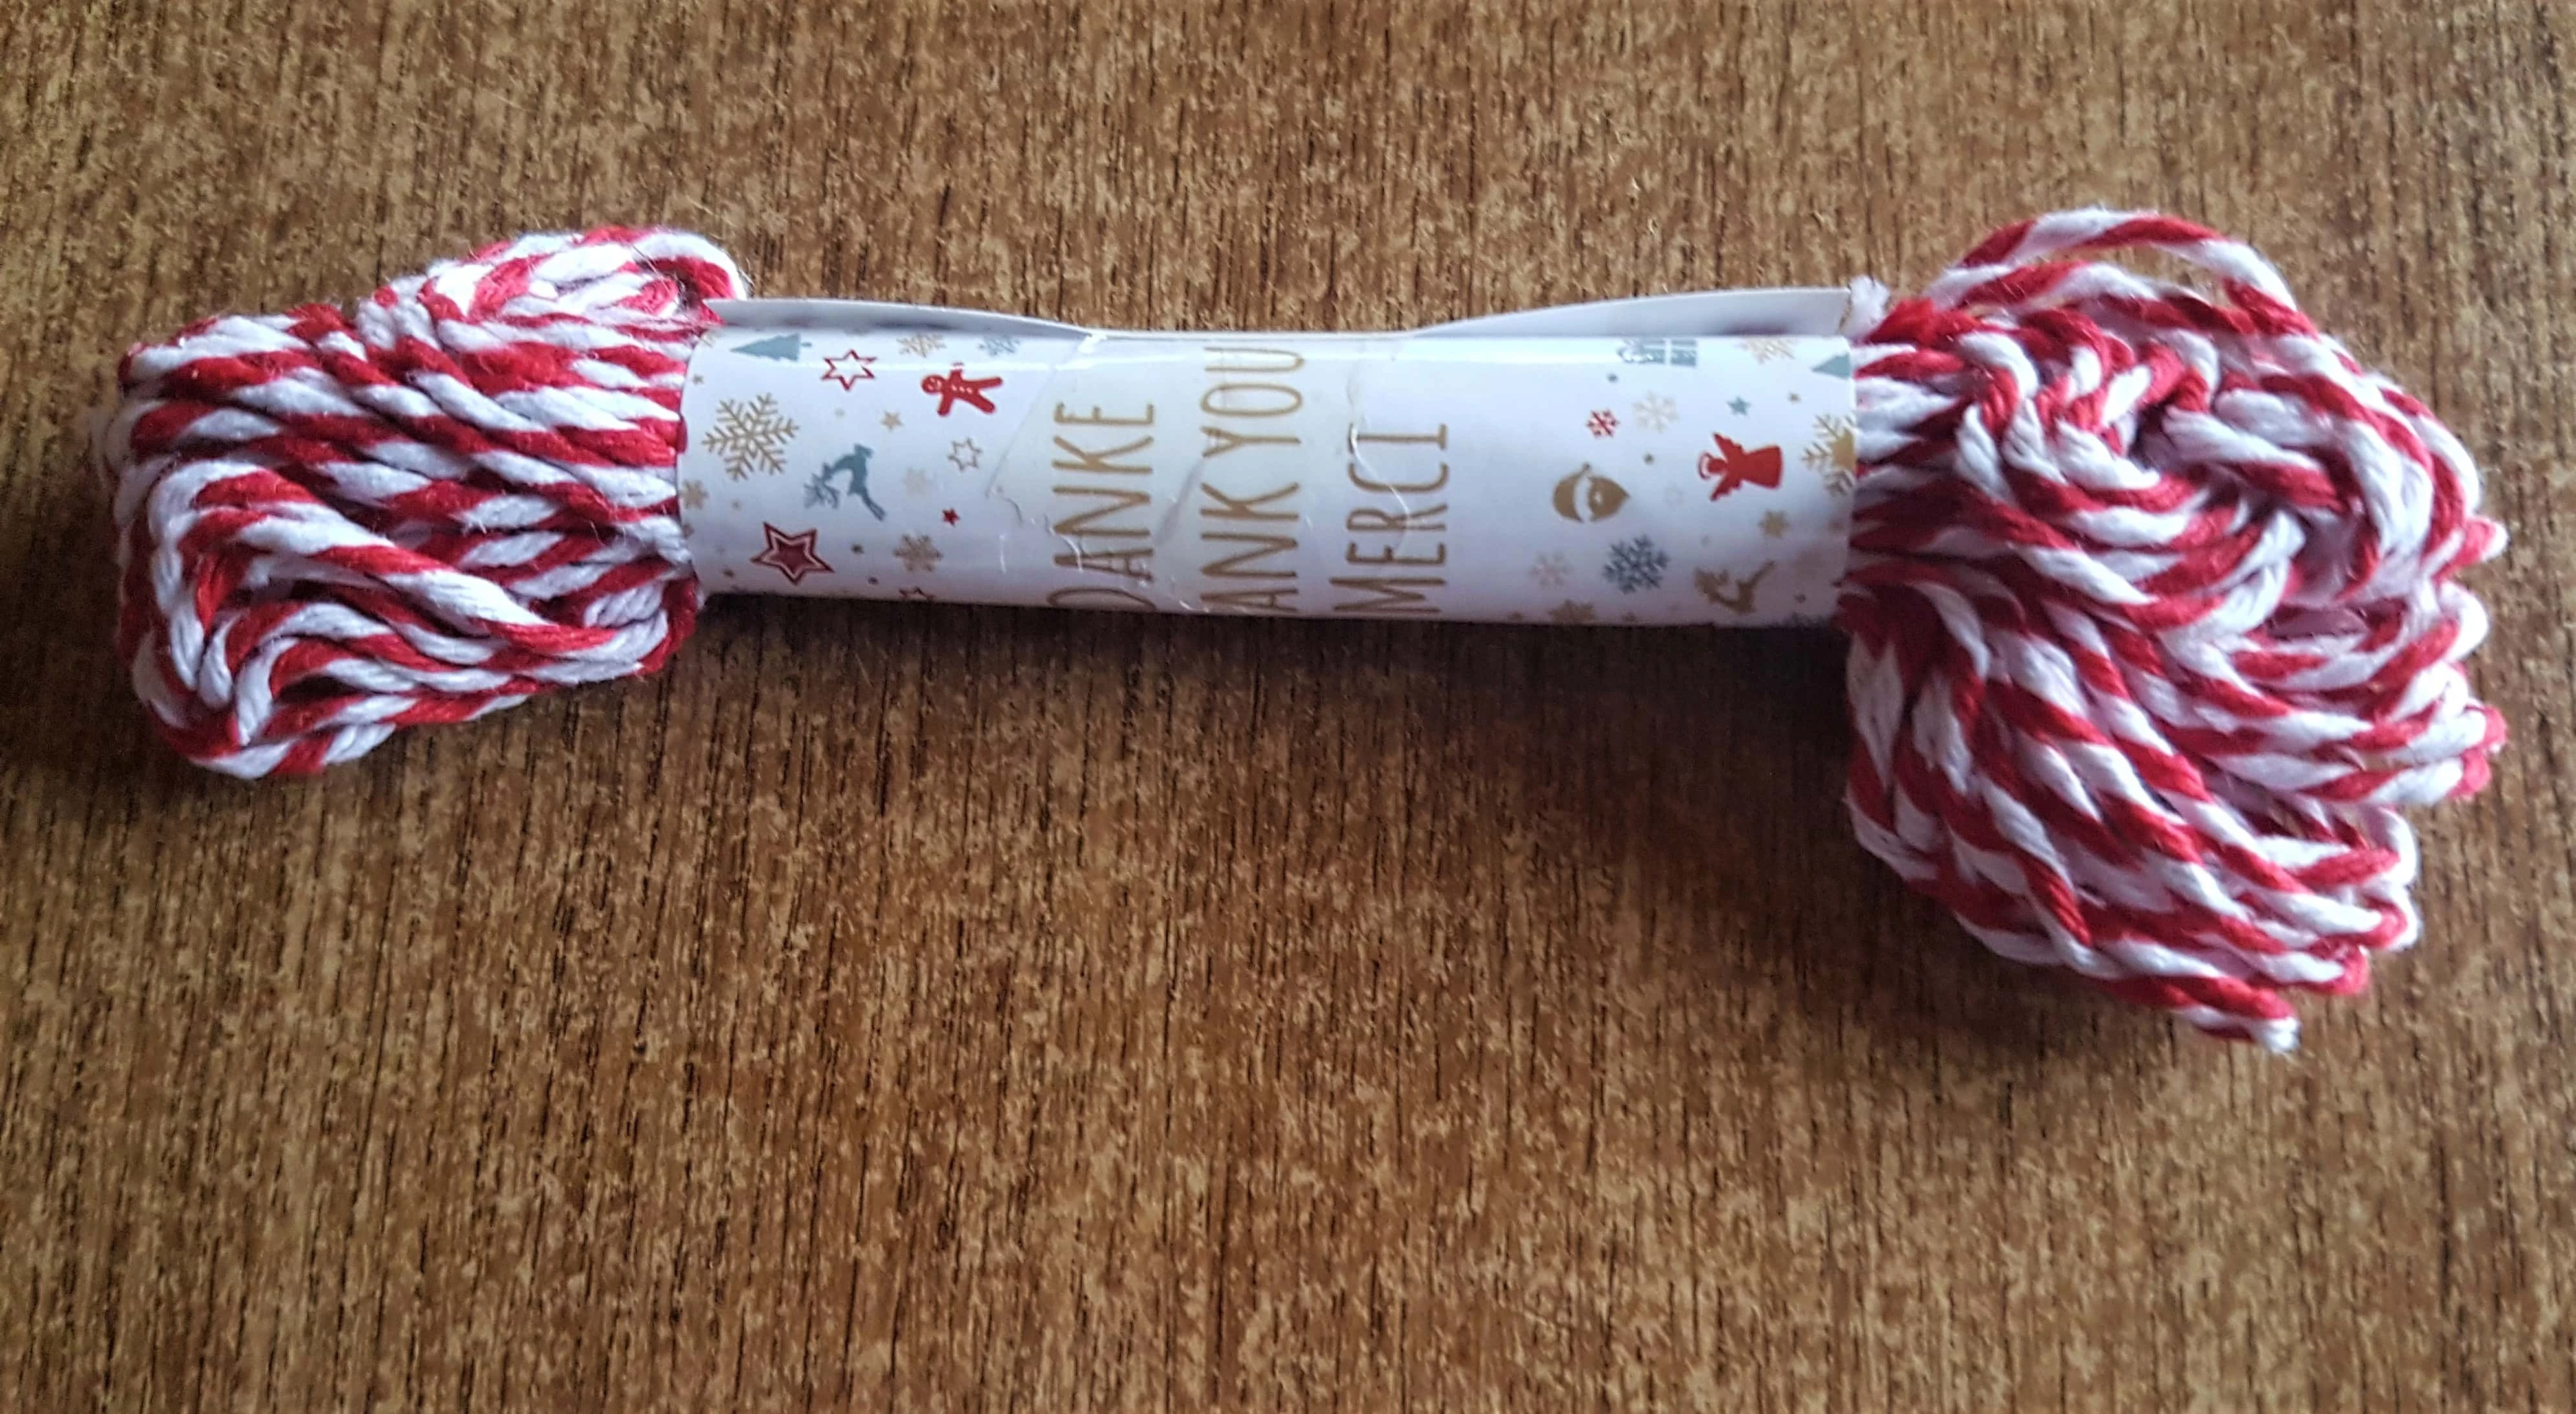
I got the Red and White Cotton String that came with the Wood Slices.
I put it through the hole, tied it in place and cut the excess string.
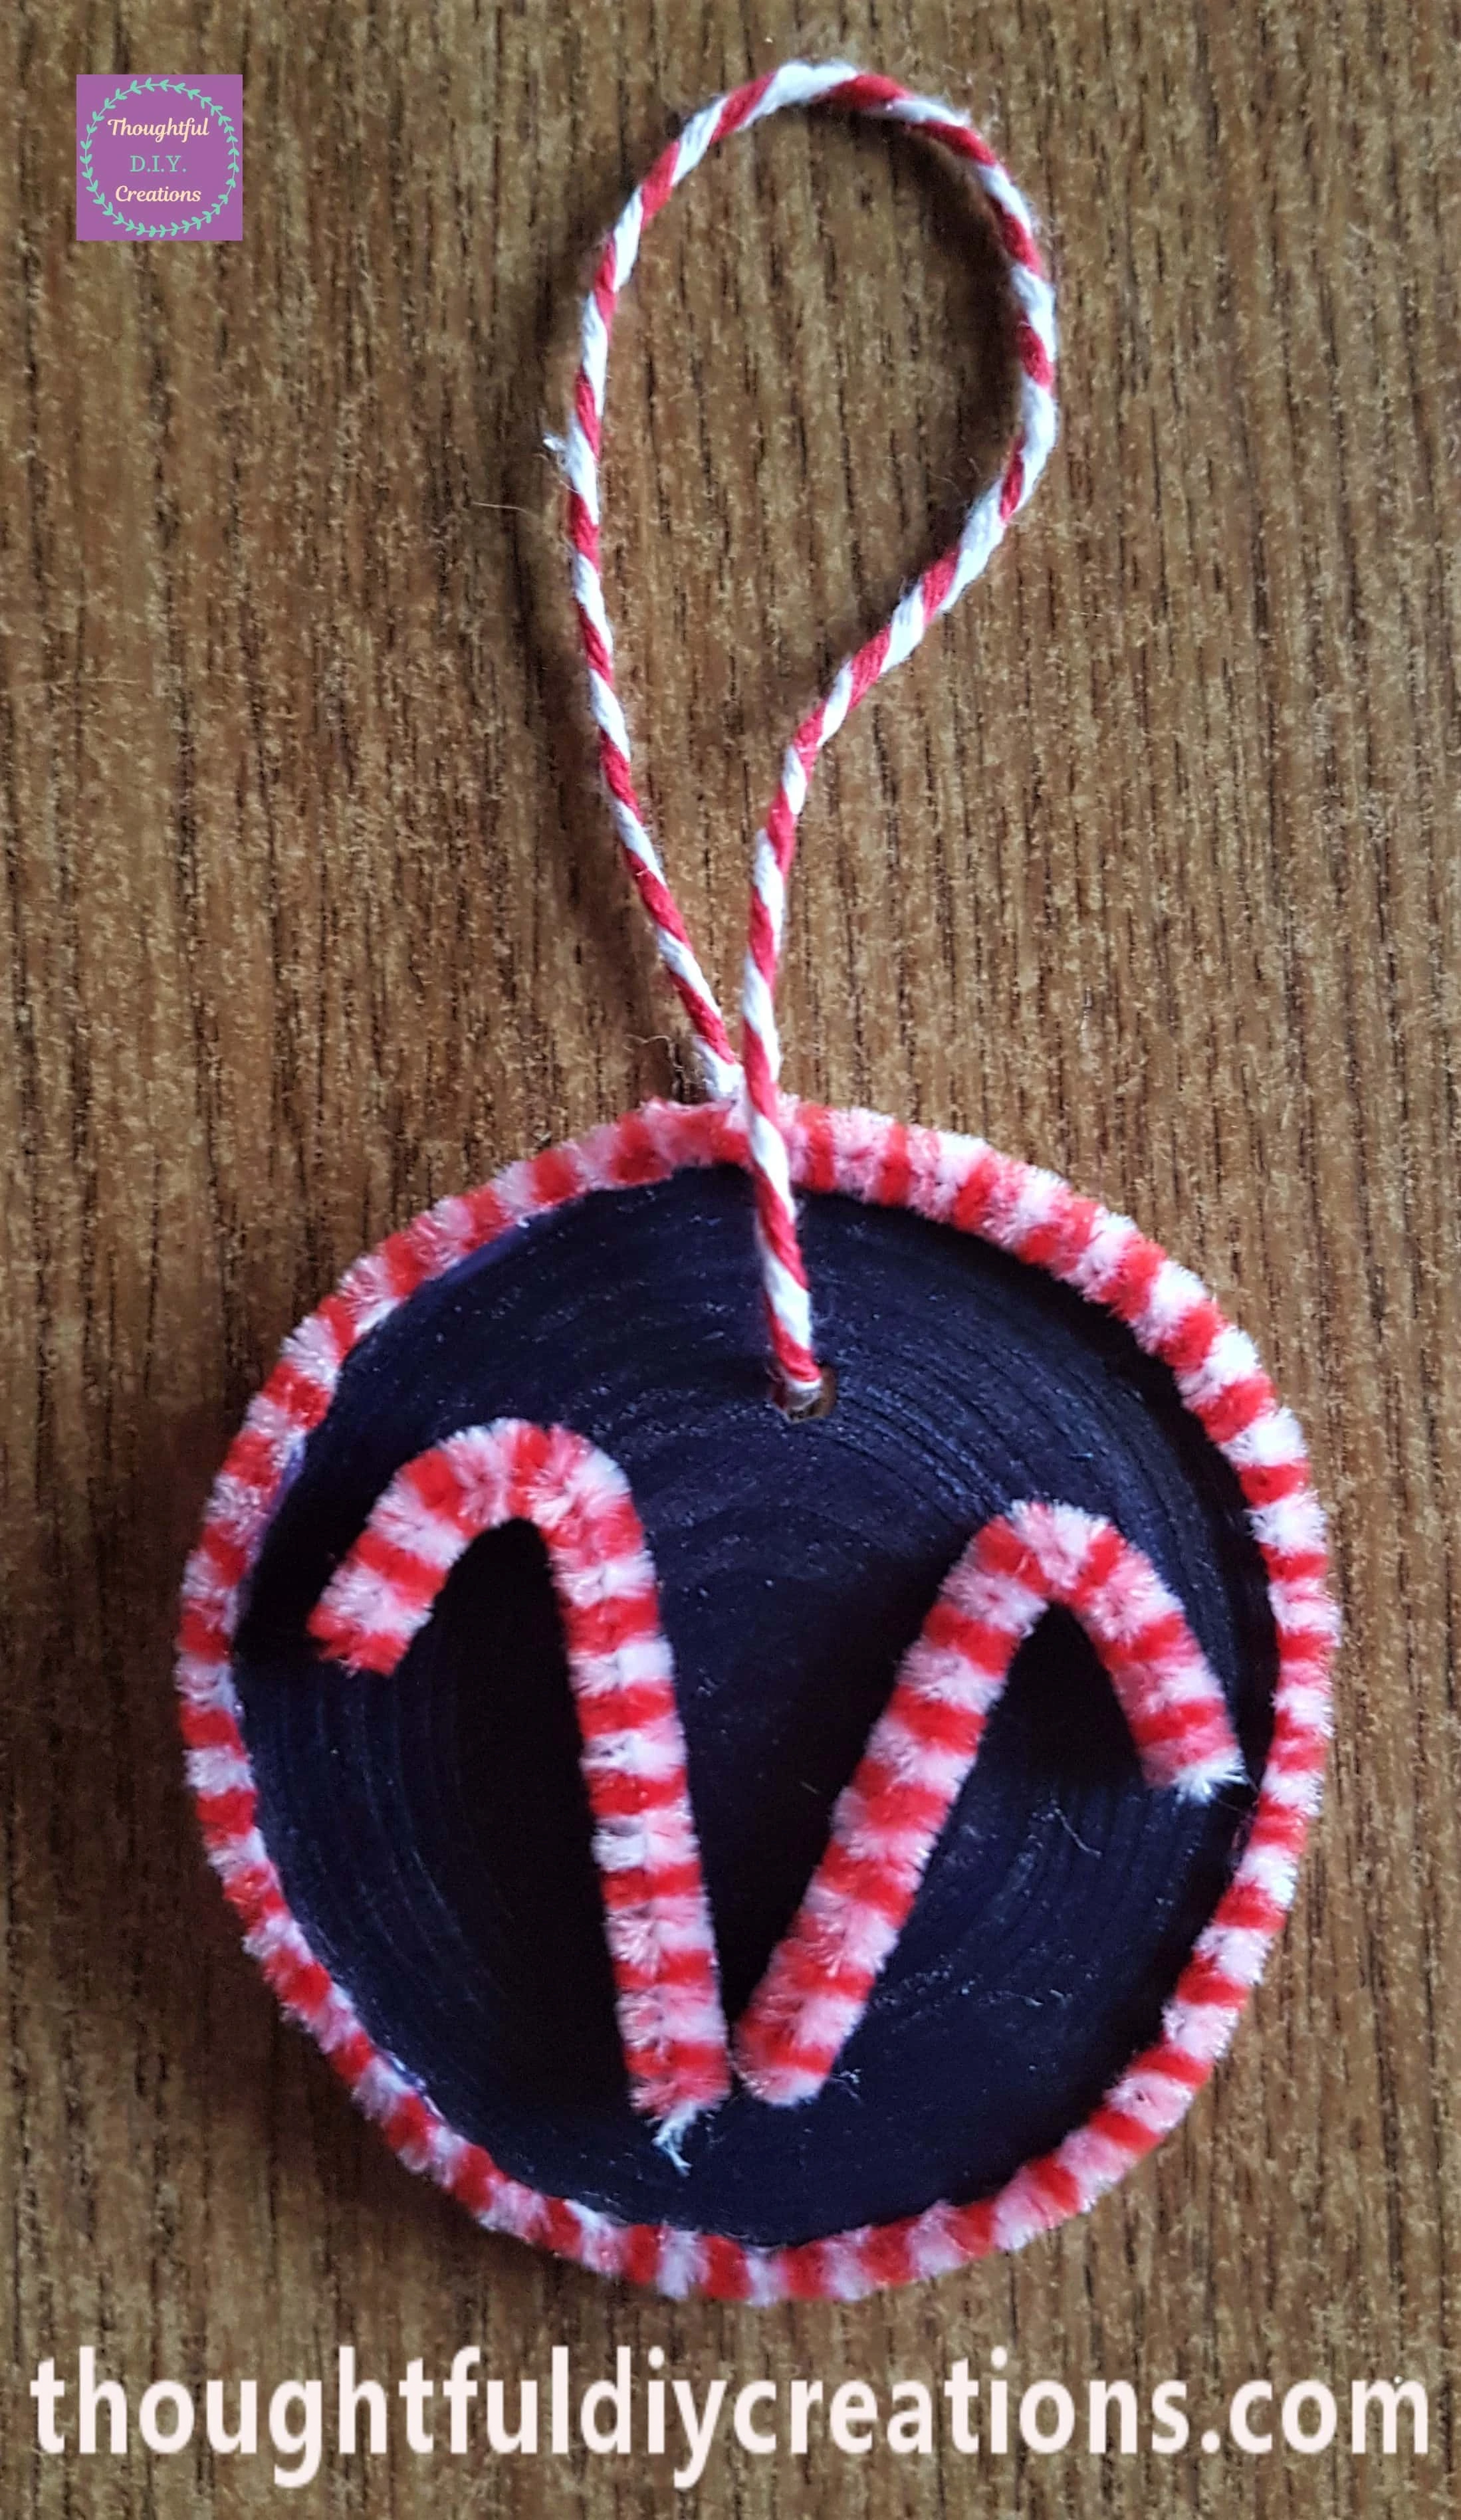
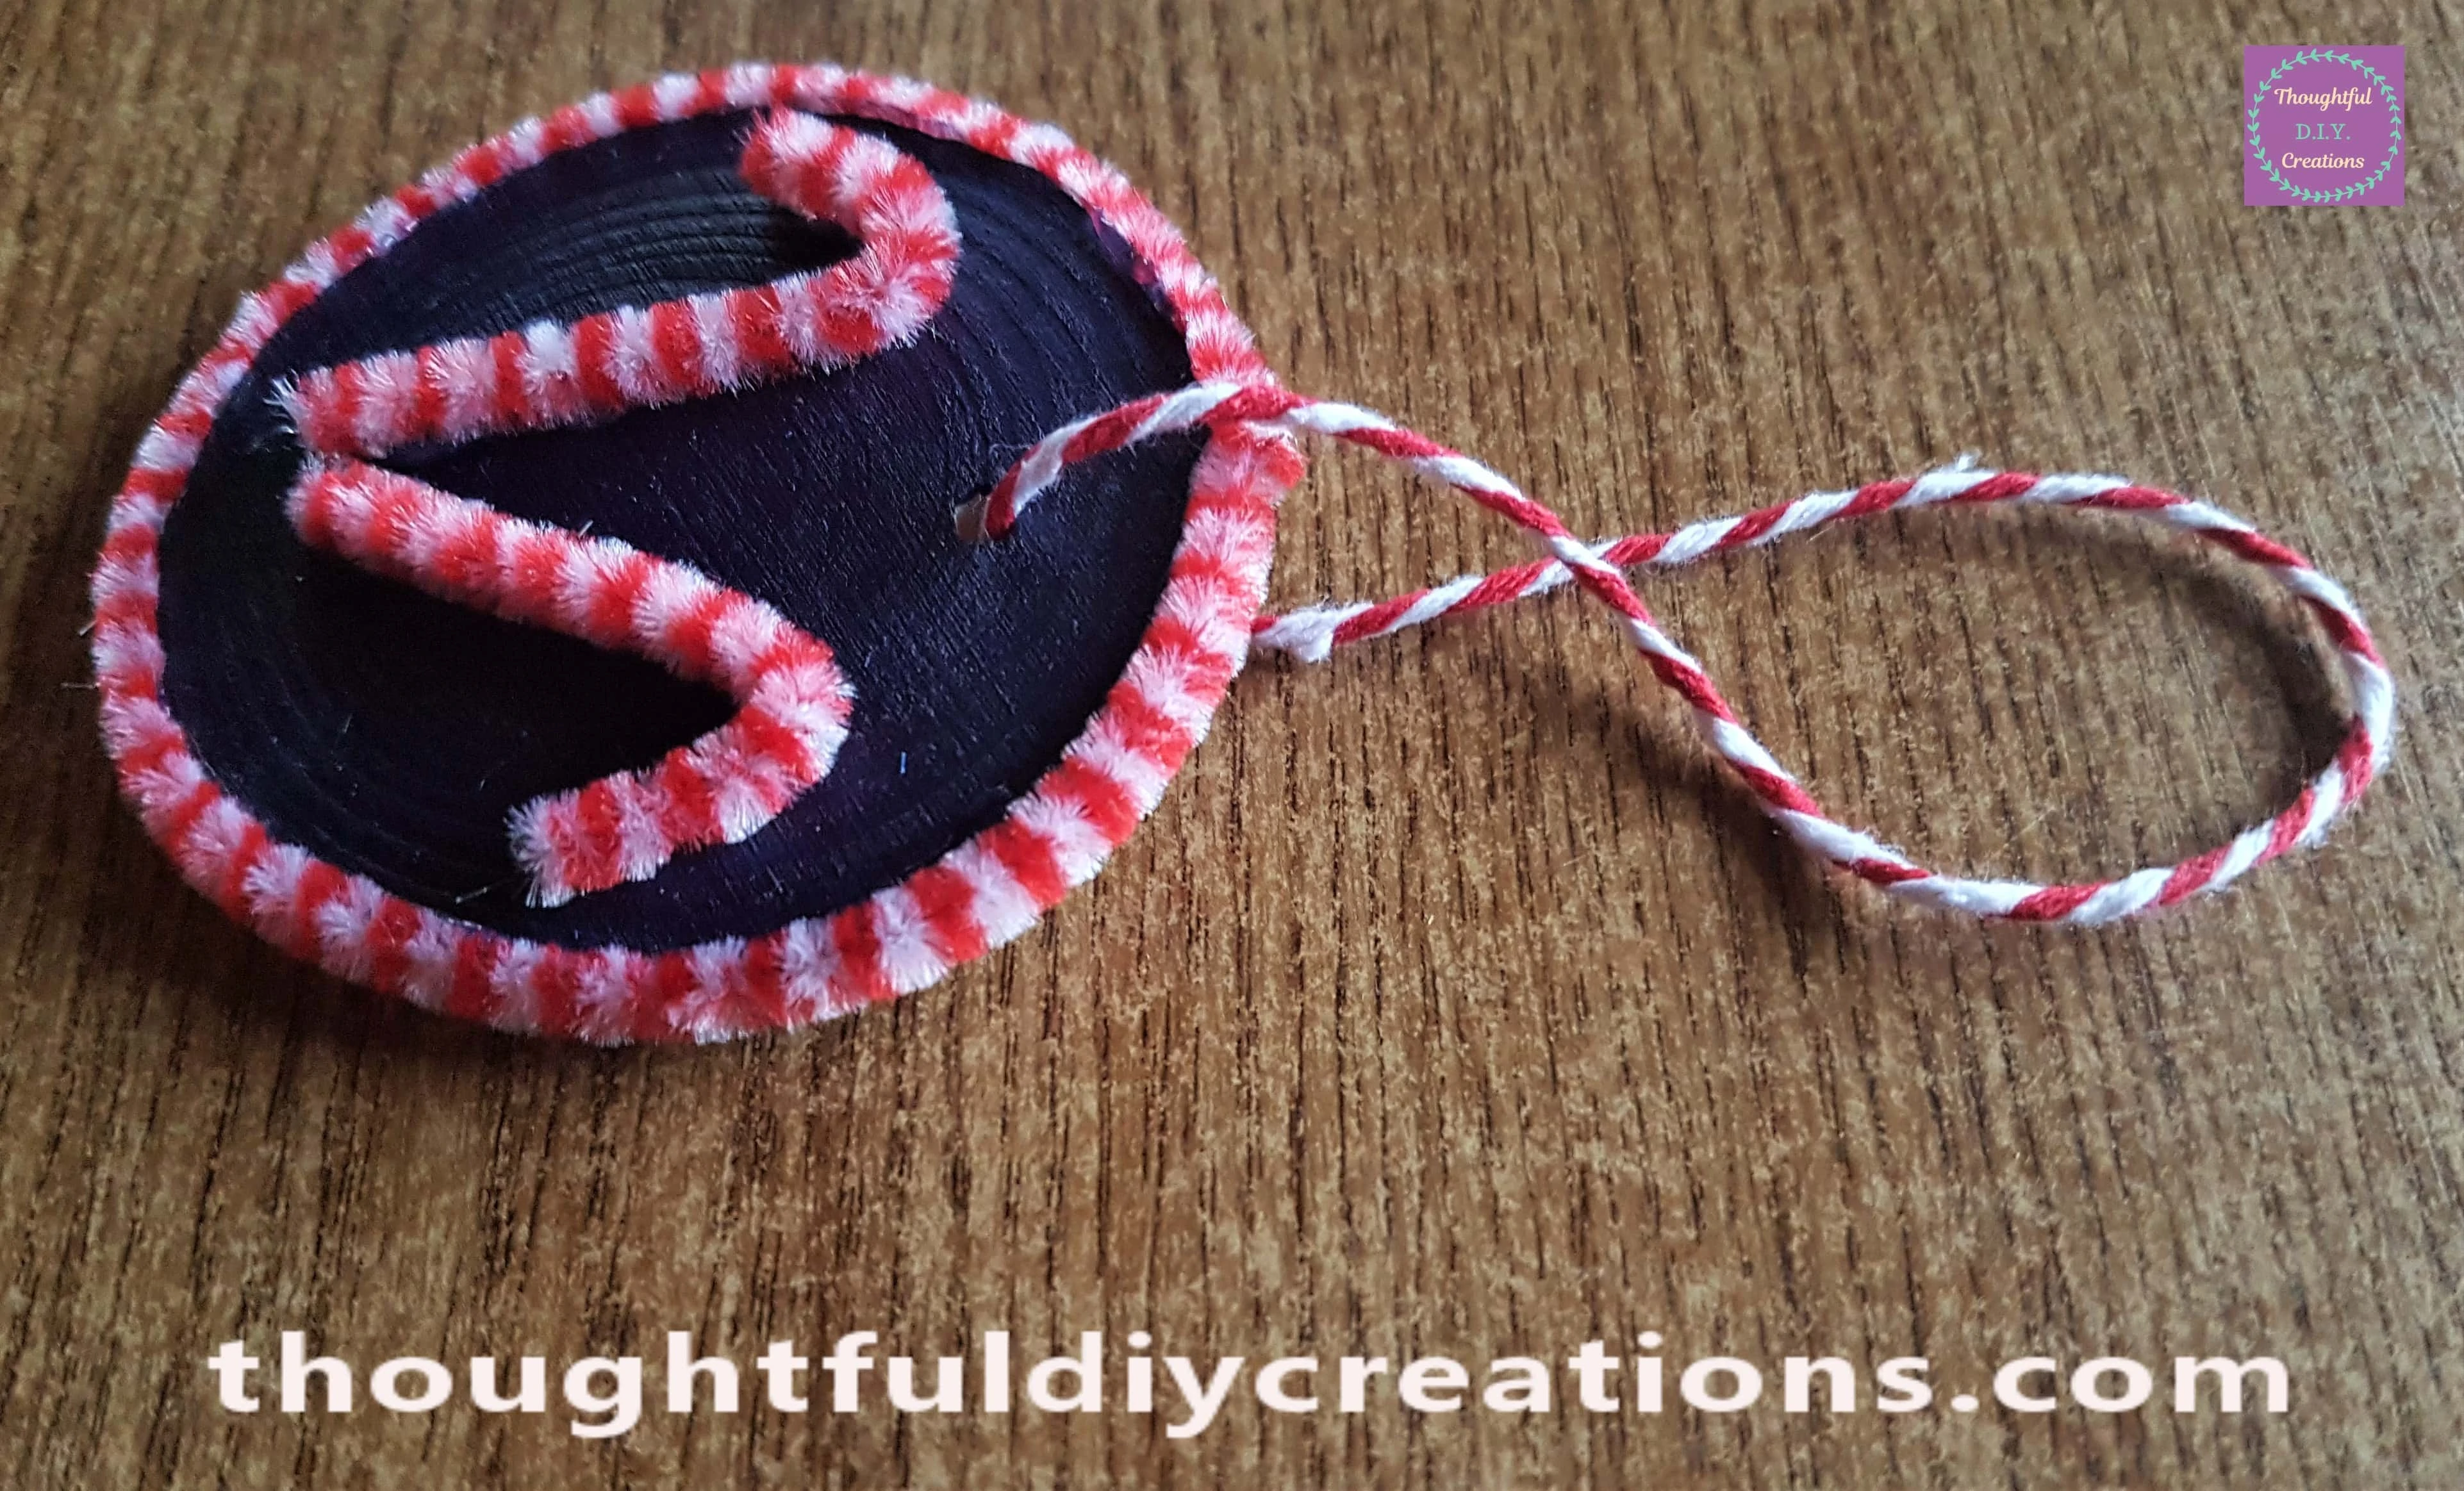
This Completed the Candy Cane Decoration.
Reindeer Wood Slice
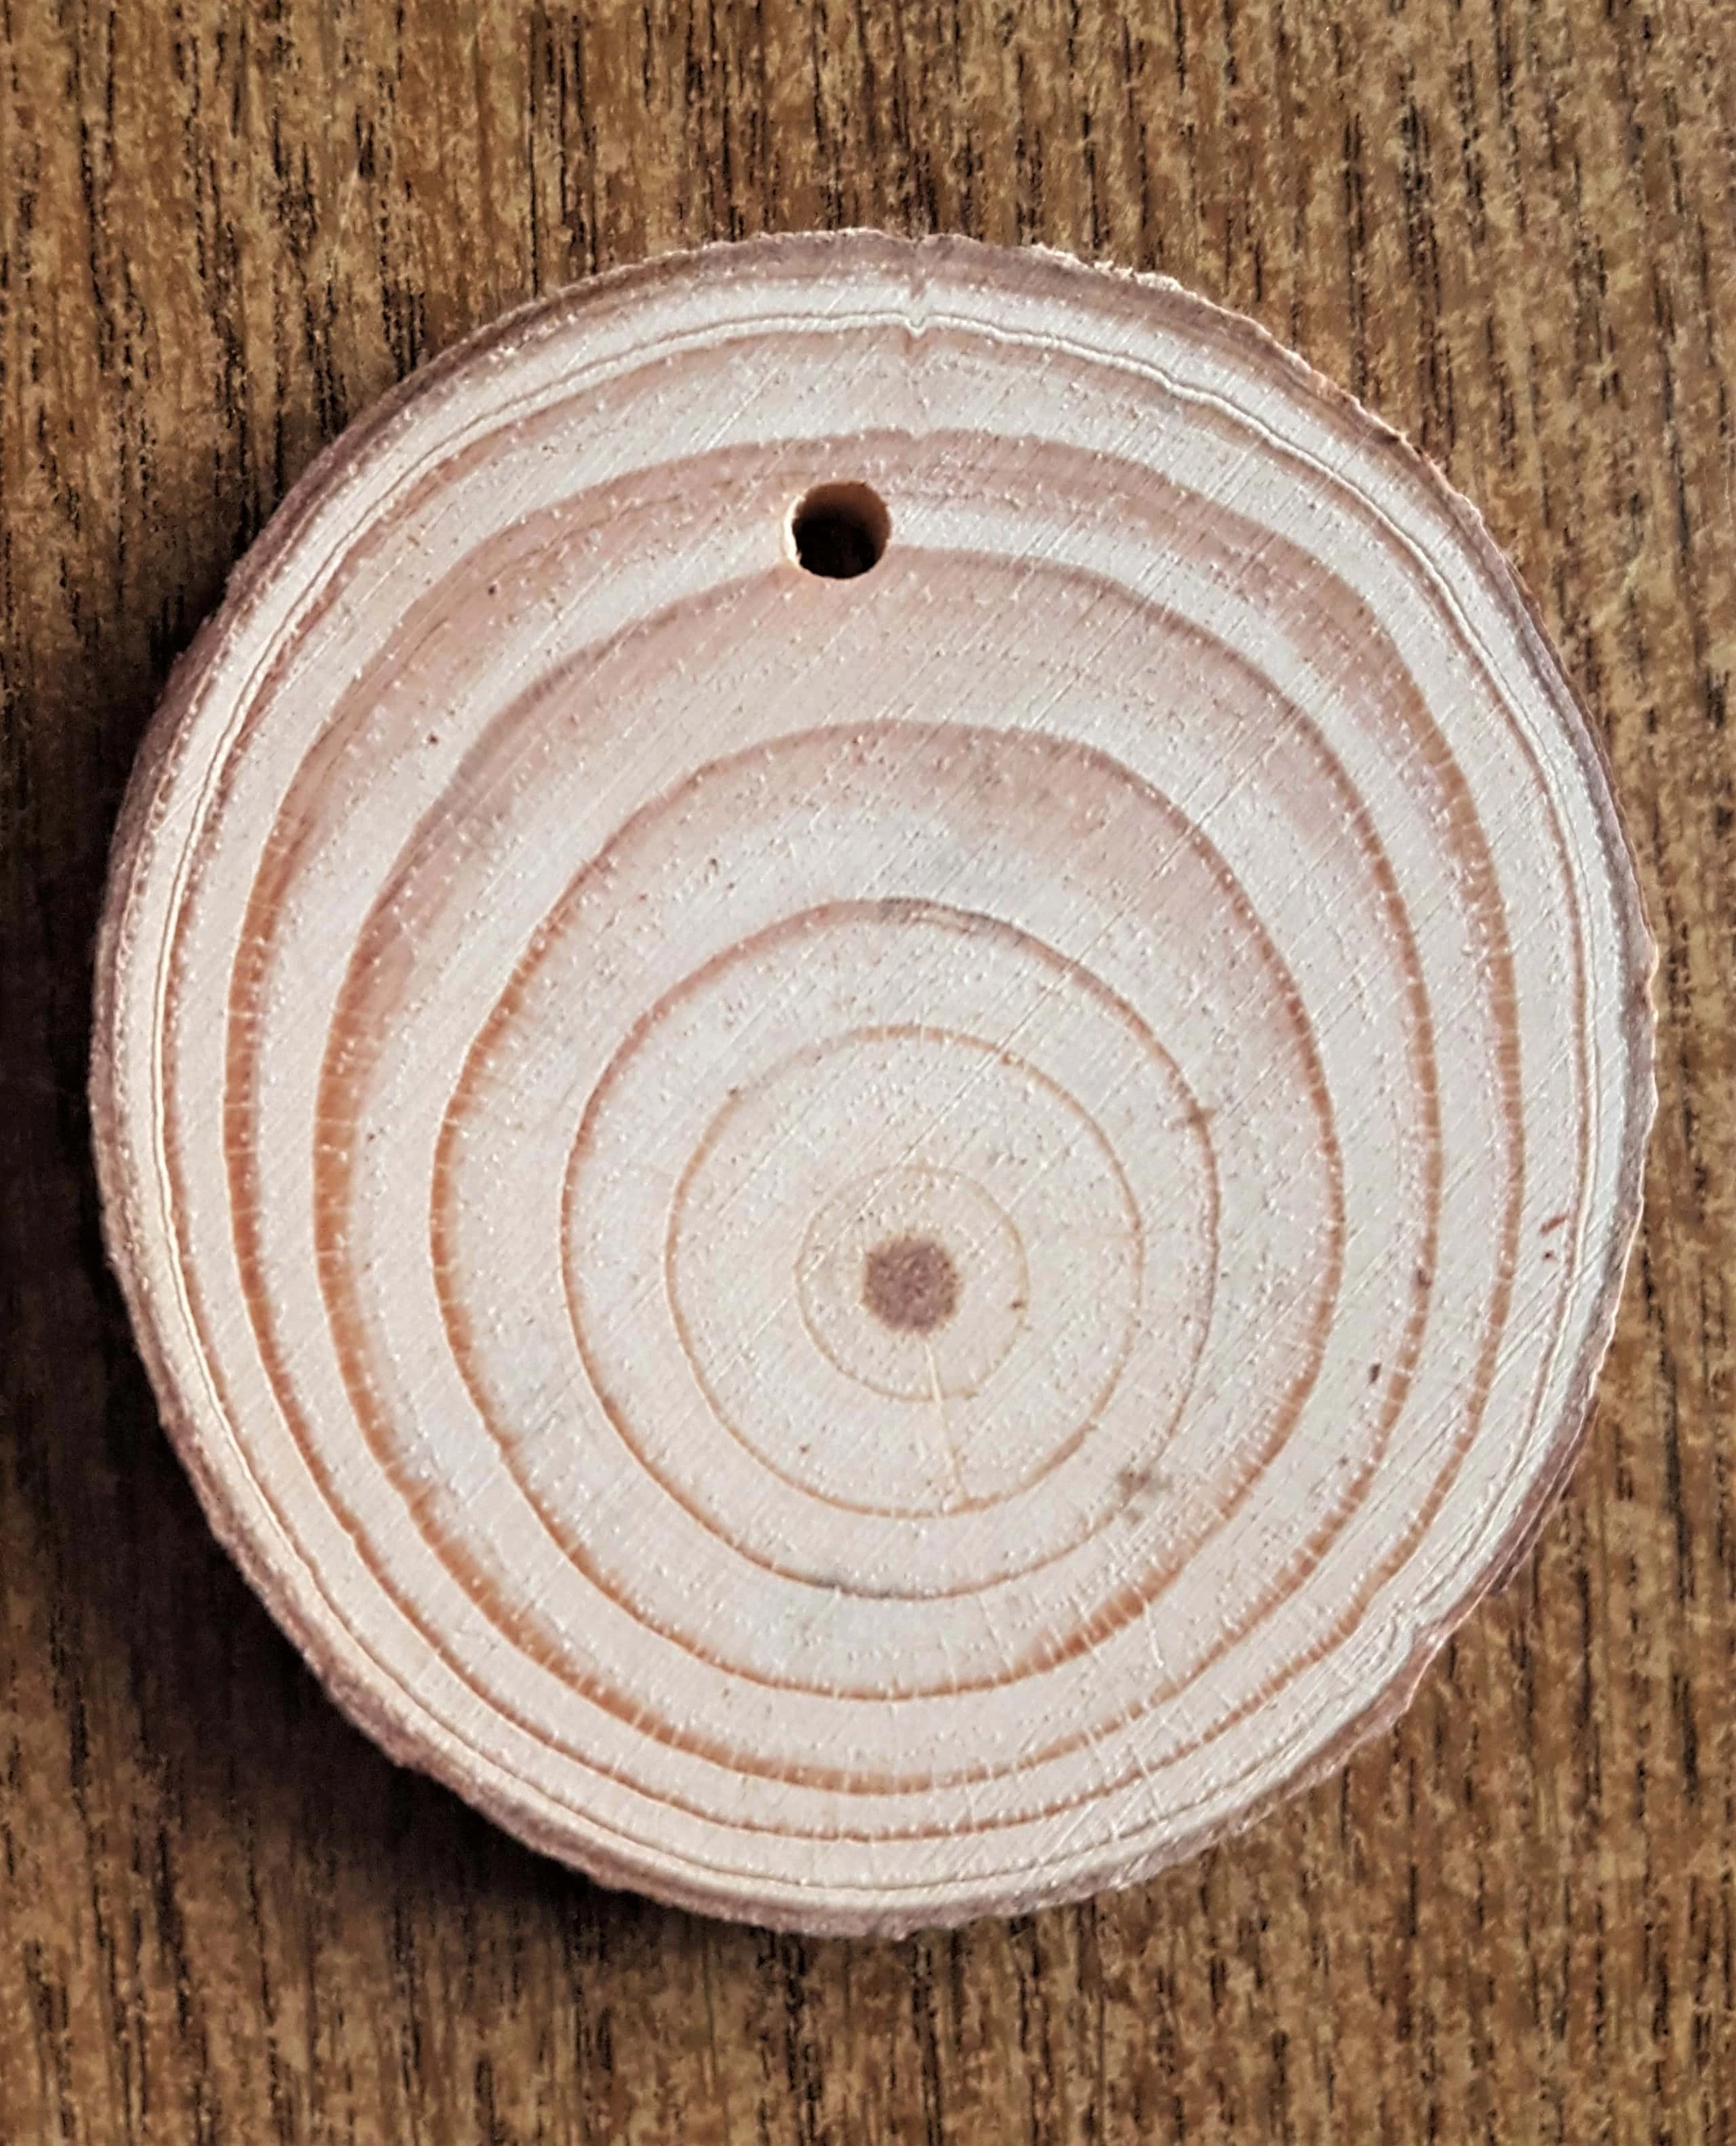
I got a Plain Wood Slice from the Box.
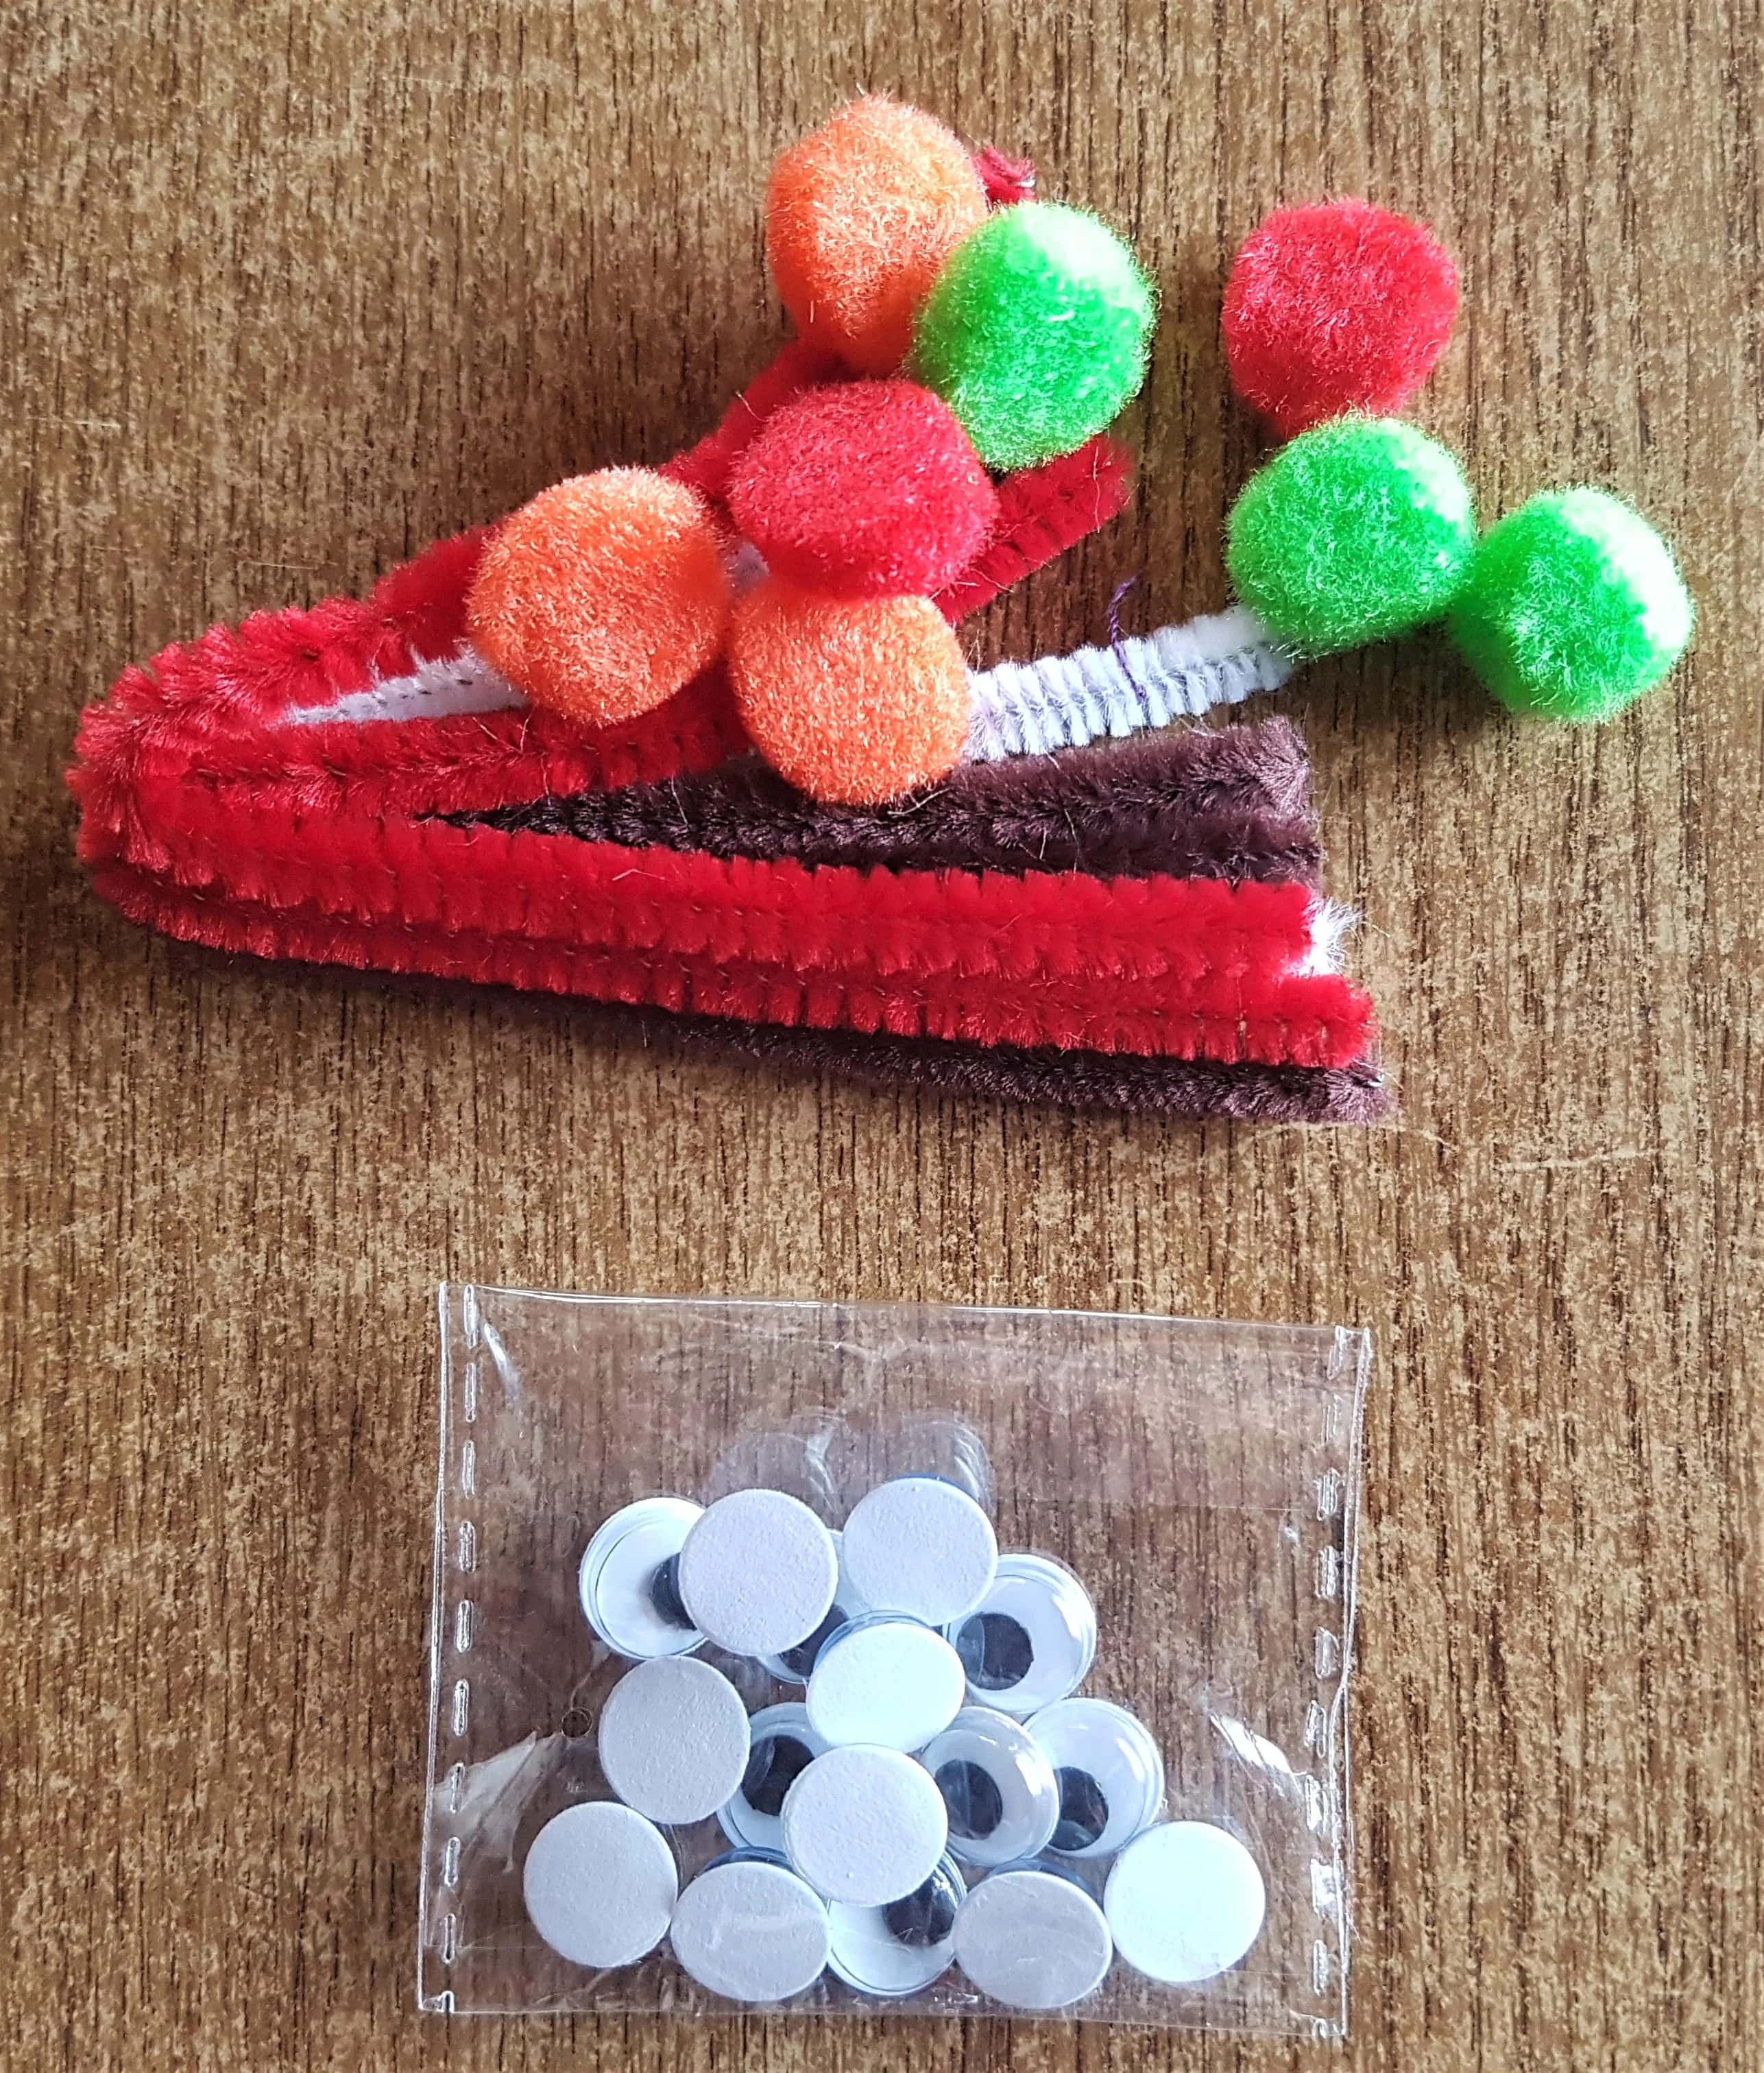
I got my Pipe Cleaners, Pom Poms and Googly Eyes from a Christmas Pack I had in my Craft Stash.
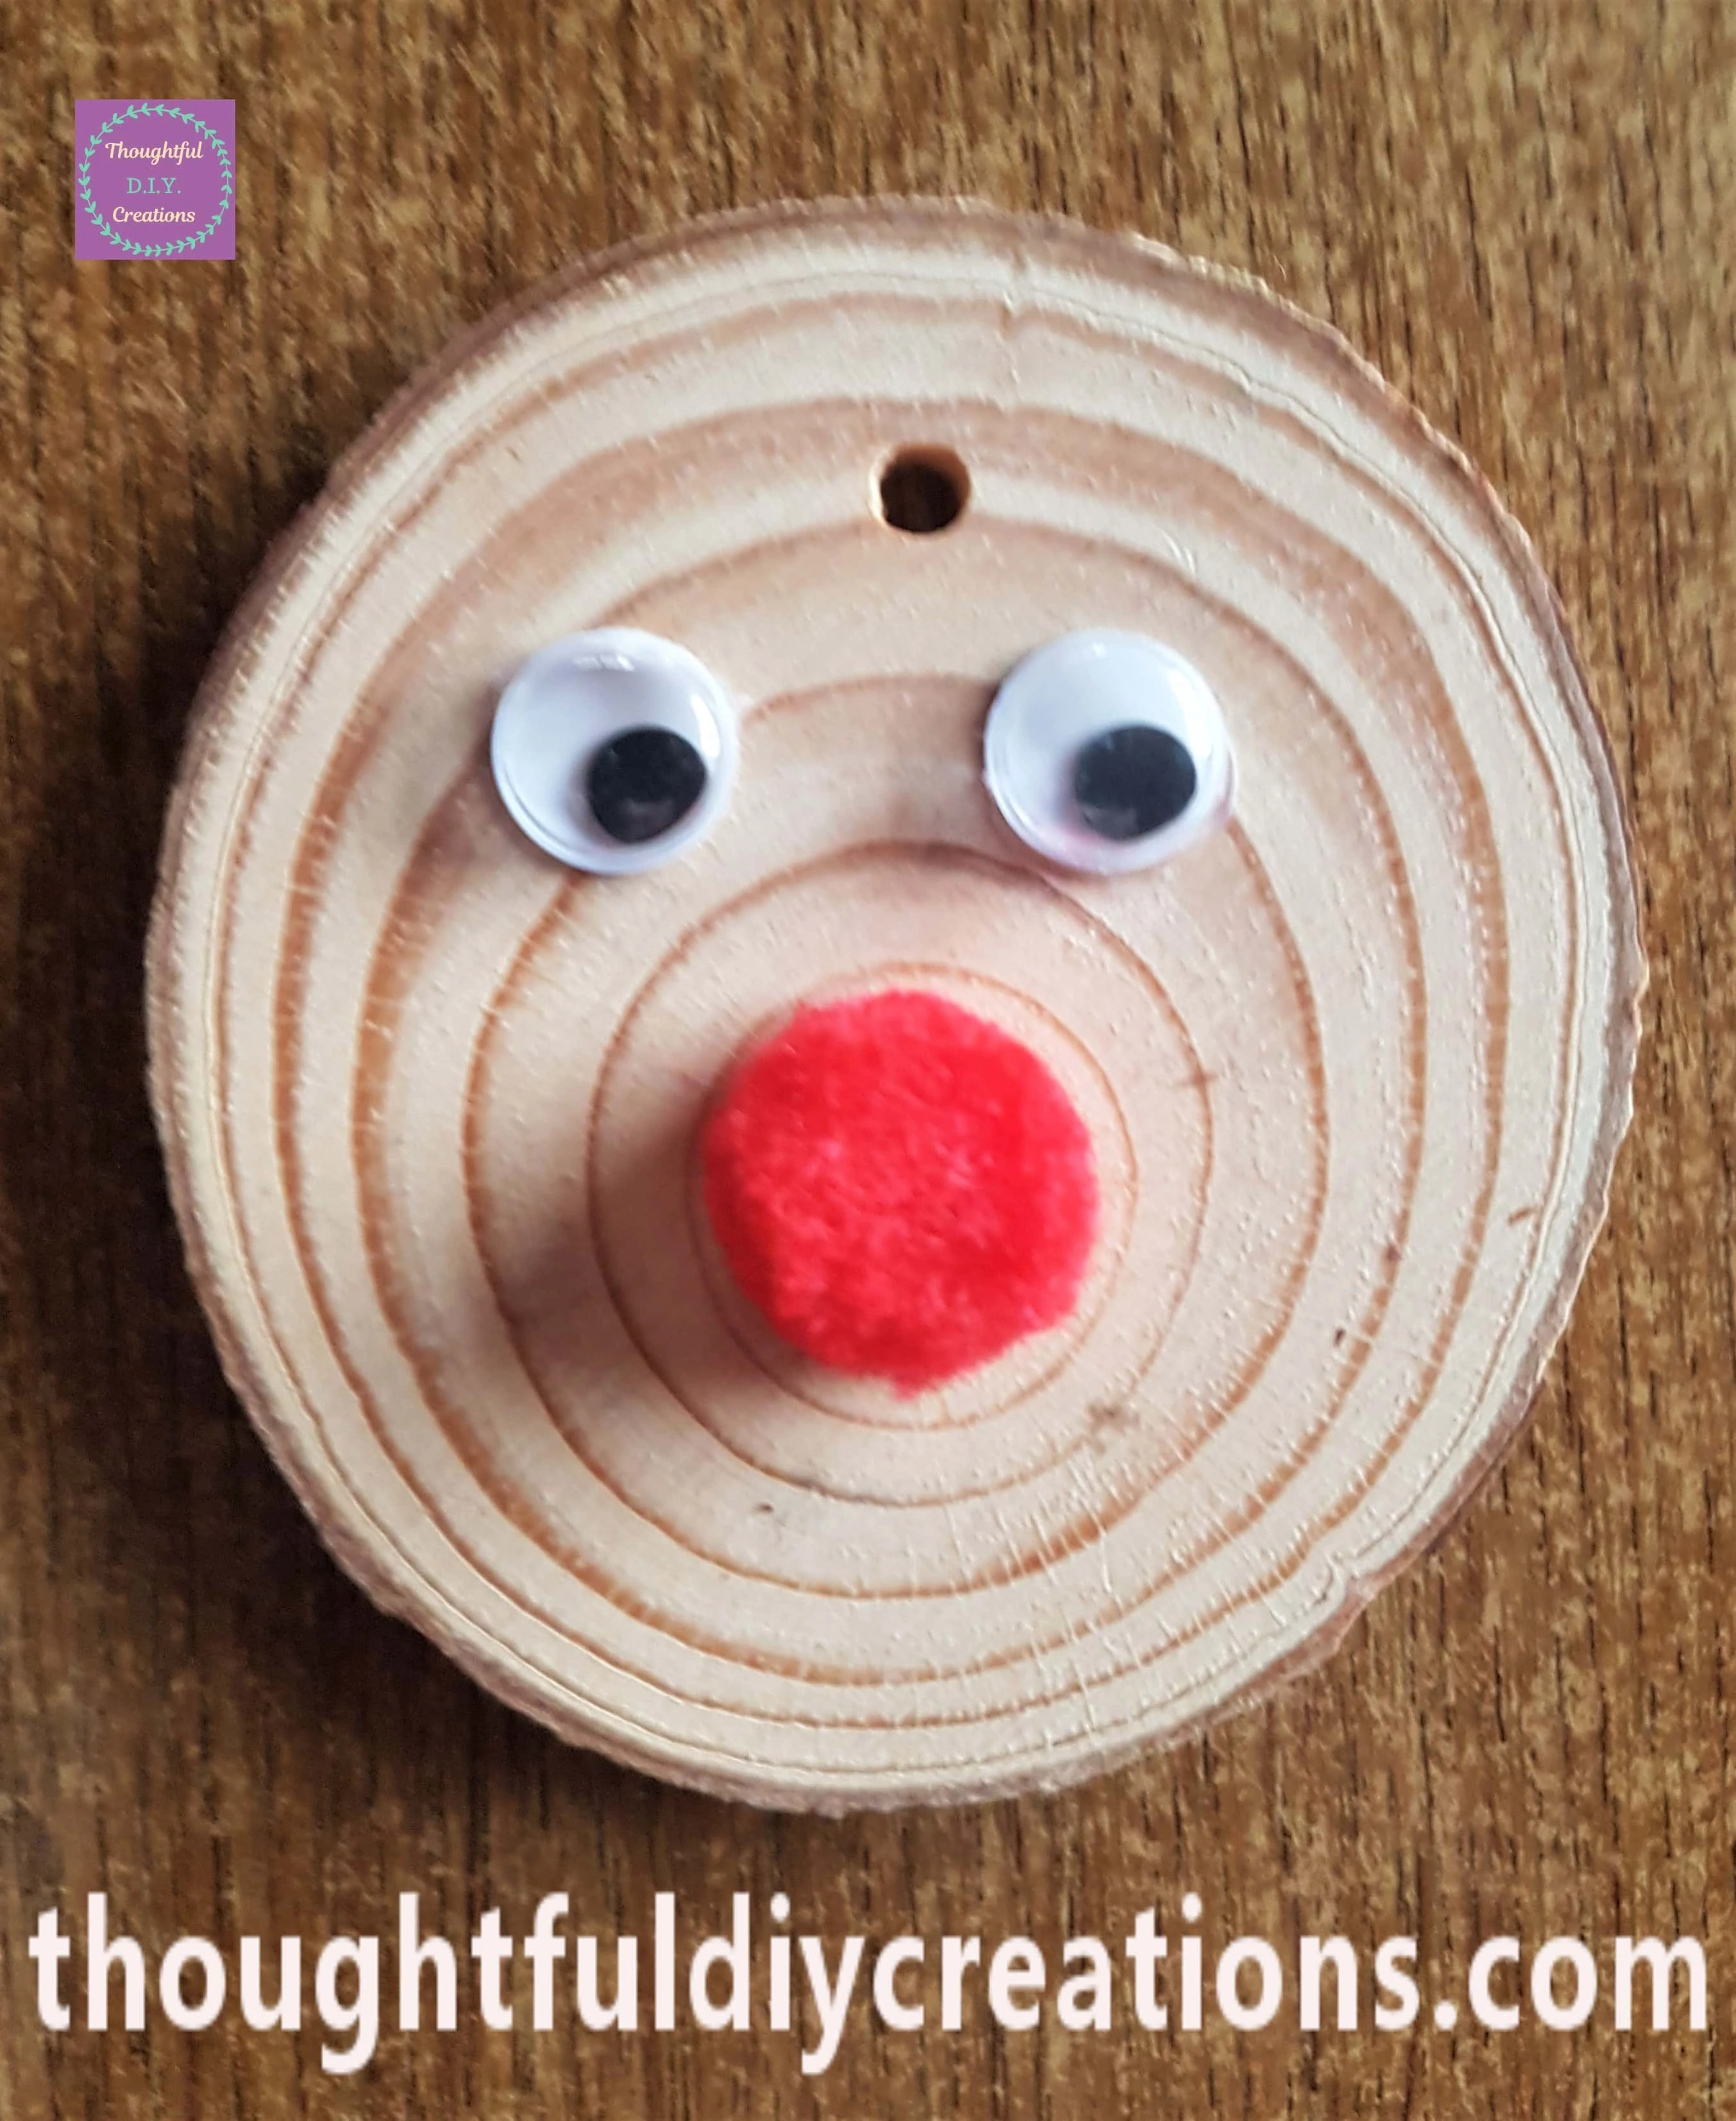
I attached a Pair of Eyes and a Red Pom Pom to the Wood Slice with my Hot Glue Gun.
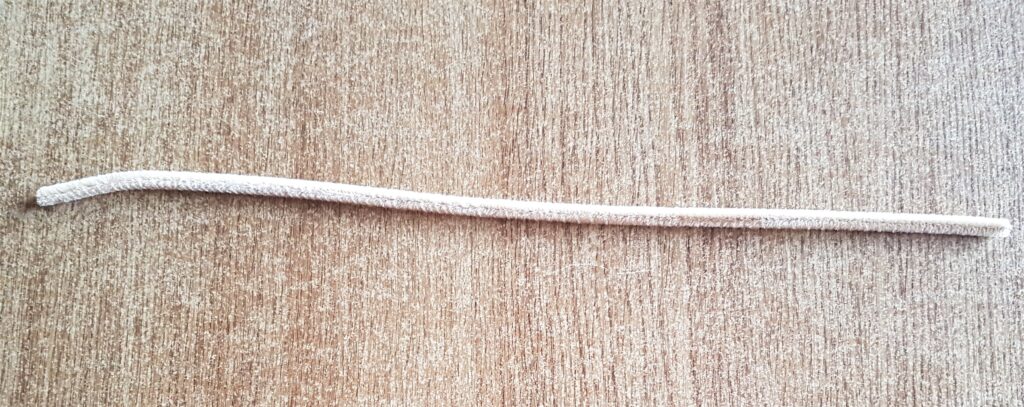
I got a Beige Pipe Cleaner that came with the same set as the Candy Cane one.
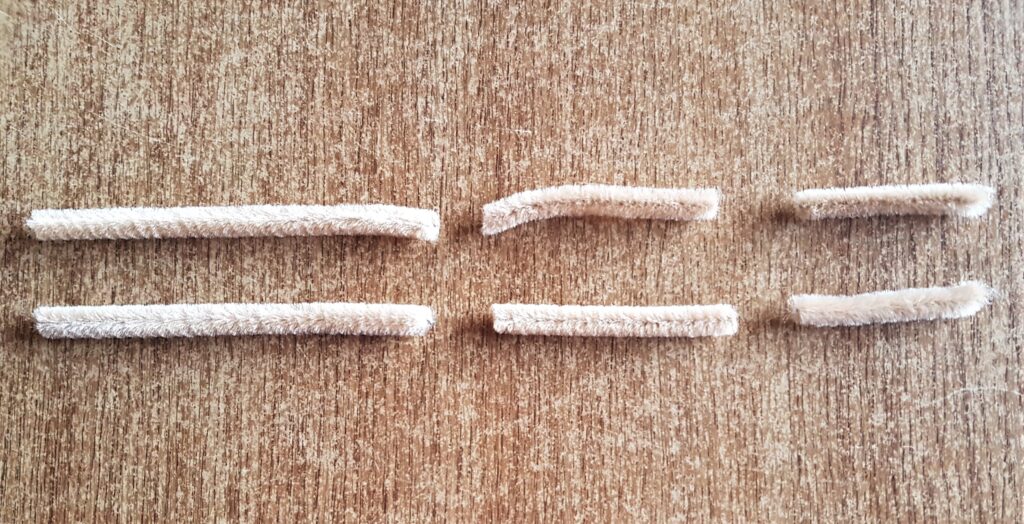
I cut the Pipe Cleaner into 6 Pieces at 3 different Sizes and 2 of the same size.
I got the 2 biggest Pipe Cleaners and Hot Glued them to the back of the Wood Slice.
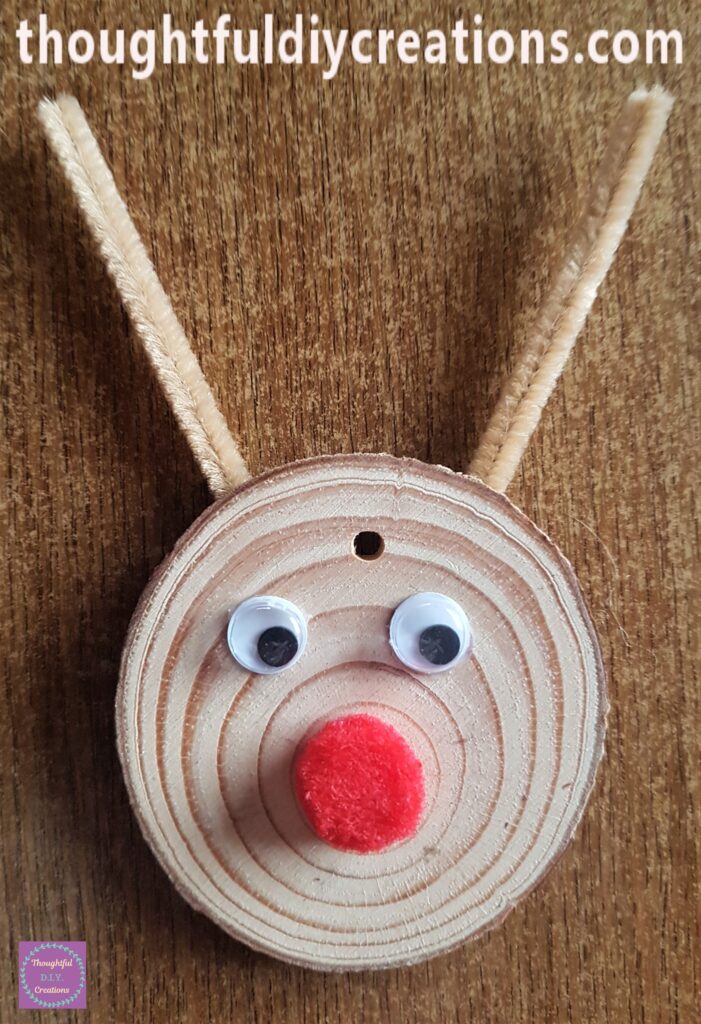
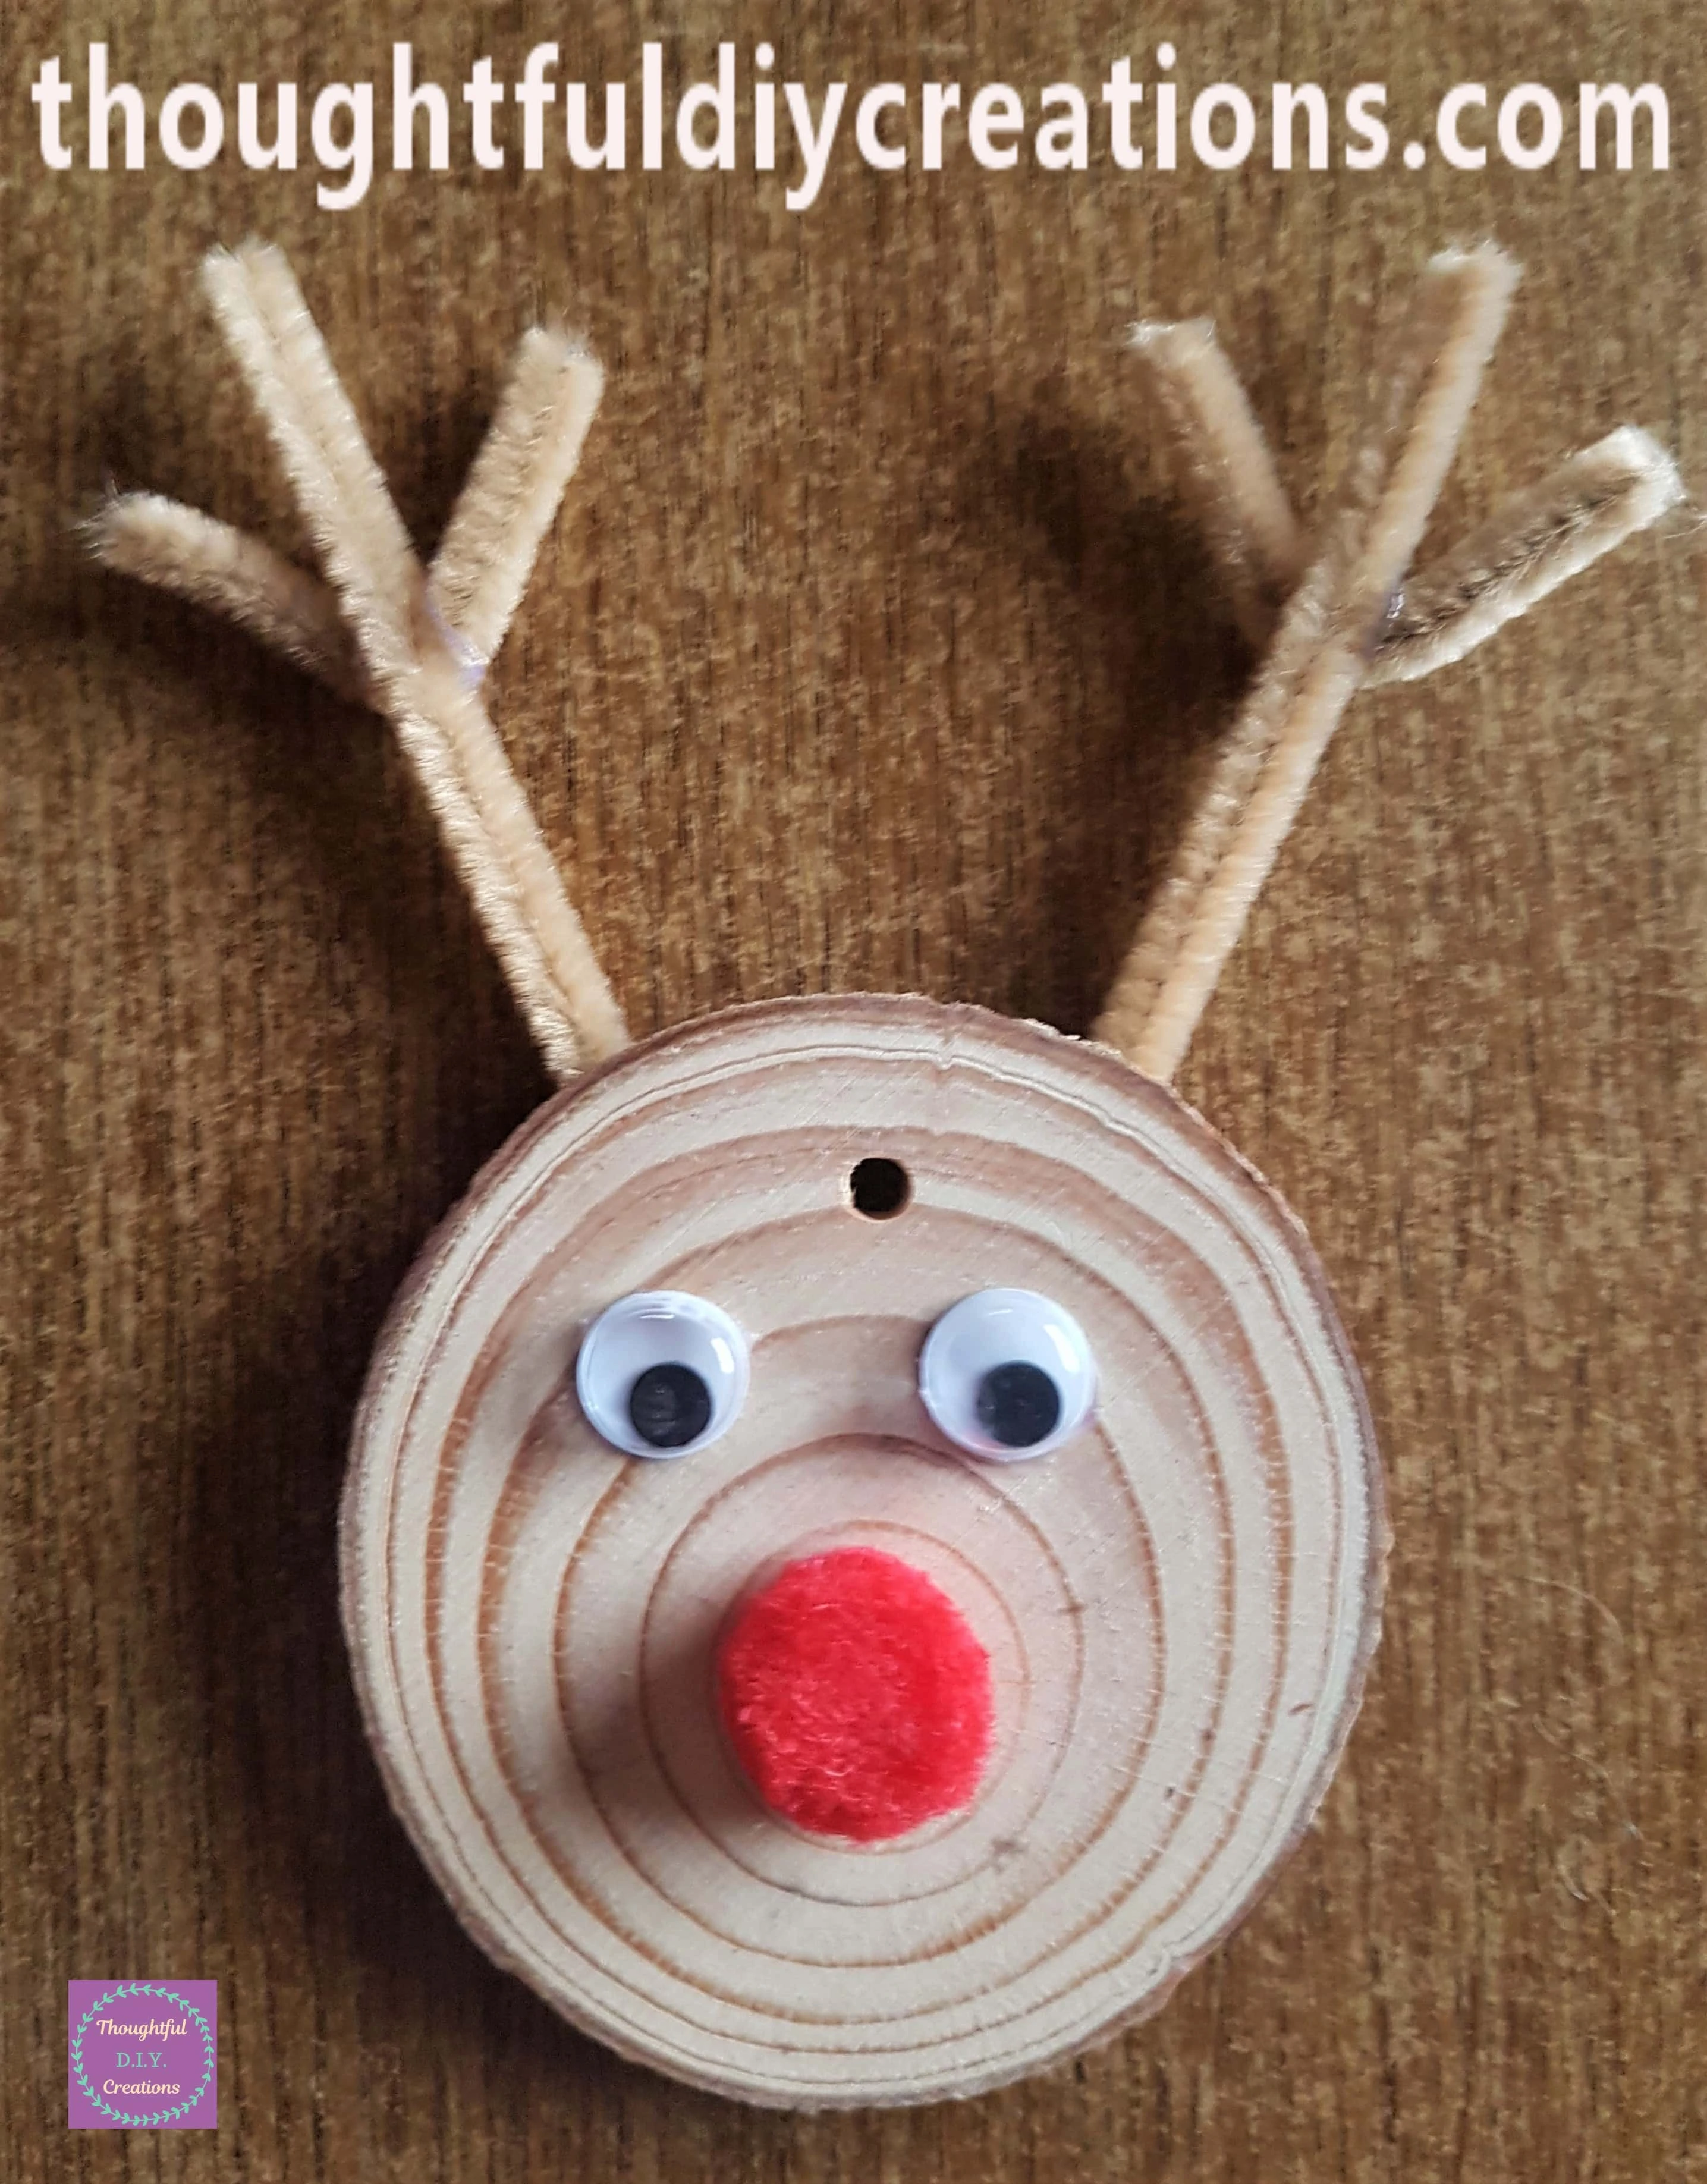
I got the second biggest pipe cleaners and twisted them upwards in a V-Shape. I then put a dab of hot glue in the center of the V shape and attached them to the back of the first pipe cleaners.
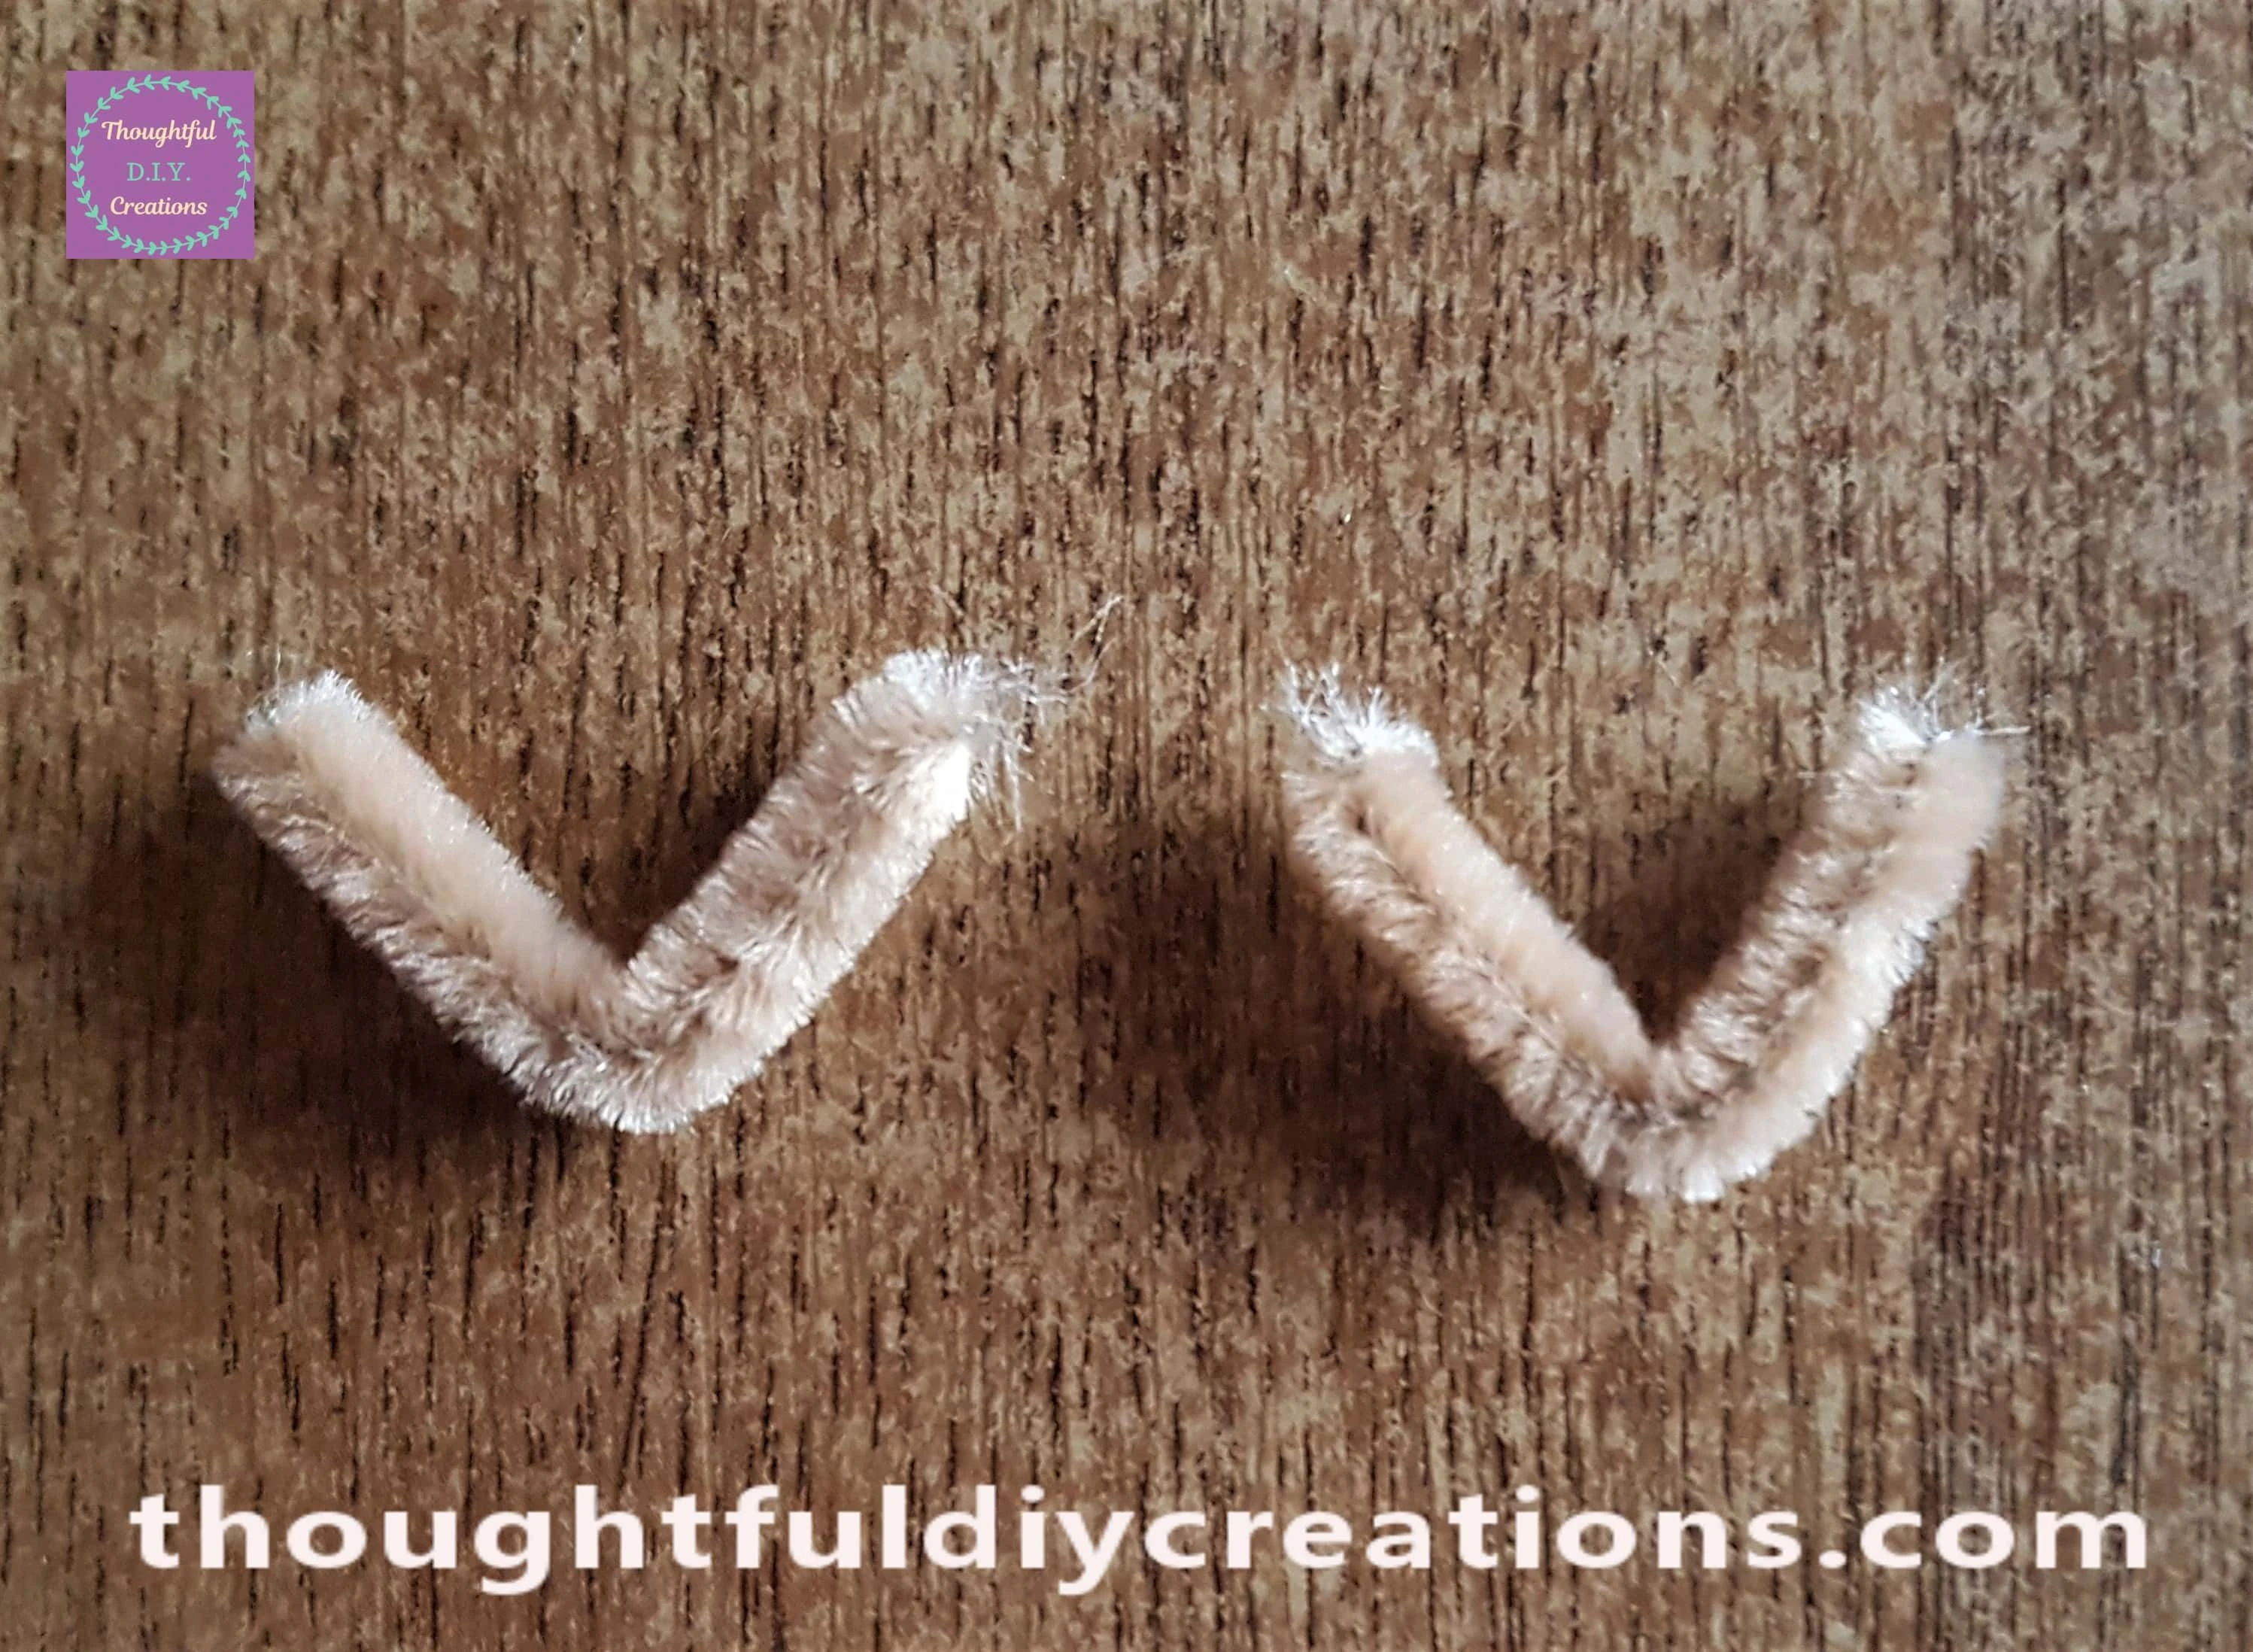
I got the smallest cut pipe cleaners and twisted them into a V shape.
I put Hot Glue into the center of the Pipe Cleaners and attached them to the first Pipe Cleaners.
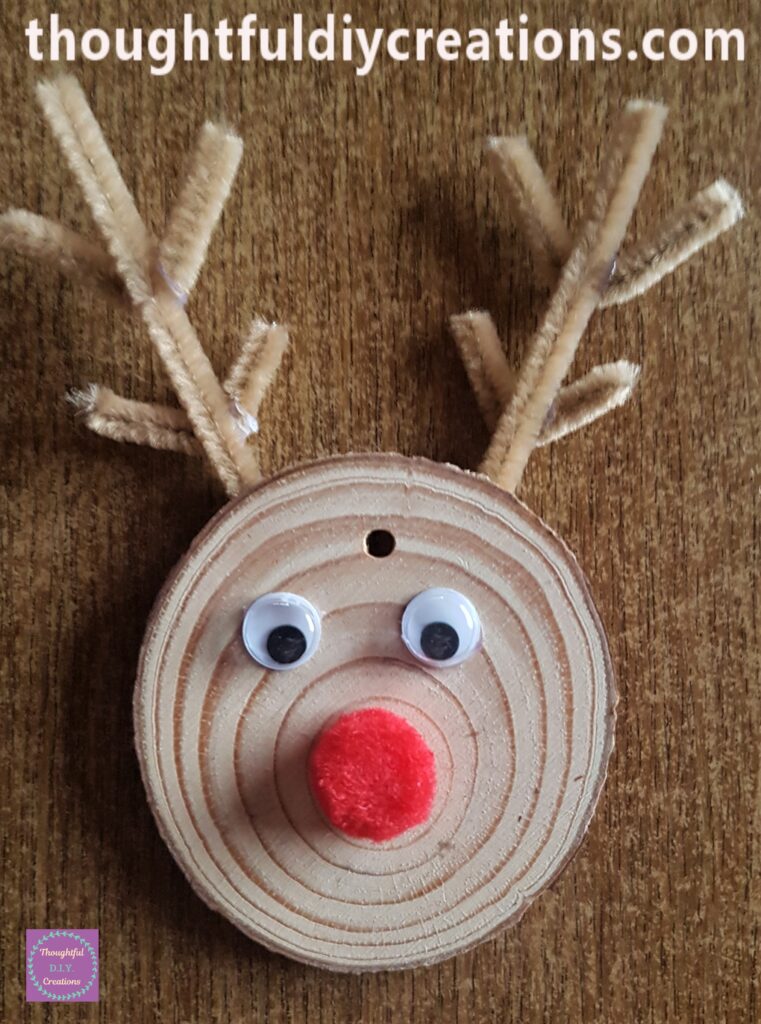
I drew a Mouth for the Reindeer with my Black Paint Pen.
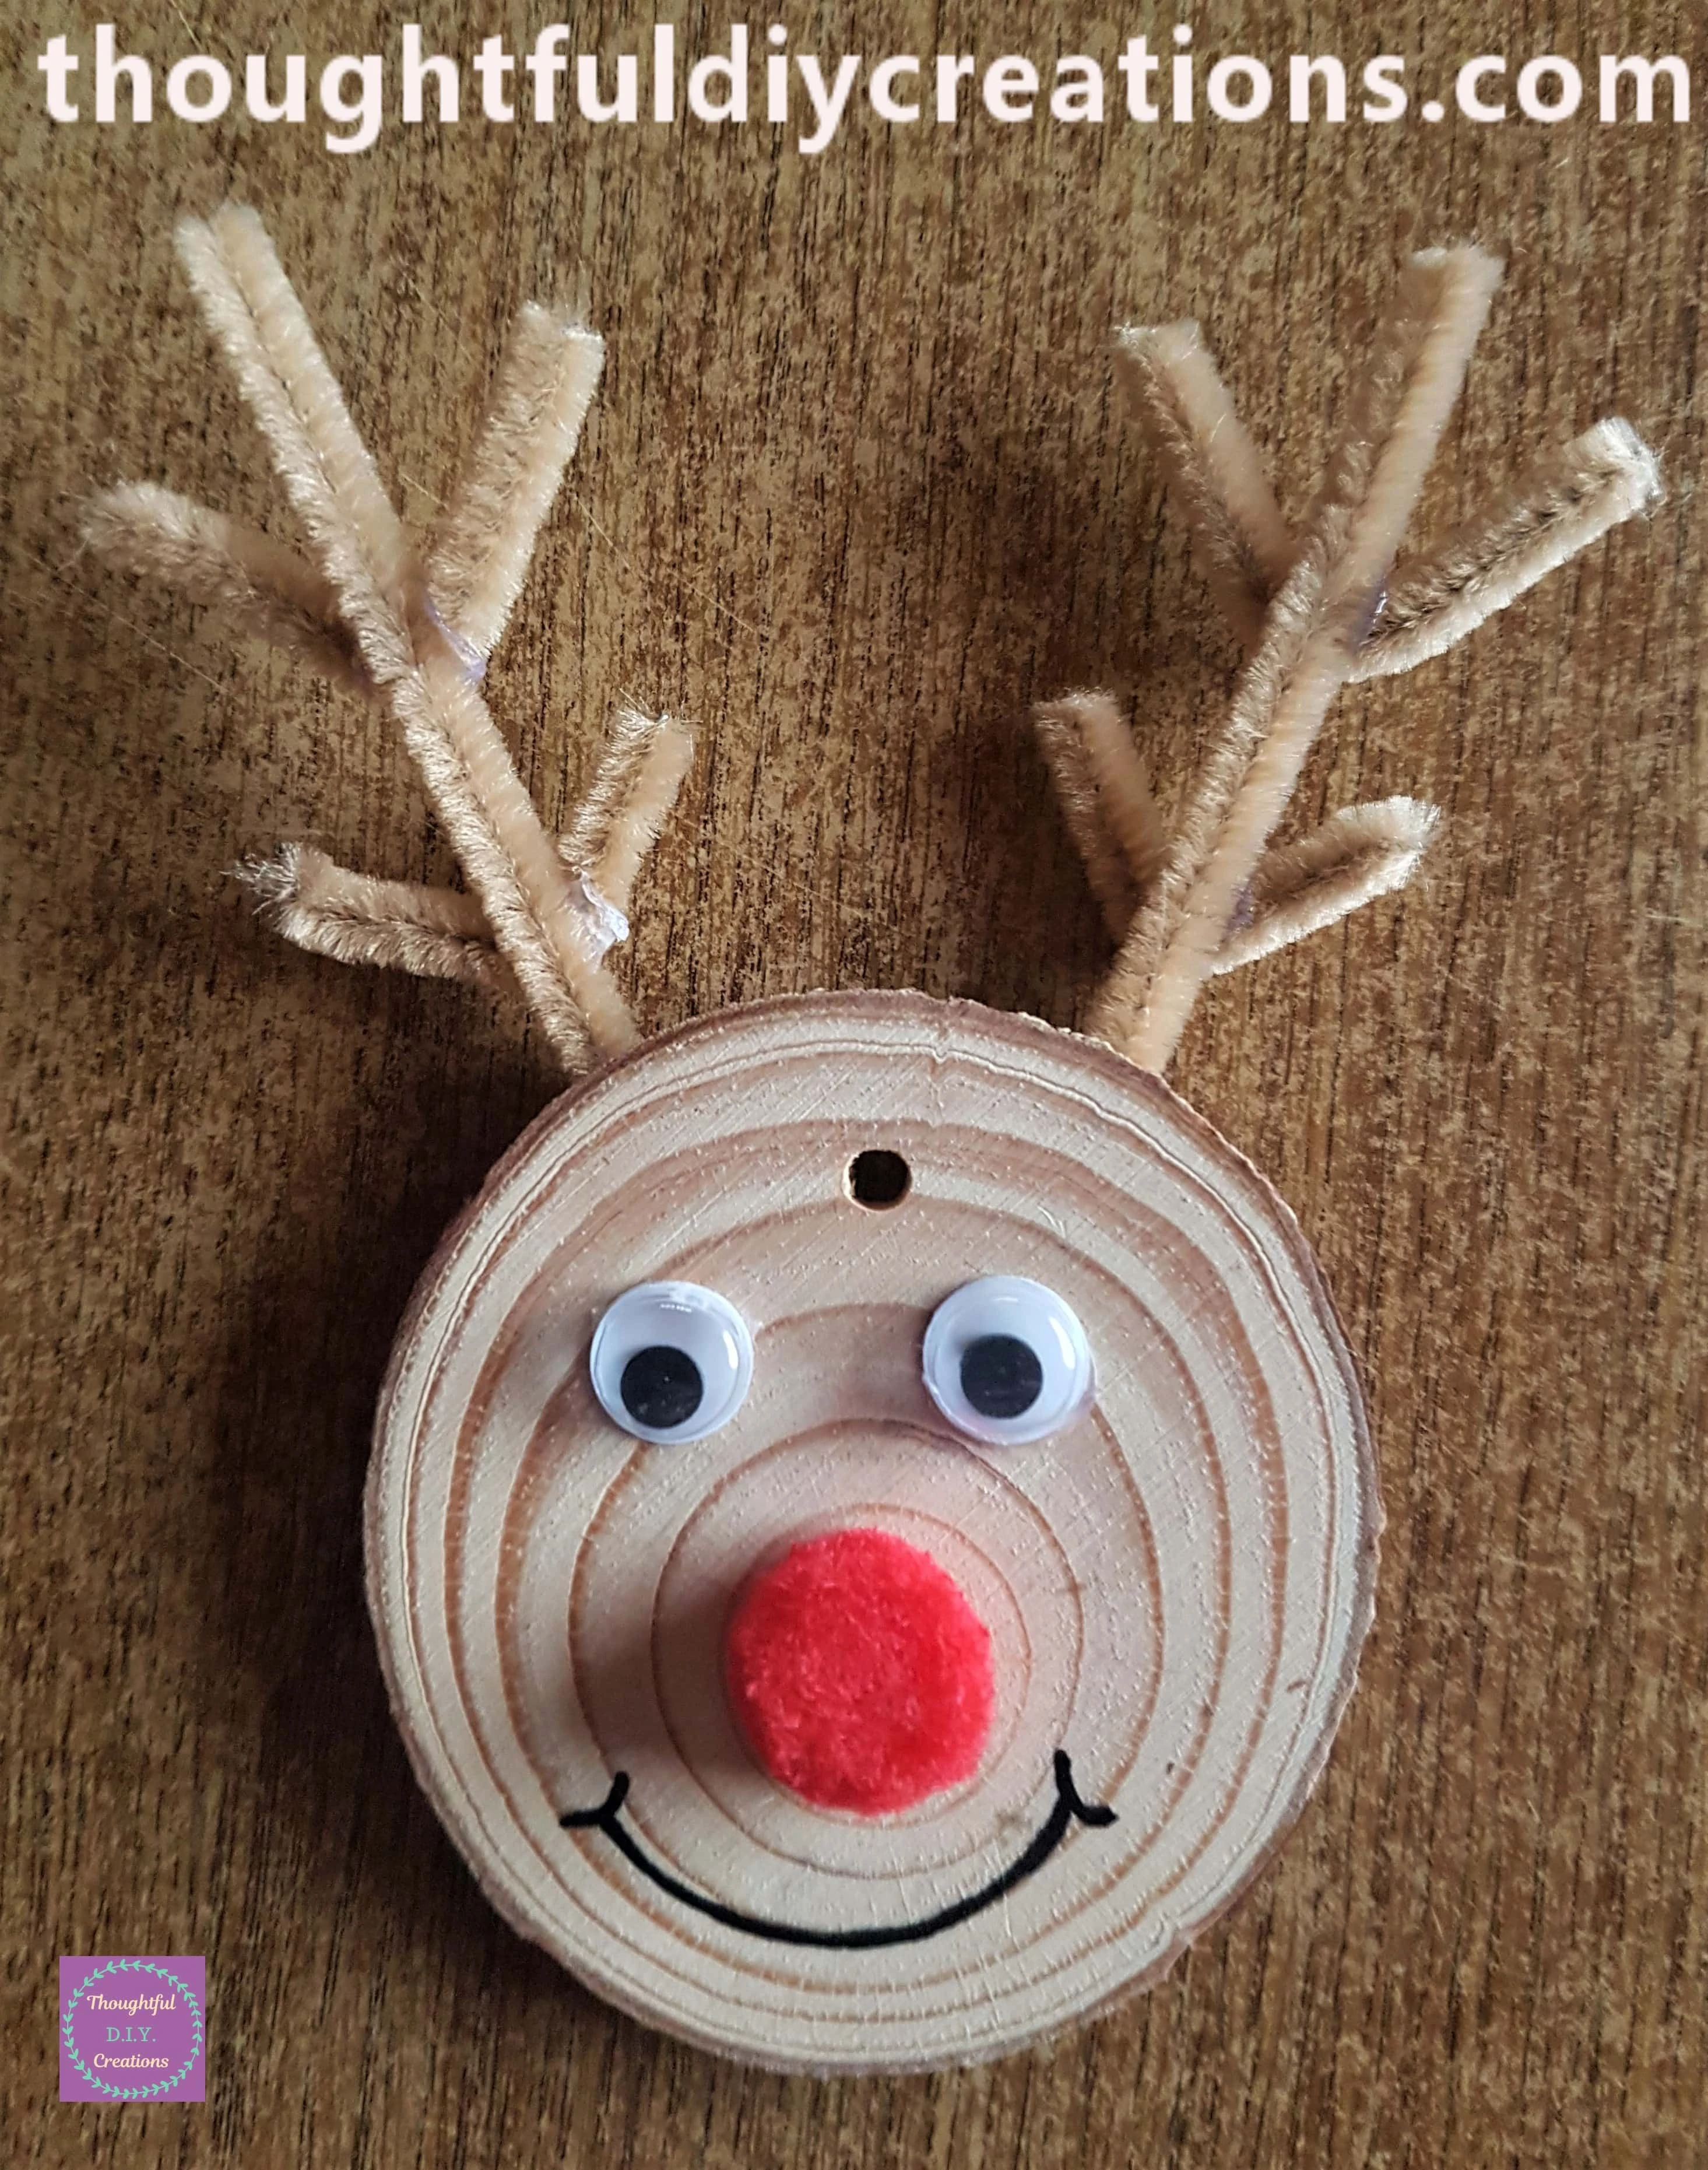
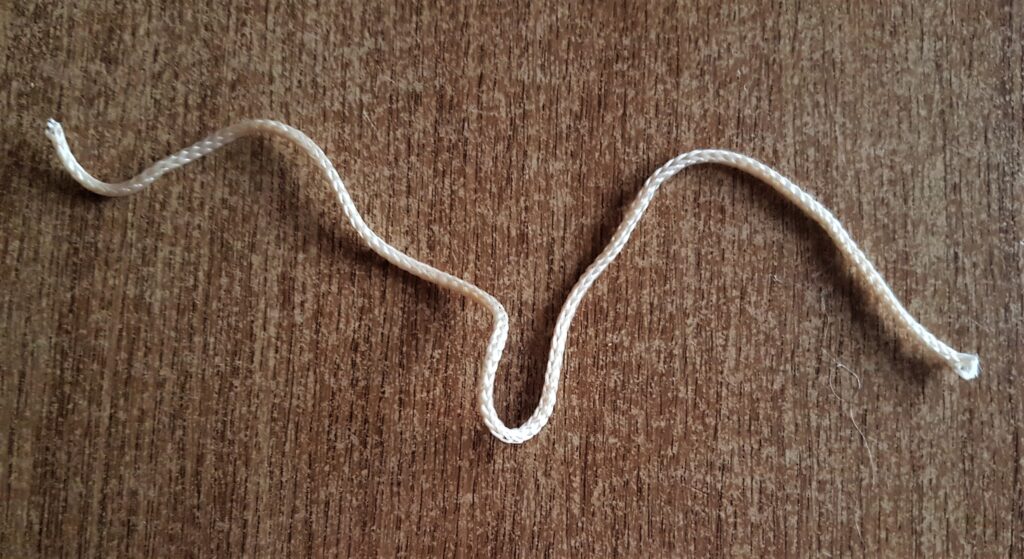
I got a Cream String from my Collection.
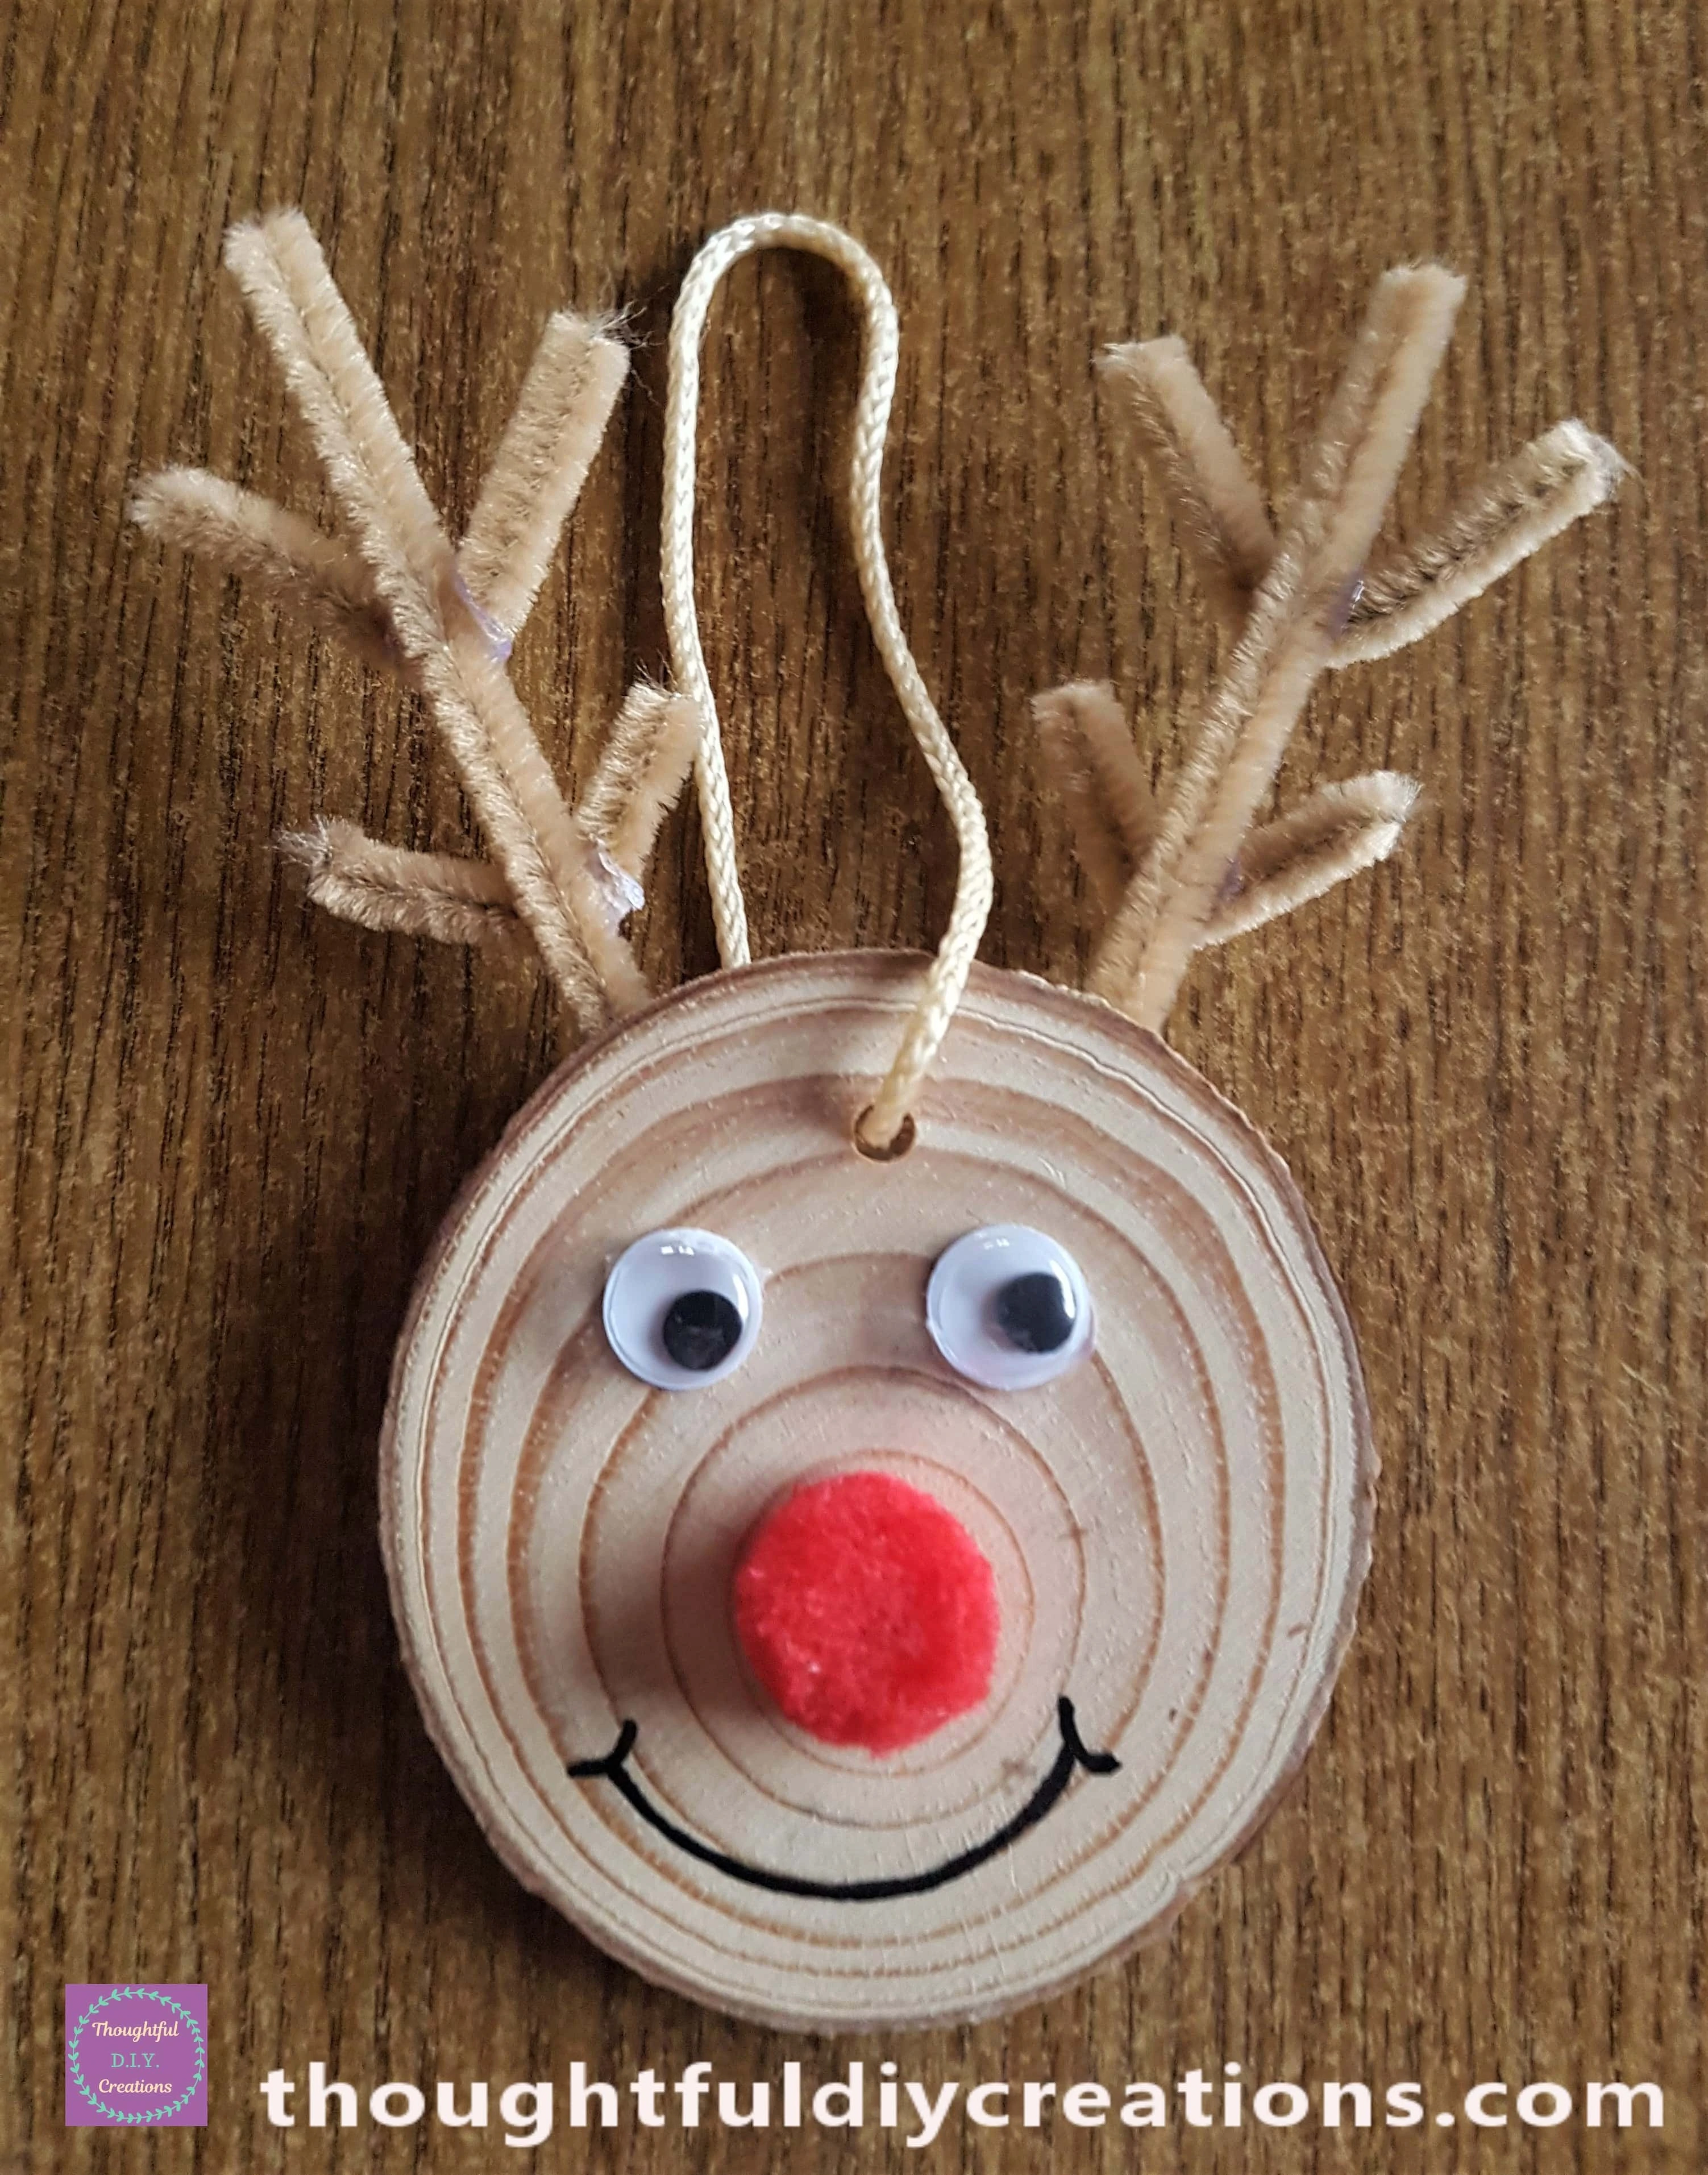
I attached it to the top of the Reindeer.
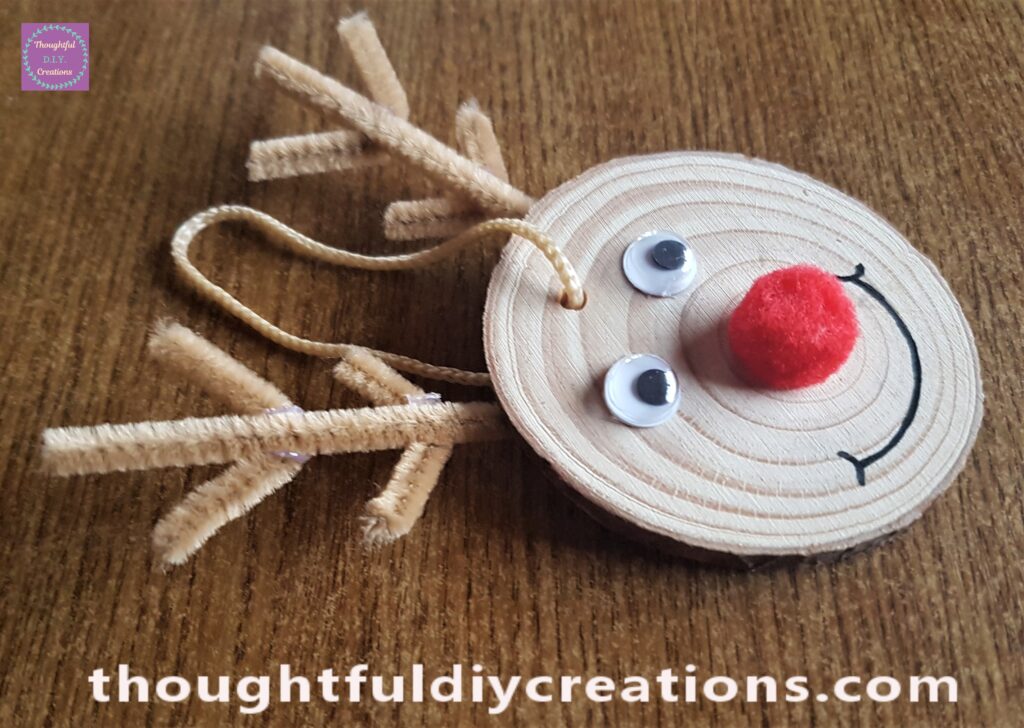
This is a side view of the finished ornament.
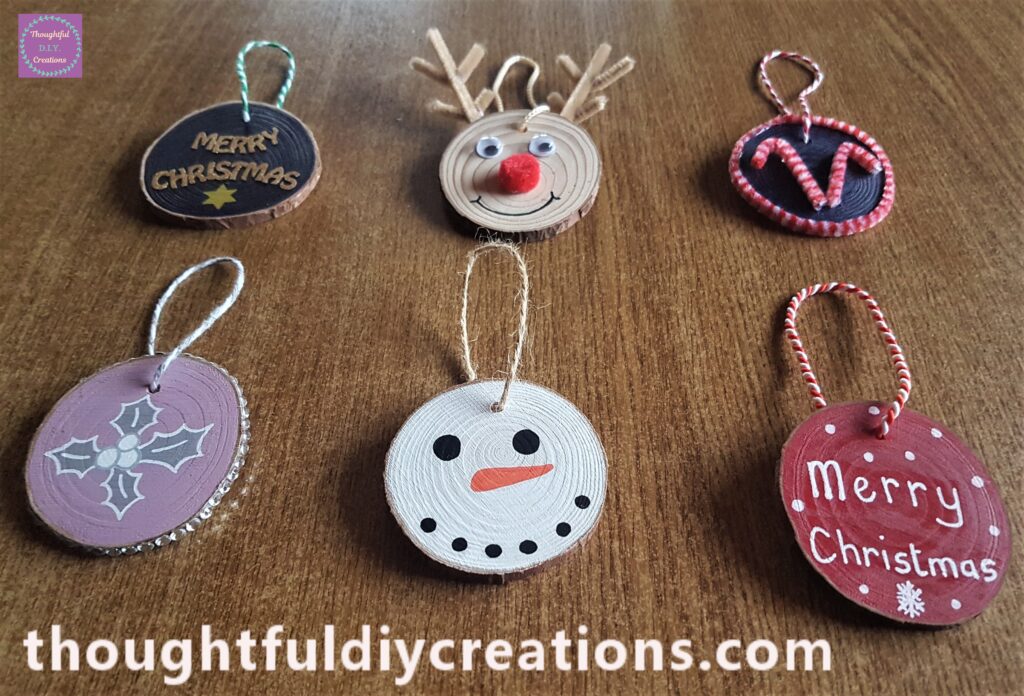
This Completed my Wood Slice Christmas Ornaments.
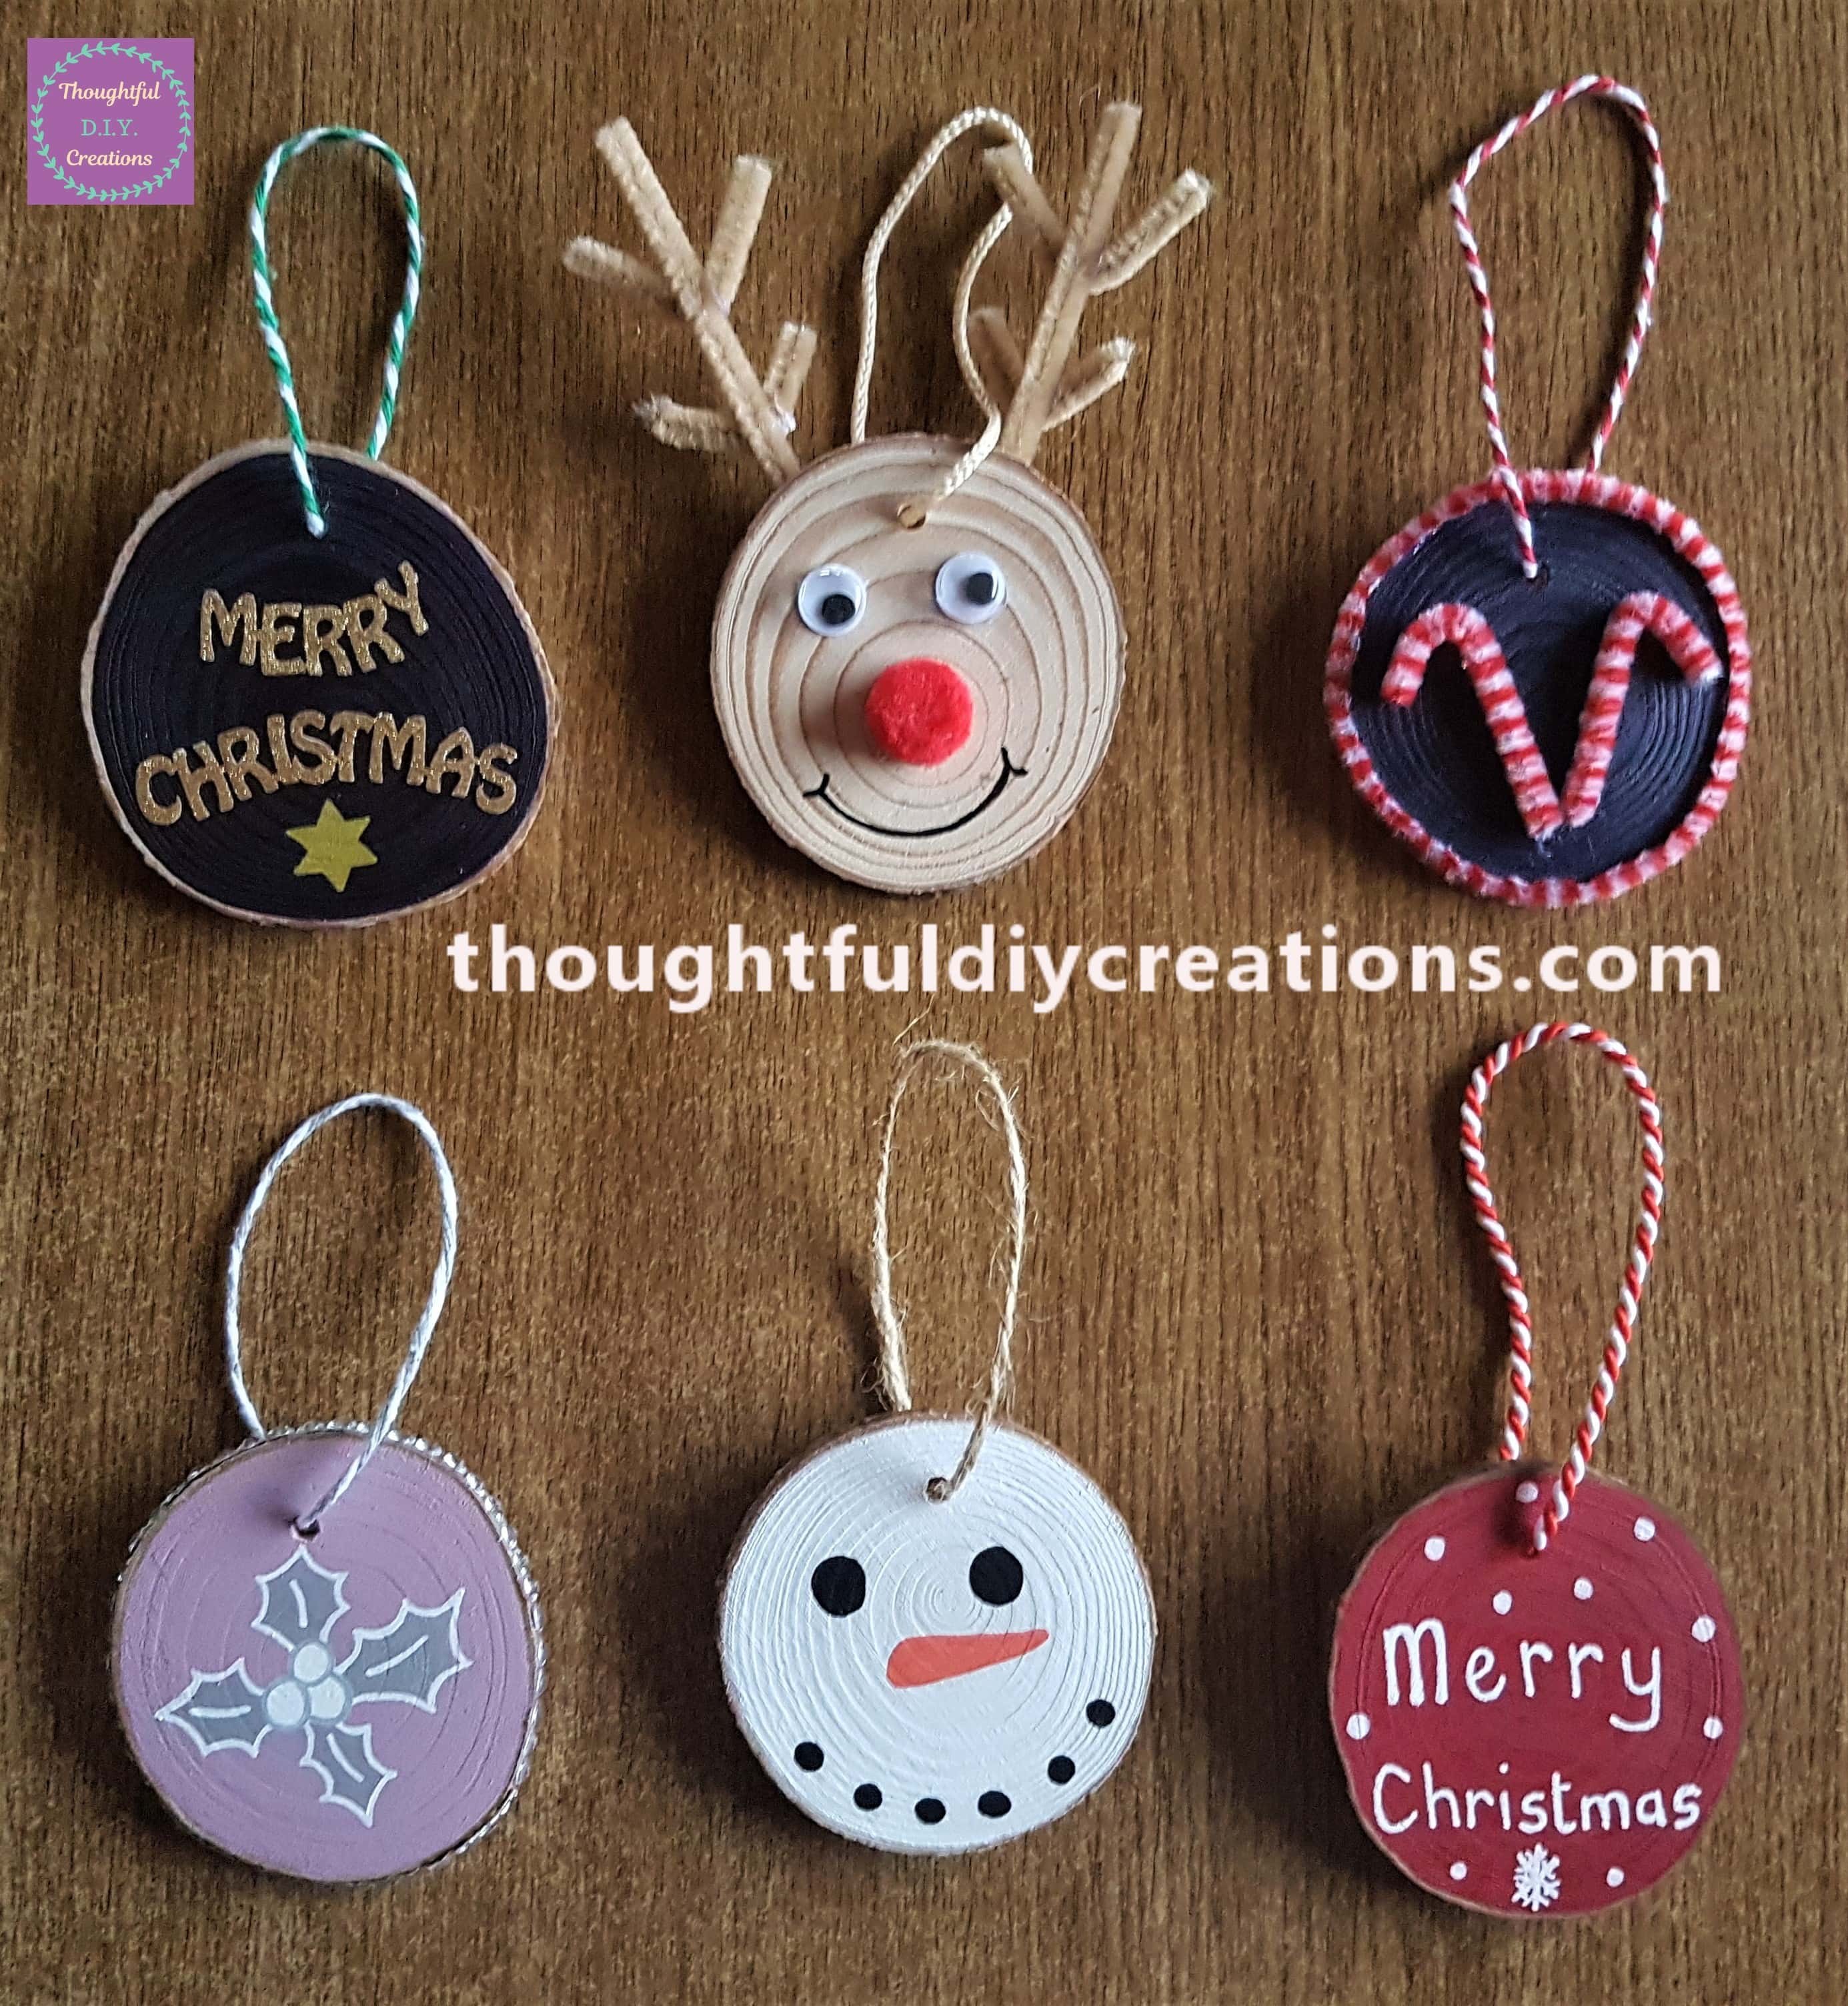
A side angle of the finished Craft.
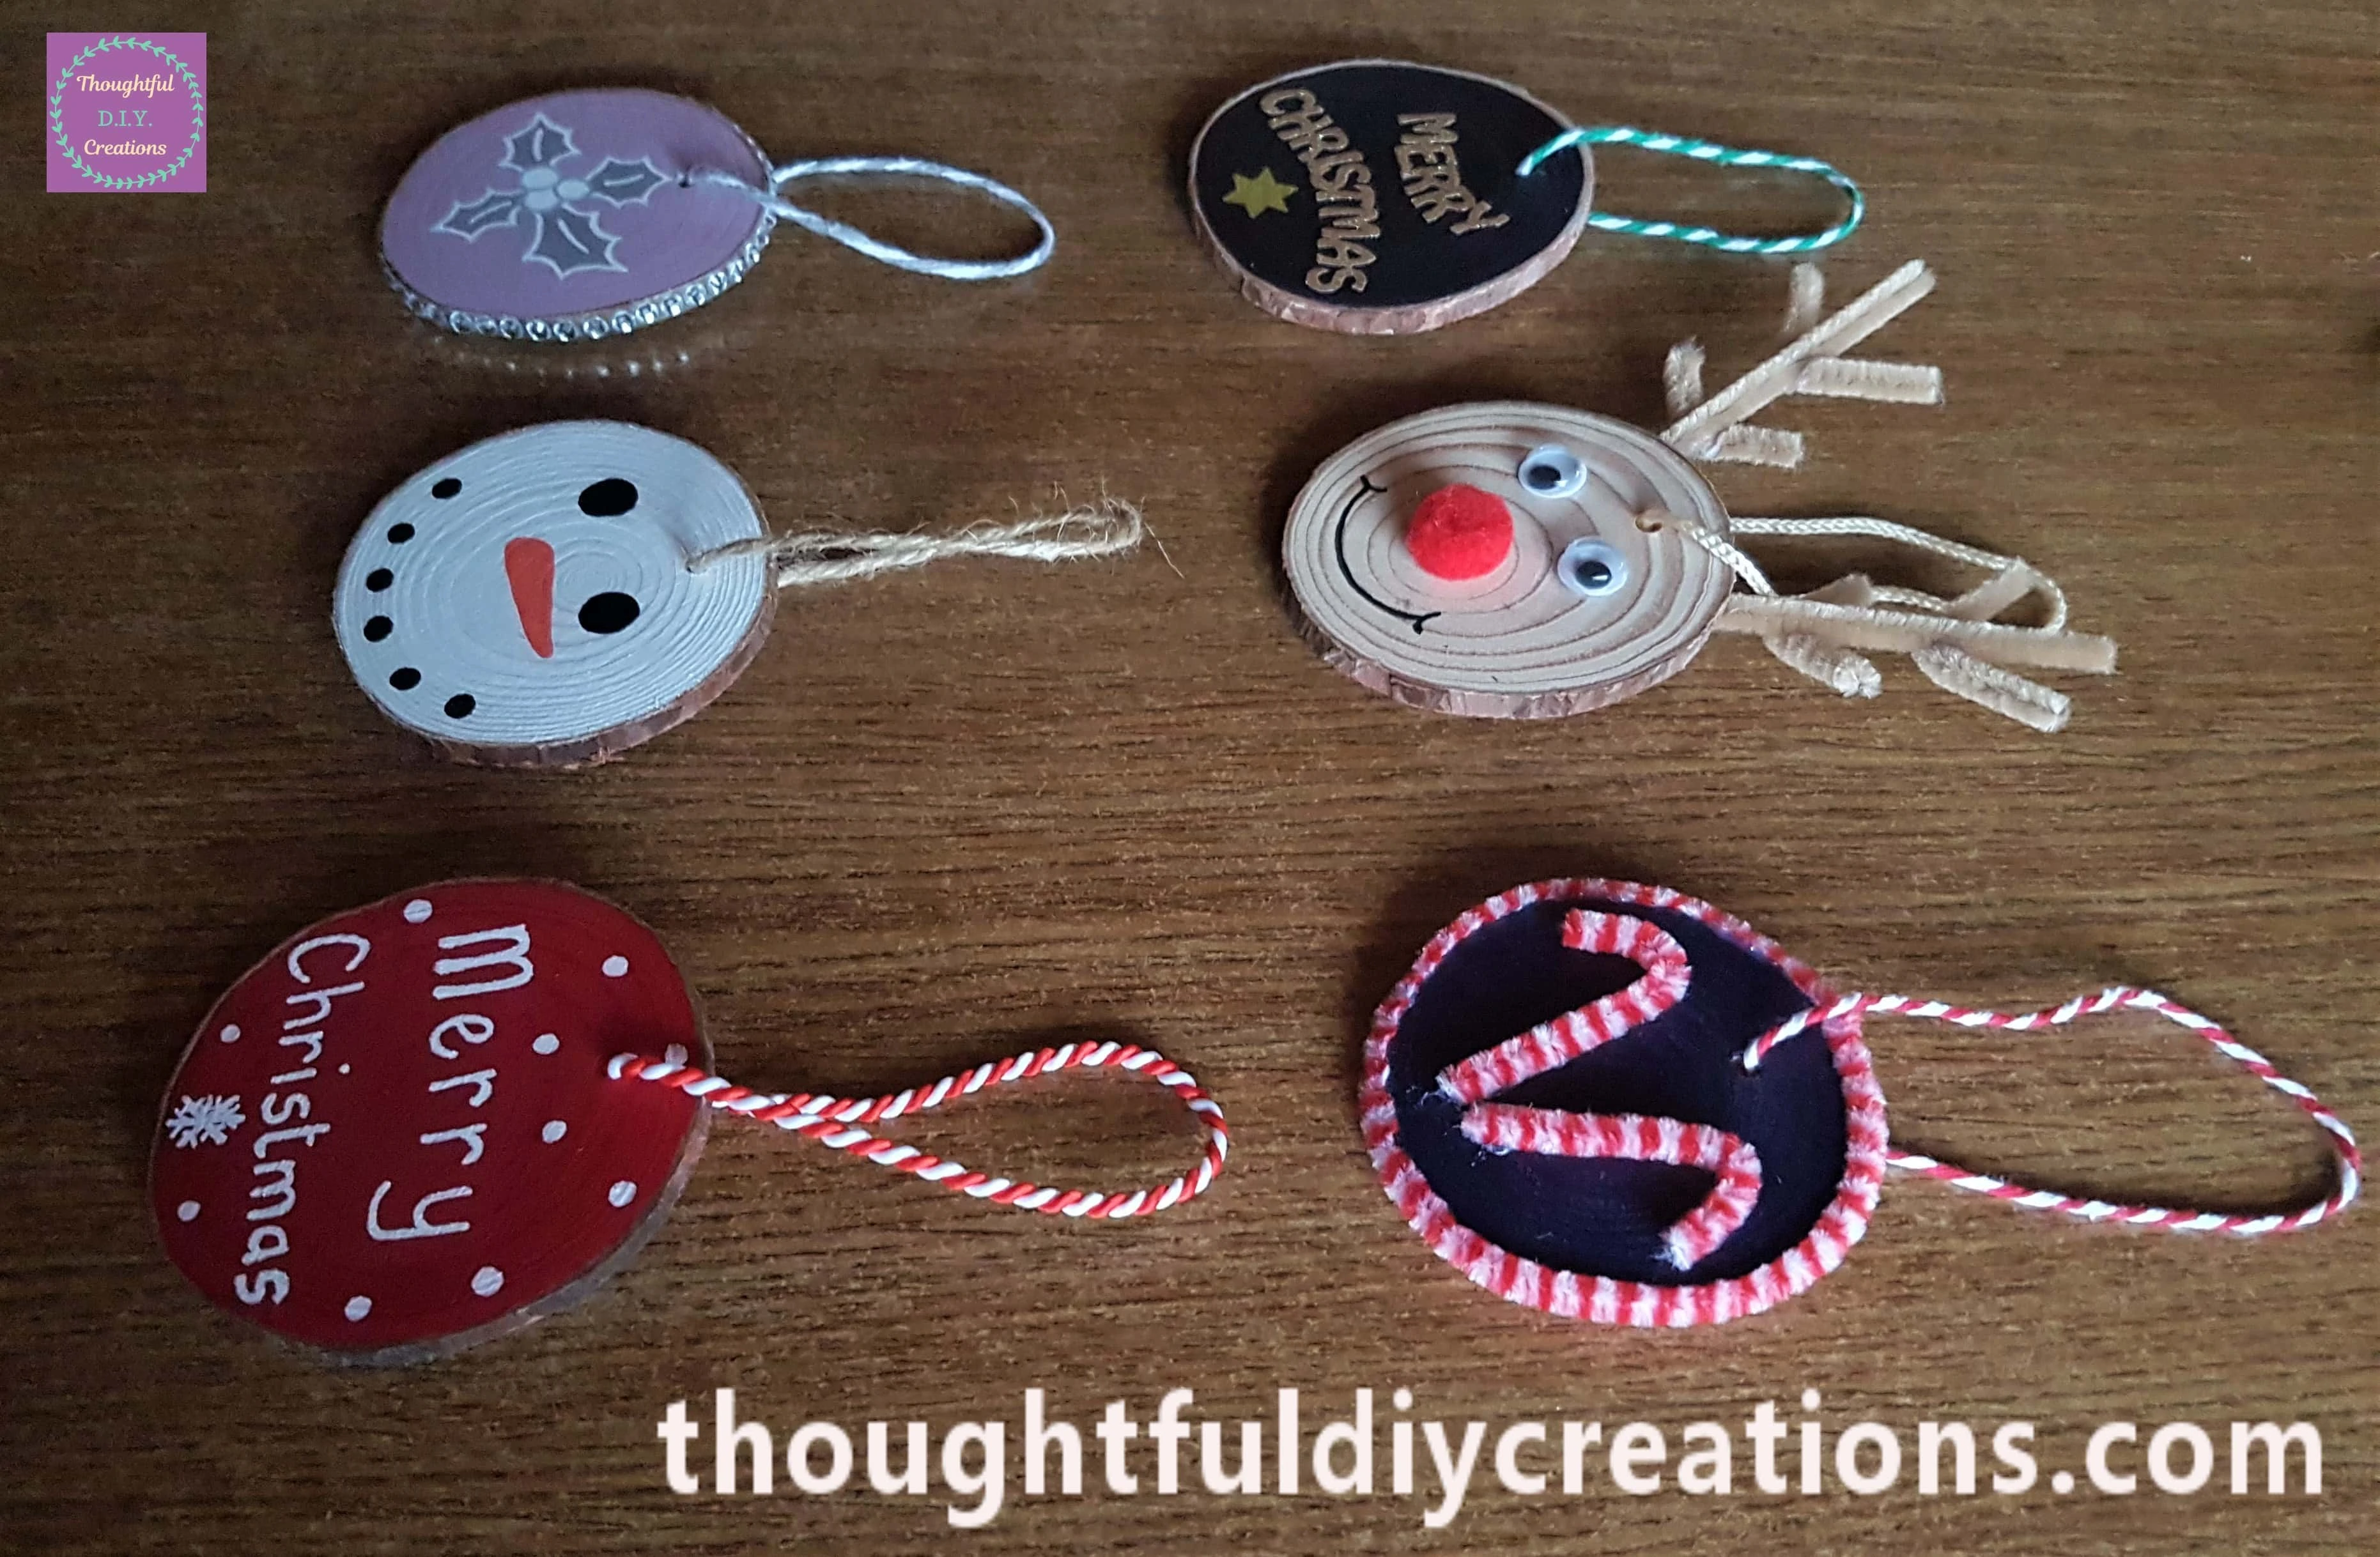
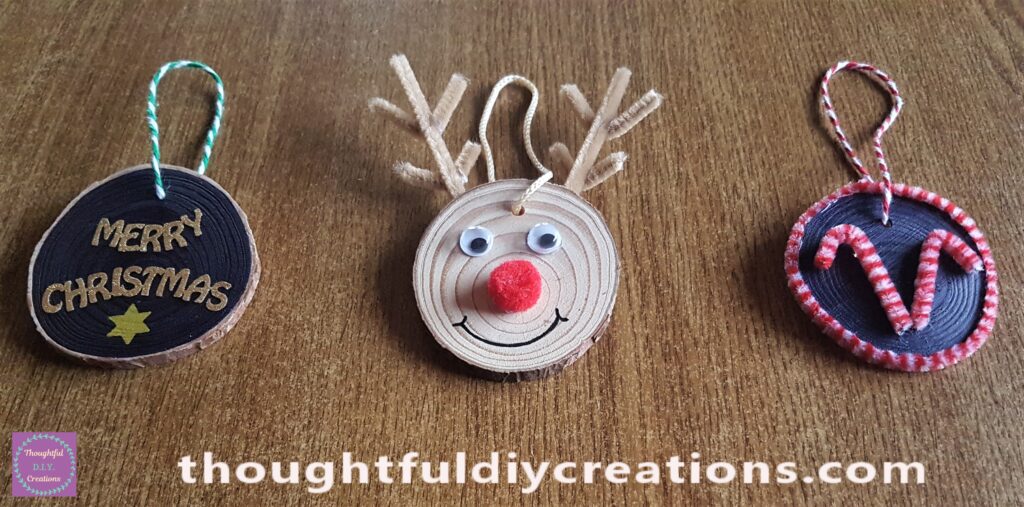
Three of the Christmas Decorations together.
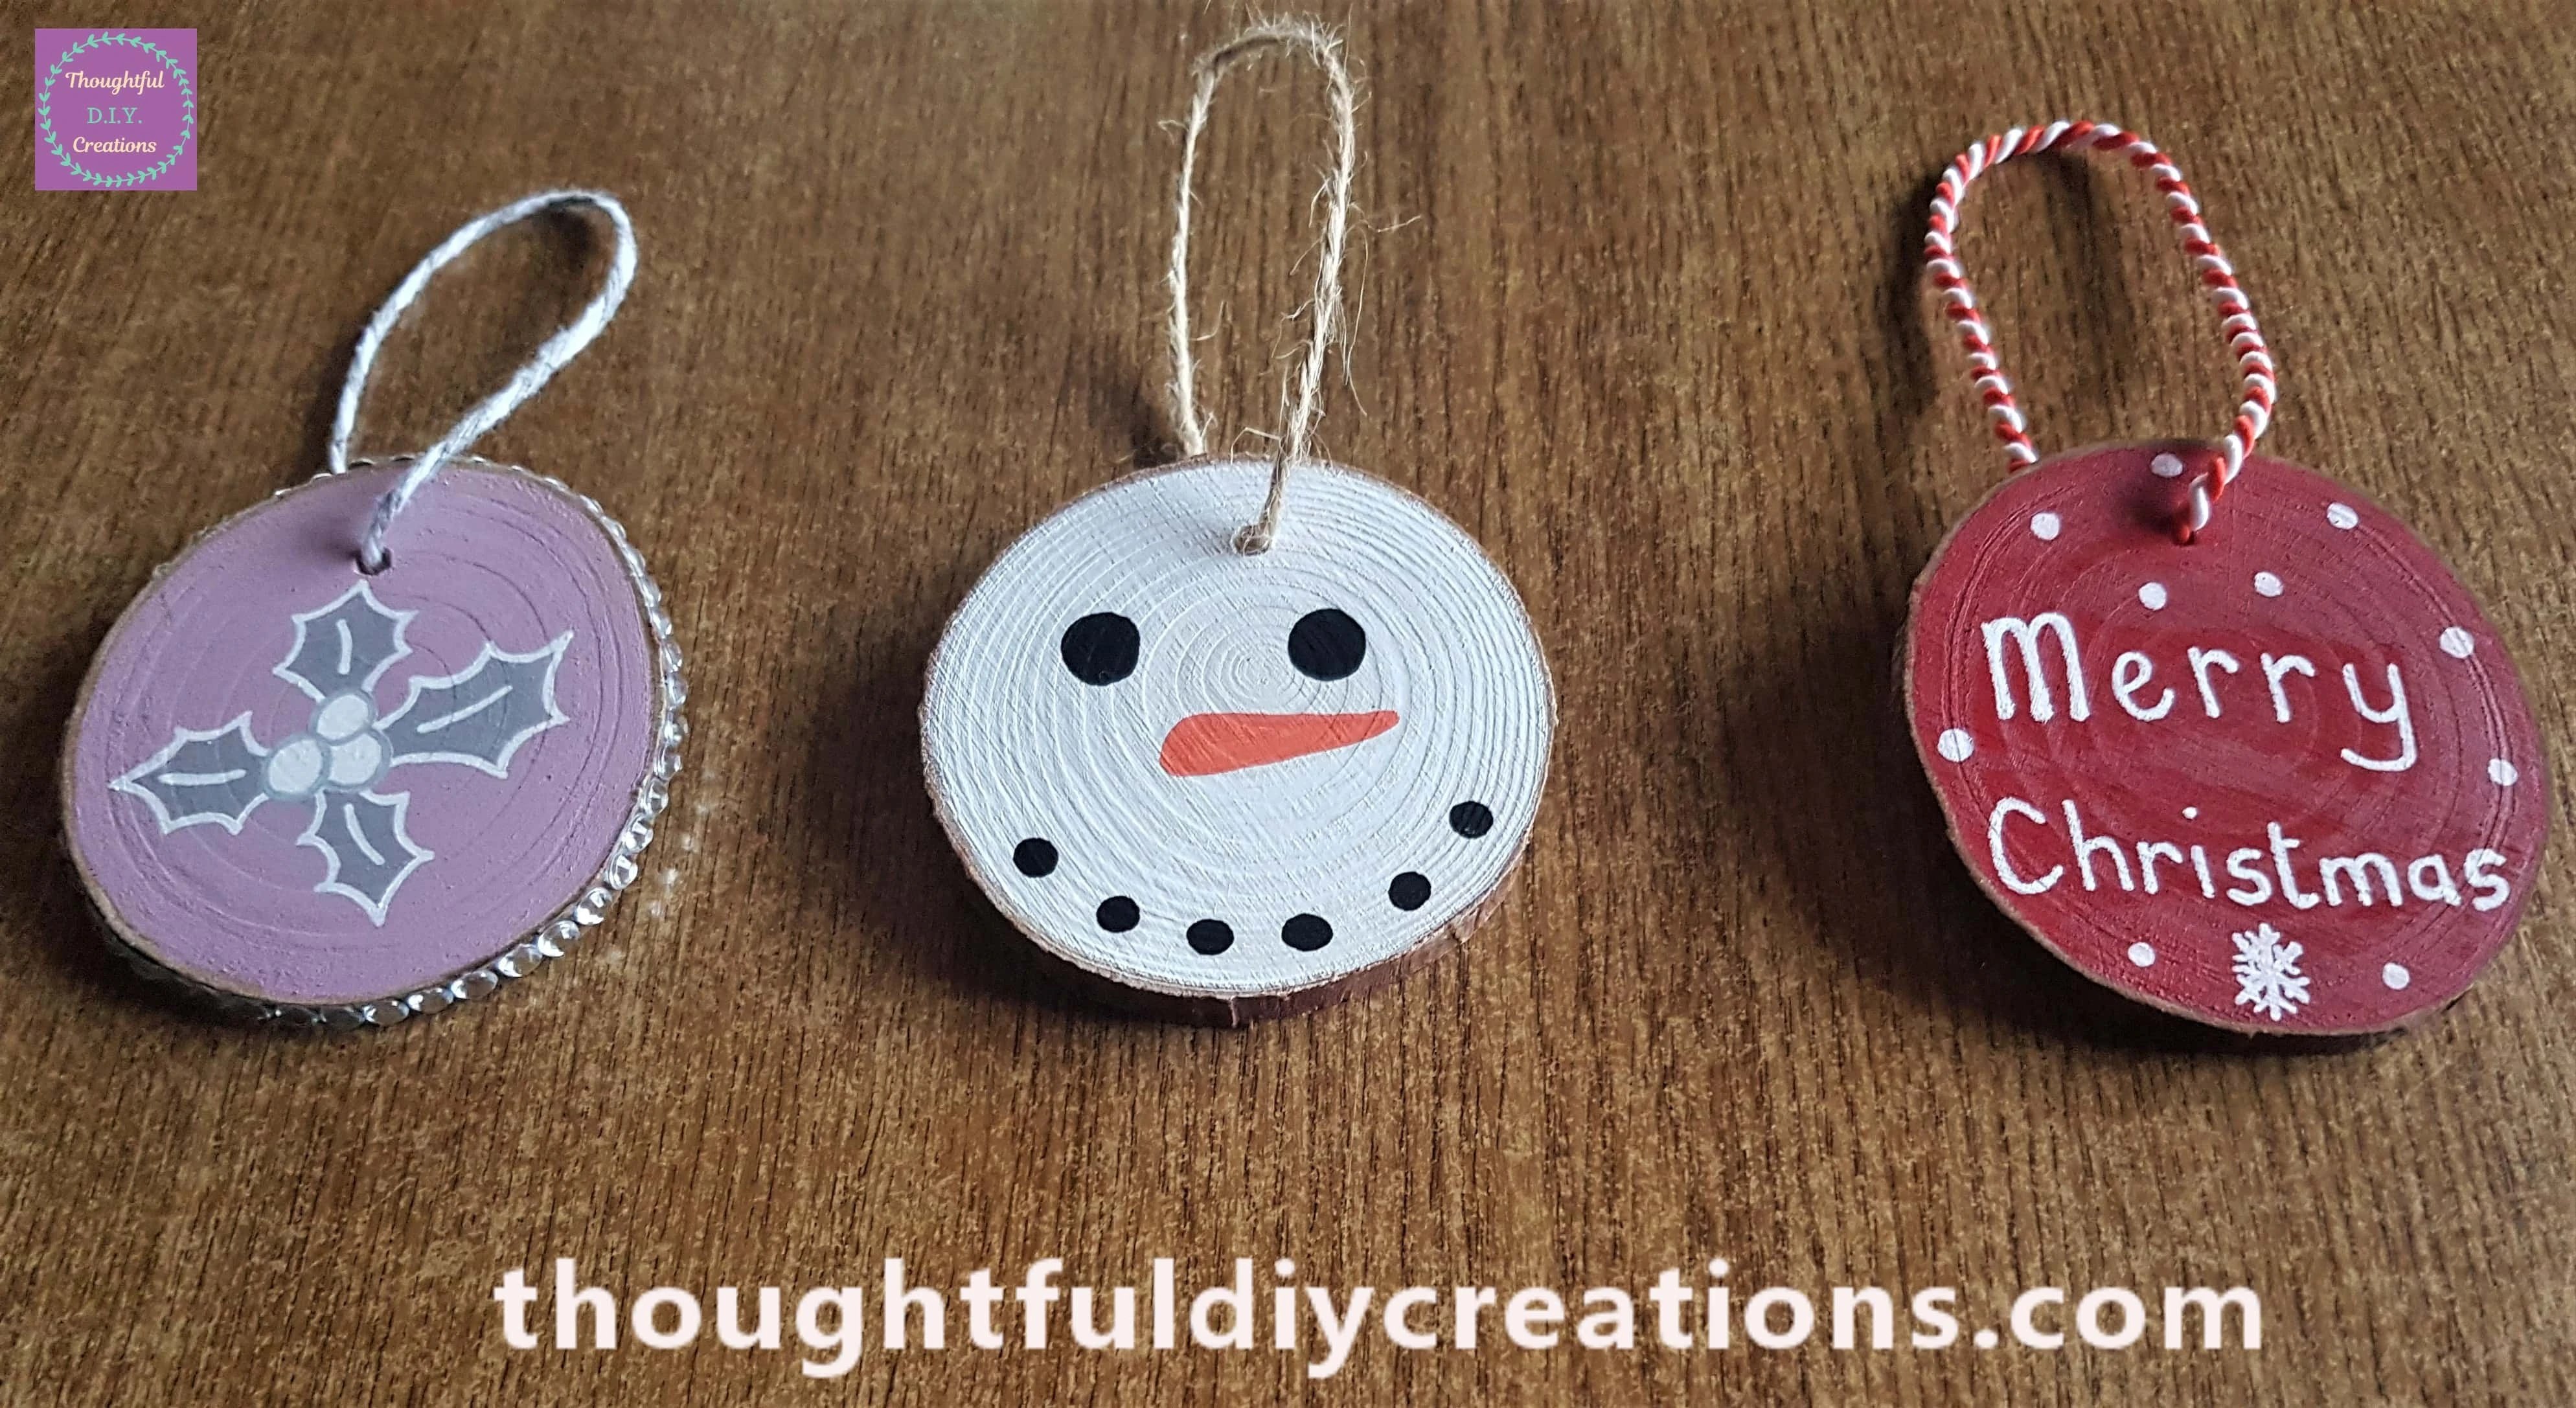
The other three Christmas Decorations.
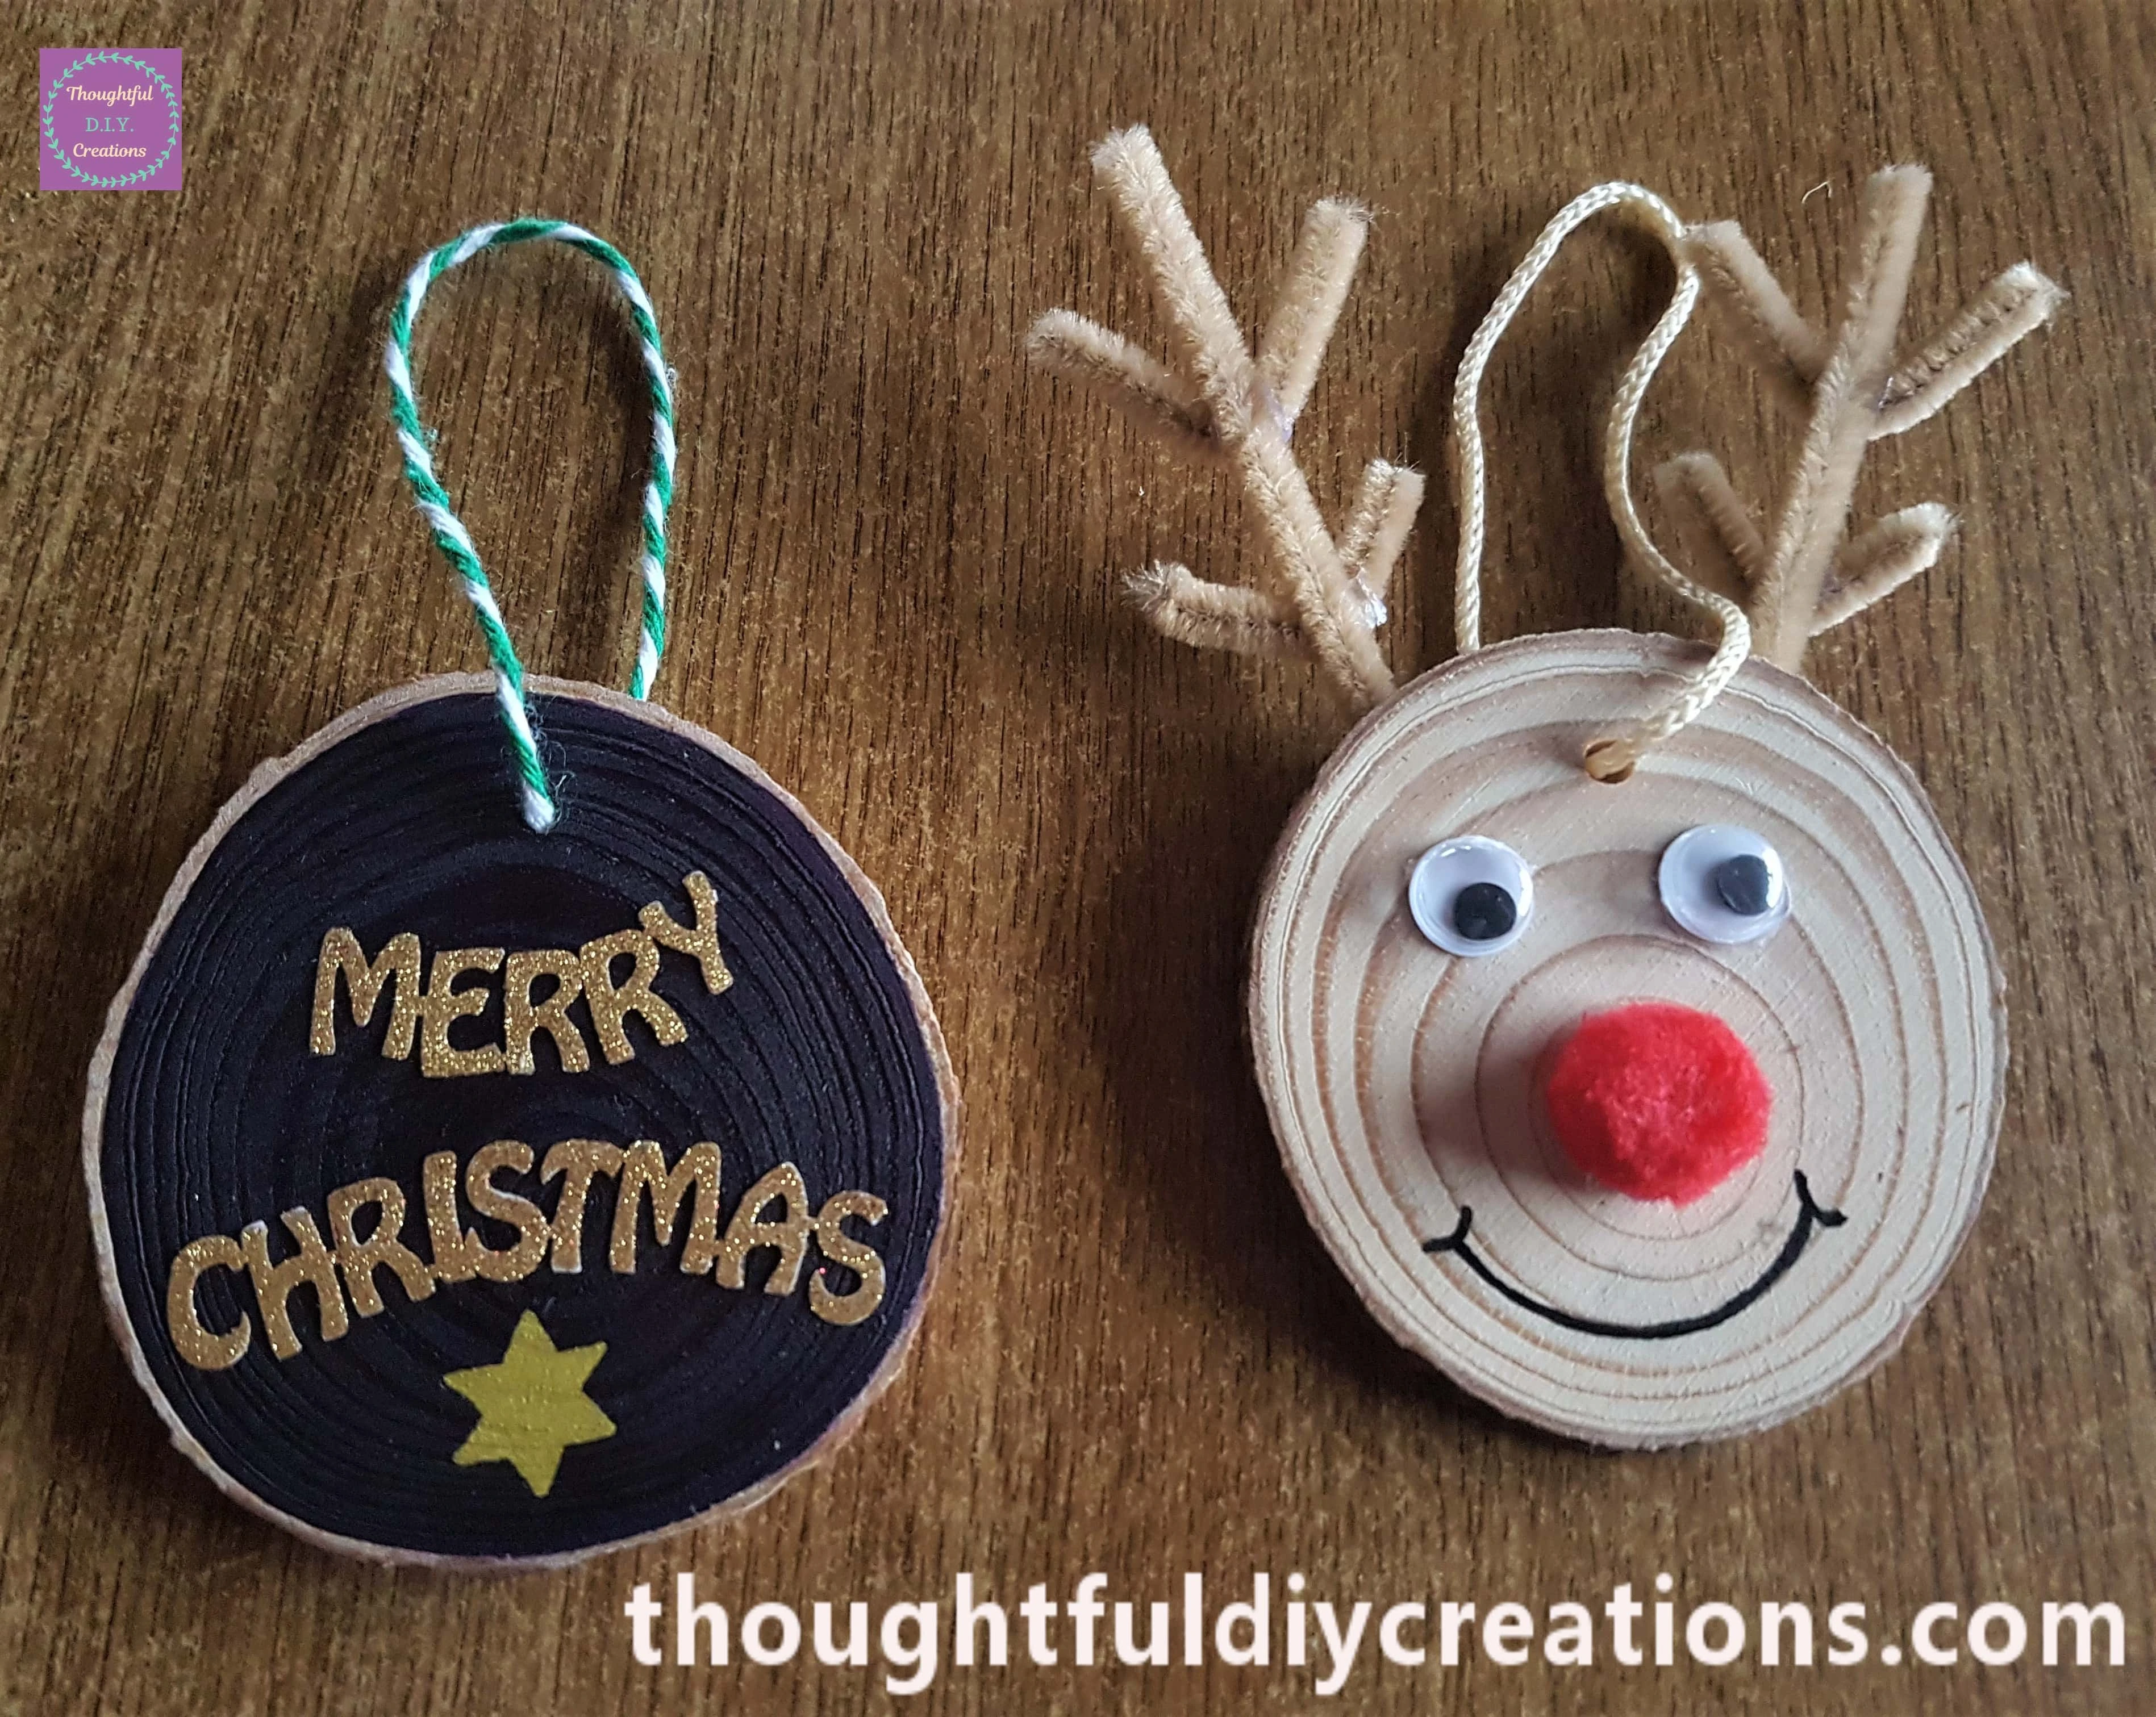
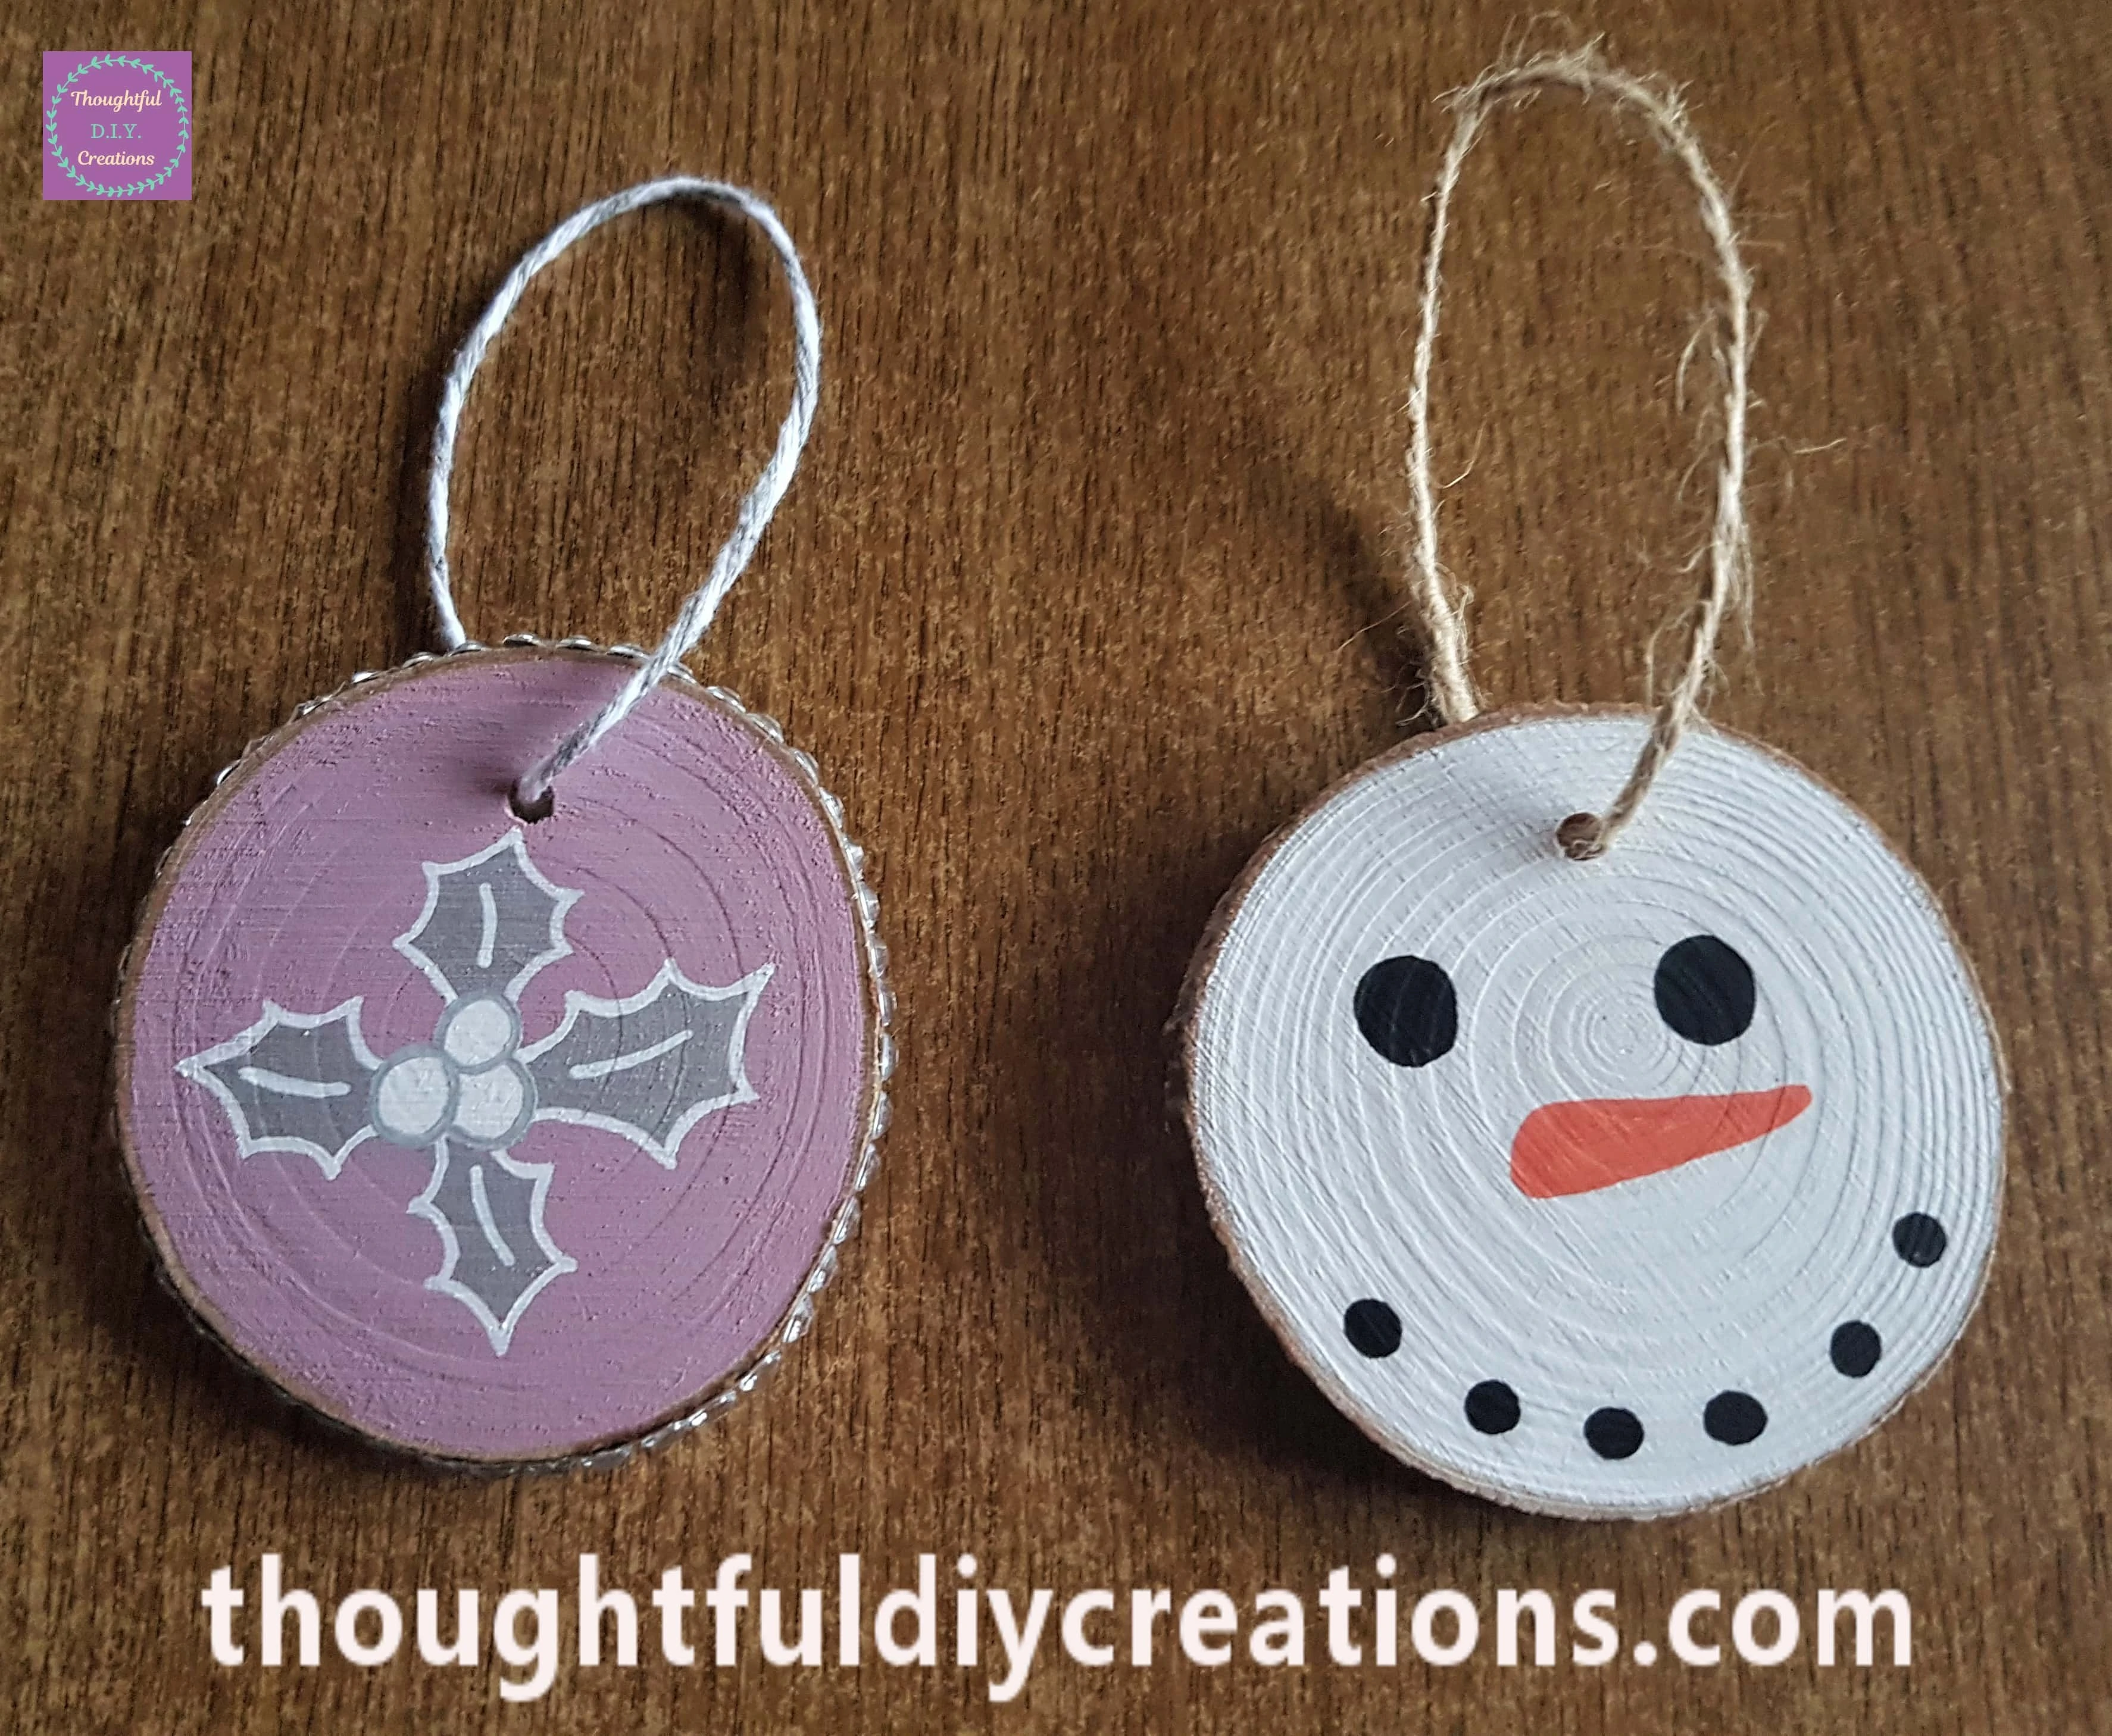
The Final Image of the Wood Slice Ornaments.
Conclusion
I am really happy with how the Wood Slices turned out. It’s amazing how you can completely change the look of a Wood Slice with Acrylic Paint and a few Craft Supplies. I like how all the Strings to hang them up are different which gives a fun, relaxed vibe to the Decor; you can use whatever you have handy in your Home.
You don’t have to be Artistic to decorate your own Ornaments and display them in your Home each Year. You can Paint the Wood Slices the Shades that would suit your preferred Christmas Colour Scheme. Christmas Sentiments could be written on the Wood Slices if you don’t want to Draw anything or if you like Minimum, Subtle Decor.
The Options are endless with how you can Decorate the Wood Slices. They can be Personalised and Gifted to Family and Friends. It is a lovely Craft for Children to take part in, you could write the Year on the back and it can be treasured for years to come. They could Draw a Picture with a Pencil first and then go over it with a Paint Pen when they are happy with it. It would also make a thoughtful Gift from them to a Teacher, Babysitter, Grandparent etc.
Another Idea would be to use the Wood Slices as Gift Tags and Put them on your Presents, meaning the Recipient has a handmade and unique Gift Tag and another Present to keep. They could also be made into a Garland and spell out ‘Merry Christmas’, ‘Ho Ho Ho’ etc.
If you give this Craft a try, let me know how it went for you and if you used anything different than mine to decorate yours.
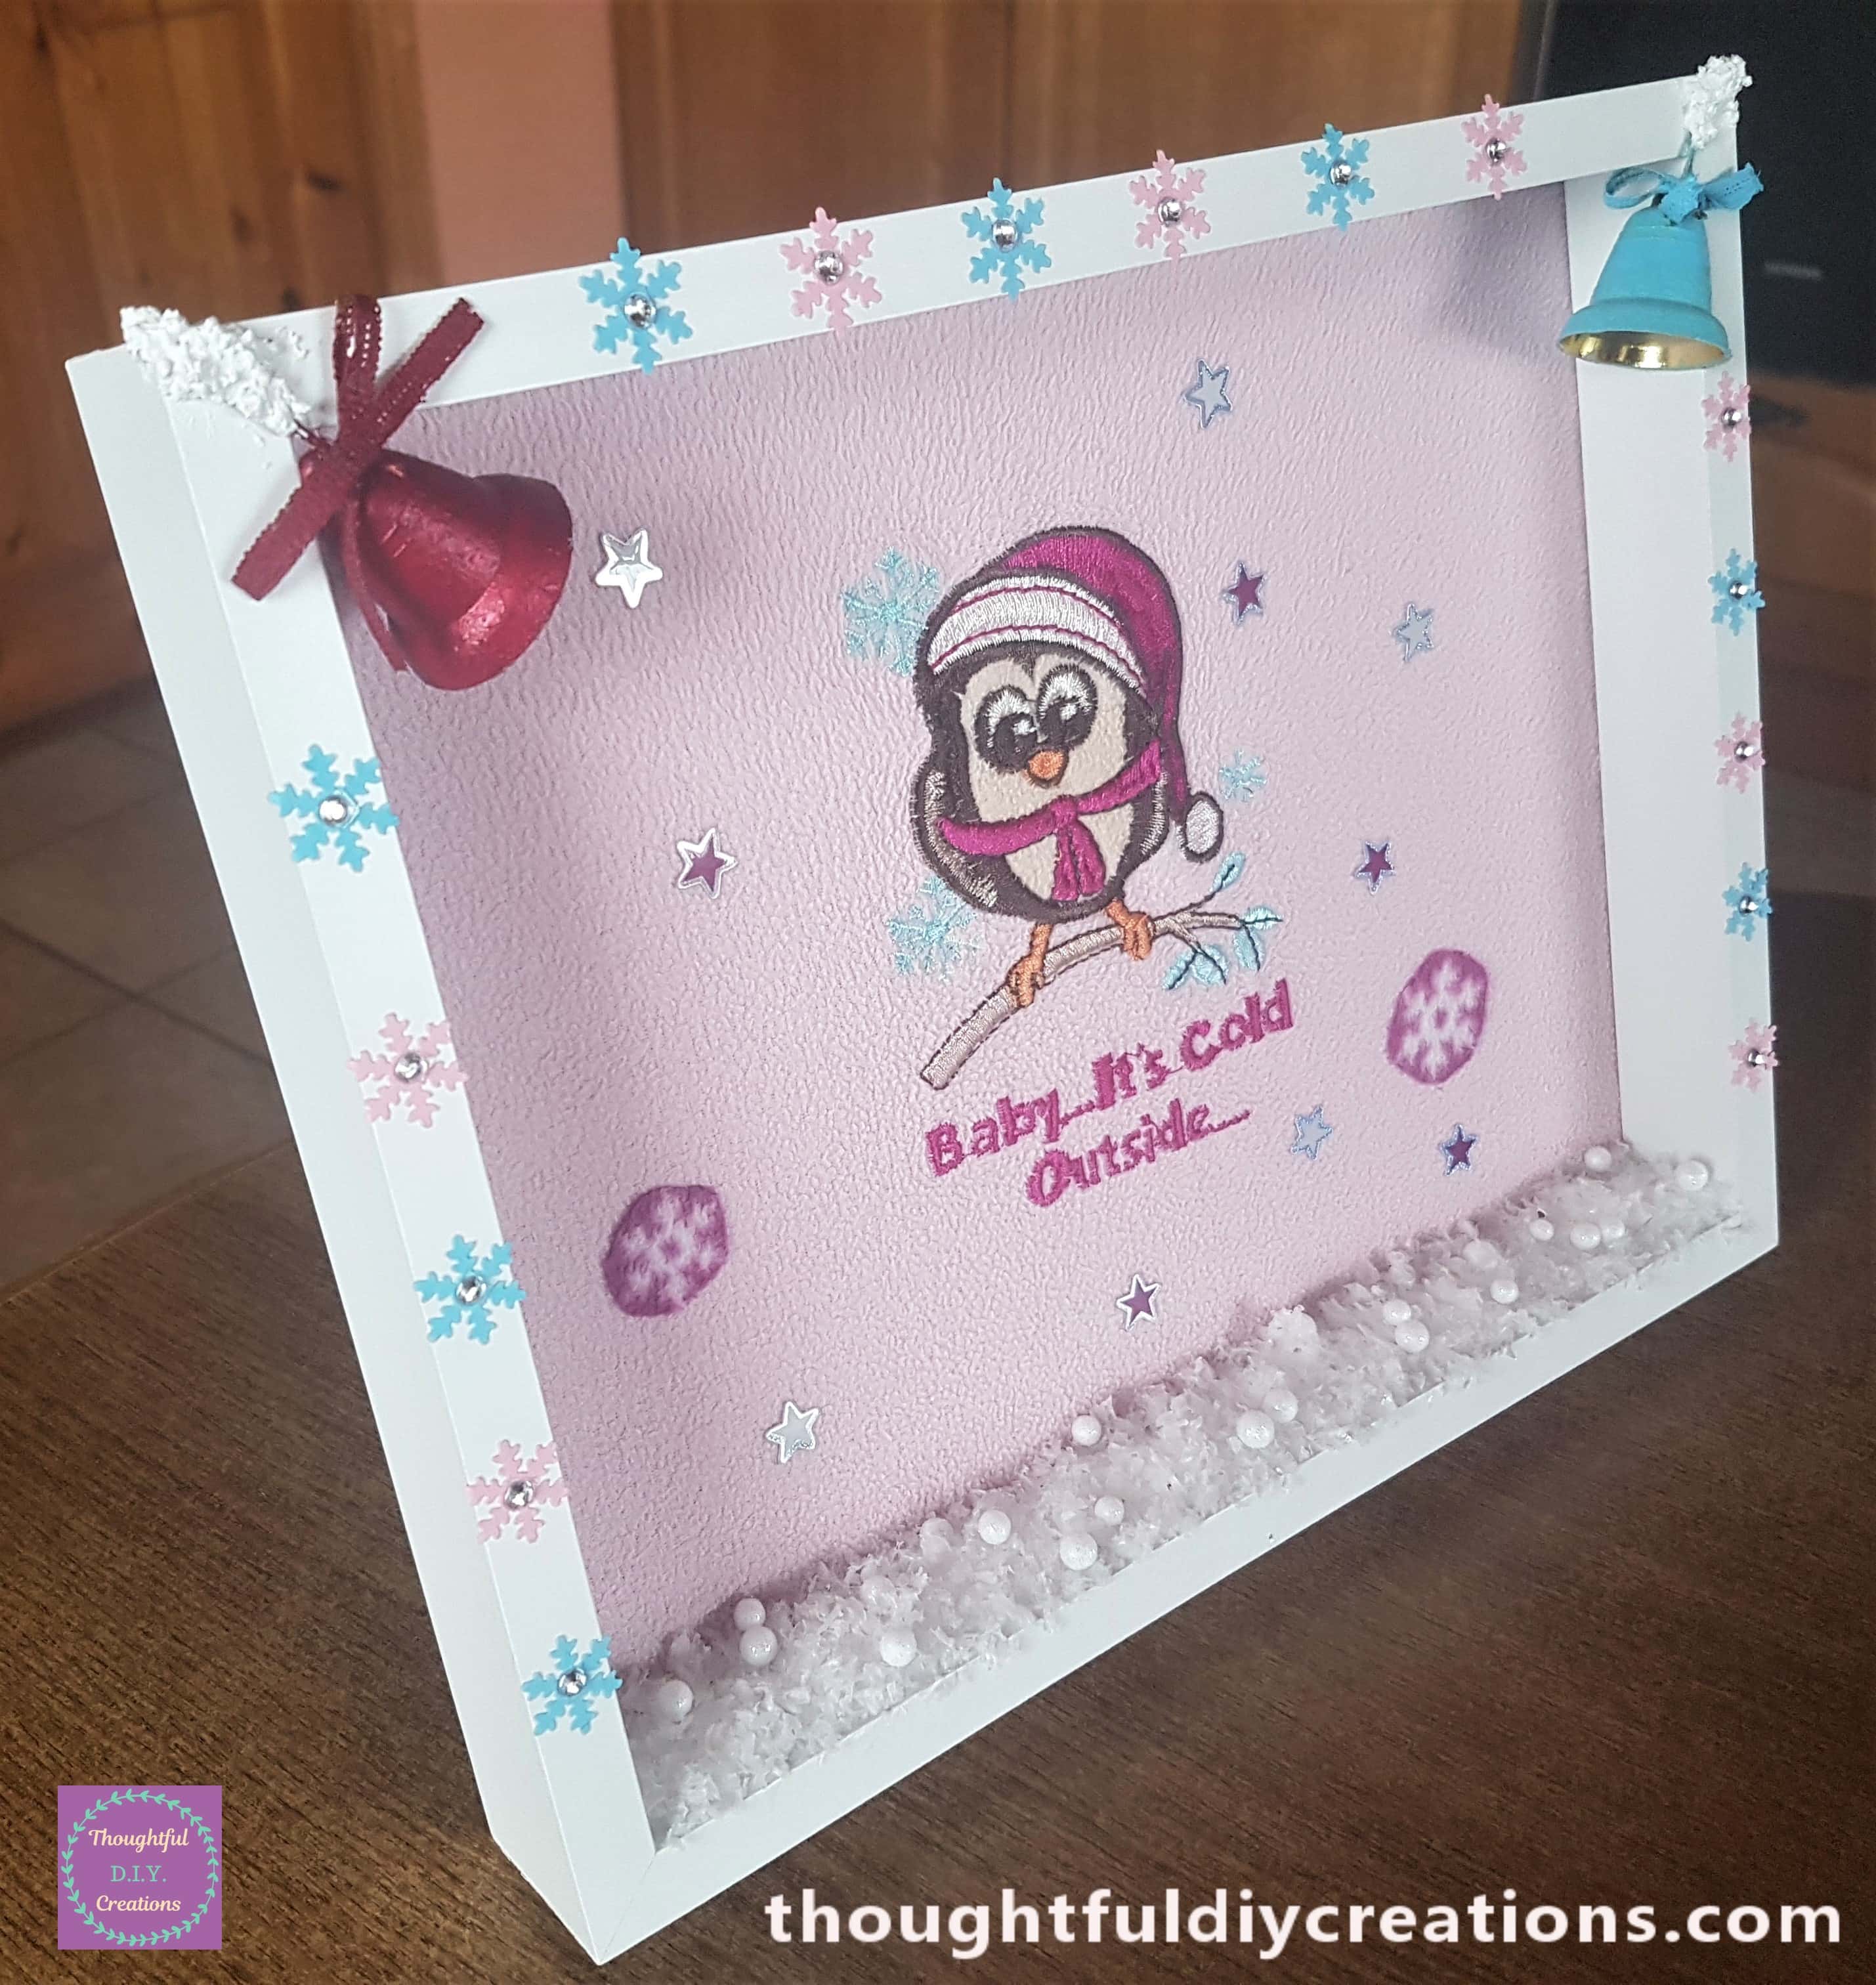
Here is another Tutorial on how to Use Wood Slices in your Crafts; Family Christmas Frame.
Thank You so much for taking the time to Read my Blog.
Always Grateful,
T.D.C.
xoxox


-0 Comment-