Wooden Bead Garland Tutorial
Hello my Creative Friends,
I hope you are all Well. In Today’s Tutorial I will Show you How I made a Wooden Bead Garland with White Wool Tassels. It is a Trendy Craft and will Complement any Style of Home Decor, whether it’s Farmhouse or Modern; it will fit right in with your Home Accessories.
I have seen many Wooden Bead Crafts on Pinterest and Youtube, they have been quite Popular the last few Years especially in America. I haven’t actually seen the Wooden Beads in Shops in Ireland but they are more than likely in the bigger Craft Stores or can alternatively be bought Online.
Up-Cycled Wooden Beads
I had a Boho Style Handbag for a few Years. It became worn and the Inside Fabric part ripped. I Cut out some of the Outer Fabric to Keep for future Crafts.
The Handles had Wooden Beads of various Sizes. I removed the Beads and put them into a Plastic Ziplock Bag because I knew they could be Up-Cycled and Re-Purposed into something else.
I have had them in my Supplies for a Couple of Years now, hence why I don’t have any Images of the Beads on the Bag (I removed them before my Blogging Days). I thought now would be as good a Time as any to get Creative with them.
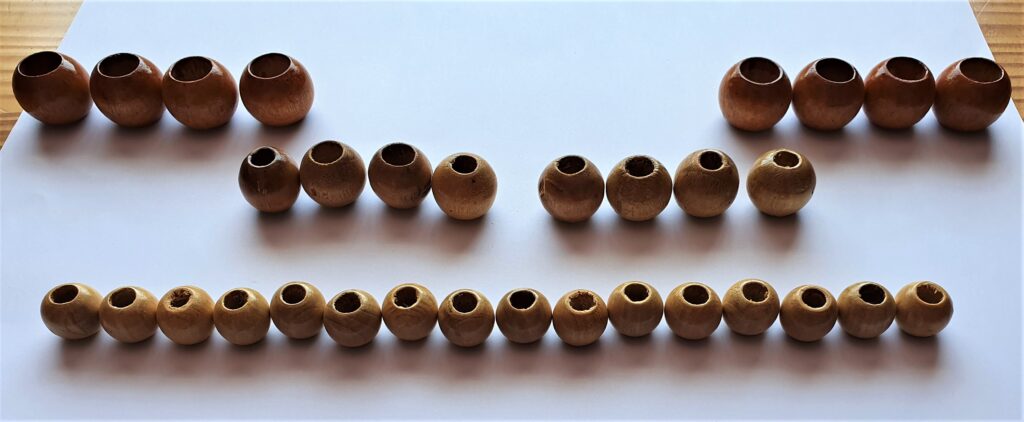
Here are the Wooden Beads from my Bag.
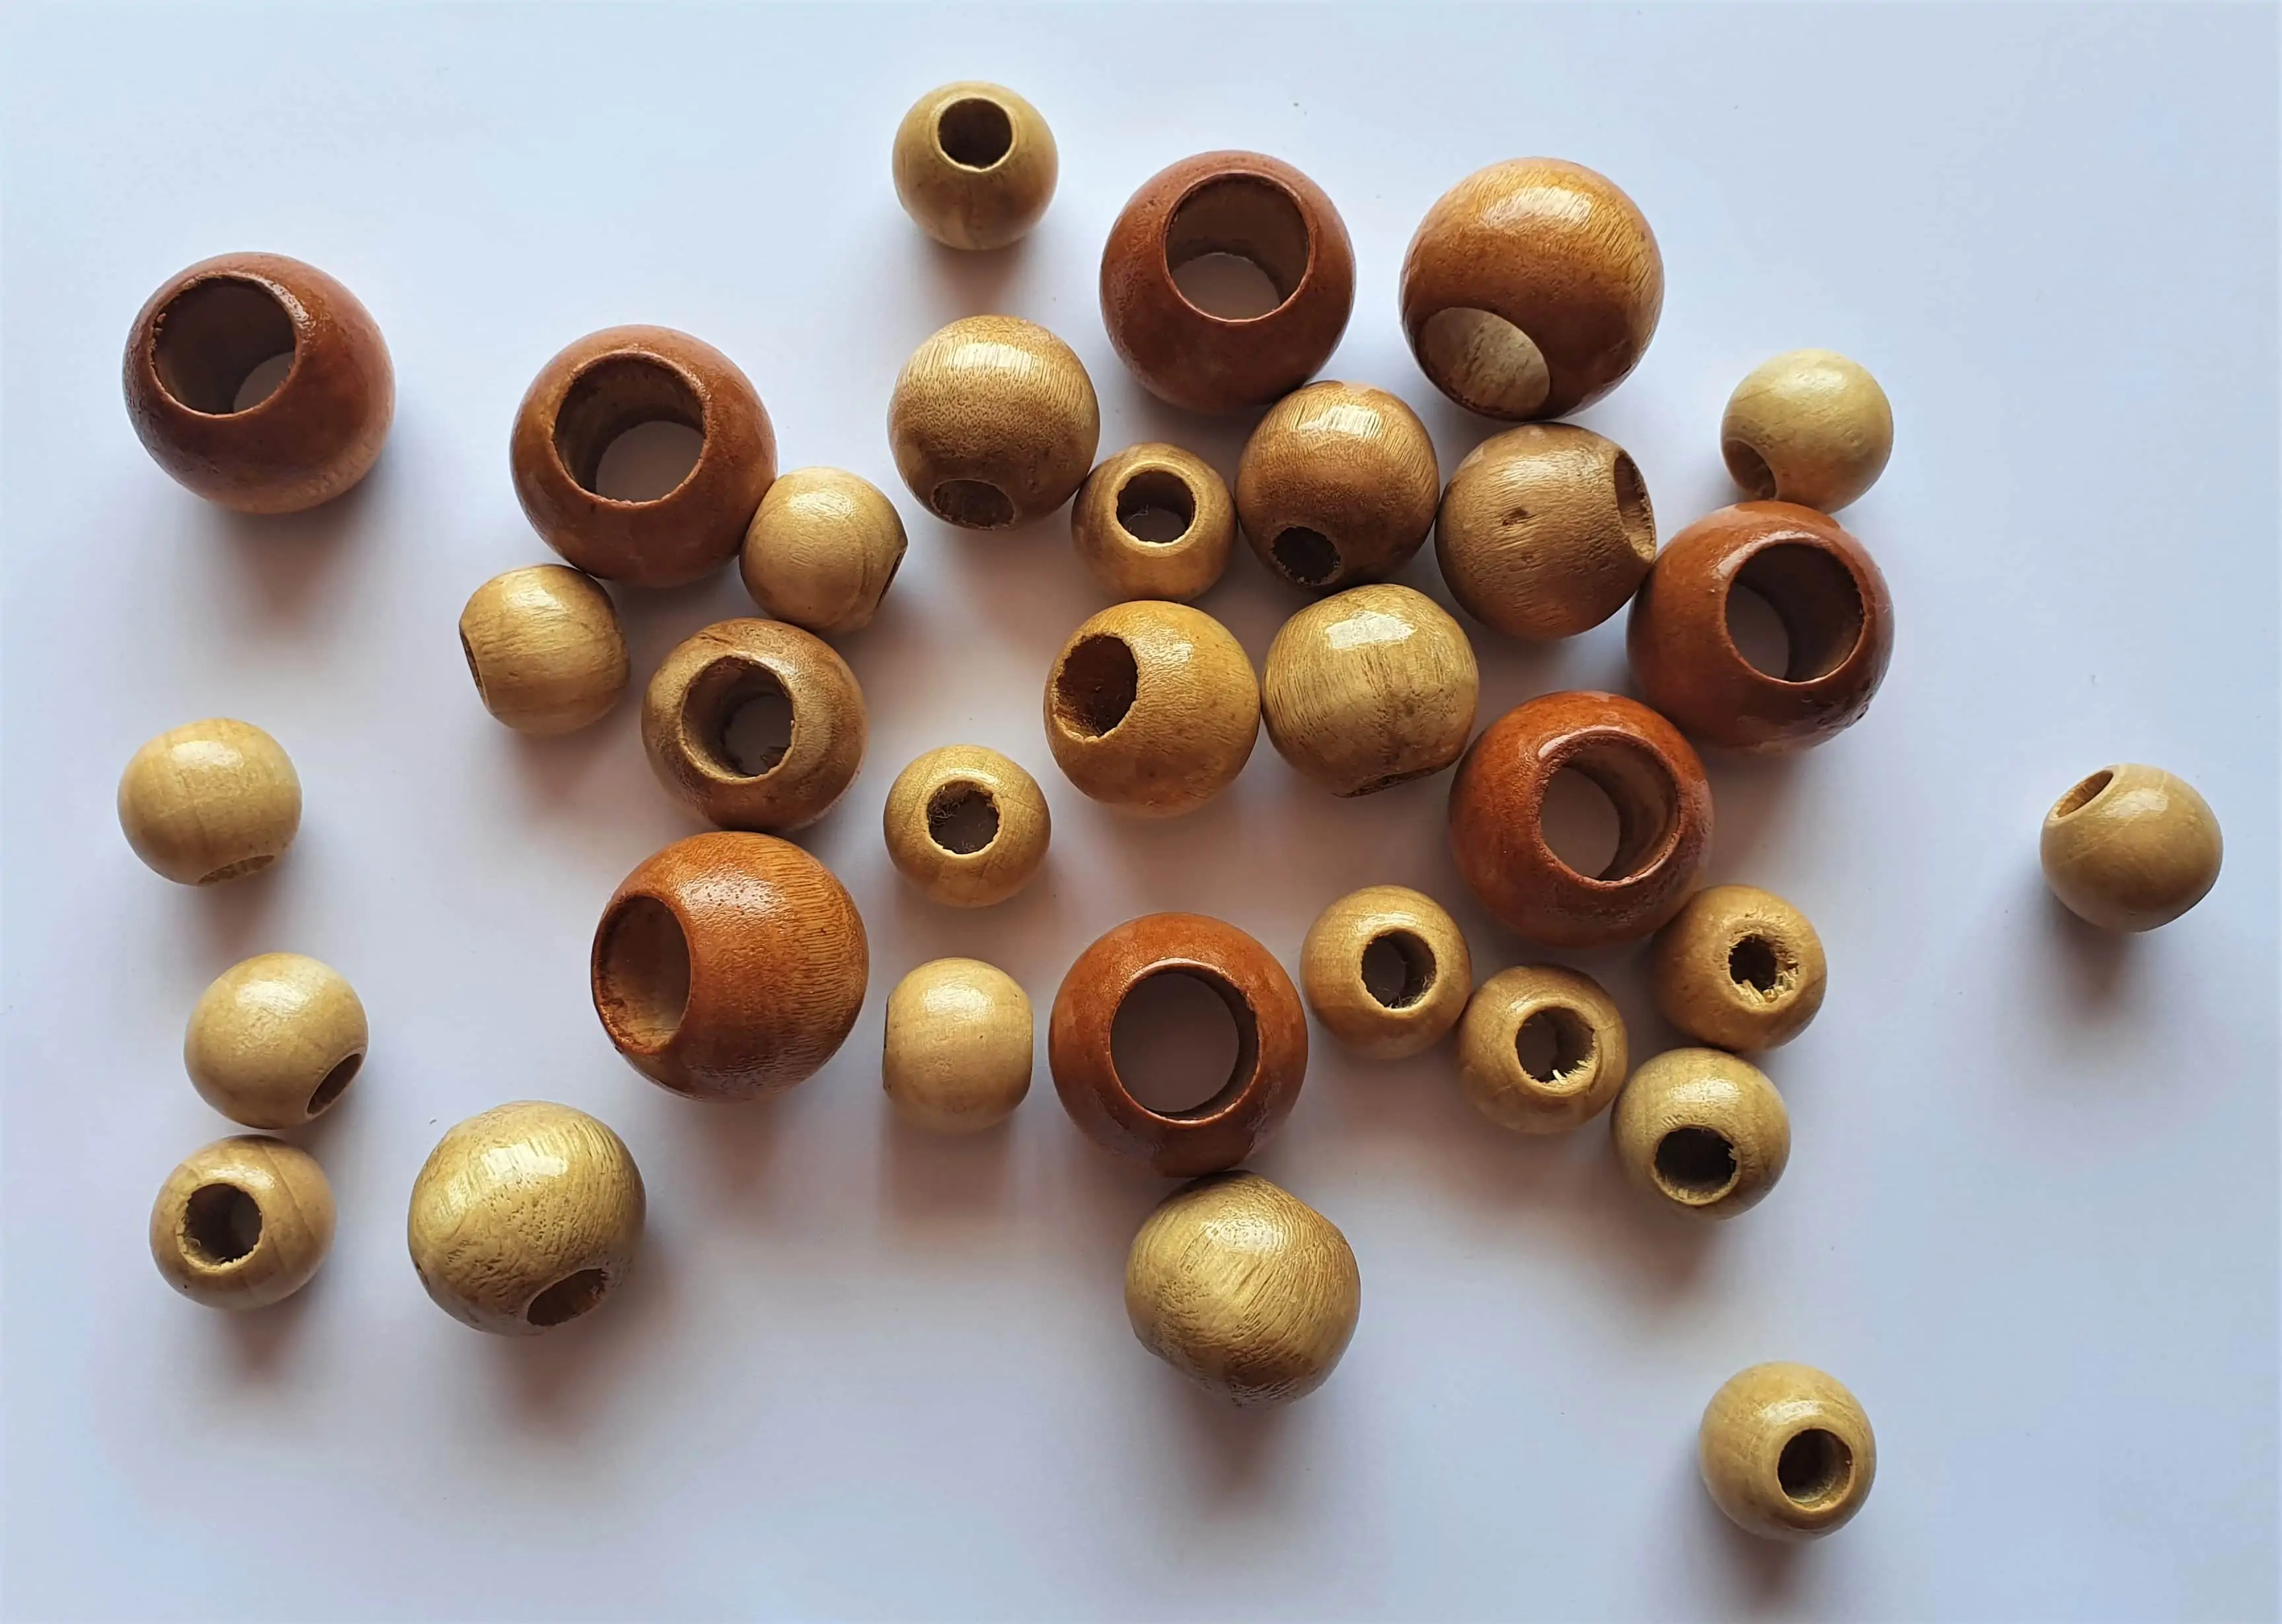
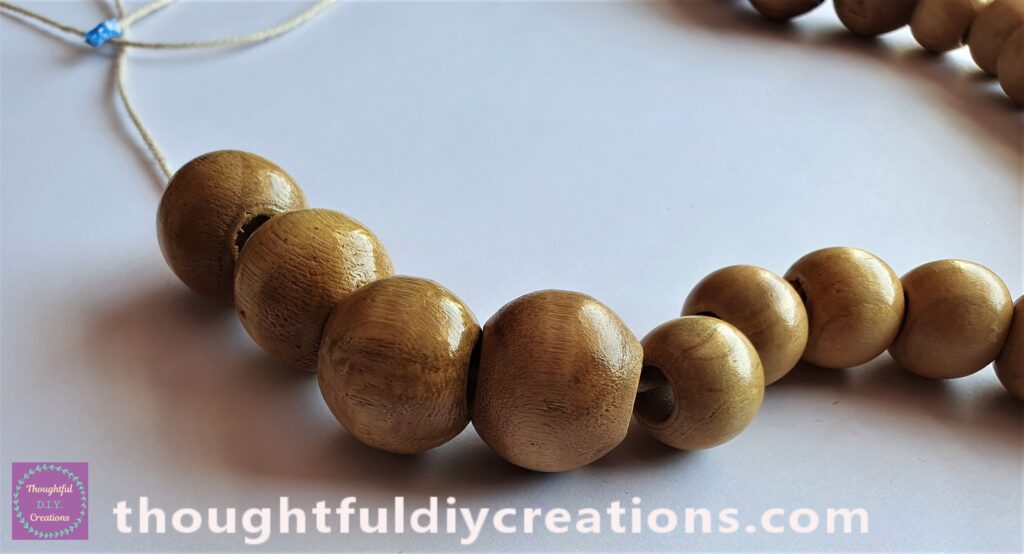
The Wooden Beads are 3 Different Sizes. There are 8 Large and Medium Beads and 16 Small Beads.
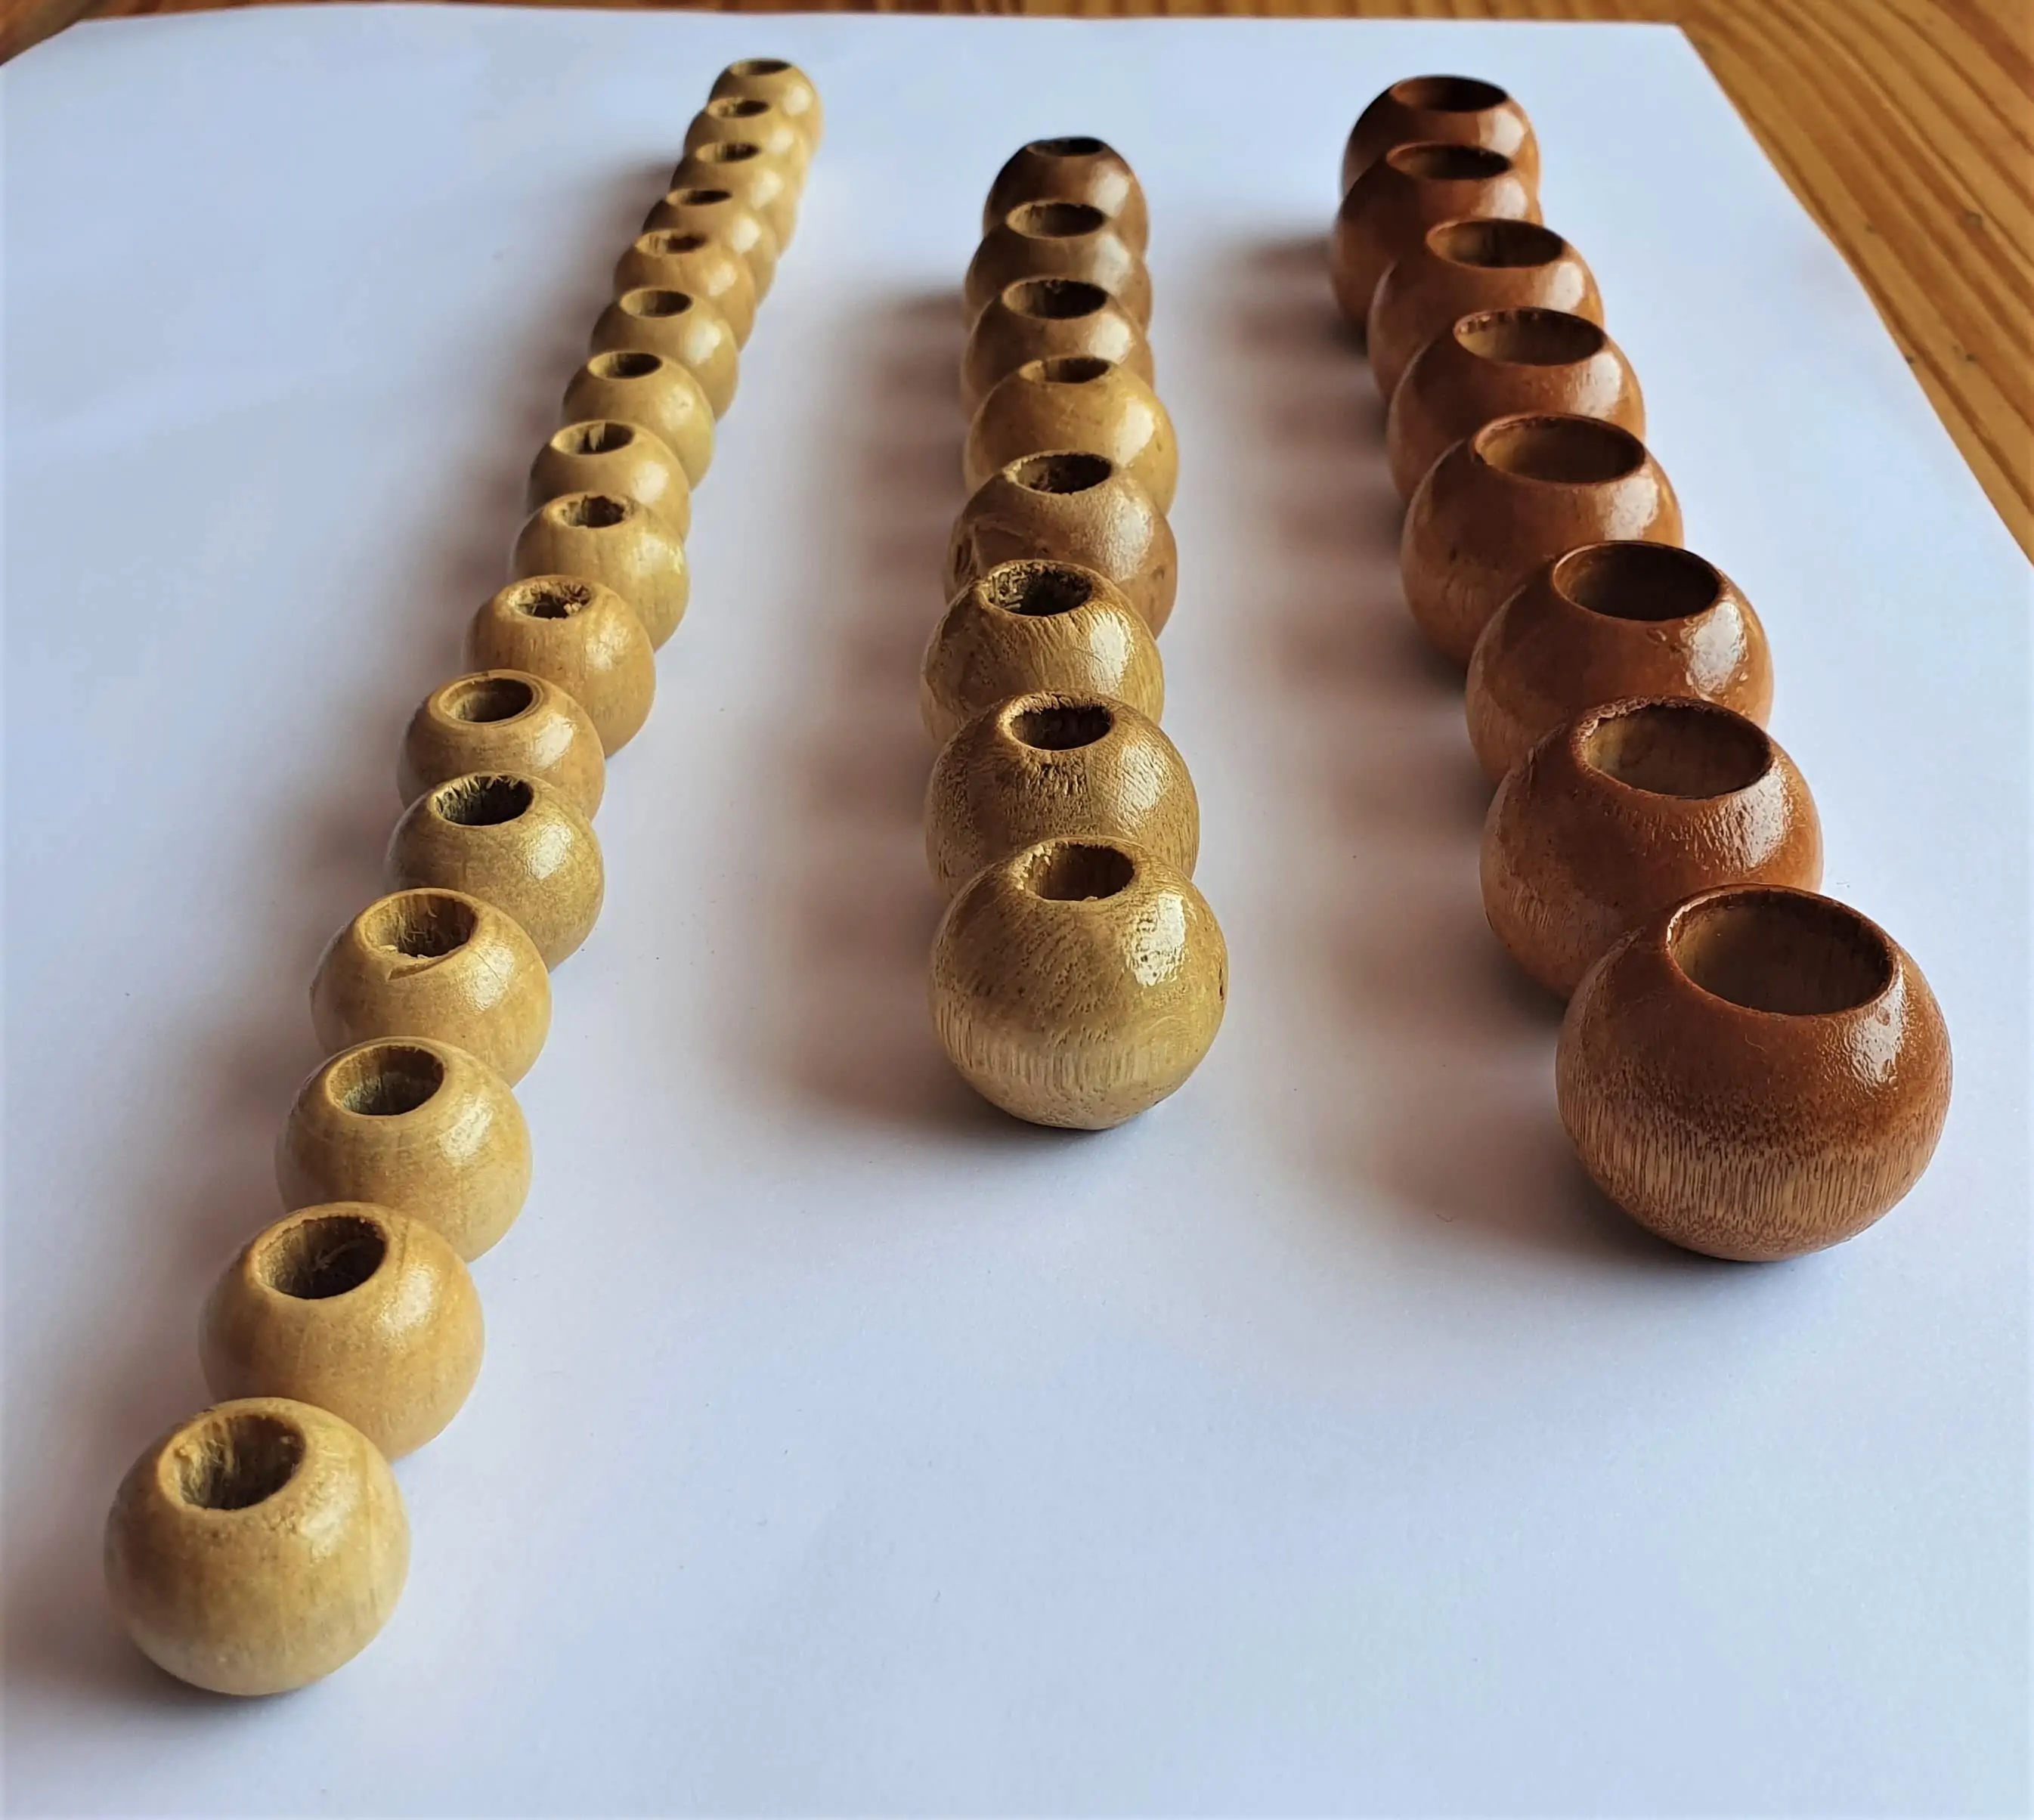
I Separated the Large and Medium Beads into 2 Parts of Four.
String for the Wooden Bead Garland
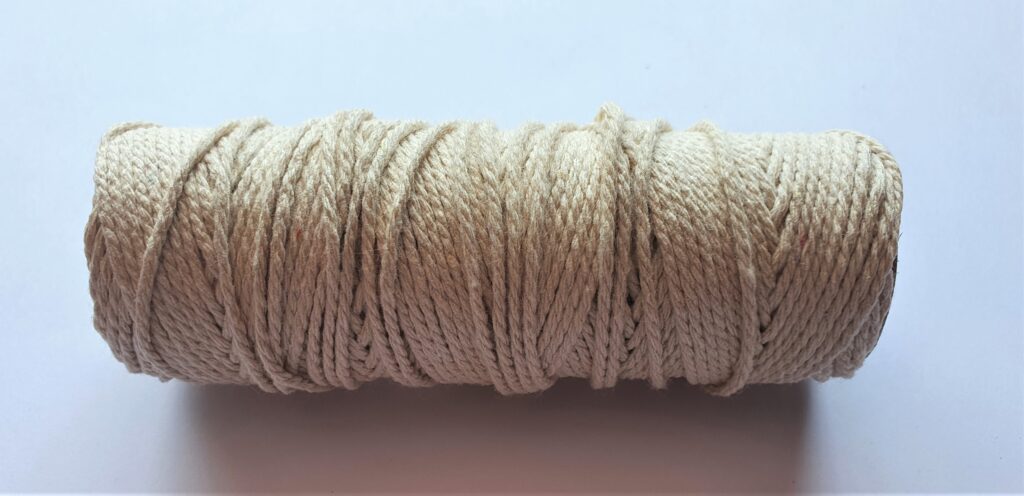
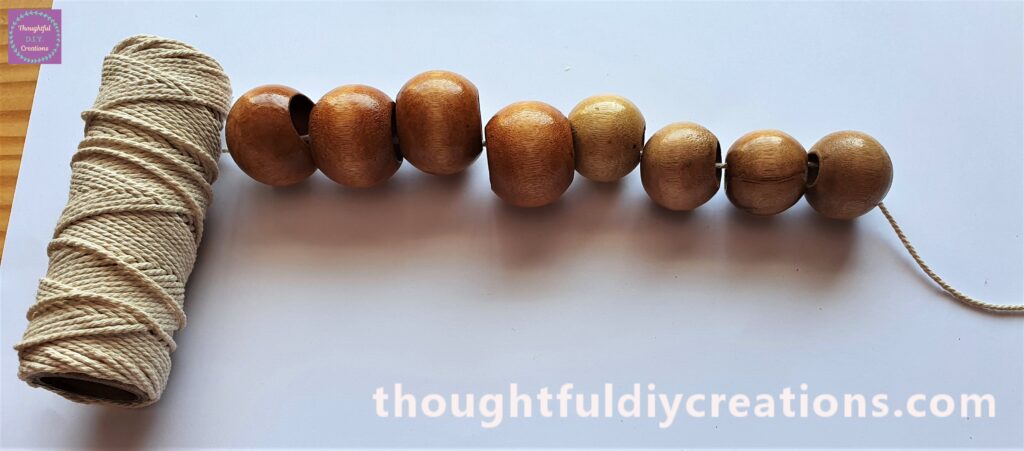
I got my Roll of Cream Coloured Jute String.
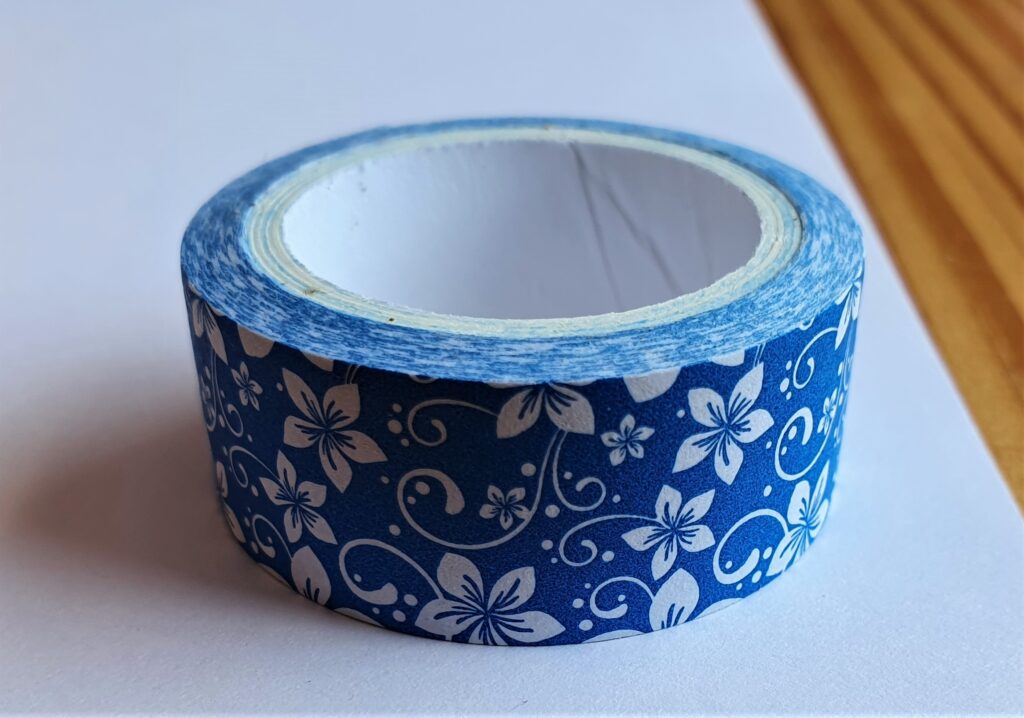
I got one of my Washi-Tapes from my Supplies.
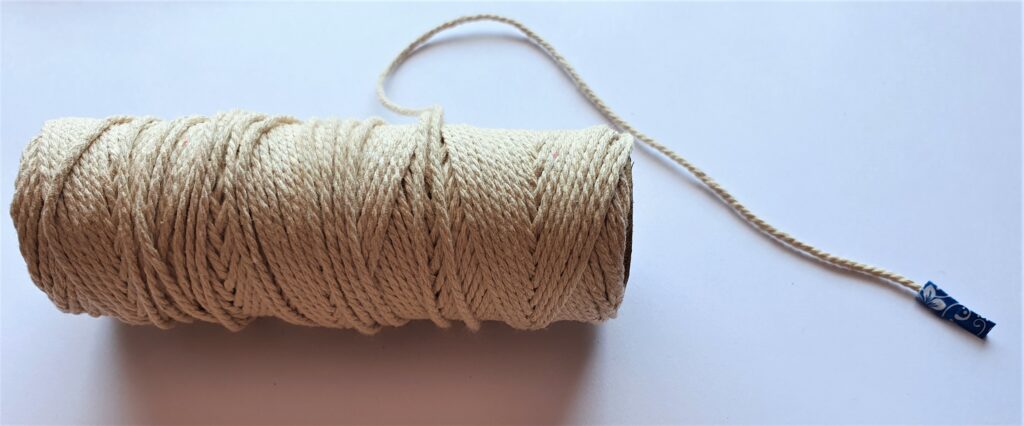
I put a piece of Washi-Tape on the end of the String. This will make it easier to insert into each Wooden Bead and prevent the string unravelling.
Beginning the Wooden Bead Garland
I unwinded a length of the String from the Roll and then added the 4 large Beads one-by-one to the String.

Next I added the 4 Medium Wooden Beads.
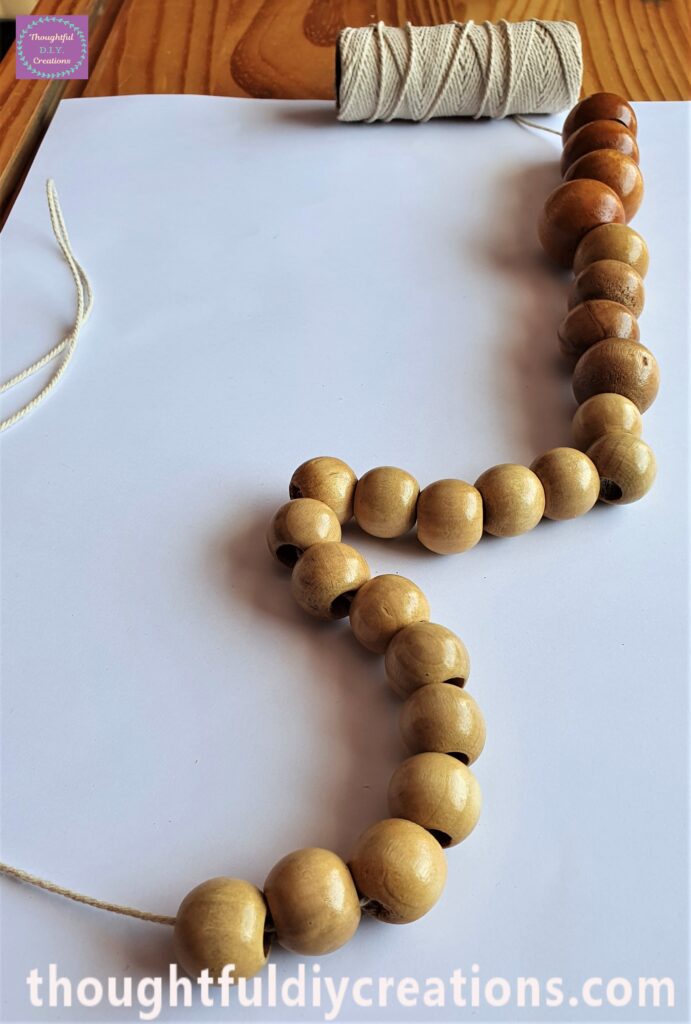
The 16 Small Wooden Beads were included onto the Garland.
The remaining 4 Medium Sized Beads were added next to the String.
The Remaining Beads added to the Wooden Bead Garland
Finally the last 4 Large Beads were added to the Wooden Bead Garland.

White Yarn for my Tassels
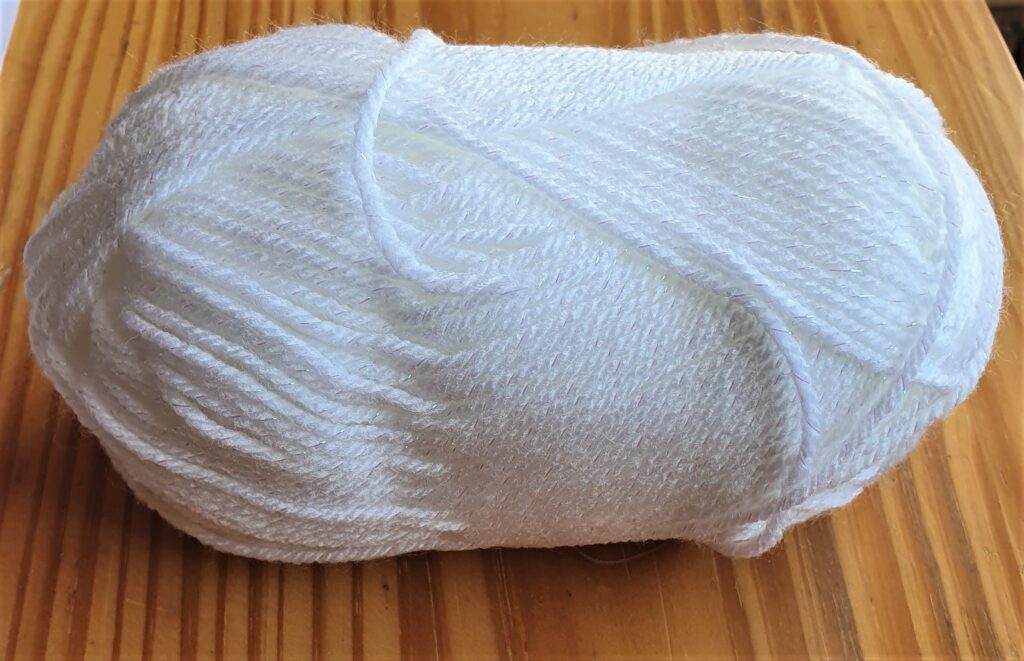
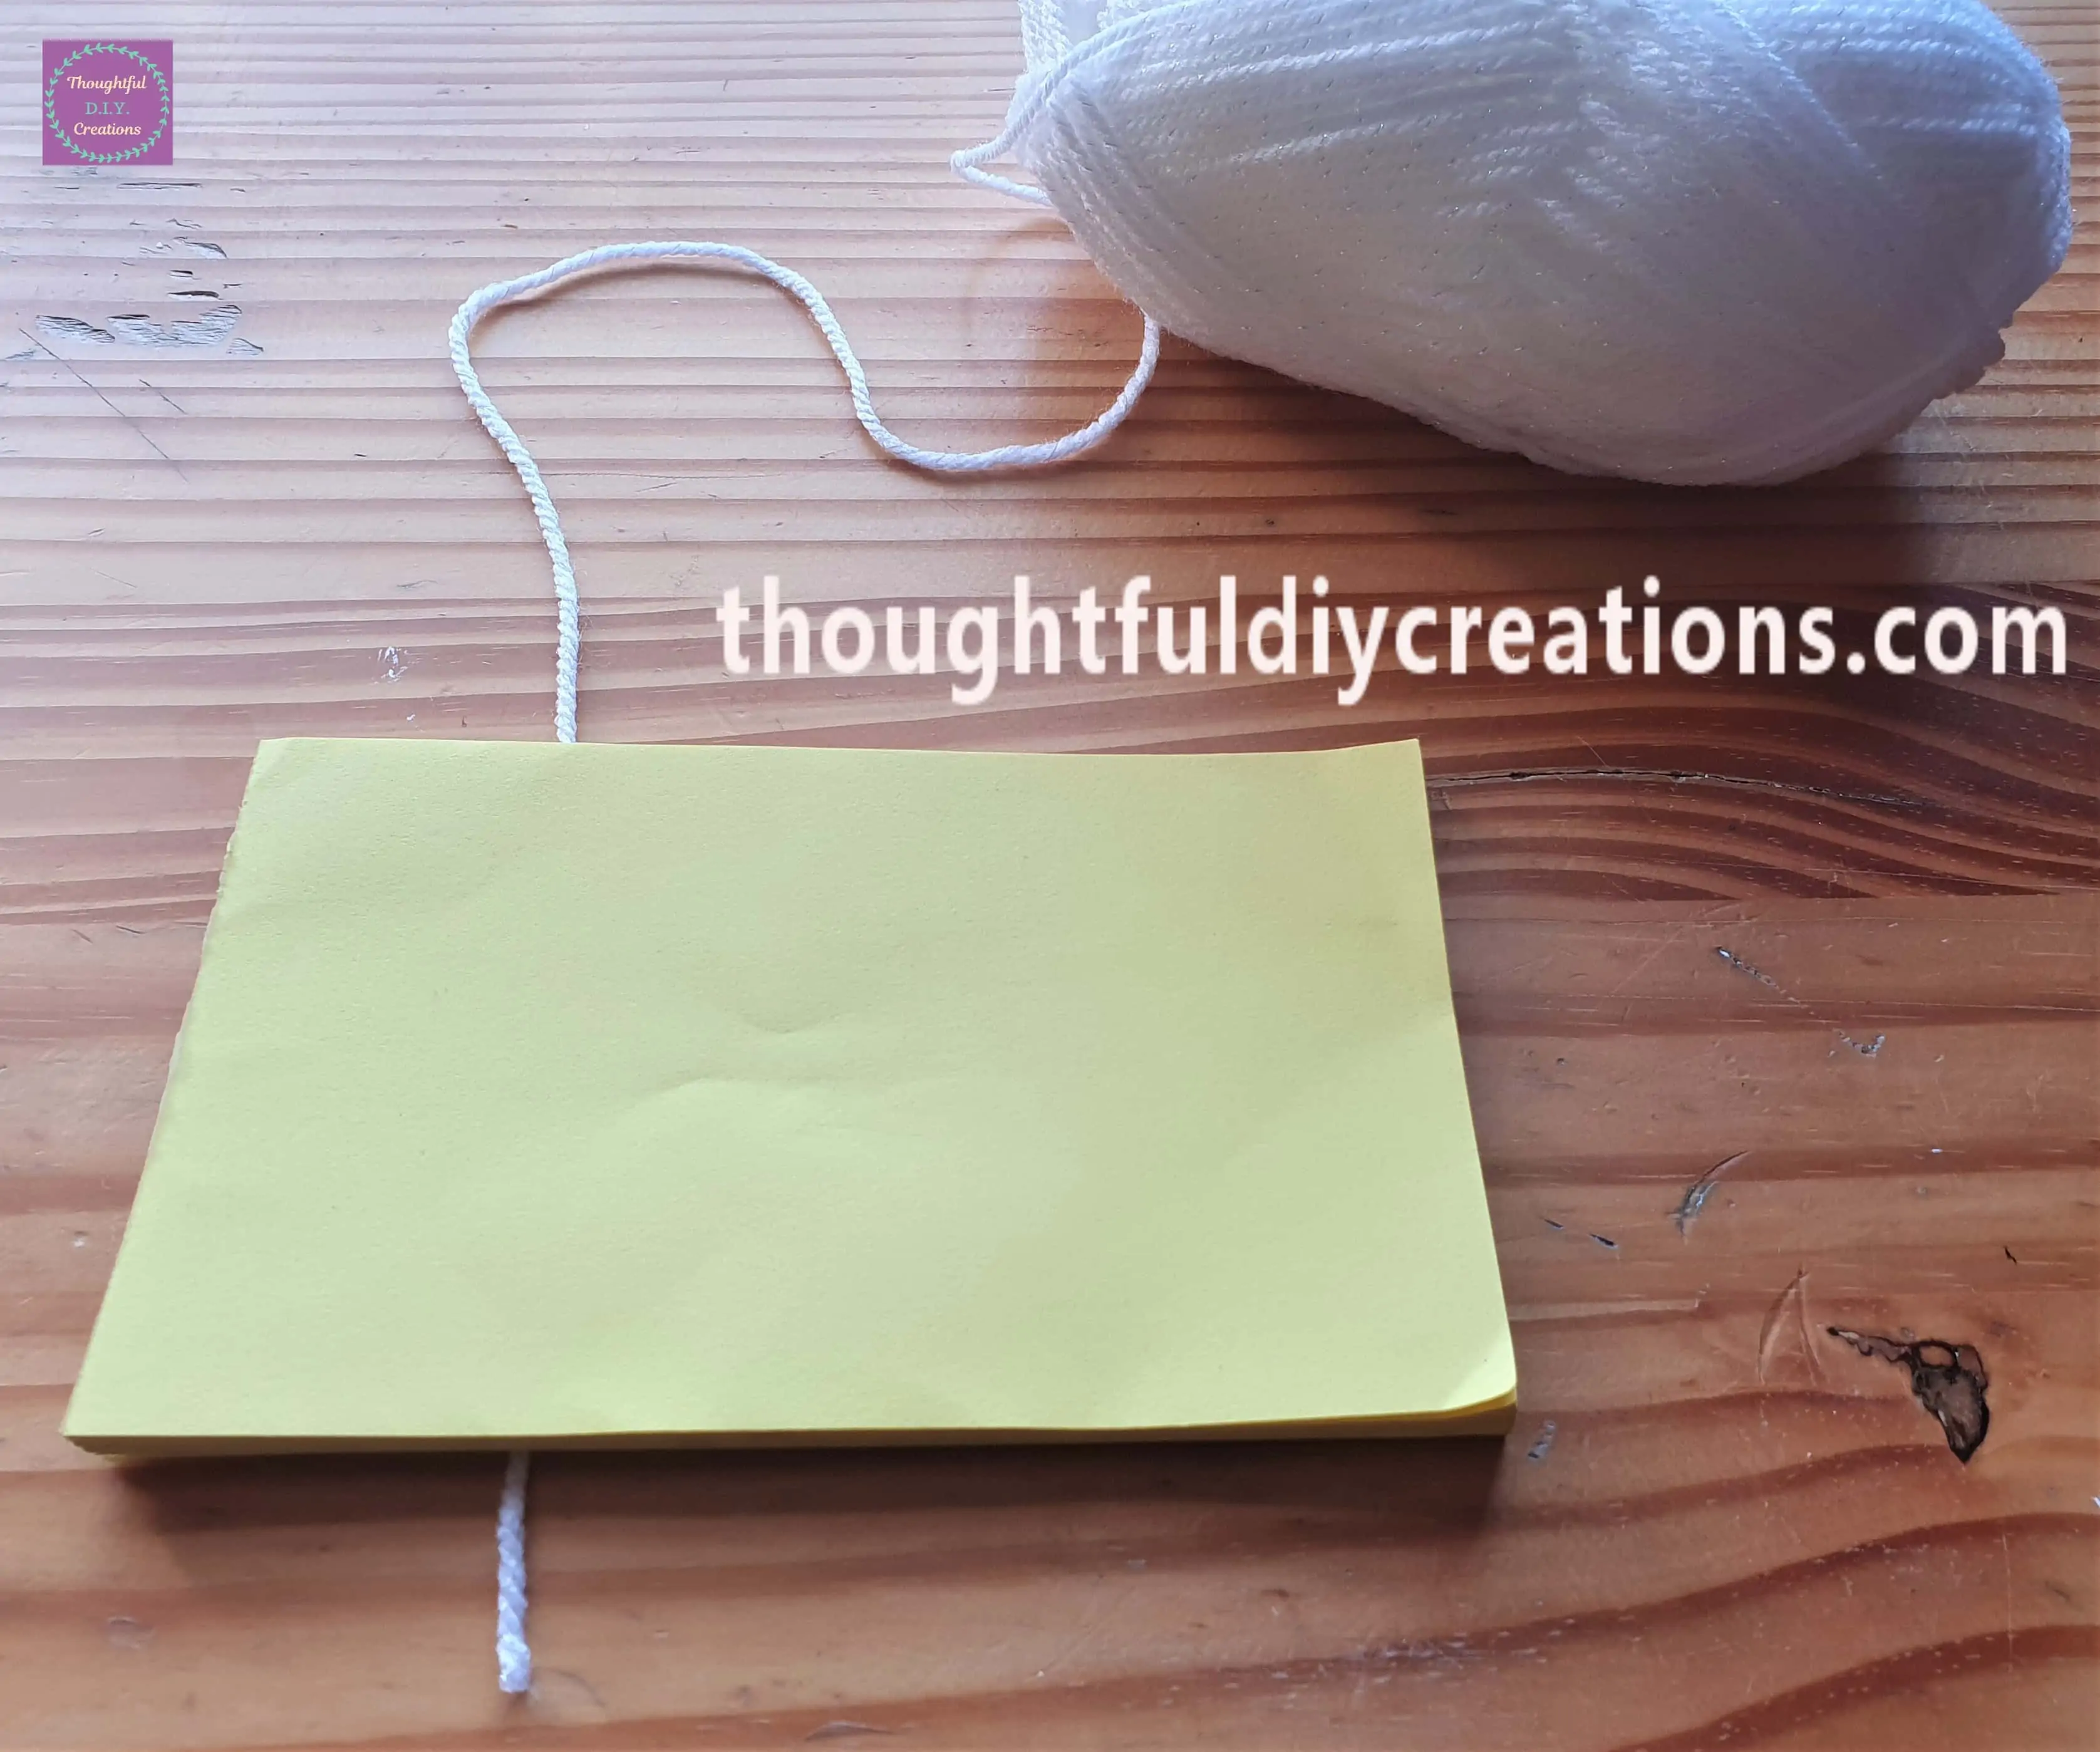
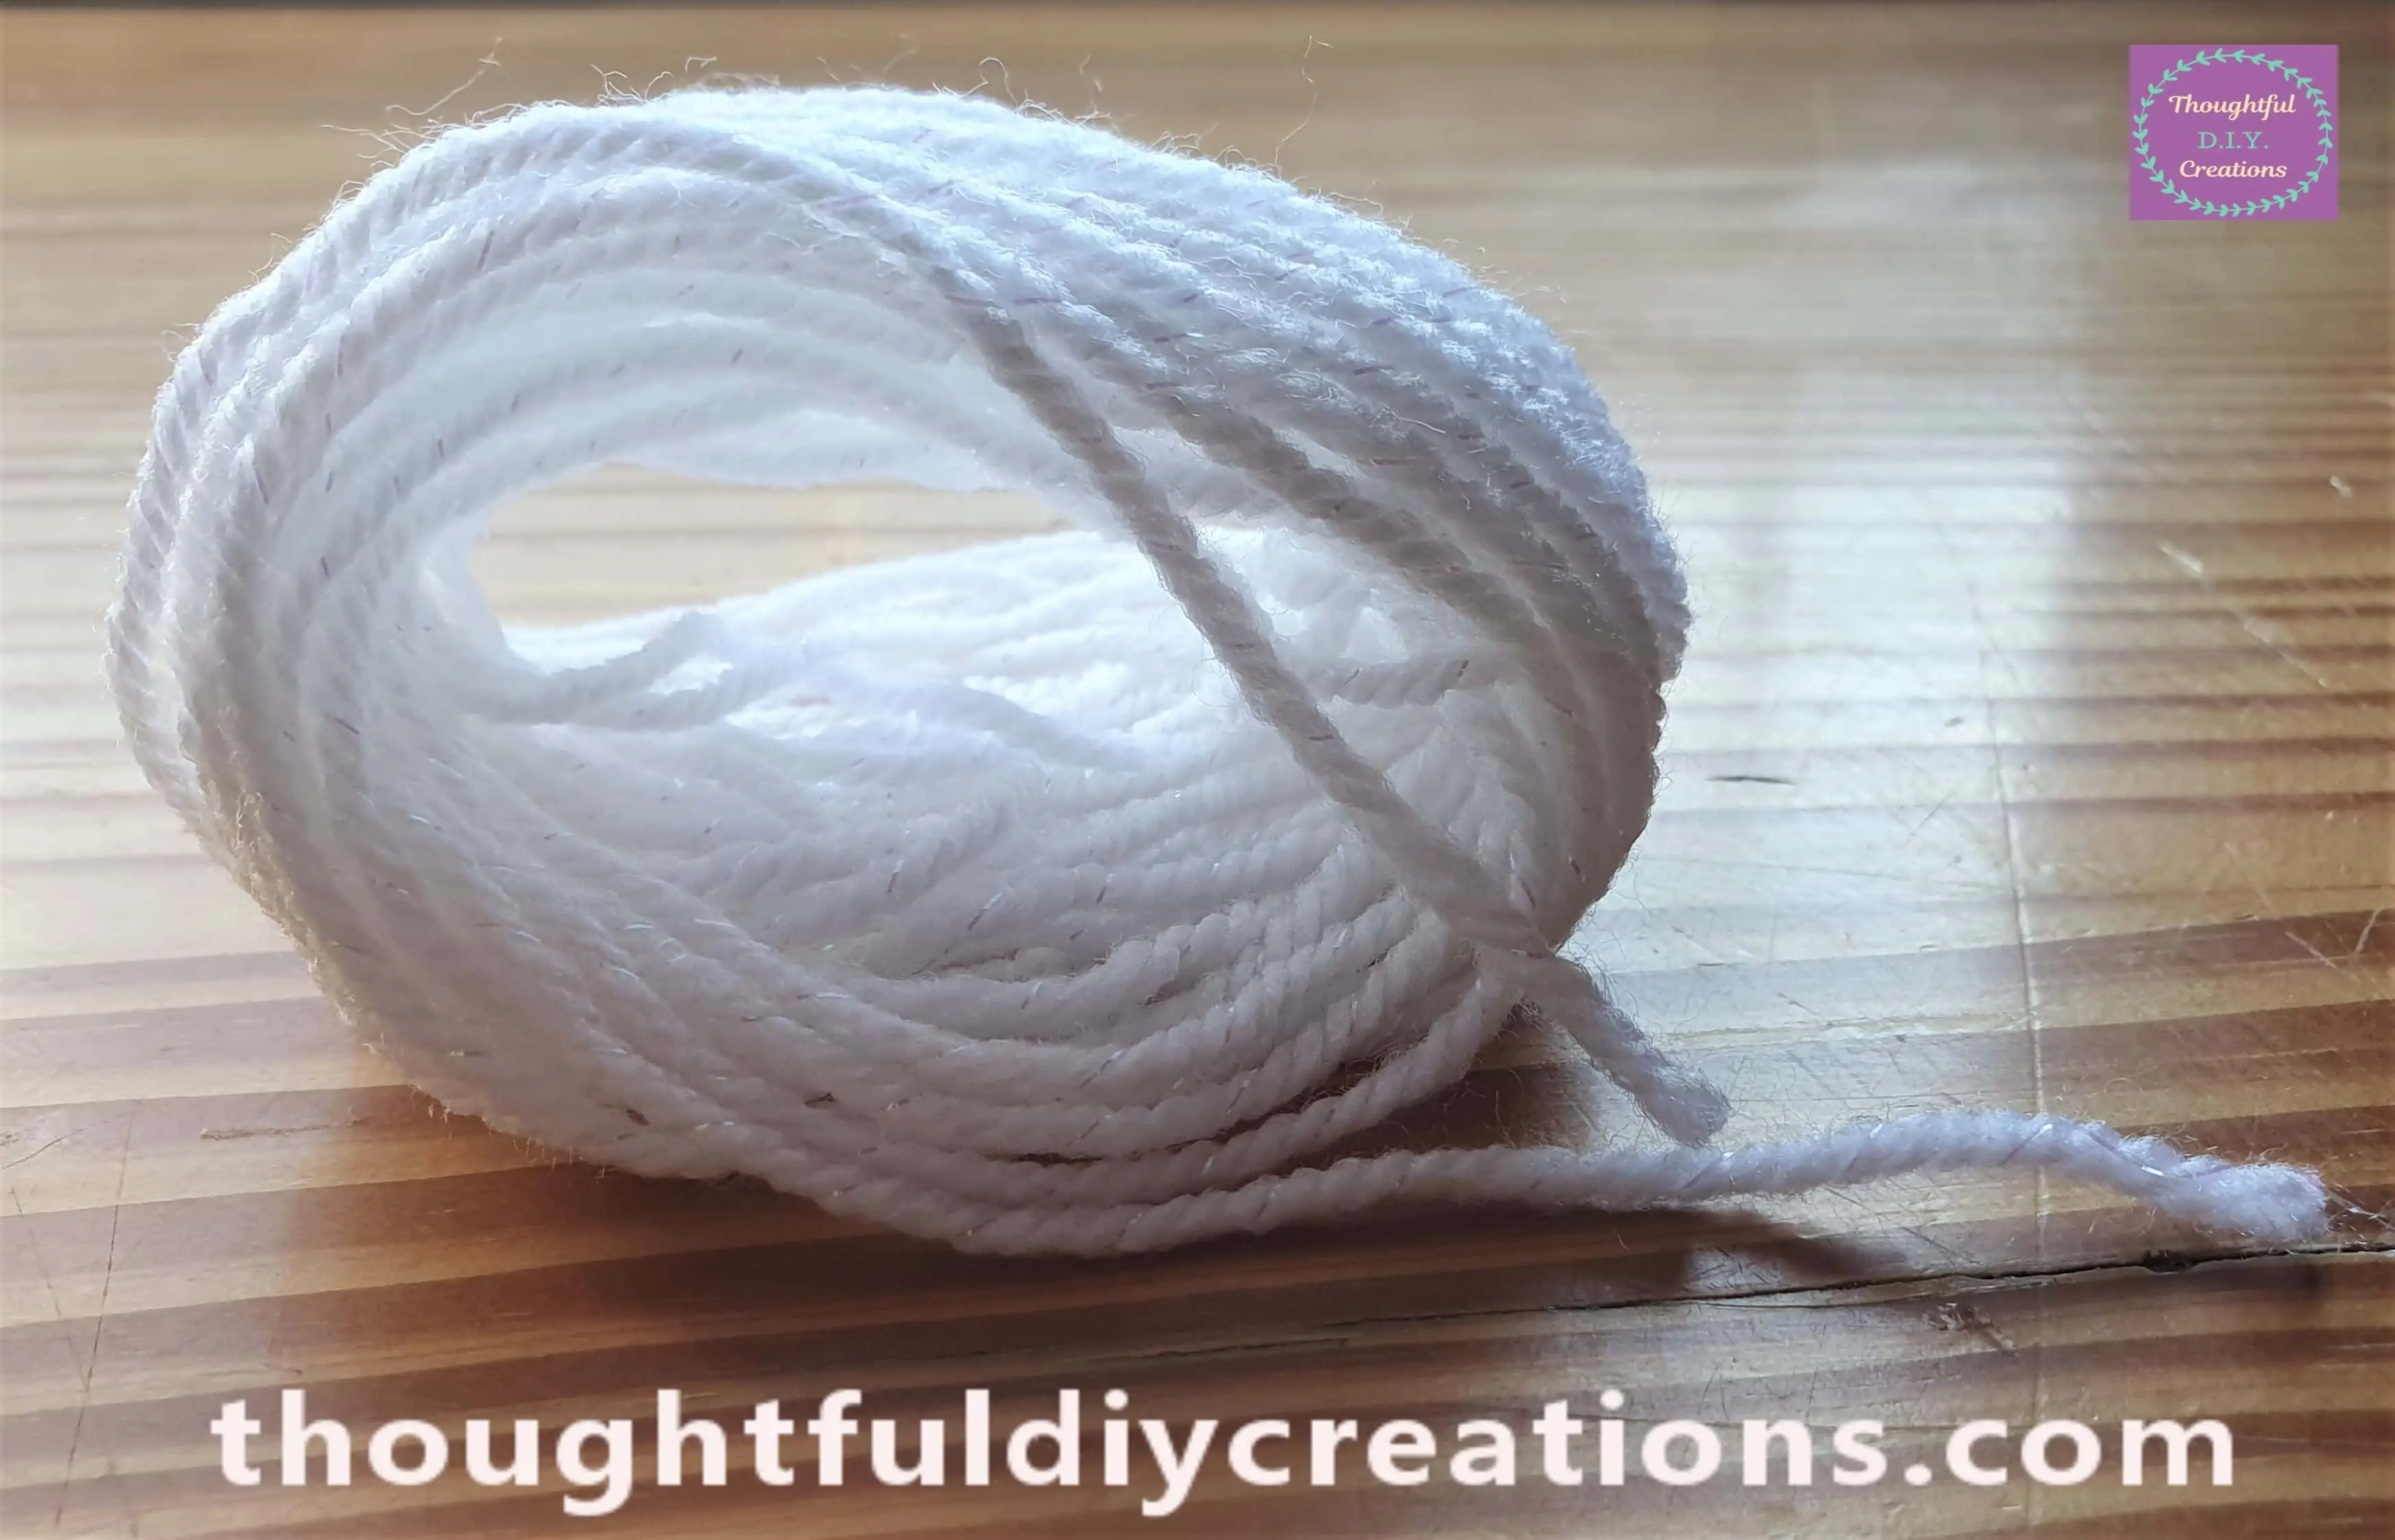
I got my ‘White Sparkle’ Ball of Yarn.
I will be using my Yellow Notepad as my Object to wrap the Wool around to make my Tassels. My Notepad is 3 and 3/4 Inches in Length after it is turned Sideways. You can Use Cardboard, a CD Case, or Your 4 Fingers to wrap your Yarn around instead. If you want your Tassels bigger in Size; use a Bigger Object.
Making the Tassel
I put my Wool on the Table with the end part sticking out and put the Notepad on Top.
I then Picked up the String of Wool and Notepad with my left hand and began wrapping the Wool around the Notepad with my Right Hand.
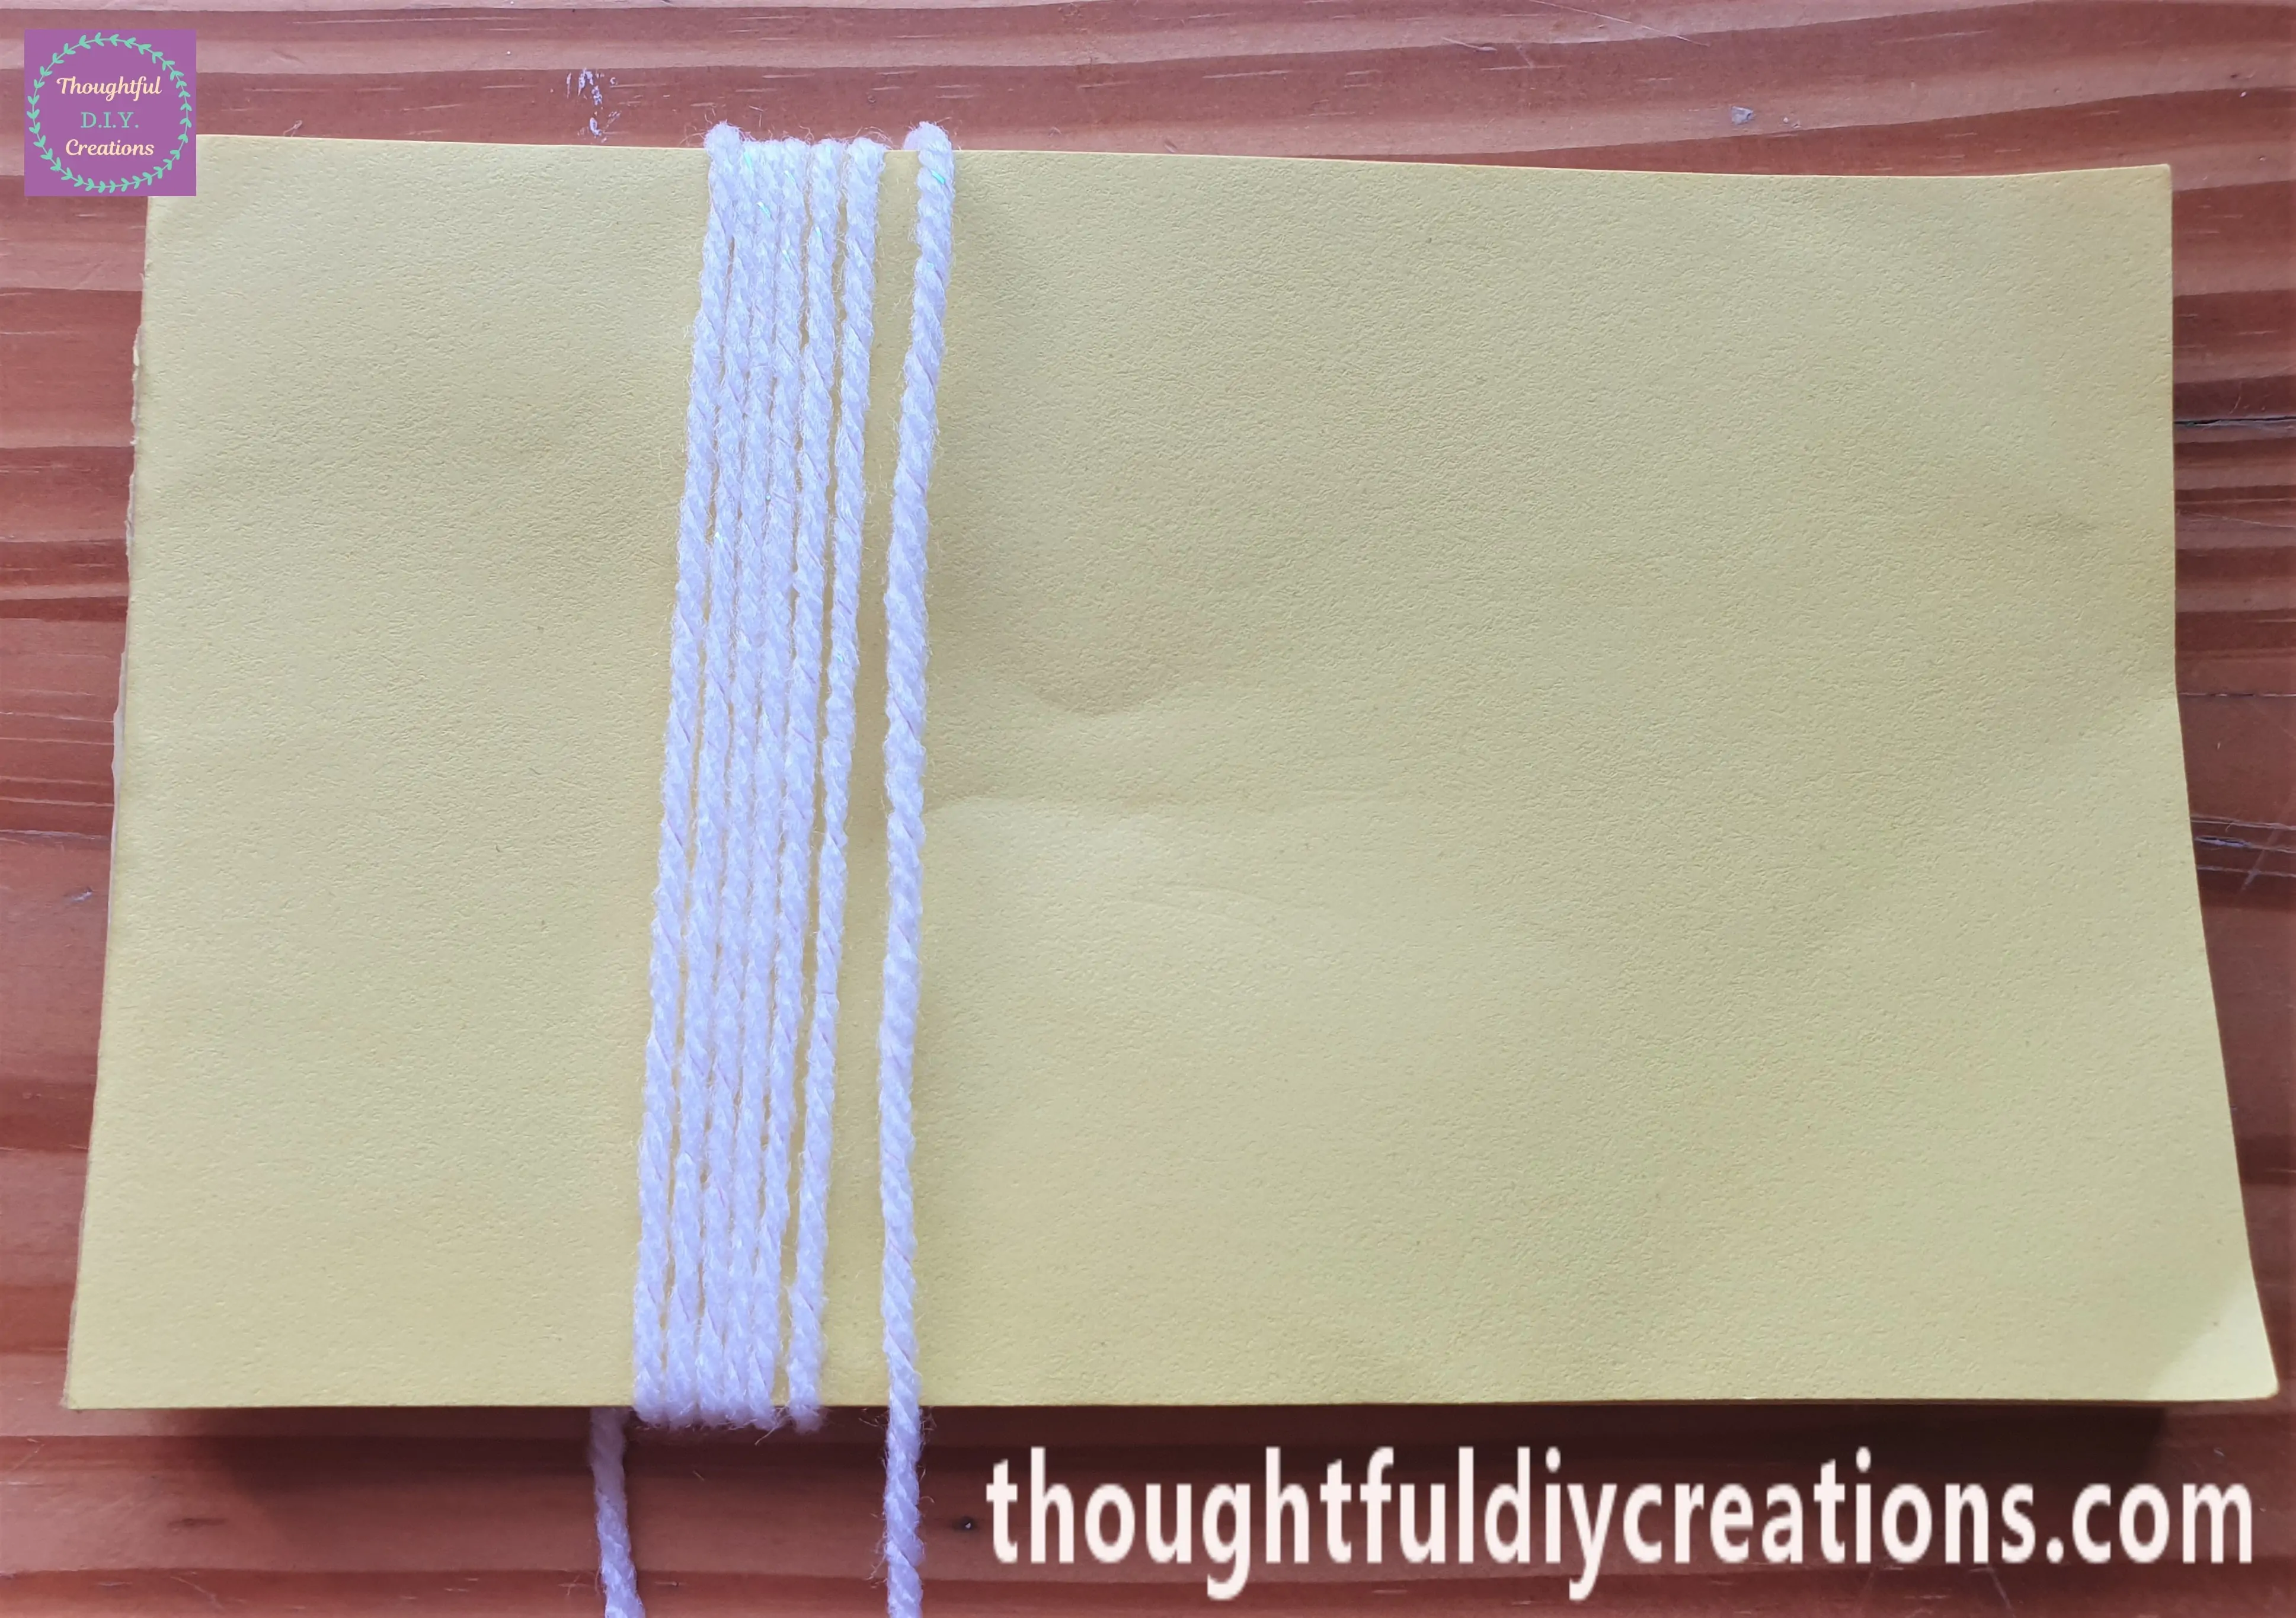
I continued to wrap the Wool tightly around the Notepad. I held onto the first piece of String under the Notepad with my Left Hand to ensure it didn’t unravel and get mixed up with the other Strings of Wool.
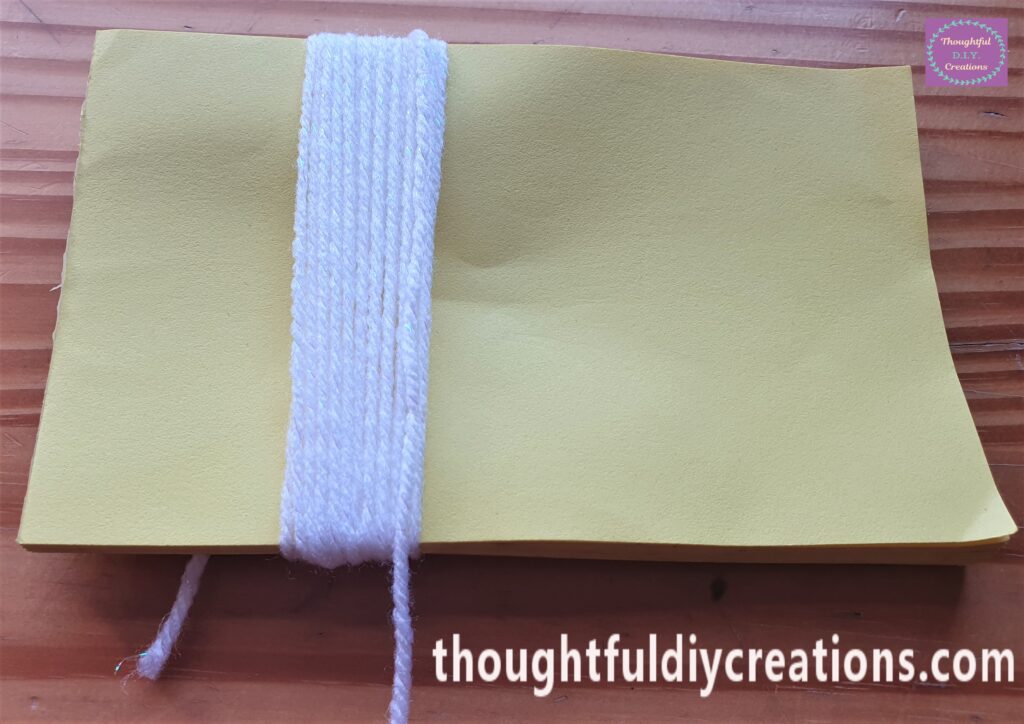
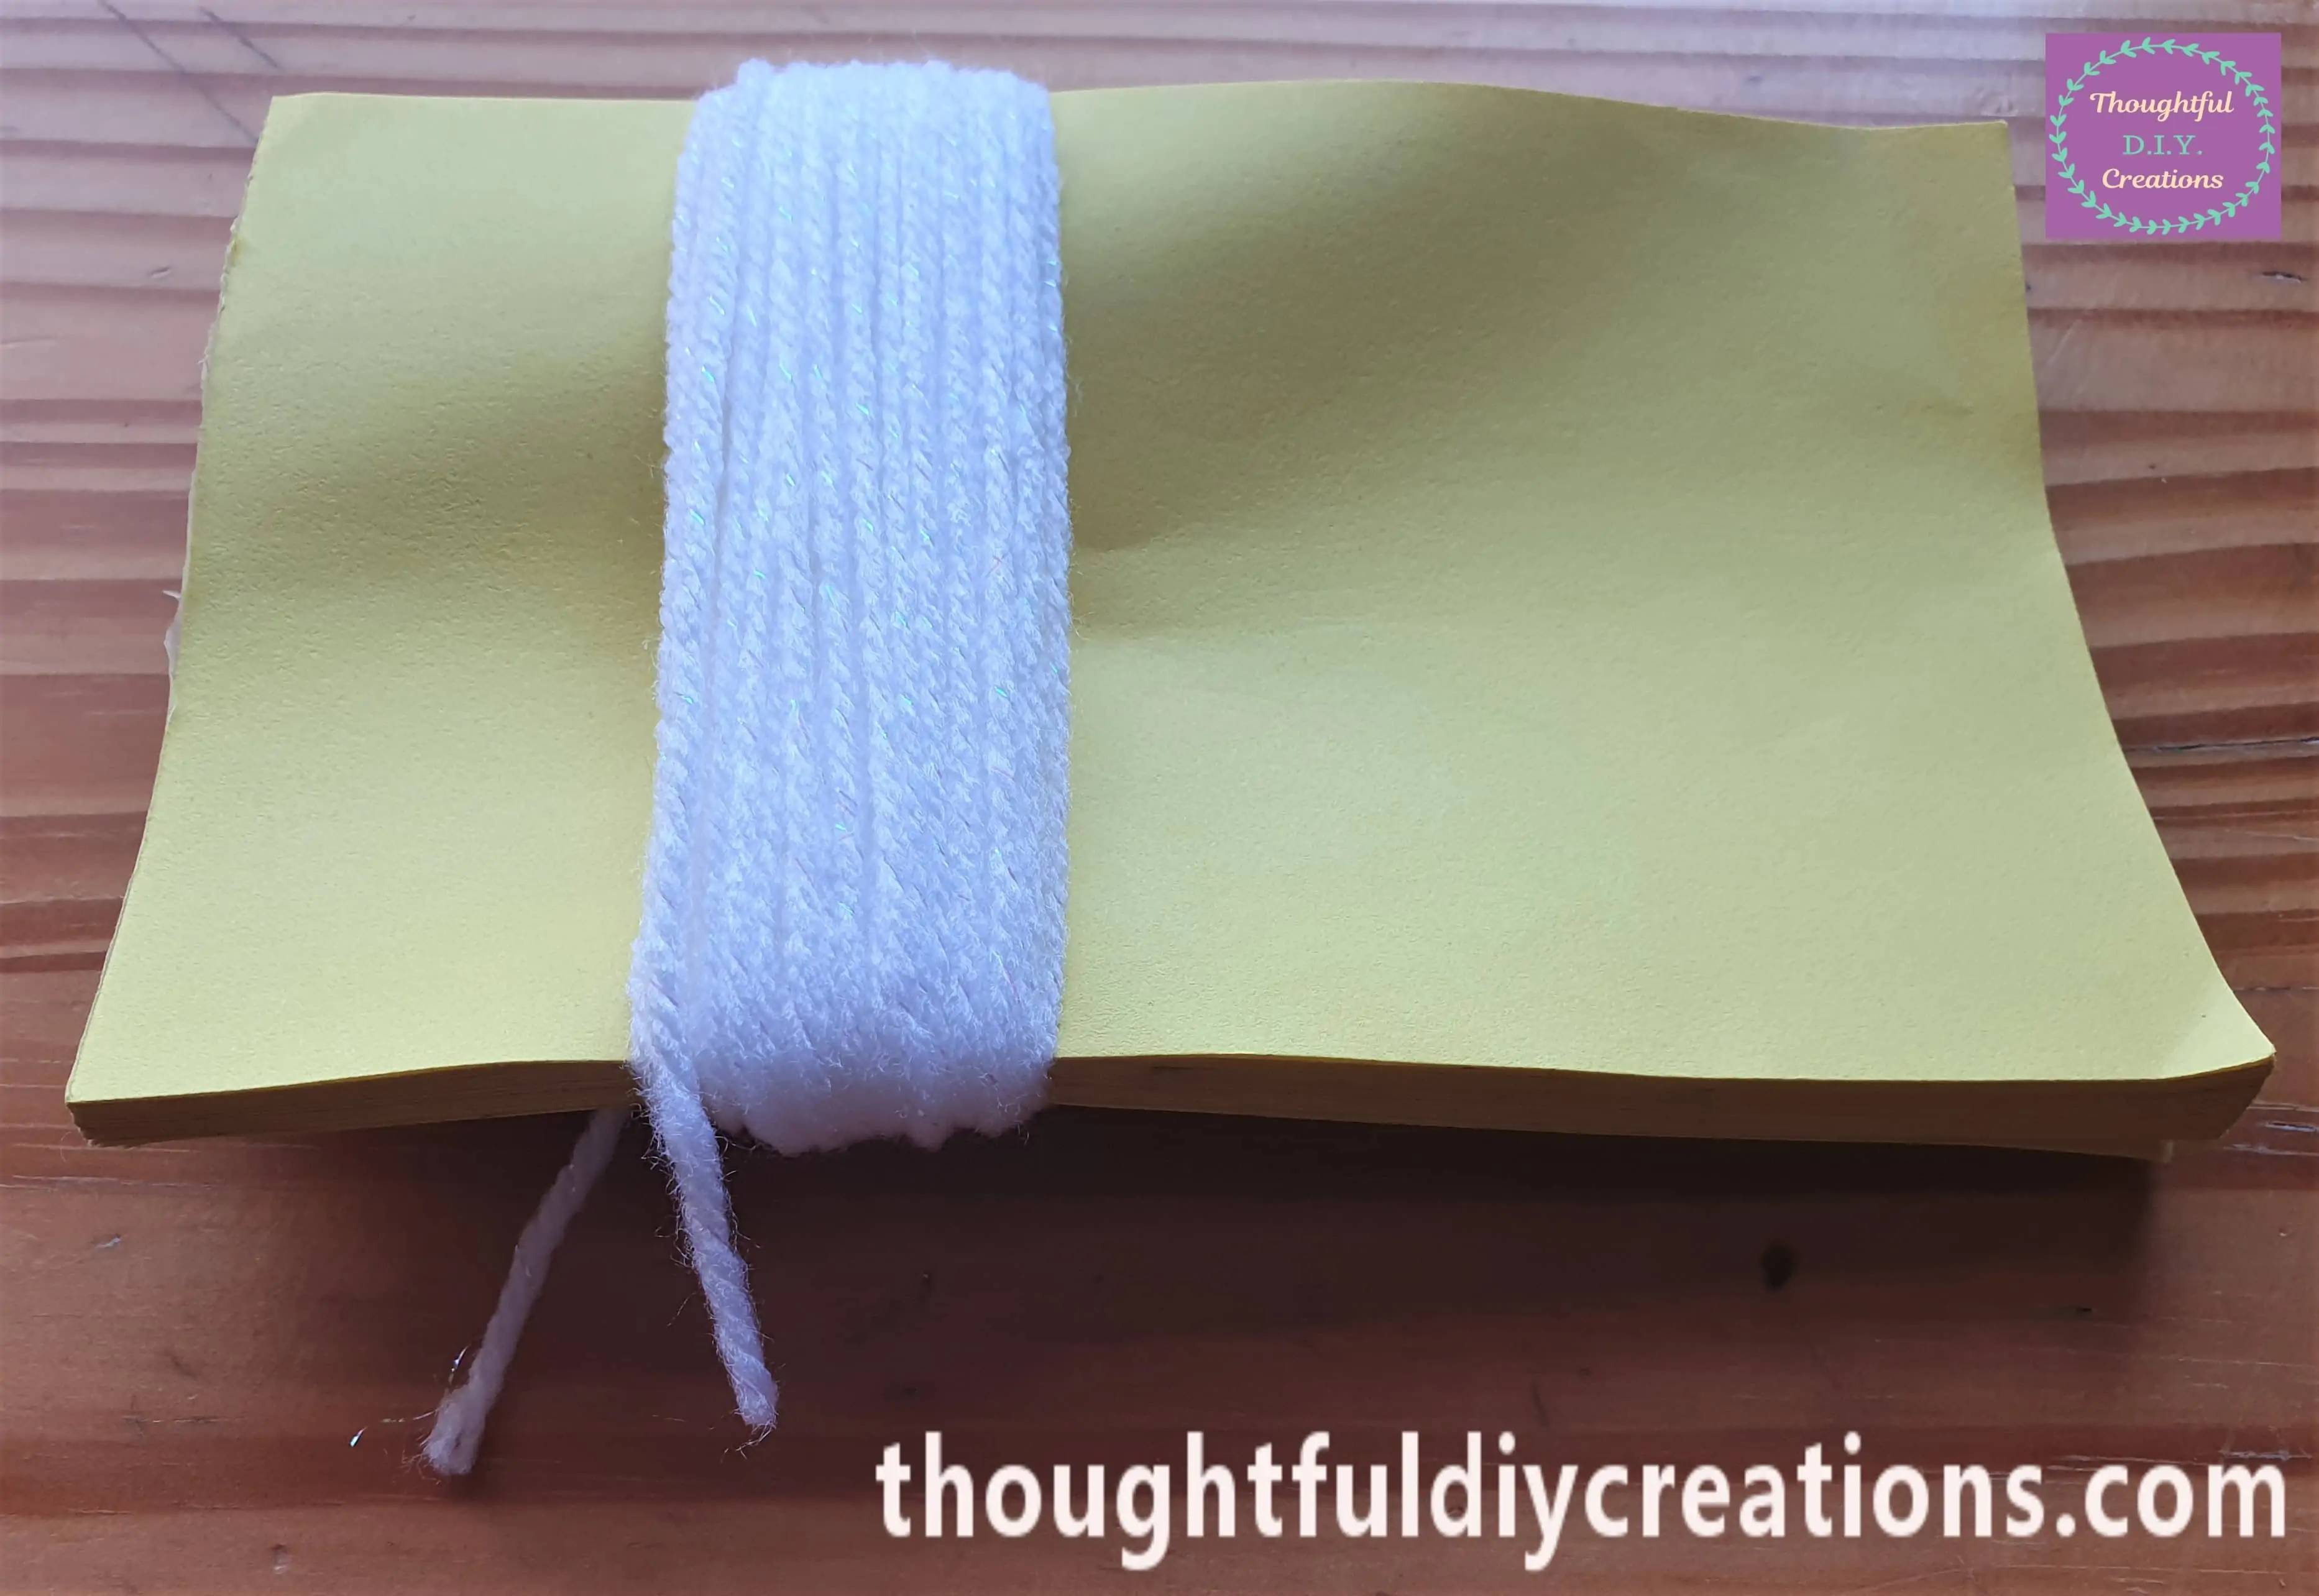
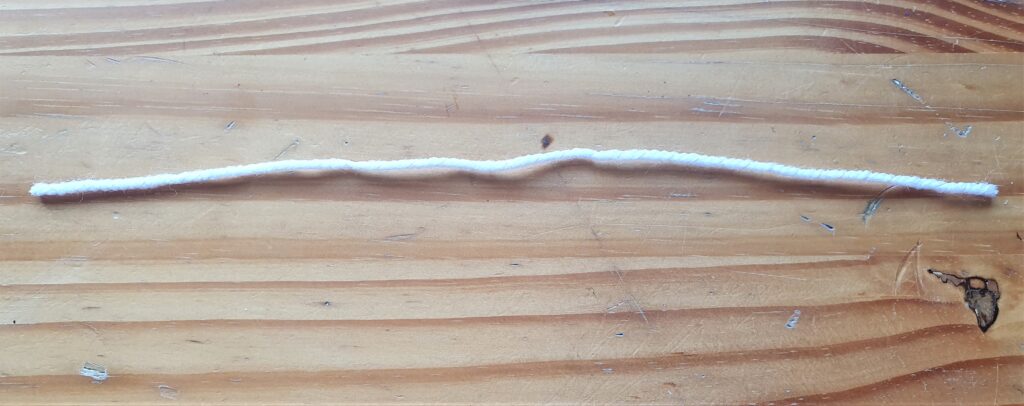
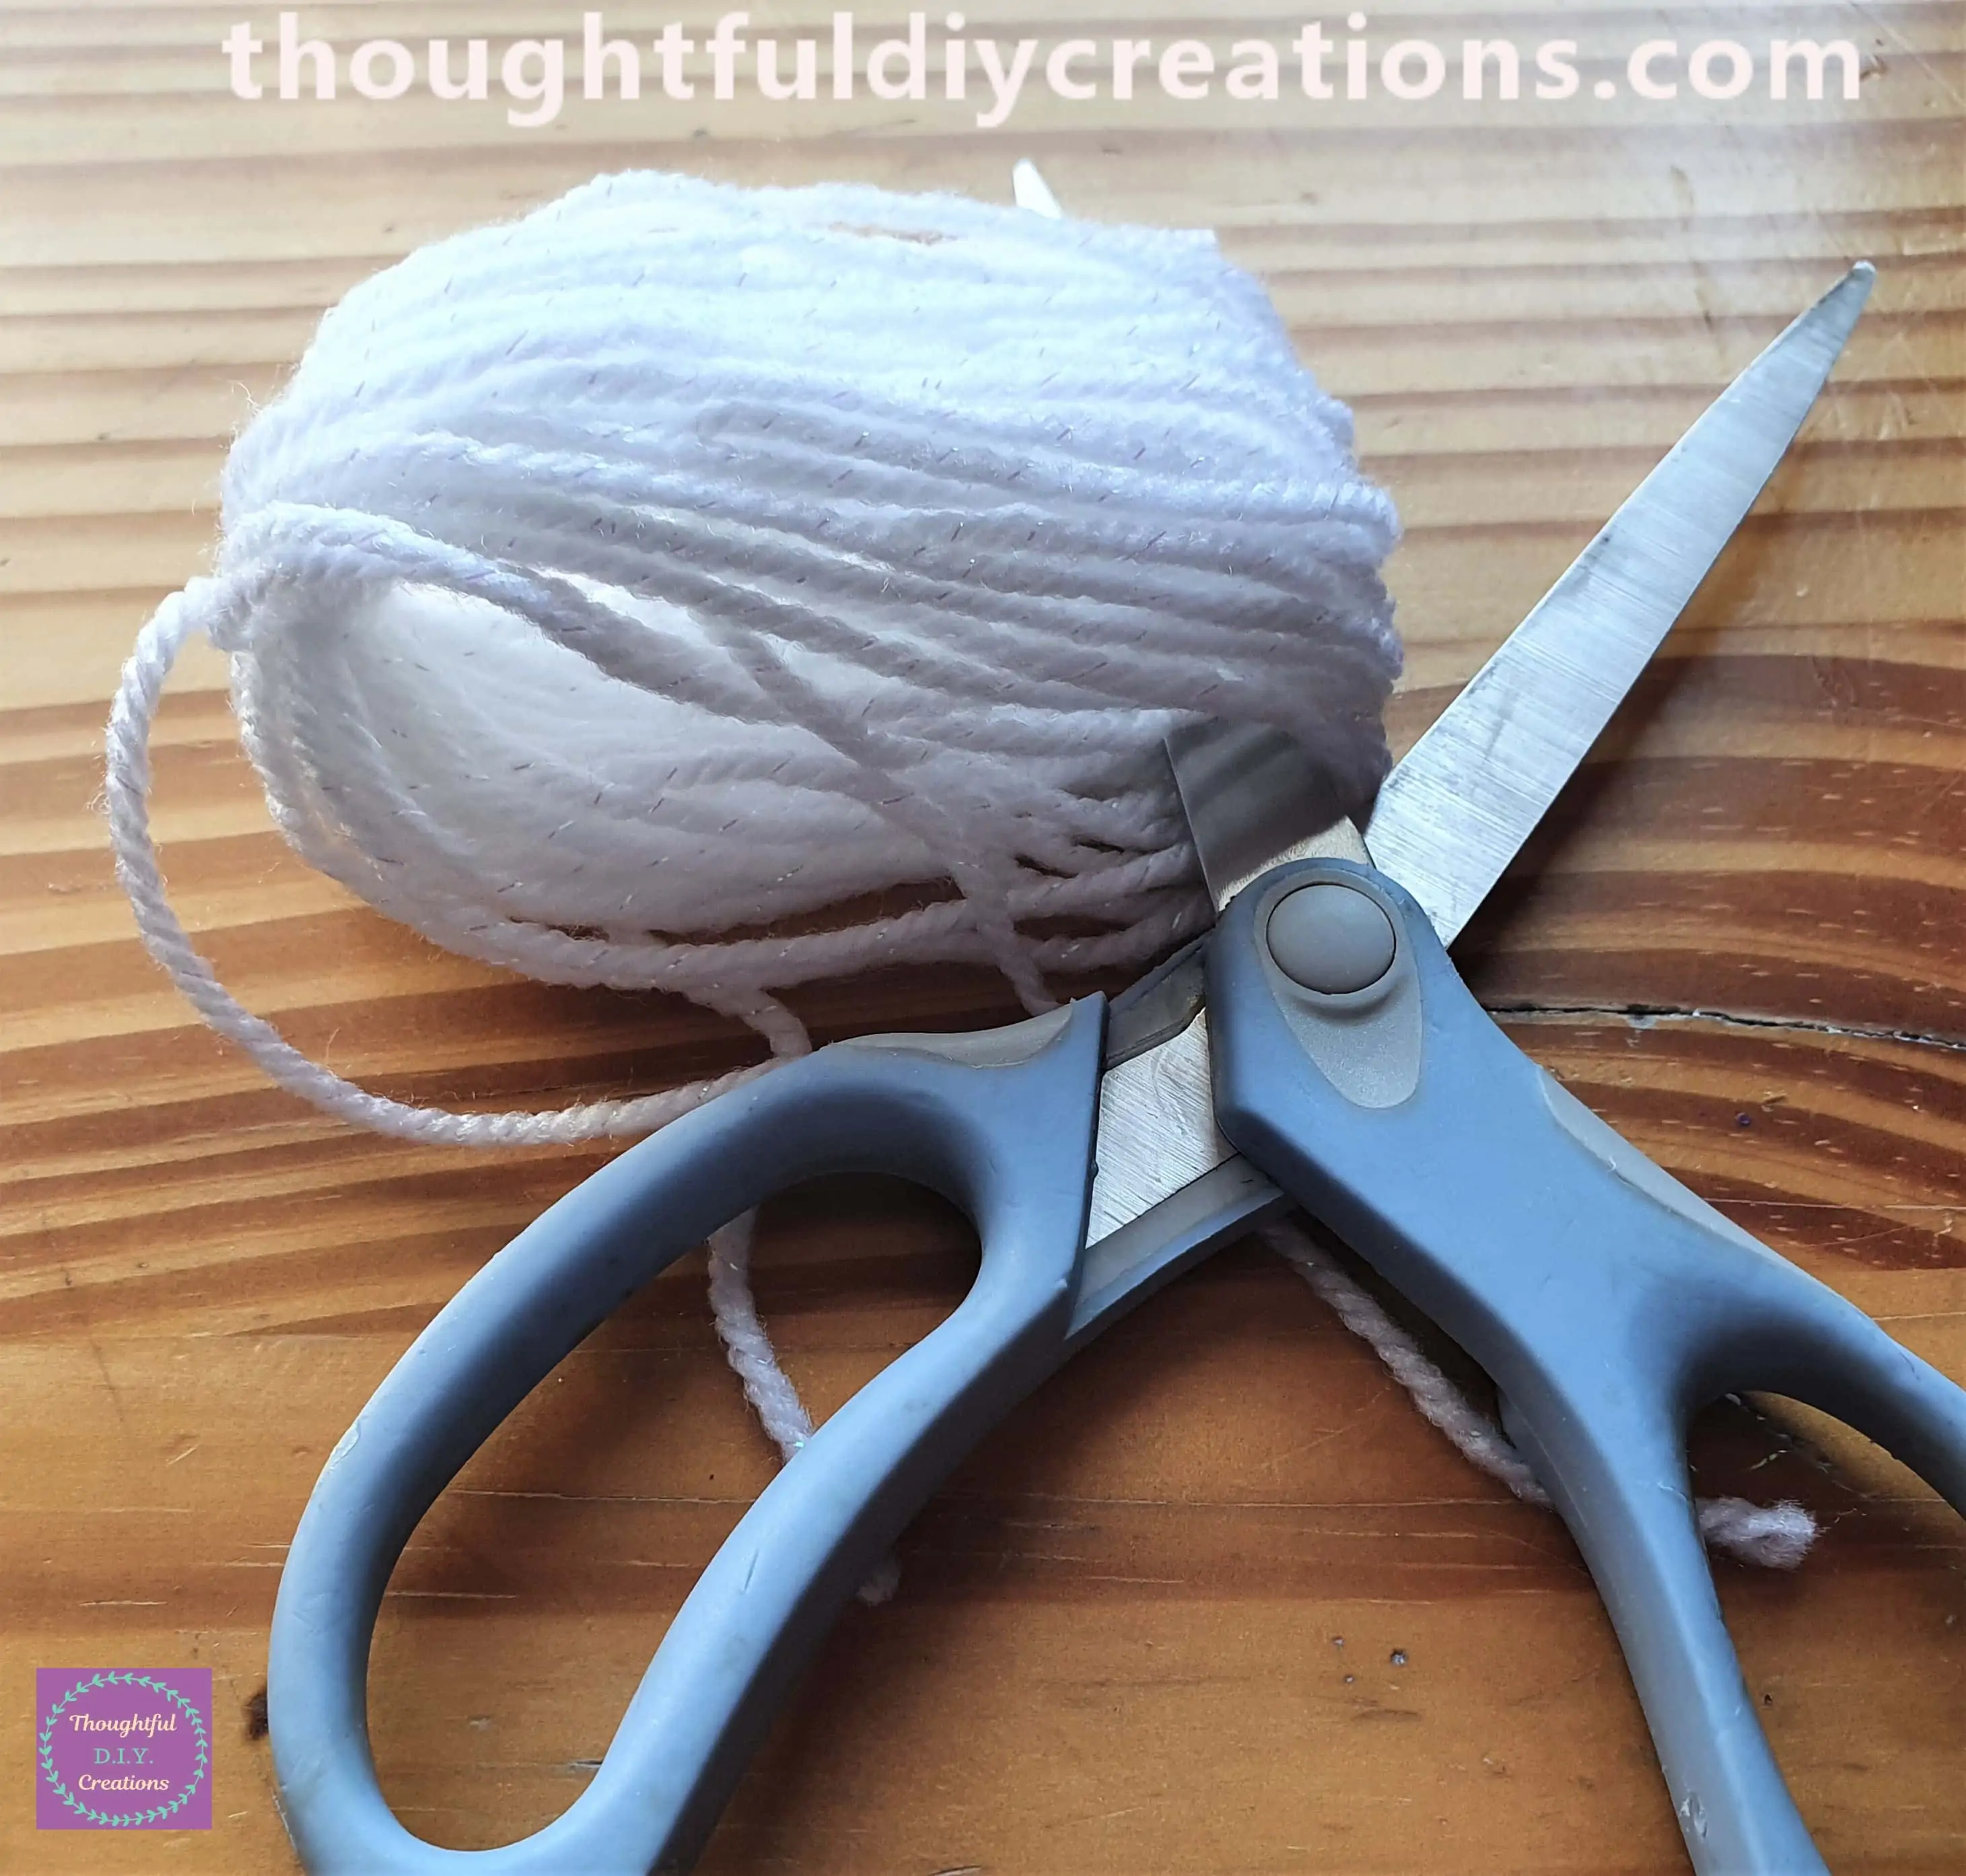
I wrapped the Wool around the Notepad 50 times altogether. I then Cut the end of the Wool slightly longer like the first piece.
I rolled the Wool off the Notepad and left the gap in the middle. This is a Side angle of the Wool after being removed from the Notepad.
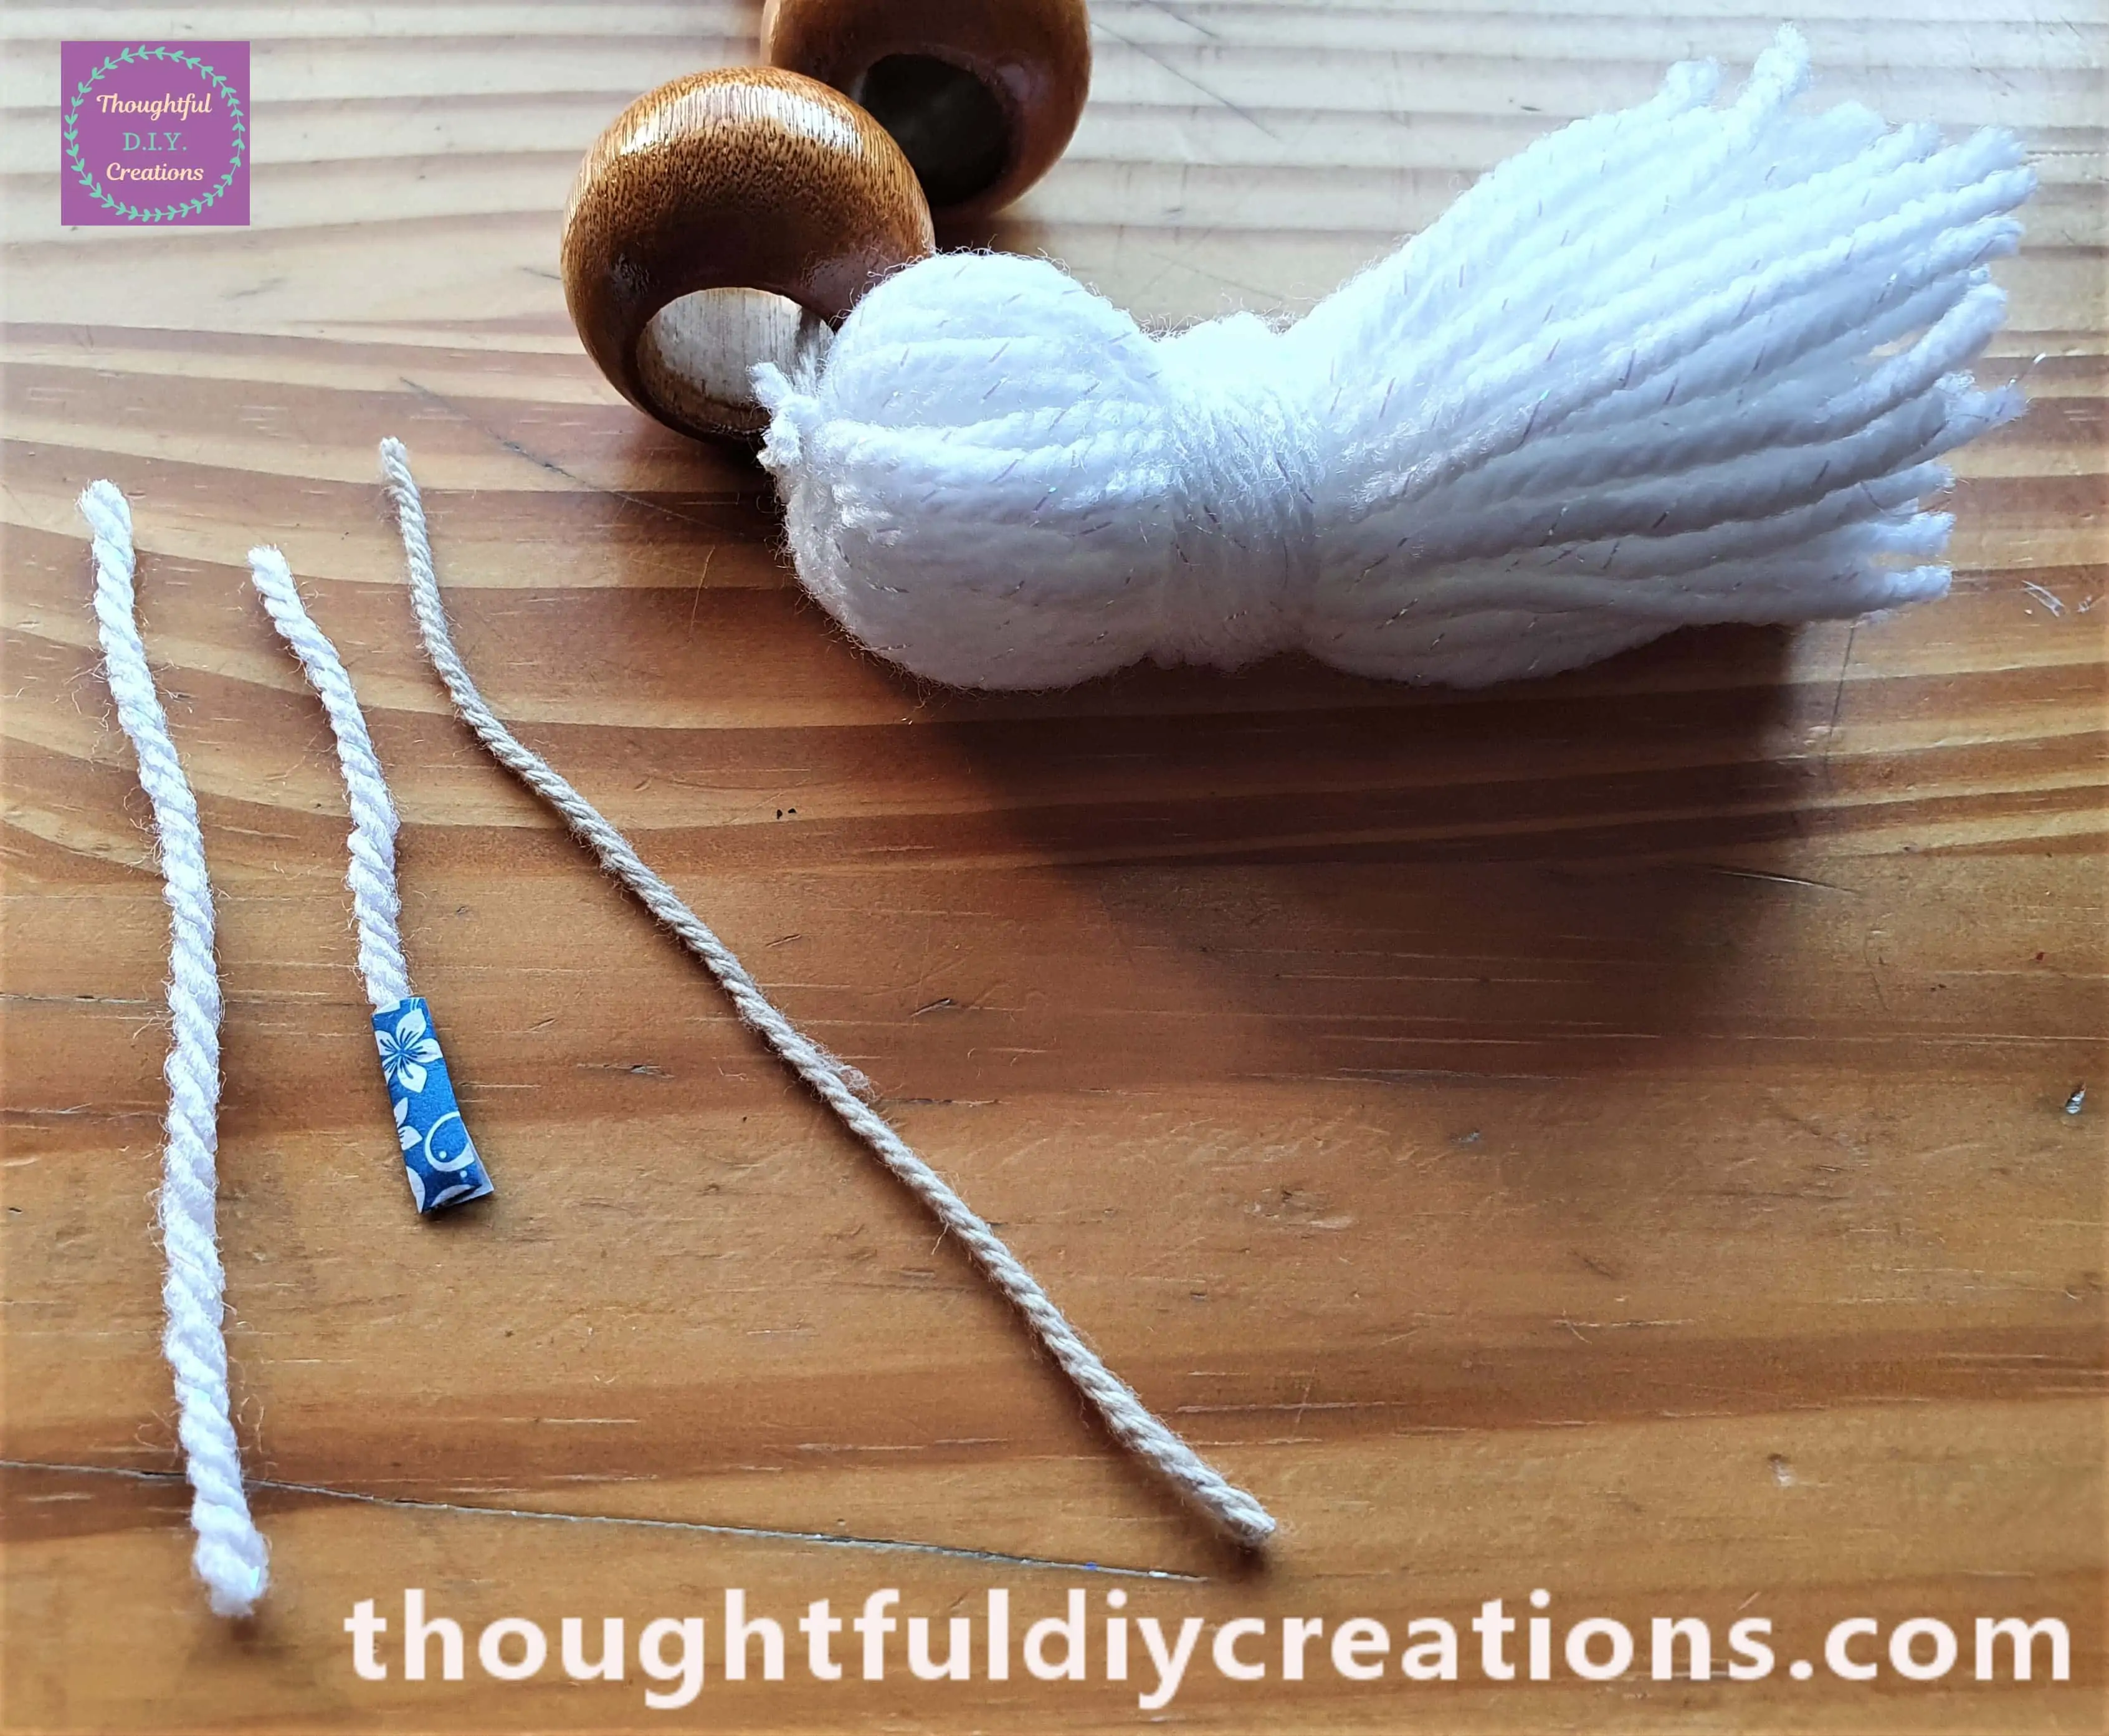
I Cut another Section of Wool.
I placed the String in between the gap at the Top of the Bundle of Wool.
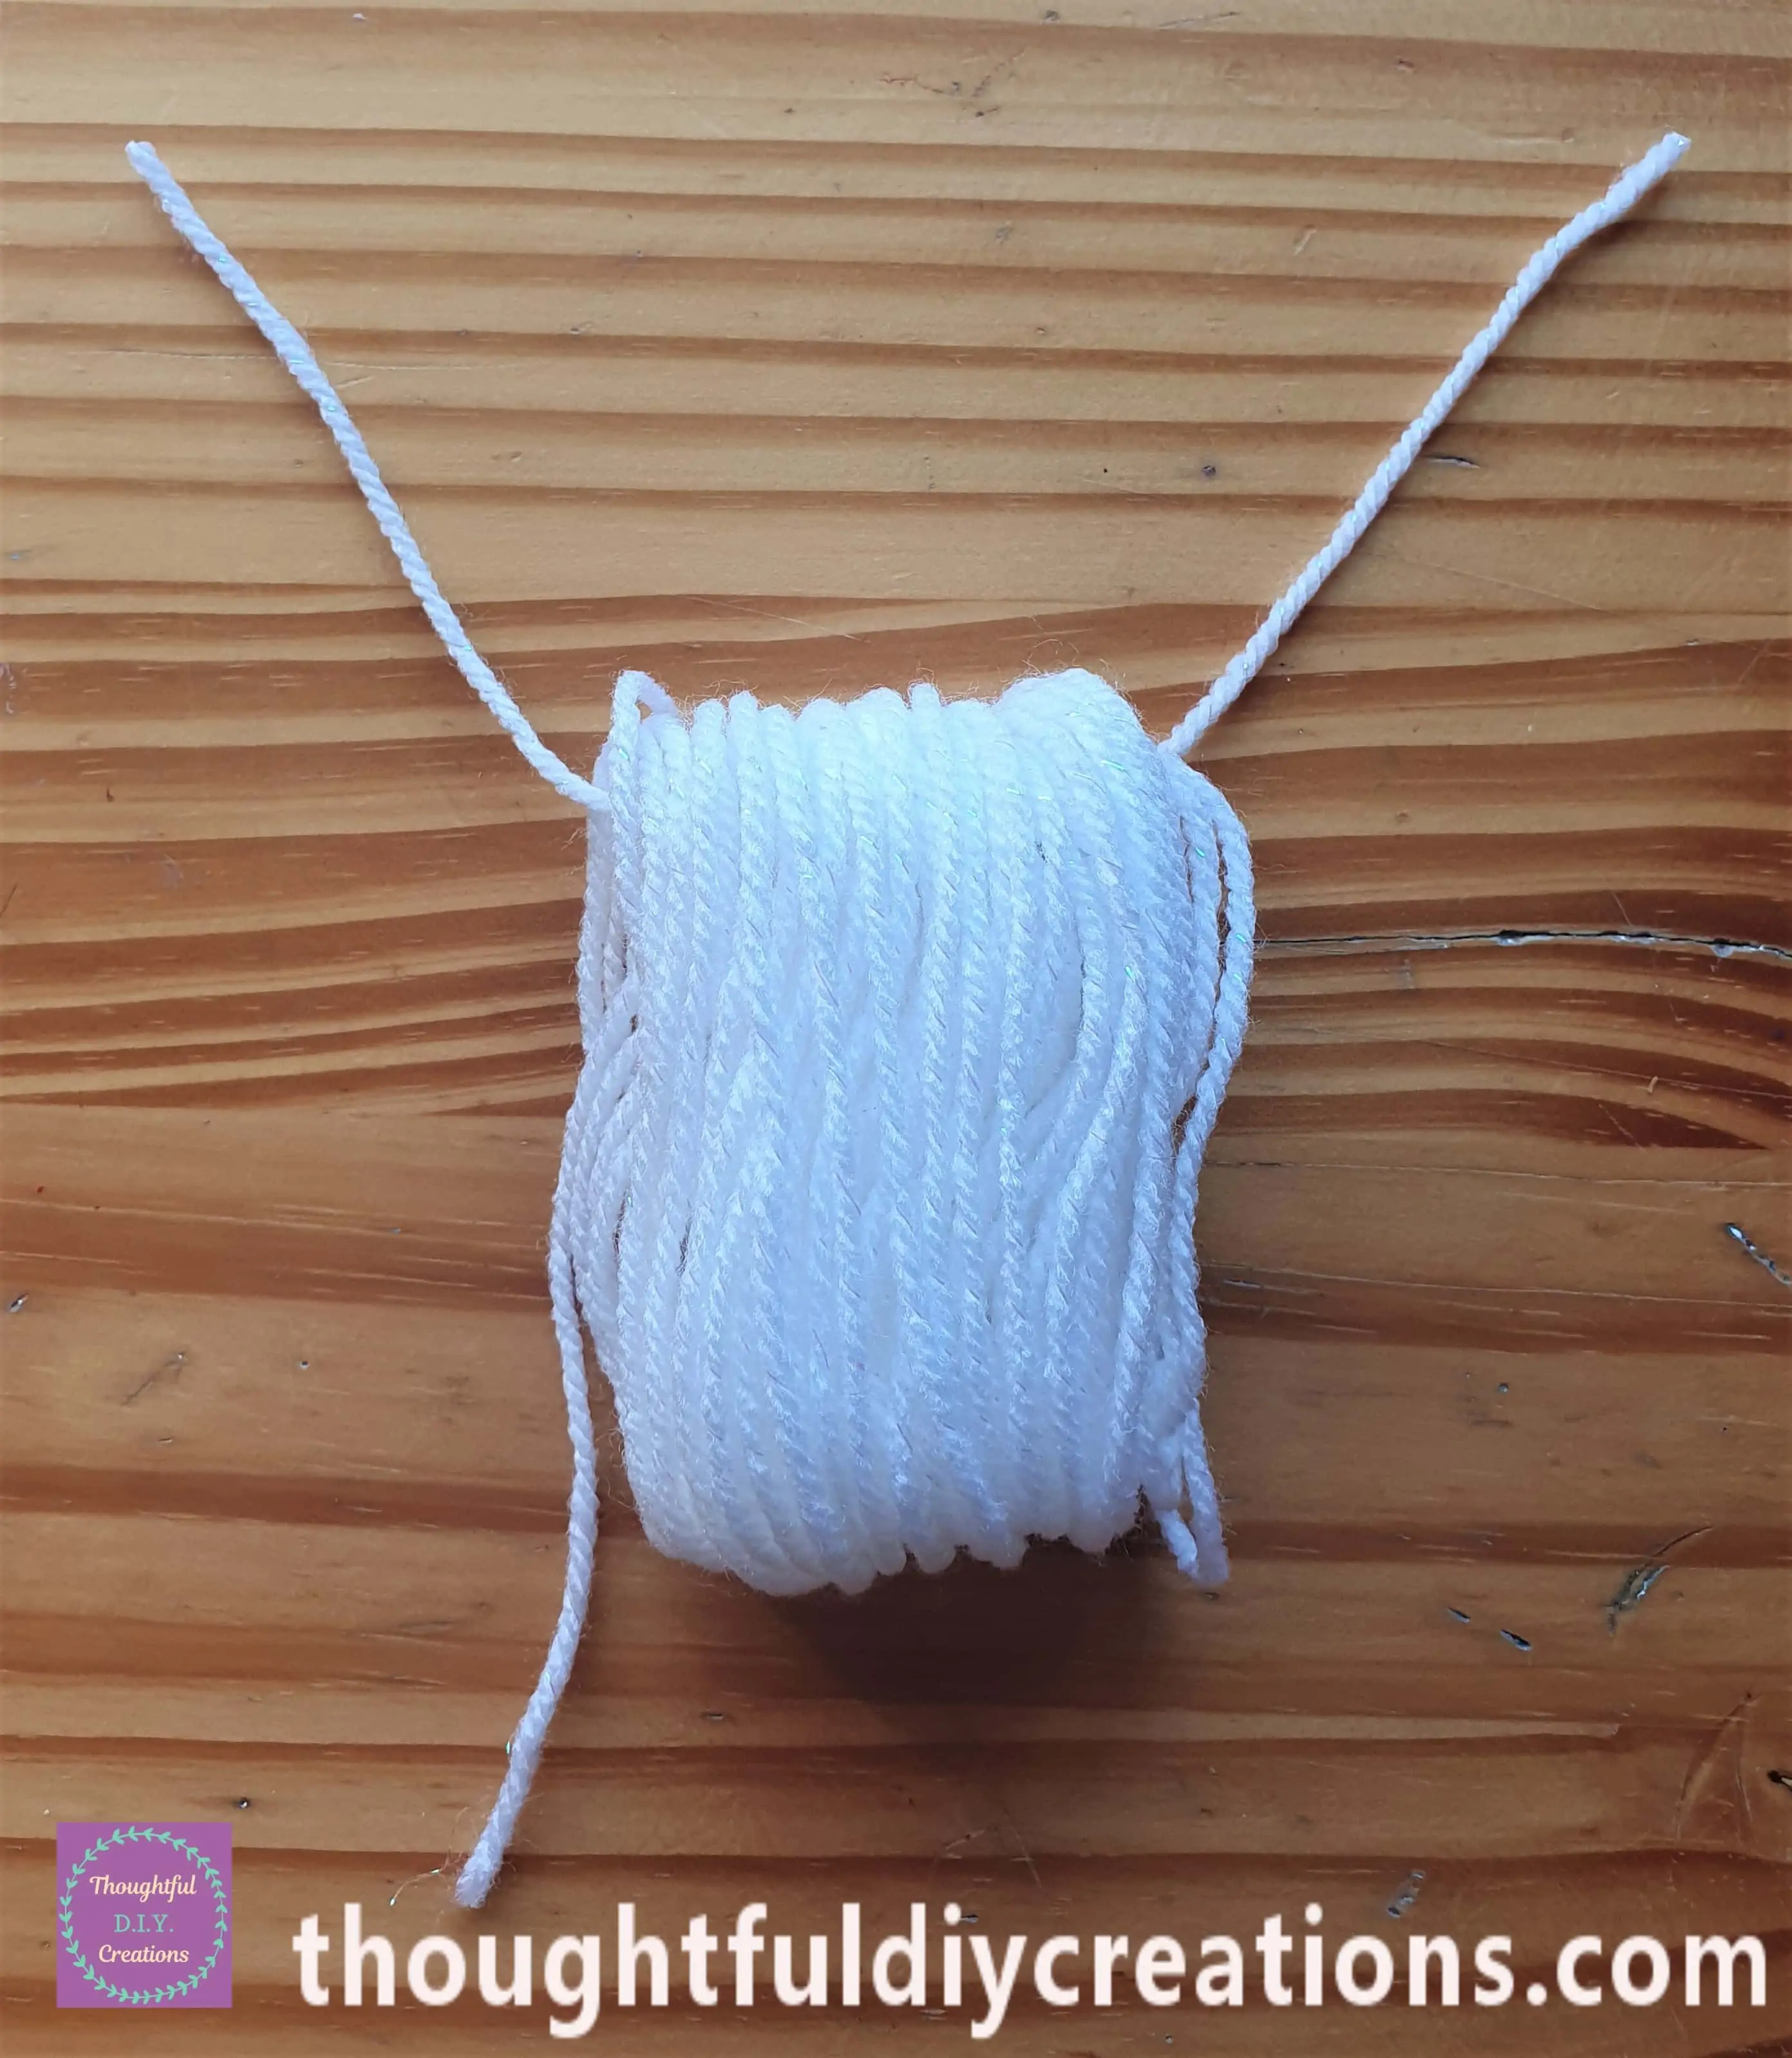
I tied it tightly into a Double-Knot.
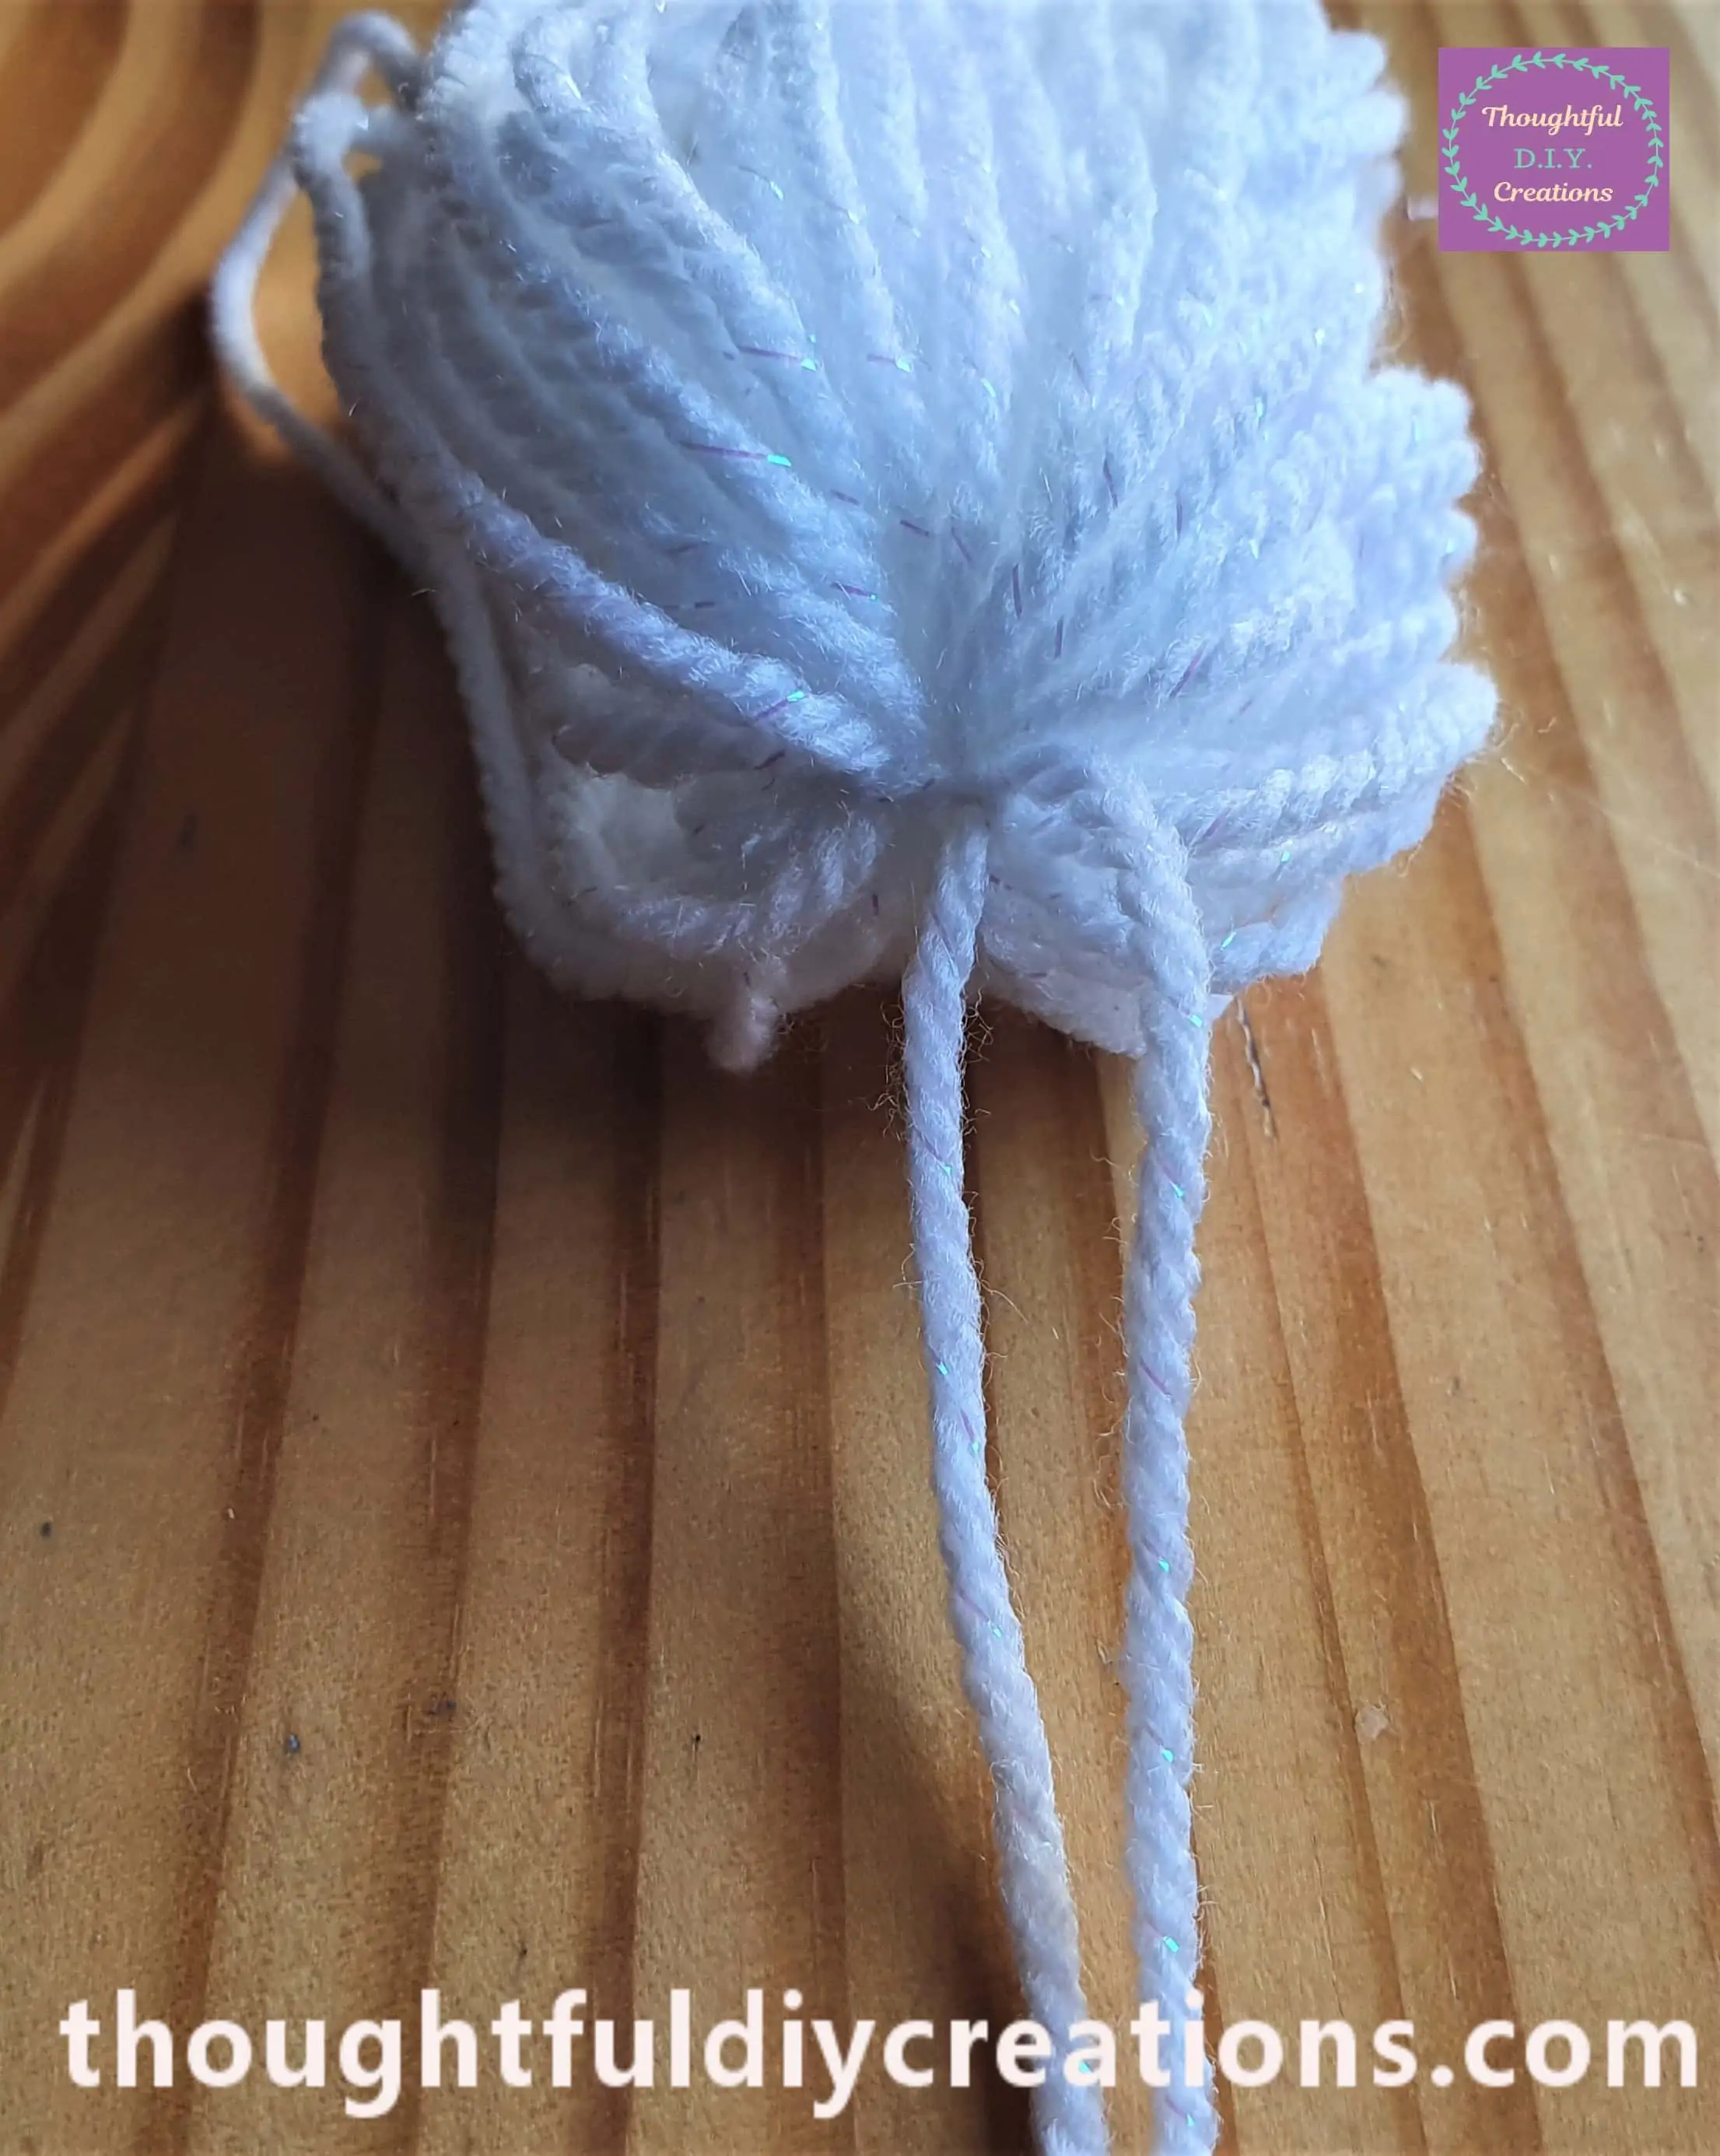
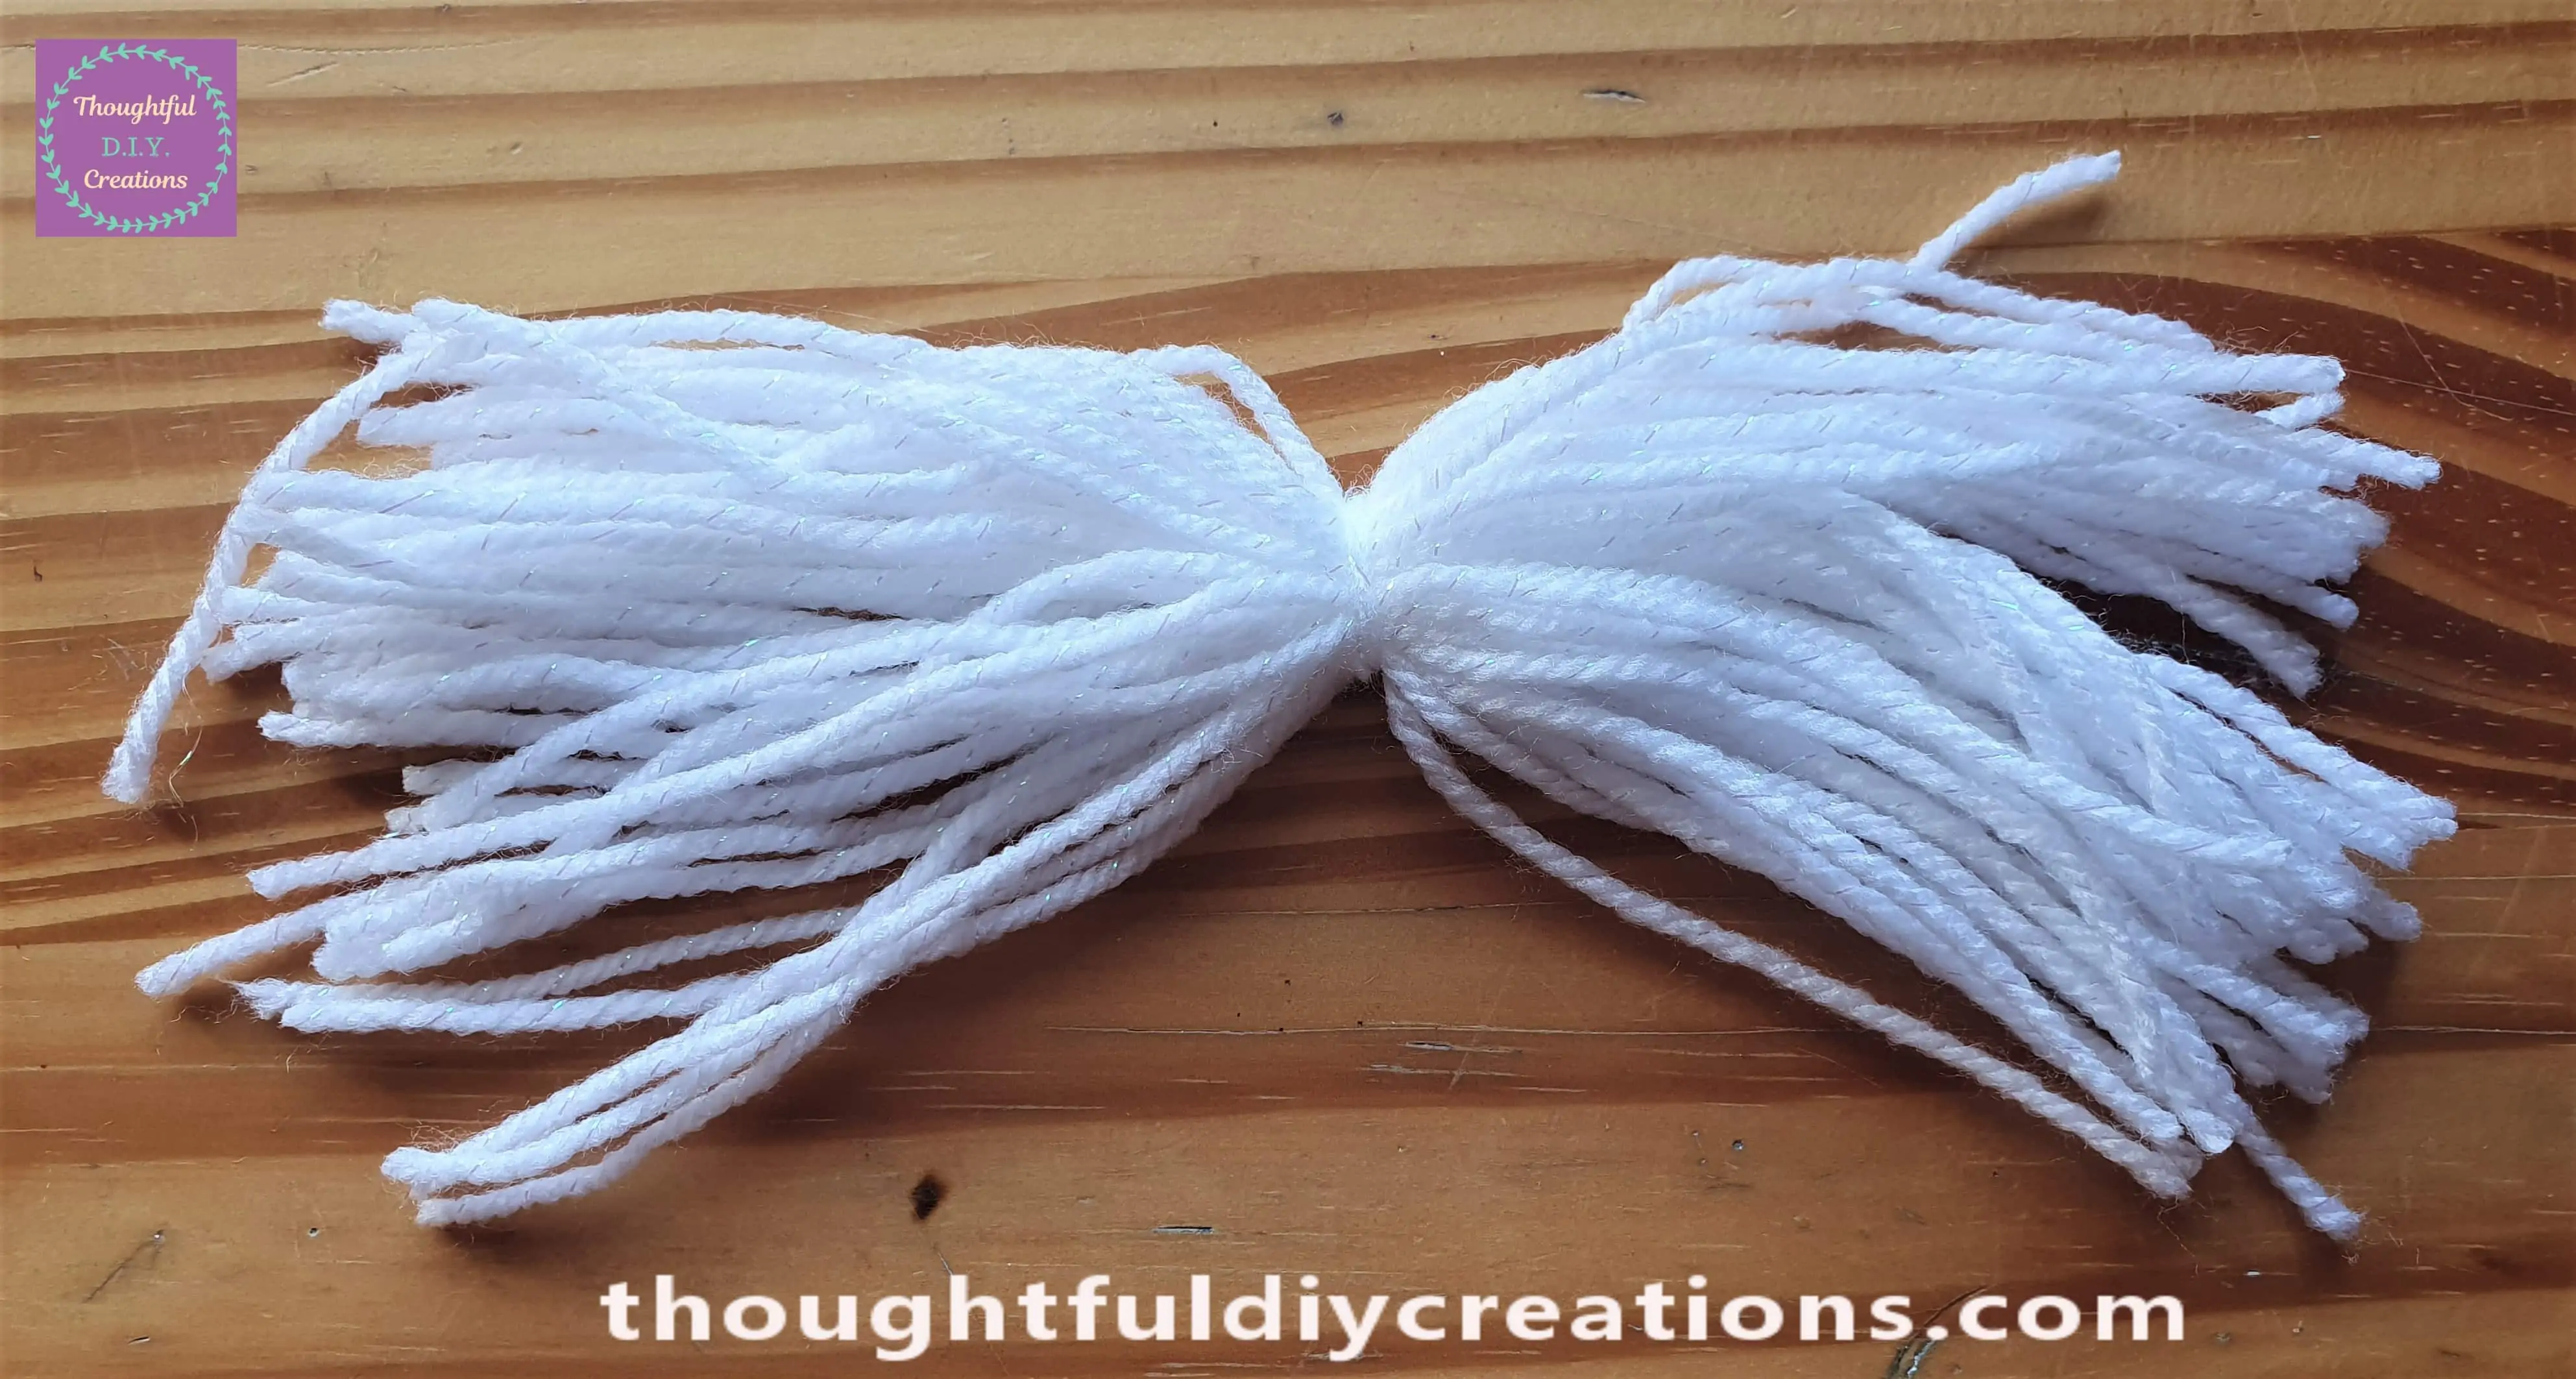
I put one blade of Scissors inside the bottom of the Wool Bundle. I held the top of the Bundle with my left hand straightening out the Strings of Wool.
I Cut across the bottom line of Wool. This is how it appears after Cutting it and spreading it out.
I got my Comb; you can also use a Fork for this next step.
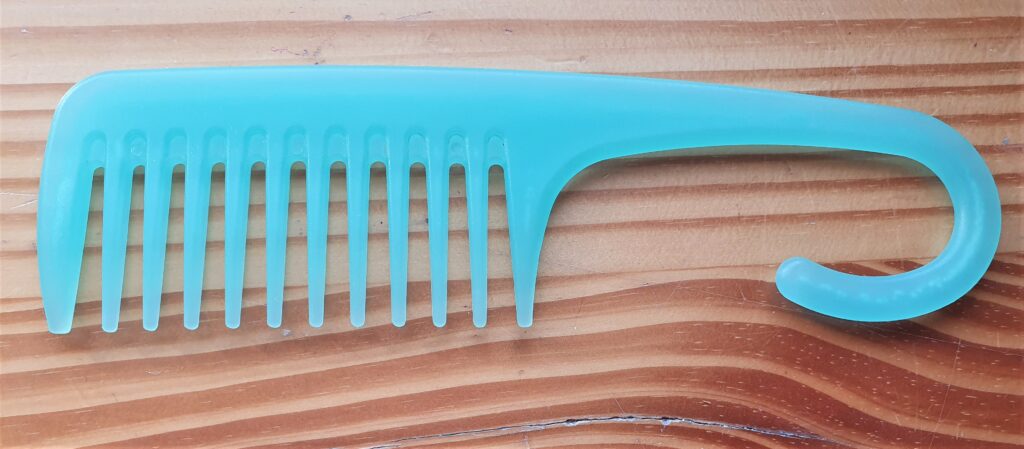
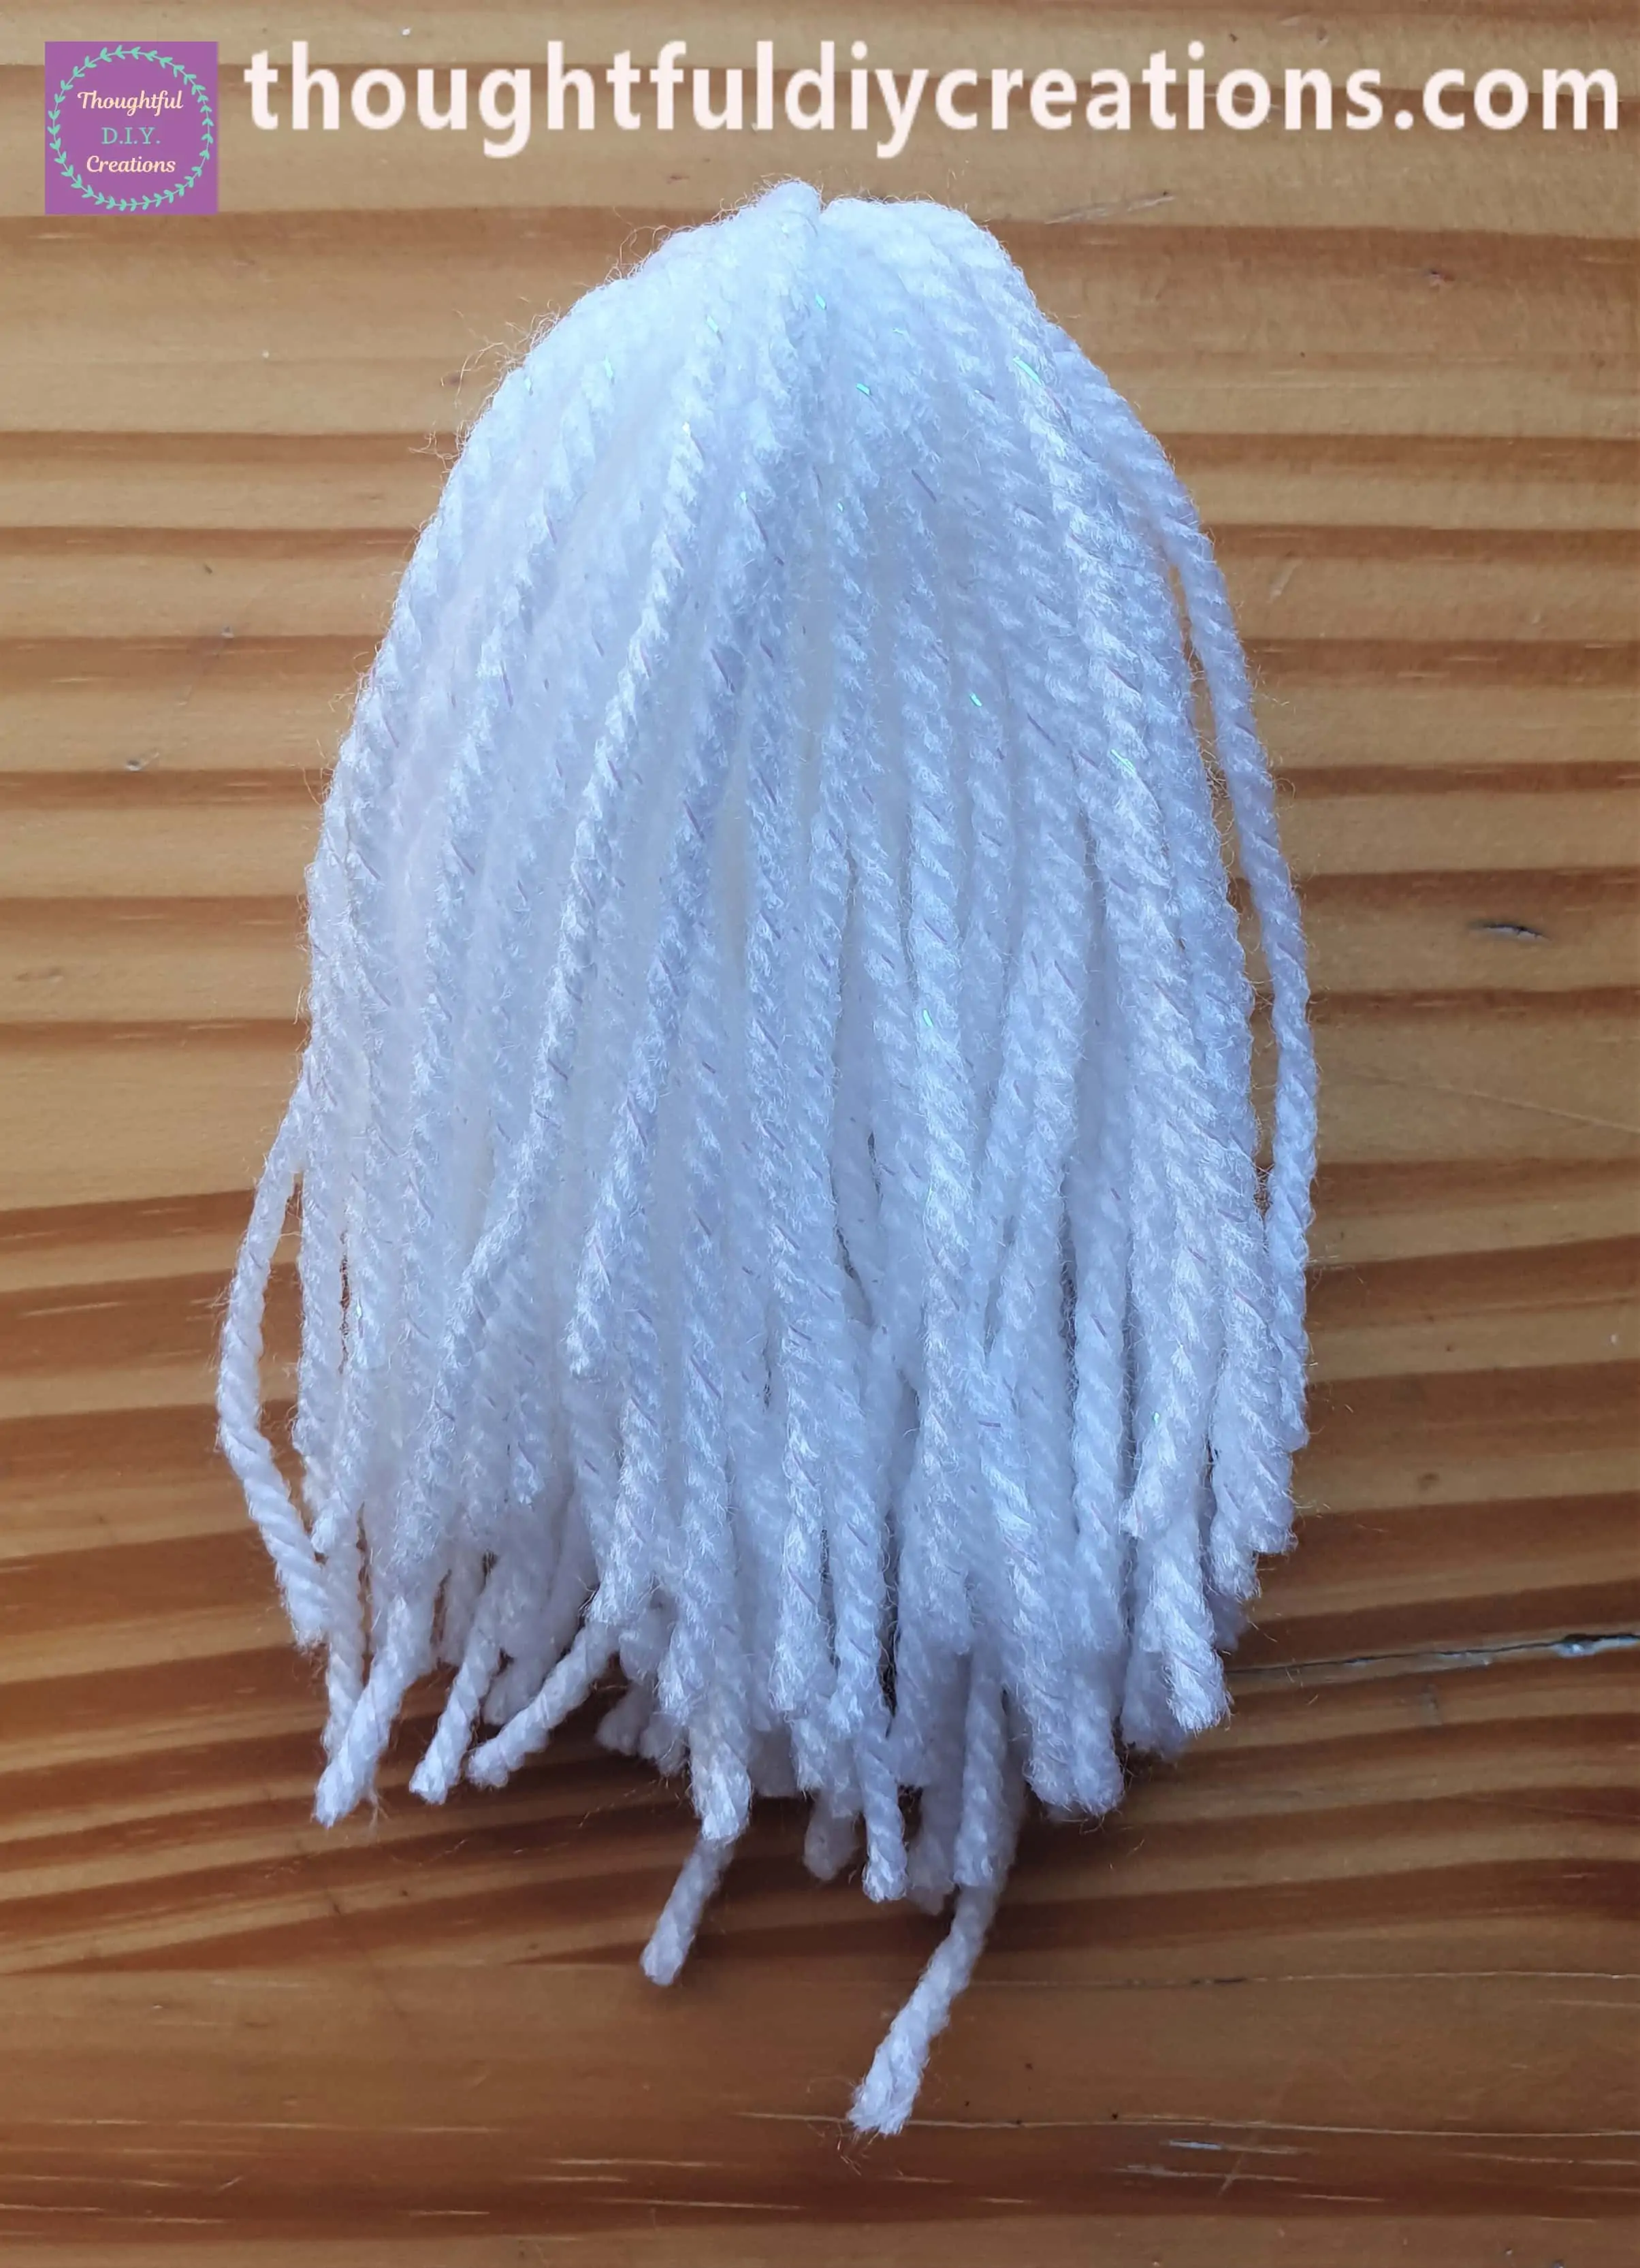
I Folded one bundle of Wool over the other with the double-knot underneath so that it won’t be seen and Combed the Strings of Wool to tidy them up.
Forming the Top of the Tassel
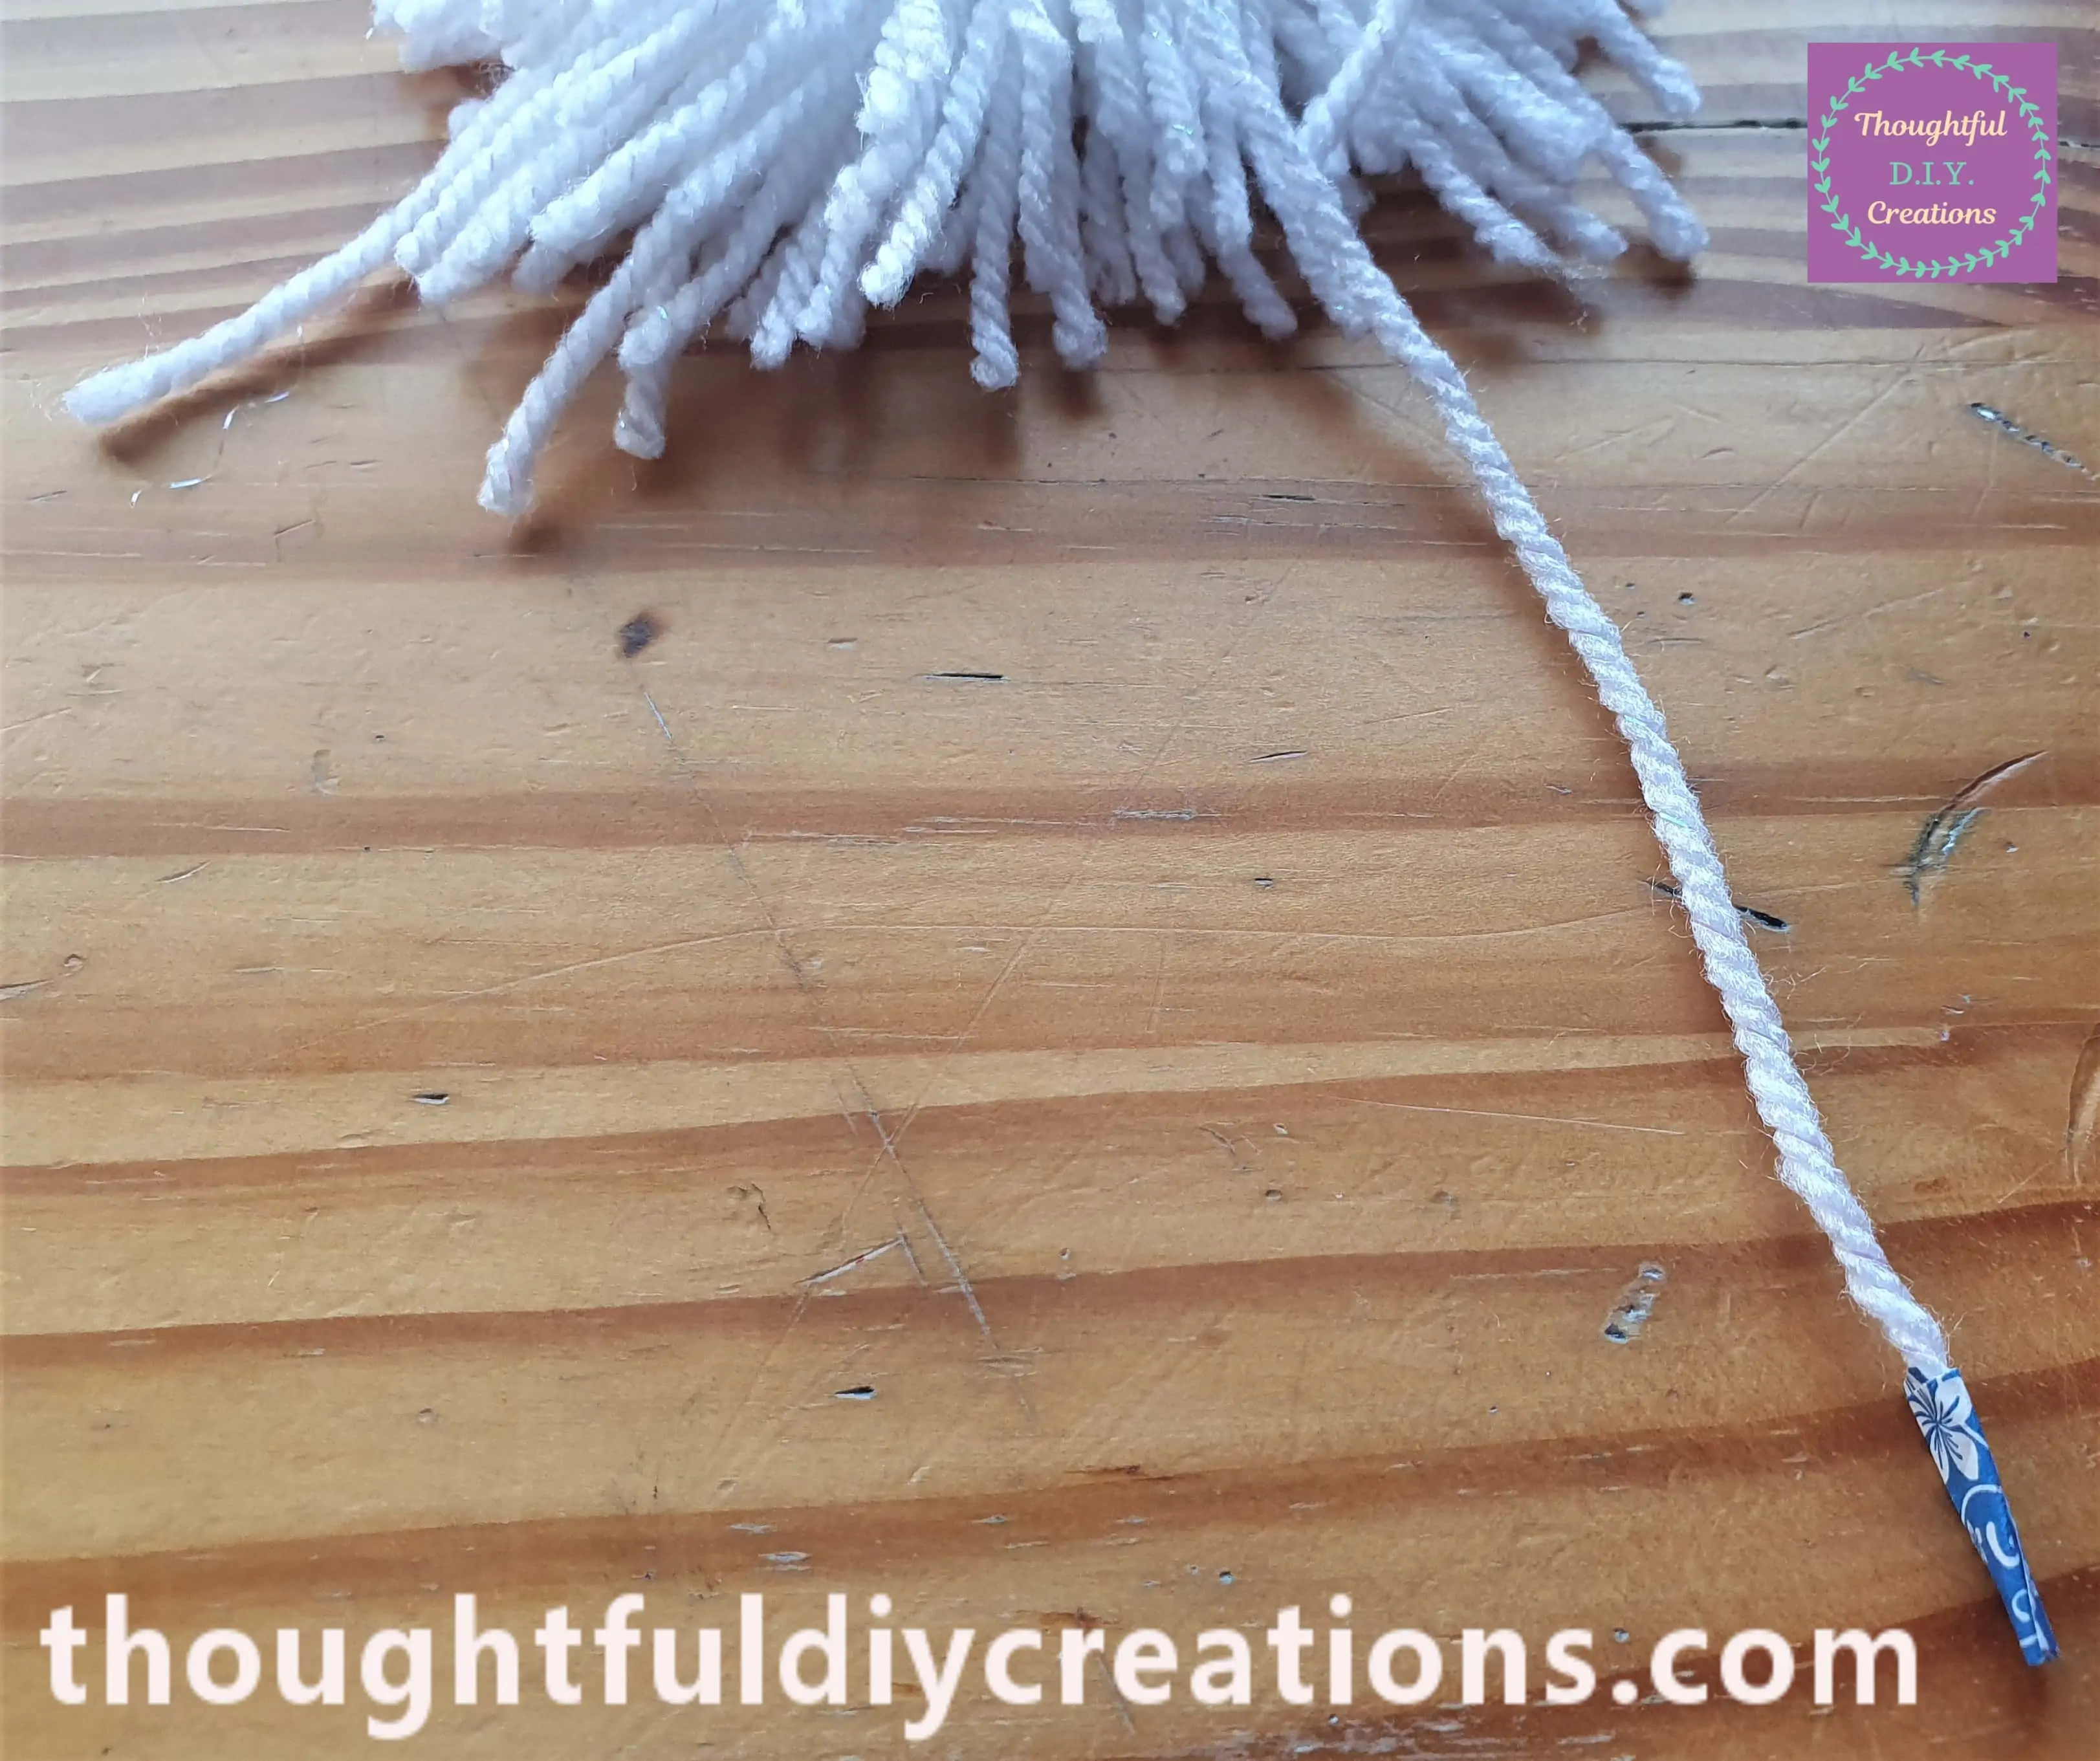
I Cut off a large Section of Wool.
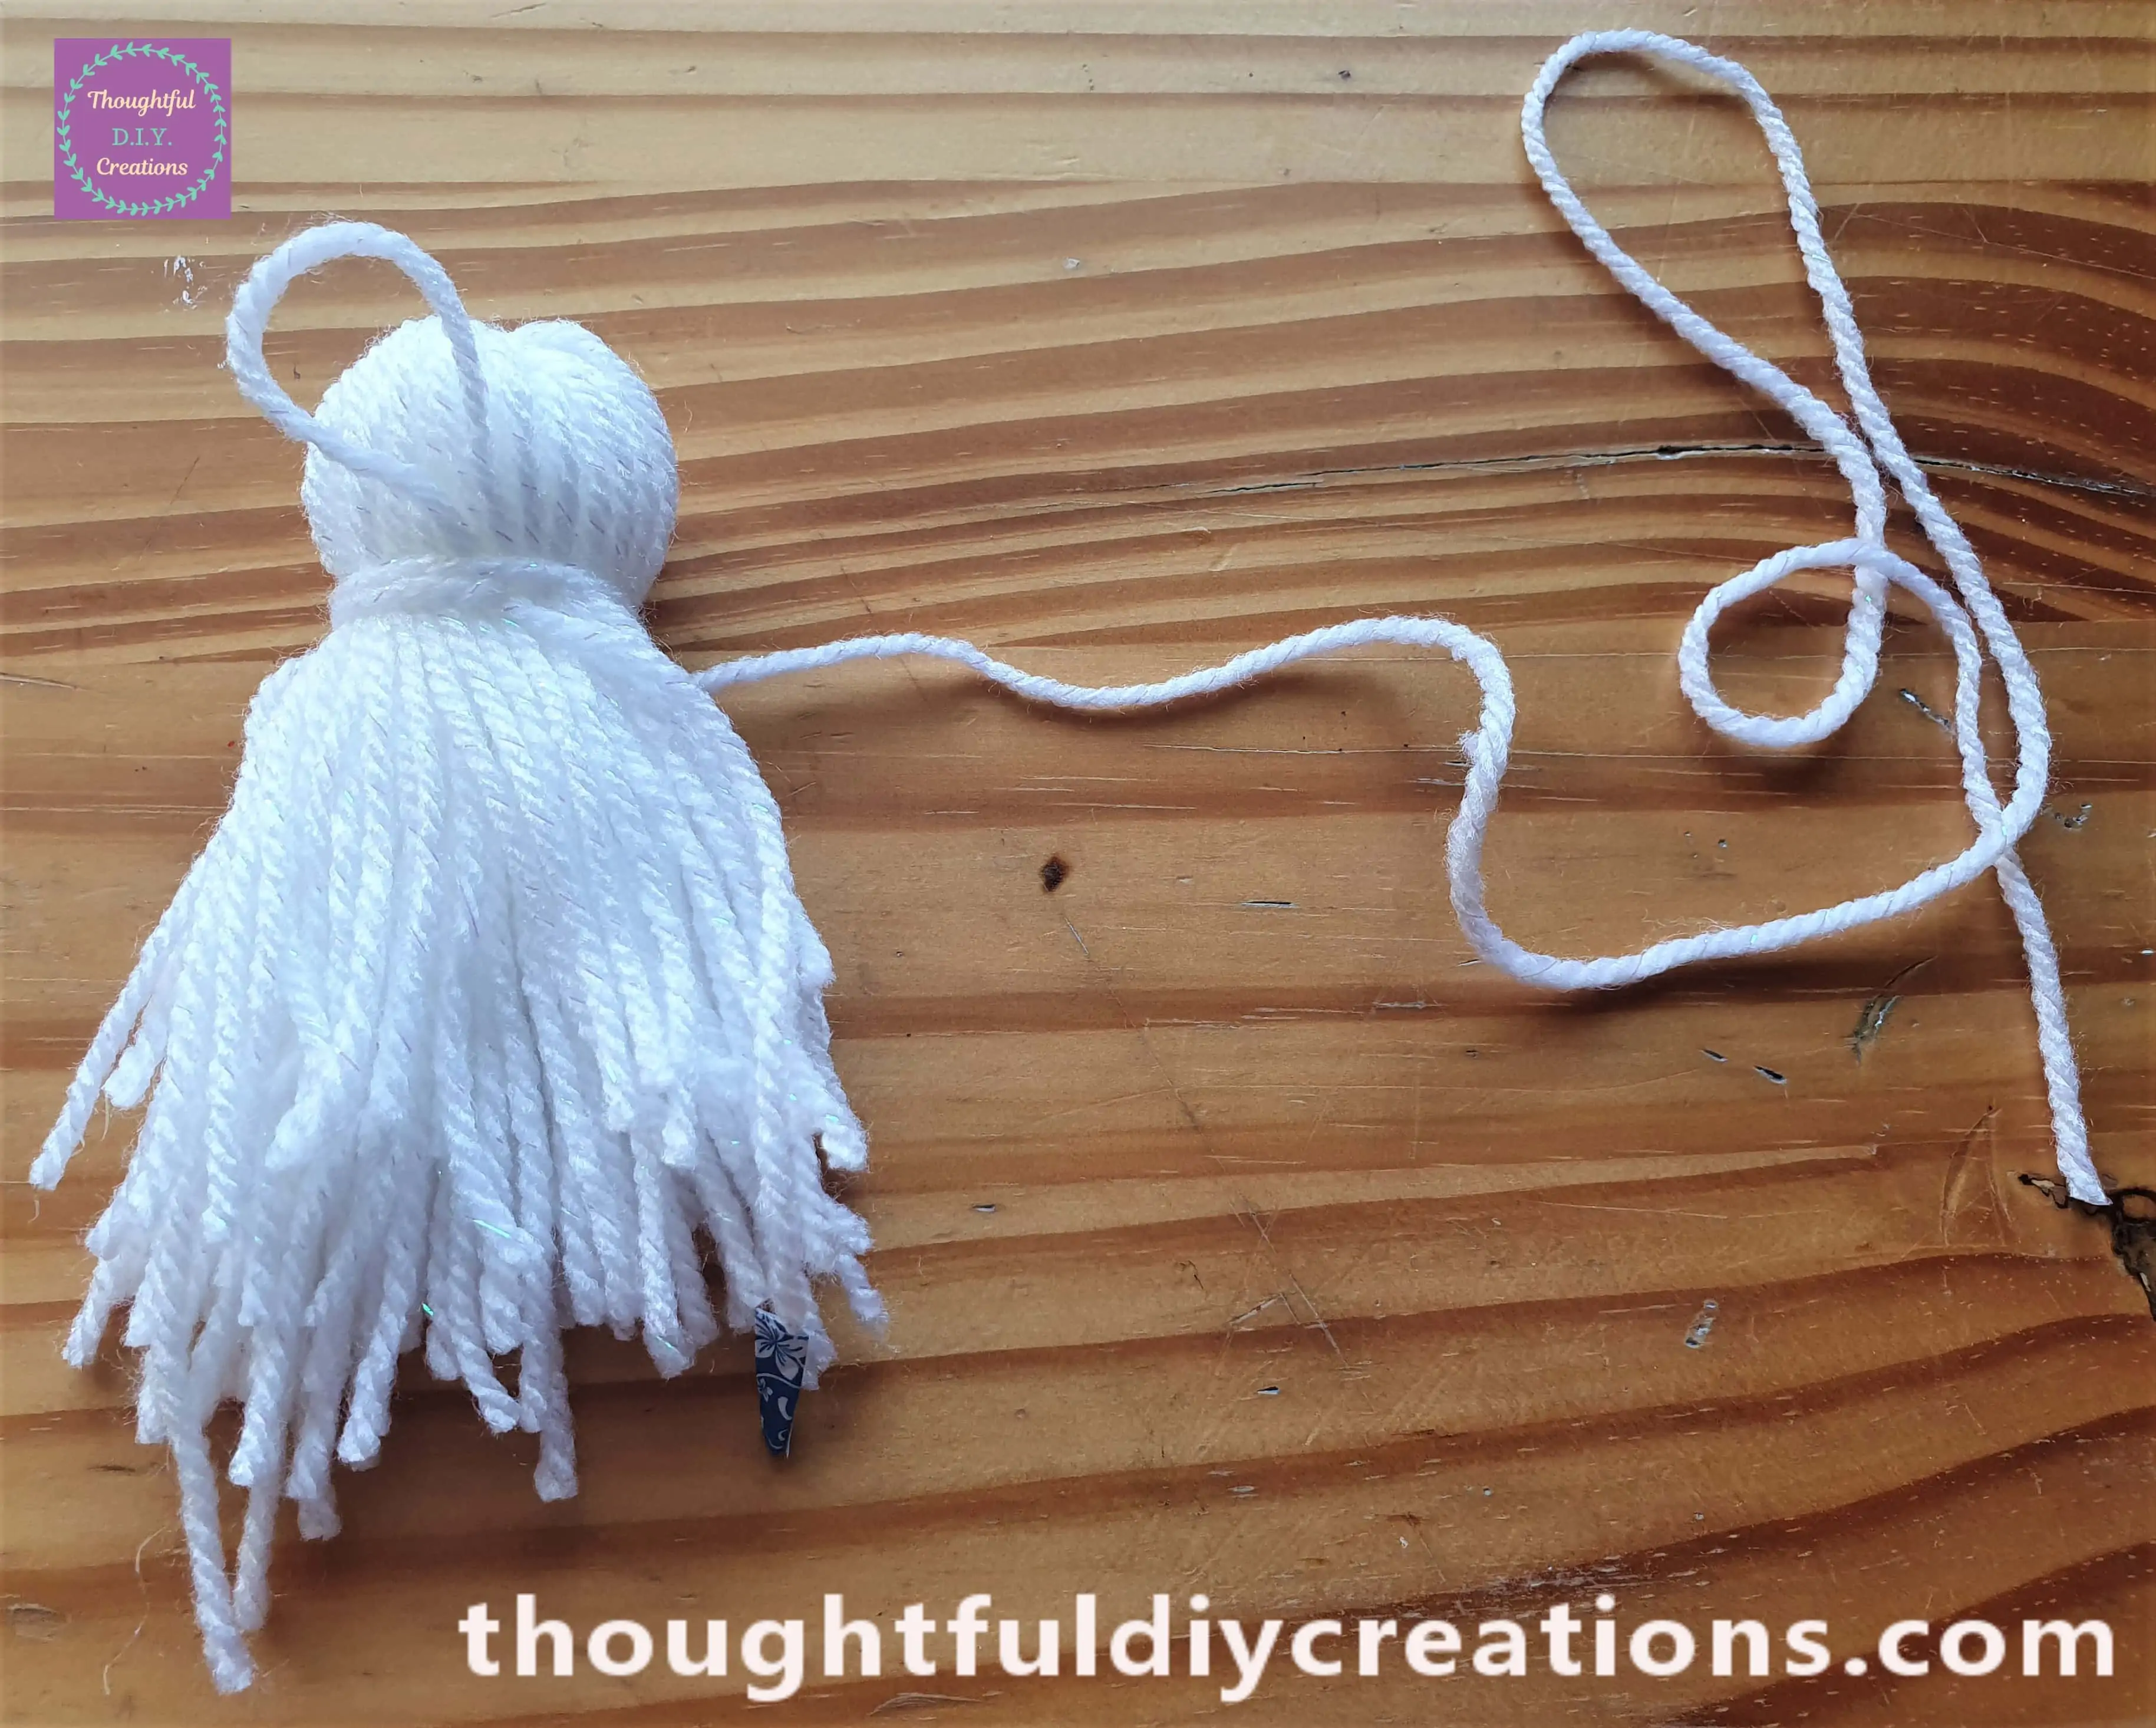
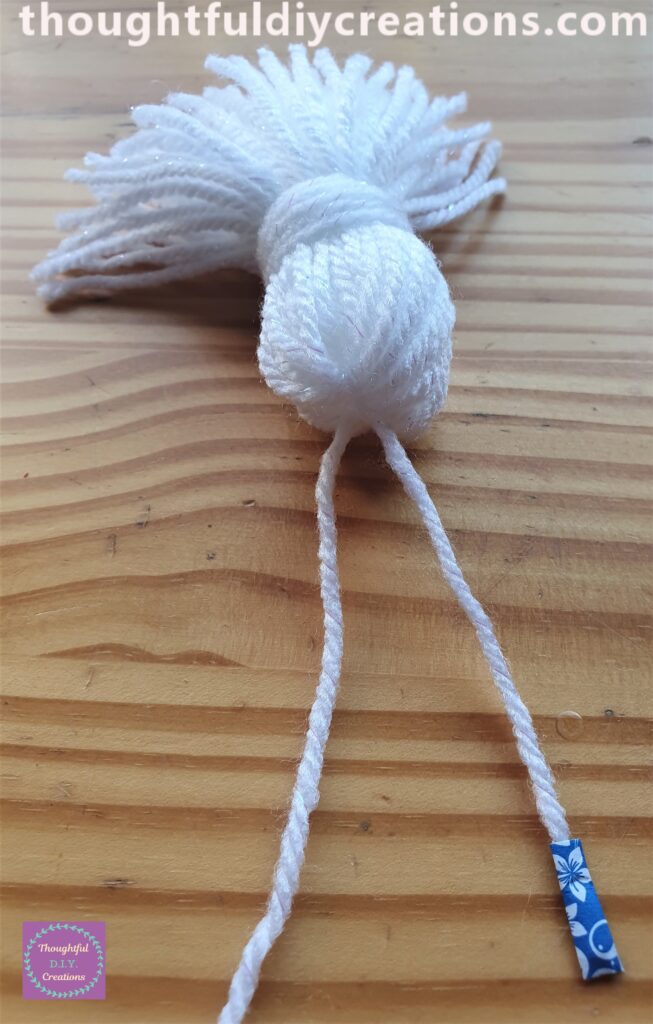
I put a piece of washi-tape on one end of the Wool. I will explain why in the later steps.
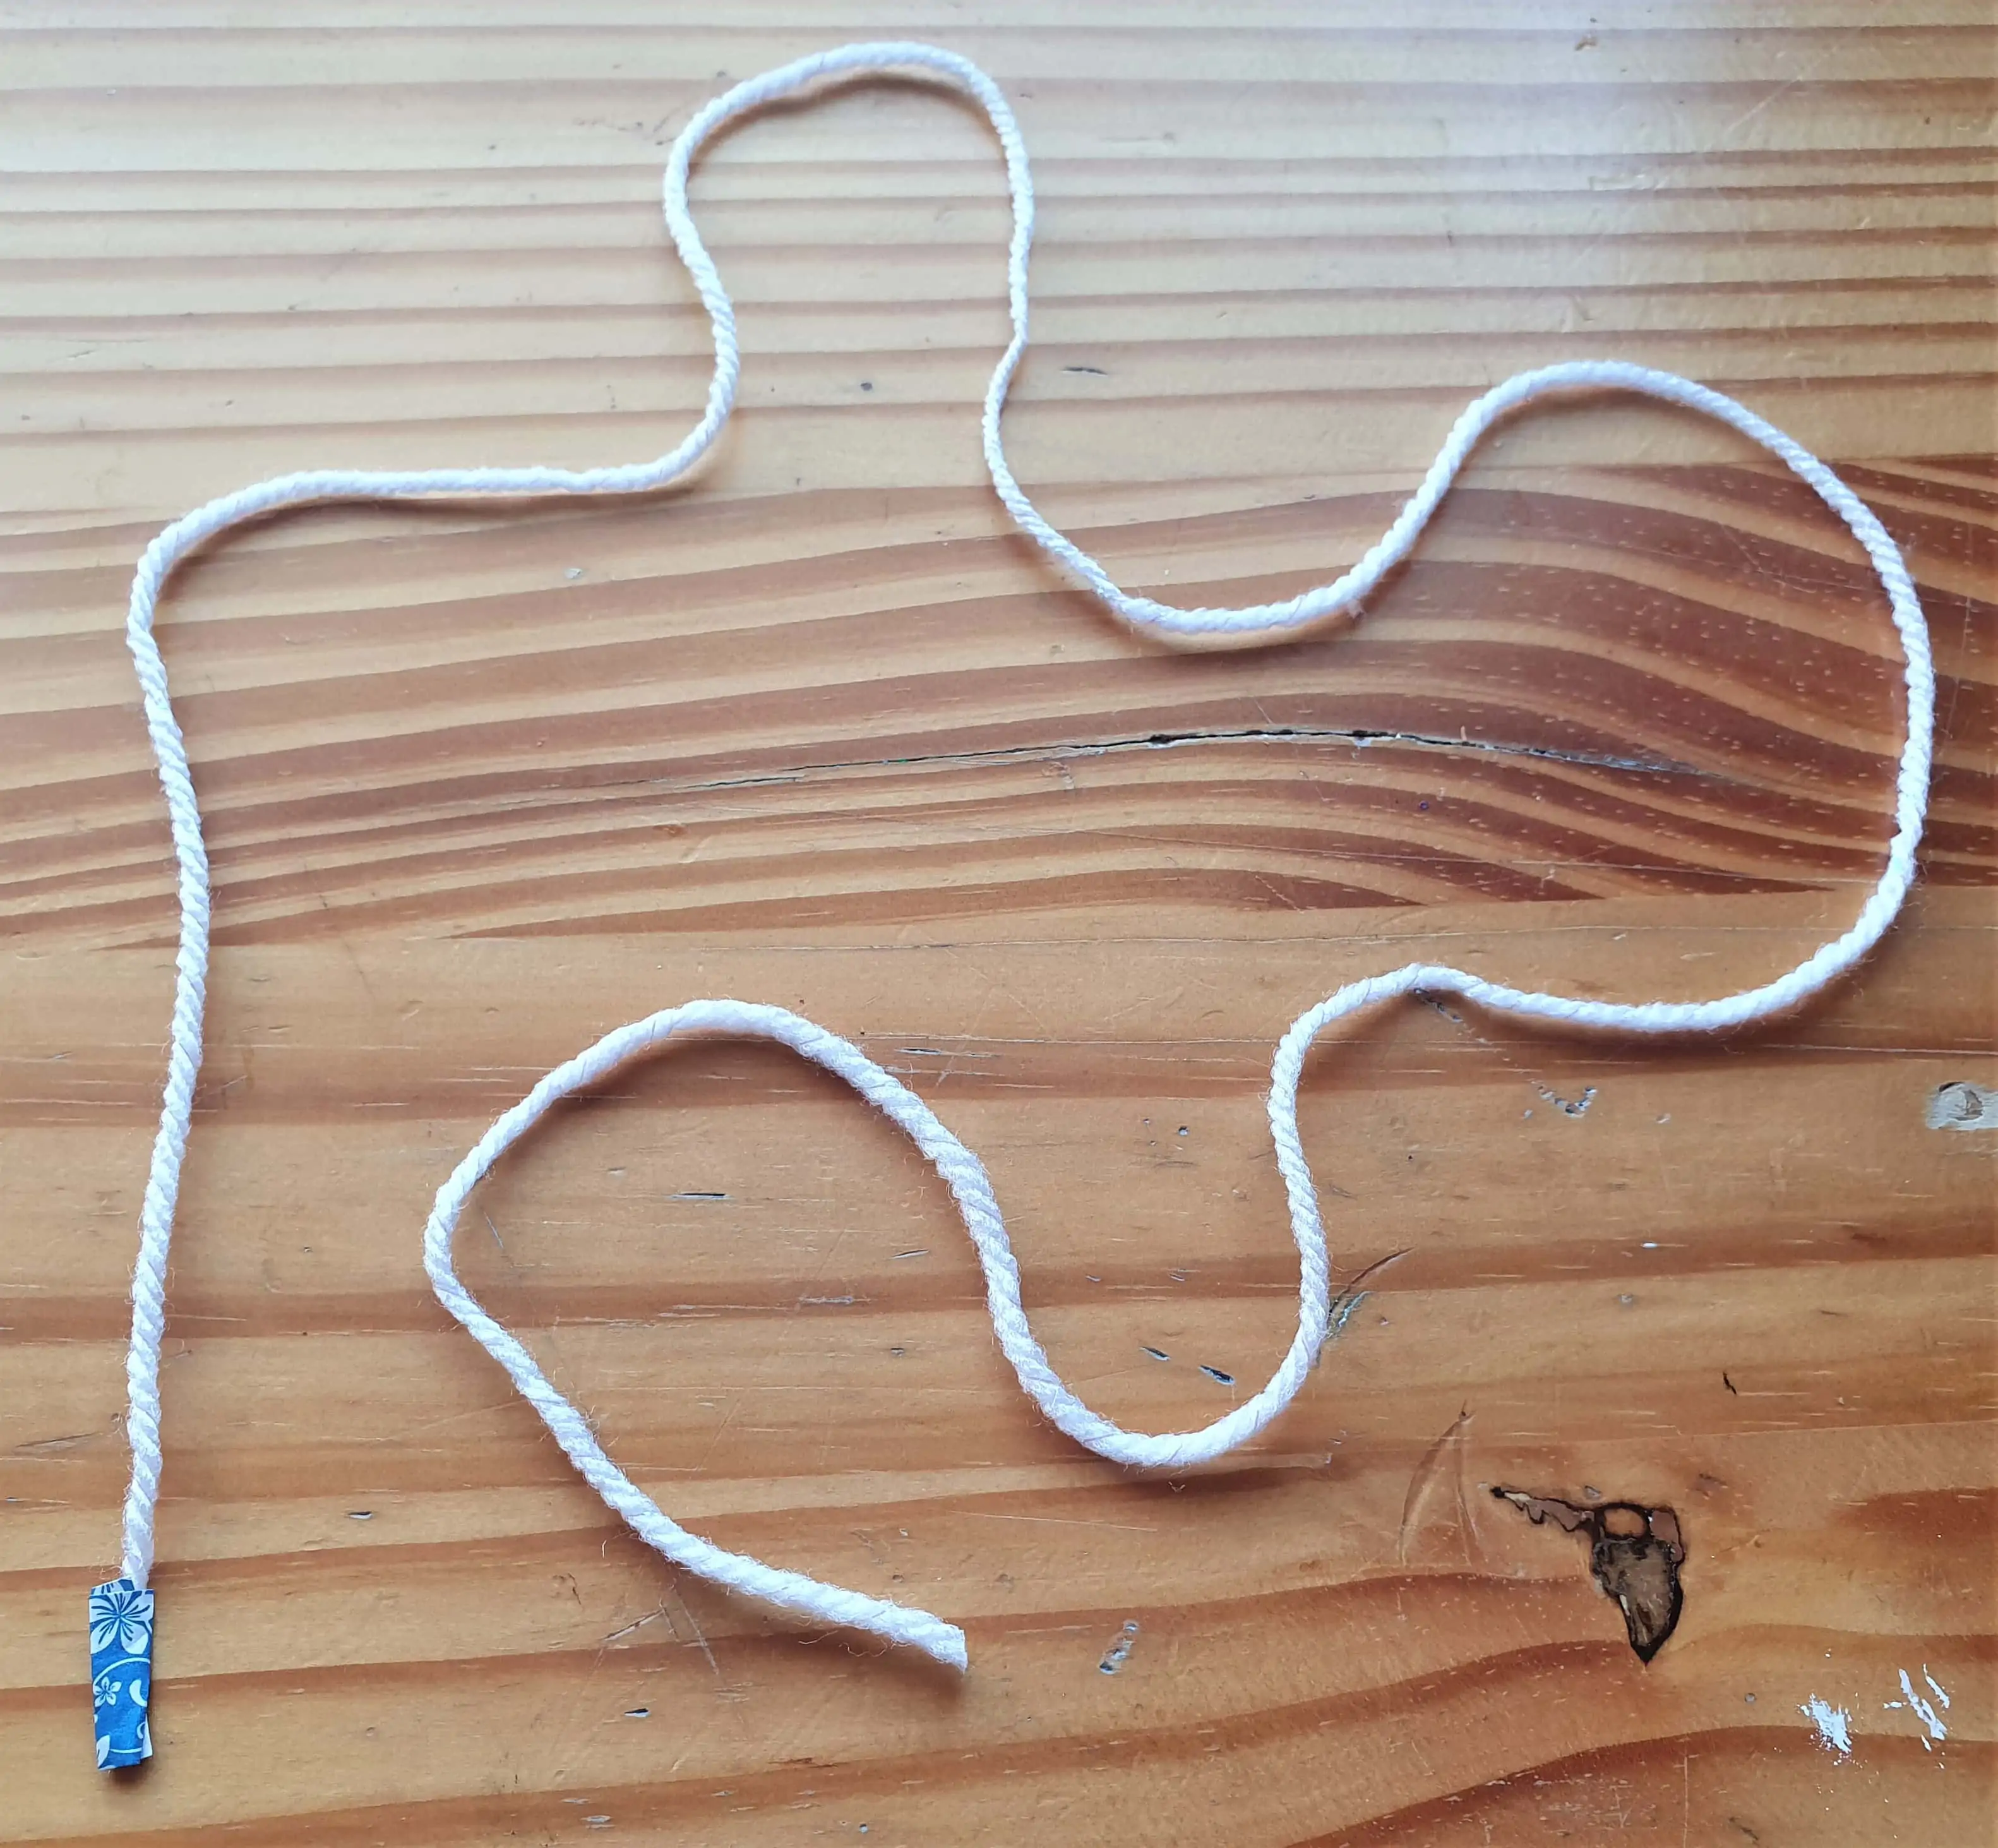
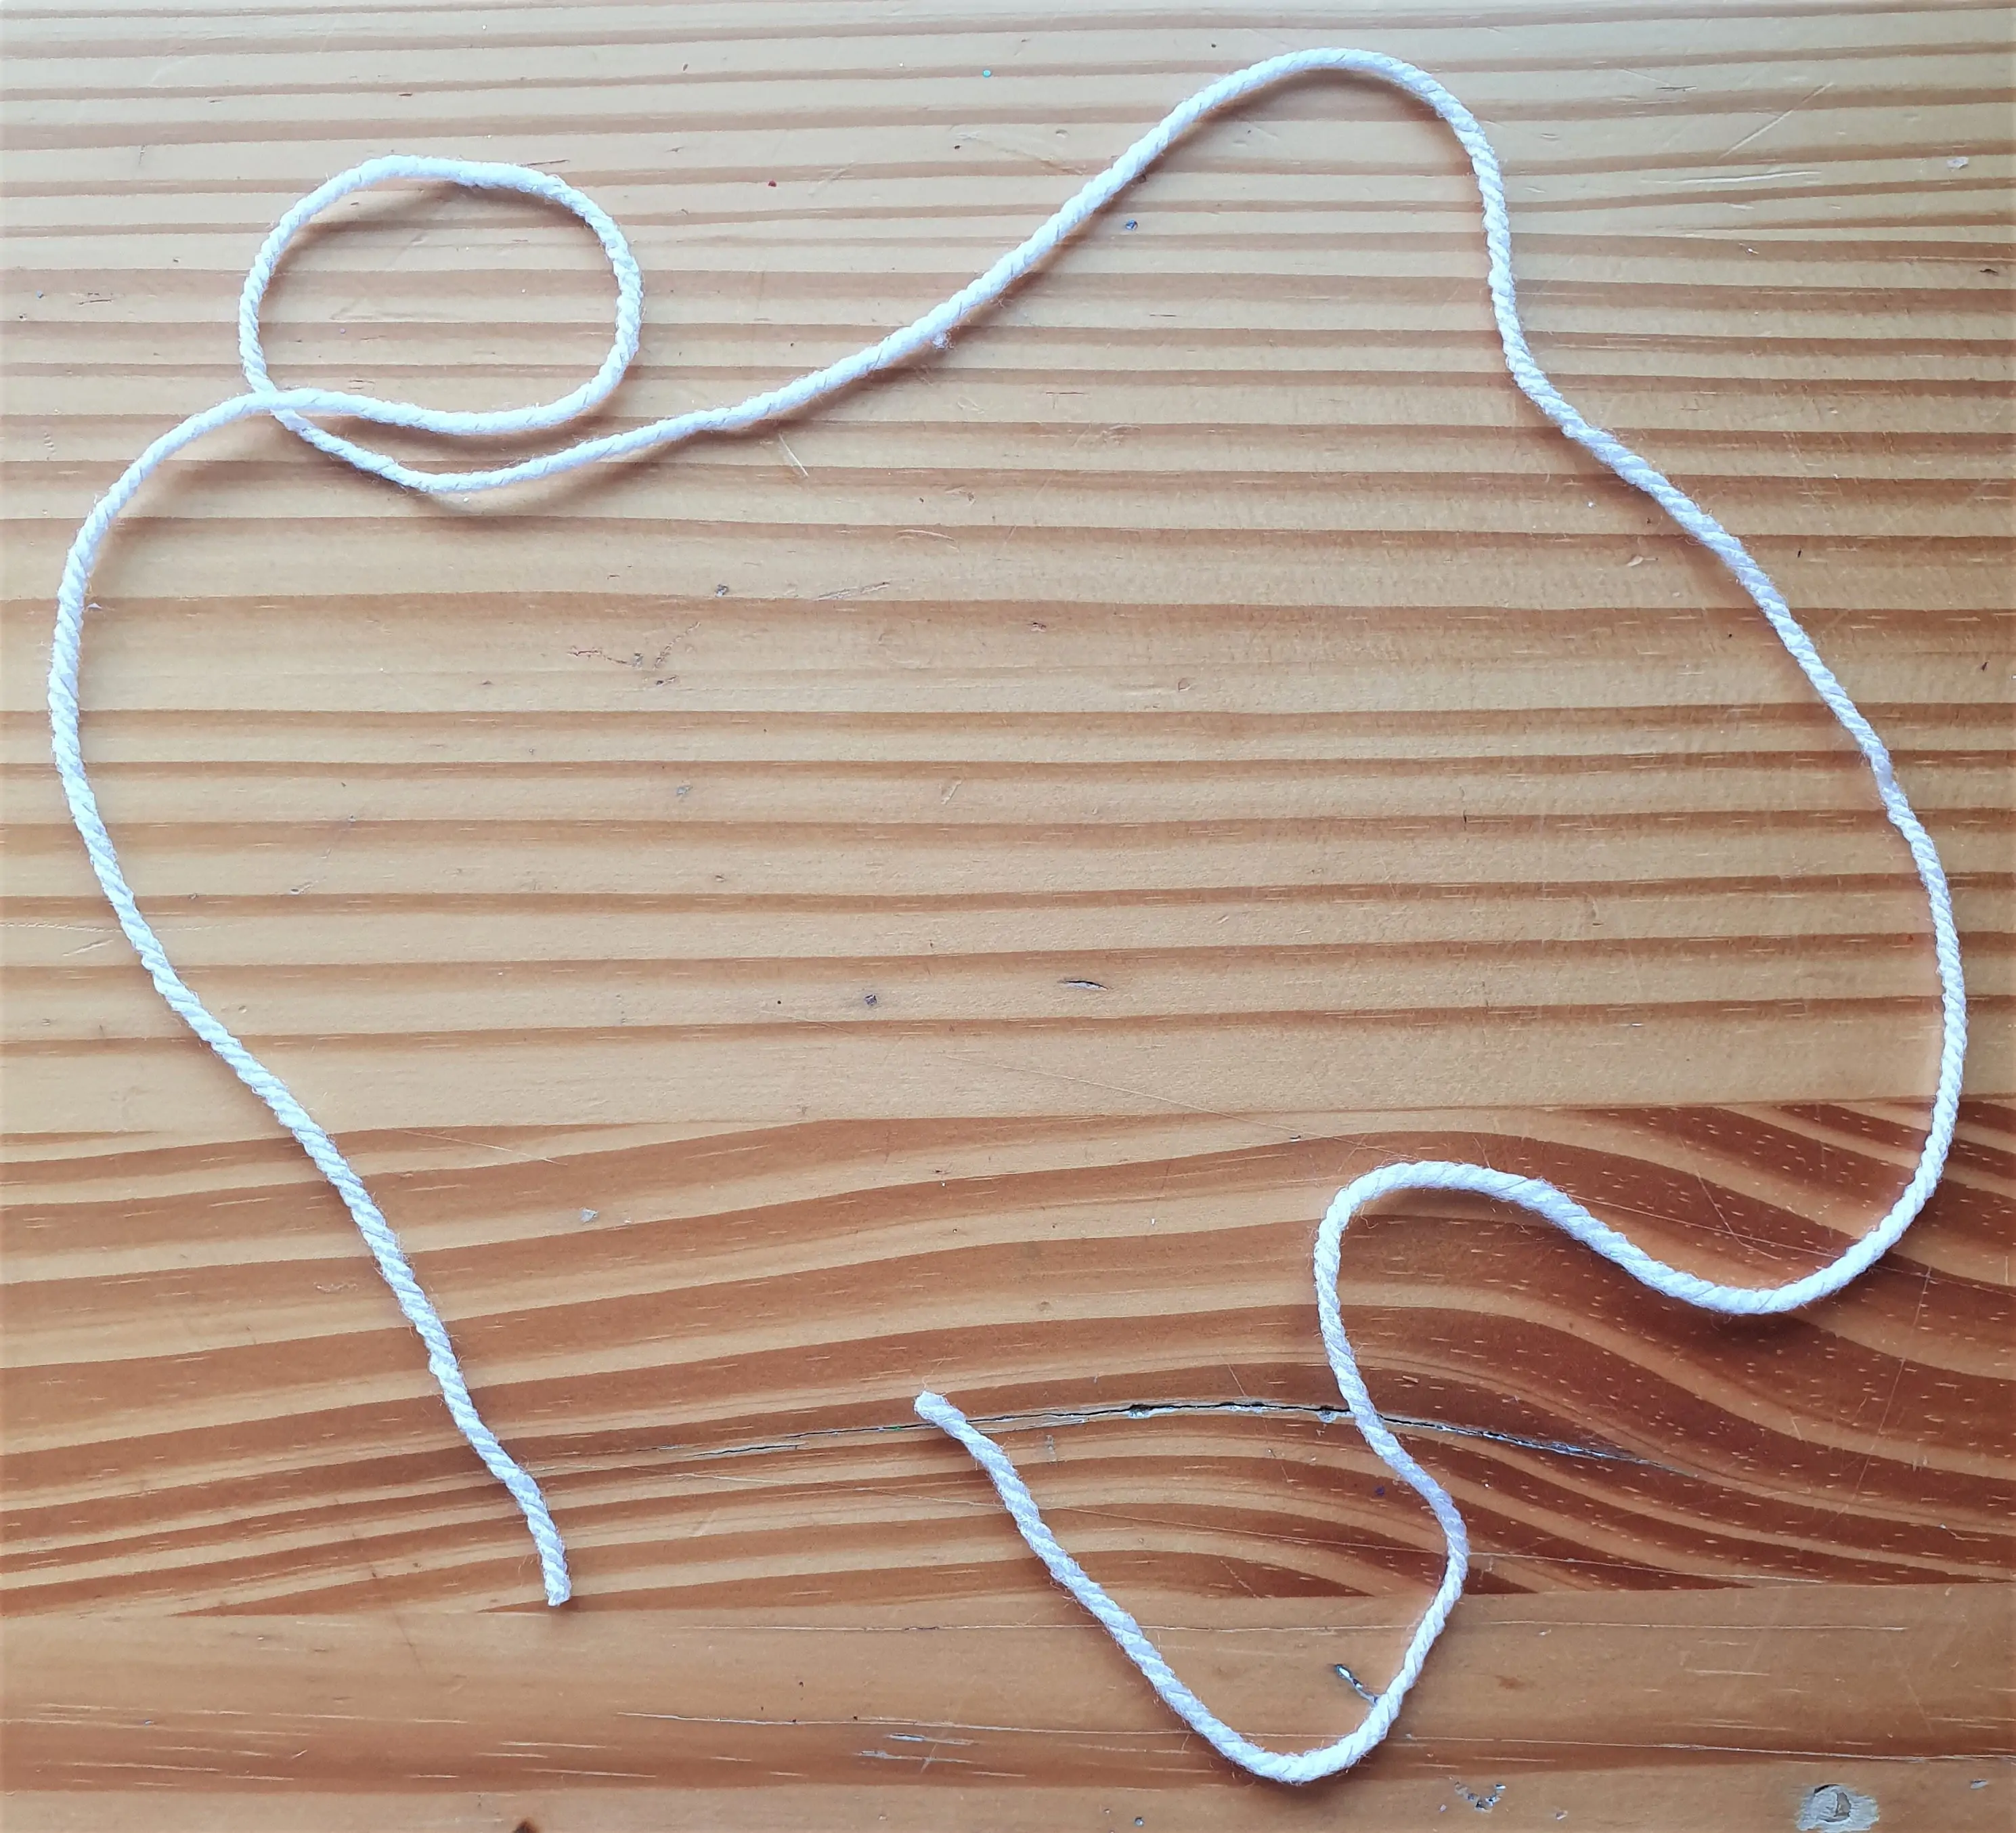
I started with the piece of wool with the washi-tape attached and put it beside the Bundle of Wool. I made a line out of the String of Wool to the same height as the Bundle of Wool. I made a loop with my String of Wool near the top of the Bundle.
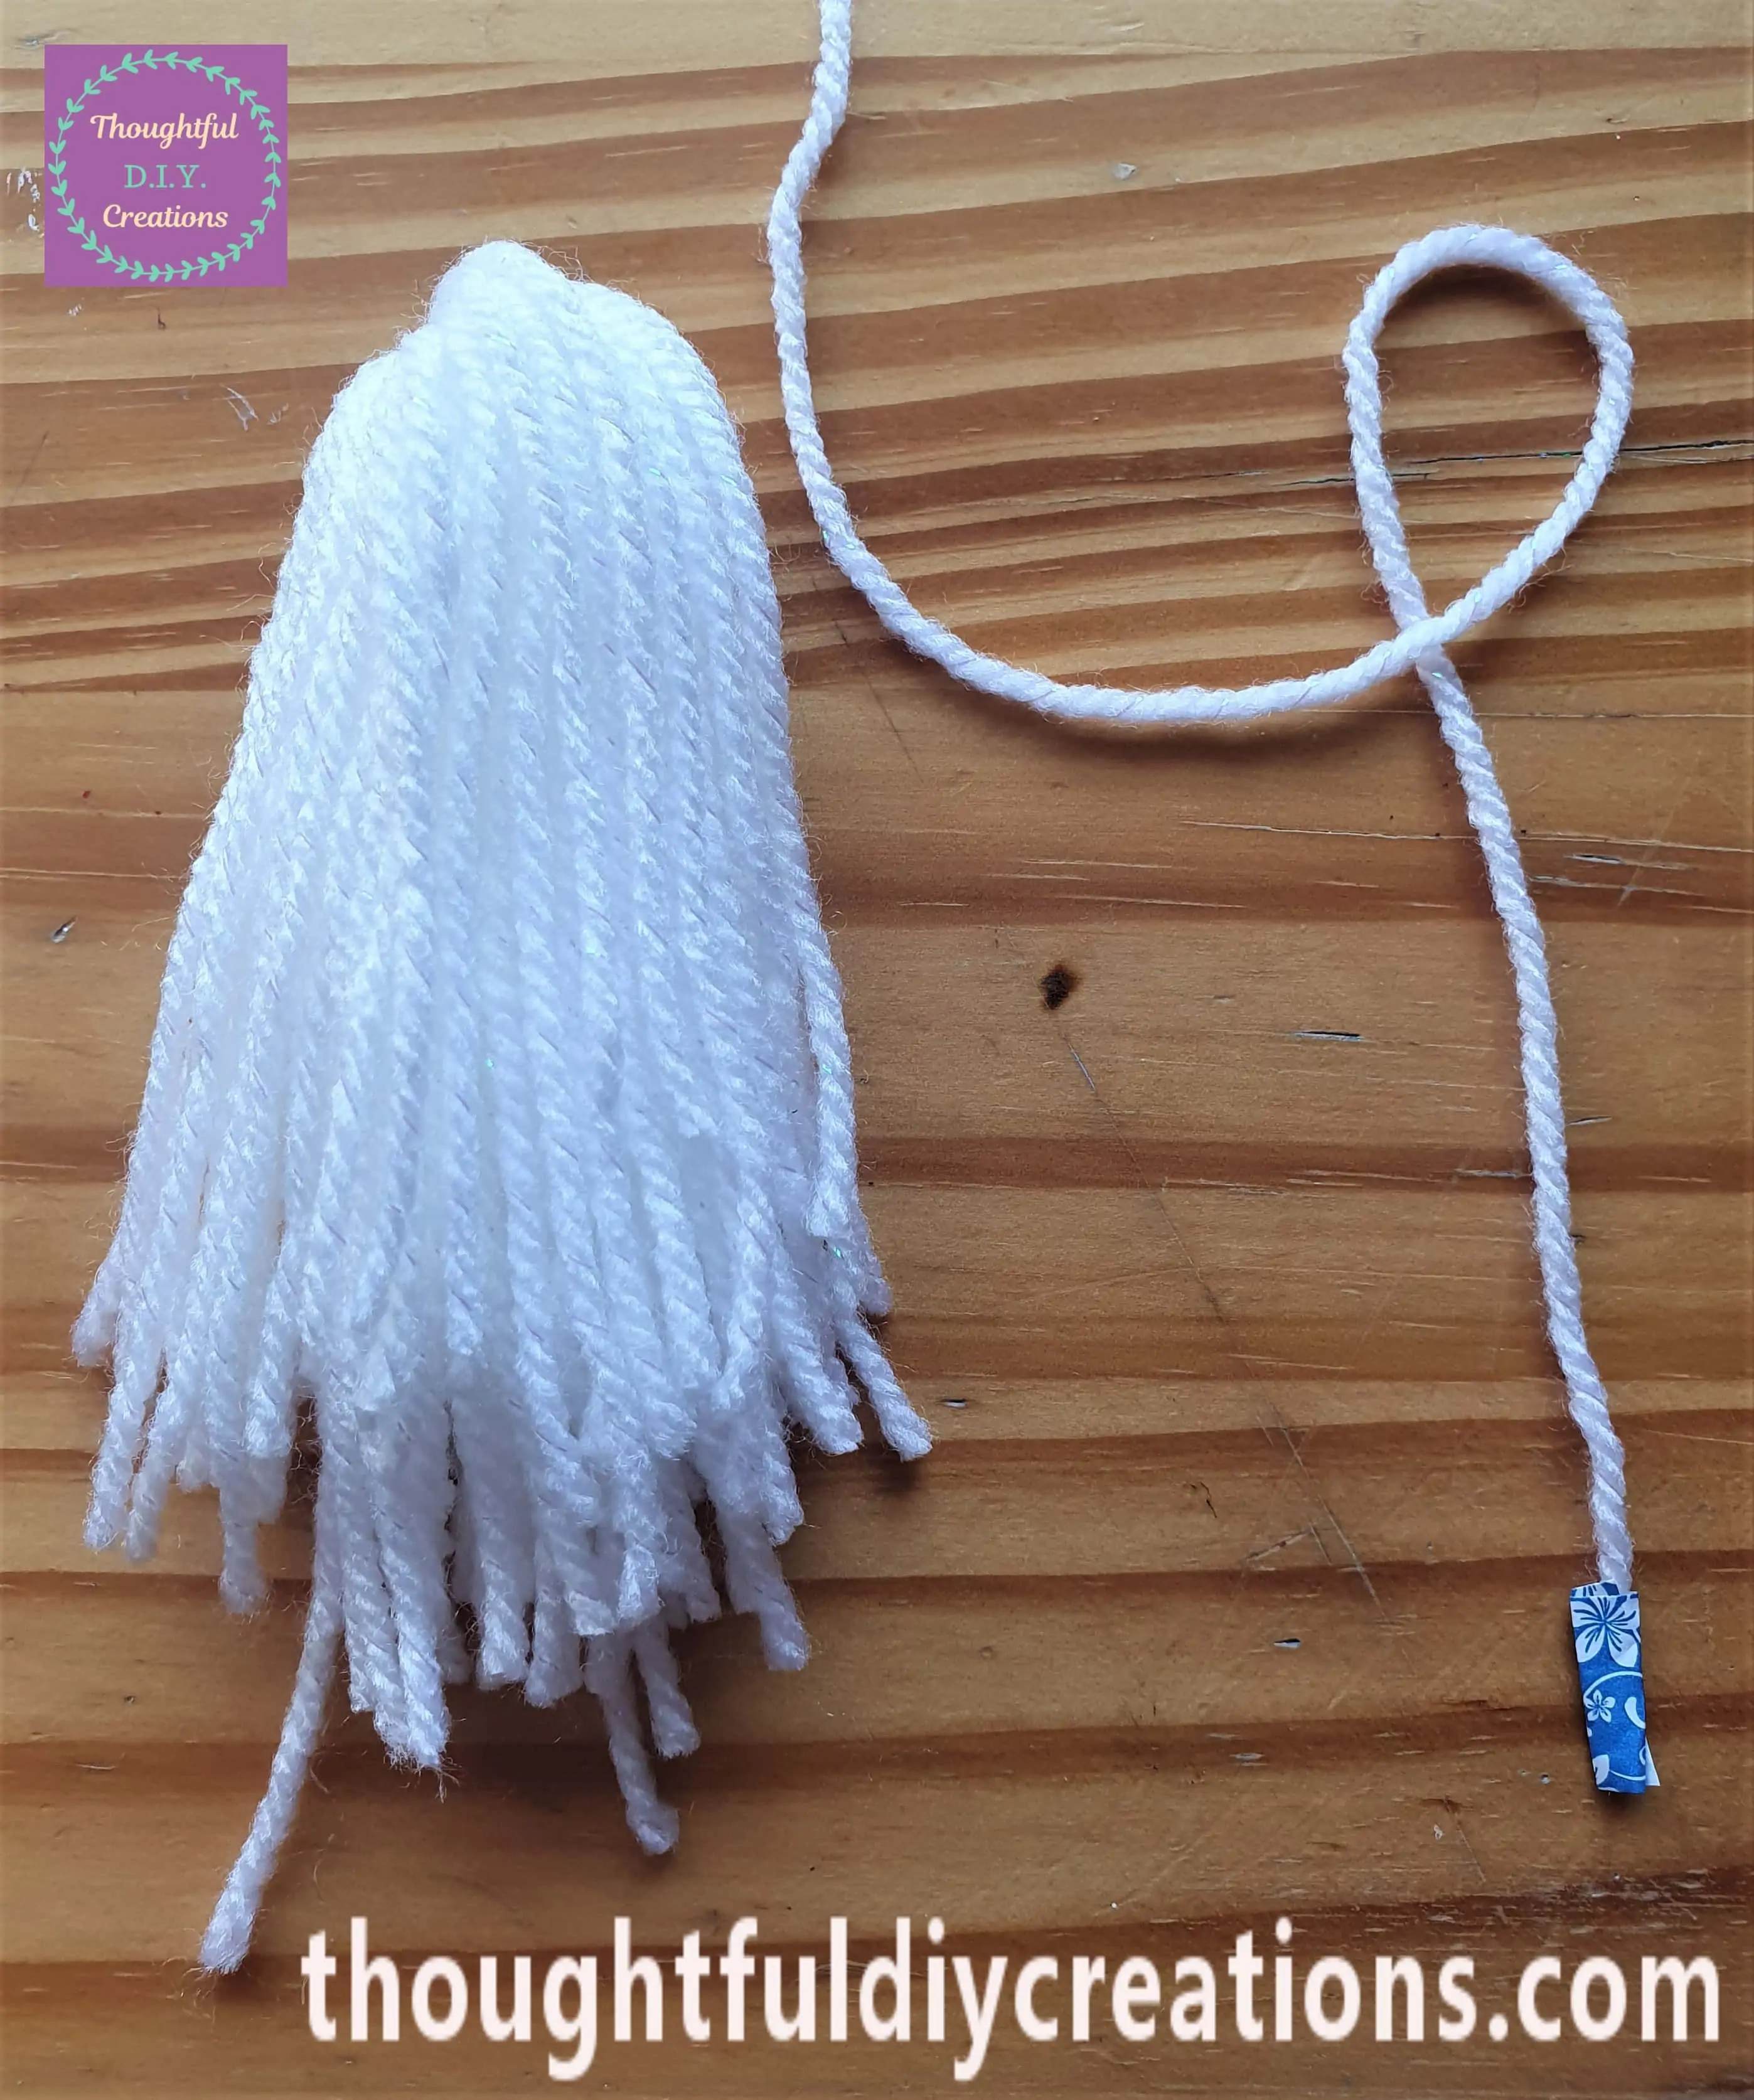
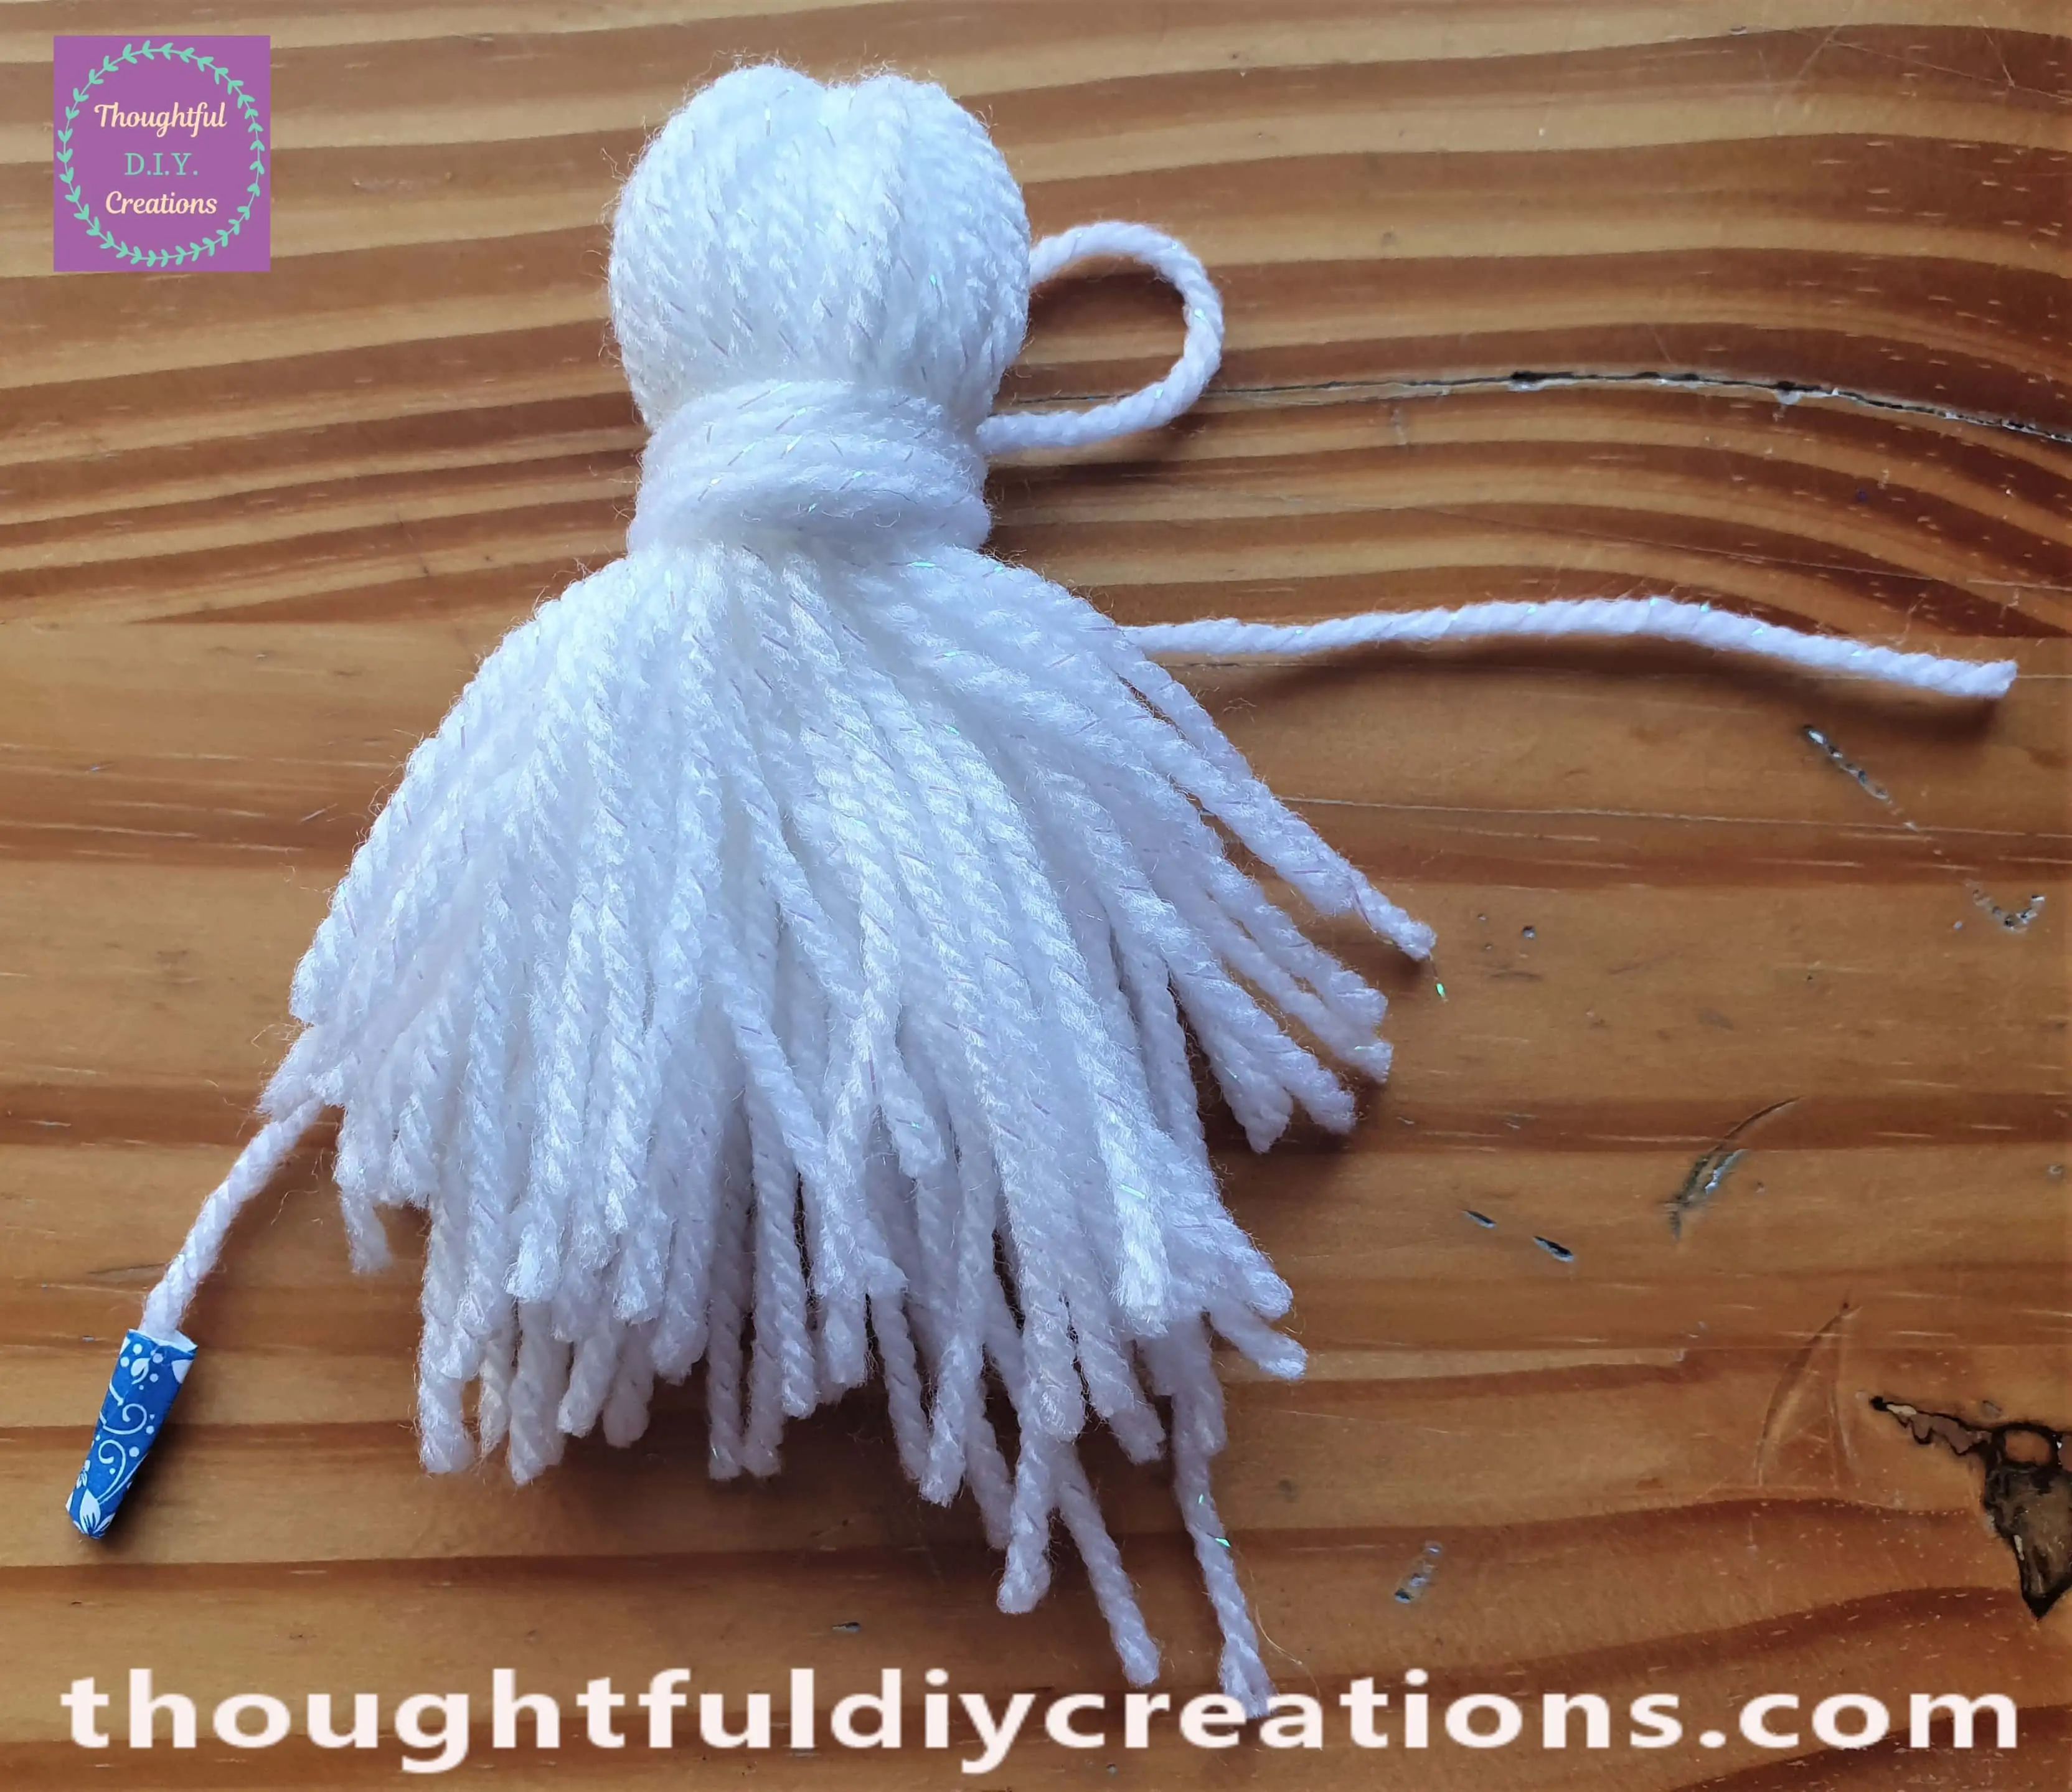
I moved this end of string with the loop on top of the bundle of wool.
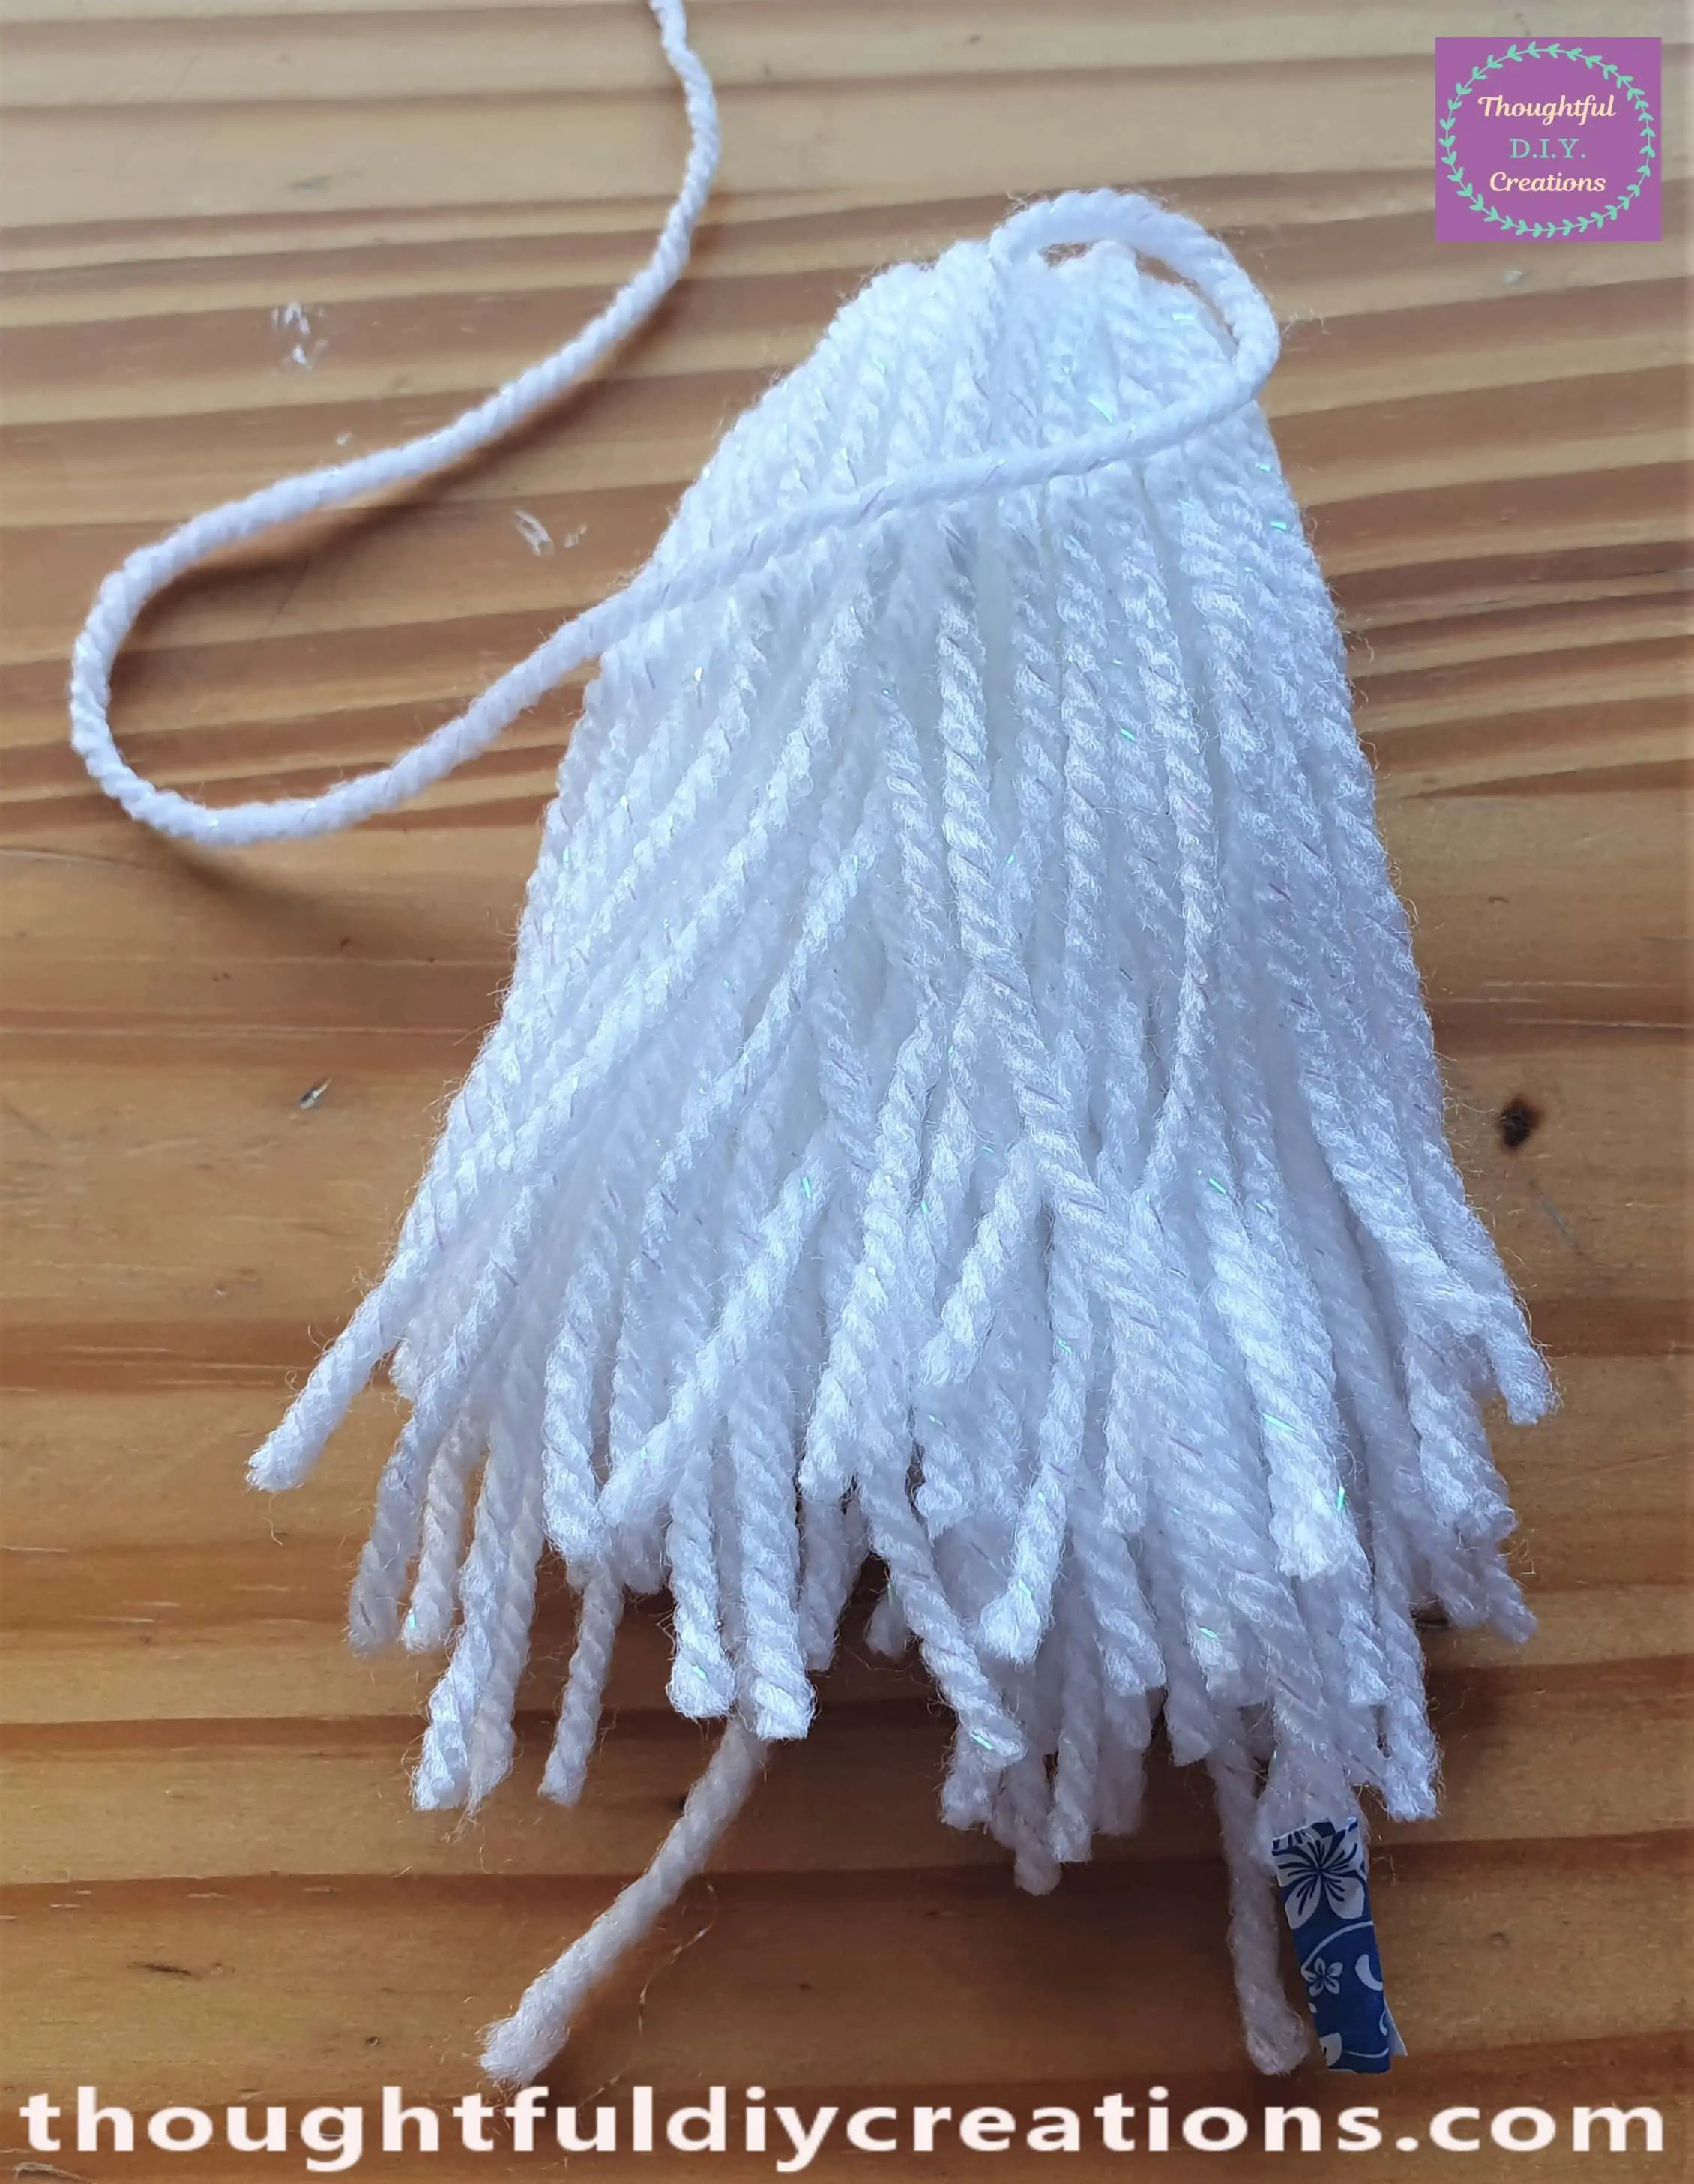
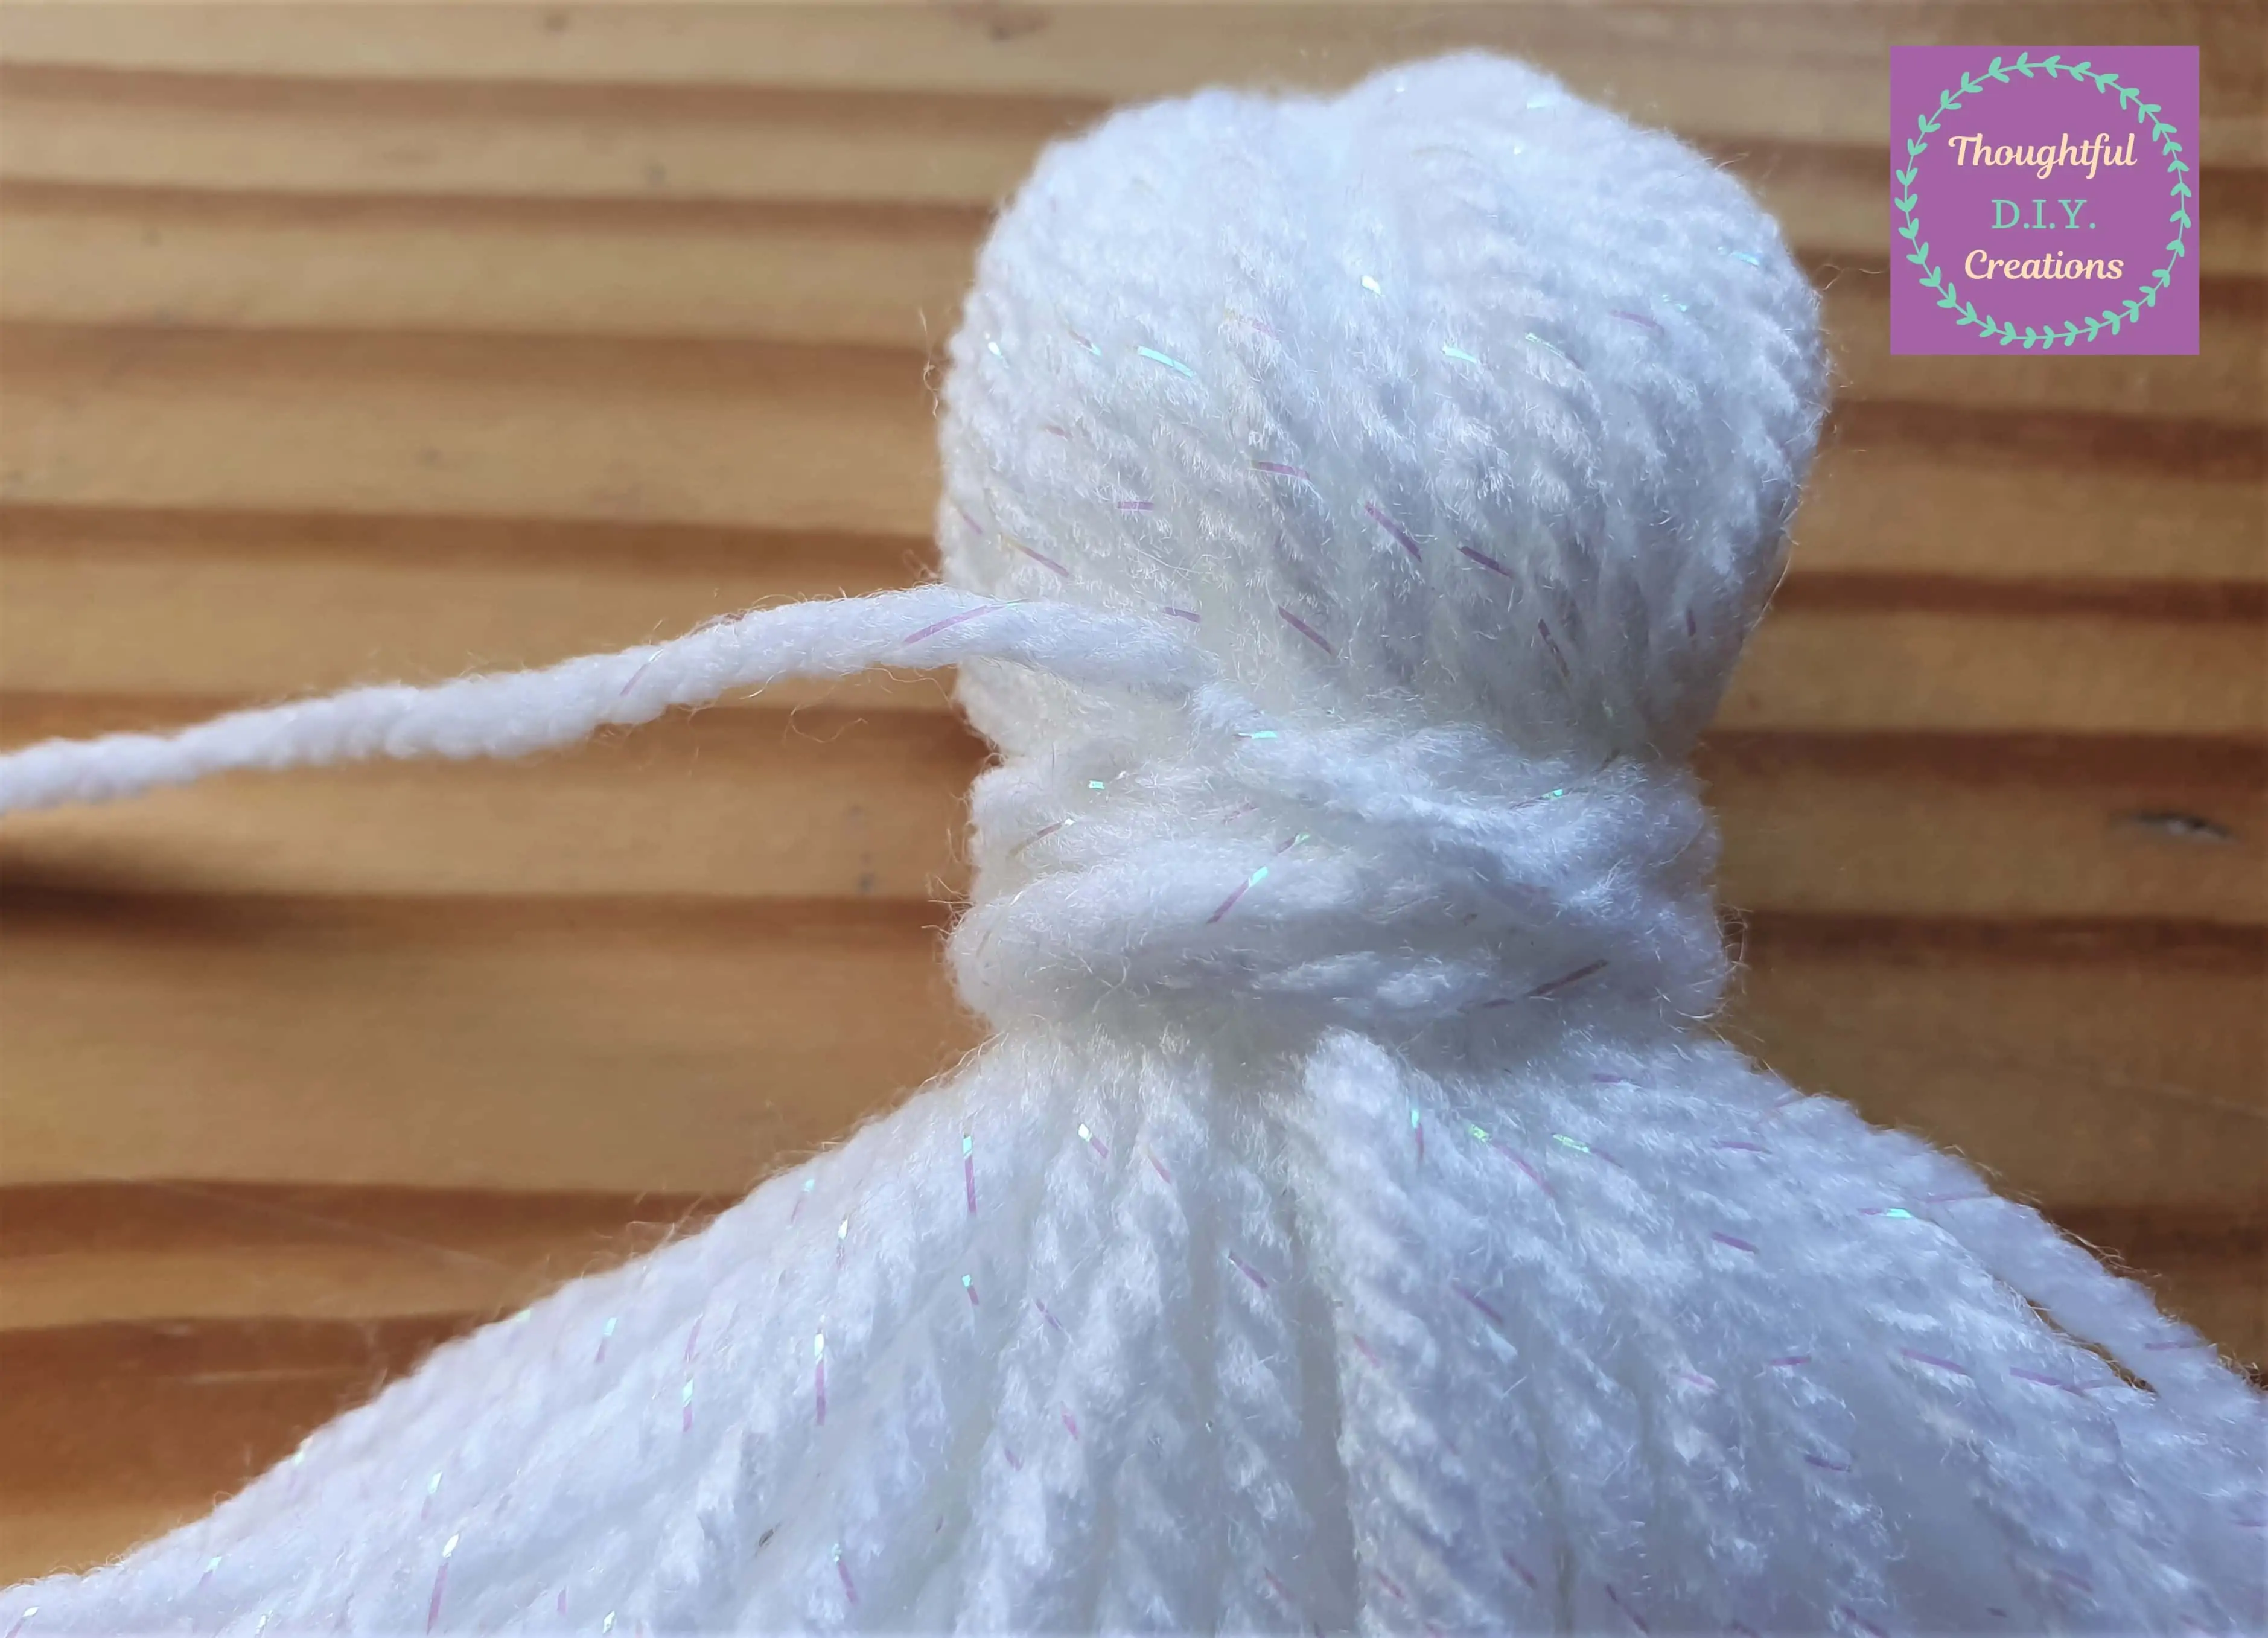
I then began wrapping the rest of the String of Wool around the Bundle about an Inch down from the Top leaving the loop in tact.
I wrapped the Wool around a Couple more times until I was happy with how it looked. I then Cut the end of the string of wool.
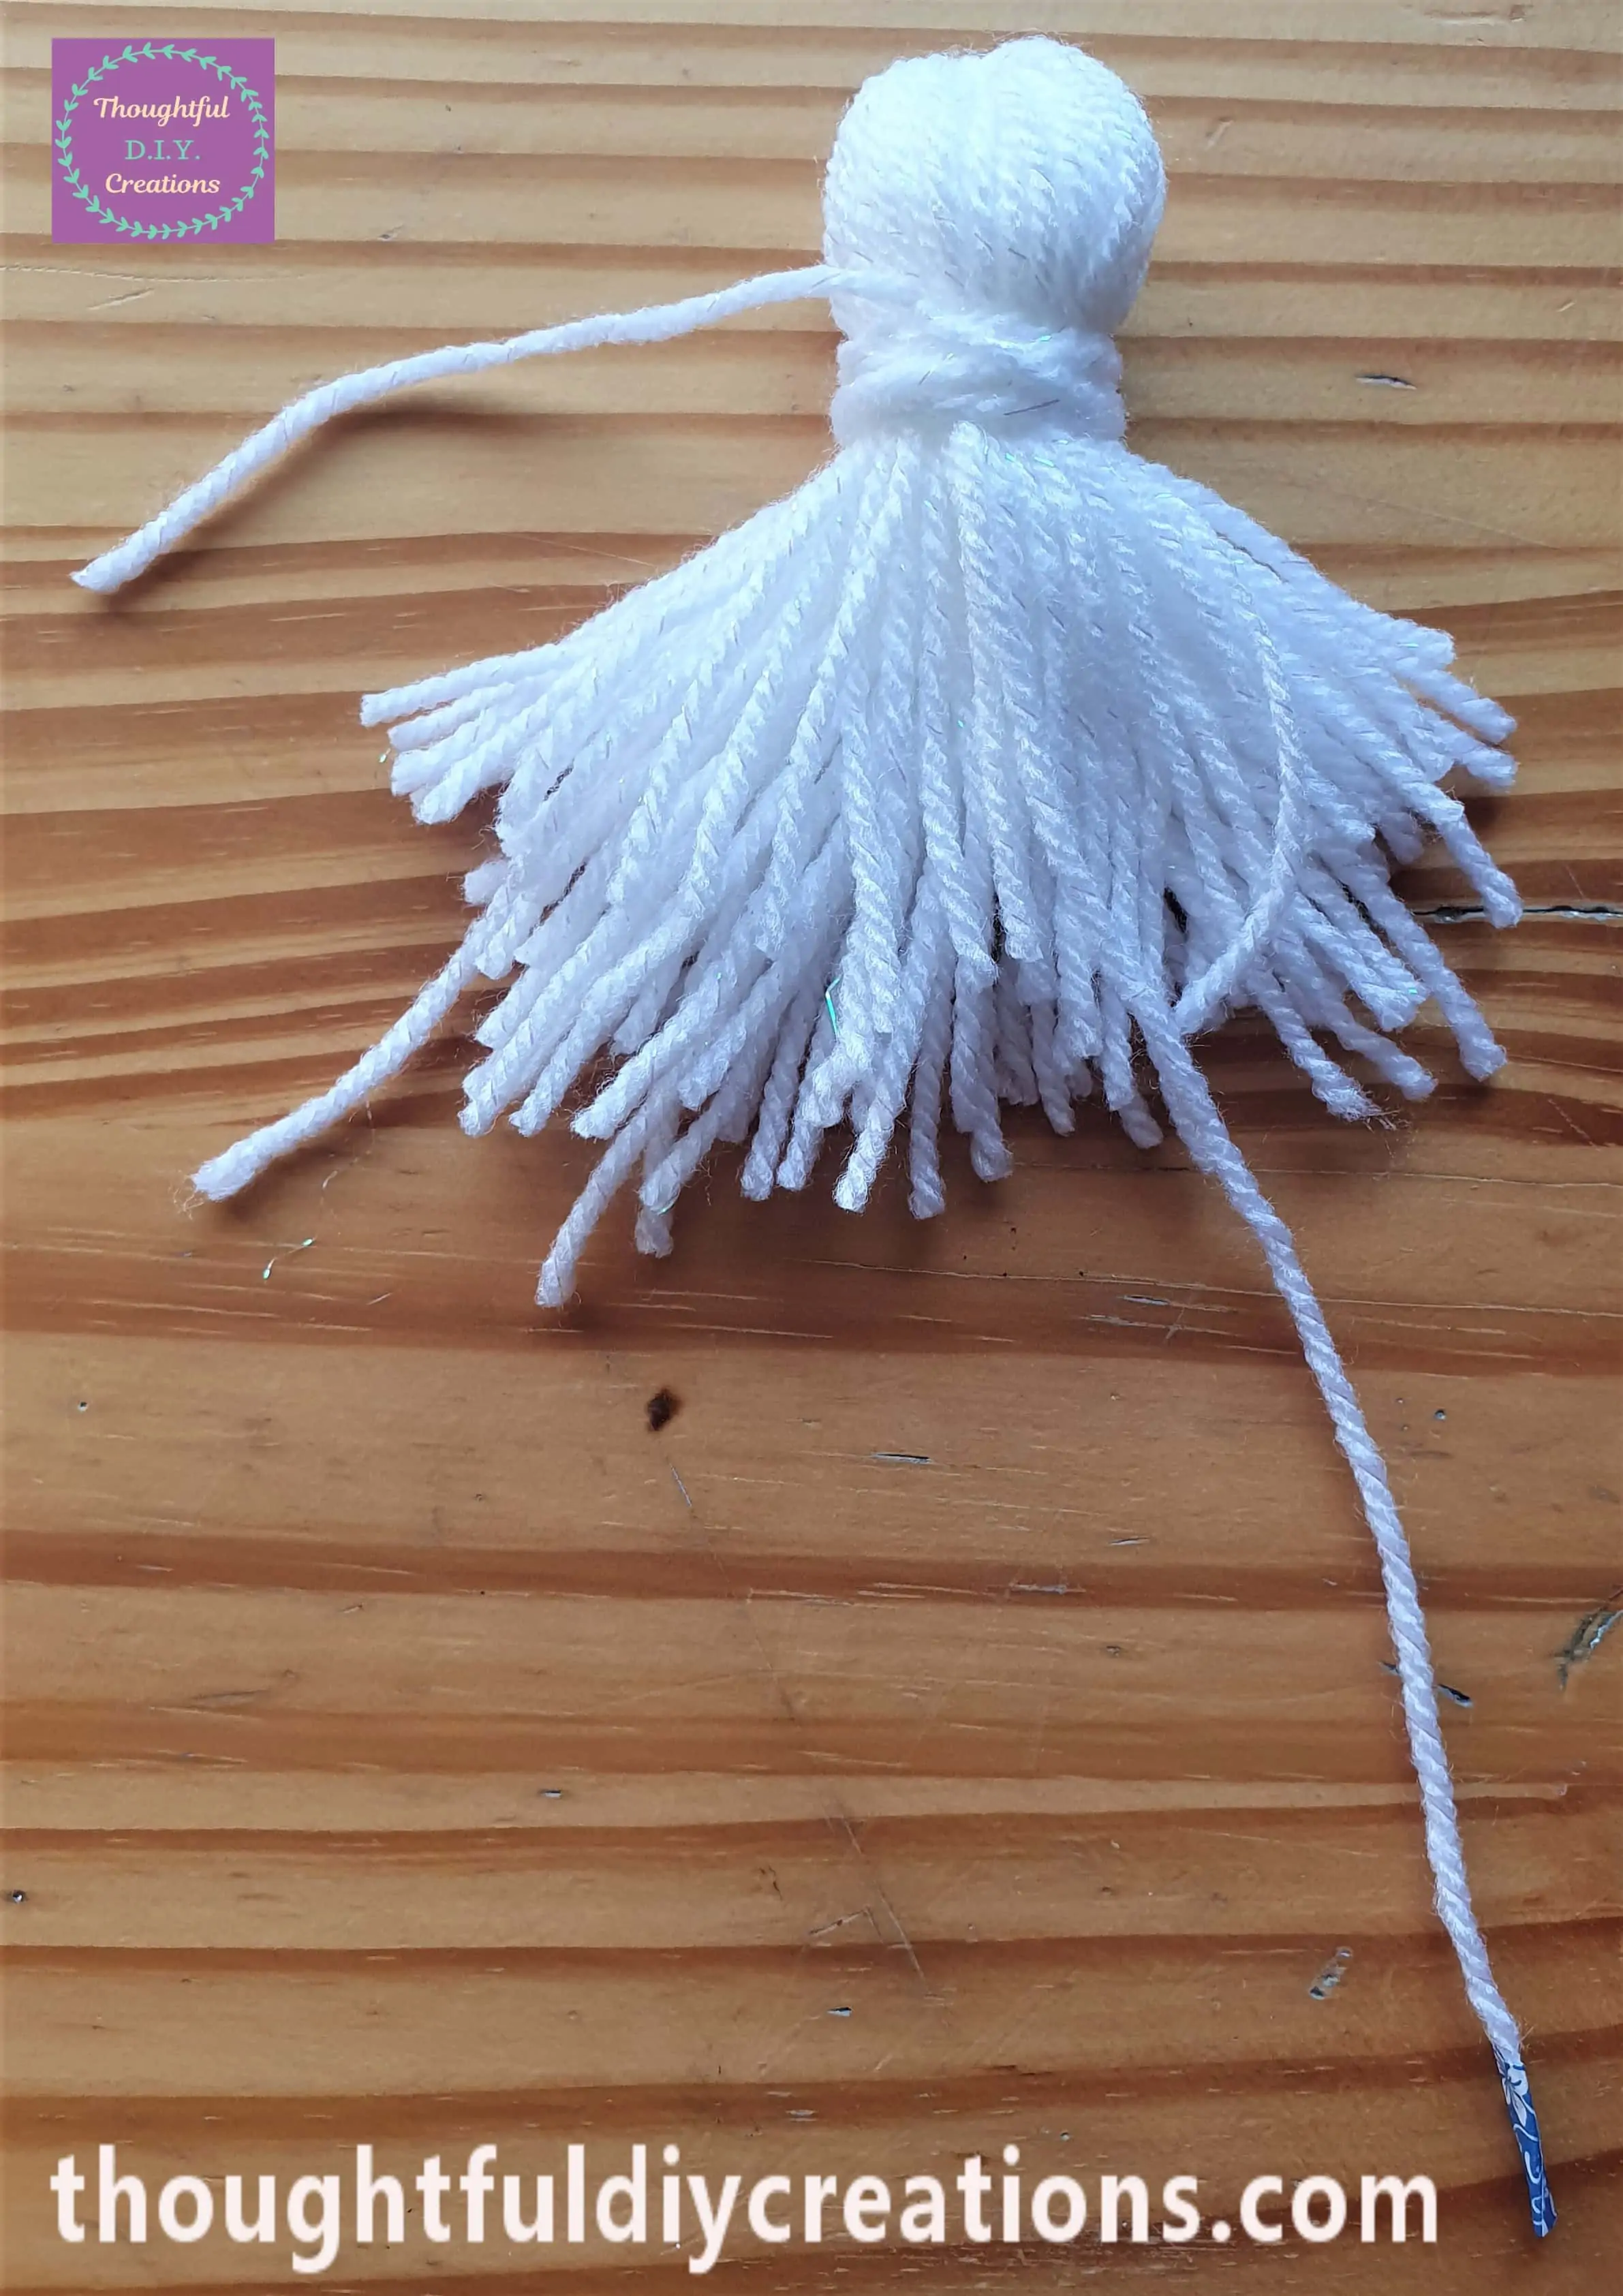
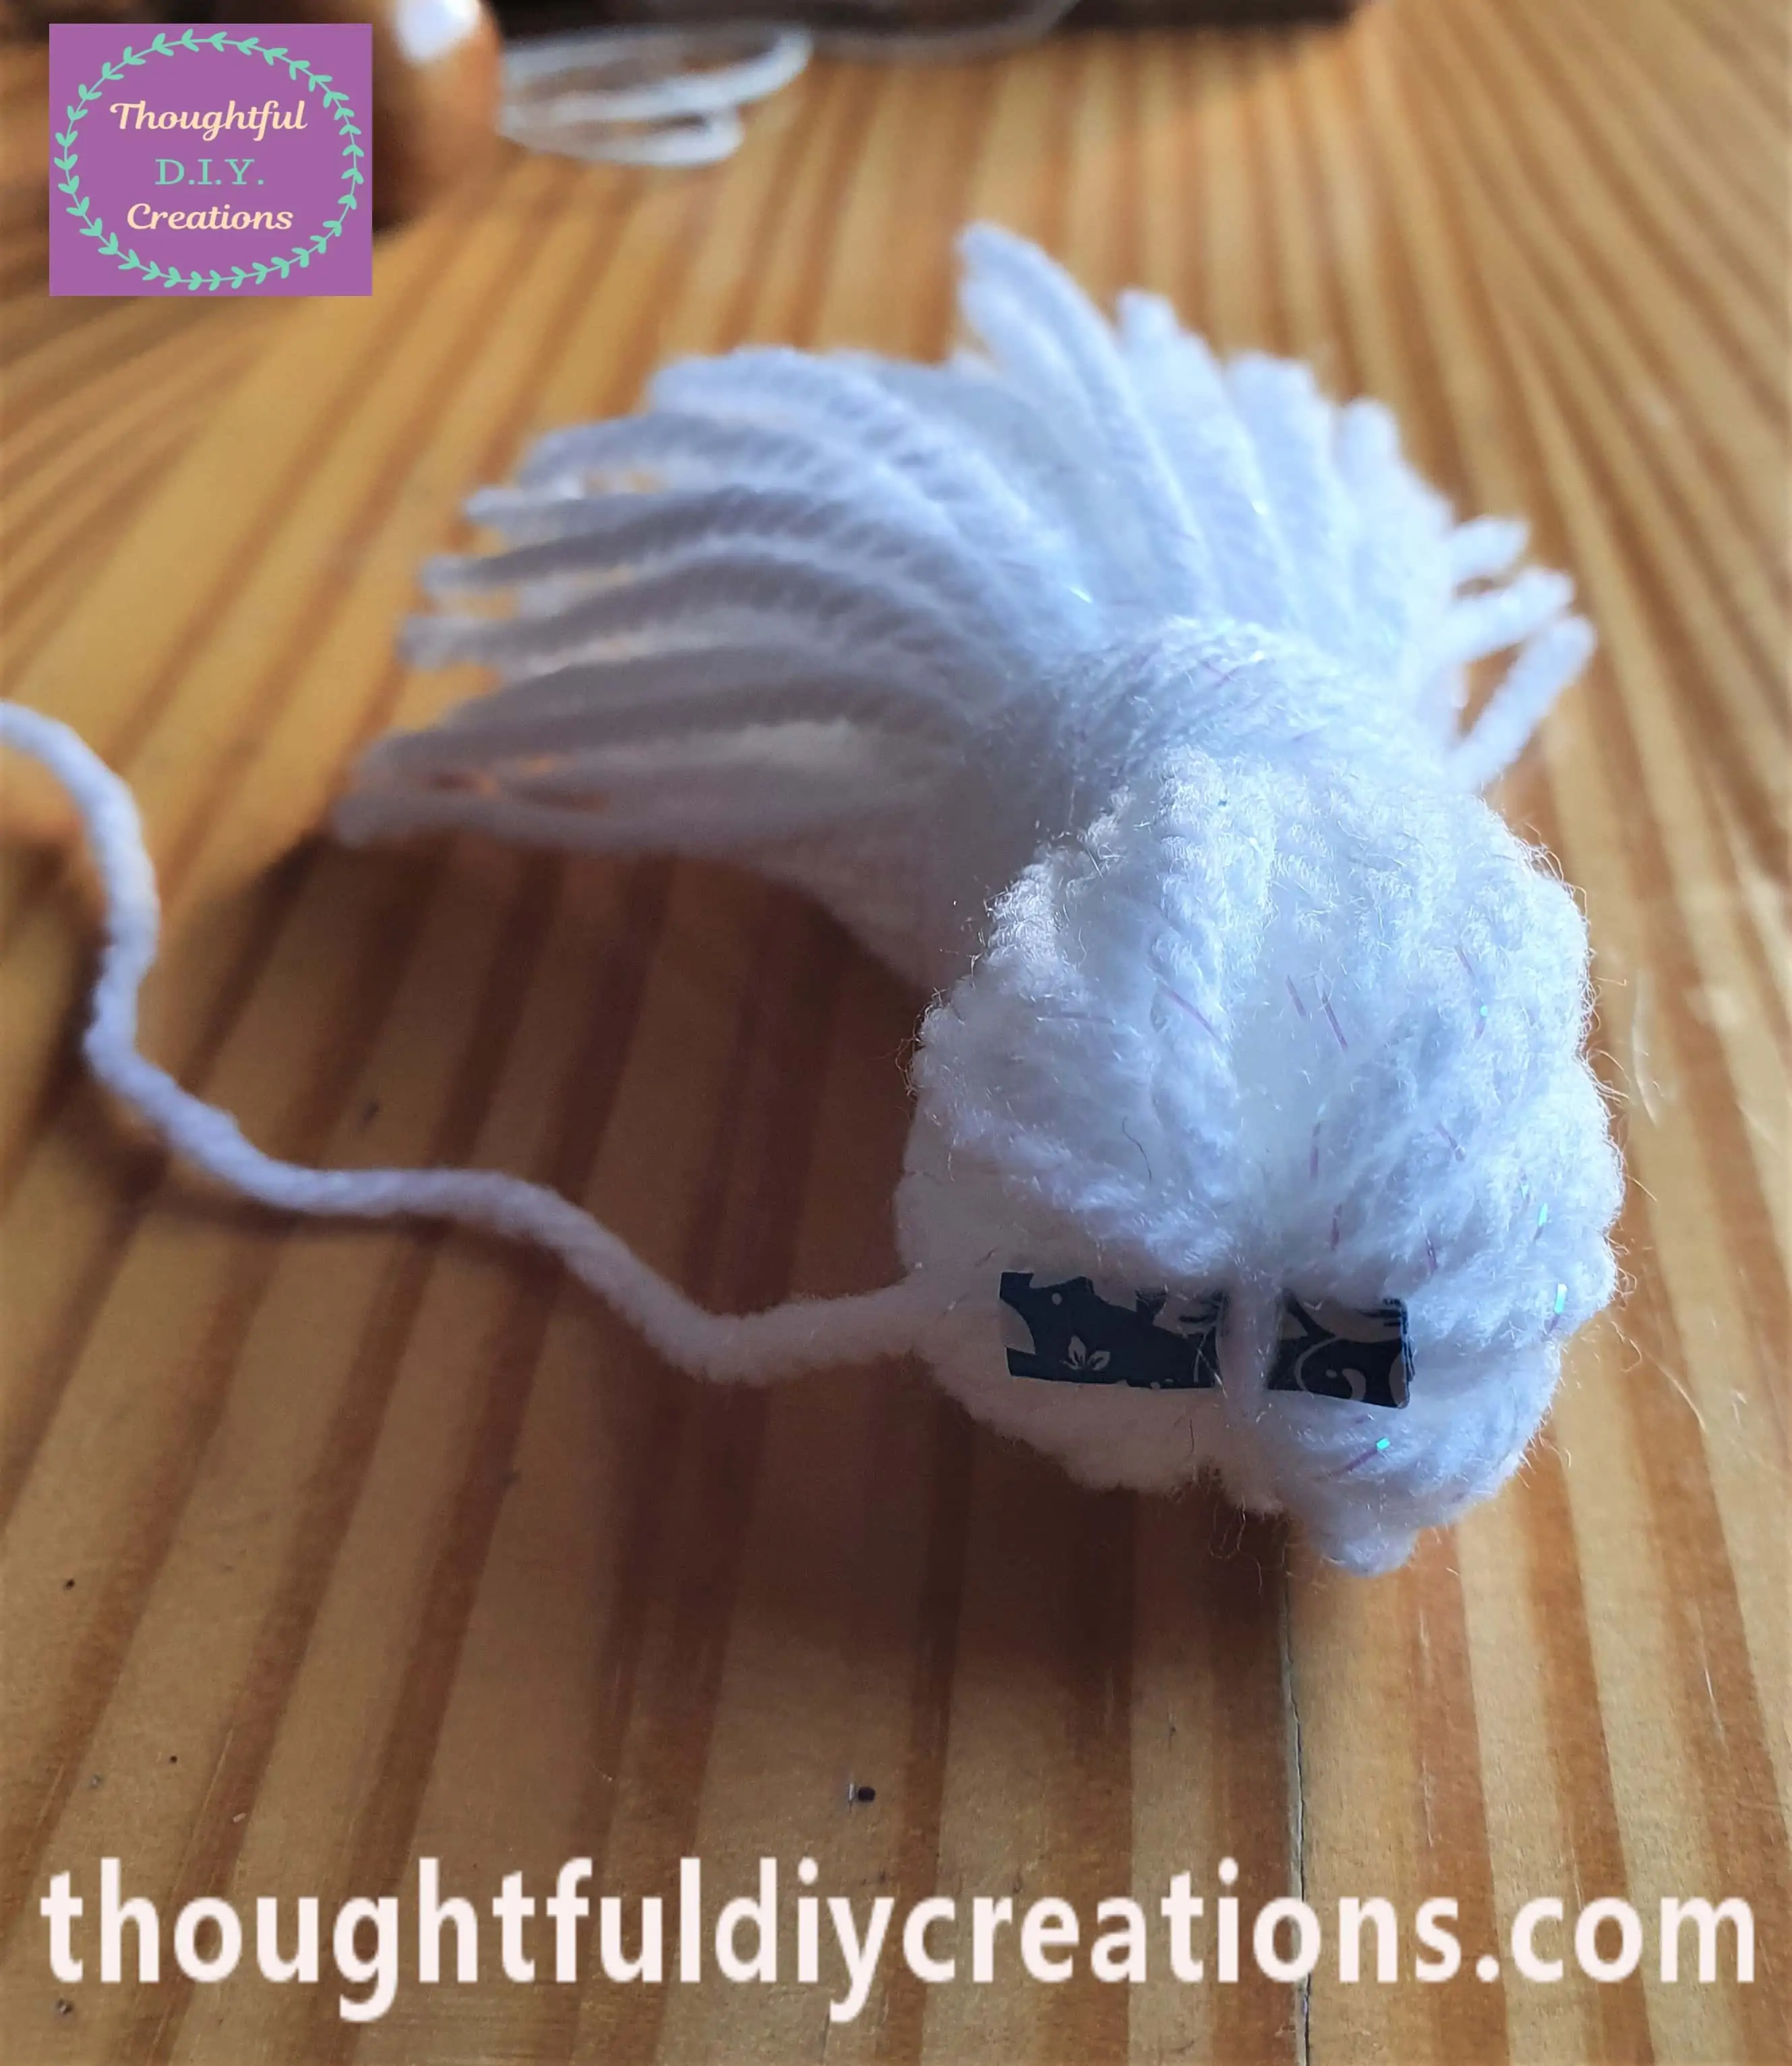
This is the front of the Tassel with the loop peaking behind and the String that I Cut to the Side.
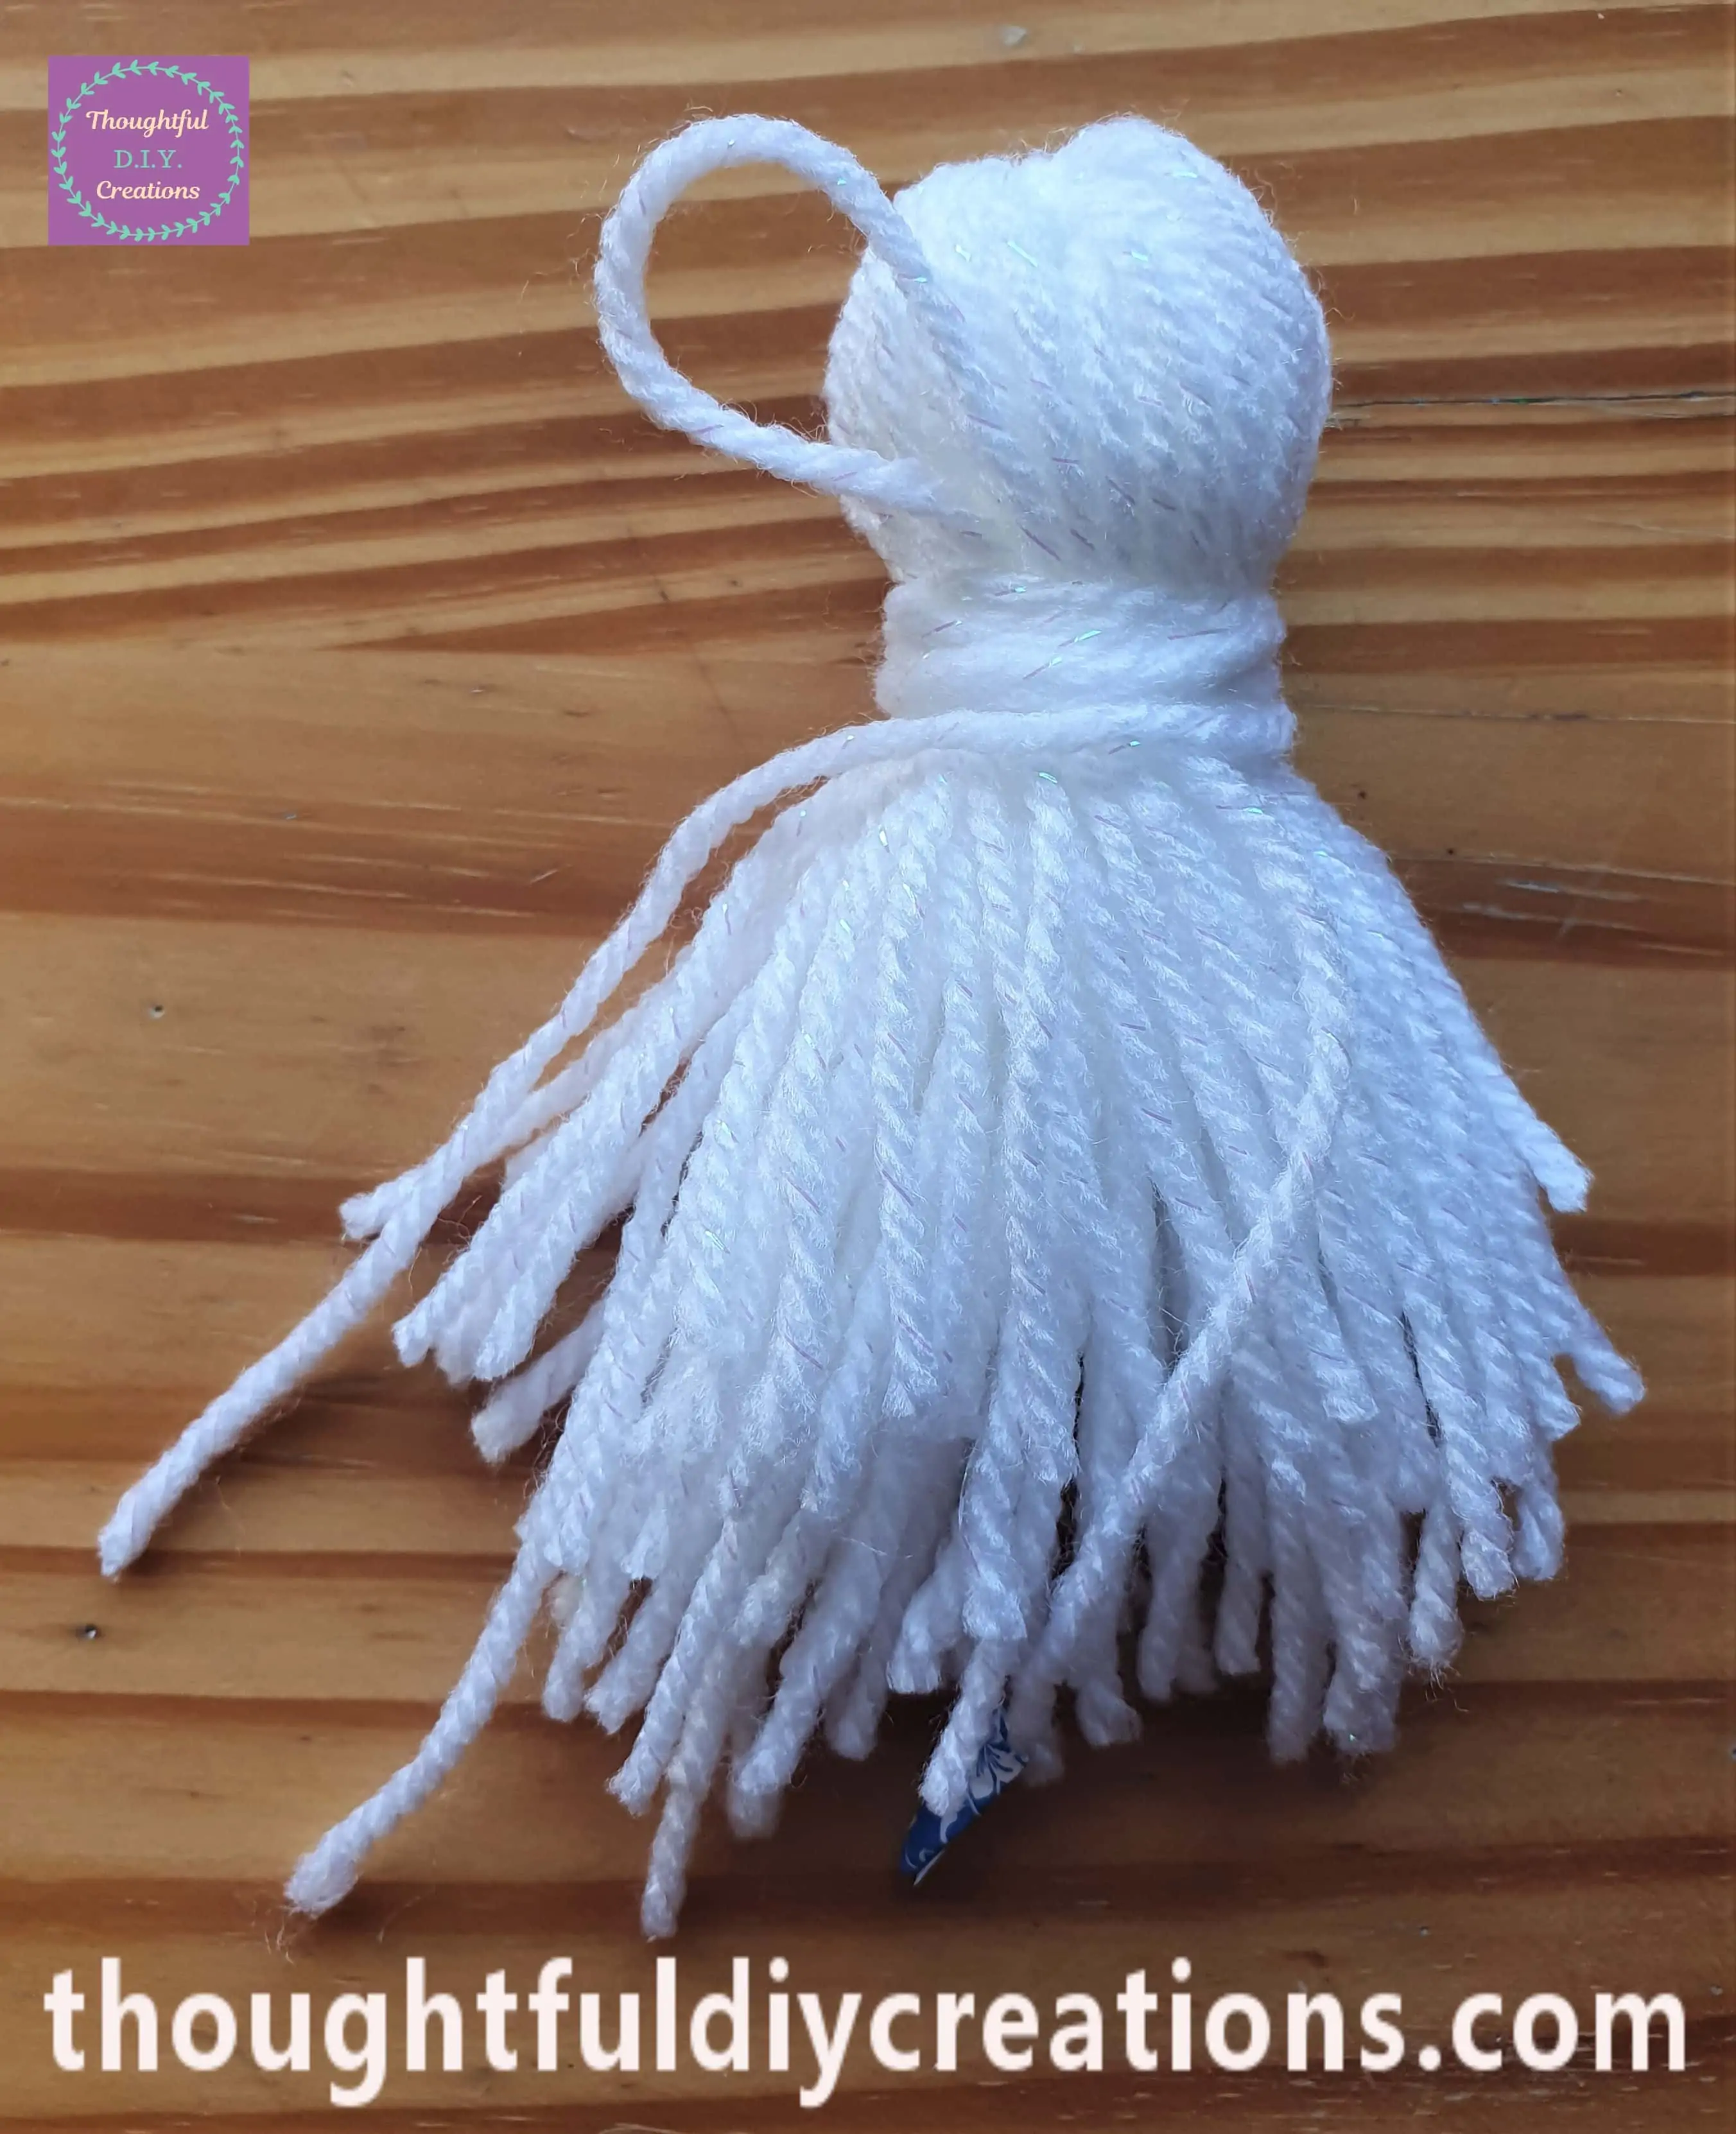
The back of the Tassel.
Finishing the Tassel
I put the end of Wool that I just Cut through the Loop.
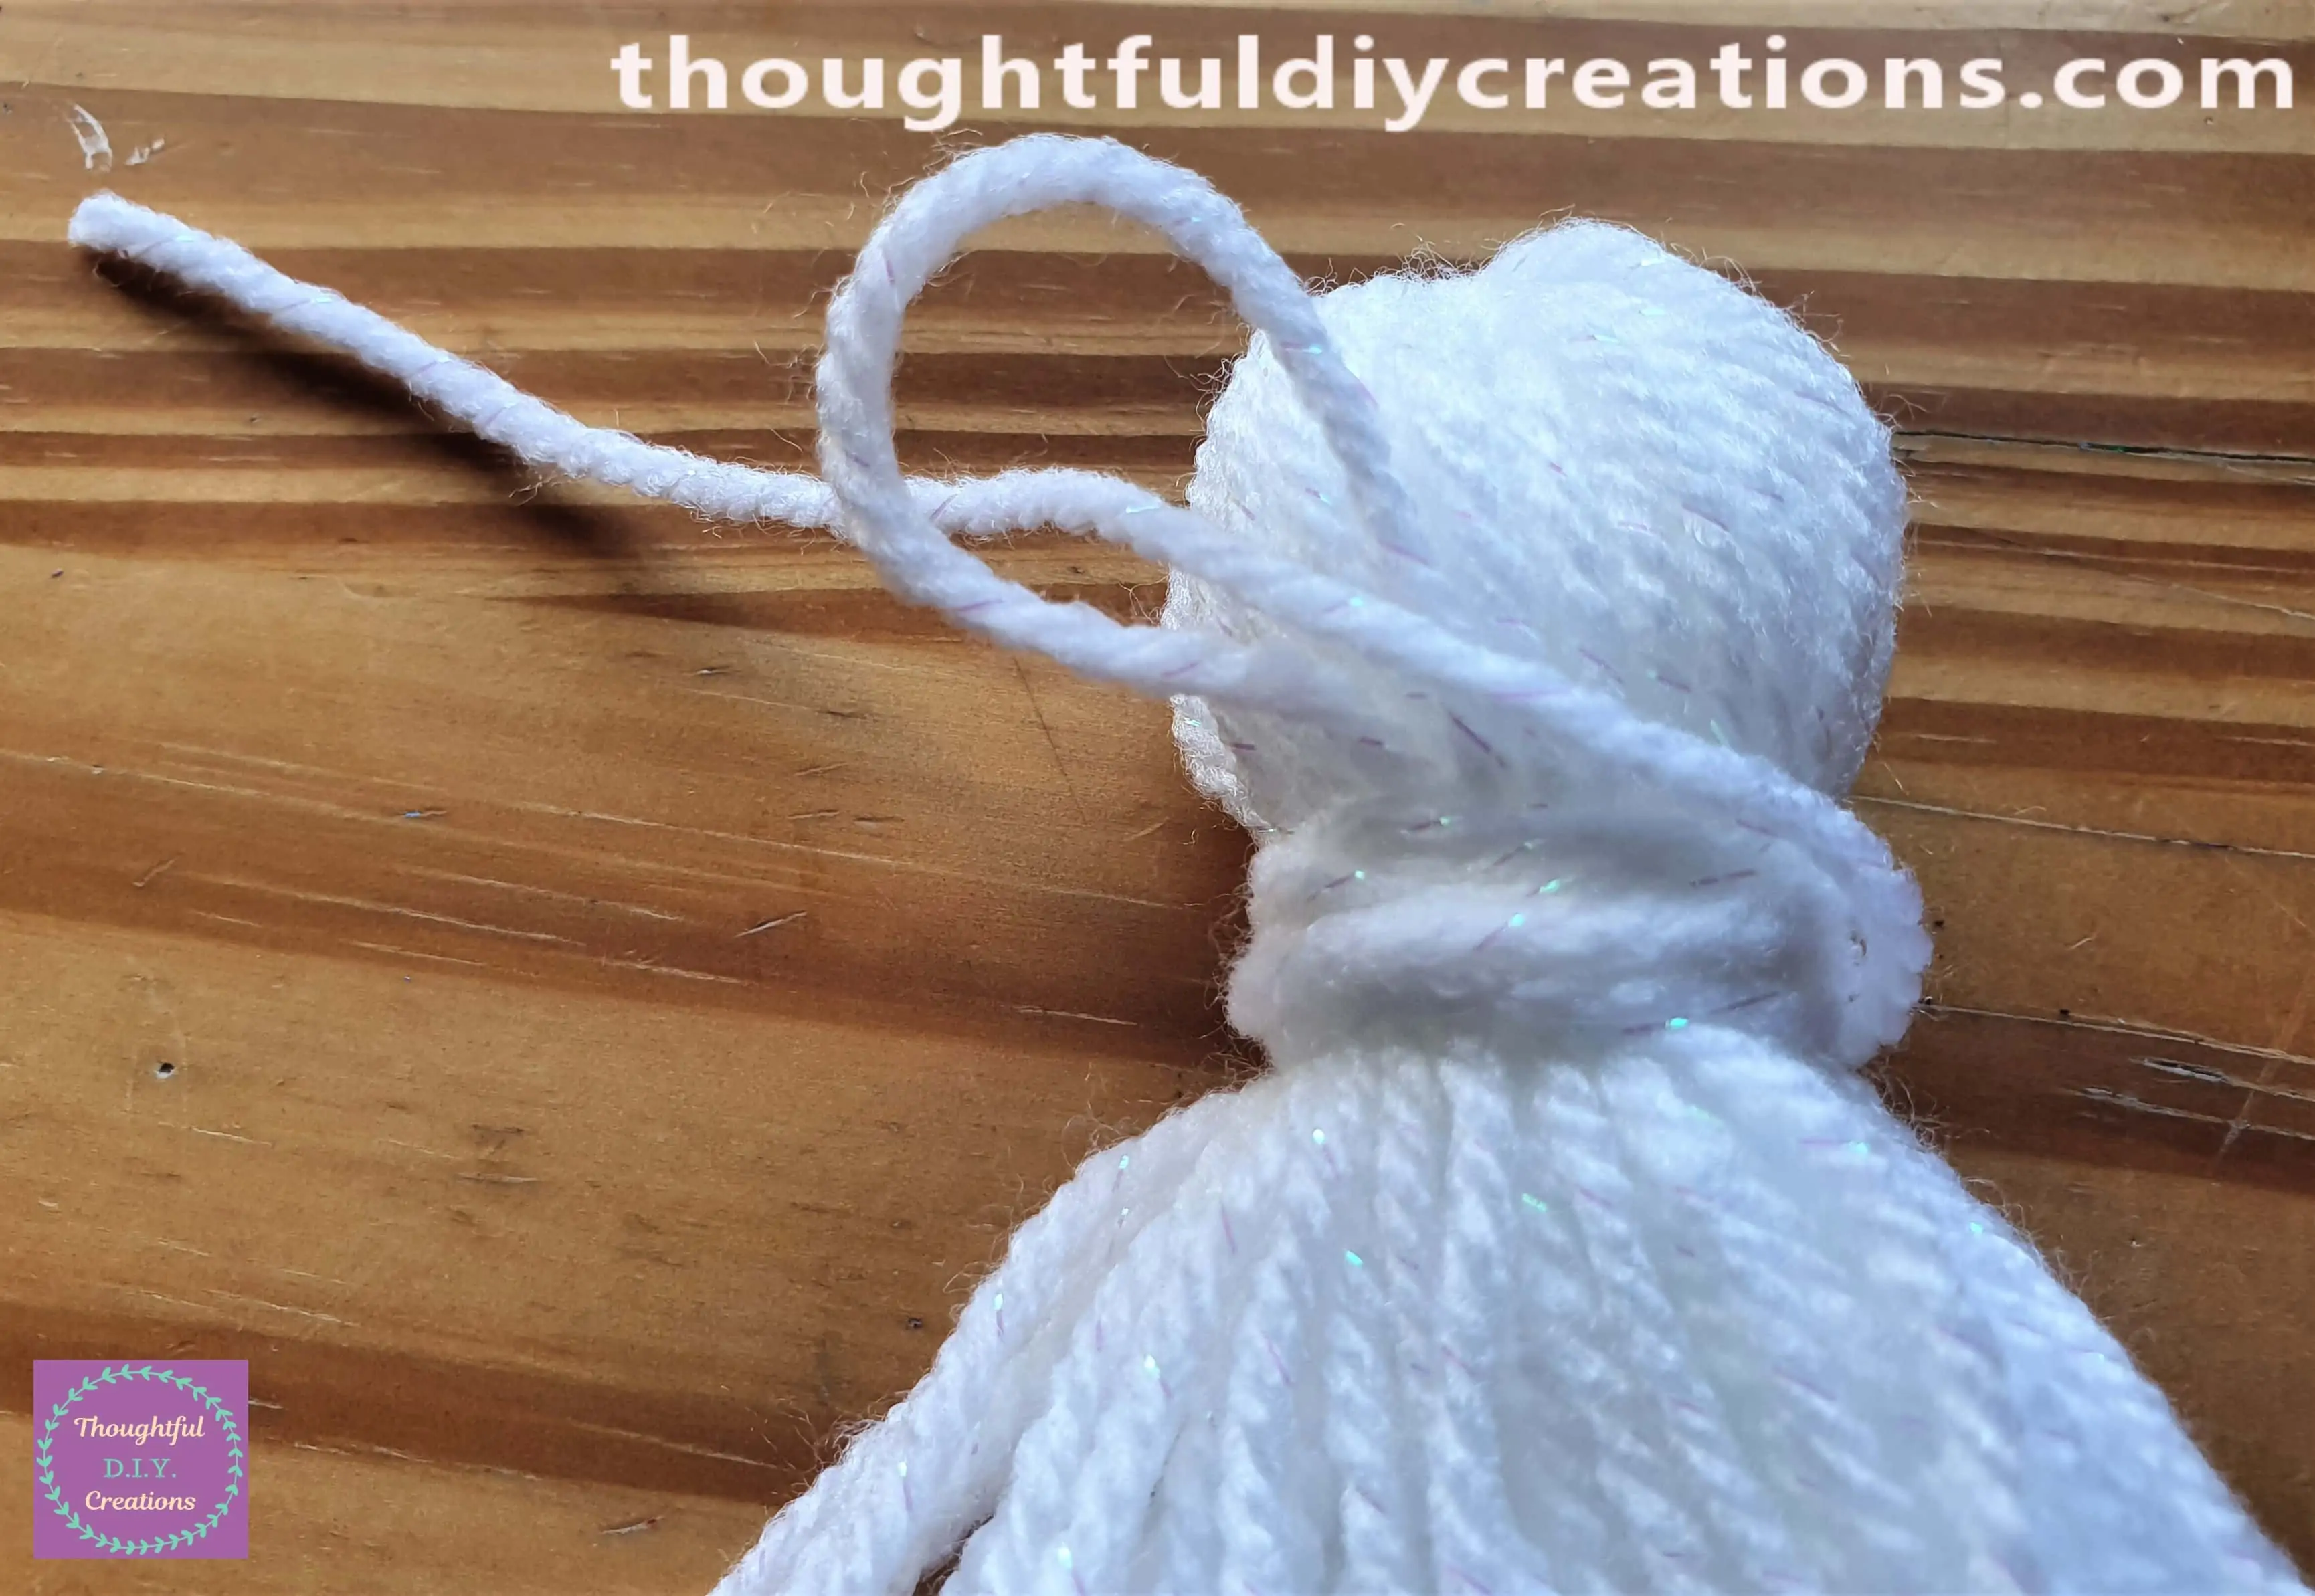
I Pulled the String of Wool with Washi-Tape on it, downwards.
As I pulled the String with washi-tape on it down, the other end of string that was put through the loop, tightened into the loop forming a knot.
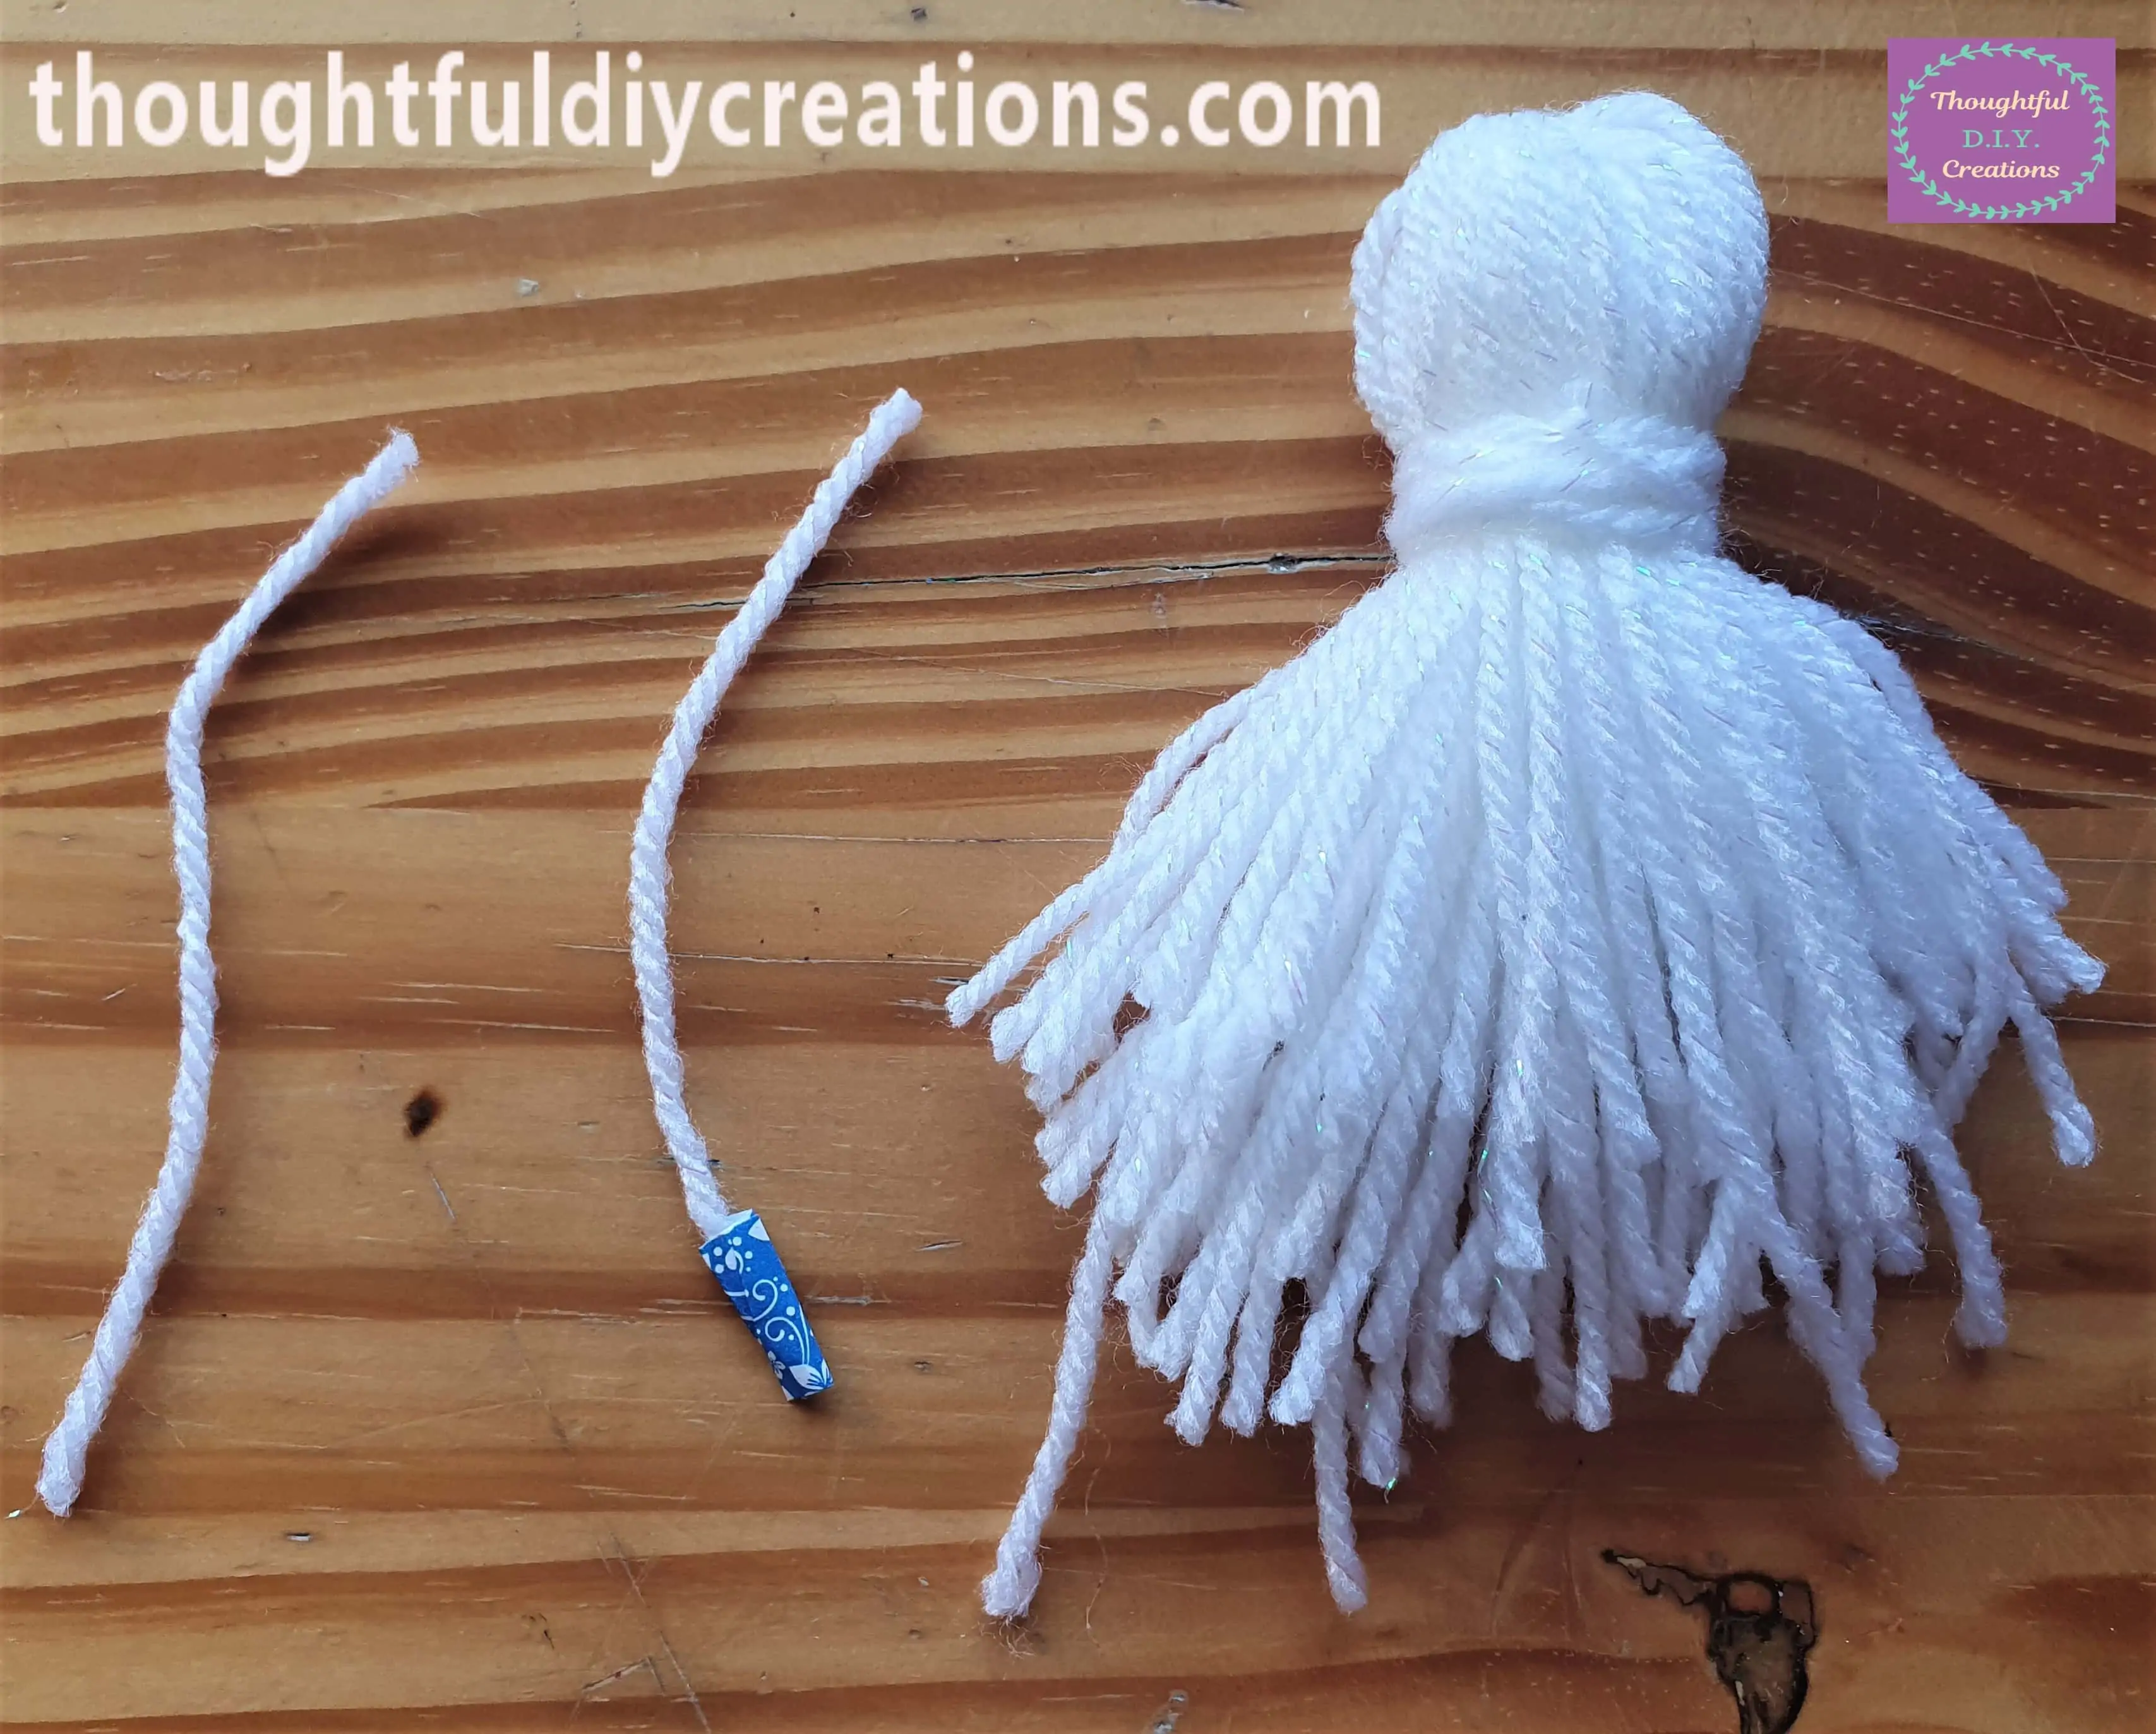
Here is a Full View of how it looked after I pulled the String and the Knot formed through the loop.
I Cut off the String of Wool beside the Knot as well as the excess String with the washi-tape on it.
I then flattened the bottom part of the tassel with my left hand and Cut it straight across with my Scissors using my right hand.
This is the front of the Tassel with the different lengths Cut away.
Here is the Back of the Tassel.
Attaching the Tassel to the Wooden Bead Garland
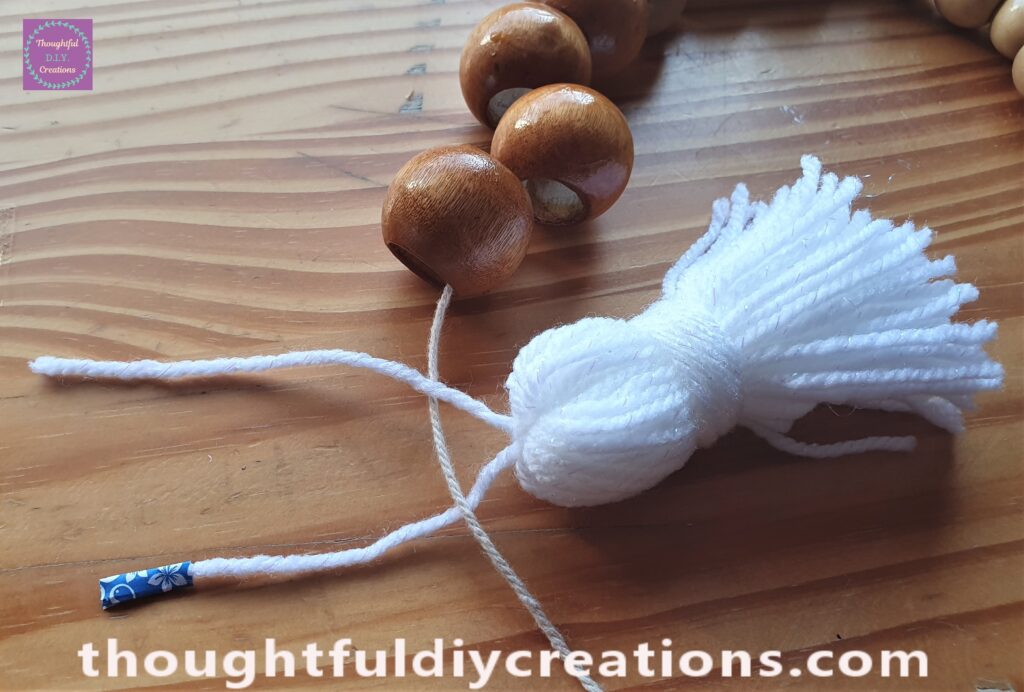
I Cut another length of Wool and put Washi-Tape on one end of it.
I Slid the Washi-Tape under the Loop of Wool on the very Top Mid-Section of the Tassel; which was used to Tie the Top of the Bundle of Wool earlier. The Double-Knot is underneath.
I slid half the String of Wool under the loop of String on top of the Tassel.
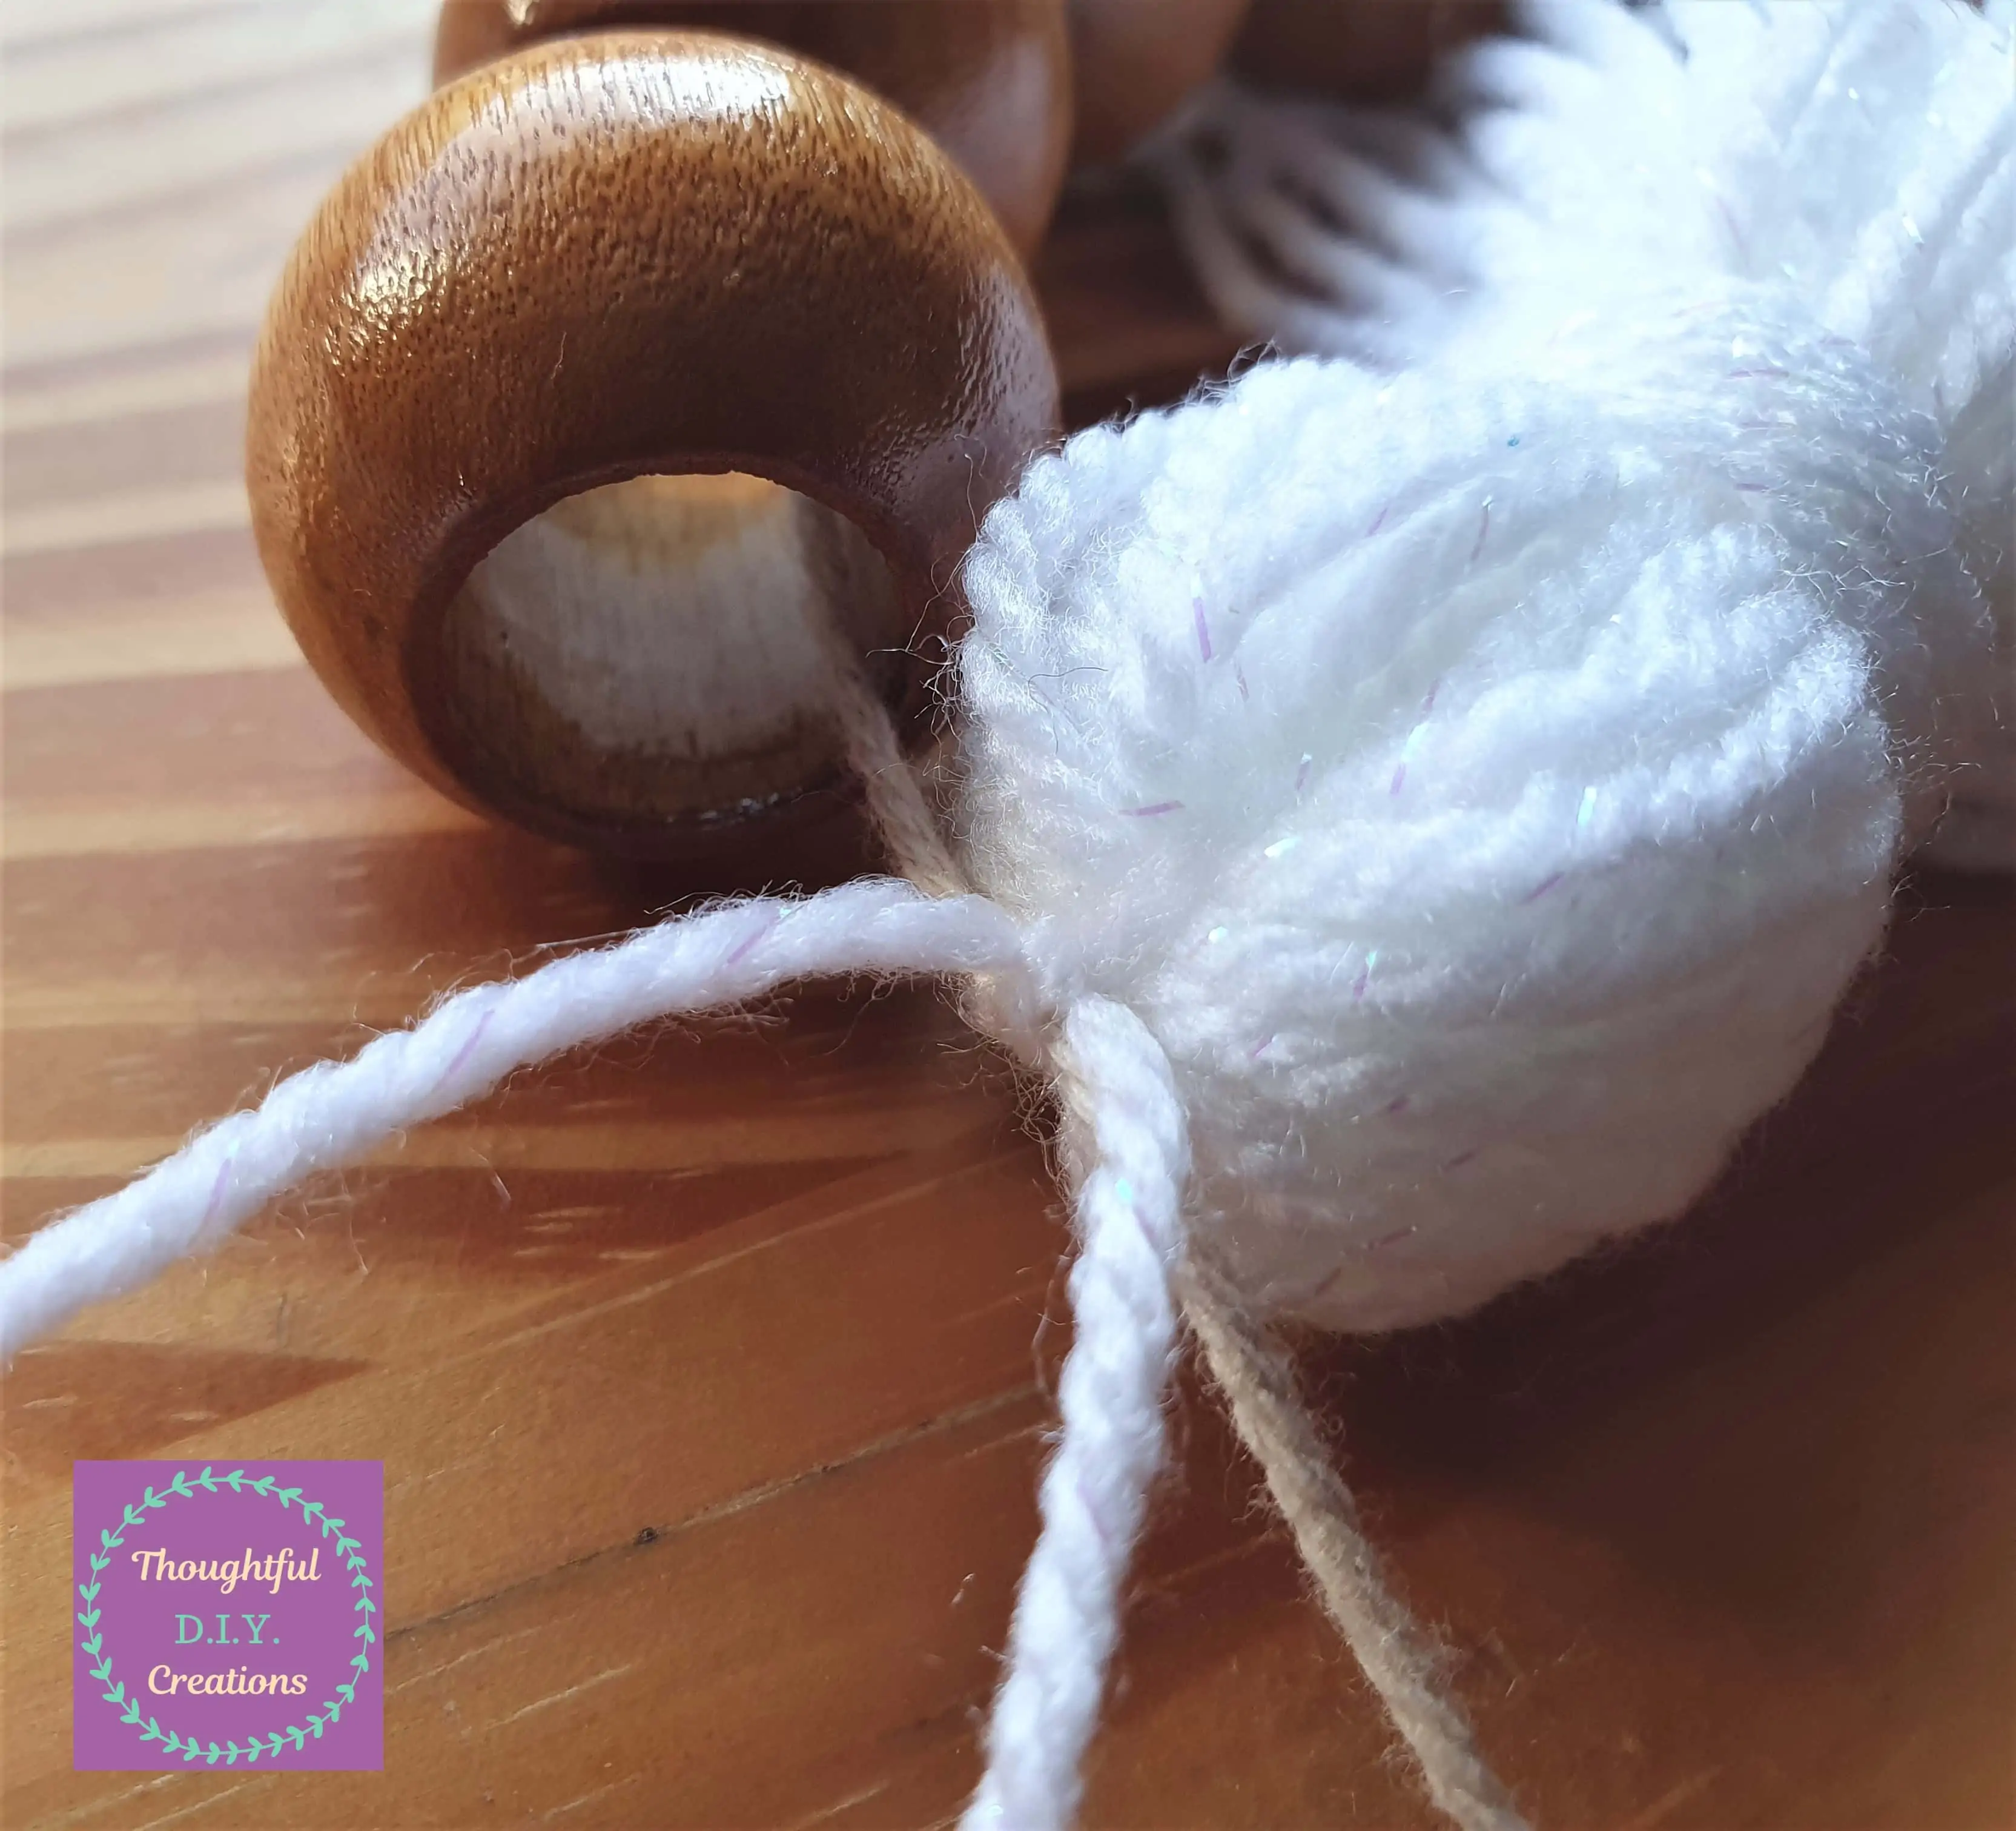
I put the String with washi-tape underneath the Cream String of the Wooden Bead Garland, and put the other White String over the Cream String.
I tied the 2 White Strings tightly into a Double-Knot over the Cream String.
I Cut away the 3 excess Strings.
Completing the Wooden Bead Garland
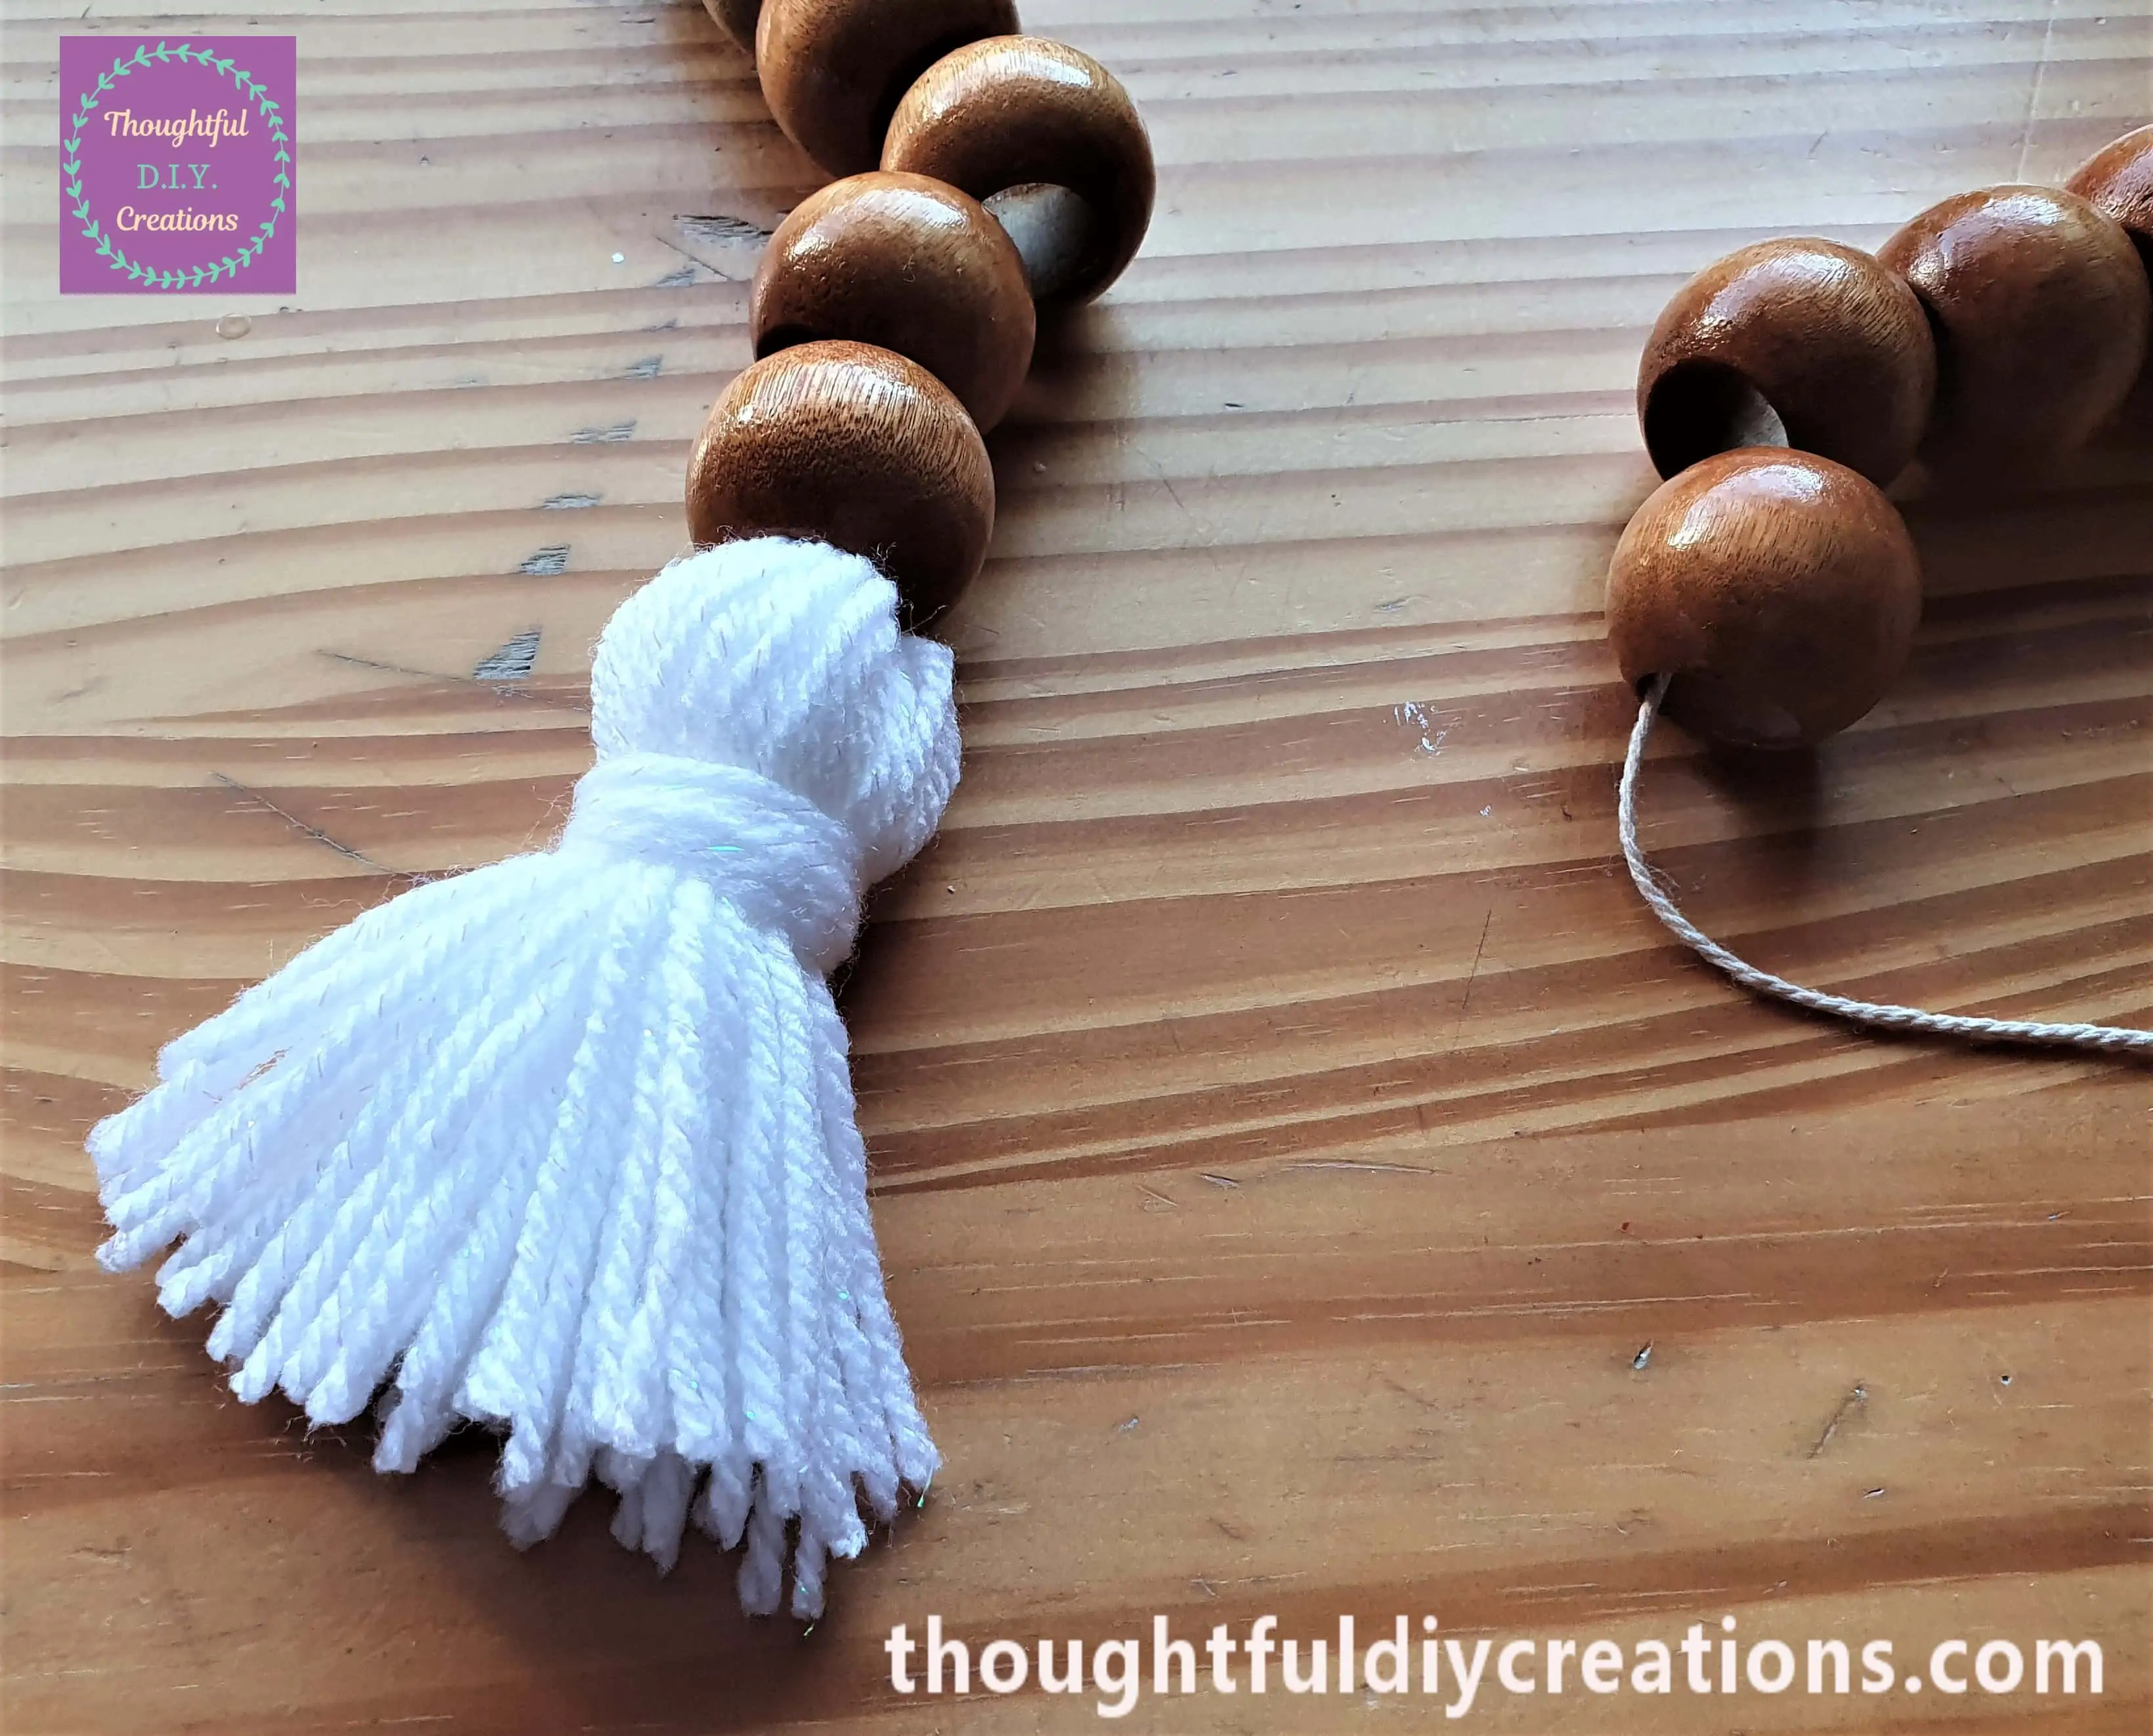
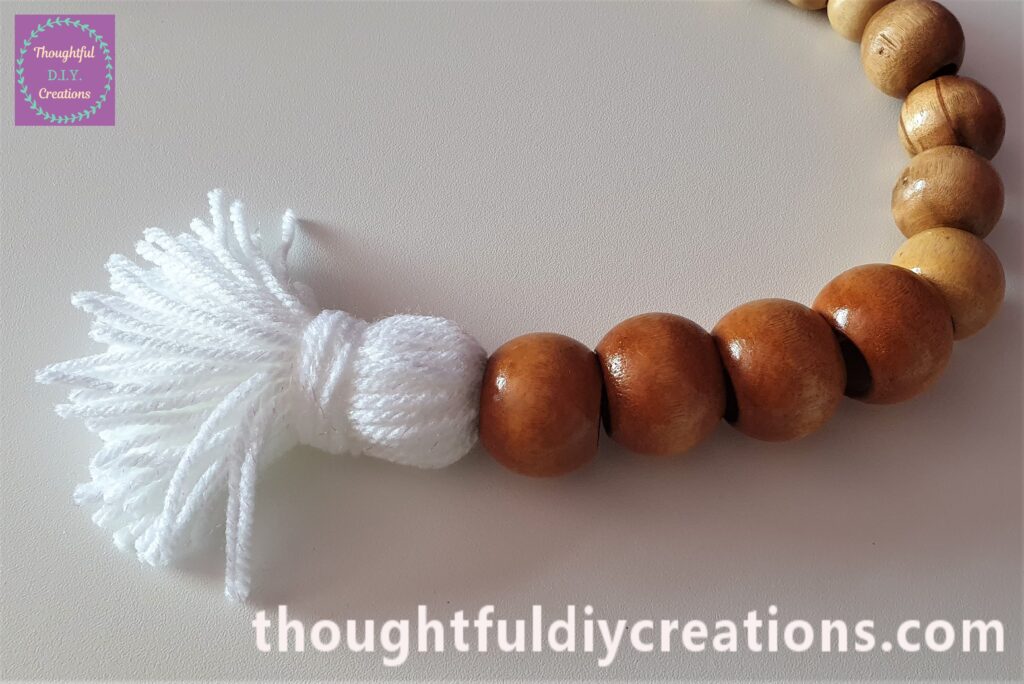
I turned the Head of the Tassel into the direction of the large Wooden Bead.
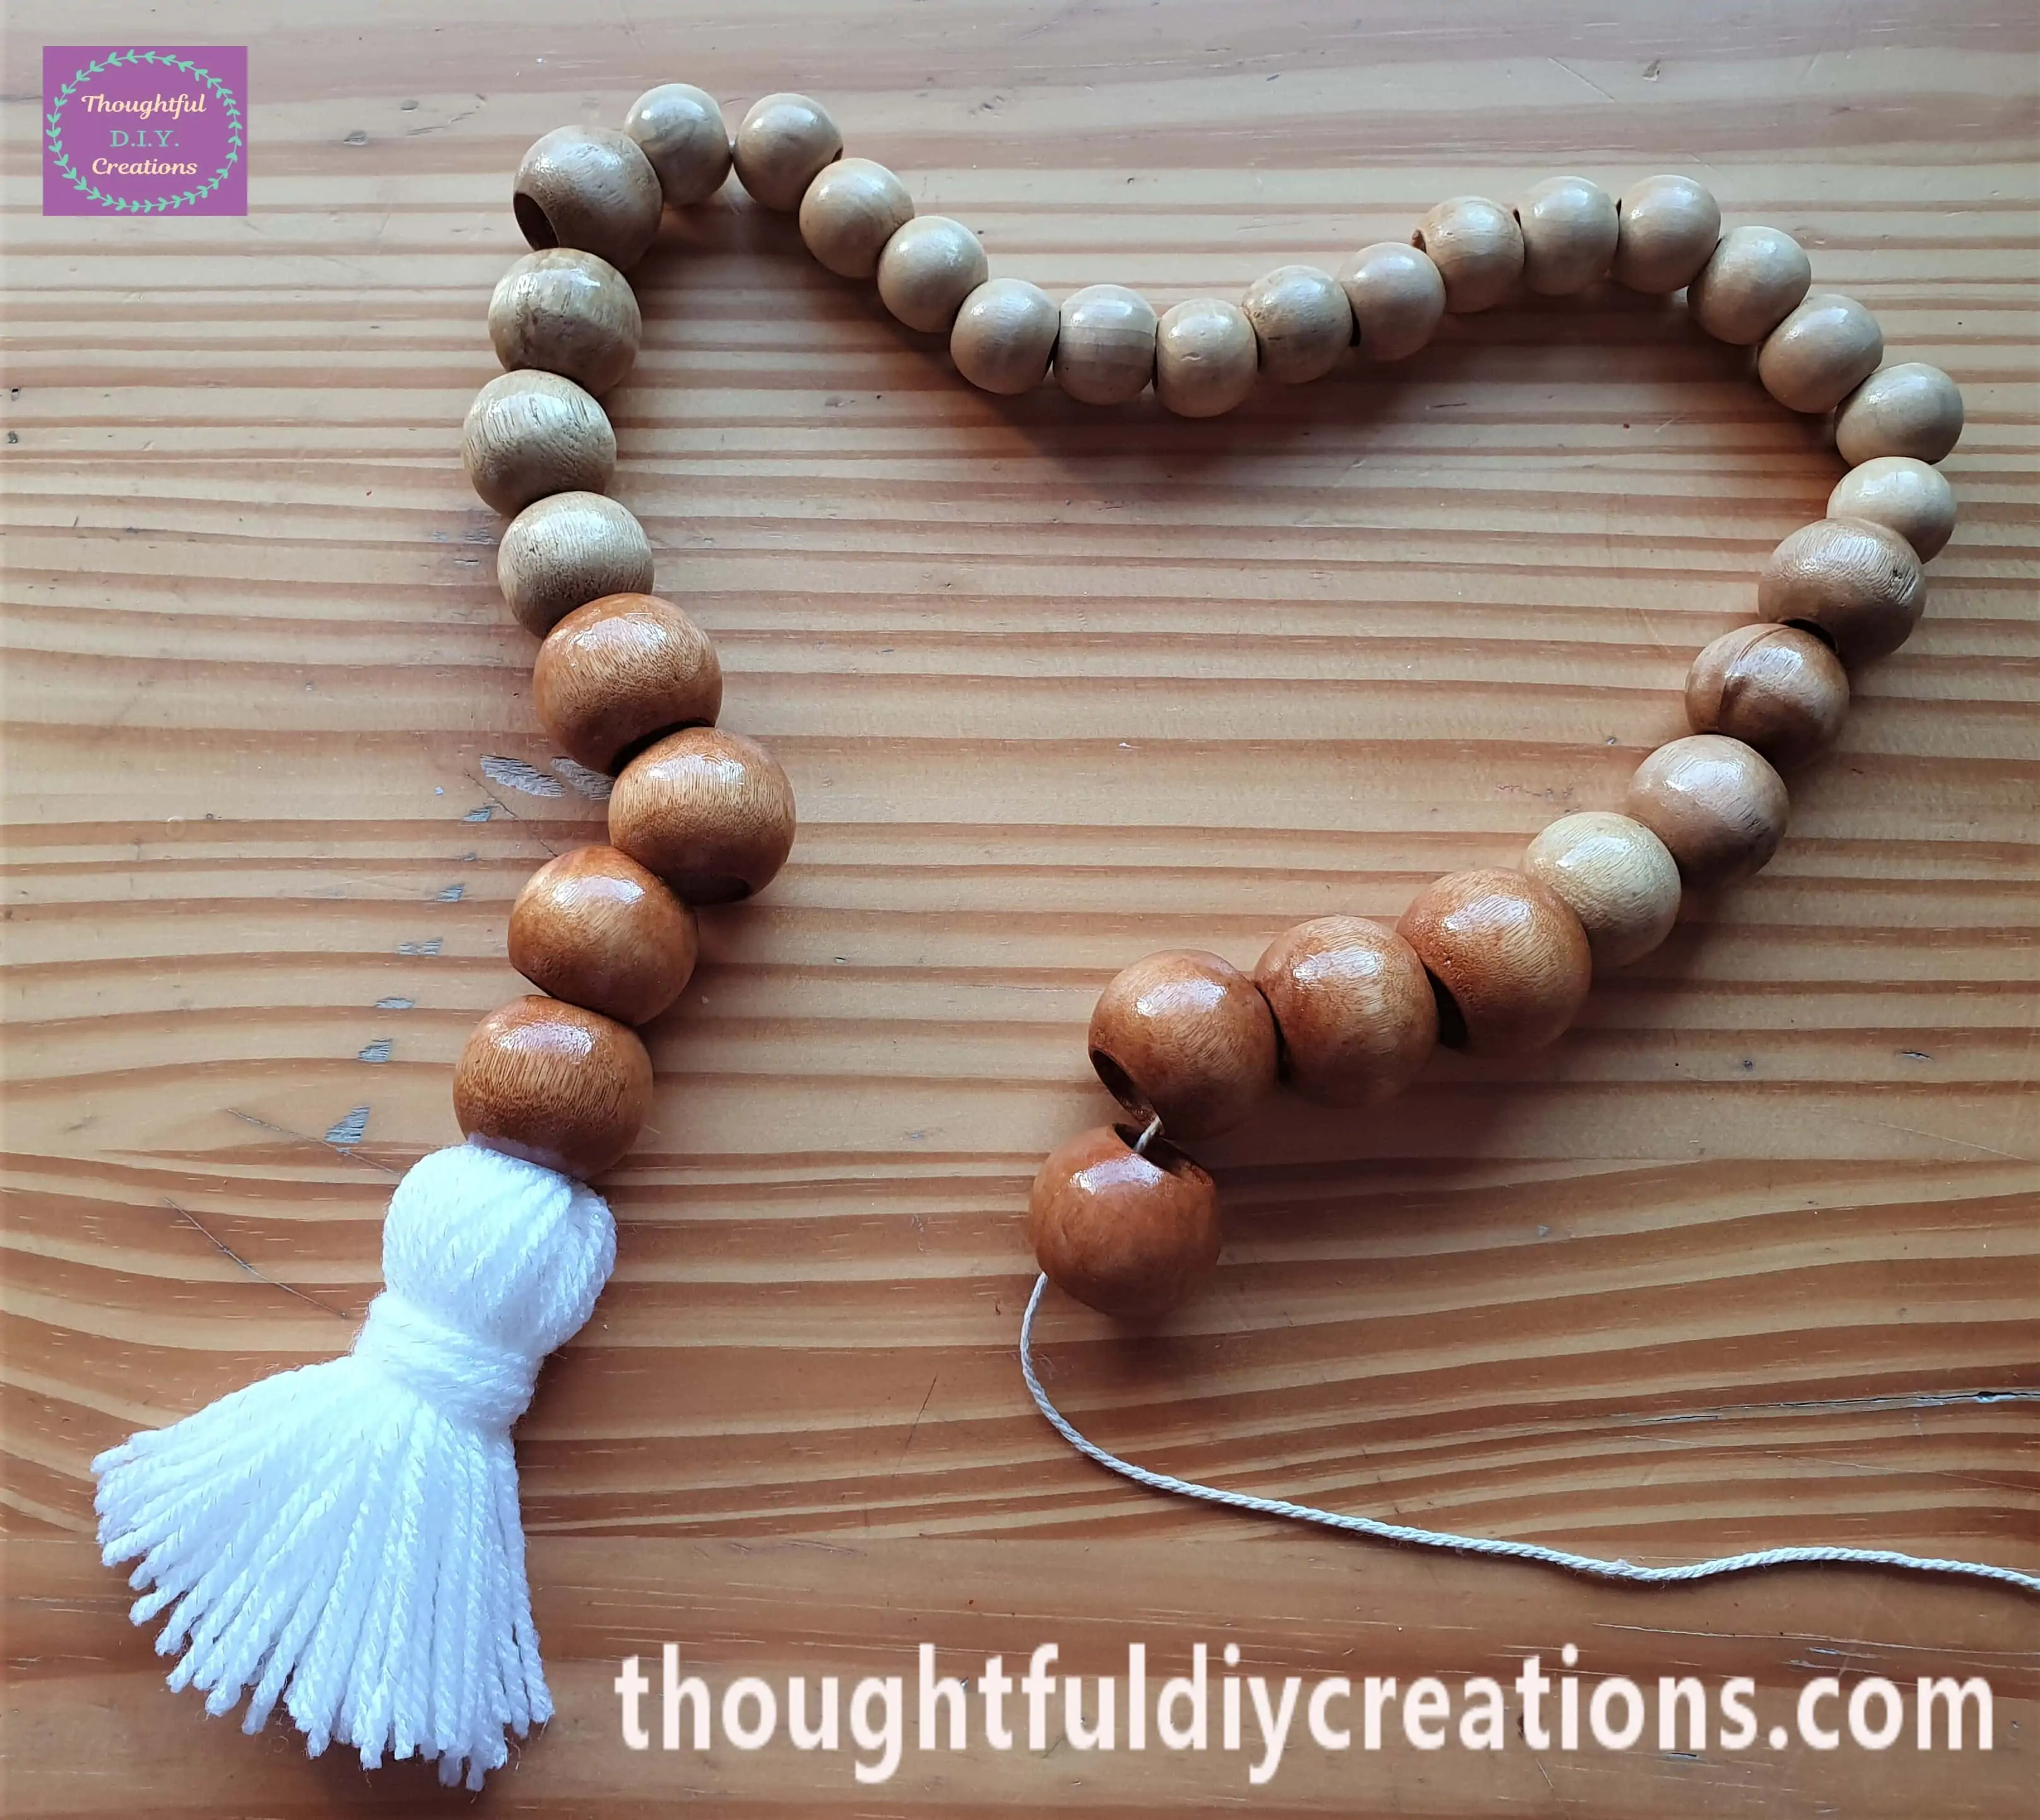
A Closer look at the Tassel added to the Wooden Bead Garland.
I Repeated the very same Process to make the Second Tassel and Attach it to the other End of the Garland.
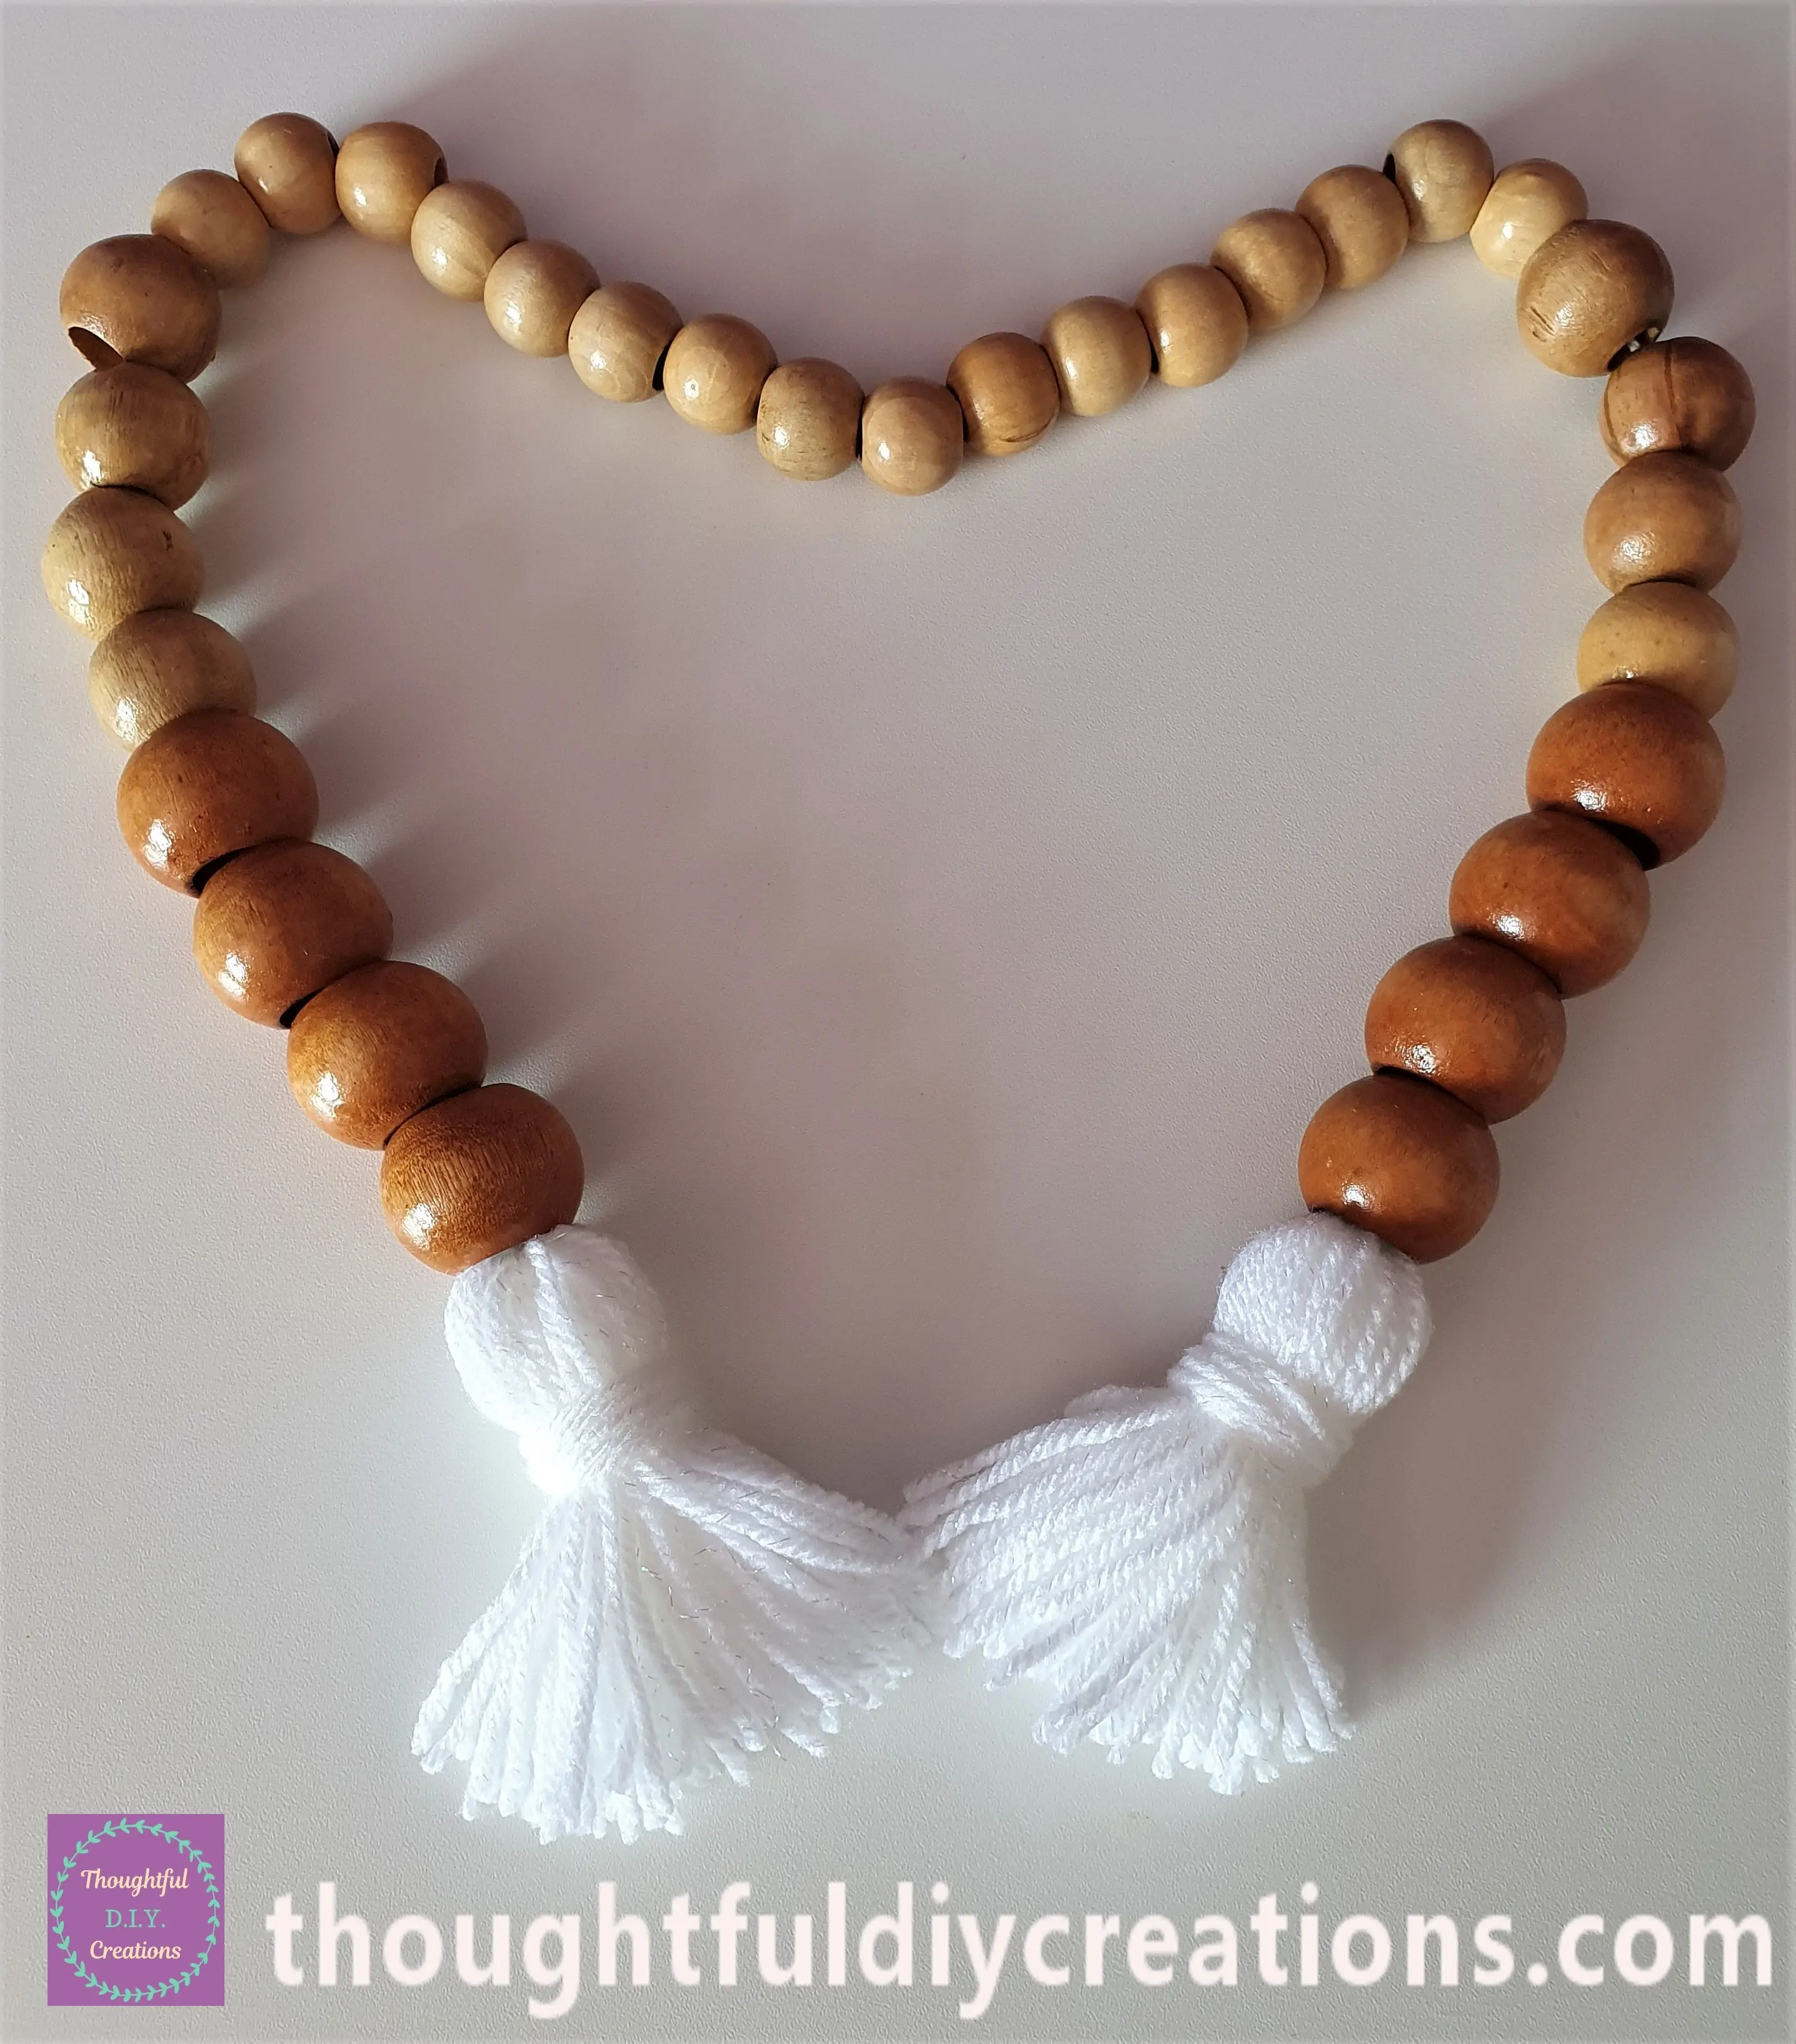
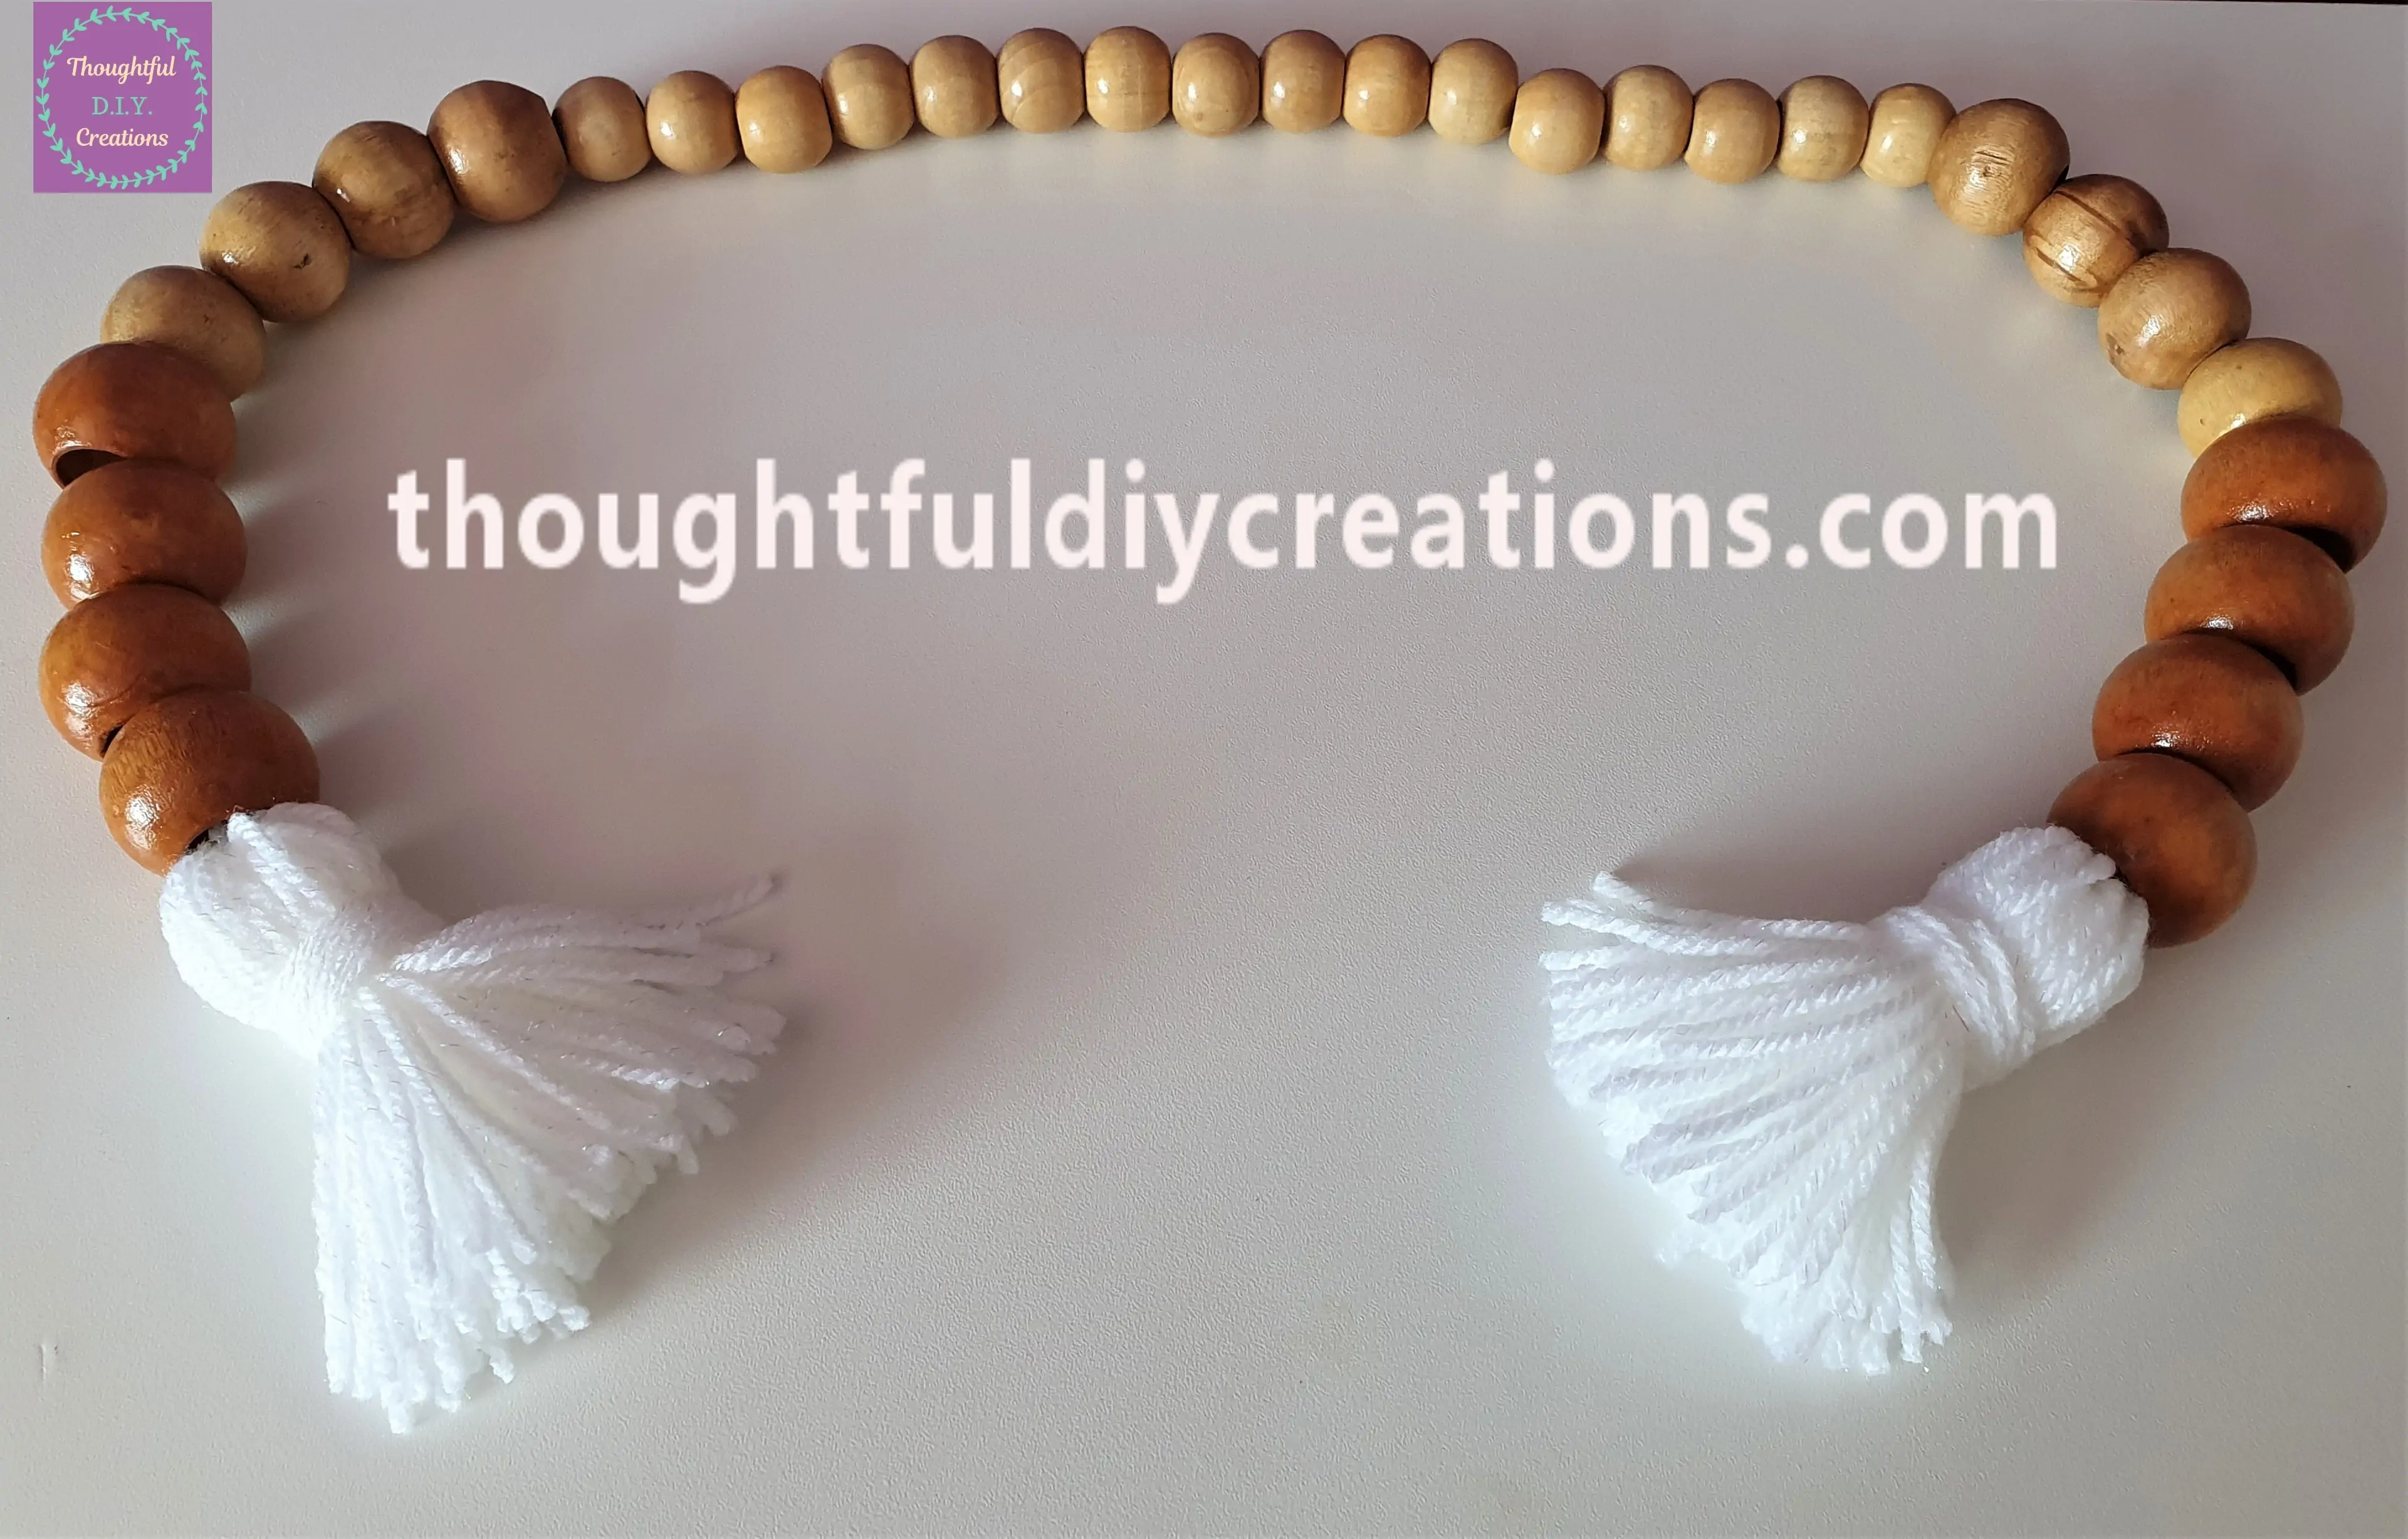
This Completed my Wooden Bead Garland with White Wool Tassels.

A Closer View of both the Tassels.

The Wooden Bead Garland can be turned into different Shapes.
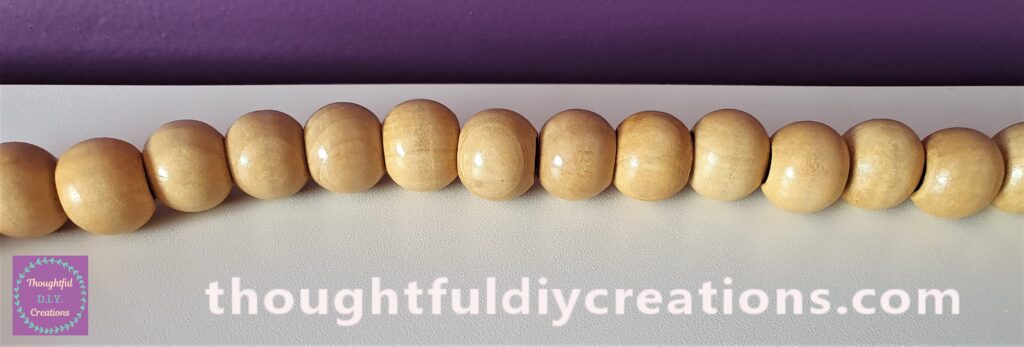
A Closer look at the Small Wooden Beads.
A Side View of the Garland.
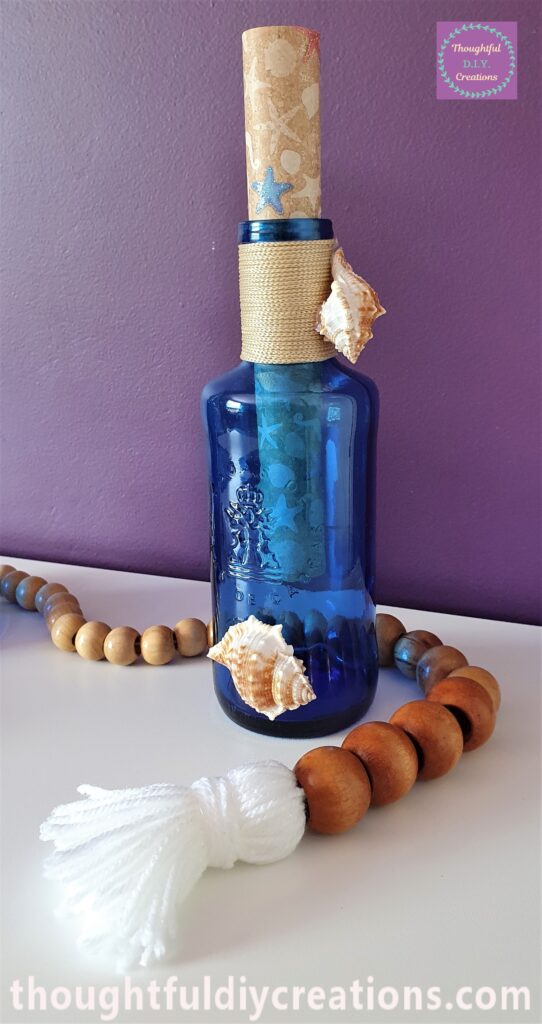
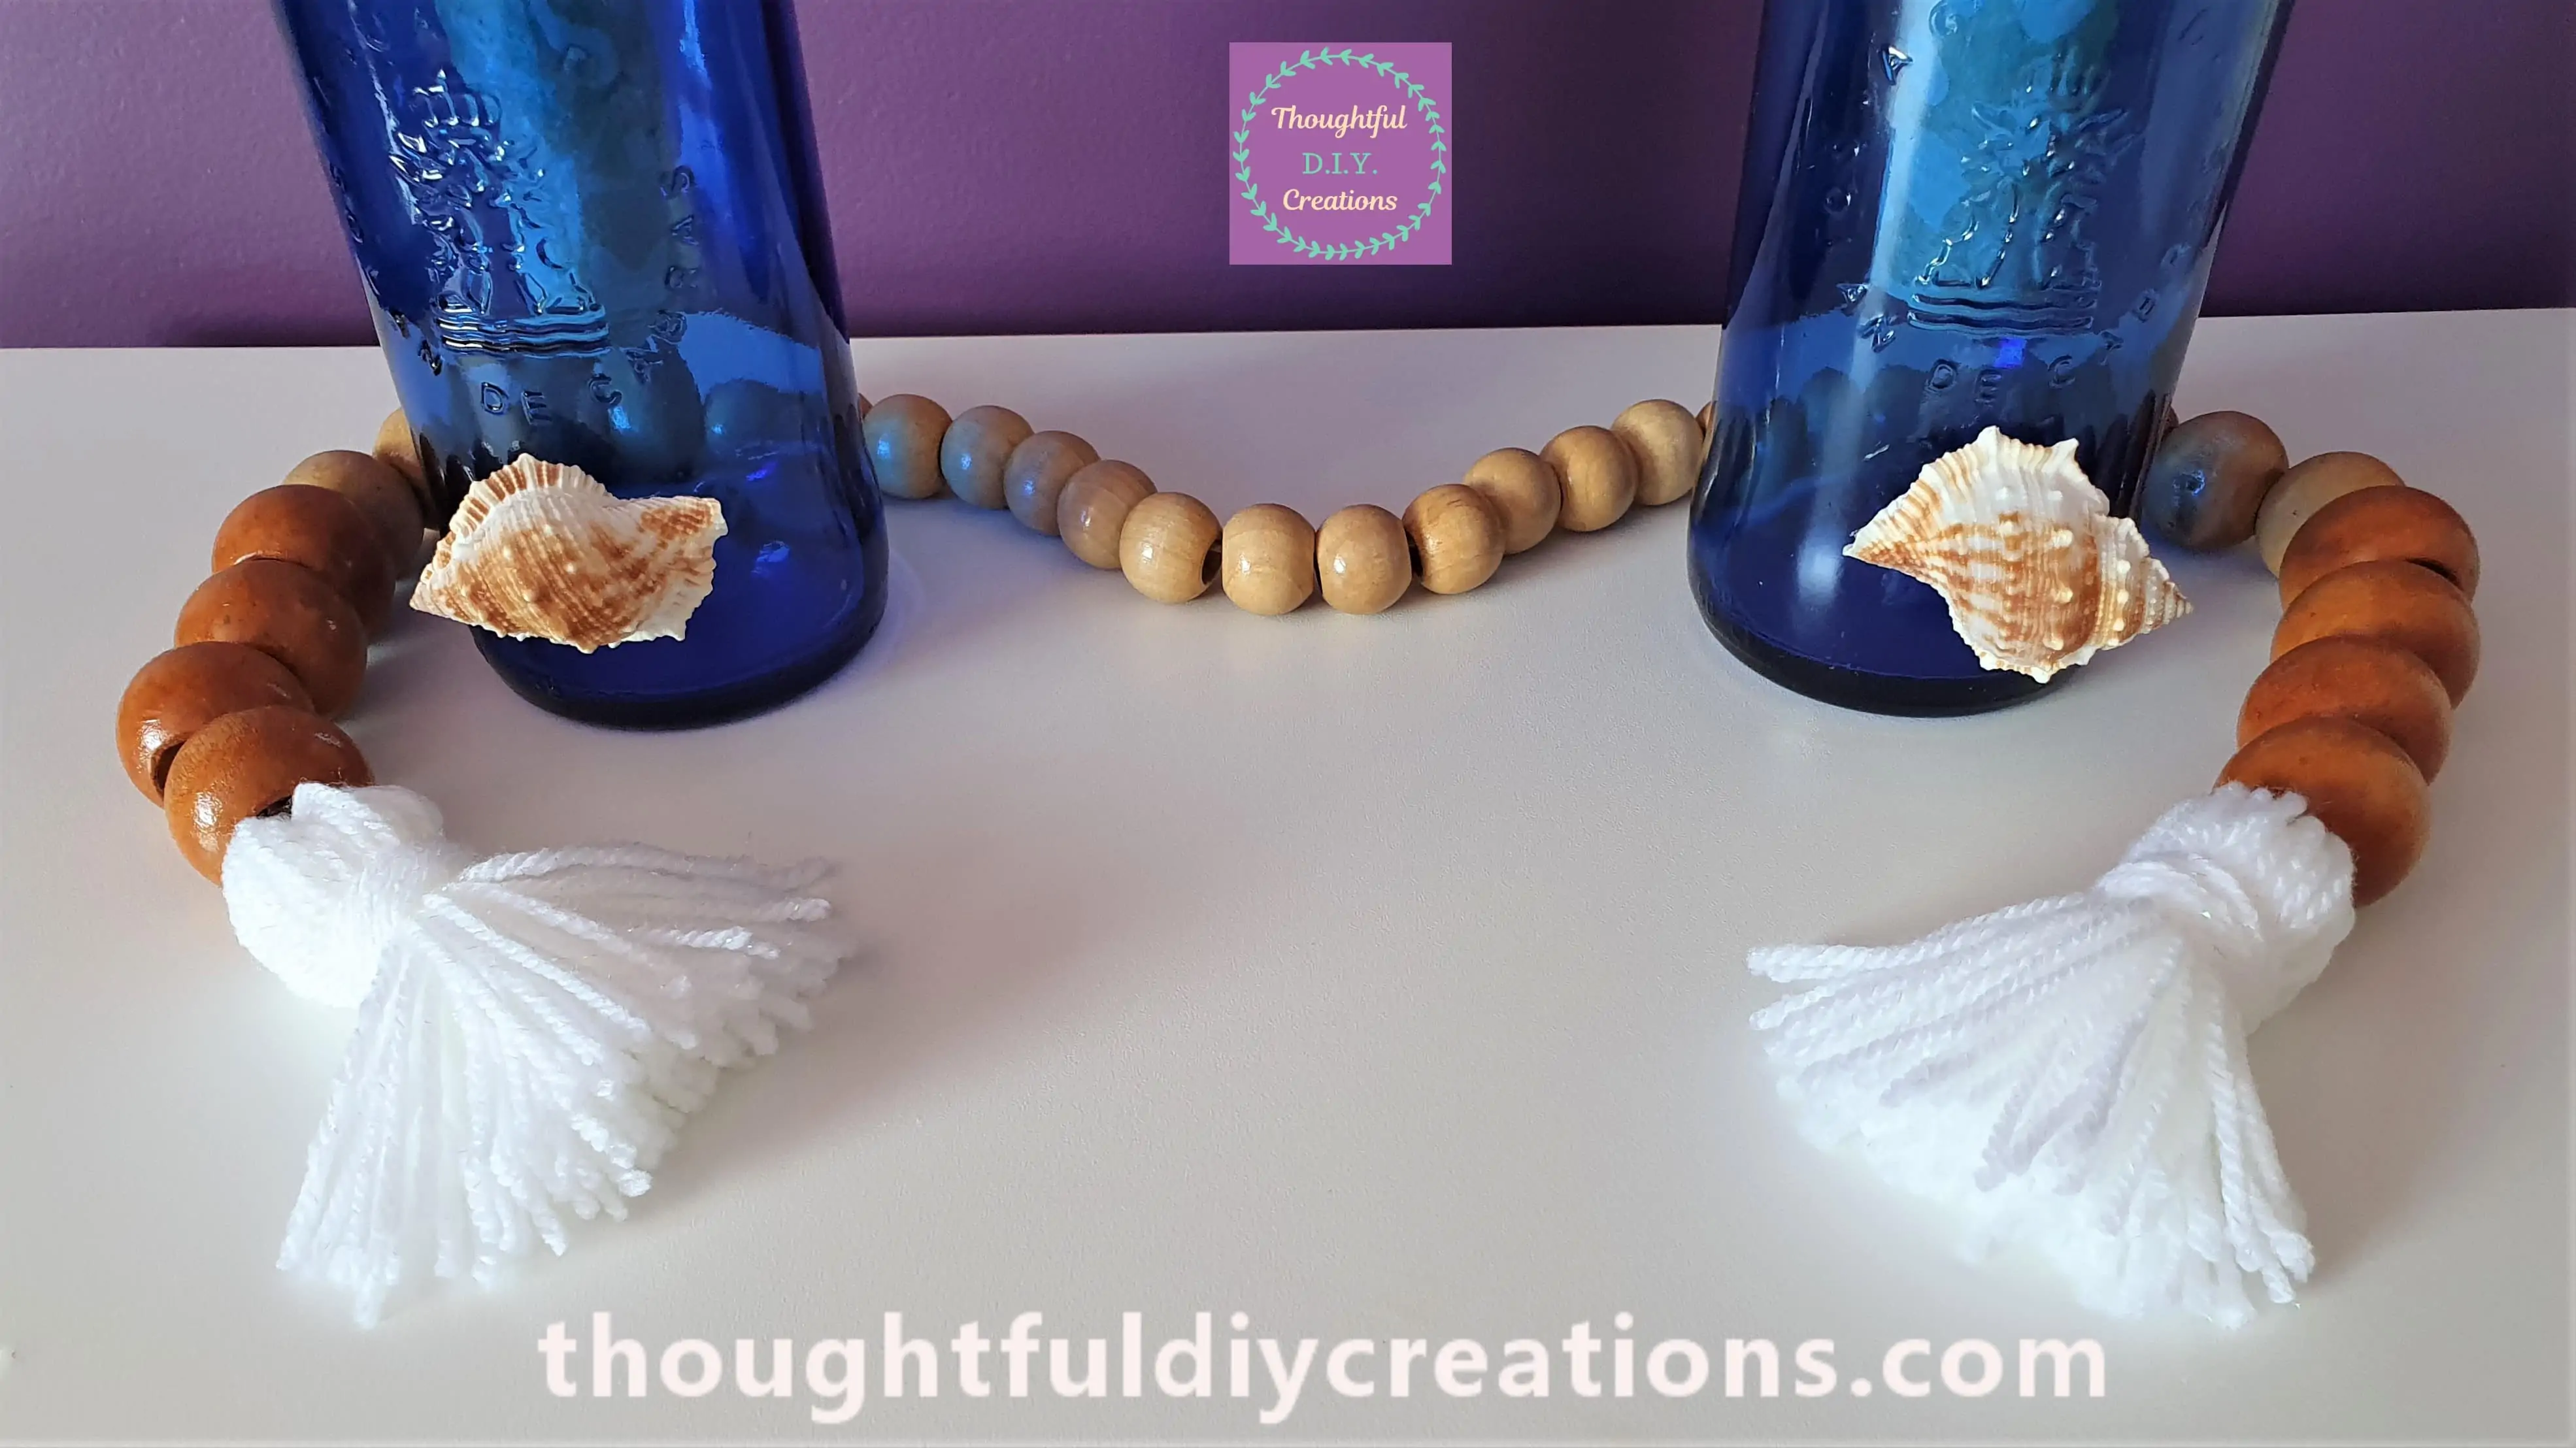
The Wooden Bead Garland wrapped around my Beach Inspired Bottles I made a couple of years ago.
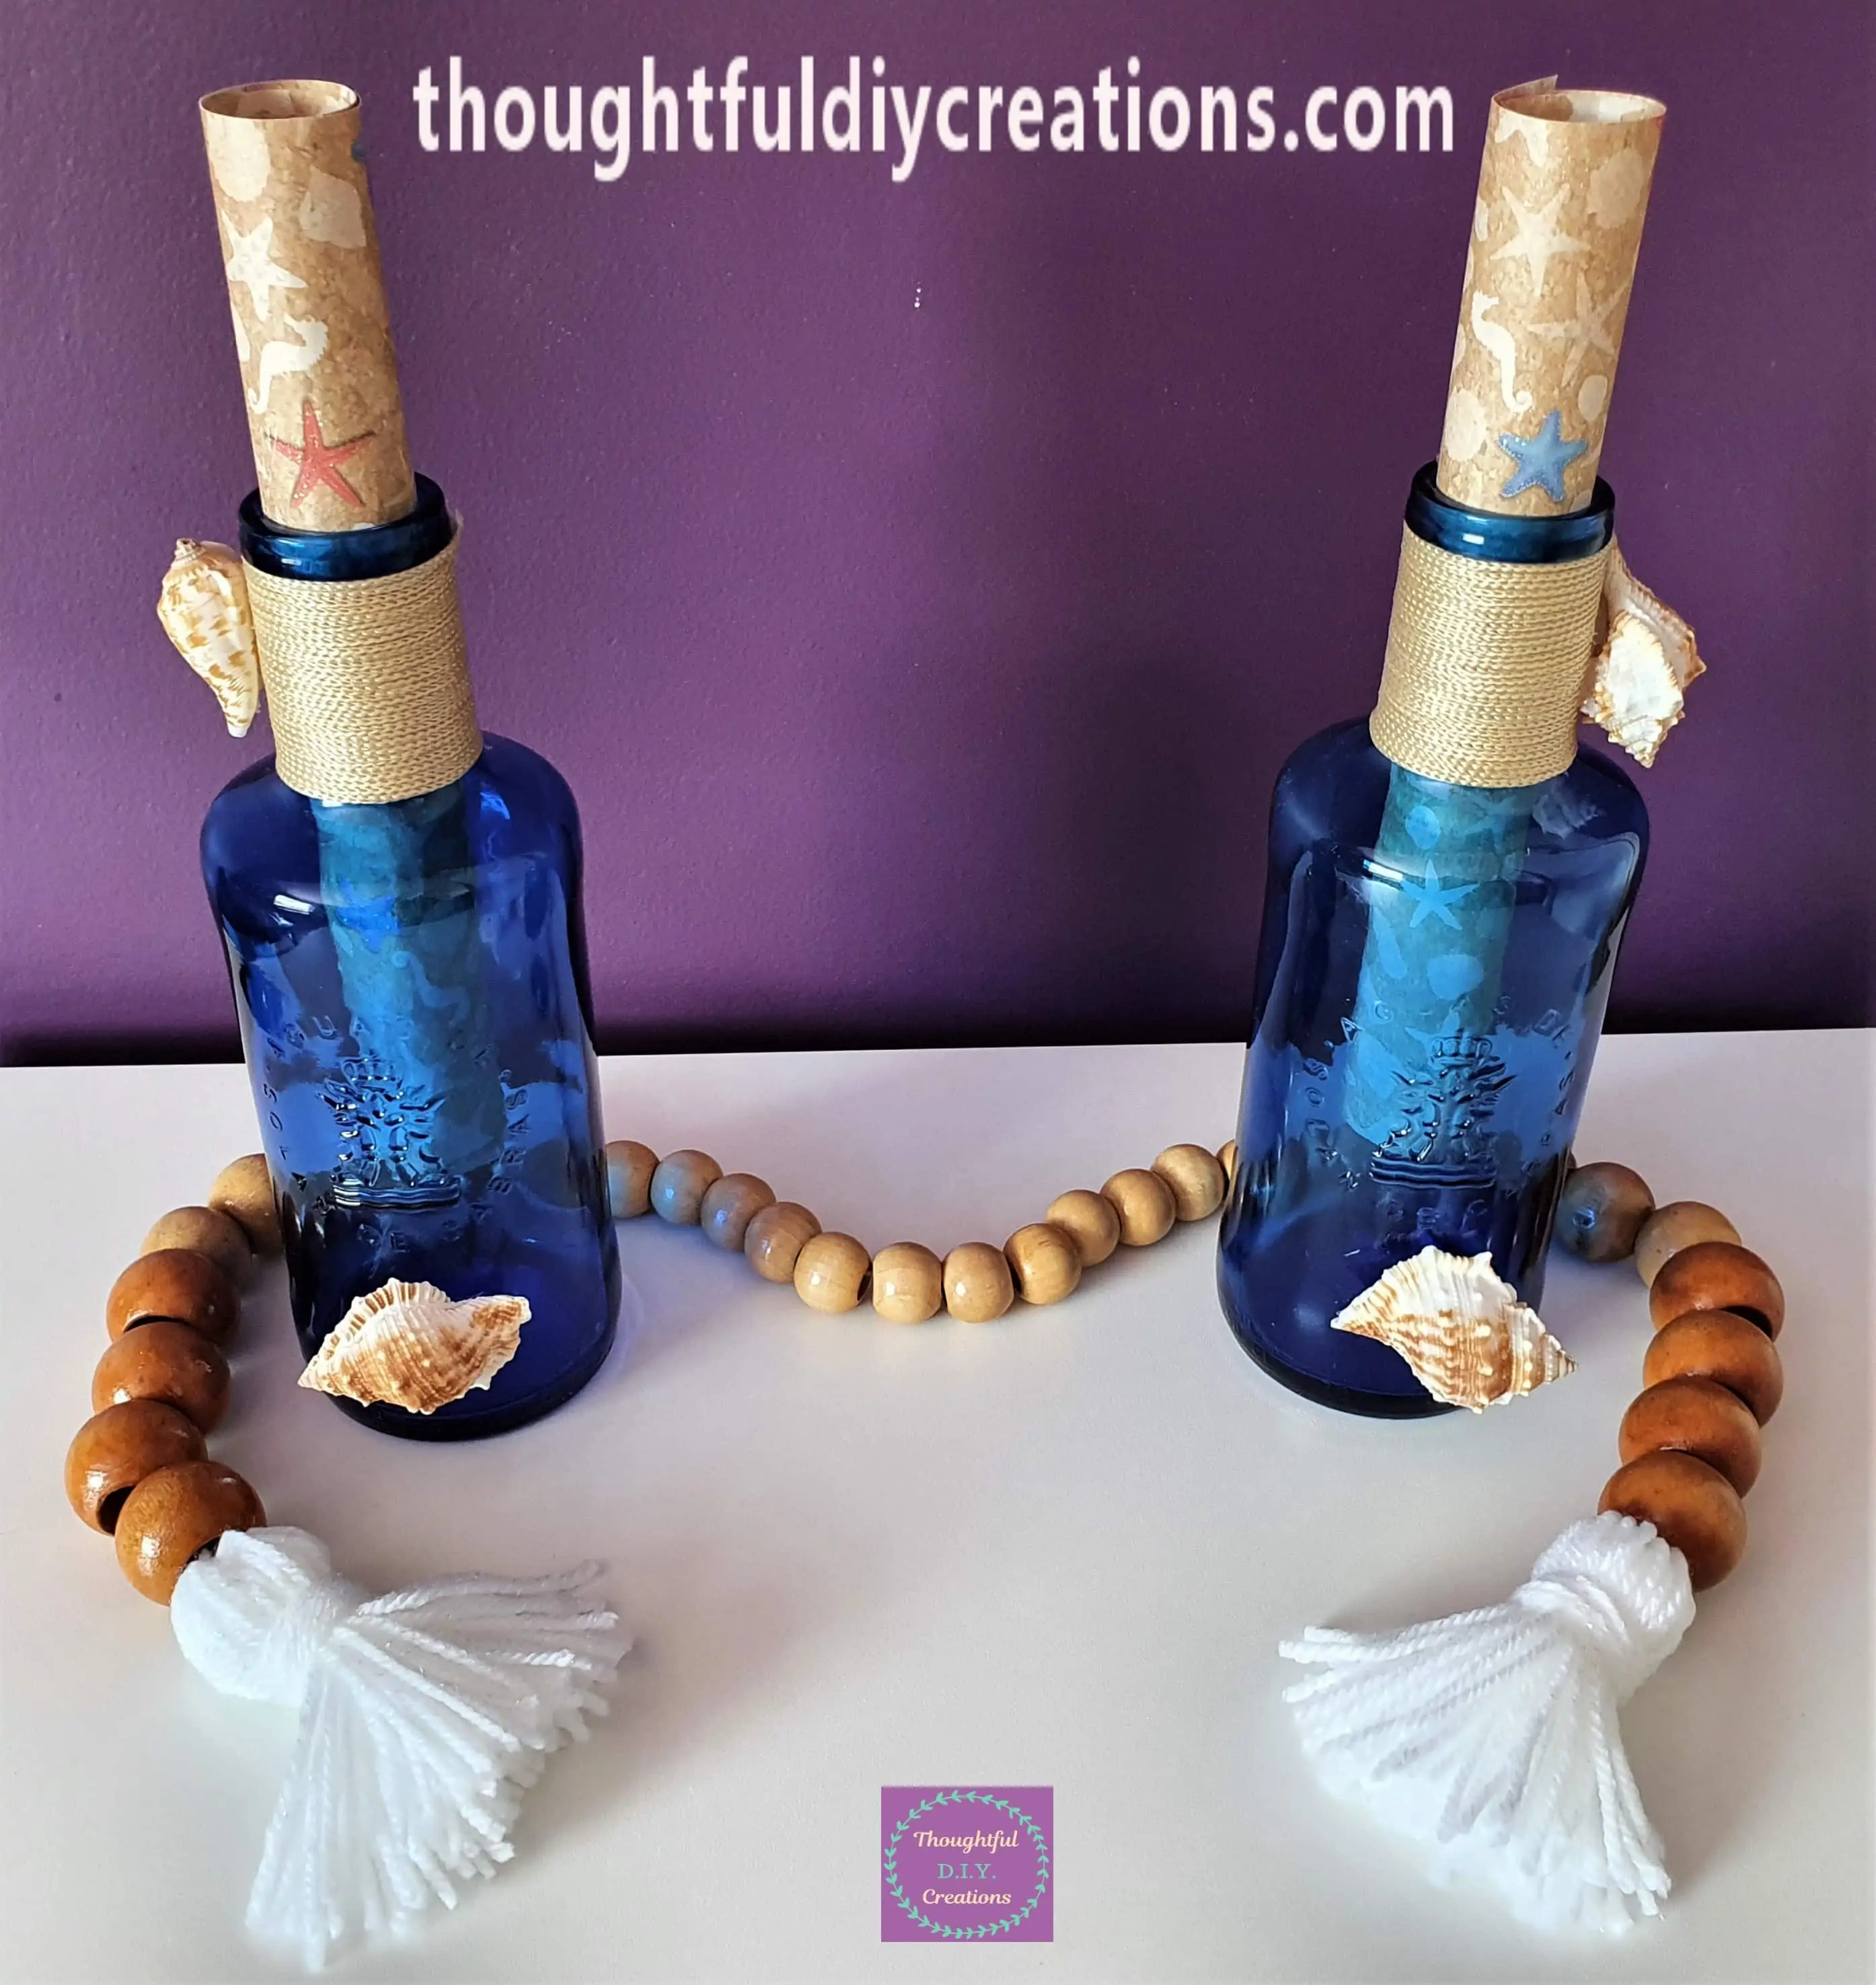
The Garland can be on Display all Year Round. Here it is beside a Summer Coastal Craft.
Conclusion
I am so Happy with the Outcome of my Wooden Bead Garland, I’m just sorry I didn’t make it sooner.
I wasn’t sure How it would turn out as the Holes in my Beads are bigger than the Beads you can Buy so I wasn’t sure if the Holes would have too much of a gap and be really obvious when the Garland was finished.
My beads also weren’t perfect as they had some wear and tear from them being used as Handles on a Bag. I really don’t think any imperfections are noticeable, and even if they were they would add more Character to the Home. I’m so glad I got to Re-Use them instead of throwing them in the Bin.
I Love the Ombre effect that the 3 different tones of Wood from each Size Wooden Bead Create.
It’s such a Versatile piece of Home Decor. The Wooden Bead Garland is light and easy to Move to other Rooms or Parts of the Home. It can be Styled around a Vase of Flowers, Candles, Photo or Picture Frames, or Ornaments. The Options are truly endless.
The Wooden Beads could also be Painted prior to being added to the String . The Tassels could be made out of your favourite Colour Wool or String. It can be Customised to your Style preferences.
I hope you give this Craft a try if you haven’t already. It is a Quick, Budget Craft and it would be a Fun Afternoon being Creative making something for Your Home. It would equally make a Thoughtful, Handmade, Housewarming Present.
Let me Know if you attempt this Craft; I’d Love to know what Colours you Chose and how it turned out.
Thank You So Much for Taking the Time to Read my Blog.
Always Grateful,
T.D.C.
xoxox