Woodland Frame Tutorial
Hello my Creative Friends,
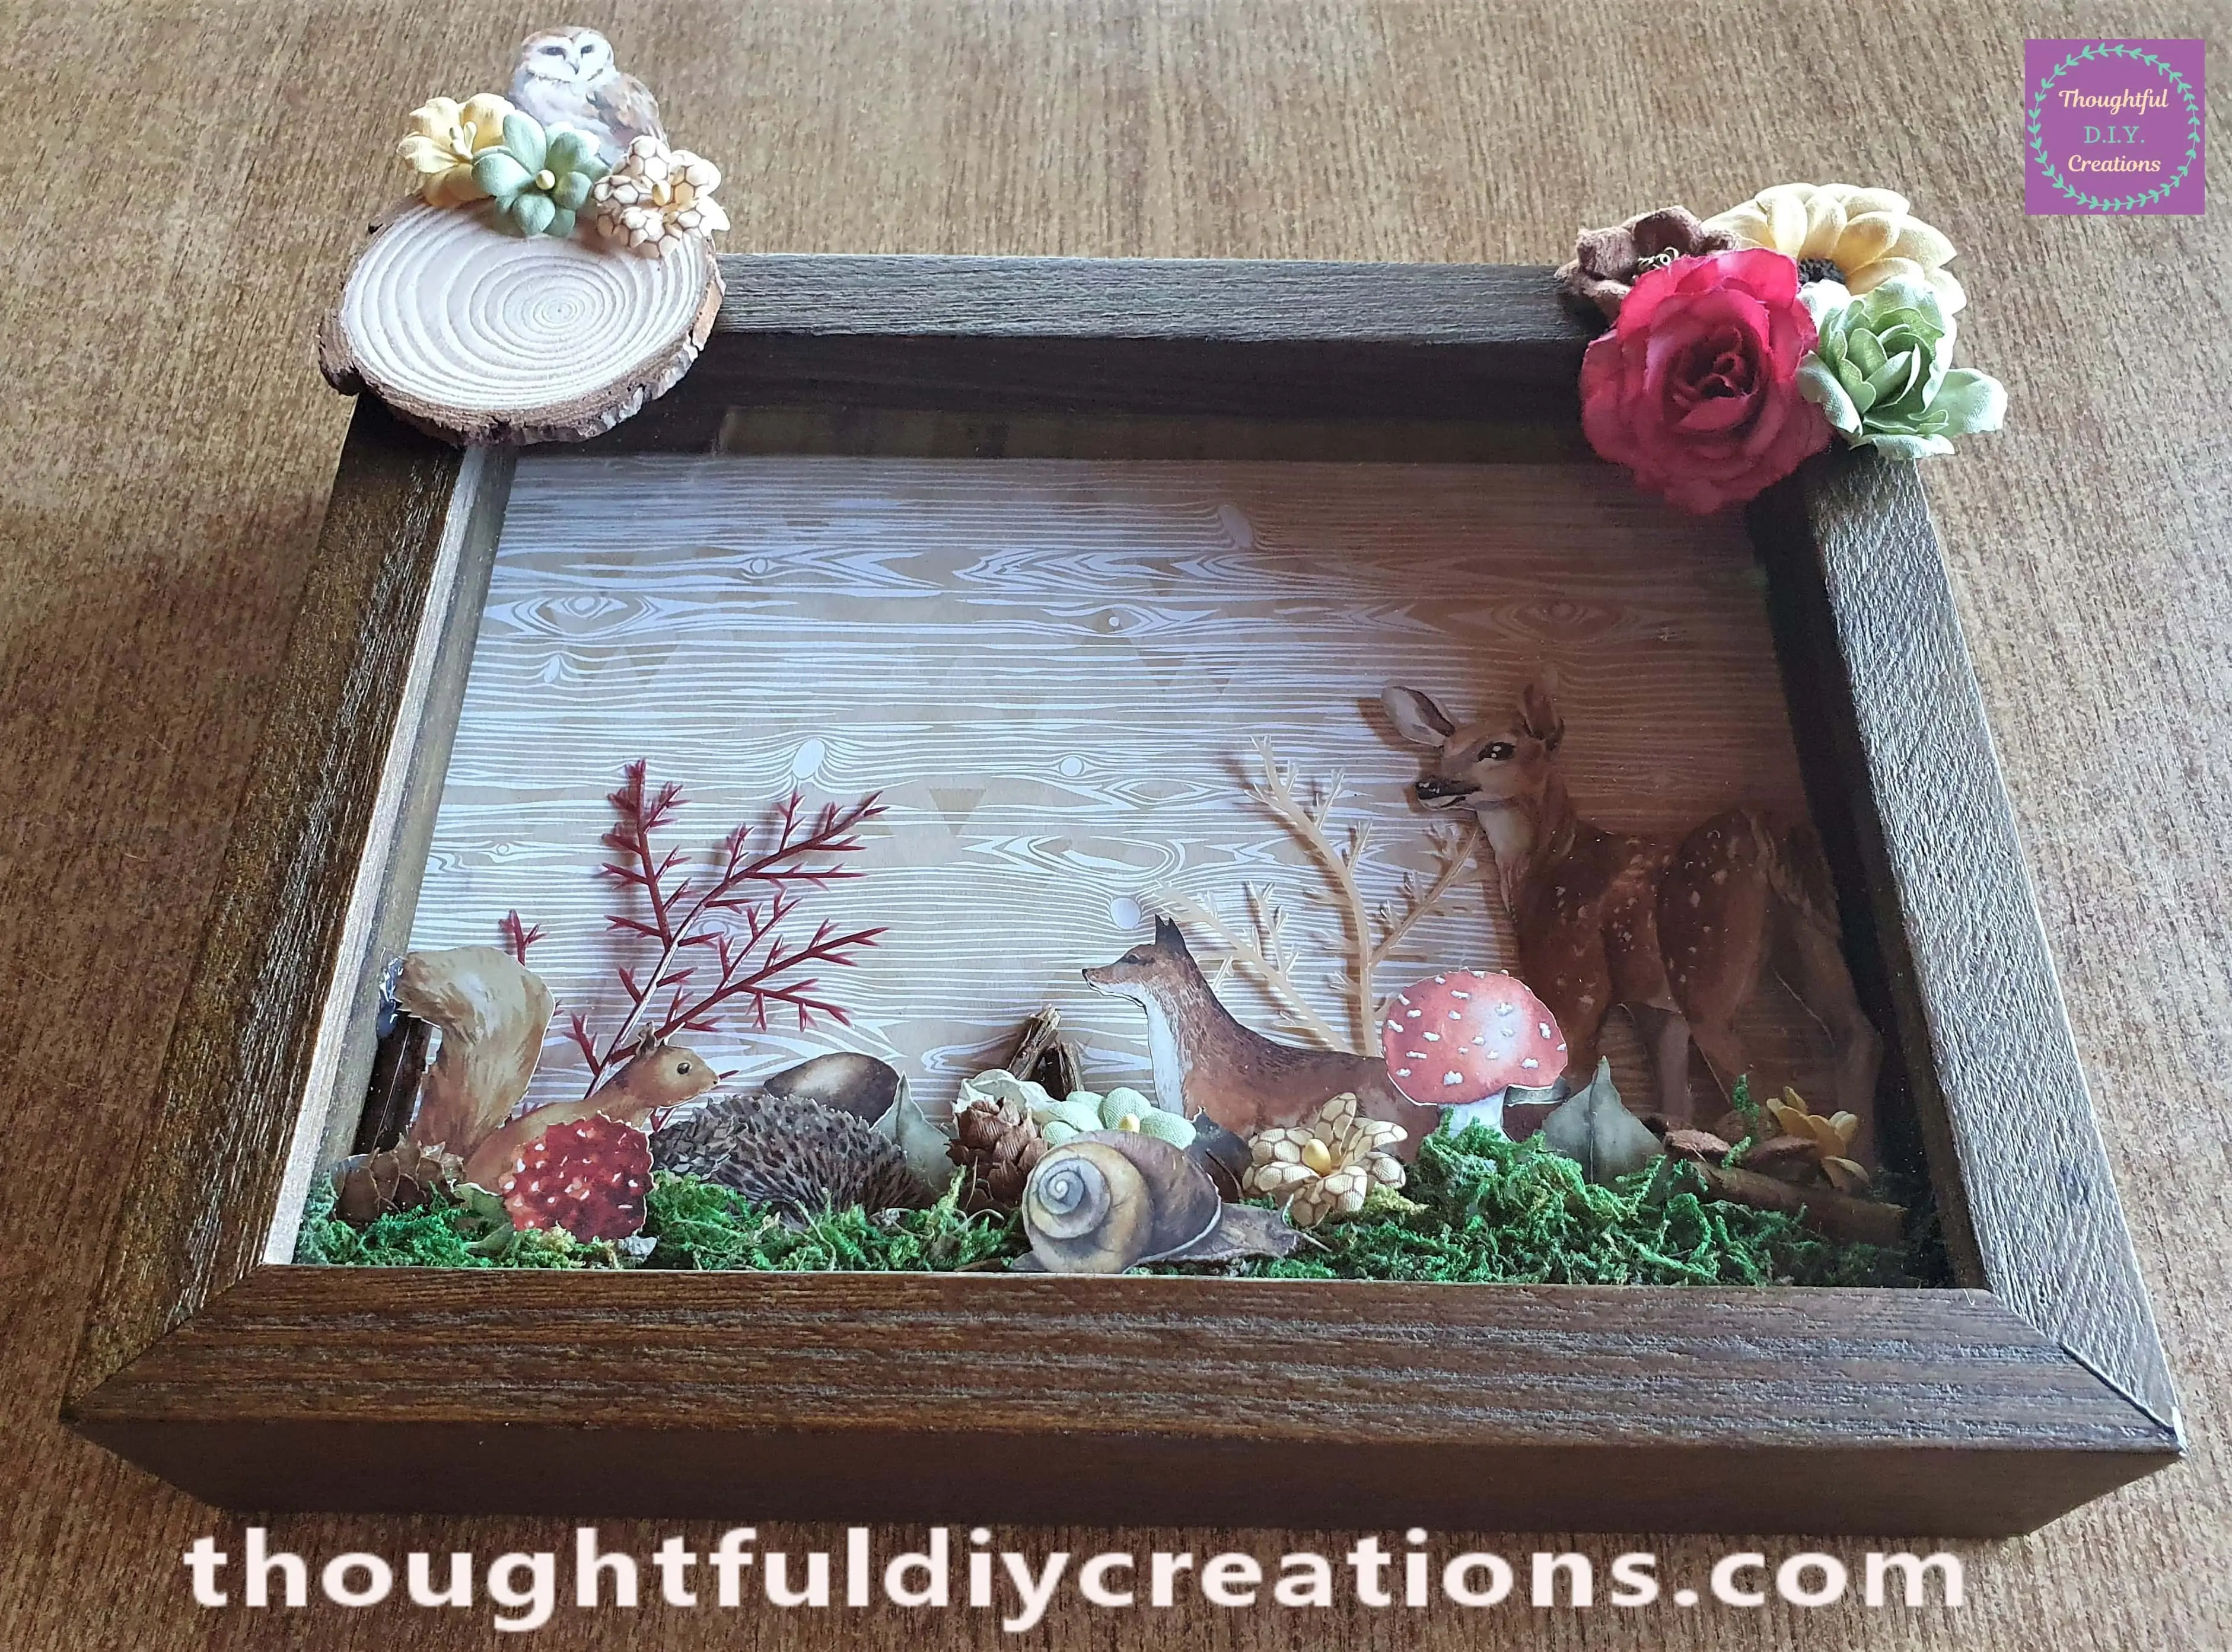
I hope you are all Well. In Today’s Tutorial I will show you How I Made a Woodland Frame. It is perfect for Autumn / Fall Decor but equally it would be Ideal to Display all Year Round especially for Nature / Animal lovers. It would also be Beautiful in a Nursery if you are going with the Woodland Theme.
I hope my Tutorial Inspires you to become more Creative and attempt to make your own Home Decor pieces that suit your Style and Taste.
Frame Before Crafting
I bought a gorgeous Brown Wooden Shadow Box Frame which measures 8″ x 10″. It fits a Photograph in the inside 5″ x 7″ but the outer Frame is 8″ x 10″.
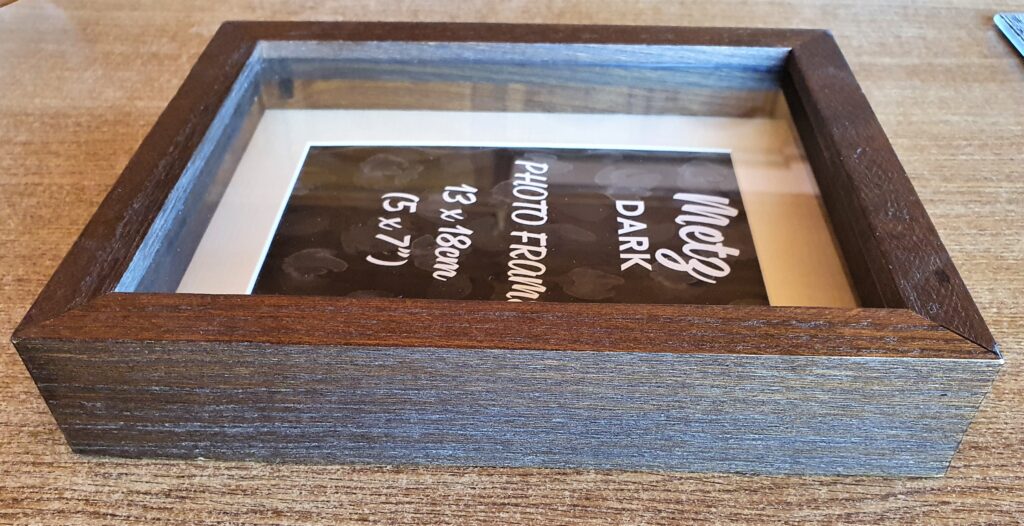
I opened up the Frame. I won’t need the Frame Border Insert or the Paper for this Craft. The Perspex Glass is already Glued to the inside Frame which is handy.

Attaching Moss to the Woodland Frame
I plugged in my Hot Glue Gun with Clear Glue Stick inside and let it Heat Up for 5 minutes. I got my Bag of Dried Moss and put a handful of it on my Table.
I put some Hot Glue on the bottom of the Frame and pressed a small amount of Moss down into the Glue. I then added more Hot Glue on the next section of the Frame and put more Moss on the Glue for it to stay in place.
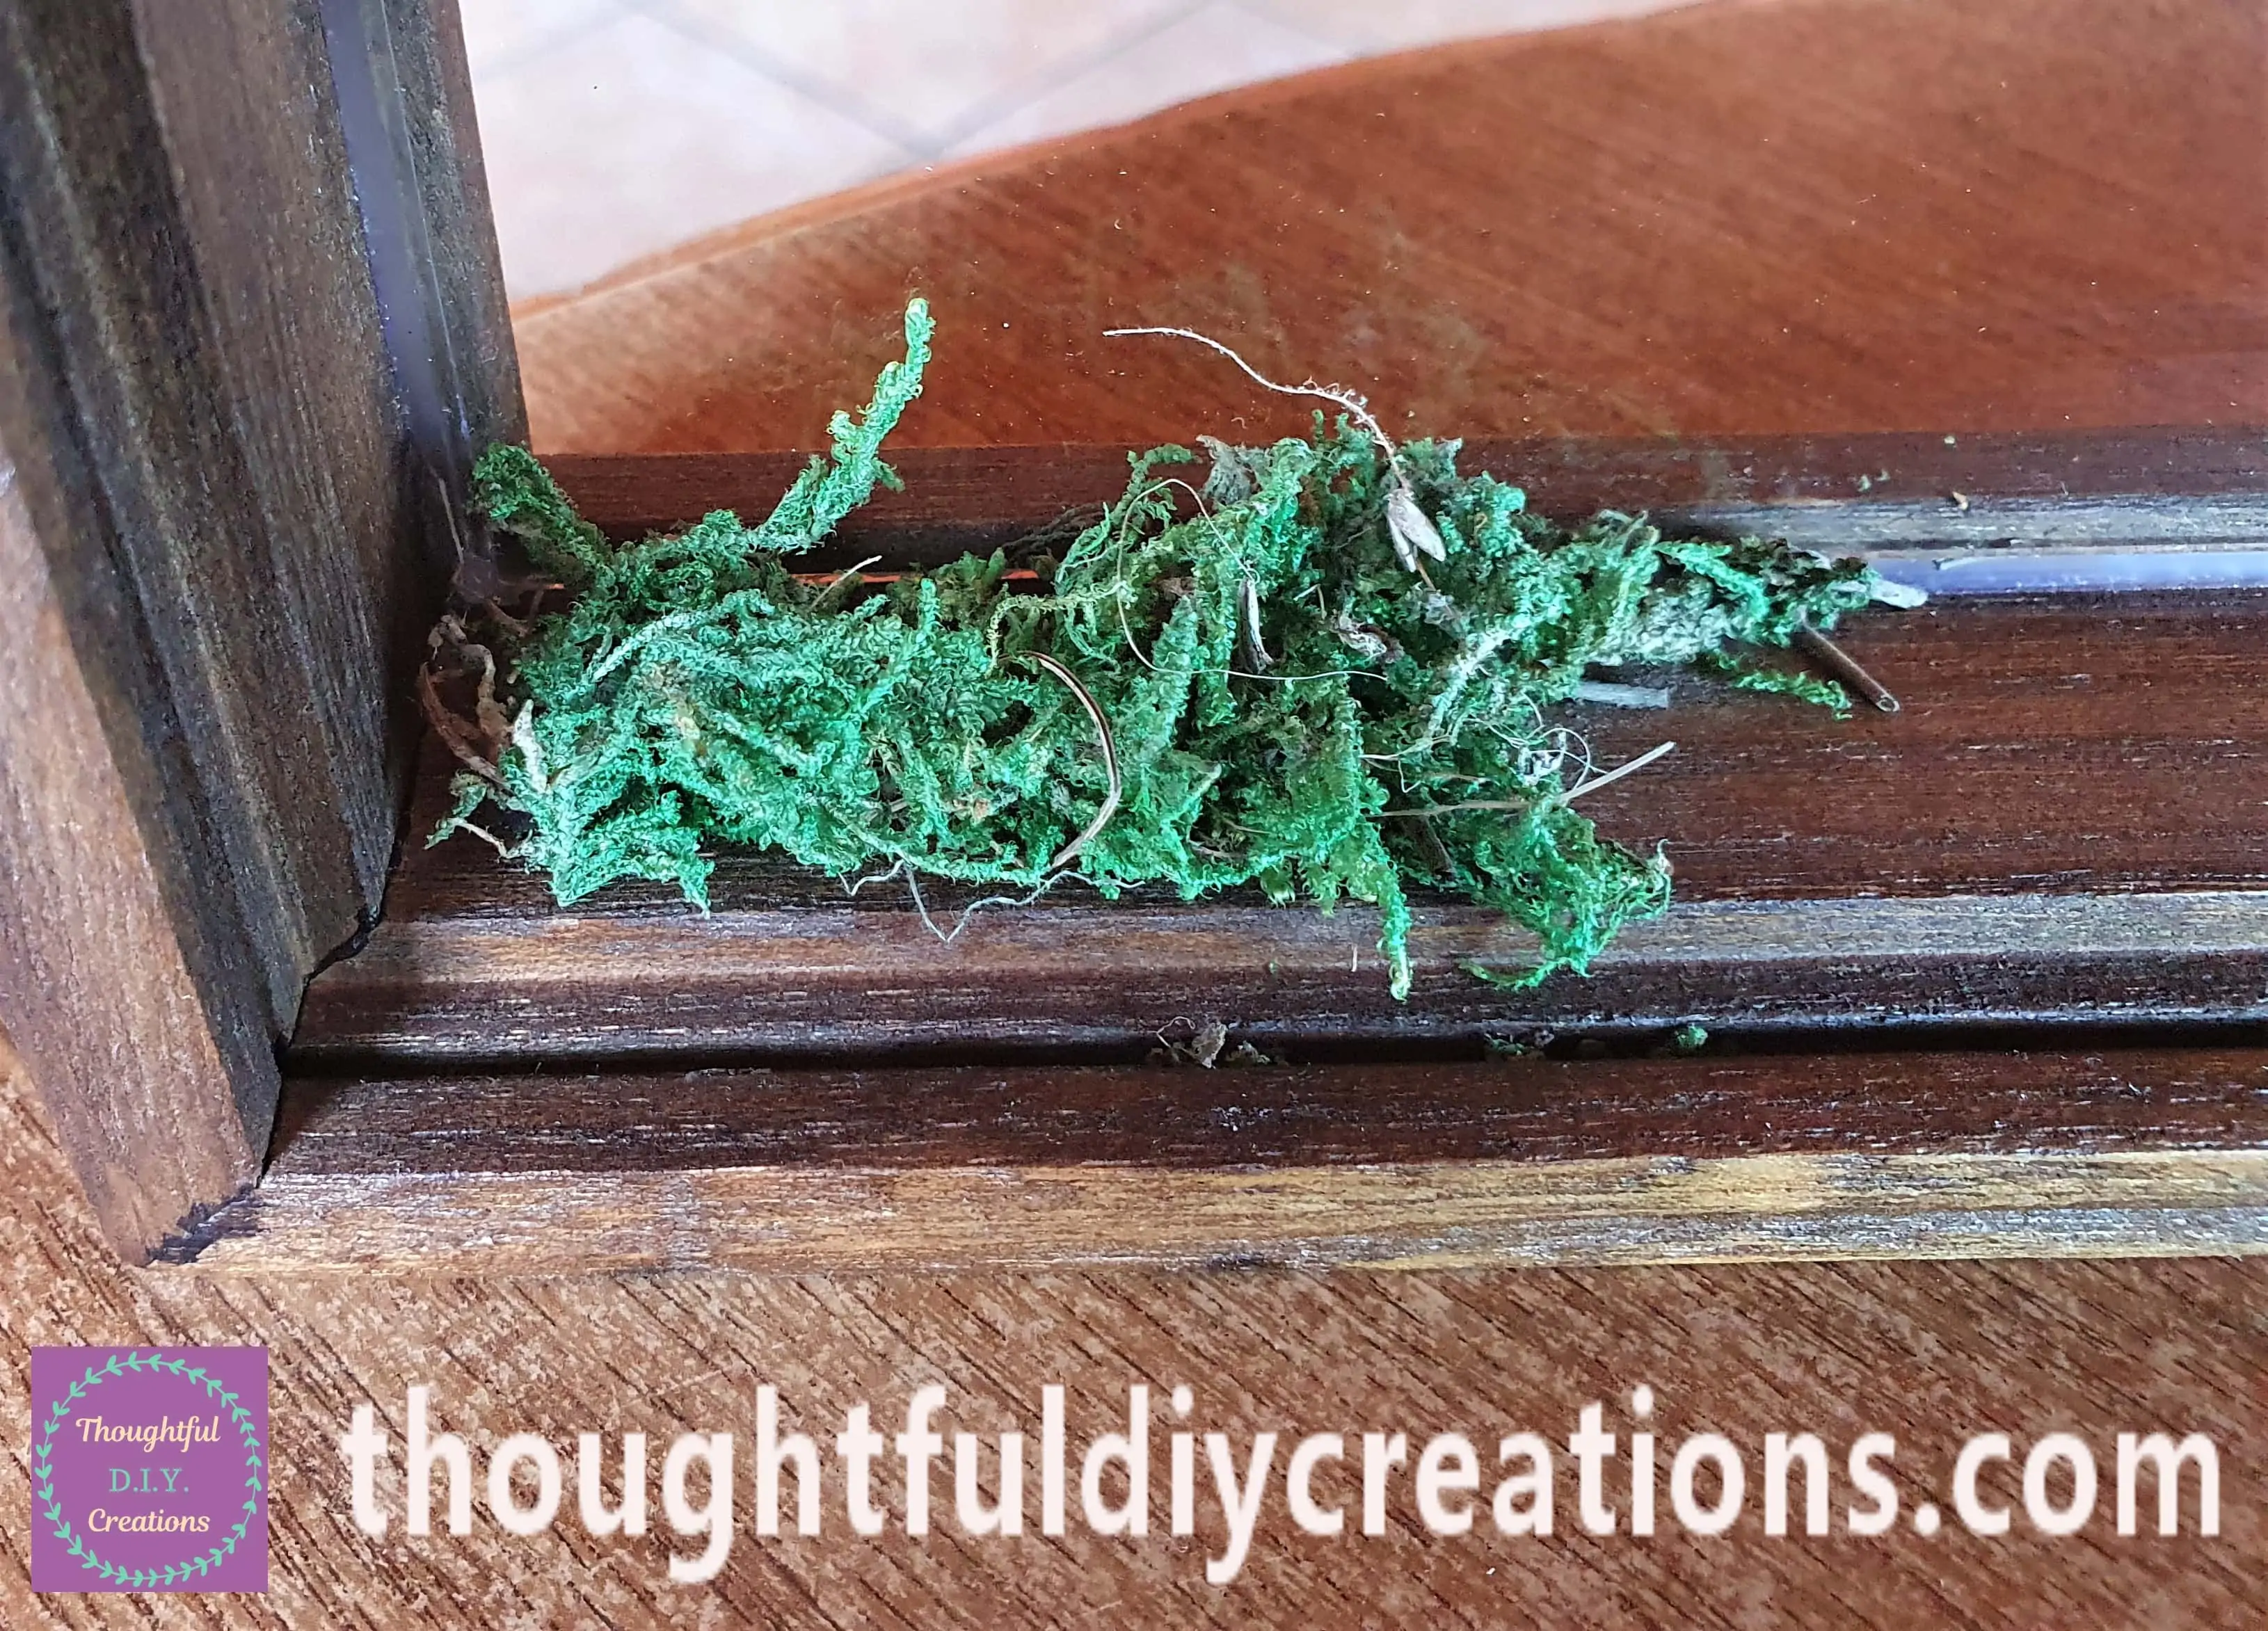
I repeated this Process until the bottom of the Frame was covered in Moss.
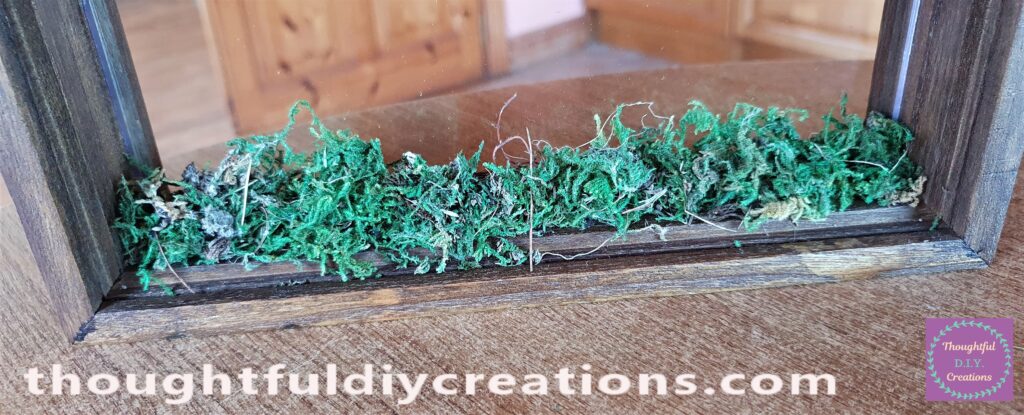
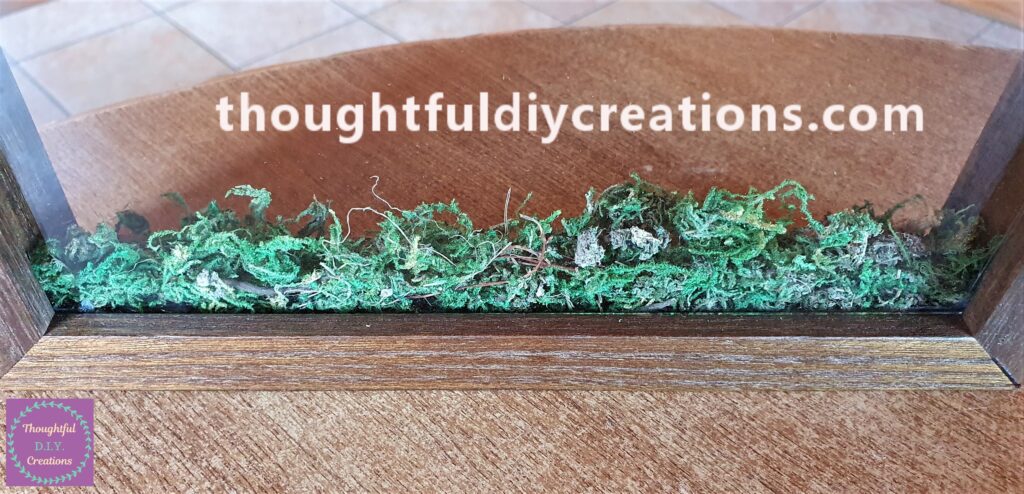
This is how the Woodland Frame is looking so far with the addition of the Moss.
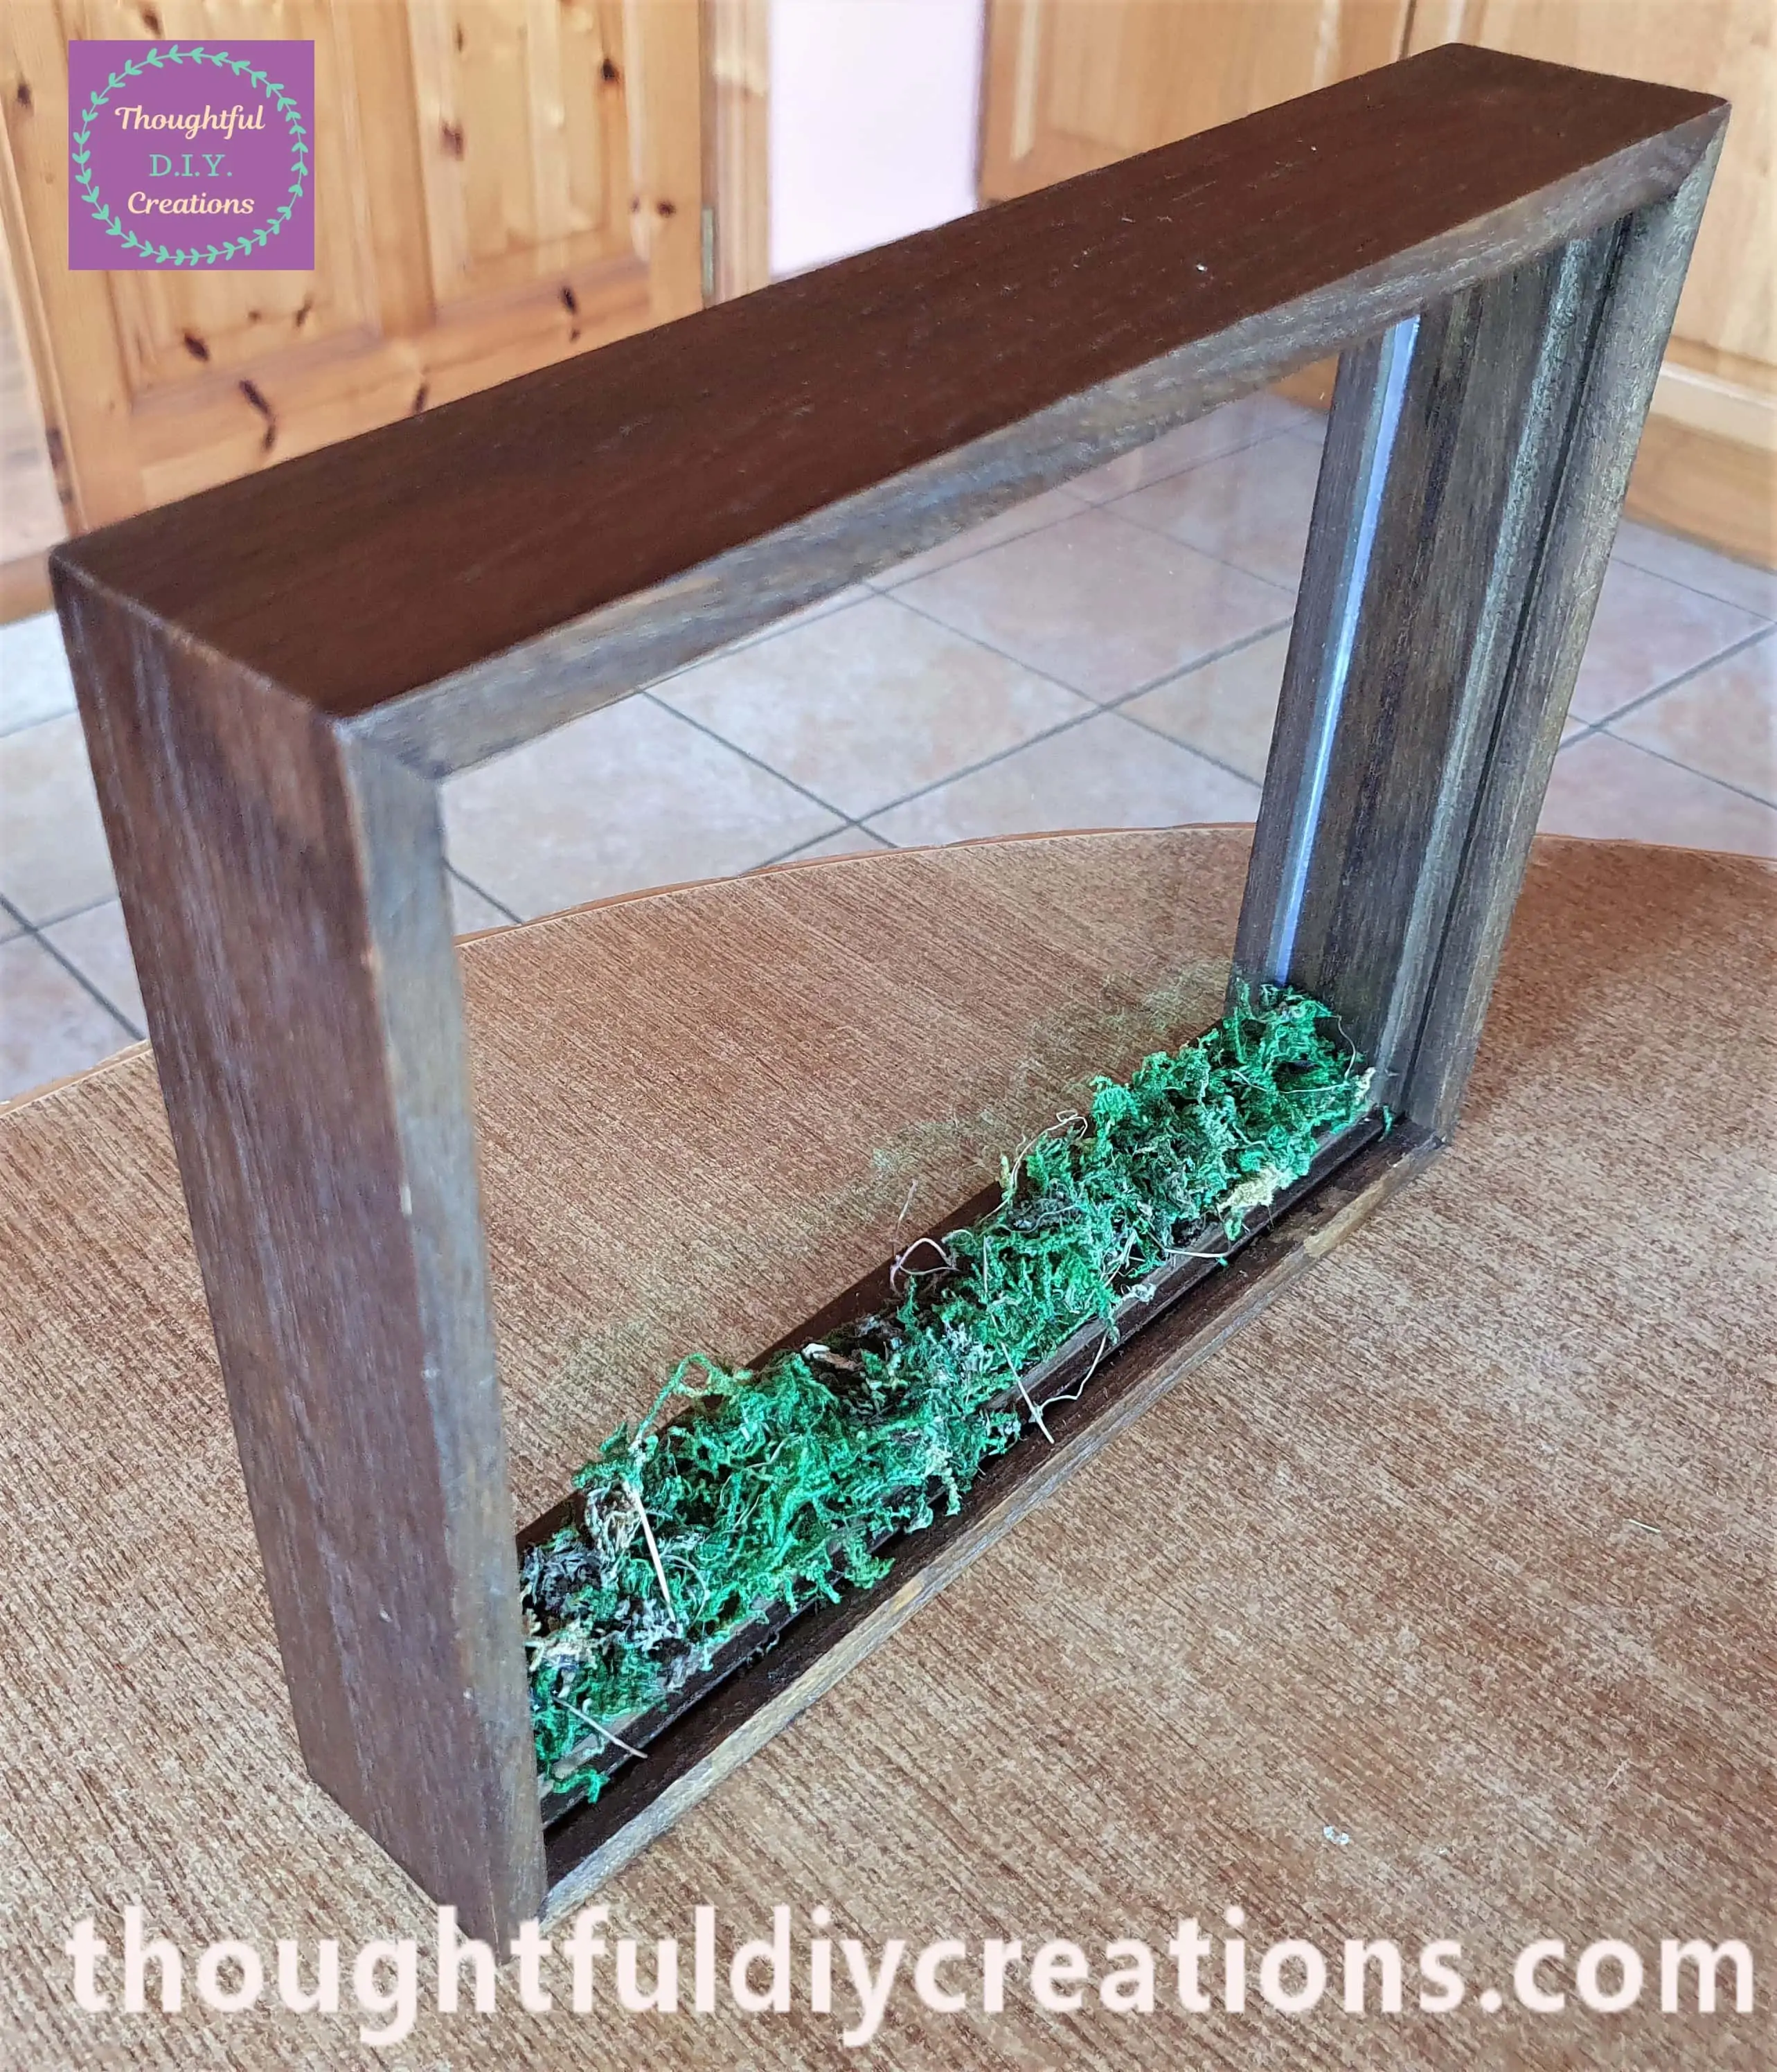
Here is a Front View of the Frame.
Woodland Die-Cuts to Decorate the Frame
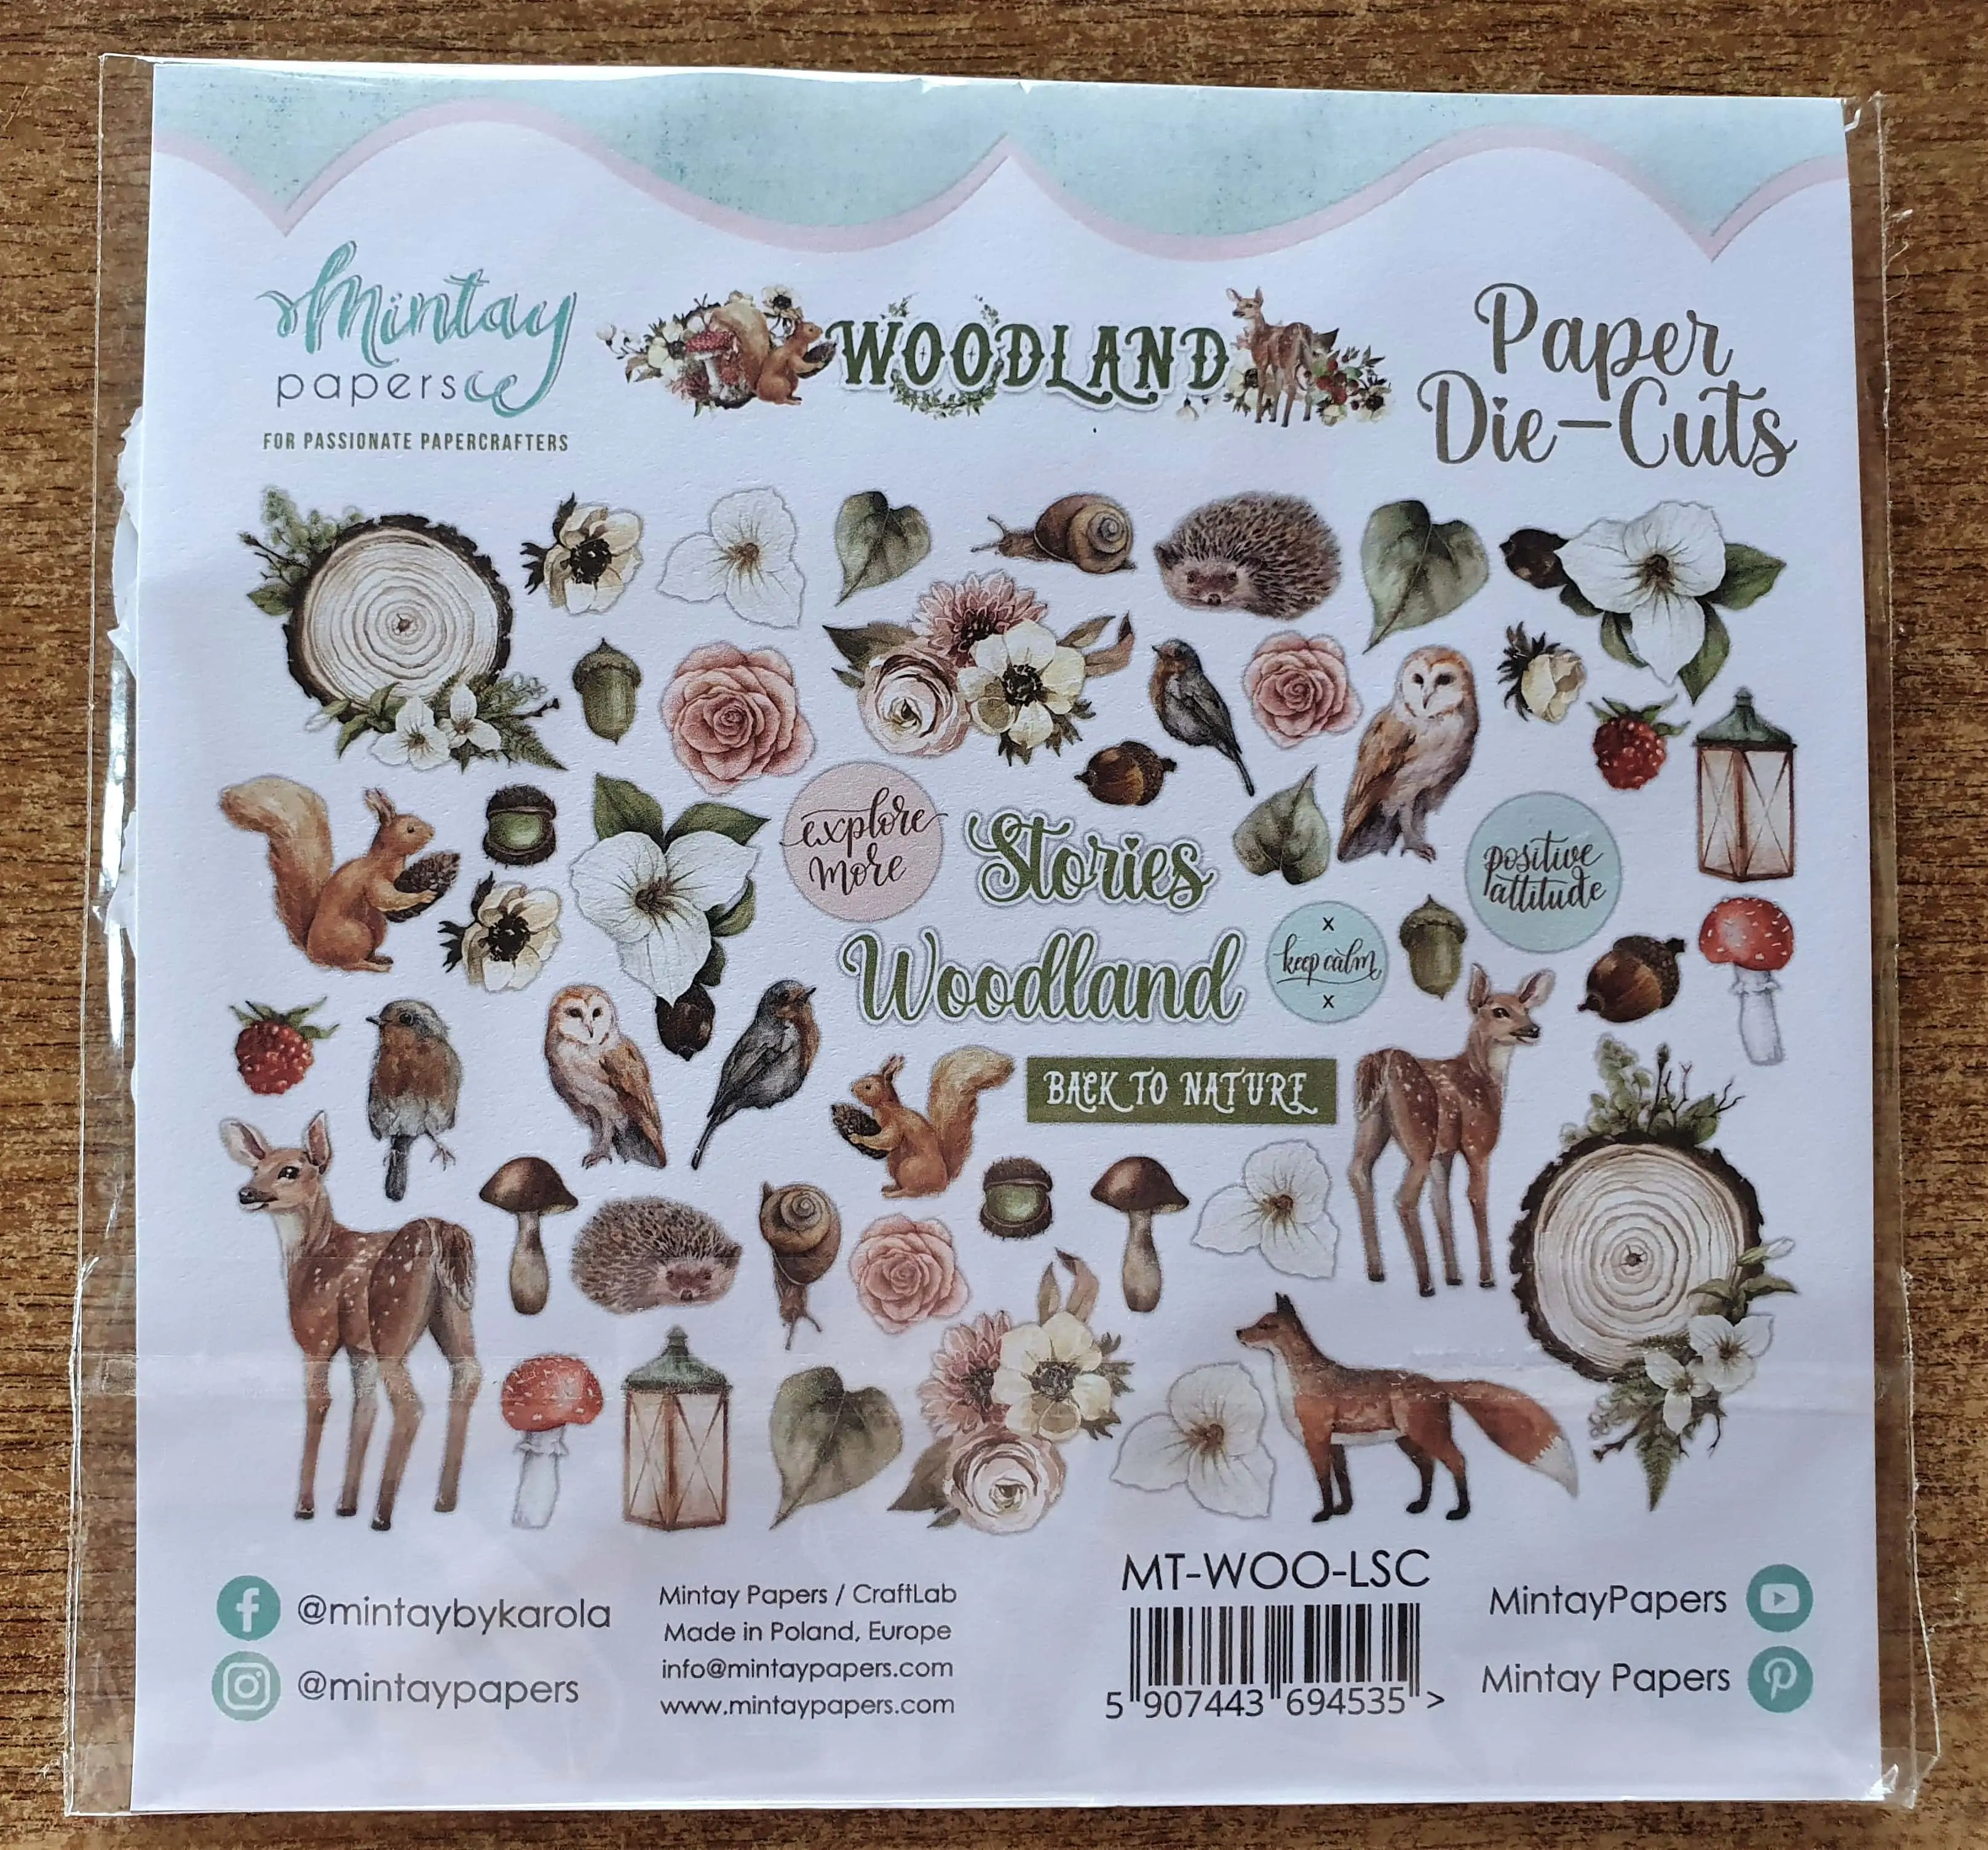
I bought a Pack of Woodland Paper Die-Cuts.
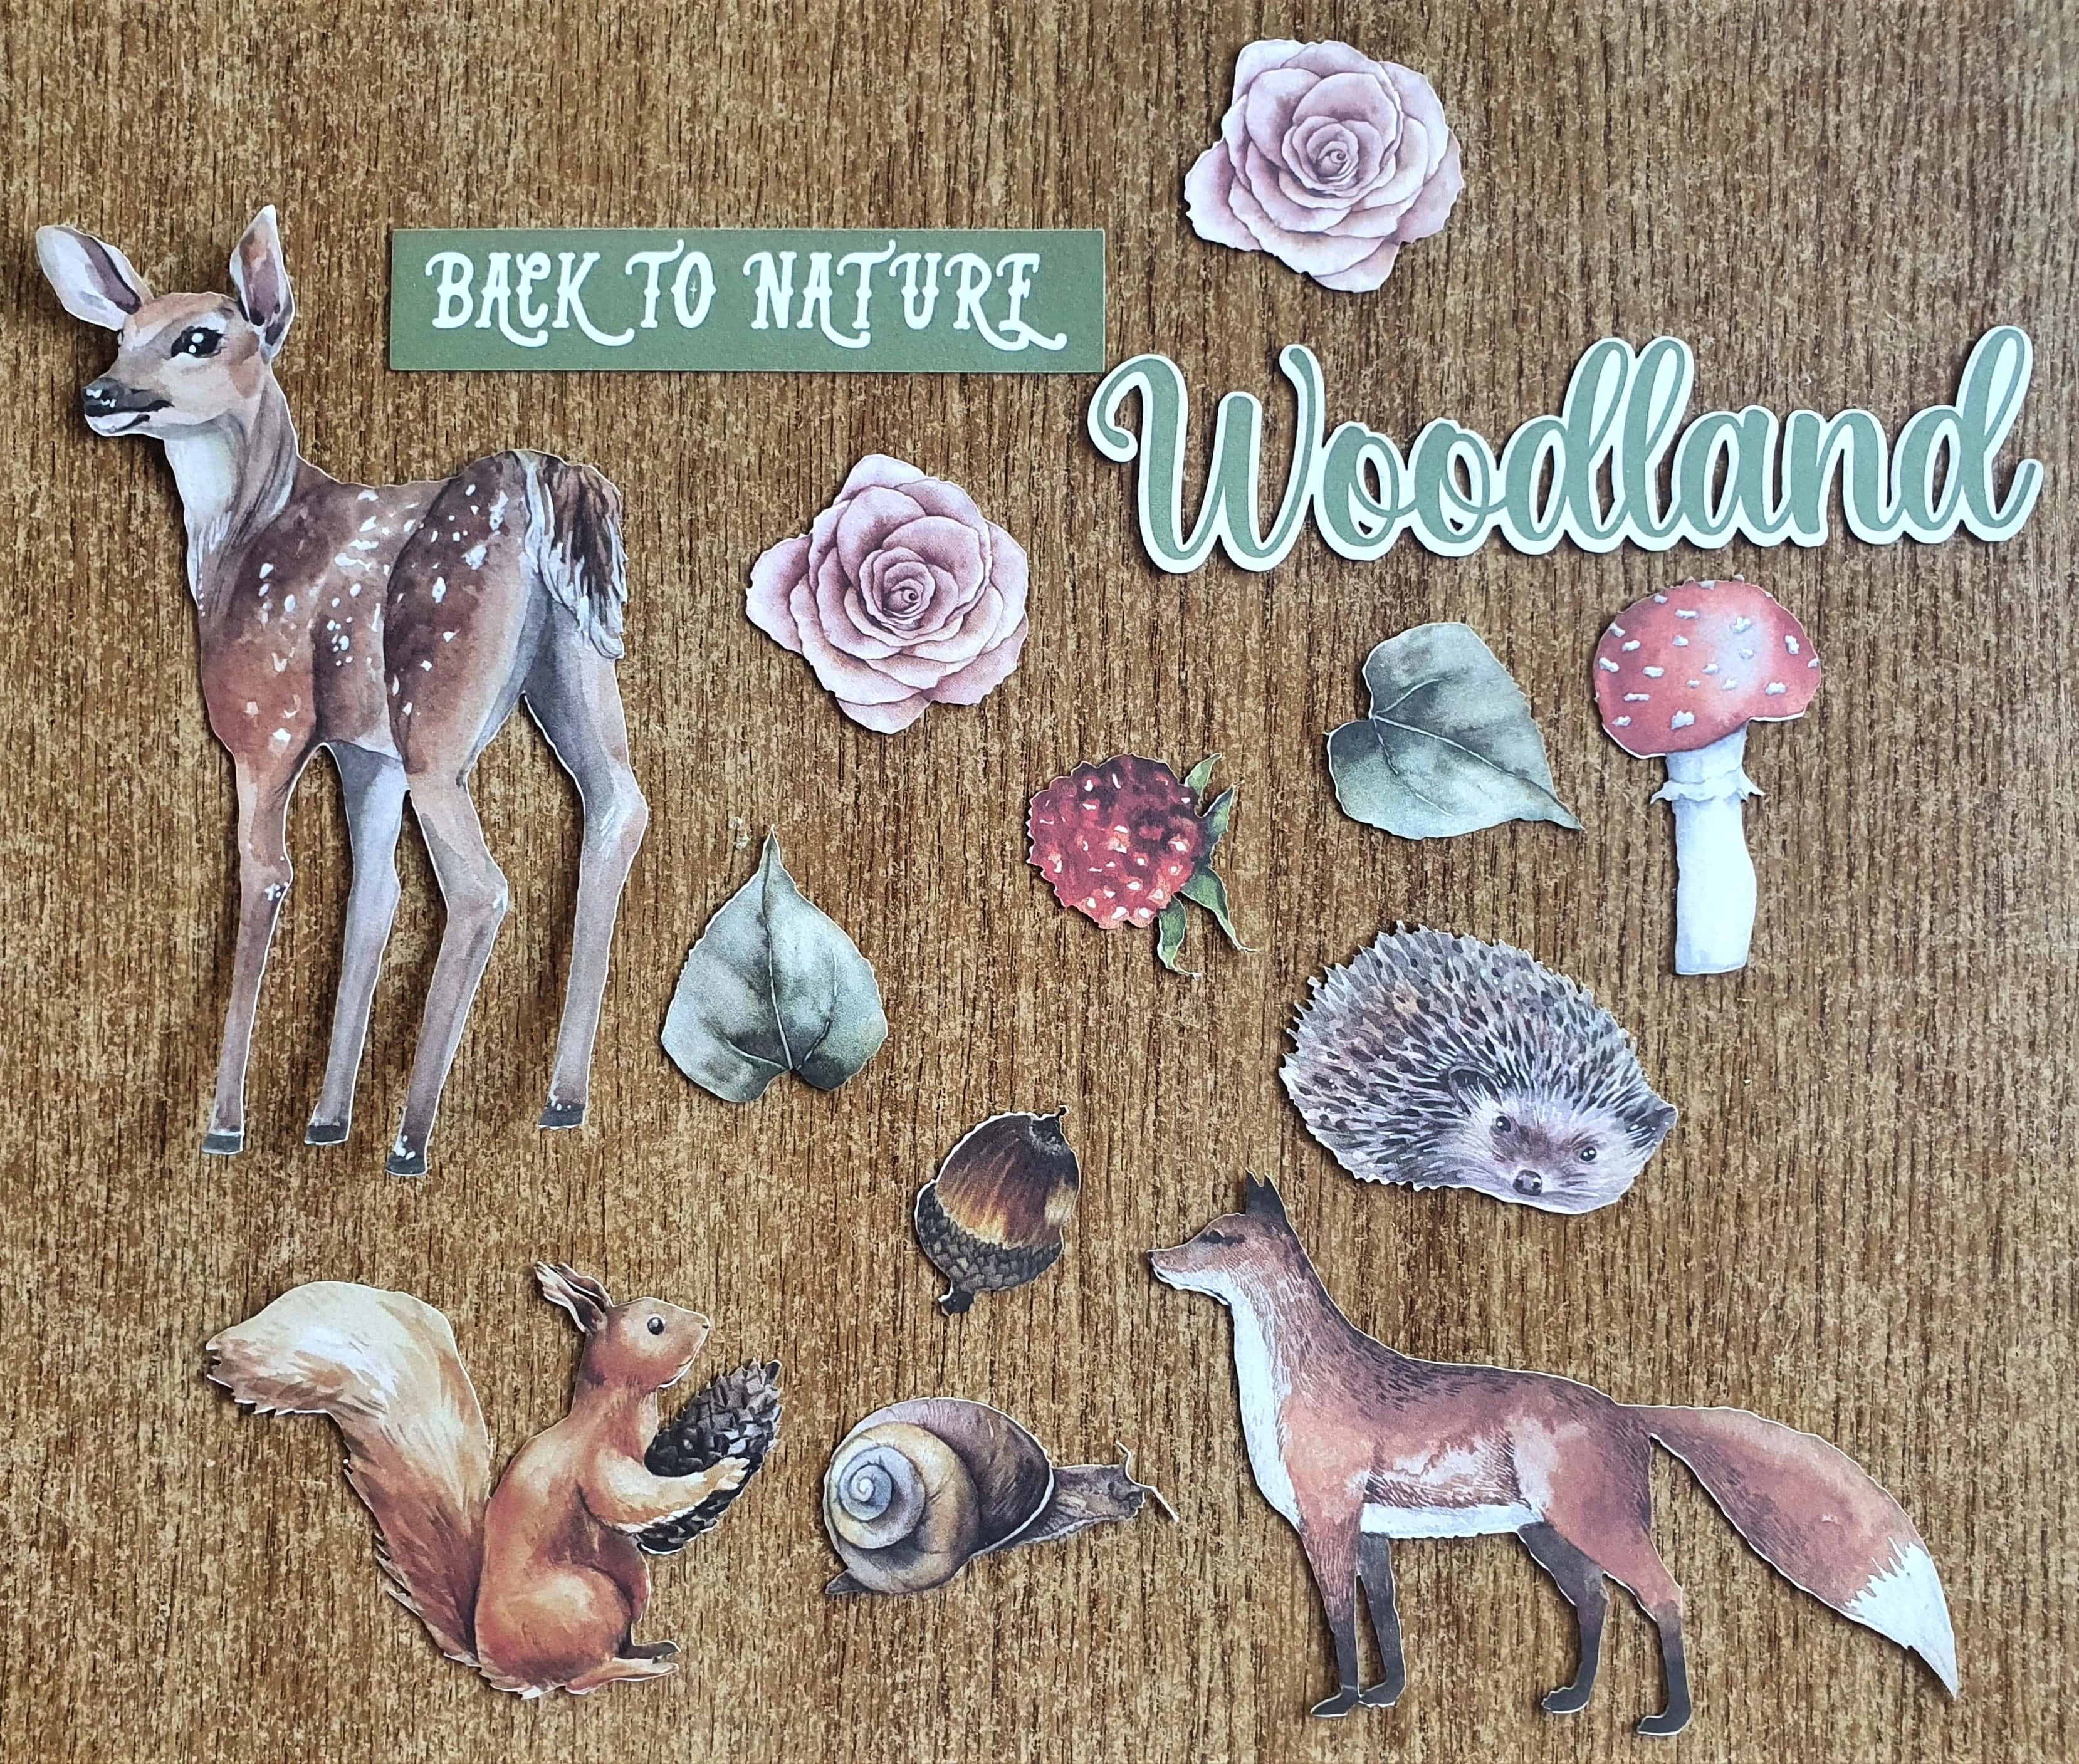
Here are some of the Die-Cut elements I’m thinking of using out of the Pack.
Attaching some Die-Cuts to the Moss
I put some Hot Glue on the Deer’s Feet and on 1 Side of his upper Leg.
I pressed the Deer into the Moss on the Frame and pressed the hot glue from his leg into the Side of the Frame to help keep him upright.
I added more moss to the Glue on the Deer’s Feet to cover the Glue as well as to help keep the Deer standing up.
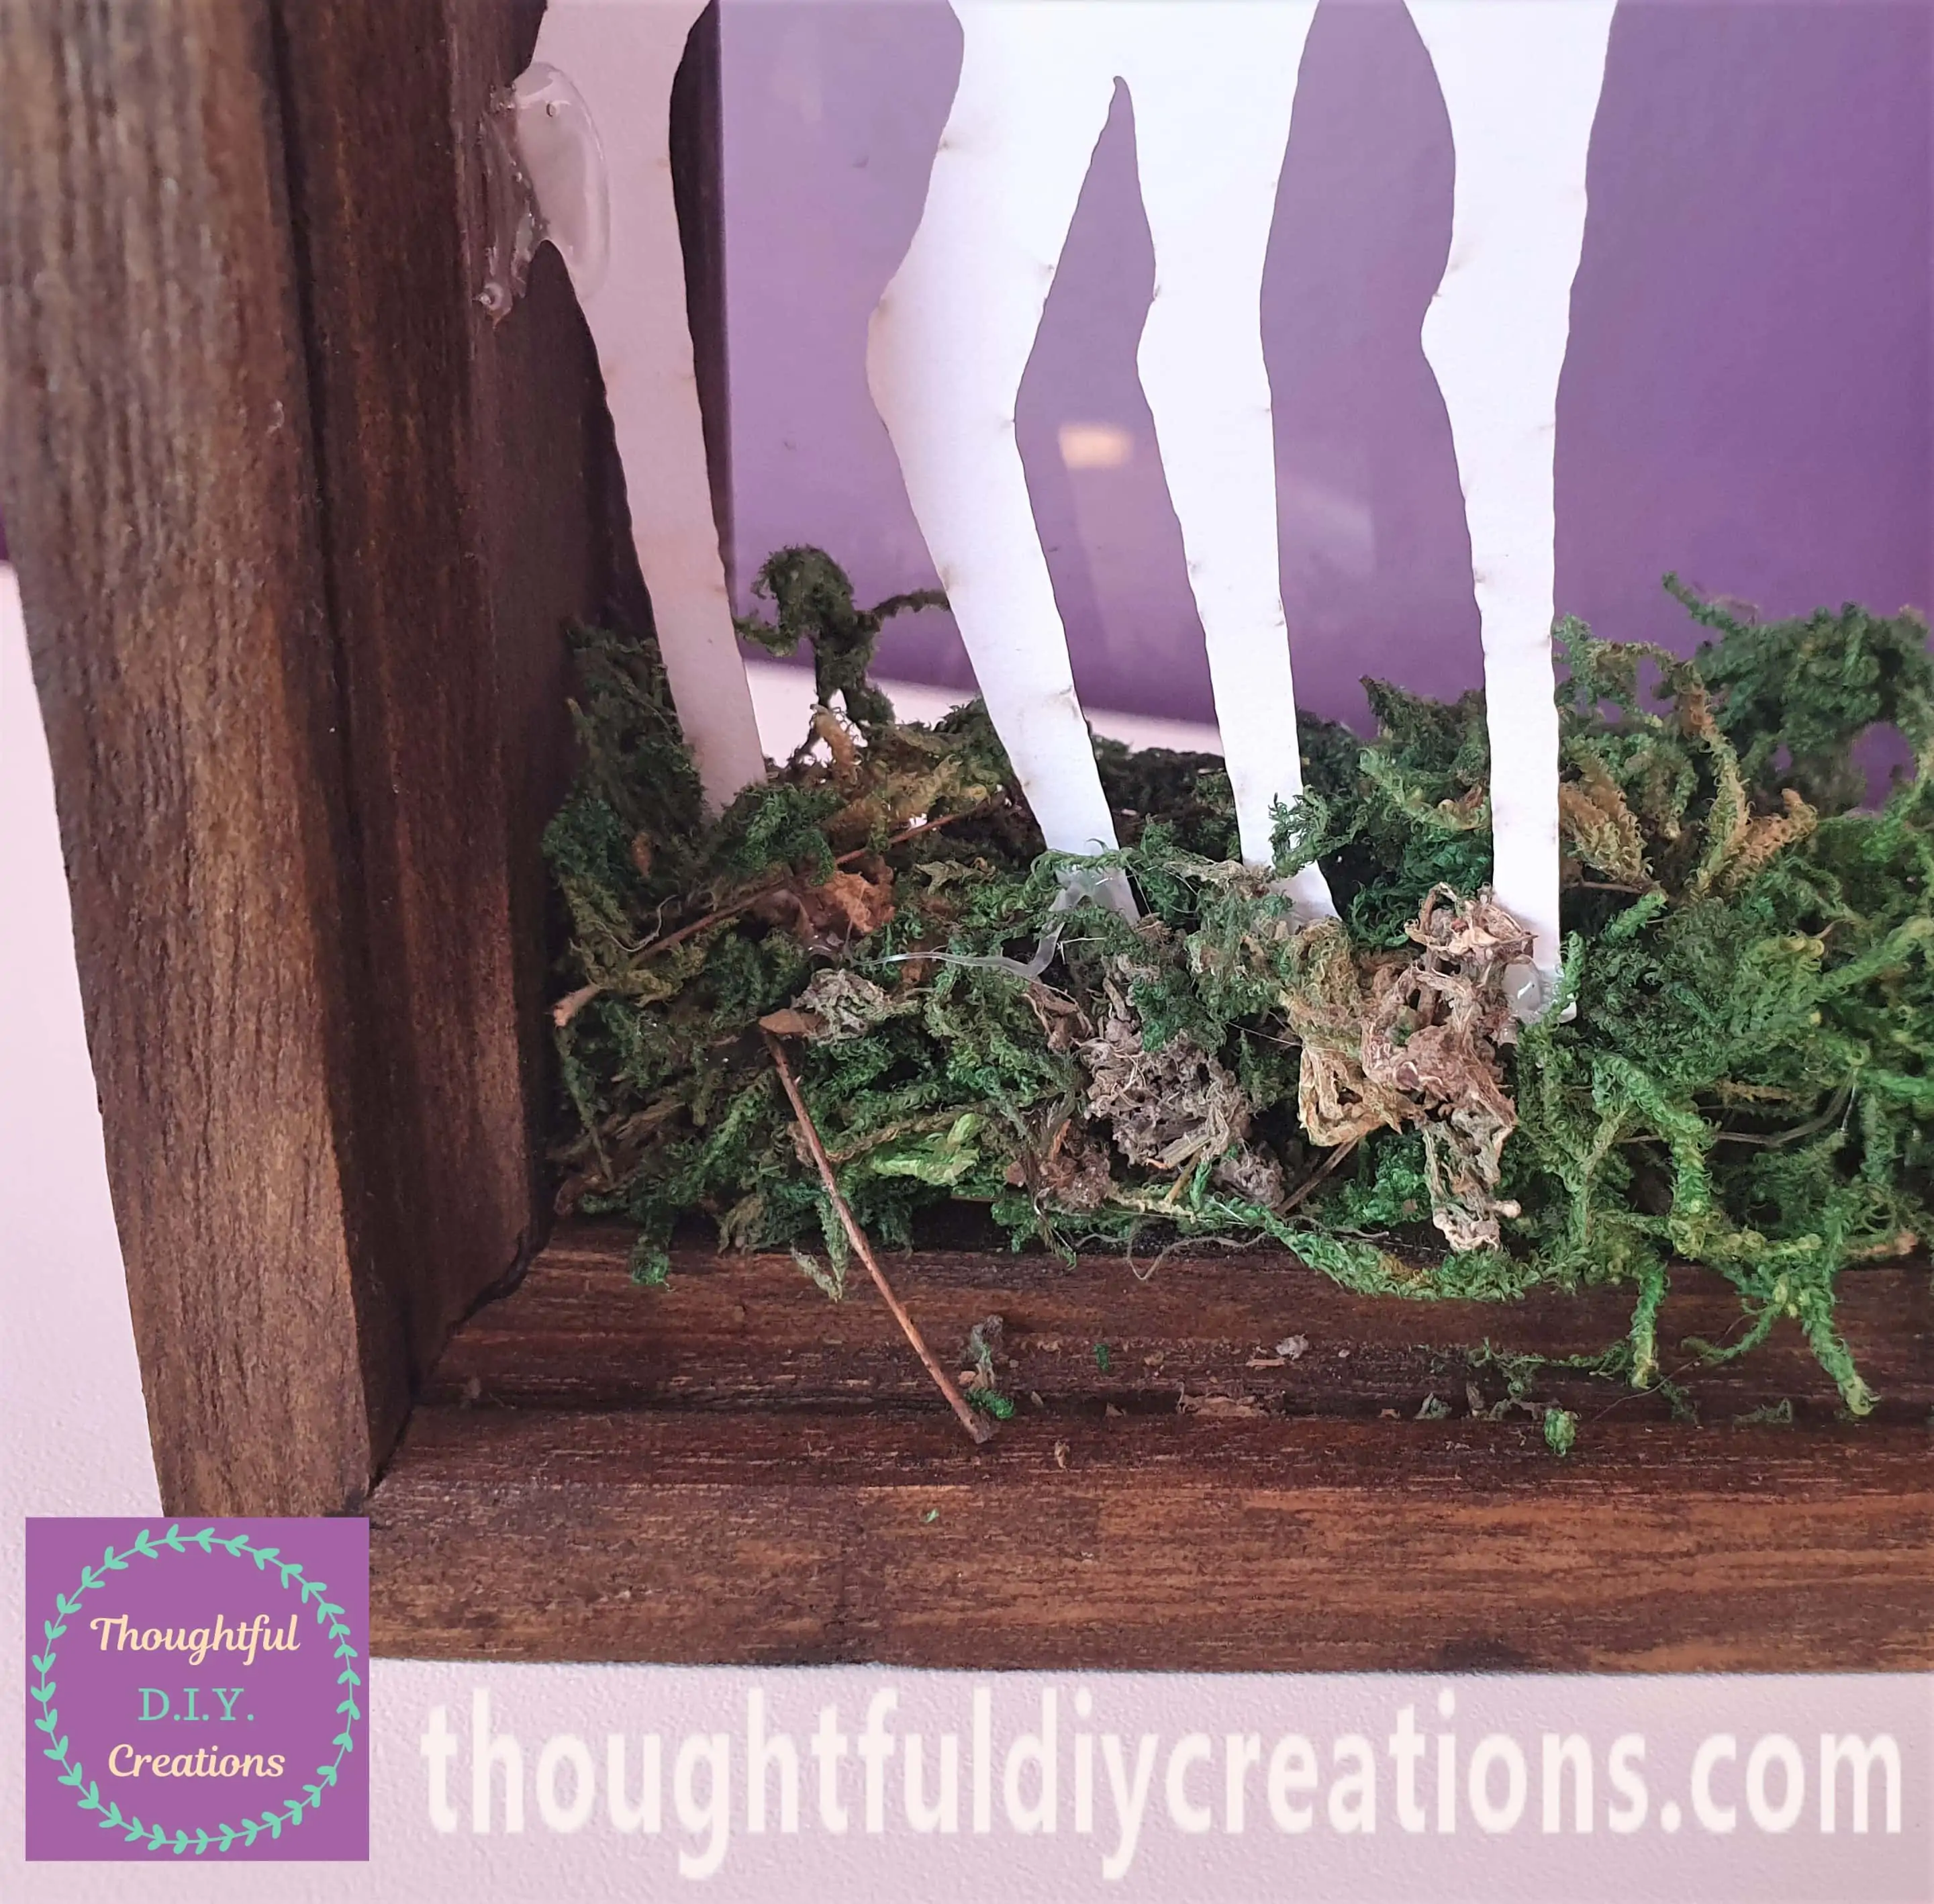
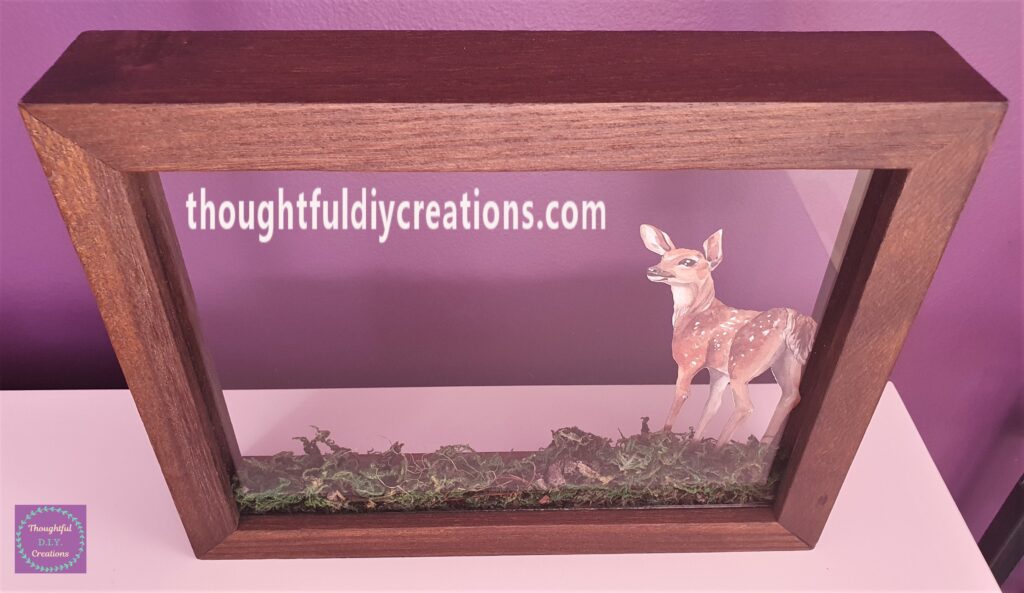
A Full Angle of the Frame with the Deer Hot Glued to the Moss.
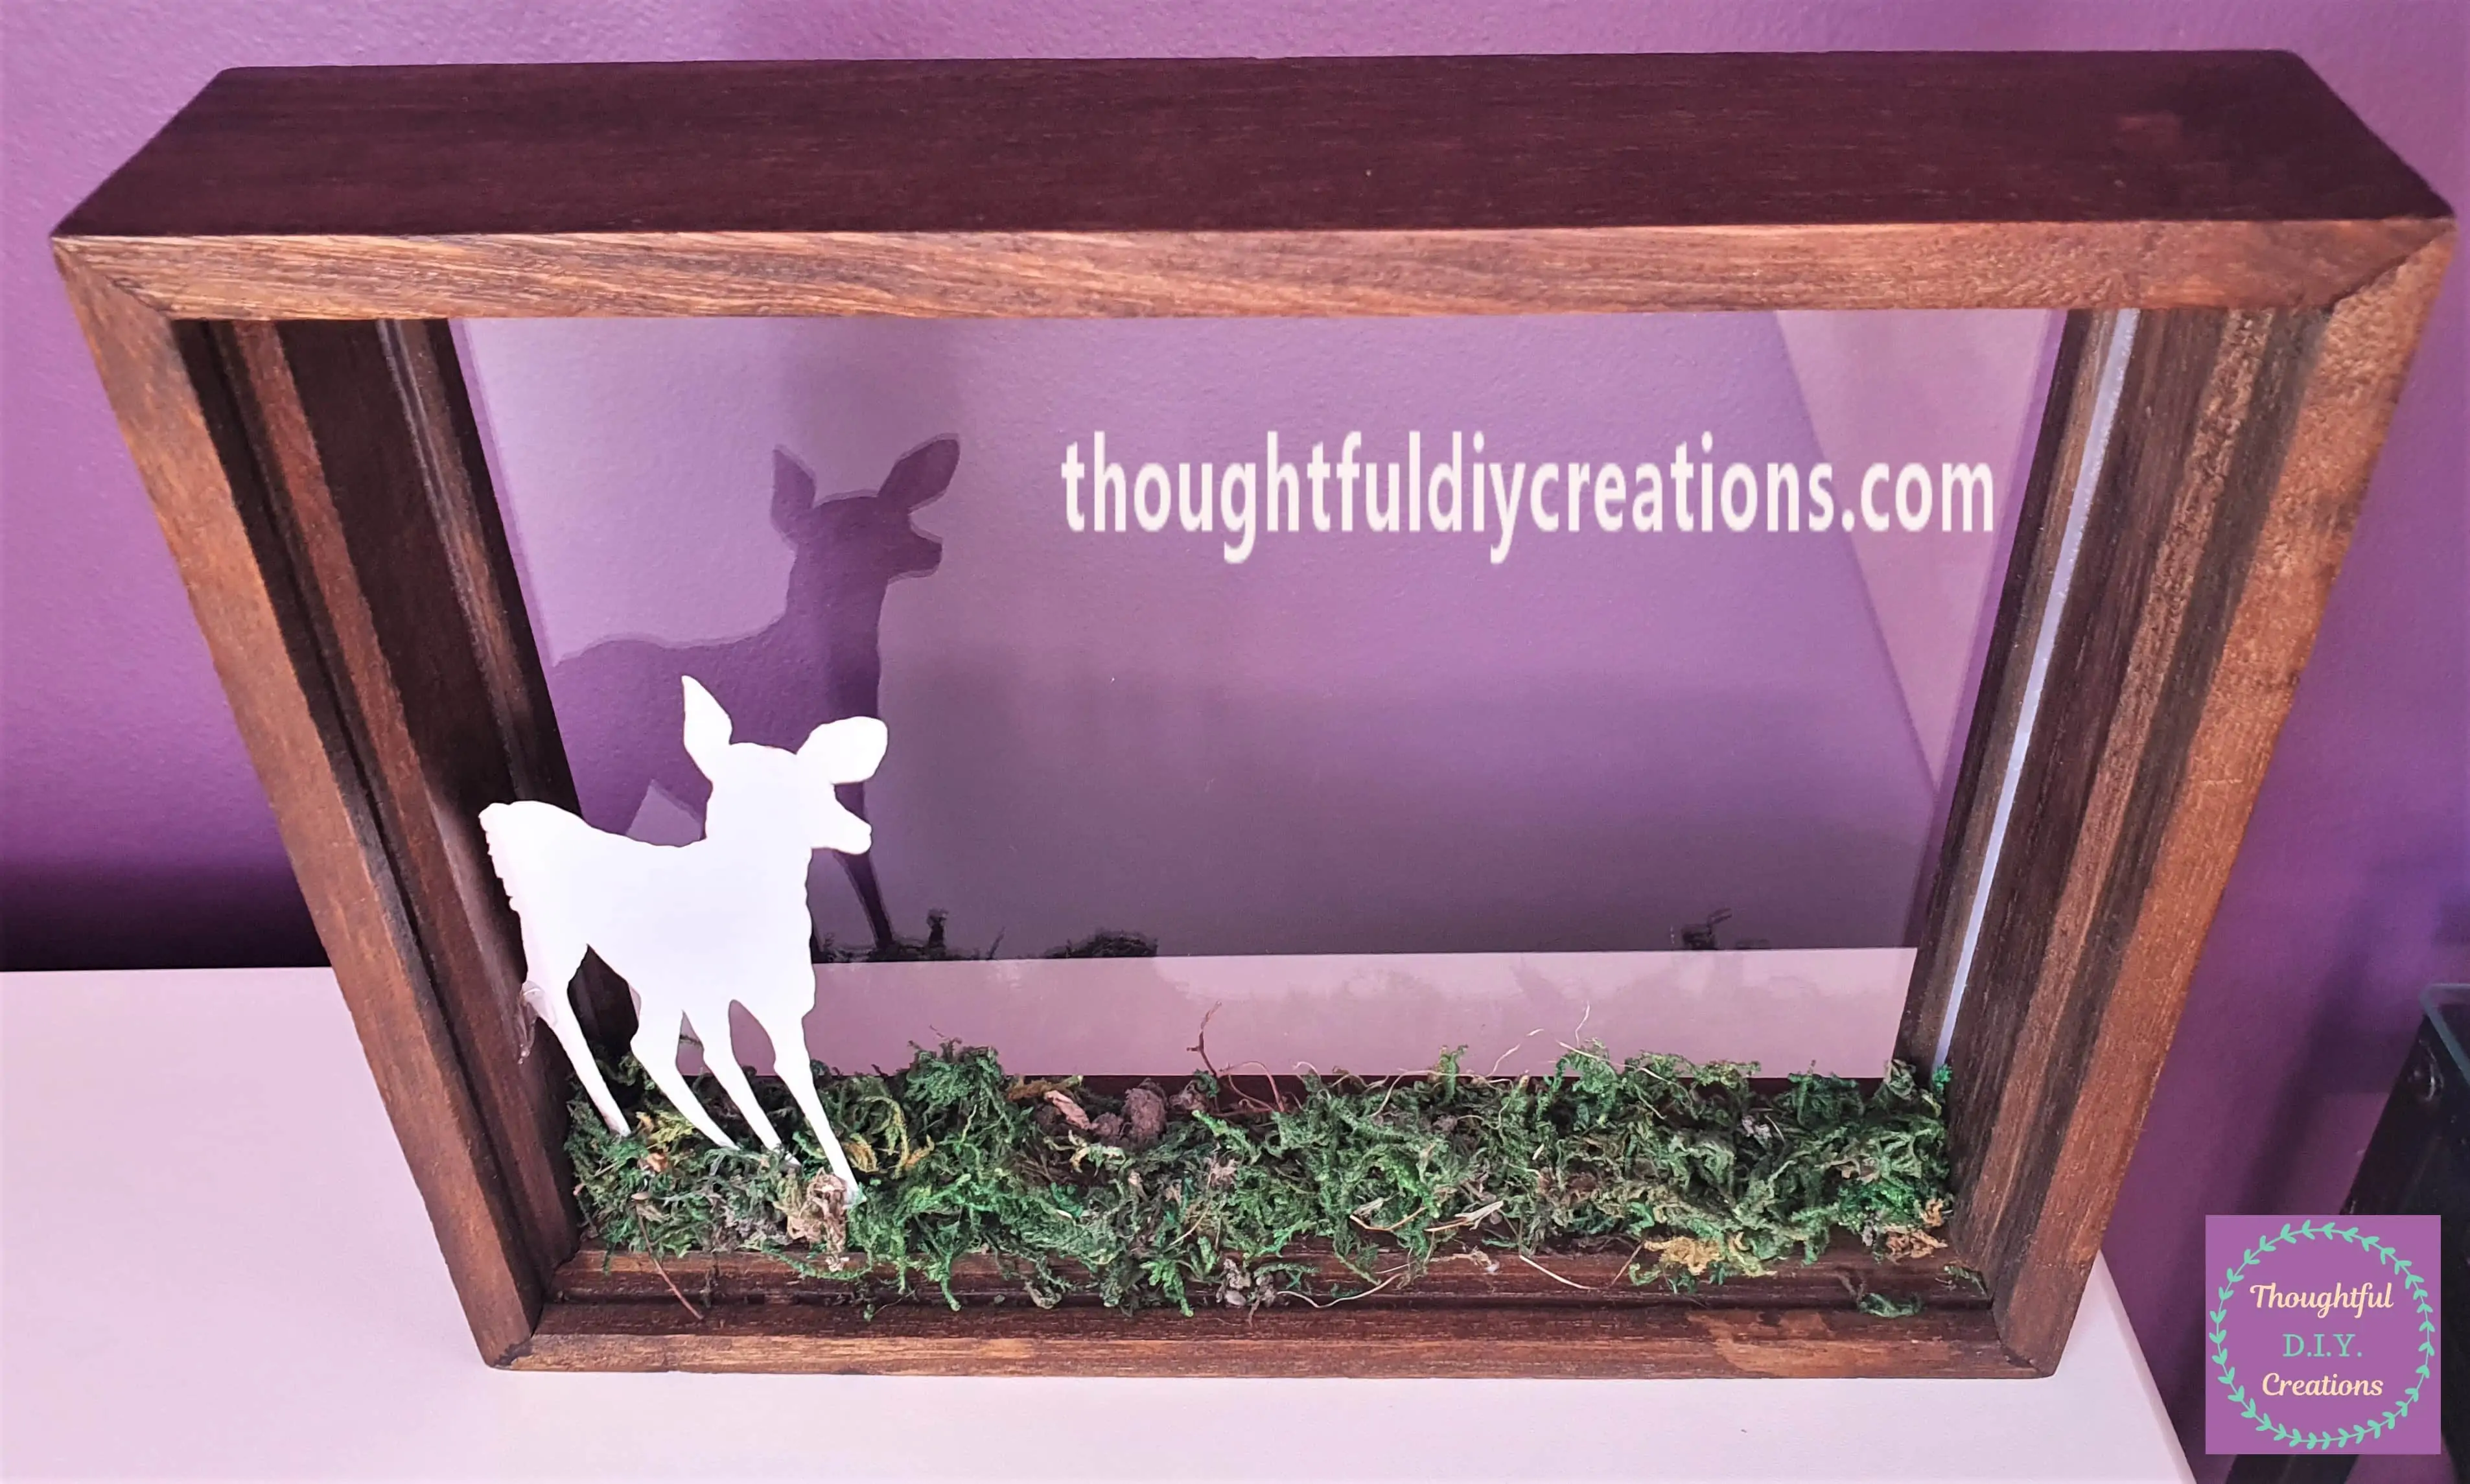
This is a Front View of how the Frame is coming along so far.
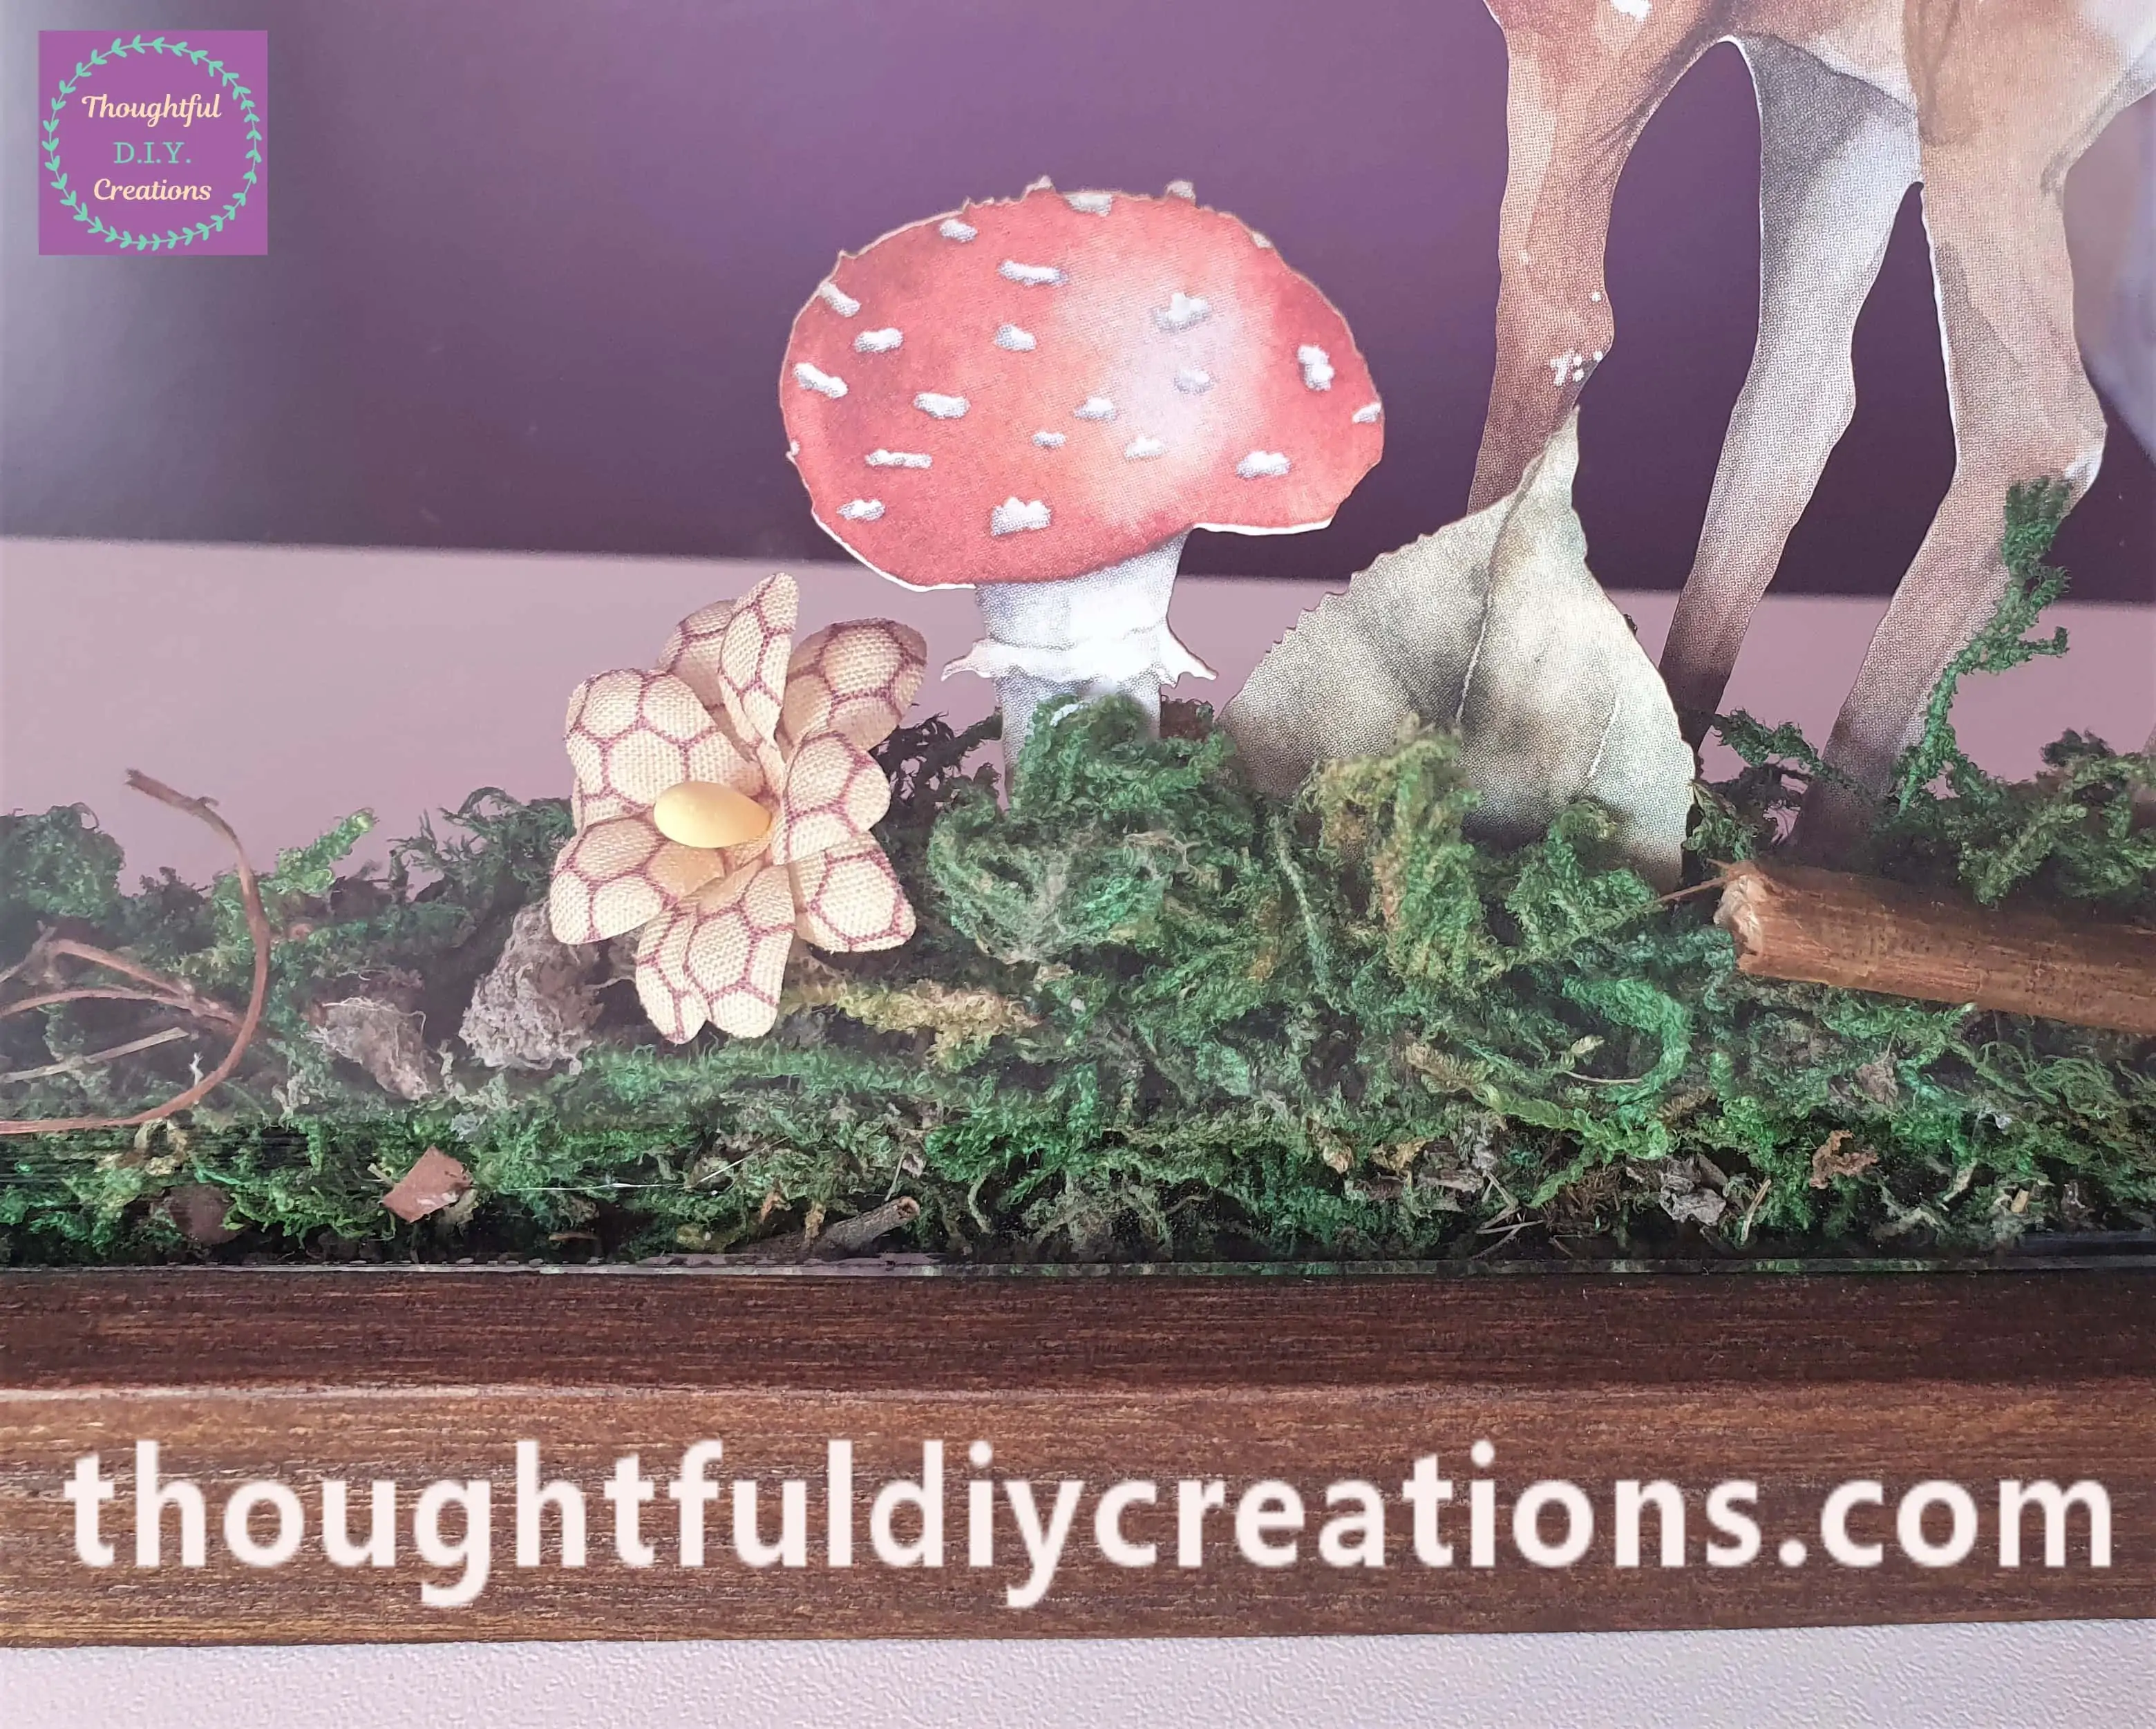
I placed a small branch and yellow flower into the front of the Frame. I hot glued a Mushroom and a Leaf beside the Deer.
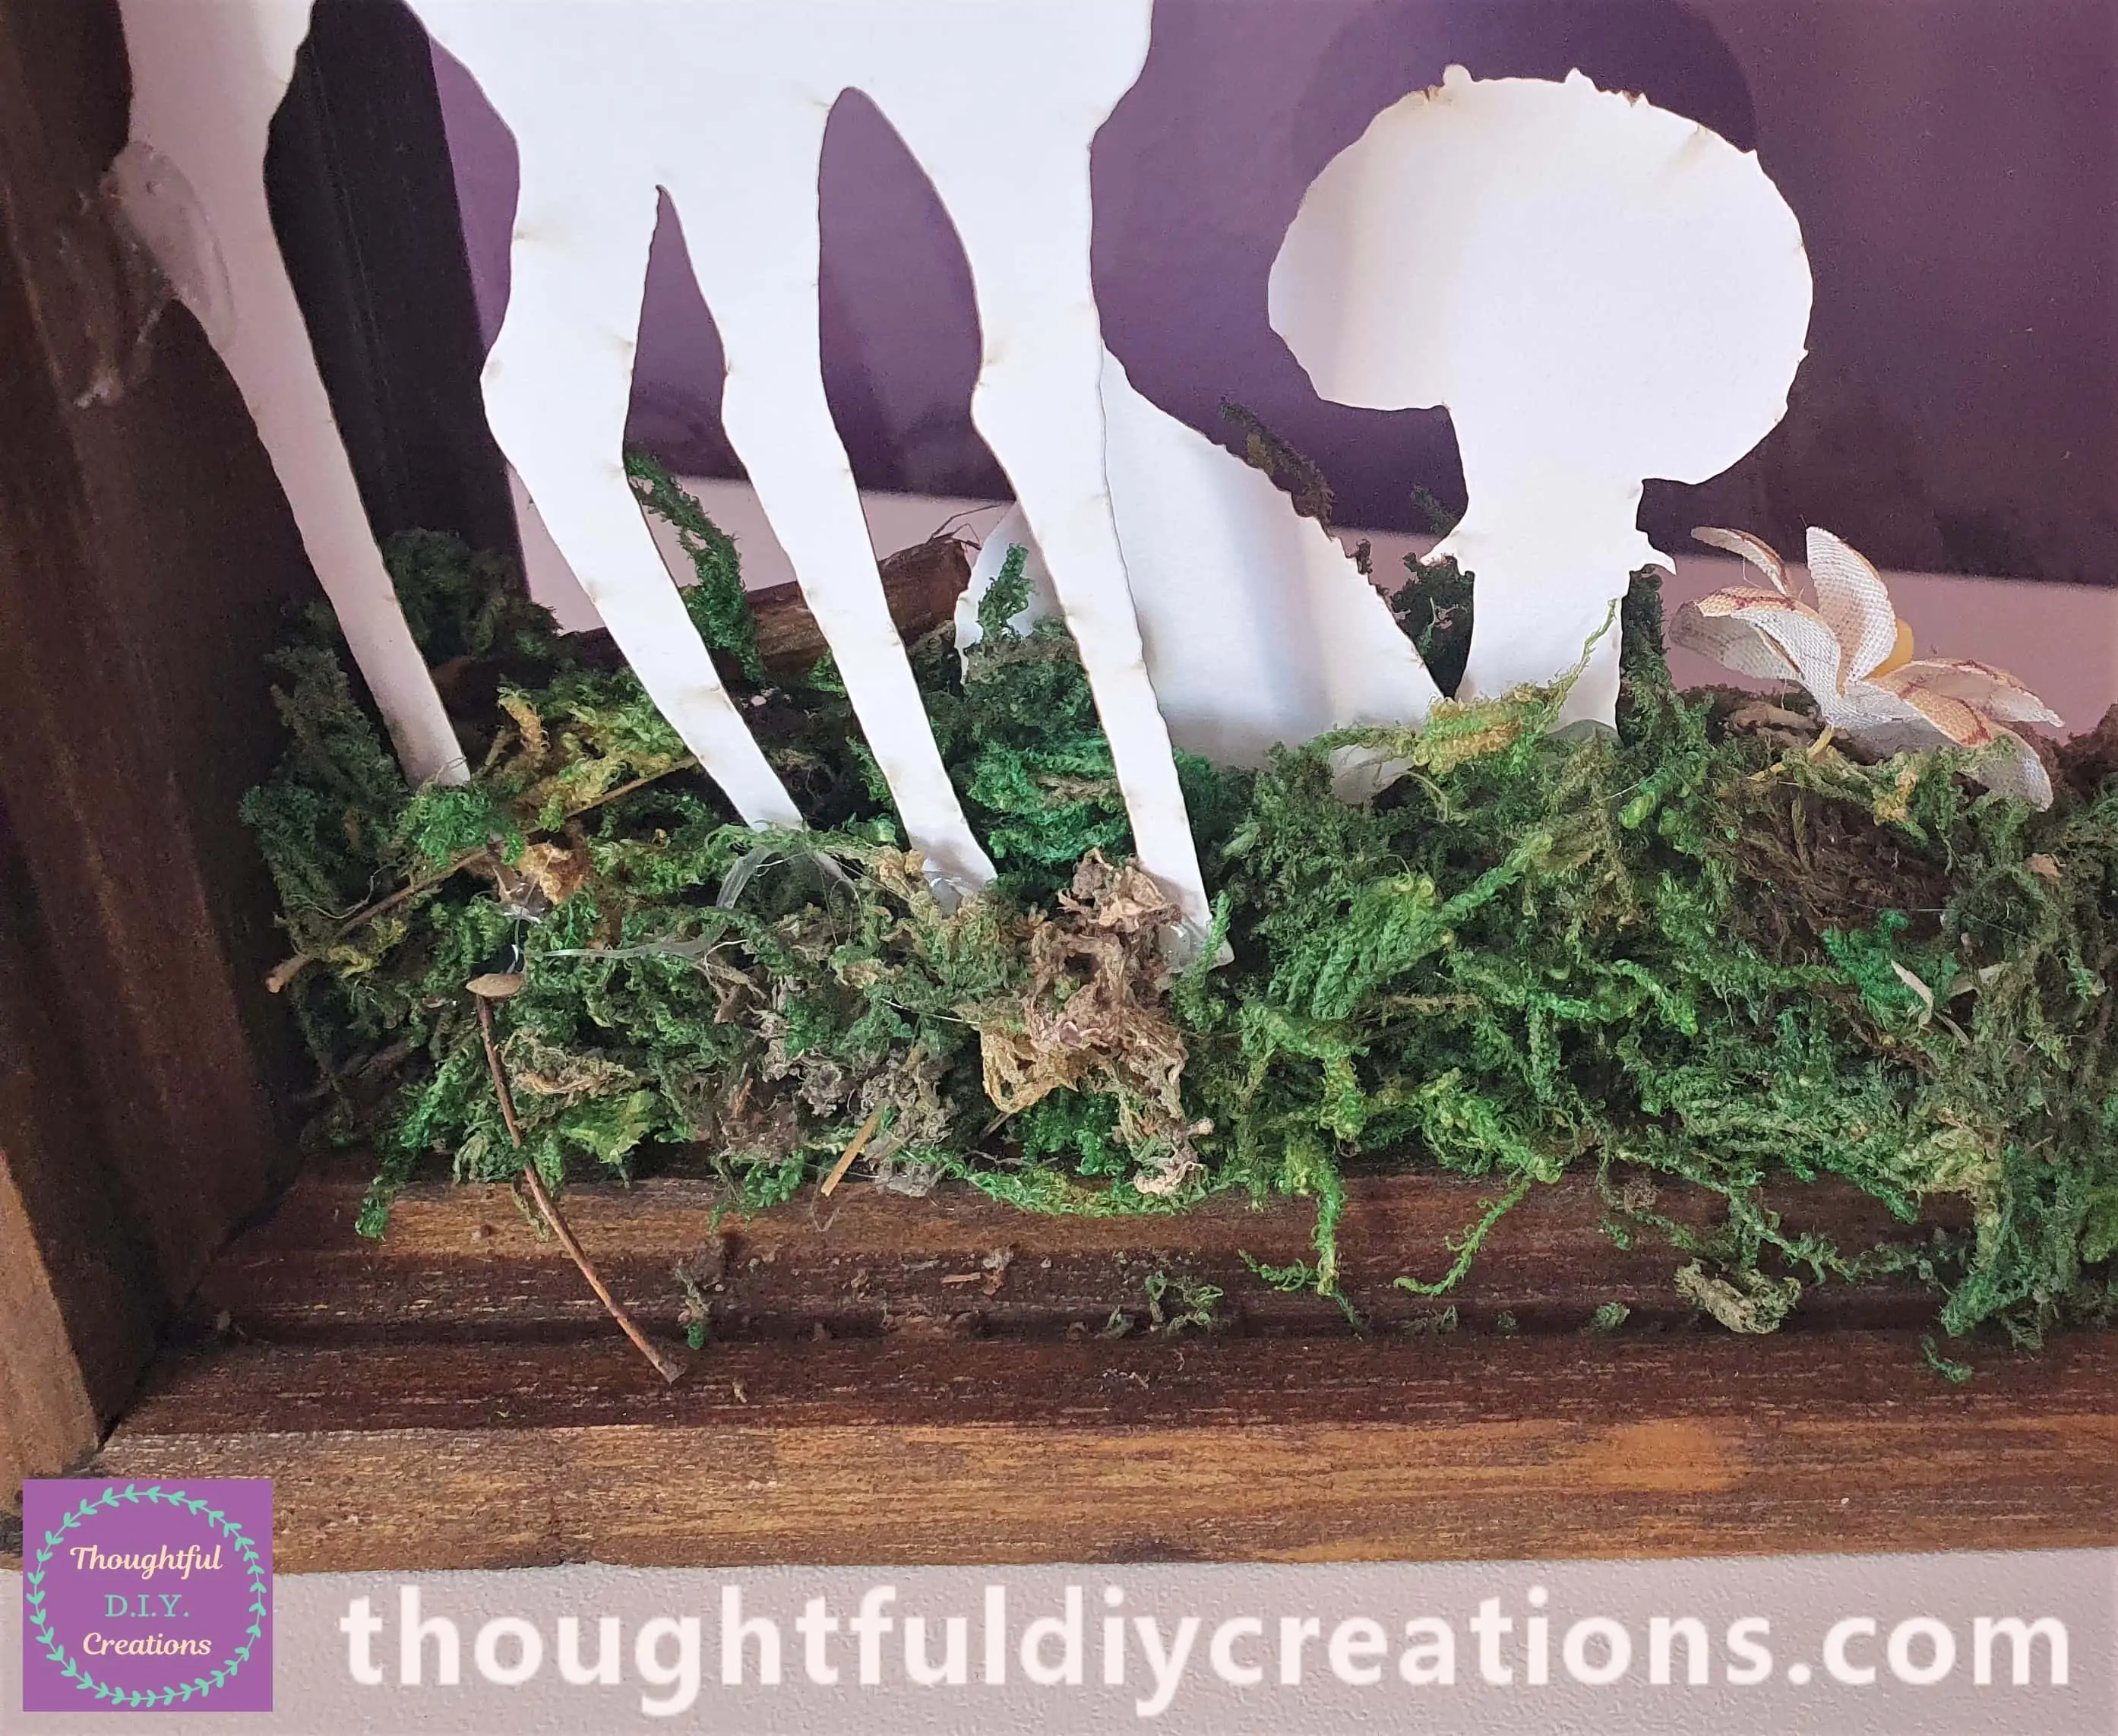
A Front View and Close-Up of the added elements.
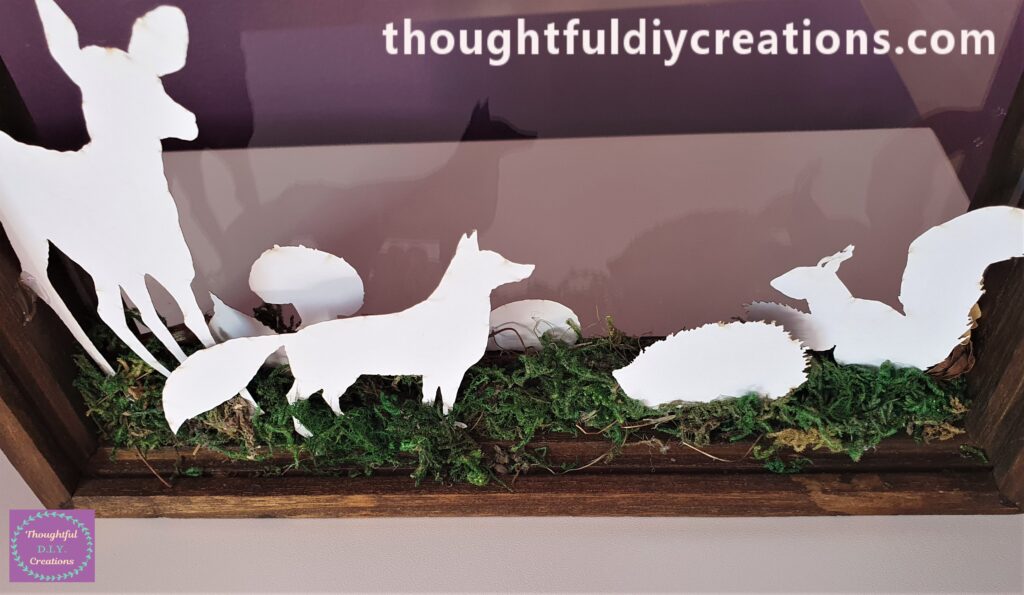
Hot Gluing more Woodland Animals to the Frame
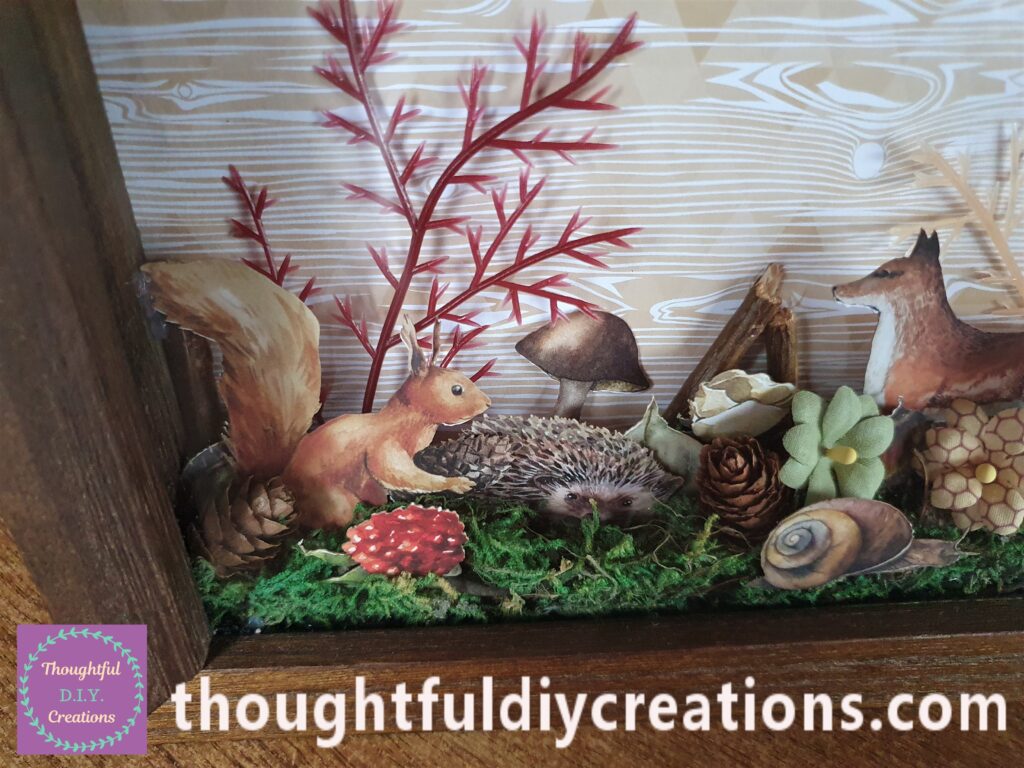
I hot glued a Fox, Snail, Hedgehog and a Squirrel to the Frame. I added them at different depths on the bottom of the Frame to add interest and to provide a more 3-D realistic appearance.
I also added more Moss to the Hot Glue on the back of the Die-Cuts before it dried to help them stay upright in the Frame.
The Front of the Frame. I also added a mini Pine Cone and Flower beside the Squirrel.
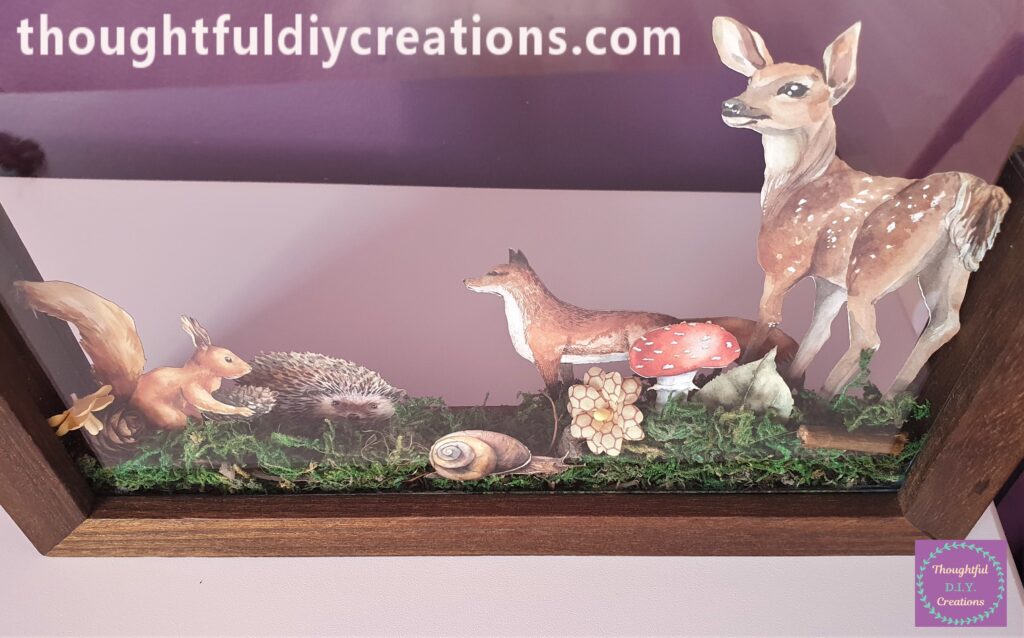
Next I hot glued a Leaf and a Flower beside the Hedgehog and added a green fabric Flower and a mini Pine Cone.
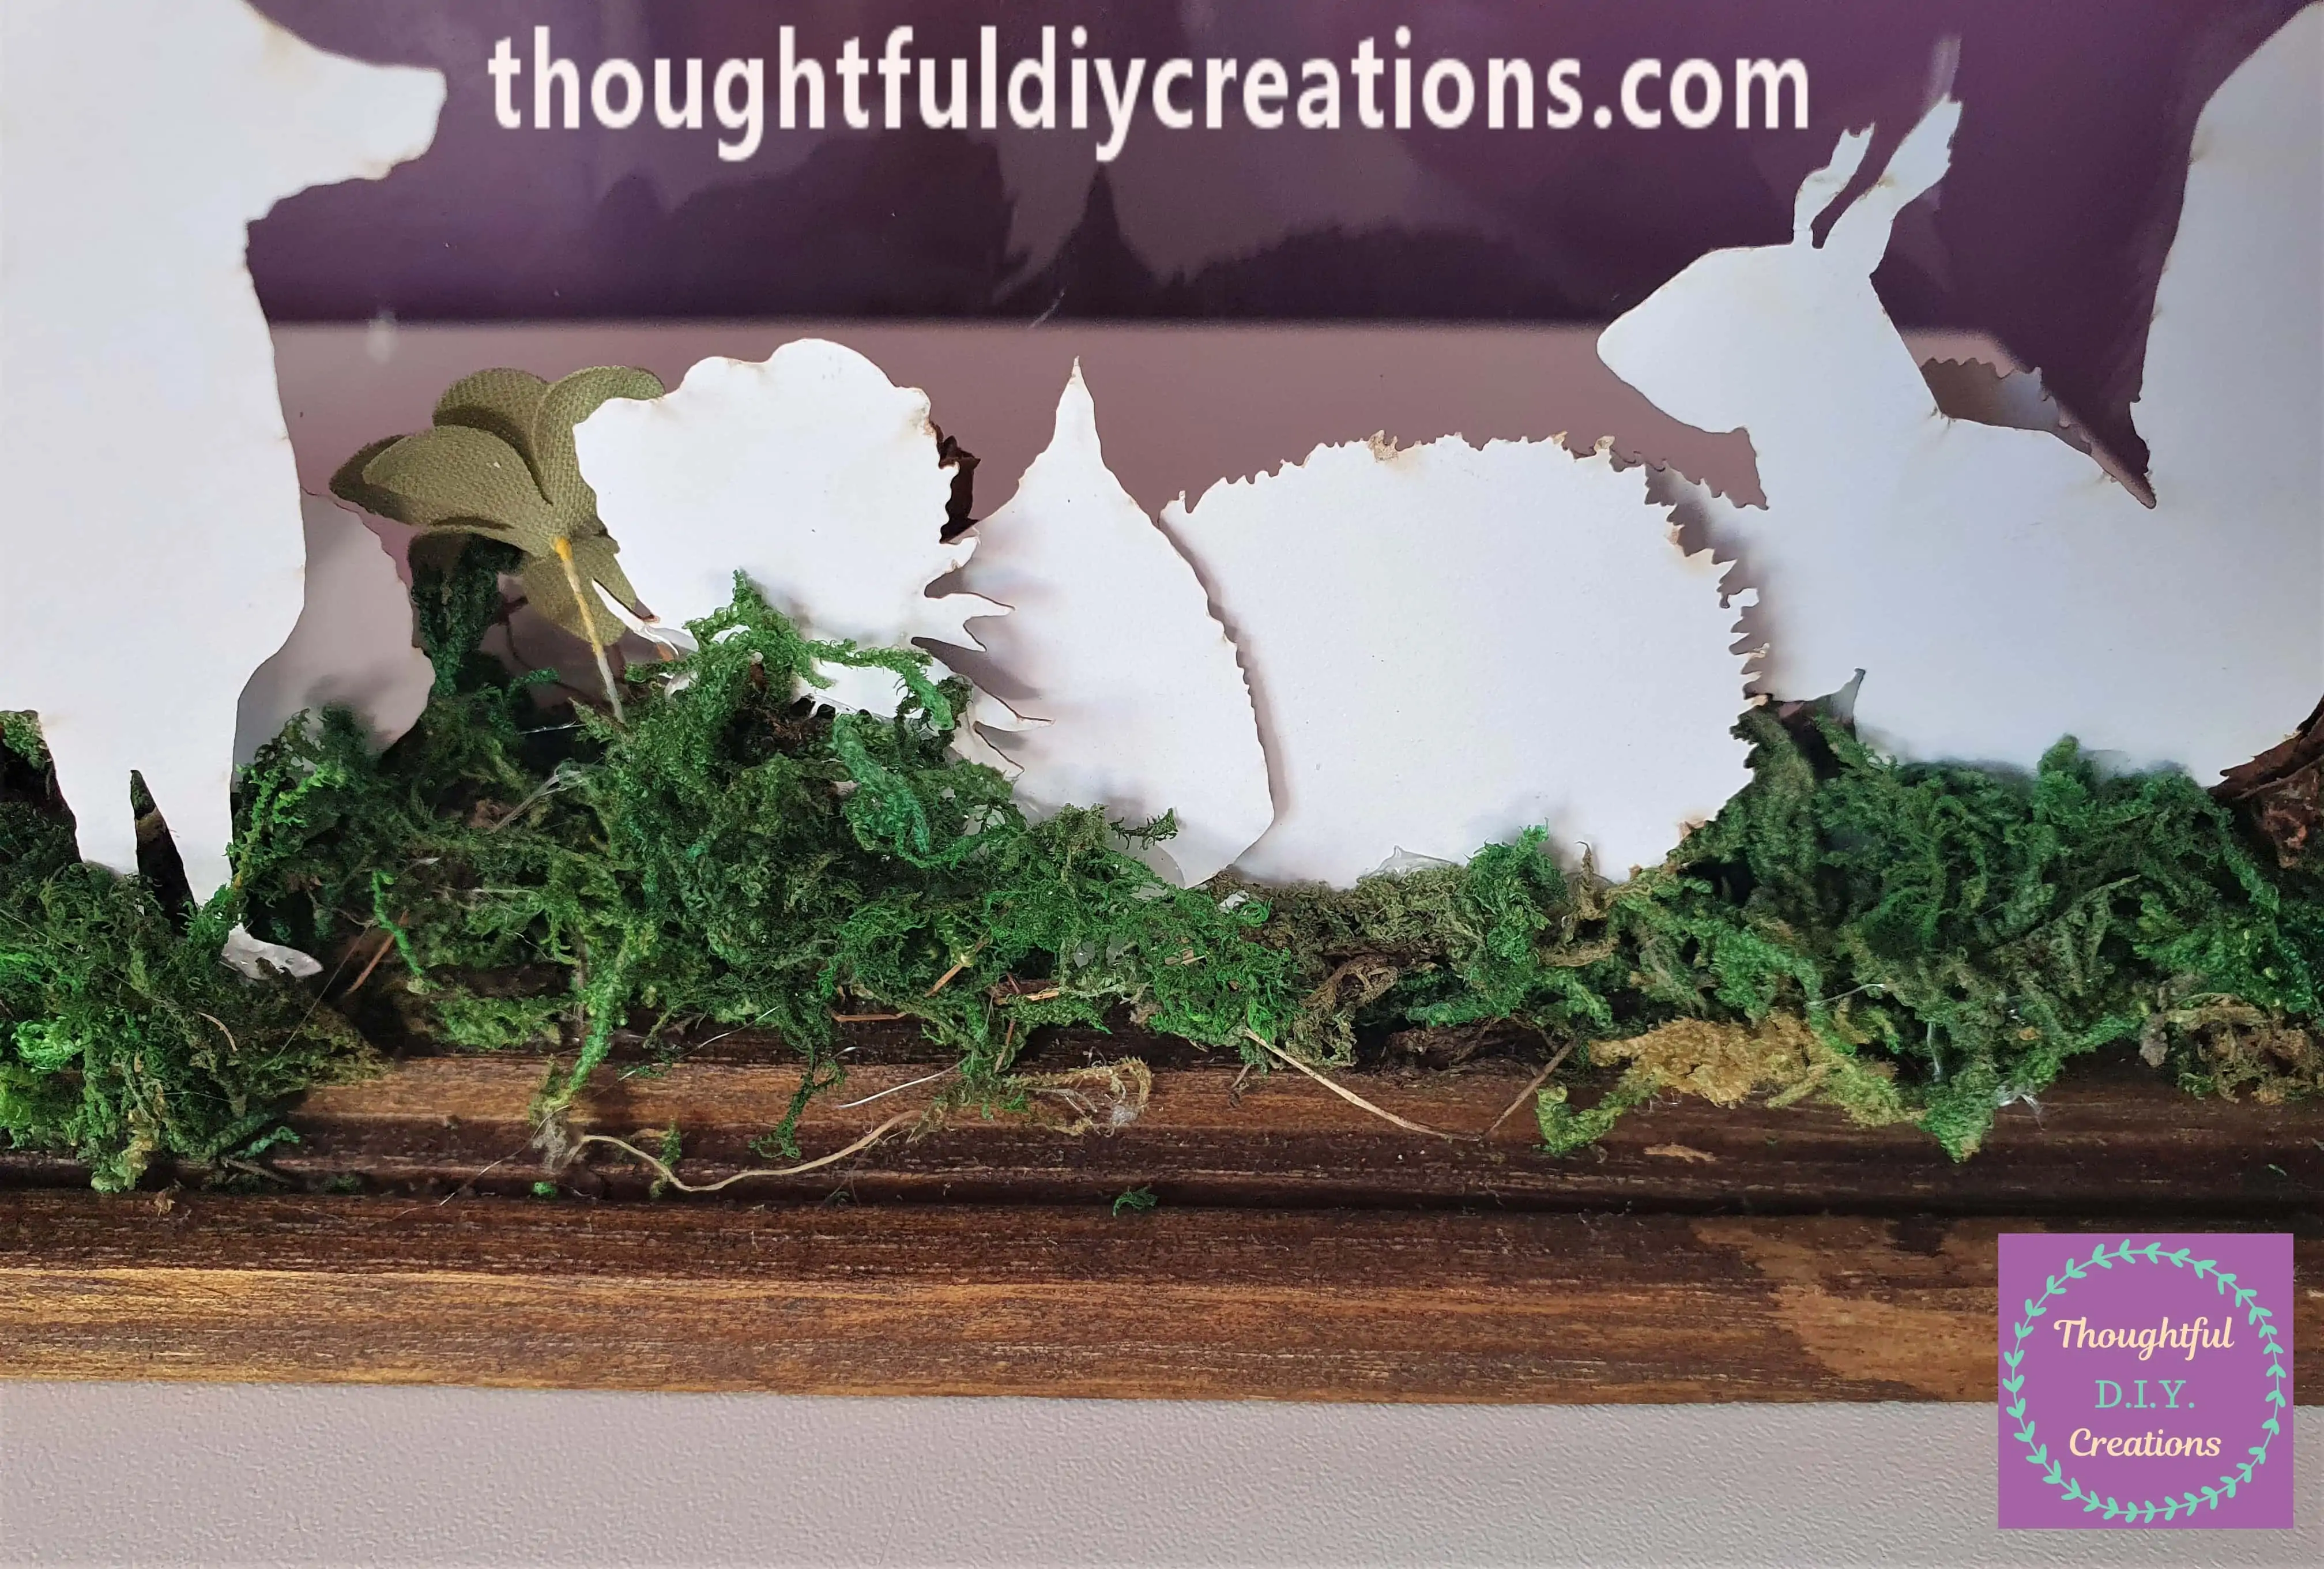
I placed a yellow and brown fabric flower to the front of the Frame beside the Deer. I hot glued another Mushroom behind the first Mushroom.
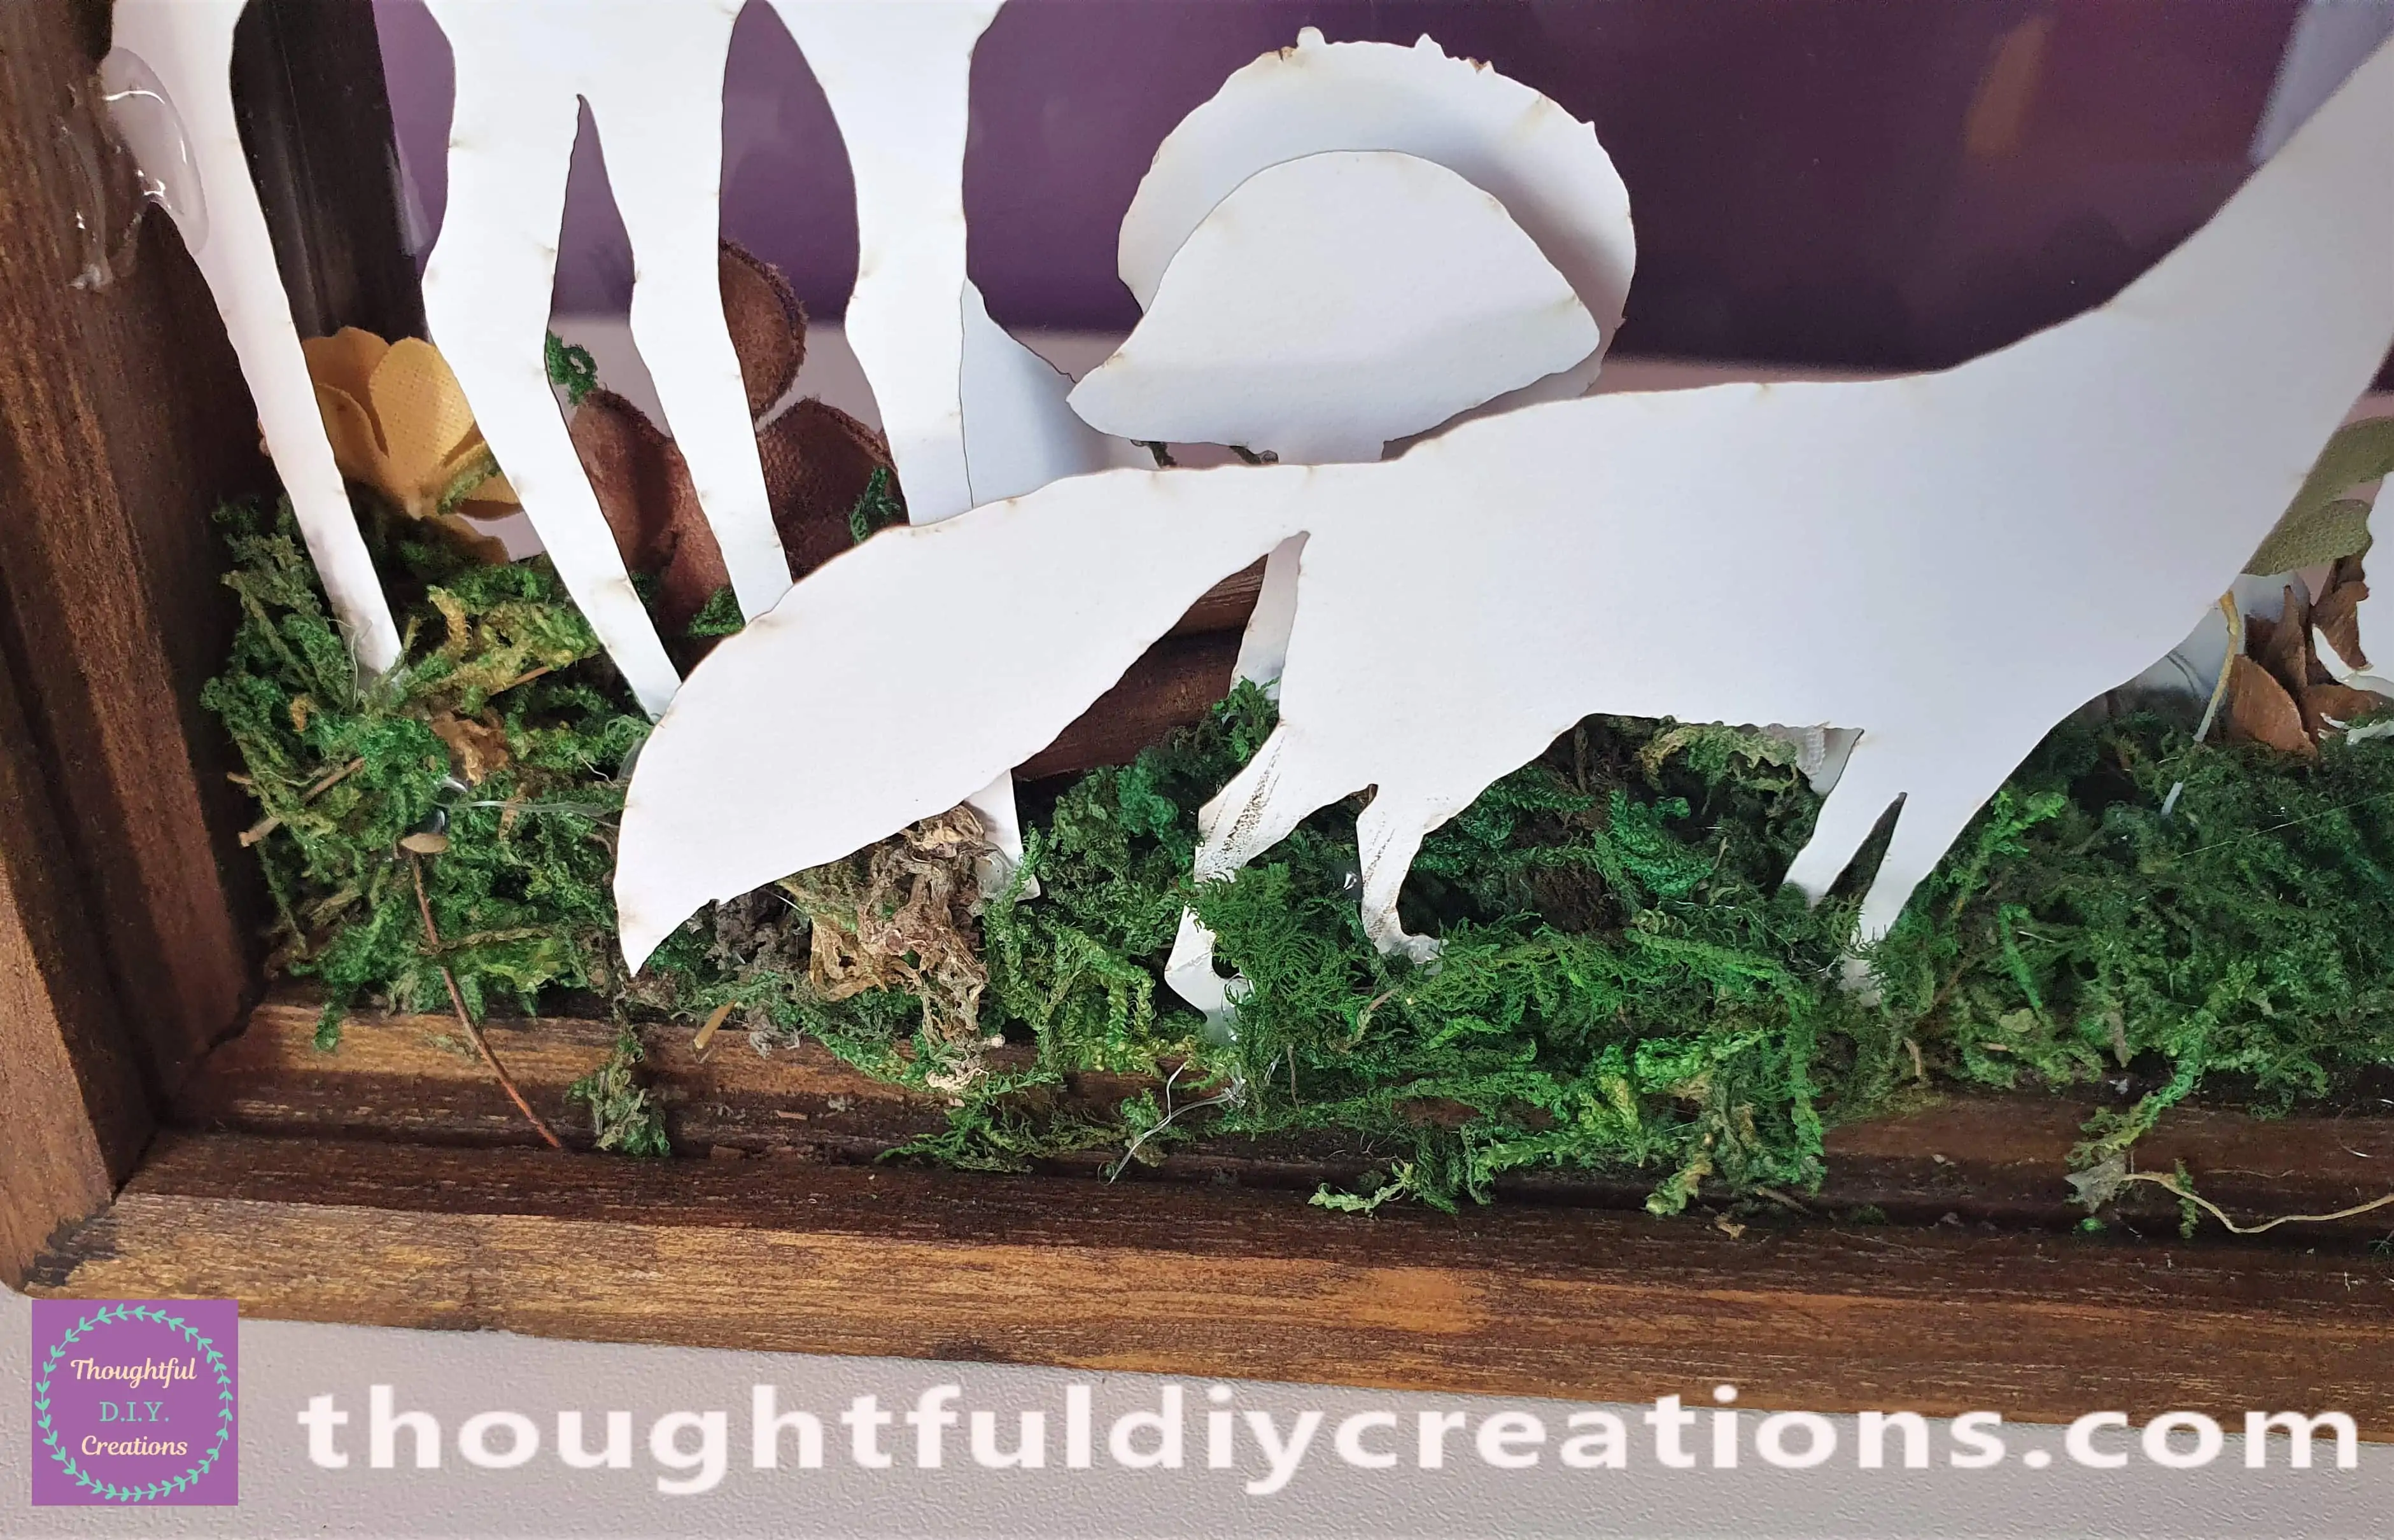
The Frame from the Front; it’s coming together nicely.
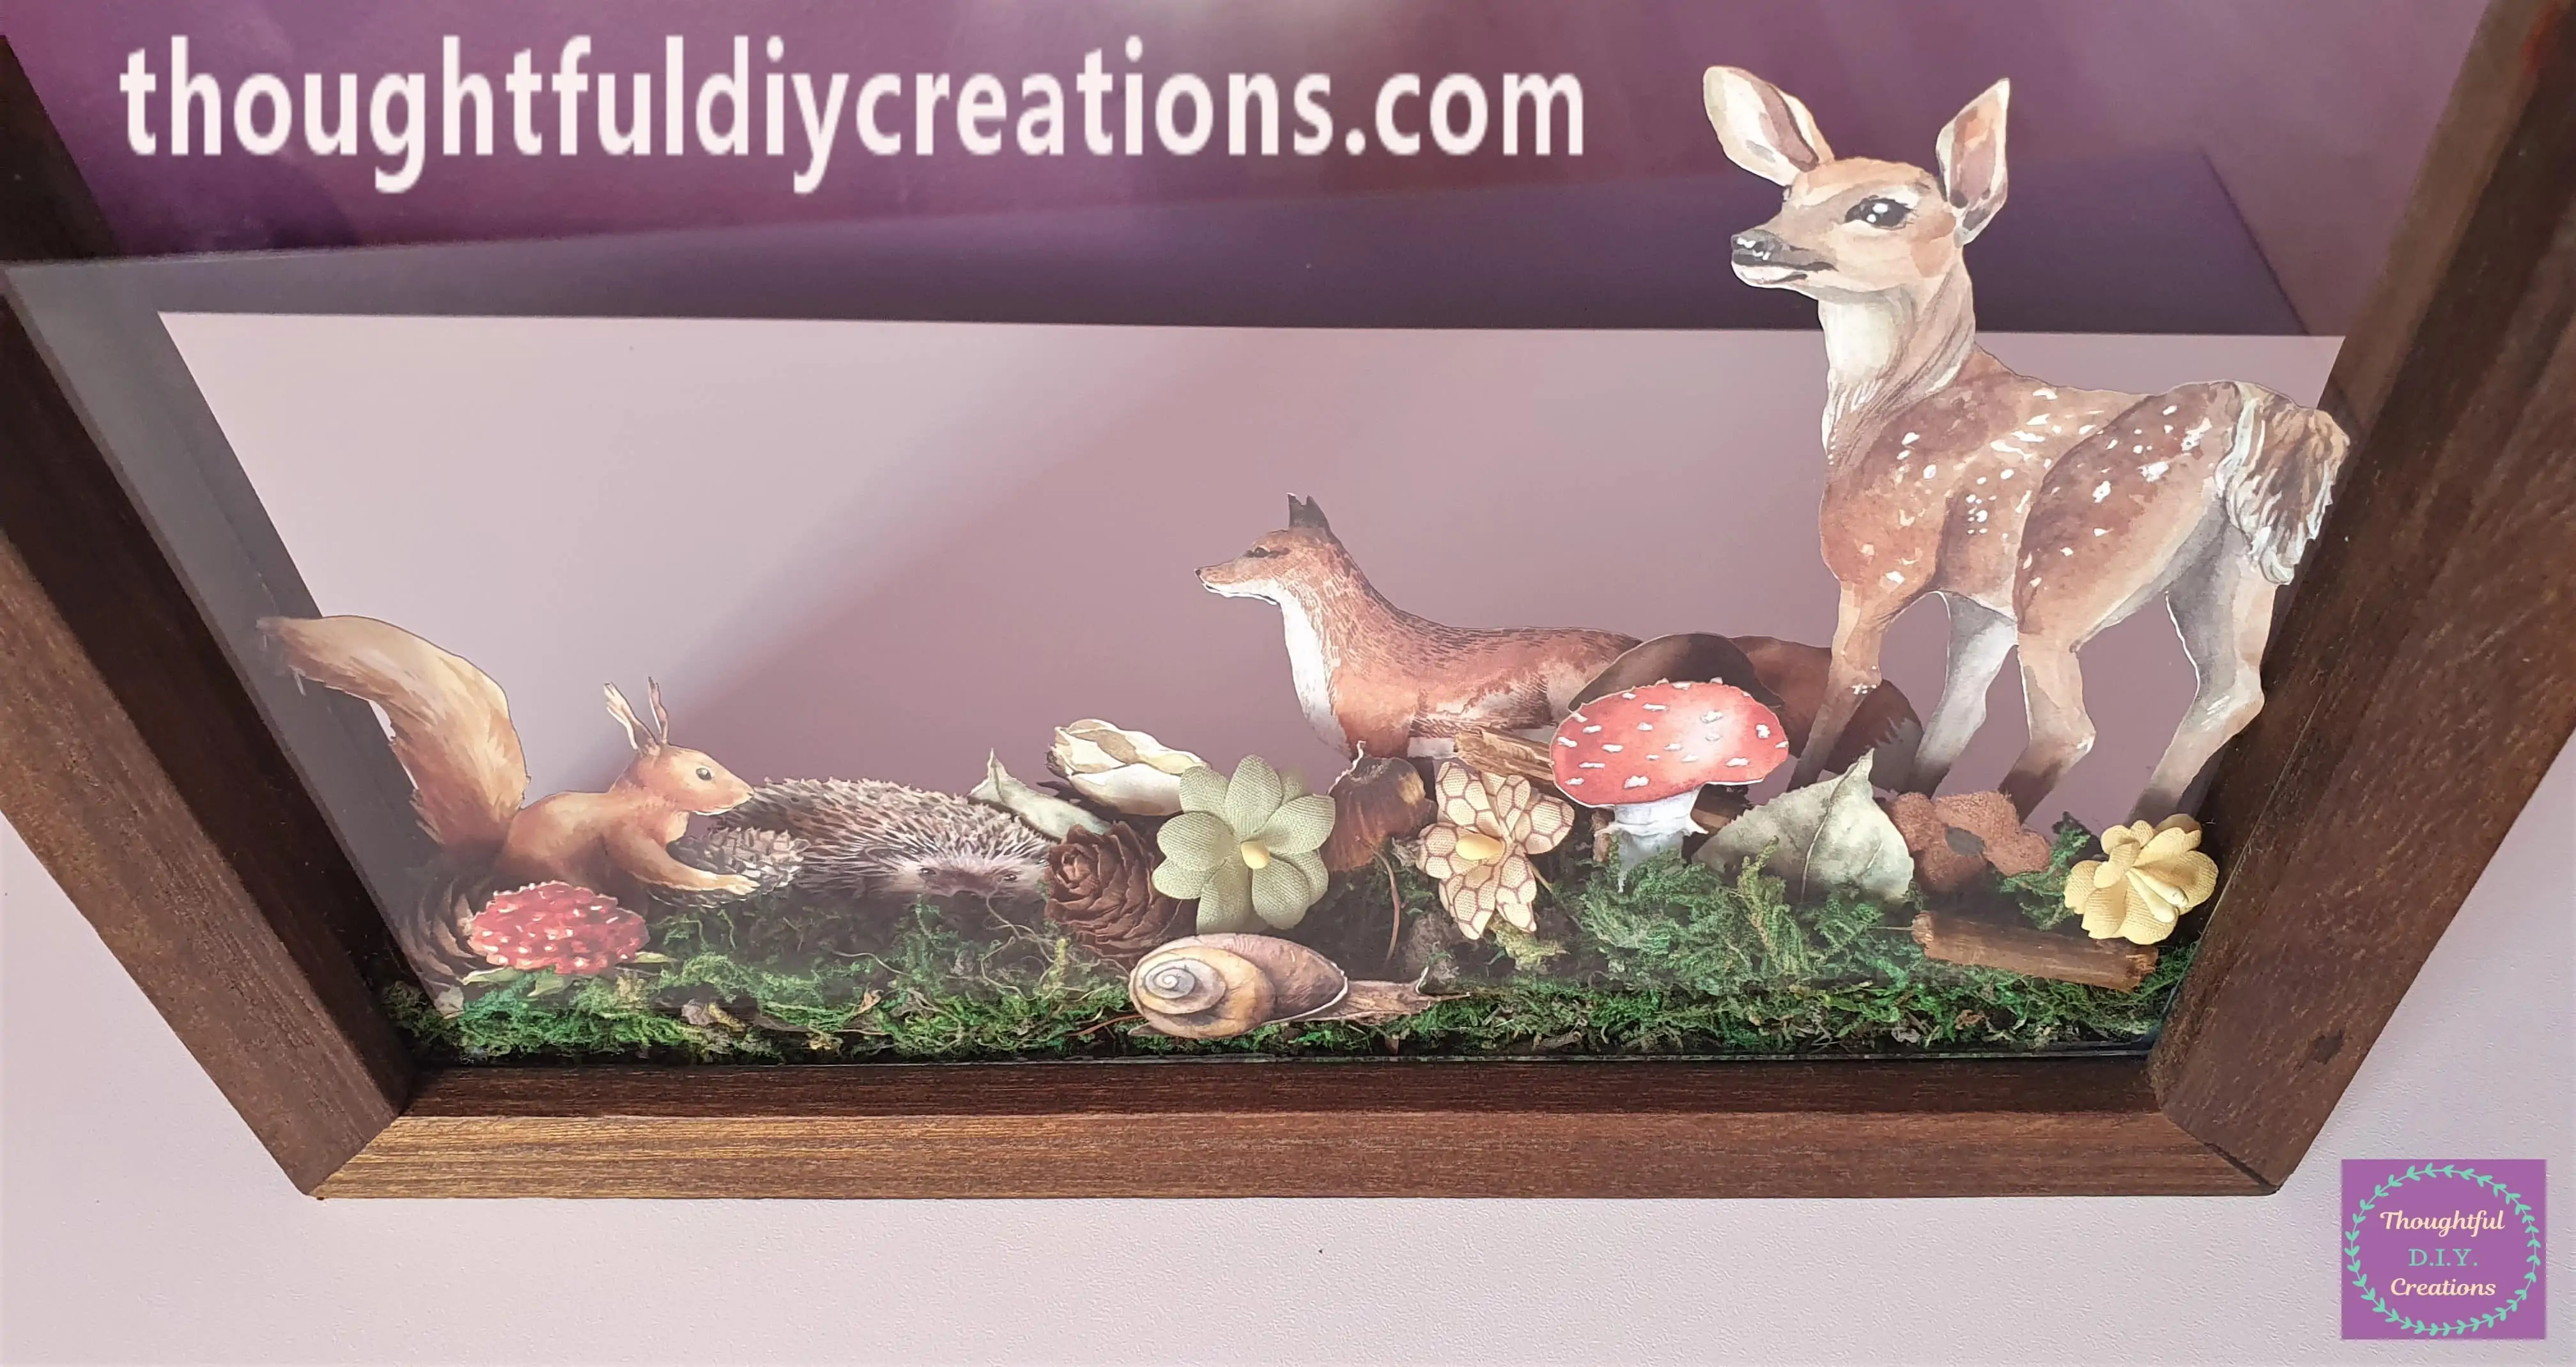
Adding Trees to the Frame
I hot glued a Burgundy Coloured Plastic Tree behind the Squirrel and a Cream Tree behind the Fox. These provide different heights to the Frame as well as adding to the Autumn Colours and Complementing the other elements in the Frame.
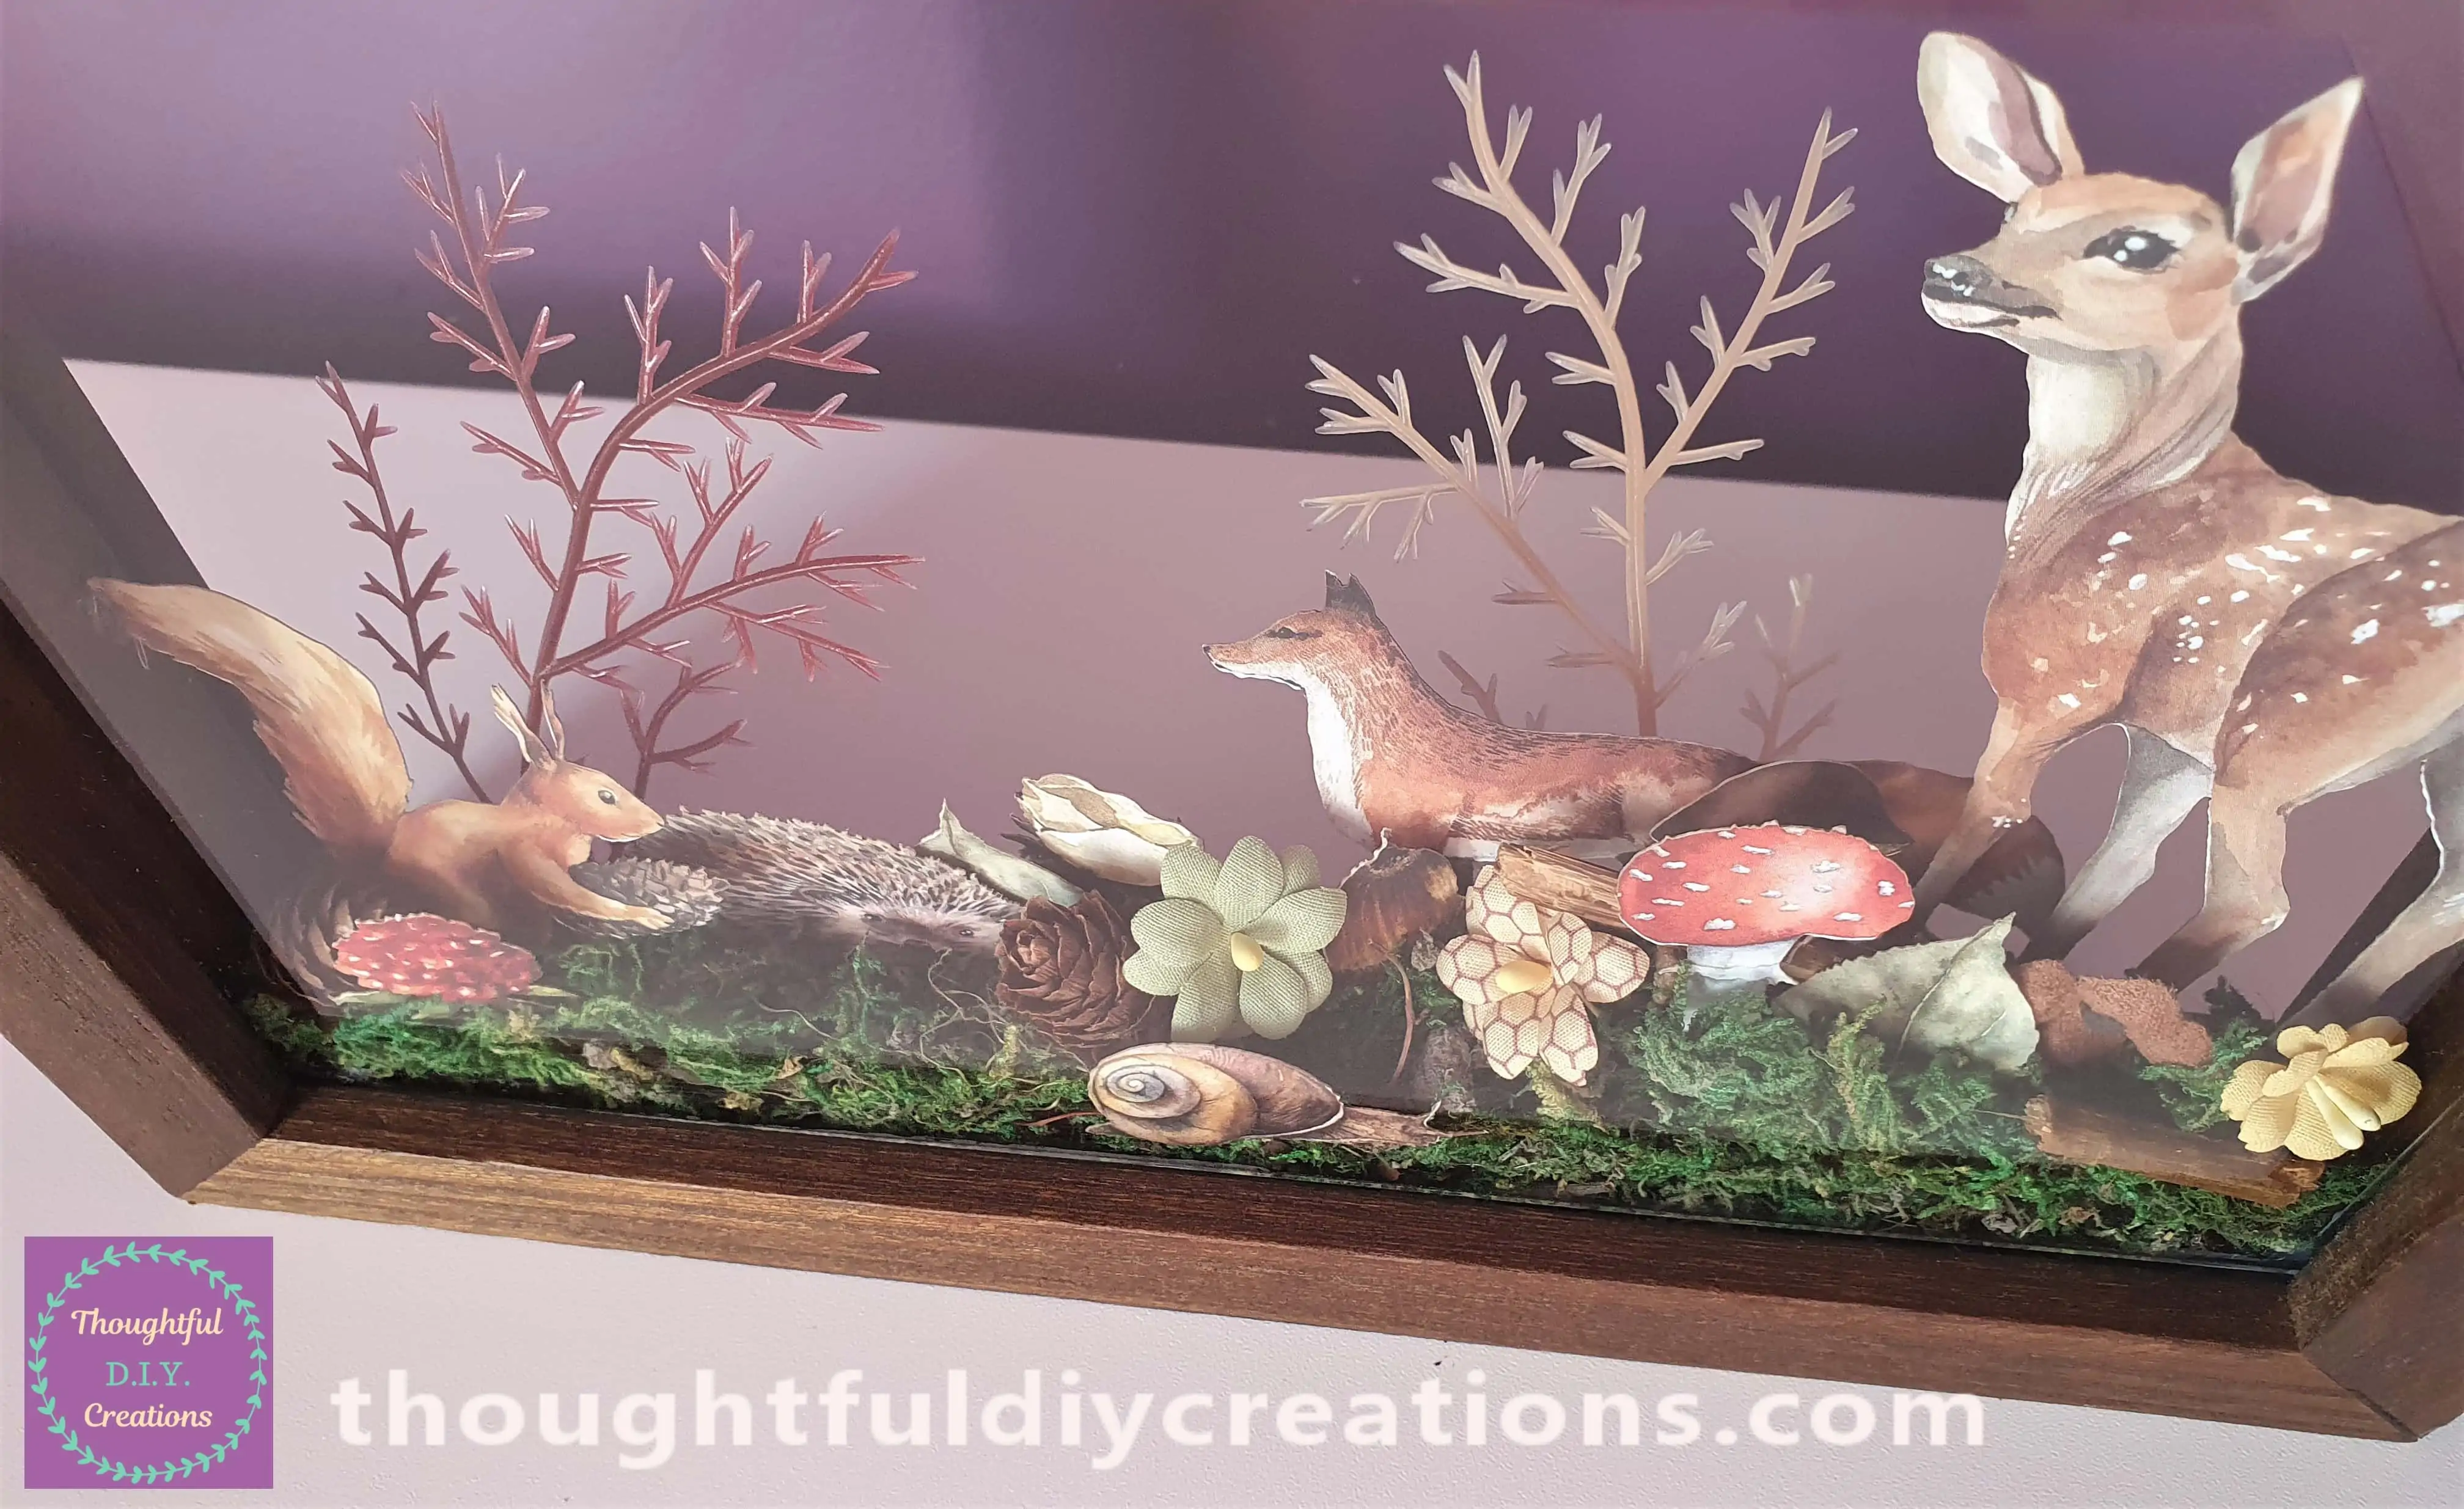
A Full View of the Frame.
Making the Background for the Woodland Frame
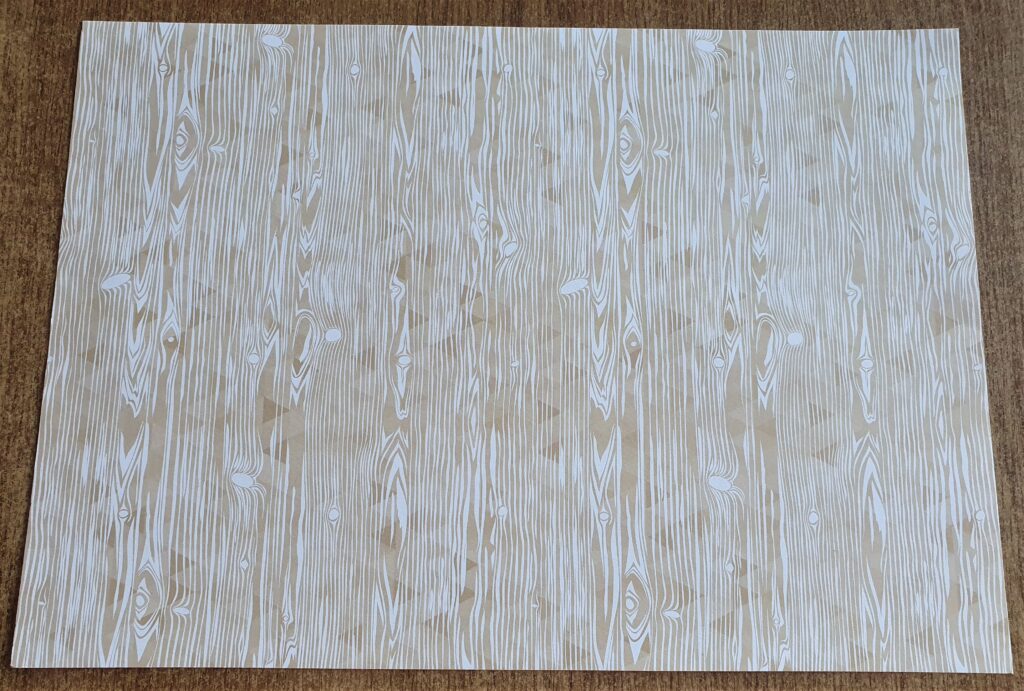
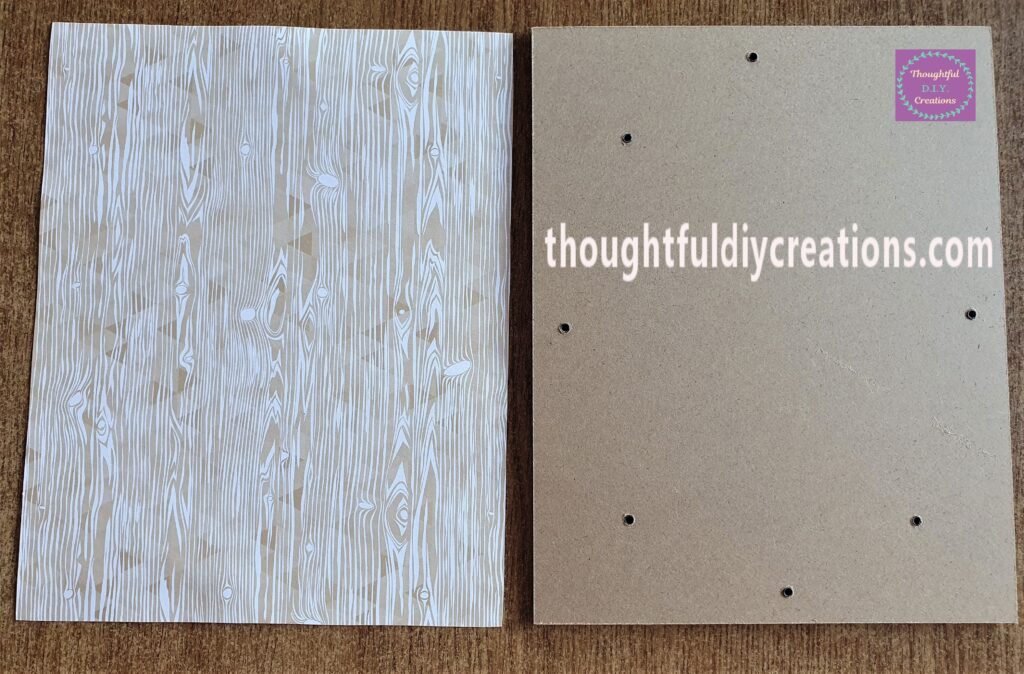
I had a Sheet of a Tree Patterned Cardstock in my Supplies.
I put the Back of the Frame on the Back of the Cardstock and drew around it with a Pencil.
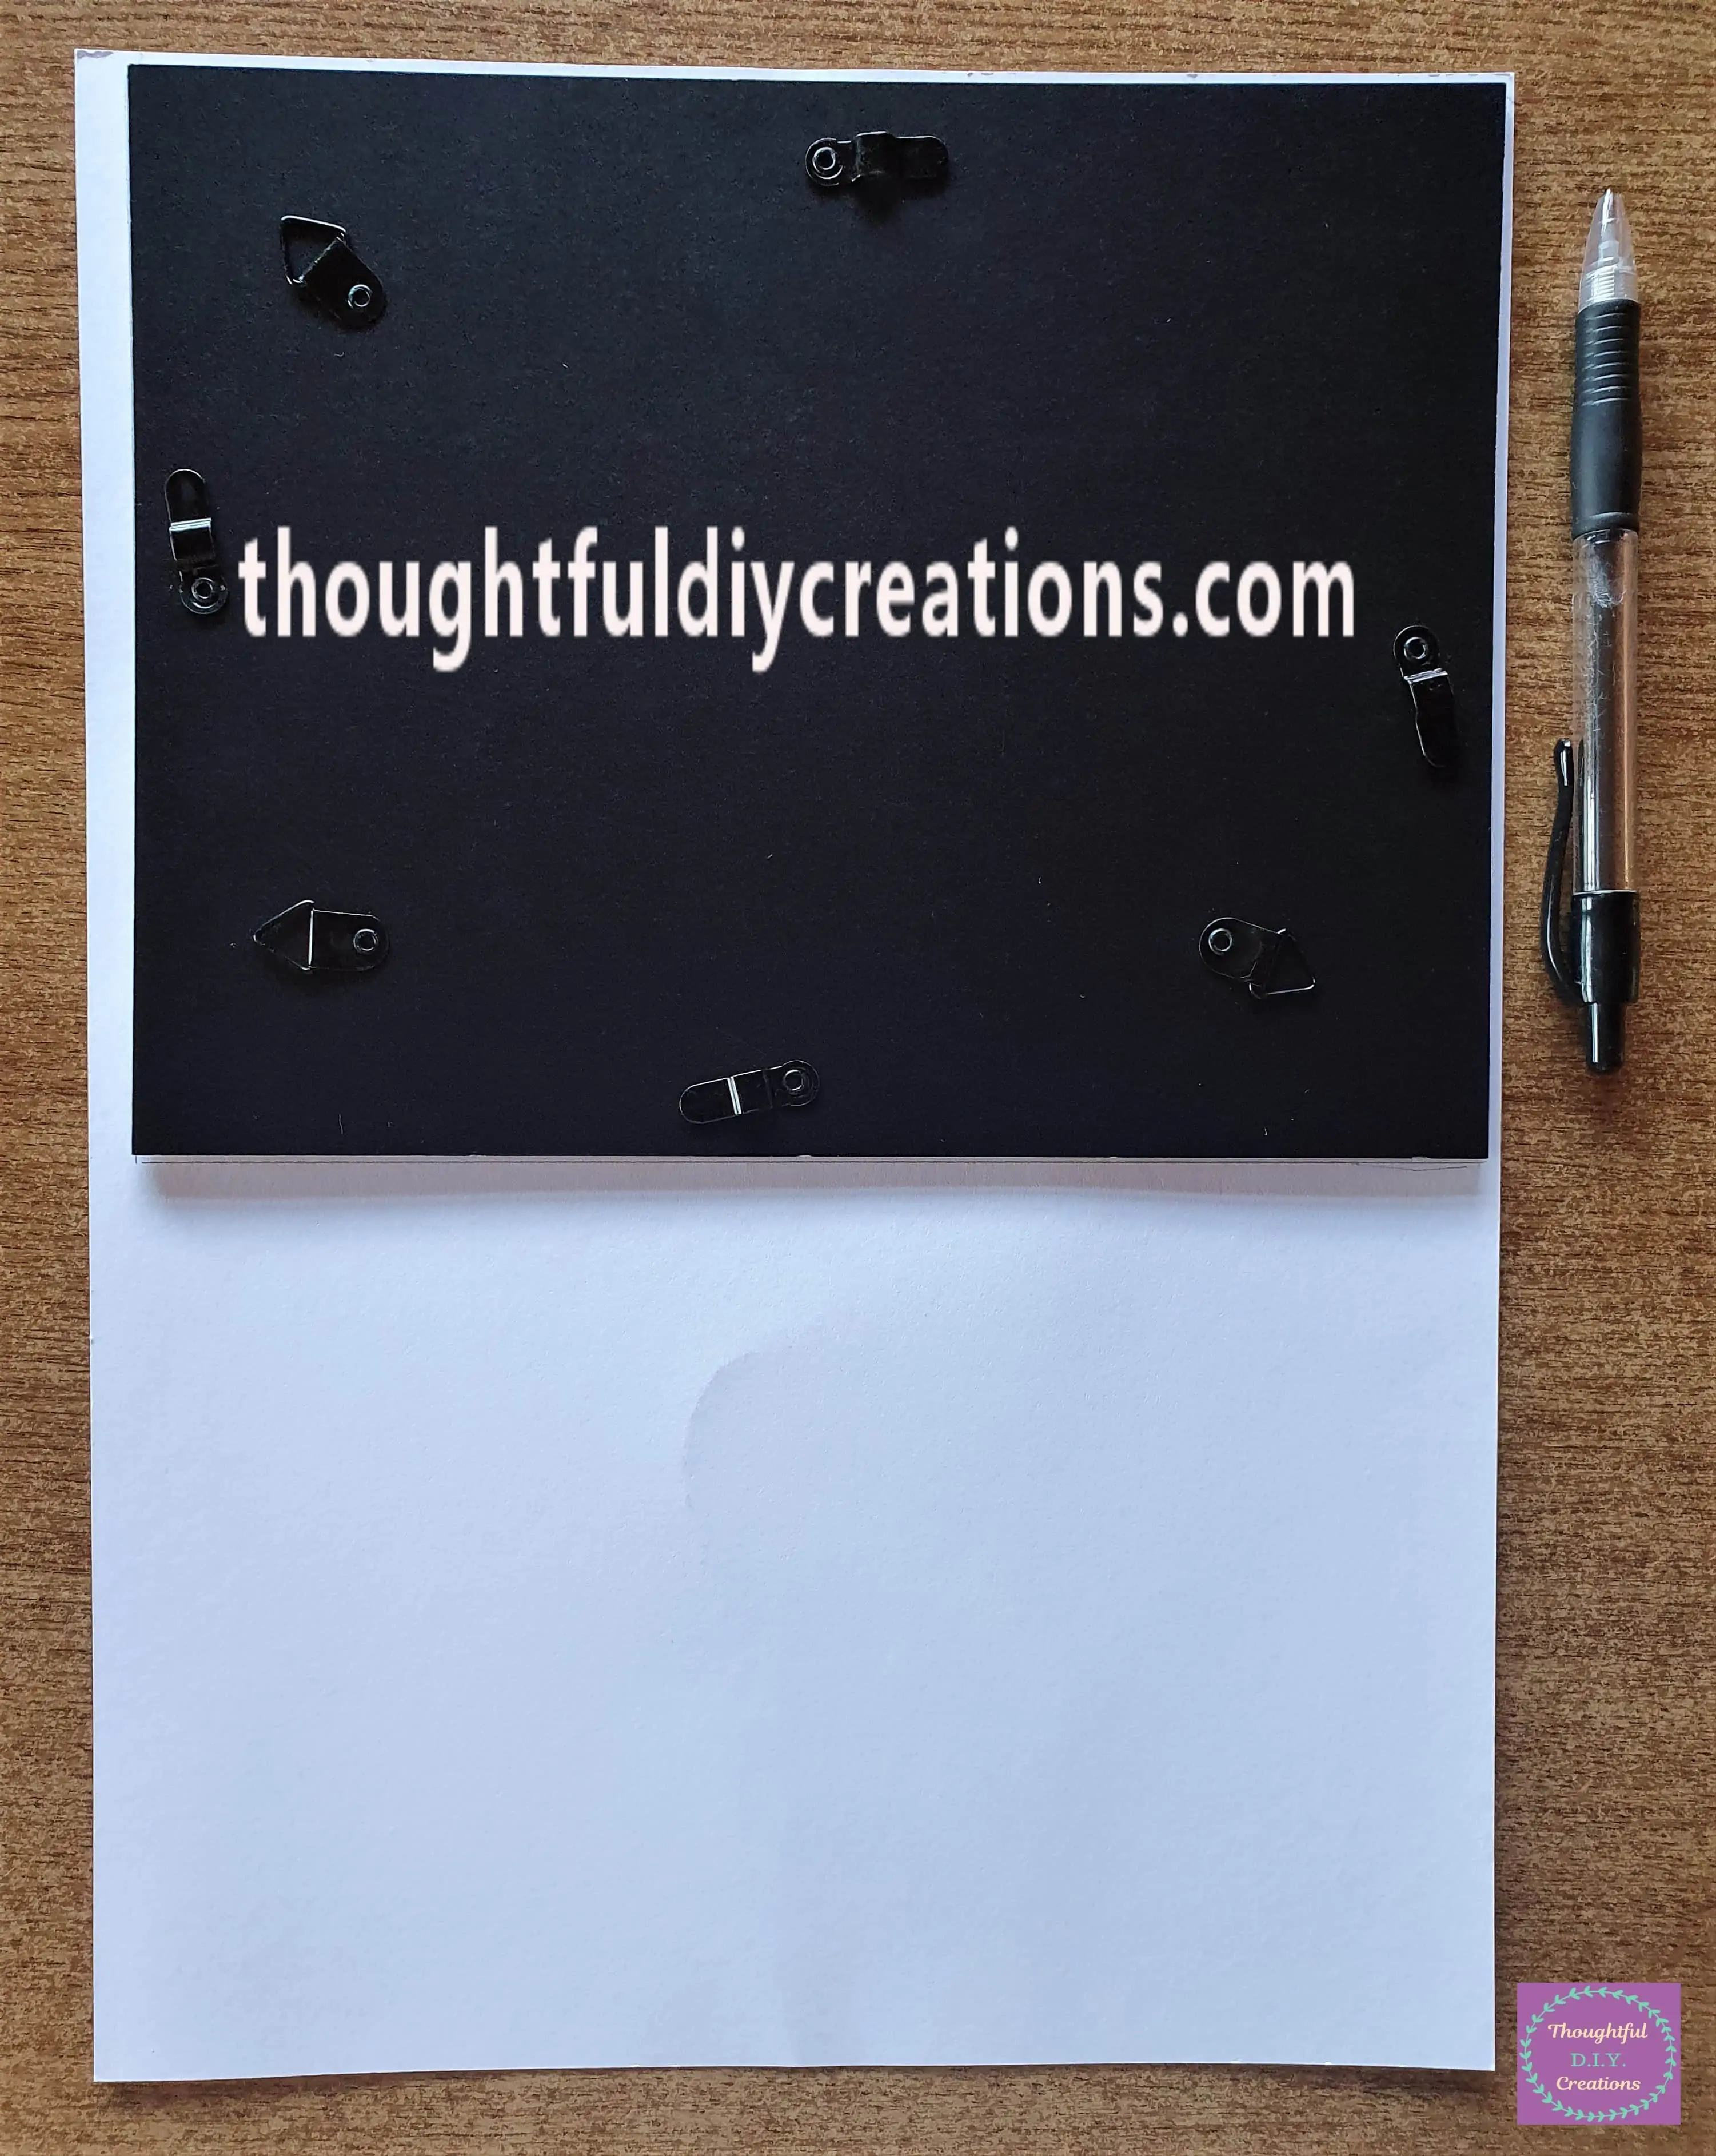
I Cut it out. Here it is beside the Front Side of the Back of the Frame.
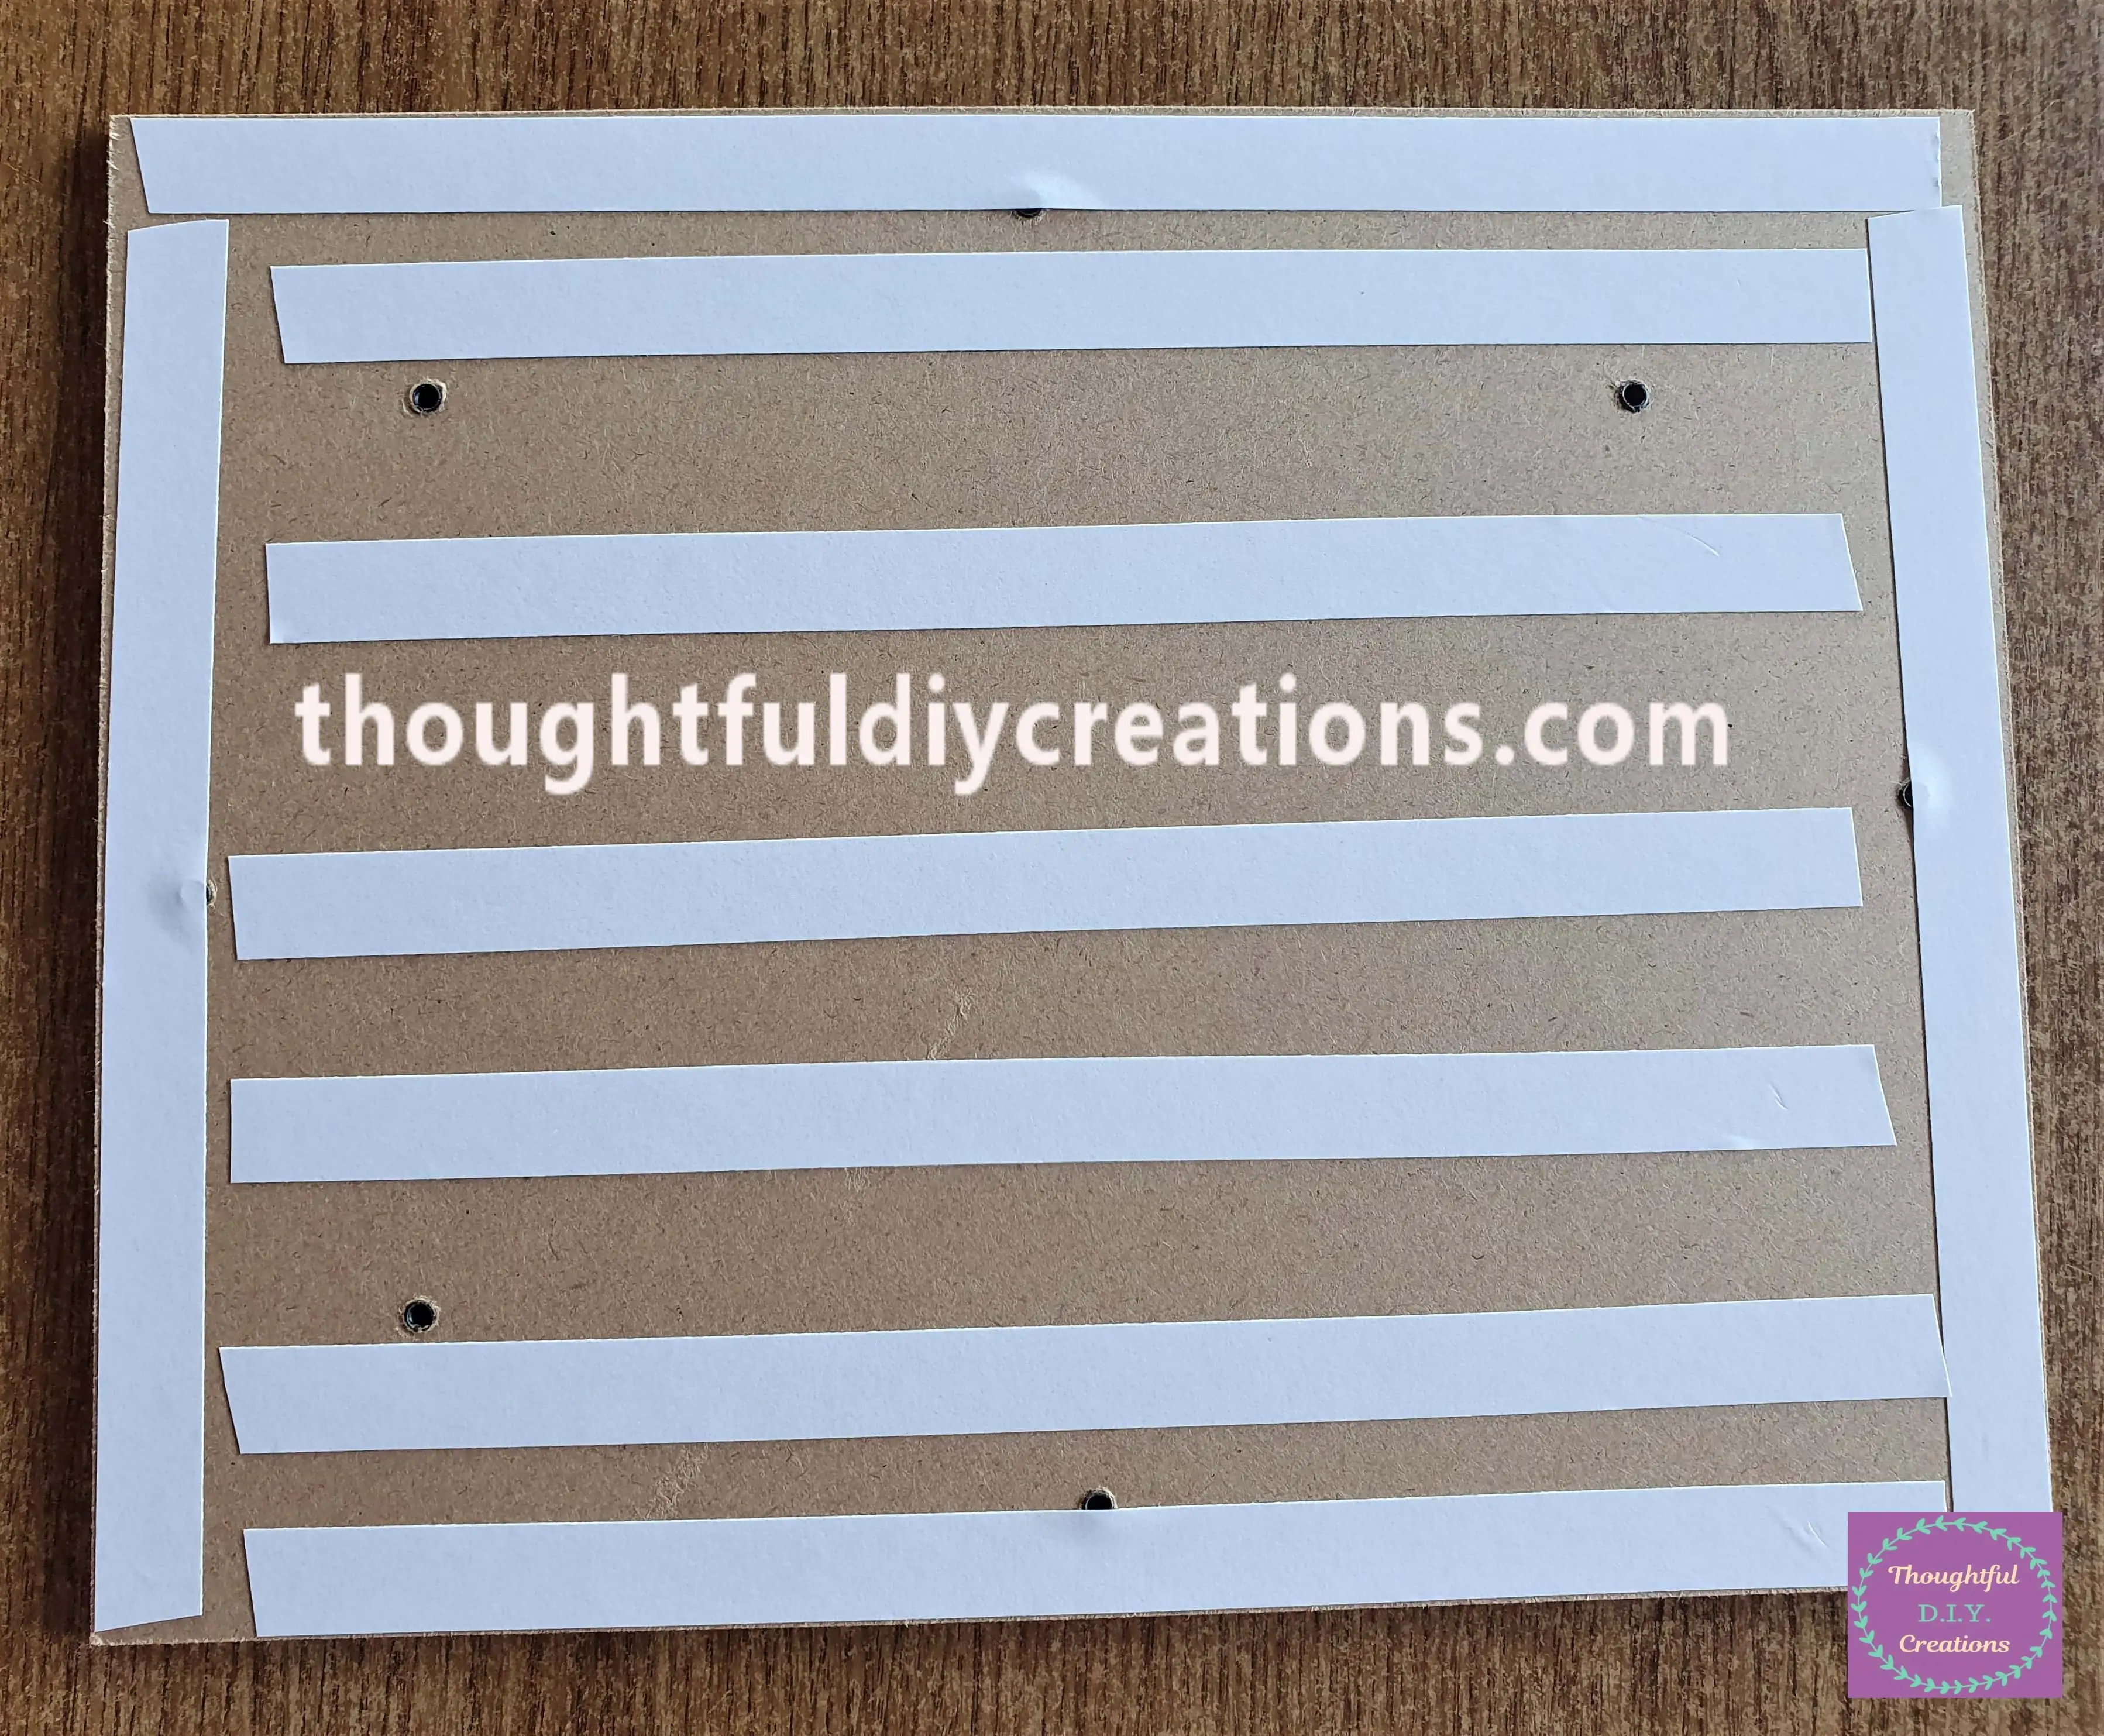
I put Strips of Double-Sided Tape all over the Board for the Frame.
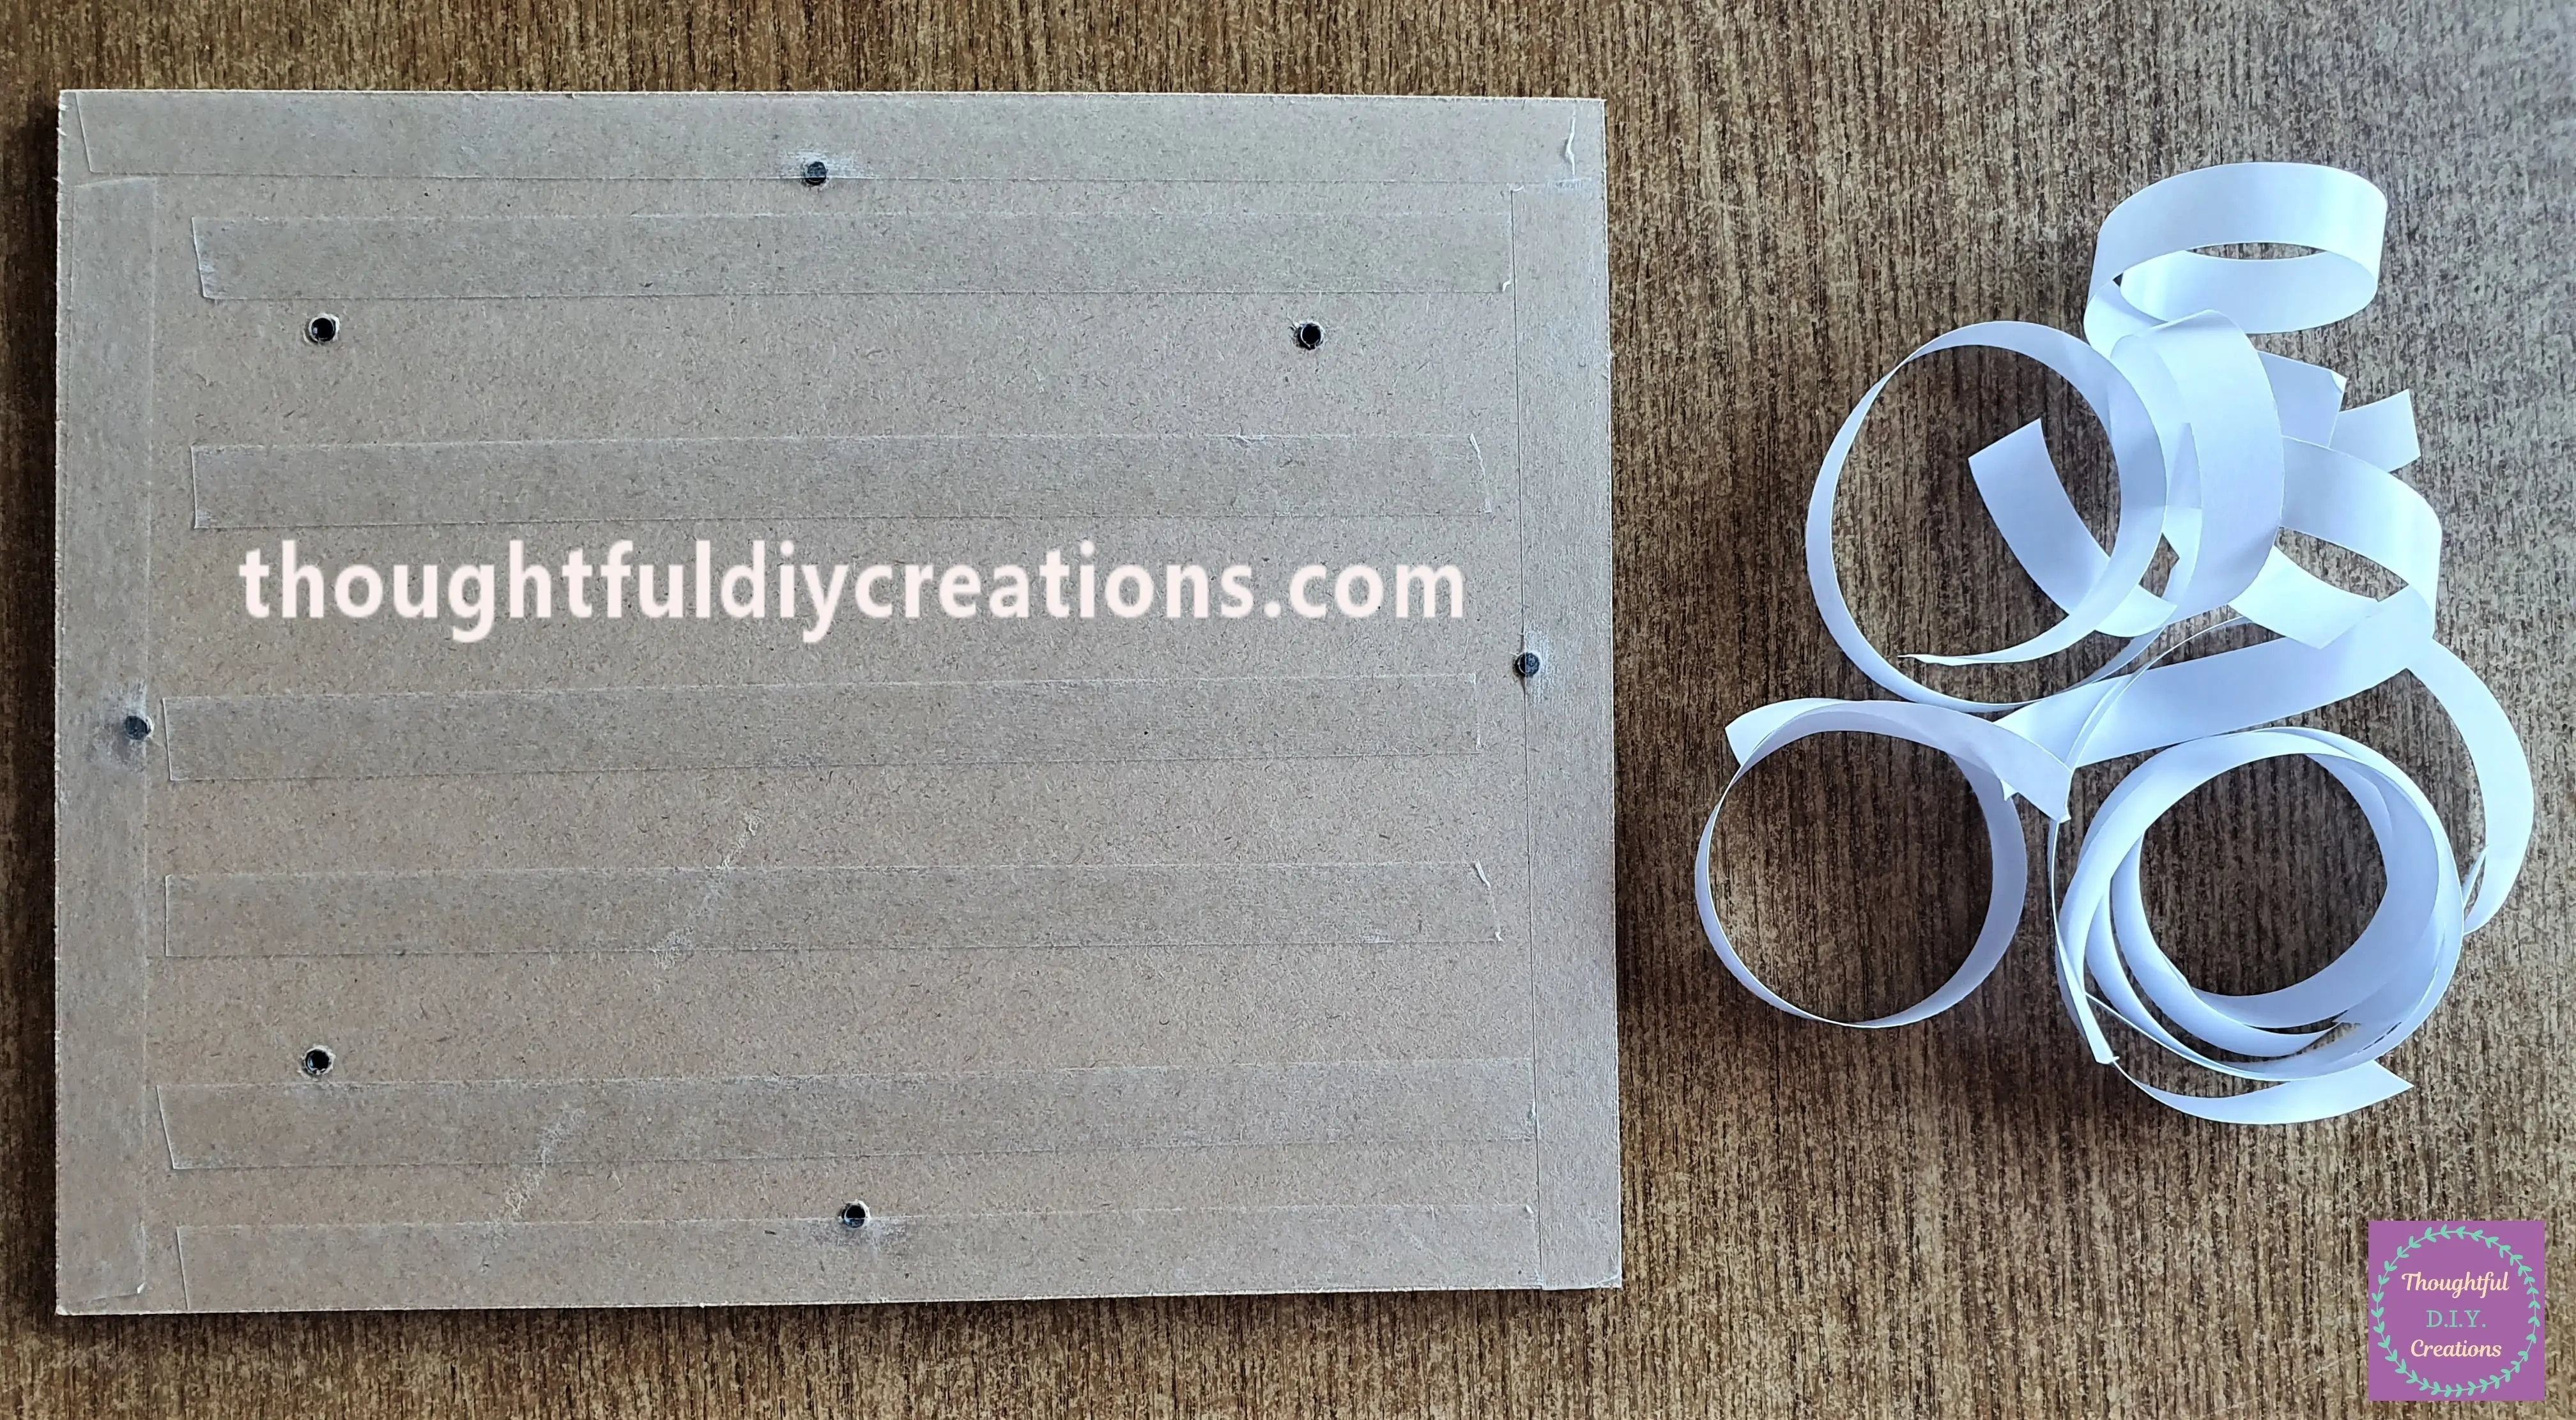
I removed the White Backing from the Double-Sided Tape.
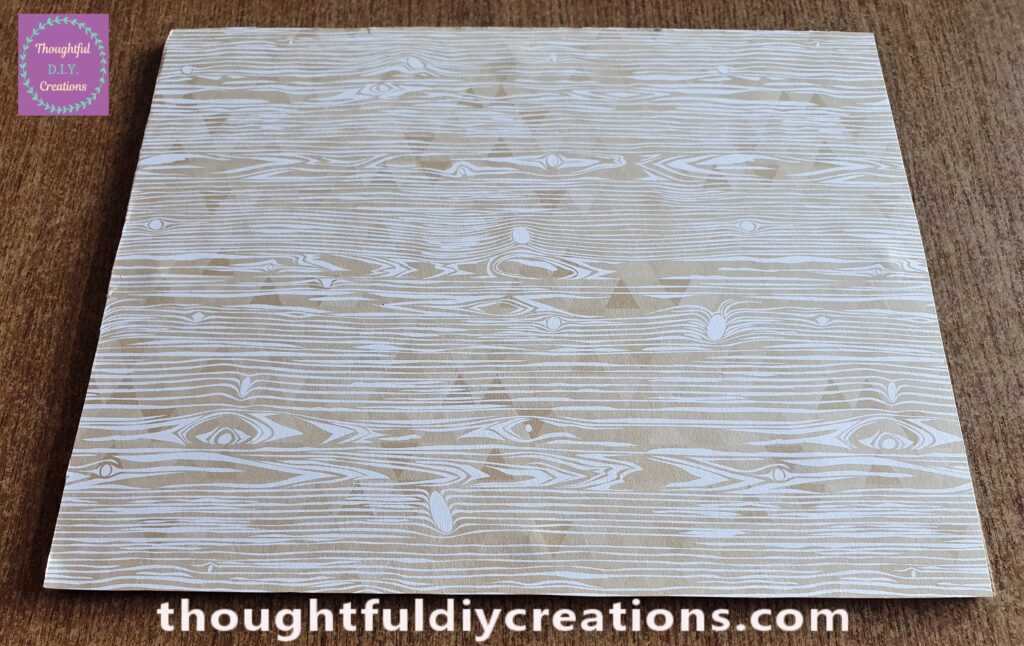
I attached the Tree Patterned Cardstock to the Board.
Decorating a Wood Slice
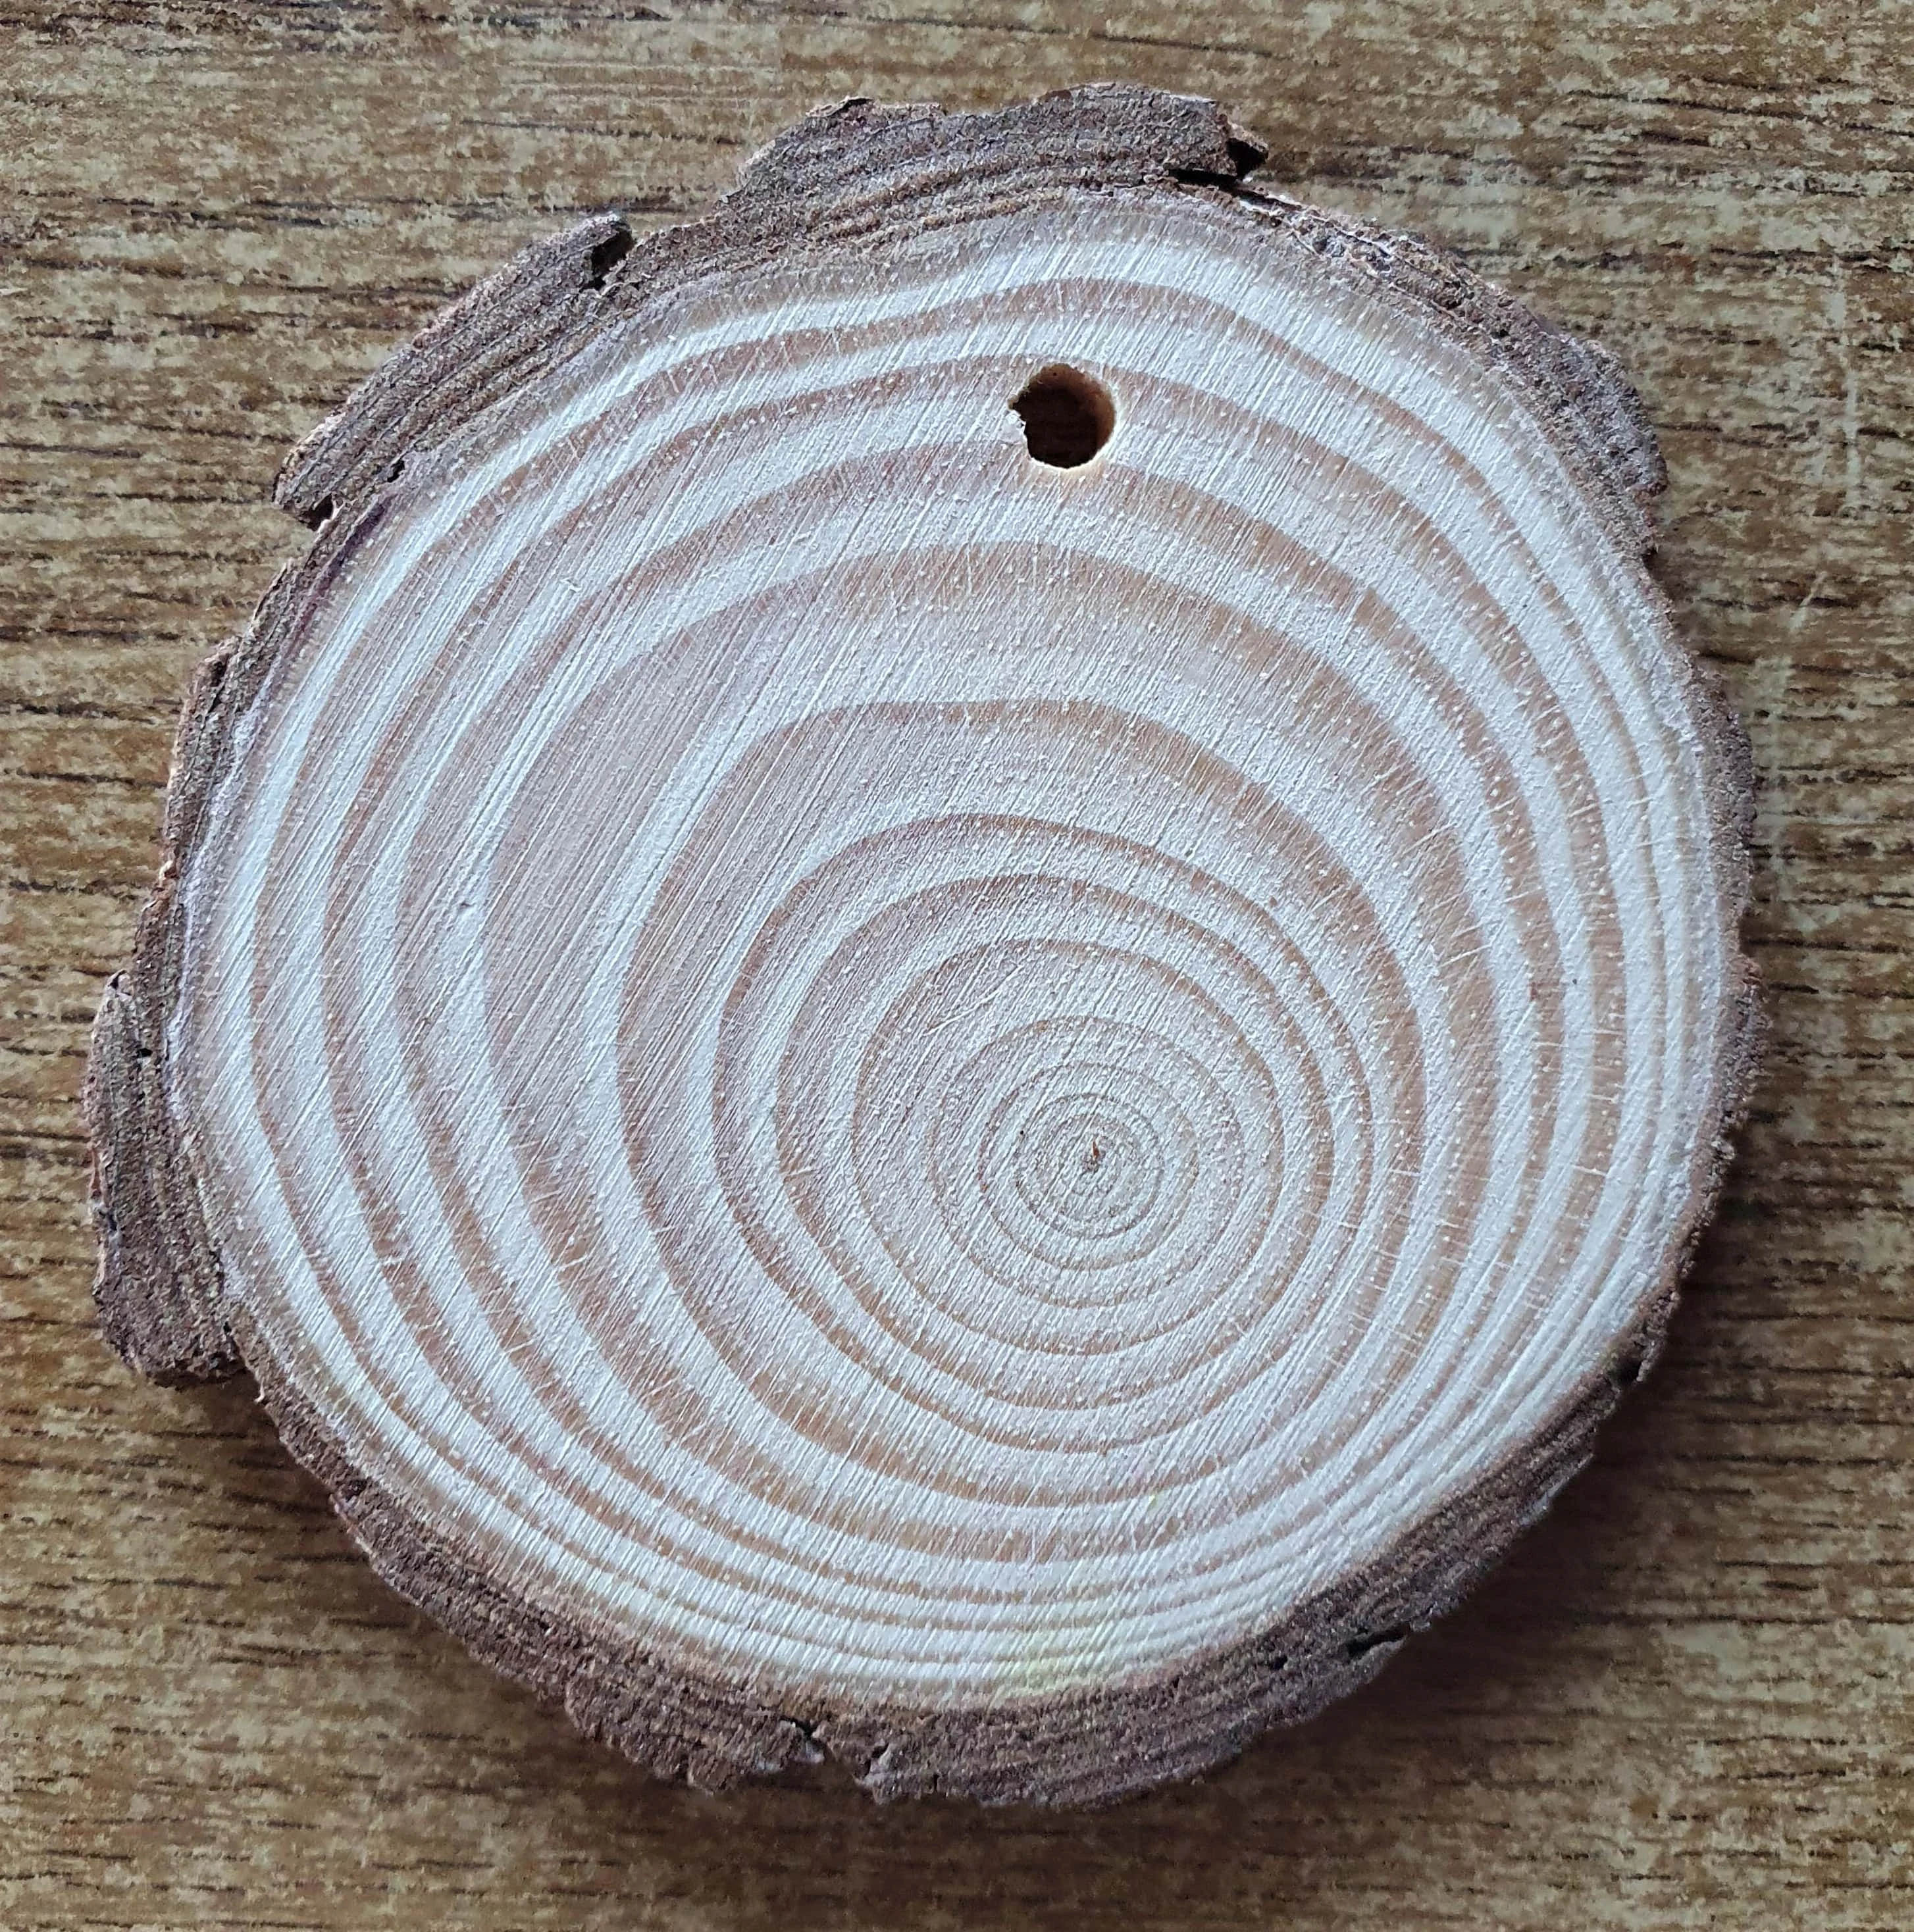
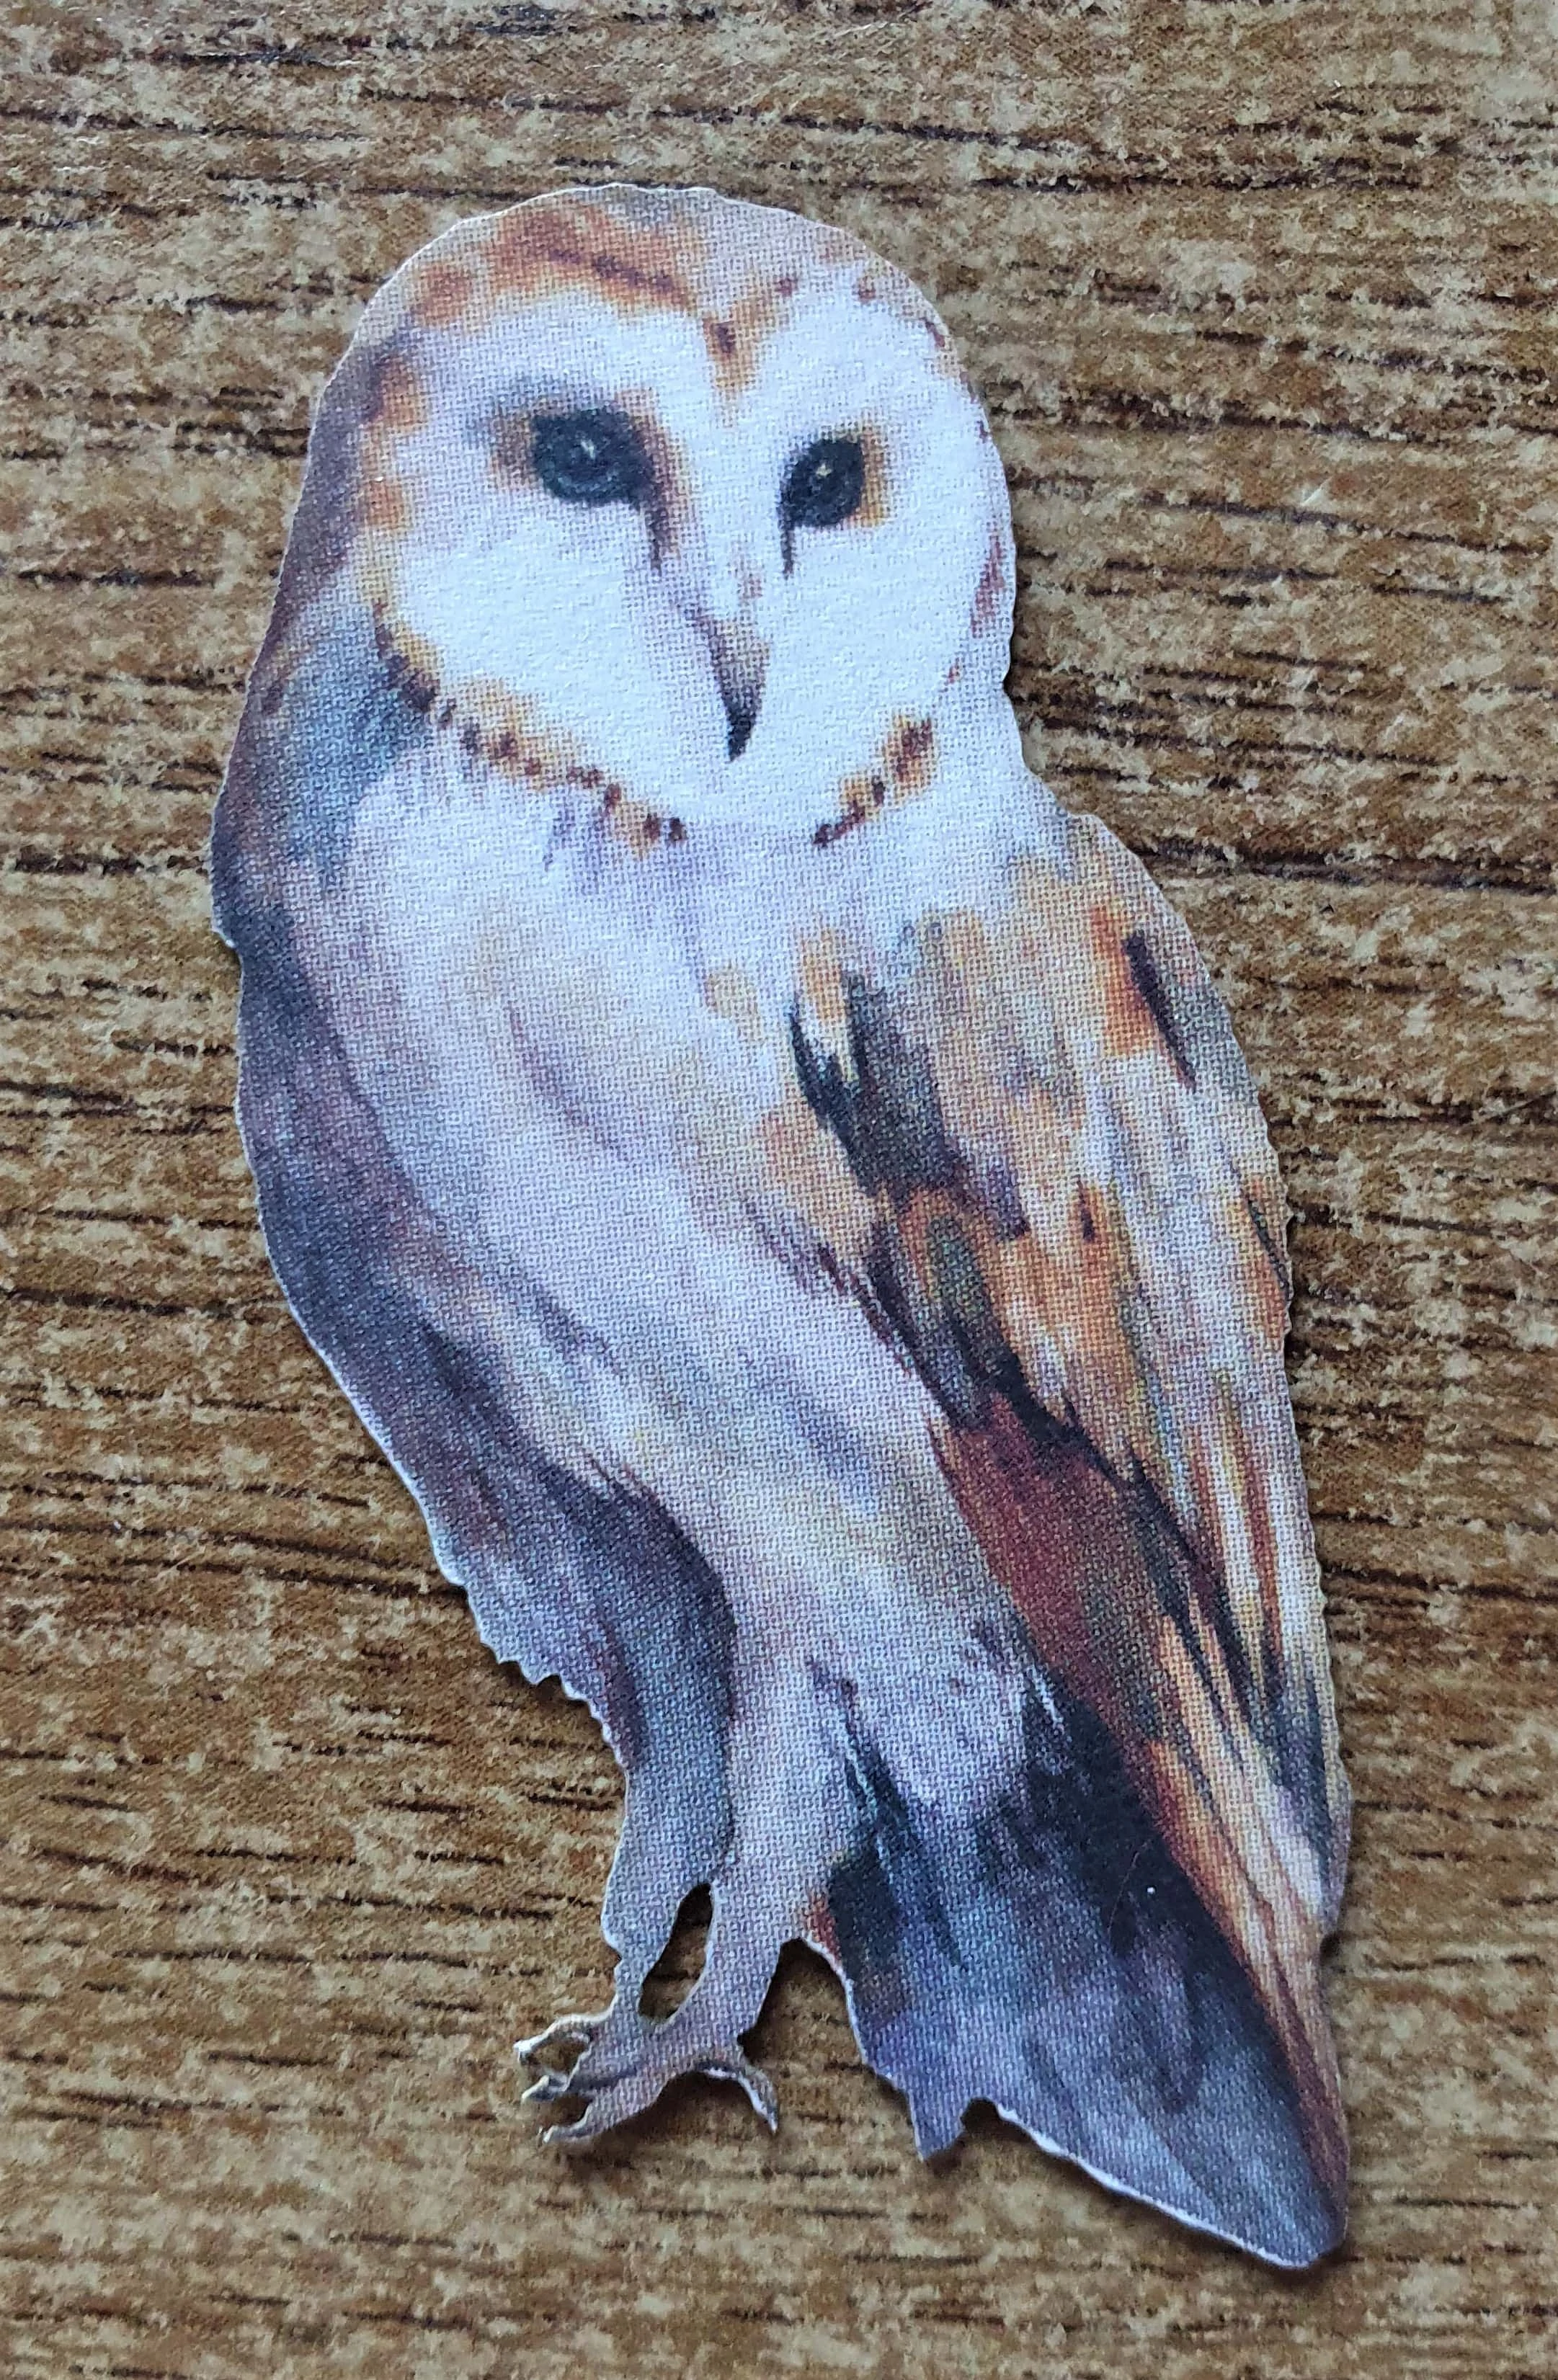
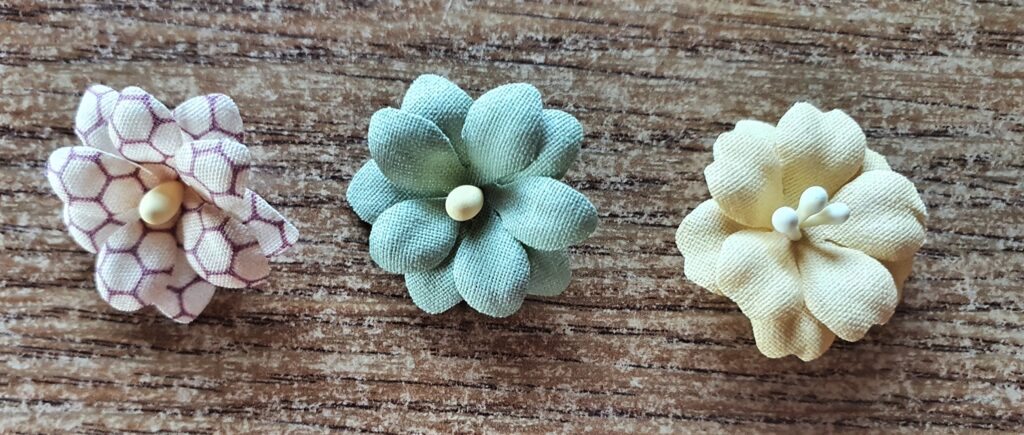
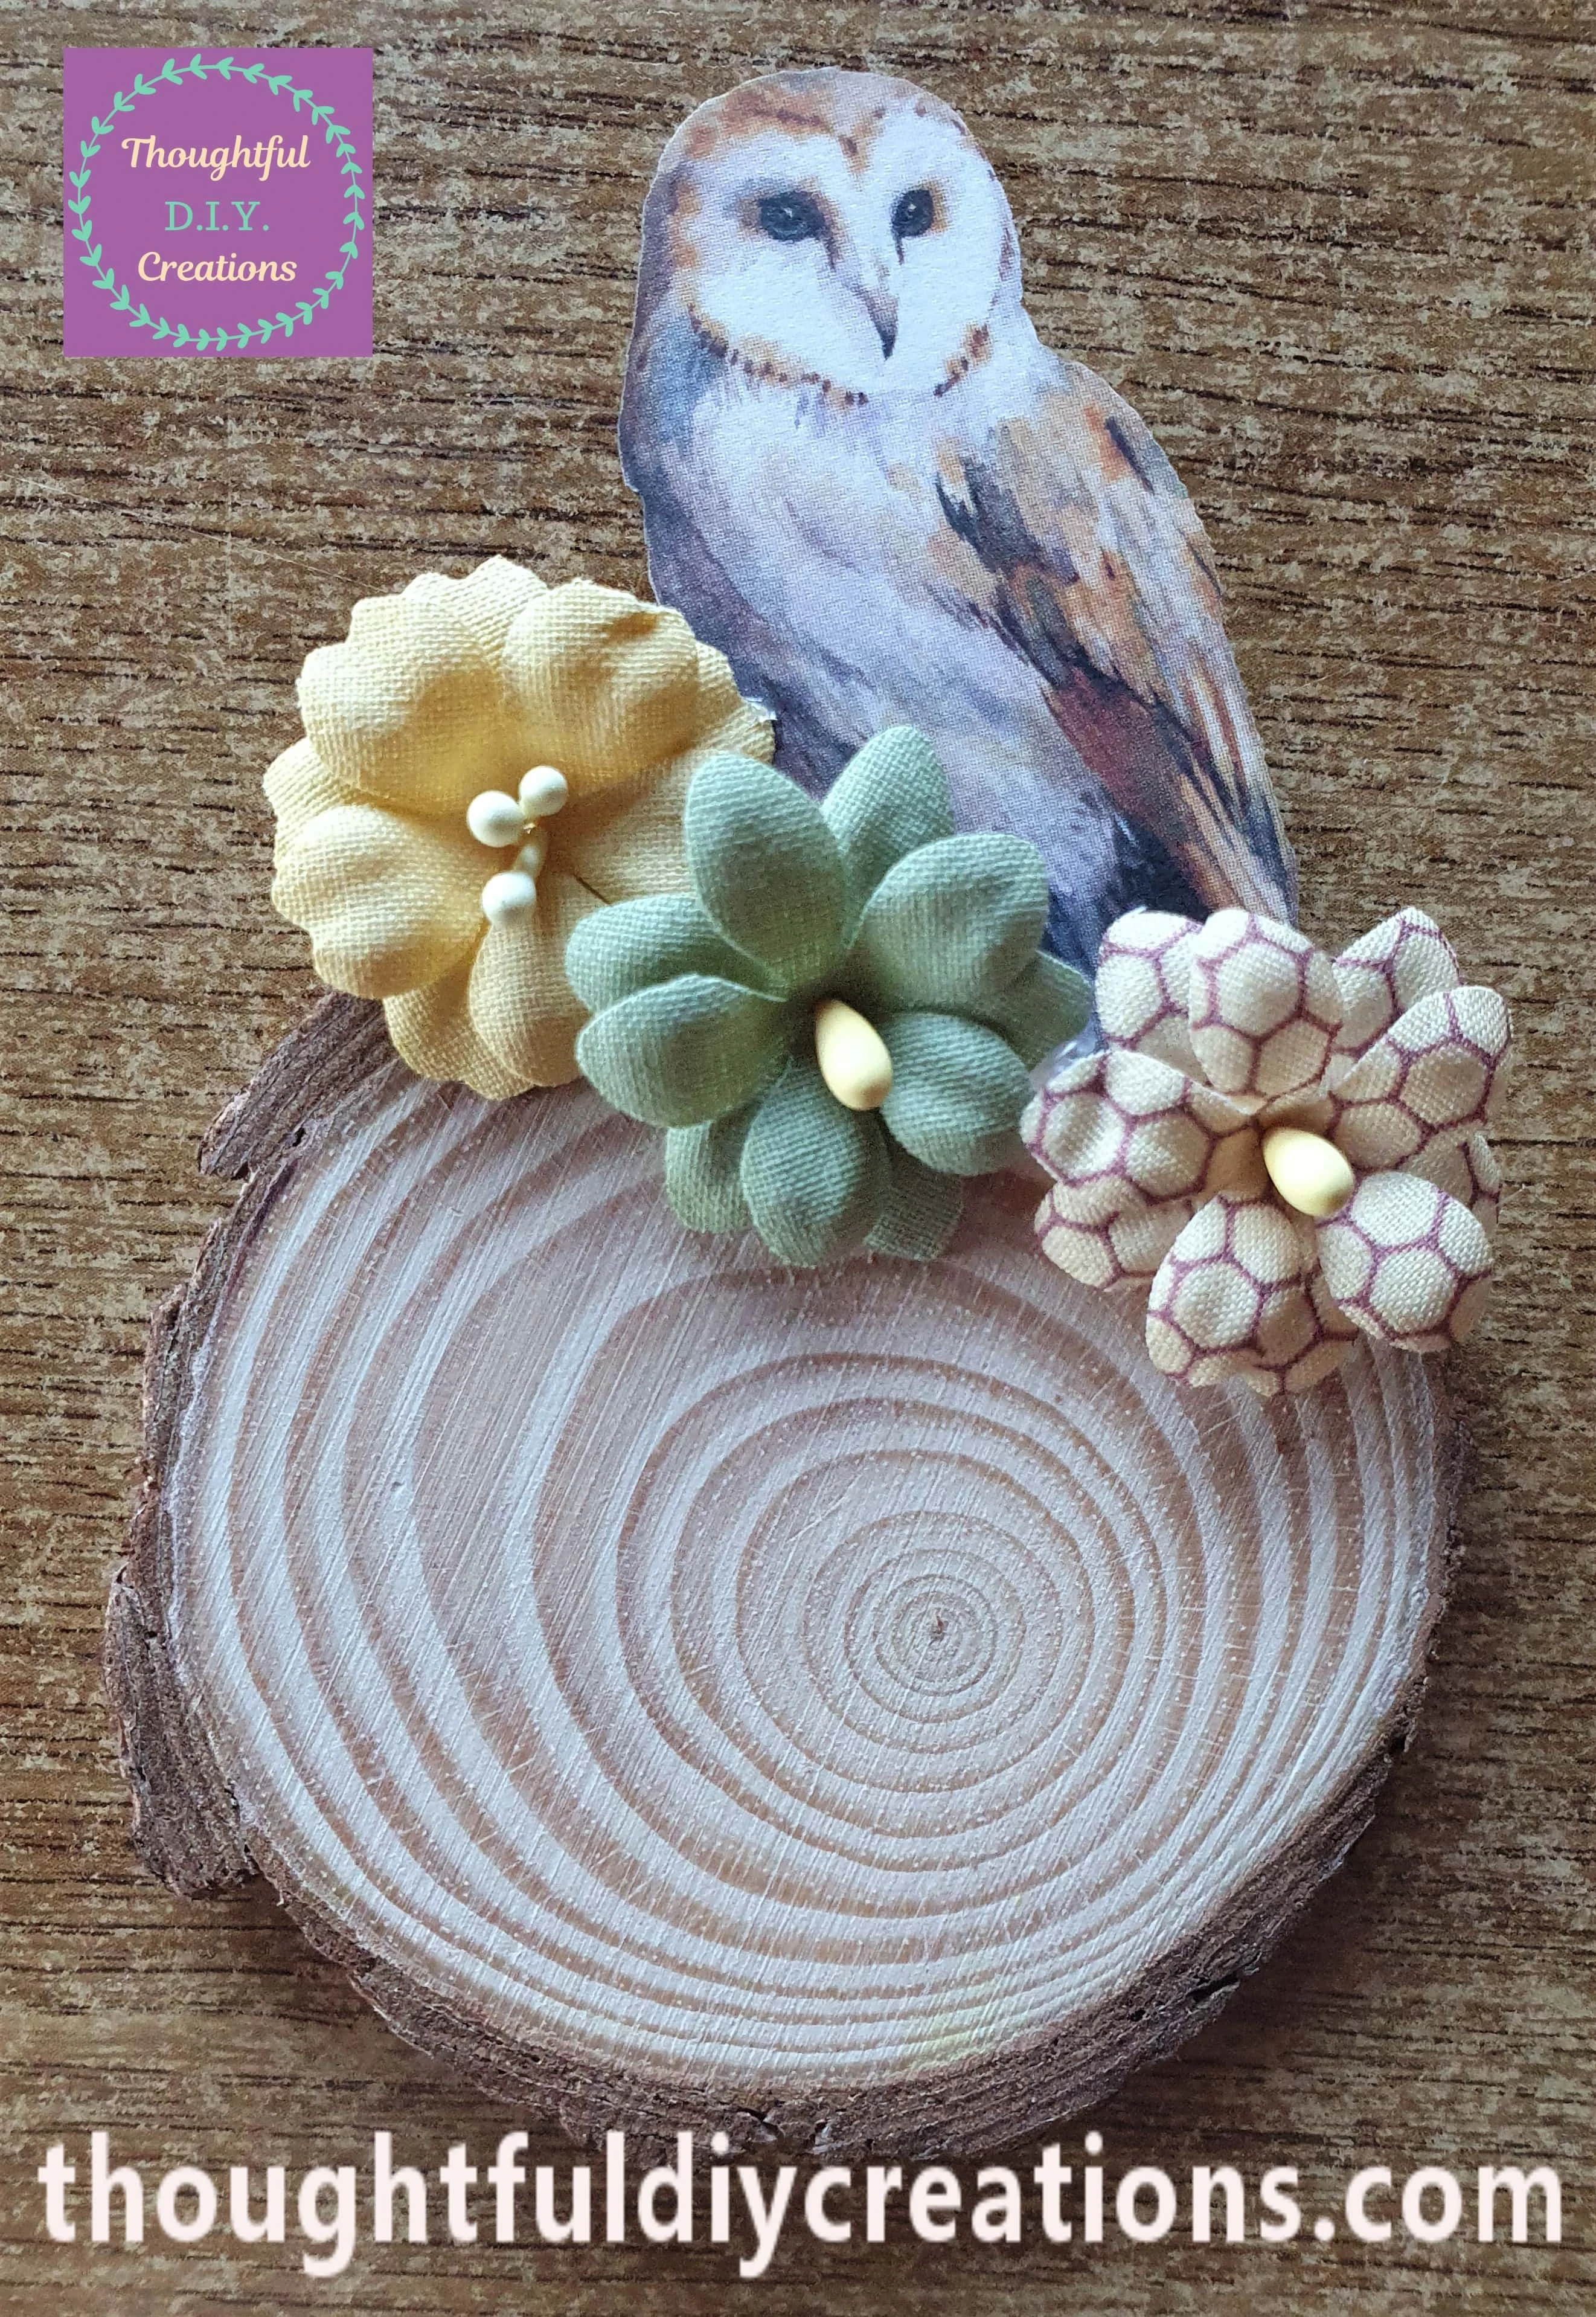
I got a Wood Slice, an Owl Die-Cut and 3 small Fabric Flowers.
I hot glued the Owl to the Top of the Wood Slice. I then added each Flower one-by-one with hot glue.
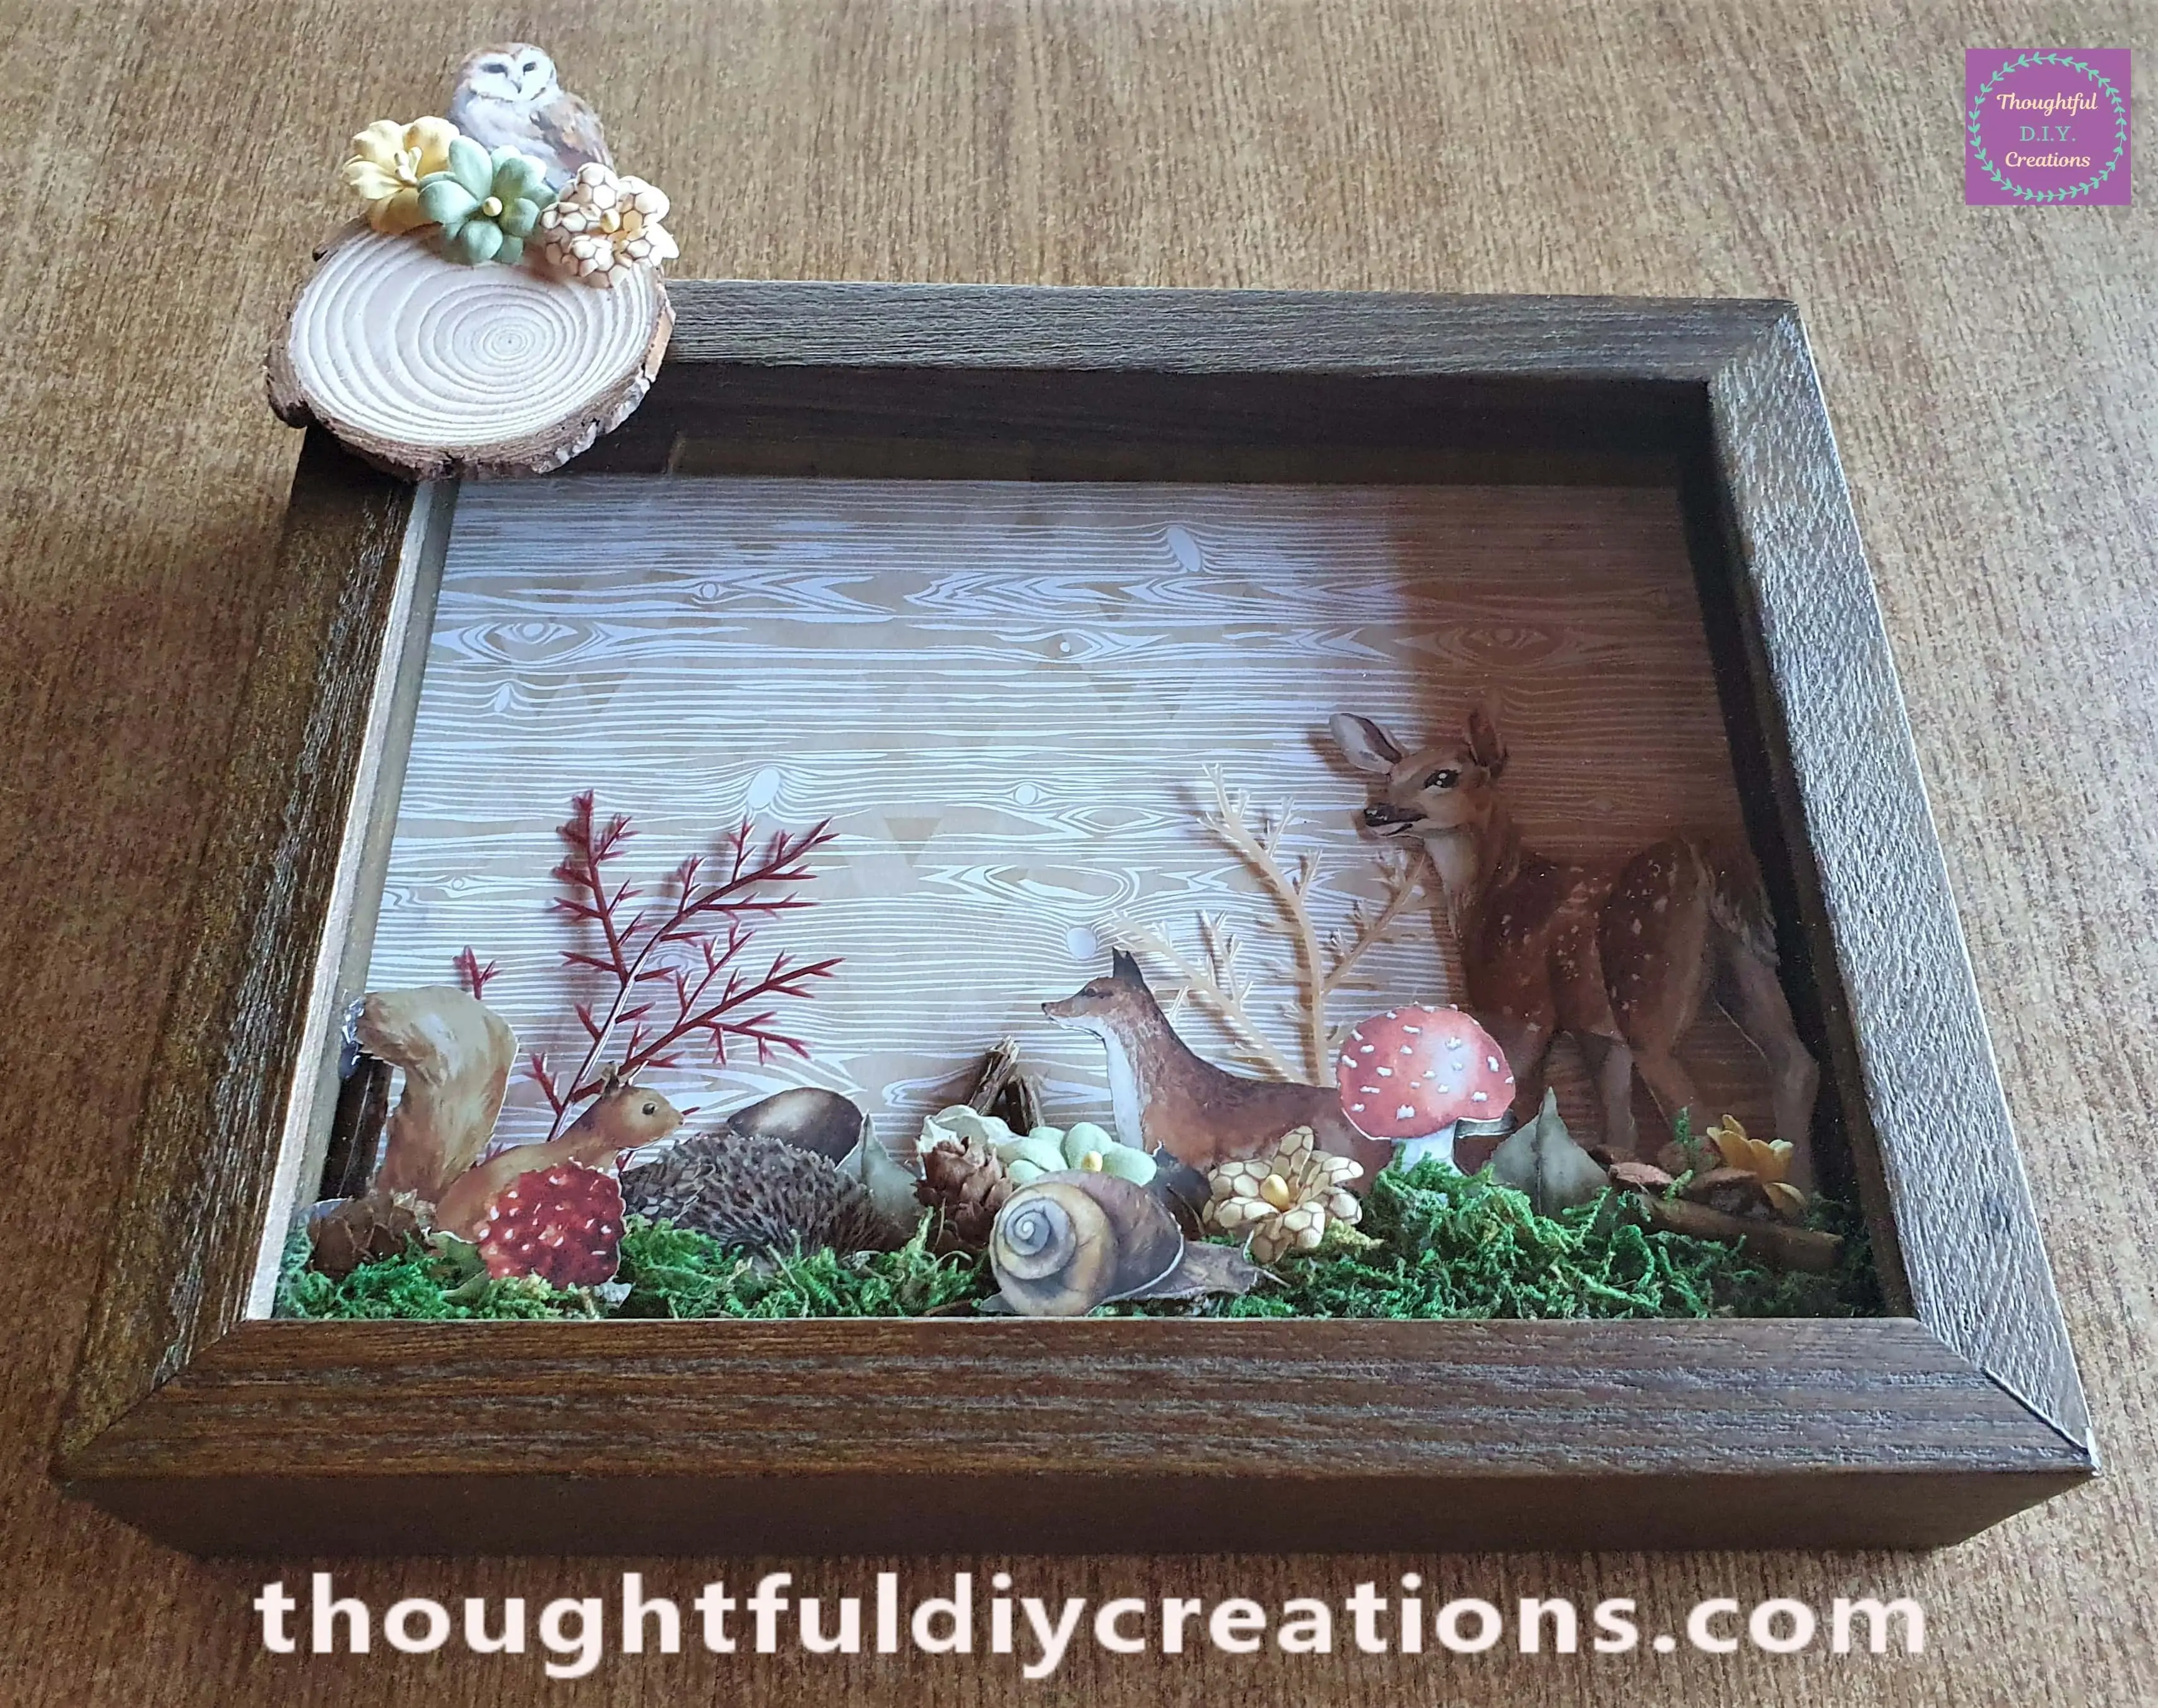
I put Hot Glue on the back of the Wood Slice and attached it to the Top left hand Corner of the Woodland Frame.
Finishing Touches to the Woodland Frame
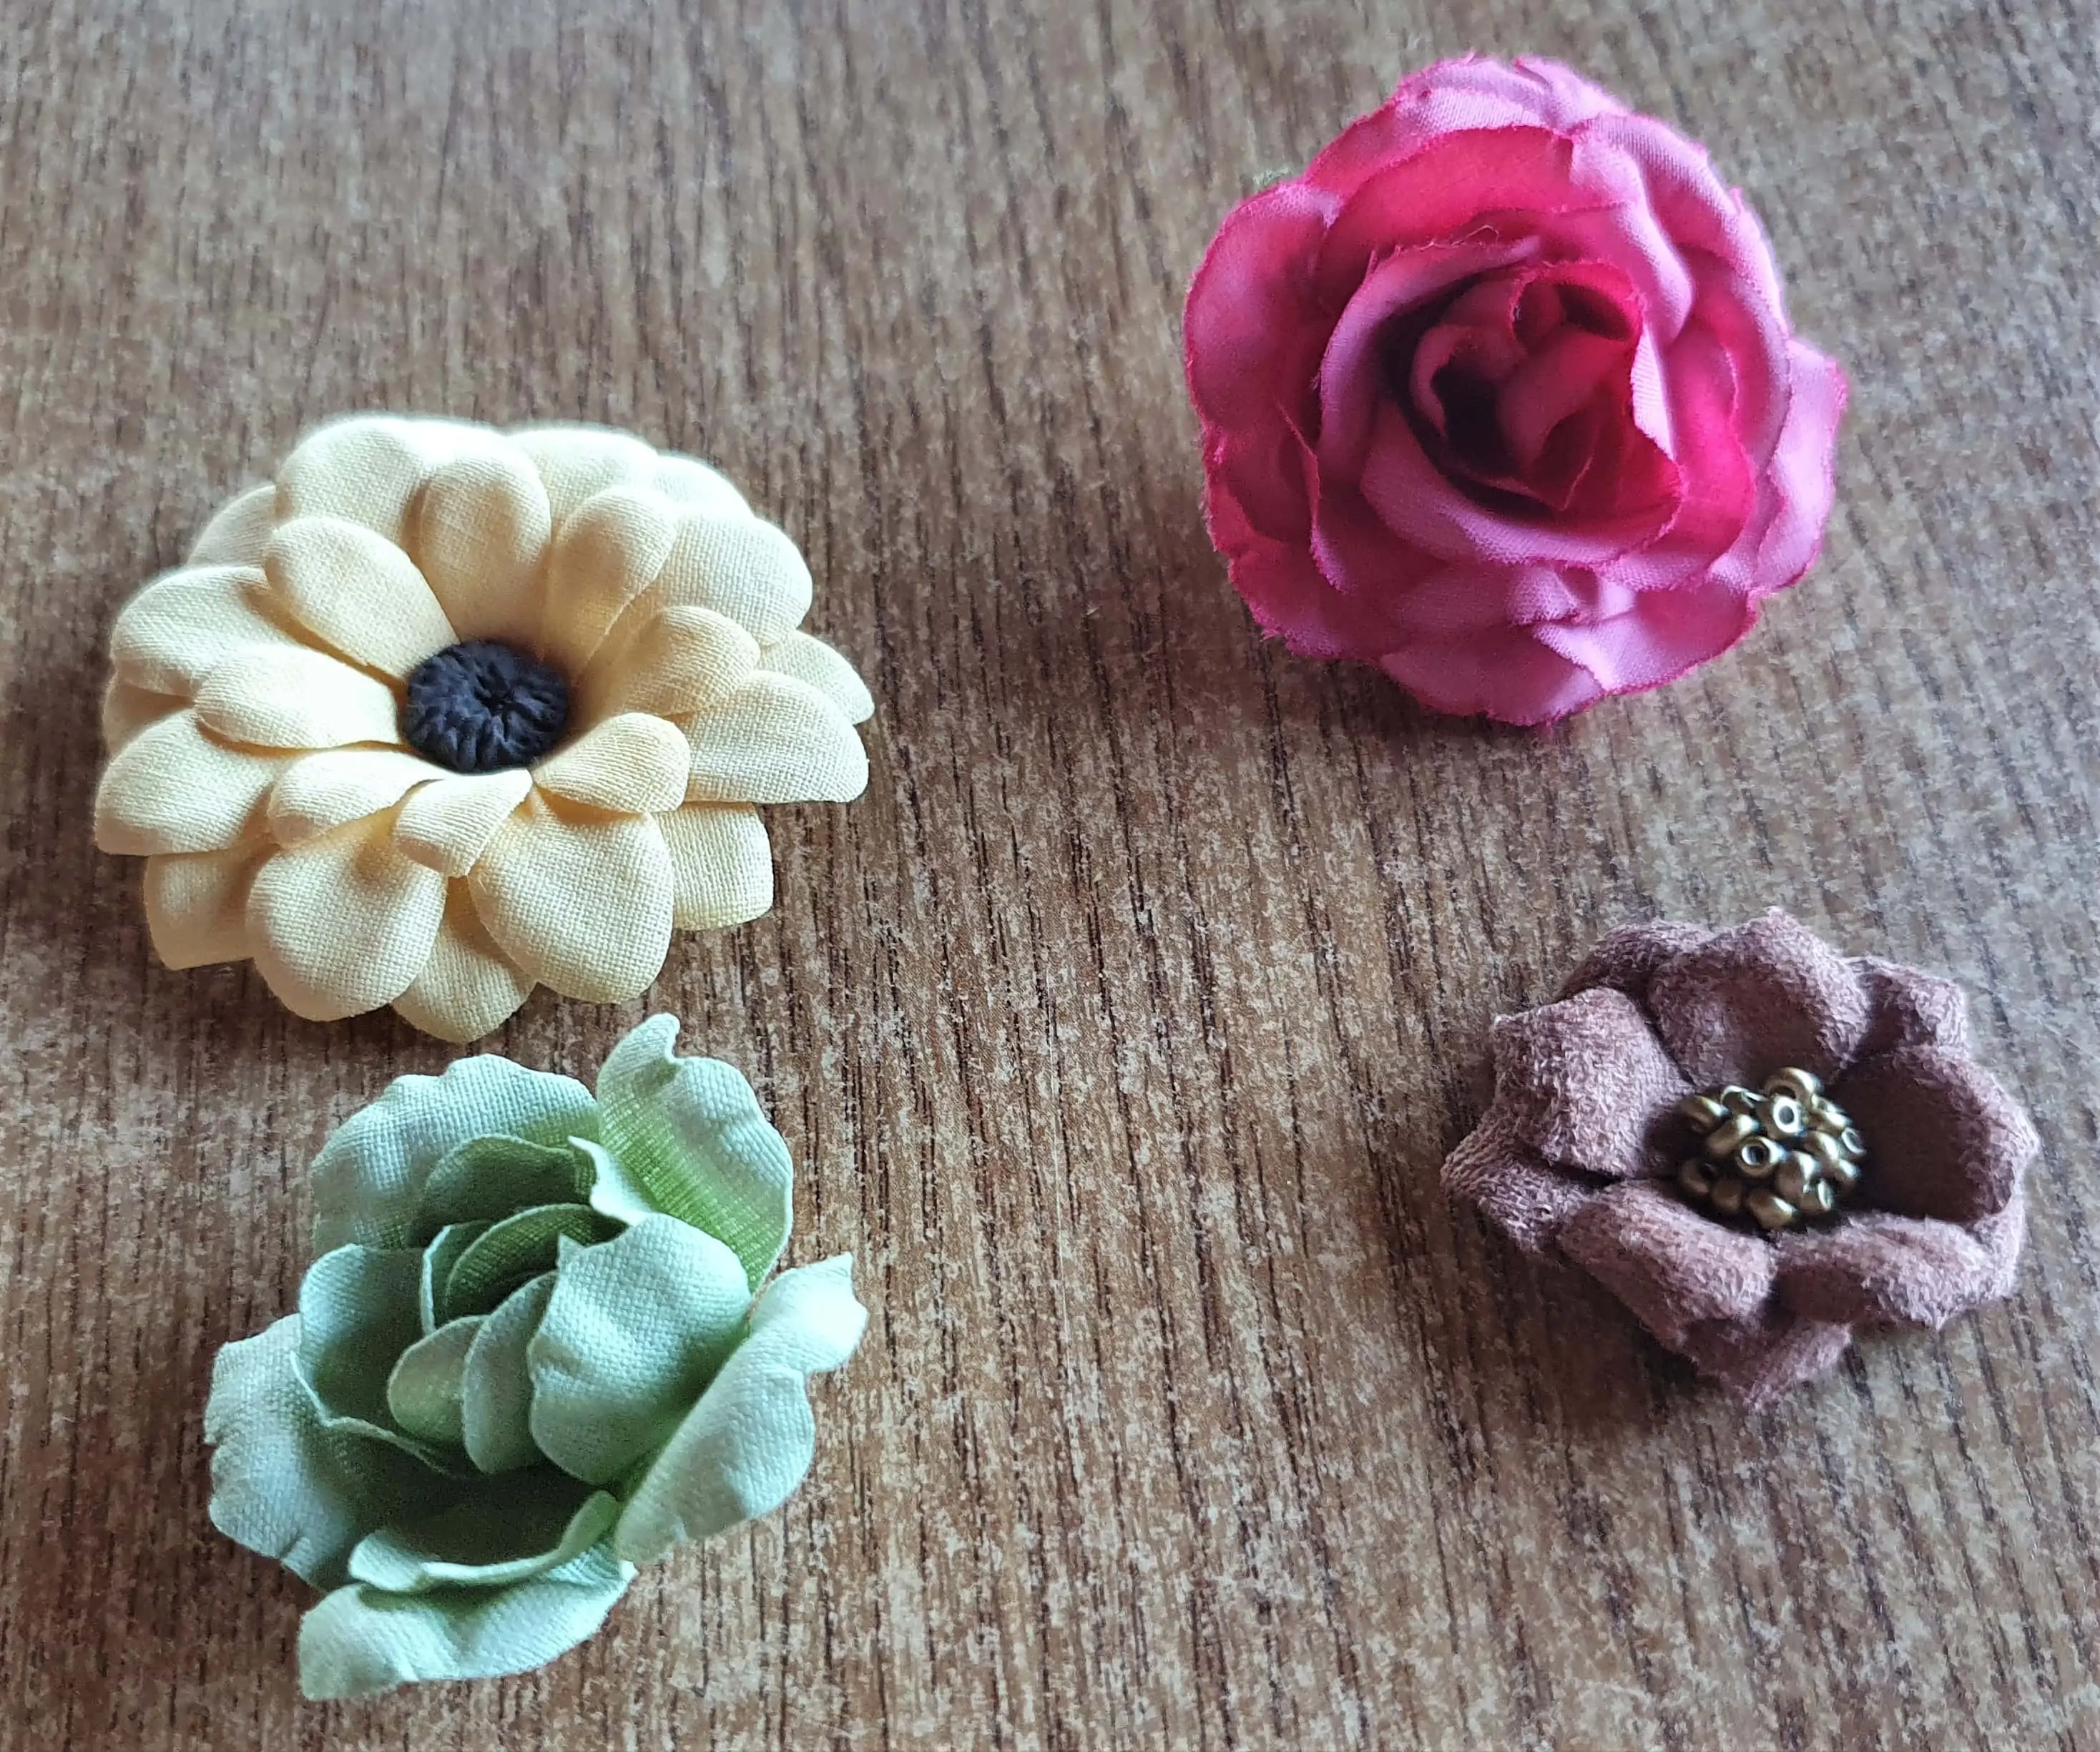
I chose 4 Autumn Coloured Flowers from my Supplies.
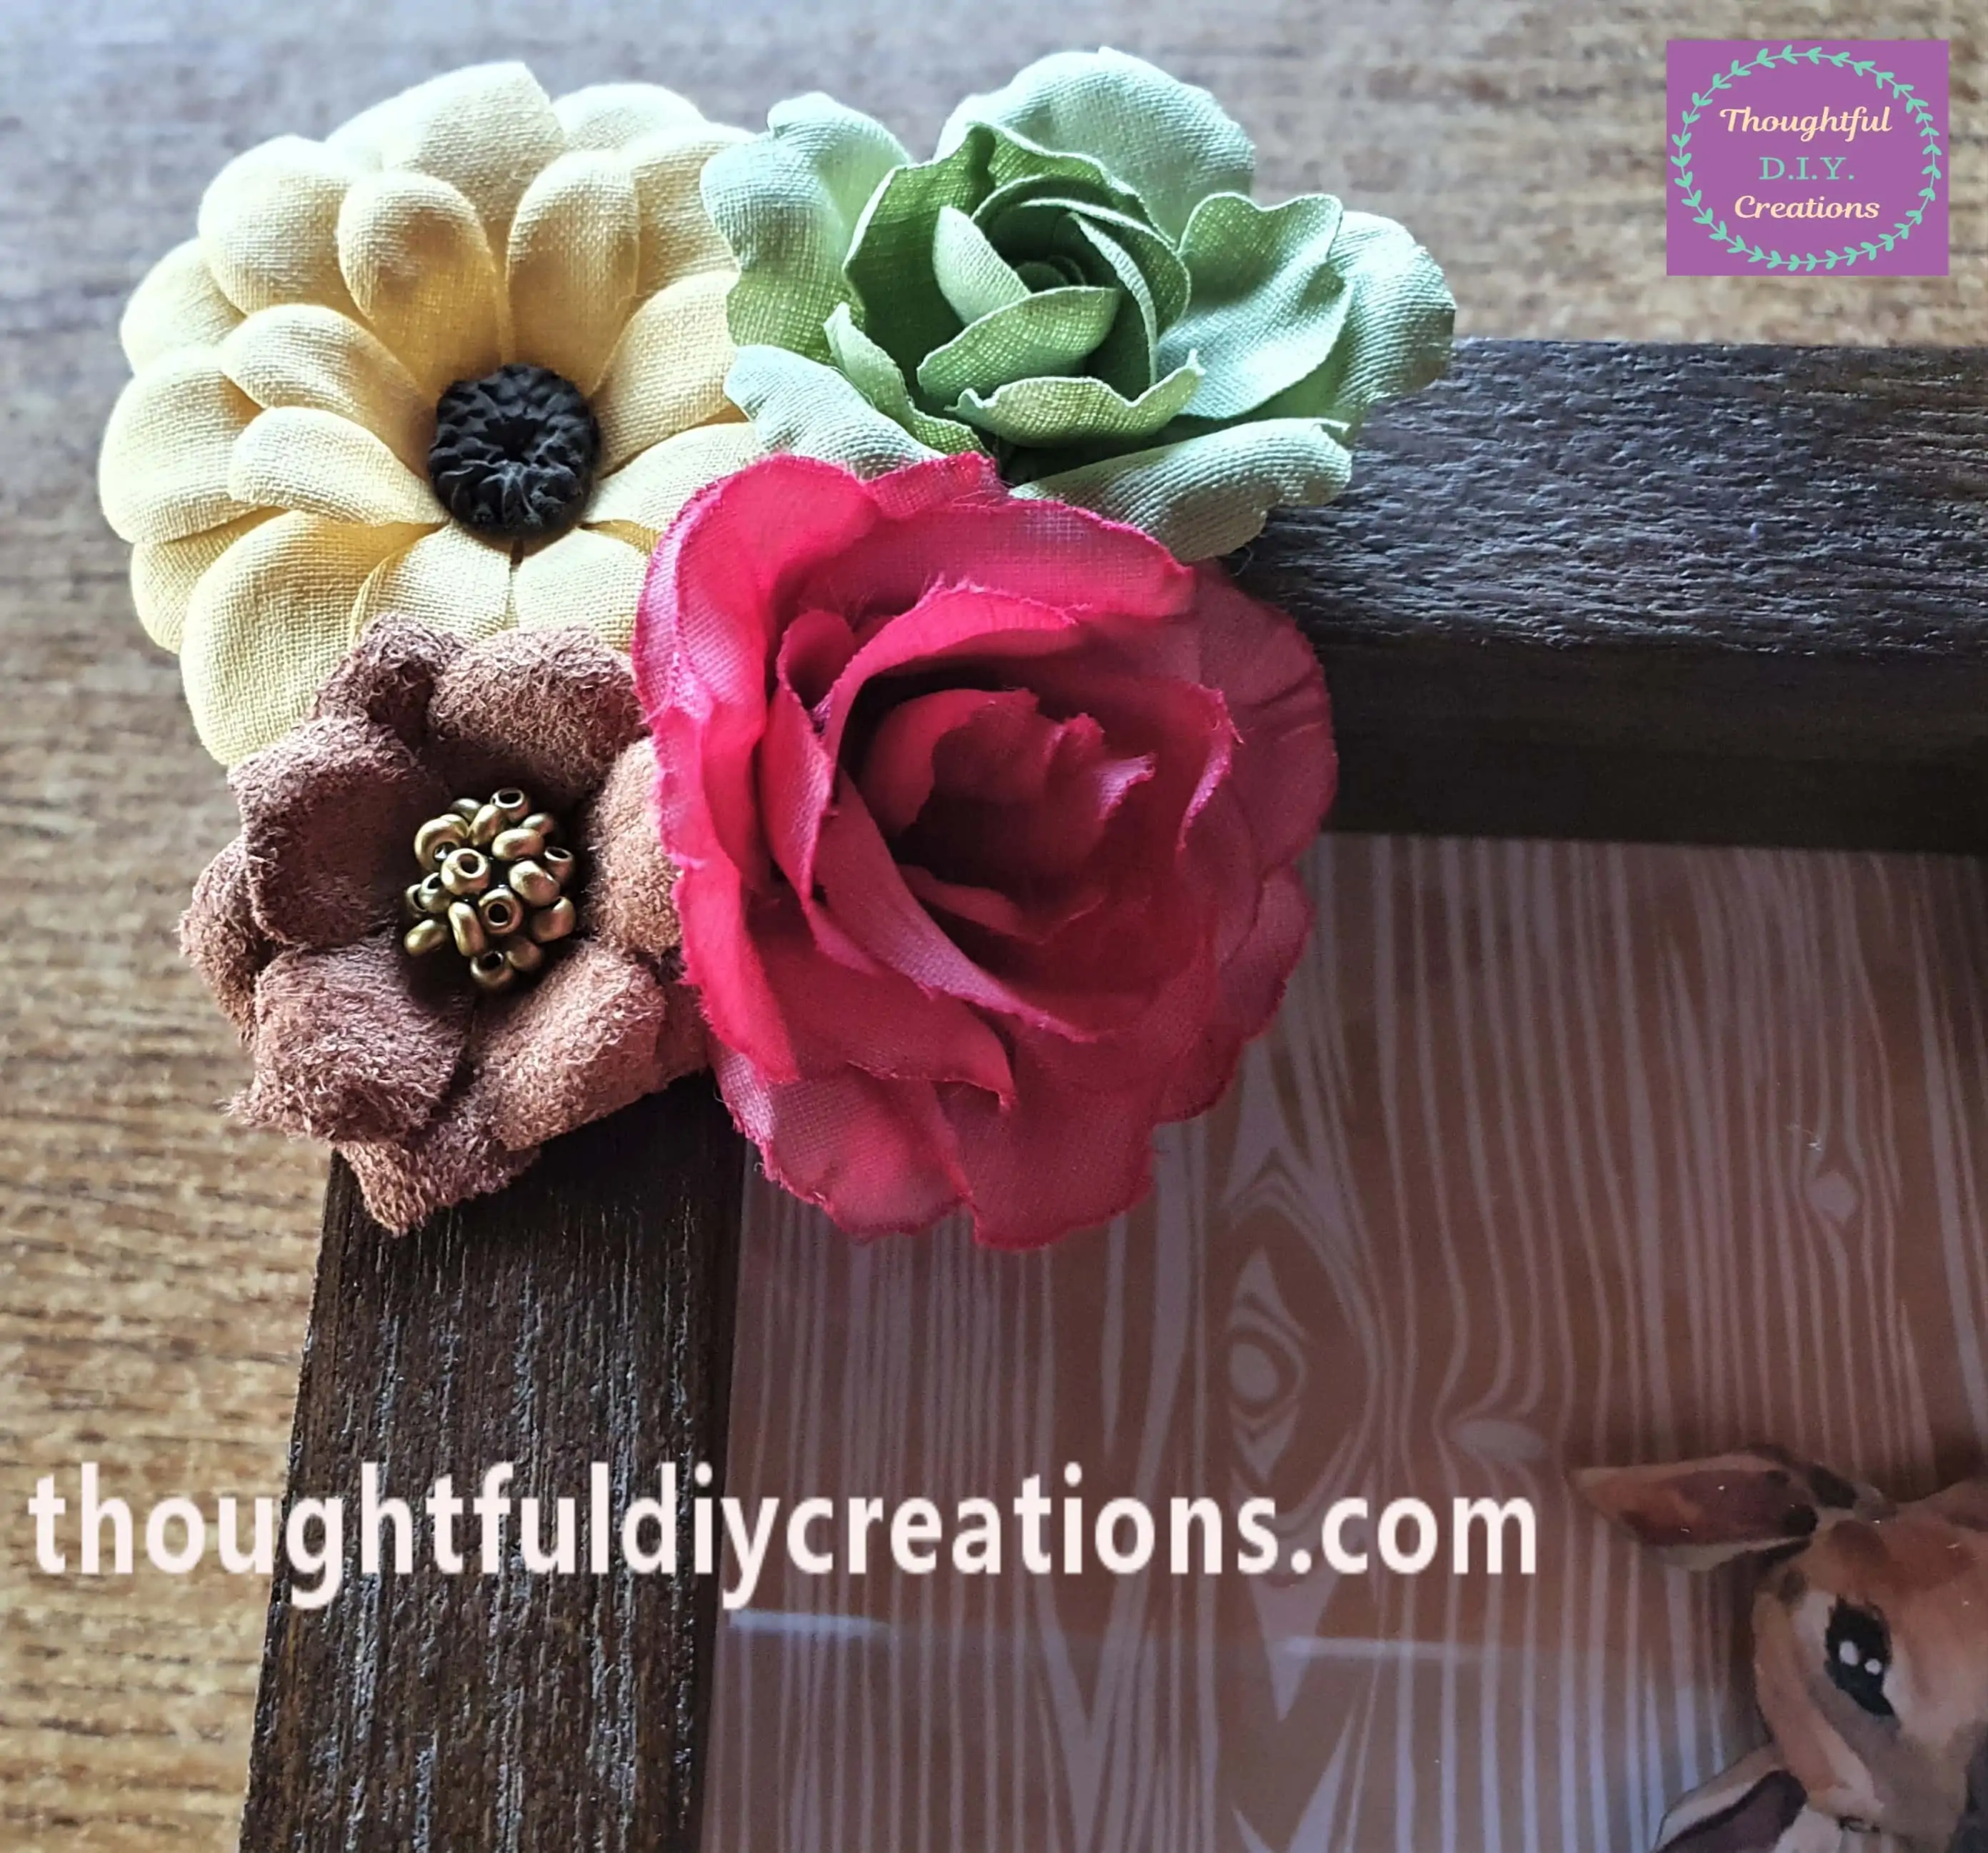
I Hot Glued each Flower to the Top right hand Corner of the Frame.
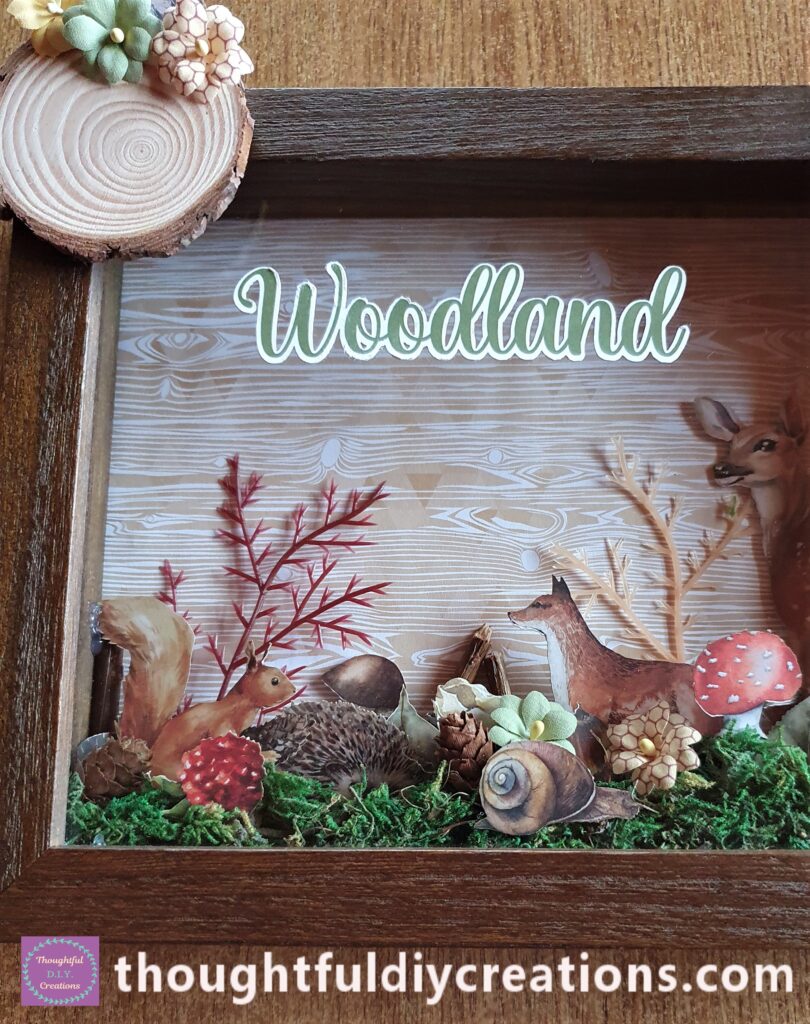
I put Pritt Stick on the back of the Font spelling ‘Woodland’ and attached it to the Perspex on the Frame.
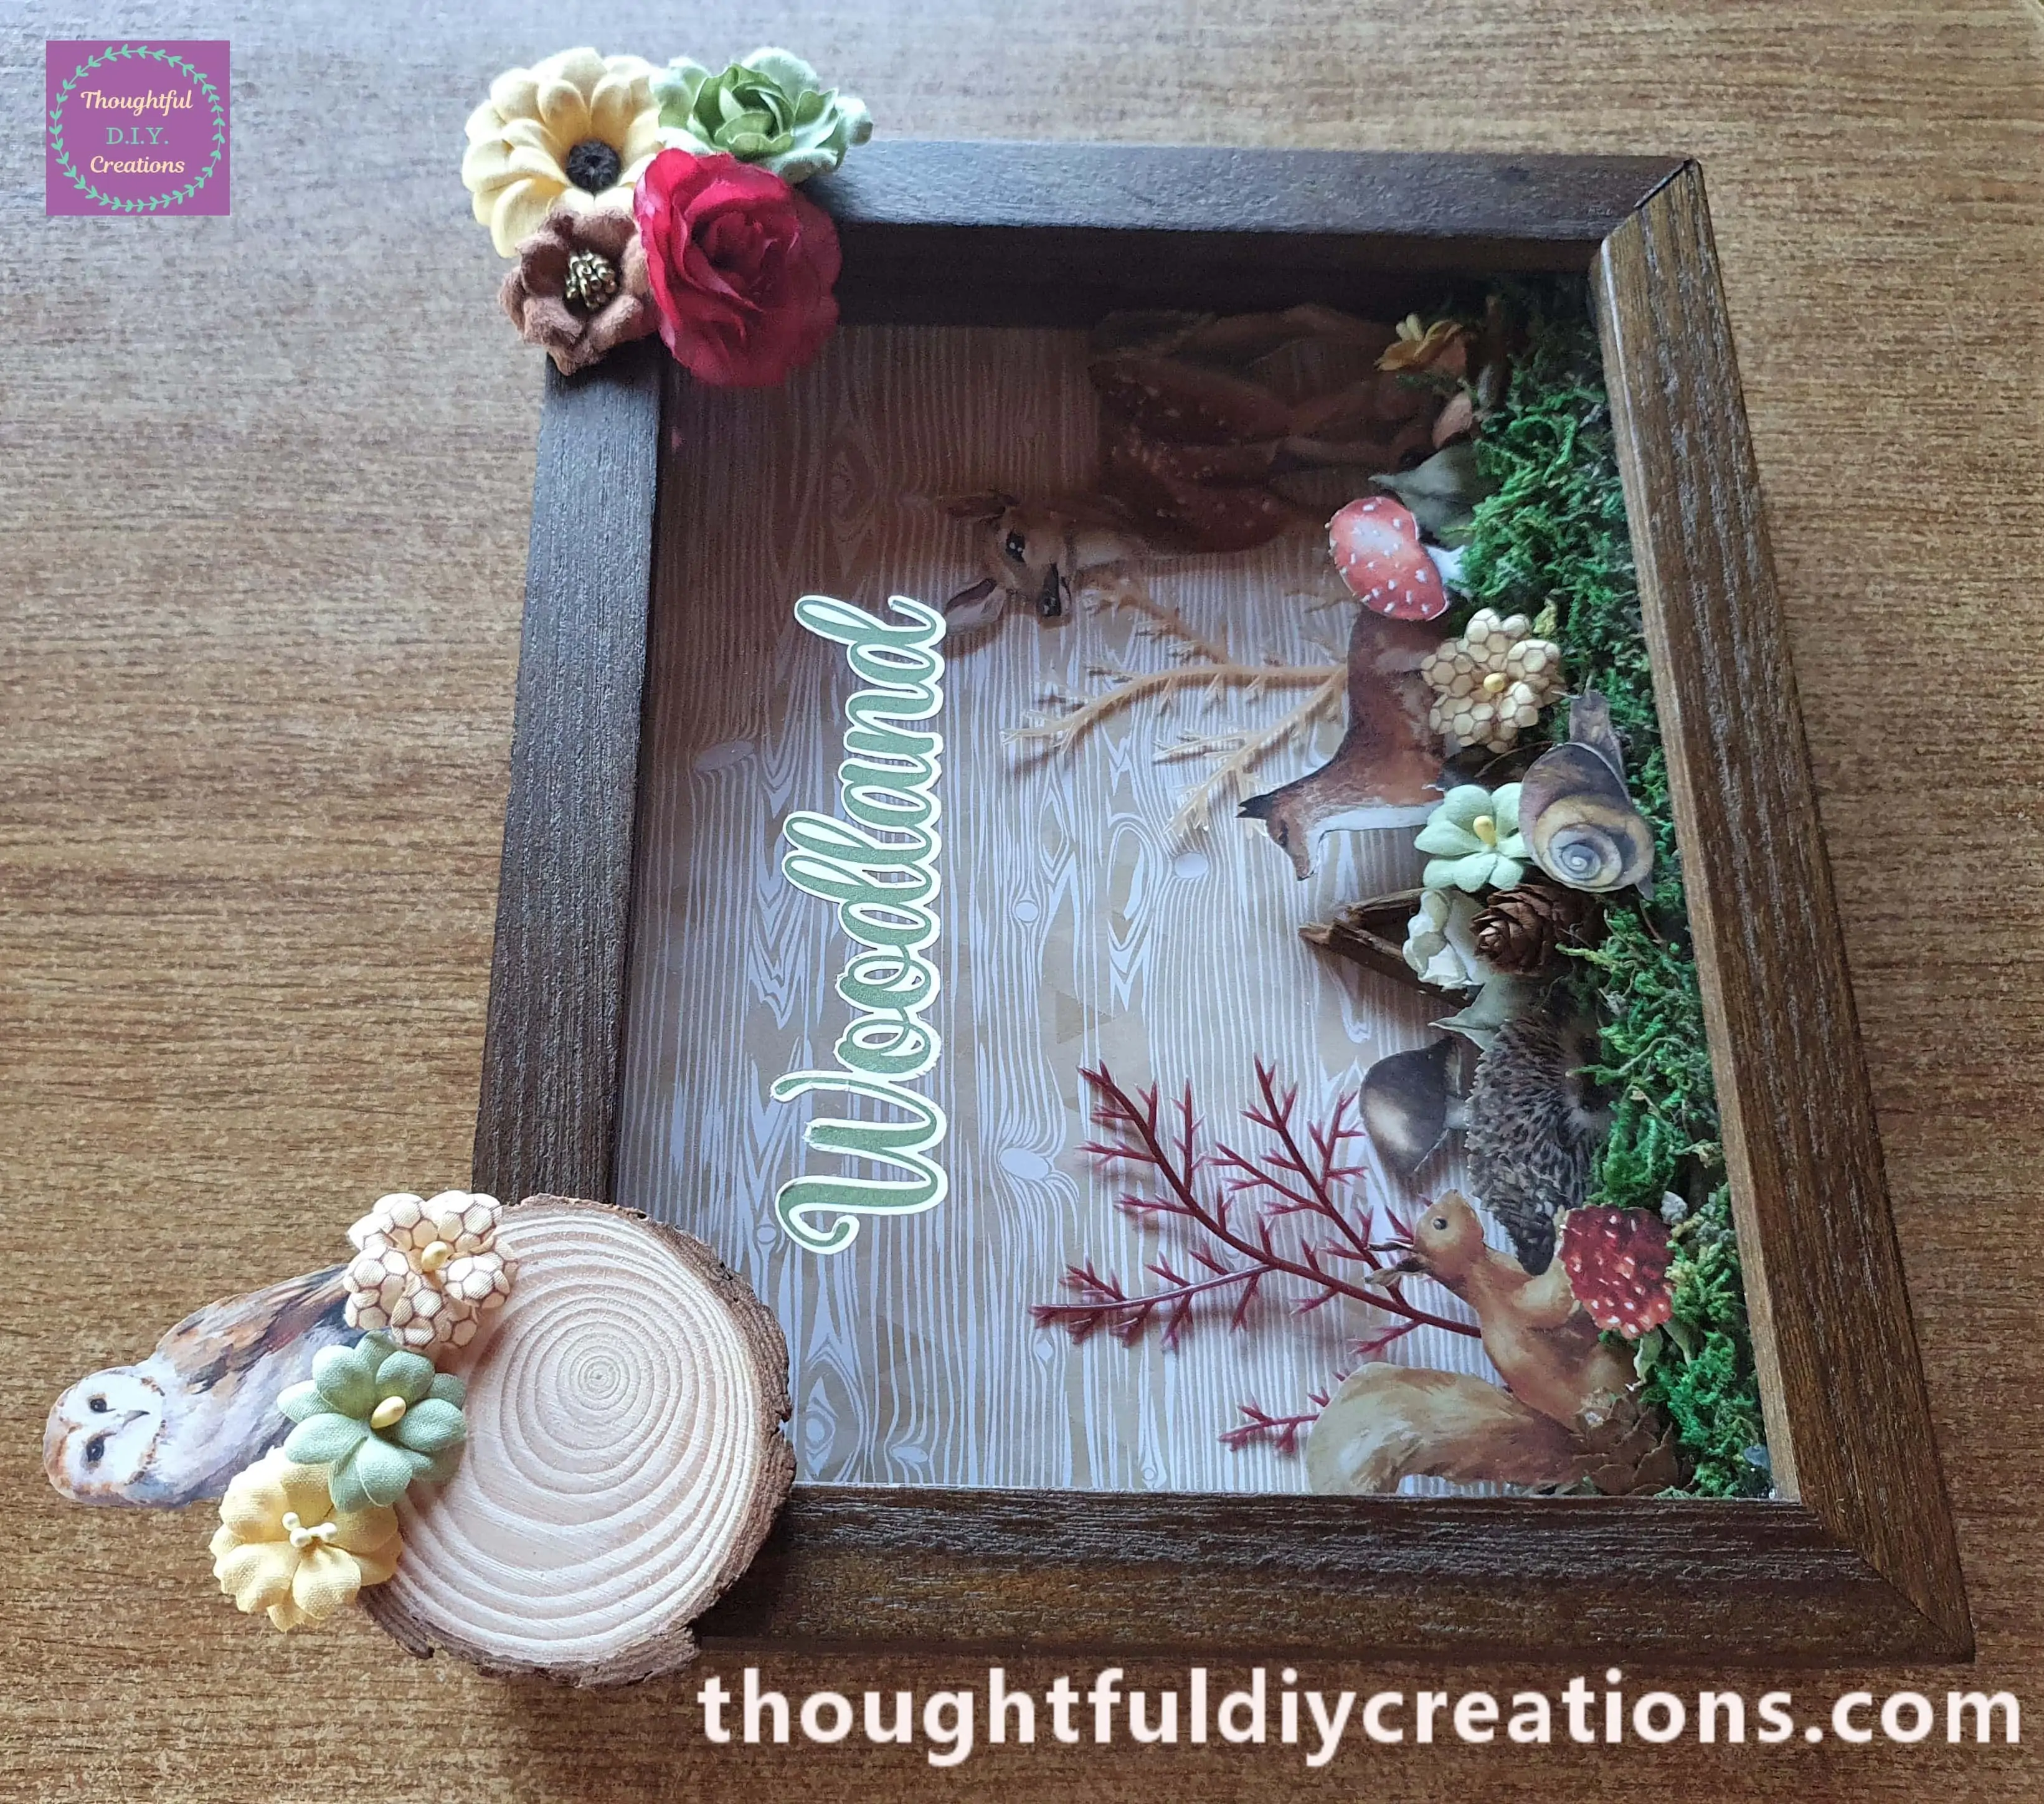
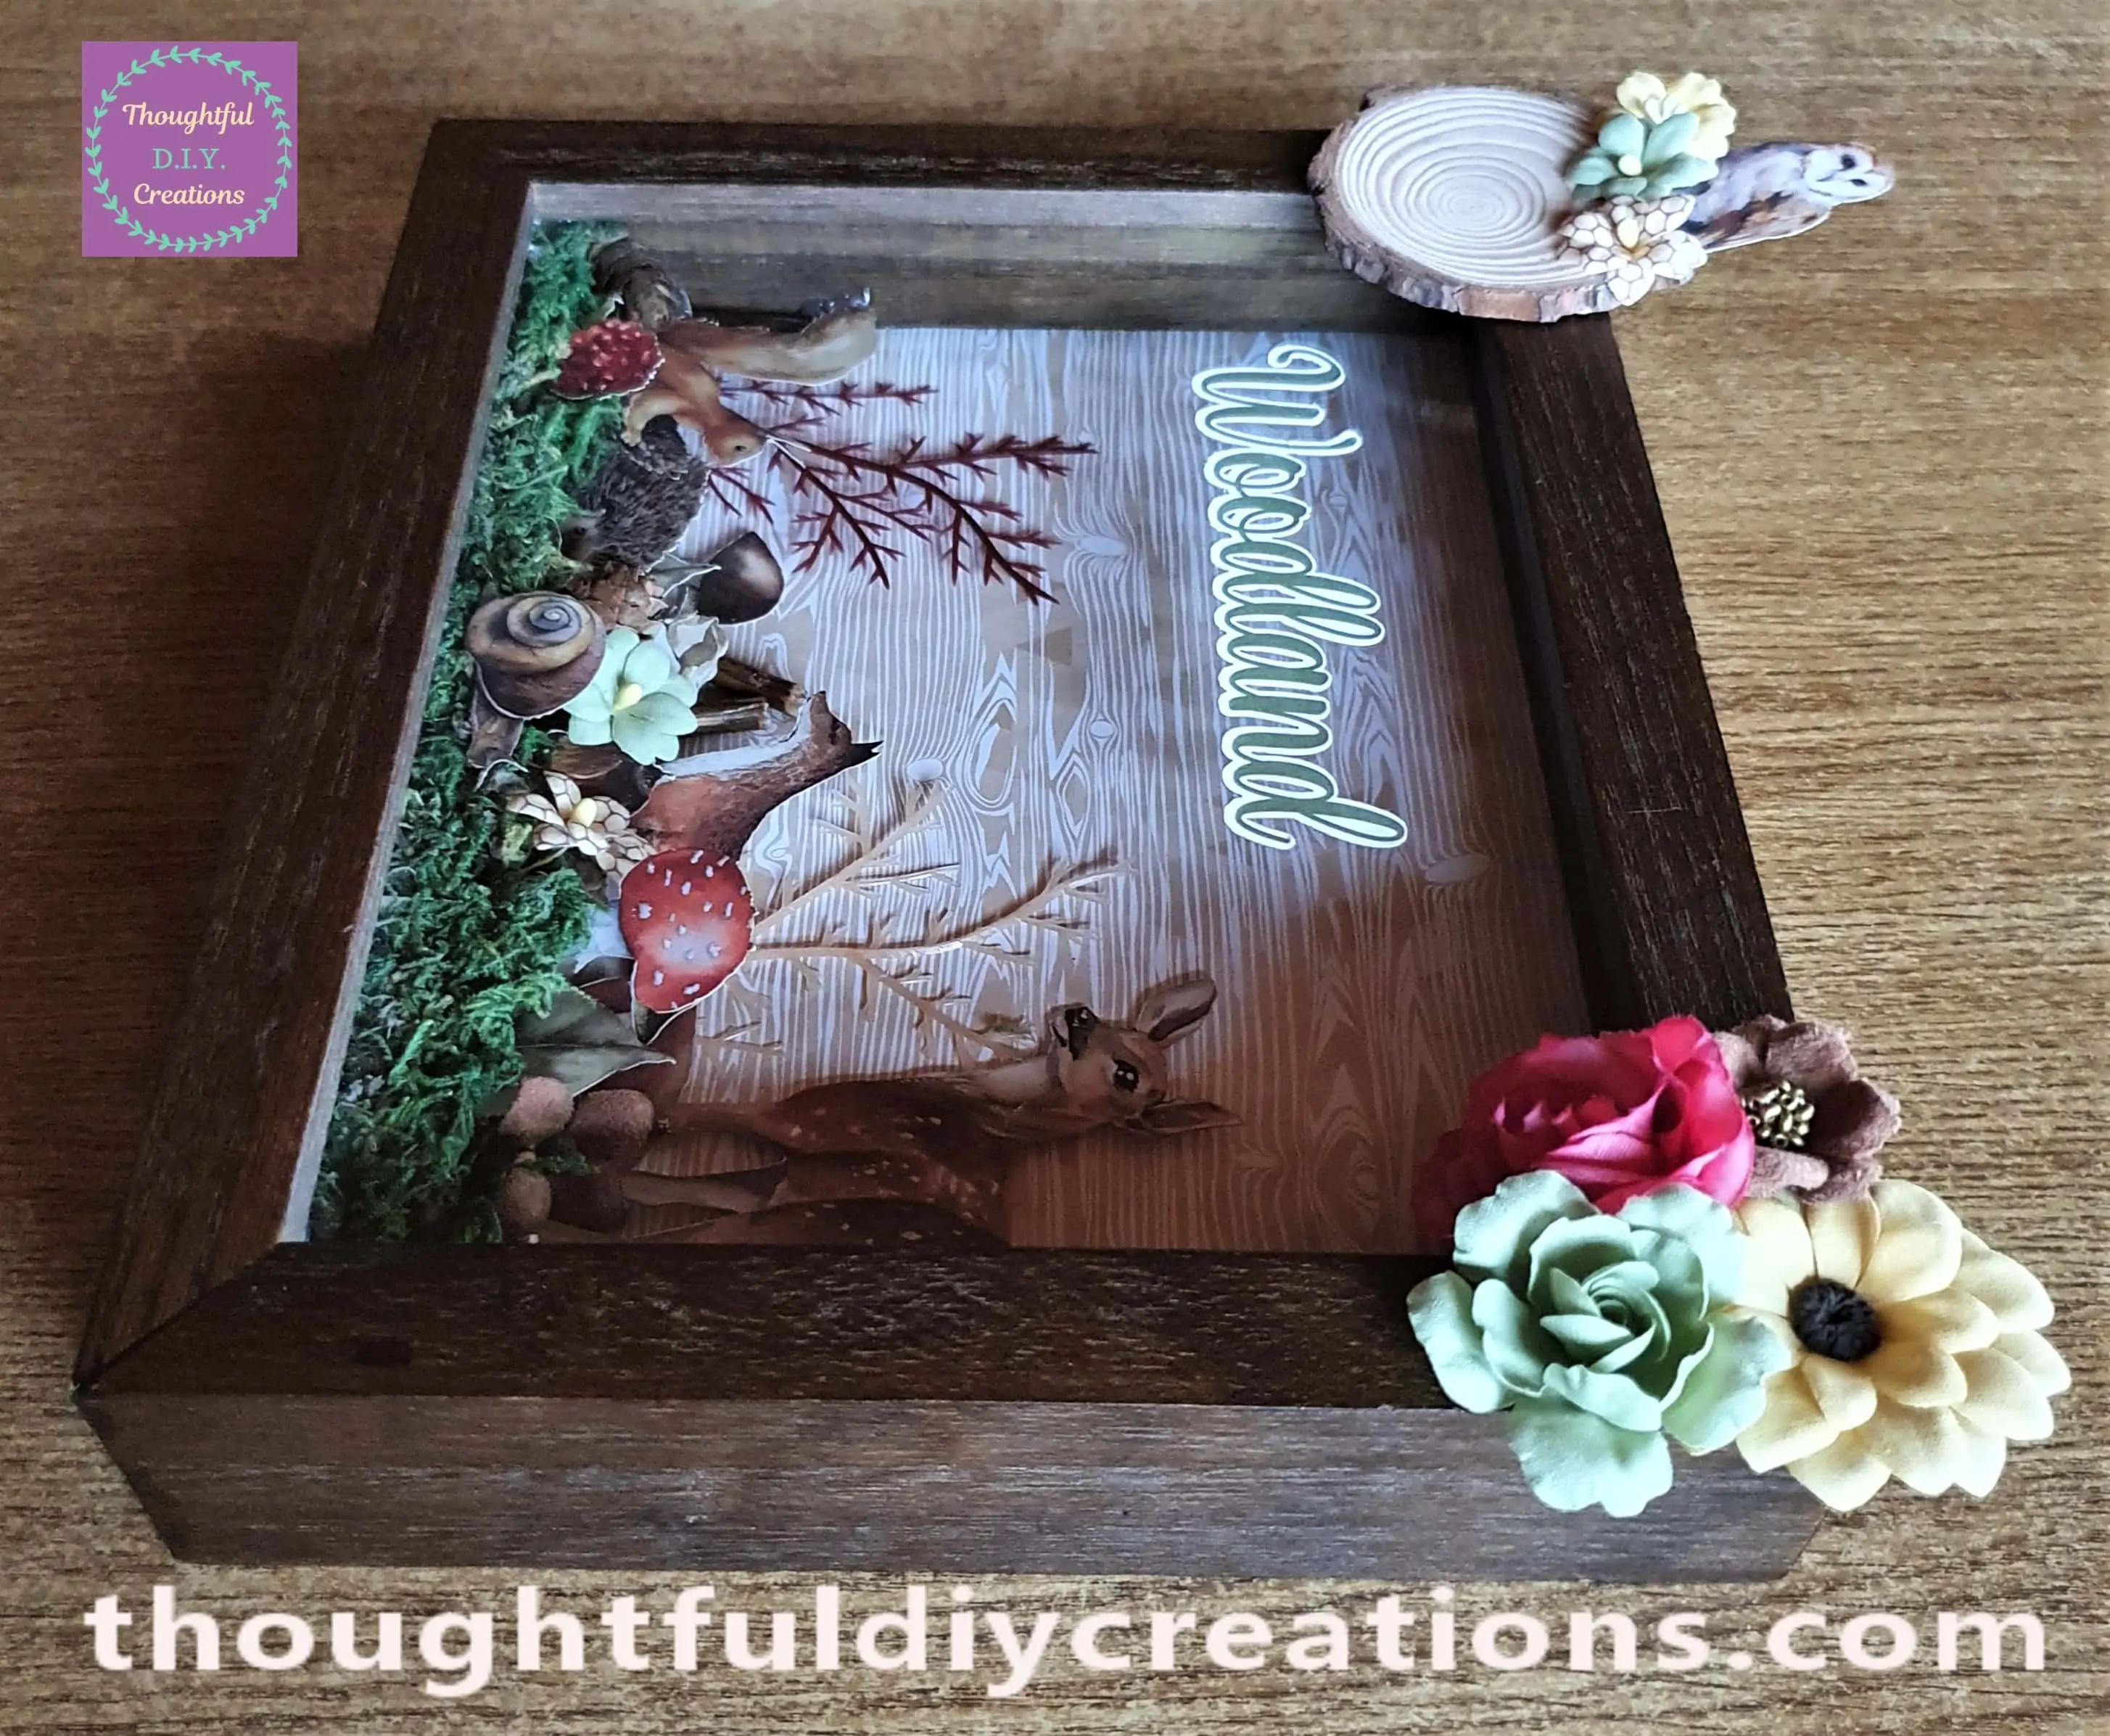
A Side Angle of the Frame.
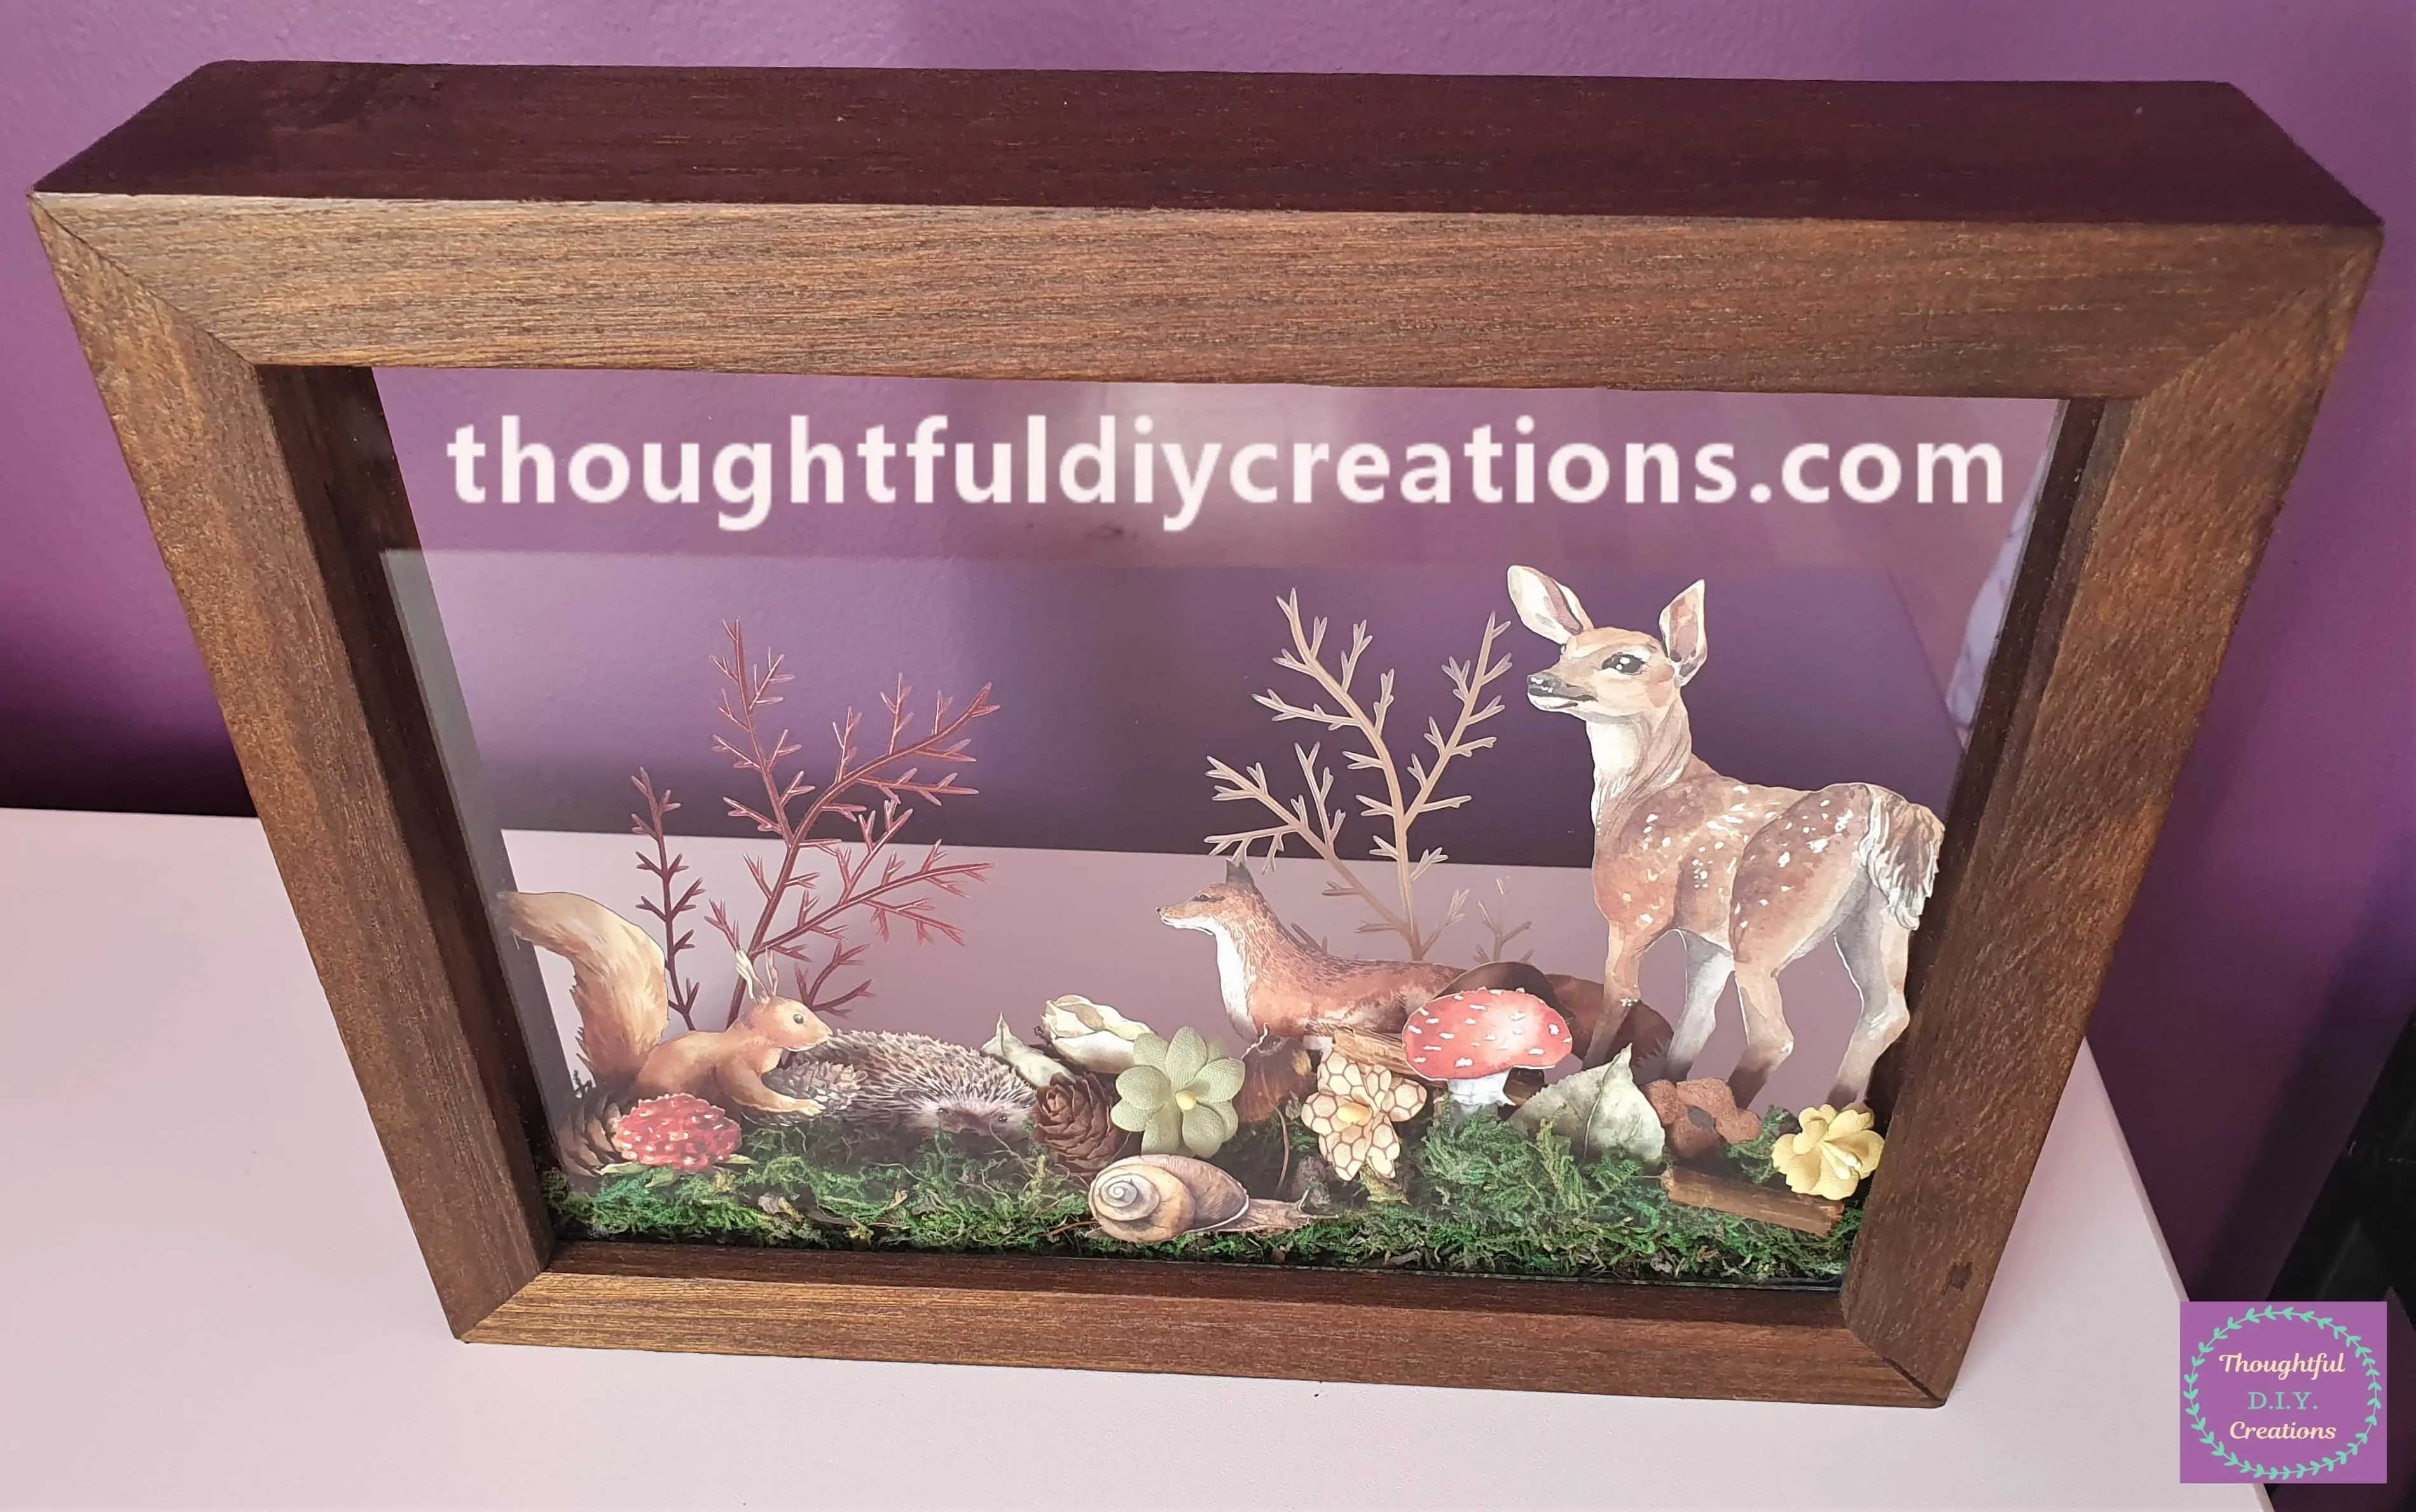
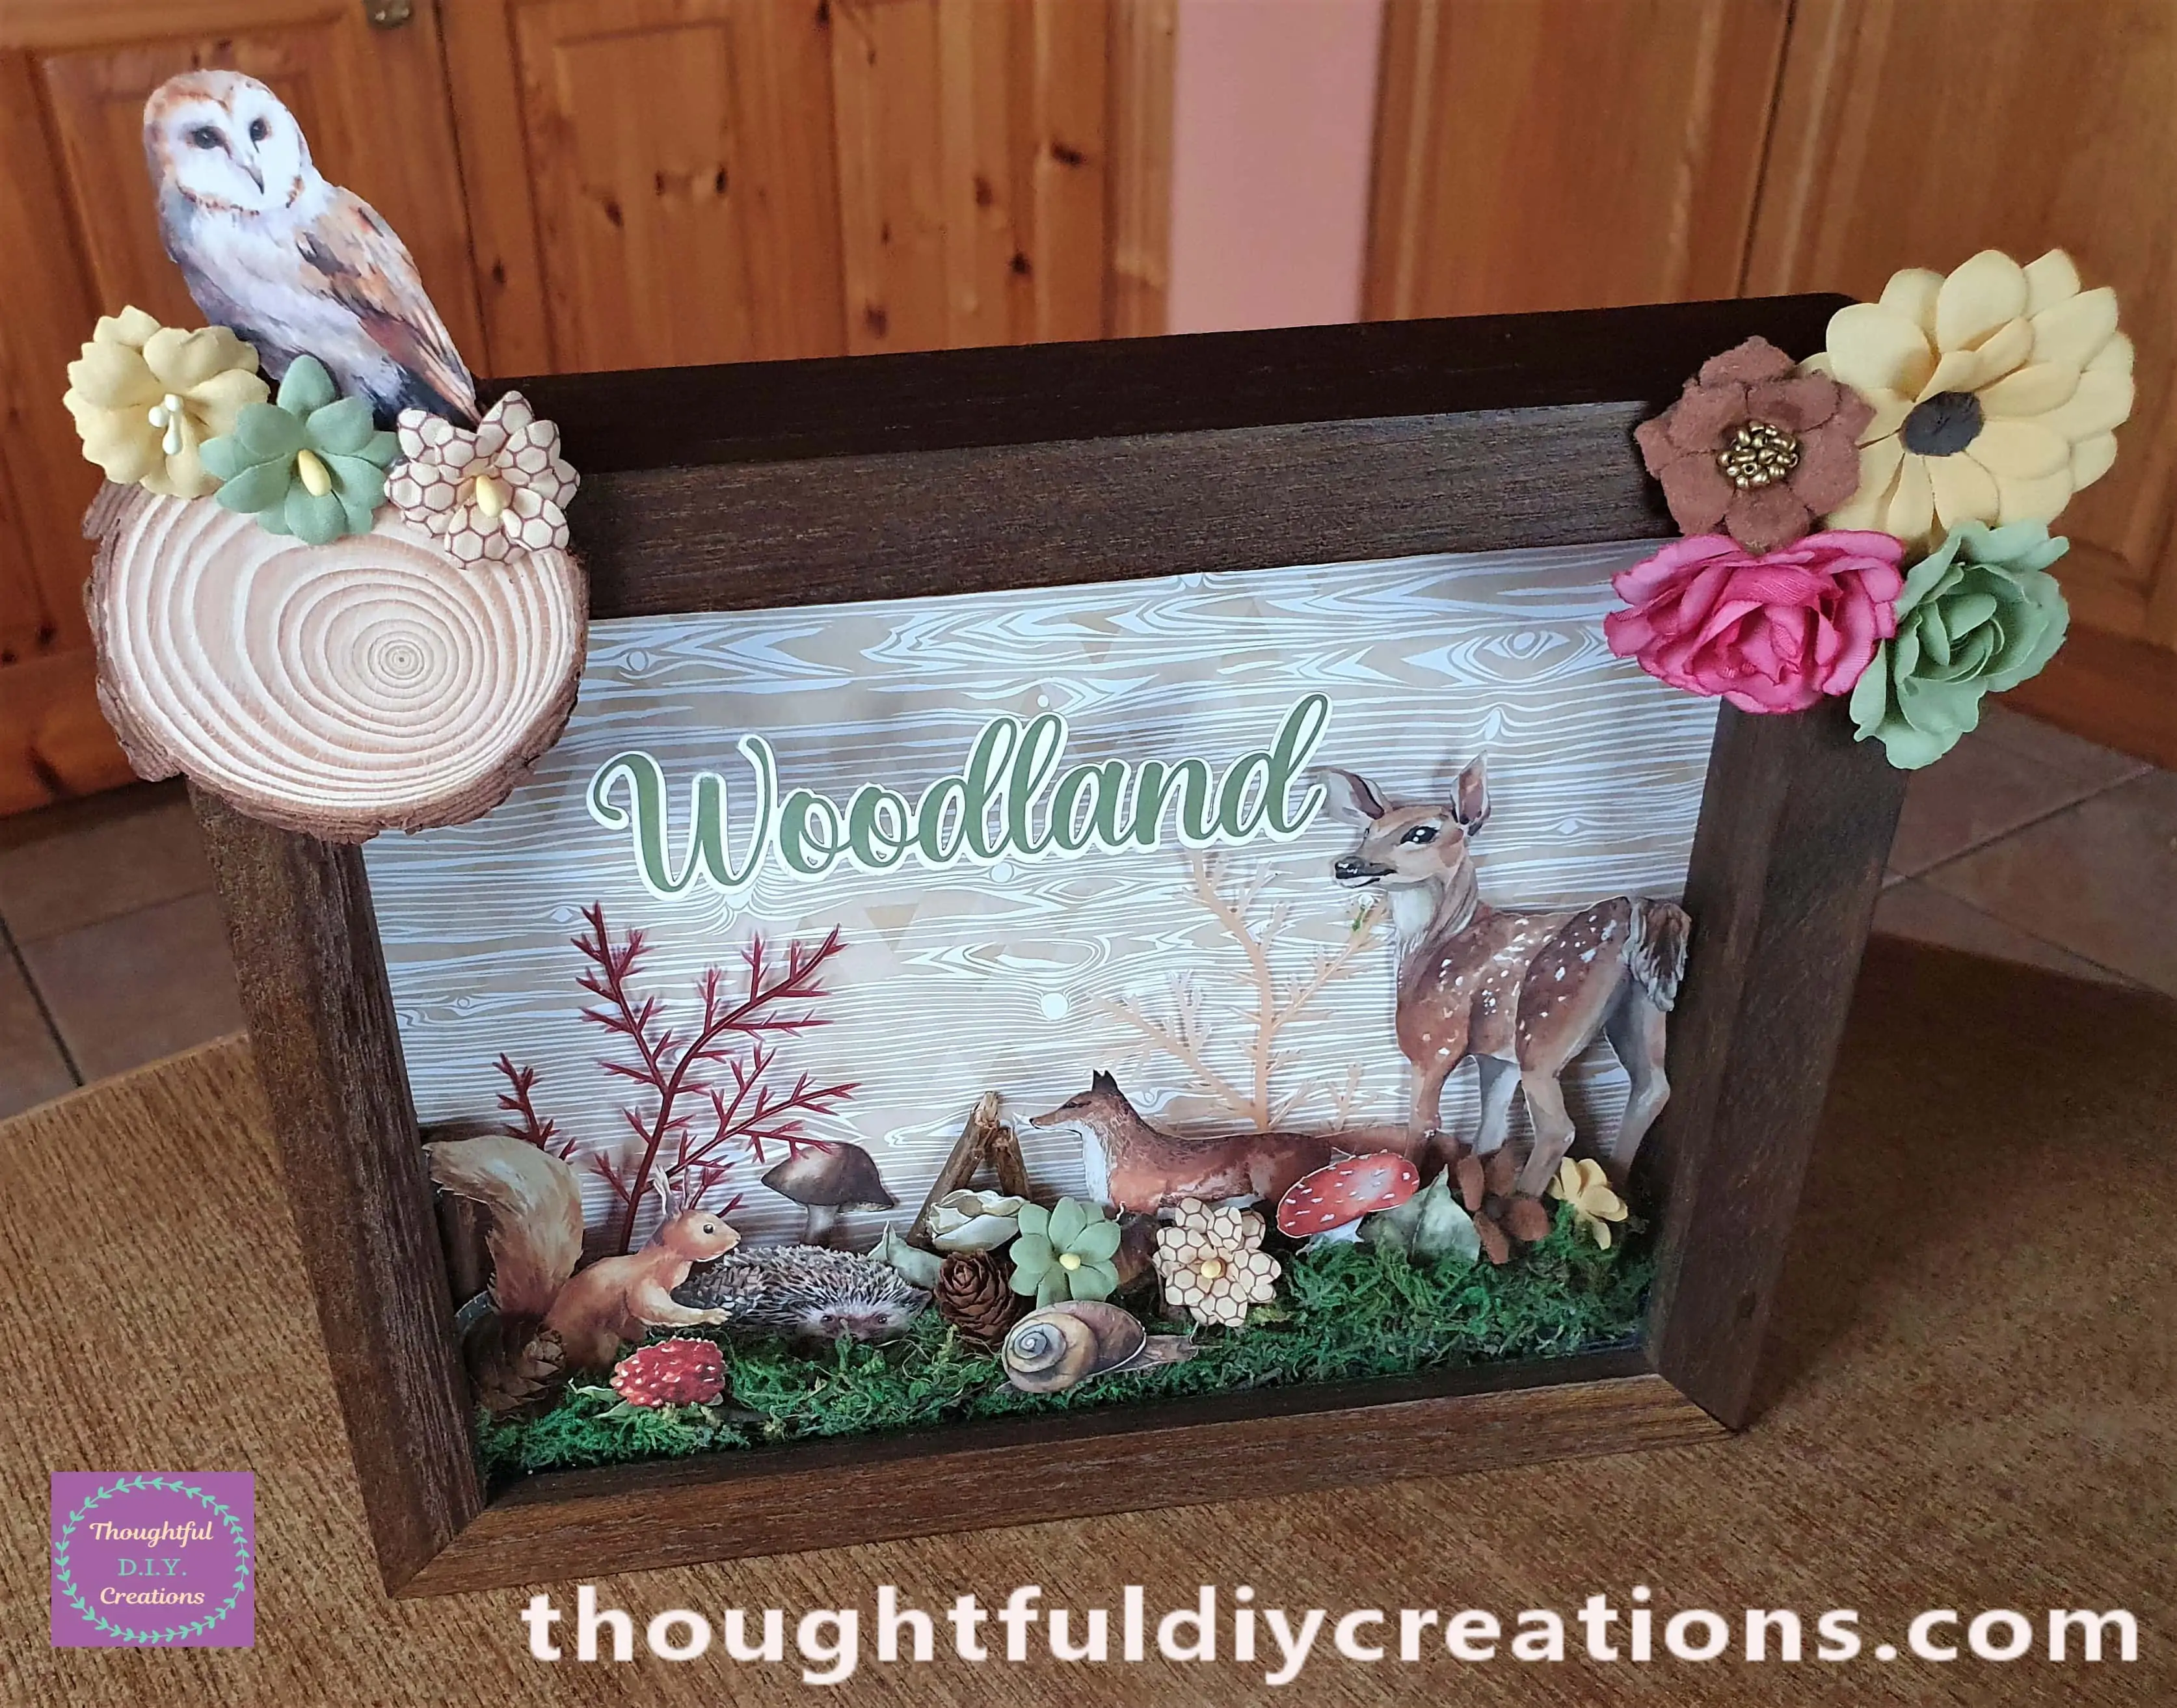
This Completed my Woodland Frame.
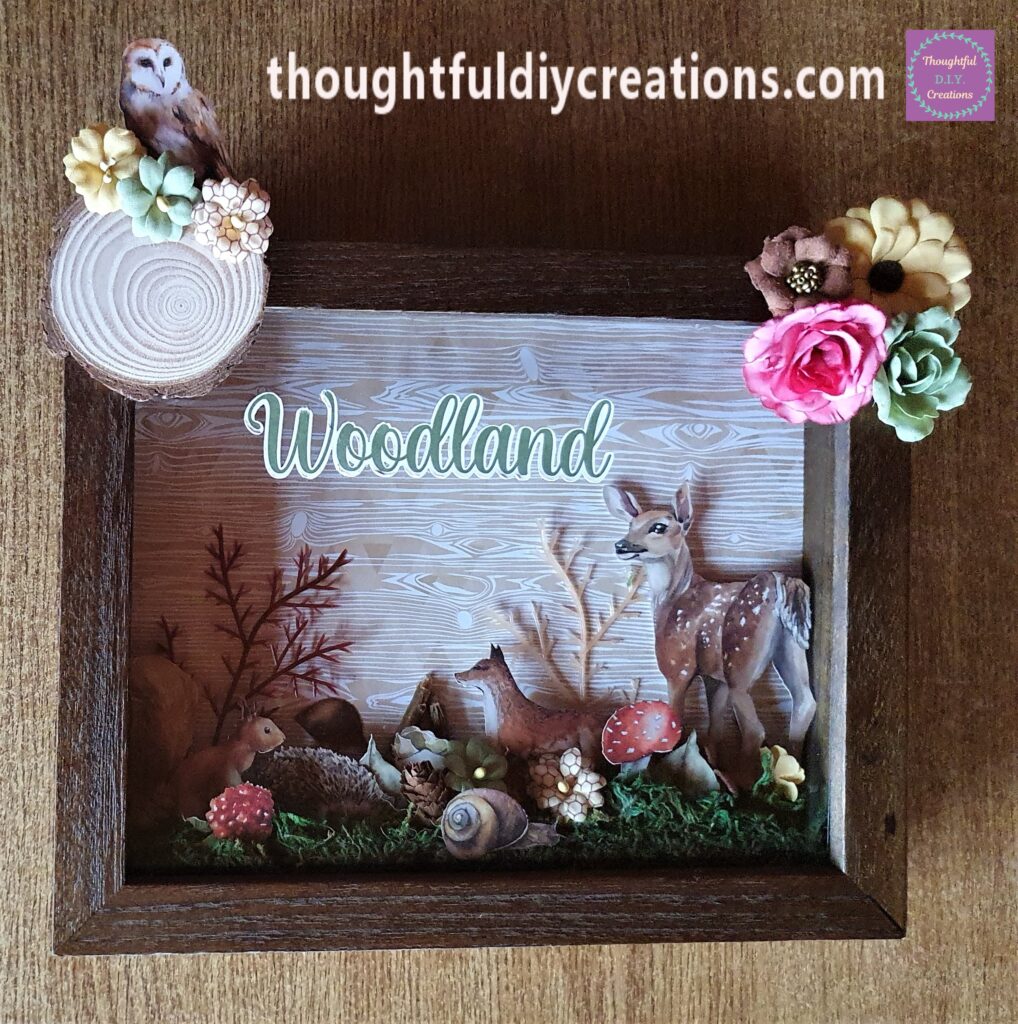
The Woodland Frame Standing Up-Right.

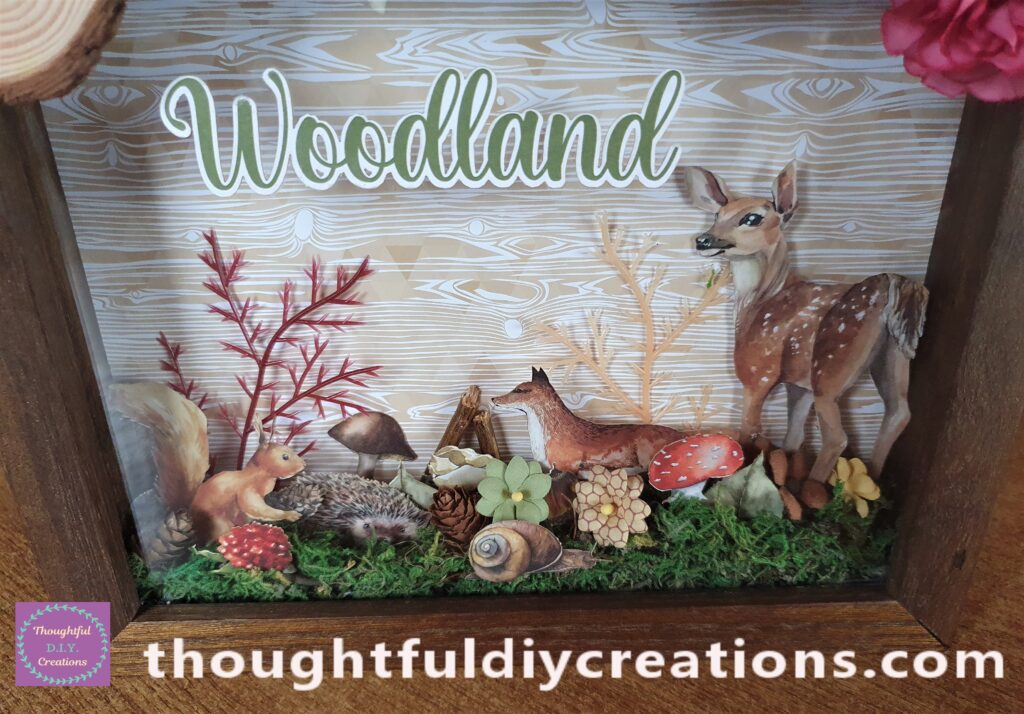
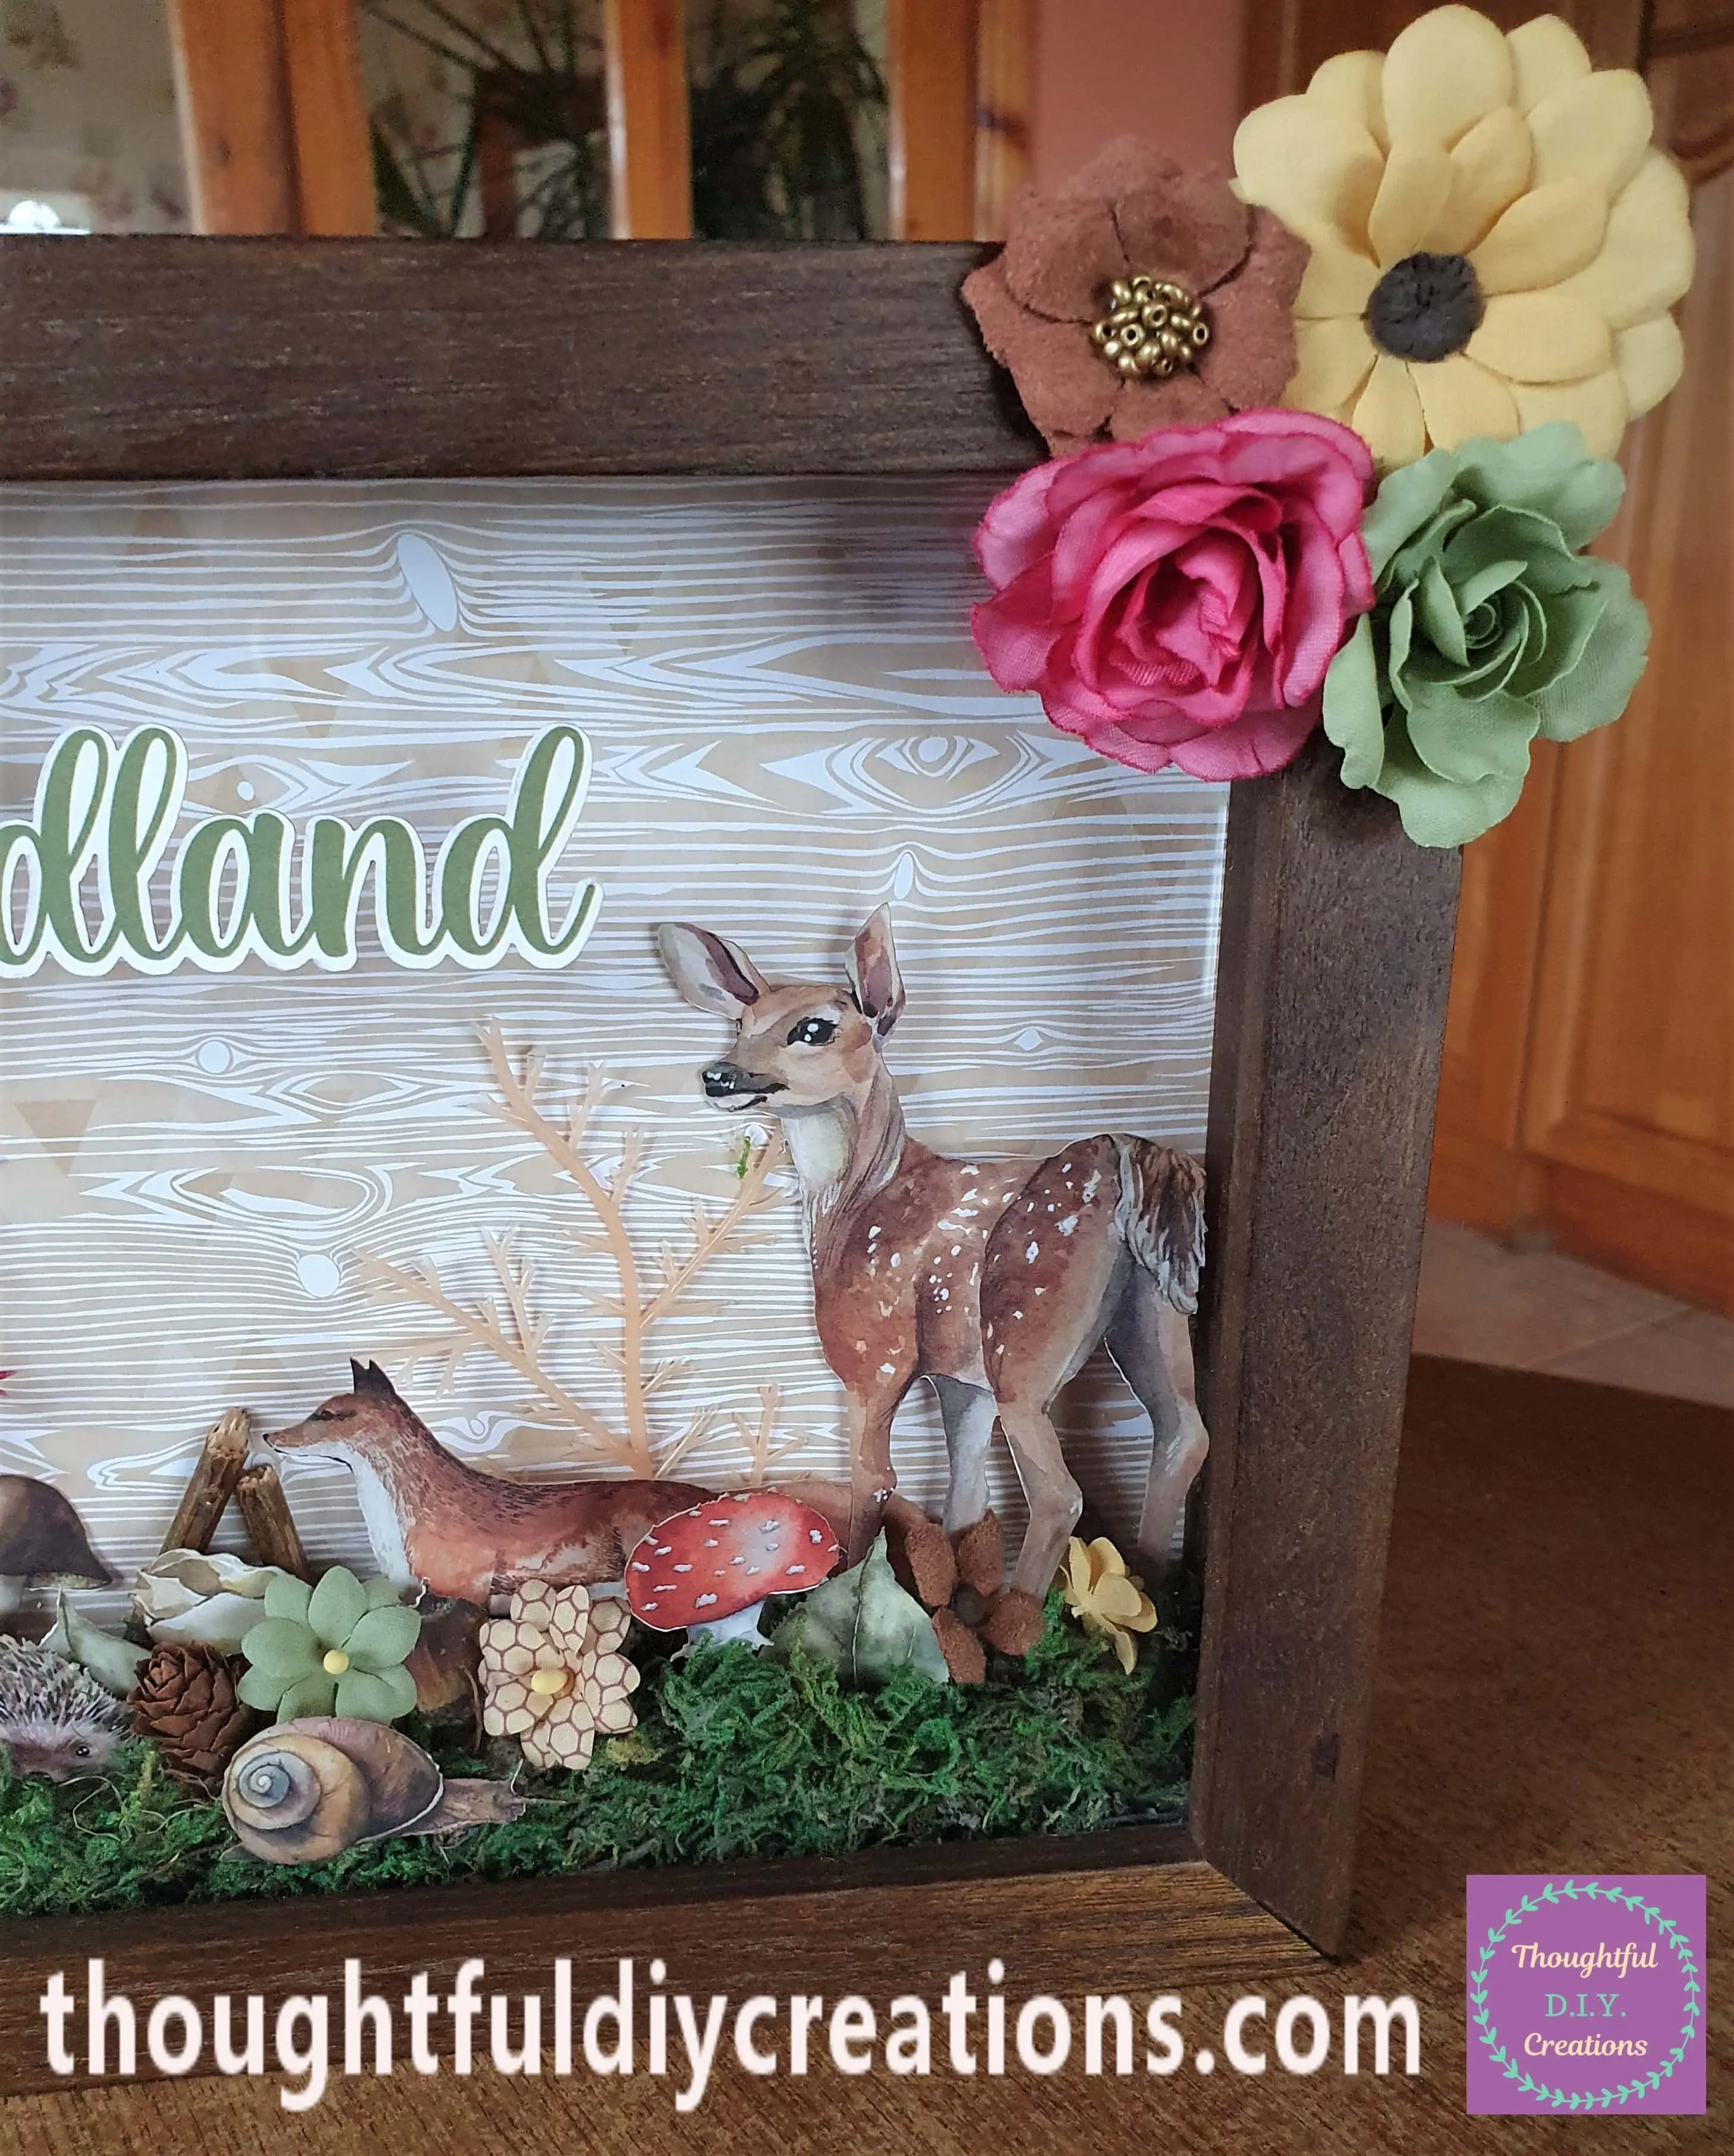
A Closer View of the Right Hand Side of the Frame.
A Closer look at the elements on the Left Hand Side of the Frame.
Conclusion
I adore the Woodland Frame. It’s like bringing the Outdoors Inside with all the beautiful Nature elements. I love the Die-Cuts; they are so well made and ideal as they are already Pre-Cut making it quick for when you want to Craft without having to Cut out various Pictures for your project.
I think everything blended together perfectly. I didn’t think I would get a dark brown Wooden Frame. I thought I’ll buy a White One and Prime and Paint it Brown to go with the Woodland theme. Thankfully I got to Skip this Step.
I love the Flowers and Wood Slice. I think they add to the Final appearance of the Frame.
If you would like to make more Autumn Crafts; you might be interested in my Autumn Bunting Tutorial that I made a couple of years ago. It has similiar Colours and would Complement the Woodland Frame.
If you make a Frame or Project Inspired by my Tutorial; let me know How you got on and if you chose different ephemera pieces to decorate yours. I’d love to know how it turned out for you.
Thank You So Much for Taking the Time to Read my Blog.
Always Grateful,
T.D.C.
xoxox

